Phase 2: Framing
(Continued)After
a week away from the job, Bob and Rod were back the week
after Thanksgiving. I had high hopes that, with decent
weather, they would make great progress on the roofing--the
next critical stage in the process. |
Shop Home
Page
Shop
Planning
Phase 1: Site Prep and Foundation
Phase 2: Framing
Phase 3: Finish Work
Phase 4: Shop Setup |
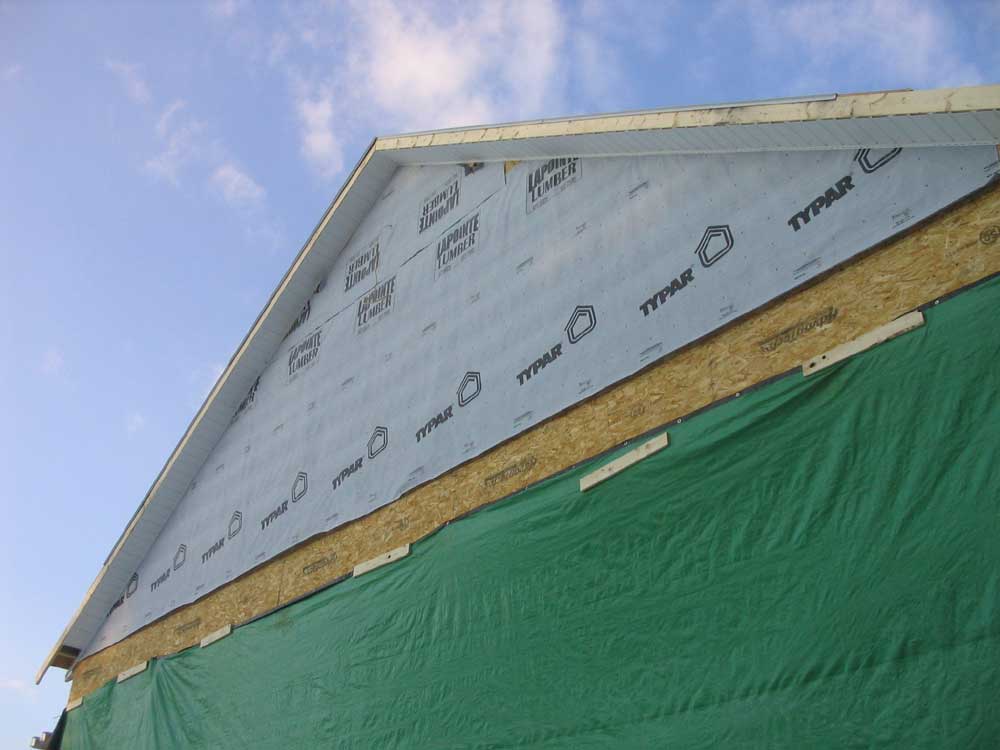
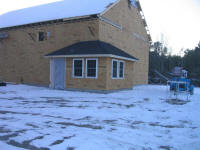
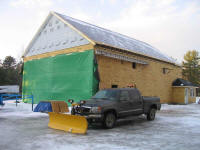
 I
couldn't make it up to visit until Thursday, and was
surprised--and disappointed--to see that NO roofing had
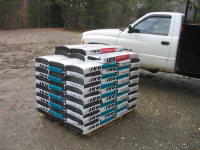
been done. There was a green tarp over the back
section of the building, and the shingles were waiting
on pallets, but for several reasons, no roofing was yet
done. I
couldn't make it up to visit until Thursday, and was
surprised--and disappointed--to see that NO roofing had
been done. There was a green tarp over the back
section of the building, and the shingles were waiting
on pallets, but for several reasons, no roofing was yet
done.Chief
amongst these reasons was the fact that Bob's newly
acquired hydraulic man-lift had failed, and was
undergoing repairs. He had been counting on this
to help lift the shingles to the roof, and that was
fine. There had also been some heavy rain on one
of the days. Still, I was anxious to see some
roofing! |
|
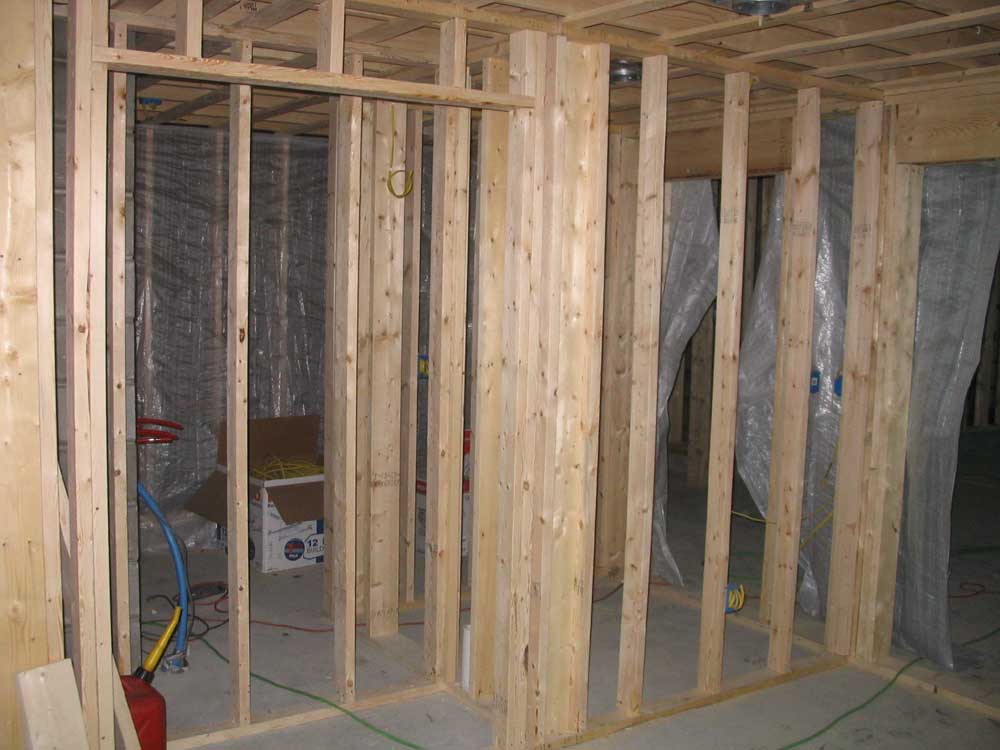
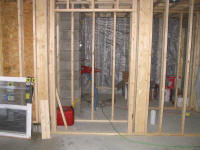
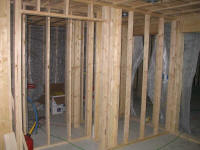
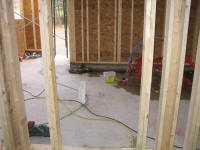 They
had, however, accomplished a bit of framing
elsewhere. The dividing wall between the
office and the shop was built, which also
defined the doorways for the future bathroom and
utility room. Bob had run into a problem
with this wall's placement, which was in large
part dictated by the plumbing rough-ins in the
slab. We had carefully measured for the
rough-ins at an early stage, but something had
gone wrong. As it turned out, it was my
basic shop drawings that were to blame, though I
didn't figure this out till later on. The
end result, in any event, was that the wall
needed to be moved a foot or two further out
into the shop to allow for enough room in the
bath to install a toilet. Certainly there
would be no moving the plumbing stacks! They
had, however, accomplished a bit of framing
elsewhere. The dividing wall between the
office and the shop was built, which also
defined the doorways for the future bathroom and
utility room. Bob had run into a problem
with this wall's placement, which was in large
part dictated by the plumbing rough-ins in the
slab. We had carefully measured for the
rough-ins at an early stage, but something had
gone wrong. As it turned out, it was my
basic shop drawings that were to blame, though I
didn't figure this out till later on. The
end result, in any event, was that the wall
needed to be moved a foot or two further out
into the shop to allow for enough room in the
bath to install a toilet. Certainly there
would be no moving the plumbing stacks! |
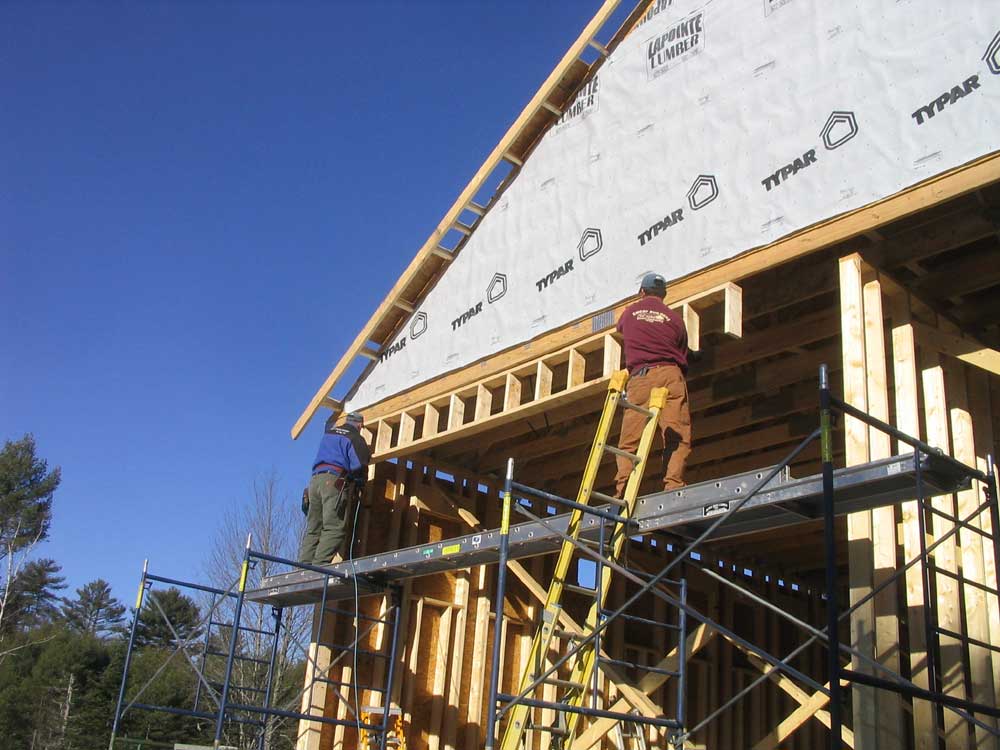
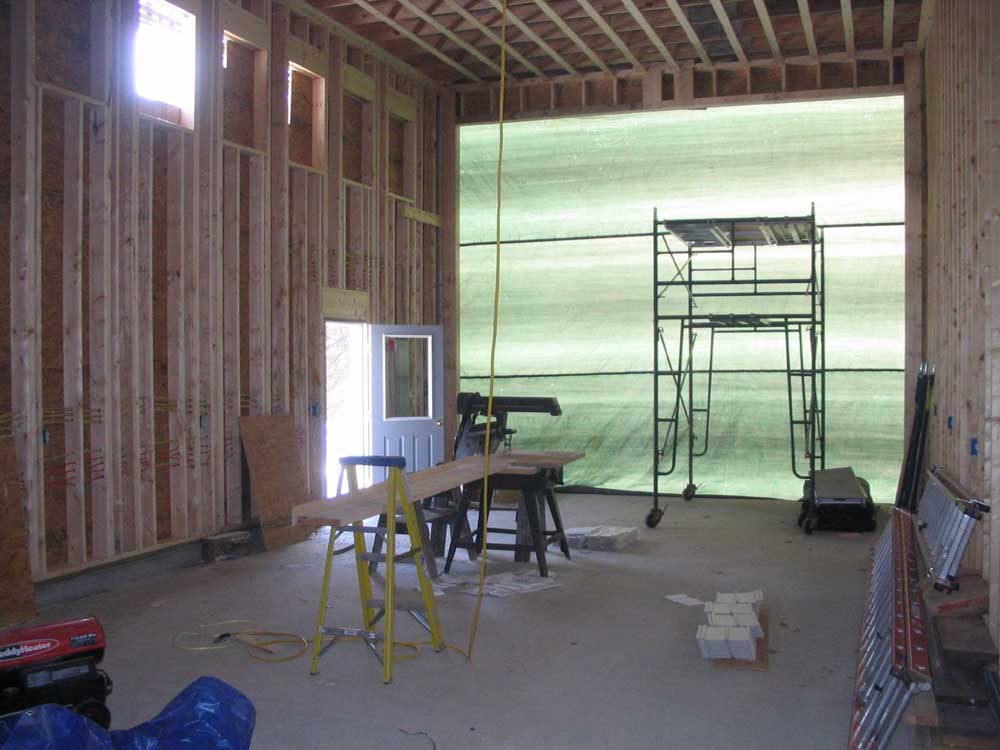
I also met with the company installing my garage doors,
so that we could determine the ultimate door height and
the sizes of the rough openings. The front wall of
the building was completely unframed, as we wanted to
ensure that the largest possible size doors be
installed. With standard lift hardware, which
required 18" of clearance, it looked like I'd end up
with doors that were 15'-6" high, and 18'-0" wide.
This is pretty much where I had figured it would end up,
but it was nice to confirm it and move on in the
process. With these measurements complete,
it would be a few weeks before the doors could be built
and installed. |
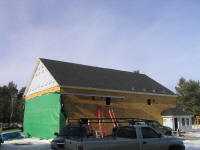
 Also
well underway was the framing and sheathing for the hip
roof over the little office bumpout in the back corner.
I left before the sheathing was done, but the framing
looked great, and began to truly define the shape of
things to come. Additional pictures can be found
on the previous page. Also
well underway was the framing and sheathing for the hip
roof over the little office bumpout in the back corner.
I left before the sheathing was done, but the framing
looked great, and began to truly define the shape of
things to come. Additional pictures can be found
on the previous page. |
|
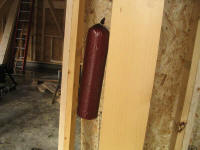 Every
job site needs a big summer sausage hanging from
a nearby stud, ready for one to hack off a hunk
if they become a bit peckish. I had to
chuckle when I saw this as I passed through the
shop! Every
job site needs a big summer sausage hanging from
a nearby stud, ready for one to hack off a hunk
if they become a bit peckish. I had to
chuckle when I saw this as I passed through the
shop!
|
|
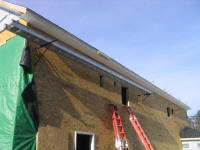
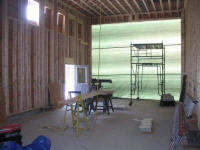
 Work continued inside and out. One day I
arrived to find that the crew had installed
sheets of a waterproof roofing underlayment over
the entire roof, making the building essentially
watertight. While I hoped for actual
roofing to be done soon, the new underlayment
meant that I could begin my electrical rough-in,
which I had been impatiently anticipating as the
weather began to slide inexorably into the realm
of downright cold. Work continued inside and out. One day I
arrived to find that the crew had installed
sheets of a waterproof roofing underlayment over
the entire roof, making the building essentially
watertight. While I hoped for actual
roofing to be done soon, the new underlayment
meant that I could begin my electrical rough-in,
which I had been impatiently anticipating as the
weather began to slide inexorably into the realm
of downright cold. |
 |
|
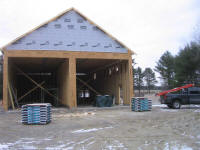
The same day, Bob and Rod finished off the
garage door openings in the front, installing
headers and side framing. The openings
were ready for doors once they were complete. |


 |
|
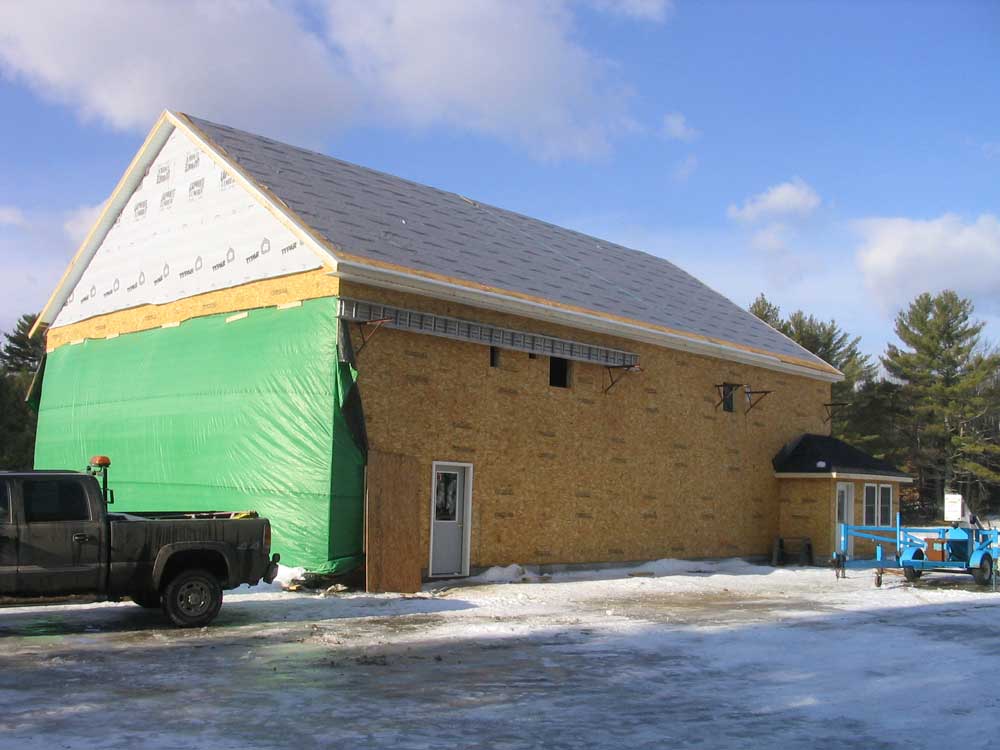
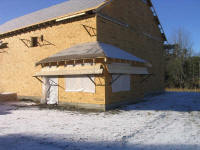
 The underlayment was just in time, too, as
within a week we had our first real snowfall of
the season, coupled with temperatures that chose
to stubbornly remain below freezing--well below,
on many days--for a couple weeks straight.
Fortunately, the crew took advantage of one nice
day and finished off the actual roofing on the
office hip roof, allowing more substantial work
to continue inside. The underlayment was just in time, too, as
within a week we had our first real snowfall of
the season, coupled with temperatures that chose
to stubbornly remain below freezing--well below,
on many days--for a couple weeks straight.
Fortunately, the crew took advantage of one nice
day and finished off the actual roofing on the
office hip roof, allowing more substantial work
to continue inside.
I moved forward
with the electrical installation.
Click here for more. |
|
 Over
the next several days, while I was onsite daily
working on the wiring rough-in, Bob, Rod, and a
third crew--Tom--finished off a number of
projects, all important and all leading up to
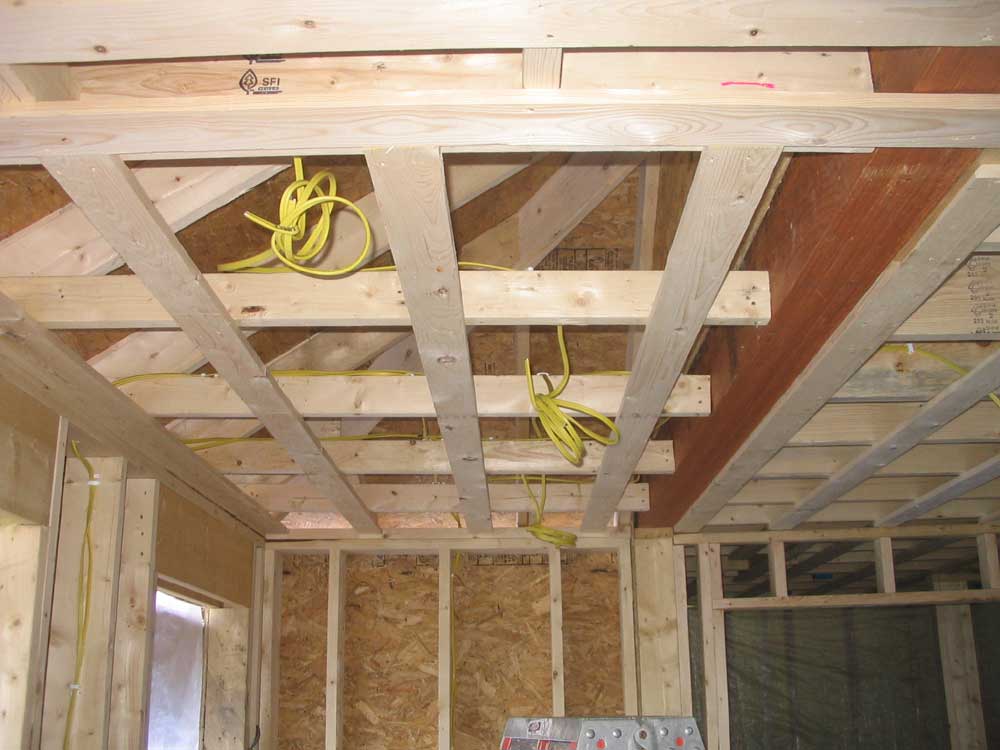
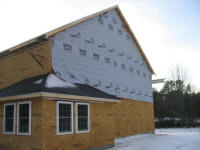
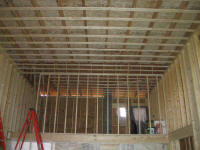
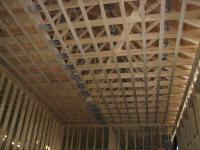
the beginning of roofing. They
straightened the gables and installed the
subfloor in the attic area, tying the whole
structure together significantly. With
that done, they installed strapping on all the
ceilings, built and installed several interior
walls, and moved on to exterior trim, vinyl
soffits, and roofing drip edge. The
pictures below tell the story, at least for now.
More detail on some of the areas will be
forthcoming. Over
the next several days, while I was onsite daily
working on the wiring rough-in, Bob, Rod, and a
third crew--Tom--finished off a number of
projects, all important and all leading up to
the beginning of roofing. They
straightened the gables and installed the
subfloor in the attic area, tying the whole
structure together significantly. With
that done, they installed strapping on all the
ceilings, built and installed several interior
walls, and moved on to exterior trim, vinyl
soffits, and roofing drip edge. The
pictures below tell the story, at least for now.
More detail on some of the areas will be
forthcoming.
|

 |


 |
|
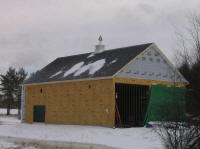
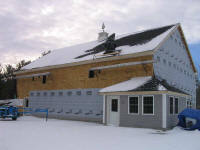
 After
weeks of delay, the crew finally completed the
roof on Wednesday, December 21, after a very
efficient 2-day process. Bob called in
lots of help--up to 5 guys--to get this job over
and done with. Since I had completed the
wiring on Sunday, I didn't return to visit the
new shop until Wednesday, partly to check on the
progress and partly to deliver some materials to
the site. I was pleasantly surprised upon
arrival to see one whole side of the roof
complete, and the other side 2/3 finished!
Excellent. I was very pleased to finally
have this out of the way, since it was nearly
January. For weeks, I had been worried
about the weather, and the possibility that a
stretch of bad or very cold weather might
prevent the roof from being done until late
winter. After
weeks of delay, the crew finally completed the
roof on Wednesday, December 21, after a very
efficient 2-day process. Bob called in
lots of help--up to 5 guys--to get this job over
and done with. Since I had completed the
wiring on Sunday, I didn't return to visit the
new shop until Wednesday, partly to check on the
progress and partly to deliver some materials to
the site. I was pleasantly surprised upon
arrival to see one whole side of the roof
complete, and the other side 2/3 finished!
Excellent. I was very pleased to finally
have this out of the way, since it was nearly
January. For weeks, I had been worried
about the weather, and the possibility that a
stretch of bad or very cold weather might
prevent the roof from being done until late
winter. |
|
 I
suspect Bob was equally pleased to have the job
off his back; even though he didn't actually do
any of the roofing himself, there's no doubt the
absence of a real roof was weighing heavily upon
him. I
suspect Bob was equally pleased to have the job
off his back; even though he didn't actually do
any of the roofing himself, there's no doubt the
absence of a real roof was weighing heavily upon
him.
The roof is shingled with Iko asphalt/fiberglass
shingles, with the so-called "architectural"
design, which not only provides a more
interesting textured look, they also are thicker
and last longer than regular 3-tab shingles.
I chose basic black, the color that goes with
everything. The roofing crew did a great
job. Watching their practiced motions,
with nary a wasted move, was fascinating. |
|
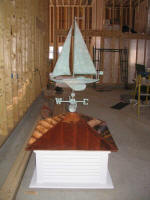 Nearly
a year ago, I was given a beautiful copper
weathervane and cupola, which were intended for
the "old" shop in North Yarmouth. When, in
February, we decided to relocate, I postponed
installation of these decorative elements,
choosing instead to save them for the new
facility. Now the time had come to install
them! Bob wanted to have the cupola on
hand, so I made a second trip home and back to
pick it up and bring it up, so that it would be
ready to go. I used a compass to align the
directional tabs on the weathervane with the top
of the cupola, with the cupola lined up with the
axis of the building. Then, I installed
the base for the weathervane, a frustrating
process since I had failed to bring my entire
workshop of tools and supplies with me in the
truck; ah, the frustrations of working far from
home base. With some cobbed-together
materials and purloined tools from the jobsite,
I managed to get the base installed. Nearly
a year ago, I was given a beautiful copper
weathervane and cupola, which were intended for
the "old" shop in North Yarmouth. When, in
February, we decided to relocate, I postponed
installation of these decorative elements,
choosing instead to save them for the new
facility. Now the time had come to install
them! Bob wanted to have the cupola on
hand, so I made a second trip home and back to
pick it up and bring it up, so that it would be
ready to go. I used a compass to align the
directional tabs on the weathervane with the top
of the cupola, with the cupola lined up with the
axis of the building. Then, I installed
the base for the weathervane, a frustrating
process since I had failed to bring my entire
workshop of tools and supplies with me in the
truck; ah, the frustrations of working far from
home base. With some cobbed-together
materials and purloined tools from the jobsite,
I managed to get the base installed.
In
this photo, the large base is not shown; the
cupola will stand taller on the roof. This
is a 42" cupola. |
|
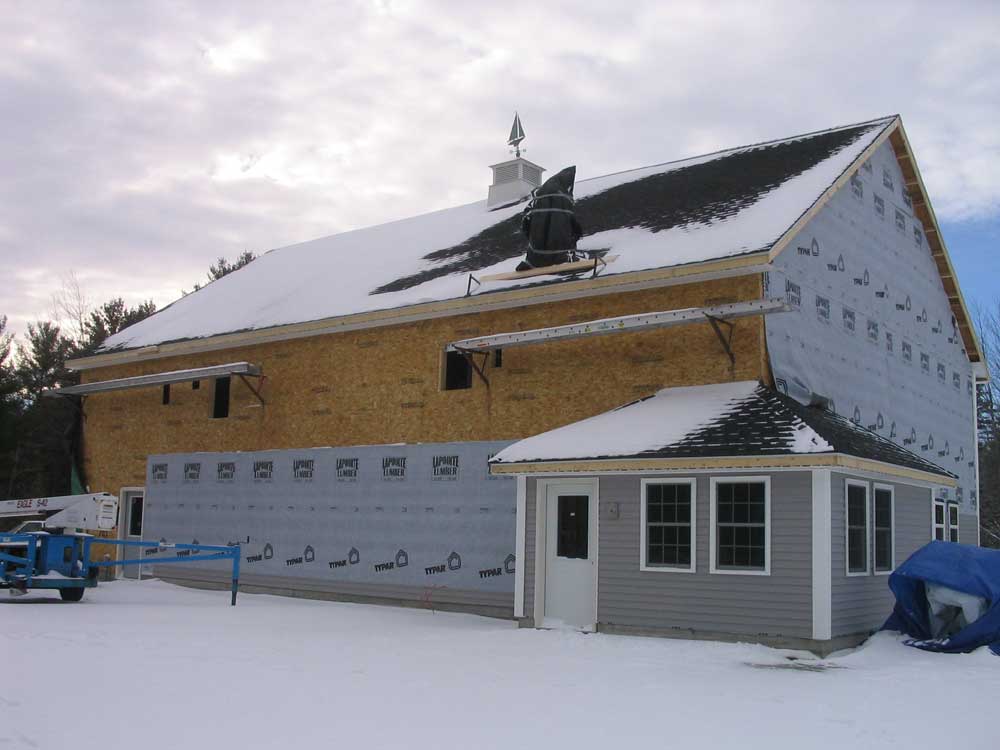
 Once
installed, the cupola and weathervane looked
perfect: the focus was clearly on the
beautiful weathervane, which seemed ideally
proportioned for the size of the building, and
the cupola, while not overly small, was not so
large as to dominate the building. I was
thrilled with how it looked, and how its
installation immediately created a more
finished, classy look to the building. Once
installed, the cupola and weathervane looked
perfect: the focus was clearly on the
beautiful weathervane, which seemed ideally
proportioned for the size of the building, and
the cupola, while not overly small, was not so
large as to dominate the building. I was
thrilled with how it looked, and how its
installation immediately created a more
finished, classy look to the building.
|
 |
|
Click here to
continue...
|
This page was originally
posted on December 3, 2005.
|
Updates |
12/18/05 |
| |
12/21/05 |
|
12/30/05 |
| |
|
|