Phase 1: Site
Preparation and Foundation
With the planning complete and
a basic design and quotation in hand, it was time to
continue with the actual construction. The first step
was to arrange for a new driveway to be built, along with a
large, level pad on which the shop slab would be poured.
After some preliminary meetings in May, the driveway
construction finally began in early June. |
Shop Home
Page
Shop
Planning
Phase 1: Site Prep and Foundation
Phase 2: Framing
Phase 3: Finish Work
Phase 4: Shop Setup |
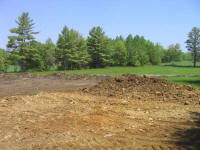
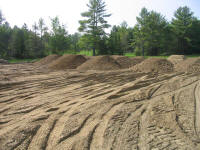
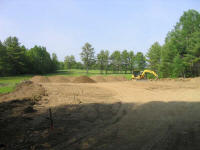
The driveway needed to be fairly rugged to prevent
softness and damage during mud season, particularly
given the chance that large, heavy trucks bearing boats
might be traveling over the drive. Therefore, the
excavation contractor specified a base of heavy 6"
gravel, followed by additional 3" gravel and finished
off with 2" gravel as the top surface. Numerous
loads of the coarse gravel made up the pad beneath the
shop location, which needed to be raised as much as 3-4'
in some areas. |
|
|
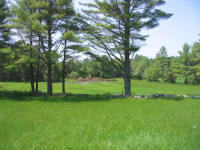
In addition, we had to do some resculpting of the
landscape to allow for better drainage of water past the
site, so the contractor took care of all this as well.
After several days' work, the construction was complete,
allowing me the pleasure of driving into the property
for the first time since we gained ownership back in
March. |
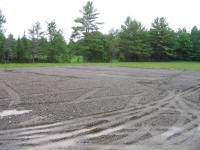
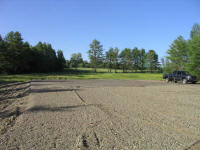
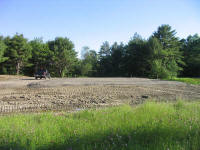
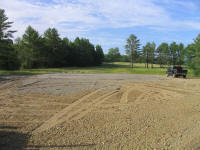
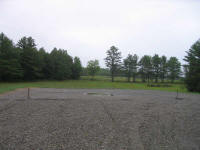
The new pad where the shop would eventually go looked
nice, and began to give a sense of the location and the
size of the building. Of course, the landscape
looked somewhat disturbed at this point (and this would
get worse before it got better), but with some vision
one could see how things might end up when all was said
and done. |
|
|
With the pad and driveway complete, the next step was to
arrange for some of the infrastructure
required--electricity, septic, and water. Shortly
after completion of the driveway, the well drillers
arrived to drill a new well, up closer to the house
site, which was located further into the property from
the shop.We
decided to go with buried electrical service, and after
a number of more or less frustrating calls and meetings
with the local power company, managed to obtain the
proper quotes for primary 200 amp service,
customer-owned meter and pedestal, and secondary wiring
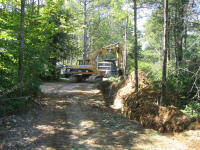
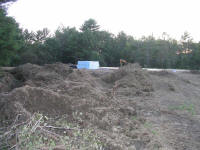
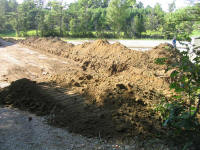
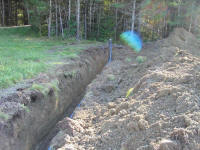
from there. Shortly thereafter, the excavation
contractor returned to trench for the buried power,
water, and septic system, and before long the property
looked as if huge moles had been left to run free. |
|
|
After nearly a week of
work, all the trenches were dug, the conduit, cable, and
piping run, the leach field and septic system installed,
and the trenches backfilled, returning the land to some
semblance of its former self. After a couple weeks
and some false promises, the power company hooked up the
electrical service on September 28, completing one of
the more frustrating processes. |
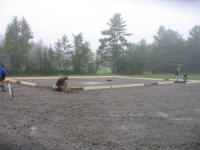
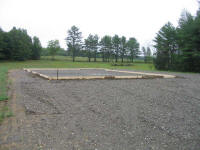
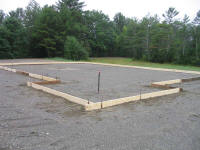
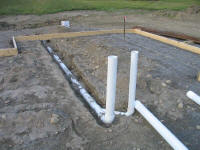
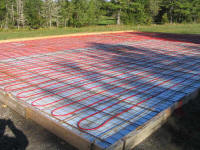
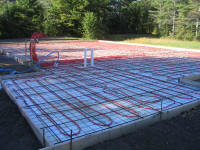
Meanwhile, work continued on the slab. One day,
the foundation crew arrived to locate and build the
forms for the slab, after which I could locate such
things as the plumbing for the bathroom and the conduit
carrying the potable water lines. My builder, Bob
Emery, installed styrofoam insulation on the ground,
then installed a wire mat to which the heating
contractor could attach the plastic tubing needed for
the radiant floor heating. Finally, Bob installed
the rebar above the newly-installed tubing, and a
conduit that would eventually carry electrical wires out
to the center of the shop where the table saw would be. |
|
 |
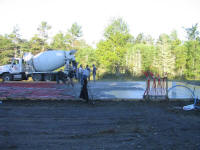
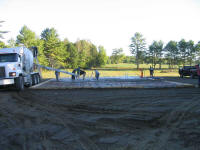
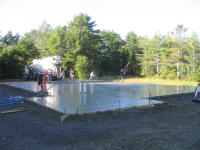
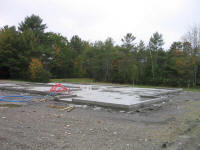
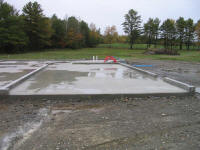
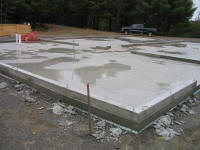
Shortly thereafter, the day arrived when the slab would
be poured. Beginning bright and early
in the morning, a stead stream of concrete trucks
arrived--six in all--and dispensed their cargo into the
forms, where a large crew spread, leveled, and smoothed
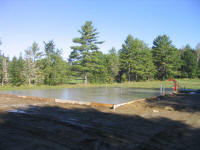
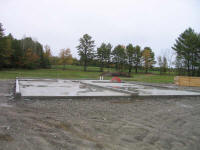
the product. Several days later, the same crew
formed up the curbing, and poured the curb, completing
the shop foundation. |
|
 |
Click here to
continue... |
This page was originally
posted on October 9, 2005.
|
|