| Bolero
Project |
Thursday, May 29, 2008 Before moving forward with some of the day's planned tasks, I cleaned off the supply of tools, etc. that I had stored on the stern deck. Doing so reminded me that much earlier--last fall--I'd missed sanding a few areas where I'd filled small pinholes in the deck with Alexseal filler; these areas, located aft of the cockpit, had been hidden by the tools and supplies for a while. The other work on the boat had also, over time, managed to inflict the occasional epoxy fingerprint or smudge on the primed deck, and I'd also found that the primer made a great surface on which to make quick notes or do calculations with a pencil. So I decided to quickly re-sand the deck with 220 grit paper to remove the various interruptions, returning me to a clean surface ready for the next coats of primer when the time is right. Finally, I sanded the interior forward bulkhead with 120 and 220 grits on a palm sander to ready it for paint. Afterwards, I vacuumed up the entire boat, inside and out, to remove dust from the deck sanding and from sanding all the woodwork. Then, I applied the first coat of paint (primer) to the forward bulkhead. |
|
|
|
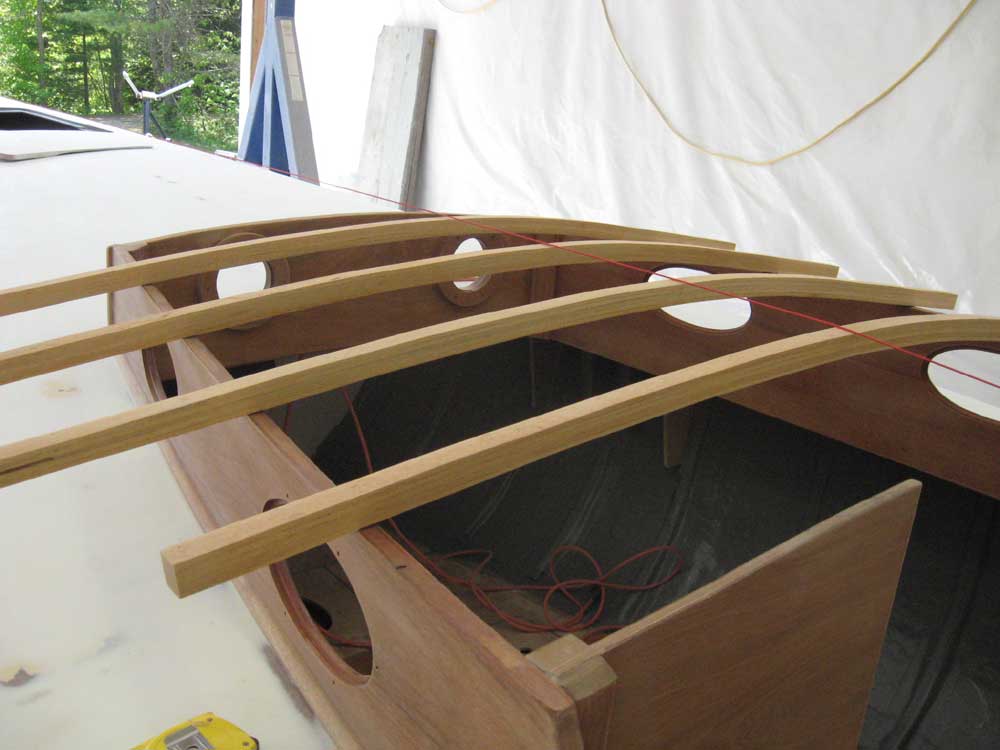
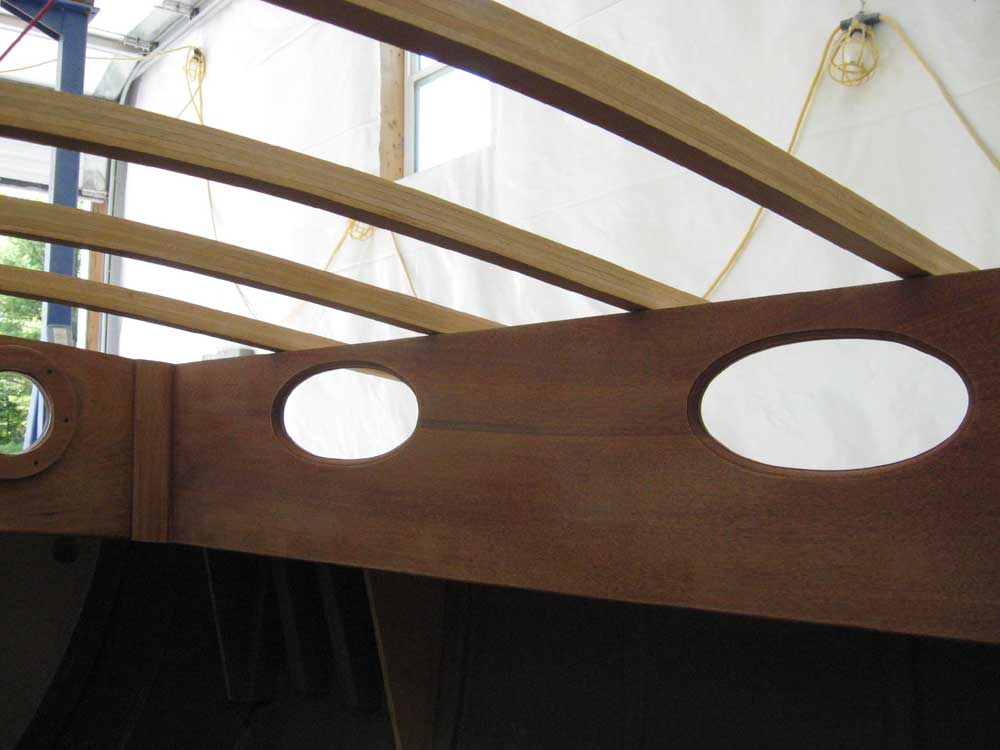
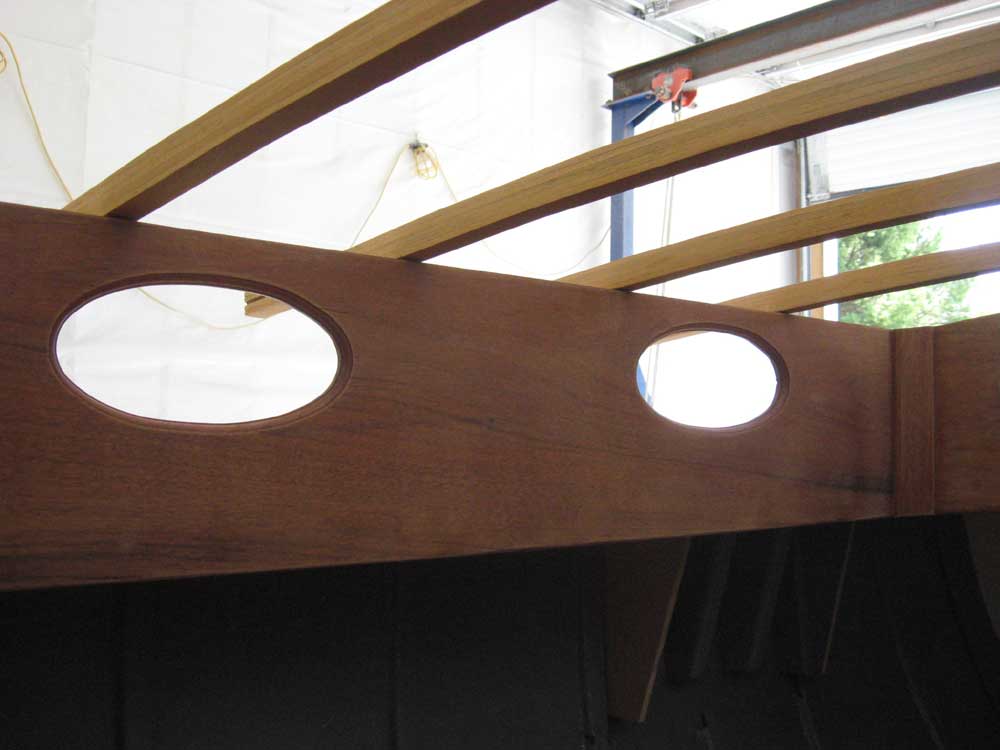
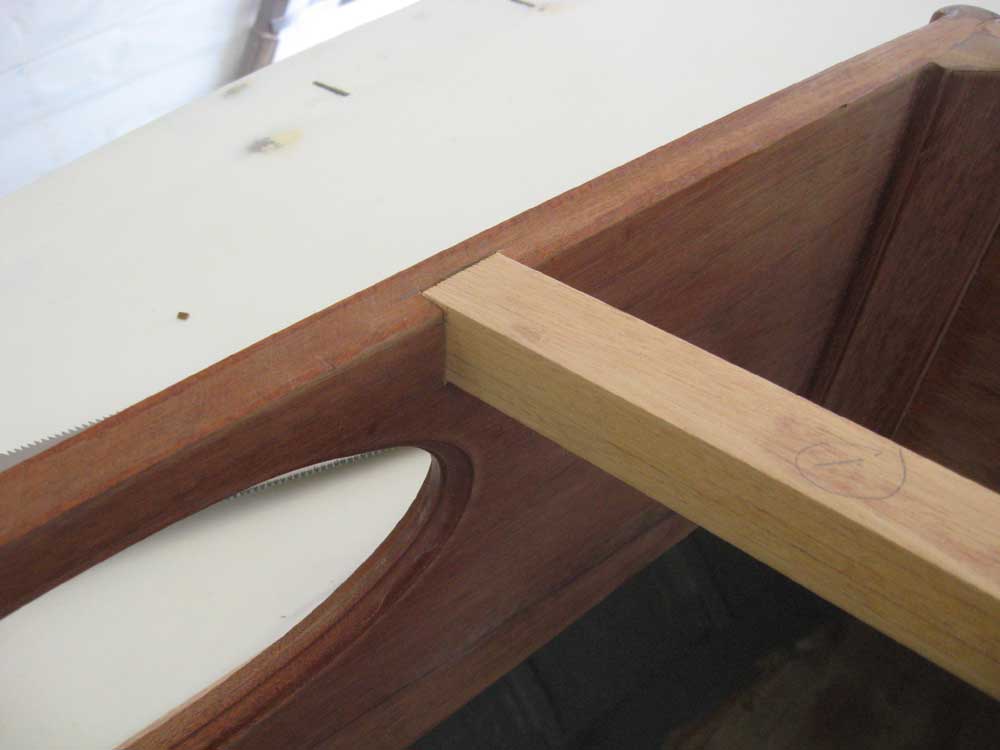
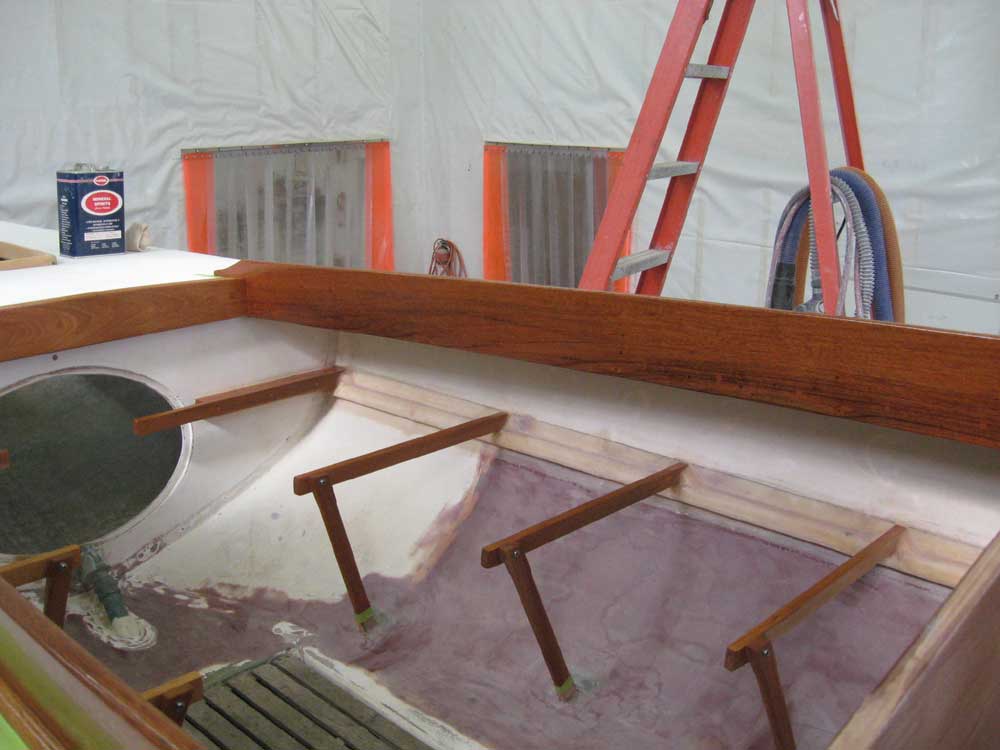
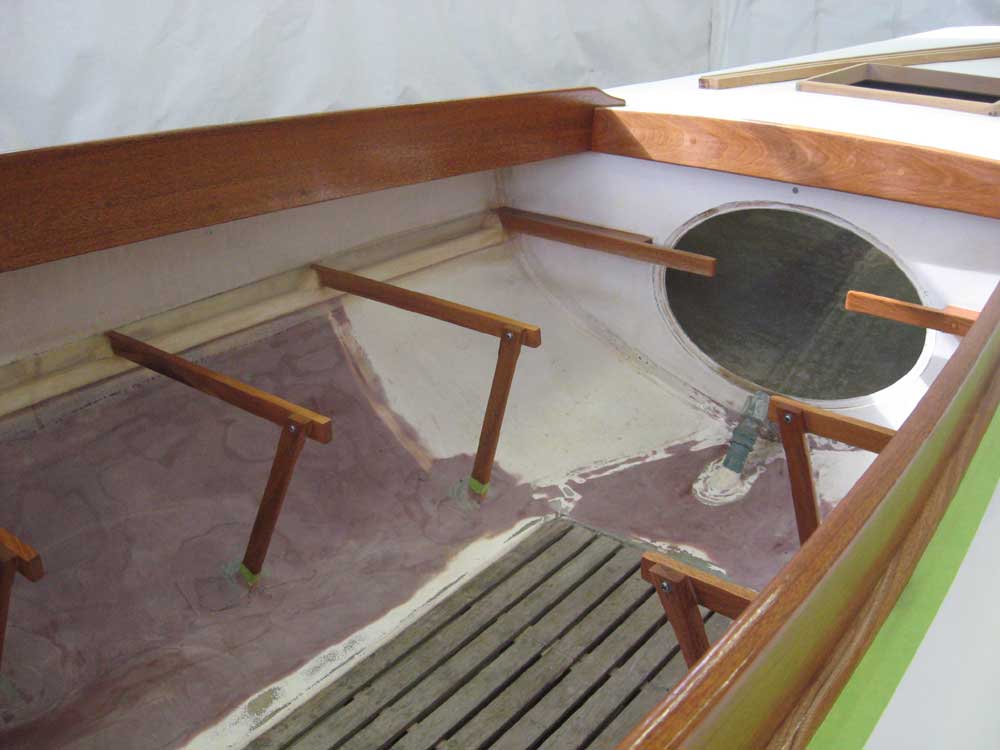
Next, I turned my attention to the cabin top beams. I began by running my centerline string from bow to stern, and continued by placing the overlong beams on top of the cabin trunk sides, and positioning them roughly where I thought they needed to go and centered on the string. My layout was to some extent dictated by the position of the port openings; the depth of the beams, and paucity of material above the port openings, would prevent the beams from being located directly over a port. Working around this minor complication and adjusting the beams hither and thither, I soon determined, rather randomly, that a 9-1/2" spacing between the forward end of the cabin trunk and the first beam, and 9-1/2" between beams running aft, worked out almost perfectly, both in terms of symmetrical beam placement and in terms of avoiding the port openings. This also placed one of the beams in a location appropriate for heading off the eventual companionway opening. The spacing between the final, aftermost beam and the aft bulkhead ended up being just a bit shorter than the rest, by 1/2; since this beam would eventually get cut out in the center to make way for the companionway opening, this was visually insignificant. |
|
|
|
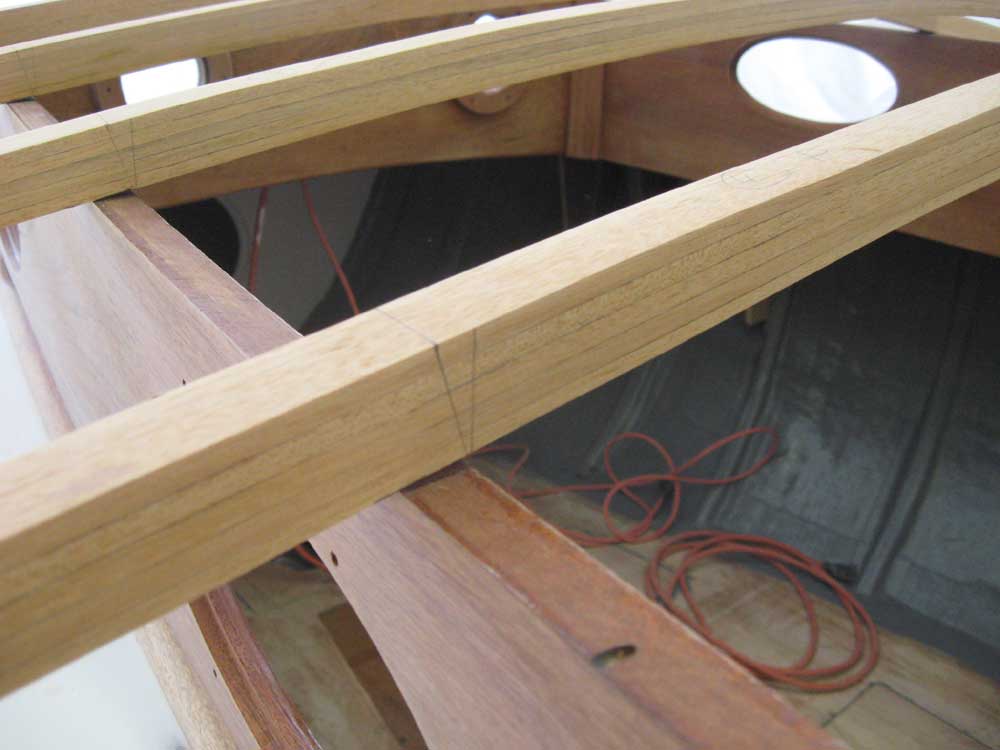
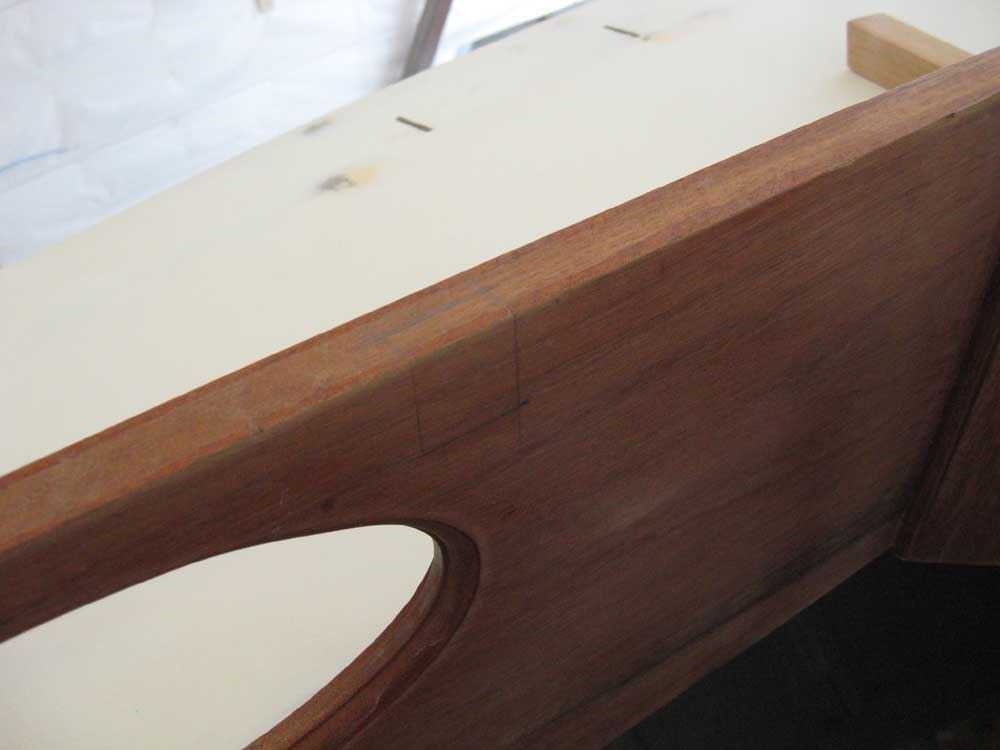
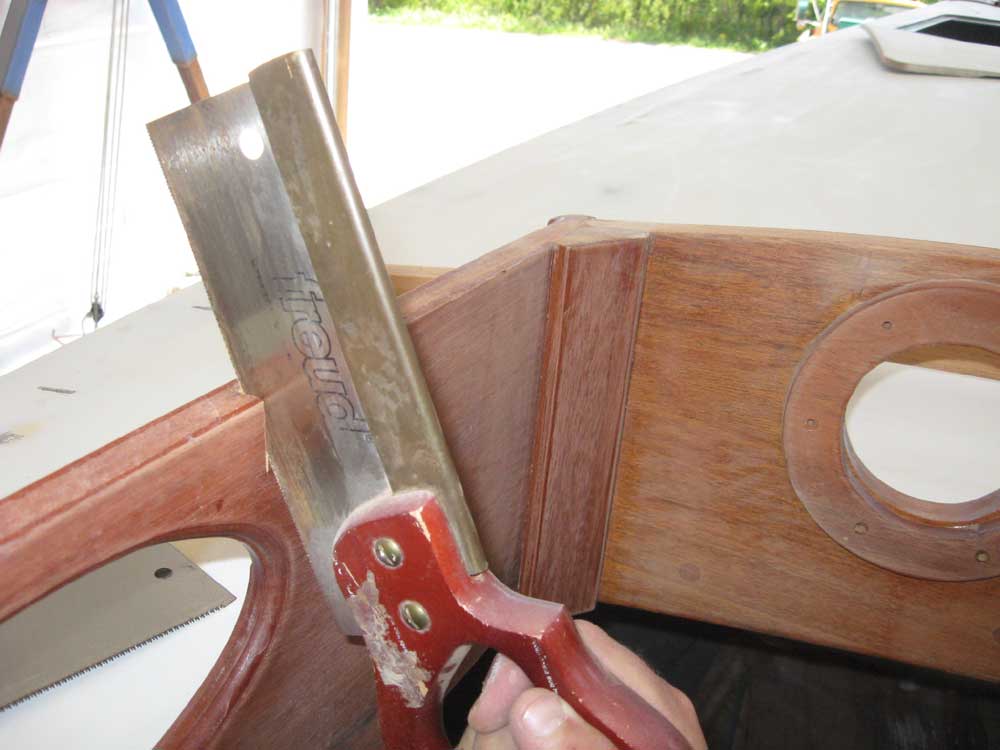
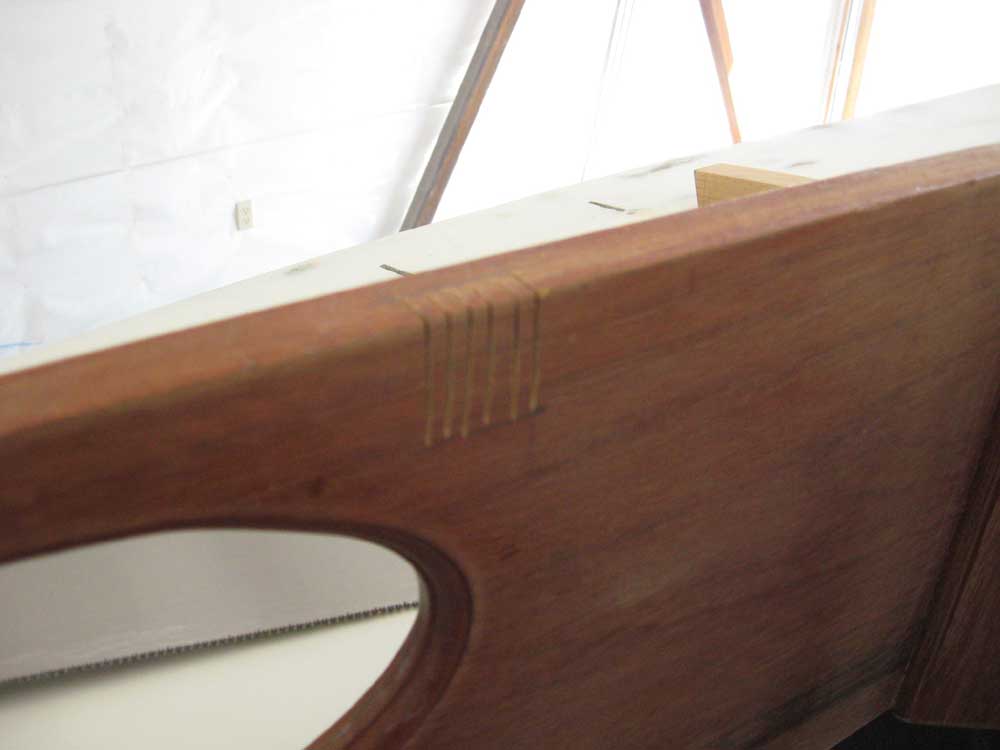
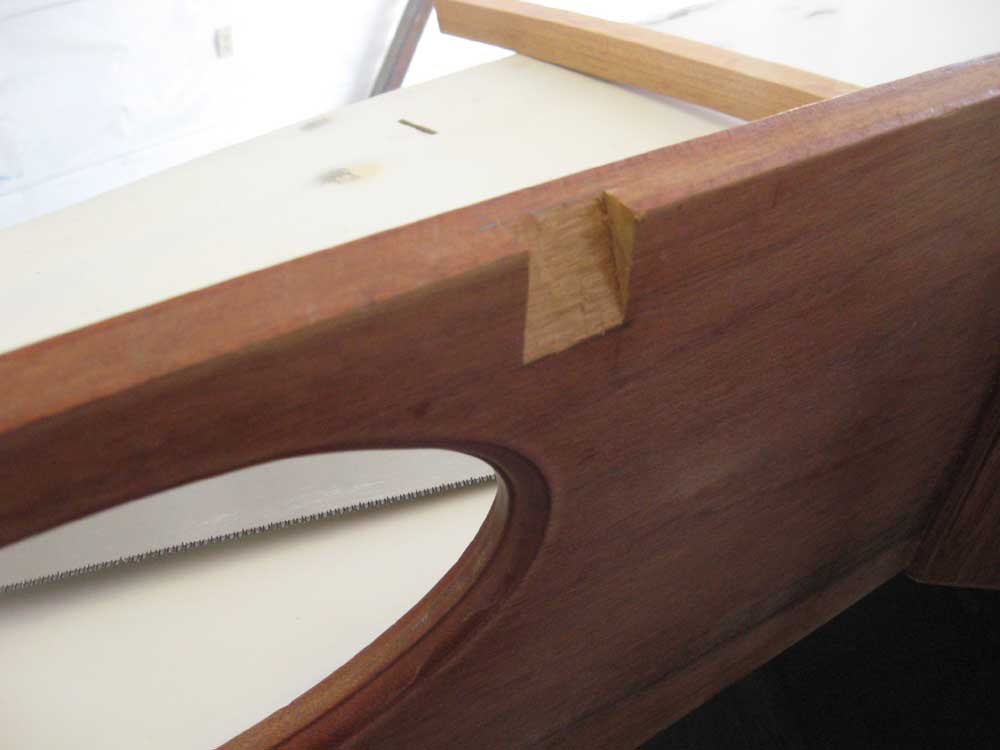
After fine-tuning the layout and ensuring that the beams were properly positioned in all ways, I marked the cabin sides where the beams crossed, and began to mark the beams for their end cuts. Using a metal straightedge, I marked each side of each beam with a line transferred up from the cabin trunk side; using these marks as a guide, I then made a new mark across the top of the beam 3/8" further outboard, or half the thickness of the cabin trunk. This represented the depth of the notch I planned to make in the trunk to accept the beam ends. Finally, using the metal straightedge, I marked a line from the junction of cabin trunk and beam up to the new end mark on the top of the beam, representing the final cutline. I based this procedure on the descriptions in various reference texts and on my previous experience with a similar installation. To mark the cabin trunk for the notch cutout, I plumbed a pair of lines down from the marks I'd made on the cabin trunk previously (the edges of the deck beam), and measured down 1-3/16" (the depth of the beam as measured at the line I marked on the beam signifying the edge of the cabin trunk) to lay out the bottom of the notch. On the top of the cabin trunk edge, I marked in 3/8" from the inboard edge and drew a line. Then, I used a small saw to cut the angled notches, running the saw between the two stop marks and along each edge mark. Then, I made several more saw cuts between to make chiseling out the material easier. Finally, I cleaned up the notches with a chisel. I cut the first beam according to the layout lines I'd made in the step above, using a compound miter saw, and, after fine-tuning the cut (shortening), I gently pressed the first beam into place for a test fit. |
|
|
|
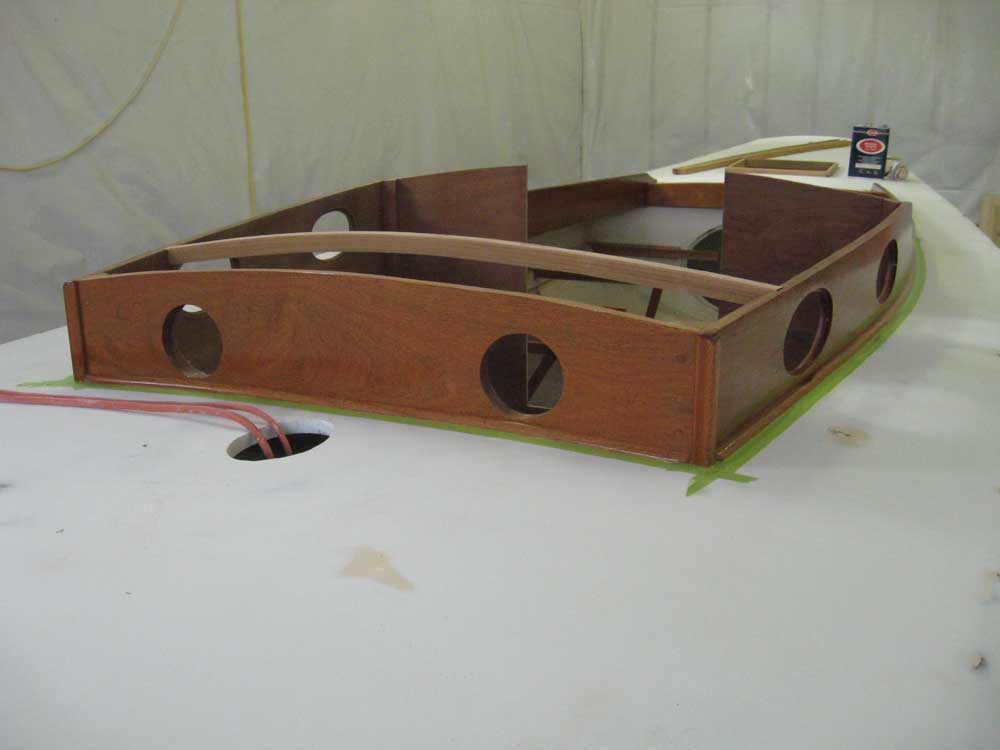
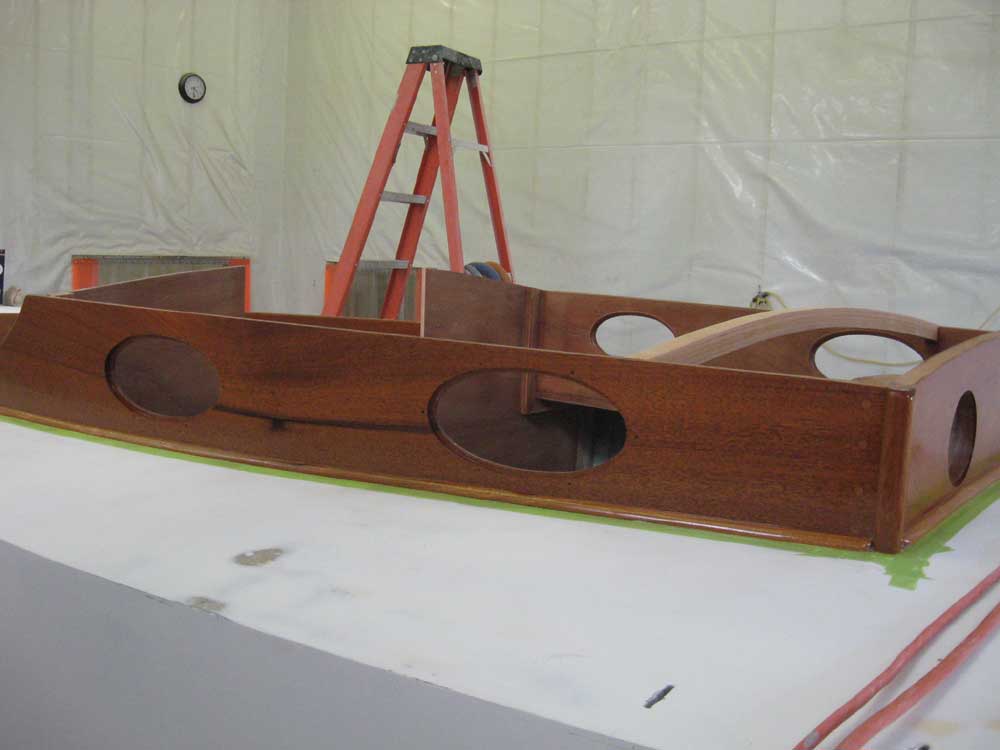
For now, I stopped after cutting the notches for and fitting the first beam, as the hour was drawing late and I needed to get some varnishing done. Later, I planned to follow the same procedures on the remaining three beams, though I didn't anticipate final and permanent installation right away. After solvent-washing the various brightwork I intended to varnish--the exterior cockpit bulkhead, cockpit seat supports, cockpit coamings, and cabin trunk exterior (I didn't plan to varnish the interior portions right now), I applied masking tape along the edges of the cabin trunk and anywhere else necessary, tacked off, and varnished the entire area--the third coat for the coamings, cabin trunk, and bulkhead. |
|
|
|
|
|