| Bolero
Project |
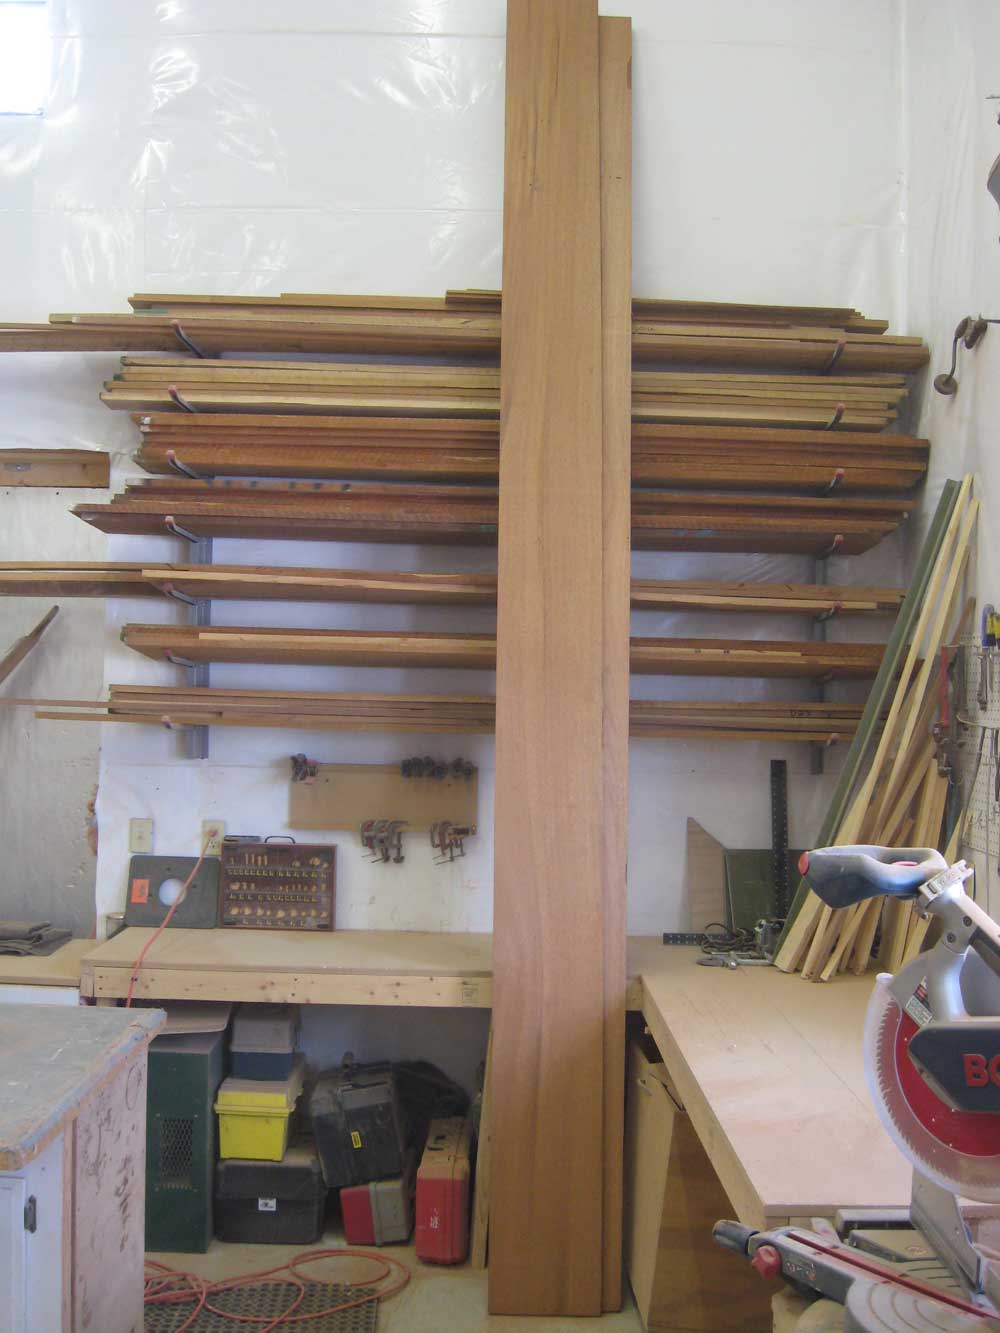
Thursday, March 13, 2008 The new wood for the cabin trunk arrived yesterday afternoon, late enough that I decided to wait till today to get started with it. The wood was unplaned, so my first order of business was to plane it smooth and to appropriate thickness (3/4"). Then, I straightened one edge, cleaned up the planer chips, and got to work. |
|
|
|
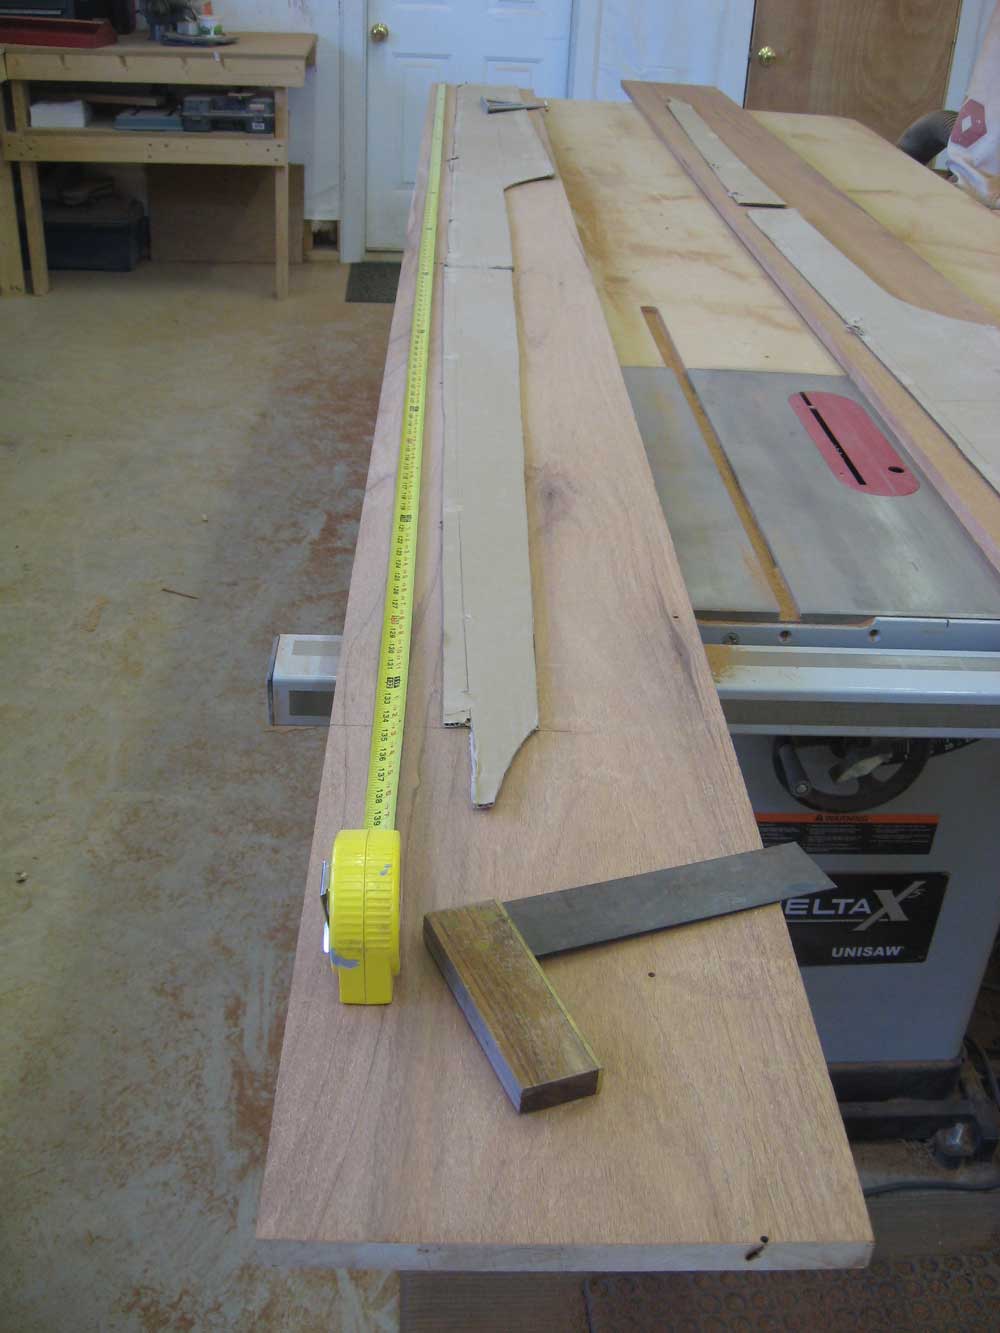
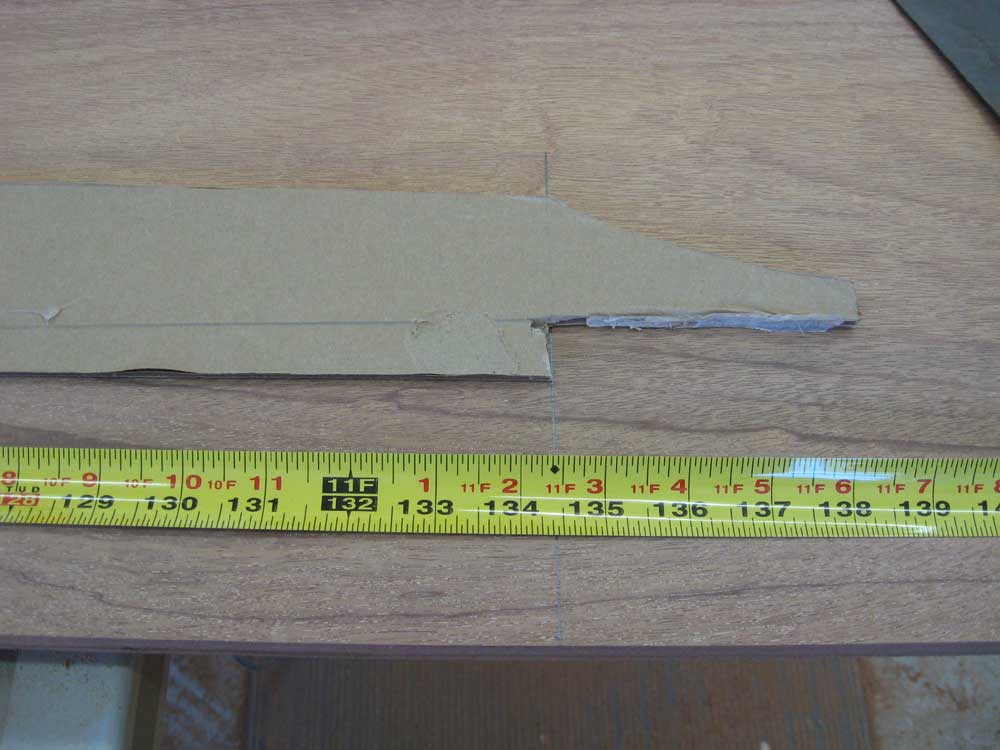
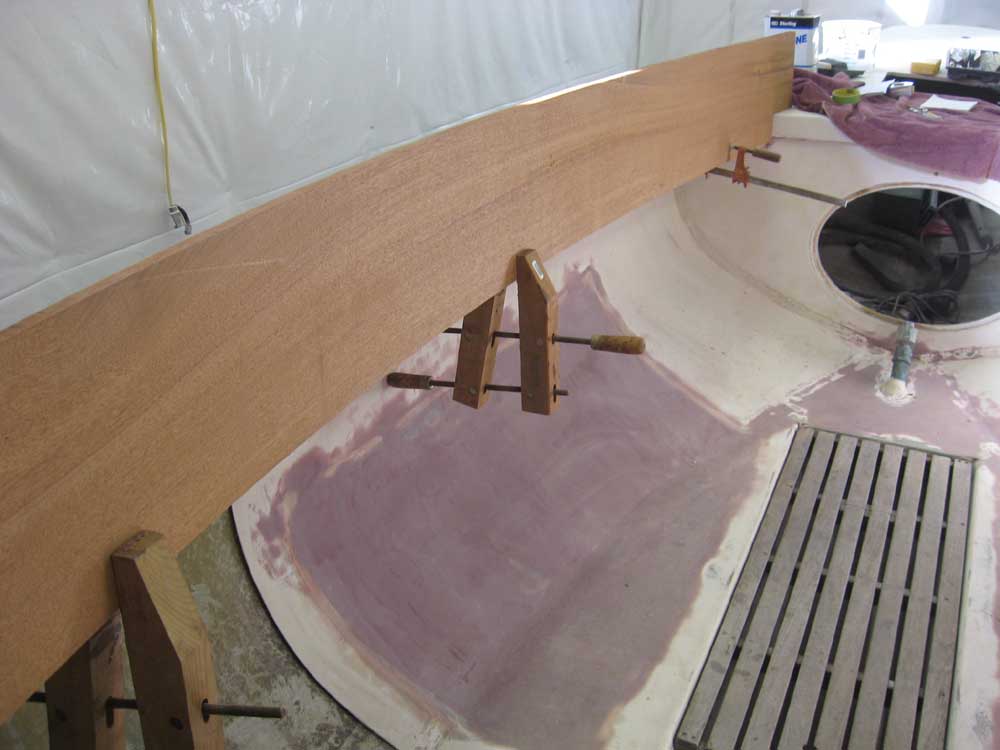
I laid out the basic lengths of the cabin trunk using the cardboard template as a guide, and the actual measurements I'd taken to mark the inside bounds of the cabin trunk. Fitting the piece in place would require a notched cut about 3-1/2" deep at the aft end, but I wanted to test-fit first to be sure the length was right. So I cut a shallow (1") notch at the aft end, just enough so that I could place the piece in the boat and ensure it would fit when bent into position. |
|
|
|
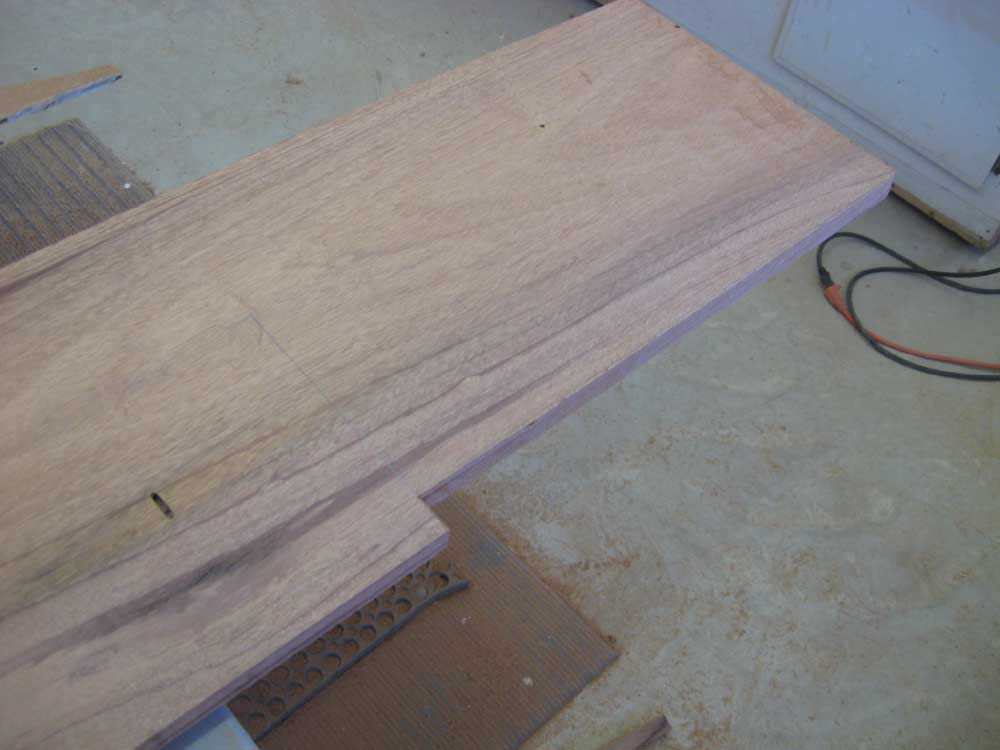
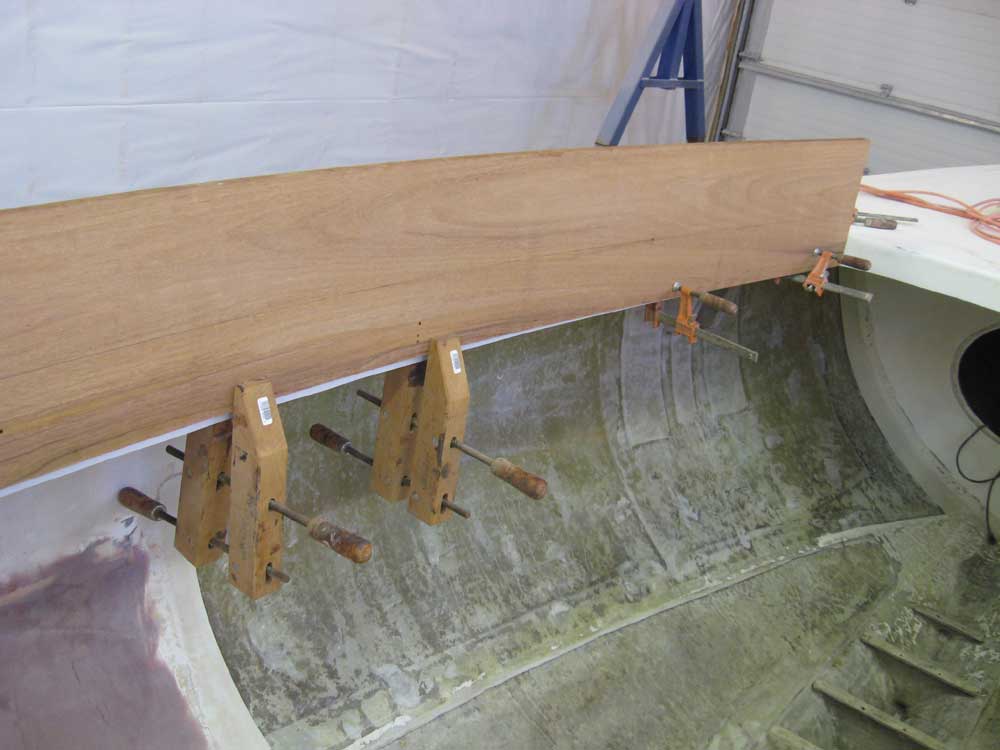
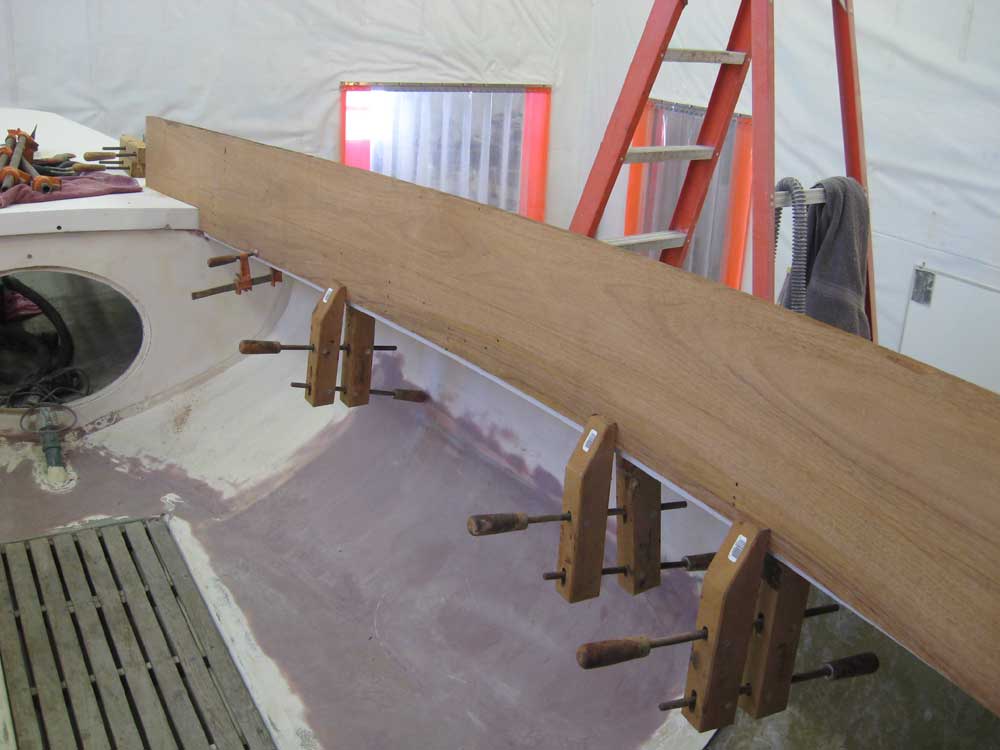
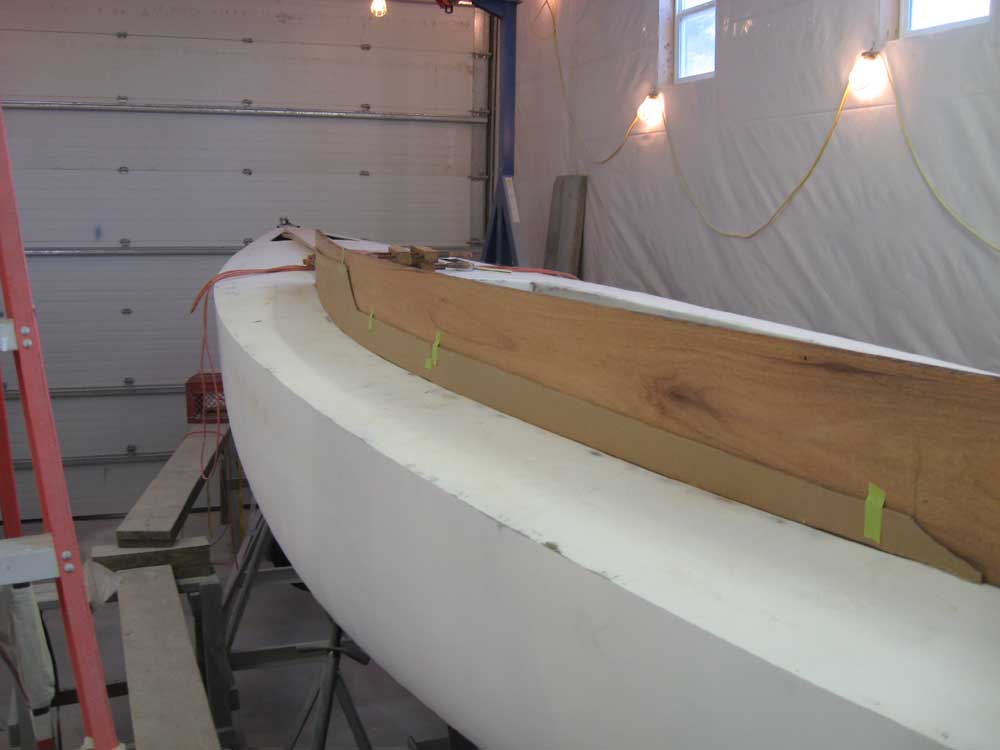
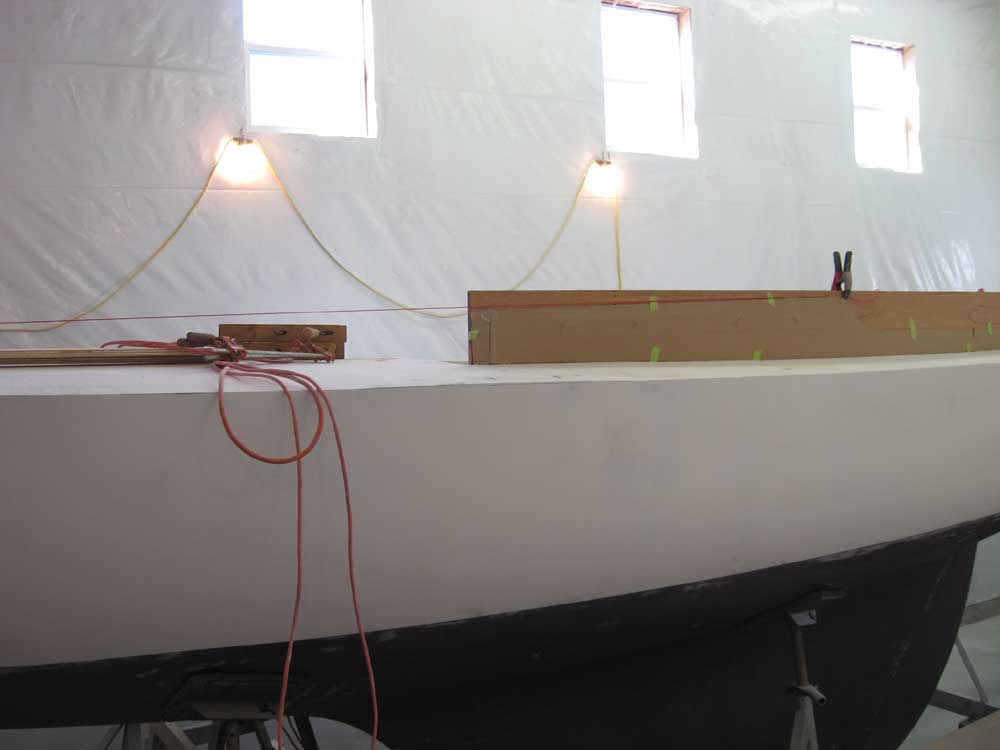
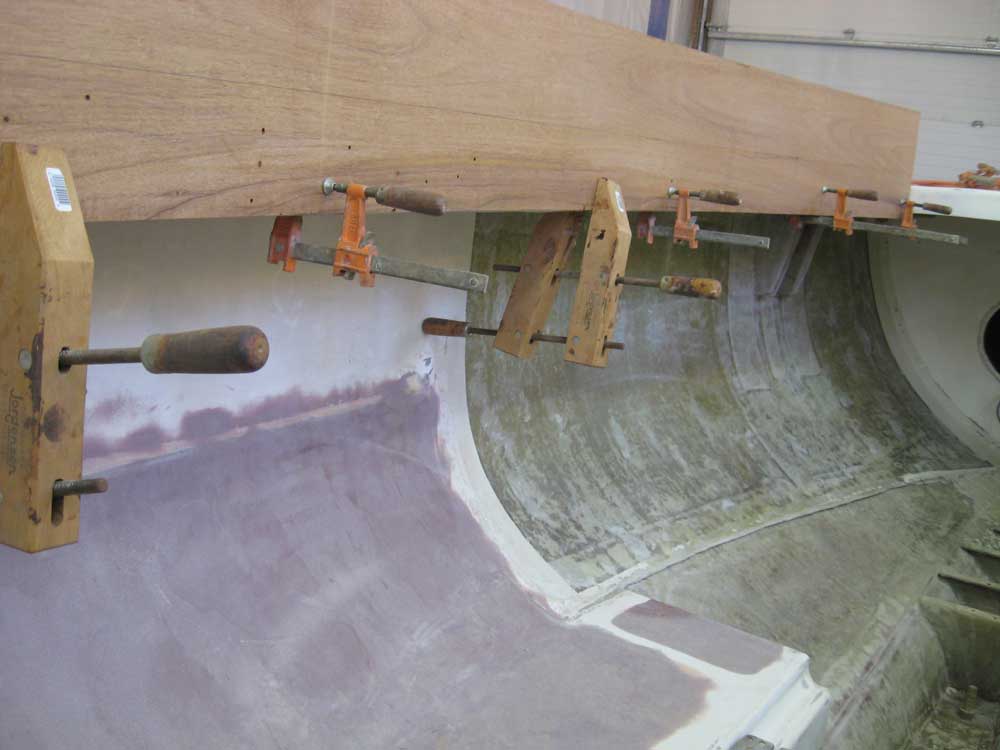
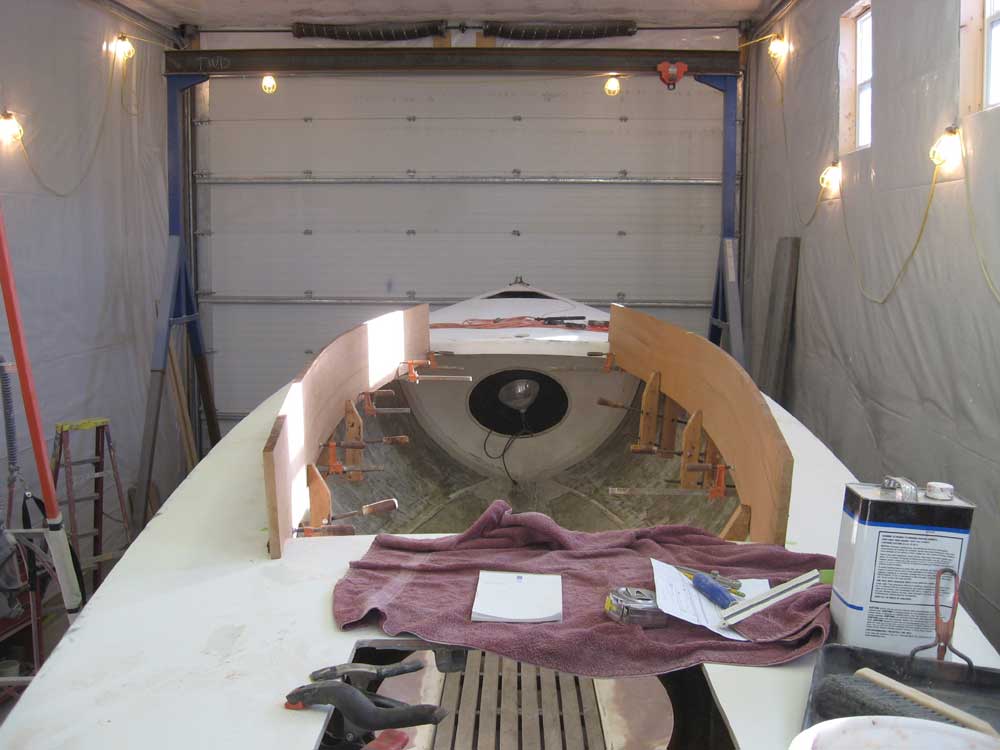
After I'd test-fit the partially cut piece, I returned it to the shop and deepened the notch to 3", and also slightly lengthened the after cut to allow the piece to fit more easily. This still allowed me a bit of leeway and wiggle room before making the final cut, since I knew the final depth needed to be 3-1/2", or a bit more, to allow the coaming to extend the depth of the existing fiberglass cockpit sides that I'd installed during an earlier stage of the project. With the piece back in place, now I bent it into its final position and clamped it in place. You can see part of the fiberglass cockpit edge still extending below the wood in these photos since there was still one additional cut and fitting to go. |
|
|
|
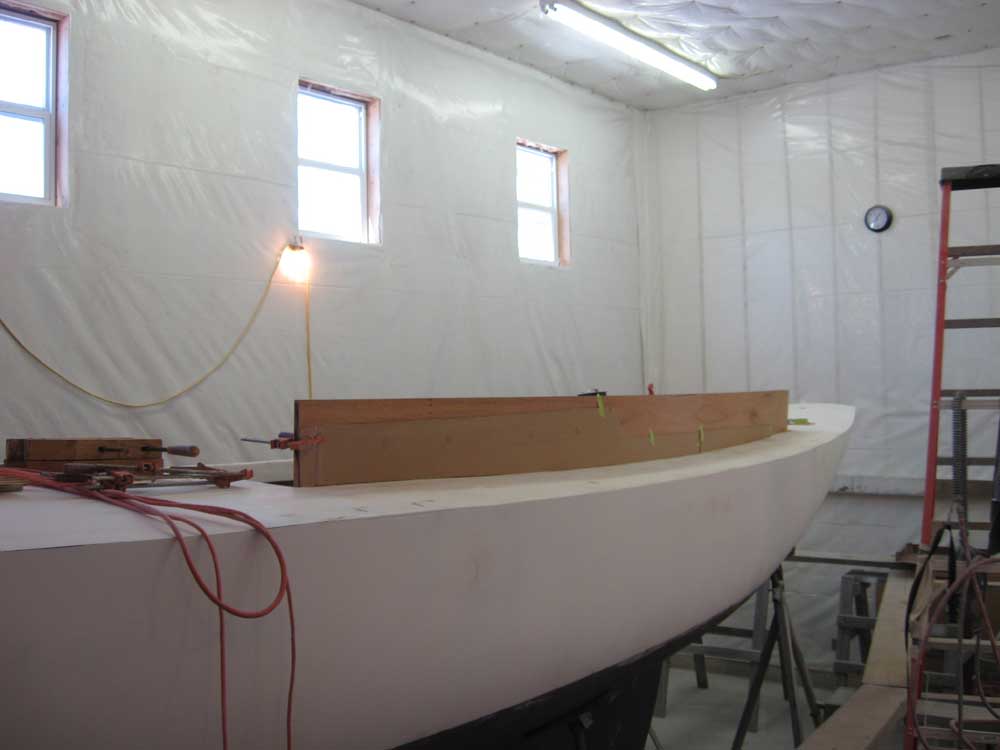
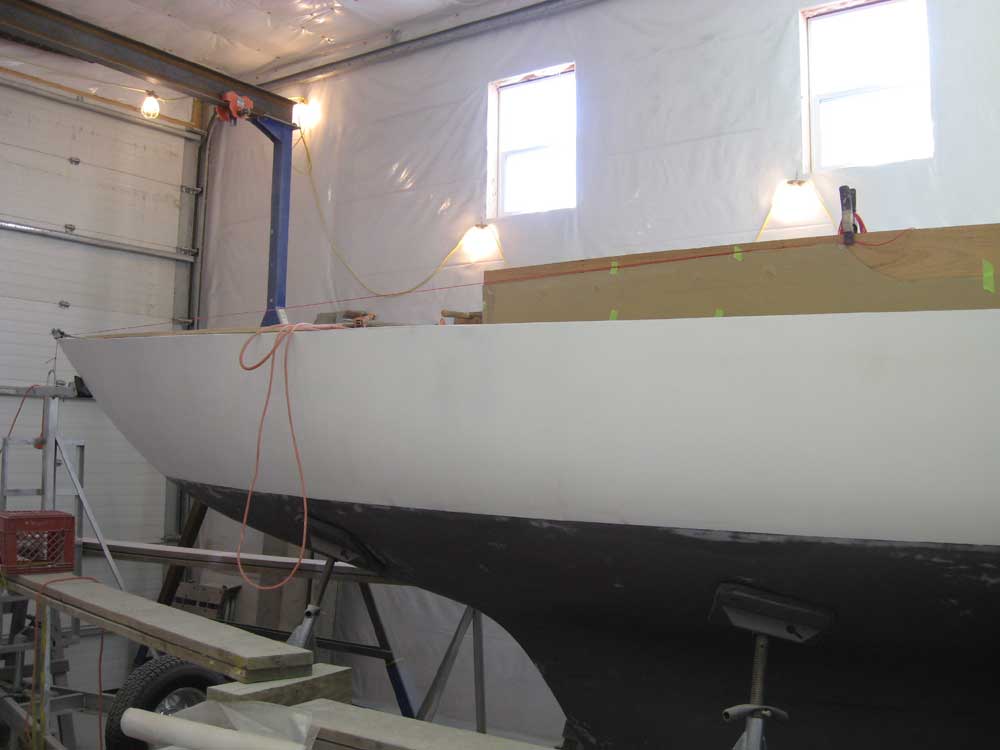
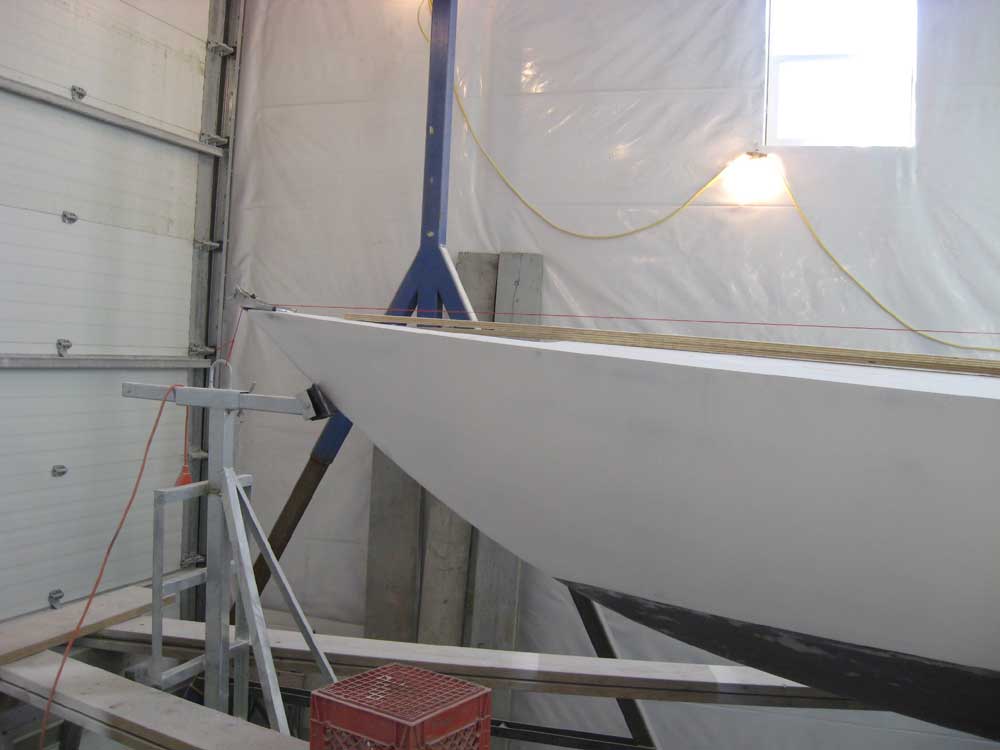
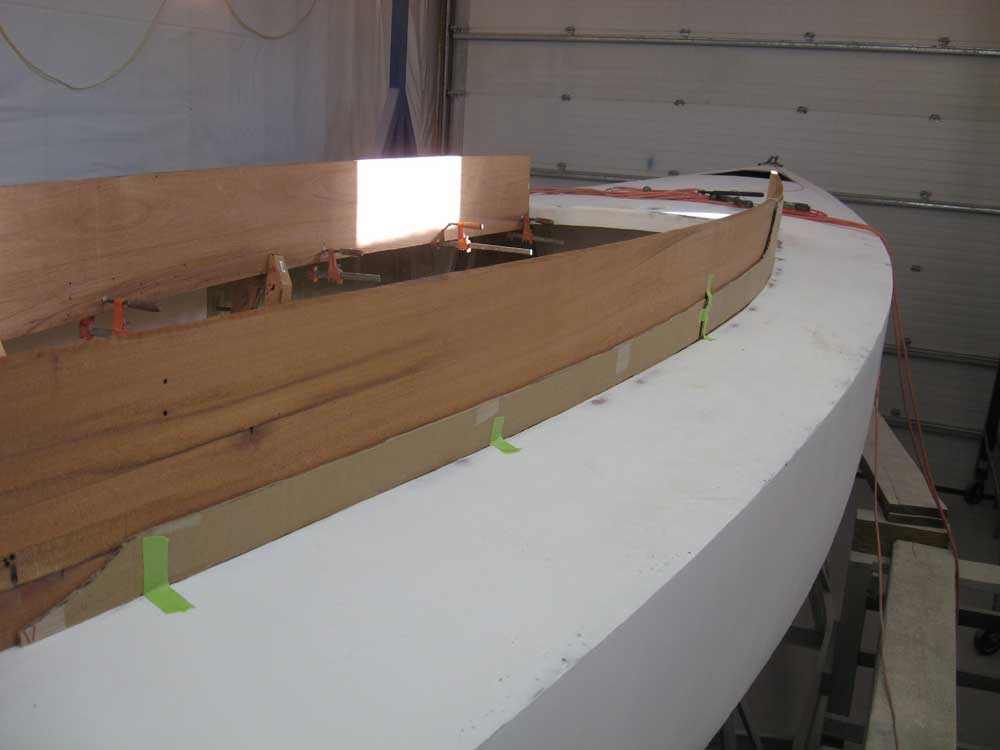
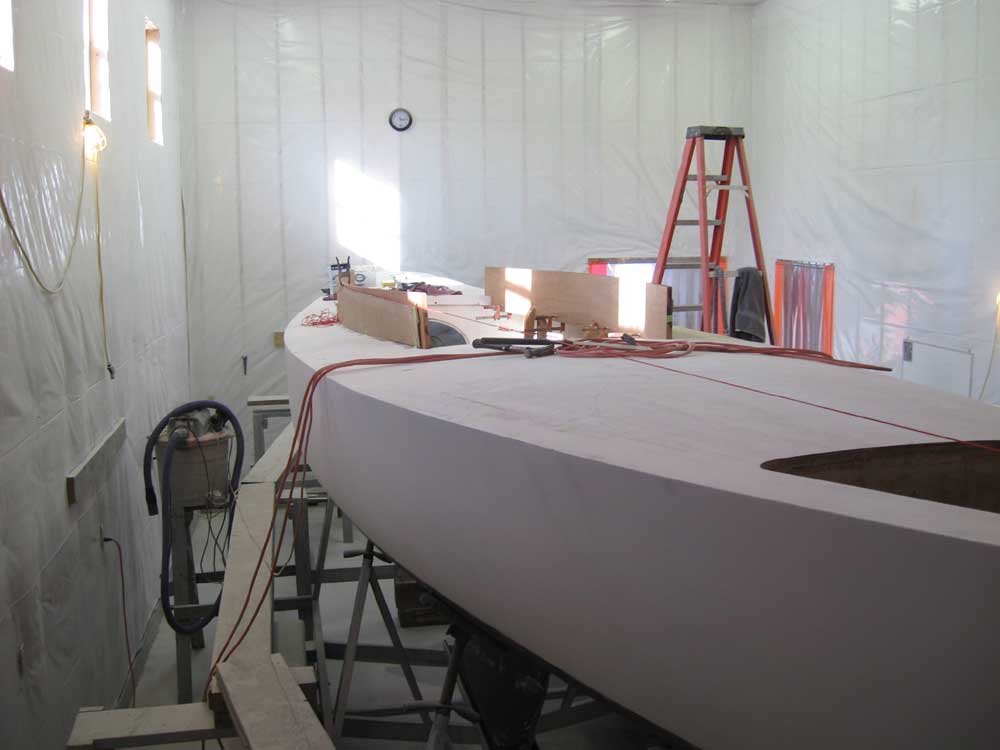
Satisfied with the basic fit, I measured the additional distance I needed to lower the piece: 3/4". I also scribed the portion that extended over the aft deck, since there was a slight angle that I needed to accommodate. Before I removed the wood to recut, though, I taped the cardboard mockup template in place on the outside, so that I could be sure I had enough material to accommodate the highest portion of the cabin trunk. There was sufficient room, so I removed the wood, recut the notch according to my line and measurements, and shortened the overhang at the end to about 5-6" (the final overhang would be 4"). Then, I clamped the piece back in place on the boat; I taped the cardboard mockup template to the outside. To confirm the line of the cabin trunk's top edge, I ran a string from the stem to the highest point of the template. As intended, the line of the cabin trunk followed the line of the string as perfectly as could be expected from a rough template. This is how we'd intended it to be, since in general this method results in a more visually-appealing cabin trunk, but I didn't think I'd ever actually run the string to see the results firsthand. You can see the string in several of the photos below. |
|
|
|
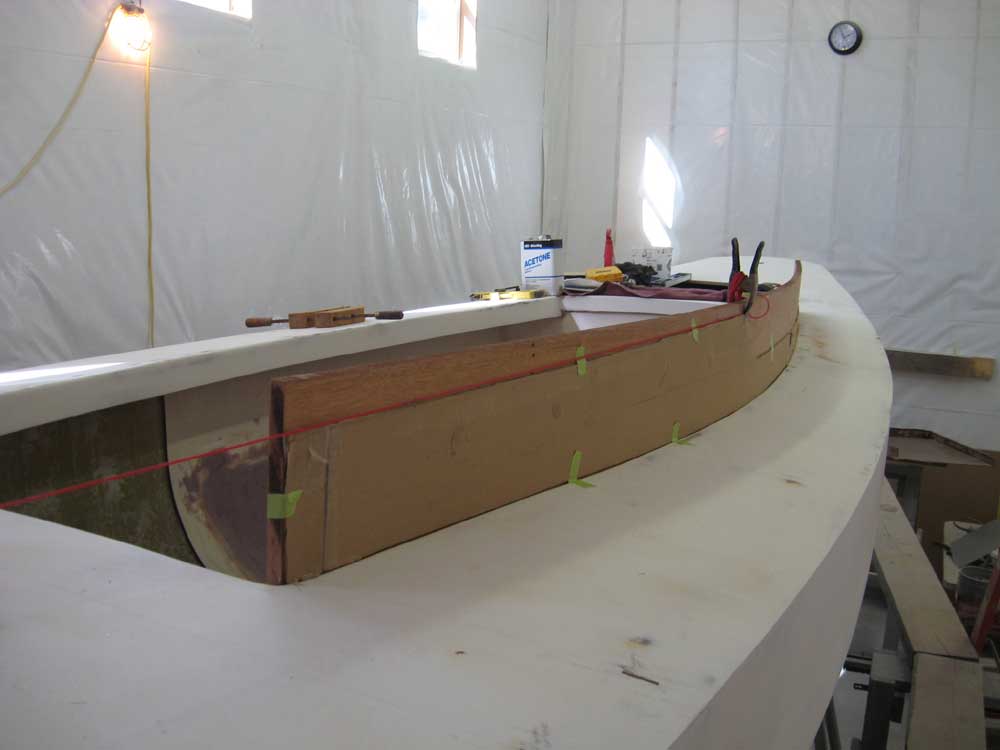
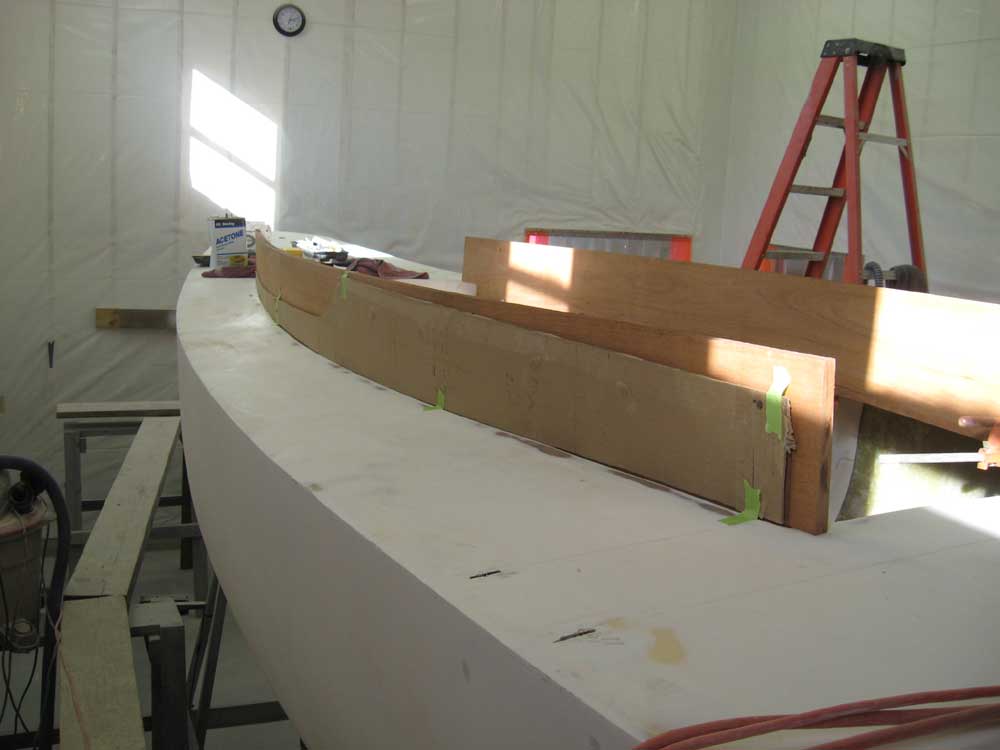
I repeated the basic process with the starboard cabin trunk side, though I eliminated the initial timid first fitting. |
|
|
|
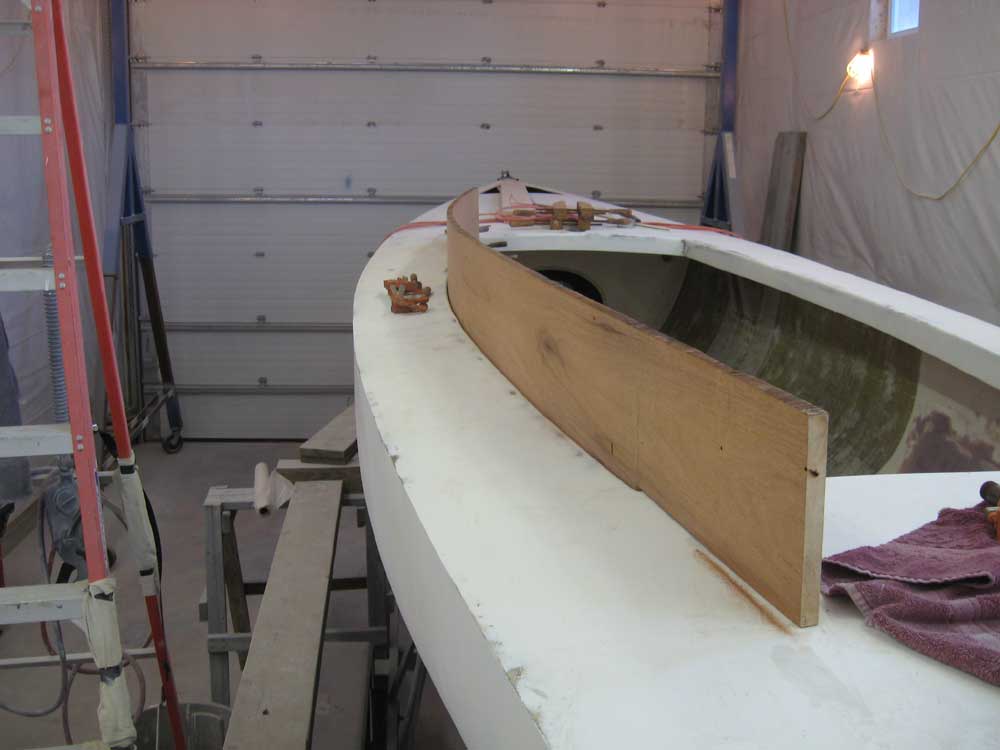
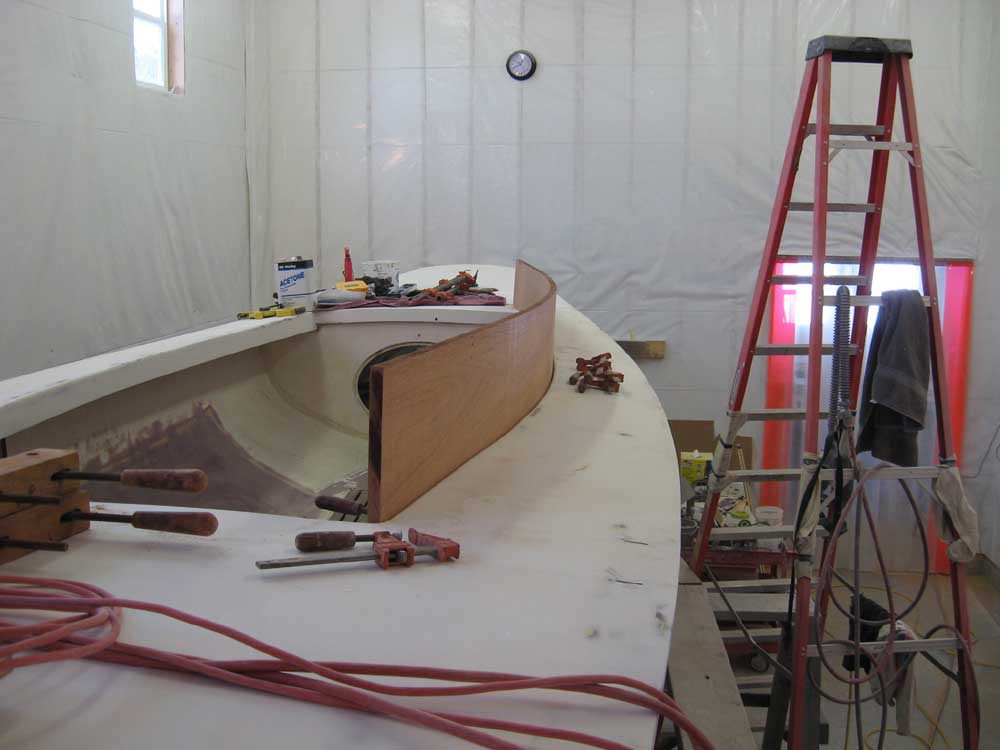
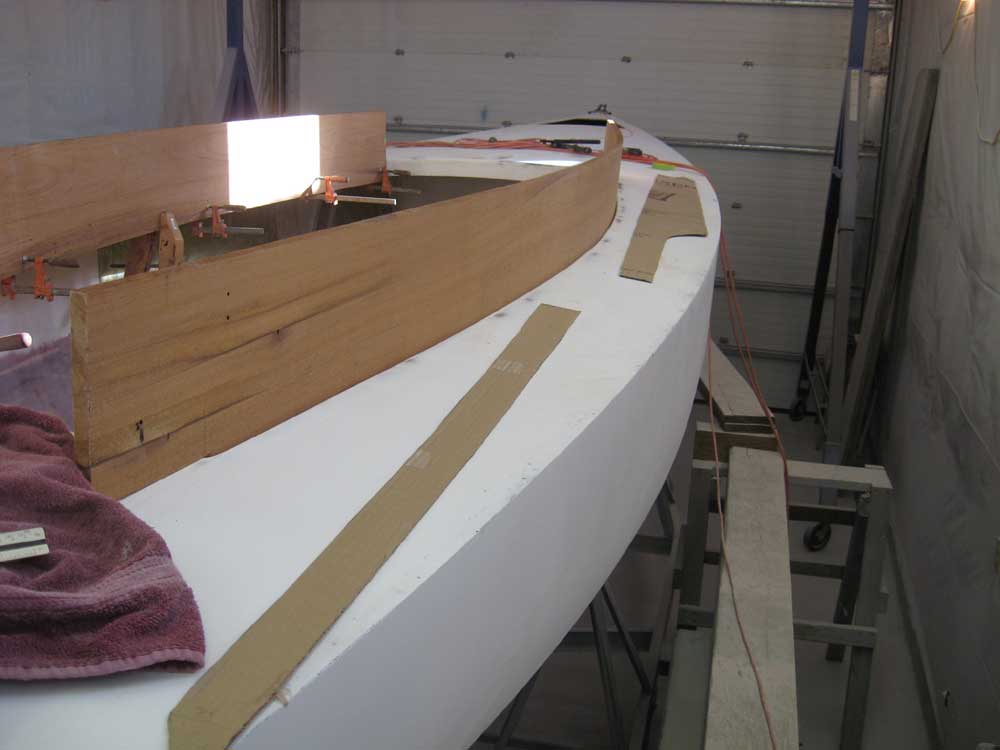
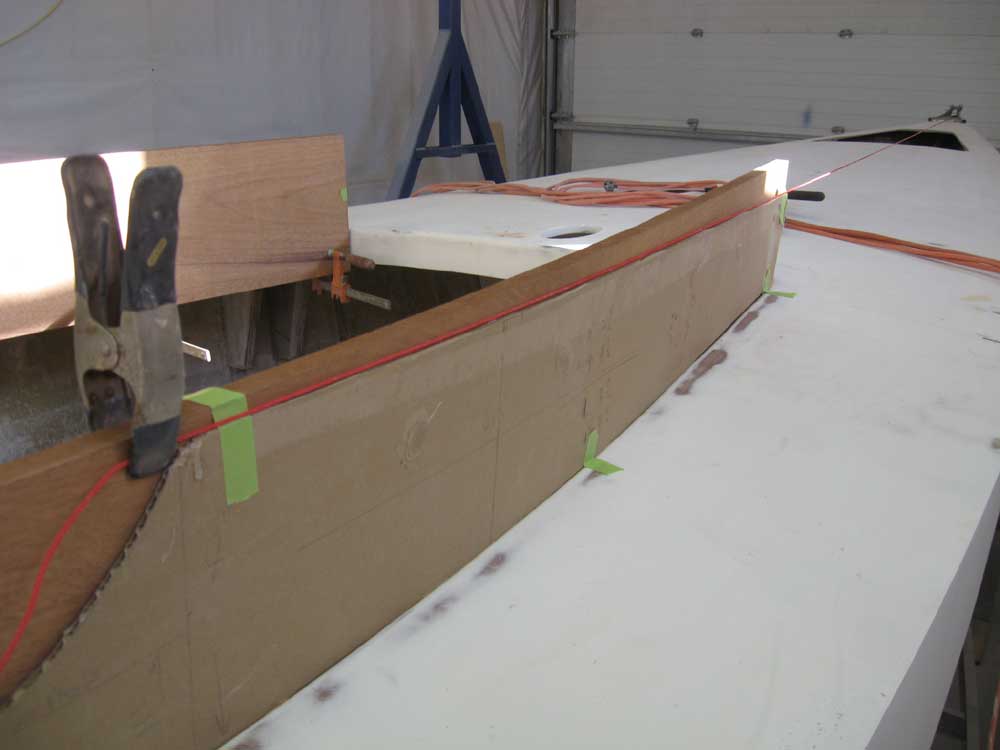
Here are a few views showing the general shape and curvature. |
|
|
|
I left the boards clamped in place overnight and planned to finalize the layout tomorrow: final cut lines, port locations, and other details as necessary. |
|
|
|