

January 10, 2025
PT11-53
Friday
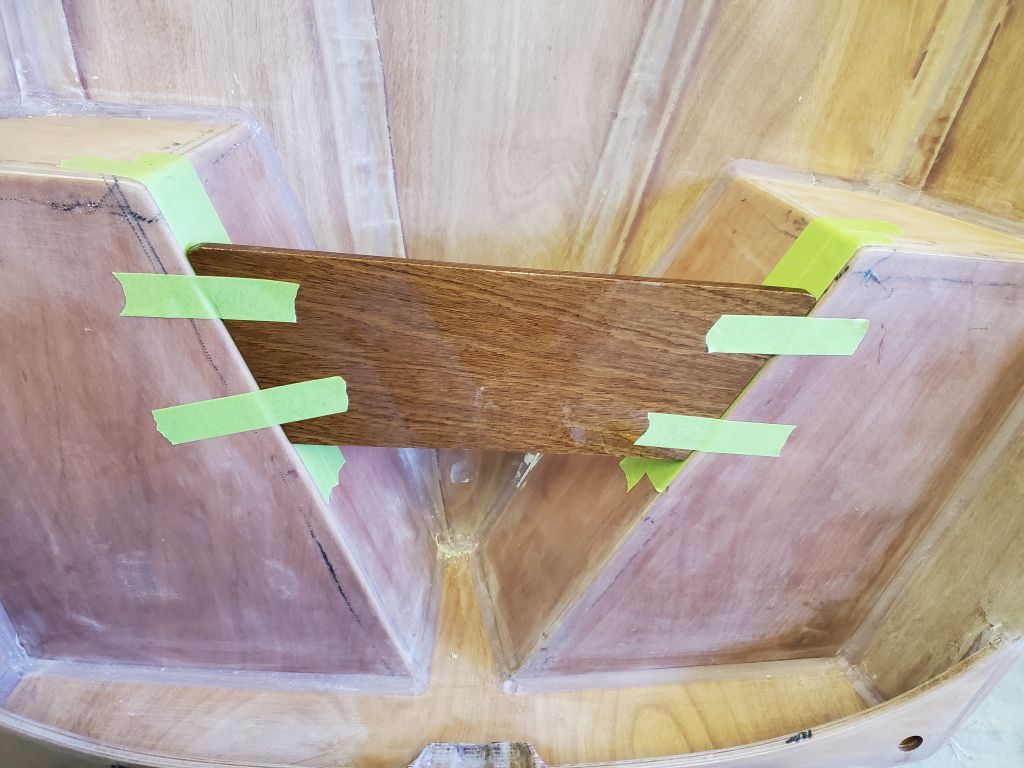
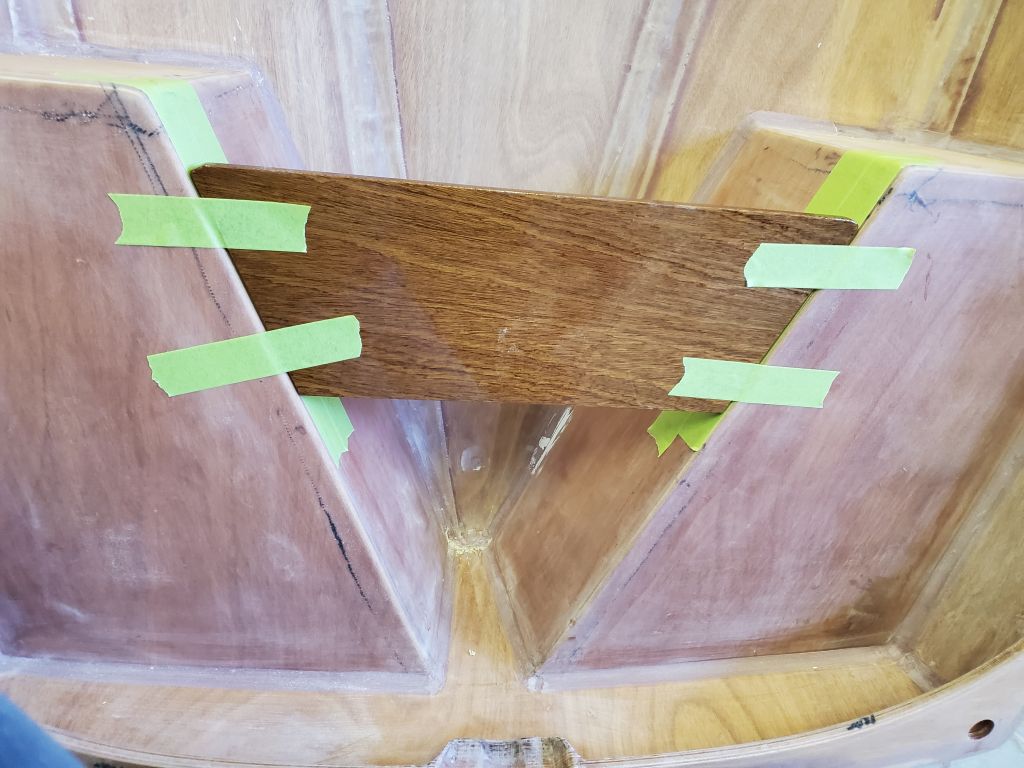
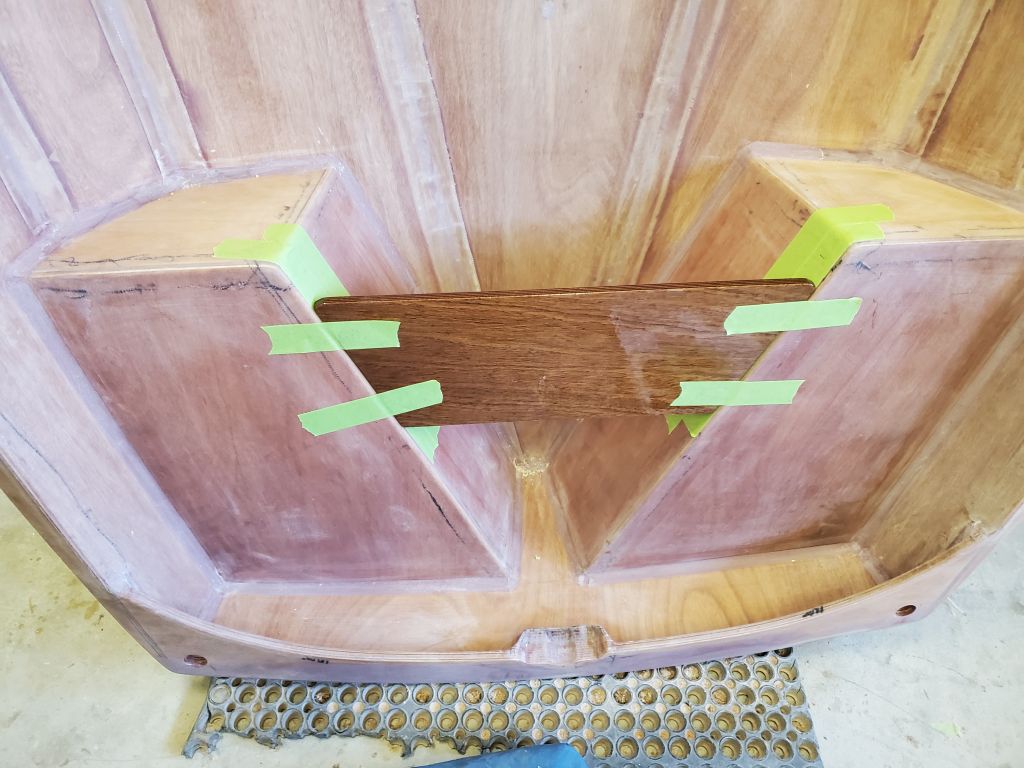
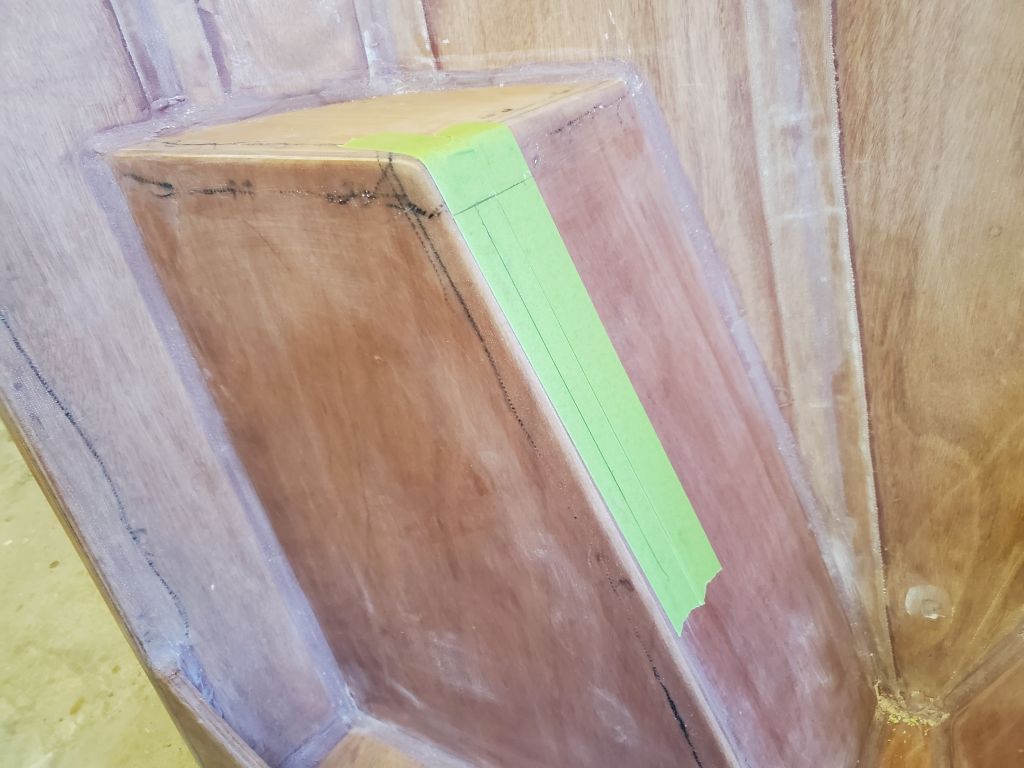
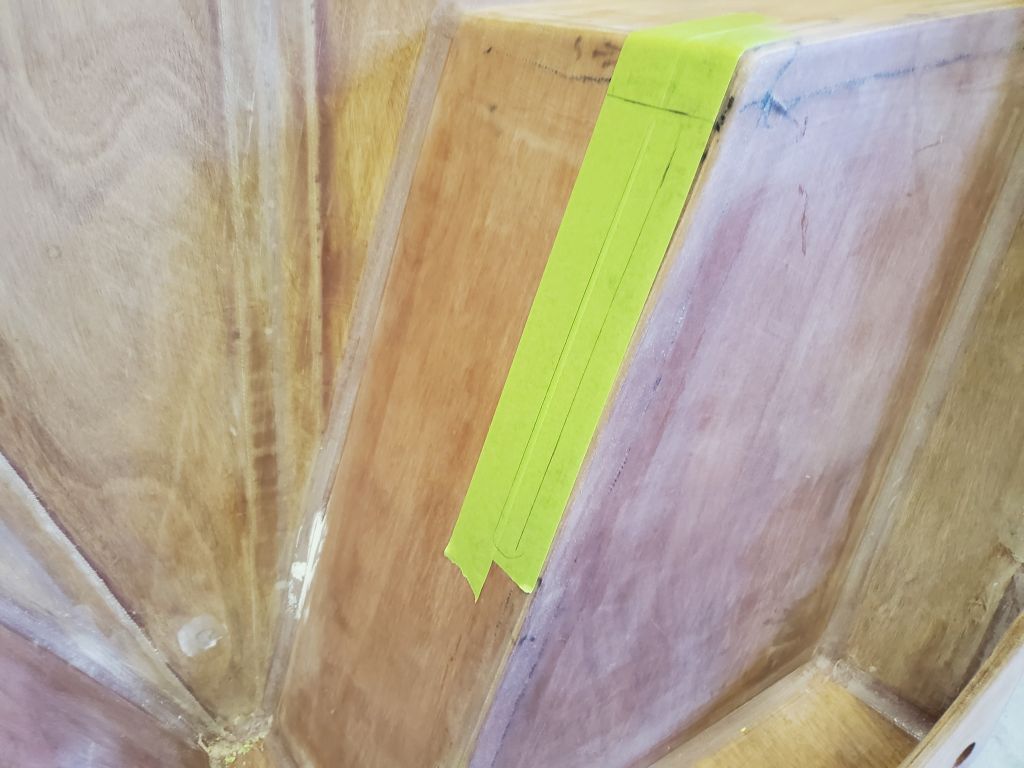
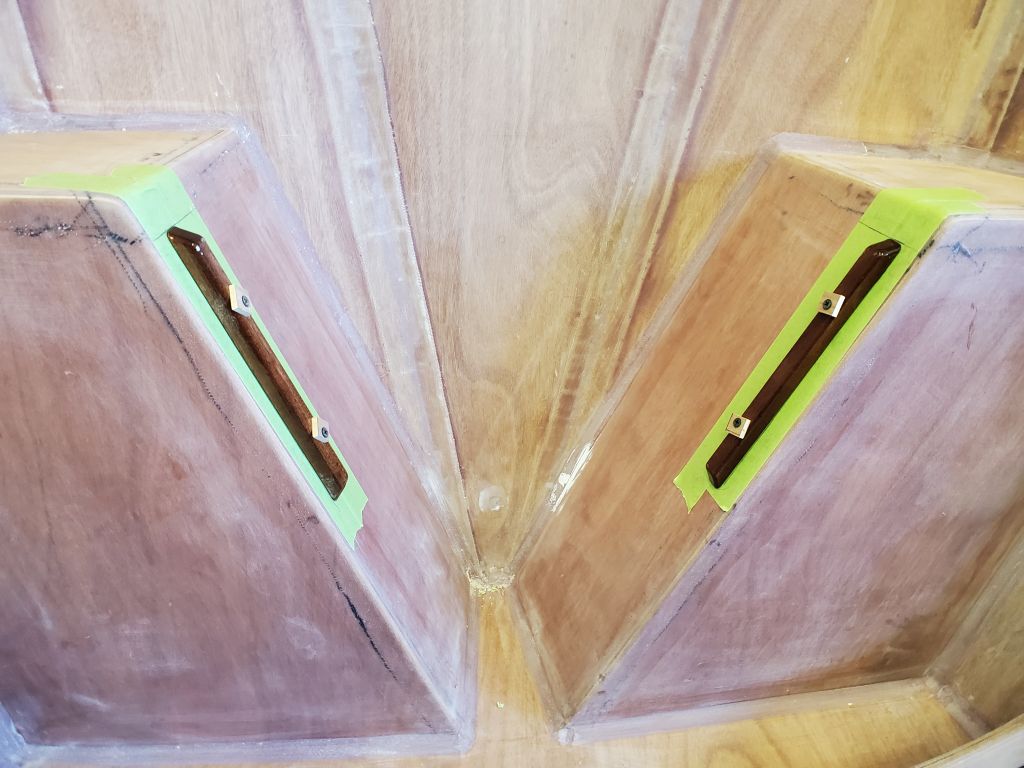
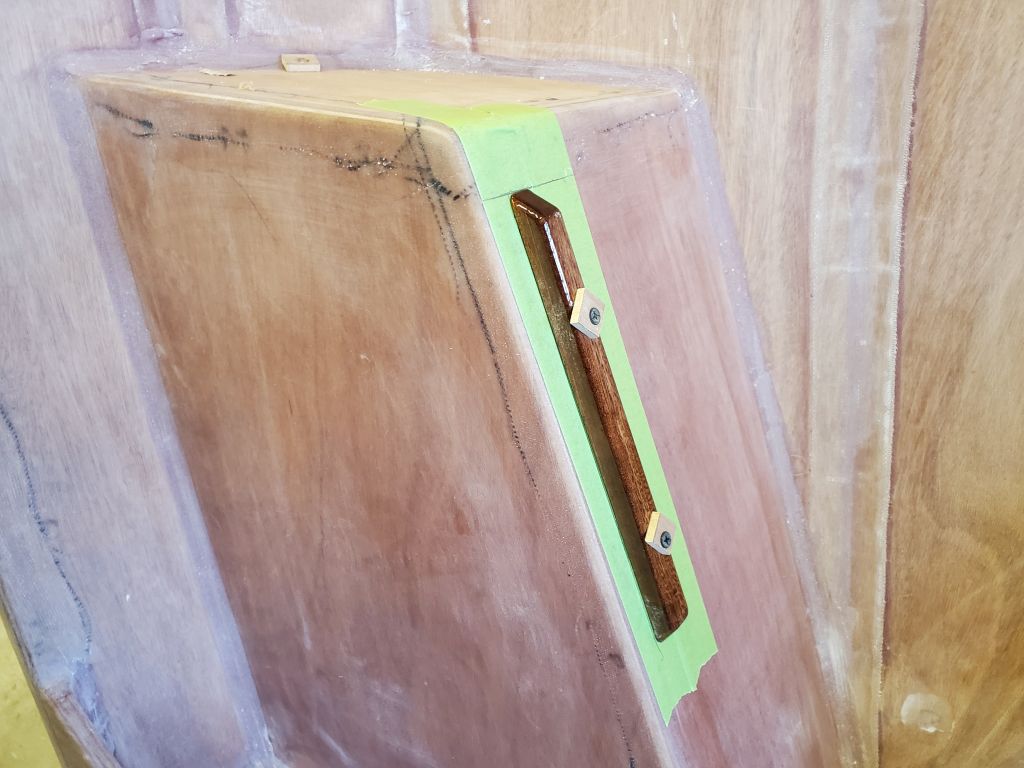
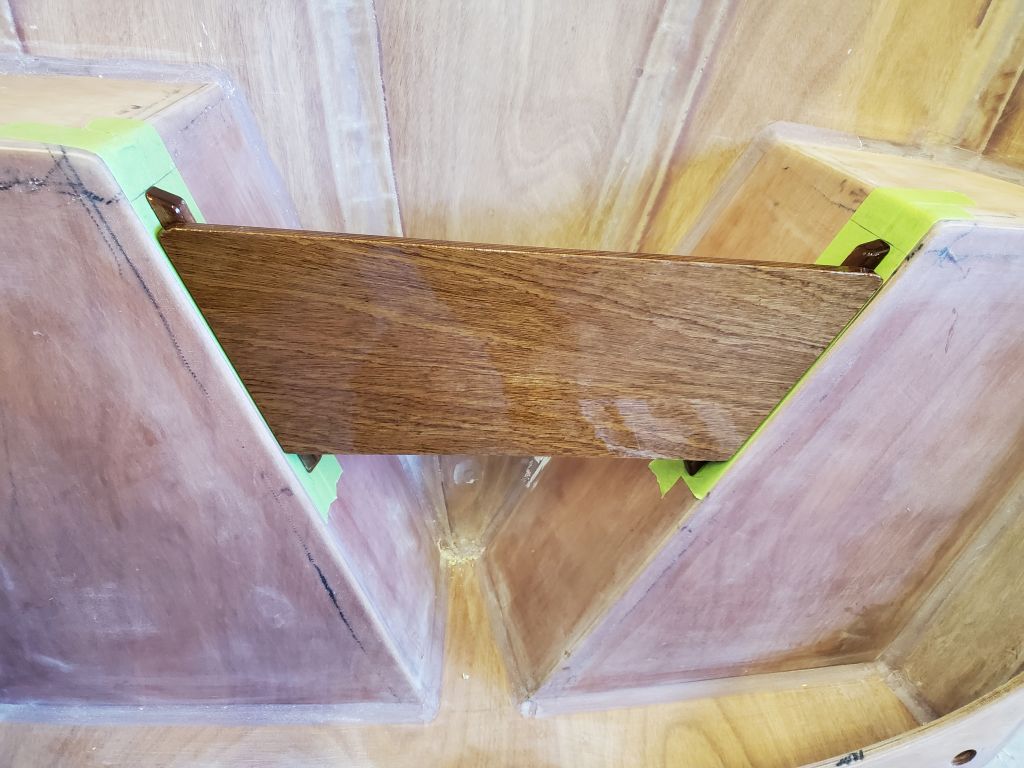
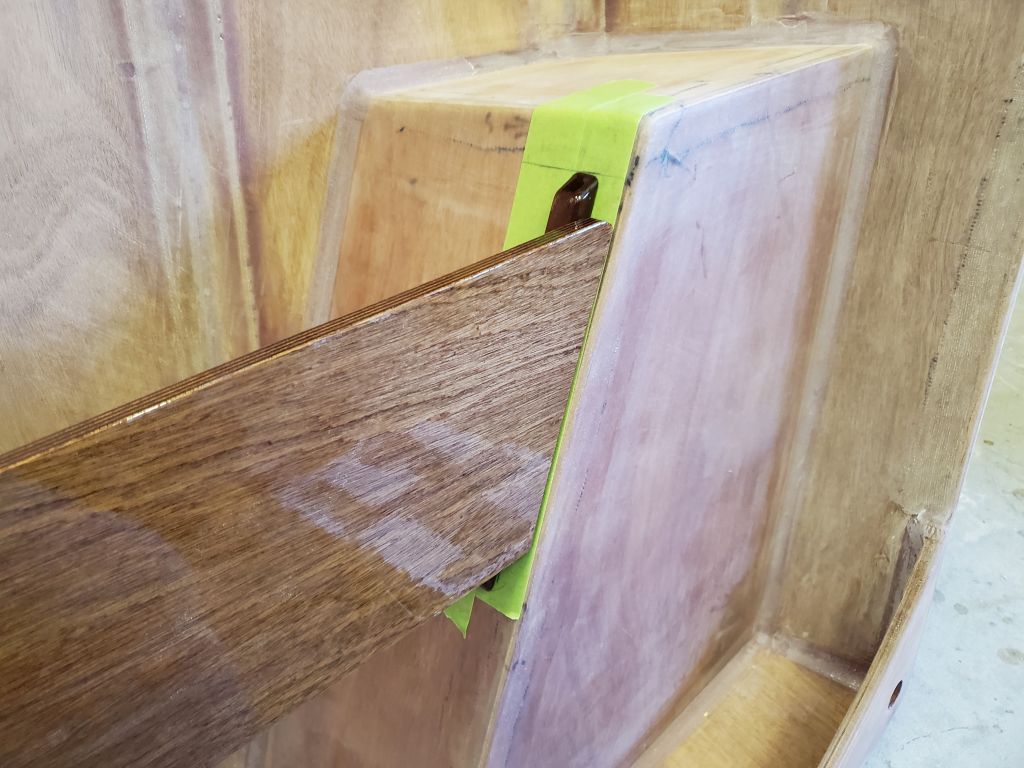
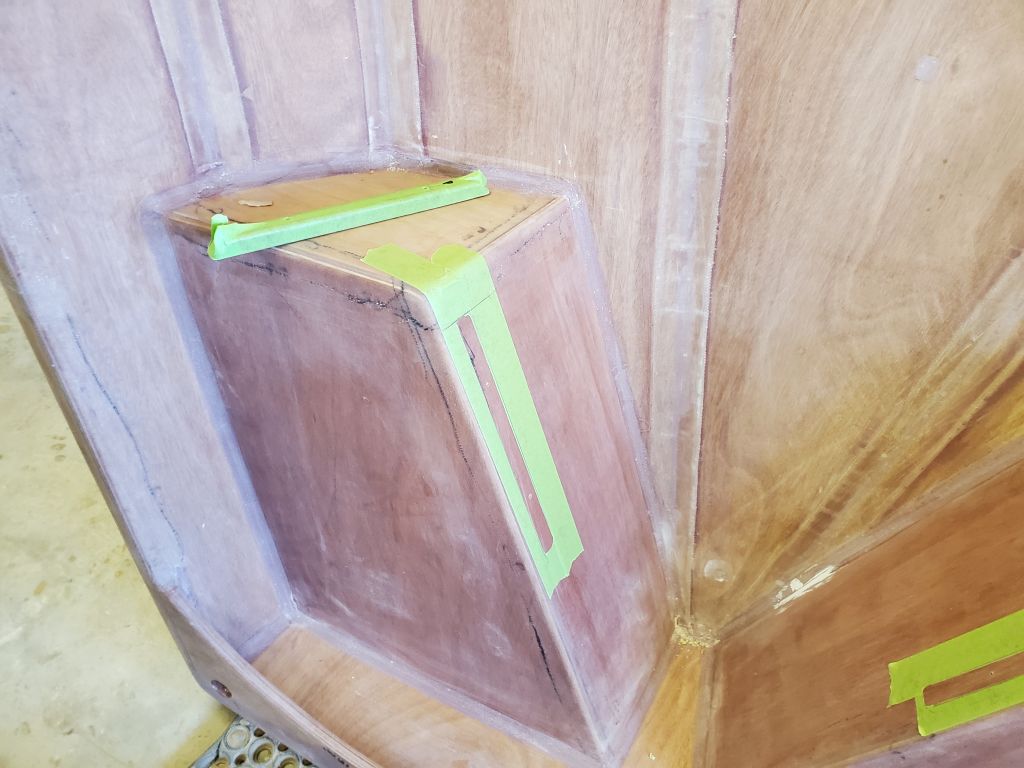
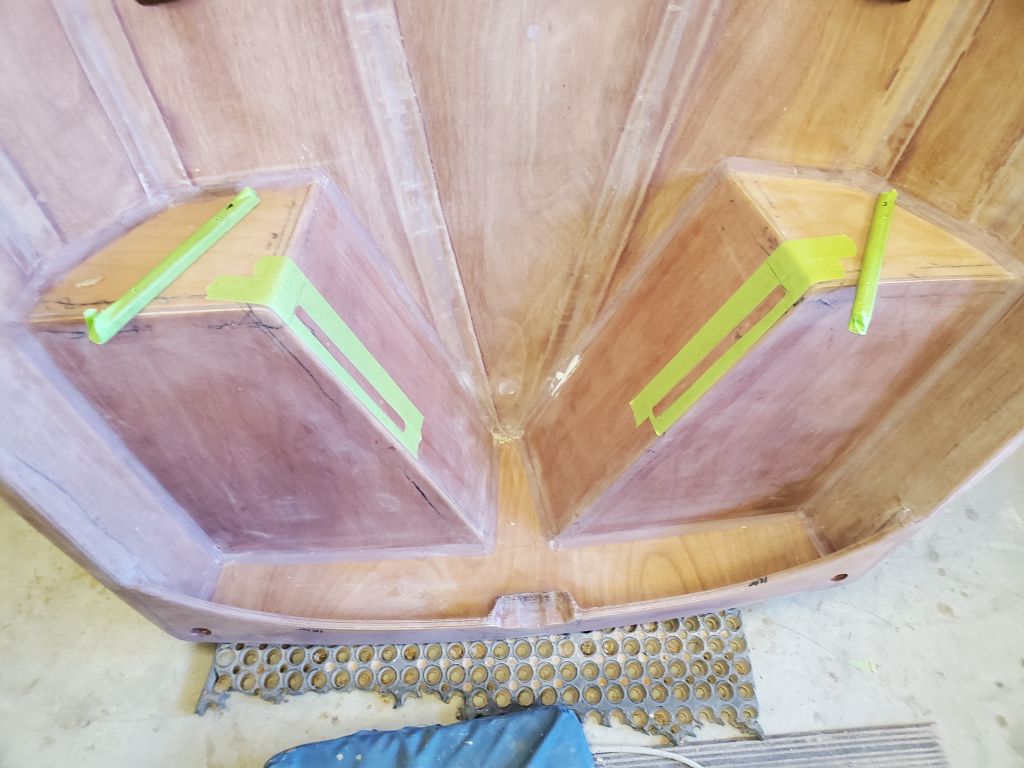
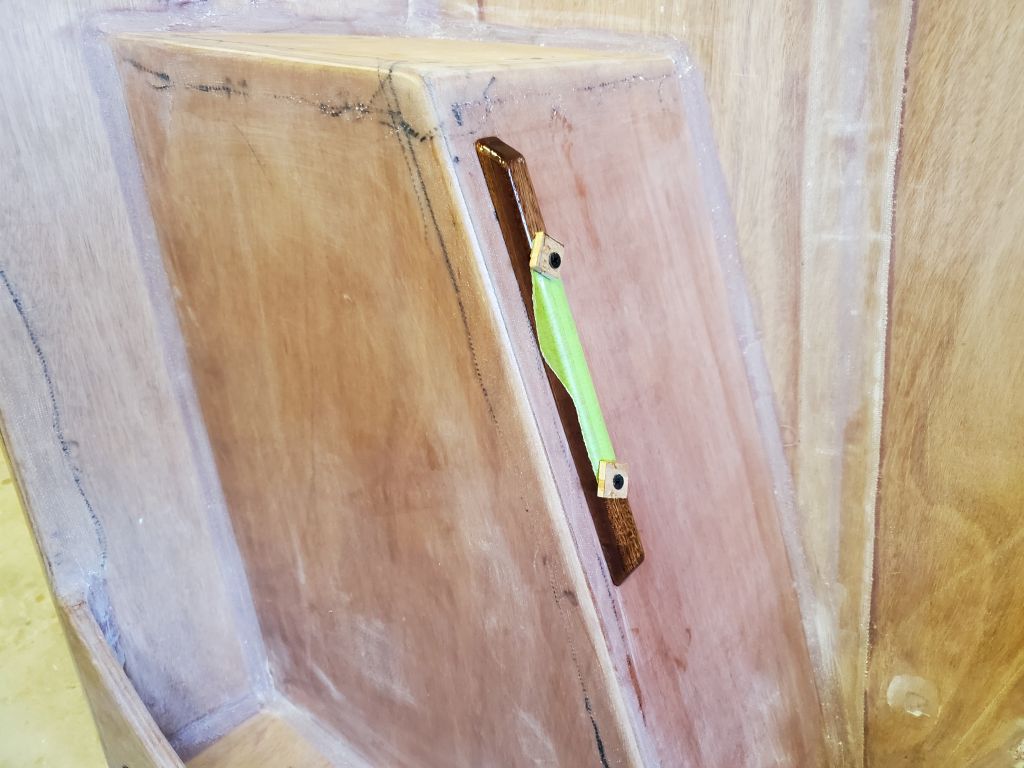
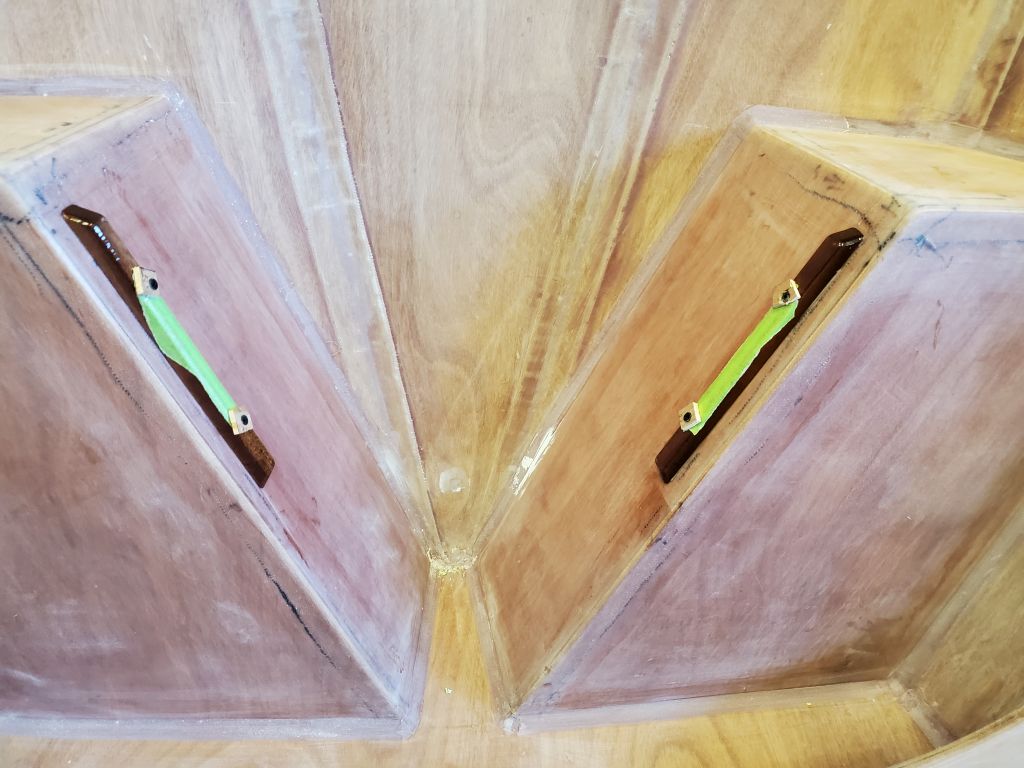
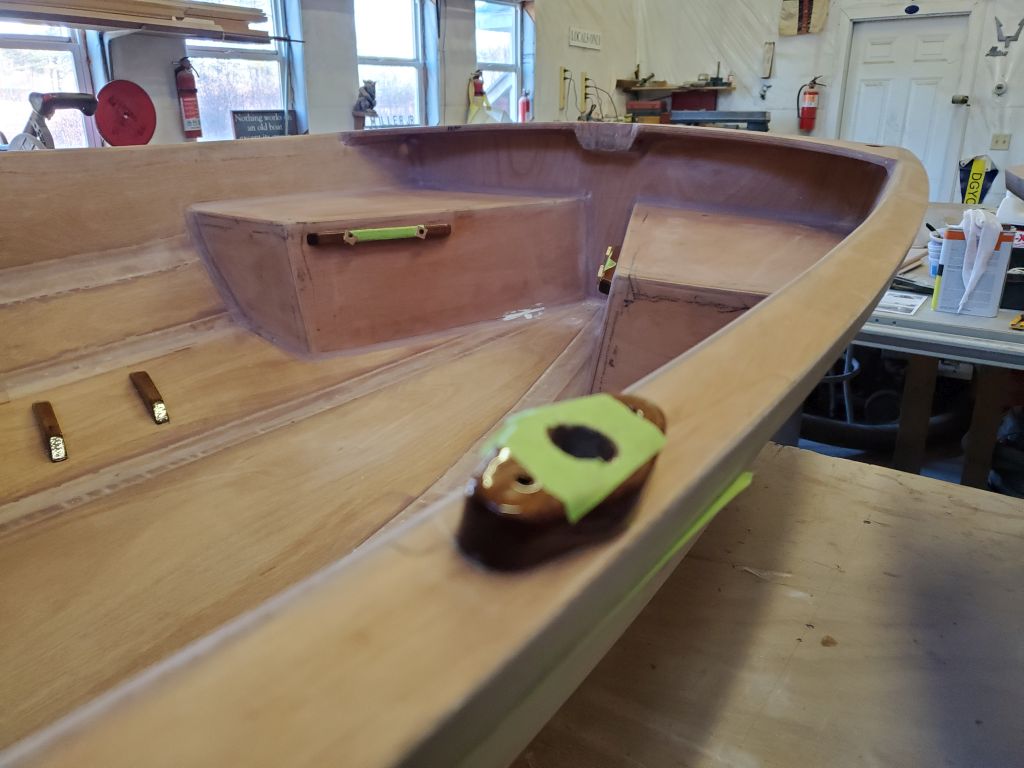
It seemed a good day to finish up some of the last details required before moving on to primer and paint. I started with the aft seat cleats, which I’d already epoxy-coated and varnished. To install the cleats, I masked off a portion of the aft tanks, and taped the plywood seat in place so I could roughly determine the fore and aft position of the cleats. The cleats were longer than the seat was wide, and were designed to extend beyond the seat by a bit on both sides. By eye, I determined the placement and made a mark on one side, which I duplicated on the other. This gave me the forward end of the cleats; then, I marked a line 7/8″ down from the top of the aft tanks, which represented the top edge of the cleats. From there, I dry-installed the cleats with two screws each, which screws would also hold the cleats later when gluing in place.
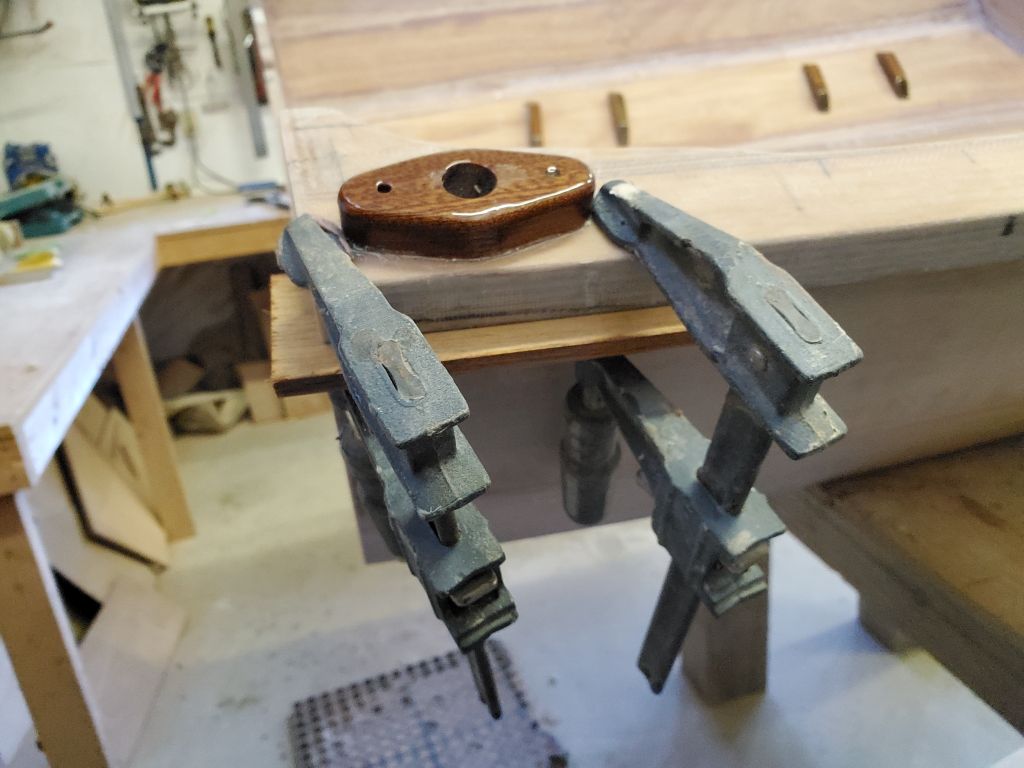
Note that in these photos, I had the boat propped vertically with the transom on the floor, which gave me the best access for this work.
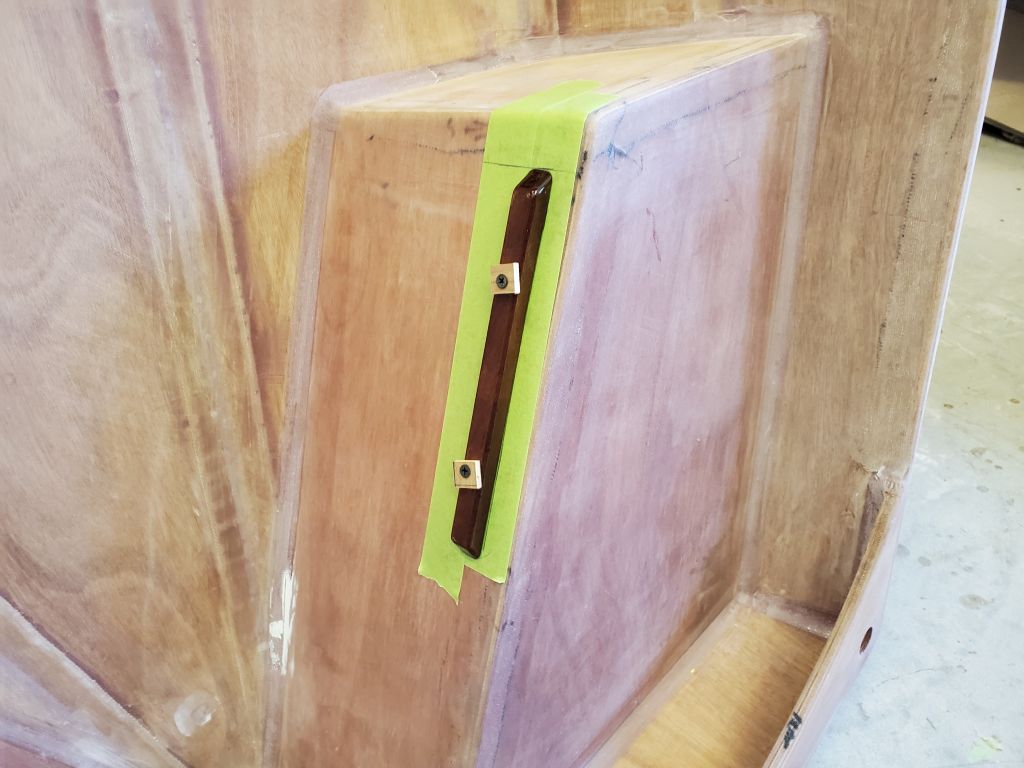

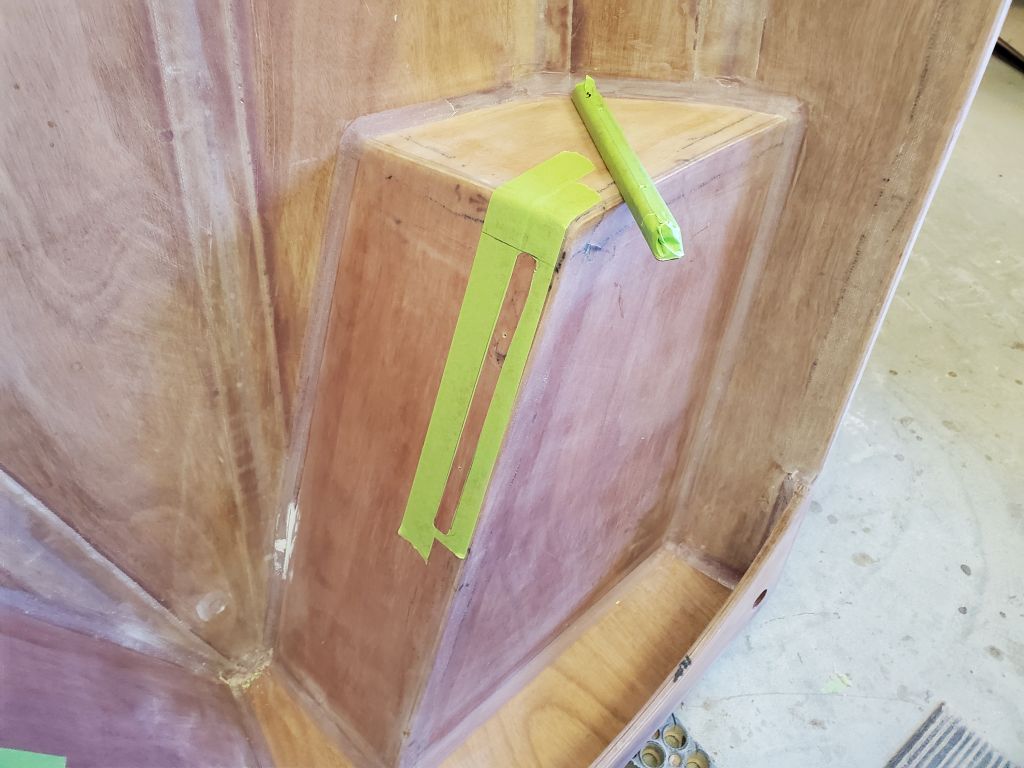
With the cleats thus installed, I cut around them with a knife and, after removing the cleats, pulled the tape from the footprints. Then, I installed the cleats permanently in thickened epoxy in the usual way, pulling the masking tape once I’d cleaned up the squeezeout.


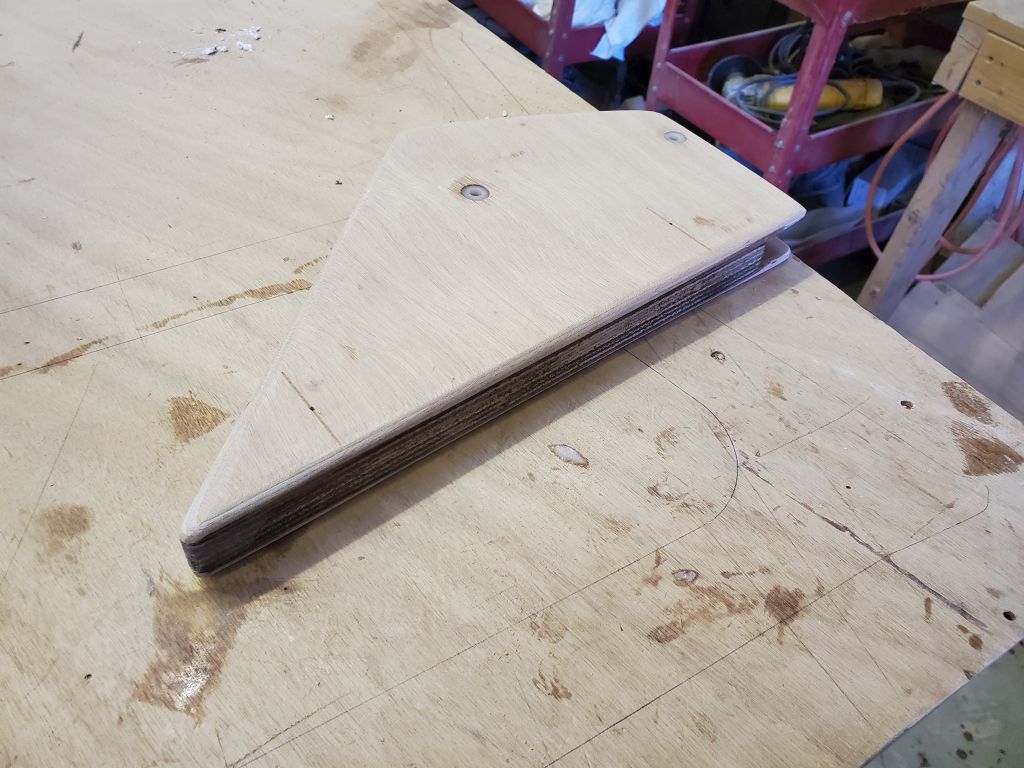
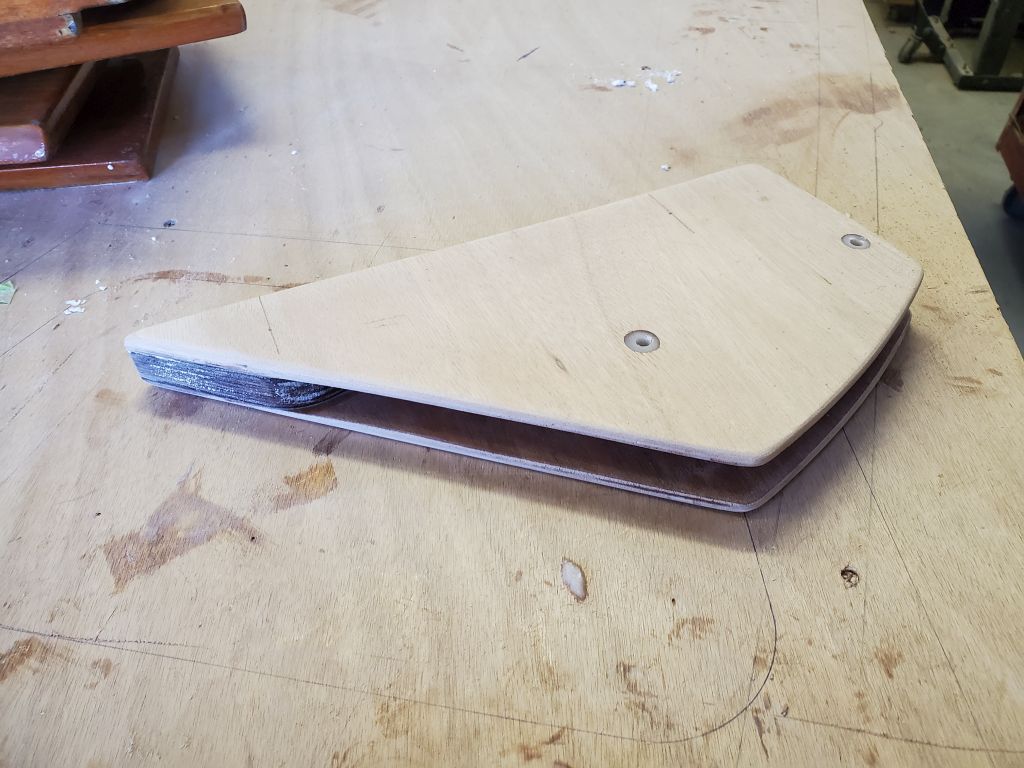
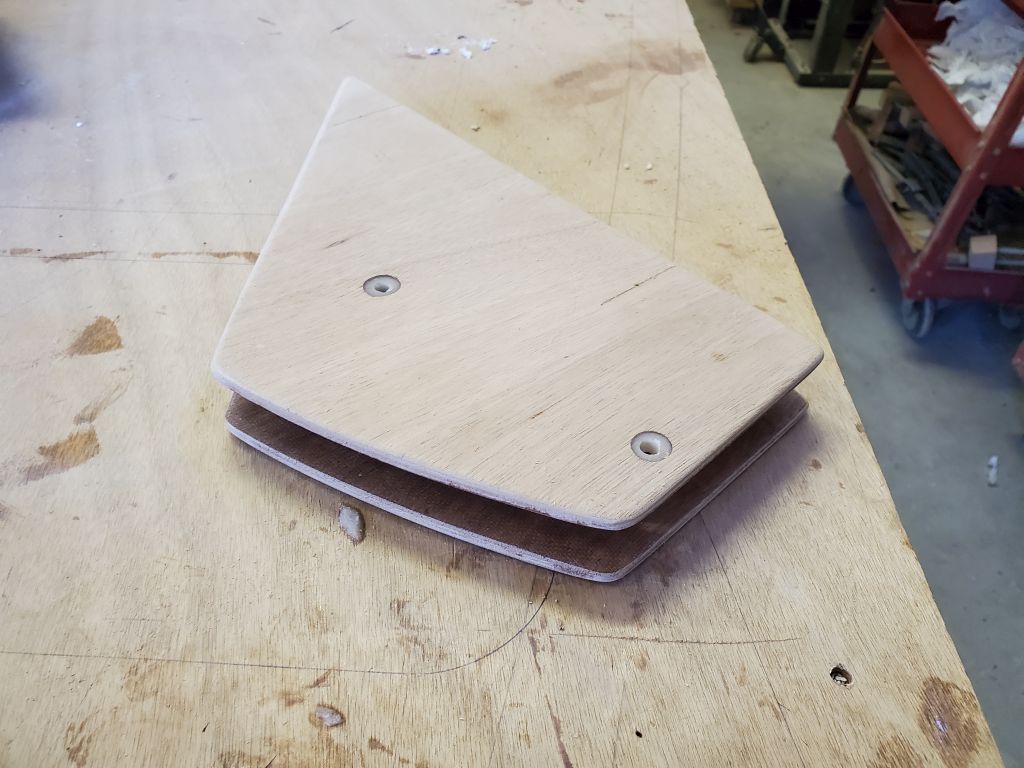
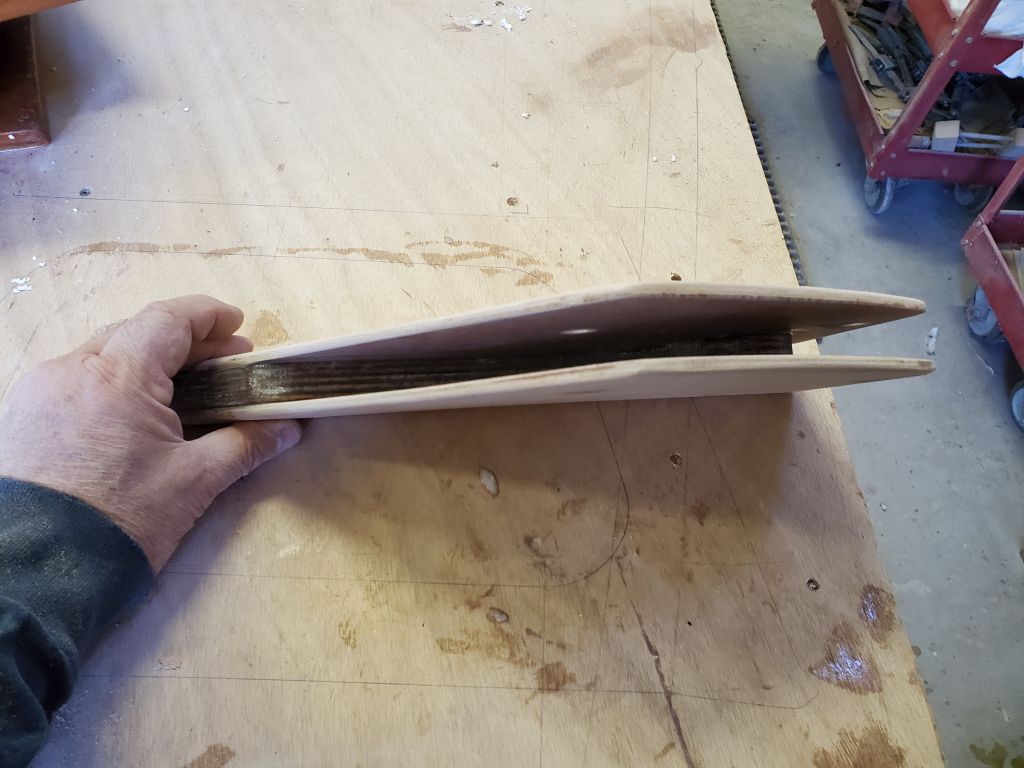
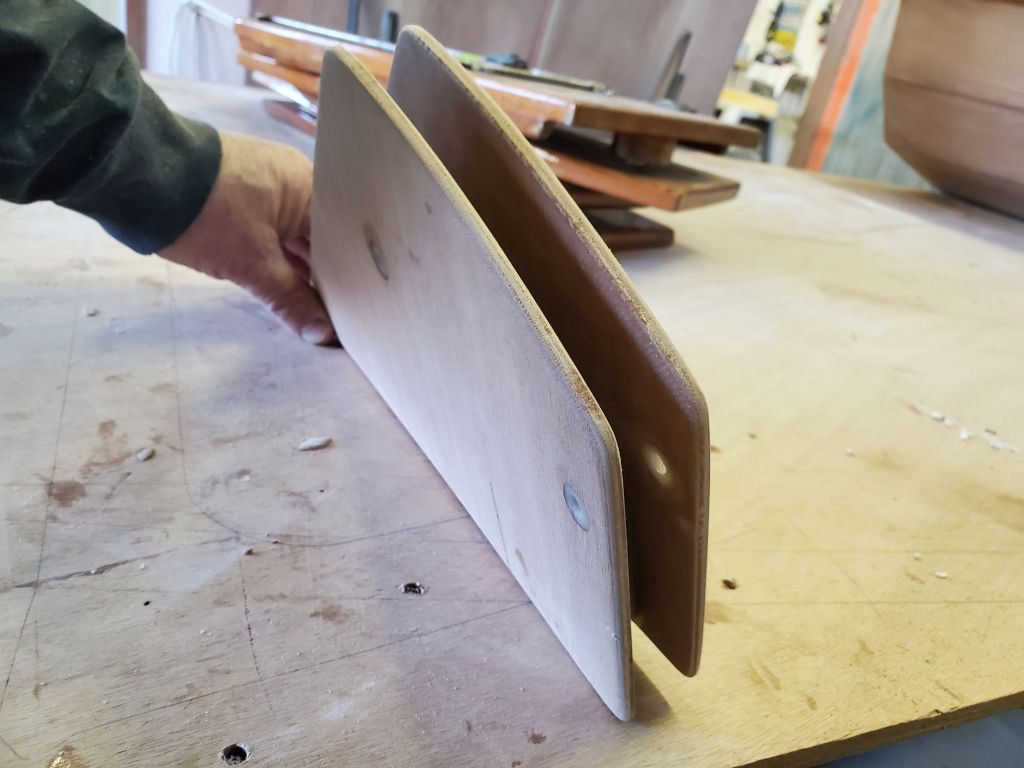
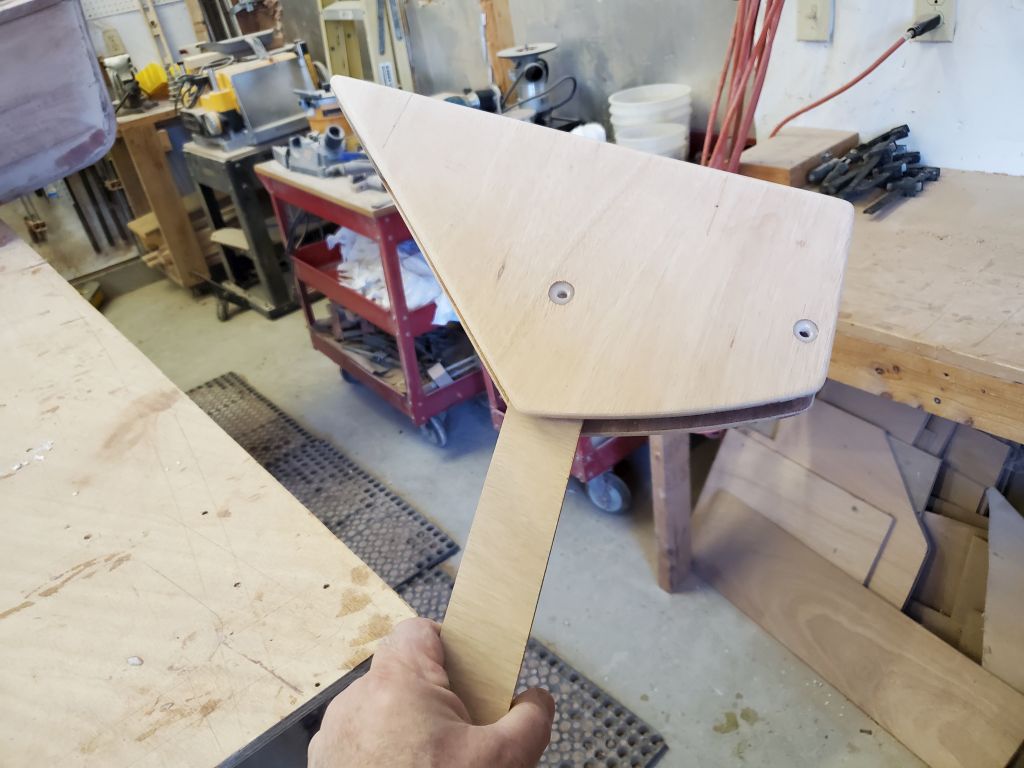
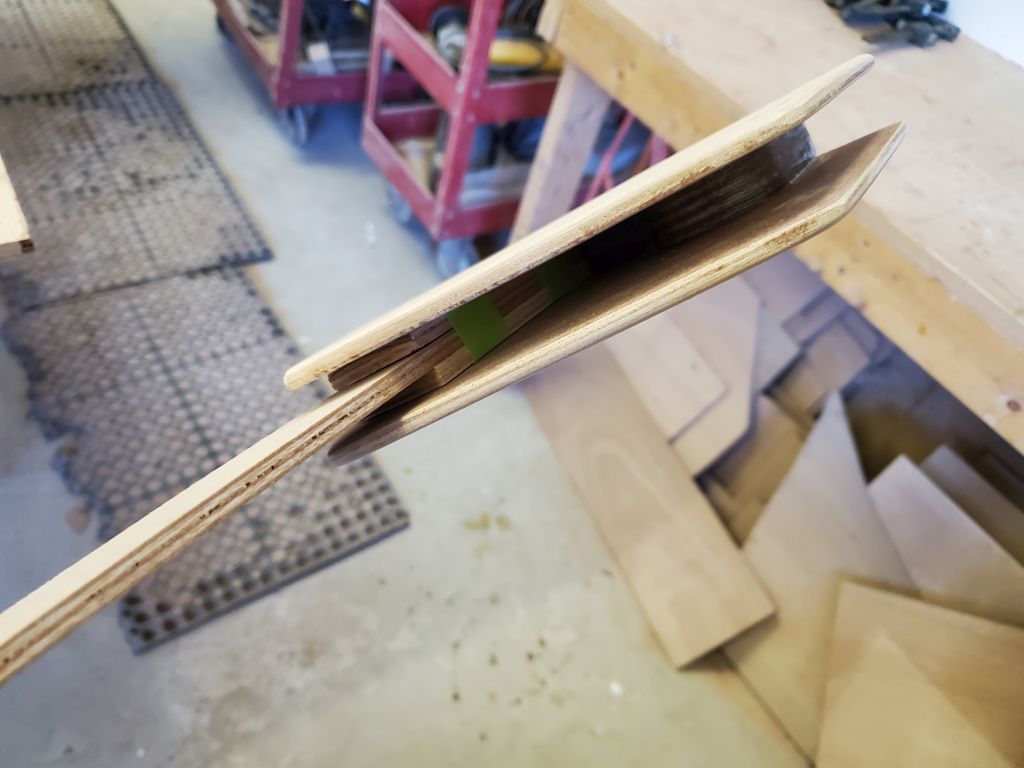
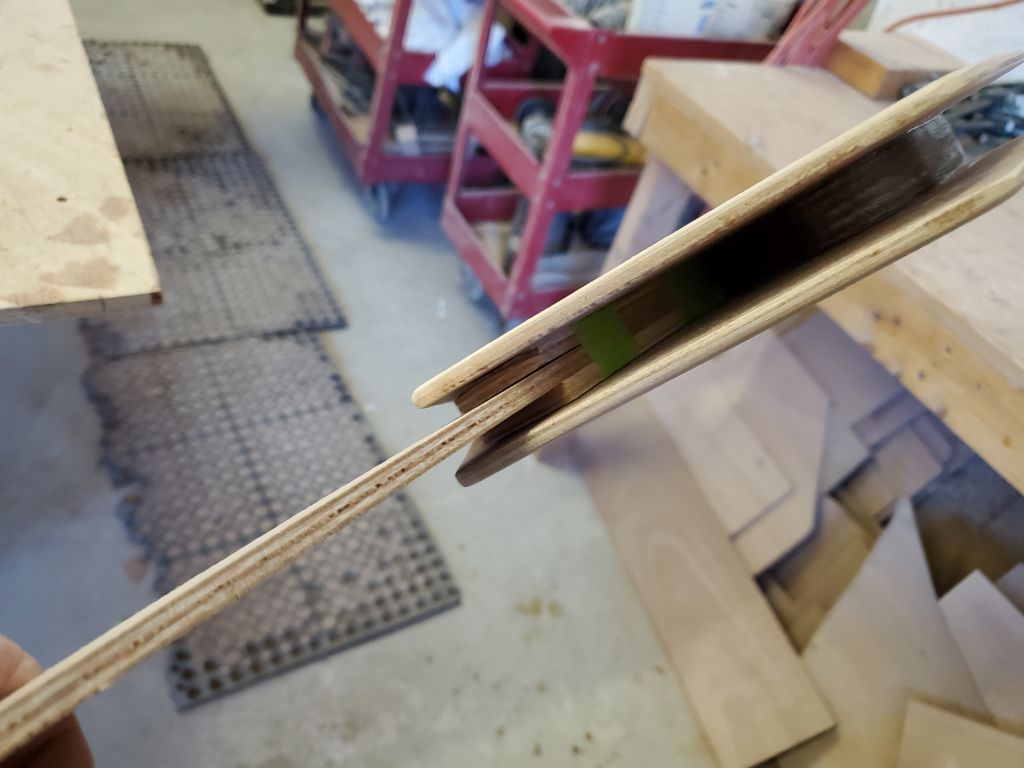
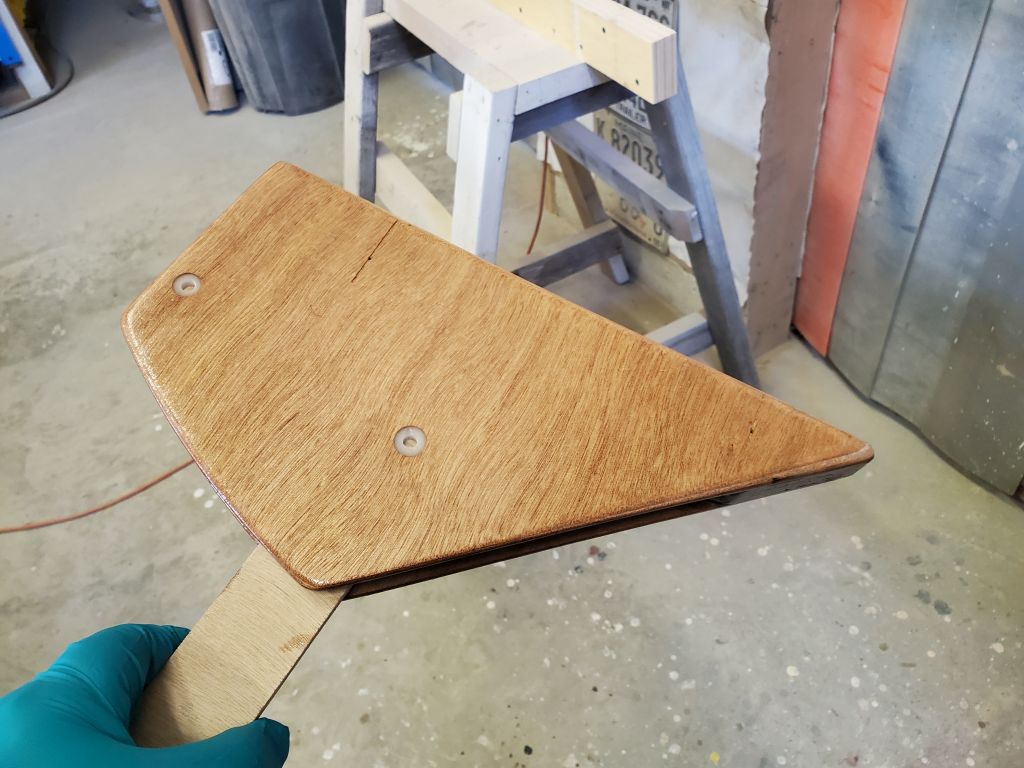
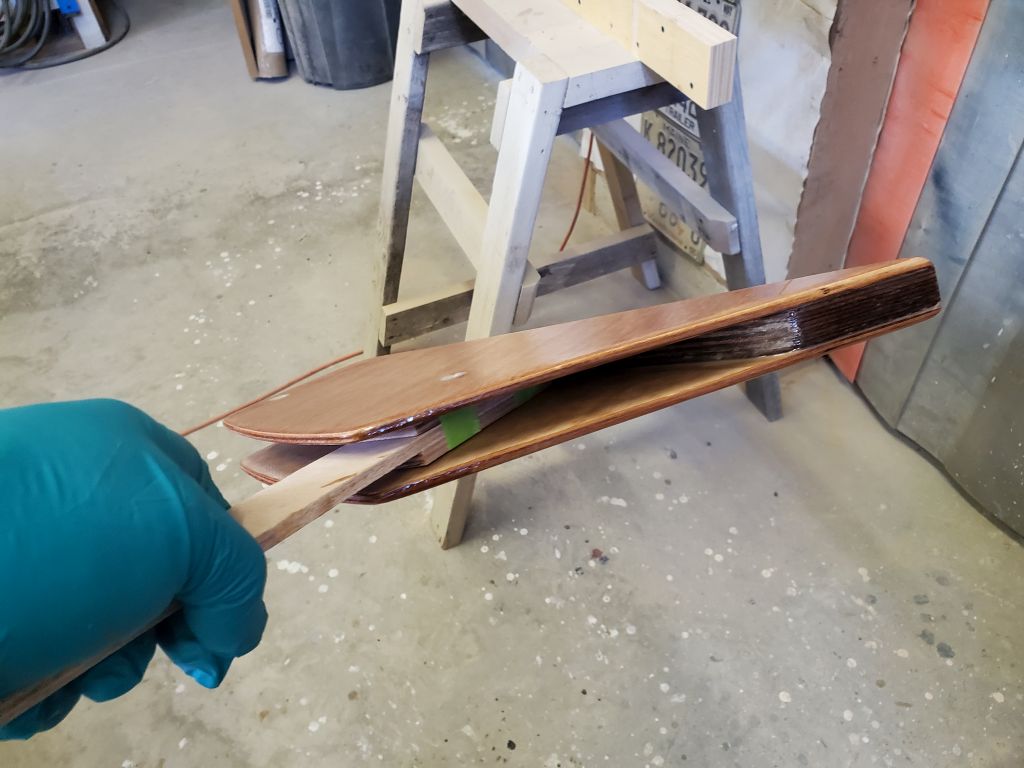
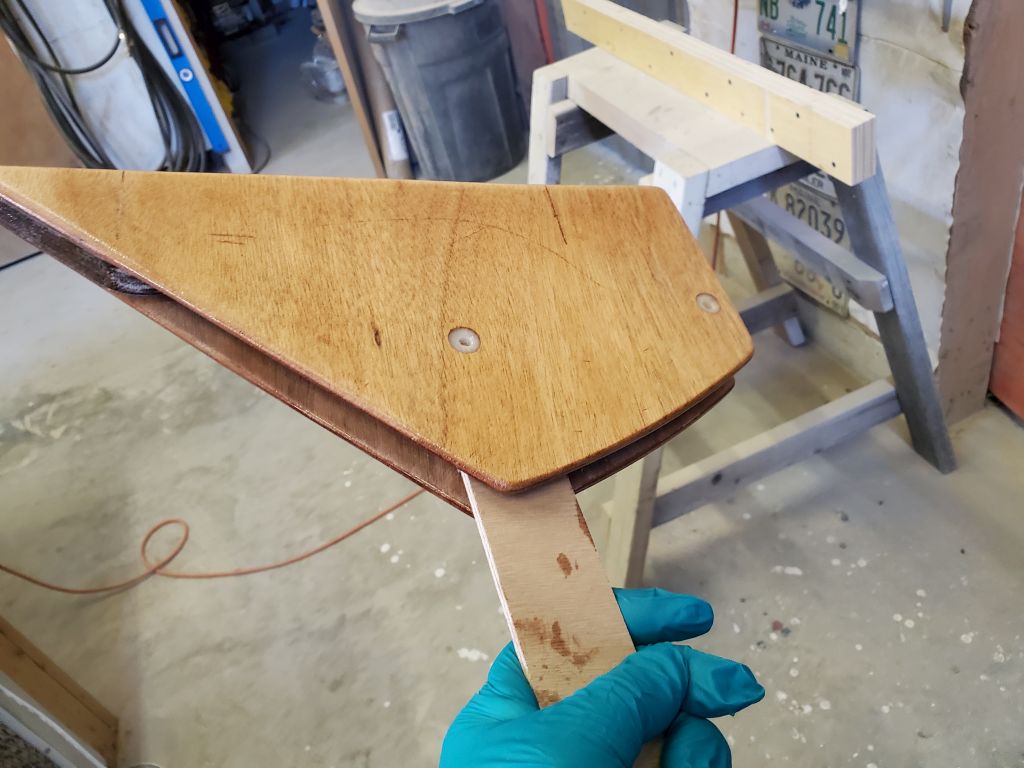
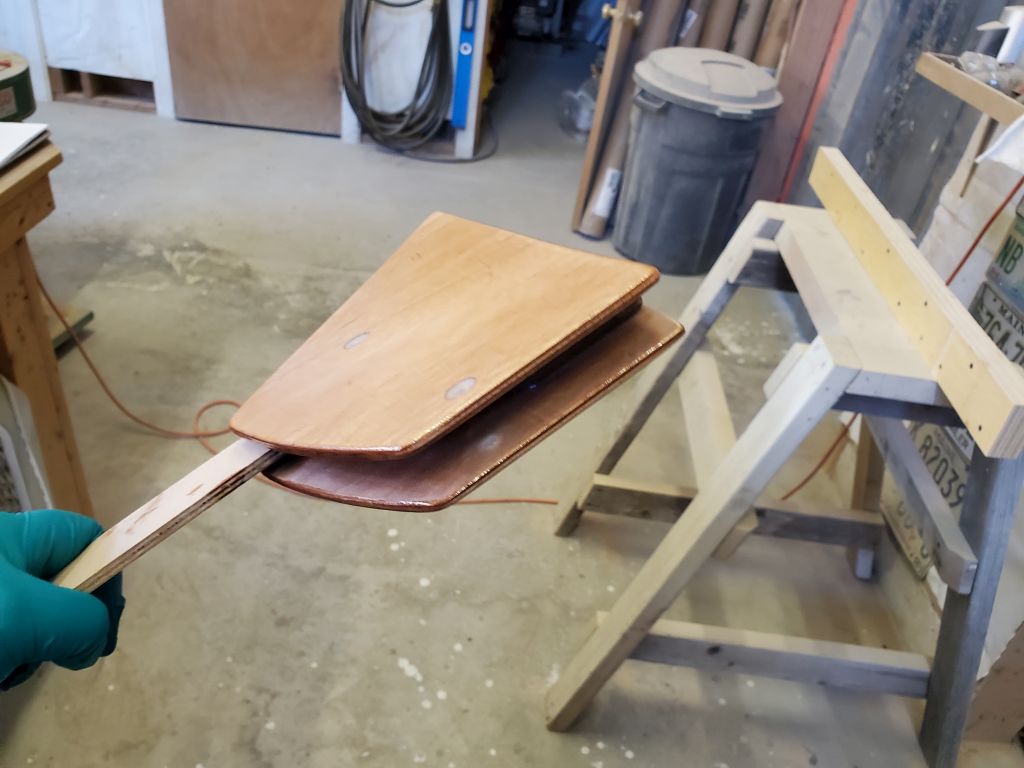
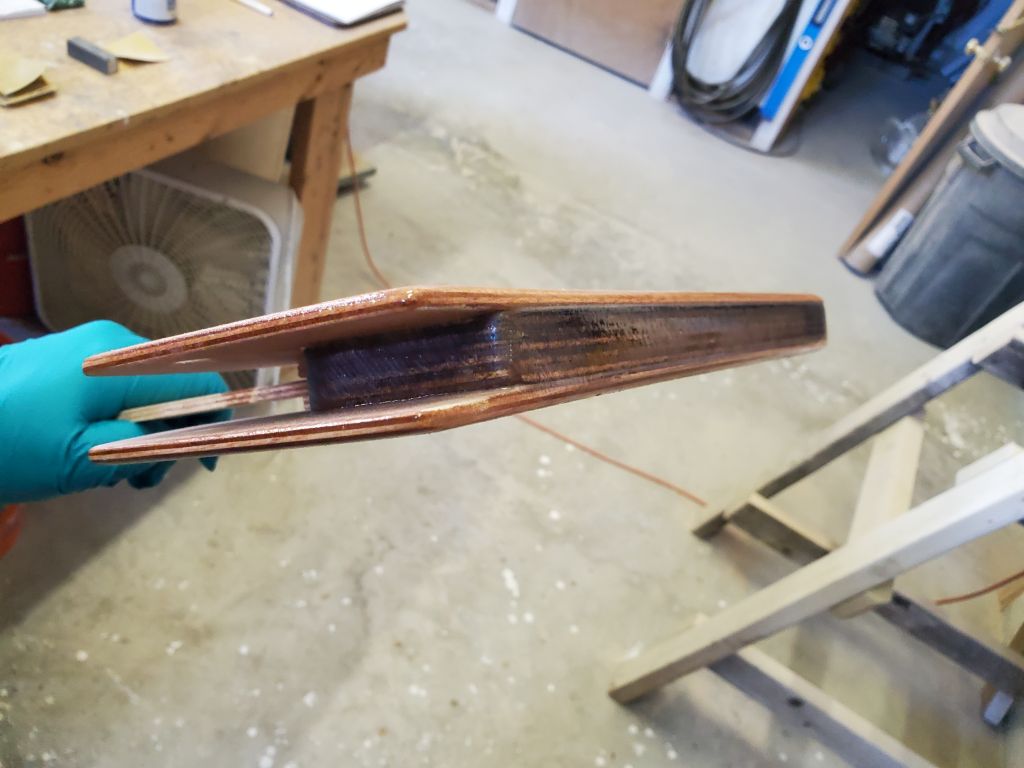
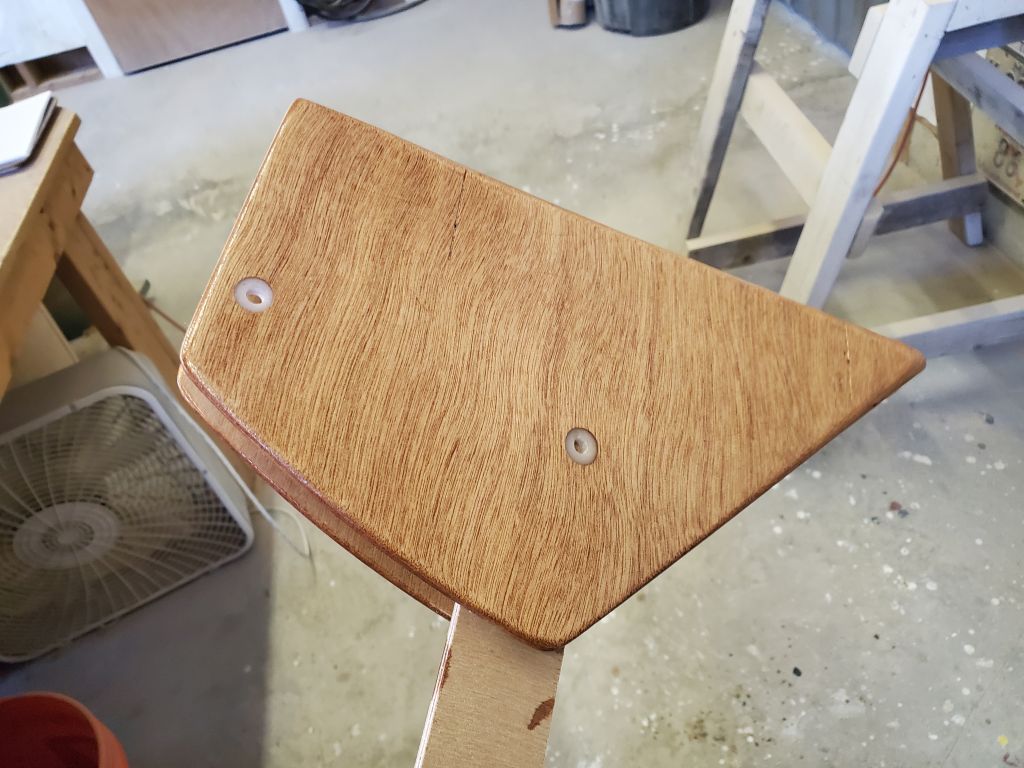
Next, I unclamped the rudder case and spent some time sanding it clean and smooth. I block sanded flush the ends where the 18mm plywood spacer met the edges, and rounded over and sanded smooth the edges of the plywood, with a small roundover hand-sanded on the inside edges of the plywood as well. I built a simple plywood support stick that friction-fit inside the case, leaving all edges and sides accessible at once for epoxy-coating, the first coat of which I applied now. I clamped the stick to the bench to let the epoxy cure all over. There’d be a couple additional coats of epoxy over the next several days.

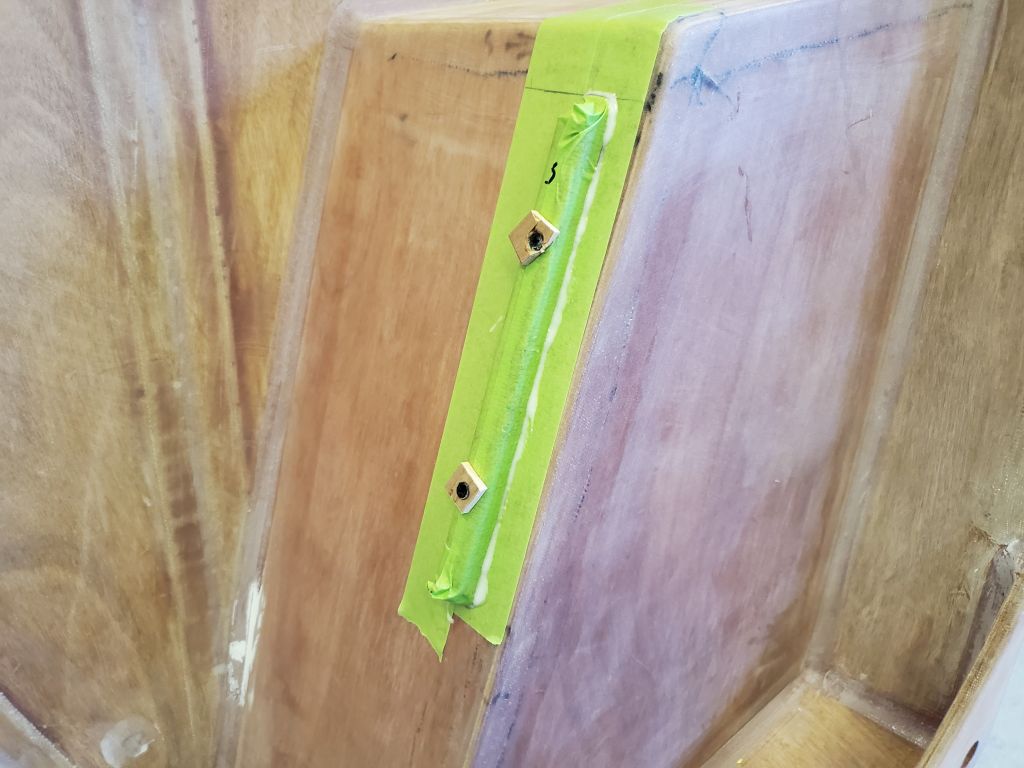
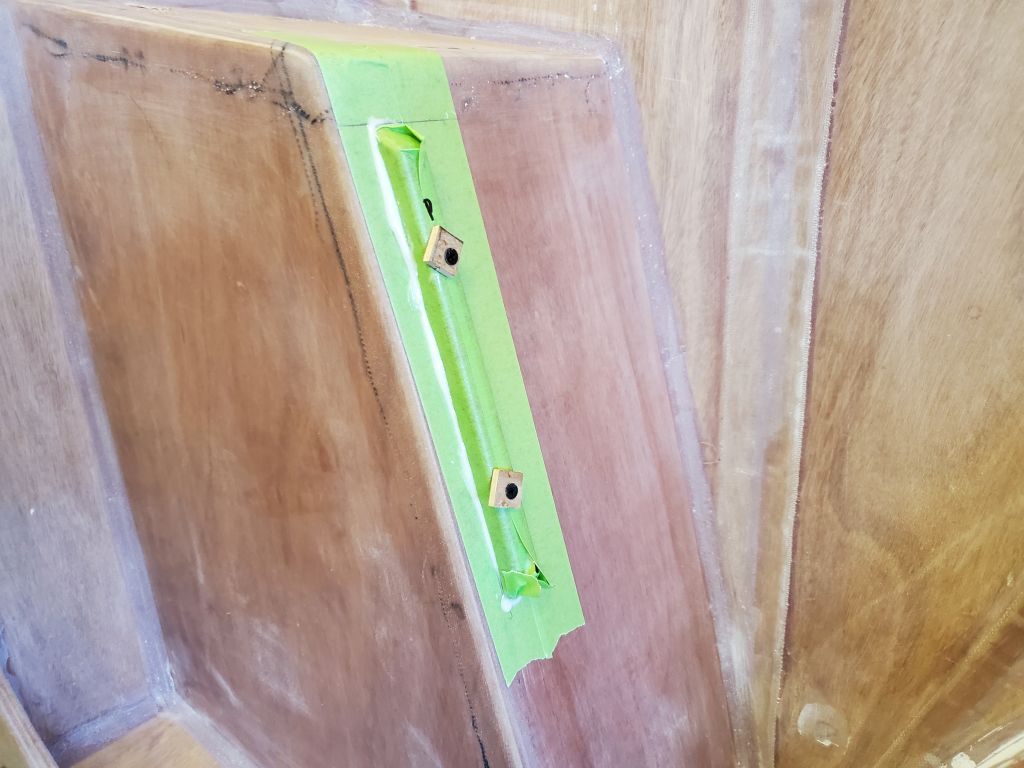
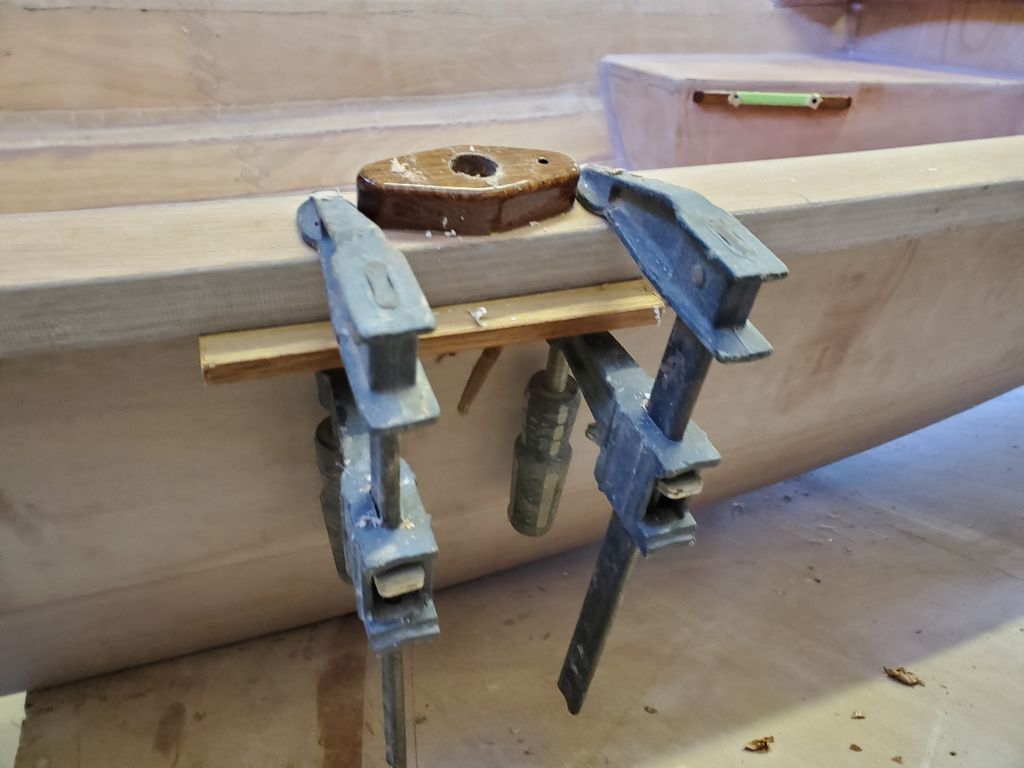
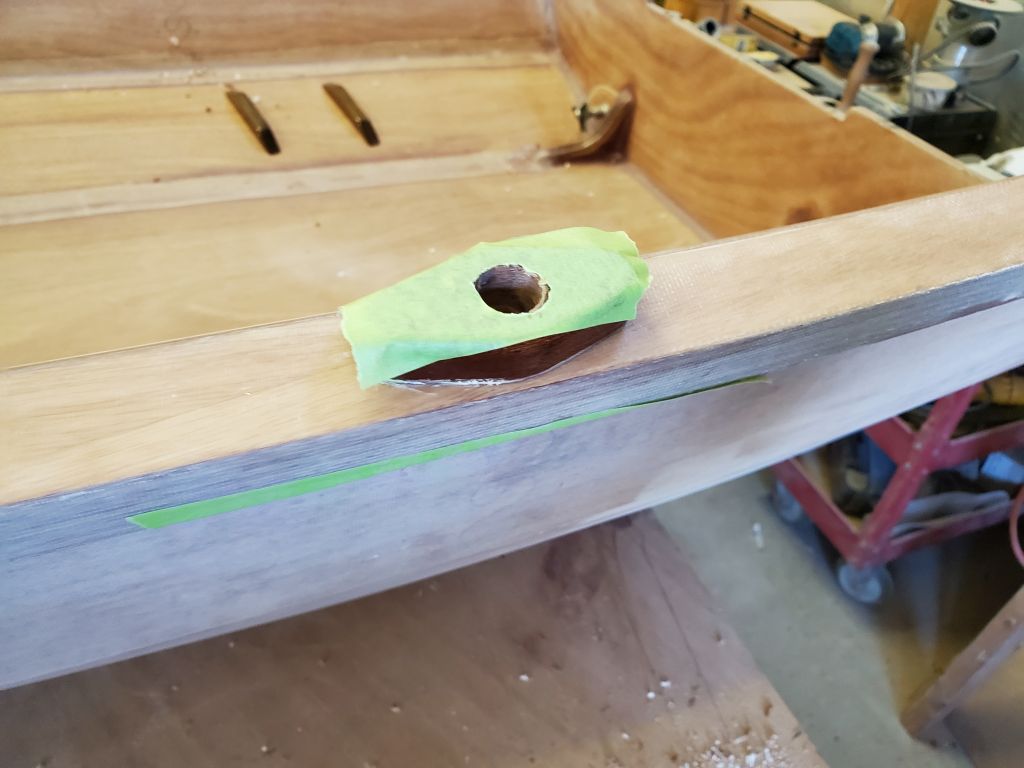
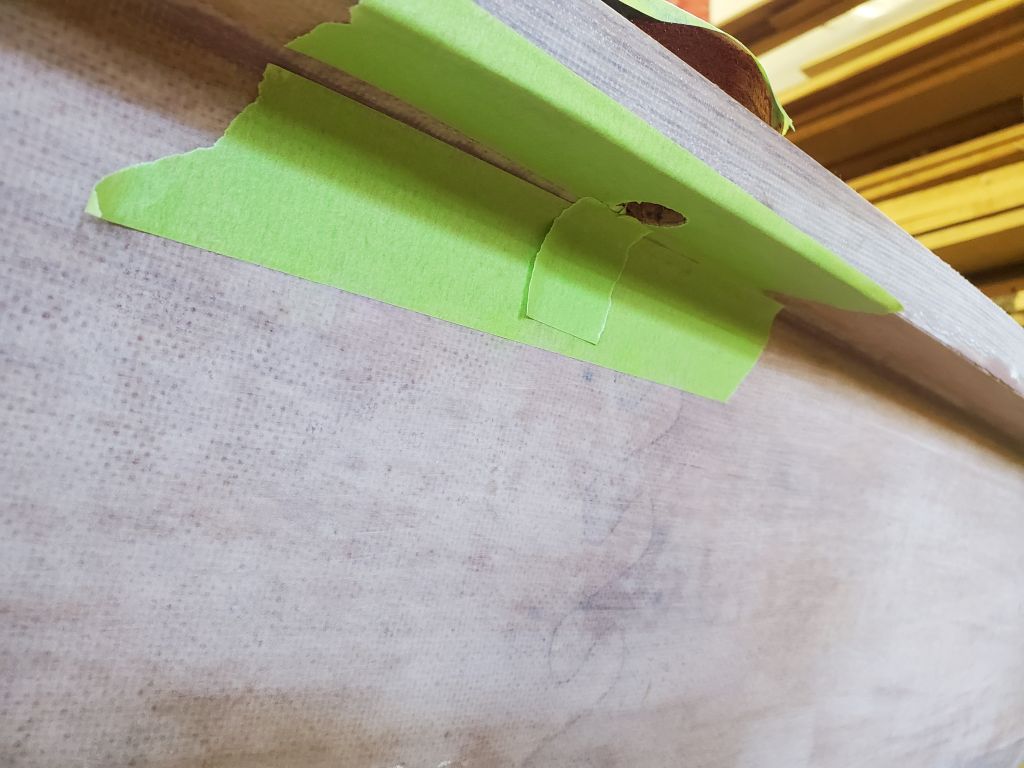
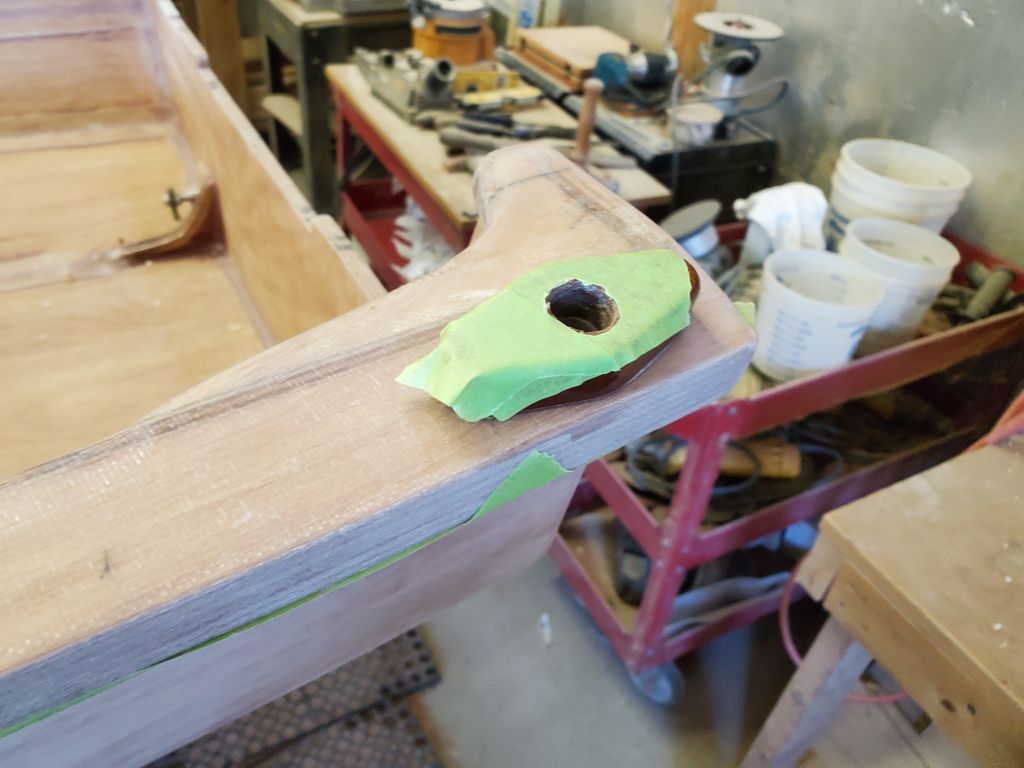
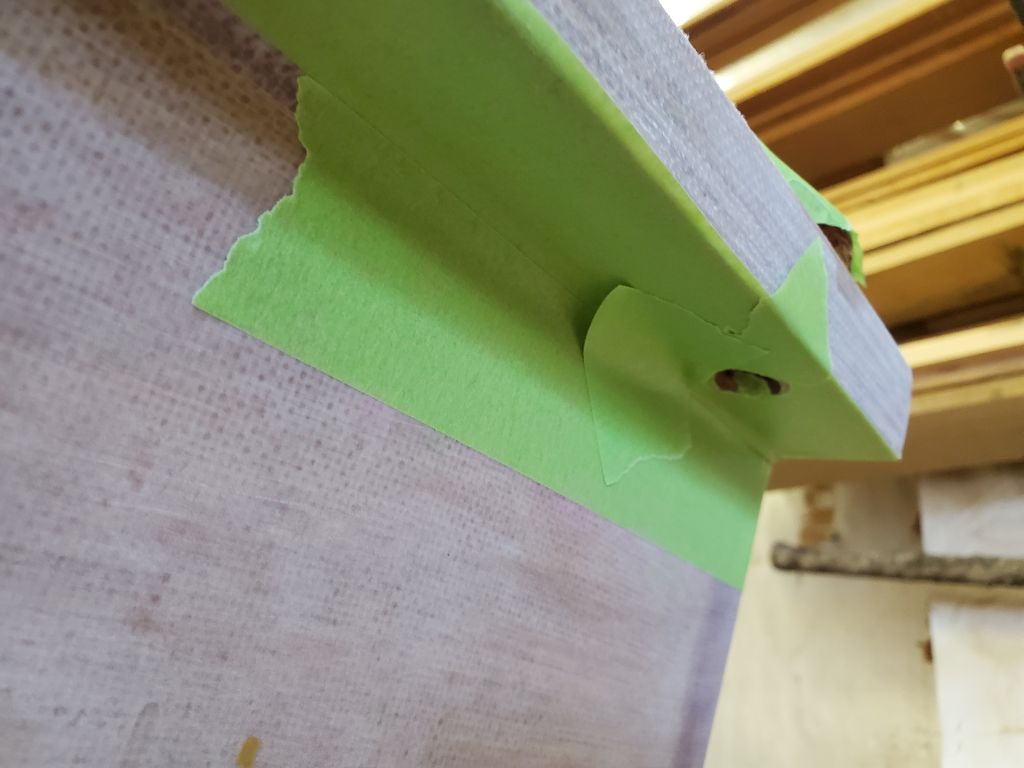
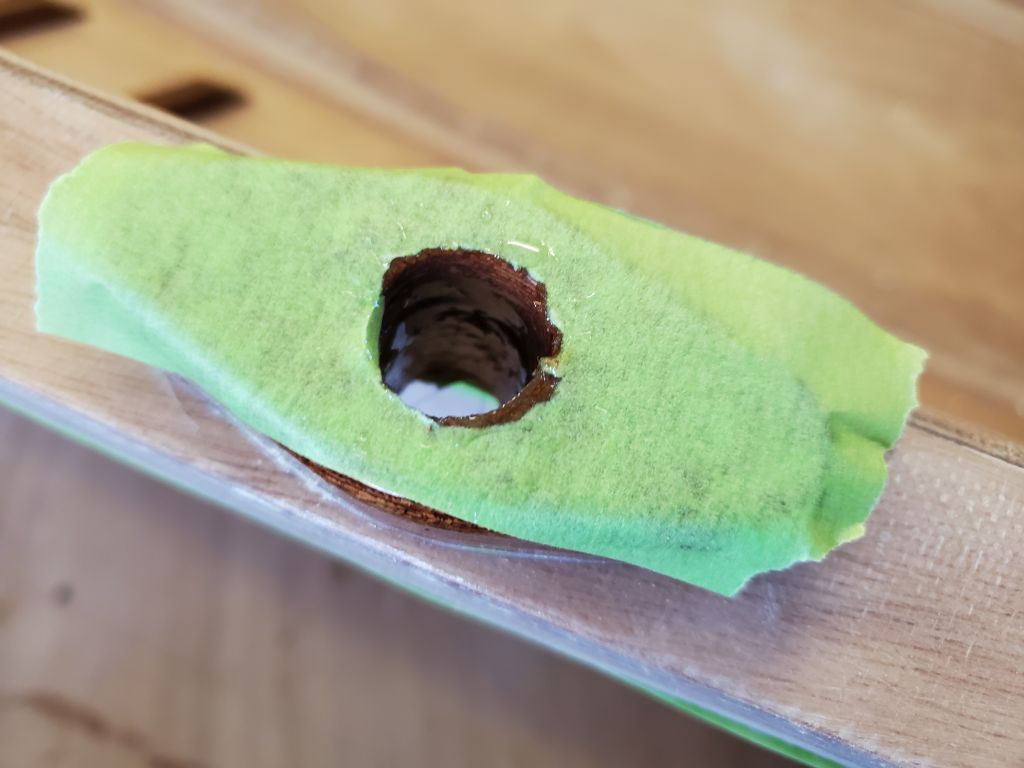
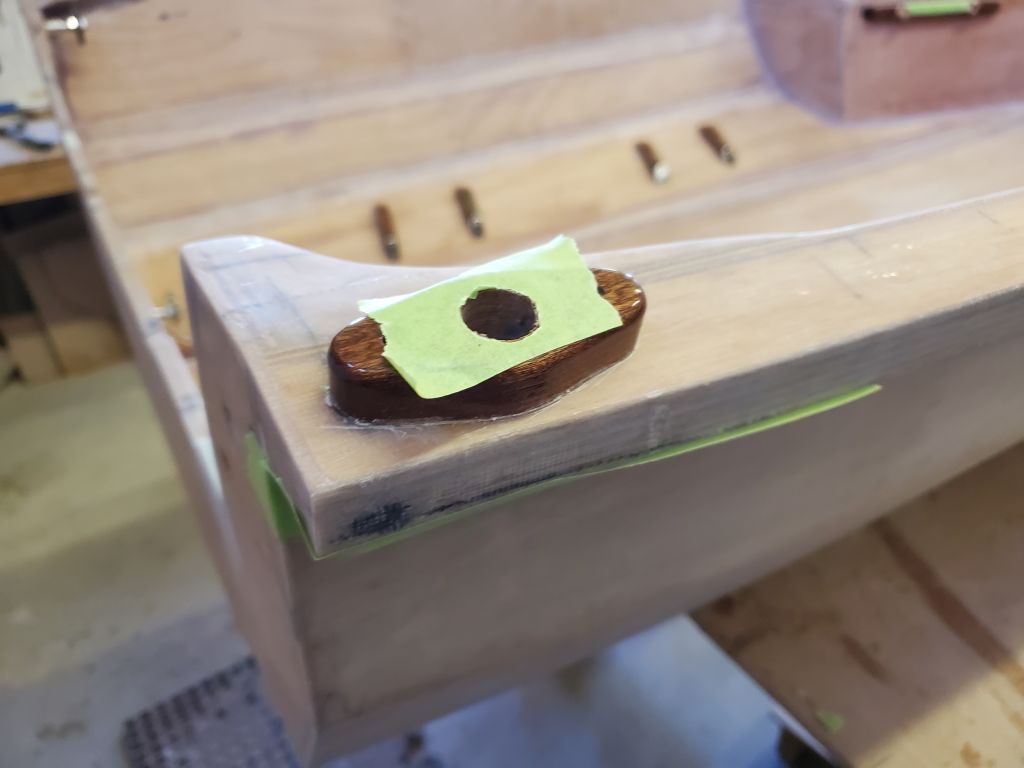
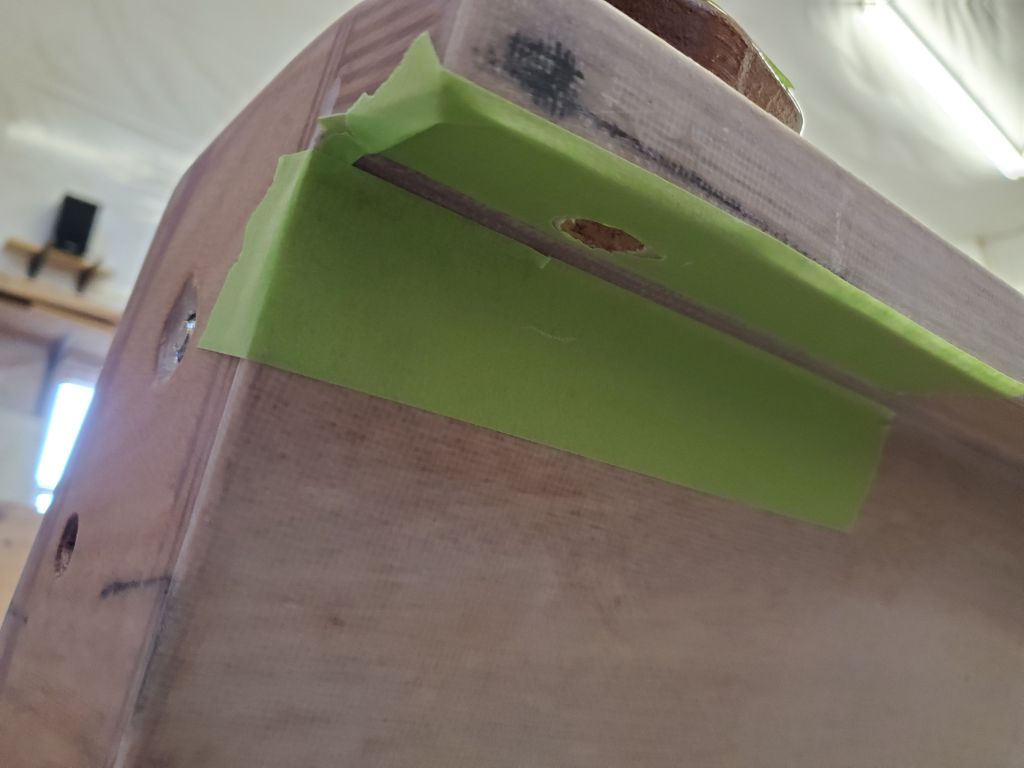
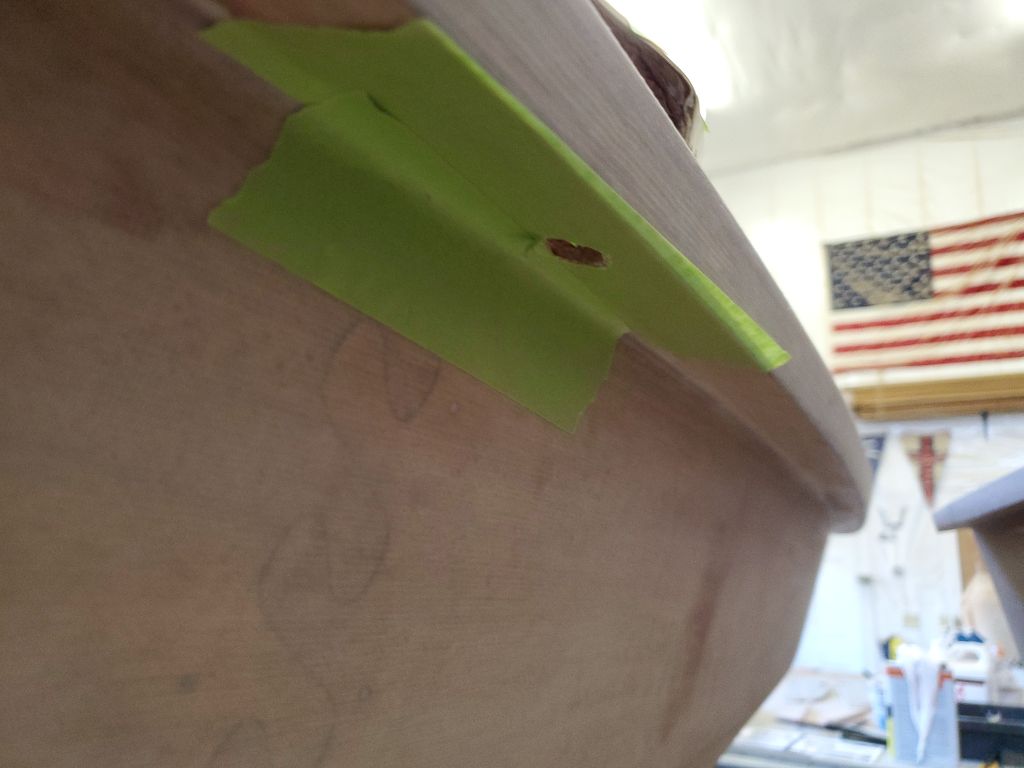
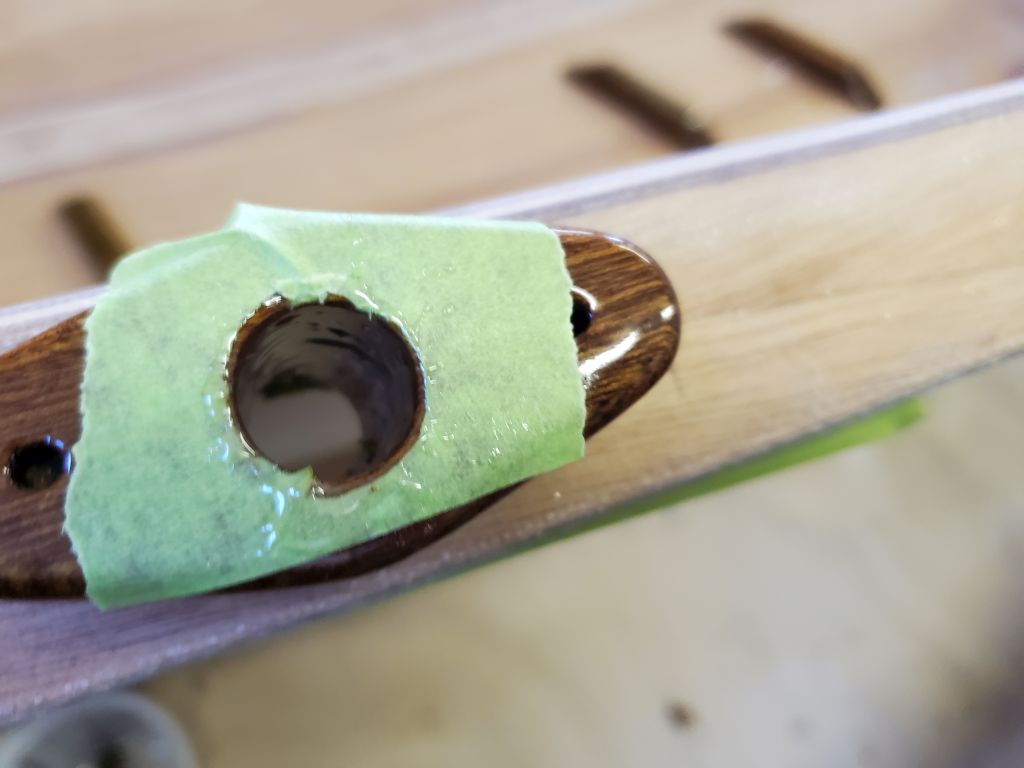
For the rowlocks, my next step was to drill through the gunwales for the 5/8″ bore required for the rowlocks themselves; the wooden risers had this 5/8″ hole already installed, which acted as a guide to drill through the gunwales. I clamped a sacrificial board beneath each location so the drill wouldn’t break out and damage the underside of the gunwales. I dry-fitted the rowlock bases to make sure the flanges fit flat against the riser; on one location I ran the drill bit through again to slightly open up the bottom part of the hole and allow the barrel of the rowlock base to fit properly and allow the flange to sit flush.
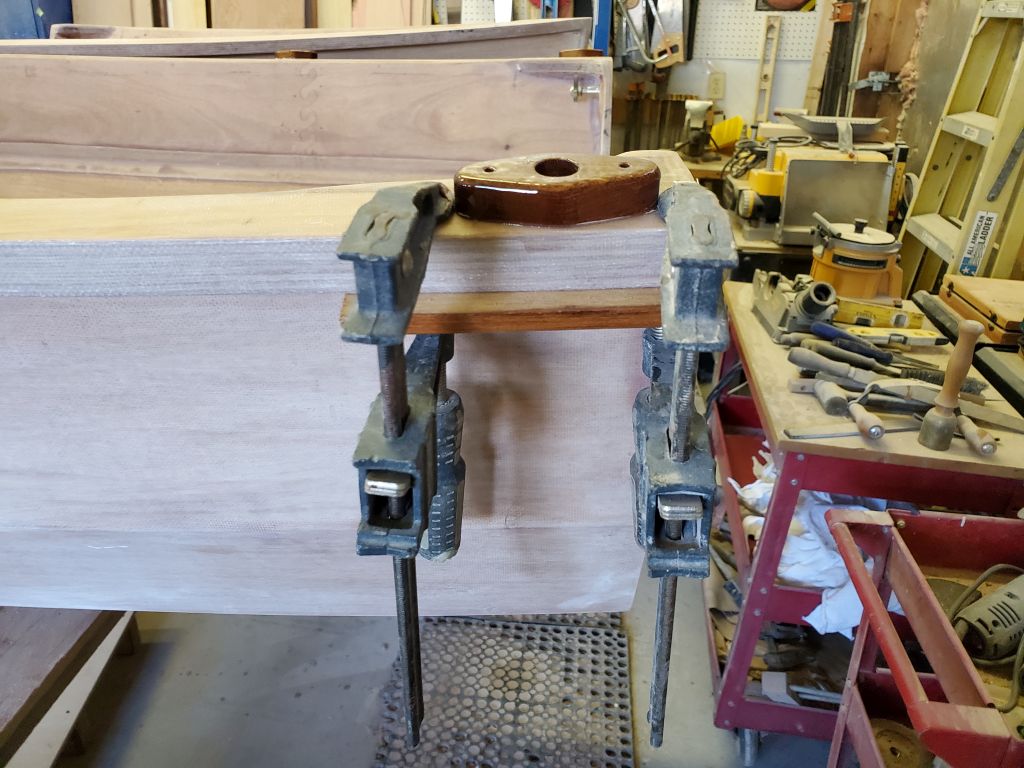
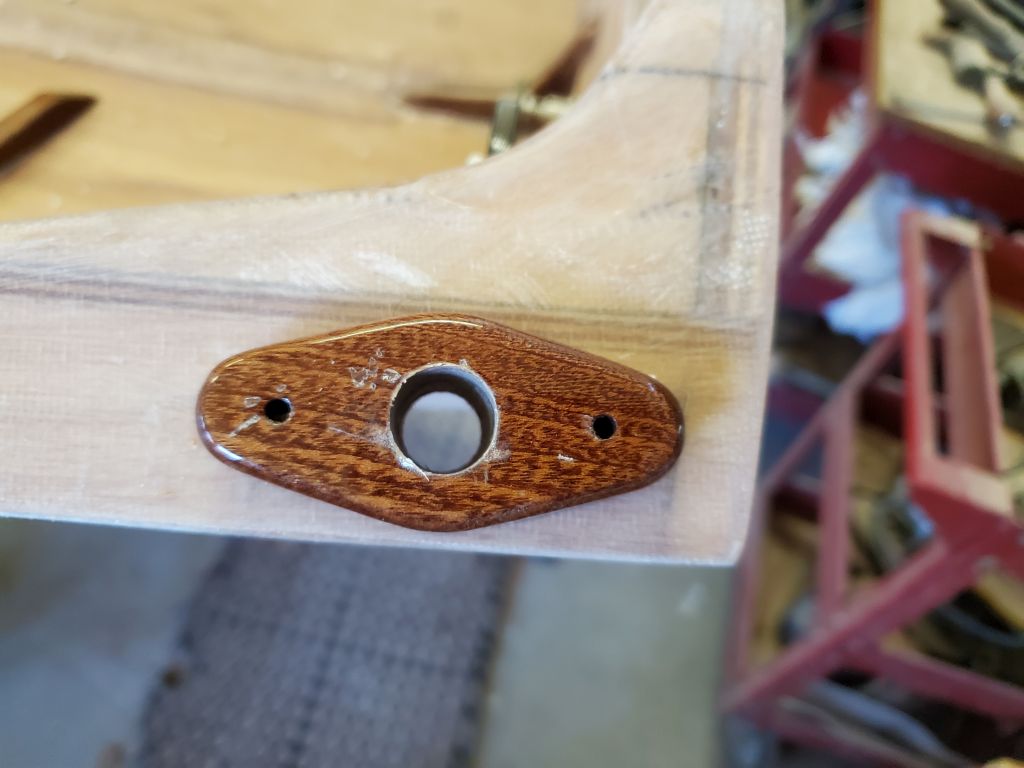
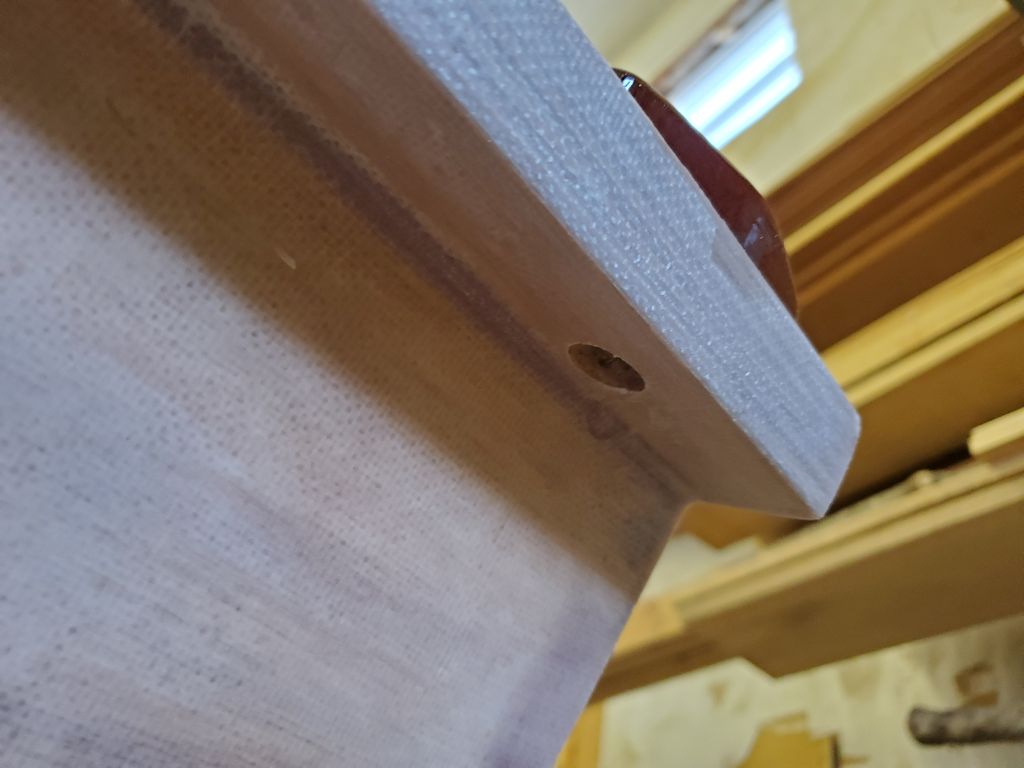
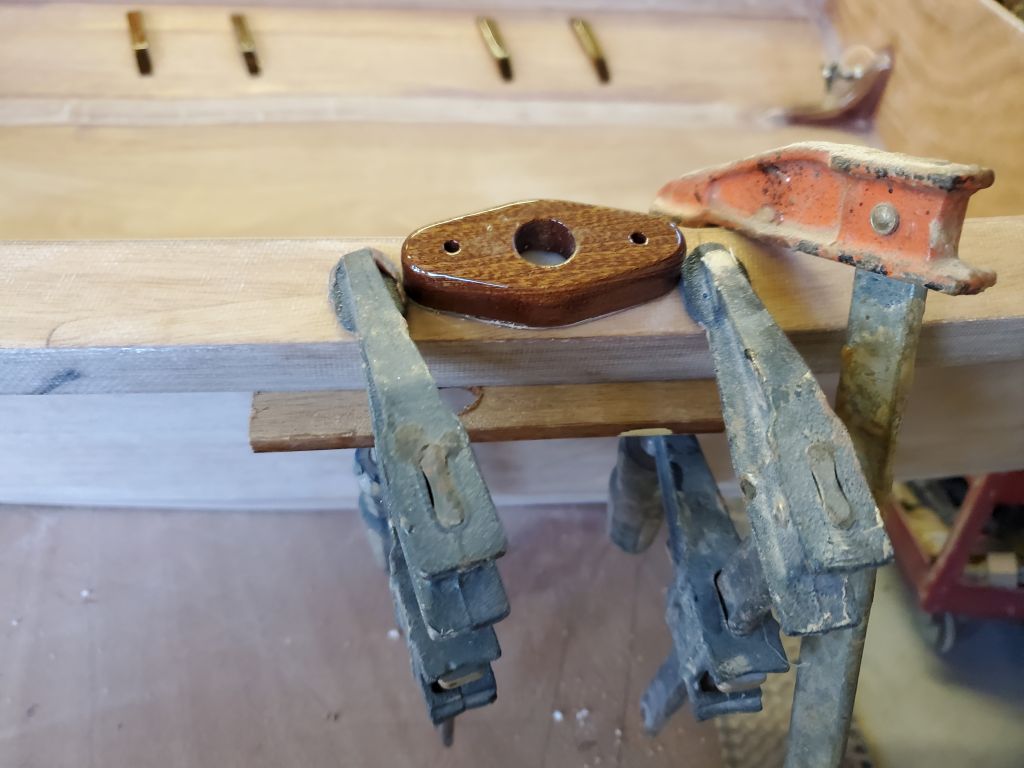
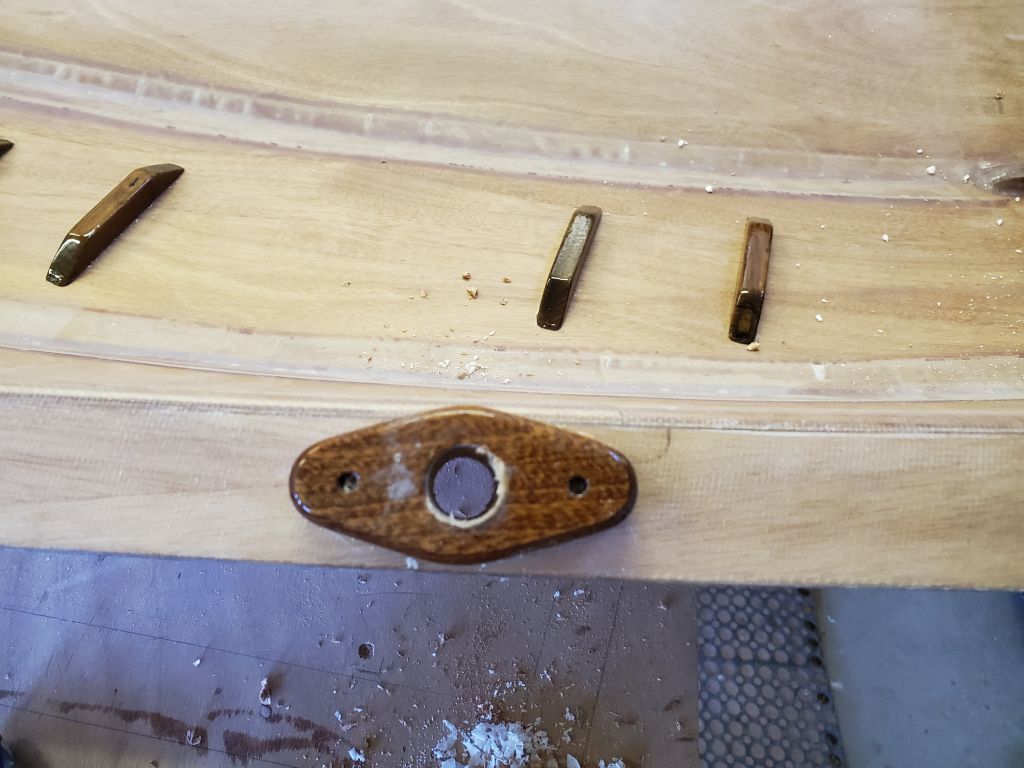
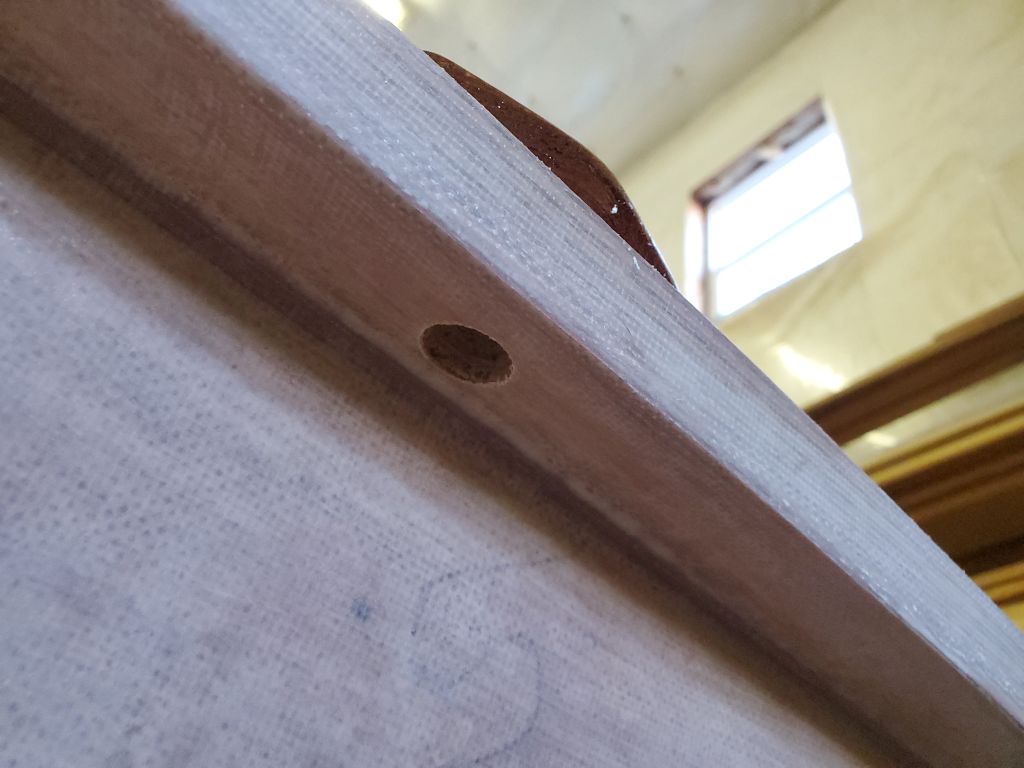
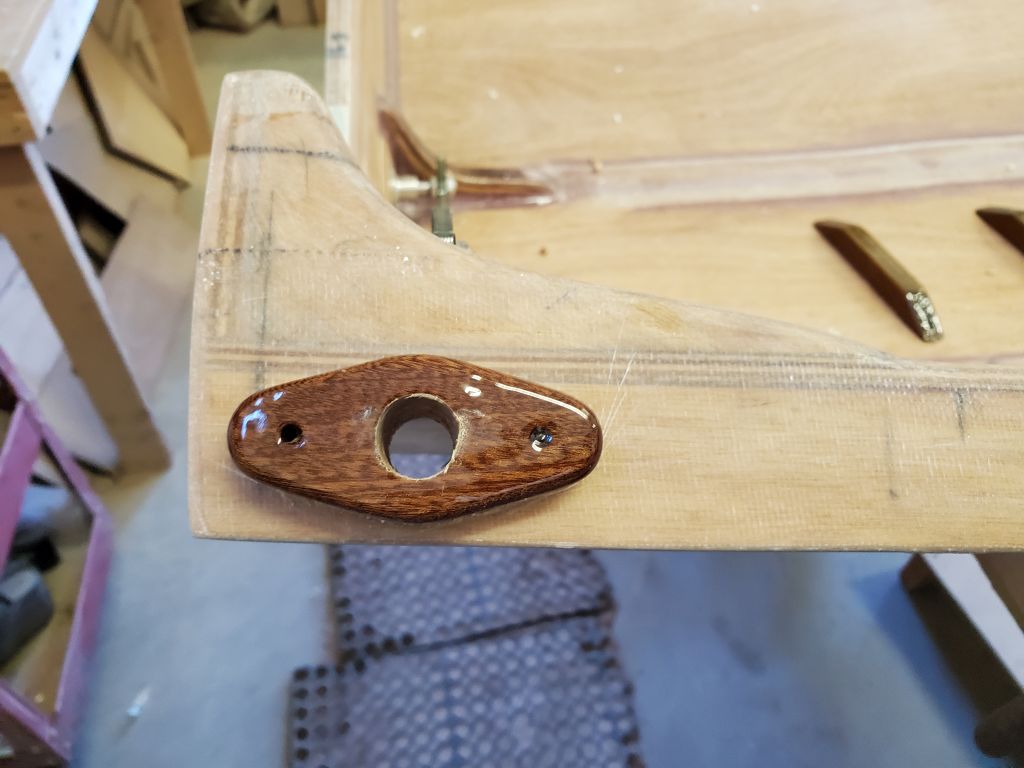
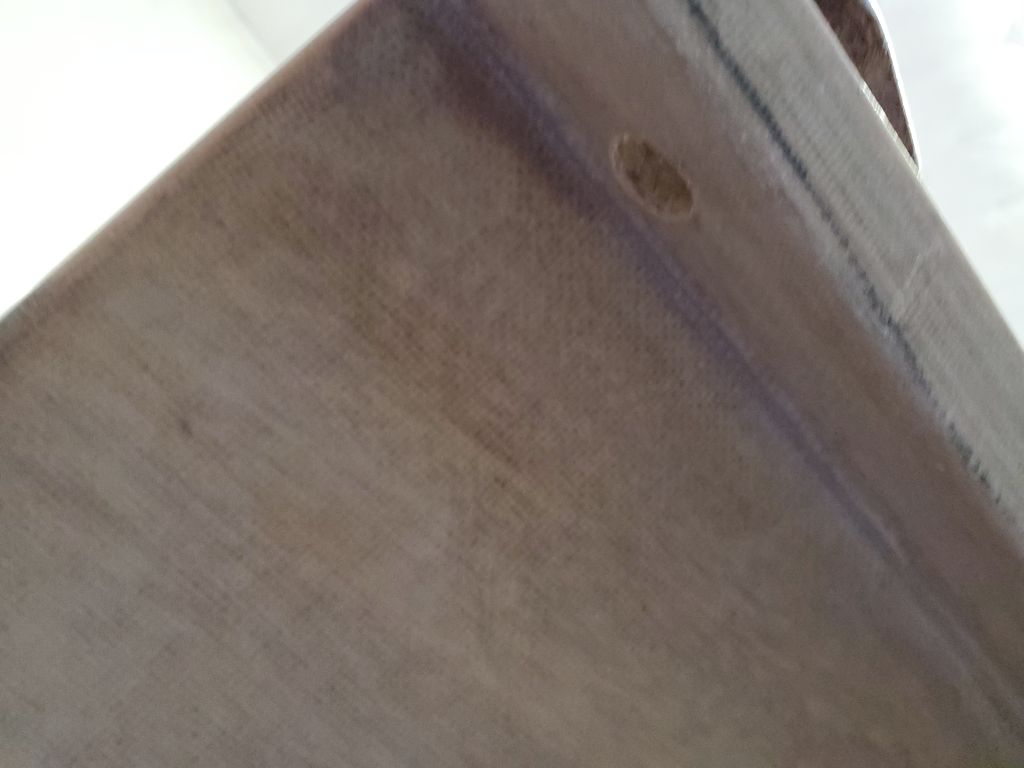
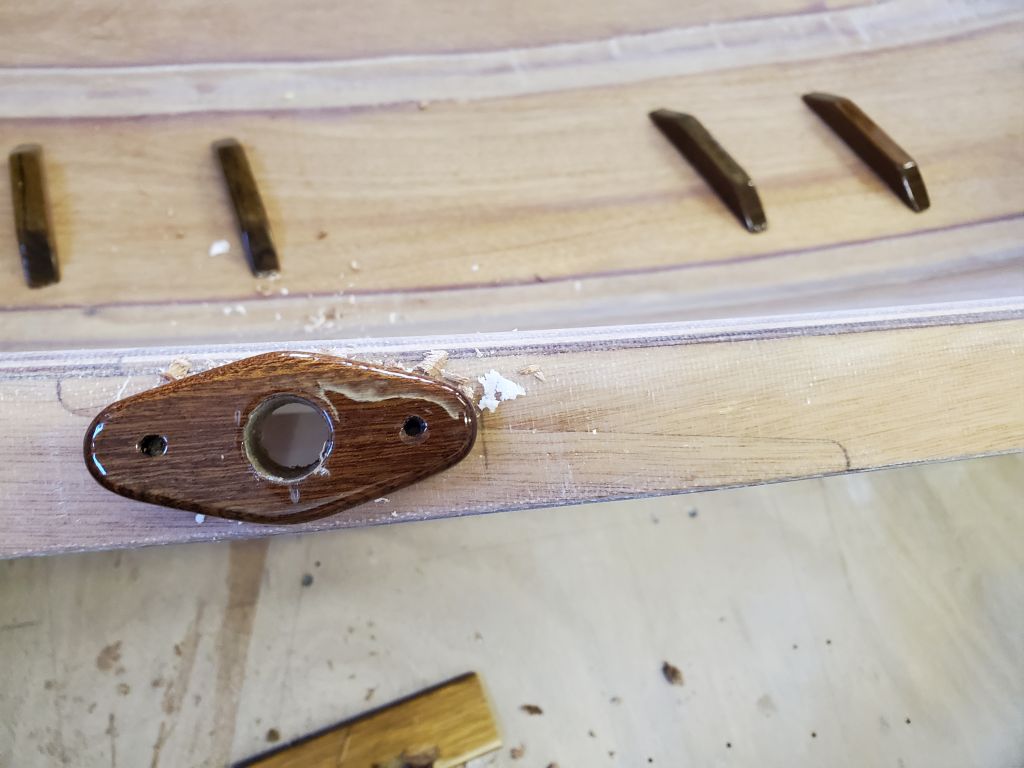
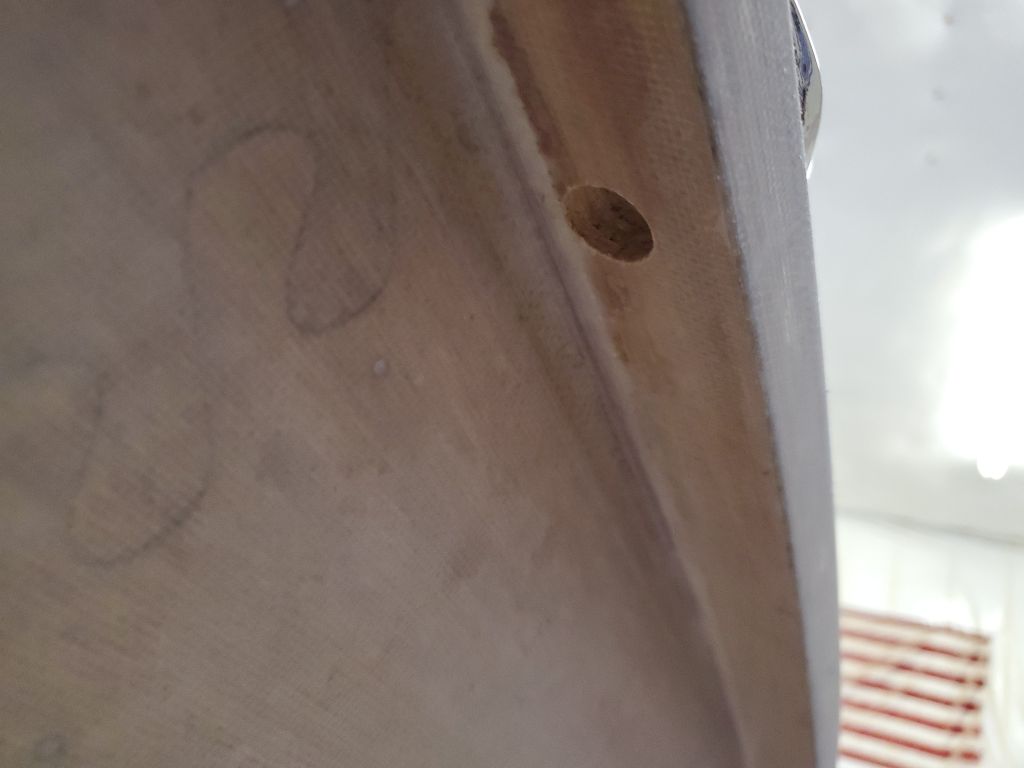
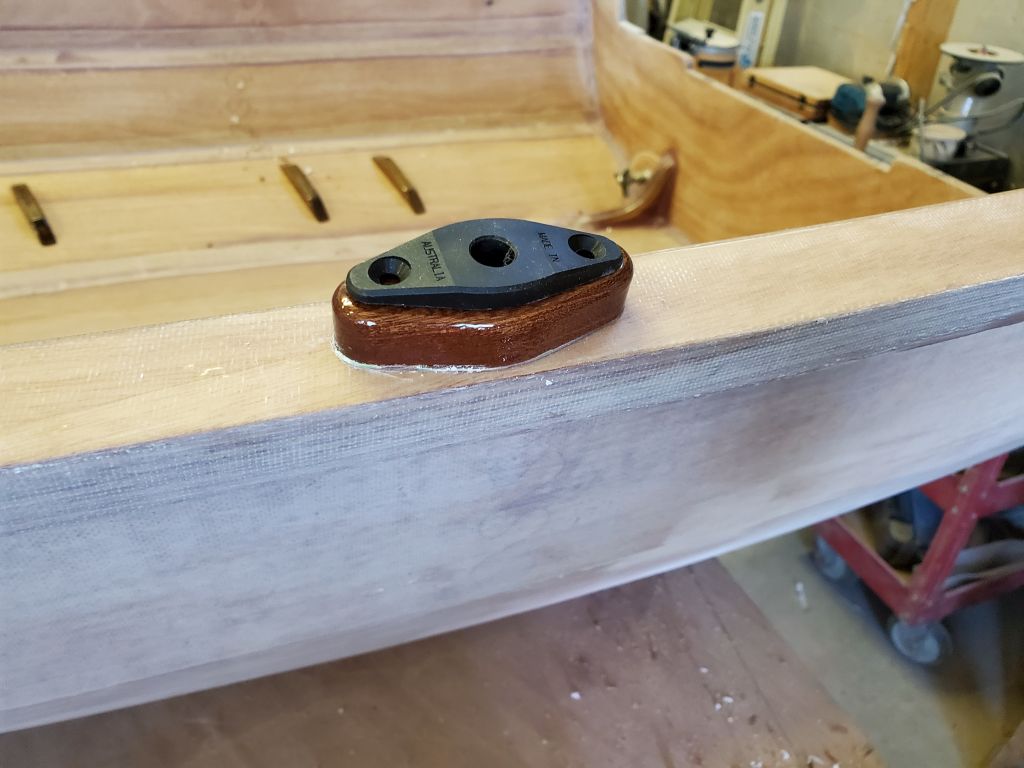
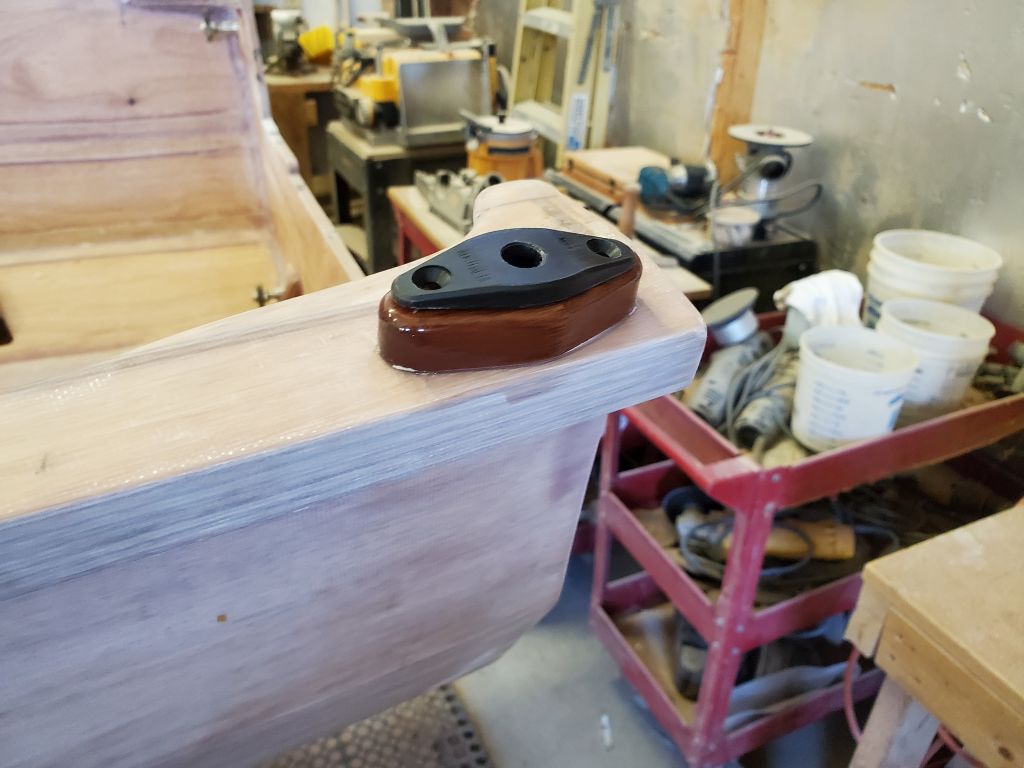
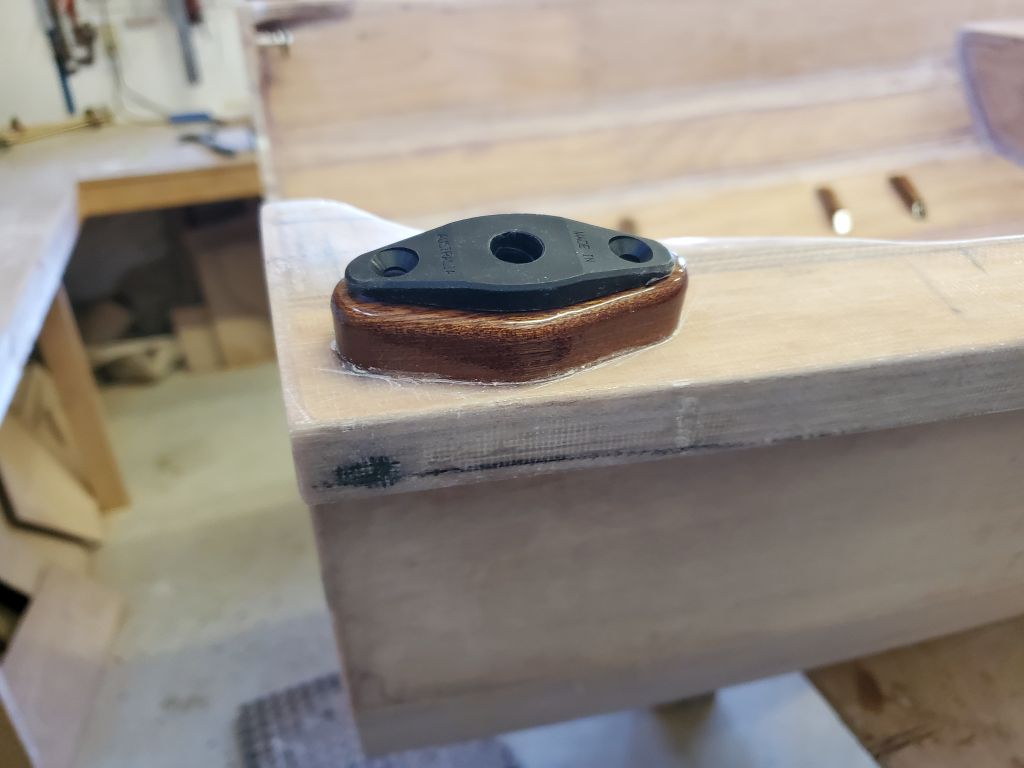
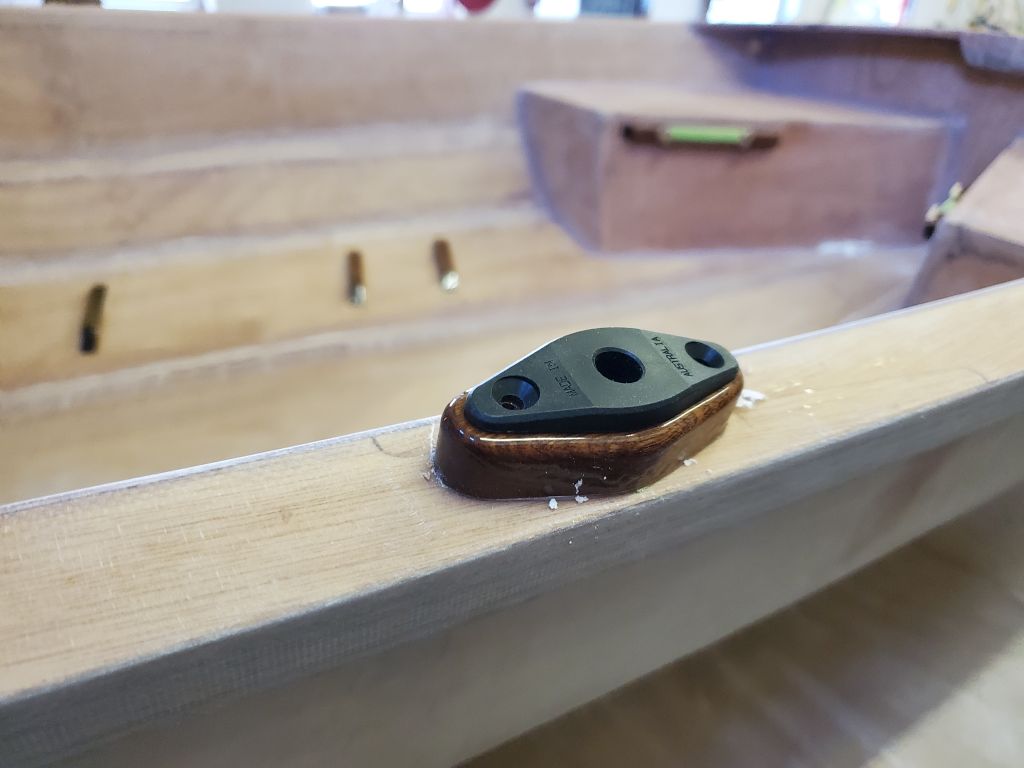
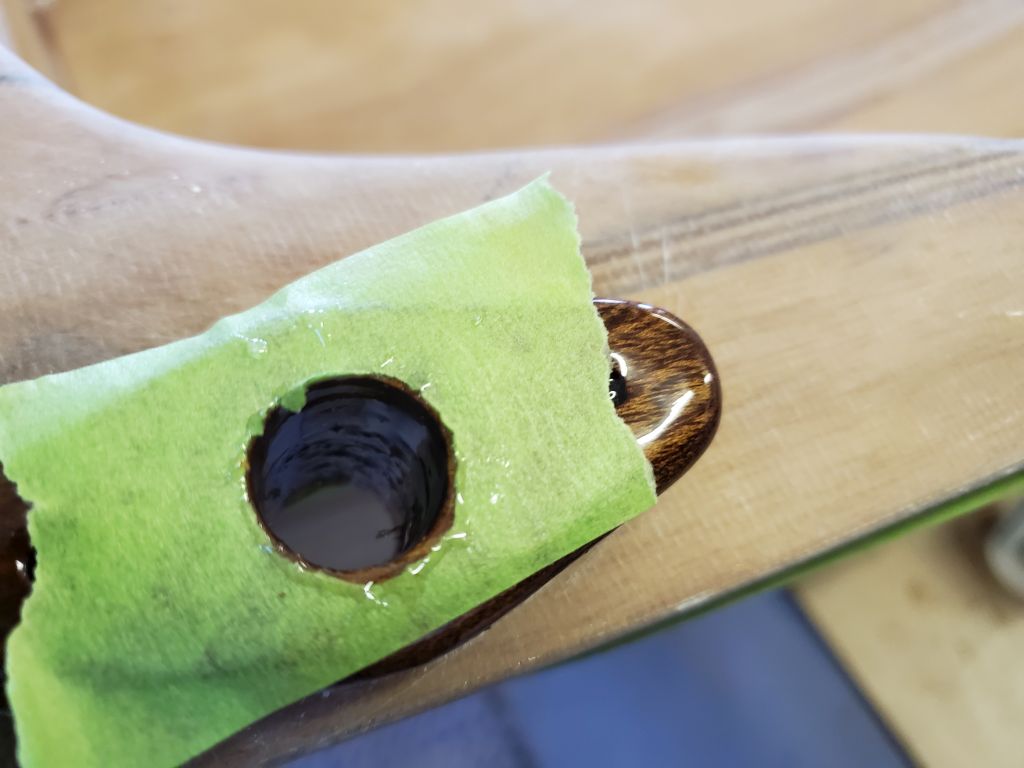
Those would get permanently installed later, but now I masked off around the holes and treated the new bores with epoxy, using a small brush to coat the insides of the holes. I’d do at least one more coat later before calling this complete.

Total time billed on this job today: 3.25 hours