December 23, 2024
PT11-42
Monday
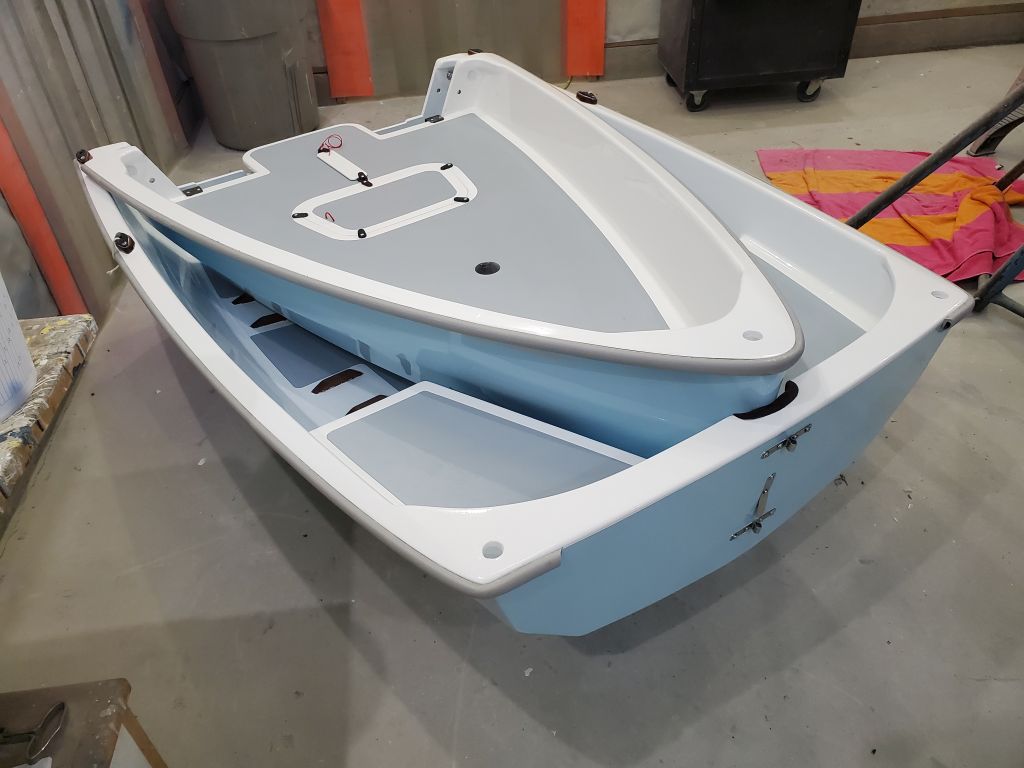
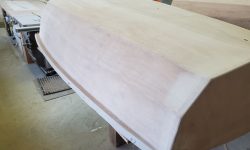
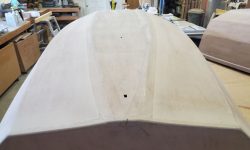
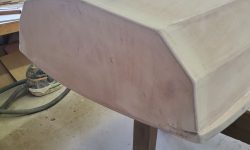
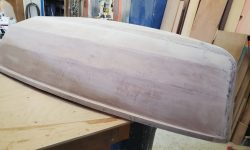
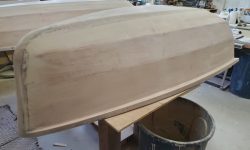
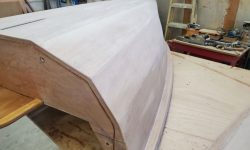
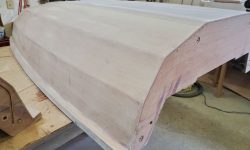
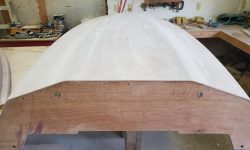
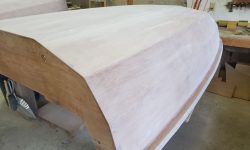
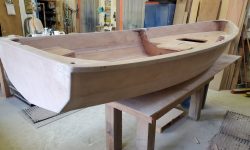
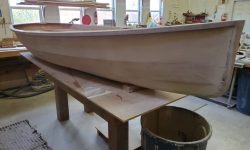
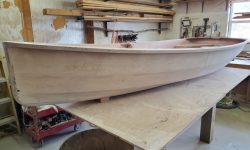
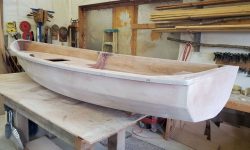
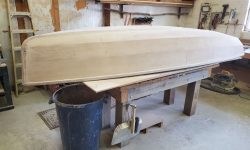
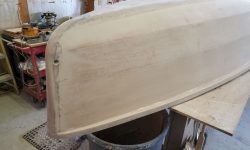
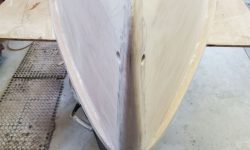
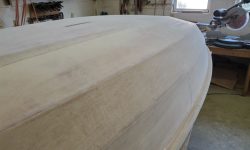
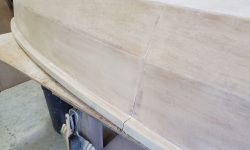
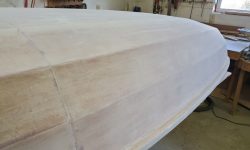
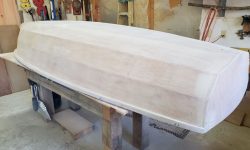
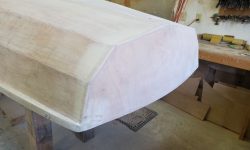
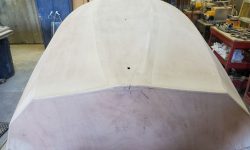
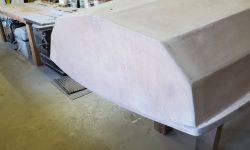
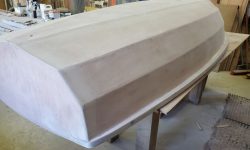
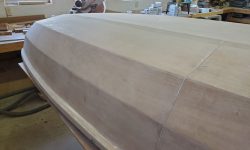
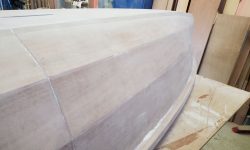
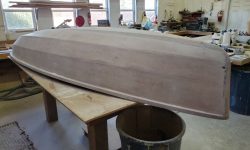
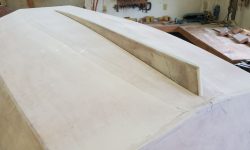
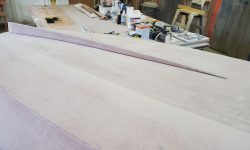
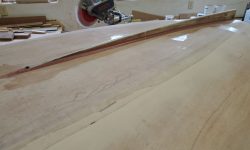
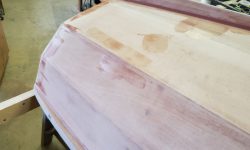
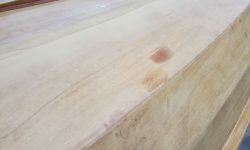
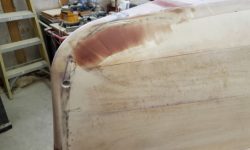
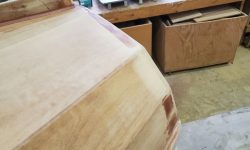
The fill coats on the hull had had a couple days’ cure time, and now I sanded the hull as needed to smooth and flatten the epoxy surface. I used a vibrating palm sander for the flats–most of the boat was comprised of flats–with 80 grit to break the surface, followed by 120 grit. I finished up with hand sanding on the corners and more contoured areas, with and without a sanding block. This process worked well to remove any roller texture and flaws from the fill coats, leaving a smooth surface without compromising the fiberglass cloth beneath.
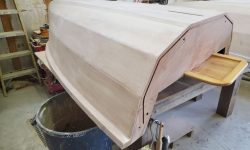
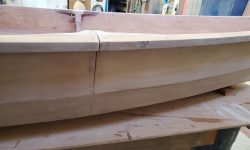
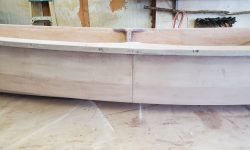
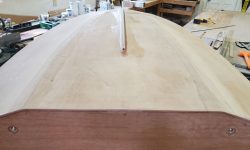
At the gunwales, I block sanded the small lip of fiberglass along the bottom (facing up for now) edges so they were flush with the faces, and block sanded the faces smooth as needed. I left the upper (downward-facing for now) edges to be cleaned up once I turned the hulls back over soon. I did use a block sander to clean up the fiberglass where it slightly overhung the bulkhead faces, carefully making these flush and square once more.
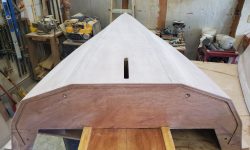
I didn’t sand much at the bulkhead ends of the hulls–just a light sanding in those areas for now–so that I could finish those areas off once I rejoined the hull halves, but once I turned both halves upright again, I finished off sanding along the upper edges of the gunwales, the breasthook and inwale as needed to bring the new fiberglass flush and otherwise smooth these surfaces. Because of the way the transom fiberglass overlapped onto the inwale, I’d have to add some fairing compound later to finish smoothing the transition.
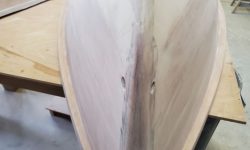
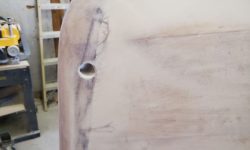
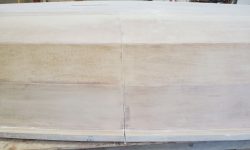
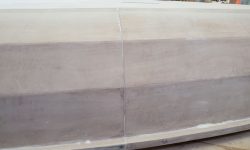
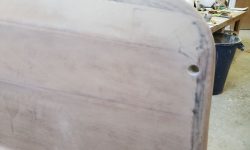
Next, I reconnected the hull halves, then turned the boat over again and sanded across the conjoined seam with a sanding block to finish things off. I knifed open the towing hole at the stem and cleaned that up too.
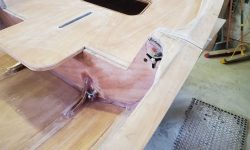
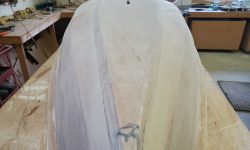
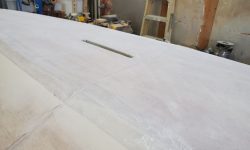
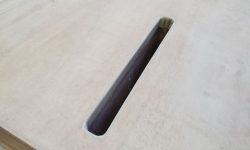
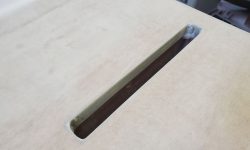
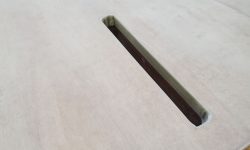
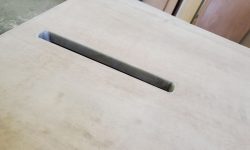
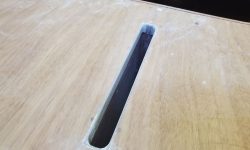
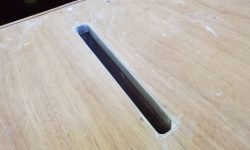
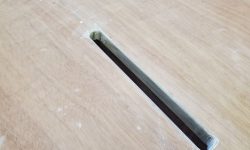
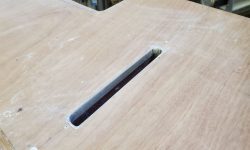
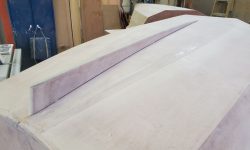
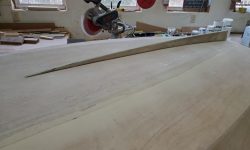
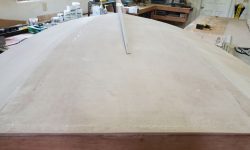
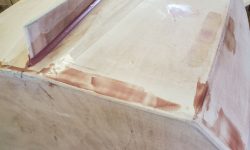
The daggerboard trunk openings on both sides–hull and foredeck–required a bit of work to clean up the edges and the filleted corners I’d installed before fiberglassing, but hadn’t otherwise addressed.
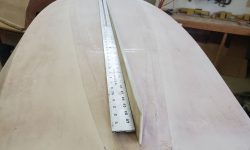
Once I was satisfied with the hull fairness across the seam, I disconnected the hull halves once more and got the stern section set up for installing the skeg; this required propping one end on a sawhorse since I required access from beneath to secure the skeg during installation. I’d previously prepared the skeg through several steps, including installing a fiberglass base shoe and solid epoxy trailing edge, plus sheathing in 6 oz. cloth and fill-coating as usual before sanding it smooth while working on the hull earlier in the day.
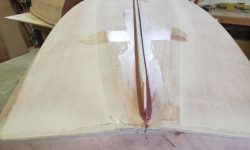
Now, I fully opened the three alignment holes in the bottom of the boat, and, after some minor modification to the tongues on the skeg, achieved a workable dry fit, ensuring the skeg was straight and true.
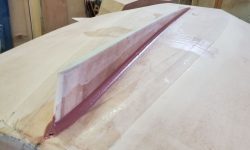
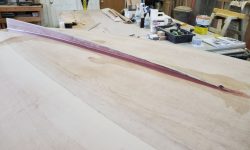
I marked the hull around the skeg, then removed the skeg and installed it permanently in the usual way, with epoxy priming of the skeg top and hull surface, then thickened epoxy adhesive with high-density filler and cabosil. I secured the skeg for gluing with two screws driven from inside the boat, through the slots and into the tongues with little plywood washers, and a third screw driven from outside the boat near the thin forward end of the skeg. This arrangement left the skeg firm and sturdy in place, so I could continue immediately and install 3/4″ radius epoxy fillets along both sides where the skeg joined the hull, and extending just past the trailing edge so I could finish off the fillet as desired later with sandpaper.
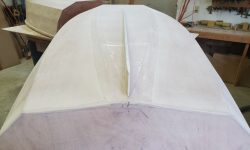
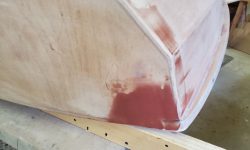
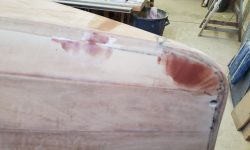
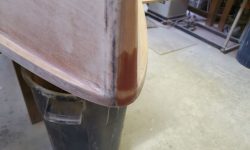
Finally, I went around the two parts of the boat with some fairing compound and applied it to a few areas requiring a bit of extra attention, especially at the upper transom corners to better blend where the gunwale fabric had wrapped around, and both sides of the stem to clean up some tool marks left when I’d faired that area between fiberglassing sessions, but also a few random low spots here and there on the hulls.
Total time billed on this job today: 6.25 hours


