December 16, 2024
PT11-35
Monday
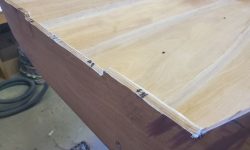
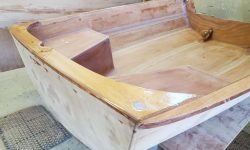
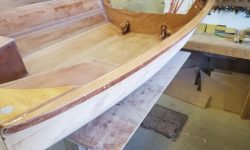
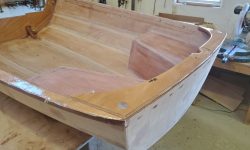
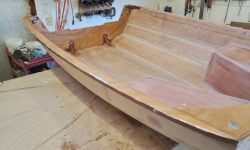
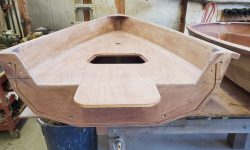
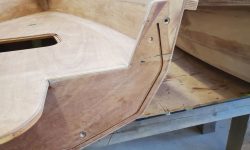
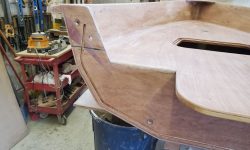
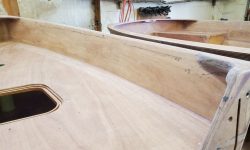
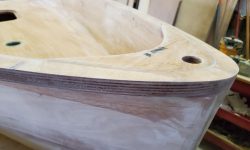
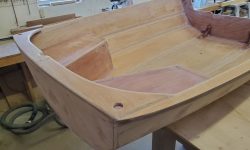
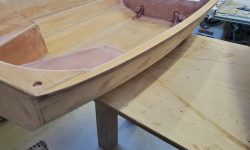
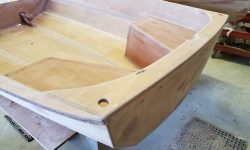
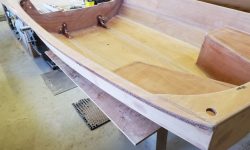
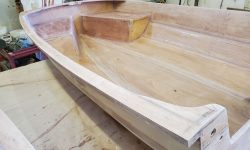
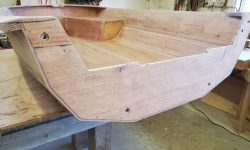
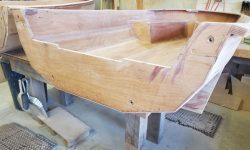
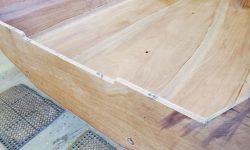
Over the weekend, I applied a second fill coat of epoxy to the fiberglass on the gunwales, bulkhead edges, stem, and transom areas. I decided on this second fill coat because the heavier cloth used on many of these parts didn’t fill as completely with the first coat, and to help ease the various transitions between layers of fiberglass and adjacent areas. The book suggested this might be the case, and recommended the second coat as well. Before applying the second build coat, I trimmed the fiberglass close to the various edges with a knife.
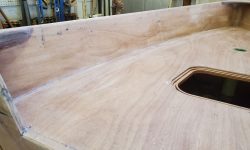
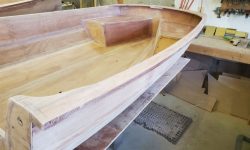
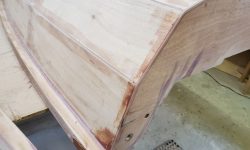
Now, with the build coats cured, I set to work sanding all the new fiberglass to smooth the surfaces and bring the edges flush all around as needed. This was all hand work with small foam sanding block that I like and 120 grit paper.
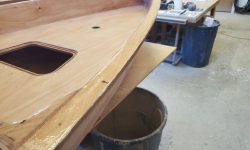
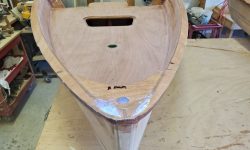
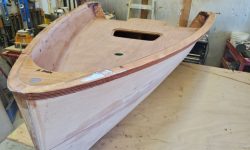
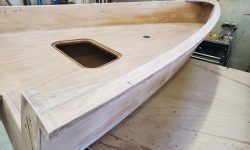
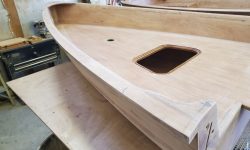
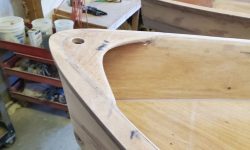
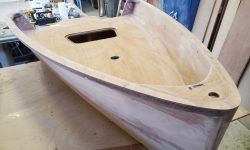
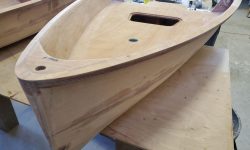
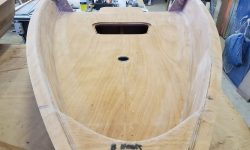
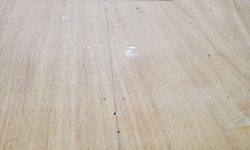
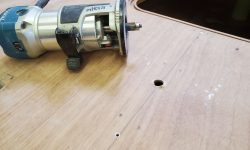
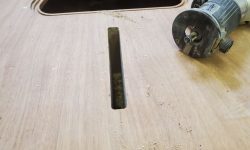
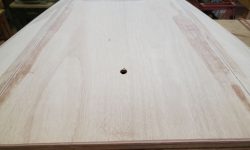
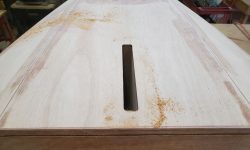
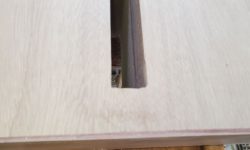
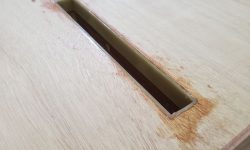
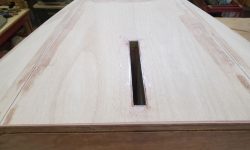
It was time to open up and finish off the two ends of the daggerboard trunk. I started by drilling a 1/2″ hole through the foredeck over where I knew the trunk to be, which allowed me to use a router and a straight pattern bit to cut out the opening. I used a small square-edged sanding block to square the corners afterwards, since the next step required it.
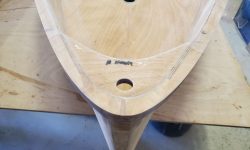
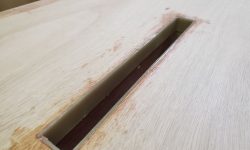
On the bottom, I’d drilled a 1/2″ hole through the boat just before installing the daggerboard trunk a while back, and used this to open the bottom slot as well, squaring its corners the same way.
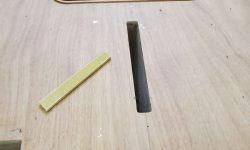
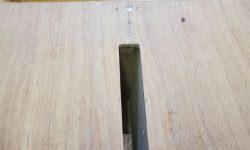
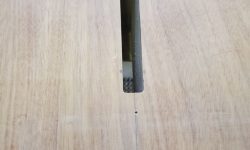
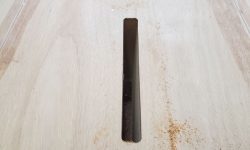
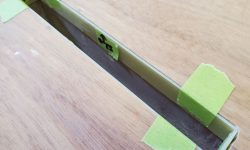
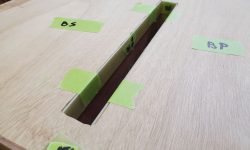
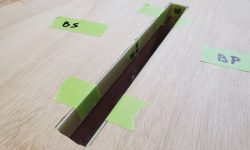
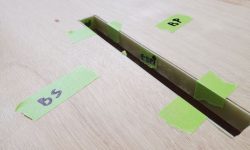
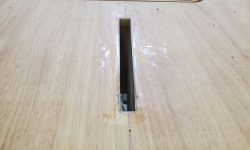
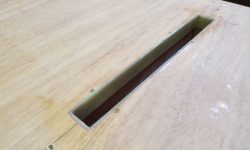
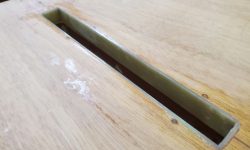
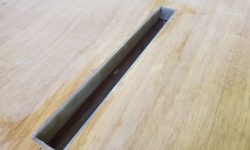
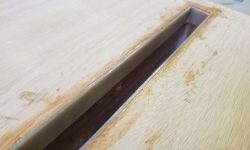
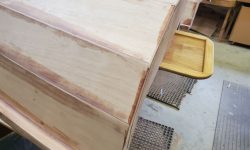
To finish off these openings and provide a wear surface for the daggerboard to slide and rest against, the book called for slim strips of G10 fiberglass, which I had to cut to fit all four sides of the openings top and bottom: long edges first, then the short ends to fit tightly between. I dry fit all the pieces and labeled as shown.
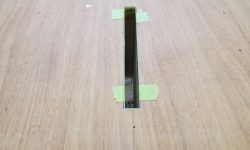
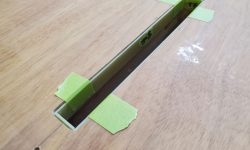
To install the strips and before departing for lunch break, I started with a coat of unthickened epoxy on all the plywood edges within the slots, using a fast hardener mix so the epoxy would have a moment to partially set up before continuing. Then, in the afternoon, I installed the fiberglass strips with a thickened epoxy mixture, which was enough to hold things in place: first the foredeck side, then the bottom side with the boat flipped over. I kept the fiberglass just barely above the finished foredeck and hull surfaces so I might bring the edges perfectly flush with light sanding later.
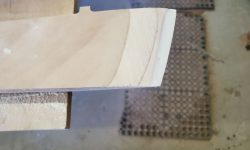
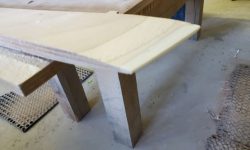
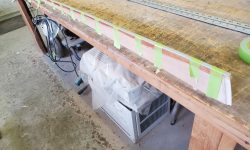
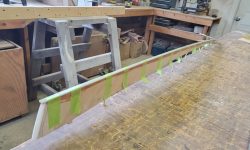
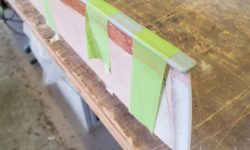
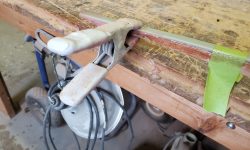
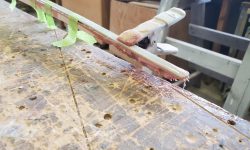
Meanwhile, I continued some of the early prep work on the skeg. I sanded the new epoxy trailing edge I’d formed last time, bringing it smooth at the tapered plywood ends and leaving about a 3/16″ flat on the trailing edge. Then, I supported the skeg upside down with three screws driven through the benchtop and slightly into the skeg, and installed a long fiberglass wear strip on the bottom edge, first wetting out the surfaces with unthickened epoxy then a thickened epoxy adhesive mixture. I taped the fiberglass in place, with a clamp at the thin forward end.
The fiberglass extended past the forward end of the skeg–later it would be cut to a specific length–and I used some of the leftover epoxy (thickened even more) to fill the small step between the plywood and fiberglass there, so that I could sand the transition smooth later.
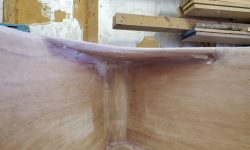
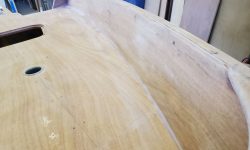
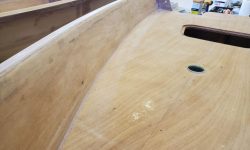
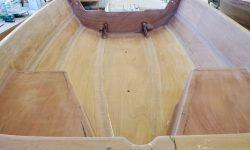
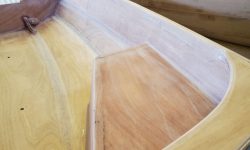
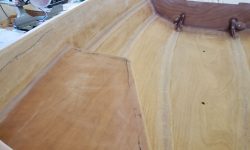
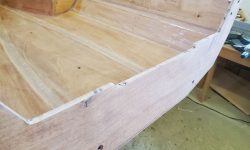
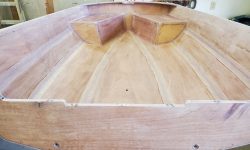
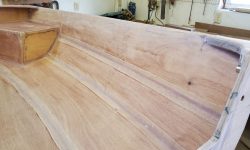
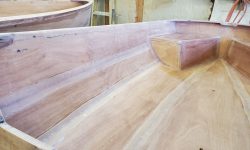
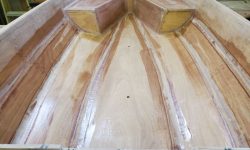
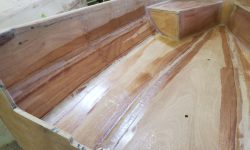
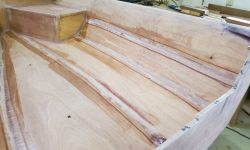
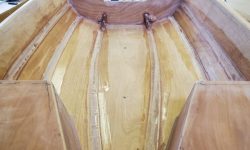
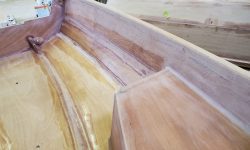
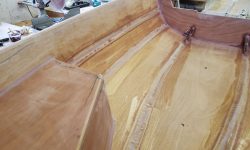
The remains of the day and the state of other parts of the boat gave me a good opportunity to do a bit of prep work inside the aft half of the hull, where I installed fairing compound to ease the edges of the hull chine tabbing as needed. These edges had been more noticeable than I wanted because my peel ply strips during installation weren’t wide enough, and at that time I didn’t fully understand the purpose of the strips as a means to fair out the transitions, which is the main purpose of the peel ply as used on this particular build–something the manual could, but doesn’t, stress during the earlier stages of the build. Since the interior of the boat was to be painted, the minor fairing work would not be noticeable.
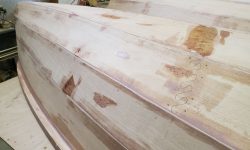
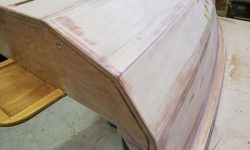
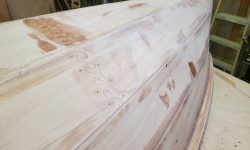
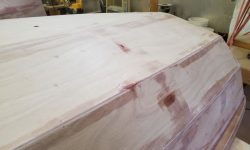
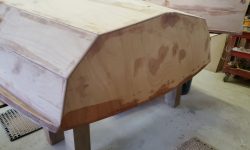
From here, the next major step would be to sheathe the hull exterior in fiberglass. I’d already brought the hull to a state of readiness for this, even though I’d first have to assemble the cut halves for the first time and check the hull fit and fairness at the seam, so unlike the manual description that seemed to assume no exterior work had yet been done, I did not have to approach all the hull fairing work now, but there were still a few areas where I could–and now did–touch up the previous work to prepare for the fiberglass ahead. This brought the day to a natural conclusion.
Total time billed on this job today: 6.75 hours


