December 13, 2024
PT11-34
Friday
I spent the first part of the day on various sanding and milling tasks to prepare for fiberglassing a variety of “edges”, to provide an encompassing term.
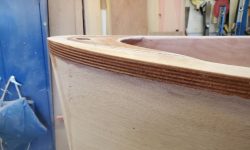
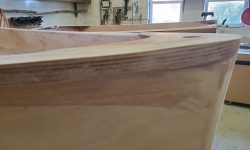
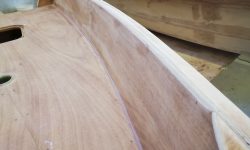
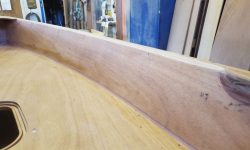
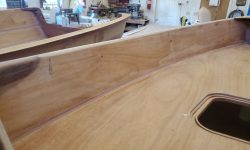
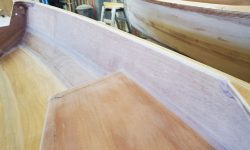
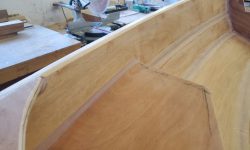
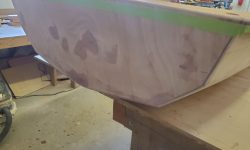
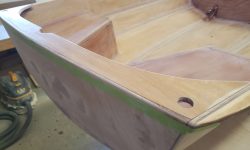
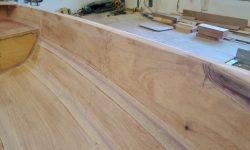
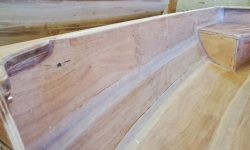
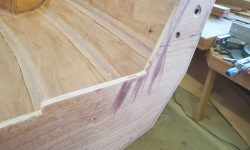
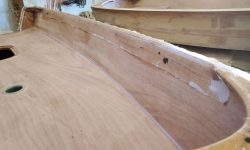
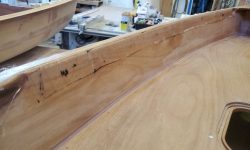
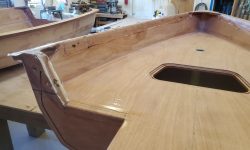
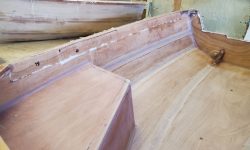
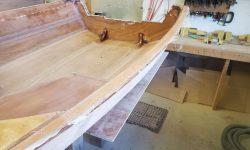
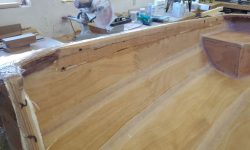
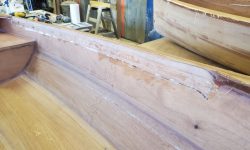
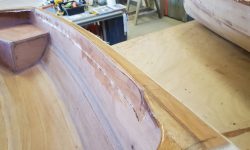
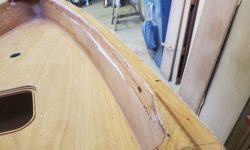
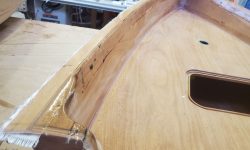
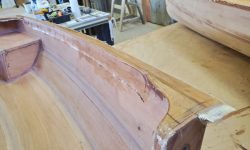
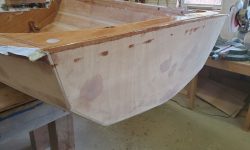
I milled a roundover on the junction of hull and gunwale on both sides of both boat halves, and sanded it smooth, along with lightly sanding the filled gunwale installation holes on the inside of the hull. I also sanded flat the breasthook and the protruding nub of the gunwales forward of it, and rounded the aft top edge of the breasthook.
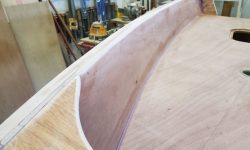
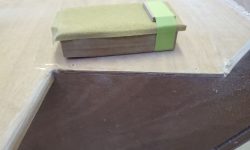
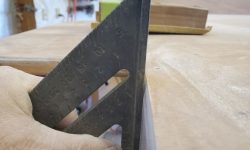
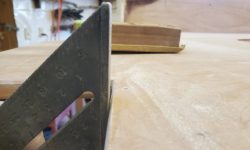
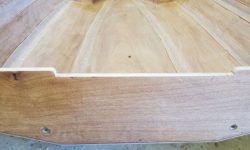
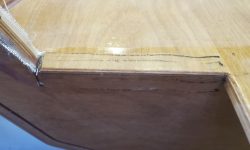
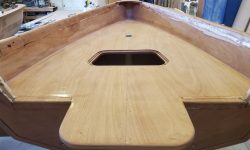
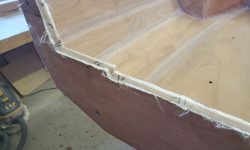
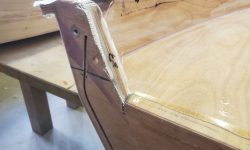
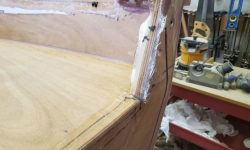
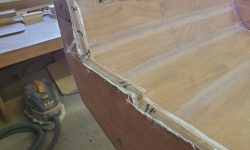
At the aft end of the bow section, I block sanded the vertical bulkhead edges to clean them up, and then sanded a bevel into the aft edge of the foredeck where it joined the bulkhead. The bevel was required here because this edge required fiberglass for protection, but since the foredeck had to remain completely flush with the bulkhead when all was said and done, the bevel was required to give space for the fiberglass. I used a sanding block with a piece of 1/4″ plywood taped to the bottom side to easily create the angle for the bevel. Once I’d sanded in the angle, I rounded the top corner.
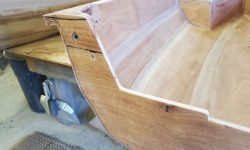
On the stern section of the boat, I also rounded the transition between hull and gunwale, and block sanded the bulkhead edges, while also fine-tuning the roundover I’d previously installed on the top edge of the transom inwales.
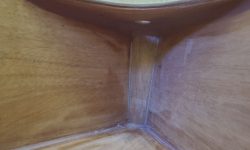
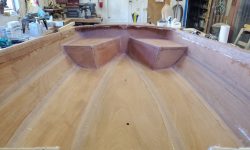
With all the sanding and milling operations complete, and the boat vacuumed and cleaned up, I started by installing a fillet beneath the breasthook, which I accomplished by inverting the bow half on the bench and leaving the bow hanging well out so I could crawl, hermit crab-like, into the space and form the fillet with relative ease.
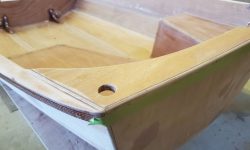
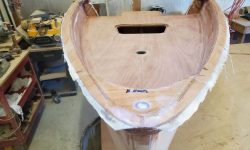
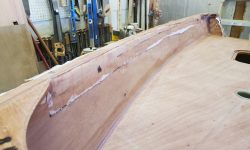
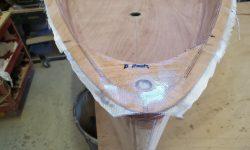
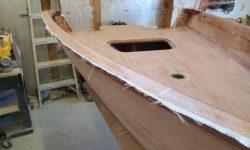
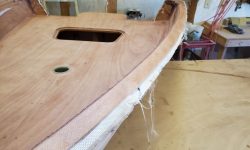
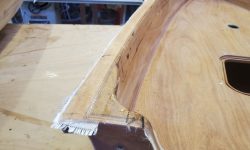
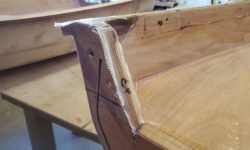
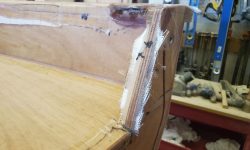
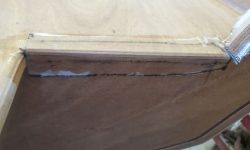
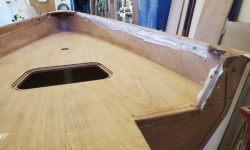
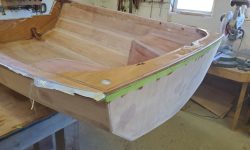
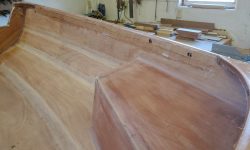
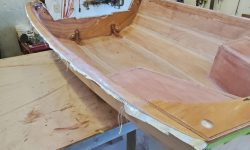
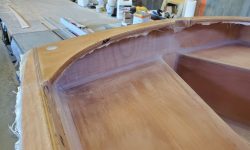
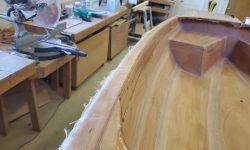
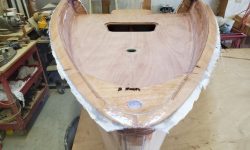
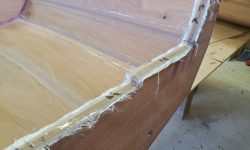
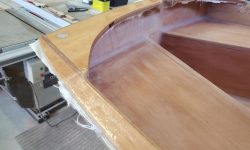
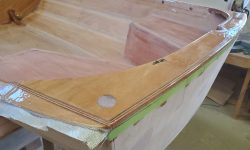
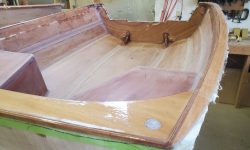
Next, I turned to the day’s main event to install fiberglass over the breasthook, gunwales, and bulkhead edges on the forward half of the boat, using the various cloth I’d cut last time. There was one layer of 6 oz. cloth to cover the tops of the gunwales and down onto the interior of the hull, one layer of 4 oz. cloth to cover the breasthook and wrap over its aft edge, and two layers of 6 oz. at the vertical bulkhead edges aft. The aft edge of the foredeck received one layer of 4 oz. cloth covered in peel ply to smooth the transitions, and at the gunwales, I installed peel ply below the hull edge to smooth the transition onto the hull.
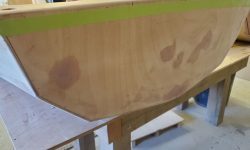
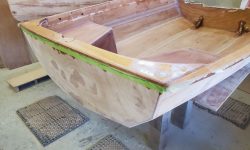
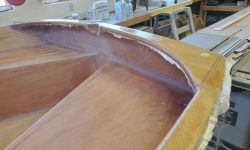
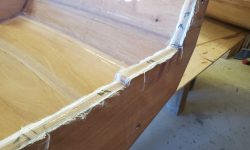
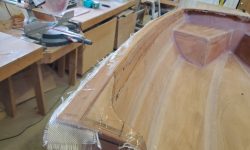
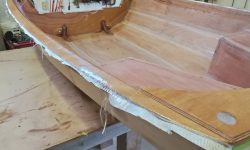
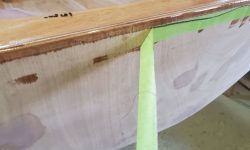
On the stern section, I used two pre-cut pieces of 4 oz. cloth to cover the inwale, wrapping over the transom edge and overlapping the green tape I’d placed there (the fiberglass would later be trimmed at this tape line), and more 6 oz. cloth over the gunwales, with two layers of 6 oz. on the aft bulkhead edges. Again, I installed peel ply beneath the hull edge to smooth the transition of the tabbing onto the hull.
Later in the day, I applied an epoxy fill coat to all areas. After, I trimmed the fiberglass at the transom and pulled the masking tape. The 6 oz cloth, particularly on the gunwales, tended to drain the resin a bit to the low (outboard) sides, so I thought I’d likely roll on another fill coat on the morrow to completely fill the weave of the heavier cloth. This would probably be required on the bulkhead edges too.
Total time billed on this job today: 5.5 hours


