December 11, 2024
PT11-32
Thursday
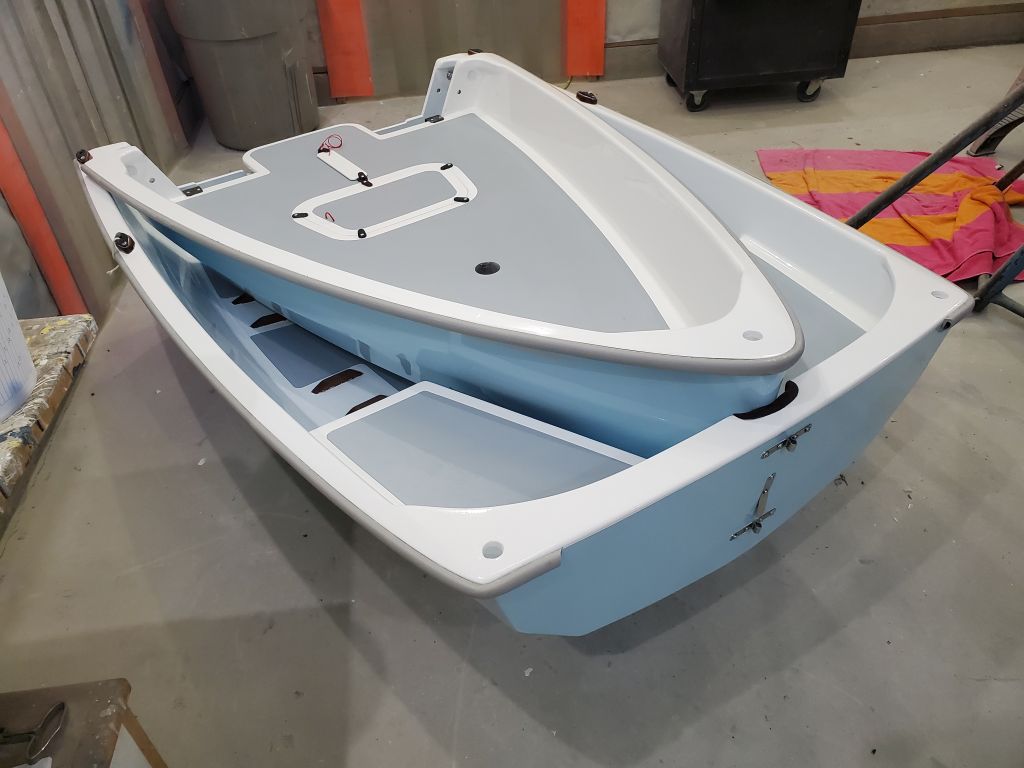
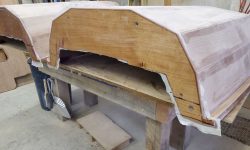
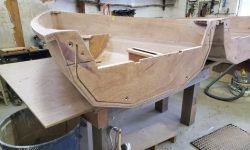
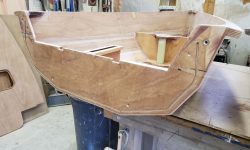
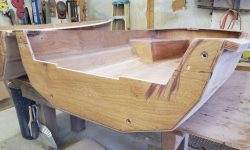
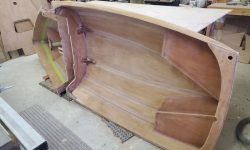
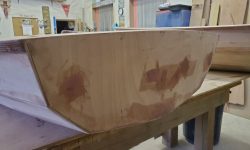
With the fiberglass sheathing on the bulkheads cured overnight, I set the boat halves back up on the bench ready for more work.
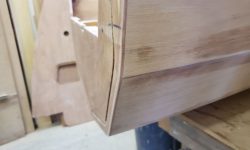
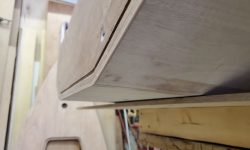
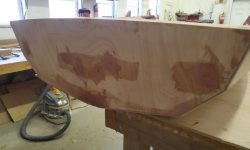
After trimming the excess fiberglass with a sharp knife, I block sanded the faces flat with 120 grit paper, and lightly block sanded the hull faces to bring the cut fiberglass down flush. I lightly block sanded the edges of the bulkhead to make the fiberglass flush there as well. The slow hardener was only just barely ready for sanding, and a few areas where the resin had been thicker during application were still too gummy to properly sand, so I’d come back later and quickly resand both faces as needed. I trimmed the fiberglass from the fastener holes and gasket slot, and cleaned these areas up as needed.
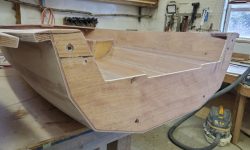
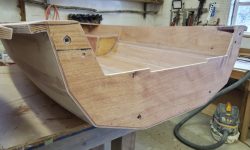
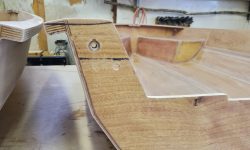
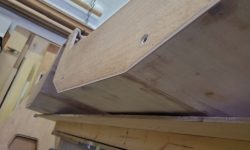
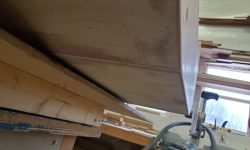
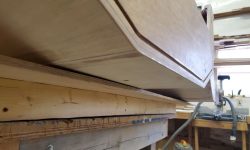
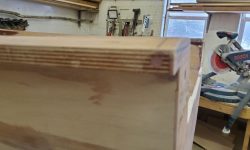
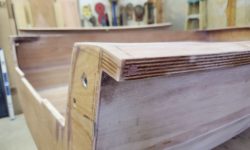
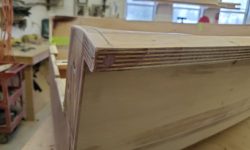
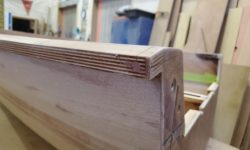
At the gunwales, I block sanded the fiberglass flush on the three sides, being careful to maintain the original gunwale shape since these were crucial to realigning the boat later on.
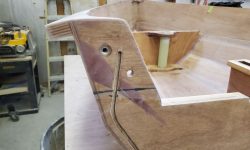
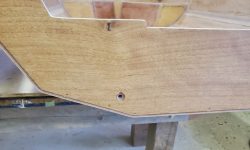
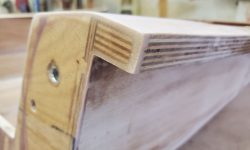
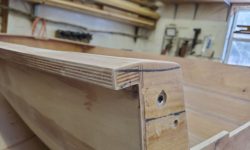
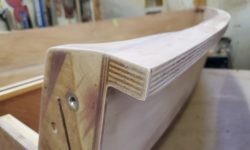
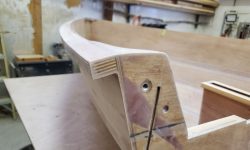
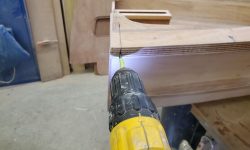
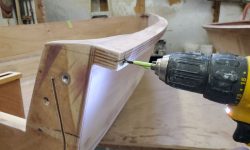
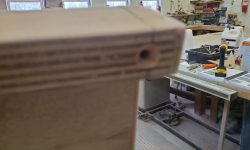
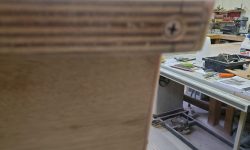
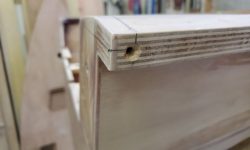
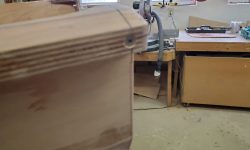
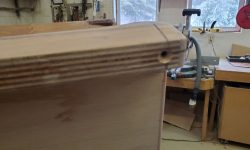
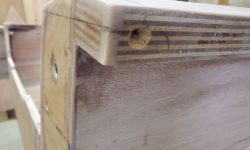
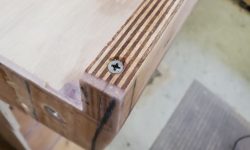
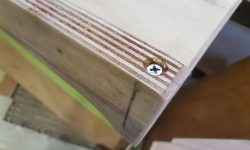
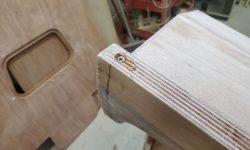
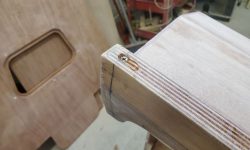
The instructions called for some reinforcement at the gunwale ends, taking the form of stainless steel screws driven in to the structure in a specific way and saturated in epoxy. I marked and drilled the holes in the detailed way described, dry-installed the screws as a test, and then, with the boat tipped up on one side and then the other, installed the screws after first pouring unthickened epoxy into the holes. I cleaned up any excess epoxy.
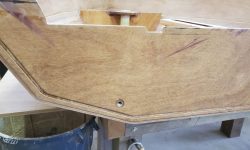
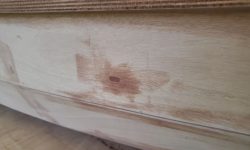
I used the leftover epoxy to mix up a small batch of thickened filler that I used to cover these screw heads, and also go over the various assembly slots in the stern quarters once more.
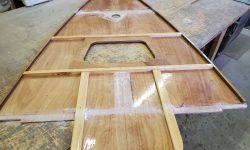
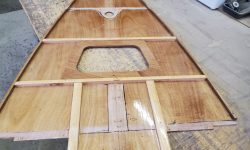
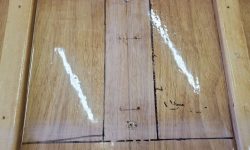
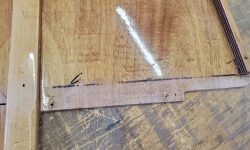
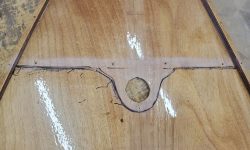
Now I could move forward with the final preparations to install the foredeck. Using the lines I’d previously marked on the underside to outline the various structural members to which the foredeck would ultimately be secured, I sanded the glossy epoxy in those areas to prepare for bonding.
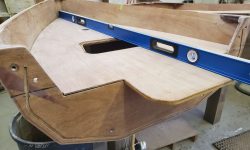
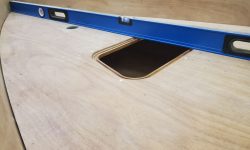
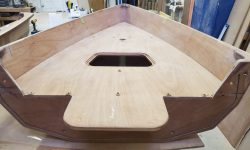
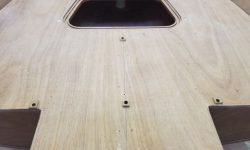
Next, I set the foredeck in place and, with a long straightedge, checked that it was flat and true: the foredeck was supposed to be planar from the bulkhead to the stem, while resting firmly on the daggerboard and mast step areas, and I wanted to be sure the forward tip didn’t droop at all. Everything looked good.
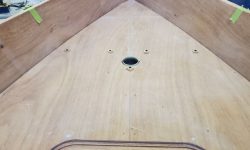
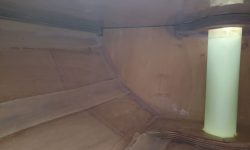
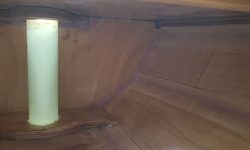
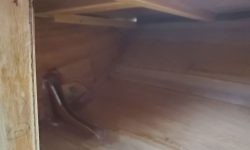
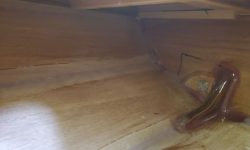
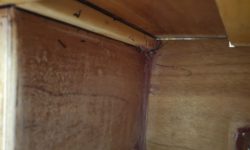
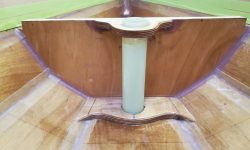
I remove the foredeck again and, working from the underside, marked and drilled pilot holes for a number of screws (11) to help secure the foredeck temporarily during final installation. Then, I reinstalled the foredeck again and secured it dry with sheetrock screws and little plywood pads, then checked beneath with a camera to ensure the foredeck was tightly against all the required structural members.
I liked the way the translucent mast tube fairly glowed with the light from above…somehow a 70s sort of lava-lamp vibe. The area beneath the foredeck would make a groovy pad, zoinks!
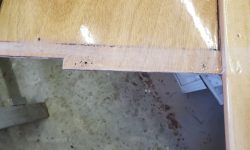
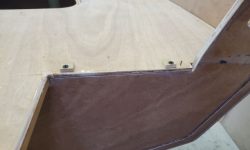
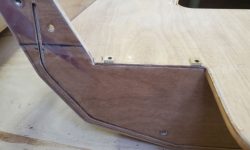
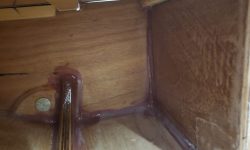
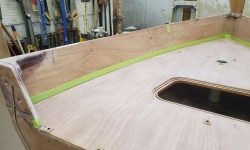
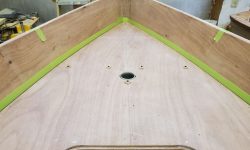
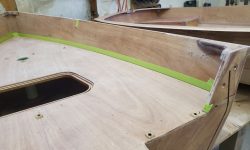
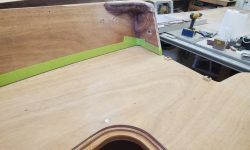
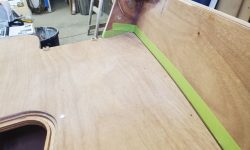
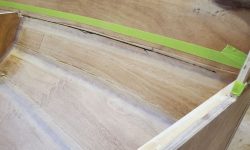
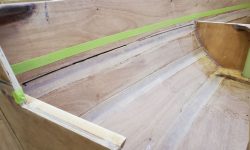
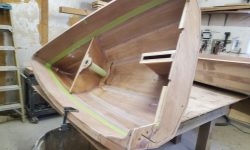
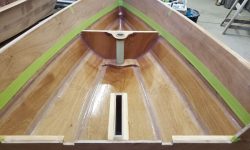
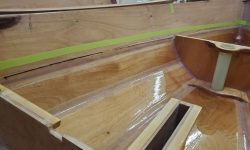
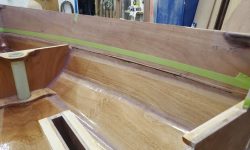
I used a marker to trace the bottom edge of the foredeck on both sides where it met the hull, and, from abovedecks, I masked along the top edge of the foredeck all along its perimeter. This tape would be helpful to ensure proper alignment, but was really in place to protect the hull from excess epoxy during installation.
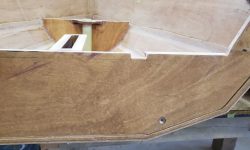
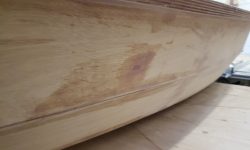
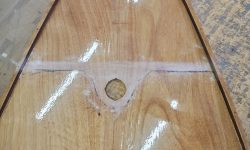
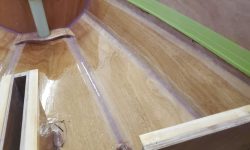
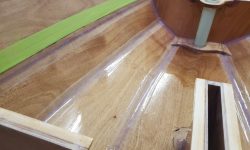
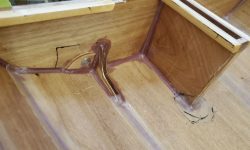
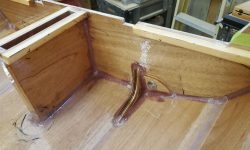
The black mark below represented the bottom edge of the foredeck, and also demarked the top extent of the final gloss coat of epoxy that would be applied next.
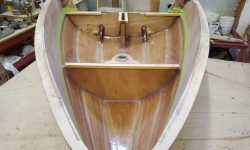
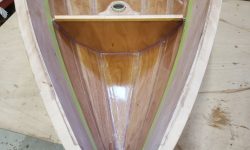
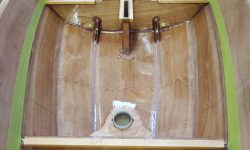
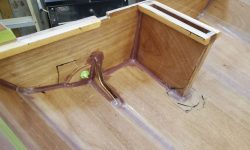
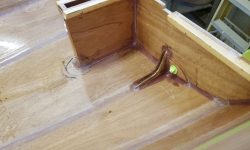
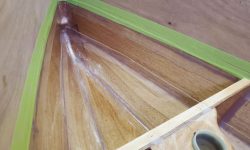
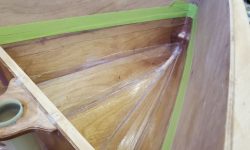
After masking just above the black line, and also masking off the hardware locations at the lower gussets, I applied a gloss coat of epoxy to all these areas, which would be the final finish. I rolled and tipped the epoxy, and brushed in the corners as needed. Once the epoxy was applied, I removed the masking tape, leaving just the strip along the hull at the top edge of the foredeck. Once the gloss coat cured overnight, I could move on with the final installation of the foredeck.
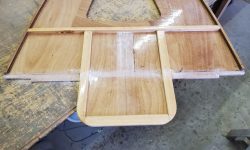
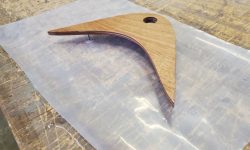
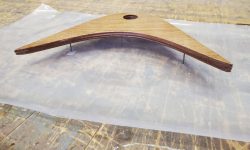
With some epoxy leftover, I coated all sides of the breasthook piece, after first rounding the lower aft corner with a router and a quick overall sanding. I suspended it on nails driven into the bench and with their heads cut off. This could be installed once the foredeck was in place.
Total time billed on this job today: 6.25 hours


