December 2, 2024
PT11-25
Monday
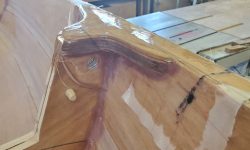
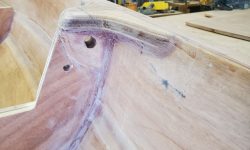
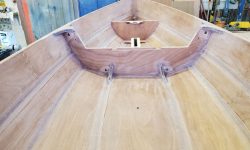
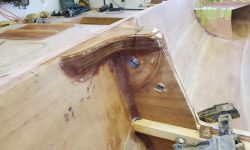
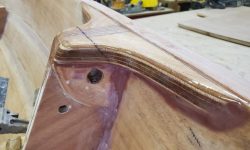
Over the weekend, I returned to the shop to apply a fill coat of epoxy to the new fiberglass atop the upper gussets.
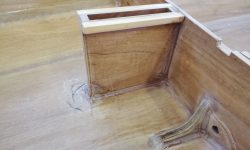
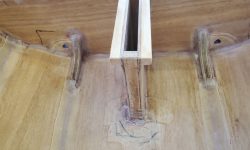
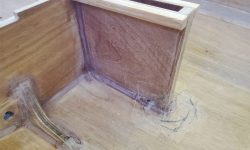
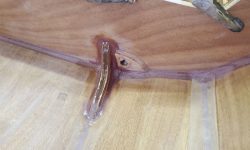
I also coated the daggerboard trunk with epoxy to catch up for the coat that I postponed in order to advance its installation earlier.
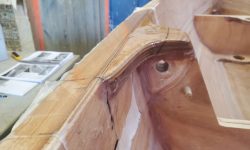
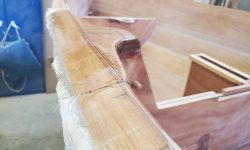
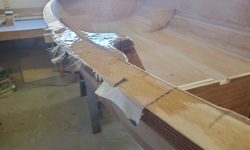
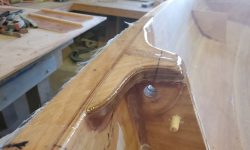
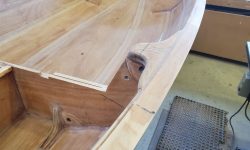
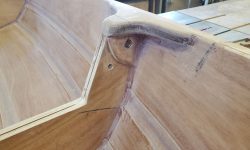
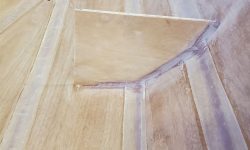
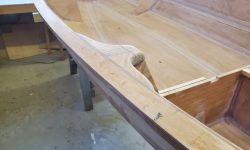
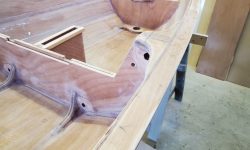
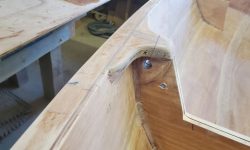
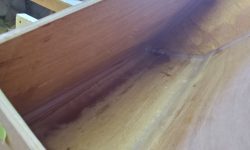
Now, the epoxy coating had cured over the past couple days, and after trimming the excess fiberglass and removing the peel ply from the work, I sanded and cleaned up the upper gussets as needed, smoothing the transitions where the fiberglass ended at the gunwales (the peel ply I’d applied here, and at the outer corners of the gussets, had been intended for this very purpose and worked well) and removing most of the gloss from the epoxy coating, while cleaning up and smoothing as needed the inner edges and other transitions. I also lightly sanded the various fillets where I’d made some small touch-ups.
I lightly sanded the daggerboard trunk as well. This, like all areas, would later get another full coat of epoxy later in the build process.
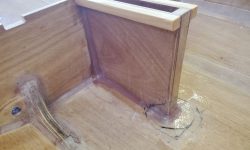
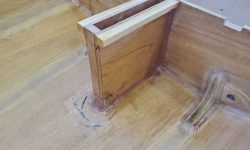
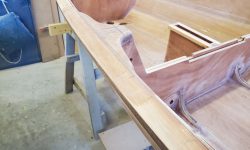
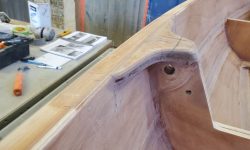
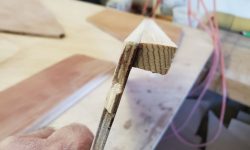
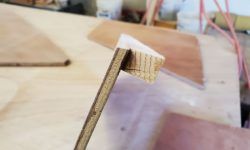
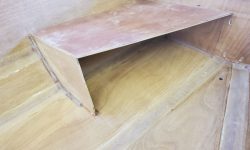
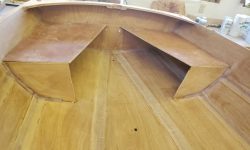
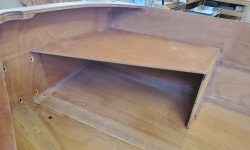
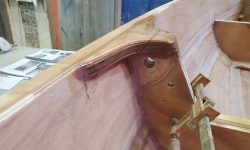
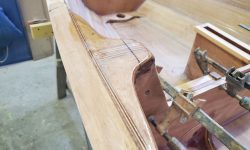
Next, I turned to the aft tanks once more, unclamping the vertical inner panels and planing the top edges of the plywood even and flush with the angles on the tops of the new cleats.
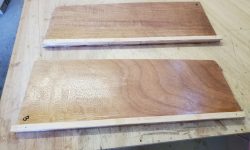
I test-fit the top seat panels, modifying the tongues a bit so they fit in the associated grooves as required.
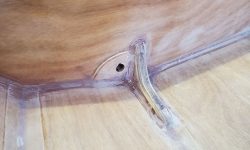
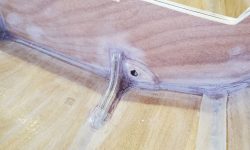
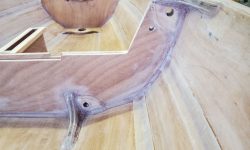
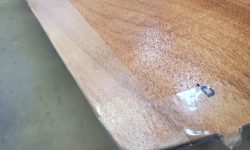
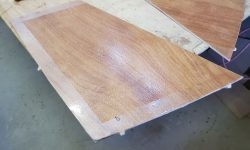
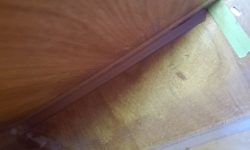
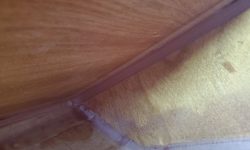
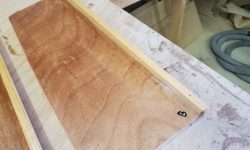
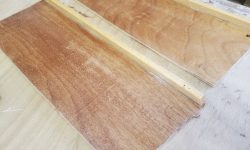
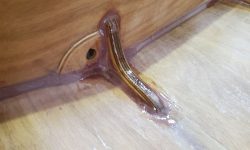
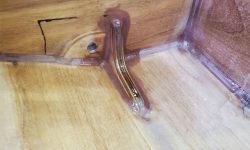
Satisfied that the panels fit correctly, I prepared the undersides for the next step, which was applying blind fillets around the three outer edges of the upper panels where they met the hull, transom, and small bulkhead. These fillets, once cured, would eventually be used to glue down the top panels.
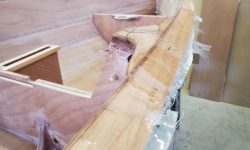
To prevent the epoxy from sticking to the plywood for now, I covered the three edges with plastic packing tape on the bottom, leaving enough overhang that I could wrap the tape around the edges of the plywood and around the alignment tongues for protection there too.
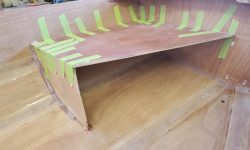
Then, I installed and taped the panels securely on all available edges to hold them in place and in proper alignment while I installed the fillets in the space beneath.
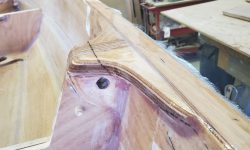
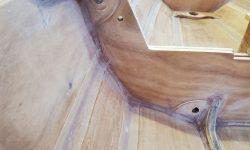
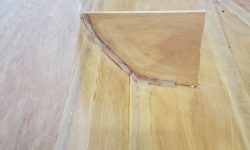
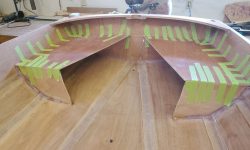
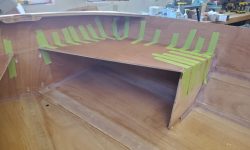
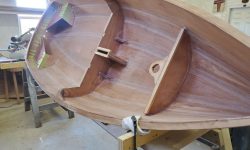
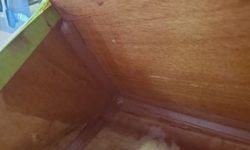
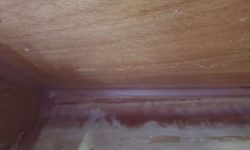
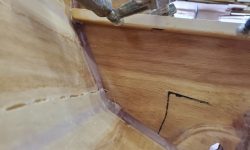
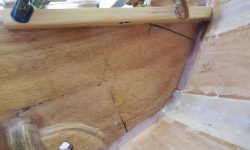
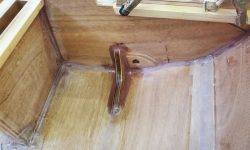
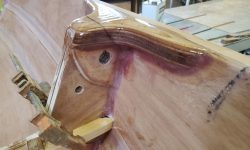
To improve give me access beneath, I tipped the boat as much as possible on to one side at a time, which allowed me to install the required fillets along the hull, transom, and bulkhead edges. It was a tight fit with poor visibility, but it was possible. Although these fillets were structural only and would never be seen once the tanks were fully installed and sealed, I strove to make them as clean and consistent as possible. I did the starboard side first, then tipped the boat to the other side and repeated the process to port. For some reason I seem only have taken photos of the starboard side, but you can hold your screen up to a mirror to imagine the port side. (There’s video footage that will be posted later, though.)
The green tape seen at the upper/inside edge of the short bulkhead and on the transom is there to show me in an easily visible way how much clearance is required for the inner panels and cleats; I ended the blind fillets just short of that tape line.
This brought be up to lunchtime, which was a good time for the fillets to begin to cure for a bit before I continued other work on the boat.
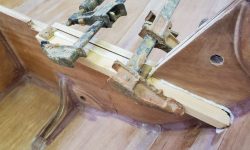
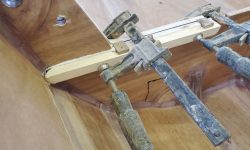
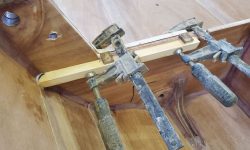
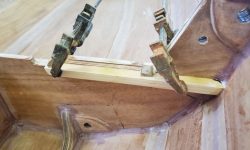
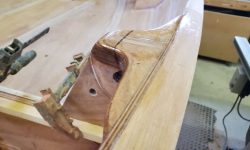
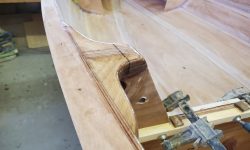
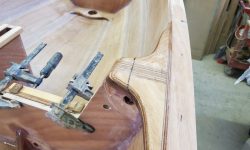
In the afternoon, I completed a few small jobs, starting with preparing and installing two spruce cleats on the forward side of the mid bulkhead, which cleats would later support the ends of the foredeck. I had to shape the cleats slightly to fit the fillets in the corner against the hull, and trim them slightly so they ended flush with the slots in the bulkhead. I installed them with thickened epoxy adhesive and small alignment blocks to ensure they remained flush at the bulkhead top, and clamped securely while they cured.
Next, I epoxy-coated the cleats on the inner panels of the aft seats, a simple chore, then coated all the gussets in the boat again–both sets of lowers and the uppers, stopping at the gunwales. This was about all I could do to advance the project for now.
Total time billed on this job today: 6.25 hours


