November 21, 2024
PT11-20
Thursday
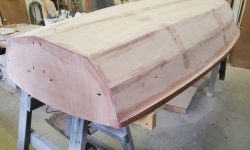
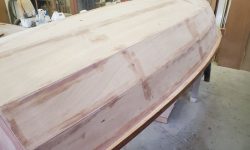
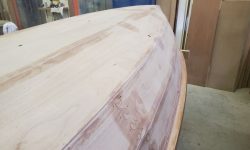
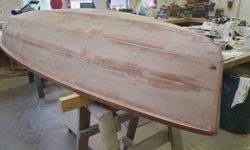
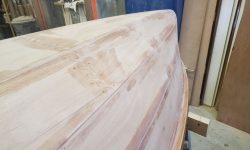
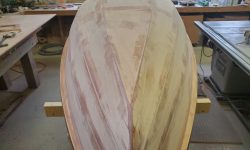
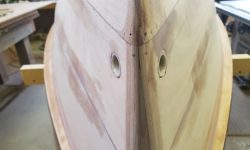
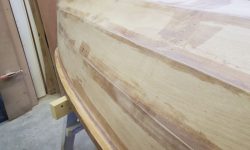
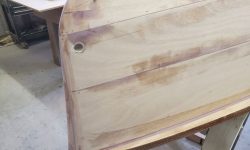
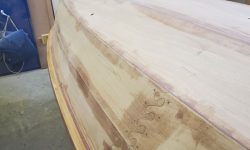
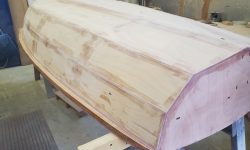
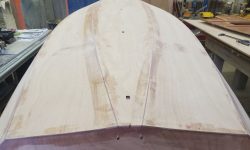
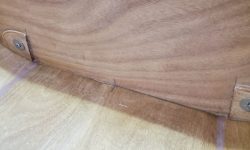
Before getting to the main bulkhead final prep, I lightly sanded the spots on the hull where I’d filled the chines earlier, and cut off and sanded flush the fiberglass towing line tube in the stem. Once I’d finished, I turned the hull upright and cleaned up the tabbing on the inside of the towing tube.
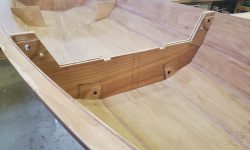
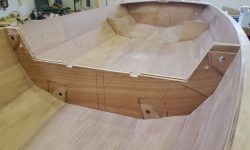
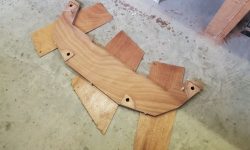
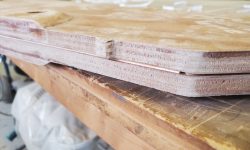
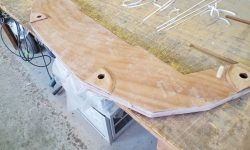
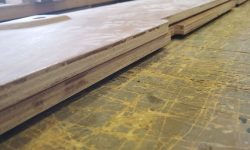
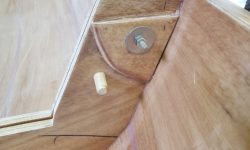
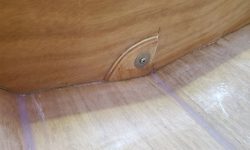
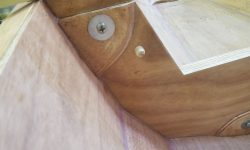
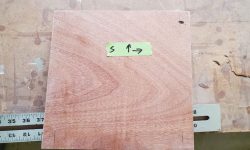
With the hull upright and supported at the mast step bulkhead and transom, I could make final preparations to install the main bulkhead. I lightly sanded both sides of the two sections of main bulkhead. The mating faces required sanding to better accept the self-stick spacers that I’d soon be installing, as well as for future next steps, and the exposed faces required enough sanding to prepare them for finishing steps in the future. Once the sanding was complete, and the parts cleaned up, I installed the alignment pins to make the pair a single unit, and test-fit it in the boat. I had to slightly round the bulkhead corners at the chines, where the chine fillets created a similar and opposite shape, and the forward plywood reinforcing pads at the top sides of the bulkheads interfered slightly with the hull because of the angles involved, so I had to do some minor modification there as well. These were expected modifications based on the advice from the manual.
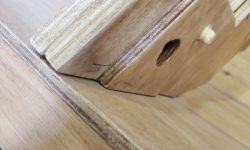
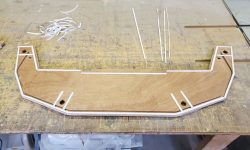
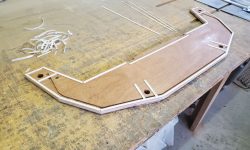
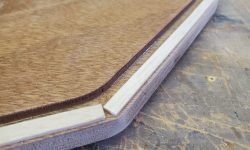
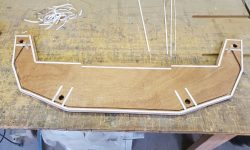
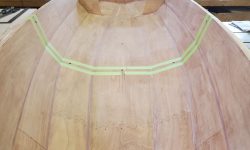
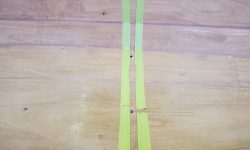
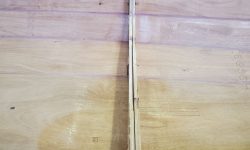
Once I had a satisfactory dry fit, I prepared to secure the two panels together with self-stick balsa wood spacers. This stock not only would hold the bulkheads together during their installation and subsequent steps, but also provided a suitable gap through which to ultimately cut the boat in half later.
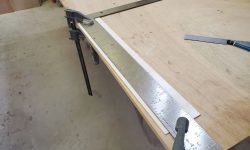
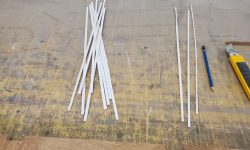
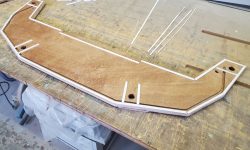
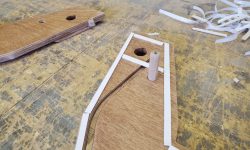
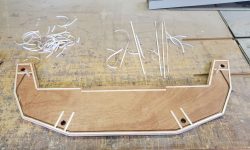
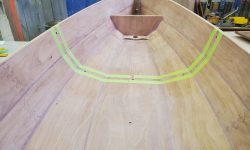
First I had to cut the included stock into 1/4″ or so wide strips, using a sharp knife and a straightedge. Then, I cut these into lengths as needed to fit around the outer edges of one of the panels: quite close to the outboard edges, and about 1/4″ down from the inboard edges of the bulkheads, and the same distance or so on either side of each of the four fastener locations. I’d intended to install these spacers on the other (aft) side of the bulkhead, which is what was shown in the manual, but somehow I ended up installing them on the forward side. By the time I realized the error, I’d completed the installation, and there was no removing the strips. Fortunately, I could come up with no reason why it mattered one way or the other, but I was annoyed with the mistake nonetheless. Sometimes I get into a “duh” zone.
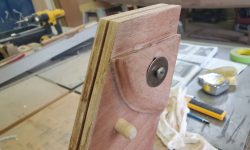
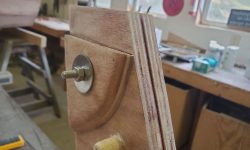
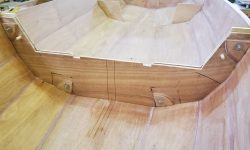
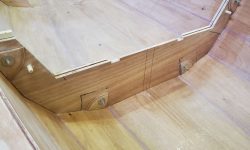
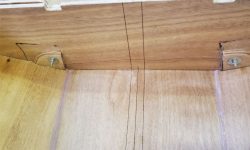
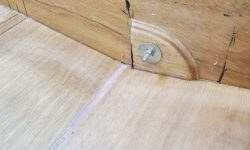
I installed the alignment pins in the section with the spacers, then removed the paper from the top side to expose the adhesive before carefully installing the second, after bulkhead section on top, pressing it tightly into the adhesive. I placed the bulkhead on the floor (on some spacers) and walked over it several times to press the adhesive firmly. Finally, for some extra insurance to make sure the sections didn’t pull apart at all before it was time, I installed some bolts through the large fastener holes (4 total) and snugged them up with large washers on each side.
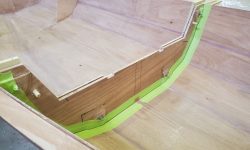
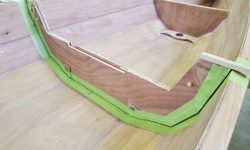
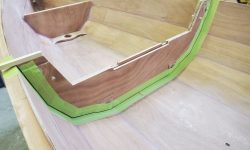
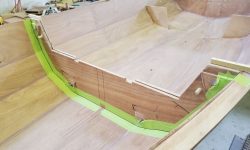
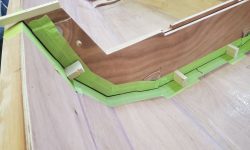
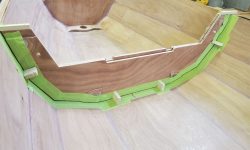
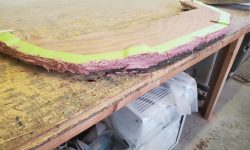
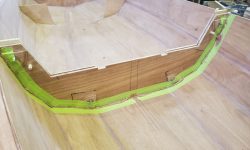
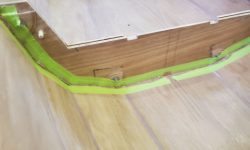
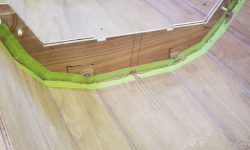
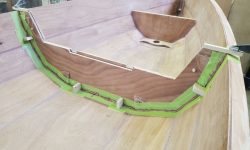
After cleaning the hull in way of the bulkhead location, I dry-fitted the bulkhead again, and marked the hull on both sides with a pencil so I could mask off the hull before installing. I also masked the bulkhead on both sides; the masking would make cleanup of the epoxy adhesive much easier. I left the centerline mark on the forward side exposed for alignment purposes.
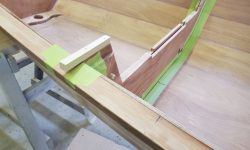
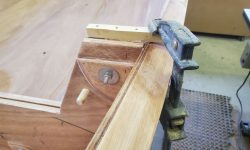
After masking, I did a final dry fit, and prepared for the final installation with several glued-on alignment blocks on the aft side (glued to the tape), and a couple wooden cleats nailed to the after bulkhead top edges that I could use to clamp the assembly in place at the gunwales.
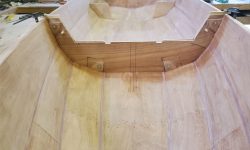
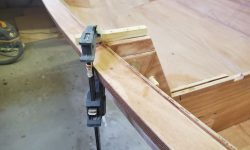
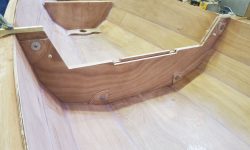
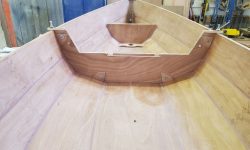
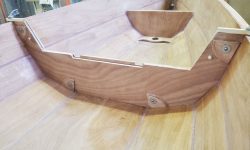
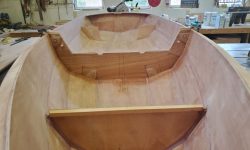
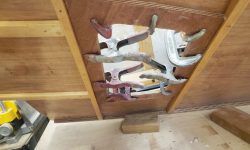
To install the bulkhead, I first wet out the plywood edges with epoxy, along with the faying surface on the hull, then applied thickened epoxy adhesive–lots of it–to the plywood edge before carefully placing it in the boat, aligning it with the blocks and pressing it tightly into the slots in the hull and ensuring everything was positioned and aligned properly. I had good epoxy squeezeout all over on both sides, which is what I wanted. I clamped at the gunwales with the blocking as needed.
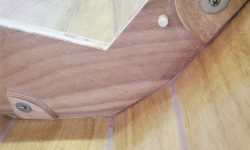
Afterwards, I cleaned up the squeezeout and removed the tape to leave a nice clean line at the joint in all areas.
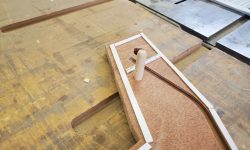
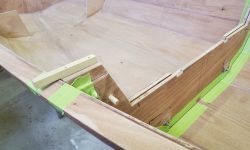
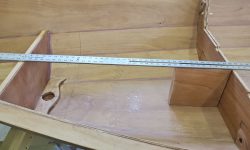
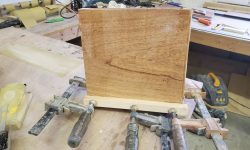
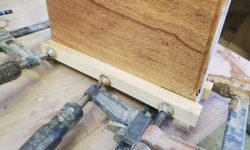
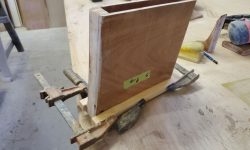
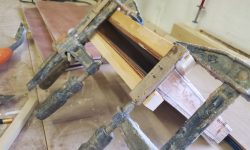
With the day’s main event behind me, I turned to some smaller jobs, starting with the daggerboard trunk. This required a pair of spruce cleats at the top edge (these cleats would help support and secure the foredeck later). I’d been set to glue these on earlier, but wasn’t sure which way was up and forward on the trunk. The top and bottom were not parallel, as the top edge had to follow the plane of the foredeck, and without the mid bulkhead in place at the time, I couldn’t trial-fit the piece to confirm. But I’d checked the orientation earlier during one of the bulkhead dry-fits, and now with the orientation properly marked I could round over the forward corners and install the cleats, using temporary plywood strips nailed to the top of the trunk for alignment and glued and clamped in the usual way.
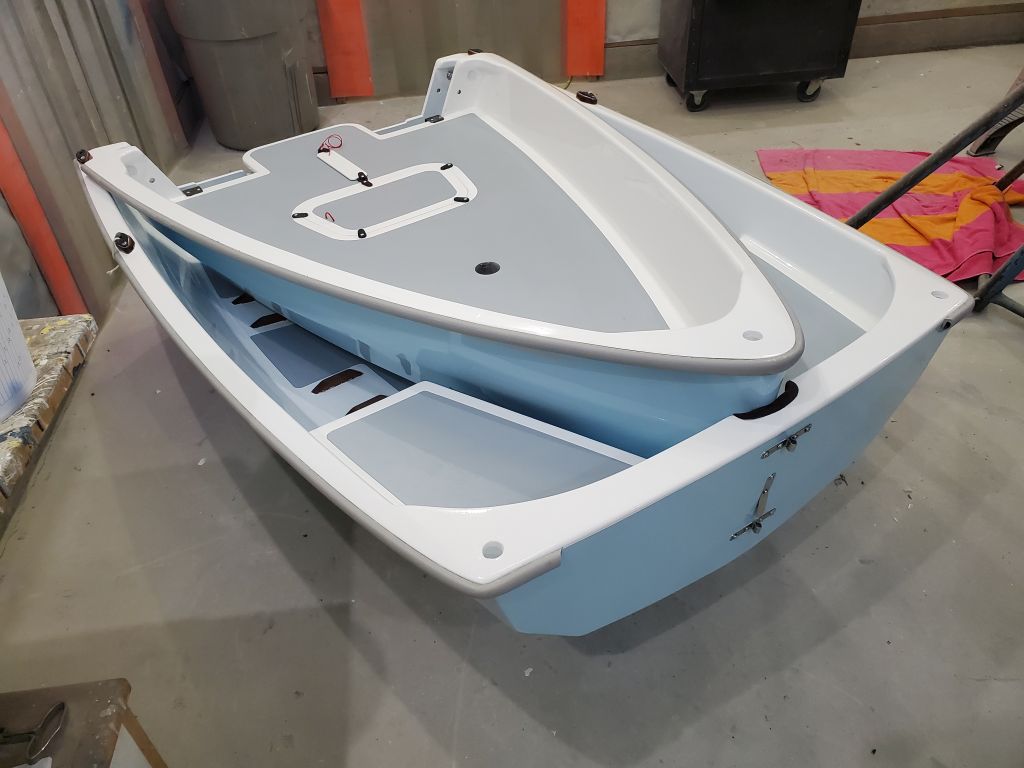
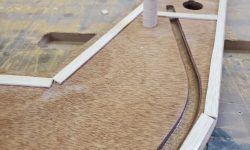
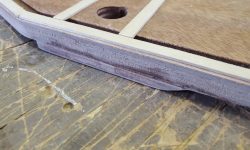
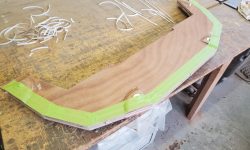
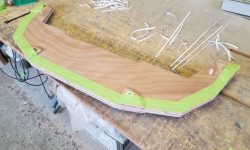
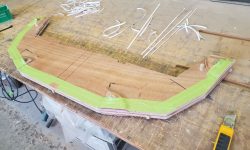
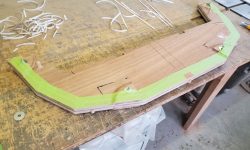
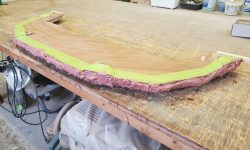
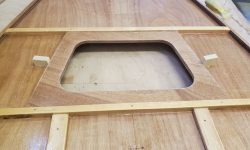
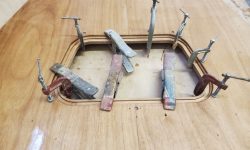
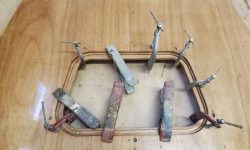
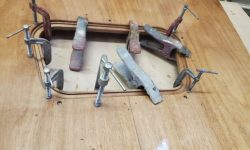
Next, I made final preparations to glue the foredeck hatch coaming in place. This plywood piece featured a milled groove to accept a gasket later, and fit on the underside of the foredeck within some scribed alignment marks. After lightly sanding the bonding surface on the foredeck–which I’d left bare for the purpose, other than some epoxy that had gotten on there during other parts of the foredeck work–and lightly sanding the coaming itself, which I’d coated top and bottom with epoxy during an earlier step, I glued the coaming in place in the normal way, with unthickened epoxy primer and a coat of thickened epoxy thereafter. I clamped the piece in place and cleaned up all the squeezeout, paying particular attention to the top side to avoid any epoxy remaining at the edges of the opening and in the gasket groove.
Total time billed on this job today: 6.75 hours


