November 14, 2024
PT11-15
Thursday
I began the day by removing the nails from the foredeck assembly.
I unclamped the first side of the daggerboard trunk assembly and lightly sanded the new fillets inside. Then, the instructions called for applying an additional coat of unthickened epoxy to the inside faces of the trunk, after first masking off the faying surfaces where the trunk logs would eventually be bonded to the second side. I set the wet pieces aside to cure, unable to do more than this at the moment.
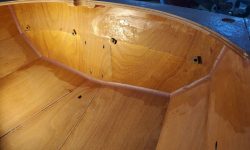
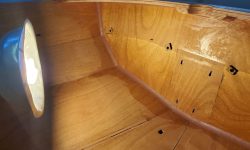
I removed the clamps from the transom inwale, and lightly sanded the area as needed to clean up the forward, exposed edges of the inwale, and any small bits of cured epoxy in places it didn’t belong. Then, I cut and removed the stitching wires at the transom, and removed the temporary alignment nails as well. As needed, I sanded the inside seam to remove any epoxy bits.
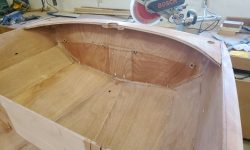
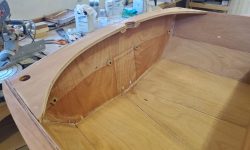
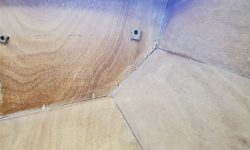
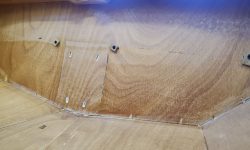
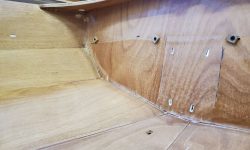
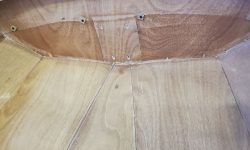
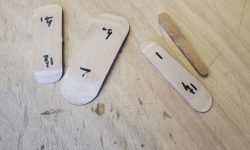
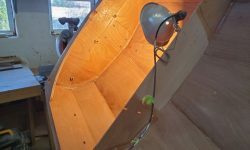
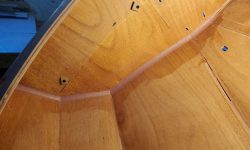
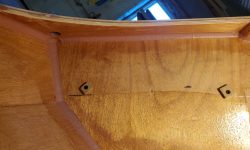
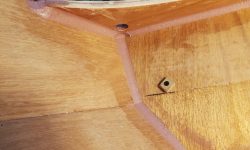
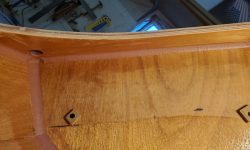
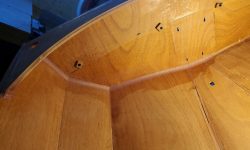
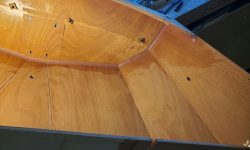
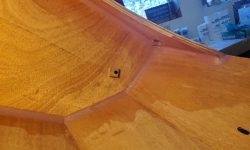
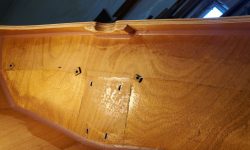
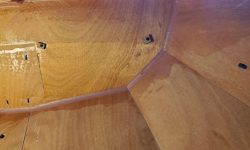
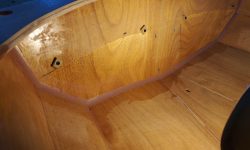
After final preparations and cleanup, I applied structural epoxy fillets to the inside edges of the transom, and where the inwale met the transom along the underside. I tipped the boat up to one side then the other as needed for better access in order to install the fillets. I’d touch up any small voids or surface interruptions later, once the fillets had cured. I used different-sized plywood filleting tools that came along with the kit and worked well for the job. Milled by CNC, the fillet tools required me to sand an angle on the ends to create the sharp edge needed for proper fillet shaping. The instructions indicated which size should be used for which fillets.
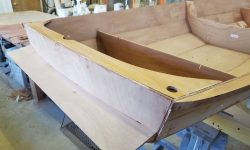
Next, I marked and cut the stem just forward of the inner stem bulkhead, leaving a bit of material to trim to final shape with planing and sanding.
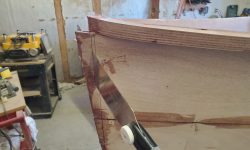
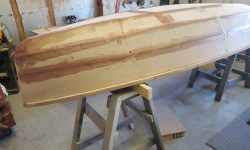
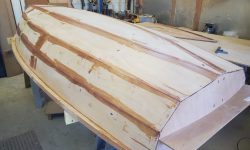
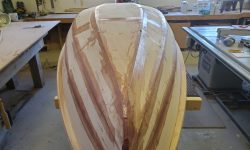
Afterwards, I turned the boat upside down on the sawhorses and cleaned up the stem back to the inner stem bulkhead, leaving the area flat for now pending final shaping soon.
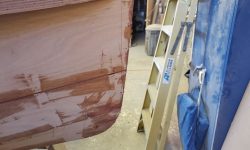
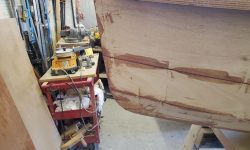
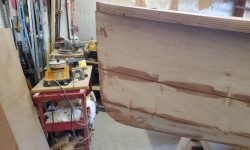
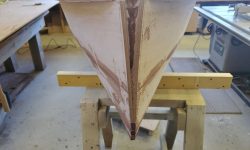
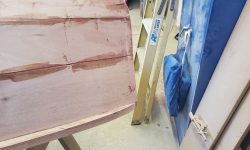
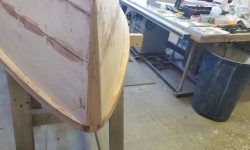
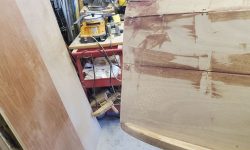
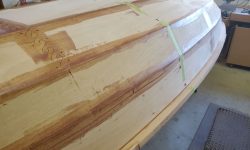
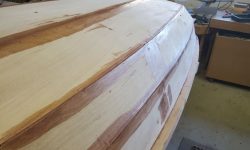
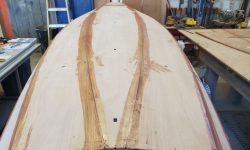
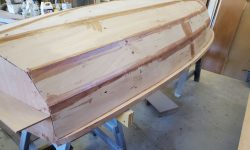
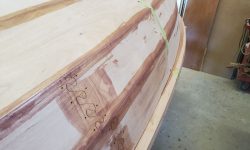
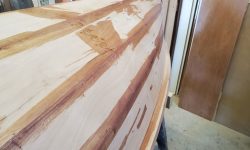
When I glued the hull seams, I kept the epoxy away from the many stitching wire locations; this left voids in the seams that I now wanted to fill before moving on very soon to cleaning up the hull and chines. To that end, I applied thickened epoxy to the seams again, focusing on the void areas but troweling material into the entire lengths of the three seams on each side. With crisp and fair chine lines so far throughout the hull build, final shaping wouldn’t take too much work, but it made sense to fill these voids first. I left the epoxy to cure and moved on to the foredeck.
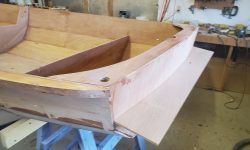
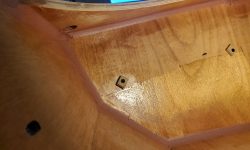
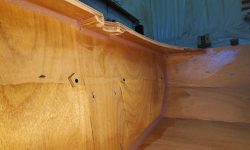
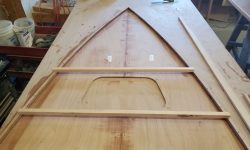
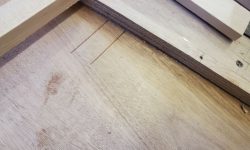
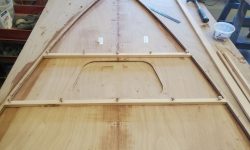
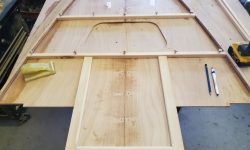
With a bit of time left before I had to make an early departure from the shop, I got to work on the support cleats for the foredeck. Two long, narrow, transverse cleats required minor trimming at the ends to prepare the raw stock to fit the spaces required, which were marked with scribe marks on the plywood. I cut the ends to slight angles as needed, then tapered the ends several inches in to reduce the thickness of the cleat where it met the curved side doublers of the foredeck. I drilled pilot holes and partially installed some of the nails and nailing blocks I’d removed from the foredeck earlier. This held the cleats lightly in place for the moment.
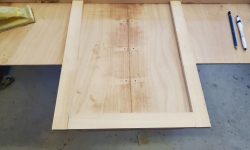
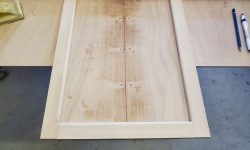
Next, I laid out, cut to length, and milled as directed some addition cleats along the after part of the foredeck, a protruding tongue-shaped feature called, not surprisingly, the seat tongue. These cleats, along with the pair of transverse cleats, would be ready to epoxy in place next time, after which I’d also immediately install some fiberglass tape over the centerline seam to reinforce this underside of the foredeck. For the moment, however, I was out of time for the day.
Total time billed on this job today: 4.75 hours


