November 13, 2024
PT11-14
Wednesday
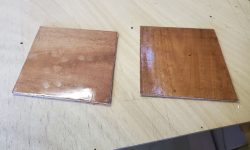
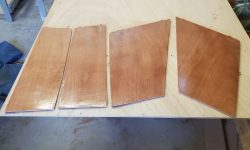
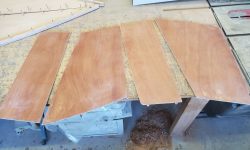
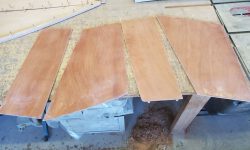
Beginning with the small panels I’d fiberglassed last time, I trimmed the excess material close to the edges, then lightly sanded the panels to prepare them for use somewhere down the road, sanding the edges flush as I went.
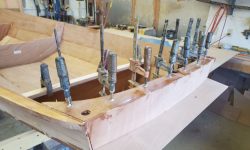
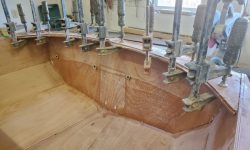
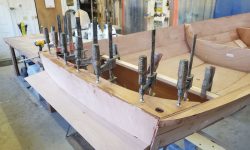
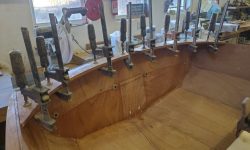
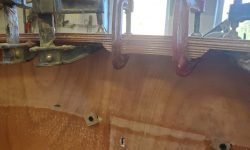
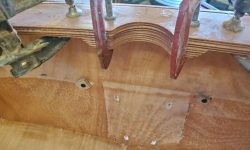
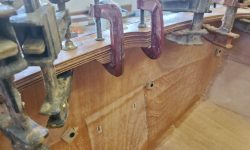
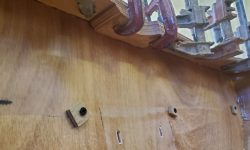
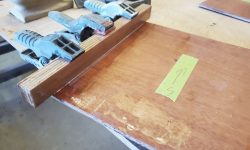
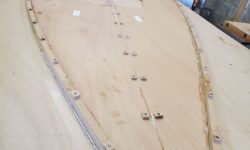
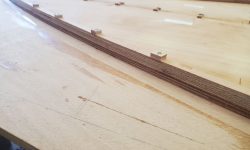
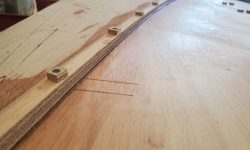
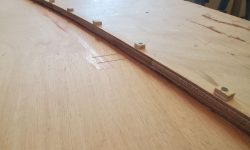
Next, I turned to the transom inwale. After removing the nails and alignment pads from the top section, I test-fit the lower section (no modification needed), then installed it with thickened epoxy adhesive, clamping it securely to the layer above.
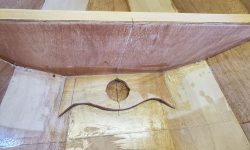
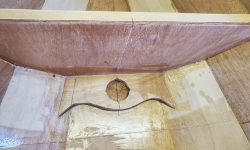
At the centerline, I added a small 1/2″ thick reinforcement that aligned with the notched cutout in the inwale. I shaped the piece slightly as directed, then installed it with thickened epoxy and clamps.
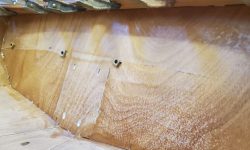
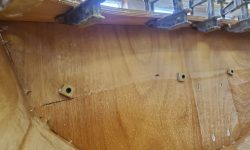
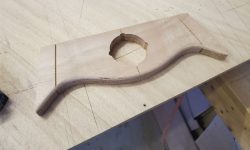
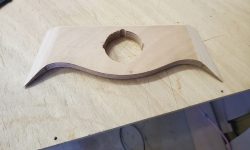
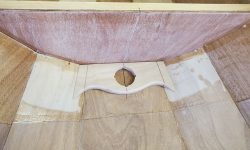
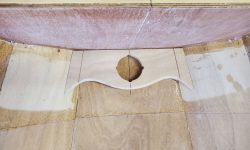
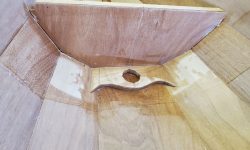
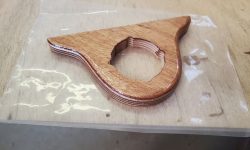
Next, I removed the wires from the mast step bulkhead to prepare for the next steps. The tight angle between the forward side of this bulkhead and the hull, coupled with some excess epoxy that had gotten on the wire, made removal a bit fussier than the removal of the hull panel wires, but it just took a few extra steps and all the wires were out. This cleared the way for the lower part of the mast step, an wing-shaped piece that I shaped to fit the angle of the hull on each side till it fit flat on the bottom of the boat and tight to the aft edge of the bulkhead, all aligned according to the scribed marks on each piece.
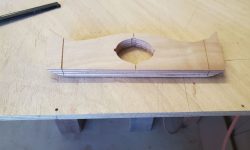
Happy with the fit, I installed the piece with plenty of thickened epoxy on all bonding surface, carefully cleaning out the round hole on centerline and ensuring the part was properly aligned. Afterwards, I prepared the upper piece of the mast step–this would be installed later– with a roundover on the after, lower edge and epoxy coating the same edges.
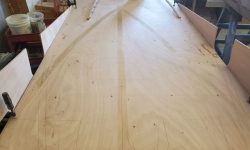
I turned to the next stage of the daggerboard trunk assembly. With the panels lightly sanded and cleaned up, I aligned and installed a pair of pre-glassed plywood assemblies to one of the panel edges, using alignment nails and thickened epoxy. These end logs were over-long and would be trimmed later. I left the first half of the assembly to cure; the second panel would be installed later.
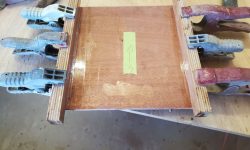
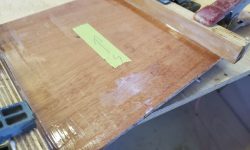
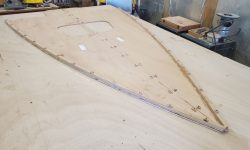
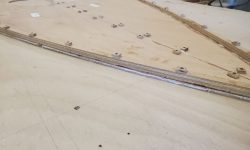
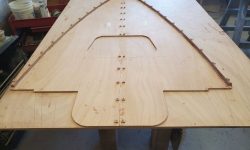
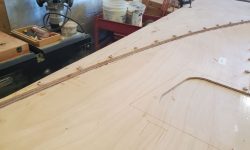
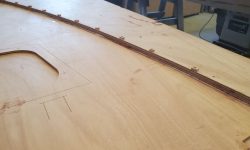
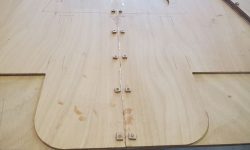
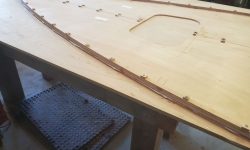
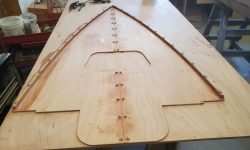
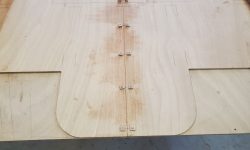
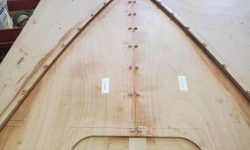
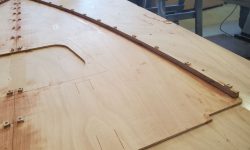
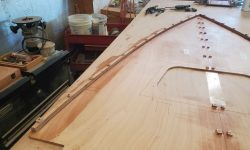
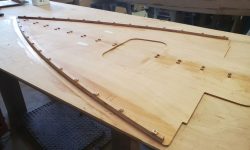
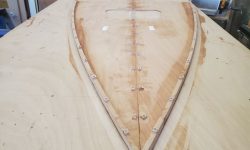
With a clear work table, I laid out the foredeck pieces and marked their edges and the centerline on the table, then covered these marks with plastic tape to prevent epoxy from sticking during the glue-up. Then, I prepared the centerline edges of the panels with a coat of unthickened epoxy followed by a bead of thickened epoxy, before installing the panels together on the table and securing the seam with the multiple nails I’d prepare along the seam–first one side, then I pressed the second side into position, aligning it with the hatch cut and layout marks, then nailing the second side into place.
Then, I prepared the edges and curved doubler pieces in the same way, and secured these with their nails. This all held the foredeck nice and flat on the table surface. I cleaned up the excess epoxy and left the assembly to cure. LAter, there’d be hardwood cleats installed in various places to reinforce the joint, and the entire foredeck would ultimately be fiberglassed as well.
At this point, with various semi-cured epoxy works on the hull and all the side projects taken as far as they could for the moment, there was little more I could do to advance things at the moment, other than browse the manual as usual to see what was coming up soon.
Total time billed on this job today: 7 hours


