November 11, 2024
PT11-12
Monday
Over the weekend, I removed all the screws that I’d used to temporarily secure the gunwale during gluing.
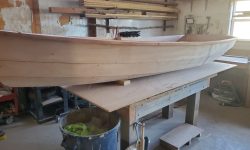
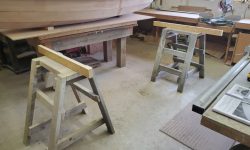
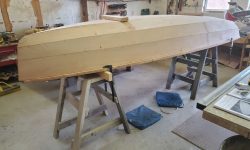
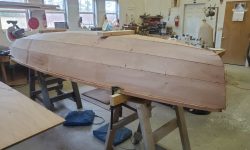
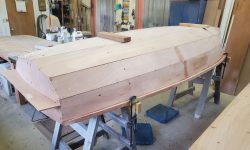
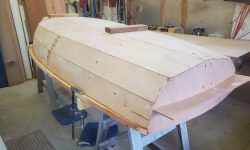
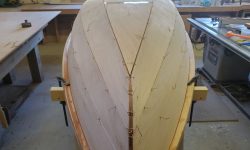
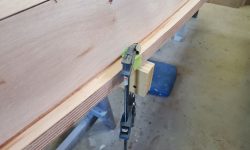
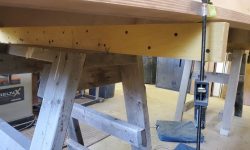
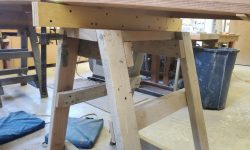
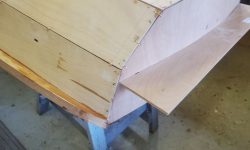
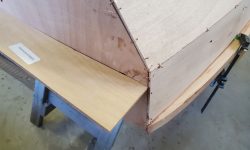
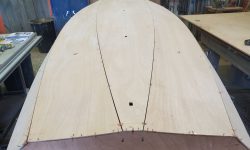
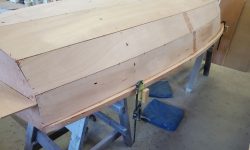
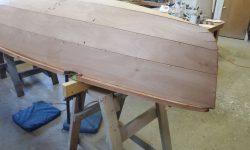
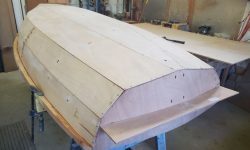
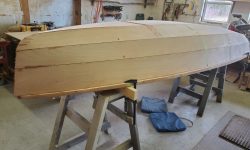
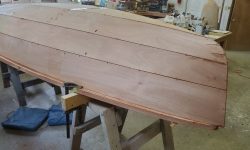
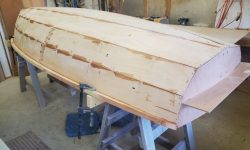
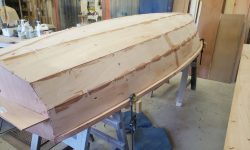
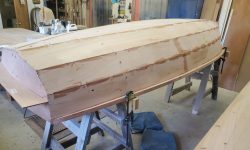
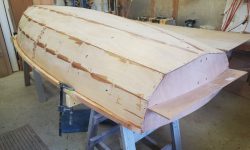
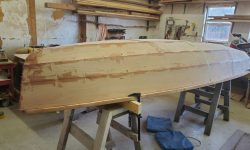
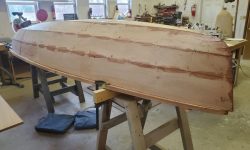
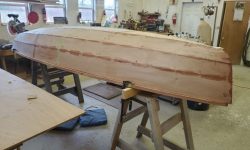
With the gunwale firmly affixed, the next step in the process was to flip the hull over and work through all the seams and wire ties to ensure that the seams were as tight as possible and properly aligned. To begin, I modified a couple narrow sawhorses with some plywood beams wide enough to support the boat over its width, then flipped the boat onto the horses. I aligned the horses perpendicular to the boat’s centerline, and after some minor adjustments clamped the boat securely at all four sides where the gunwales lay on the horses. This ensured that the boat was straight and true and not twisted at all.
I removed the 2×4 blocking on which the bottom panel of the boat had rested during assembly, and secured the four points where it had been lightly nailed with copper wires to stitch the panels together in those areas.
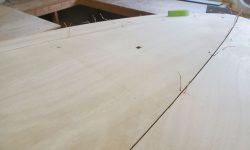
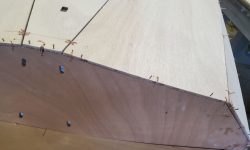
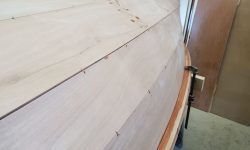
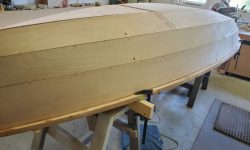
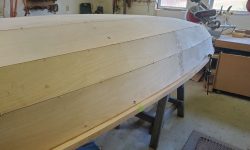
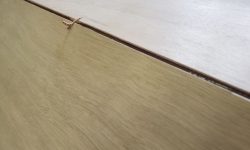
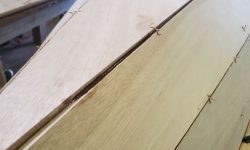
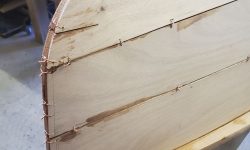
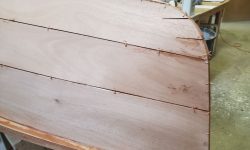
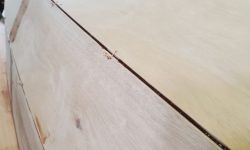
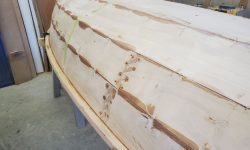
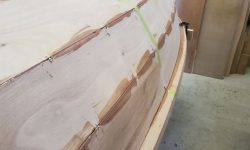
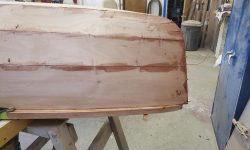
Now I went over the hull methodically, seam by seam, tightening the wires where needed and ensuring that the panels were properly aligned with one another by pressing from inside or out as needed and adjusting the wires. Several wires broke during this process, not unexpectedly; I replaced the wires as needed. I went over all the seams several times till I was satisfied that each seam and wire was properly tightened, and that the panels were well aligned throughout.
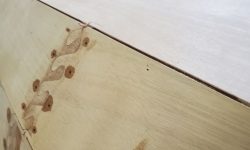
Although the transom was stitched to all the hull panels, there was minor misalignment between the parts, so after moving the transom in or out as needed to align it with the aft edges of the various hull panels (starting at the center), I drove small nails partially in from the hull panels to hold the transom in alignment.
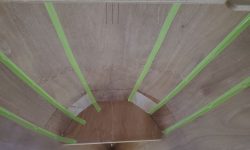
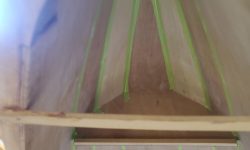
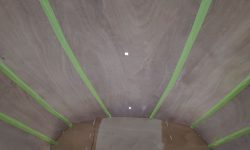
Finally, I trimmed off excess wire length just to remove unneeded impediments to the next processes. and masked over all the seams from inside the boat.
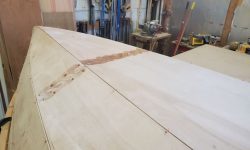
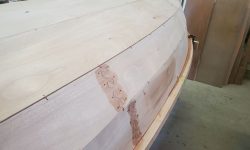
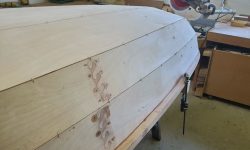
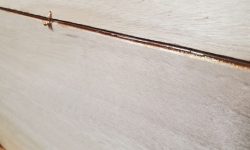
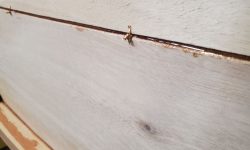
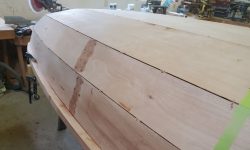
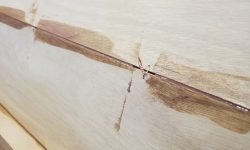
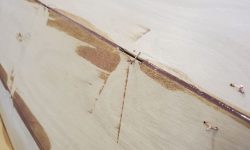
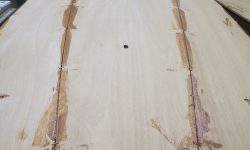
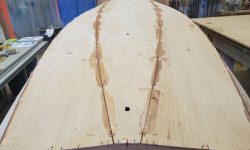
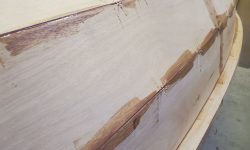
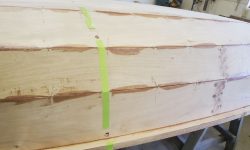
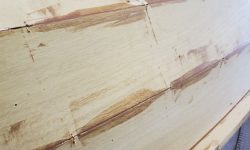
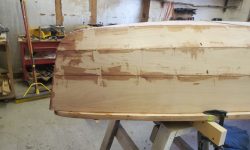
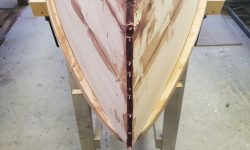
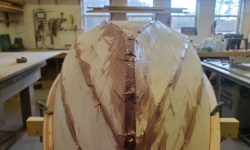
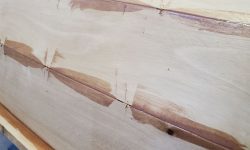
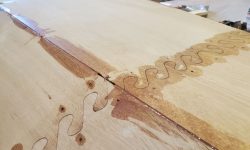
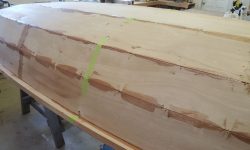
It was time to glue all the hull seams and the stem with epoxy. This was a two-step process, beginning with injecting unthickened epoxy from a syringe into all the seams, other than a few of the seams with the widest openings, mainly at the aft end of the bottom. I stayed clear of the wire locations for now, and also kept away from the main bulkhead location (marked with green tape), as this bulkhead would be temporarily removed from the boat later in the build process.
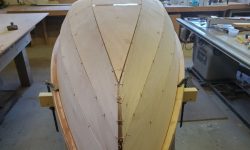
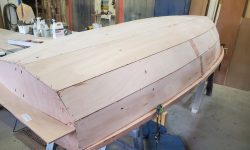
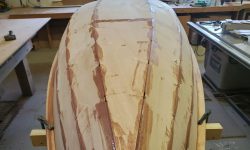
With all the seams thus treated (and some filled), next I mixed batches of thickened epoxy and filled all the wider seams with the mixture, removing any excess. Again, I stayed clear of the wire locations as much as possible to make wire removal easier; these voids would be filled later. I filled the gaps at the stem thoroughly with the thickened mixture to hold the panels together securely.
I left the epoxied hull to cure overnight. Next time, I hoped to remove wires and continue with additional structural steps.
Total time billed on this job today: 7.25 hours


