November 7, 2024
PT11-10
Thursday
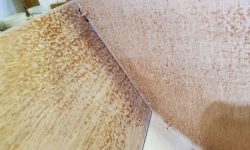
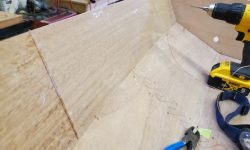
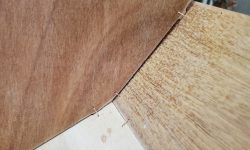
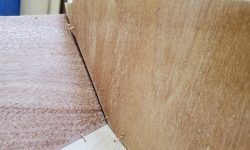
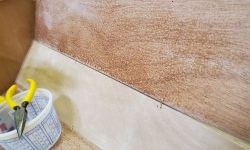
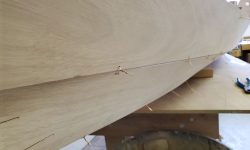
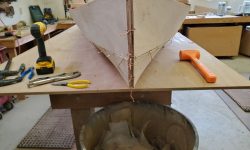
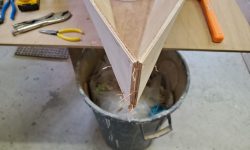
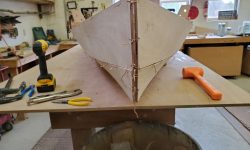
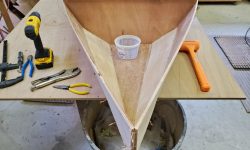
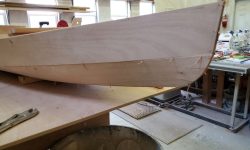
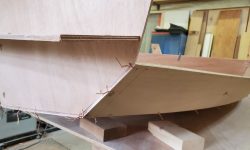
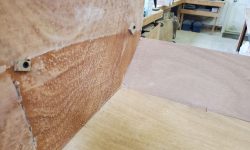
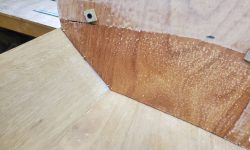
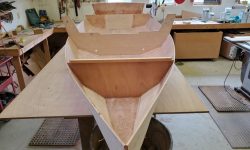
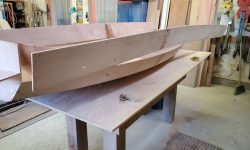
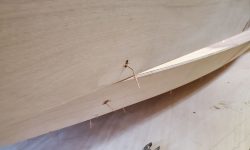
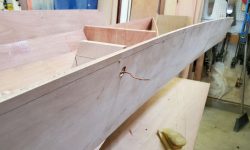
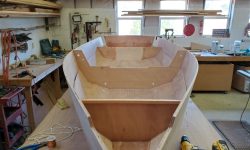
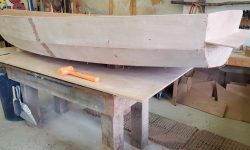
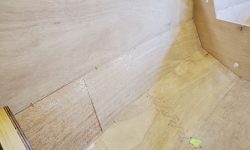
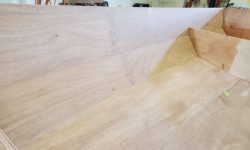
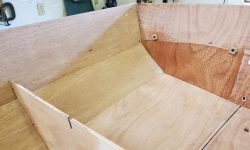
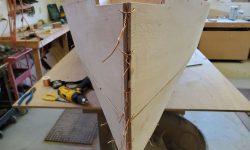
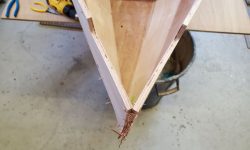
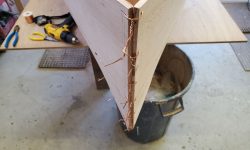
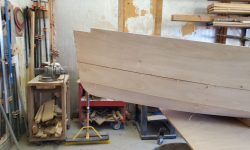
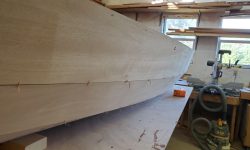
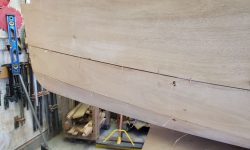
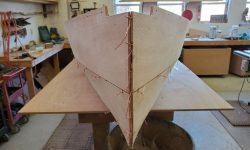
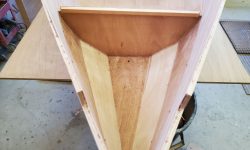
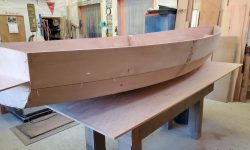
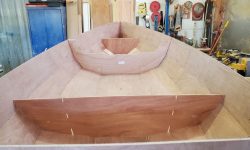
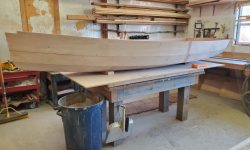
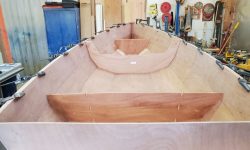
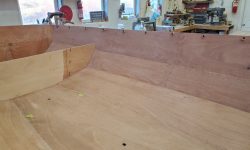
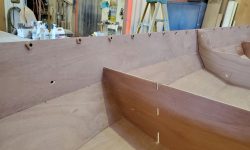
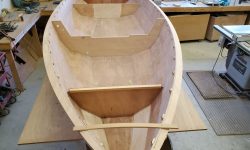
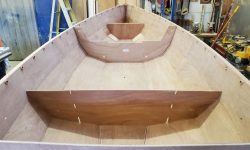
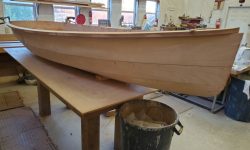
There was a little work remaining to finish stitching up the #2 hull panels, including filling in between wires I’d installed earlier, adding a couple new stitches where the bulkheads met the panels on each side (to help close up small gaps), and then securing the stem and forward ends of the panels. Throughout, I checked alignment marks and centerline marks to ensure nothing was being unduly skewed. Later, I added a wire to the top part of the lower stem to help pull that section closer together.
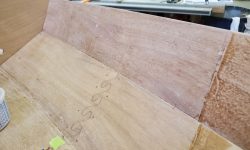
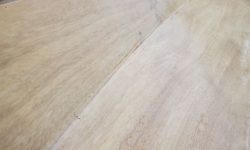
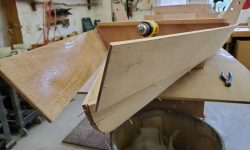
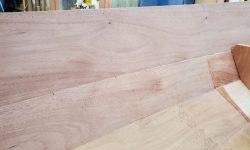
Next, I turned to the top panels on each side, which required a minor modification at the forward lower edges. I lightly planed a chamfer on these edges, running from just over two feet back to the stem end and increasing the chamfer in size towards the forward end. According to the instructions, this step was required to provide an open gap on the exterior edge of the panels to match those gaps on all the other seams; these voids would later be filled with epoxy to secure the panels together along their lengths.
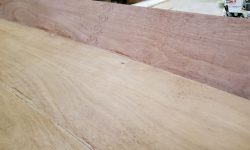
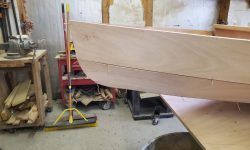
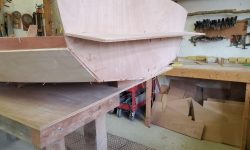
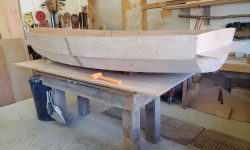
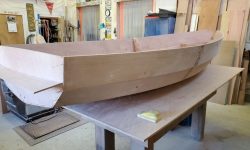
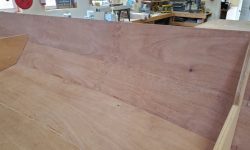
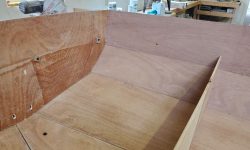
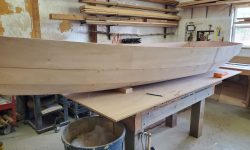
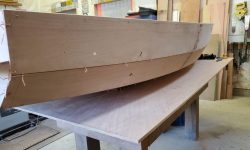
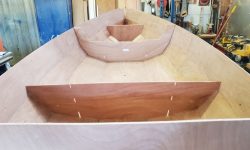
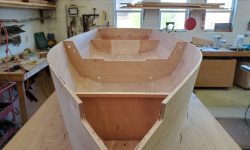
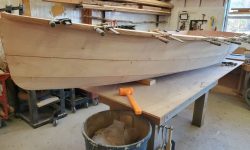
Afterwards, I wired the panels and hung them from the center bulkhead tongues, and then the aft seat bulkhead tongues to secure them loosely in place.
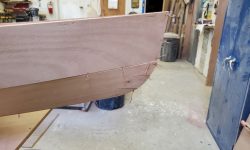
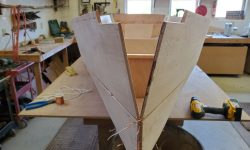
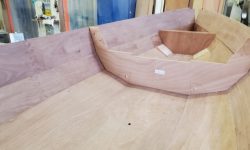
Next, I pulled together the lower edges of the stem on these panels and secured them with a wire, and also wired the panels to the transom. Securing these key points bent the panels into the generally proper shape along their lengths.
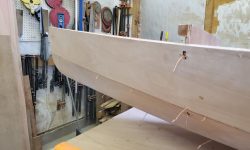
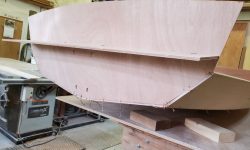
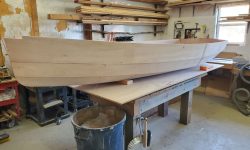
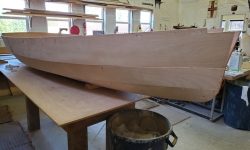
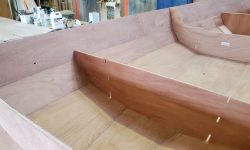
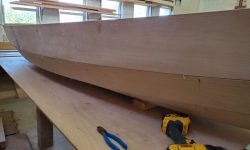
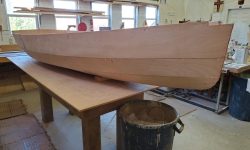
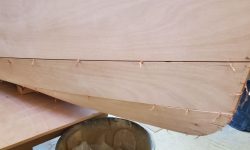
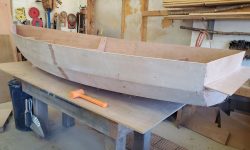
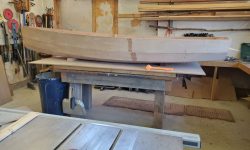
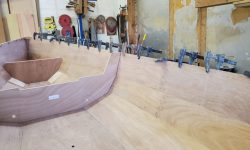
Now I went through and wired the bottom edge of this panel to the one beneath, starting at the center bulkhead and working out towards both ends, but leaving the short sections forward of the mast step bulkhead unwired till I pulled the stem together, after which I completed the panel wiring.
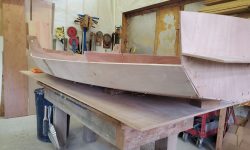
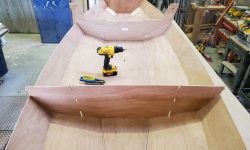
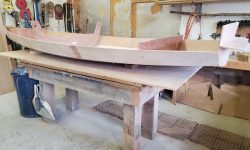
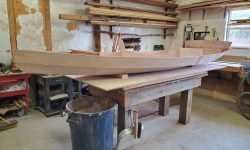
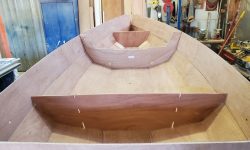
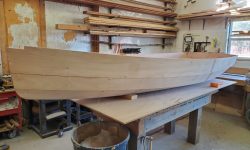
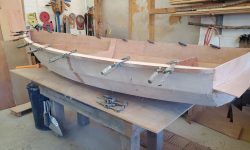
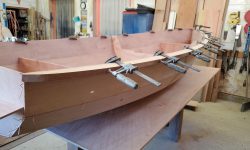
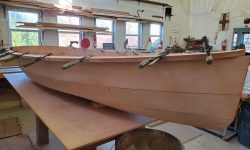
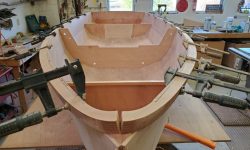
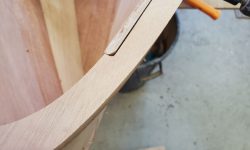
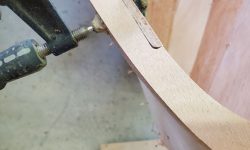
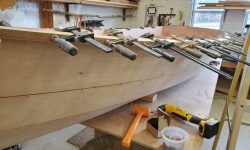
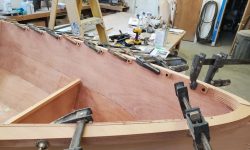
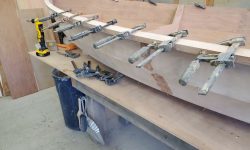
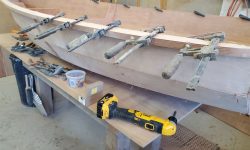
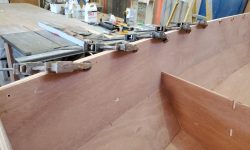
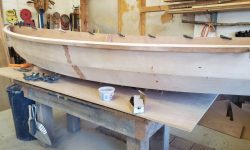
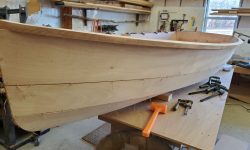
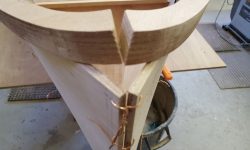
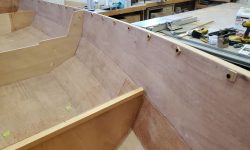
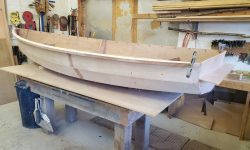
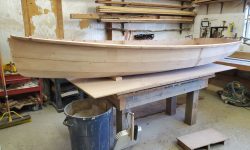
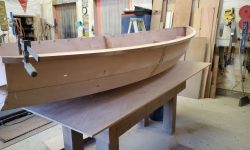
The next step was to dry fit the gunwales, clamping them in place flush with the top edge of the hull on each side and aligning them tightly with the cutouts in the top edges of the forward ends of the top panels.
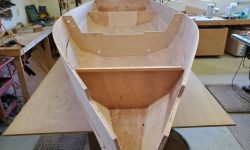
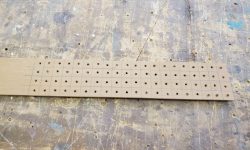
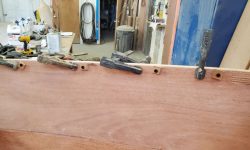
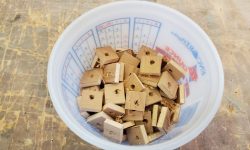
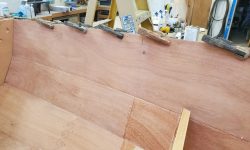
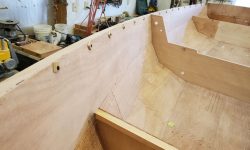
Next, I laid out, drilled, and cut a series of small plywood washers to use for the temporary screws that would secure the gunwales during installation, then dry-installed all the screws from the inside, through the pre-drilled holes I’d made in the tops of the panels. For this, I clamped the gunwale adjacent to each screw hole and installed the screw after ensuring the gunwales were properly aligned with the top of the hull. Then I could remove all the clamps. I completed this on both sides of the boat.
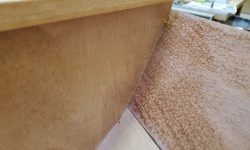
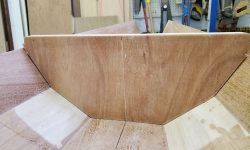
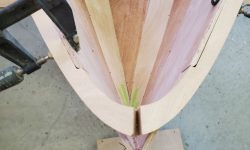
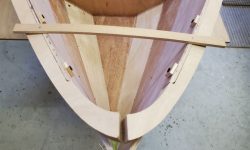
The curved stem pieces interfered slightly with one another at the stem, and now the instructions mandated that I install a small spreader bar to force the hull slightly outwards at the stem, providing better clearance for the stem. This spreader bar is a narrow strip of plywood nailed carefully into one hull edge, then, after pushing the hull apart till there was a small space between the lower edge of the gunwales at the stem, nailing the strip to the opposite side.
A couple additional preparatory steps remained before I could glue the gunwales in place permanently, and I planned to do all that next time.
Total time billed on this job today: 7.25 hours


