November 4, 2024
PT11-7
Monday
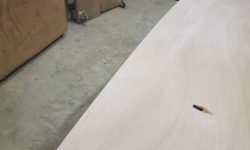
The fiberglassed hull panels had had ample cure time, and my next task was to sand them all with 120 grit paper on a 6″ orbiting finish sander, along with some hand work with a sanding block as needed. This lightly abraded and scuffed the surface to remove gloss and prepare the panels for later steps. Since the fiberglass and resin was flat and smooth from application, there was little need to smooth any irregularities.
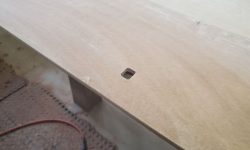
When the sanding was complete, I used a router and a flush-trimming bit to remove any overlapping fiberglass from the edges of all the panels, and also sanded a light bevel into the top edges of the panels as indicated by the build instructions. I cleaned out all the slots that would later accept tabs from bulkheads and other interior components.
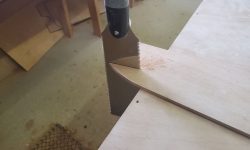
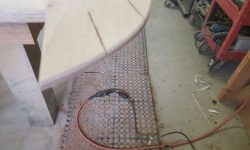
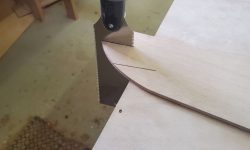
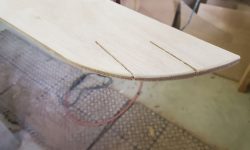
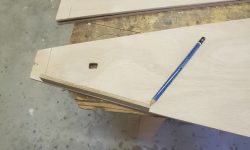
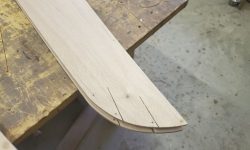
At the forward ends of the first pair of hull panels, I used a pull saw to cut through the scribed marks on the plywood, which, according to the directions, would help in bending these panels into position during assembly.
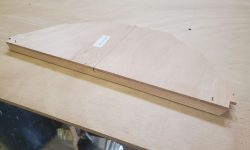
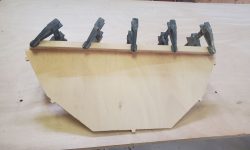
Next, I laid out and epoxied in place a support cleat at the top edge of the mast step bulkhead.
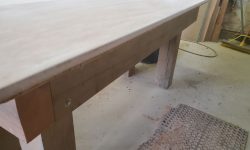
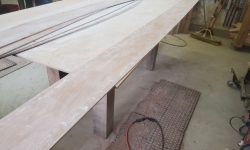
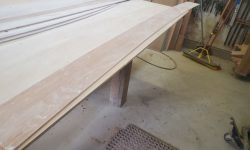
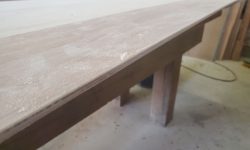
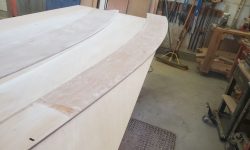
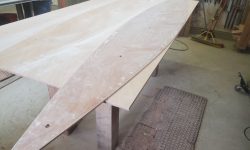
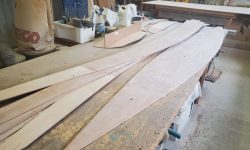
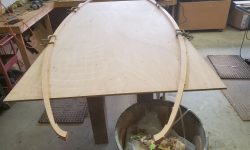
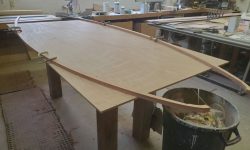
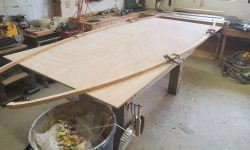
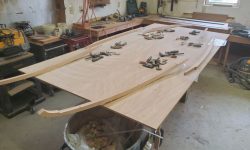
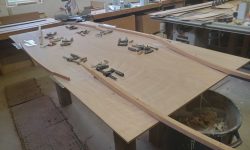
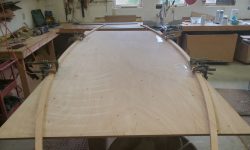
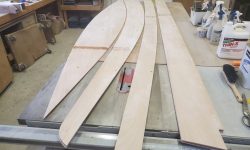
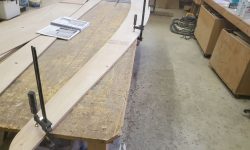
The milled plywood gunwales came in three sections per side, with machined scarf joints, and now I laid these out and clamped them dry to check the fit and make some alignment marks prior to gluing.
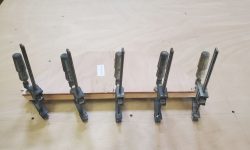
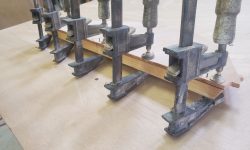
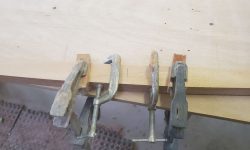
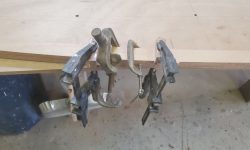
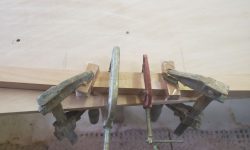
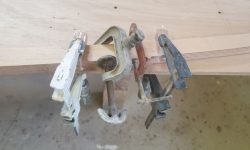
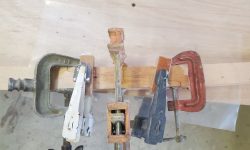
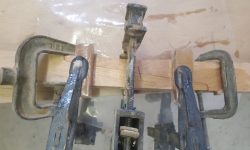
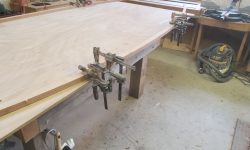
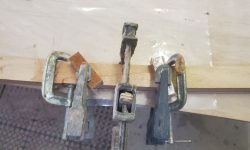
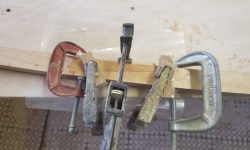
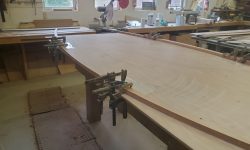
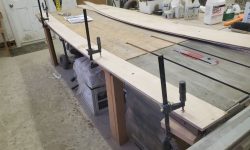
After disassembling the parts, I applied a base coat of epoxy to the faying surfaces, then applied thickened epoxy to glue the scarfs together, securing the two joints per side with several clamps to pull the joints tightly together and also hold the gunwales flat to the table surface.
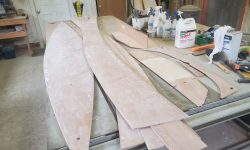
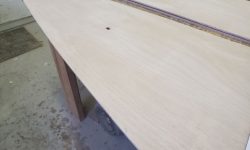
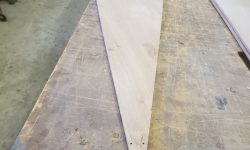
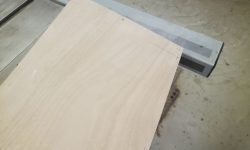
I laid out and stacked the hull panels with their glassed faces together (other than the single bottom panel), then marked the locations for the small holes that would be used to wire the panels together for assembly. Following the manual, I laid these out starting 1″ from the transom end of the panels, and 7-1/4″ on center from there.
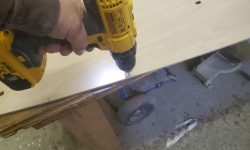
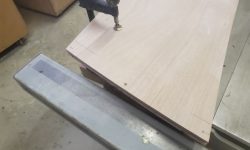
With a 1/16″ drill bit, I drilled a hole at each location. For the matched pairs of panels (just sets #1 and #2 for now), I clamped the panels together in perfect alignment so I could drill through both sets at once. I marked and drilled additional holes at the ends of the panels as indicted in the instructions.
The top panel for each side (#3) would receive layout and holes for gunwale screws, but for now I was out of time, so I’d continue with that next time.
Total time billed on this job today: 7.5 hours


