October 7, 2024
PT11-4
Monday
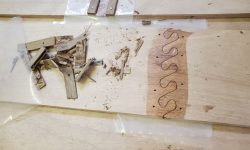
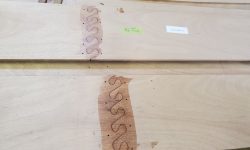
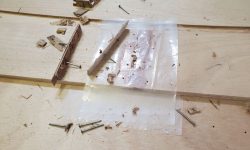
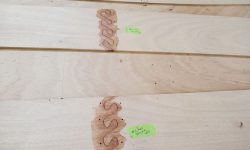
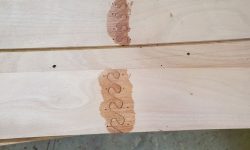
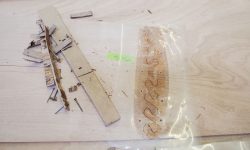
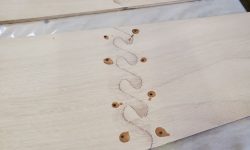
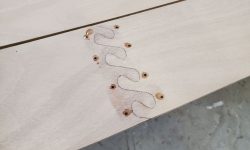
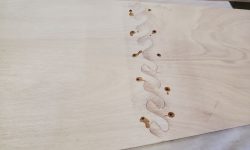
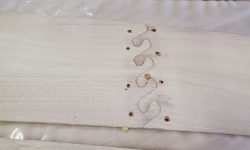
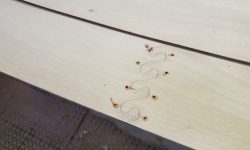
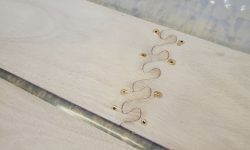
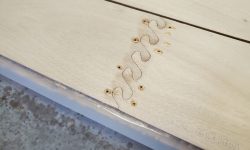
Continuing to follow the comprehensive manual, my next step was to remove the nailing strips and nails from the glued-up hull panels. With a chisel, I broke apart the plywood enough that I could grab the nail heads with a hammer and pull out the nails. The puzzle joints had ended up nicely flush and with only a gloss of excess epoxy that had (as expected) spread out from the joints from the clamping pressure.
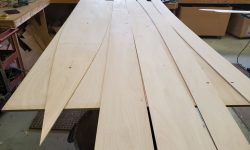
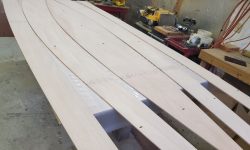
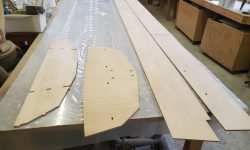
Next, I lightly block-sanded the outside faces of the joints to scuff the epoxy and make the joints smooth. Fortunately, they were already smooth and the sanding exercise was minimal. Then, I sanded the entire interior faces of all the hull panels with 120 grit on a vibrating sander, just to lightly smooth the factory plywood texture and prepare the inner surfaces of the glued joints. From there, I set up five of the panels (the most that would fit on the dedicated build table) in the orientation as directed, and marked the table at the edges of each panel so I could drill pilot holes through the table, which would give me a place to drive screws from beneath to secure the panels for the sheathing step to come.
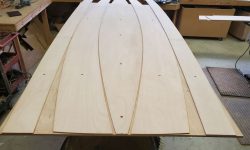
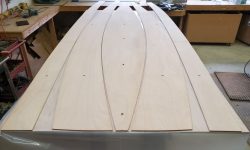
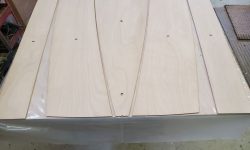
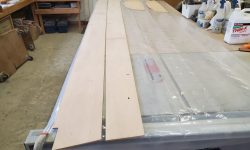
With that complete, I covered the table with plastic sheeting and replaced the five panels, aligning them with the marks and with the after edges flush with the edge of the table, and secured them all with one screw at each end for each panel. The panels rested flat and flush on the table, and the screws would help hold the panels securely while rolling out fiberglass in the next step.
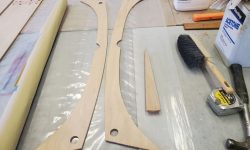
Since I had additional table space in the shop, I set up an auxiliary station to prepare the final two hull panels for sheathing as well, so I could do all the fiberglassing in one session rather than spread out over two different days had I been limited to the single build table. I also prepared as needed the transom, the after bulkhead, and the two transom inwhales and a dagger-like stem piece, all of which the manual indicated I could work on in the same session, using offcuts of fiberglass from the main panels.
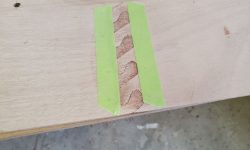
My final step for now was to fill all the nail holes leftover from the clamping with epoxy. Before installing the panels on the bench, I’d prepared the bottom sides with tape over the nail holes, and now I used a syringe to fill all the holes with an epoxy mixture, leaving this to cure before continuing.
Total time billed on this job today: 3 hours


