May 10, 2016
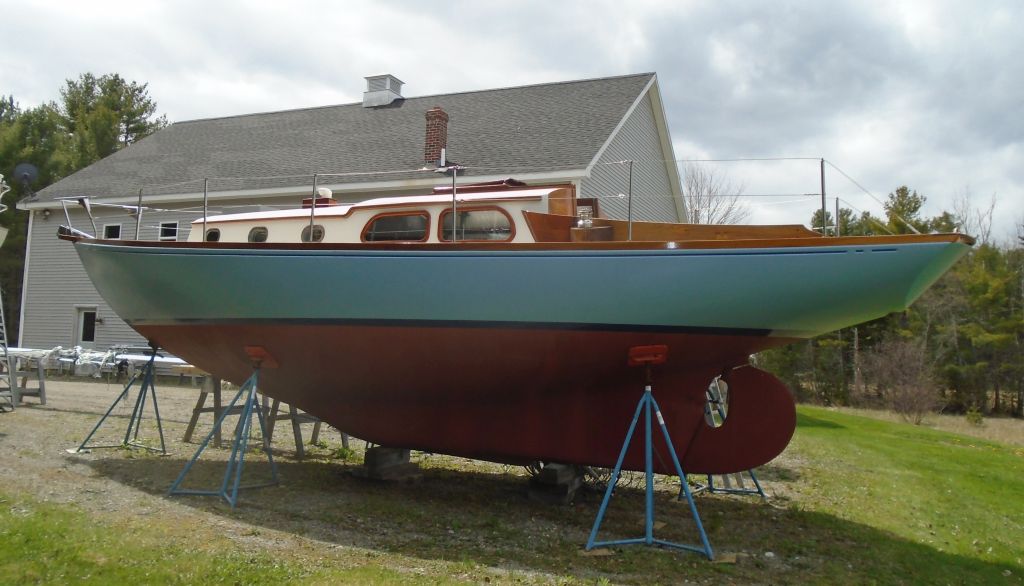
Waanderlust 2
Tuesday
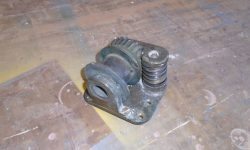
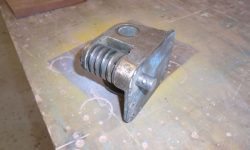
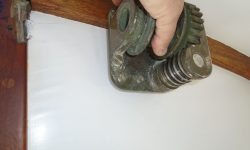
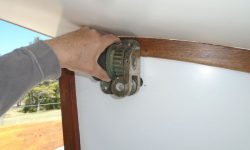
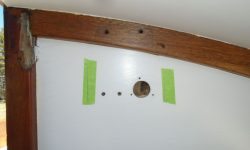
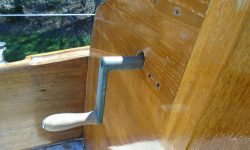
The owner shipped me the original bronze worm-drive centerboard winch, which mounted to the bulkhead above the galley on the port side. While the exterior holes had been covered over by new paneling long before, the interior bolt holes and shaft hole were still in place to dictate the installation location.
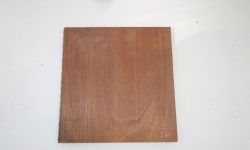
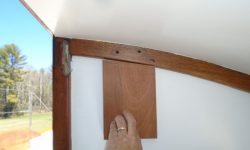
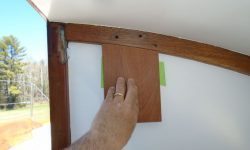
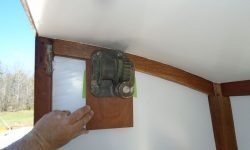
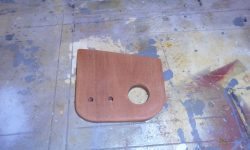
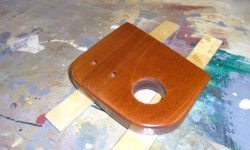
Since part of the winch rested on the trim at the top edge of the bulkhead, I needed a block of corresponding thickness below to support the rest of the winch, so I cut an oversized blank from 3/4″ mahogany and, over two stages, scribed it to match the curvature of the trim, and narrowed the original blank to leave a consistent exposure on each side of the winch. For now, I left the length long for later sizing and trimming. I marked the location on the bulkhead with some pencil marks on tape.
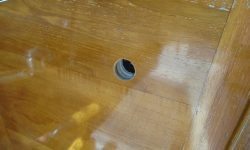
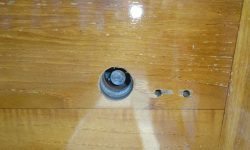
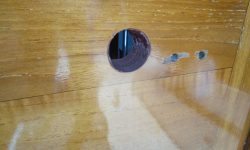
Now I drilled through the cabin trunk from the inside, using the original winch shaft hole as a guide, penetrating the teak paneling on the exterior. I also drilled the four bolt holes to secure the winch. With the backing block held tightly in place in the right position, I marked the location of the large shaft hole from outside, so I could drill it in the backing block and then position the winch to mark and drill the final bolt holes as needed.
With the winch temporarily in place, I checked the fit of the handle, and marked the bottom of the mahogany backing block for its final dimension. Back inside at the bench, I cut off the excess length from the block and shaped and sanded it to prepare for varnish, several sprayed coats of which I applied throughout the remainder of the day.
To help protect the inside of the shaft hole from moisture, I coated it with a thickened epoxy mixture.
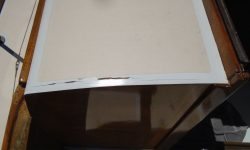
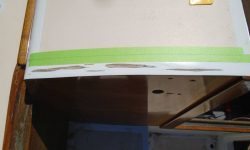
At the port after edge of the cabin trunk, over the past six years since the main exterior work had been completed (this project sat idle for many years between then and now), some cracking had formed where the plywood cabin trunk met the teak paneling at the cockpit bulkhead. This was an area that had been worked on sometime before the boat ever came my way, and I’d not done any additional work here, other than the usual sanding and surface prep before priming and painting. With extensive repair work going on elsewhere, the raised after portion of the coachroof was one of the areas that seemed sound and didn’t require resheathing, but in hindsight this seam should have been dealt with. That said, it took six years to manifest itself in this cracking, so there you are.
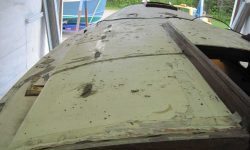
This is how this area looked in May 2010, at the very beginning of the project. Please feel free to review the original condition of this boat as well.
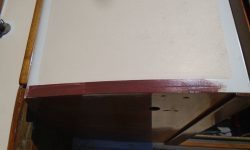
Regardless of the reasons behind it, I didn’t want to leave it as is. So I ground out and cleaned out the cracking as needed and filled the minor voids with a thickened epoxy mixture, which I left to cure in the hot sun. I wasn’t going to fully cure the potential ills of this junction, but this repair would keep out water and hopefully prevent a recurrence.
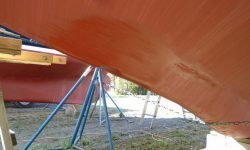
I found that one of the breaker switches on the panel in the galley had been broken off, so I replaced the breaker with a new one, a quick process. Meanwhile, I finalized prep work on a hull patch I’d made during the last work phase some months earlier, where I’d filled an old transducer hole in the bottom, and applied bottom paint over the epoxy repair.
Total time billed on this job today: 2.75 hours
0600 Weather Observation: 32°, clear. Forecast for the day: sunny, high in the mid-60s


