

May 9, 2016
Waanderlust 1
Monday
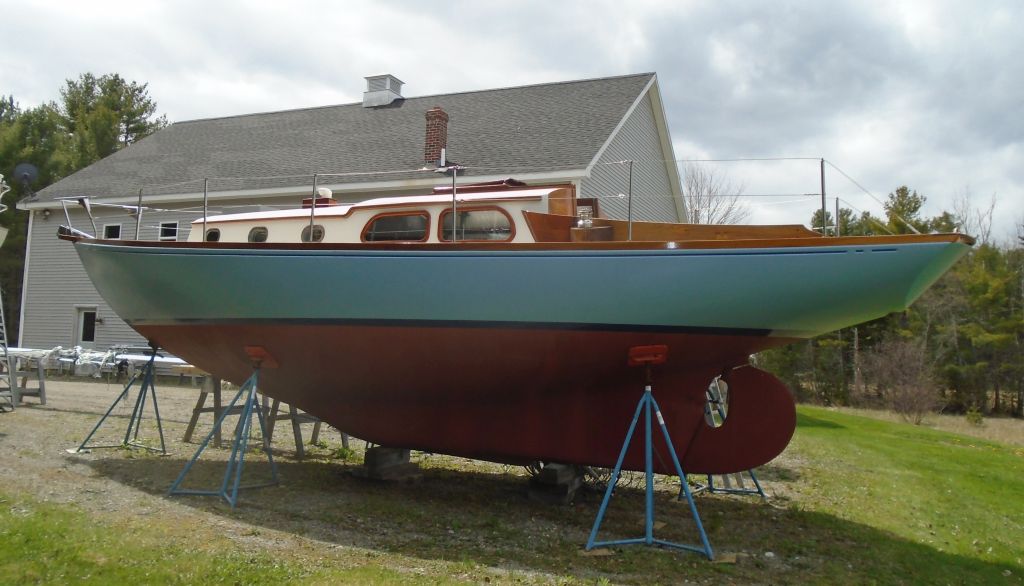
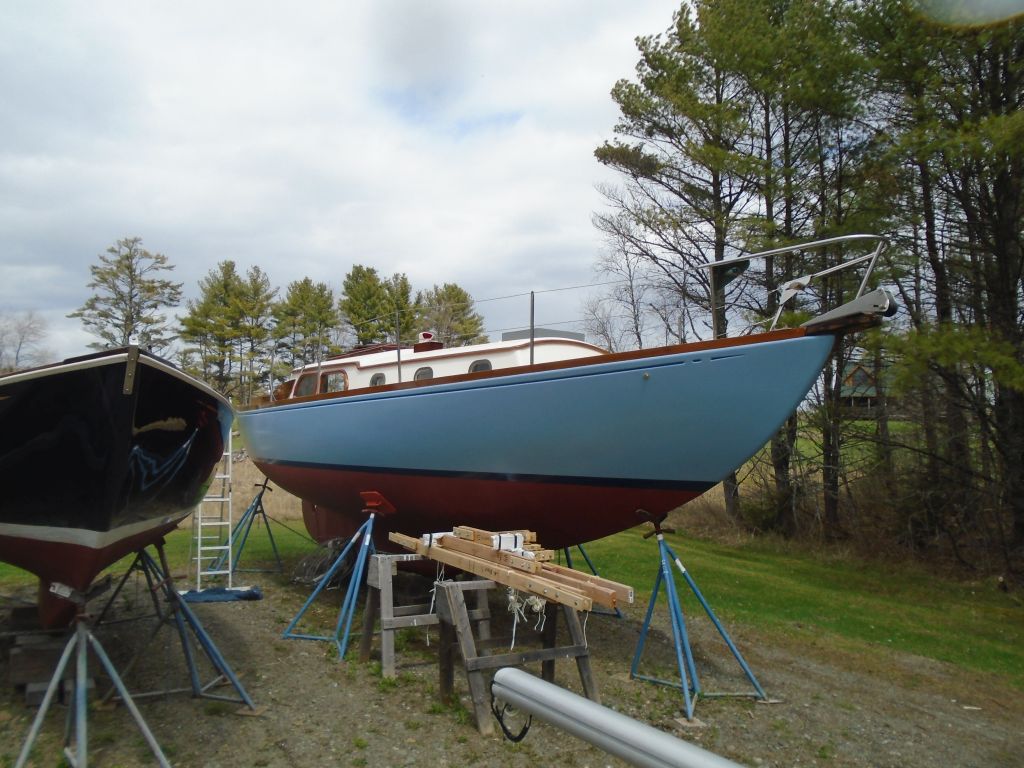
Over the past week or two, I’d removed the winter cover and framework, and reinstalled the lifelines. Now, with the boat open and available for work, I turned to some of the items on my very short list to finish up the project. With minimal work at hand, I saw no reason to move Waanderlust indoors, and would complete the project outside.
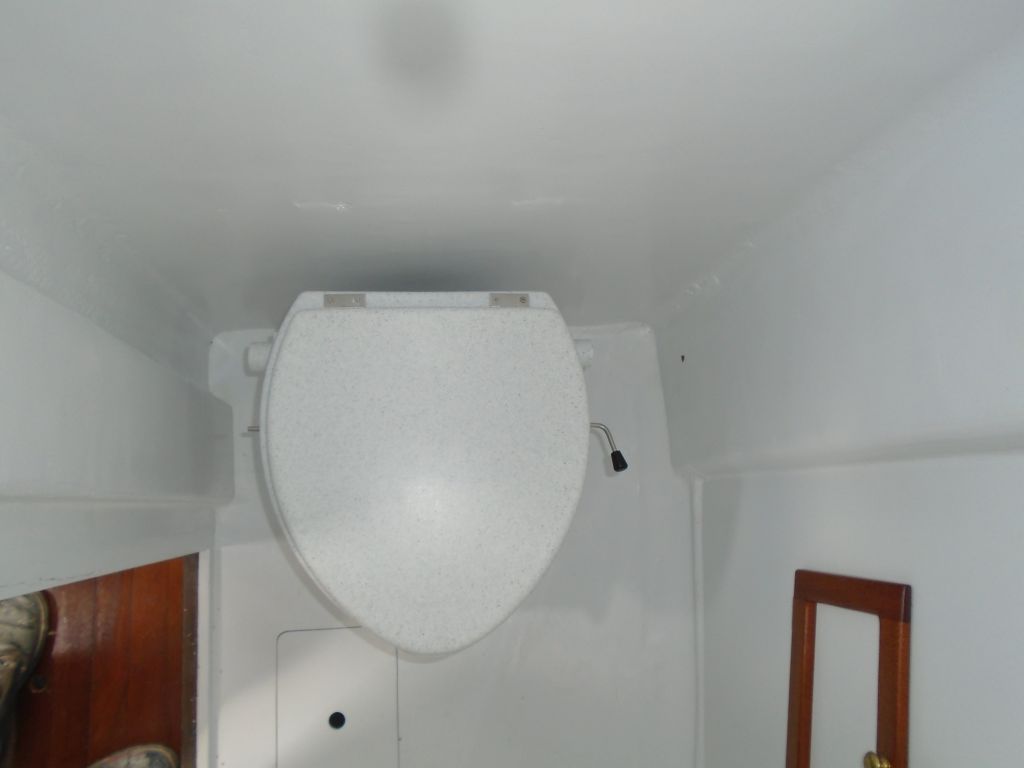
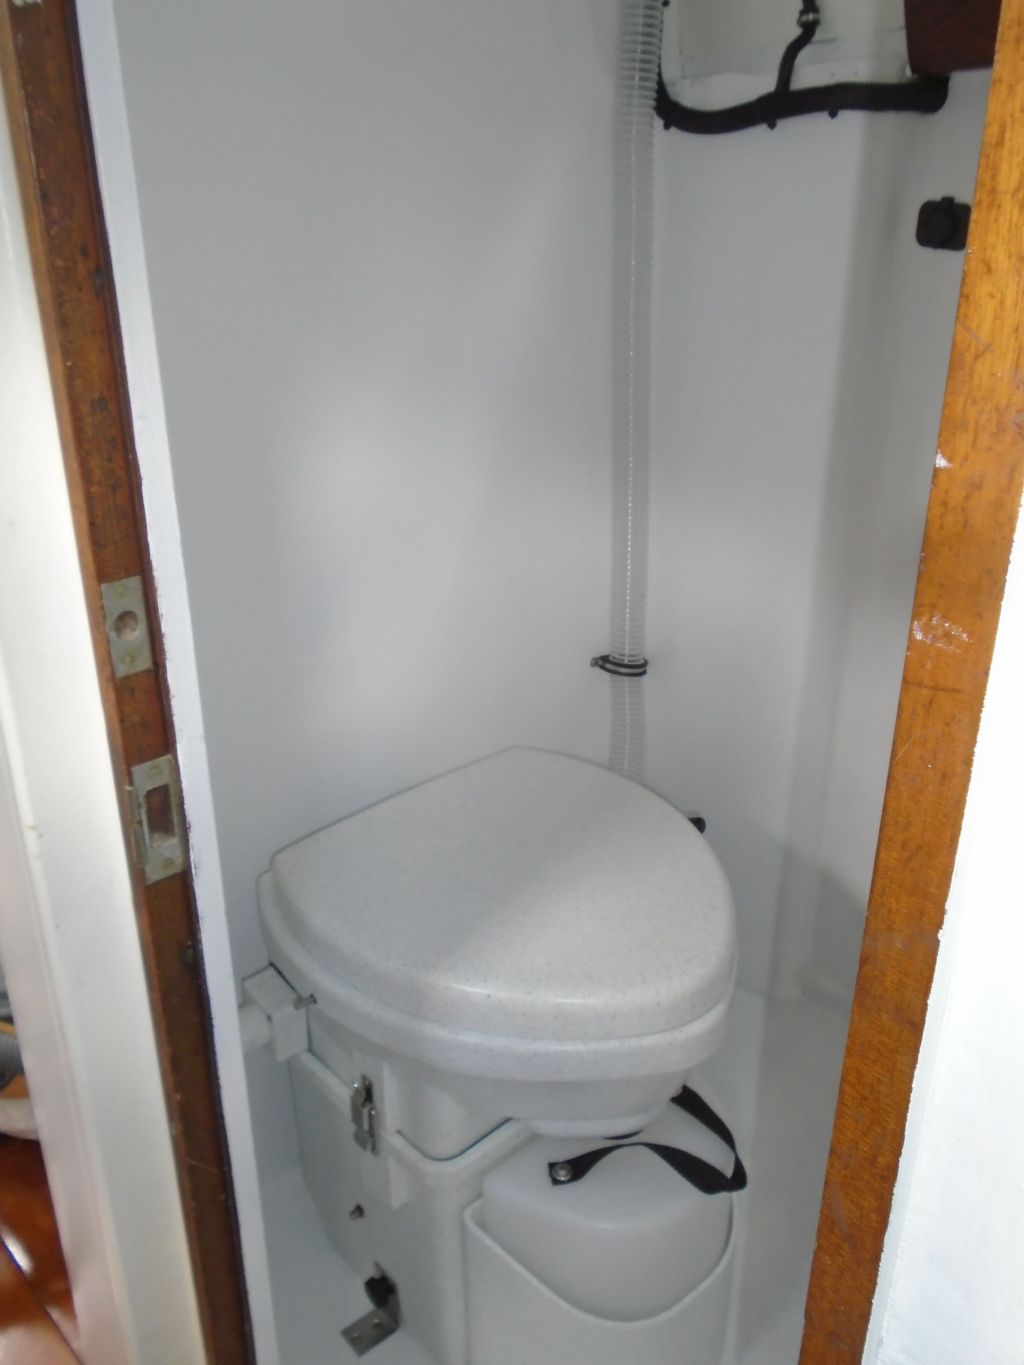
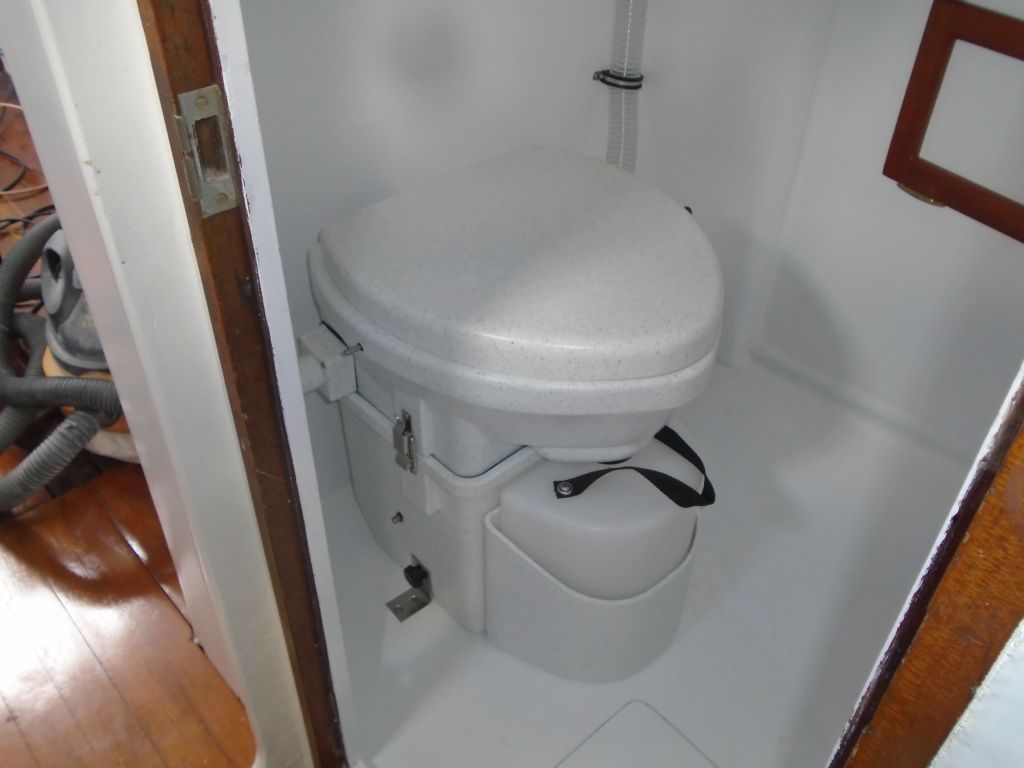
First on my task list was to install a new composting toilet. During the previous work phase on this project, I’d revamped the head compartment, creating a simple, clean, and open space for the new toilet. The owner selected Nature’s Head, and in due course I ordered the unit and unpacked it at the shop.
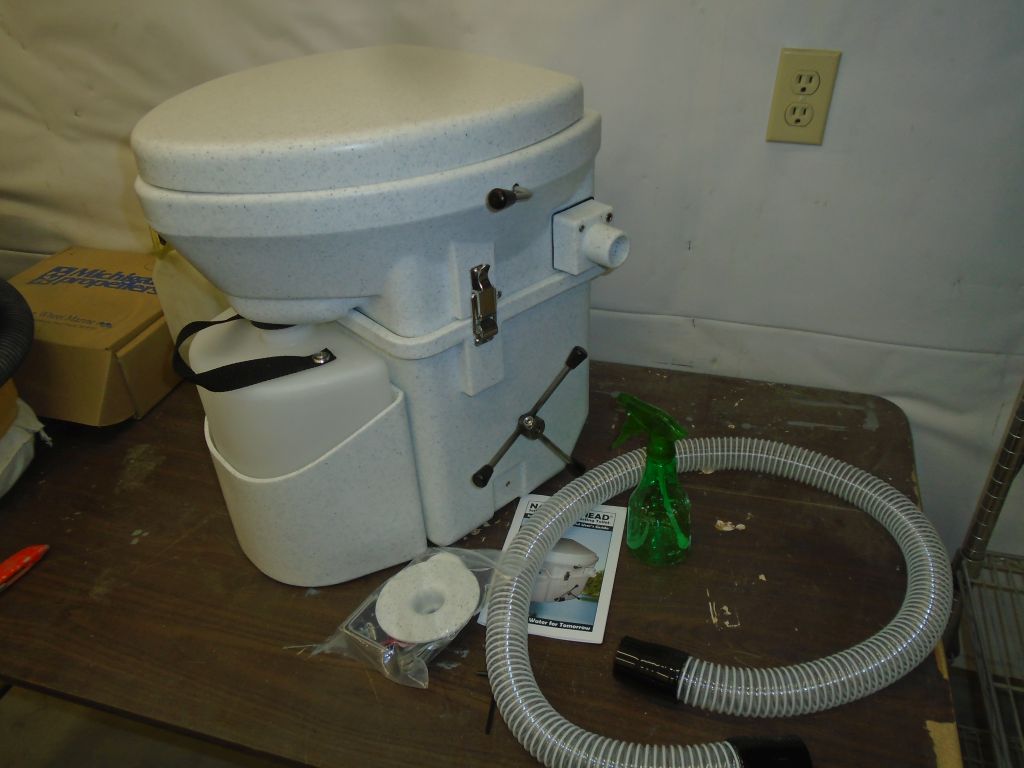
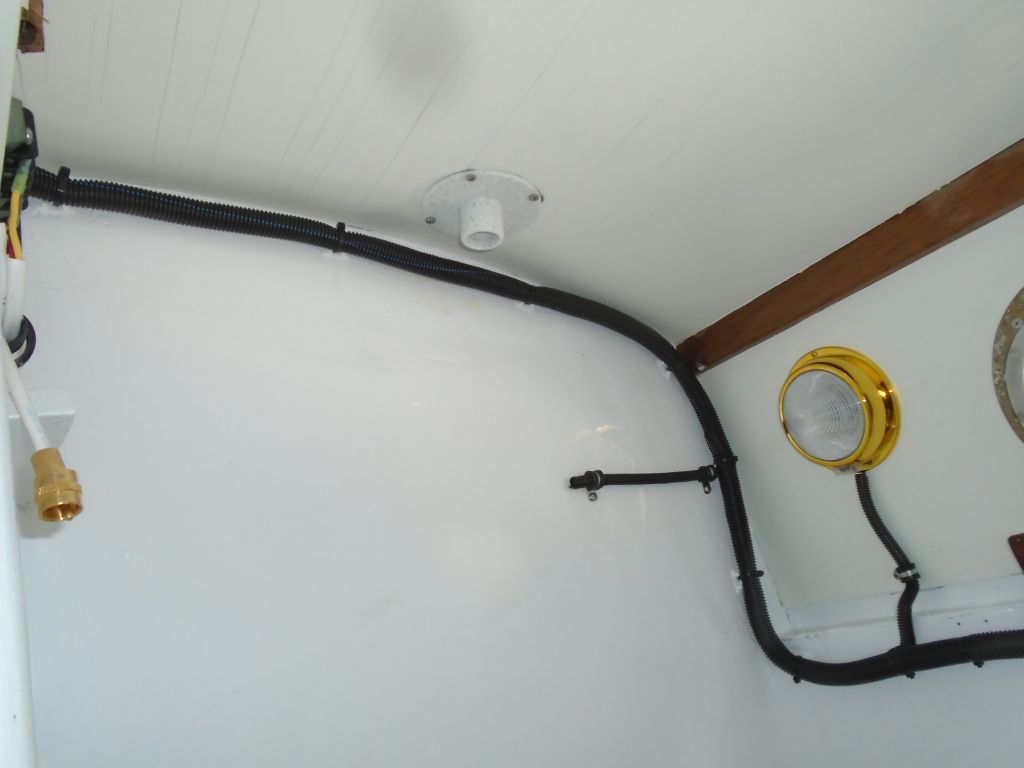
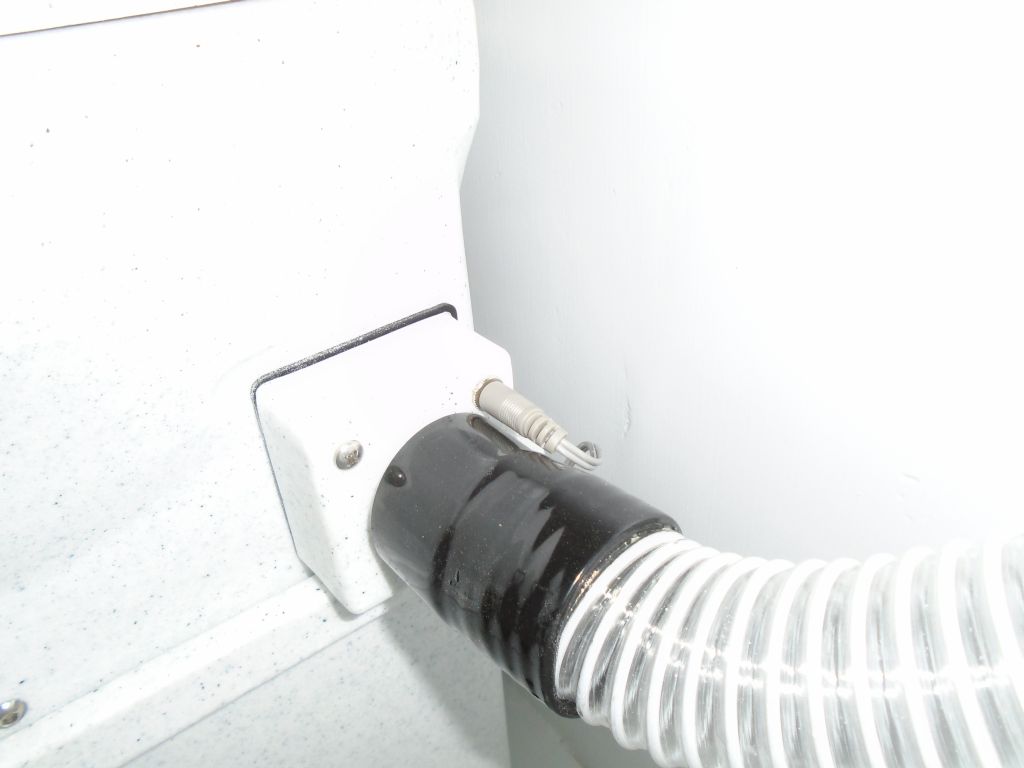
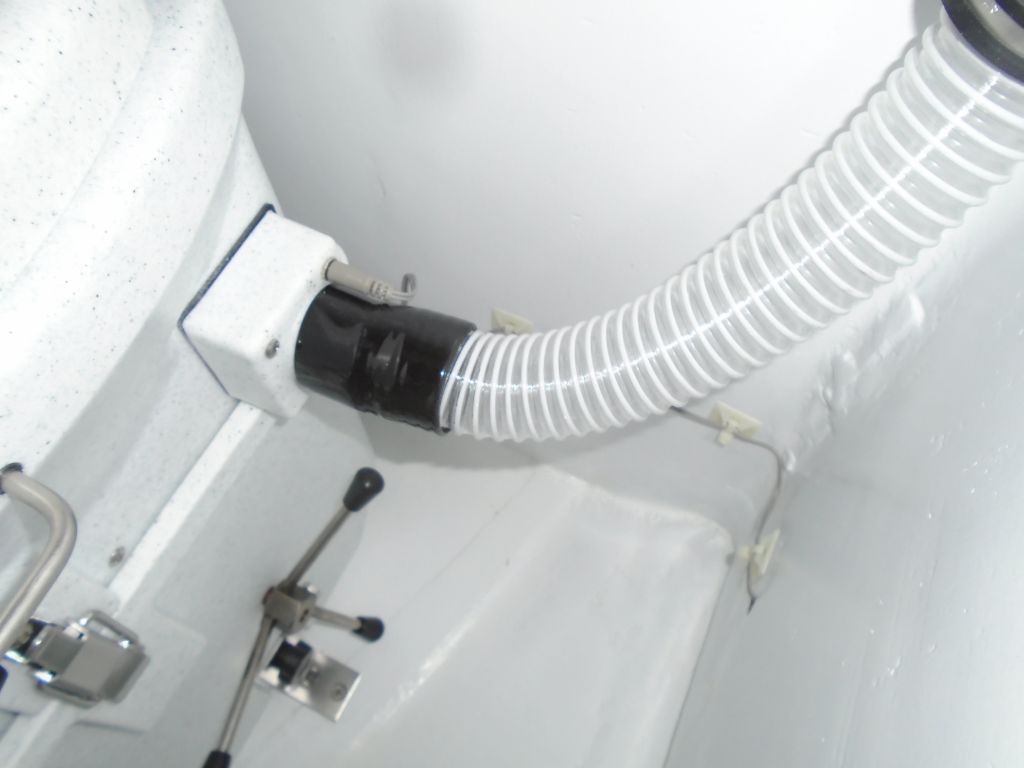
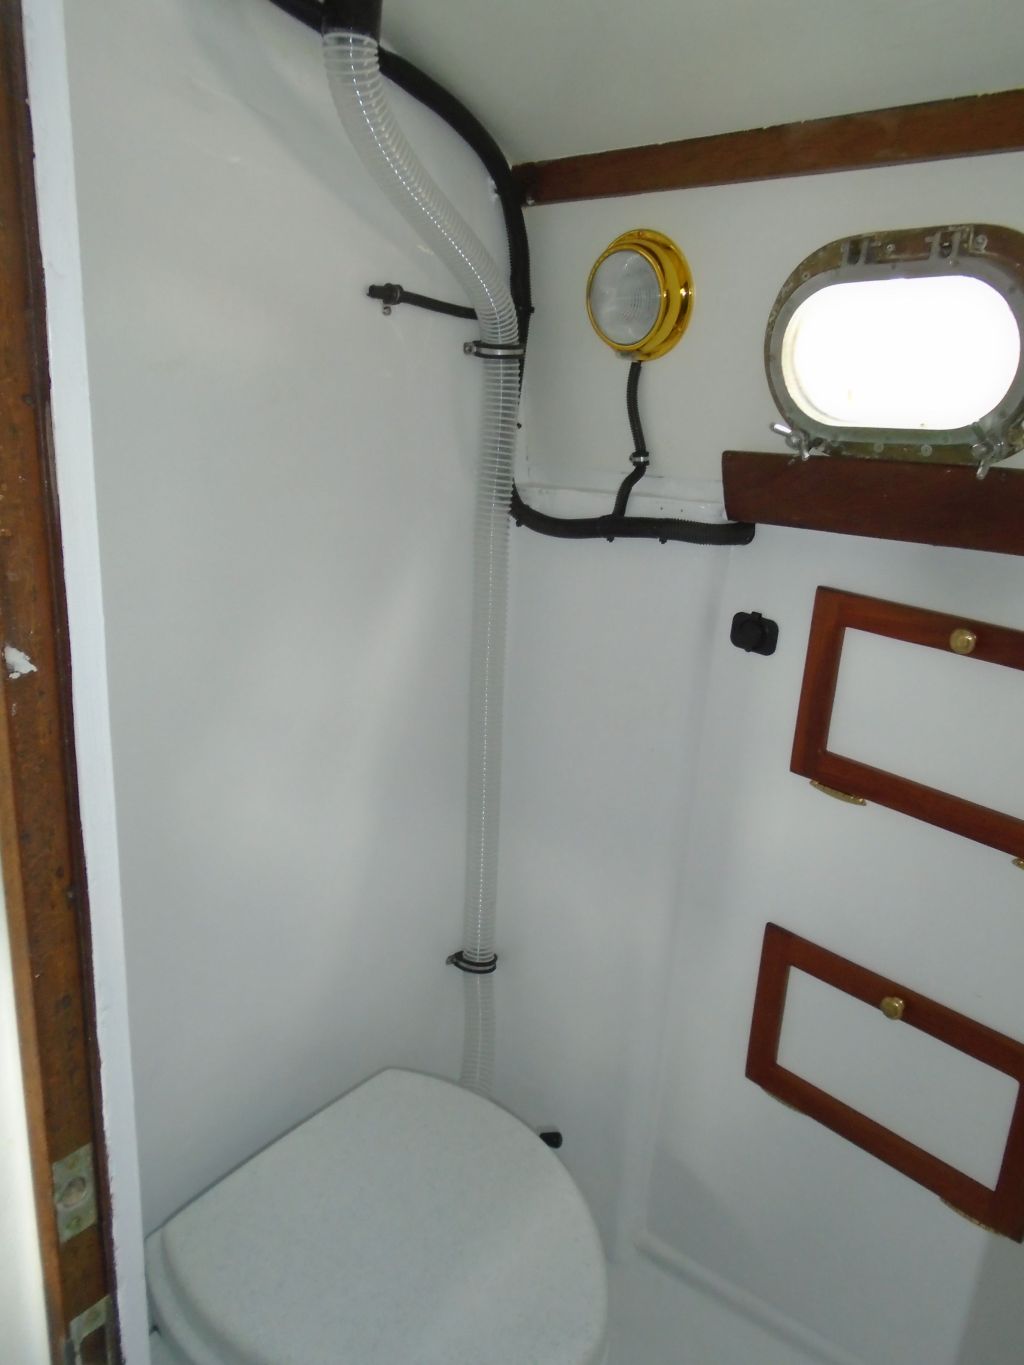
Installation in this case was pleasingly straightforward. The toilet was self-contained, perhaps the greatest advantage to composters, and there was ample room for it in the fairly large head compartment. Even better, there was already a cowl vent and quasi-Dorade box overhead, making for a convenient location for the required venting system for the toilet. To begin, I installed the supplied plastic hose connection flange over the opening in the overhead with screws and, to avoid any nuisance water that might enter the vent above, sealant.
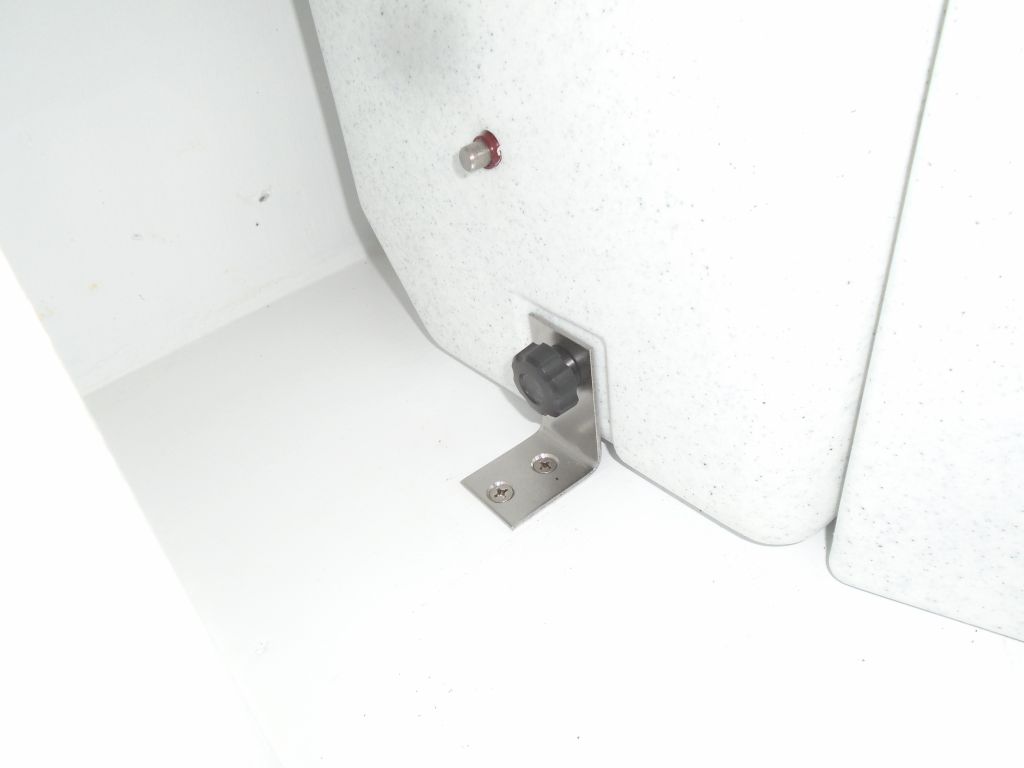
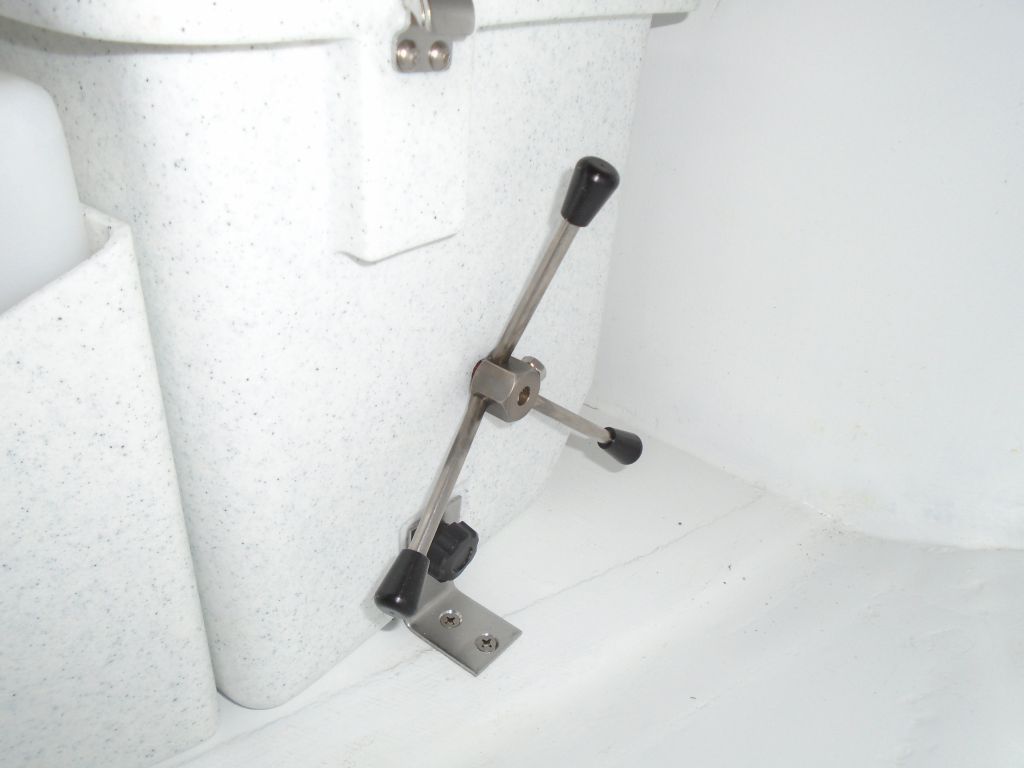
Following the directions, I installed the toilet to the plywood floor with the supplied brackets, mounting it 1-1/2″ from the bulkhead (which allowed the lid to tip up and rest comfortably, and provided enough room to tip back the top part of the toilet for inspection and removal of the top for interior service).

There was a small 12V fan built into the side of the toilet, and to this housing I attached the supplied length of hose and ran it to the overhead vent.
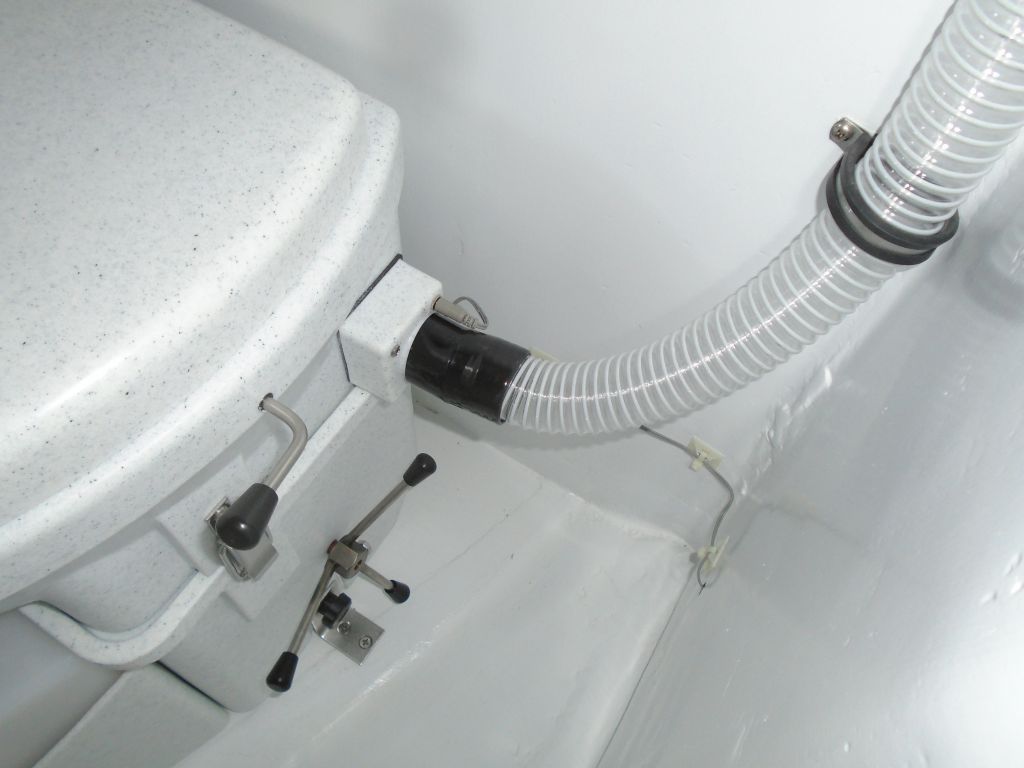

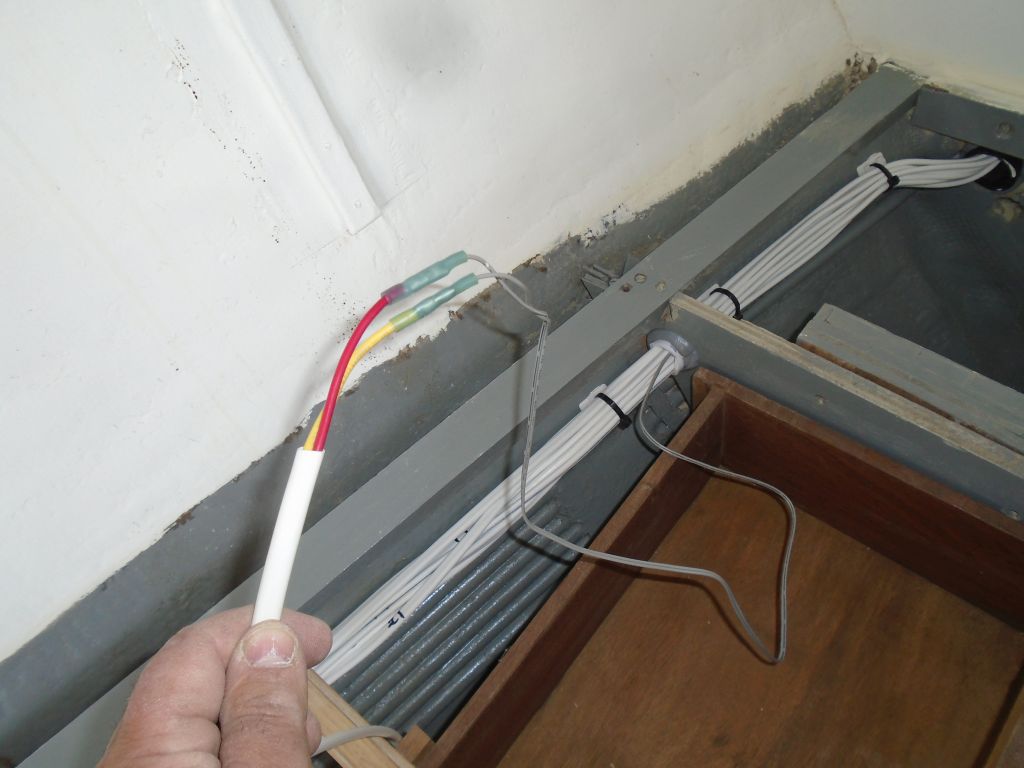
The fan featured a one-prong power plug and harness, which allowed convenient disconnection for when the toilet required servicing or cleaning. I ran the harness along the bulkhead and into an adjacent compartment, where I’d eventually connect it to a wire pair leading aft to the batteries.
This completed the installation work for the toilet itself.
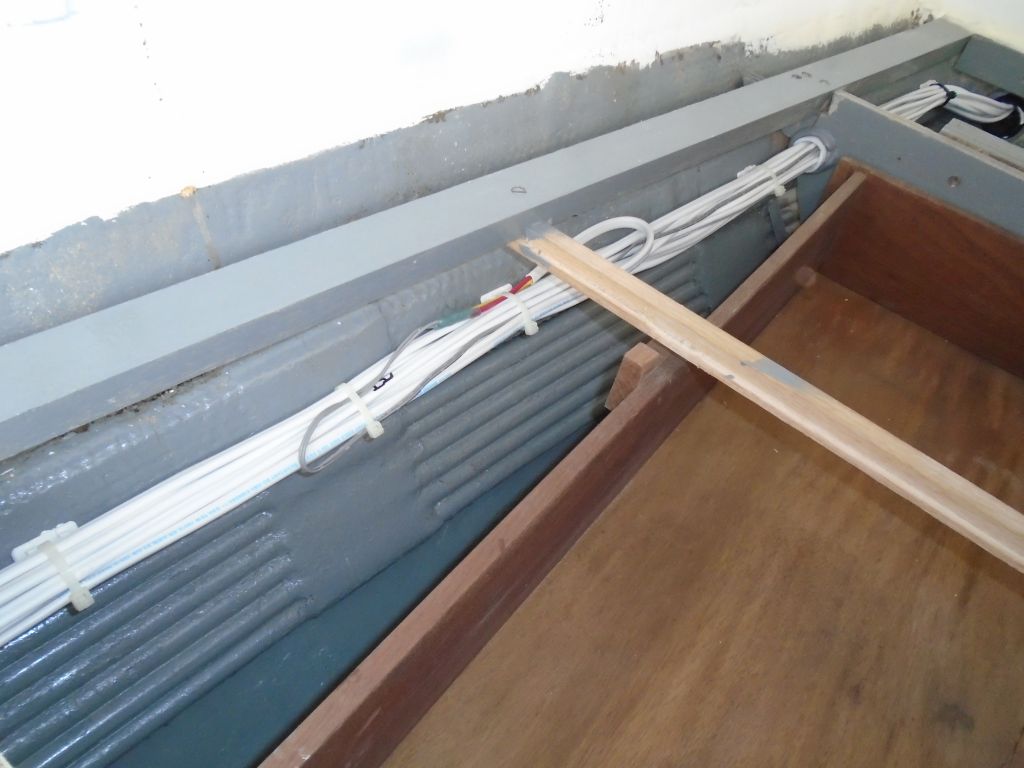
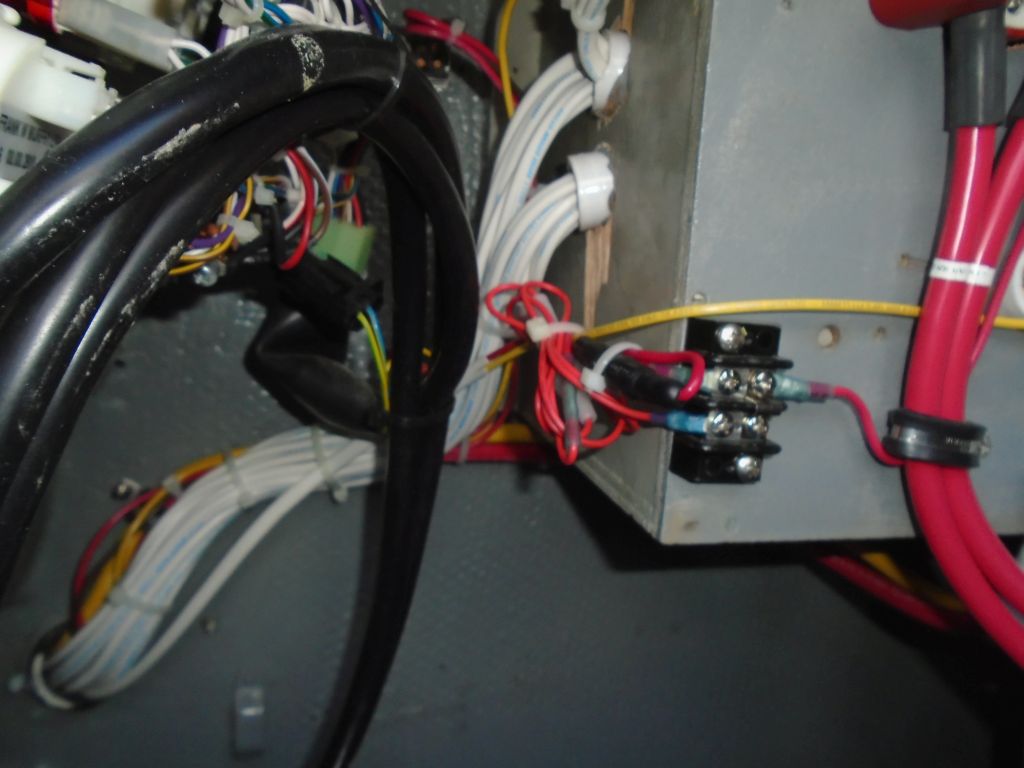
Since the little fan needed to run all the time for proper usage, I chose to lead the wires directly to an “always hot” terminal bar that I’d installed previously for the electric bilge pump. This terminal was powered whether or not the battery switch was turned on. I ran in a wire pair along a pre-existing wire route through the engine room, galley, and behind the port berth, and made up the connections at each end as required, incorporating a fuse at the hot end.
To cover the interior opening of the second cowl vent through the overhead, located at the forward end of the main cabin, I installed a metal vent screen.

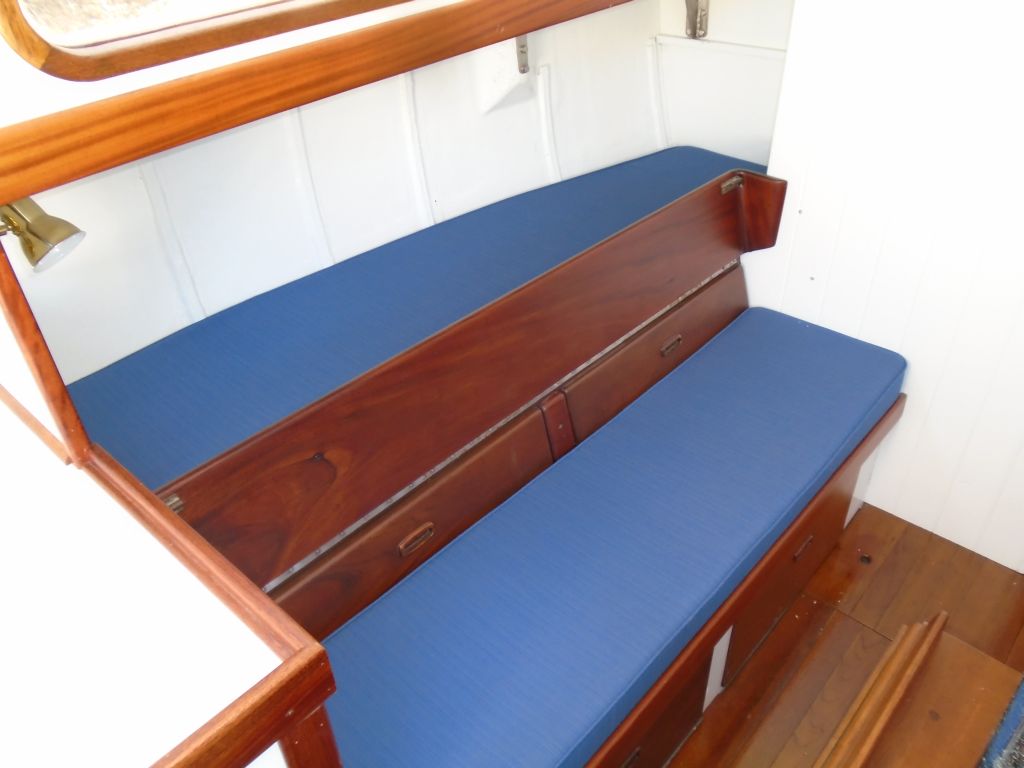
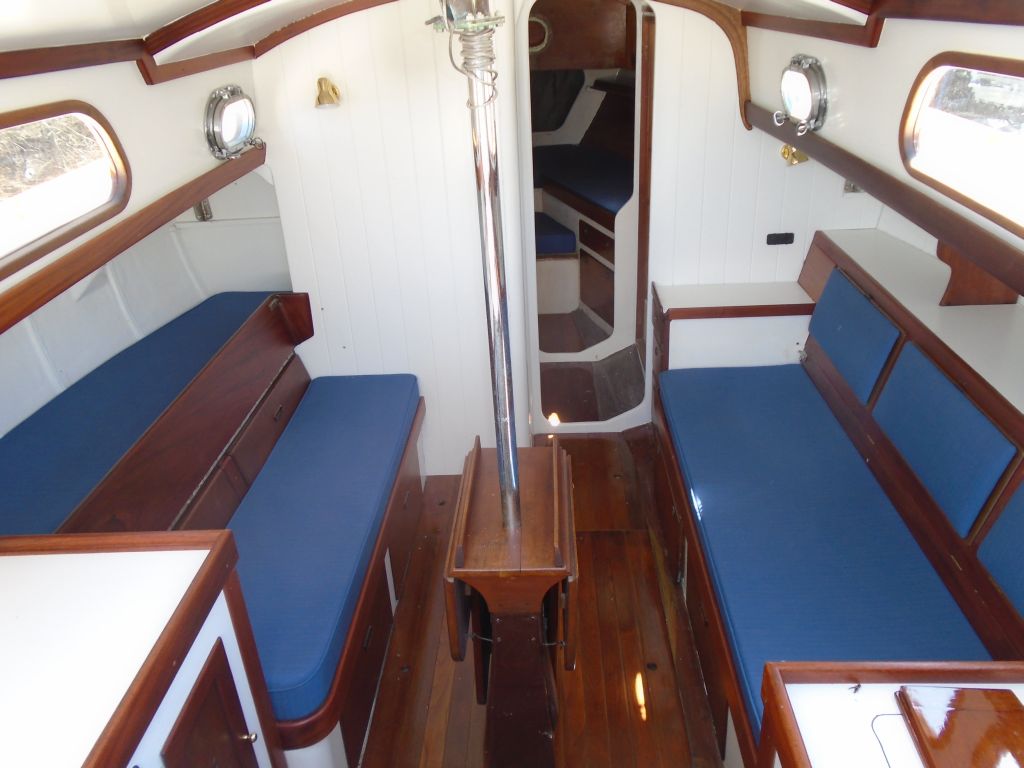
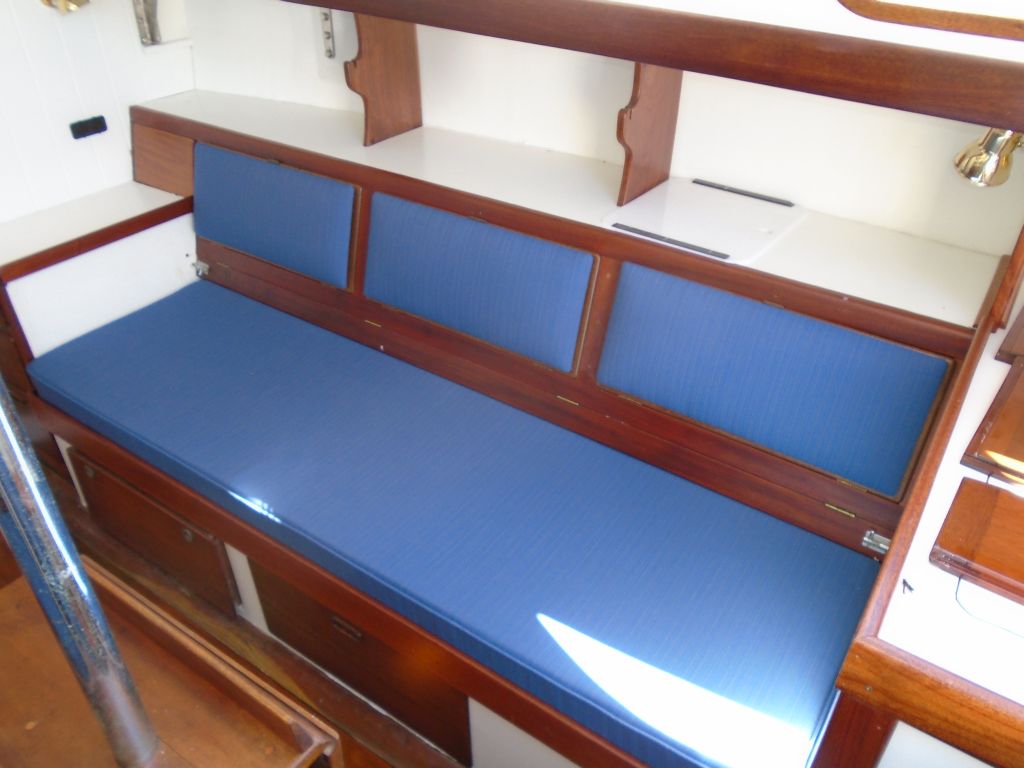
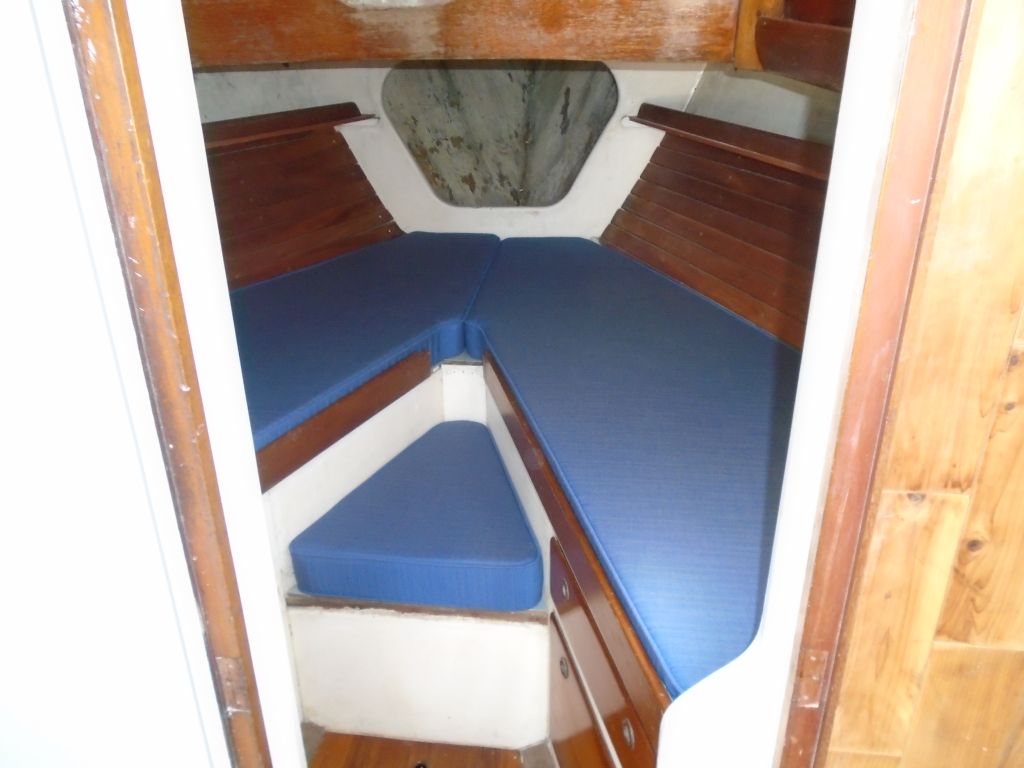
In other news, my upholstery contractor had recently completed and installed new interior cushions for the boat, which looked terrific and really finished off the clean, bright interior.
Total time billed on this job today: 3.25 hours
0600 Weather Observation:
33°, clear. Forecast for the day: Mostly sunny, windy, high in the low 50s