

April 26, 2016
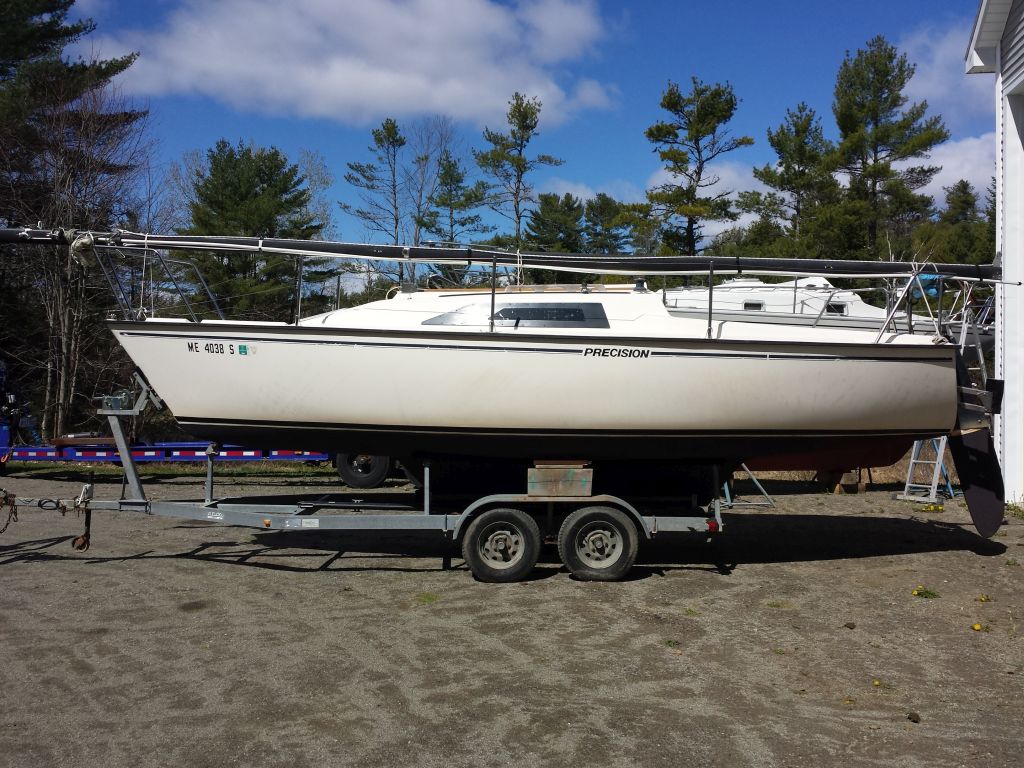
Precision 4
Tuesday
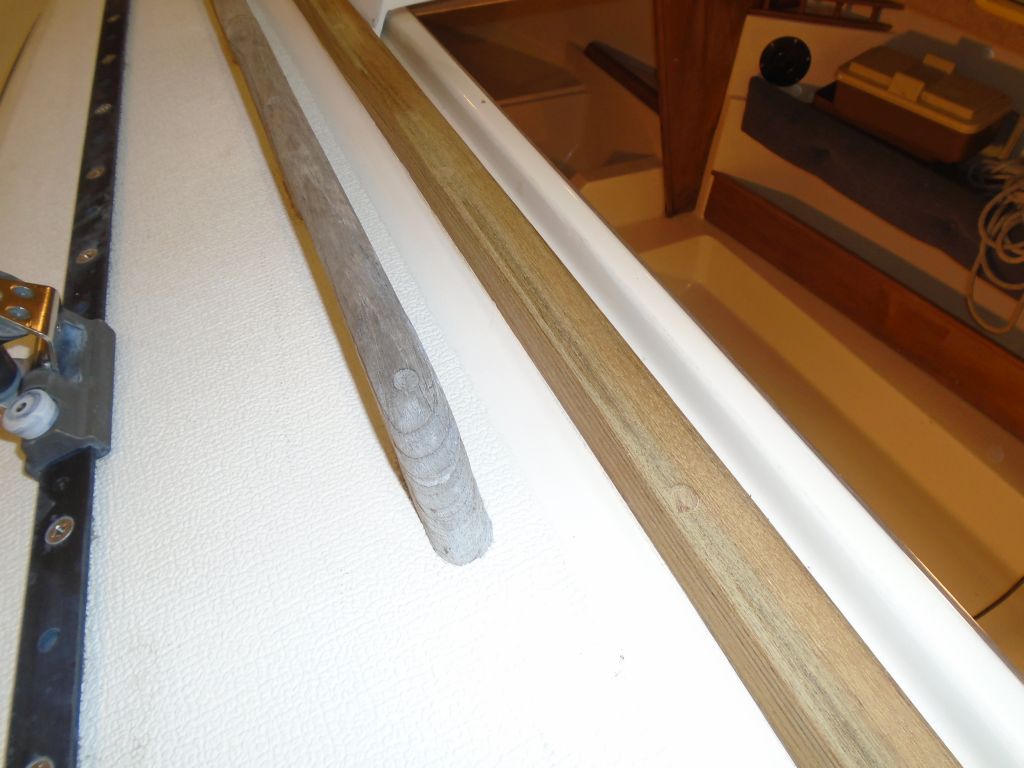
Starting out, I pared and smoothed away the excess bungs from the new companionway rails.

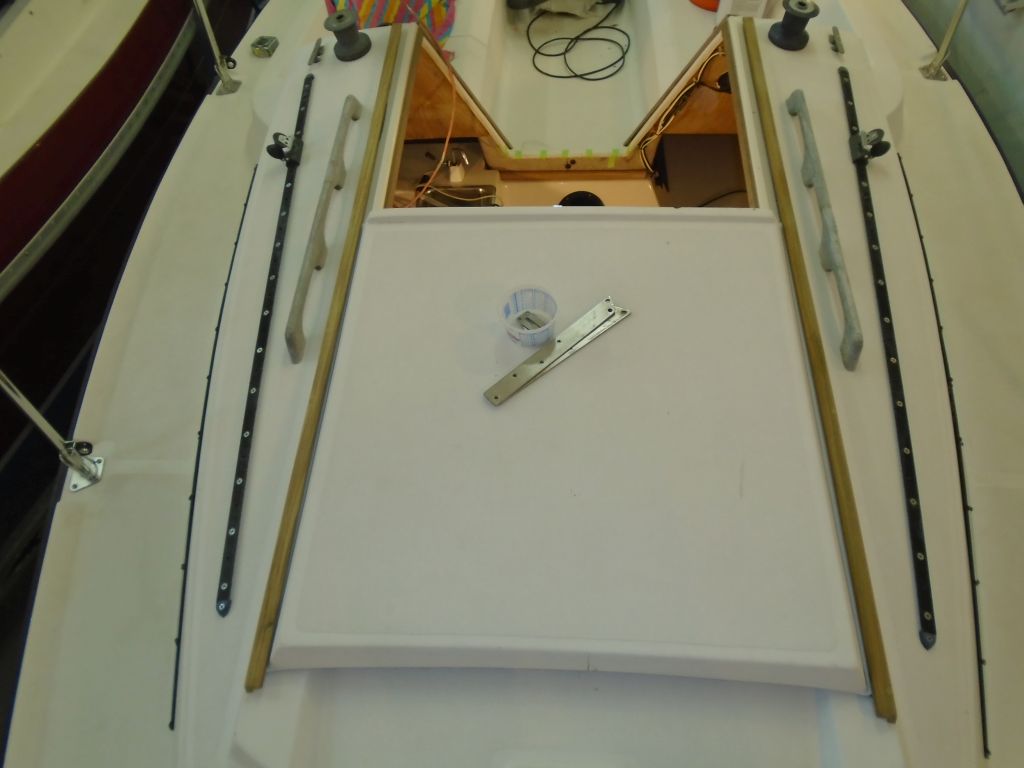
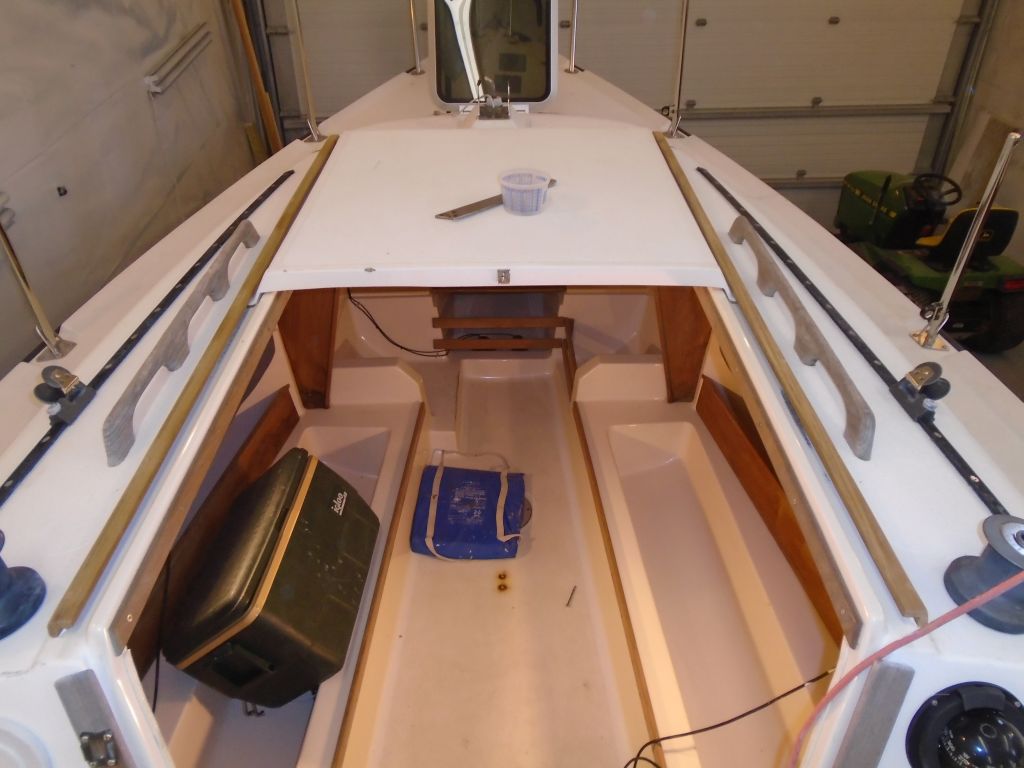
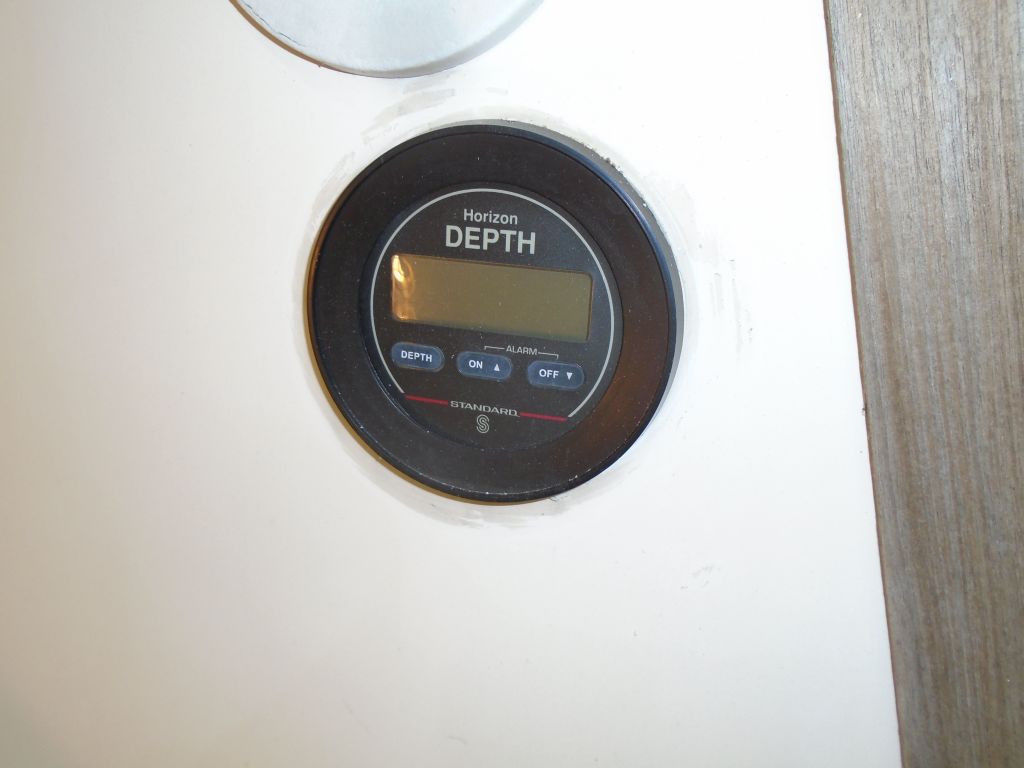
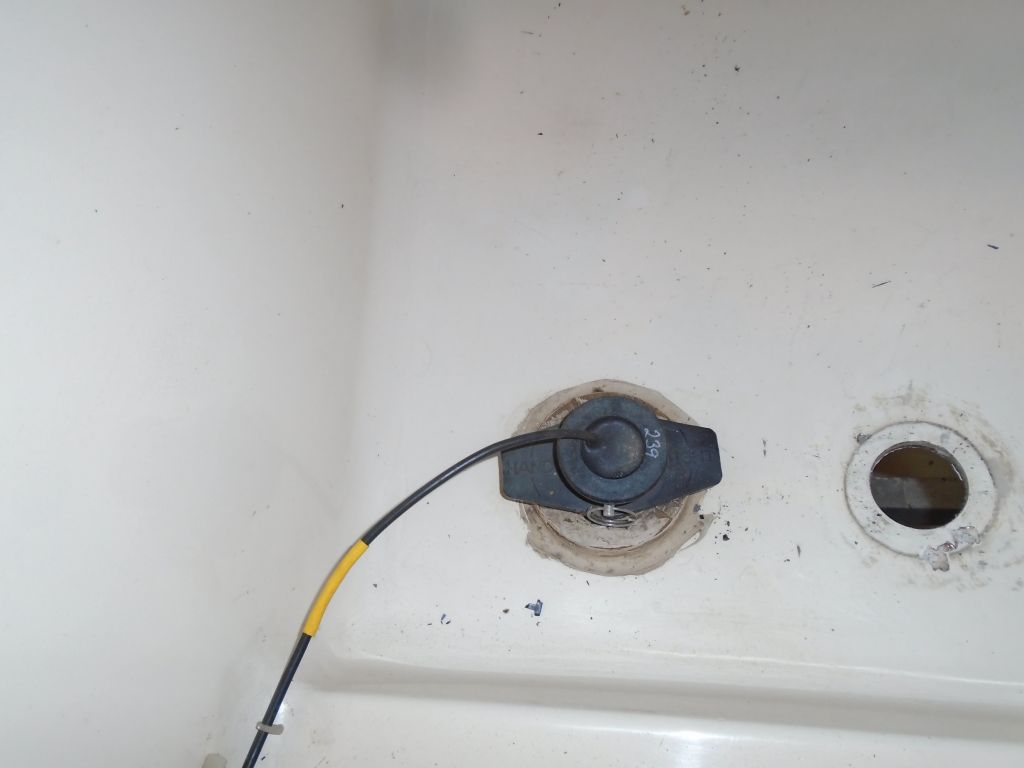
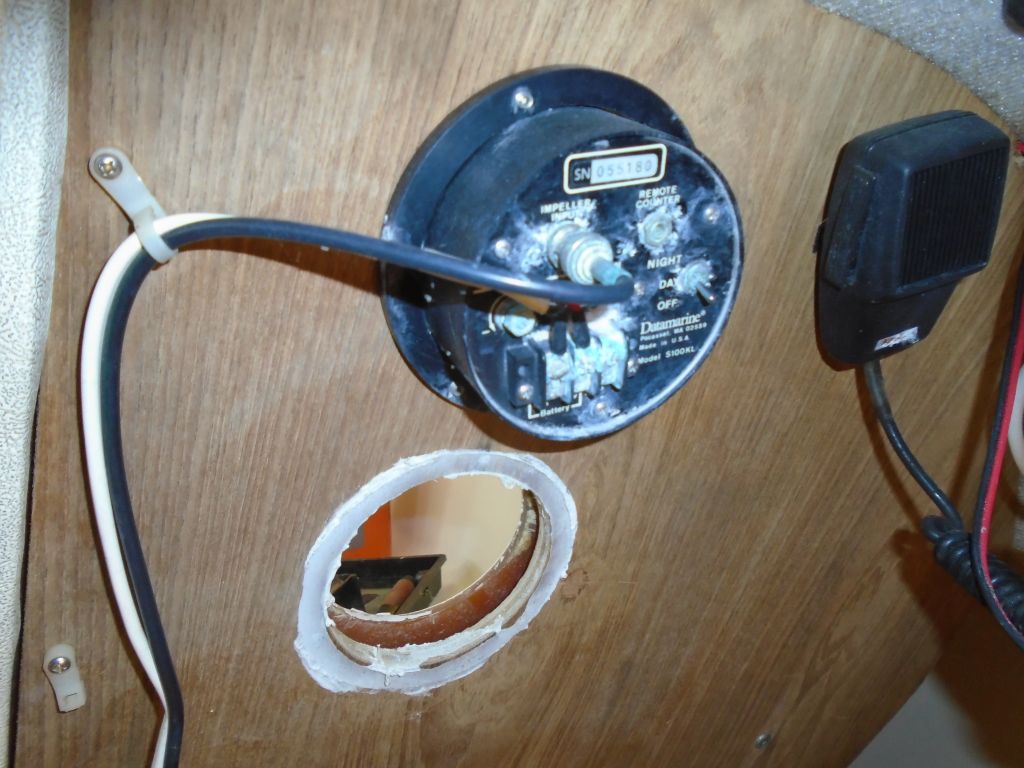
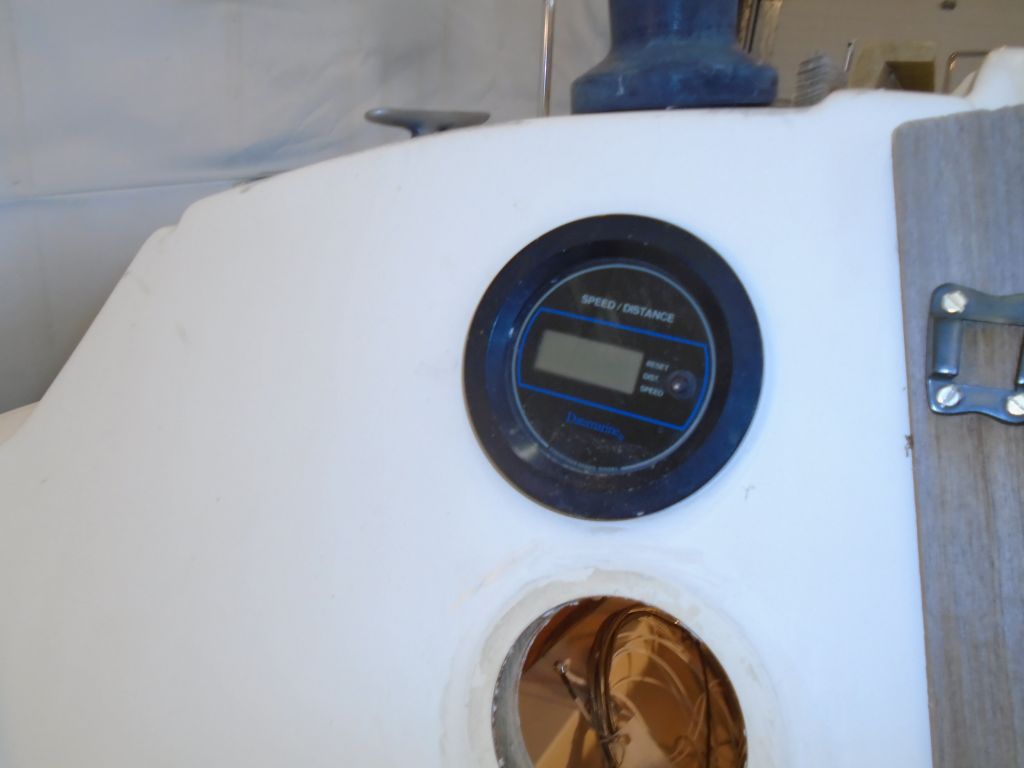
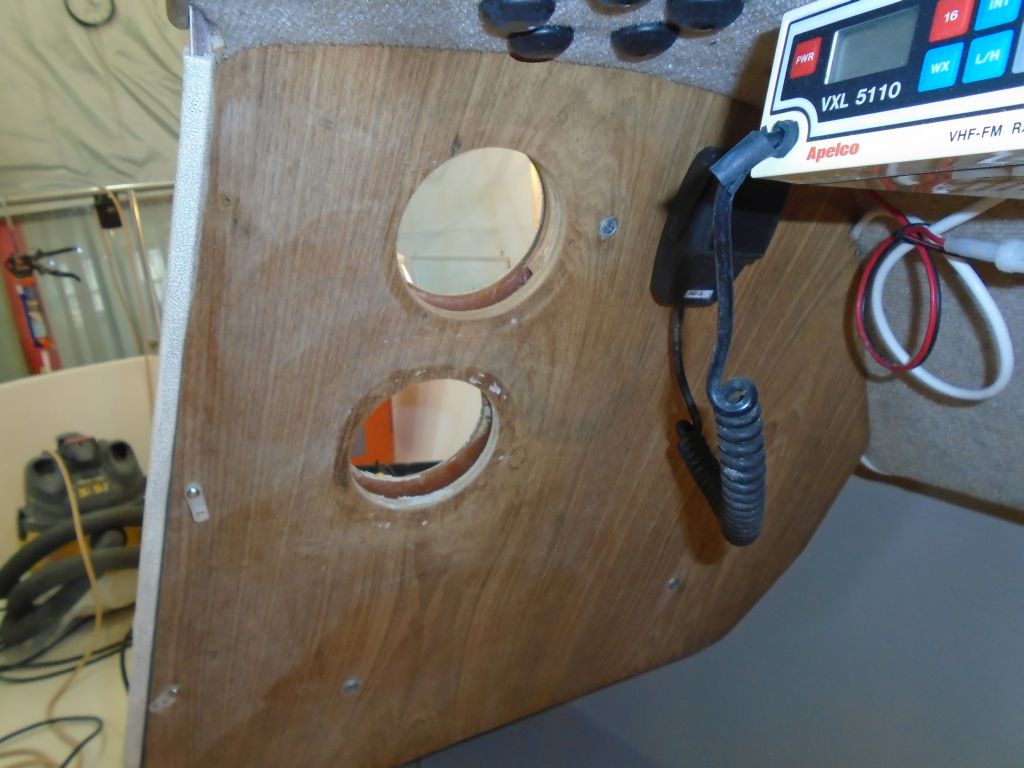
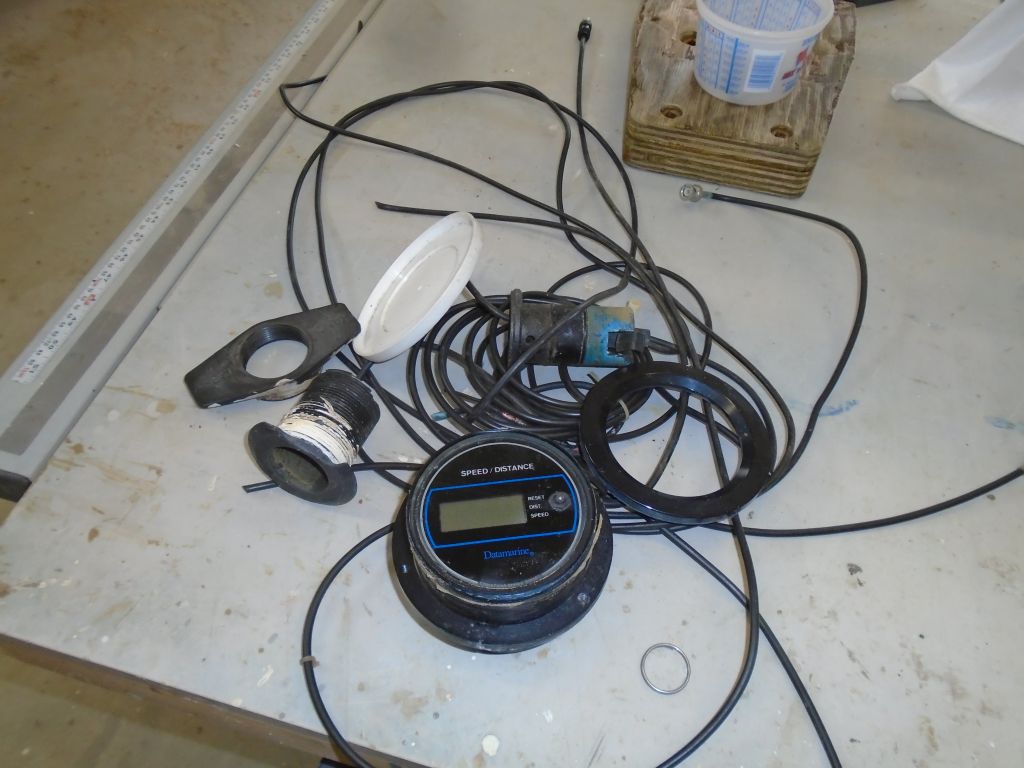
The owner reported that the depthsounder was non-functional, and replacment was on the work list. To begin, I removed the existing through-hull transducer, then the transducer wiring leading aft to the display unit mounted in the cockpit bulkhead. I removed the obsolete 4″ round display and all related components. 4″ round displays were no longer available on the market, so the replacement would be something else, and would require a cover plate over the larger hole left over from the old unit.

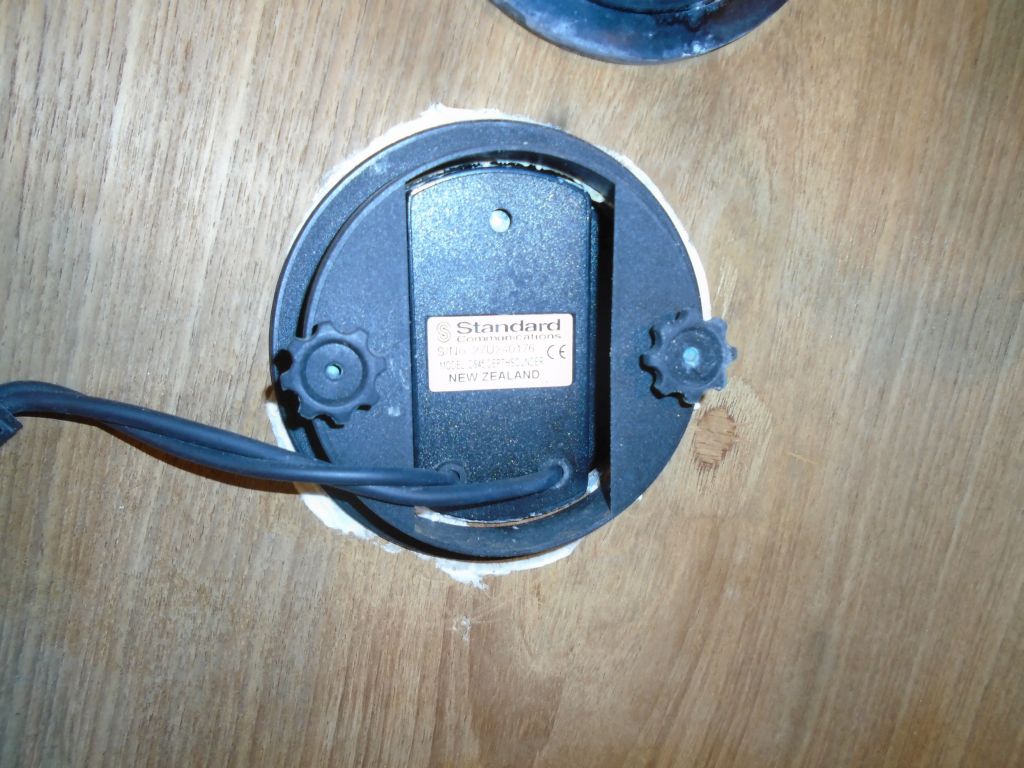
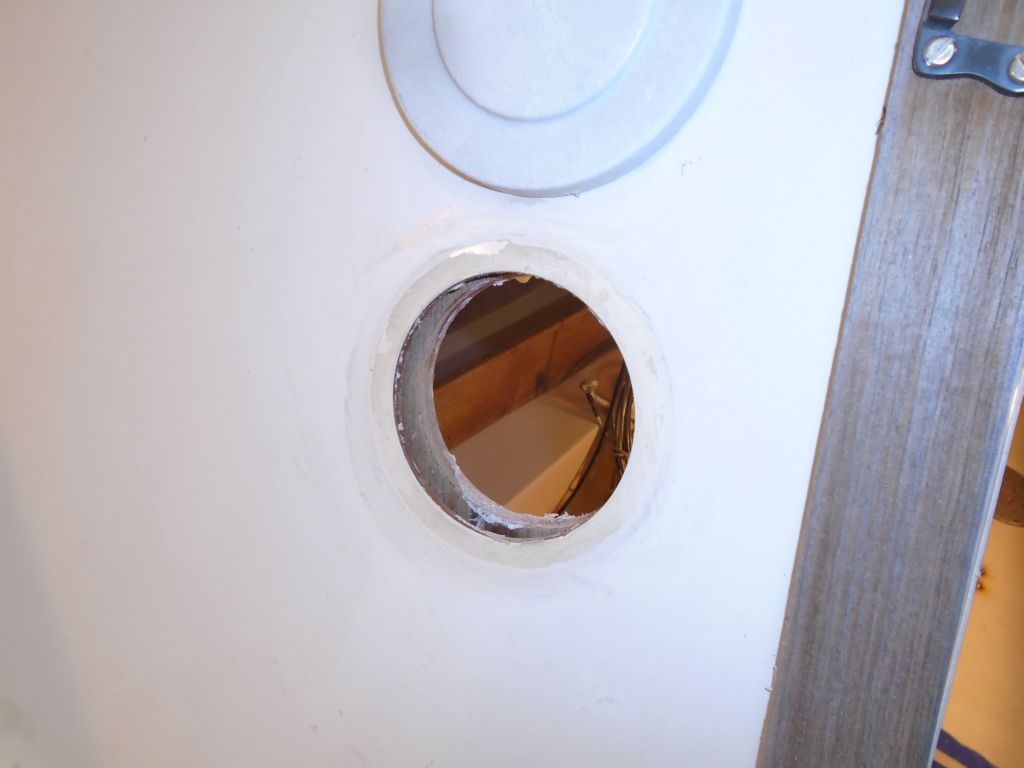
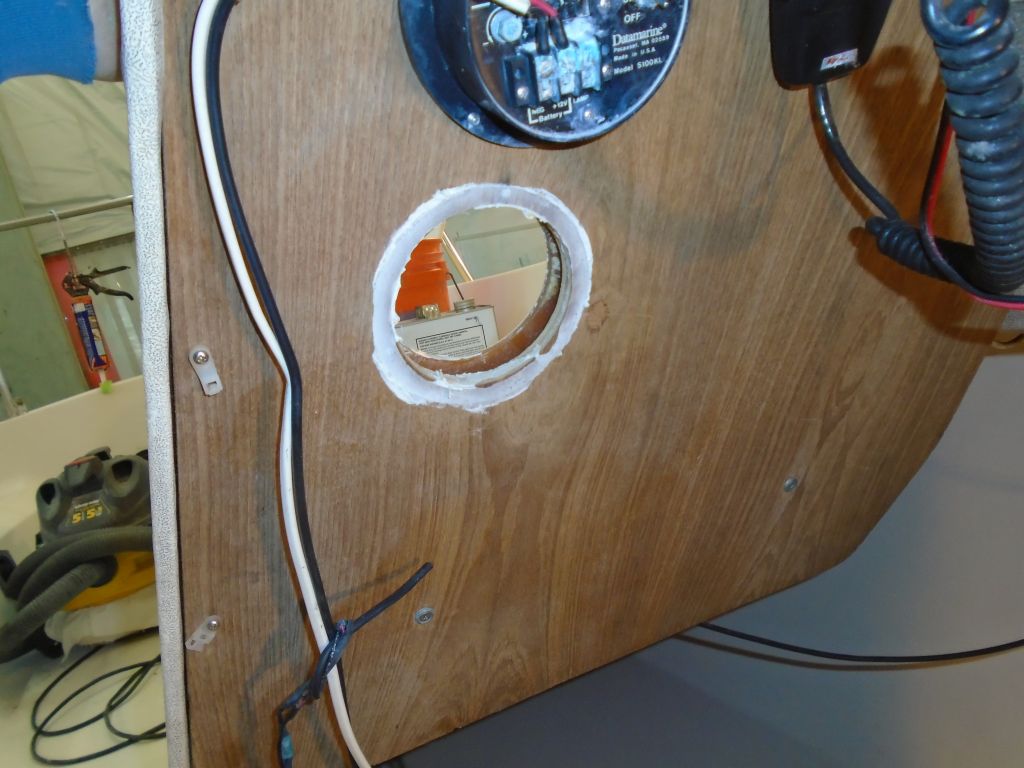
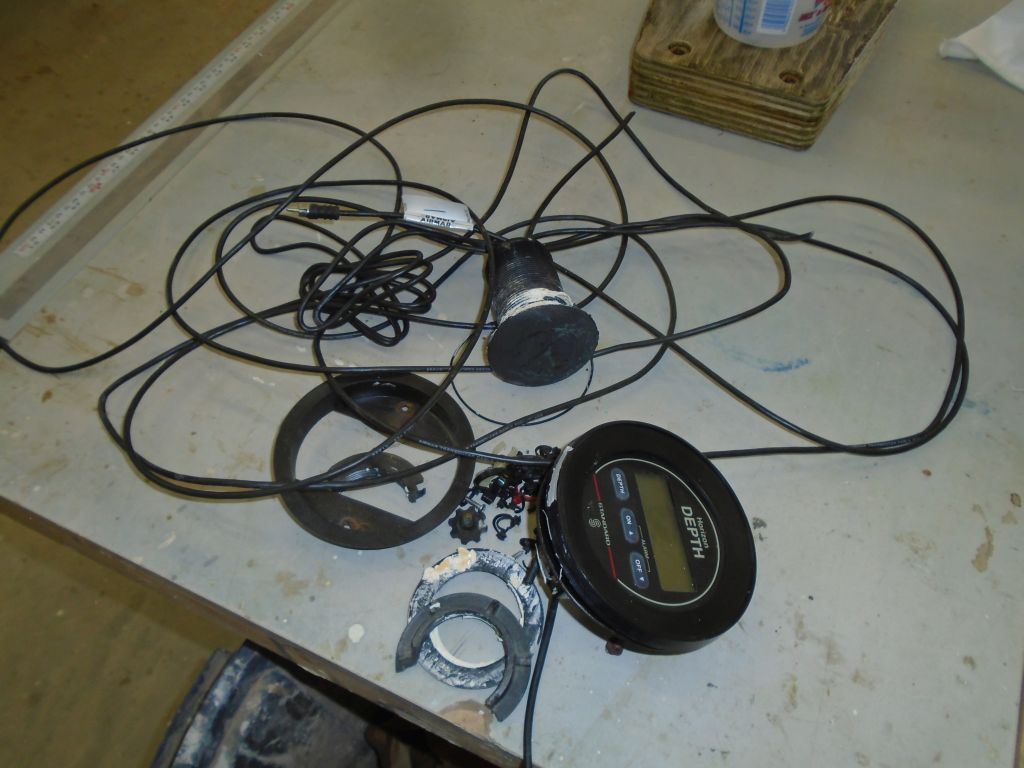
Later in the day, while on phone conference with the owner about the new depthsounder choices, he made the decision to also replace the old knotmeter, so with that decision made I went ahead and removed the old display, wiring, and transducer as required. The owner selected a matching set of new instruments, which I ordered at once.

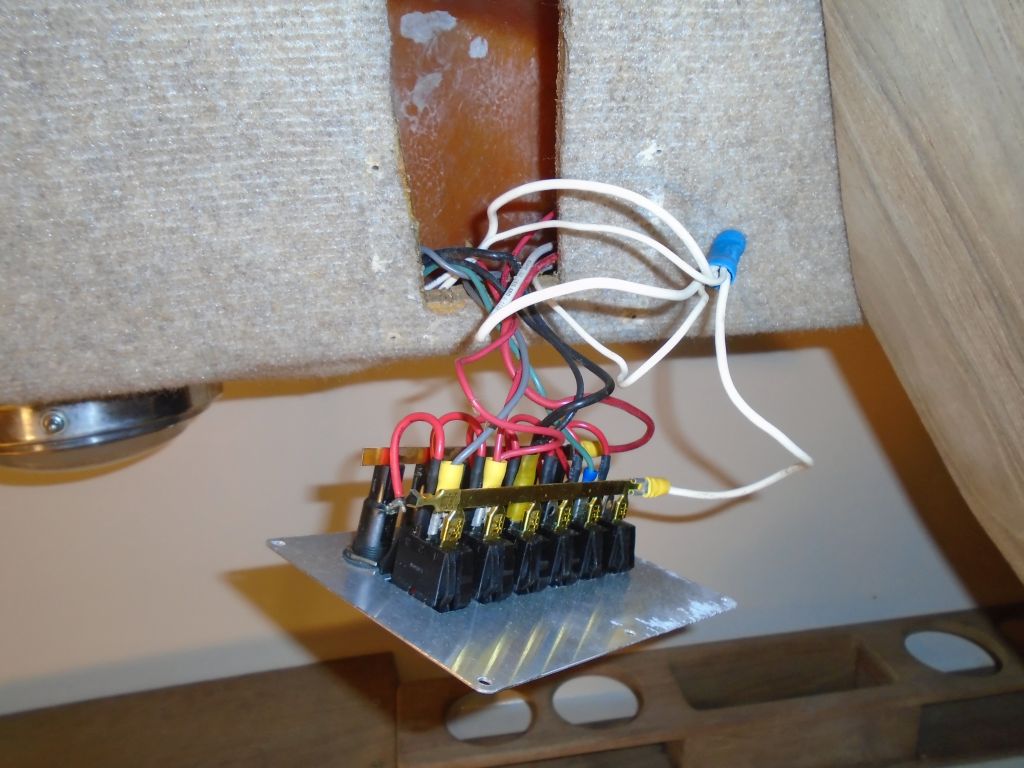
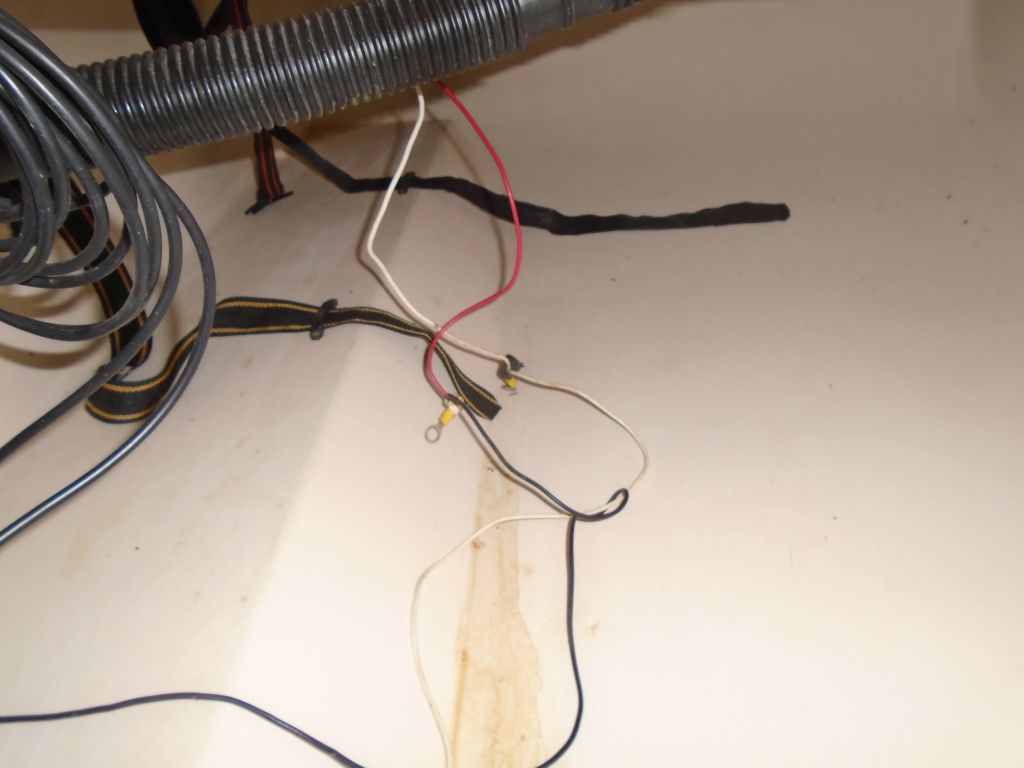
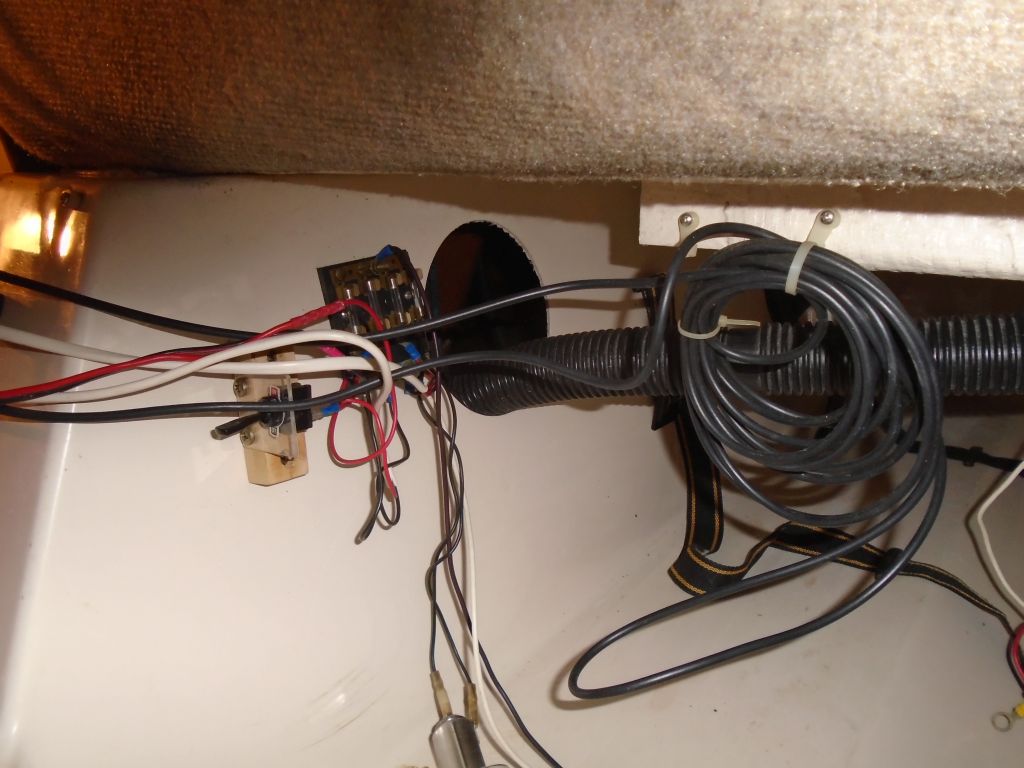
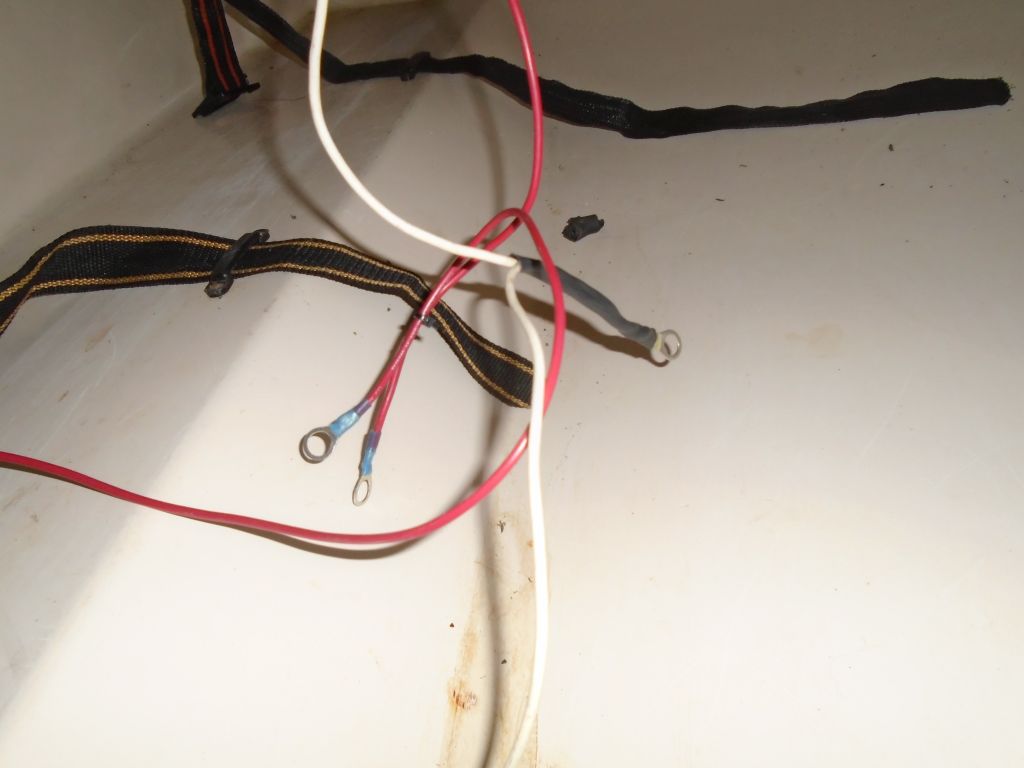
There were various minor wiring issues that became apparent as I looked over the boat’s electrical system, which was generally in good (original) condition, but there were a few improvements that I thought I could make right off the bat, starting with replacing the terminal ends on the two sets of wires that would connect to the battery, located in a large compartment below the cockpit. I also replaced a black (or maybe dark purple) wire that fed the positive supply to an auxiliary fuse panel on the port side with a red wire to eliminate confusion, and, further along these lines, secured together two white (negative, in this boat’s protocol) wires with a section of black heat-shrink to make it apparent which wires were which going forward. For now, the remaining wiring looked OK, but I’d test out various lighting fixtures and installations in the near future, now that I had the basic supply side in better shape.
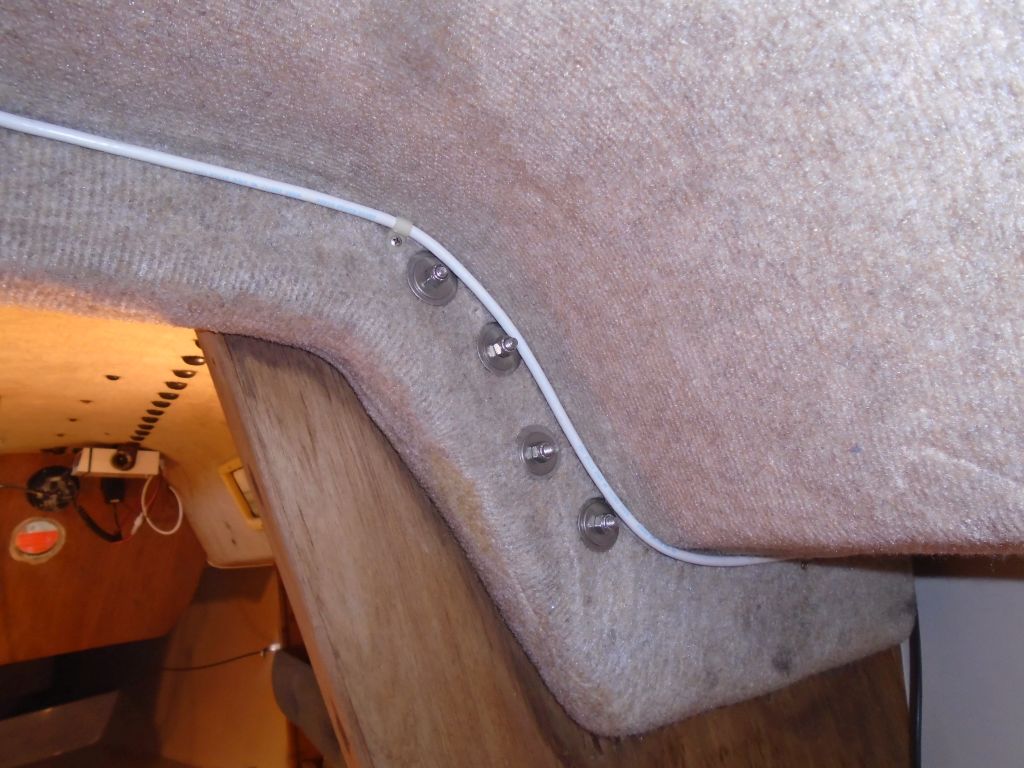
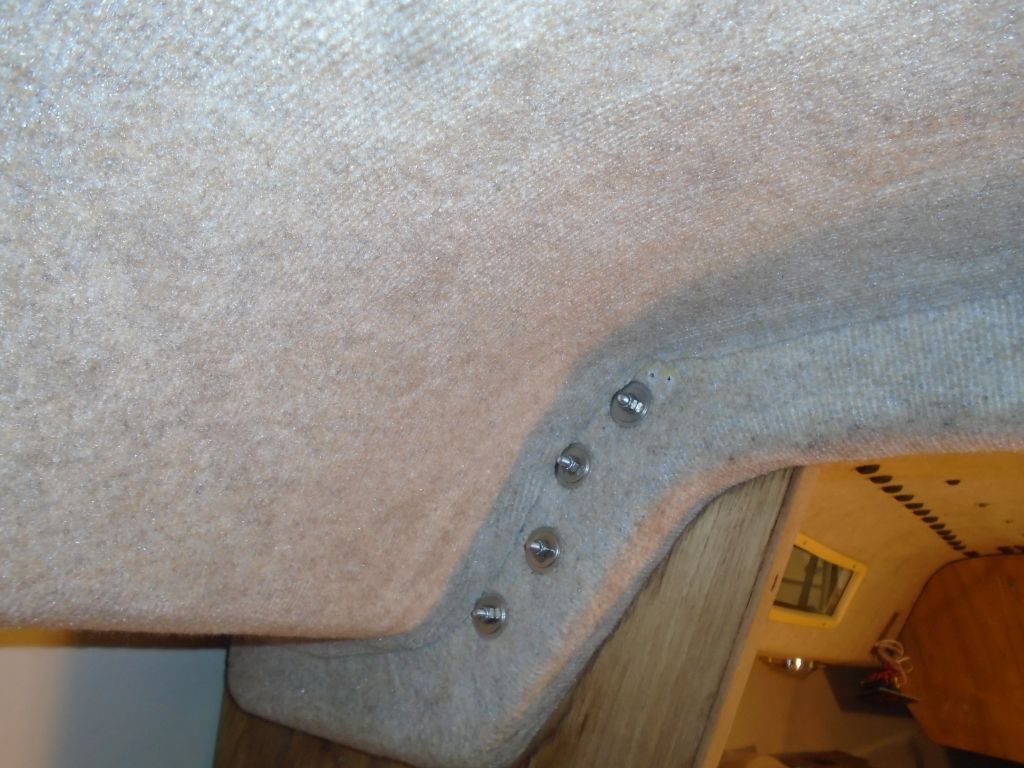
The existing VHF antenna cable, which led to deck through the mast step base, was in poor condition where visible, with numerous cuts through the insulation, so I replaced the entire length back to the VHF with a new cable.


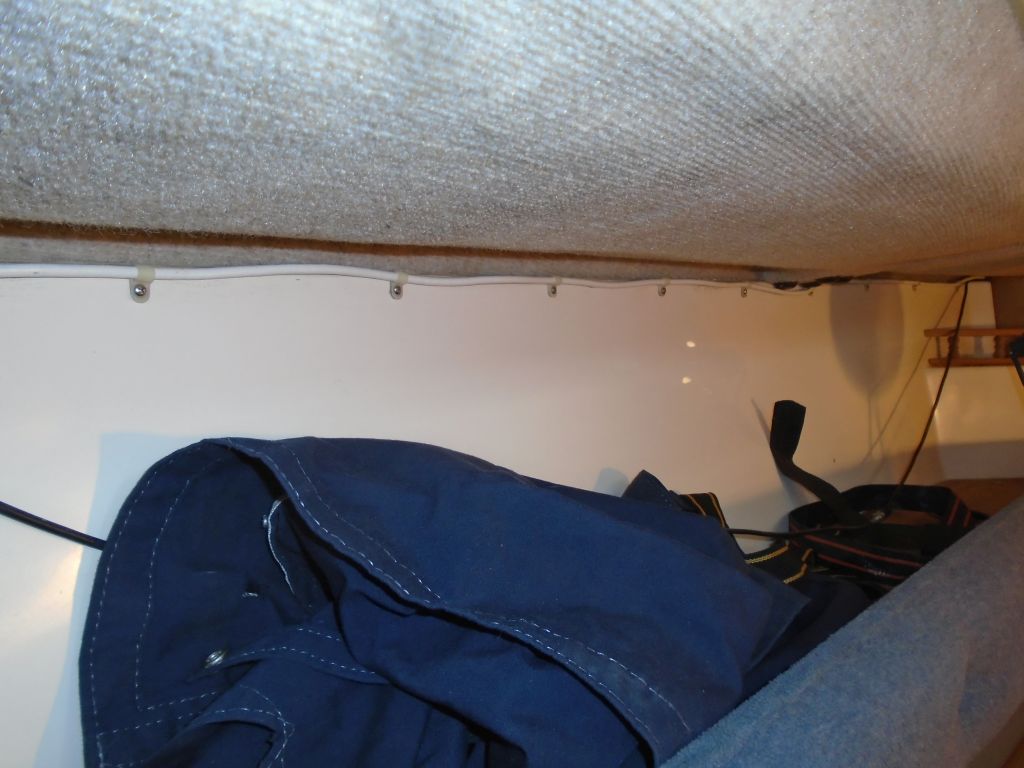

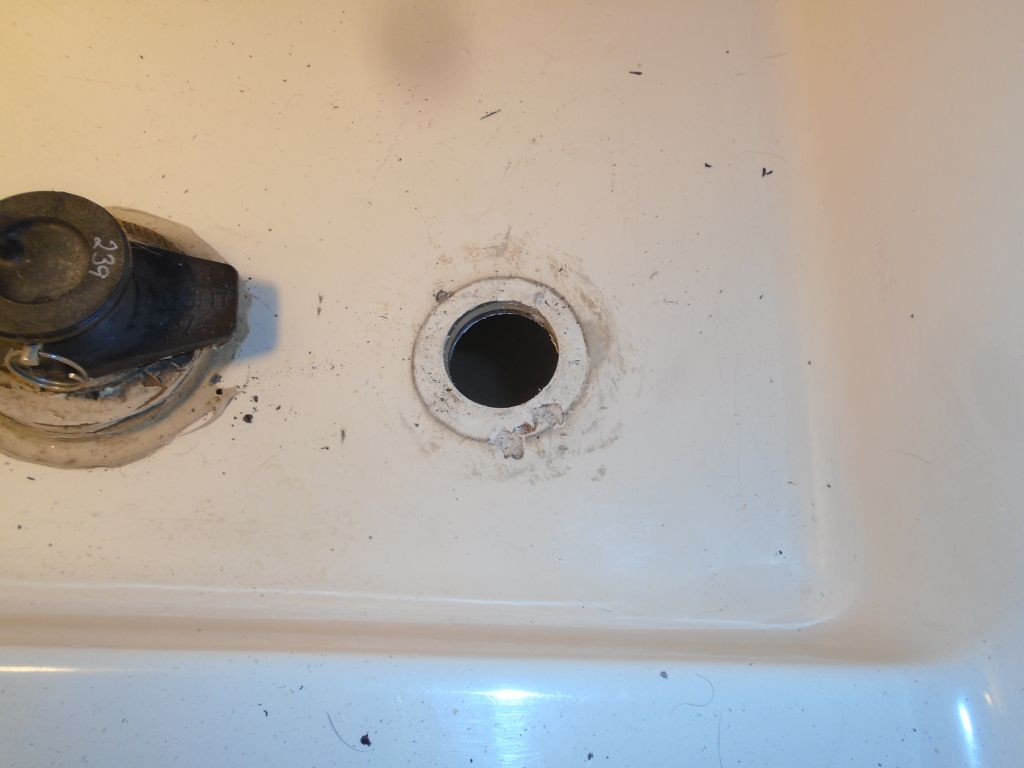
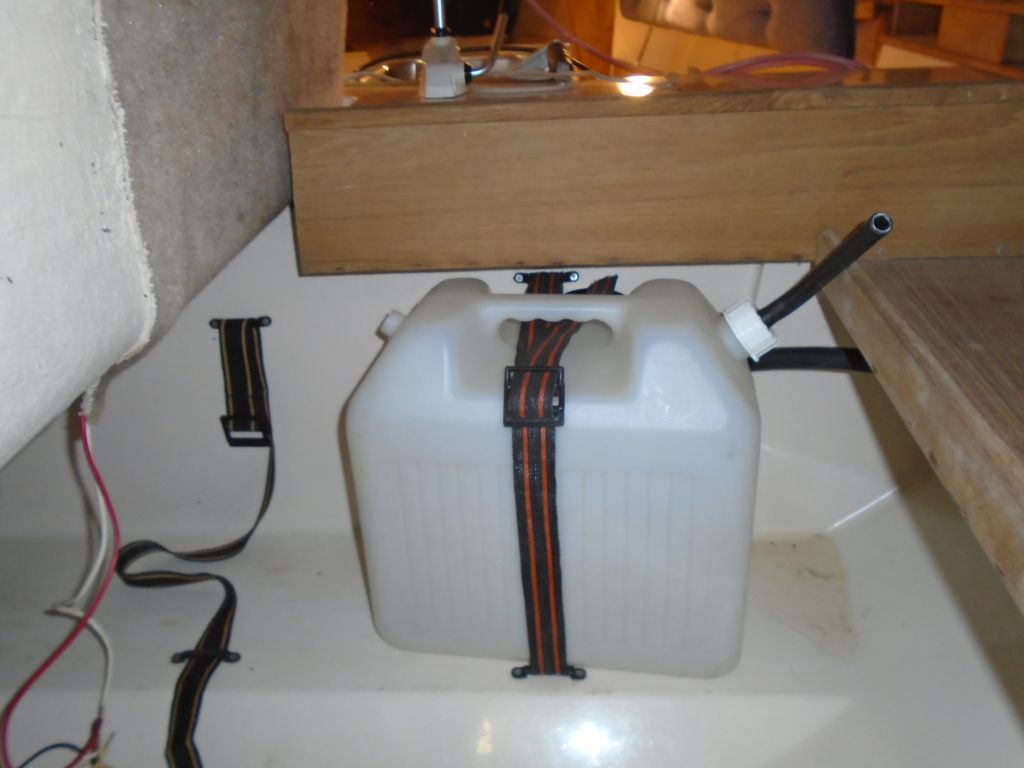
The galley sink featured a simple tankage and supply system consisting of a plastic jug in the cockpit locker. There was no connection visible between the tank and the hand faucet, and the owner had mentioned that the old hose was clogged with debris and mold. Although there was a round access hole located just behind the mobile tank–which allowed me to h old in a camera for the photo of the underside of the sink–the locker wasn’t large enough for me to climb into, and I made plans to install a new access port from the cabin so I could change the hose and (if necessary) the faucet to restore the sink to working order.

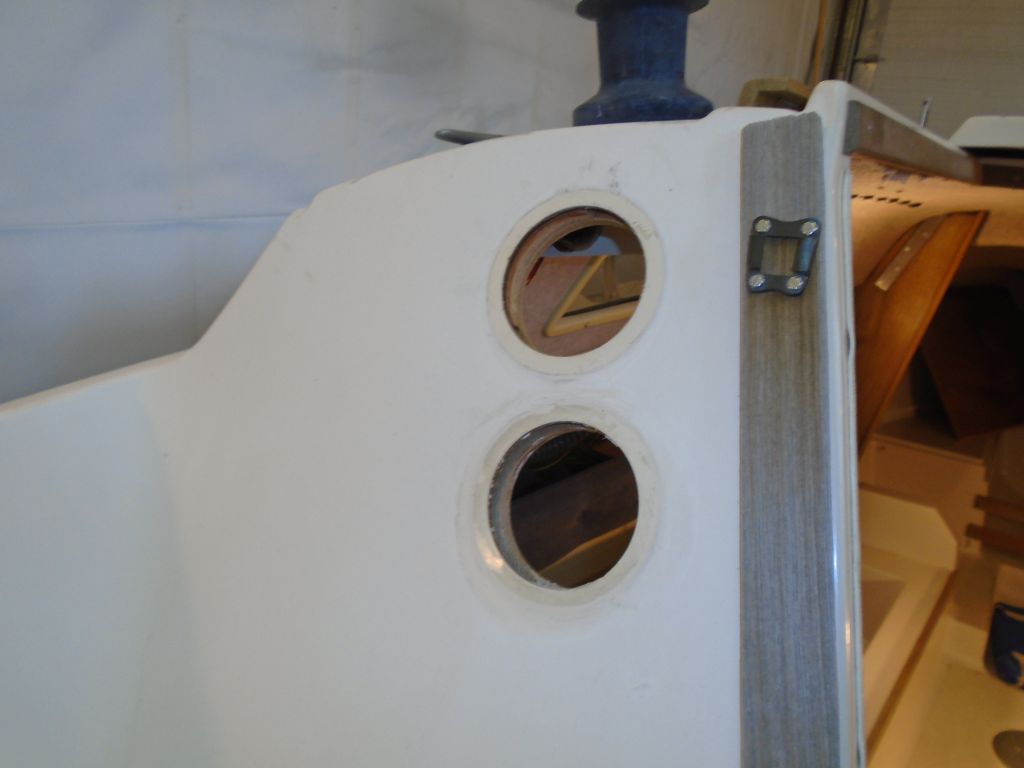
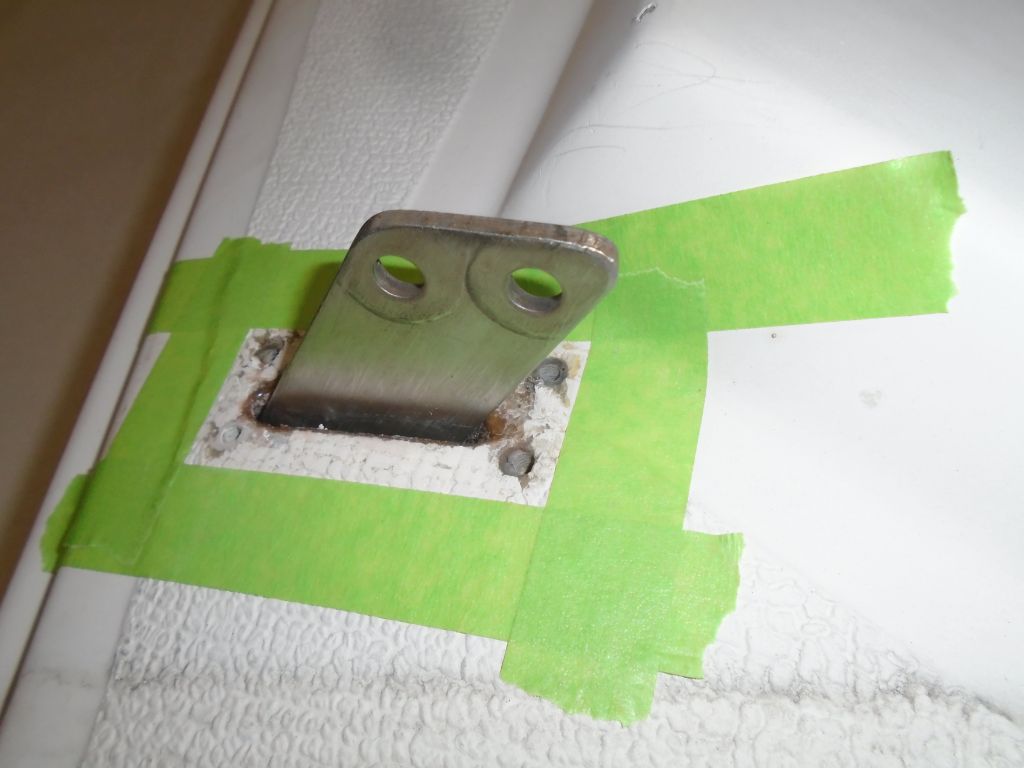
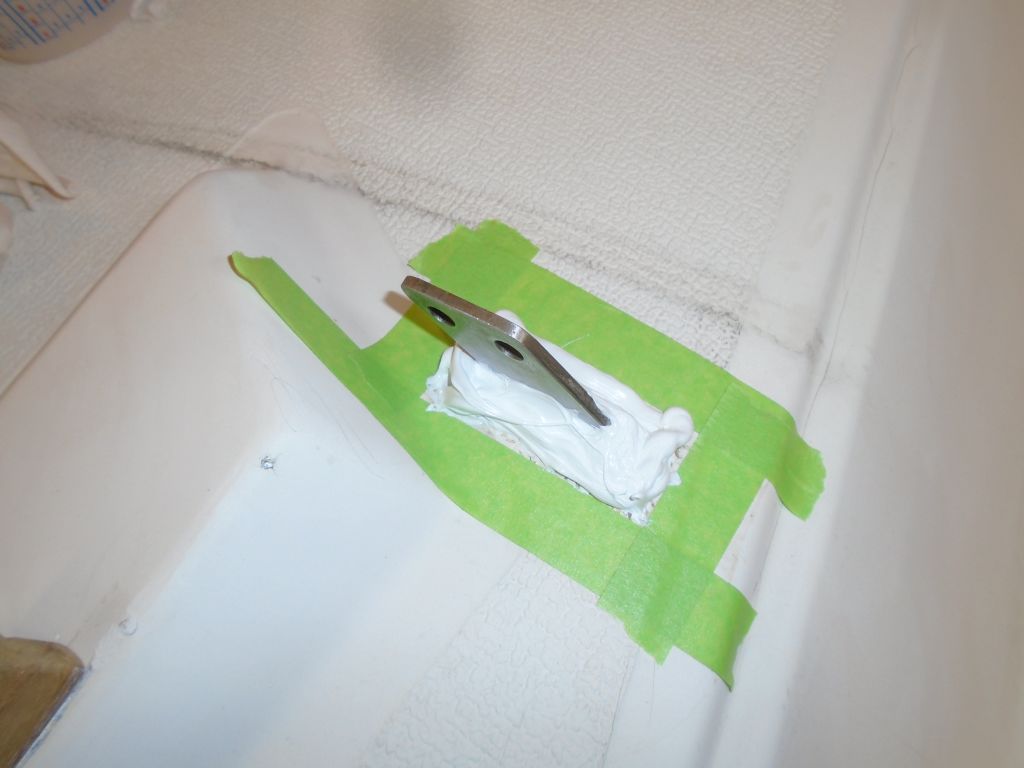
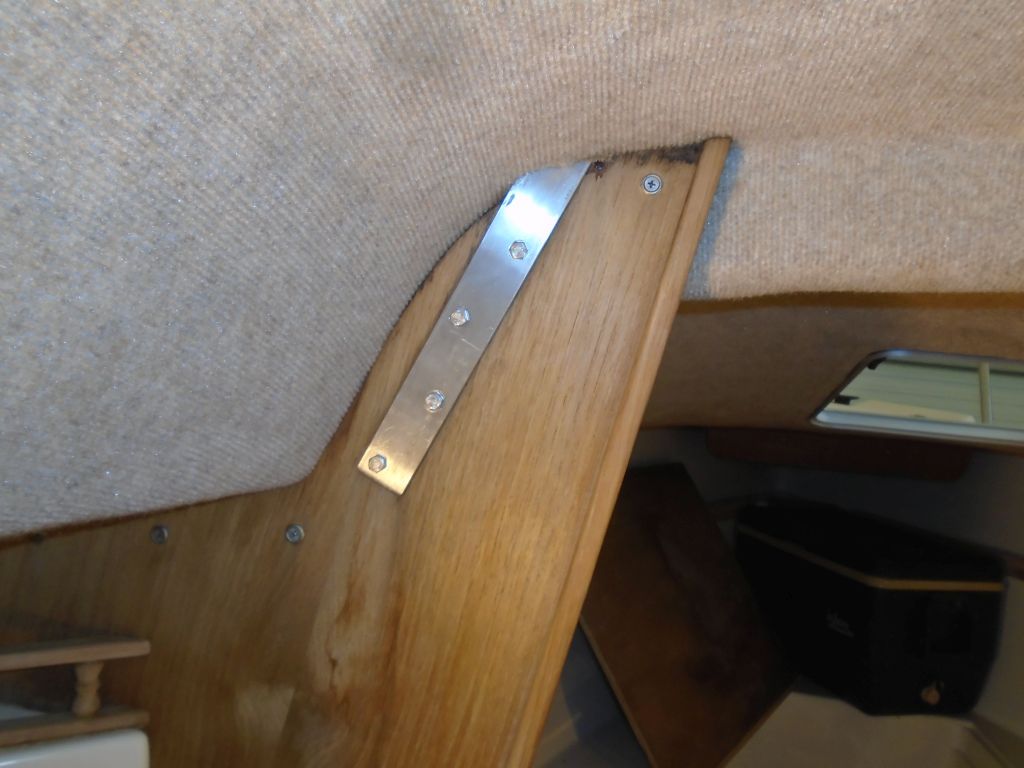
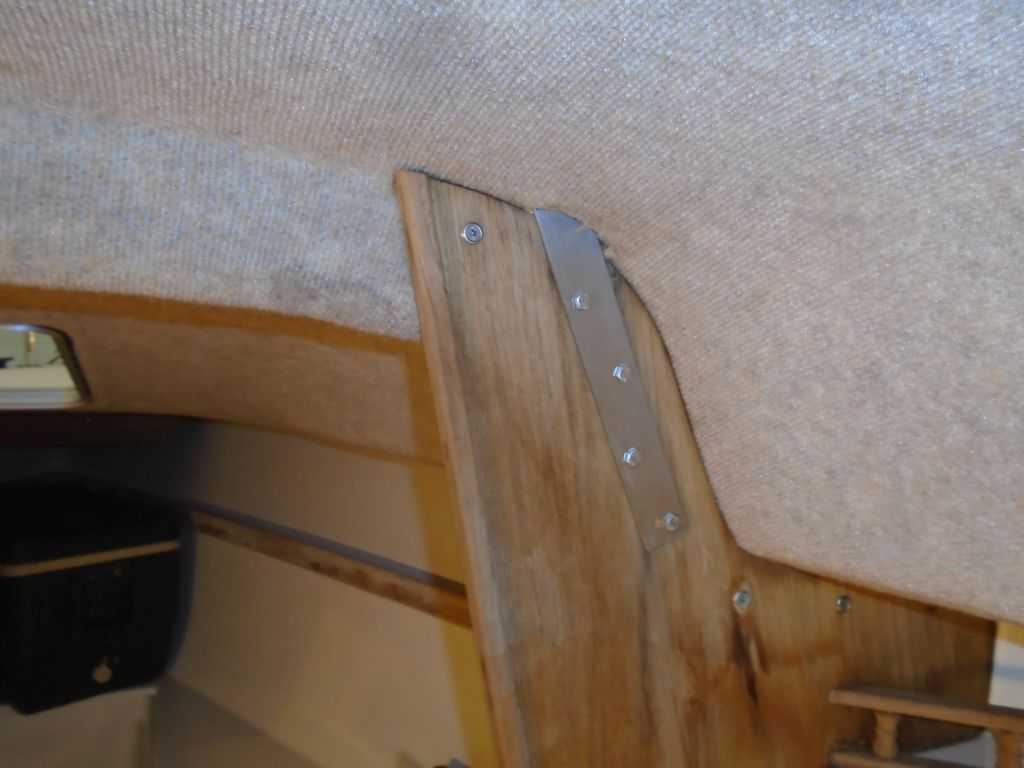
With new bolts on hand, I reinstalled the chainplates in heavy beds of sealant, forcing the sealant into the gaps around the chainplate as much as I could. I left the excess sealant to cure before attempting to remove it.


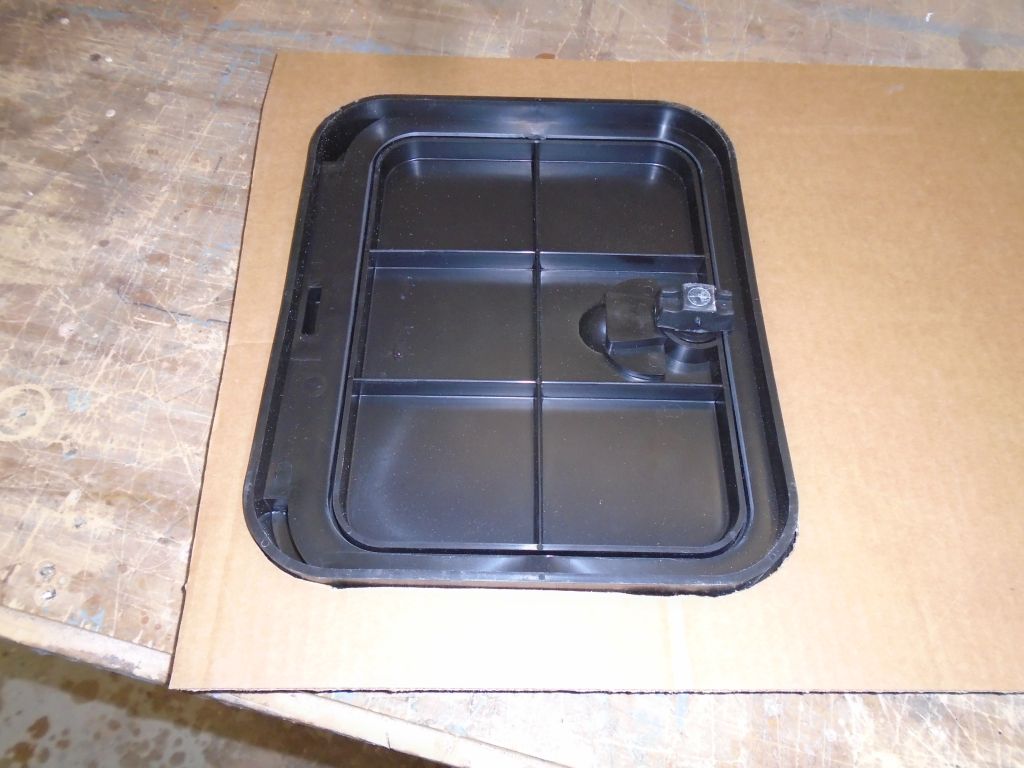
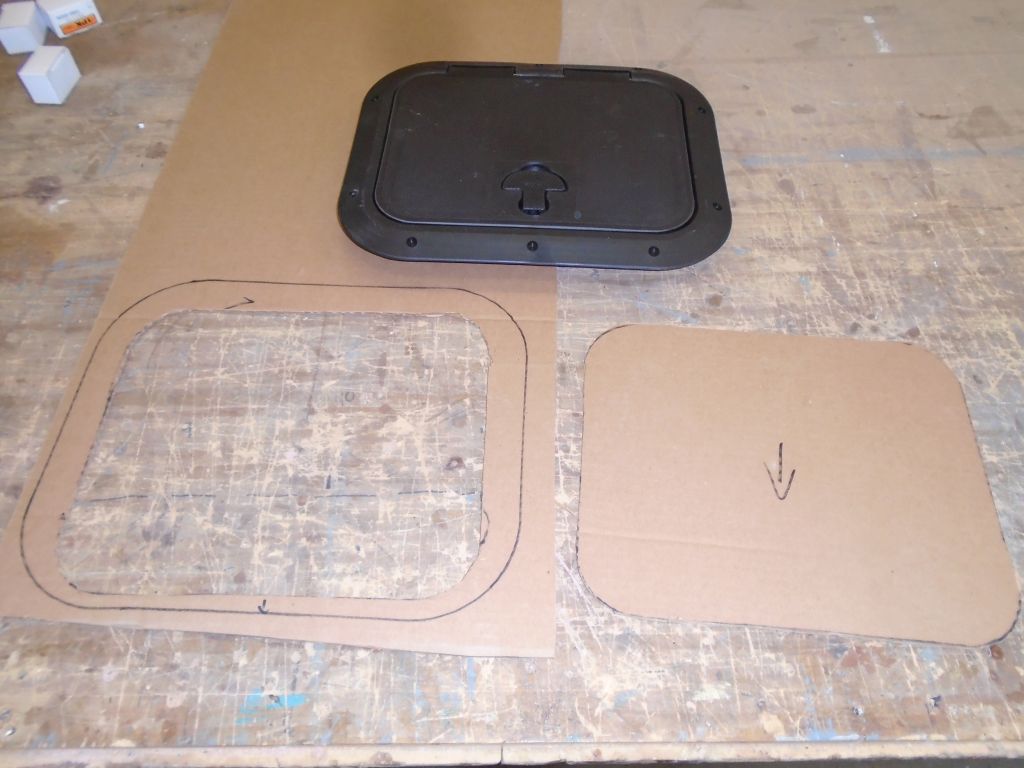
With a new plastic access hatch now on hand–black to match the other access ports on the boat–I prepared a cardboard template of the cutout, and would use this next time to open the aft end of the cockpit for access to the scuppers.
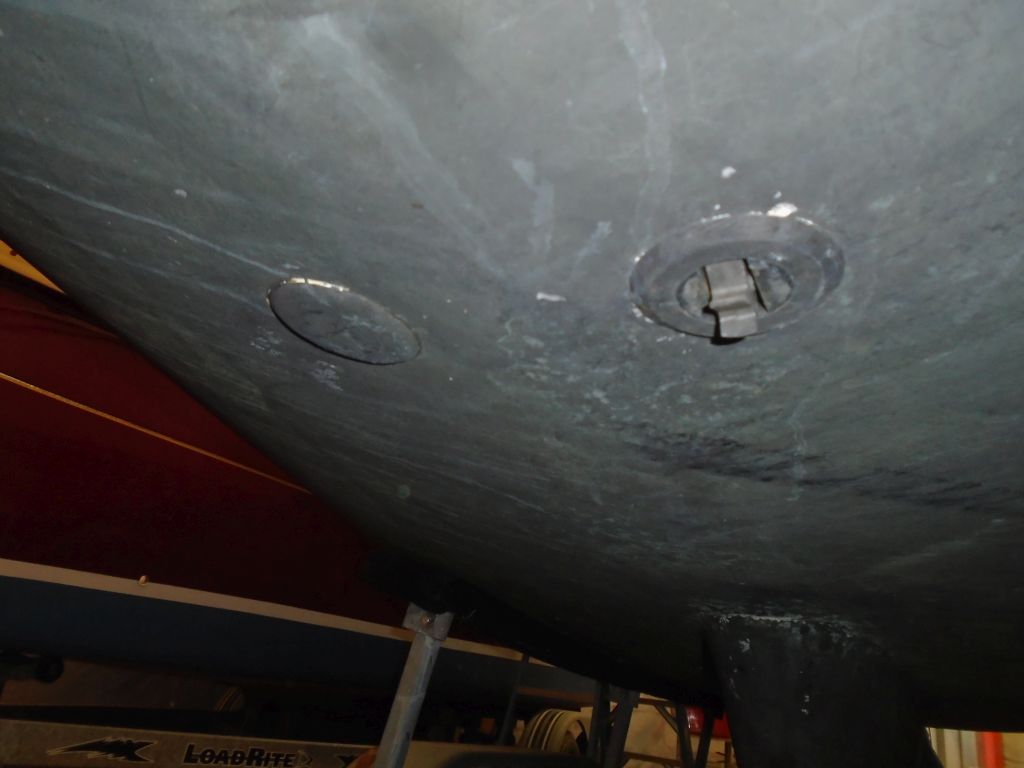
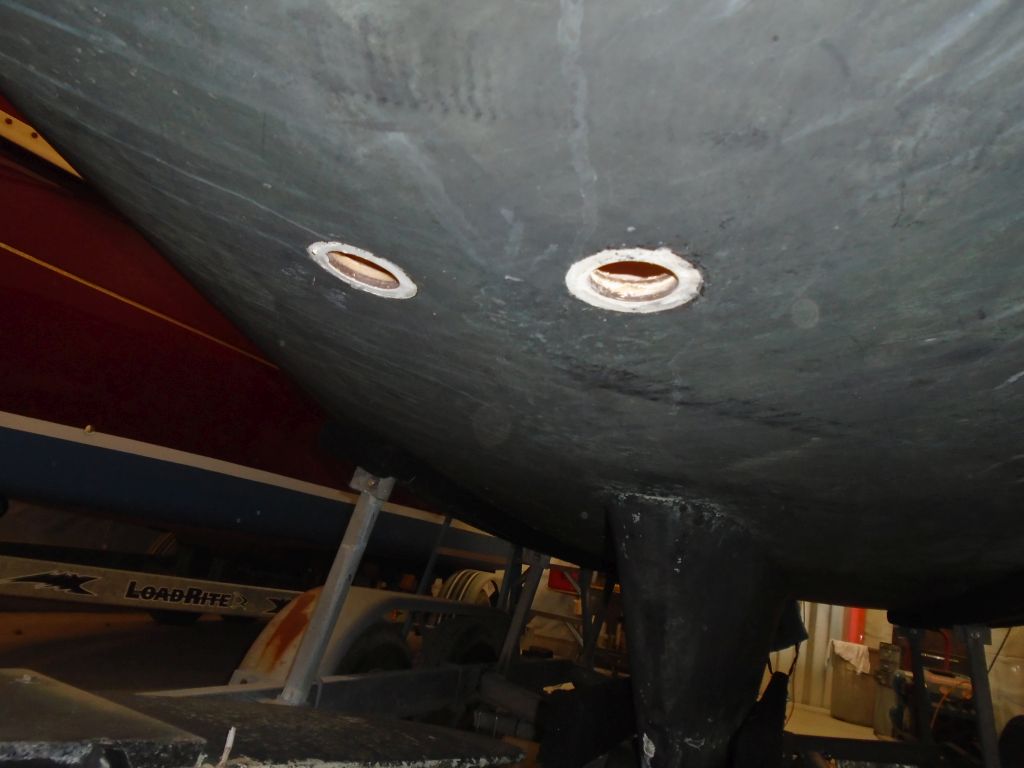
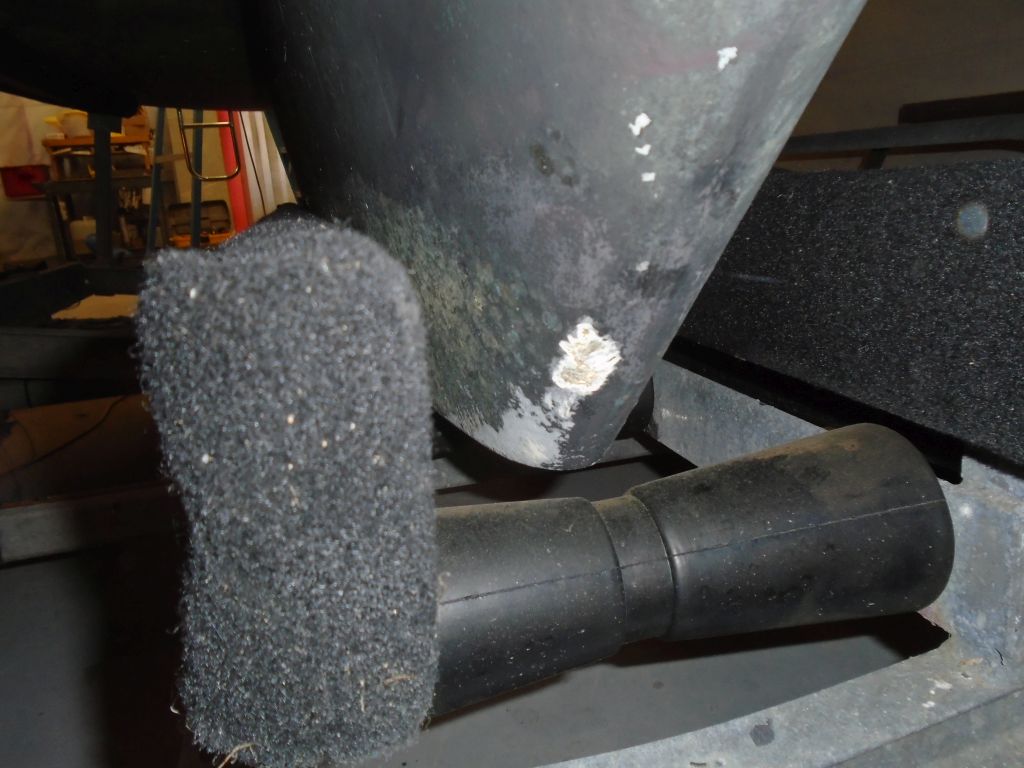
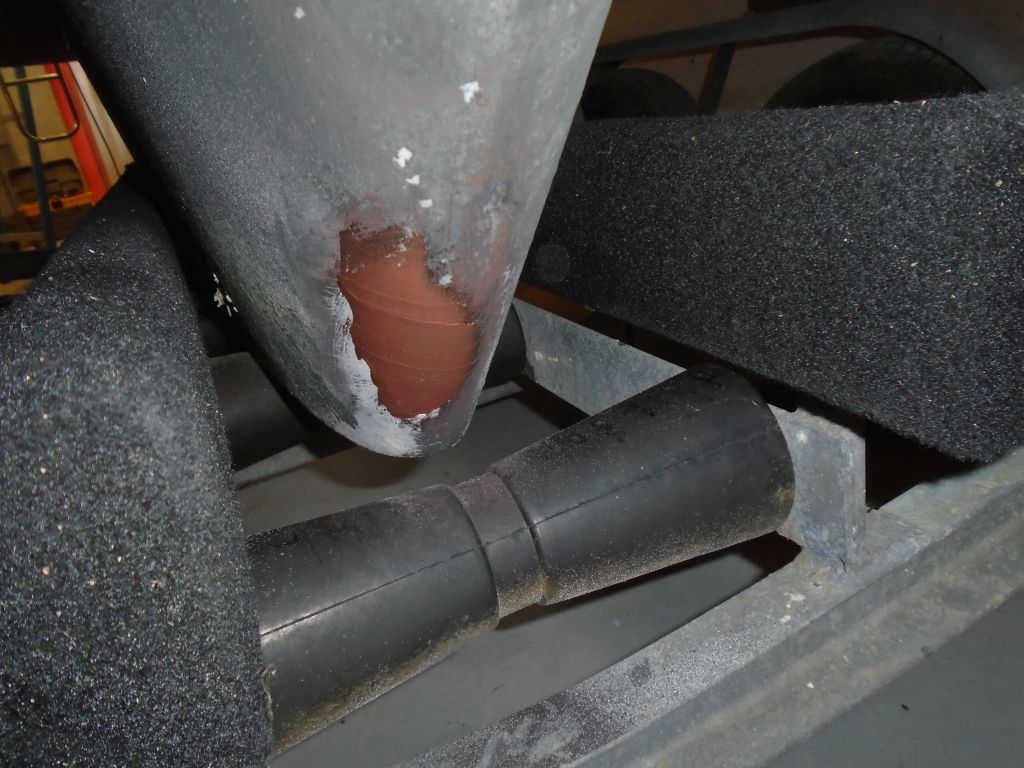
The leading edge of the keel had some minor impact damage, so to repair it I sanded away paint and loose material, then filled it with an epoxy fairing mixture.

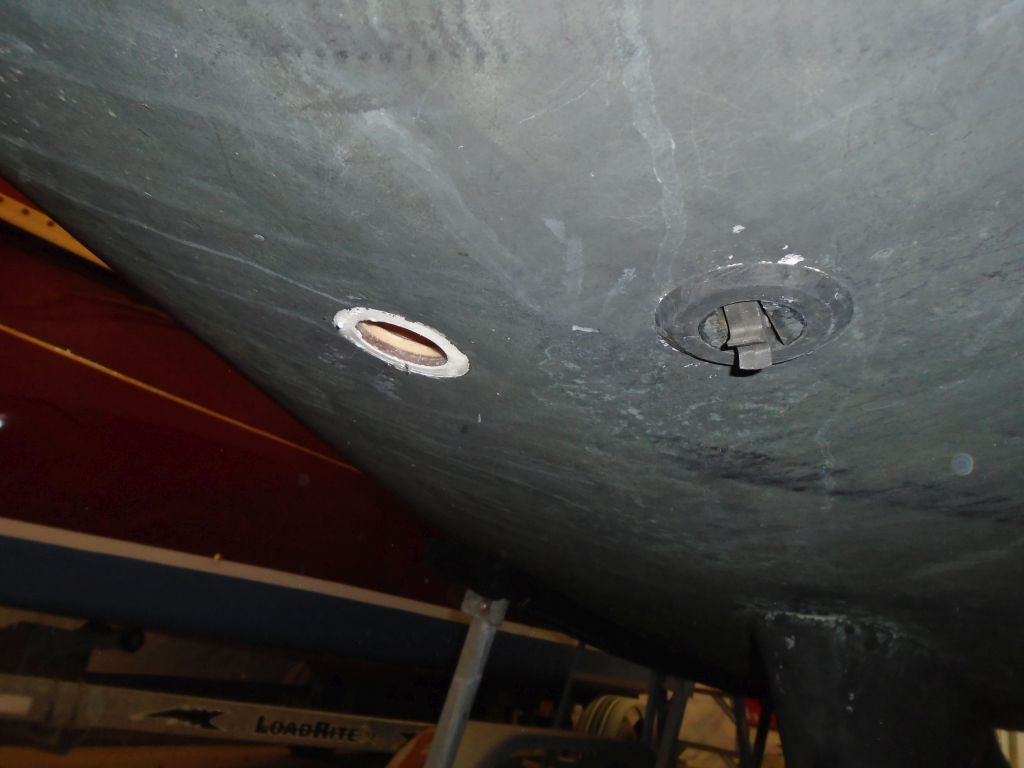
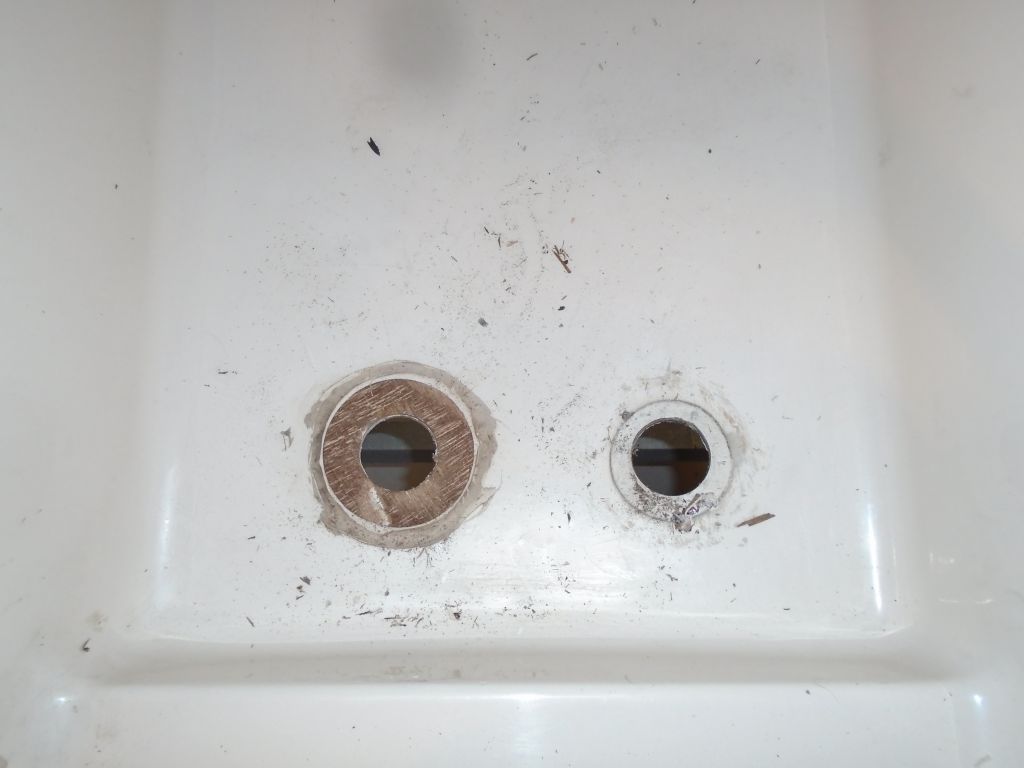
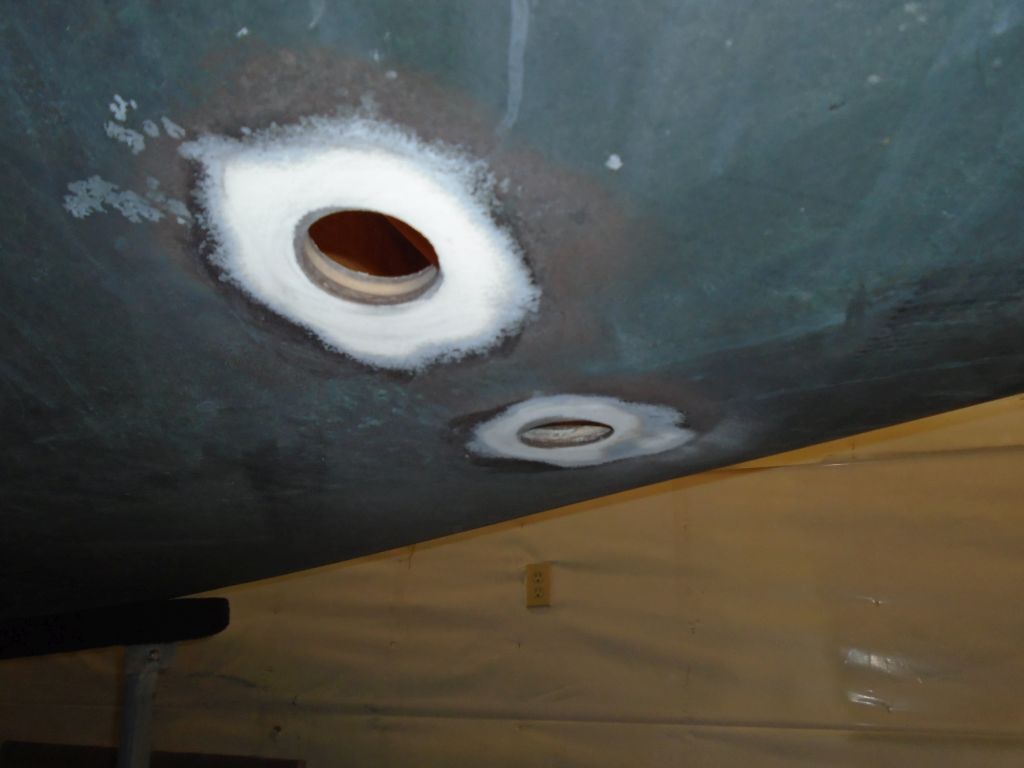
Meanwhile, I sanded away the paint from around the two through hull openings just forward, to prepare the hull for proper bonding of the new fittings when the time came for installation.

Total time billed on this job today: 7.25 hours
0600 Weather Observation:
Clouds, 36°. Forecast for the day: cloudy, snow, high around 40