

January 26, 2016
lh1
Tuesday
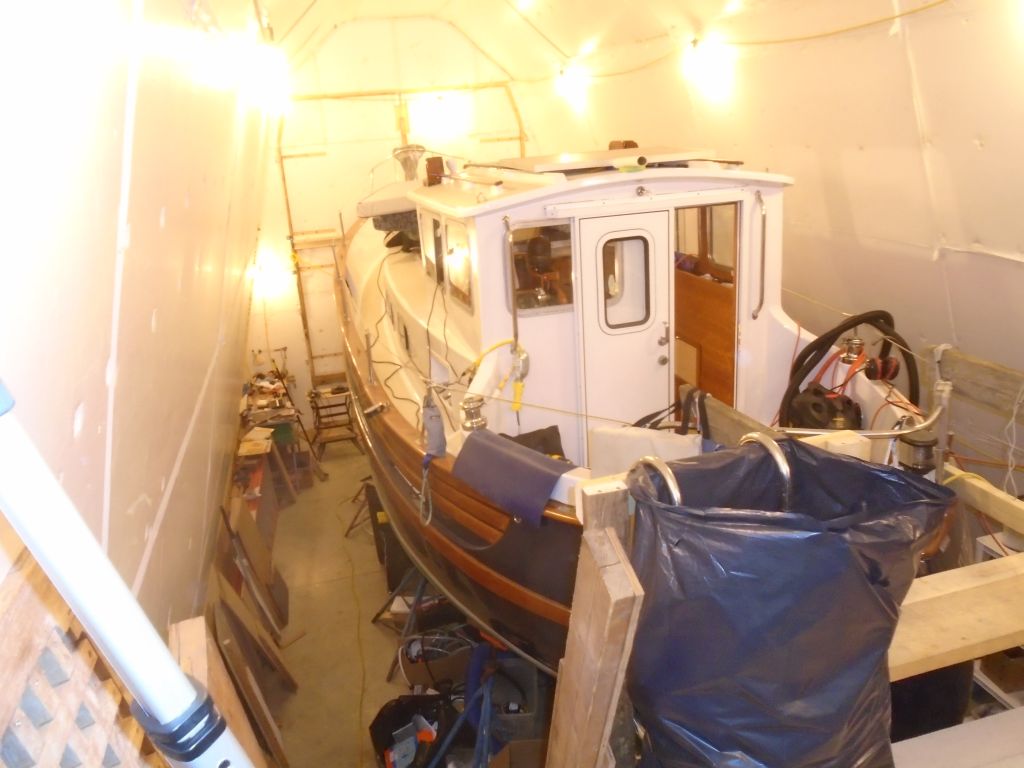
The owner of Lively Heels had a list of upgrades and additions to the boat that he requested help with, including several electrical jobs and other sundry items. With the boat in a heated building, and not wanting any of the work to affect his planned early spring launch date, I planned several days of work at the boat during the winter to get ahead of the project list.
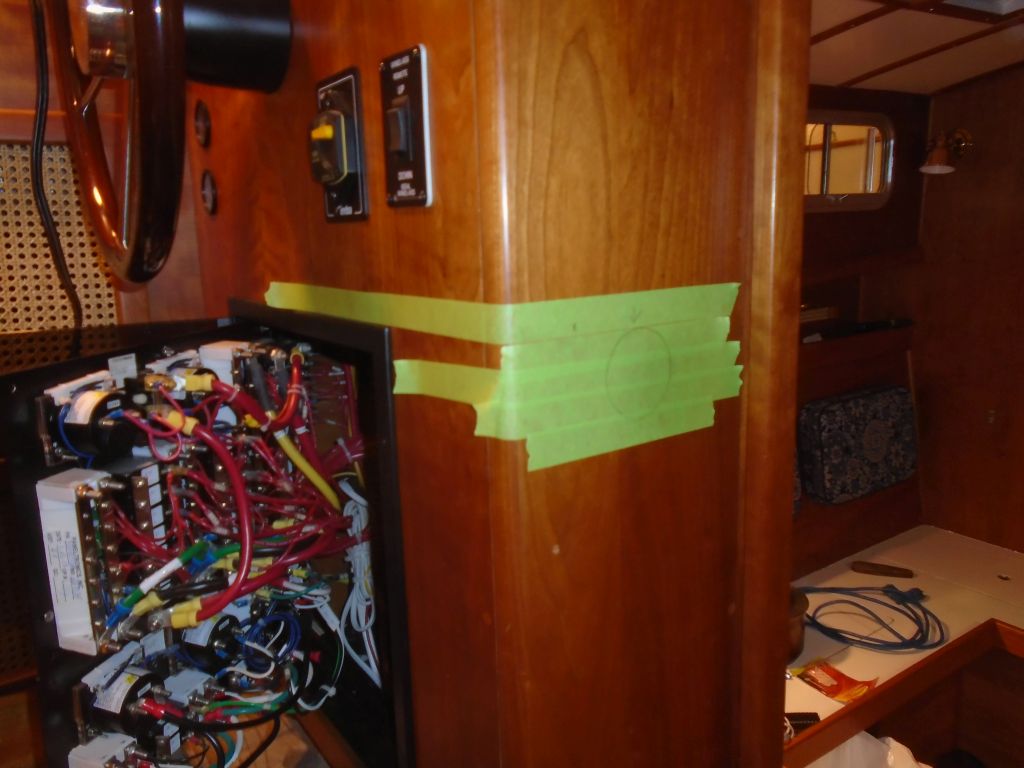
After getting my tools and related supplies unloaded and at least semi-organized, I started the first project on my list: installing a battery monitor for the owner to better manage his electrical usage. We chose the Victron 702 model that would monitor both house and starting banks. One advantage of this particular monitor was its simplicity in wiring to the monitor itself, which required only a single Ethernet-type cable supplied with the unit.
We chose the side of the helm/electrical console for the monitor, where the owner could easily see it from the cabin and where installation would be straightforward. I elected to install it even with the top of the adjacent electrical panel housing, so I extended a line at that height to position the required hole, then masked off the varnished wood to protect it while drilling the 2-1/16″ hole required for the monitor itself. This location was also free from obstructions on the inside, which had been a key factor in its selection.
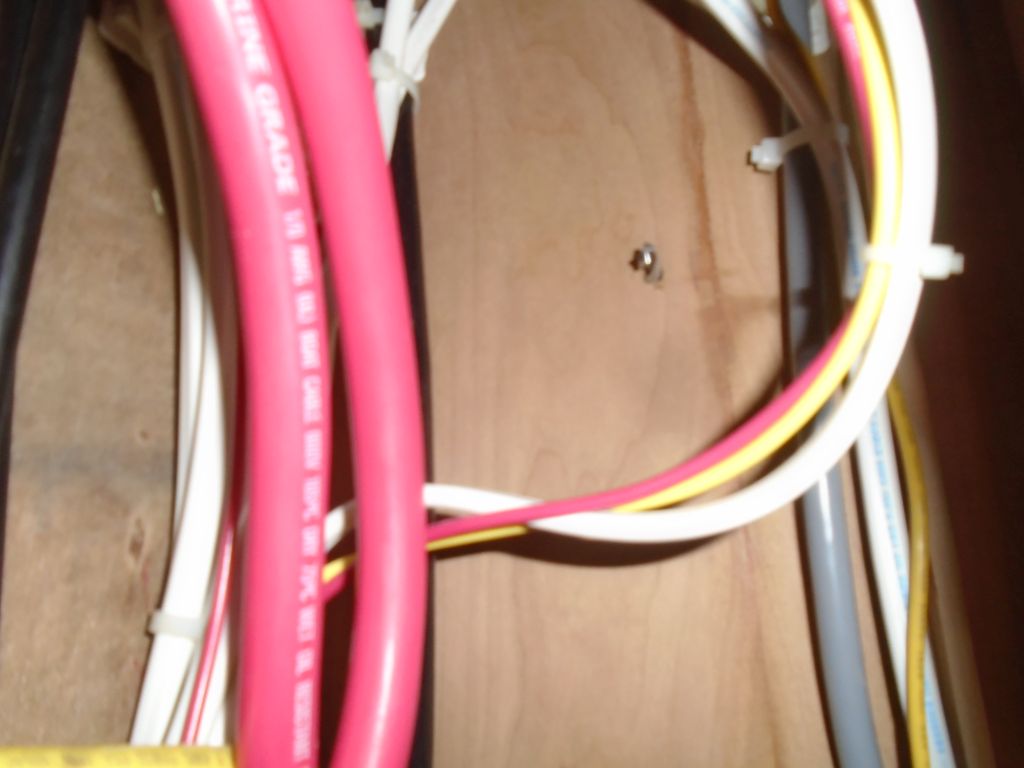
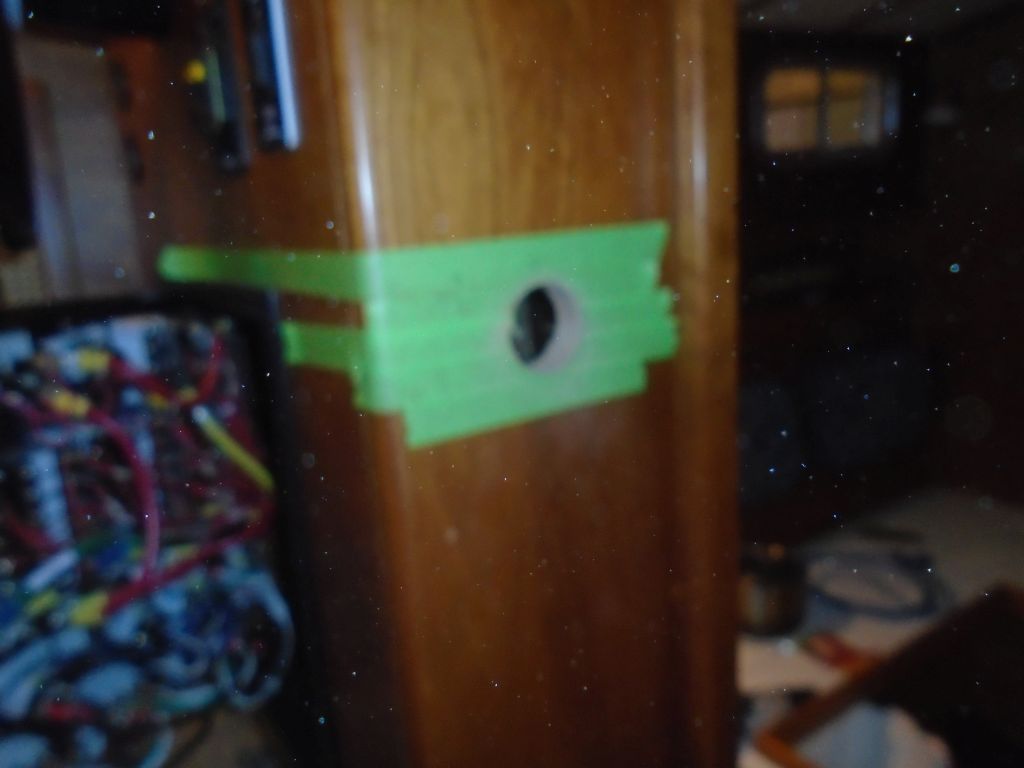
With the mounting hole in place, I led in the Ethernet cable, which connected the monitor to the shunt that I’d soon install in the battery wiring, and connected it to the monitor before installing the monitor with the supplied external bezel, which I had to use since the console material was too thick to allow use of the threaded backing ring. I secured the wire inside the console, leaving a bit of excess cable at the top near the monitor.


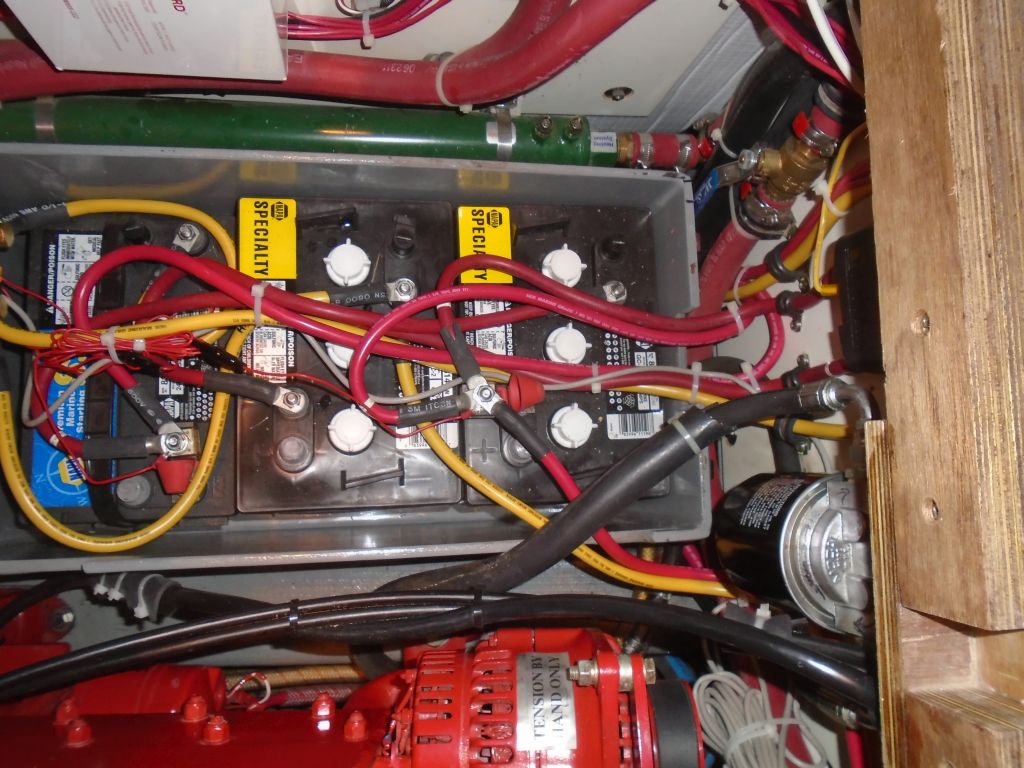
I chose to install the supplied shunt at the aft end of the port battery box since there was room there, it was convenient to the batteries, it was well-protected (when the box was covered), and, frankly, there were few other choices in the crowded space. I wired the shunt into the battery negative circuits as directed, and connected the monitor’s Ethernet cable, as well as two small wires–one to each battery bank–for temperature monitoring.
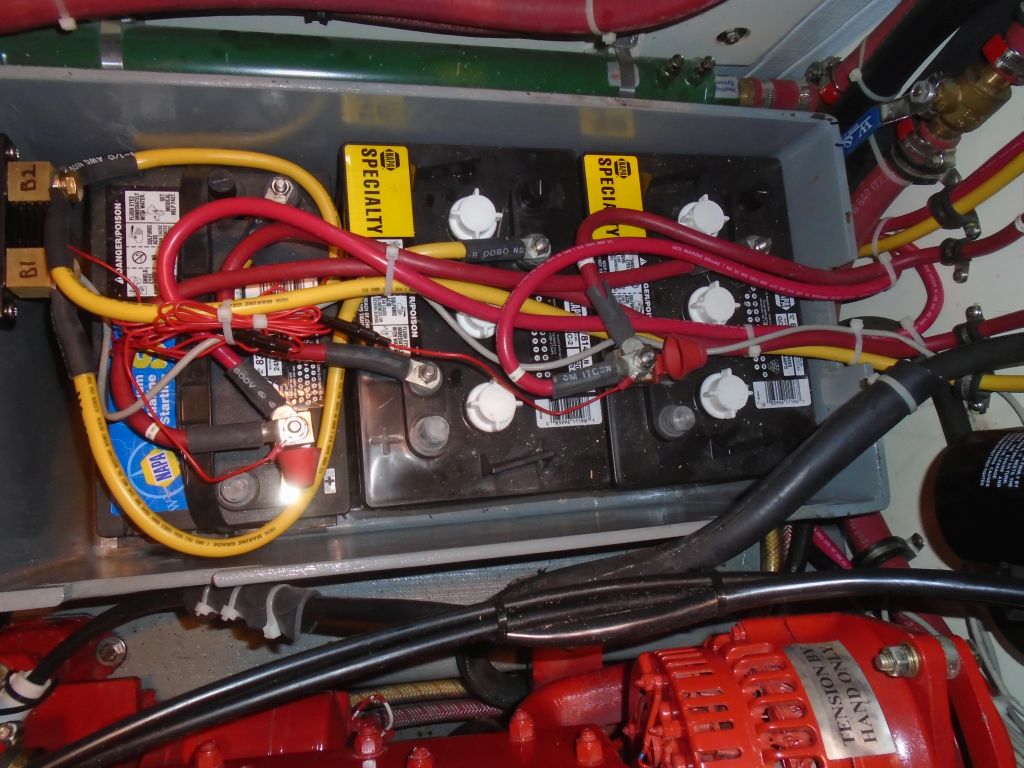
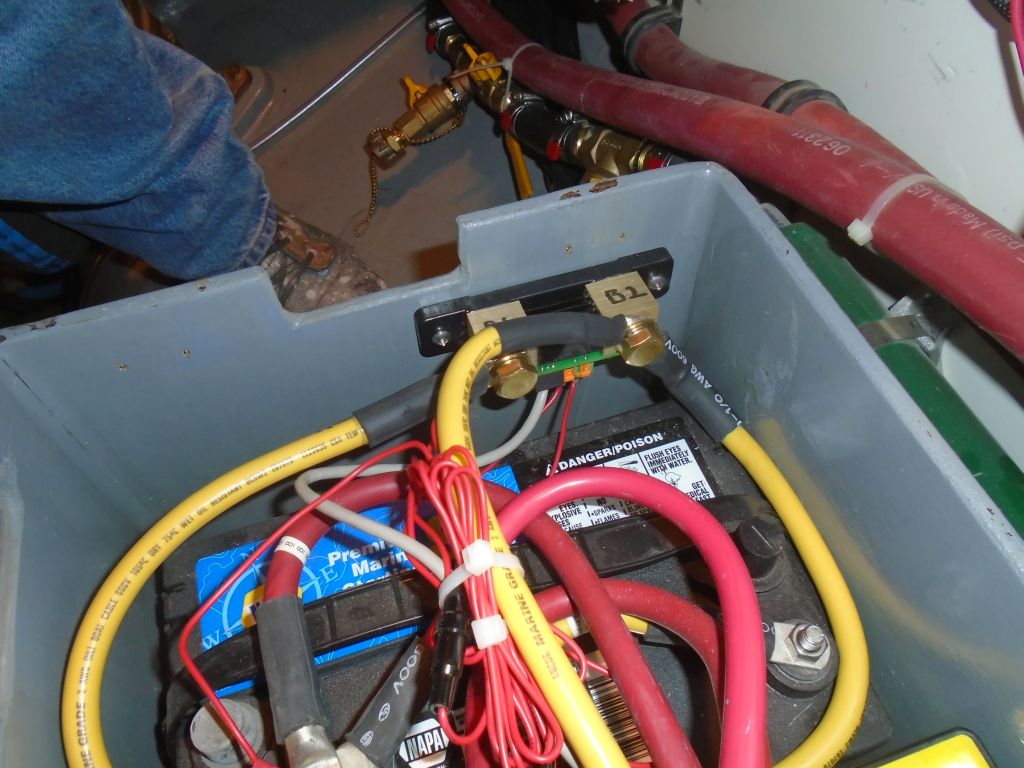
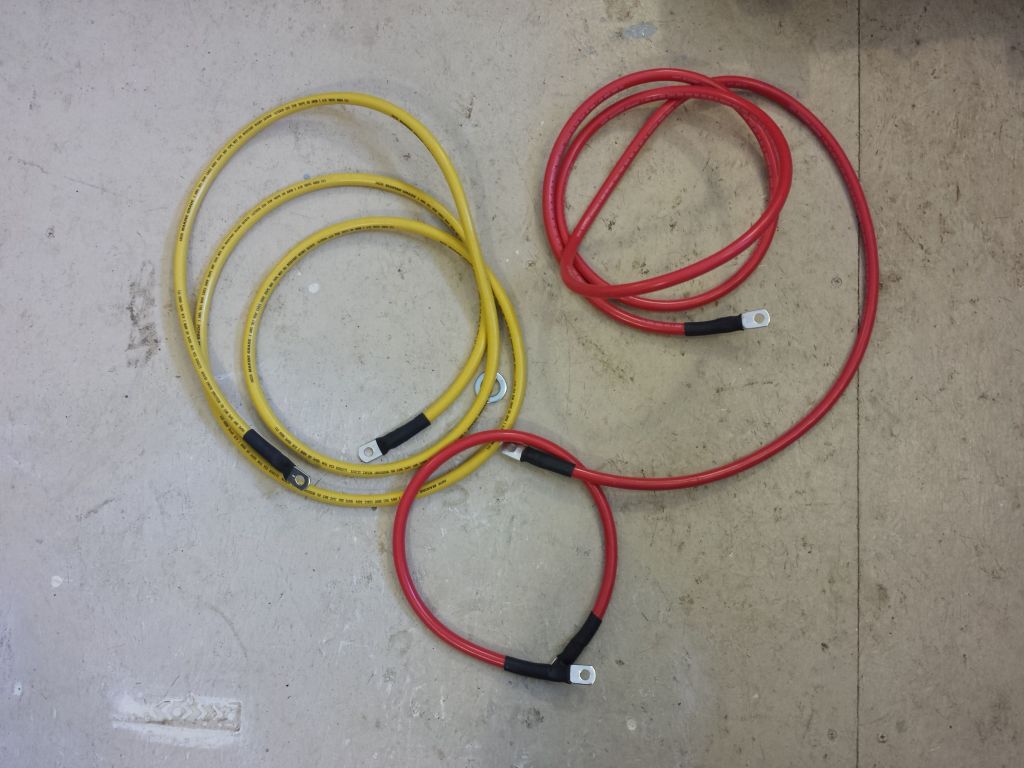
While I was working with battery cables, I decided to build the cables to lead over to the starboard battery box, where I’d soon be installing another pair of 6V batteries to double the capacity of the house bank. We’d also be replacing the original house battery bank, as the batteries I’d installed in 2014 had been damaged by sitting in an undercharged state for too long (by me, the boat’s refitter at the time), and had never held a proper charge during the new owner’s first season with the boat in 2015. I led these cables across the front of the engine room and into the battery box to await the new batteries later.
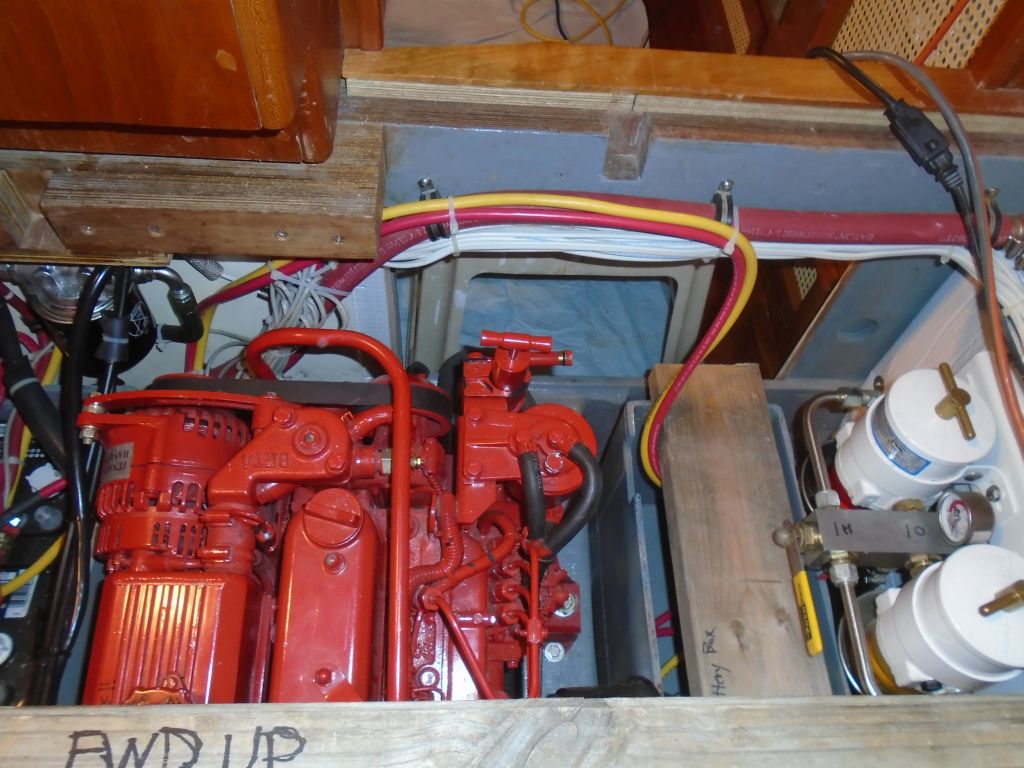
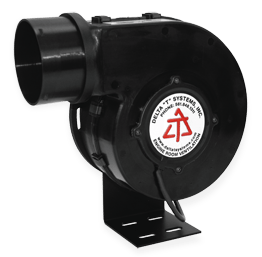
To assist ventilation of the engine room, which lacked any immediate external vents, the owner requested a heavy-duty, continuous-rated blower fan to help exhaust heat from the space, and selected a 4″ blower with the appropriate specifications. Leading up to the project, the owner constructed a removable platform in the engine room on which to mount the blower, and my job would be to wire it and install the venting into the cockpit.
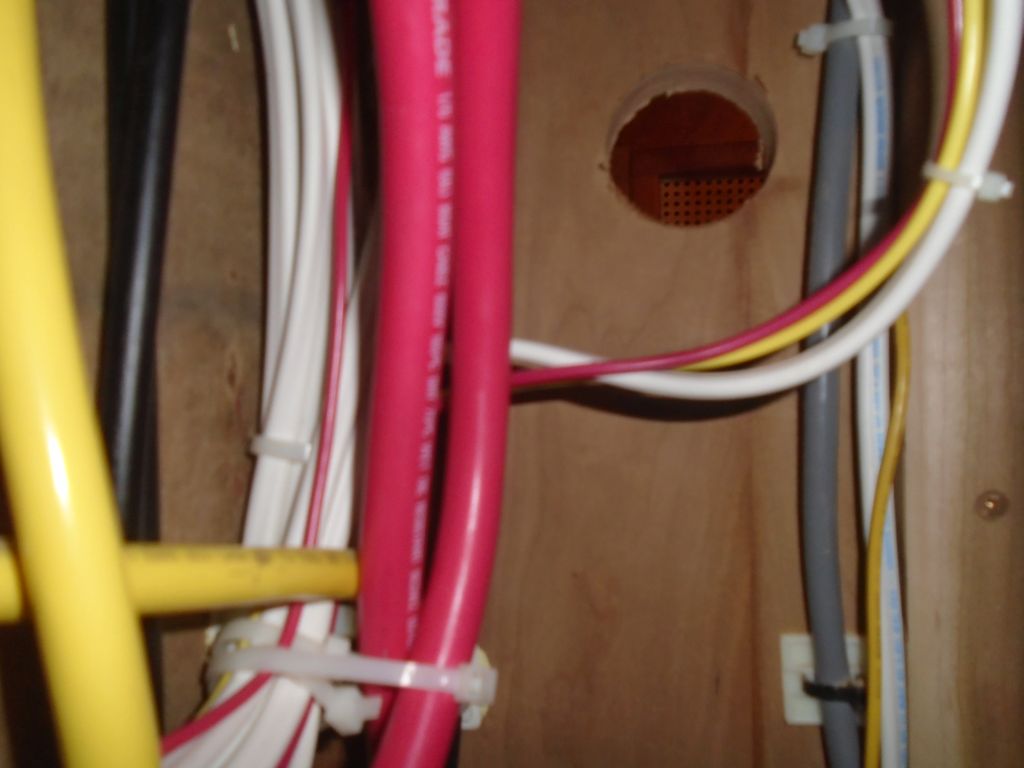
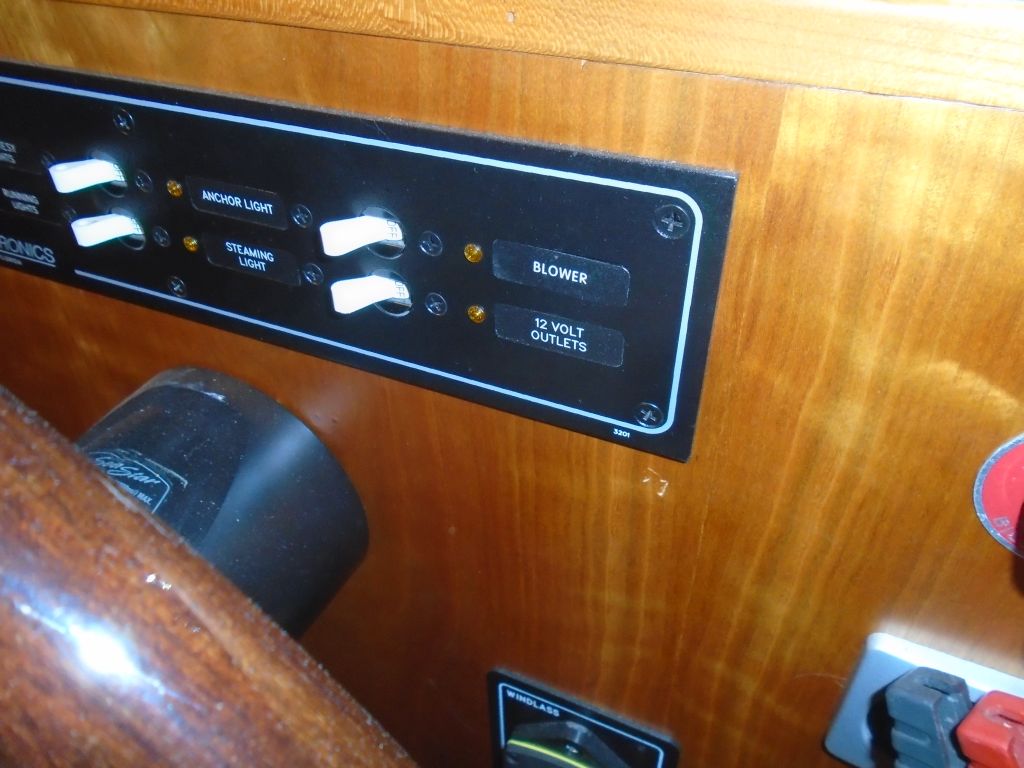
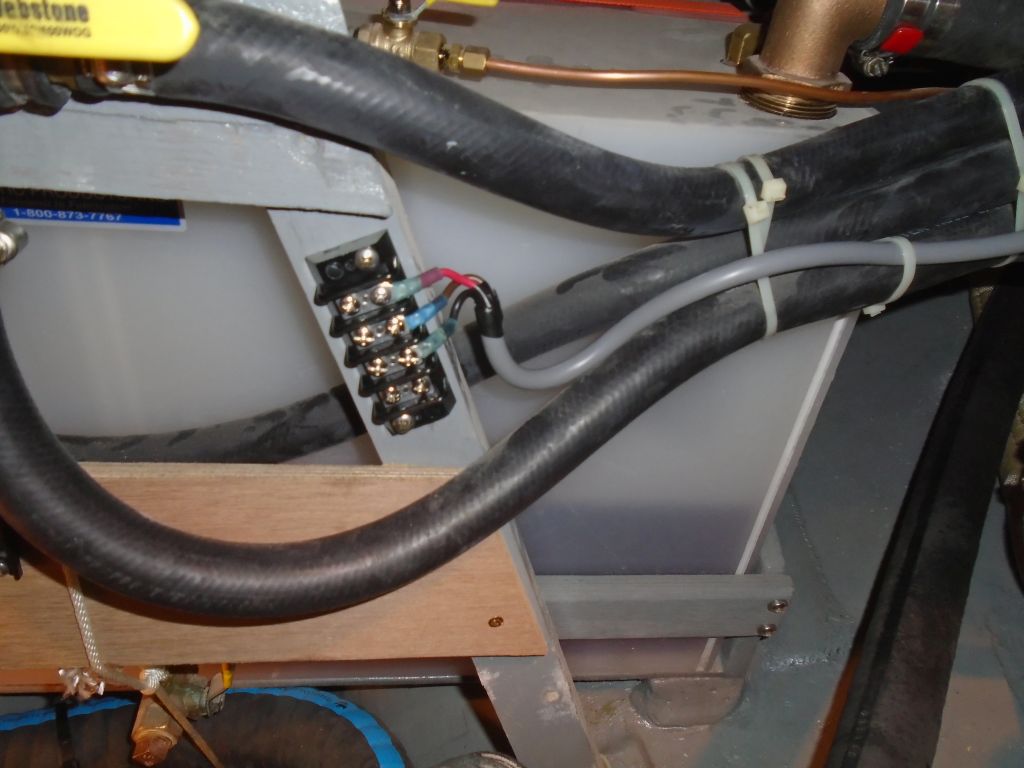
Wiring was straightforward. I led a wire pair through the engine room along existing wire routes, and into the console, where I connected it to the terminal block (it’s #5) that ultimately connected it to an unused switch in the upper accessory switch panel at the helm. At the blower end, I terminated the wires at a small terminal block, which would allow the blower and its shelf to be easily removed during the off-season or when access to the spaces behind was required. The venting side of the project would be a bit more complicated, and I’d get to that in due course.

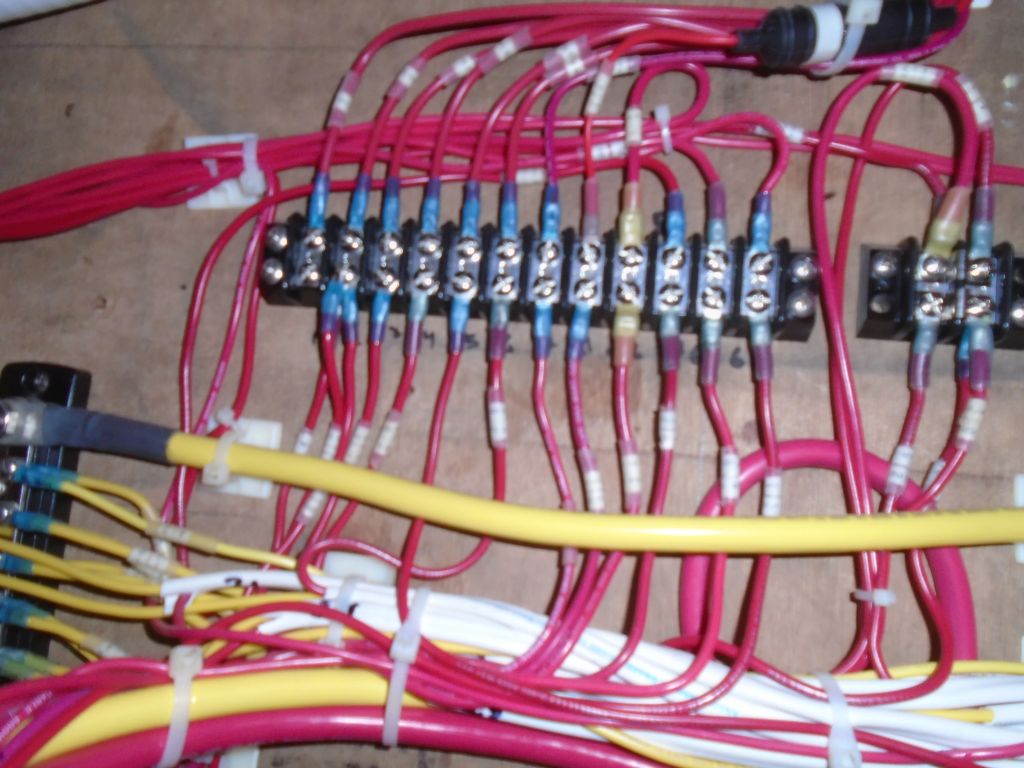
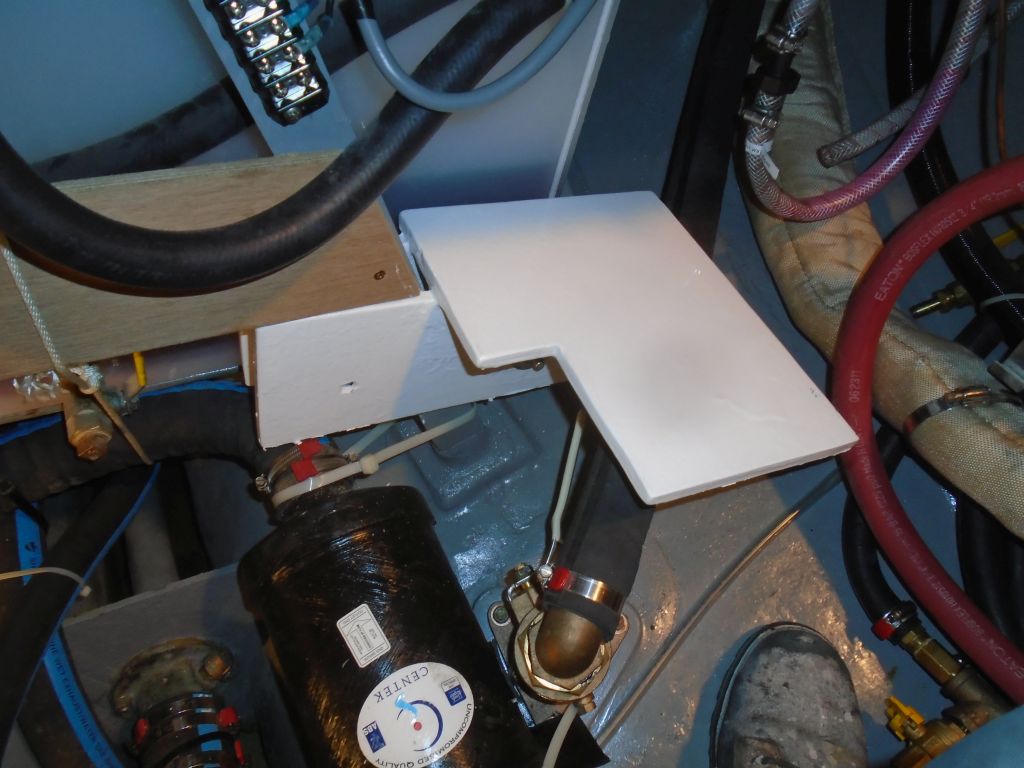
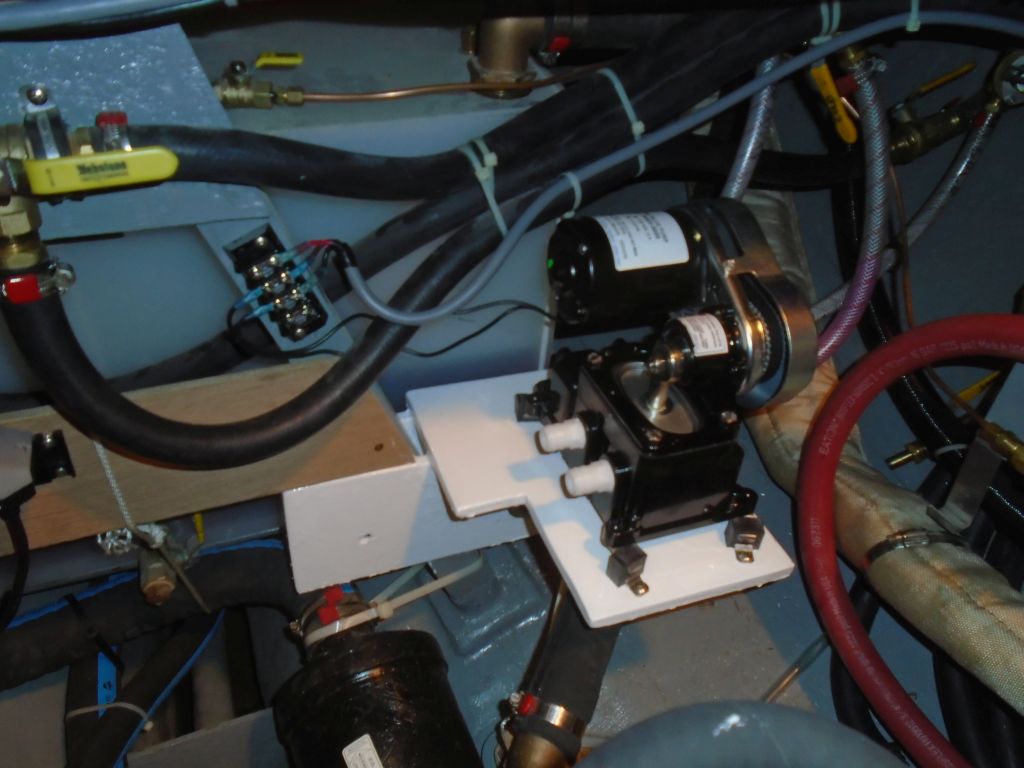
Similarly, on the opposite side of the engine room the owner prepared a platform for a new, remotely-located diaphragm bilge pump, an upgrade over the centrifugal pump that was previously installed. I removed the old pump, reserving its wiring to the console and its discharge line for reuse, and mounted the new pump to the removable platform (removal would be handy anytime access to the spaces beyond was needed). I connected the original wires from the console to a new terminal block, and wired the pump to the other side of the terminals accordingly. Still to come in this installation was the bilge auto switch, which I’d be installing presently.


Total time billed on this job today: 5.75 hours
0600 Weather Report:
22°, mostly cloudy. Forecast for the day: clouds and sun, highs in the 40s