Waanderlust 9

< Back to Waanderlust

Thursday

After five separate project phases, a four-year hiatus in the work at the owner’s request, and a substantial improvement to the boat’s original condition when she arrived here in 2010, Waanderlust headed away from the shop on a truck bound for a boatyard in Connecticut, where she’d be rigged and eventually launched.  Bon voyage!

< Back to Waanderlust

Waanderlust 8

< Back to Waanderlust

Wednesday

The final job on my list was to install the new mast winches, which I’d ordered earlier and which had just arrived.  Installation onto the flat pads provided by the spar maker was straightforward, and I added an antique bronze cleat on each side to finish off the installation.

Total time billed on this job today:  .5 hours

0600 Weather Observation:
50°, sunny.  Forecast for the day:  sunny, 70s

Waanderlust 7

< Back to Waanderlust

Monday

Though the project was essentially complete, I’d continue minor work as new  hardware arrivals trickled in for the mast.  Today’s arrival was the VHF antenna, which I test-fit, then inverted in its bracket for storage and transport.

0600 Weather Observation:
42°, sunny.  Forecast for the day:  mainly sunny, some increasing clouds in the afternoon, high in the 70s

Waanderlust 6

< Back to Waanderlust

Friday

I finished up the mast electrical trim-out with the steaming light (actually called a masthead light), located on the front of the mast below the spreaders.  This light required a mounting bracket that I secured to the mast with screws.  As with the anchor light at the top of the mast, I replaced the stock incandescent bulb with an LED version.

Afterwards, I finished up the wiring at the masthead with a VHF connector (the antenna was due soon), and at the mast base by making up the ends of the two sets of wires (labeled and numbered according to their function for ease of connection to the terminal block belowdecks).

LED bulbs like this have distinct polarity, meaning the bulb only works when inserted correctly.  And indeed, inevitably, when I tested the two new fixtures with a battery, I found that in both cases I had to turn the bulbs over in order to get them to light.

This completed the mast work for now.  I had new halyard winches on the way, and would complete their installation upon arrival.

With good weather forecast all day, I finished up the little coachroof repair.  After masking off the surrounding areas to protect against overspray, and other final preparations, I spray-applied several coats of off-white LPU mixed with a flattening agent to match the remaining areas of the deck.

Total time billed on this job today:  2 hours

0600 Weather Observation:
48°, mostly clear.  Forecast for the day:  mainly sunny, 76°

Waanderlust 5

< Back to Waanderlust

Thursday

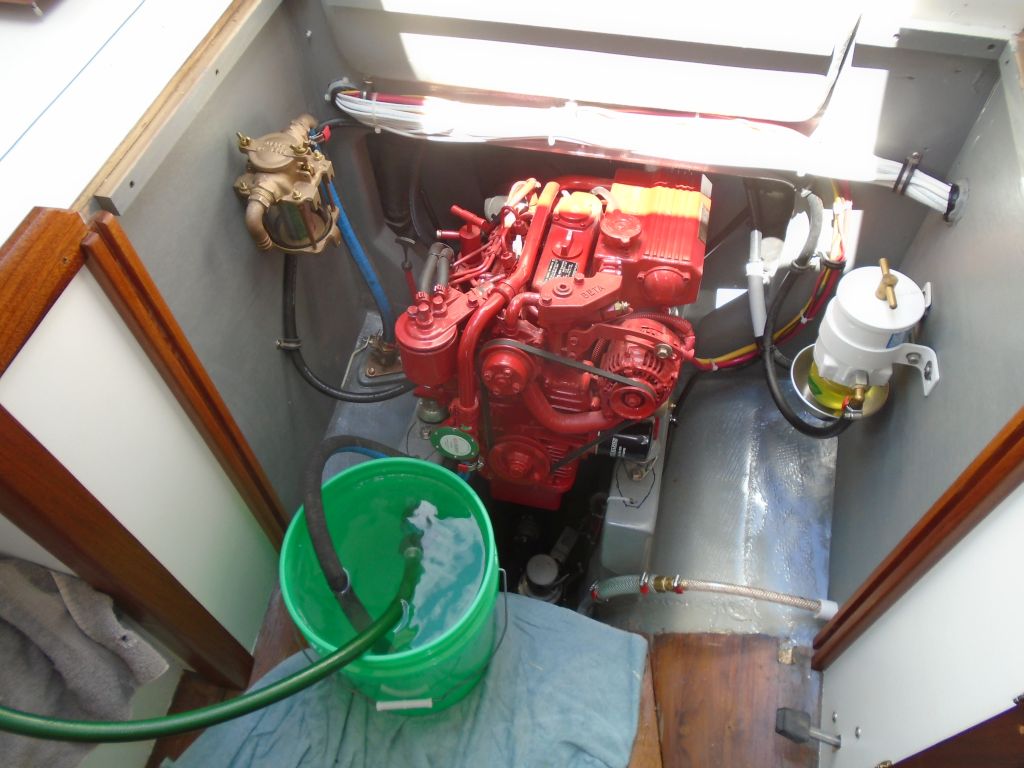
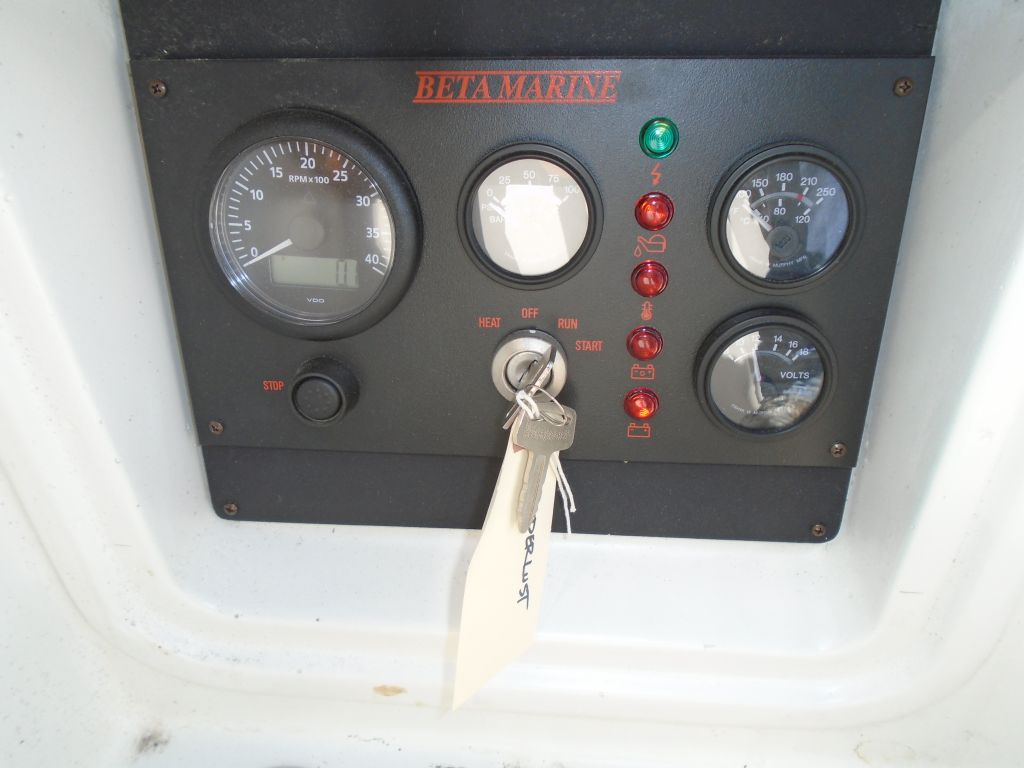
In 2011, after reconfiguring the galley and engine room spaces in this boat (the original area had been completely rotted out), I installed a new Beta 25 diesel engine in this boat (during  Phase III of the project), but the engine had sat idle and untested until now.  With various factors and complications at hand, the owner had put the entire project on hold shortly after the engine installation, with work only resuming in fall 2015 and, of course, now.  The long delay had not been anticipated at the time.

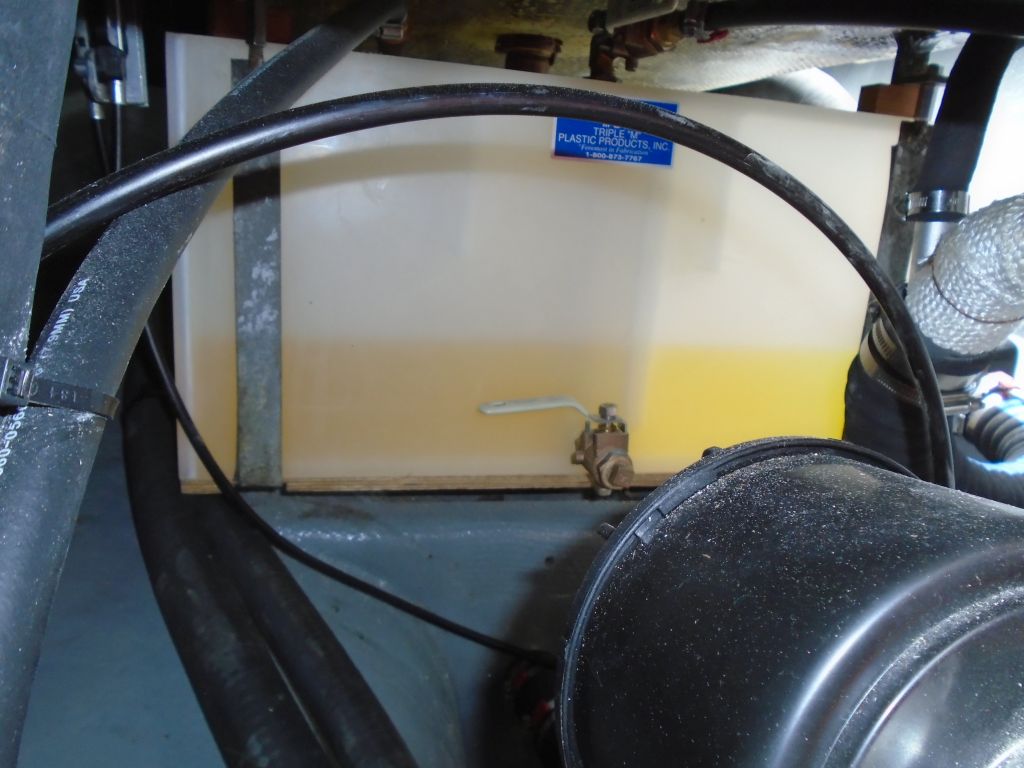
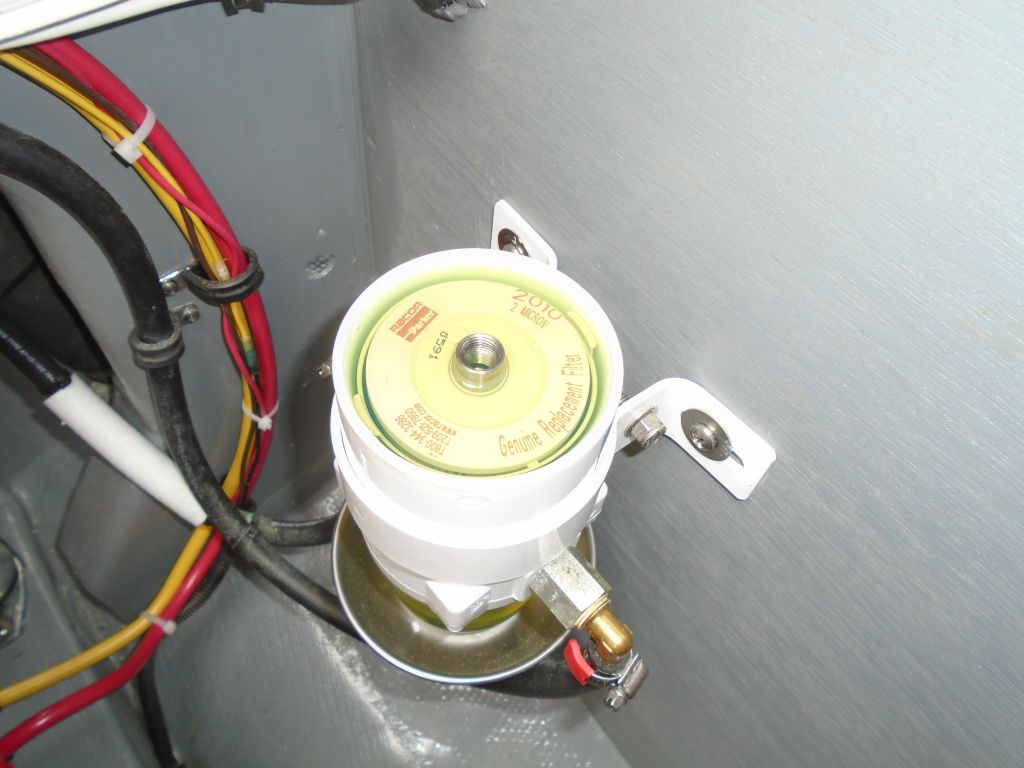
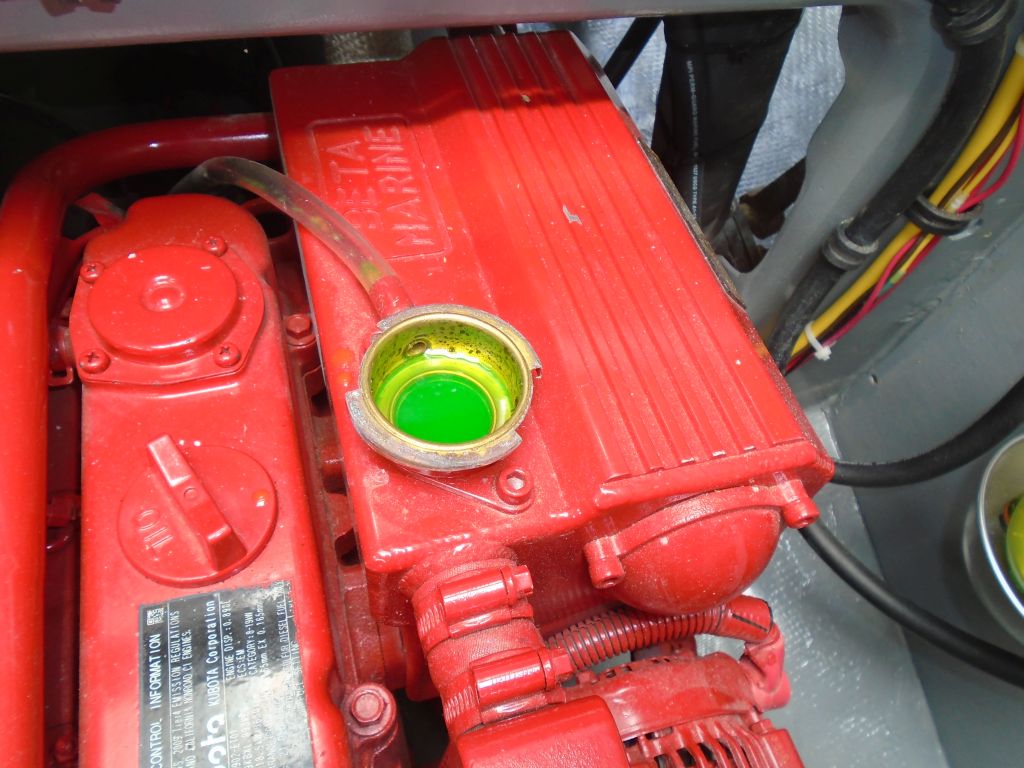
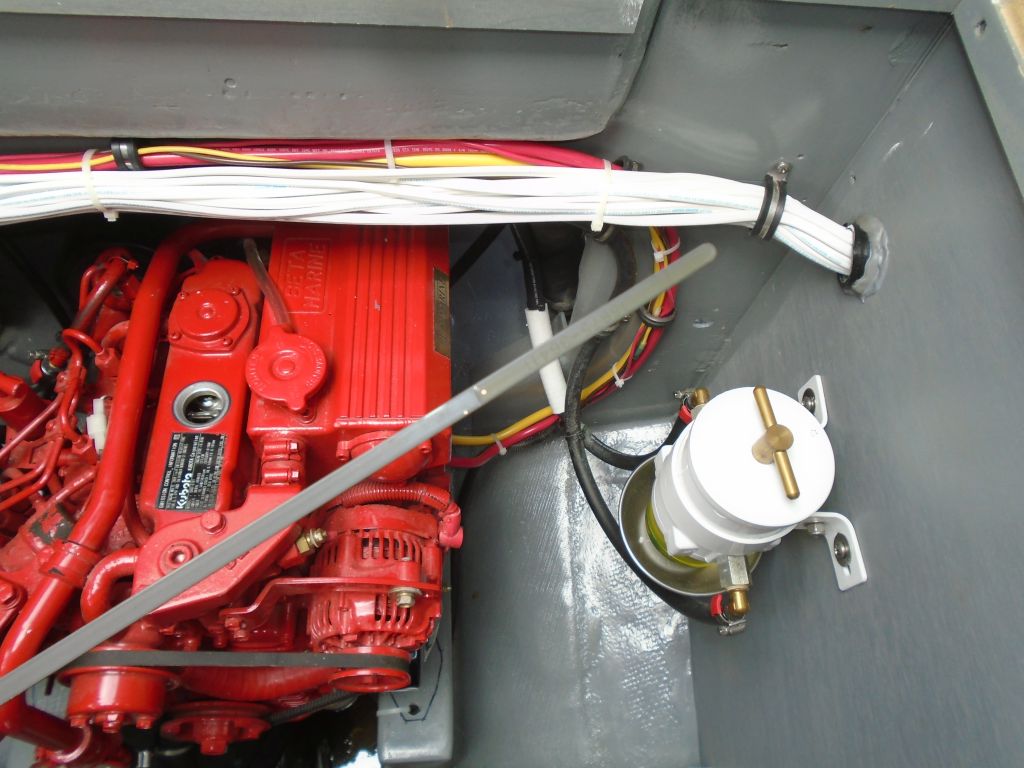
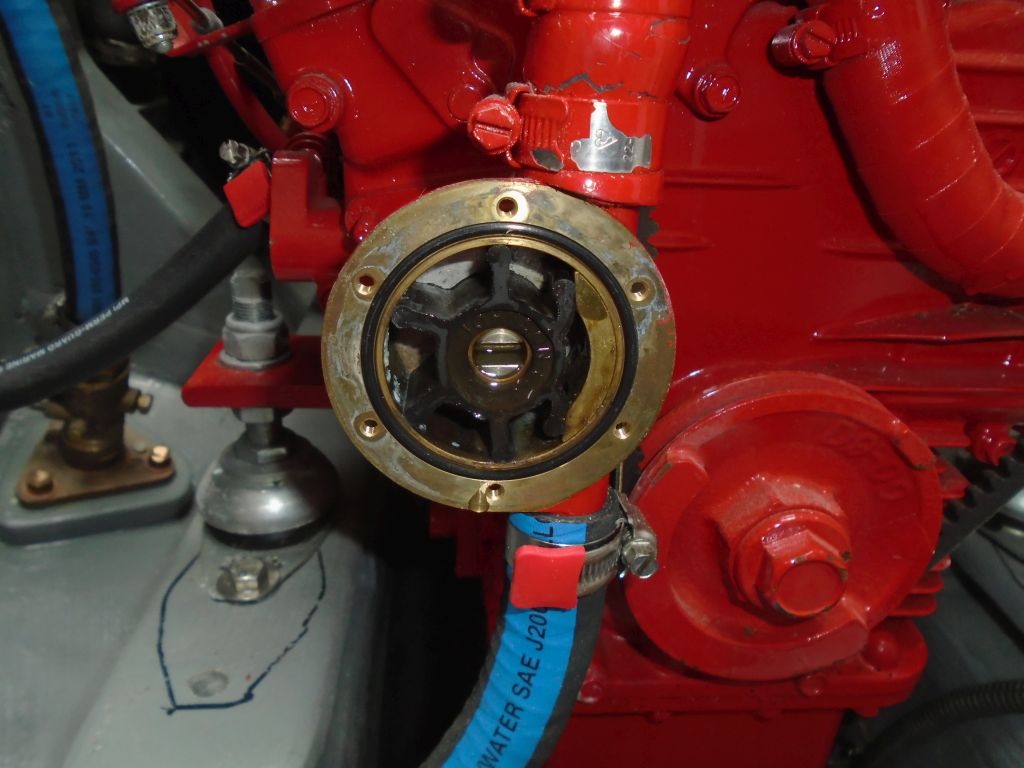
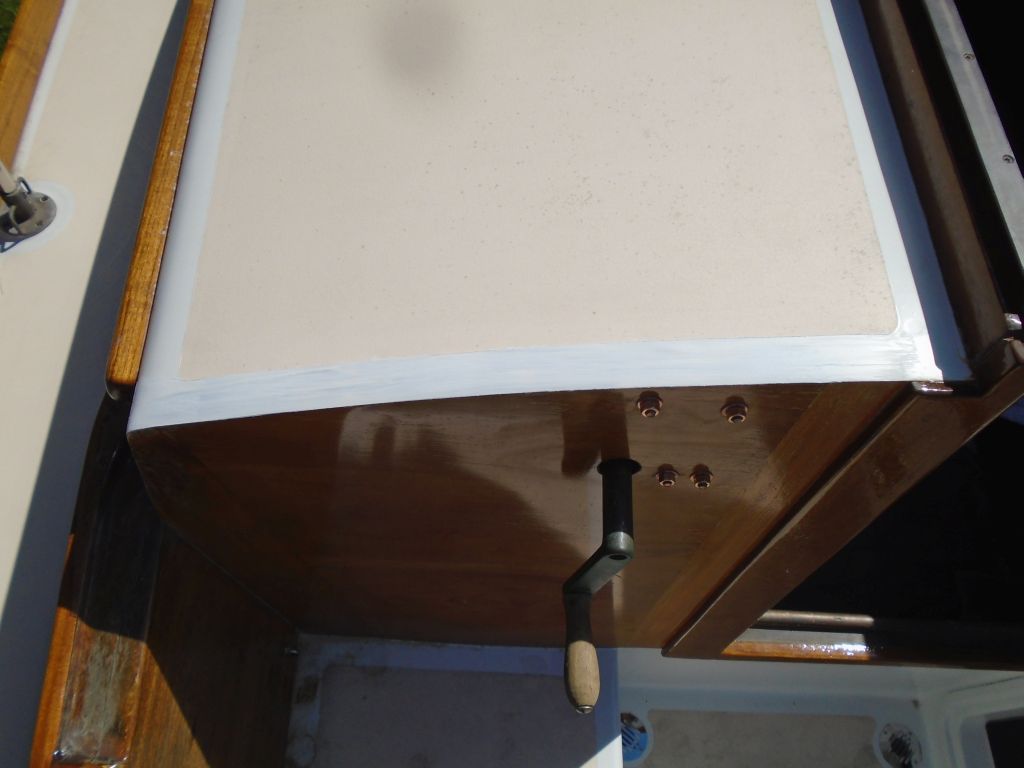
So, five years later, I looked forward to finally test-firing this “new” engine.  I started by adding fuel (6 gallons to the new tank), coolant, and oil as needed, and checked the raw water pump impeller to inspect its condition.  I filled the fuel filter with clean diesel, and bled the engine at the secondary fuel filter until I got clear fuel from the bleed screw.  (14mm)  This is a really nice engine room, if I do say so.  Roomy and with outstanding access to the engine.  This made all the preparation and testing work a real pleasure.

With all initial preparations complete, I started the engine.  It started right away, and nearly kept running, but there was still air for it to work through its system.  The second time, the engine kept running, even as it worked through a few air-related fuel hiccups, as per usual.

After running the engine for a couple minutes, I shut down in order to check the fluid levels.  I added a bit of coolant and engine oil as needed to top up the levels once more.  Then, I proceeded through a longer engine test, which I recorded in the following videos.  I found that the new engine control was loose, and allowing the engine speed to change on its own, so after a while I stopped the engine again and adjusted the control as needed, after which I could actually leave things alone without holding the control lever or manipulating the lever on the engine itself.

The test was a  complete success, and after running the engine up to temperature and for about 20-30 minutes’ total time, I shut down, with the last major check mark off my work list.

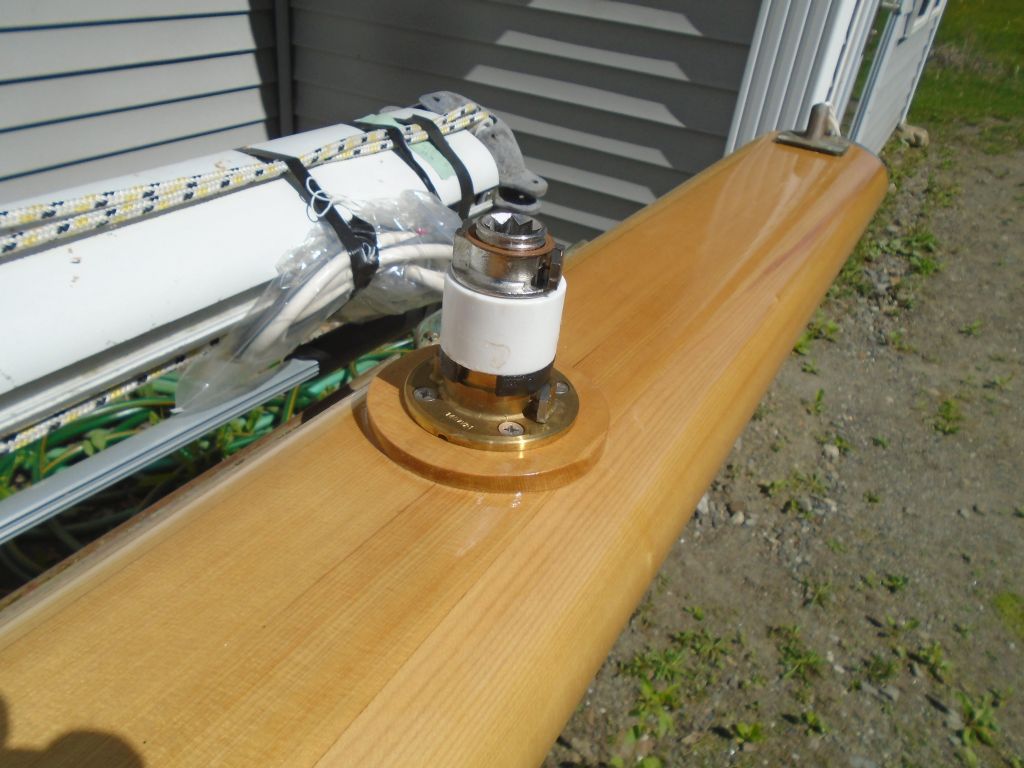
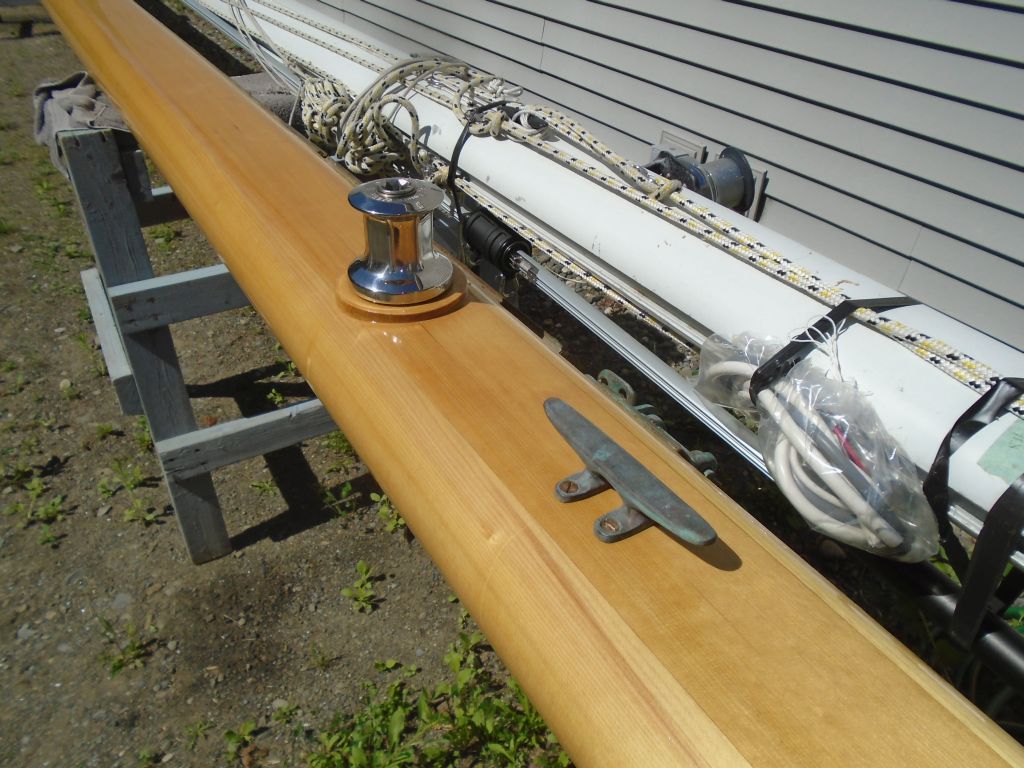
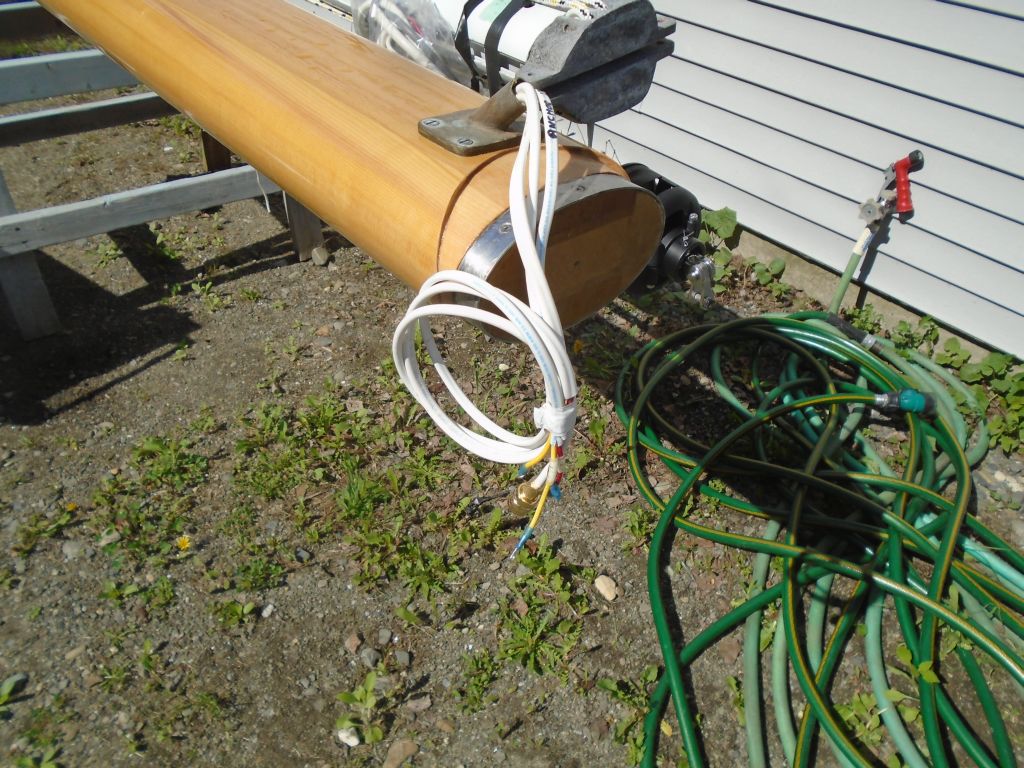
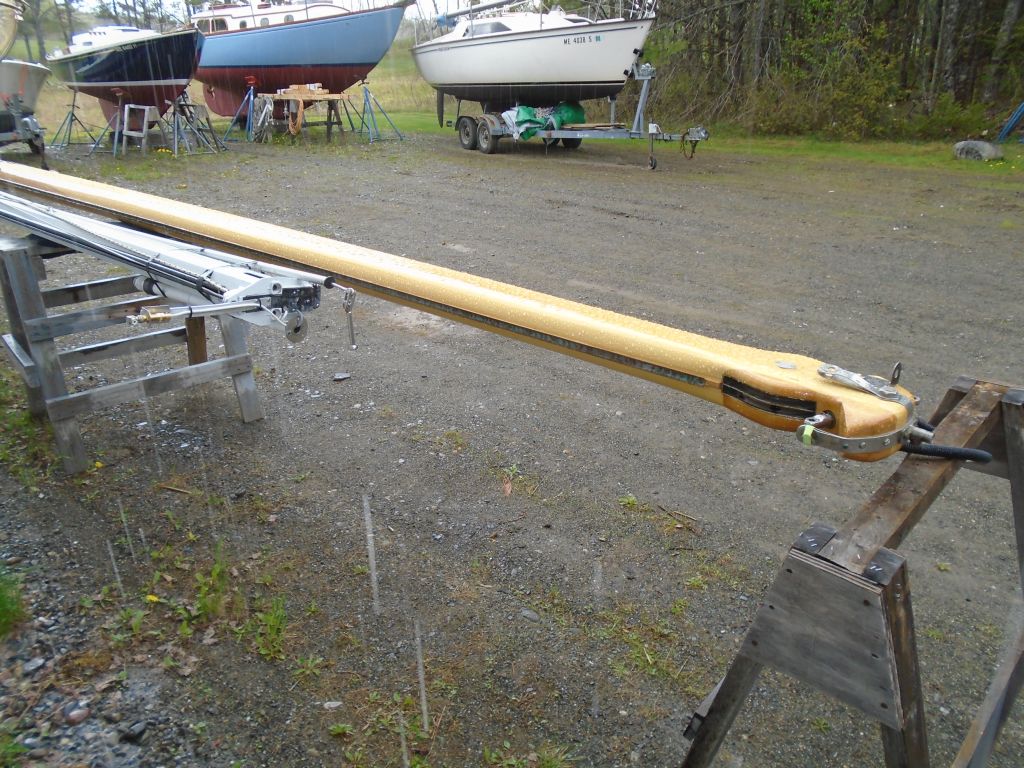
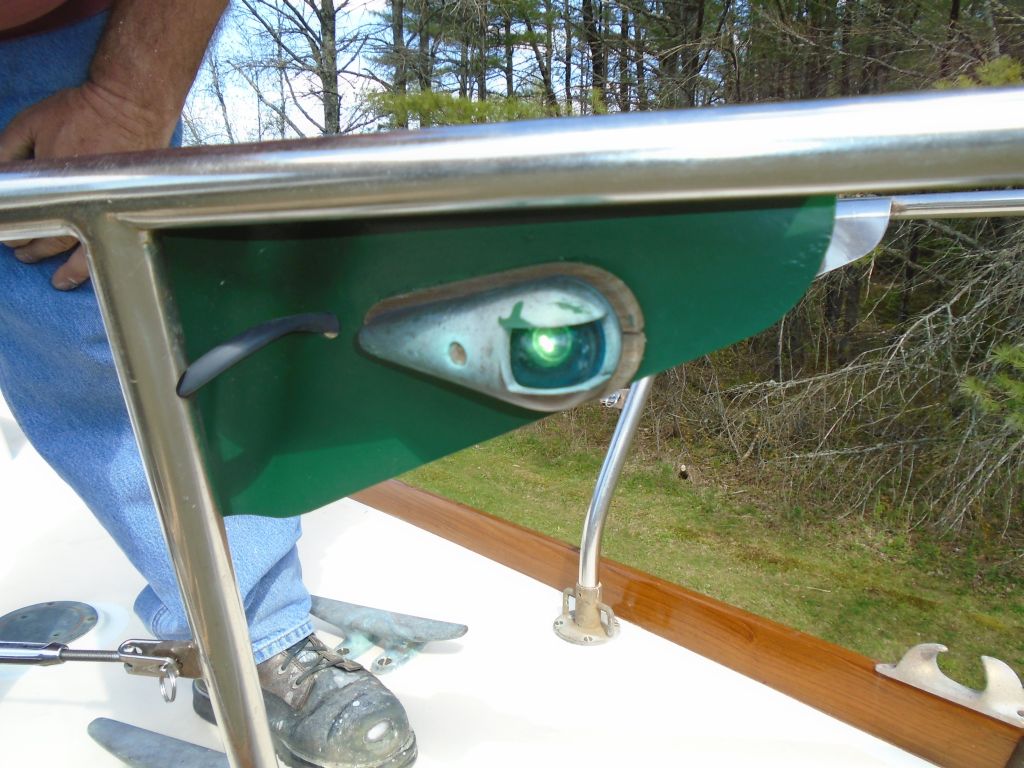
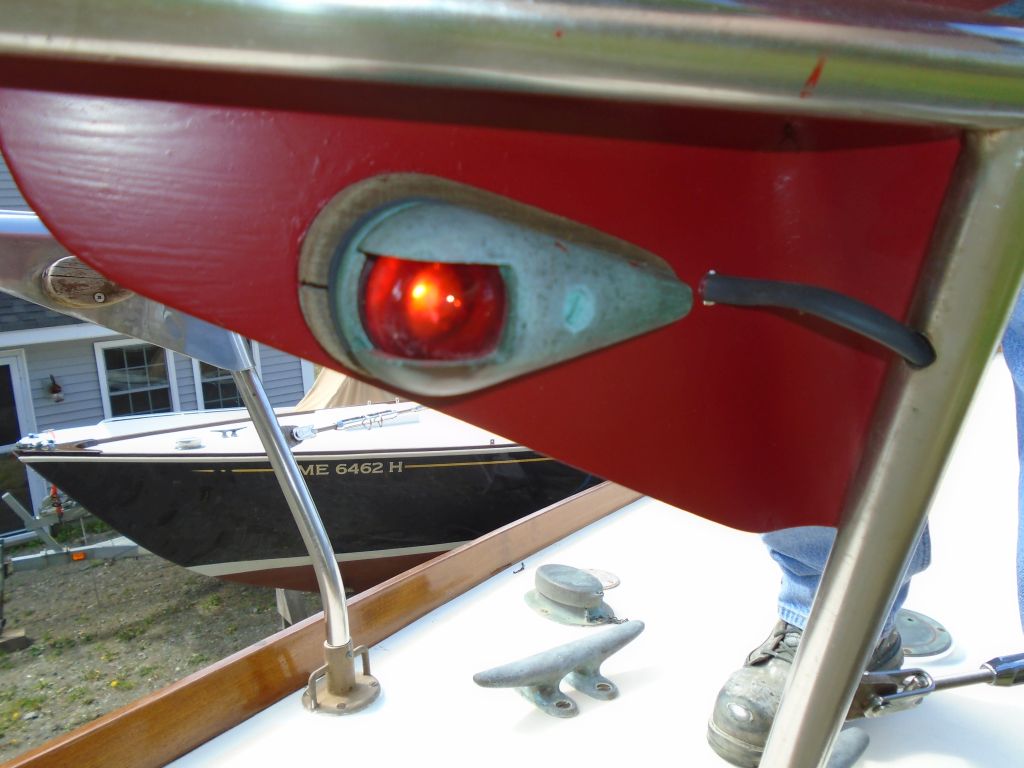
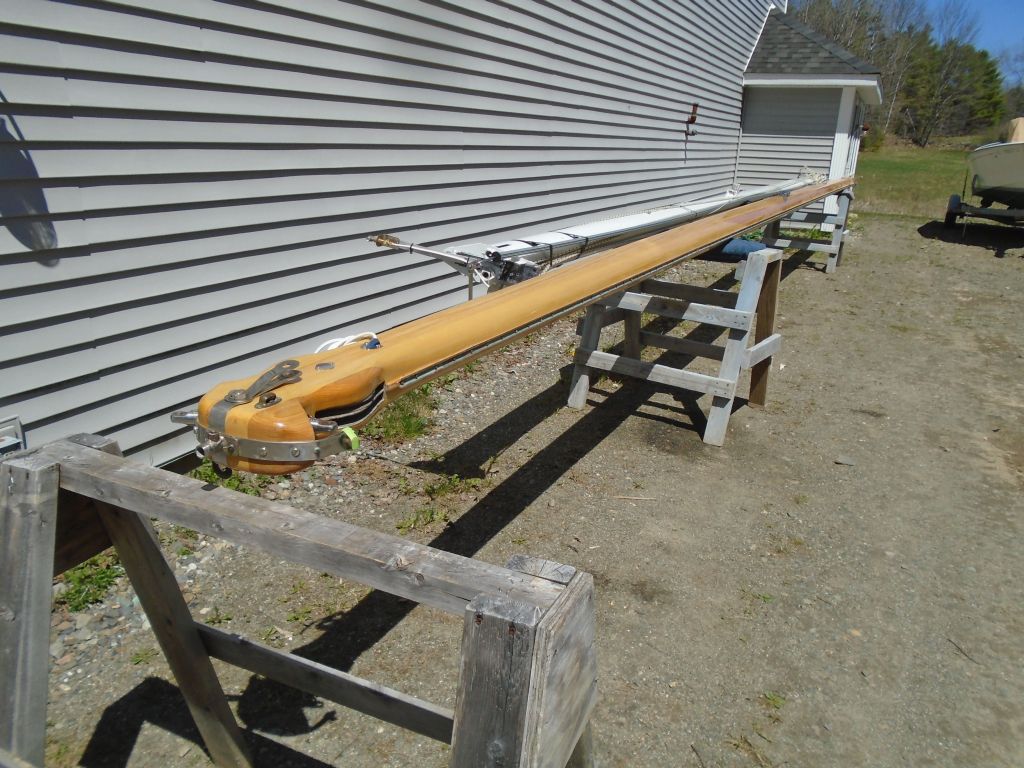
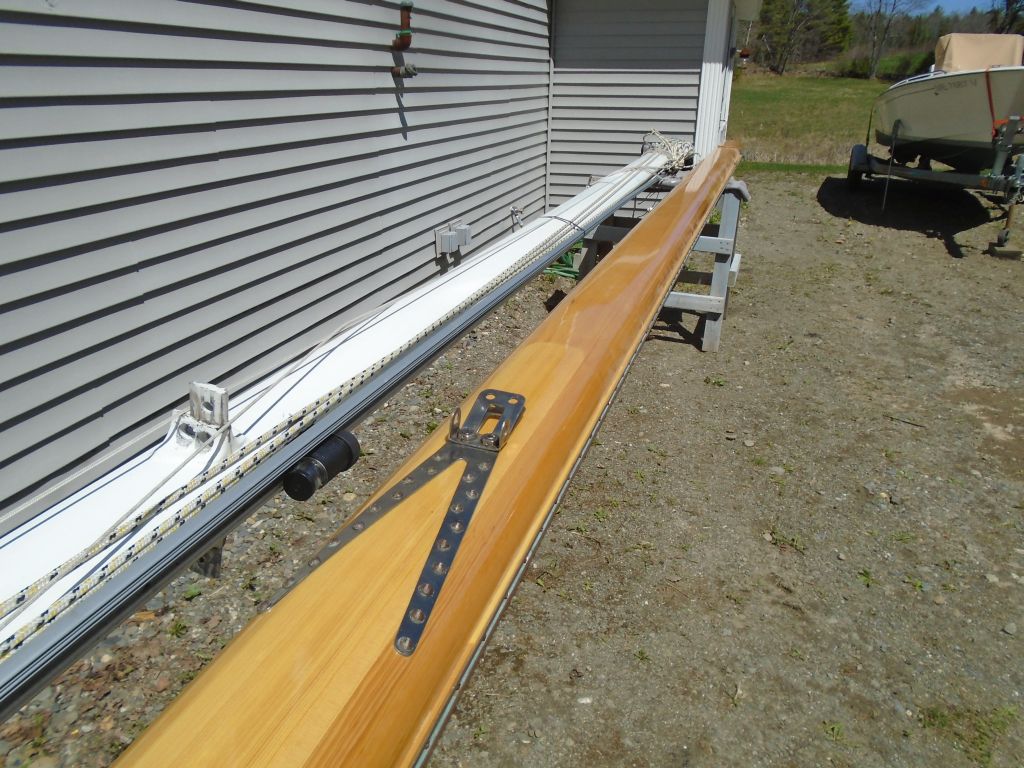
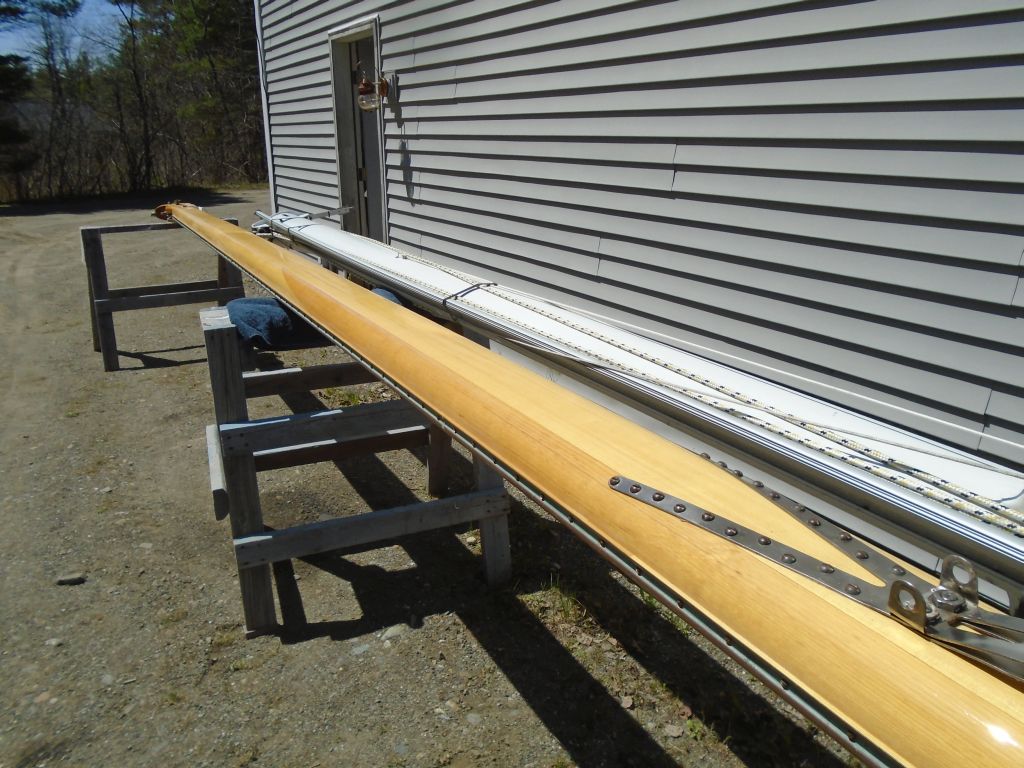
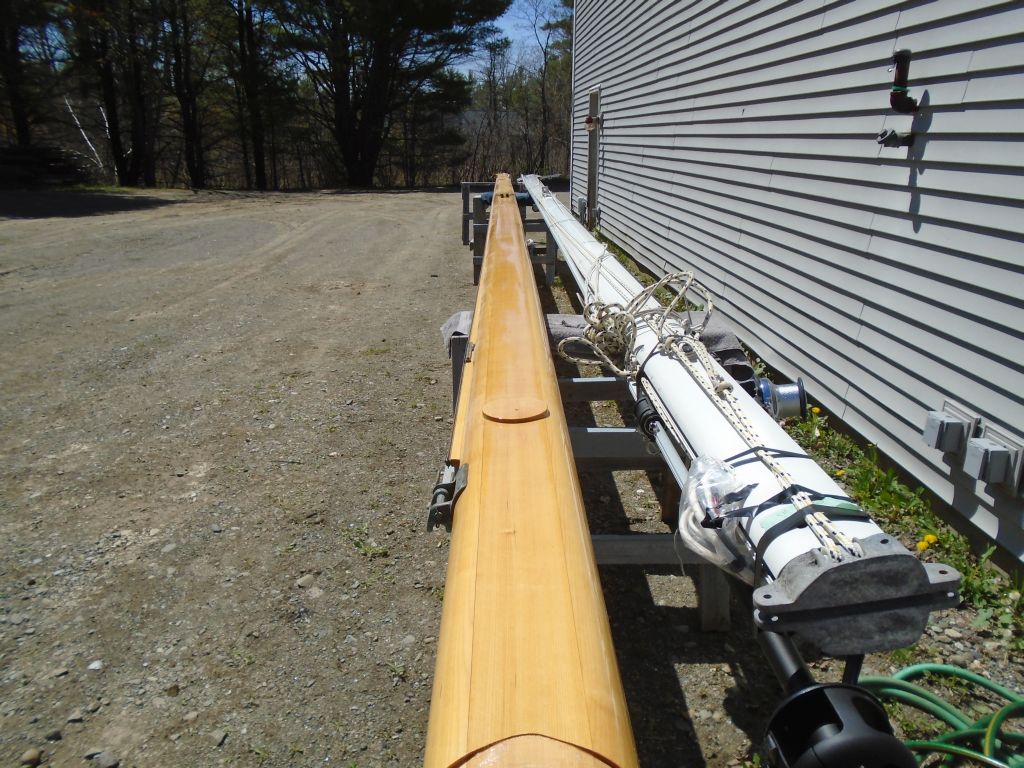
After cleaning up and buttoning up the boat again, I turned to the new mast, which required a couple lights and a VHF antenna.  All the wiring was pre-installed by the mast builder, but it was up to me to source and install the fixtures.

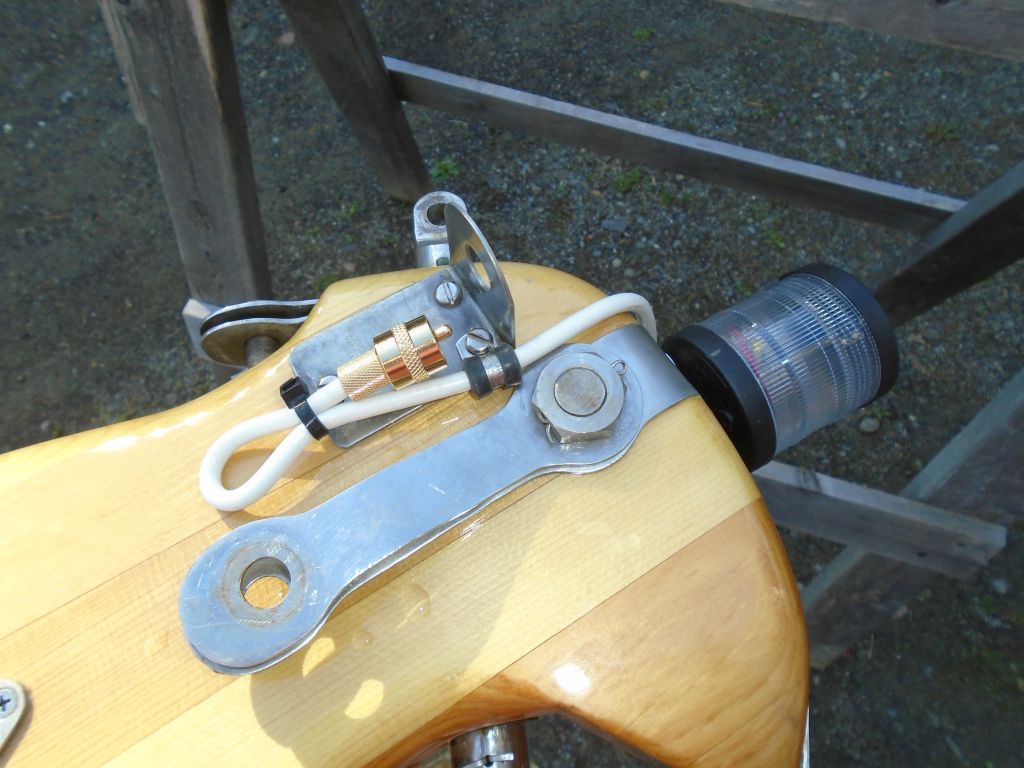
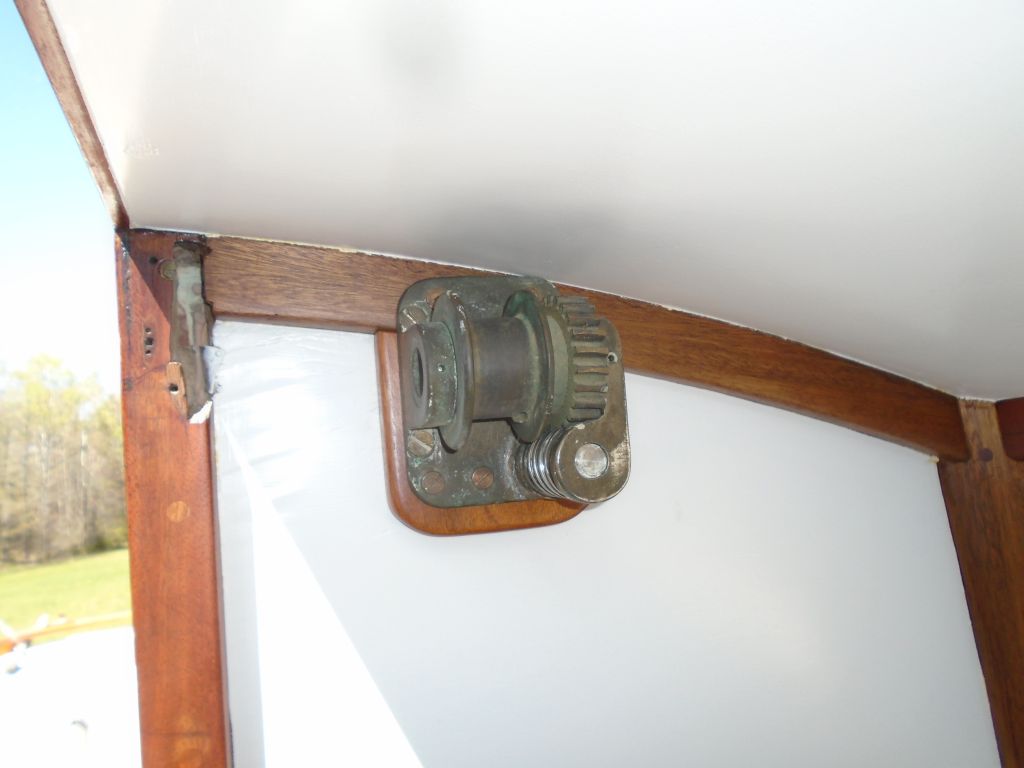
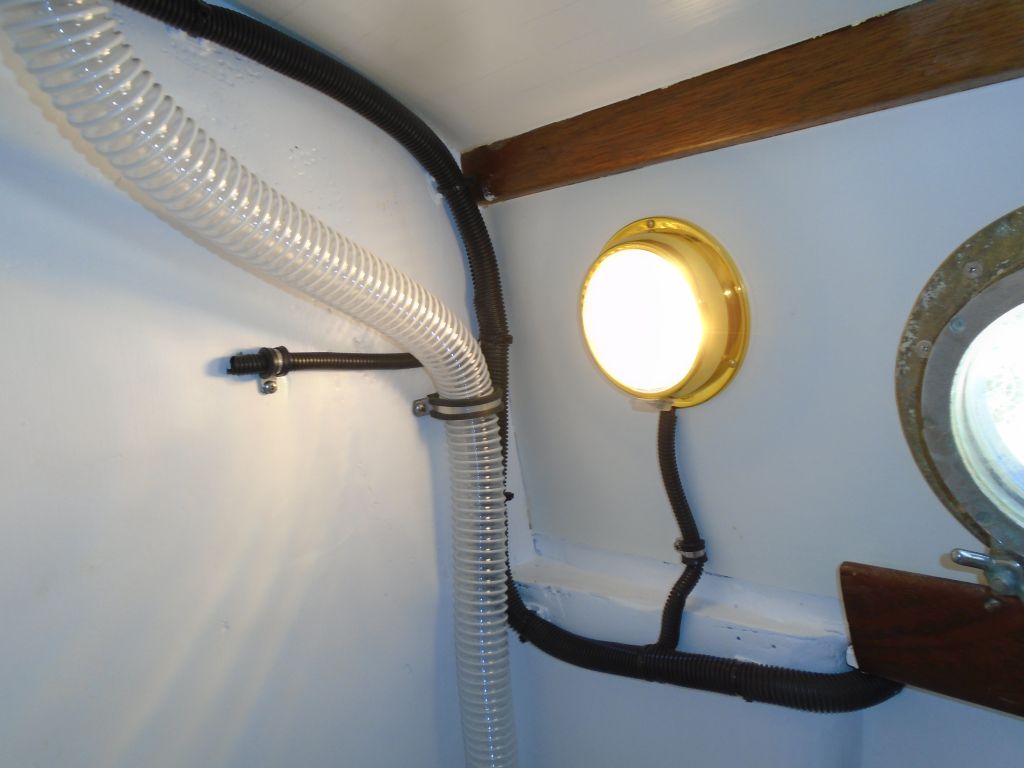
The wiring at the masthead exited the spar (by necessity) just below the halyard sheaves, and to improve appearance and secure the wiring on its way to the ultimate masthead, I sheathed it in some flexible conduit and secured it to the spar in a couple places with rubber-lined clamps.

mast1-51916

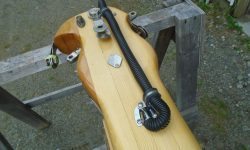
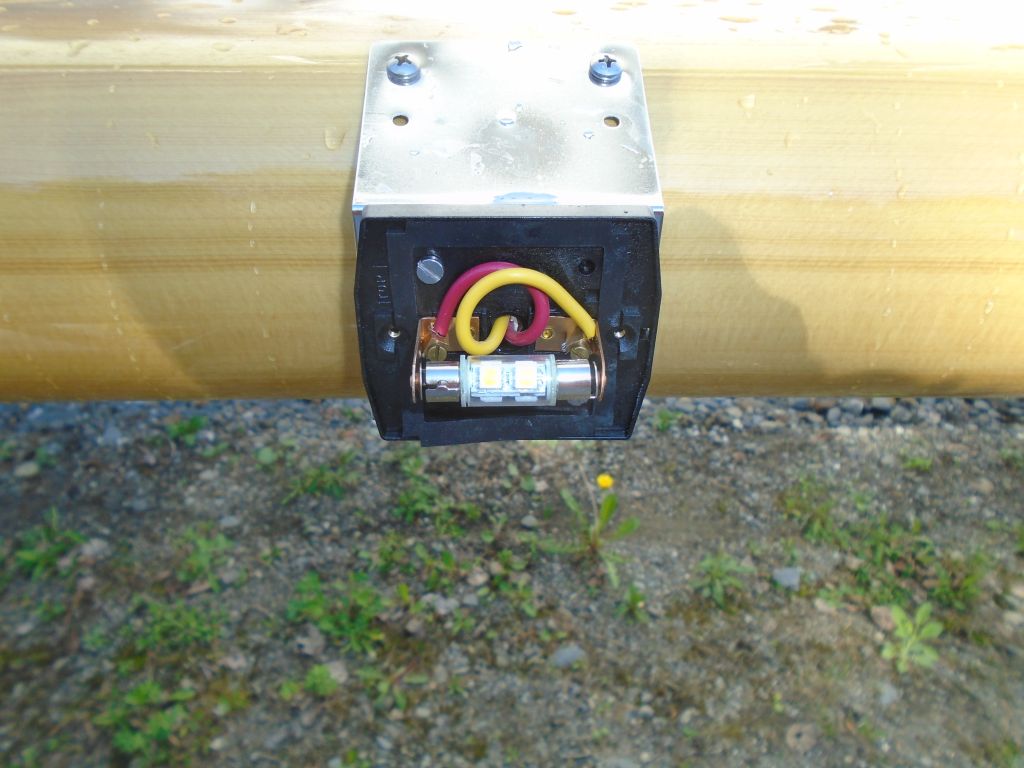
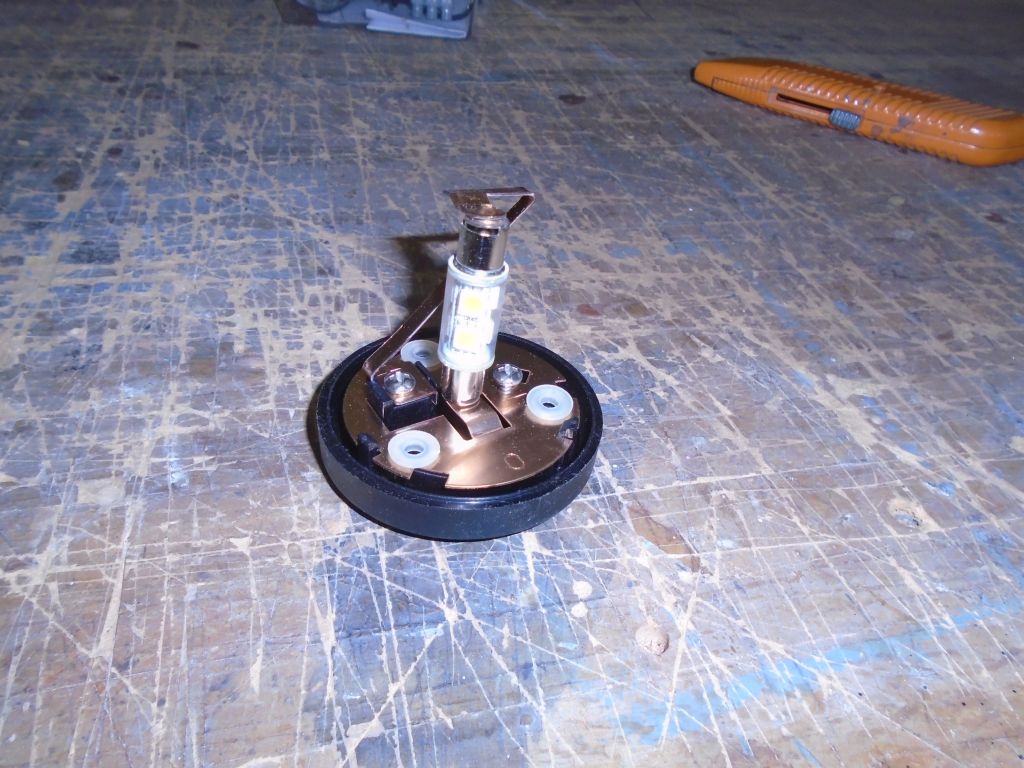
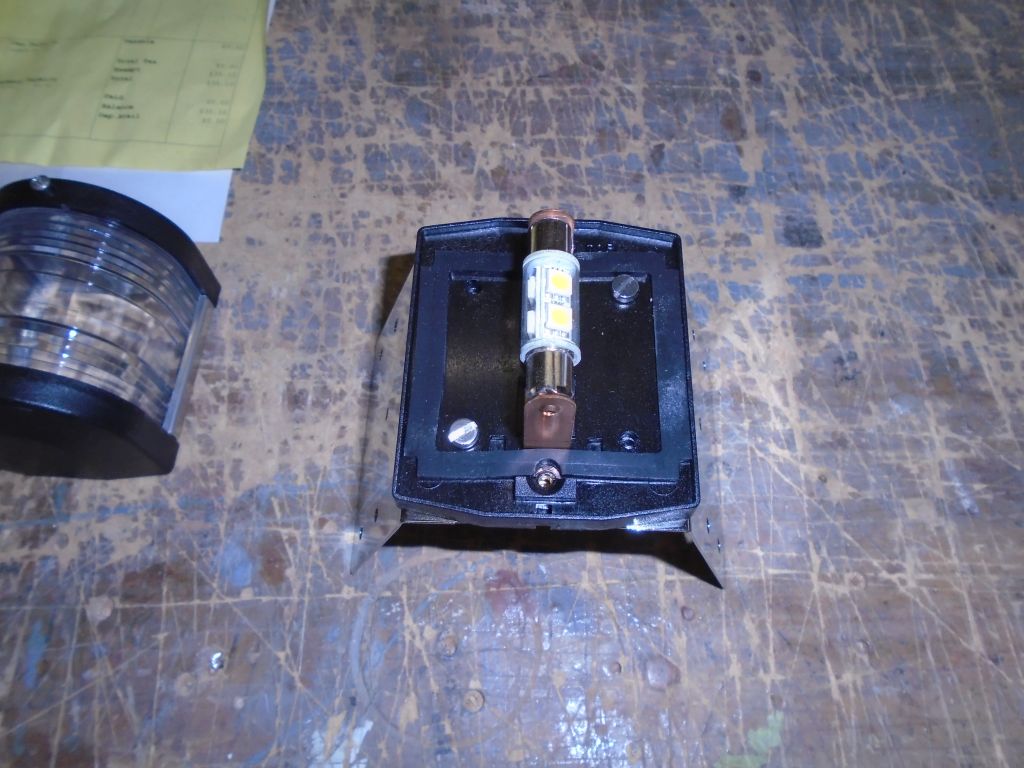
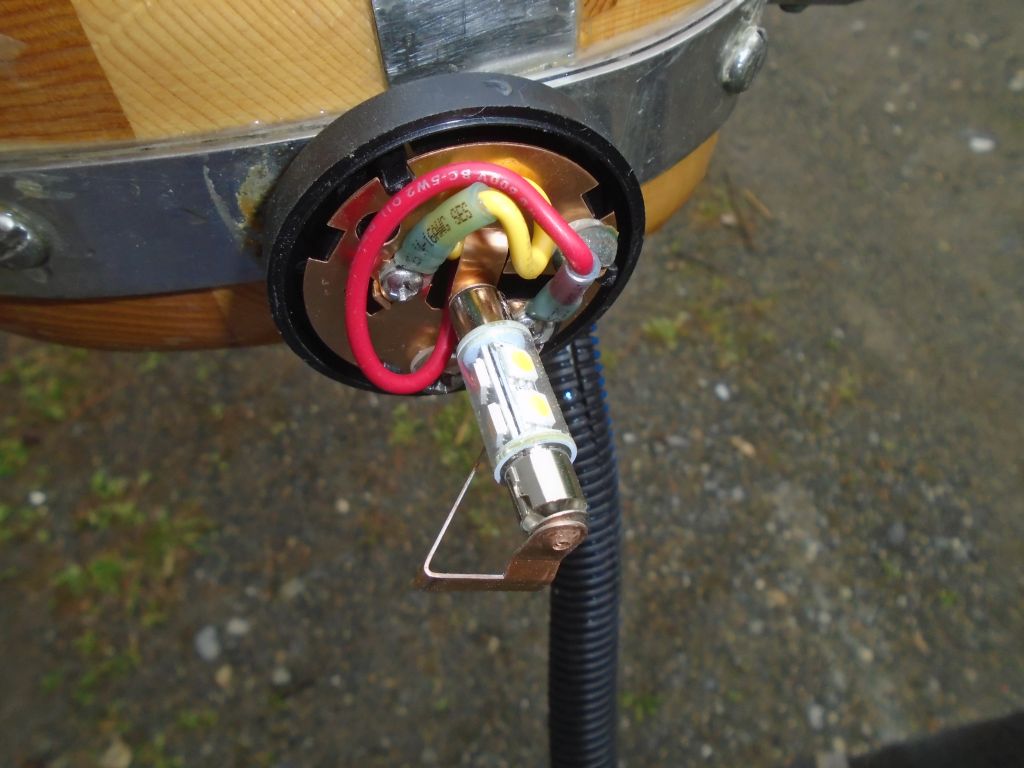
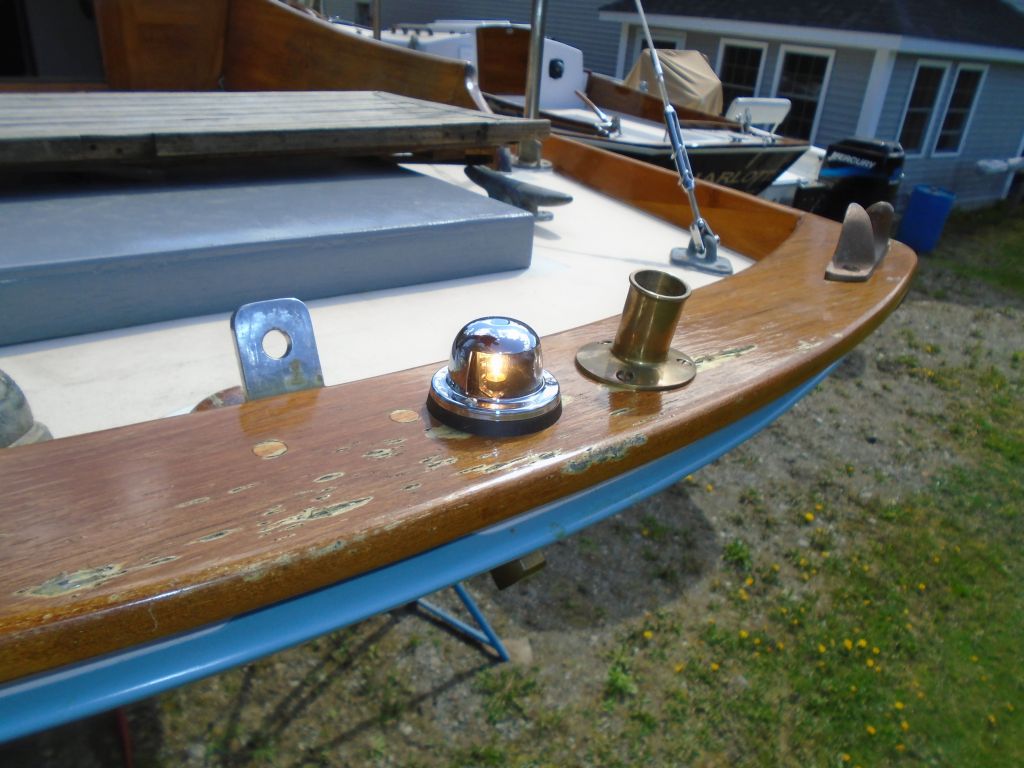
During a brief rain delay, I unpackaged the new fixtures (the VHF antenna was backordered briefly) and changed out the incandescent light bulbs for some new LED bulbs that I purchased for the purpose.

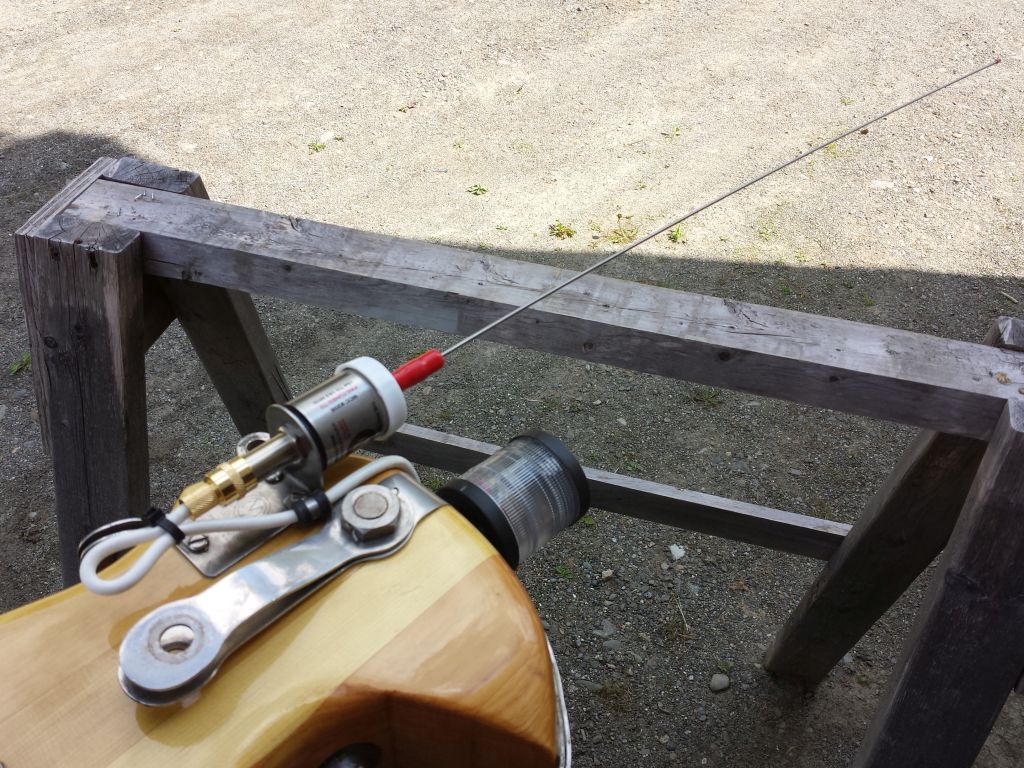
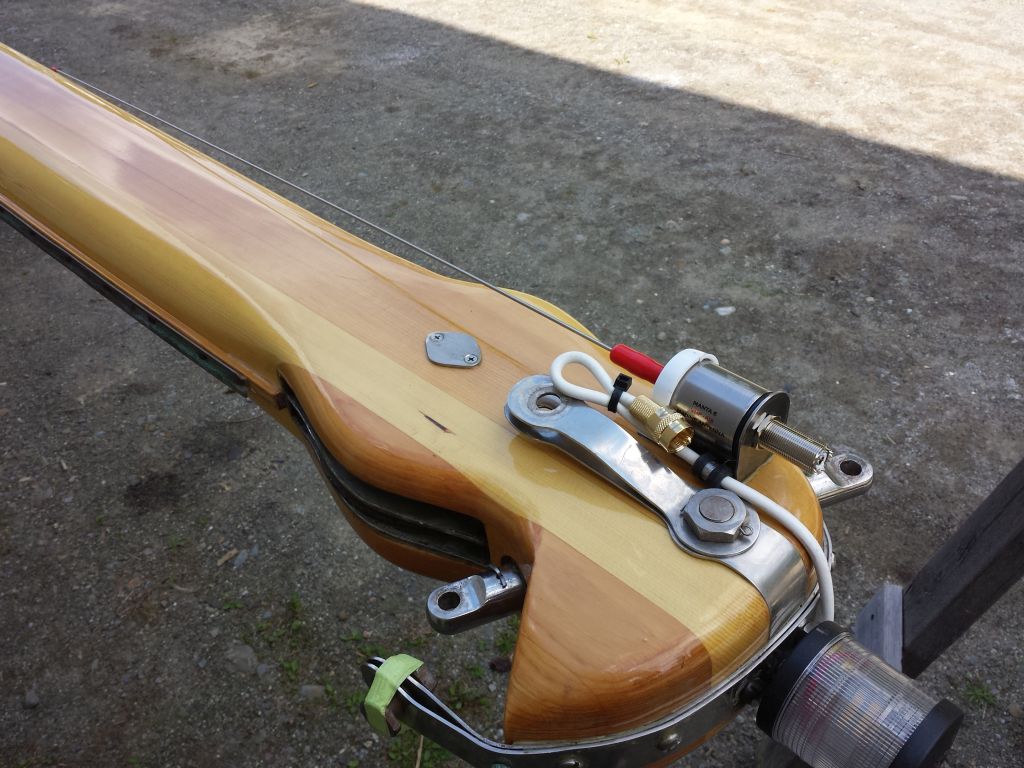
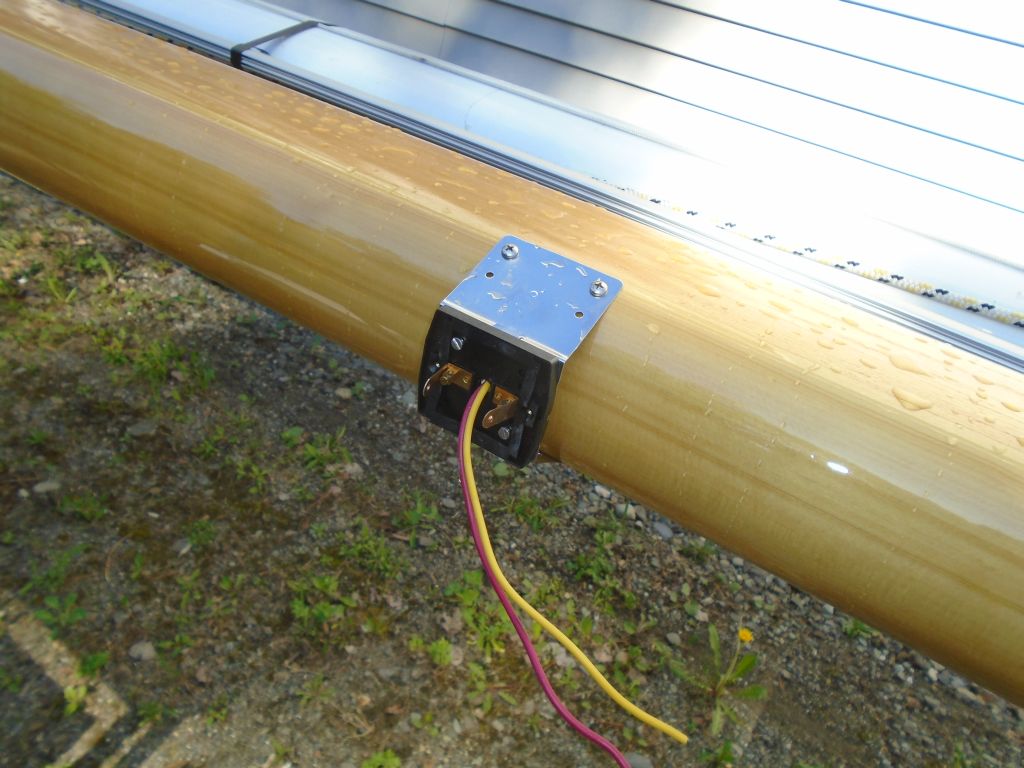
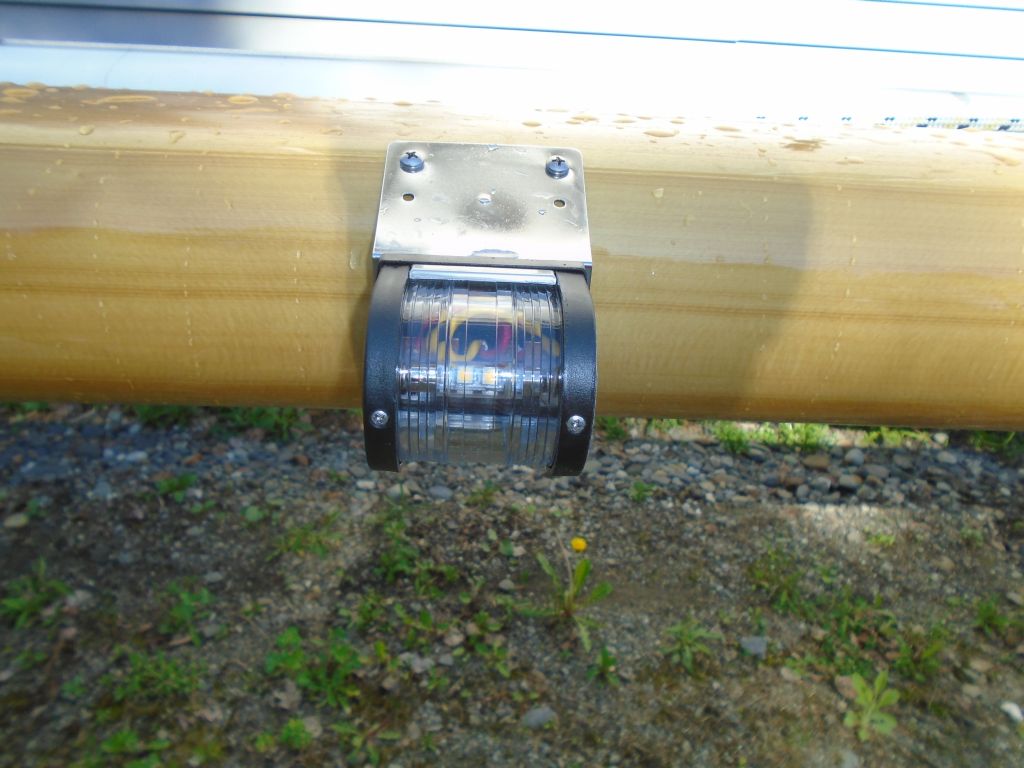
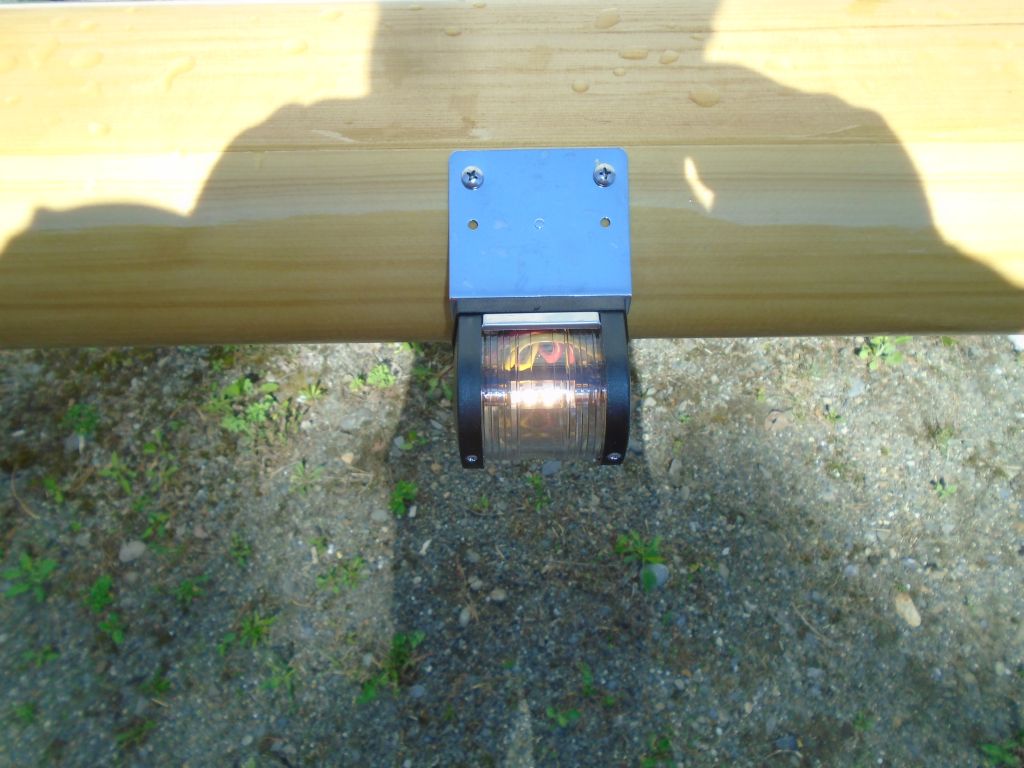
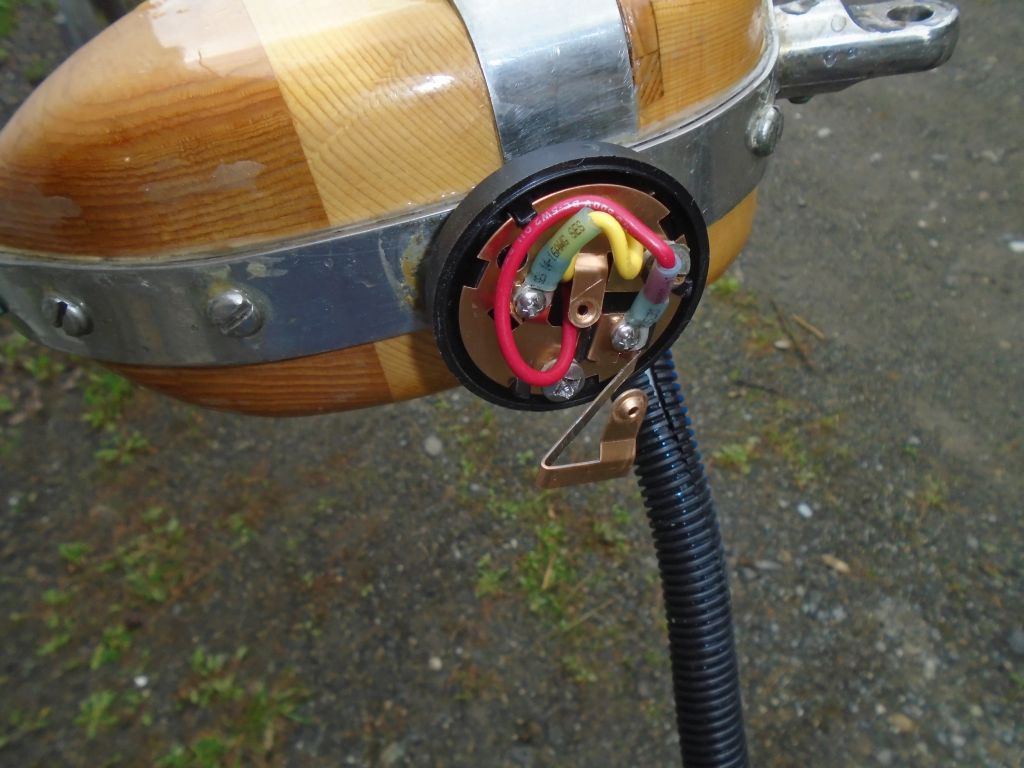
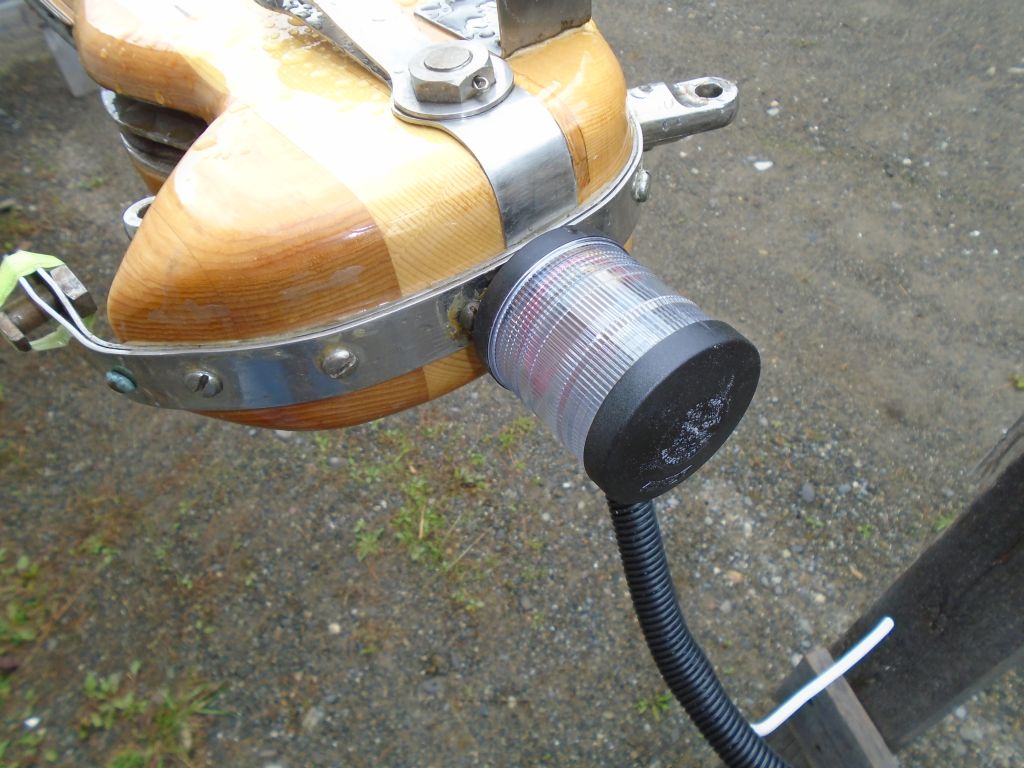
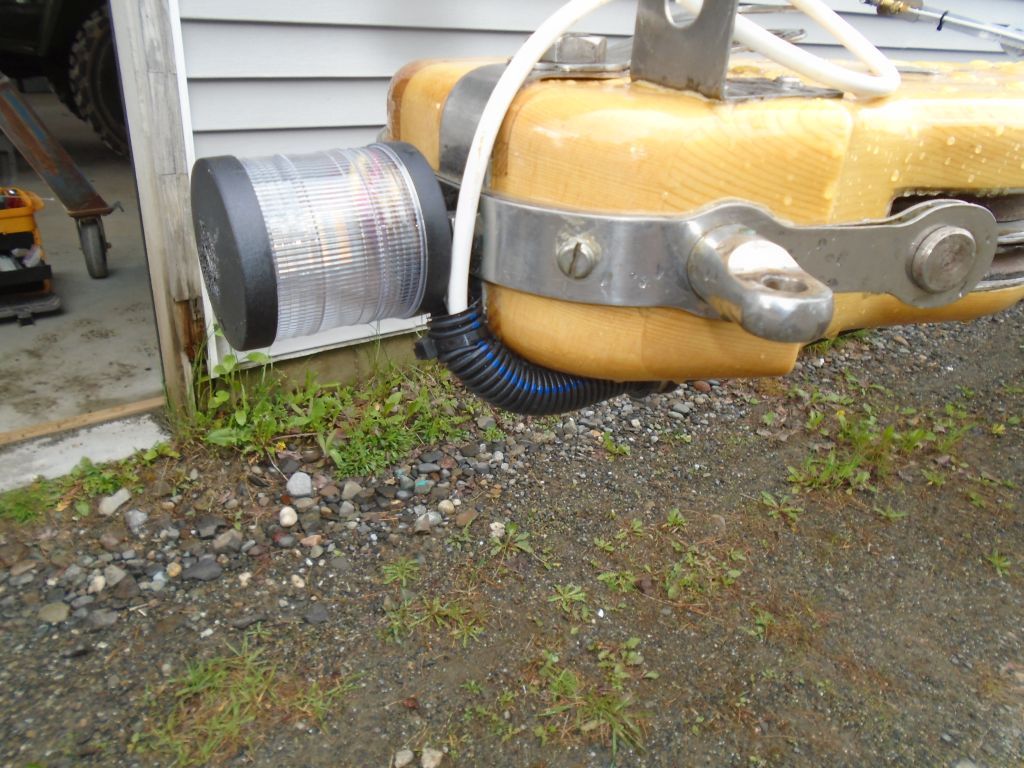
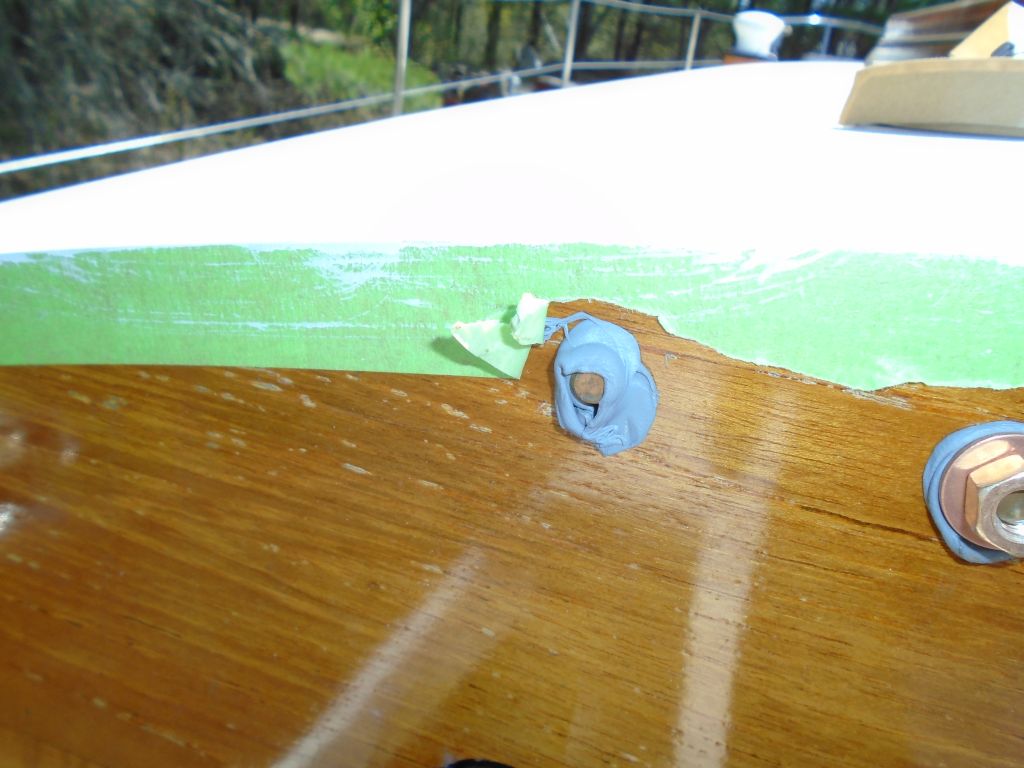
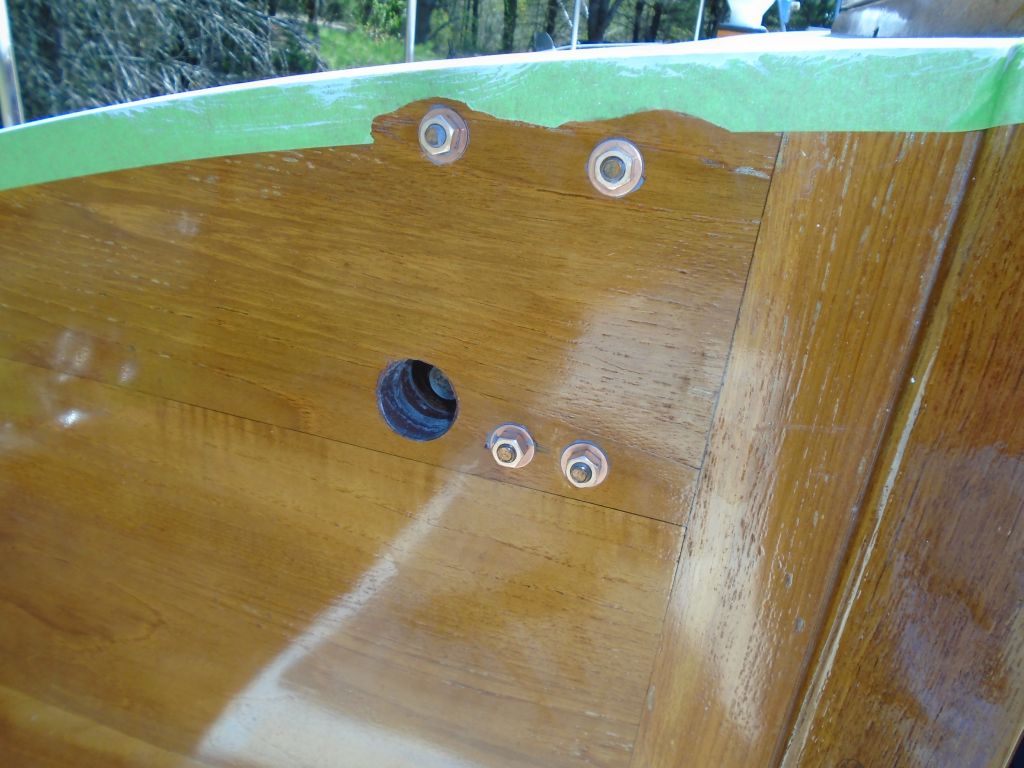
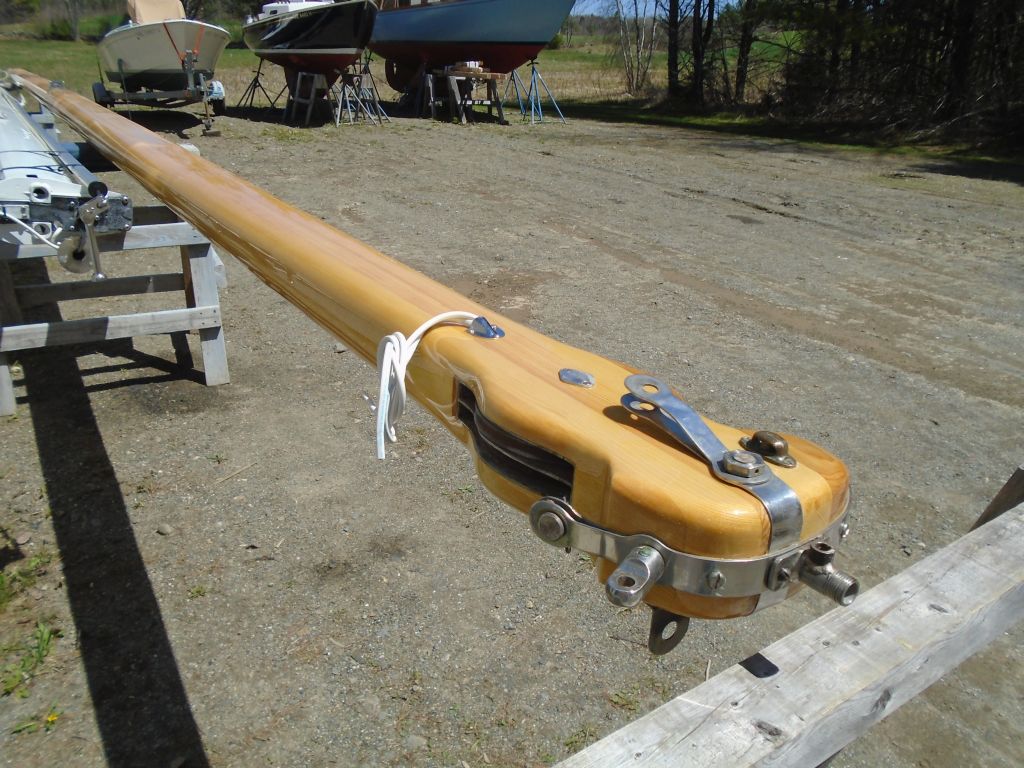
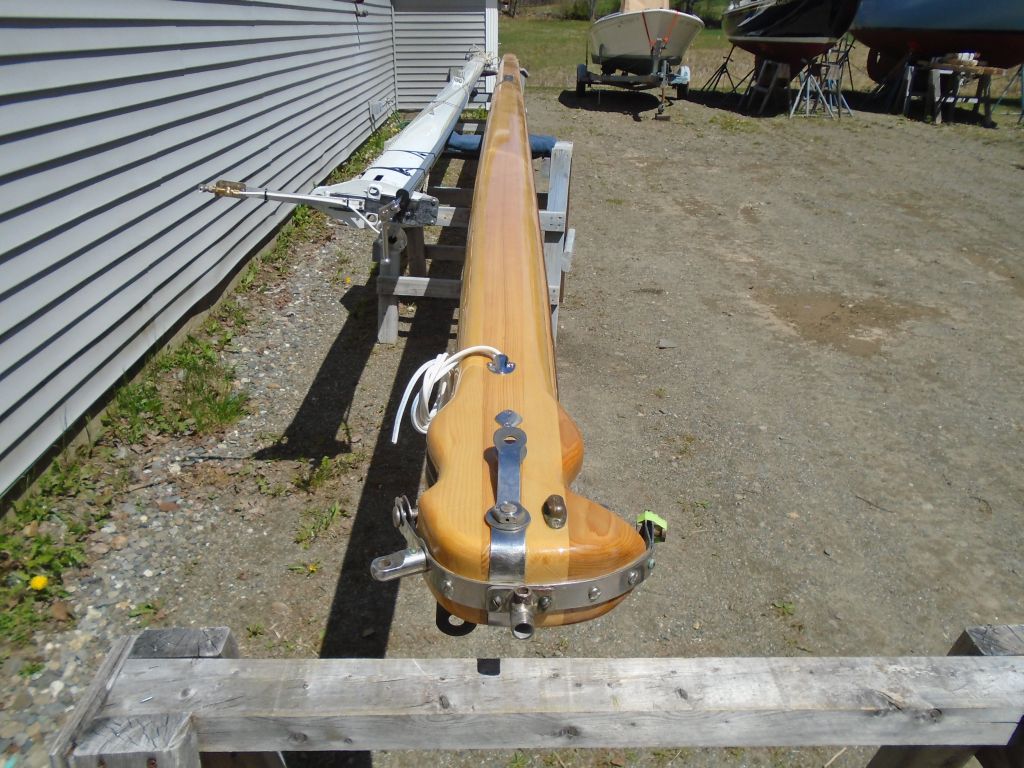
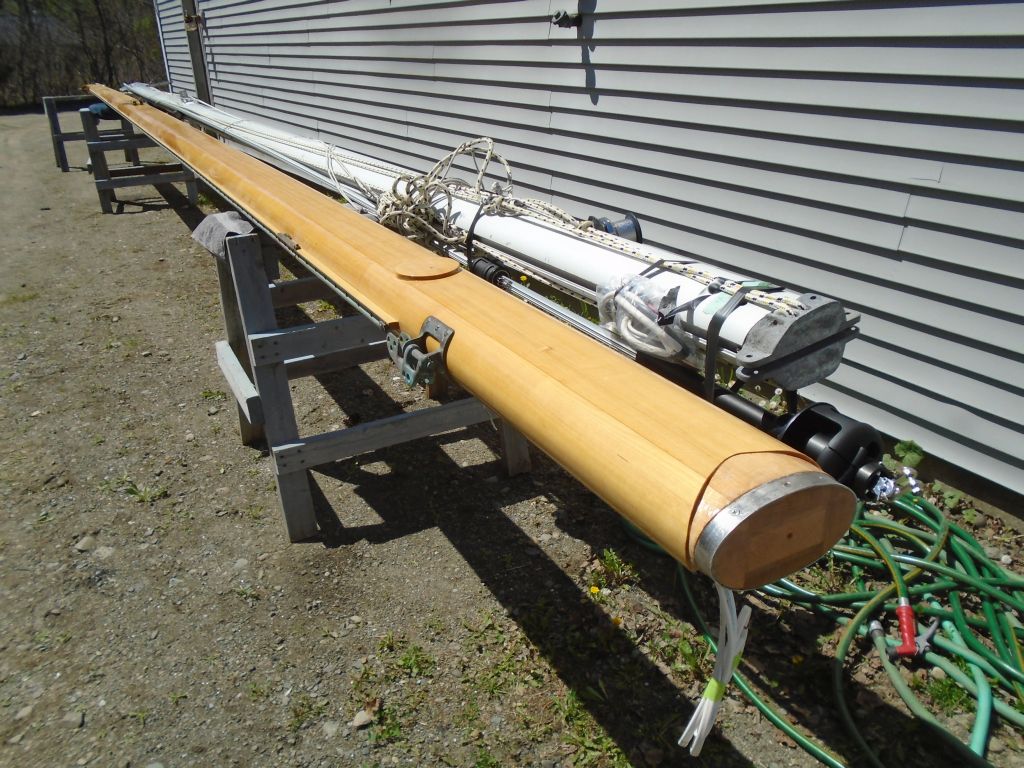
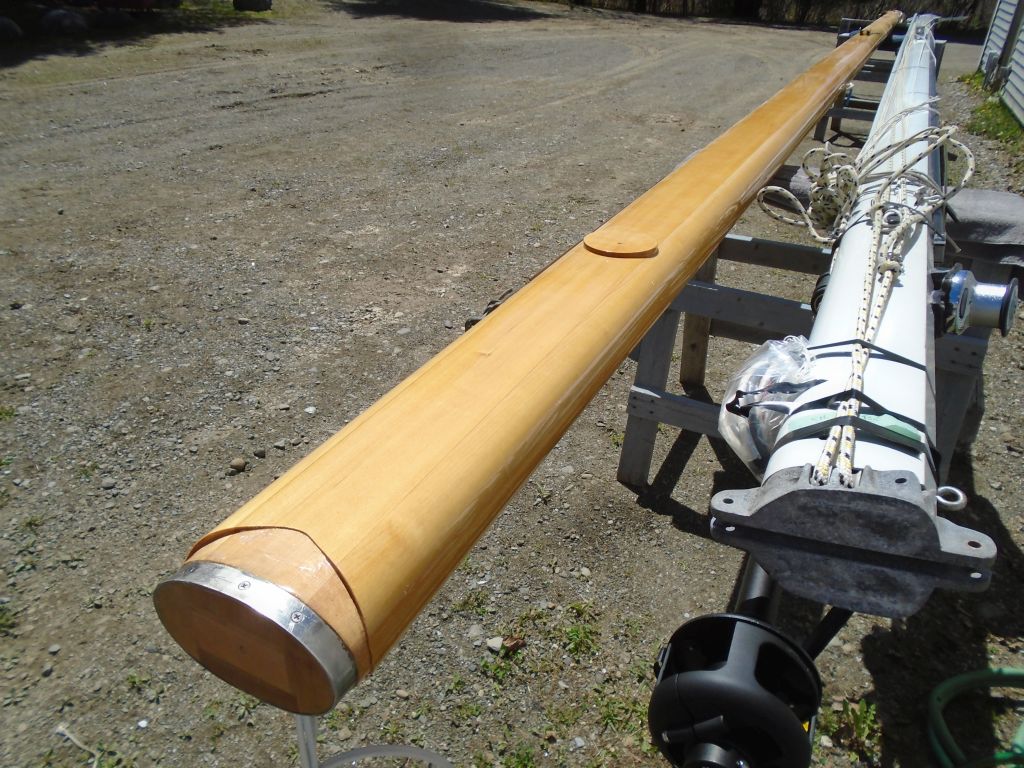
After the rain shower ended, I got back to work on the anchor light at the masthead, which I installed on top of the masthead strap.  I repurposed one of the screws securing this strap, and used it to also secure the light fixture, and added a second screw (with spacers beneath each to allow room for wiring) to finalize the installation.  I made up the wire ends and secured the screw-on lens for the fixture.

I’d continue with the VHF antenna and the steaming light, along with the wiring at the mast base, next time.

Total time billed on this job today:  3.75 hours

0600 Weather Observation:
40°, mostly clear.  Forecast for the day:  sun and clouds, showers in the afternoon, 60s

Waanderlust 4

< Back to Waanderlust

Wednesday

Now that the backing block was complete, there was nothing holding me back from completing the centerboard winch installation.  I bolted it into place with 3-1/2″ bronze bolts from inside, adding butyl sealant and washers/nuts from outside to hold the winch in place securely.

The centerboard cable had been wrapped and secured around the pole that led from the centerboard trunk to the overhead, and now I used a small jack to push and support the centerboard itself (which had been drooping down slightly from the keel) into its trunk so I could unwrap the cable and lead it to the winch.  I secured the bitter end of the cable within the winch drum, and then tightened the drum with the handle to take up the cable accordingly, completing the installation.

The new 13RH10 3-blade propeller was now on hand, so I installed it on the shaft.

Though there’d been no evidence originally (from when the boat arrived here) of debris screens over the cockpit scuppers, they’d clearly shown a propensity to clog with debris through their wide-open tops, so I installed simple screens over the openings to keep out large pieces of debris.

scuppers1-51816

I’d purchased batteries for the boat earlier in the week, and now I installed them:  a group 24 starter battery, and a group 27 house battery.  All the wiring was already in place and awaiting the installation.  Afterwards, I tested all the lighting aboard and everything I could for now.

Continuing the minor repair to the port coachroof edge, I sanded the epoxy from last time, preparing it for primer.  After masking off, I applied a few coats of white epoxy-based primer to the area.

primer1-51816

Total time billed on this job today:  2.5 hours

0600 Weather Observation:
40°, clear.  Forecast for the day:  mainly sunny, 60

Waanderlust 3

< Back to Waanderlust

Wednesday

The new spruce mast arrived early in the morning, brought down from the builder’s shop near Bar Harbor.  We unloaded the mast using my gantry crane in the shop, and later I moved it outdoors to some sawhorses for short-term storage.  The new spar looked terrific, and matched the old one in detail.

Total time billed on this job today:  1.5 hours

0600 Weather Observation:
32°, clear.  Forecast for the day:  Sunny, 60s

Waanderlust 2

< Back to Waanderlust

Tuesday

The owner shipped me the original bronze worm-drive centerboard winch, which mounted to the bulkhead above the galley on the port side.  While the exterior holes had been covered over by new paneling long before, the interior bolt holes and shaft hole were still in place to dictate the installation location.

Since part of the winch rested on the trim at the top edge of the bulkhead, I needed a block of corresponding thickness below to support the rest of the winch, so I cut an oversized blank from 3/4″ mahogany and, over two stages, scribed it to match the curvature of the trim, and narrowed the original blank to leave a consistent exposure on each side of the winch.  For now, I left the length long for later sizing and trimming.  I marked the location on the bulkhead with some pencil marks on tape.

Now I drilled through the cabin trunk from the inside, using the original winch shaft hole as a guide, penetrating the teak paneling on the exterior.  I also drilled the four bolt holes to secure the winch.  With the backing block held tightly in place in the right position, I marked the location of the large shaft hole from outside, so I could drill it in the backing block and then position the winch to mark and drill the final bolt holes as needed.

With the winch temporarily in place, I checked the fit of the handle, and marked the bottom of the mahogany backing block for its final dimension.  Back inside at the bench, I cut off the excess length from the block and shaped and sanded it to prepare for varnish, several sprayed coats of which I applied throughout the remainder of the day.

To help protect the inside of the shaft hole from moisture, I coated it with a thickened epoxy mixture.

cb13-51016

At the port after edge of the cabin trunk, over the past six years since the main exterior work had been completed (this project sat idle for many years between then and now), some cracking had formed where the plywood cabin trunk met the teak paneling at the cockpit bulkhead.  This was an area that had been worked on sometime before the boat ever came my way, and I’d not done any additional work here, other than the usual sanding and surface prep before priming and painting.  With extensive repair work going on elsewhere, the raised after portion of the coachroof was one of the areas that seemed sound and didn’t require resheathing, but in hindsight this seam should have been dealt with.  That said, it took six years to manifest itself in this cracking, so there you are.

This is how this area looked in May 2010, at the very beginning of the project.  Please feel free to review the original condition of this boat as well.

handrails-52010

Regardless of the reasons behind it, I didn’t want to leave it as is.  So I ground out and cleaned out the cracking as needed and filled the minor voids with a thickened epoxy mixture, which I left to cure in the hot sun.  I wasn’t going to fully cure the potential ills of this junction, but this repair would keep out water and hopefully prevent a recurrence.

I found that one of the breaker switches on the panel in the galley had been broken off, so I replaced the breaker with a new one, a quick process.  Meanwhile, I finalized prep work on a hull patch I’d made during the last work phase some months earlier, where I’d filled an old transducer hole in the bottom, and applied bottom paint over the epoxy repair.

bottom1-51016


Total time billed on this job today:  2.75 hours

0600 Weather Observation:  32°, clear.  Forecast for the day:  sunny, high in the mid-60s

Waanderlust 1

< Back to Waanderlust

Monday

Over the past week or two, I’d removed the winter cover and framework, and reinstalled the lifelines.  Now, with the boat open and available for work, I turned to some of the items on my very short list to finish up the project.  With minimal work at hand, I saw no reason to move Waanderlust indoors, and would complete the project outside.

waanderlust2-50916

First on my task list was to install a new composting toilet.  During the previous work phase on this project, I’d revamped the head compartment, creating a simple, clean, and open space for the new toilet.   The owner selected Nature’s Head, and in due course I ordered the unit and unpacked it at the shop.

head1-50916

Installation in this case was pleasingly straightforward.  The toilet was self-contained, perhaps the greatest advantage to composters, and there was ample room for it in the fairly large head compartment.  Even better, there was already a cowl vent and quasi-Dorade box overhead, making for a convenient location for the required venting system for the toilet.  To begin, I installed the supplied plastic hose connection flange over the opening in the overhead with screws and, to avoid any nuisance water that might enter the vent above, sealant.

head2-50916

Following the directions, I installed the toilet to the plywood floor with the supplied brackets, mounting it 1-1/2″ from the bulkhead (which allowed the lid to tip up and rest comfortably, and provided enough room to tip back the top part of the toilet for inspection and removal of the top for interior service).

There was a small 12V fan built into the side of the toilet, and to this housing I attached the supplied length of hose and ran it to the overhead vent.

The fan featured a one-prong power plug and harness, which allowed convenient disconnection for when the toilet required servicing or cleaning.  I ran the harness along the bulkhead and into an adjacent compartment, where I’d eventually connect it to a wire pair leading aft to the batteries.

This completed the installation work for the toilet itself.

Since the little fan needed to run all the time for proper usage, I chose to lead the wires directly to an “always hot” terminal bar that I’d installed previously for the electric bilge pump.  This terminal was powered whether or not the battery switch was turned on.  I ran in a wire pair along a pre-existing wire route through the engine room, galley, and behind the port berth, and made up the connections at each end as required, incorporating a fuse at the hot end.

To cover the interior opening of the second cowl vent through the overhead, located at the forward end of the main cabin, I installed a metal vent screen.

vent1-50916

In other news, my upholstery contractor had recently completed and installed new interior cushions for the boat, which looked terrific and really finished off the clean, bright interior.

Total time billed on this job today:  3.25 hours

0600 Weather Observation:
33°, clear.  Forecast for the day:  Mostly sunny, windy, high in the low 50s