(page 6 of 8)

Lyra 26

Thursday

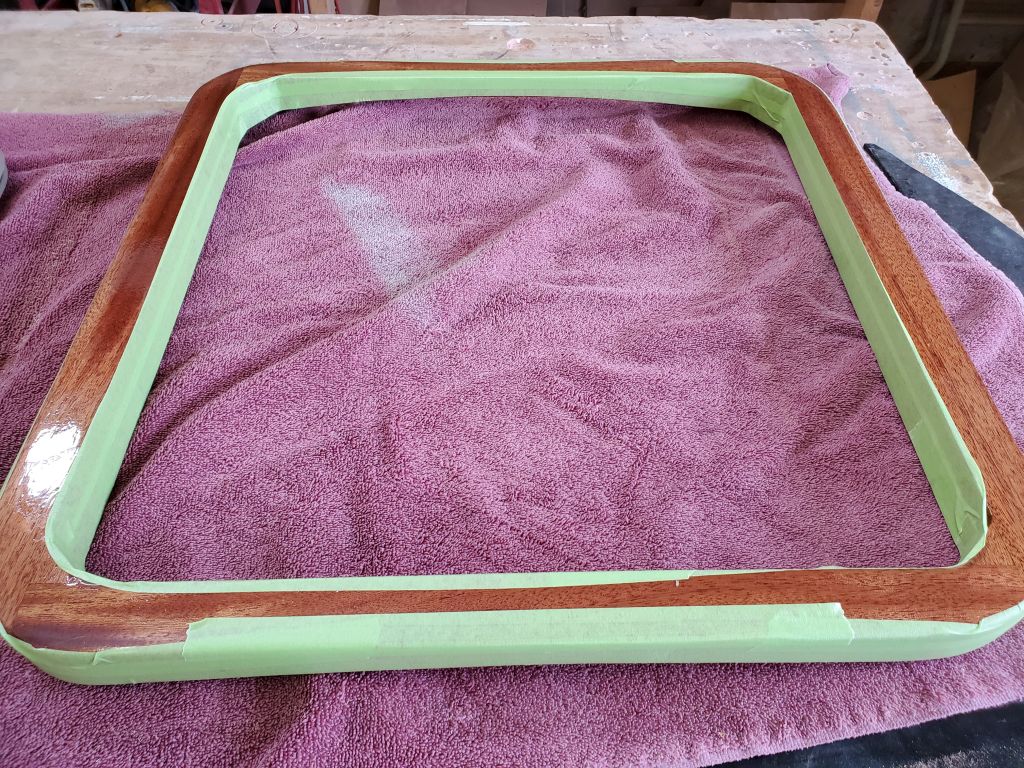
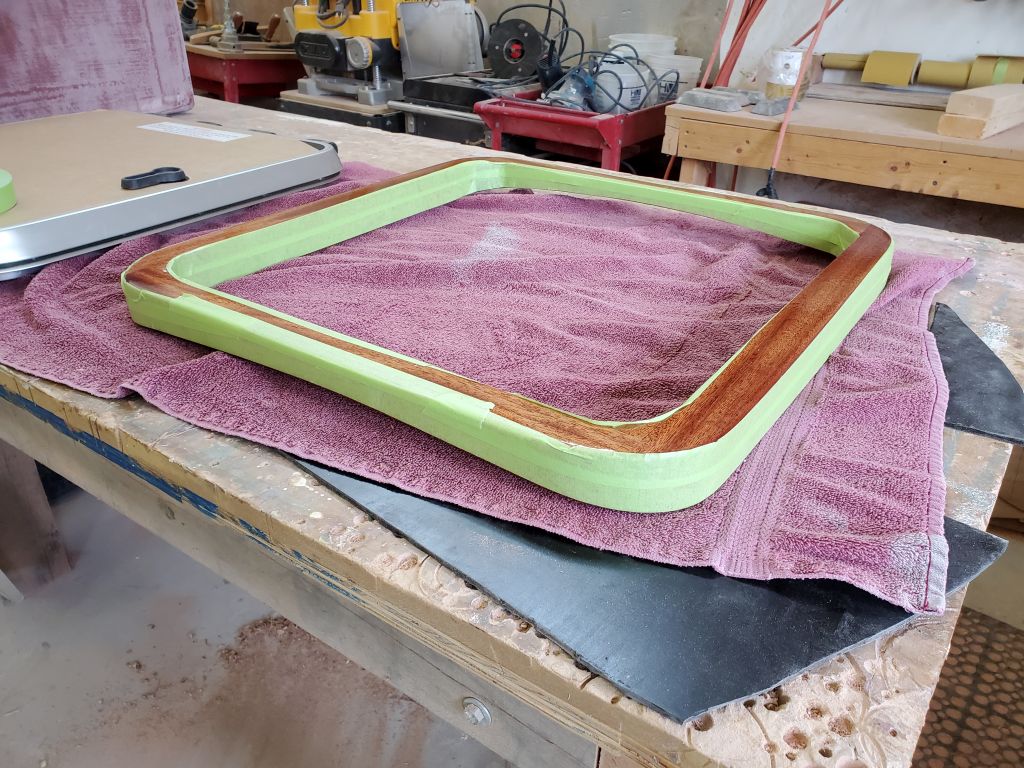
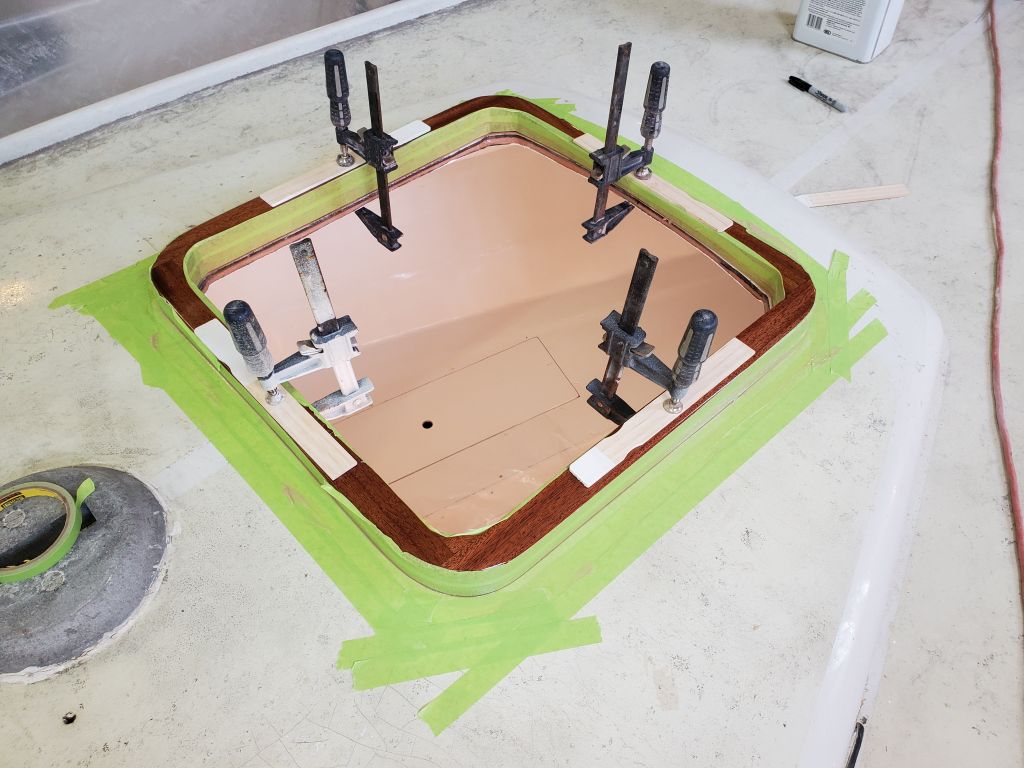
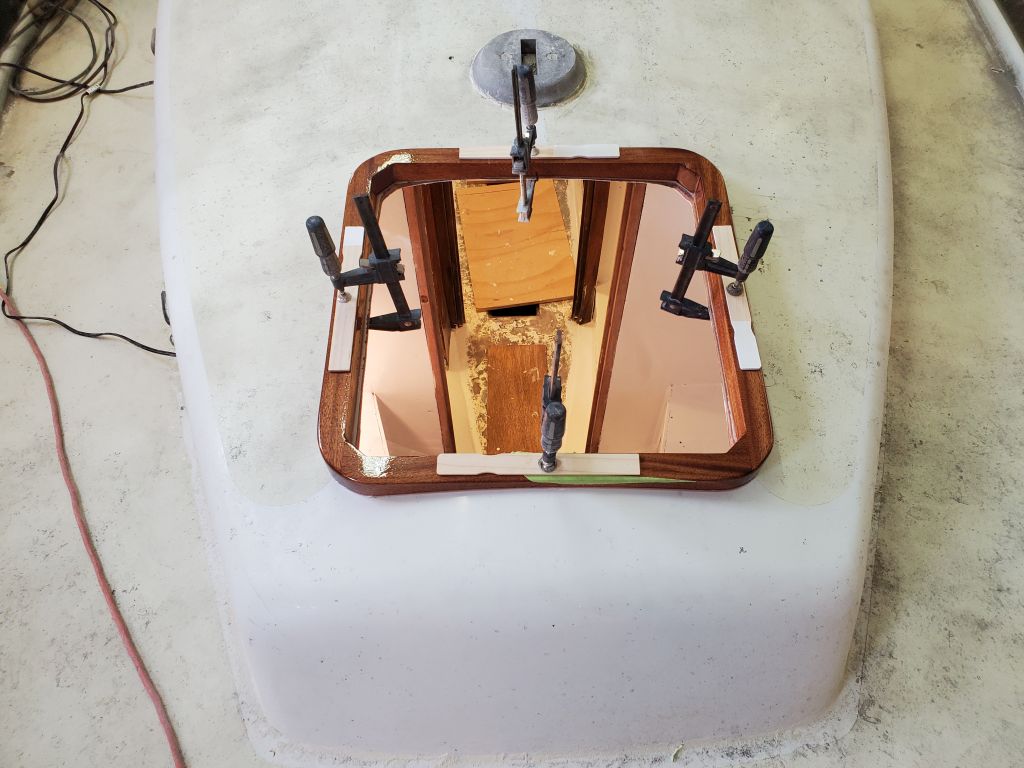
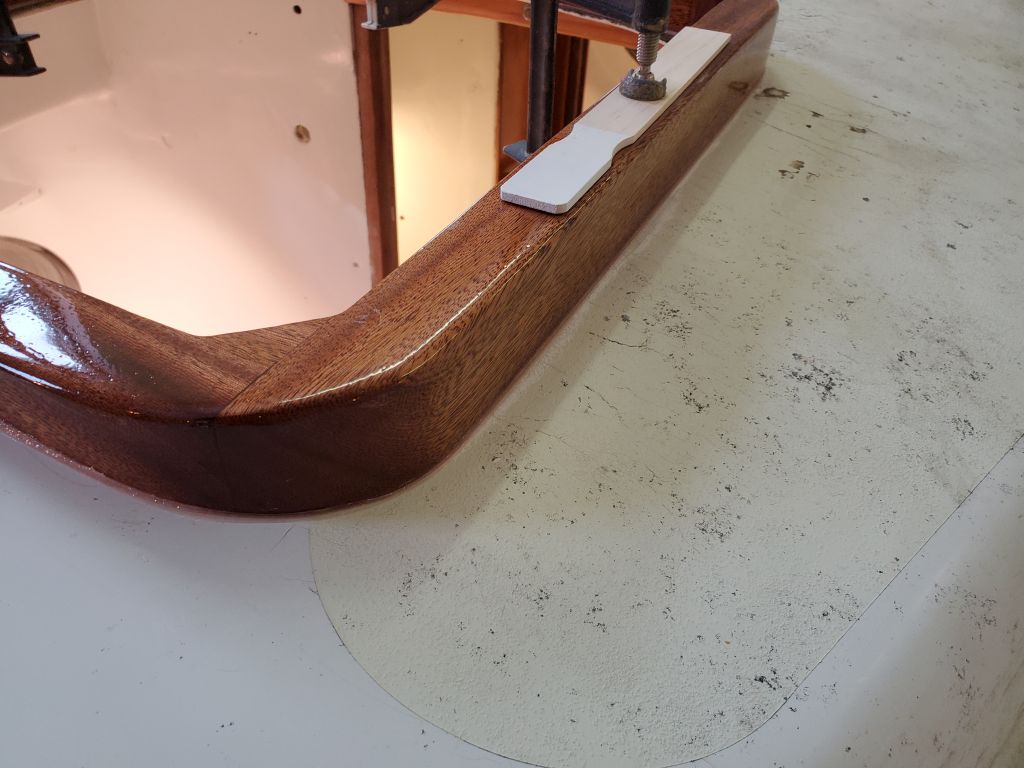
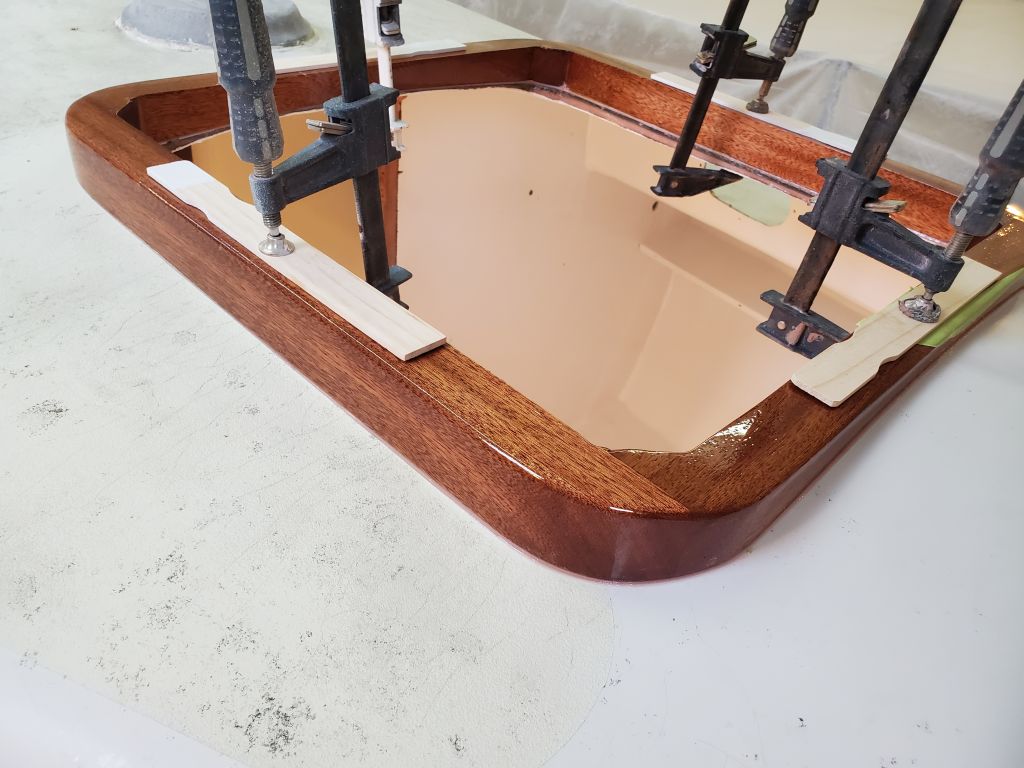
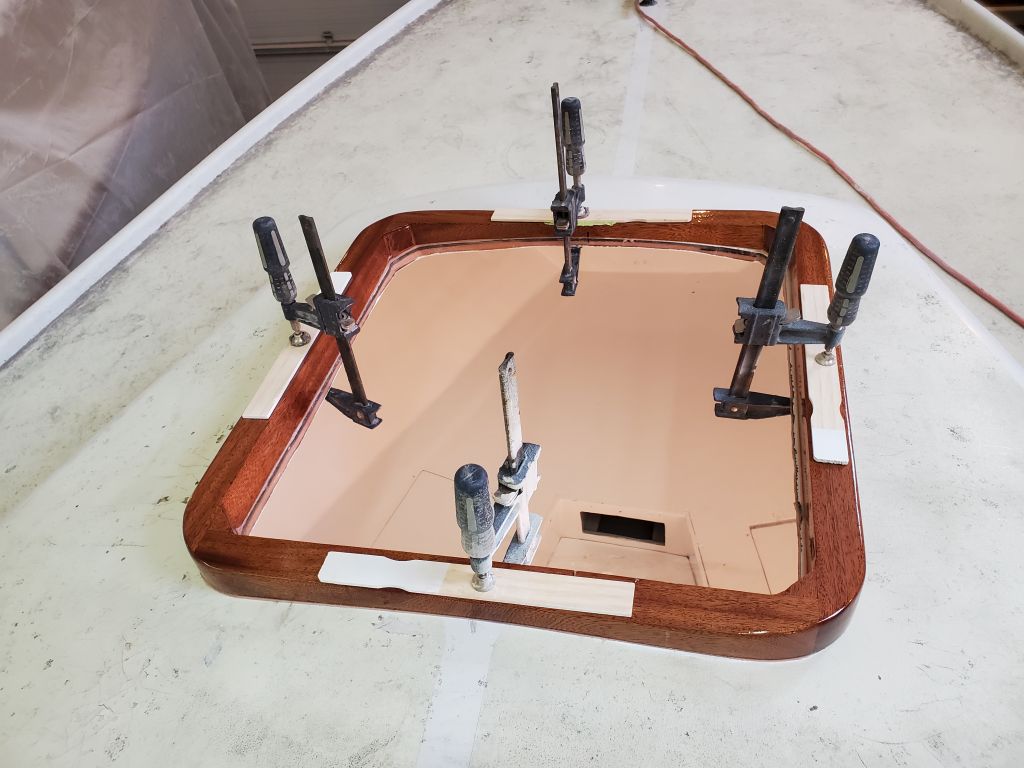
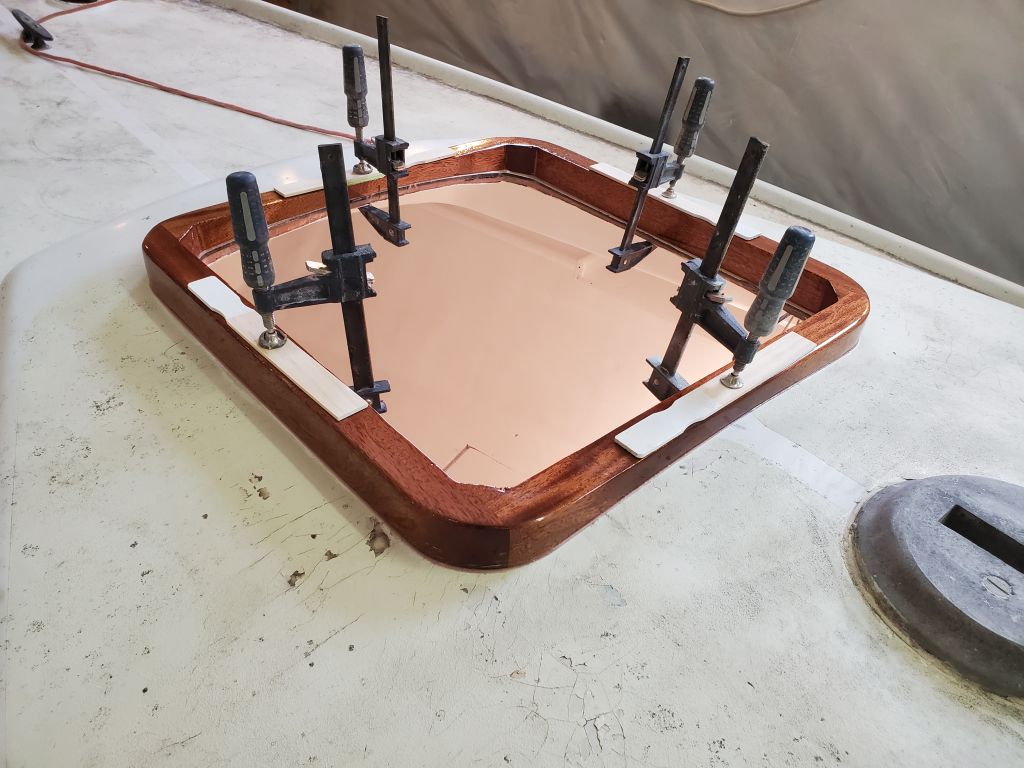
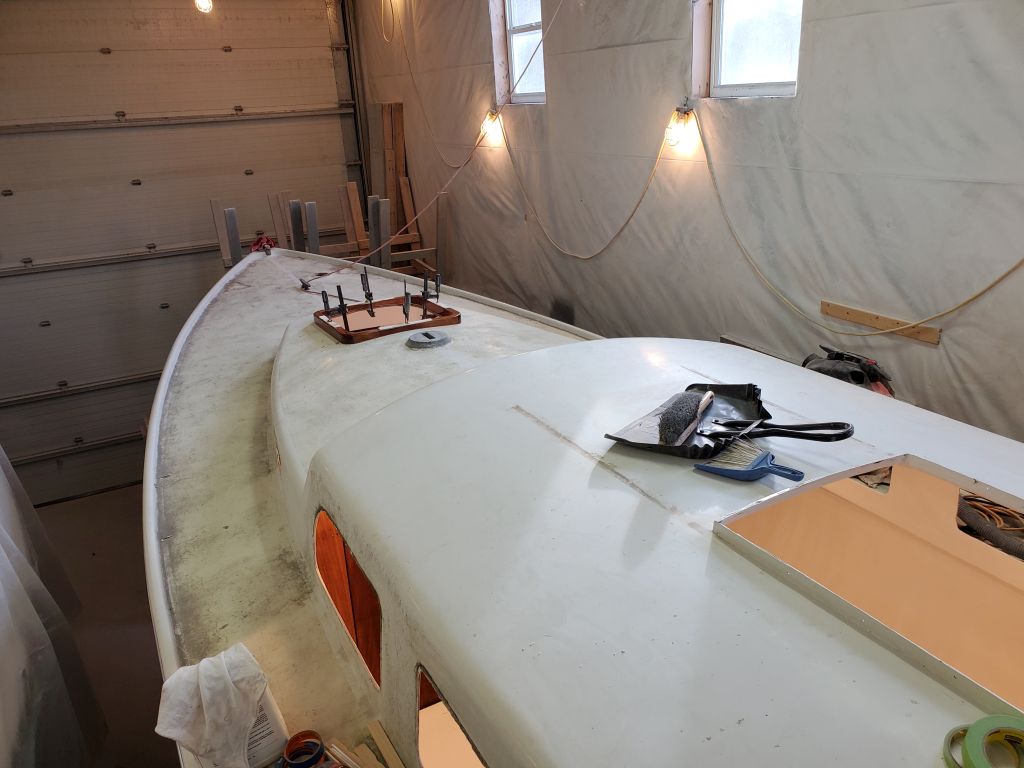
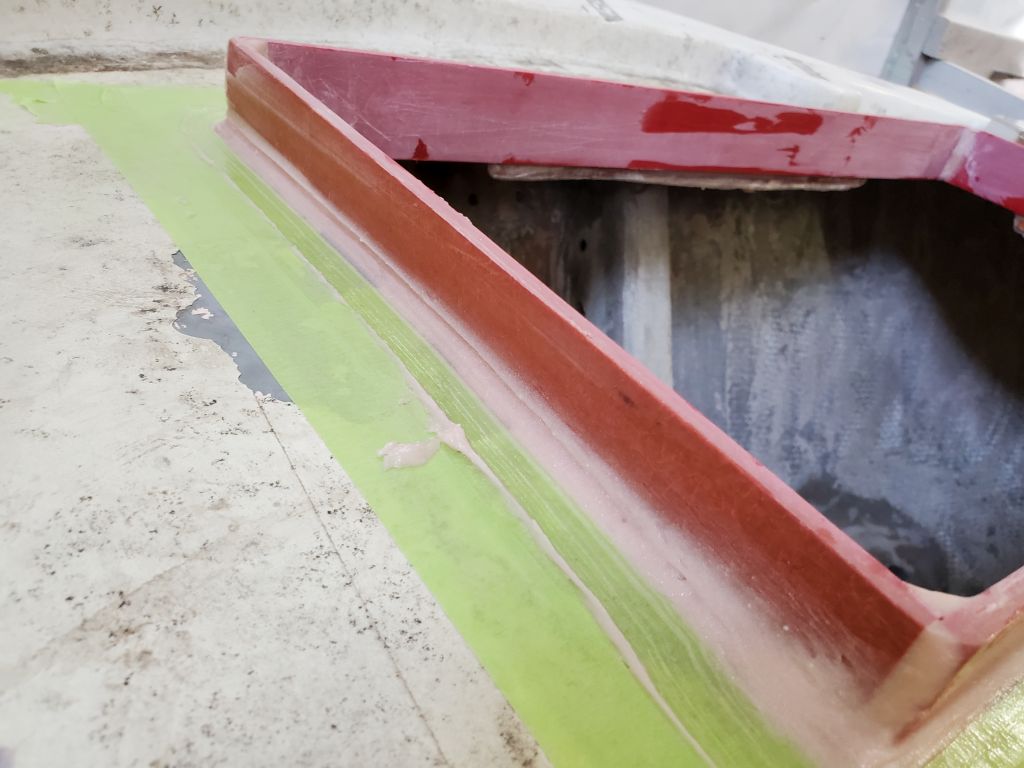
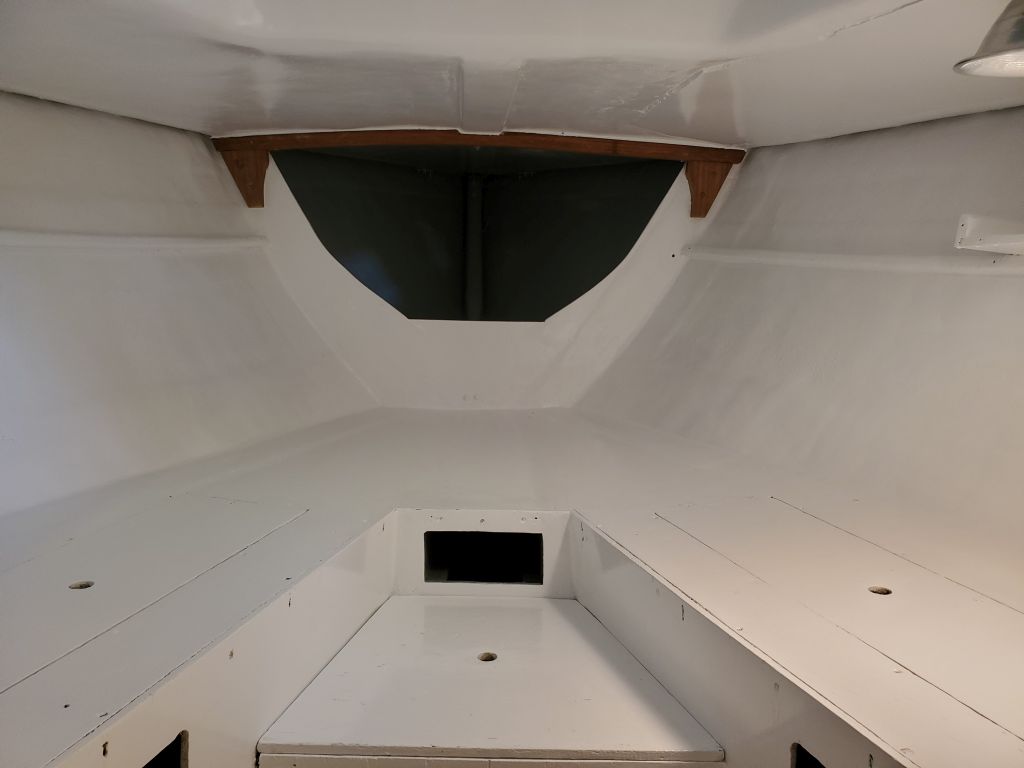
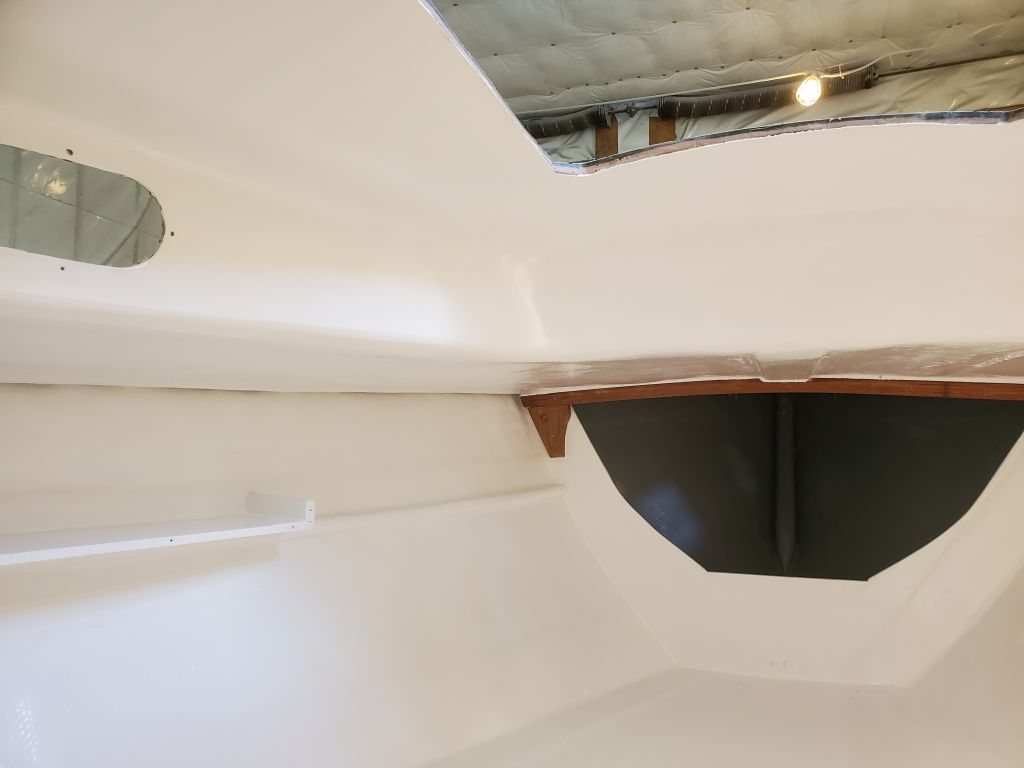
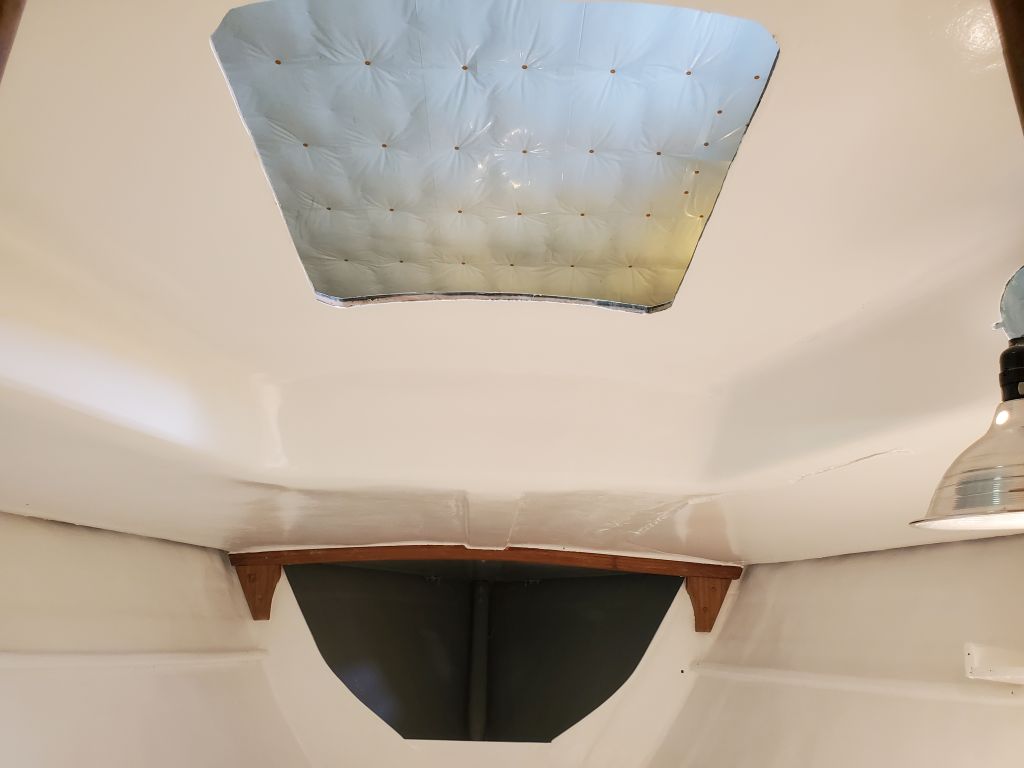
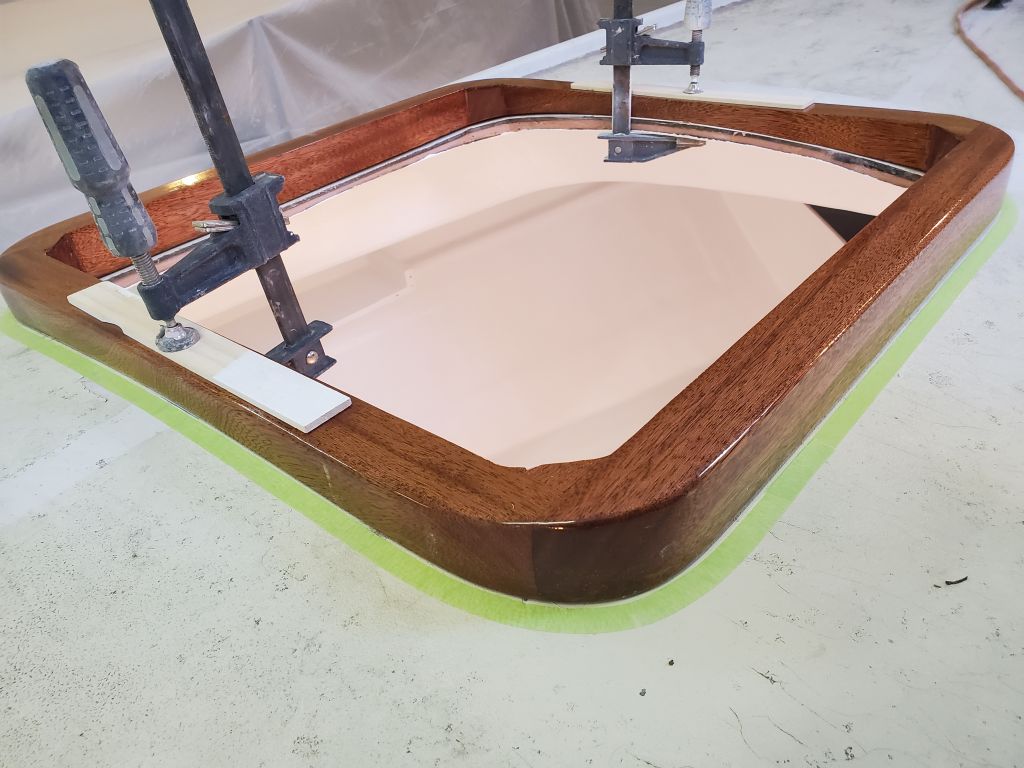
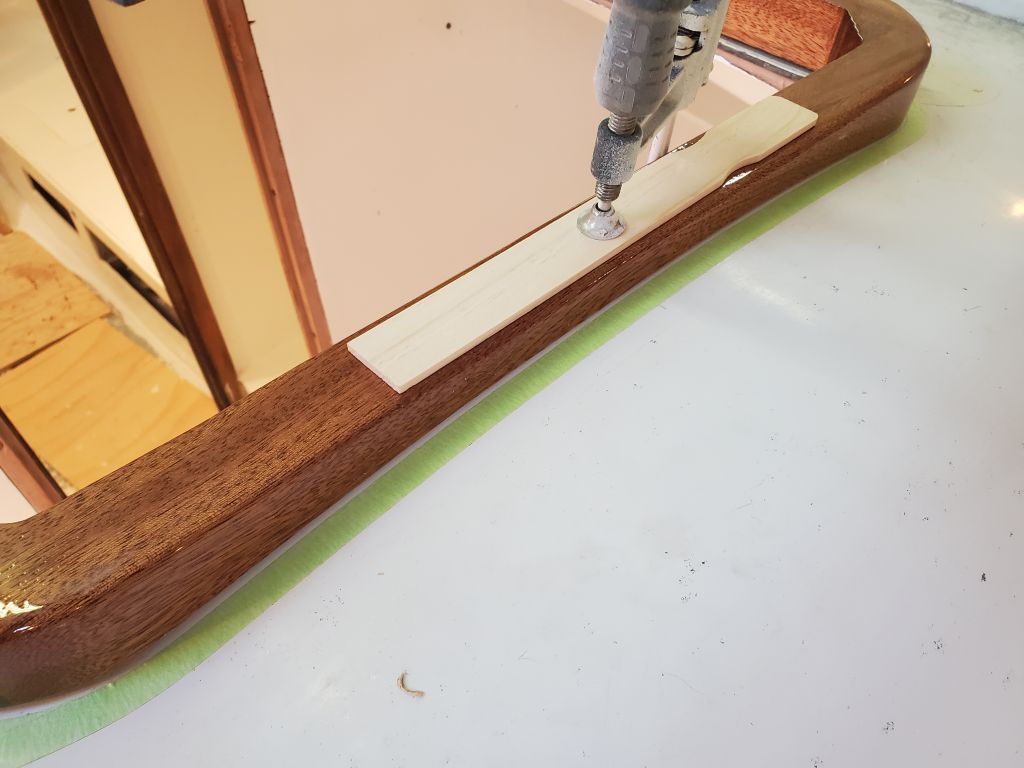
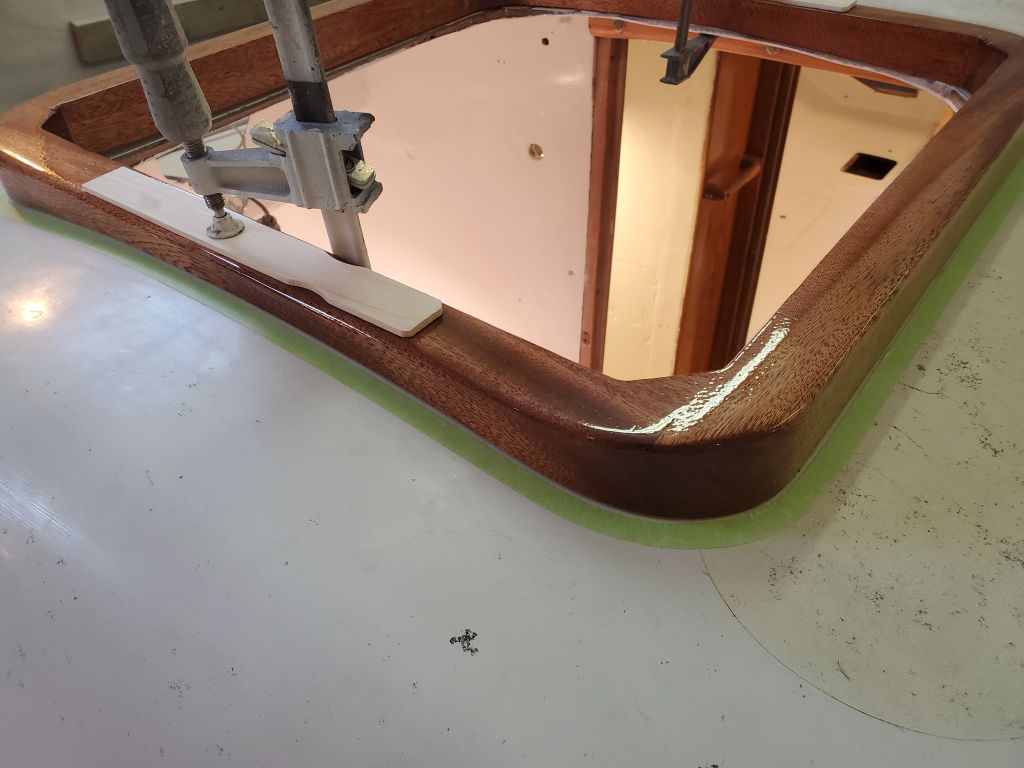
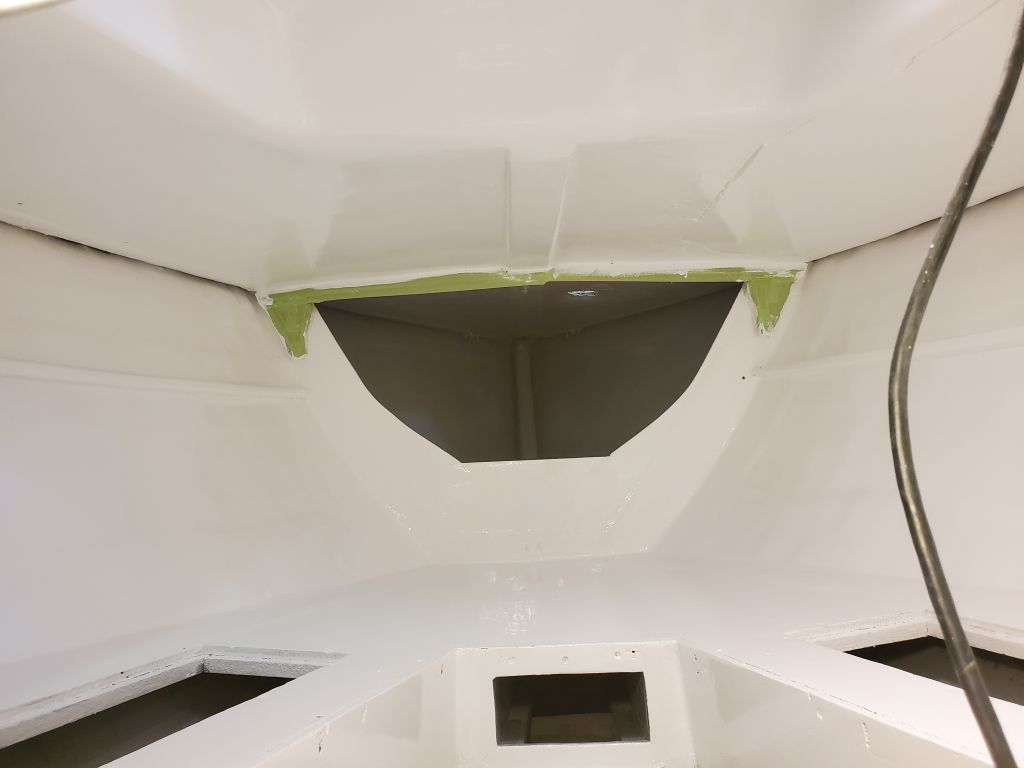
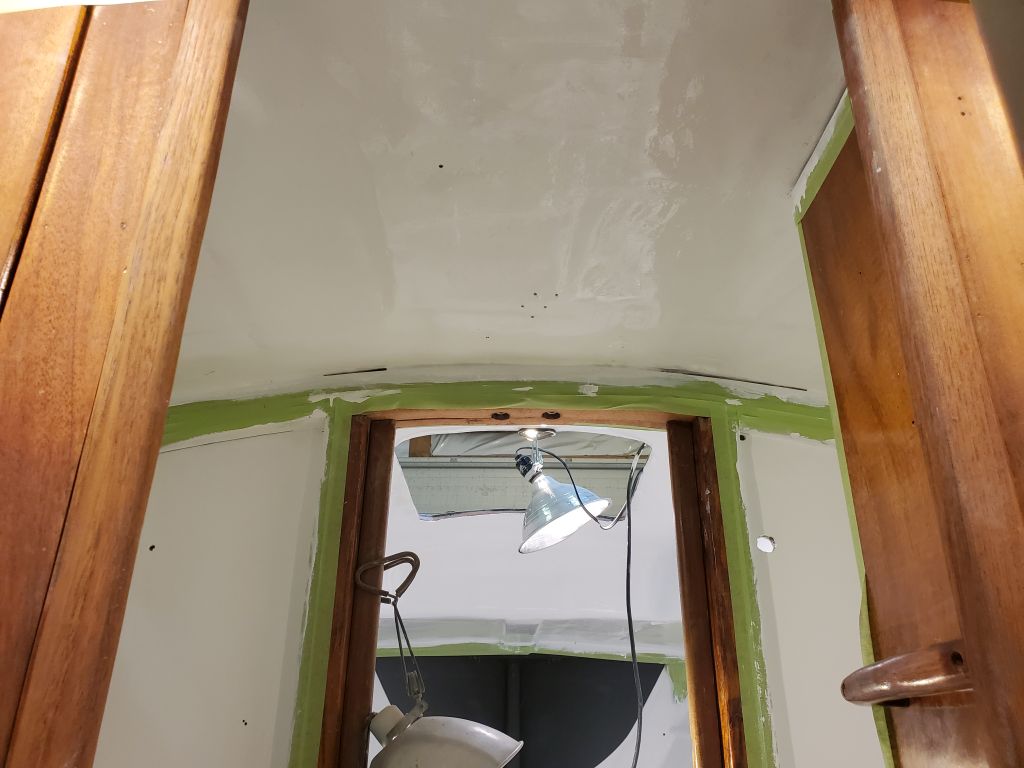
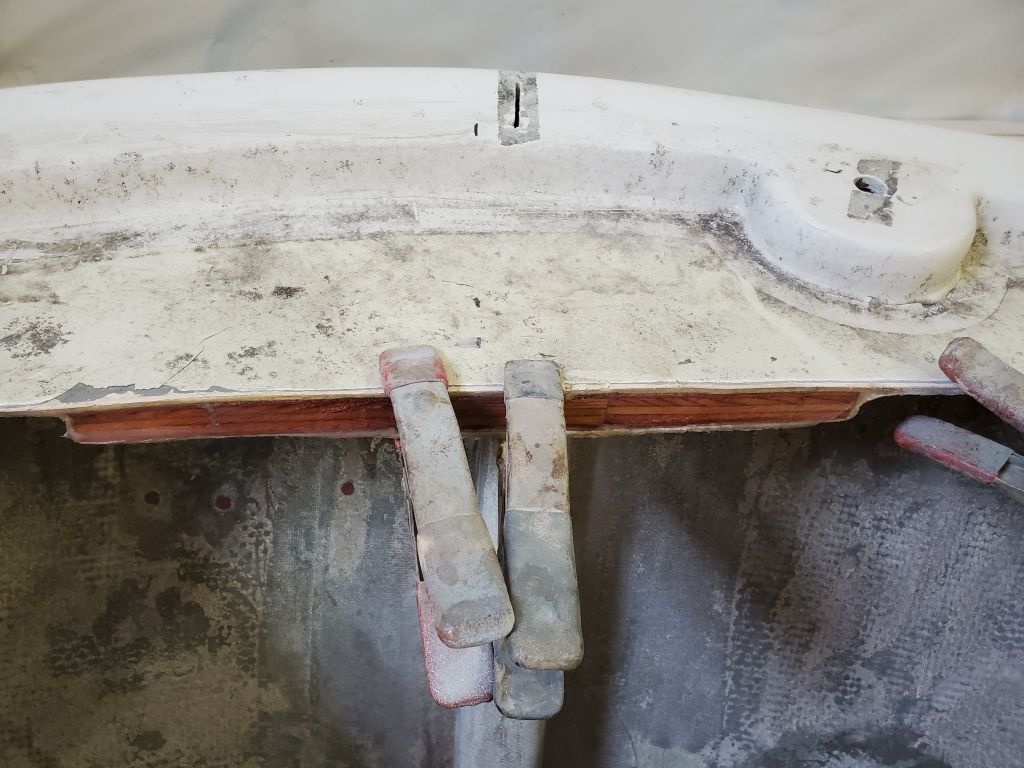
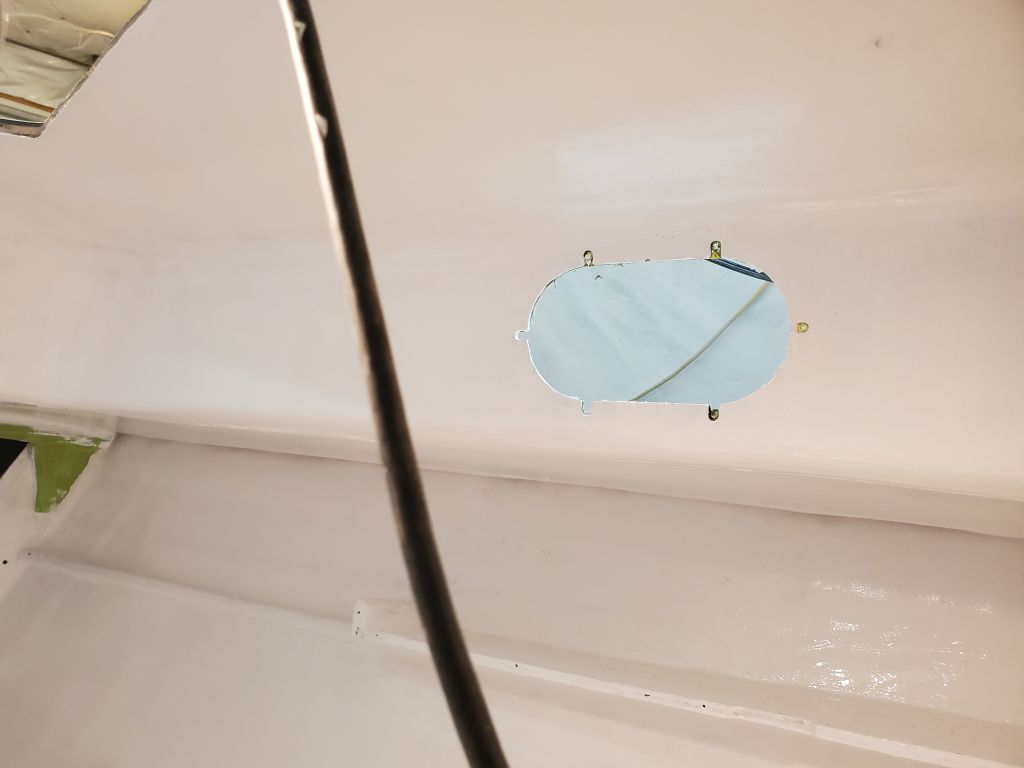
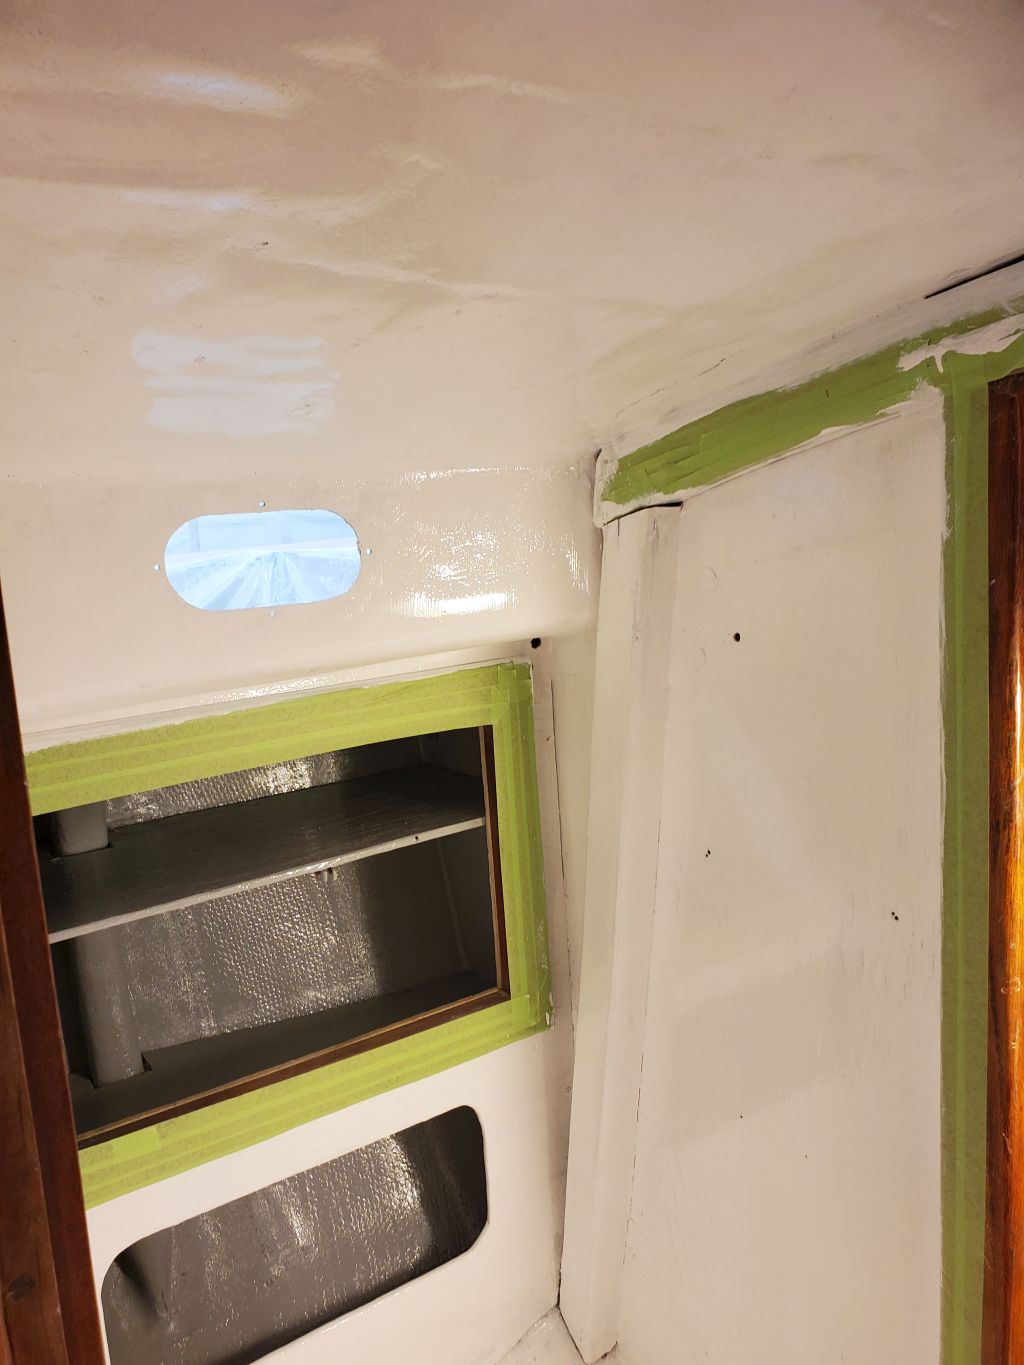
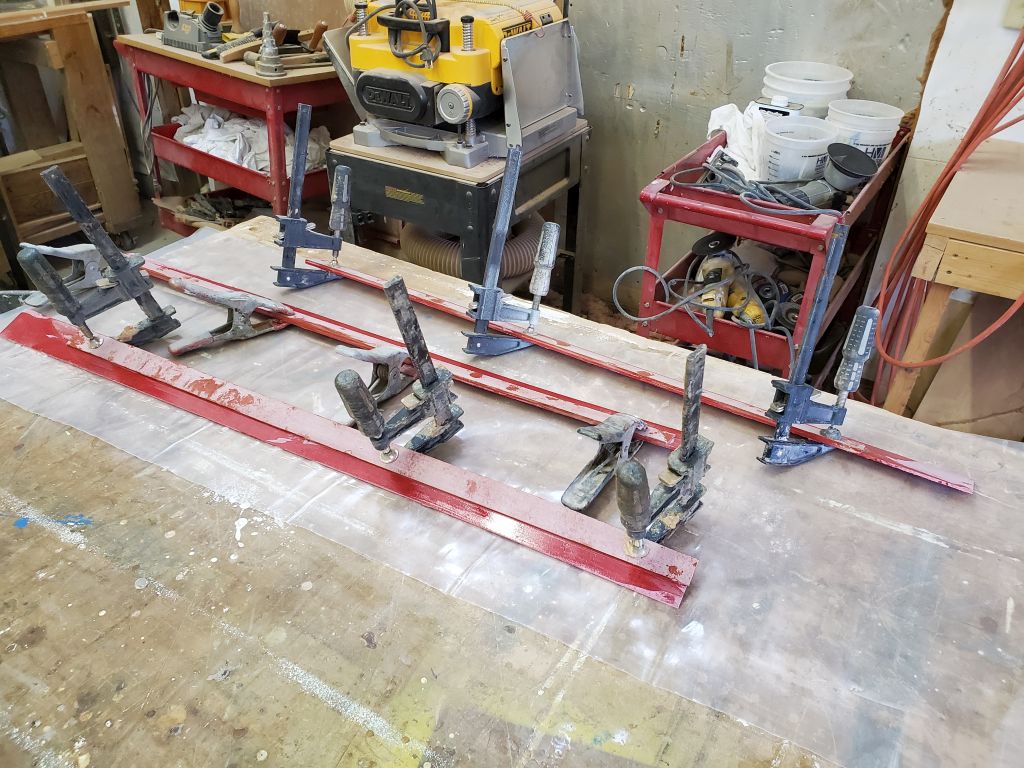
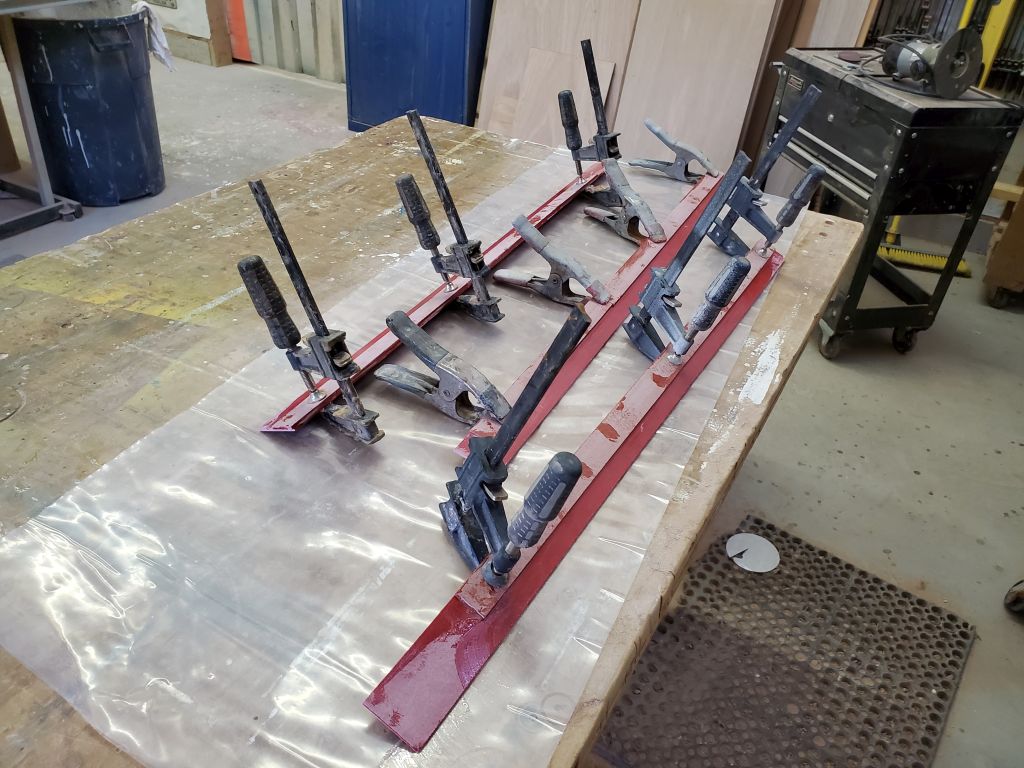
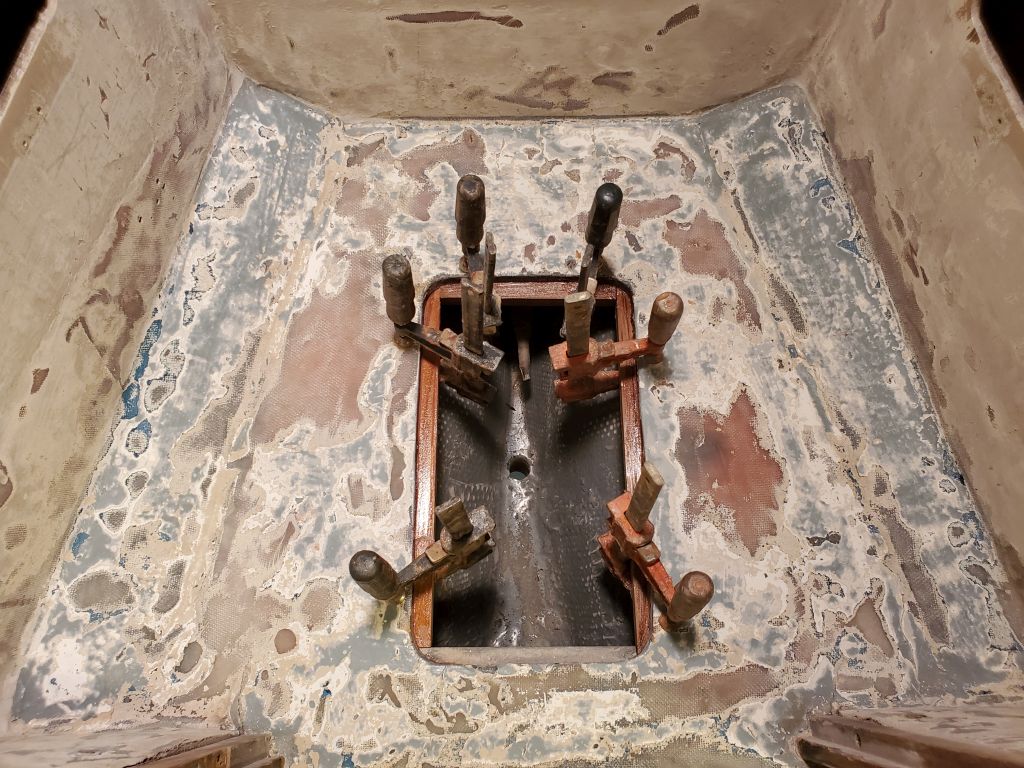
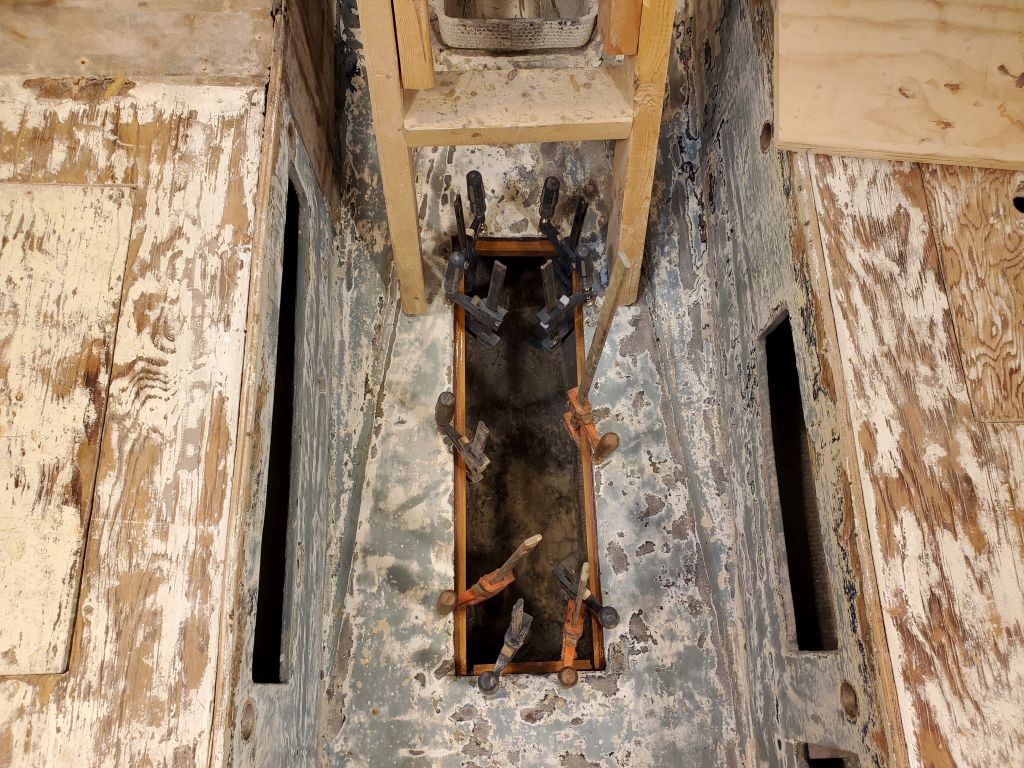
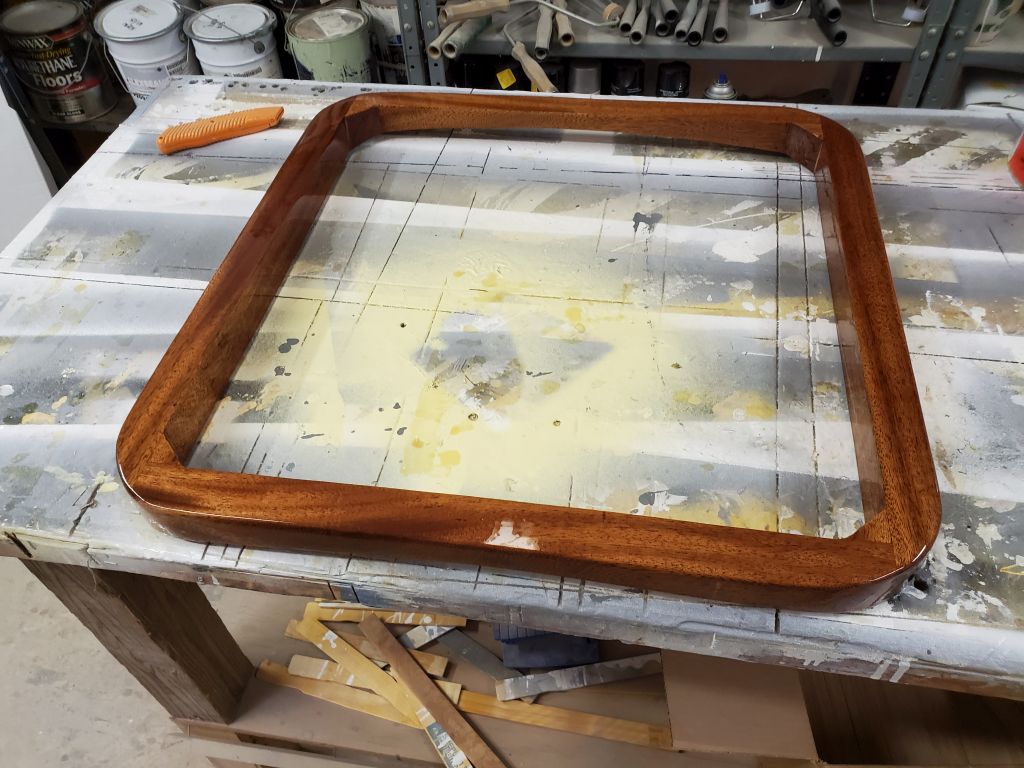
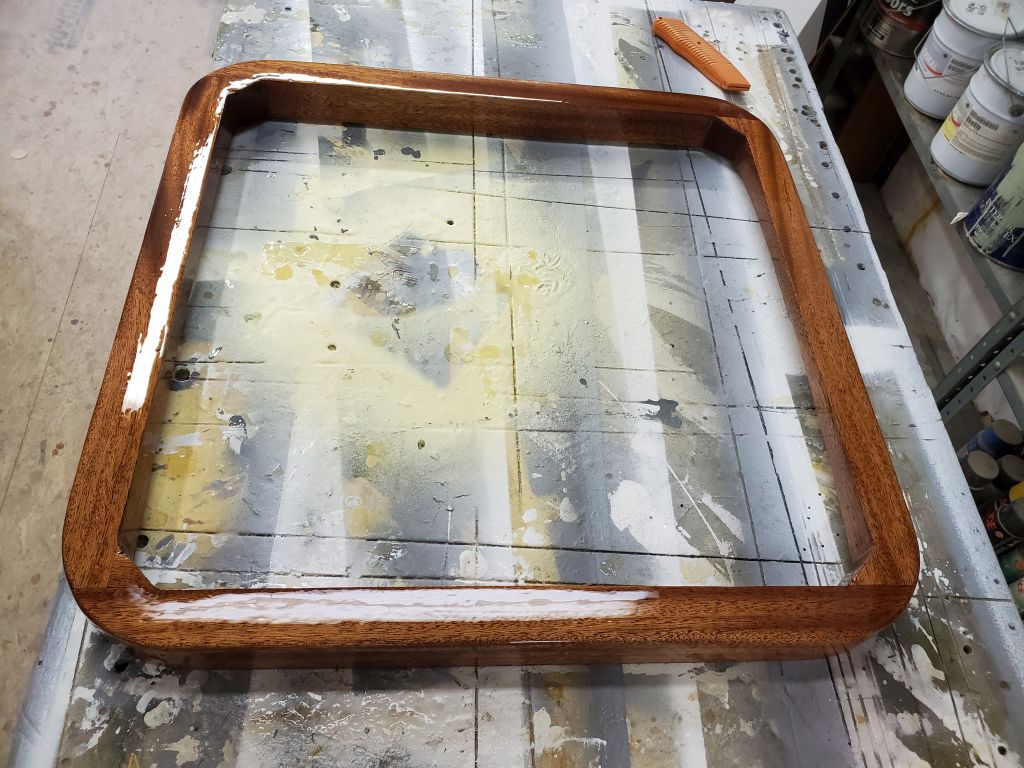
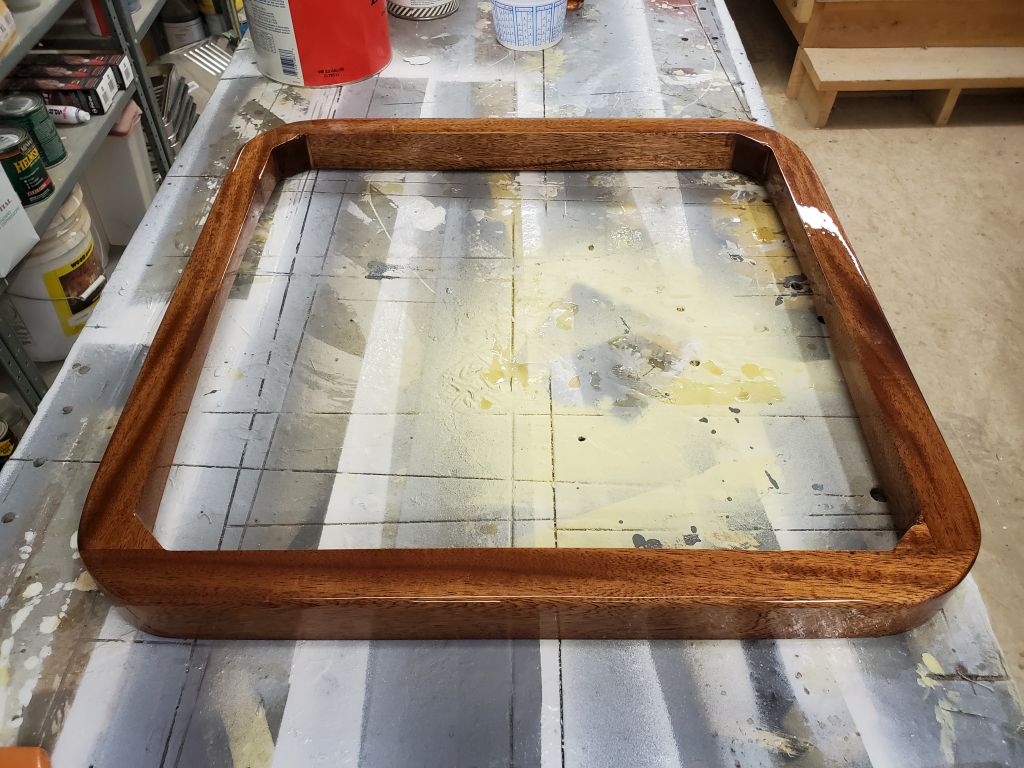
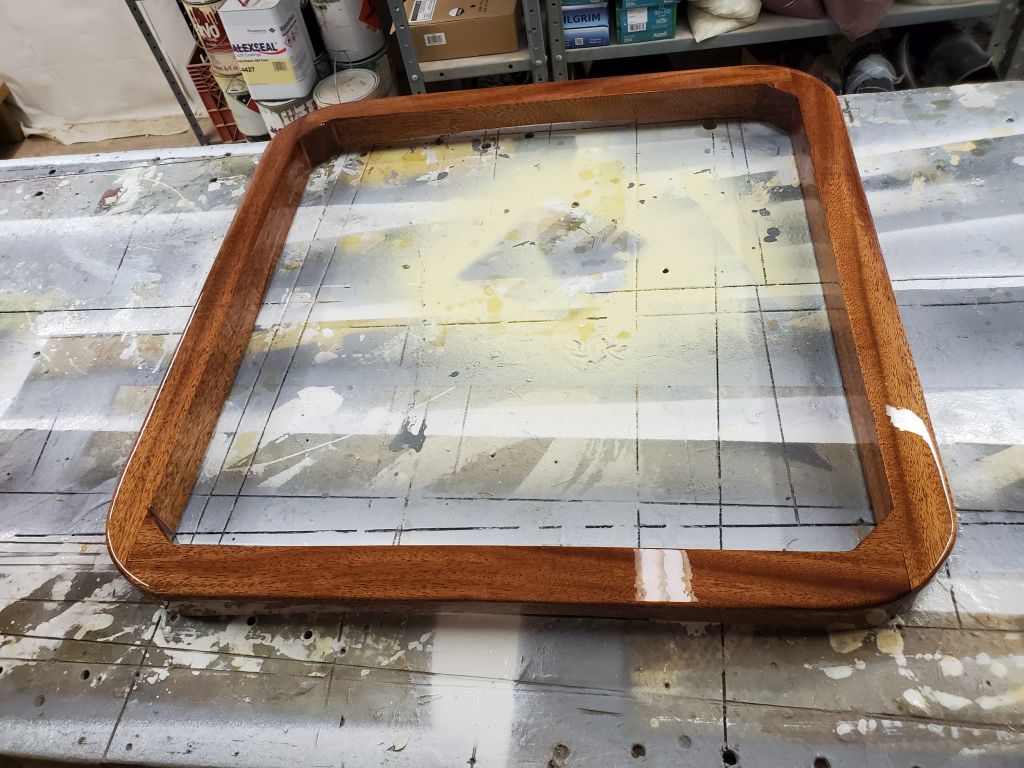
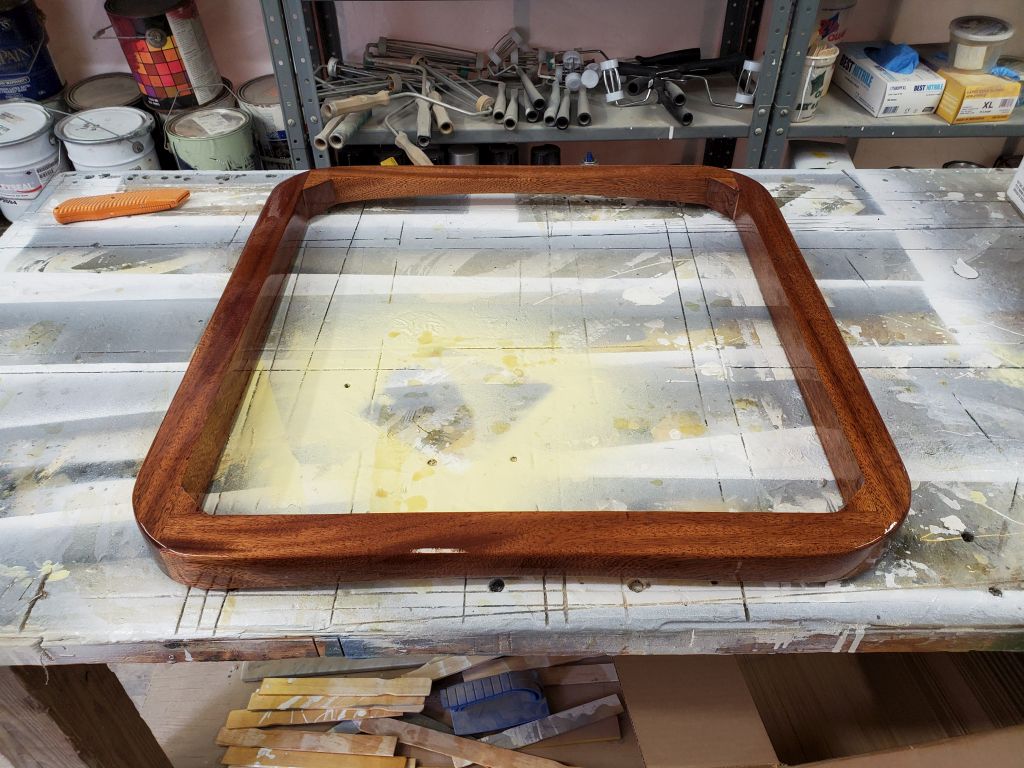
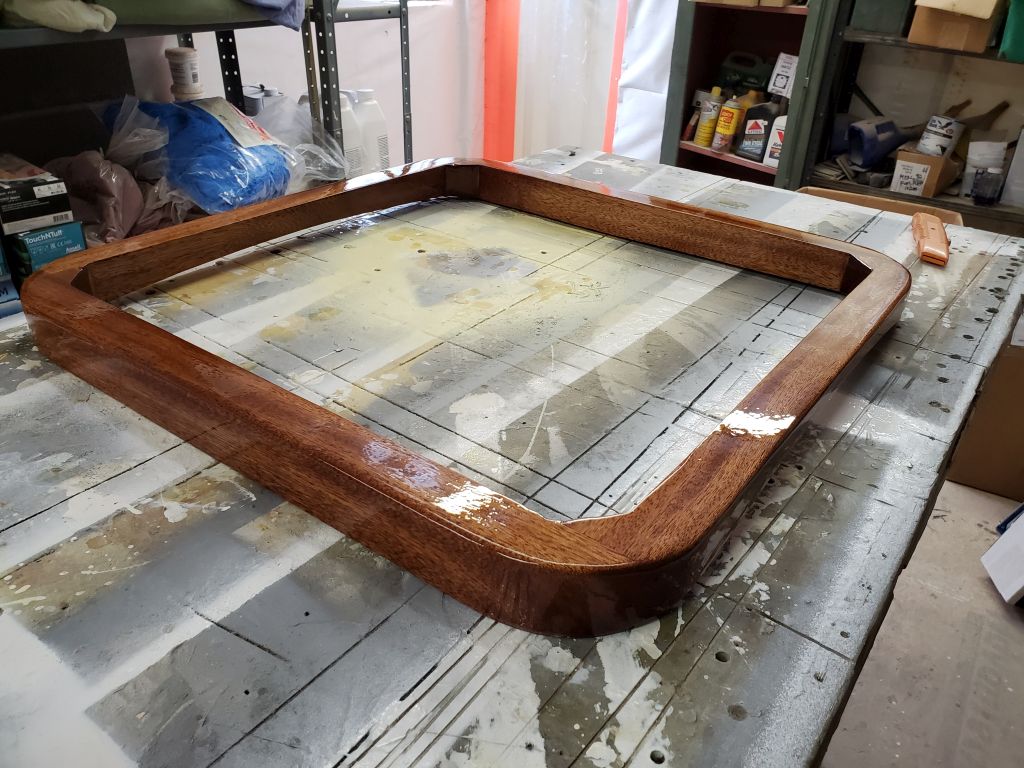
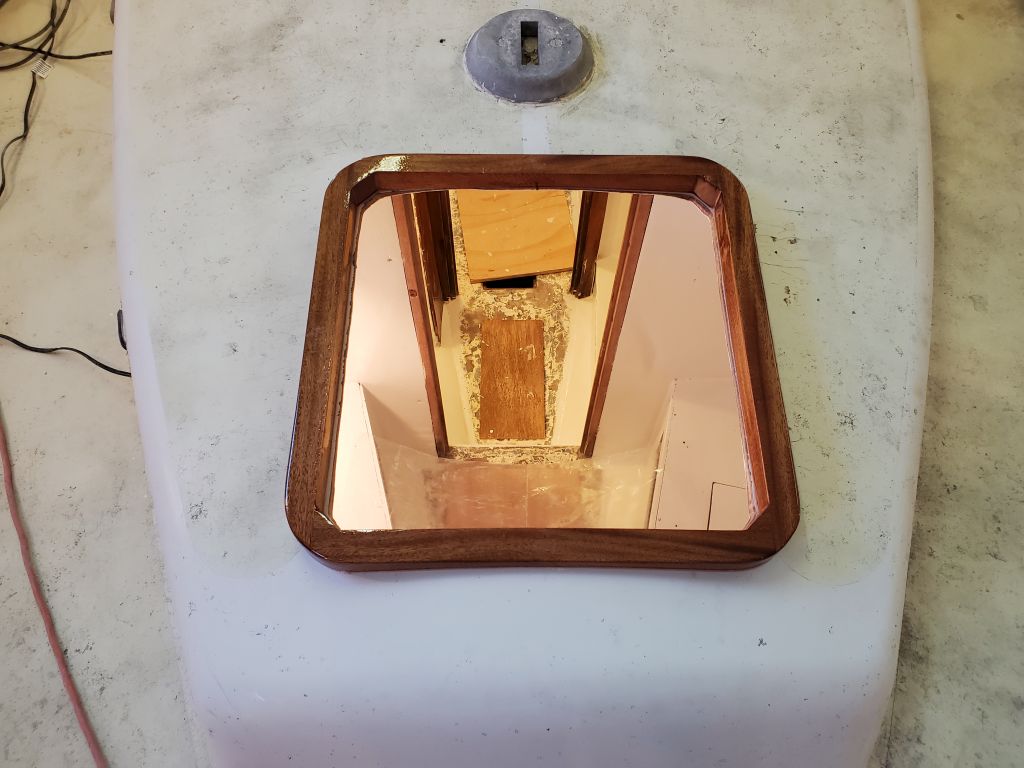
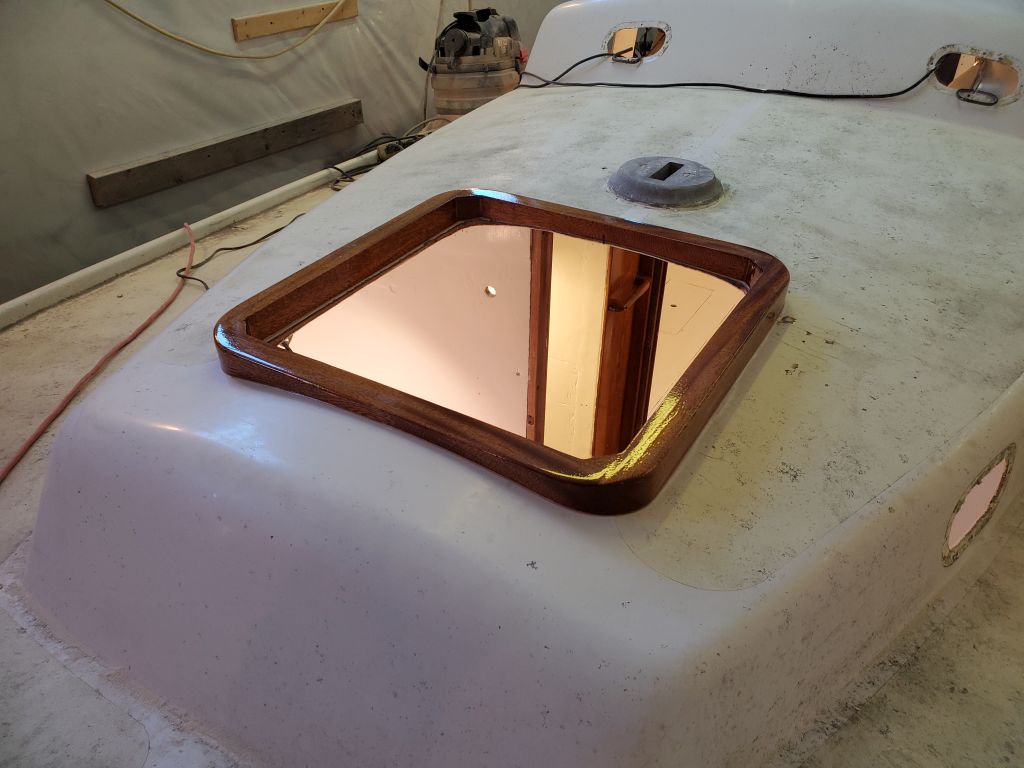
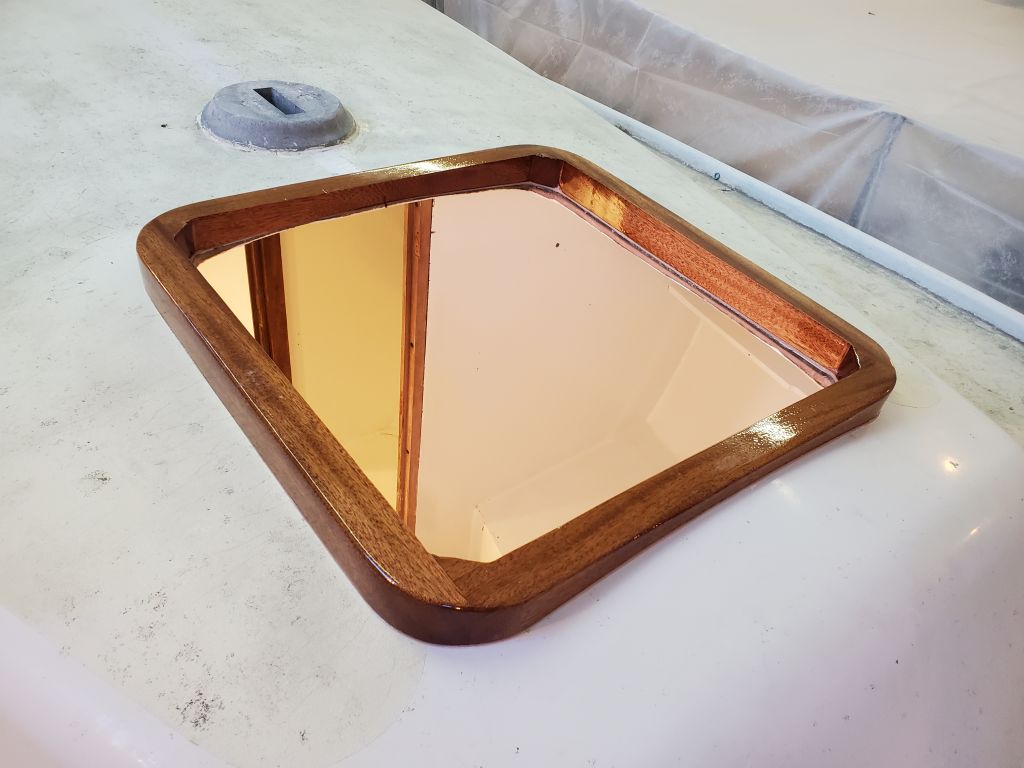
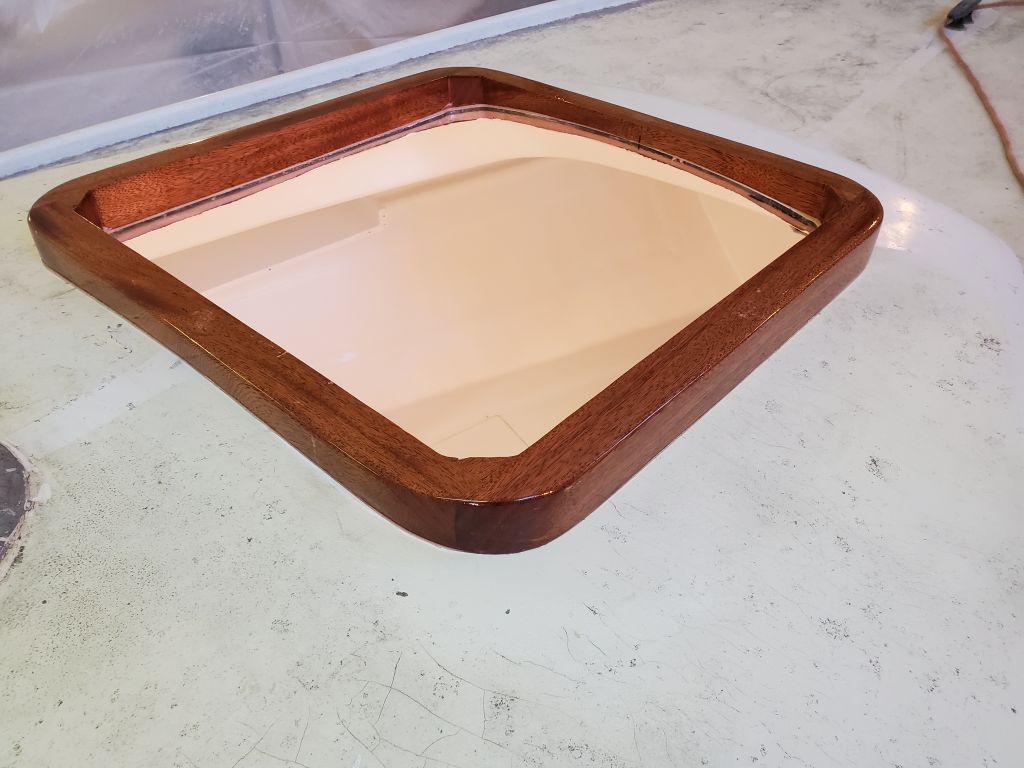
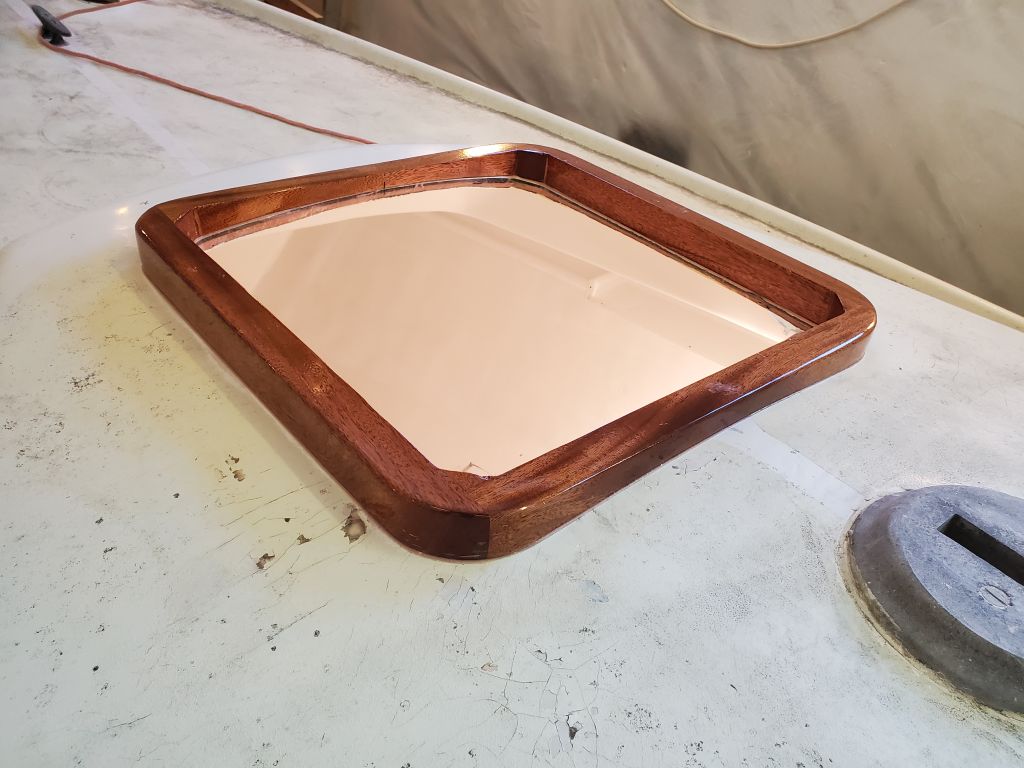
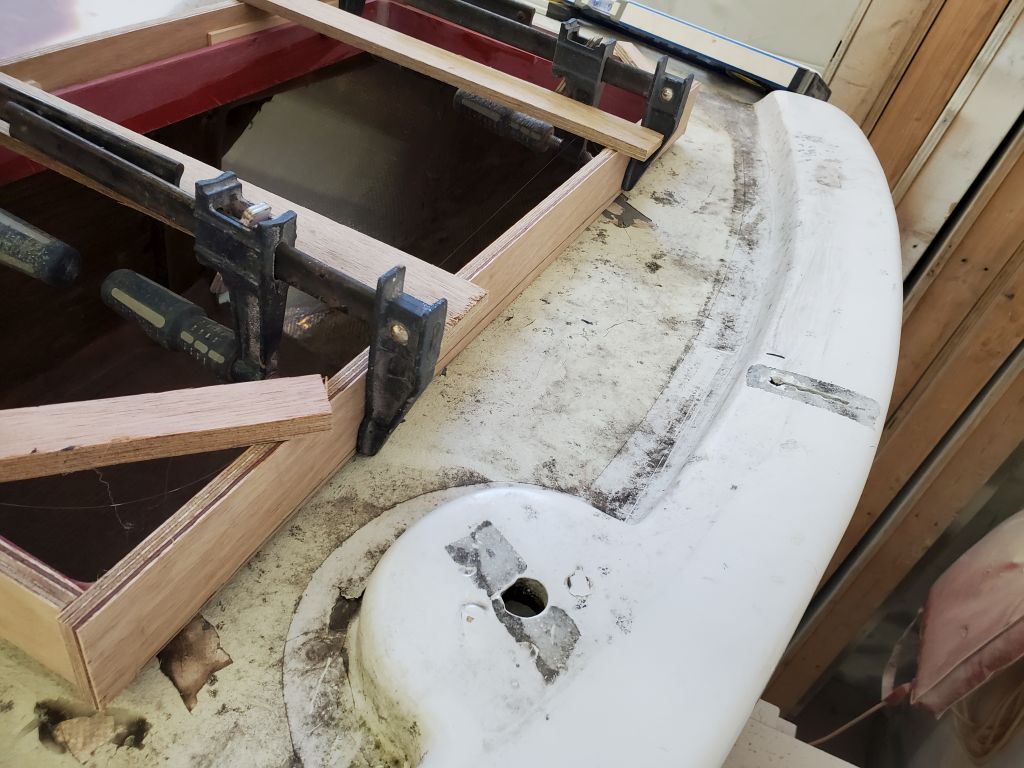
Having cured overnight, the forward hatch frame was ready for unclamping.  I’d soon install the new hatch to complete this task.

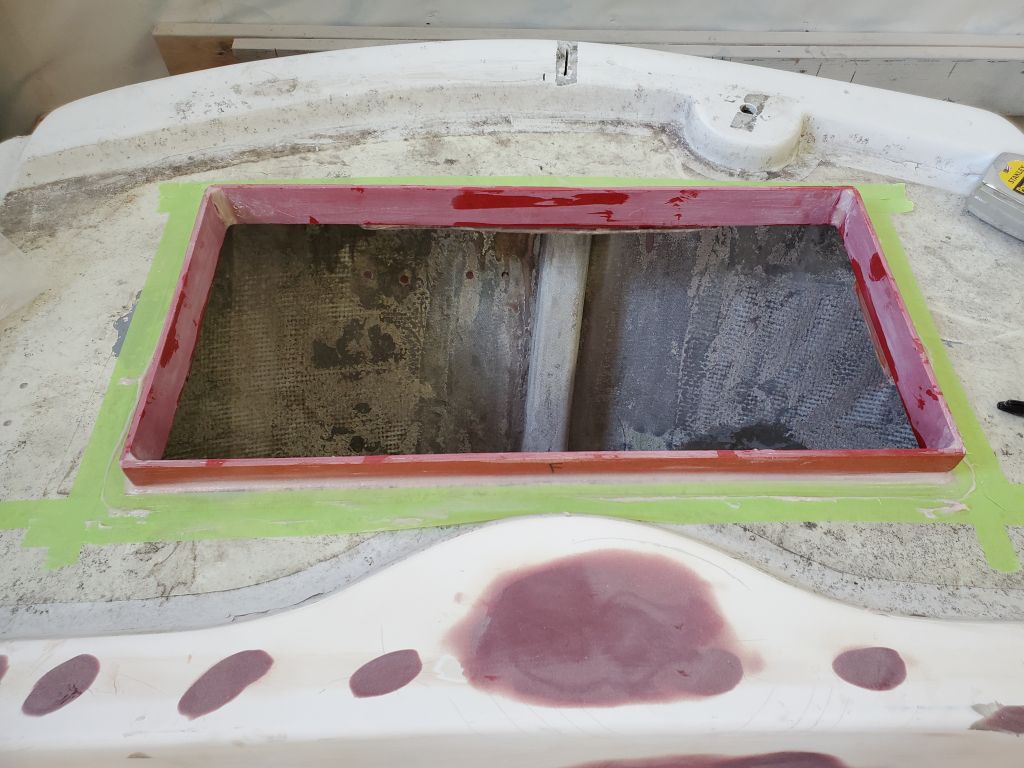
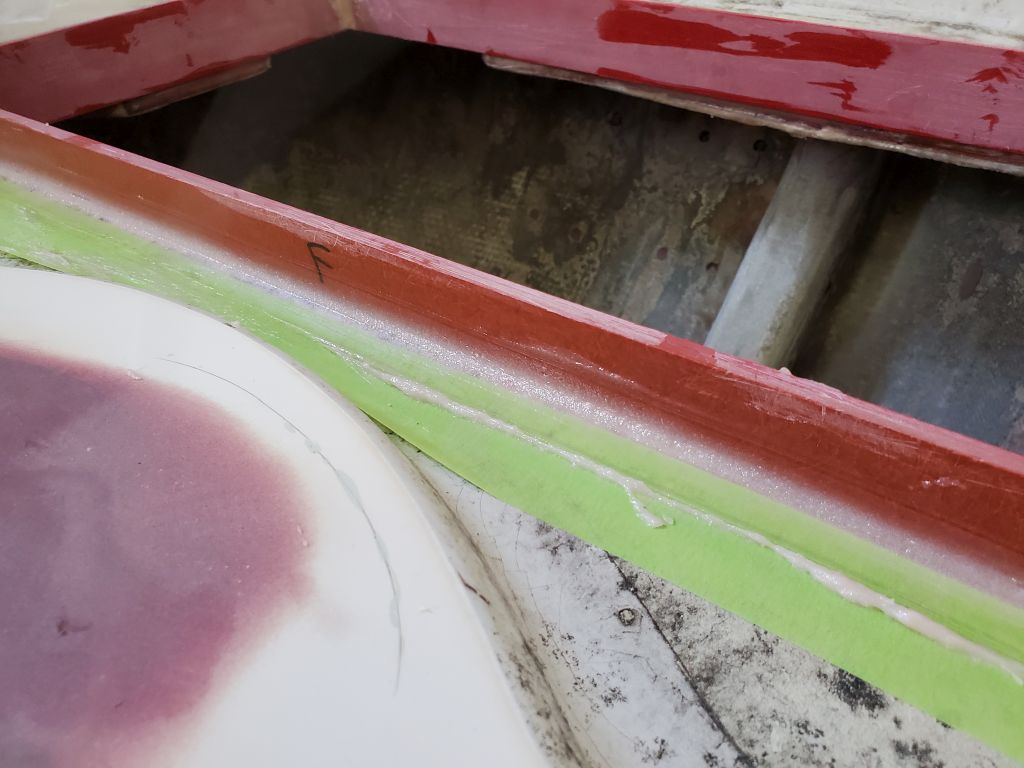
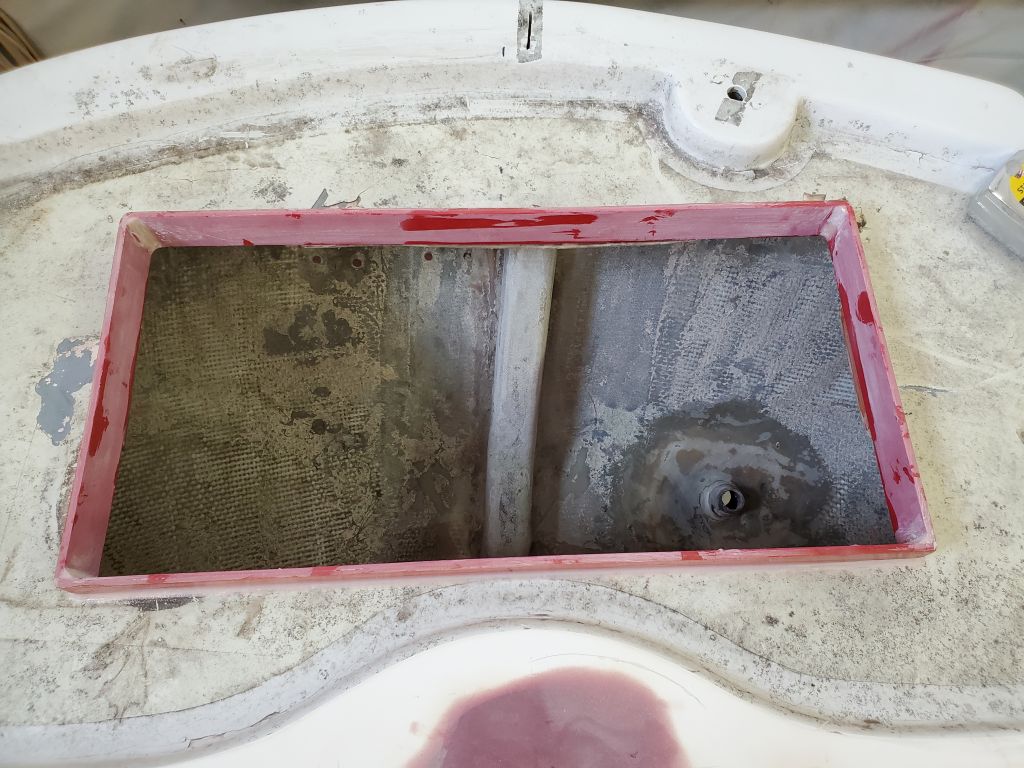
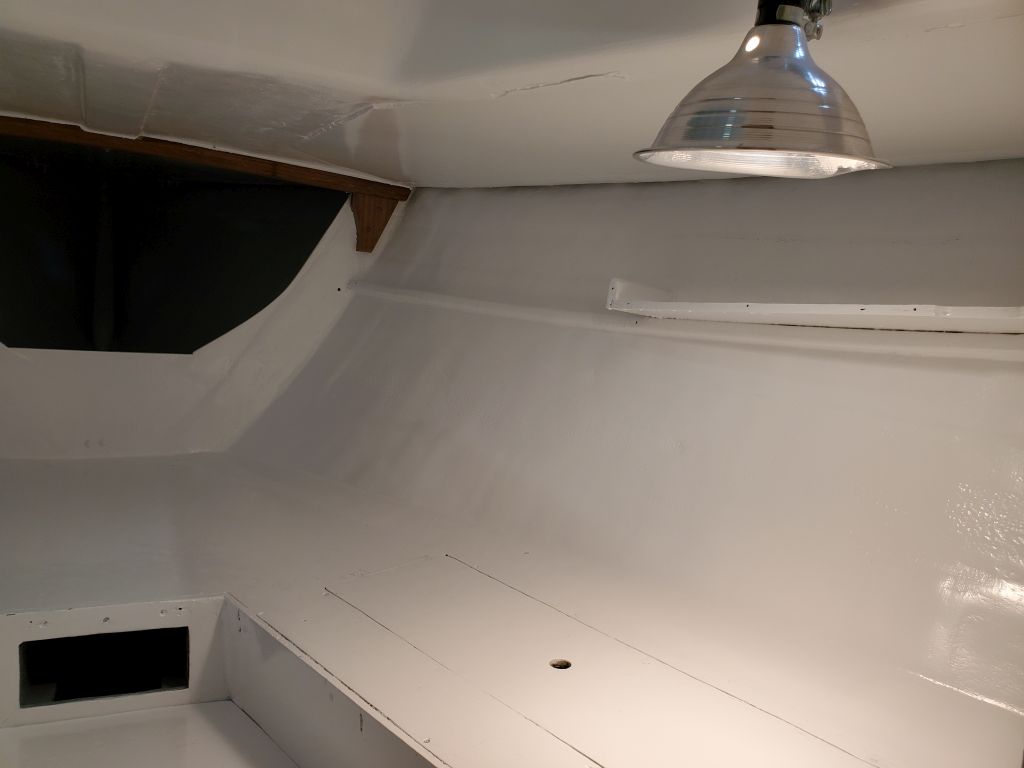
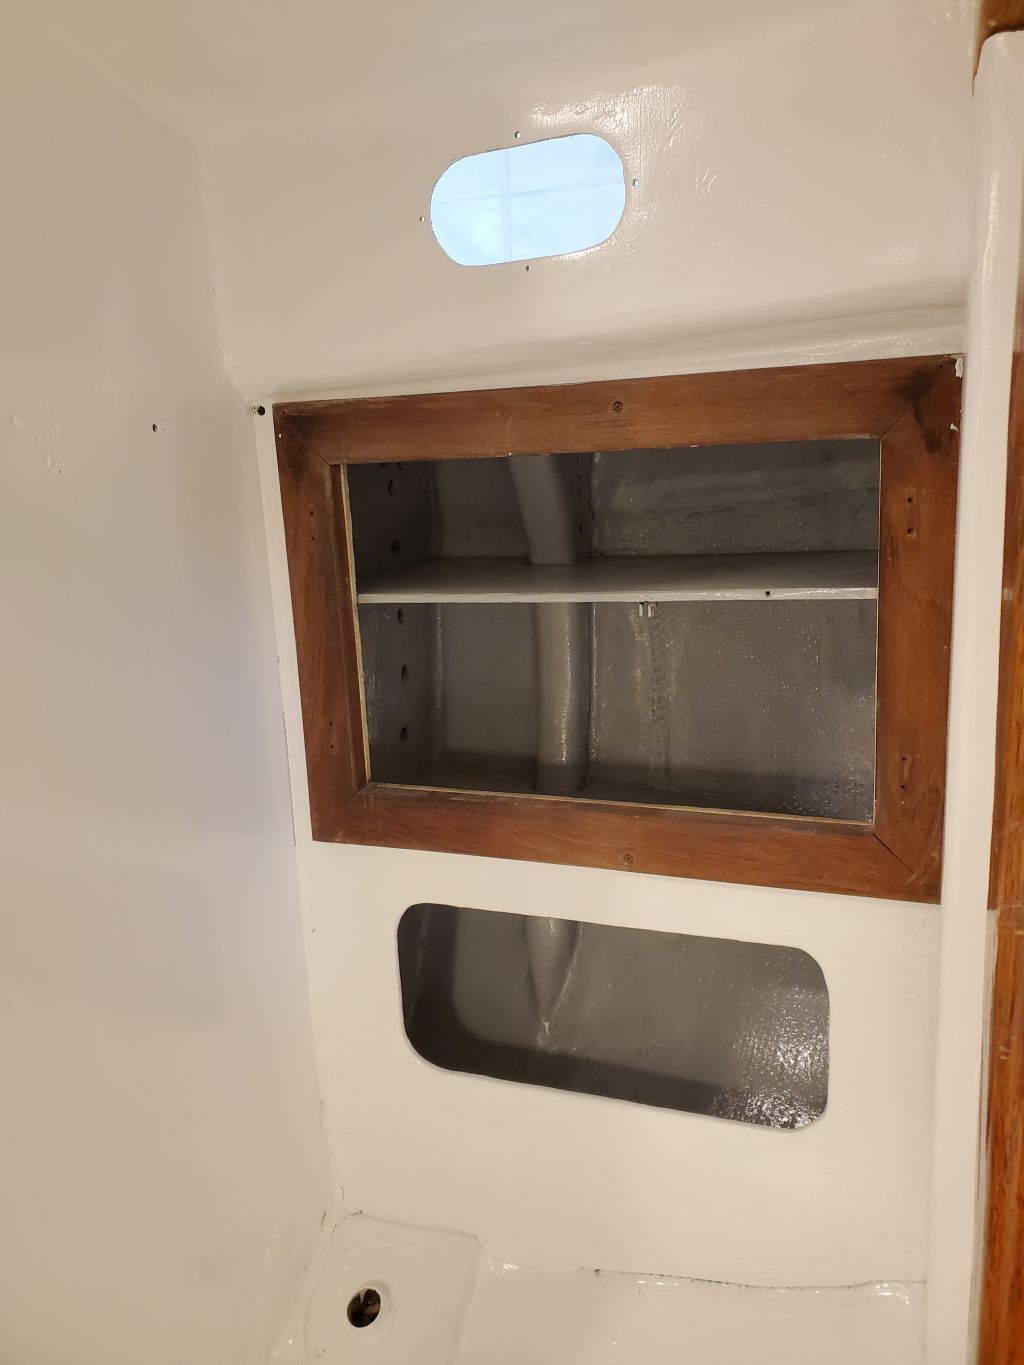
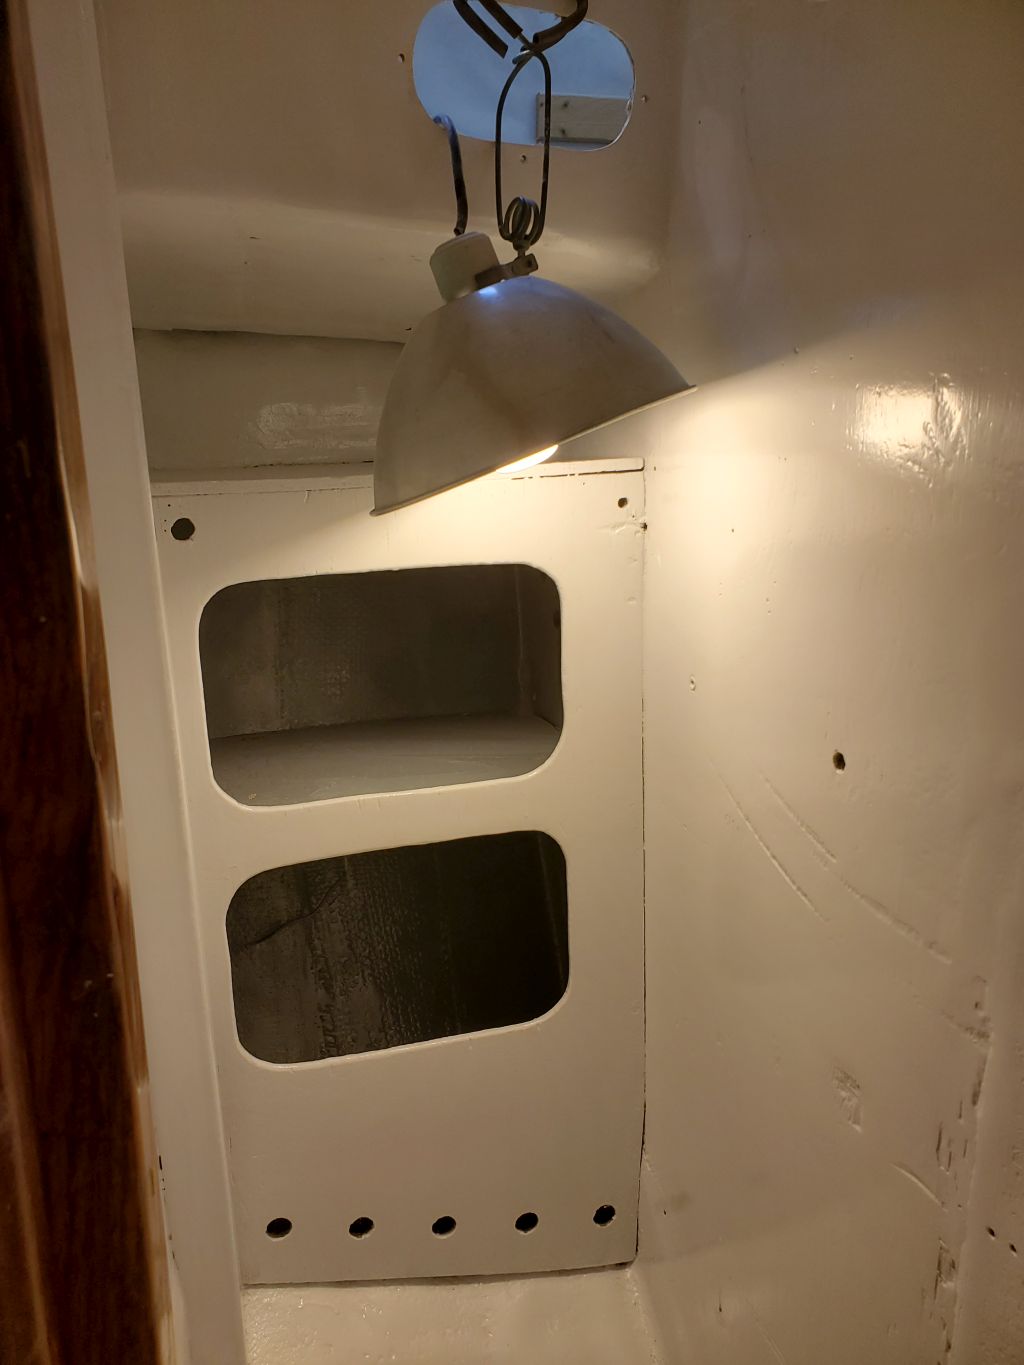
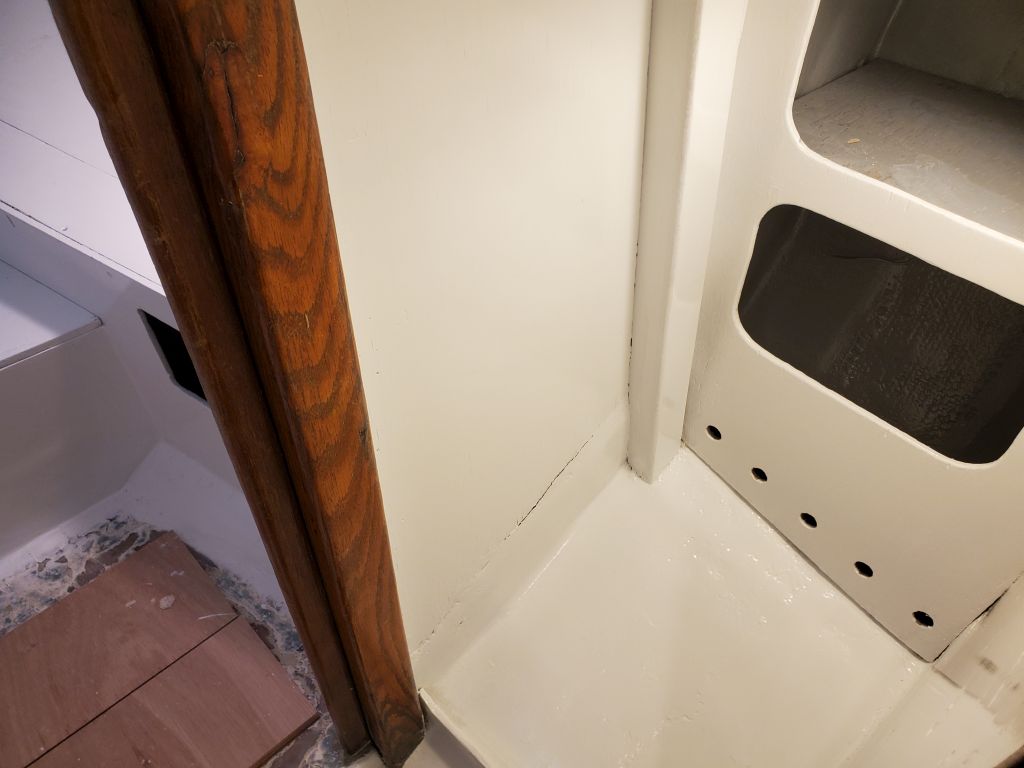
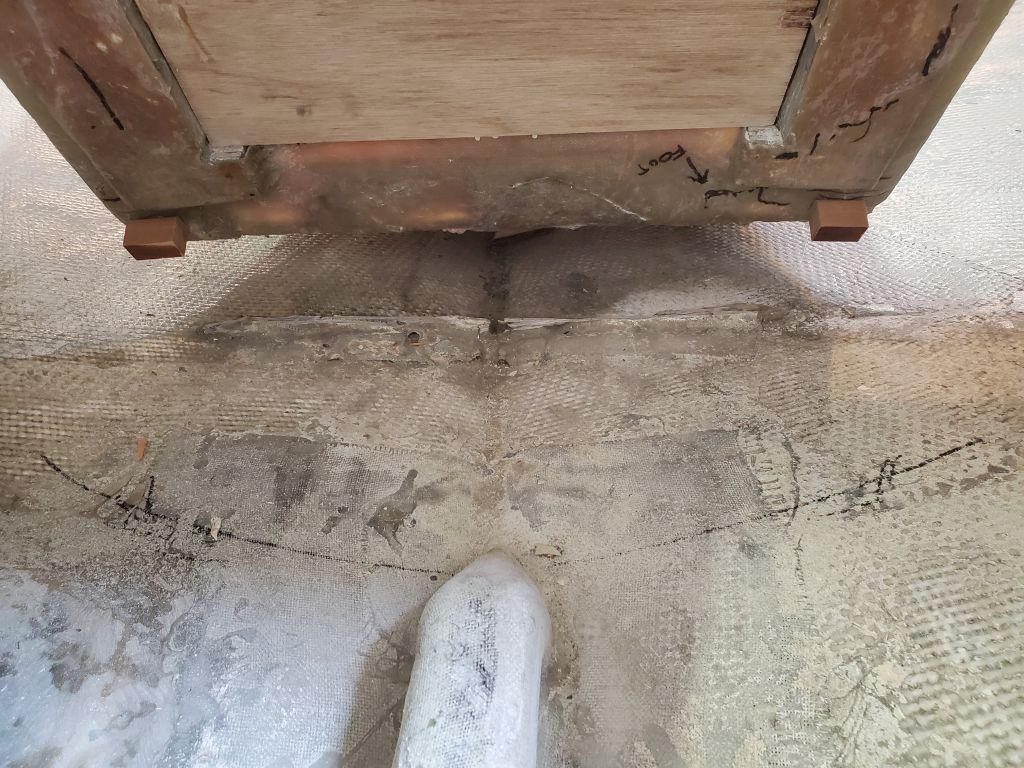
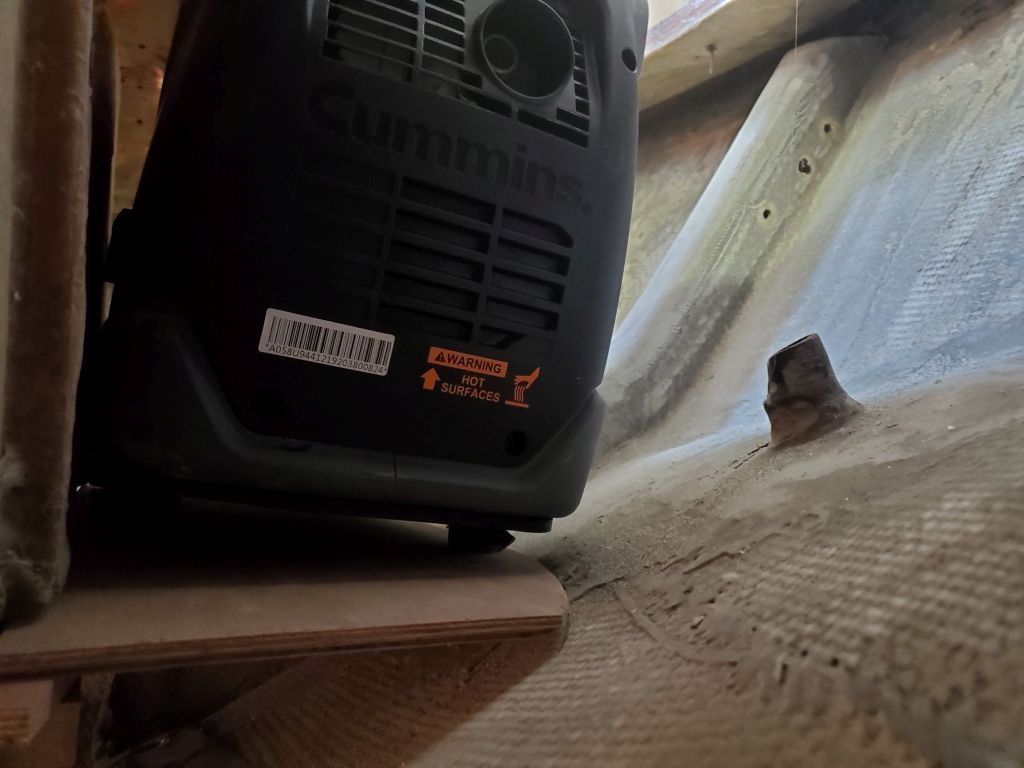
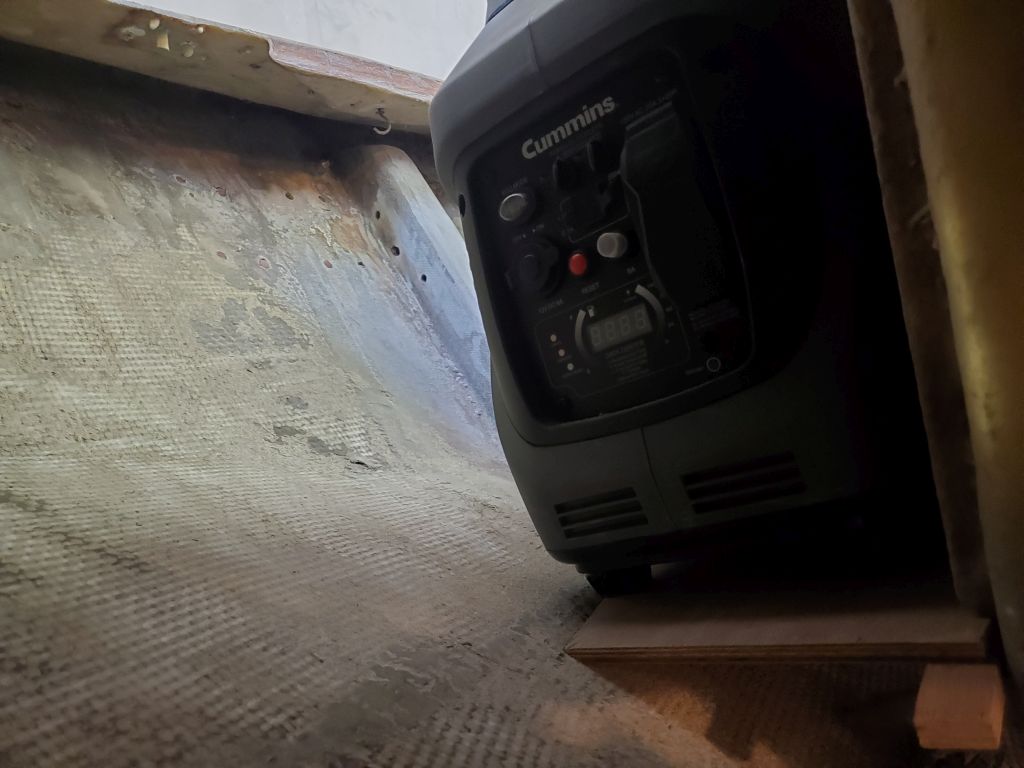
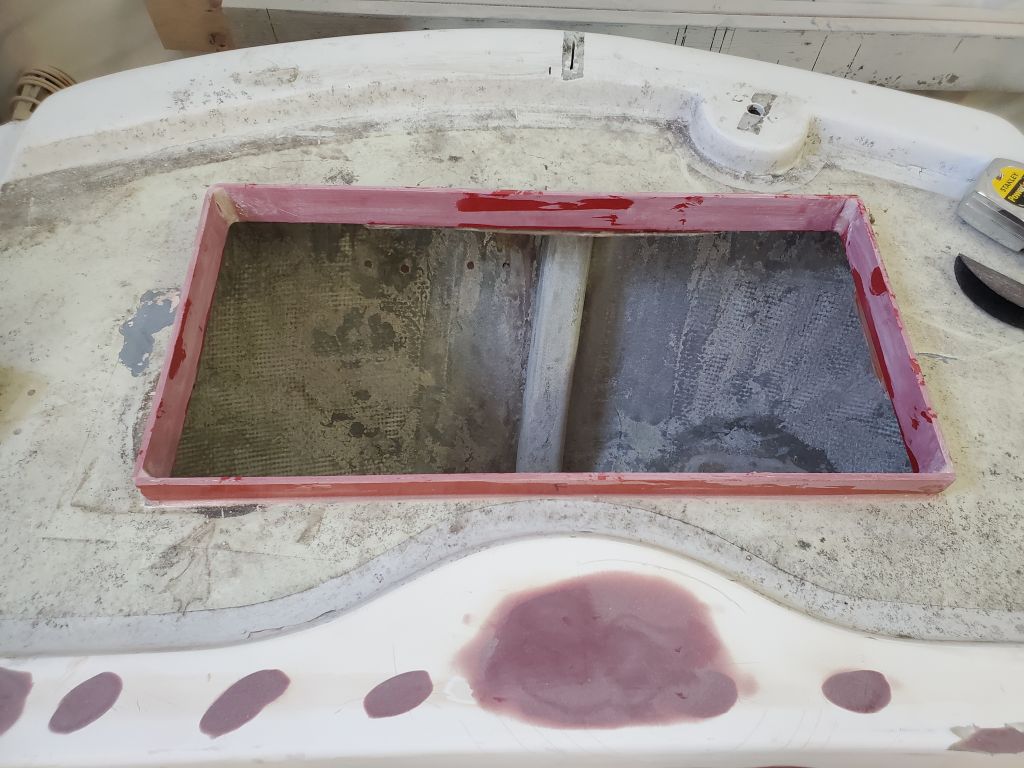
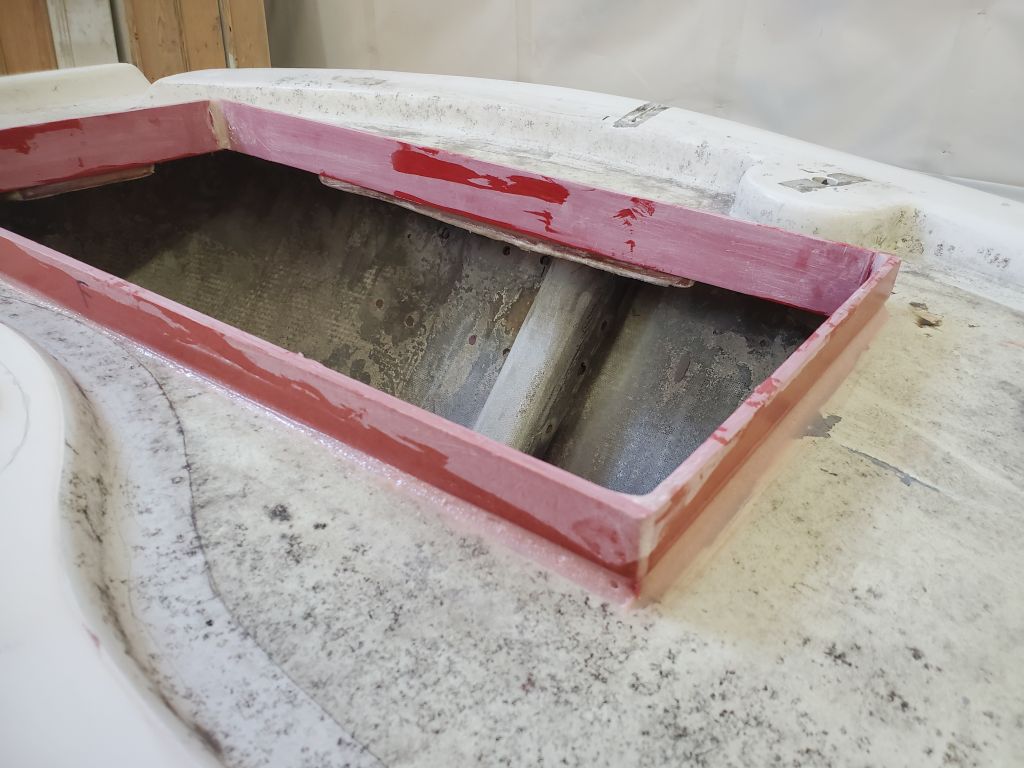
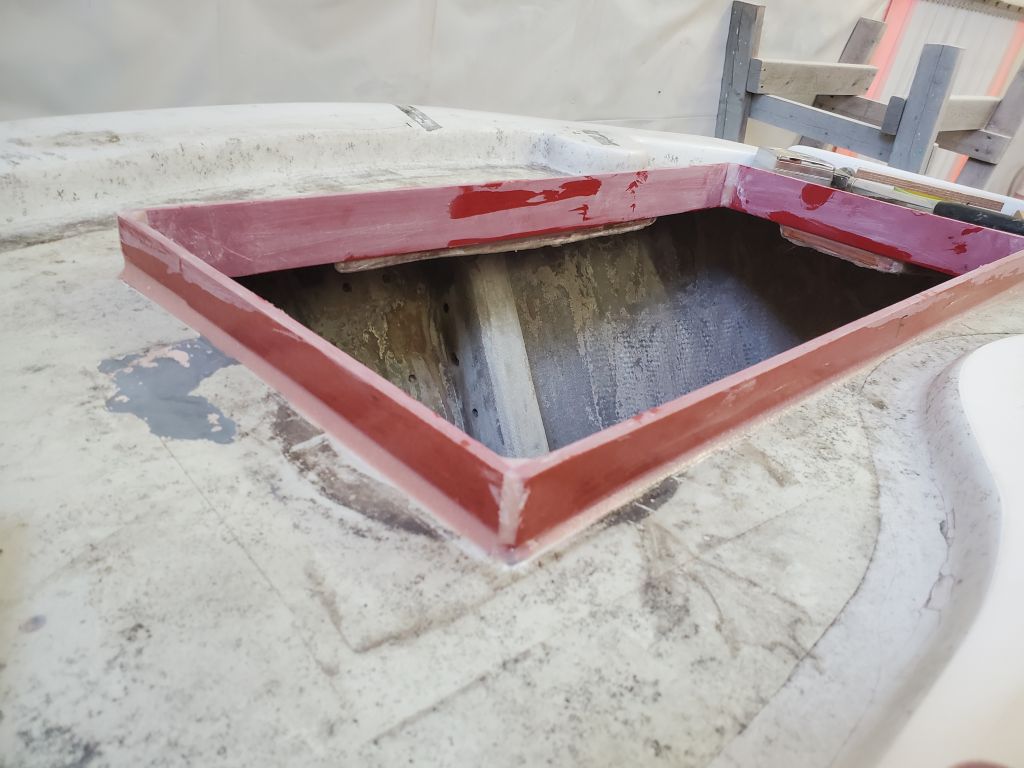
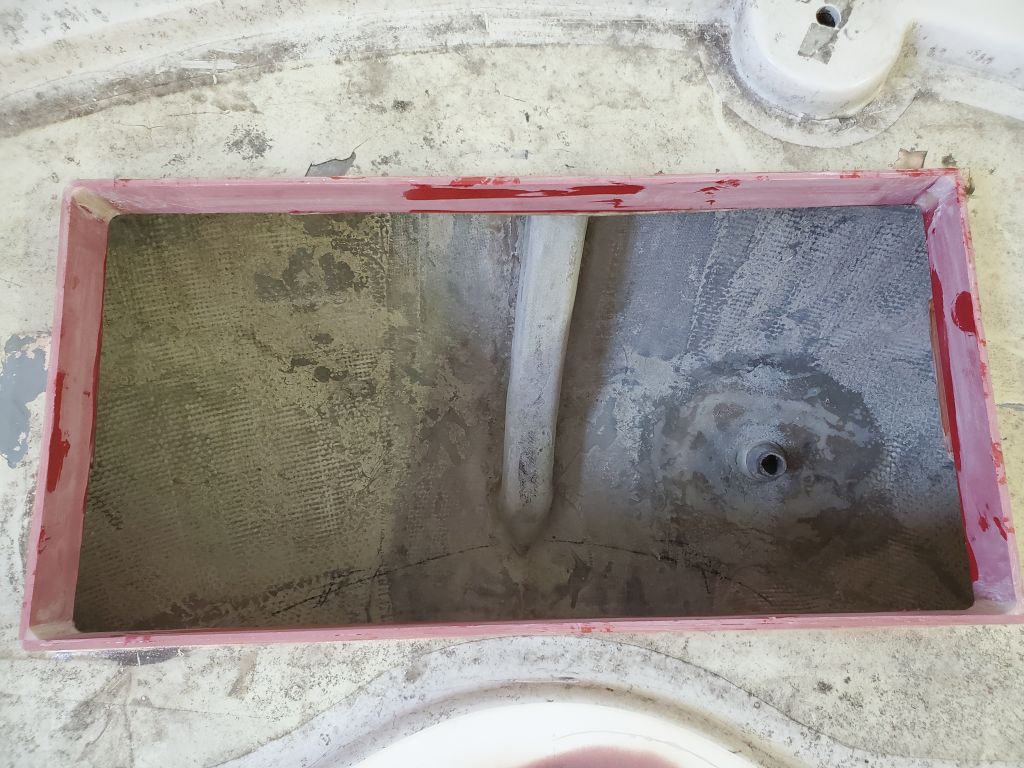
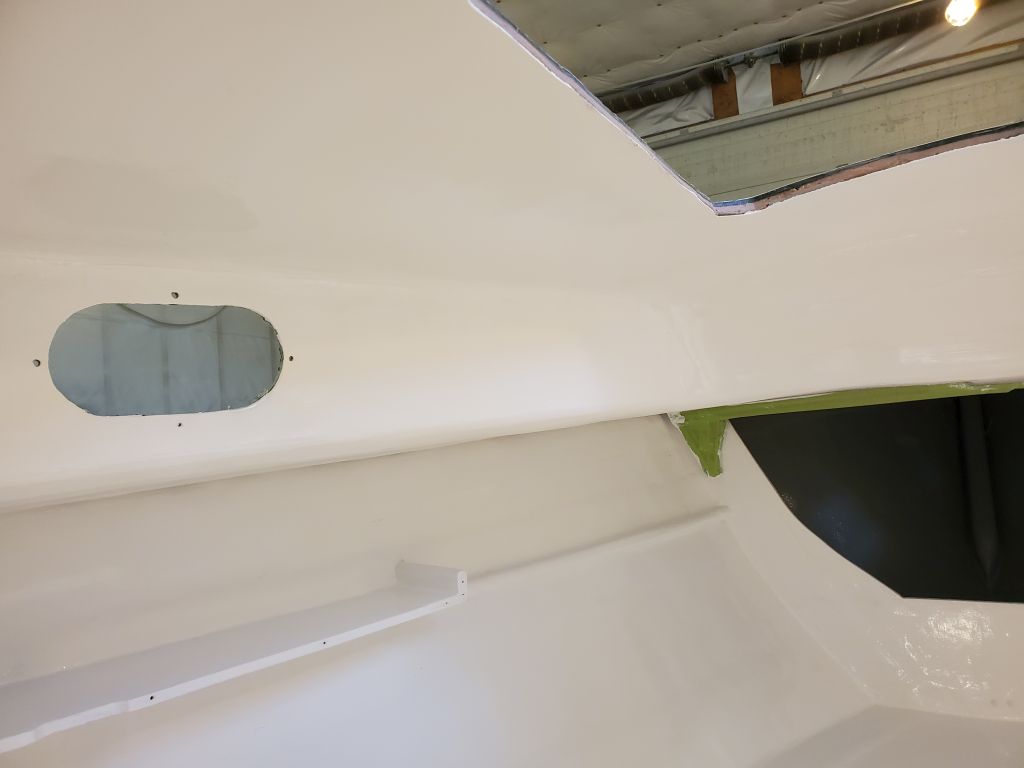
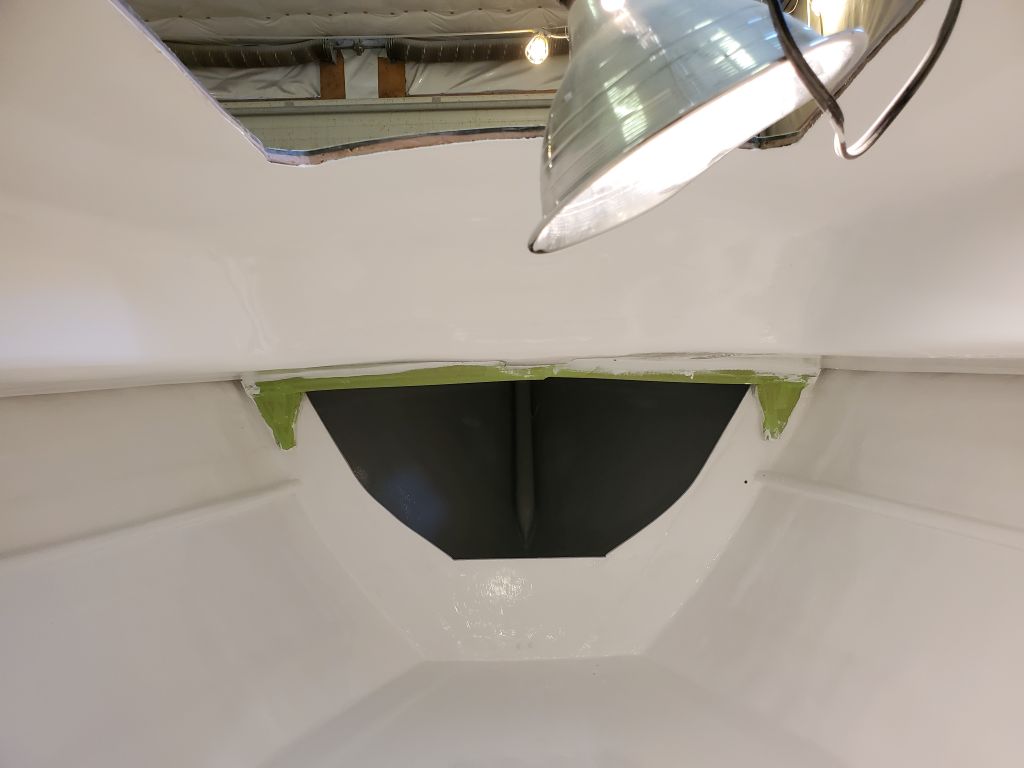
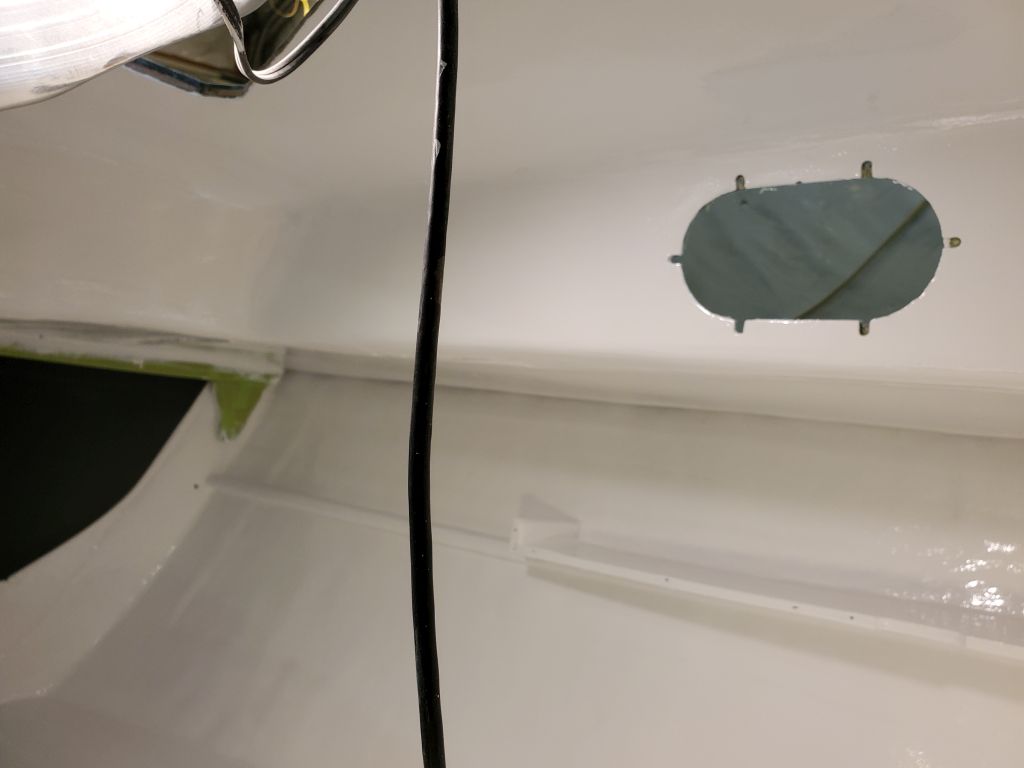
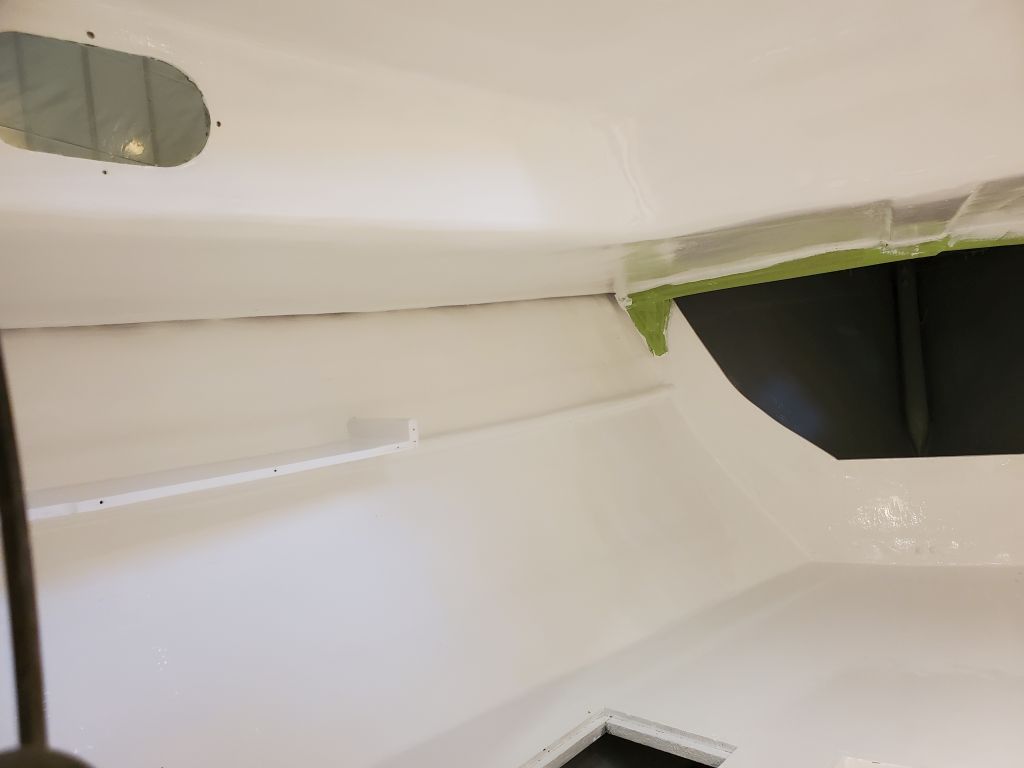
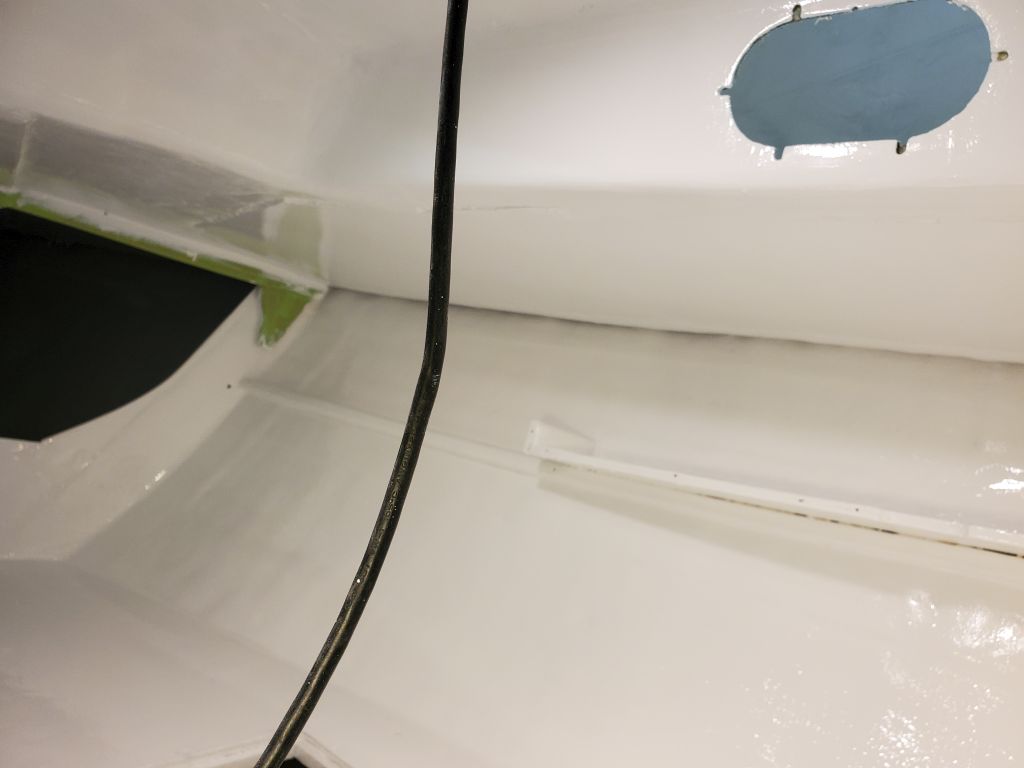
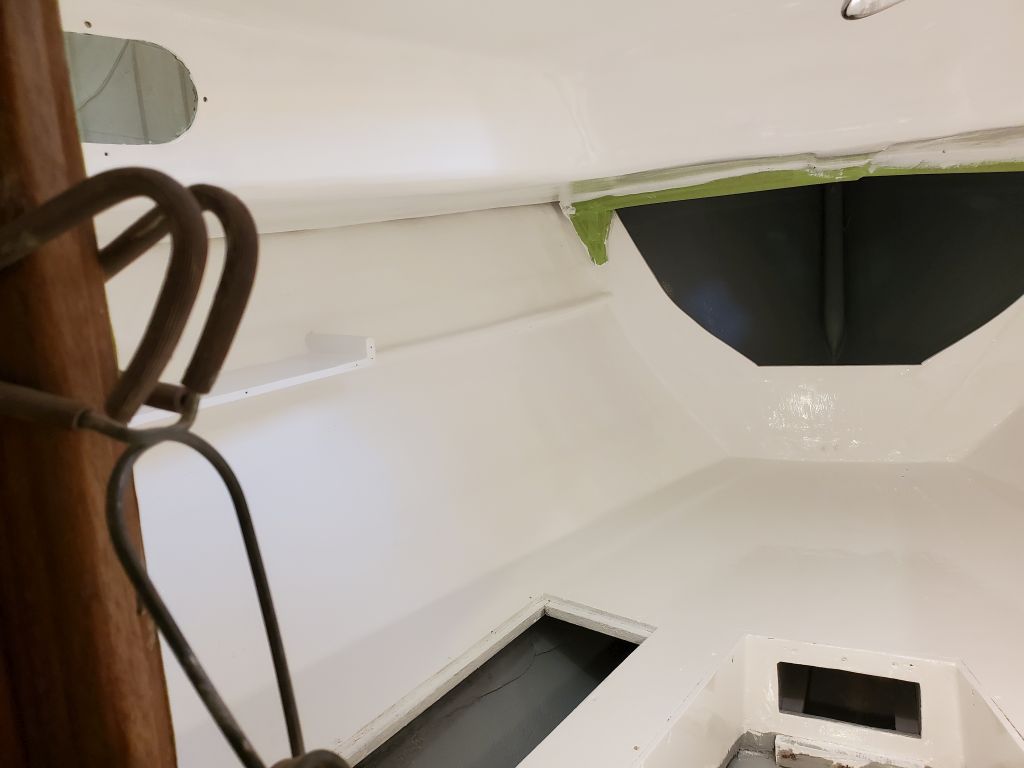
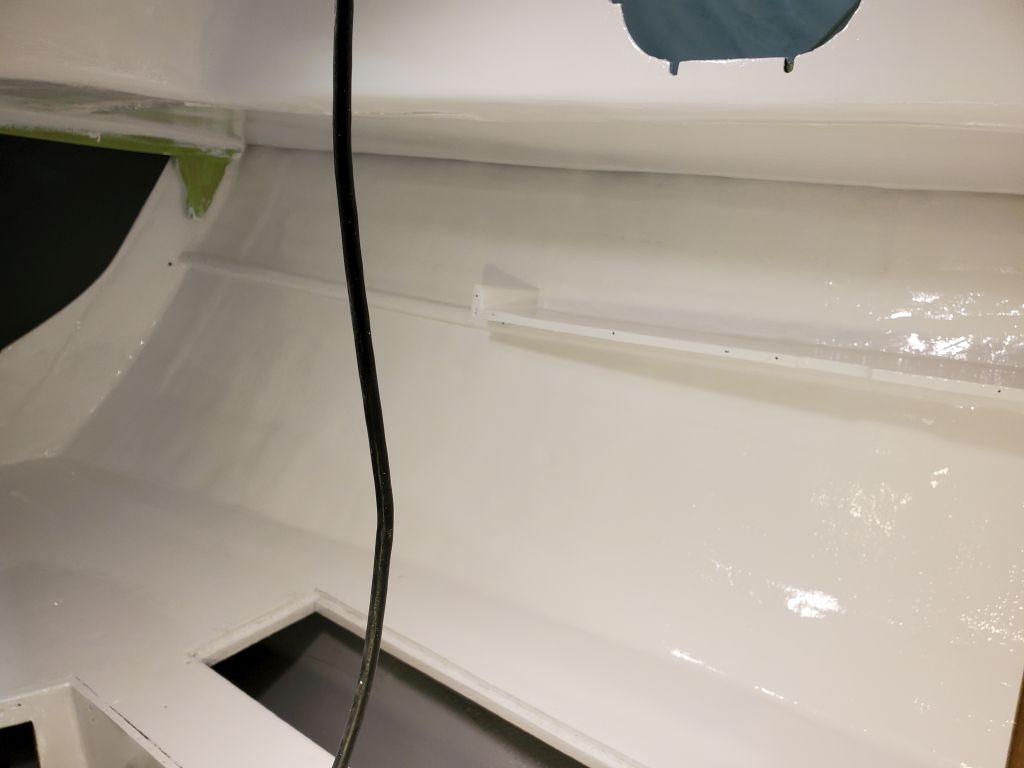
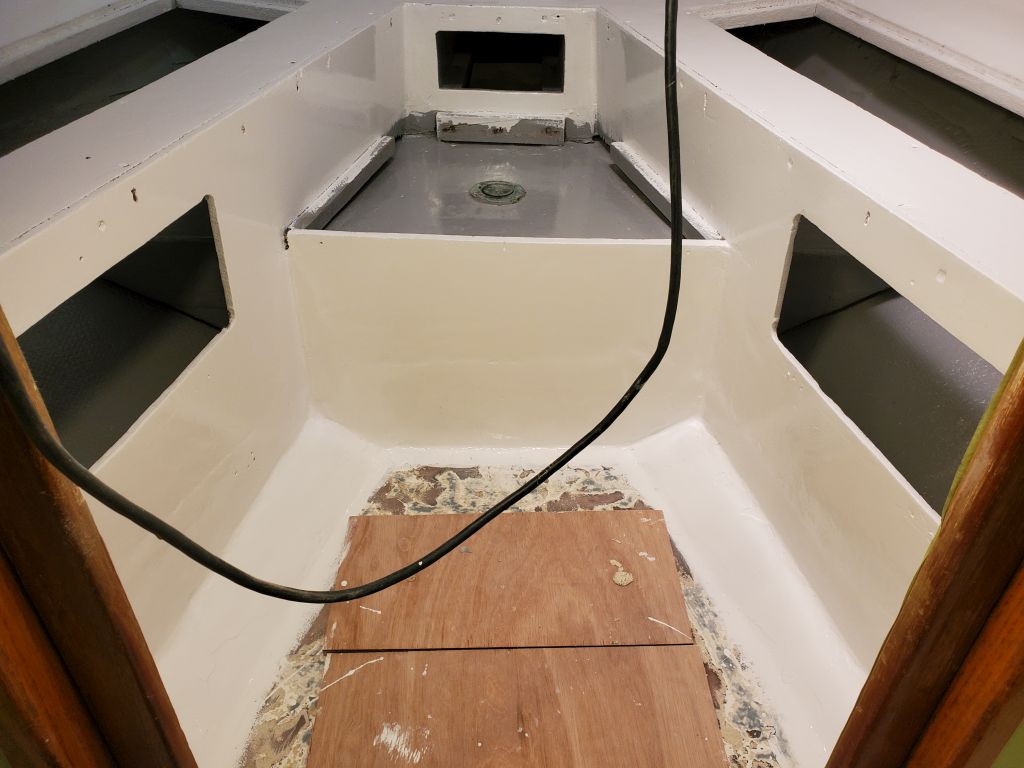
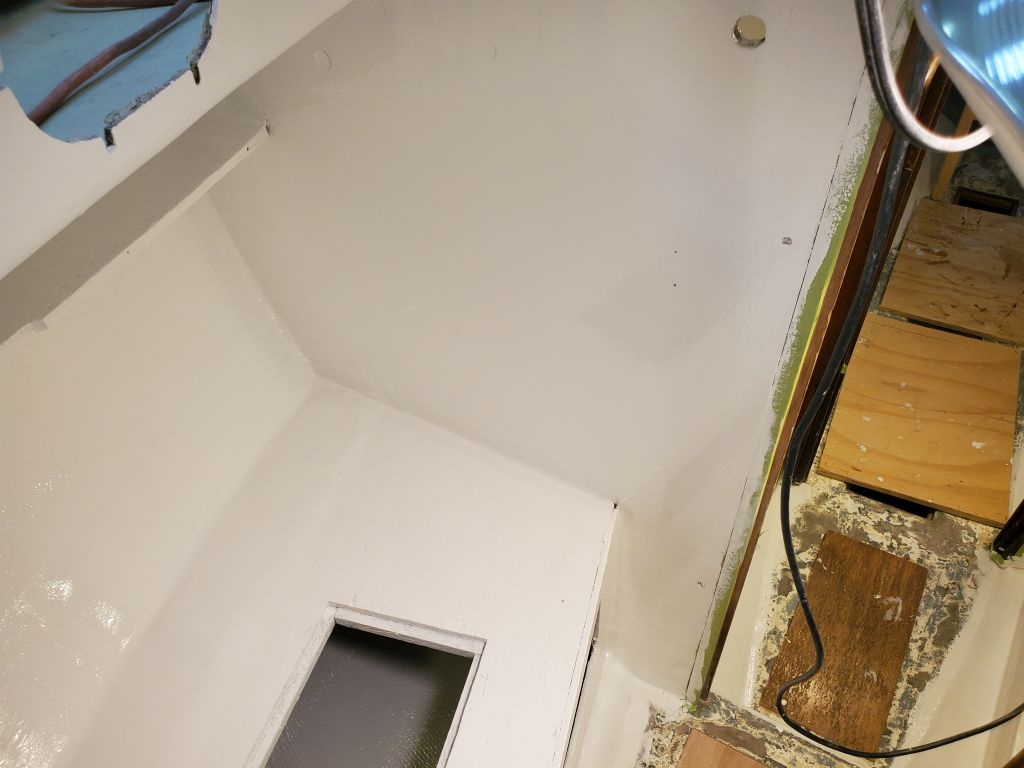
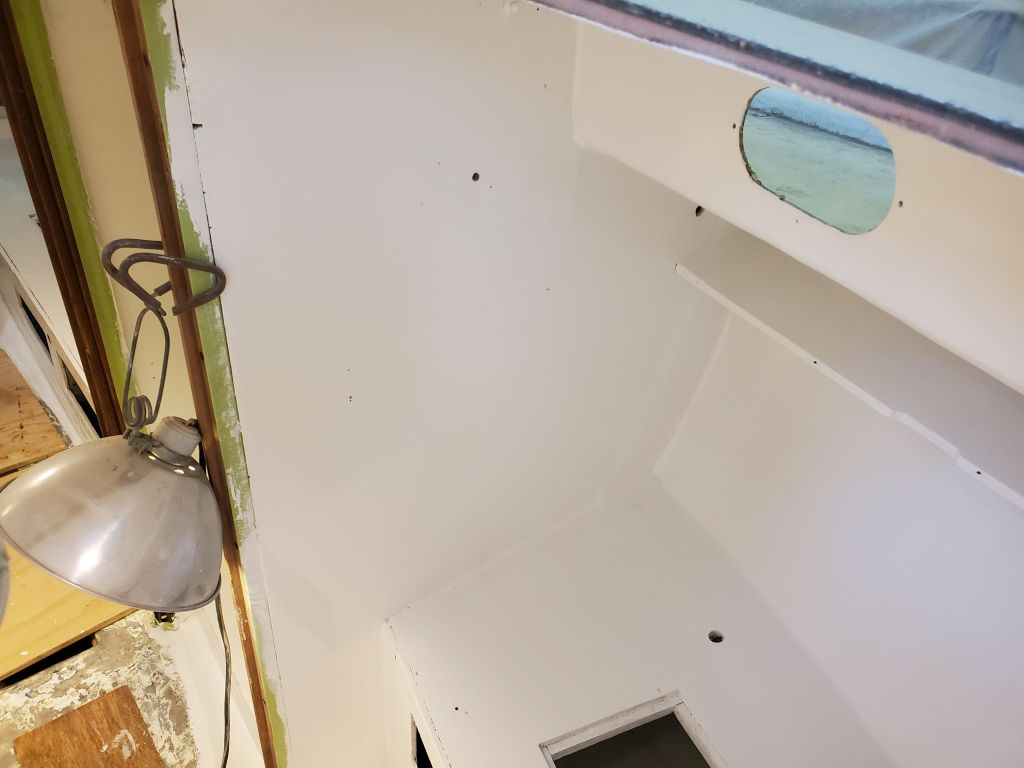
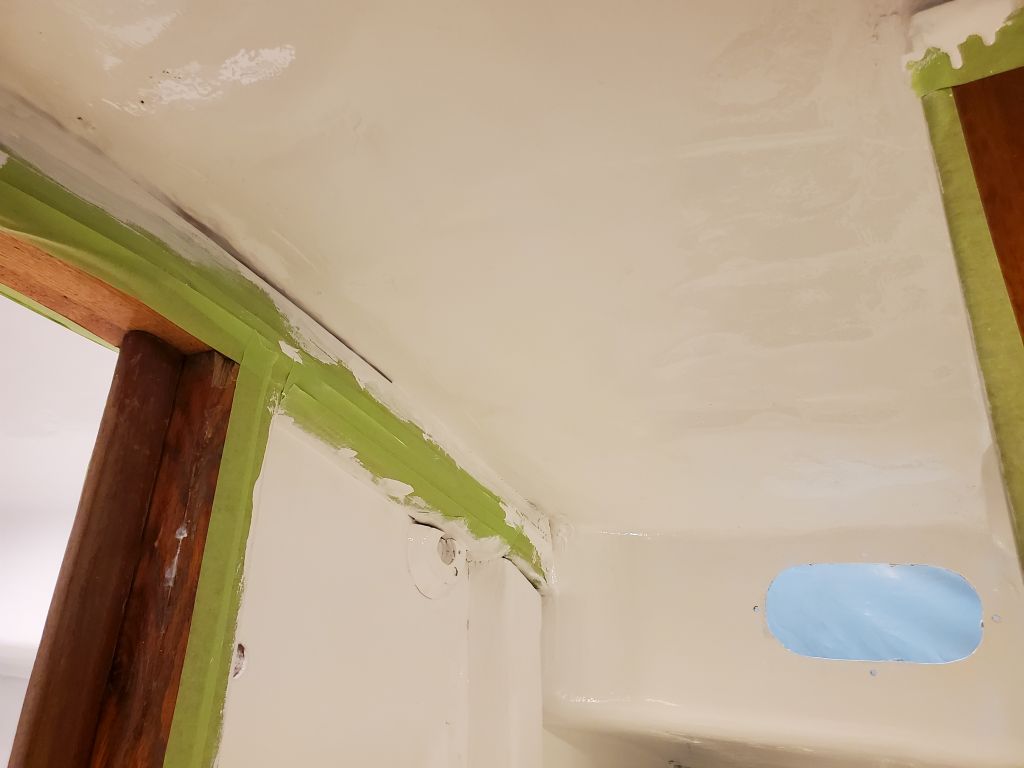
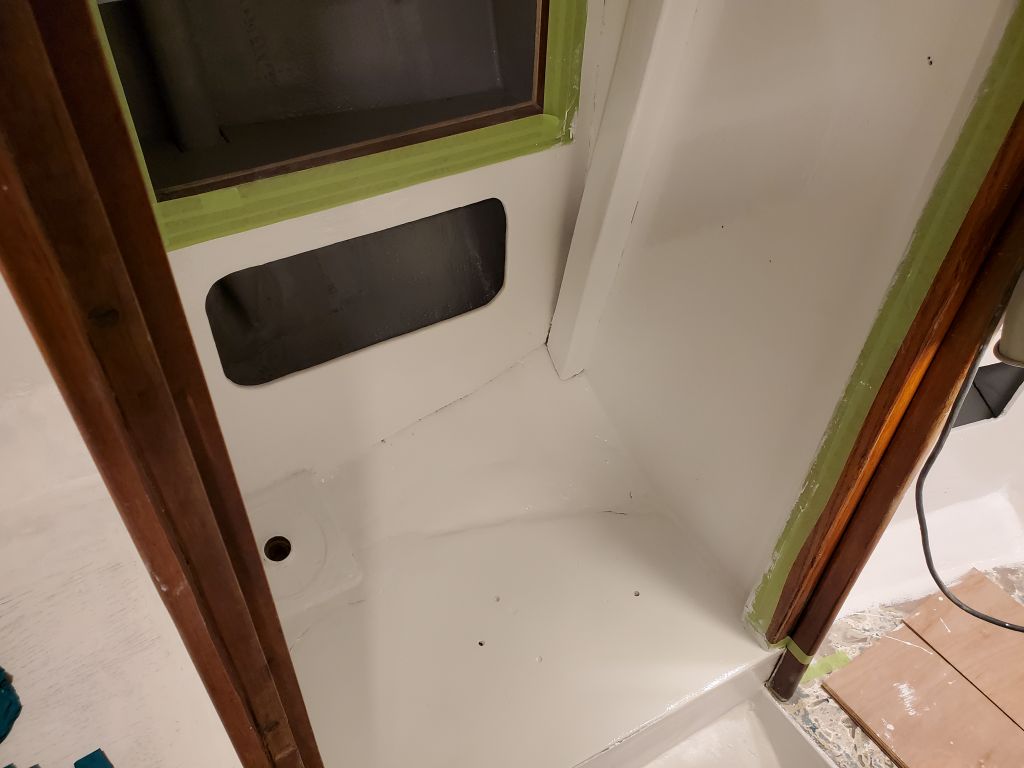
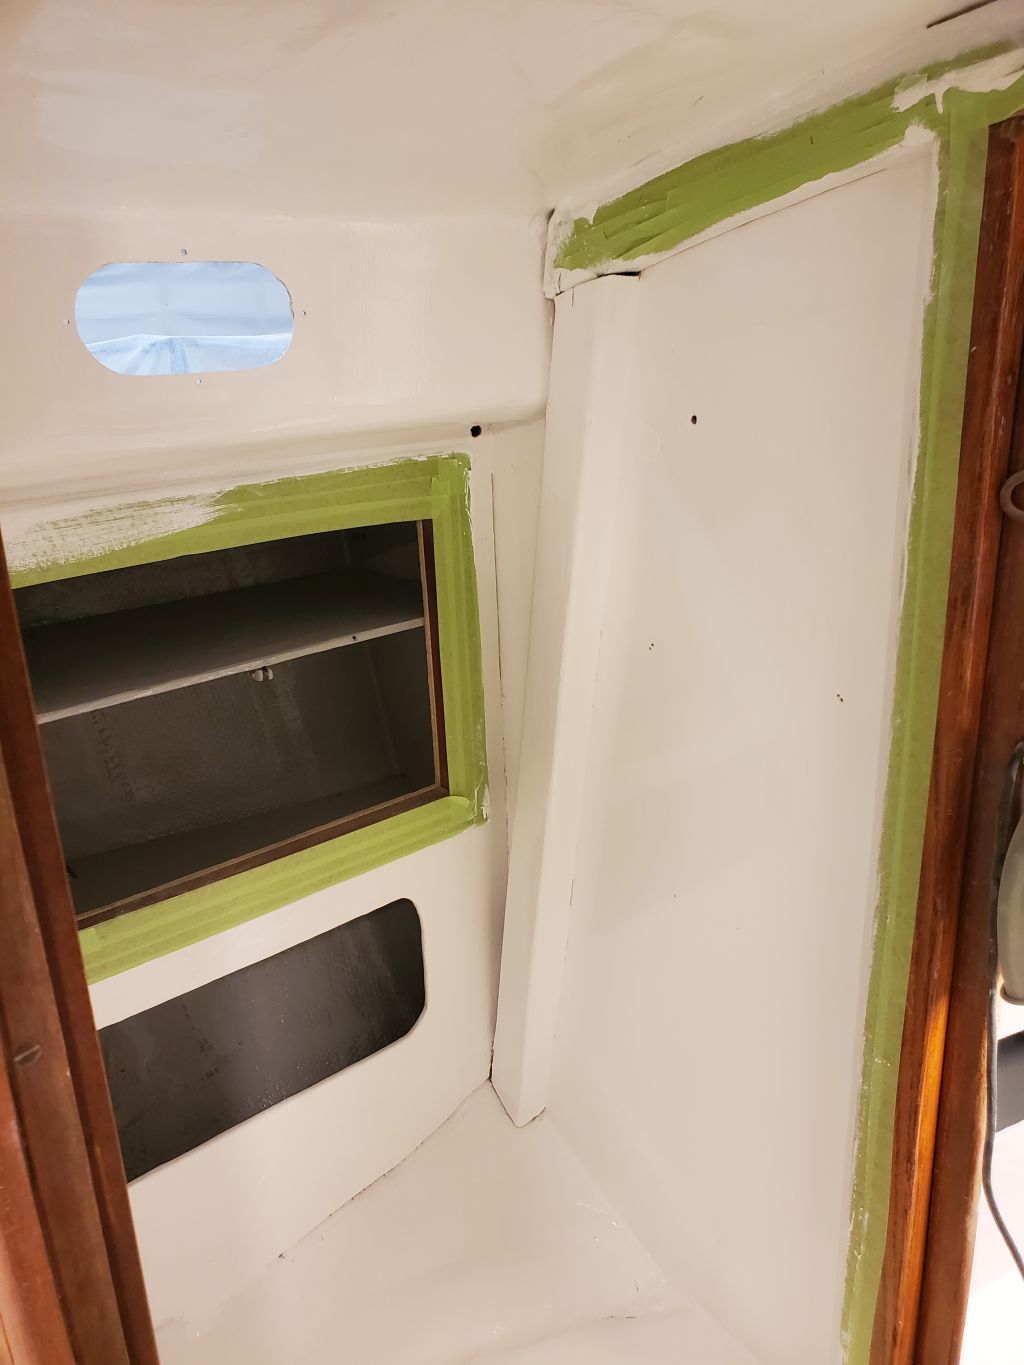
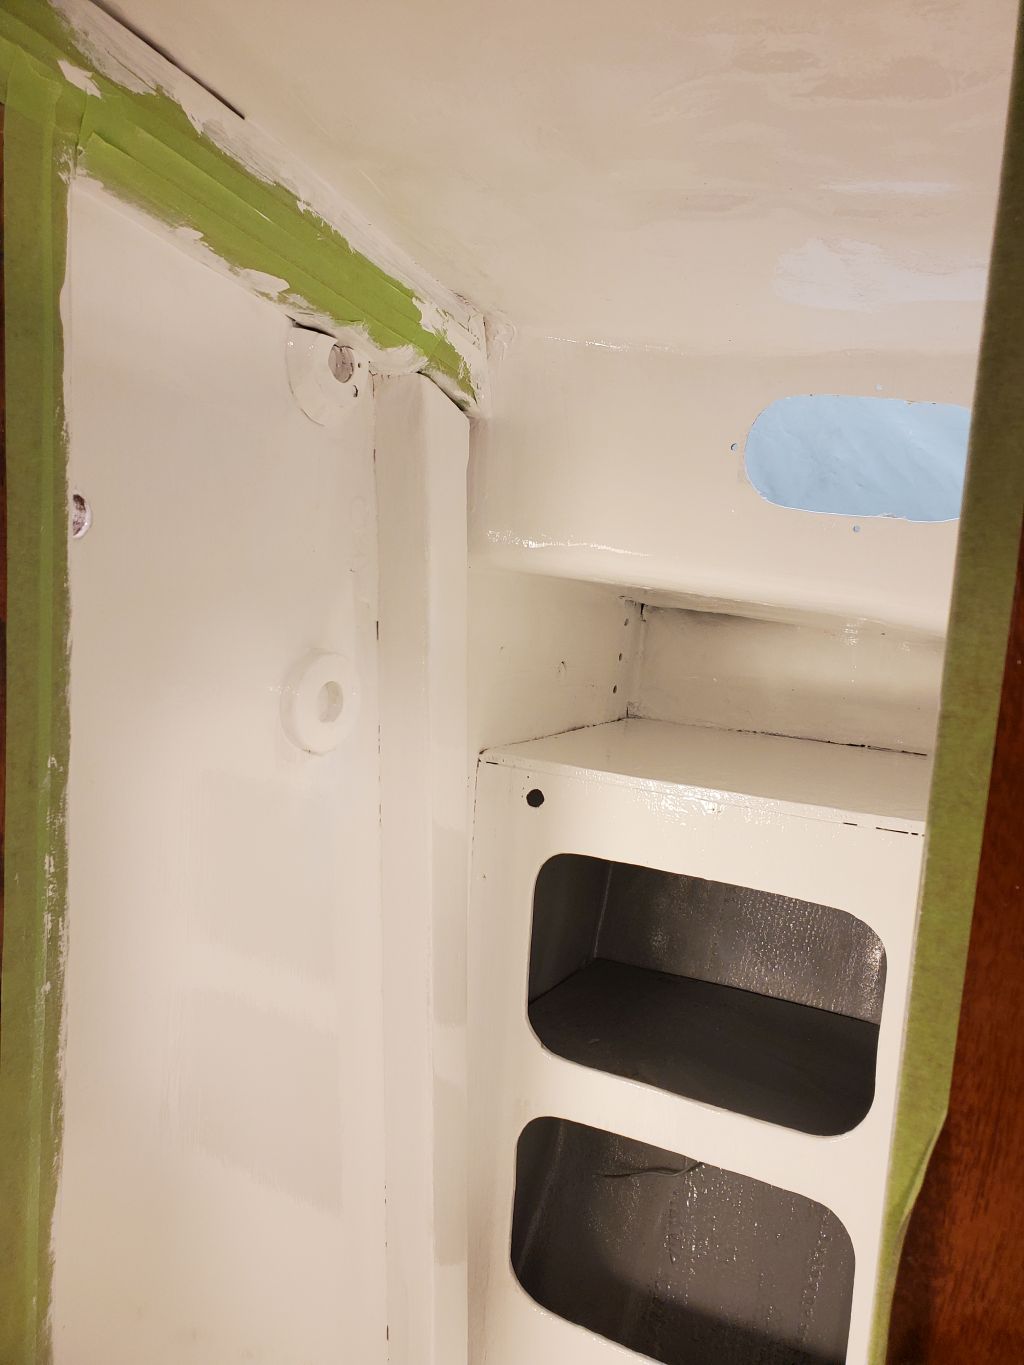
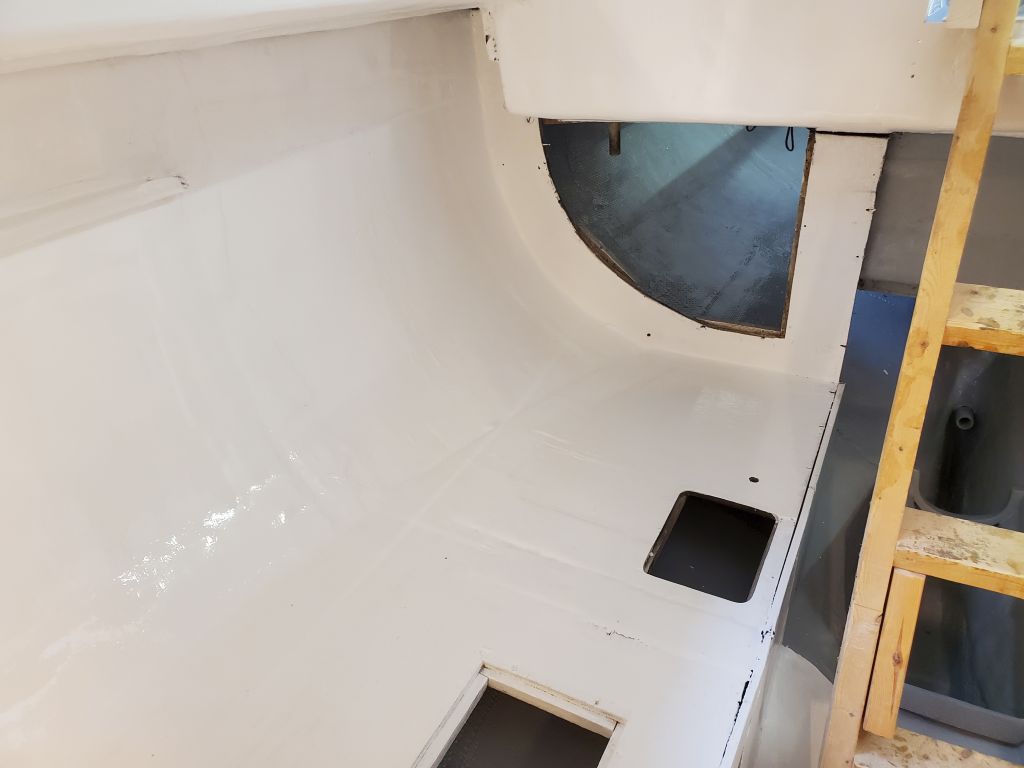
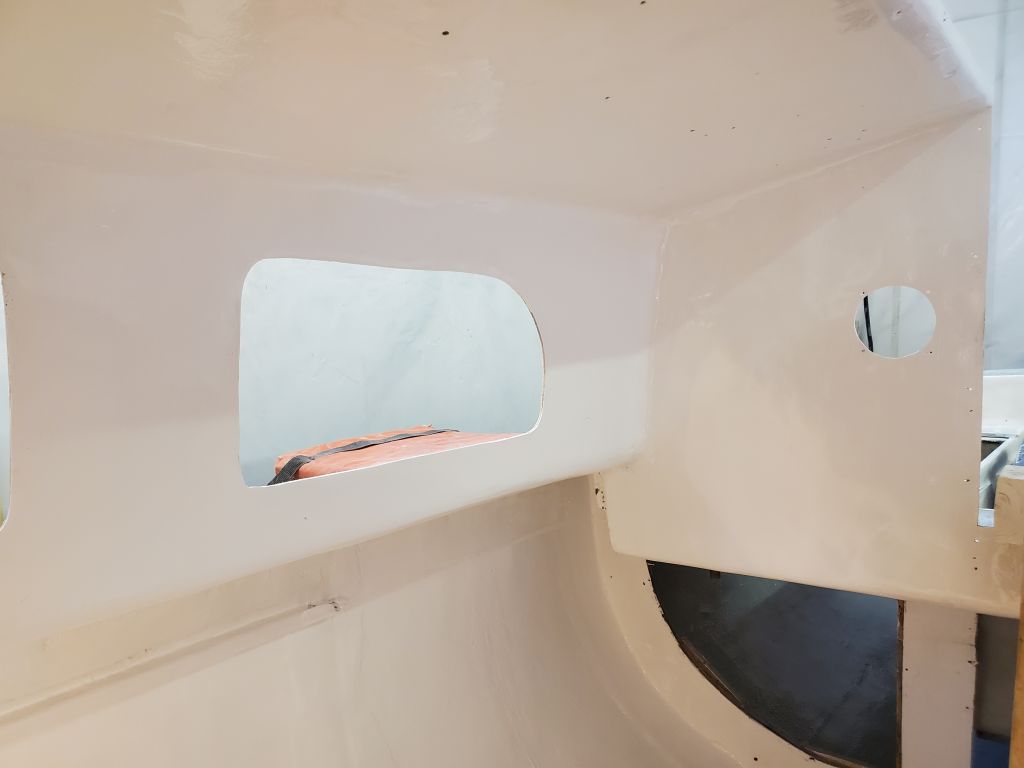
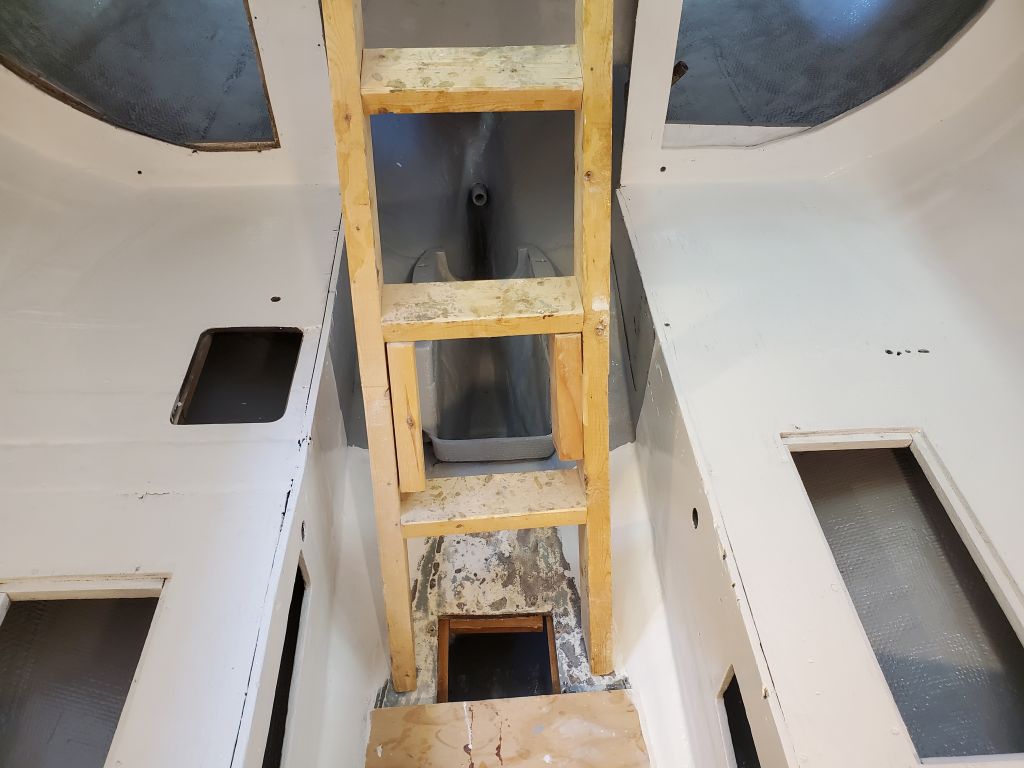
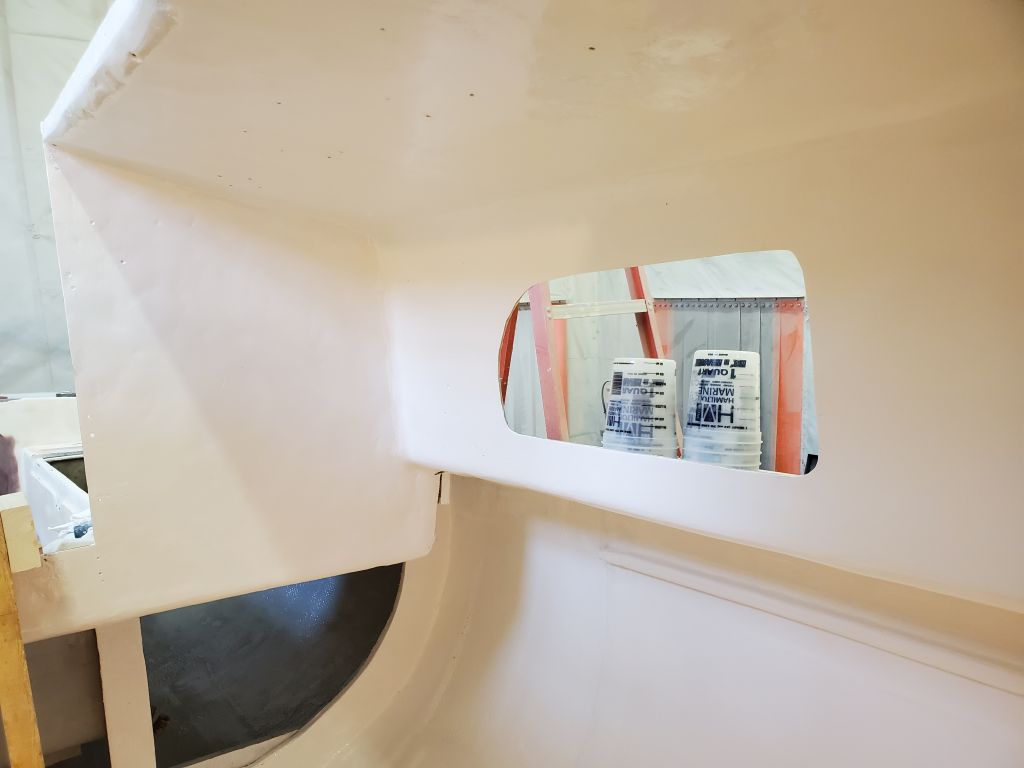
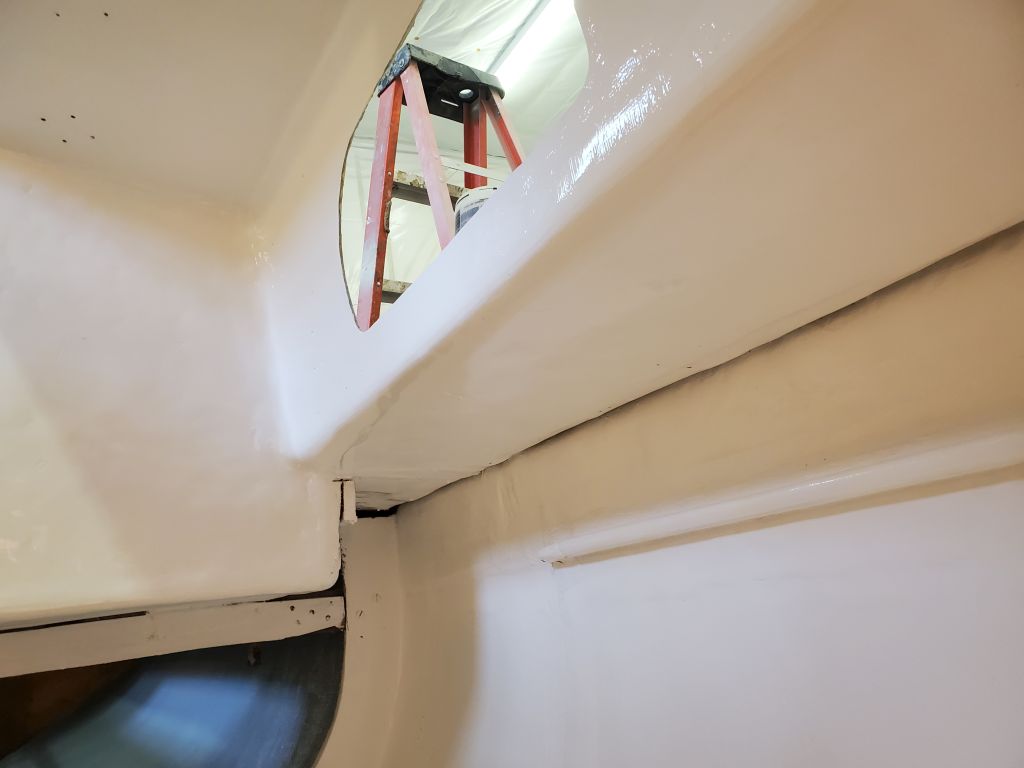
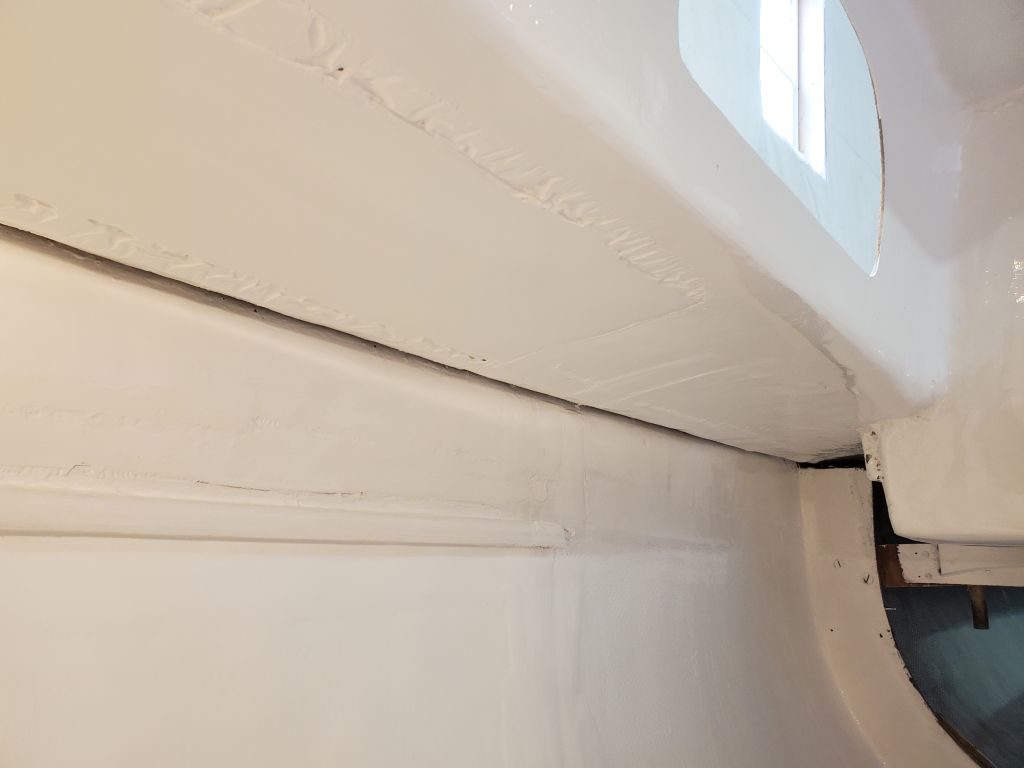
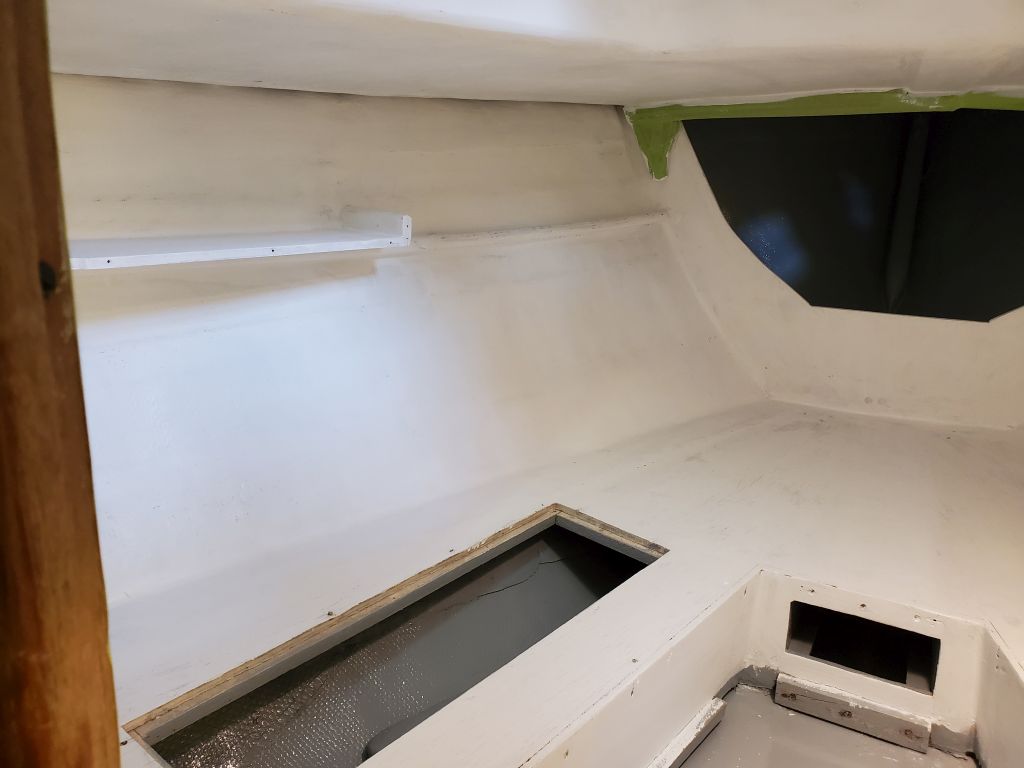
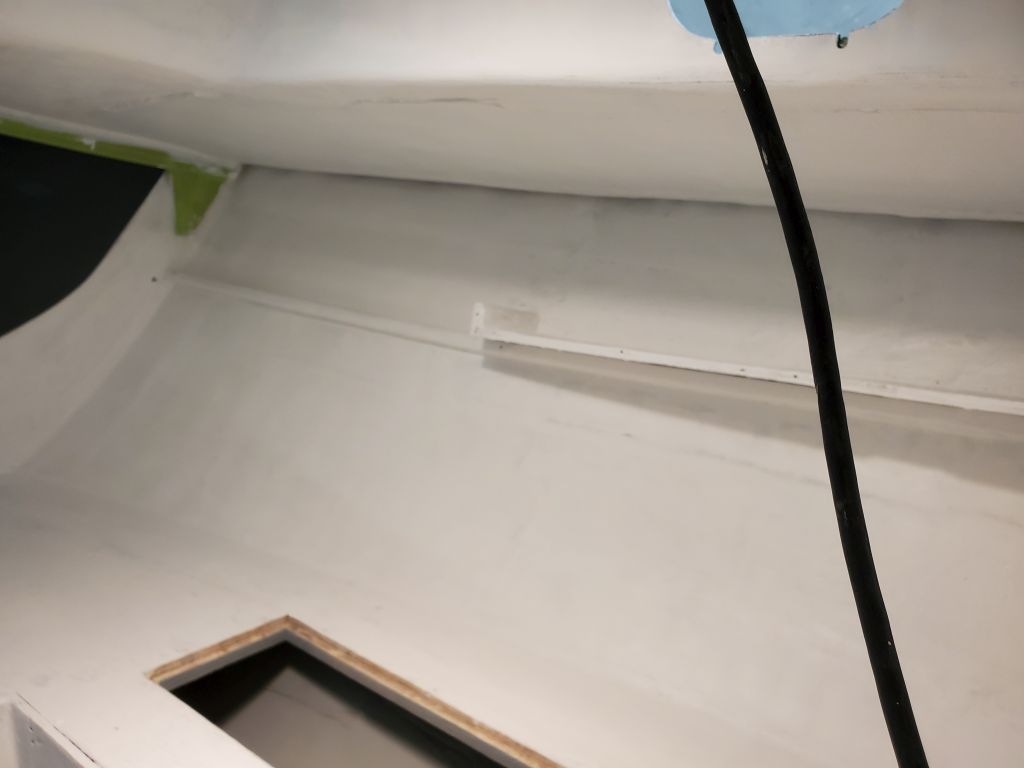
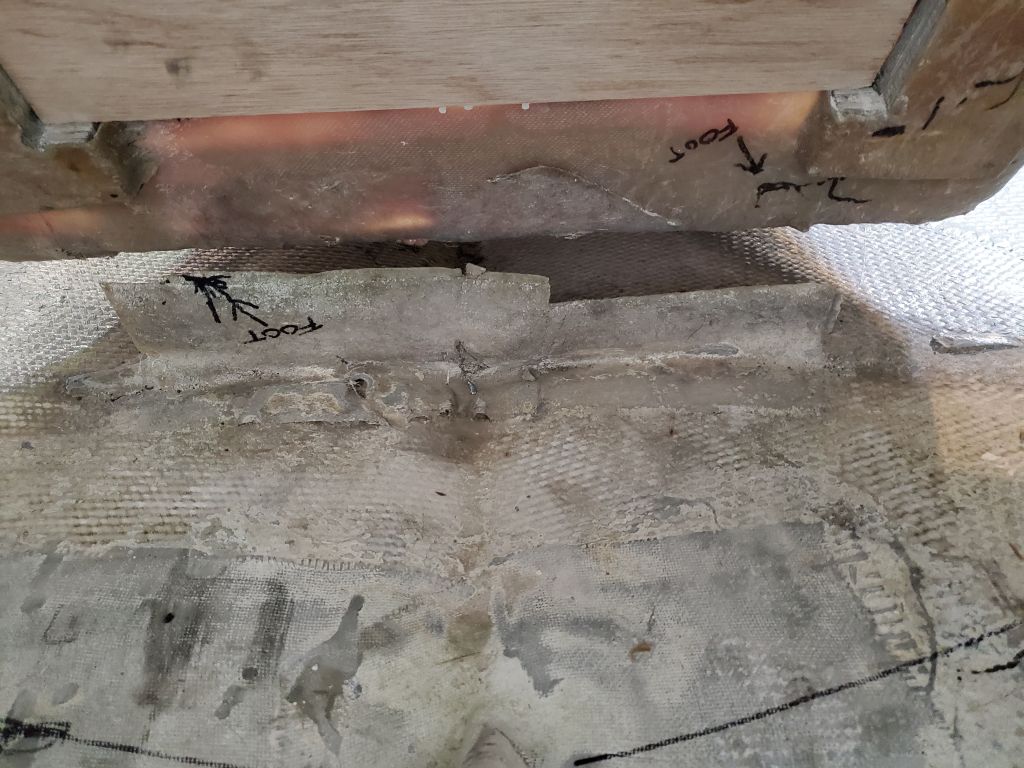
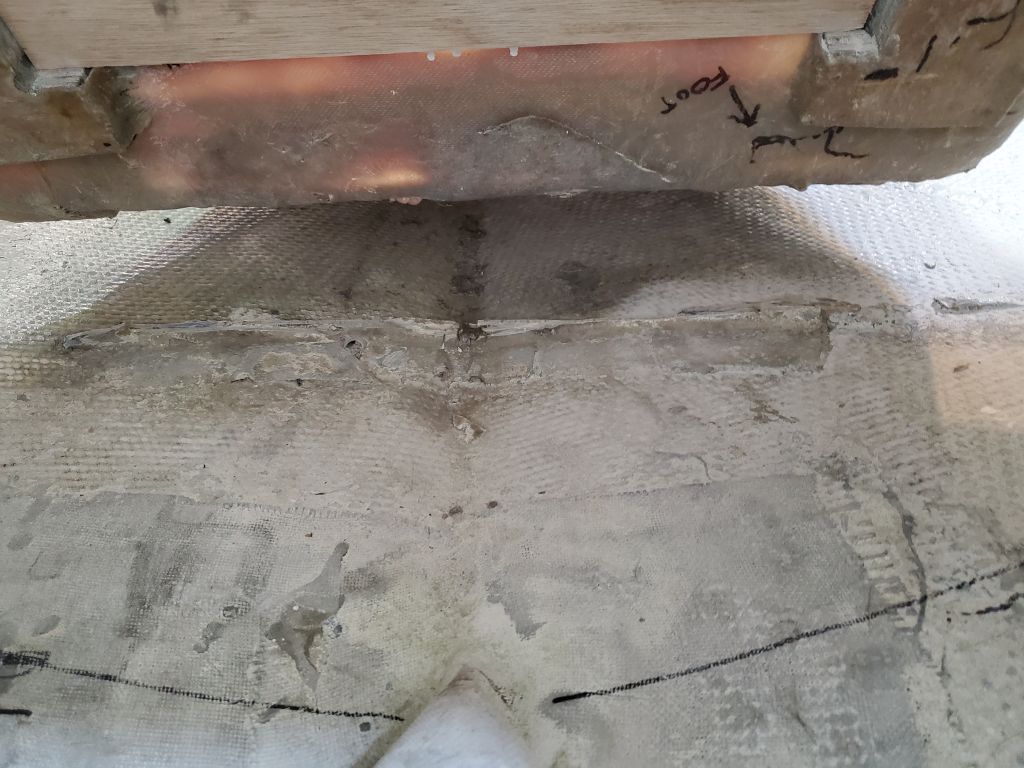
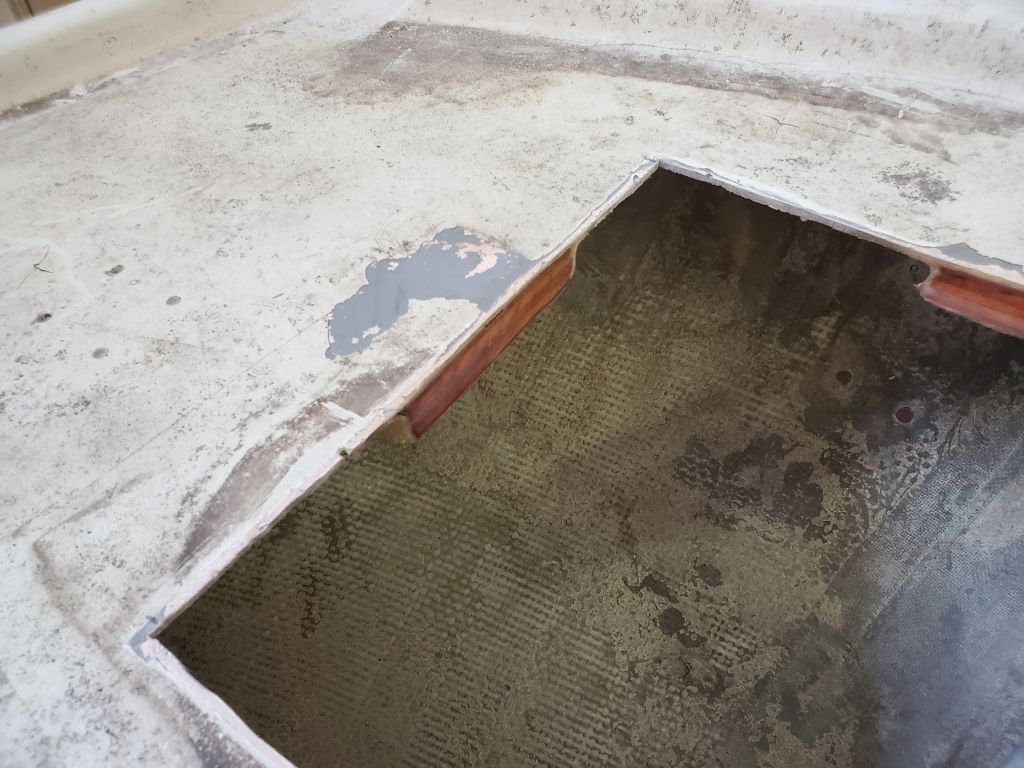
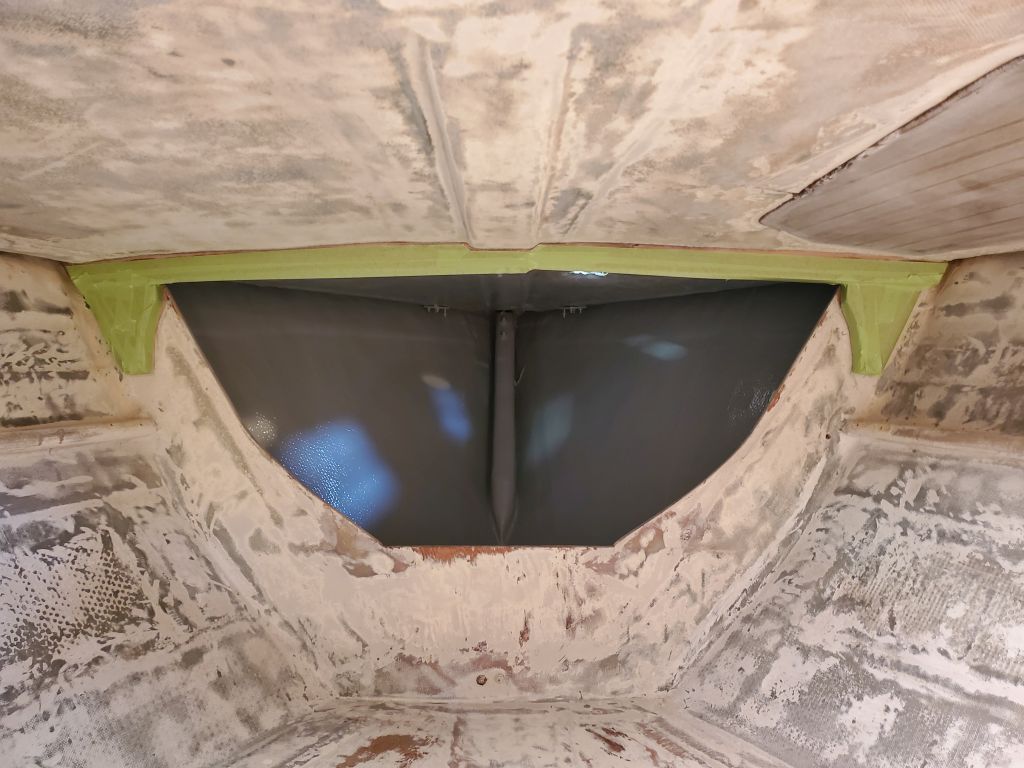
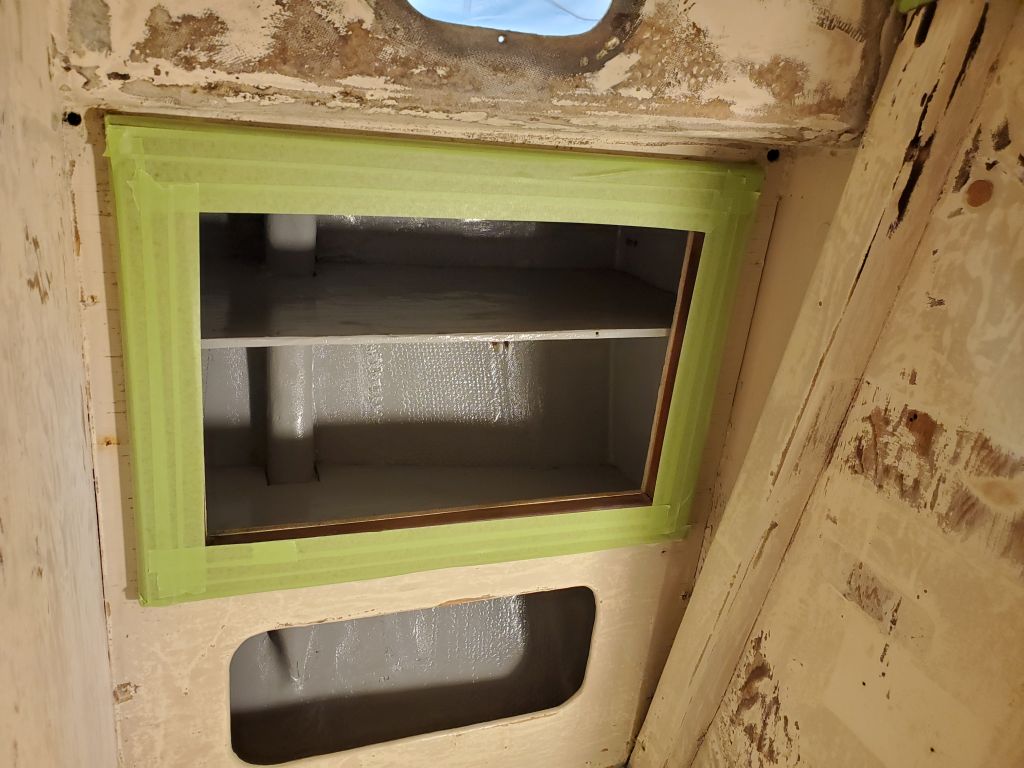
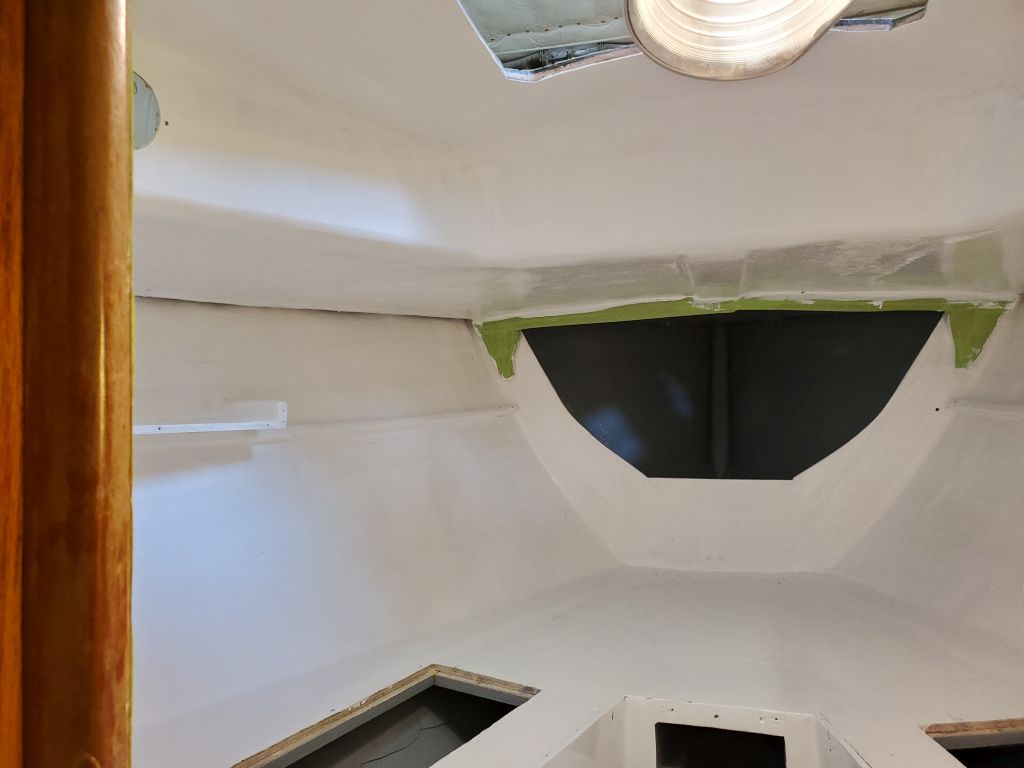
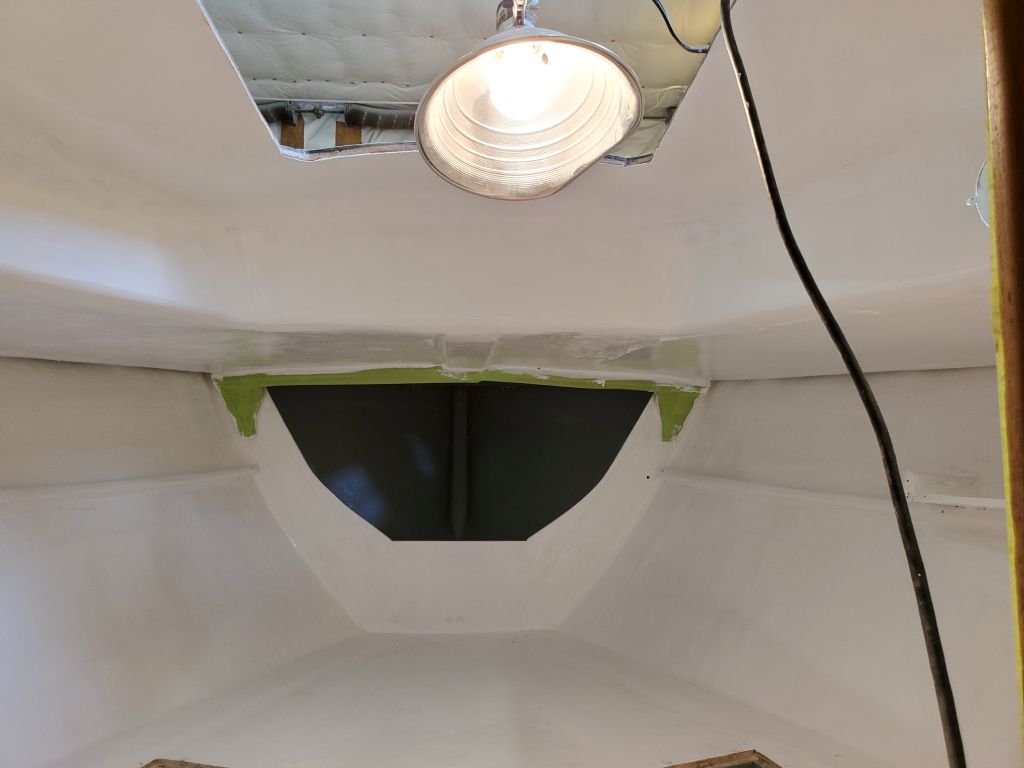
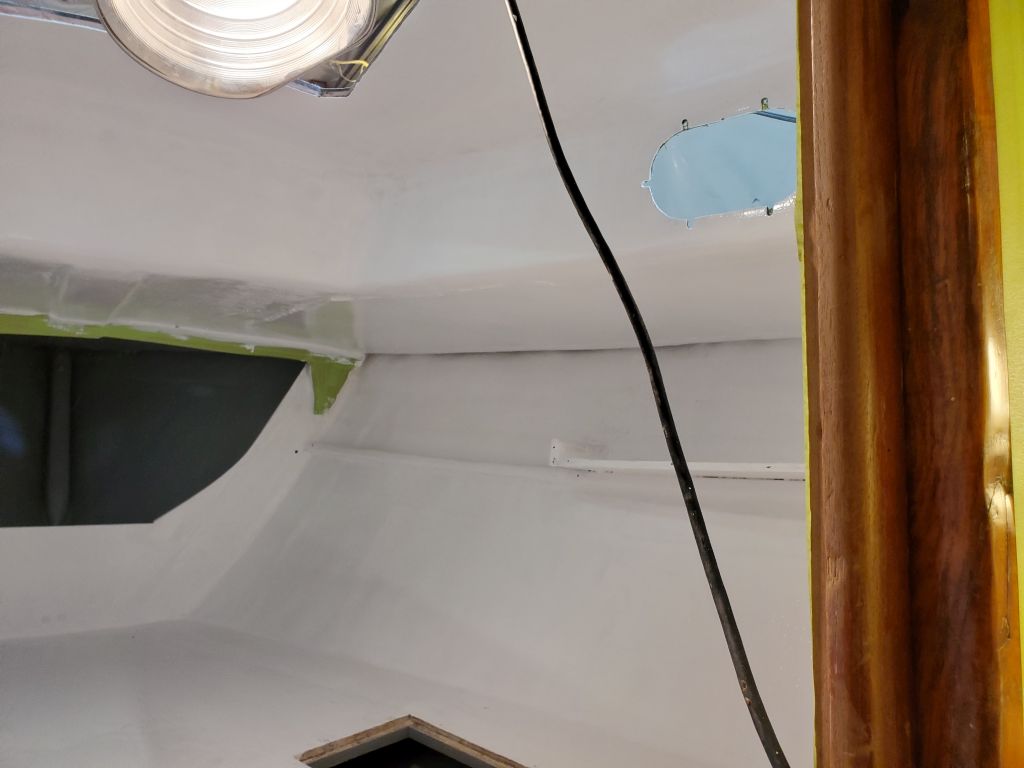
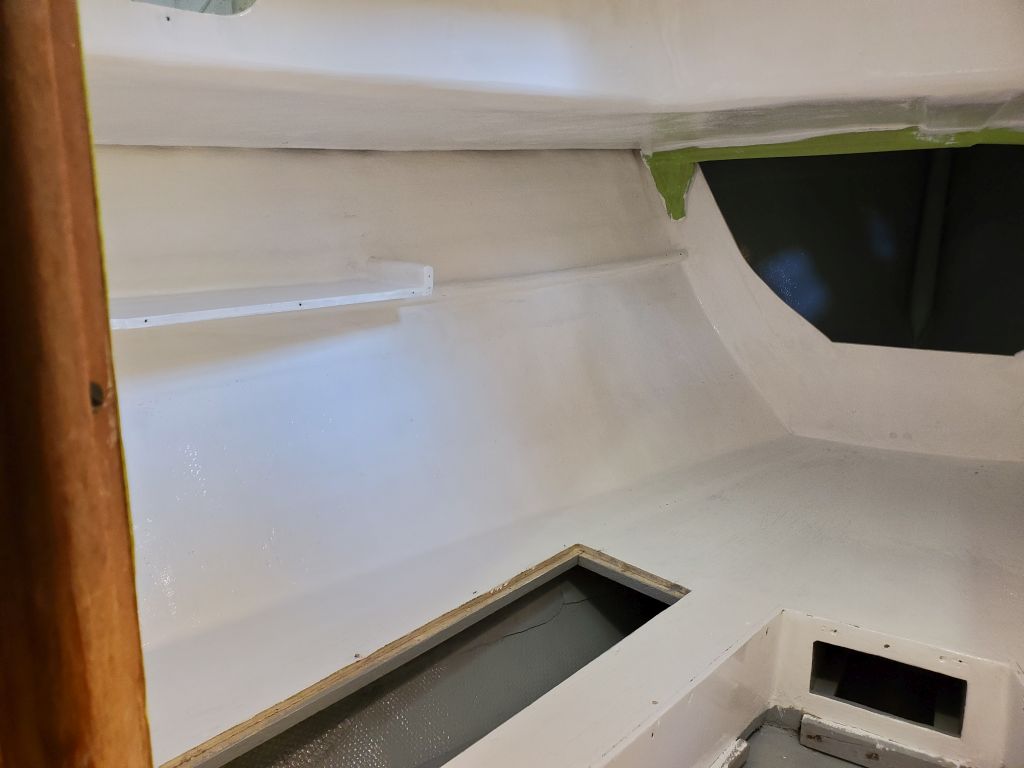
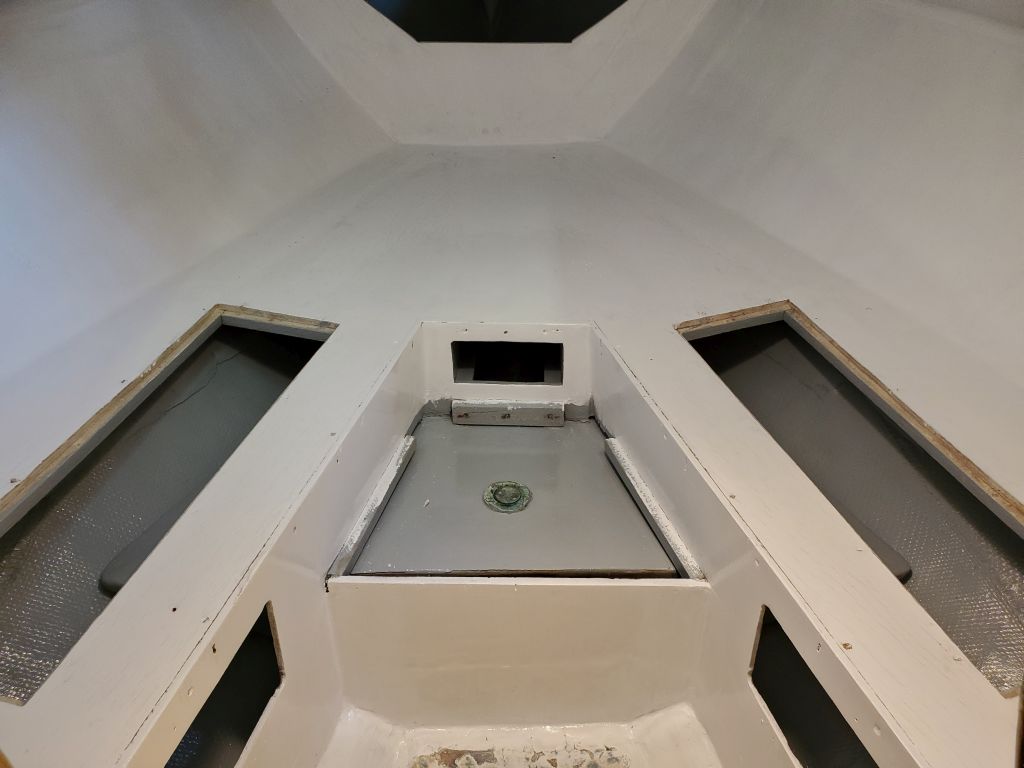
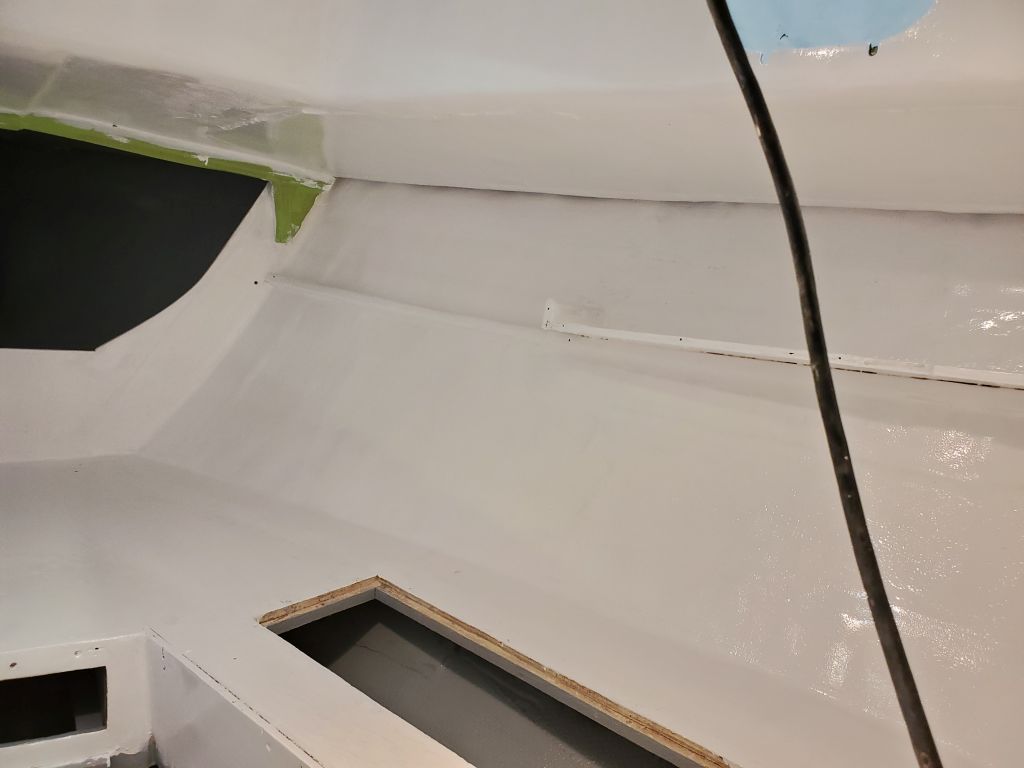
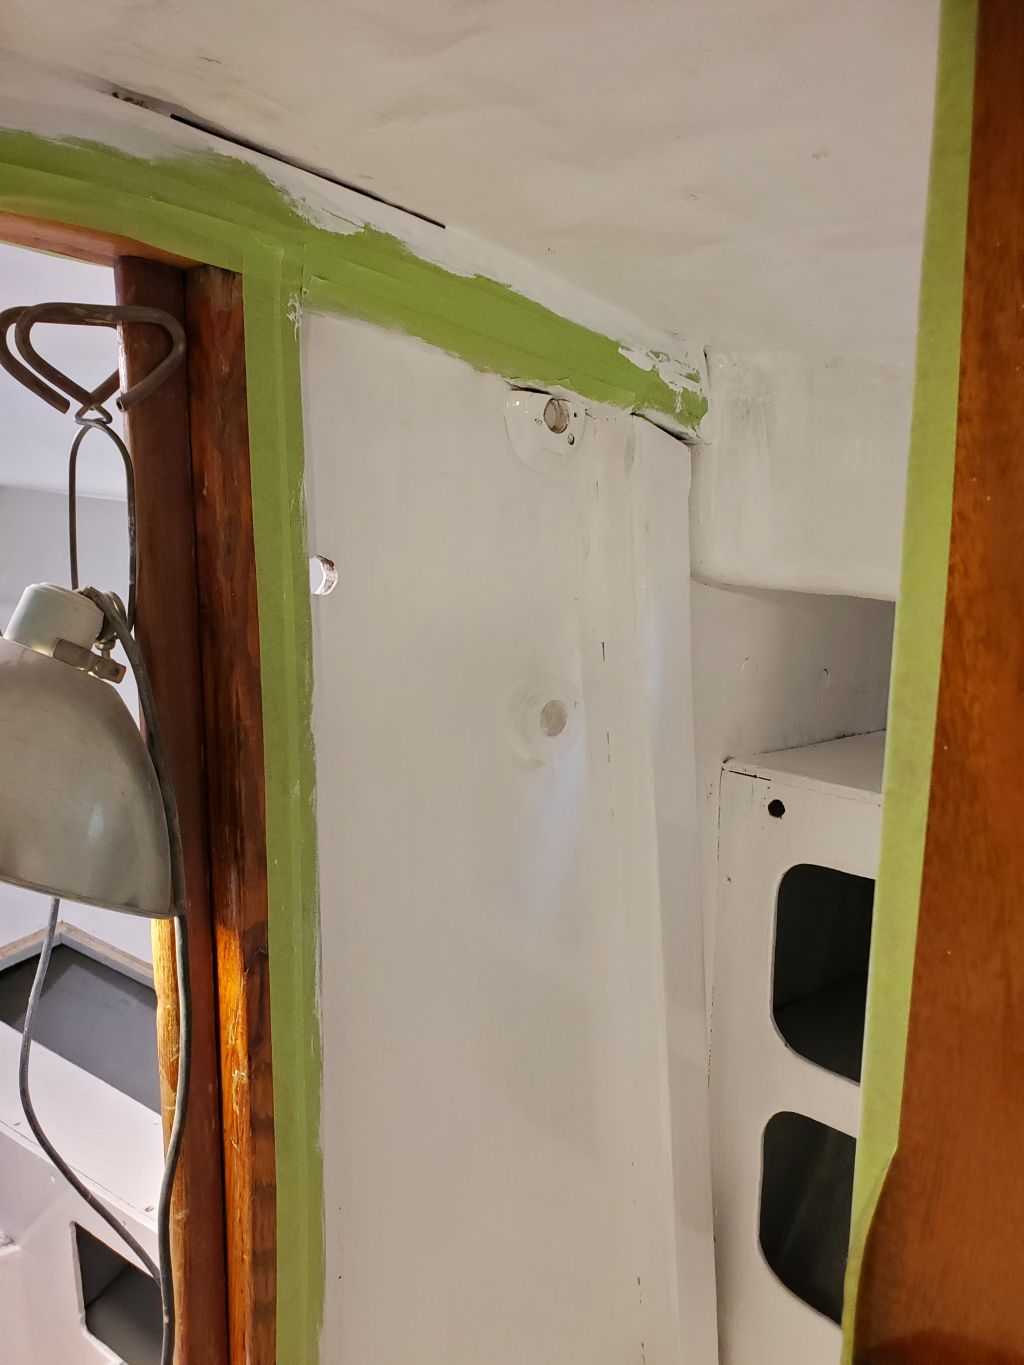
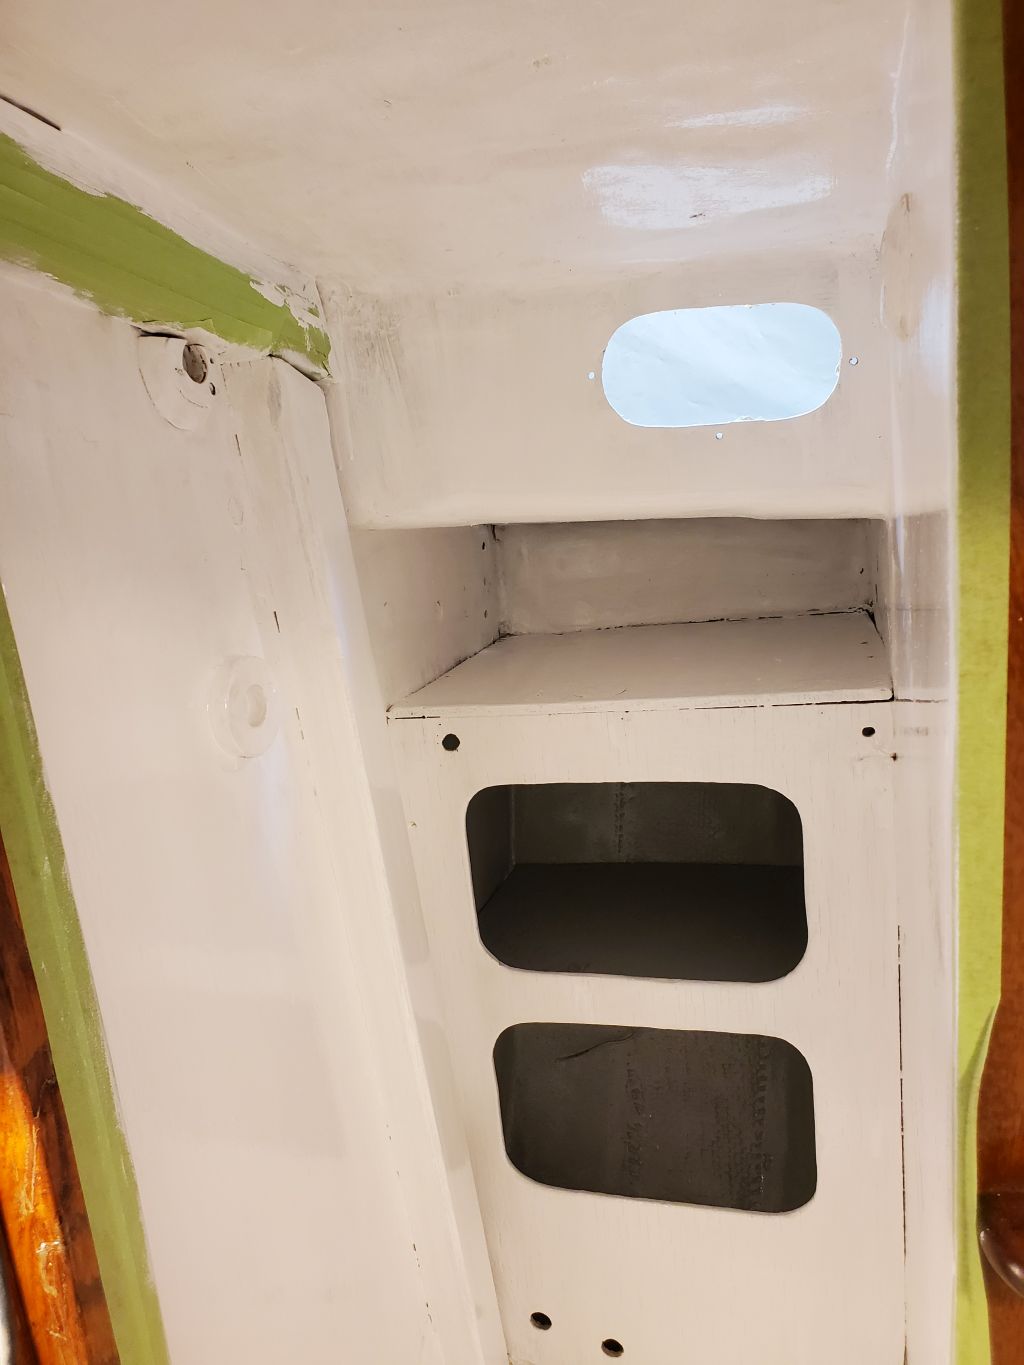
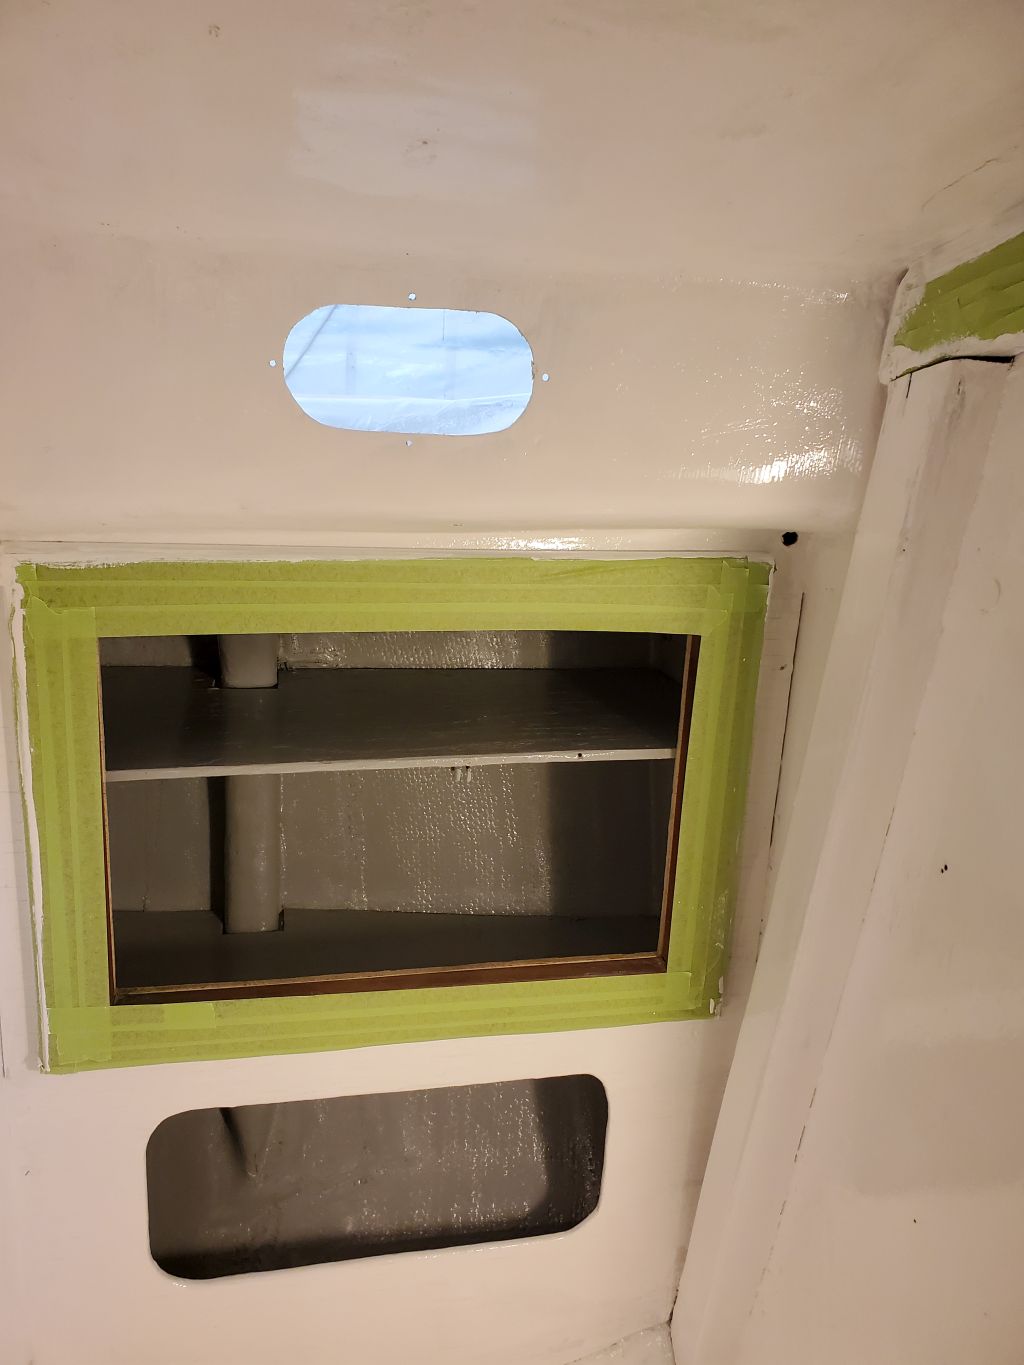
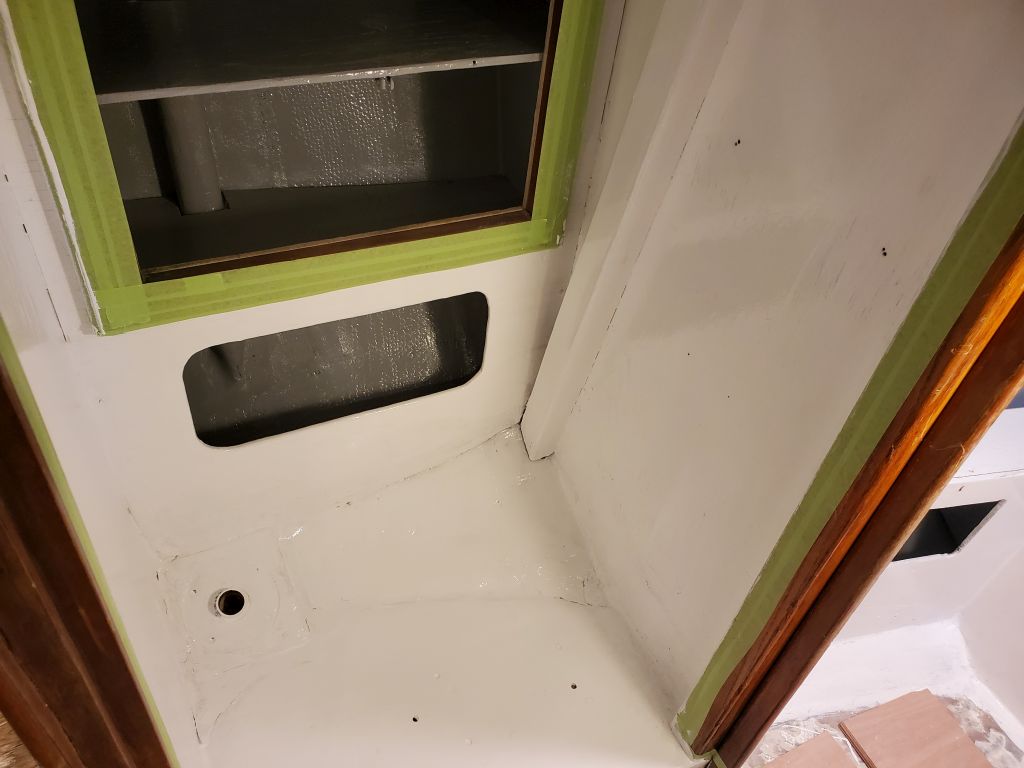
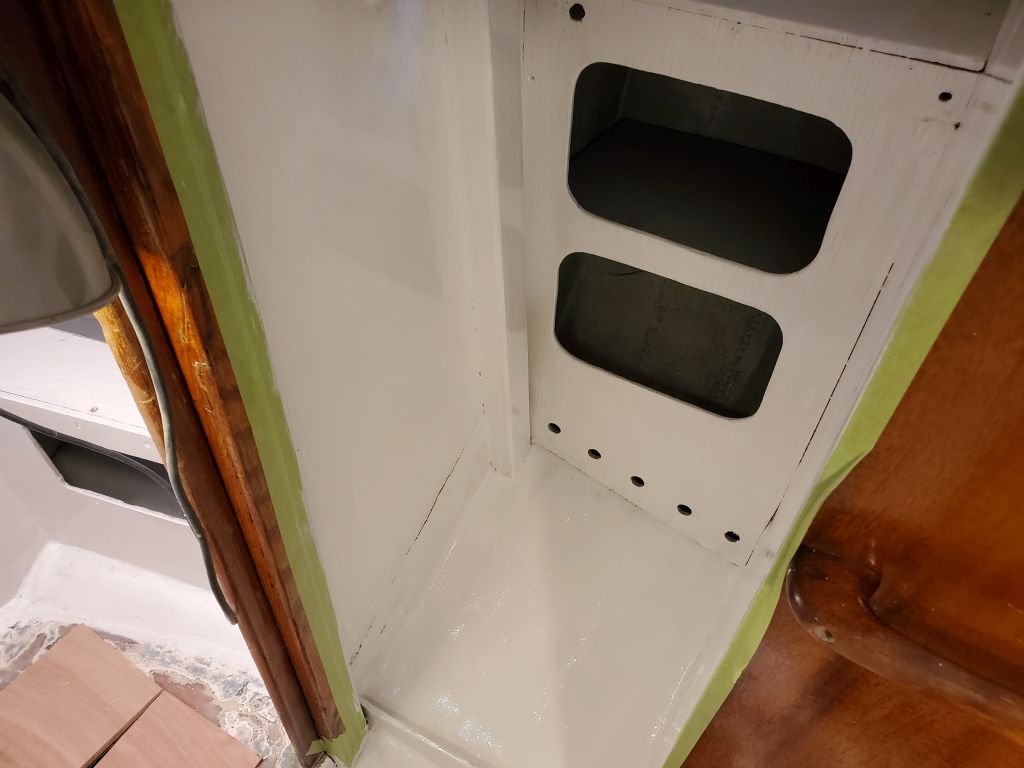
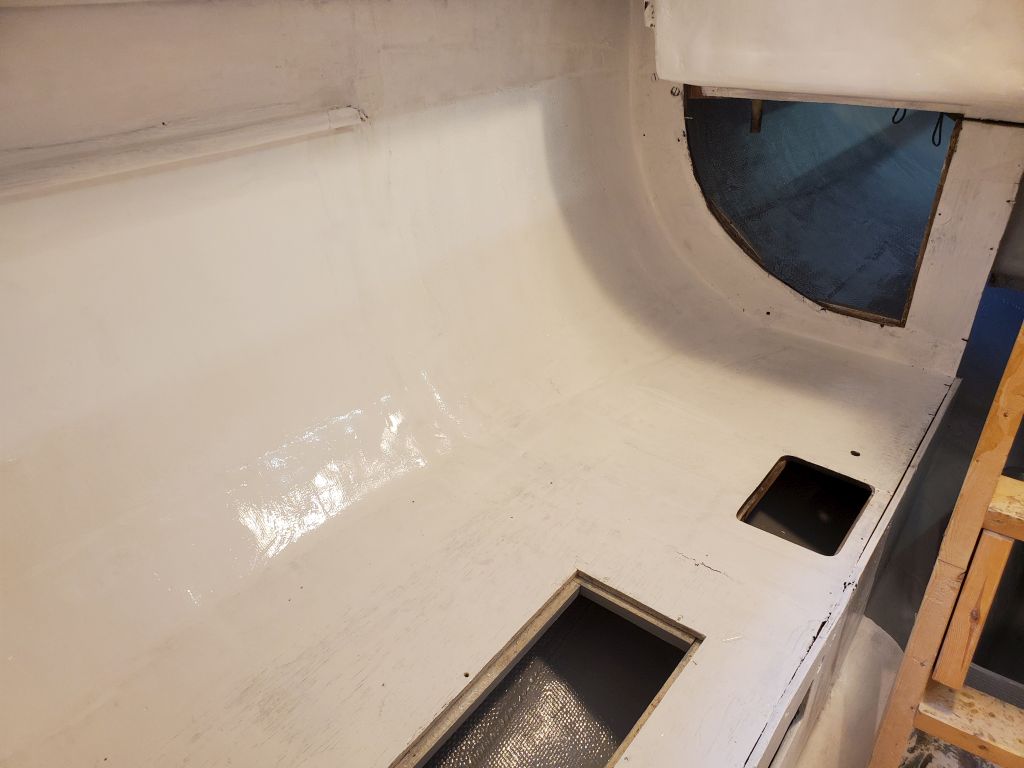
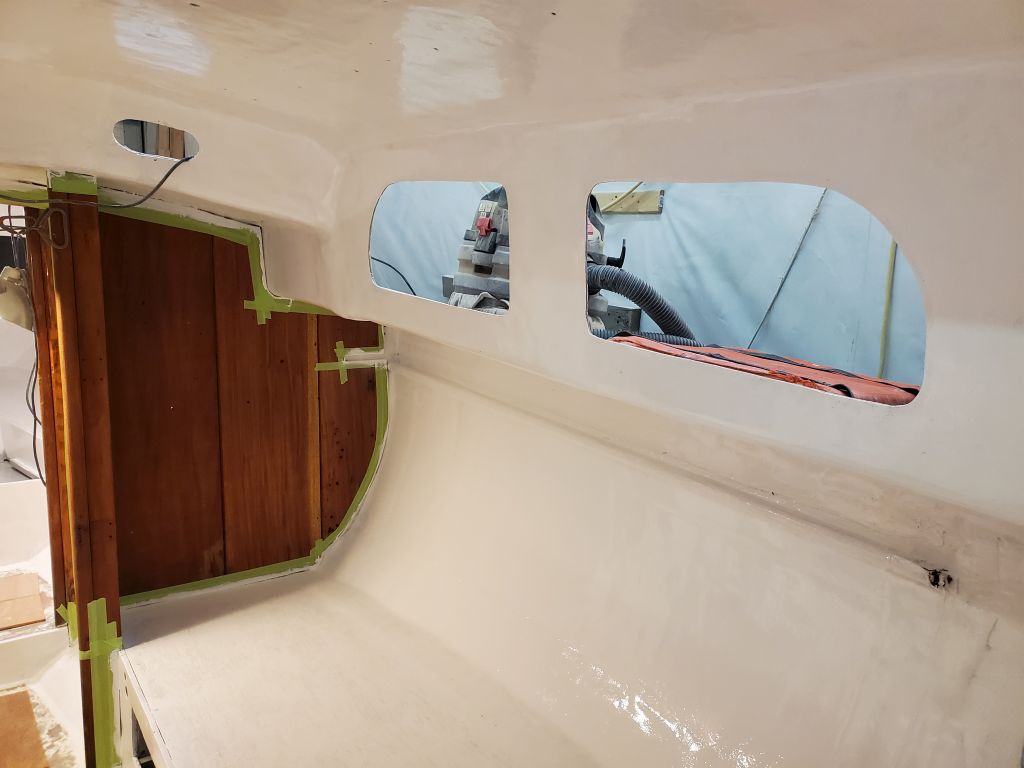
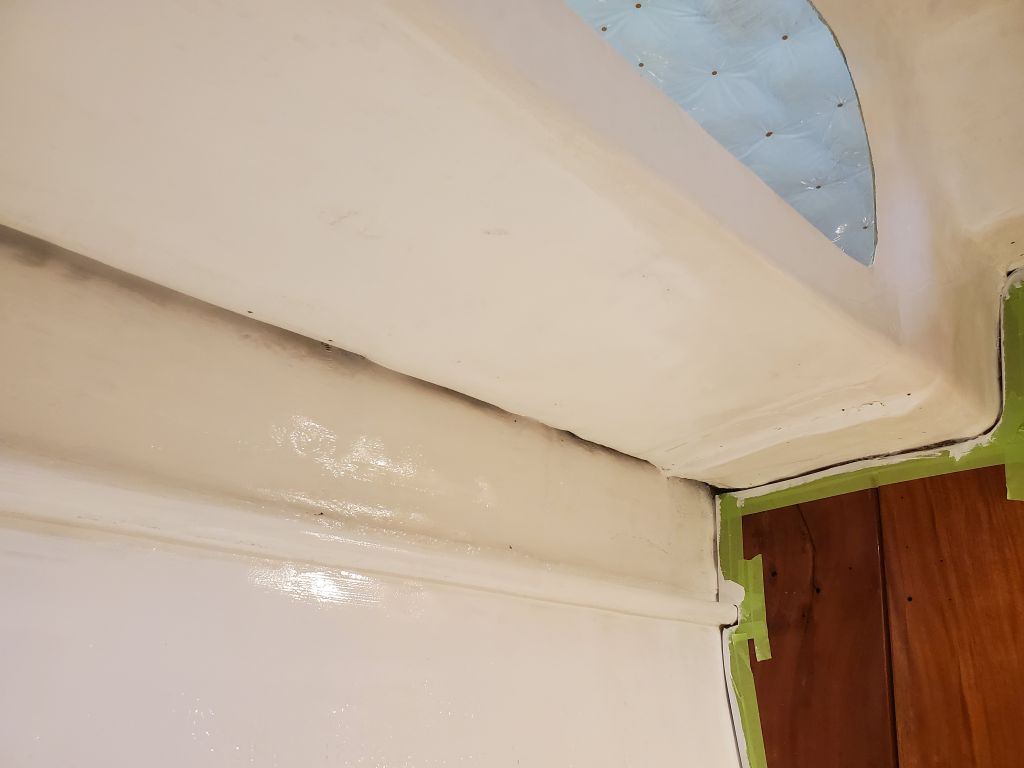
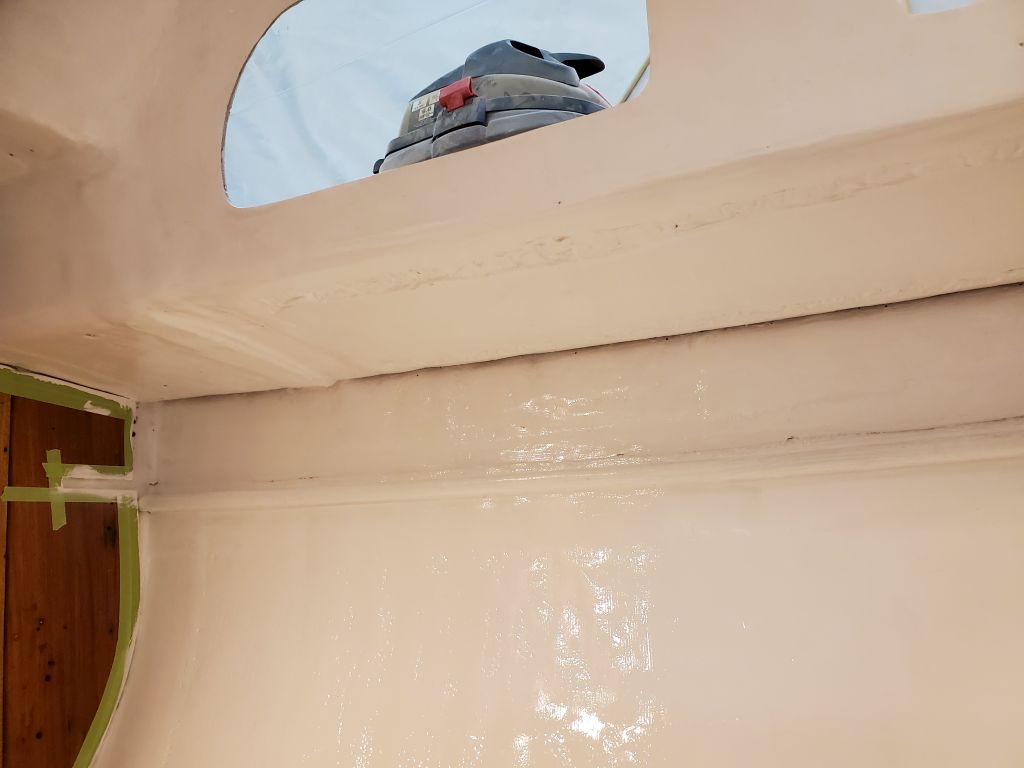
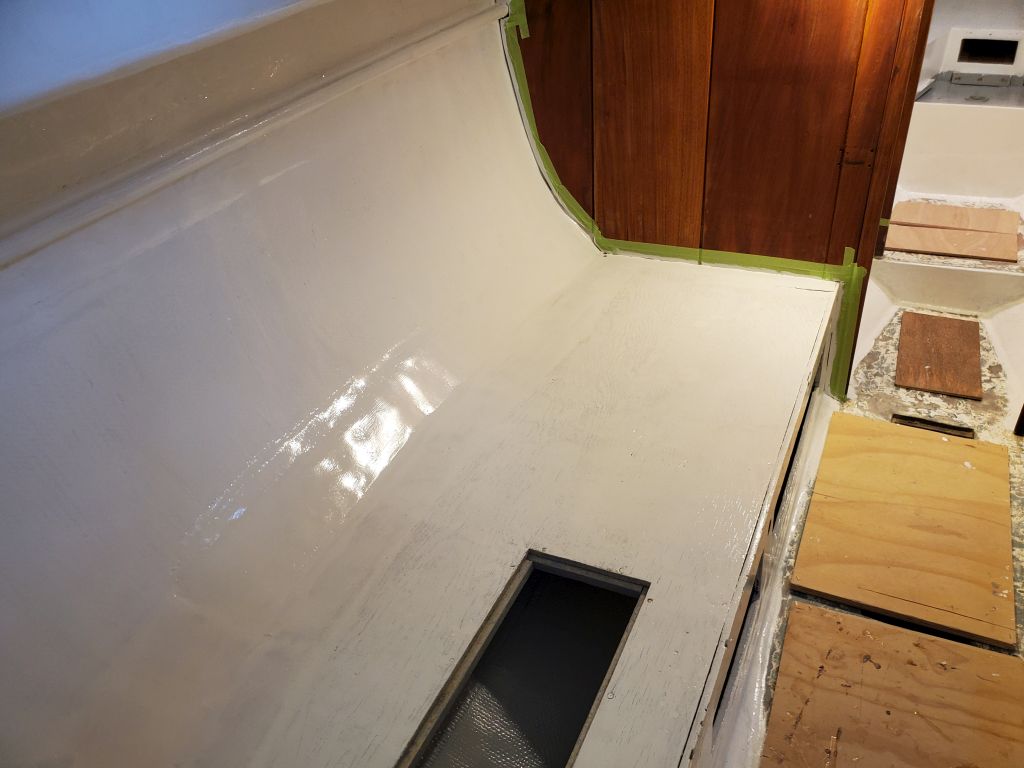
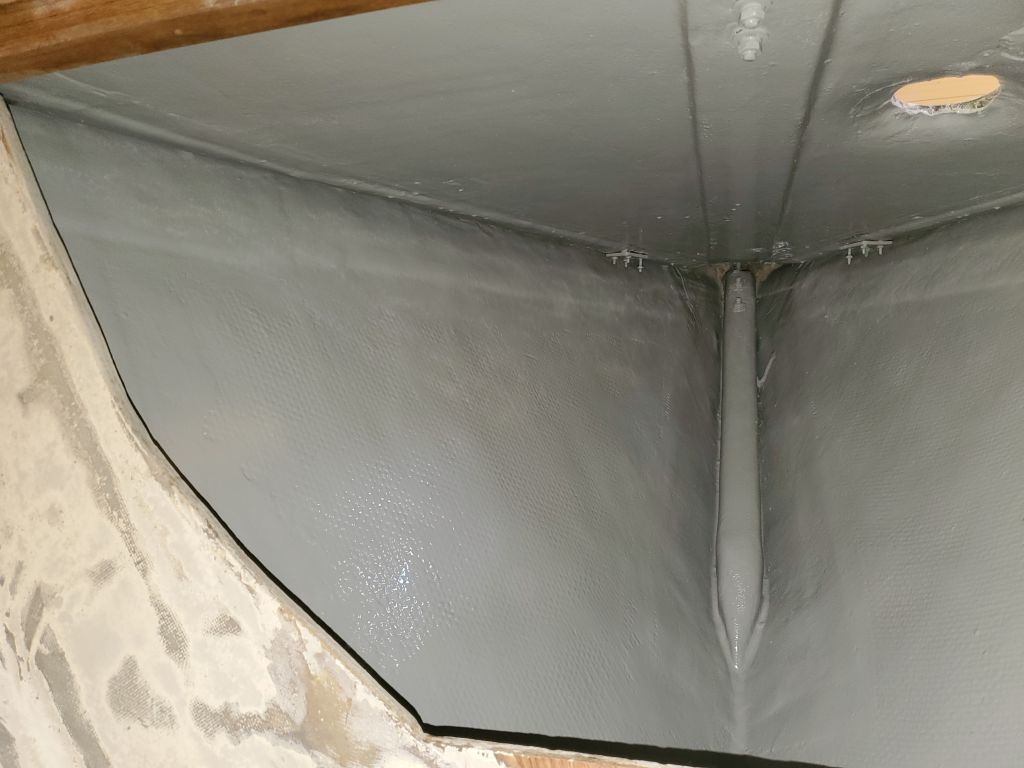
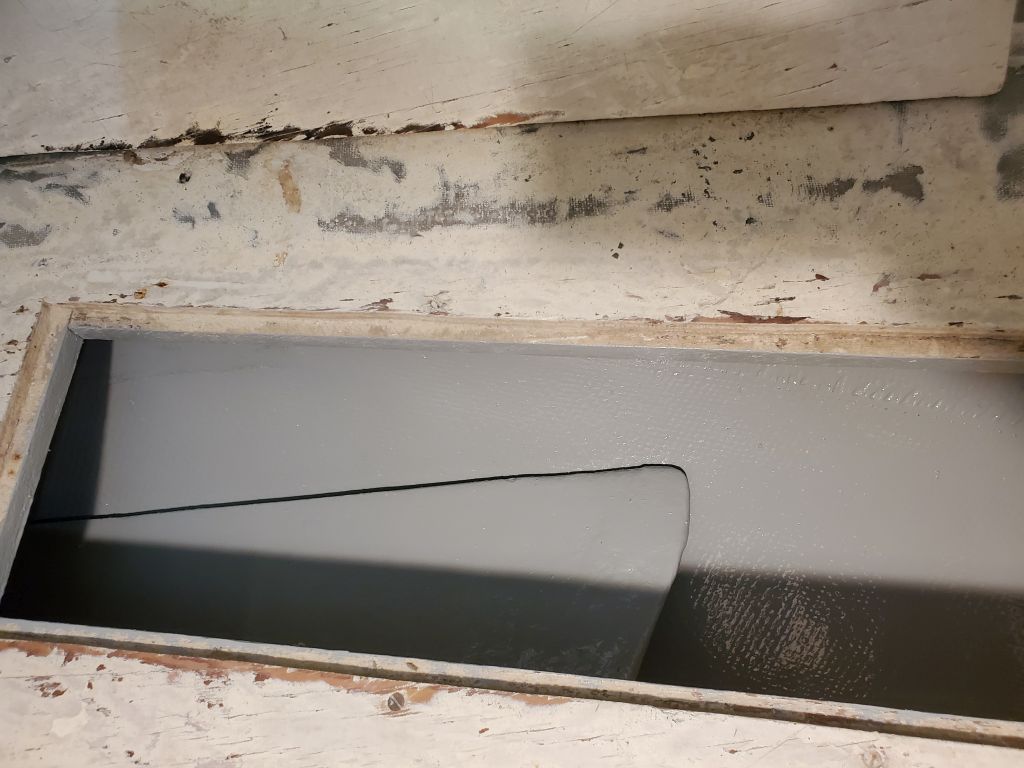
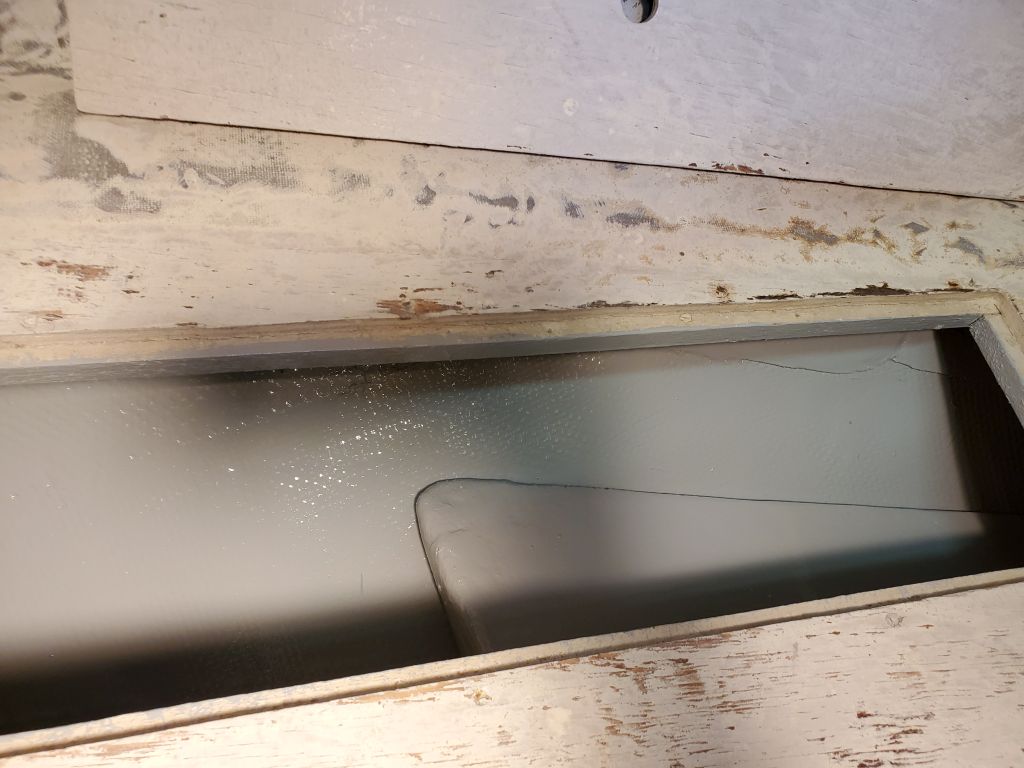
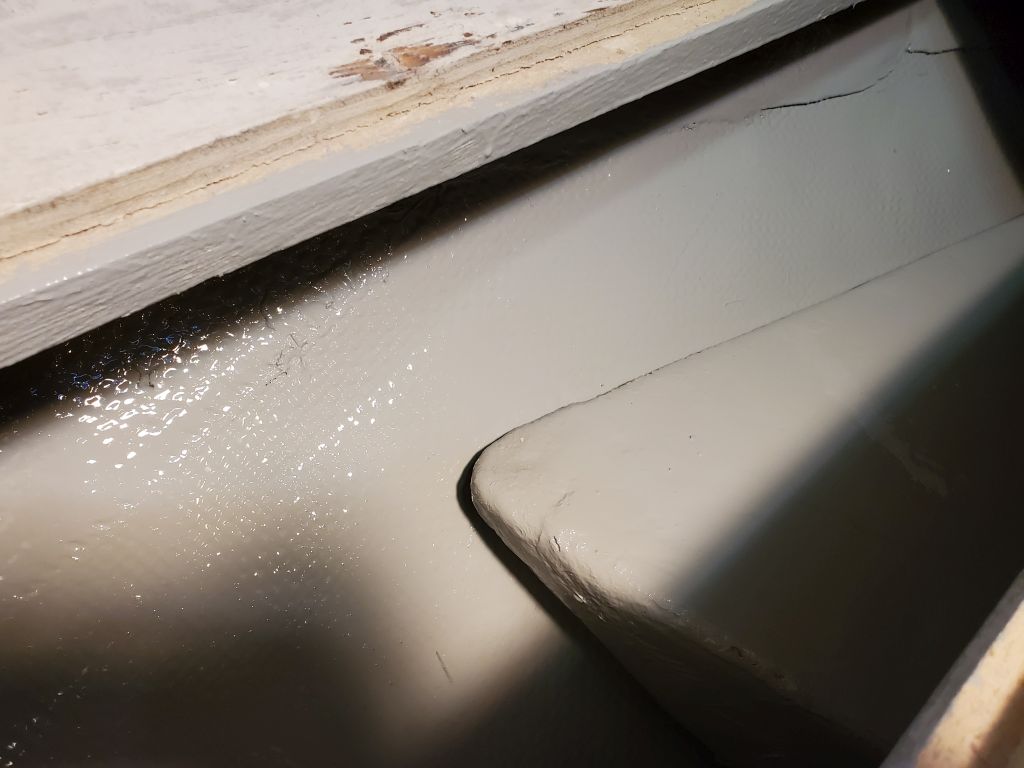
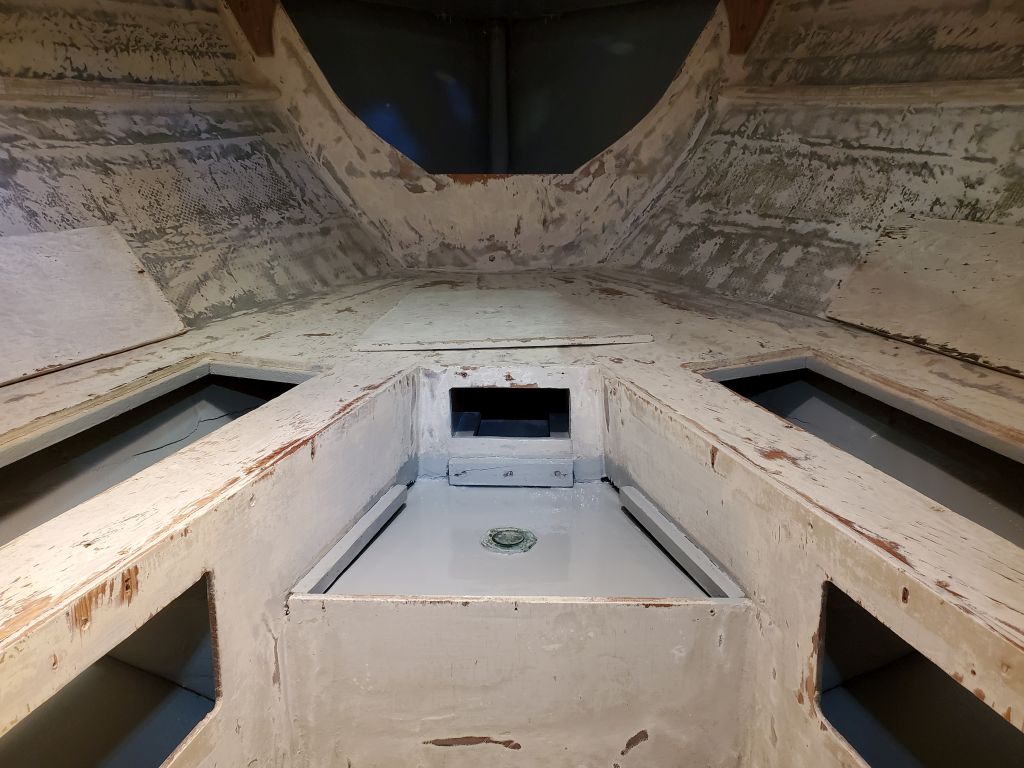
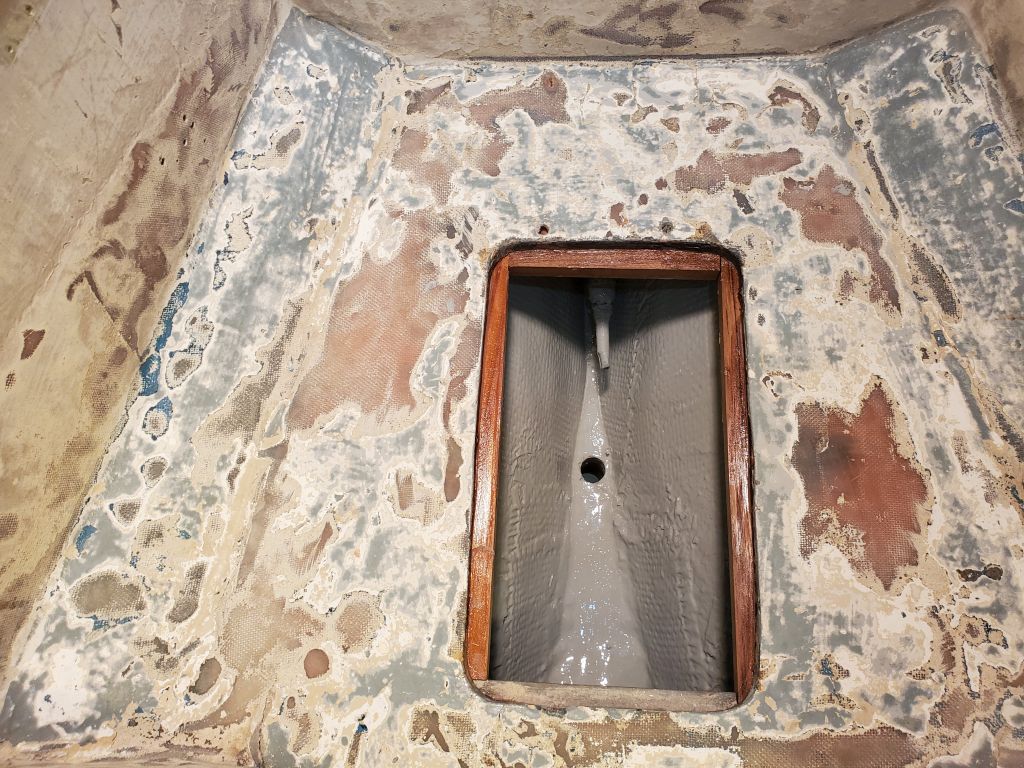
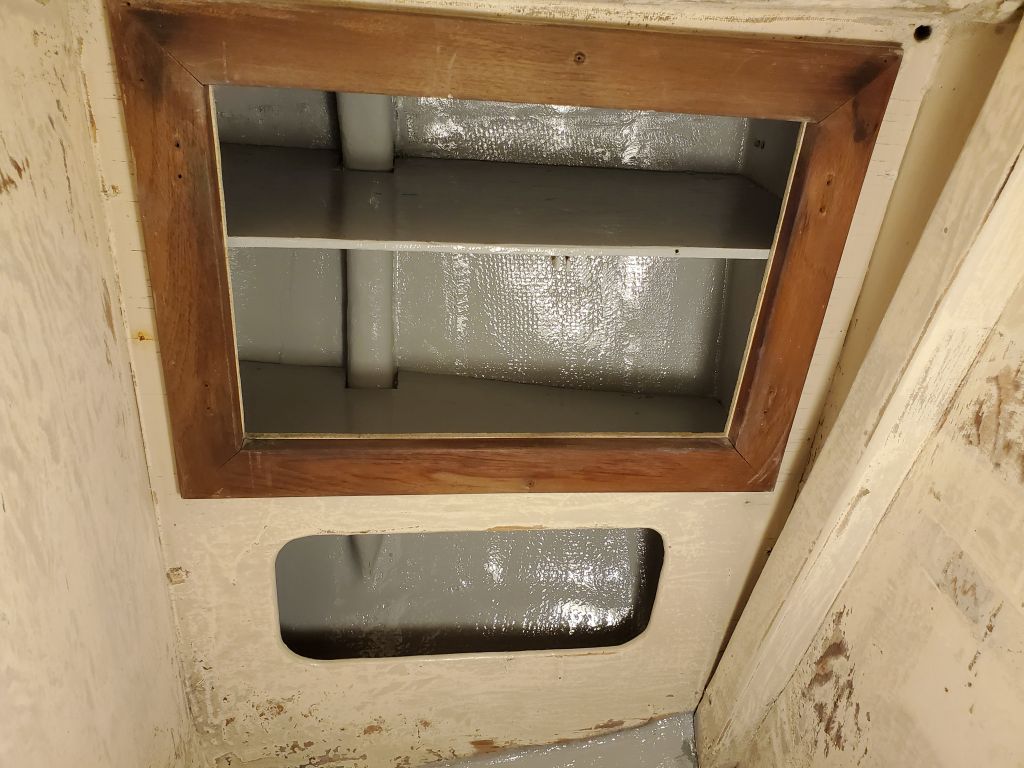
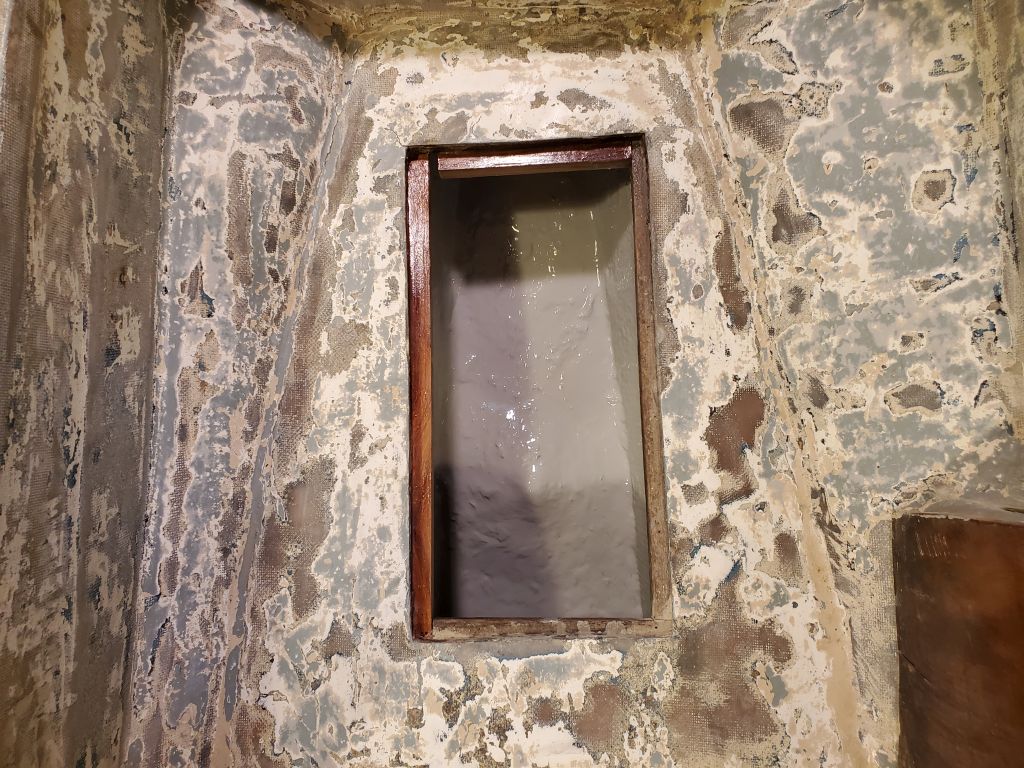
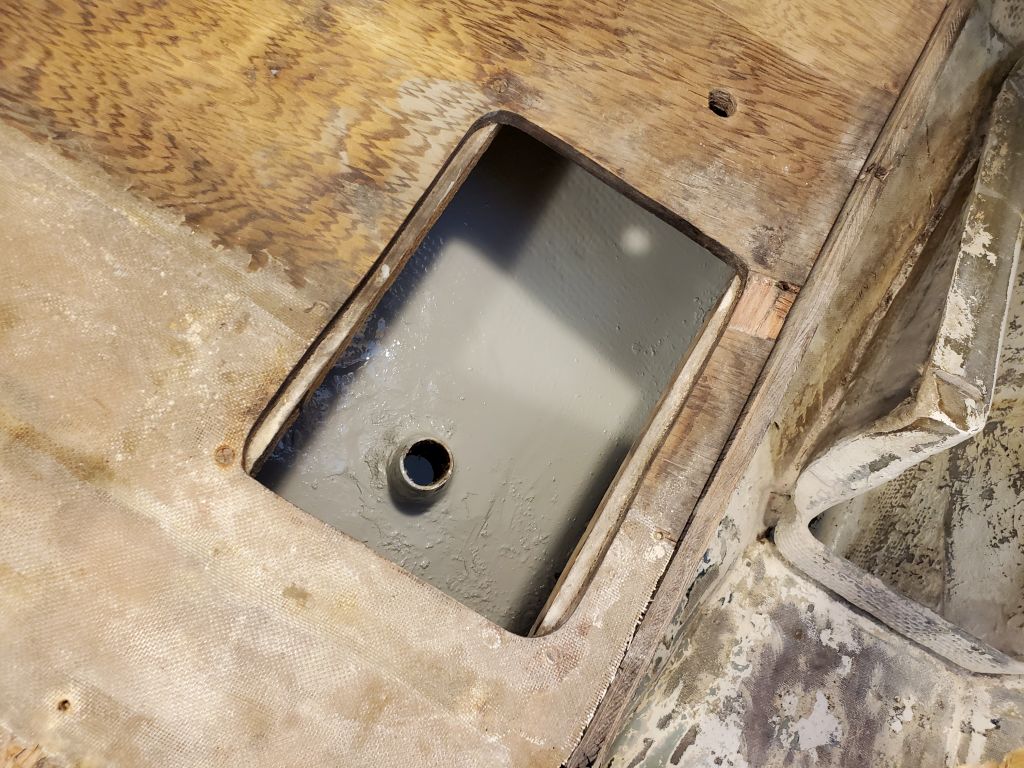
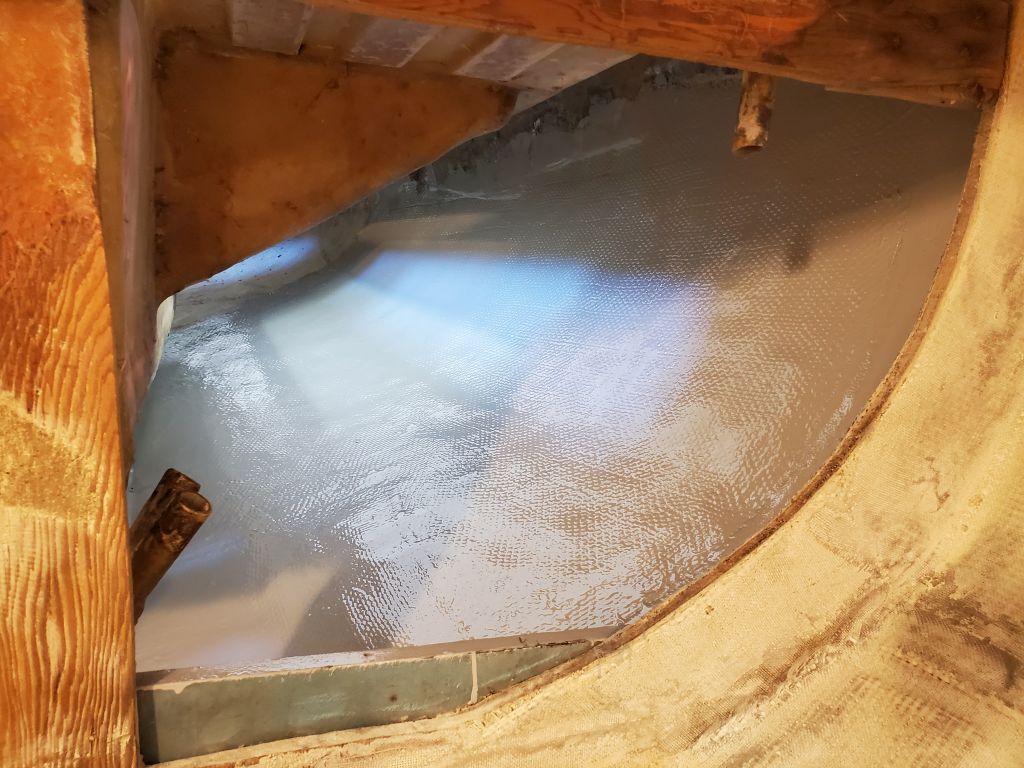
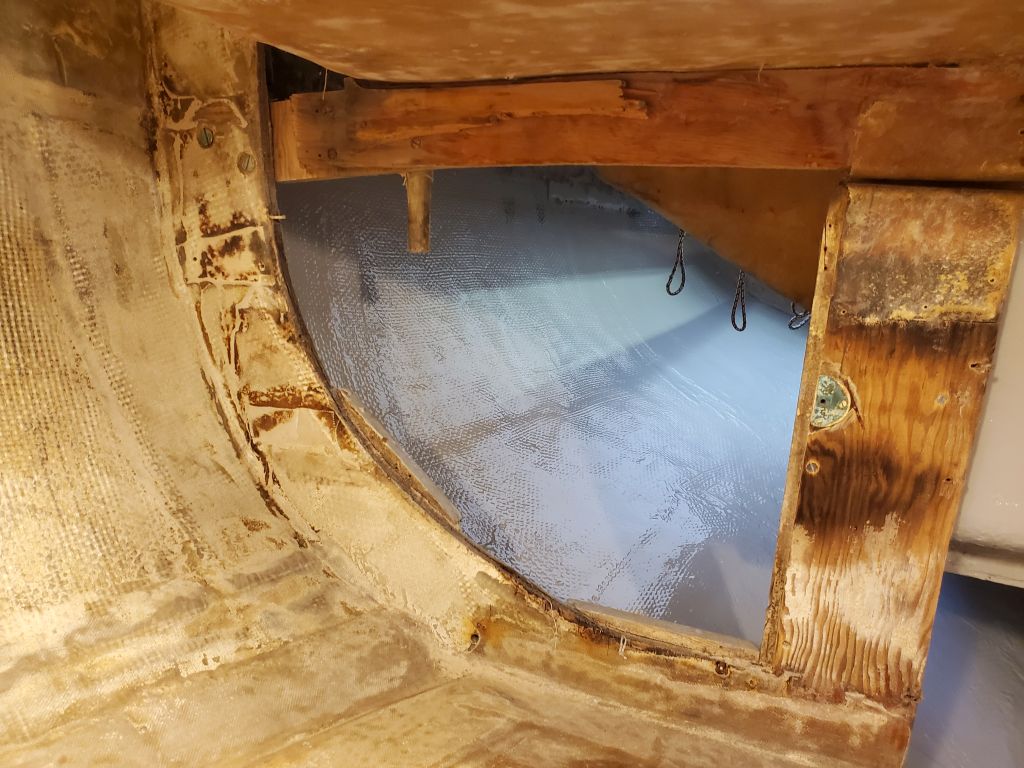
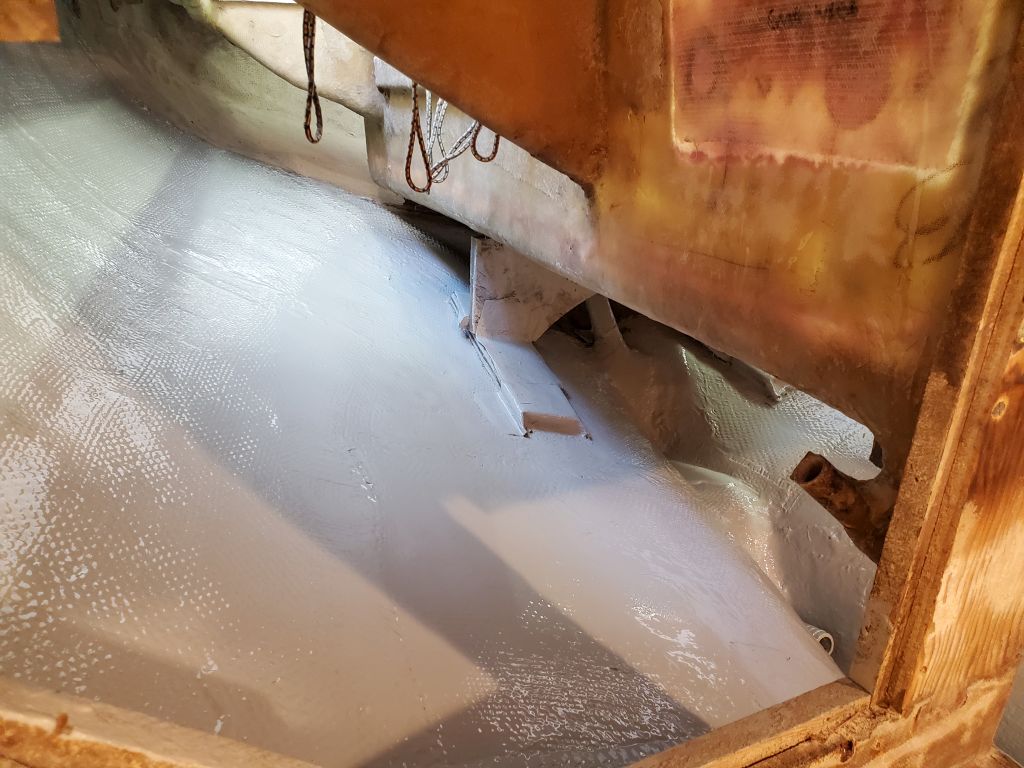
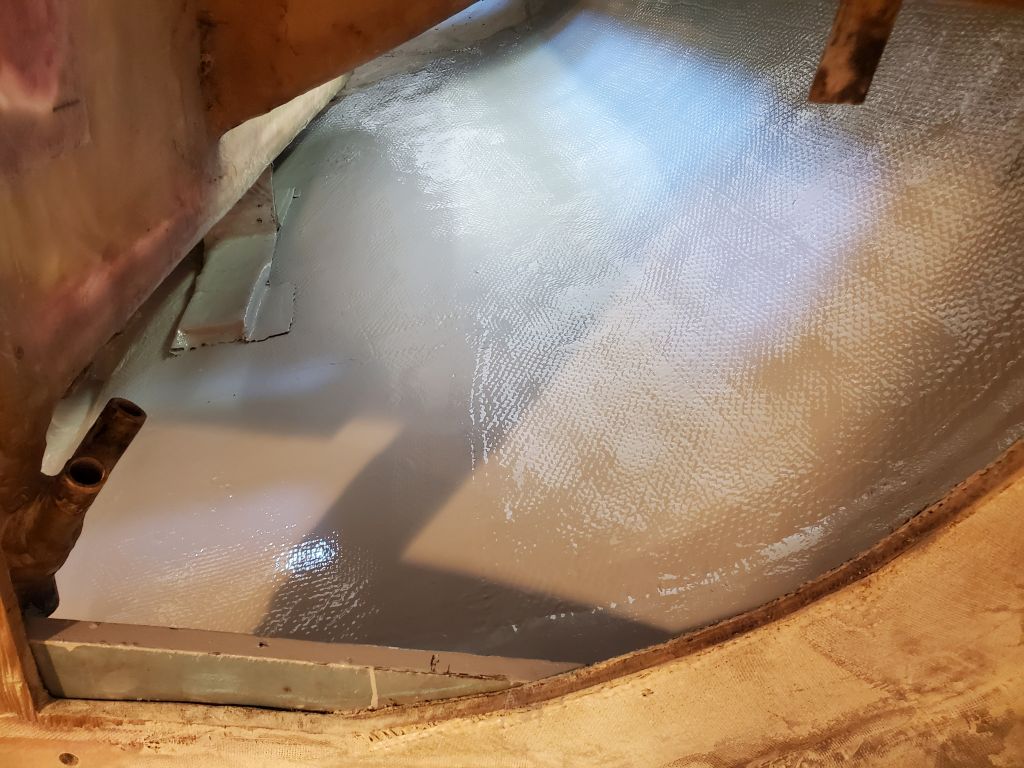
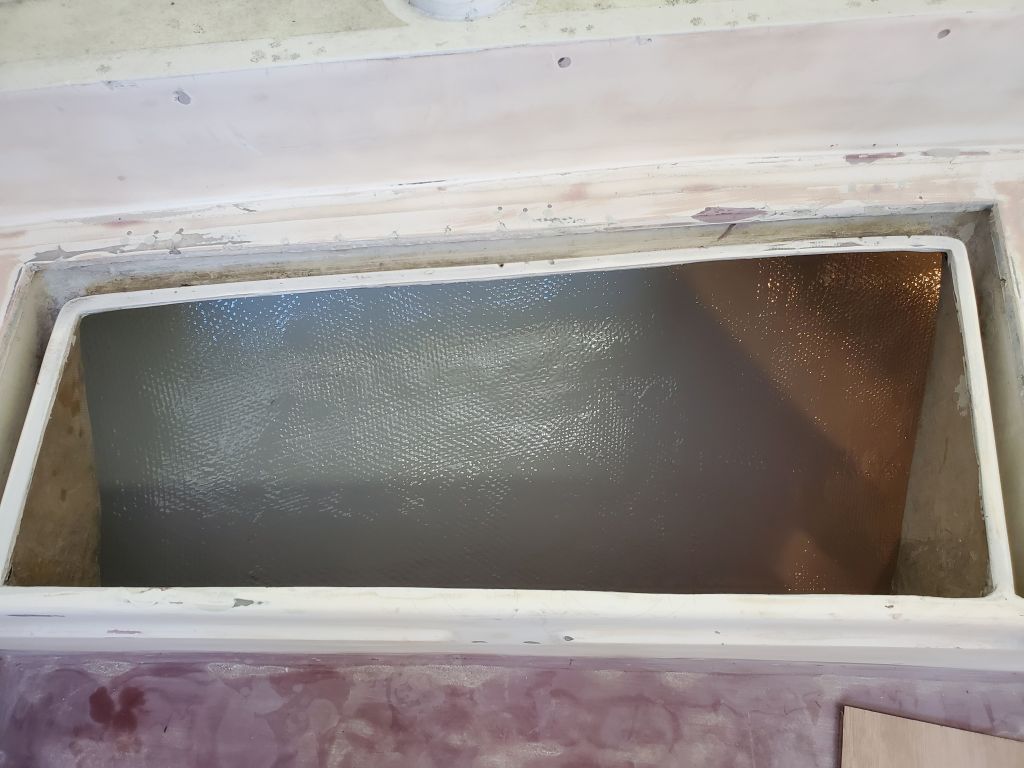
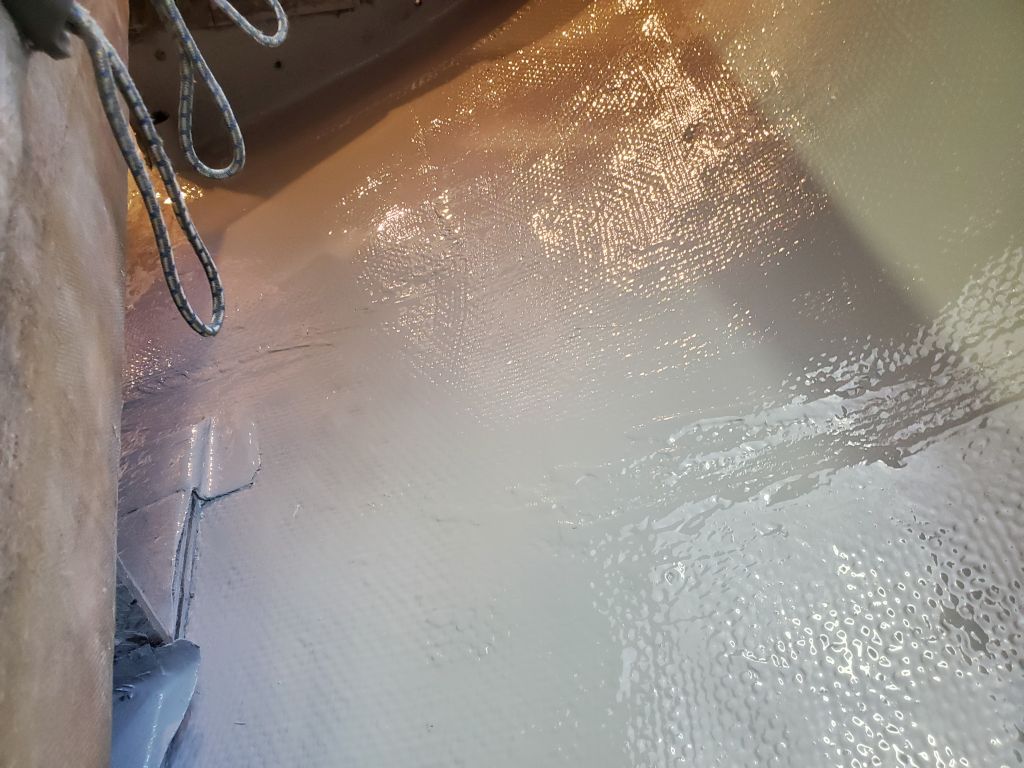
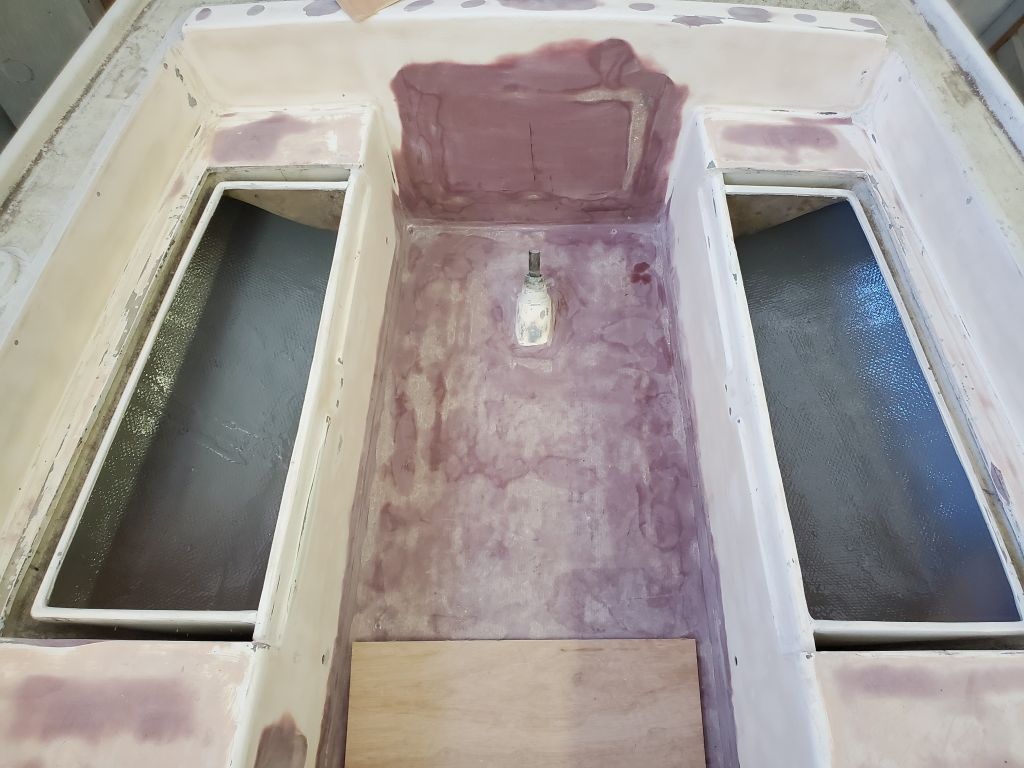
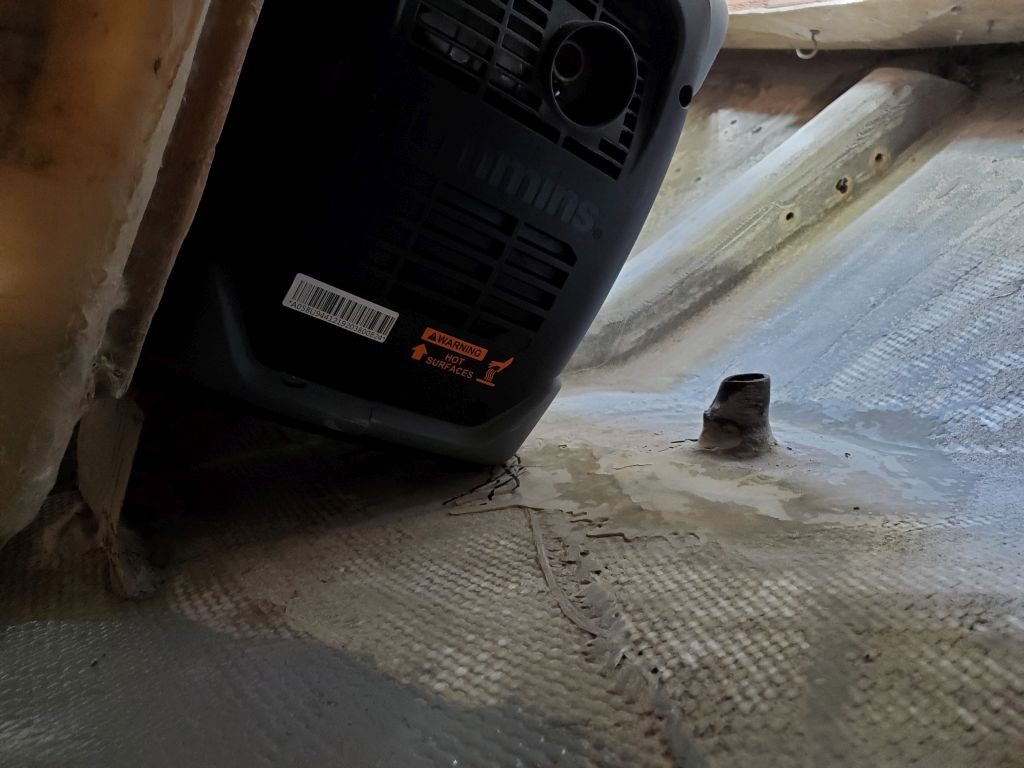
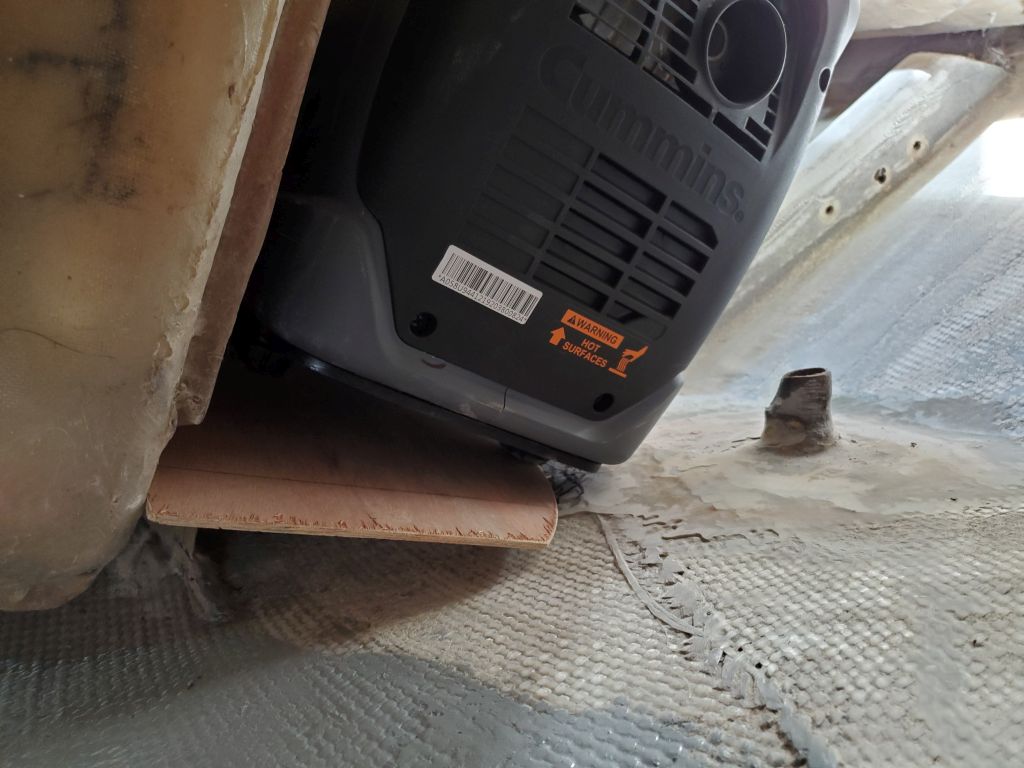
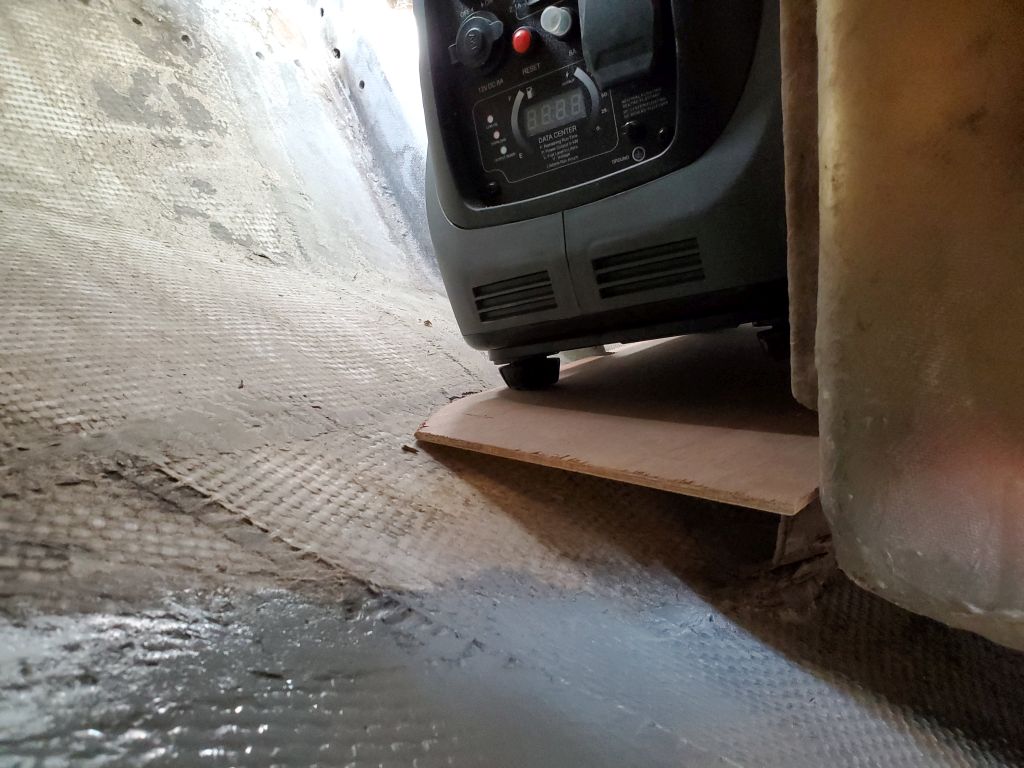
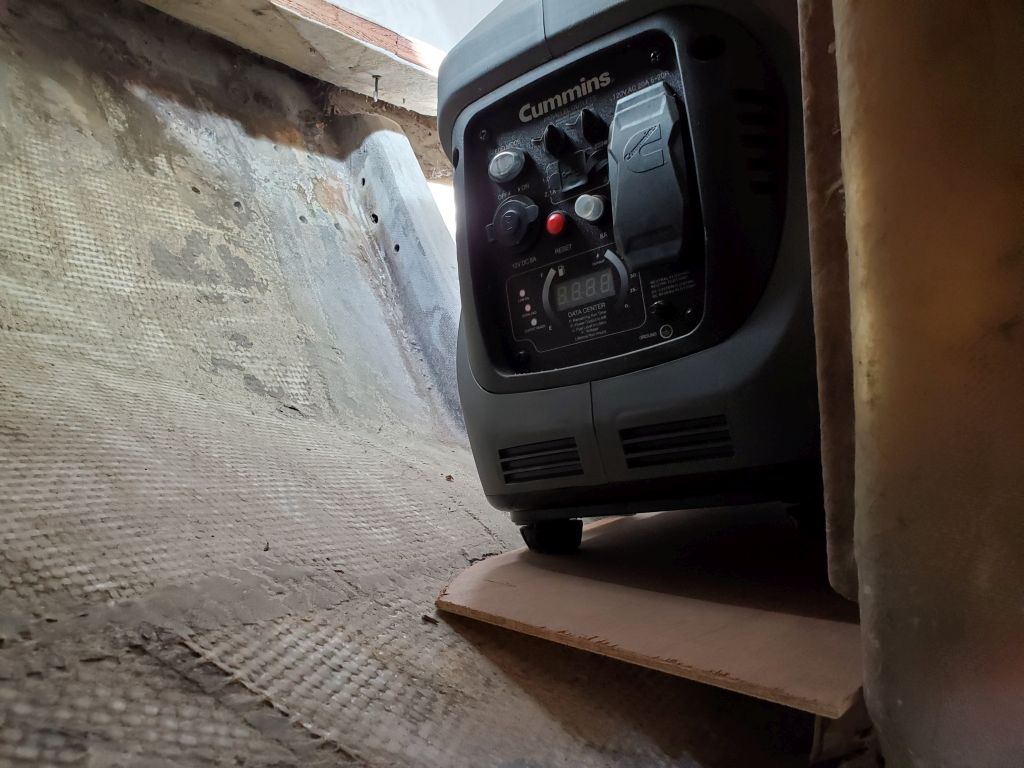
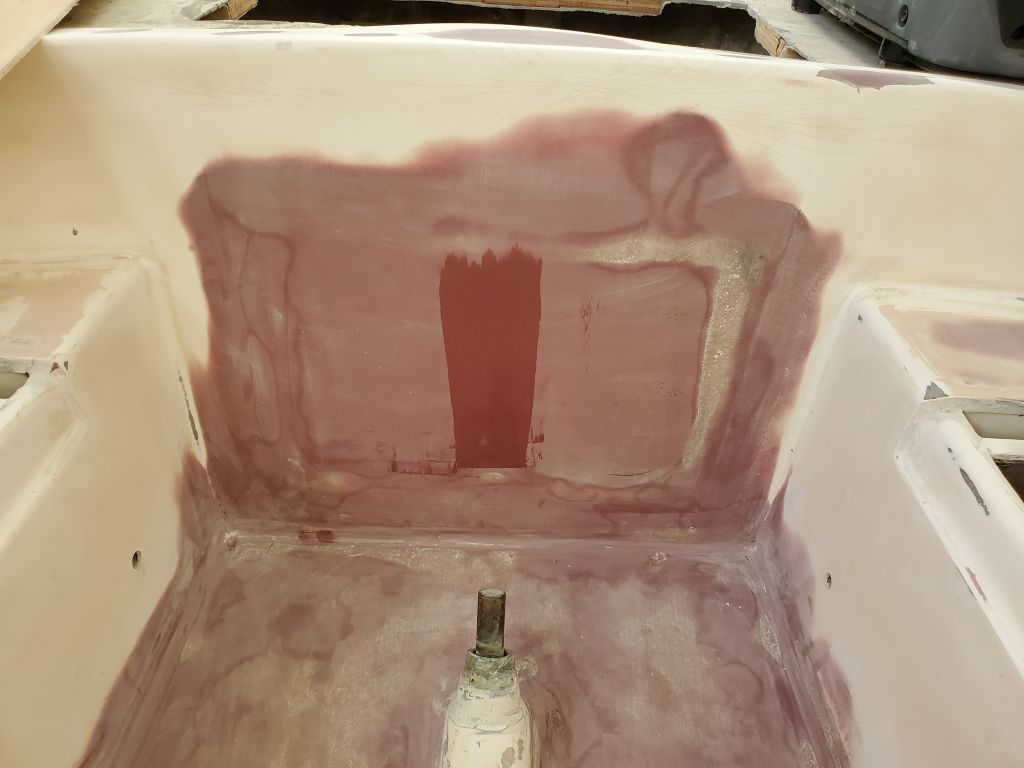
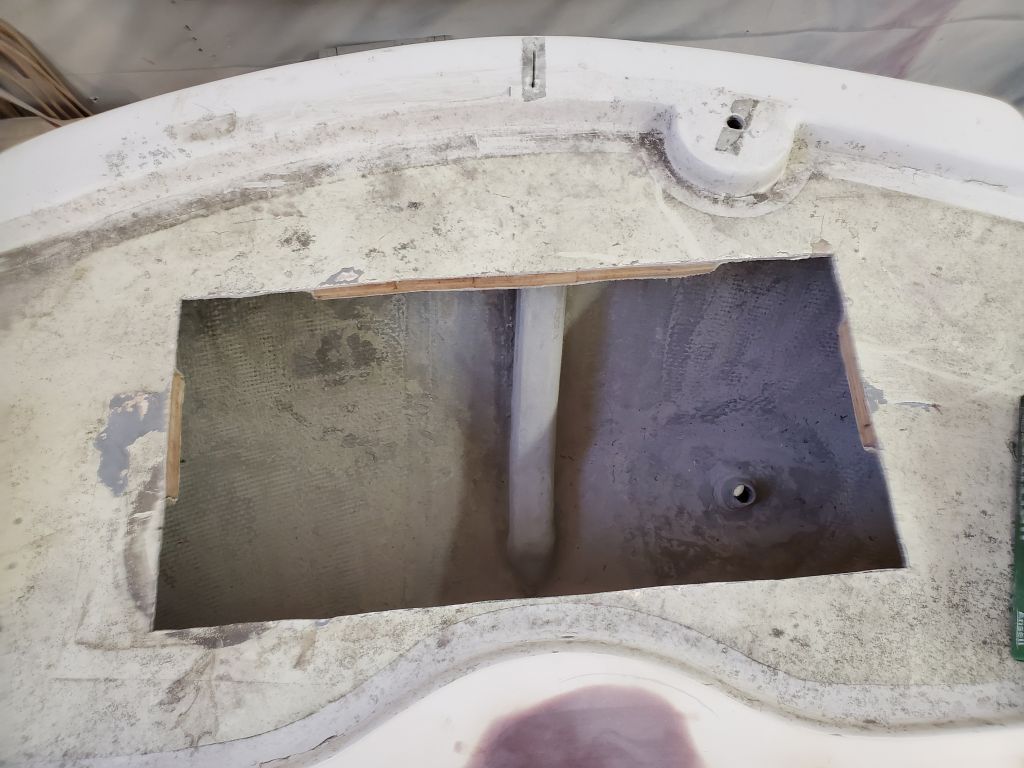
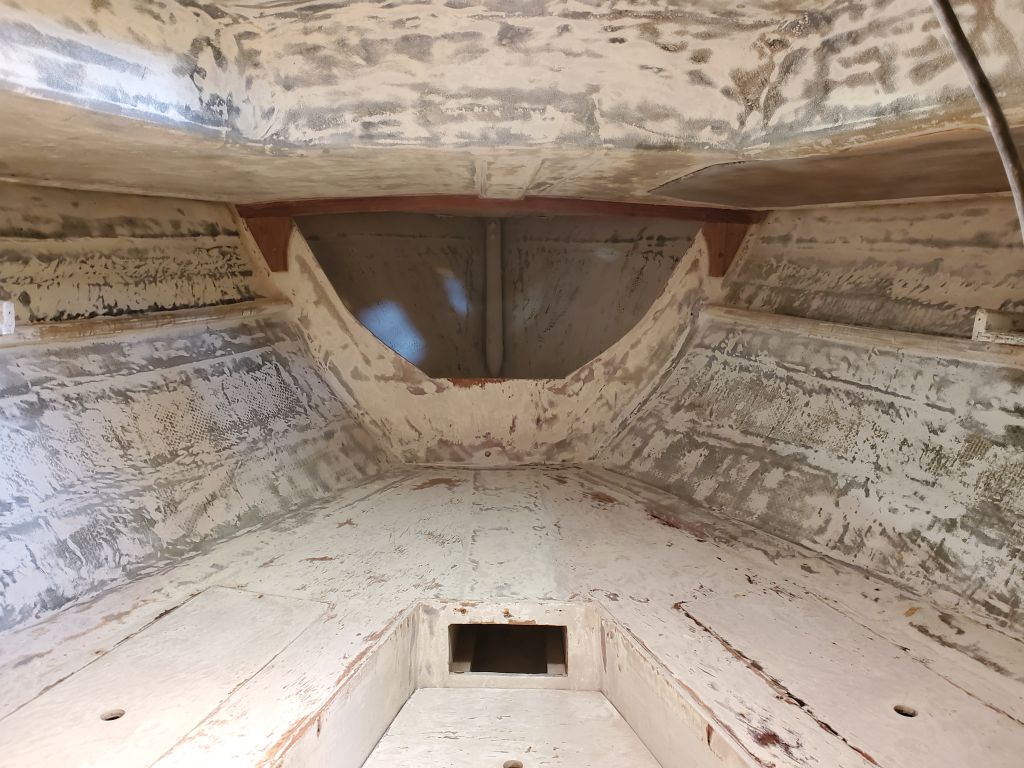
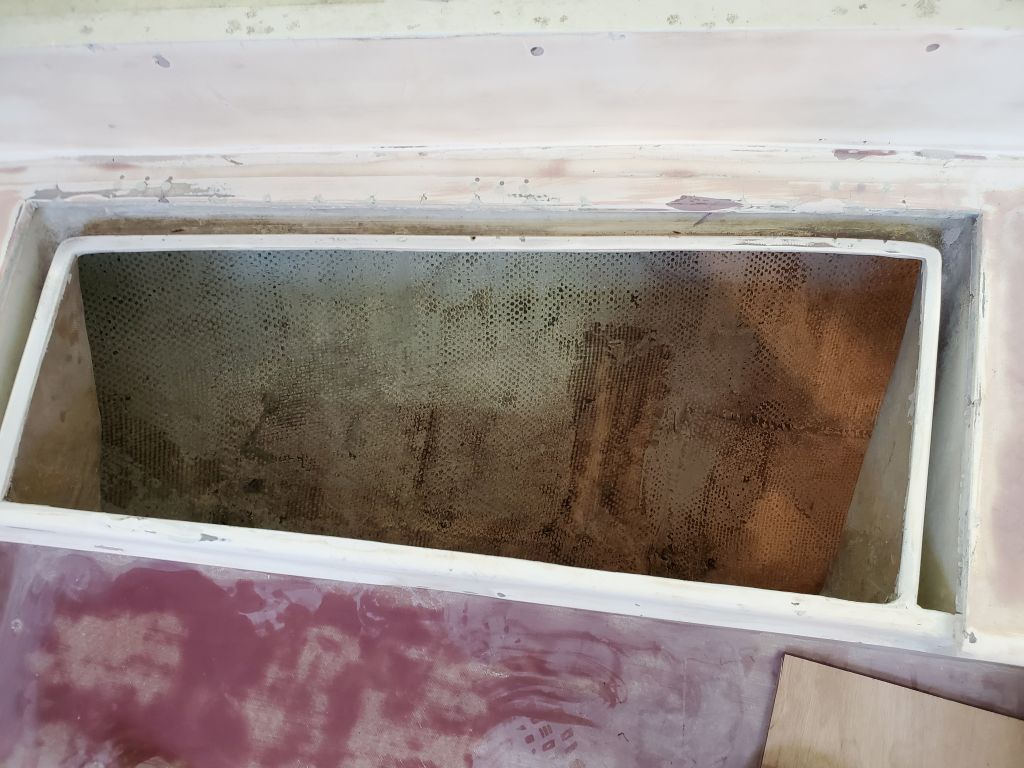
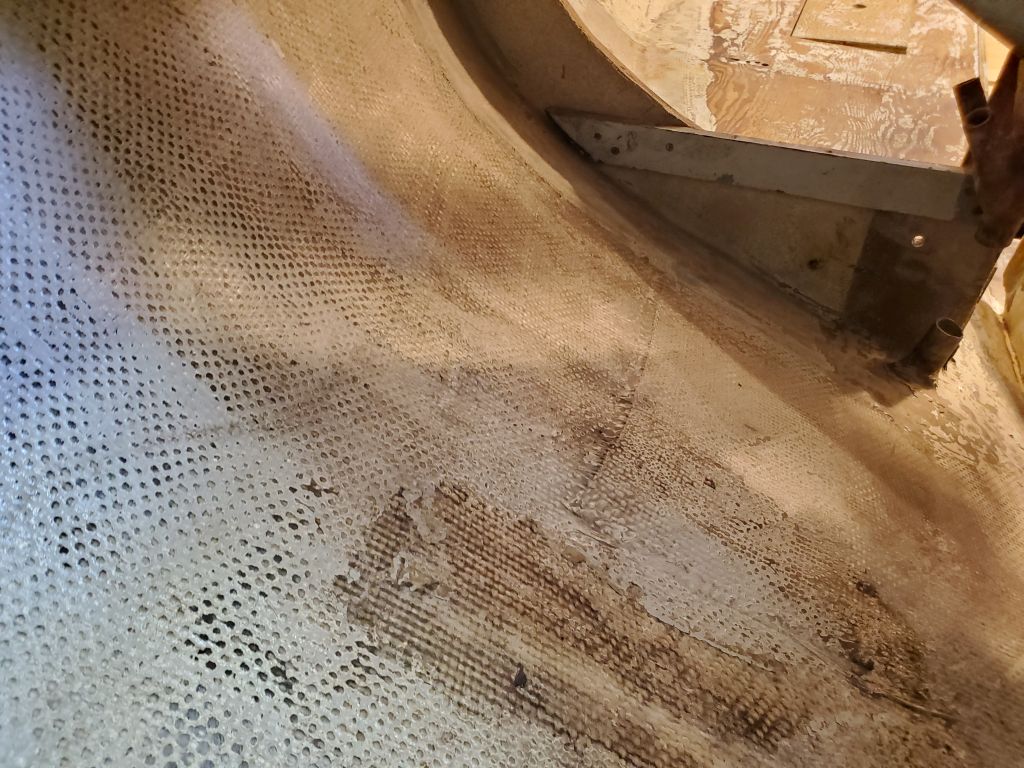
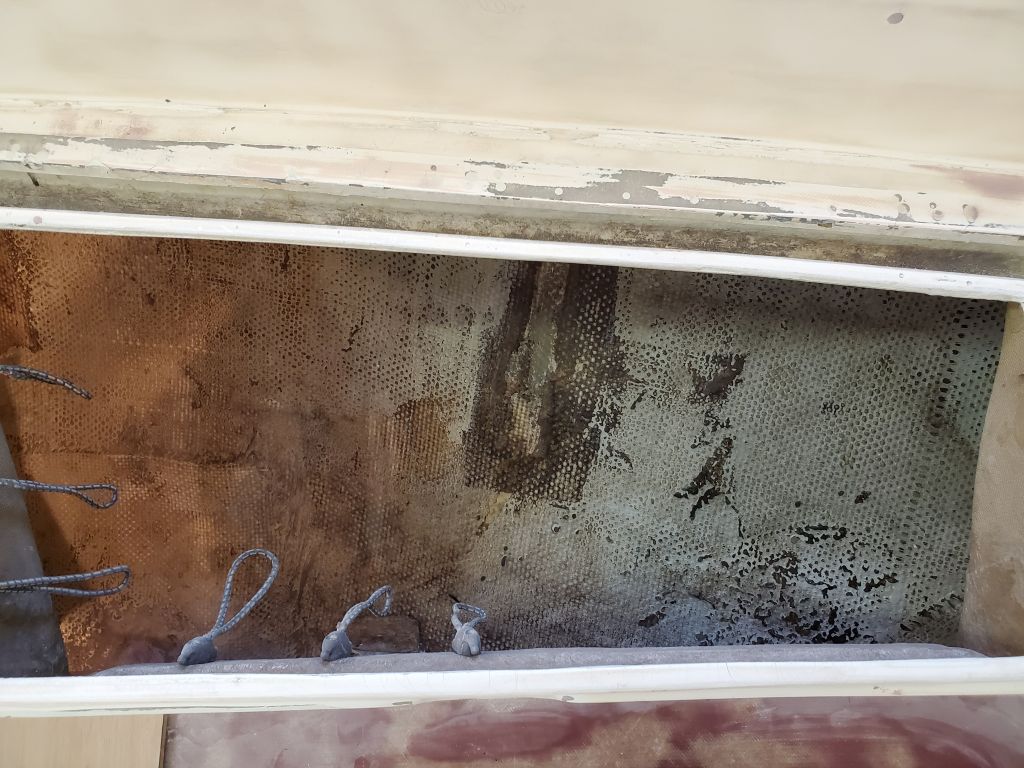
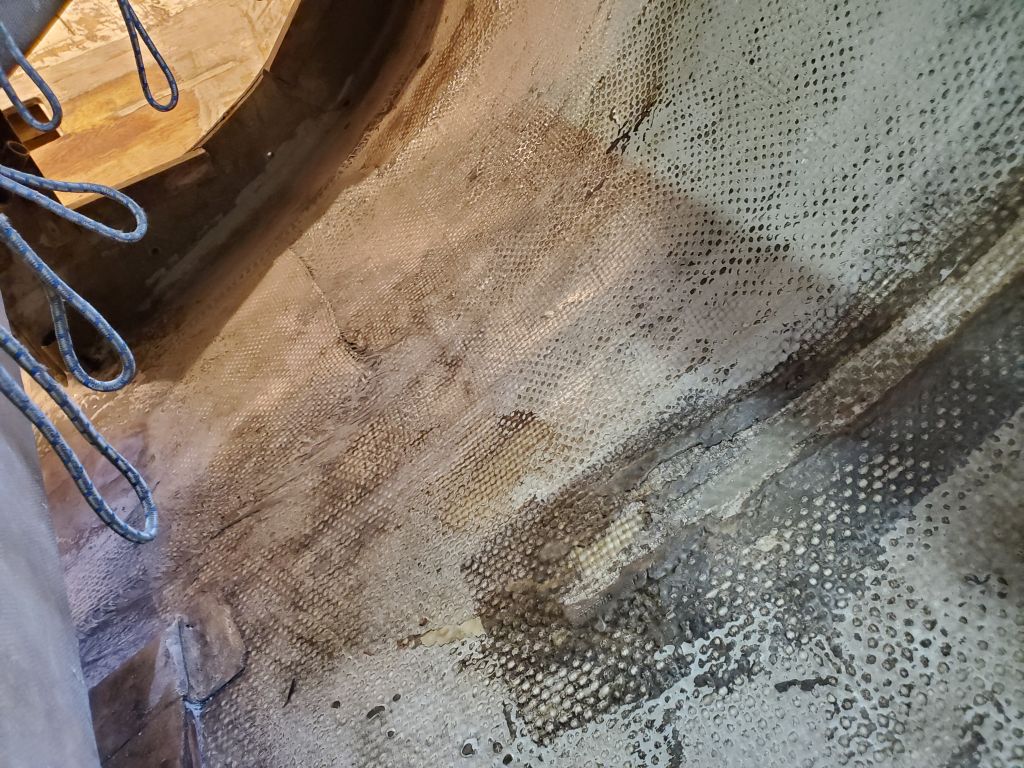
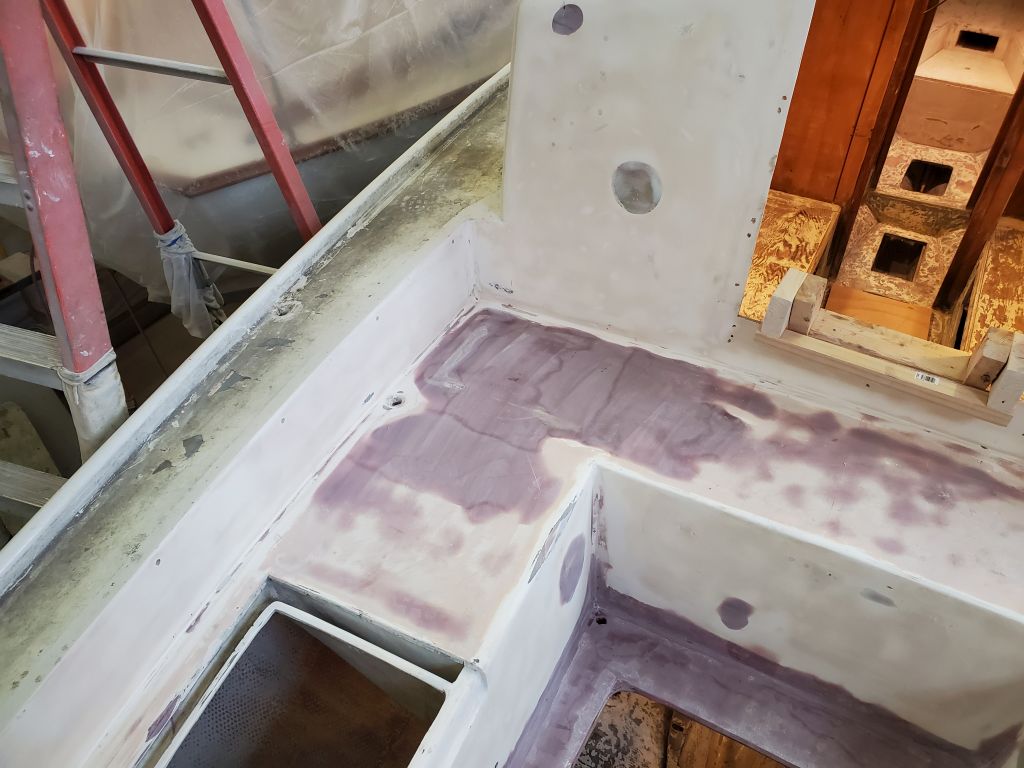
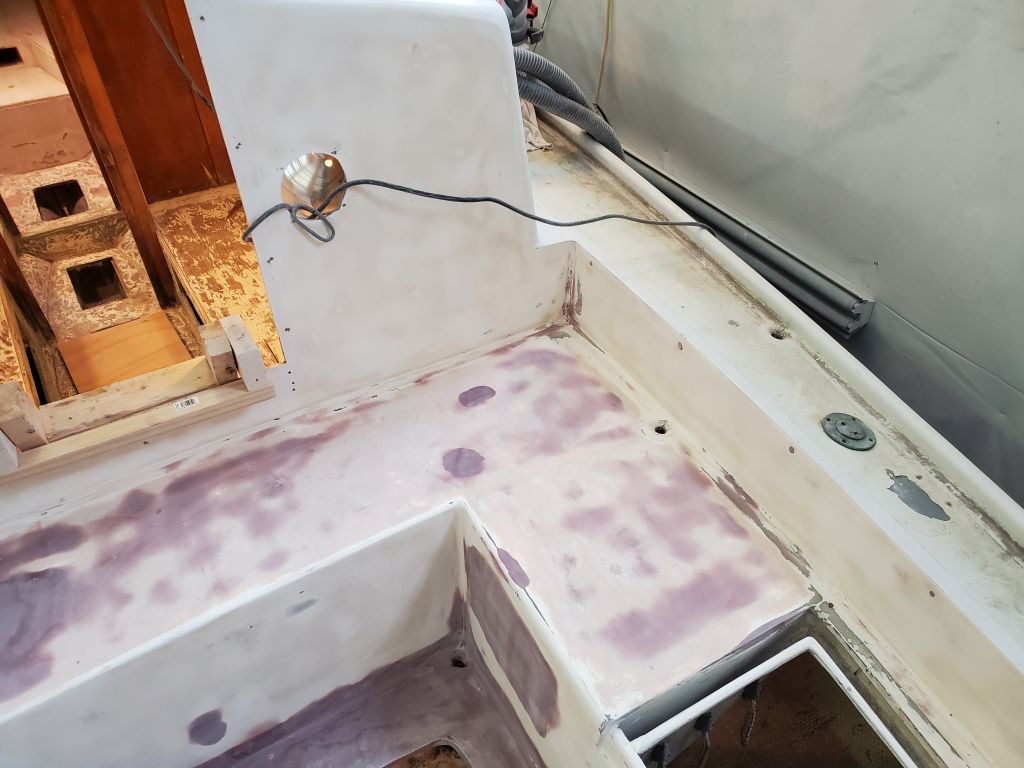
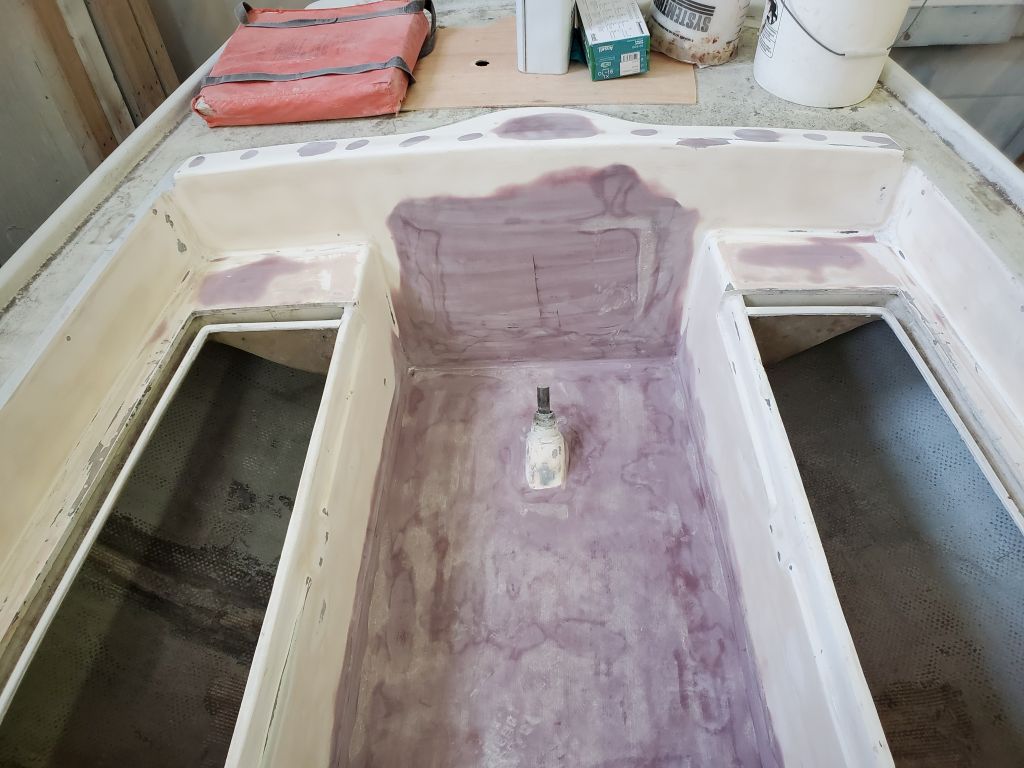
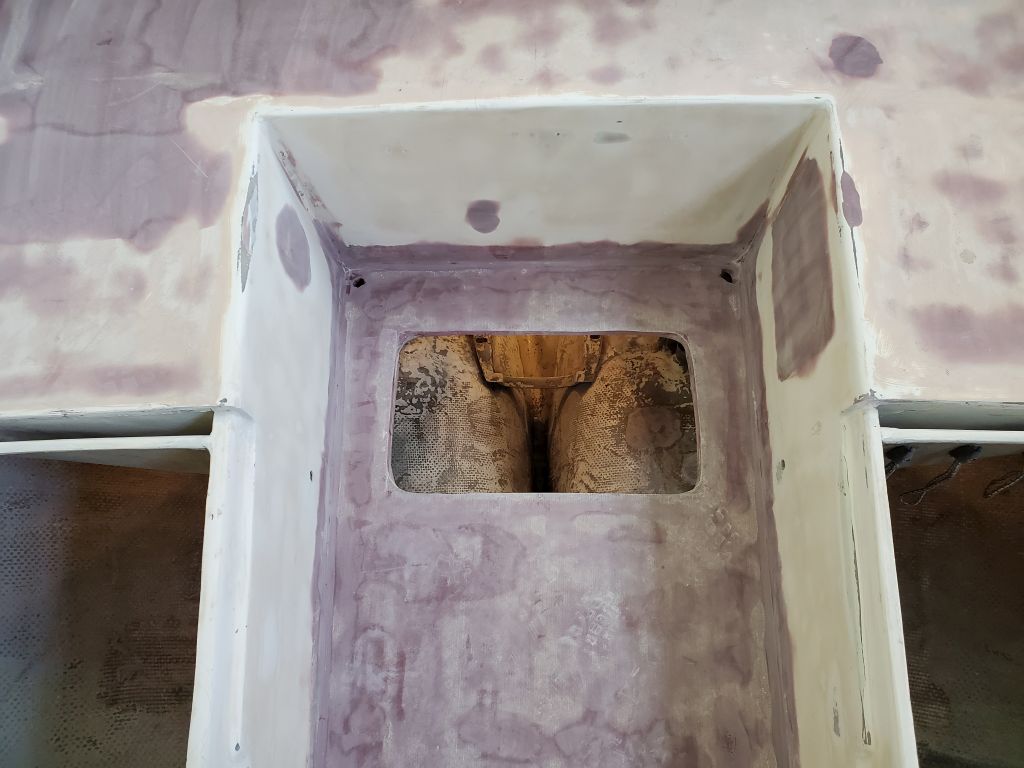
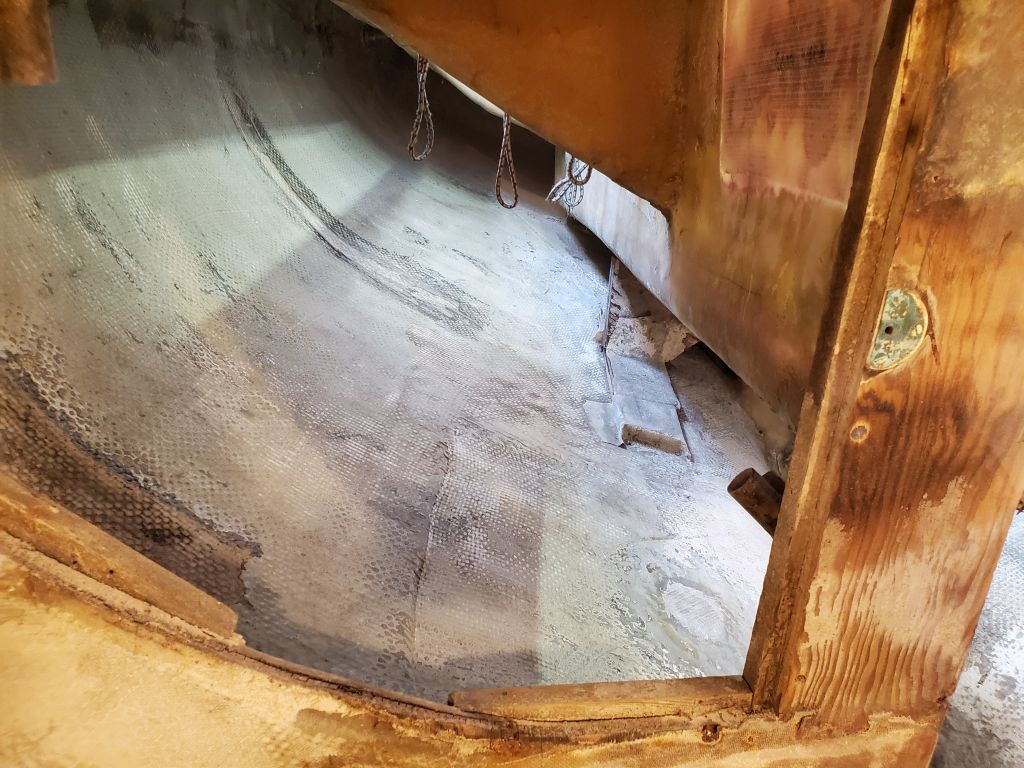
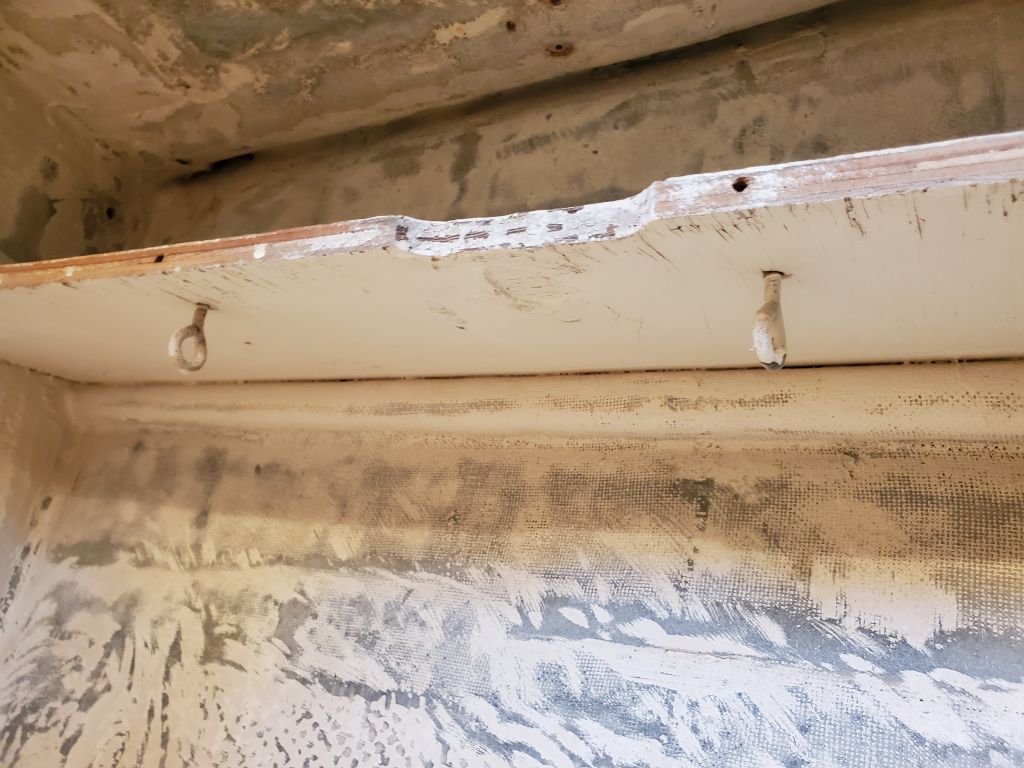
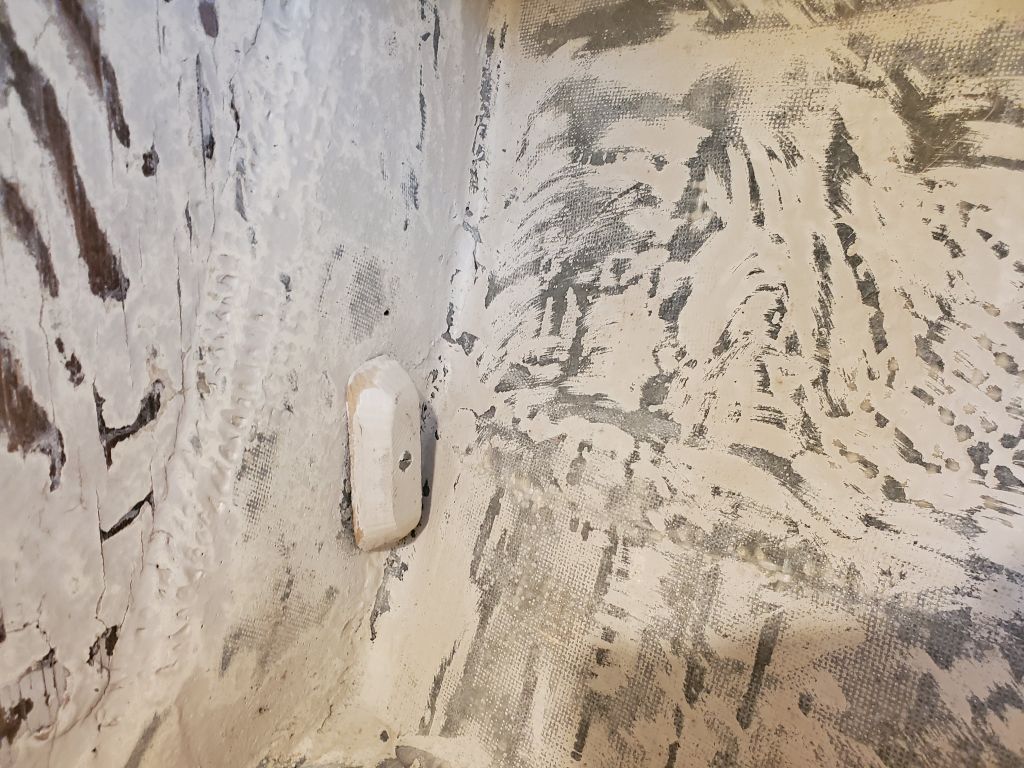
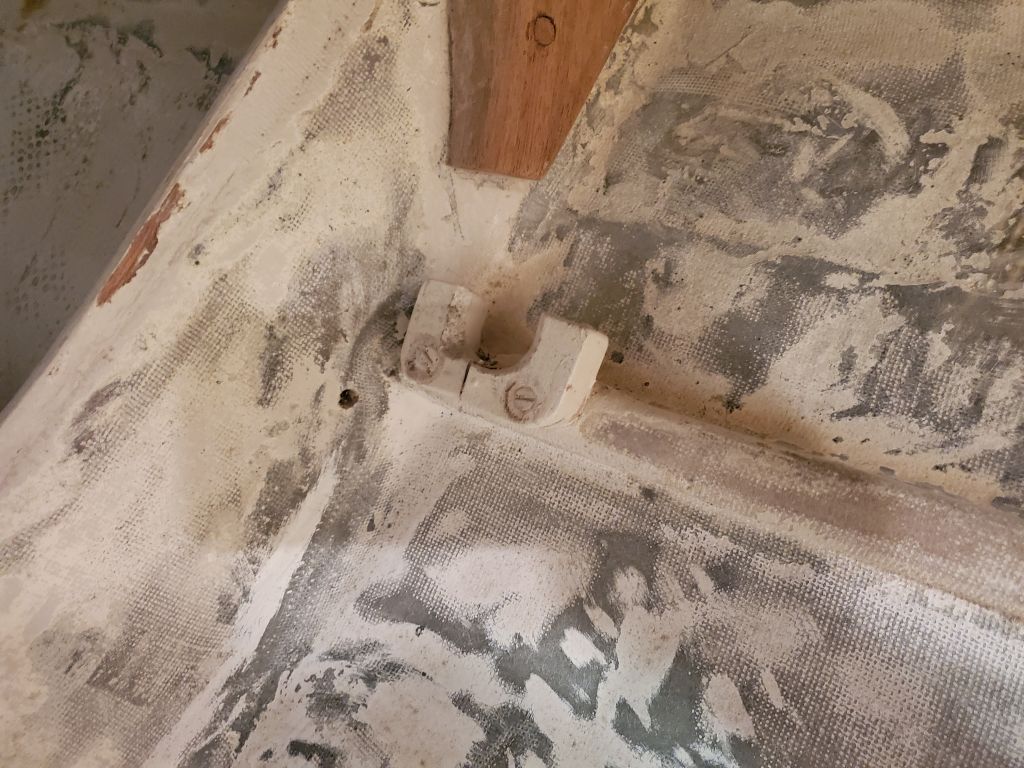
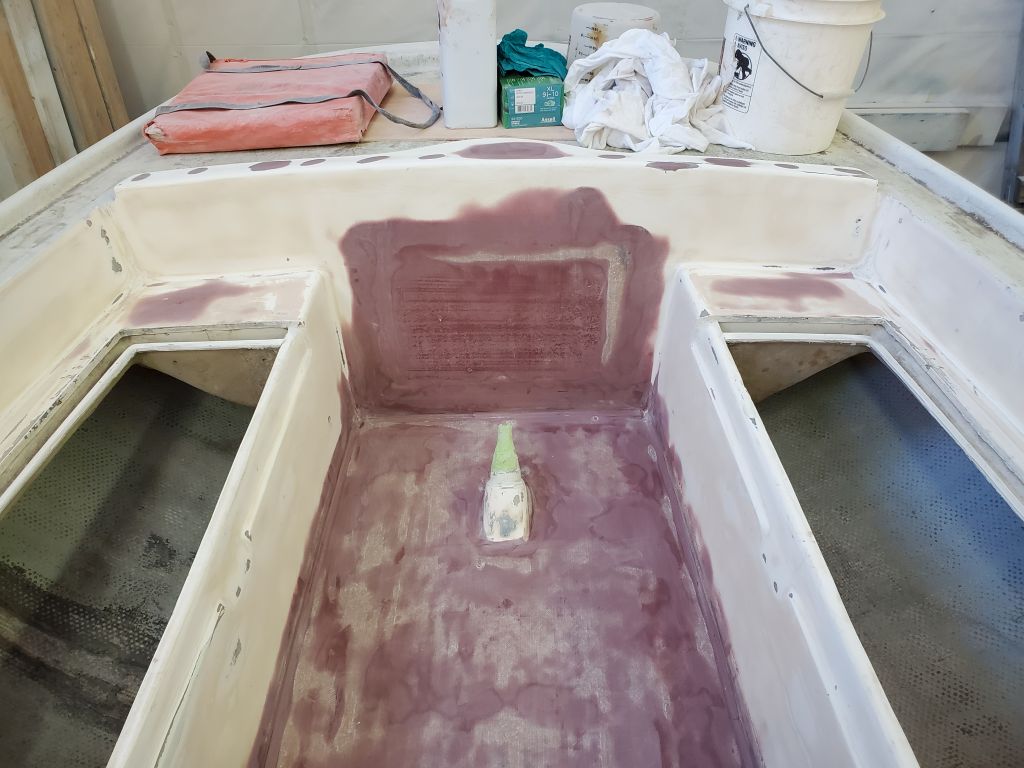
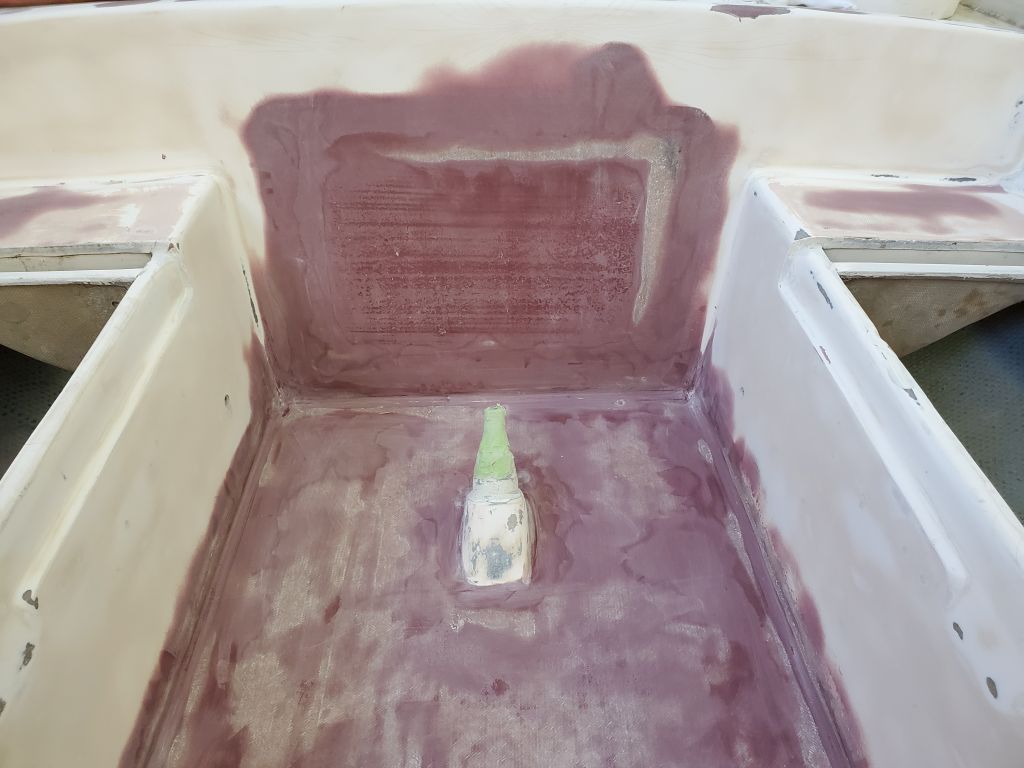
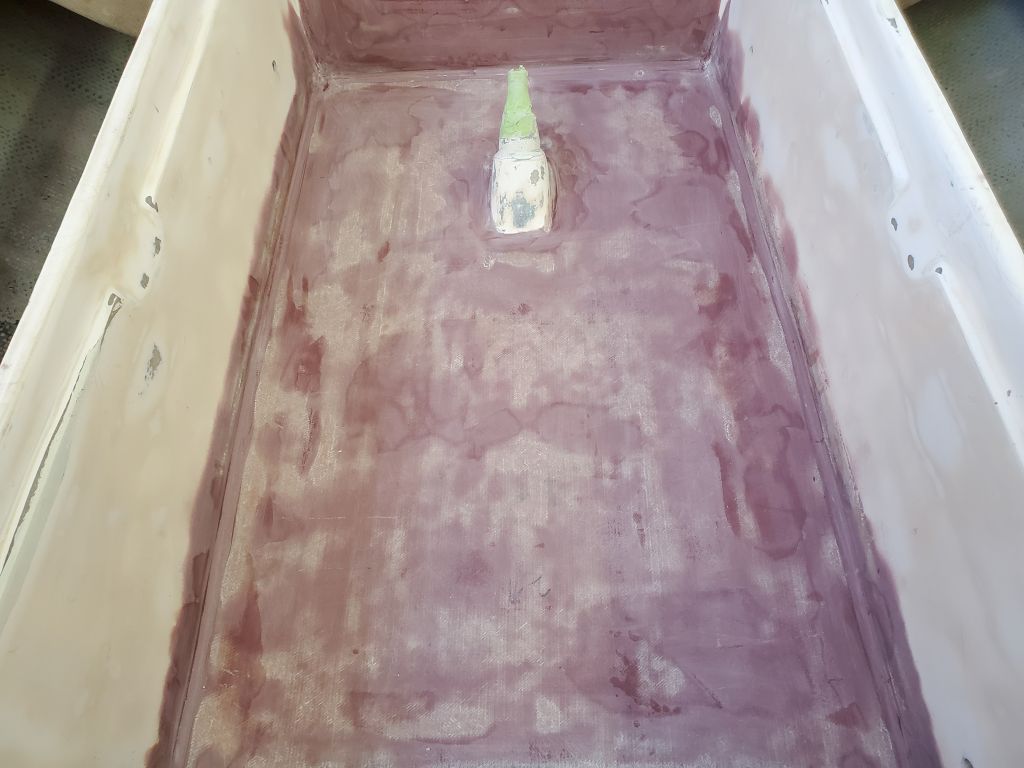
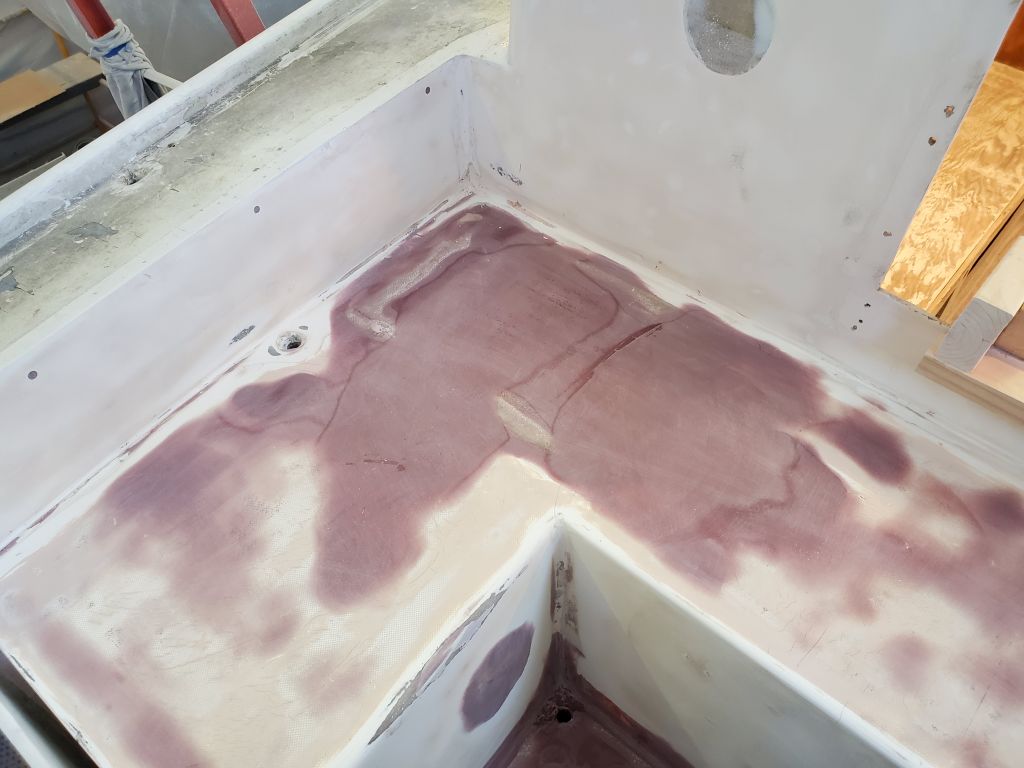
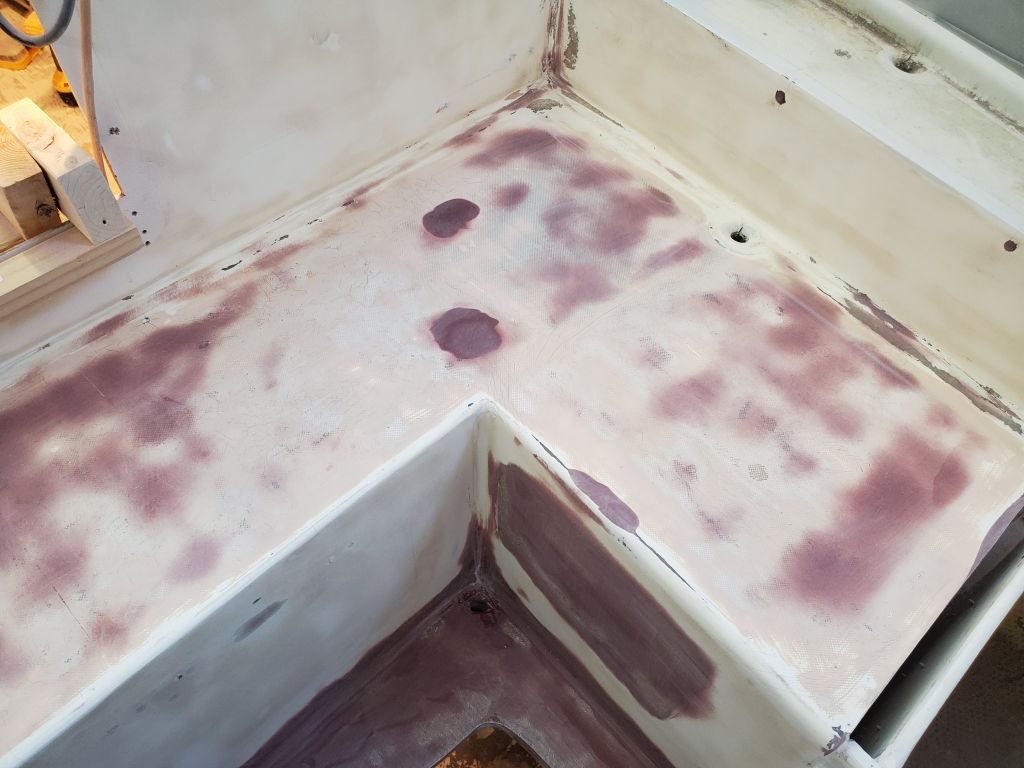
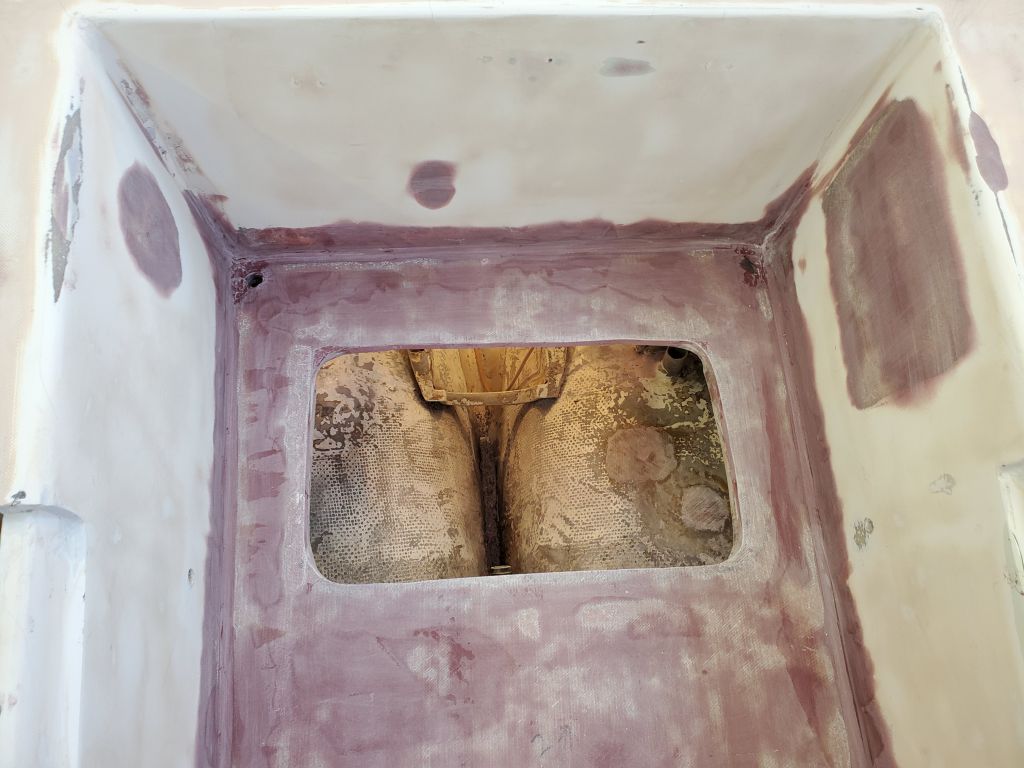
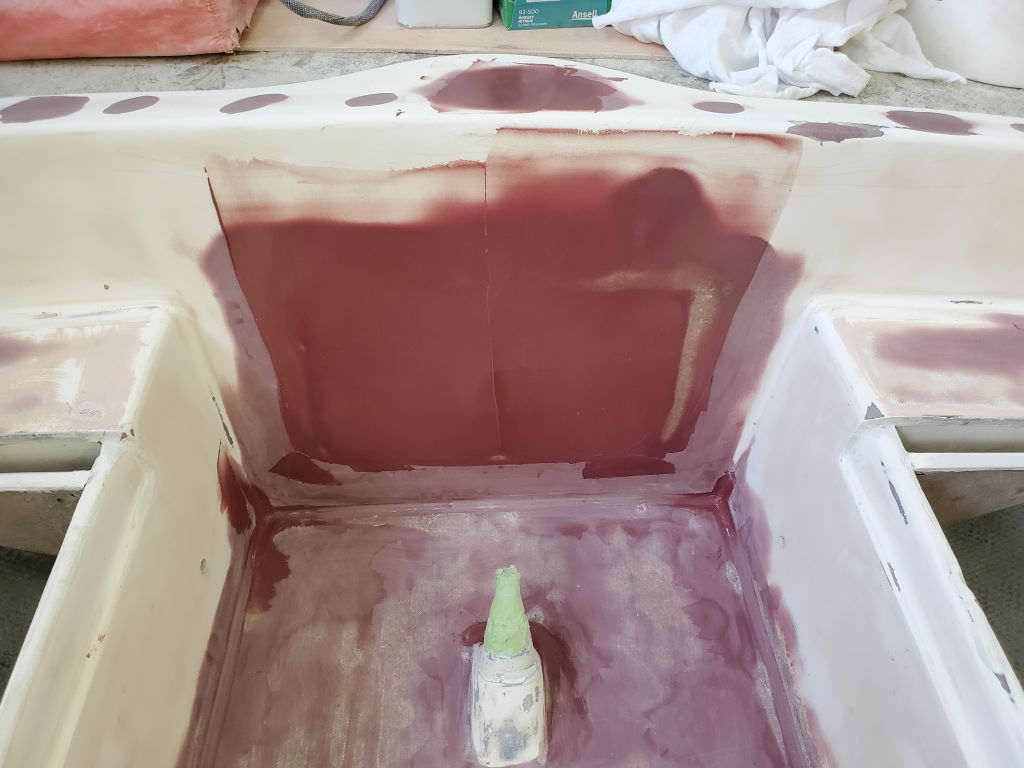
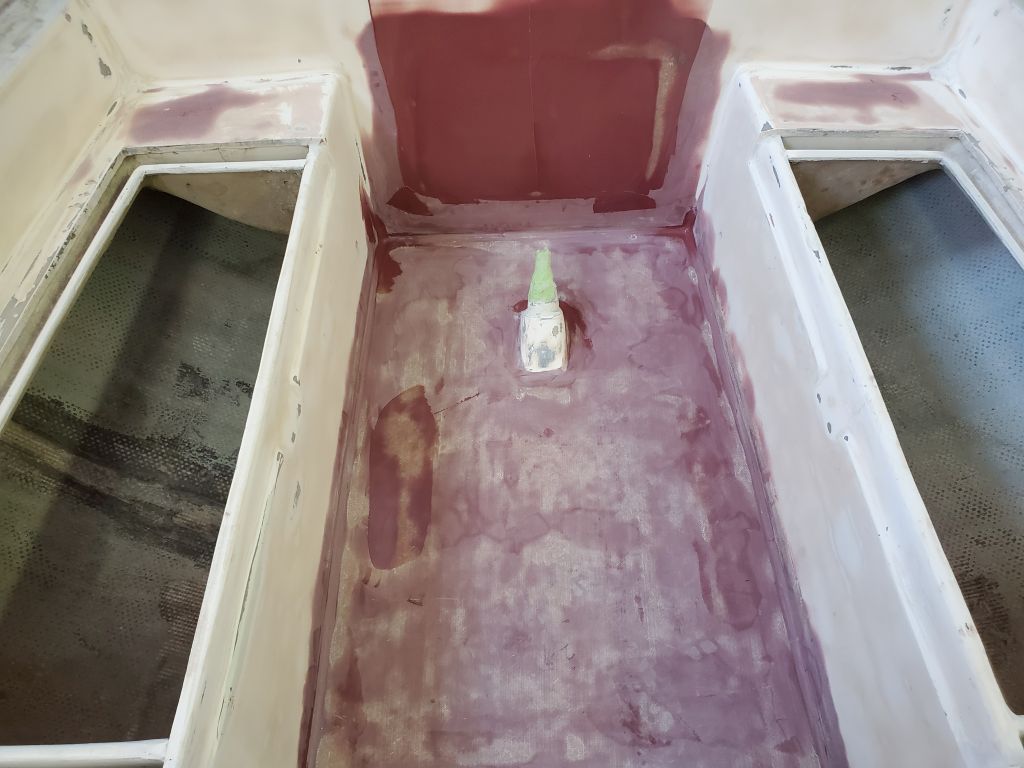
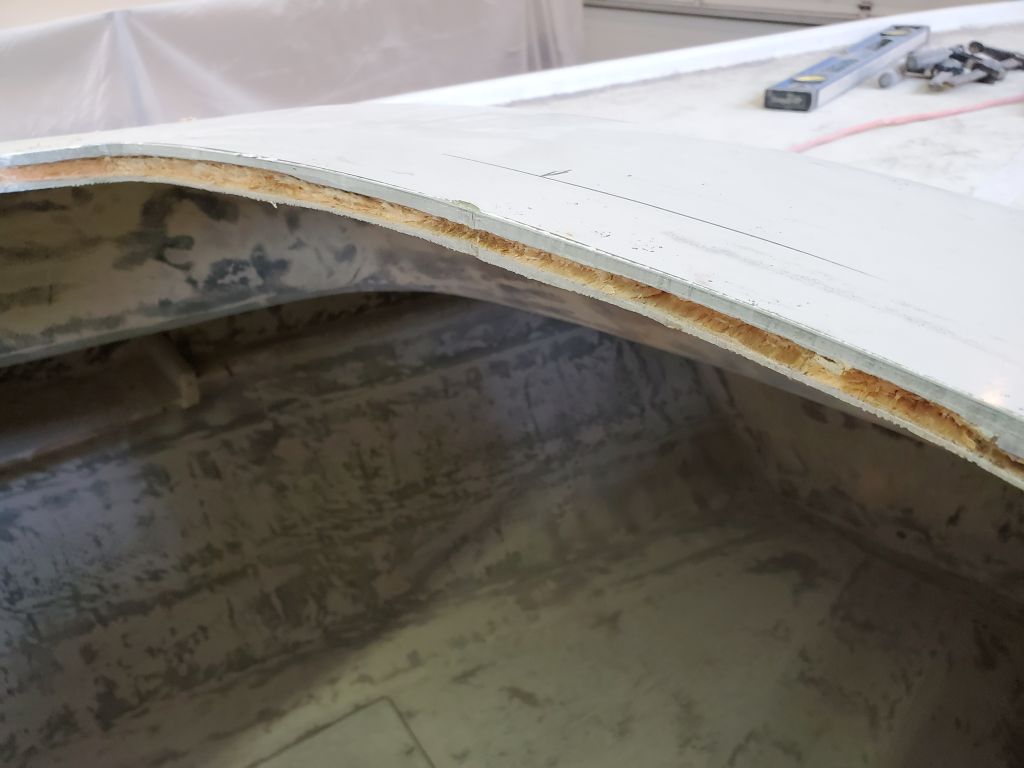
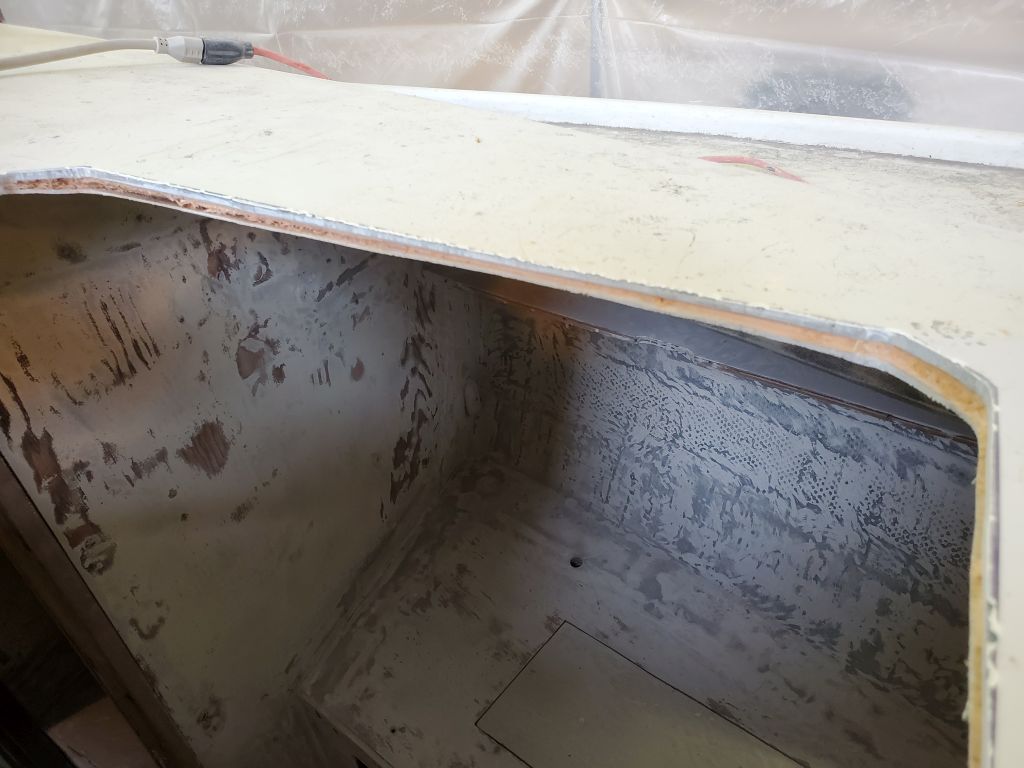
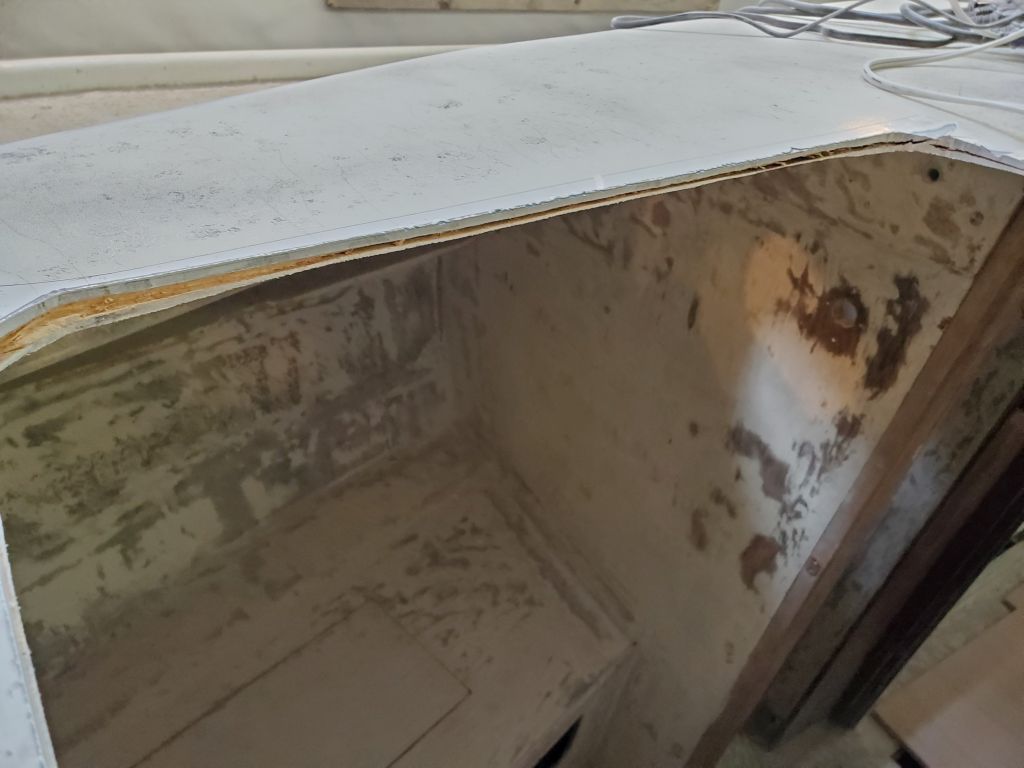
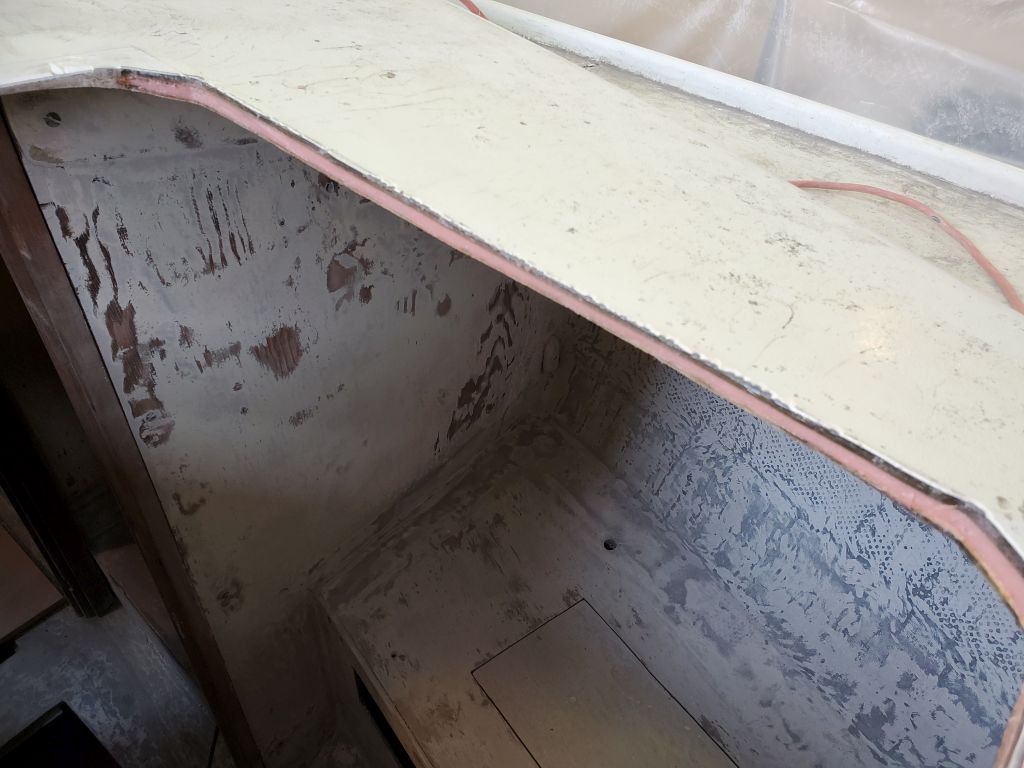
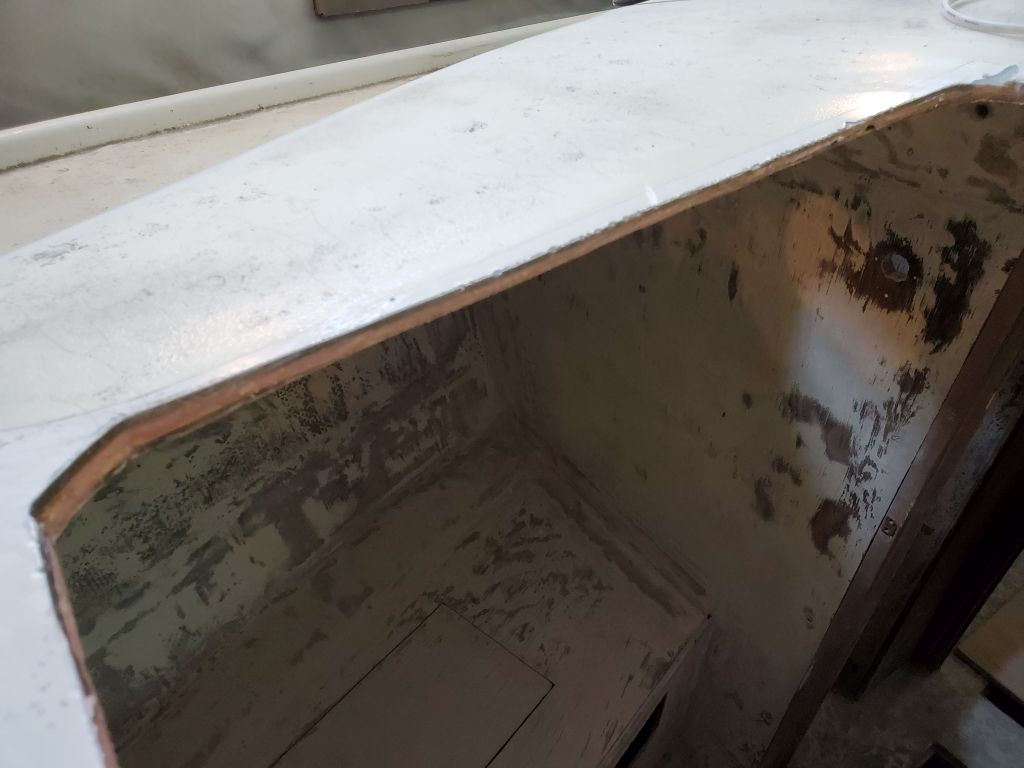
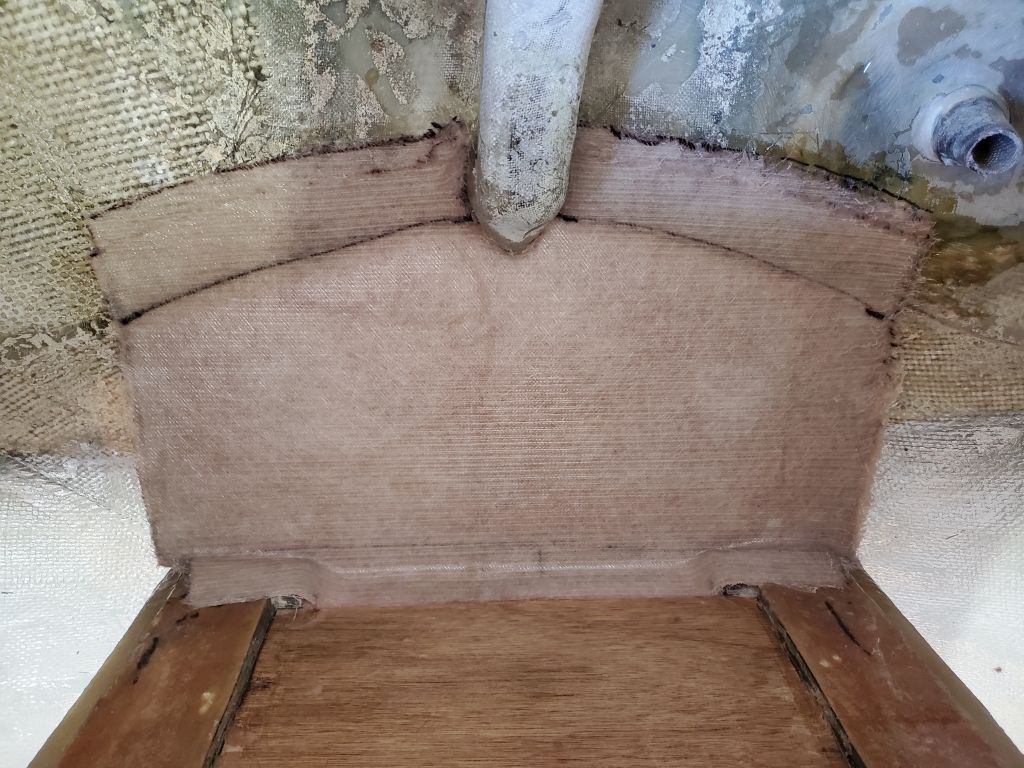
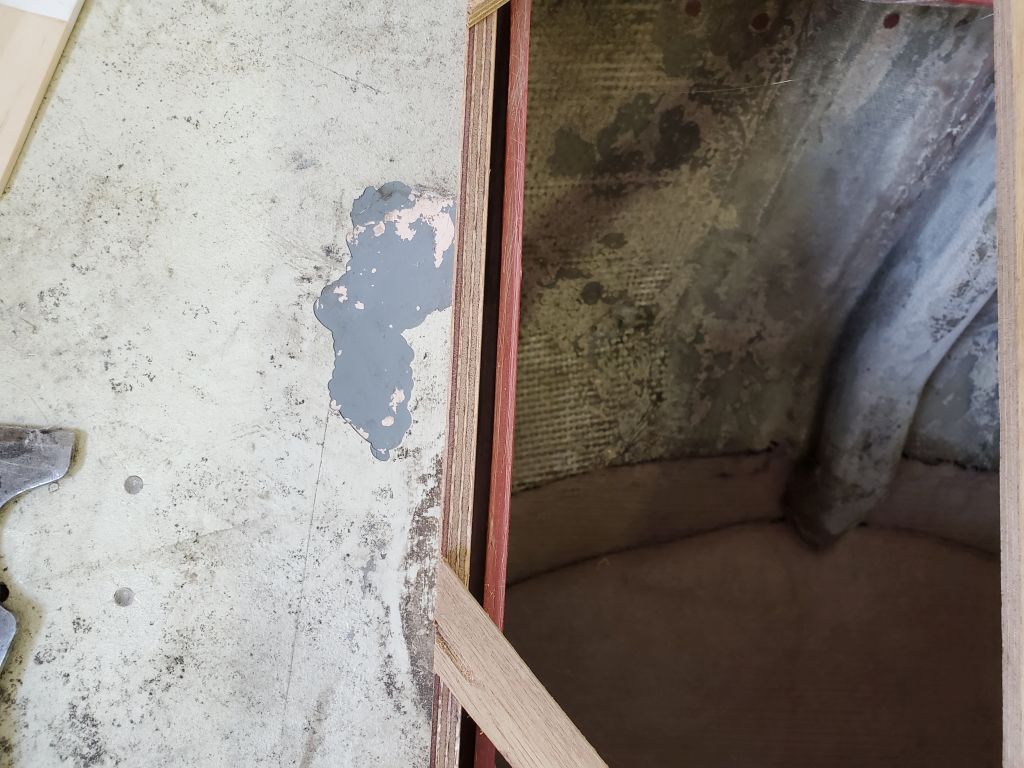
Following some light prep work in the generator compartment, I cut two layers of heavy fiberglass to sheathe and tab in the shelf, then installed them in epoxy resin.  The new fiberglass  overlapped the hull at the aft end by several inches, and wrapped up the back side of the cockpit well by a few inches as well.

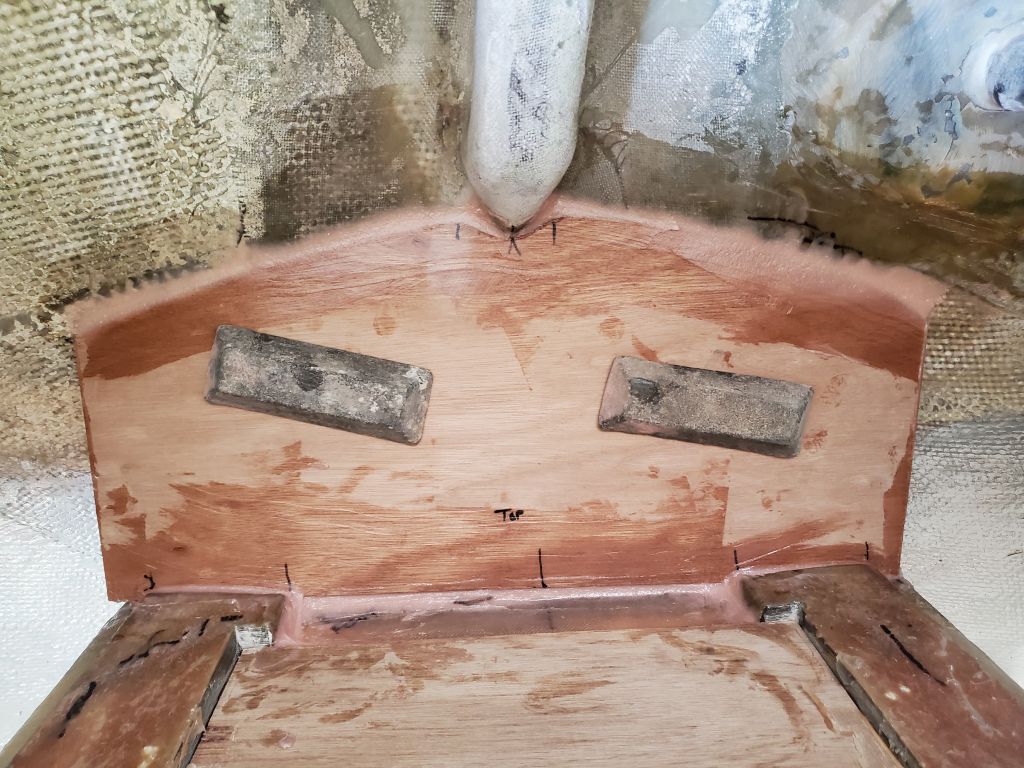
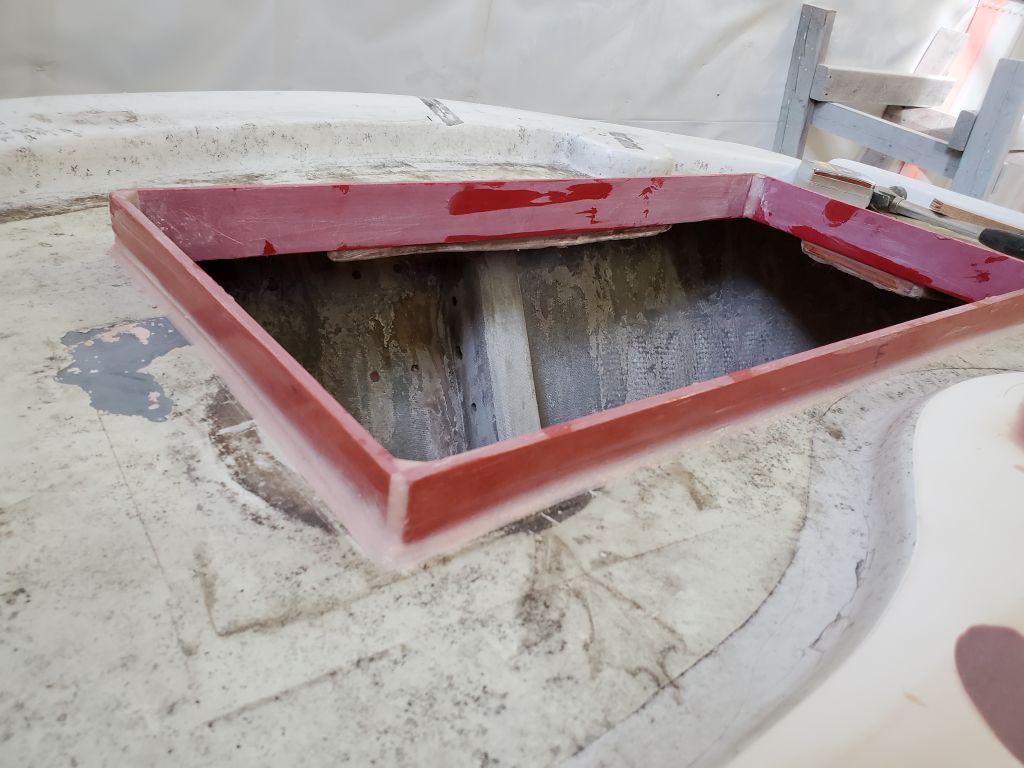
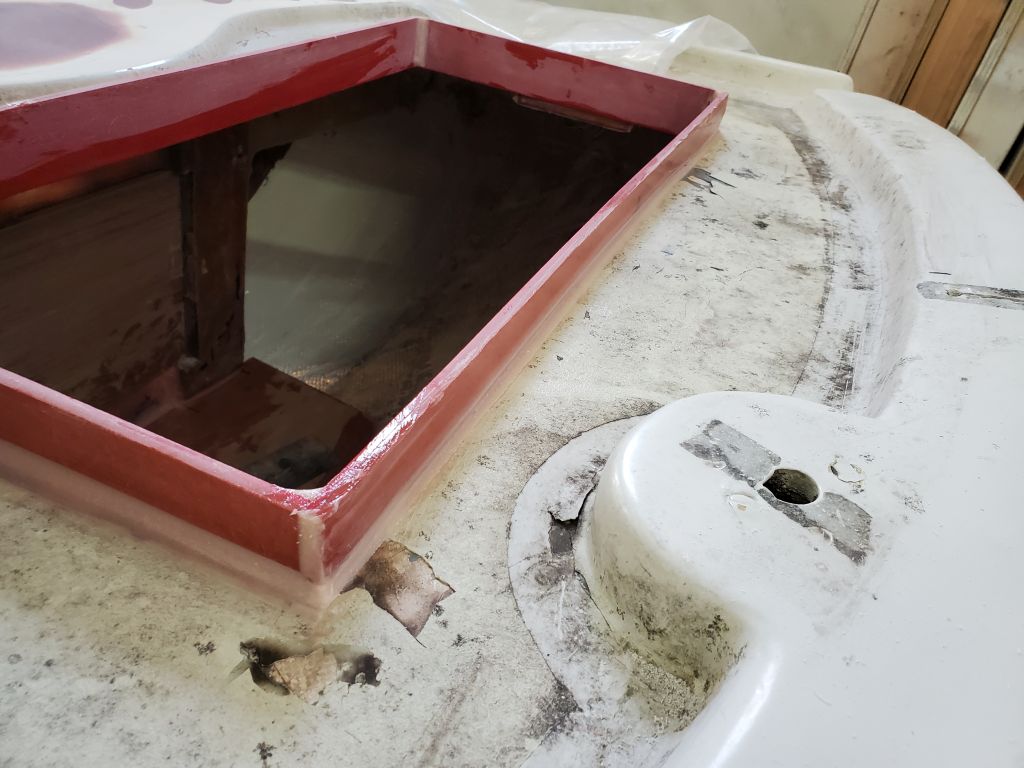
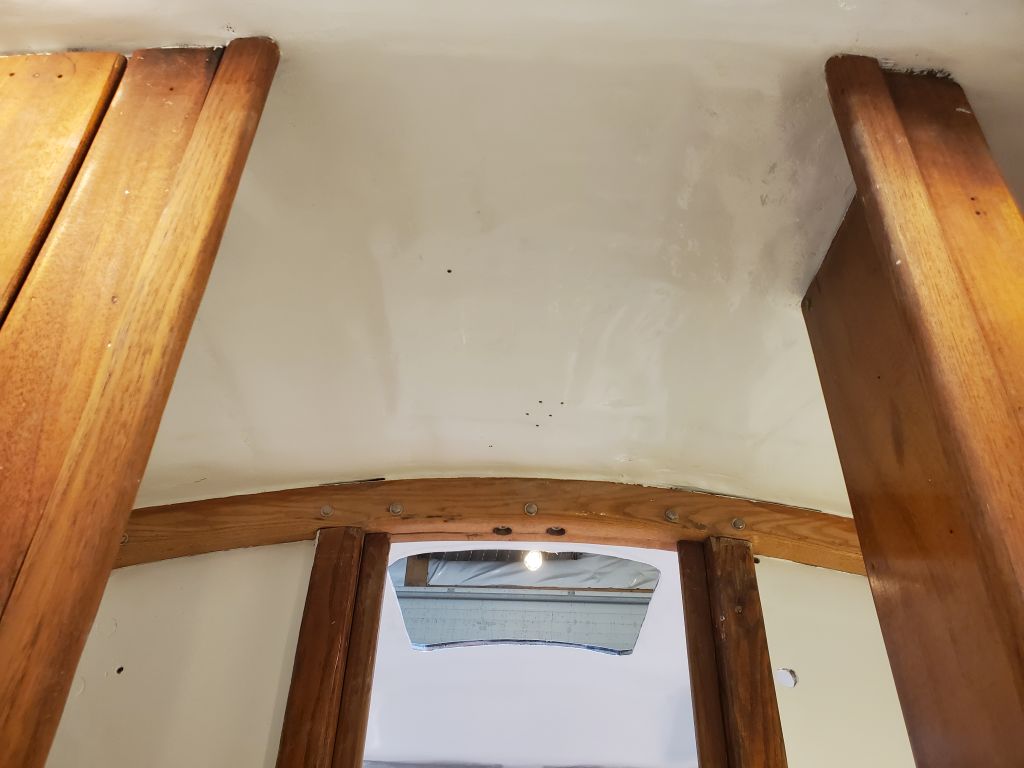
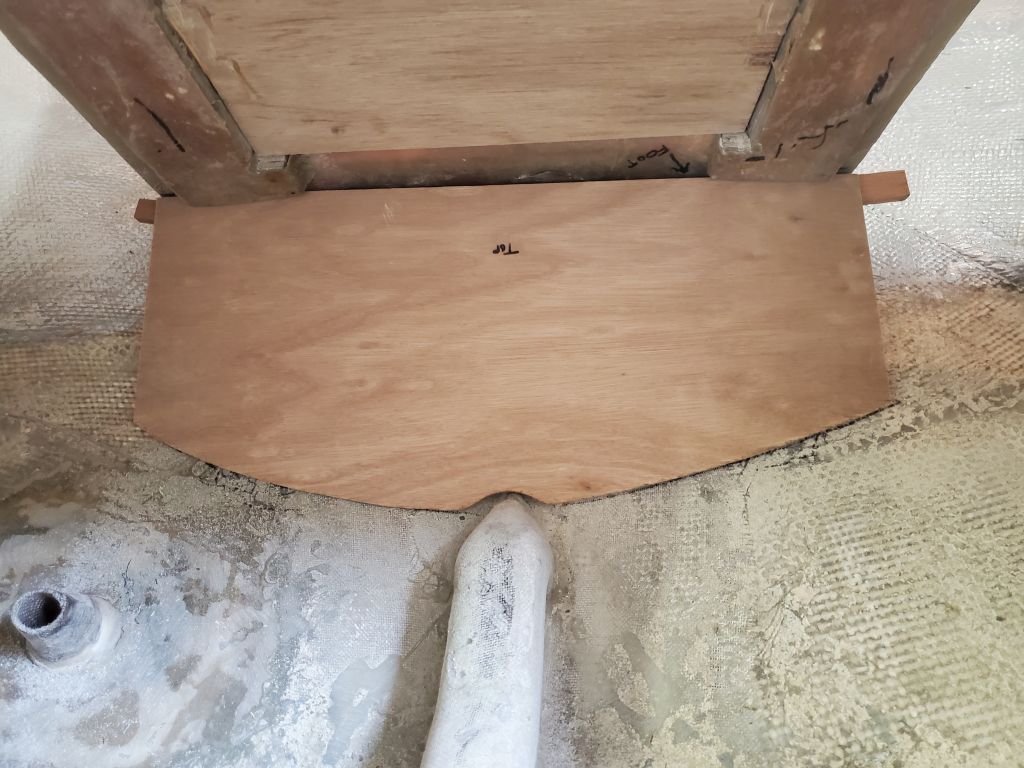
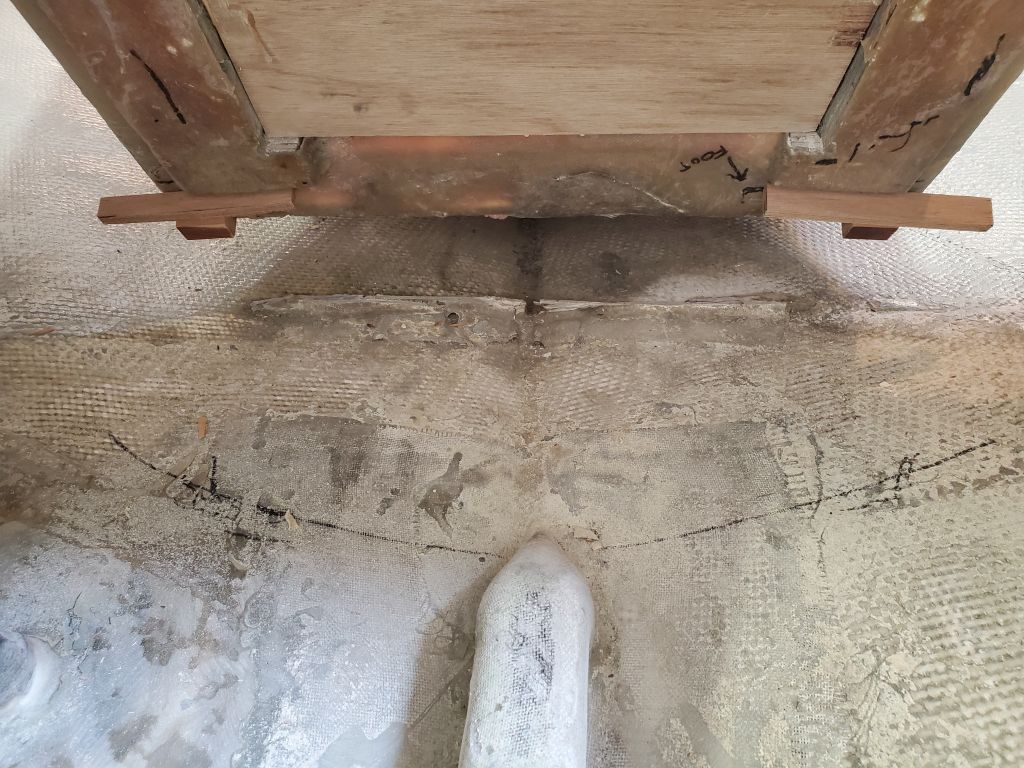
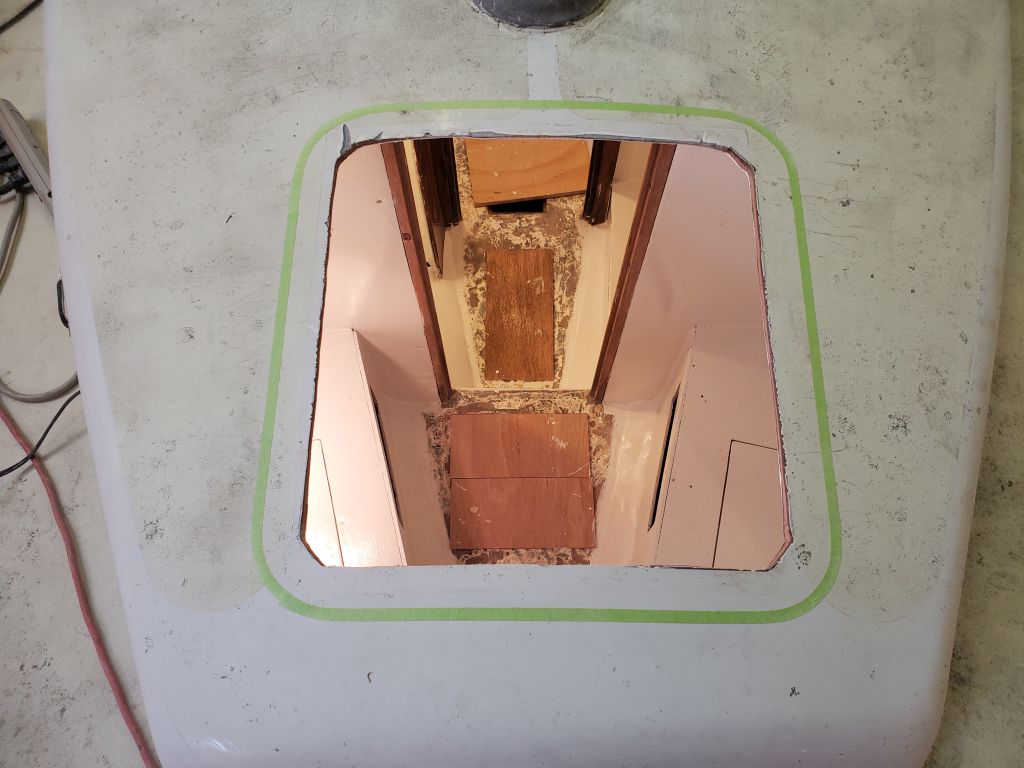
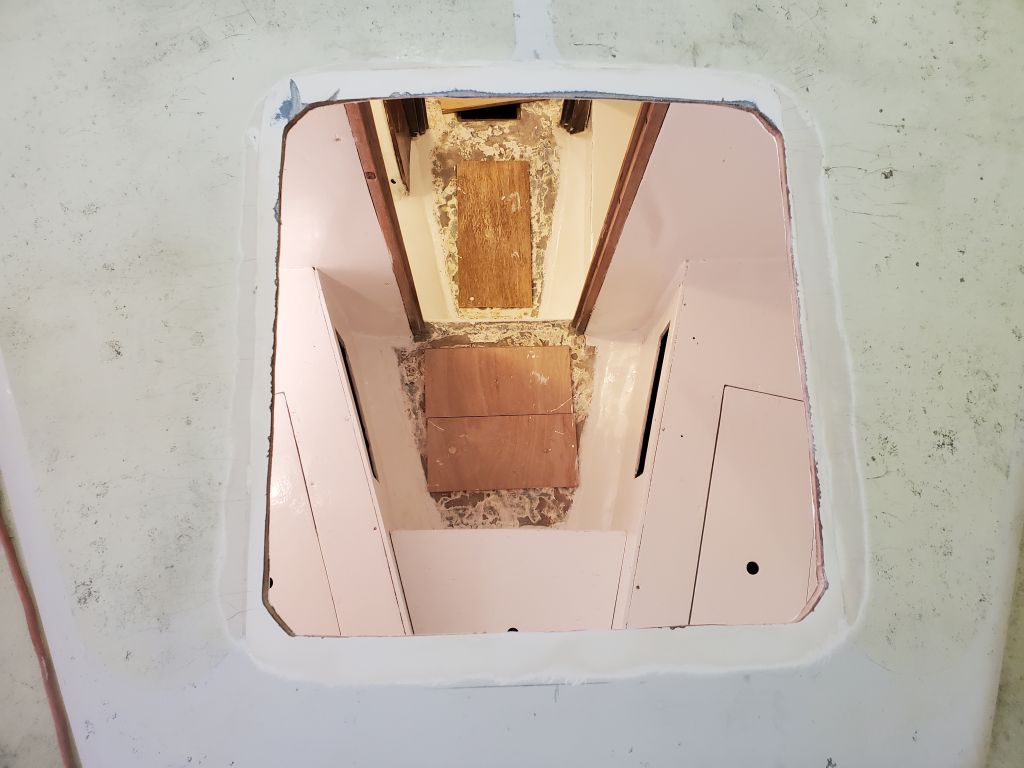
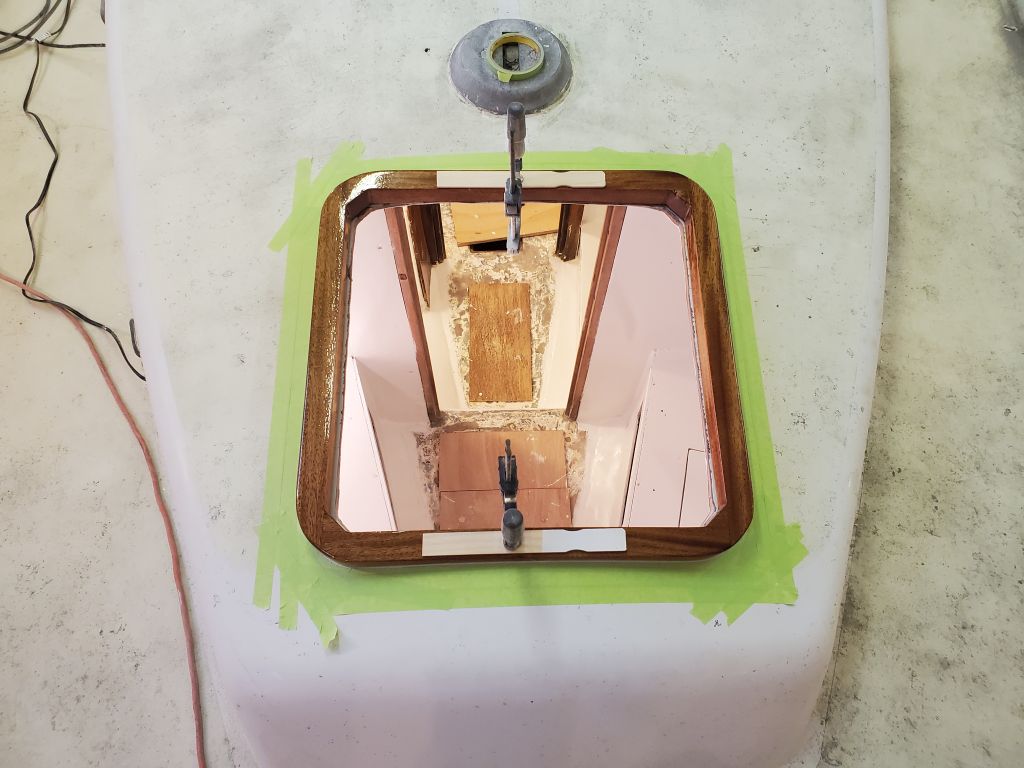
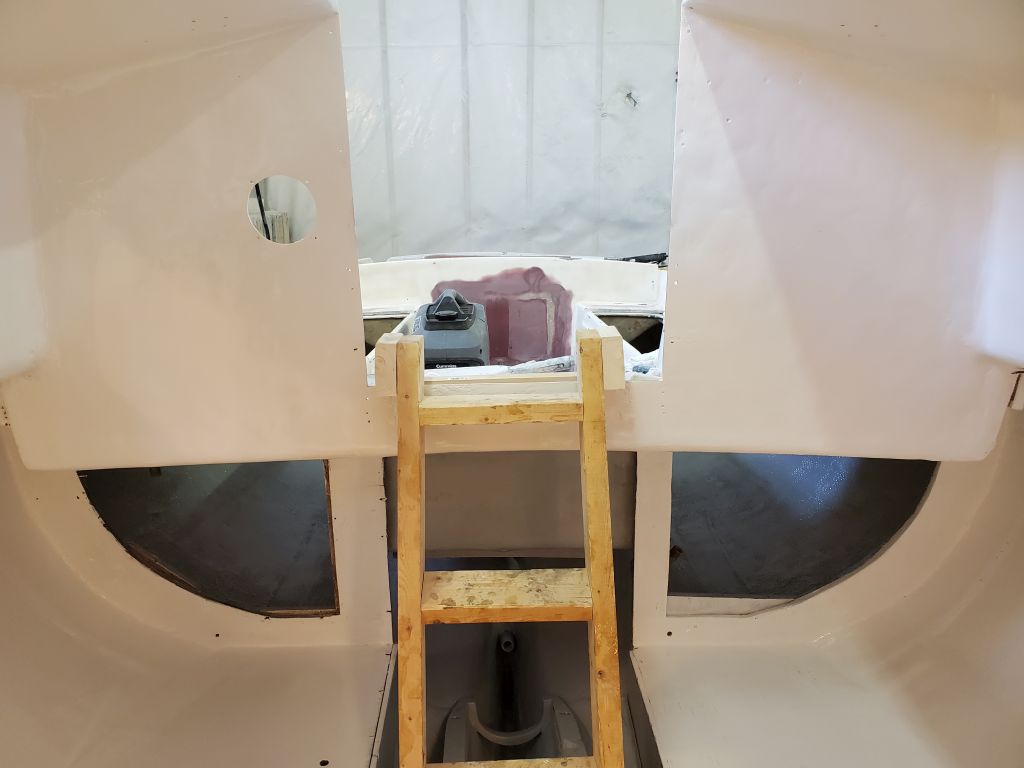
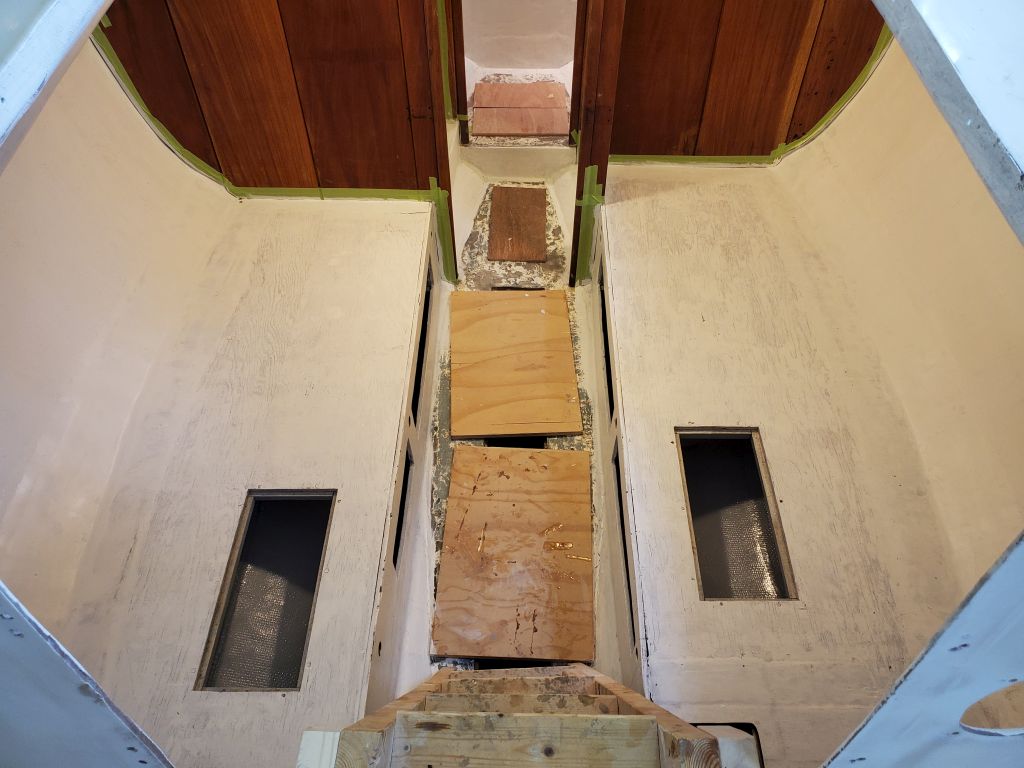
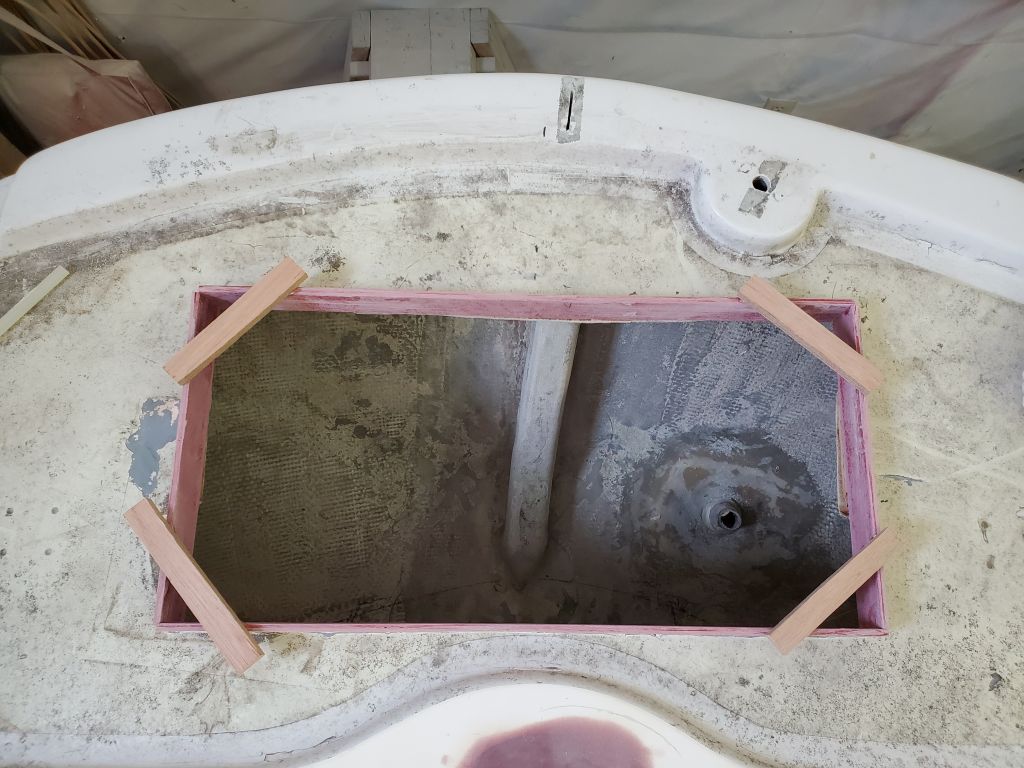
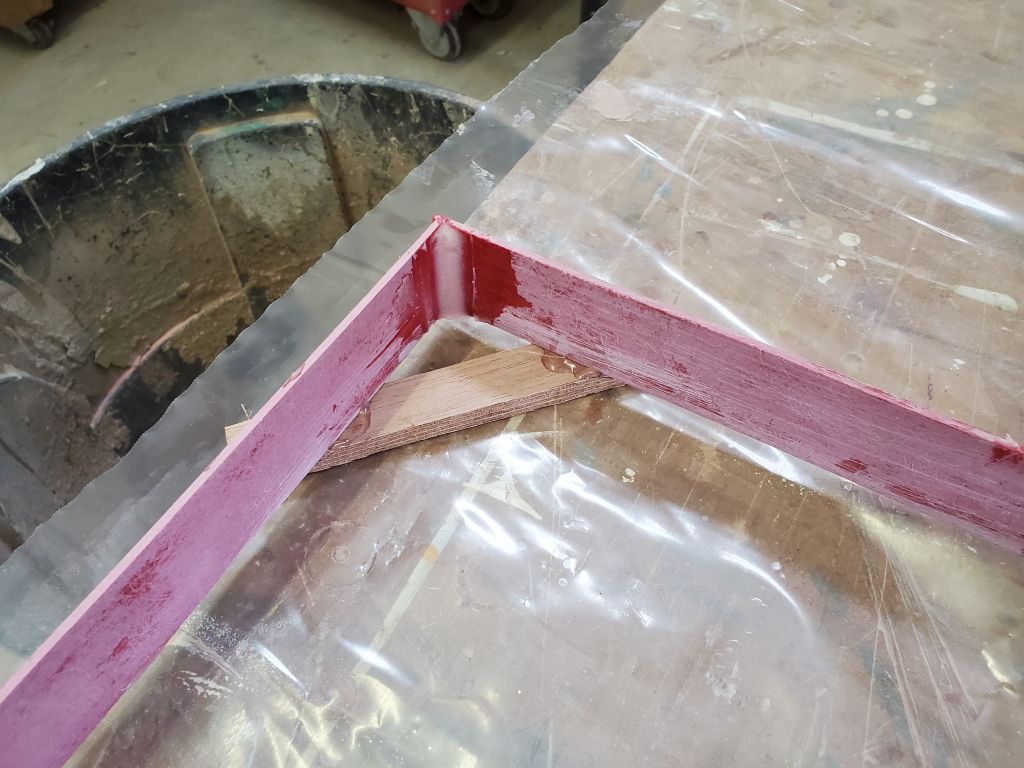
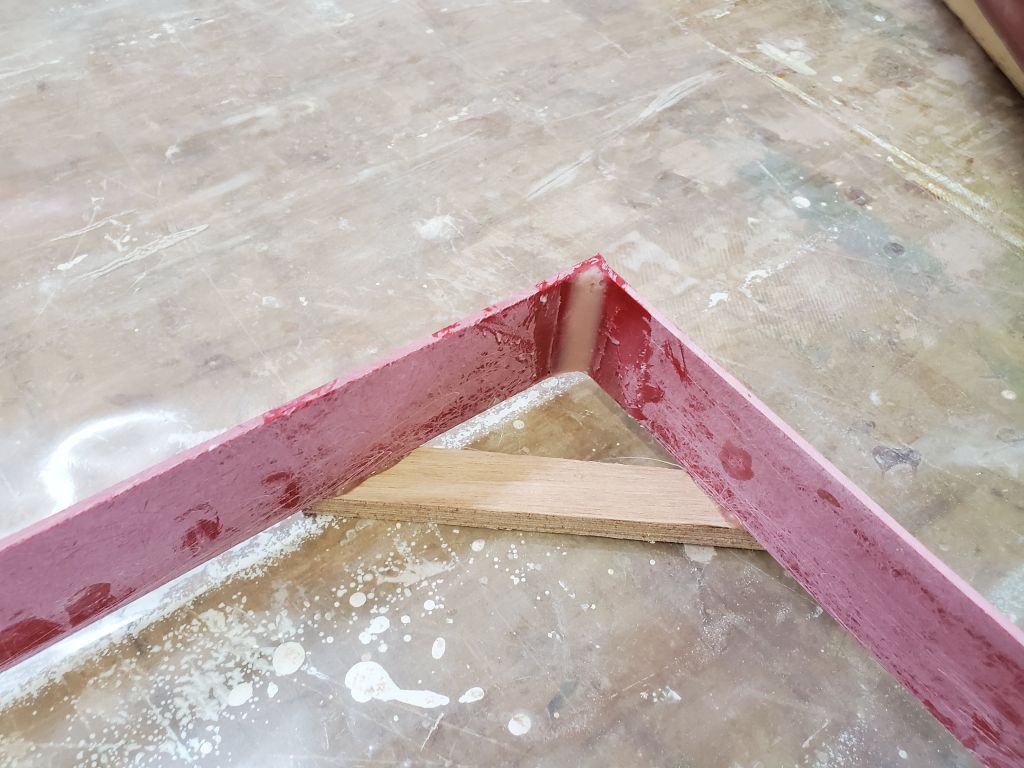
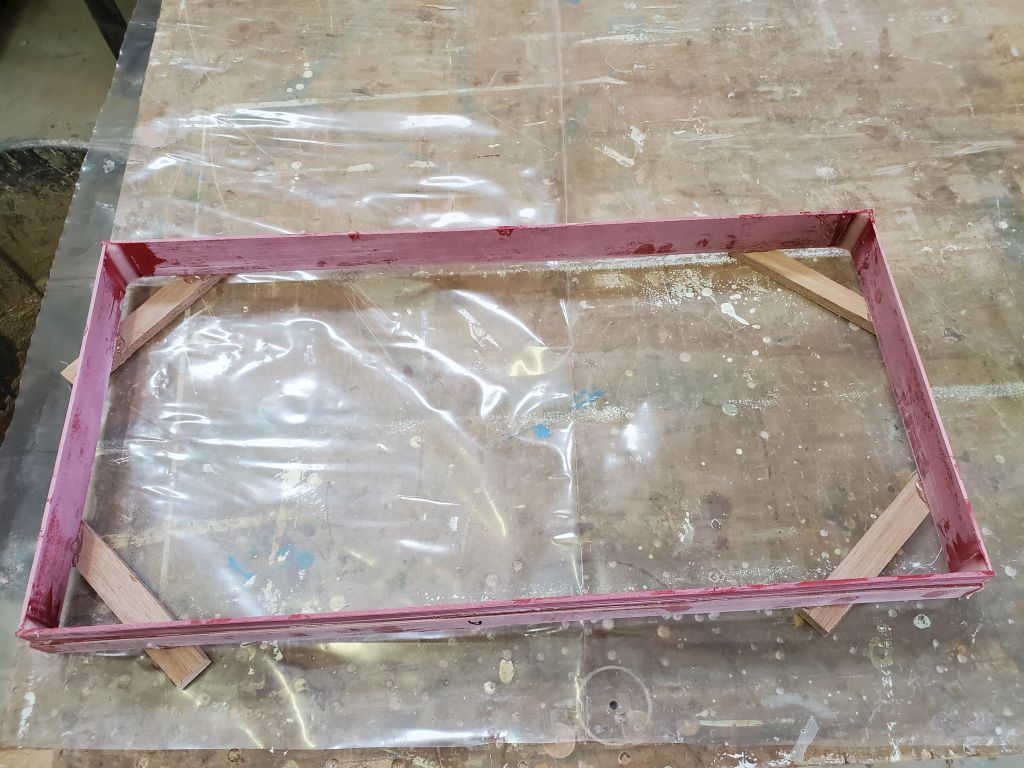
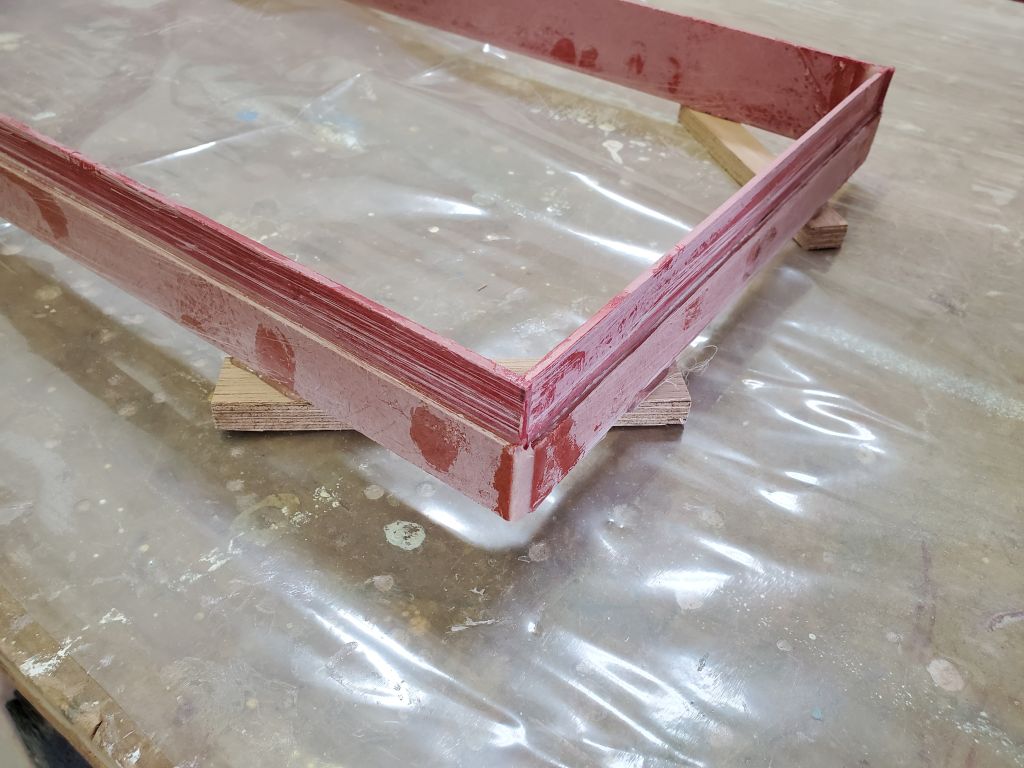
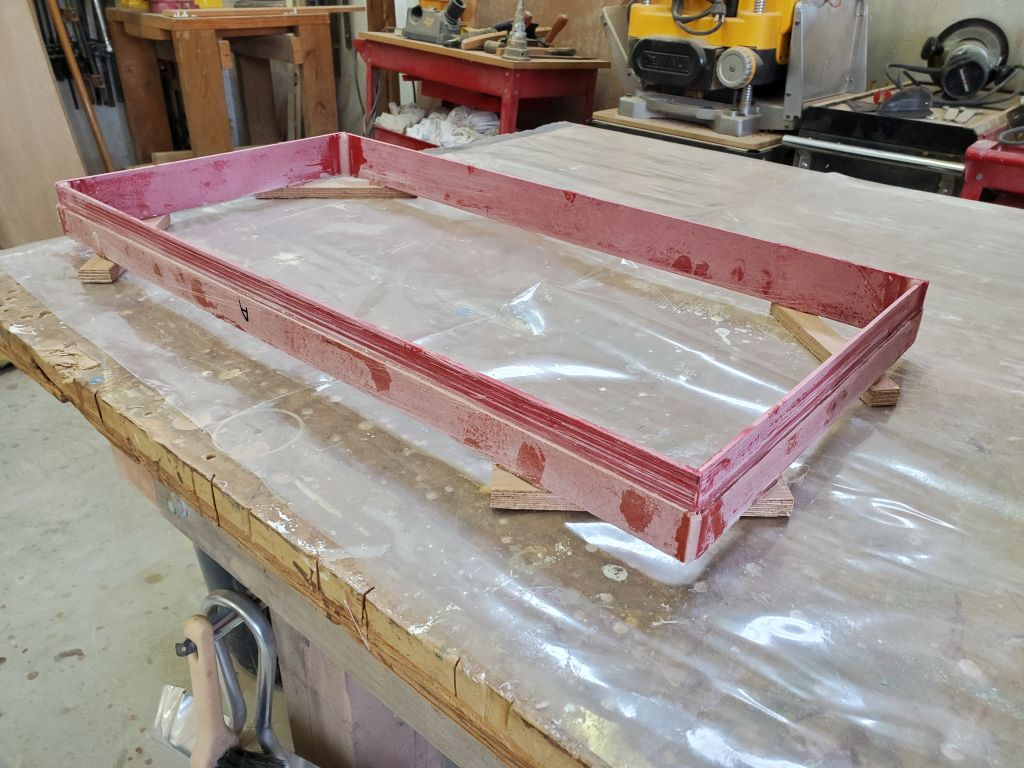
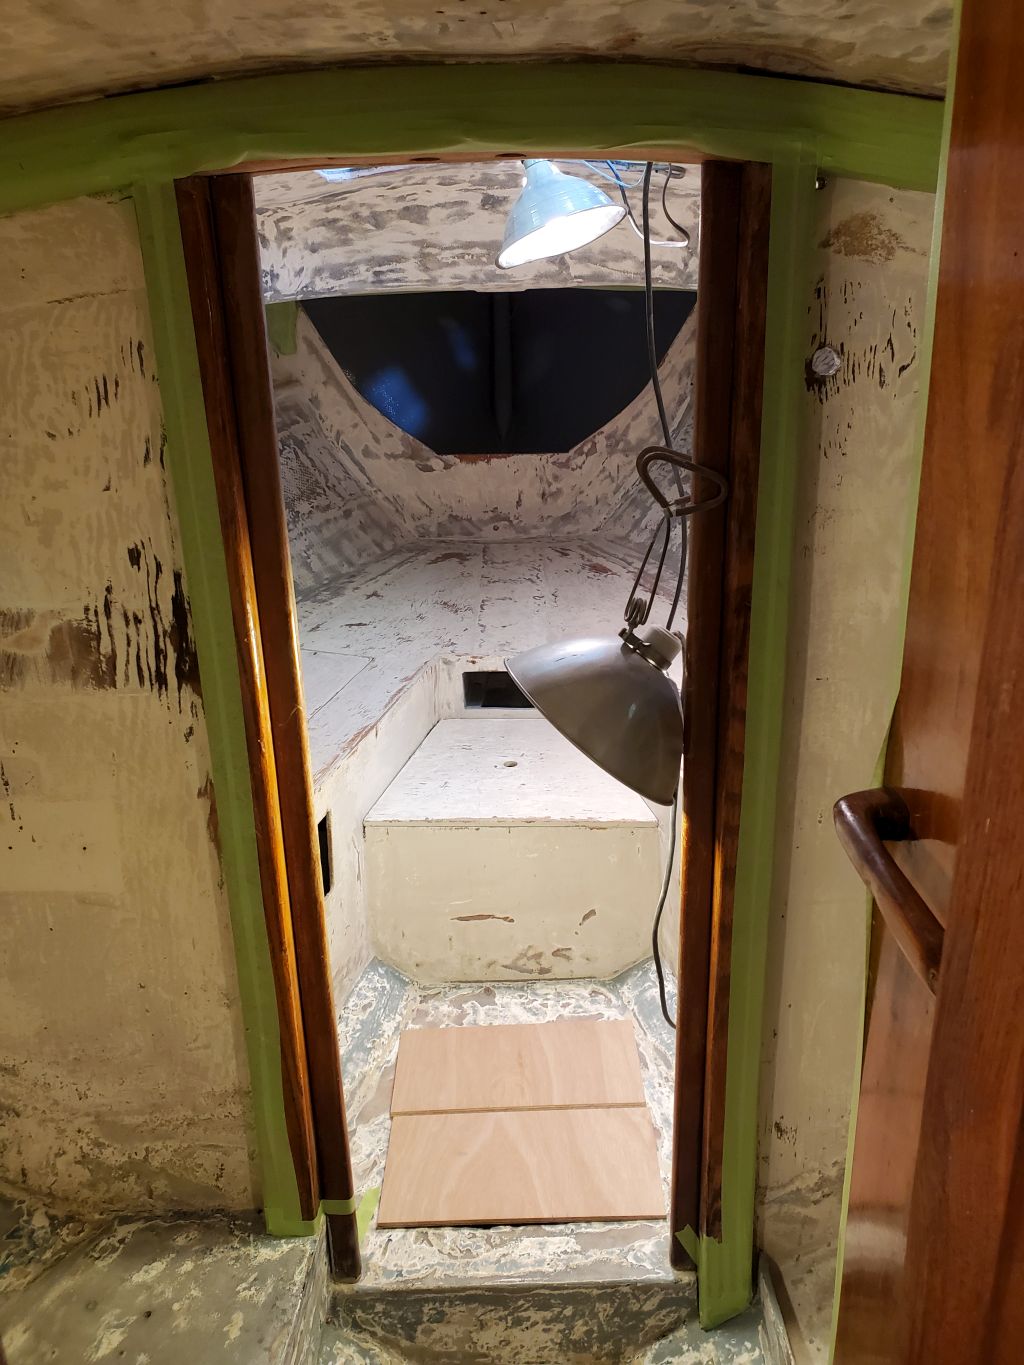
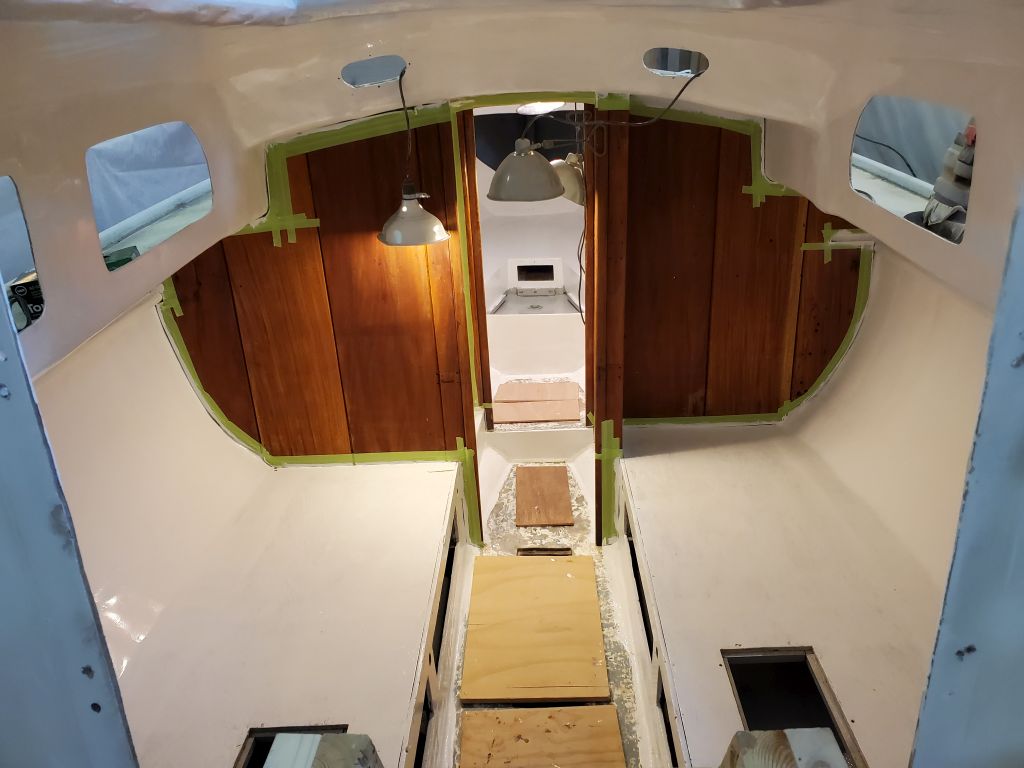
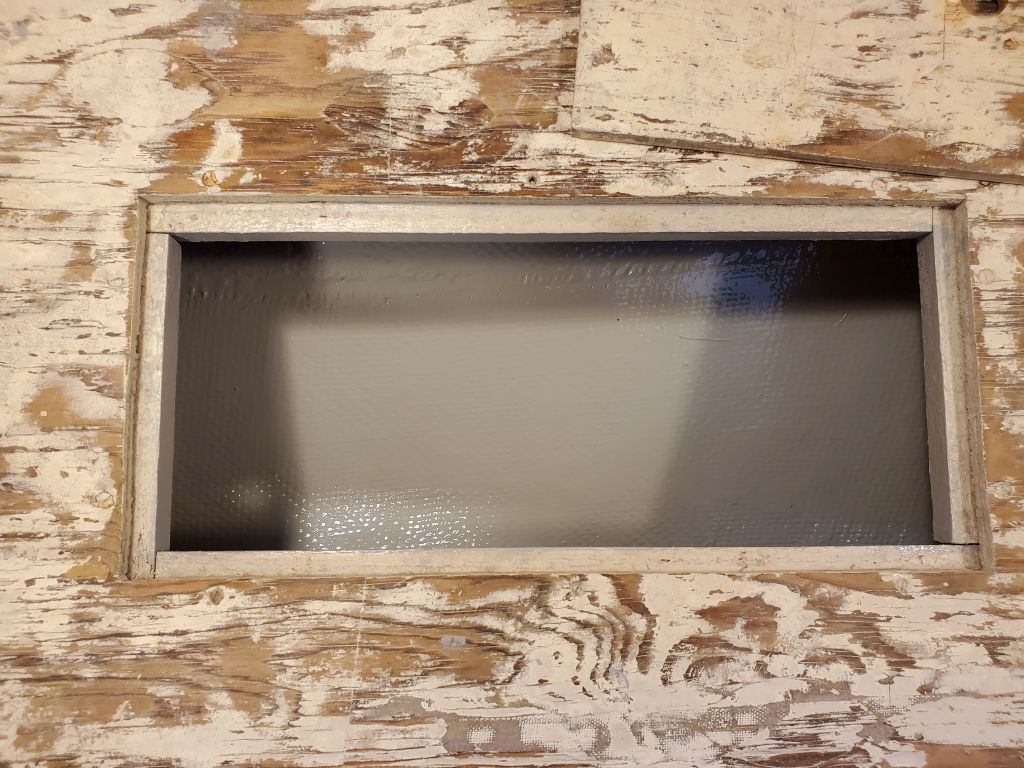
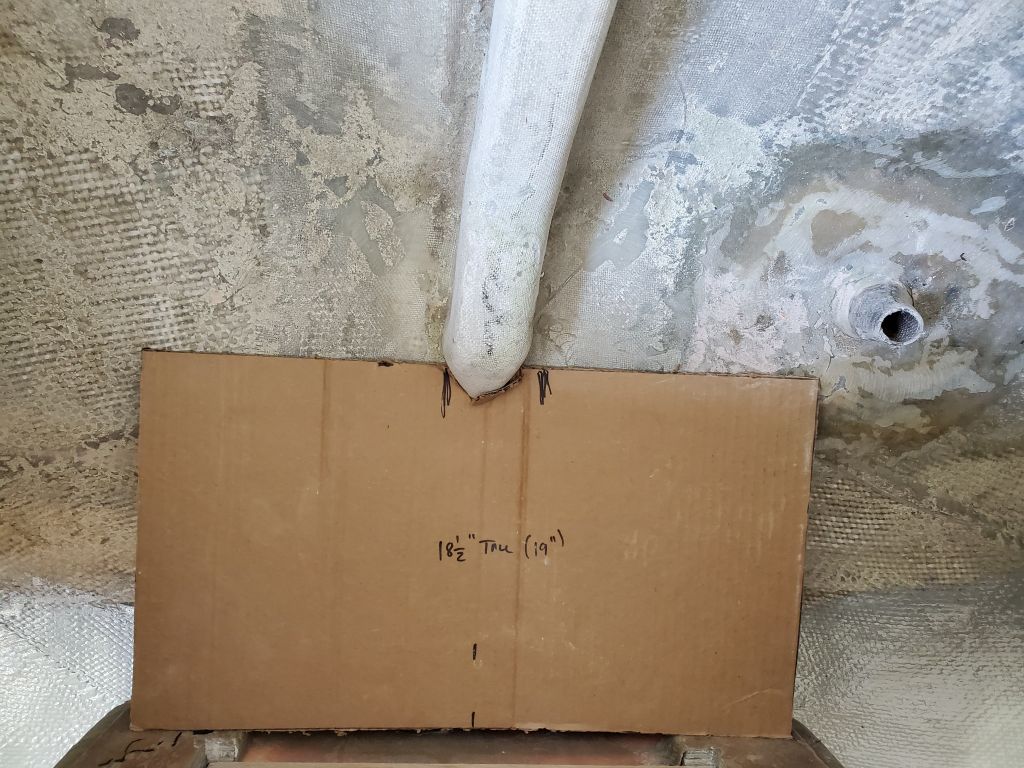
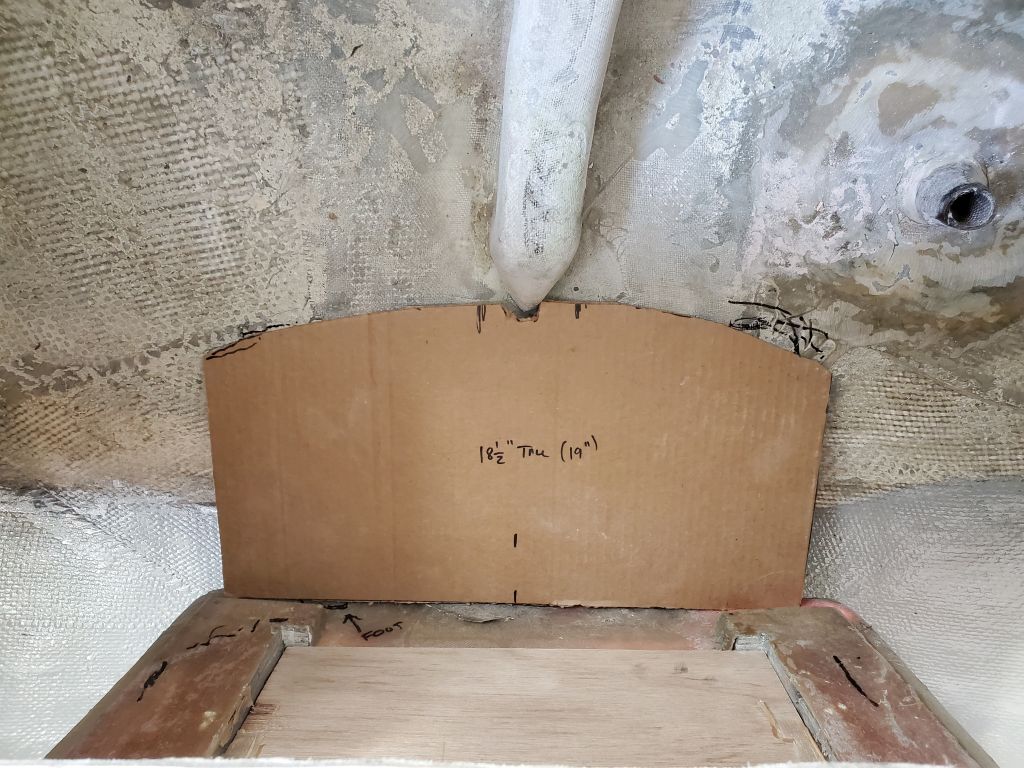
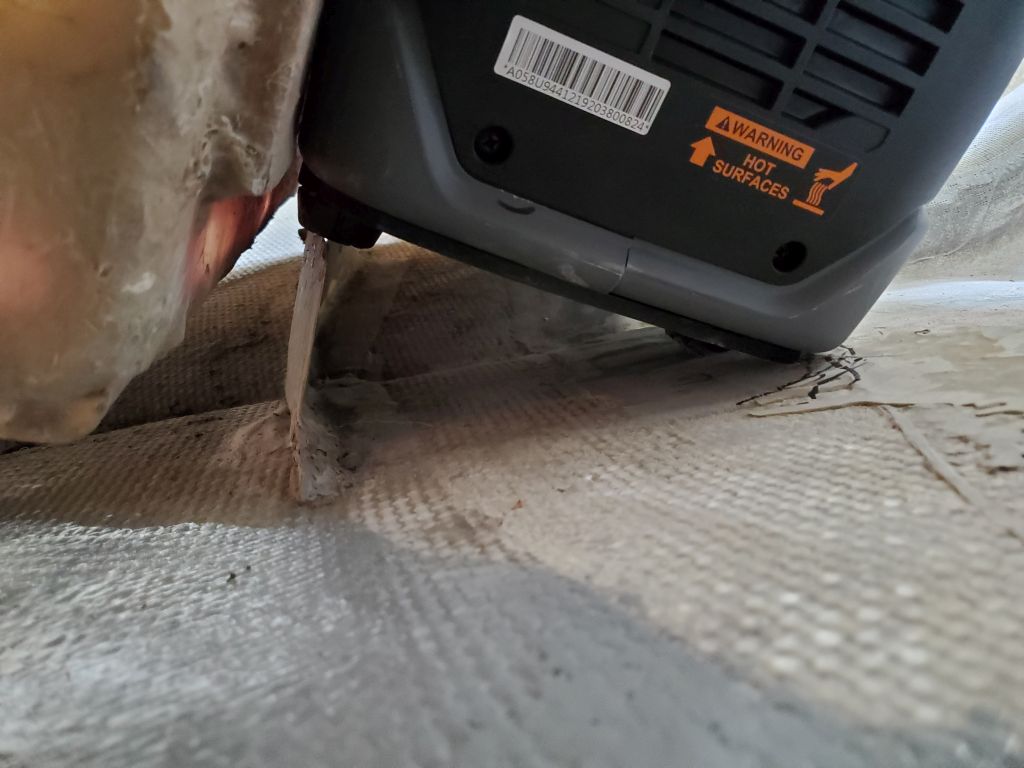
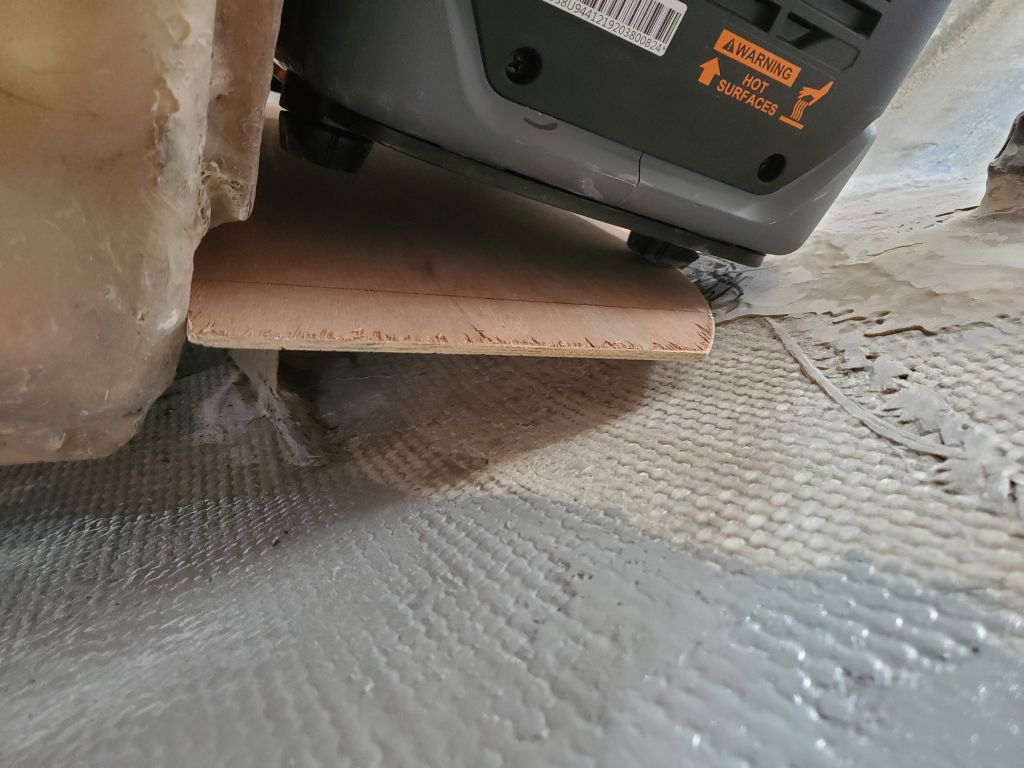
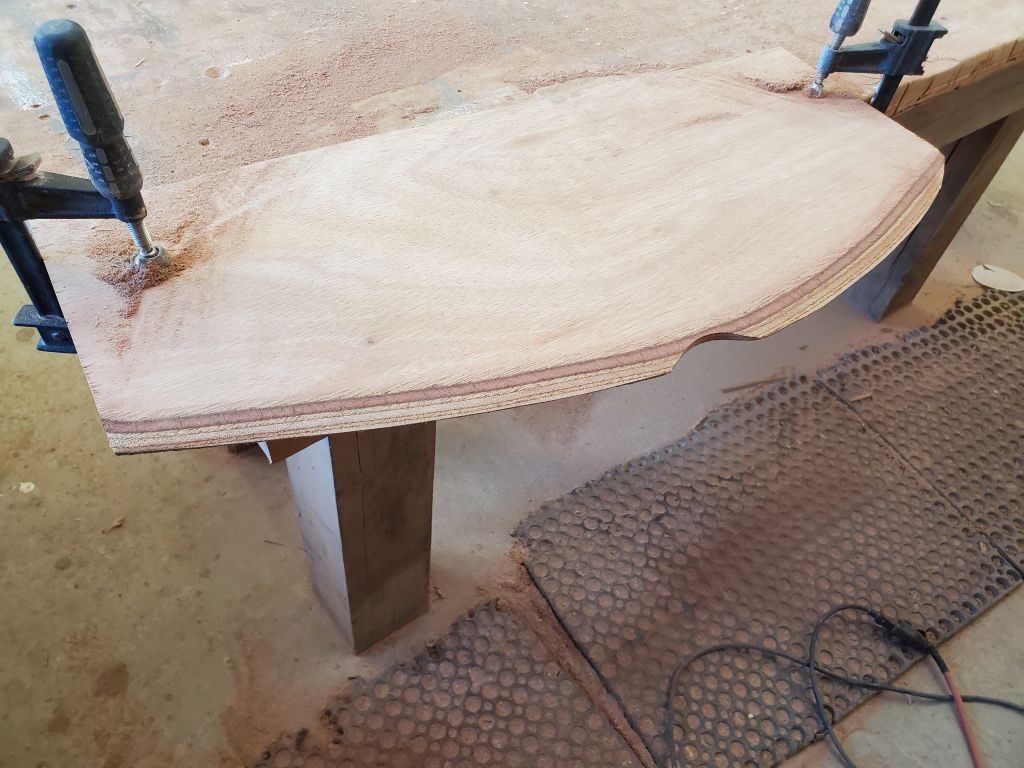
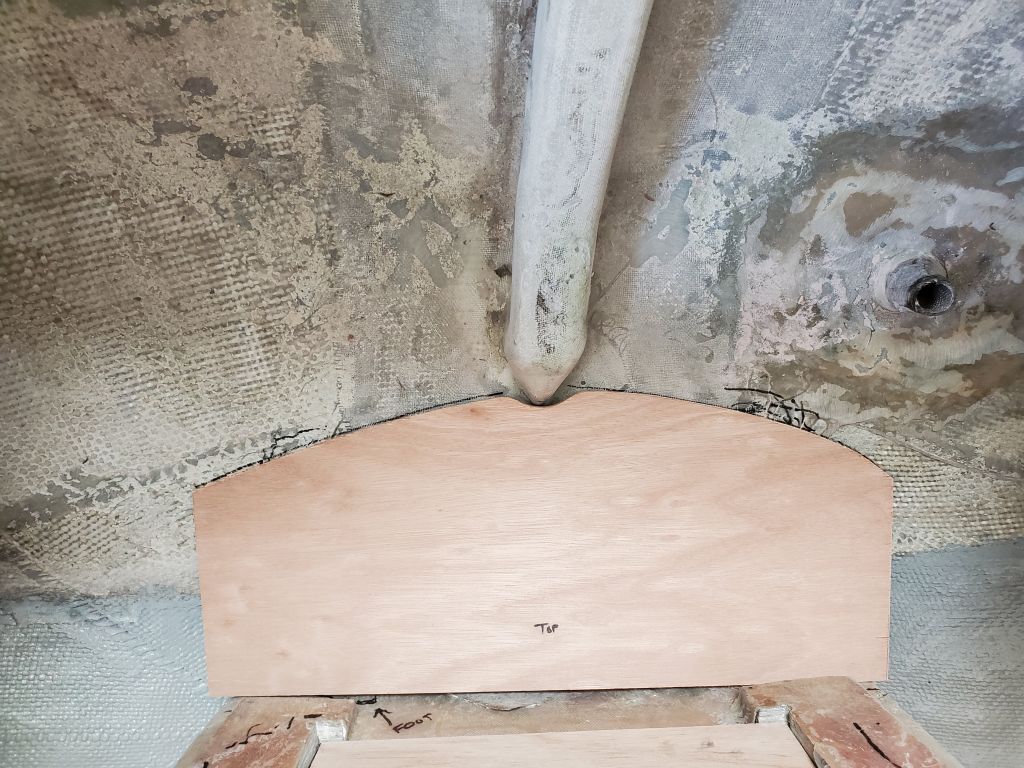
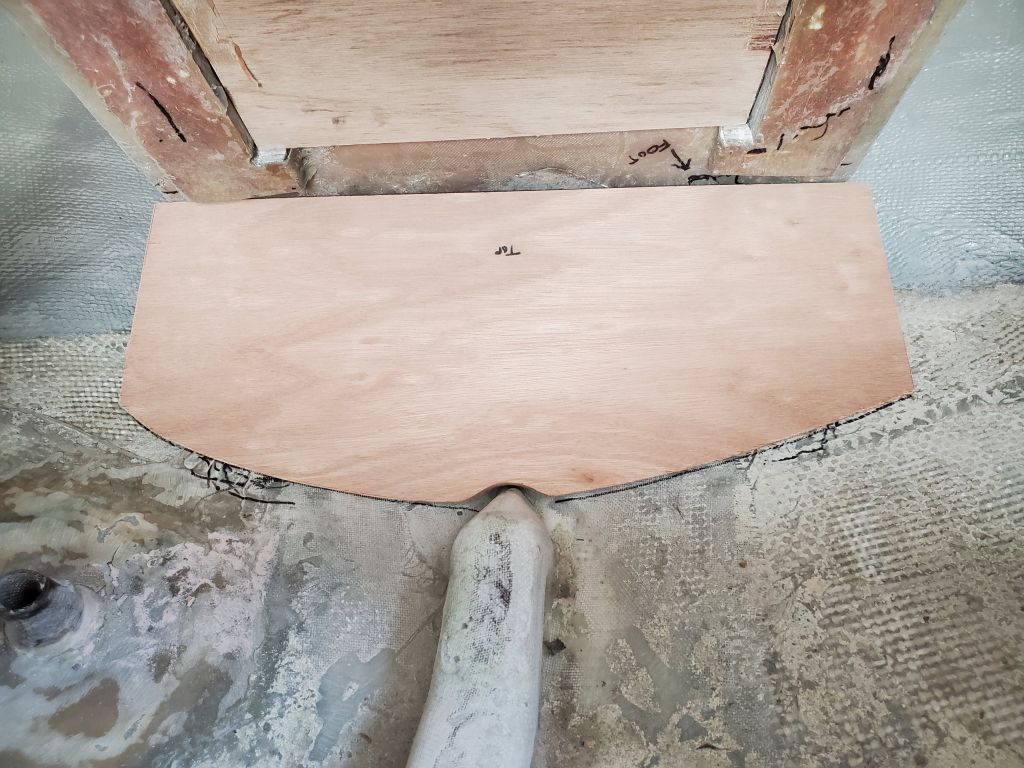
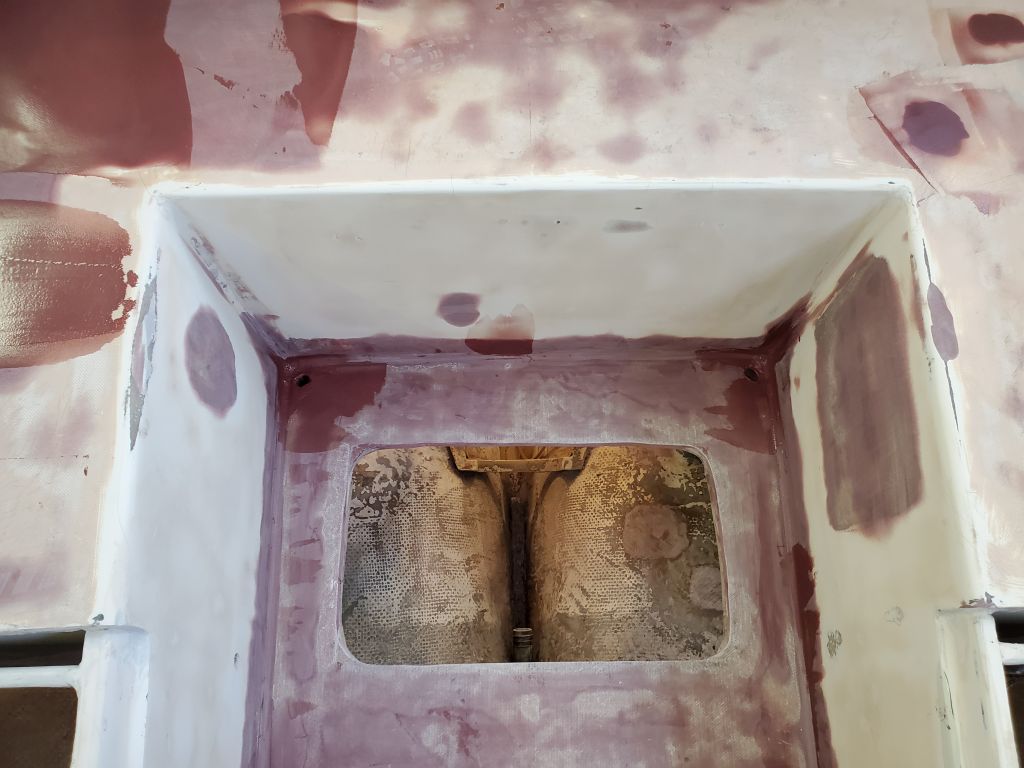
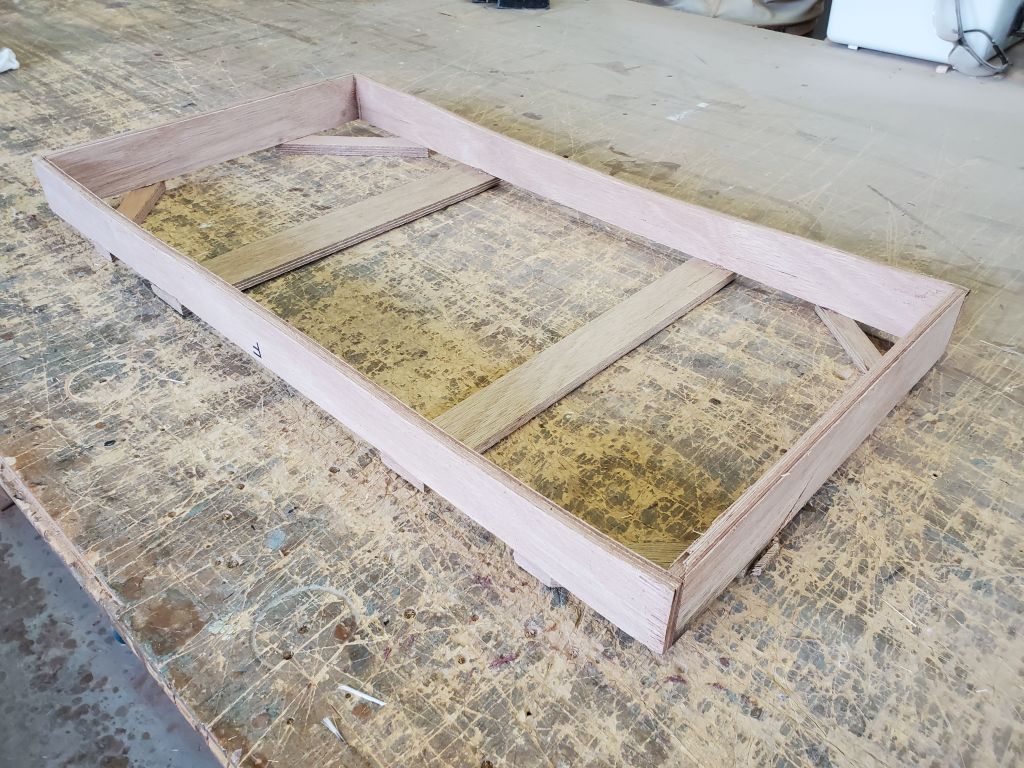
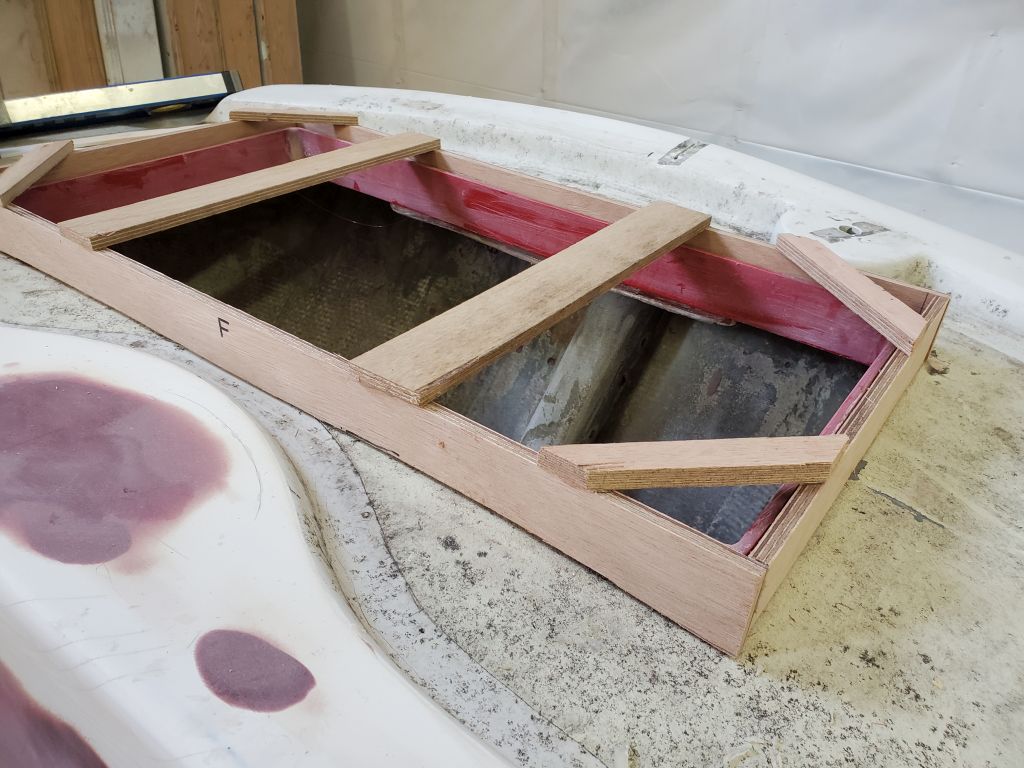
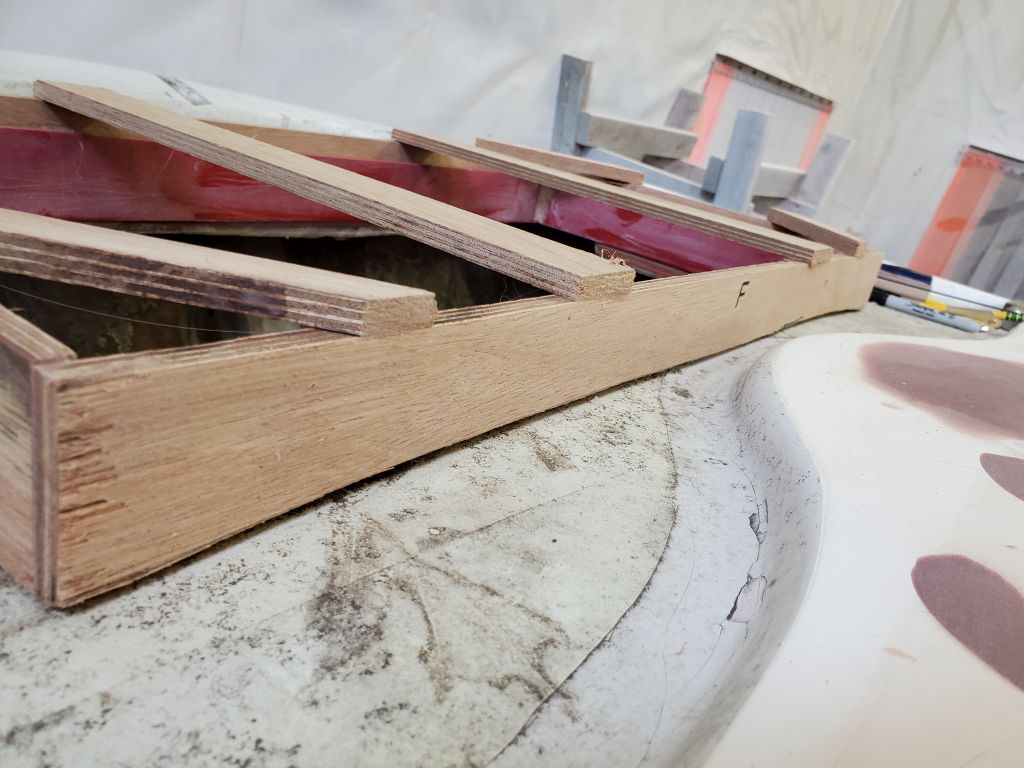
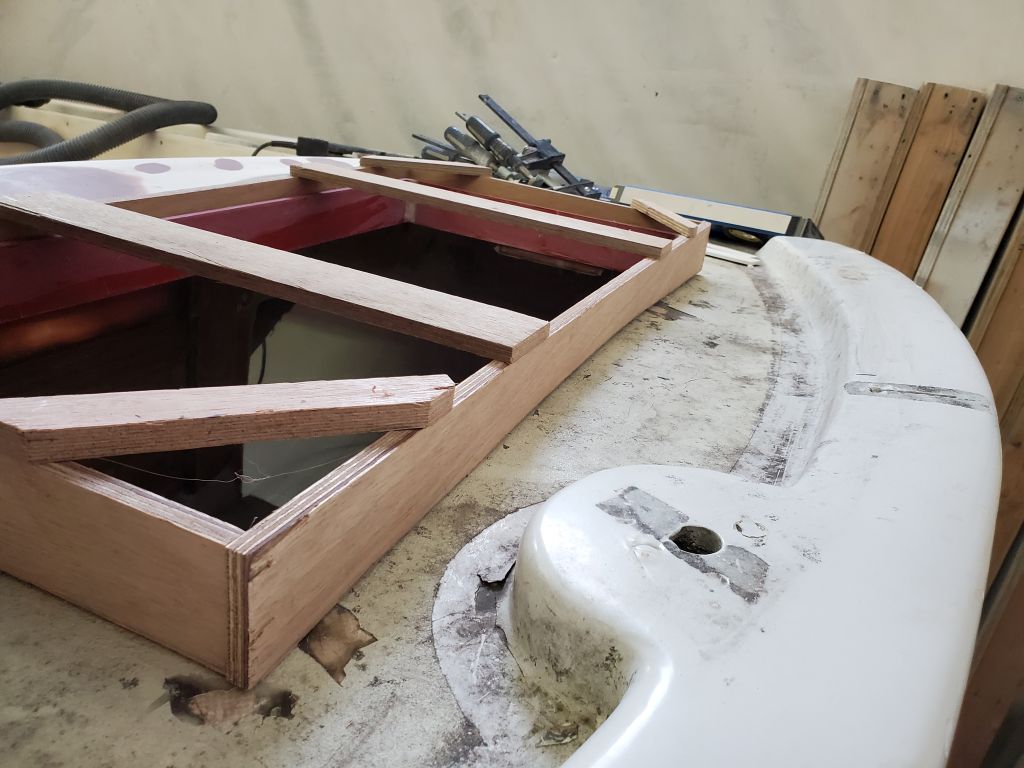
The owner wanted to build the hatch for the new generator compartment, so I made up a simple plywood template I could give him that accurately portrayed the size of the coaming, and the shape of the surrounding deck.  Using roughly 1/8″ thick stir sticks as spacers between the coaming and the inside of the template (representing the minimum inside dimensions of the hatch), I built the raw template in place from 2″ wide strips of 9mm (3/8″) plywood and hot glue, adding stiffeners as needed.  Then, I scribed the shape of the deck on  all sides.

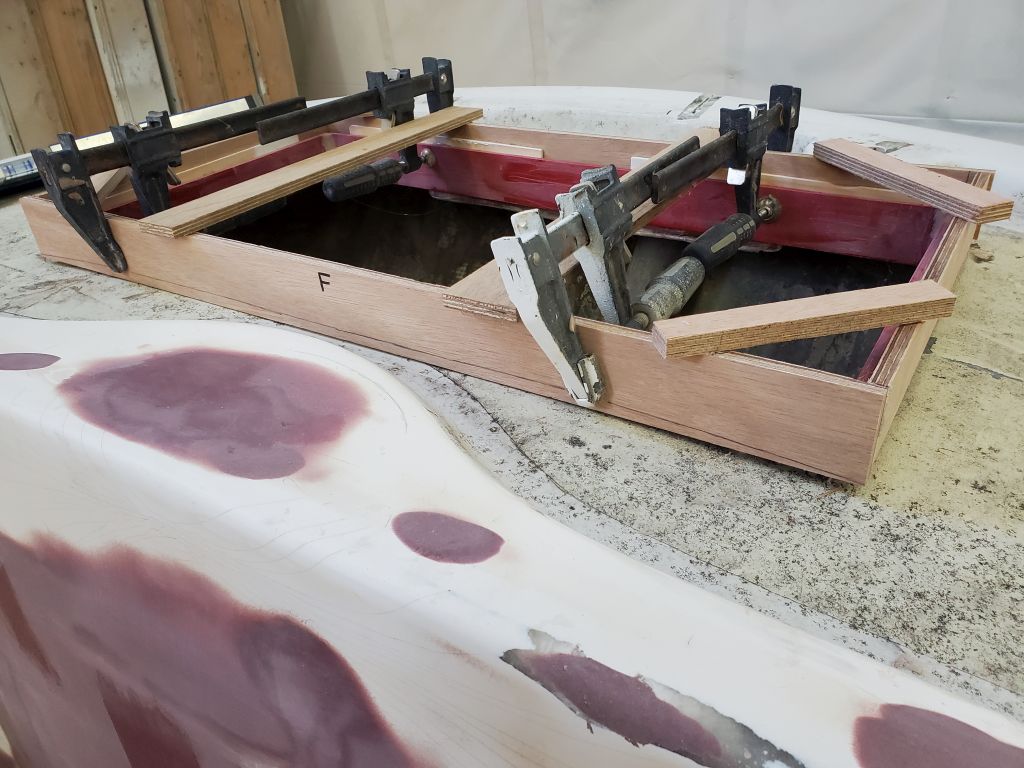
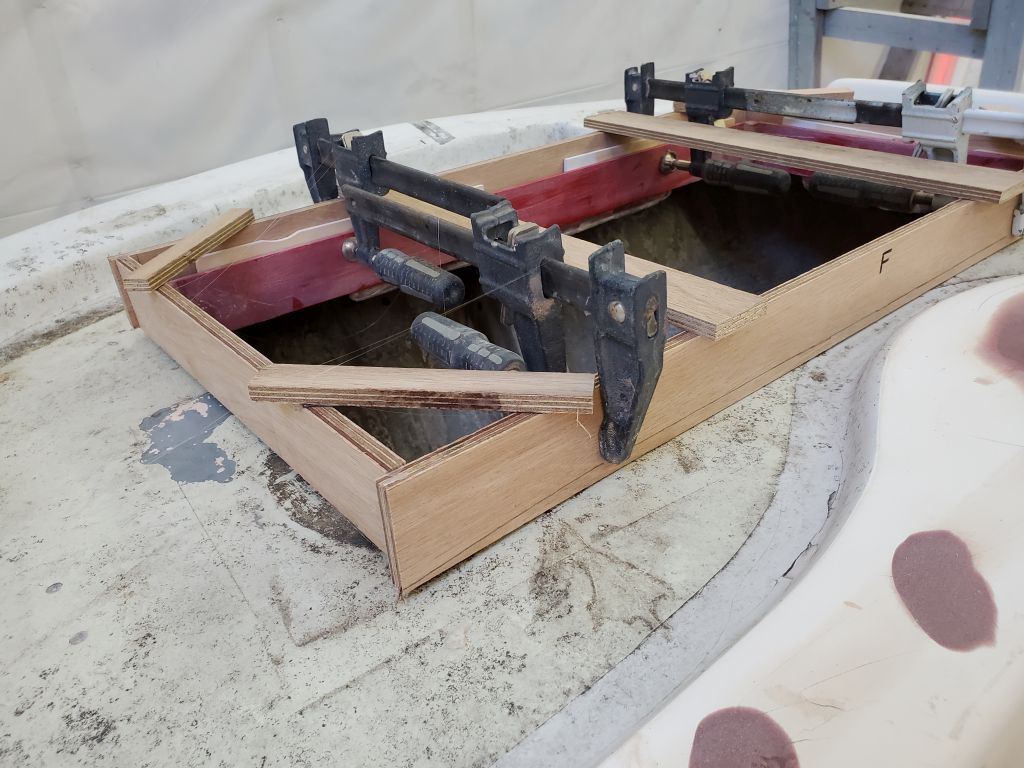
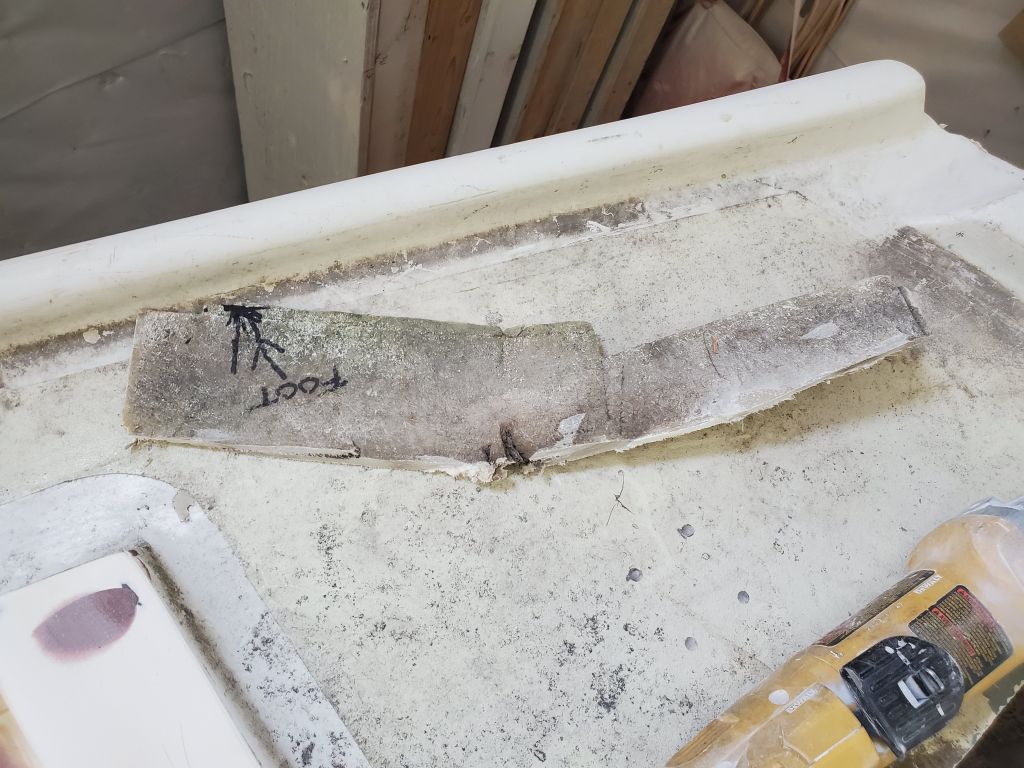
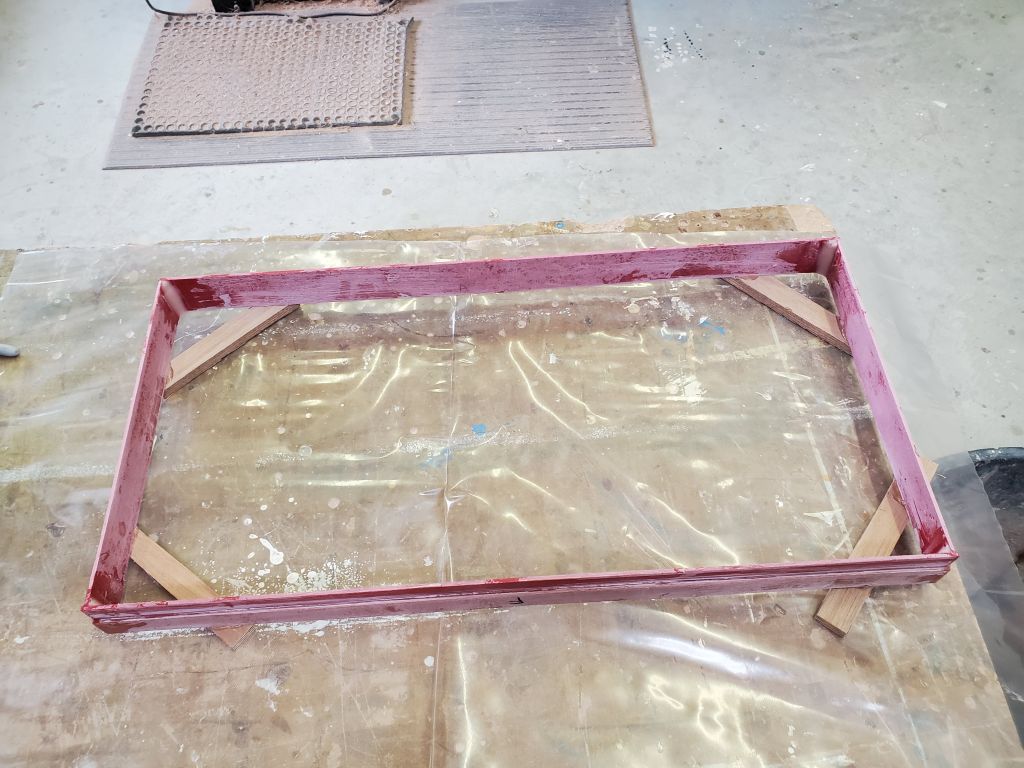
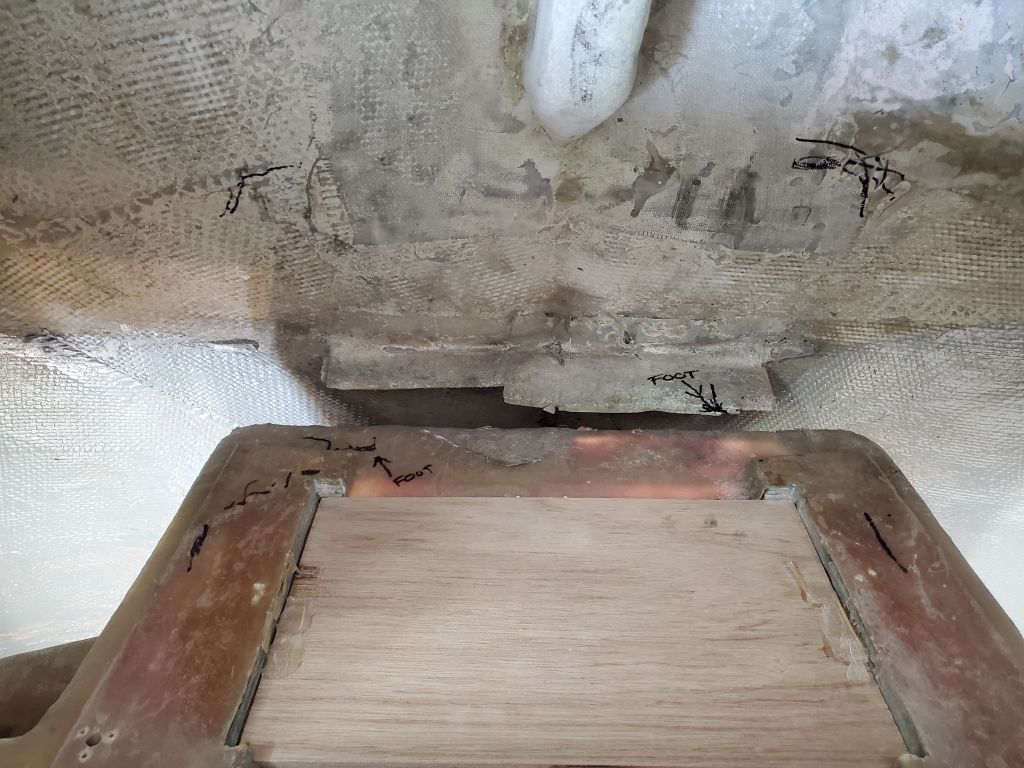
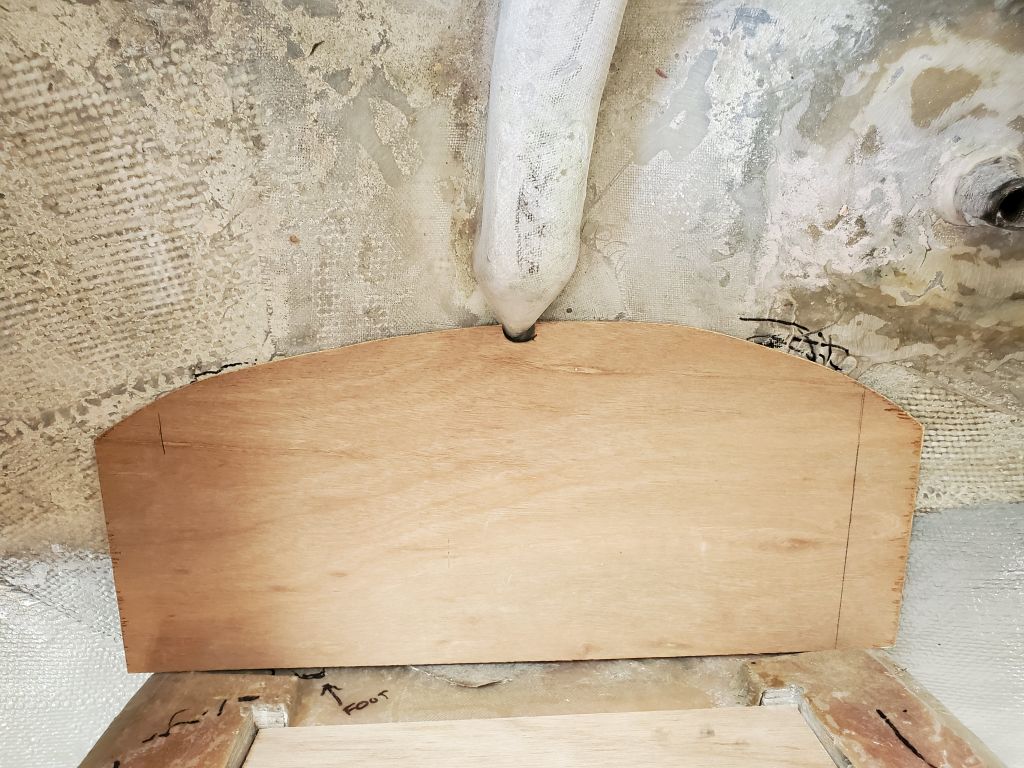
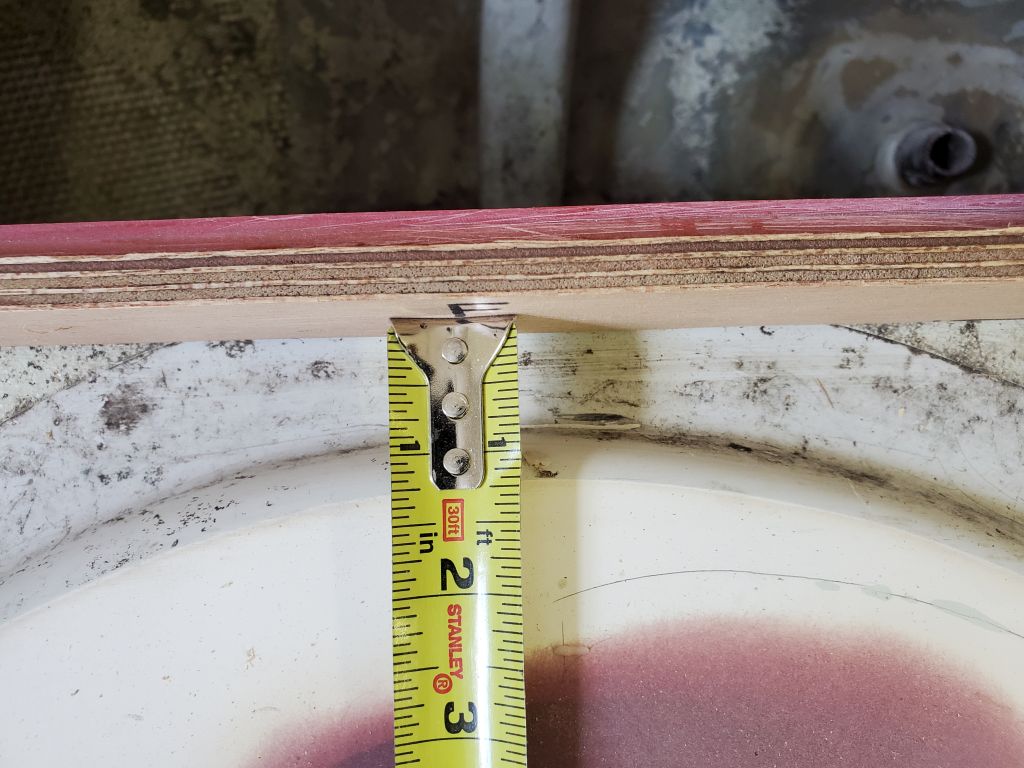
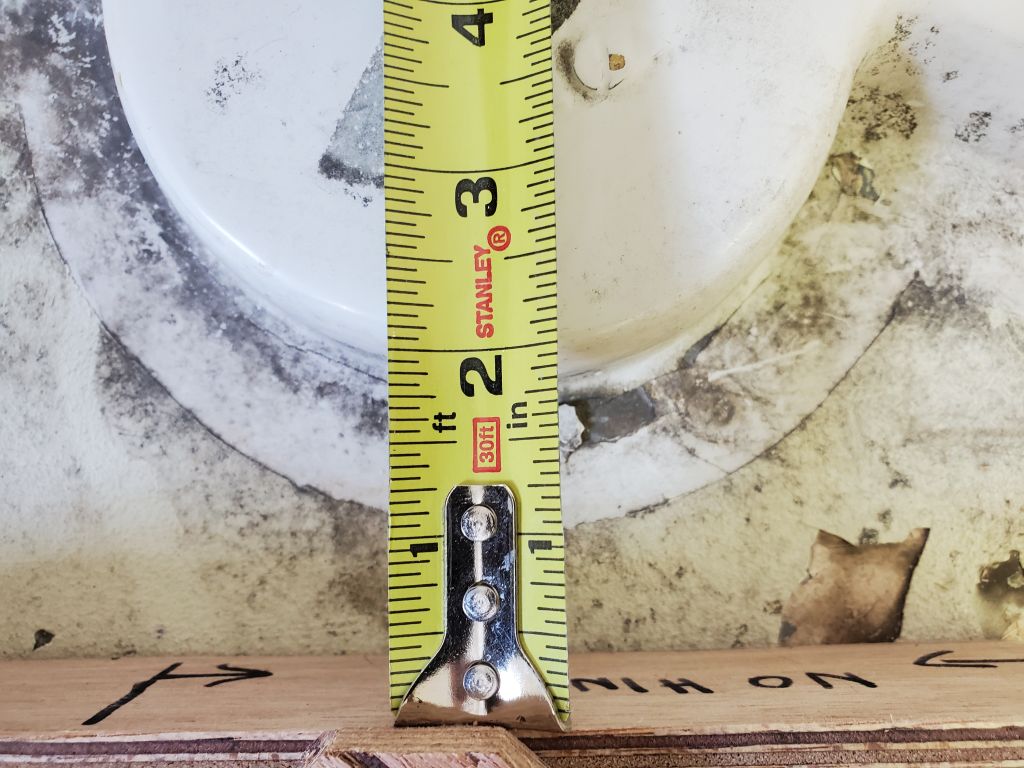
Down on the bench, I cut the template to my scribe lines as needed, and trimmed the overhanging braces and ends of the box.  I fine-tuned the shaping with a couple test-fits on deck to improve the fit after my initial cuts and shaping.  I made some additional reference marks and measurements to highlight various clearances to nearby obstructions, such as the curvy part of the traveler area, and the stern light molding behind, which might affect portions of the build.  Then, I marked the actual inside height of the coaming on the template as a final reference.

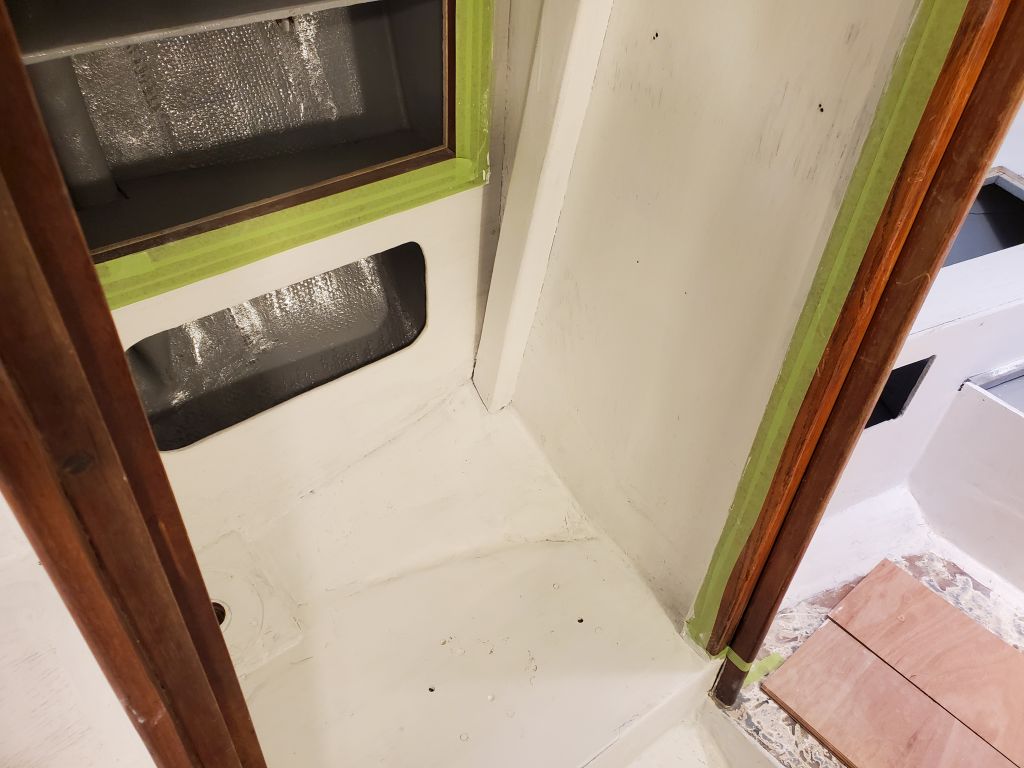
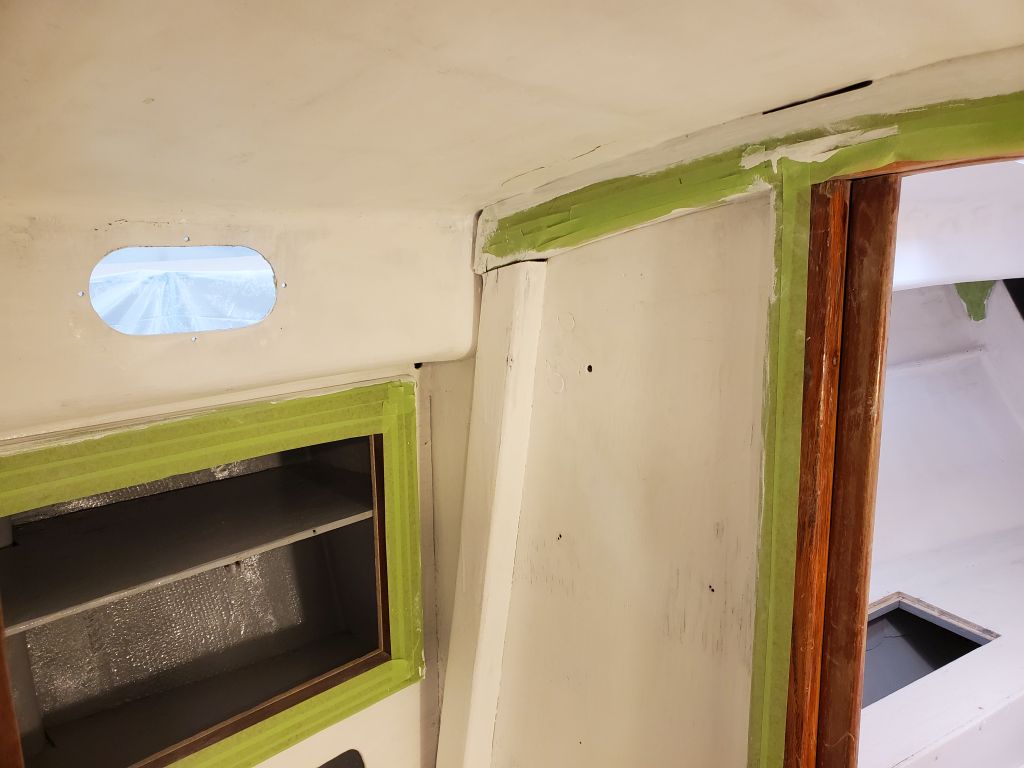
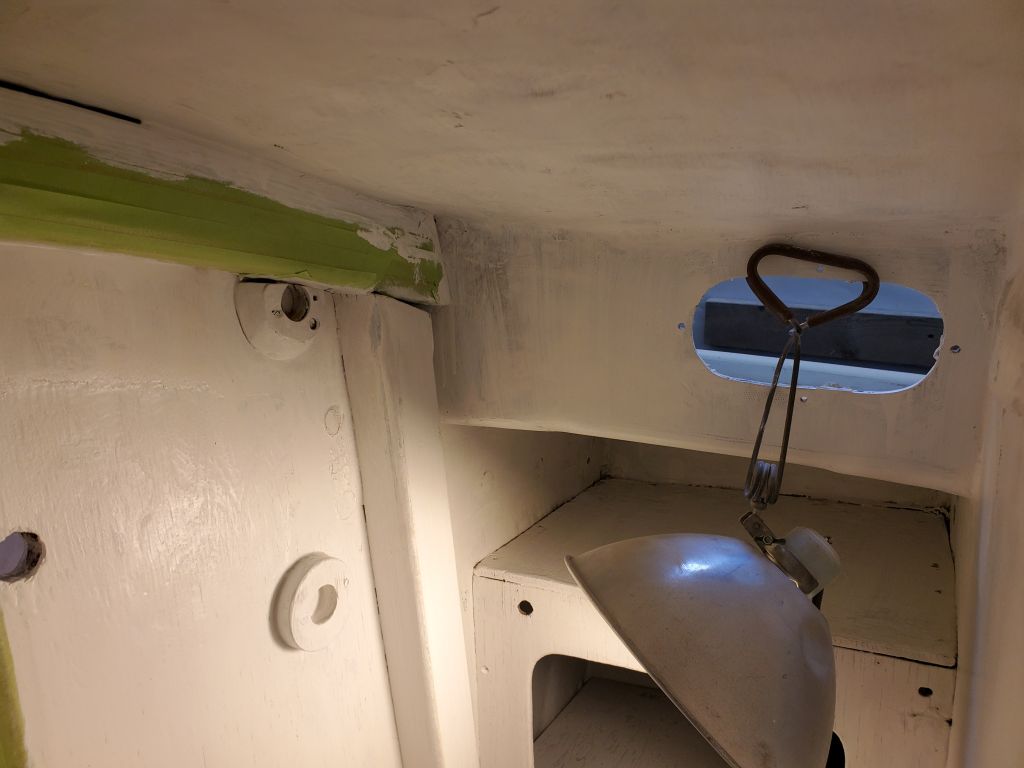
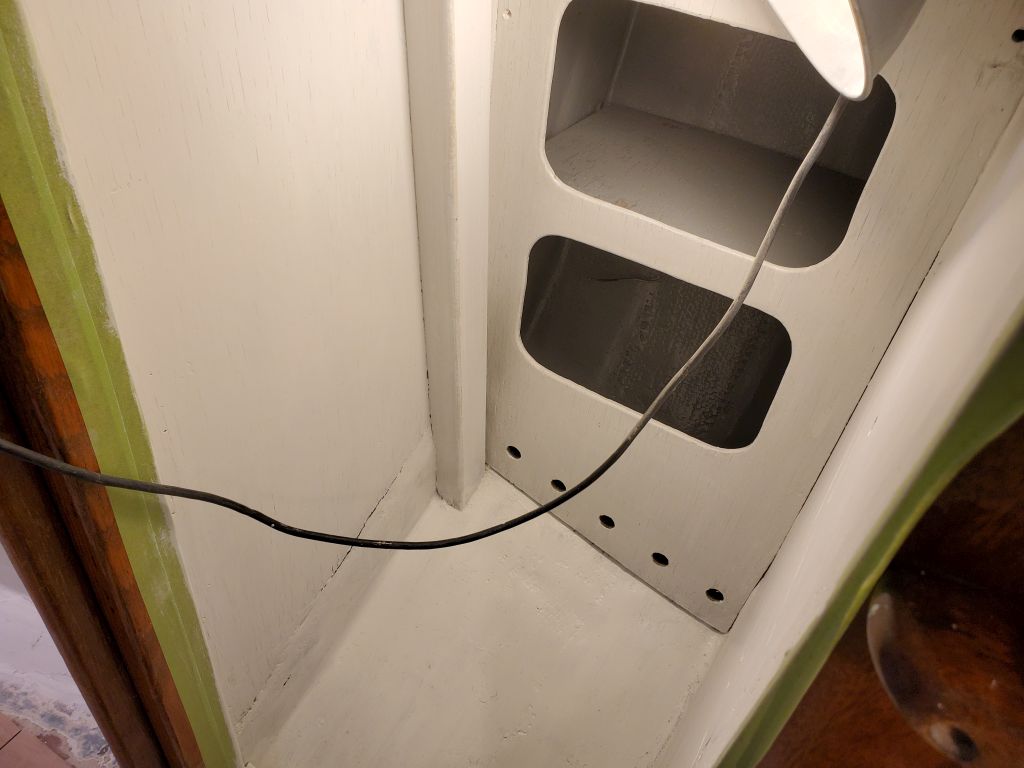
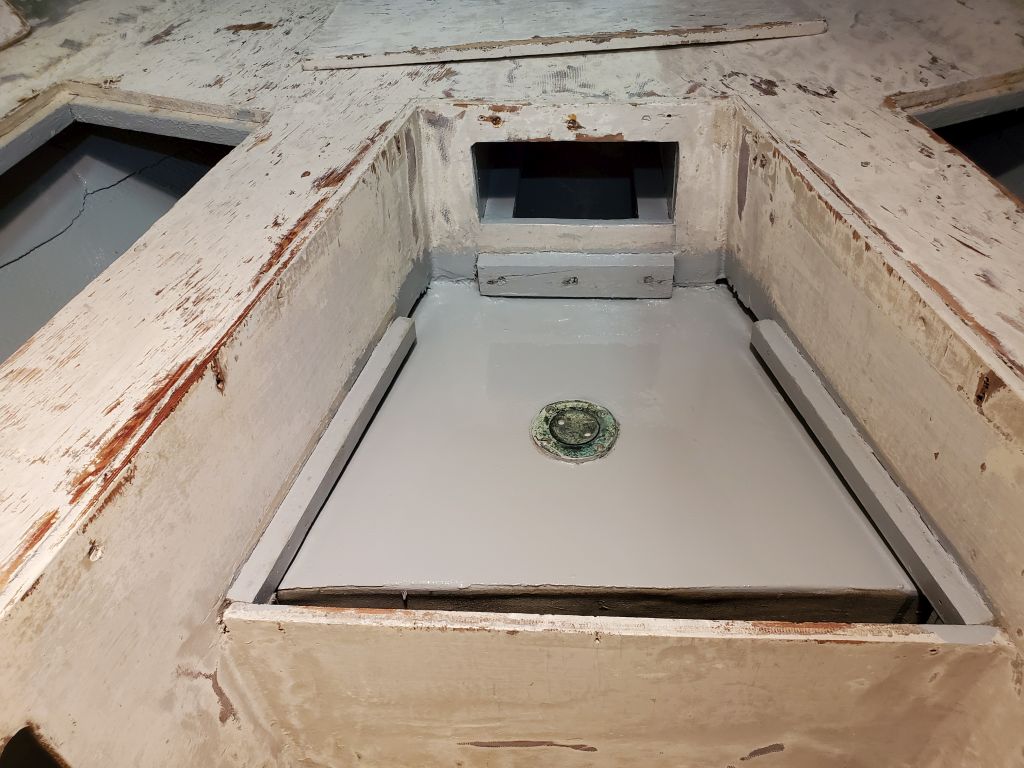
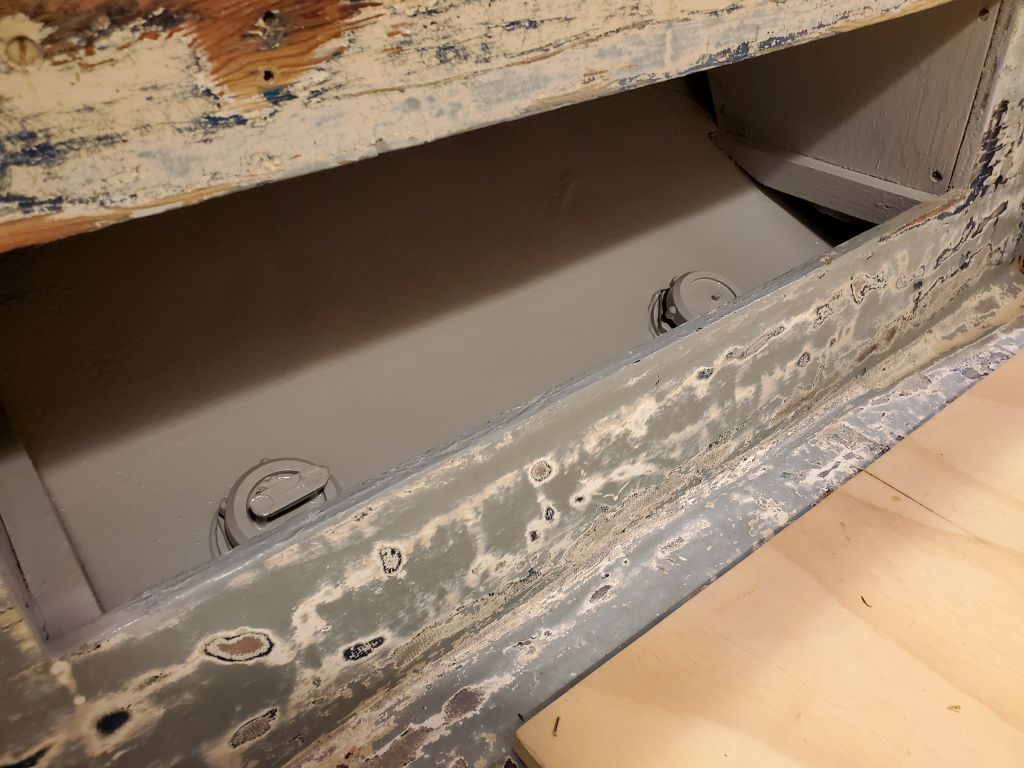
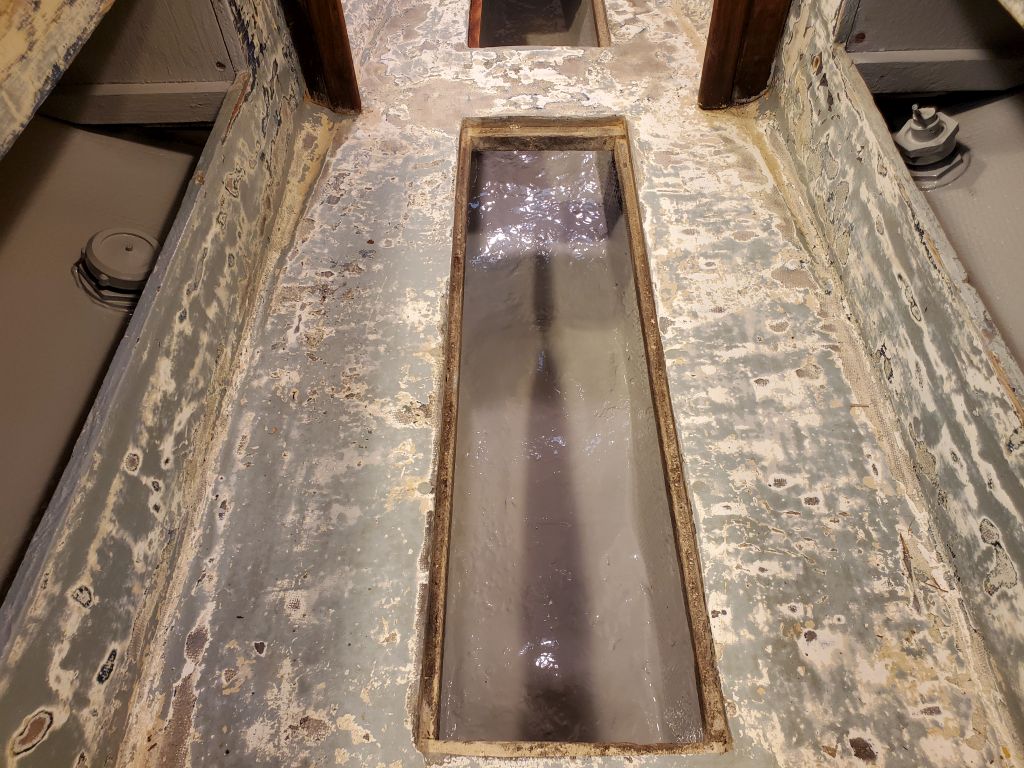
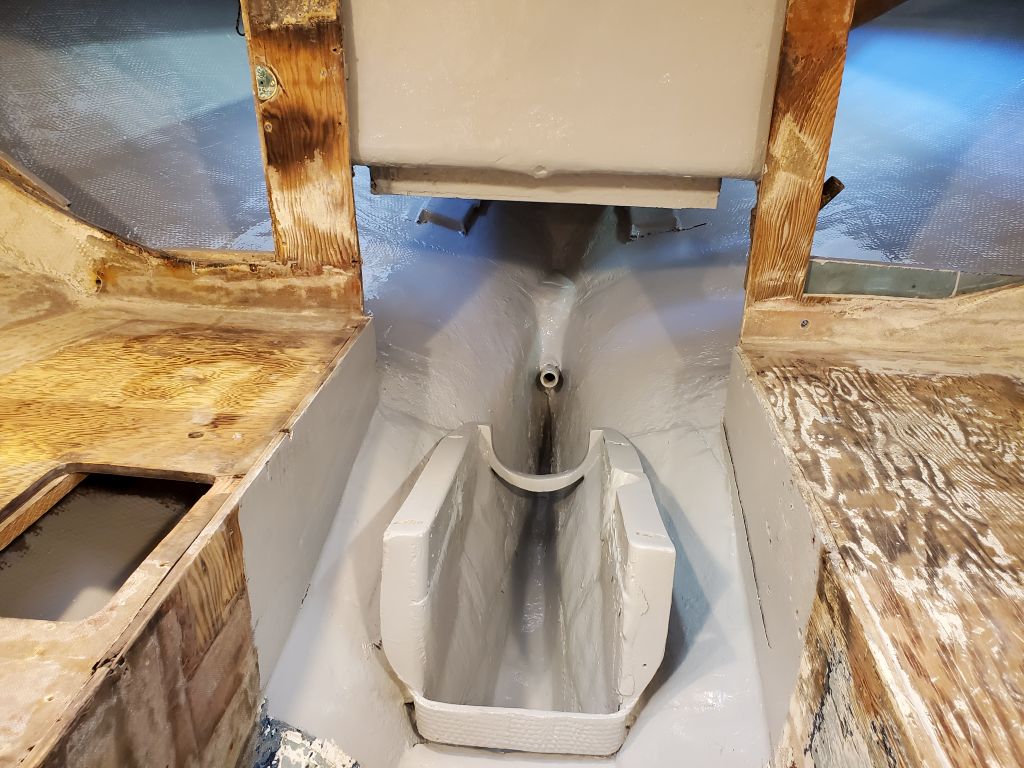
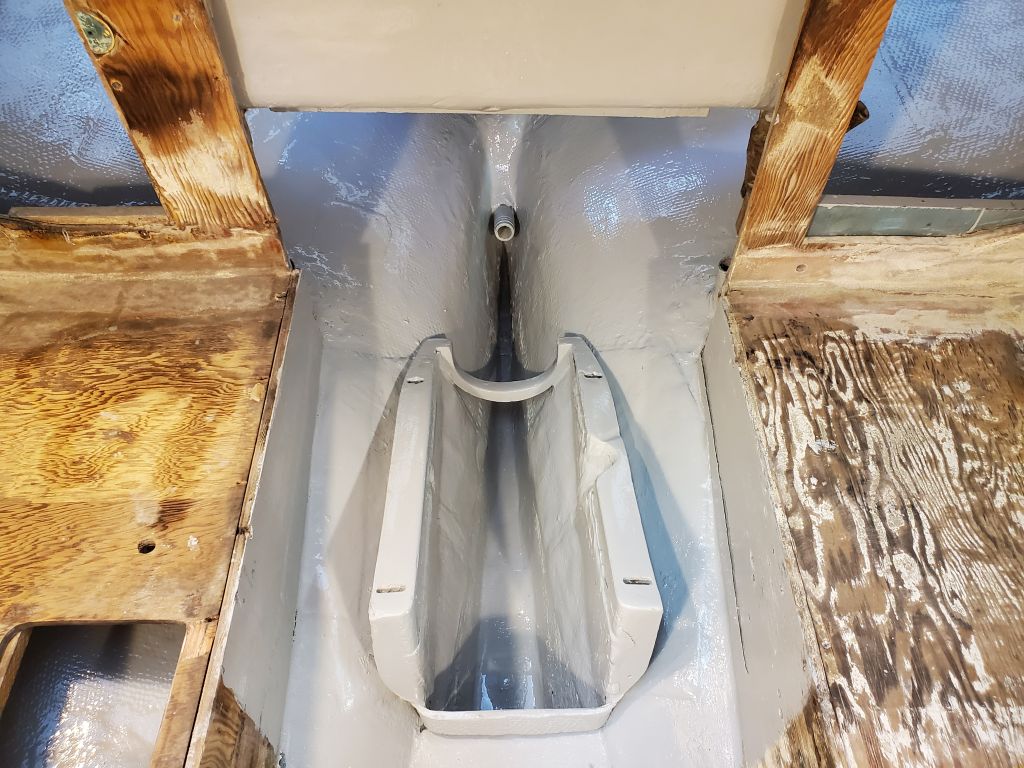
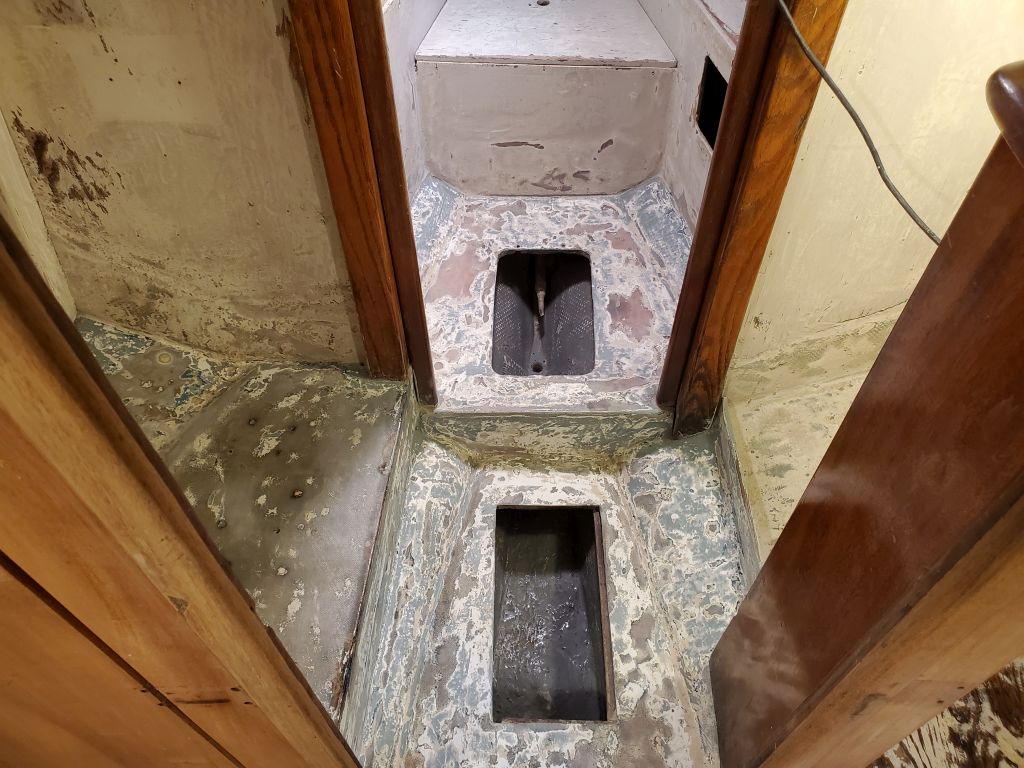
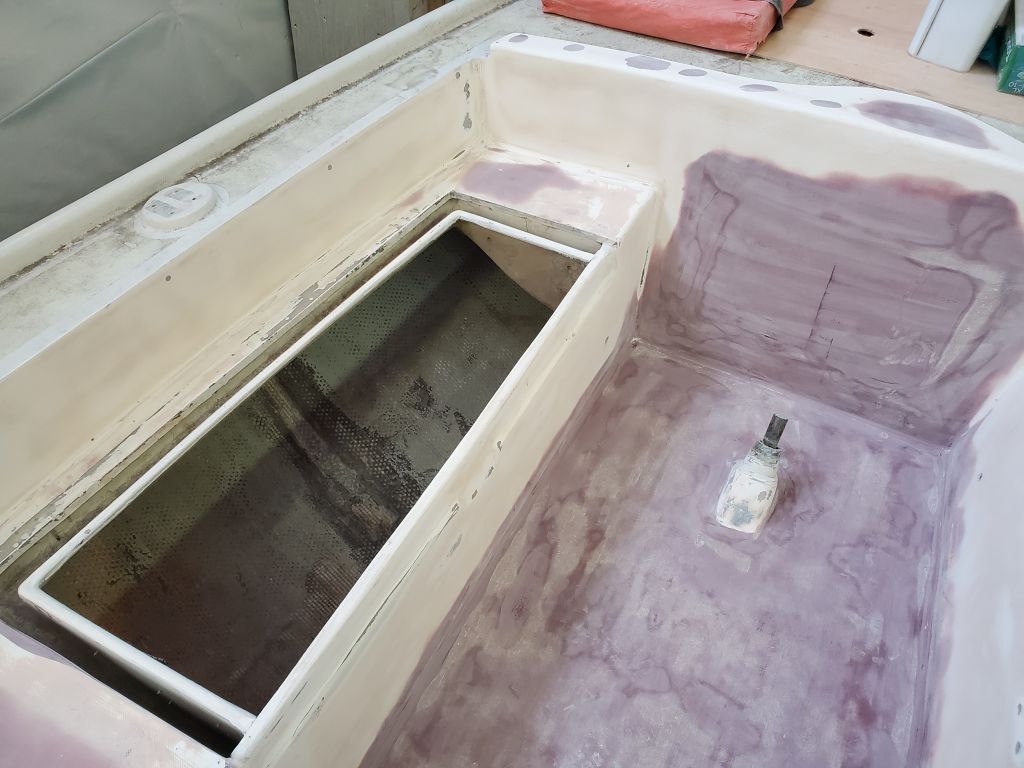
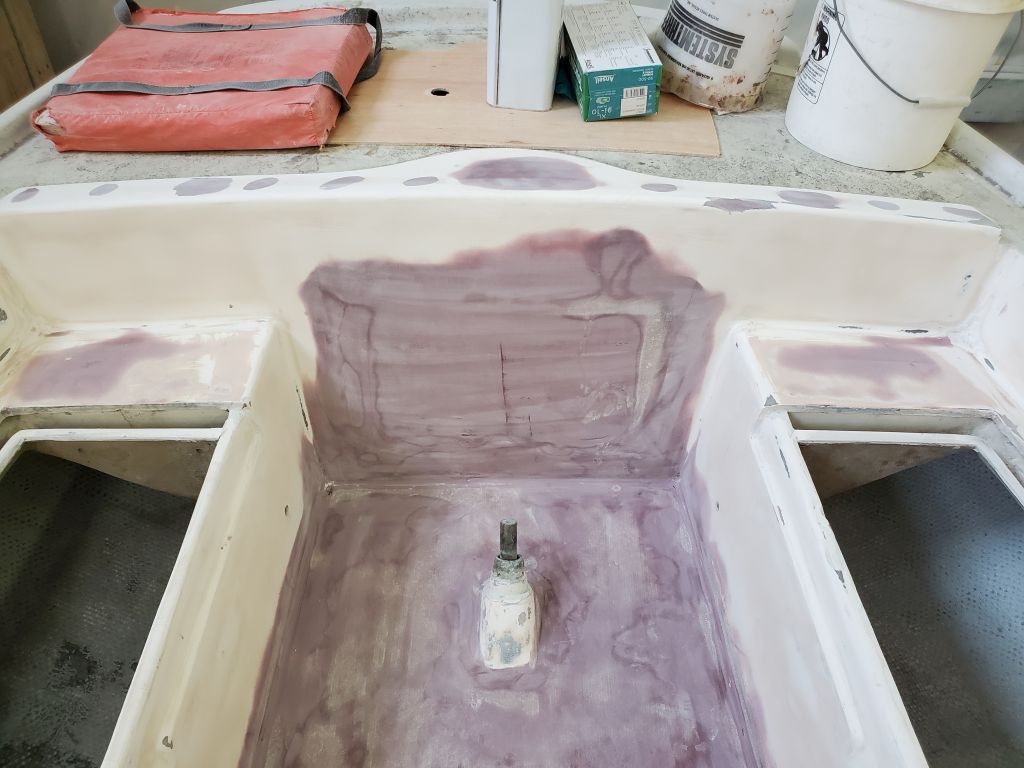
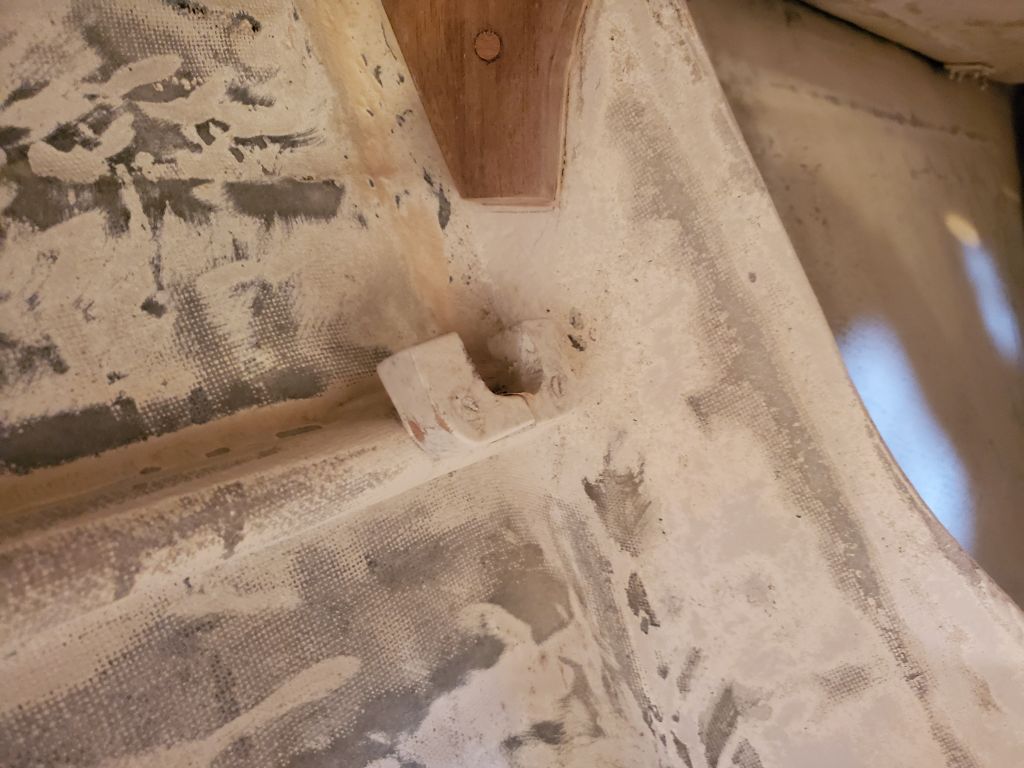
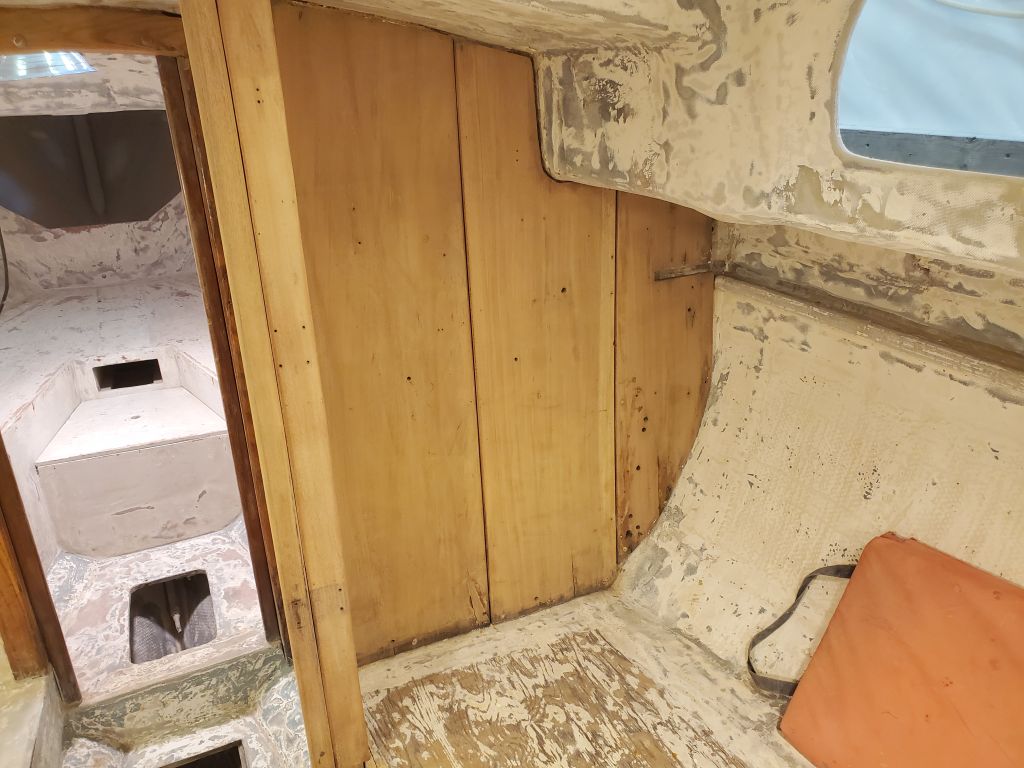
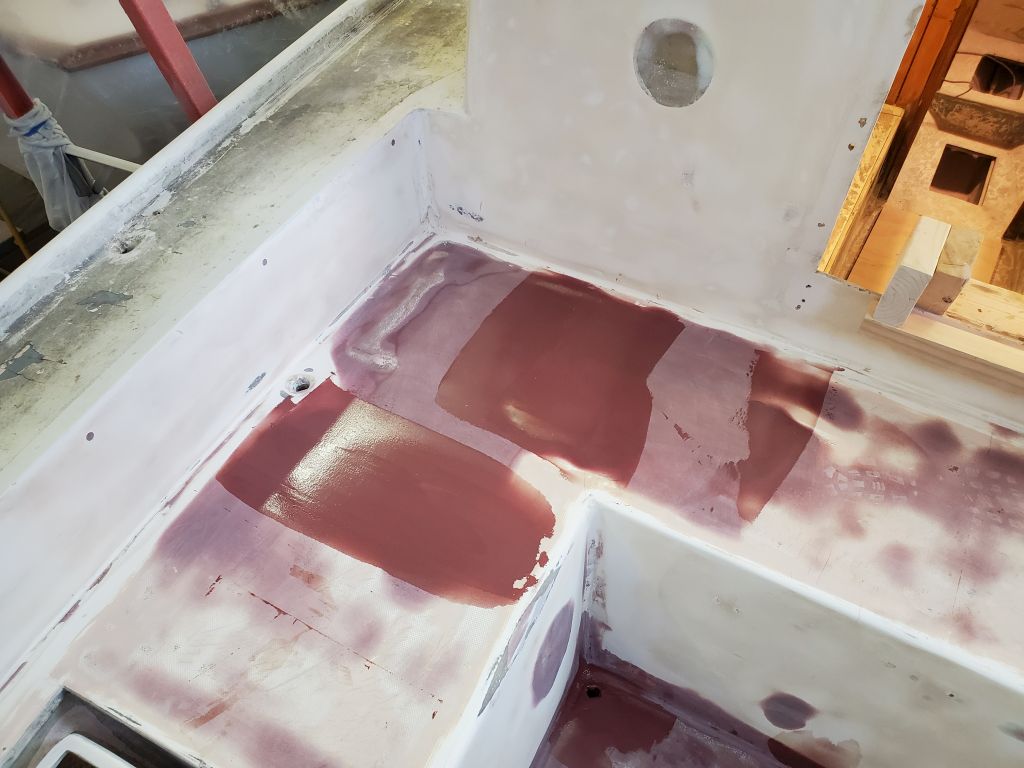
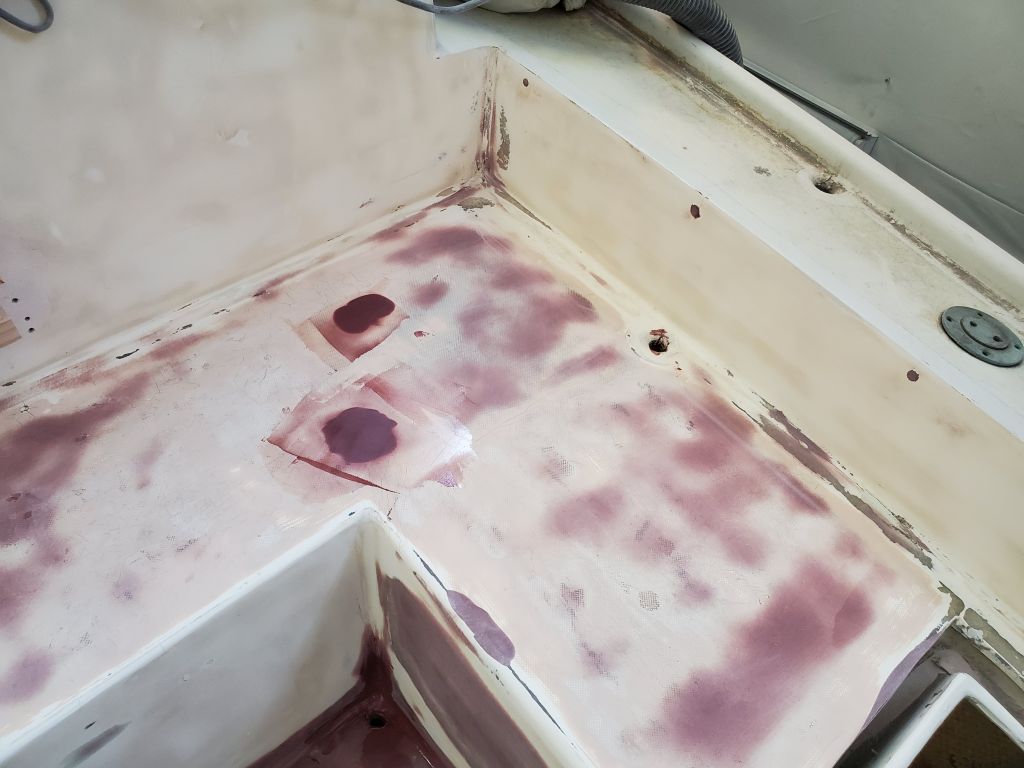
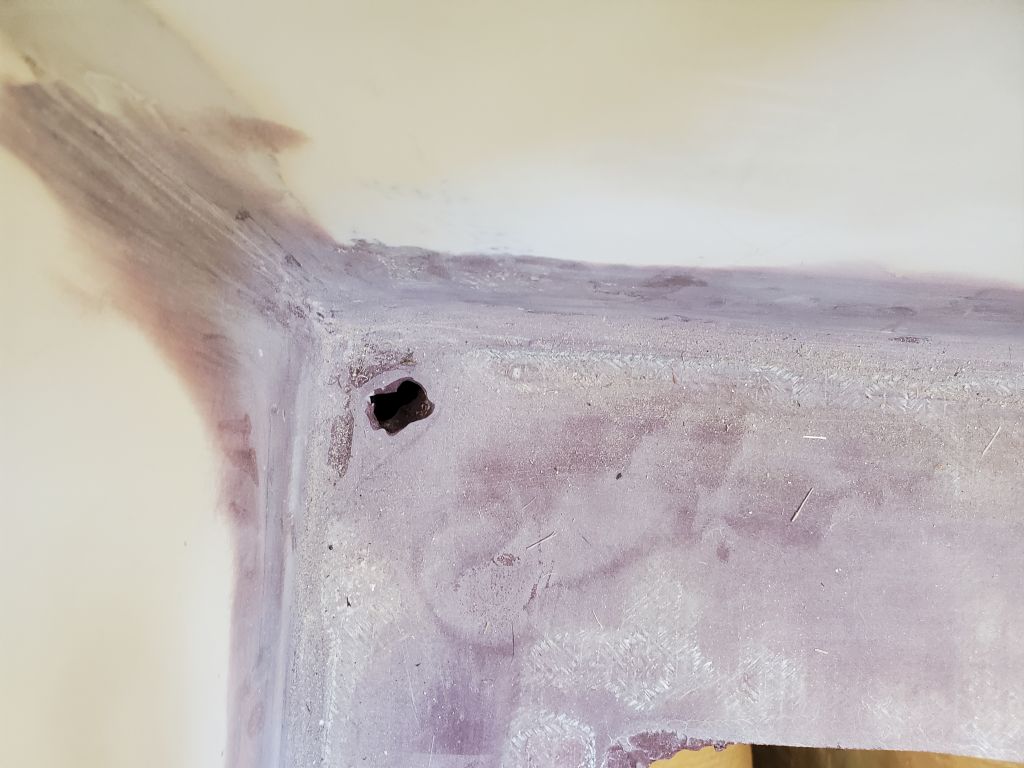
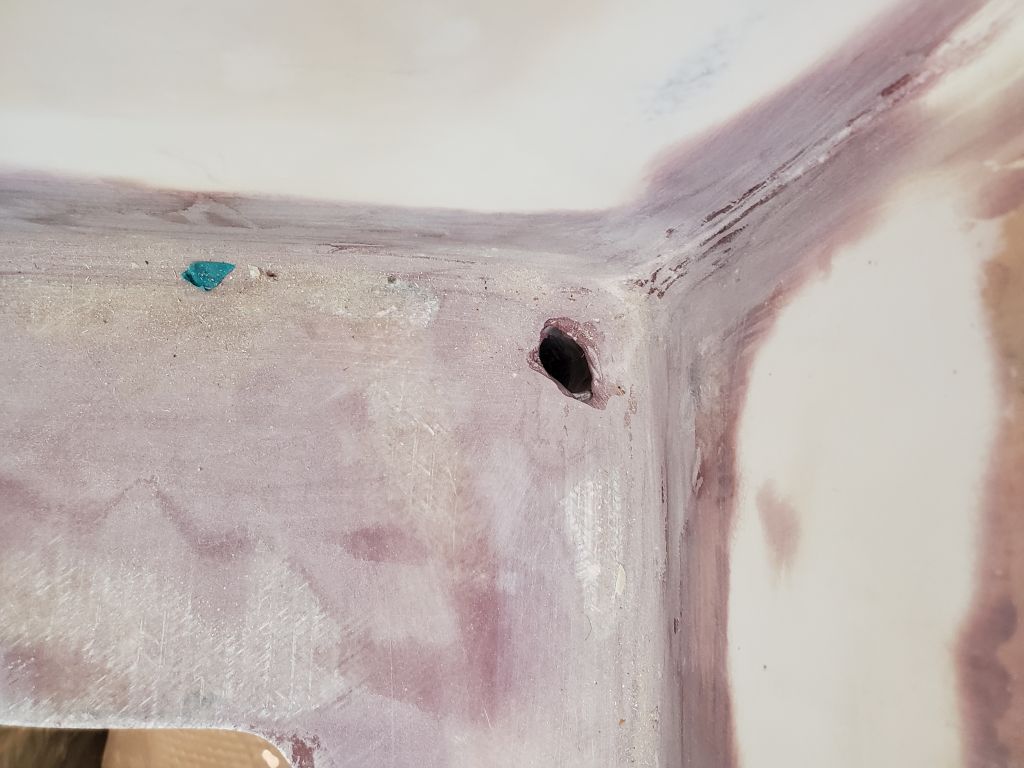
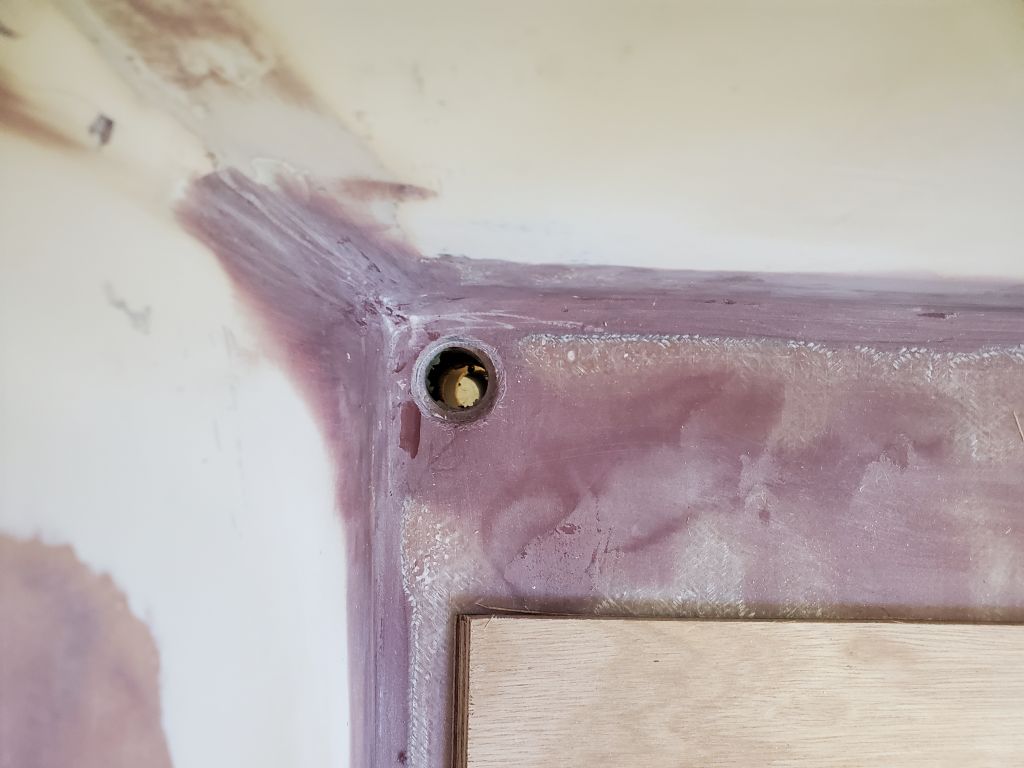
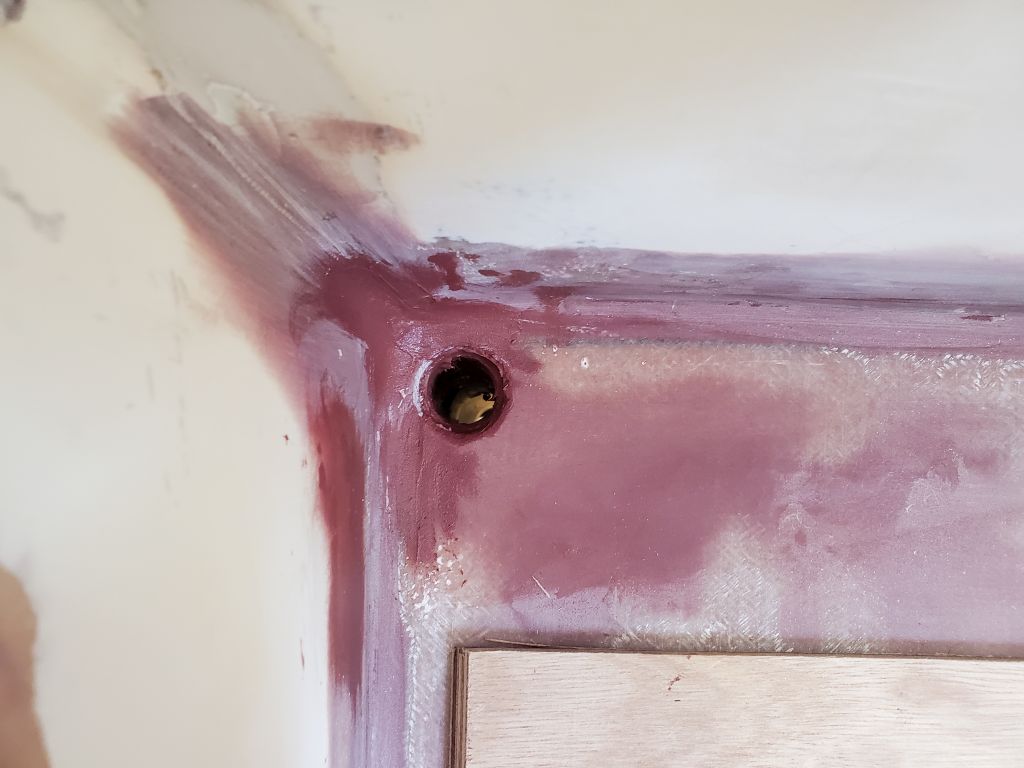
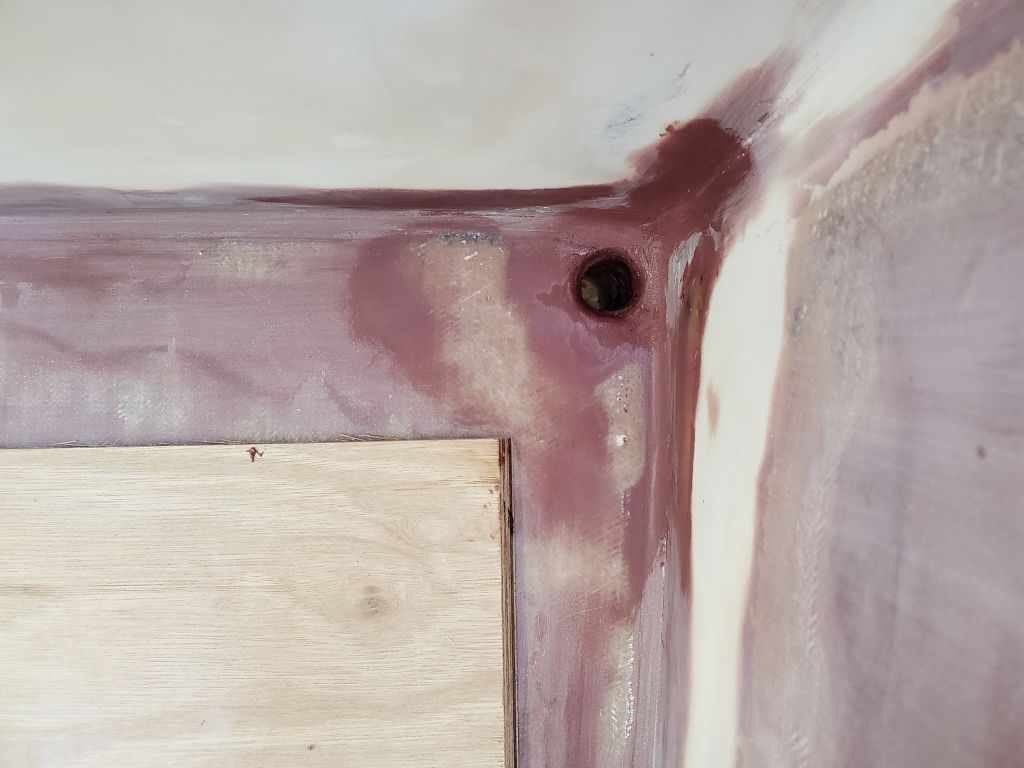
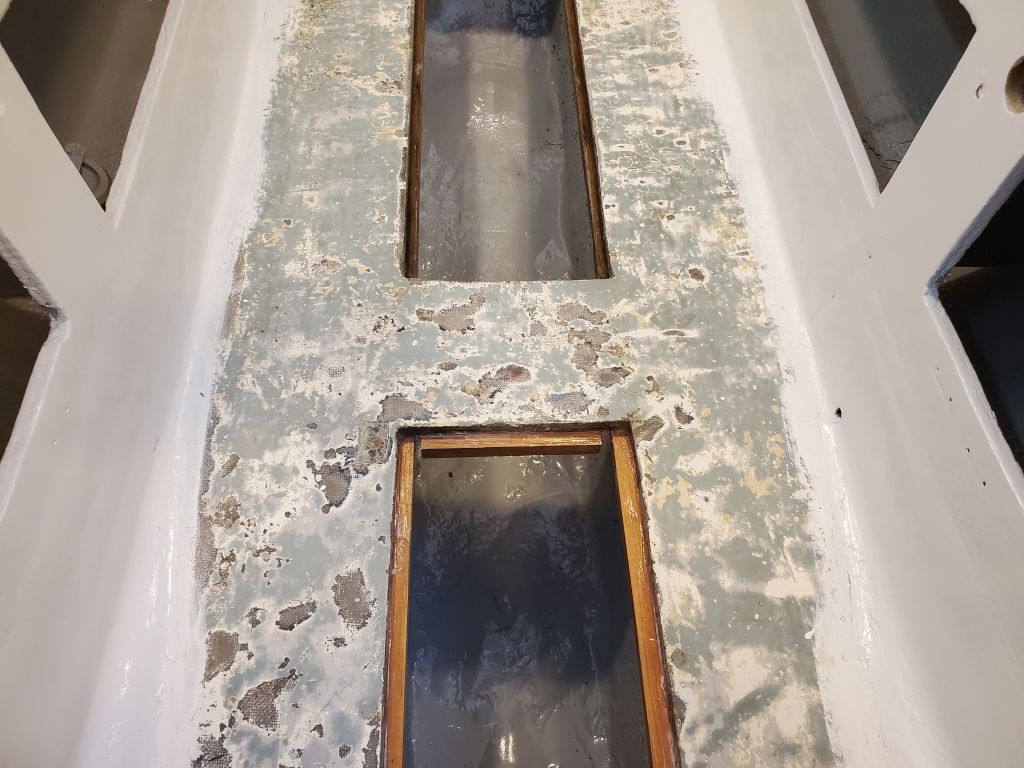
Looking to wrap up a few loose ends before I turned my full attention in the coming week to the cabin and the beginnings of systems installations–including scupper drain hoses, which, because of access issues, needed to be installed before the rest of the interior could be completed–I worked on the cockpit scuppers, which were still in rough form following the bulk cockpit work earlier.  Now, I reopened the holes in the cockpit corners with a hole saw and beveled them with a countersink before adding a bit more epoxy fairing compound in the corners and around and inside the drain openings to fine-tune the appearance and function.

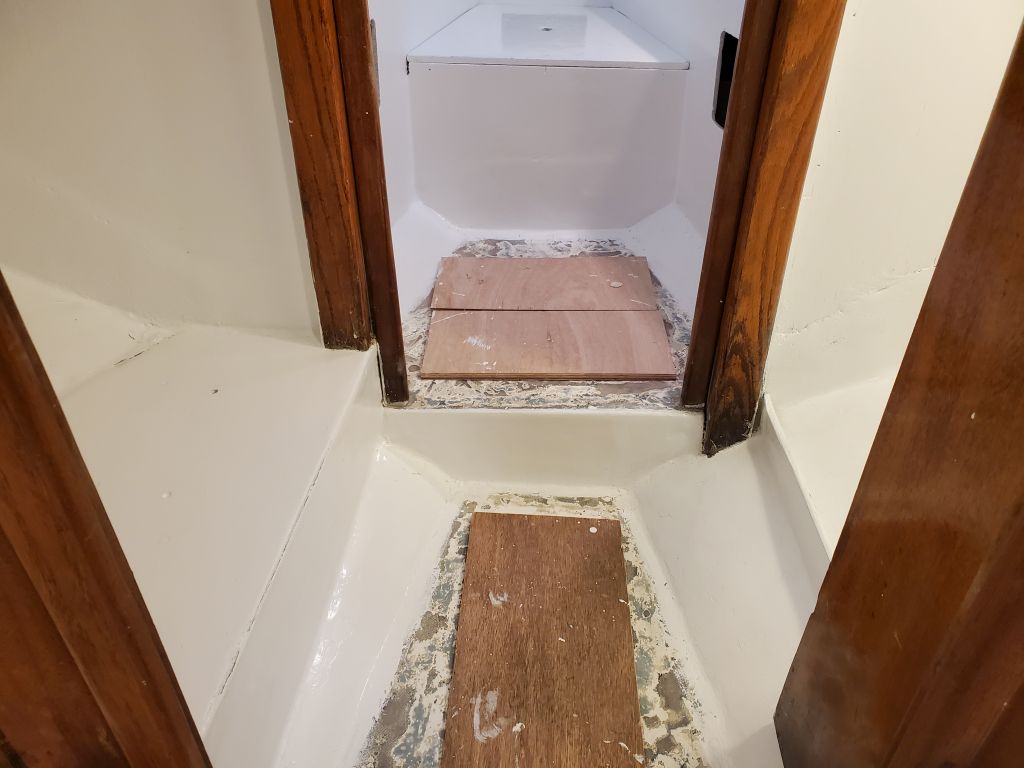
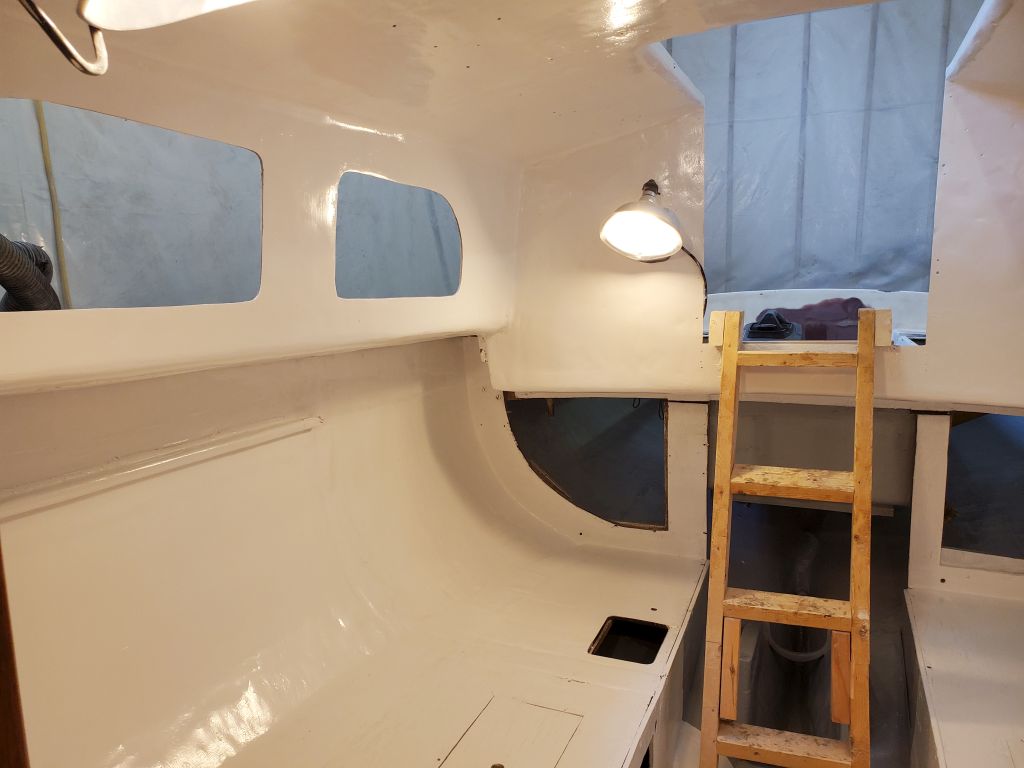
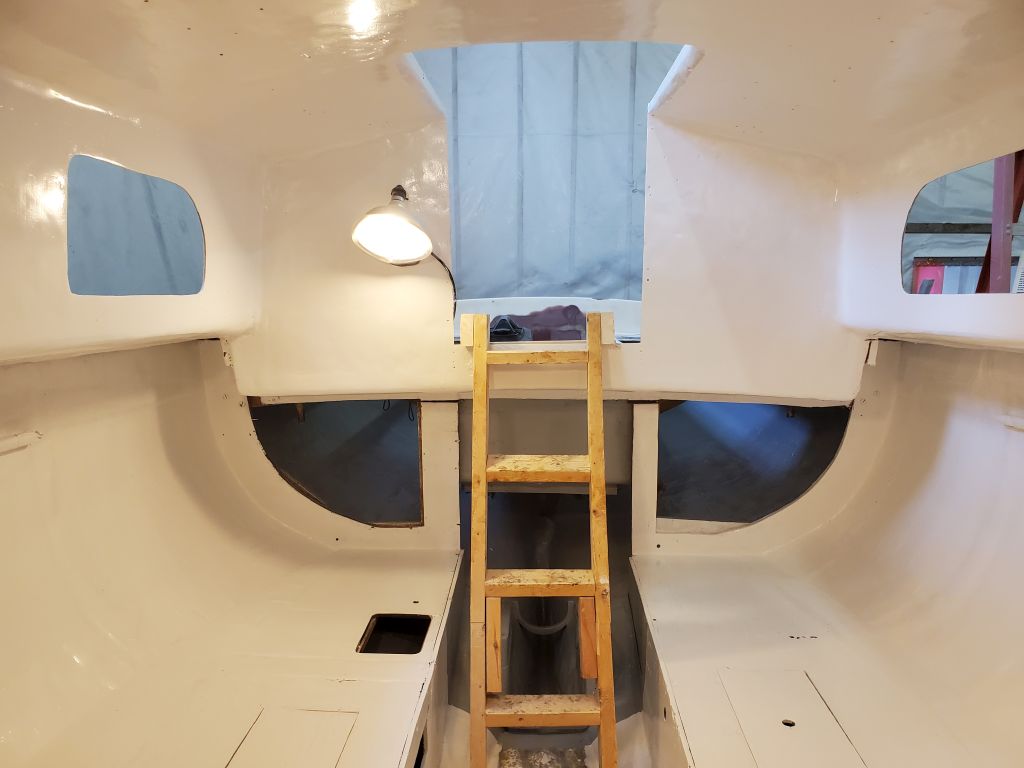
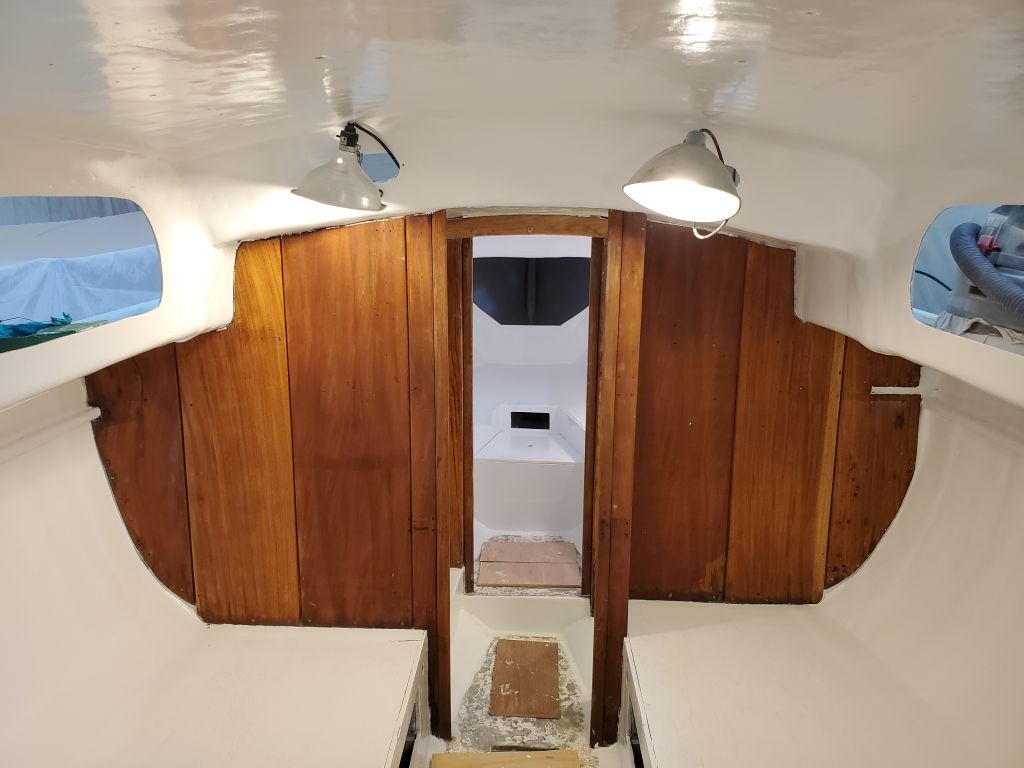
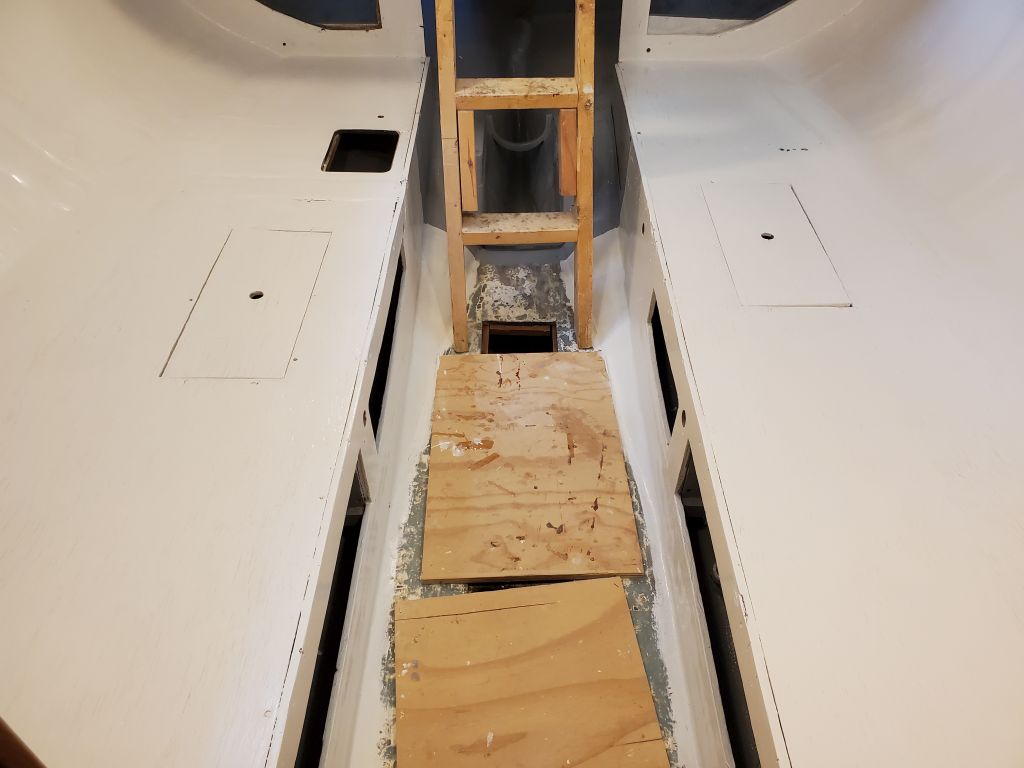
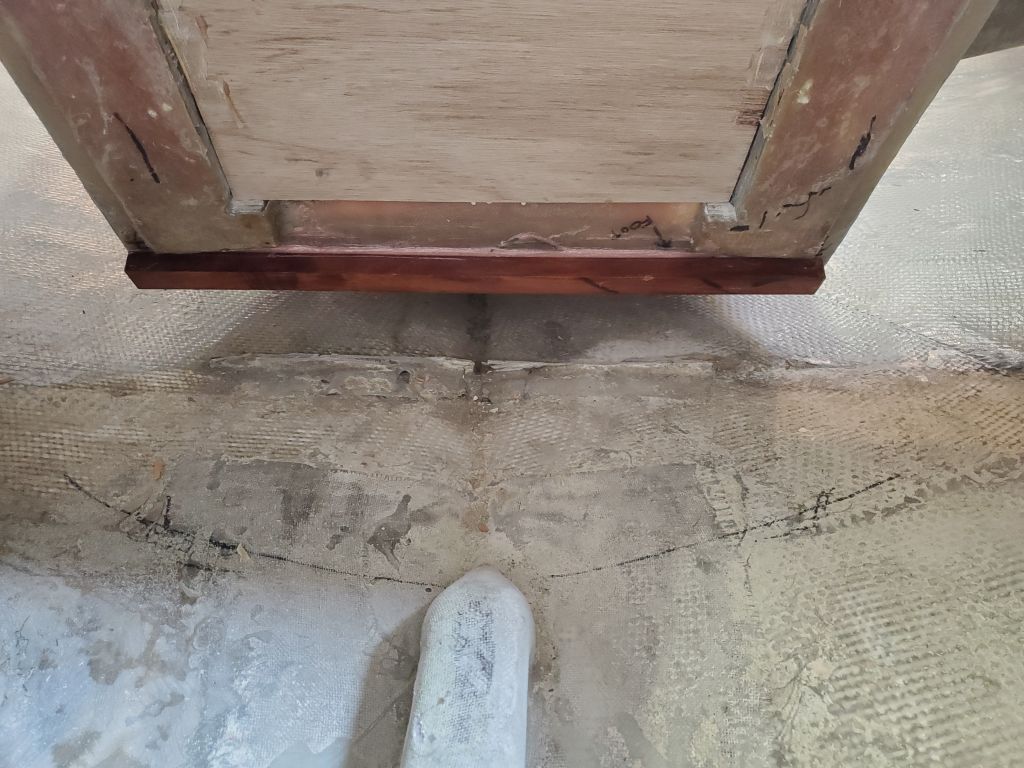
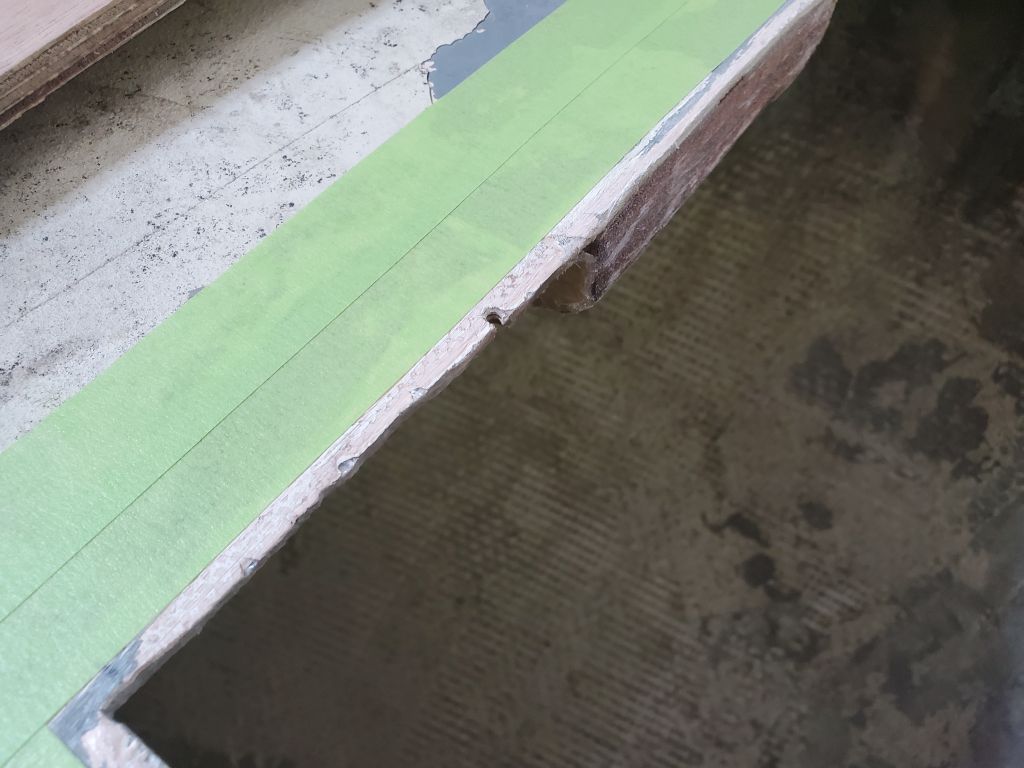
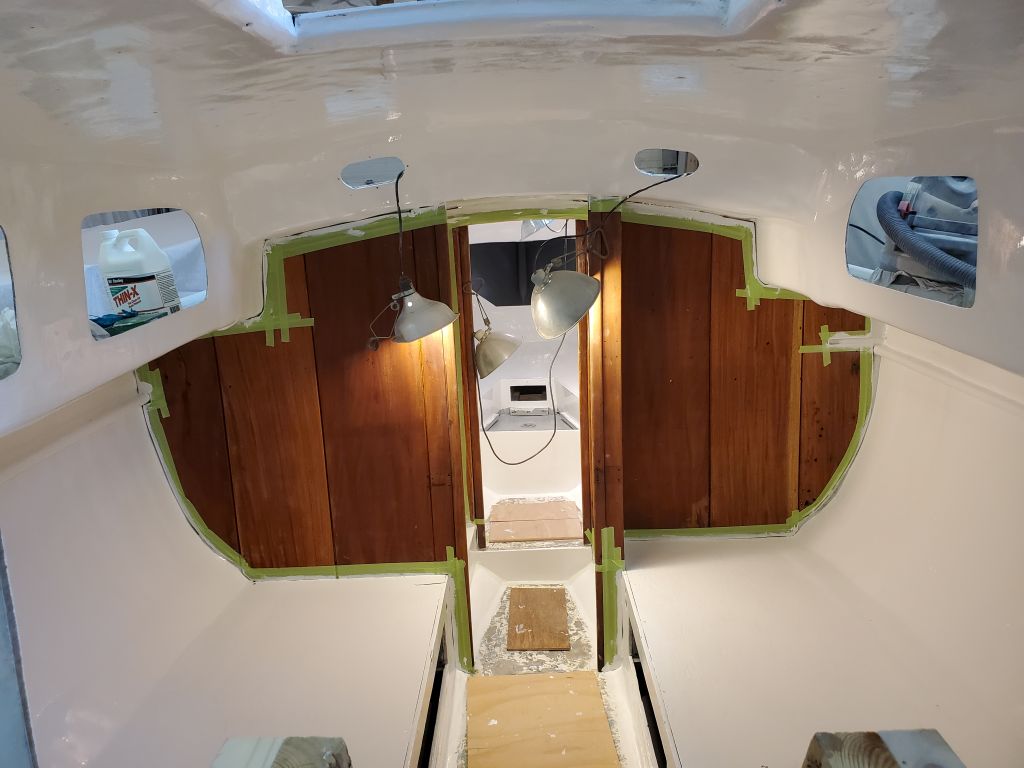
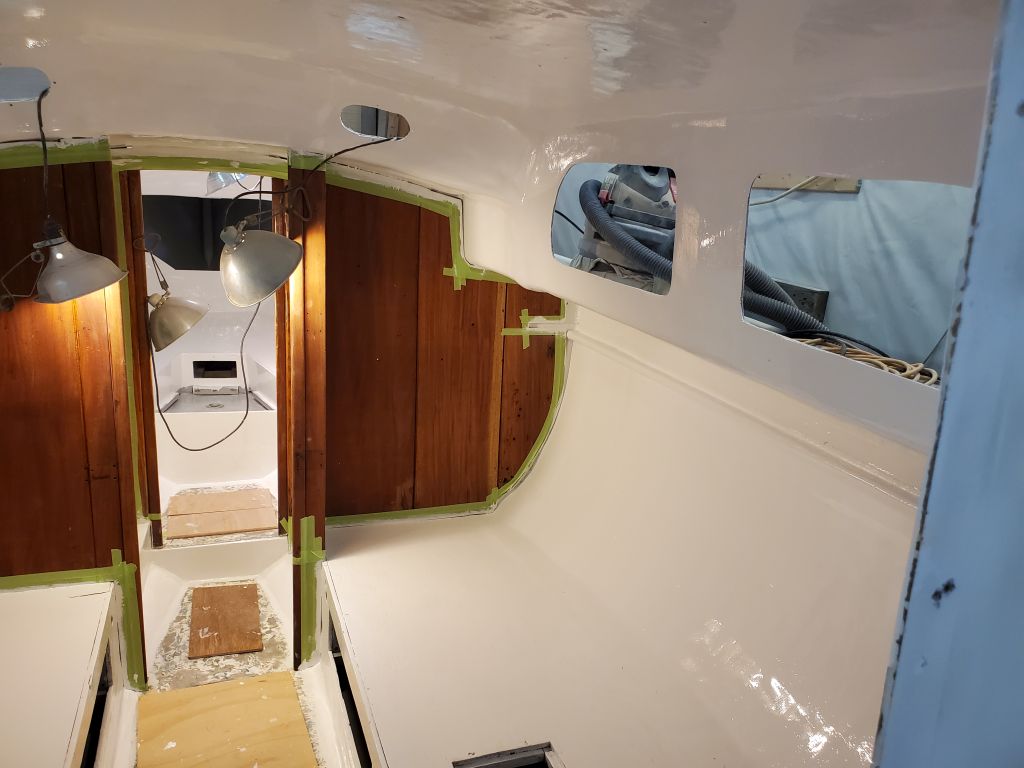
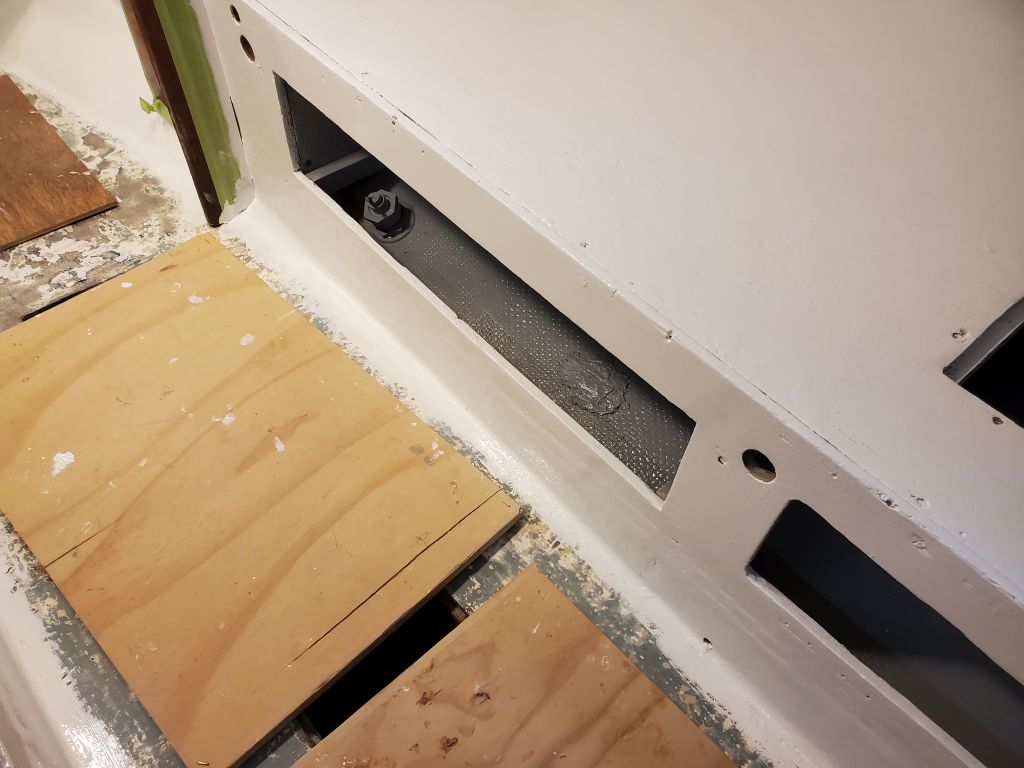
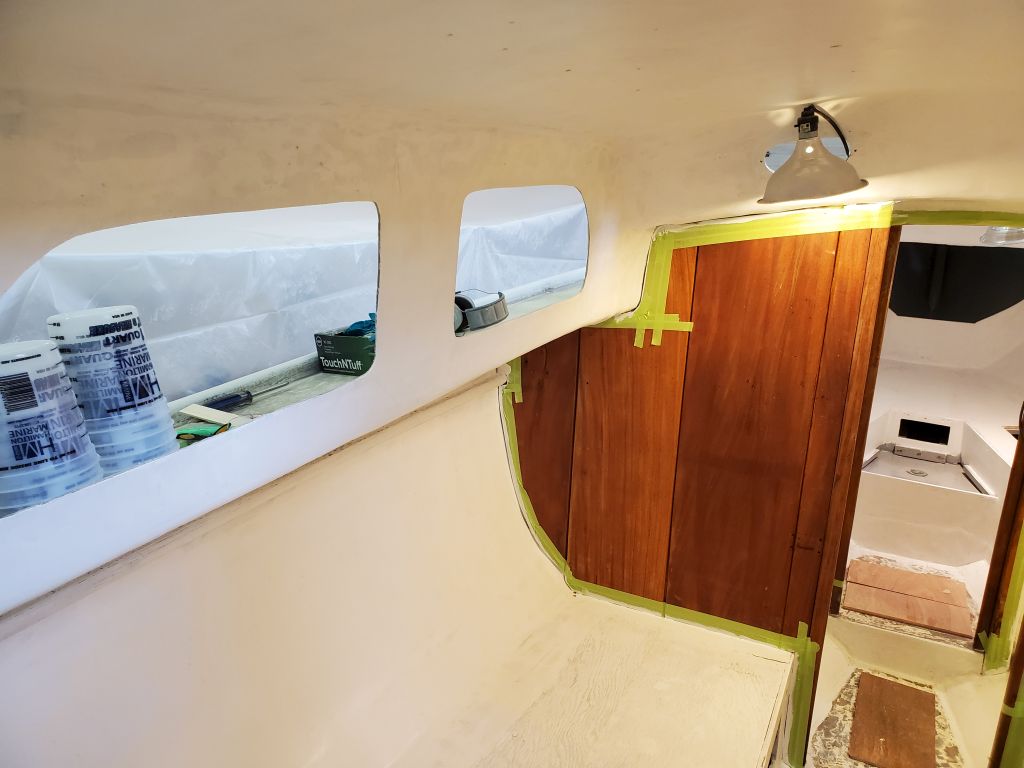
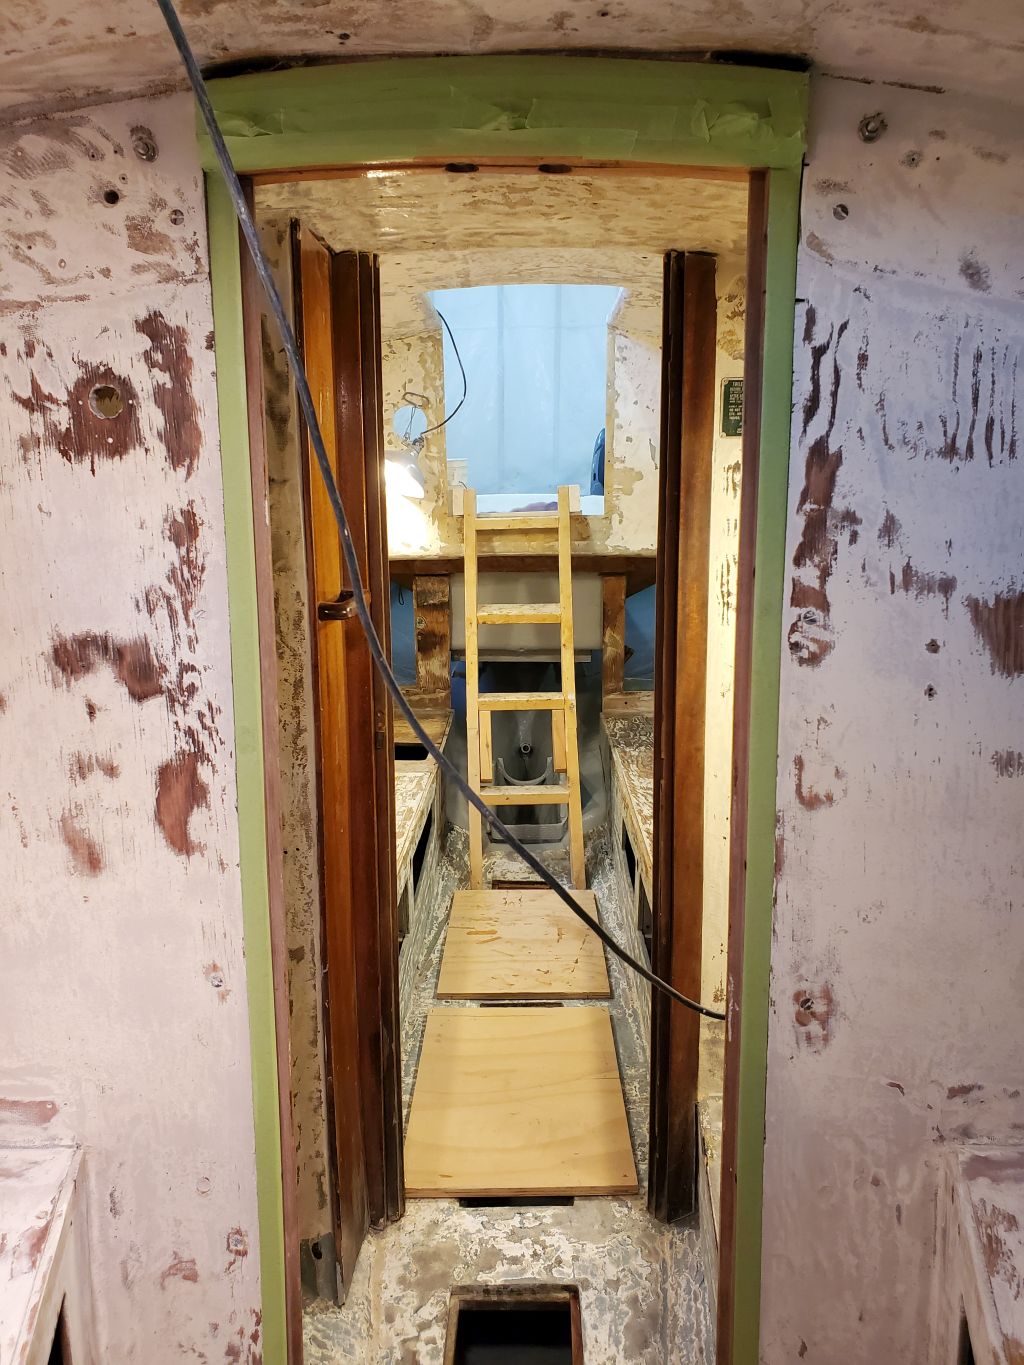
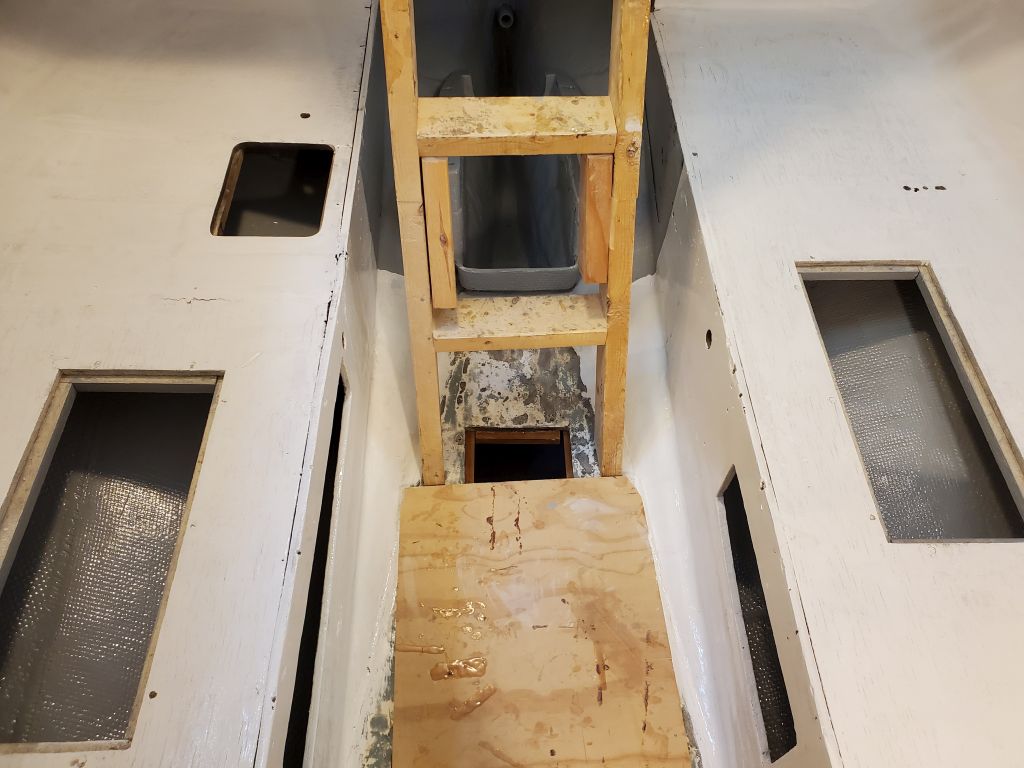
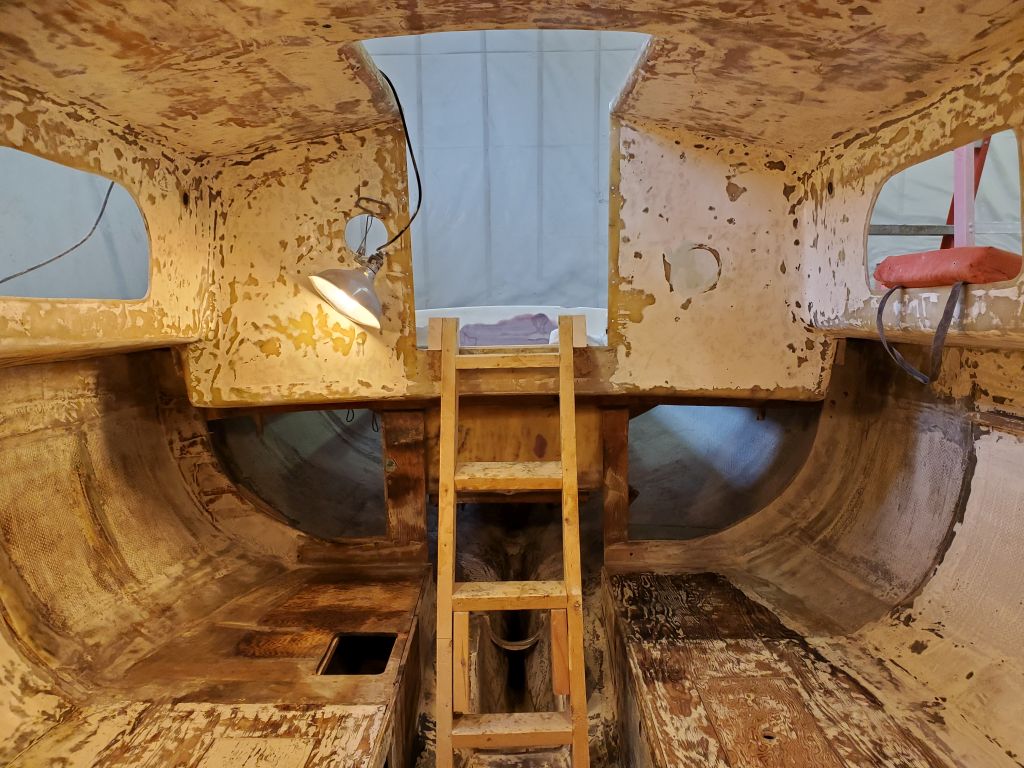
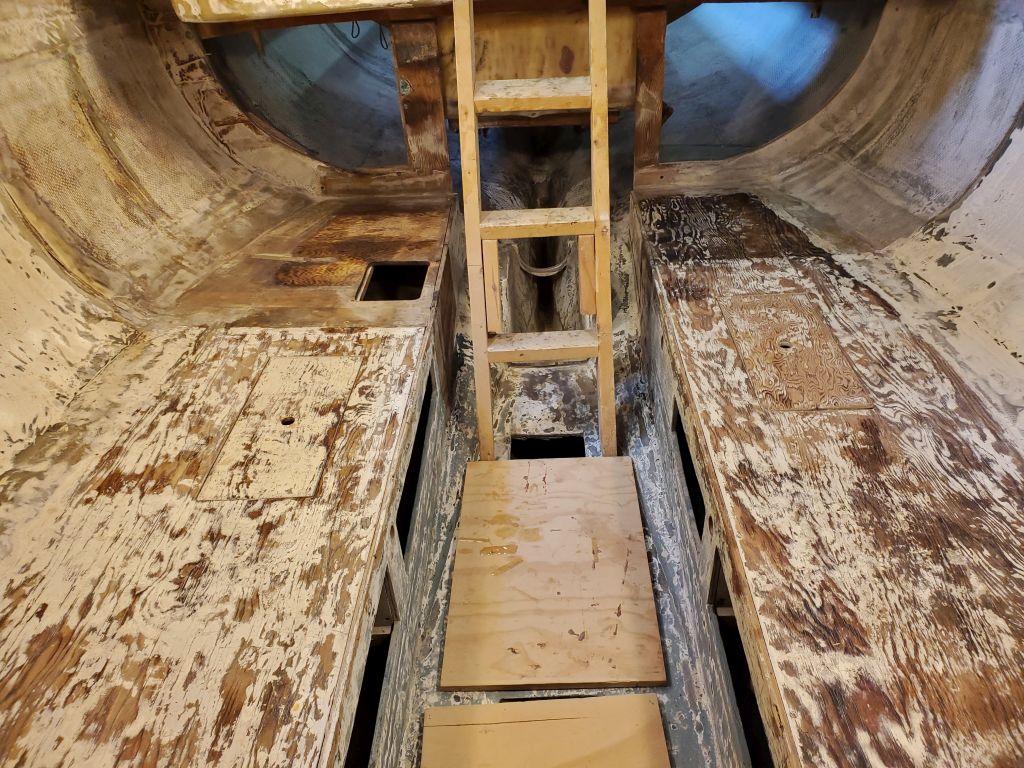
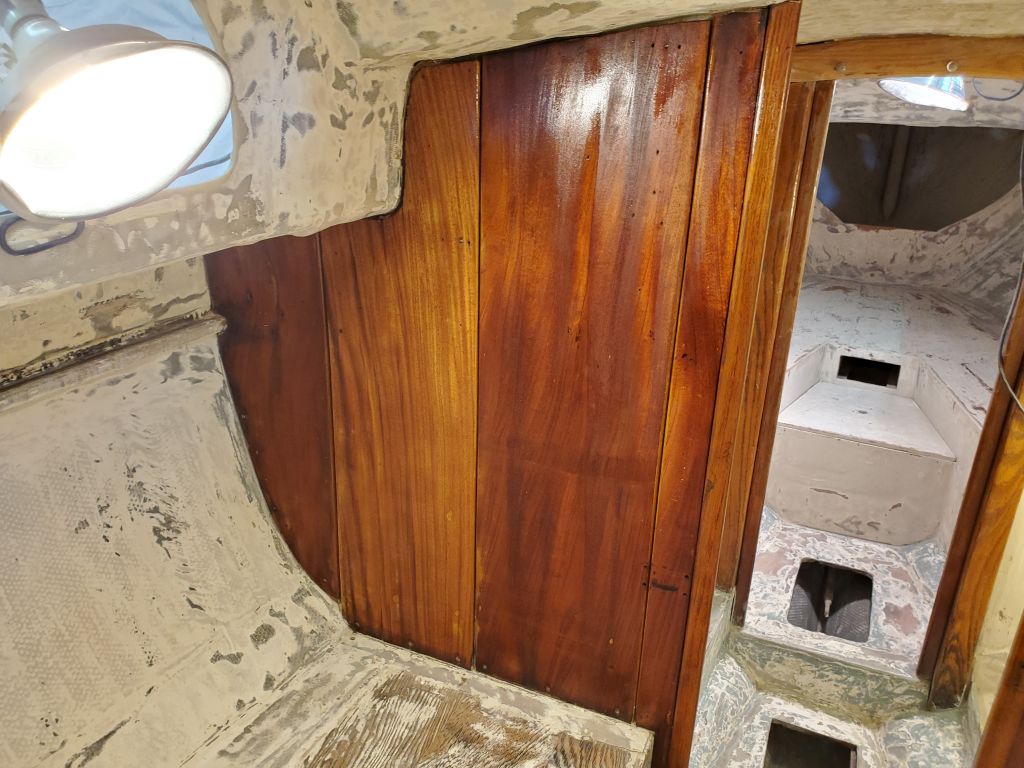
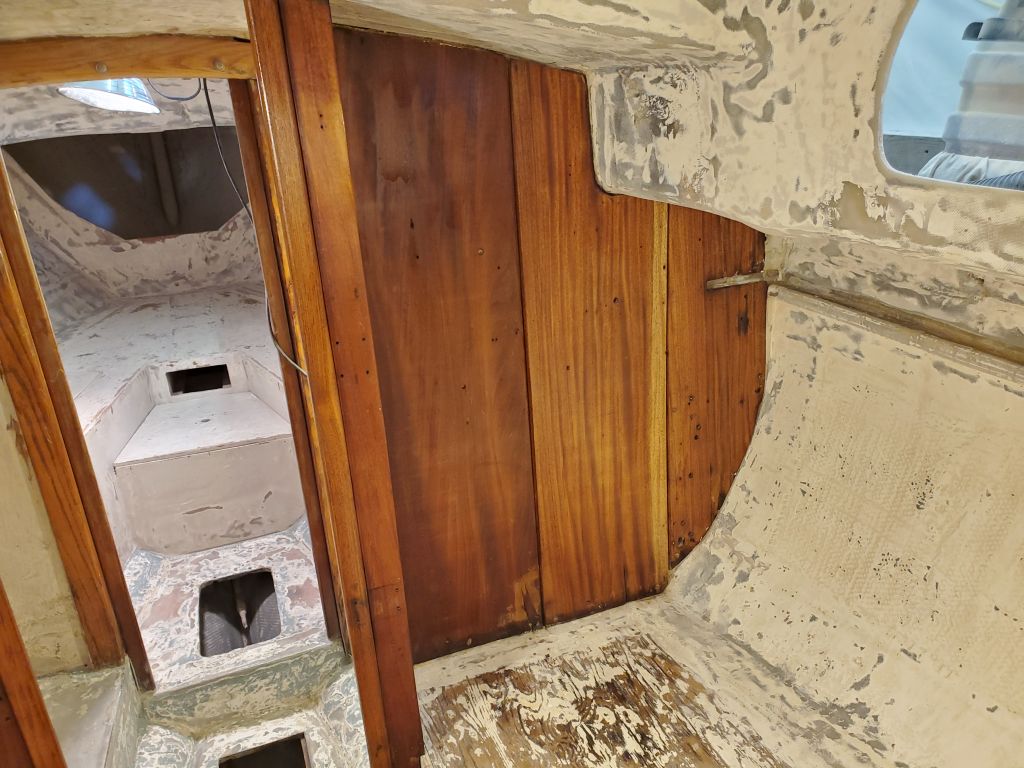
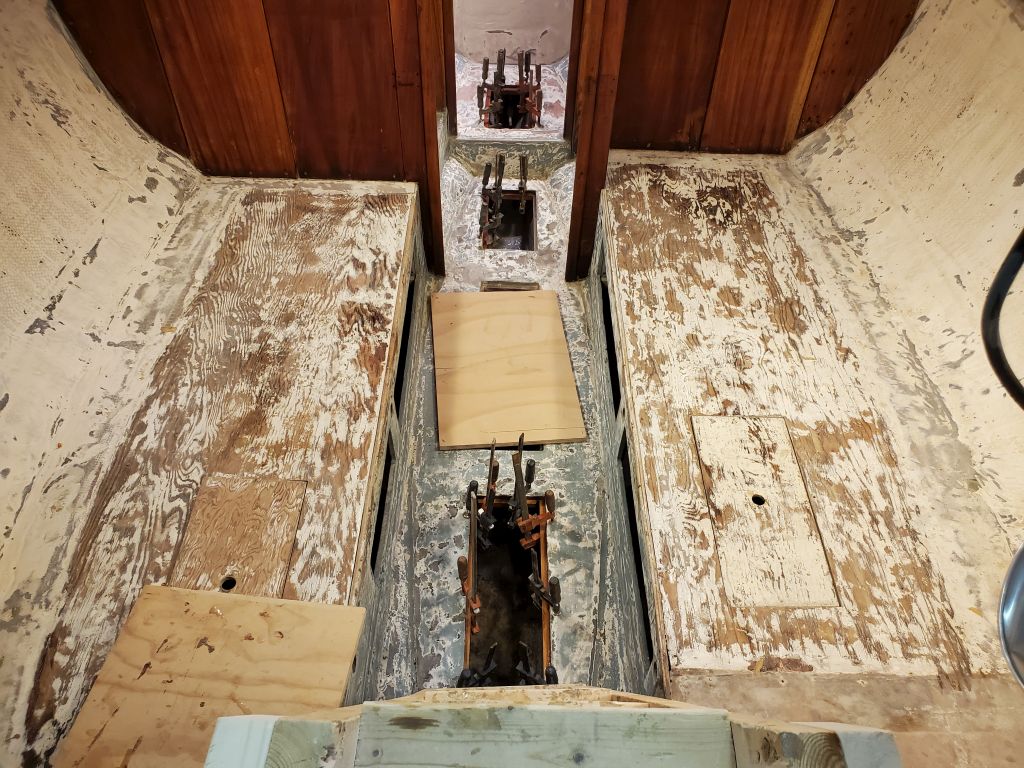
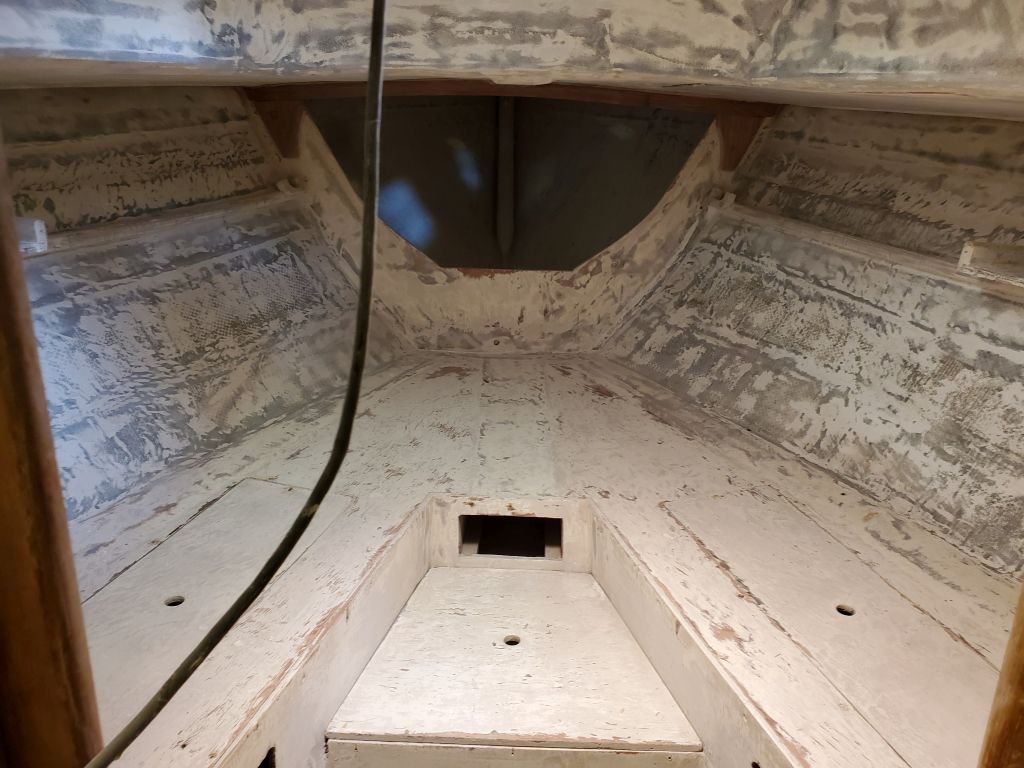
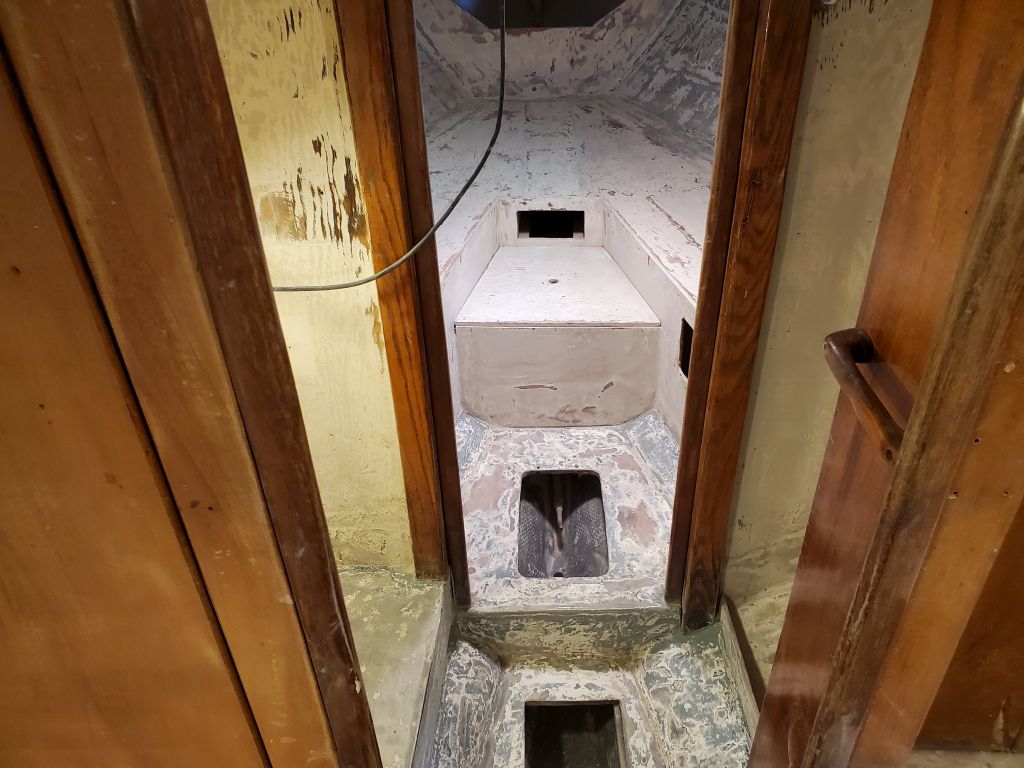
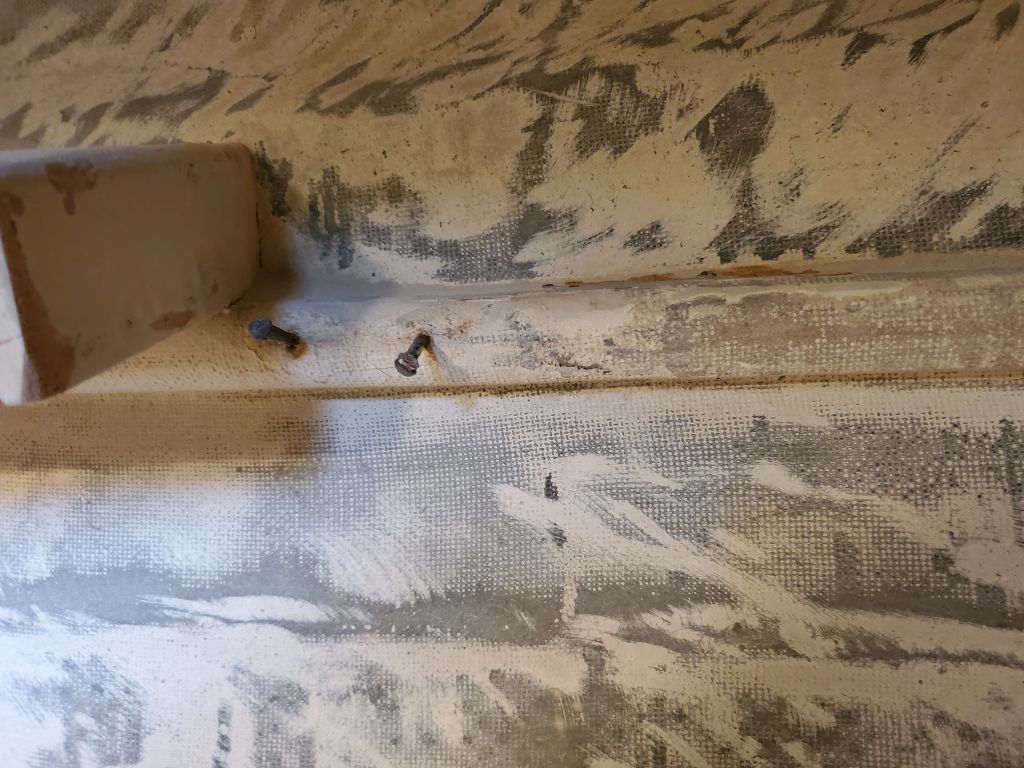
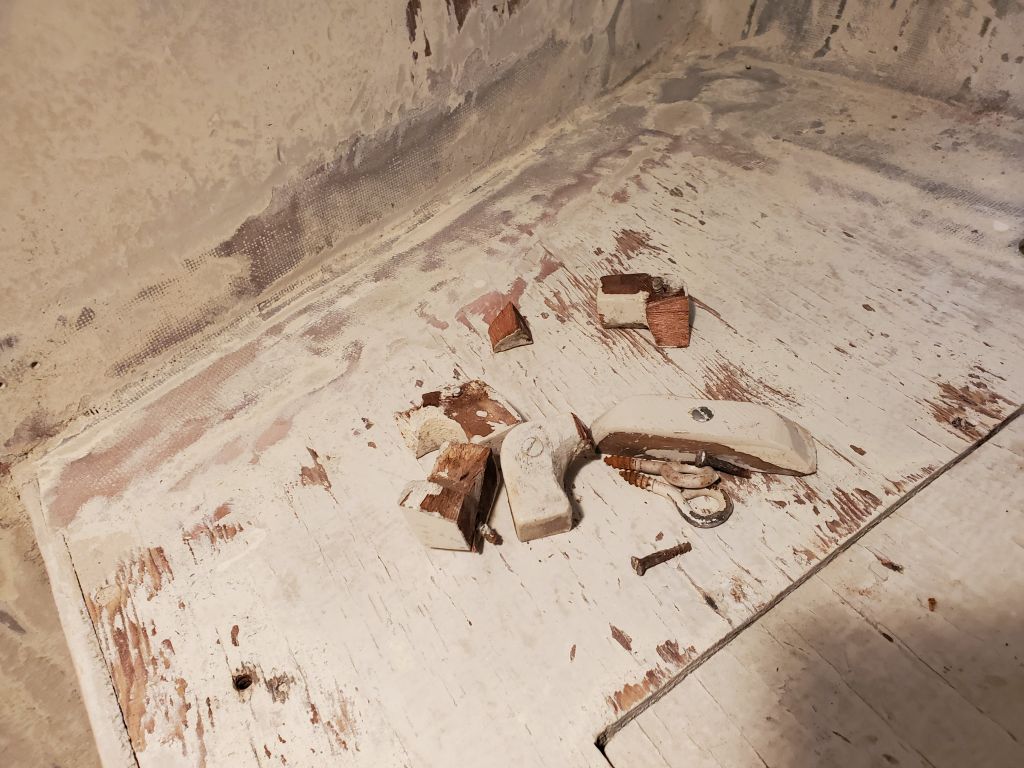
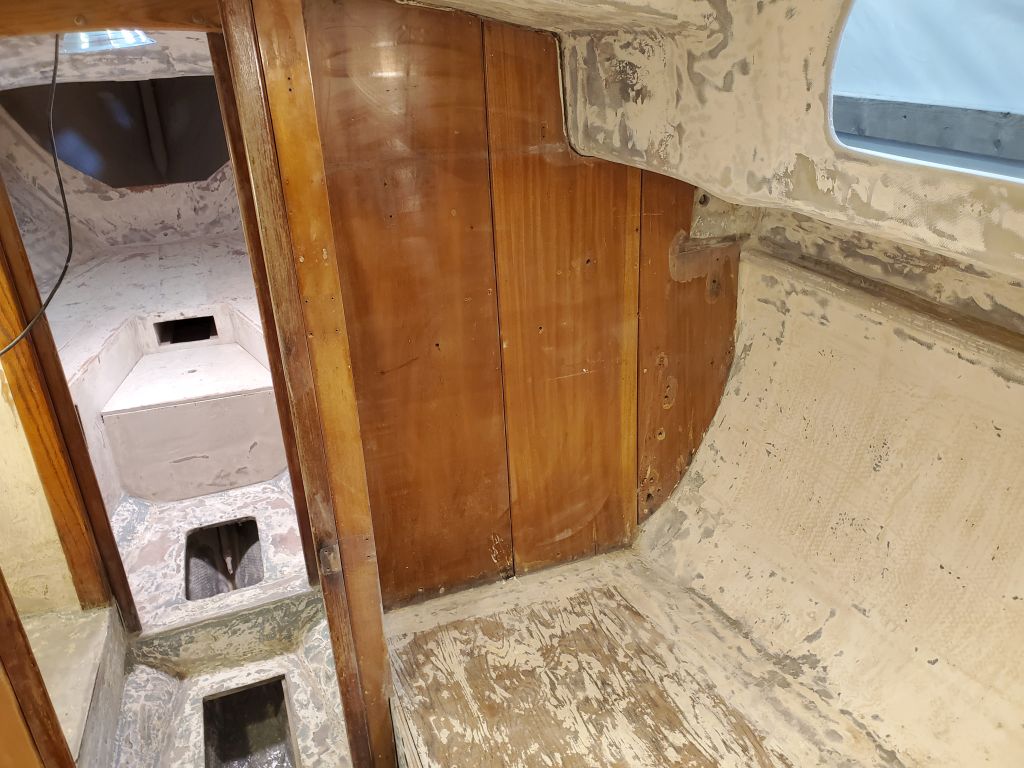
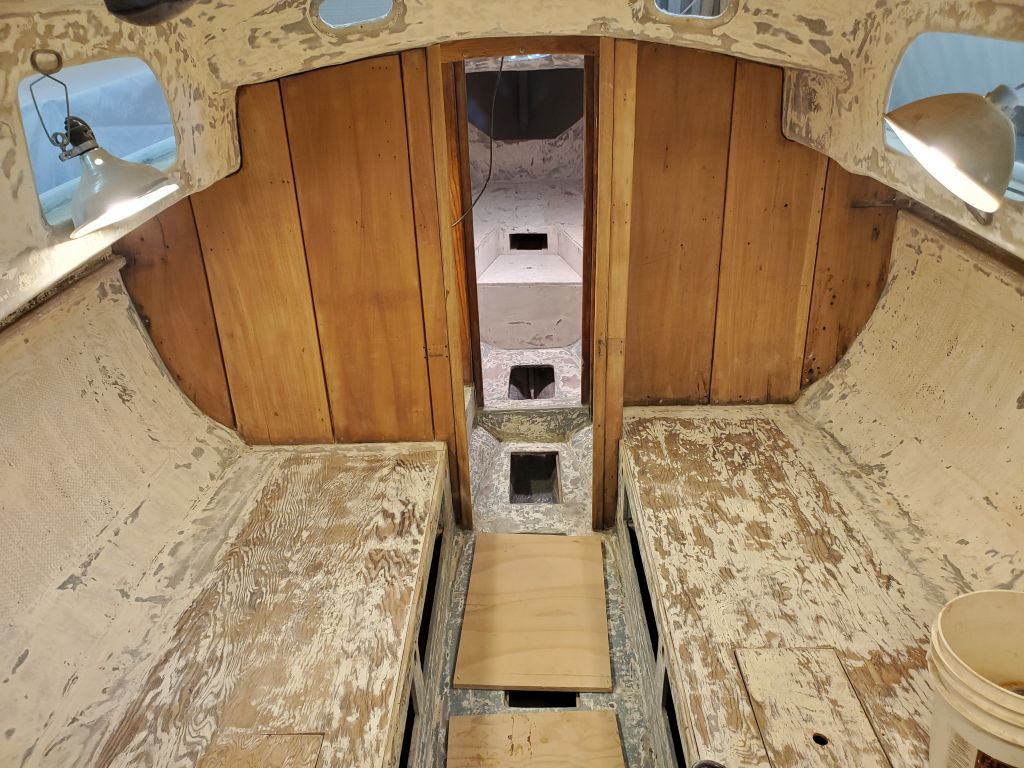
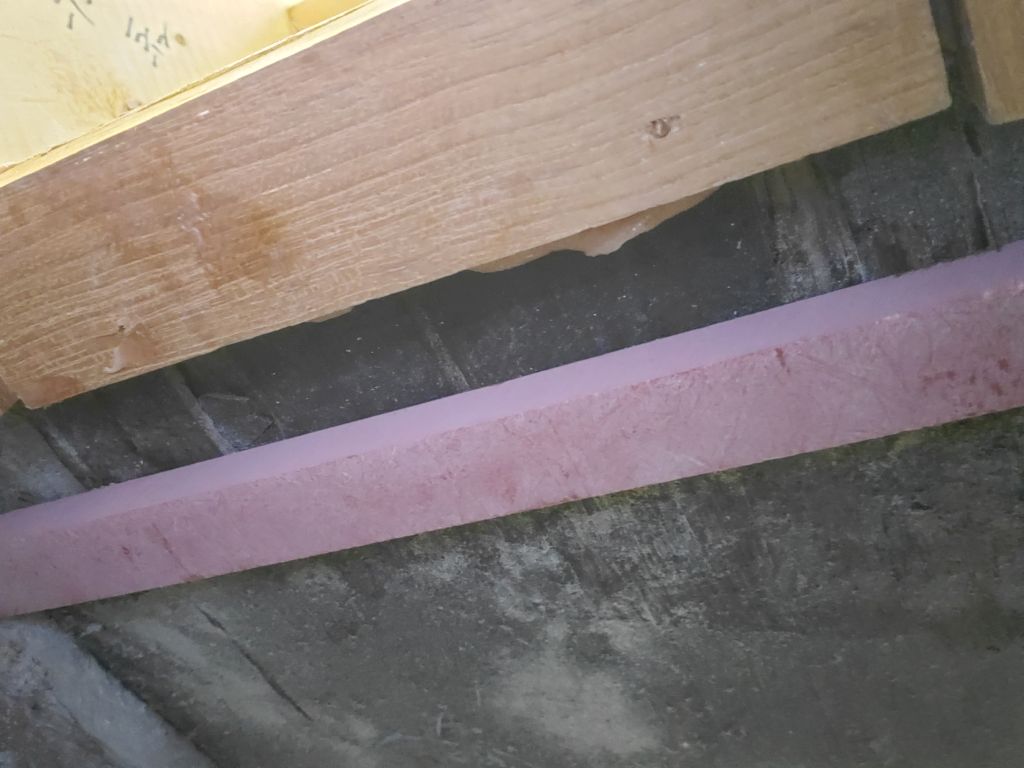
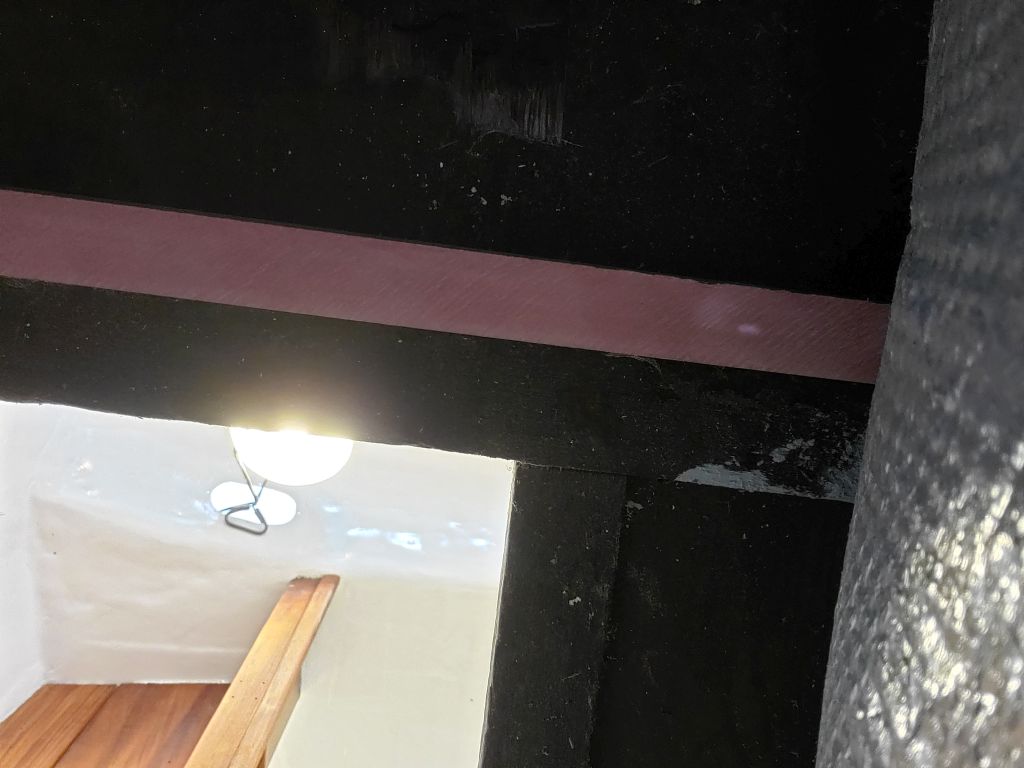
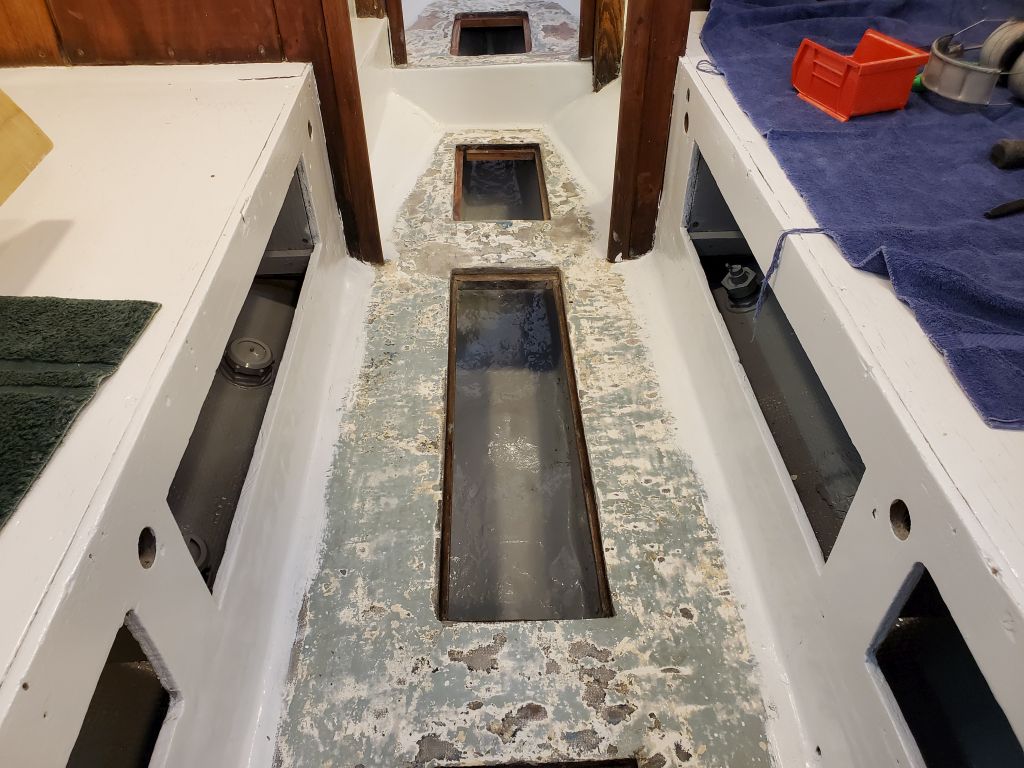
In the cabin, I added some screws through the cabin sole and into the new cleats in various places to strengthen the joints and, as needed, cleaned up some epoxy squeezeout here and there and otherwise prepared the sole and cleats for painting in the immediate future.  The cabin sole itself, built from plywood with a fiberglass overlay, was in rather sketchy condition, the original plywood having lost much of its structural integrity over the years, and since it was generally just sound enough despite that (if far from good), and wholesale replacement wasn’t feasible at this time given the other more pressing needs of the project scope, I added some cross stiffeners below the sole in key points to help prevent flexing:  Just some scrap pieces of prefab fiberglass that happened to fit beneath the sole and could be tightly wedged into position.  With no real access beneath, these stopgaps would hopefully extend usefully the life of the existing sole for some modicum of time.

Total time billed on this job today:  5 hours

0600 Weather Observation:  40°, mostly clear.  Forecast for the day:   Sunny and windy, temperature dropping.

Lyra 25

Wednesday

After being away from the shop all morning to finish up a small job offsite, I got back to work in the afternoon on the forward hatch, ready now for the final installation after some final masking to the hatch frame itself.

I installed the hatch frame in a bed of thickened epoxy adhesive, securing the frame with clamps as needed to press it into the epoxy and to keep it level from side to side.  I cleaned up the excess epoxy and shaped it as needed inside and out, then removed all the masking tape leaving clean lines everywhere.  I left the frames in the clamps to cure overnight.

Next, I prepared and installed the plywood platform in the generator compartment, now that the support cleat at the forward end was in place.  After surface preparations, I epoxied the bottom (hidden) side of the platform, then installed it in a bed of thickened epoxy adhesive at both sides, forming fillets as needed to smooth the transition to the hull and at the cockpit end.  I used a couple small lead weights to hold the platform securely against the hull, as it tended to rock slightly.

Afterwards, having already masked off around the hatch coaming again, I cleaned up the original fillets with some more epoxy, just to improve appearance and make the fillets consistent all around.  I removed the tape afterwards to leave a clean line.

Total time billed on this job today:  2.5 hours

0600 Weather Observation:  32°, mostly clear.  Forecast for the day:   Increasing clouds, 46°

Lyra 24

Tuesday

I’d planned to spend the day on the second coat of interior paint, but after careful inspection of all areas, and as critically as possible, I couldn’t find any reason why it would be necessary or even beneficial:  The finish on the first coat was so good as to obviate it, and I couldn’t find a notable fault.  Happy, if a bit surprised, to save the effort, I removed the masking tape and left the paint alone to continue curing before getting into any more interior work.  I planned to paint the cabin sole late in the week, which would give it the weekend to cure.

After some unrelated nits and nats during the morning, I got back to work on the generator storage area.  To test-fit the bottom platform in its final position, I used hot glue to mount a pair of temporary support blocks on the aft side of the cockpit well inside the locker, on which I could rest the plywood platform to check its angle properly against the “natural” angle of the generator in repose.  I ended up using a couple extra scraps of wood to raise the platform just a bit further, which worked pretty well and appeared to support the generator when installed.

After removing the temporary blocks and cleaning the bonding area, I installed with epoxy adhesive a 24″ hardwood cleat at the proper location; this would eventually support the inner edge of the new shelf.

For protection, I masked off the deck around the hatch opening, then installed the fiberglass hatch coaming permanently with thickened epoxy, forming a fillet around the outer edge and removing the tape when complete.  During an earlier work session, I’d already sanded away the paint from this narrow border to give the epoxy something real to bond to.

In a similar vein, I made final preparations towards the forward hatch installation.  Using the now-varnished hatch frame as a guide, I masked along its perimeter on the deck.  This gave me a line inside of which I needed to sand away the various paints to expose gelcoat for bonding.  With a sander, I could brush up against and slightly over the tape without causing damage to the adjacent areas, and remove the coatings within.  Inside the cabin, I used delicate surface tape and plastic to cover the opening and prevent sanding dust from going inside on the new paint.

Now I temporarily reinstalled the frame once more, and masked around it again, this time as protection against the epoxy I’d use to secure the frame to the deck in the near future.

Total time billed on this job today:  4 hours

0600 Weather Observation:  30°, partly clear, a crusty inch or two of snow from overnight.  Forecast for the day:   Partly sunny, 41°

Lyra 23

Monday

Everything was ready to go, so I got right to work applying the first coat of semi-gloss white enamel to all interior surfaces, starting in the forward cabin.

Onwards to the head!

And finally, the main cabin, and then the loose hatches I’d removed to the bench.  This paint would cure to a soft satin finish.

Total time billed on this job today:  4.25 hours

0600 Weather Observation:  12°, partly clear.  Forecast for the day:   Mostly cloudy, snow and rain in the afternoon and evening, 35 °

Lyra 22

Friday

In the cabin, I lightly sanded all the fresh primer to prepare for finish coats.  This was a light scuffing by hand to remove the “grain” that the primer raised and to provide a generally smooth surface free from burrs and fiberglass texture.  After sanding everything, I vacuumed and solvent-washed the entire area, leaving it ready for the next coat of paint.

This took all morning, and there wasn’t enough time  to think about starting the paint after lunch, so instead I turned to the generator storage locker once more, starting by removing the fiberglass tab that had been in the way at the base of the existing compartment.

Next, I marked a new cut line on the aft side of the opening 3/8″ aft of the existing cut to provide ample room for the new hatch coaming, then cut the new line with a jig saw.  Then, I cut the pieces of pre-made hatch coaming to length to fit tightly within the opening, overlapping the edges as planned.  This was all fine, but the deck here actually had more camber than I expected–it looked and seemed flat or even sagging in the middle–which meant that the rabbetted area of the coamings didn’t work quite as intended, but nonetheless the pieces would still work fine, and where the rabbet ended up exposed at the sides of the opening I could make up with a fillet during final installation.

I’d originally planned to install the coaming pieces piece-by-piece in the opening, but as I dry fit it seemed to make more sense to temporarily glue the four sections together in the right orientation with some scrap wood hot-glued across each corner, after which I removed the whole assembly to the bench and finalized the connections with epoxy fillets at the corners.

The leftover bit of the original glassed-over plywood stiffeners exposed in the new opening on deck needed a little attention now also, as these had long ago debonded from their skins, so I filled the voids as necessary with some of the epoxy leftover from gluing the frame, clamped as needed, and coated the exposed plywood with more epoxy to seal it and prepare the opening for the coaming’s final installation soon.

In final works for the day, I carefully sanded the eight filled bolt holes in the transom to prepare them for the next steps.  Also, new bronze flat bar stock I’d ordered for the chainplates arrived; the owner and I had decided it made sense to replace the original chainplates after I found a reasonably-priced source for the raw silicon bronze.   The new stock was 3/16″ thick compared to the 1/8″ thick originals.

I’d still have to cut to size and shape and drill the holes in each chainplate, but because these were bronze it was something I could do easily enough at the shop.

Total time billed on this job today:  5 hours

0600 Weather Observation:  21°, cloudy.  Forecast for the day:   Another anemic excuse for a snow event, cloudy with a chance of light snow with little accumulation, 29°

Lyra 21

Thursday

Before starting the primer in the cabin, I had to mask off several areas for protection, including some naturally-finished beams in the forward cabin and head, and the main bulkhead in the saloon.

With that complete, I got started on the primer, beginning in the forward cabin.  I found that the cleats within the locker openings were still filthy with dust and debris in the corners, so for now I left those unpainted.

Continuing my way aft, I painted the head.  This space, already small, became that much tighter with every brush and roller stroke as I willed myself not to bump into any of the freshly-coated surfaces.

During the afternoon, I finished up in the main cabin, painting every surface except the cabin sole, which would get more of the light gray Bilgekote sometime later in the process. In painting all areas of the empty main cabin now, it was understood that there would later be cause to remove some of the paint to allow for new interior installation and tabbing, but given the nature of the project, with limited time and an extensive work list, too many overlapping and required jobs and new installations hinged upon having the painting done before work could continue, and we didn’t have the luxury of an open-ended timeframe to let each thing flow more naturally together.

Down on a bench, I primed all sides of the various berth locker lids that I’d removed for the purpose.

Total time billed on this job today:  6 hours

0600 Weather Observation:  12°, clear.  Forecast for the day:   Partly sunny, 28°

Lyra 20

Wednesday

For the bilge and utility locker spaces, the owner requested a lighter version of the usual gray bilge paint, so I mixed up a 50/50 mix using a gallon each of white and gray to considerably lighten the color.  With the paint mixed, I got to work on beginning the interior paint, starting at the bow in the chainlocker.

Continuing aft, I painted the lockers beneath the V-berth, and around the water tank to the extent possible, before painting the first section of bilge on my way out.

Next, I painted the storage lockers on both sides of the head compartment, and the bilge there as well.

In the main cabin, I painted what I could reach through the various locker openings in the tops and sides of the settees, and the bilges.

Starting with the space beneath the cockpit on the centerline, as far aft as I could reach, I painted everything below cockpit level and through the engine room, including the forward face of the cockpit well.

To finish up for now, I painted the hull inside the port and starboard cockpit lockers, from just forward of the lazarette up to and including the aft-facing sides of the engine room bulkhead.  The lazarette still had some work to go, so I held off painting in there for now.

During the afternoon, I turned my attention to that very lazarette as I continued work on the storage arrangements for the small generator.  After various test-fits and puzzling things out, I started working on a support platform for the generator that could accommodate it without raising headroom too much.  Beginning with the cardboard template I’d made of the generator footprint, after some adjustments for hull shape I transitioned to a template made from some scrap 1/4″ plywood.  The new platform would require an angled installation, and the forward end would ultimately be supported against the back side of the cockpit well, but at the moment there was a fiberglass arrangement there in the way (though it did sort of help support my platform templates for now), and I couldn’t remove the fiberglass because I didn’t want to disturb the nearby fresh locker paint, so I worked around it.

Various reference marks I made on the hull and cockpit, along with side views courtesy of the camera held through the cockpit locker openings, helped me start to figure out how the platform would need to work.  In these photos, the template is still too low at the cockpit end, but once I could start doing dirty work in the space I could and would made adjustments there and add the requisite supports to hold the platform more where it needed to be to support the generator.  In this orientation, the handle at the top of the generator was just flush with the deck above, which meant that it would be clear beneath the new hatch once built.  Other details, like chocks, fiddles, and means of securing the generator, would easily work themselves out once the basic platform idea came together.

Eventually happy with my plywood template, I used it to cut a real floor from some marine plywood.  I beveled the aft edge severely to help it fit against the shape of the hull and counter at the aft end.  I had time to test-fit the platform, but I had one more thing I wanted to do before the end of the day, so that was all for the generator at the moment.

There was a series of holes in the transom leftover from a long-ago outboard bracket, and now I made preparations to fill them.  After reaming them out with a large countersink from outside, I cleaned everything up and masked inside and out before filling the holes with epoxy fairing compound.  I removed the exterior tape once the fill was in place.  With some delicate finish work once the epoxy cured, I’d be able to touch up the paint with something close to the paint that was on the hull.

With the remains of the fairing compound, I troweled over that little line in the middle of the aft cockpit patch.

Total time billed on this job today:  7 hours

0600 Weather Observation:  16°, clear.  Forecast for the day:   Sunny, 24°

Lyra 19

Tuesday

One item I wanted to finish before I actually got to the painting inside the boat was to install new support cleats in the various cockpit sole openings.  Early in the project, I’d removed (and others had self-removed) several of the old cleats, which had been rotten and poorly adhered and downright dangerous.

From scrap lumber–this happened to be teak–I milled new cleats as needed for the various openings.  I set these aside for now, as I couldn’t install them till late in the day when I didn’t need to get around inside the boat anymore, but I’d be back to them later.

Meanwhile, in measuring the openings for the cleats needed, I’d noticed a number of the old screws and nails that had secured the original cleats were still hanging down beneath the sole, so I pulled these all out to leave the way clear for the new installations.

In other preparatory work, I prepared a series of fiberglass assemblies that I intended to use for the surround/coaming of the newly-cut lazarette hatch in the poop deck, which would provide access for generator storage.  I knew I already had to slightly expand the opening, which I’d made only just wide enough to fit the generator, in order to fit the coamings (which would provide a water dam and also secure the eventual lid), but I still wanted to minimize the width of the opening, so for the coamings I planned a design with a notch or rabbet that would overlap the opening and provide bearing on the deck surface without taking up too much room.  From 1/8″ fiberglass sheets on hand, I used three wider strips and three narrower strips to glue up, with epoxy, enough raw material for the coamings.  This gave me 1/4″ width on top, but the portion that would be inside the hatch opening would only require 1/8″ on each side, so I wouldn’t have to enlarge the opening much or possibly even at all.  There’d be more work on the hatch opening and storage space in the coming days.

I was awaiting a can of paint needed for the first rounds of interior painting–expected later in the day–so now I turned to the final interior preparations, including another round of vacuuming and then solvent-washing the whole interior of the boat from overhead to bilge and stem to stern, other than the lazarette, where there was more work to be done.

Once the main bulkhead, faced in mahogany, was solvent-washed and appropriately evaporated, I applied a thinned coat of varnish to seal the wood.

At the end of the day, with no more work needed inside the boat, I epoxied the new wooden support cleats beneath the cabin sole in the various bilge openings, clamping them tightly and cleaning up the excess epoxy that squeezed out along the cleats.  I’d done what I could to prepare the underside of the sole for the epoxy, and used abundant amounts of the thickened mixture to ensure that the cleats would end up well secured.

Total time billed on this job today:  5.5 hours

0600 Weather Observation:  25°, sleet.  Forecast for the day:   Sleet, snow (yeah, right), maybe some freezing rain, gross, 30°

Lyra 18

Monday

The cockpit required (what I hoped was) one final round of major sanding, this time just to square away the two larger patches over the icebox hatch and at the lazarette, and the minor areas at the cockpit well corners that I’d still been working on.  Using only a finishing sander and finer paper than during the earlier stages, this work still occupied a fair bit of time, and afterwards, I sanded the entire cockpit–seats, coamings, bulkhead, and well–with 120 grit on the finishing sander to bring the whole area into readiness for high-build primer.

The lazarette hatch patch (natch) still required a small bit of touch-up fairing to take care of a troweling seam in the center, but that was small stuff.  The cockpit scupper openings required just a touch more work too, but now I could and would take care of these small chores in between some of the other work I’d planned rather than having the cockpit remain the priority.

After doing some minor sanding work on some small projects unrelated to Lyra, I spent some time cleaning up the boat, mainly the interior, to make it habitable and get ready for the work list ahead.  In the immediate future my plans included painting most of the interior, including bilges and lockers, which would get things ready for some of the other critical installations like the propulsion and electrical systems, and some initial interior construction.

Before I could get to the painting prep and painting itself, there were a couple small jobs I should take care of first, starting in the forward cabin, where I had to remove a few leftover pieces of whatnot to clean up the space:  A couple eyescrews beneath a shelf, some old fasteners, and some wooden supports that remained behind from some old installation or another.  This was hardly a noteworthy project, but part of the process nonetheless.  I made short work of it.

During the interior sanding, I’d sanded away the varnish from the port side of the main bulkhead, where some previous owner had installed thin (but wide) mahogany planks over the plywood beneath.  But I’d stopped after doing that section, as the old finish was too stubborn to remove efficiently with sanding alone, gumming up sandpaper too quickly, so I’d left the starboard side to be stripped with scraper and heat, which I turned to now.  I wanted to finish this before I did any painting so as not to harm new finishes; I planned get a coat or two of varnish on the raw wood to seal and protect it before I painted as well.

The starboard bulkhead was deceptively large, and took some time to strip as the old coating was heavy and gummy and didn’t scrape that cleanly either.  I also stripped the trim at the passageway leading to the head, but stopped there, planning to leave the bits of natural woodwork in the head as is because of scope considerations (those areas could be lightly sanded and some new varnish applied later).

Once I’d stripped the old varnish, I sanded both sides of the bulkhead, and all the trims in the area, with a finishing sander and a couple grits of sandpaper to clean up the wood and prepare it for recoating.

This took up the bulk of the afternoon, and I finished up with another light sanding and the 5th coat of varnish on the new forward hatch frame.

Total time billed on this job today:  6.25 hours

0600 Weather Observation:  15°, clear.  Forecast for the day:   Becoming cloudy, snow at night, 30°

Lyra 17

Friday

In the cockpit, I sanded as needed all areas where I’d applied fairing compound last time, and, anticipating the final stages in the near future, I sanded all surfaces with 80 grit on a finishing sander.  The final grit required before primer application was 120, but I’d await that for a bit since there was still some fine-tuning required on some of the fairing, mainly at the two largest patches.

With the contours close, but not quite there, on the icebox hatch and lazarette hatch, I applied additional fairing compound as necessary.  Most of the cockpit sole fillets had turned out well, but the corners and especially scupper areas required additional work as well.

At the forward hatch opening, the new cutout had exposed the beginnings of core in the adjacent deck, on three sides of the opening, so to prepare for installing the new frame soon, I reamed out some of the exposed core along the edges as needed, then filled the gap with thickened epoxy to seal the core from this opening.

Meanwhile, I continued the varnish base on the new hatch frame with the 4th coat.

Total time billed on this job today:  3.5 hours

0600 Weather Observation:  0°, clear.   Forecast for the day:   Increasing clouds, 23°.

Older posts Newer posts