(page 2 of 7)

Holby 57

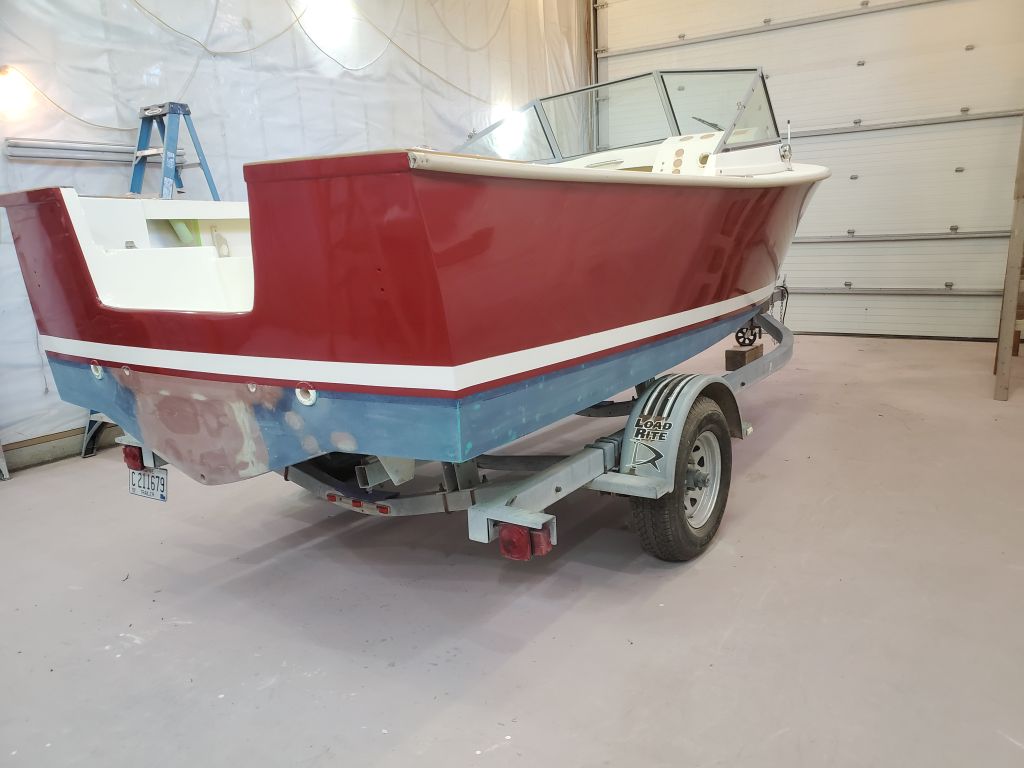
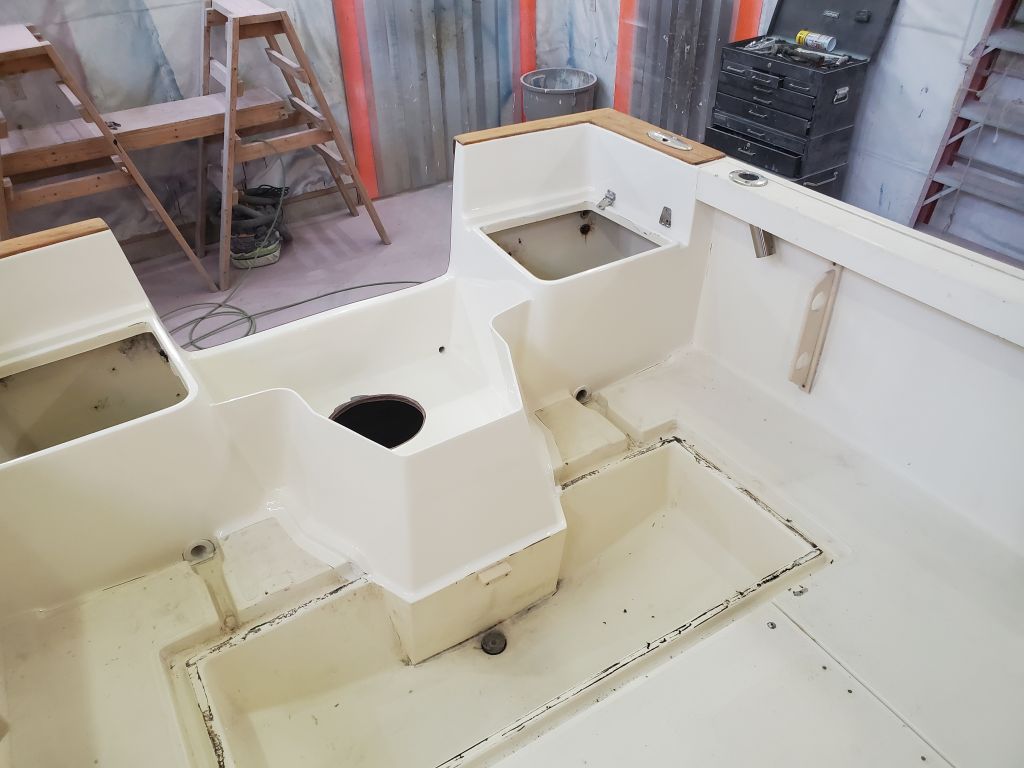
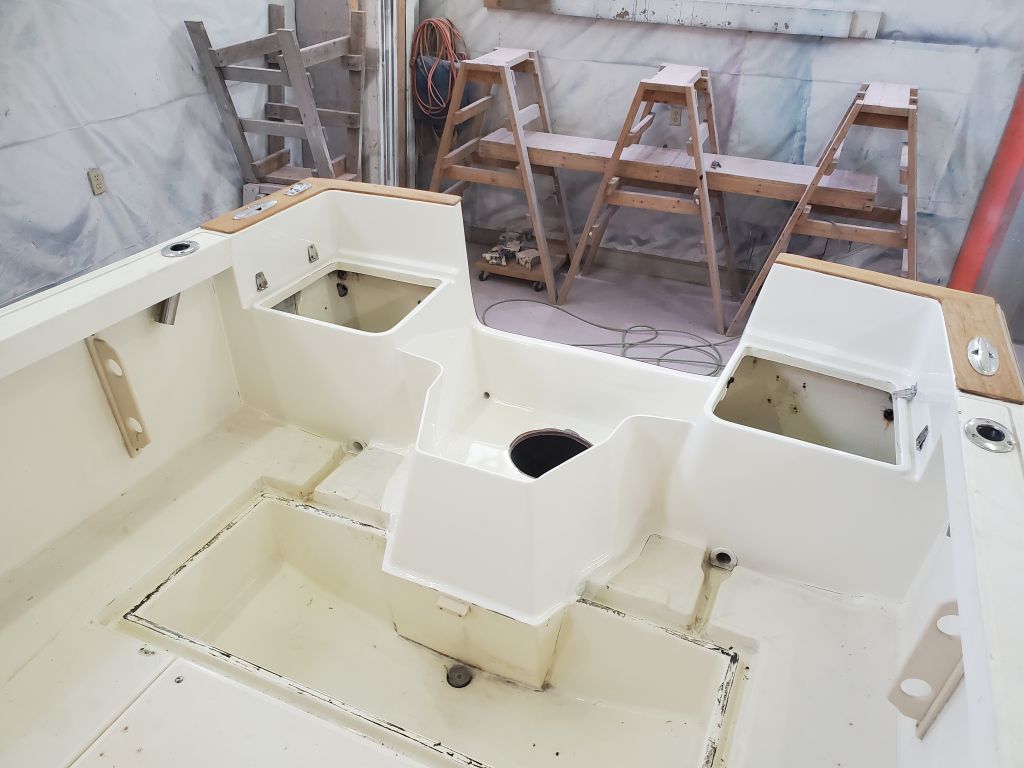
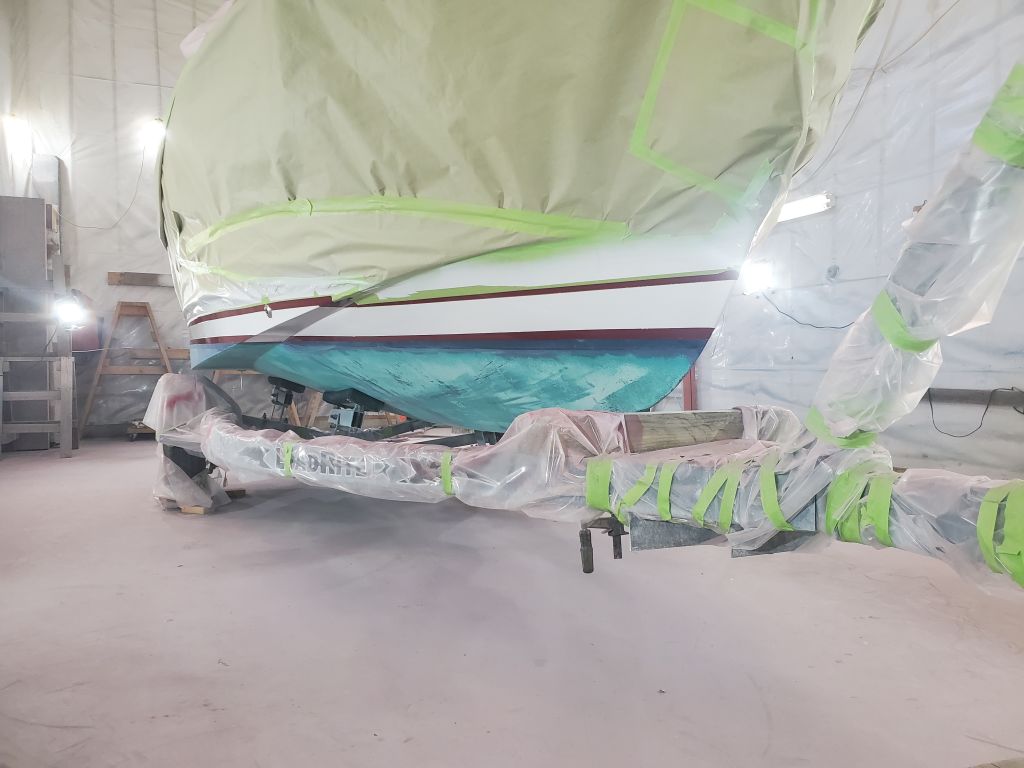
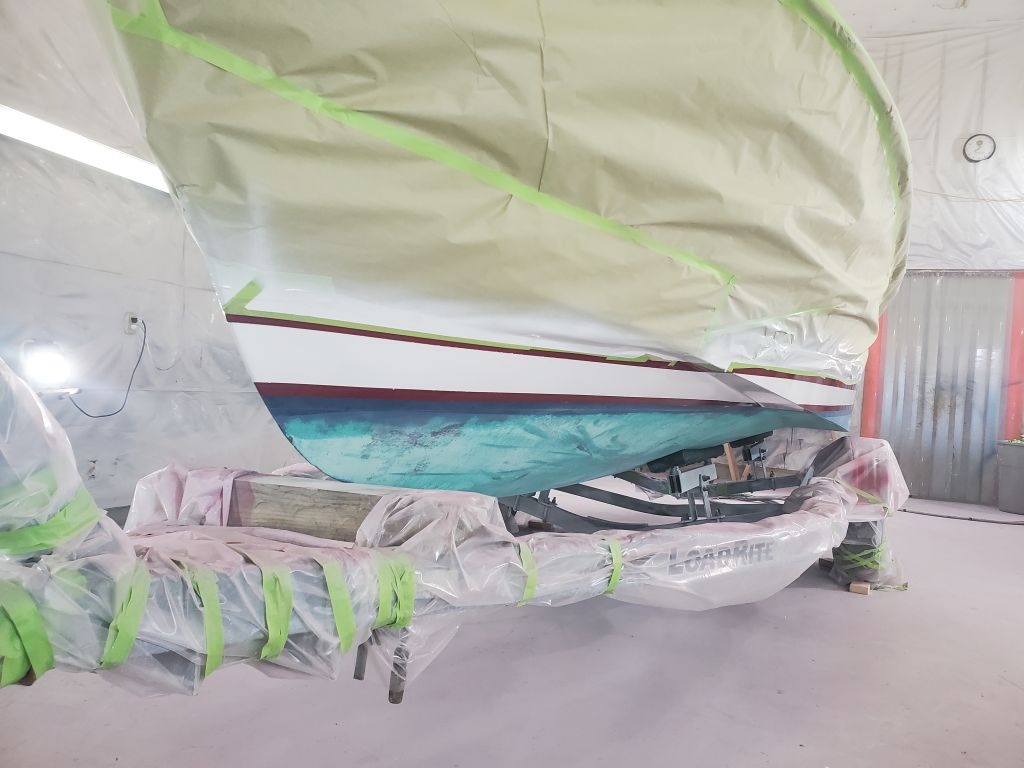
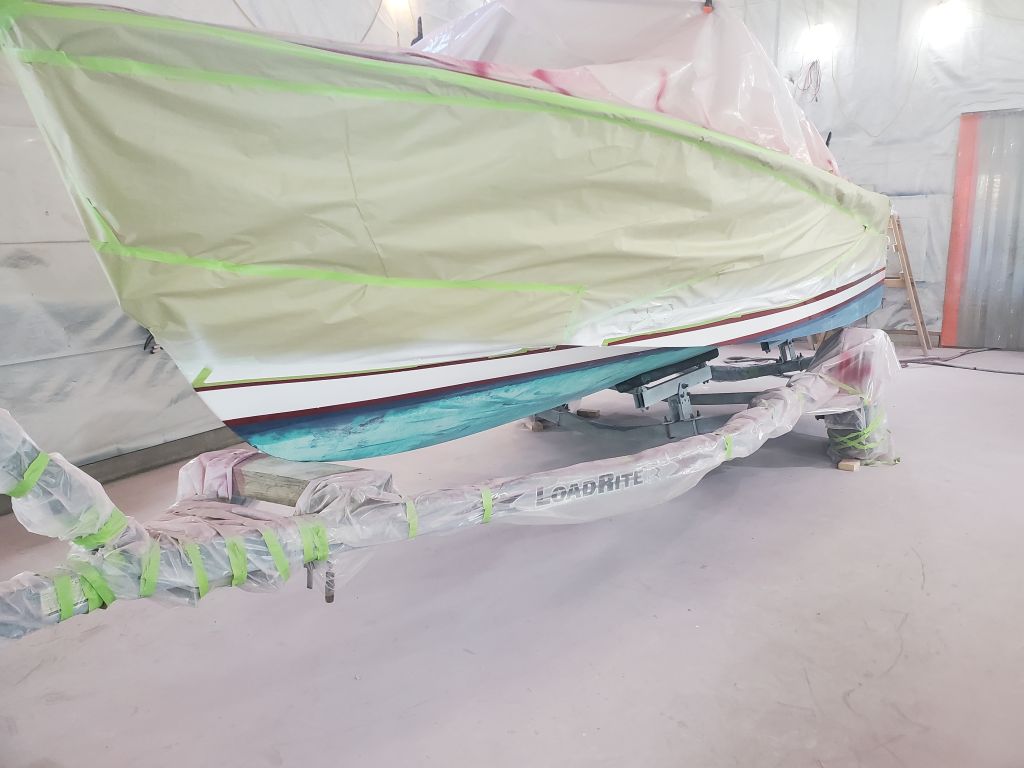
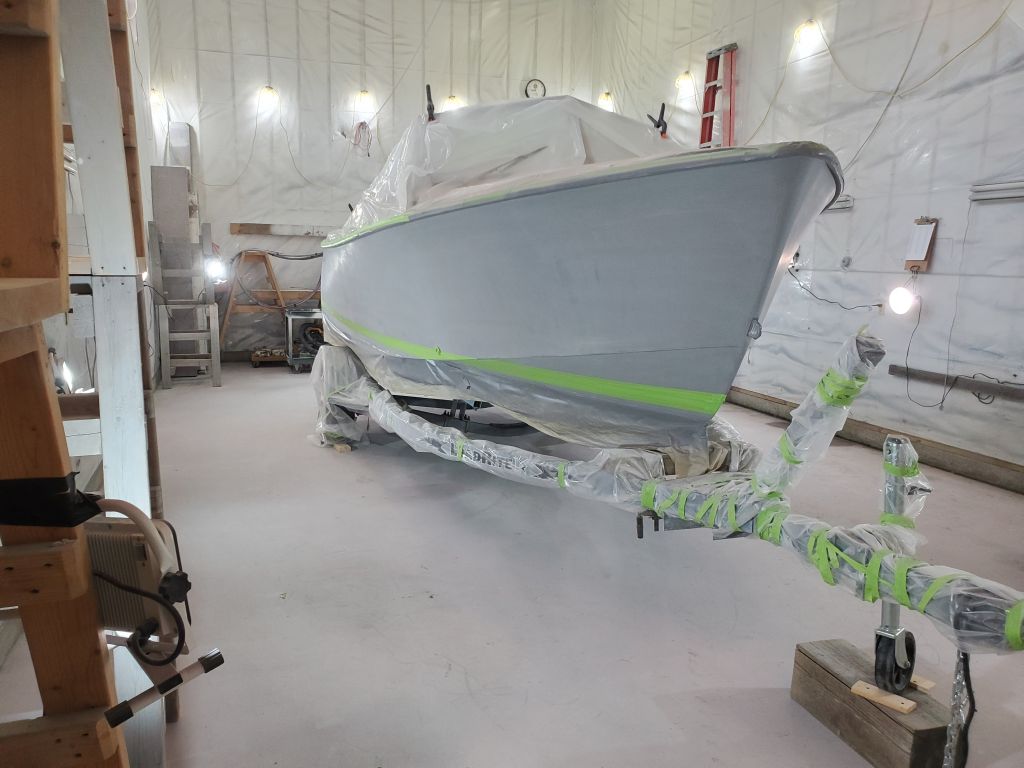
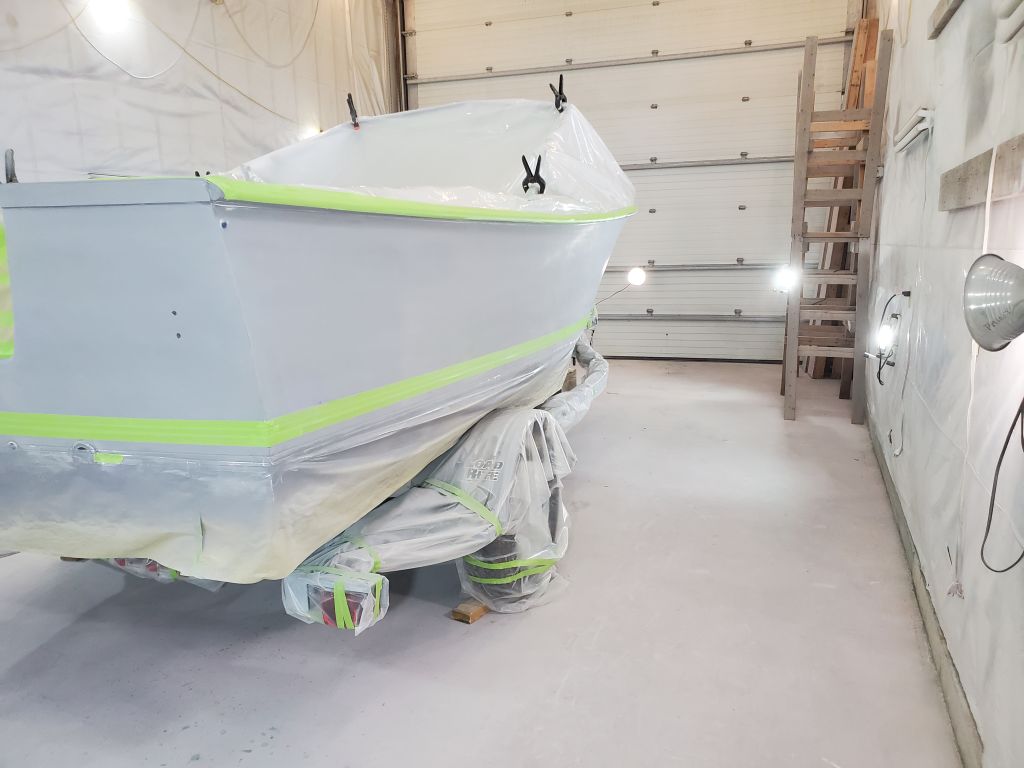
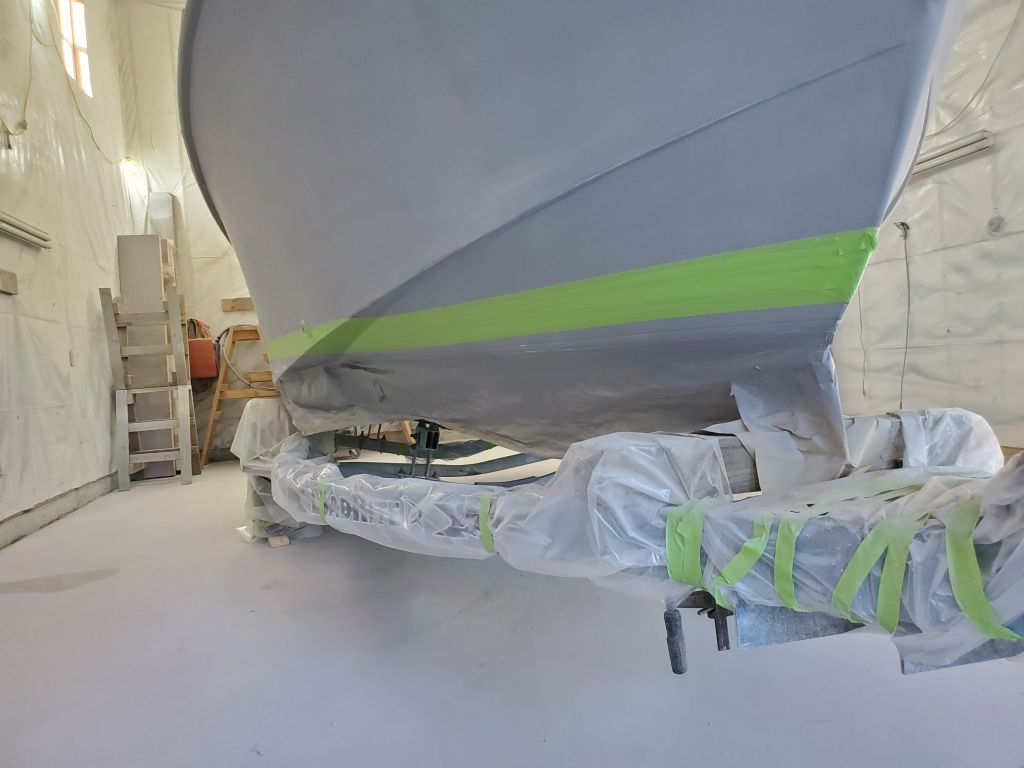
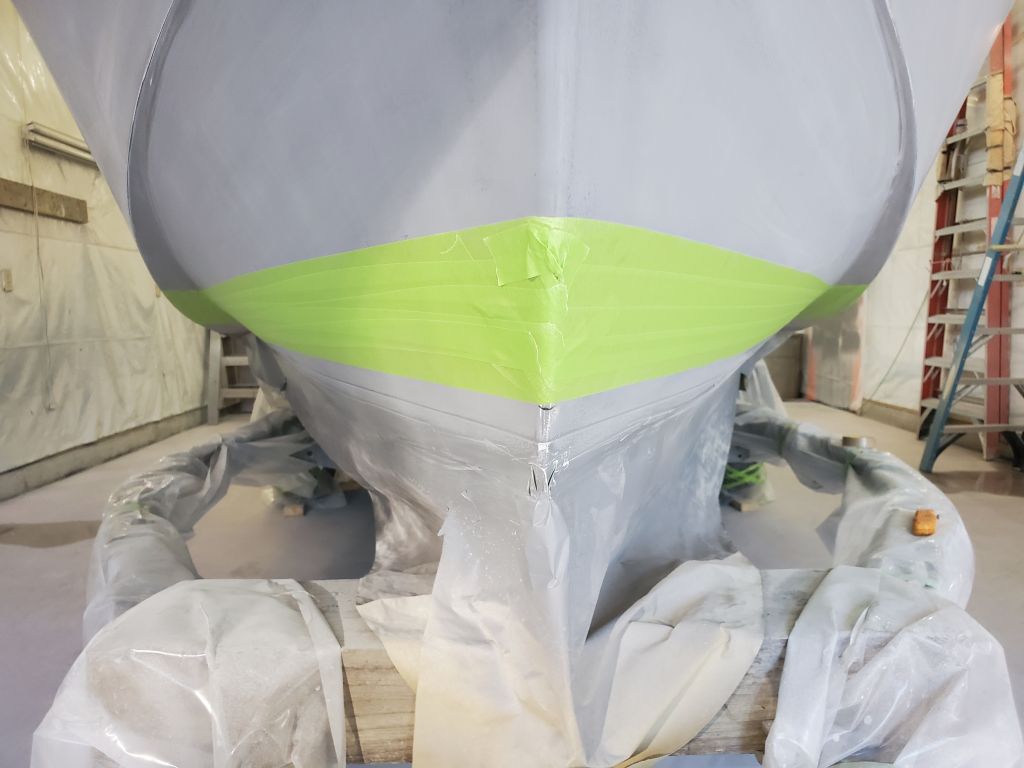
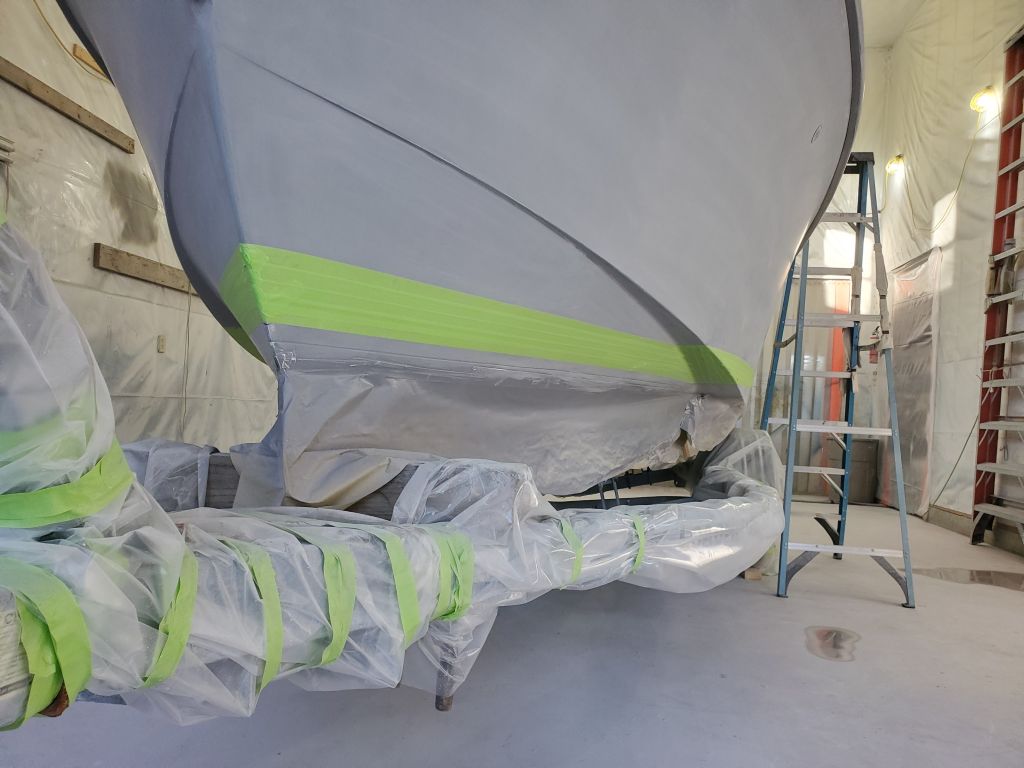
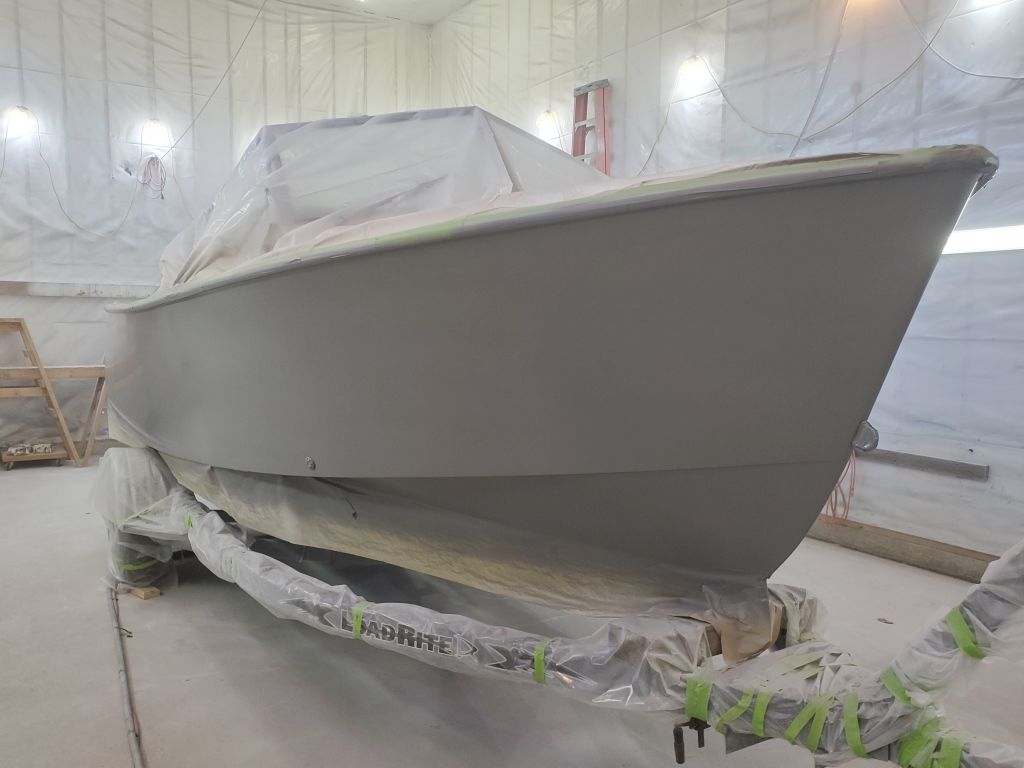
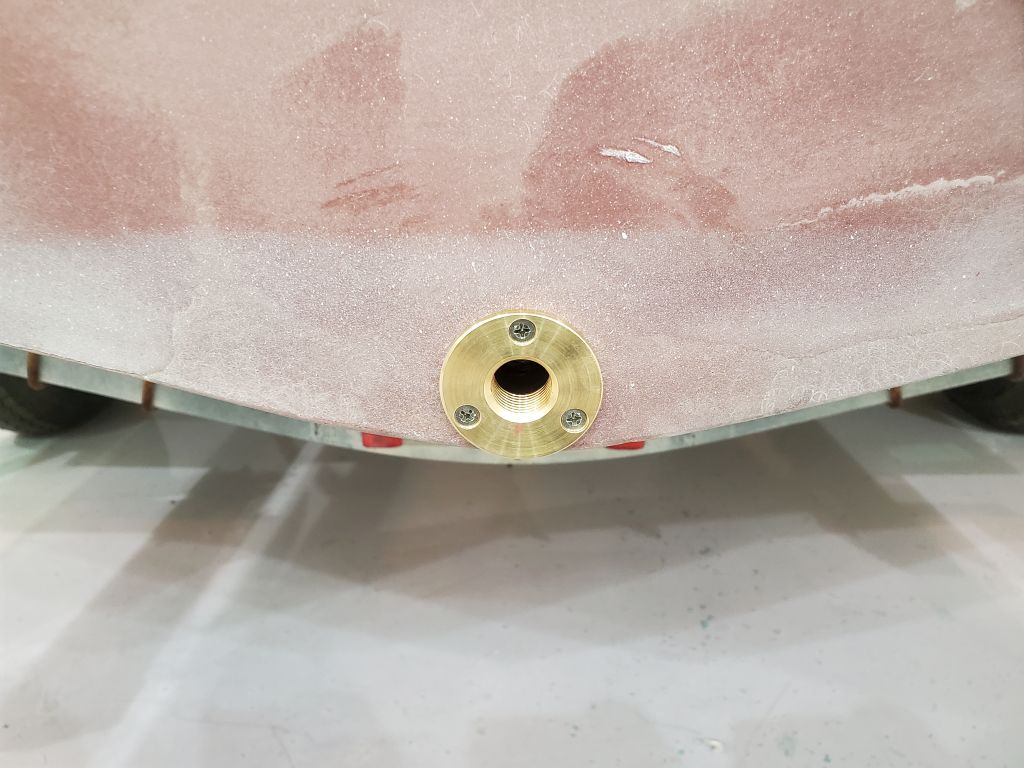
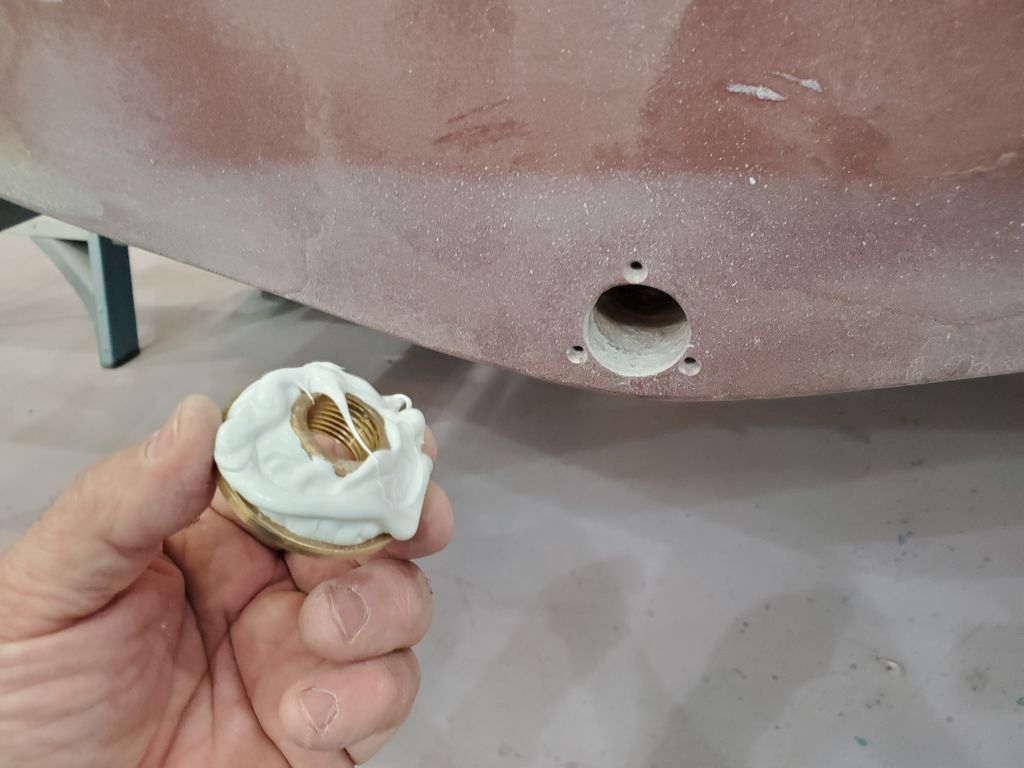
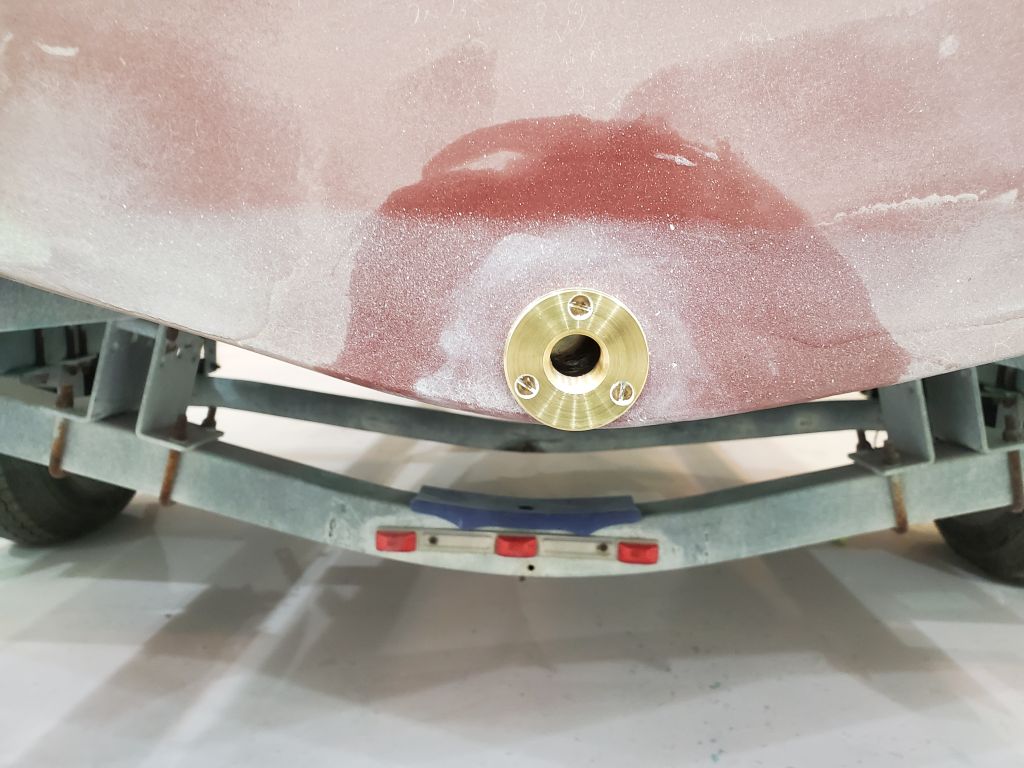
Now that the construction and painting was complete, I turned to some of the hardware reinstallation–or new installation, in some cases.  I started with some specifications and ordering to replace some of the older electrical items from the console, including a new circuit breaker switch panel and VHF radio that I’d flush-mount in the console.  Afterwards, I got to work on the boat with the new bronze garboard drain fitting.  I marked, drilled, and tapped the fastener locations and dry-fit the piece with temporary screws before installing it permanently with plenty of sealant and bronze screws.

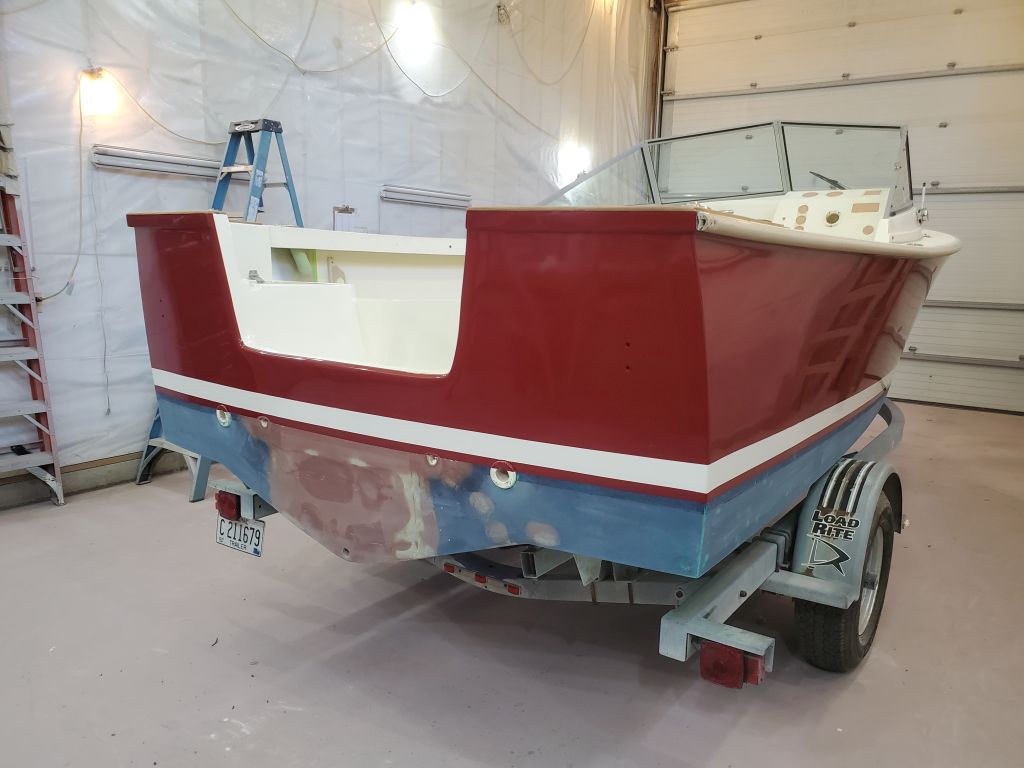
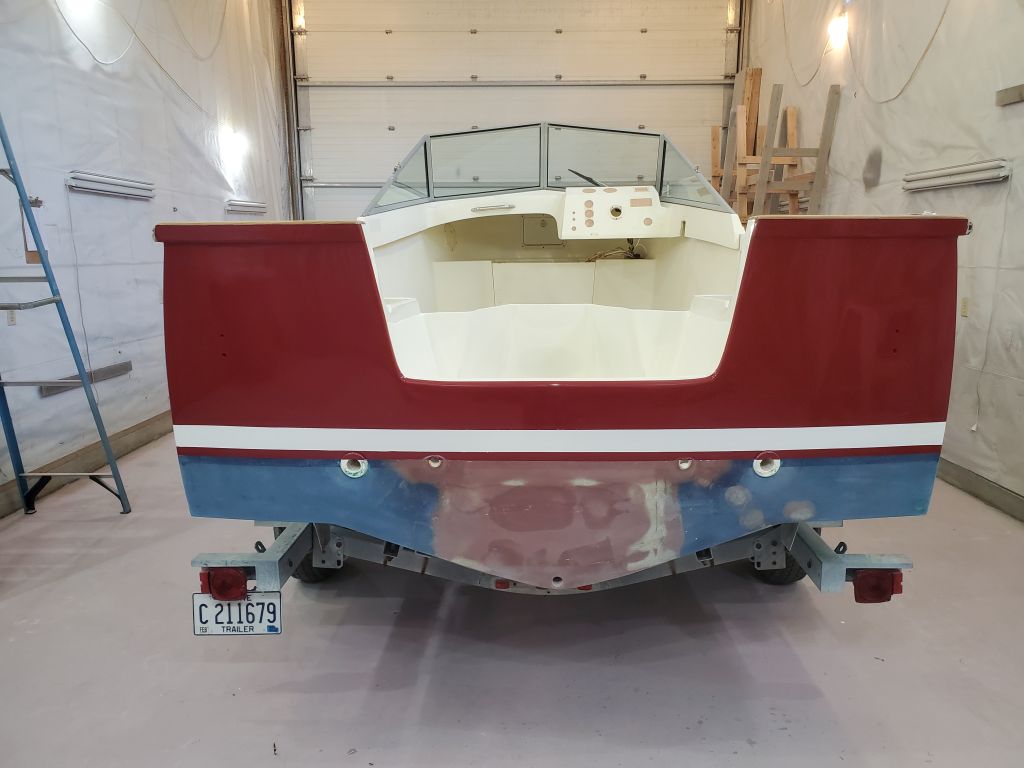
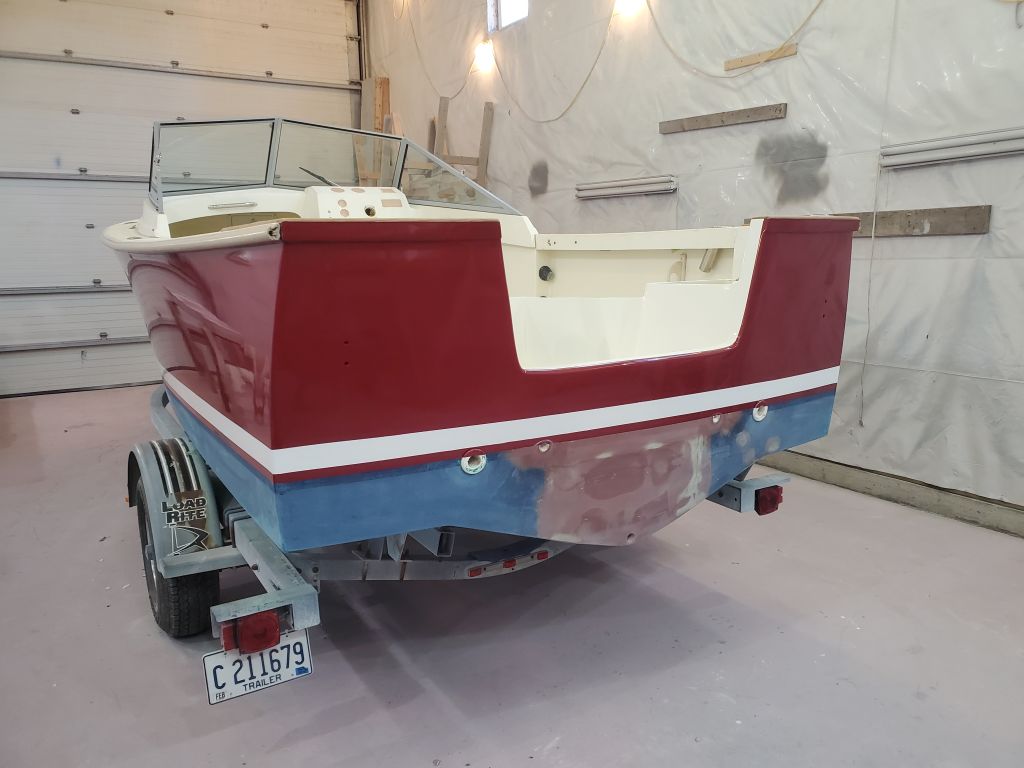
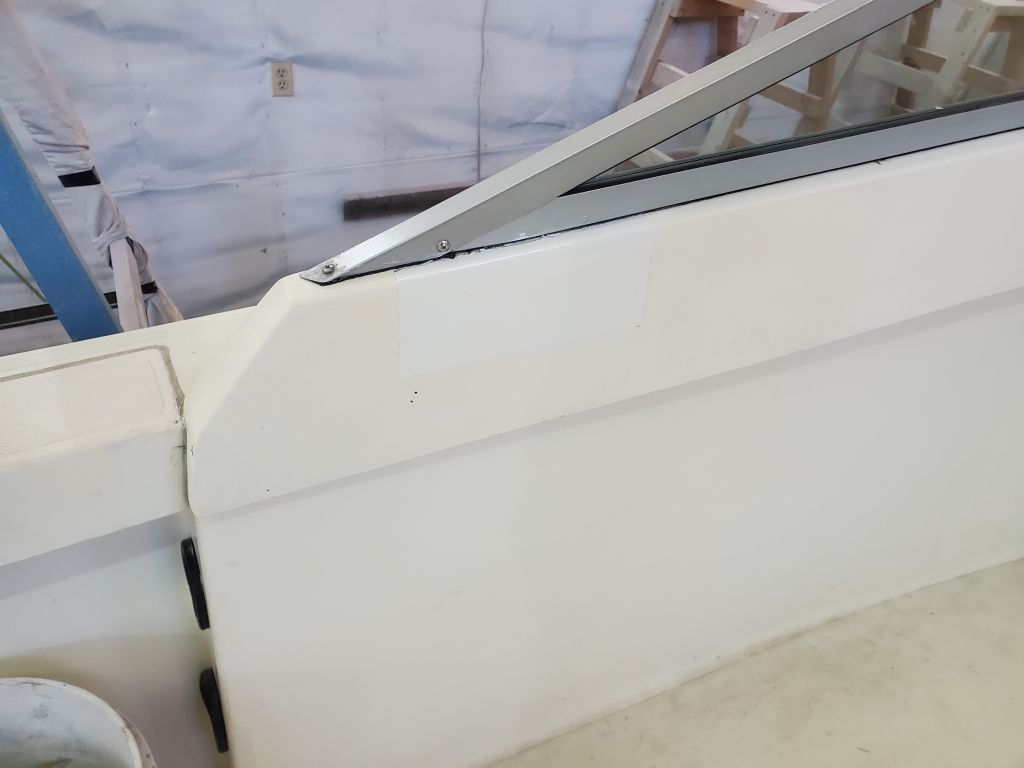
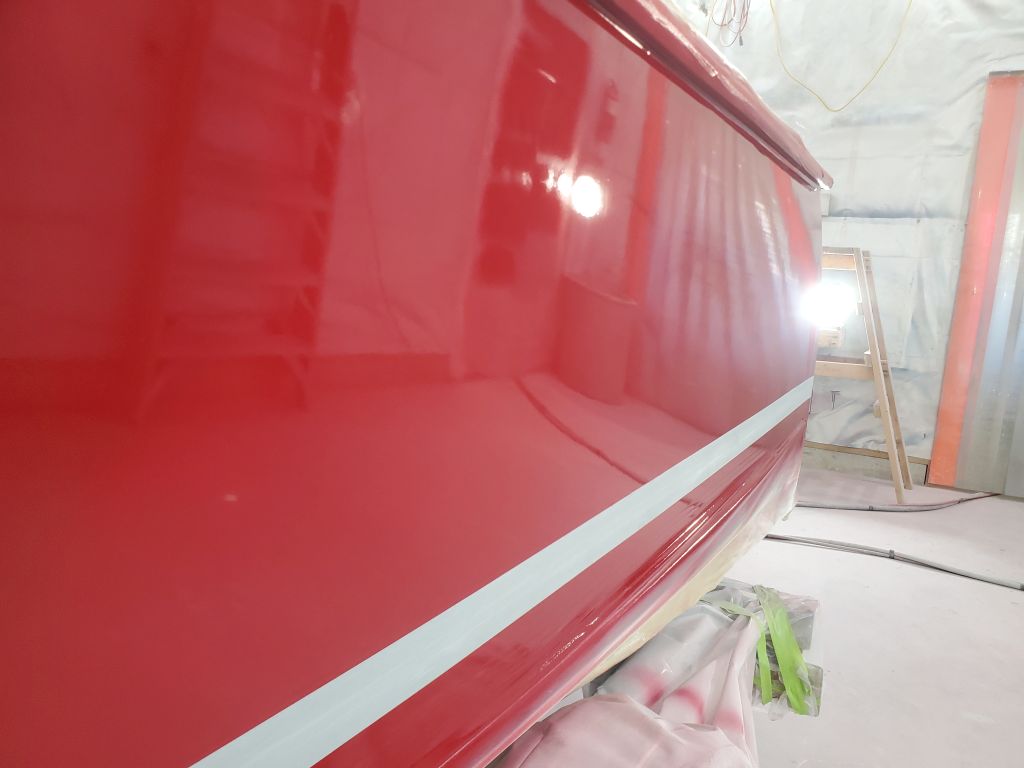
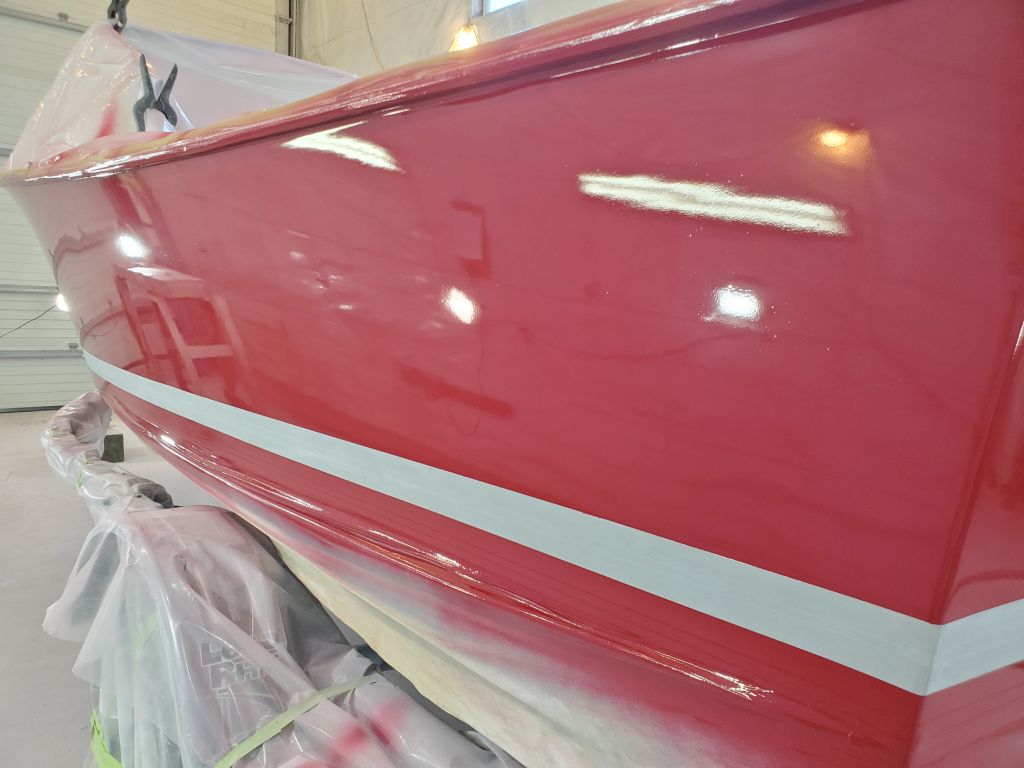
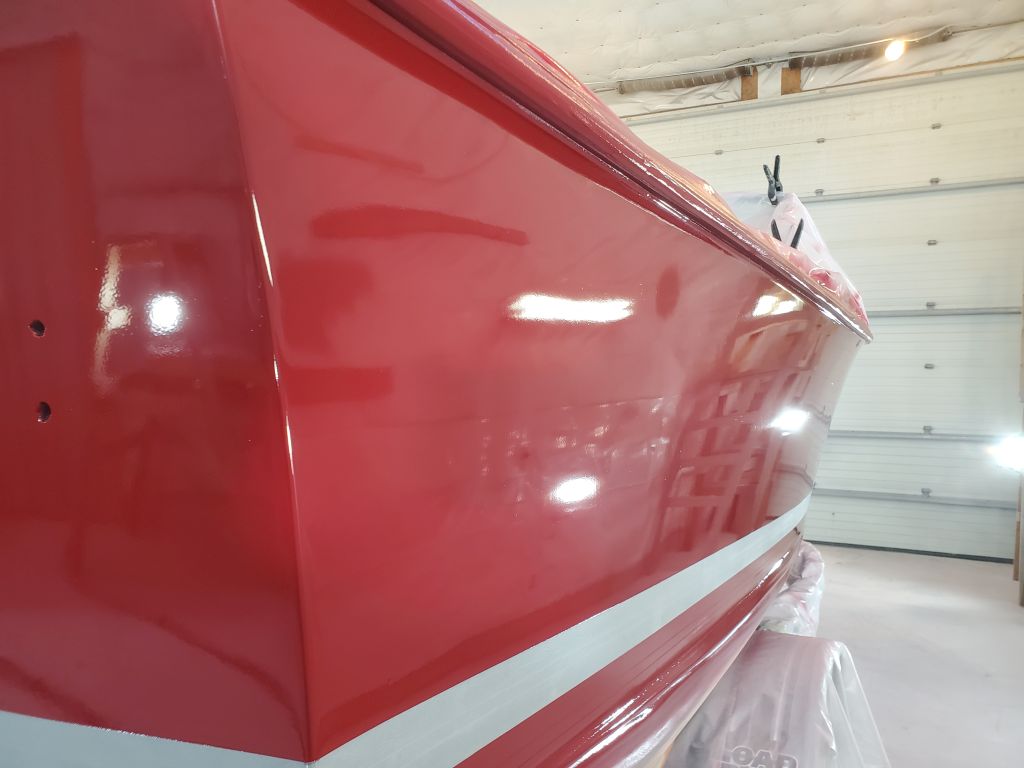
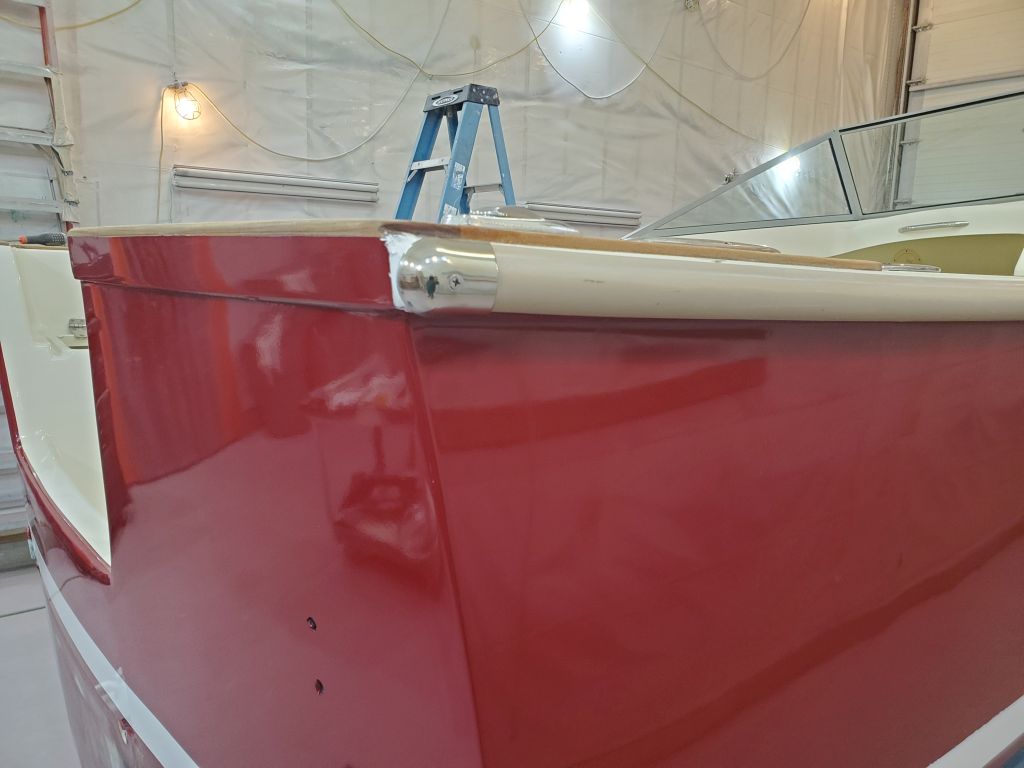
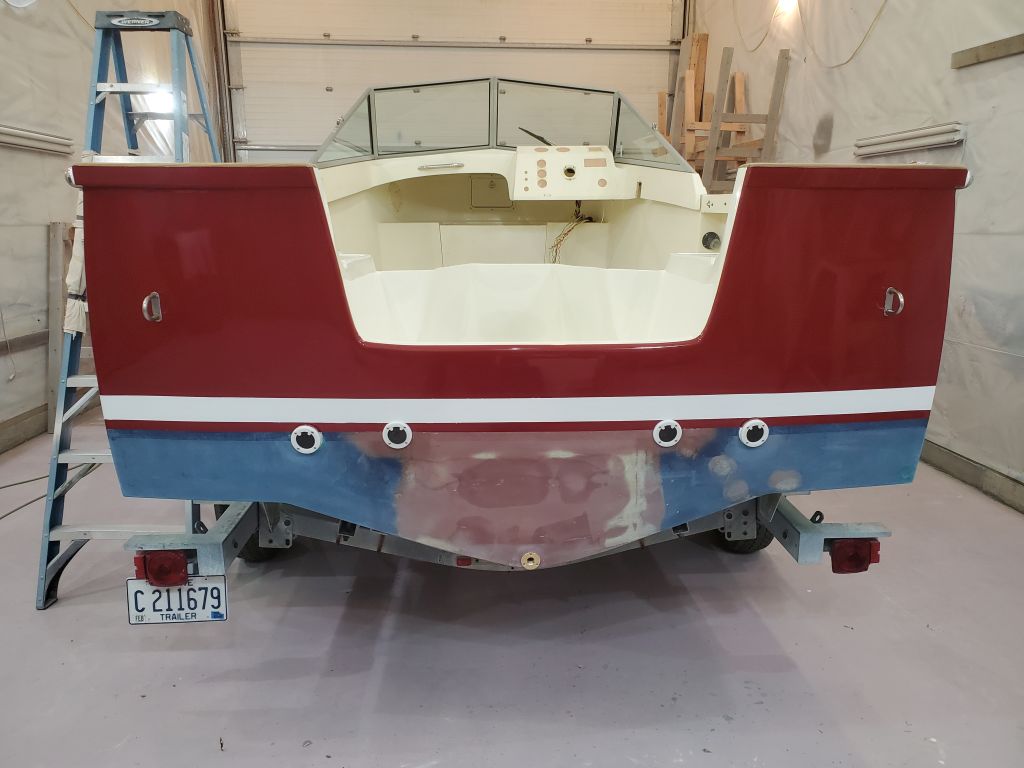
I installed new stainless steel end caps to finish off the rubrail at the transom.

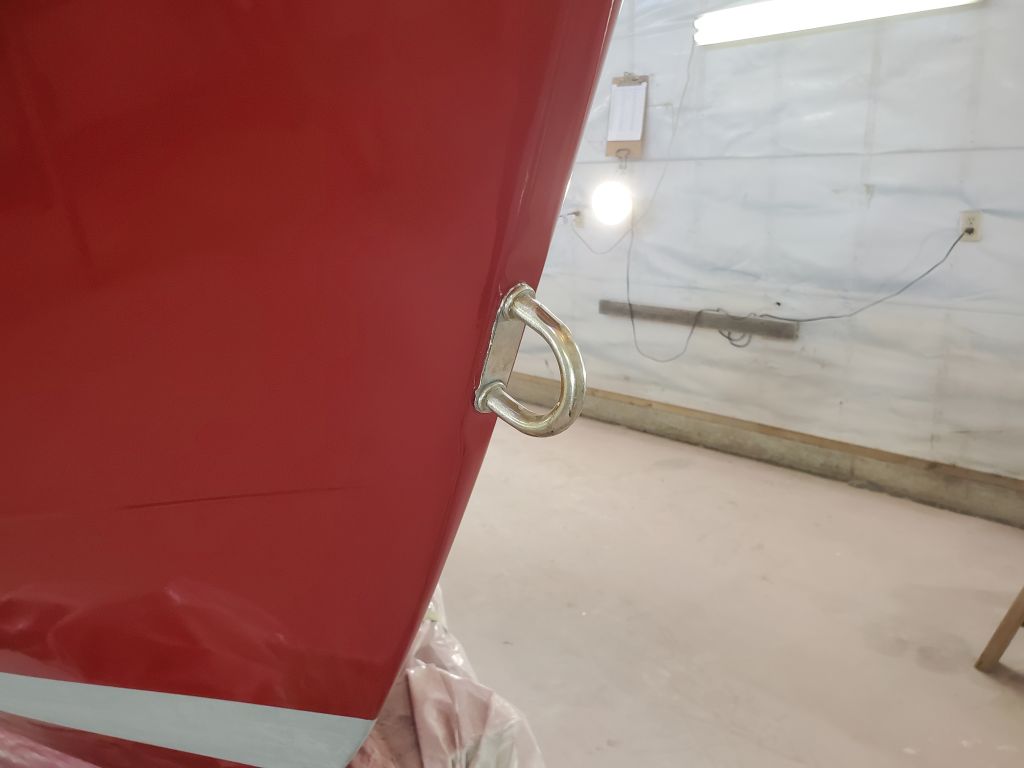
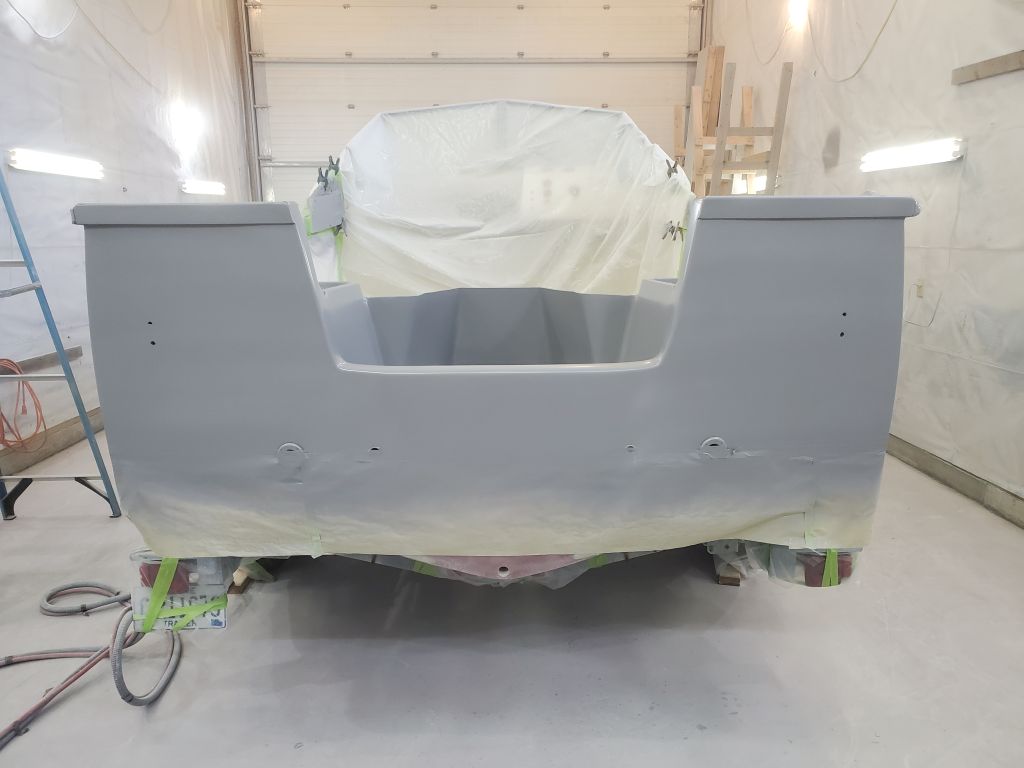
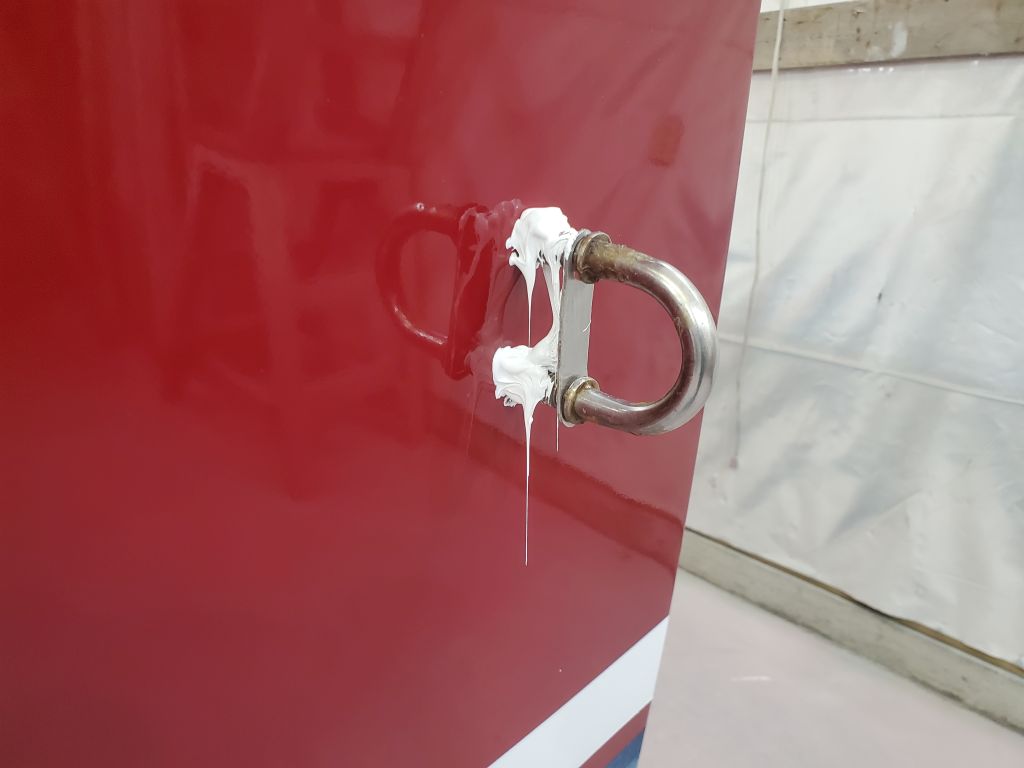
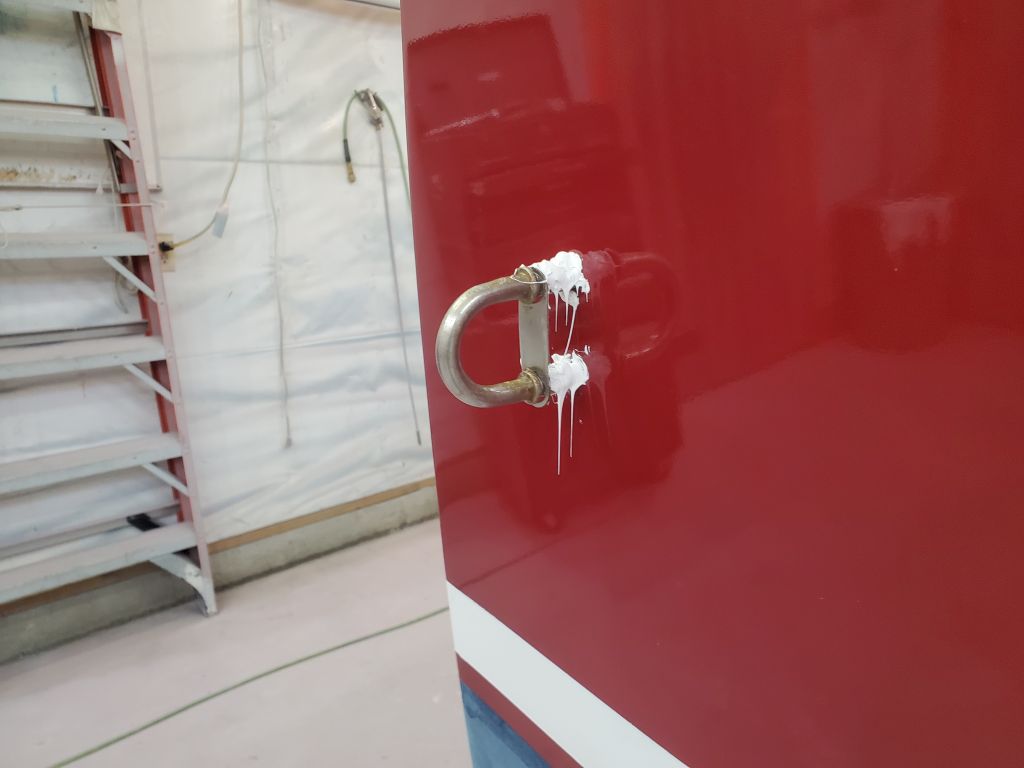
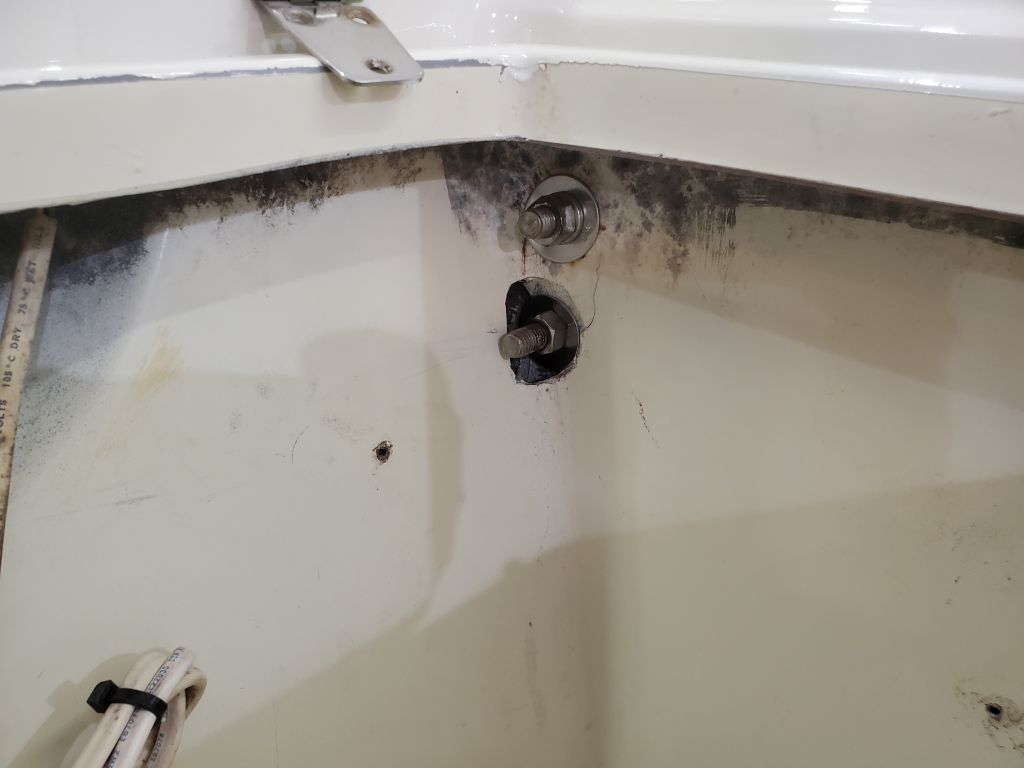
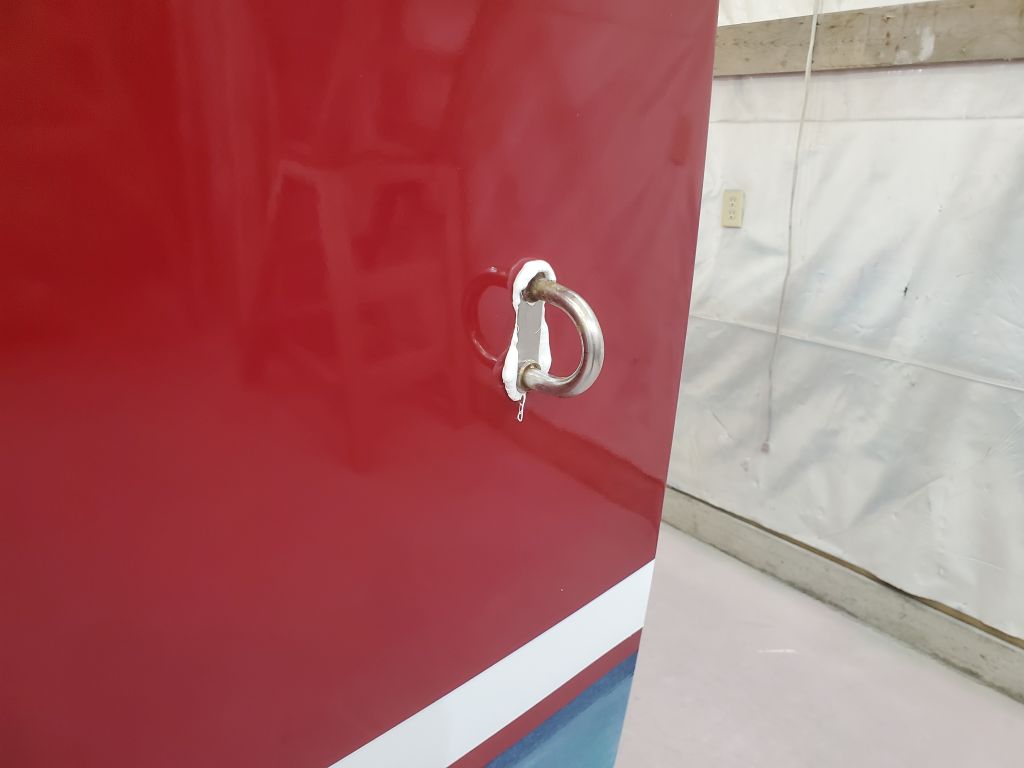
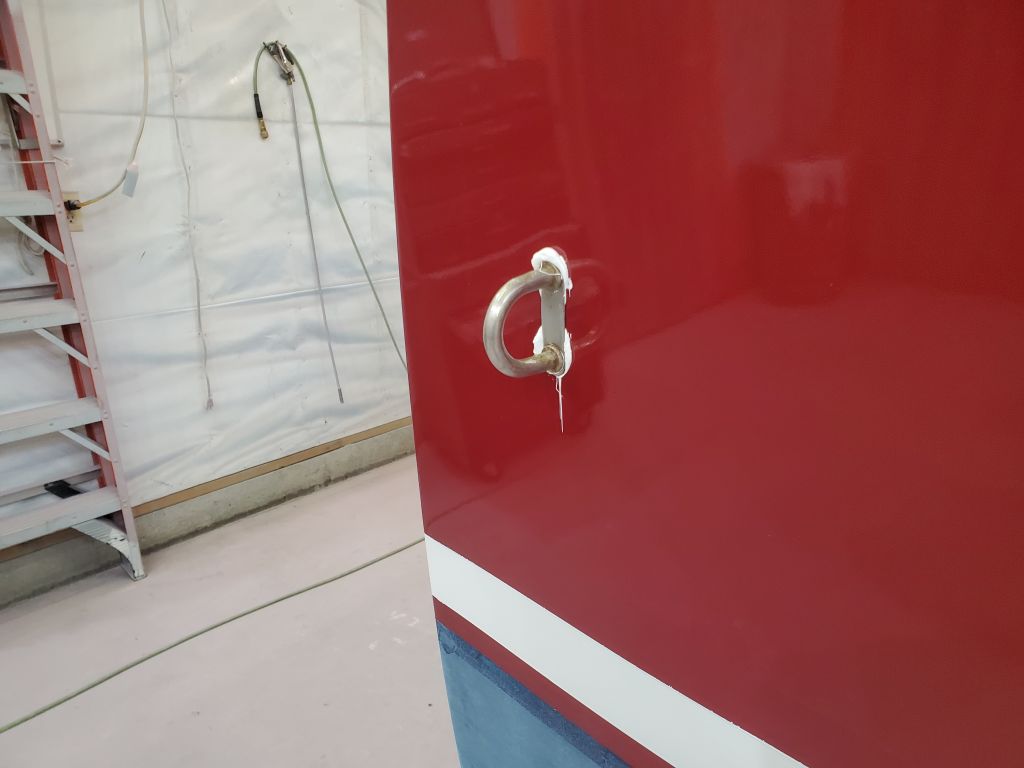
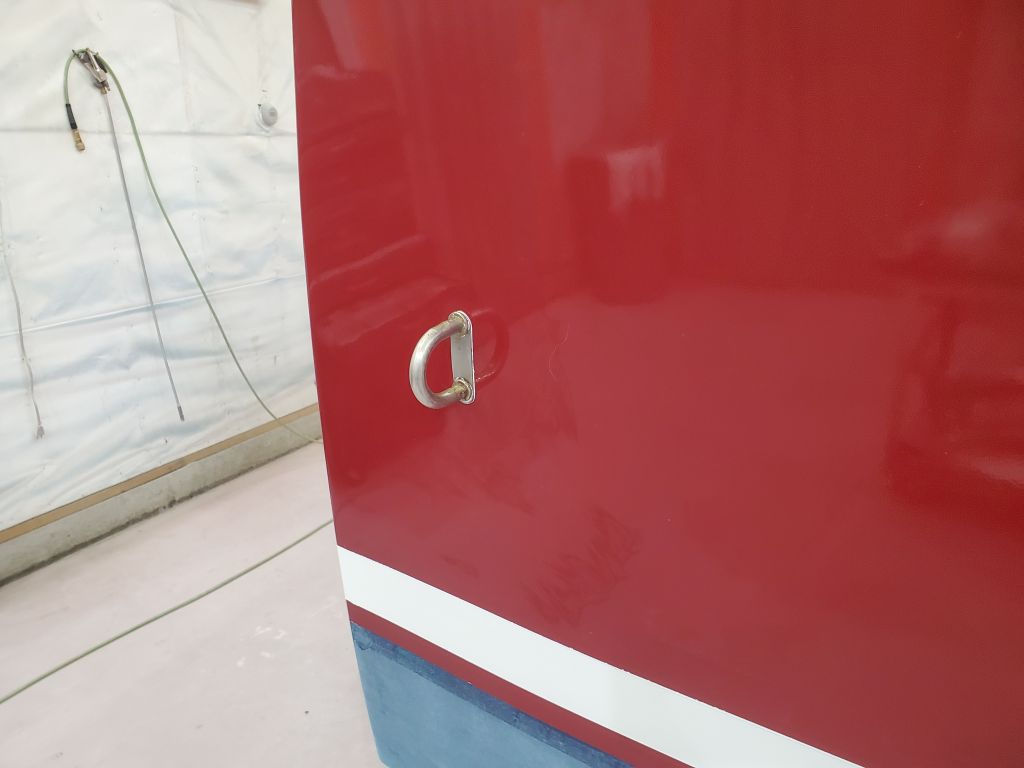
Next, I reinstalled the original transom U-bolts.

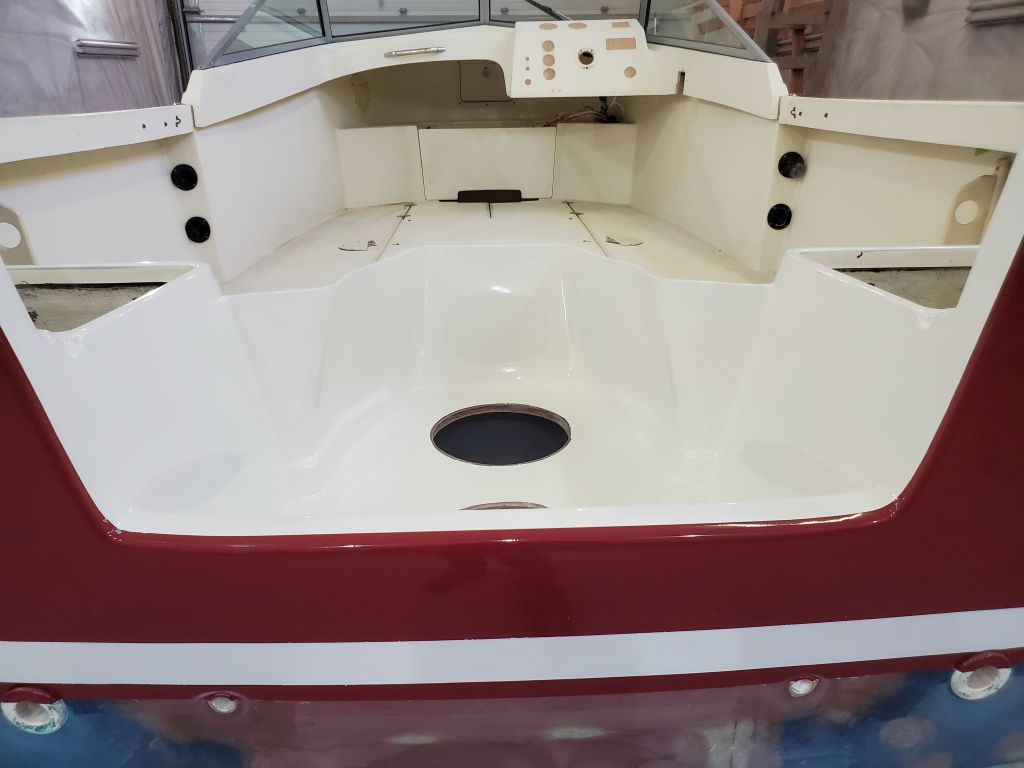
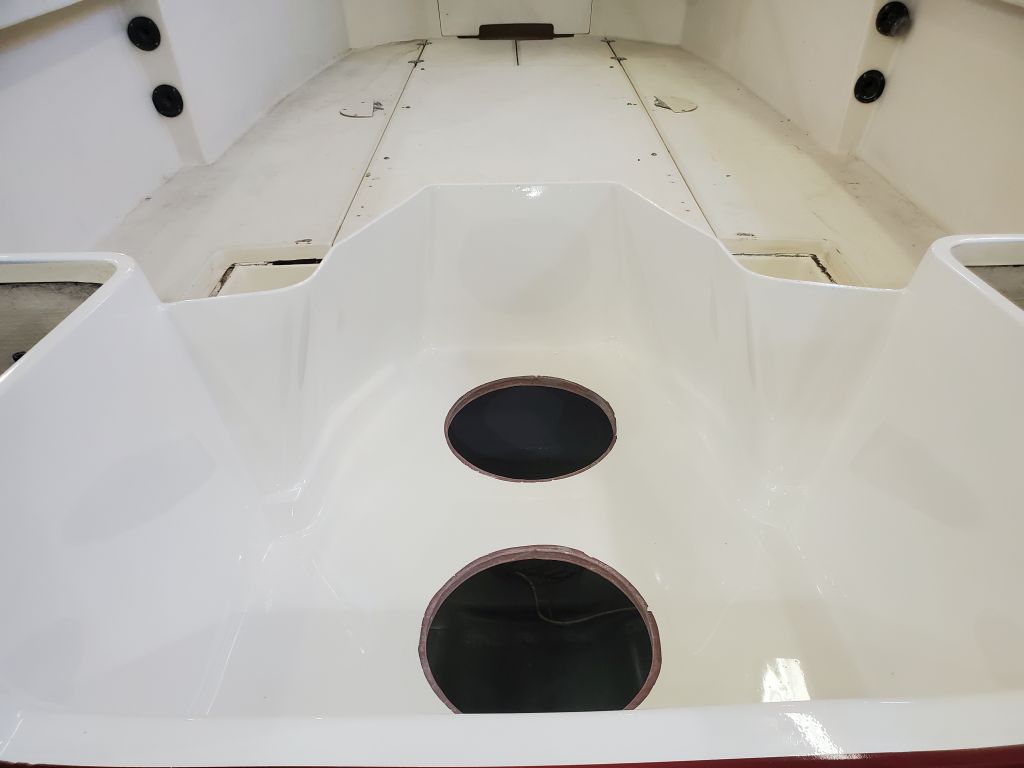
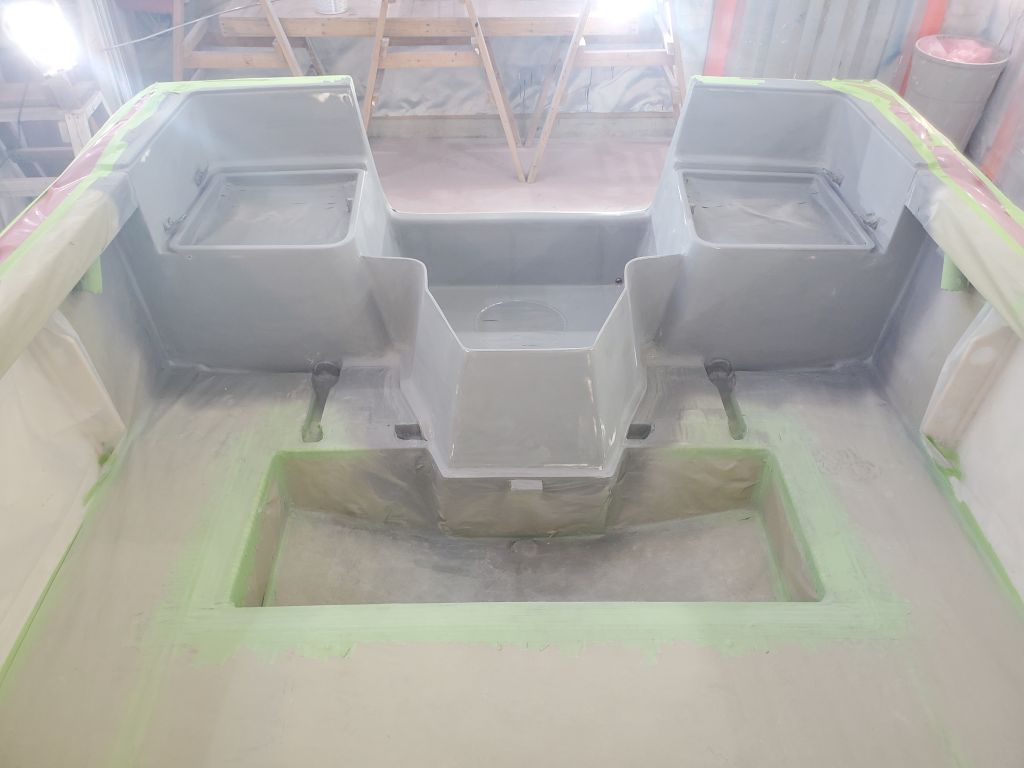
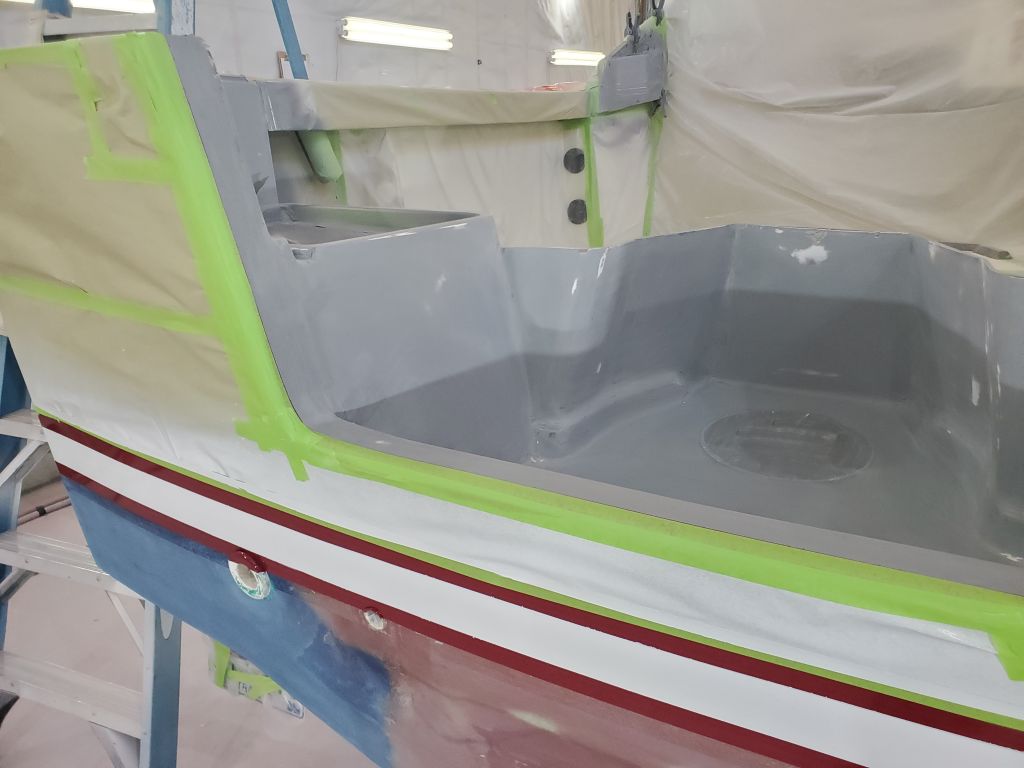
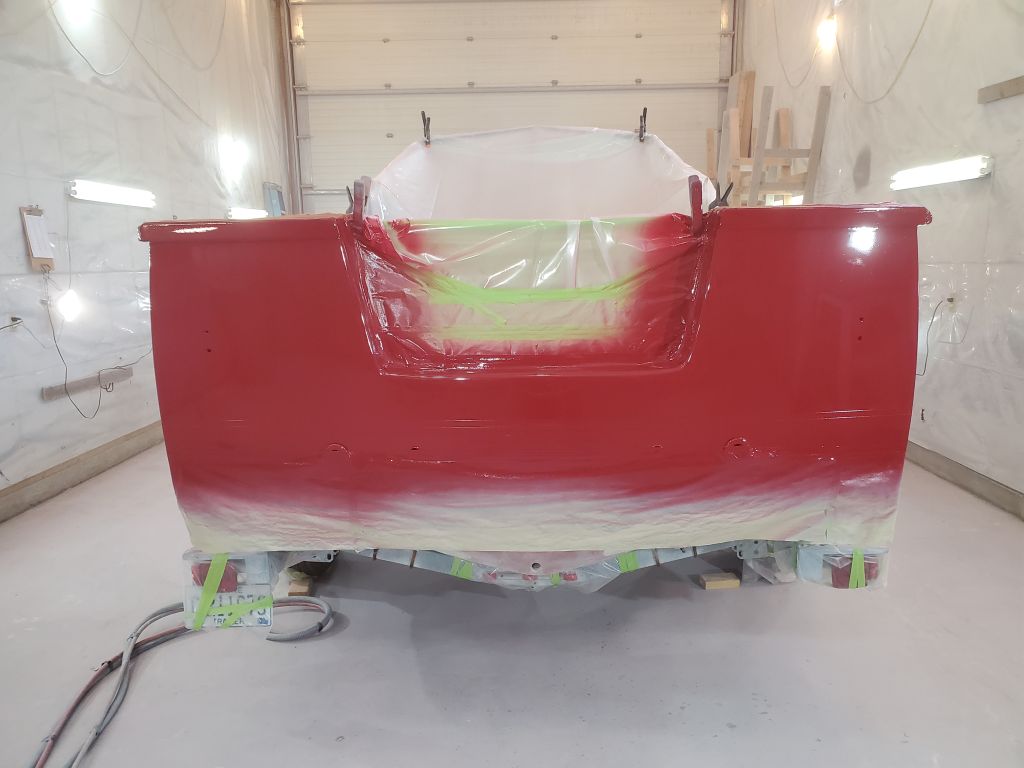
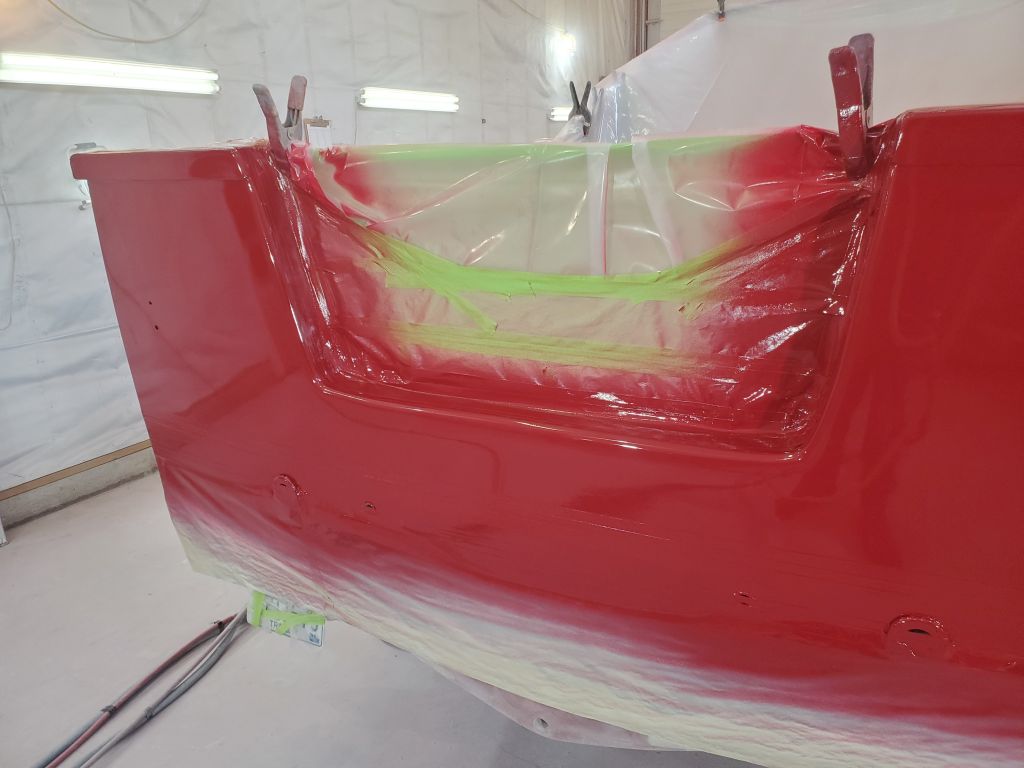
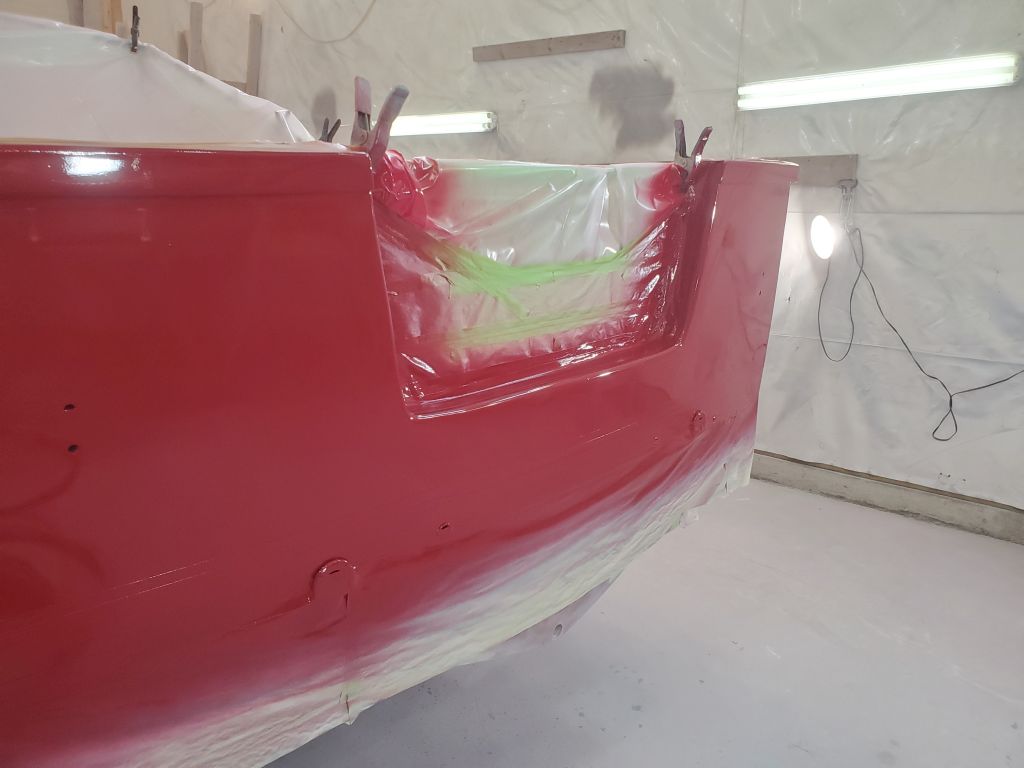
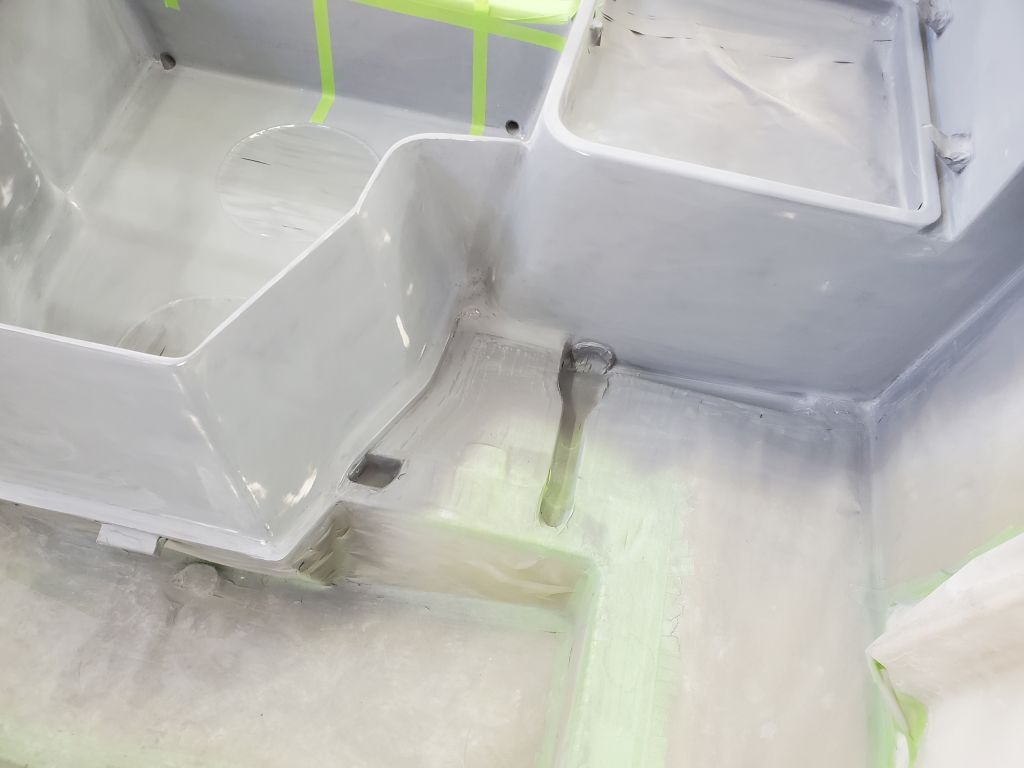
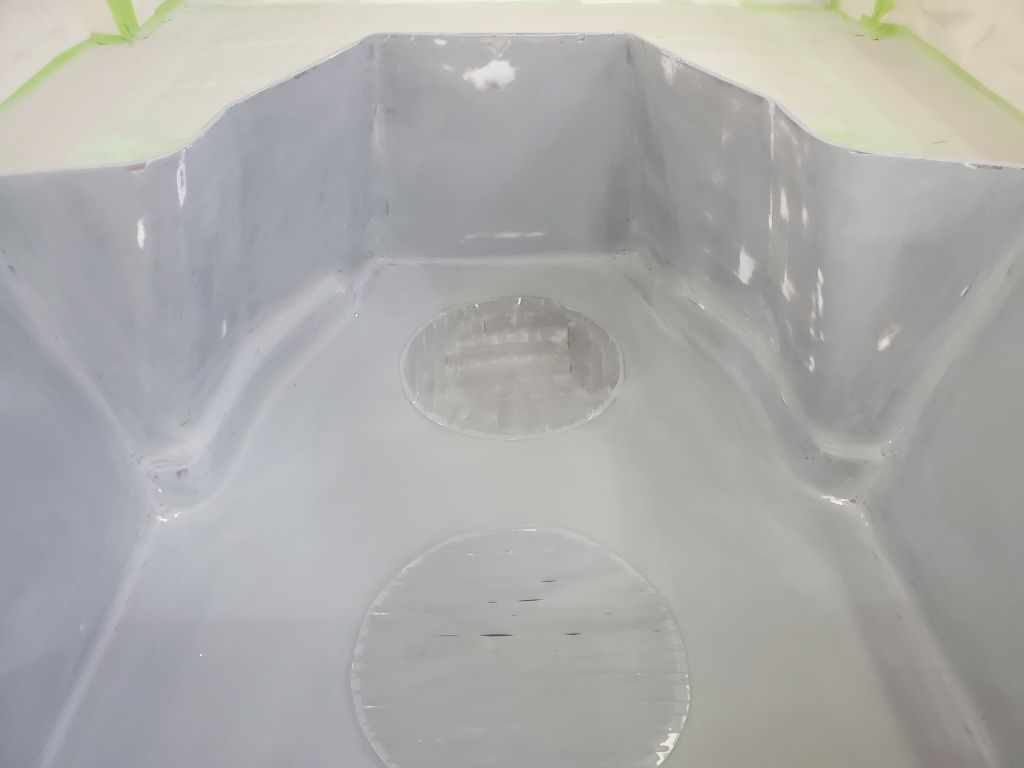
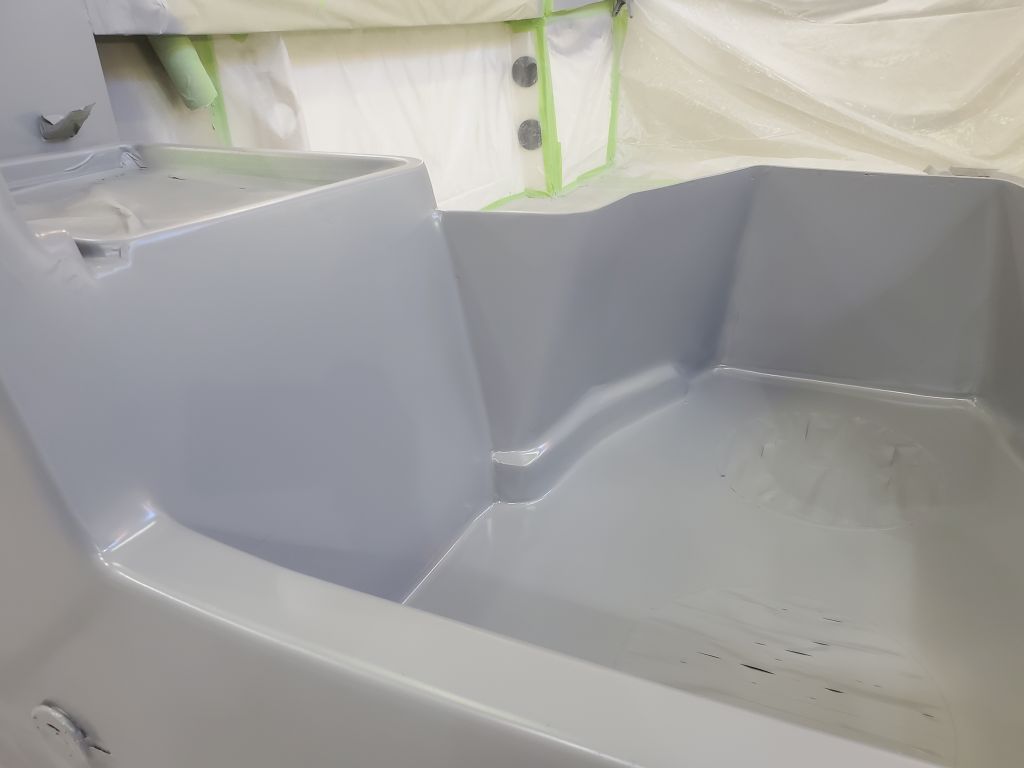
I installed four sets of scupper flaps over the cockpit scupper openings (secured with screws to the exposed ends of the plastic through hull fittings) and over the outboard well drains (secured to the hull with sealant and screws).

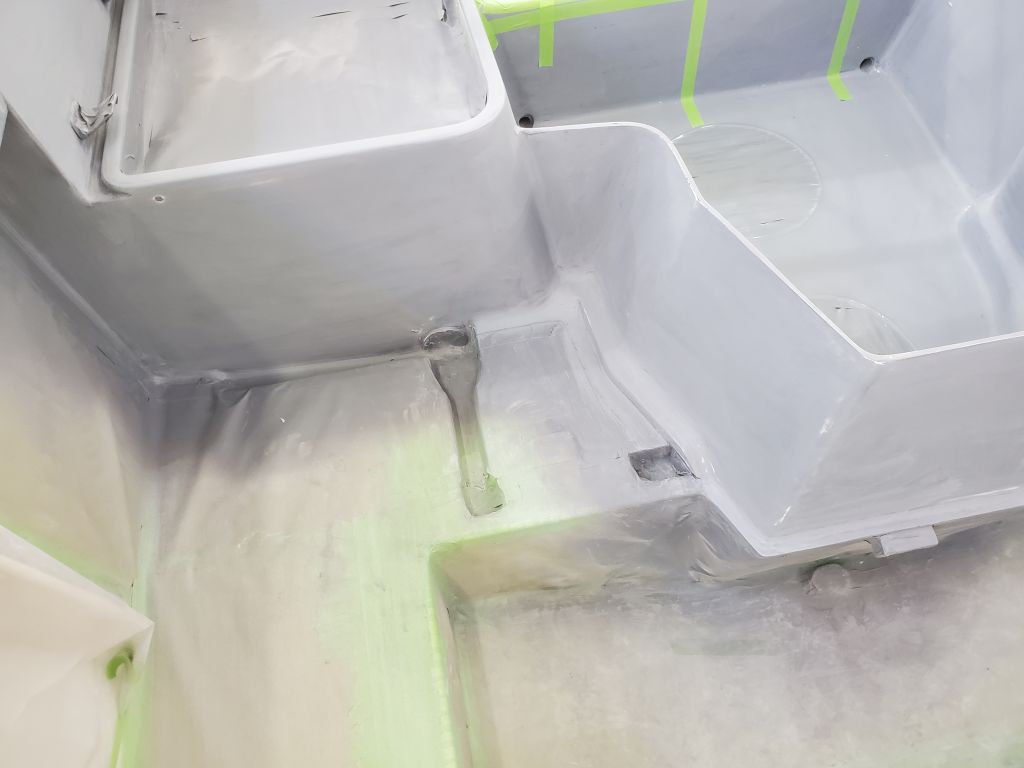
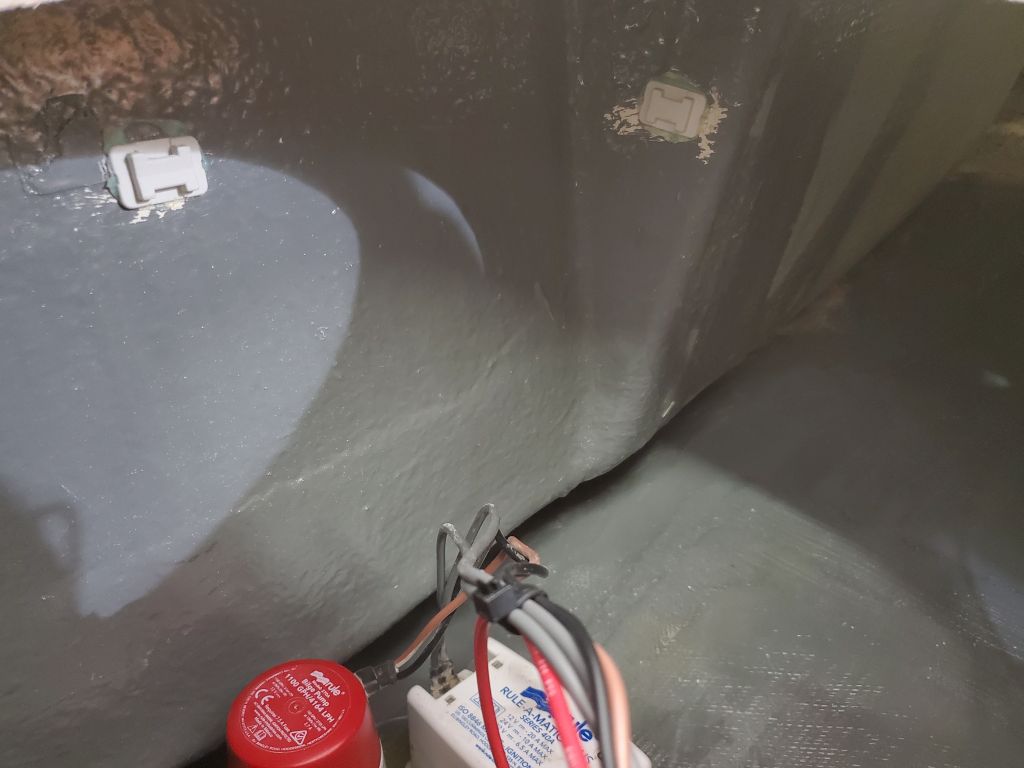
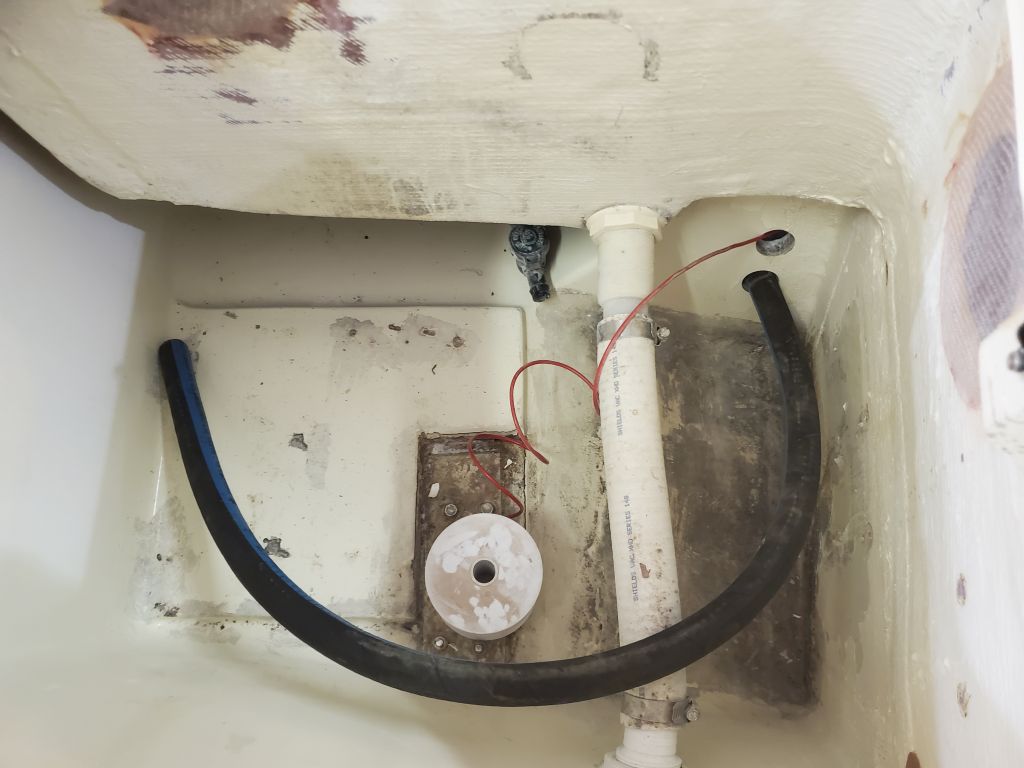
Next, I turned to the bilge pump.  When I removed the relatively new pump at the beginning of the project, I’d labeled its various wires, so now I reinstalled the pump base platform on the little raised wooden support in the bilge (leftover from before), then cleaned up and rewired the pump according to the original wire positions.  Preparing ahead to secure the wire harness to the boat well above the level of future bilge water, I sanded away the paint from a couple spots inside the bilge area, then installed wire tie mounts with an acrylic adhesive, leaving these to cure overnight before securing the wires.

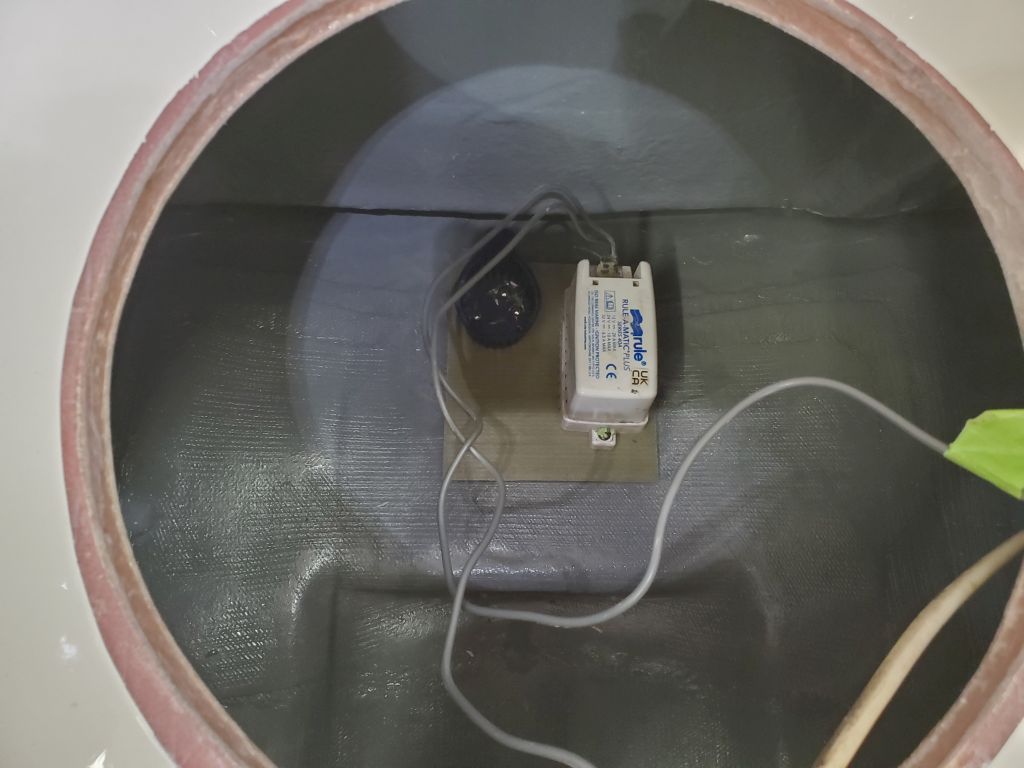
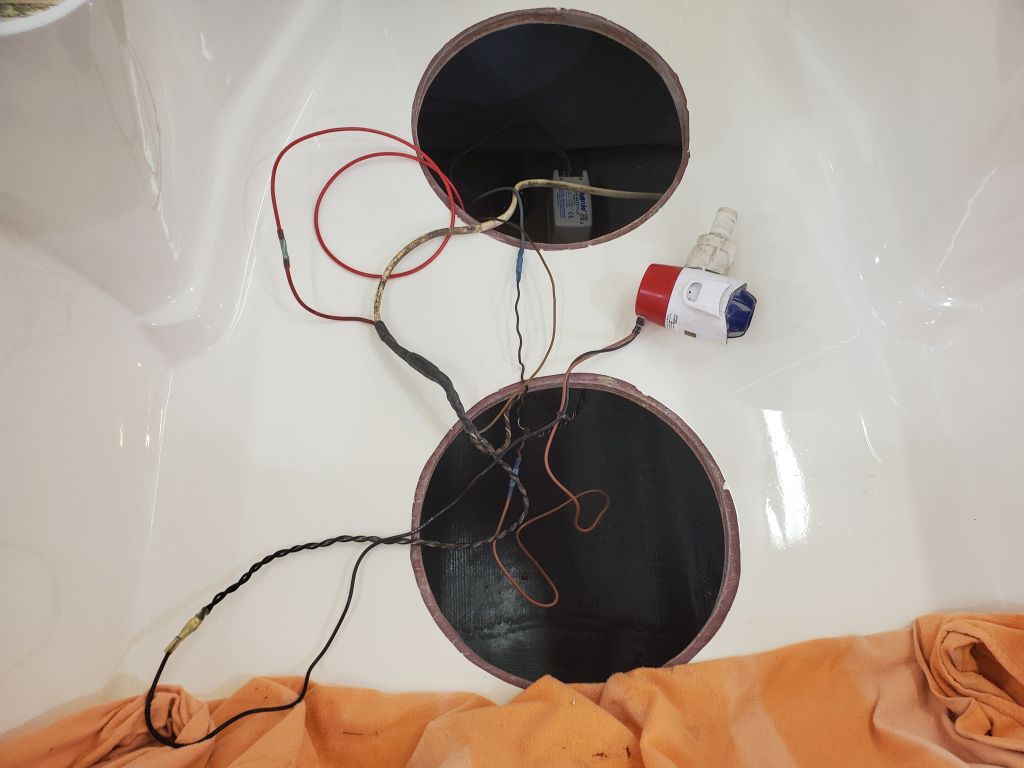
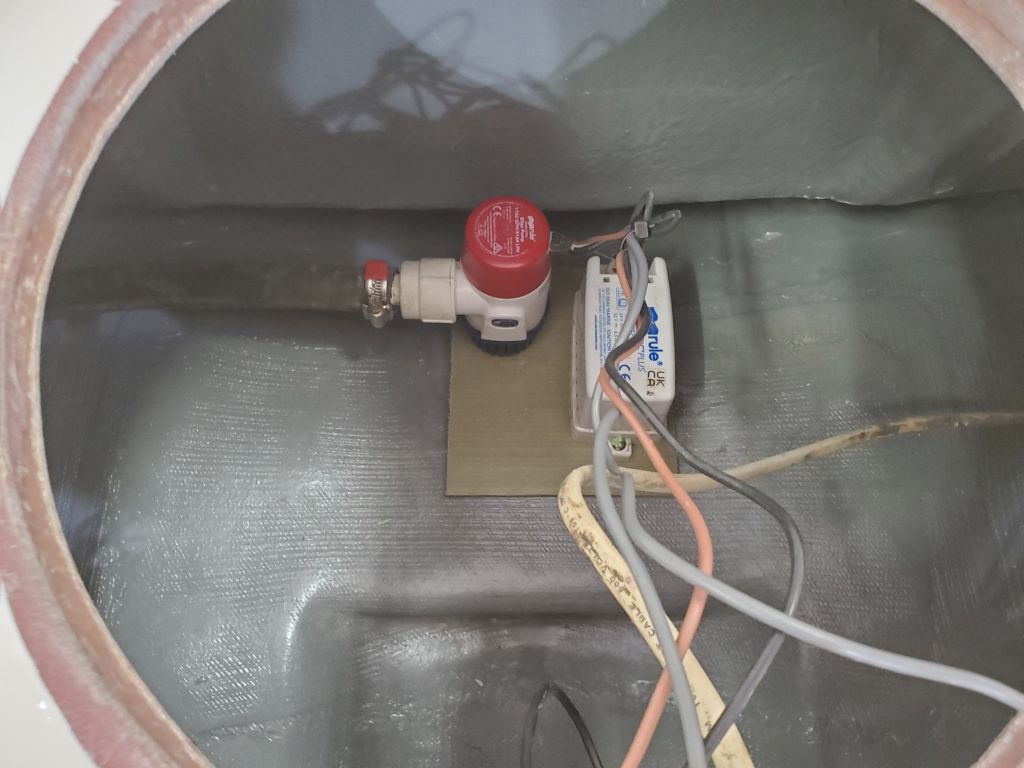
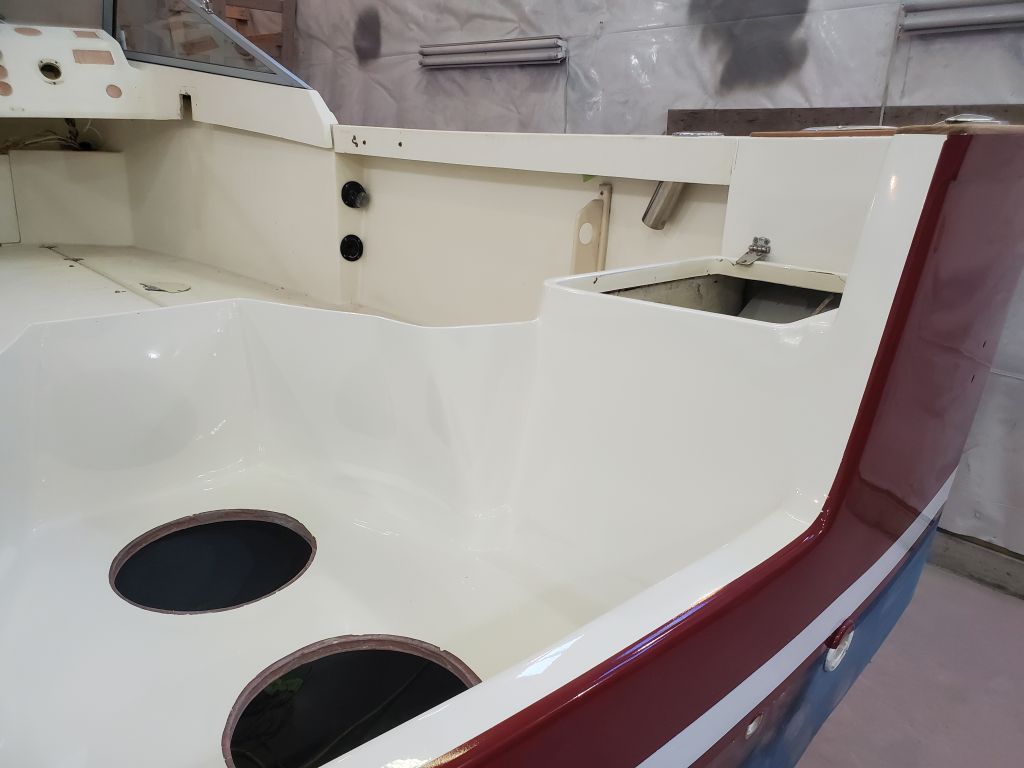
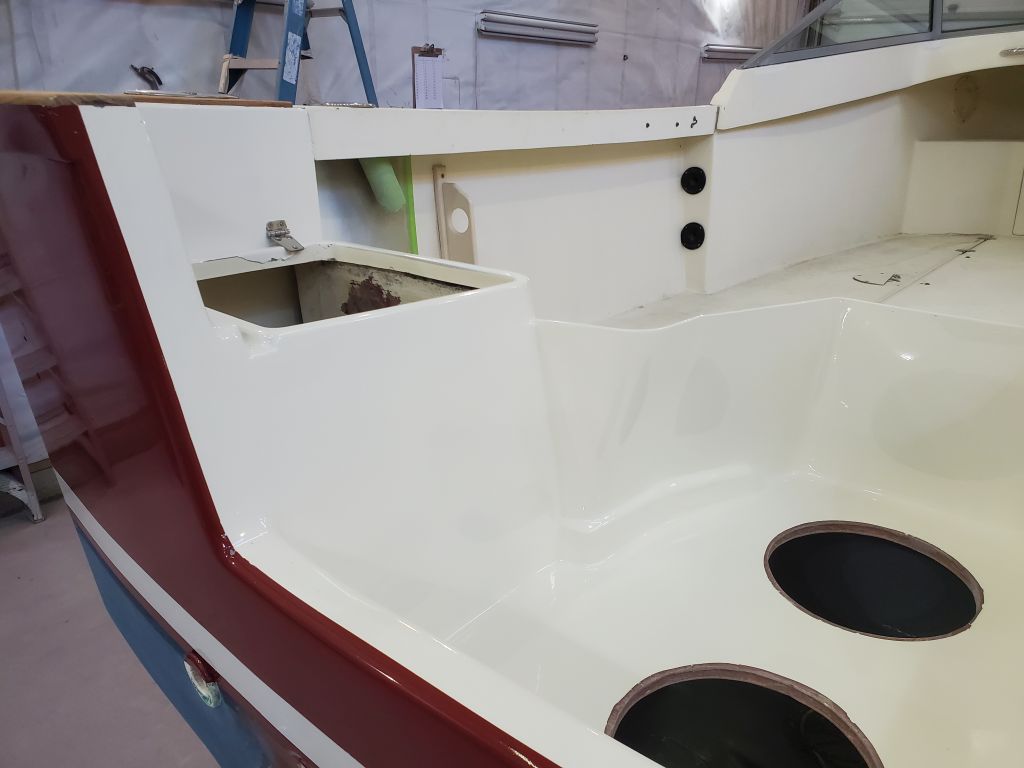
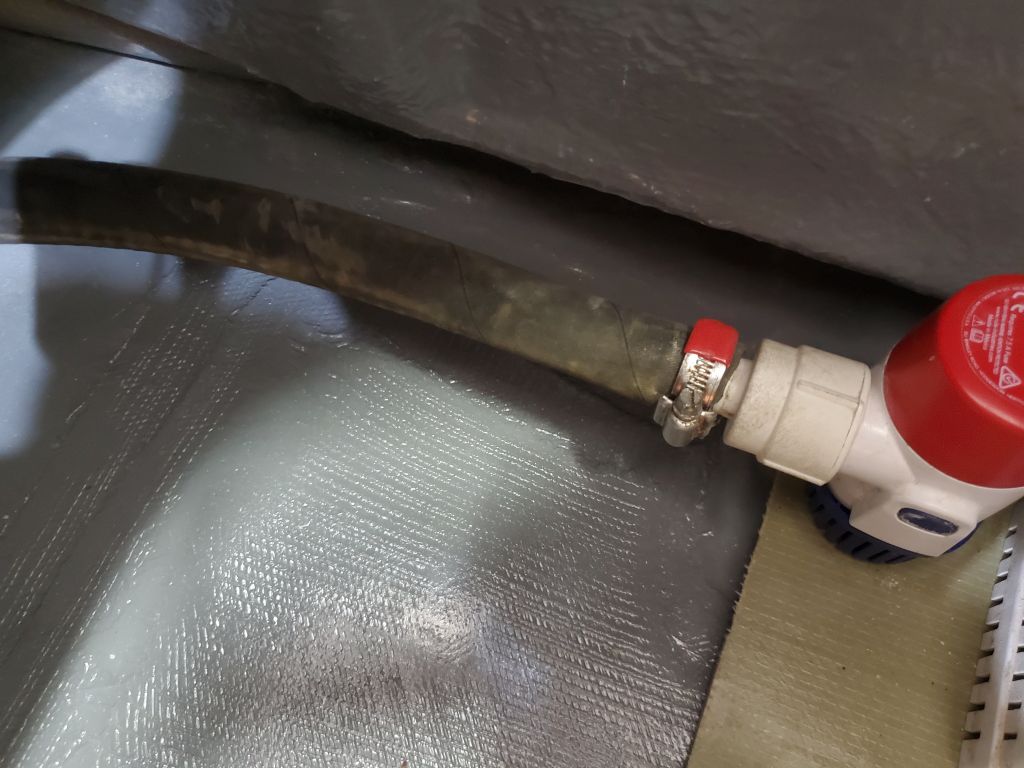
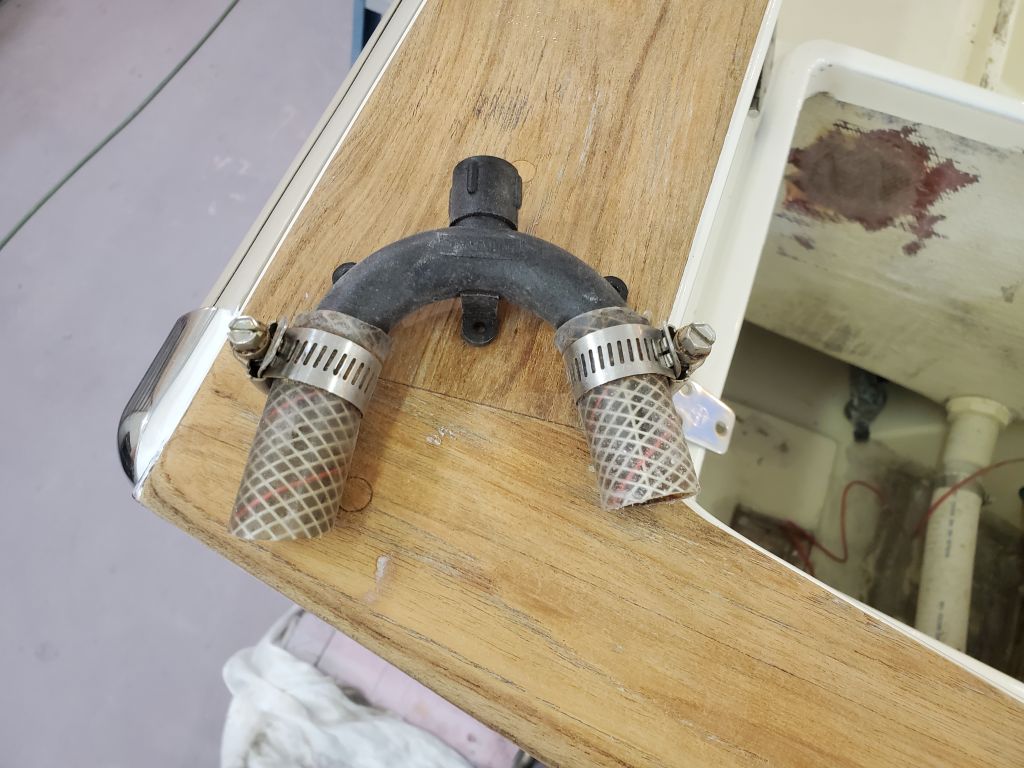
I attached a new outlet hose to the pump and led it into the port aft locker, beneath the seat.  The original pump had included a siphon break loop, which I planned to reinstall.  I didn’t want to fasten this through the bulkhead as it had been before (when the now-open outboard well was part of an enclosed engine room), so to prepare for mounting the siphon break I epoxied a fiberglass block, into which I’d drilled and tapped fastener holes for the hardware, to the side wall of the locker, leaving this to cure overnight.  I also ordered a new through hull fitting for the pump outlet to replace the old, damaged one that I’d removed at the beginning of the project.

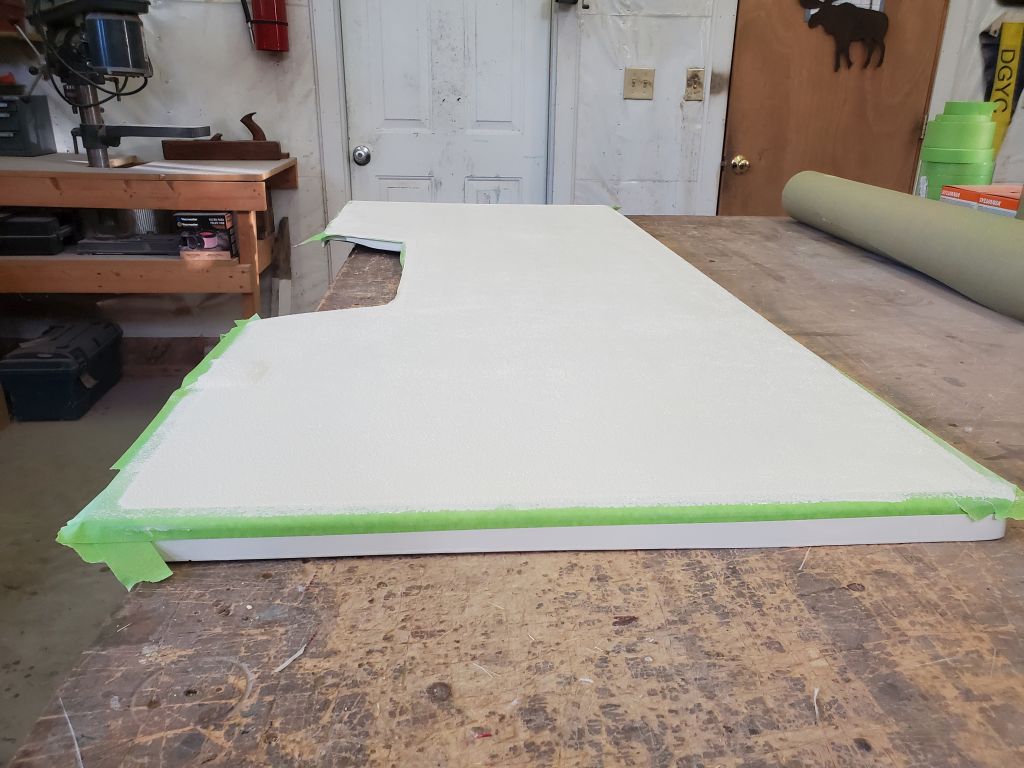
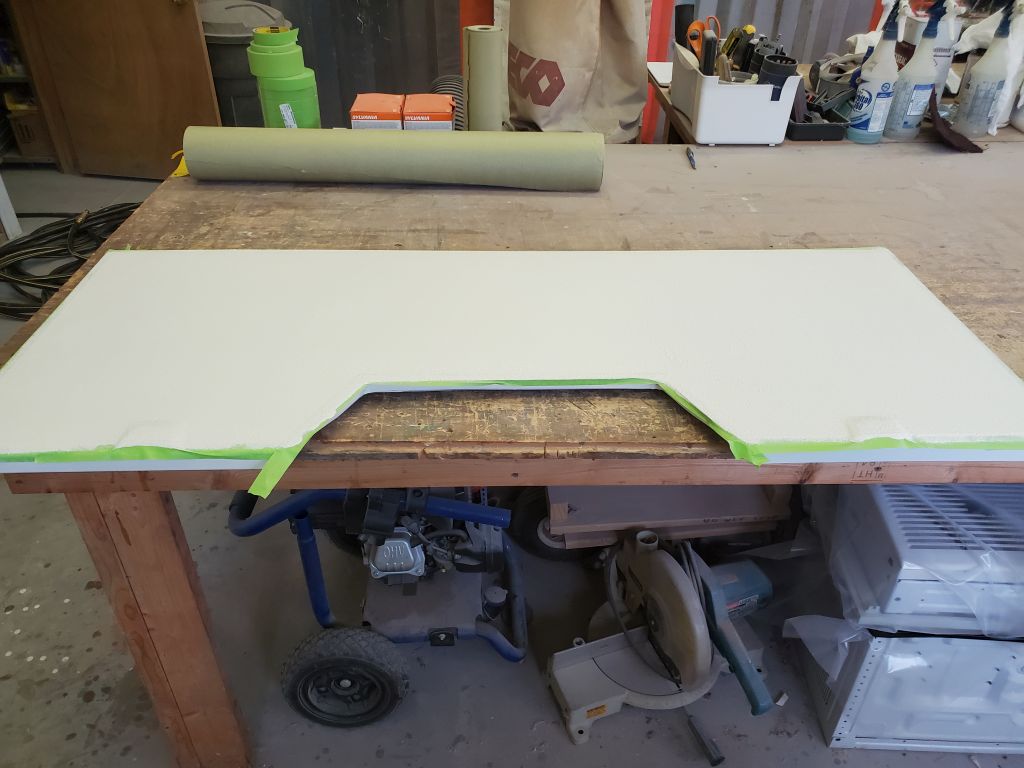
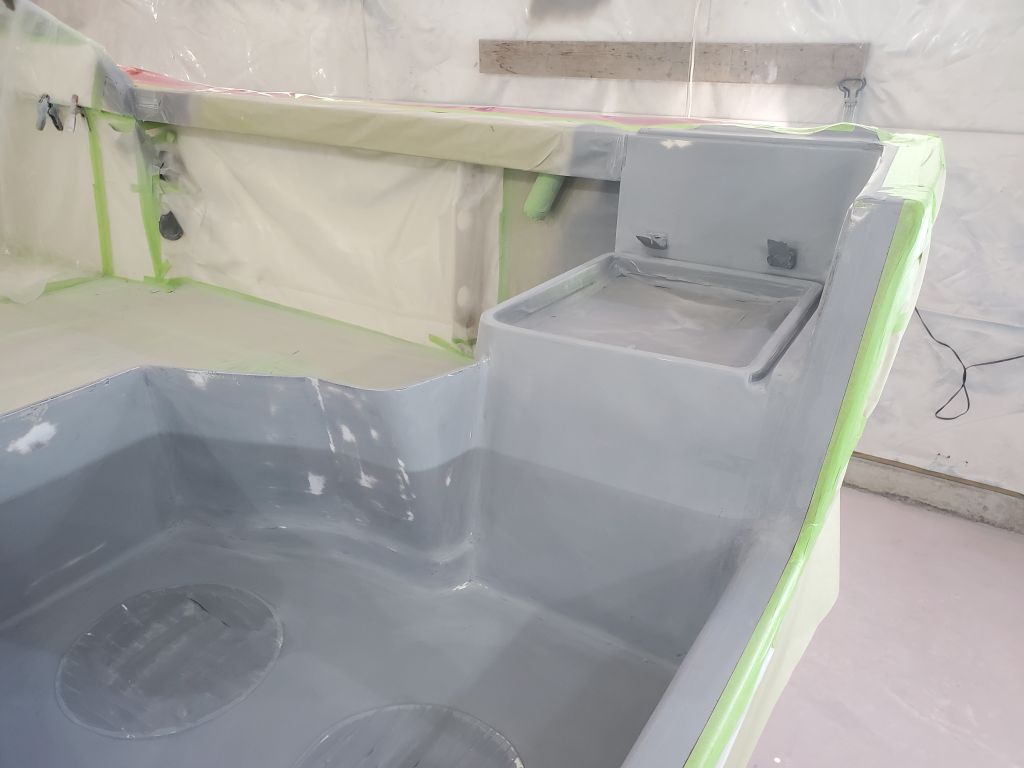
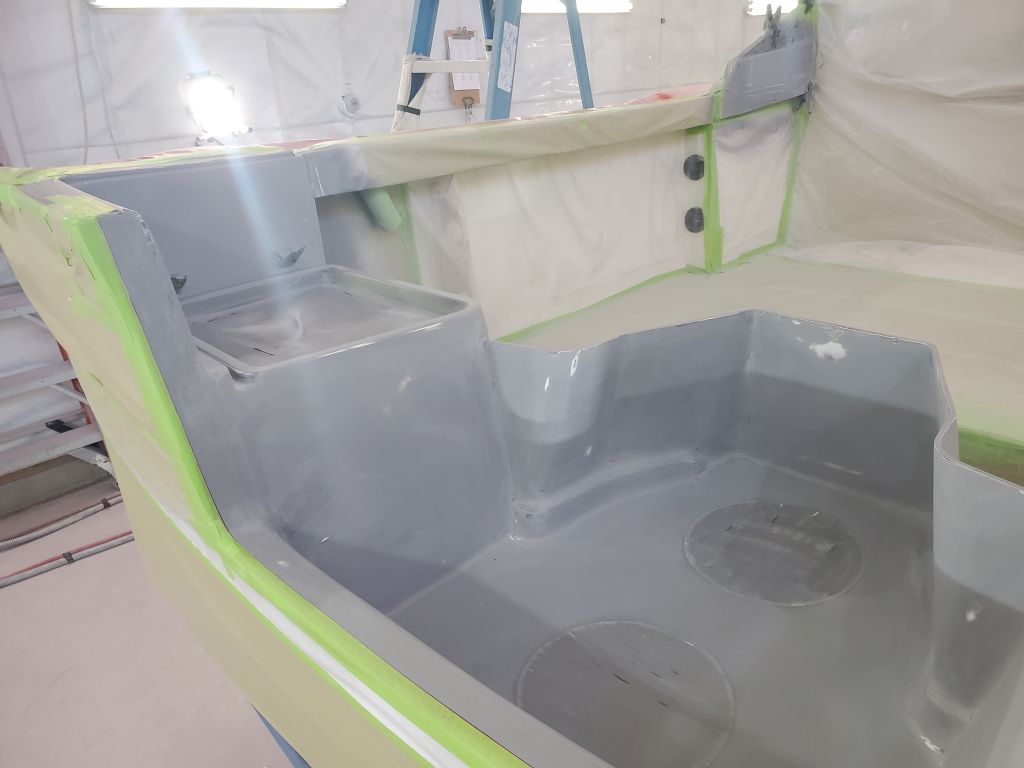
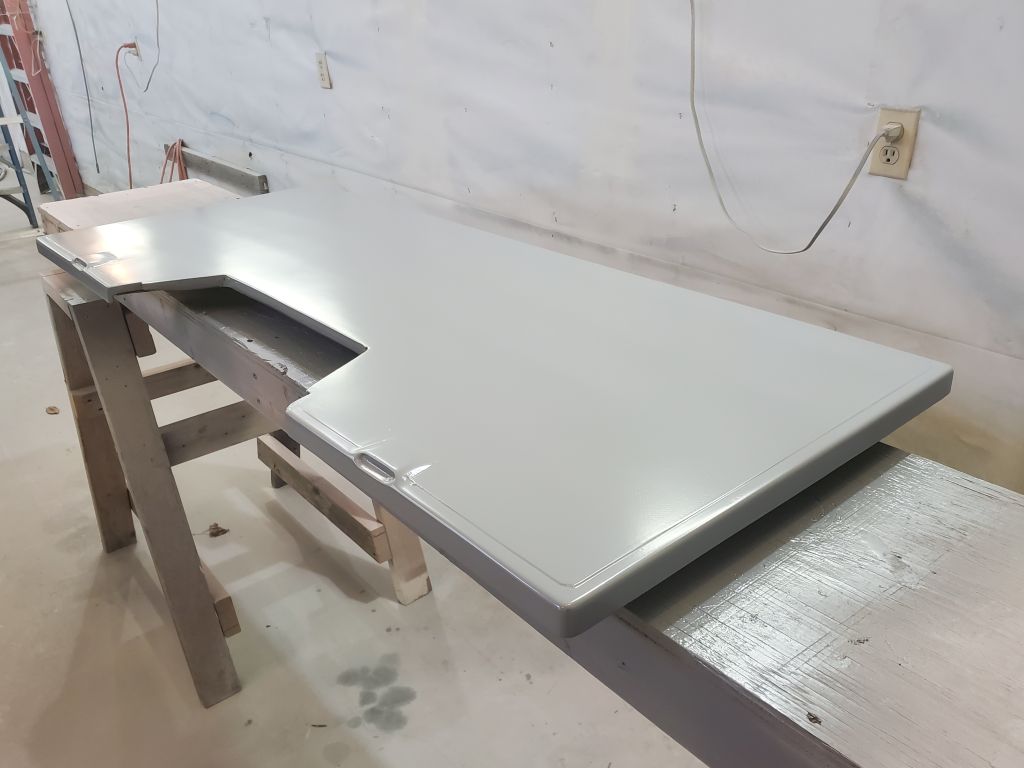
Finally, I lightly sanded the paint on the field area of the livewell hatch, masked off the borders as needed, and applied nonskid in the same color, with a flattening agent added along with the nonskid particles, to finish off the work on the hatch refurbishment.

Holby 56

I spent the day removing all the masking from the boat, and otherwise cleaning up and getting the shop back to normal, stowing paint and equipment and so forth.  The unmasking was straightforward but rather time-consuming and fussy on deck, where the paint was still fresh and tape removal required some extra care, exacerbated by the sheer volume of masking and the tight quarters in some areas.

It was nice to see the whole project exposed for the first time since painting began, and I worked on a relatively short list of tasks remaining to complete the work required before calling the job complete.

Holby 55

After an overnight cure, I took a little time on Thanksgiving morning to unmask around the new boottop, leaving the rest of the masking in place to cover the hull.  I also removed most of the plastic and other masking covering the deck areas in the stern (mainly the outboard well area) to expose it for preparation and painting.

To be sure there was no chance of overspray damaging the previously-painted areas, I added a strip of masking paper to cover the just-uncovered boottop, and masked as needed around the transom cutout to prepare for the off-white paint in the interior.  The cockpit was otherwise already ready for paint, as the masking from the primer was still in place.

That was all I had time for at that moment, but it streamlined the process for the return to work after the weekend when, after final preparations, and over the course of several hours, I spray-applied three coats of gloss topcoat in oyster white, the closest stock match (at least as determined by the owner and me) to the existing gelcoat on the decks.  I left the fresh paint to cure overnight in the warm shop.


Holby 54

With 45 hours’ cure time on the hull paint, I was now well past the safe point for overmasking, so to get started on the boottop I first covered the whole of the hull with paper and tape for protection against overspray, then masked to the existing line for the boottop.  I masked in this order so that I could remove the tape immediately adjacent to the boottop paint after an overnight cure, but wanted to leave all the hull masking paper in place so the hull would be covered when I sprayed the cockpit and outboard well from above, which would be the next and final stage of painting for this project.

Afterwards, I solvent-washed the stripe and tacked off before beginning paint mixing.

I applied three coats of snow white gloss topcoat to the boottop, and left the boat to cure overnight before continuing.

Holby 53

The day after is literally a paint-dry day, so there was little I could do other than to remove the masking from the boottop and some of the hull hardware, after which (and after admiring the fresh paint) I settled down to wait till I could overmask next time.

Holby 52

After final preparations, including proprietary solvent wash and tack-off, I applied three coats of Alexseal wine red gloss topcoat to the hull.

Holby 51

To wrap up the final bit of prep work, I applied plastic over the cockpit, securing it to the rails on each side and clamping it to the windshield.  The forward end didn’t need to be fully masked along the entire edge since the boat was already covered beneath, but at the sides and after ends I masked the plastic securely in place in all areas.

I wouldn’t be painting for several days, but I collected the paint materials required for the work ahead, and set up extra lighting in the shop that I use to illuminate the hull so I can keep track of where I’m spraying.  Final-final preparations, including a last solvent wash and tack-off, would await the actual painting day. coming after my absence for a few days.

Holby 50

After a morning appointment, I had the afternoon ahead to make some progress on the job.  There was a little detail sanding to take care of in the various inside corners and thereabouts the cockpit and outboard well, which I took care of first.

Afterwards, I laid out and masked off the boottop in preparation for painting the topcoat on the hull itself.  I used the various measurements I’d taken and noted earlier to recreate the crucial points from the original striping, and masked off between them, covering the area and creating an analog for how the final stripe would look if one wanted a dull gray and lime green color scheme.

I’d considered, during the time sanding and other mindless chores, the order in which I should attack the final painting, taking convenience and logic into consideration as much as possible.  At some length, I ultimately decided to paint the hull first, then the boottop, and finally the deck areas.  I thought this would end up being the most efficient in terms of masking and other requirements, which masking would become increasingly critical as the final coatings were applied.  So to begin closing off the cockpit against hull overspray, I closed off the new transom opening, masking a clean line about 1/2″ in from the transom to represent the seam between hull and deck paint, and covering the remainder of the opening with masking paper.

This brought me to the end of the day, but next time I’d finish up with plastic sheeting over the rest of the cockpit and other prep.  I had to be away from the shop for several days coming up, so topcoat wouldn’t happen till my return, which gave me the luxury of a slow lead-up, spread over a couple leisurely days, to the final event.

Holby 49

Starting in the cockpit, then working my way around the hull, I sanded the fresh primer with 320 grit by machine and hand as needed.

After a break for an appointment away from the shop, I returned to clean up the boat and shop, the usual combination of sweep/vacuum/blow-down/water rinse (floor only), followed by an initial solvent-washing of all the painted surfaces to prepare for the next steps.  With the dust cleaned off the primer, it highlighted a few areas that would require a bit of touch-up sanding that I’d do next time.

Holby 48

After final preparations, over the course of the morning I applied four coats of epoxy-based finish primer to the after cockpit areas (i.e. outboard well) and the hull, leaving the primer to cure overnight.

Older posts Newer posts