(page 5 of 7)

Halcyon 23

< Back to Halcyon

Tuesday

In the cabin, I used a heat gun and scraper to remove the old finish from the  berth trim at the v-berth, and both quarterberths.  The old finish was tough to remove and didn’t respond in a normal way to the heat gun, so the process was fairly laborious, compounded by the challenges in reaching the trim in the aft berths.  I chose to strip these areas since the trim here was quite beat up and I thought that stripping was necessary for best appearance.  In other areas, such as the shelf trim fiddles and the various bulkheads, I decided against stripping, and in a later stage I planned to sand these areas to prepare them for their own refinishing.

I didn’t want to to any tasks that would stir up too much dust while still in the middle of the exterior wood refinishing, so I held off on additional interior preparations for the moment, saving the sanding of the newly-stripped wood and other areas for another time later in the week.

Meanwhile, I lightly hand-sanded the centerboard trunk reinforcement by hand, and the inside of the head through hull patch.  Outside the boat, I sanded smooth and flush the exterior of the patch to prepare it for a light layer of fairing compound over the repair.

During earlier work in the cabin, I’d removed the loose plywood veneer from a couple areas in the forward vee, and also along the port quarterberth base, so after some final cleanup I applied a coat of fairing filler to smooth out these areas.  Since the plywood was essentially sound, but cosmetically unsalvageable as is, patching the areas would allow for a smooth surface for priming and painting later.

I finished up the day with the second coat of finish on the exterior wood.

Total time billed on this job today:  5.25 hours

0600 Weather Observation:
10°, clear.  Forecast for the day:  sunny, 20s.

Halcyon 22

< Back to Halcyon

Monday

In the cabin, I set about removing any remaining trim from the galley and “head” areas, including the flip-up, hinged countertop/lid over the head compartment.  This cleared the way for resurfacing the counters and refinishing the surrounding woodwork and paintwork,  I also removed the small longitudinal bulkhead that had closed off the head area, since one side was already loose and it’d be far easier to work within once the piece was removed.

There was an obsolete through hull discharge from the long-removed marine head, and I removed this now, cutting through the fitting from inside and pushing out the recessed through hull, leaving a clean hole behind.  Afterwards, I prepared the hull around the hole on both sides, sanding clean the inside surface (and surrounding areas in the compartment) and, outside, grinding a tapered, circular area around the hole to accept fiberglass.  Finally, over a couple separate steps, I filled the old hole with a plug of structural epoxy, and when that had cured to a  green state, I applied three layers of fiberglass from the outside, and one layer over the inside of the patch.

During the initial cleanup of the space, a quick tap on the old head platform released the last old bolting stud, along with a mess of rusted metal flakes from beneath, remnants of the old backing plate from the ancient installation.

There was a fairly recent repair to the aft, top edge of the centerboard trunk in the bilge, and the owner had asked me to look into it.  Not knowing whether there was an ongoing issue or not, I decided simply to reinforce the repair with additional fiberglass, so after final preparations I wrapped new tabbing around the aft end and over the top of the existing repair, extending the new  material further onto the original centerboard trunk.

At the end of the morning session, I took the time to solvent-wash all the exterior woodwork, since it can take a long time for the solvent to evaporate out of the bare, dry wood, and I wanted to work on masking and finishing after lunch.

During the afternoon, I masked around all the woodwork as needed, and afterwards applied the first of three coats of Cetol “light” to the woodwork.  While the subject of traditional varnish had arisen during discussions with the owner–and real varnish was always my first choice in an ideal world–the existing condition of the original woodwork was such that I felt it made more sense to stick with Cetol for the refinishing, since frankly the old wood wasn’t really worthy of the extra work required for the finer finish, with various old repairs, stains, dents, and the usual collection of wear and tear, along with the natural aging and darkening of the original wood.

This newer “light” version of the original orange-tinged Cetol was lighter and less dense in color, and allowed the grain of the wood to show through more than the original type:  a fair compromise in this specific case.

Total time billed on this job today:  5.75 hours

0600 Weather Observation:
24°, clear.  Forecast for the day:  sunny, 30

Halcyon 21

< Back to Halcyon

Friday

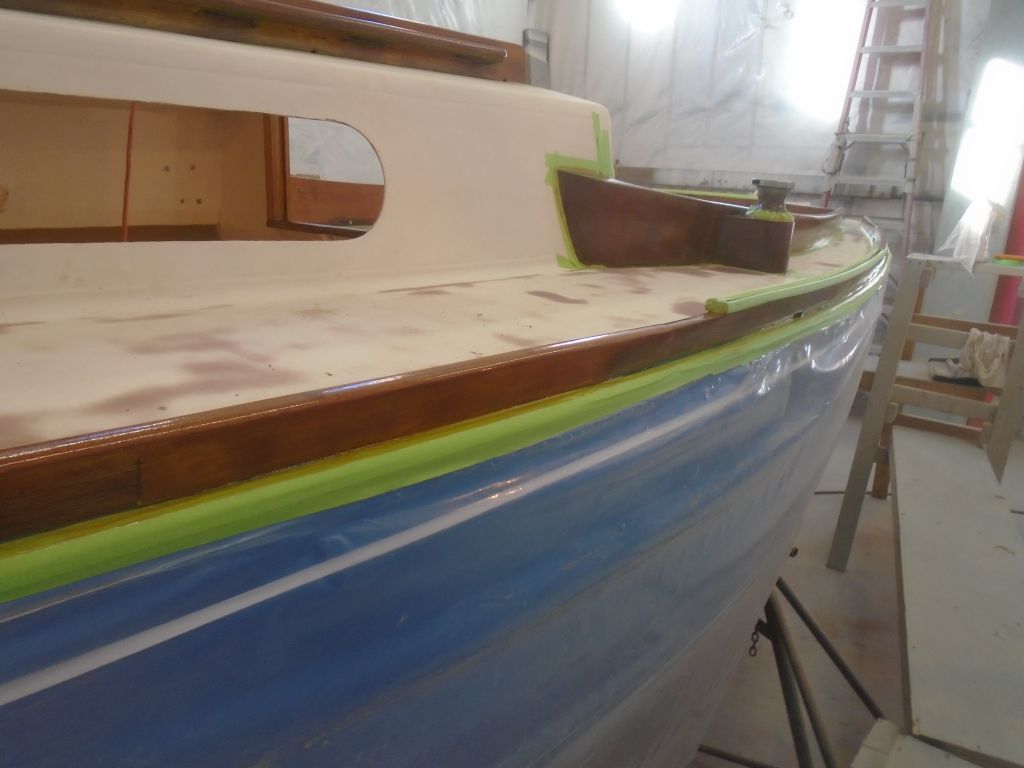
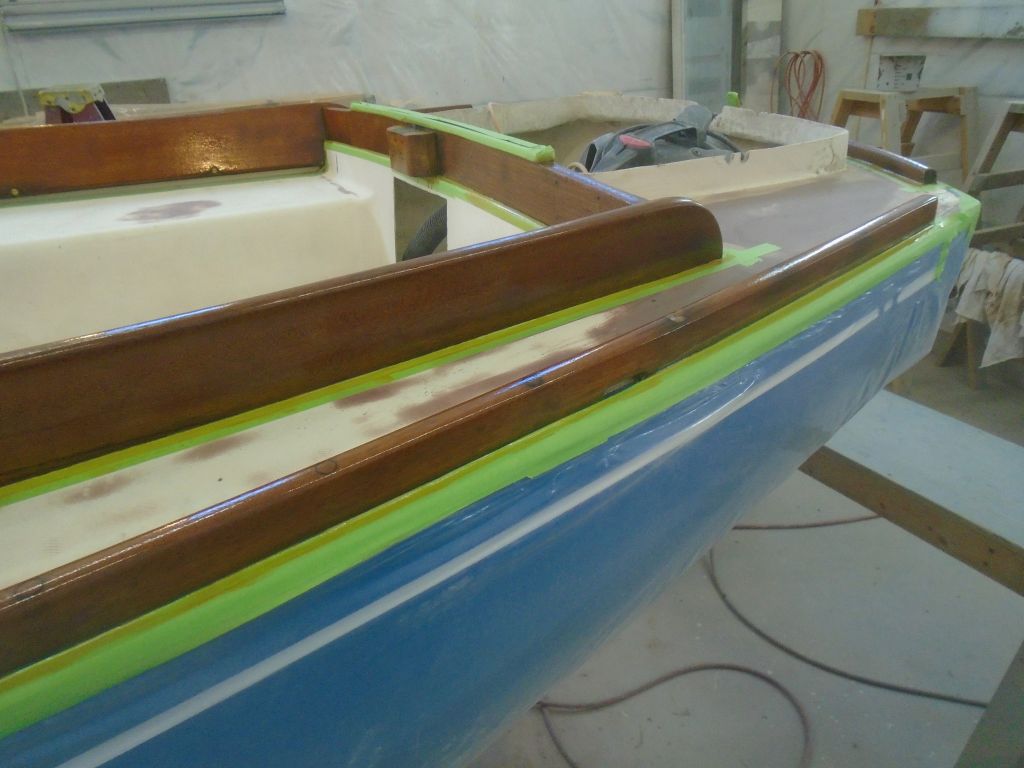
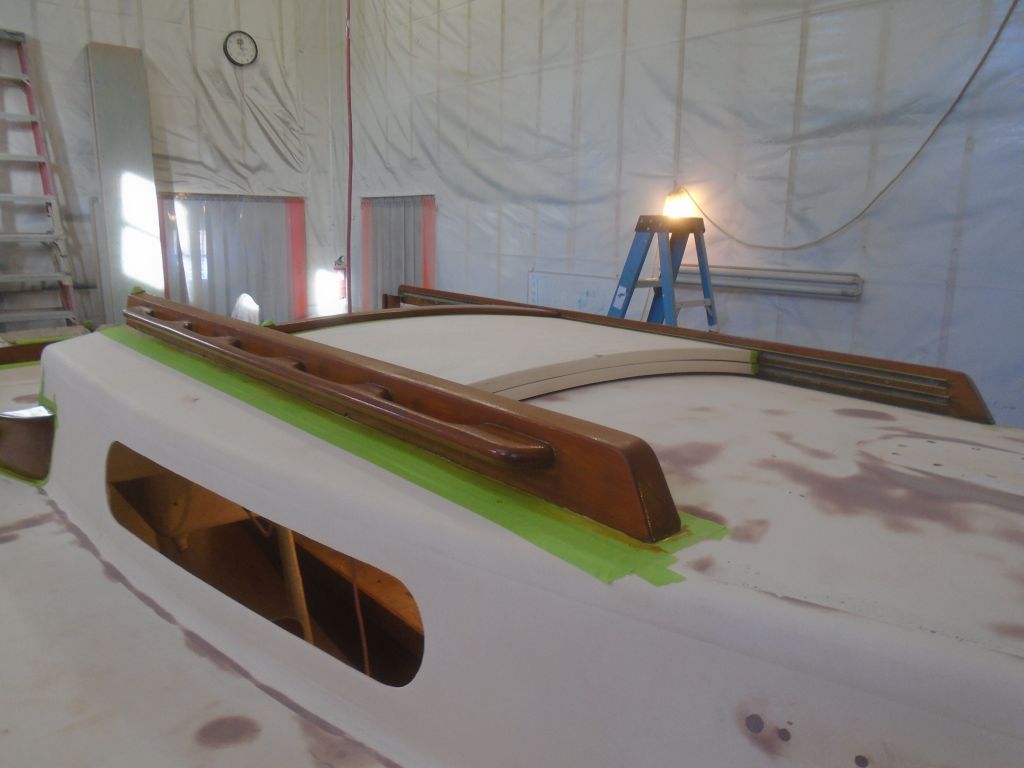
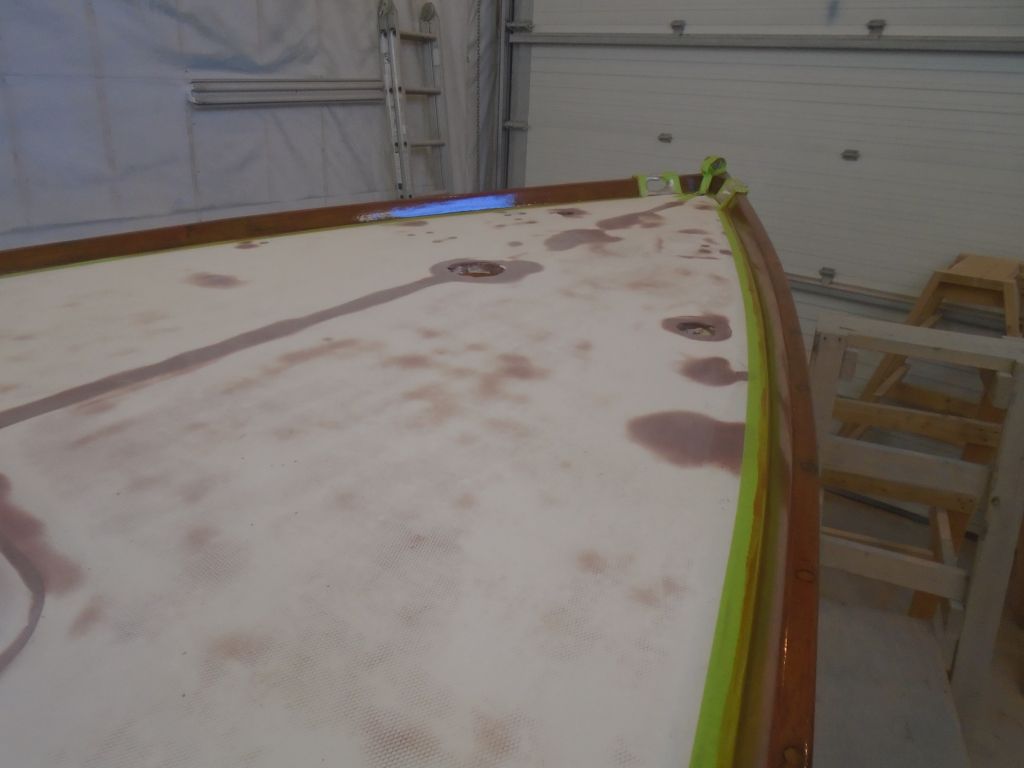
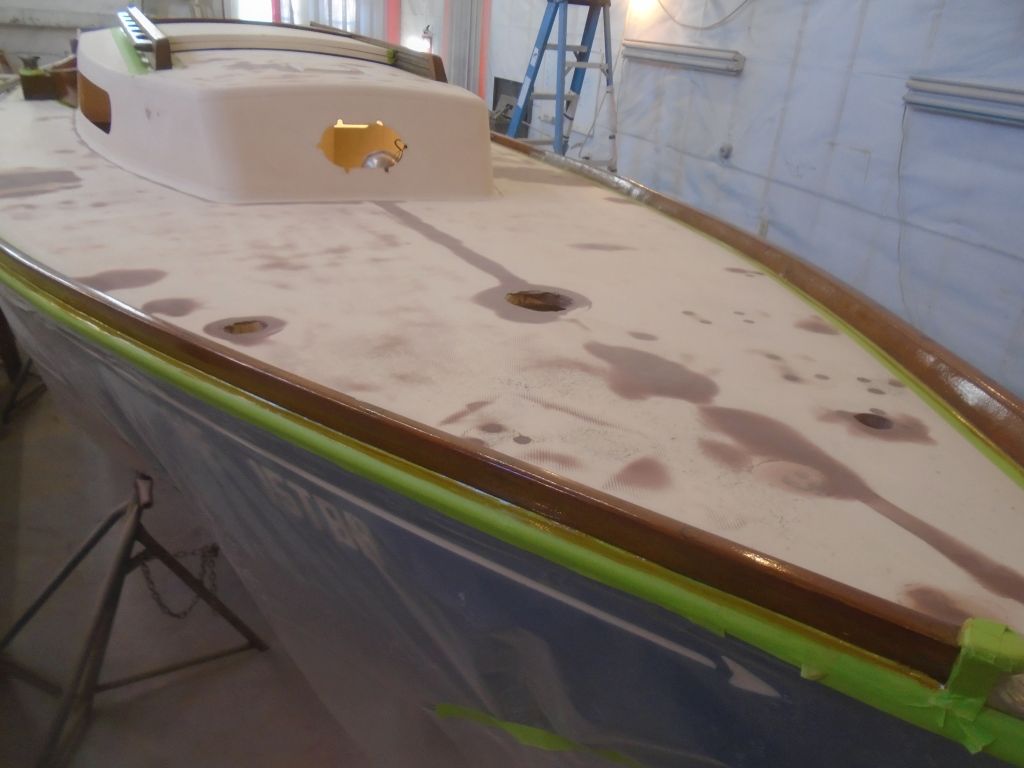
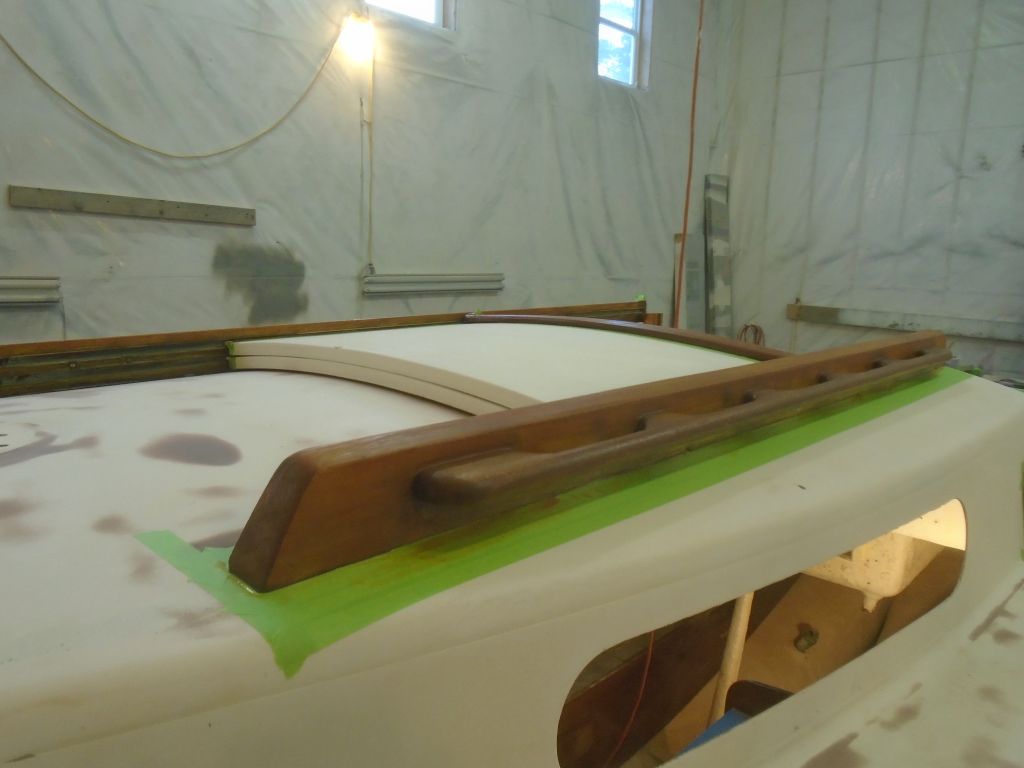
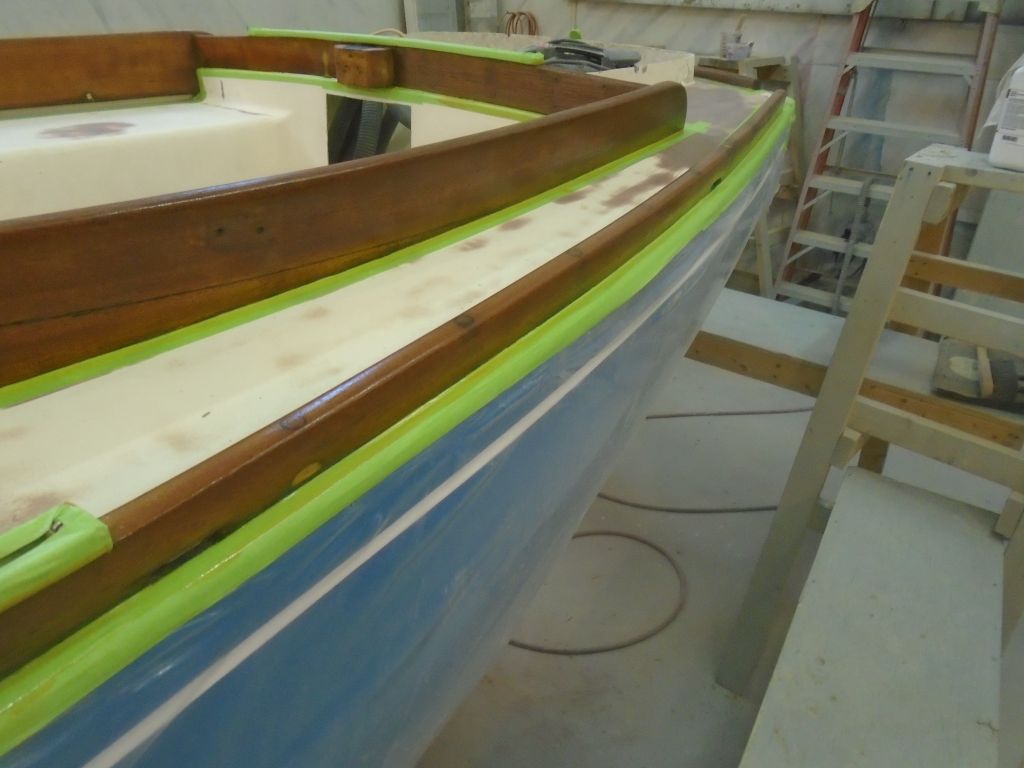
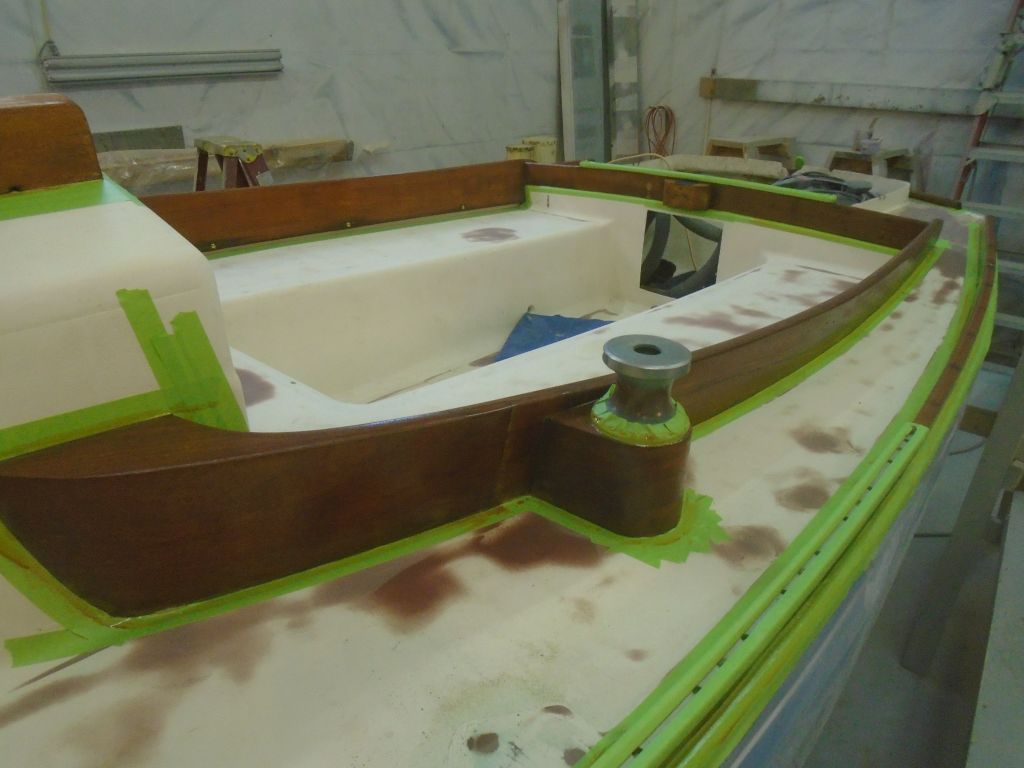
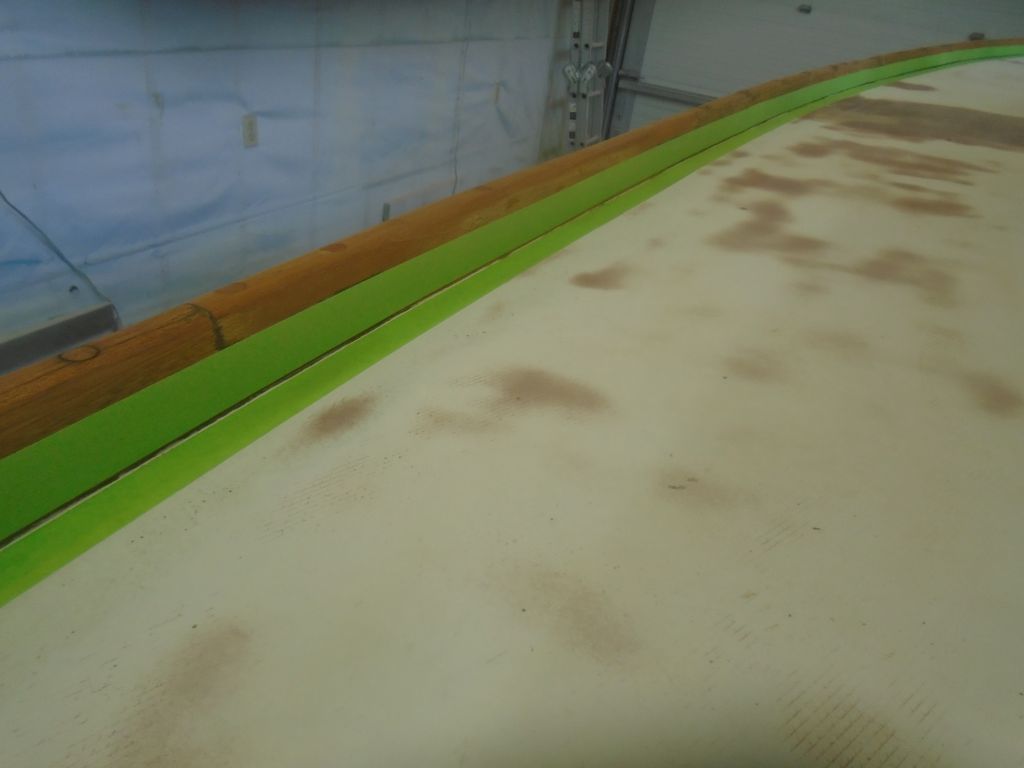
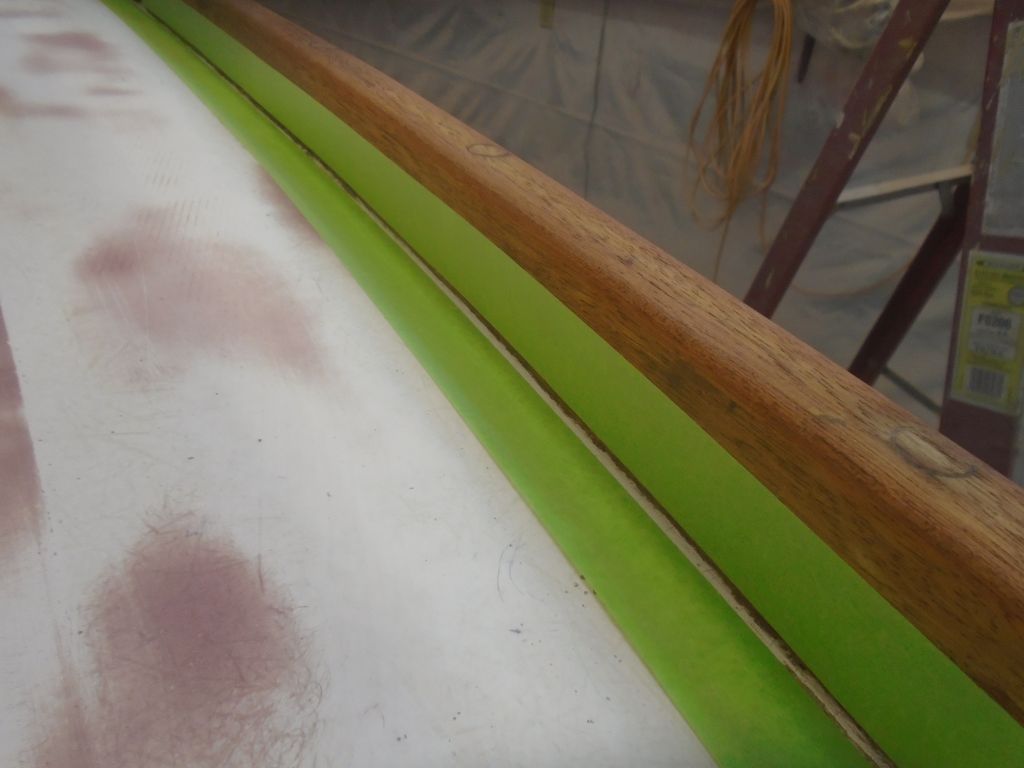
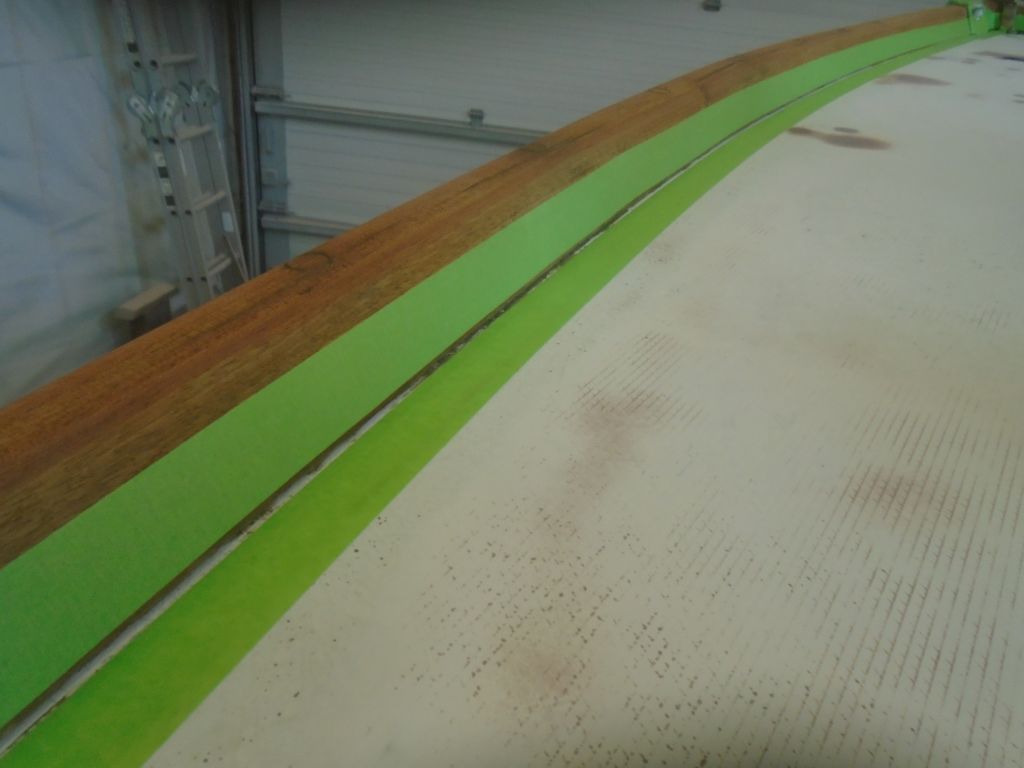
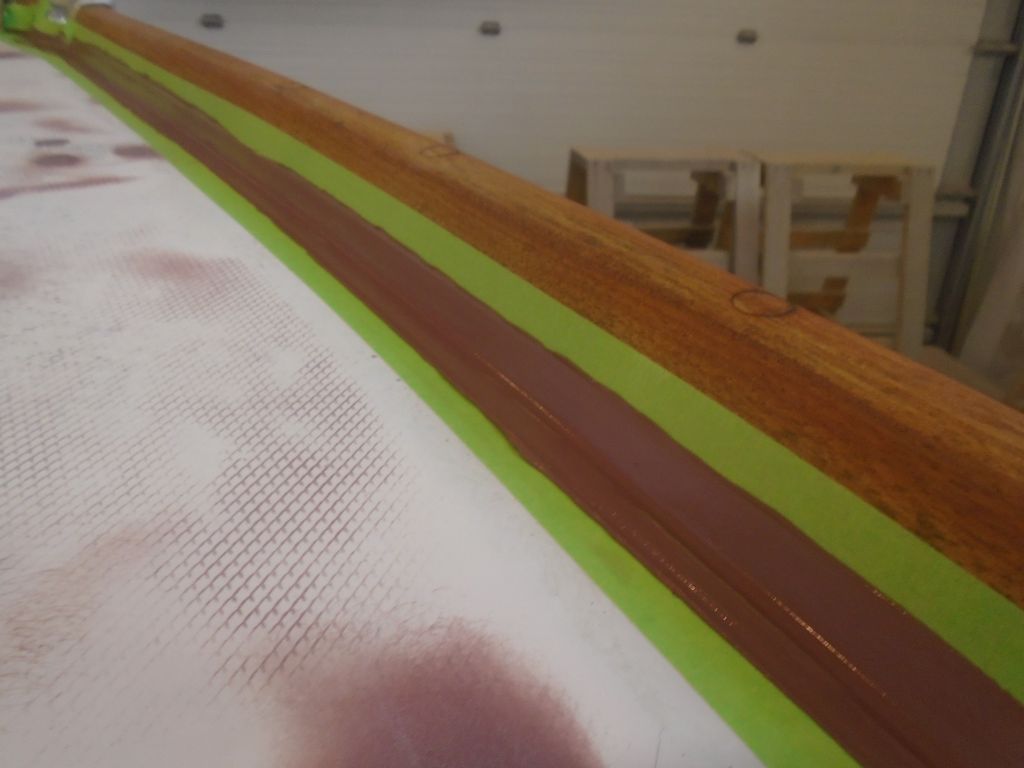
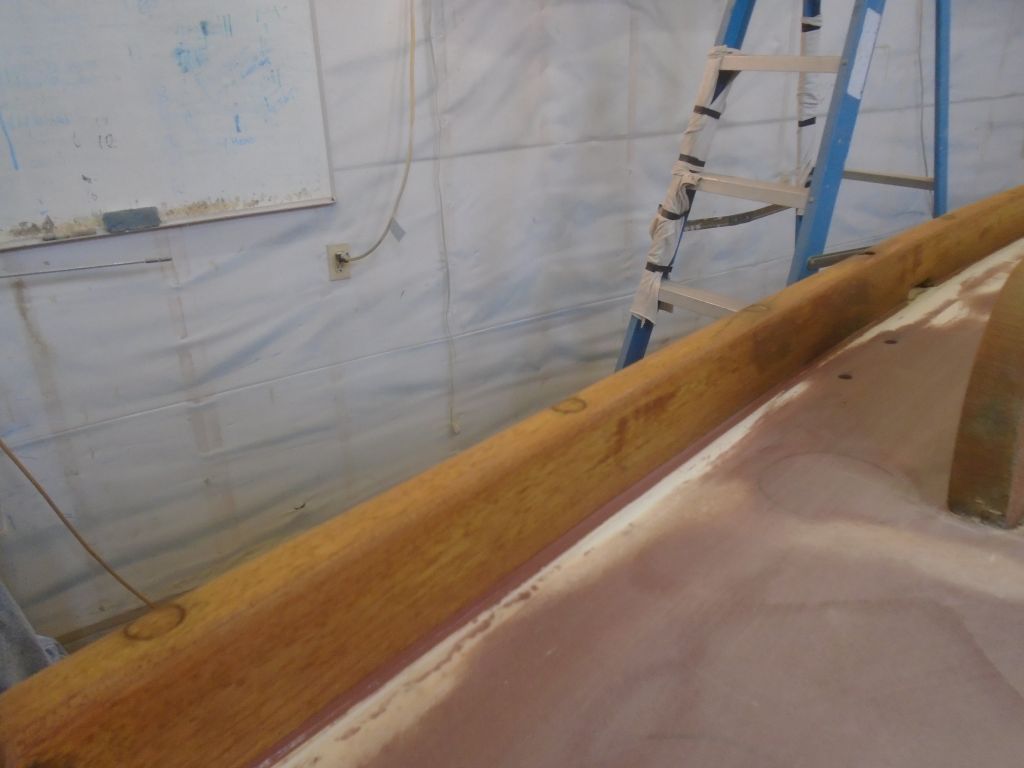
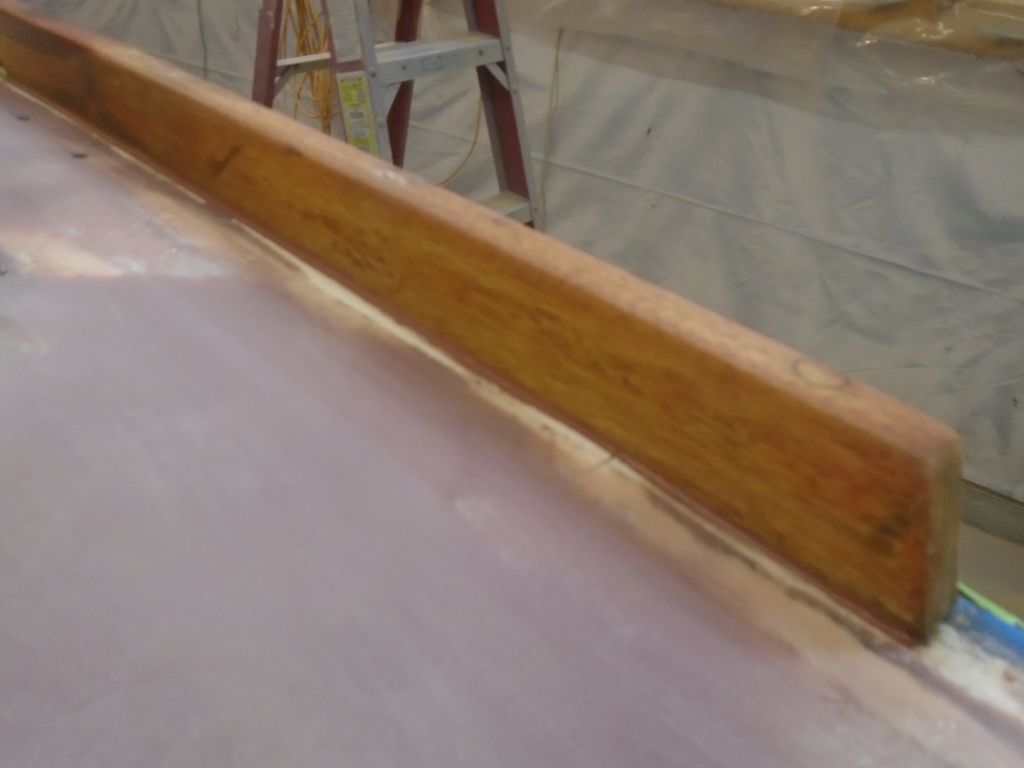
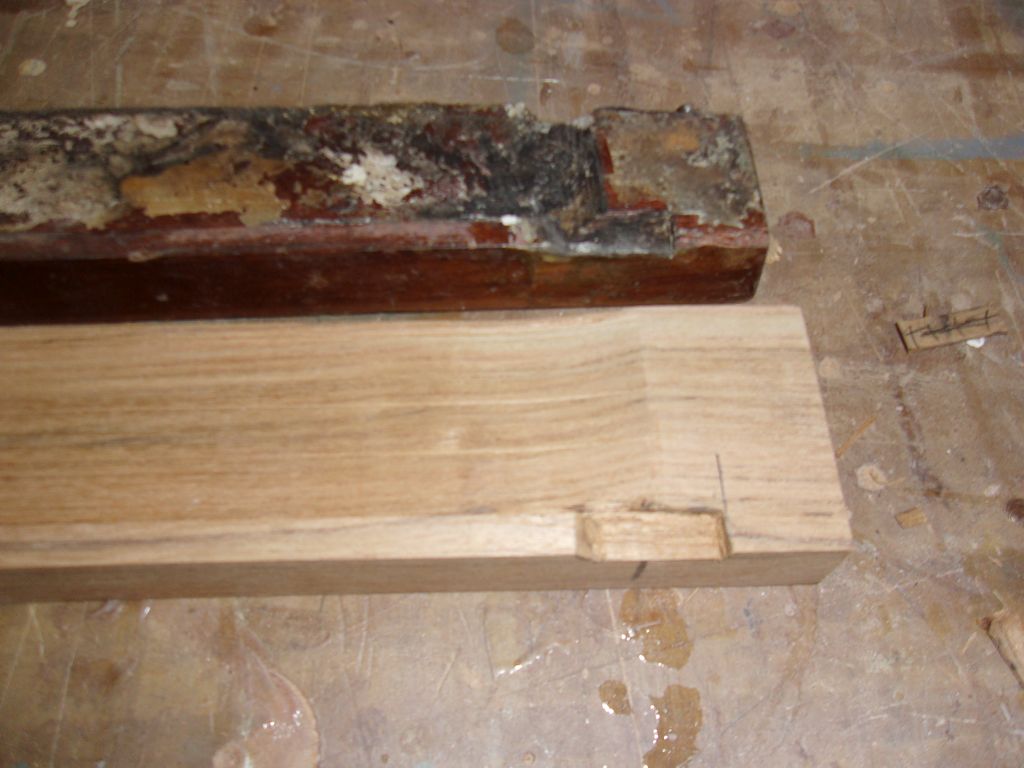
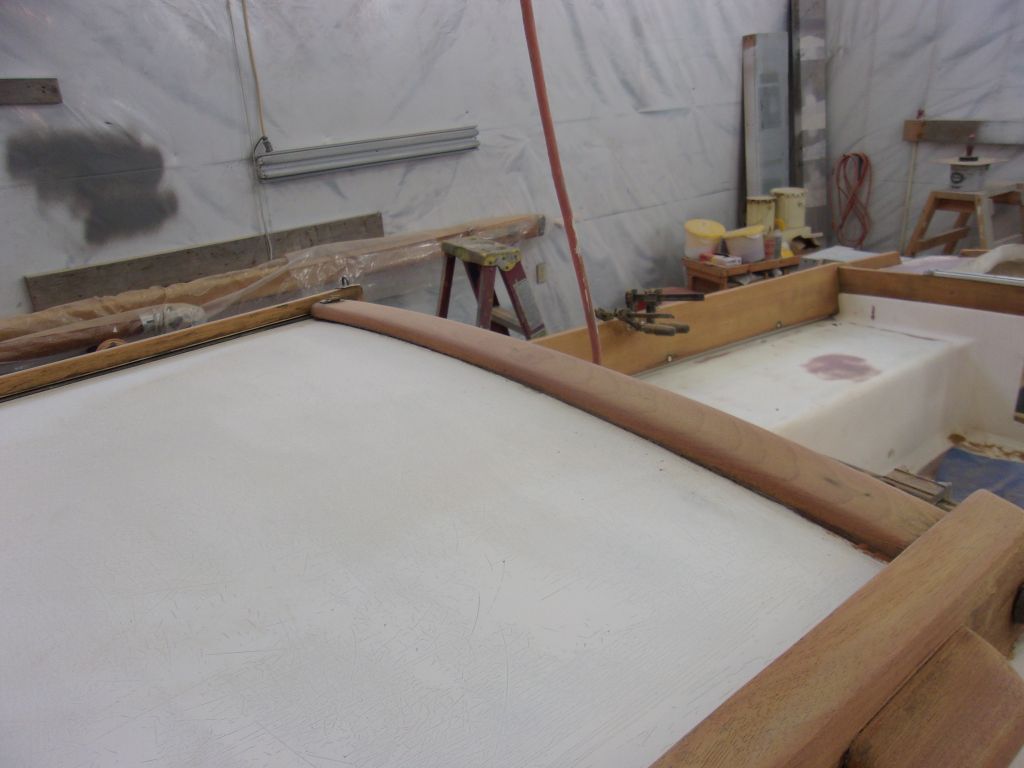
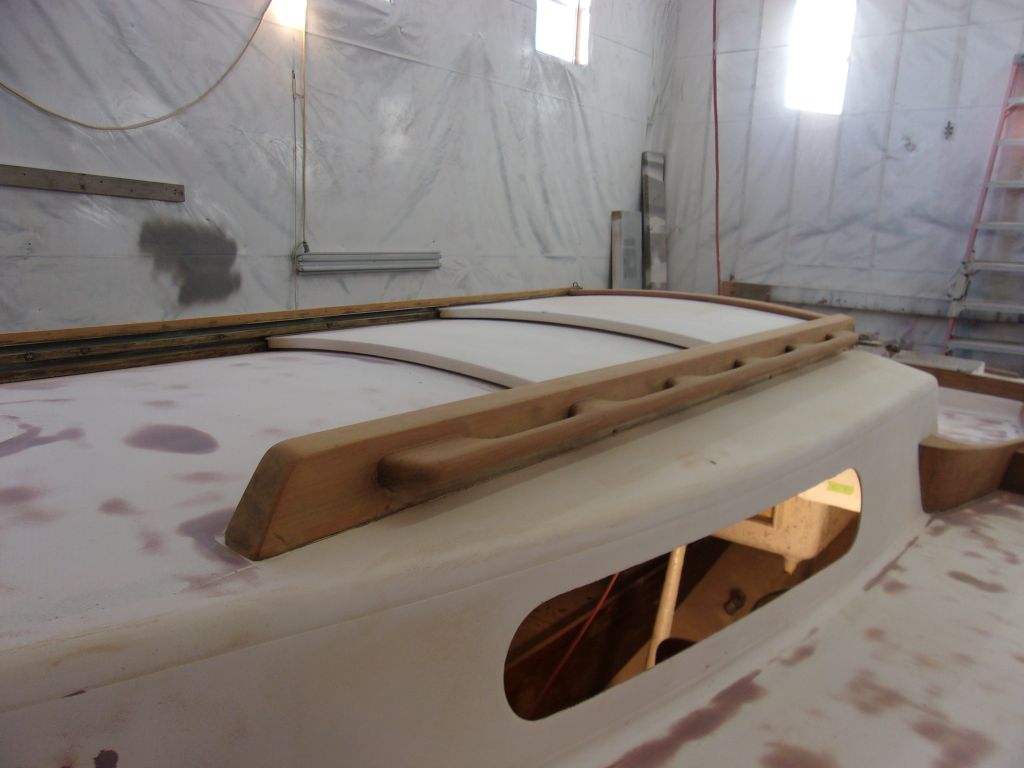
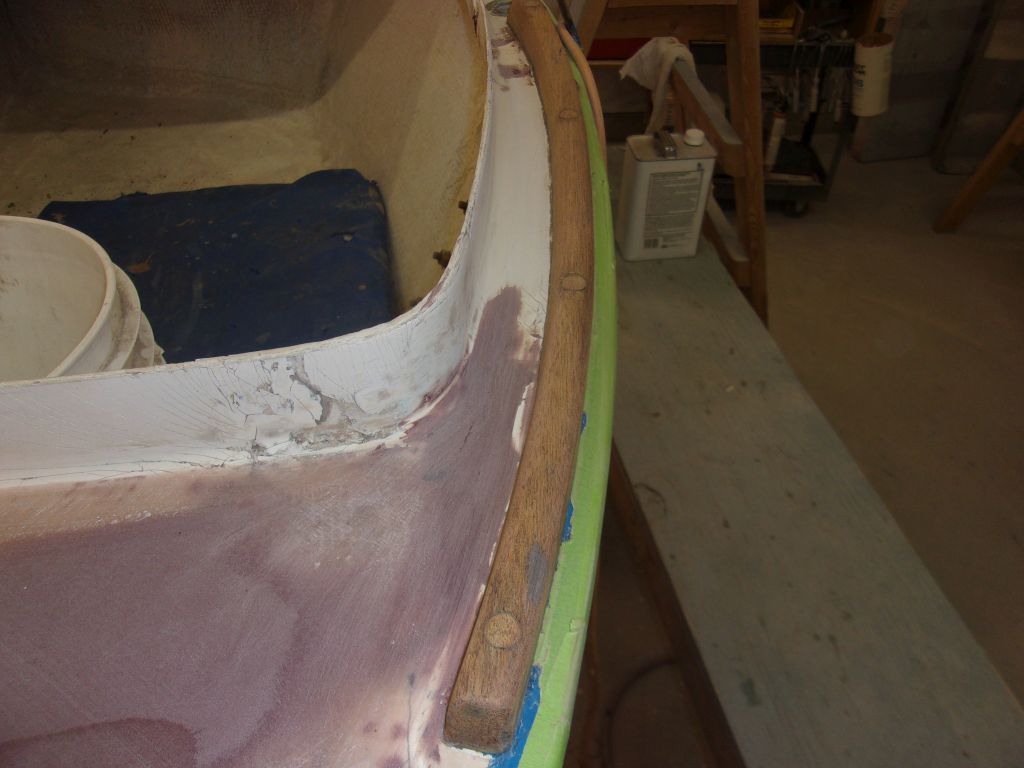
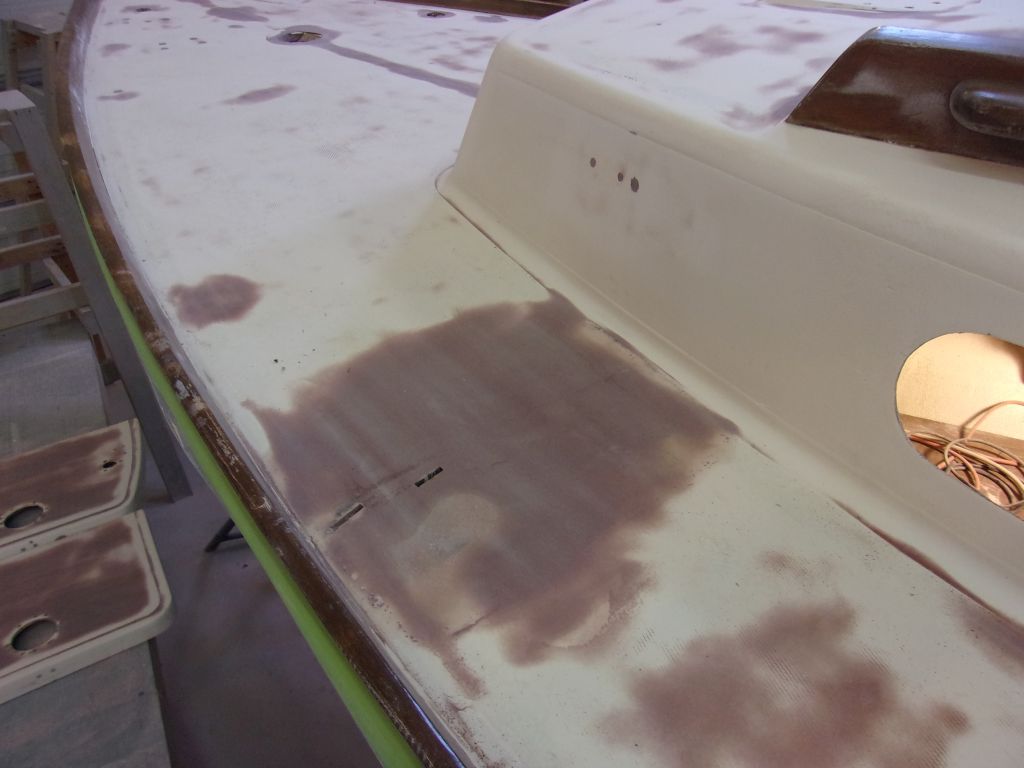
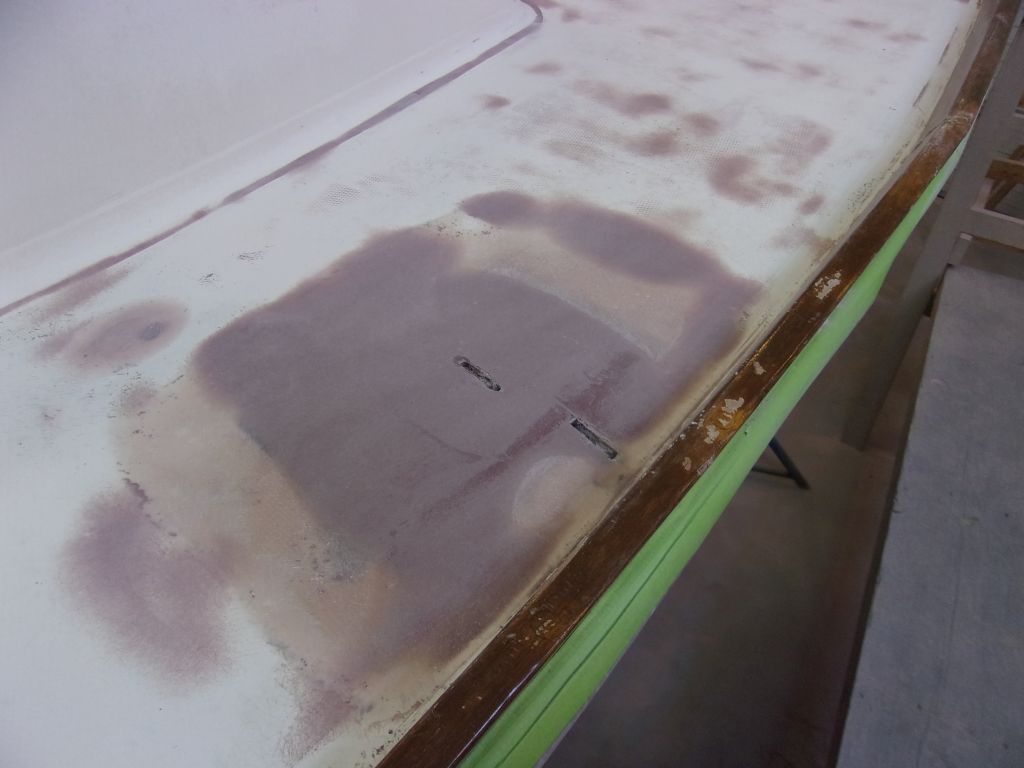
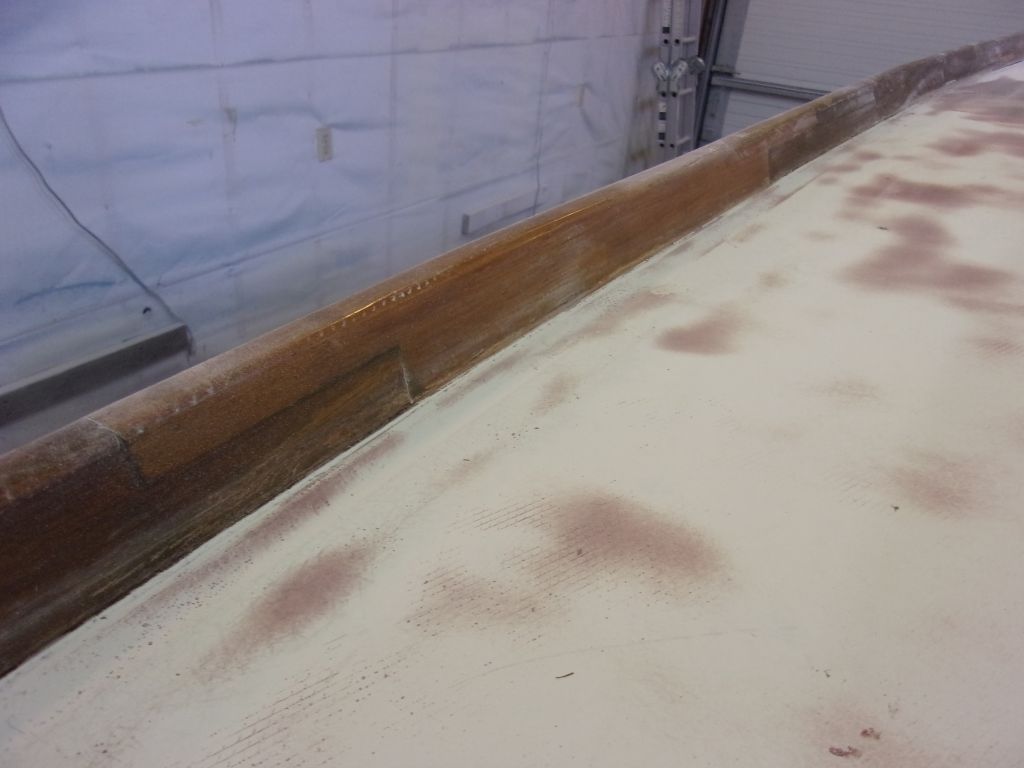
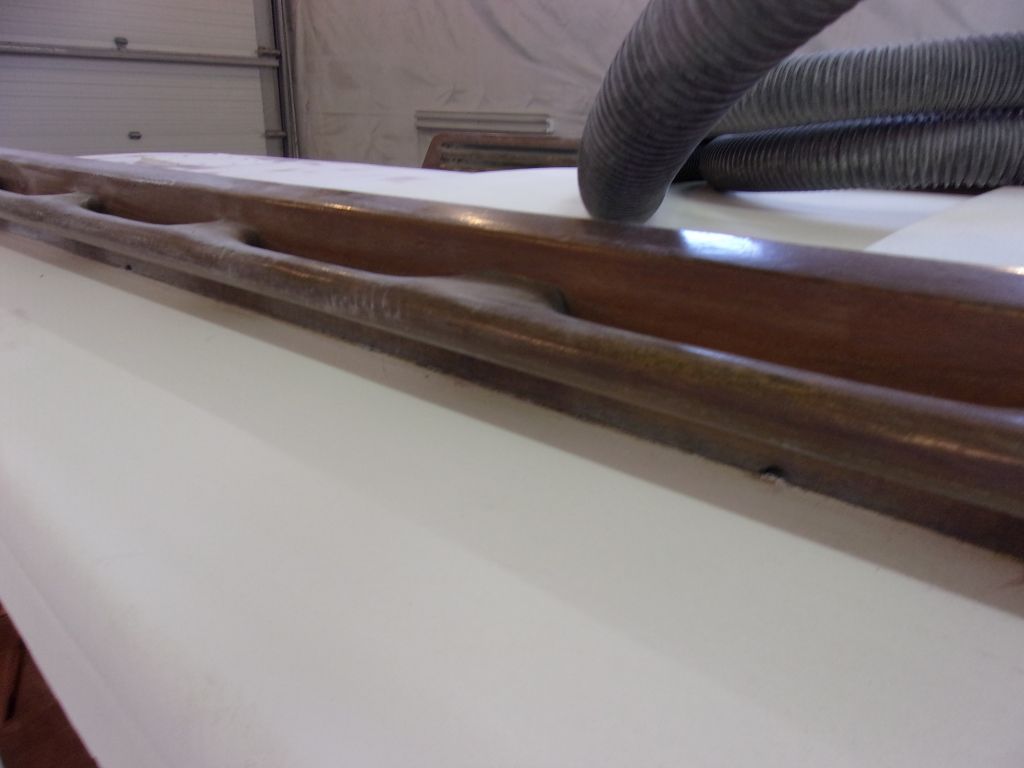
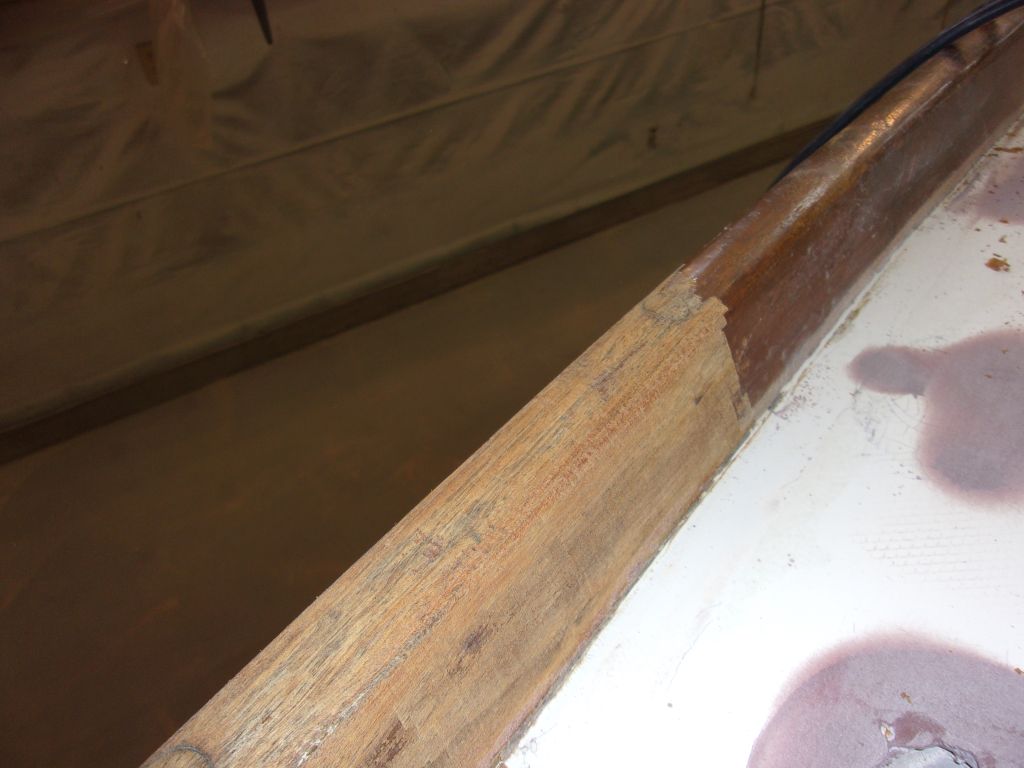
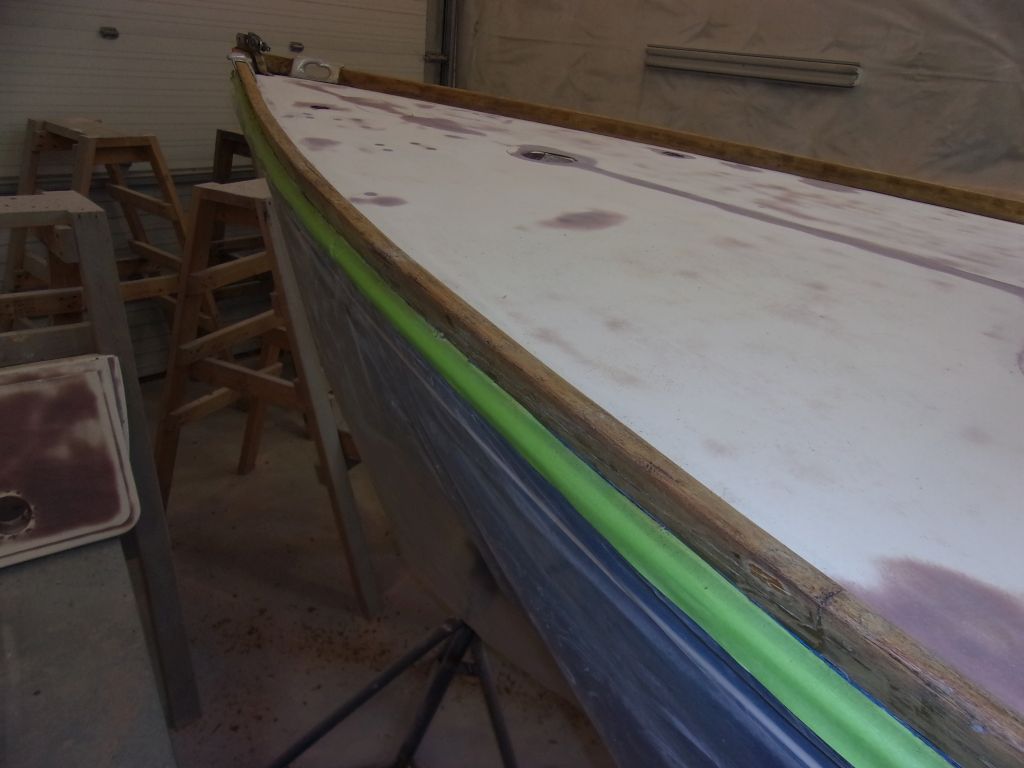
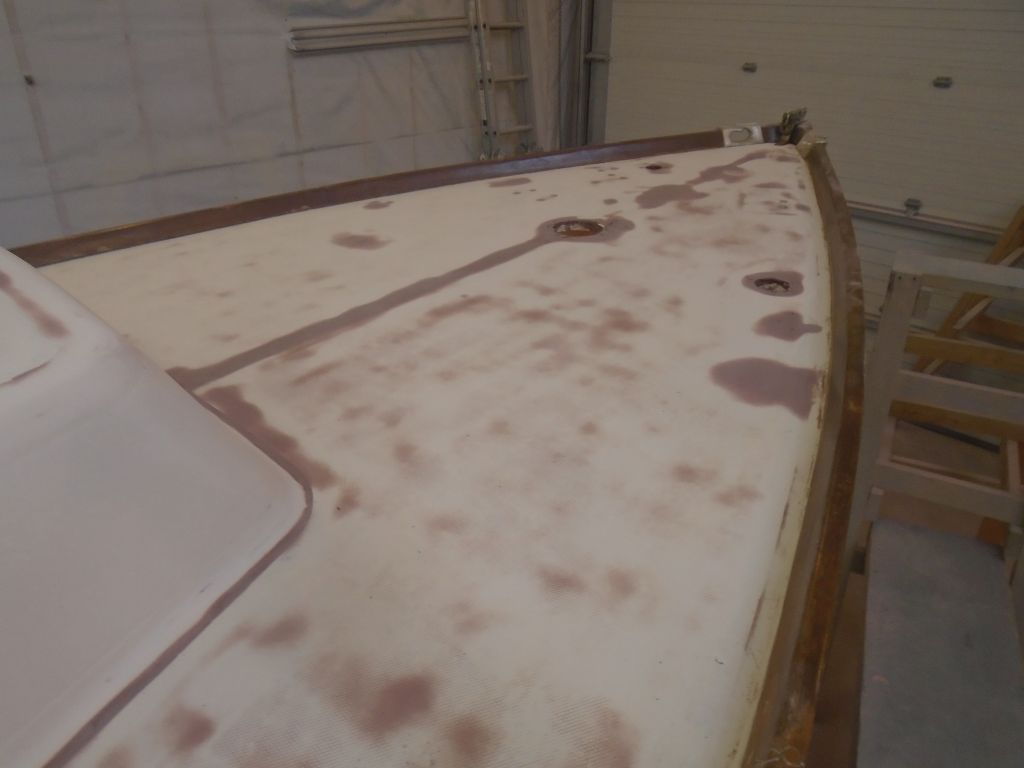
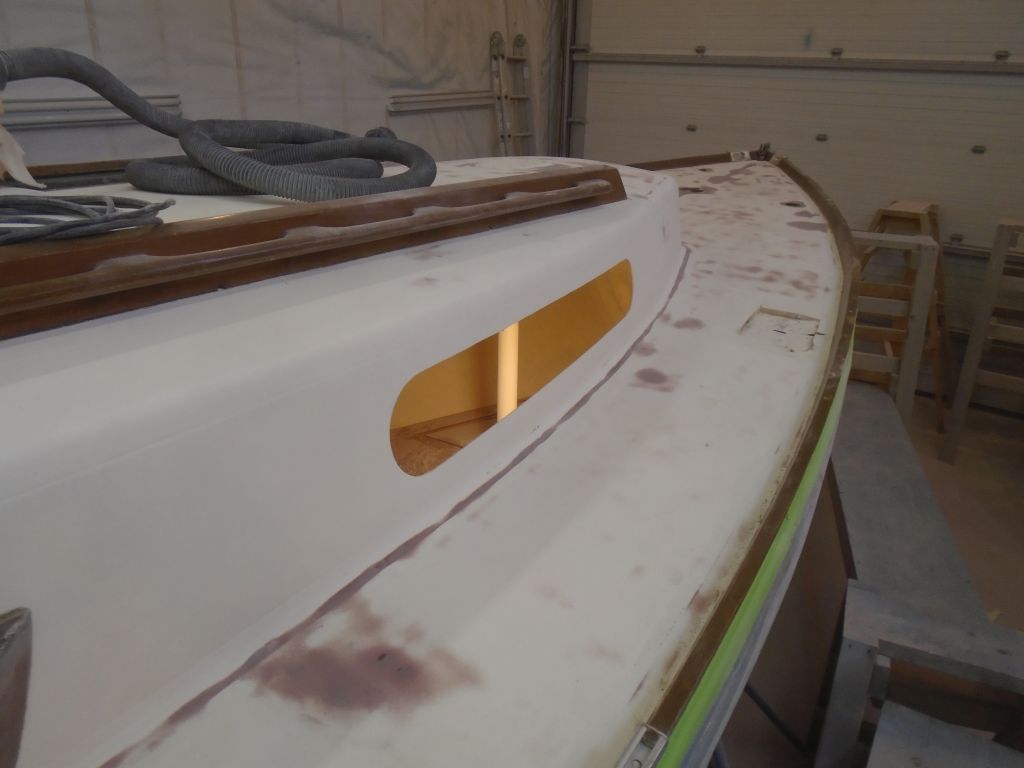
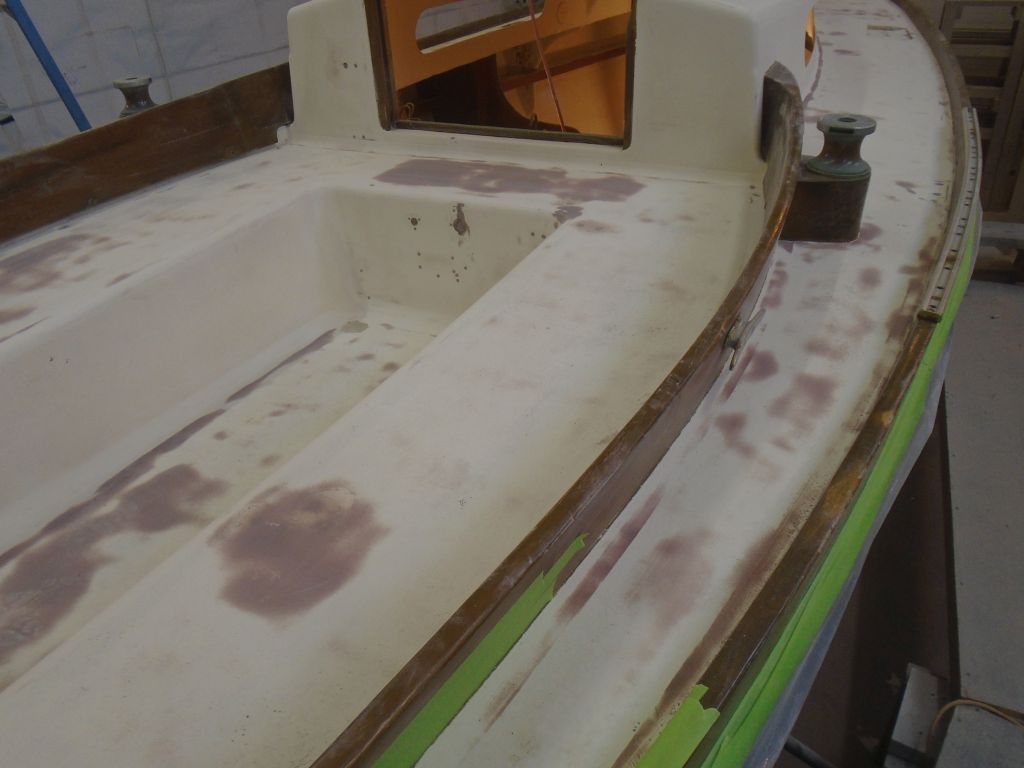
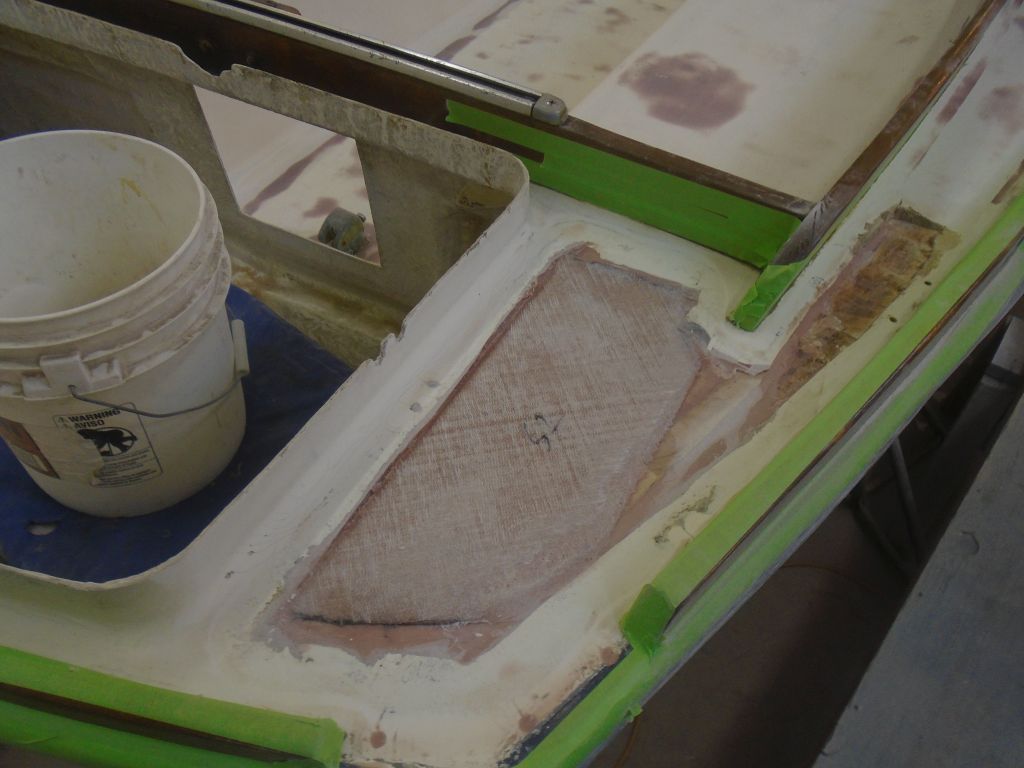
Before continuing work on the exterior woodwork, I wanted to let the new sealant cure well and plenty, so I’d start the refinishing process after the weekend.

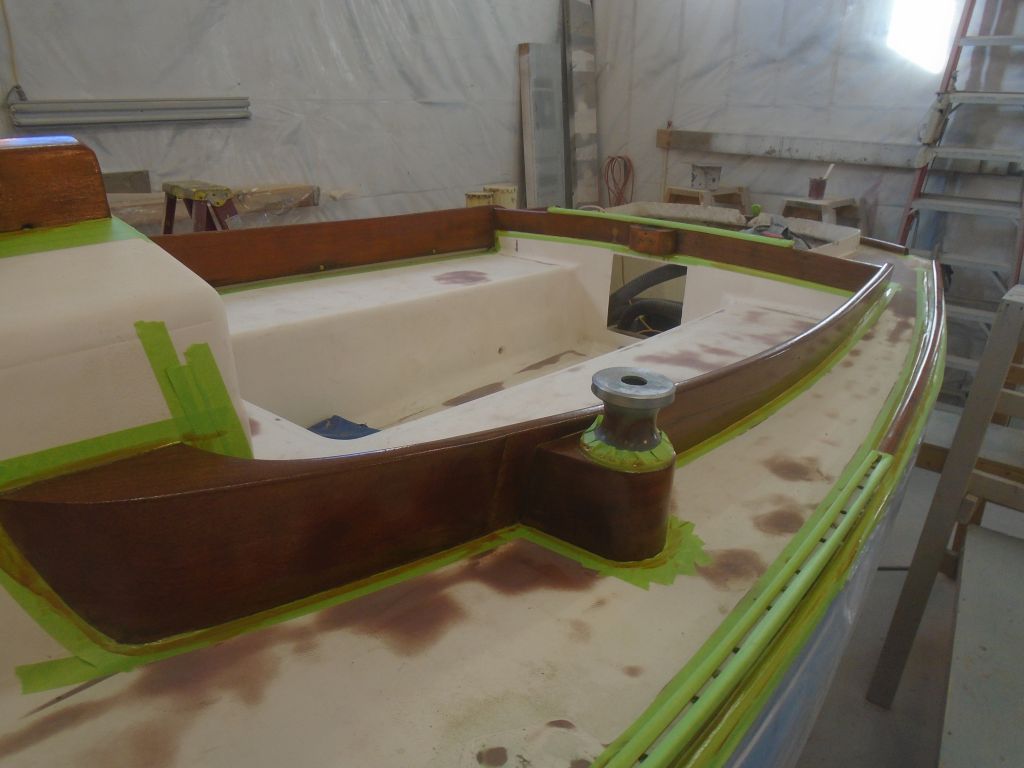
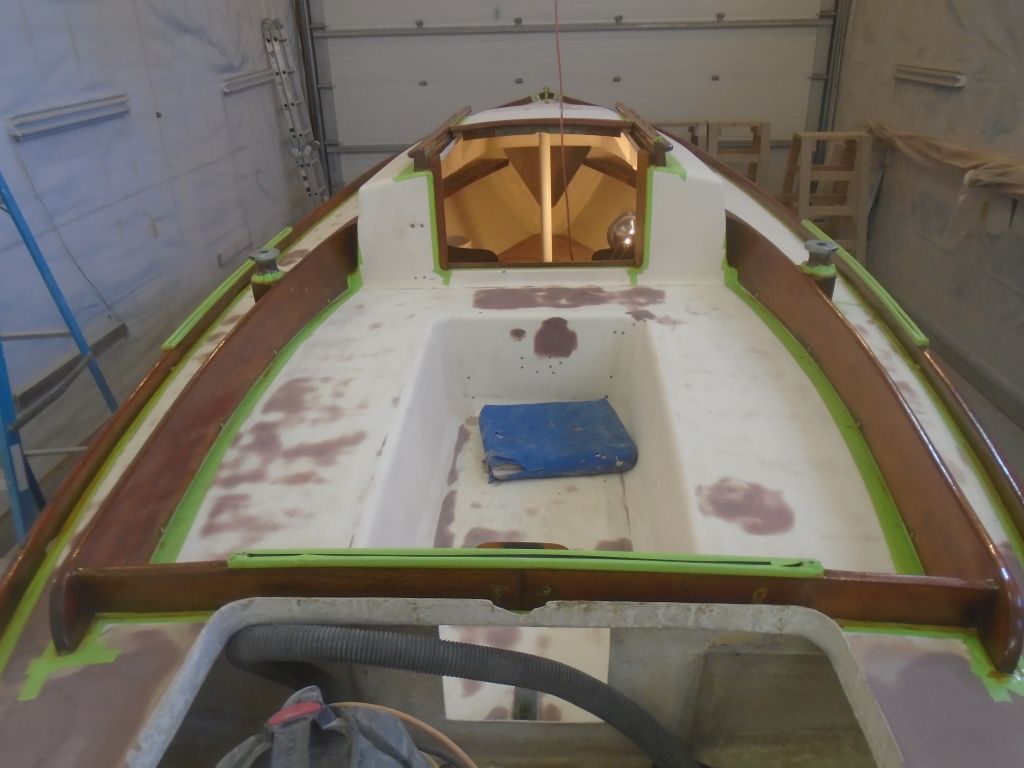
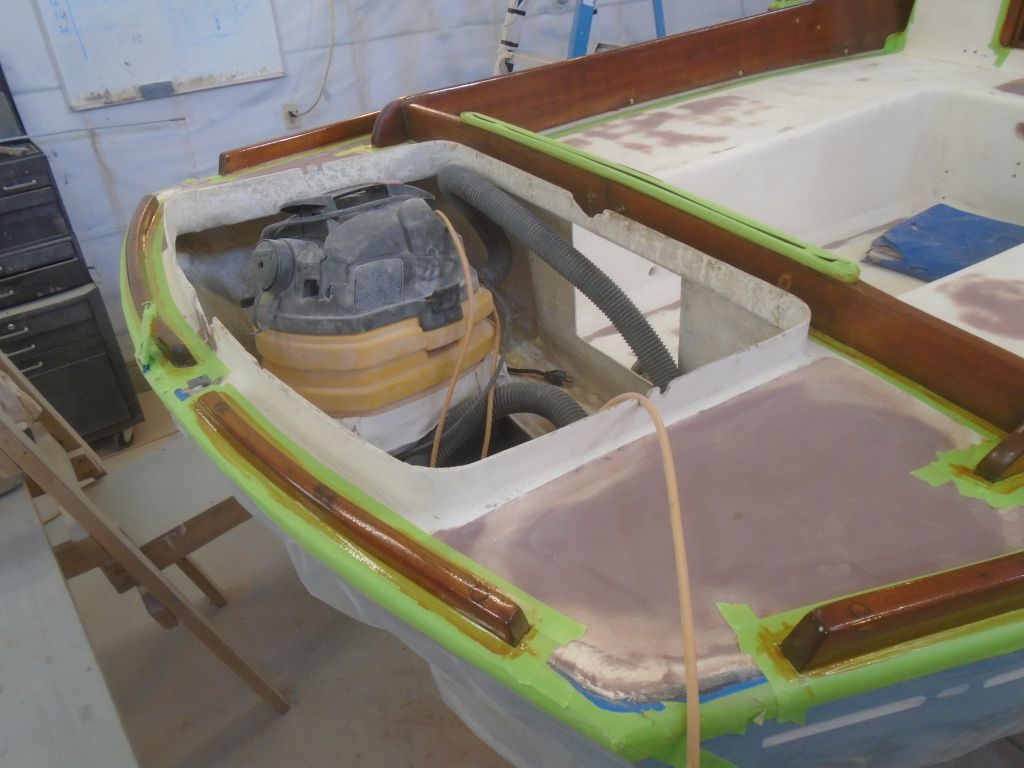
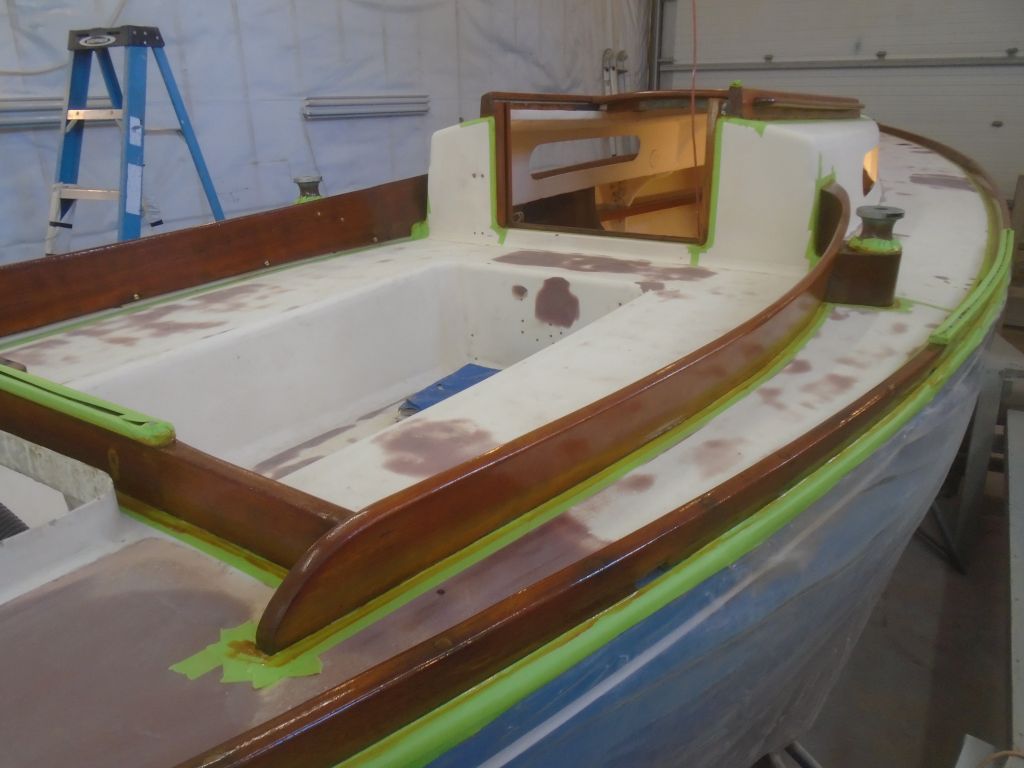
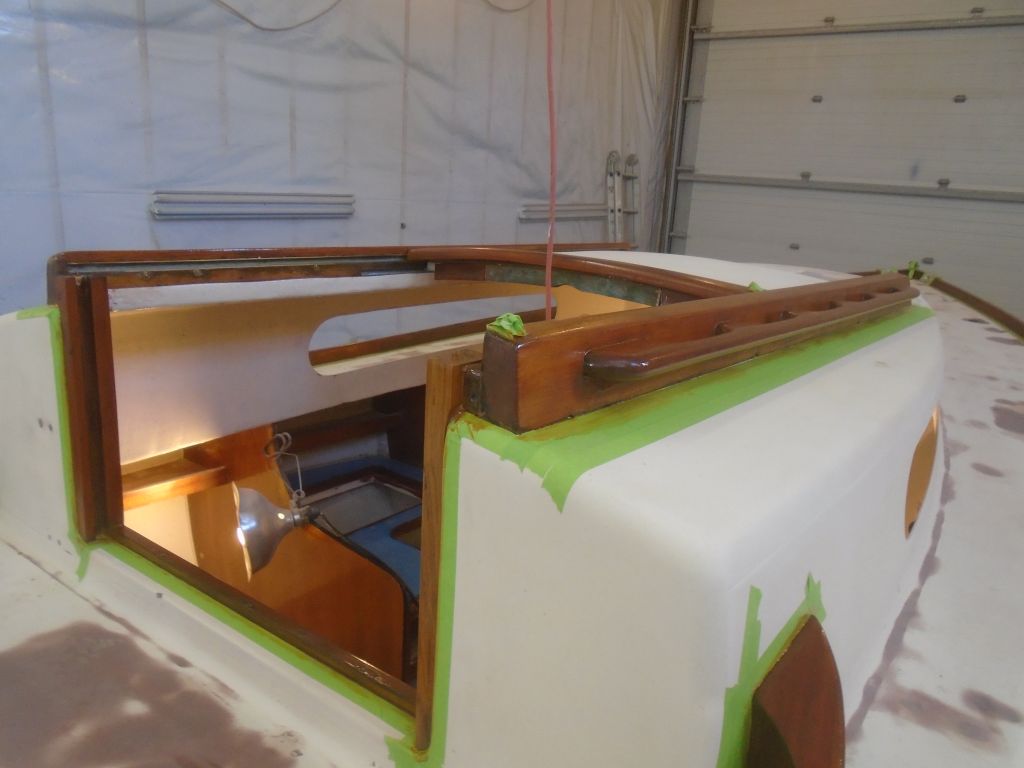
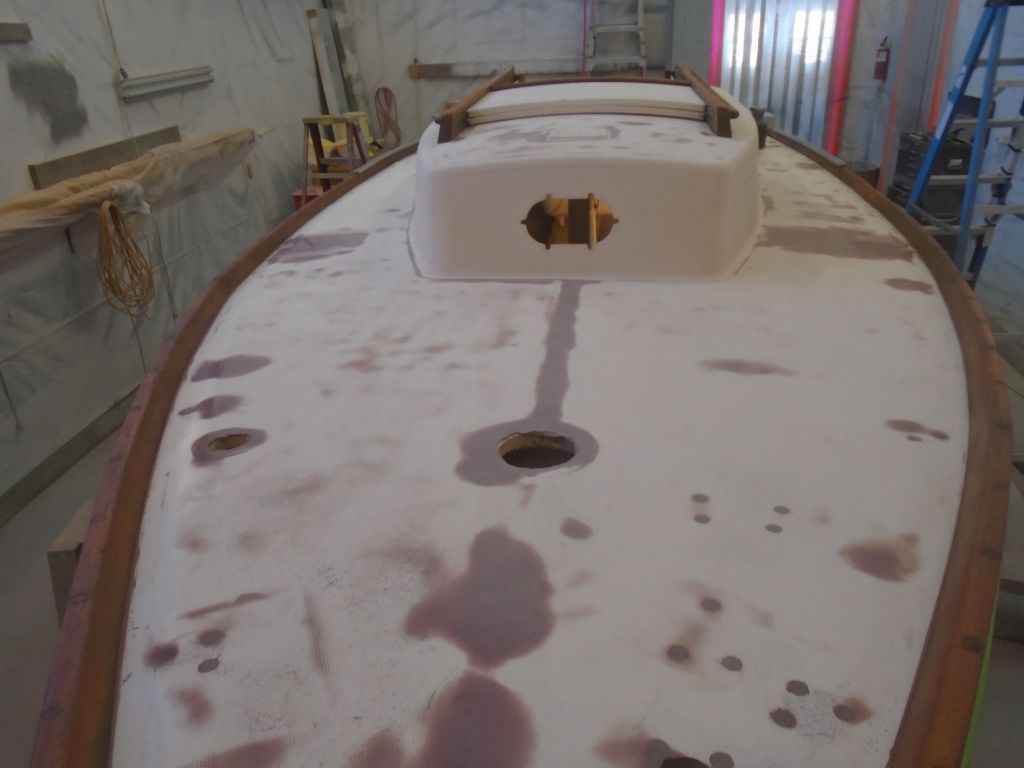
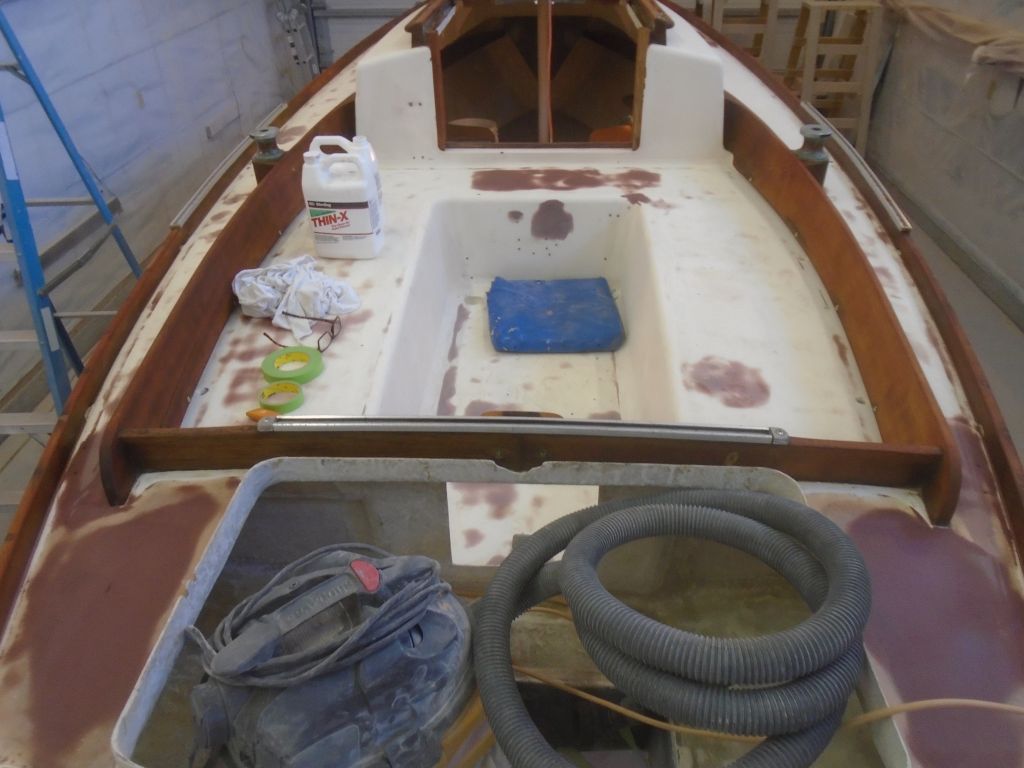
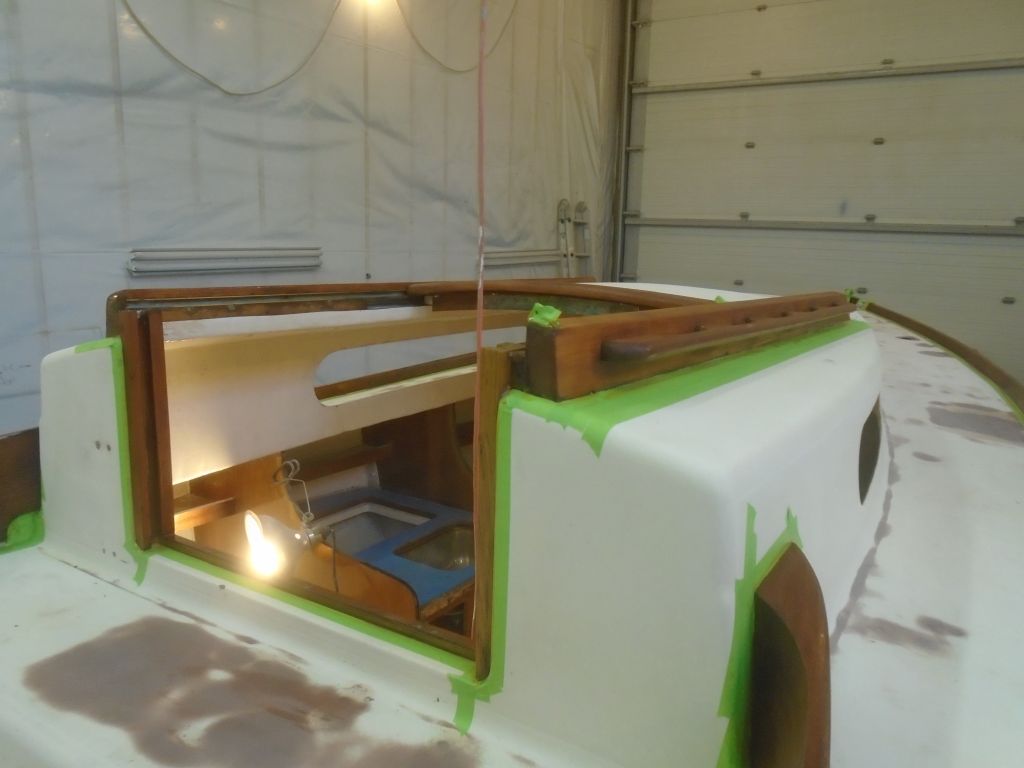
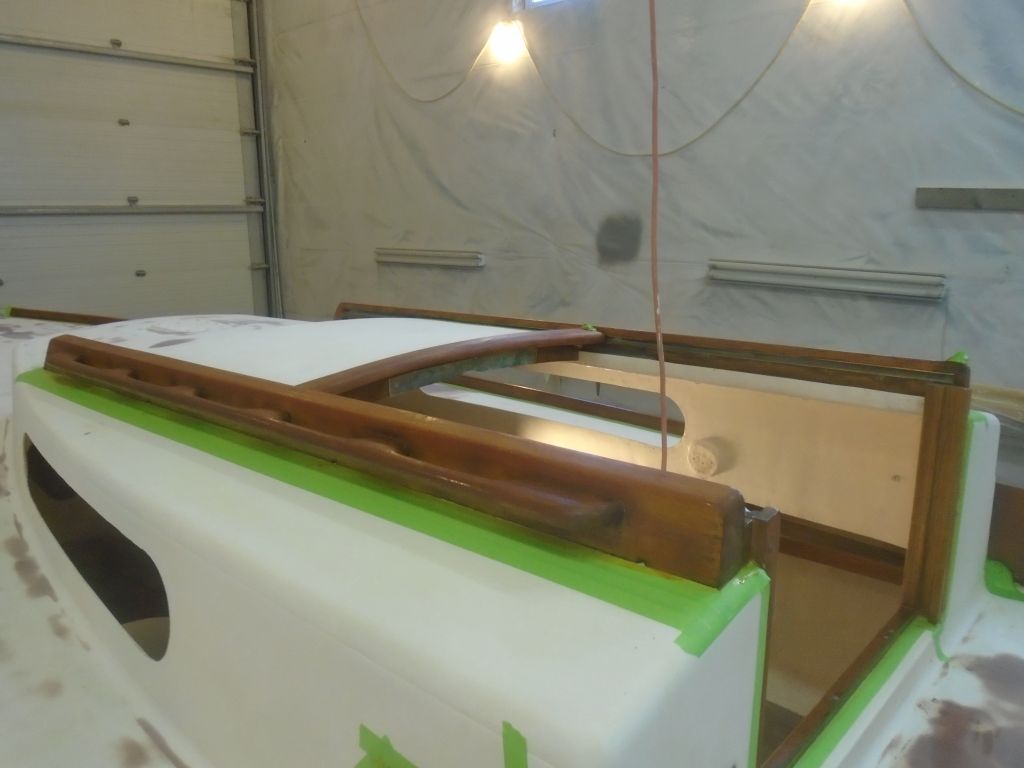
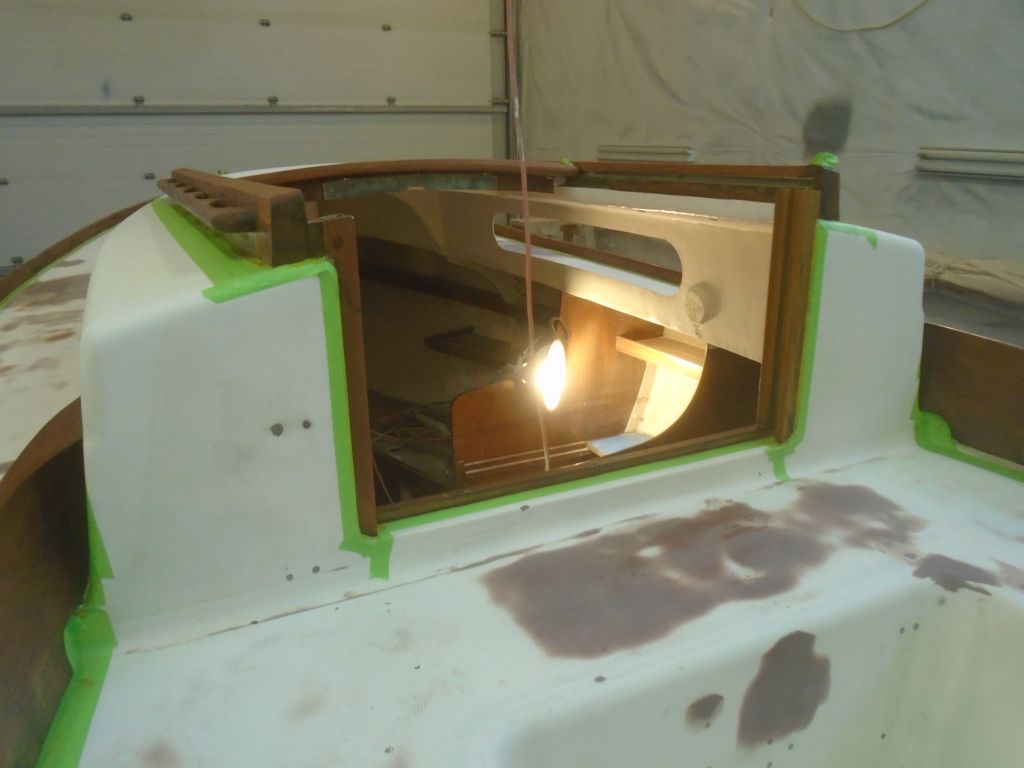
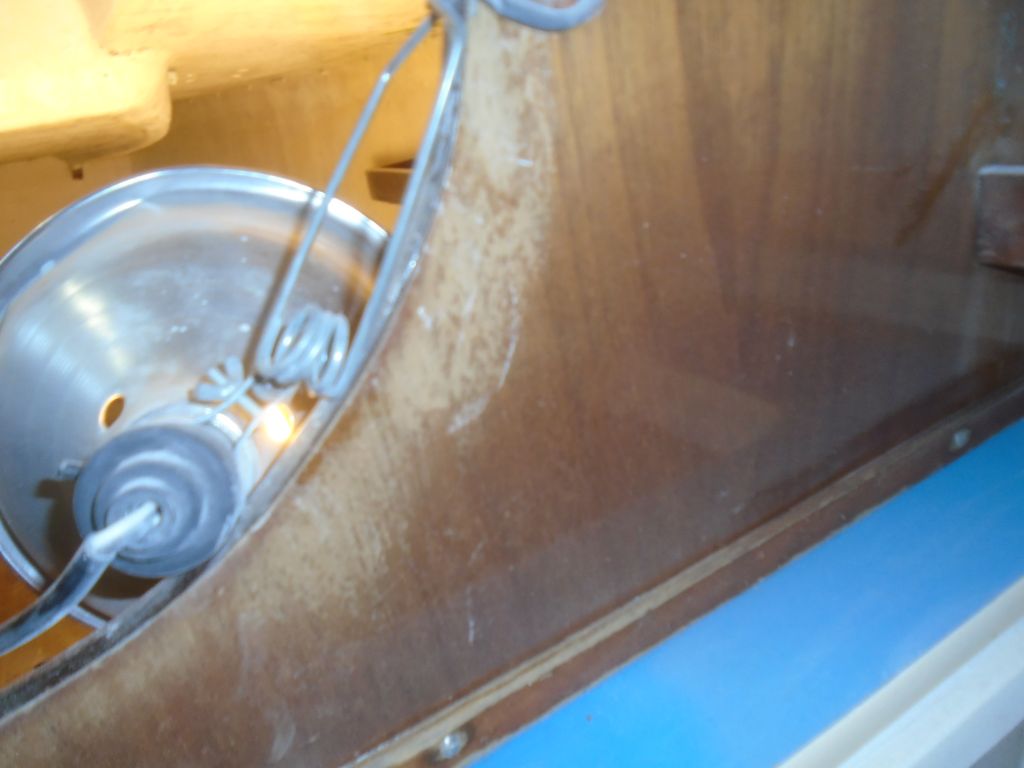
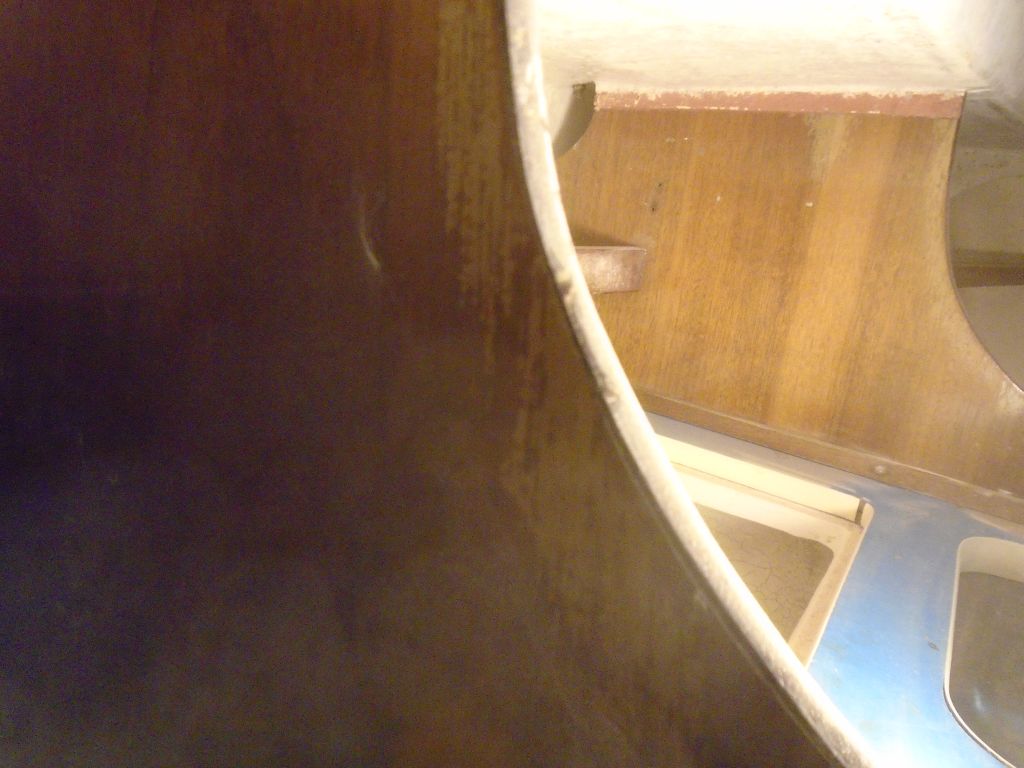
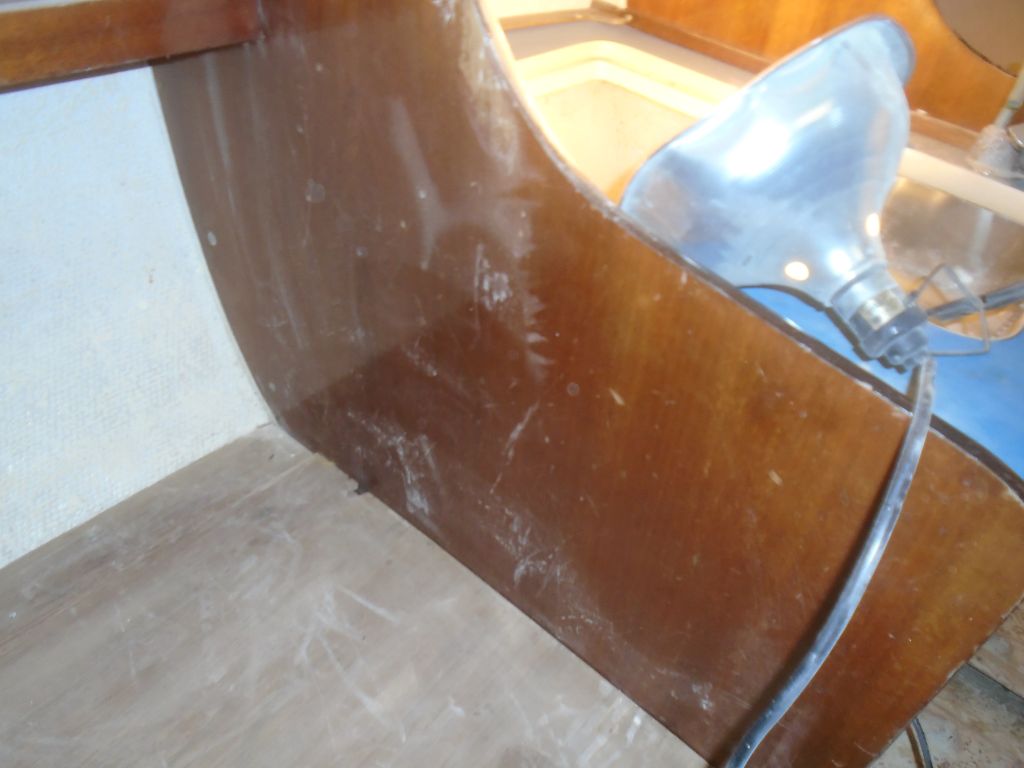
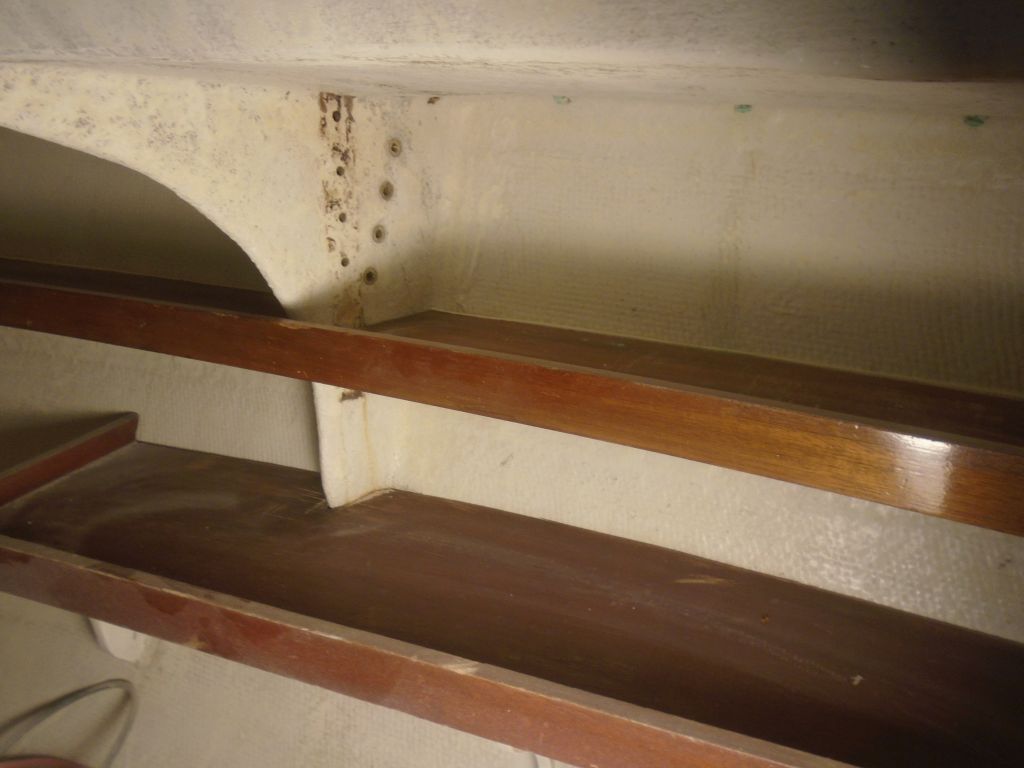
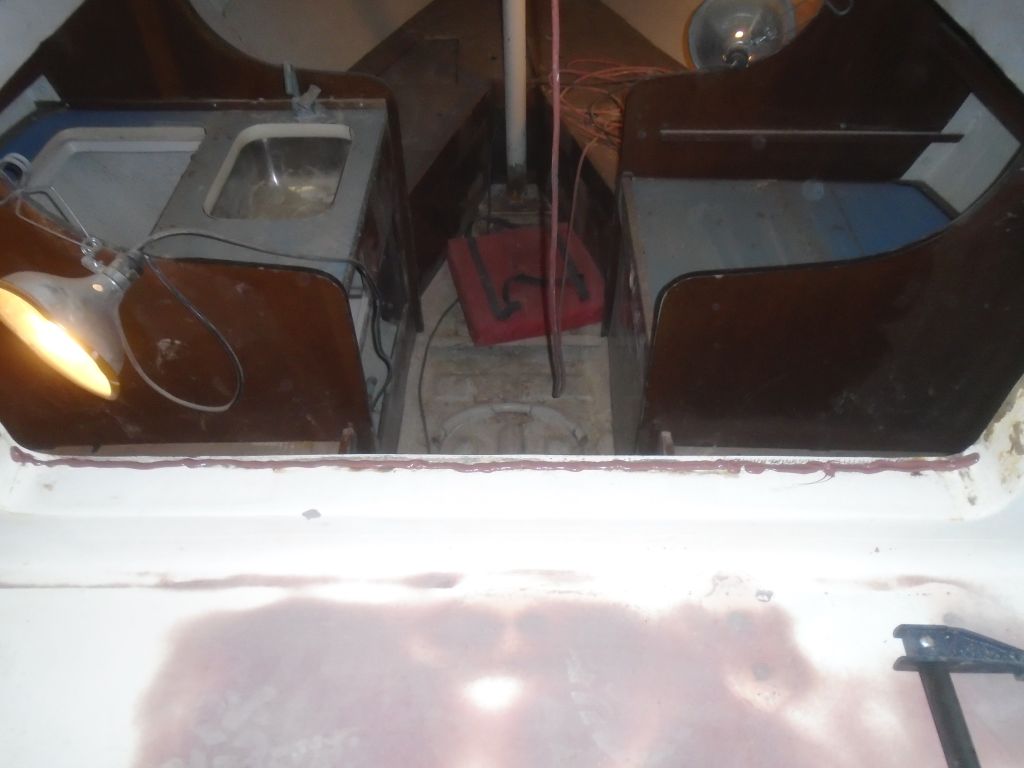
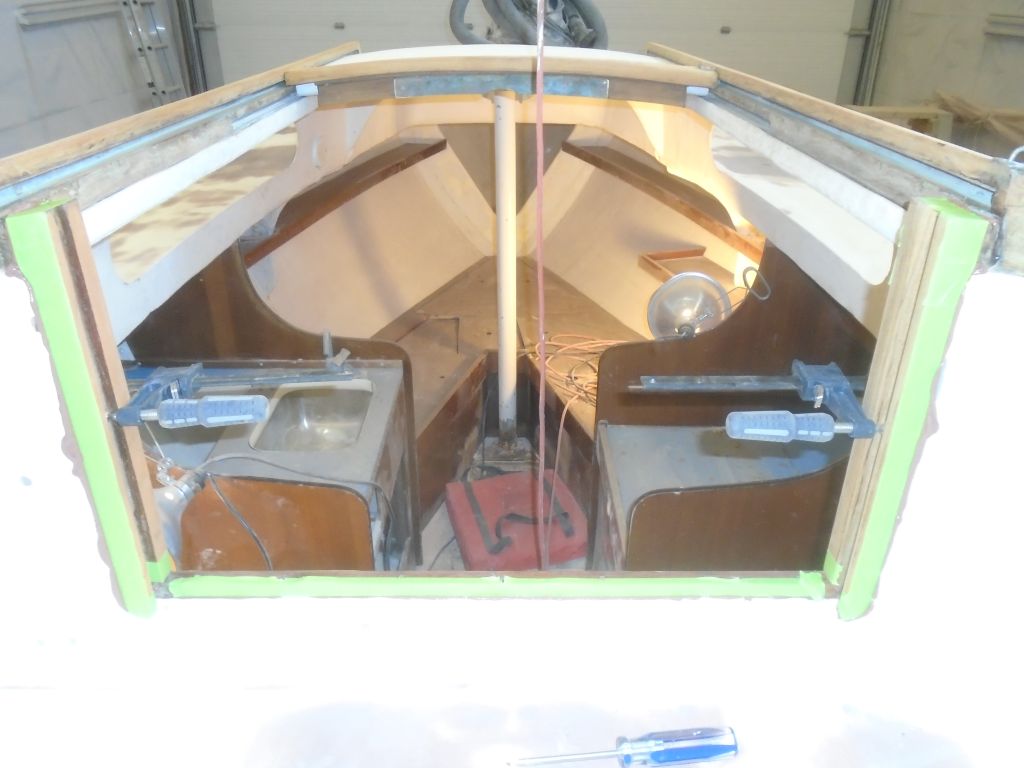
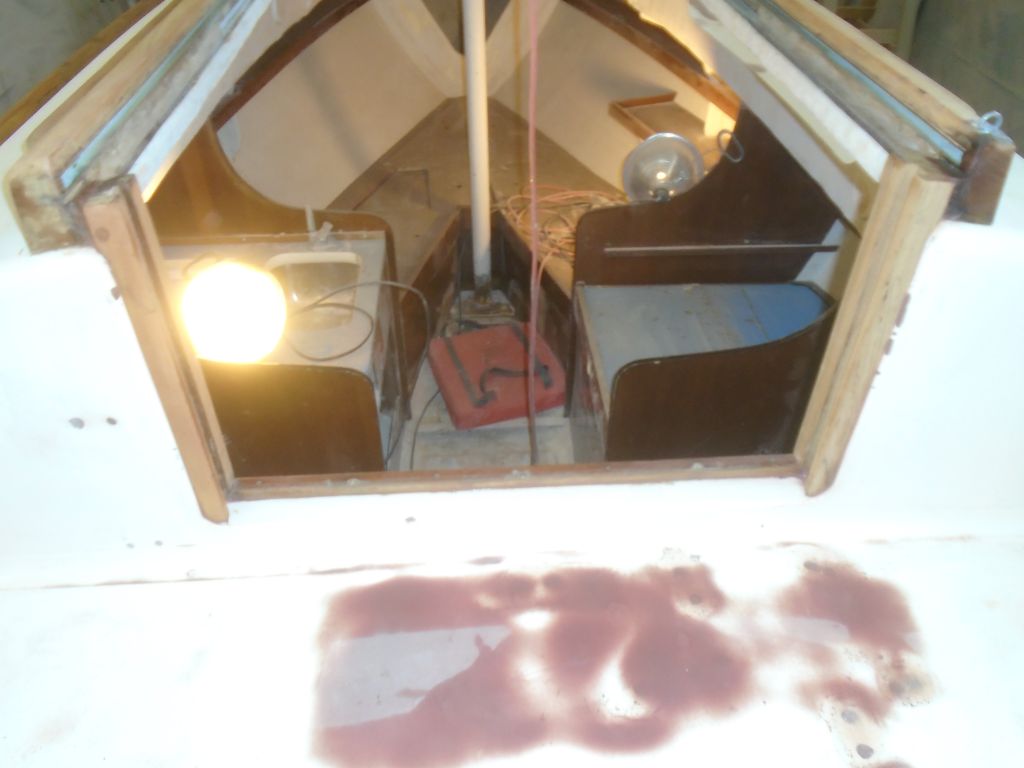
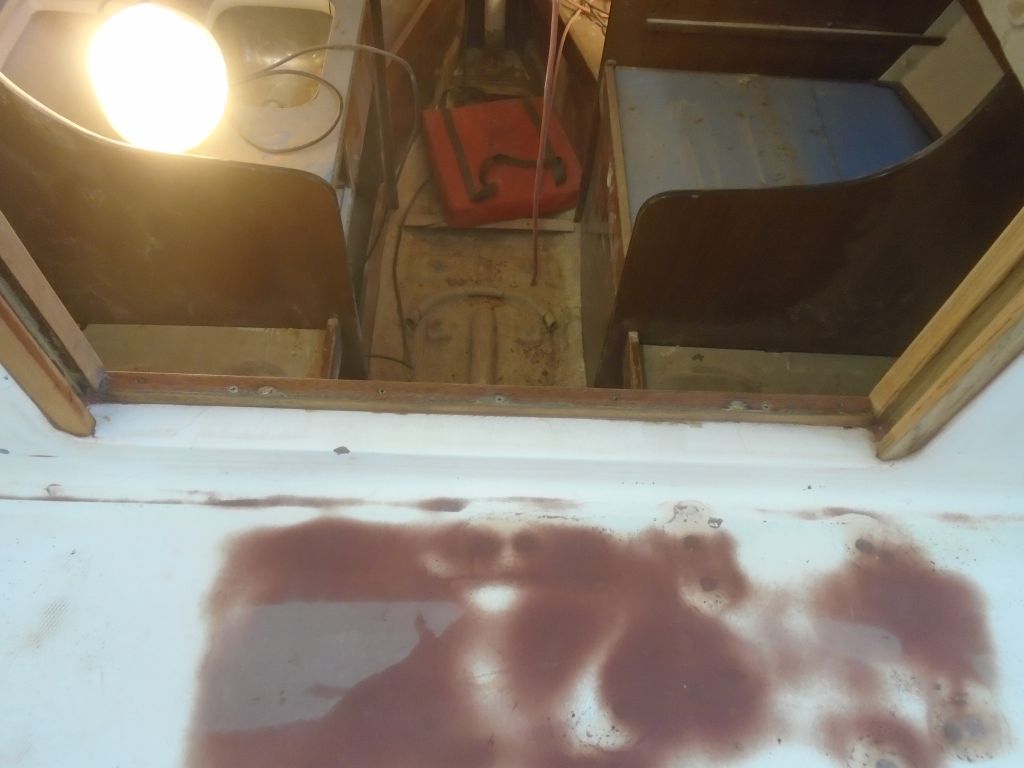
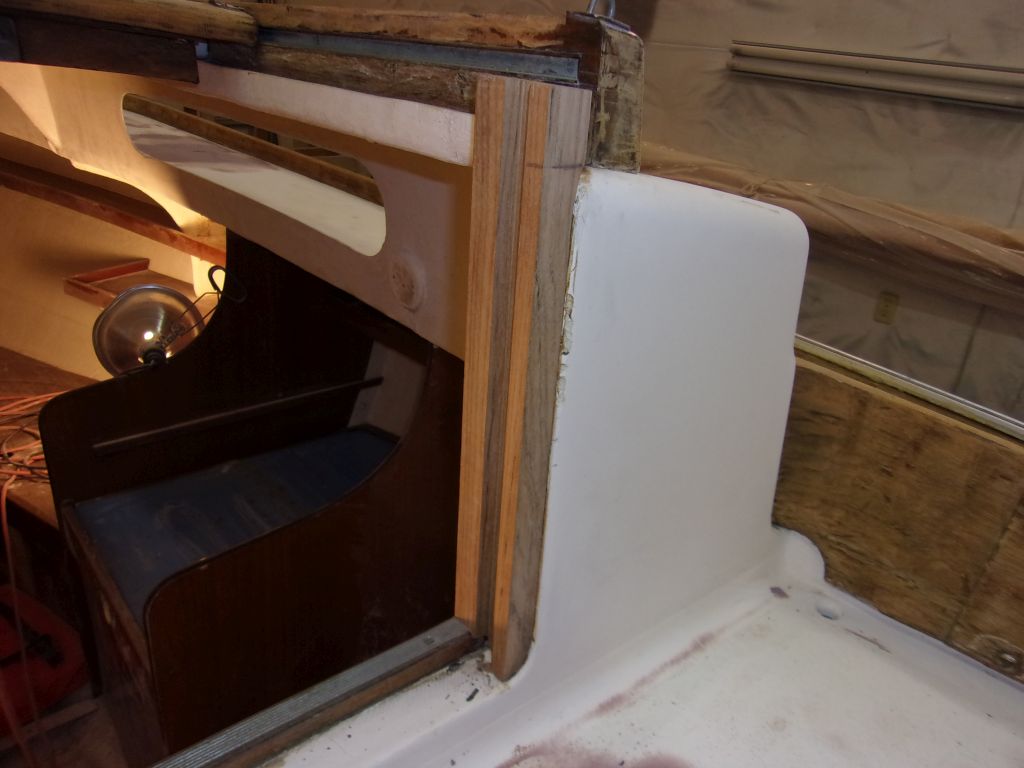
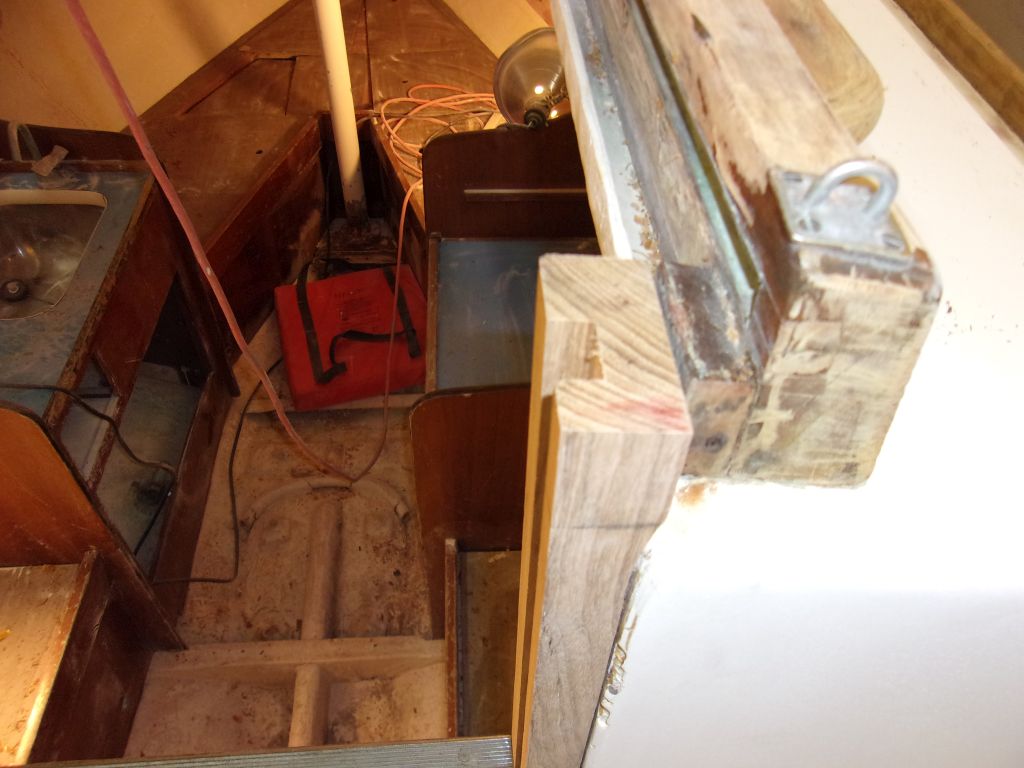
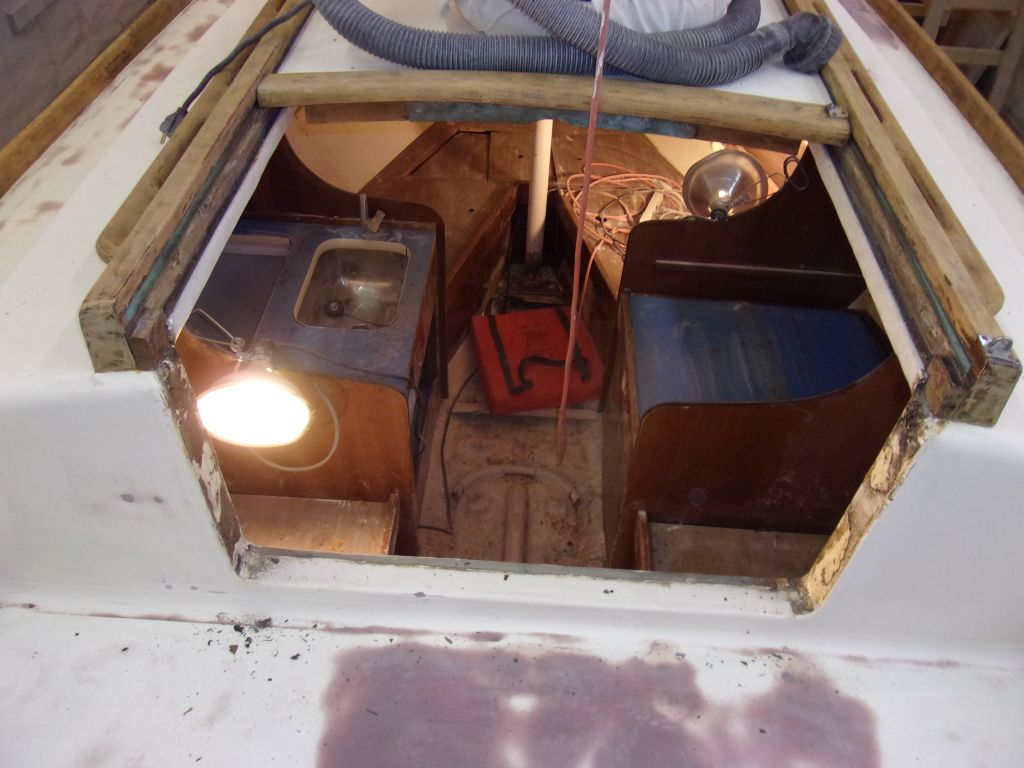
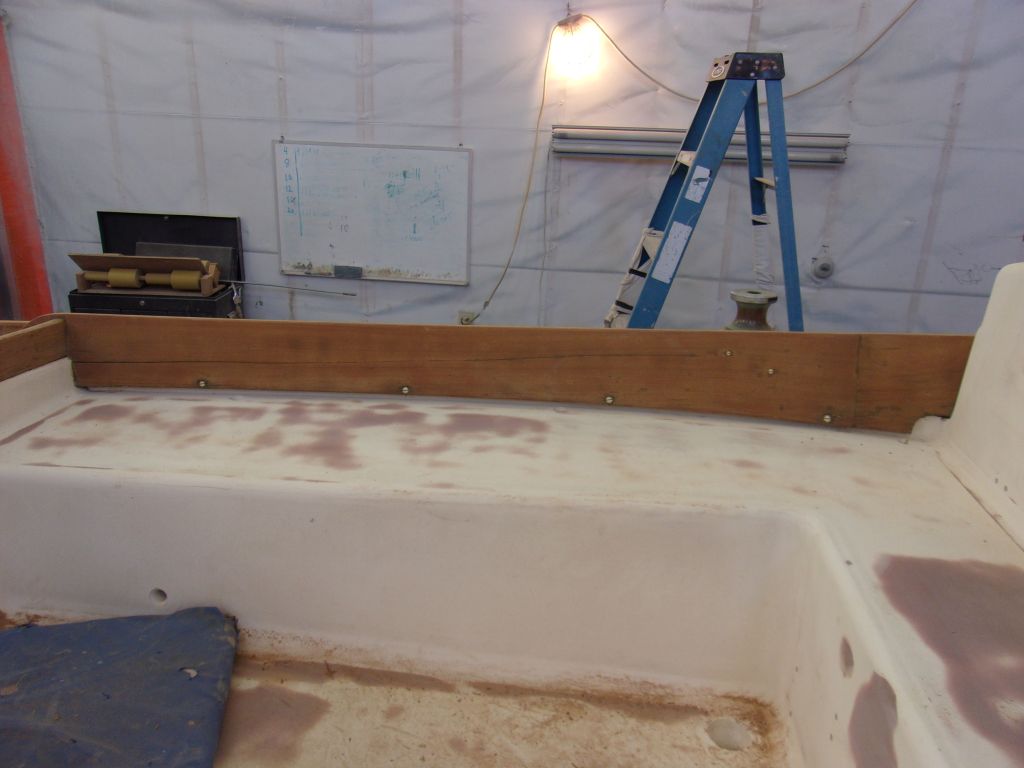
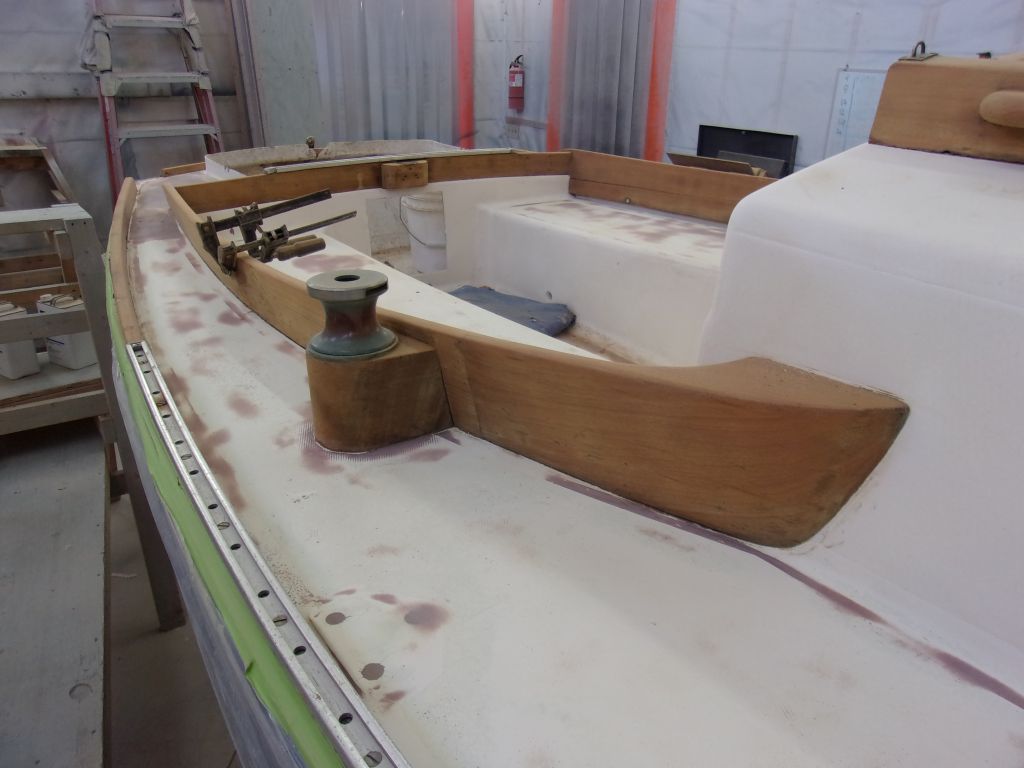
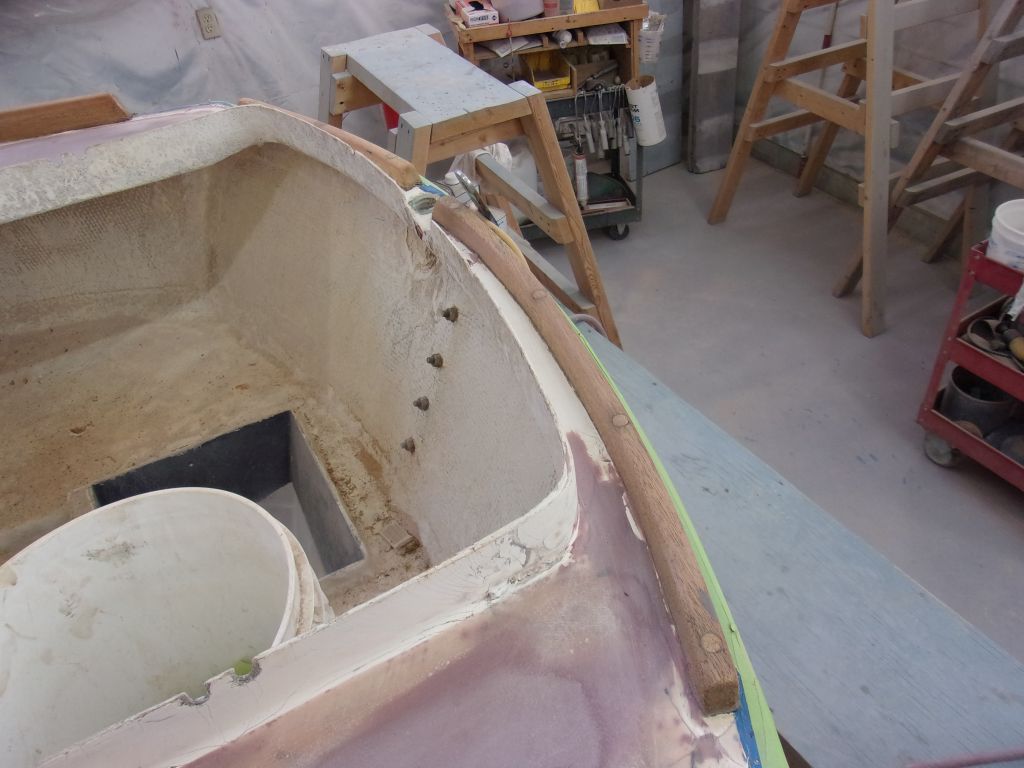
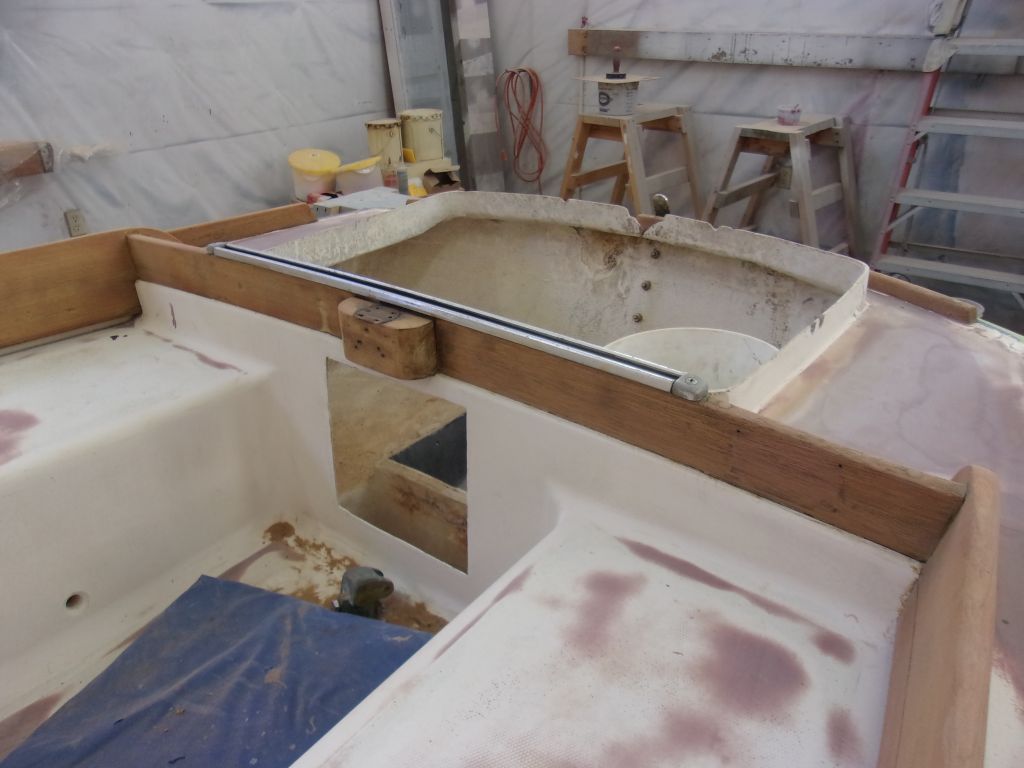
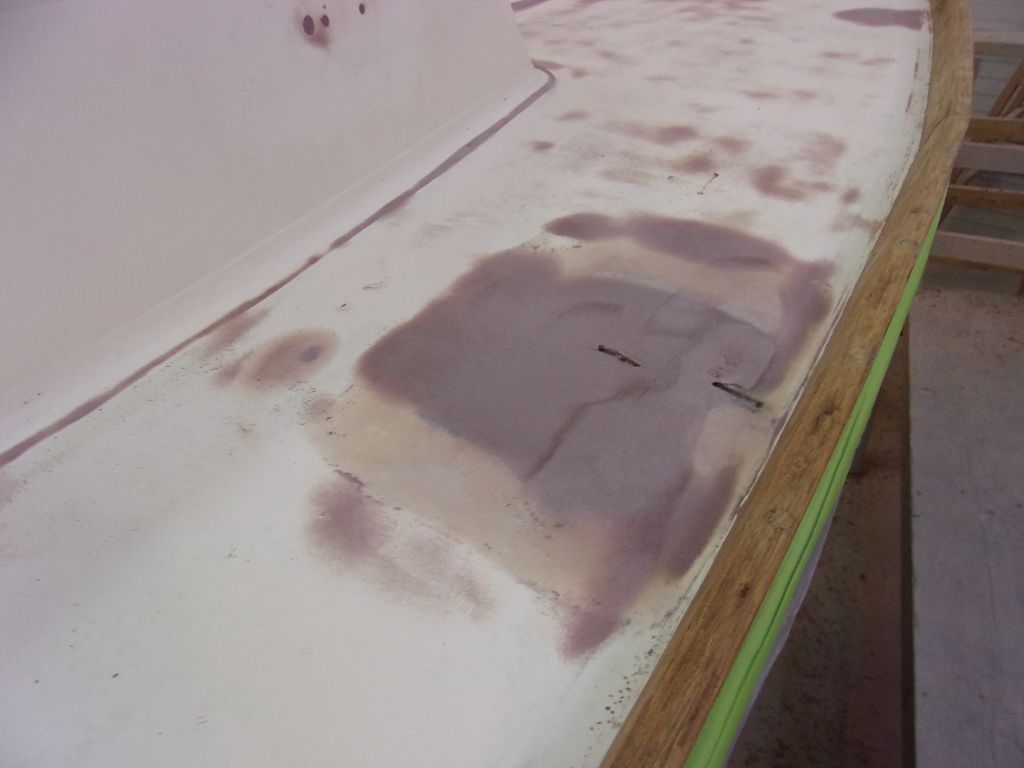
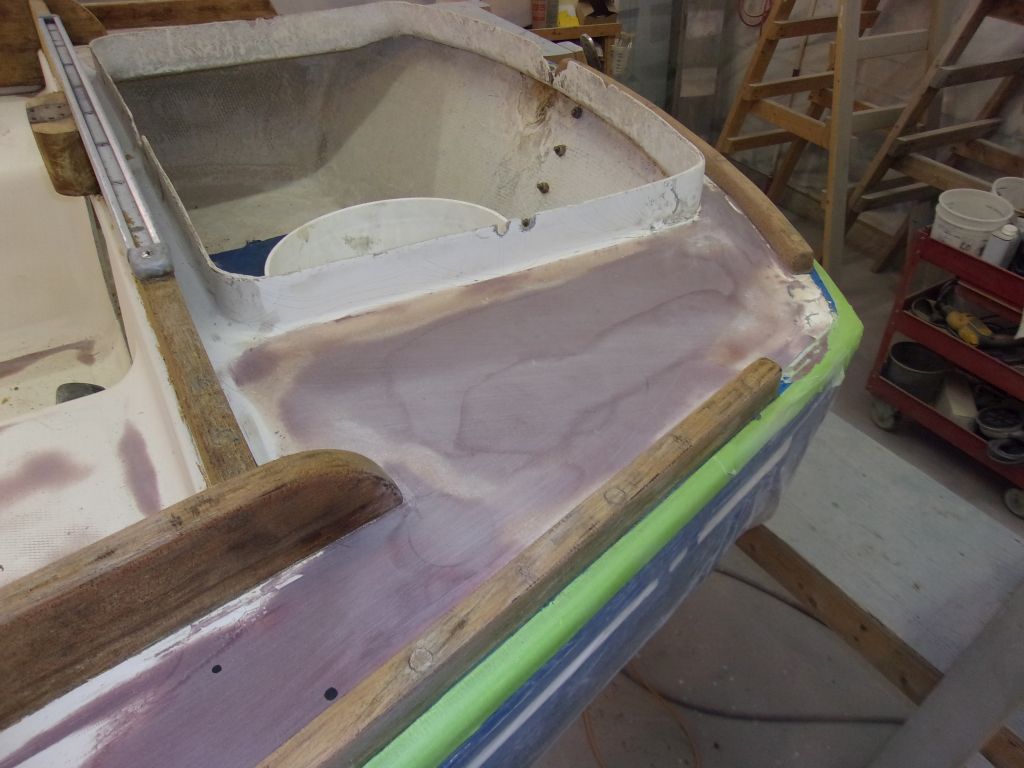
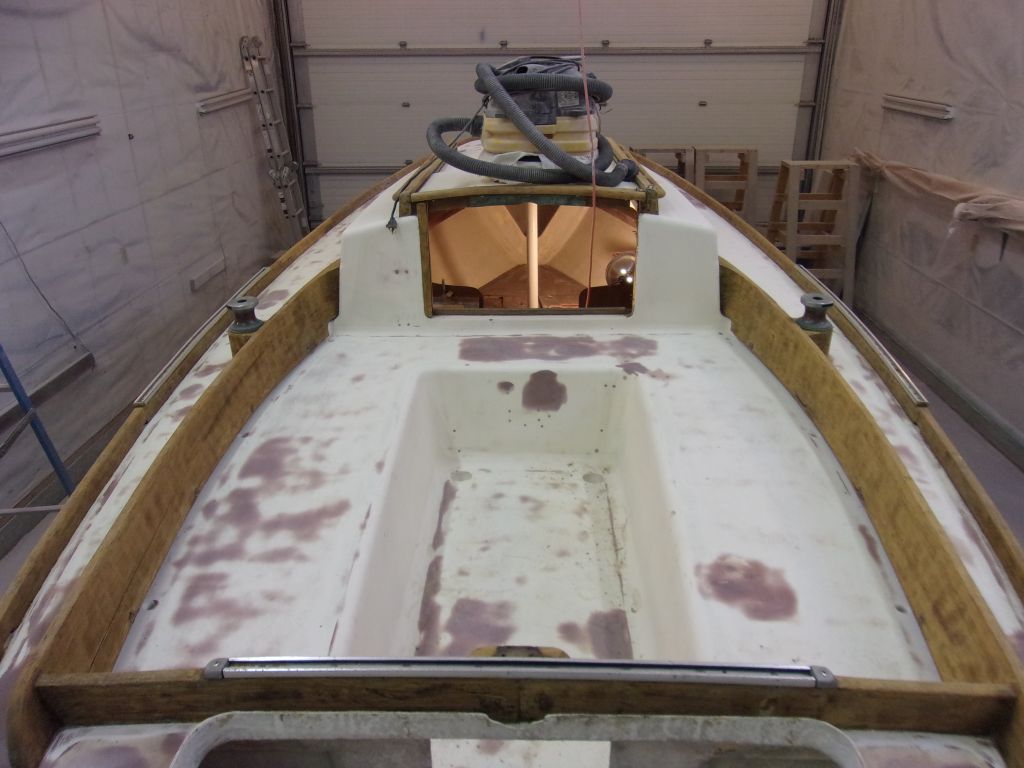
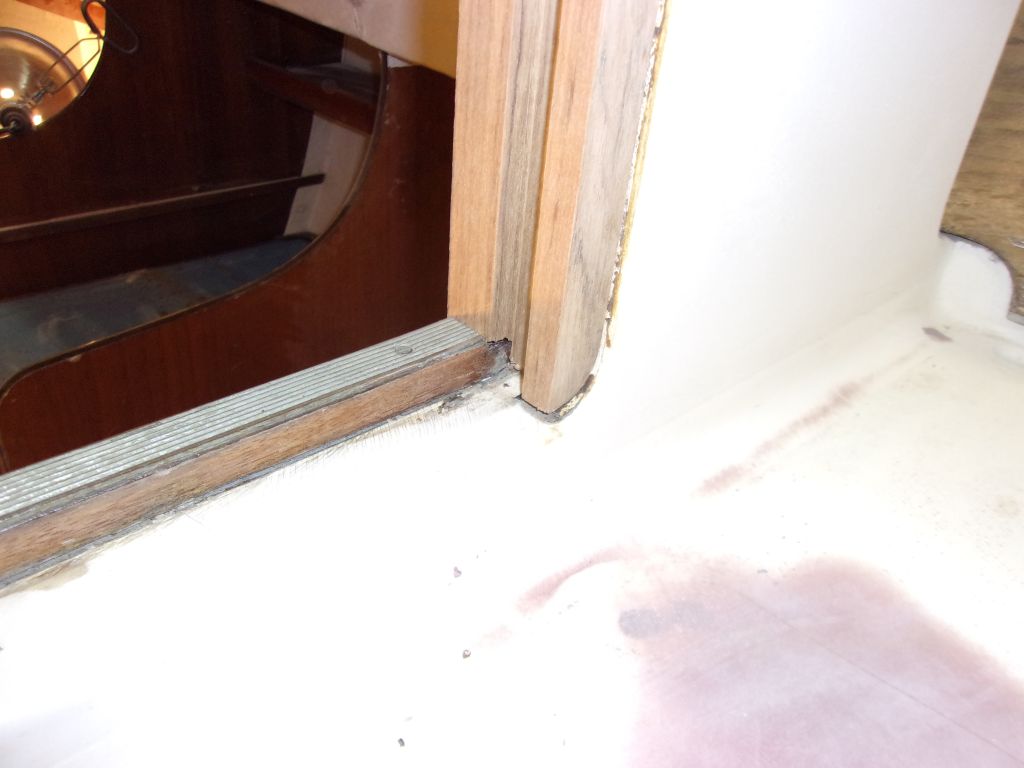
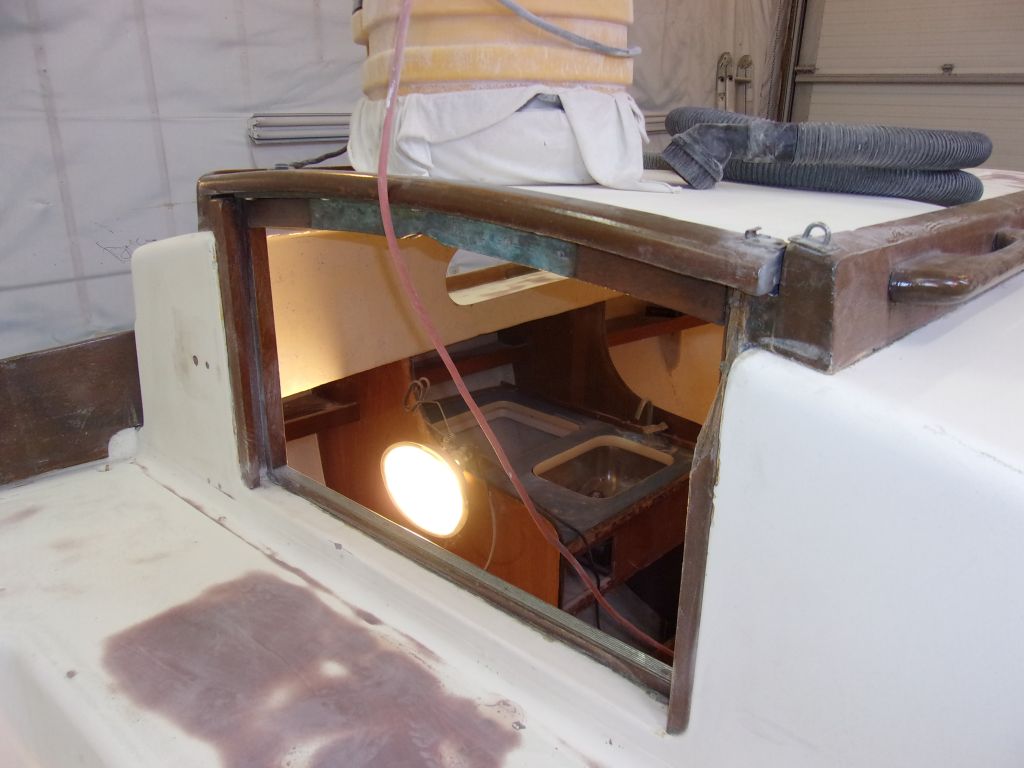
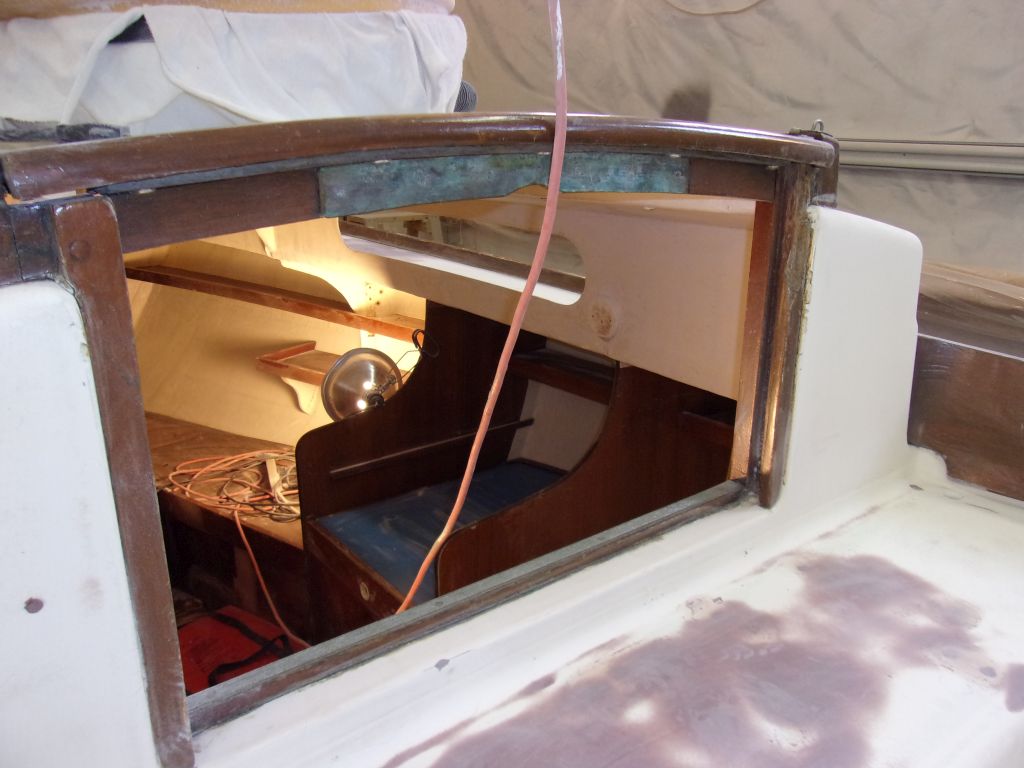
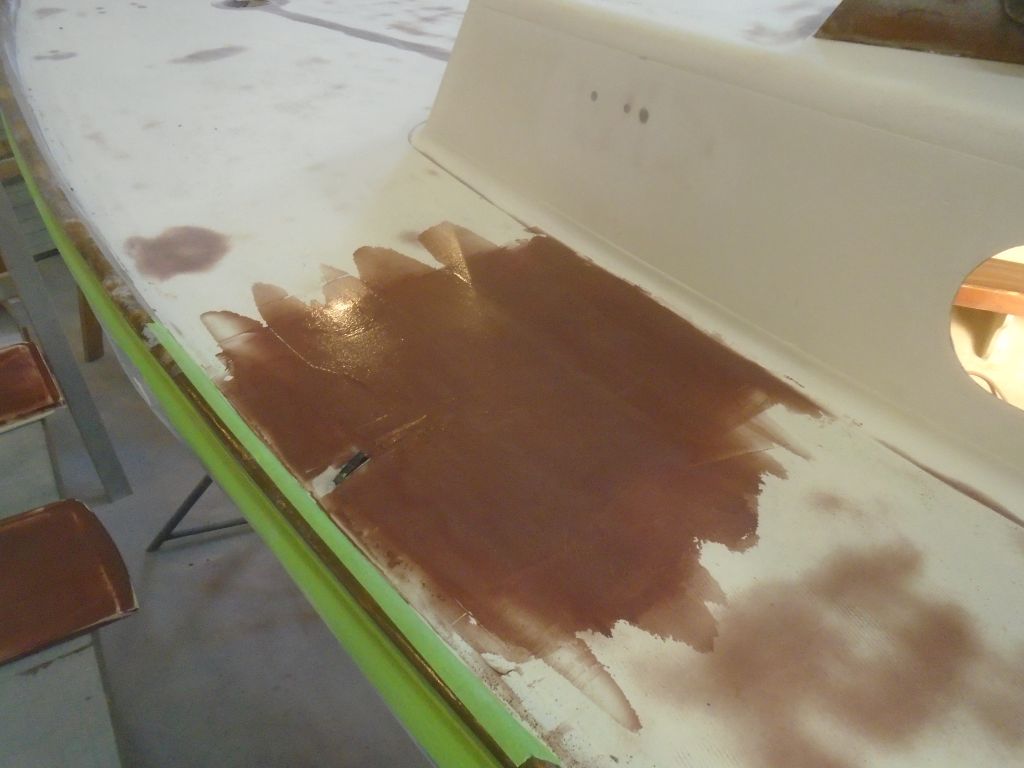
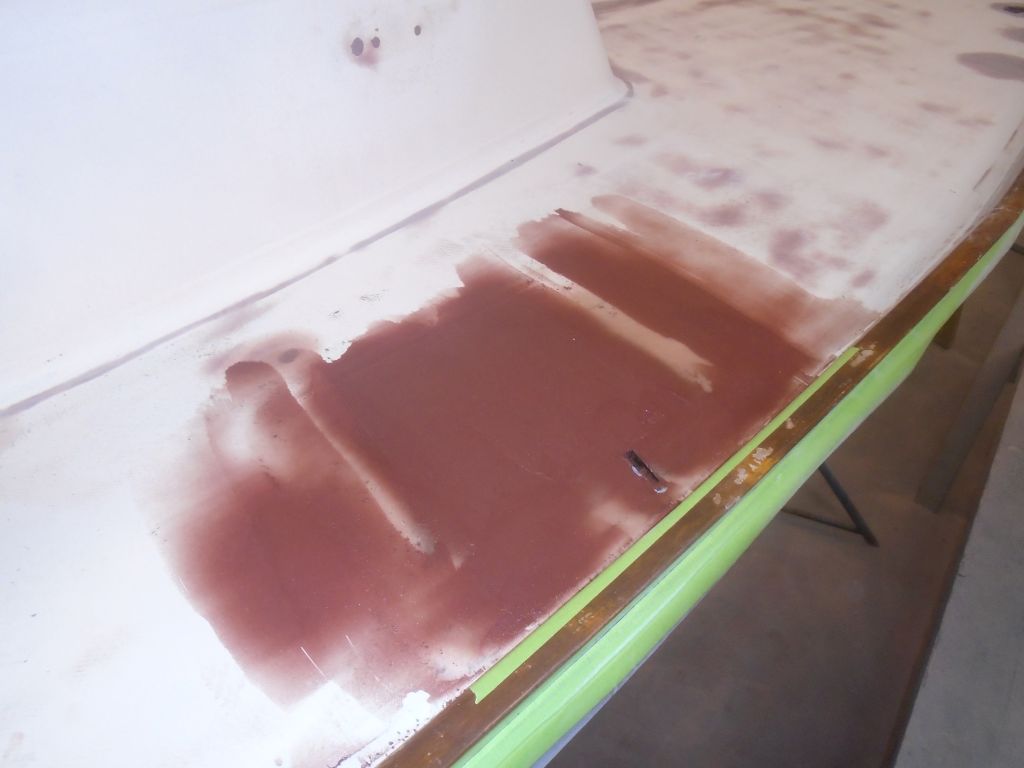
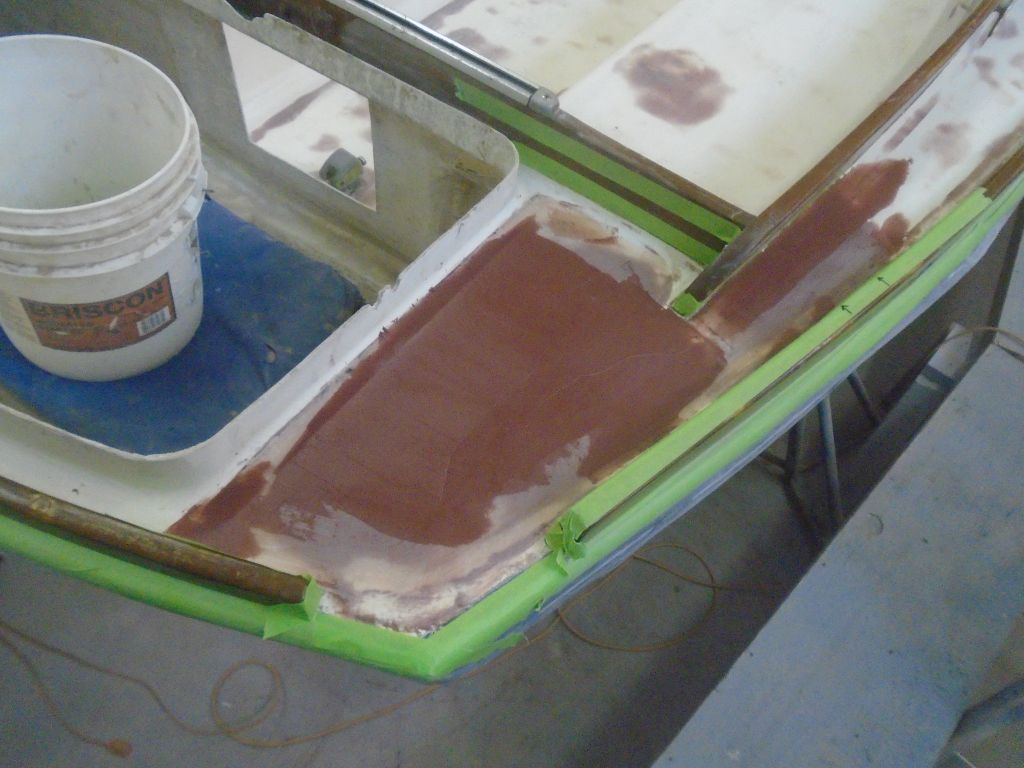
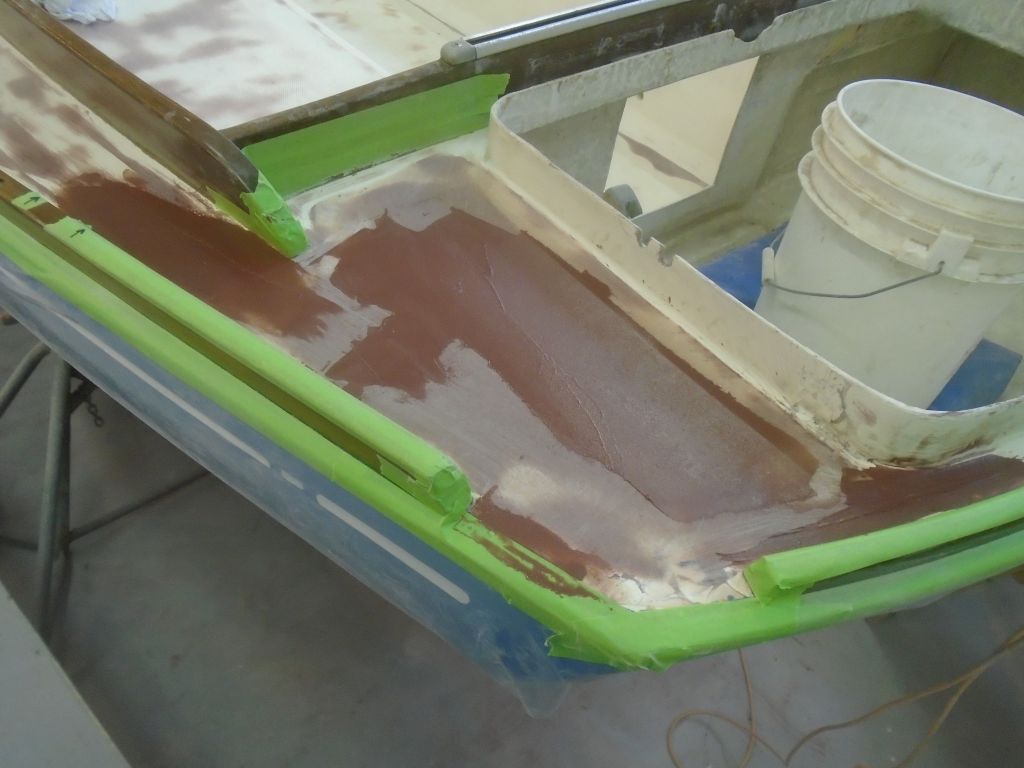
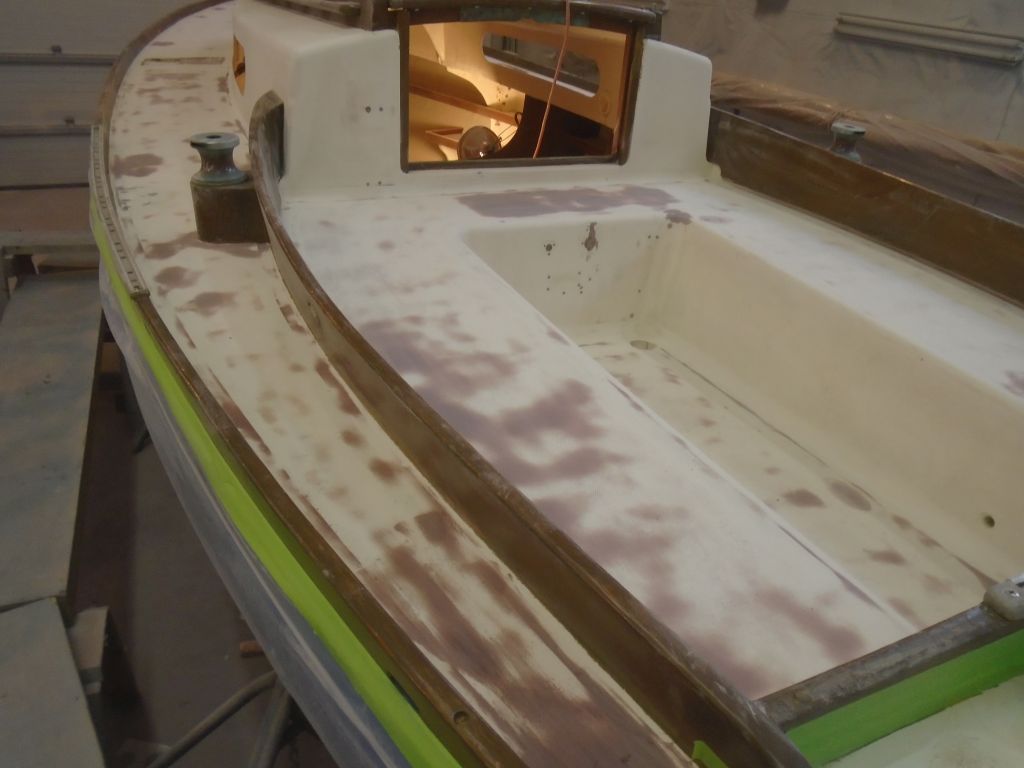
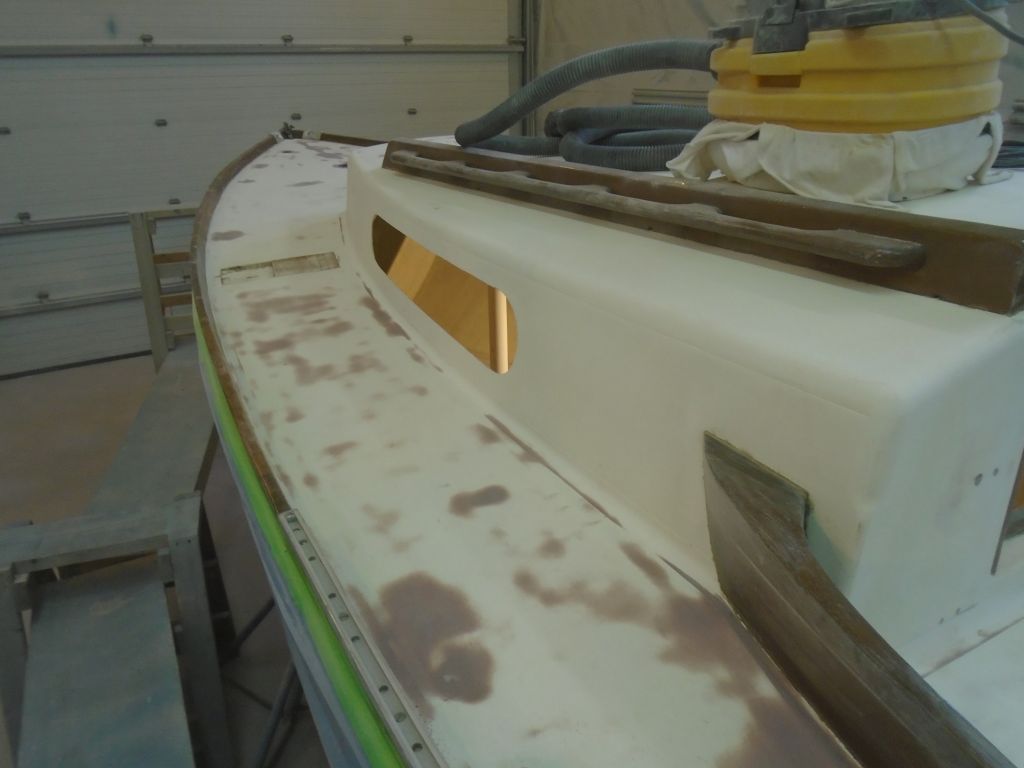
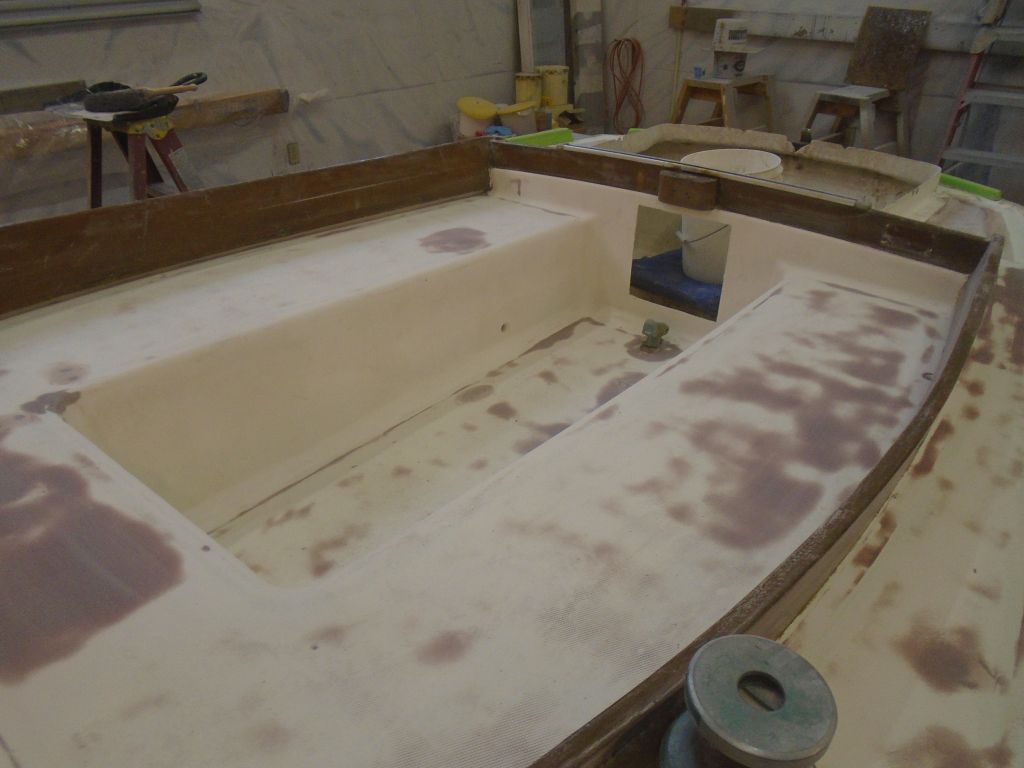
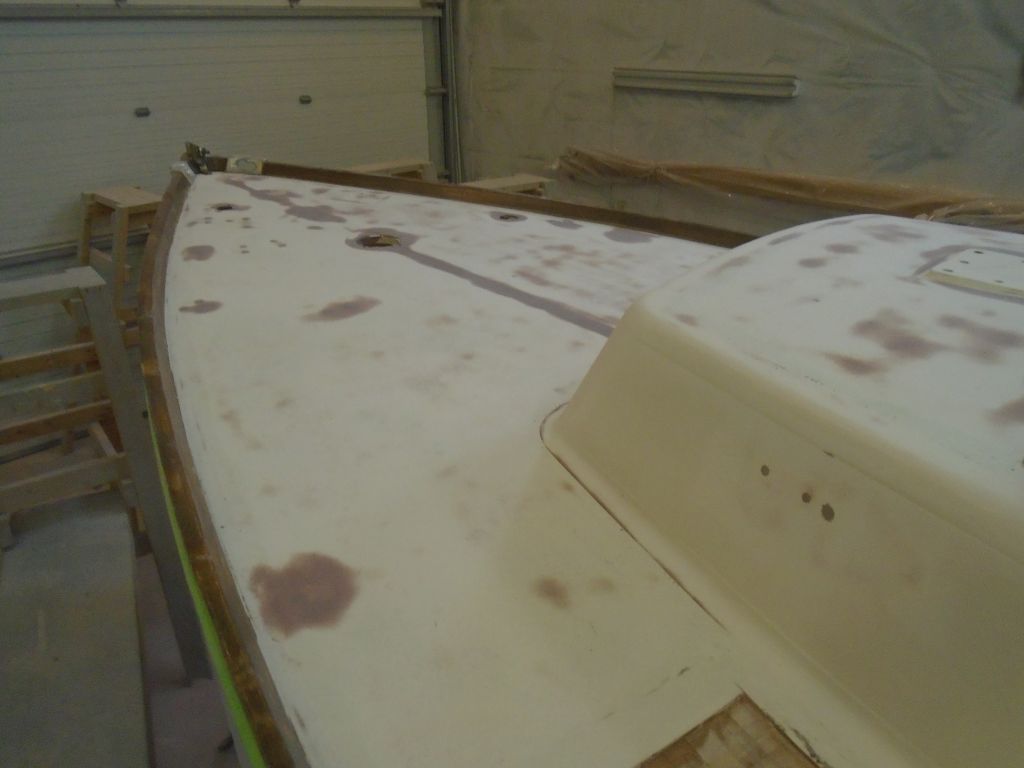
In the meantime, I spent some time in the cabin to better assess the condition of the woodwork and some of the other jobs ahead, which I also planned to start in conjunction with the exterior woodwork refinishing.  I’d already sanded and prepared the hull and cabin painted areas, and would prime and paint them in due course.  The original job scope also included maintenance coats of varnish on the interior bulkheads and trim, and now I turned to these areas in more detail to determine the best course of action.

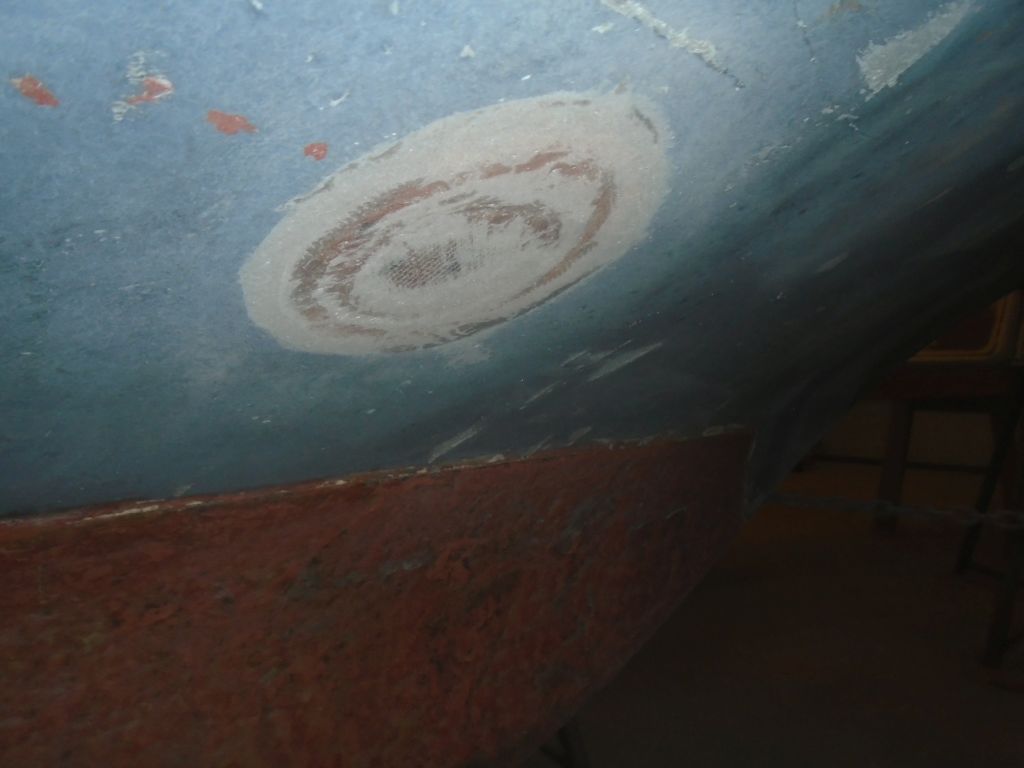
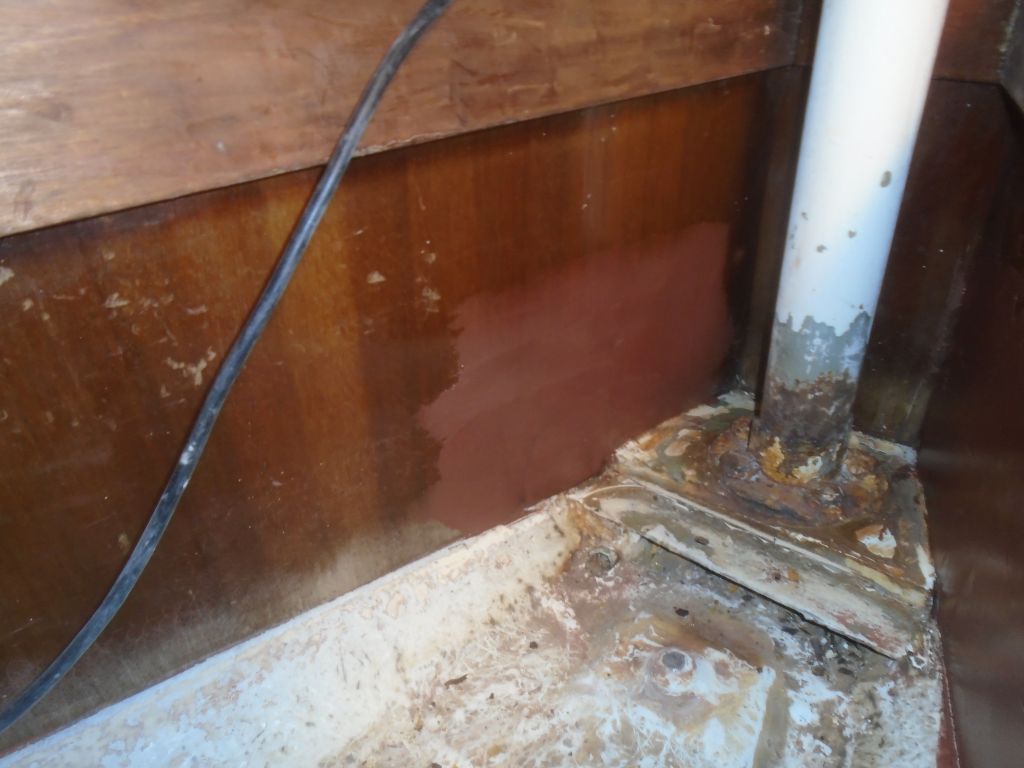
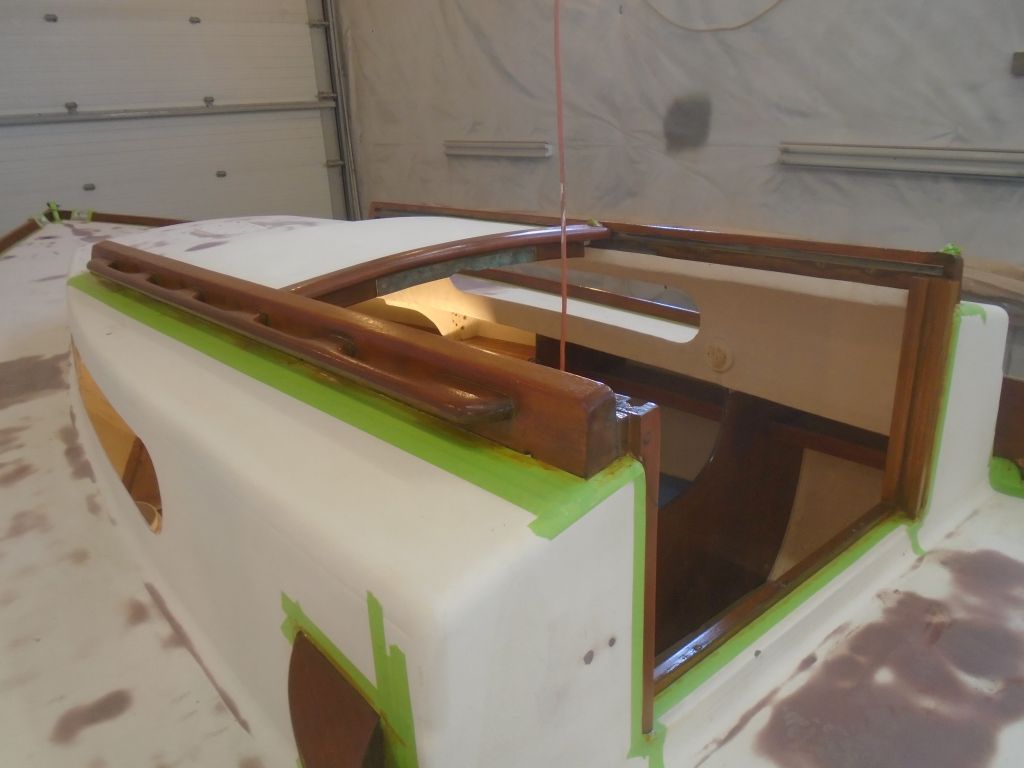
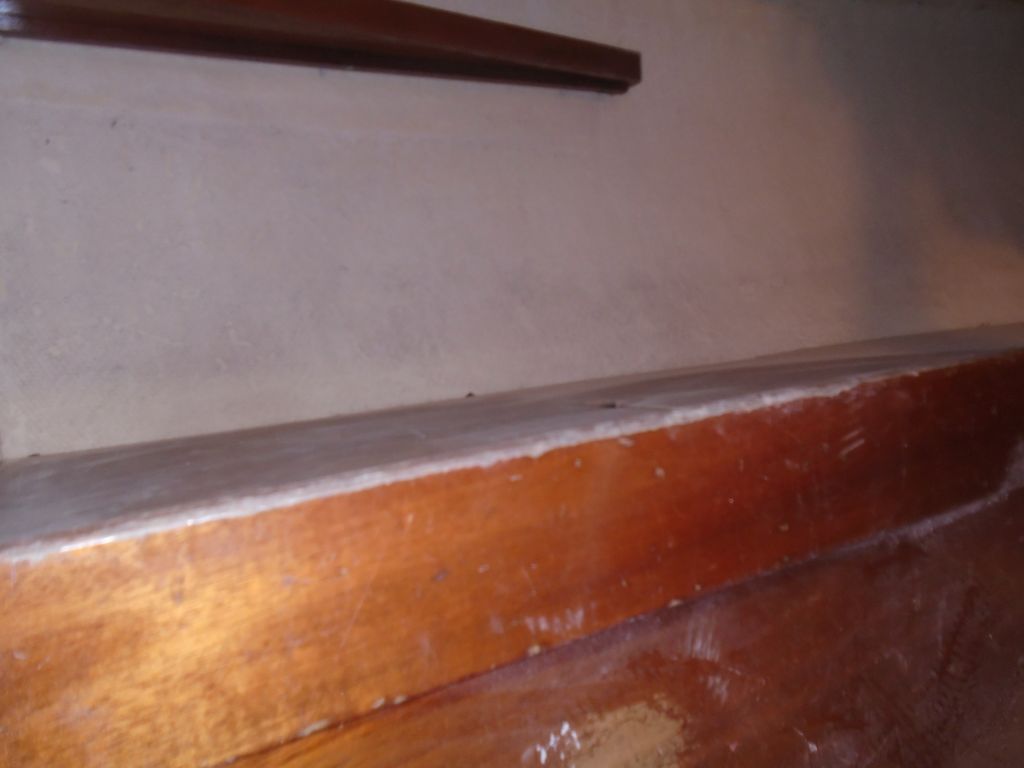
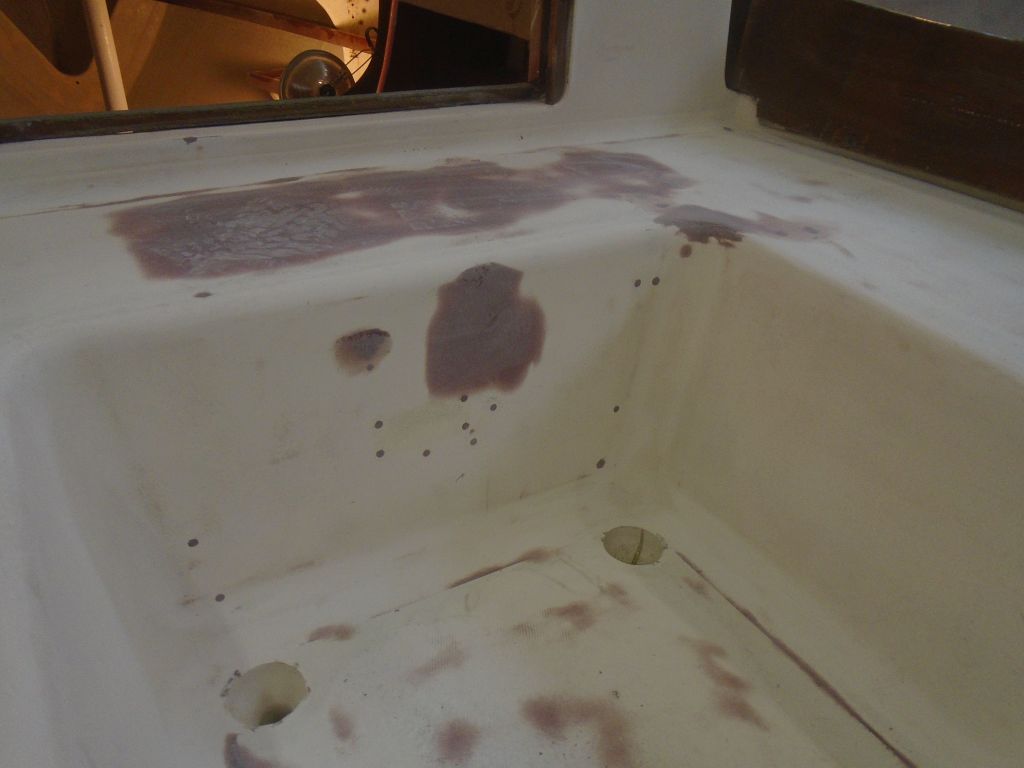
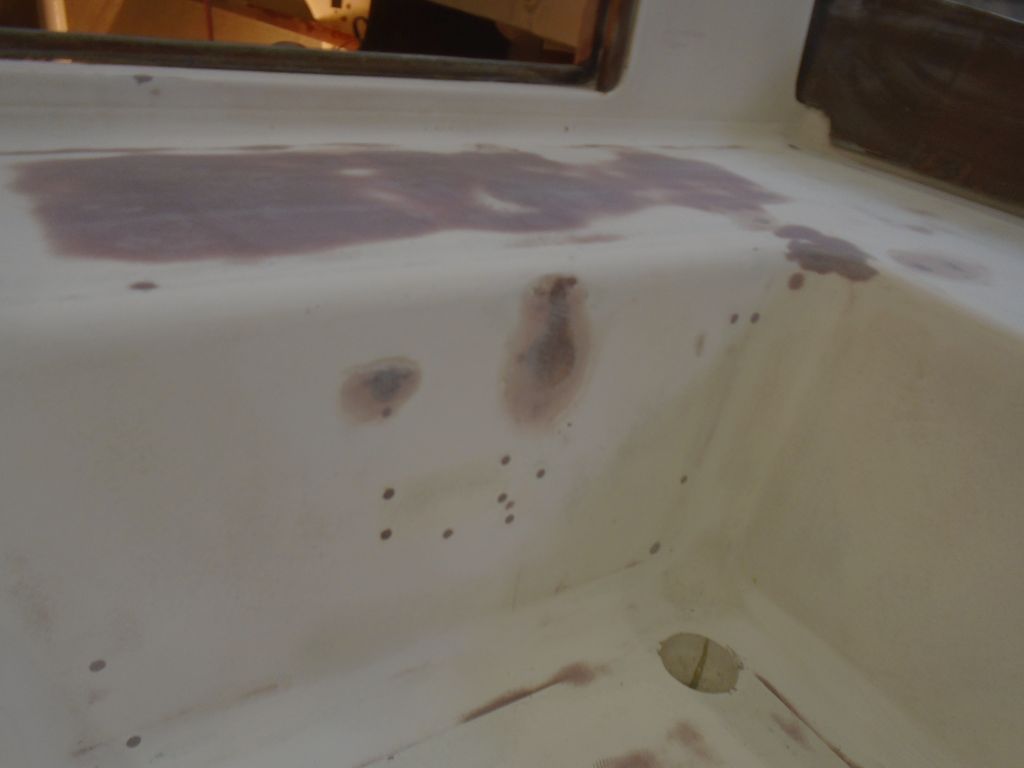
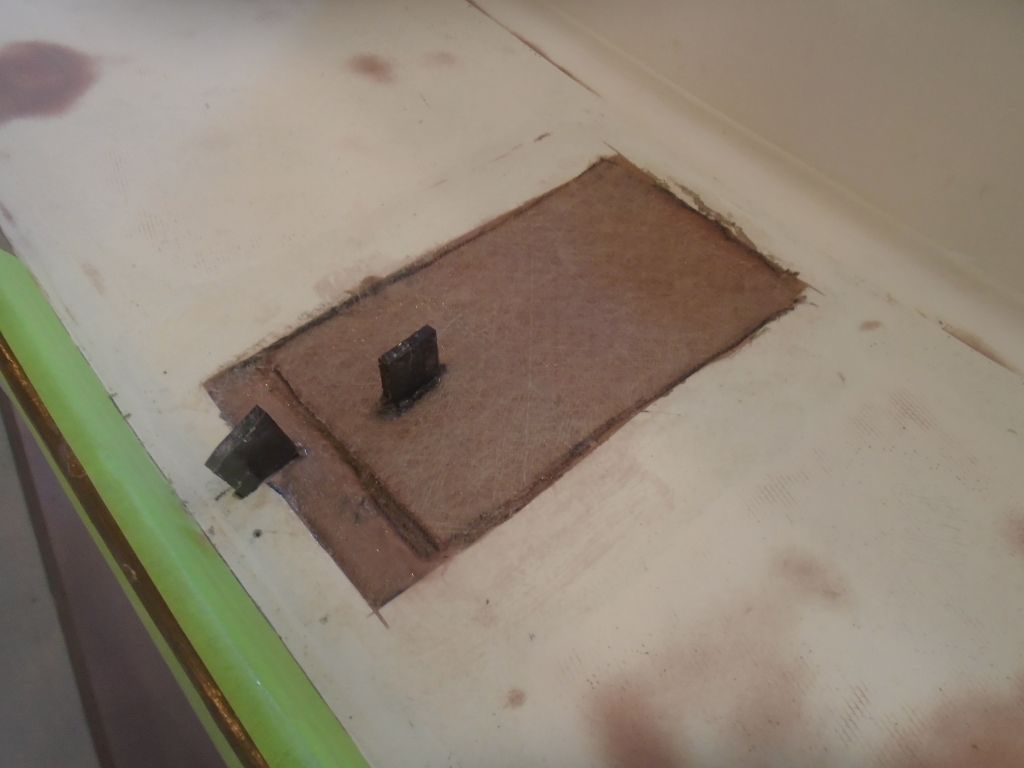
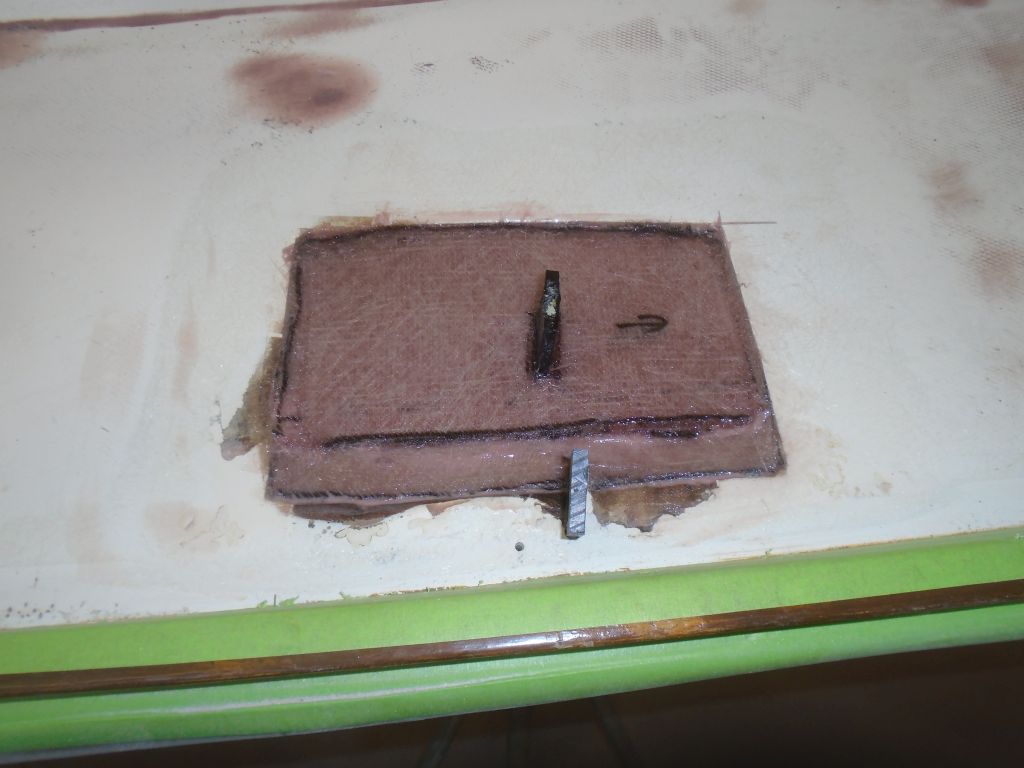
The four small transverse bulkheads were in pretty good condition, with a glossy finish, but there were a few small areas where moisture had gotten behind the finish, creating discolored/yellowed areas and some failed finish beneath the surface.  I could easily sand and refinish the bulkheads as is, and they’d look quite good, but this would not repair these few small areas.  Previous experience with this class suggested that these bulkheads featured an epoxy coating beneath the surface finish, and this had proved quite difficult to remove on my earlier project.  As a result, I hated to get into it unless necessary, though I was happy to do it if the expected results required it.  It was not an immediately clear decision to me.

With only small (and not highly visible) areas of the failed coating, one could argue that there was a tenuous balance between the extra labor required not only to strip, but then sand and go through the various base and final varnish coats to build the finish anew, versus a light sanding and a maintenance topcoat.  It looked like it had taken most of a full work day to strip these bulkheads on the earlier job, so this seemed a reasonable expectation here as well, plus the additional time for four or five coats versus one.

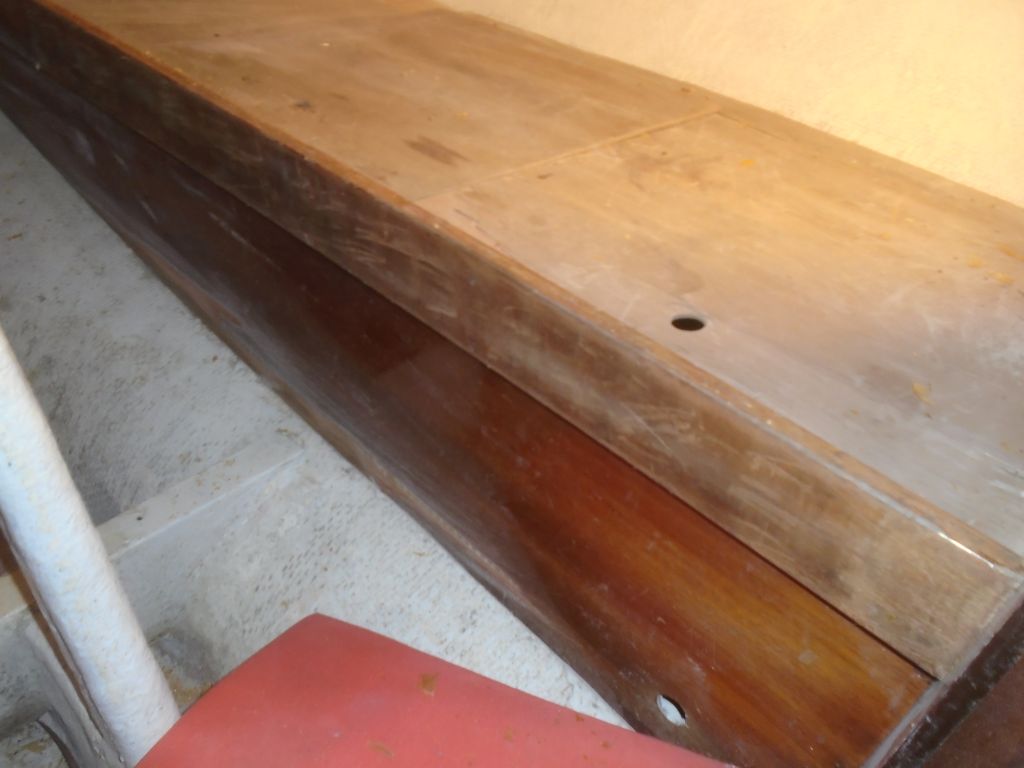
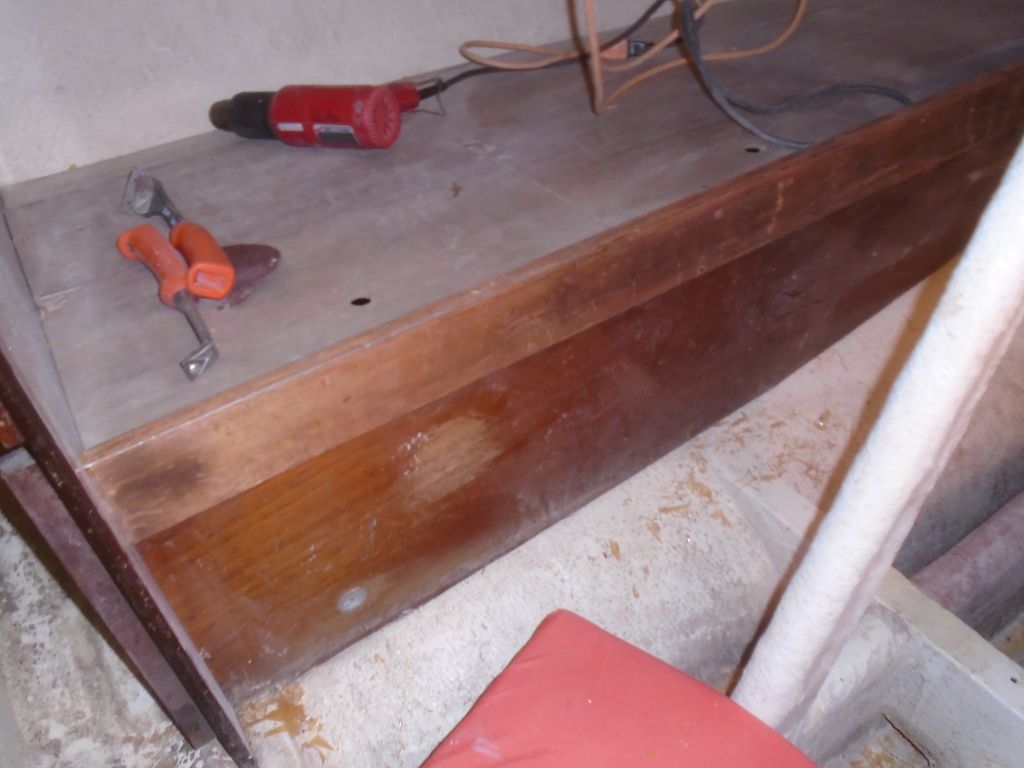
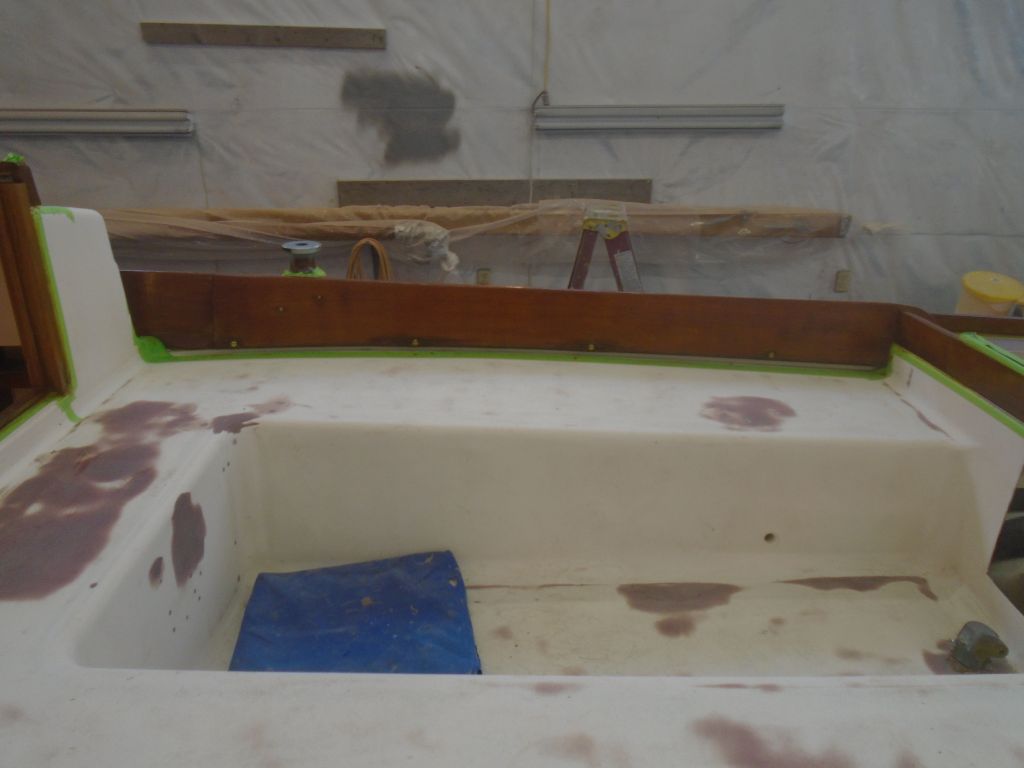
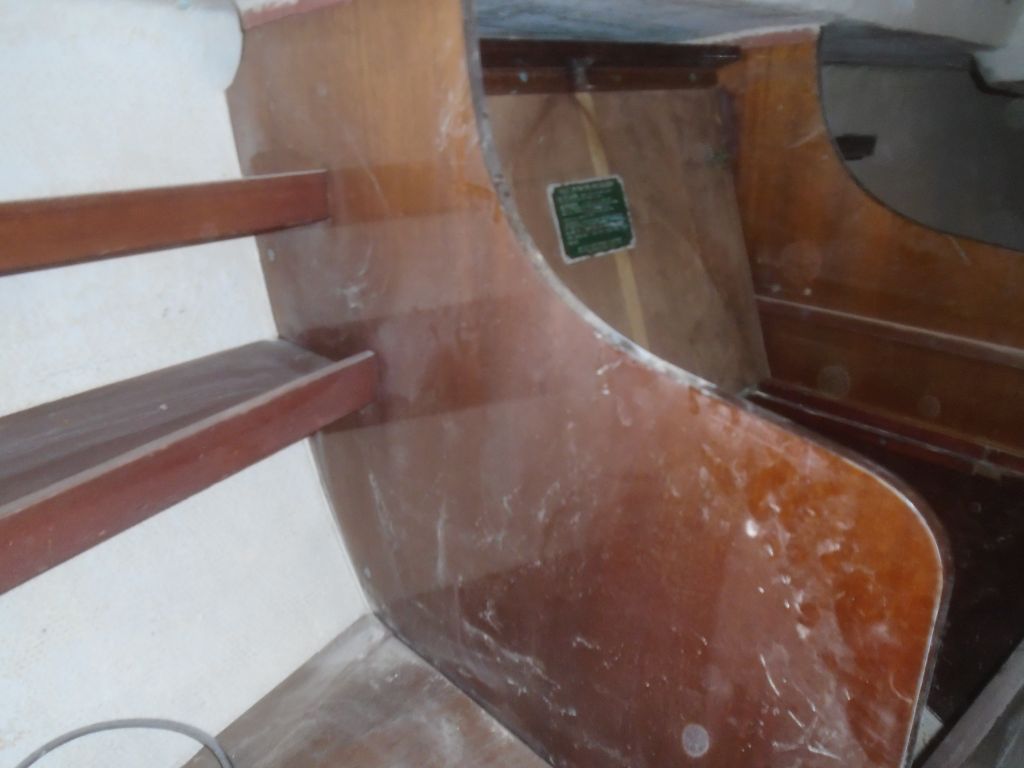
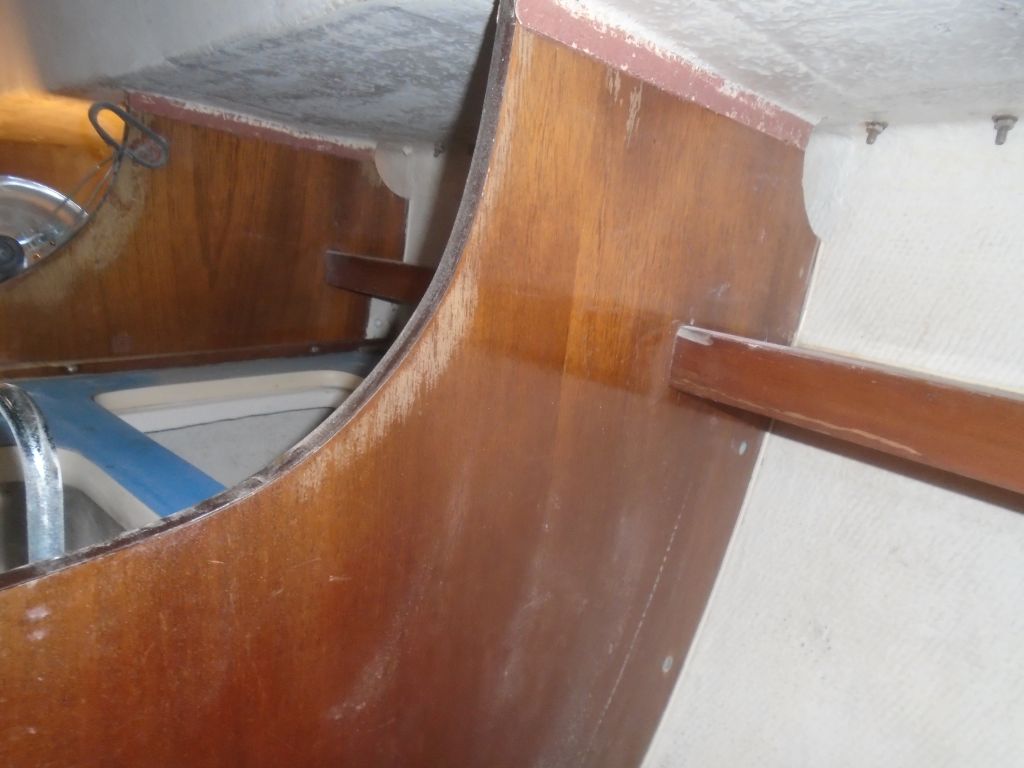
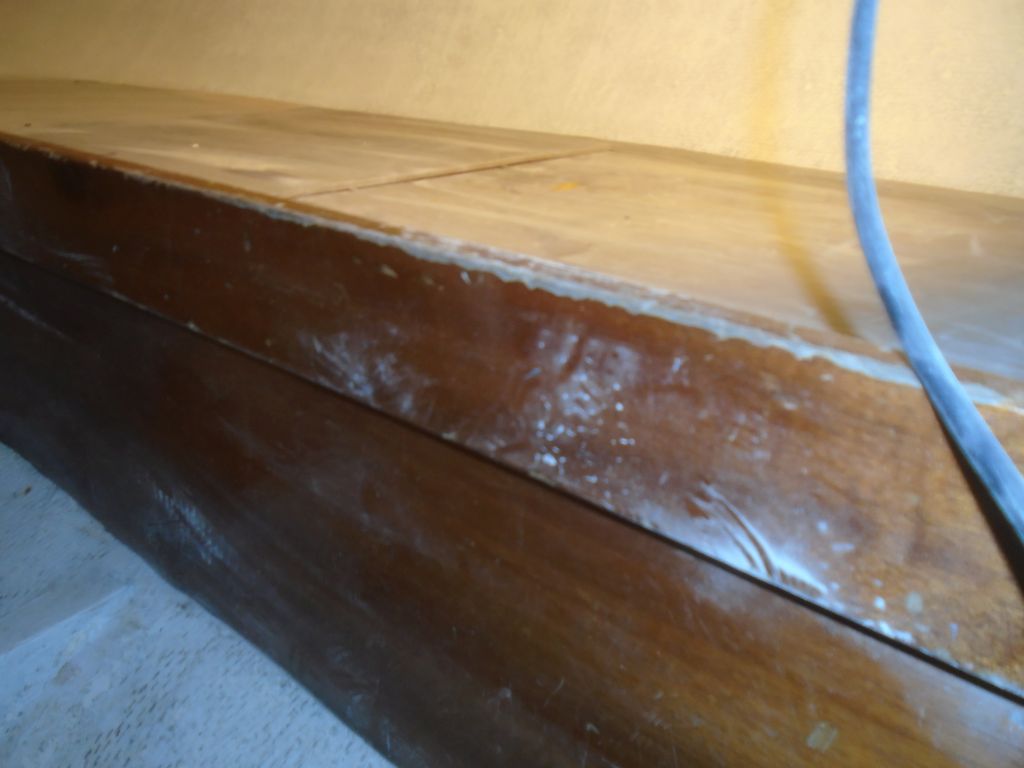
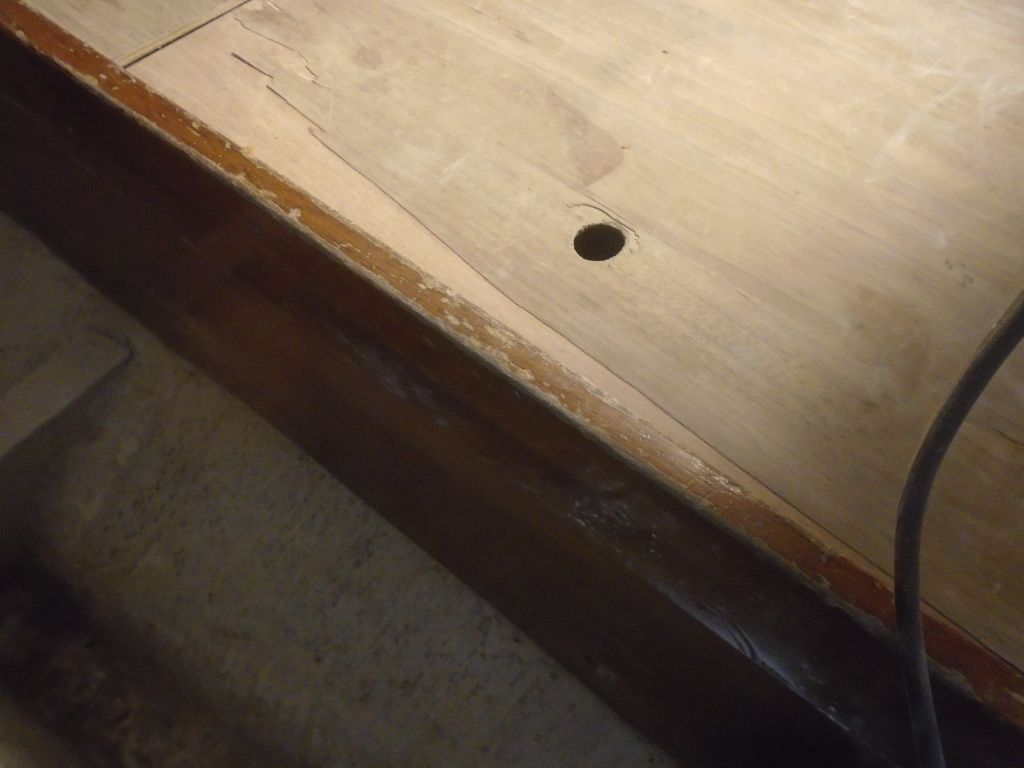
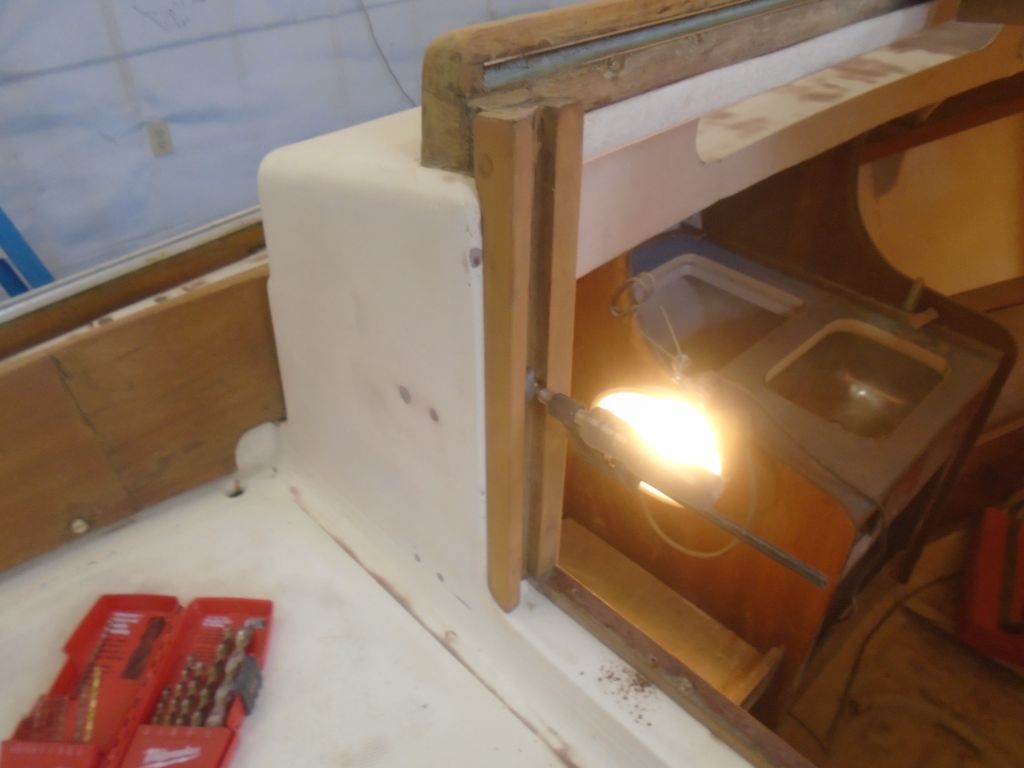
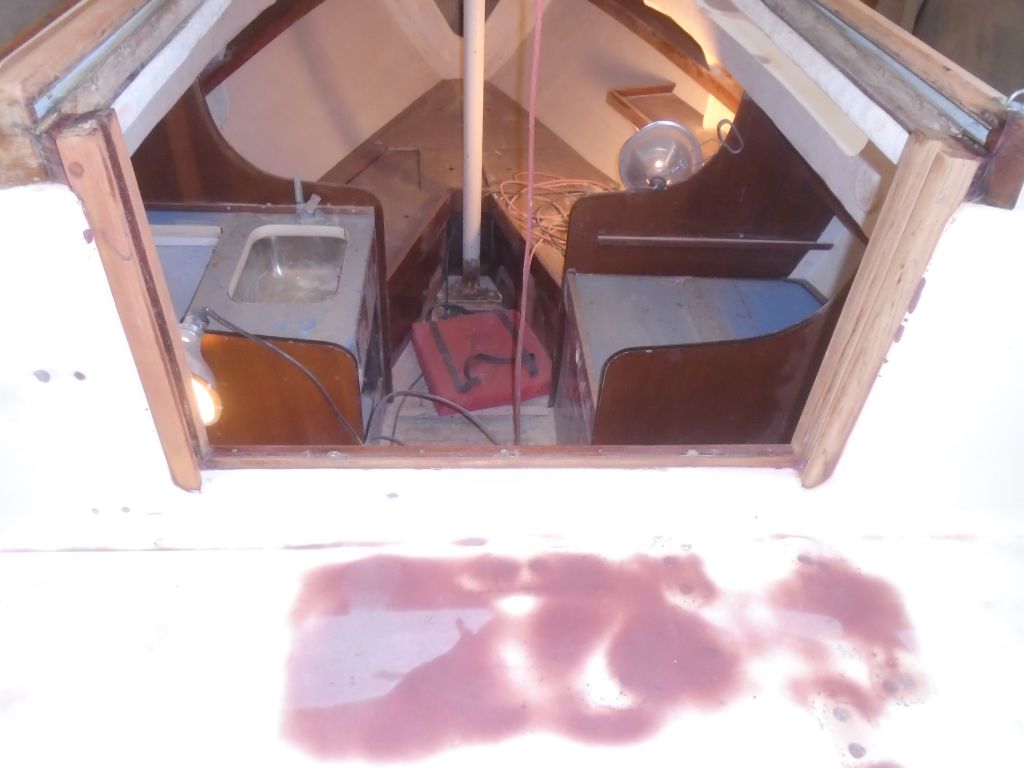
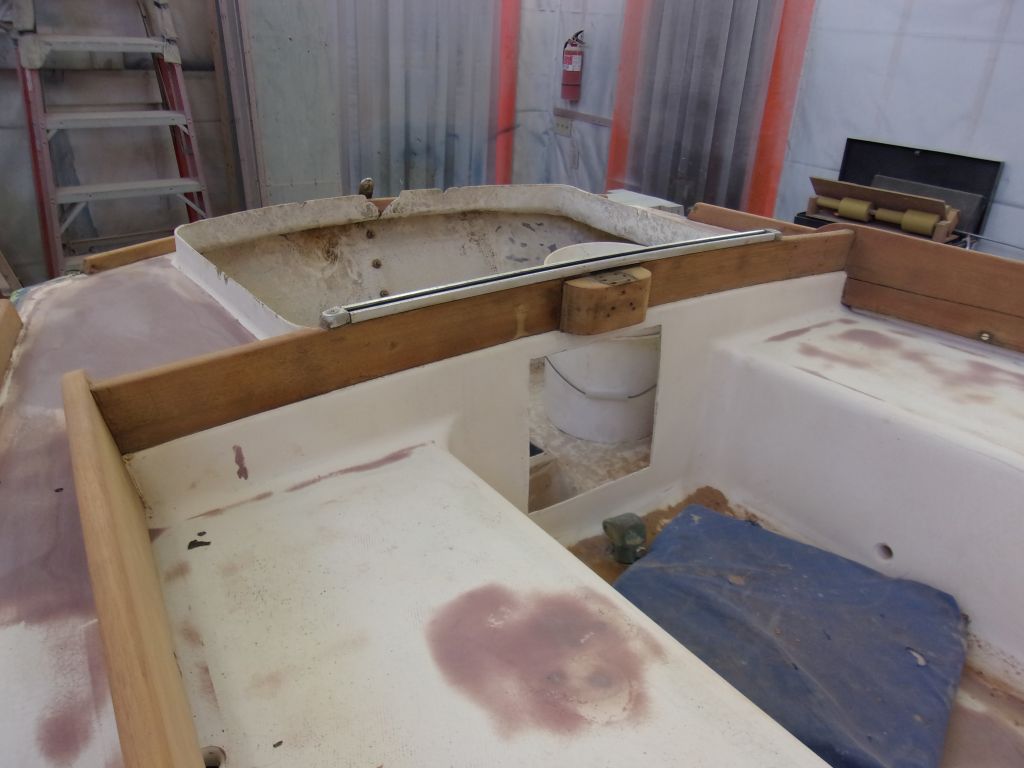
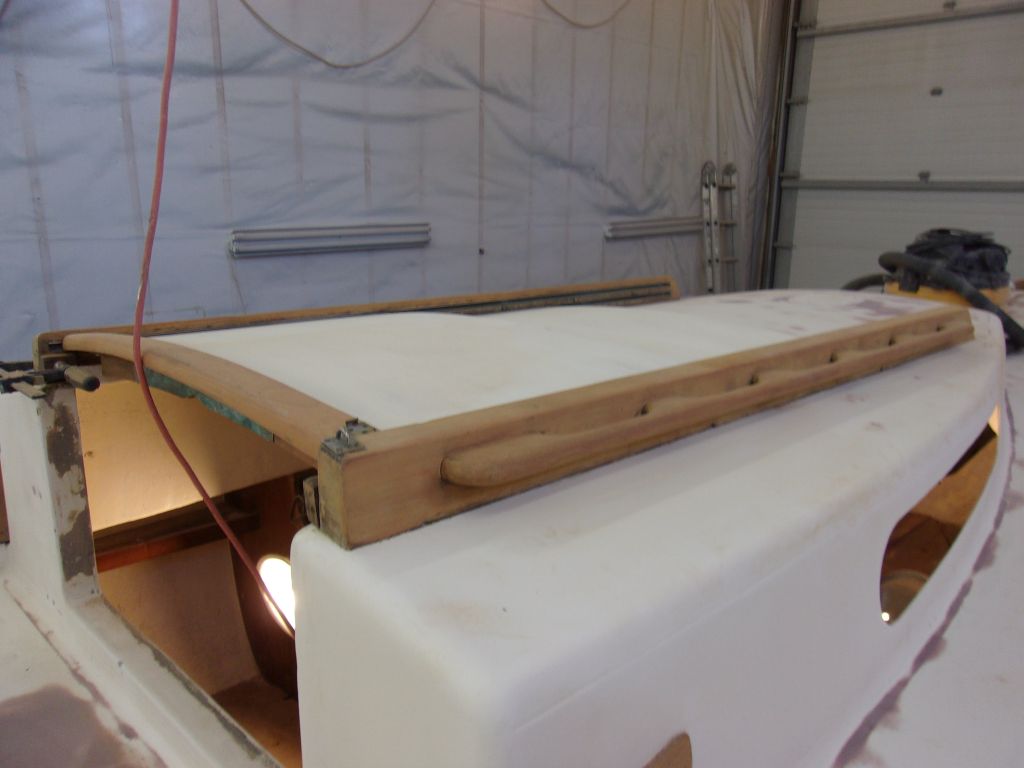
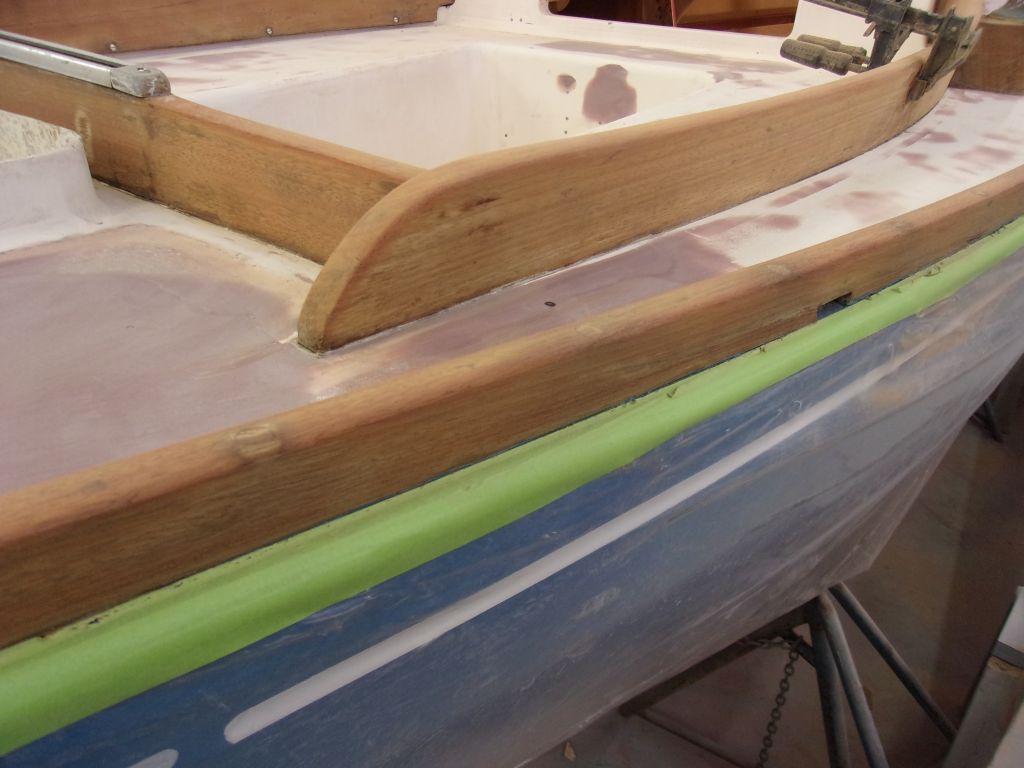
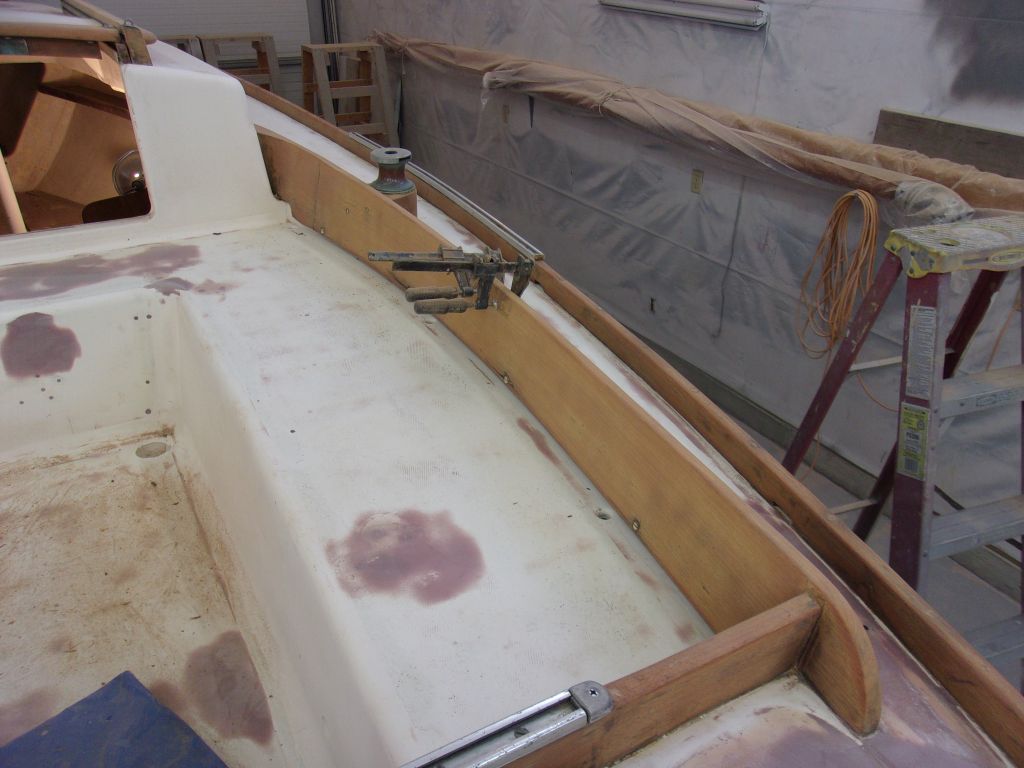
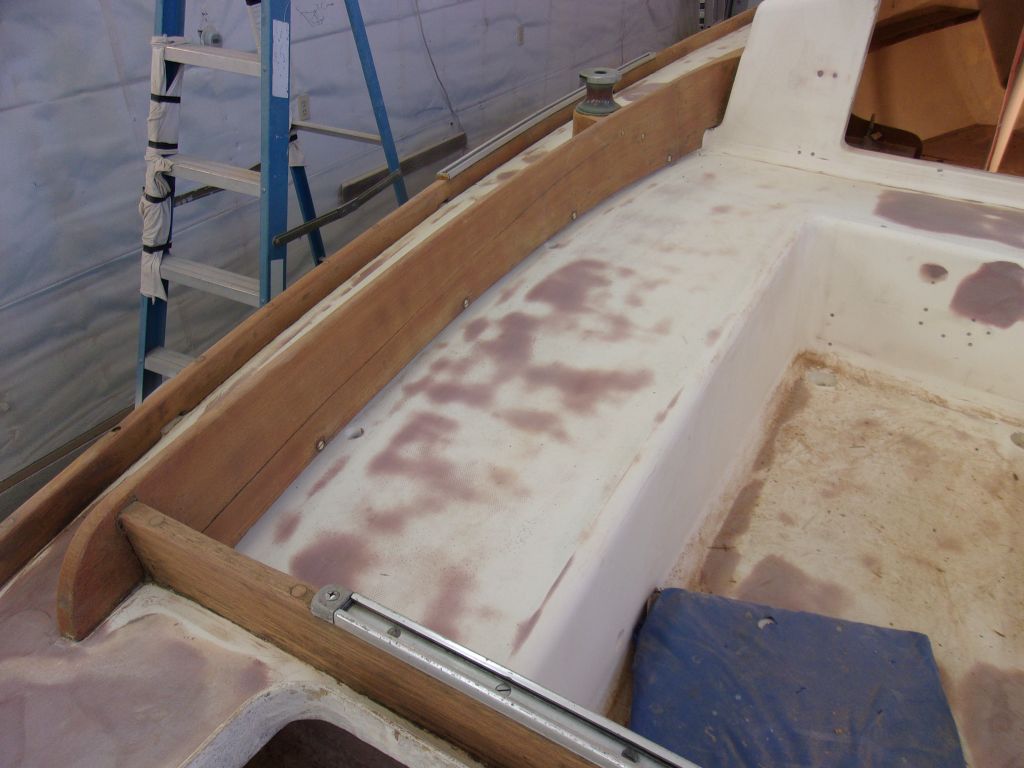
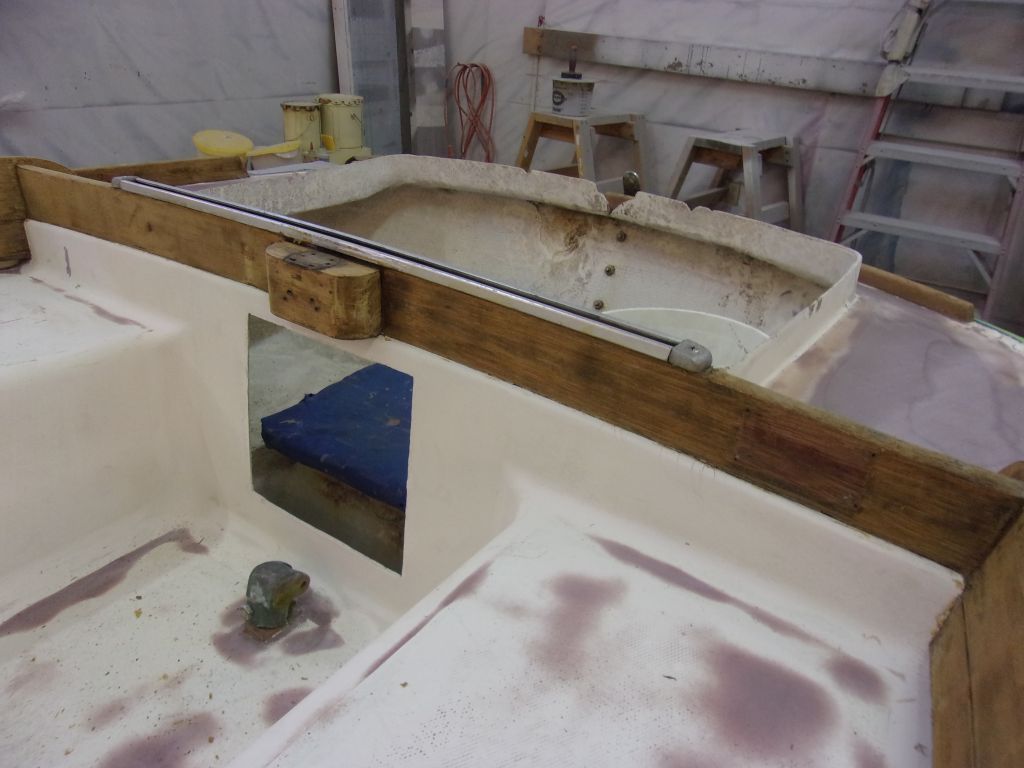
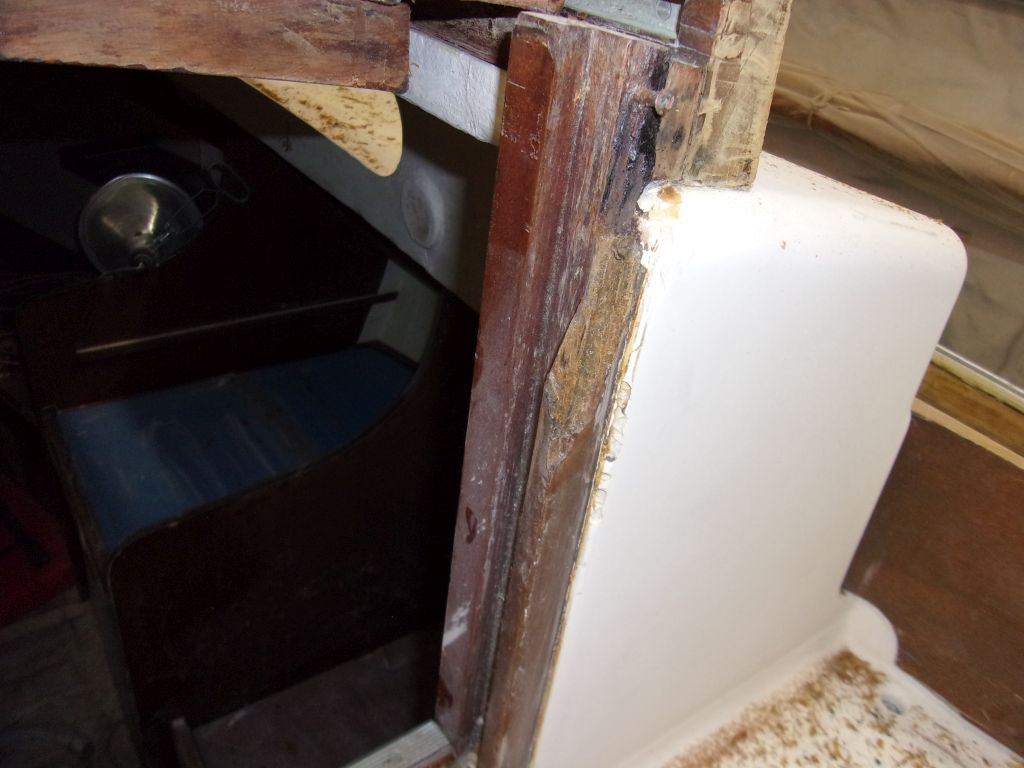
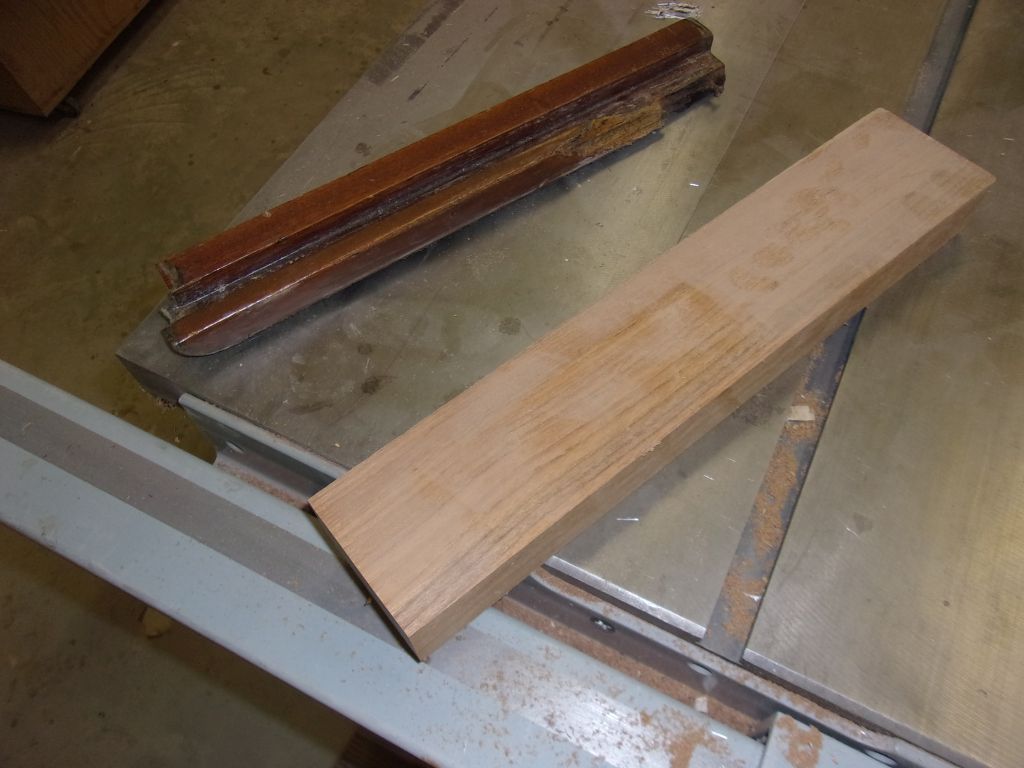
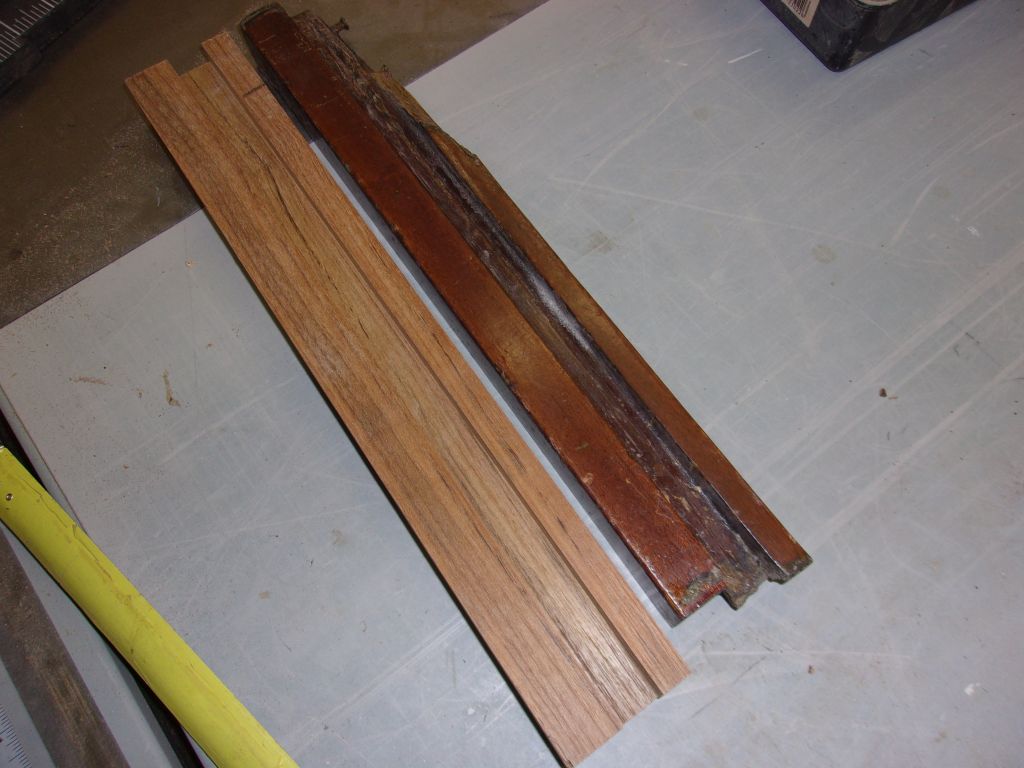
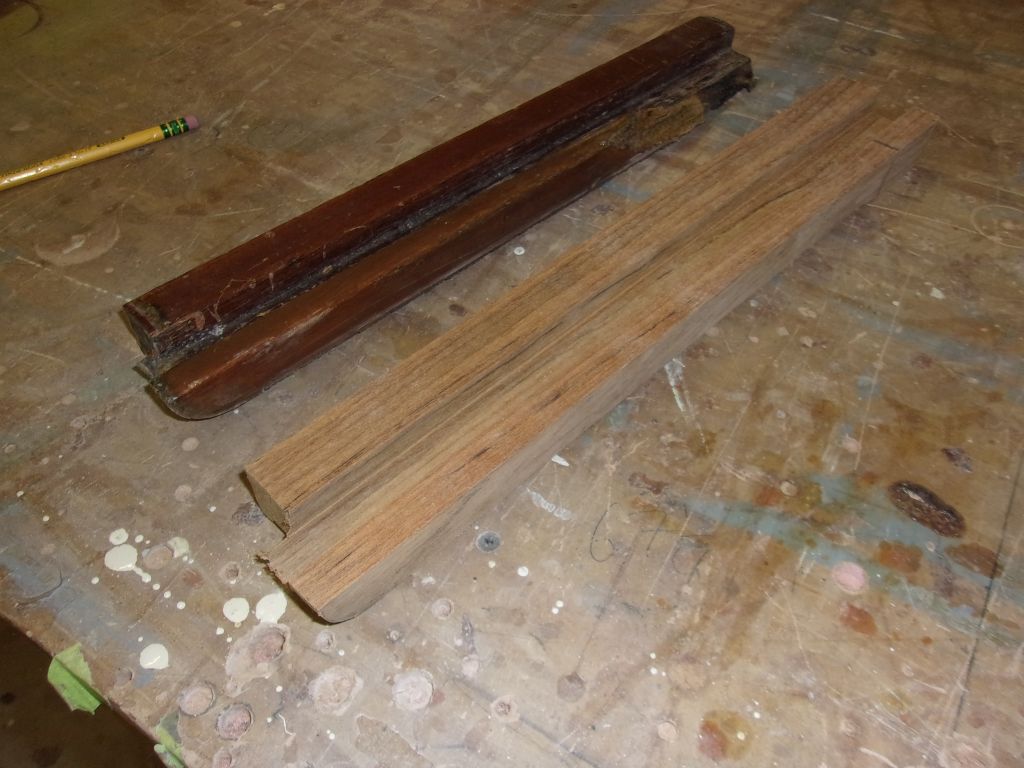
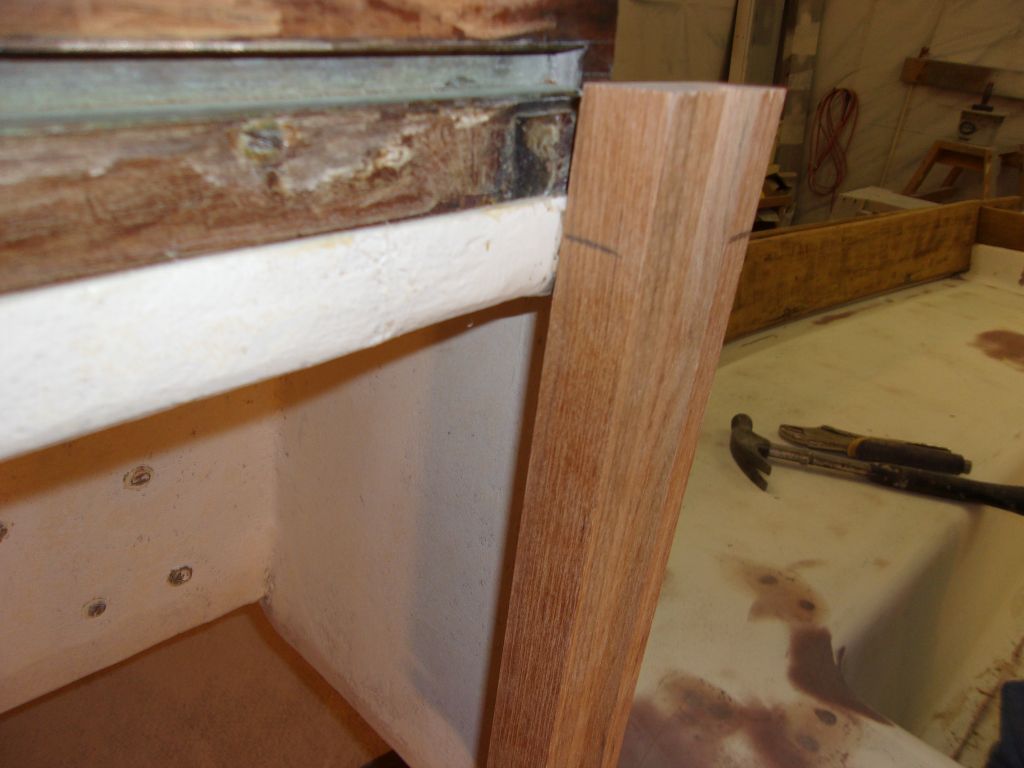
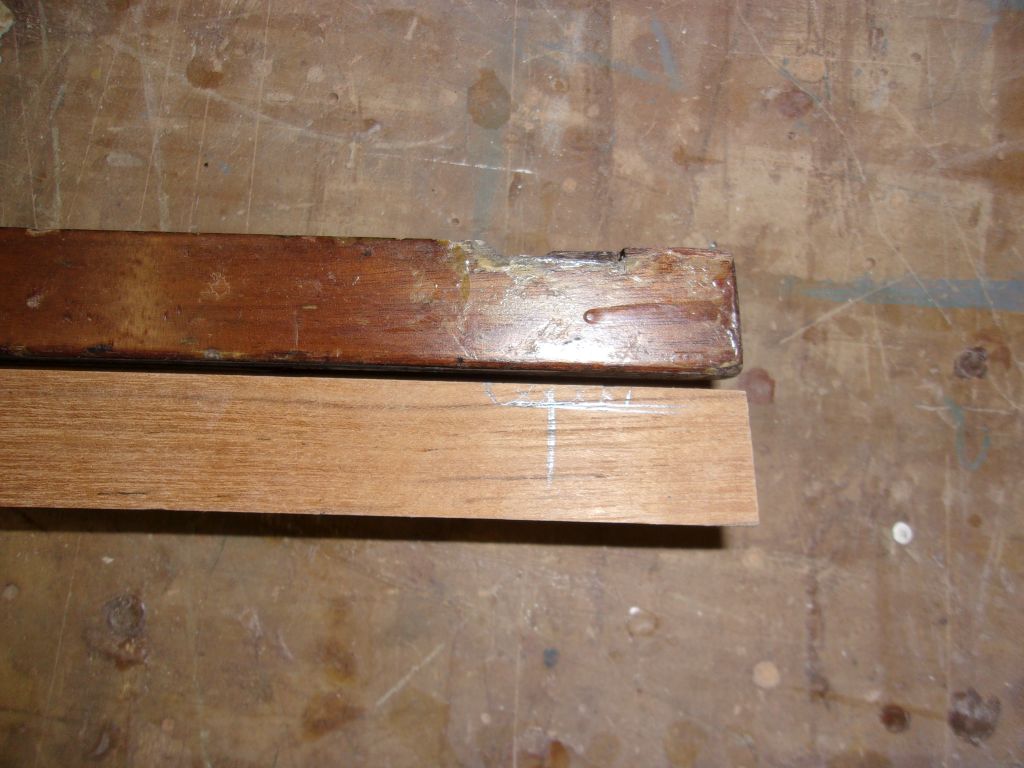
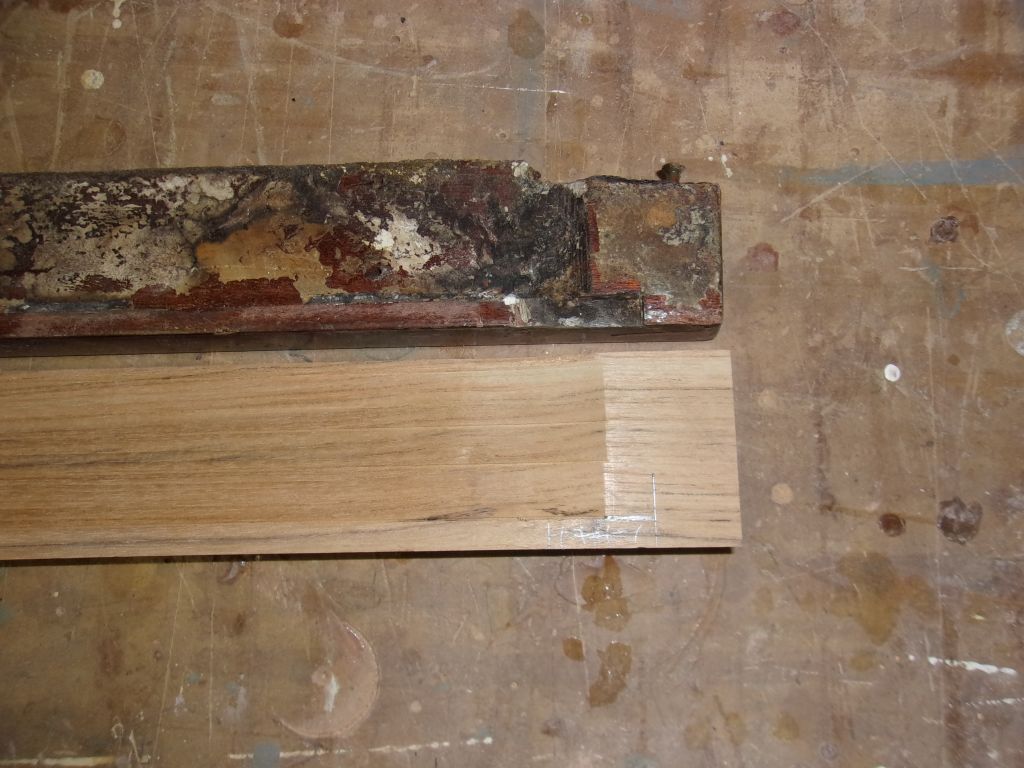
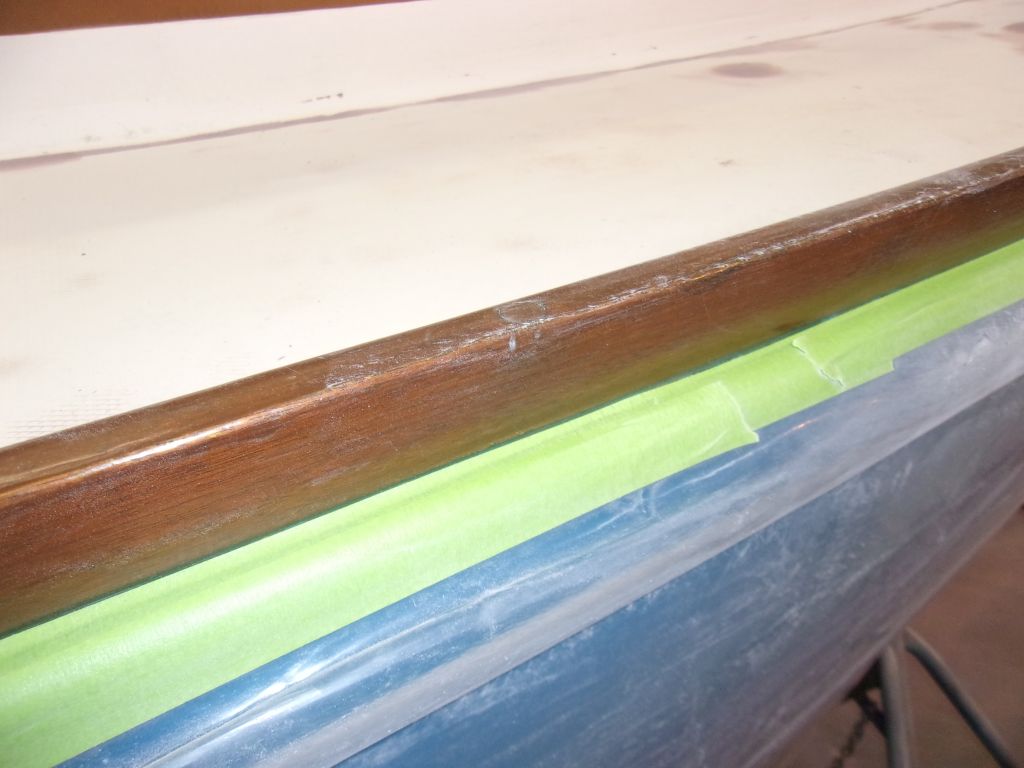
The solid wood trim located throughout the cabin, including at the edges of the berths, around the galley, and in the forward cabin, was more clear-cut:  I thought most of it, but particularly the berth fiddles, needed to be stripped, sanded, and completely refinished, as there was a lot of wear on the edges of the wood, with bare spots, and unquestionably this trim would look better if redone from a fresh start.

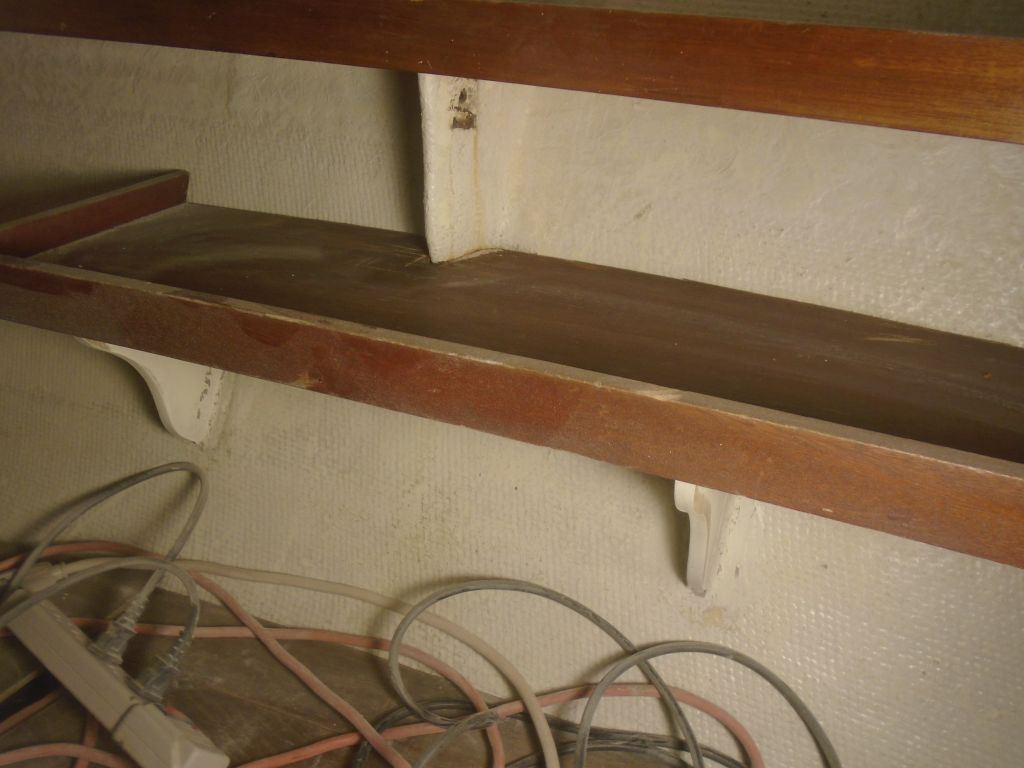
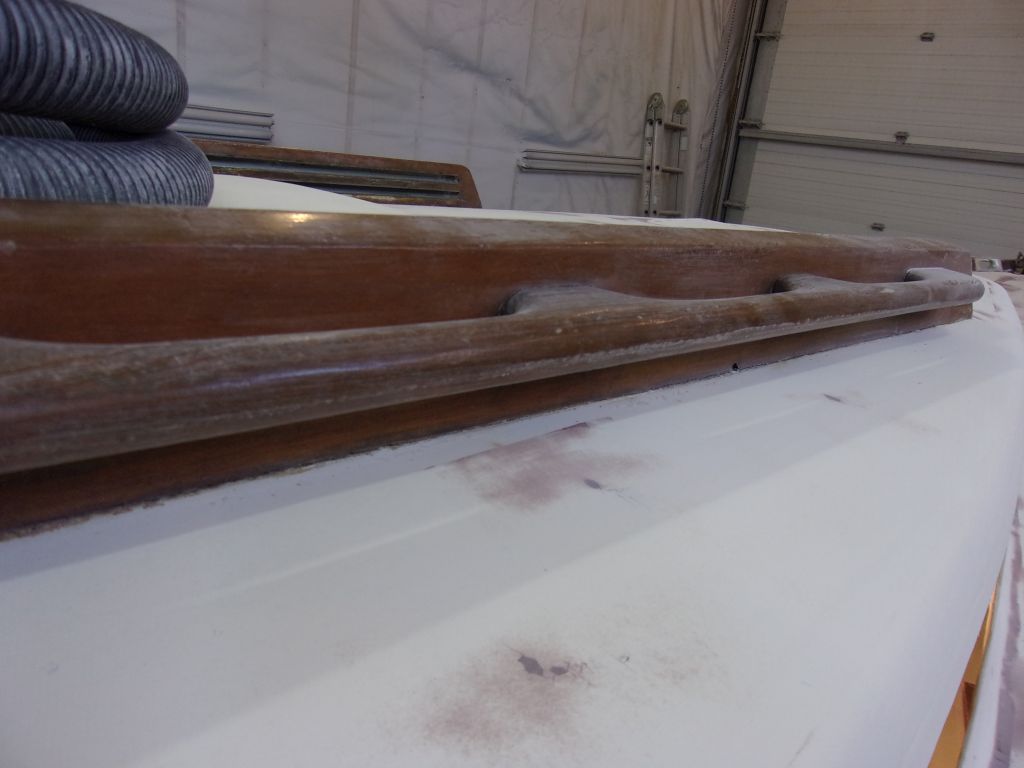
The trim on the shelves in the forward cabin, and their counterparts above the quarterberths, was in better condition, and here it might be acceptable to lightly sand and apply a fresh coat of varnish.

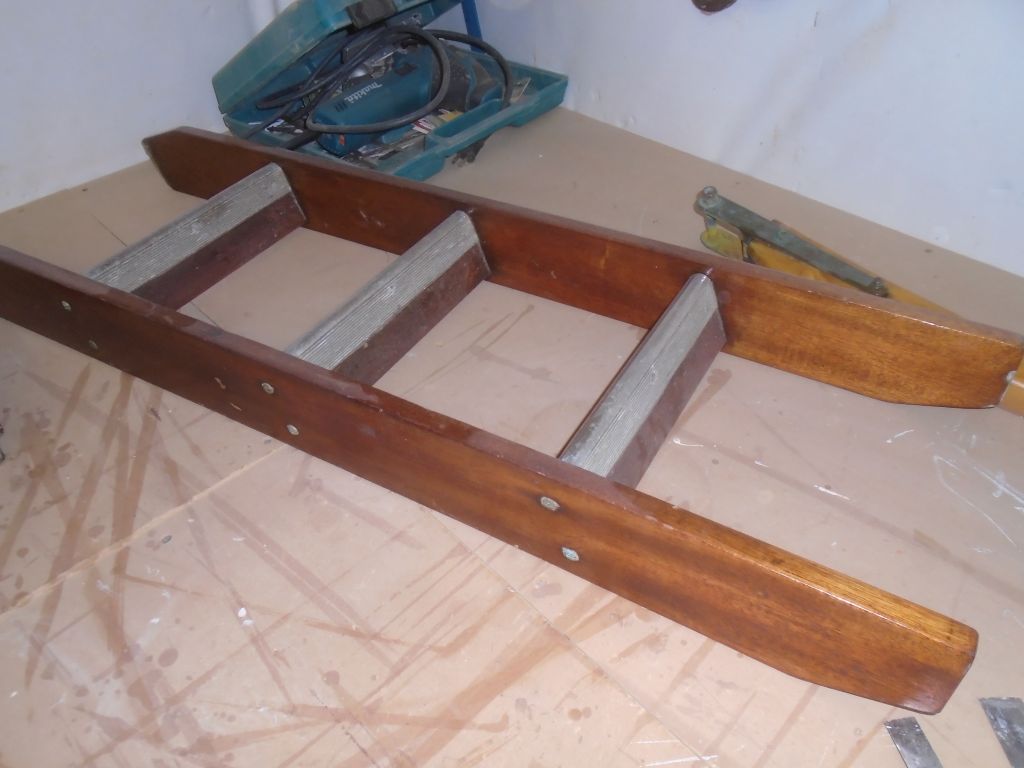
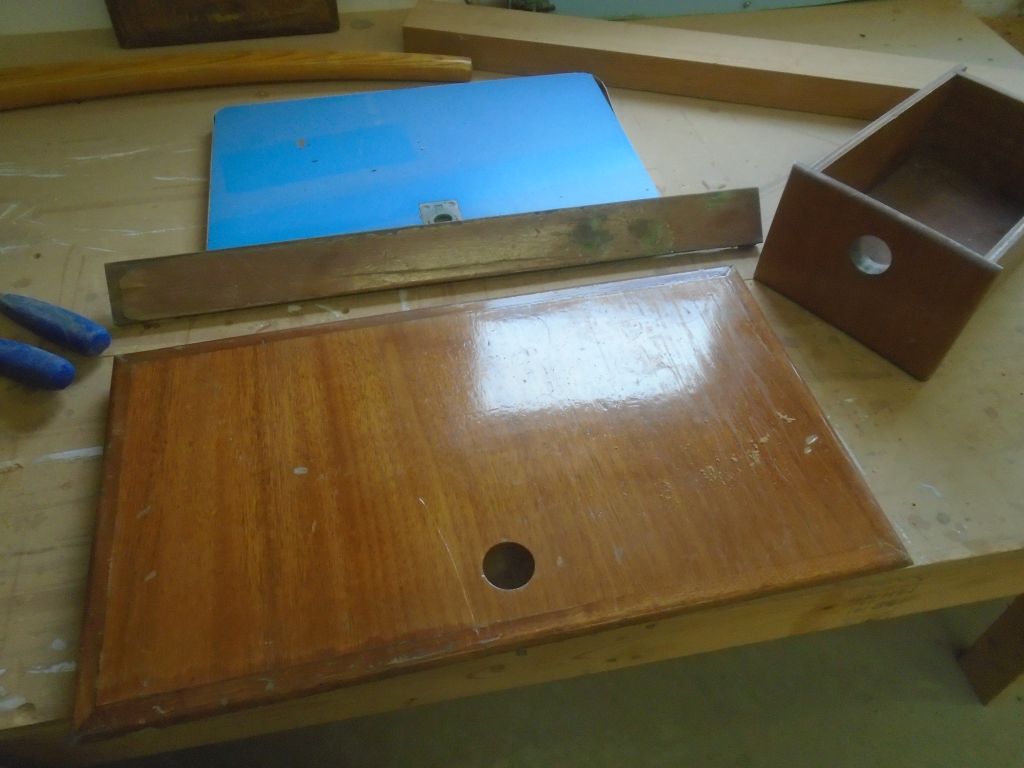
Similarly, the companionway ladder, a galley drawer front, and some other removable pieces might be fine with a maintenance coat as well, not that total refinishing might not be better.

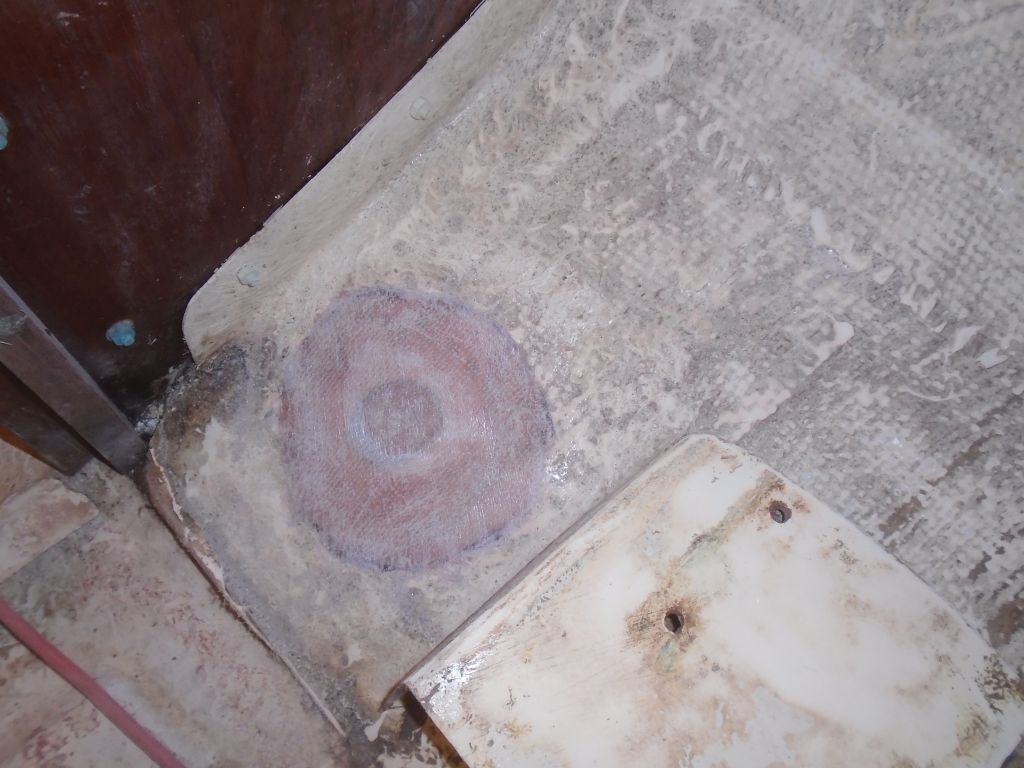
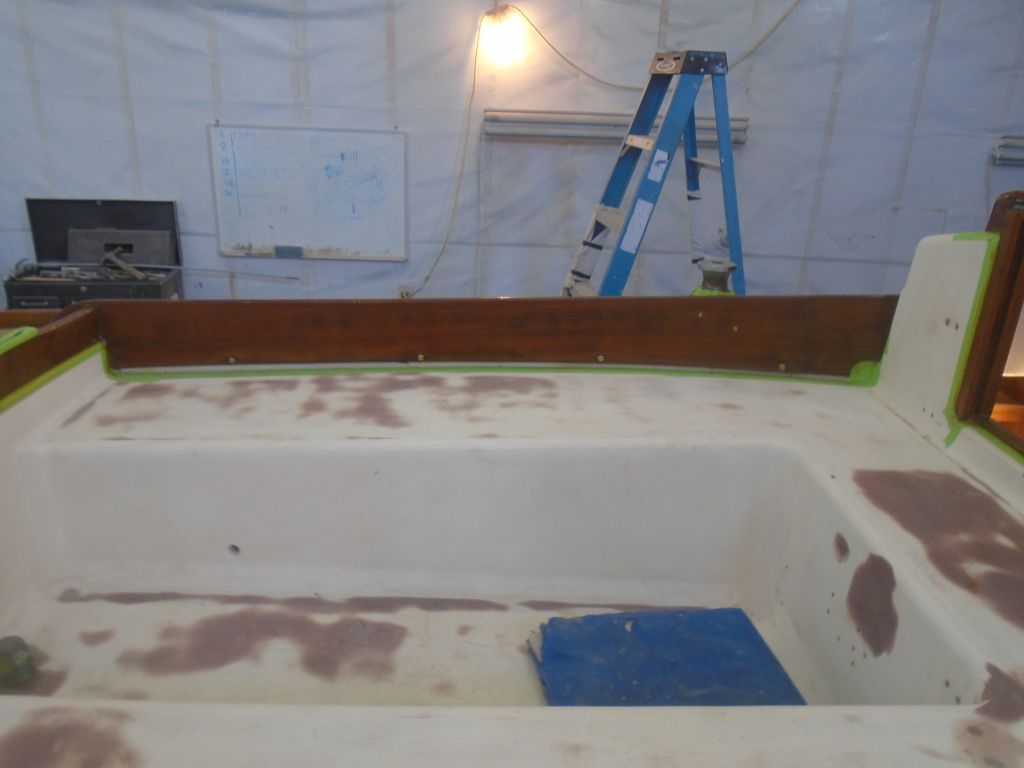
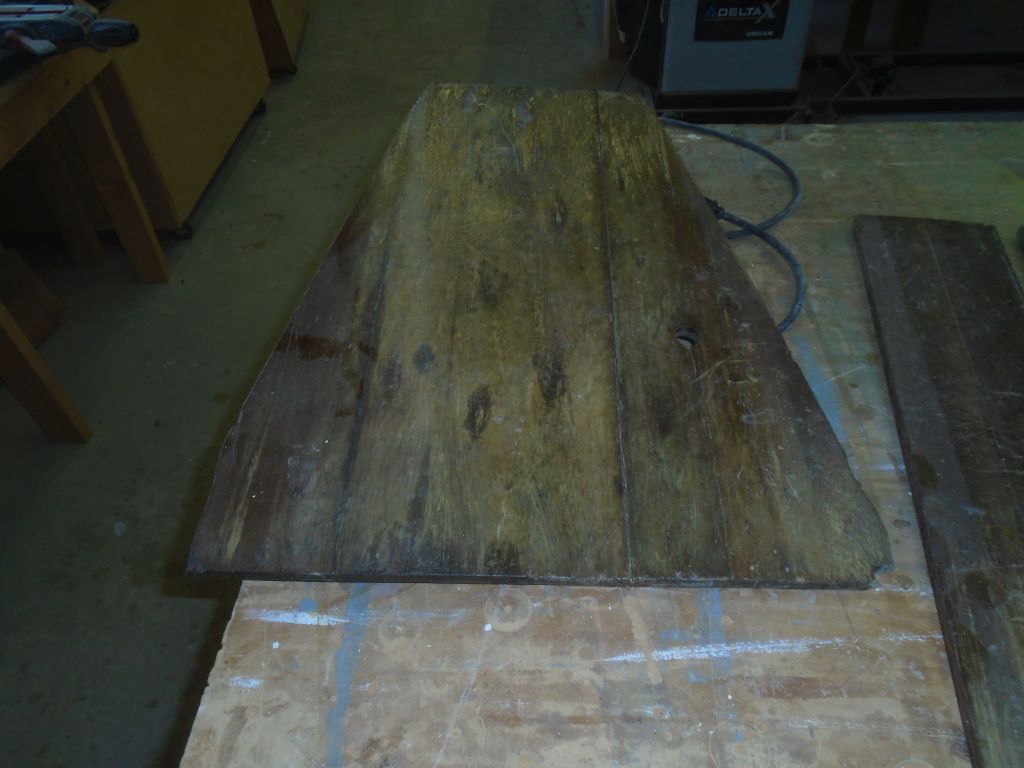
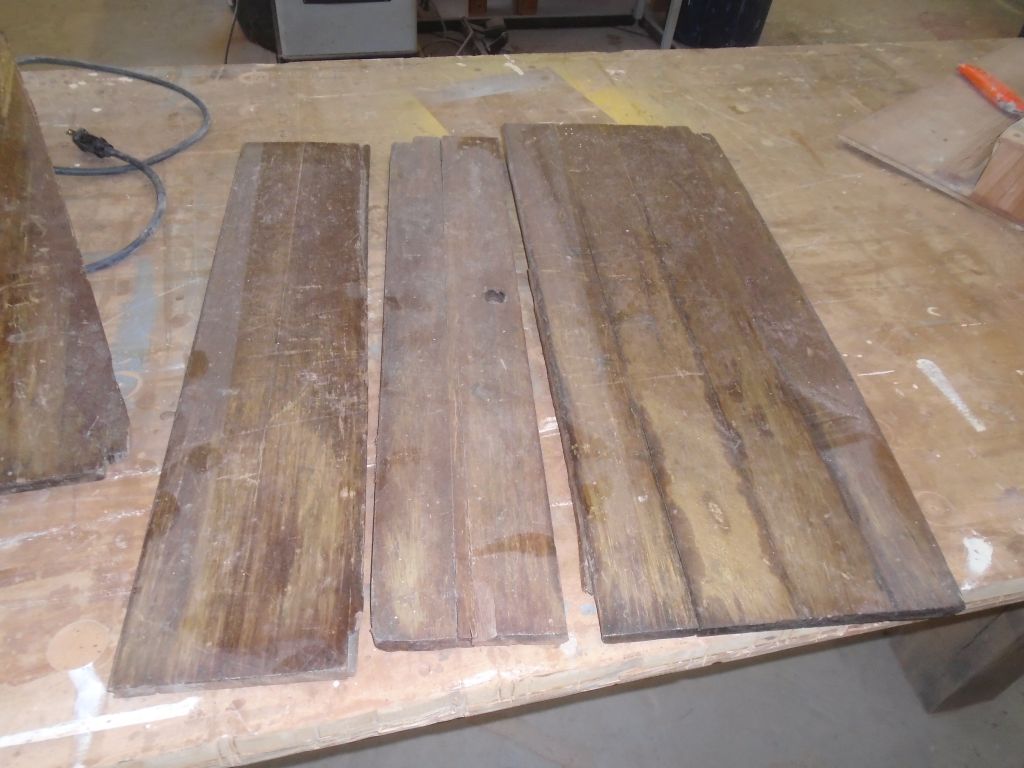
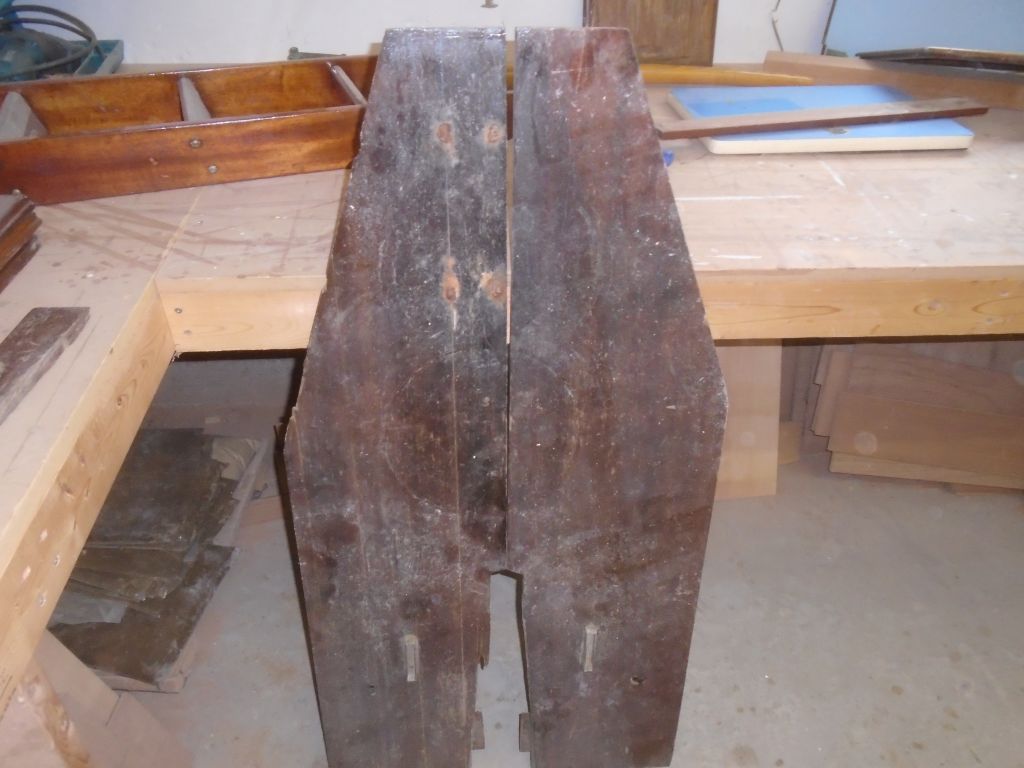
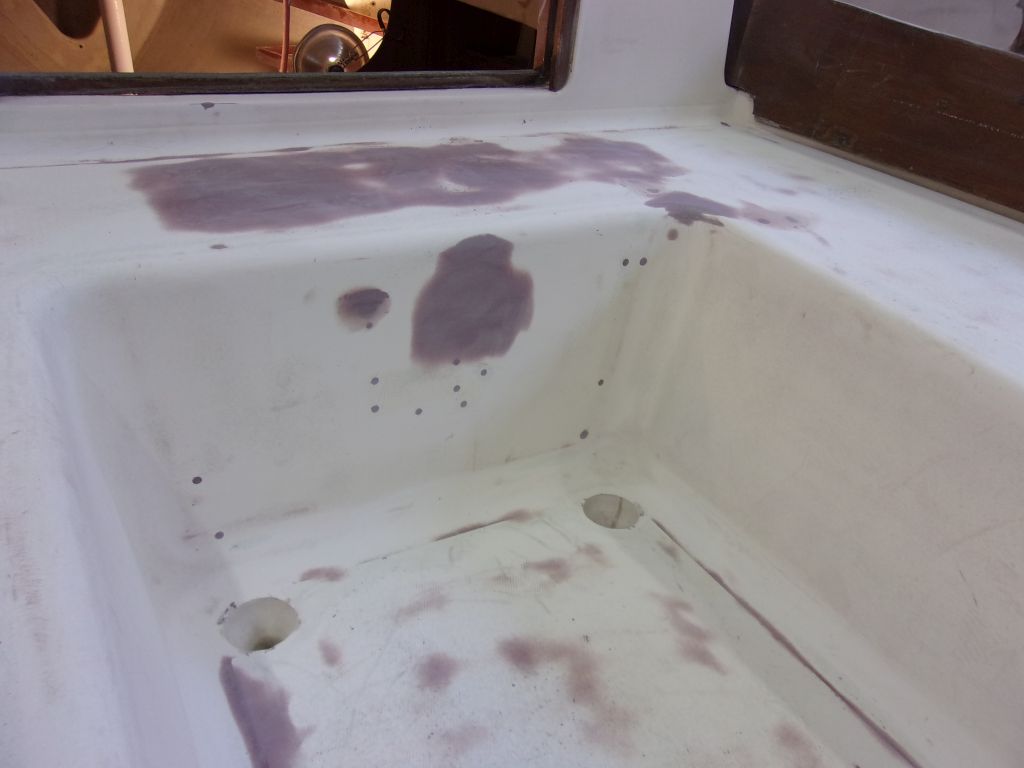
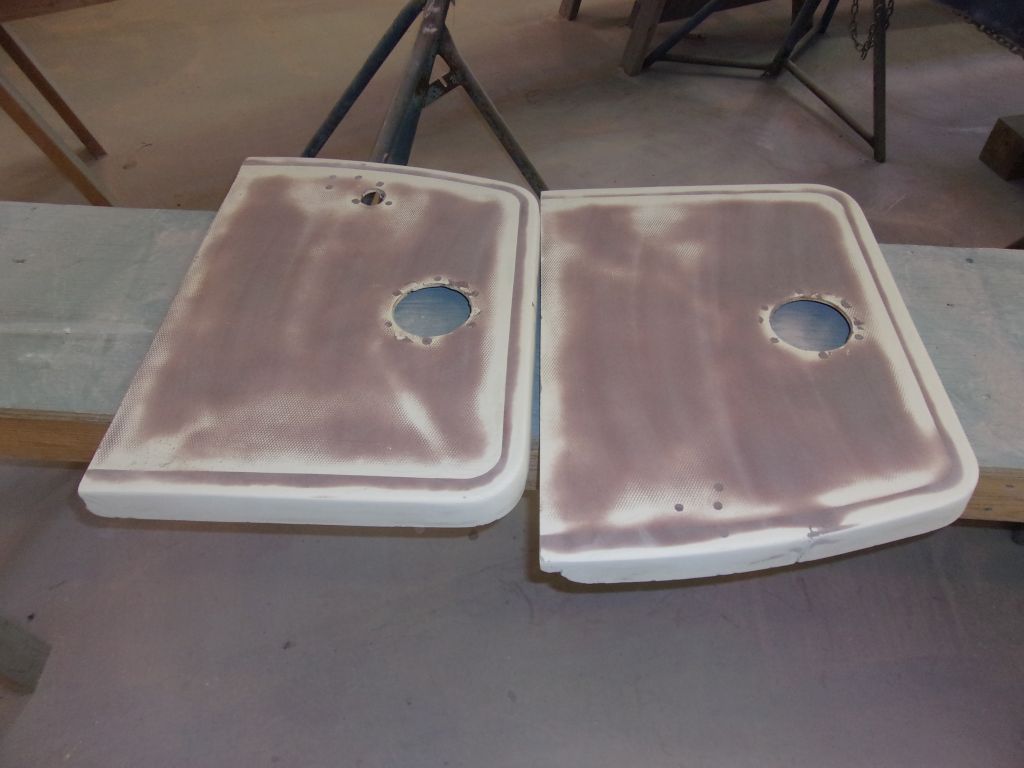
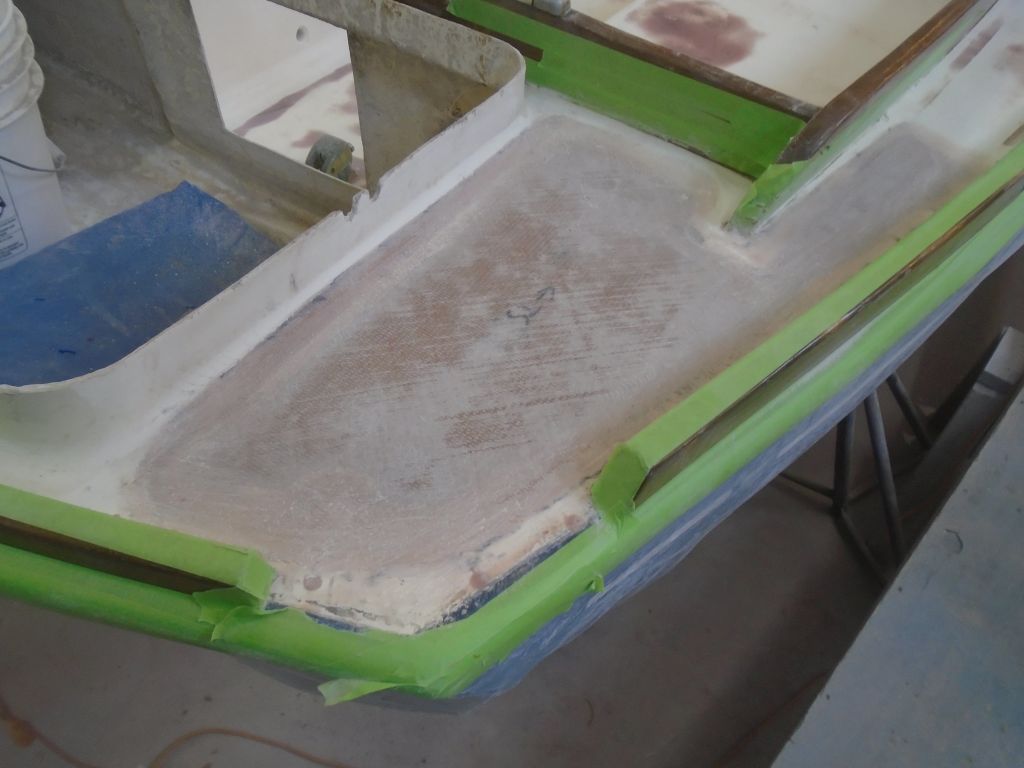
The cabin sole, in several pieces and with some damage and separation that would require some minor reassembly, was in pretty poor condition, and even a total refinishing would have its limitations, though stripping and starting from bare wood would likely have the best results.

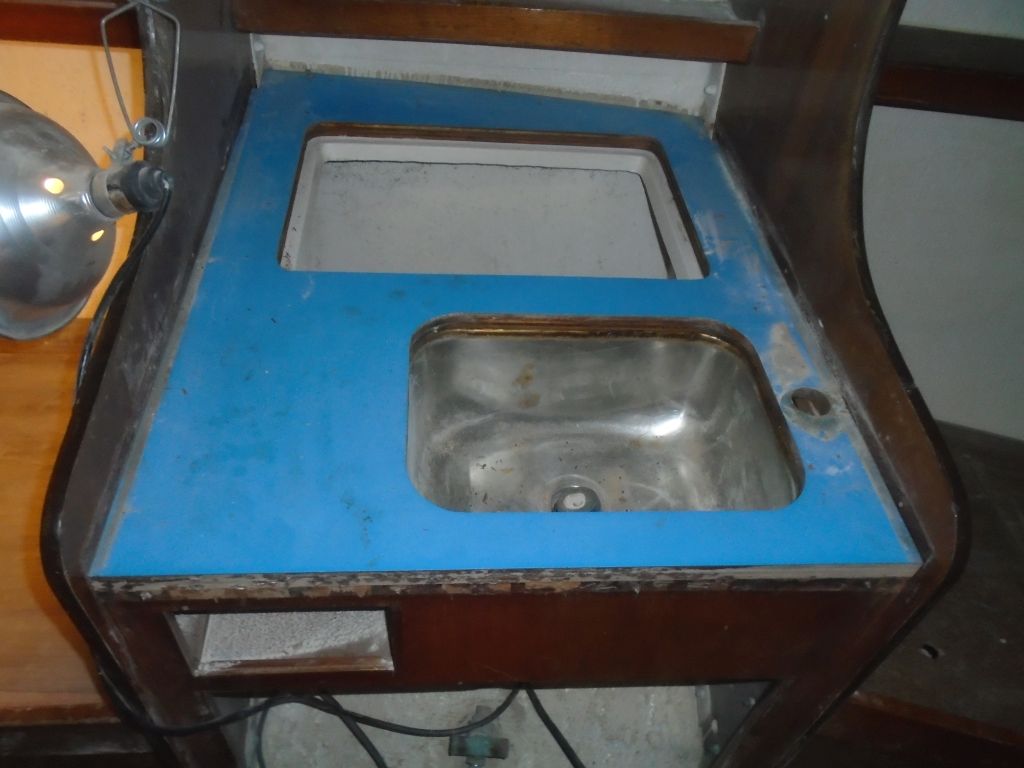
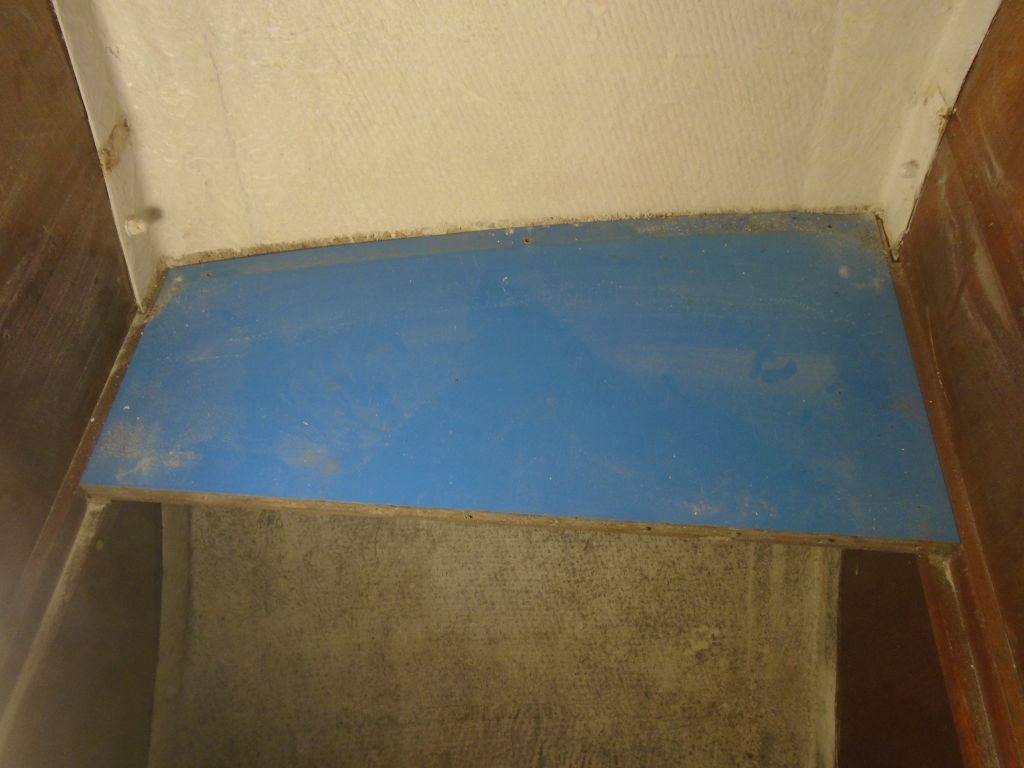
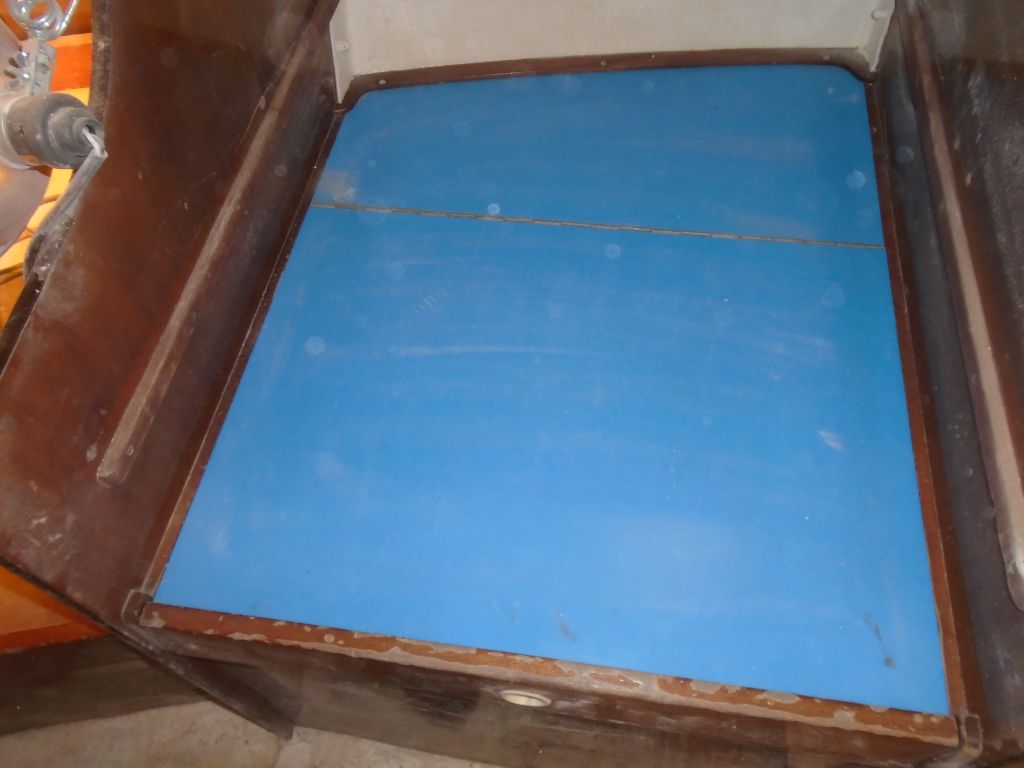
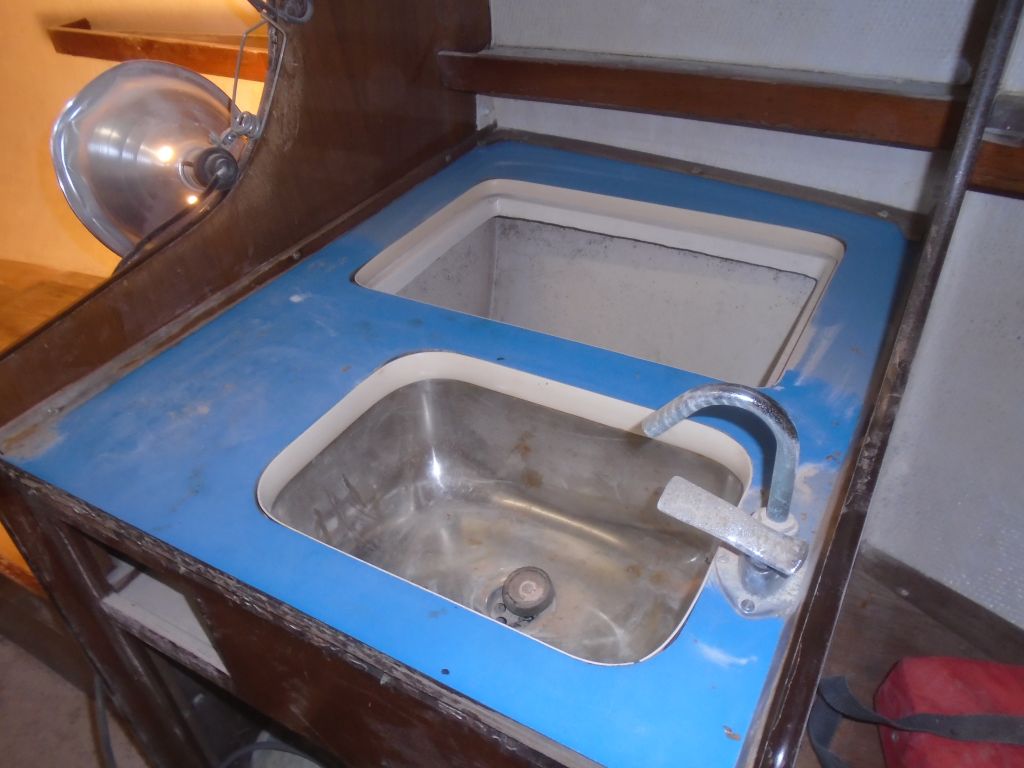
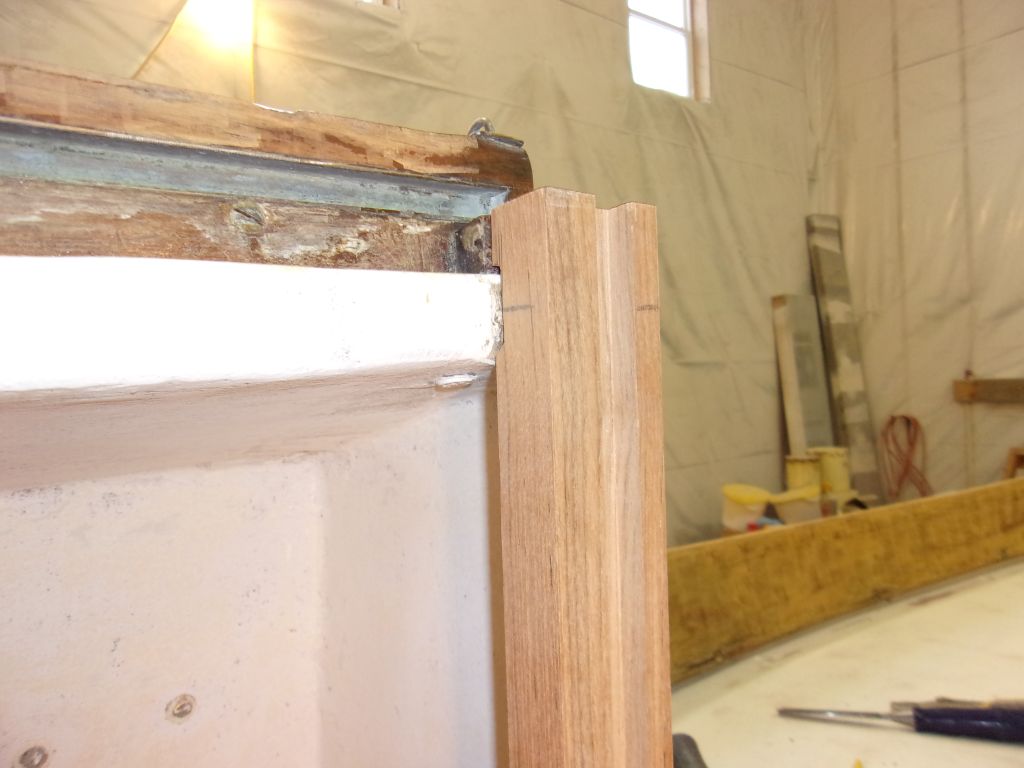
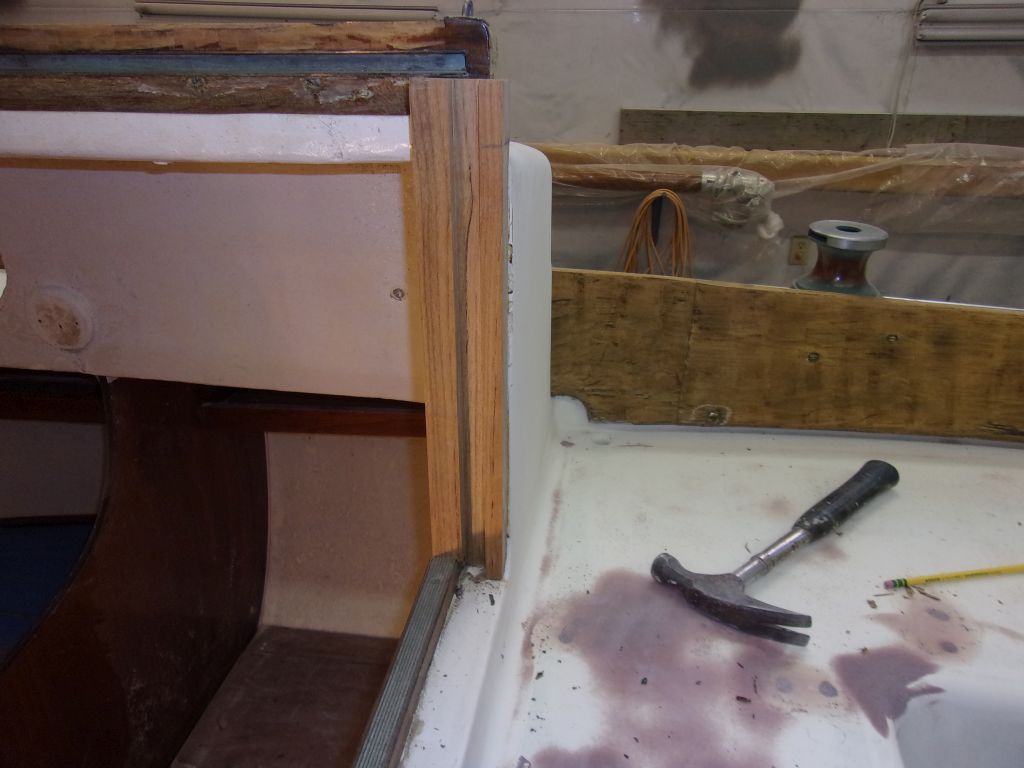
Other work planned for the interior included revamping/refinishing, as needed, the trim around the galley countertops, as well as resurfacing the countertops with new material.  The old surface was in good condition, but fairly dated in its appearance.  The plastic trim pieces around the icebox and sink openings would require some attention, and perhaps re-thought, as well.

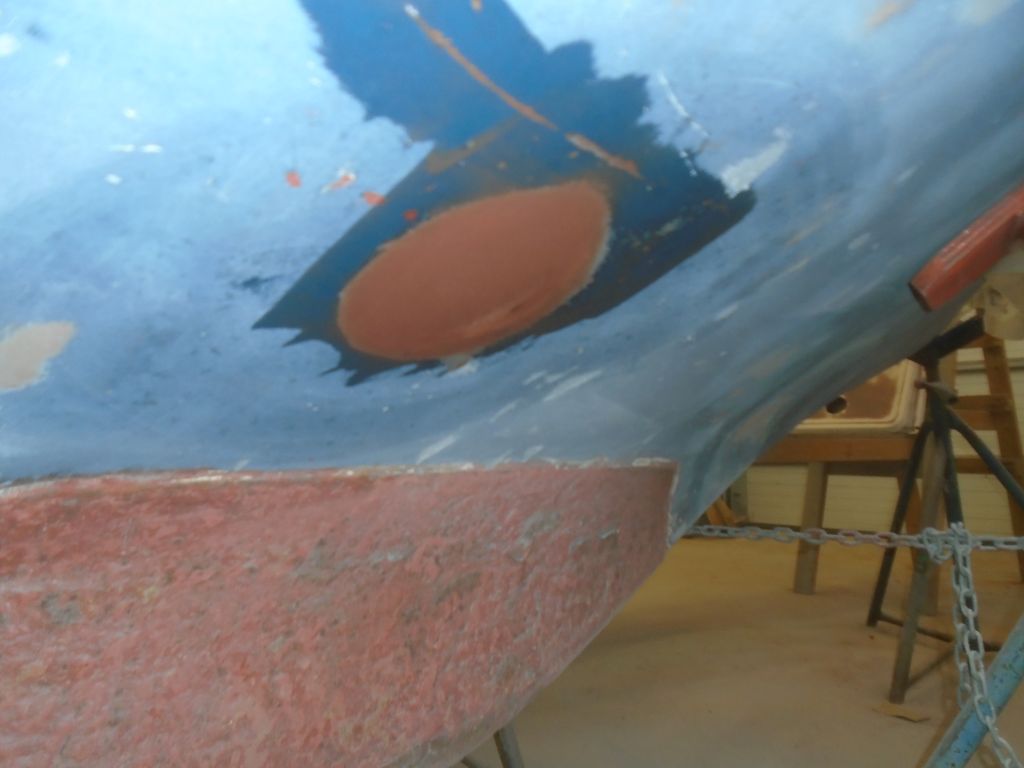
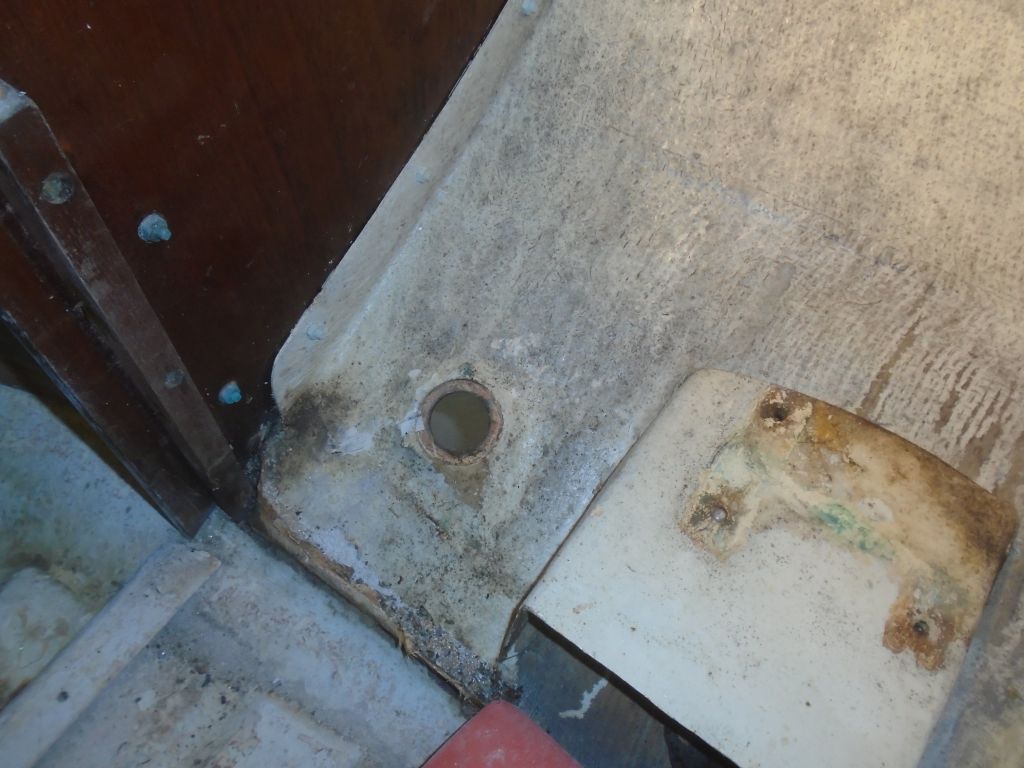
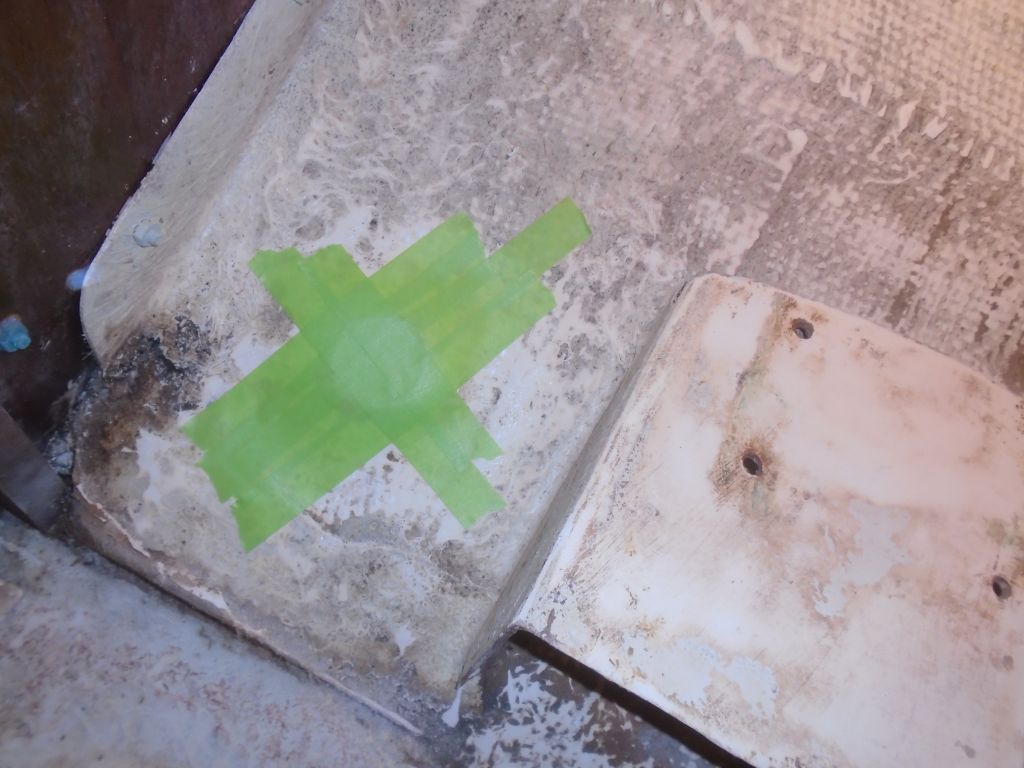
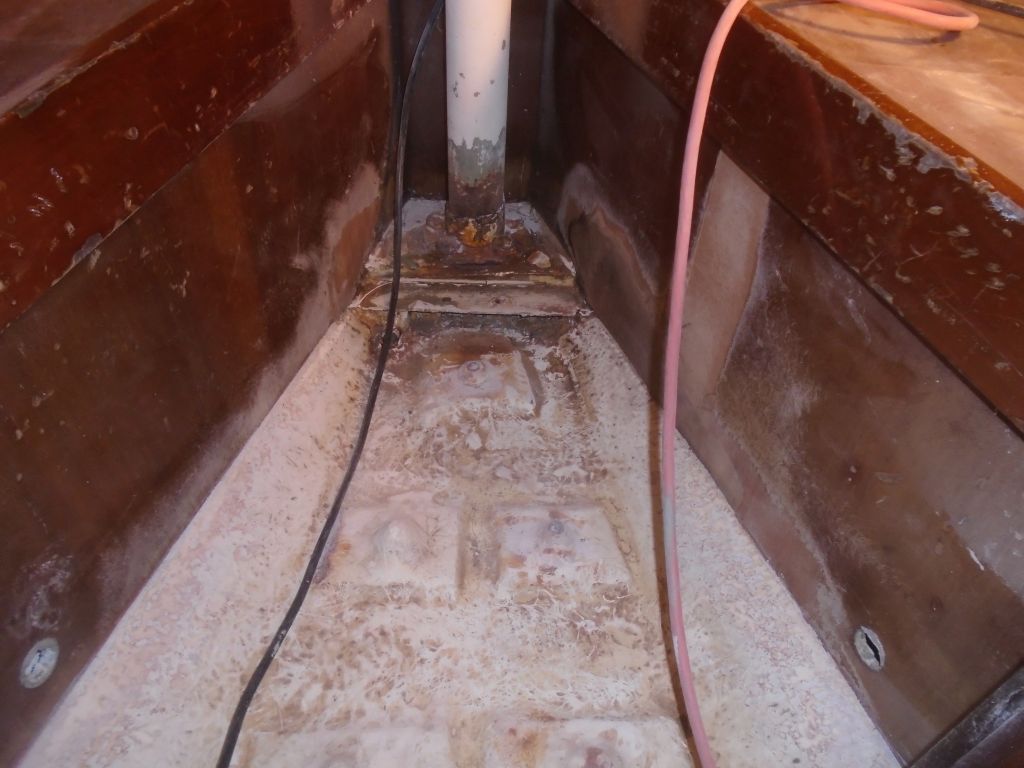
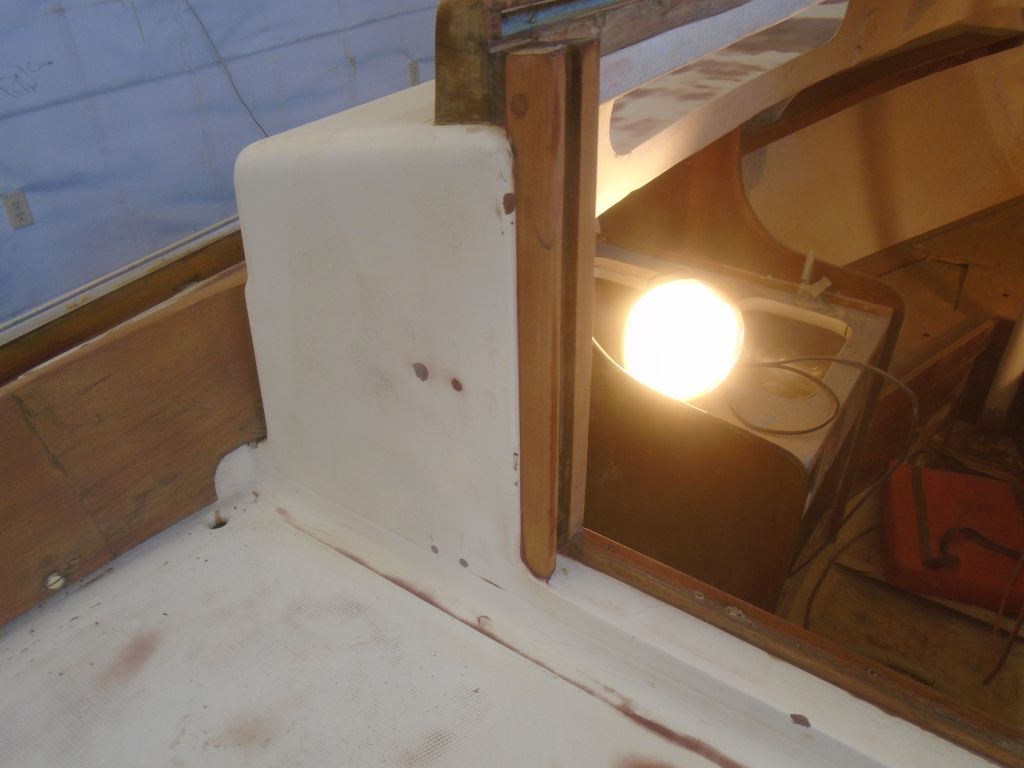
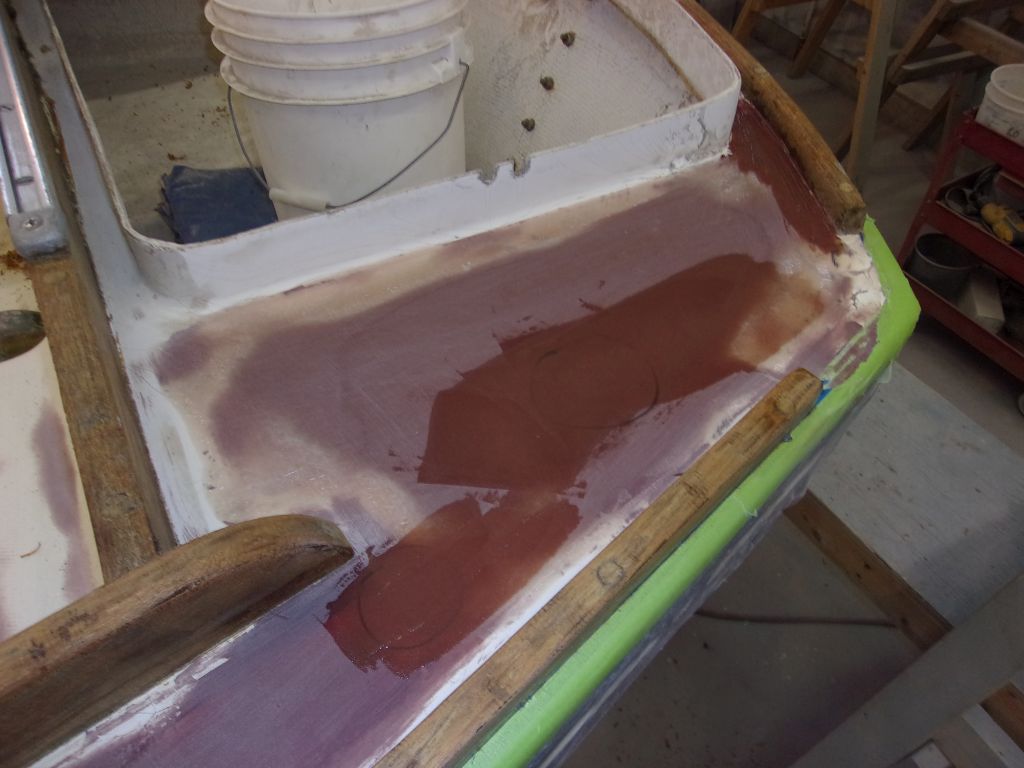
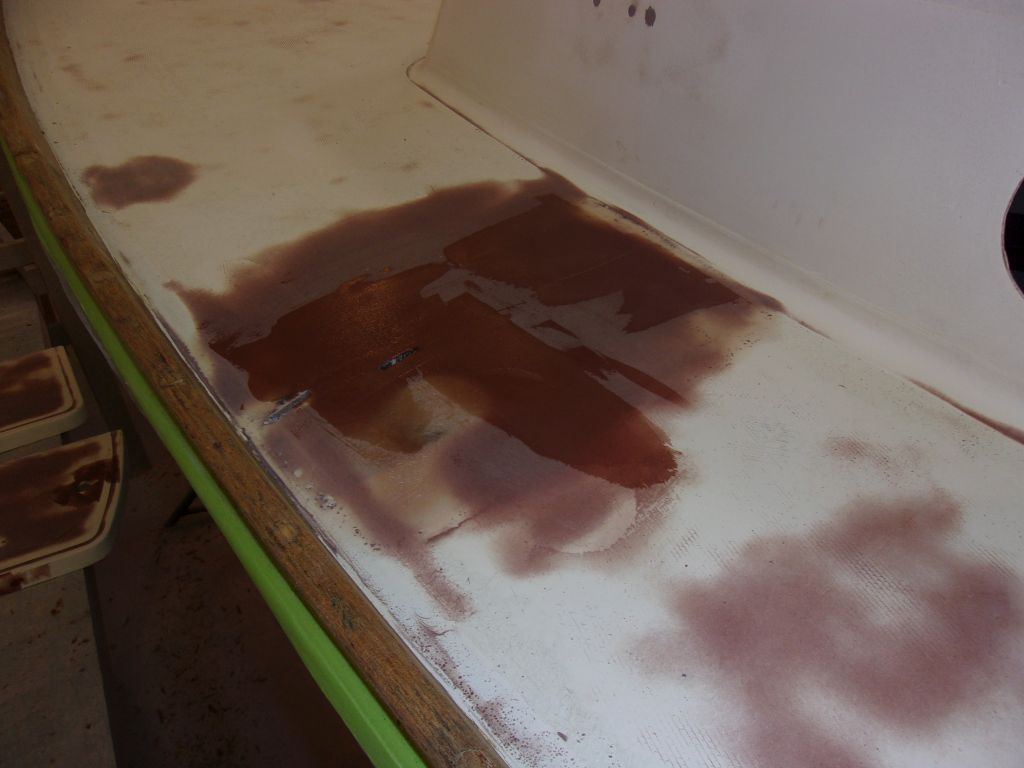
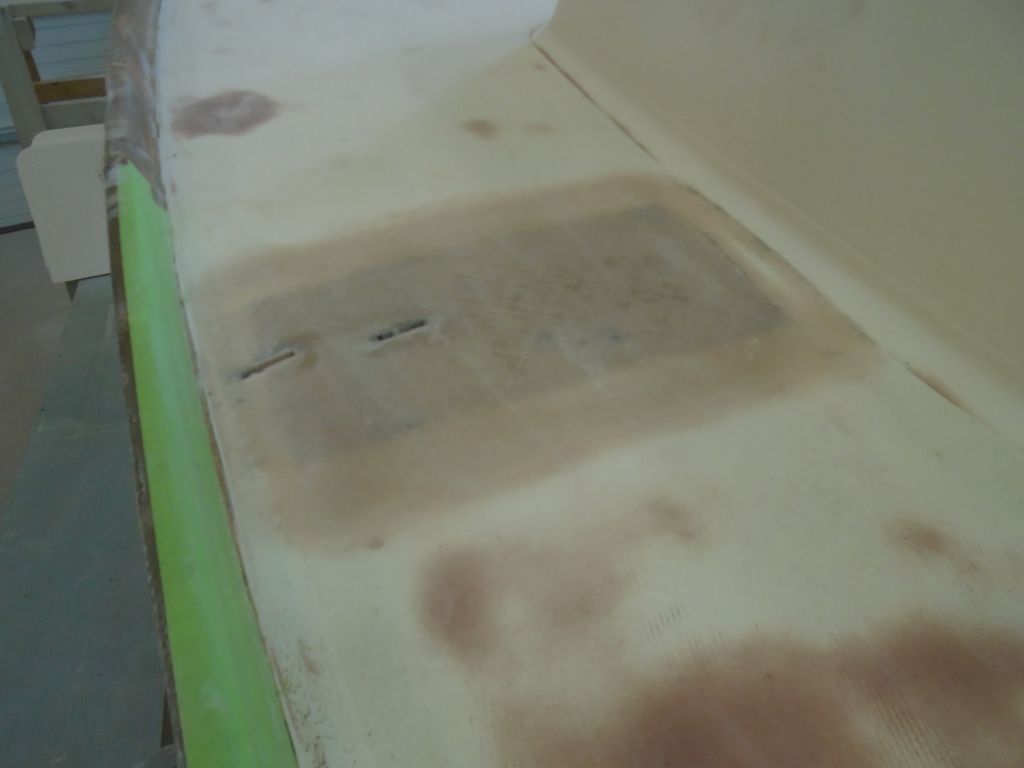
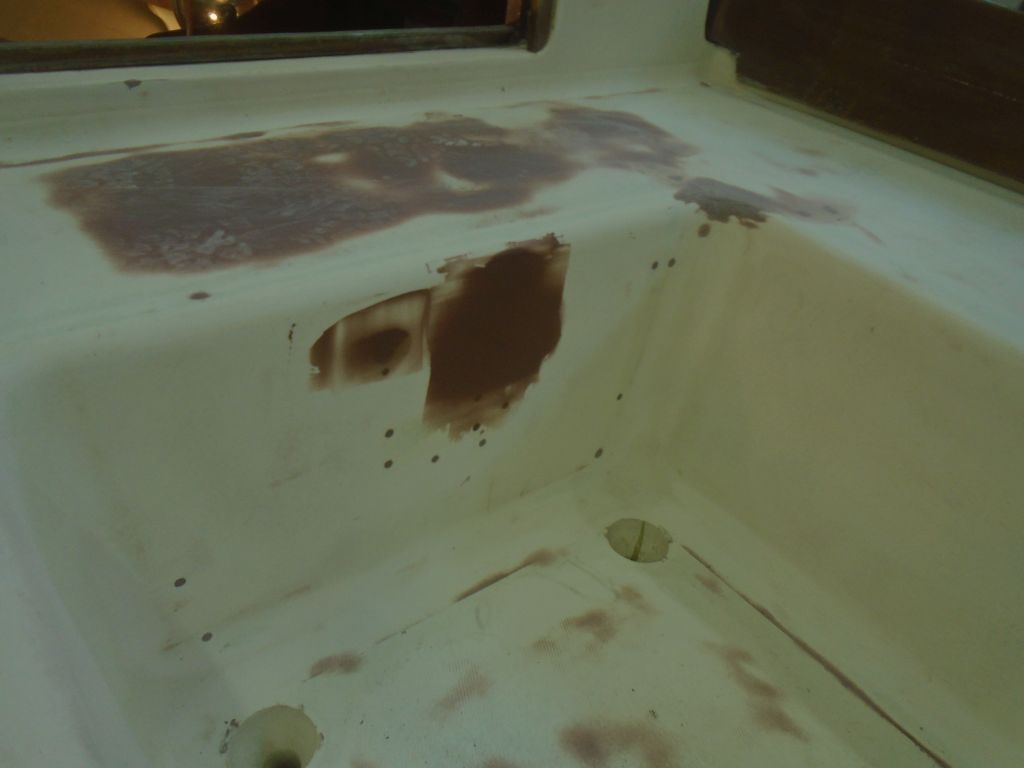
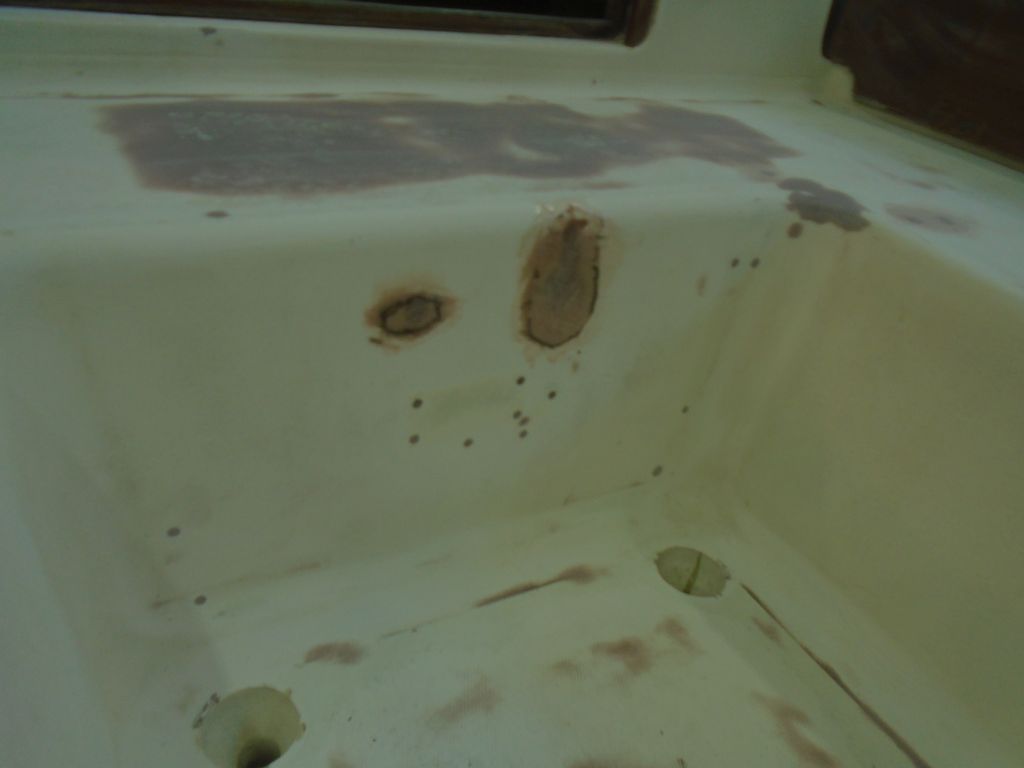
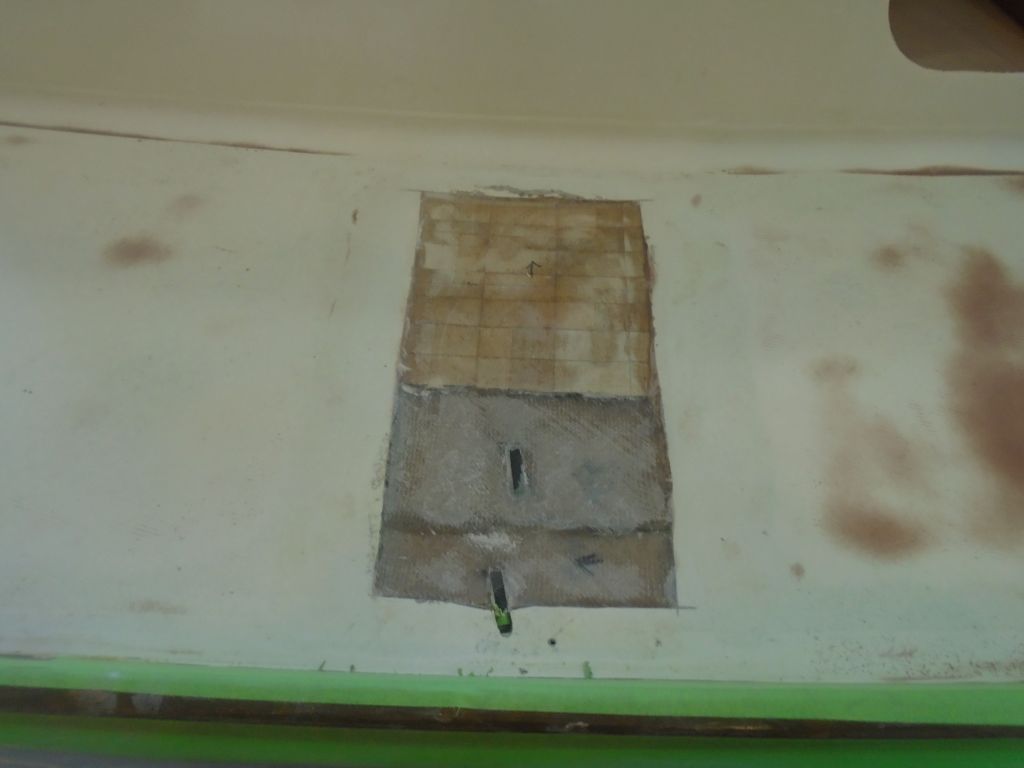
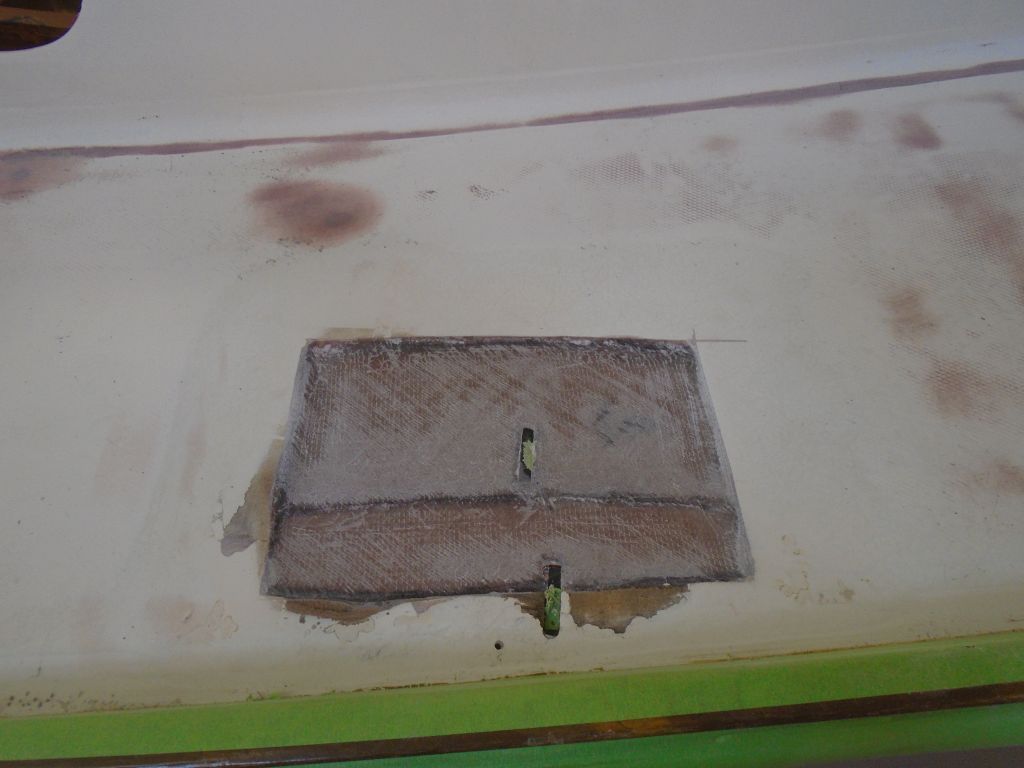
Finally, the bases of the settees and forward berth had more significant damage from moisture, particularly in the V of the forward berth, where the veneer had failed and separated from the base layers of the plywood, and in a previous consultation with the owner we’d already decided that some cosmetic repair and painting these surfaces would be the best approach, and that’s how I planned to proceed.


Total time billed on this job today:  1 hour

0600 Weather Observation:
35°, partly or mostly cloudy.  Forecast for the day:  sun and clouds, maybe a shower late afternoon

Halcyon 20

< Back to Halcyon

Thursday

I finished up some minor sanding work on the exterior trim, including cleaning up and finish-sanding the two existing, and one new, pieces of companionway trim, along with a couple areas on deck where I’d made some minor wood repairs.

During various sanding, scraping, and stripping chores, some old bedding compound at the edge of the toerail where it met the deck had flaked away, and this left, in some areas, a small gap at the corner of the rail.  This sort of void would attract dirt and moisture and eventually compromise the new wood finish, so I decided to apply a small bead of sealant here to seal the crack and provide a more cosmetically appealing appearance.

After vacuuming and solvent-washing the area, I applied masking tape on both sides of the seam to protect the adjacent surfaces.  I left just a bit of exposed surface on both deck and toerail to give the new sealant somewhere to bond externally, but mainly I wanted the sealant to be forced into the small  gap as much as possible.

I applied a bead of brown-colored sealant and, with finger pressure, forced it into the small seam and into a smooth cove shape, minimizing the material right at the edge of the tape.

Afterwards, I immediately removed the masking tape, carefully pulling it away from the fresh sealant and leaving behind a nice little cove.

Meanwhile, I turned to the companionway trim.  After final preparations, including drilling the new piece for screws and test-fitting all three pieces, I installed the trim in a bed of sealant with new fasteners all around.  The reddish spots at the corners of the opening are areas where I’d filled and repaired some damaged gelcoat chips.

Total time billed on this job today:  5 hours

0600 Weather Observation:
30°, partly clear.  Forecast for the day:  Mainly cloudy, 40s

Halcyon 19

< Back to Halcyon

Wednesday

After chiseling out the little notch in the back side of the new companionway trim piece, I test-fit the piece again, making some   fine adjustments till it fit properly.

During this fitting process, I found that the base trim piece was loose, the old fasteners having failed, so I removed that as well so I could better clean up the area for reinstallation.  Ultimately, I  decided also to remove the port companionway trim for sanding and reinstallation, since its installation was similarly loose.  Later, I sanded clean the old faying surfaces of the molded opening, pending final reinstallation of the trim pieces a little later.

I spent the bulk of the day sanding all the exterior trim to remove final bits of old finish and smooth the wood surface.  The wood, as anticipated, was in fair condition considering its age, with various staining, dents, and so forth, but it would look pretty good once refinished.  While I was at it, I dressed up the deck, cabin, and cockpit surfaces with 120 grit on a vibrating sander, the final sanding stage for these areas.  I had a couple minor regluing repairs underway when I took these photos, which explains the clamps seen here and there.

Later, I cleaned up the main set of chainplates, removing old paint, sealant, and surface rust.  In a couple spots, the rust had etched into the surface metal a bit, but it didn’t appear at this time to extend below the surface.

Total time billed on this job today:  6.75 hours

0600 Weather Observation:
34°, drizzle.  2″ sleet and sodden rainy mess left from yesterday.  Forecast for the day:  Clouds and eventual sun, 40

Halcyon 18

< Back to Halcyon

Tuesday

I began by lightly sanding the few deck areas where I’d added another round of fairing compound, pretty much finishing up the work other than a final round of finish sanding over the entire deck areas, which I’d do soon.

I continued work on the exterior wood stripping, this time with the companionway hatch rails and handrail assemblies, plus the insides of the cockpit coamings and other areas.

The starboard side of the companionway trim, where the swash boards fit, was damaged and broken at the top edge.  Though I briefly considered scarfing in a new piece to make up the damaged section, I quickly elected to rebuild the entire piece from new stock, so I removed the old trim and, down in the shop, used it as a template to mill a new piece from solid teak stock that I had on hand, duplicating the details of the original piece.

A quick test-fit showed that I needed to further massage the bottom edge, where the piece was curved to fit the molding at the corner of the opening, and also create a notch at the top edge to allow the trim to fit into the existing trim and moldings, as I’d seen on the original piece.  I marked the outline of the new cut, but as it was getting late, I decided to leave it till next time before chiseling it out and doing the remaining fine-tuning on the new trim piece.

Total time billed on this job today:  6 hours

0600 Weather Observation:
30°, heavy sleet.  Forecast for the day:  sleet, freezing rain, rain…everything but snow

Halcyon 17

< Back to Halcyon

Monday

First thing, I sanded the latest–and one of the last–rounds of fairing filler on portions of the deck, including around the chainplate repairs and poop deck, along with the hole repair and skim coat on the two lazarette hatches.

Other than a few minor low areas that would require another round of filler, most of the deck repair and surface preparations were now complete, so I turned to the exterior woodwork.  The original job scope had been to perform basic maintenance to the woodwork, but after various discussions with the owner about the condition of the woodwork, the owner elected to go with my suggestion to strip the old finish, which was many layers of Cetol wood finish that had grown heavy and dark over the years, albeit well-maintained so that the wood itself was basically sound in all areas.

With heat gun and scraper, I went around the boat removing the old finish from the toerails and outboard sides of the coamings.  The wood itself was in fair condition:  structurally sound, but showing its age.  Stripping left the wood looking spotty and rough, but sanding would clean it up pretty well a little later.   I’d finish up the exterior stripping with the insides of the coamings and companionway trim and rails next time.

Meanwhile, to finish up the day, I prepared a small batch of epoxy fairing compound to fill various areas still requiring it in deck.

Total time billed on this job today:  6.25 hours

0600 Weather Observation:
30°, cloudy.  Forecast for the day:  mostly cloudy, 32.

Halcyon 16

< Back to Halcyon

Friday

I spent the morning working on the decks, first sanding the new fiberglass over the chainplates to bring it flush with the adjacent deck areas, and lightly sanding as needed the fairing compound on the poop deck and few other areas of the deck.    I also removed the final fasteners–the heavily rusted ones that had secured the plastic cowl vent rings–from the lazarette hatches, and, after some final hole preparation, sanded these hatches to begin to smooth the nonskid pattern.

Afterwards, I applied fairing compound to the various deck repairs as needed.  The poop deck repairs were more or less at their final contours, but there were some low spots left after the first round.  For the lazarette hatches, I filled all the old fastener holes, and skim-coated the surfaces to fill the remaining nonskid pattern and prepare these hatches for future steps.

During the past week or so, I’d been continually soaking in penetrating oil the three broken studs in the starboard deadlight frame, and now, with locking pliers, I gingerly removed the studs successfully, breathing a sigh of relief when it was done.

Total time billed on this job today:  5 hours

0600 Weather Observation:
28°, cloudy.  Forecast for the day:  Mostly sunny, 39°

Halcyon 14

< Back to Halcyon

Wednesday

Continuing work on the deck surfacing, I sanded the latest round of fairing compound as needed, along with the initial fiberglass layers on the poop deck repairs and other areas as required.  This brought most areas close to their final state of primer prep, with only a few small low areas left to fill and some additional finish sanding.

The deck areas in way of the chainplates required solid fiberglass work to fill in the remaining areas where I’d removed old and damaged core earlier.  To maintain the existing chainplate slots throughout the process, I made up some blanks from nonstick plastic material, and temporarily secured them in place on each side.  The original chainplates were covered with paint and rust stains, and I planned to clean them up soon for a thorough inspection.

With the temporary chainplates in place, I prepared simple paper templates of the area so I could cut layers of biaxial fiberglass to fit inside the opening, and also larger templates for the final layers that would tie in the repairs with the ground, tapered areas on the adjacent sidedecks.

After preparing layers of fiberglass according to the templates, I installed eight layers in each opening, the top several layers a bit shorter since the underside of the deck tapered beneath, so the decks were thinner near the toerail.  This amount of fiberglass brought the patches up approximately level with the existing and new 3/8″ core material.  I’d finish up with the top layers of these patches next time, but to avoid excess heat during curing I didn’t want to do any more at this time.

Meanwhile, at the poop deck, I made up paper templates of the deck areas as needed, and prepared two layers of fiberglass for each side.  On the starboard side, I cut and installed several narrow layers of fiberglass inside the little void on the sidedeck, filling this more or less flush with the adjacent areas.

Afterwards, I mixed up a bit of thickened, structural filler and used it on each side to prepare a smooth and even substrate over the new core, interim layers of fiberglass, and the existing deck edges to prepare for the final top layers of new laminate.  I let this tack up for a little while while I prepared the fiberglass for the area and attended to some of the other work described earlier.

Finally, I wet out with epoxy and installed two layers of new biaxial cloth for each side of the poop deck.

In the cockpit, there were a couple minor areas that required some fiberglass–one over an obsolete electrical plug hole in the cockpit well, and the other to patch the existing slot and h ole where the centerboard control line had passed through.  I planned to rebuild this and add a new fitting through which to route the line, so for now I filled and glassed over the existing opening, which I’d earlier prepared by grinding out the adjacent areas as needed.

Total time billed on this job today:  6.75 hours

0600 Weather Observation:
22°, light snow.  Forecast for the day:  light snow, an inch or two, 20s.

Halcyon 15

< Back to Halcyon

Thursday

As usual, my first actions of the day were behind the sander, lightly sanding as needed the new fiberglass on the poop deck and at the chainplates.  I brought the edges of the little cockpit well patches and  new poop deck laminate flush with the existing deck surfaces, and lightly scuffed the field areas as needed to prepare for the next steps.  At the chainplates, I cleaned up the edges of the newly-installed laminate within the openings, preparing for the next and final layers of material to complete the rebuild there.

To complete the new laminate at the chainplates, I added a couple additional layers of material on each side, bringing the patches flush with the deck edges, then applied two layers of fiberglass over the top, overlapping onto the sanded border areas to tie in with the existing deck.

There were a few areas around the deck that required another dab of fairing compound, so I took care of that next.

Finally, I applied fairing compound to the new poop deck laminate, working to fill the fiberglass weave and bring the new deck surfaces close to their final contours as needed.

Total time billed on this job today:  6.25 hours

0600 Weather Observation:
25°, light snow, couple inches overnight.  Forecast for the day:  Snow ending, eventual clearing, 30s.

Older posts Newer posts