(page 2 of 10)

Further 84

After lightly sanding the cured core in the new cockpit hatch, I applied some thickened epoxy to fill flush some of the small voids still present around the edges, and used the remaining product to skim coat/wet out the surface before installing the bottom layer of 1708 over the core, overhanging it on all sides for now.  Later in the day, once the fiberglass had cured to the green stage, I trimmed off the excess with a sharp knife.

The other event of the day was the final installation of the dodger, which looked terrific and fit well.

Further 83

I had various other requirements throughout the day, so only a little time for progress, but in a short afternoon had the chance to cut and install the  balsa core in the new cockpit hatch.  I’d originally thought I might install the bottom skin laminate at the same time, but ultimately decided it better to wait for a separate session.

Further 82

With a chisel and sandpaper, I removed the excess bungs and smoothed the areas as needed, then, over the course of the day, spot-applied a few coats of varnish over the raw bungs and sanded wood nearby to bring the treated areas closer to the state of the rest of the coamings before I focused back on finishing up the final few coats of varnish on the entire pieces.

Meanwhile, I made some progress on the after cockpit hatch.  With new 1/4″ thick prefab fiberglass stock now on hand, I ripped it down to 3/4″ width, chosen to match the 3/4″ balsa core I planned to use to fill the hatch (mainly because it’s what I had on hand).  After considering options, I decided the best approach to install the hatch edges was to hot-glue the strips in place along the edges, bending them to match the edge of the laminated top skin, then secure the edges from within with epoxy fillets.  This saved the potentially difficult and messy hassle of trying to clamp the narrow strips while simultaneously gluing them with epoxy.  I let the long curved pieces hang wild over the ends for later trimming once the epoxy had cured.

Inside the boat, I installed newly-arrived plastic covers over the openings and bolts securing the coaming on the port side.

Further 81

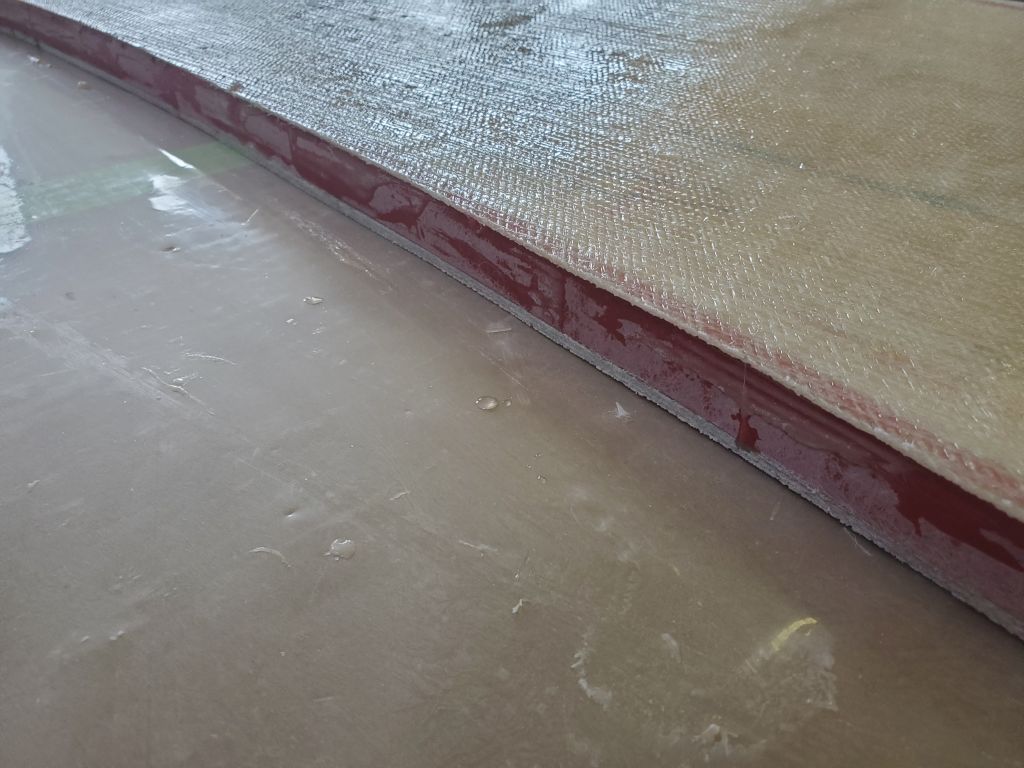
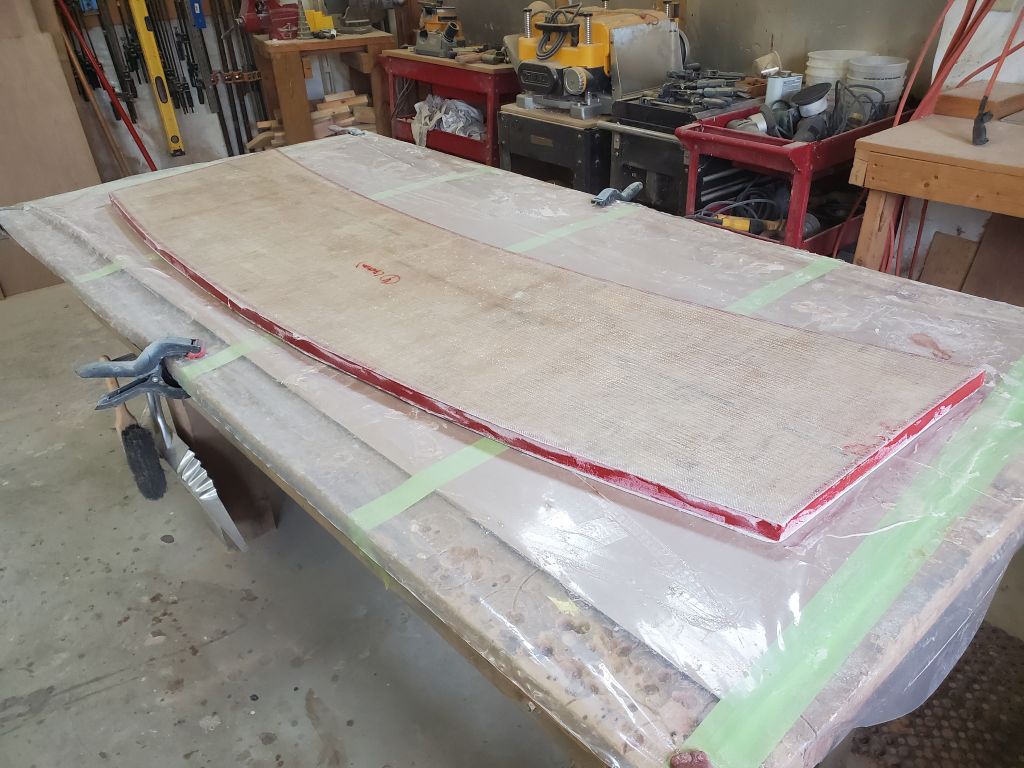
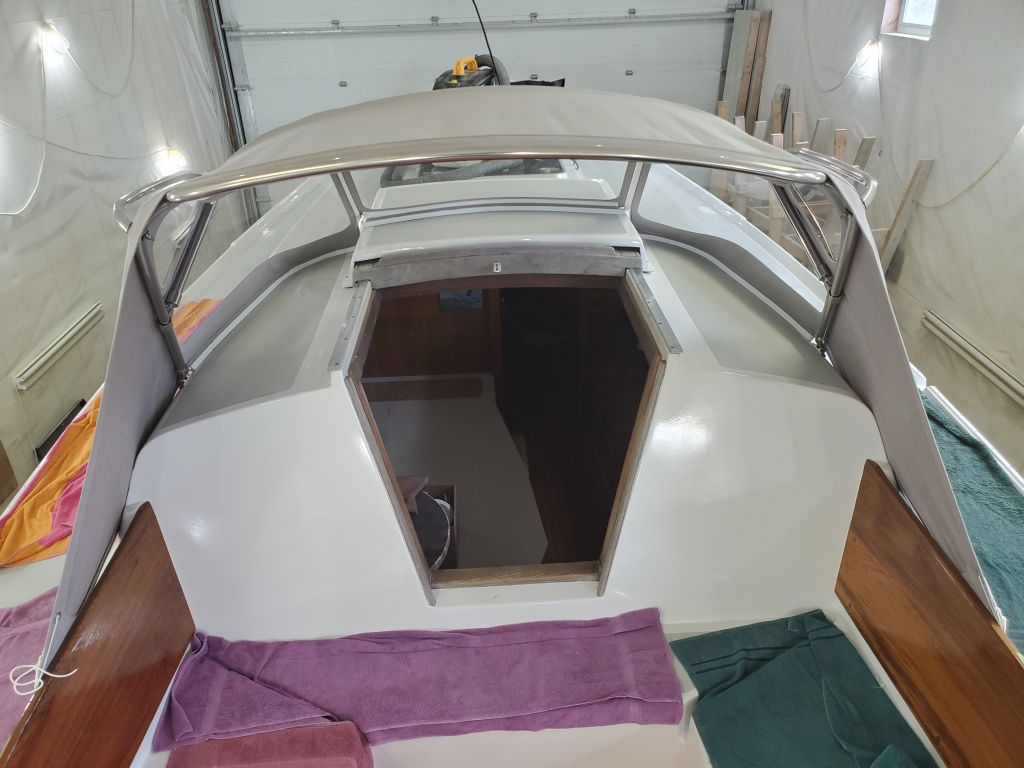
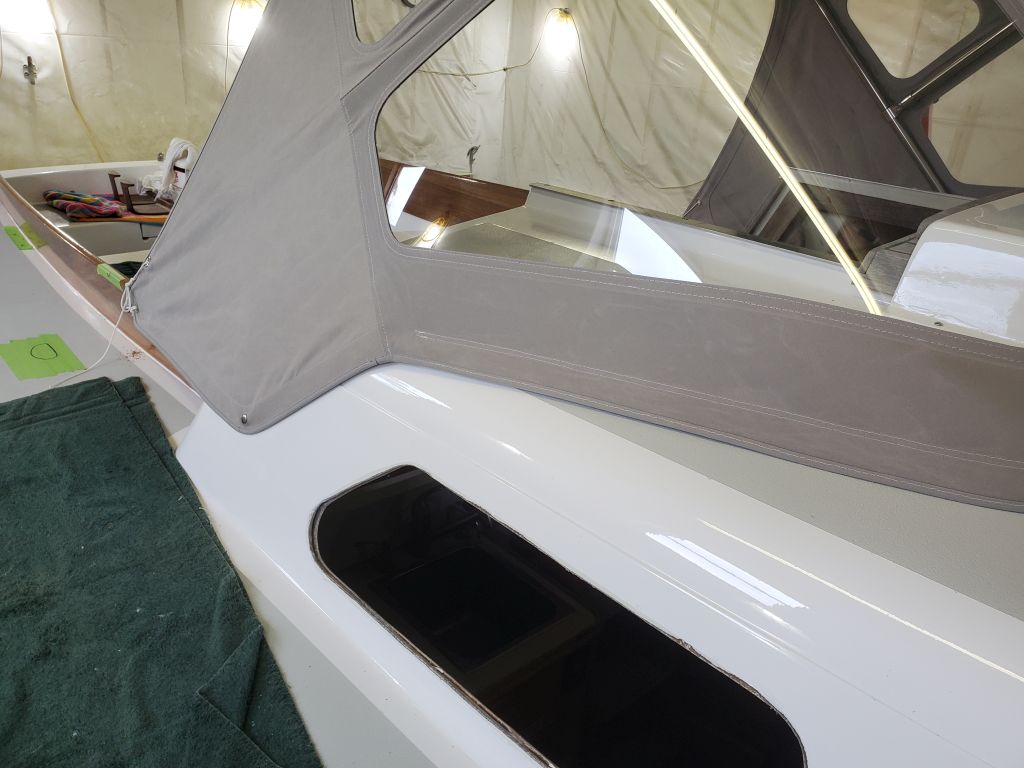
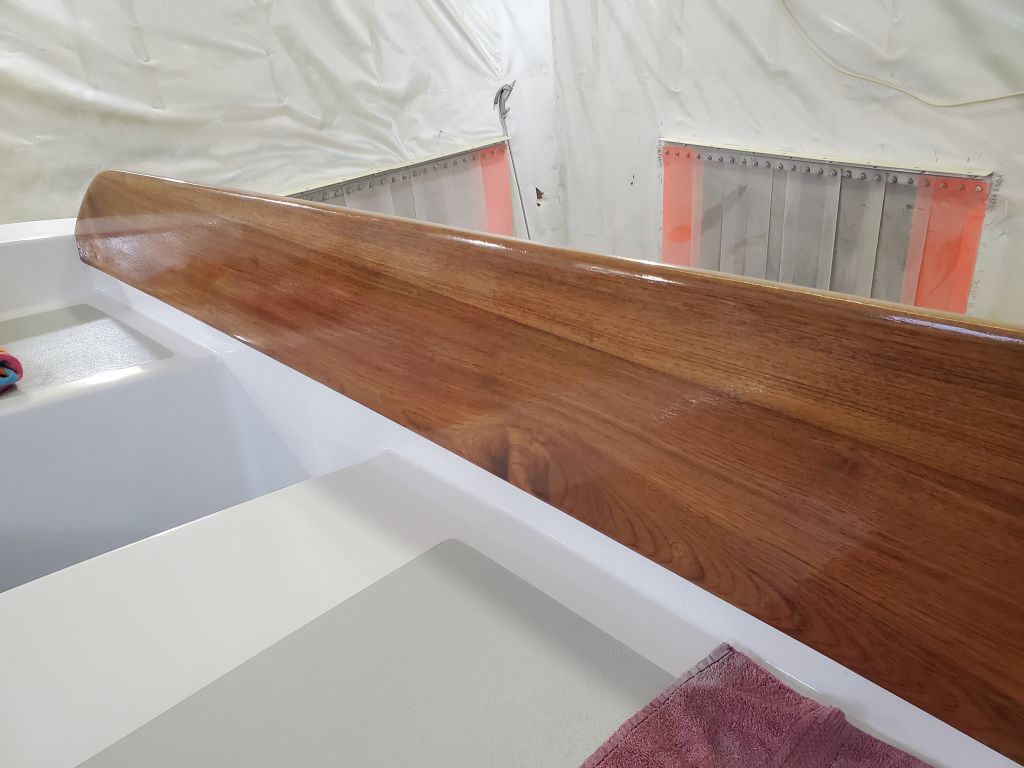
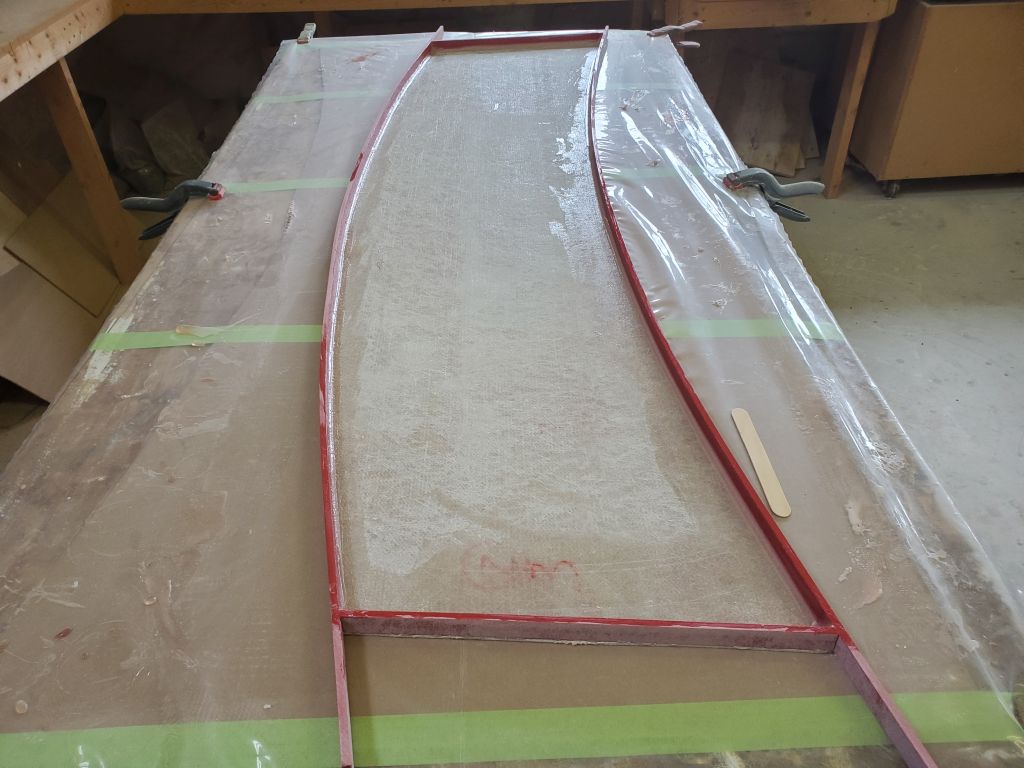
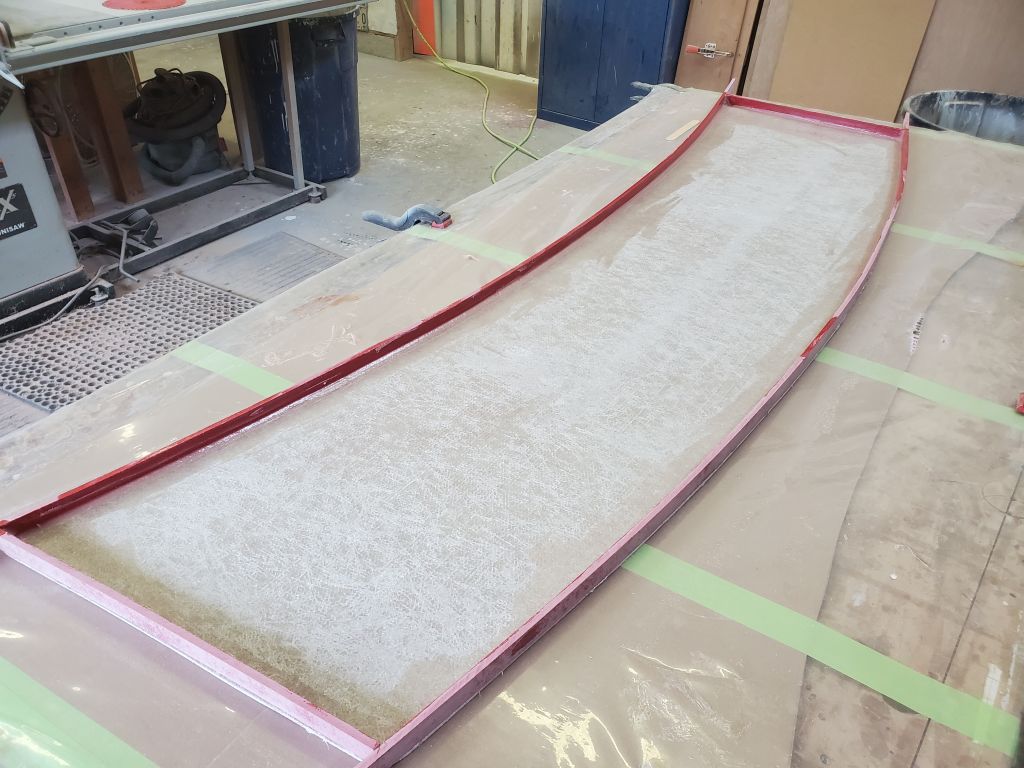
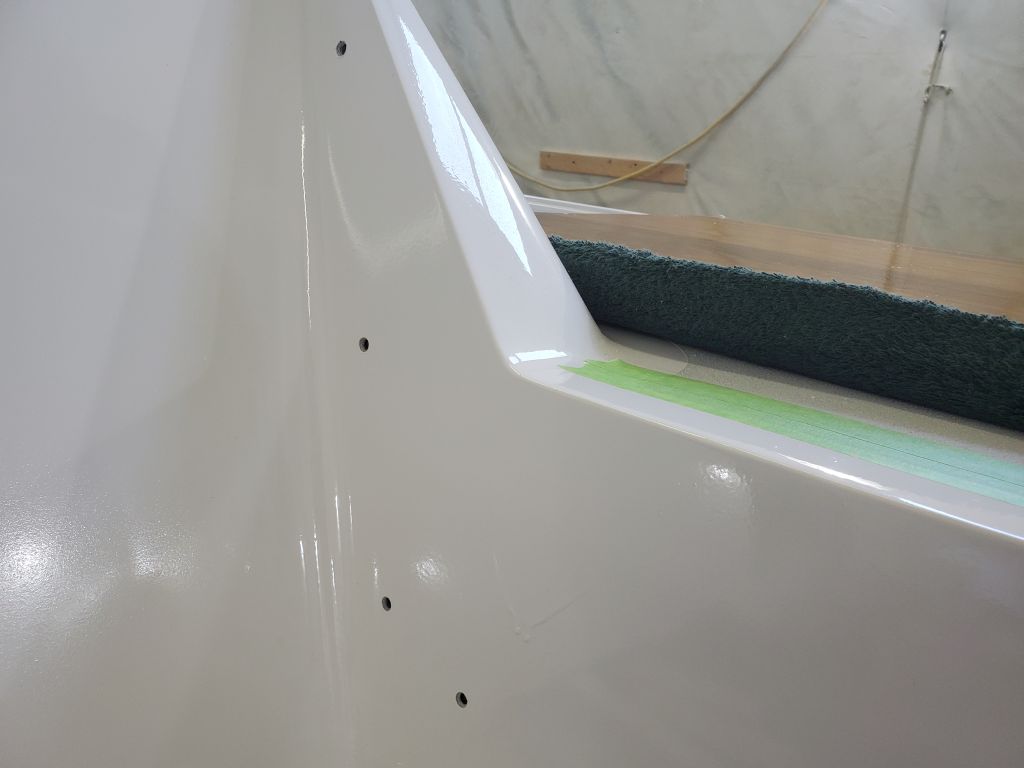
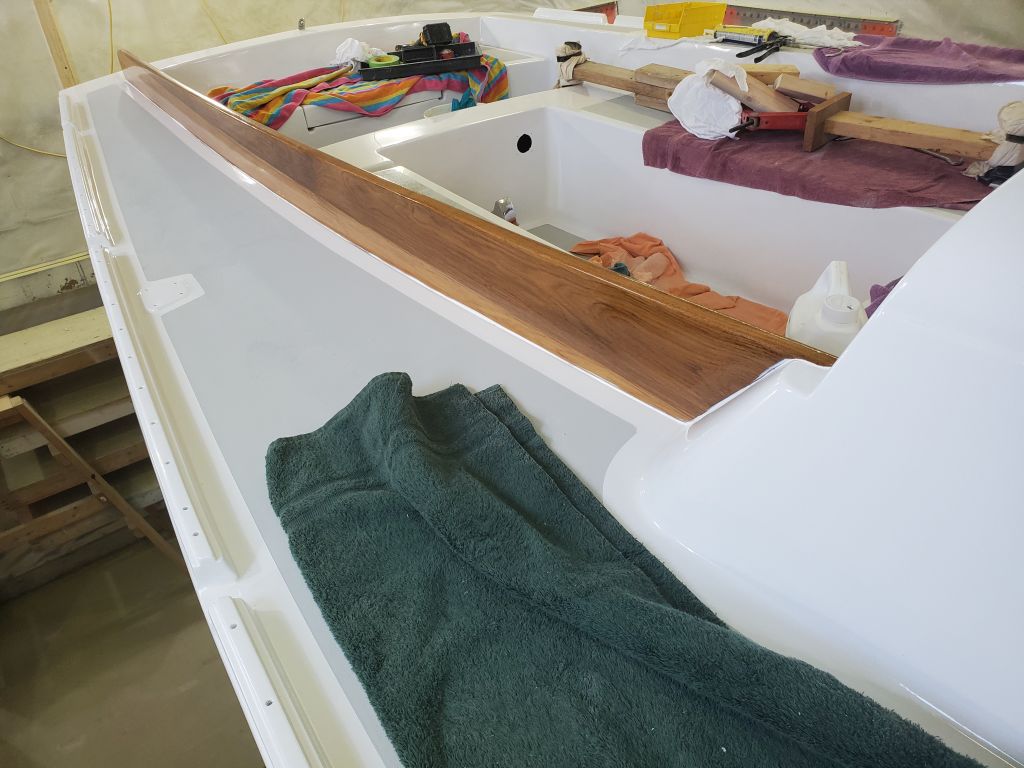
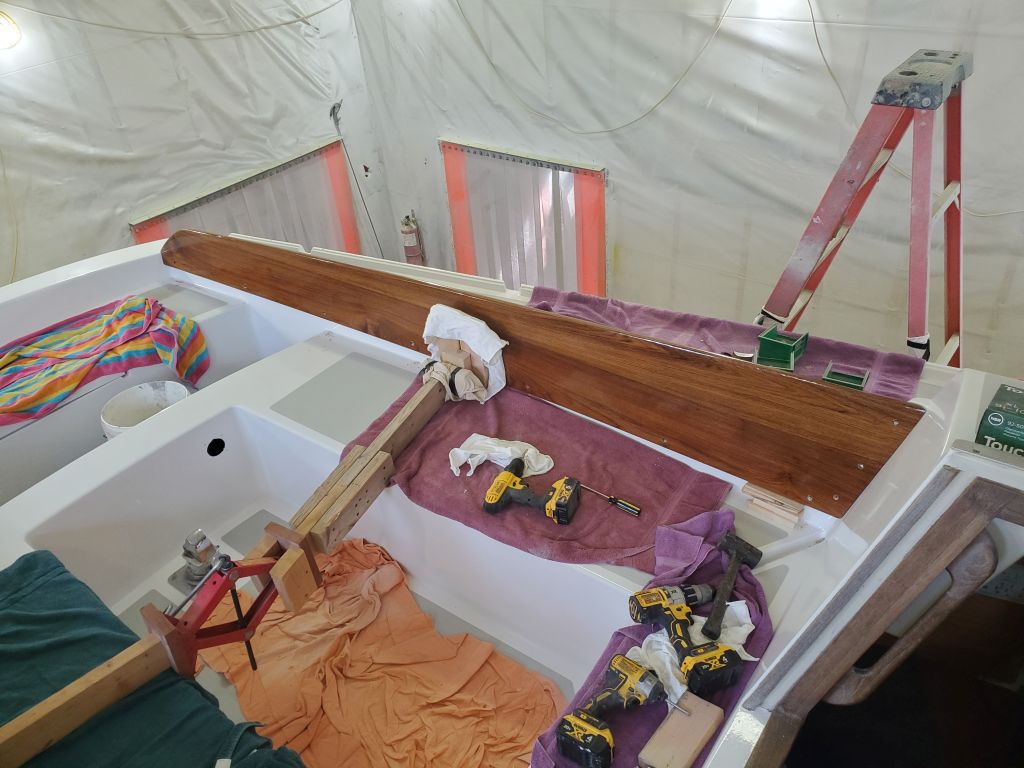
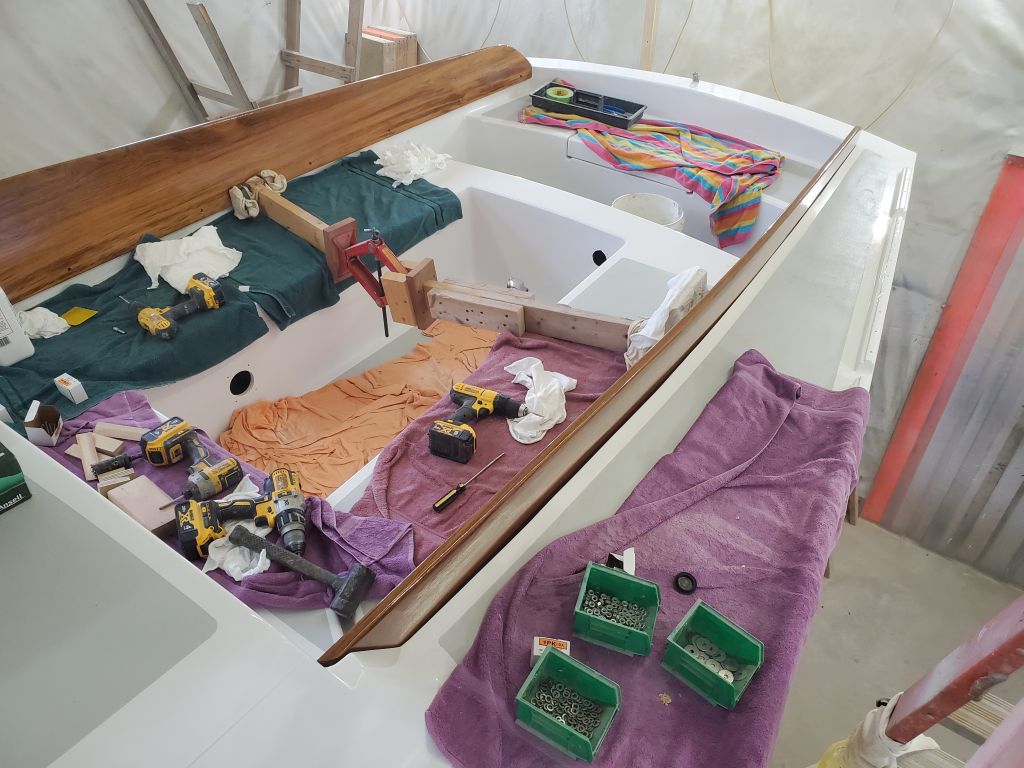
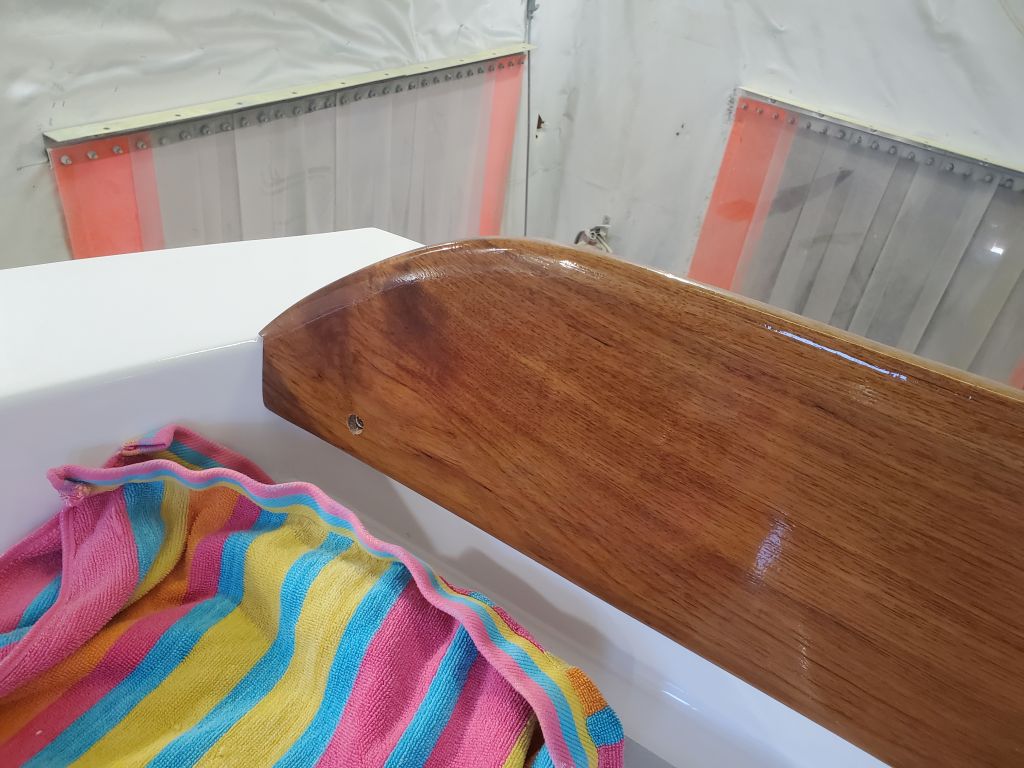
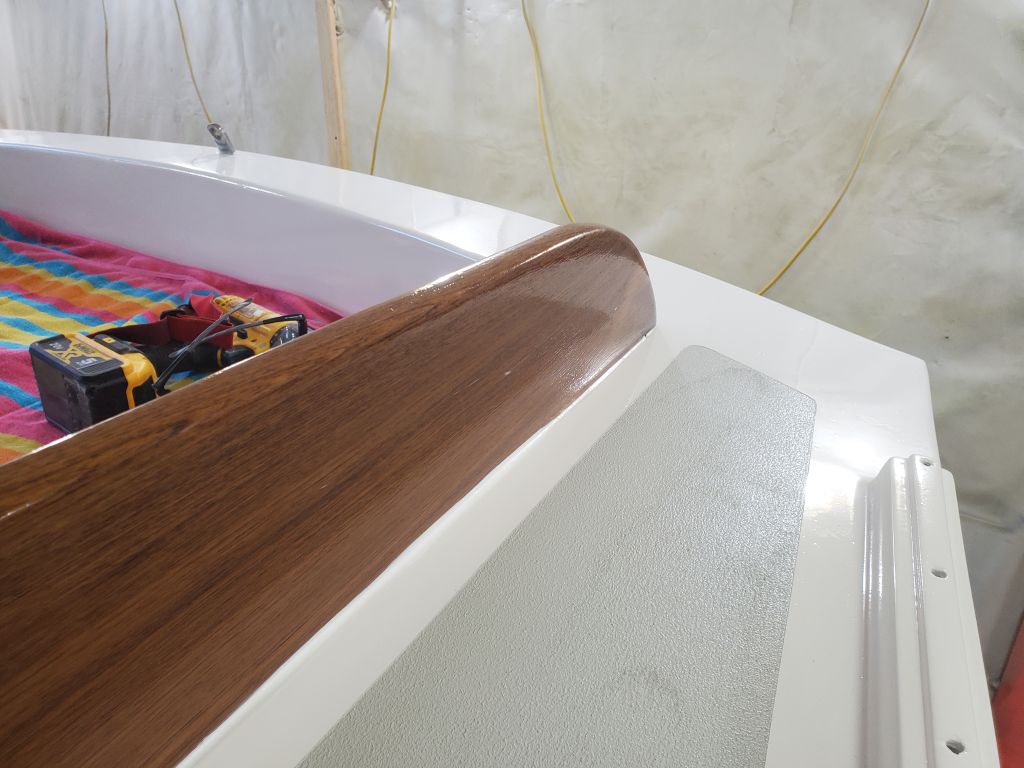
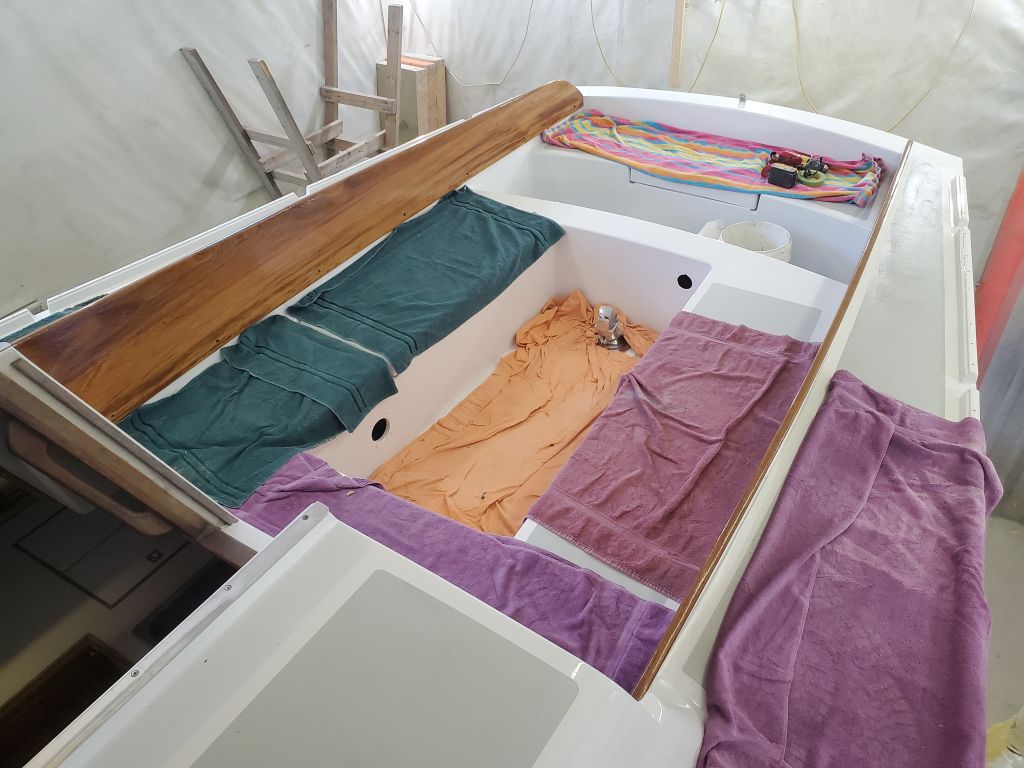
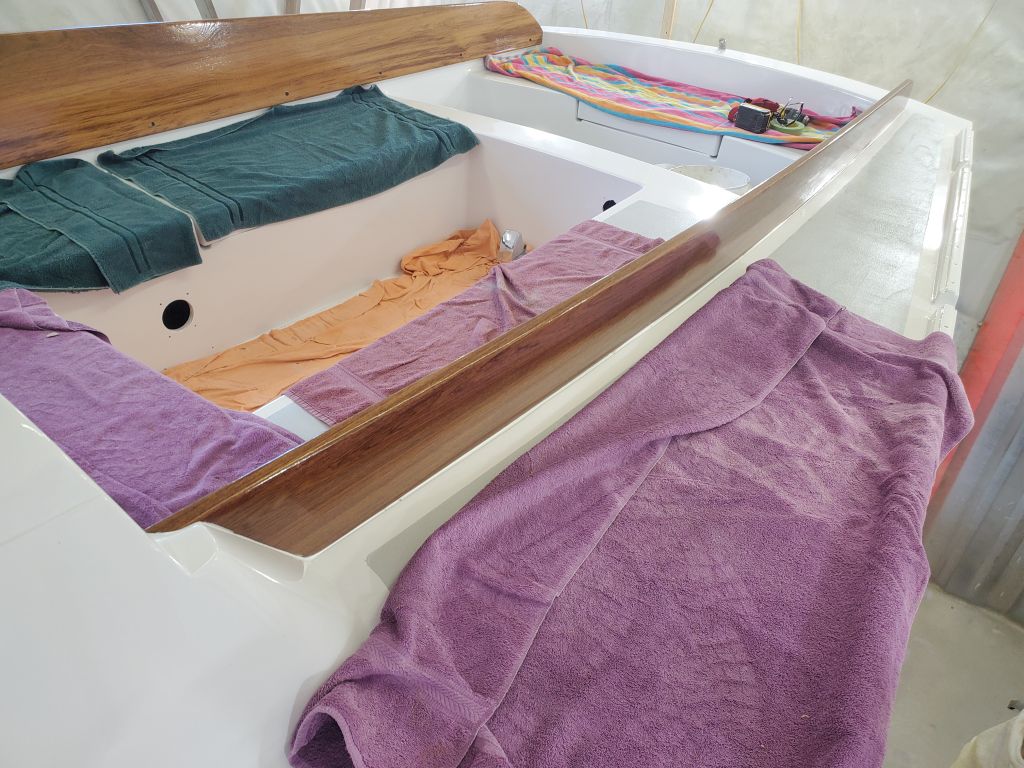
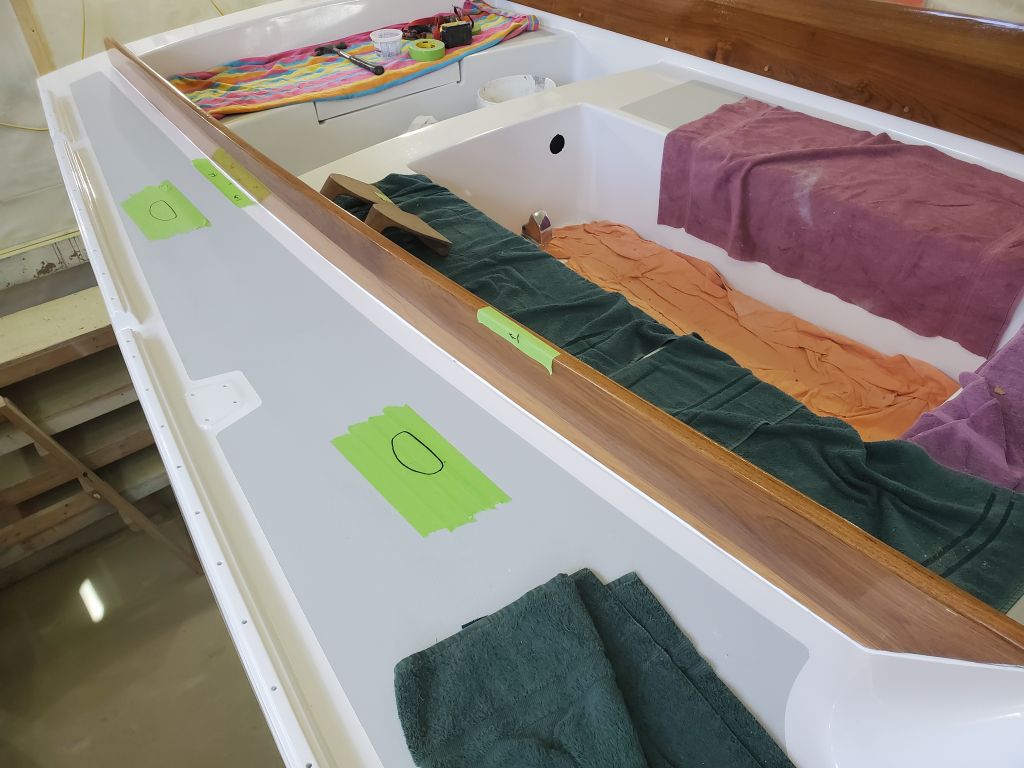
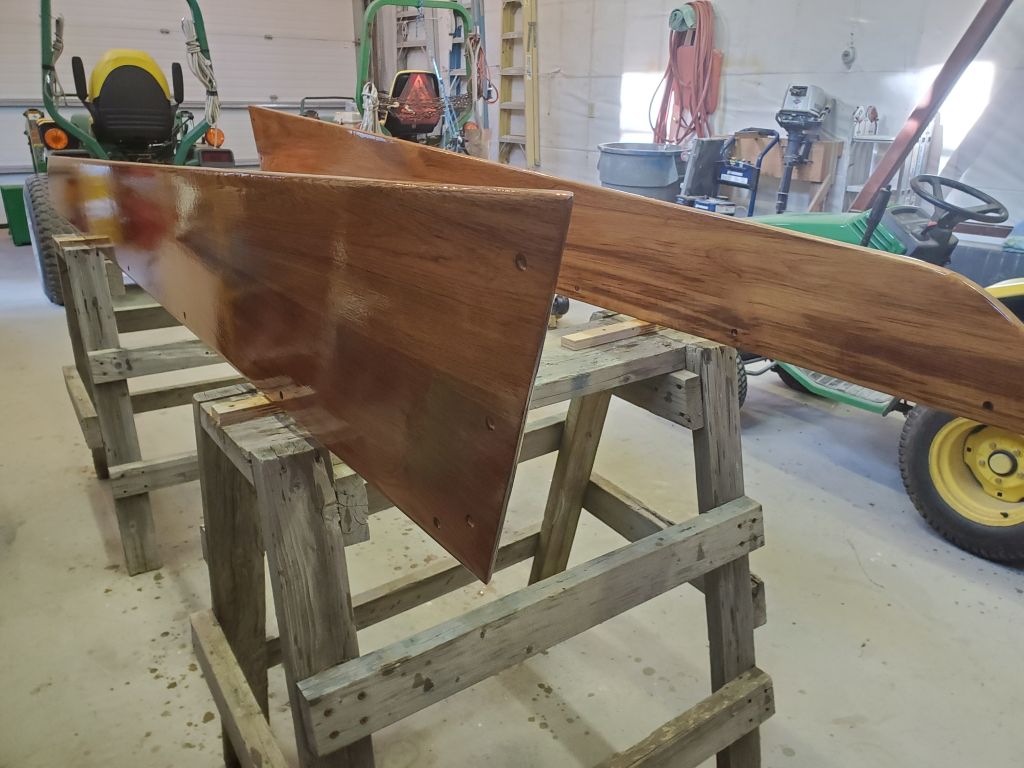
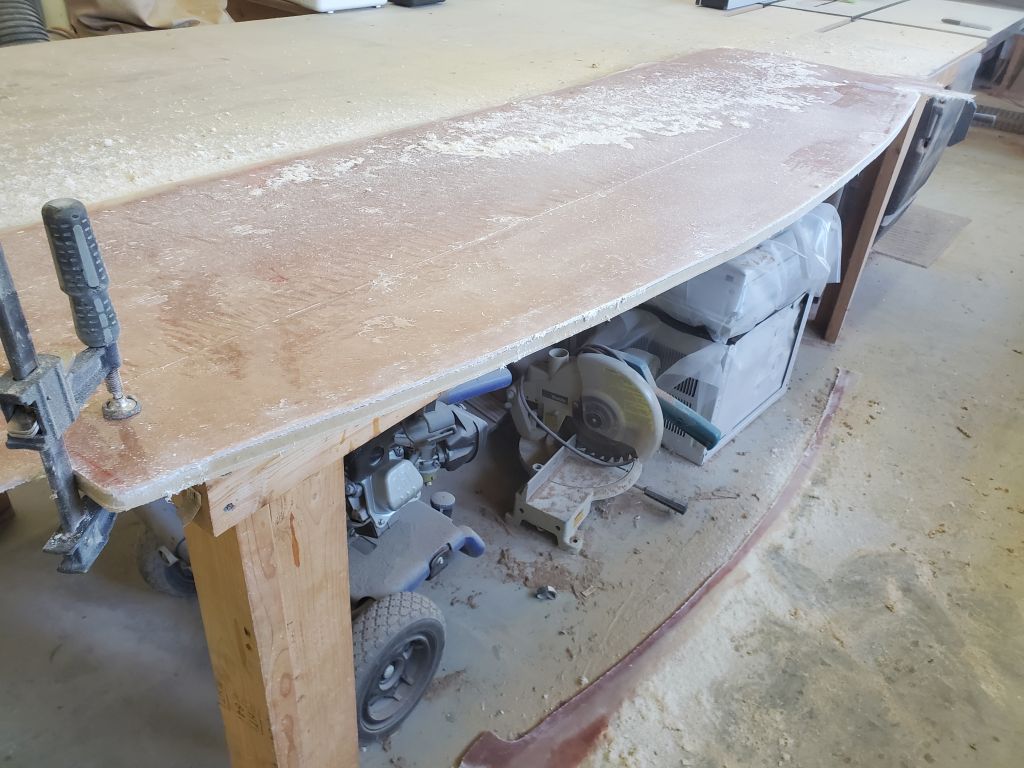
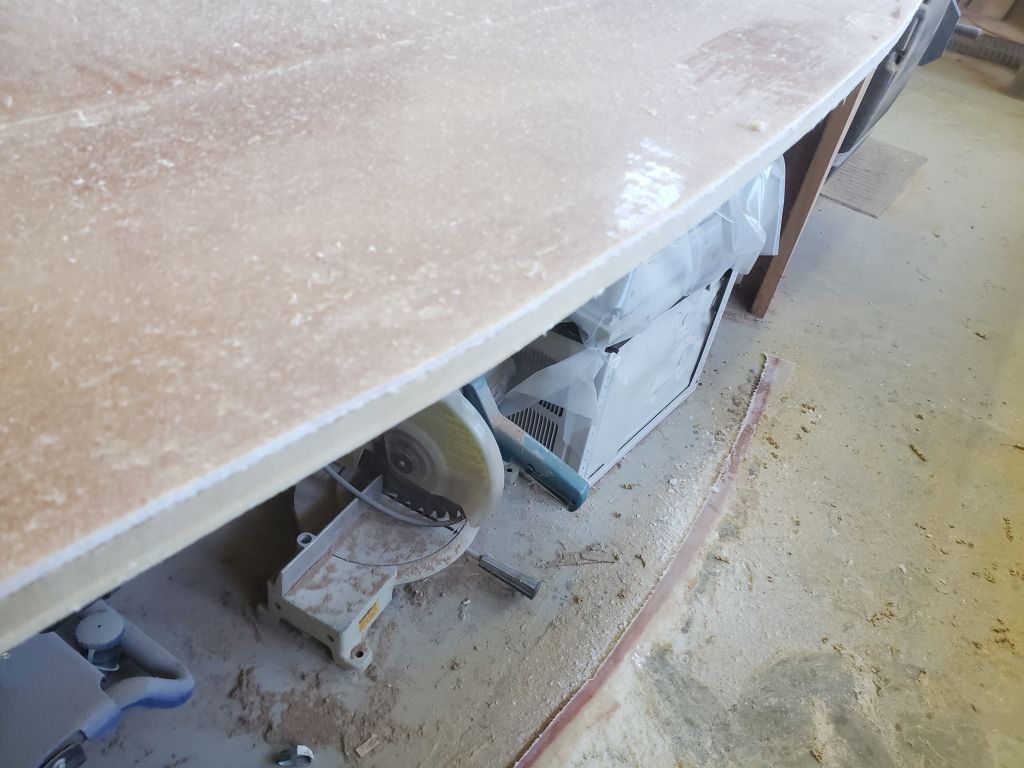
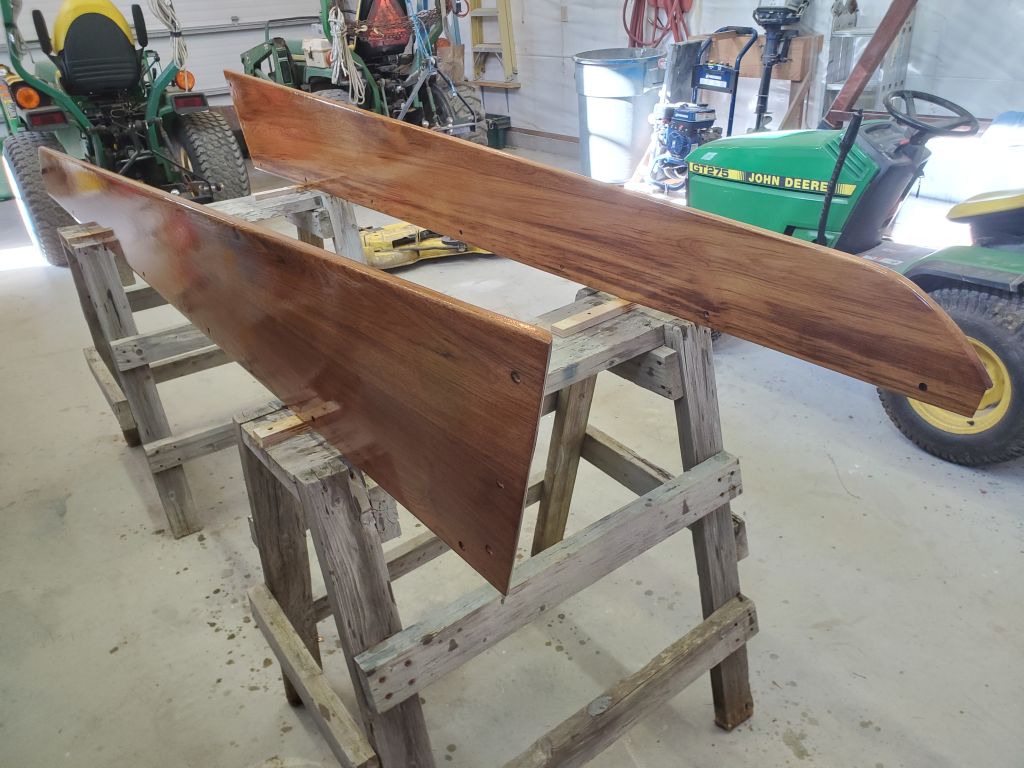
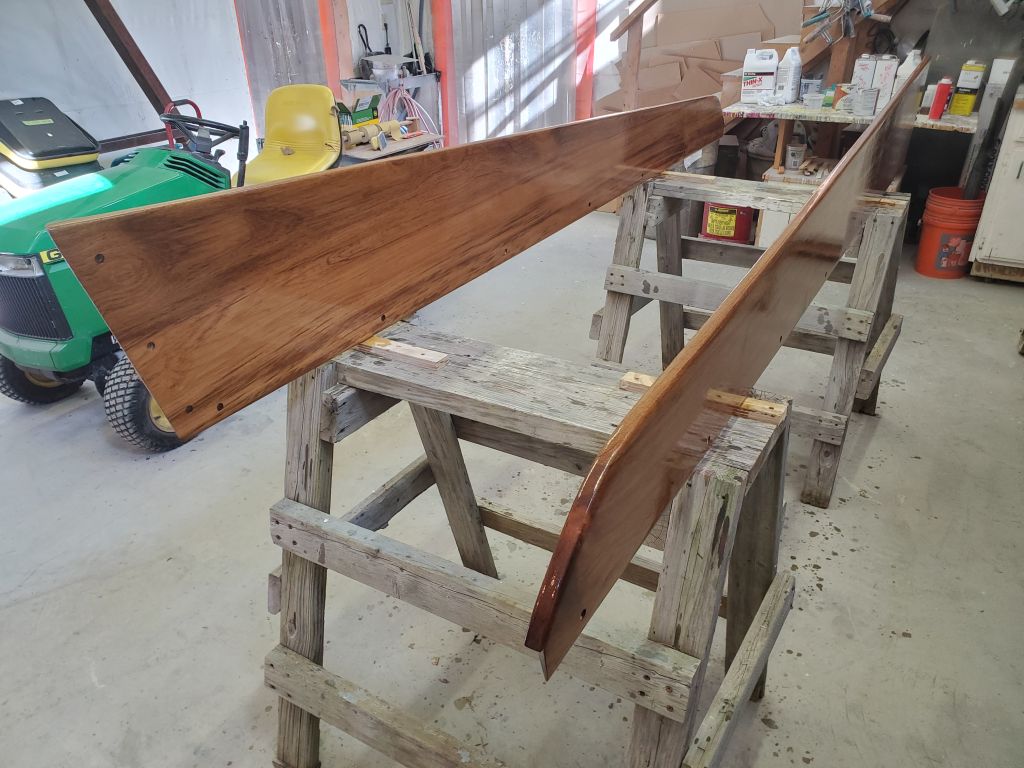
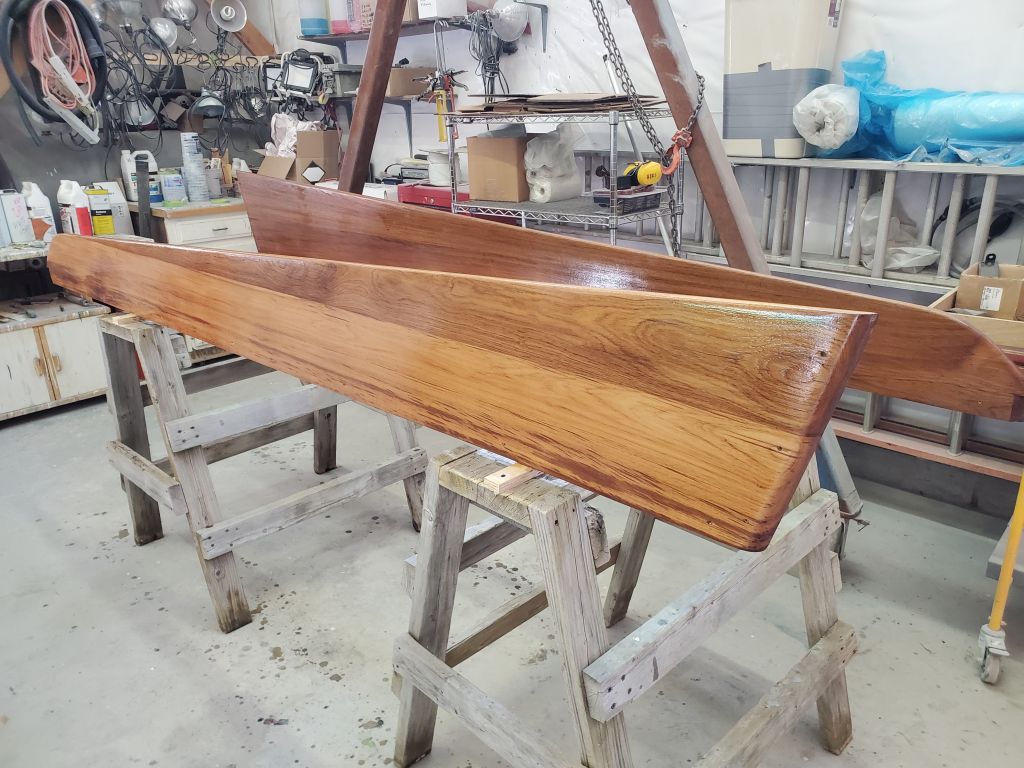
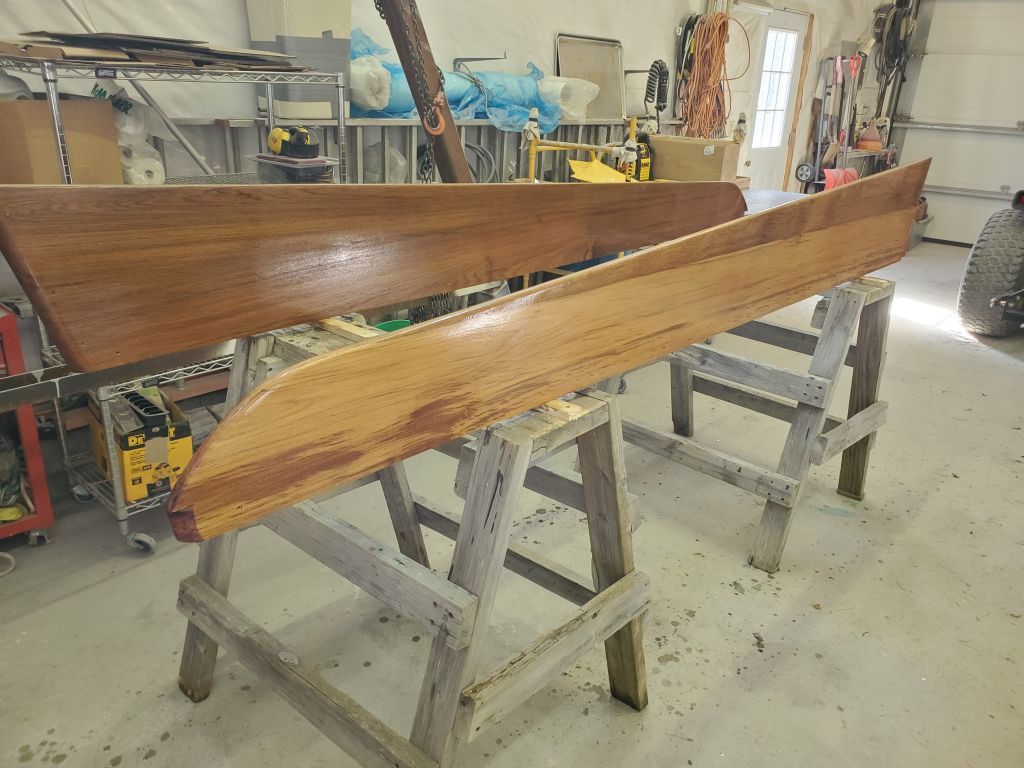
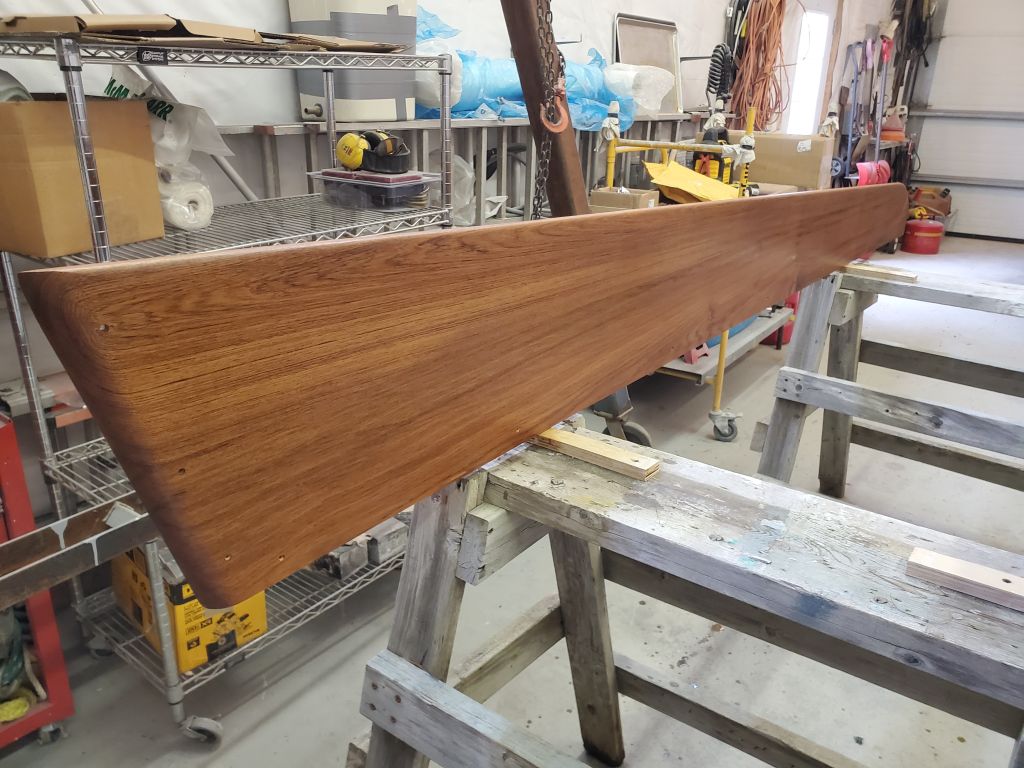
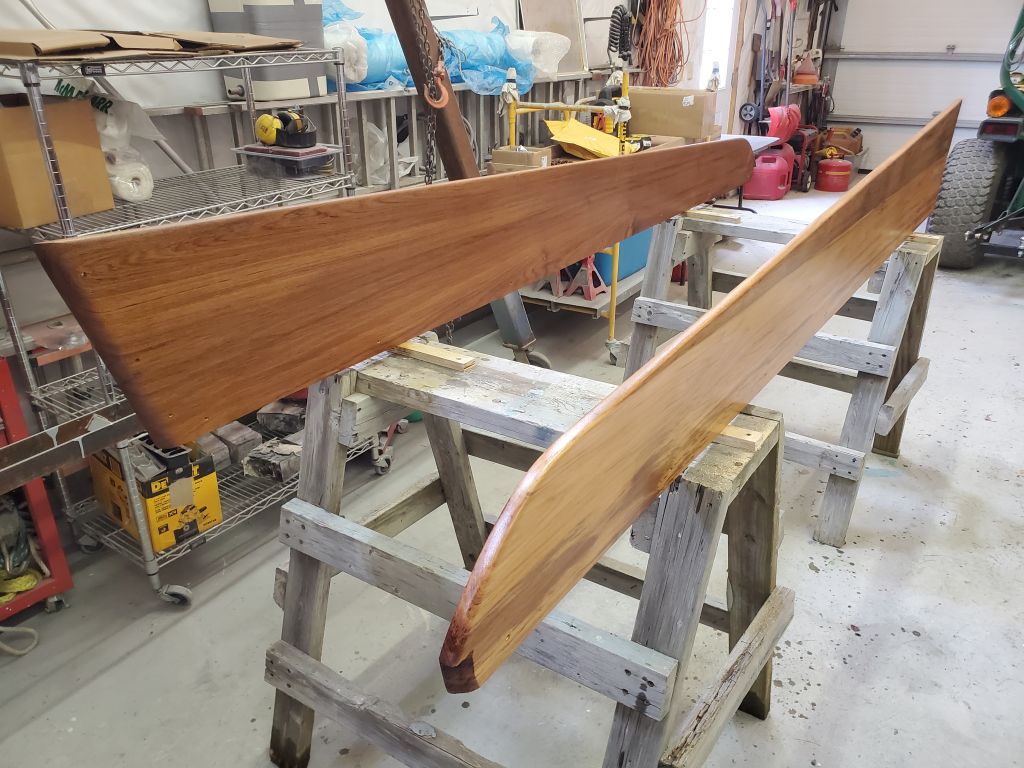
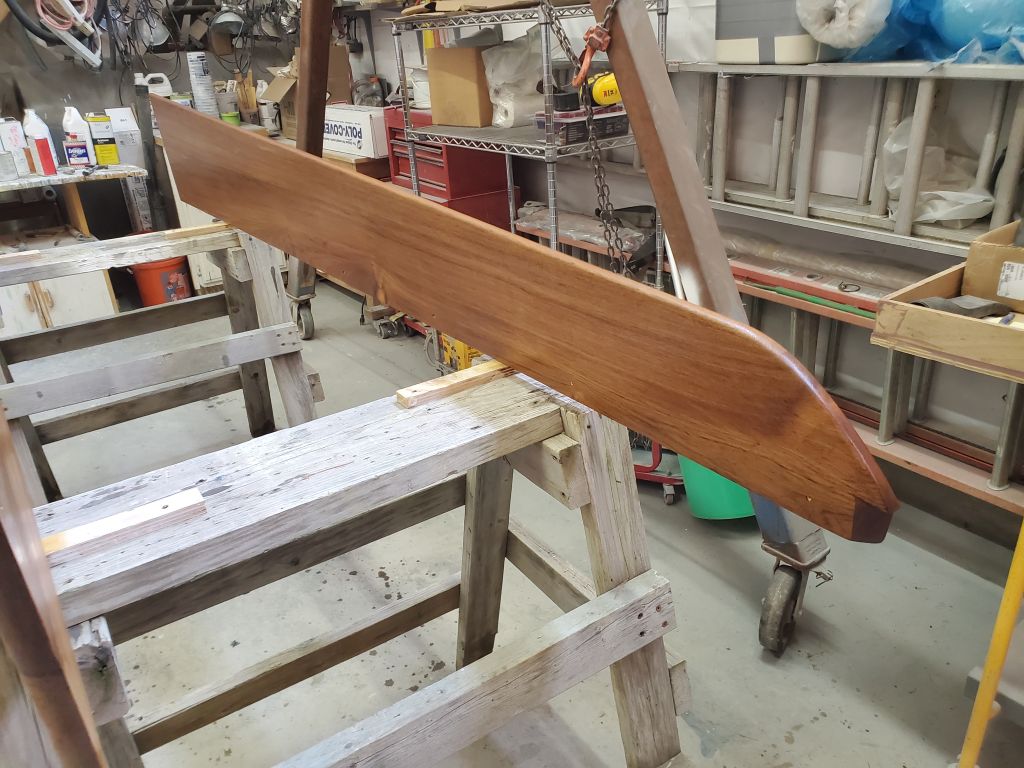
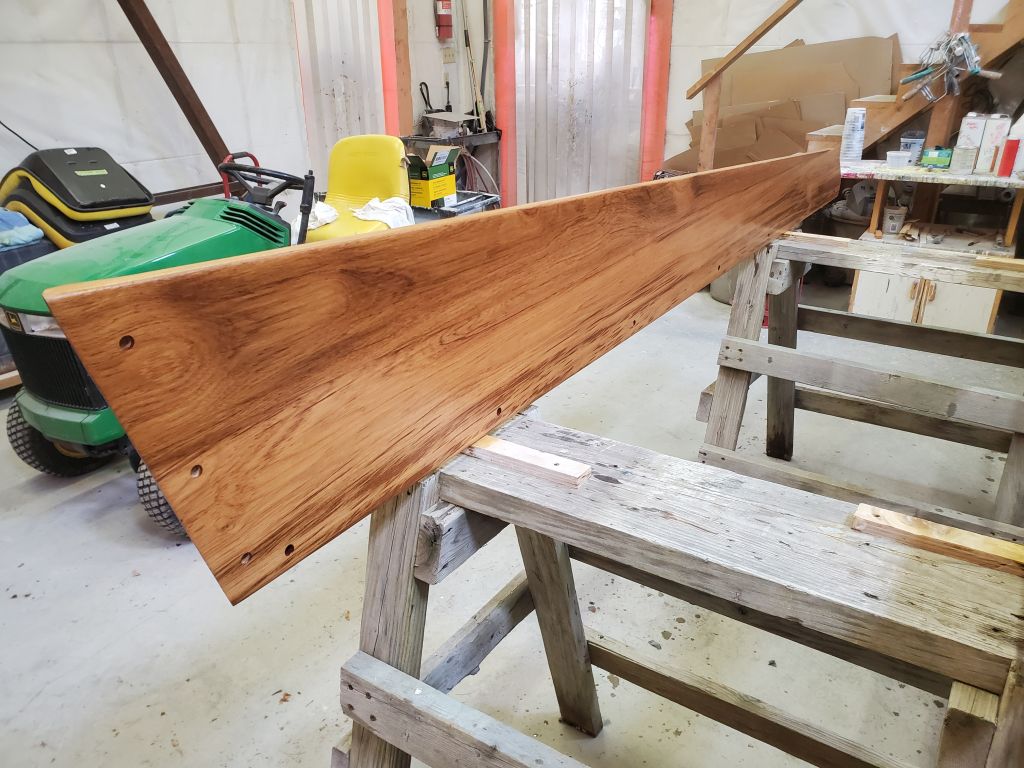
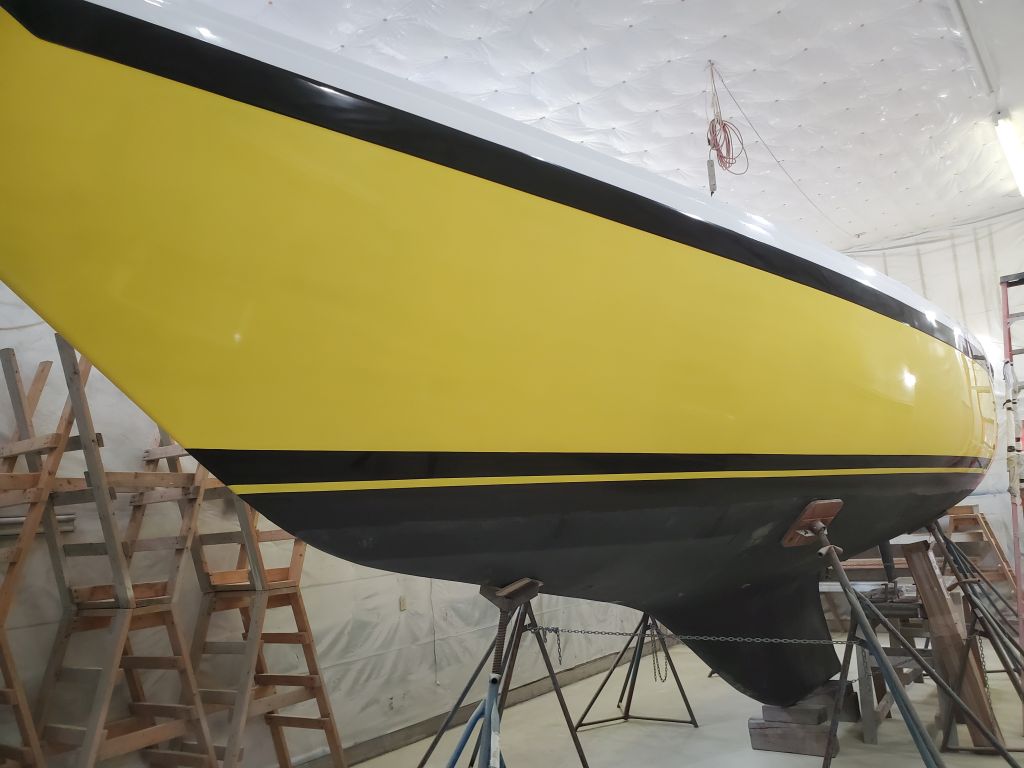
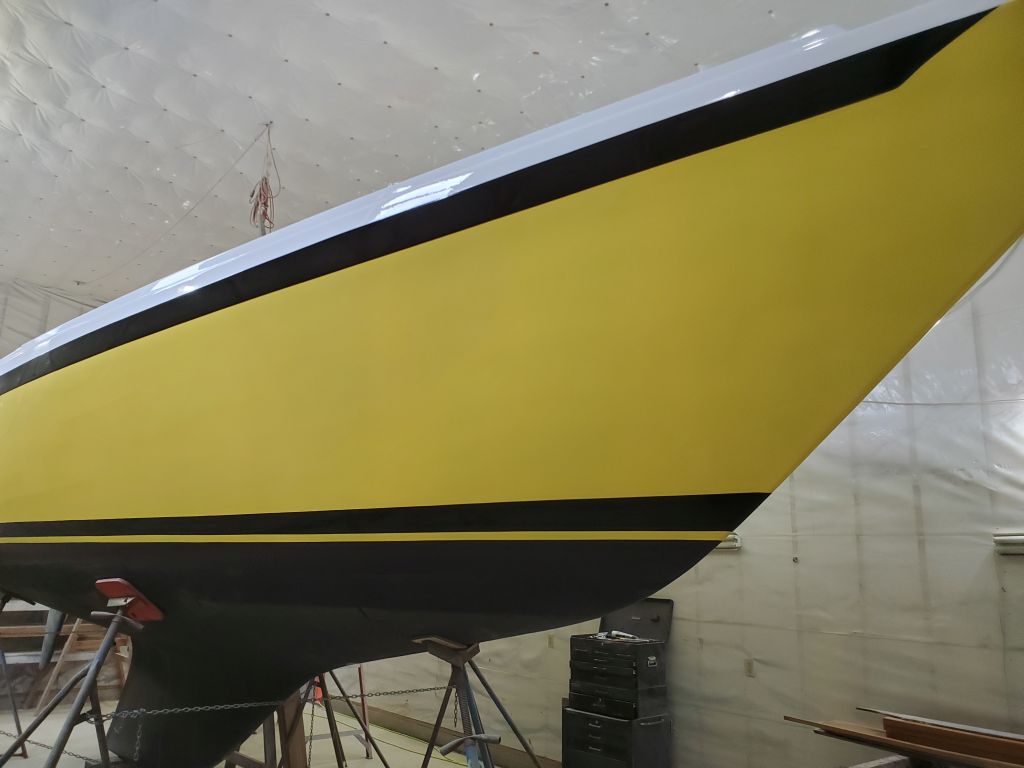
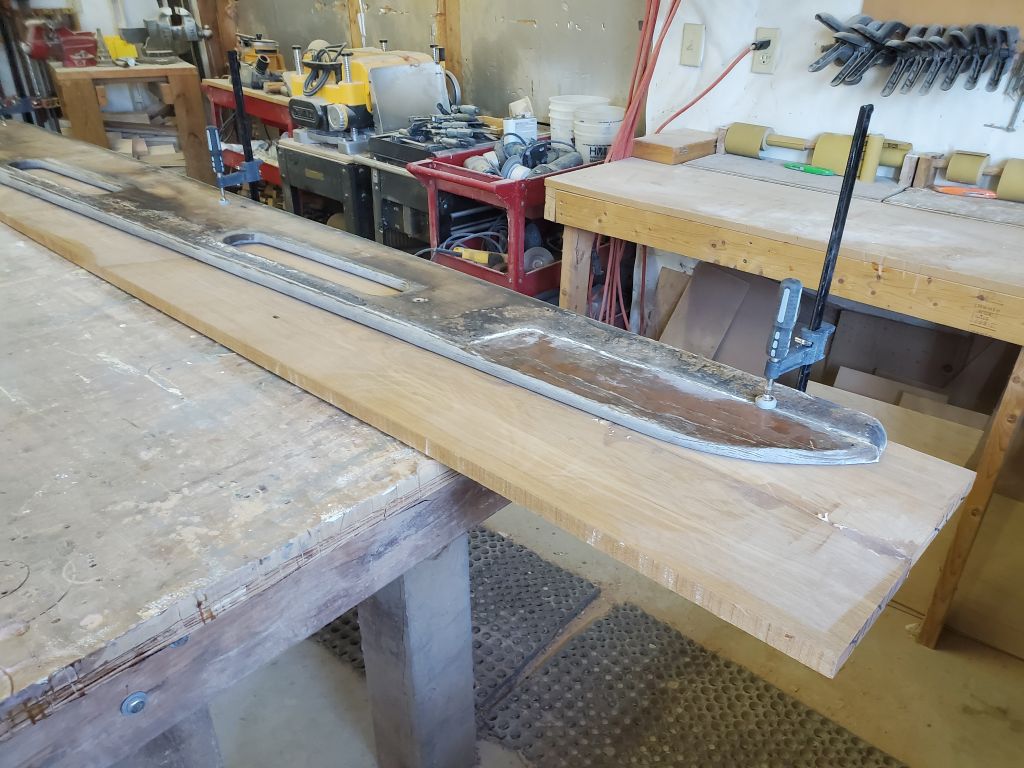
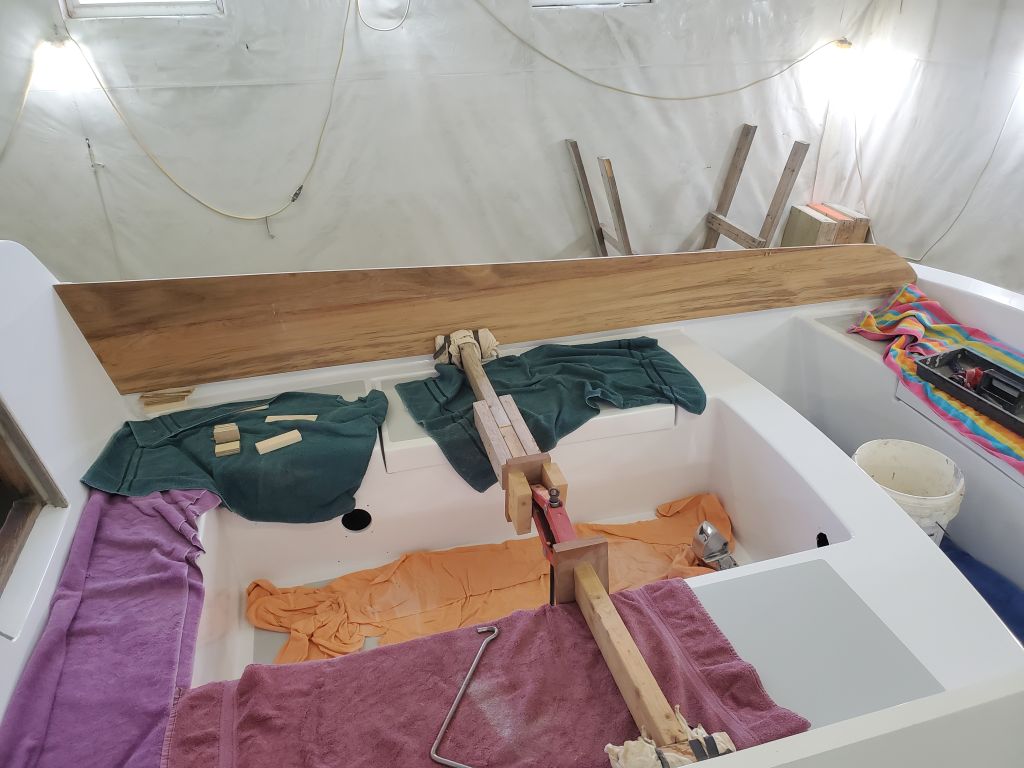
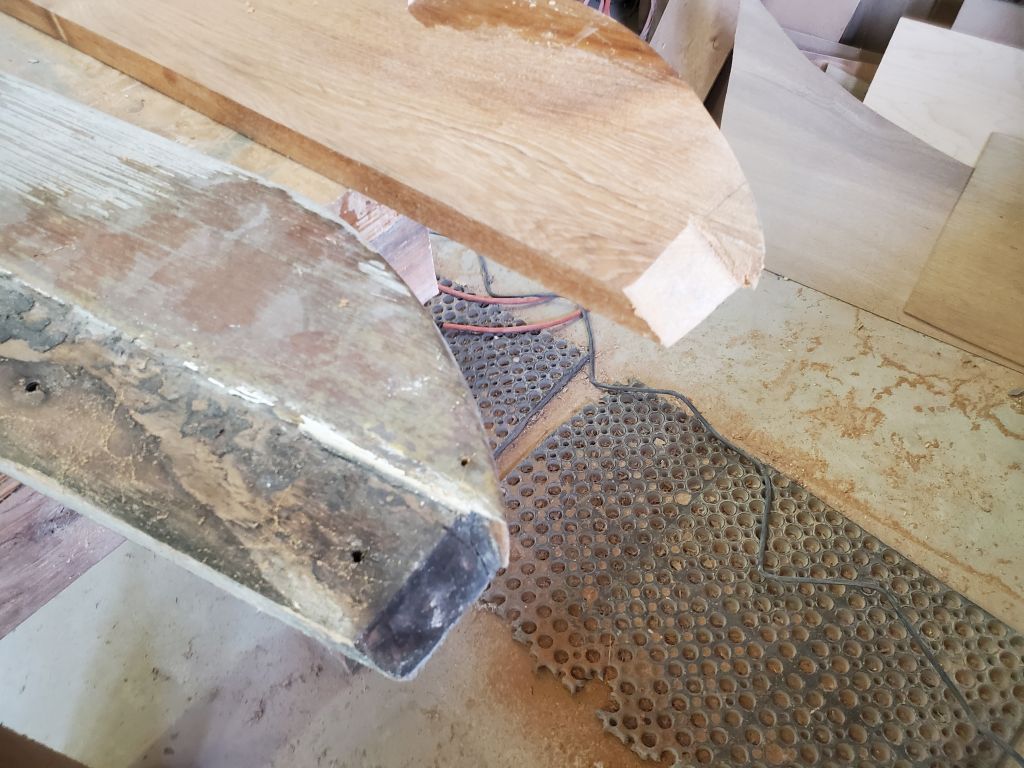
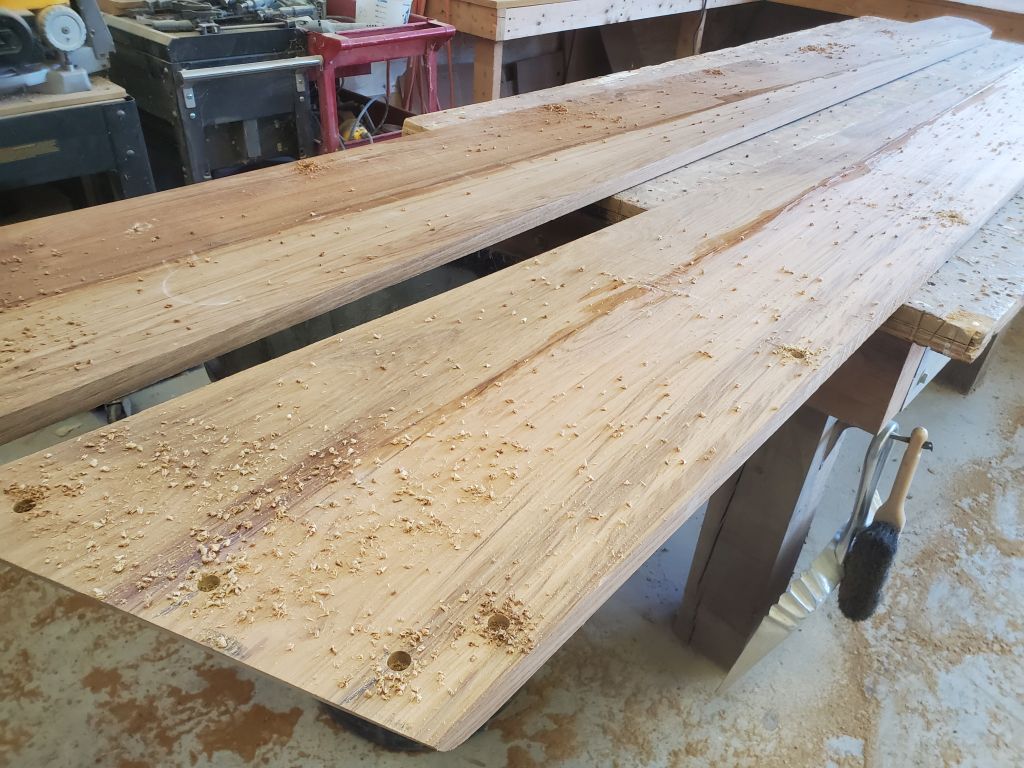
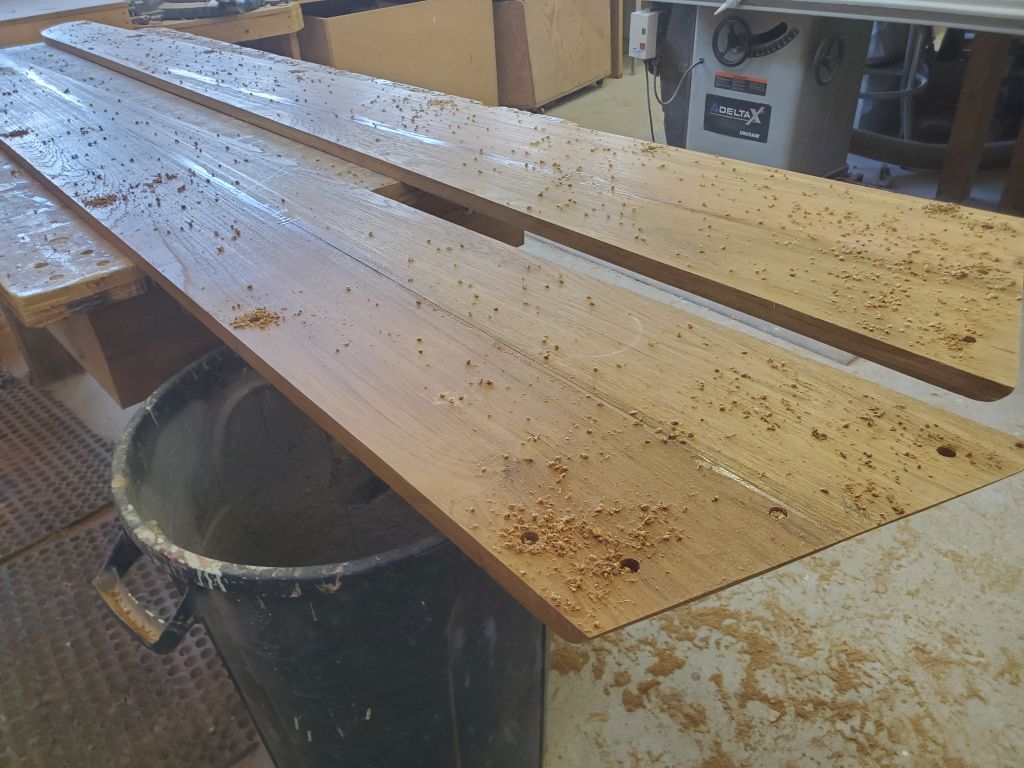
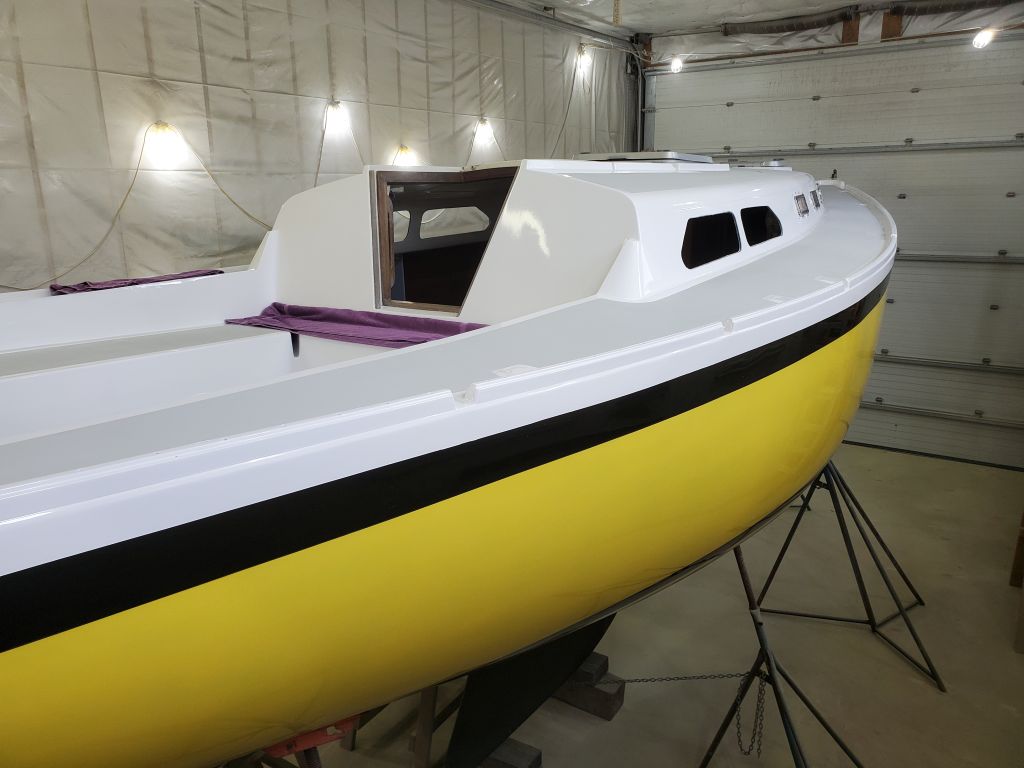
Beginning with the starboard side, I installed the coamings permanently.  After removing the coamings from their varnishing supports and preparing installation tools and supplies, I dry-fit the starboard coaming, pressing it into place with my custom coaming press.  Once the coaming was properly positioned, I  temporarily installed it with a couple screws so I could then drill all the required screw holes in the proper places.  Then, I removed the coaming so I could finish milling the fastener holes with a countersink, and otherwise prepare the area for final installation.  Depending on access, I planned through bolts where I could, and screws for the remaining areas.

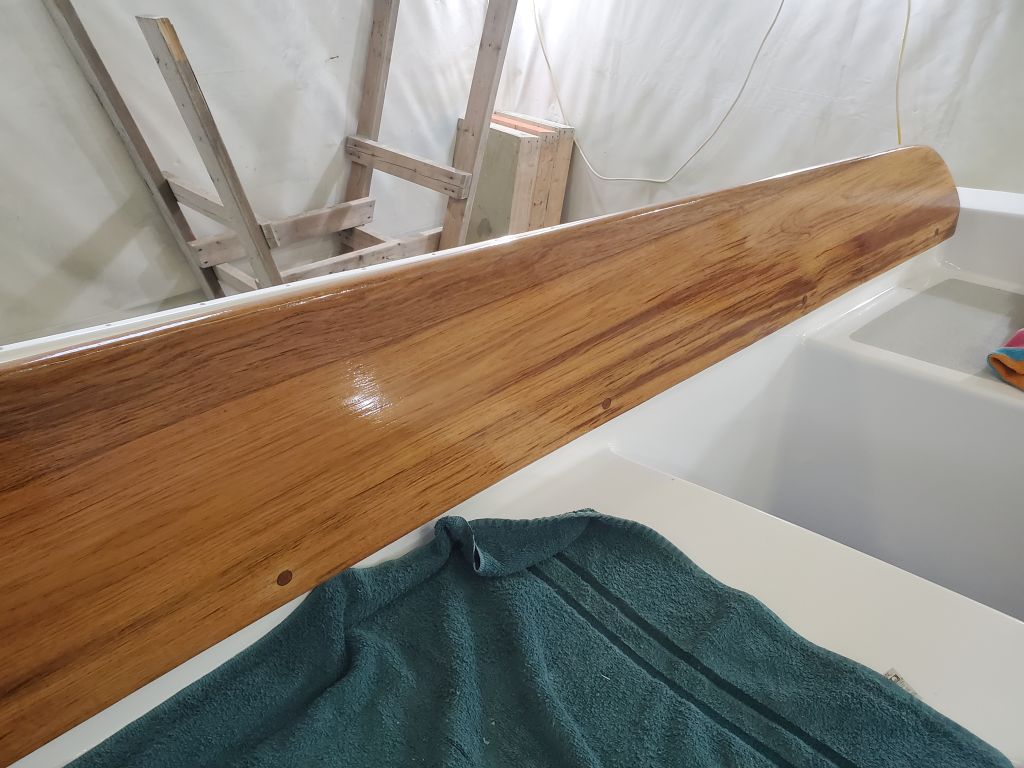
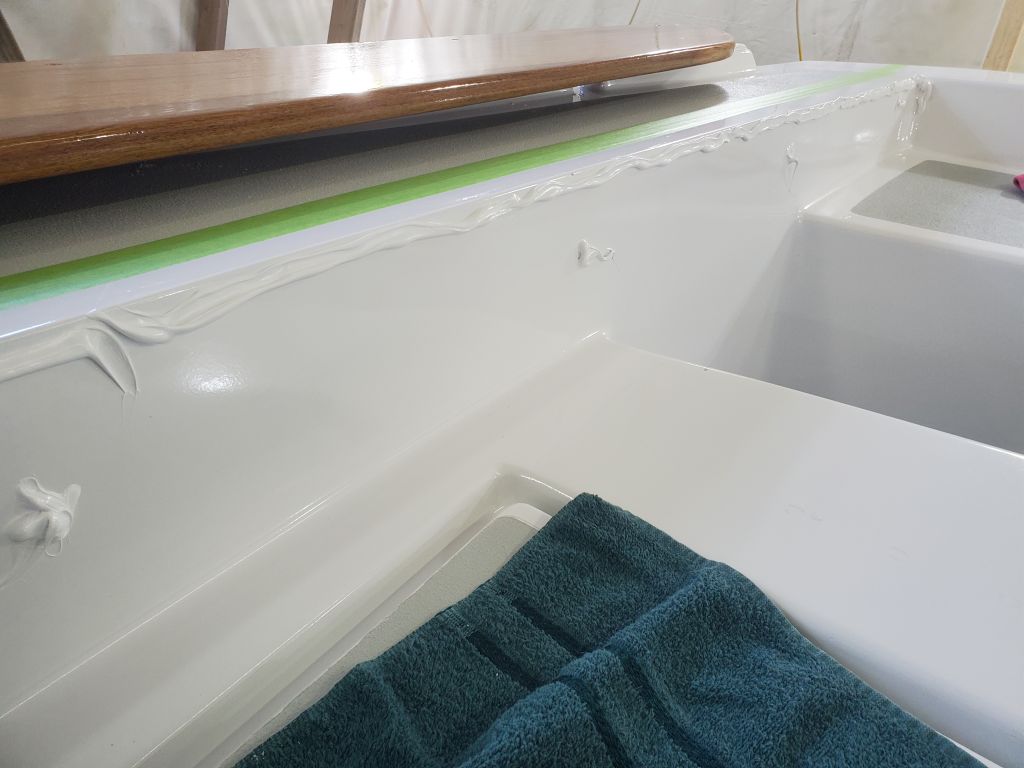
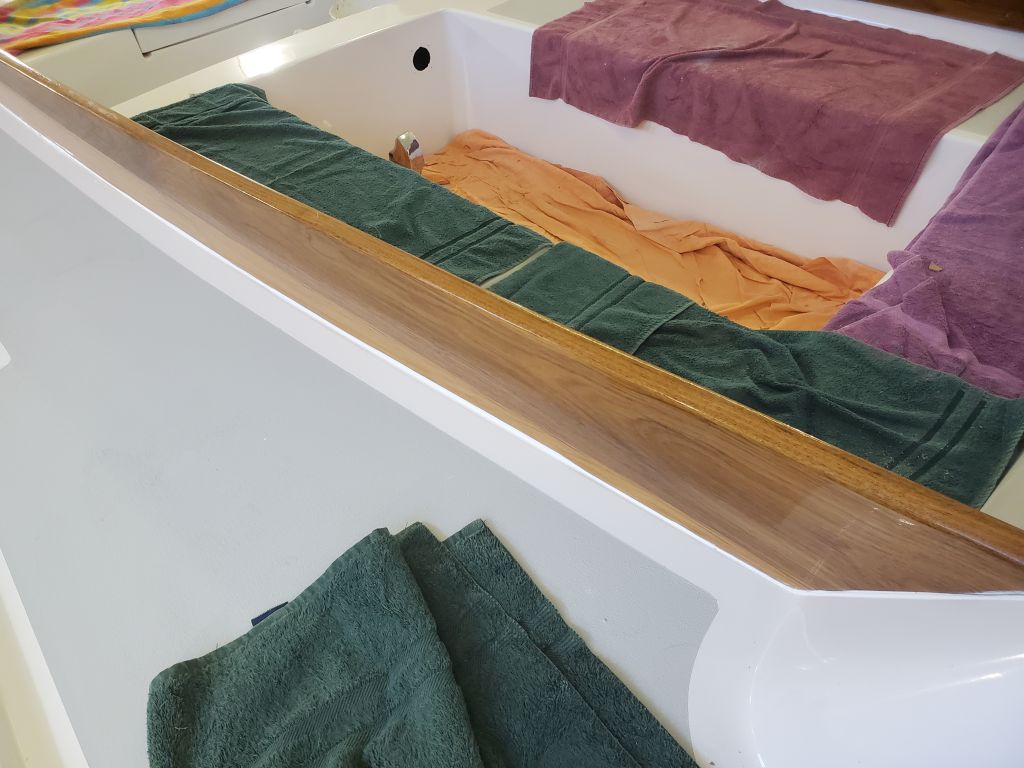
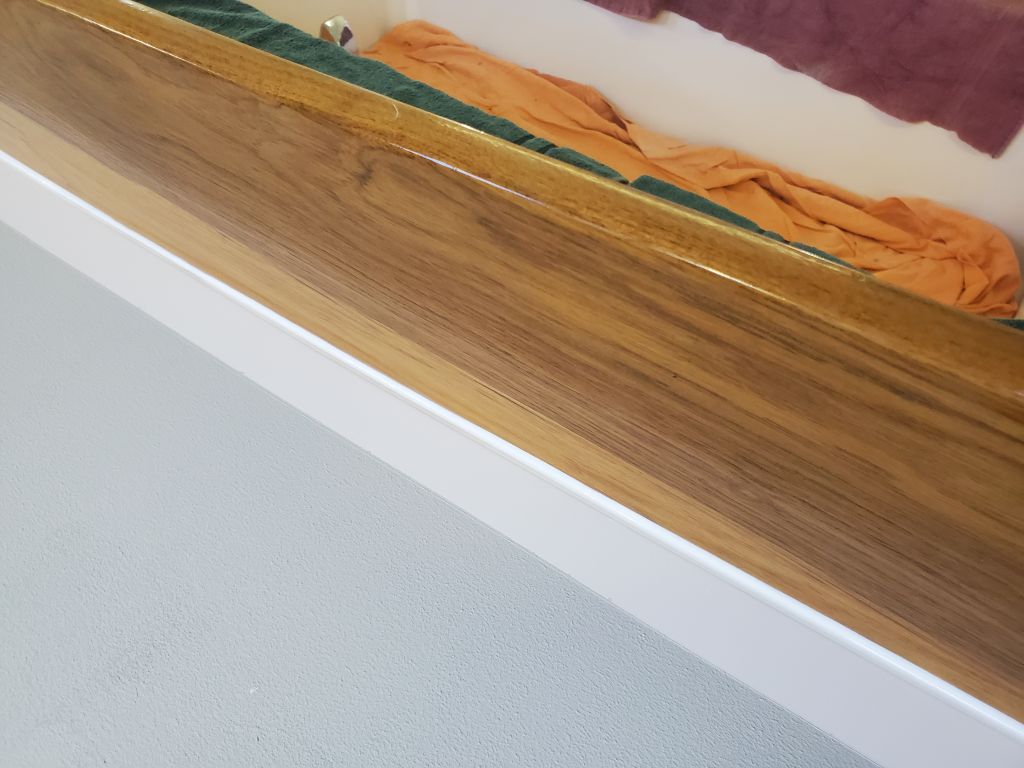
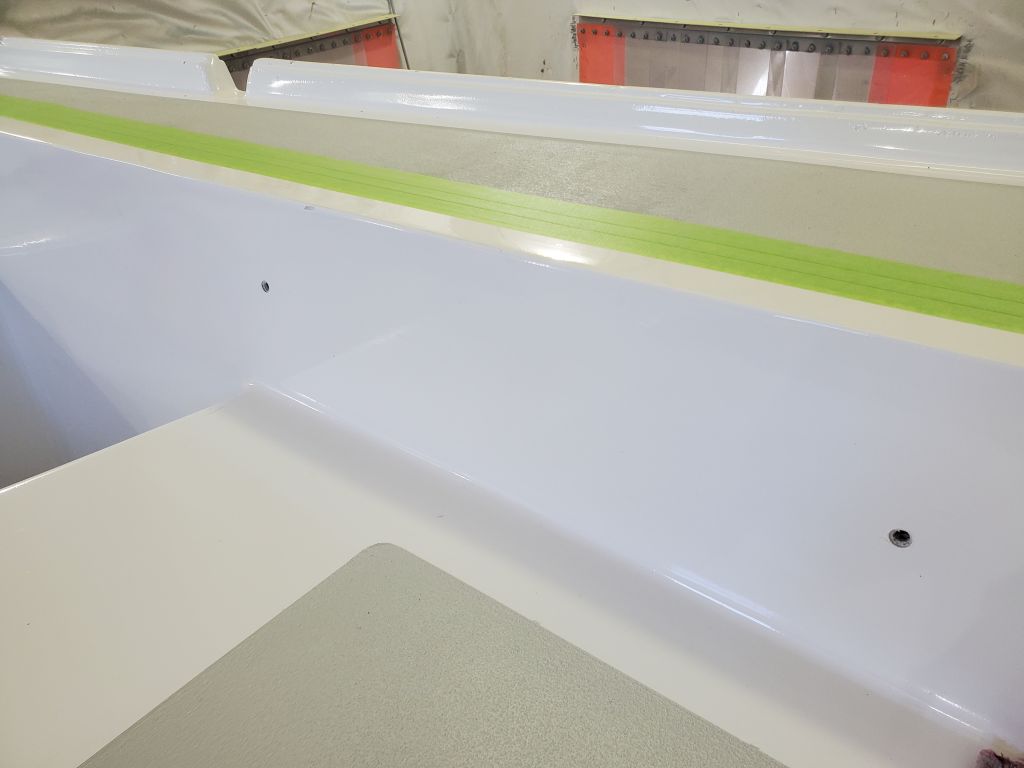
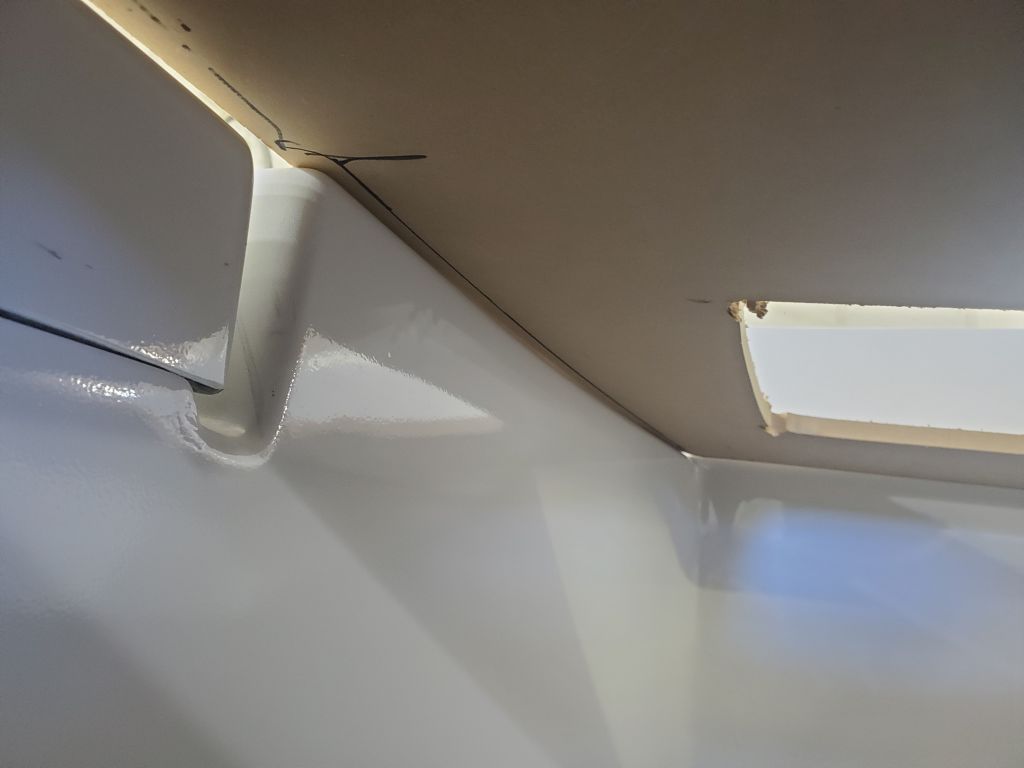
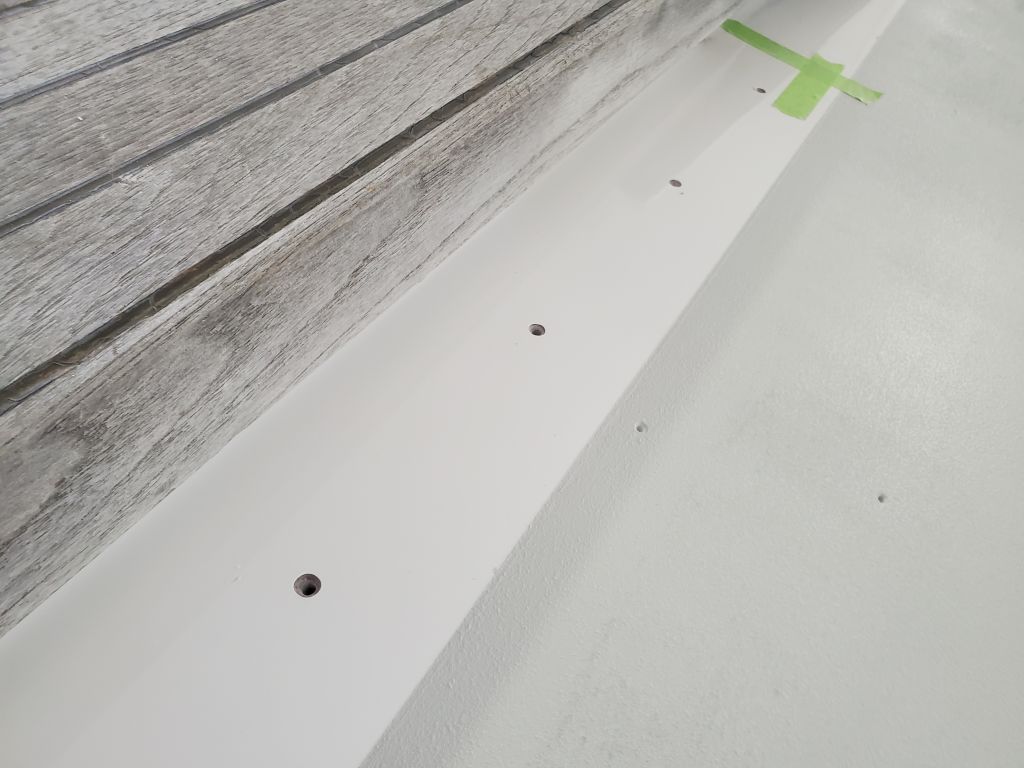
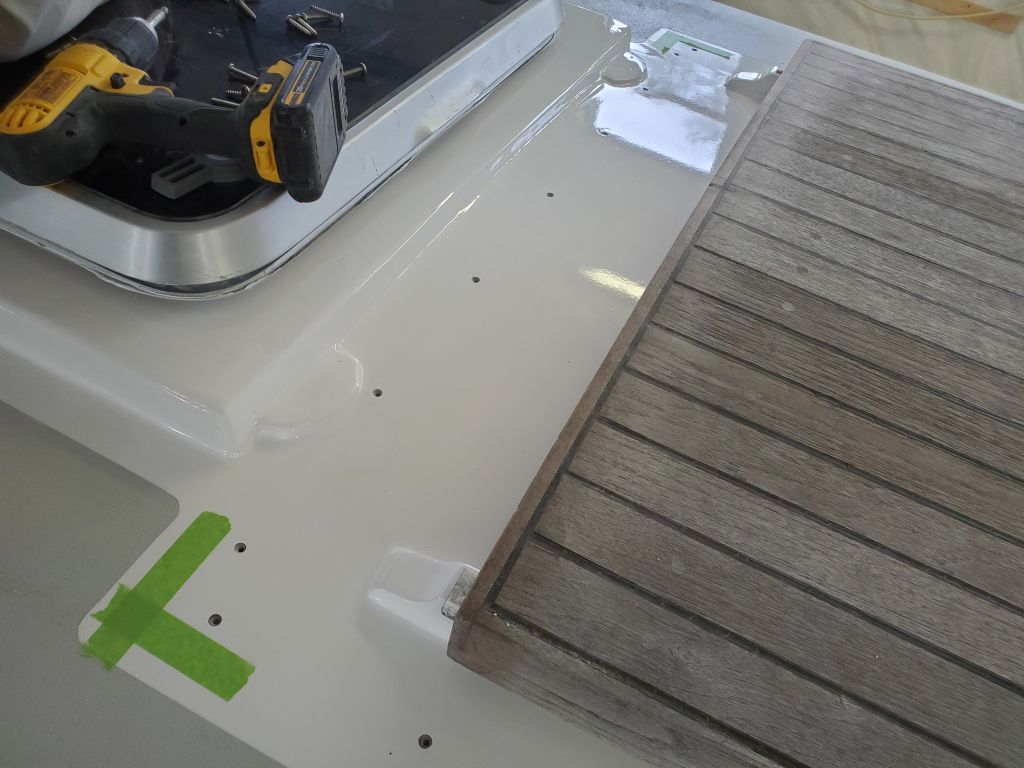
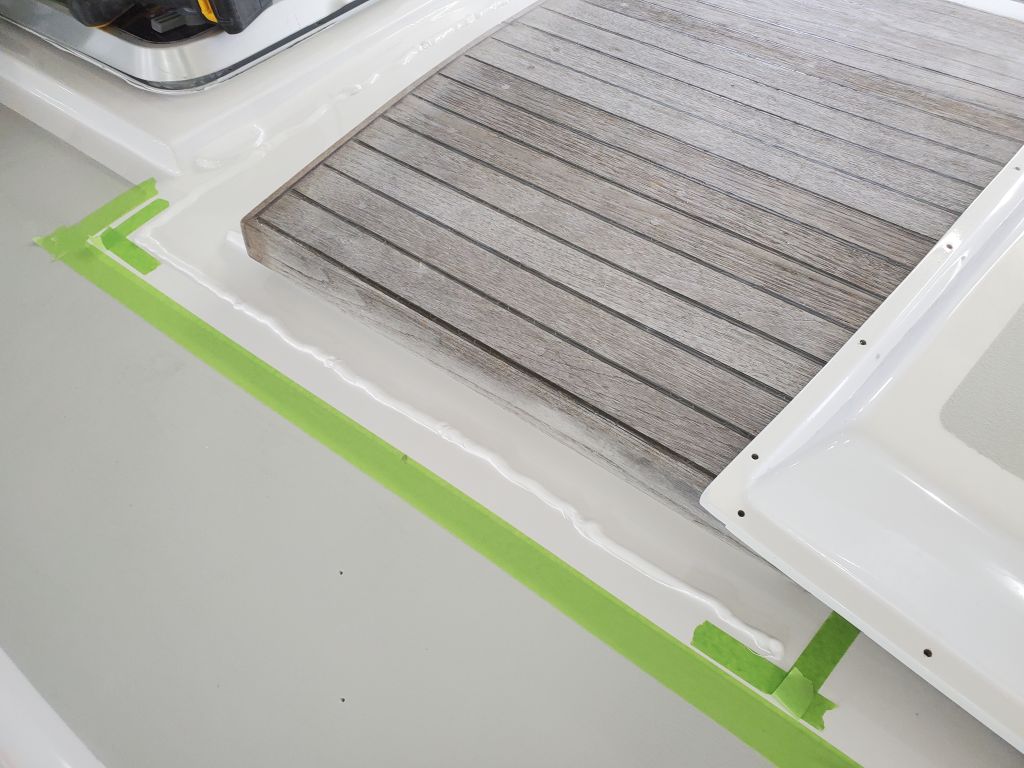
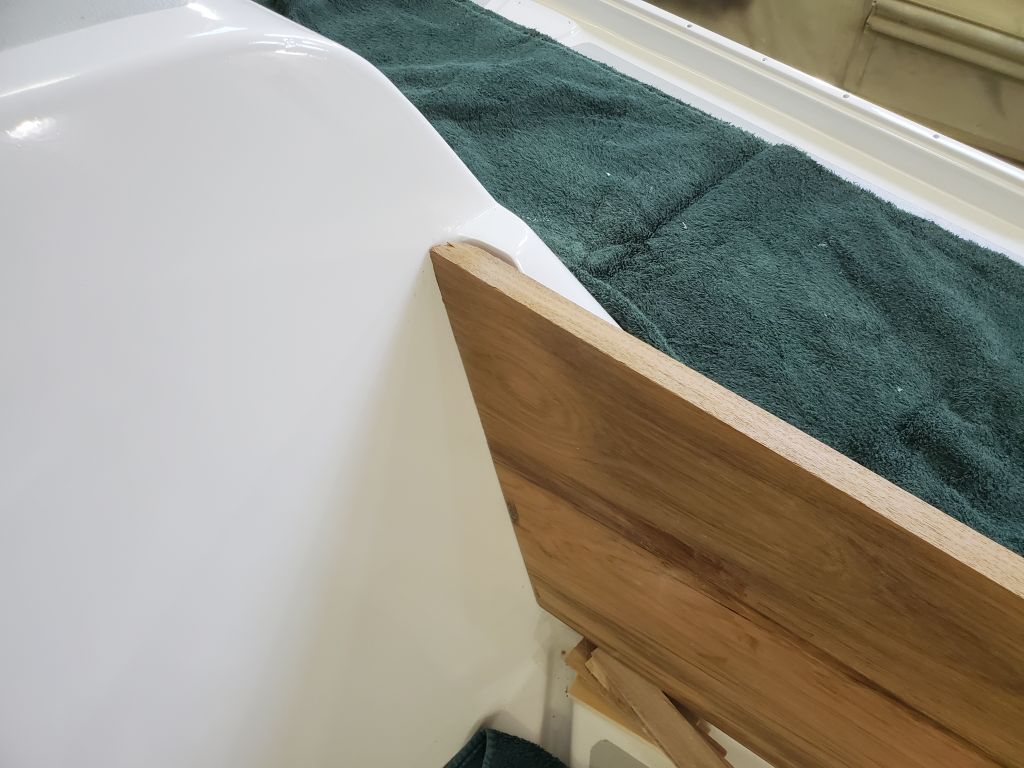
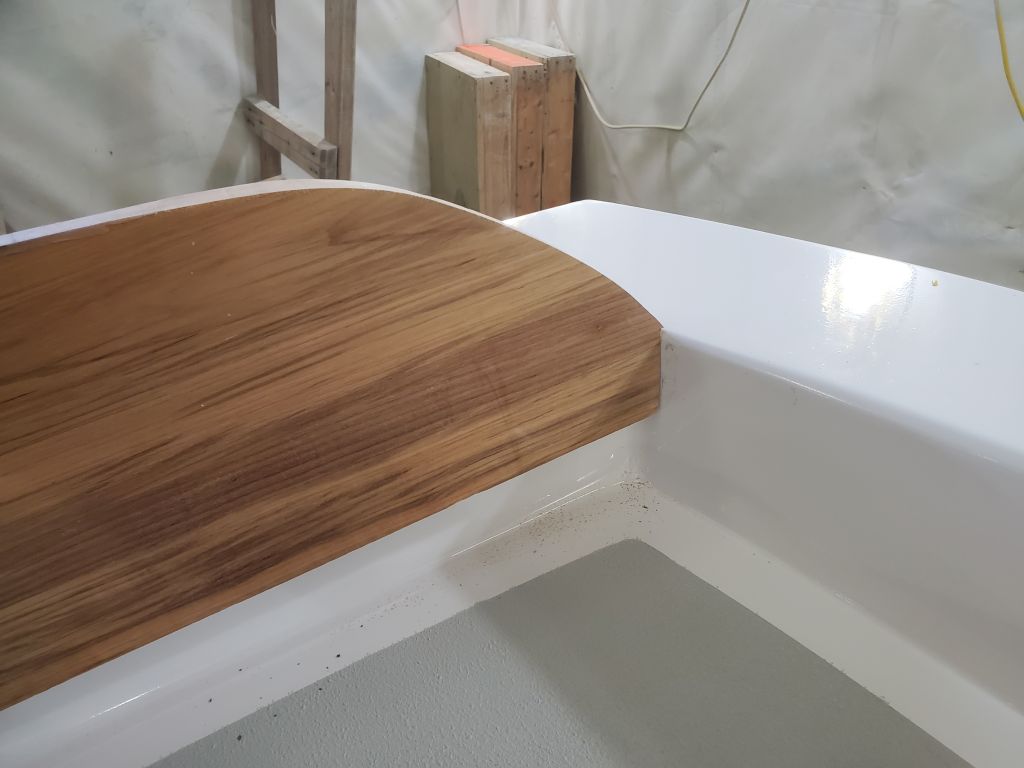
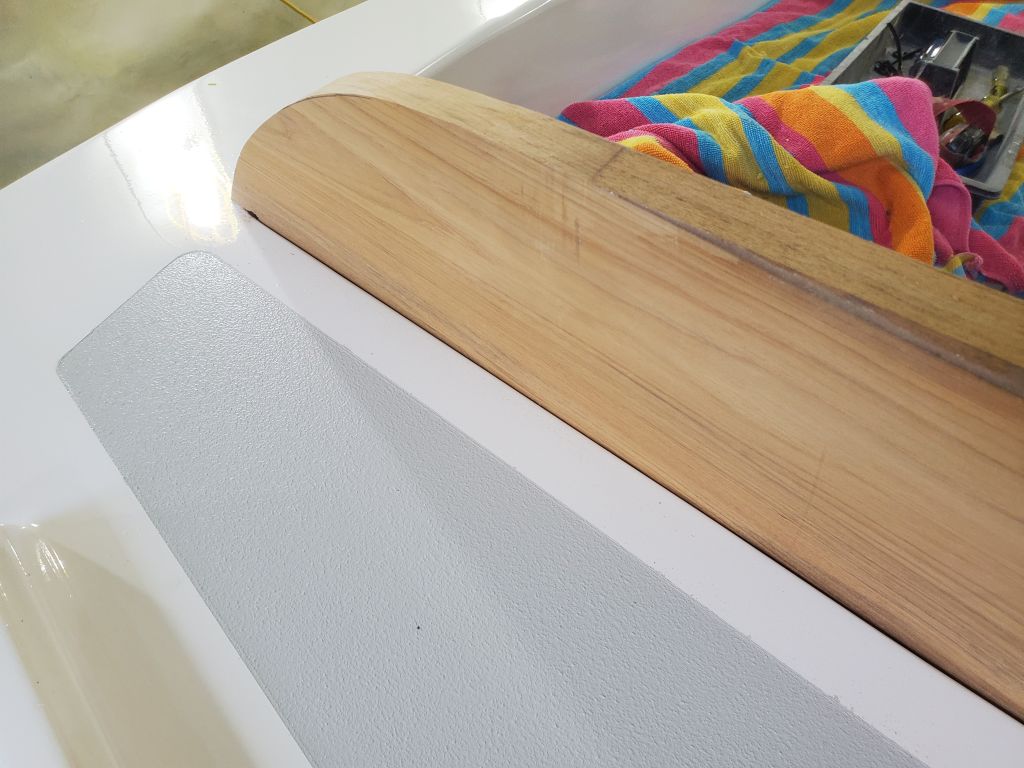
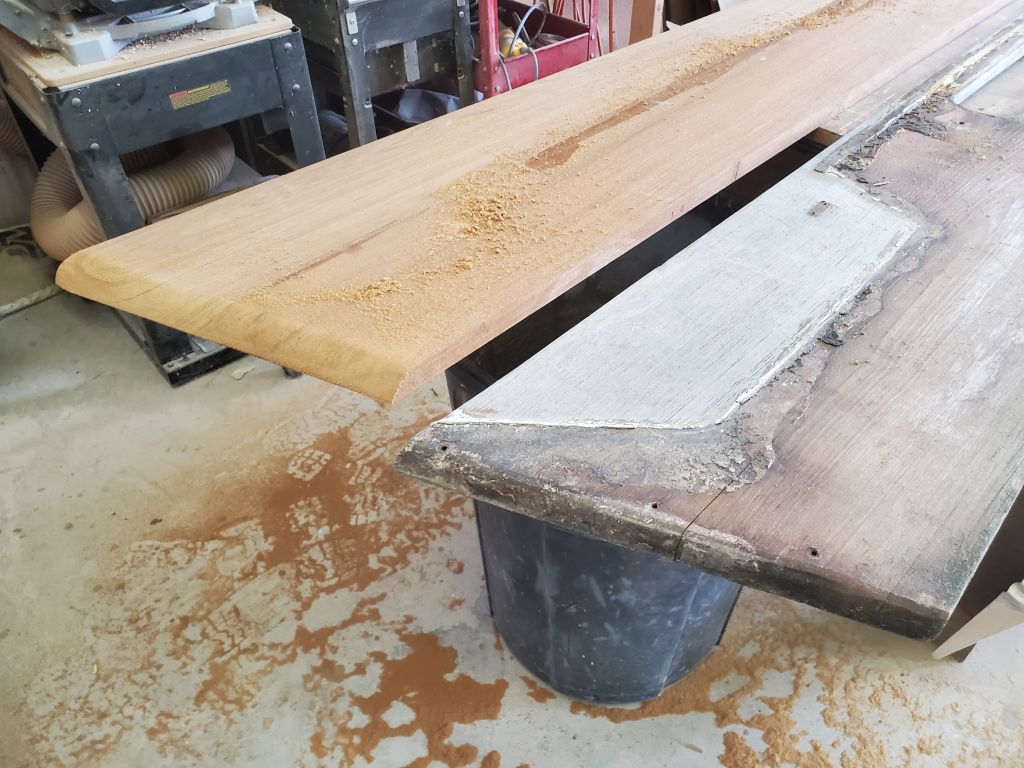
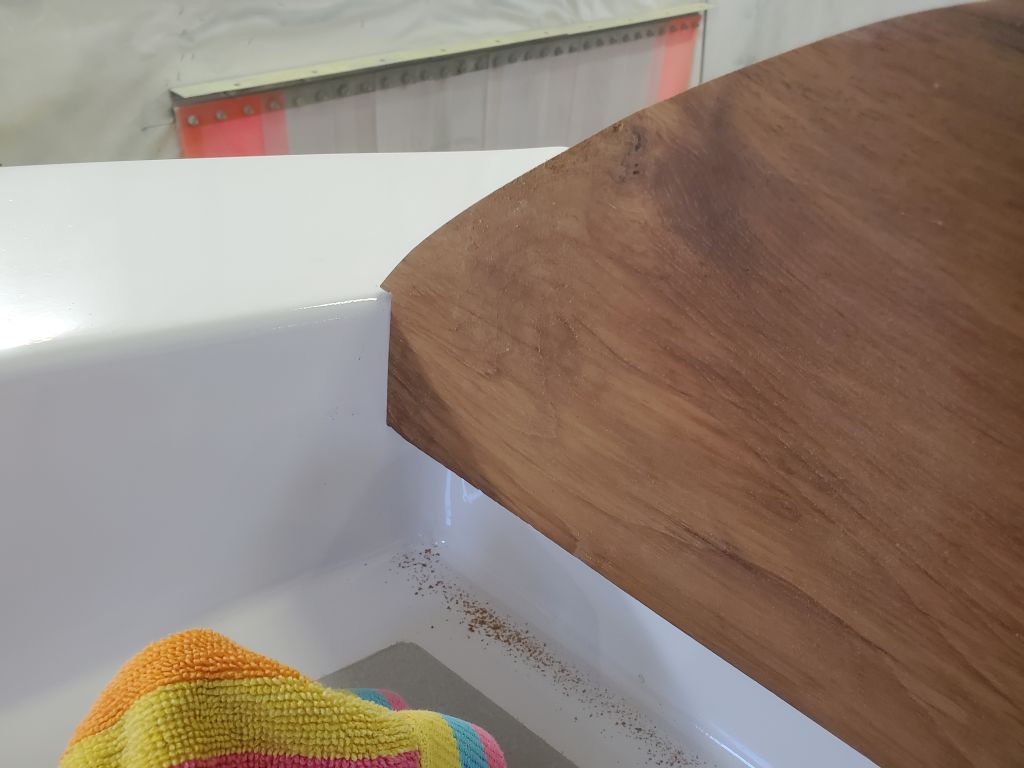
With the bonding areas cleaned up and prepared, I applied sealant to the screw holes and along the top edge of the cockpit, as well as at the leading and trailing edges where the coaming would rest.  Then, I reinstalled the coaming a final time, securing it with screws and bolts as needed.  Afterwards, I cleaned up the excess sealant, leaving a clean bead on the outer edges where the coaming met the deck and molded coaming block.

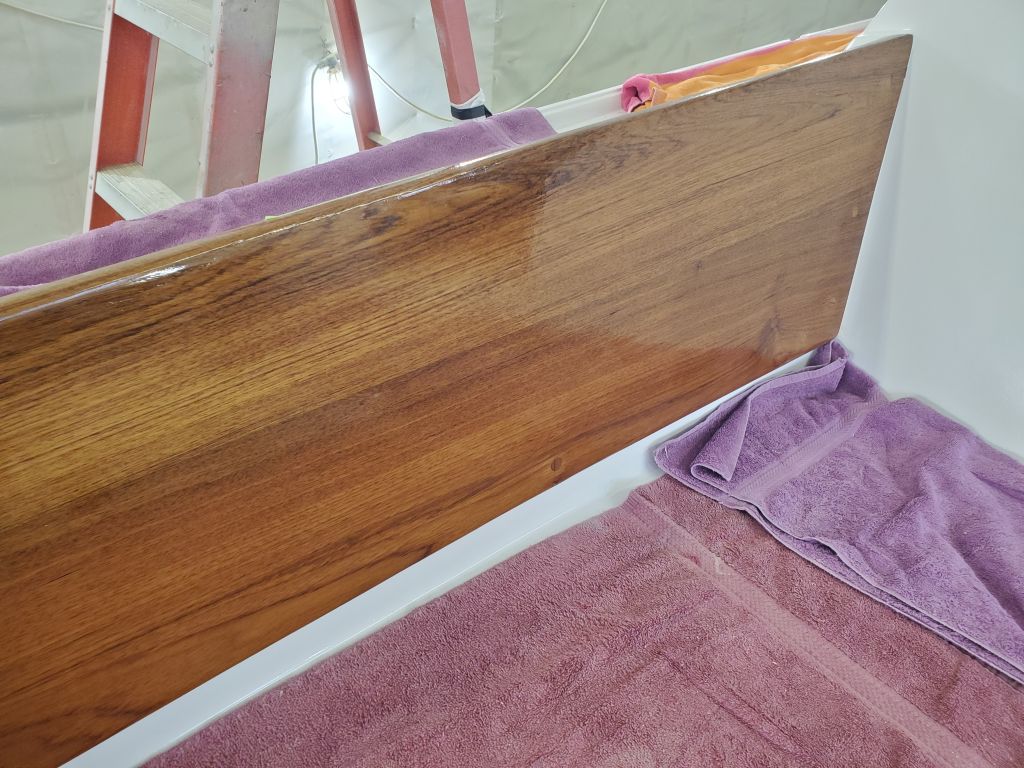
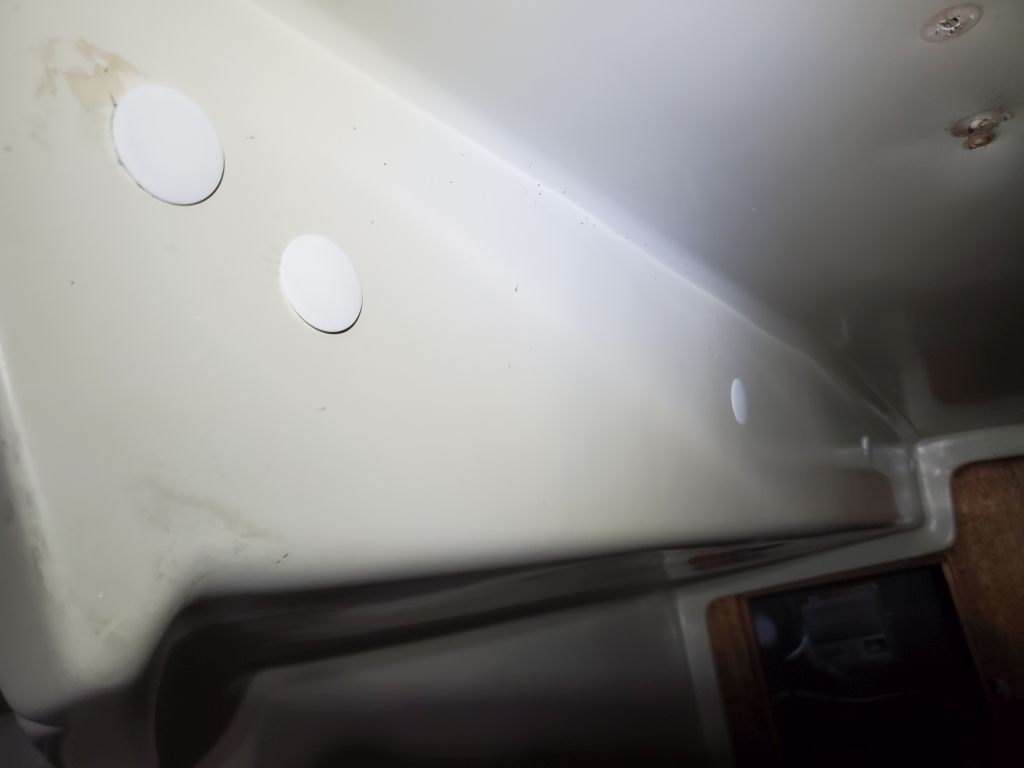
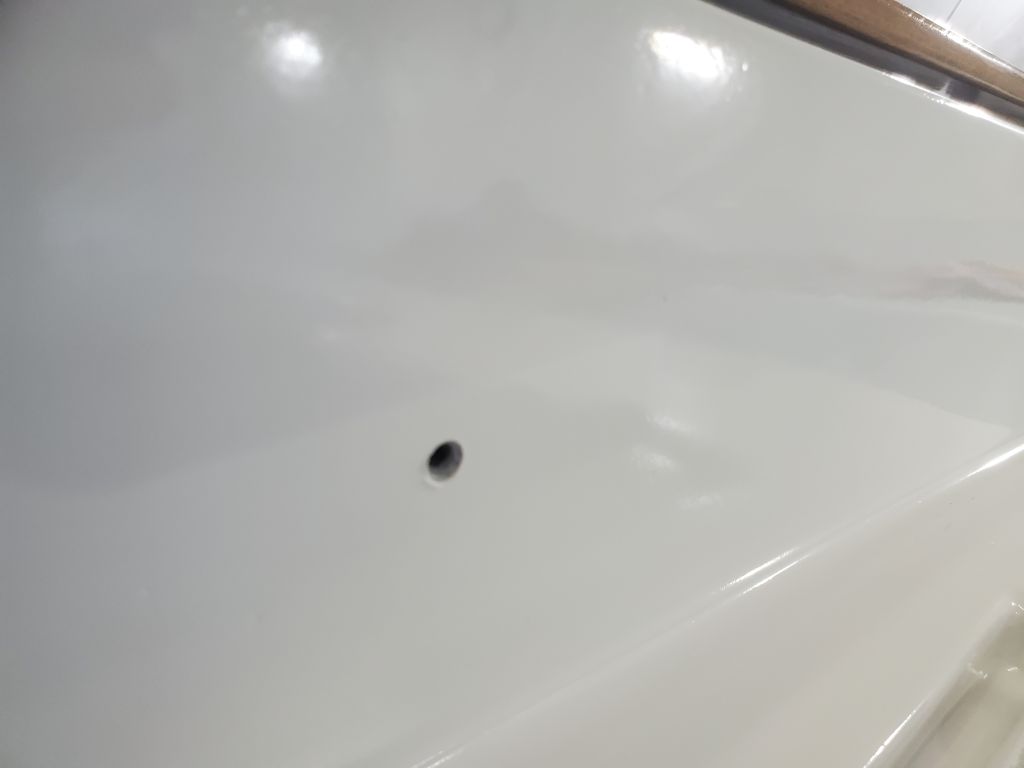
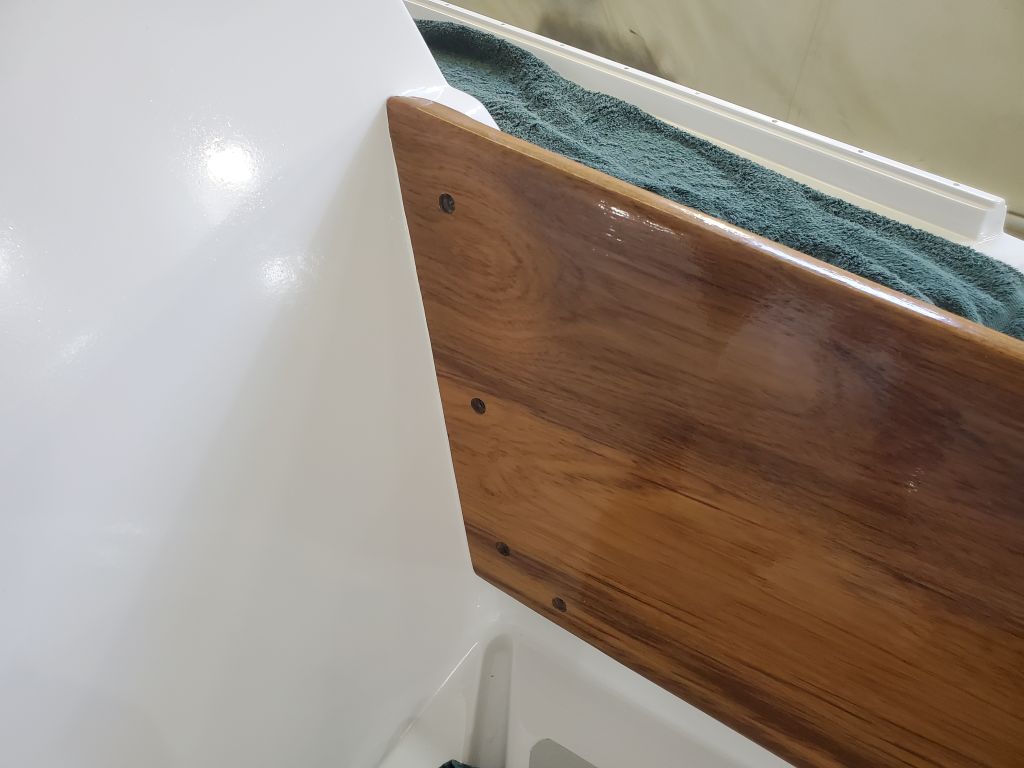
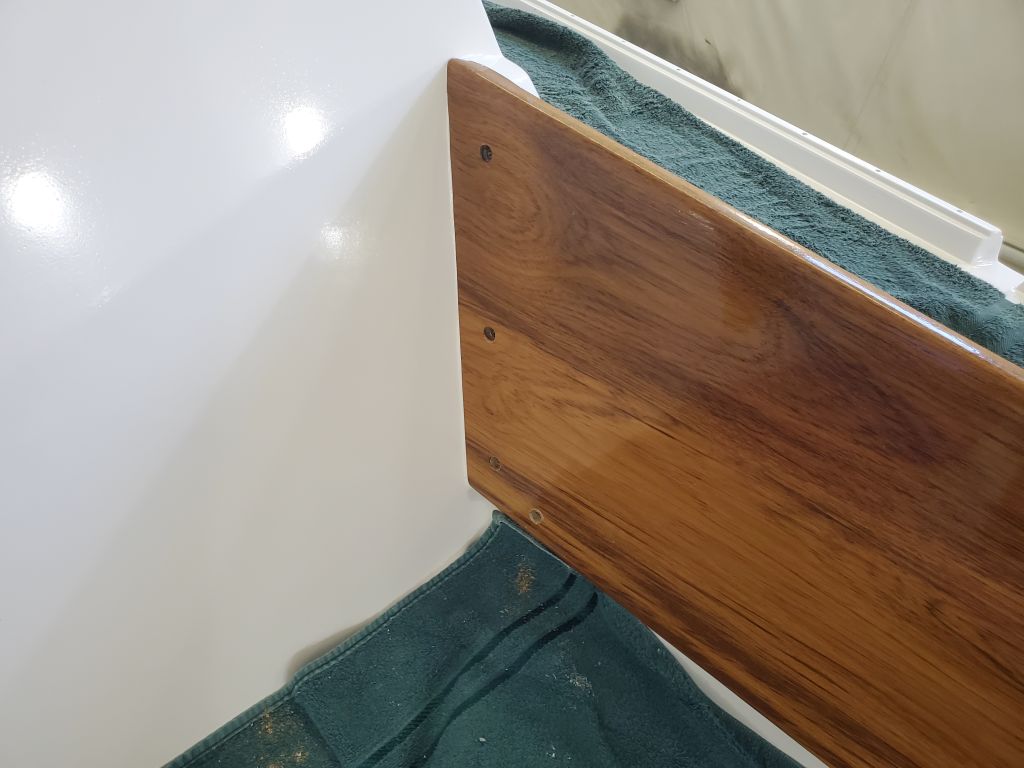
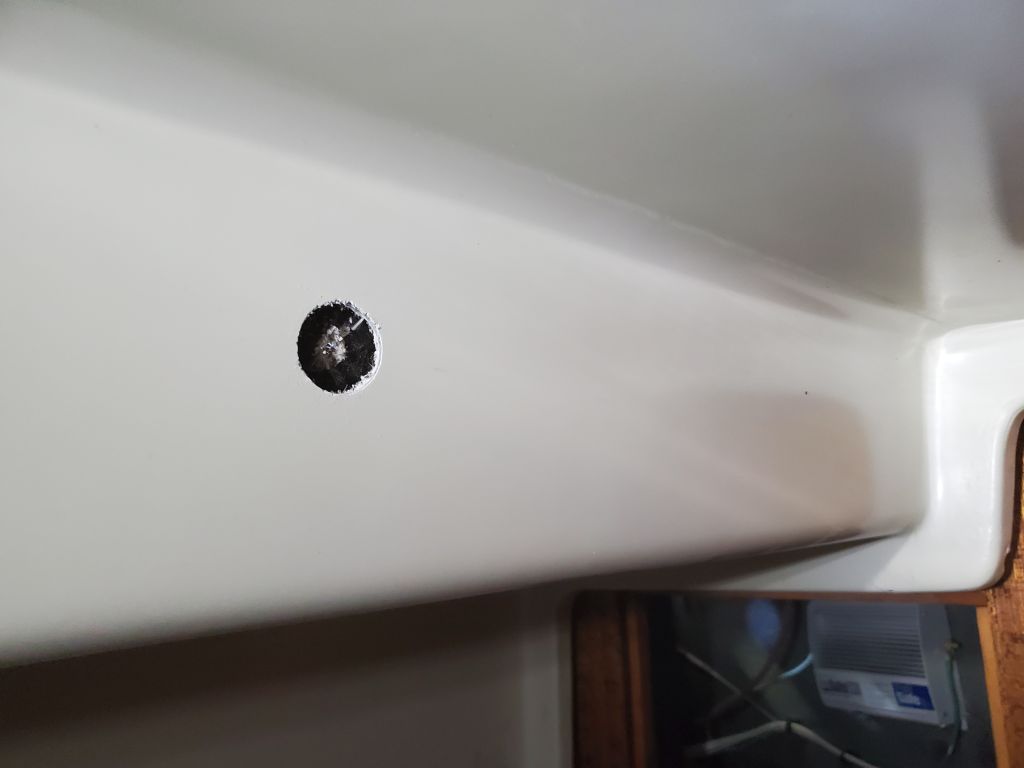
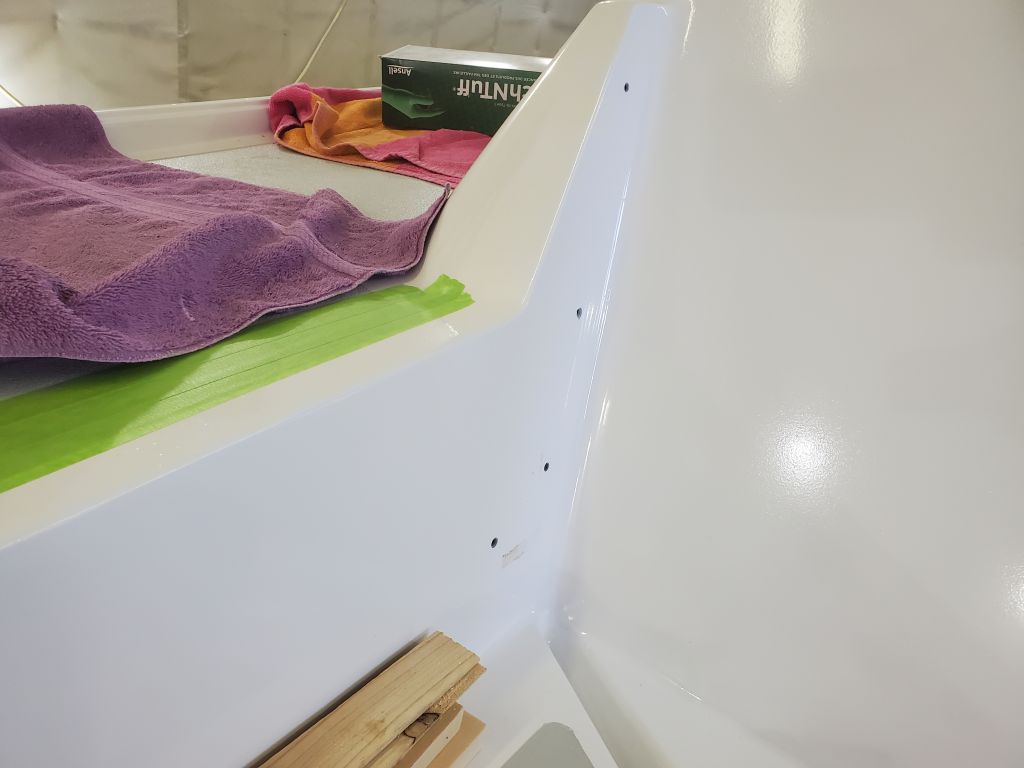
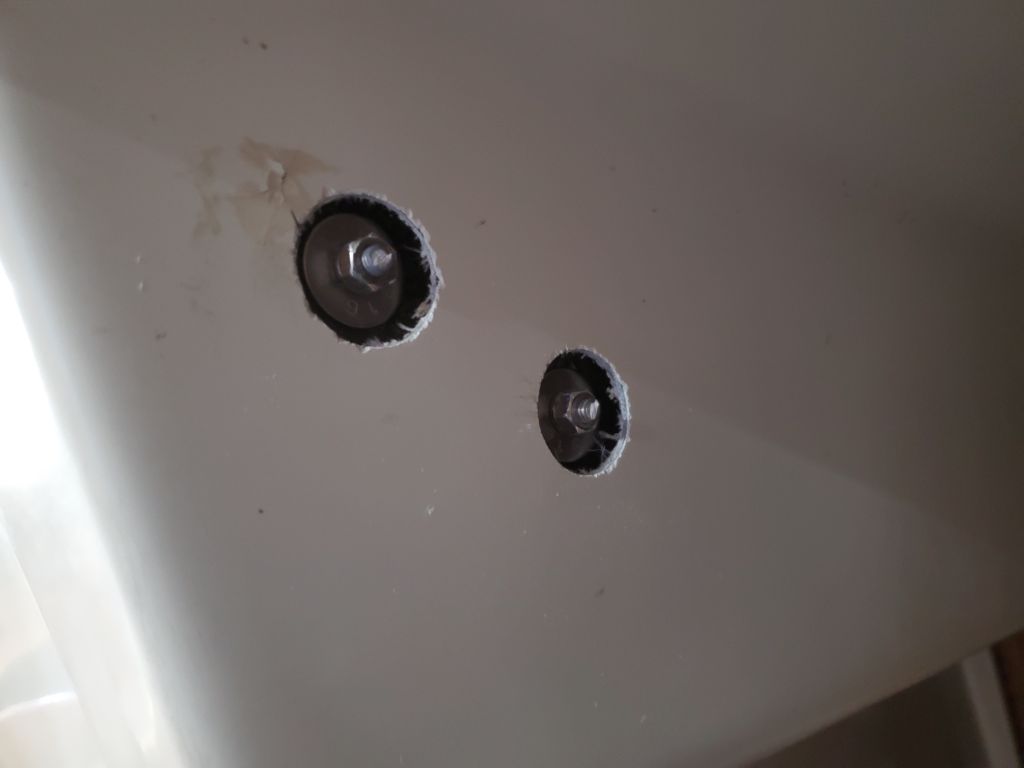
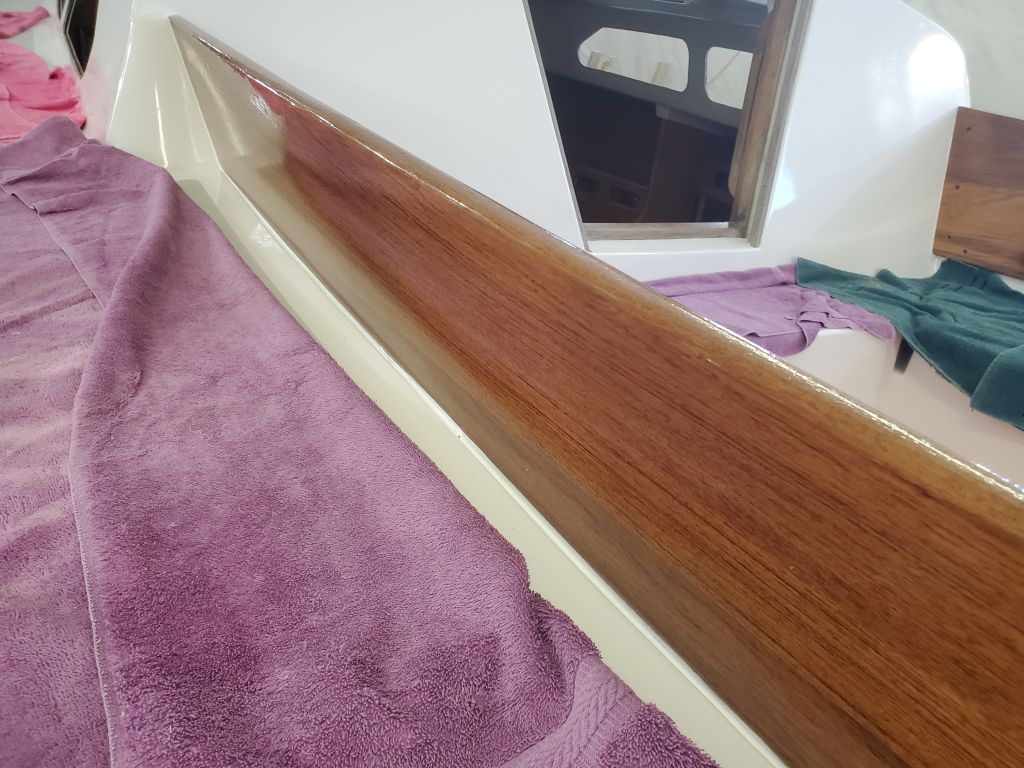
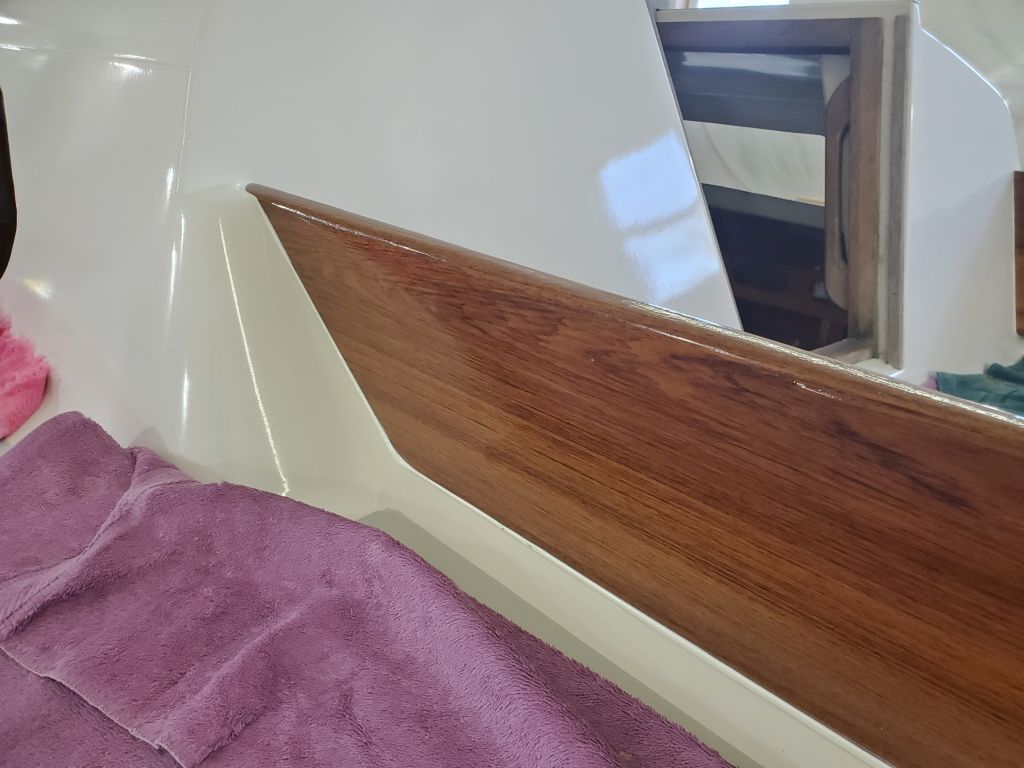
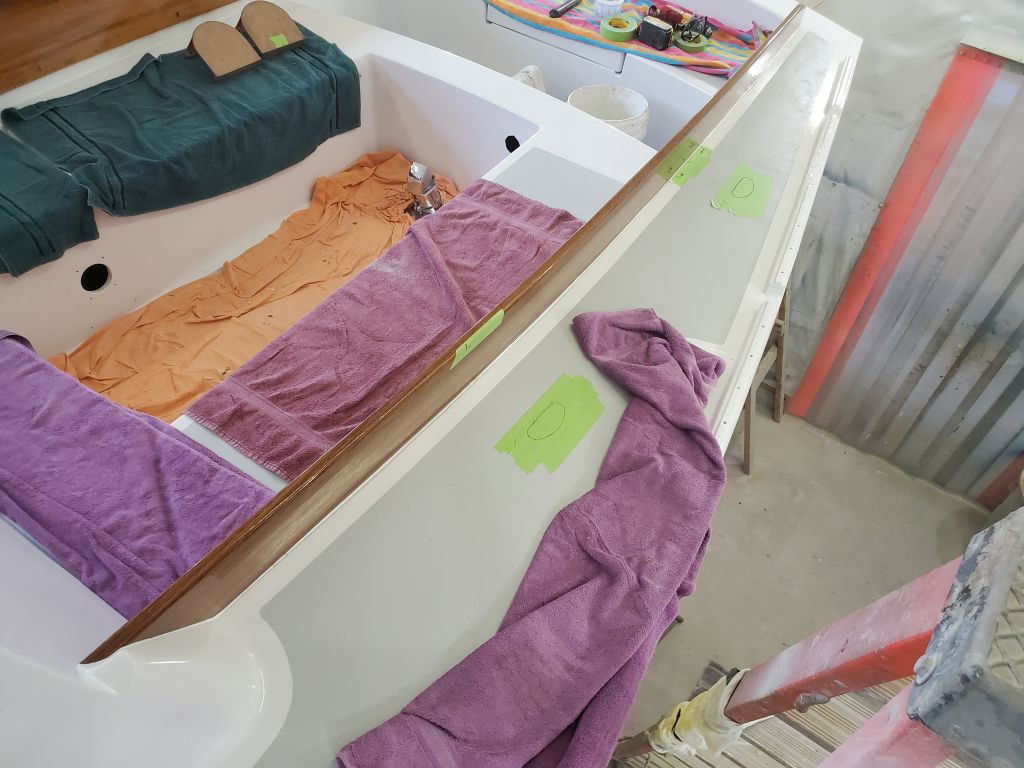
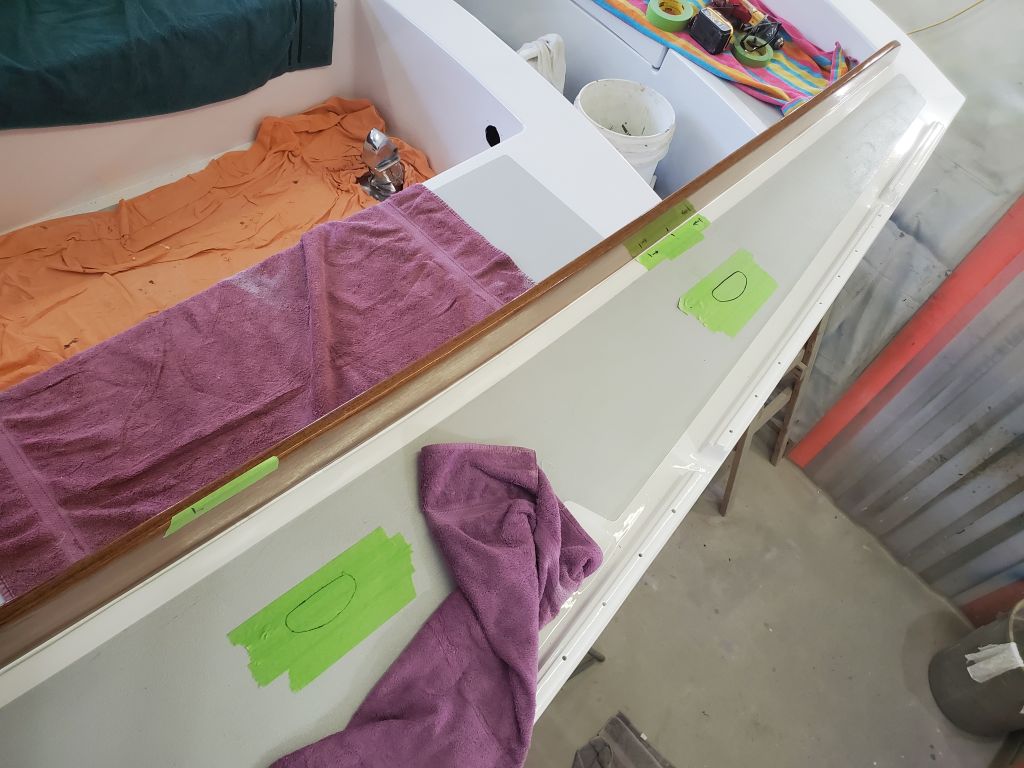
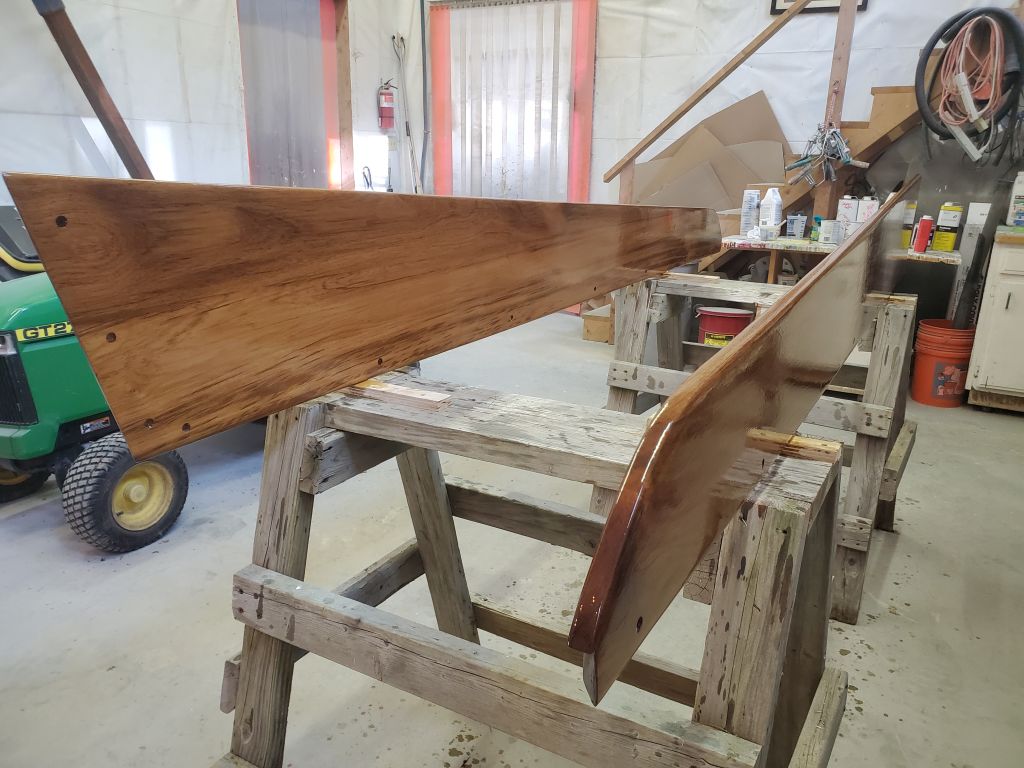
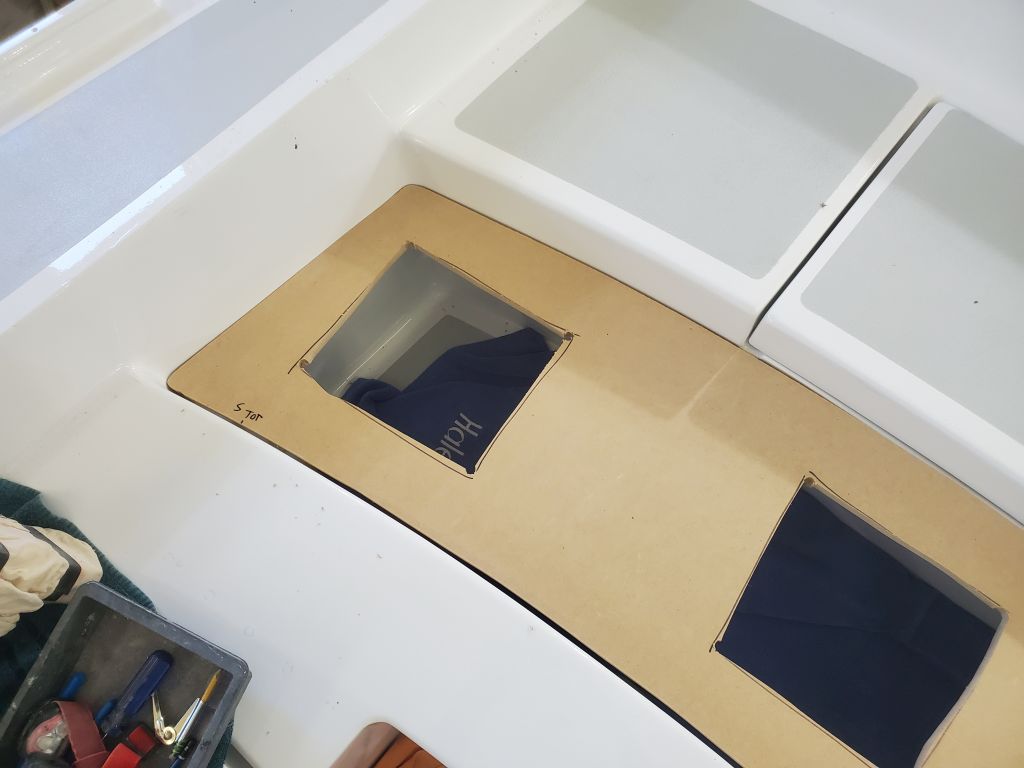
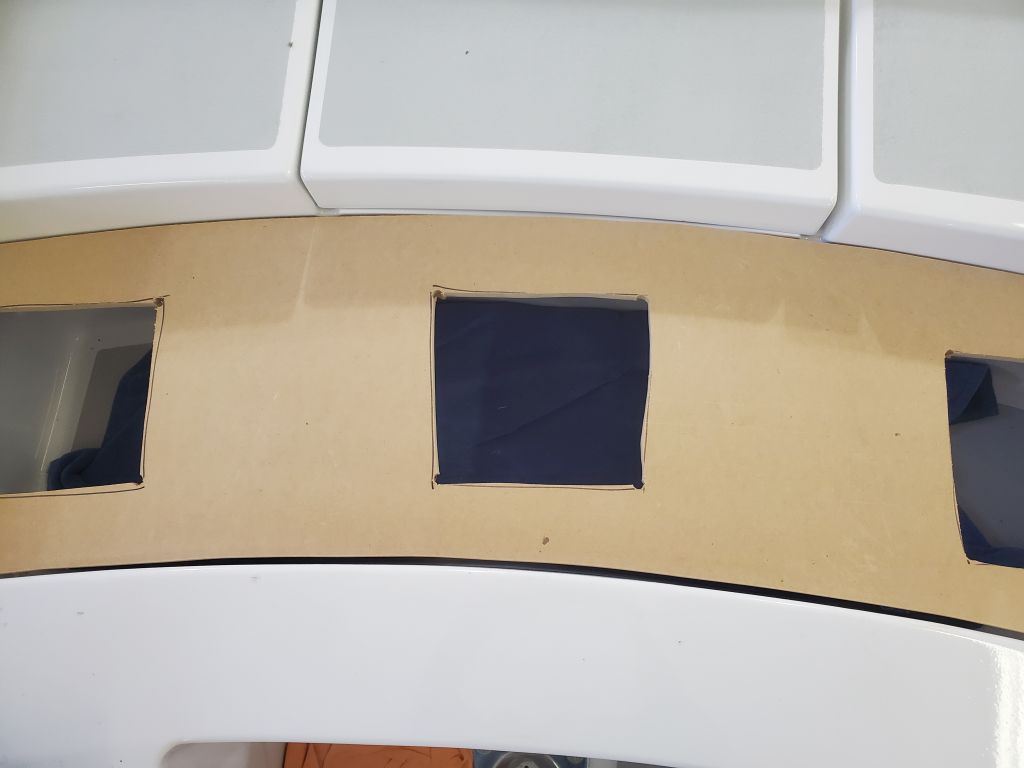
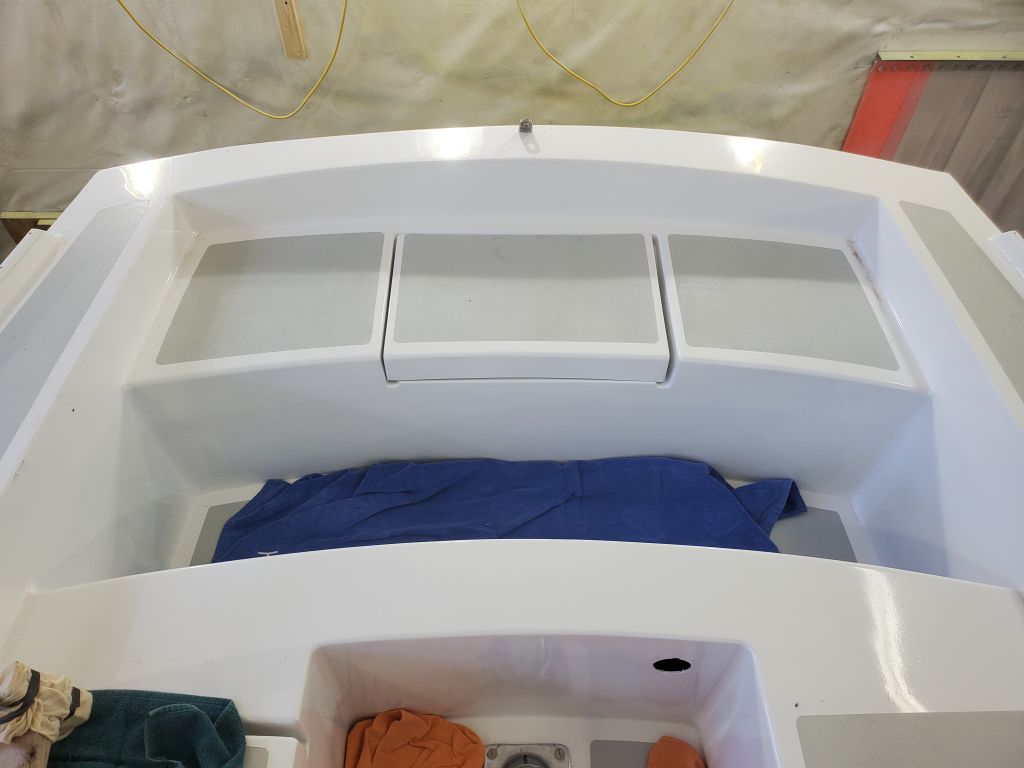
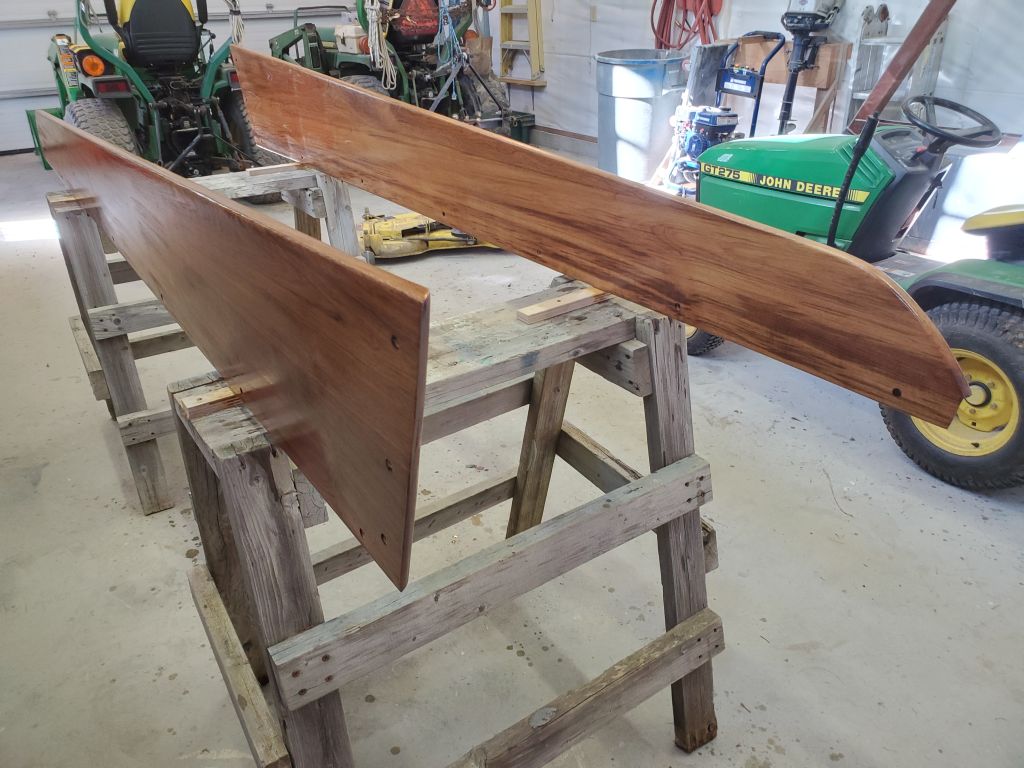
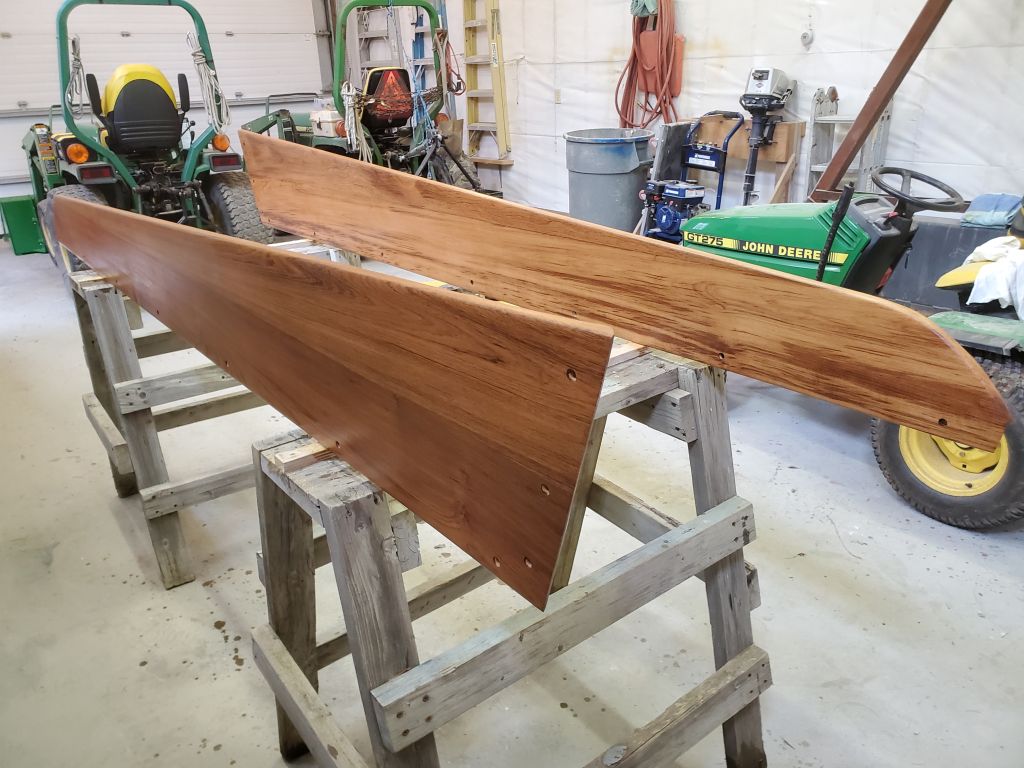
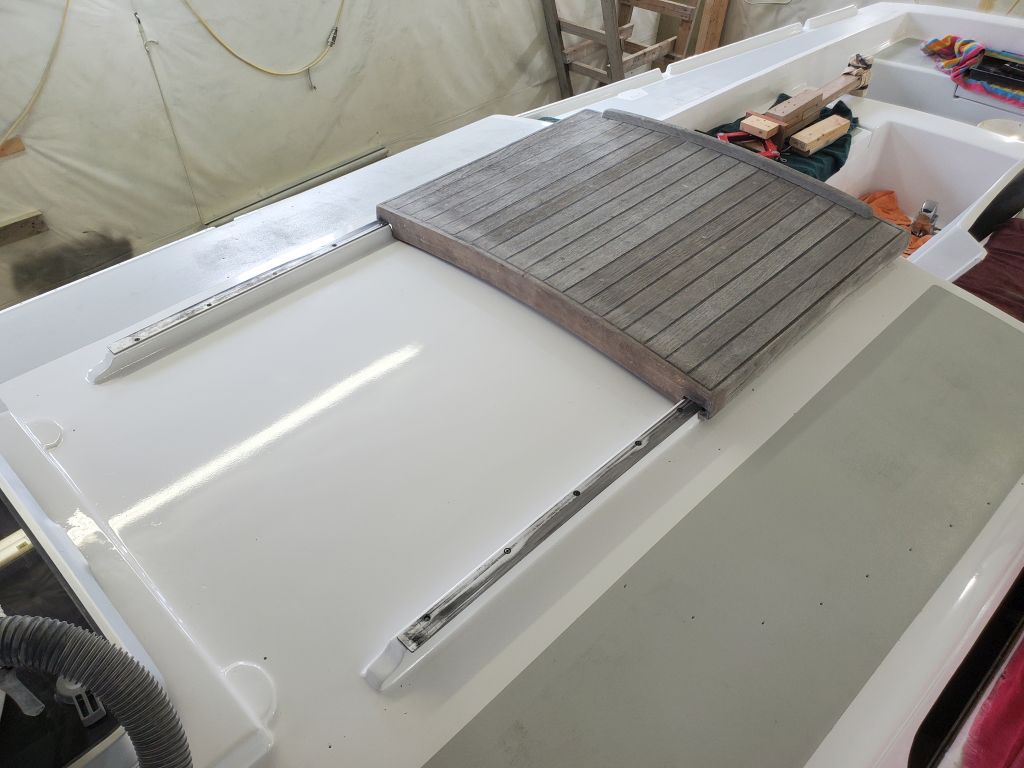
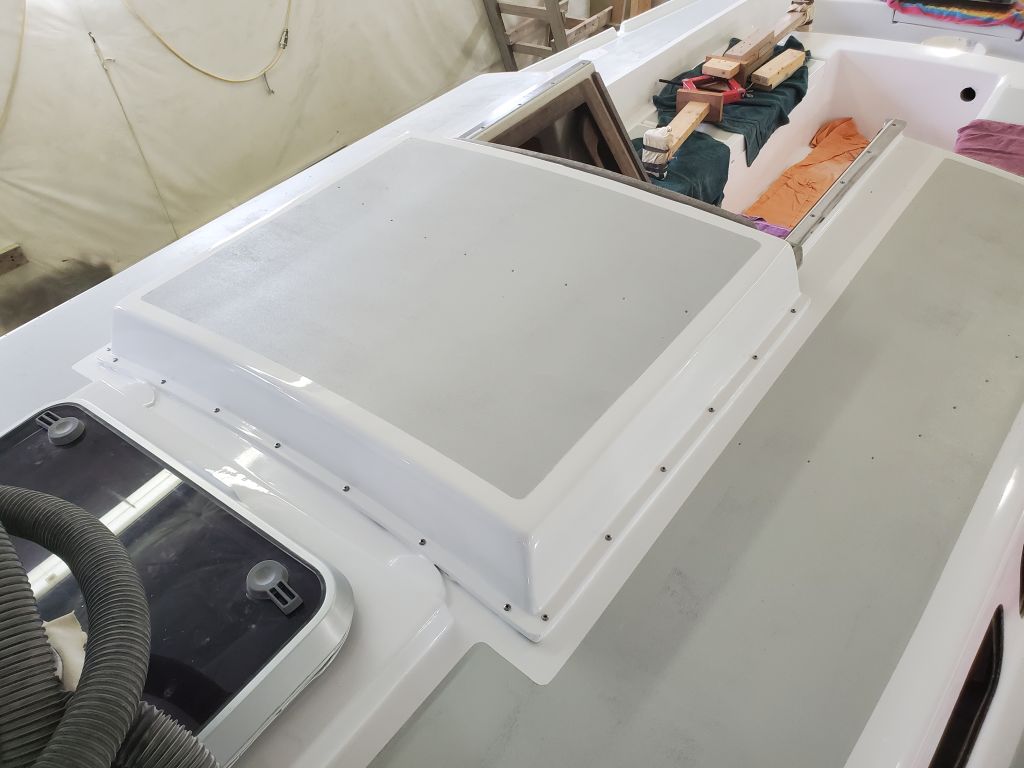
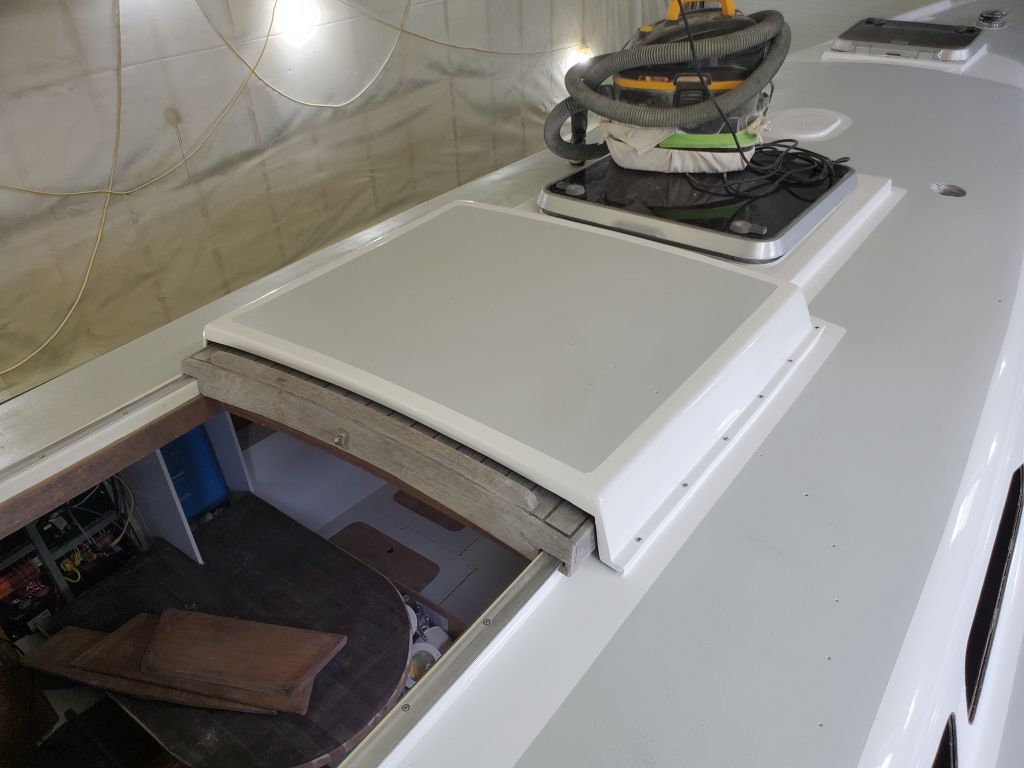
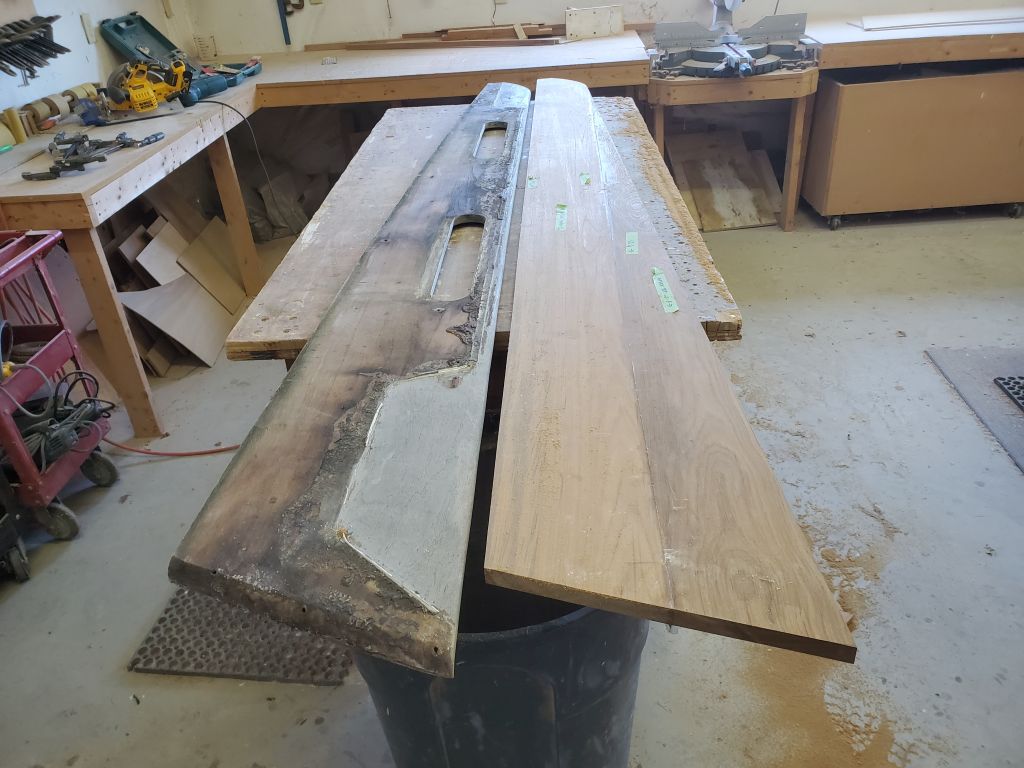
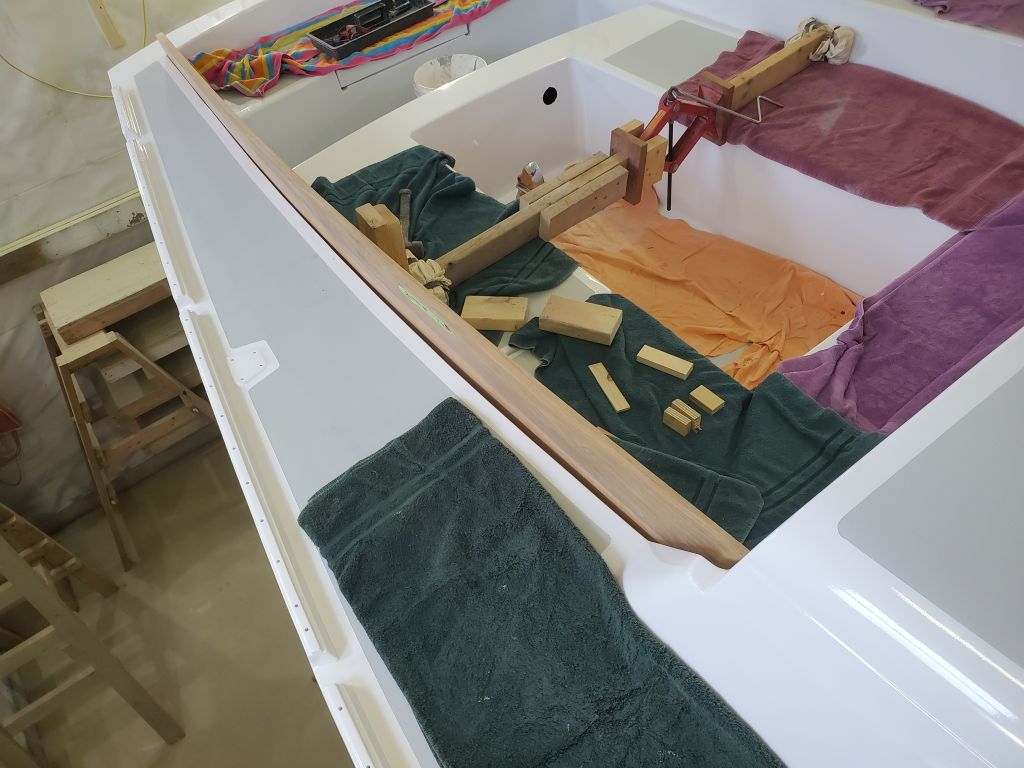
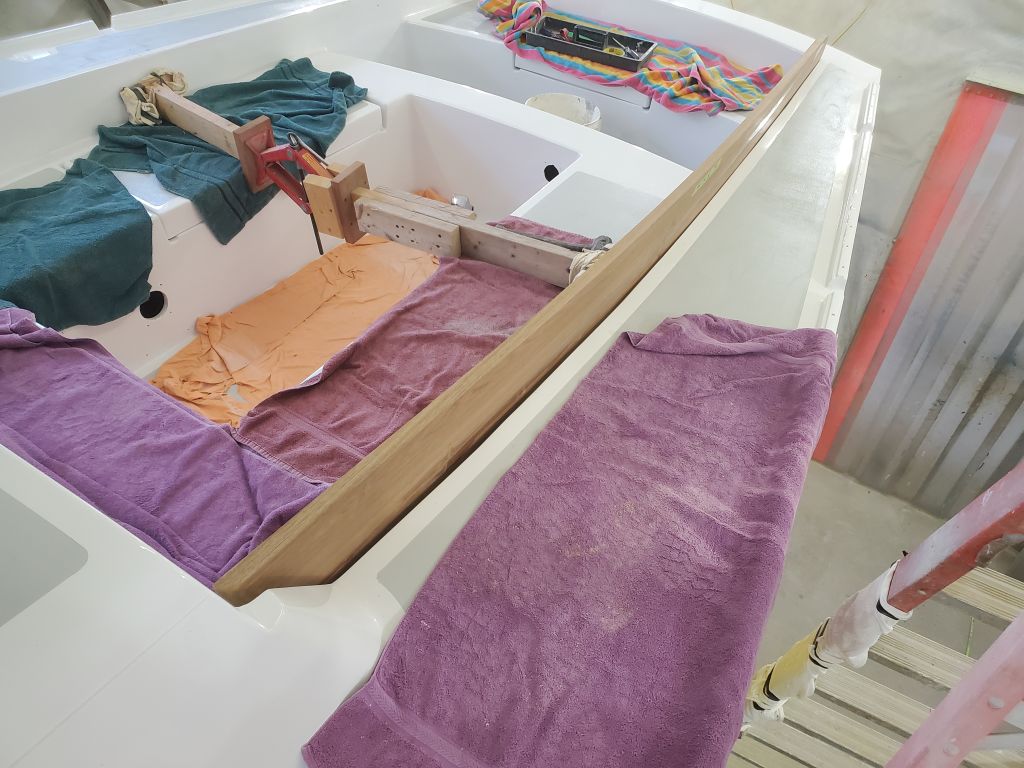
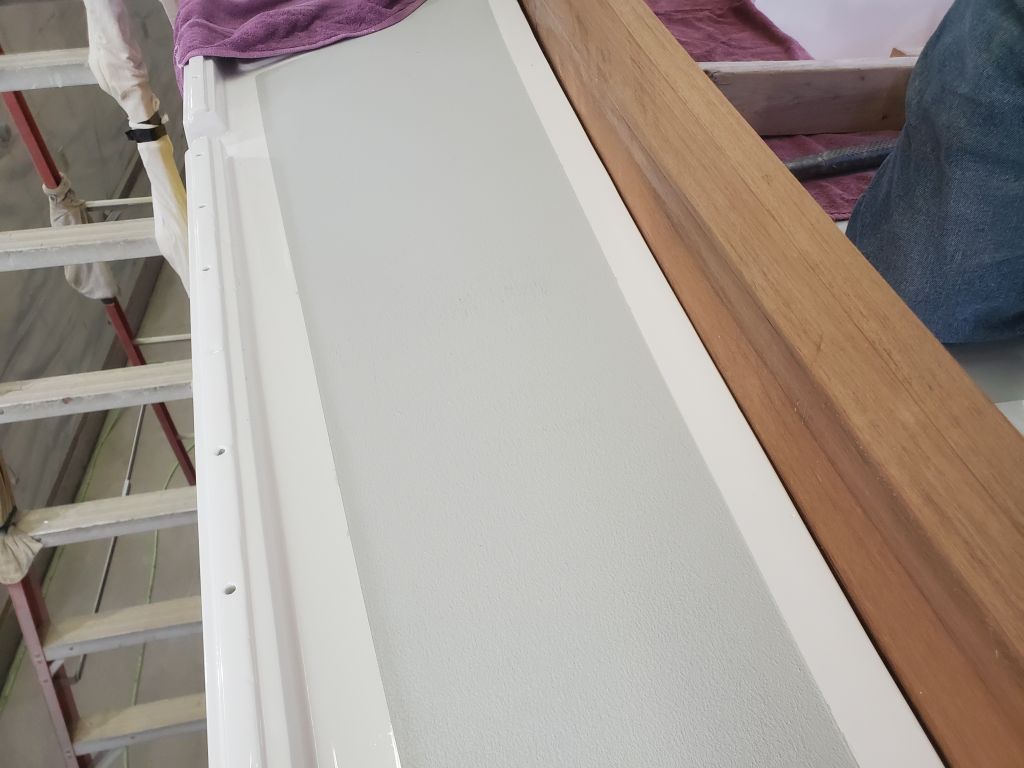
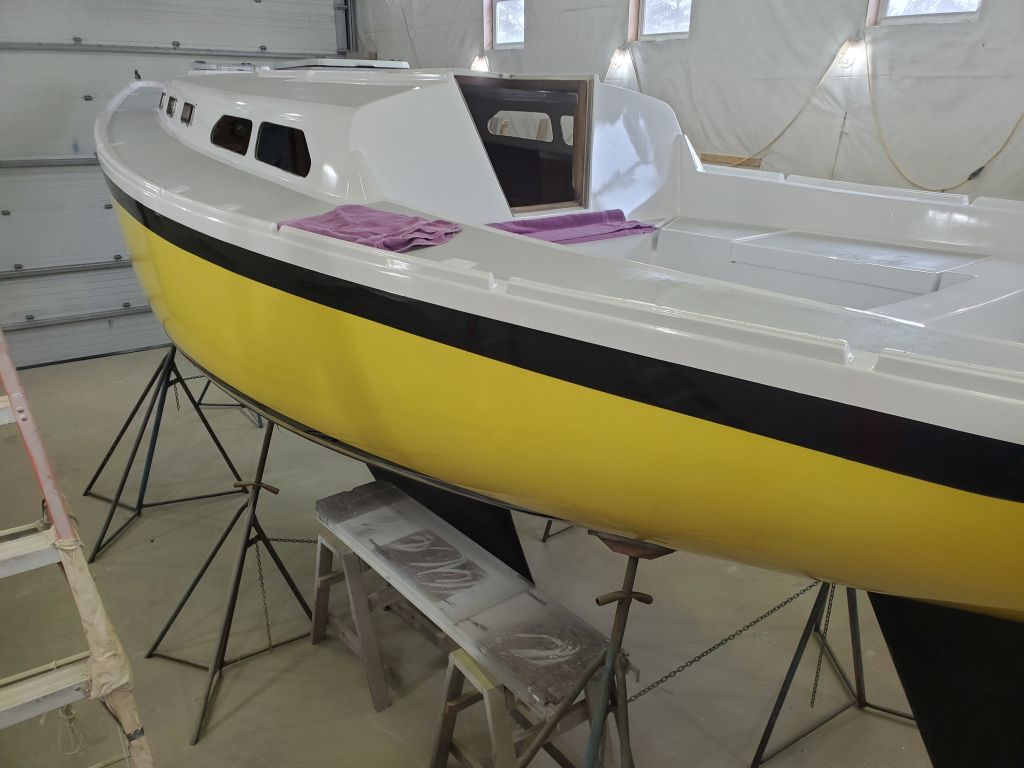
I repeated the process on the port side.  Here, with several of the fasteners located over the quarterberth in the cabin, I was conscious of the interior liner, which was spaced about 3/8″ from the deck laminate itself–too far to support the fasteners properly.  So with the coaming in place, I drilled pilot holes from the outside and all the way through the liner, then used a hole saw to cut 1-1/4″ openings in the liner at each location, allowing room for nuts and washers against the deck laminate, and sized to fit plastic cosmetic covers that I ordered and would fit once on hand.  Once I’d drilled for all the fasteners, I removed the coaming, milled the fastener openings with a countersink, then reinstalled the coaming with sealant.

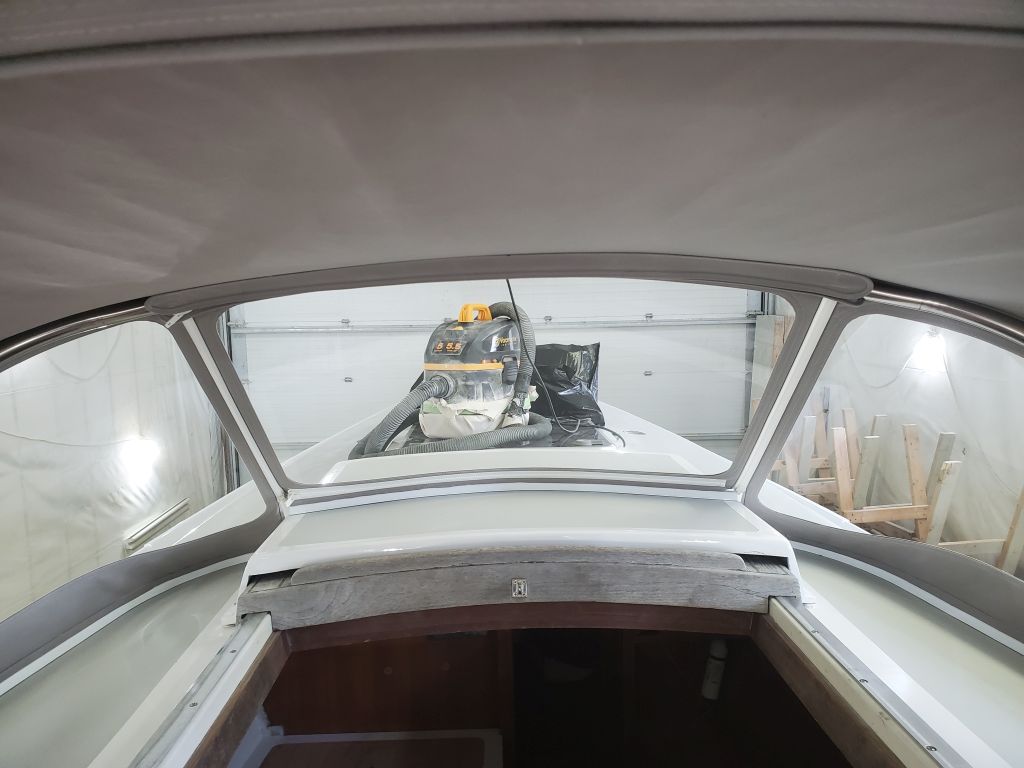
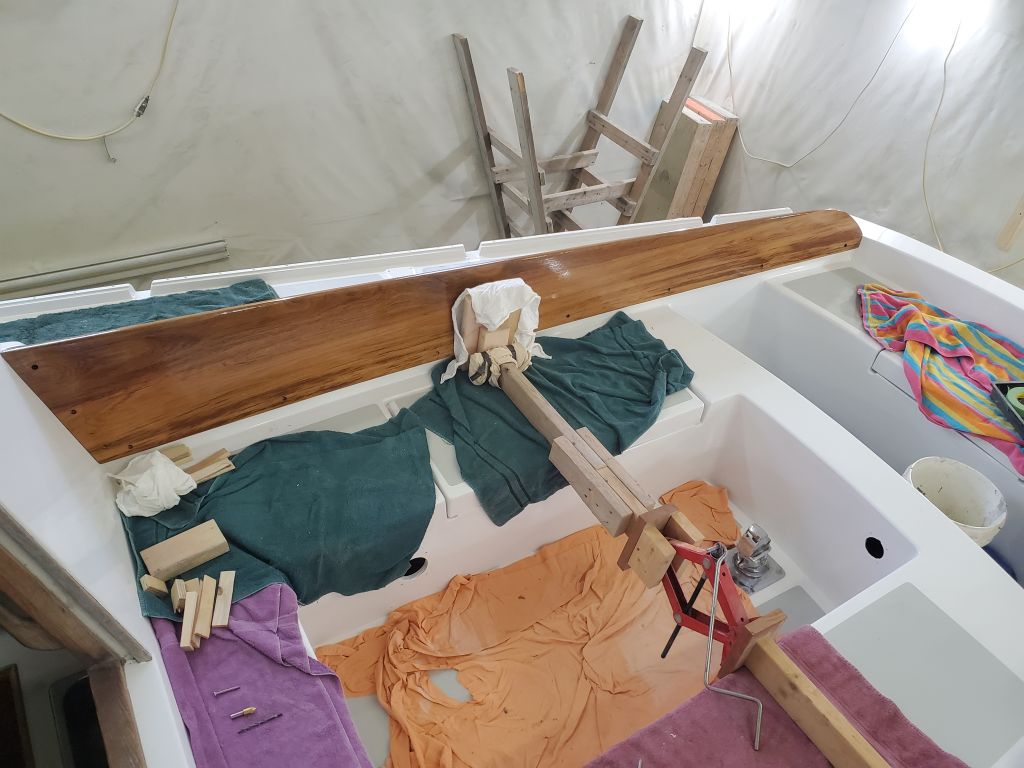
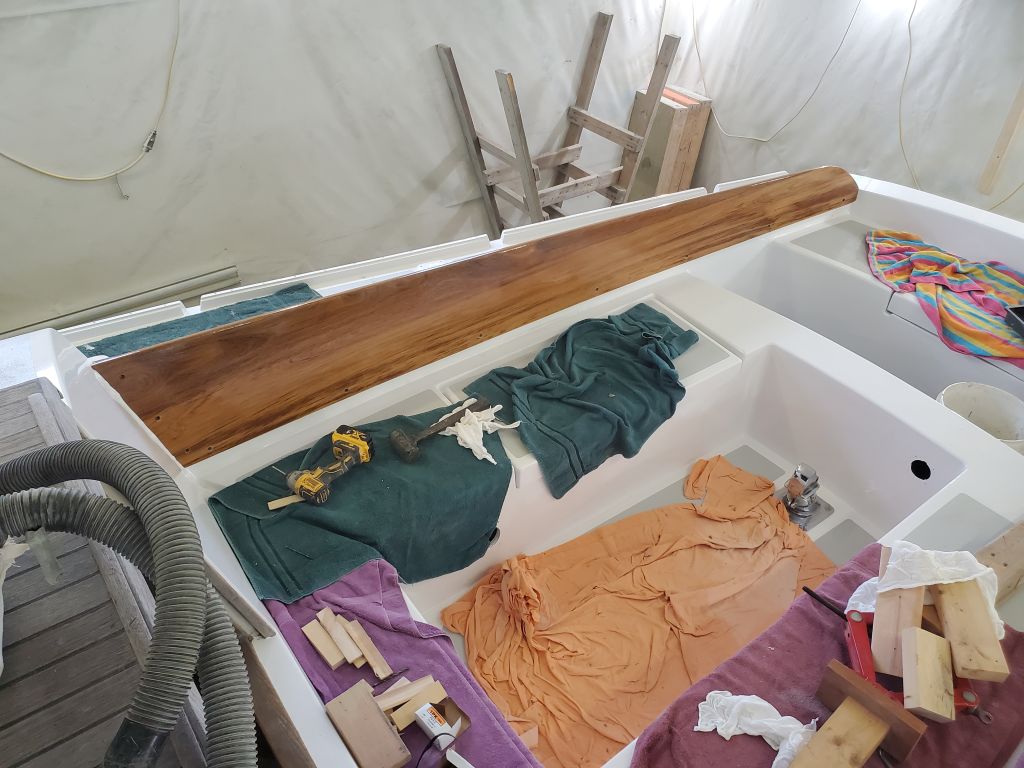
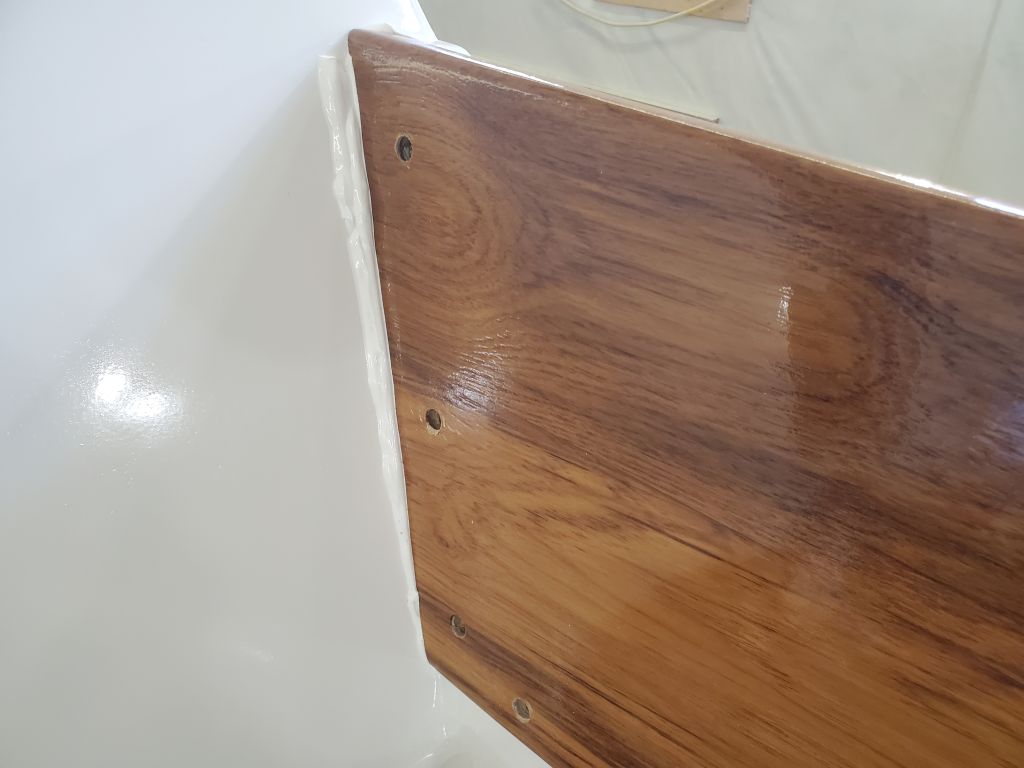
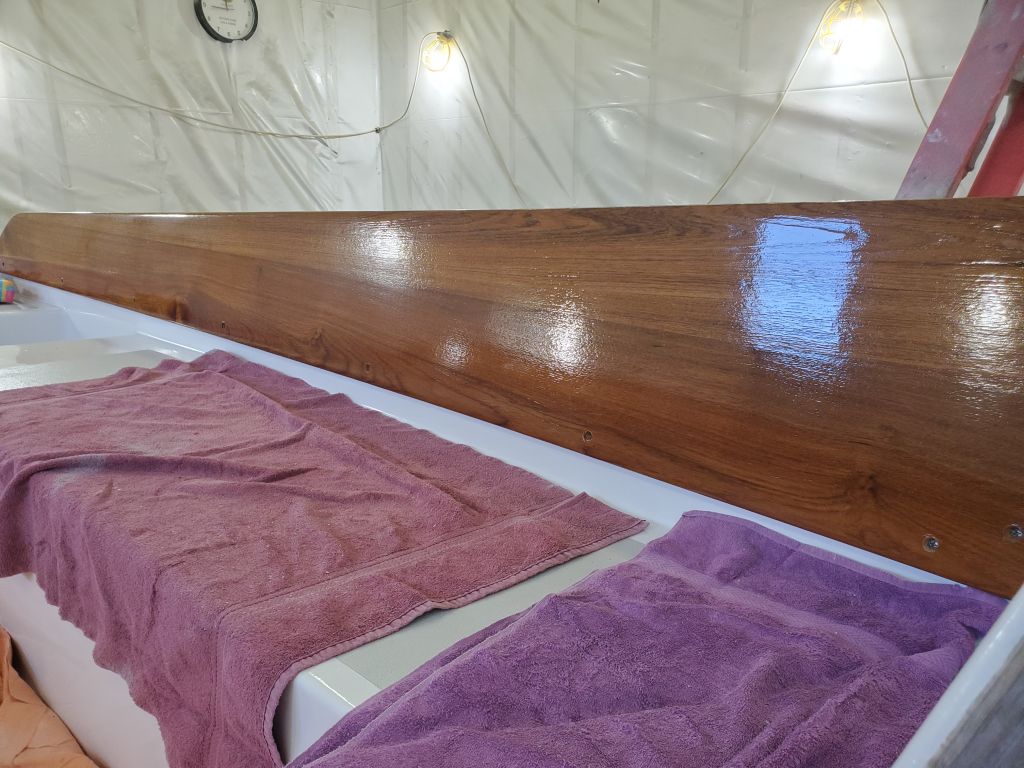
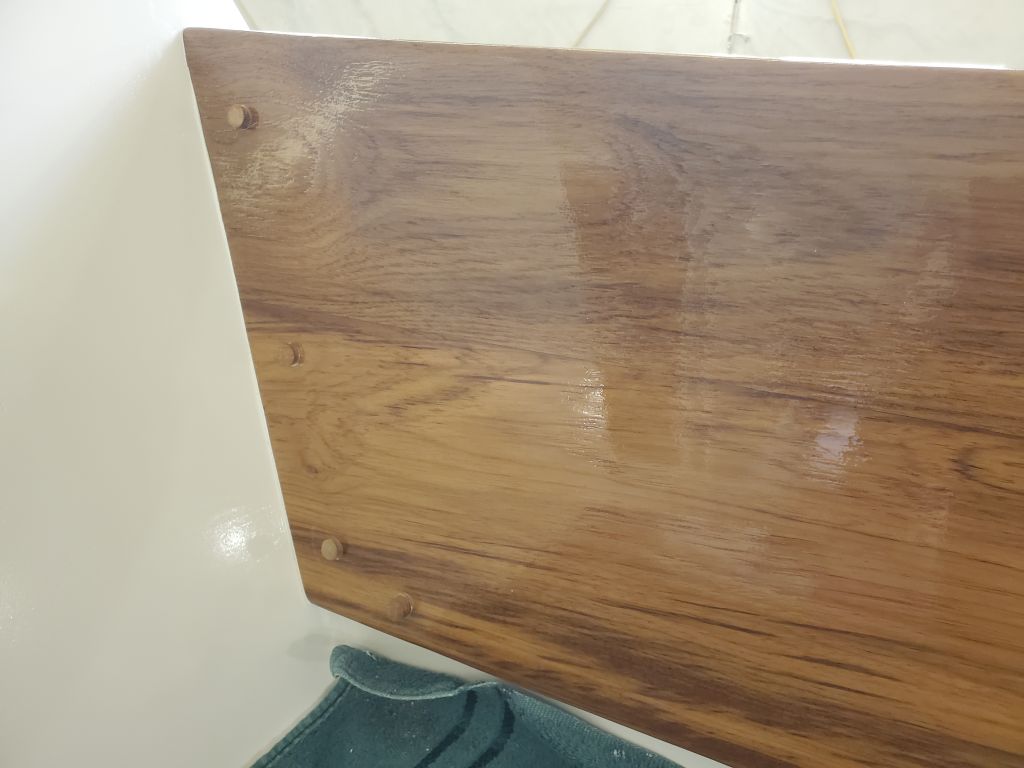
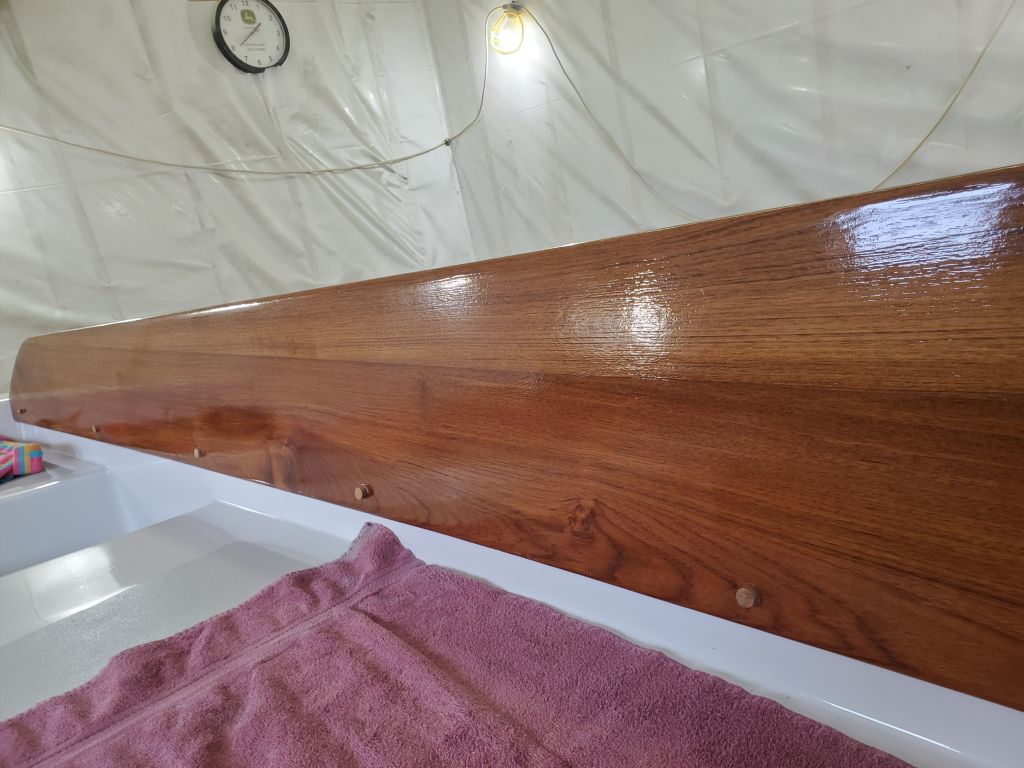
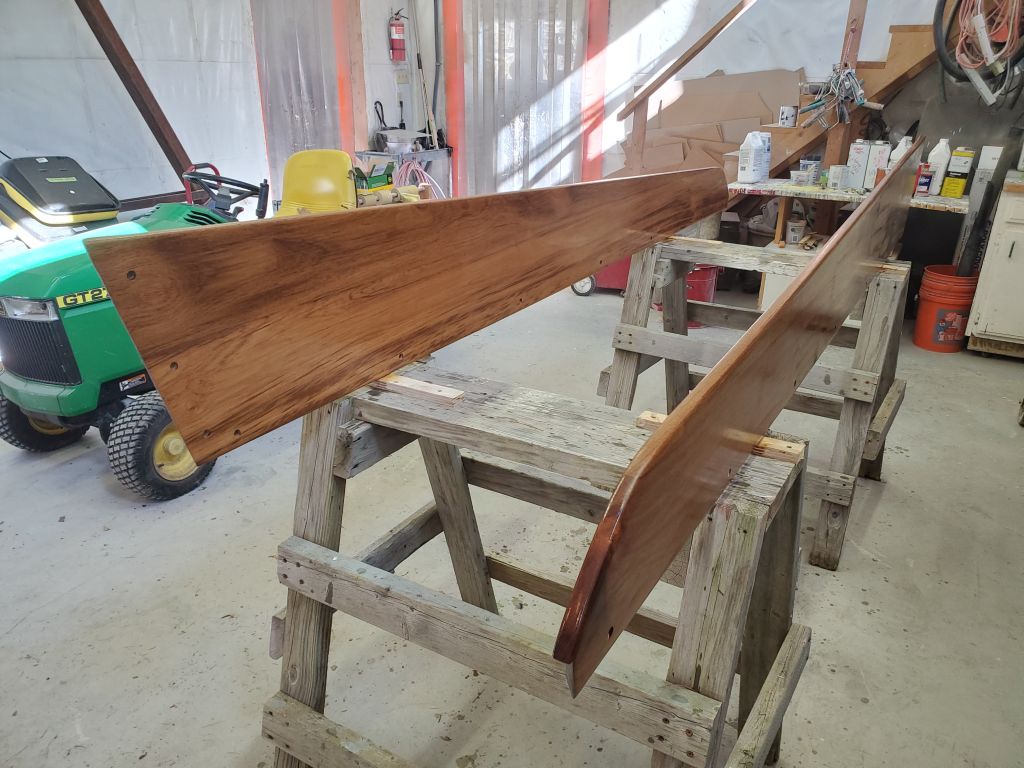
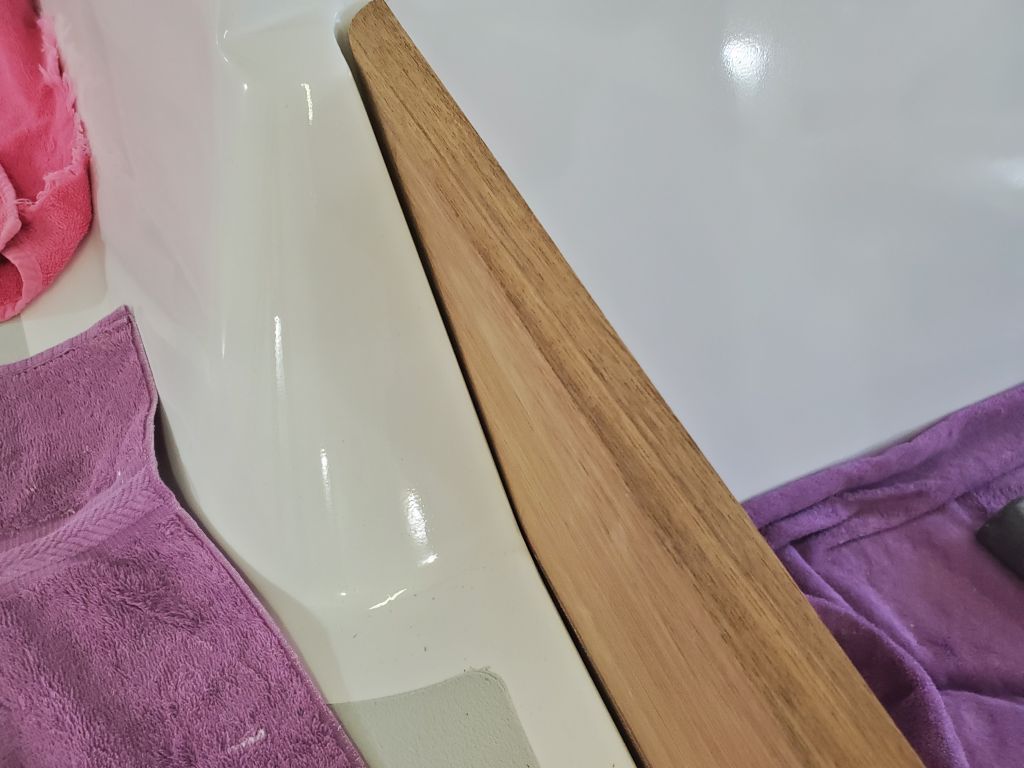
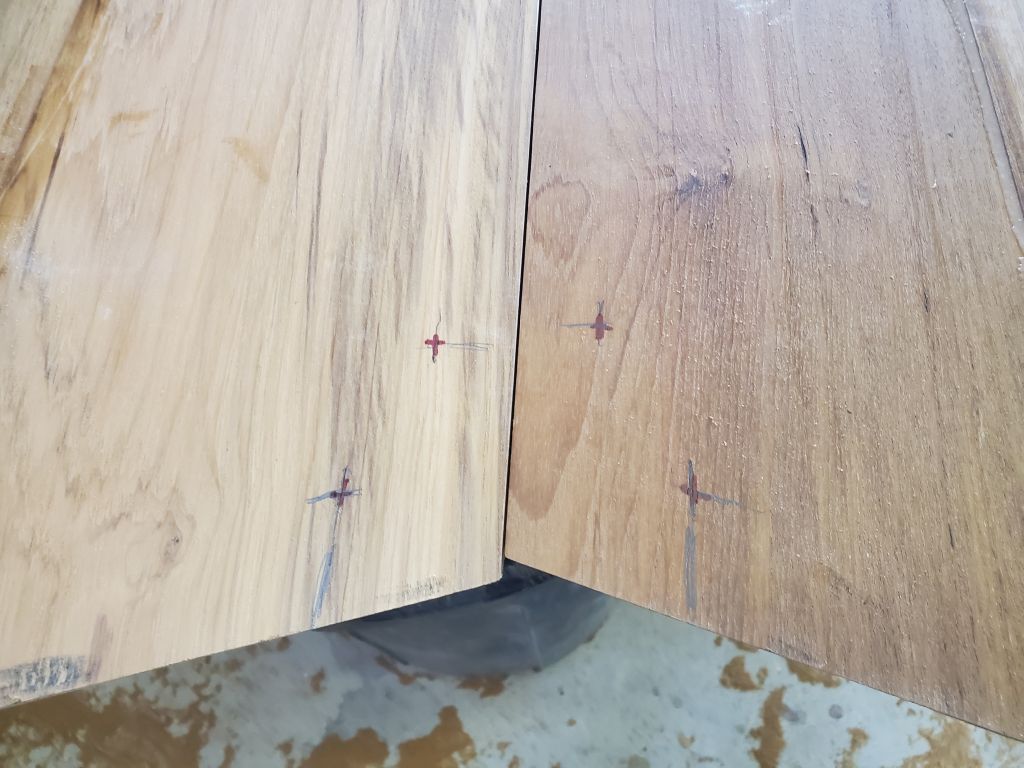
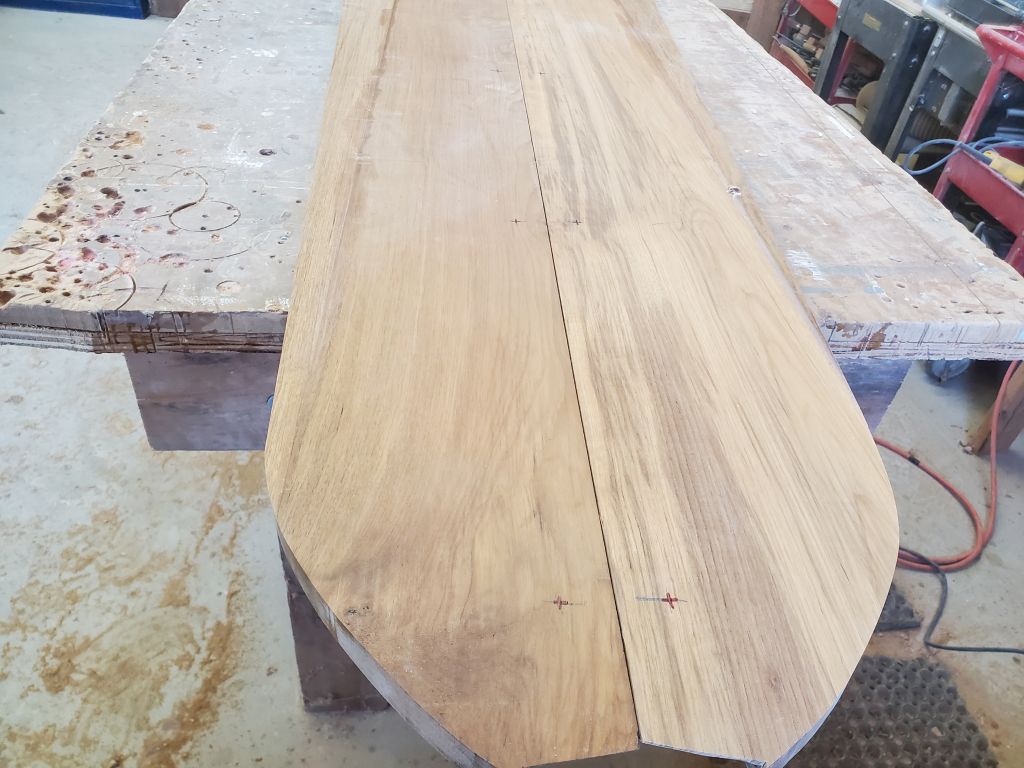
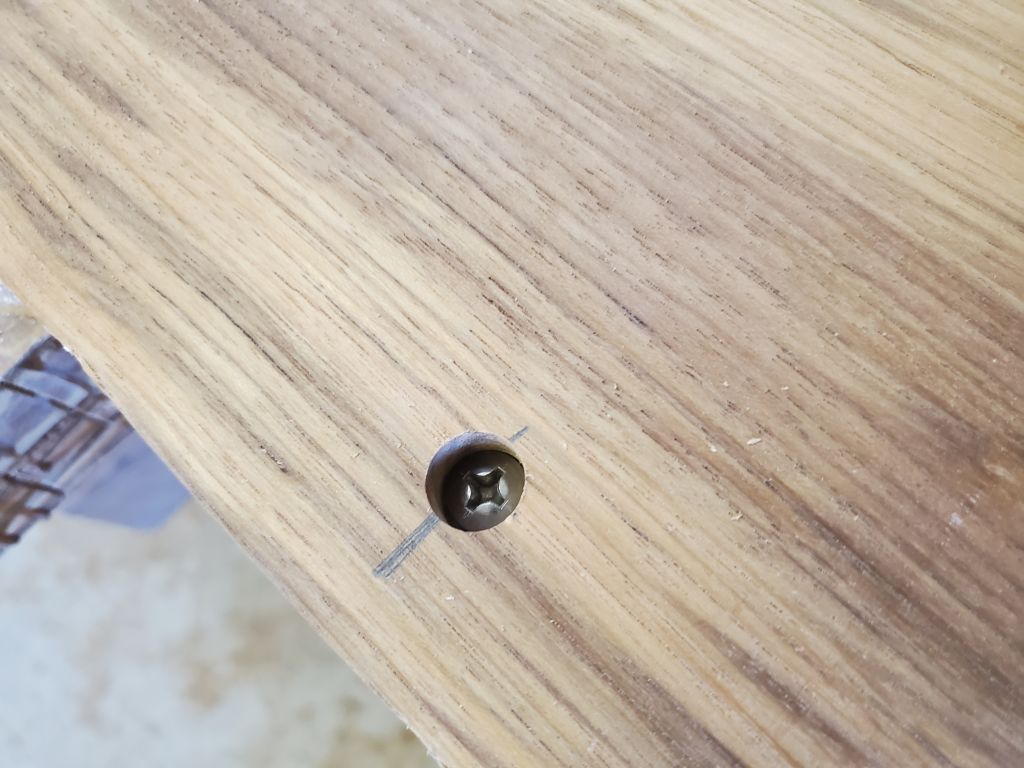
Later, I installed teak bungs in all the screw holes, securing them with waterproof wood glue.

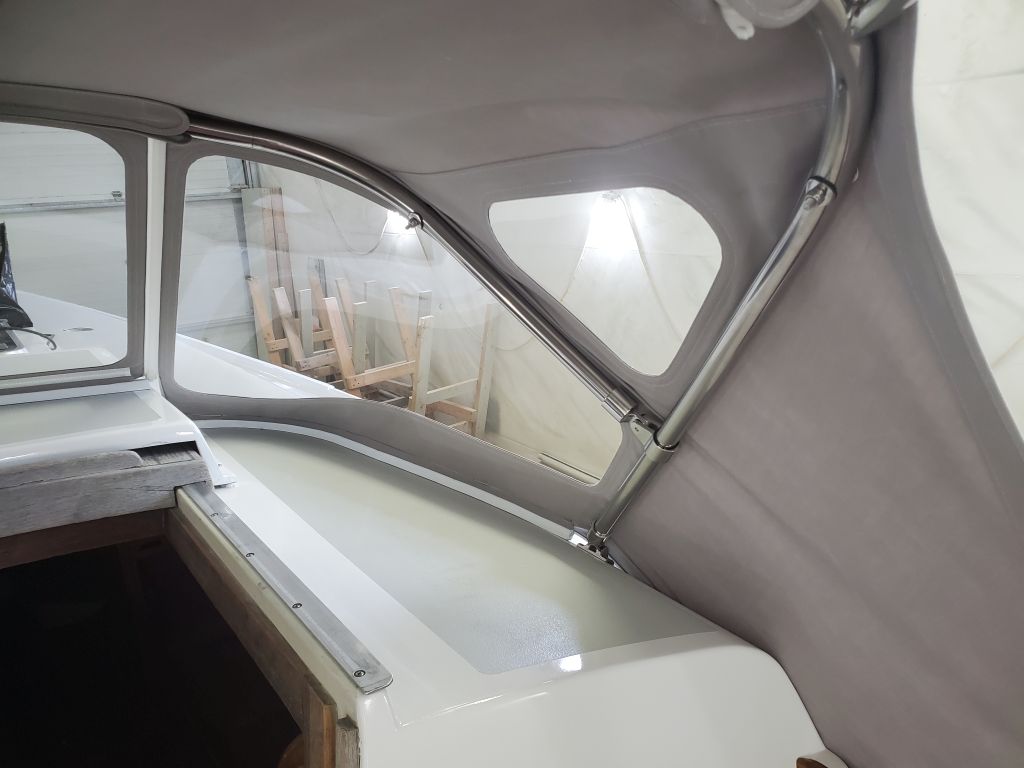
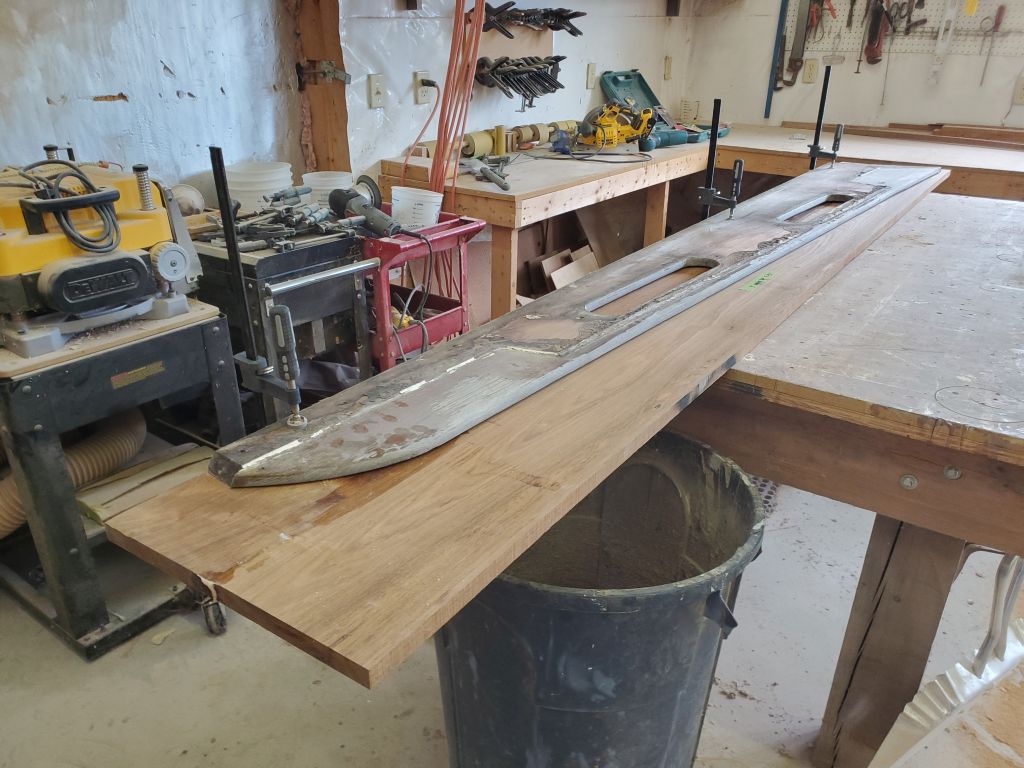
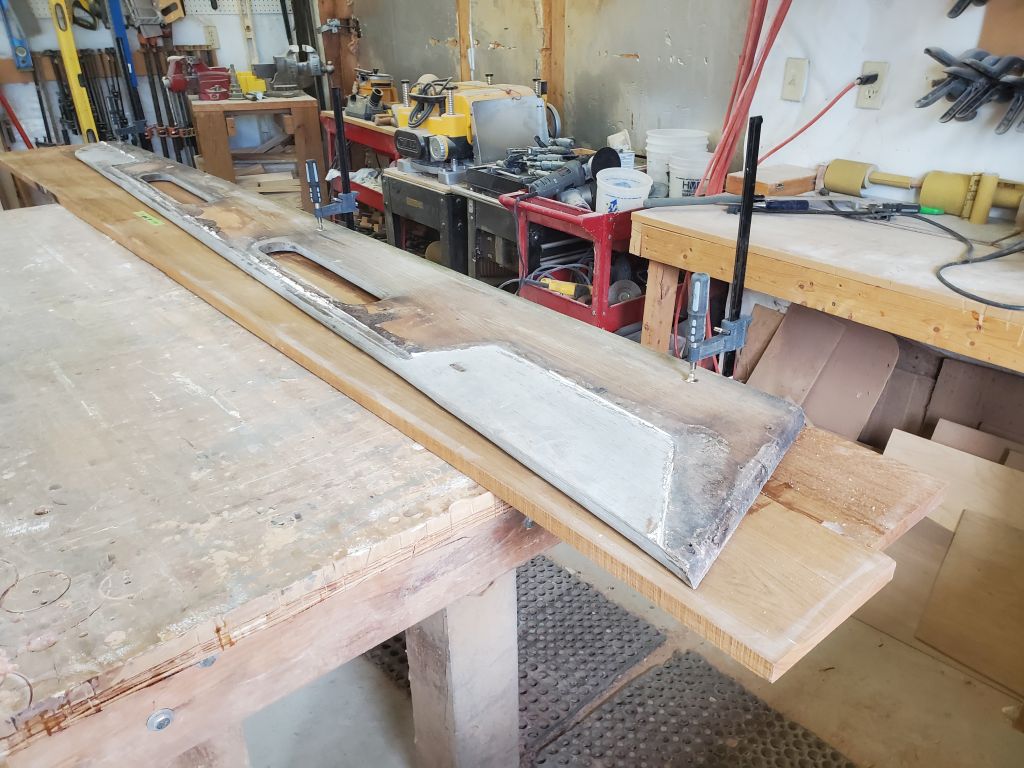
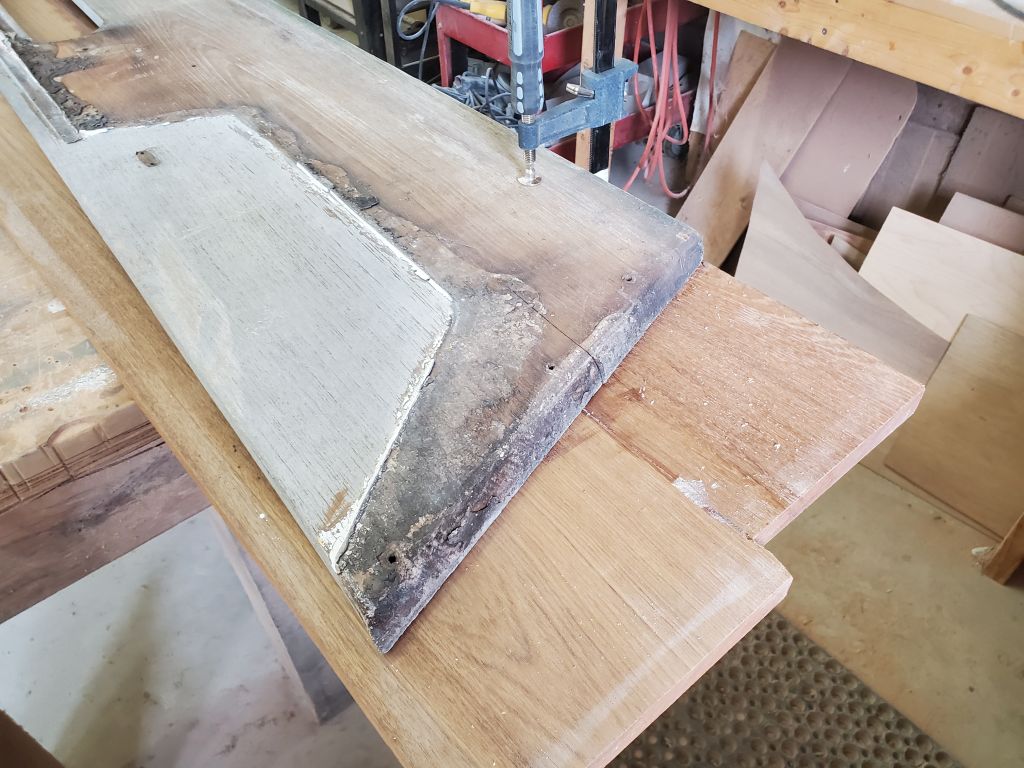
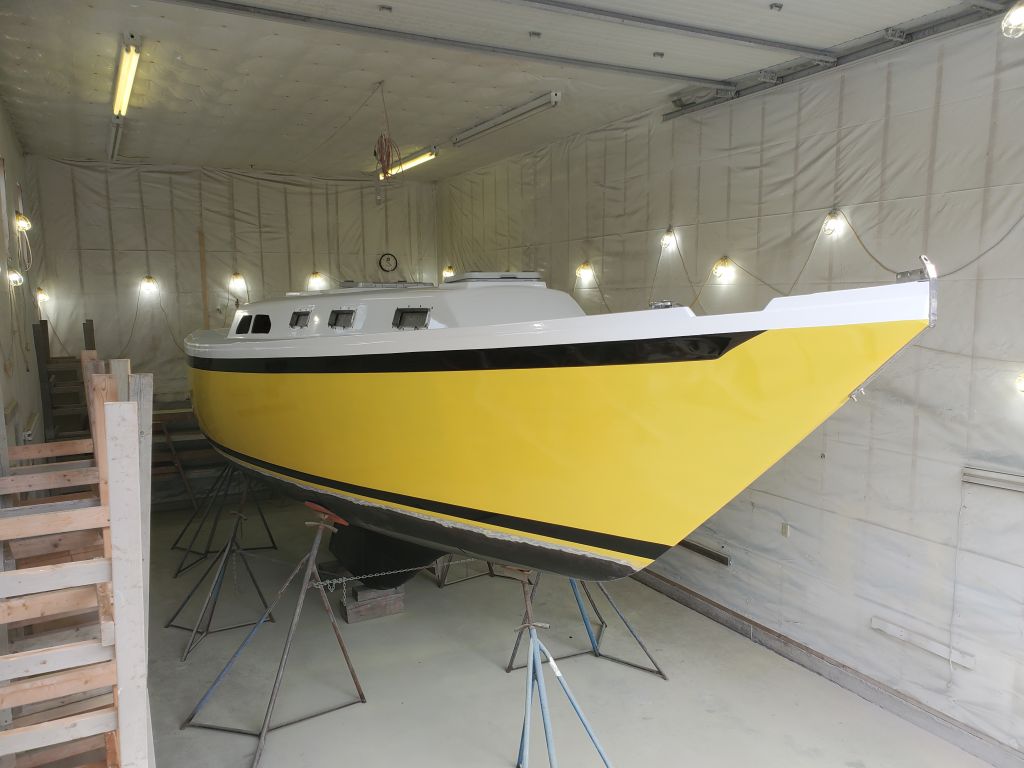
Next, I wanted to test-fit and pre-locate the new winch stands, particularly the forward set, to ensure the position was clear for the final dodger fitting scheduled for later in the week, but I also took the time to position the after set for later reference.  These stands couldn’t be installed till the coaming varnish work was complete, but now was as good a time as any to determine their final locations based on the various reference measurements and deck construction details I’d made earlier in the project.  The stands themselves wouldn’t stay in place without slipping on the deck angle, so I didn’t try to photograph them in position.

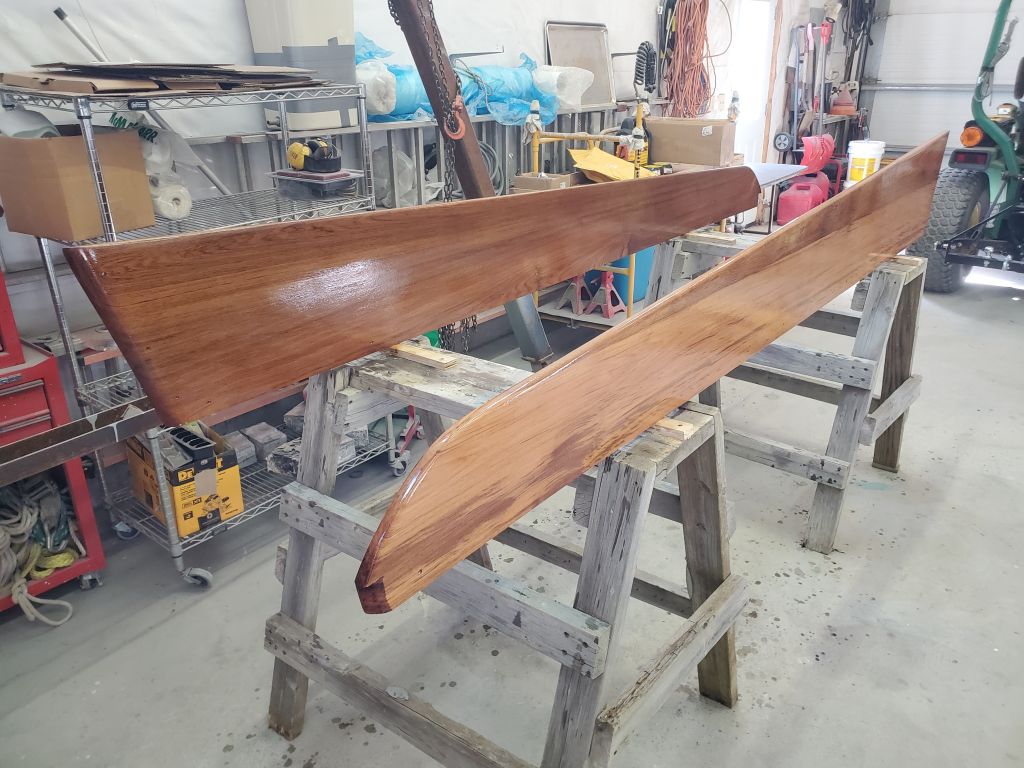
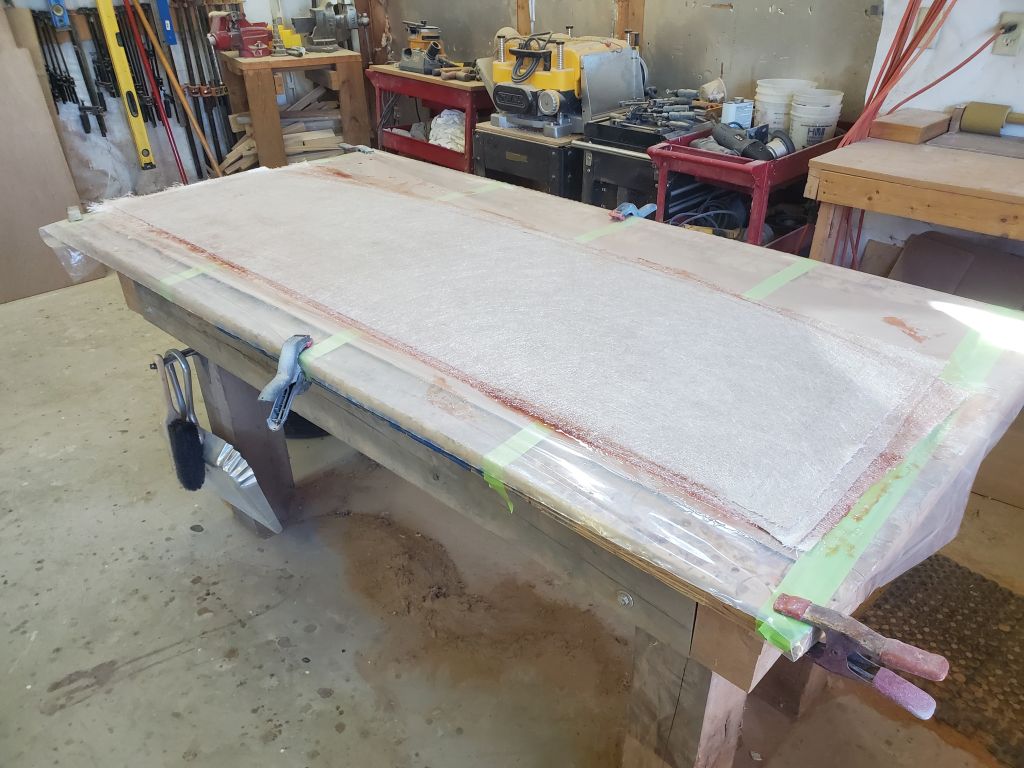
Varnish work on the coamings could continue once the sealant cured enough for masking, and once I had a chance to pare down the bungs.

Further 80

Once more, I started the day with the coamings, a light sanding followed by the fourth coat of varnish.  This would be the last coat of finish before I installed the coamings on the boat, as this was sufficient buildup on the back sides of the coamings where they’d be installed against the fiberglass moldings and bedded.  Once the coamings were in place and bunged, I’d apply more coats on the exposed surfaces.

I transferred the cardboard cockpit hatch pattern to a scrap piece of 1/2″ MDF that would suit as a final template for the hatch.  I cut the MDF slightly larger than the tracing of the pattern, cut three large access holes, then held it tightly in place over the cockpit opening and, with a new Sharpie held tightly against the vertical sides of the opening, traced the shape onto the underside of the pattern.  The shape of the pen held the tip an appropriate distance away from the molding to make marks on the template that, once cut, would give the piece the required clearance on all sides to fit appropriately in the opening.

Back on the bench, I carefully cut the template to shape, keeping just outside the black lines, then fine-tuned the edges with a sanding pad to bring it to the line itself all around.

Thusly cut, the template would fit several inches down in the cockpit well (the sides of the opening were slightly angled, with the base narrower than the top), not that this was where it belonged, but it provided a photo opportunity.  With the template held in place flush with the surrounding decks, there was a 3/16″ or so gap all the way around, sufficient to allow the hatch to be installed and removed.  I couldn’t take photos while also holding the template at the right height, so these will have to do.

Satisfied with the template, I unmolded the three-layer top skin and secured the template with a few dabs of hot glue.  Then, with a router and a pattern-cutting bit, I cut the fiberglass to match the new template.

My construction plan from here was to secure a solid fiberglass edge to the underside of the top skin (1/2″ tall from 1/4″ laminate), then install core within this “frame” and bottom skin over the whole thing to complete the sandwich construction.  As this plan was developing moment by moment, I didn’t yet have the material on hand for the next step, so for the moment this was as far as I could take the construction.

Further 79

To begin the day, I once more sanded and varnished the coamings (coat #3).

Early in the project, the owners had asked about building a hatch to cover/enclose the after steering cockpit for storage, since they’d removed the pedestal and were reverting to tiller steering, which operated from the main, forward cockpit.  I’d not made the hatch a priority, as I wasn’t sure there’d be time to do the work, but now, with the bulk of the project complete, I turned to this new task.  The new locker wouldn’t be waterproof, but the hatch over top would give the owners an extended aft deck, and also valuable storage space for items that didn’t need to be fully protected.  Scuppers already in place in the well would drain whatever water came through from the edges of the hatch.

To begin, I made a simple cardboard template of the opening, far from perfect but good enough for what I needed right now, and good enough to use to build a “real” template in the immediate future.  Actually, I made two templates.  The first one, made from random pieces of scrap cardboard, allowed me to trace one side at a time from below, and then I connected the two pieces in the center with scraps hot-glued in place.  I used this version to cut out an improved template from a large piece of cardboard, which I left slightly oversized so I could trace the opening’s outline from the underside through the three access holes I cut in the top.

For the moment, all I needed to do right now was determine the size and shape to cut fiberglass as needed to begin the construction.  I prepared four pieces of cloth:  three for the top skin, and one for the bottom skin, which I’d apply later over a core material.  With a simple “mold” created on my bench from cardboard and plastic, to create a flat, smooth surface, I laminated the three layers for the top skin in epoxy resin.  This fiberglass blank was intentionally oversize, and once I had a workable permanent template, I could cut it to the size and shape needed.

Further 78

Continuing work on the coamings, I lightly sanded the first coat of varnish, then applied a second.

Further 77

Continuing work on the coamings, I milled edge details (roundovers) on the top edges and inside lower edge, then sanded the coamings smooth and clean to prepare for finishing.  To speed the process of applying varnish base coats, I secured the coamings from beneath to some wooden strips that helped them stand upright, so I could access both sides at once.  Then, I applied a heavily thinned coat of varnish to all surfaces.

On deck, I reassembled the companionway hatch and slides, then dry-fit the sea hood, aligning it with the four screw holes I’d used several weeks ago when I temporarily installed it for the dodger template.  I drilled the remaining screw holes then, removing the hood, milled countersinks at each location before applying a heavy bead of sealant and installing the sea hood with its numerous screws all around.

Finally, with some black paint I found in my inventory, I touched up the bottom paint at the waterline where I’d sanded it away during hull preparations much earlier, completing the final appearance of the boat.

Further 76

Earlier, I’d prepared the stock and glued up the blanks for the new coamings; these blanks had been waiting in the shop ever since.  Now, it was time to cut and fit the blanks and finish up the new coamings.  Before getting started, I used the old coamings to double-check the fit in the boat, to make sure the old boards would be effective templates for the new ones.  The fit was as I’d anticipated, so I moved forward on that basis.

Starting randomly with the starboard coaming, I laid out the old piece on top, oriented the correct way, and after clamping it securely (mainly to remove the slight curve in the old coaming) I marked along the edges with a pencil.  The upper and lower edges of the coaming were essentially straight, and since the bottom edge of the new blank was also straight, I could align at that edge, and only have to make the top cut and the ends.  After making the marks, I used a straightedge and circular saw to cut the forward end and the long top cut, and finished off the curved after portion with a jigsaw.

Next, prepared the ends of the new blank as needed to fit:  a large rounded back edge at the forward side, to fit into the corner at the molded coaming block; and an angled inset area at the after end, which would fit the molded corner in the boat and, as with the original, provide just a slight overhang at the aftermost end.  With these reliefs made according to the old coaming, I test-fit the new coaming in the boat, using my rickety but venerable coaming-pusher to press the center into the curve as needed–closely enough for now to determine that the fit was appropriate in all areas.  Later, the final fasteners would pull the coaming in along its length and at the forward end.

I repeated the construction and fitting process with the port coaming.

With both new coamings test-fitted, and with only a short time left before I had to leave for the remainder of the day on unrelated business, I spent the rest of the morning laying out and preparing the fastener holes for the coamings.  The original coamings had relied on the defunct molded winch islands for much of their bolting support, so with these now gone I planned a more regular series of fastener holes along the lower length of the coaming, plus additional fasteners into the molded coaming blocks at the forward end.    I spaced the lower fasteners about 16″ on center, which, since the coamings weren’t aggressively curved, seemed a good compromise between proper fastening and avoiding too many fasteners.  The fasteners would be bunged, so at each location I drilled a flat-bottomed counterbore with a 1/2″ Forstner bit, then drilled 1/4″ pilot holes through the rest of the way for the screw shanks.

I left things here for now, but next time I’d dry-fit the coamings with all the fasteners, then remove them a final time to finish shaping and smoothing the blanks before starting the varnish buildup.

Further 75

At long last, the great unveiling!  With all the paintwork finally done, I could hardly wait to get rid of all the masking and see the boat in entirety for the first time.

Older posts Newer posts