(page 1 of 10)

Further 95

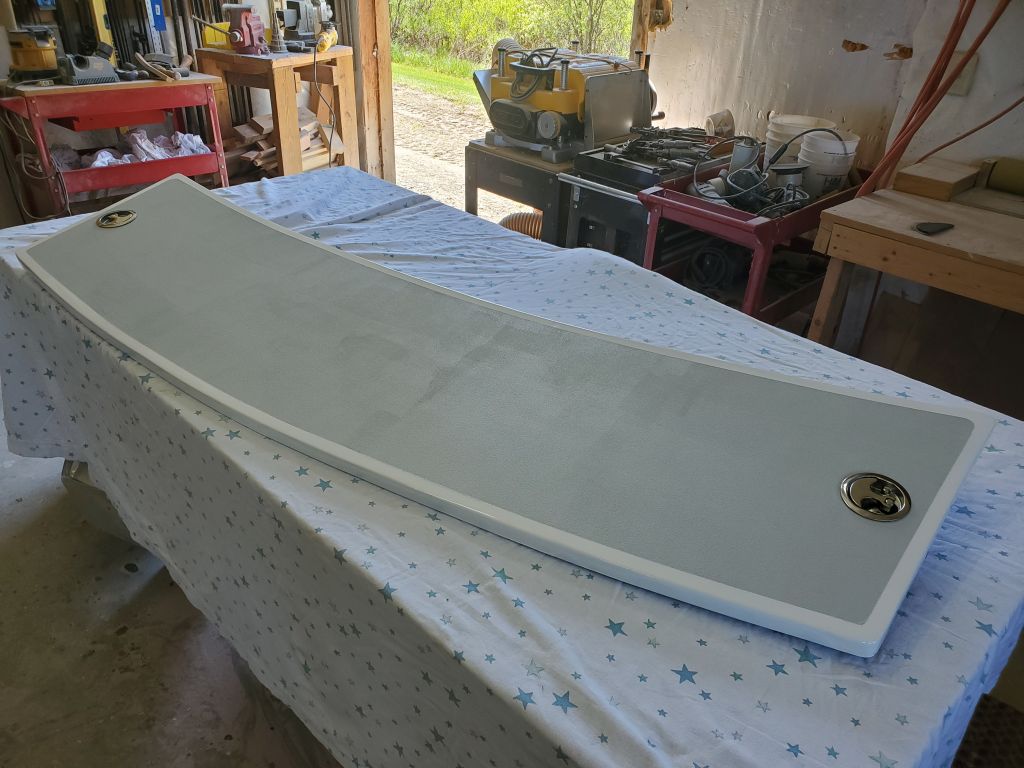
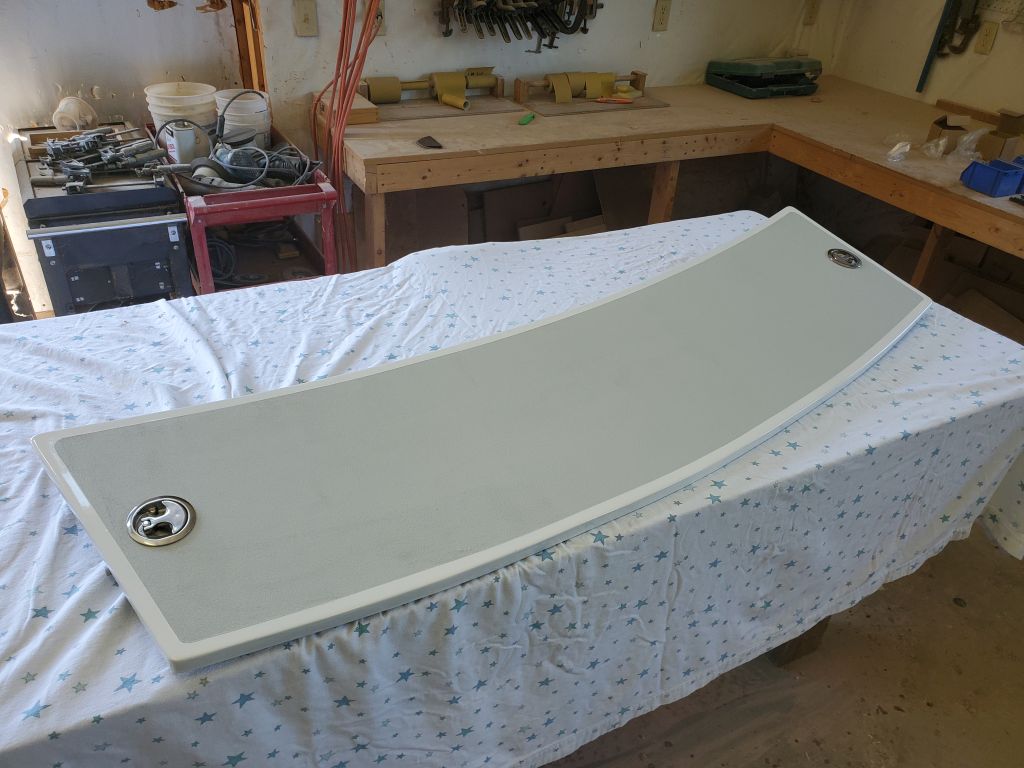
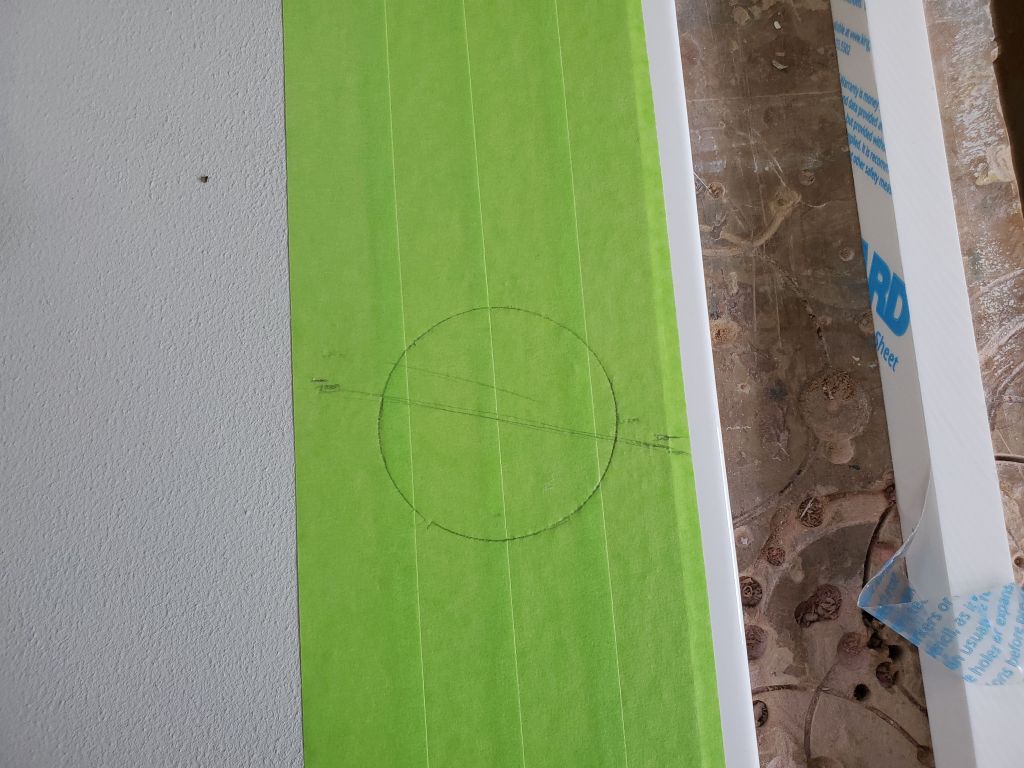
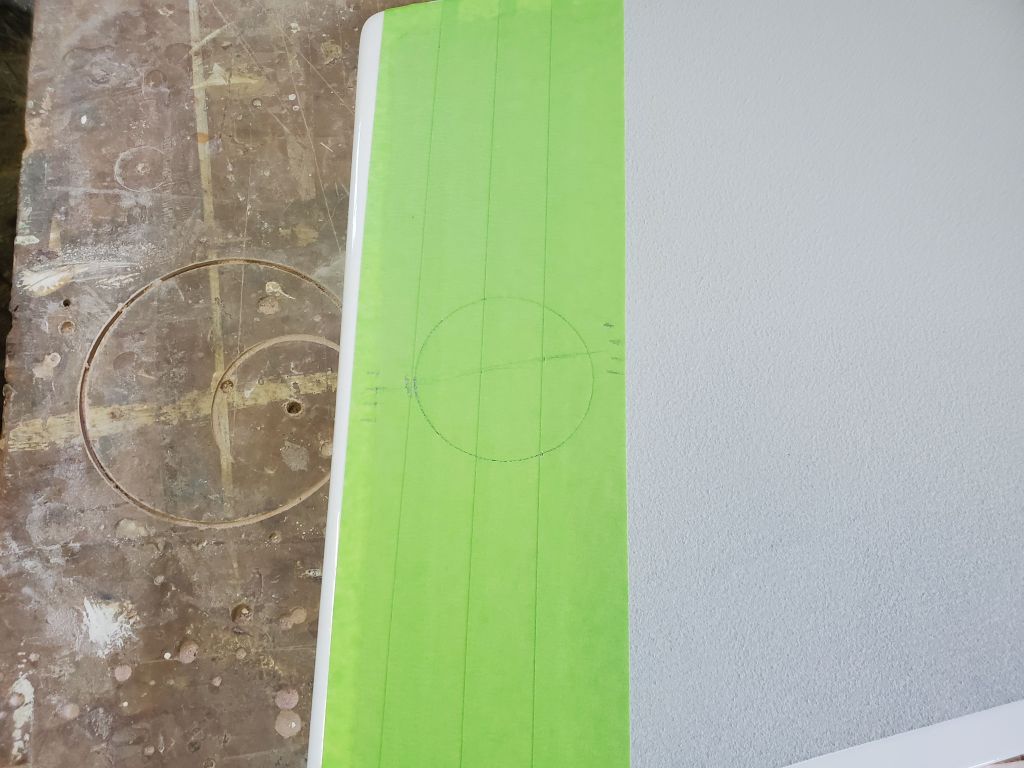
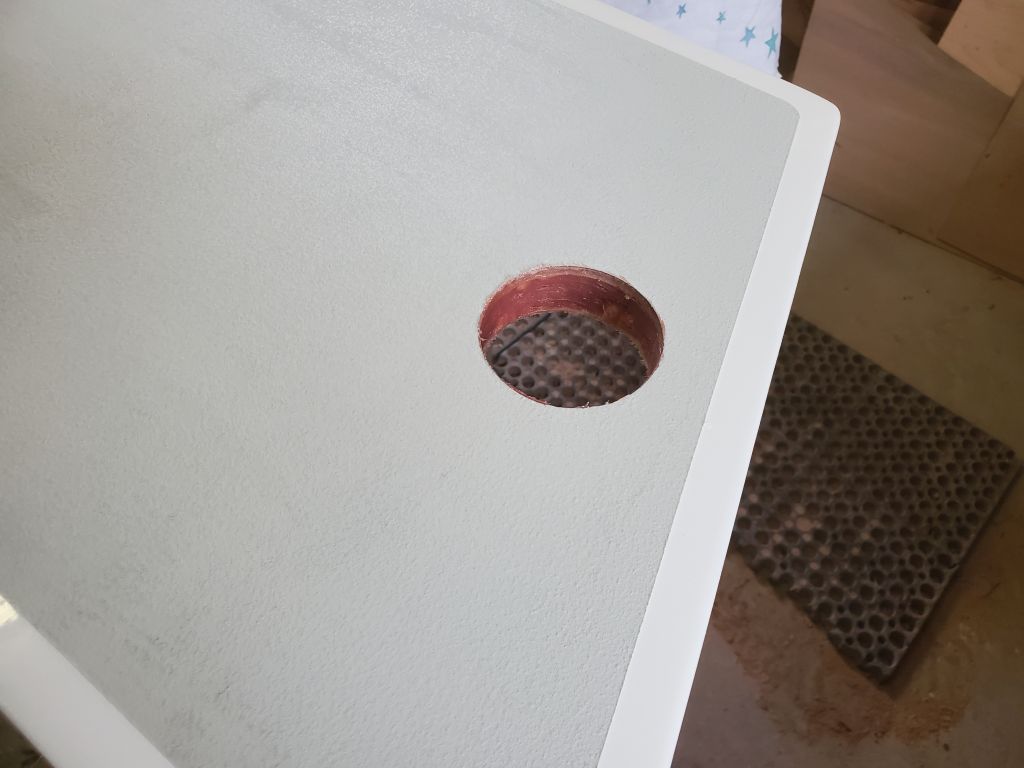
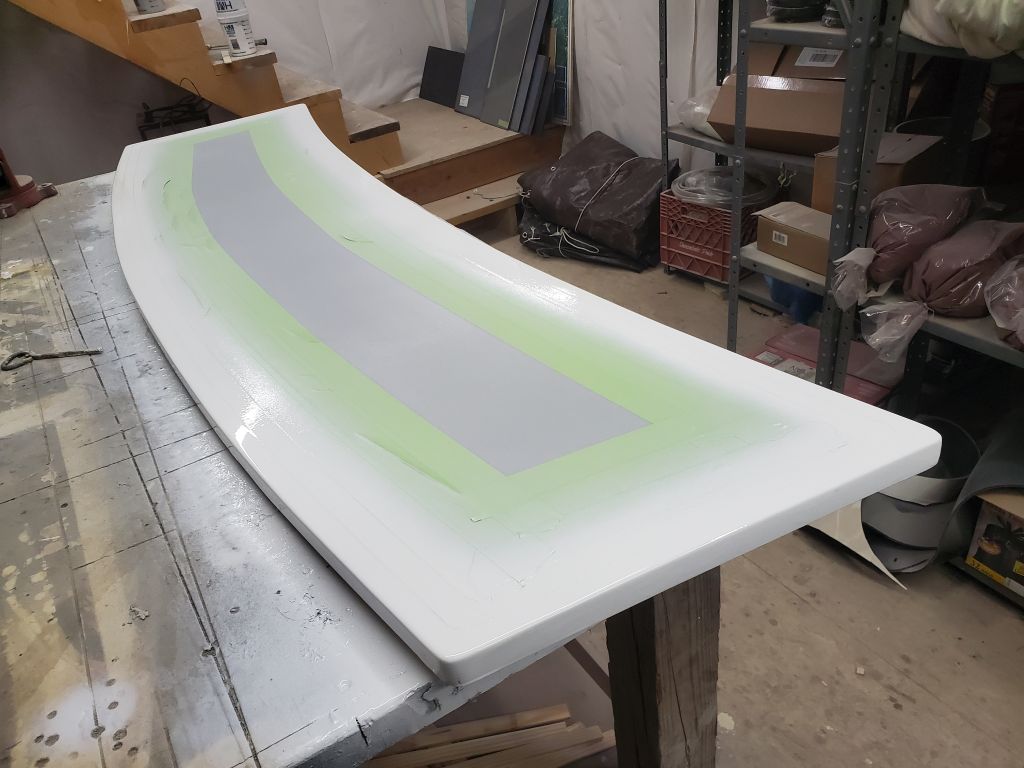
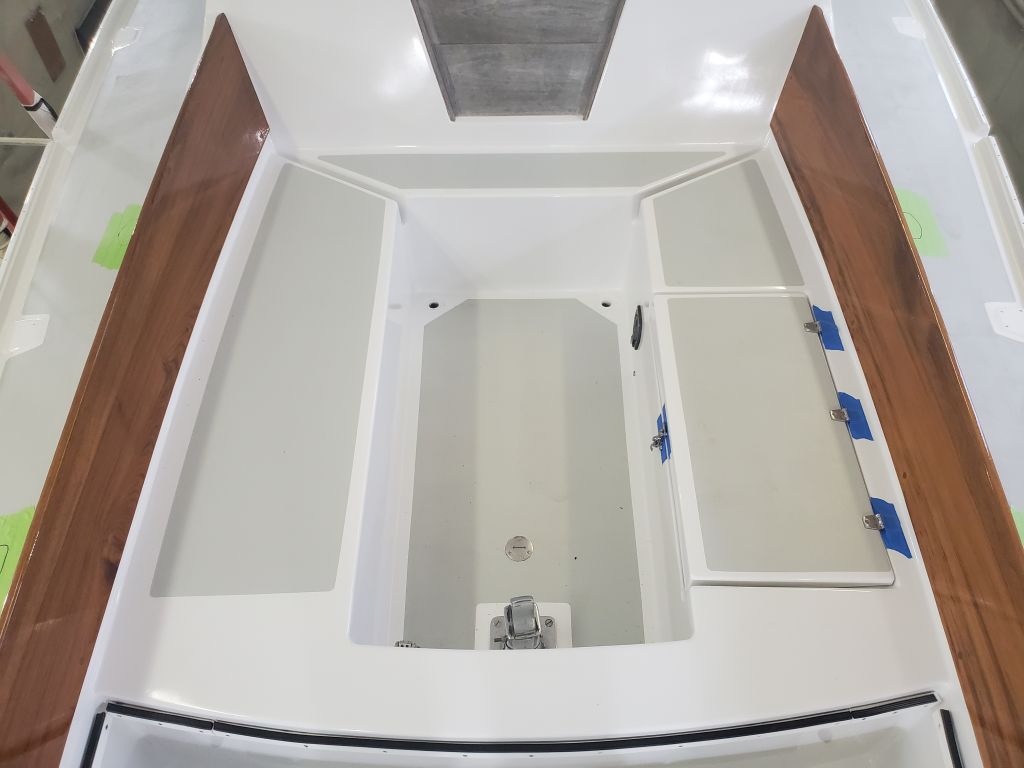
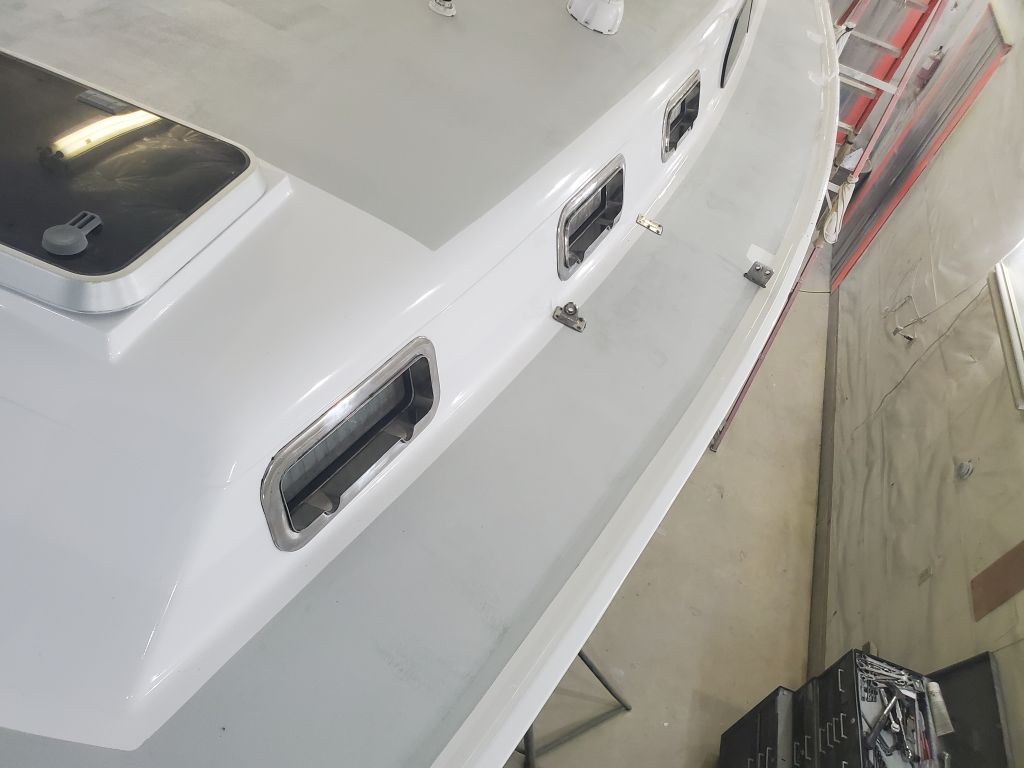
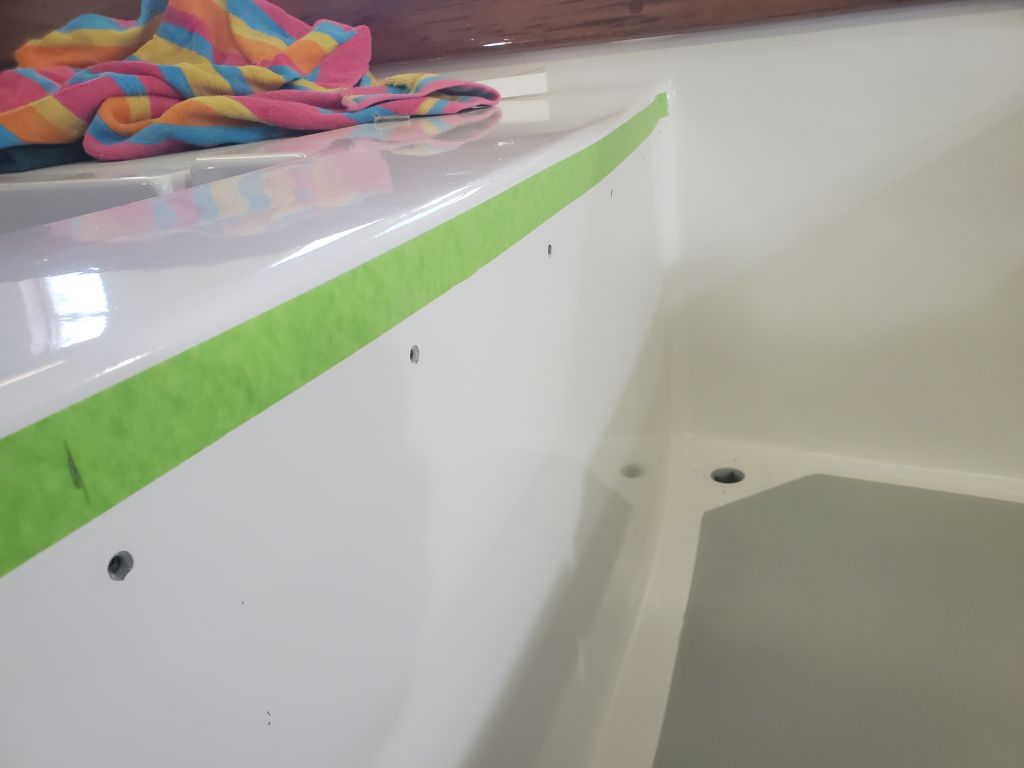
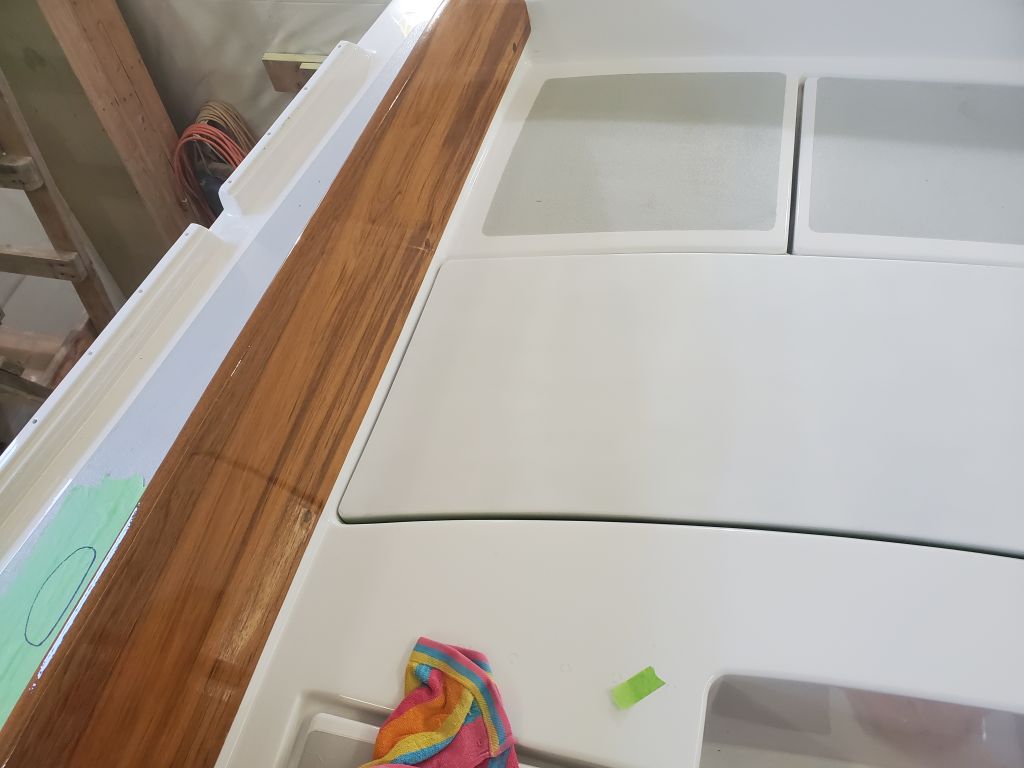
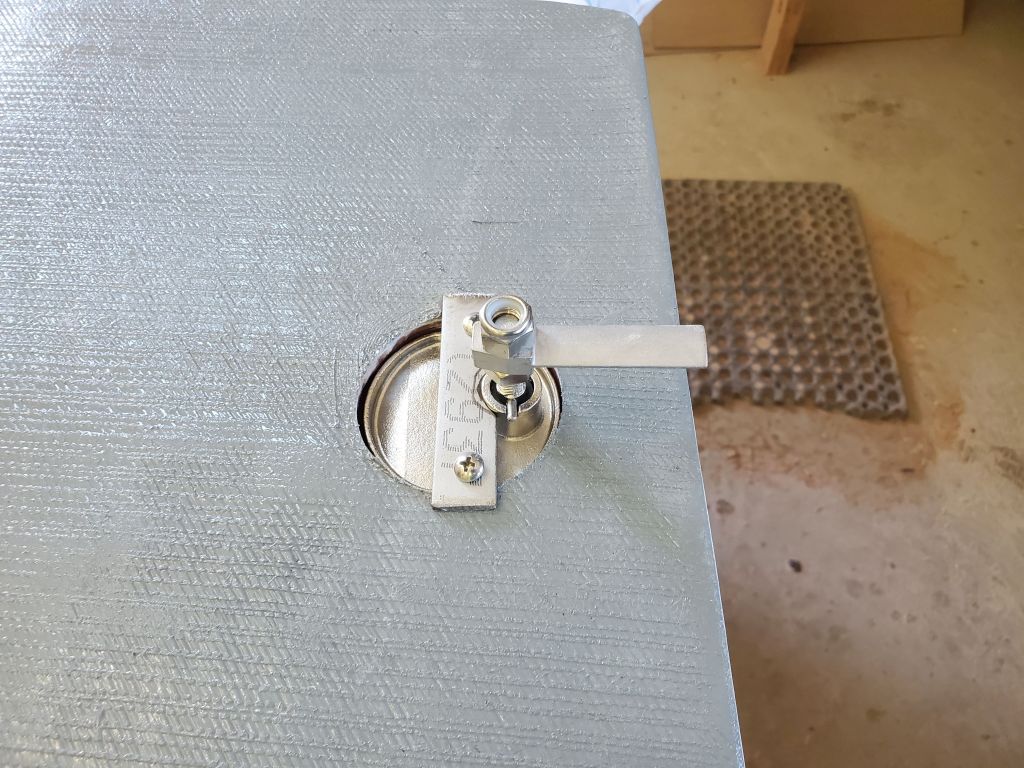
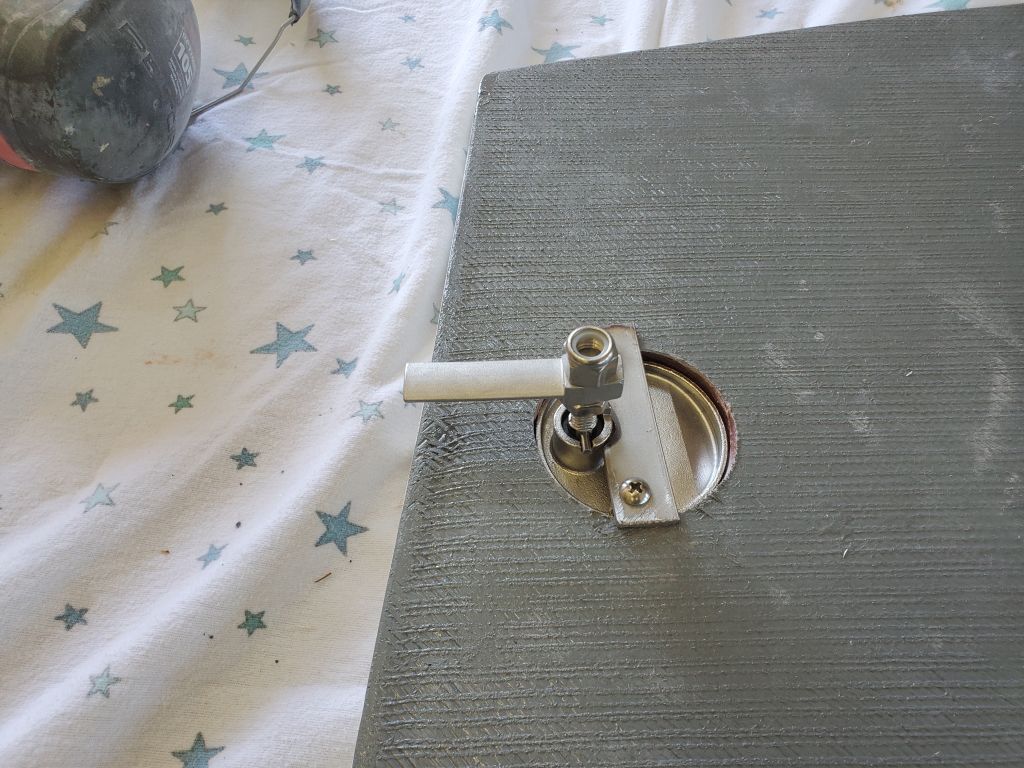
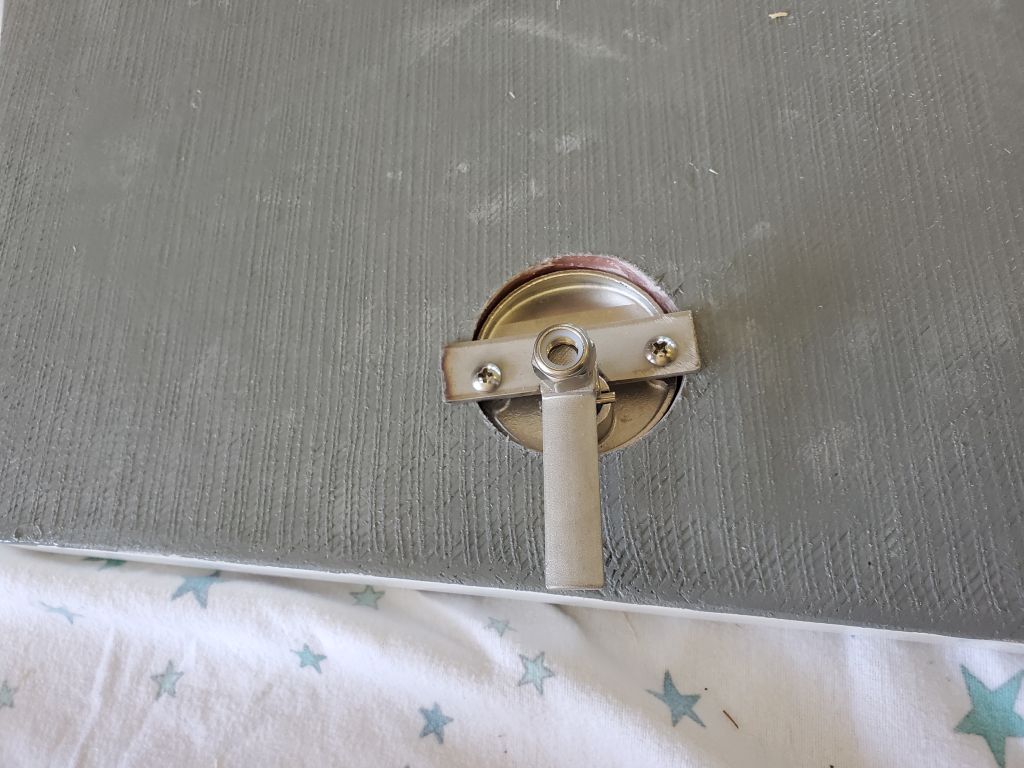
To install the latches and complete the hatch, I had to make a minor modification.  The latches came with a stainless steel insert that was designed to work sort of like the retainers that hold gauges in thin metal panels–more of a clamp from the inside, with minimal designed overlap of the top flange.  With the size hole I’d created, and the thickness of the hatch, I didn’t like how these were supposed to work:  first because I’d have to fill and redrill the holes to a larger size to fit the insert; and second because if I did that, there’d be barely any flange overlapping the opening on the top (weather) side.  Frankly, I couldn’t see how it would work anyway.

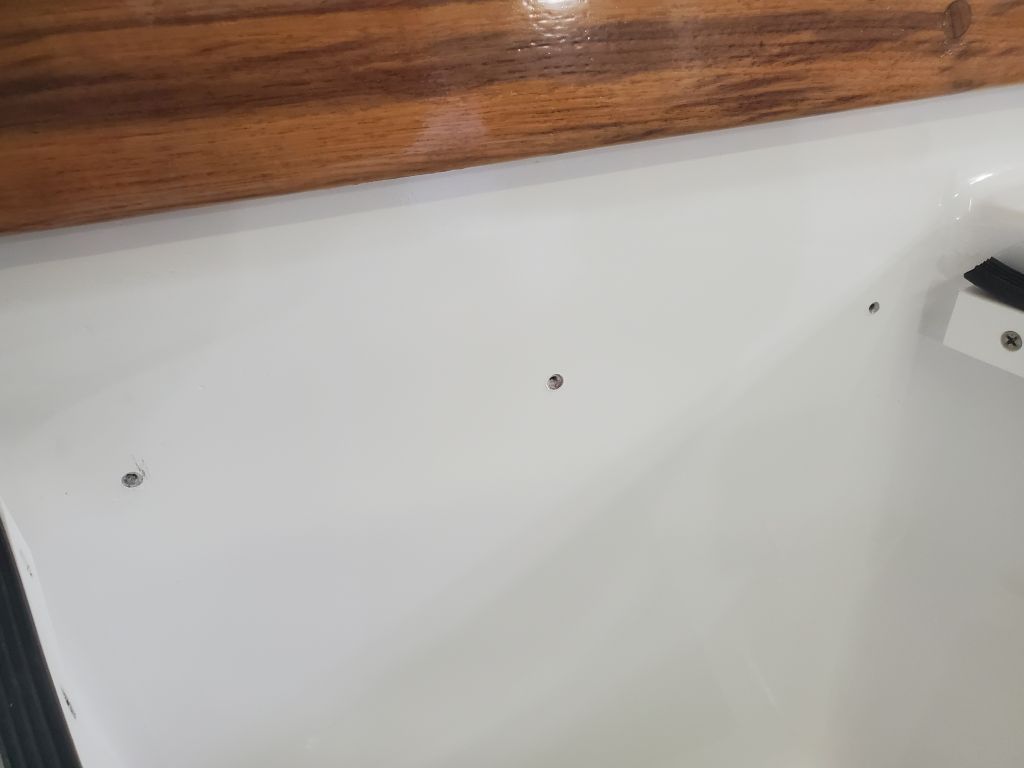
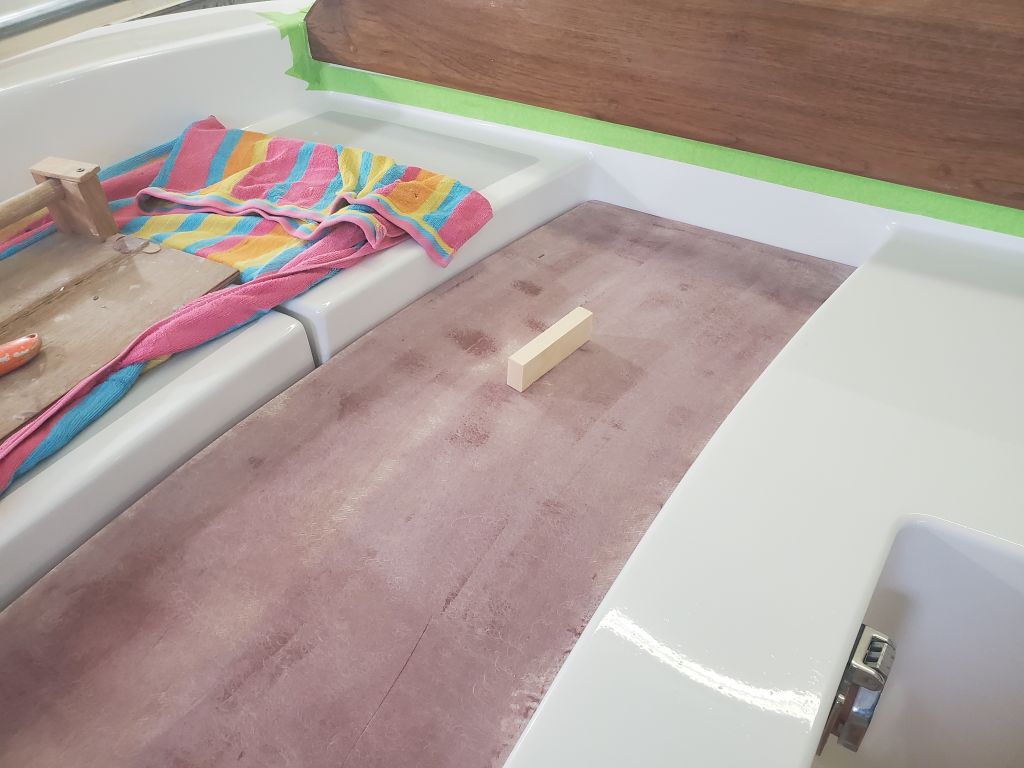
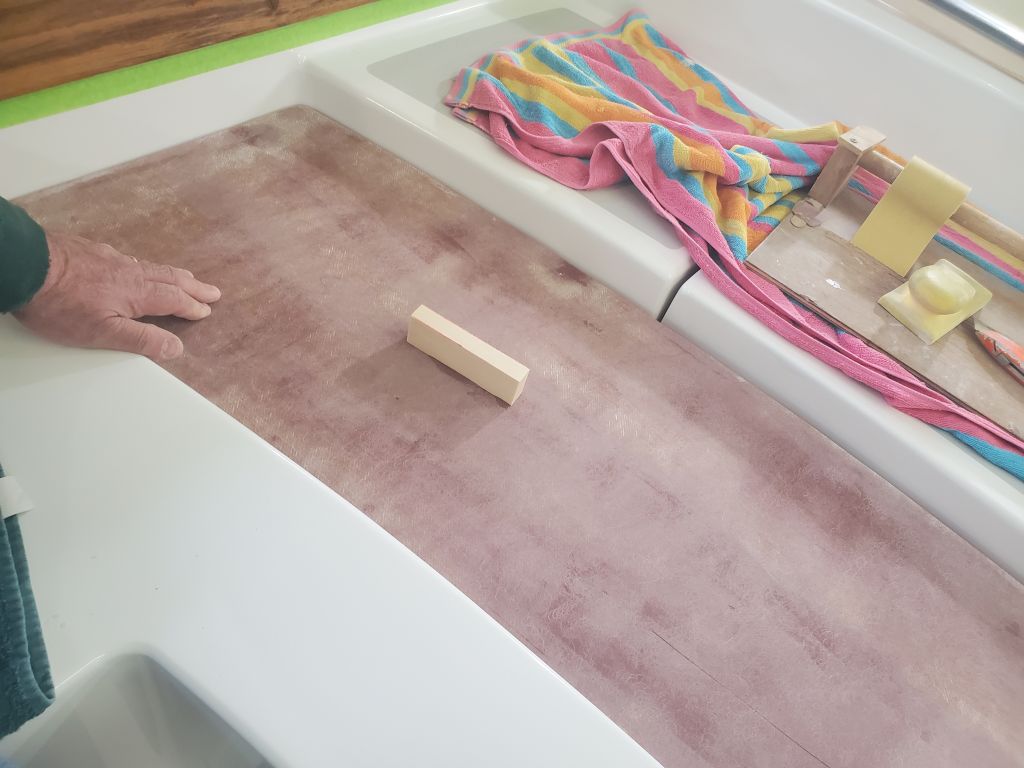
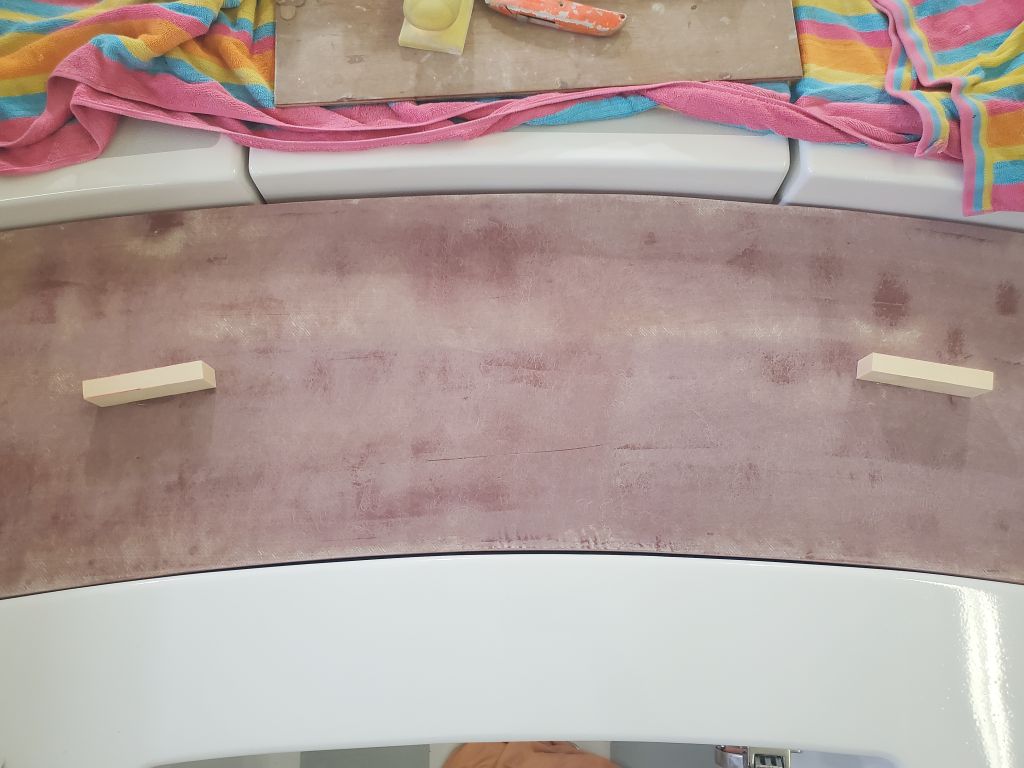
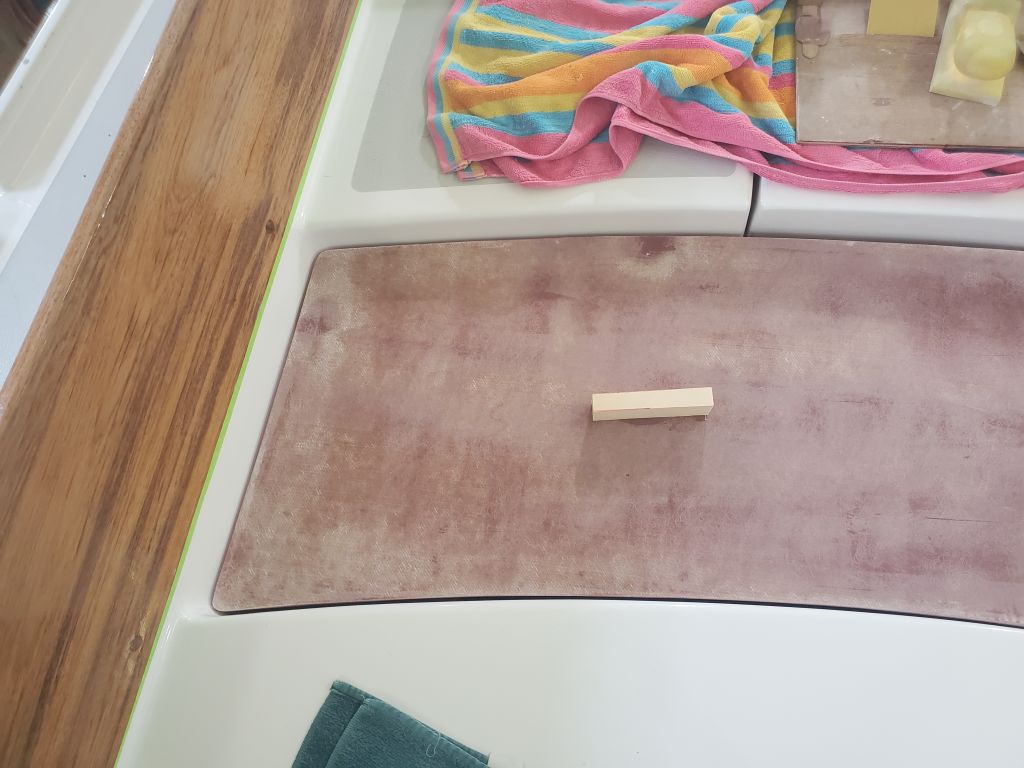
The fix was to use a short stainless steel bar, 1/8″ thick and 3″ long, to span the opening from the bottom side, and secure the top, operating part of the latch with screws through the little strap.    This held the latch tightly in place and gave it at least a chance of an overlap to seal against the weather; even so, there was very little flange resting on the top of the hatch–but enough.  I adjusted the height of the draw bars to approximate that of the cleats in the boat (using a scrap), but these might need adjustment later to accommodate the real world.

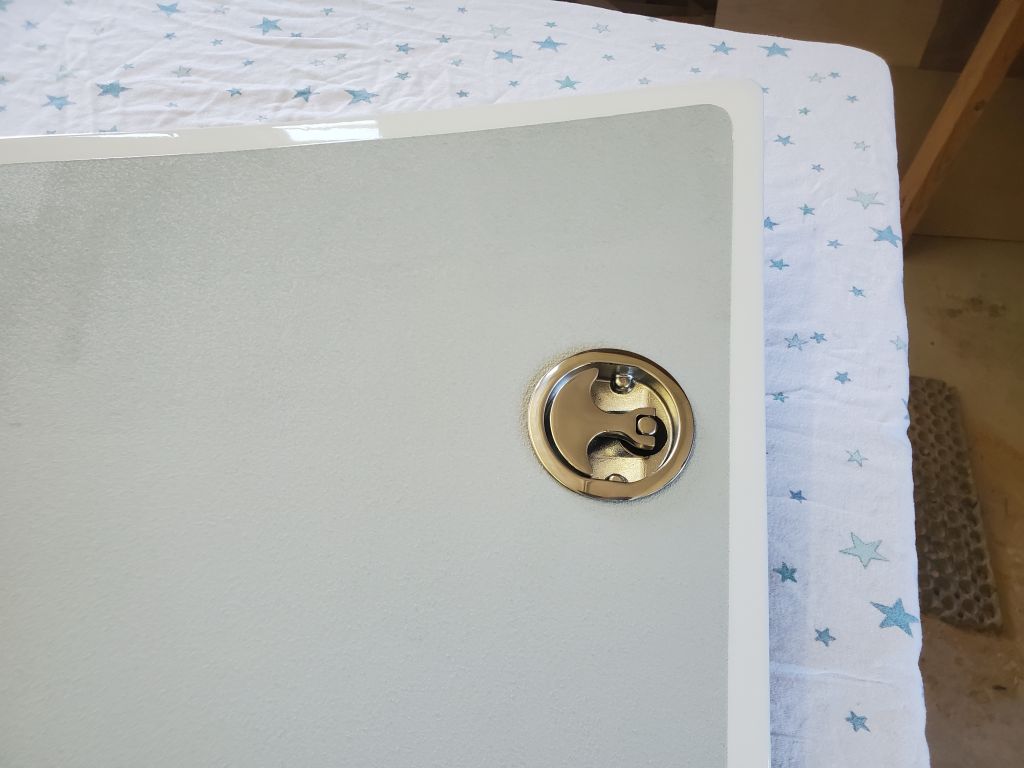
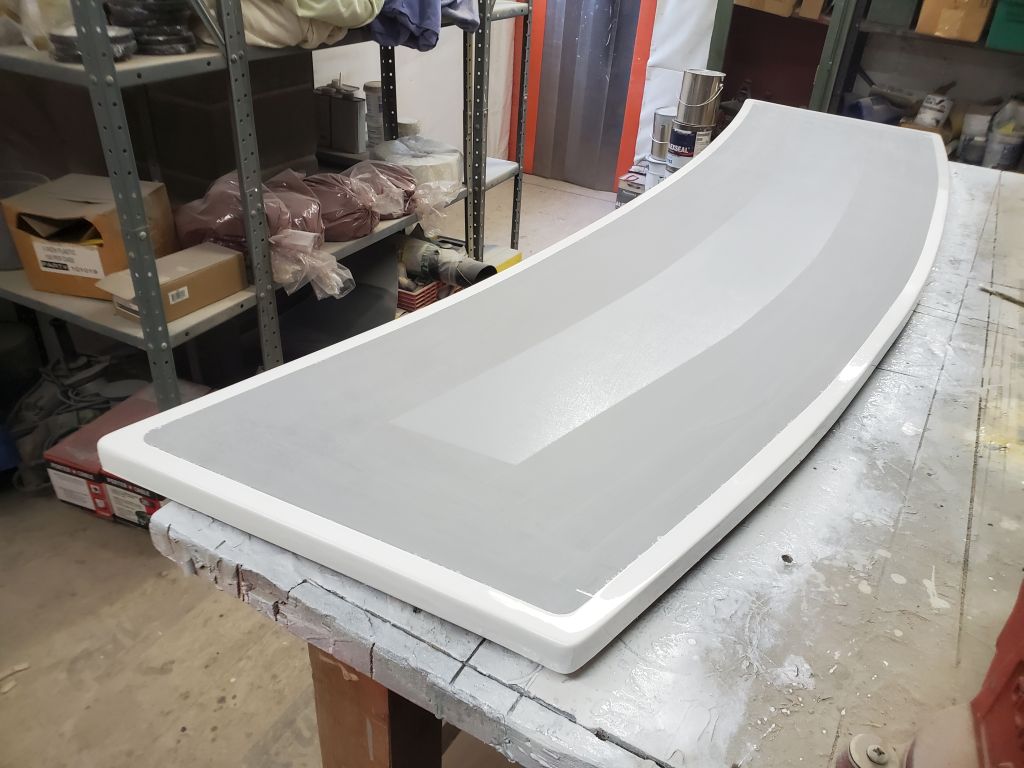
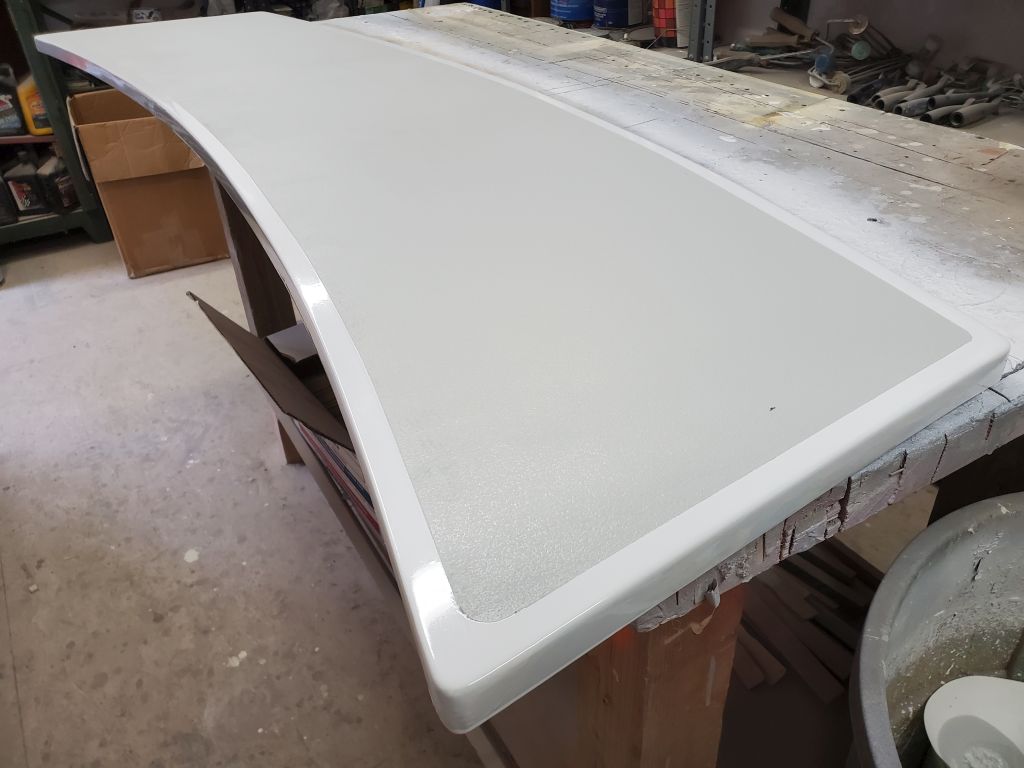
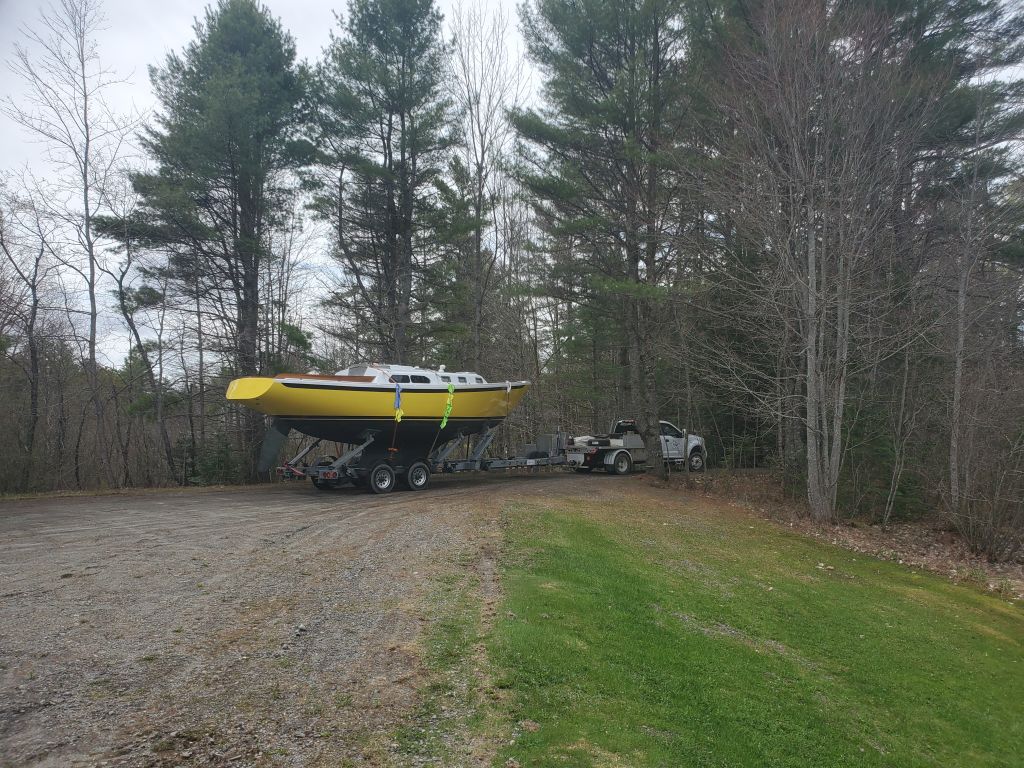
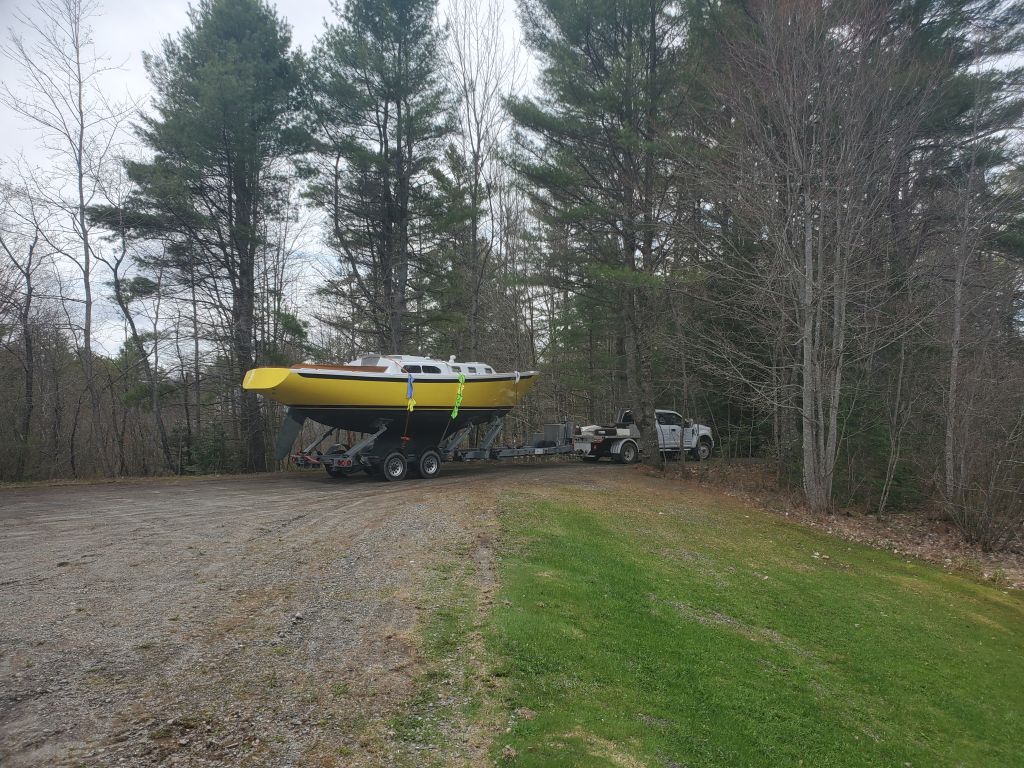
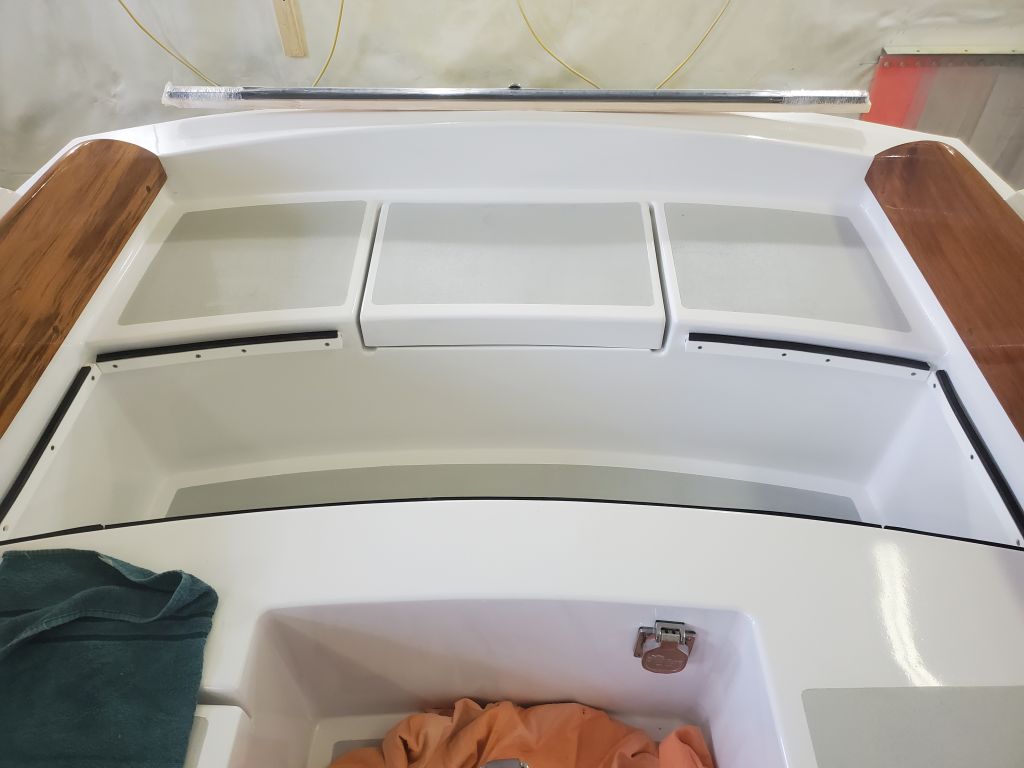
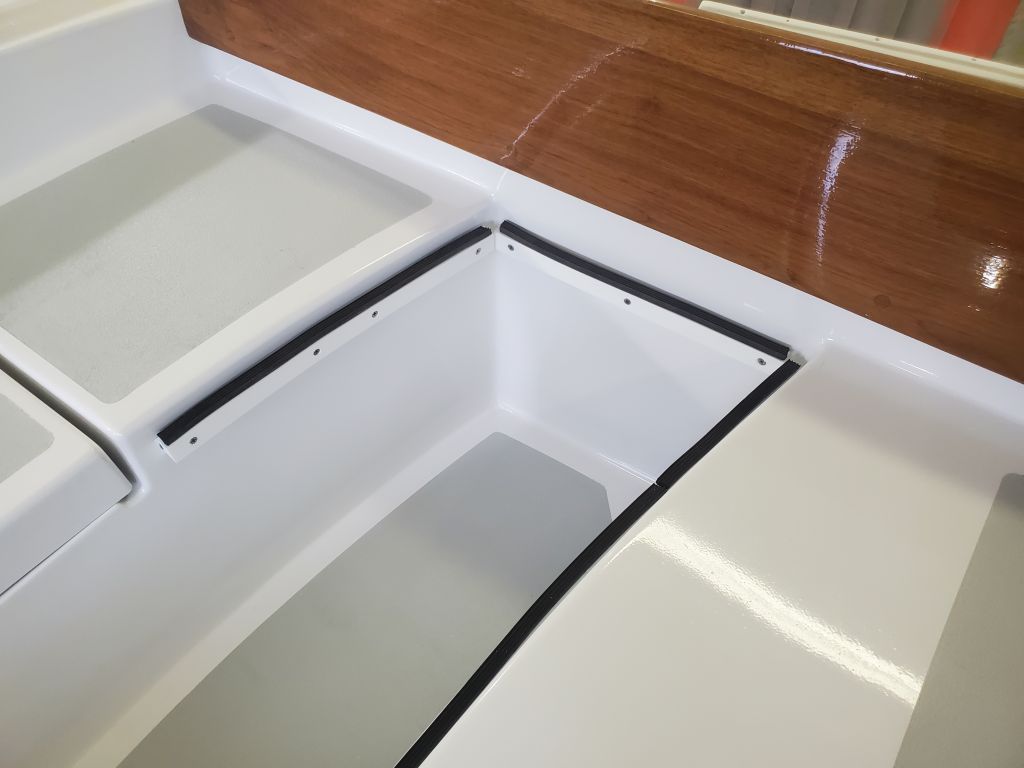
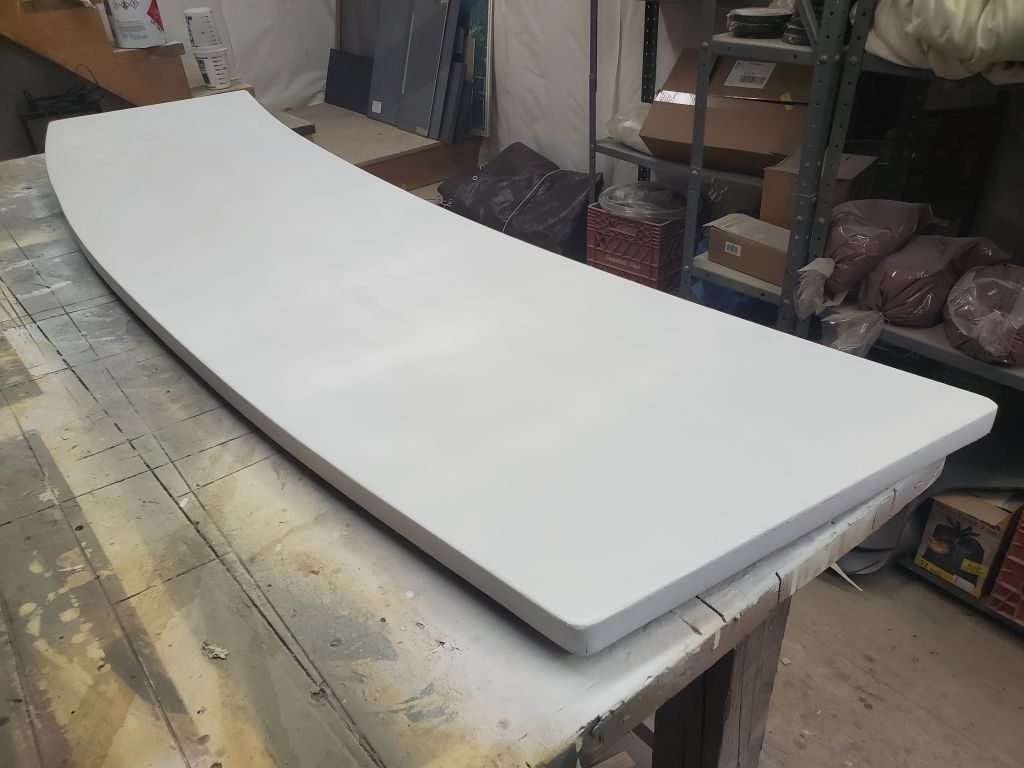
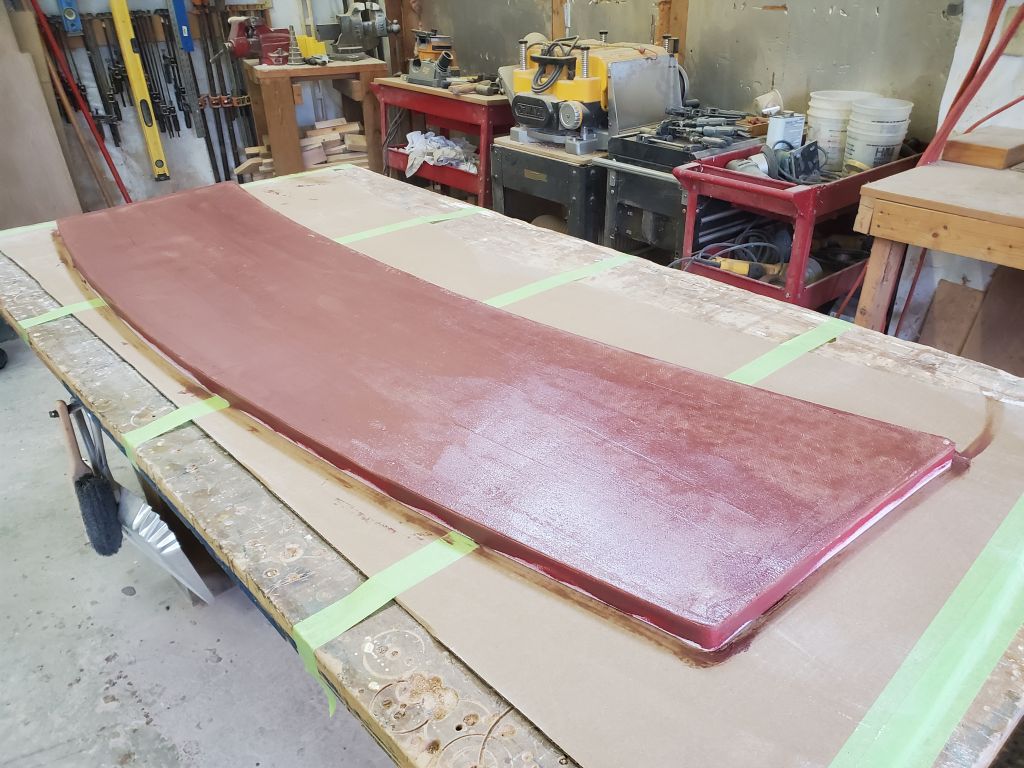
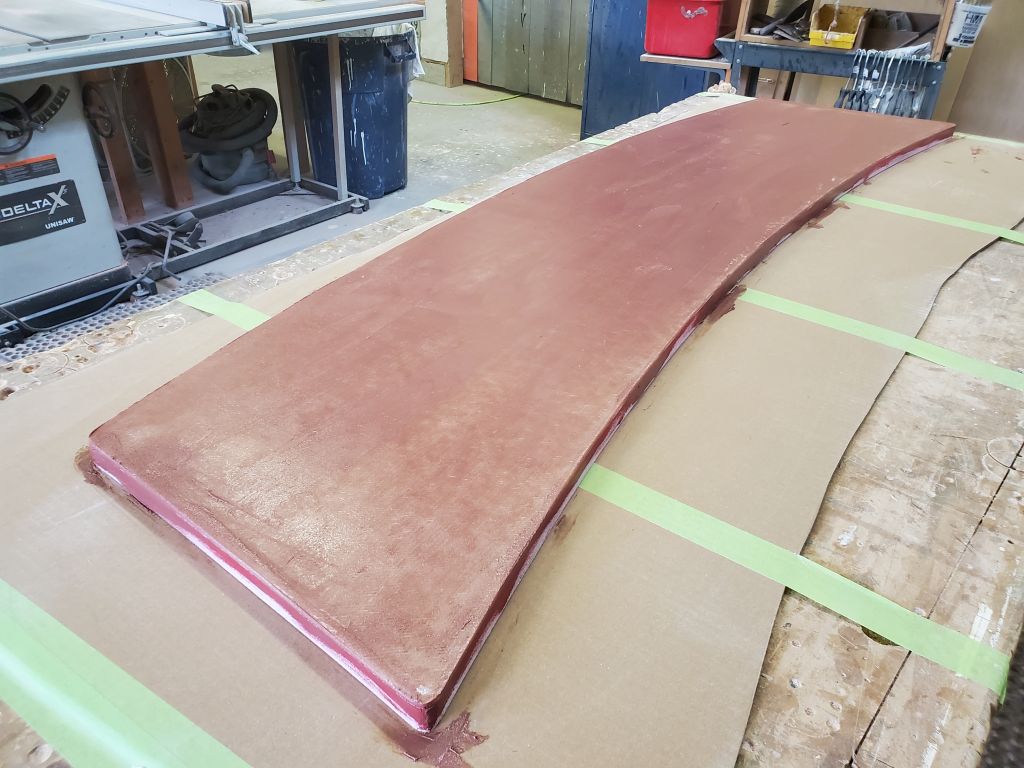
I’d get the hatch down to the boat and owner soon (relatively local), but now the project was truly complete from here.

Further 94

To complete the new hatch, the last work required was to lay out and install the compression latches–one on each short side.  These would catch on the underside of the cleats I’d installed in the cockpit earlier and hold the hatch tightly, we hoped, as well as allow some handles to help maneuver the hatch in and out.

Using the latch as a guide, I determined the mounting location on each side, far enough inboard so that the lever on the bottom of the latch would catch the cleat where the hatch rested upon it and centered fore and aft along each edge.  After marking the locations, I drilled 2-1/2″ holes to accept the latching mechanism.

To prepare the holes, I reamed out some of the exposed core from each opening, leaving a void that I filled with a thickened epoxy mixture once I’d masked the top of the hatch for protection.

Late in the day, I masked off around the edges of the hatch and applied a coat of gray Bilgekote to the underside of the hatch.

Further 93

The day after applying the gloss paint, I removed the masking tape and settled in to wait another day for the paint to cure sufficiently.

After an additional days’ wait, and with the paint now sufficiently cured, I continued by masking over the fresh white paint, following the line, and preparing the field with a light sanding to remove the fine overspray from the centermost section.  After cleanup, I prepared a batch of nonskid paint to match that which I’d used on the rest of the boat, and, over the course of the day, applied two coats:  one first thing in the morning (first two photos), and the second later in the day (second pair of photos).

The second coat had cured enough after a little while that I pulled the masking tape.  Now, all that remained to complete the hatch was to install the latches (on hand) and paint the underside.

Further 92

After lightly sanding the finish primer on the new hatch, I masked off the field/center area so I could spray the gloss white on the borders.  Here, I chose a 3/4″ border width, since there was ample border width on the adjacent surfaces in the boat and there seemed no need nor desire for a wider strip on the hatch.

After final preparations, I applied three coats of snow white gloss topcoat to the borders over the course of the day.

Further 91

Departure day.  Fortunately, after much rain the day before, and more forecast for later in the week, the weather provided a dry break for the move.  I prepared the shop and boat earlier in the morning, removing the third set of stands (amidships) to simplify things, and once the truck arrived she was loaded in short order, strapped down and departed within an hour.  I took the usual series of photos upon removal from the shop and the traditional “last photo” as the rig headed out the driveway (through substantially more undergrowth than projects from the early days at this shop).  Arrival-day photos are here for comparison.

There will be a few short updates to come, covering the completion of the new cockpit hatch.

Further 90

Over the past few weeks since I finished the paint, the owners had installed some of the deck hardware, focusing on making the boat weathertight.  Now, with the boat scheduled to leave the shop soon, I removed a few last things from the boat and prepared her and the shop for the upcoming transport.

Meanwhile, I continued work on the new cockpit hatch, which wouldn’t be ready to leave with the boat but wouldn’t be far behind.  Now, I sanded the recent application of fine fairing compound, which did a good job filing the small pinholes, remaining fiberglass texture, and a few minor low areas.

After final preparations, I spray-applied several coats of light gray finish primer.


Further 89

The next move on the cockpit hatch project was to prepare and install support cleats in the cockpit well.  Using the hatch itself and a section of the gasket material I planned to use, I determined that the cleats needed to sit 1-1/4″ below the level of the deck for a flush hatch installation.  I made a simple wooden jig that allowed me to easily make a series of marks around all sides of the aft cockpit well, after which I installed masking tape above the marks as a good visual reference for the cleats’ installation.

From 1″ x 3/4″ strips of UV-stable UHMW polyethylene, I prepared and installed the various cleats required to support the hatch.  I covered the full width of the forward side of the well, and on either side of the center lazarette hatch on the aft side, plus the short longitudinal ends.  To install the cleats, I marked and predrilled oversized, countersunk holes through the cleat stock, then marked and drilled and tapped all the fastener holes in the fiberglass to accept machine screw threads.  For final installation, I applied butyl tape to the backs of the cleats and secured them with screws roughly every 6″, depending on the length of the cleat in question.  I installed weather-resistant foam rubber gasket material on all the cleats.

If needed, a cleat could later be added to the center hatch on the aft side, once the hatch was permanently installed and in its final position.  But it seemed there’d be adequate support for the hatch’s intended purpose without.

With all the cleats and gasket installed, the hatch fit well and flush all around.  I had two compression latches/handles on order (not yet on hand) that I planned to install on each short longitudinal edge, and which would help secure and compress the hatch into its final position, as well as give a way to lift the hatch out when needed.  I’d install these once they arrived.

With the support cleats in place, I turned back to the hatch itself, sanding the high-build primer with 220 grit, then applying a coat of fine fairing filler to deal with the various pinholes and fiberglass texture highlighted by the primer application.

Further 88

Continuing work on the hatch, I sanded the latest patches of fairing compound smooth as needed, then, with no significant fairing work remaining, sanded the entire piece through the grits to 120 to prepare for primers.

Later, over the course of the rest of the day, I applied three coats of epoxy high-build primer to the hatch, using a small disposable sprayer.

Further 86

I lightly sanded the top of the cockpit hatch as needed to smooth the fairing compound and bring the part close to its final appearance.  Once the sanding was done, I temporarily hot-glued a couple scrap wood handles to the top so I could check the fit in the opening a final time.  I couldn’t hold the part at the proper height and take photos, but I rested it on a trash pail in the well for these photos to show the general fit.  When complete, and supported by cleats beneath, the top of the hatch was to be flush with the decks on either side.

The coamings overhung the opening by roughly an inch on each side, with perhaps two inches’ clearance between the top of the hatch and the coaming, and the hatch was wider at the forward end than at then at the aft, so pulling the entire hatch straight up and out would be complicated by the coamings, shape of the hatch, and other obstructions like the mainsheet traveler, which would be installed somewhere a few inches forward of the new hatch.  To remove the hatch, I found that one needed to slide it up and forward a few inches, to the points shown in the photos below, before the leading edge could be tipped up to clear the coamings, after which the hatch could be maneuvered with relative impunity.

With the owners’ input and approval, I planned to support the hatch with cleats installed within the opening, along with some gasket material (the hatch wouldn’t be completely watertight, but the gasket would help and would also prevent vibration or rattling), and secured (hopefully) with a pair of compression latches, one at each side.  These materials were on the way.  For now, with the test-fitting complete, I applied additional fairing compound to a few areas on the hatch top where required.

Afterwards, I sanded and prepared the coamings for the sixth coat of varnish on all areas.

Further 85

After some time away, I returned to the shop and got back to work on the coamings, which needed at least a couple more coats of varnish to “complete” them.  After masking around the coamings and lightly sanding, I applied varnish to all areas (5th coat).

Meanwhile, I continued work on the after cockpit hatch I’d started building.  The hatch required some sanding to bring the new bottom skin flush with the edges, and also to clean up those edges and round the corners of the hatch to match the shape of the corners in the opening.  I wanted to test-fit the fully-constructed hatch for the first time, but with the fresh varnish I’d timed it wrong, so I moved forward and applied epoxy fairing compound to the top side, the beginning of the process to smooth the minor low spots leftover from construction and prepare it for finish.


Older posts