(page 3 of 10)

Further 74

Thursday-Friday

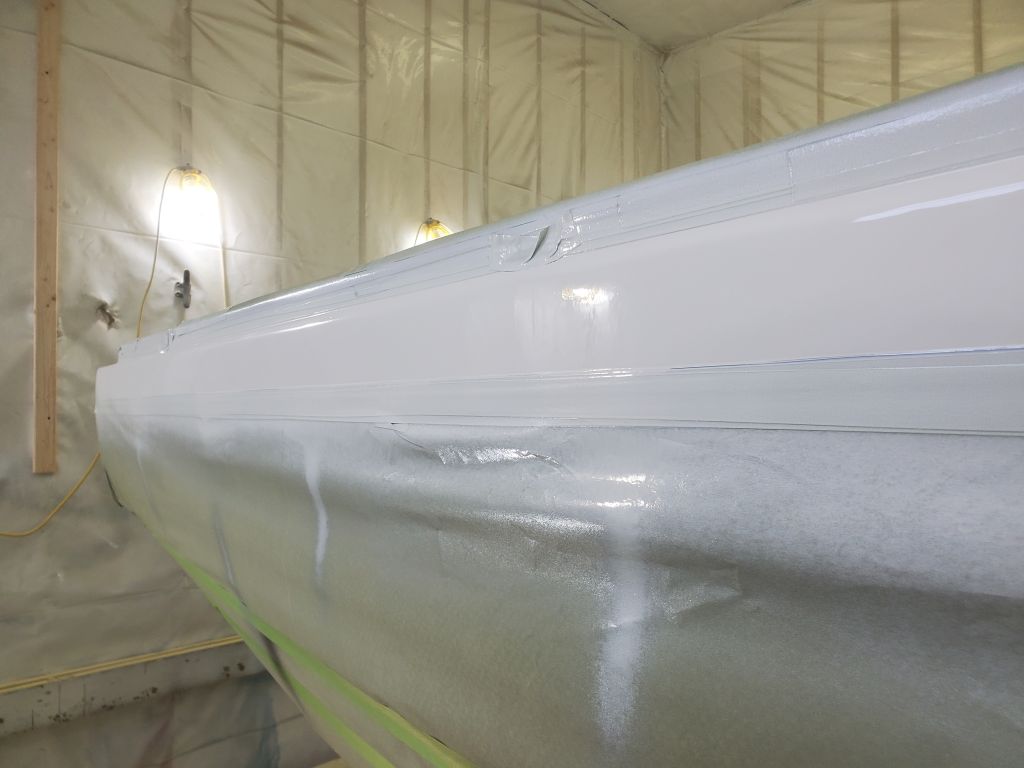
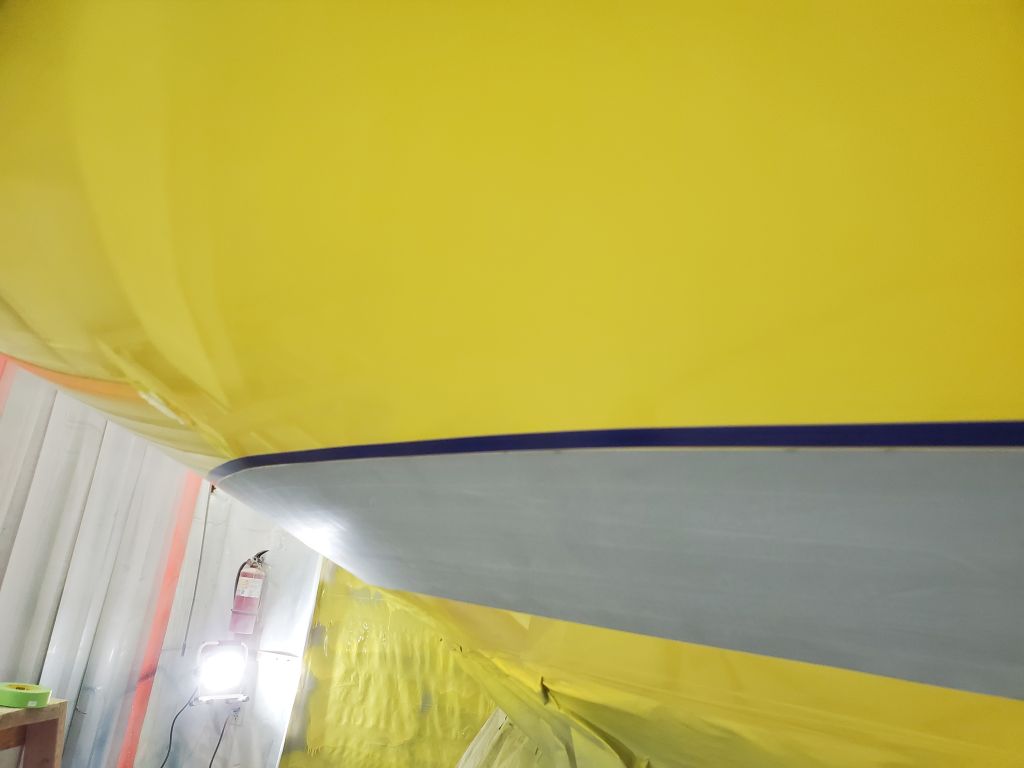
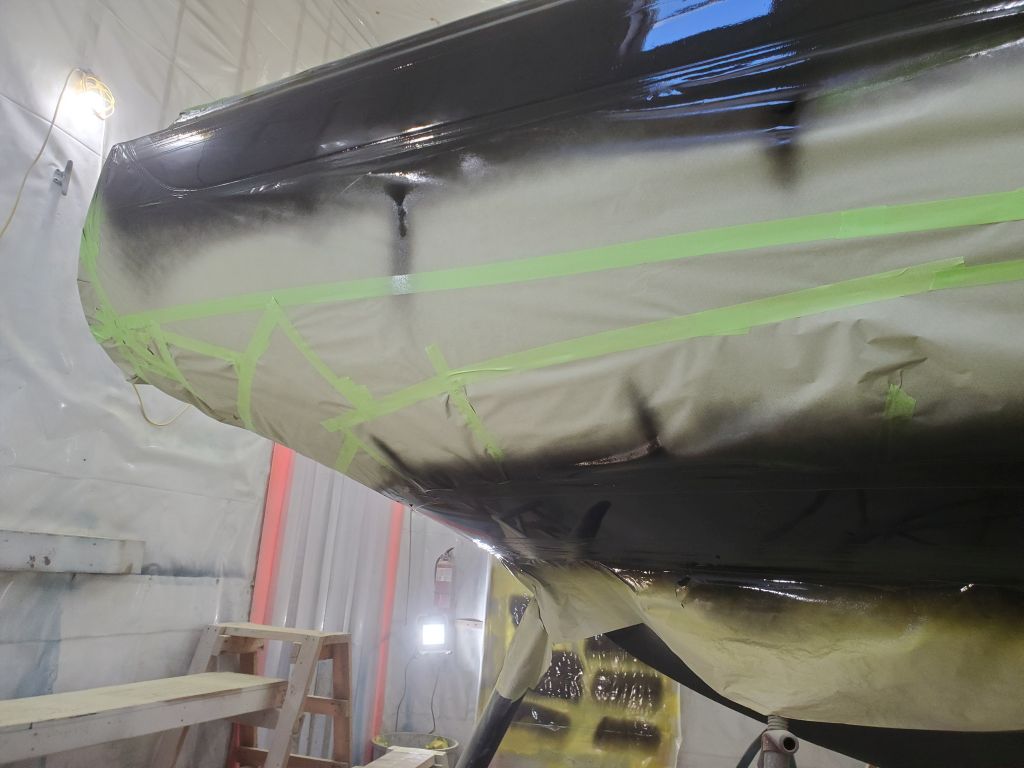
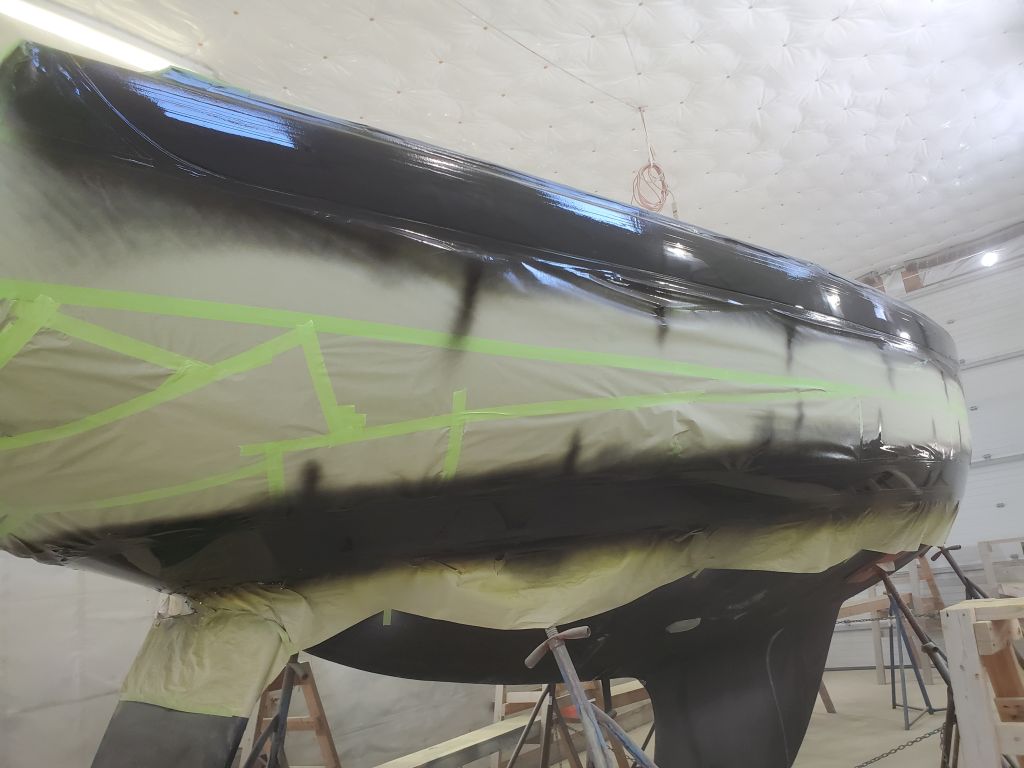
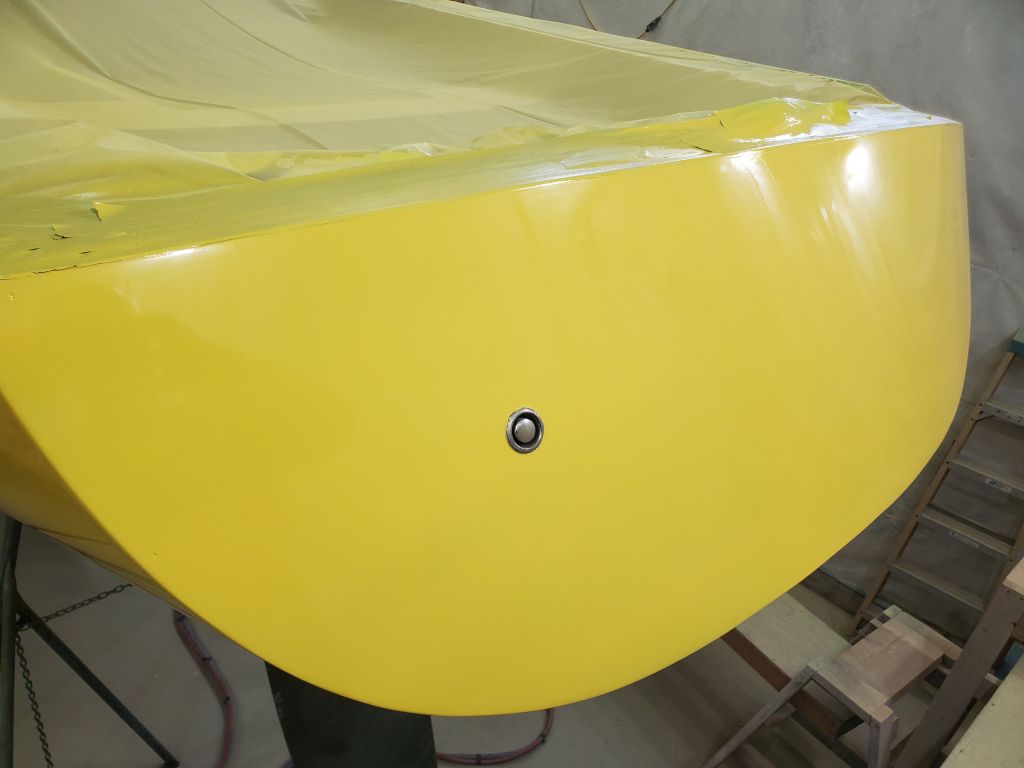
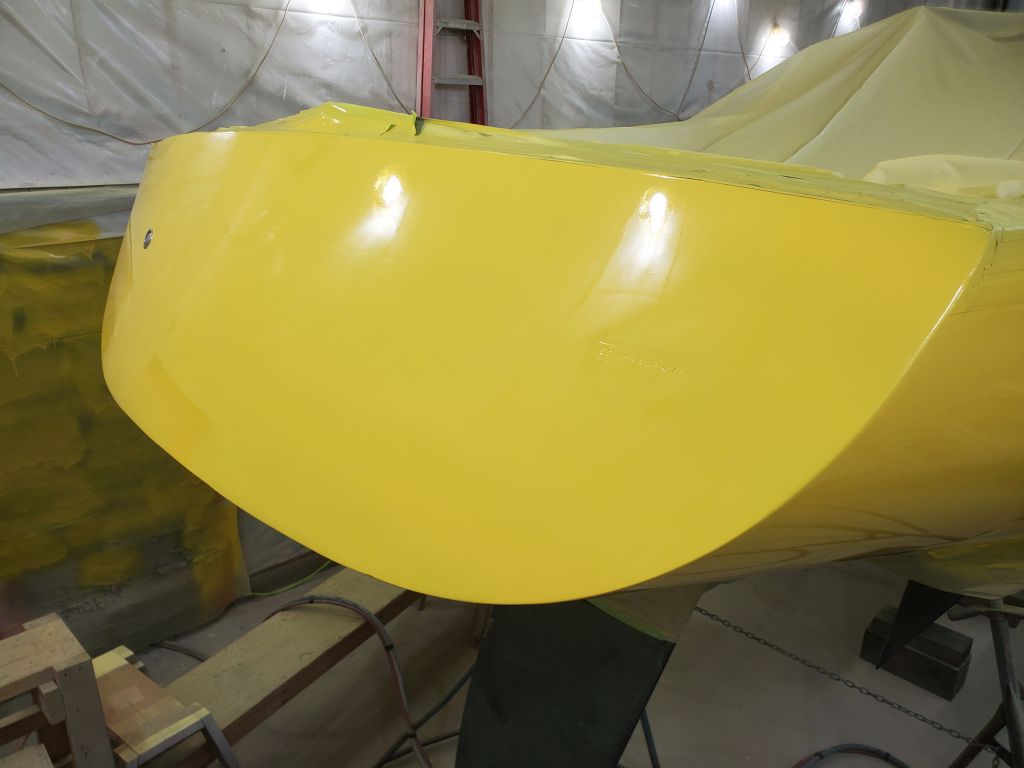
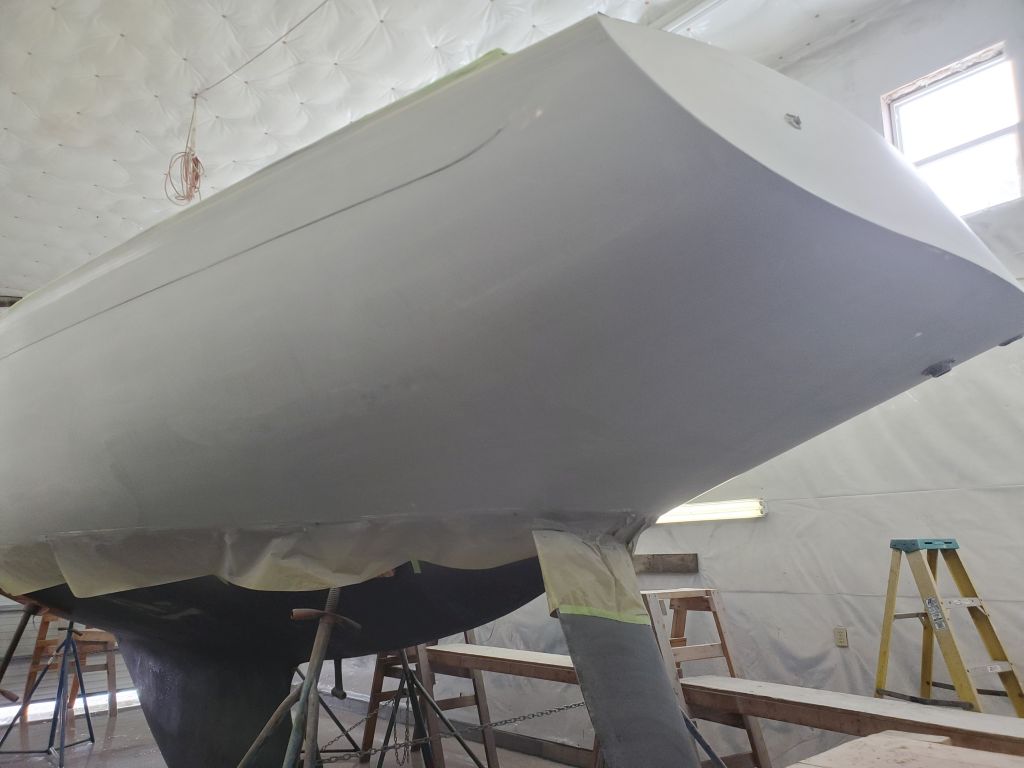
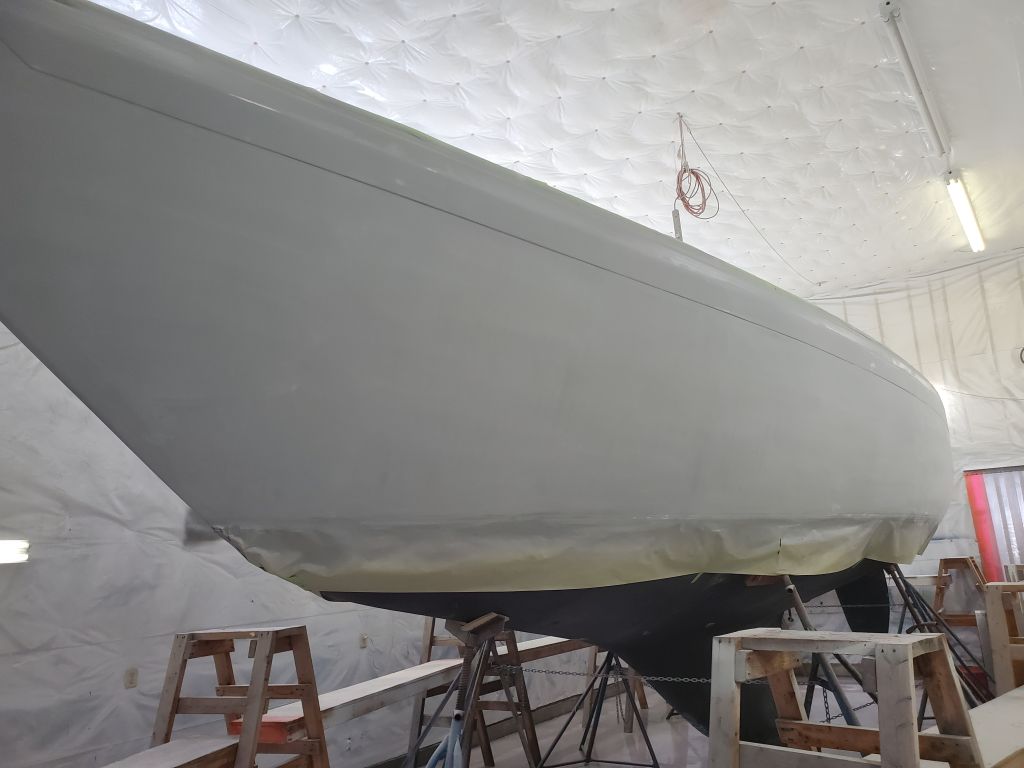
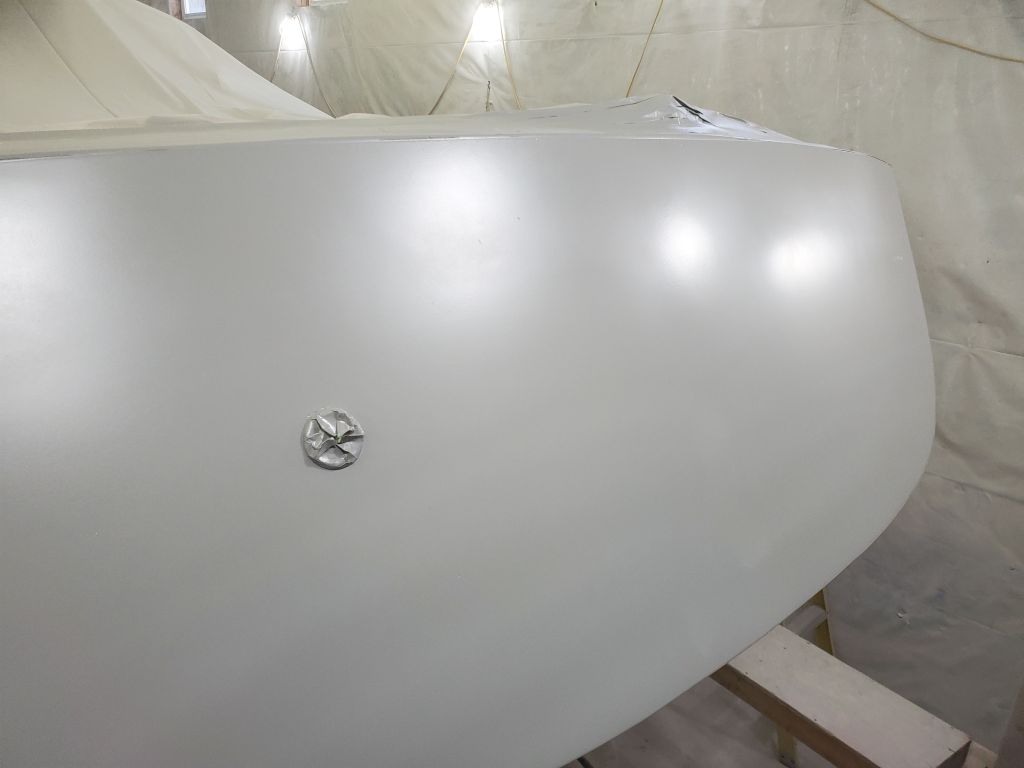
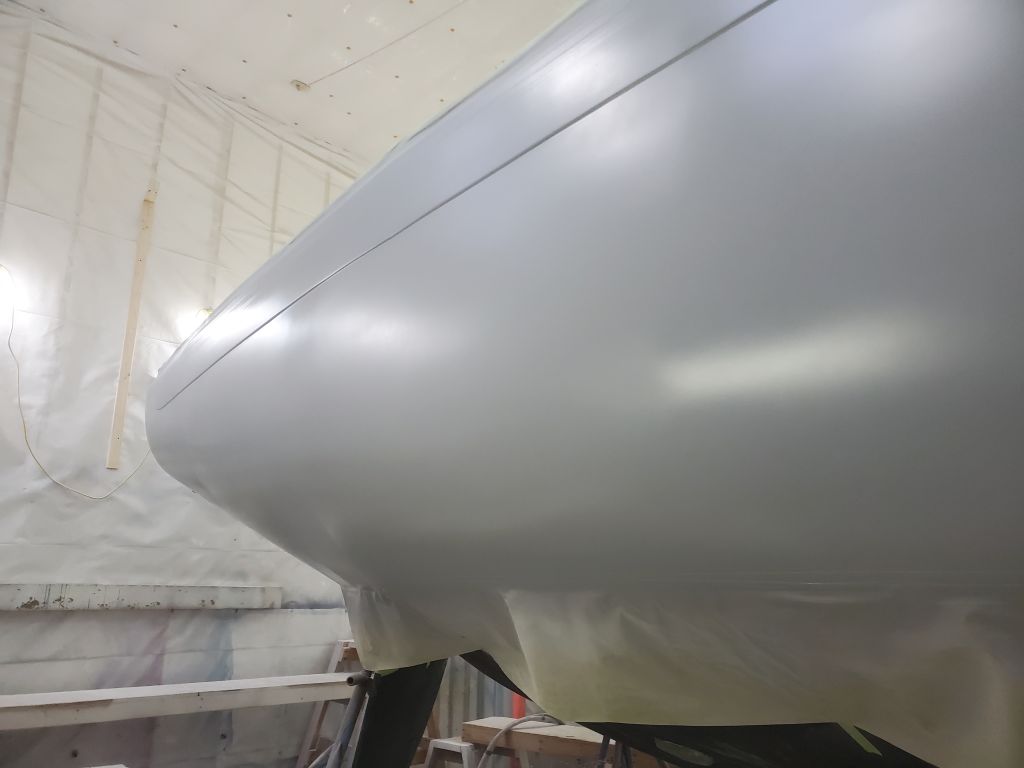
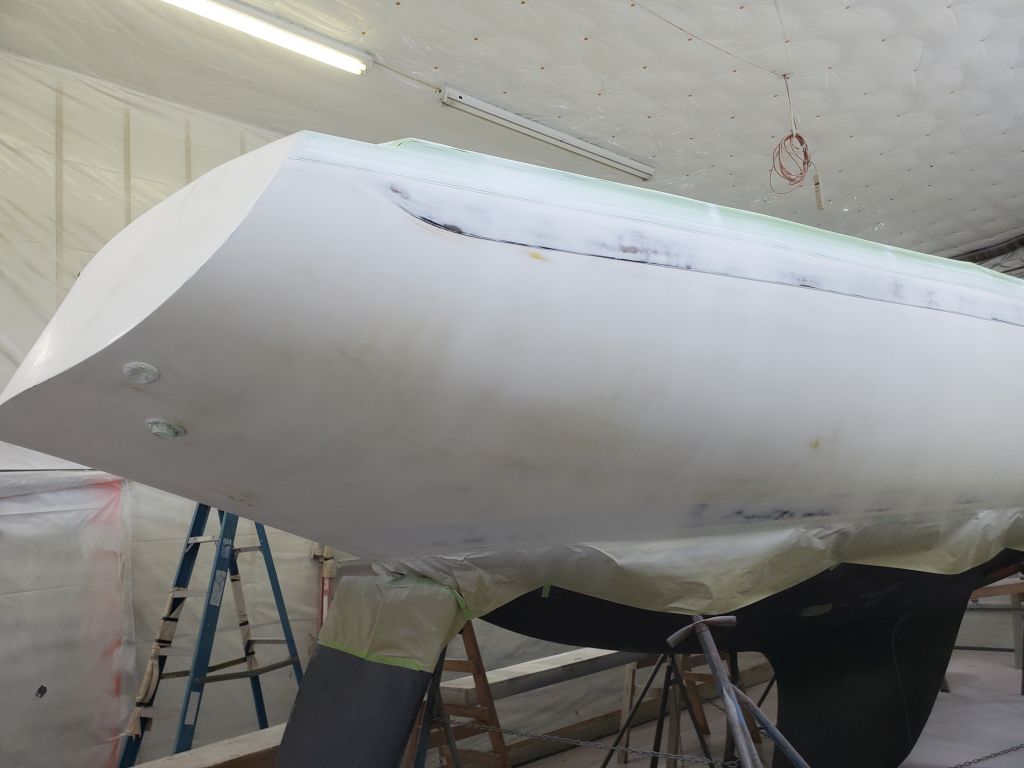
I started Thursday by unmasking the top section of the new sheer strake.    Normally, I’d have happily continued and unmasked the entire boat at this stage, but I’d had an issue during the deck paint with excess paint leaking through the toerail scuppers and onto the upper portion of the sheer strake–the white section that was part of the deck work.  Those darn scuppers worked exactly as intended.  Earlier, I’d tried to repair these areas, but I wasn’t happy with the results, so around then I’d made the decision to simply respray the entire area.  I’d masked off the decks with this in mind, before beginning the hull, and there was a natural transition line at the top edge of the sheer, just below the toerail.  With the rest of the boat also covered now, after the trim paint, the amount of additional work required to prepare was minimal.

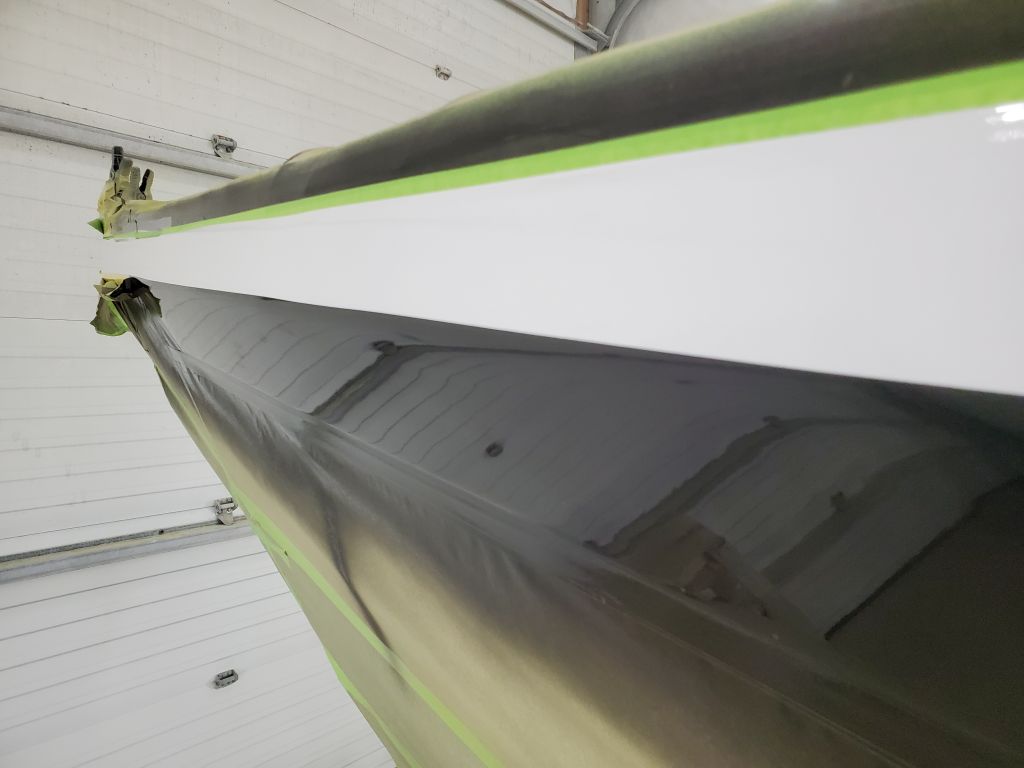
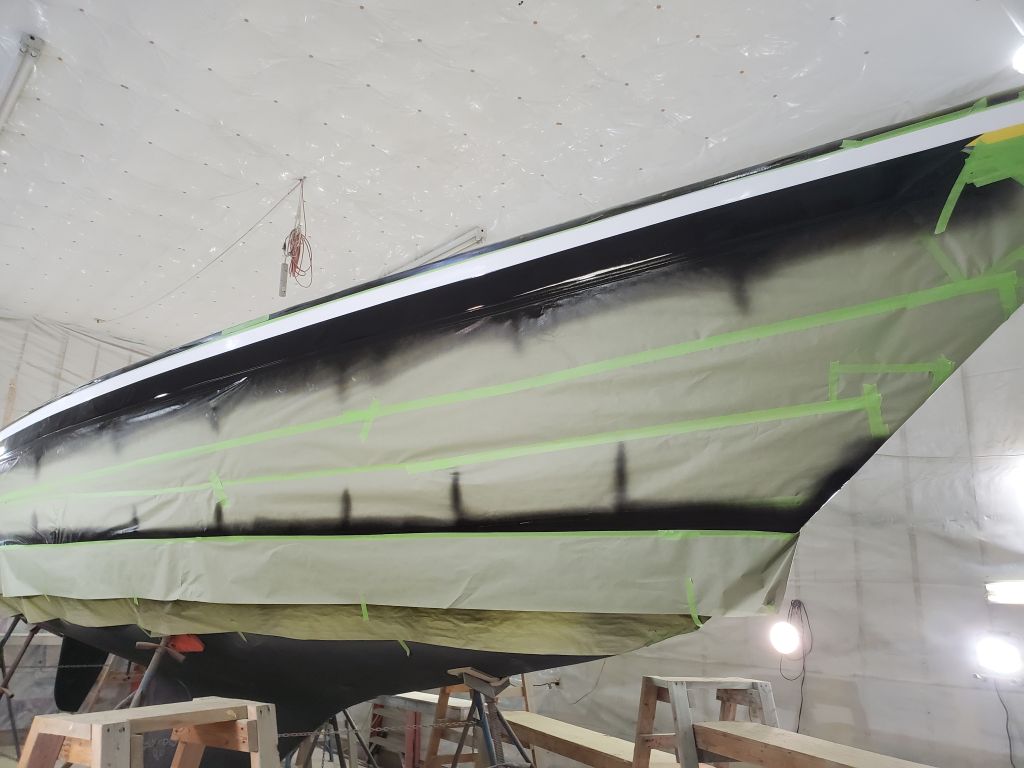
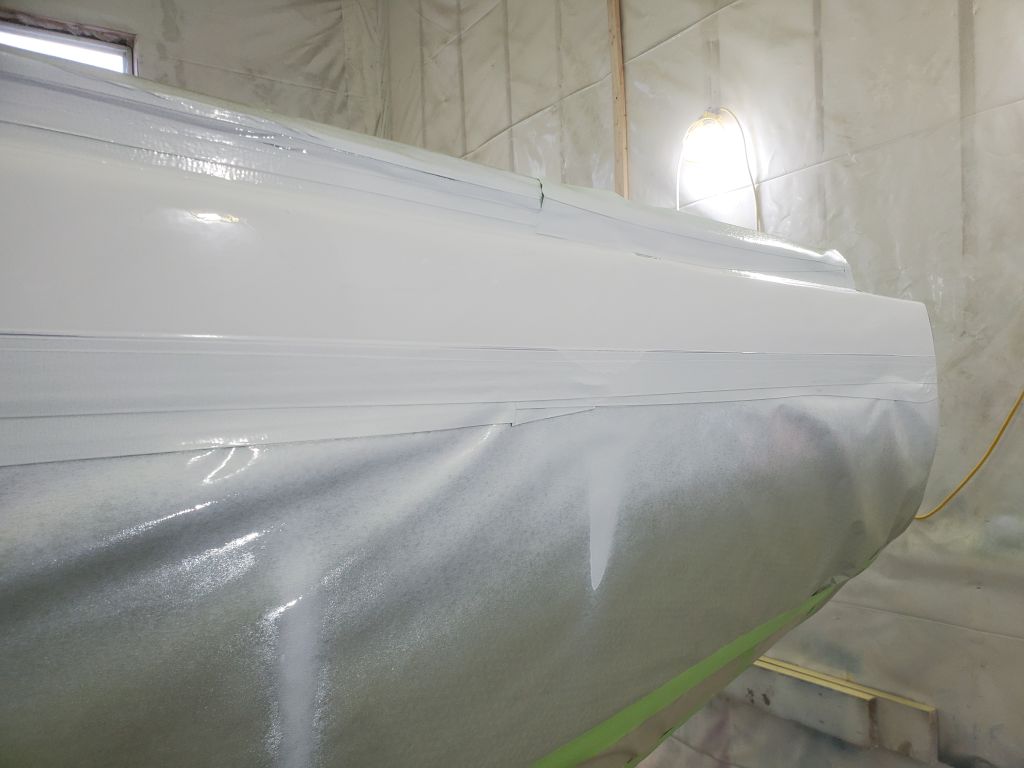
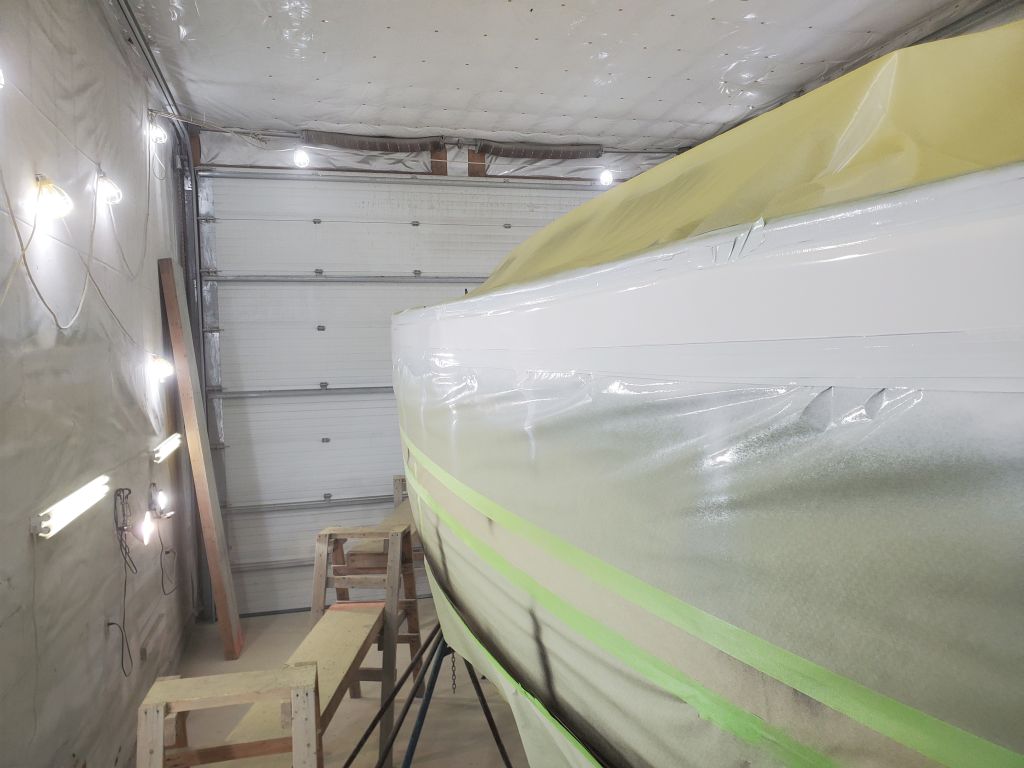
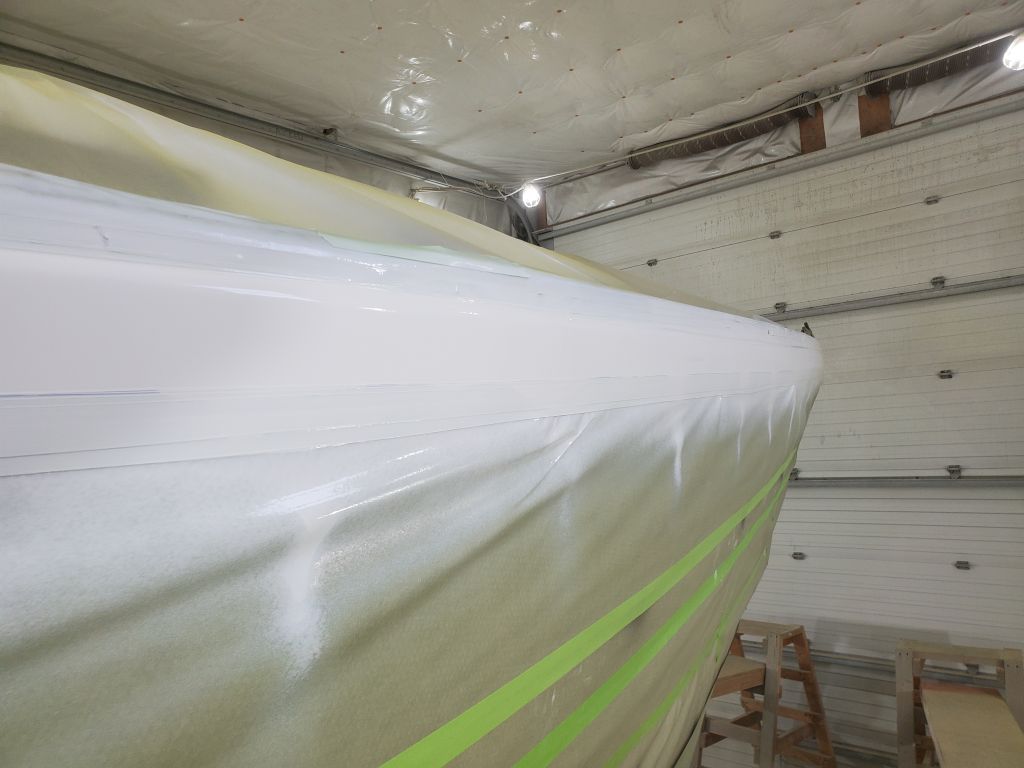
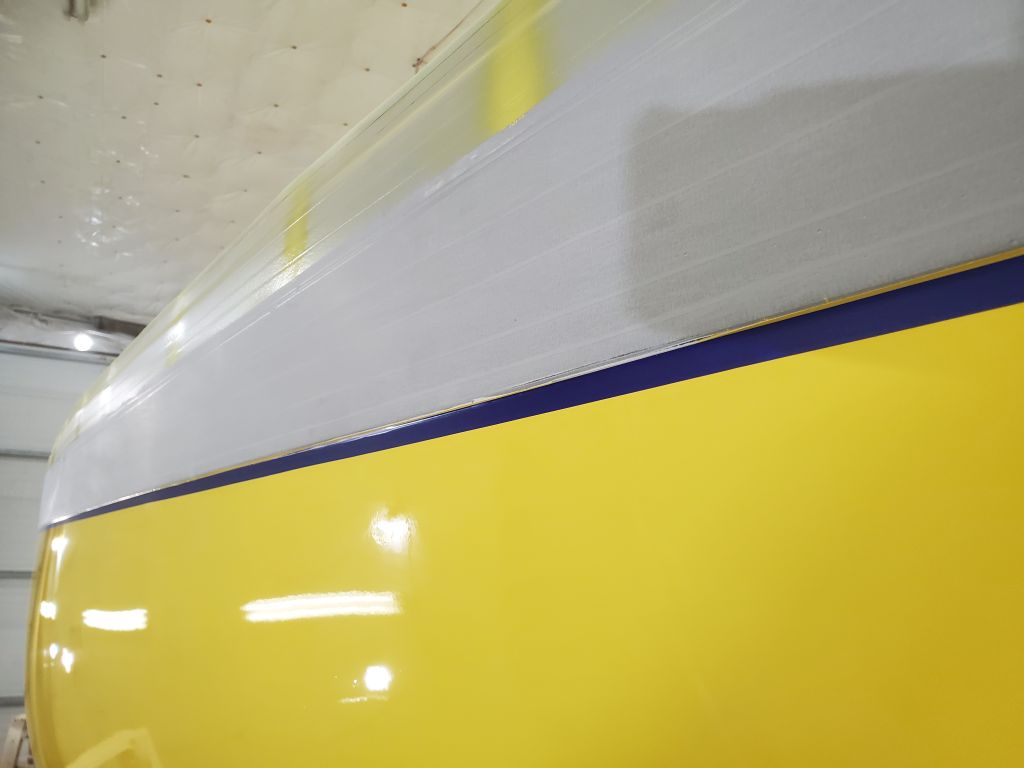
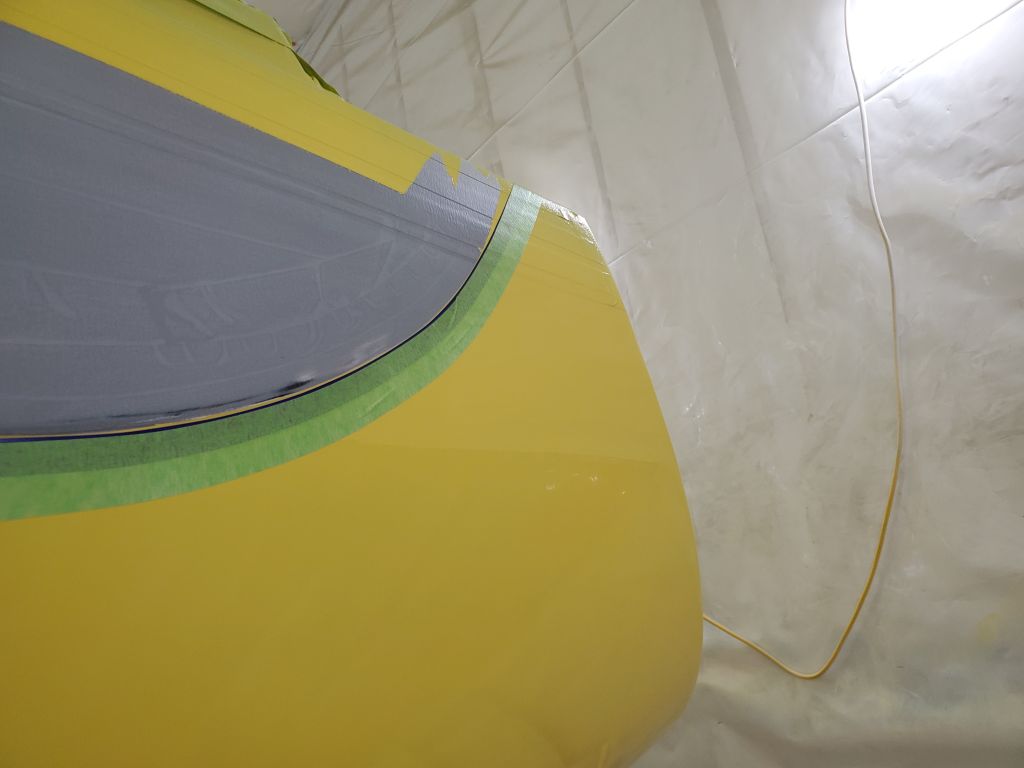
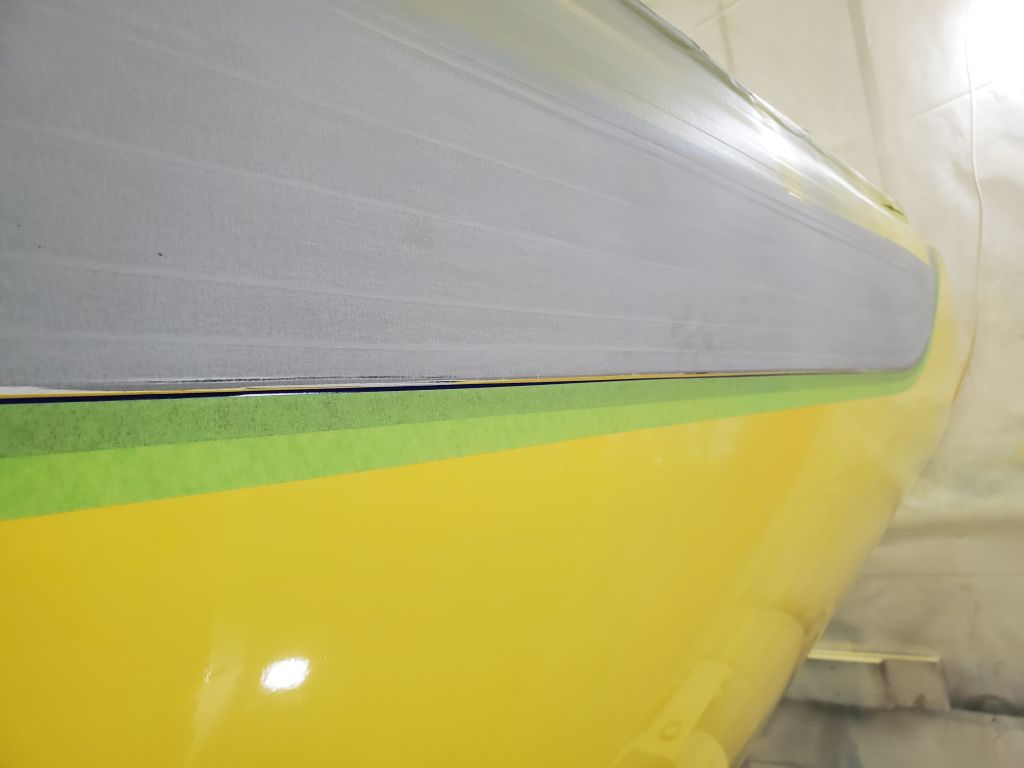
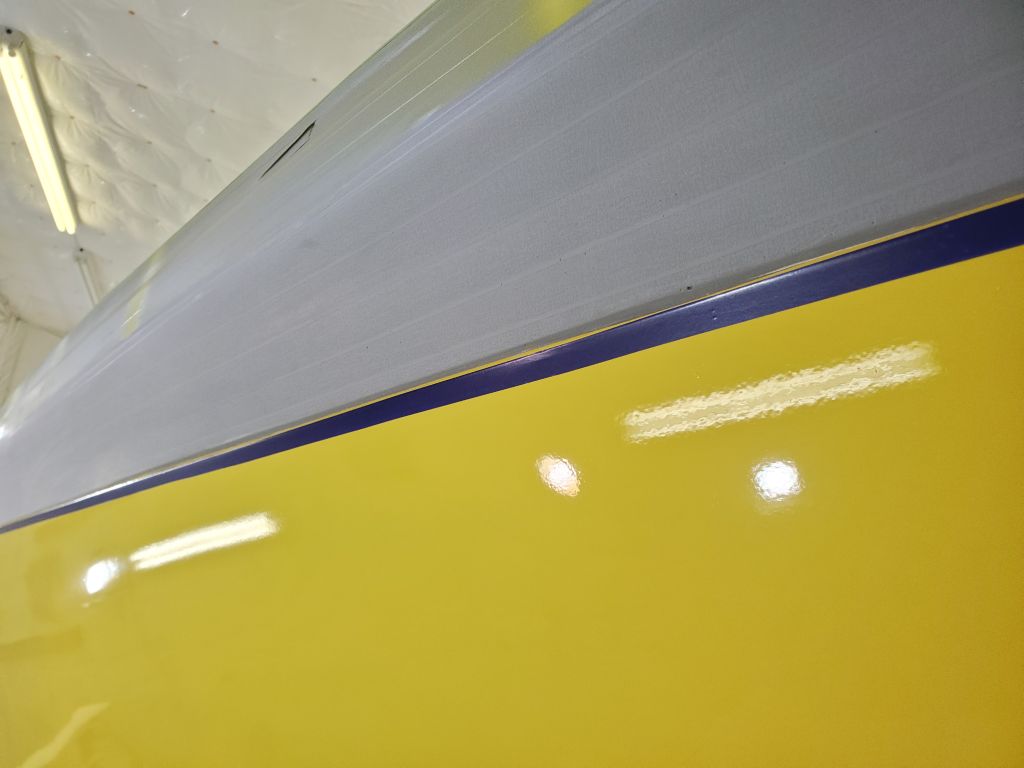
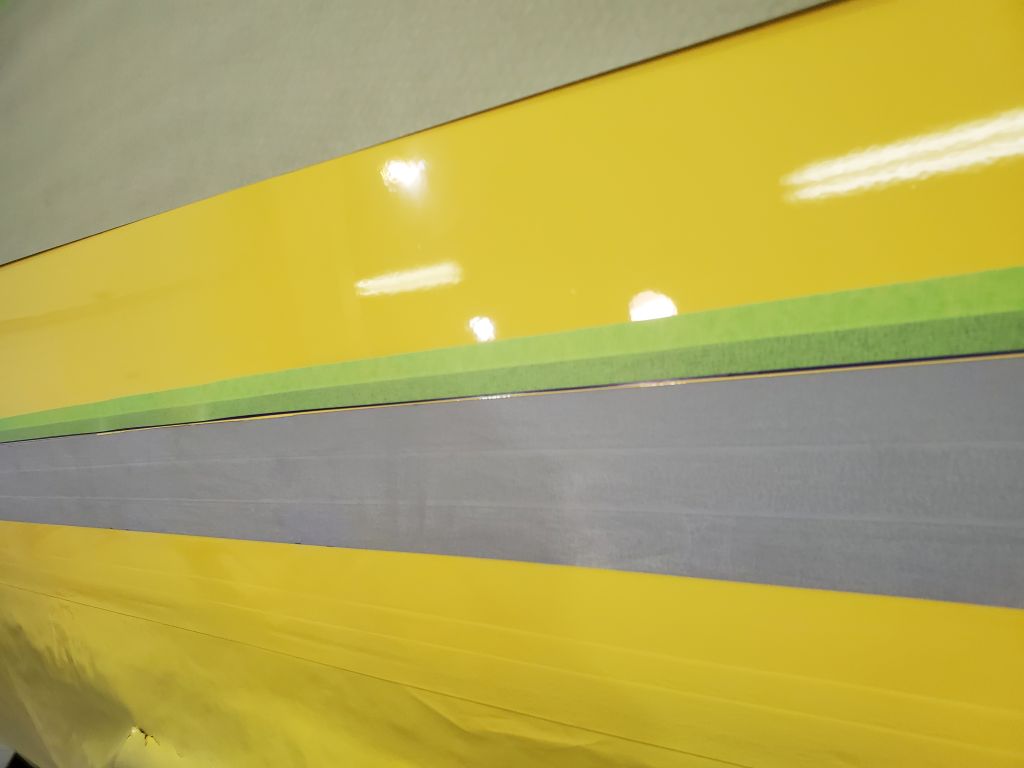
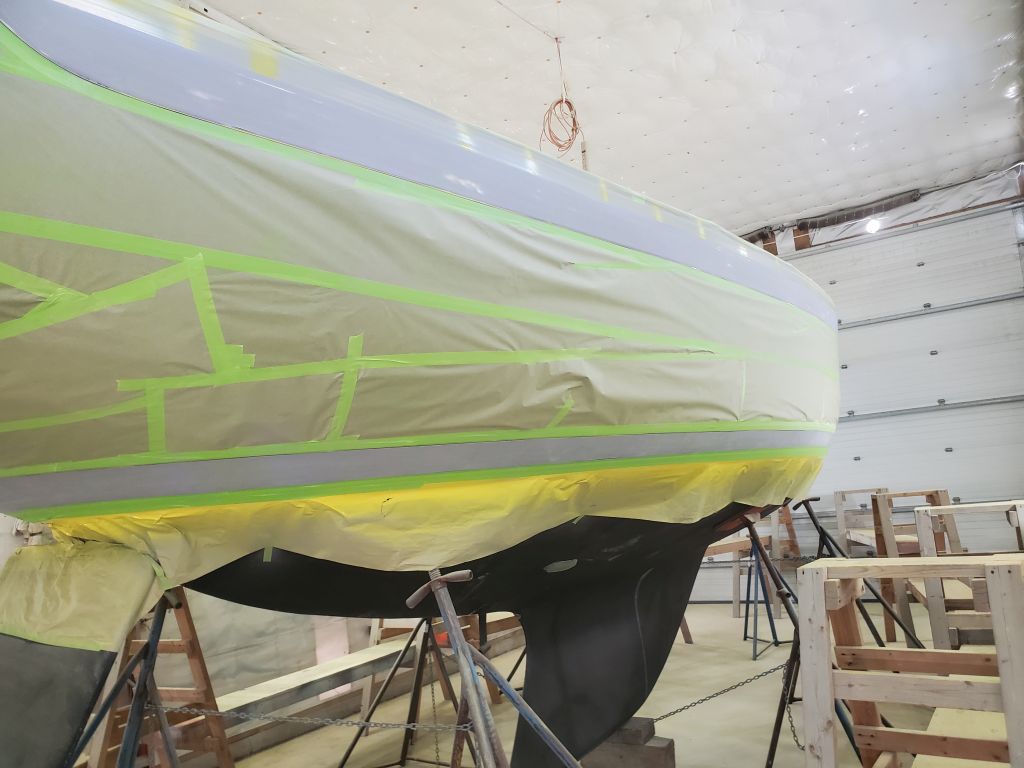
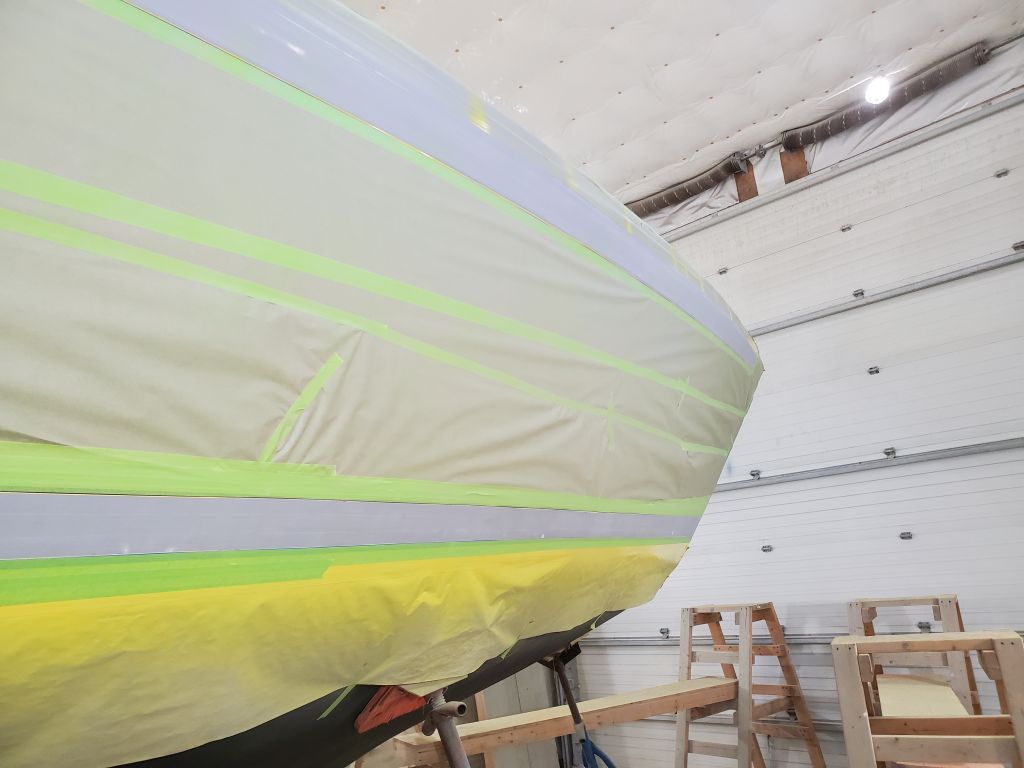
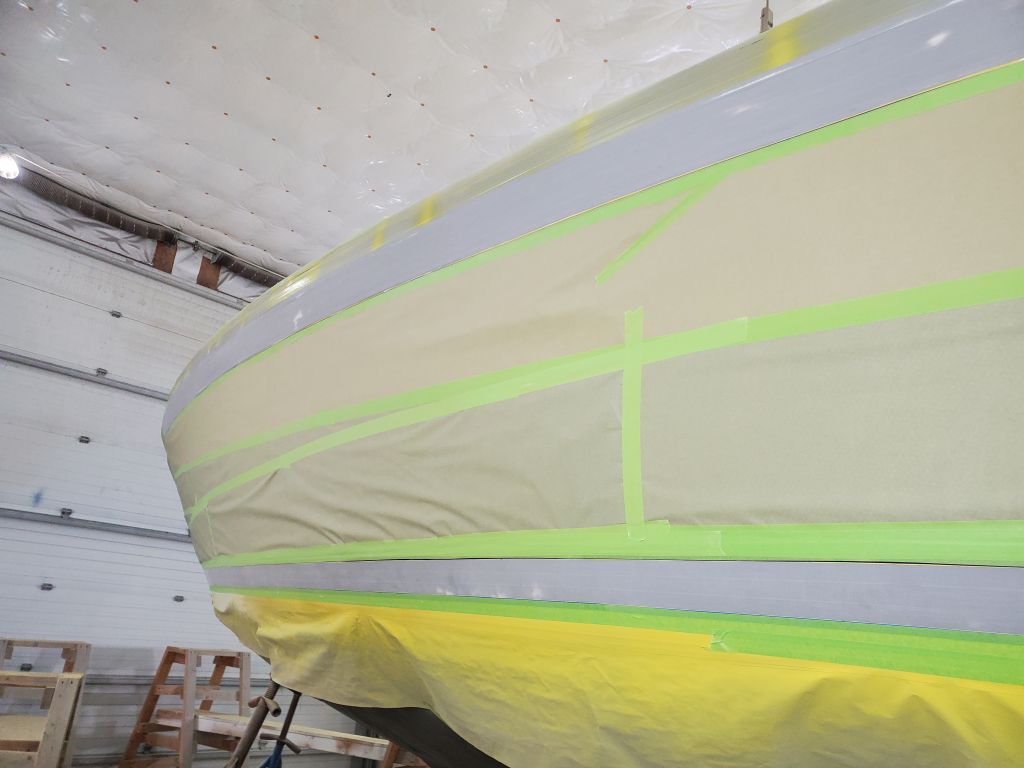
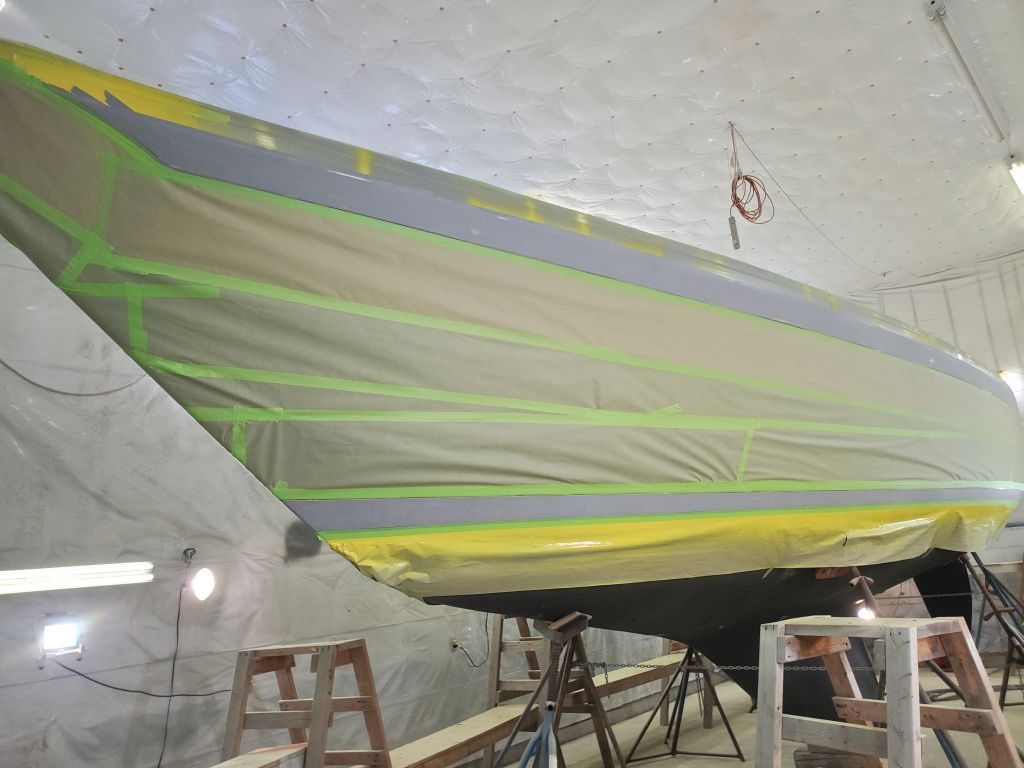
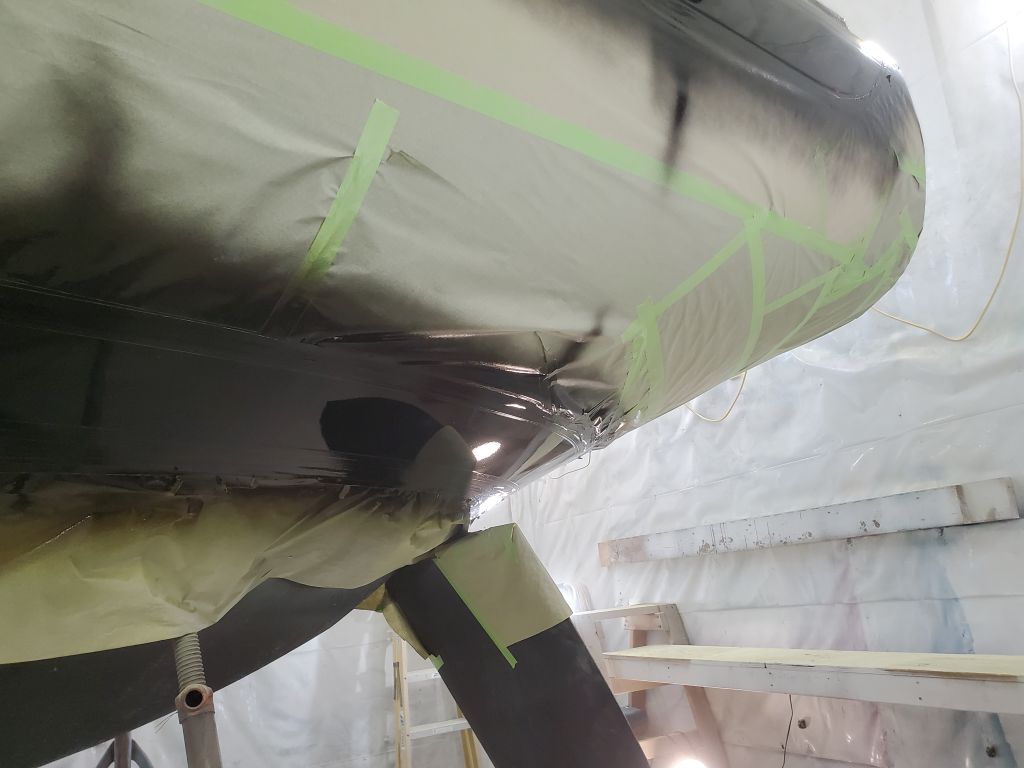
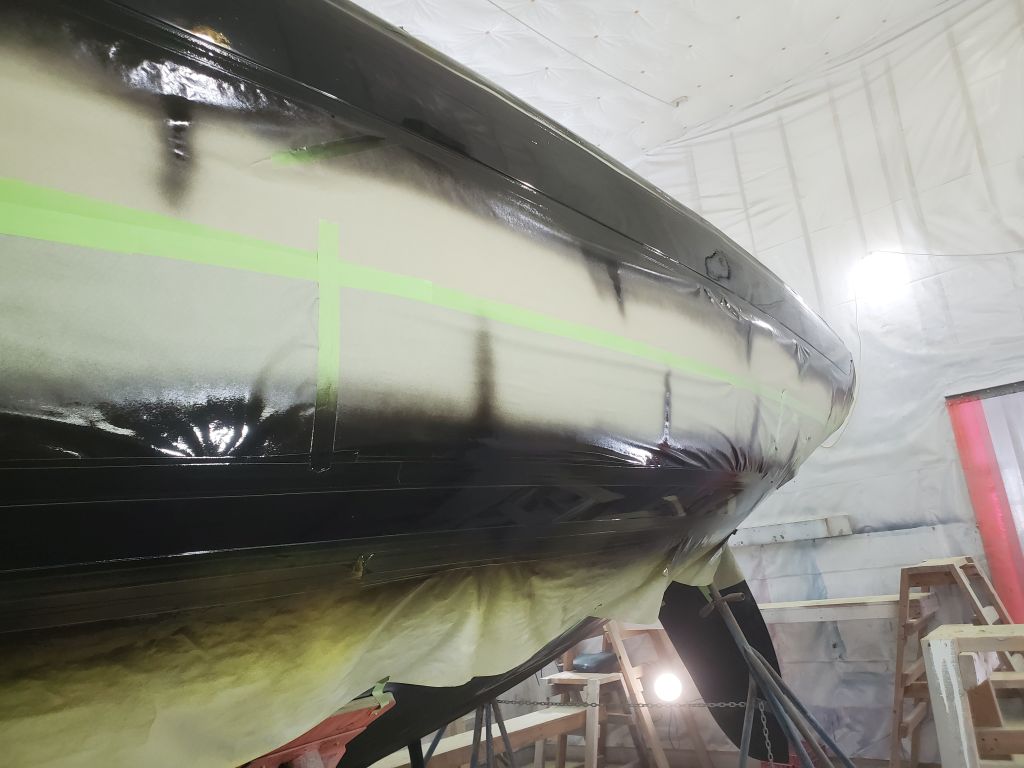
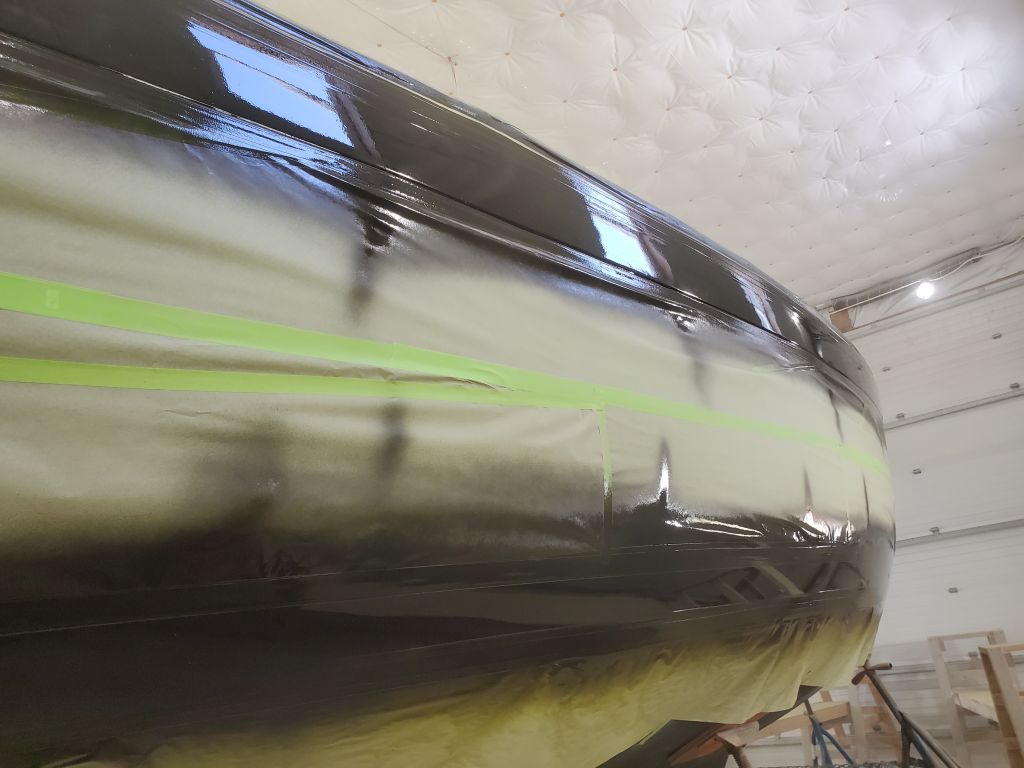
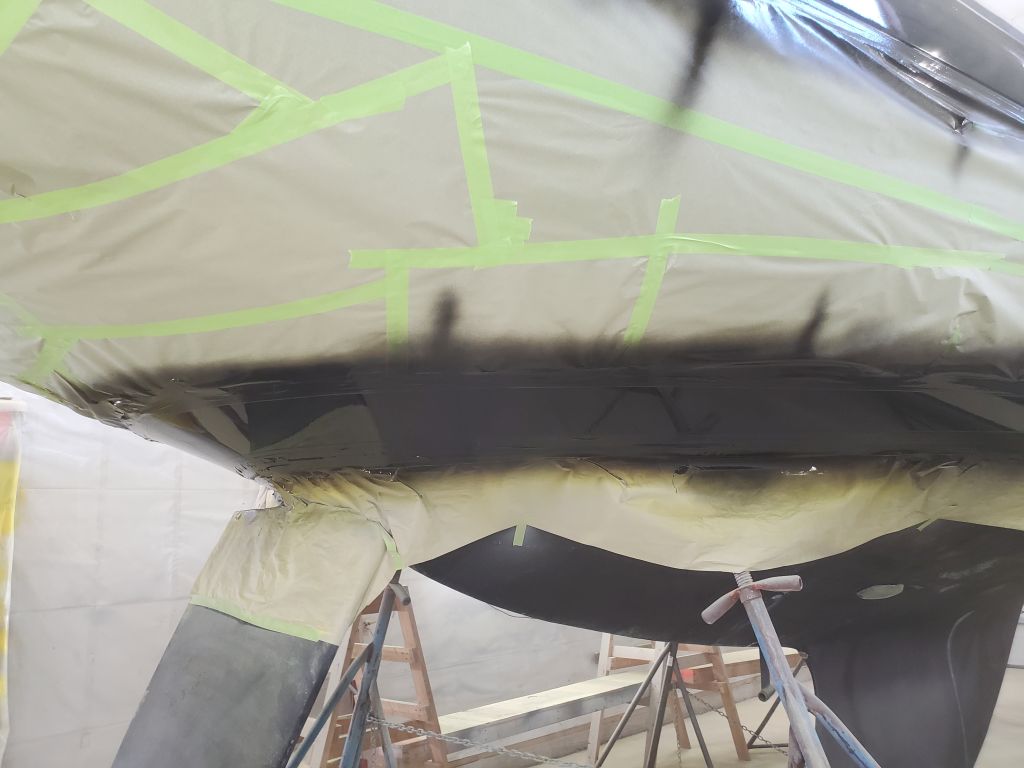
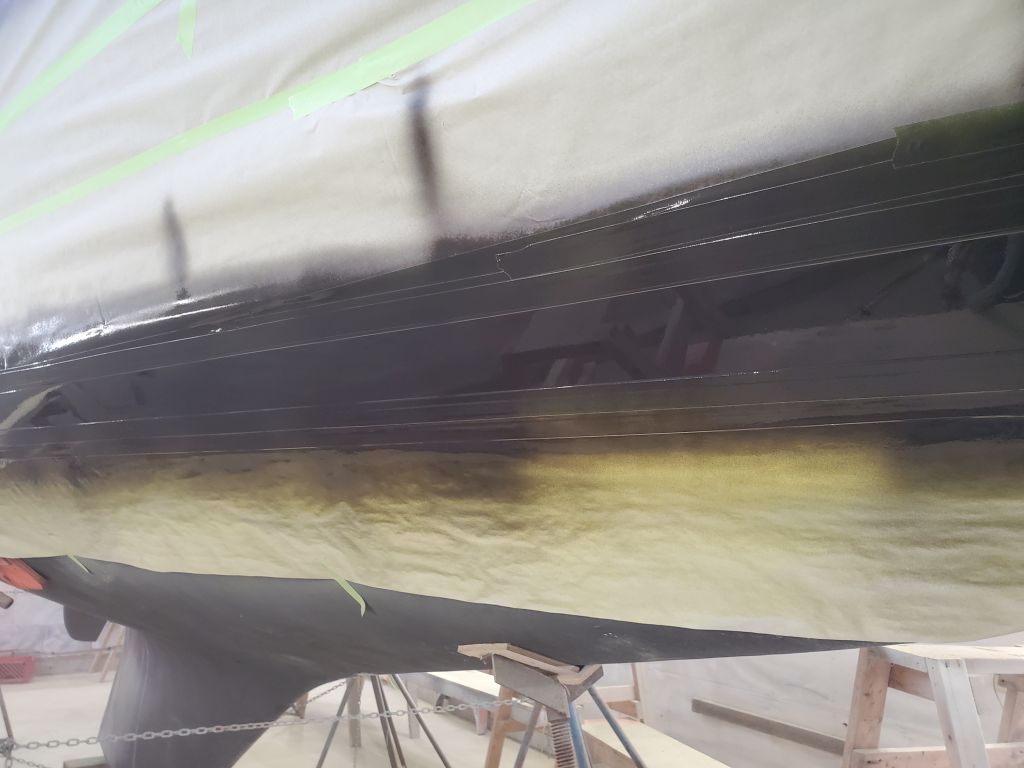
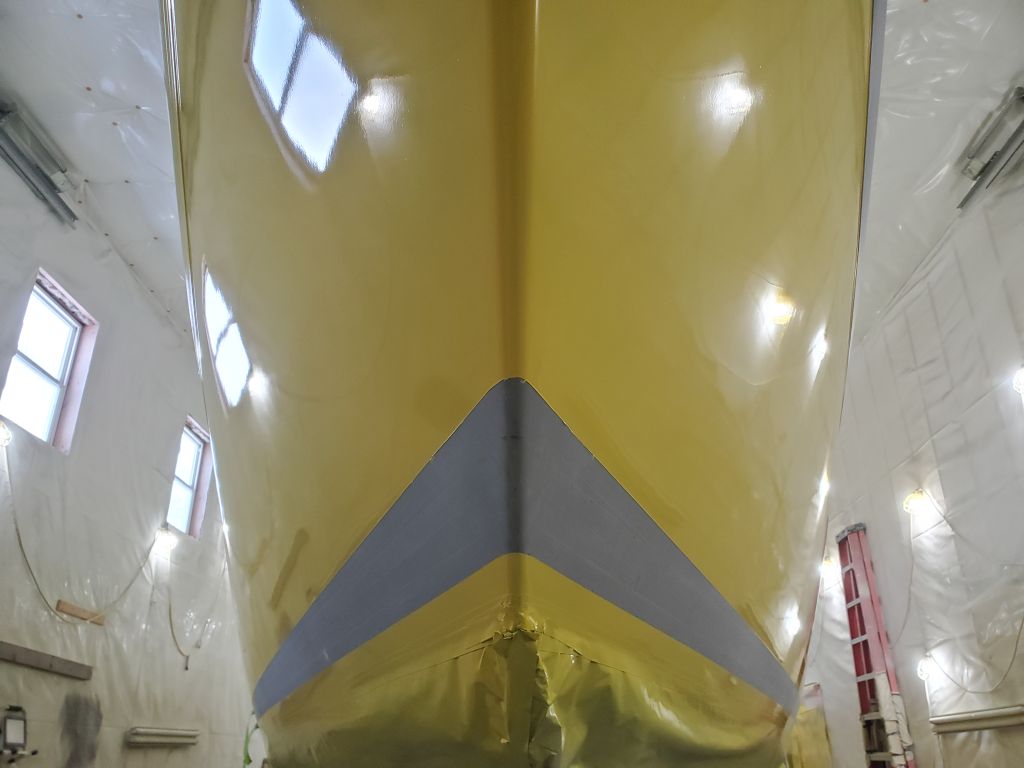
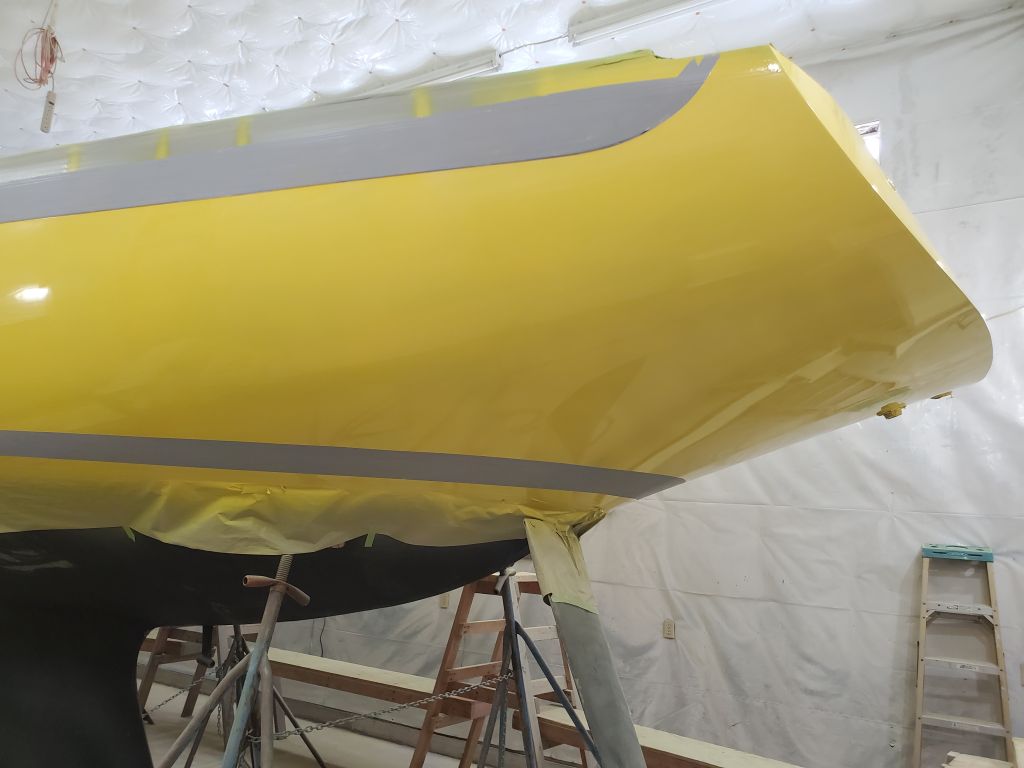
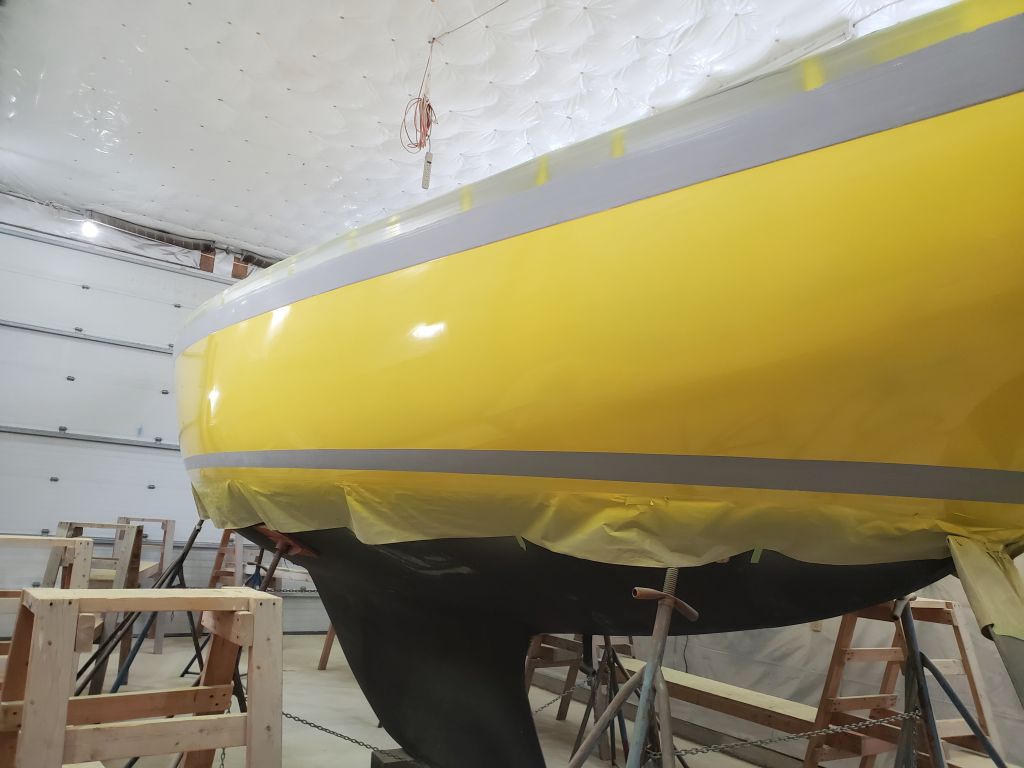
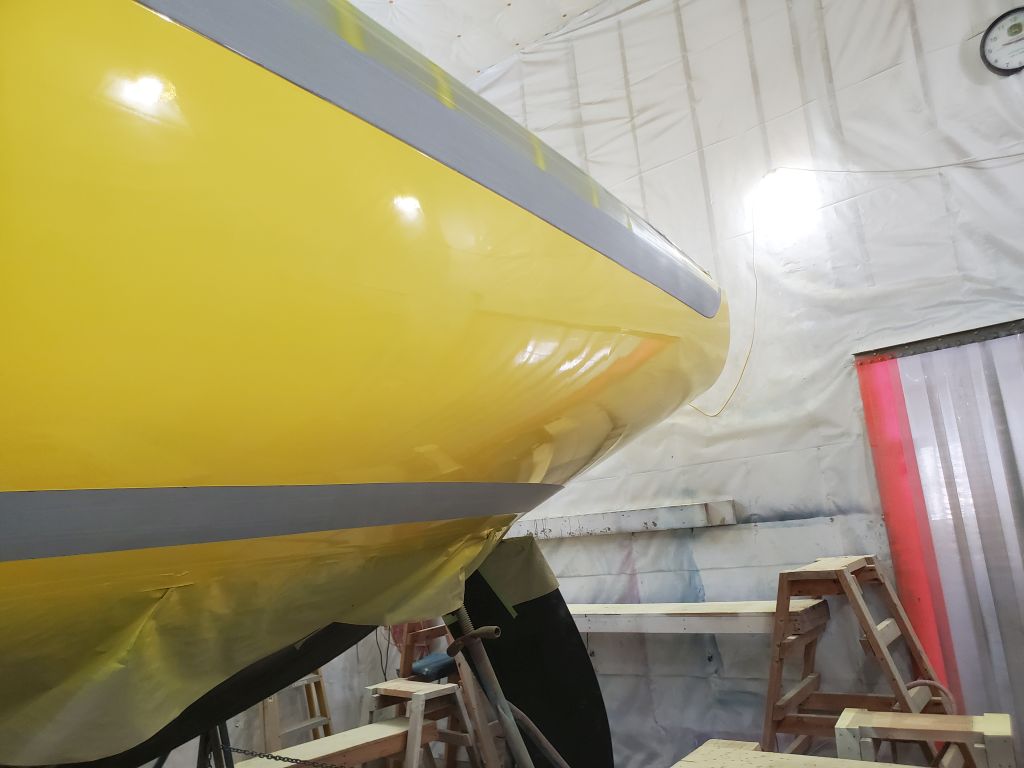
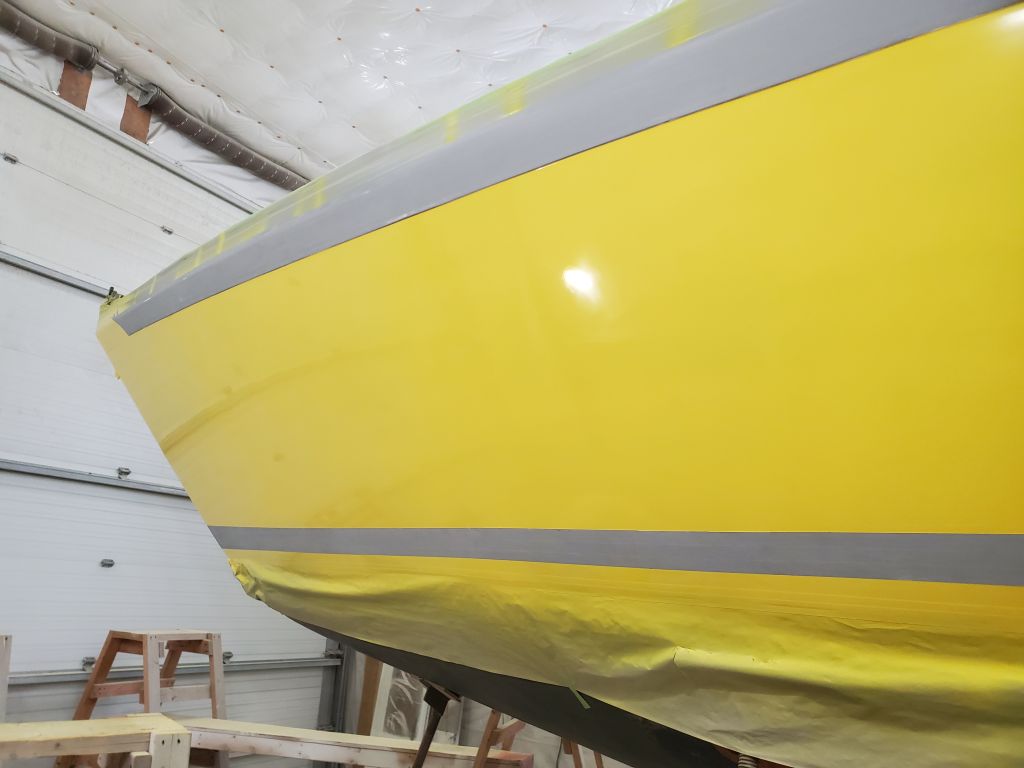
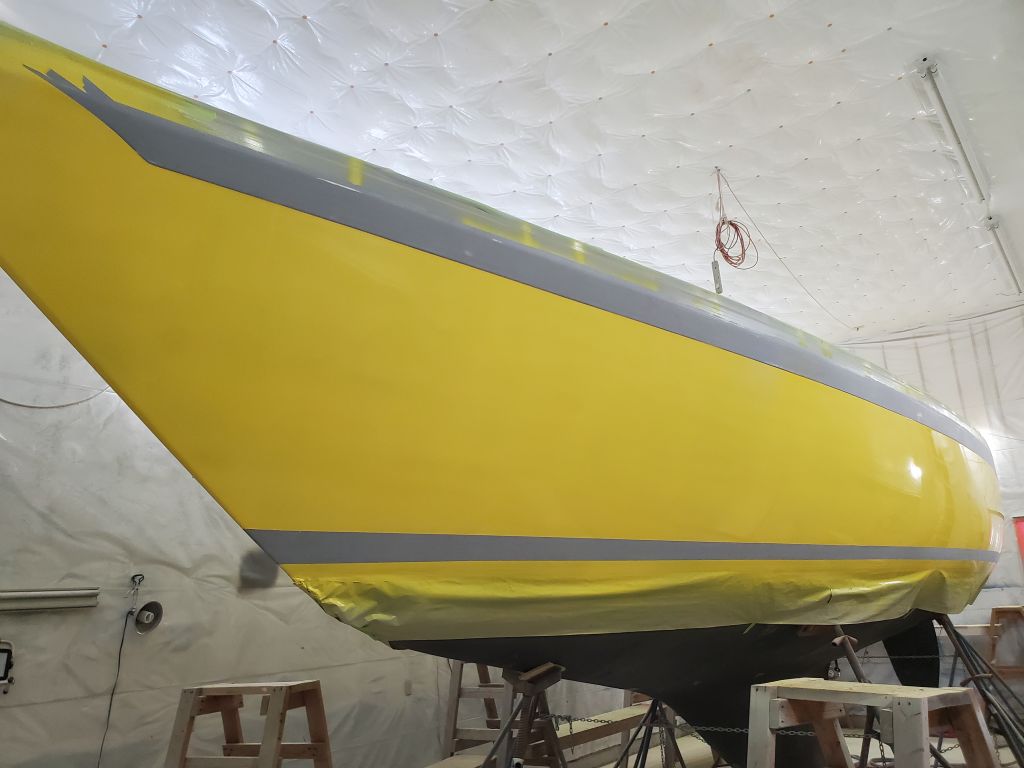
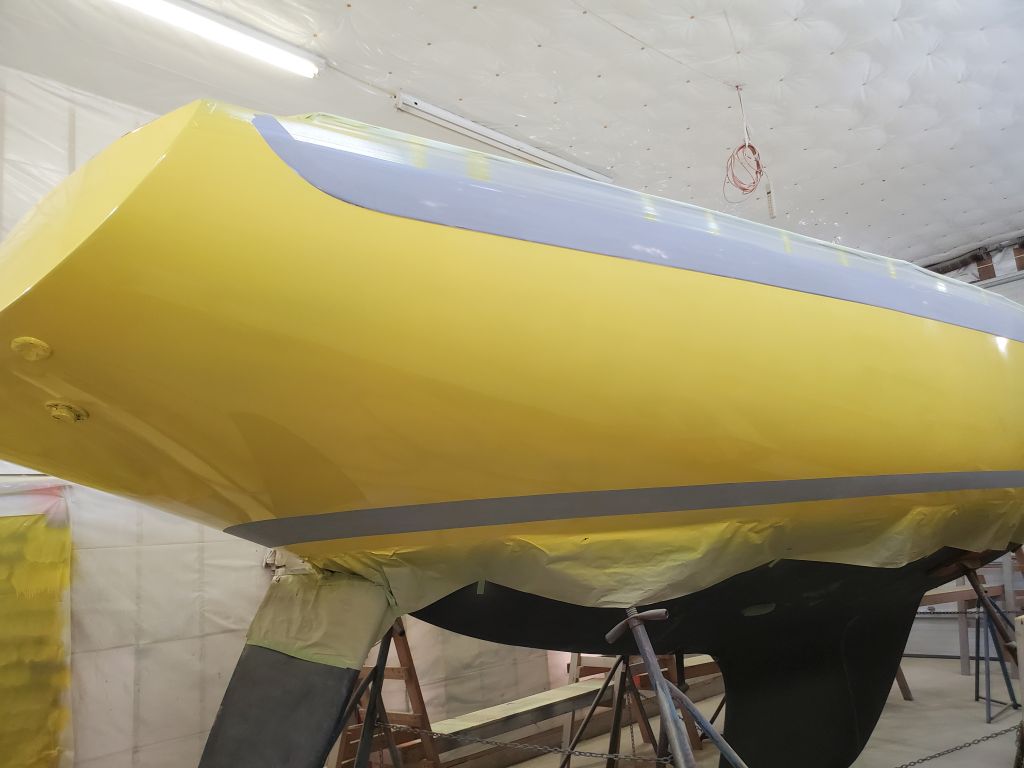
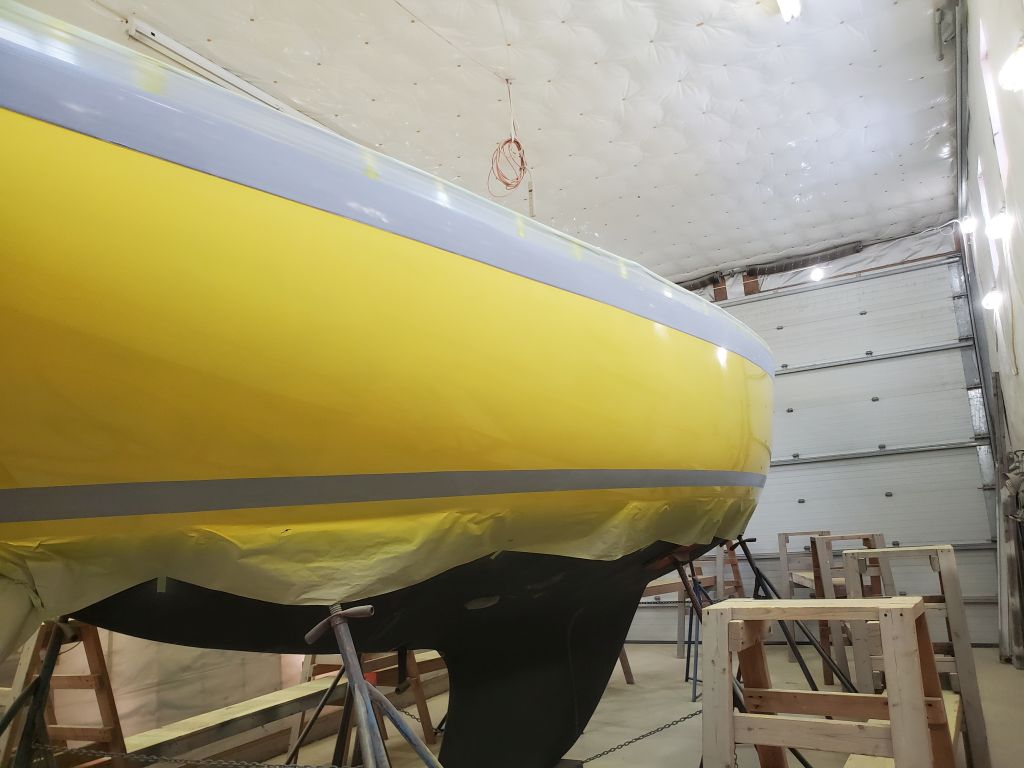
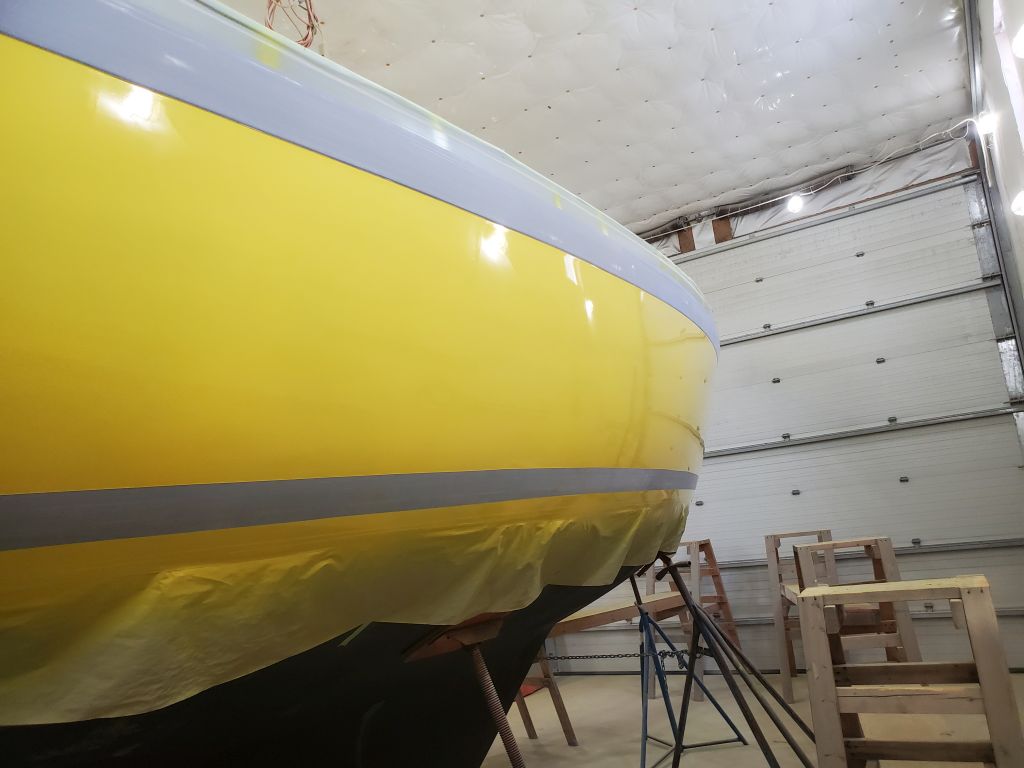
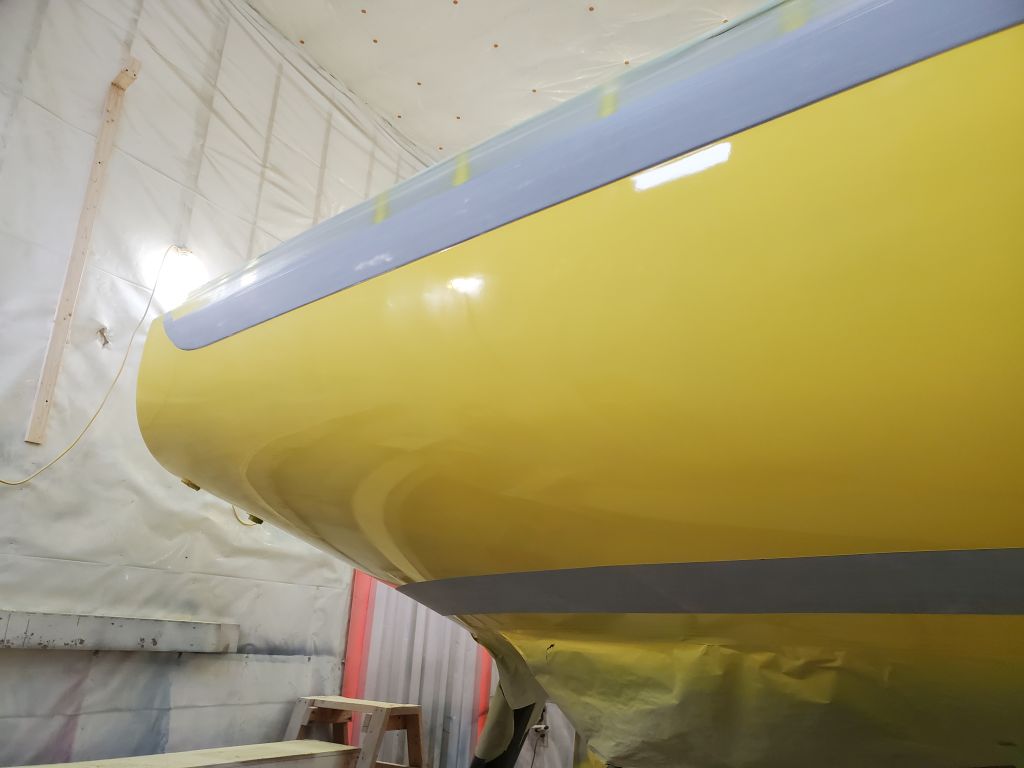
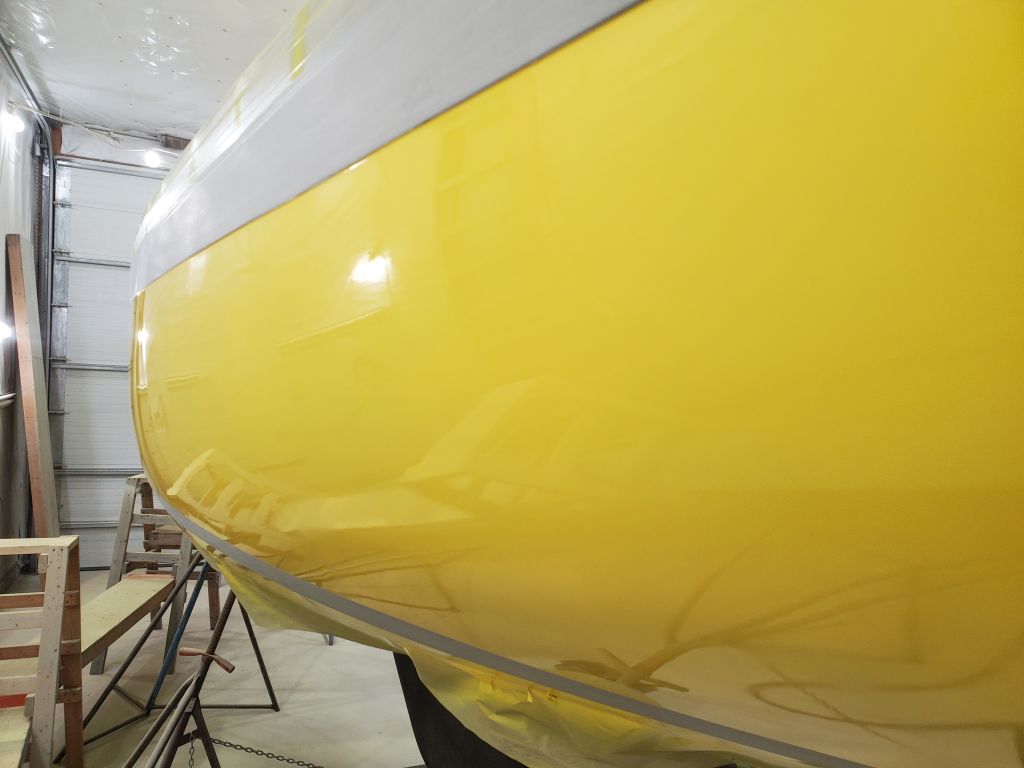
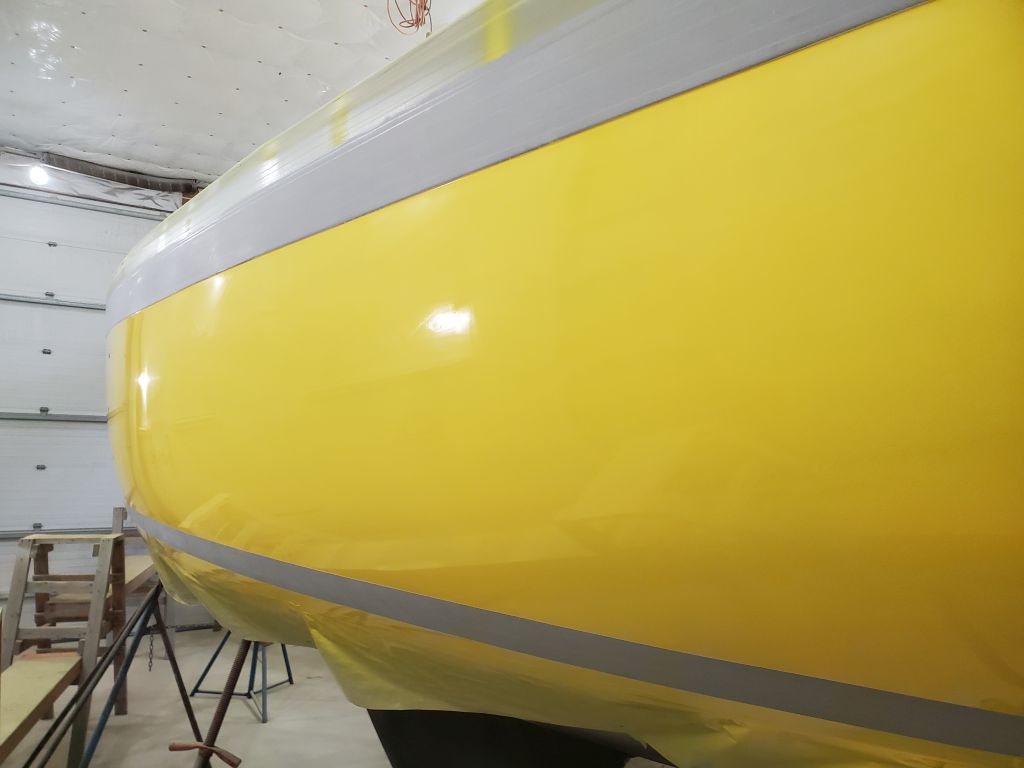
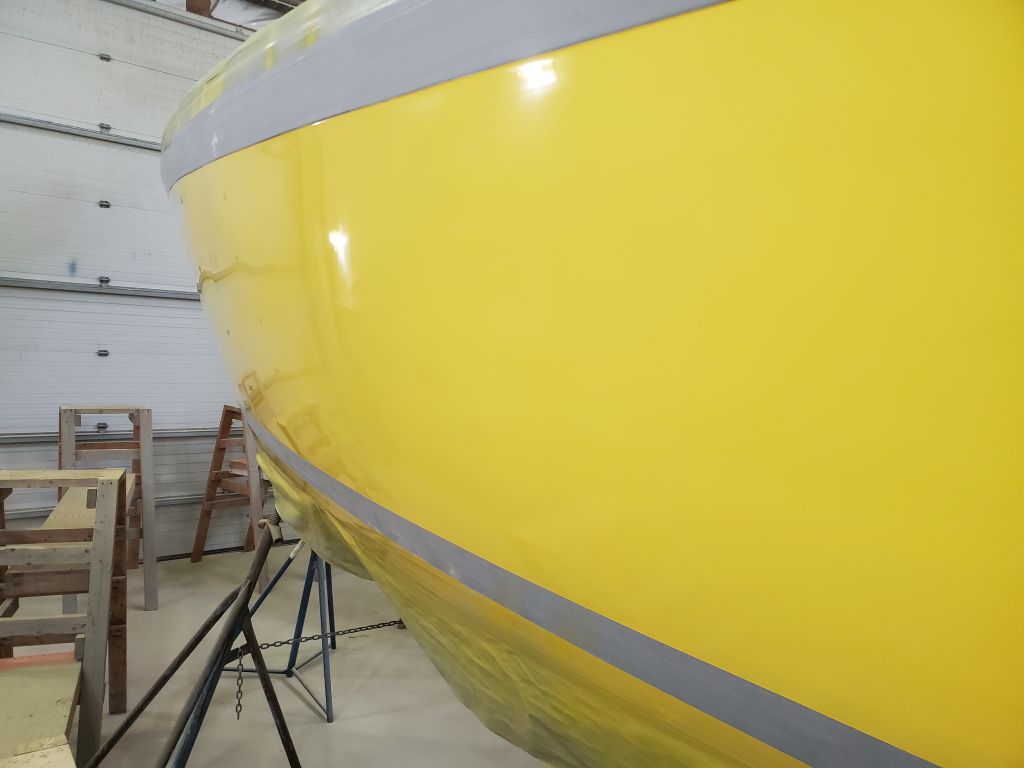
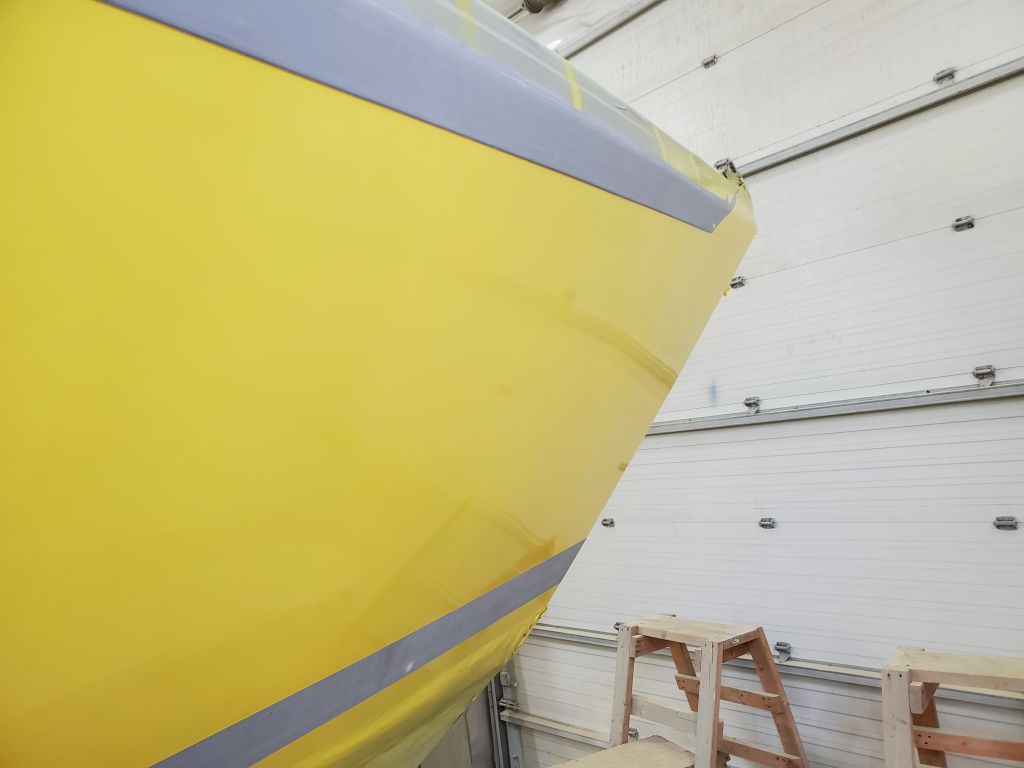
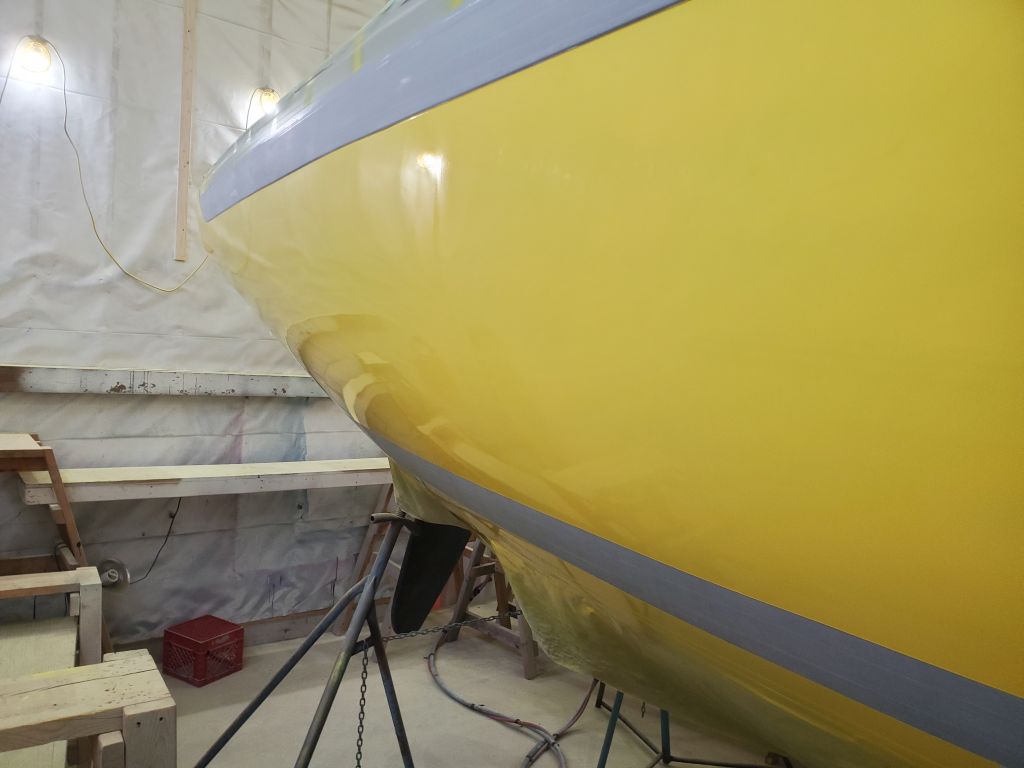
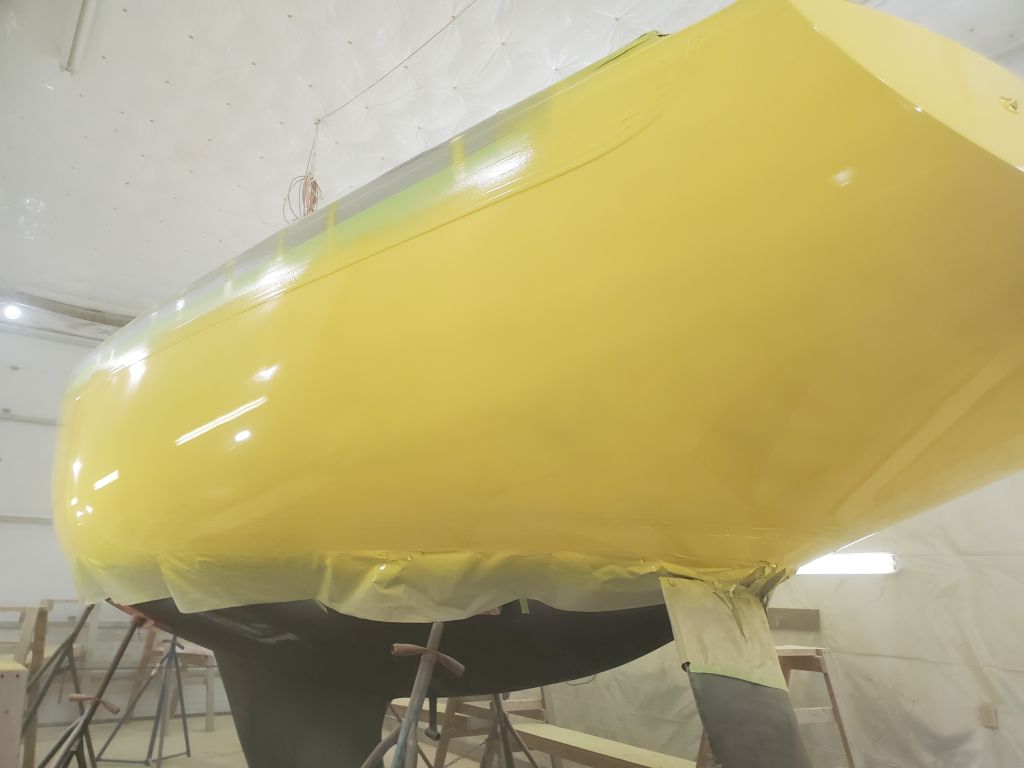
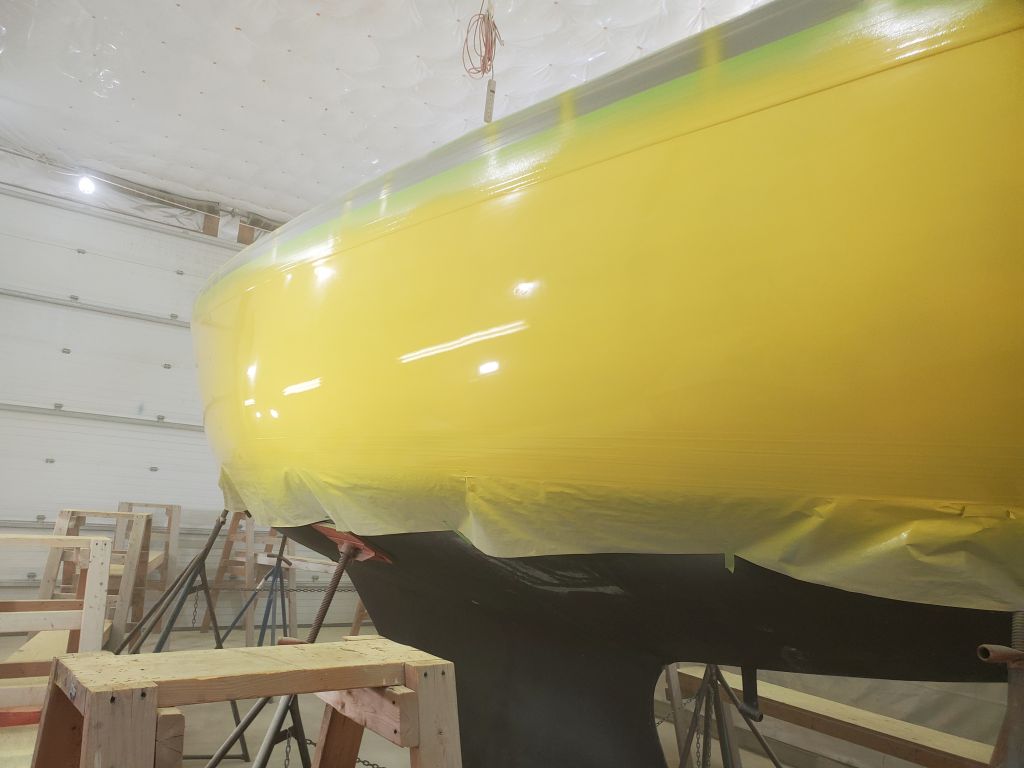
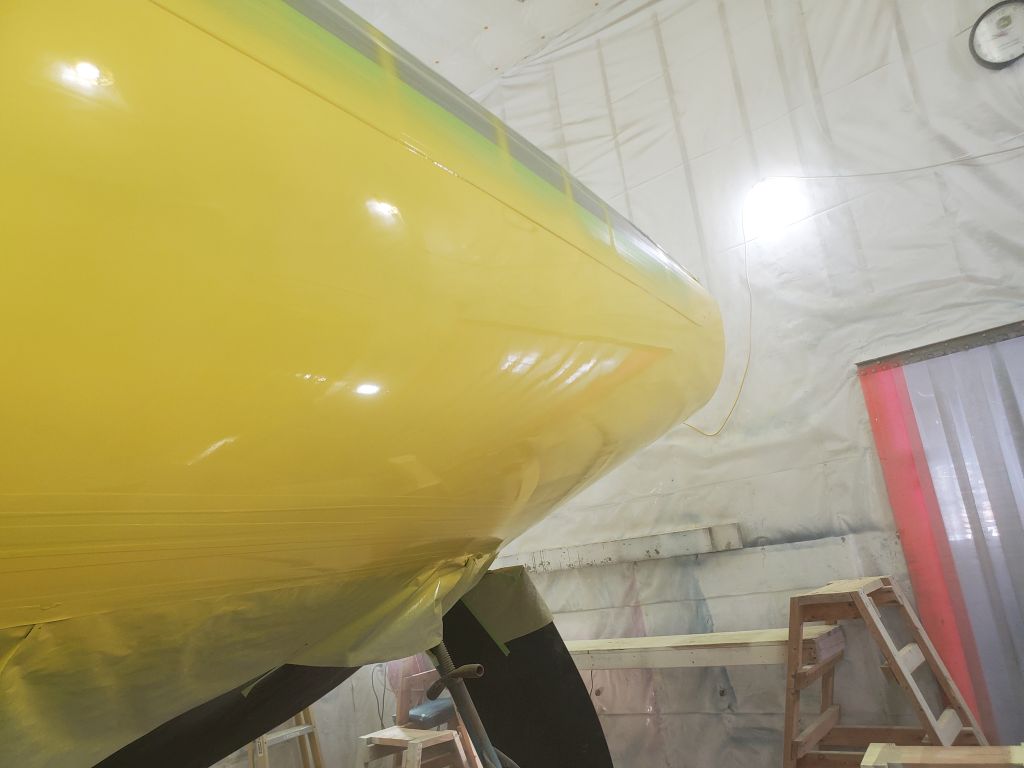
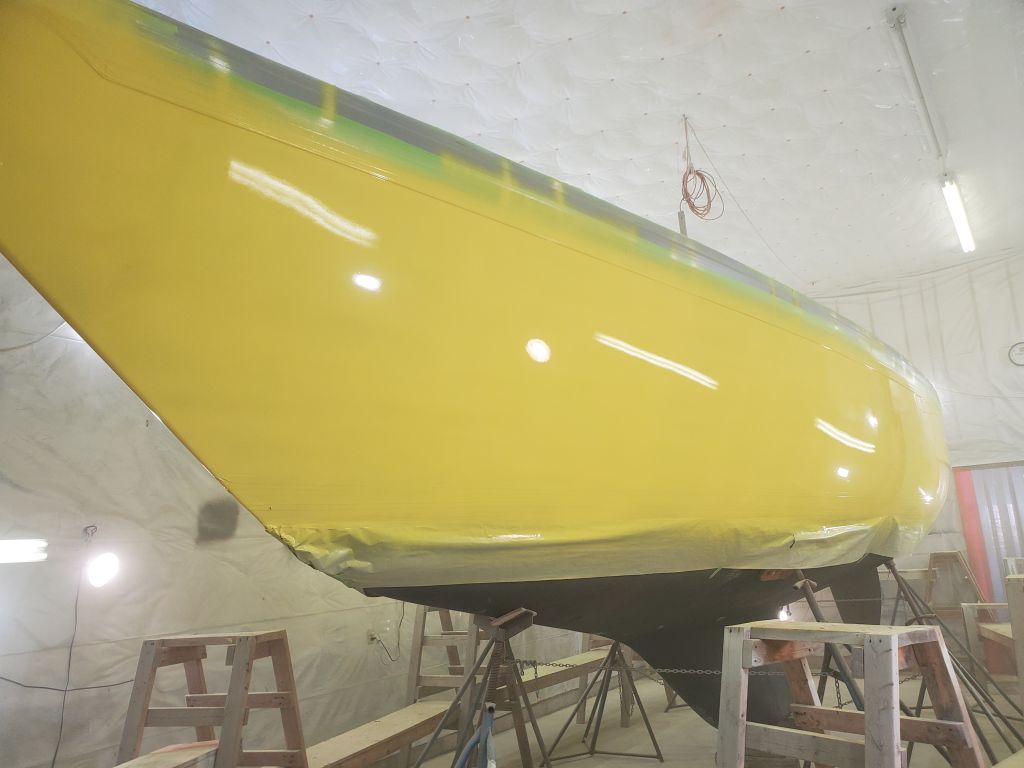
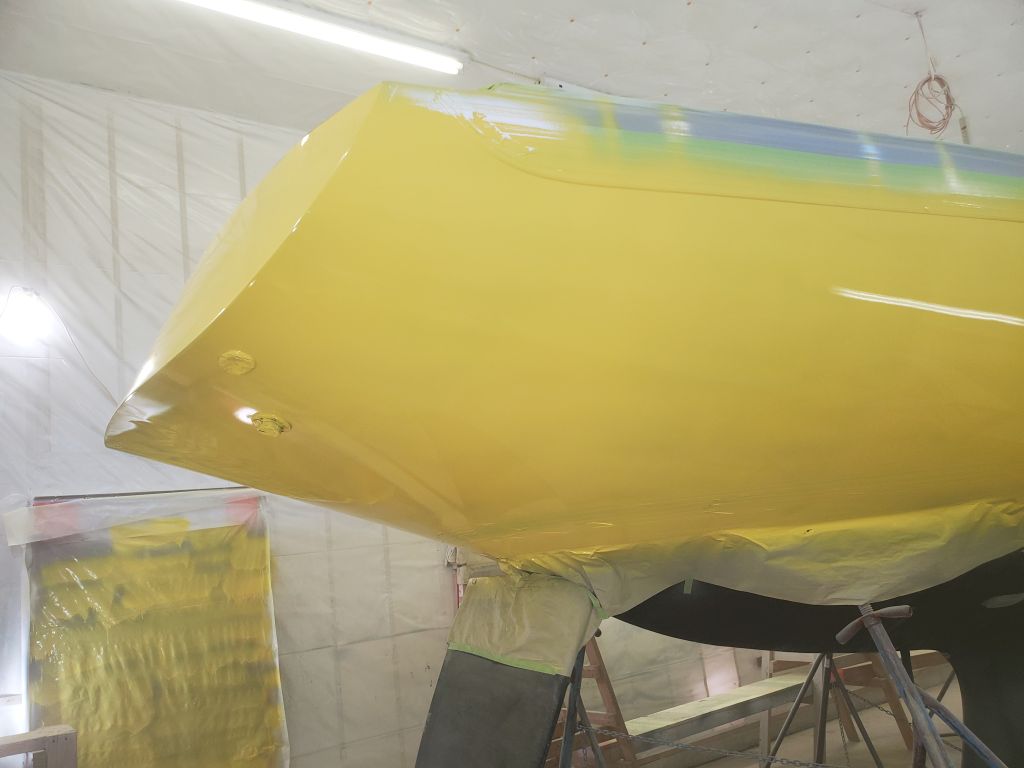
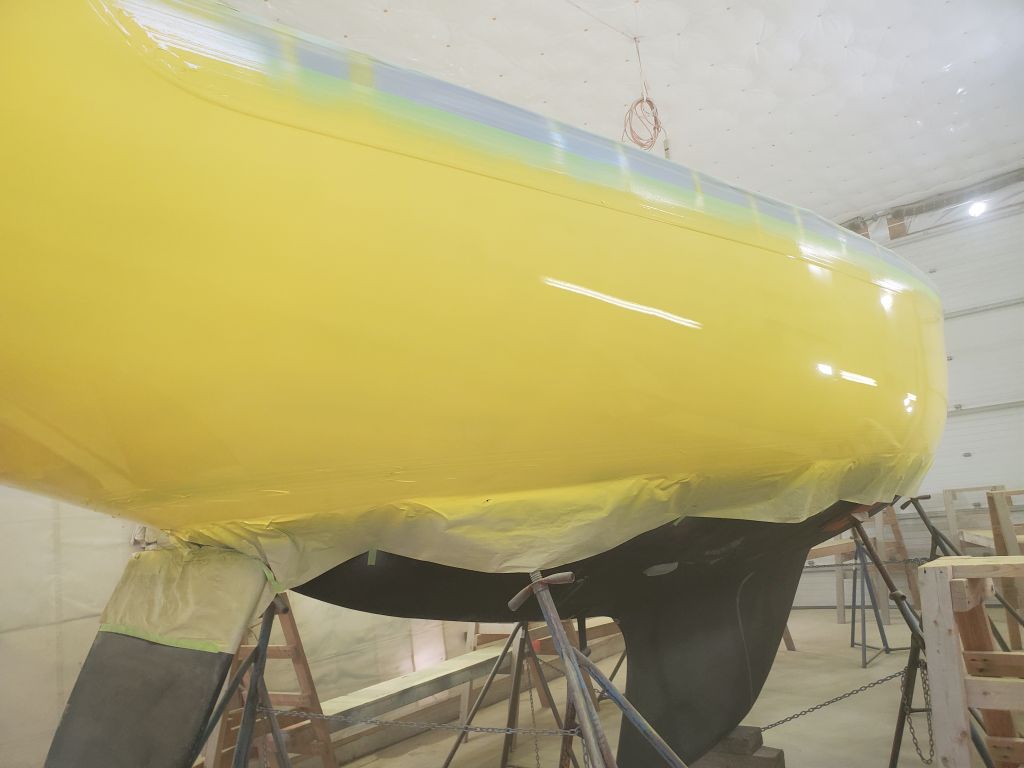
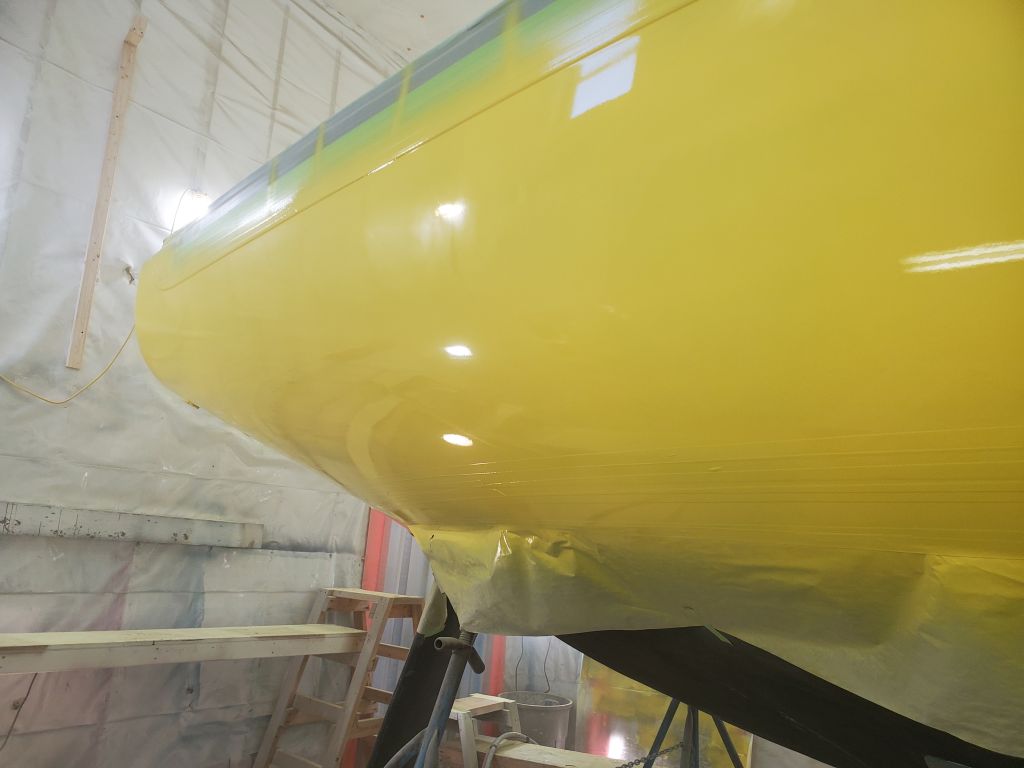
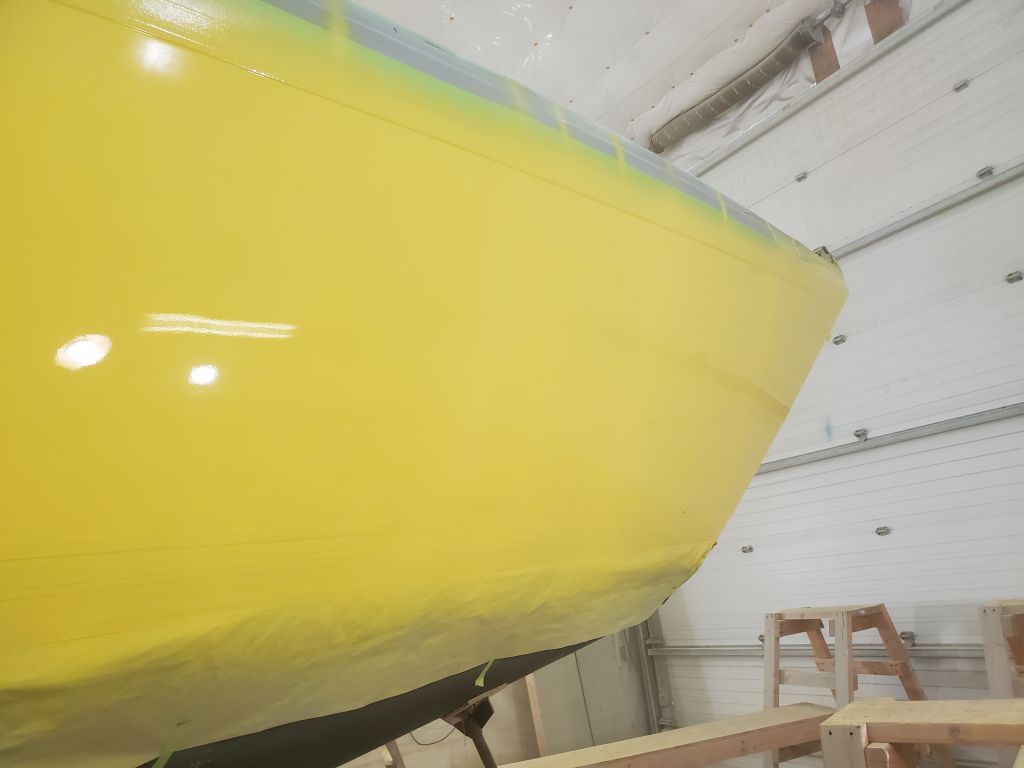
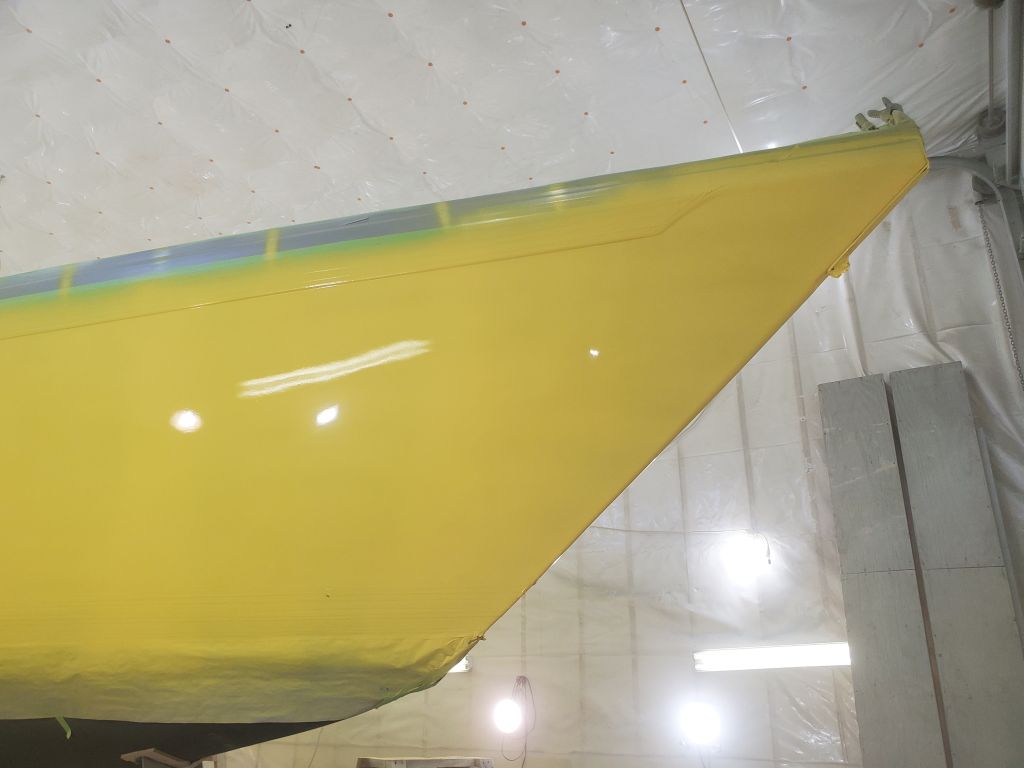
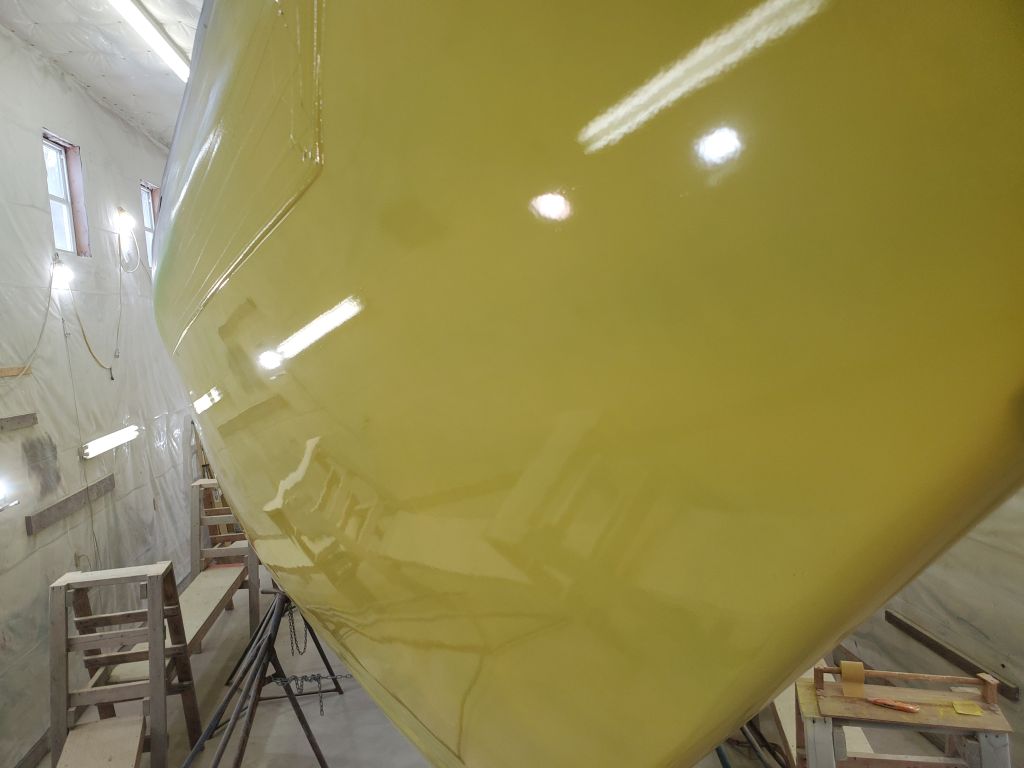
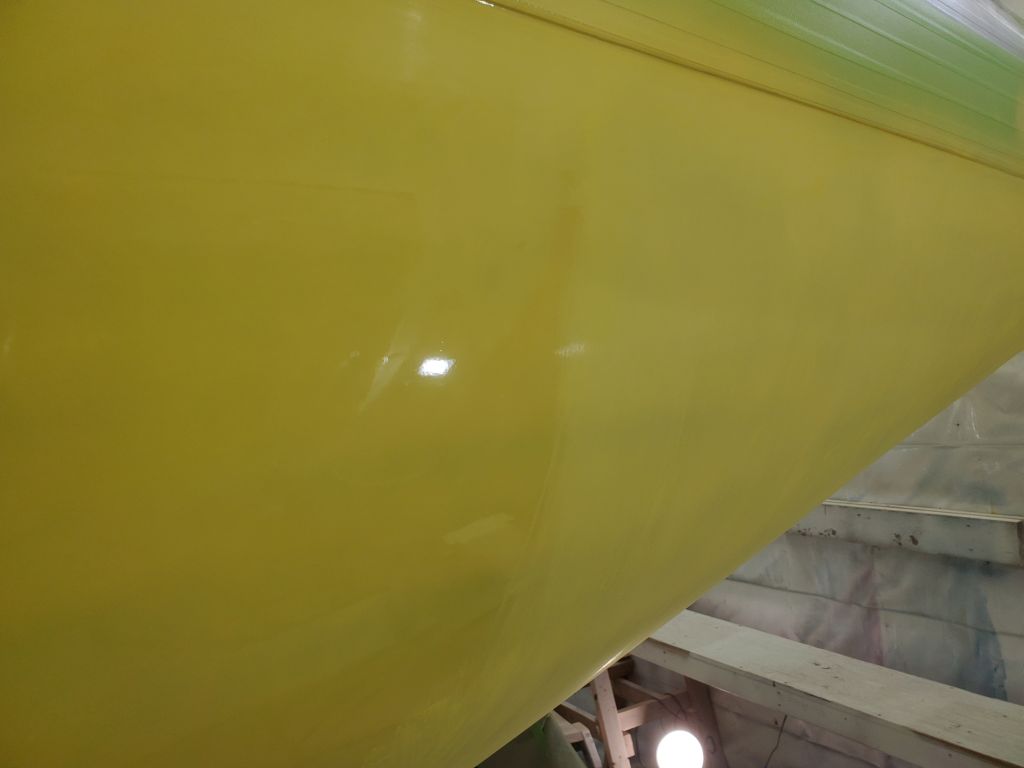
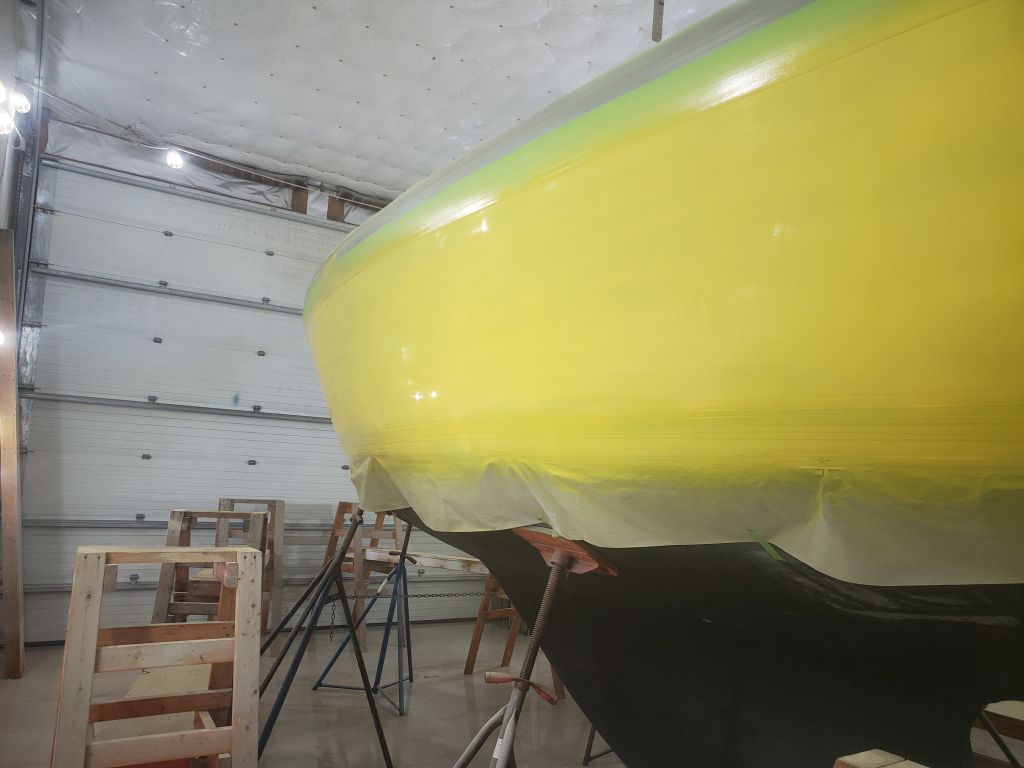
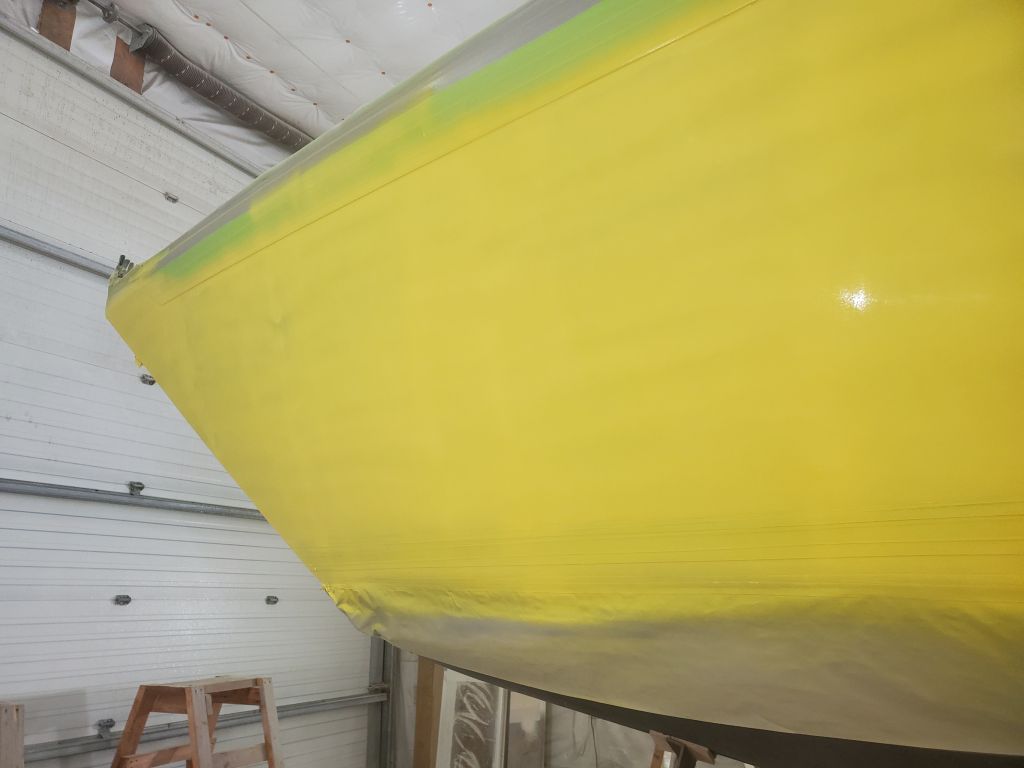
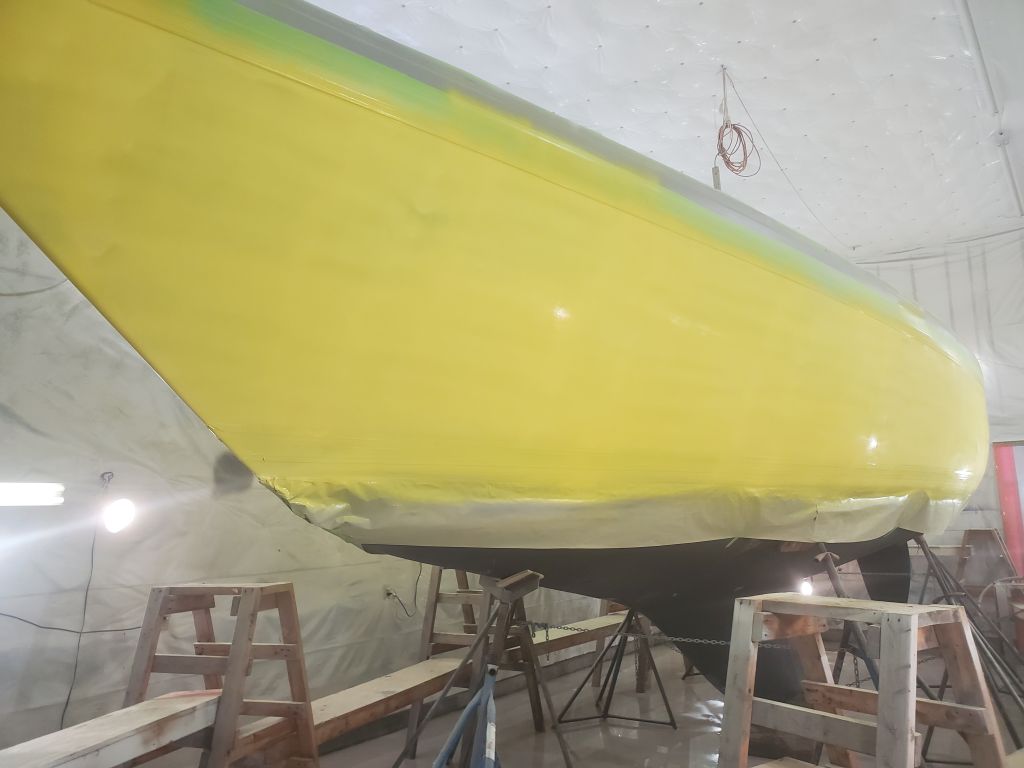
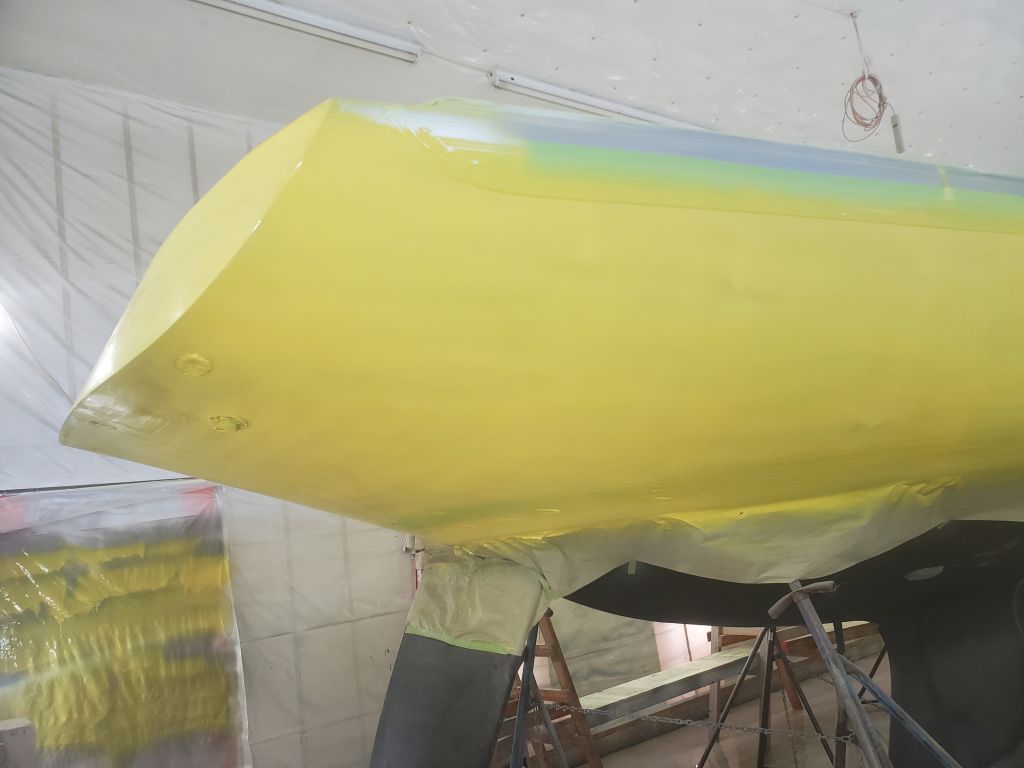
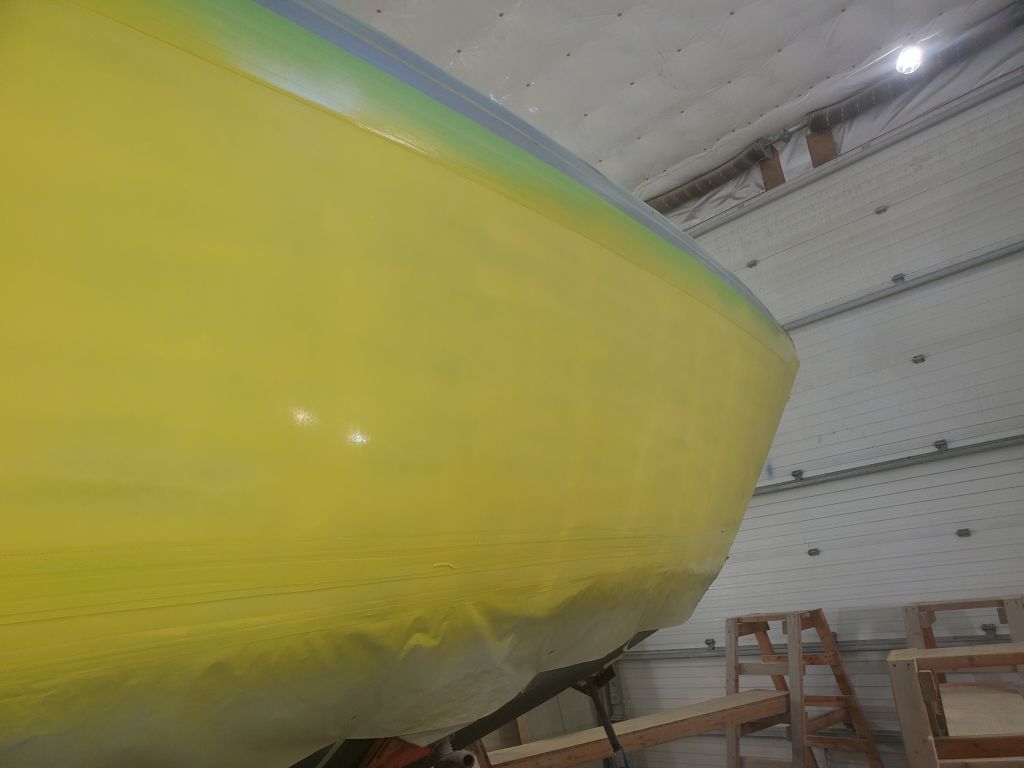
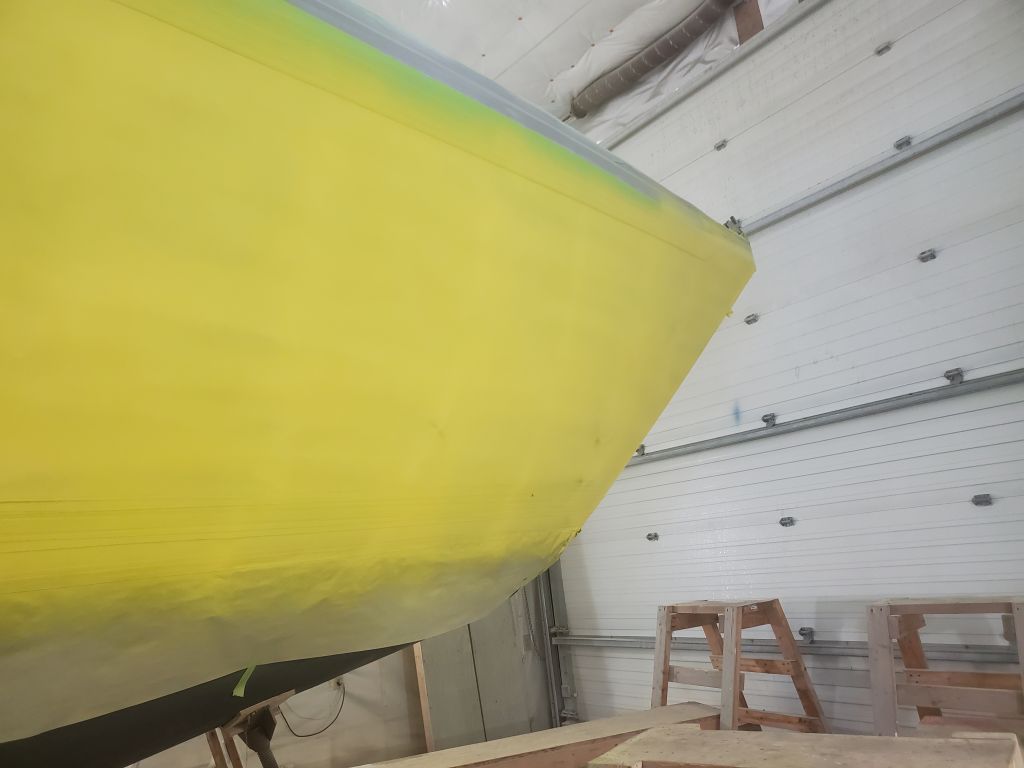
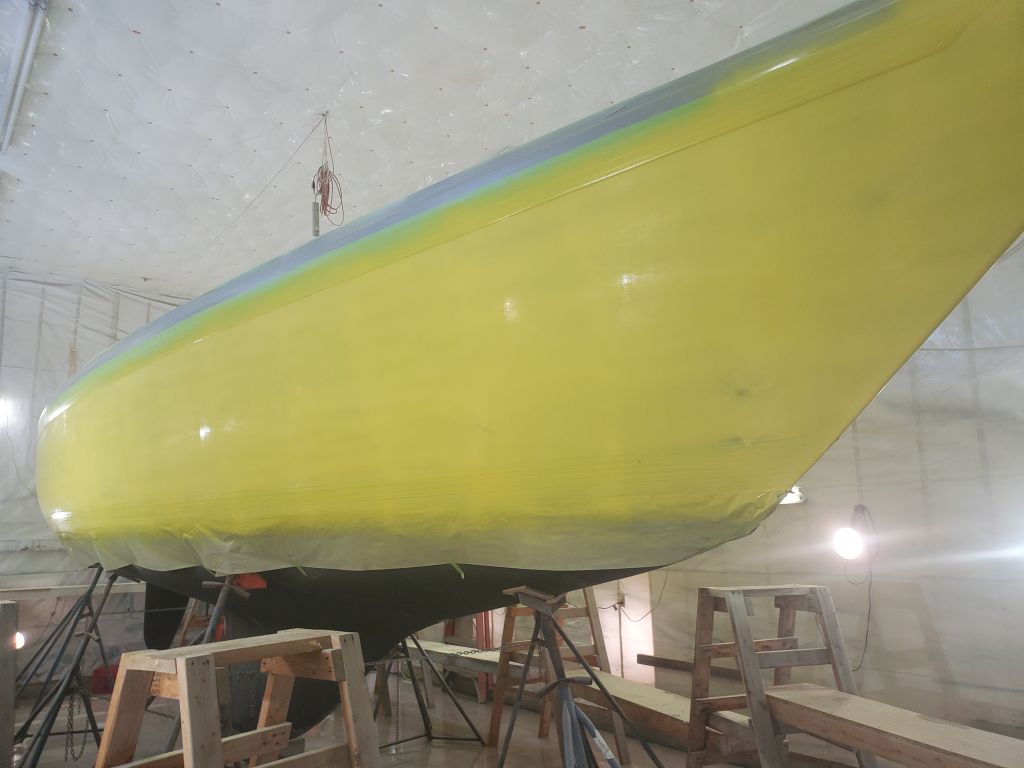
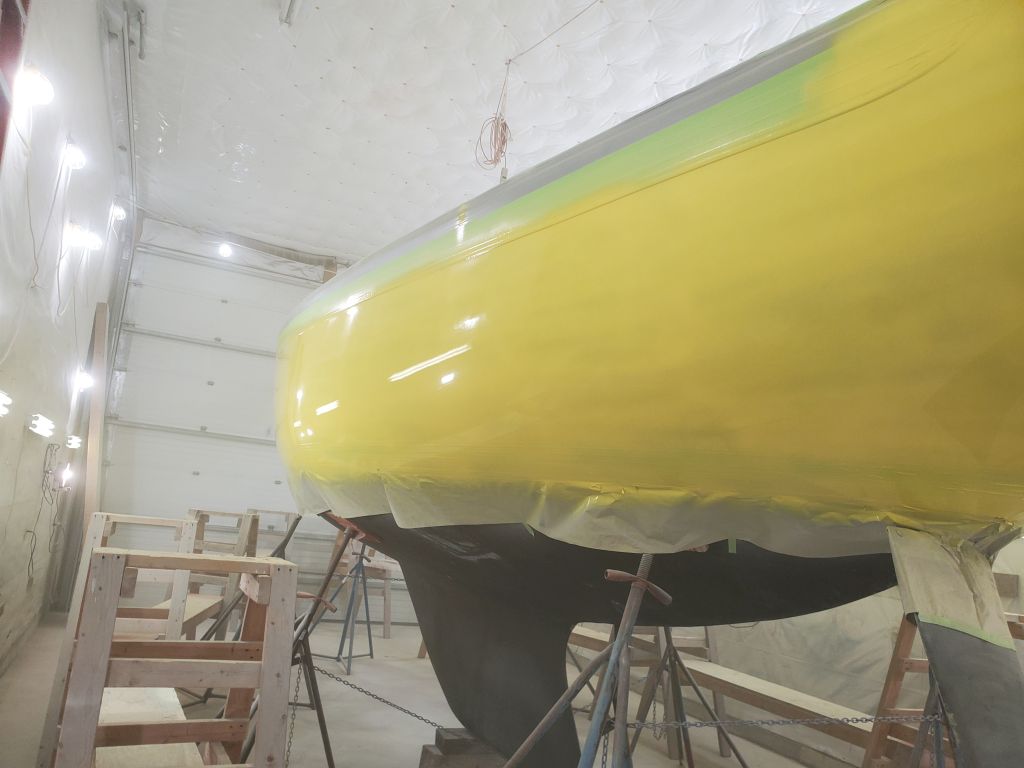
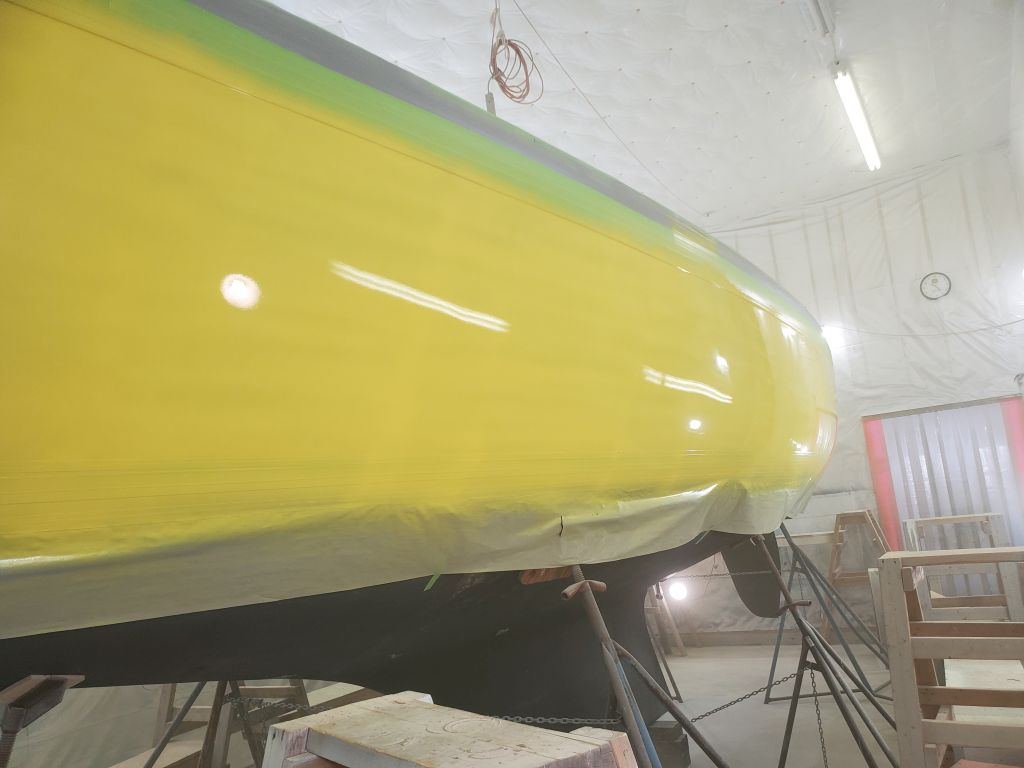
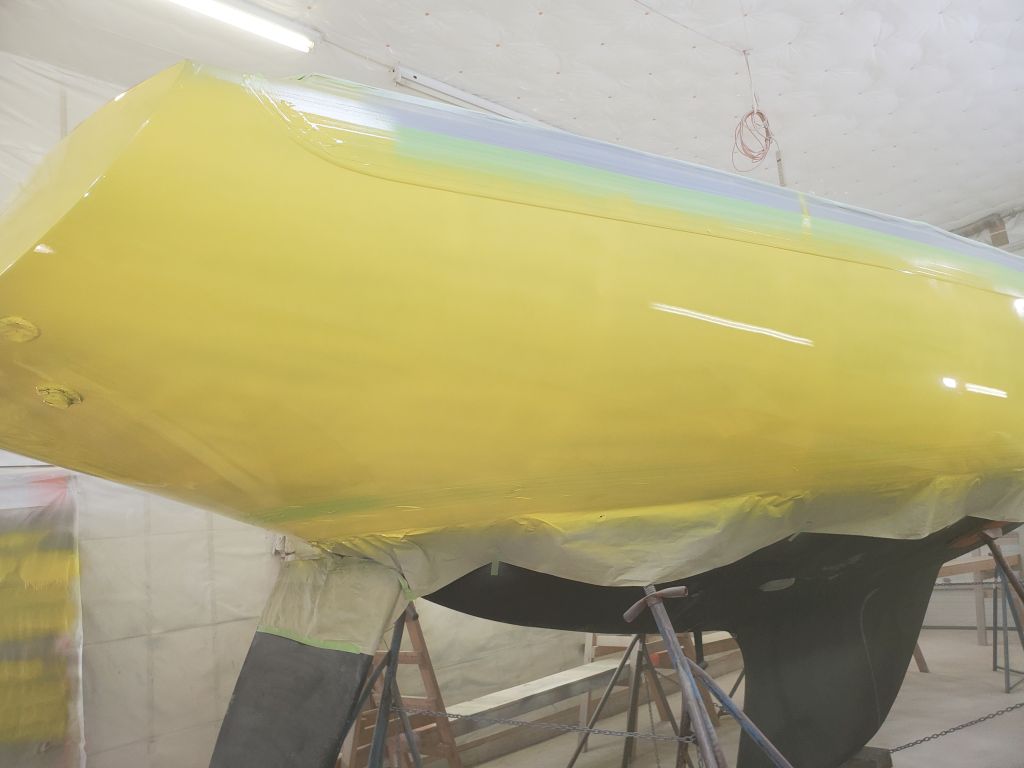
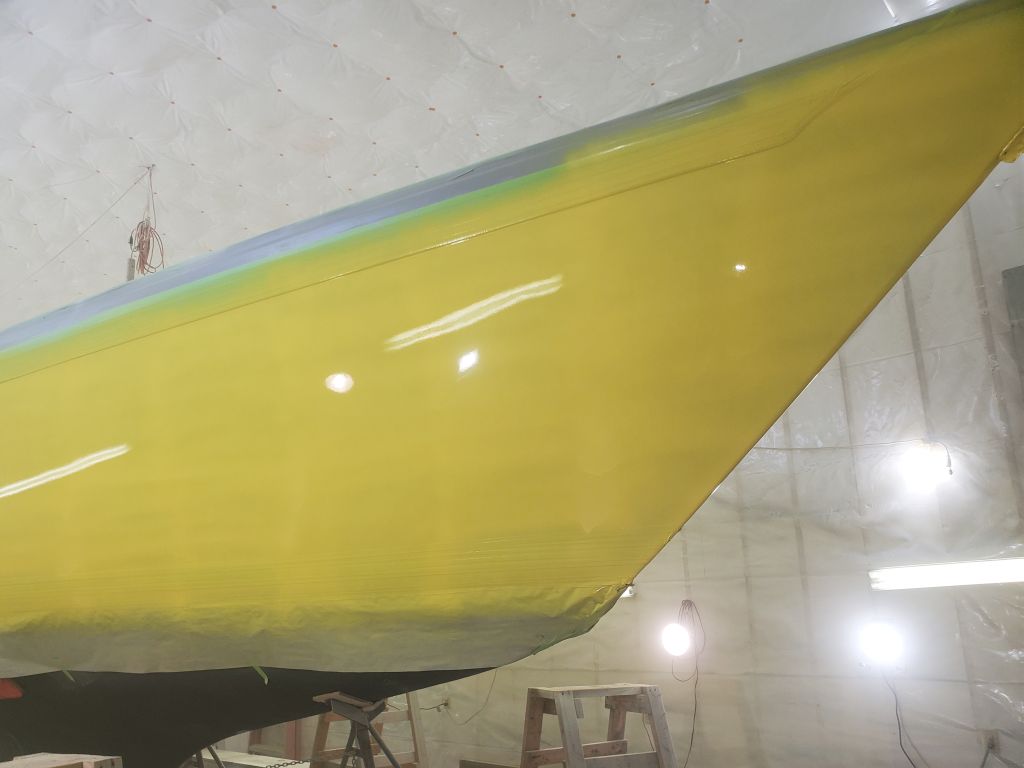
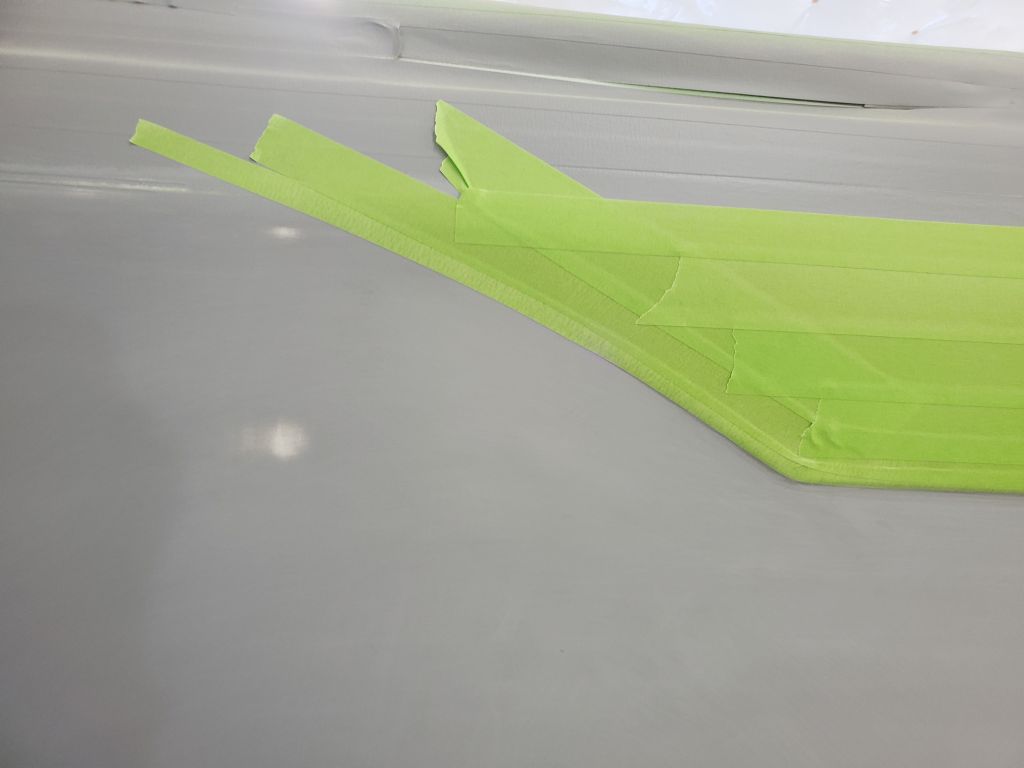
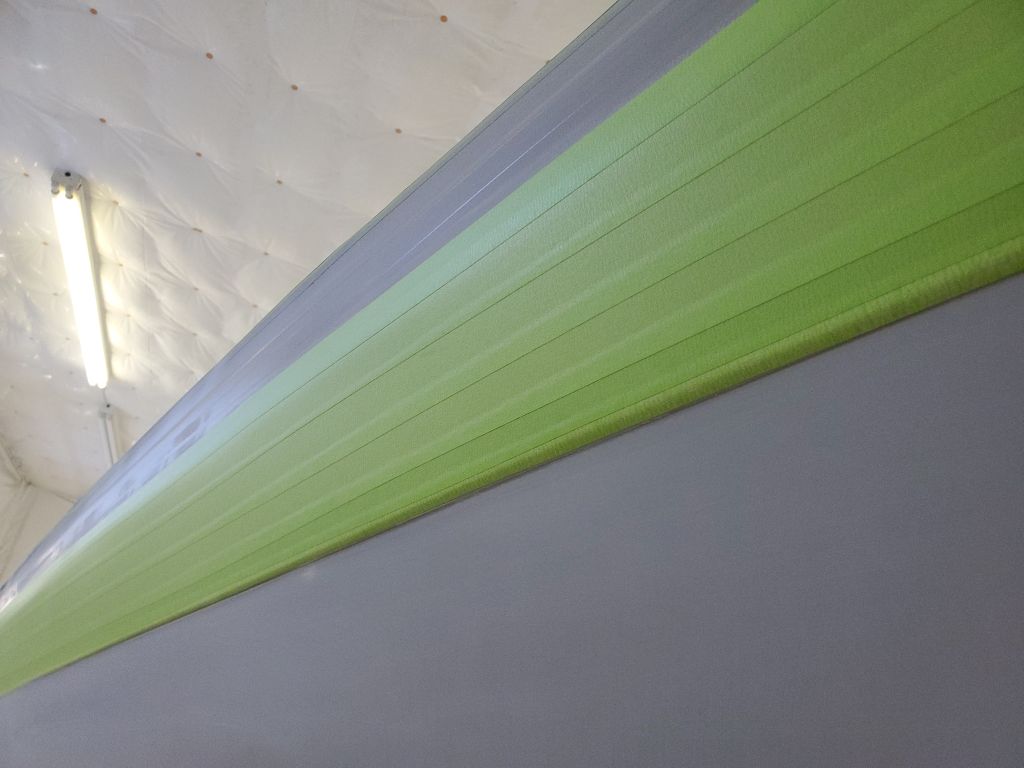
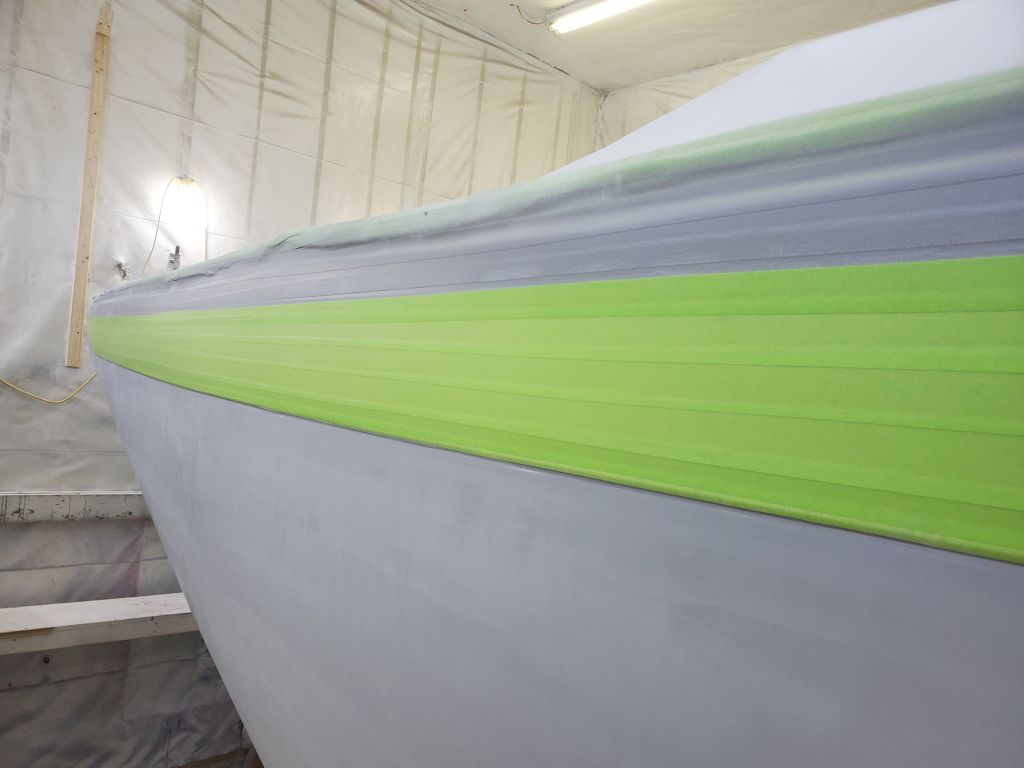
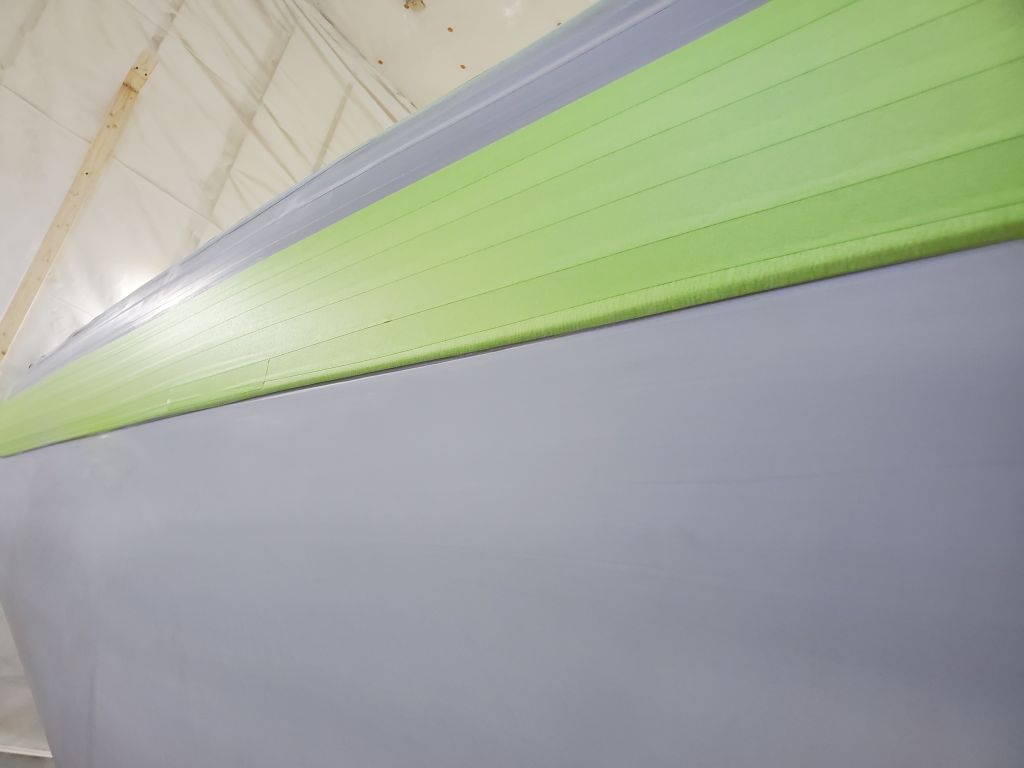
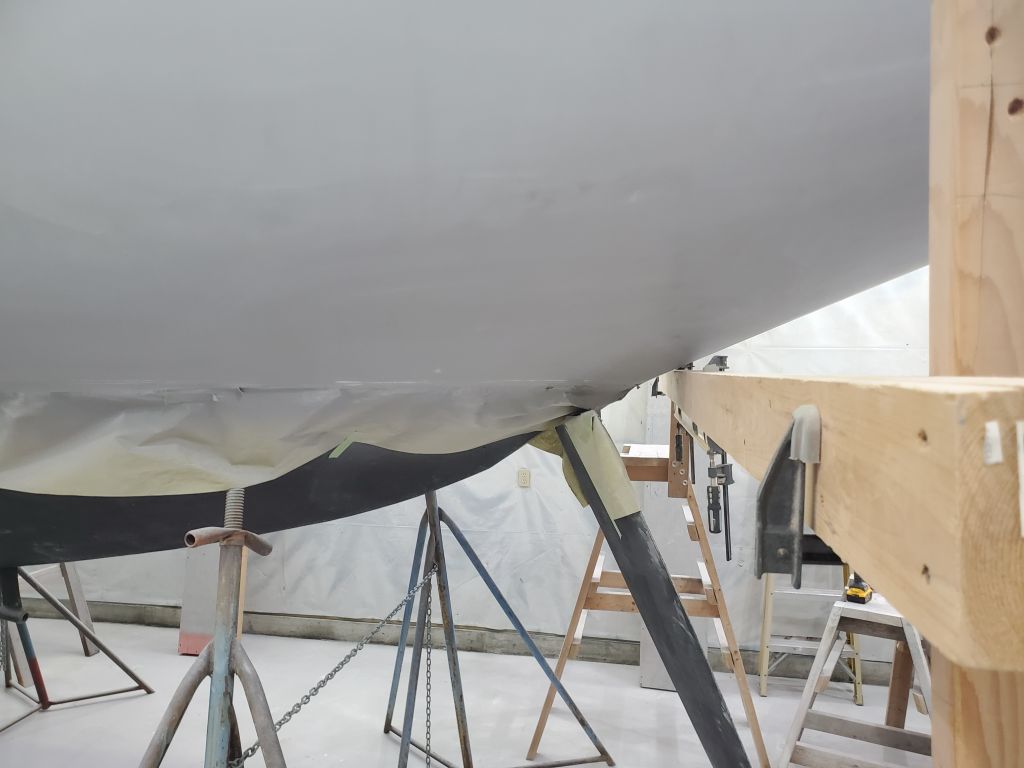
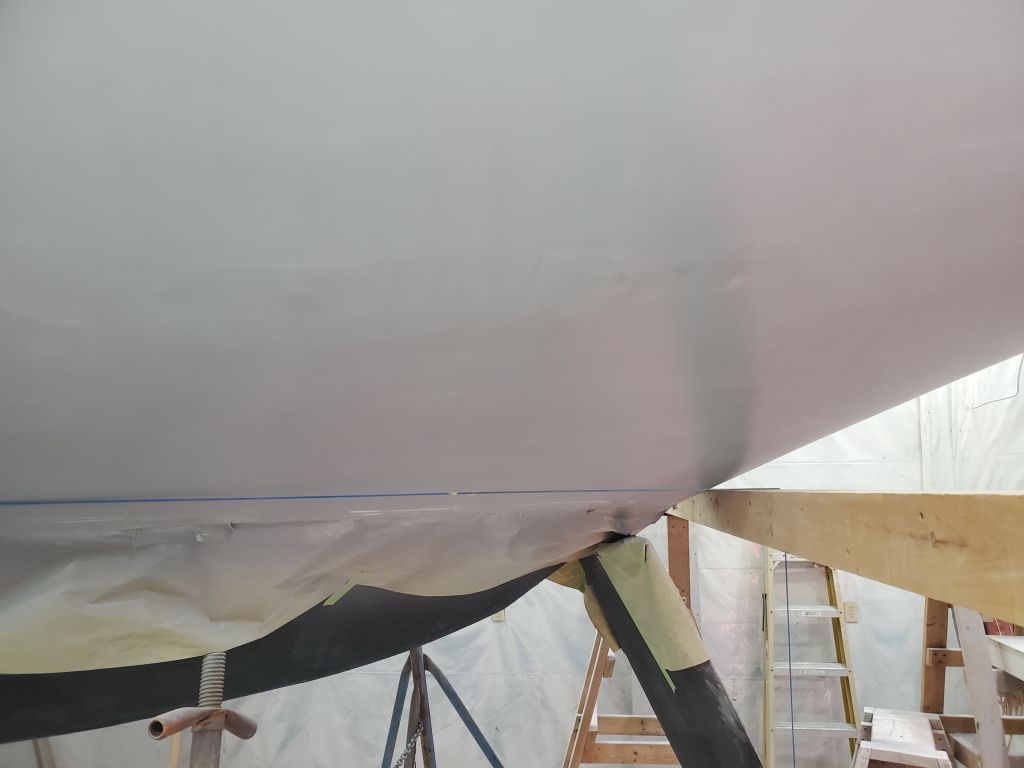
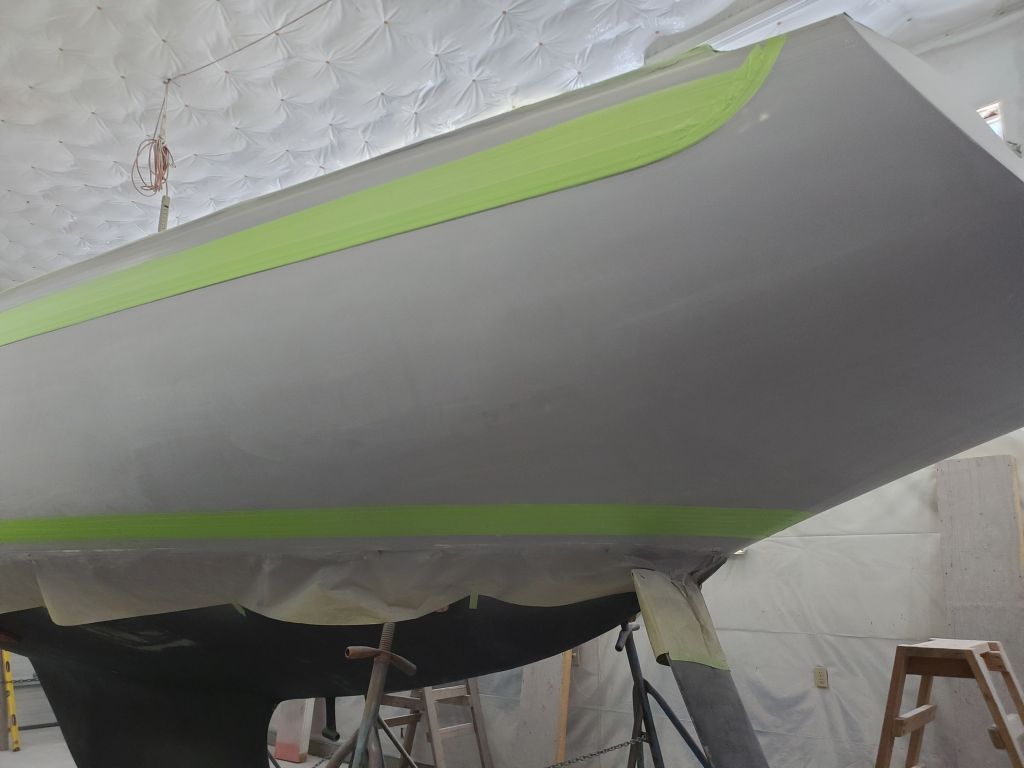
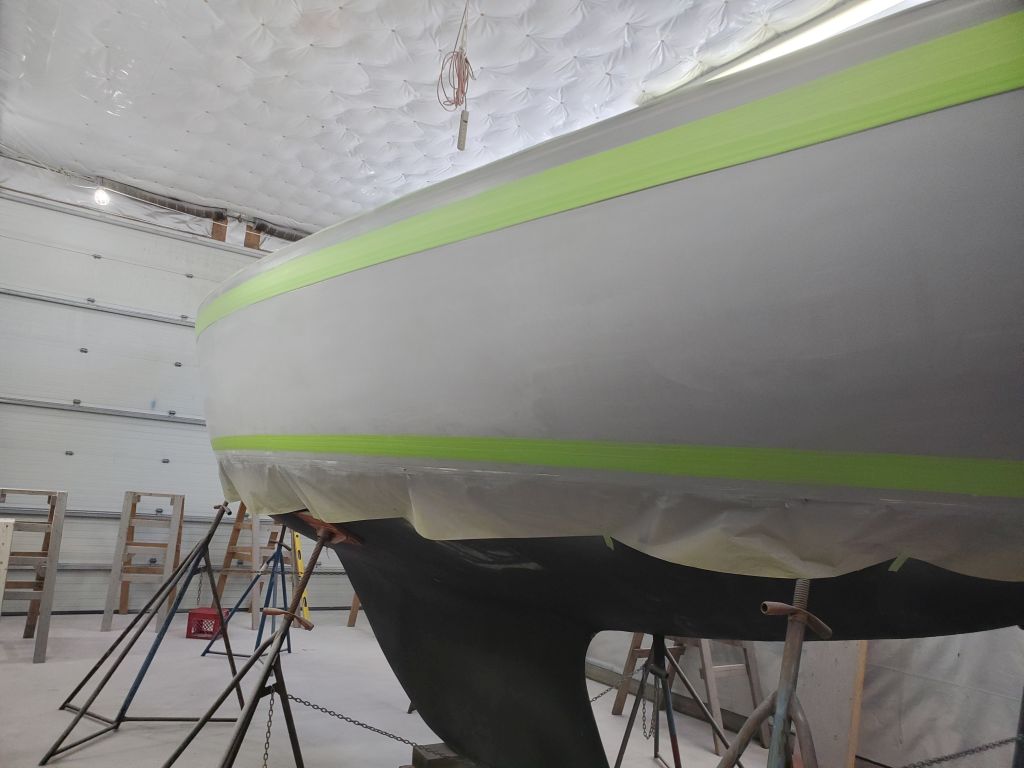
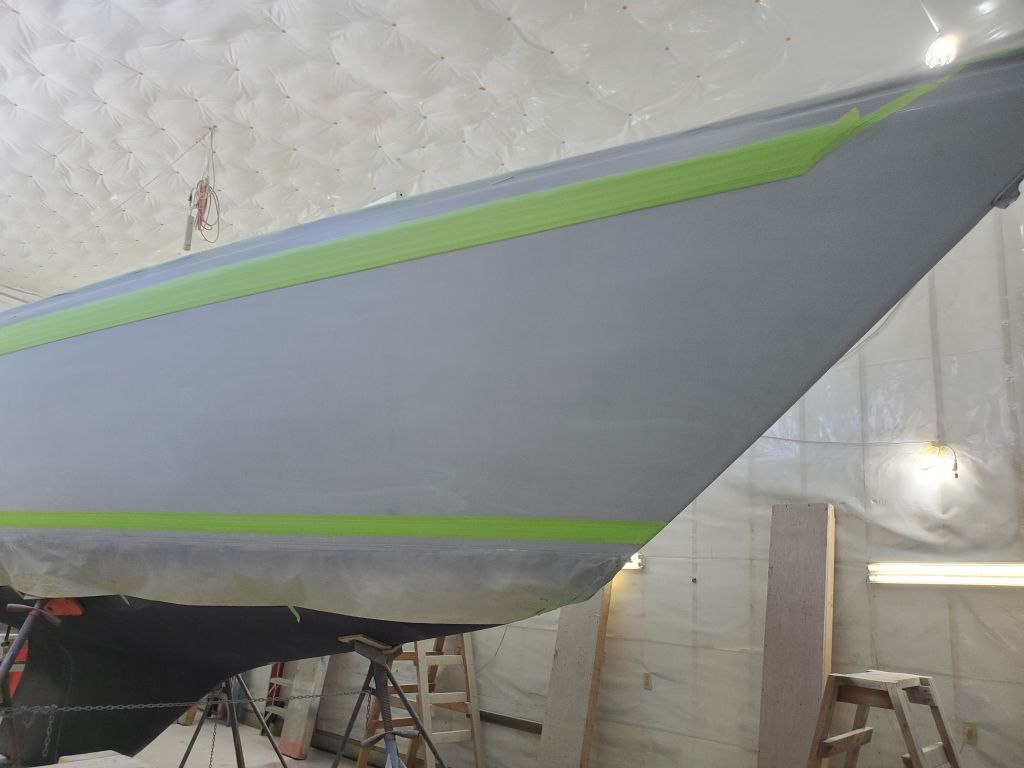
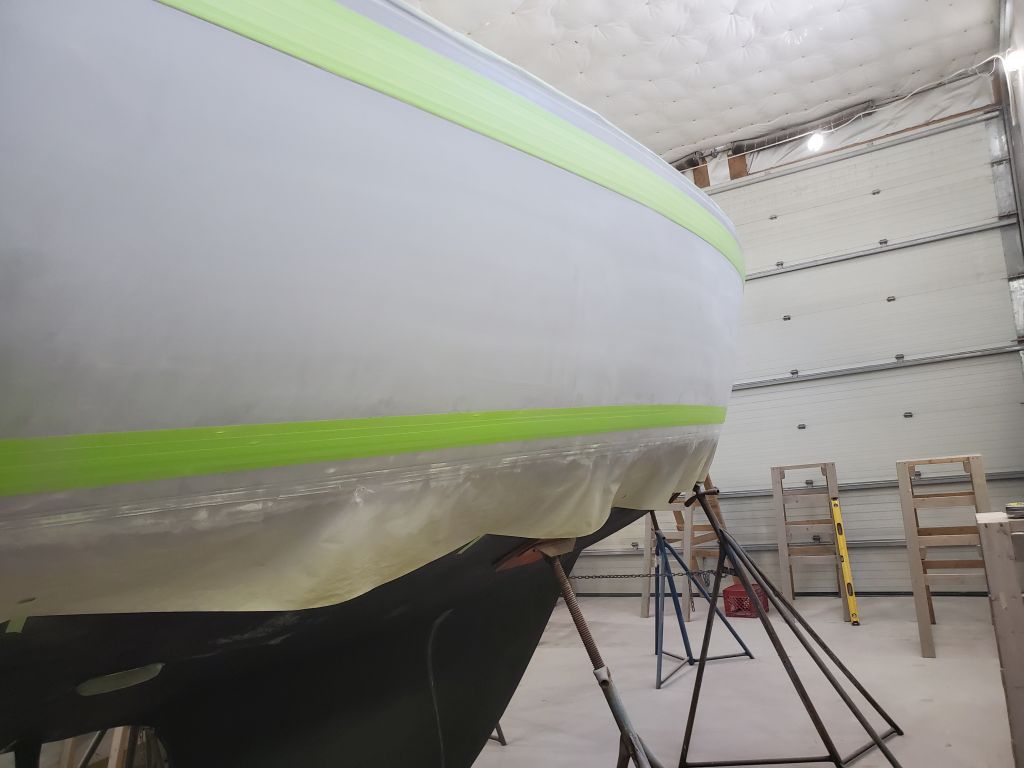
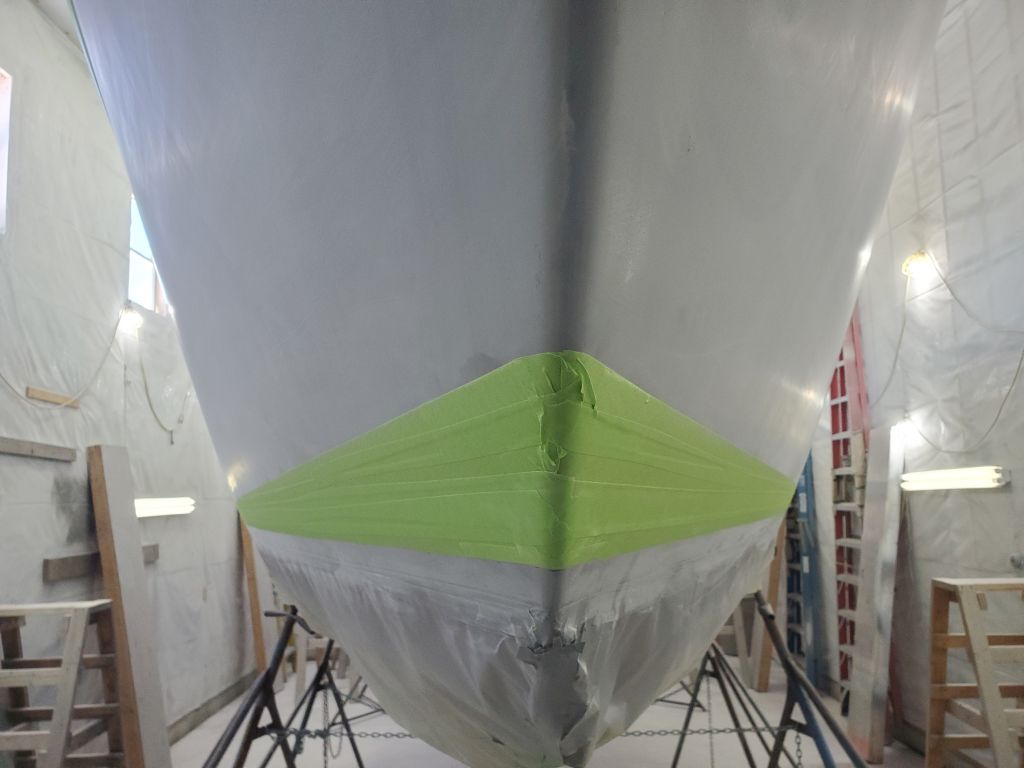
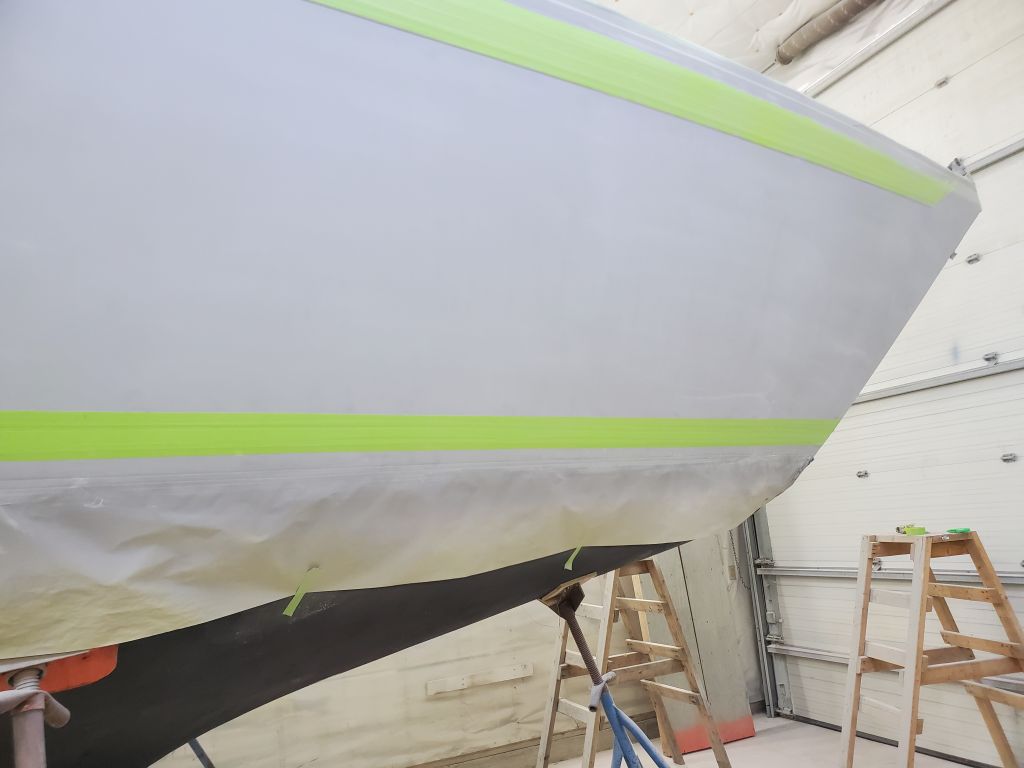
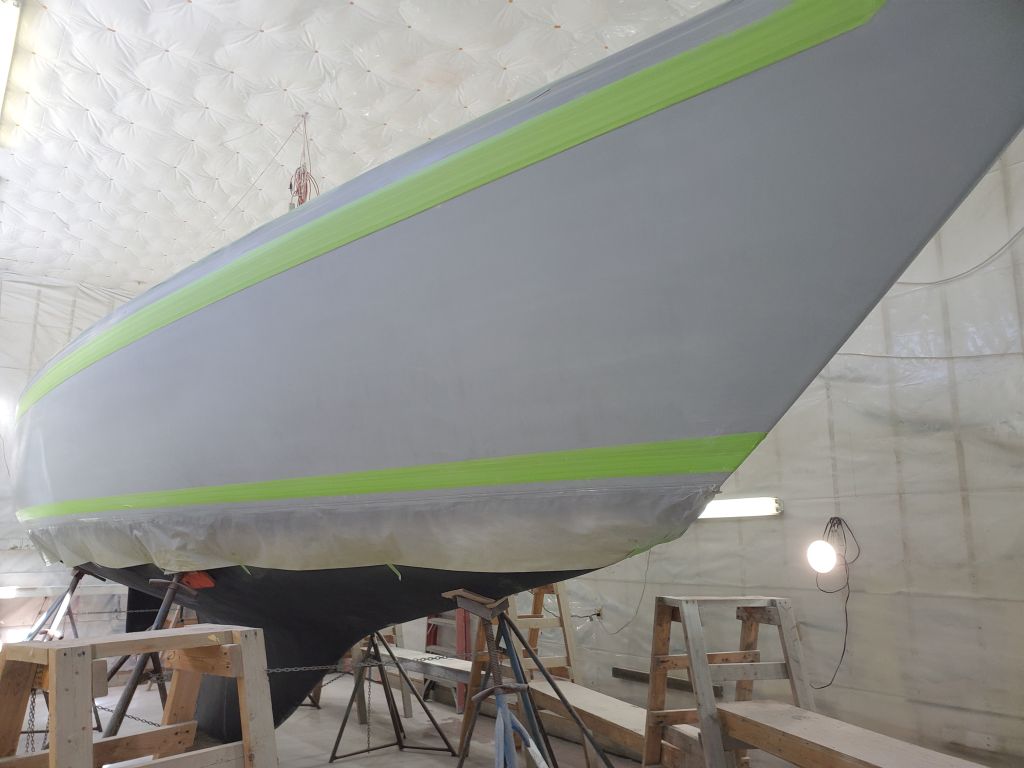
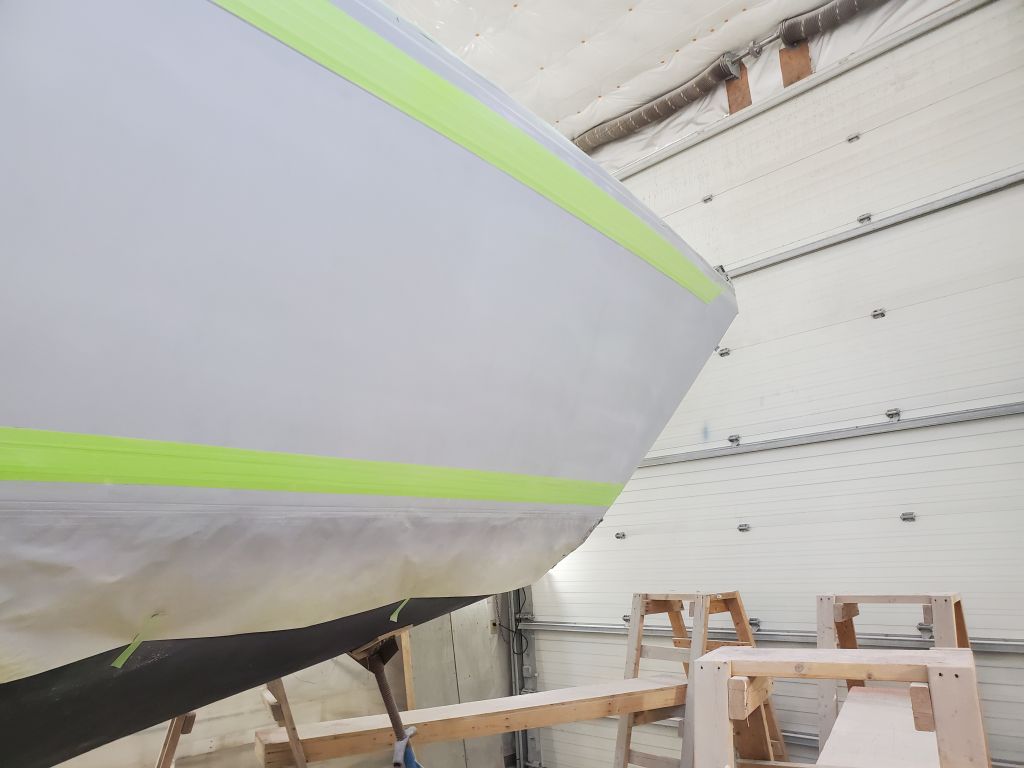
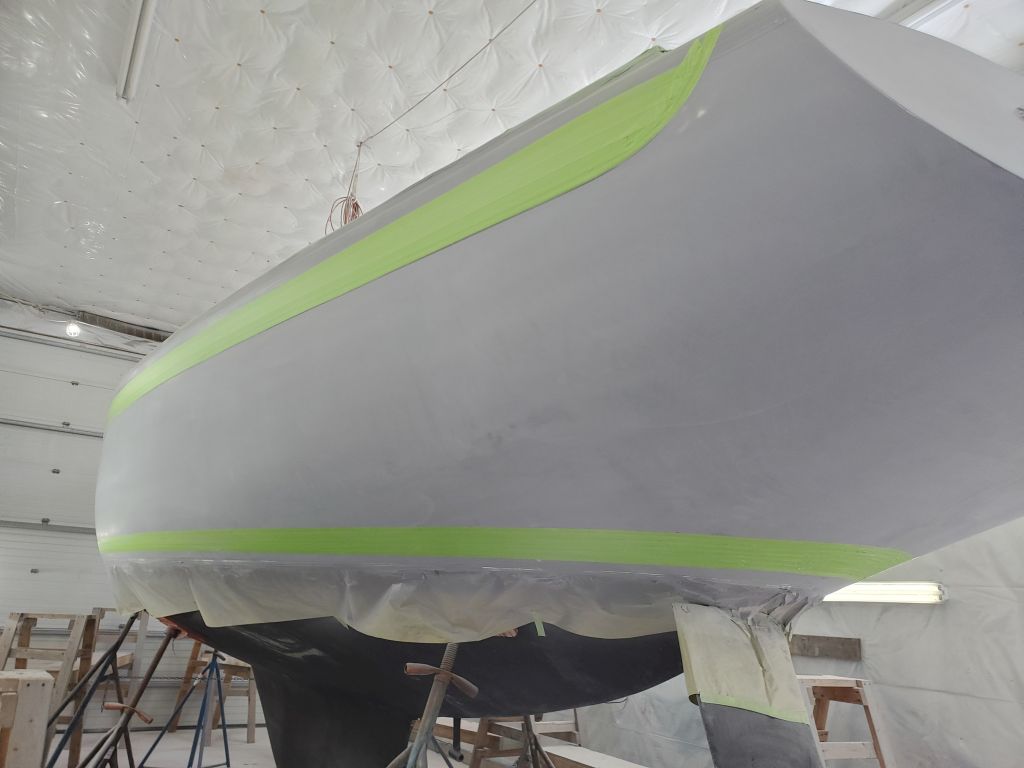
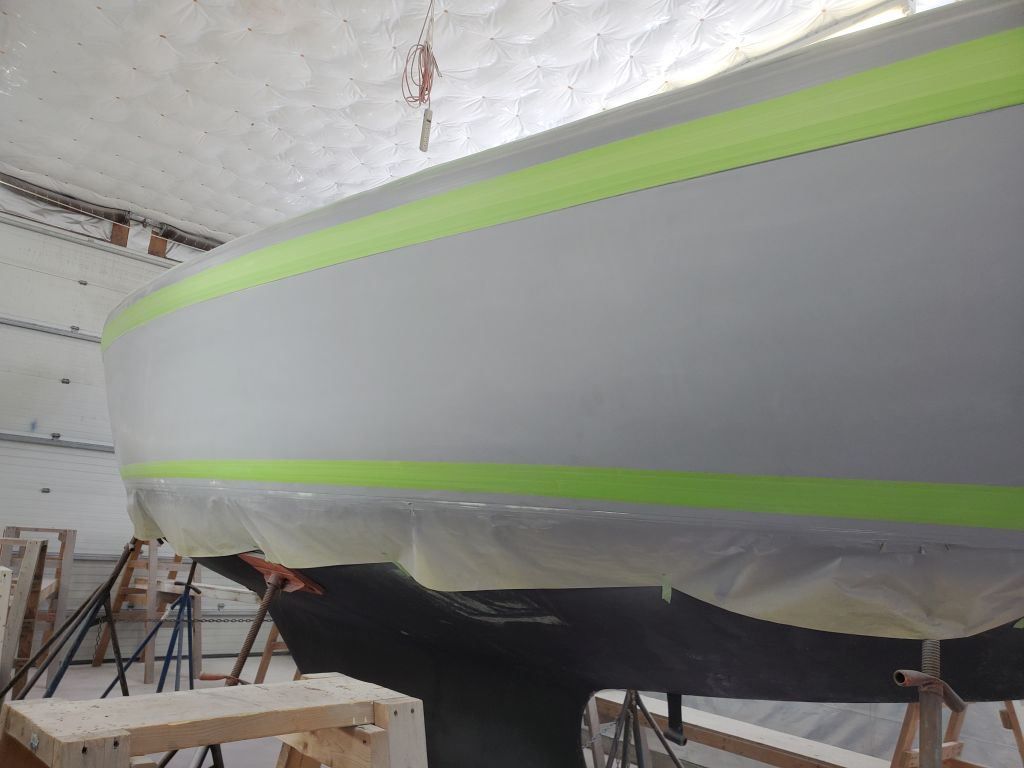
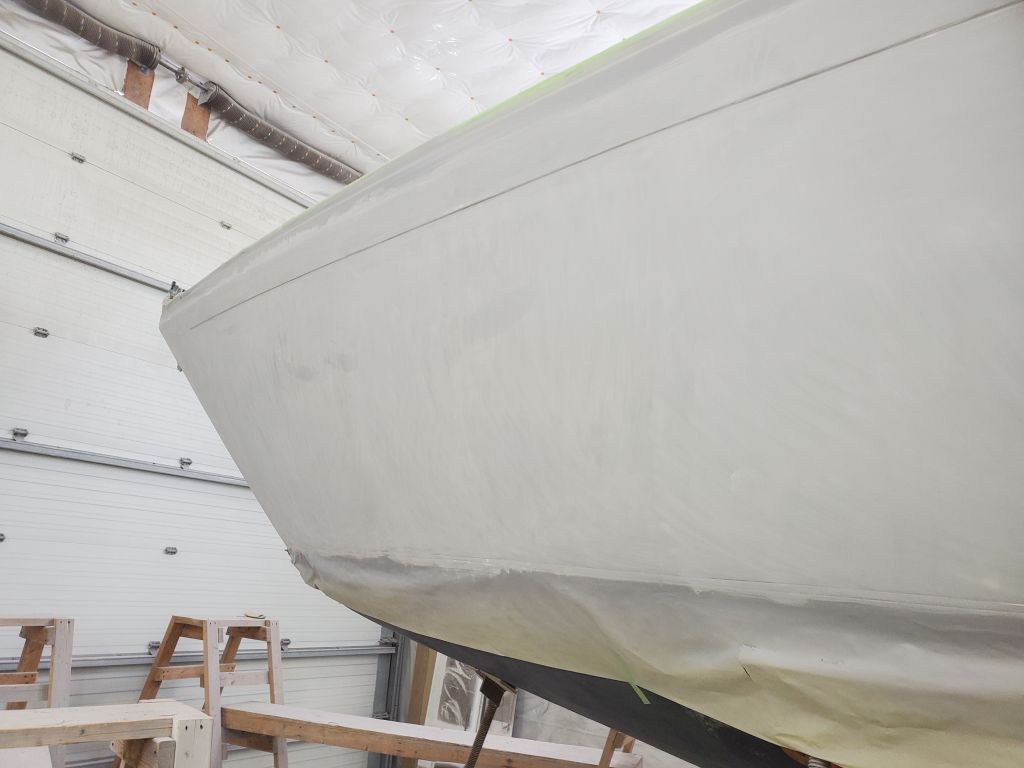
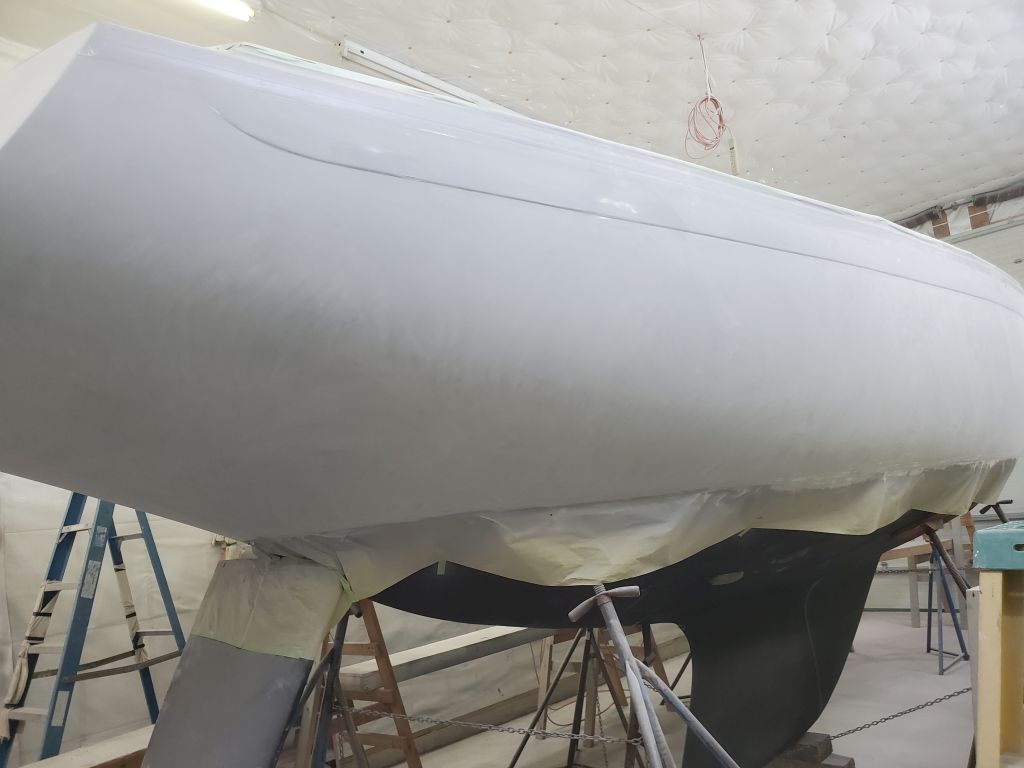
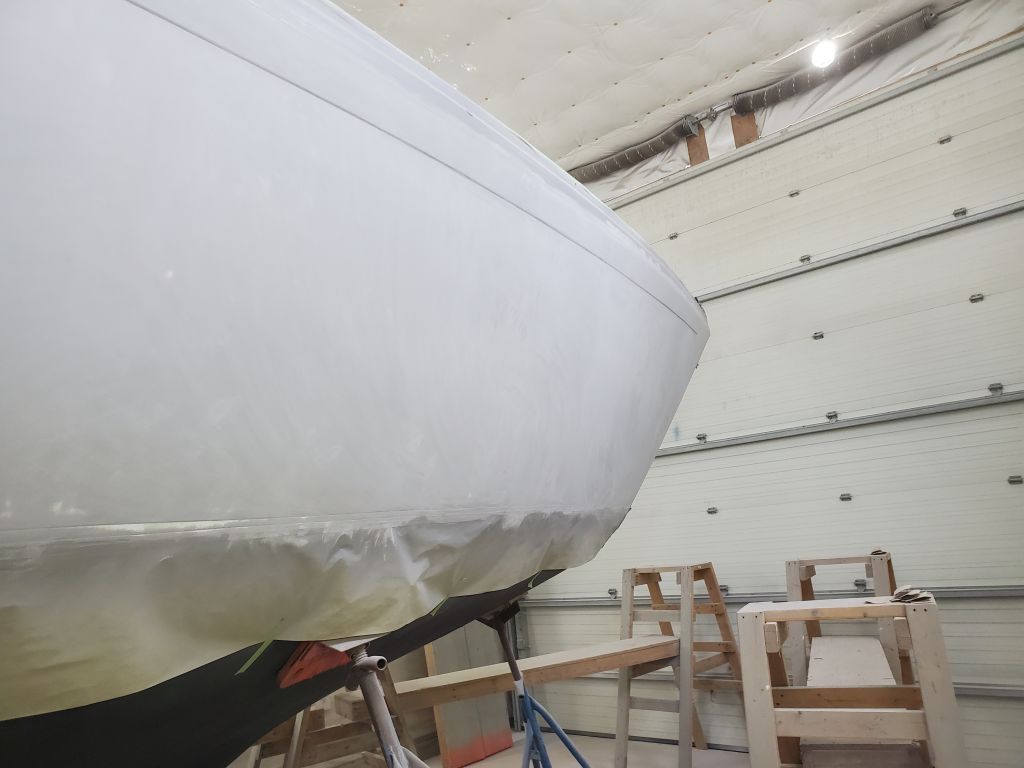
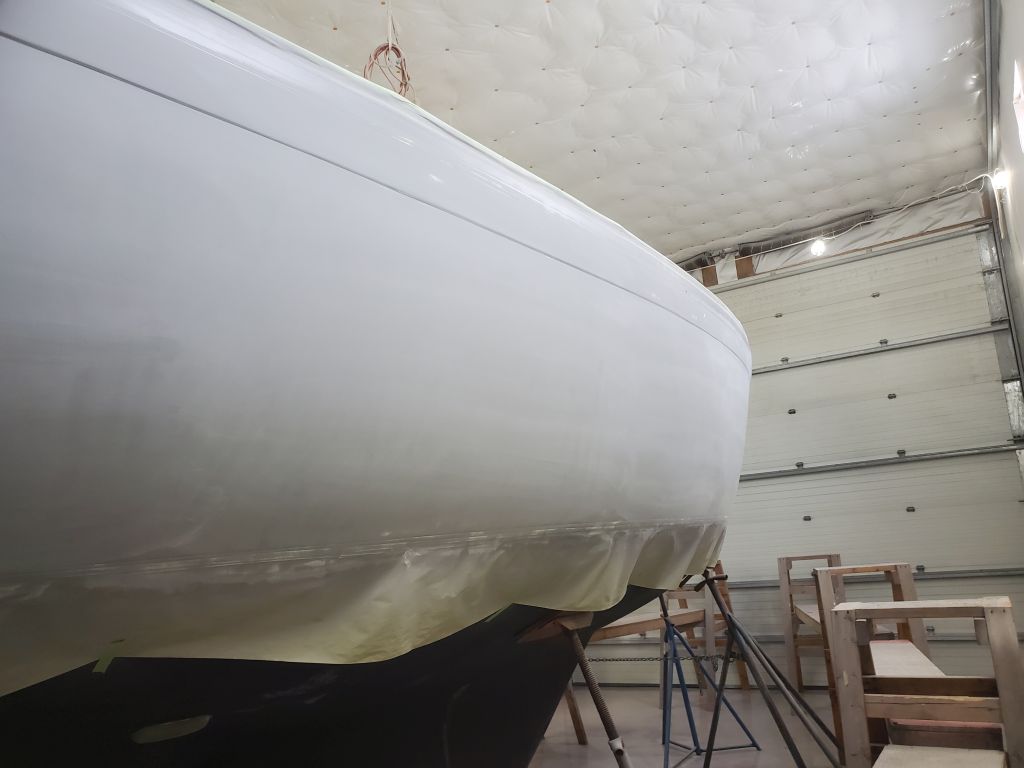
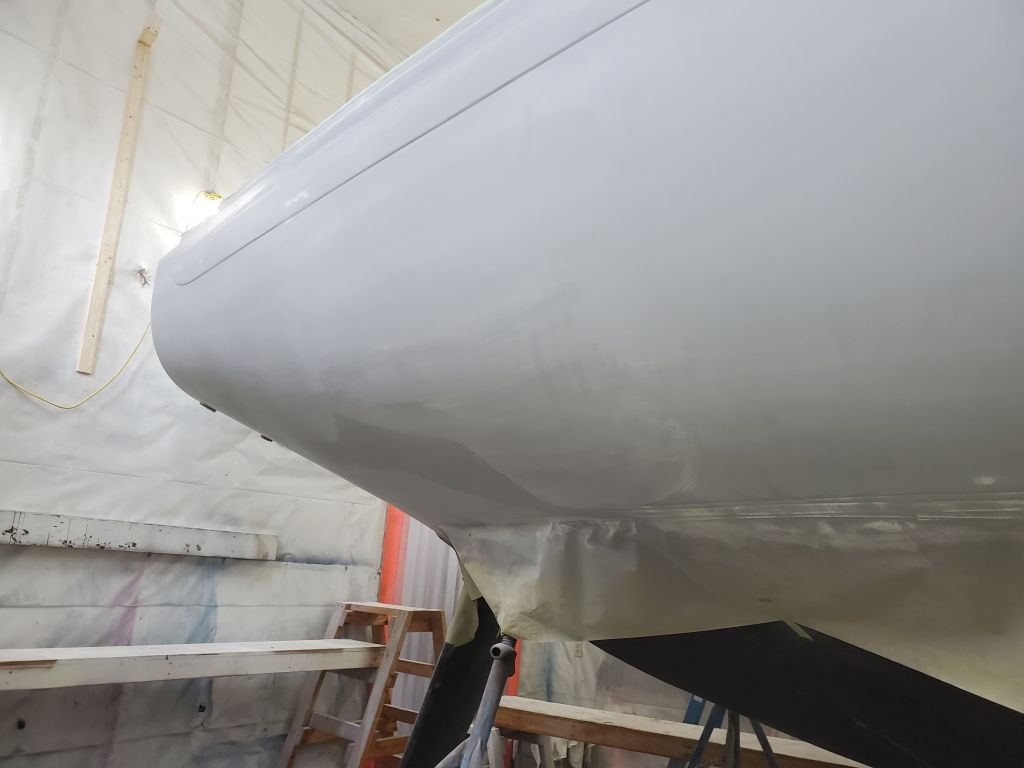
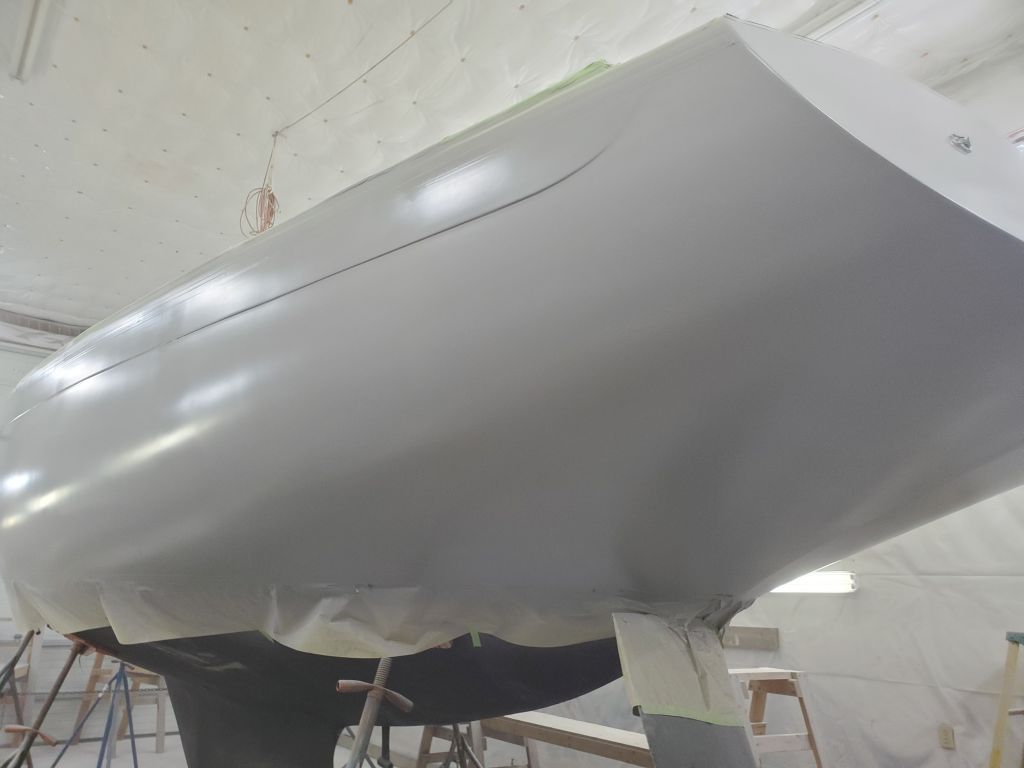
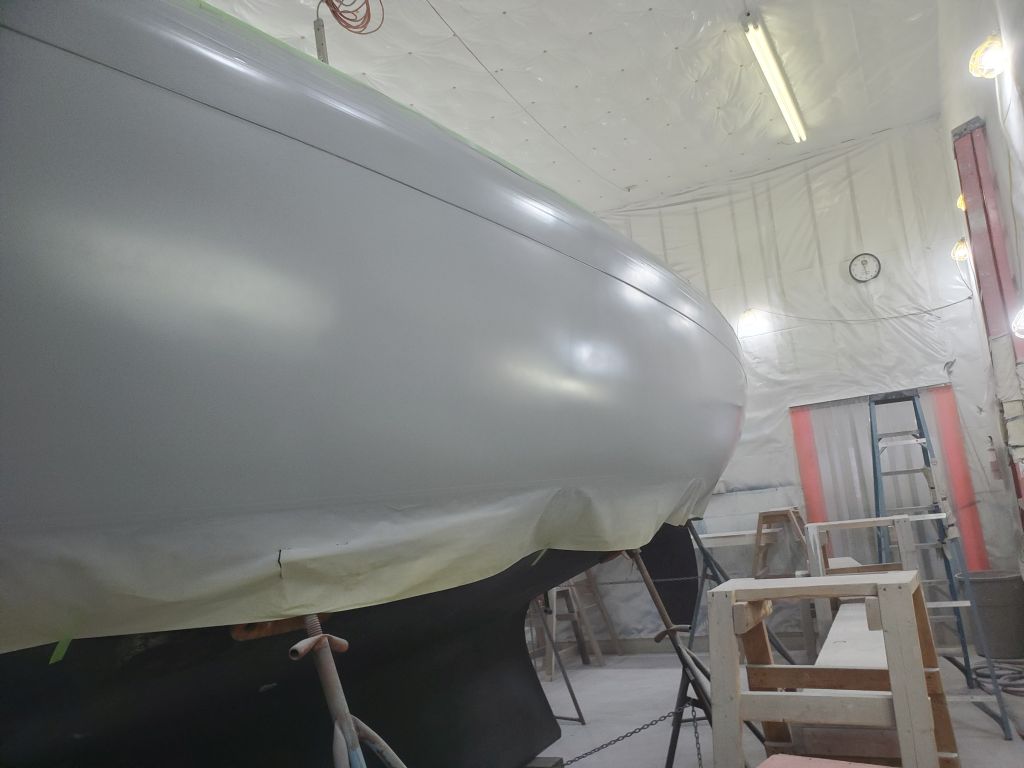
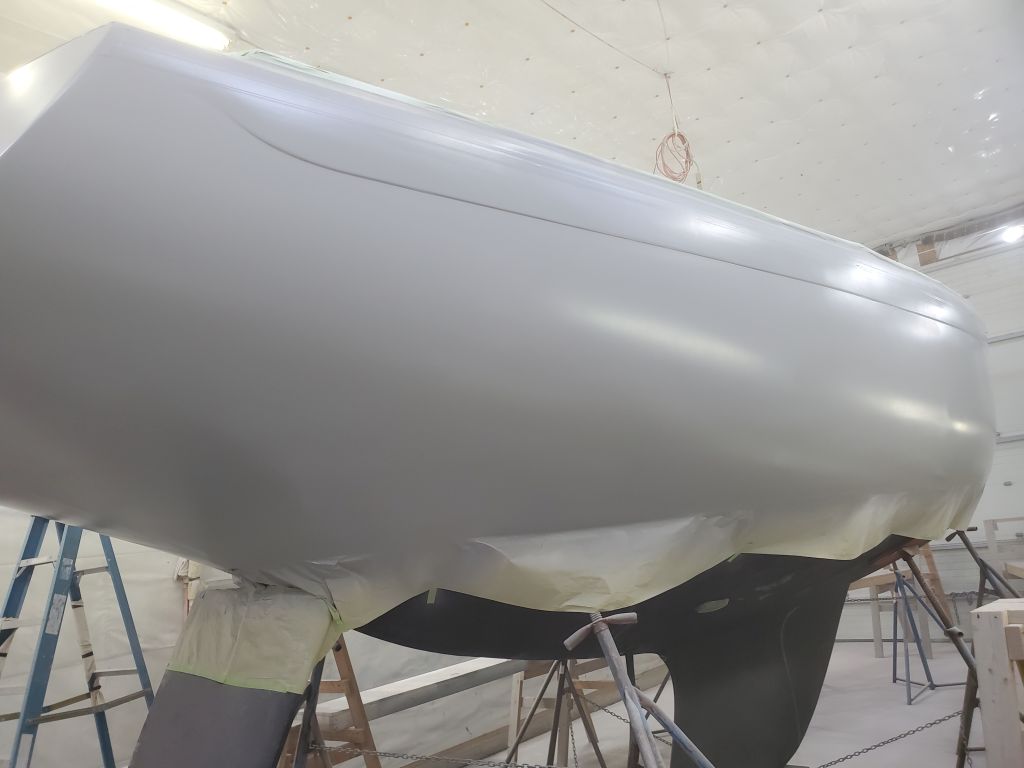
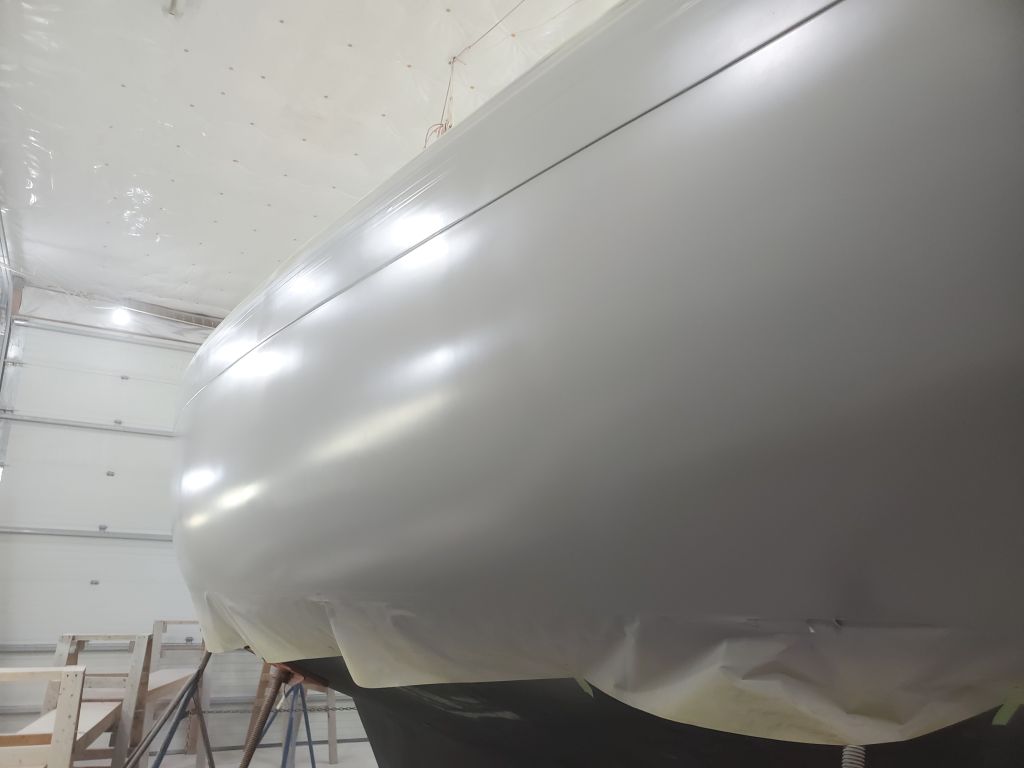
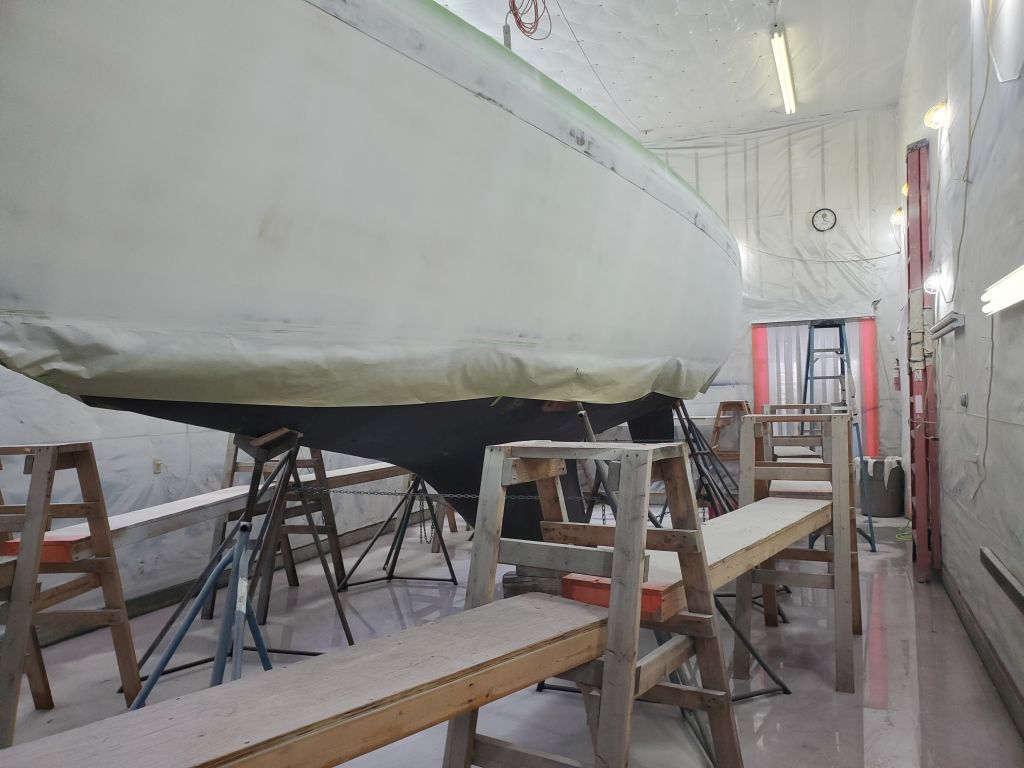
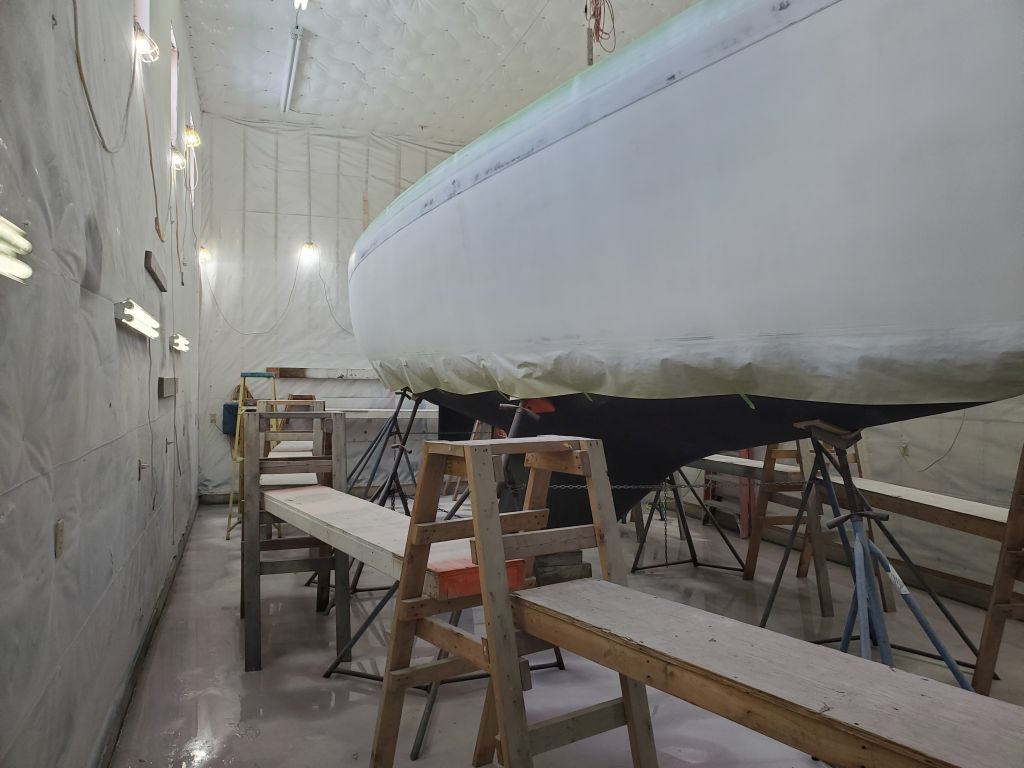
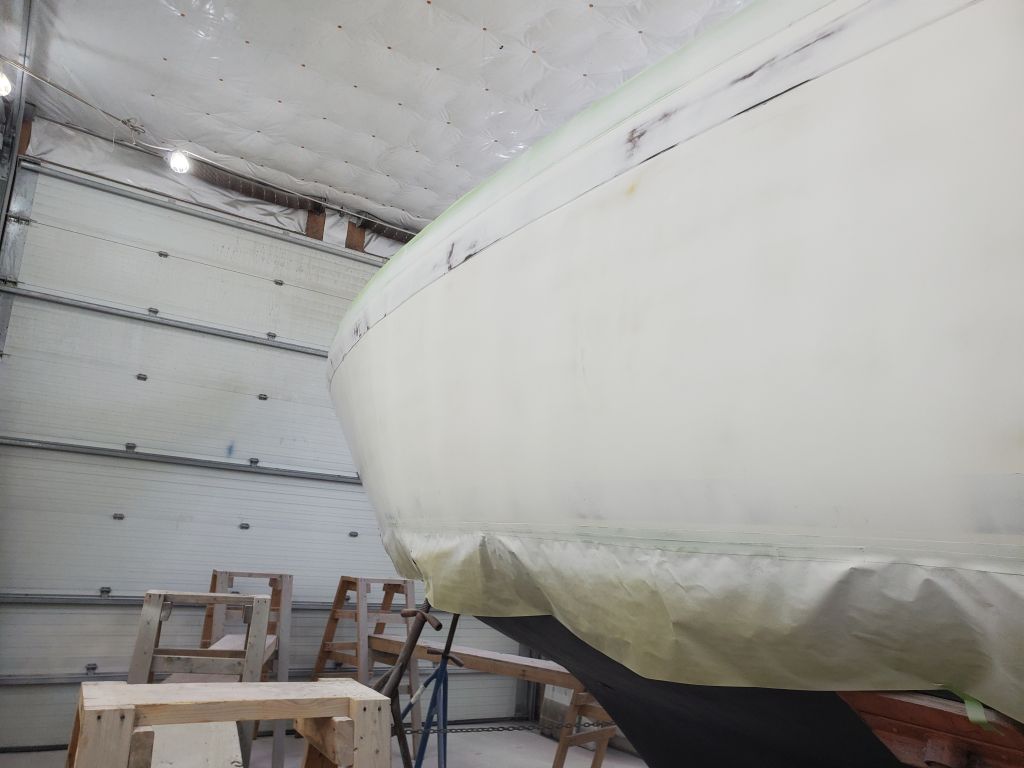
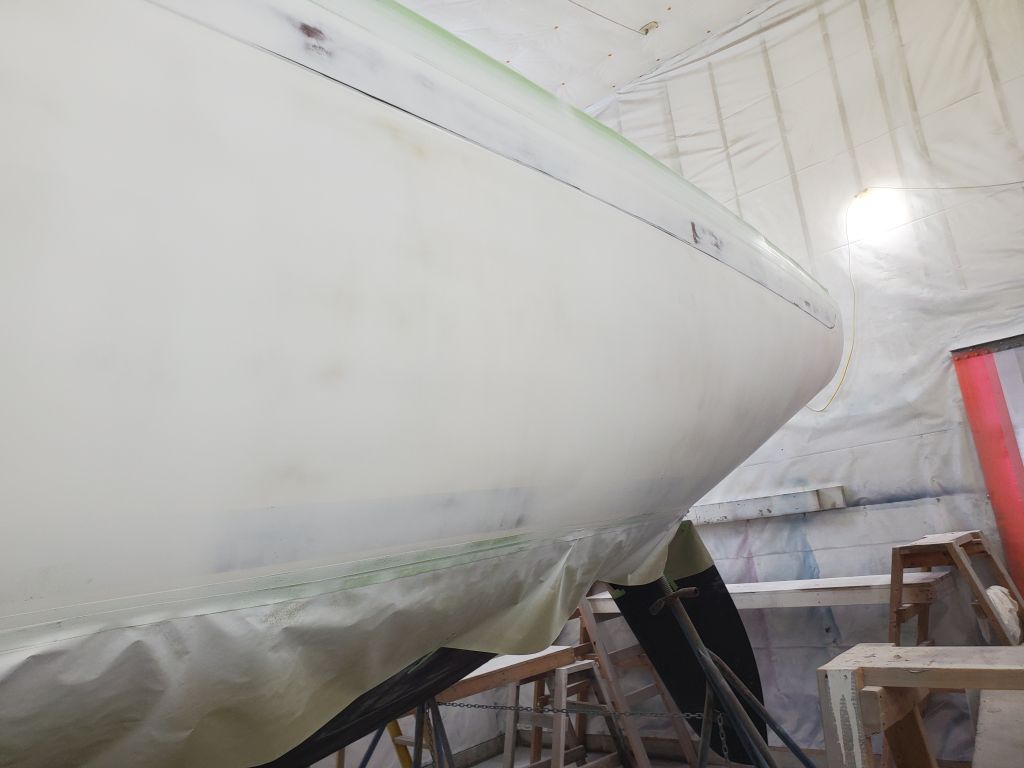
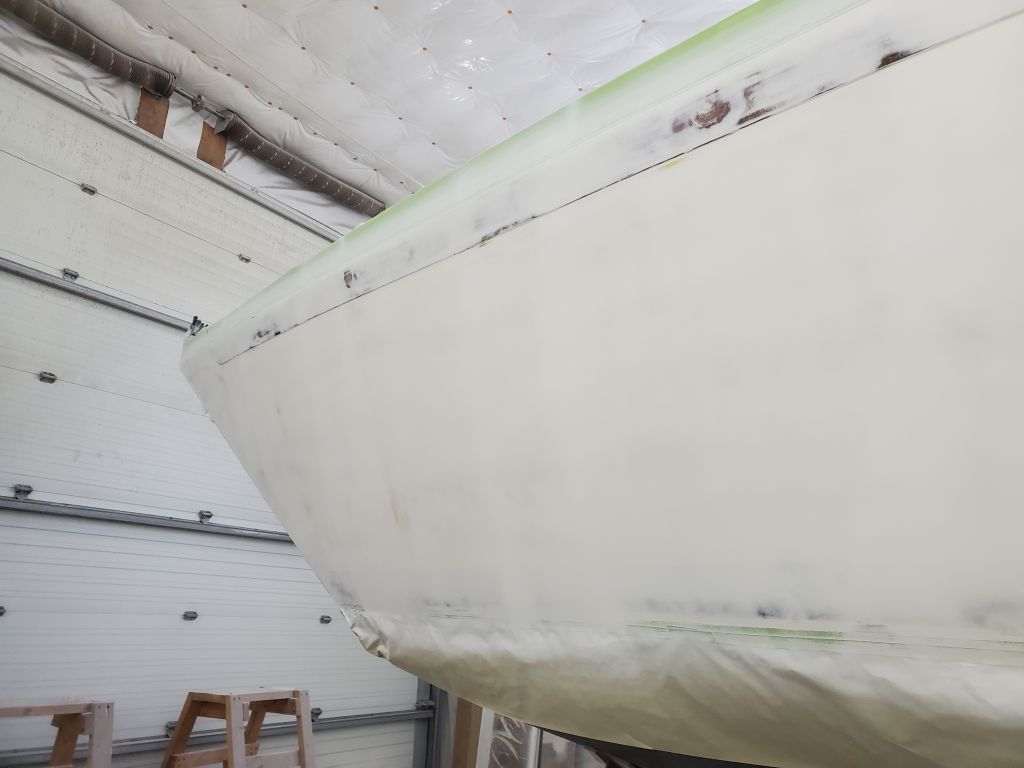
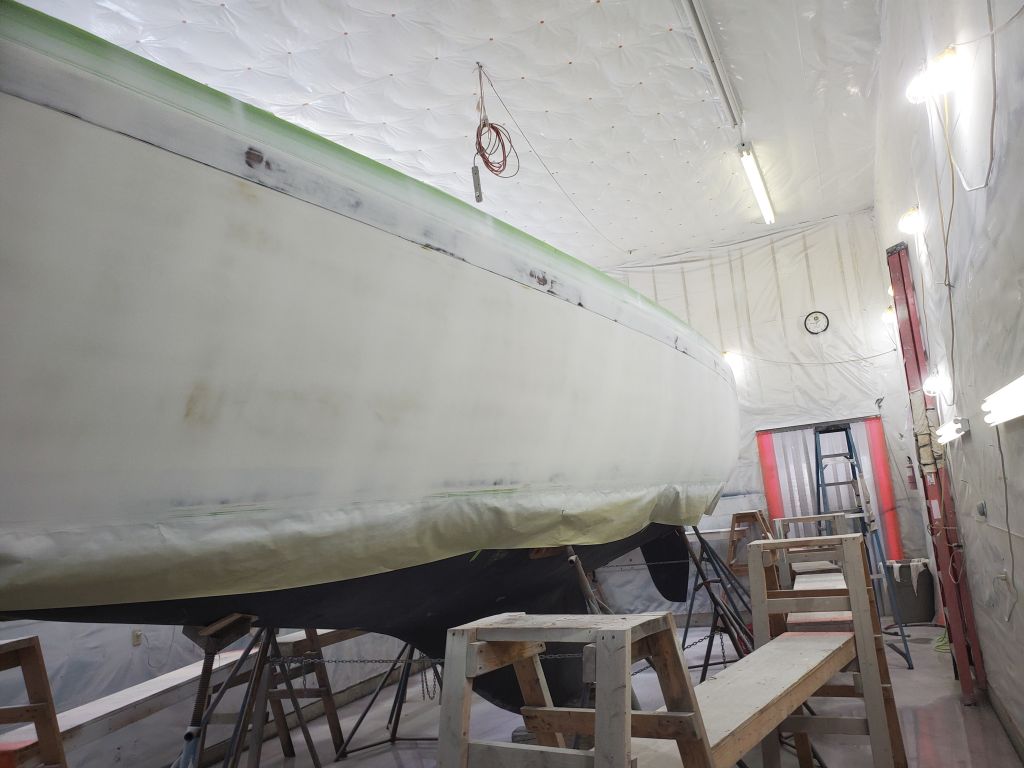
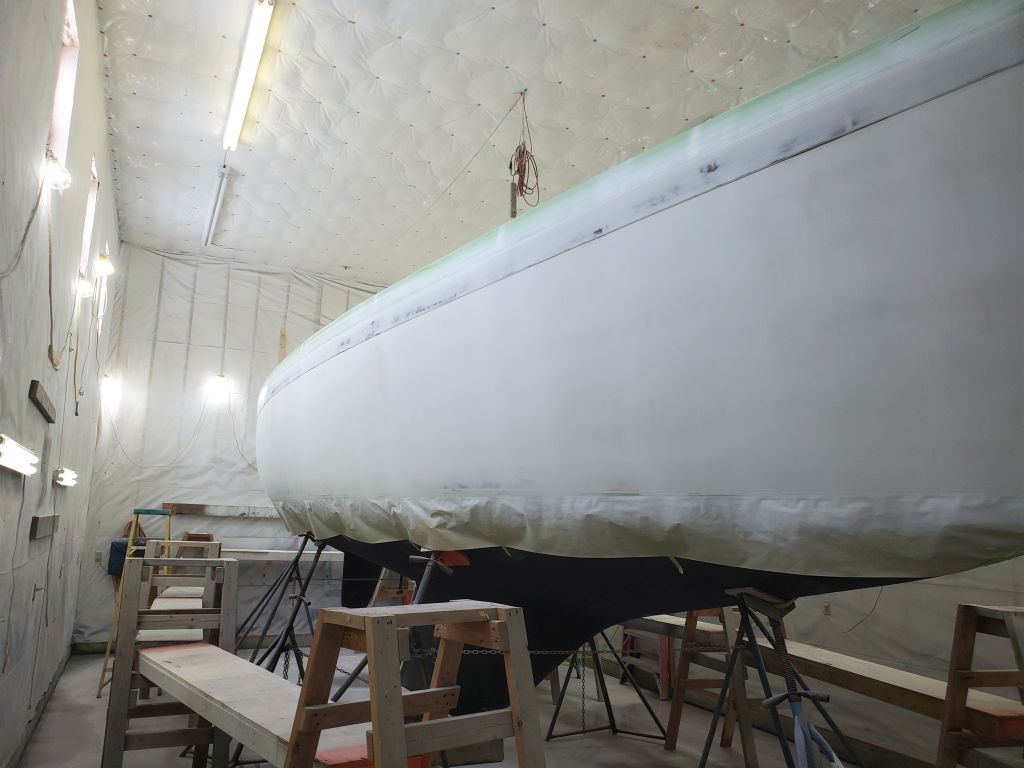
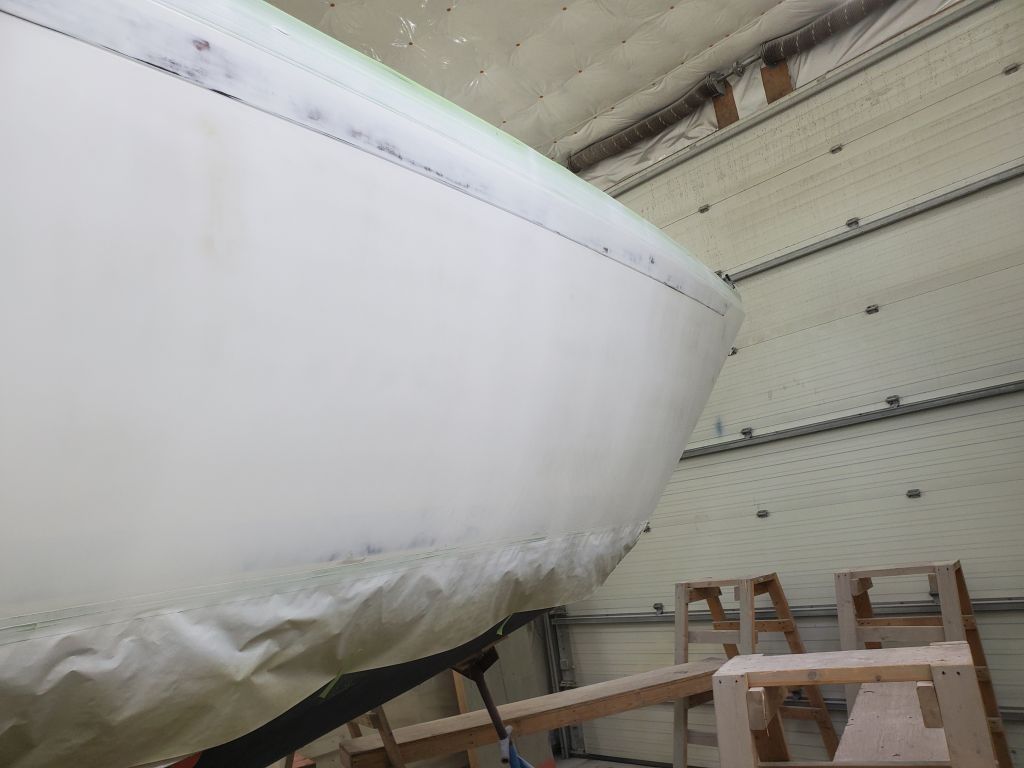
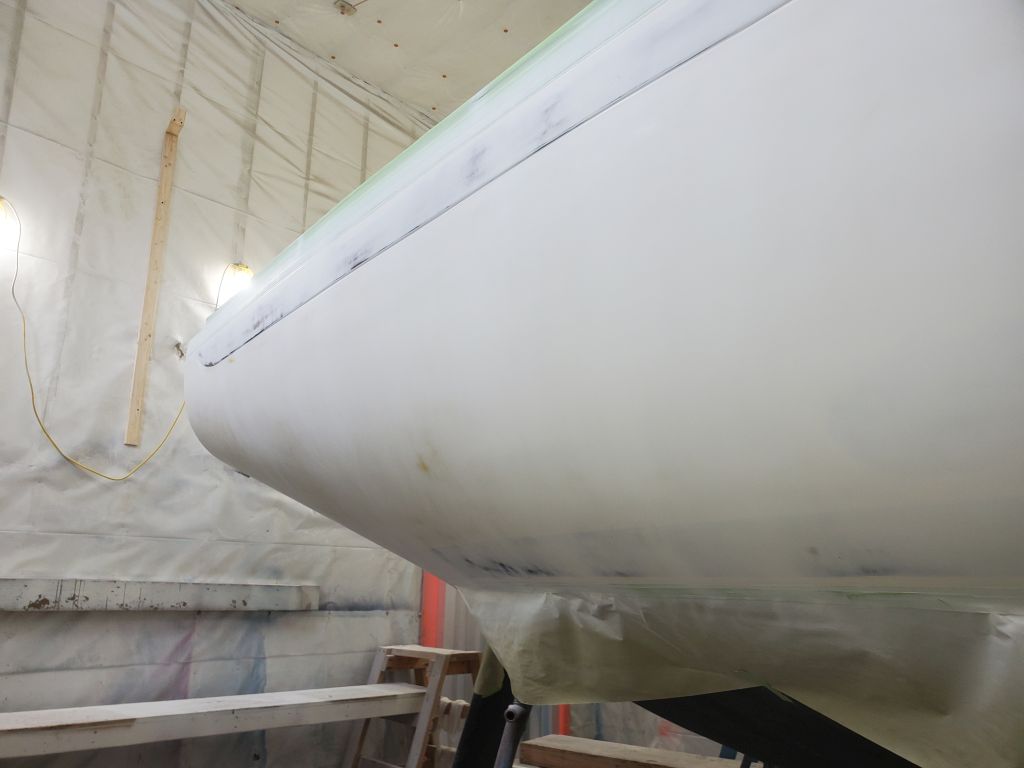
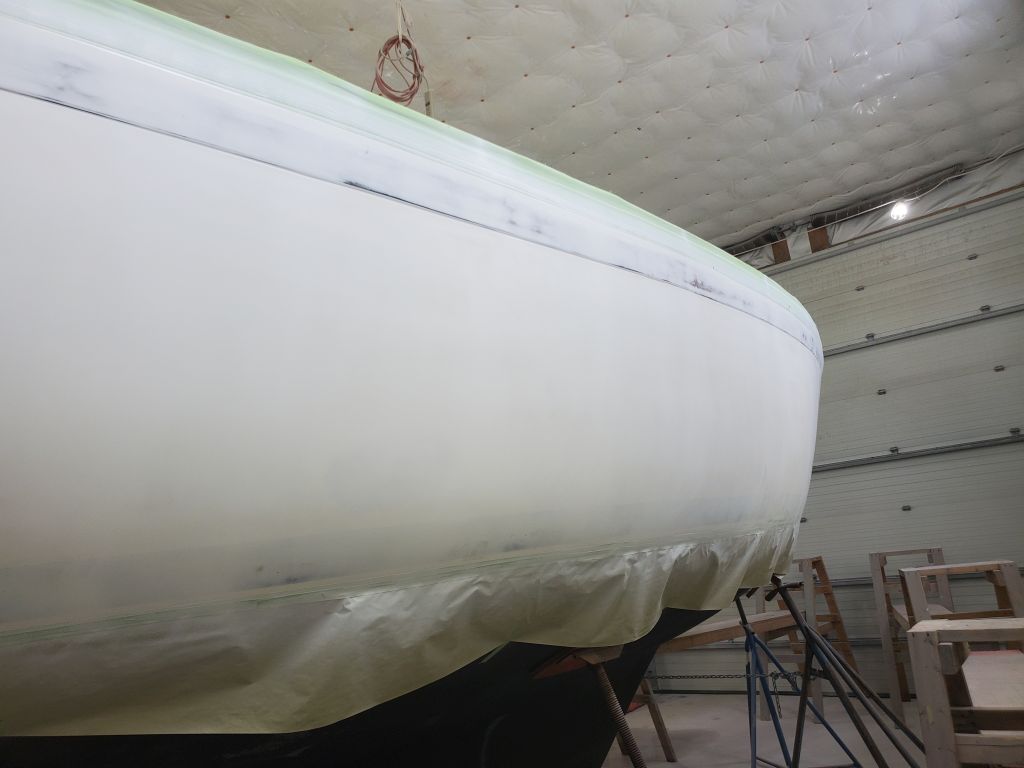
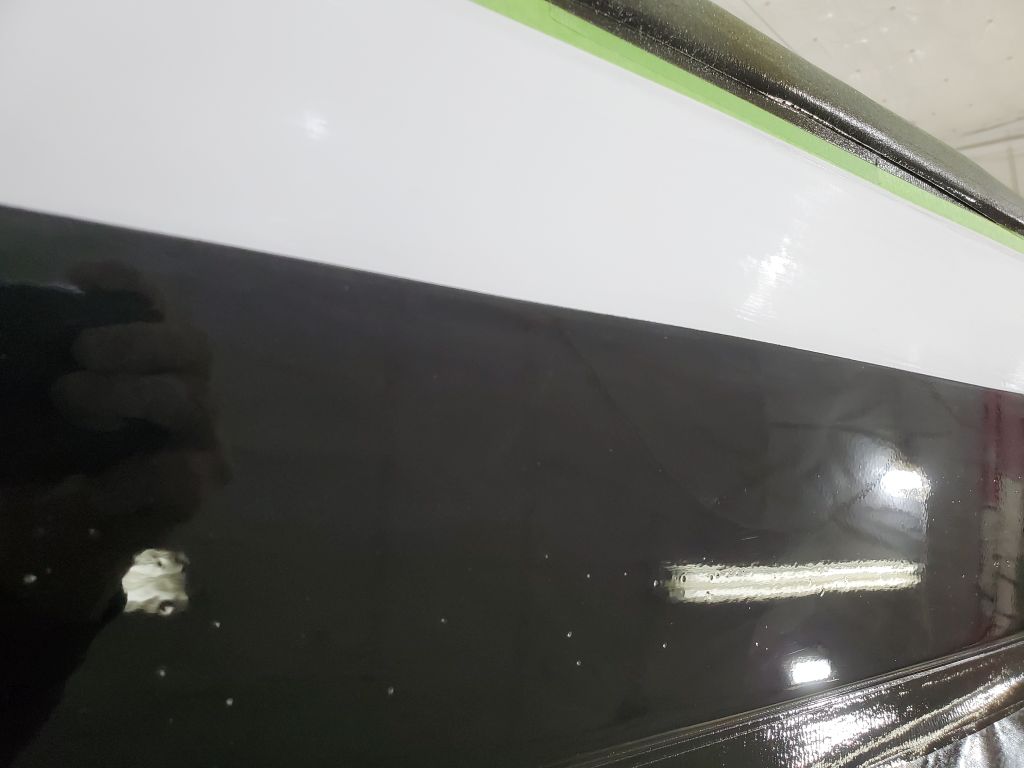
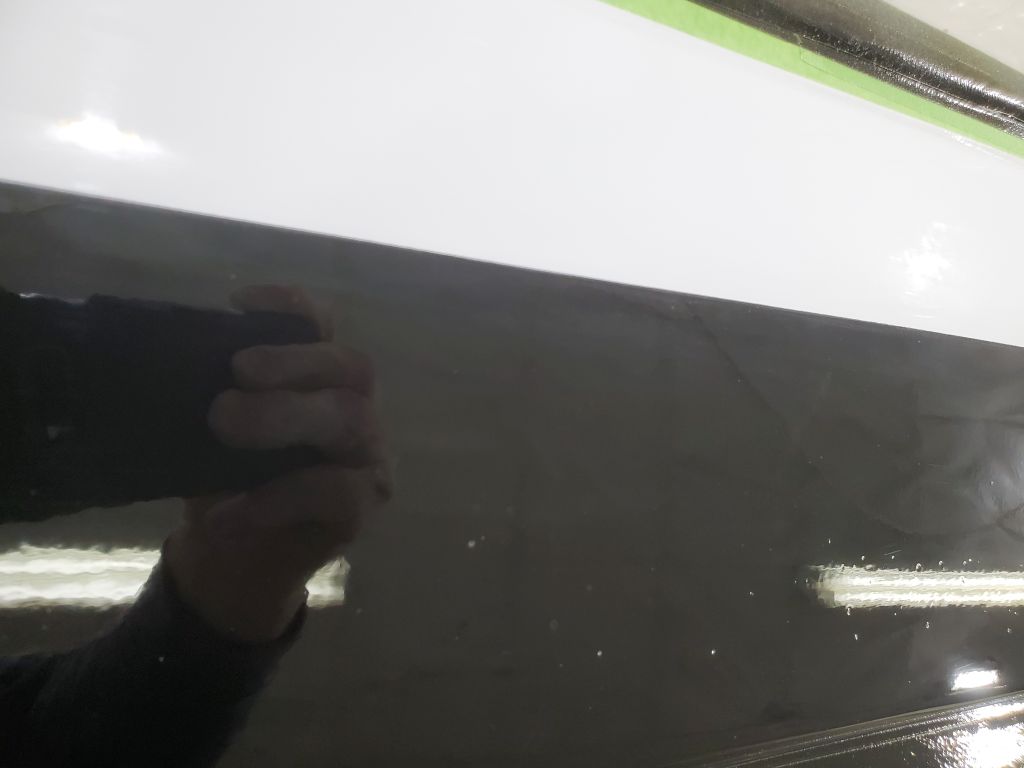
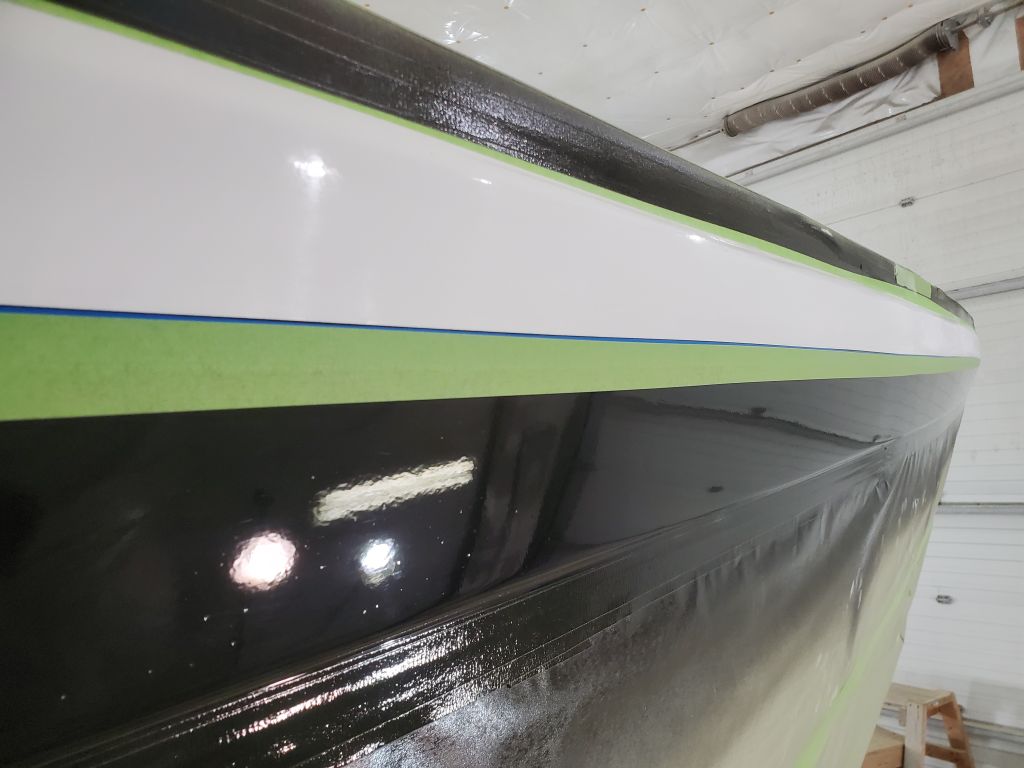
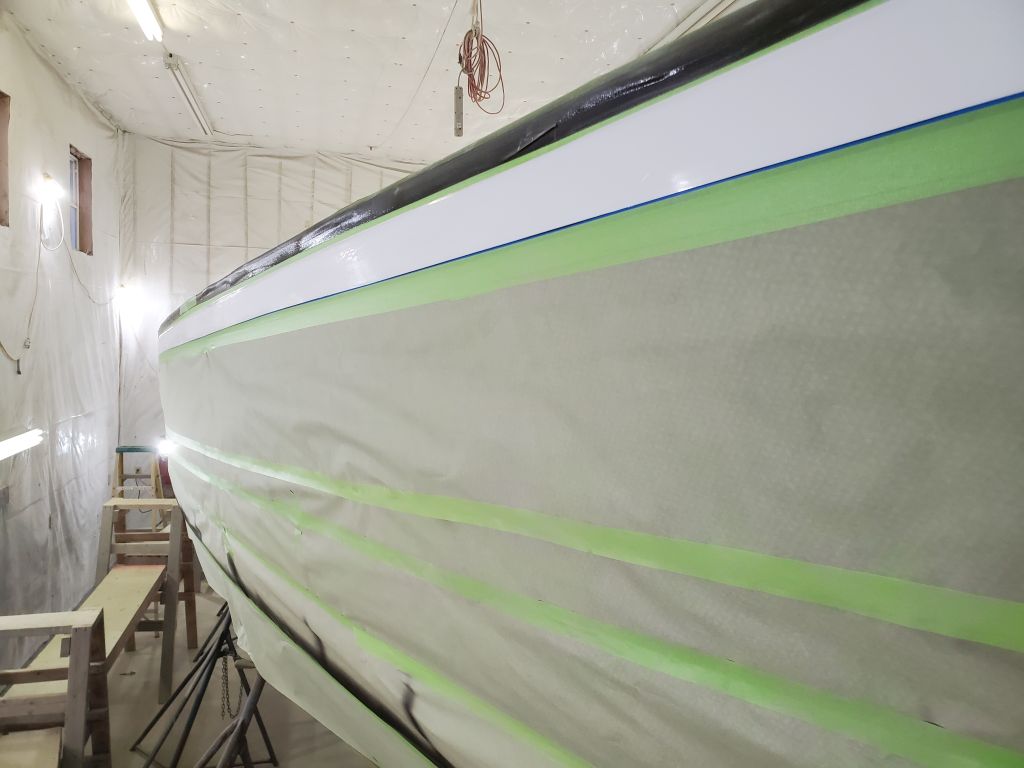
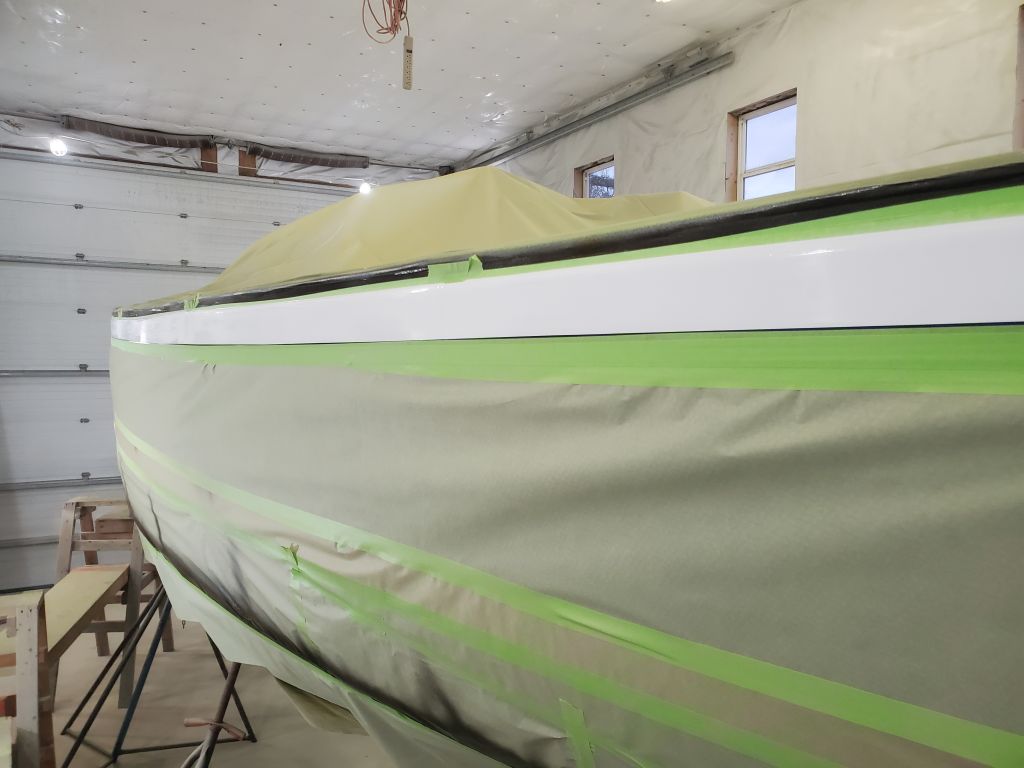
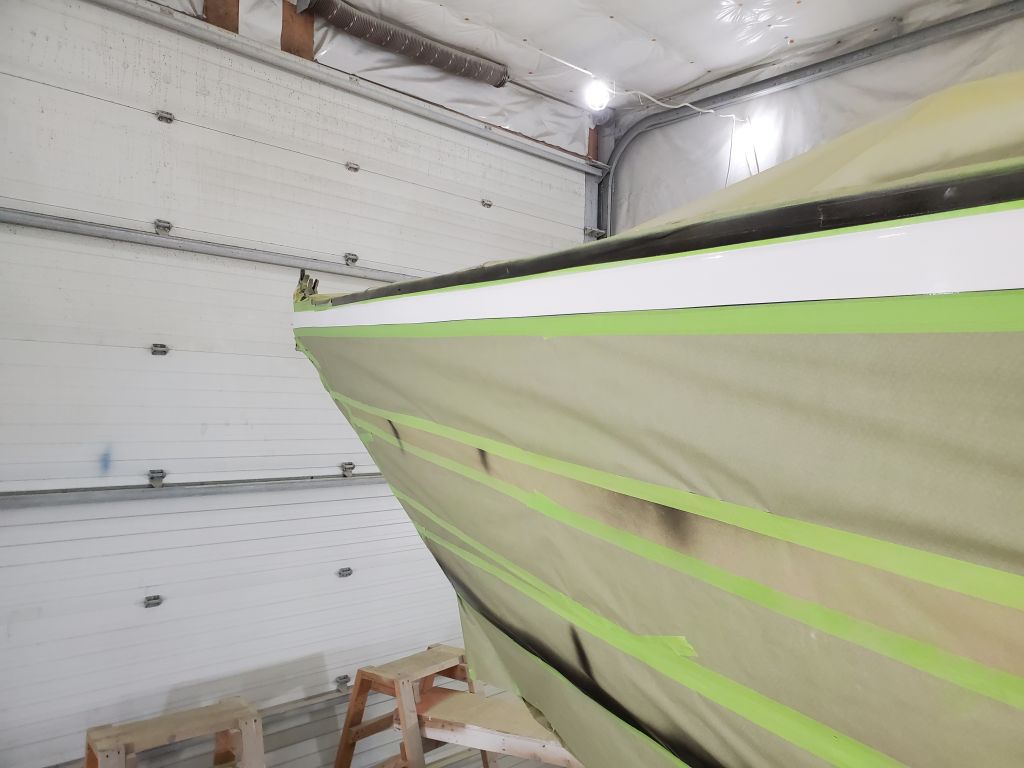
For now, it was too soon to mask over the fresh black, but later in the day I carefully sanded the 2″ wide (or thereabouts) white strip that needed repair, removing any drips and runs and abrading the whole area to prepare for three new coats of snow white.  I also used paper (taped to the paper above and below and seen in the photos above) to cover the boottop and protect it during the next painting spell.  I’d have to finish up the masking in the morning before I could spray the white section.

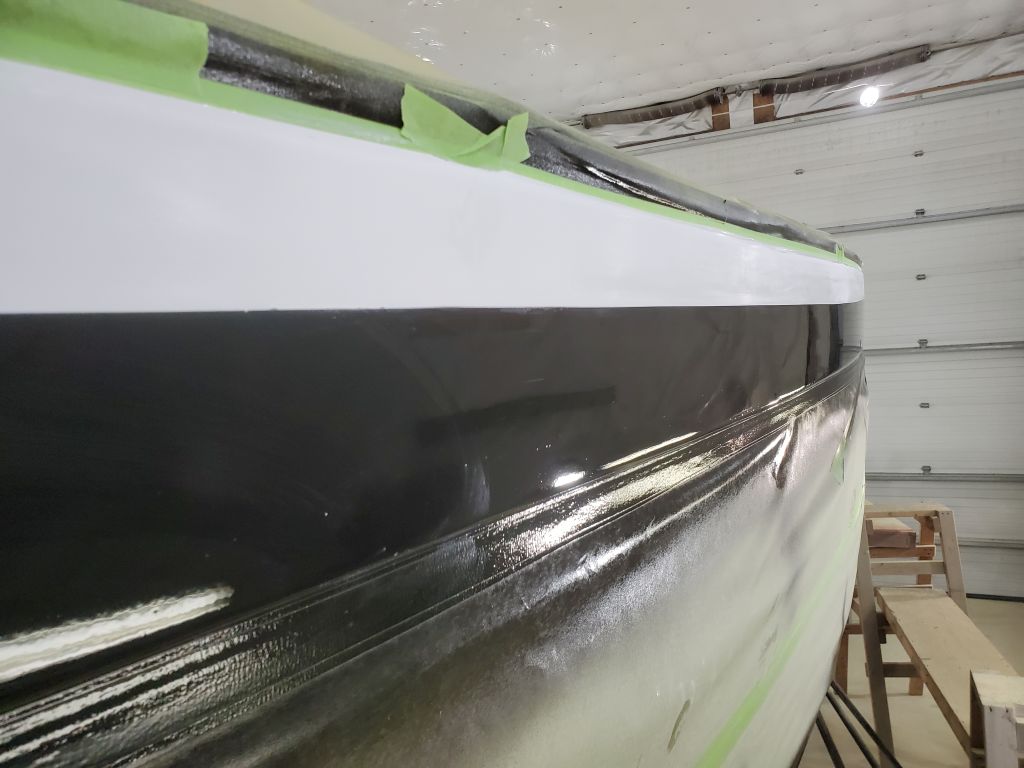
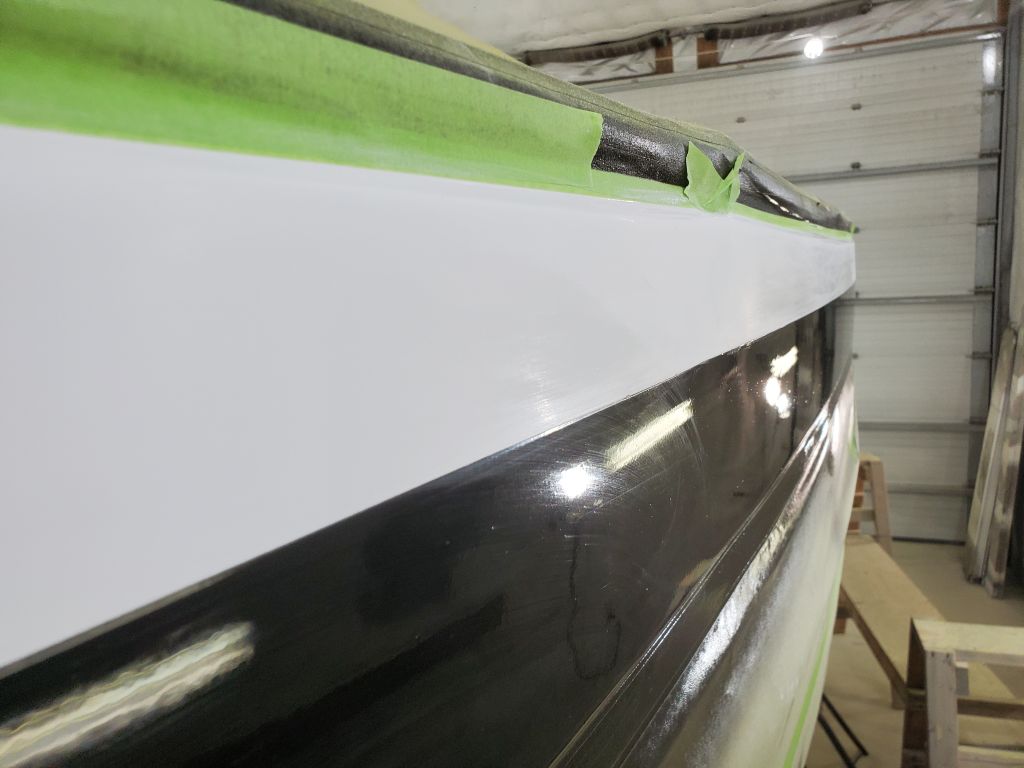
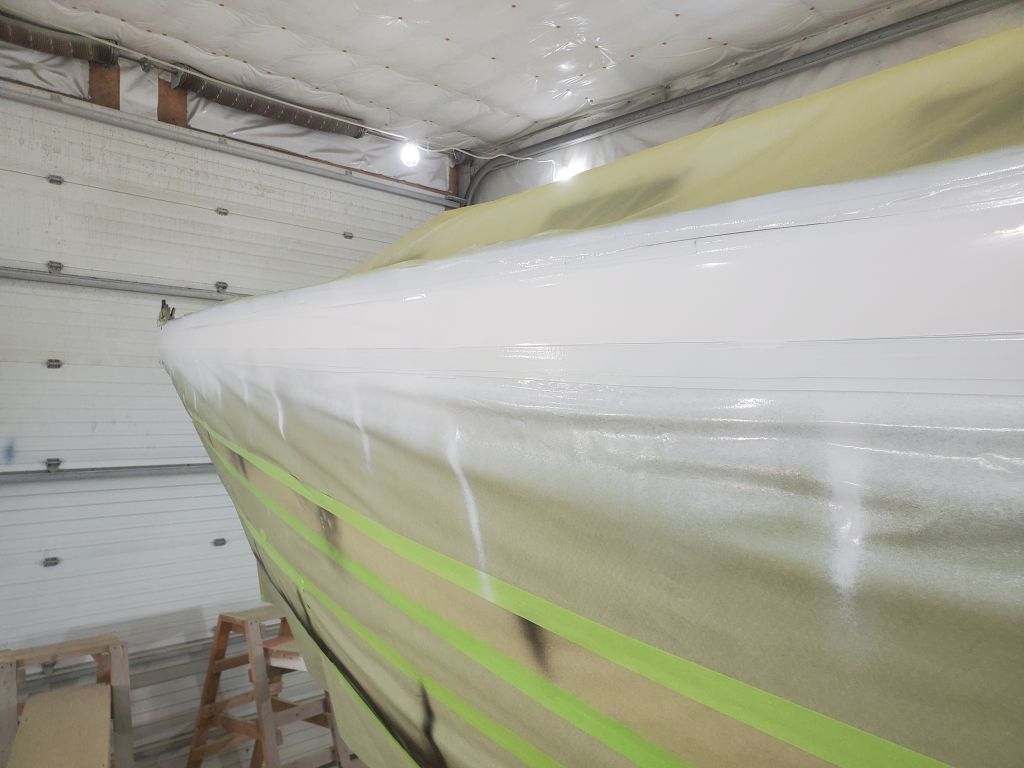
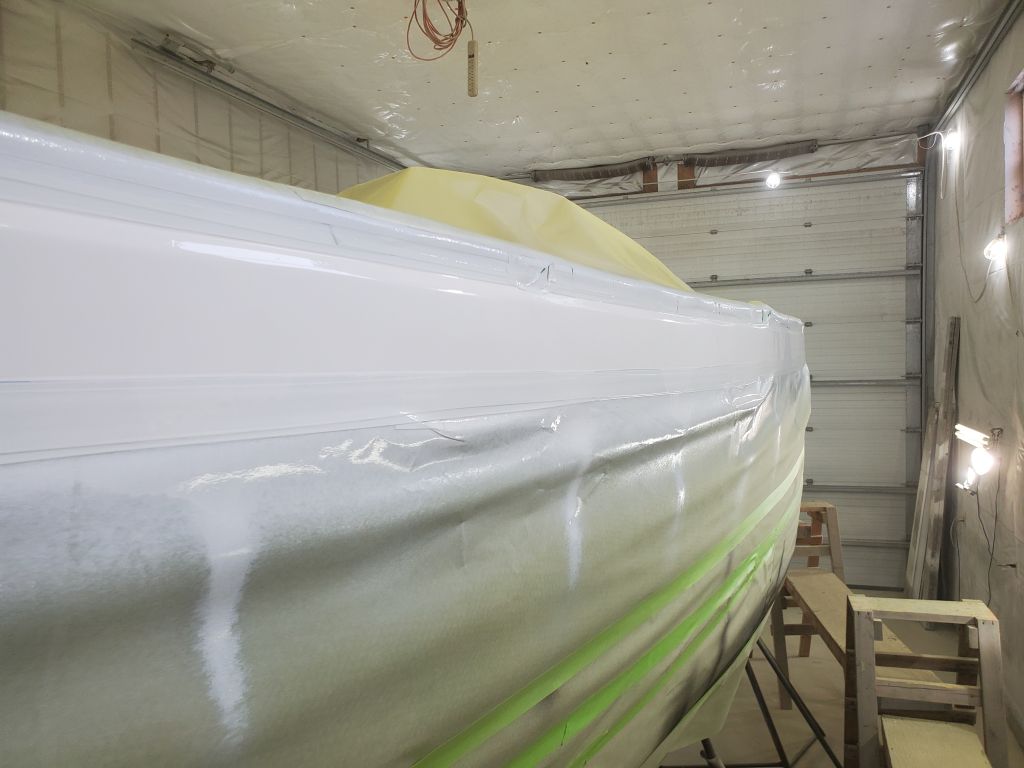
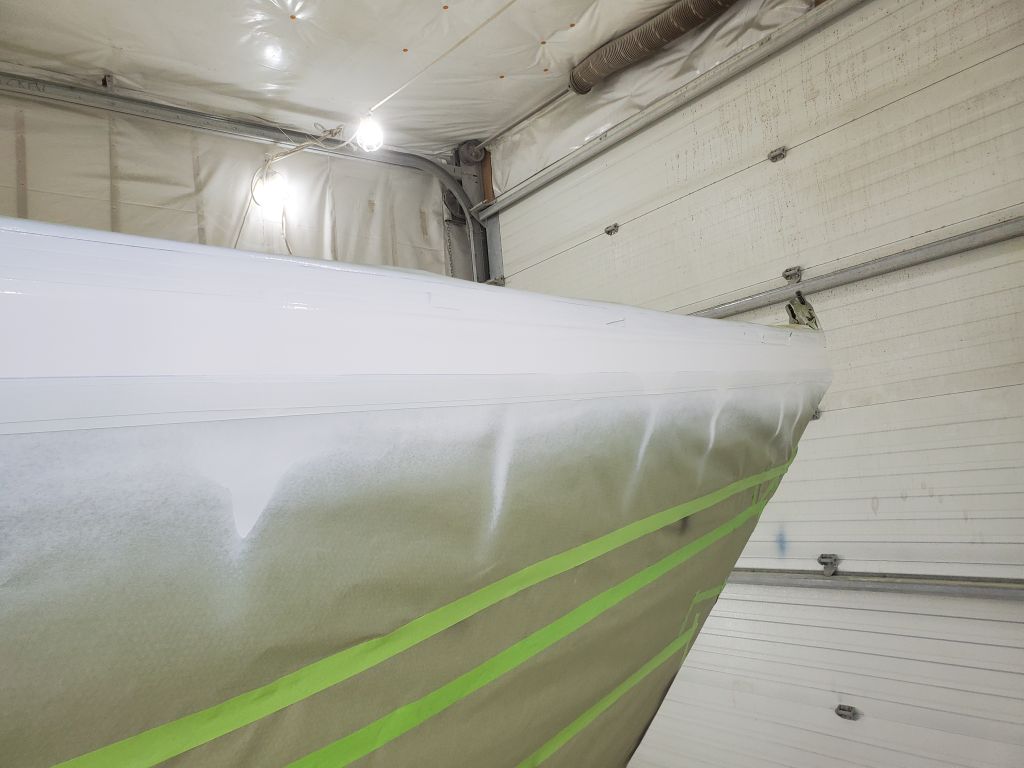
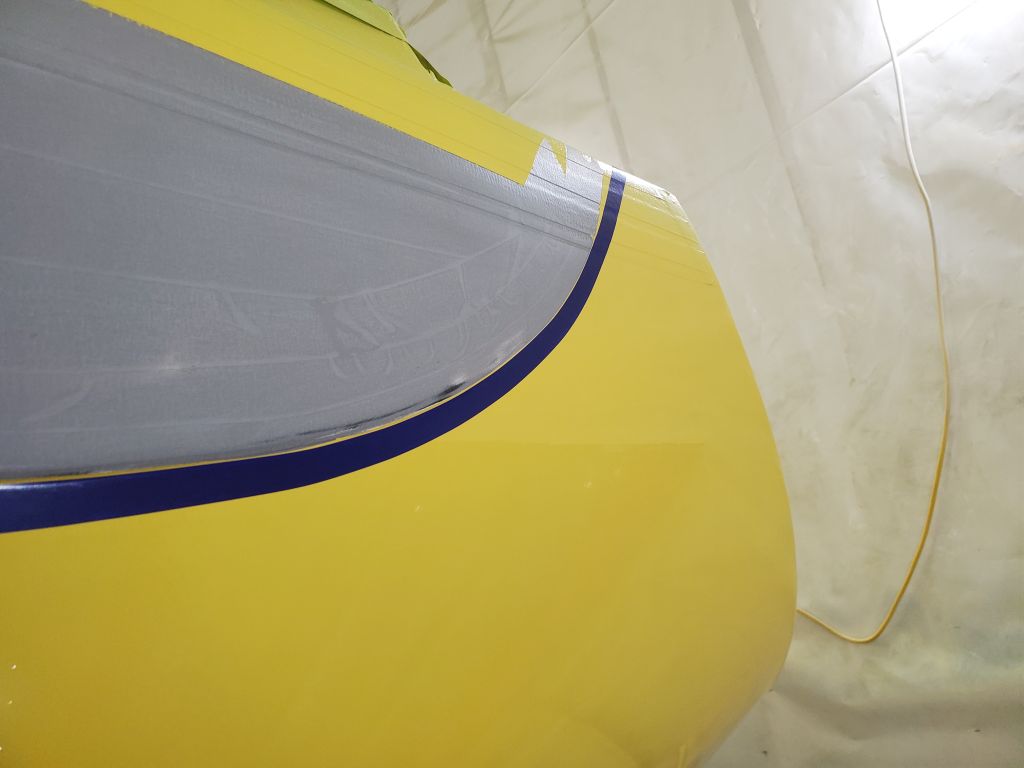
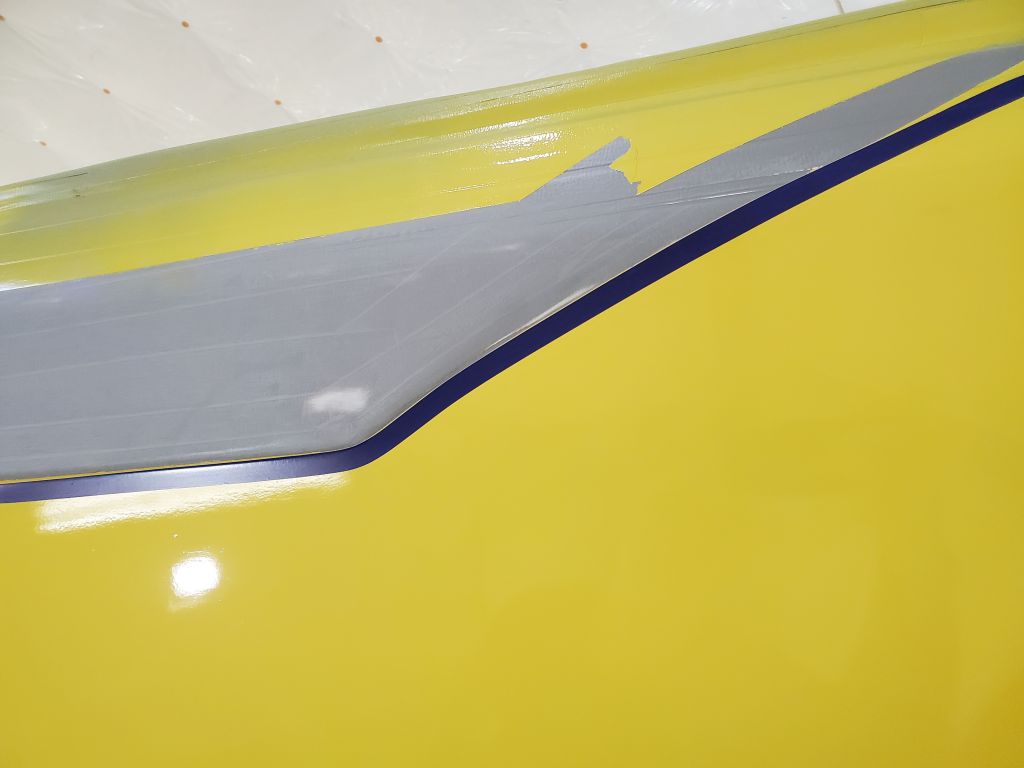
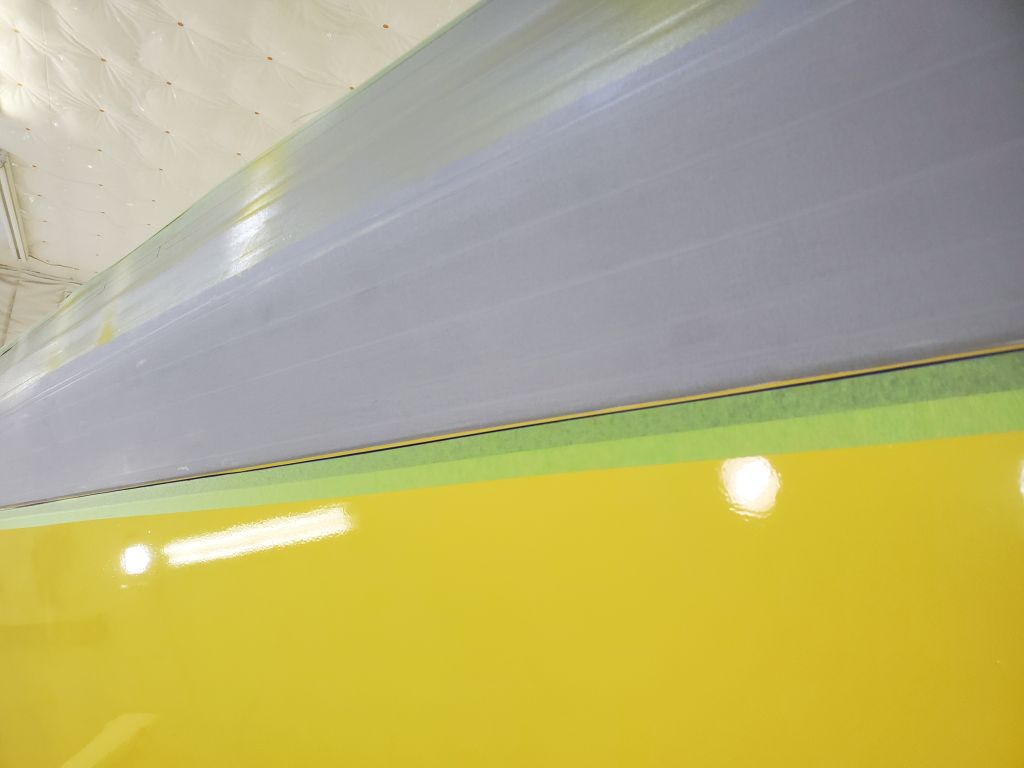
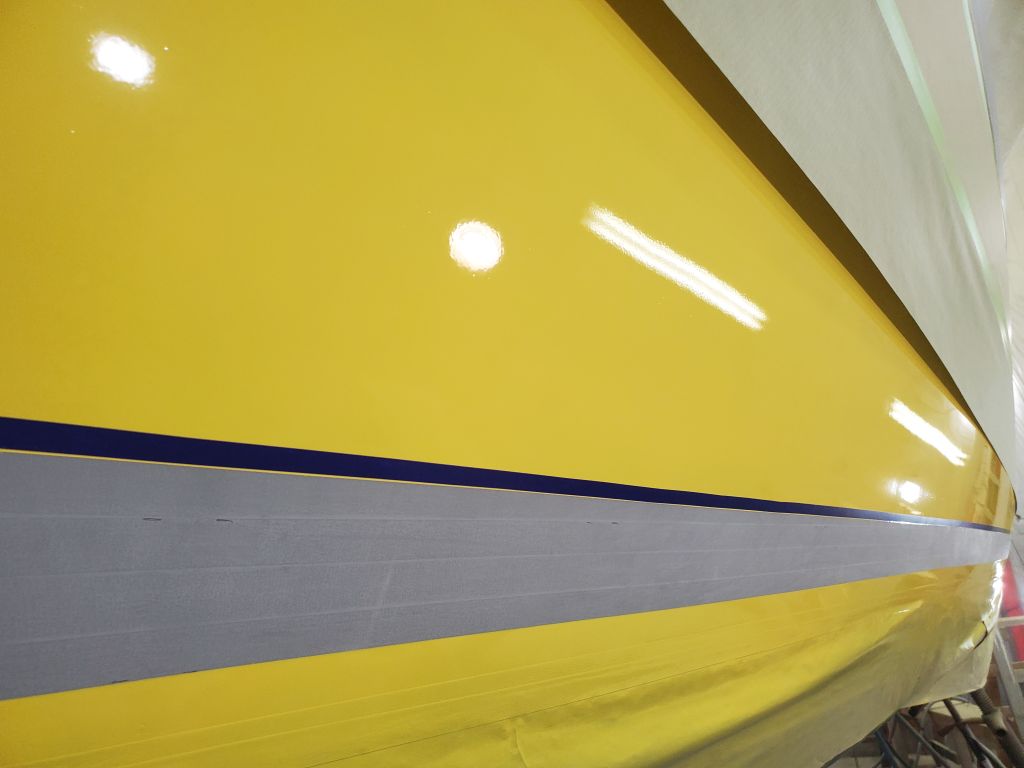
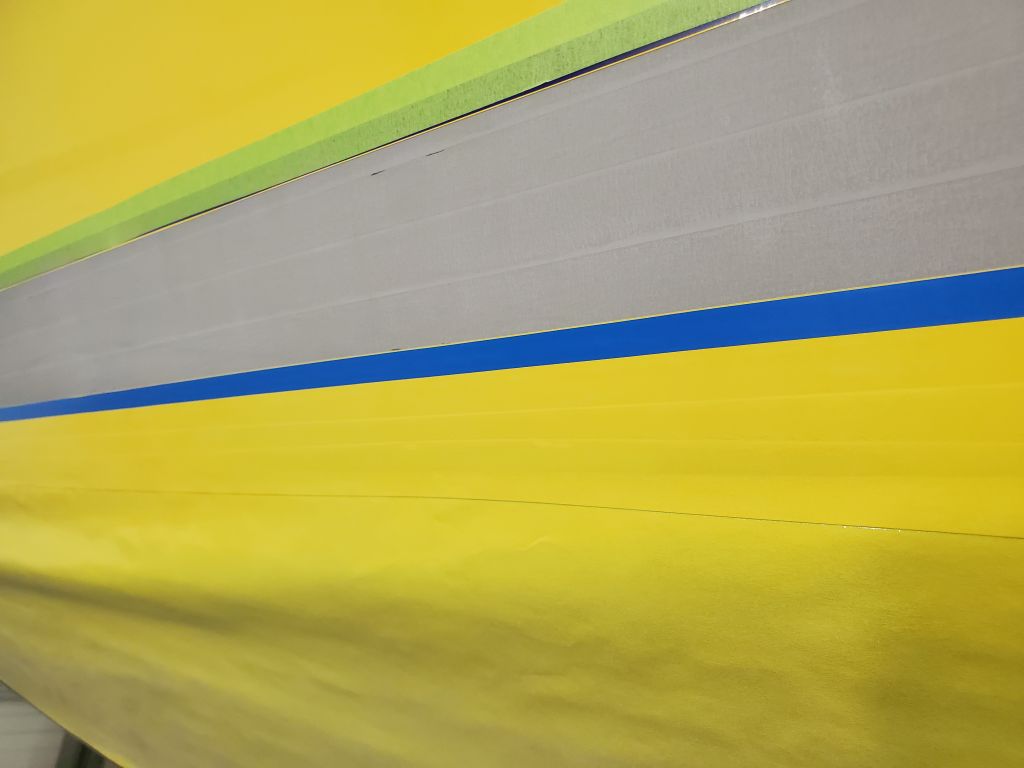
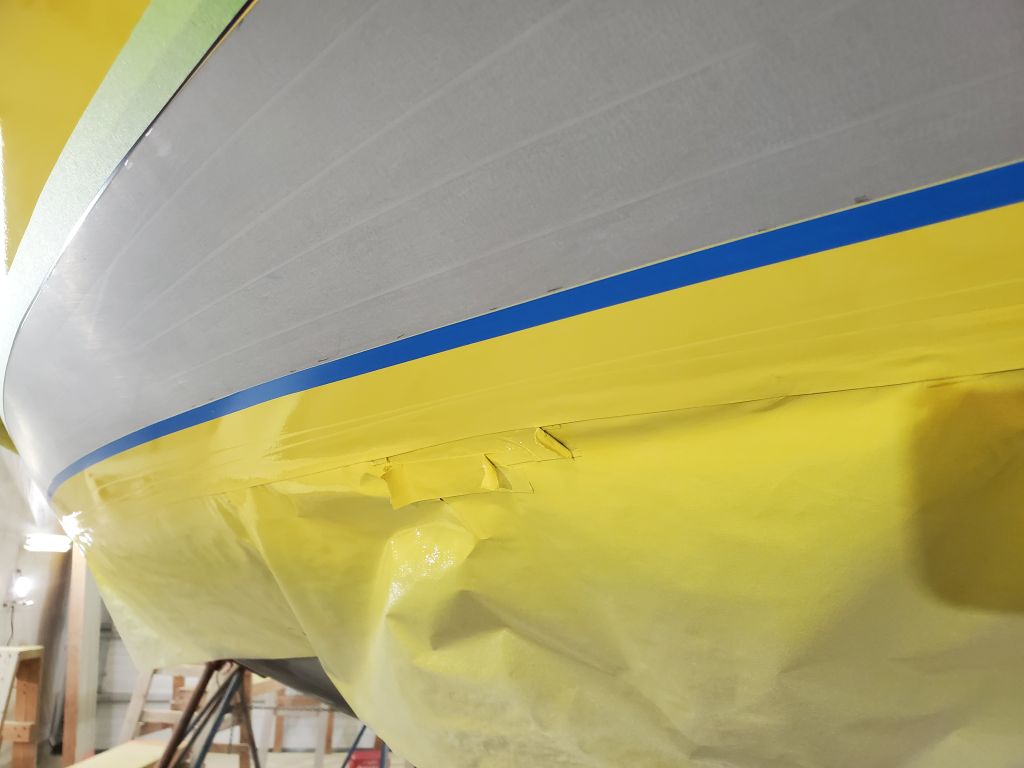
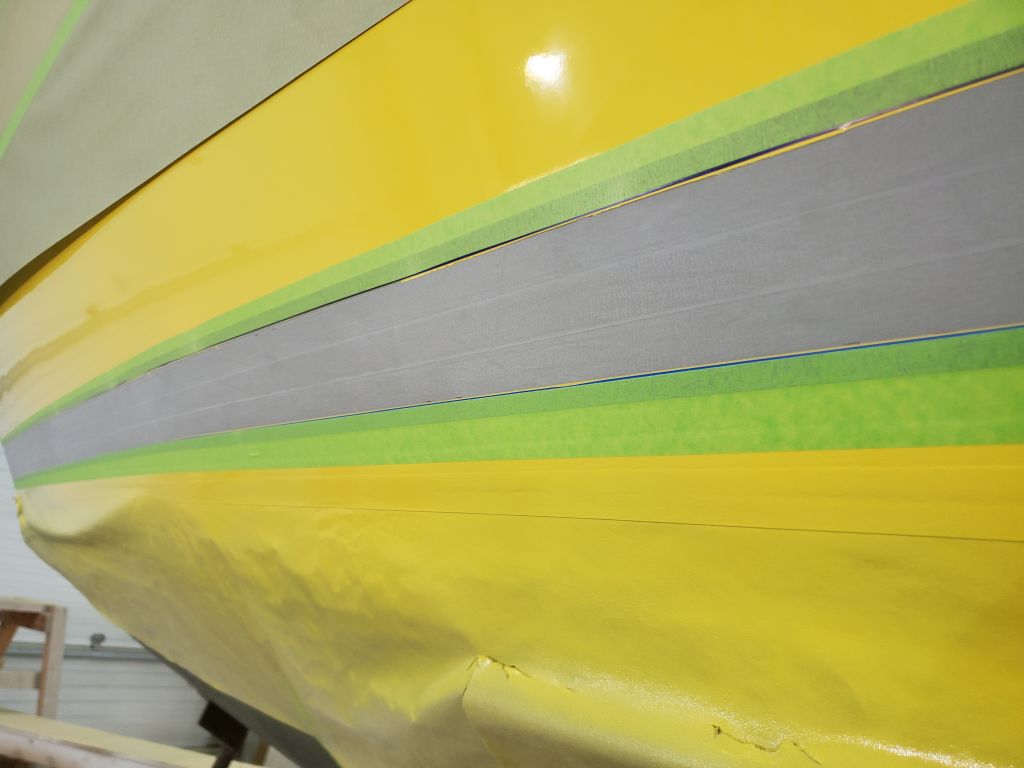
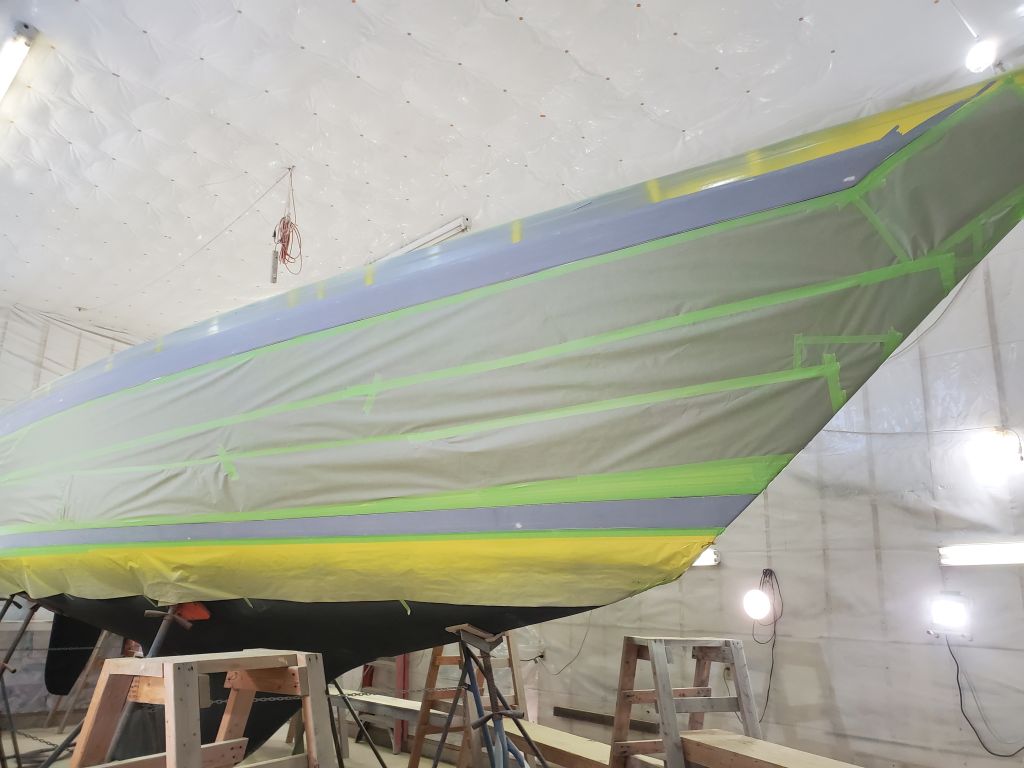
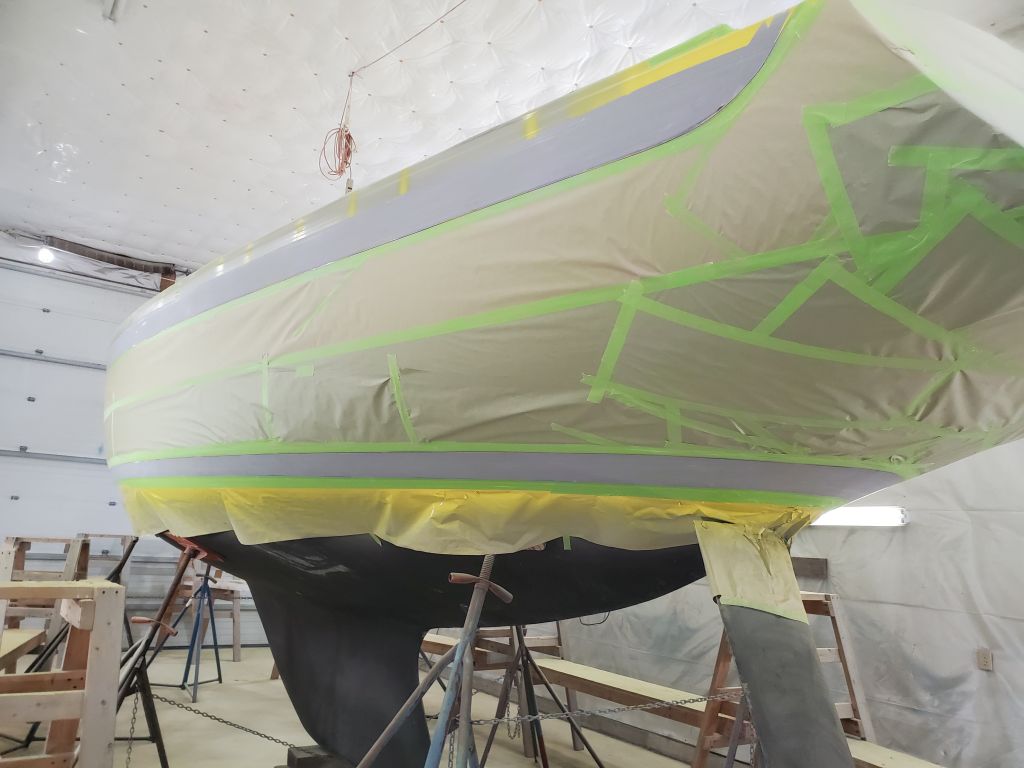
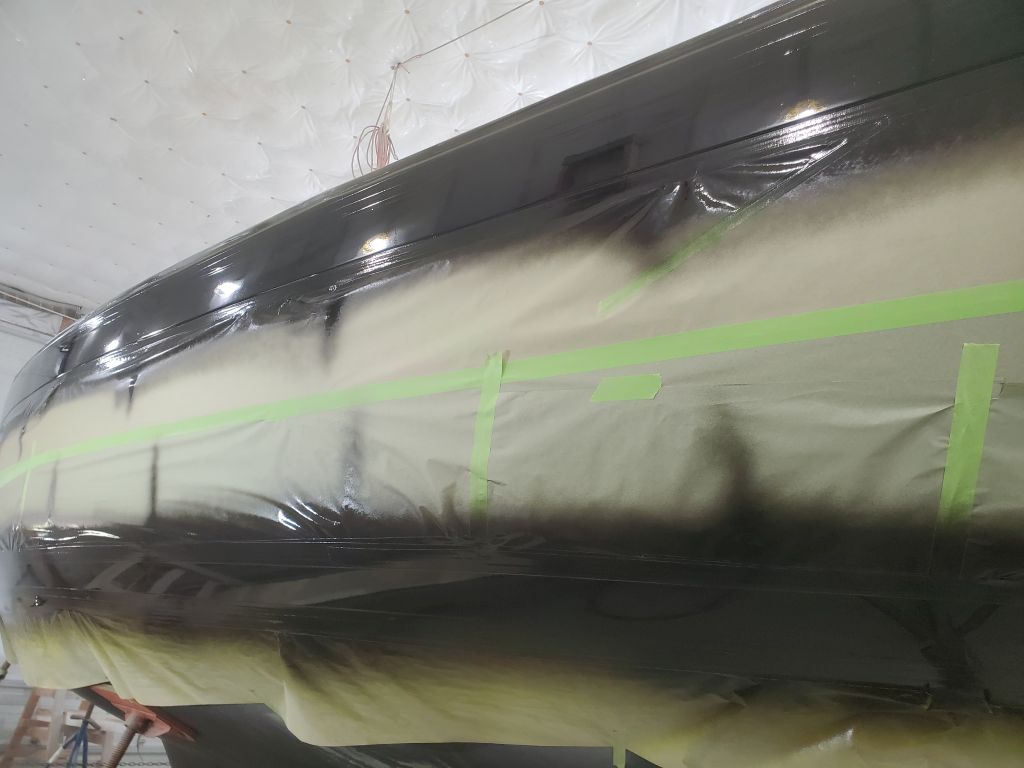
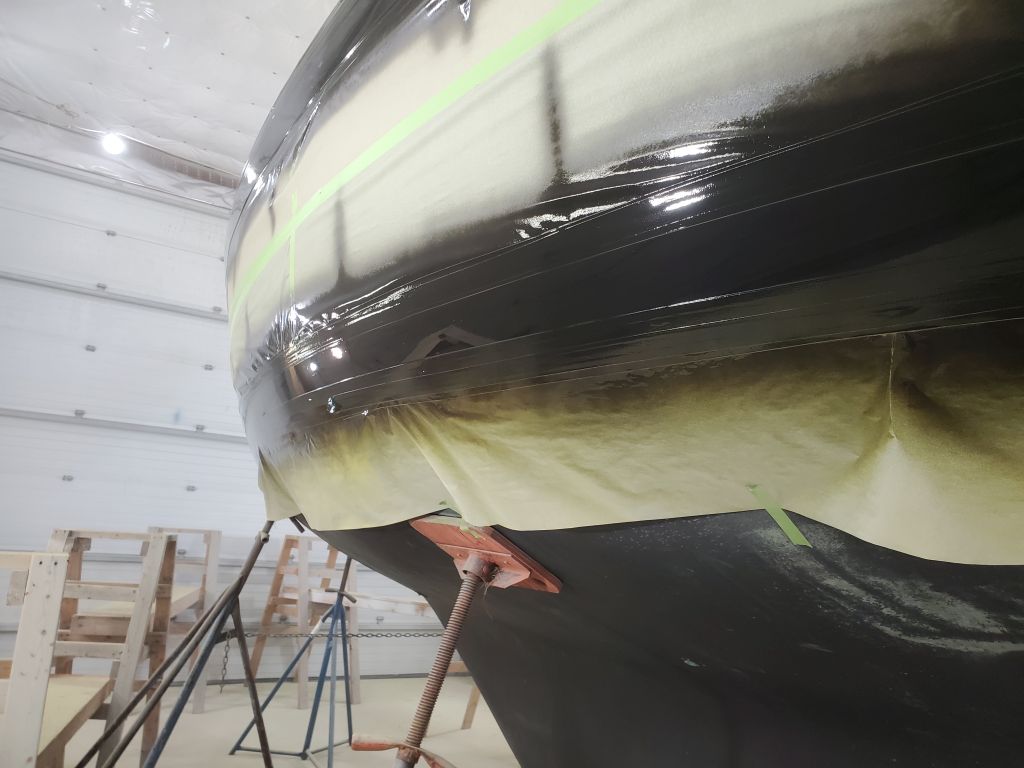
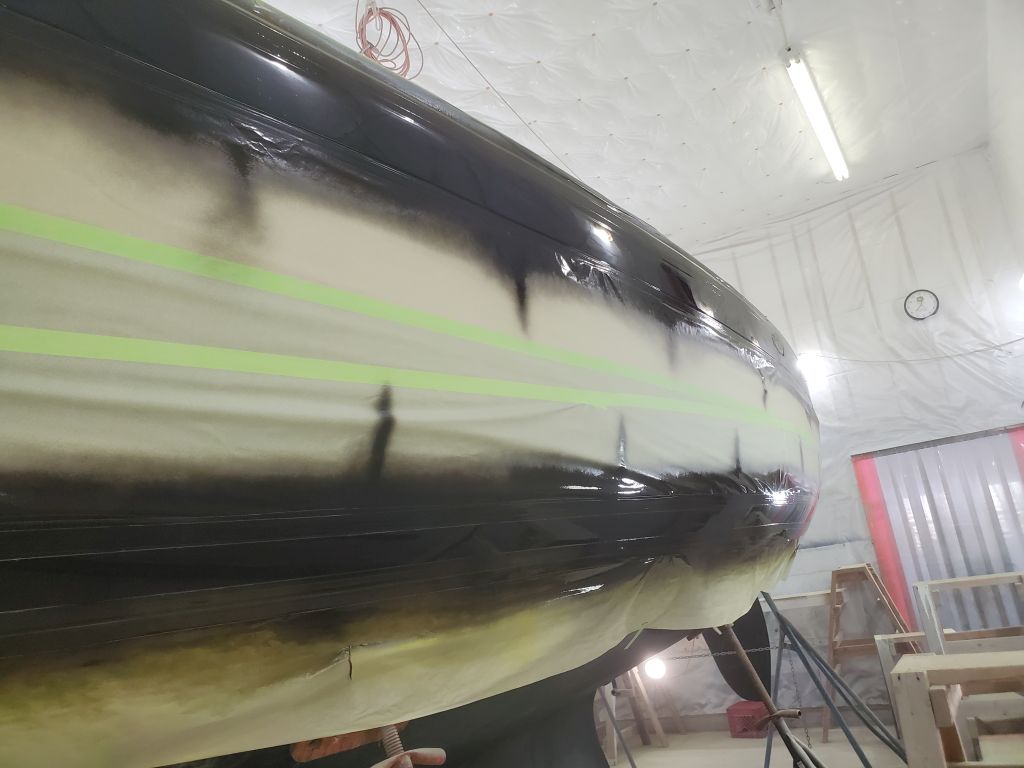
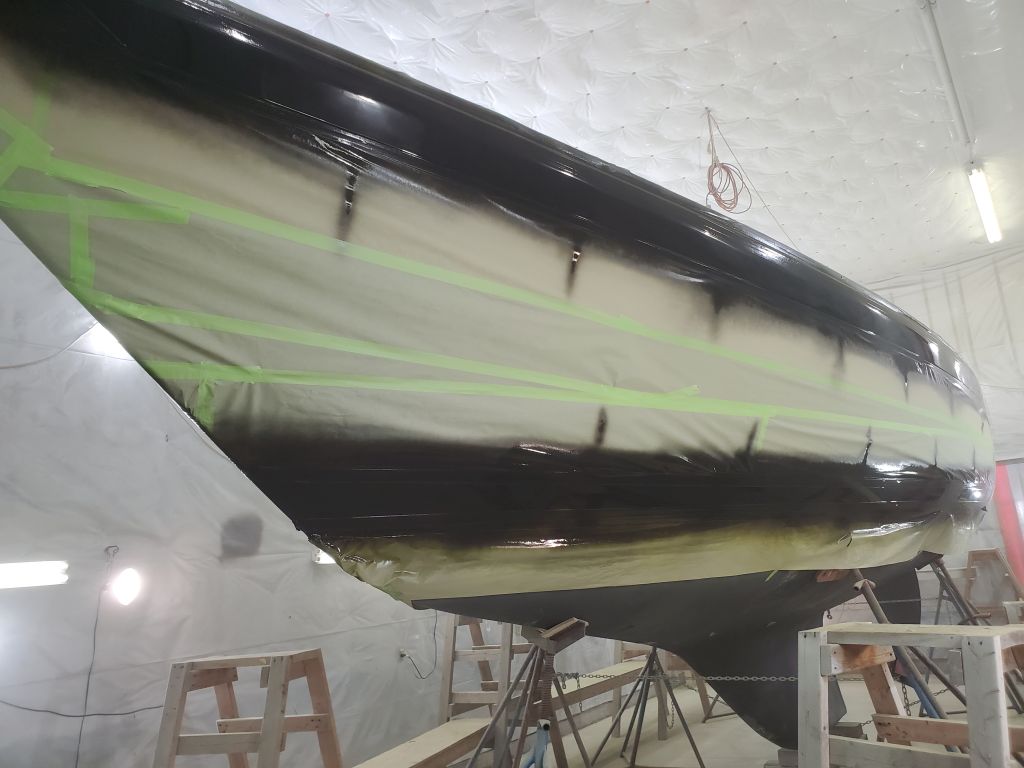
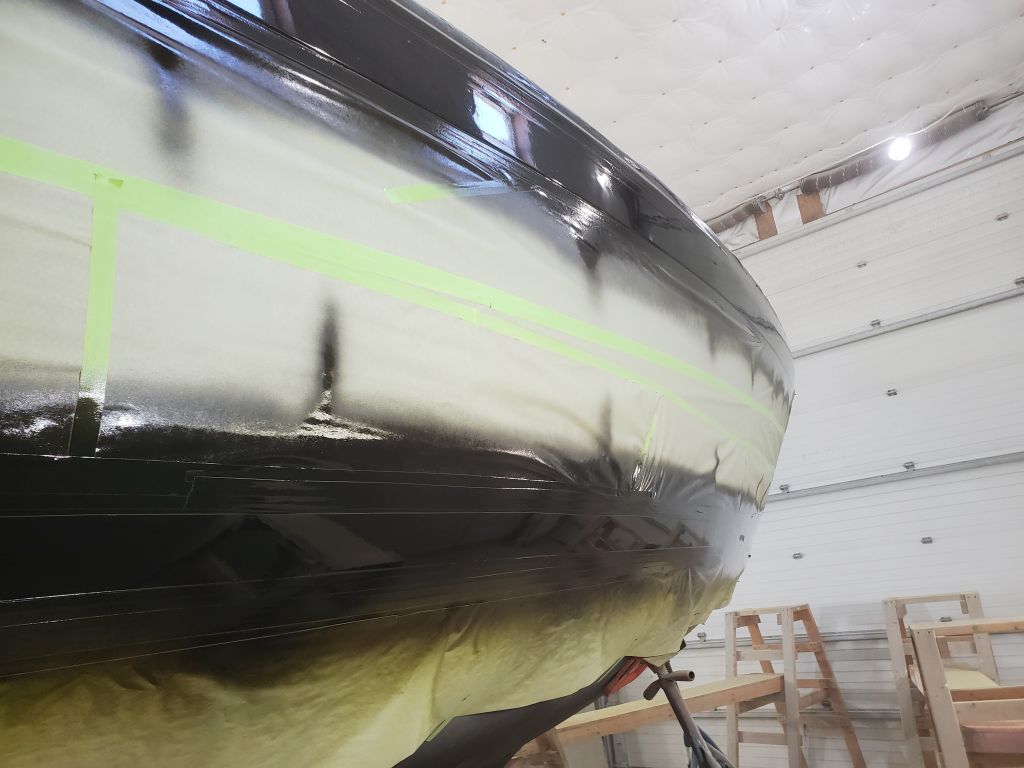
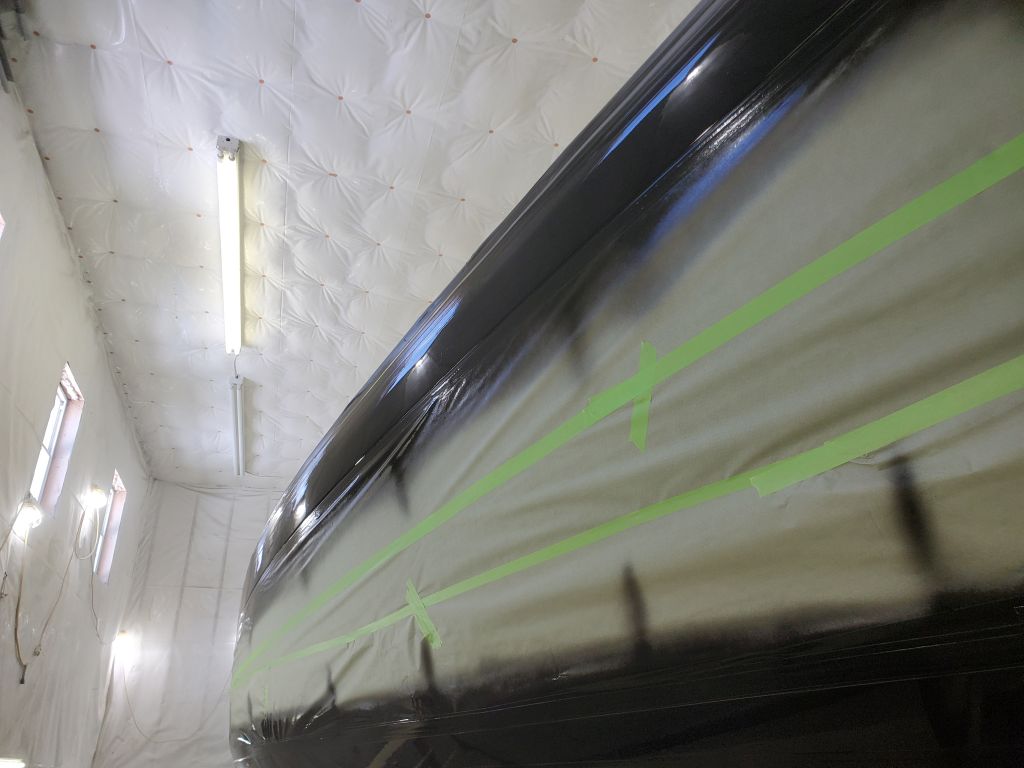
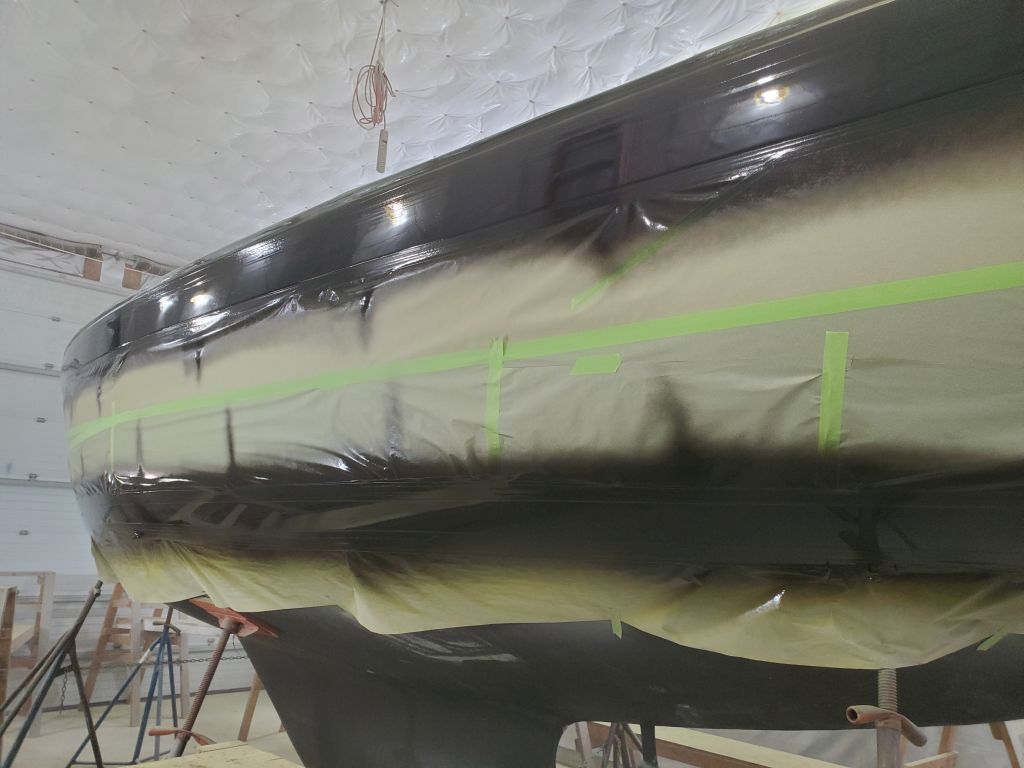
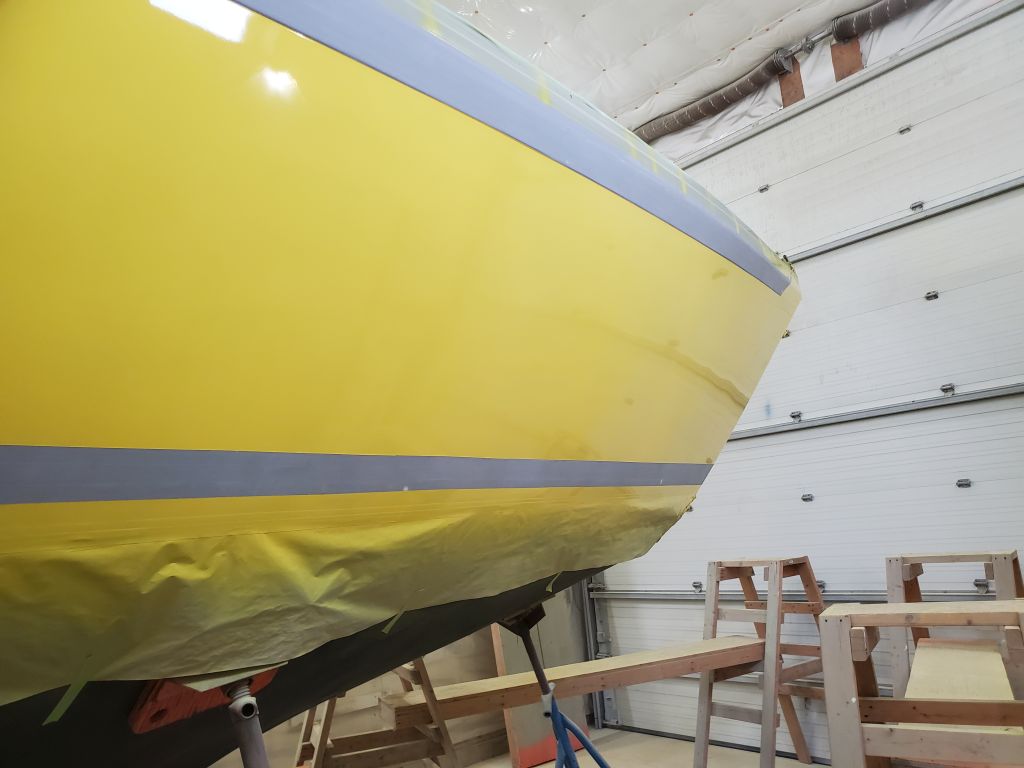
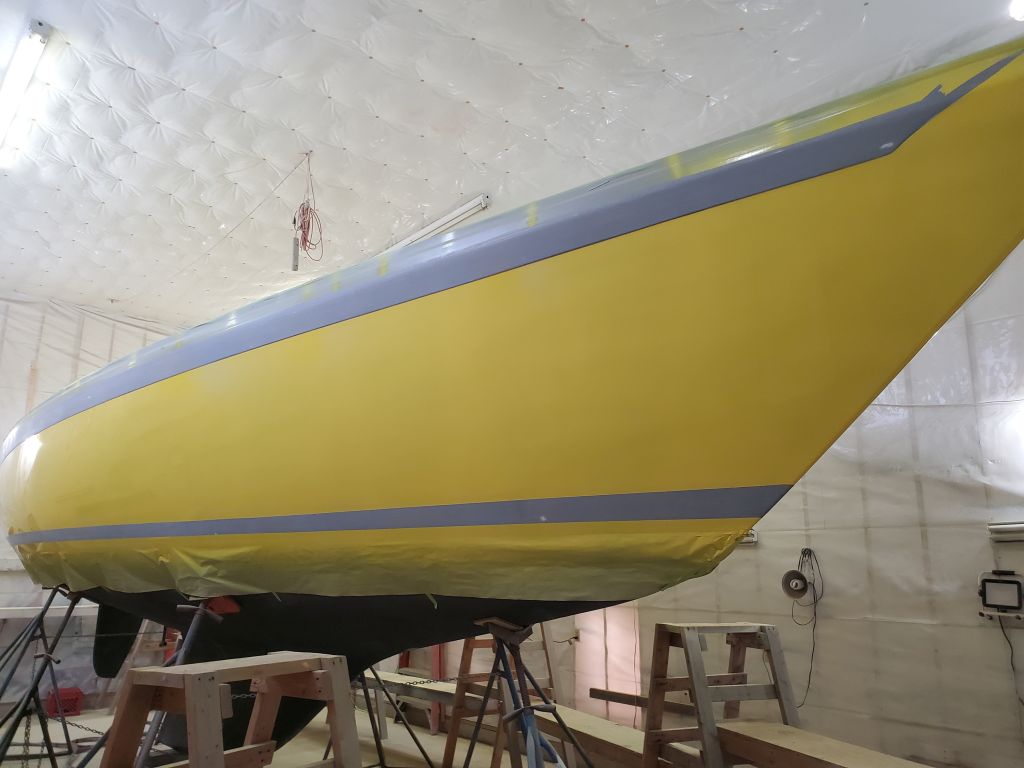
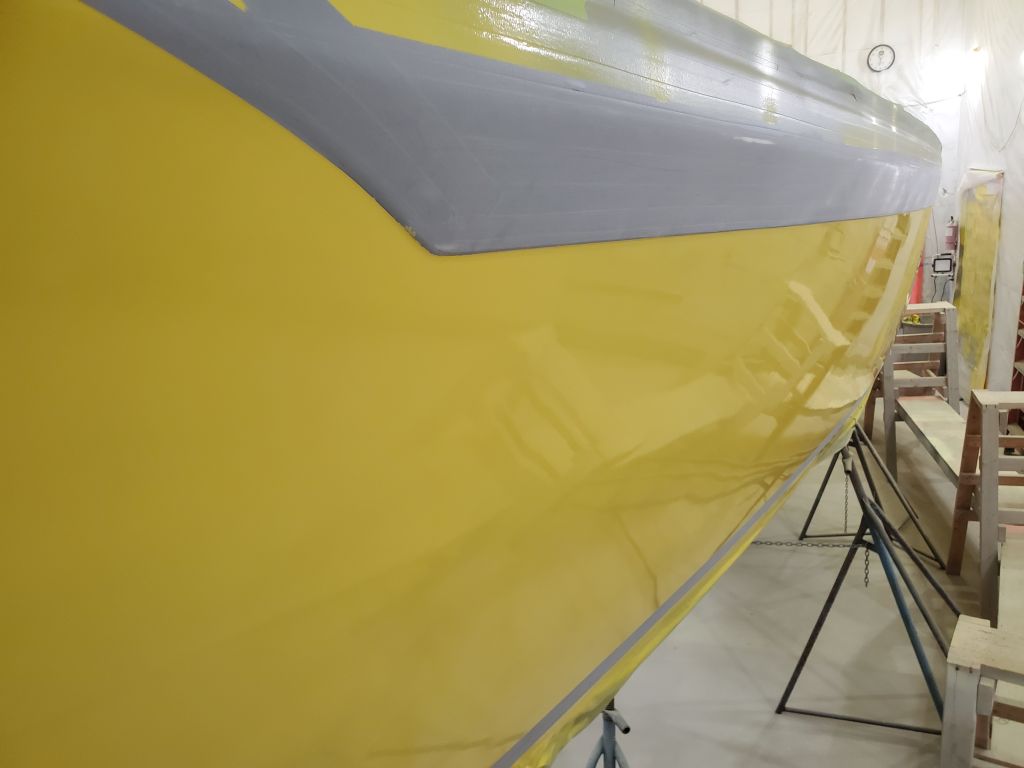
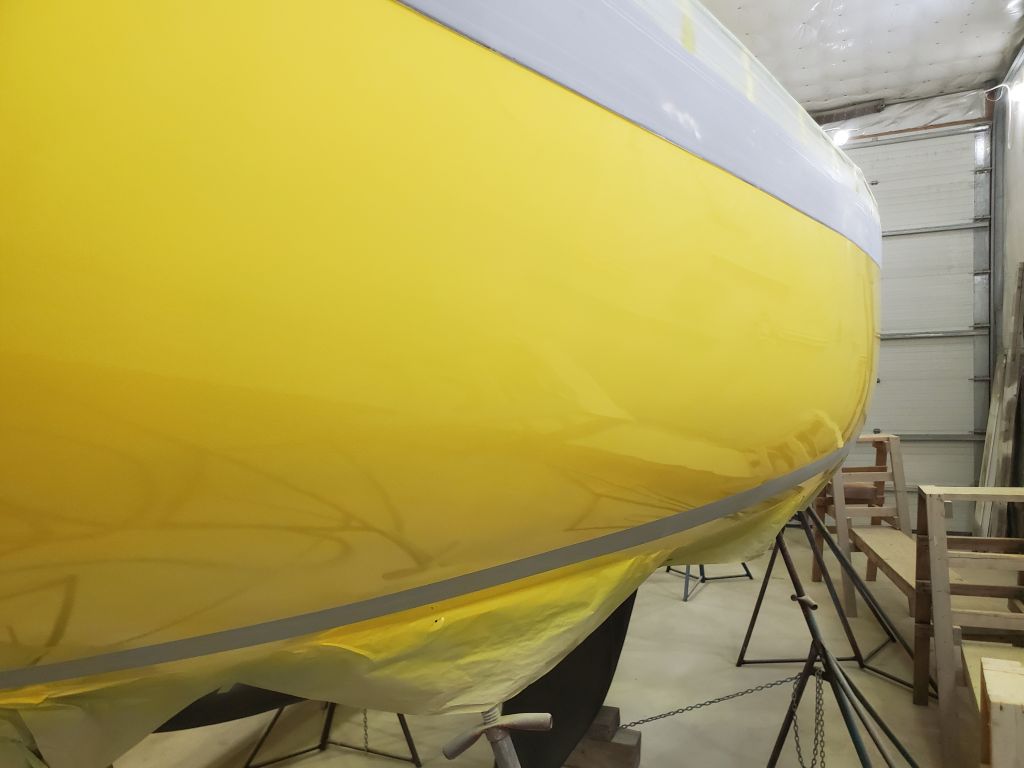
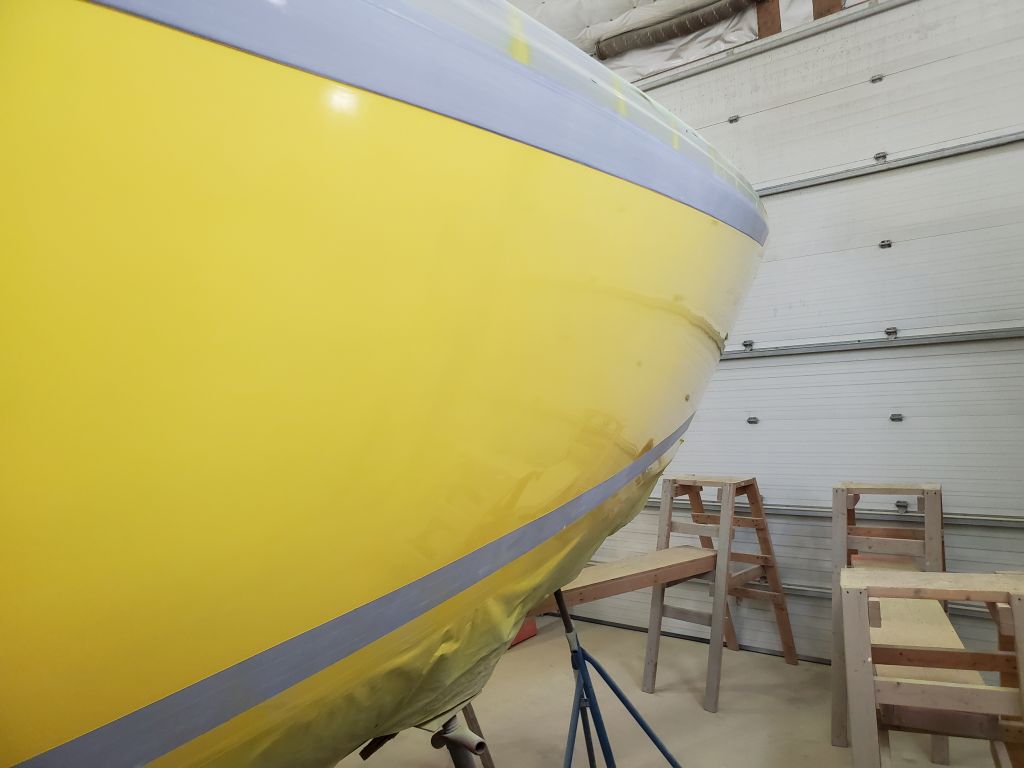
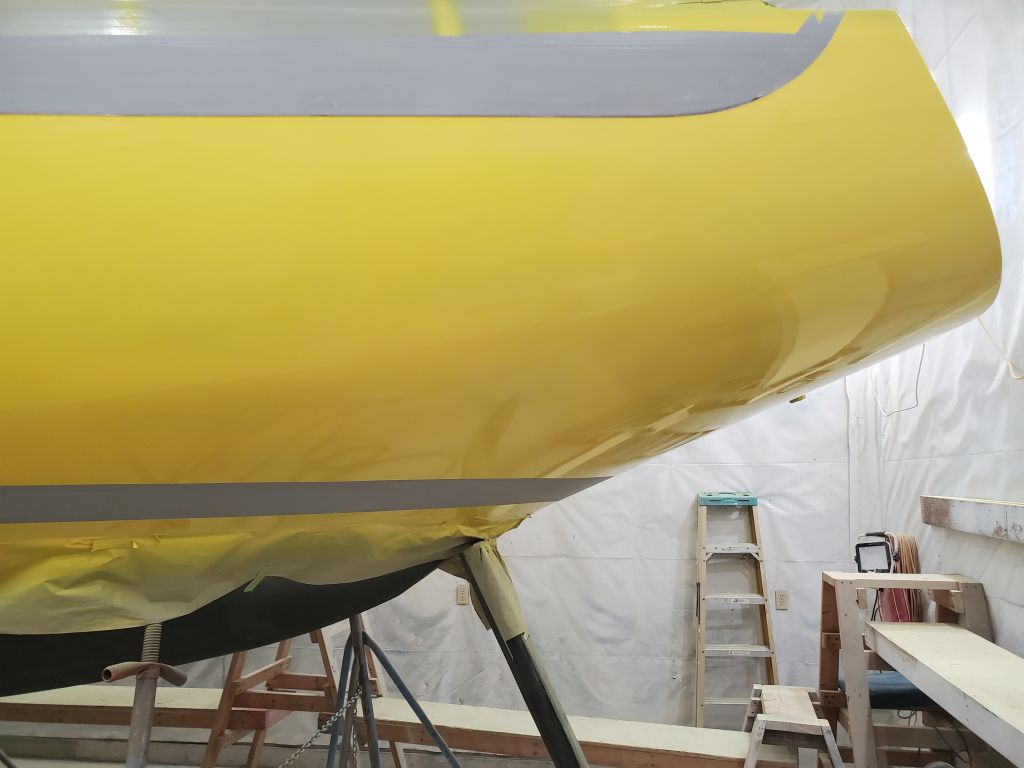
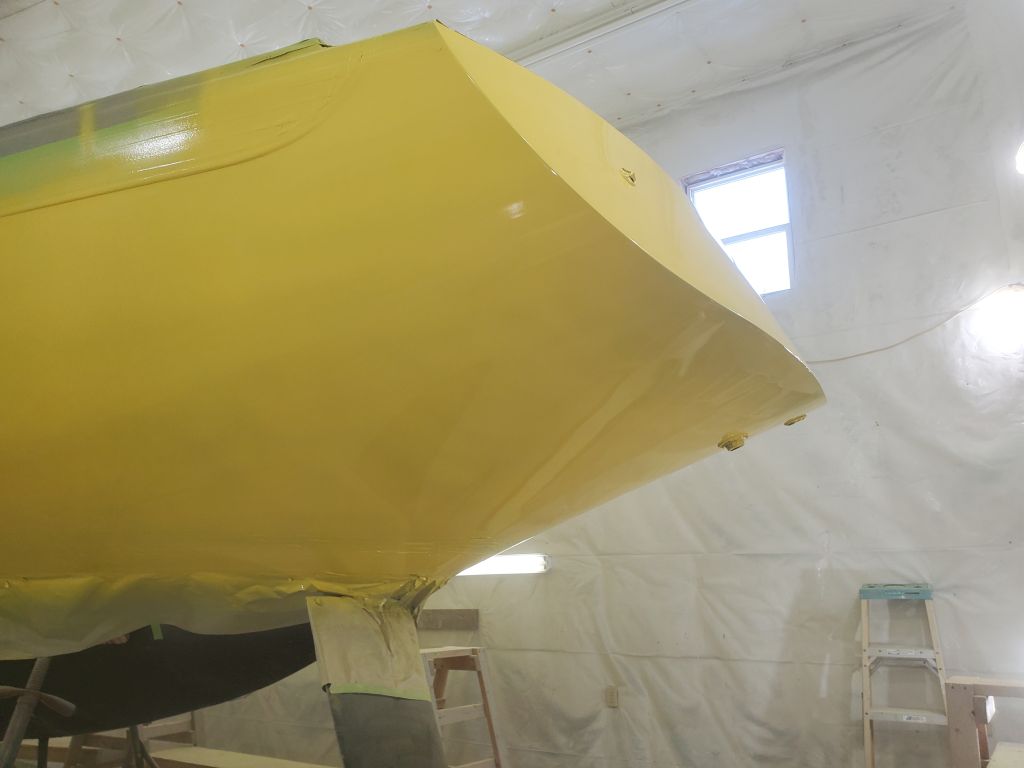
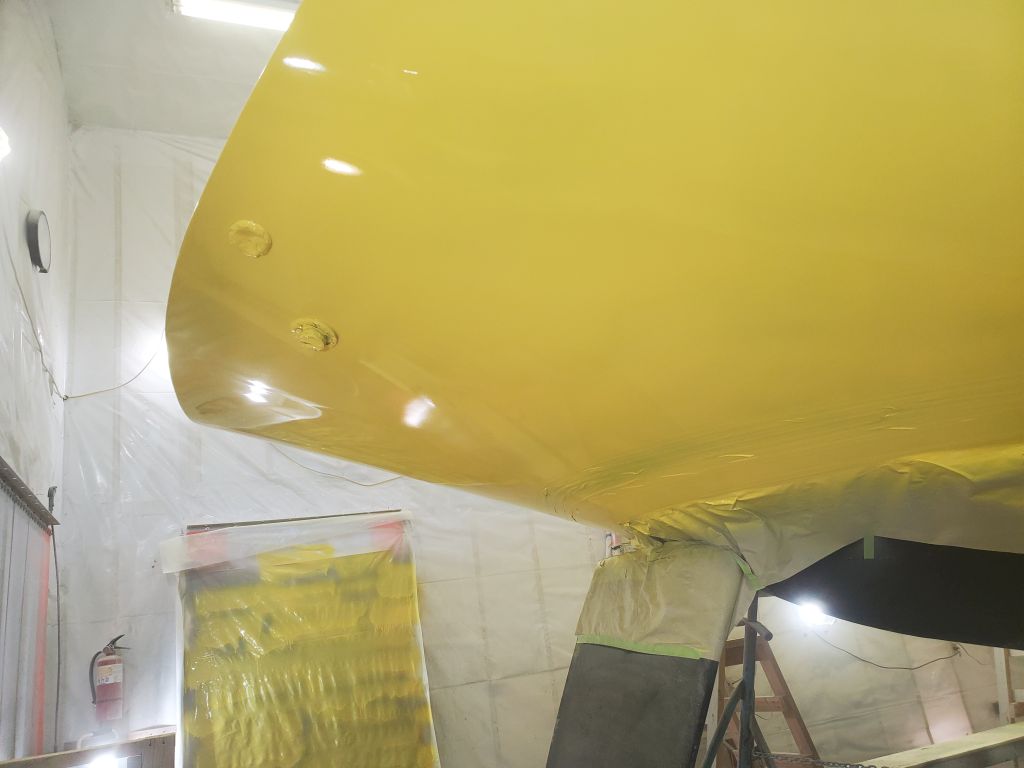
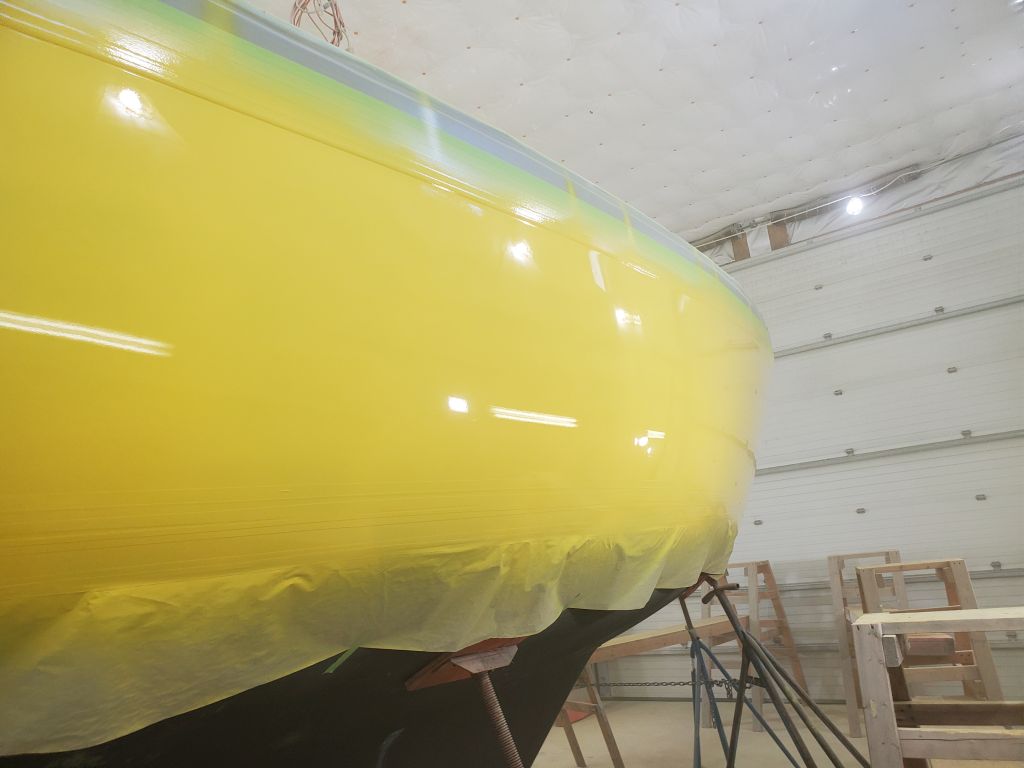
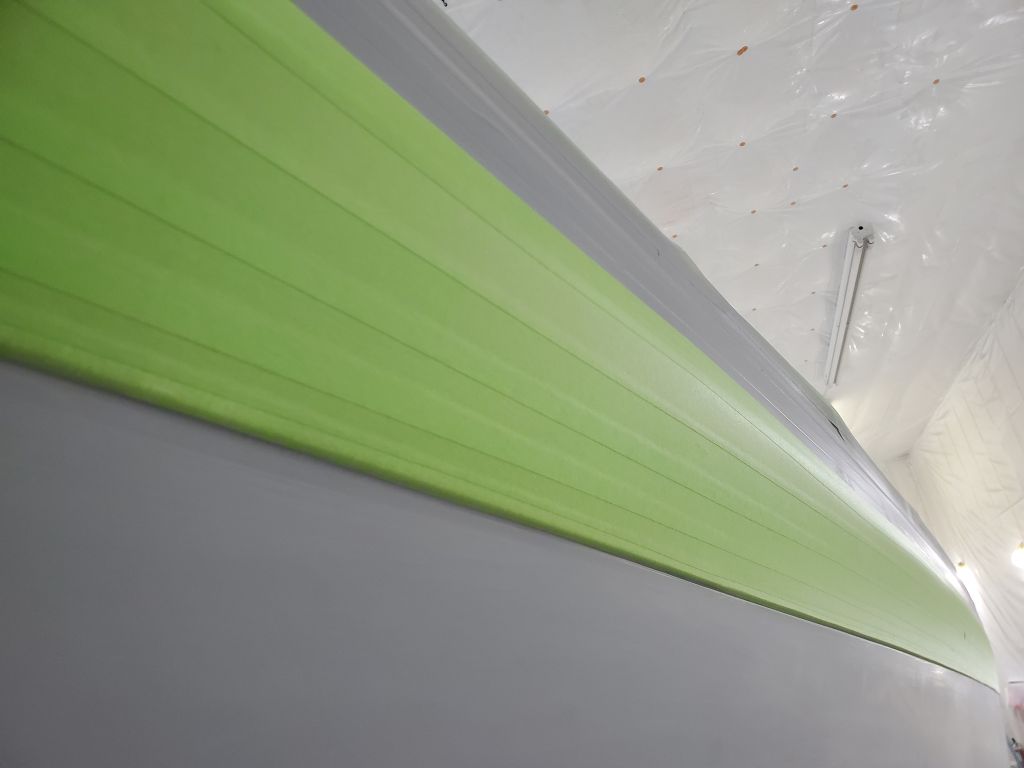
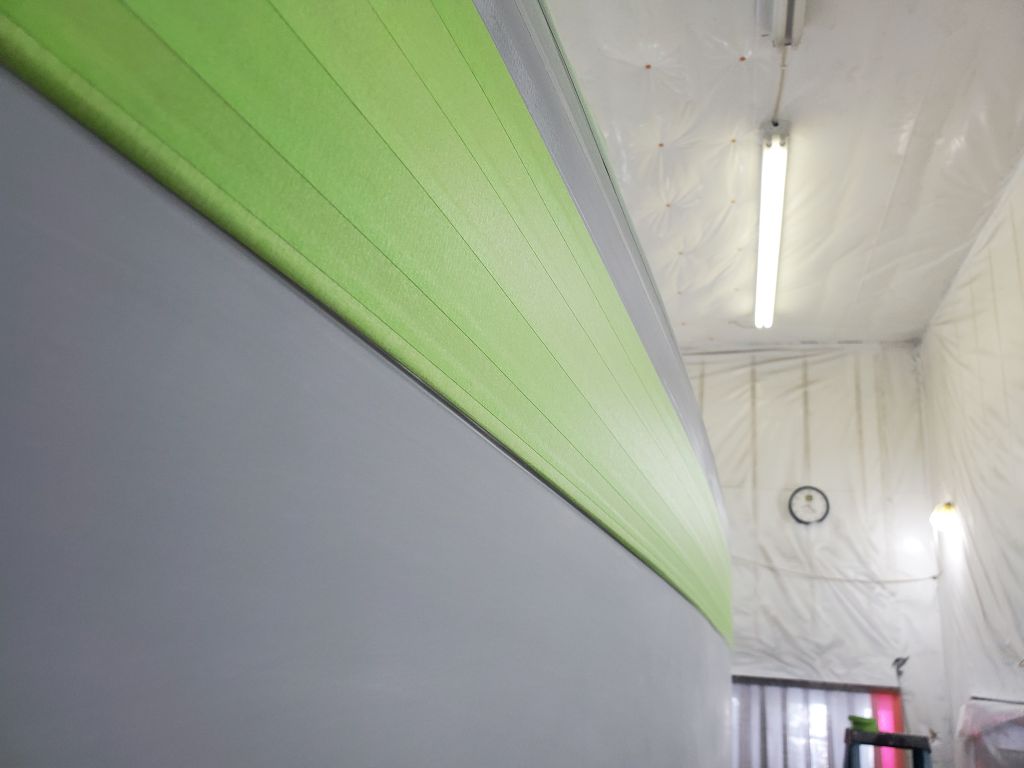
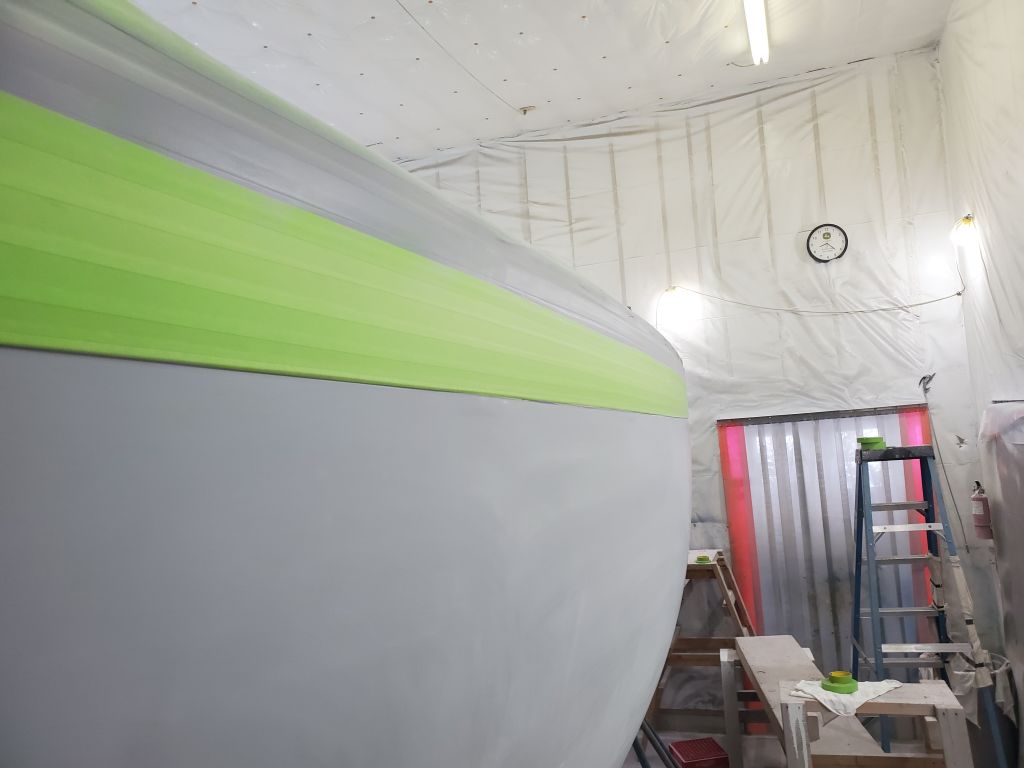
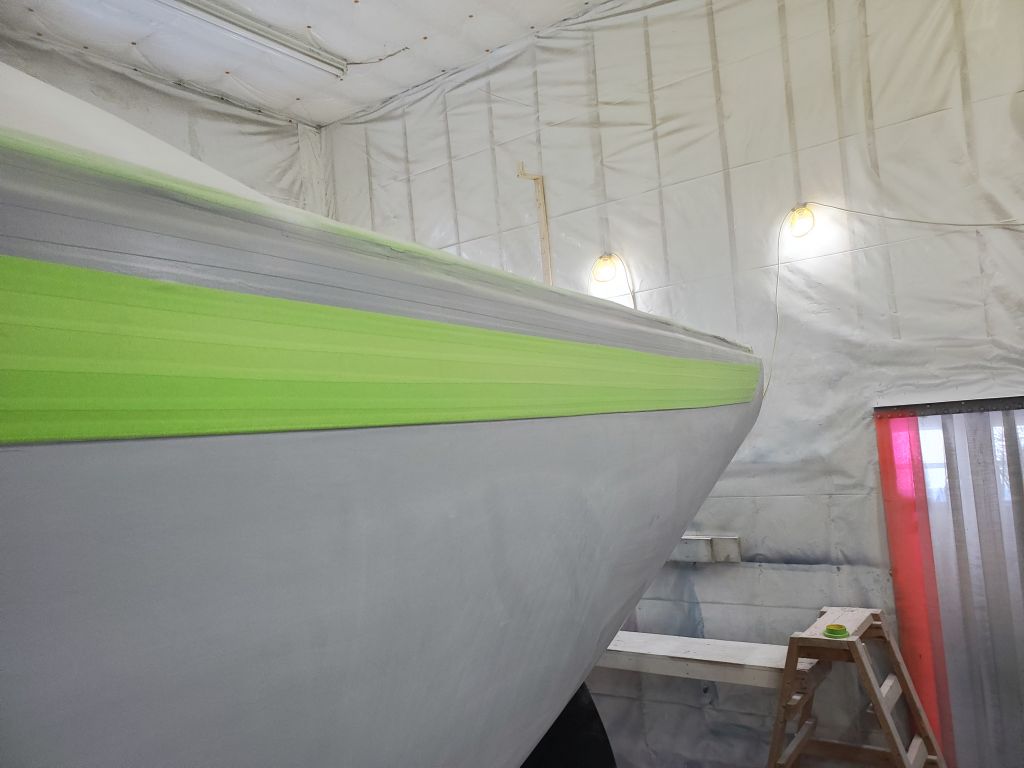
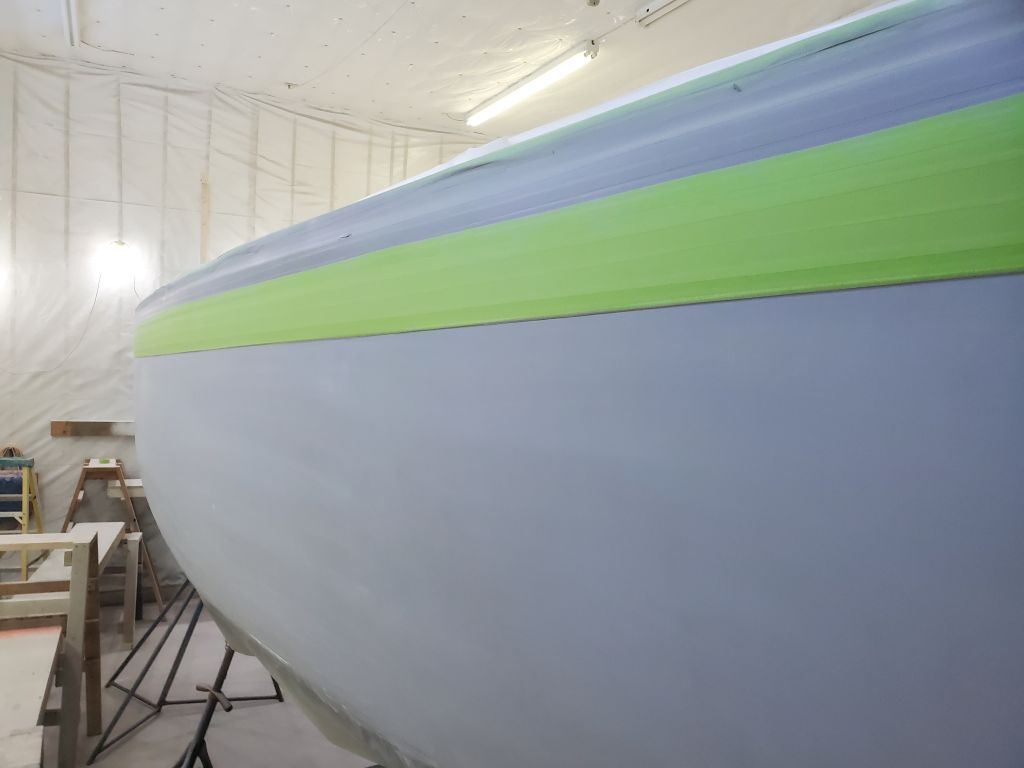
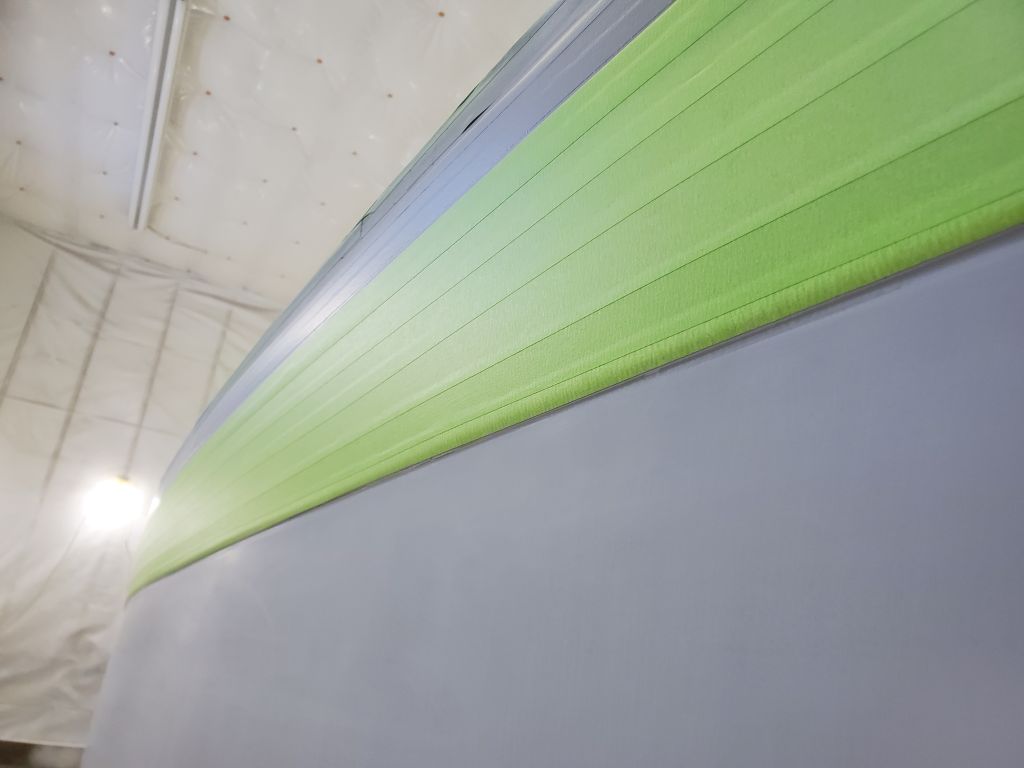
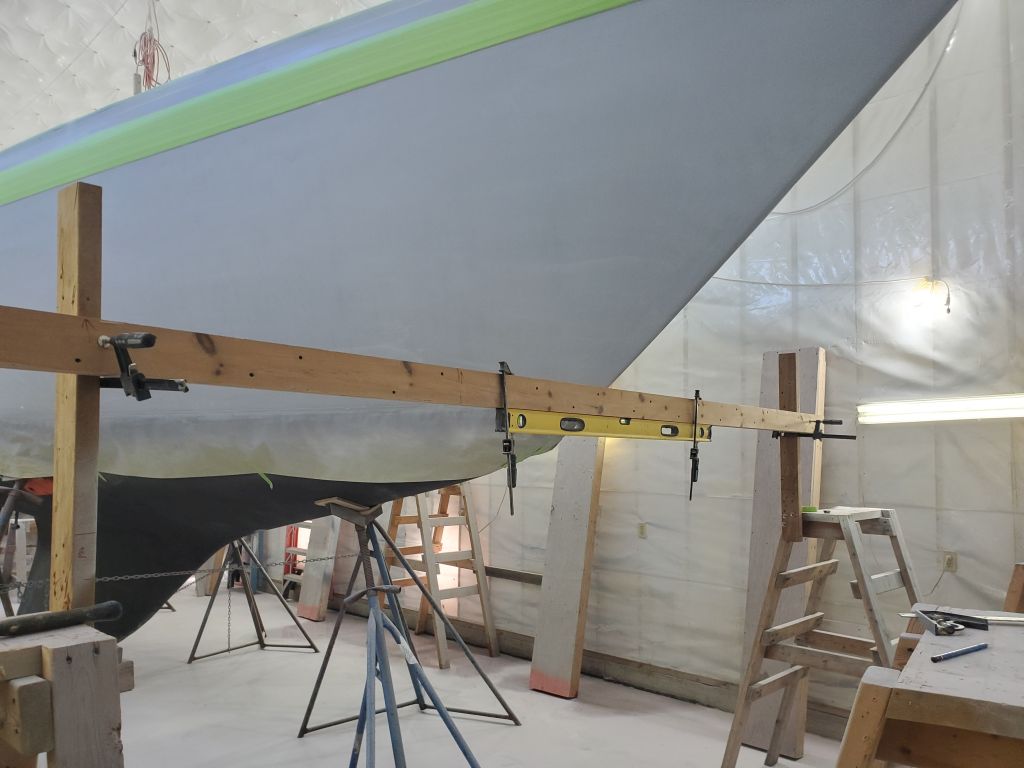
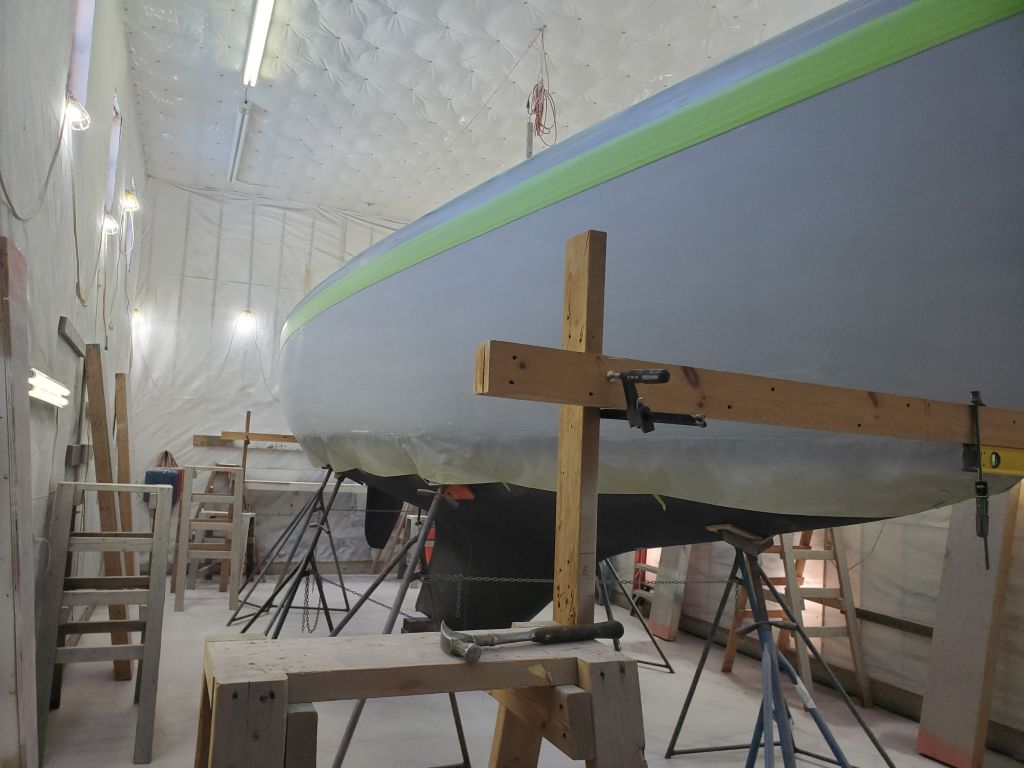
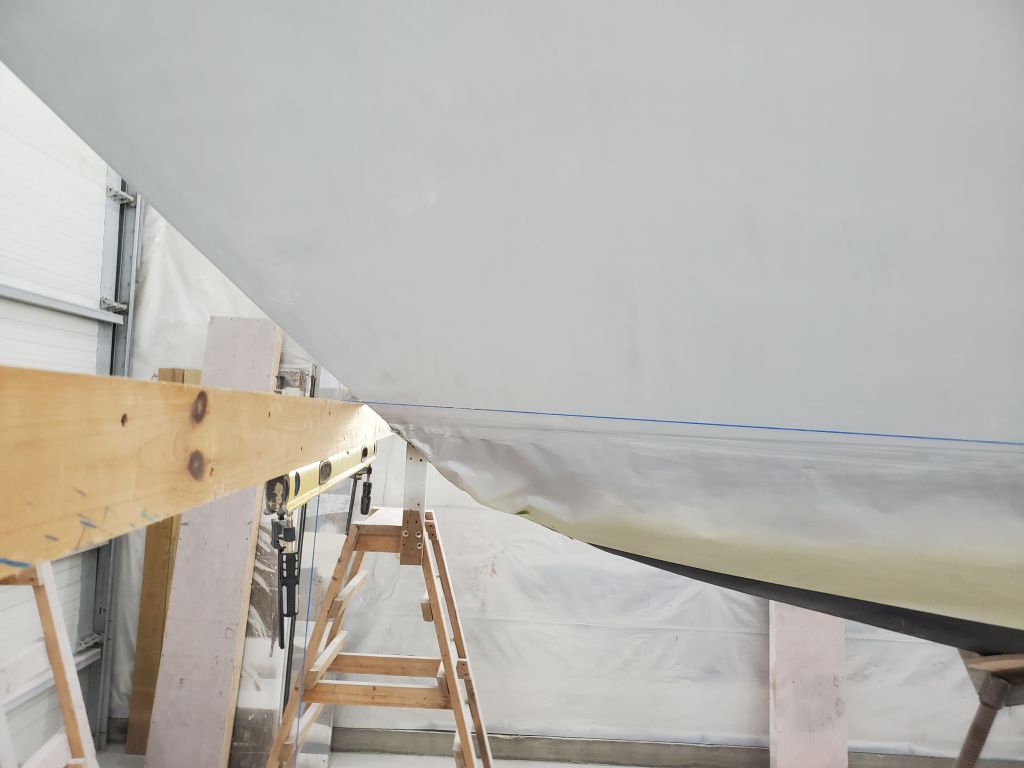
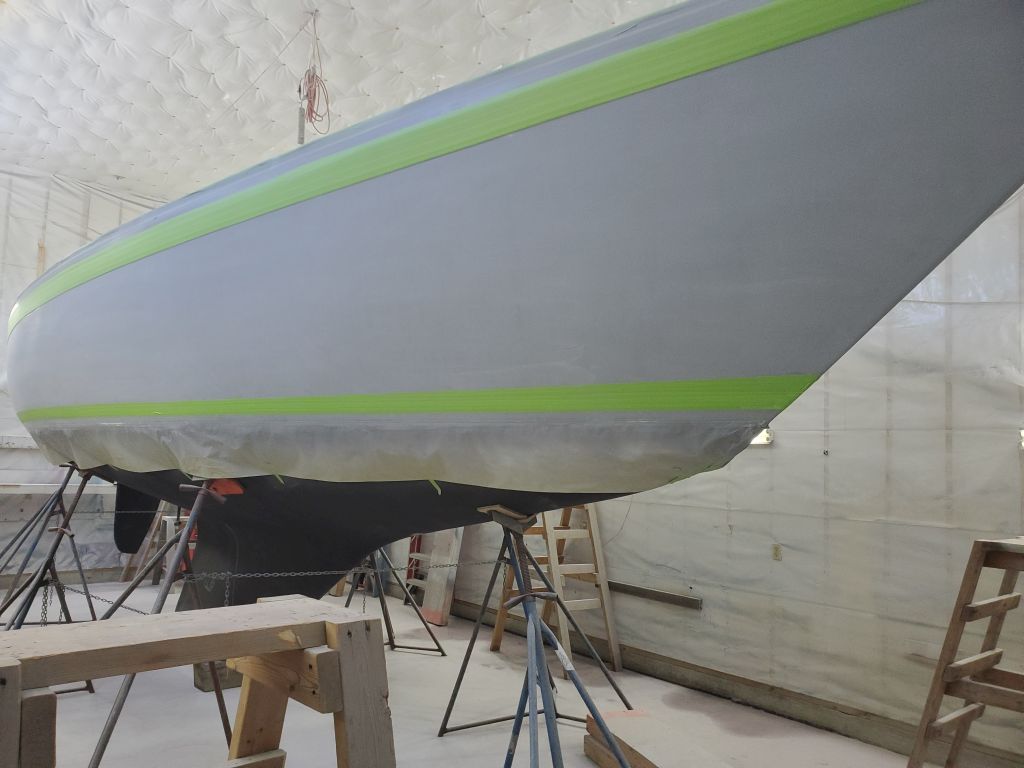
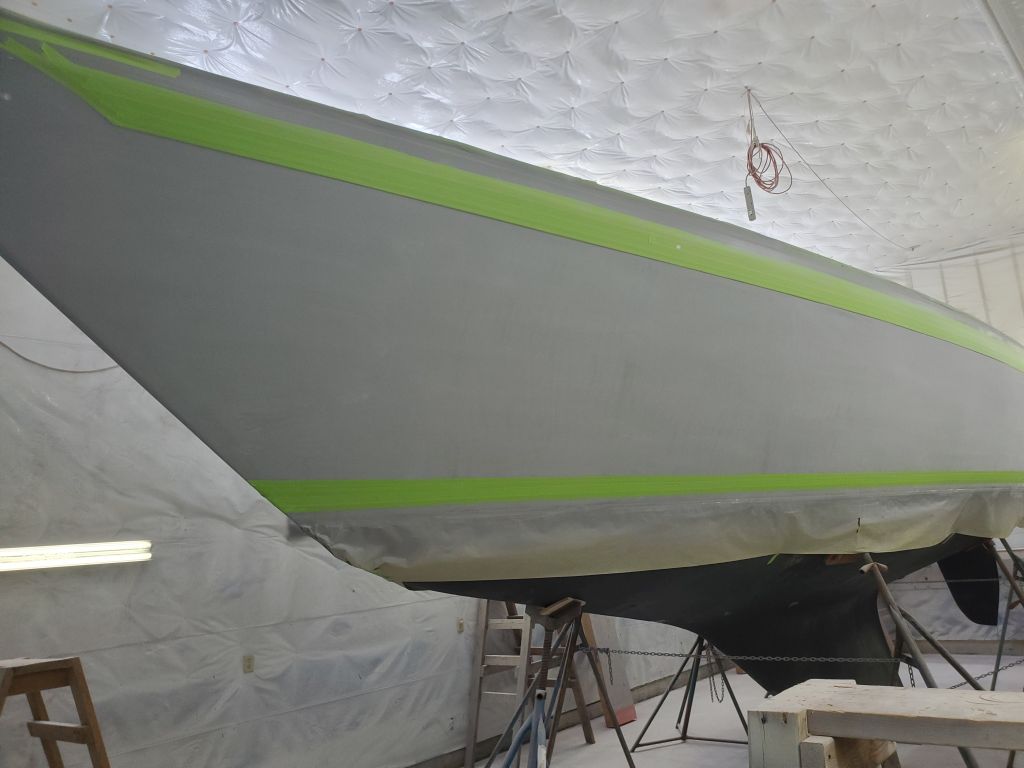
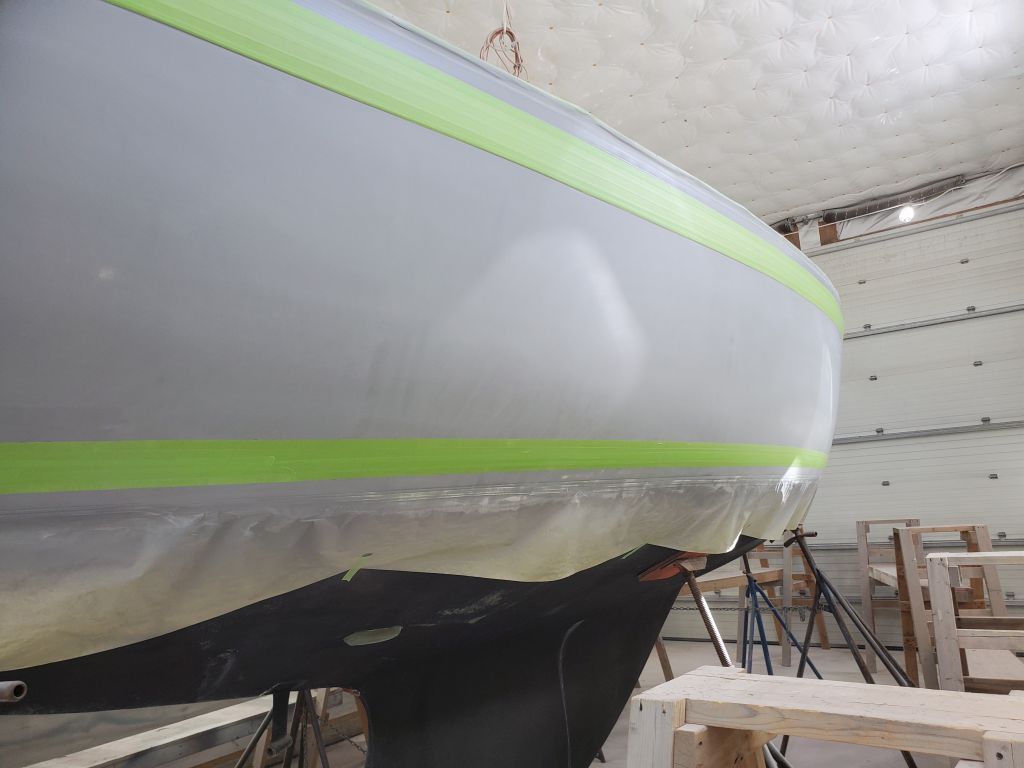
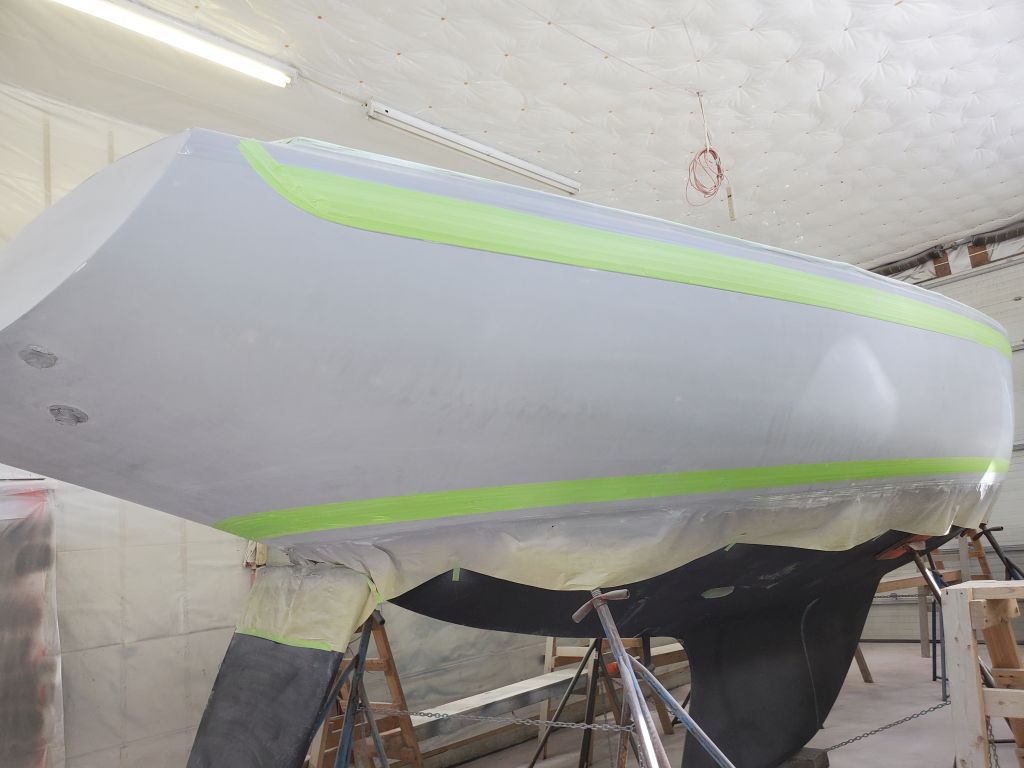
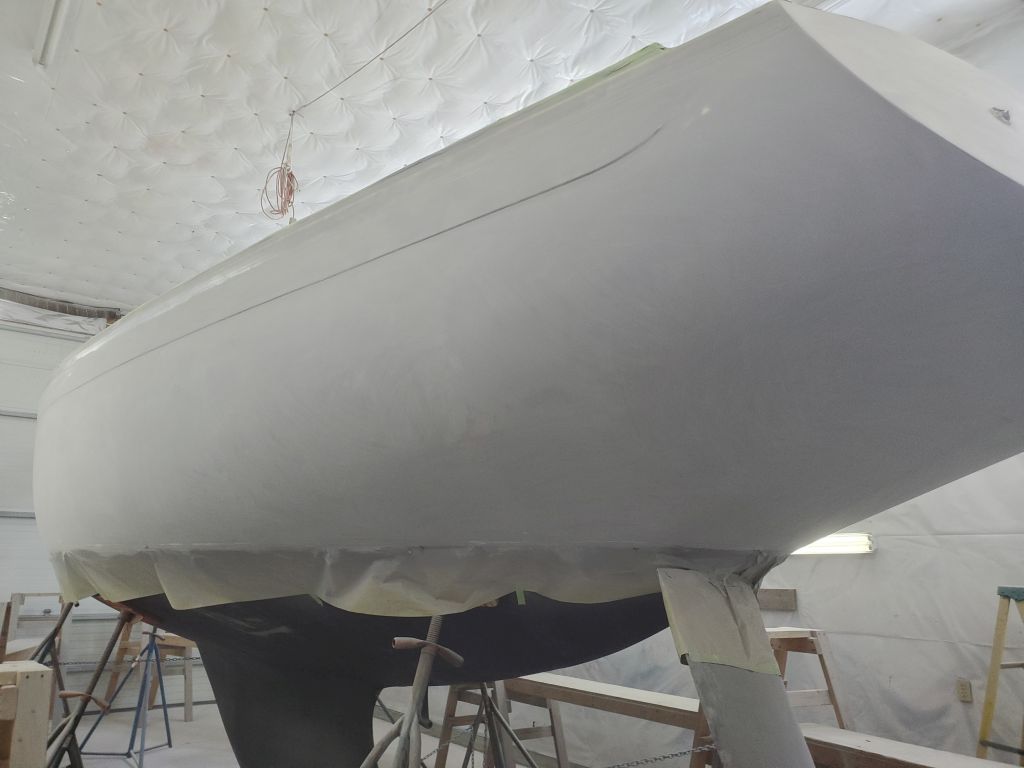
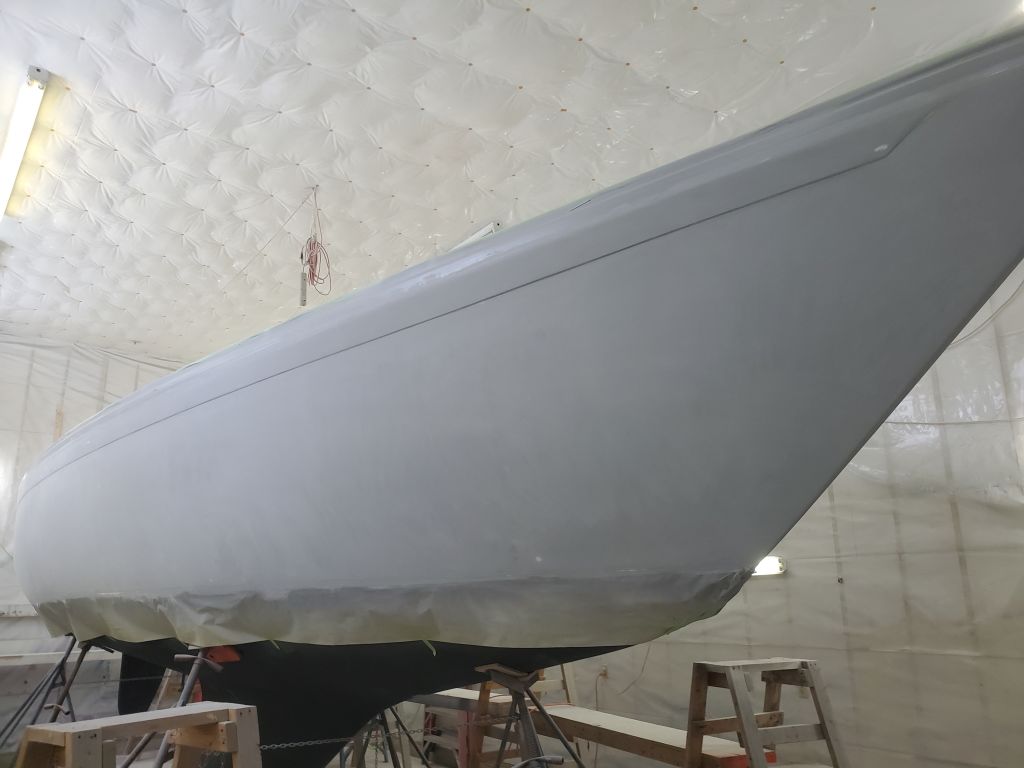
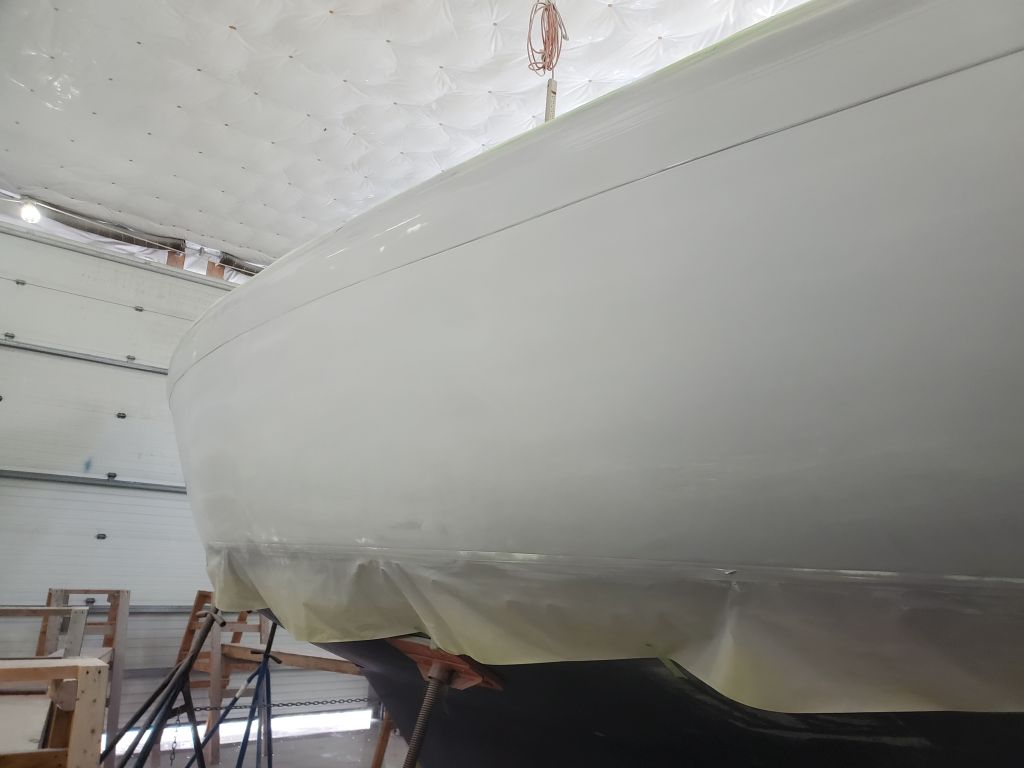
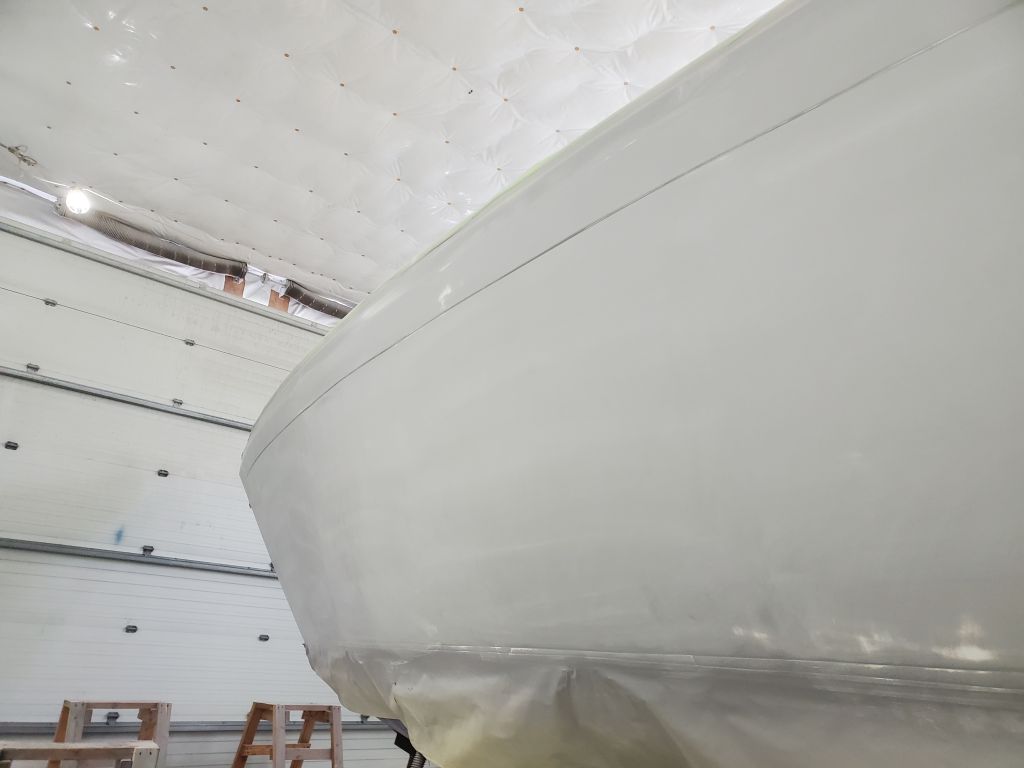
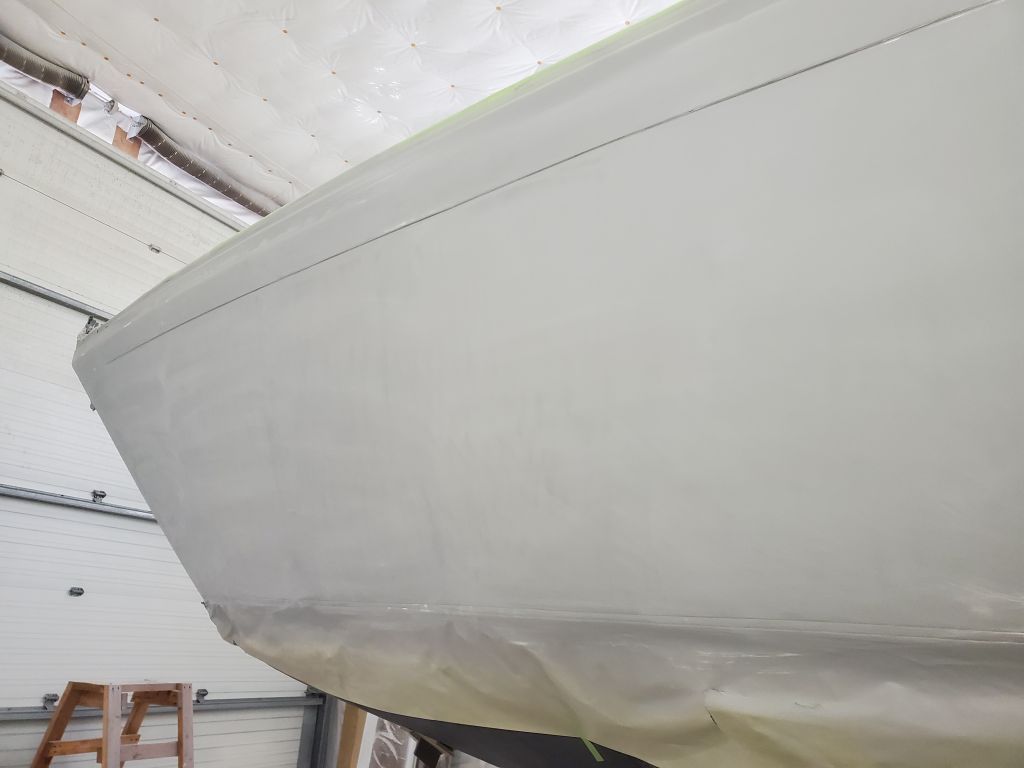
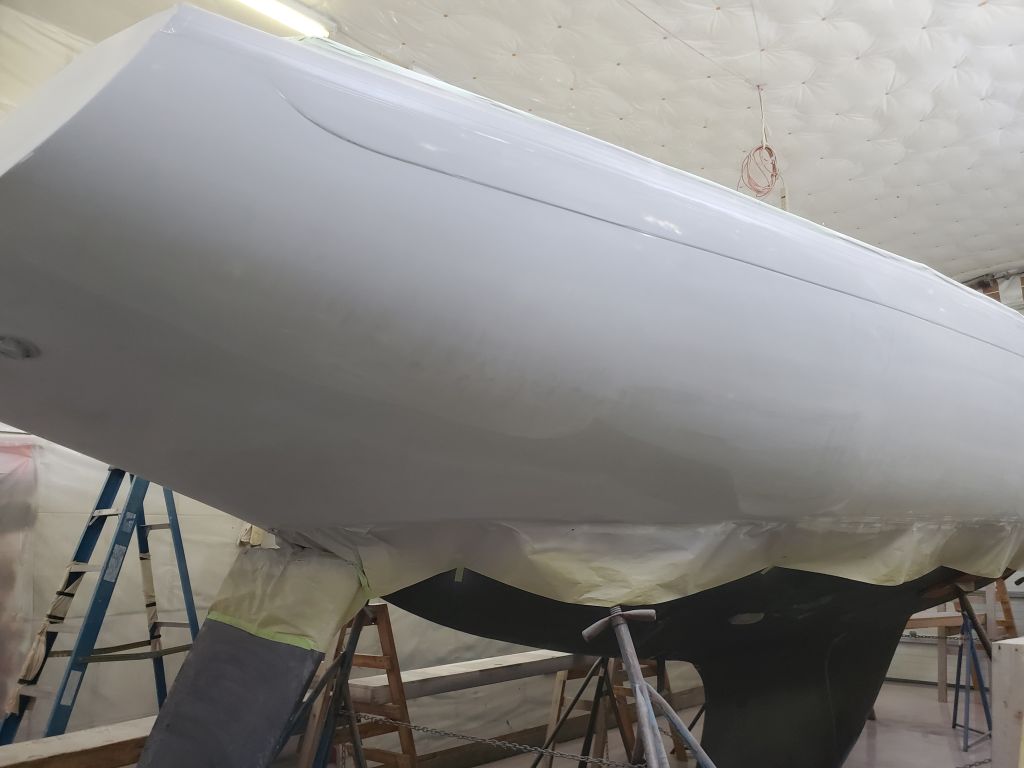
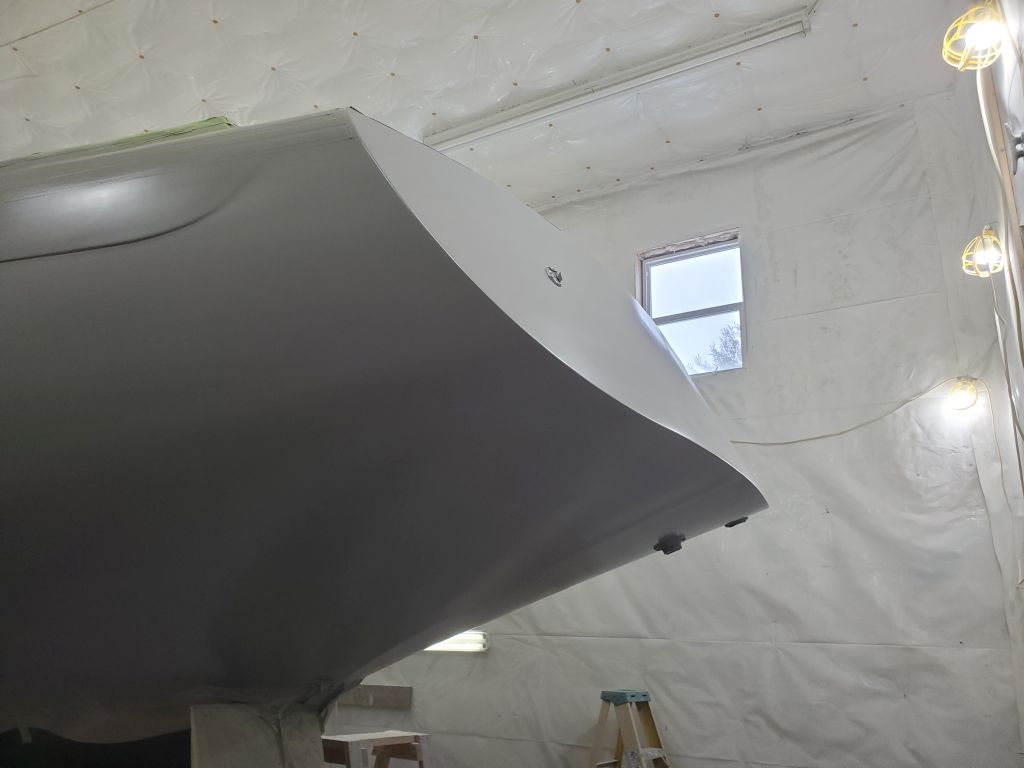
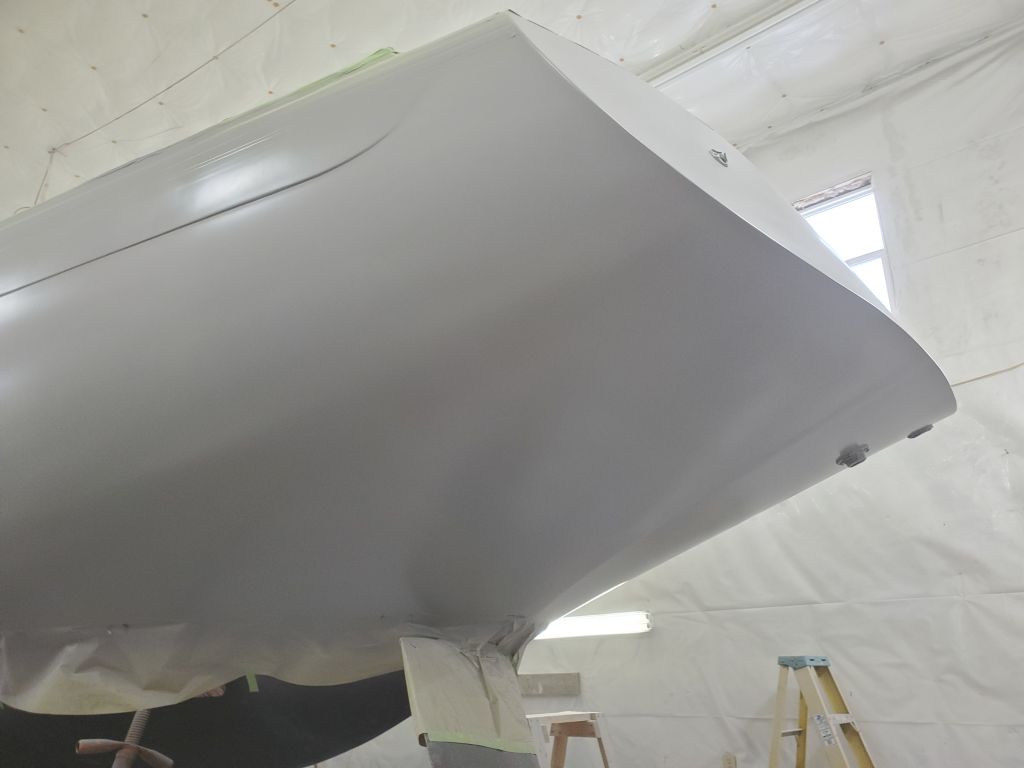
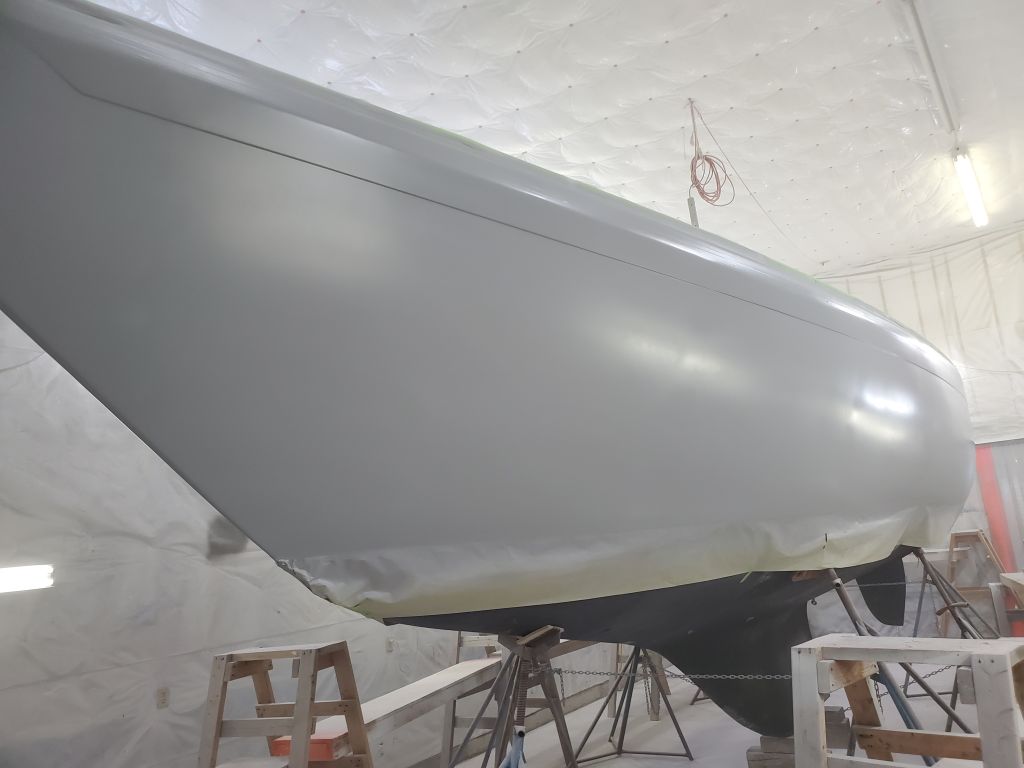
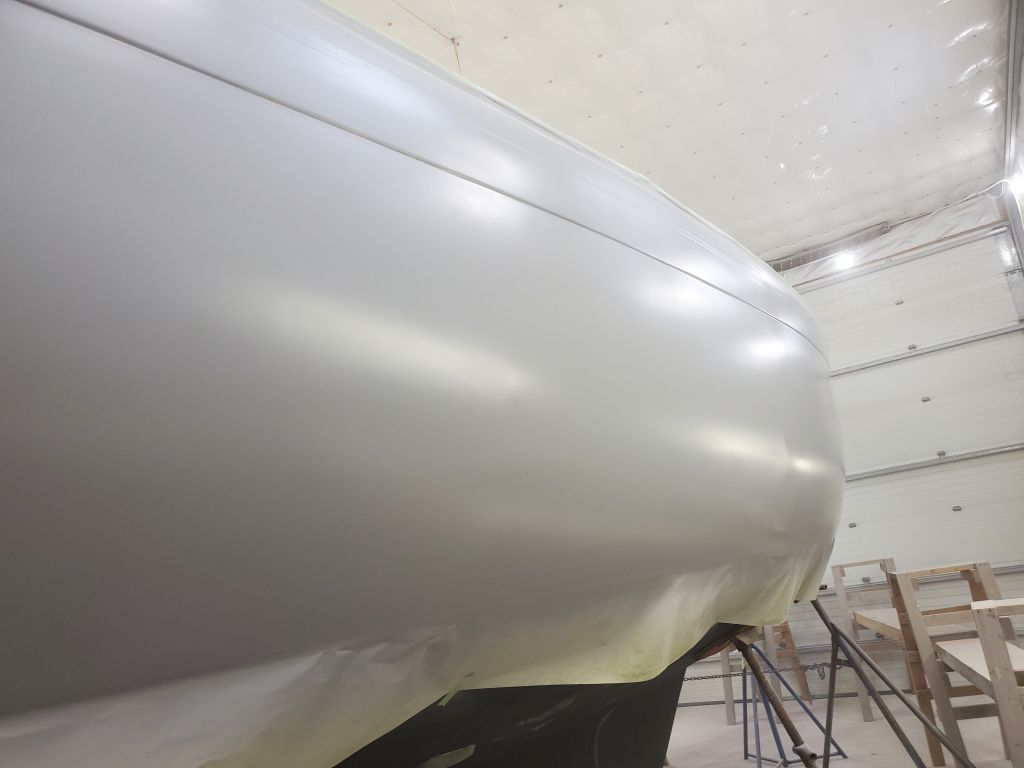
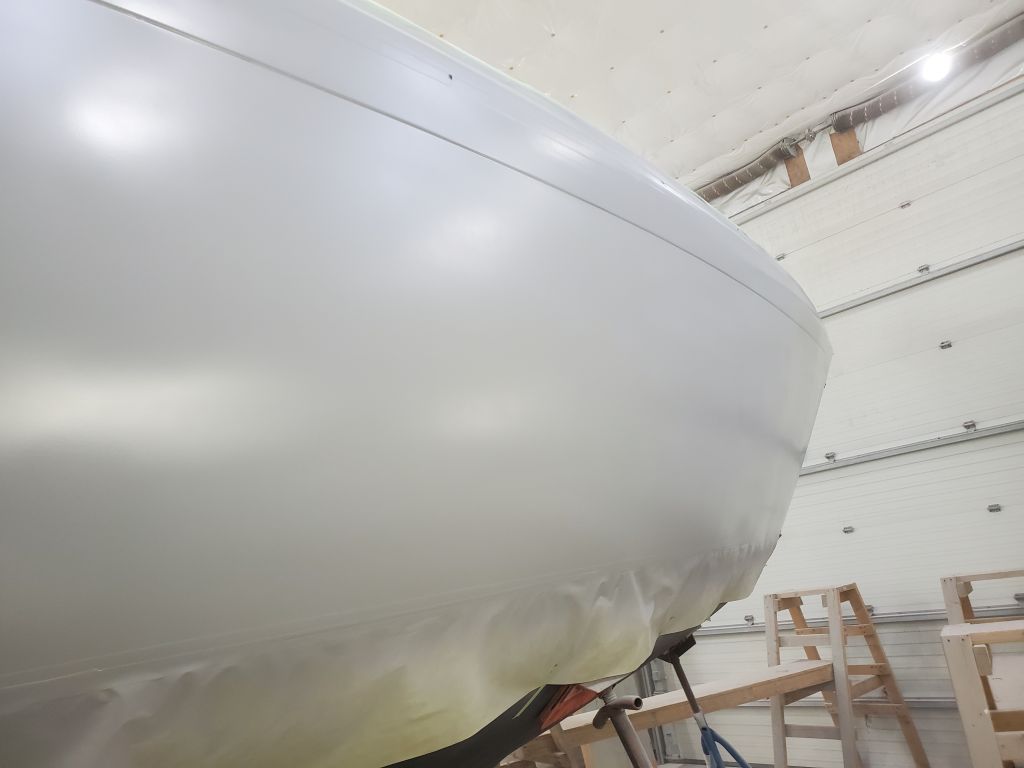
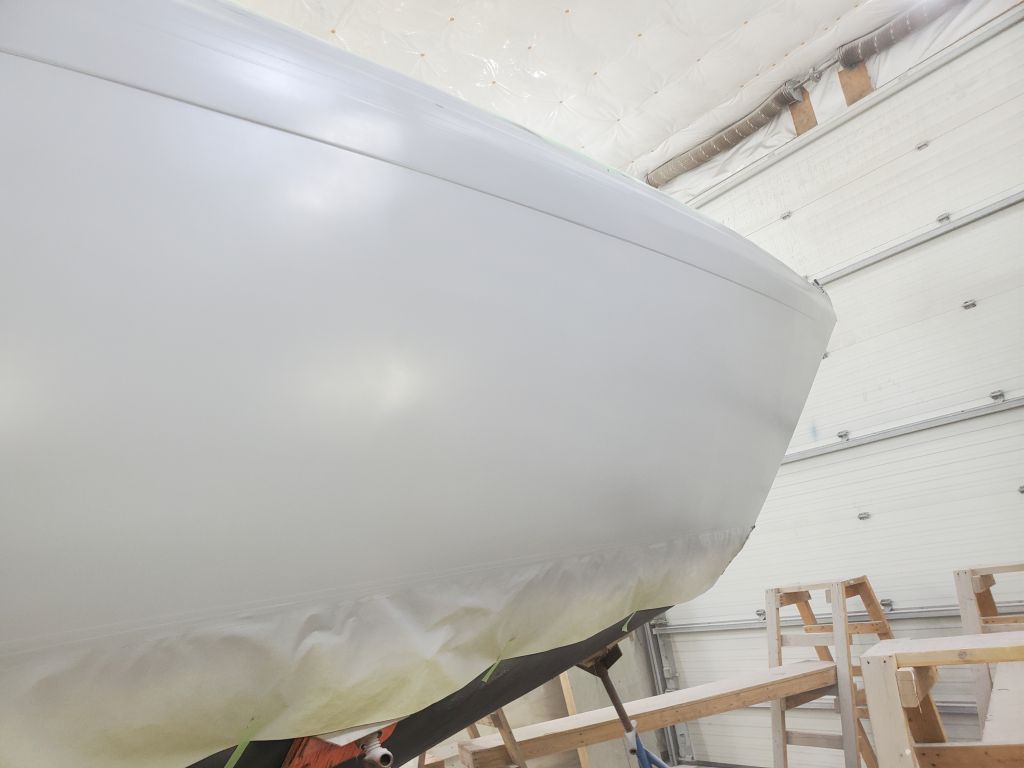
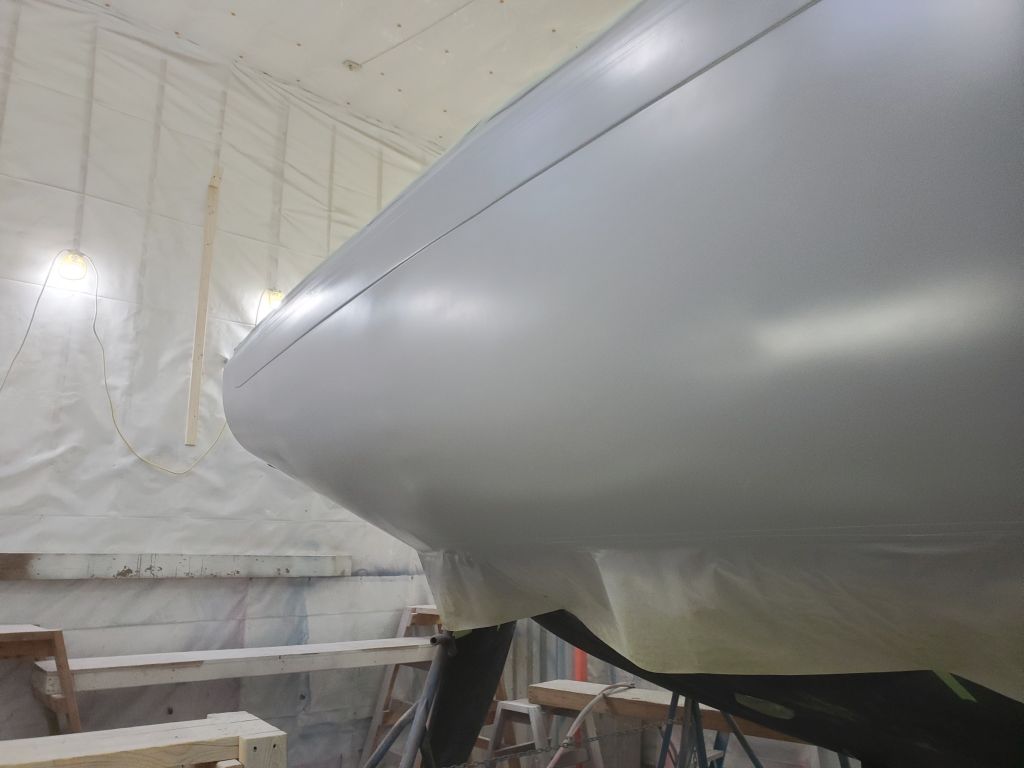
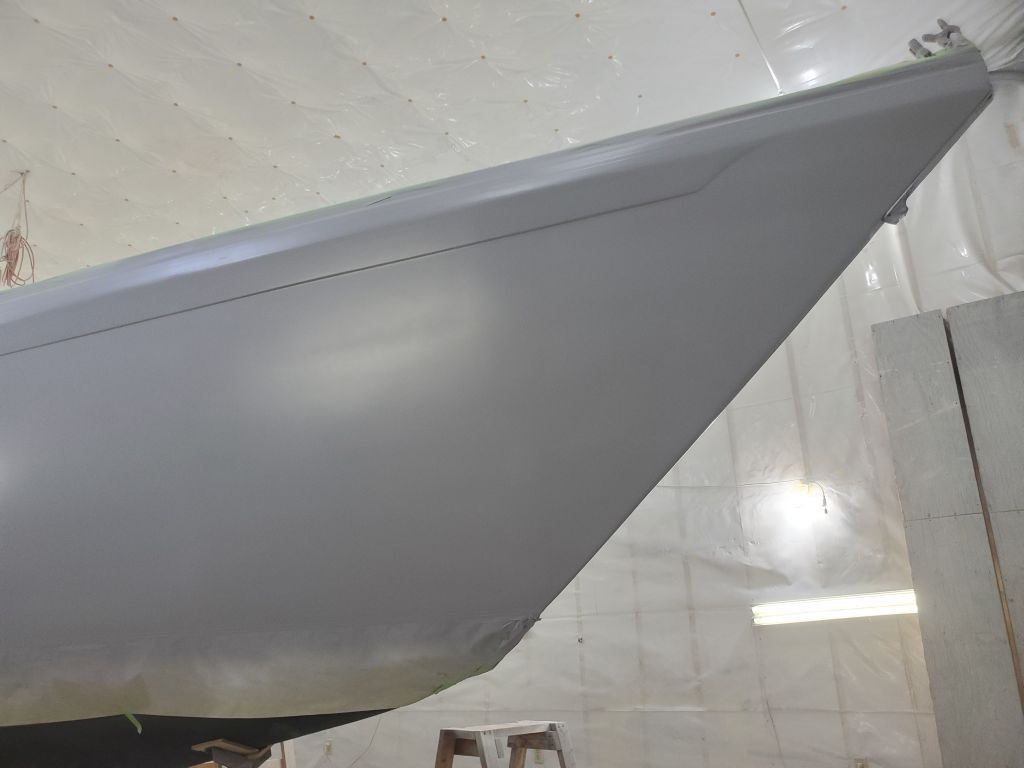
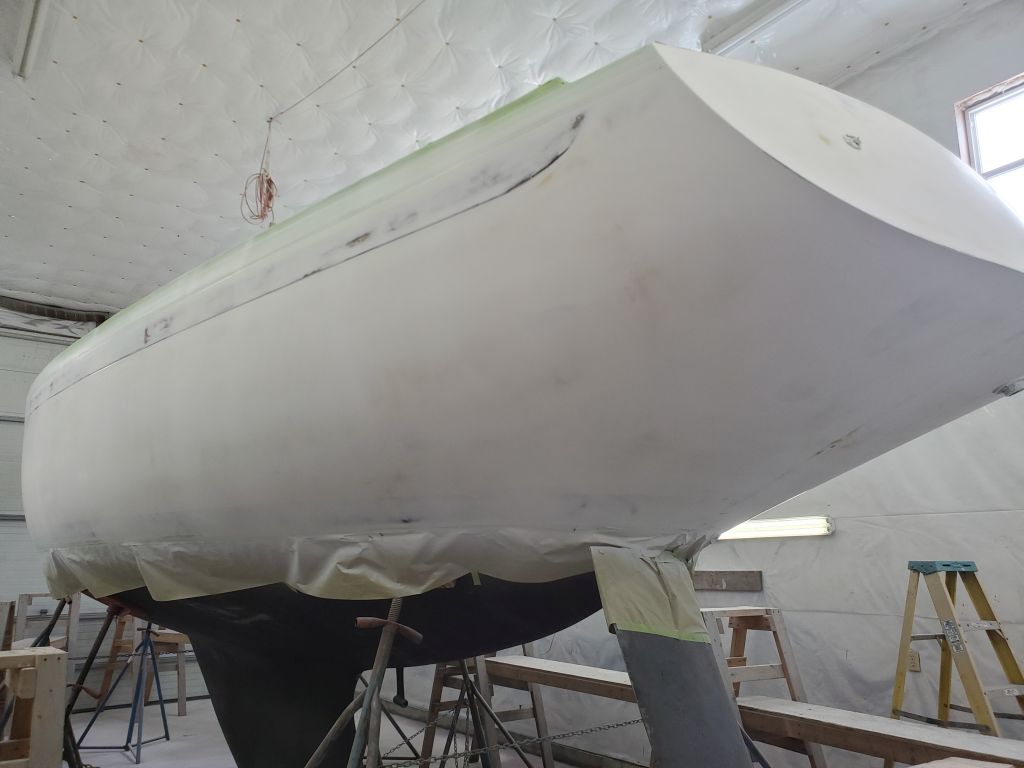
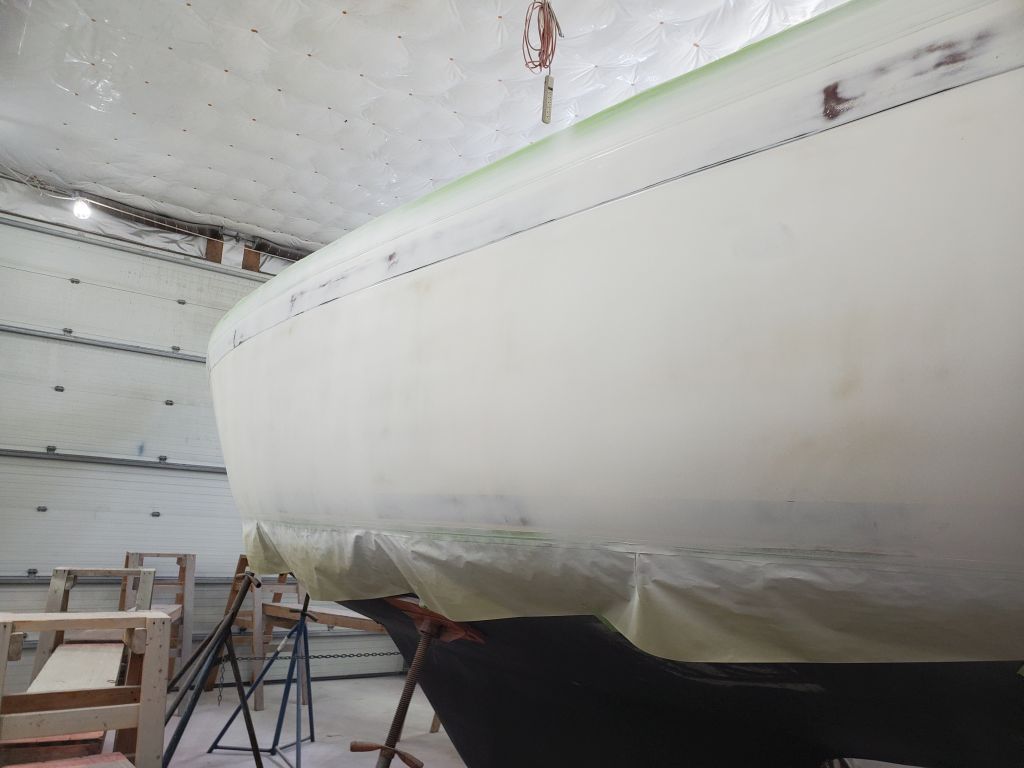
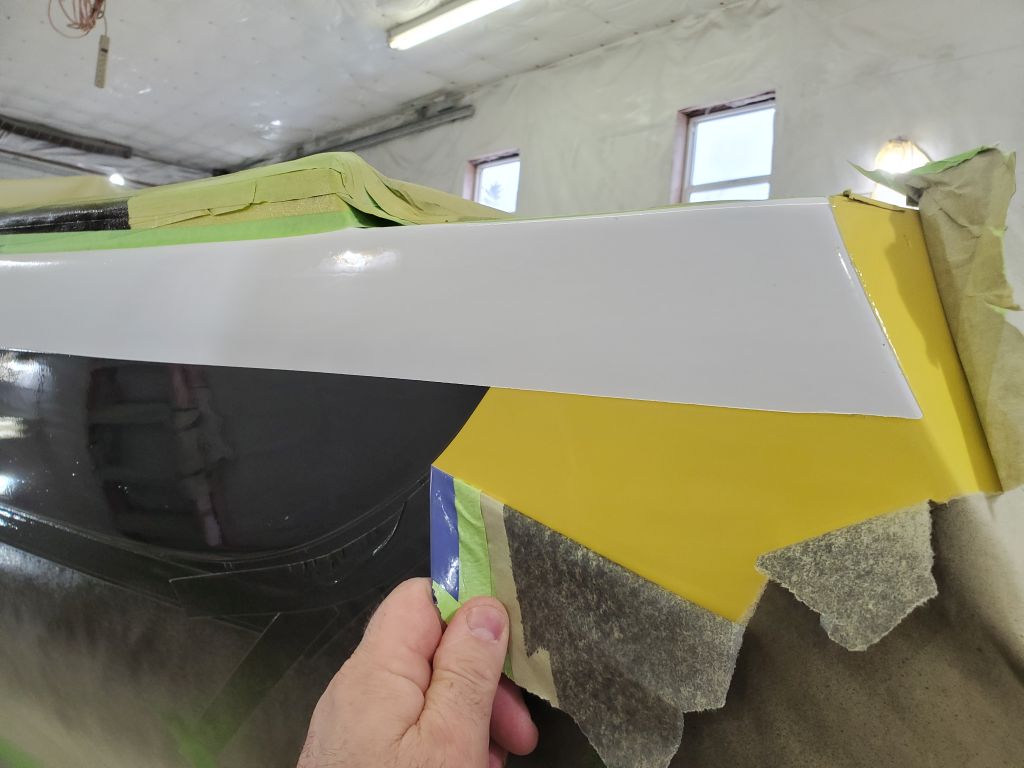
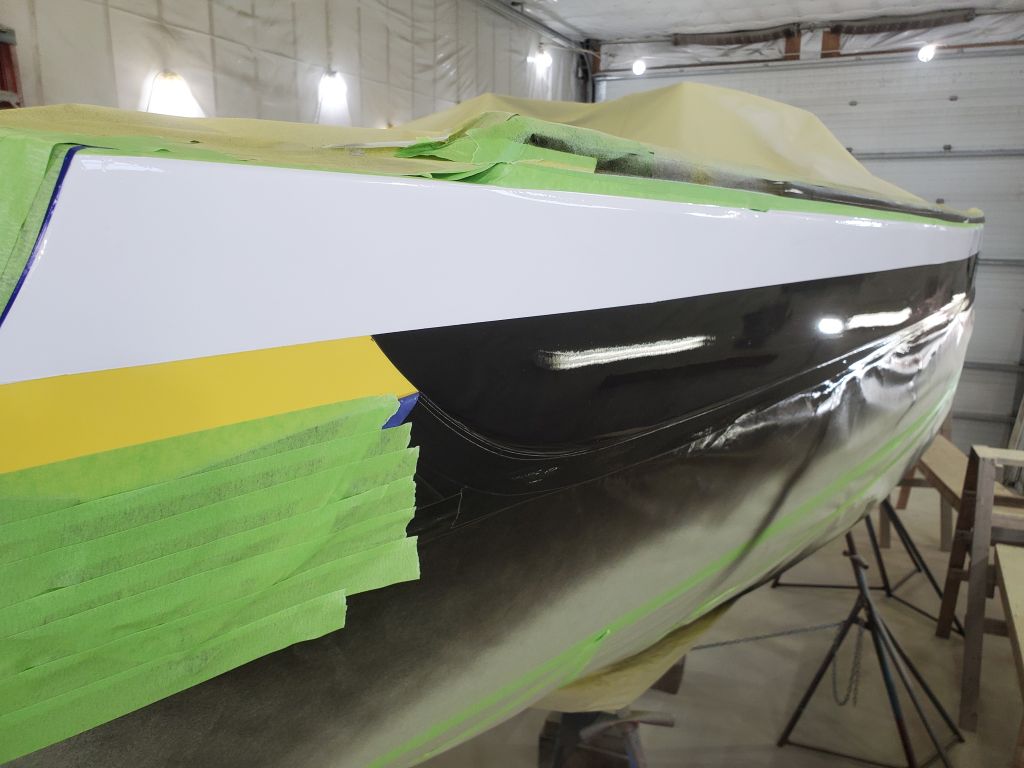
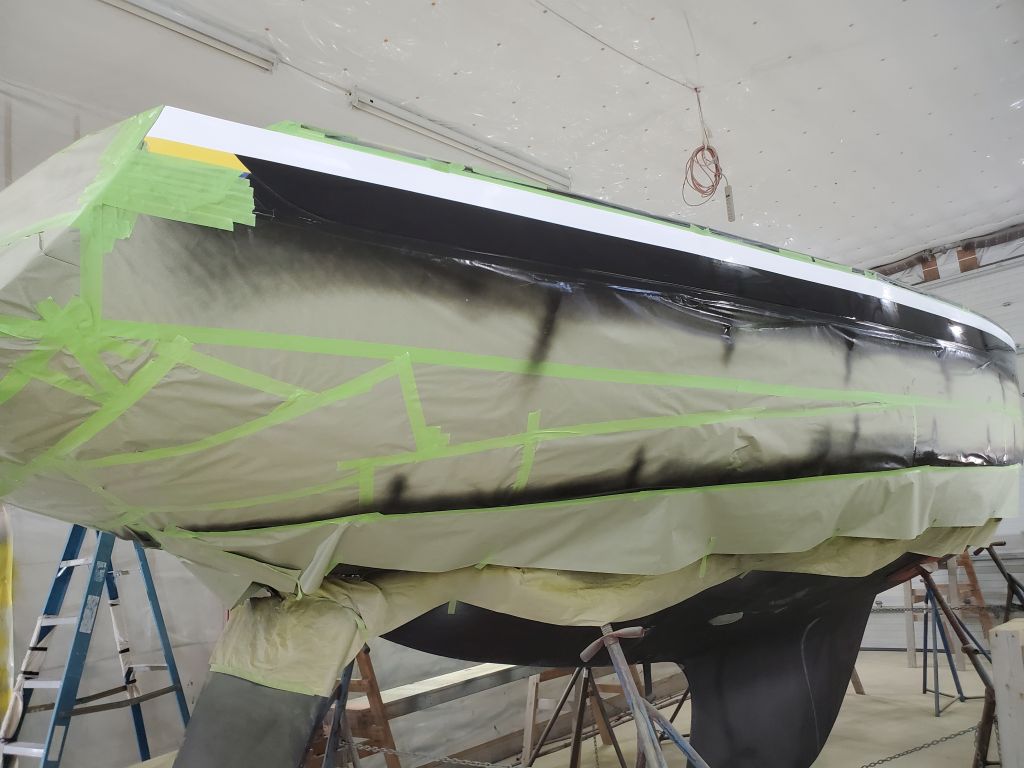
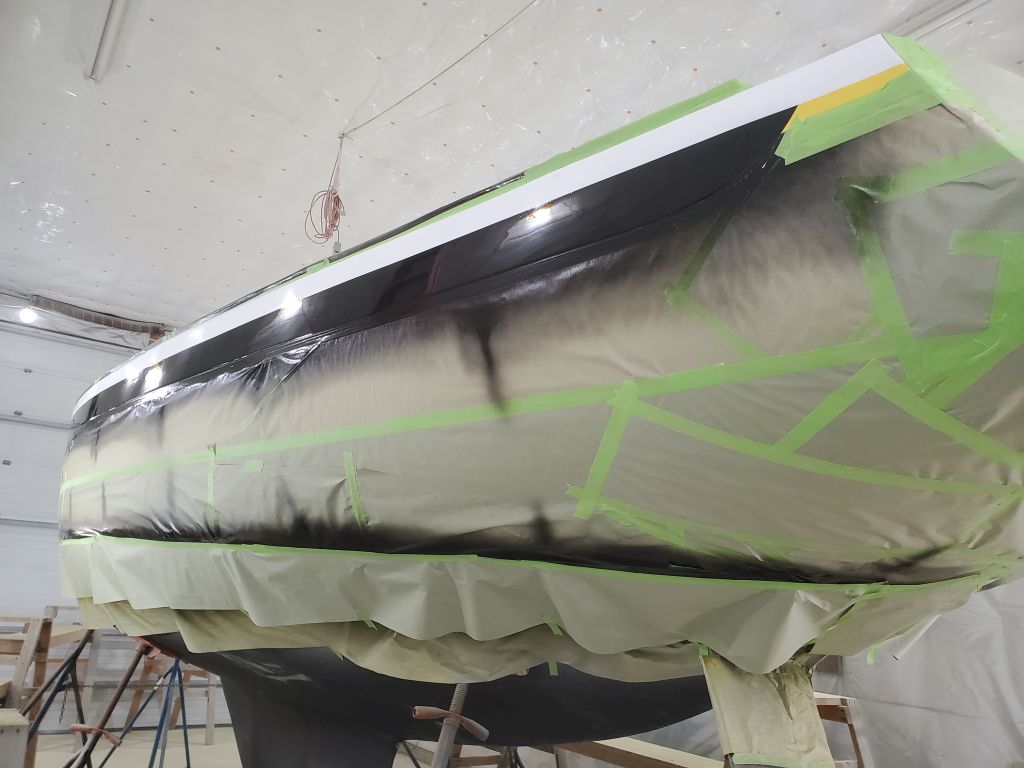
Friday morning, with the black paint sufficiently cured now to accept masking tape, I masked off as needed, first with the blue vinyl fine line tape, then the various layers of regular tape and paper as required to cover the sheer strake below.

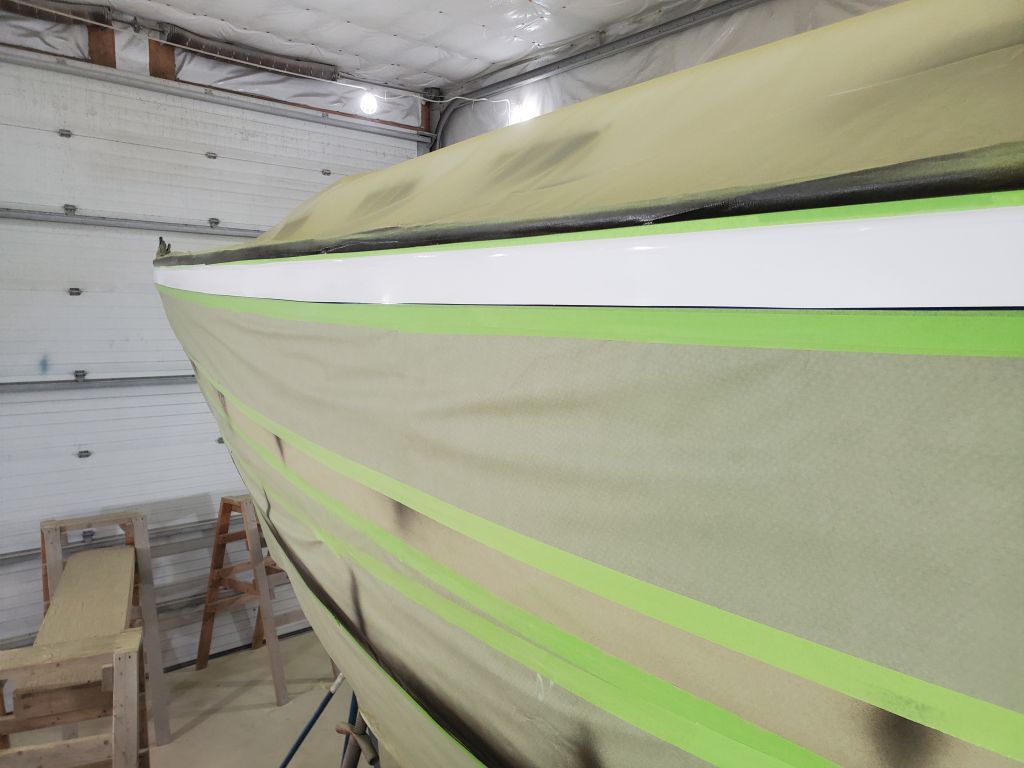
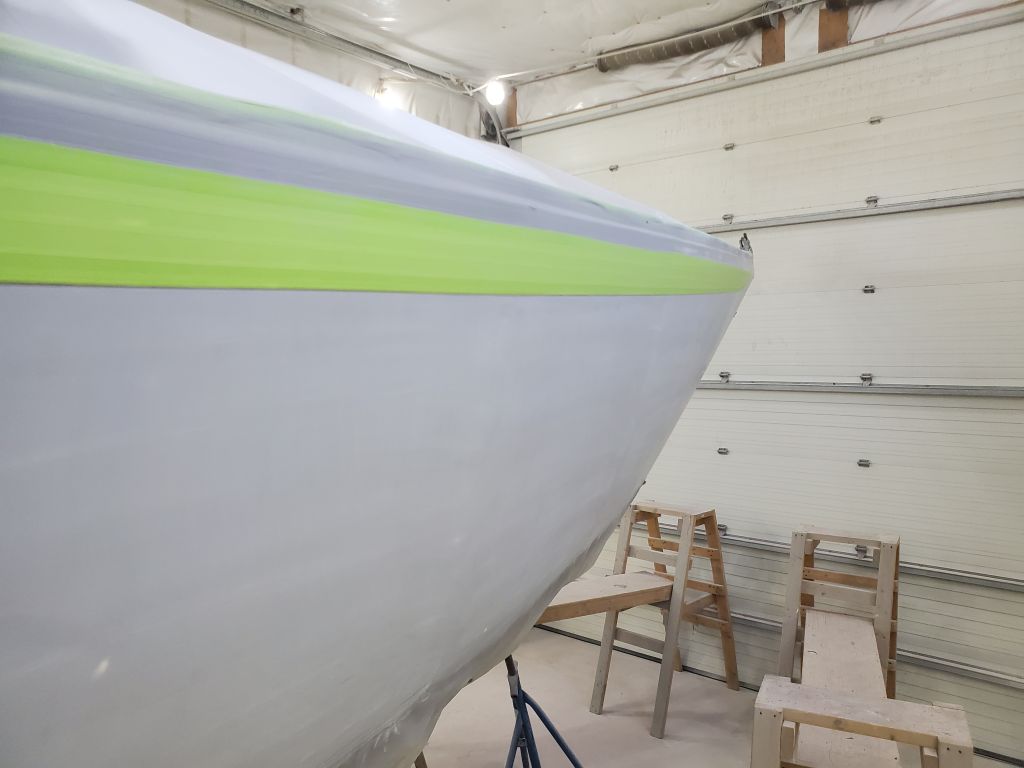
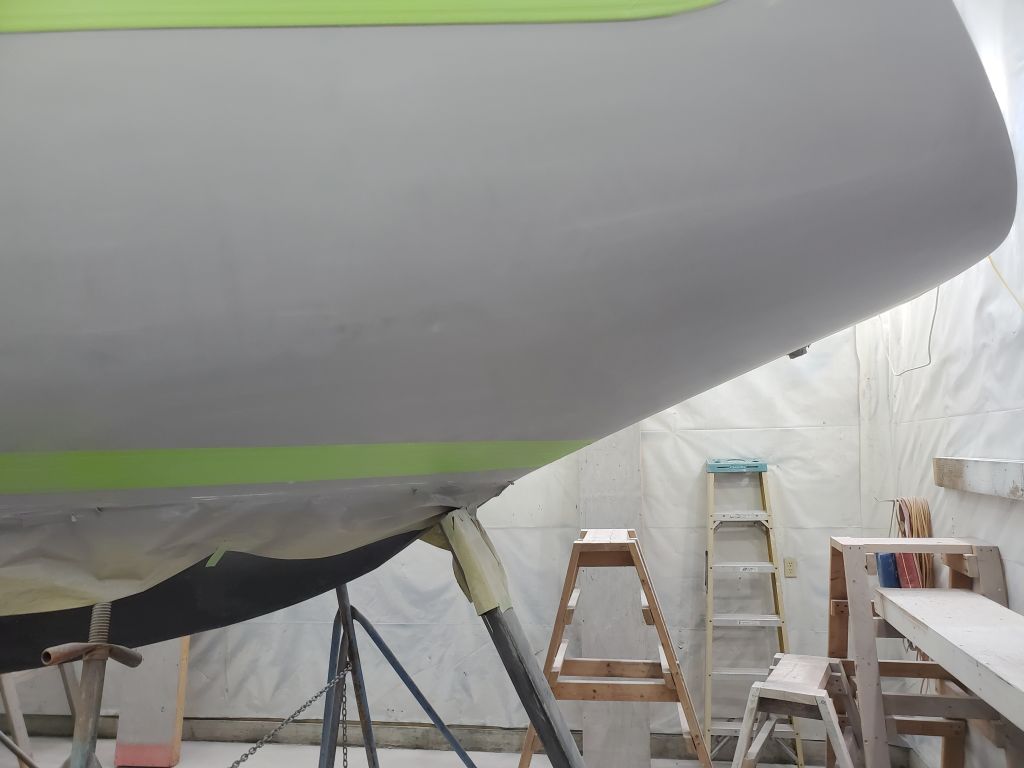
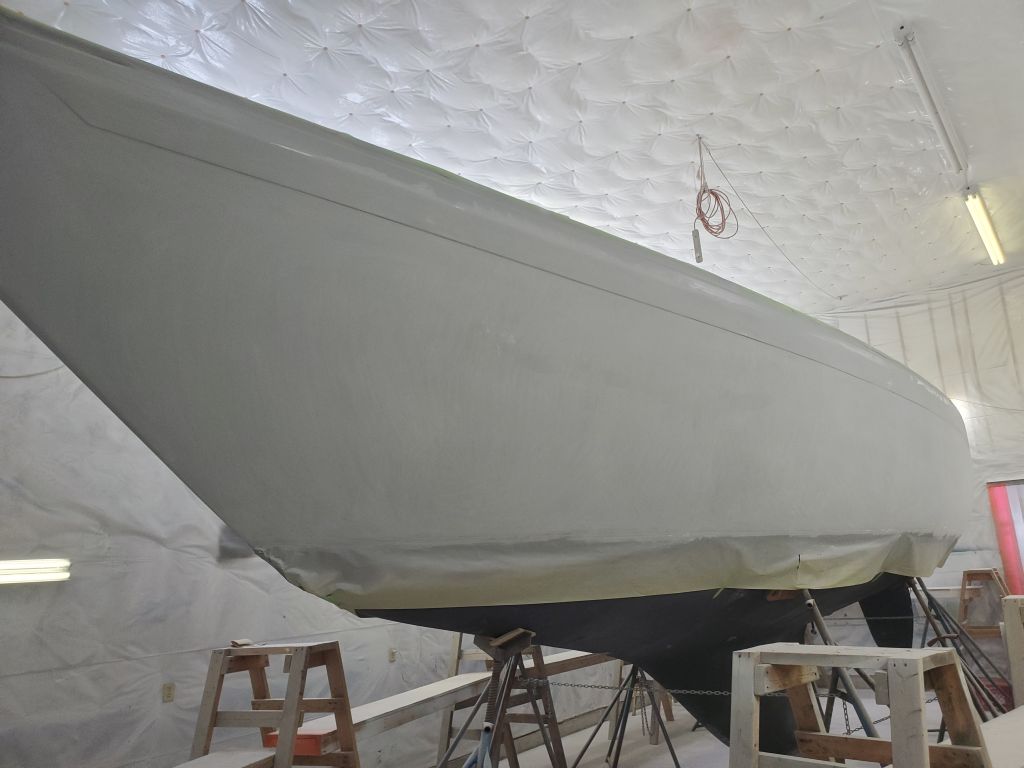
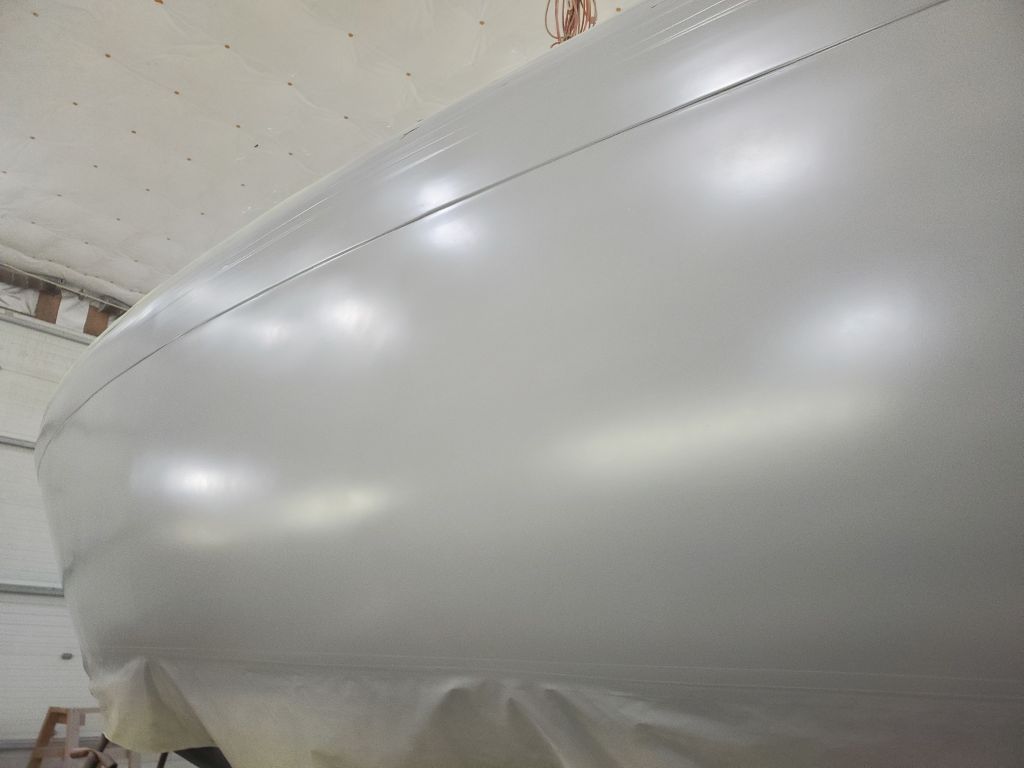
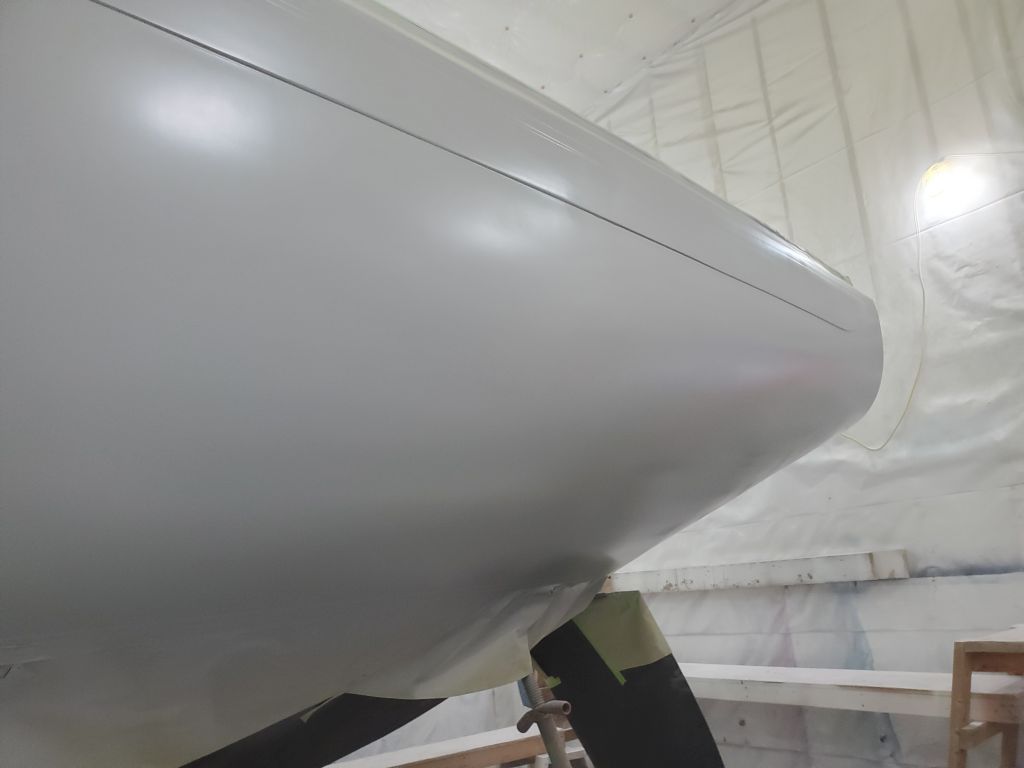
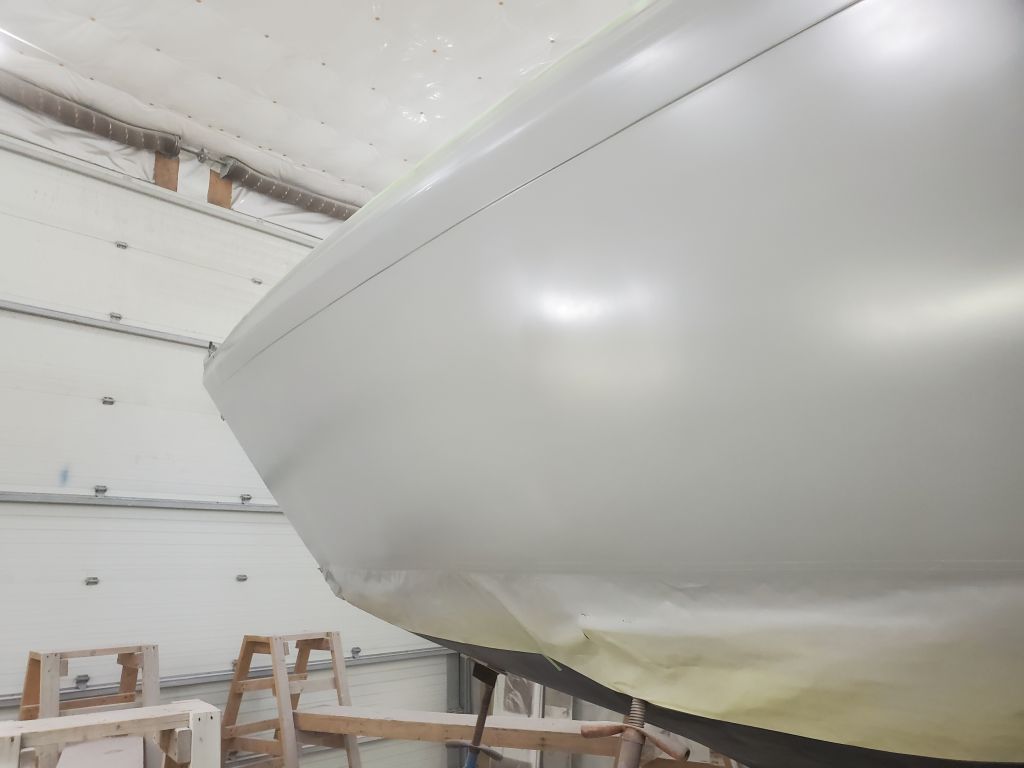
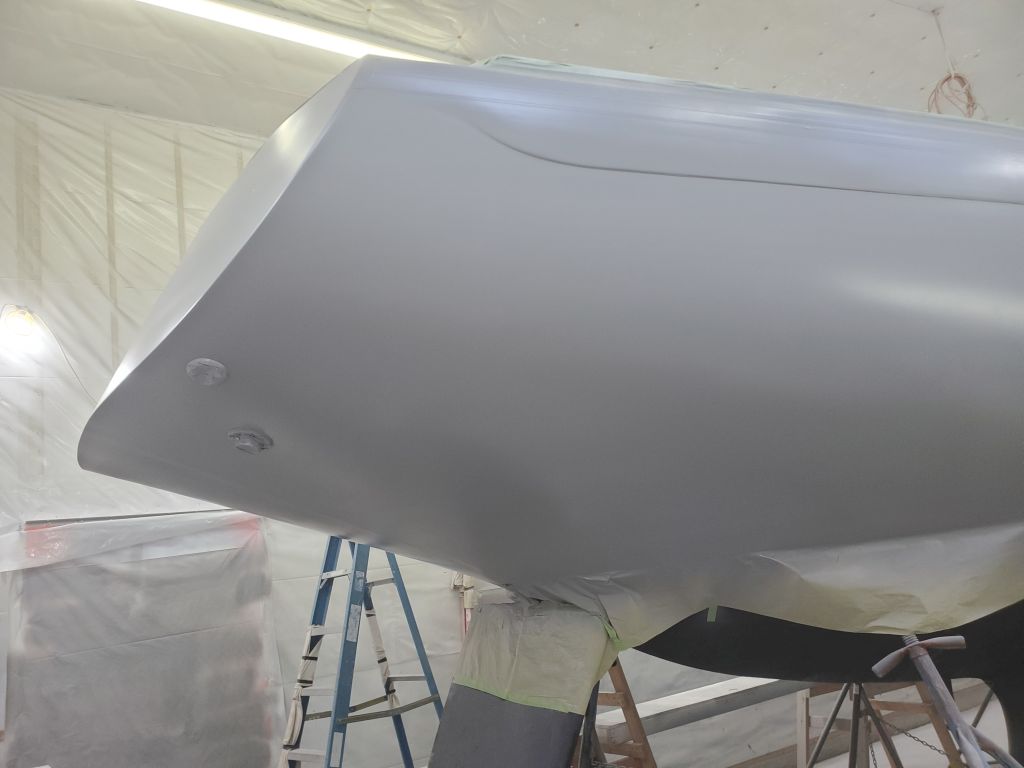
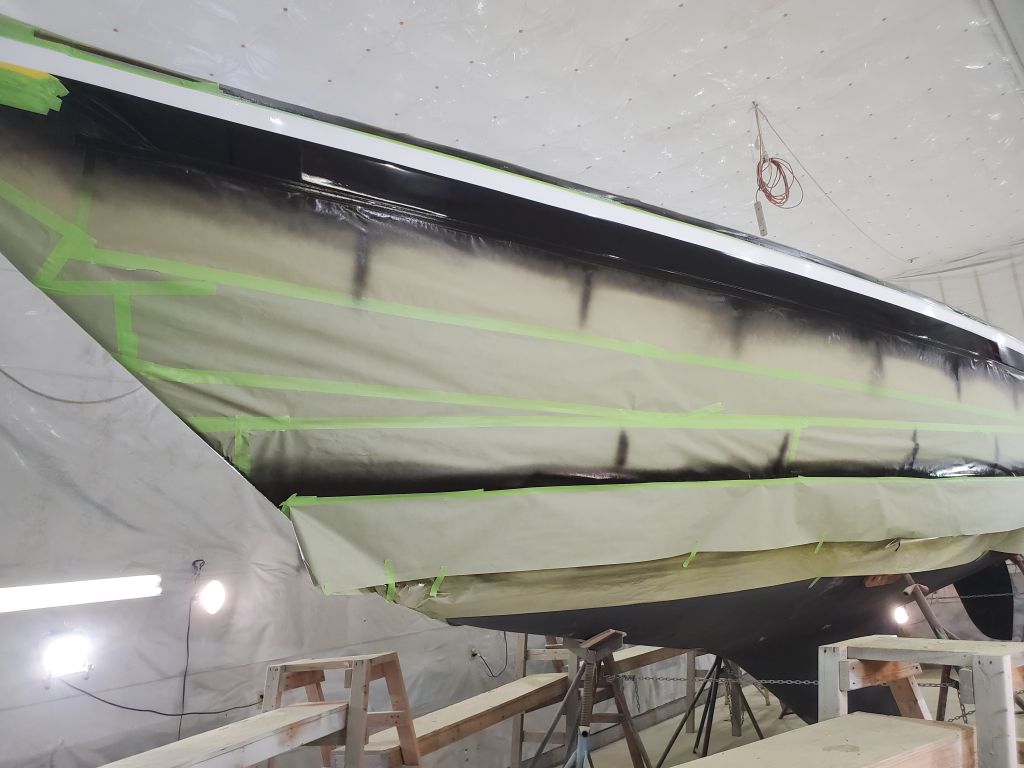
Afterwards, I sprayed three additional coats of snow white gloss over the area.

Further 73

Now that the hull paint had sufficient cure time, I began masking for the trim paint, starting with the raised, decorative sheer strakes on each side.  I began with a 1/2″ strip of vinyl fineline tape to define the edges, then covered this tape as completely as possible with regular masking tape, since the vinyl tape doesn’t absorb any paint and (1) tends to create runs and (2) overspray doesn’t stick well to the tape, causing frustrating freestyle ribbons of cured paint that are tedious during tape removal.

I repeated the process at the boottop, with fineline on each side of the stripe, and covered with more of the regular masking tape.  I used a wider tape below the boottop since it also covered the 1″ strip of hull color there.

Next, I covered the entire remainder of the hull with masking paper, taping it securely everywhere.  On this boat, with the sheer strake requiring trim paint as well as the boottop, it was easier to use all paper rather than wider plastic to cover the bulk of the hull, and anyway, I hate the waste and landfill-filling qualities of the plastic sheeting so was happy to avoid using it here.

With the masking complete, and after a final cleaning of the striping areas, I applied three coats of jet black gloss topcoat, which unsurprisingly was vastly more effective at hiding the primer than the yellow paint had been.

Further 72

With the paint cured sufficiently overnight, I could remove the masking from the boottop and sheer strake, revealing a sneak peek at how the trim would ultimately look on the hull.  Other than some other minor prep work, however, this was all I could do for the moment, as the fresh paint had to cure further before I could mask over it to finish the trim, which was the next and final stage of the painting process.

Further 71

After final preparations, I applied another three coats of zinc yellow paint to the hull.  This felt vaguely familiar, but fortunately the results were more in line with expectations this time.

Further 70

To recover from the paint disappointment, I spent time over the weekend lightly sanding the hull by hand (320), just to lightly scuff the surface and prepare it for respraying.  The killer of it is that the paint looked good except for the fact that the primer still showed through; the overall finish was what I’d hoped otherwise.  But that was good news too, as it meant that sanding was quick enough and straightforward, not that I didn’t wish it wasn’t necessary.

Afterwards, I cleaned up the hull and shop to prepare for respraying.

Further 69

Mentally, I was prepared that the hull color– a special custom-ordered yellow that the owners chose–wouldn’t cover as easily as most of the other colors I’d applied over the years.  Yellows tend to be difficult for whatever reason.  Even so, though, after three coats the result was worse than expected.  I debated whether to keep applying paint now and try for a fourth coat to wrap it up, but this can lead to runs or sags and by that point I wasn’t convinced the paint would cover enough anyway.  I had enough unmixed paint to do another full round of three coats, and ultimately I decided that it would be best to leave the first three coats as is for now, let it cure, and then lightly sand and, with the yellow as a base, proceed with three final coats another time.  This seemed a safer (and hopefully more effective) route than adding more paint now and still risking inadequate results, as well as using up paint that would be better used another time.

This was disappointing, of course, but the good news was that the color looked good and appeared to match what was intended,. and other than being undesirably see-through the painting had gone well enough.  I looked forward to the final result, but it would have to be another day.  I don’t like showing an inadequate result, but transparency is what I do (apparently on yellow color coats as well).


Further 68

To get started, I masked off the raised sheer strake–which would be painted a trim color later–to protect it while doing the main part of the hull.  I masked along the bottom edge, keeping the tape just a bit shy of the juncture between the proud sheer strake section so that when I masked for the trim, I could bring the tape down onto the flat of the hull and be ensured of good hull paint coverage beneath.  At the forward and after edges, I struck curves to replicate the originals, and filled in the field with additional tape.

Next, I moved the staging out of the way so I could strike the new boottop, which required two lines:  the bottom line, set 1″ above the waterline as previously marked; and the top line, which would be 3″ above that for a 3″ visual height (matching that of the original striping).  In my habitual and well-described manner, I set up horizontal, level beams fore and aft at the proper height, then, with a taut line strung between the two, incrementally pulled in the line from roughly midships towards each end in turn, marking where the line touched the hull at each move (and masking it in place so it wouldn’t move further).  In this way, I established a series of tick marks on the hull against which I could mask the lower edge of the boottop.

With the lower line struck on both sides, I installed 3″ wide boards atop my originals, clamping them in place to establish the height of the top of the stripe.  This seemed quicker and easier than relocating the original beam itself.  Then I repeated the marking process to establish the top of the new stripe.  After breaking down the ends, I masked inside the new marks to cover the eventual boottop area for now, and this also gave a chance to critique the new lines visually.

At the bow, I established a new mark 1-1/2″ higher at the stem, then created a sheered, or raised, section of the stripe at the top edge, starting from a point 10′ aft along the waterline.  Without this additional height forward, the otherwise visually straight line always appears too narrow at the bow, but the subtle increase in height stopped far sort of being immediately noticeable in its own right.  However, it made the striping look “correct” in the flared bow sections.

Now I could reset the staging at a height appropriate for working on the hull (I went one level lower for most of the planks than before, as I’d found during the primer coats that I was too high in the after sections of the boat), then worked on final preparations, including a final solvent-wash and tack off, additional lighting to highlight the hull and make it easier to find my wet edge while spraying, and all the other things I do to prepare for paint day.

Further 67

I spent the morning sanding the hull primer with 320 grit paper, by machine and hand as required.  The power went out at 1000, but I was able to continue on generator power for the remainder of the day and get through what I needed to.

Afterwards, I went through my normal cleaning procedures (blowdown, vacuum, solvent wash, shop rinse and cleaning) to prepare the boat and shop for the next step, which would be to mask off the sheer strake and new boottop.  But with the primer only just over 24 hours old, it was too soon to mask on top, so that task would await the morning.


Further 66

Over the course of the morning hours, I sprayed four coats of epoxy finish primer on the hull.  For this boat, I mixed equal parts of white and gray primer bases to lighten the primer a bit, hoping it’d be a good base for the final hull color.

Further 65

After a full weekend, there was no problem this time with the fine filler curing in time.  It didn’t take long to sand the various areas I’d filled, after which I went through the usual steps:  vacuum; solvent wash; clean up and wash down shop and staging.

For the remainder of the day, I completed all the other items on the finish primer prep list (as it were), including a final solvent-wash with the fancy solvent, preparing paint and spray equipment, tacking off the hull, and other sundry.   Next:  finish primer.

Older posts Newer posts