(page 3 of 4)

Arietta Phase 2-19

Wednesday

The fine fairing compound had cured overnight, and I spent part of the morning sanding it away, leaving the decks in their final condition before finish primer.  Going over the whole deck again with the sander also gave me a last opportunity to smooth any areas where small amounts of spray texture remained after the first sanding.  Ultimately, the fine filler remained only in the various small scratches, pinholes, and a few low spots as highlighted by the high-build application.

Afterwards, I blew down the shop, vacuumed and solvent-washed the decks, and washed down the staging, trailer, and floor.

I finished up the boat prep with the usual round of final solvent wash, this time with the paint manufacturer’s proprietary solvent designed for the purpose.  I set up and prepared the paint and equipment, and turned up the heat to get the shop ready for finish primer next time.

Total time billed on this job today:   4.25 hours

0600 Weather Observation:  26°, overcast.  Forecast for the day:  Mostly sunny, 42°

Arietta Phase 2-18

Tuesday

With 220 grit, working by machine and hand as necessary, I sanded the fresh high-build primer on the decks till it was flat and smooth.

Afterwards, I vacuumed the dust and solvent-washed the decks to prepare for the next steps.

I examined the deck thoroughly, using a strong light held at a close angle for assistance, and marked with a hard pencil any low spots, areas requiring additional sanding, pinholes, and other flaws in the surface, which the high-build had by nature and design highlighted.    Once I was satisfied that I’d found all the areas requiring additional attention, I applied gray epoxy fine filling compound as needed, troweling it in to all the pinholes, scratches, and other small voids that only became apparent once the primer was on.

At the transitions outboard of the coamings on each side, where I’d stopped the poop deck painting a year before during the cockpit phase of the project, I removed some of the masking and moved the line further aft, exposing some of the gloss paint on the deck edges.  Then, I sanded this smooth and flat, and eased the hard line where the new primer met the paint, before troweling in a bit of the fine filler to help ease the transition further.    Later, I’d apply the finish primer to the new line, easing further the transition point and leaving enough room for the topcoat to run 1″ further aft to meet the nonskid line at the poop deck to minimize any tape lines that would later need blending.

Total time billed on this job today:  7 hours

0600 Weather Observation:  18°, clear.  Forecast for the day:  Sunny, 34°

Arietta Phase 2-17

Monday

Over the weekend, I finished up the final painting prep, spending a couple hours setting up paint and spray equipment and doing a final solvent-wash of the decks.

Now, after tacking off and mixing paint, I applied three coats of epoxy-based high-build primer to the decks and sea hood.

Total time billed on this job today:   4.75 hours

0600 Weather Observation:  27°, light snow.  Forecast for the day:  Gradual clearing, 35°

Arietta Phase 2-16

Tuesday

Inside the boat, I got to work removing the solid teak fiddles defining the edges of the settee berths.  For each of the dozen or so fasteners on each side, I had to remove the teak bungs, then back out the fasteners, after which the fiddles came right off.

Next, I located the four screws securing the existing plywood to the fiberglass liner–three along the bottom edge, and one at the aft edge–along with the screws through the settee top into the hardwood cleats secured behind the settee fronts.  Removing these screws released the fronts for removal, after which I removed them to the bench for inspection and removal of a couple teak cleats located on the exposed sides of the fronts.  I’d use the existing pieces as templates for their replacements as time allowed during off times during the extended painting process ahead.  The hardwood support cleats on the inside of the plywood fronts were glued in place, so I’d have to mill new ones for the replacement fronts.

Afterwards, I cleaned up the mess and drill spoils in the boat.

That was the last thing I wanted to accomplish inside the boat now, as my focus in the next couple weeks would be on priming and painting the decks.  So with no further need to go below, I could finish up the masking at the cockpit bulkhead, companionway, and cockpit.  Leaving out the top swashboard allowed me to hyperextend aft the companionway hatch, exposing the maximum amount of the deck at the leading edge.

With masking complete, I washed down the shop, staging, and trailer thoroughly to get rid of and settle any remaining dust.  I had a few more hours of paint and equipment preparation and some final deck cleaning before I’d be completely ready, which I planned to take care of throughout the upcoming holiday break so I could apply high build during the first of the week.

Total time billed on this job today:  3.5 hours

0600 Weather Observation:  29°, clear.  Forecast for the day:  Mostly sunny, 38°

Arietta Phase 2-15

Monday

The new scupper backing pads, as well as the liner cosmetic patch, were well-cured after the weekend, and following a light sanding I touched up the fairing compound where needed to fill pinholes and fine-tune the liner repair and fillets around the through hulls.  I used a quick-curing acrylic fine filler that allowed me to sand once more later in the day, leaving this area ready for the next steps, including primer, paint, and the seacocks’ reinstallation.

For now, though, my focus was on preparing the main decks for high build primer.  I removed the masking tape–now somewhat worn and scuffed–from the toerails and other areas where I’d applied it to protect during surface prep, then vacuumed and solvent-washed all areas to prepare for final masking.

Next, I masked as necessary for the high build primer to come, starting with the forward hatch and companionway, then the toerails, ports, cockpit coamings, and poop deck.  For now, I left the cockpit bulkhead and companionway open, so that I could continue next time with getting started on a couple projects in the cabin, but I set up and partially masked plastic sheeting that would eventually cover the cockpit, keeping it folded back at the forward end for access for the moment.

To integrate the new deck paint with the areas I’d painted during phase 1, particularly at the aft end of the sidedecks outboard of the coamings, I planned to apply the high build up to the paint line I’d left before,  then, before finish primer, extend the new work further aft, sanding and fairing in the transition at that time, so that ultimately the topcoats would blend more easily.

Total time billed on this job today:  6.25 hours

0600 Weather Observation:  51°, rain.  Forecast for the day:  Rain and showers, 52°

Arietta Phase 2-14

Friday

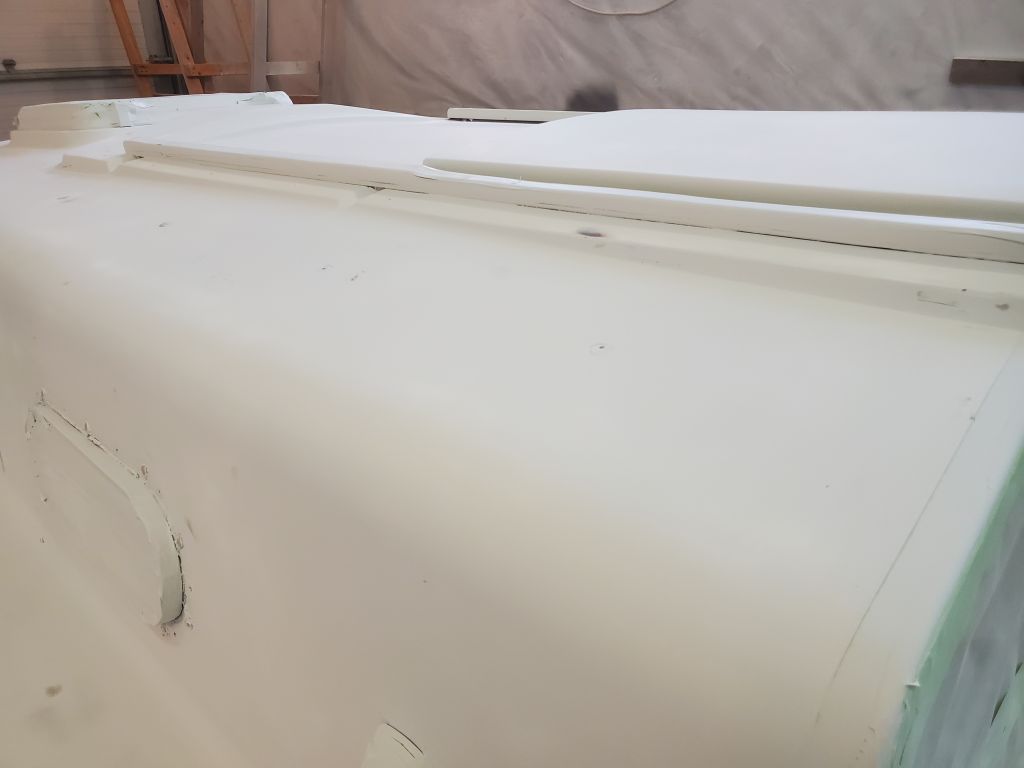
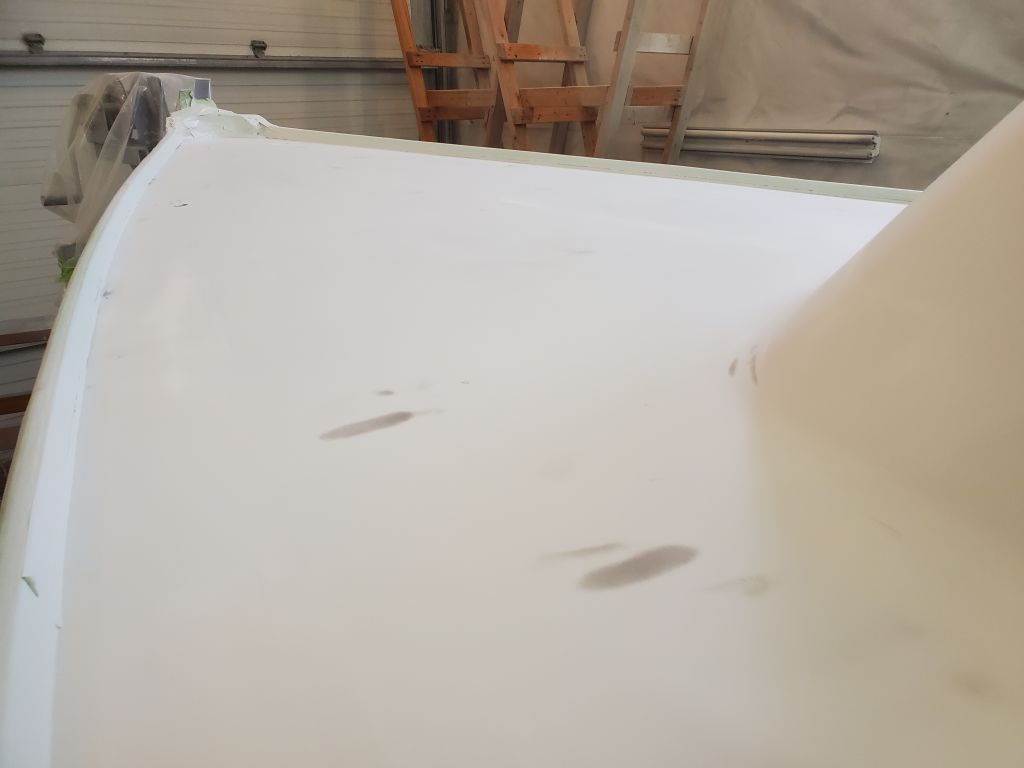
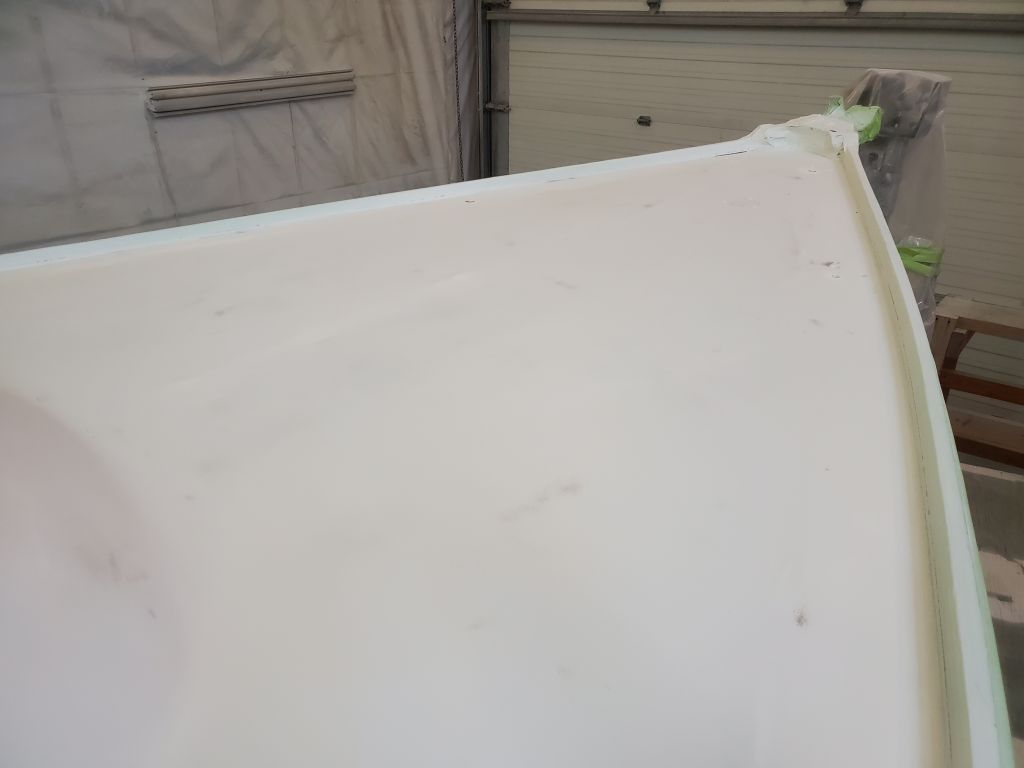
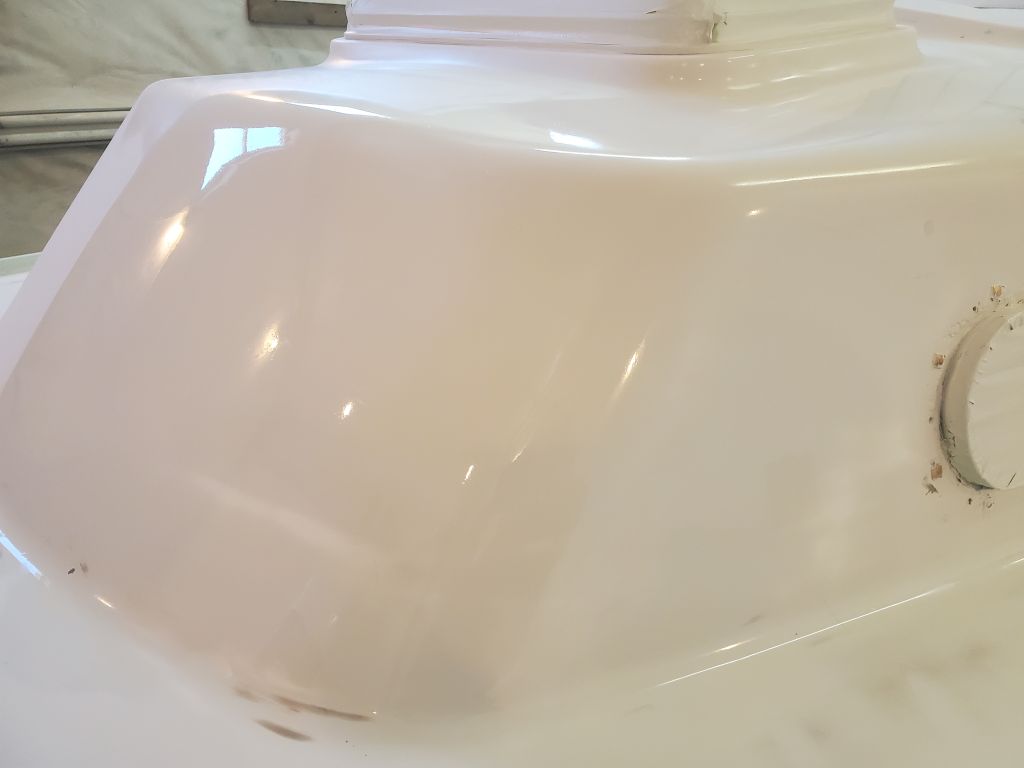
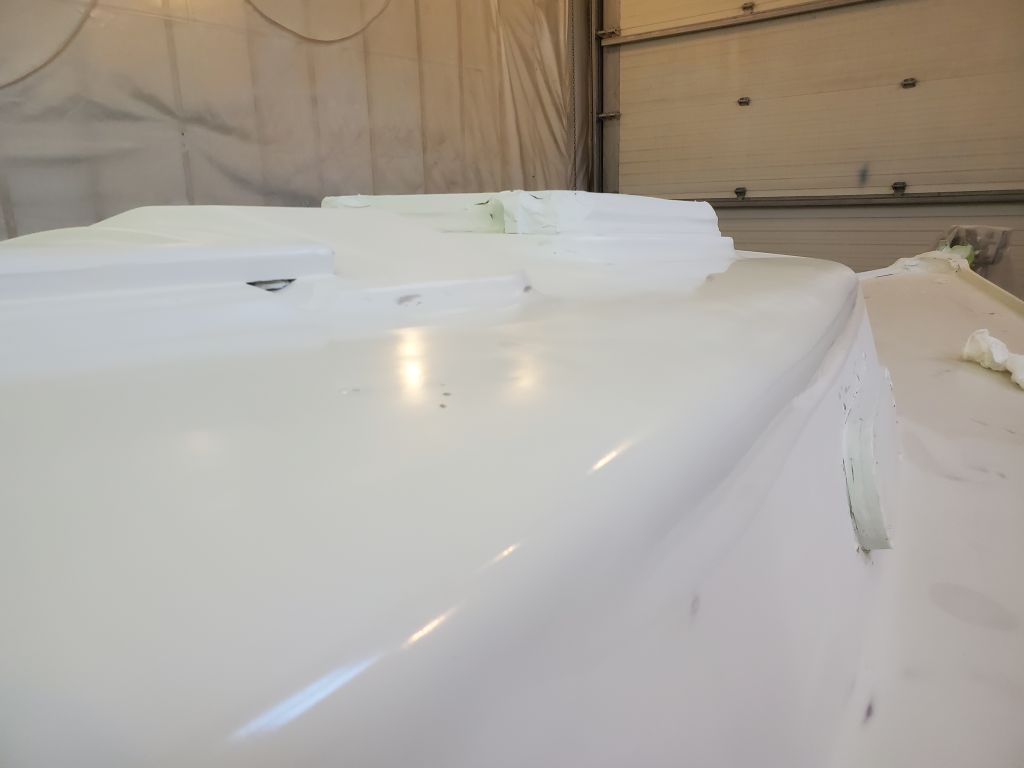
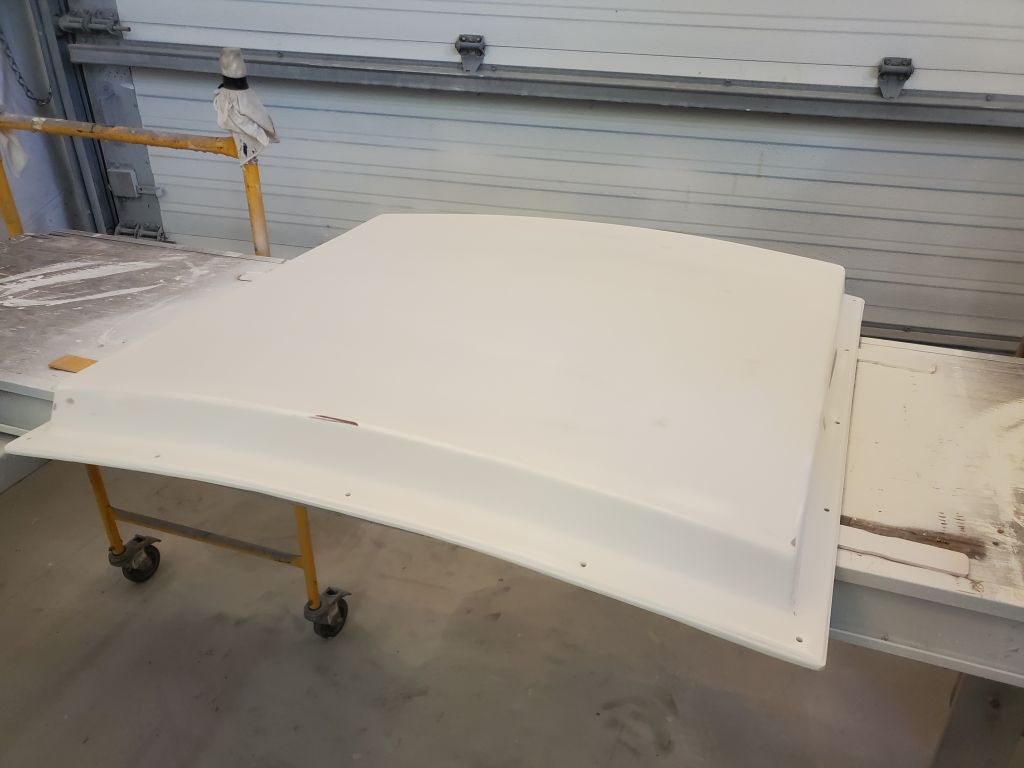
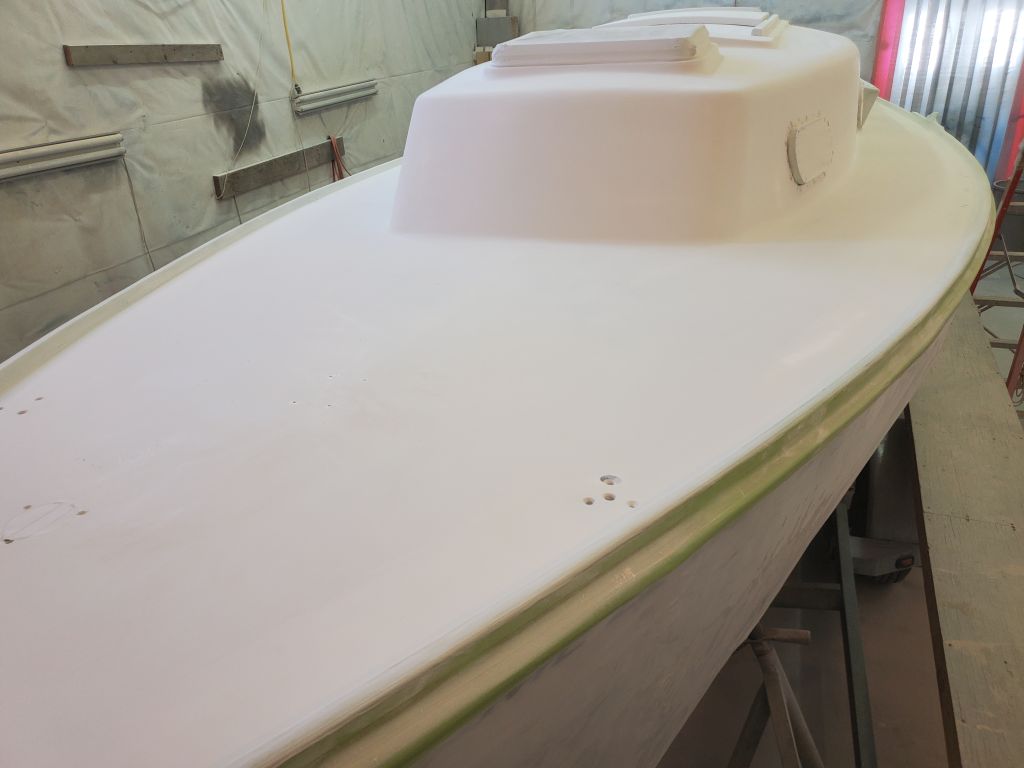
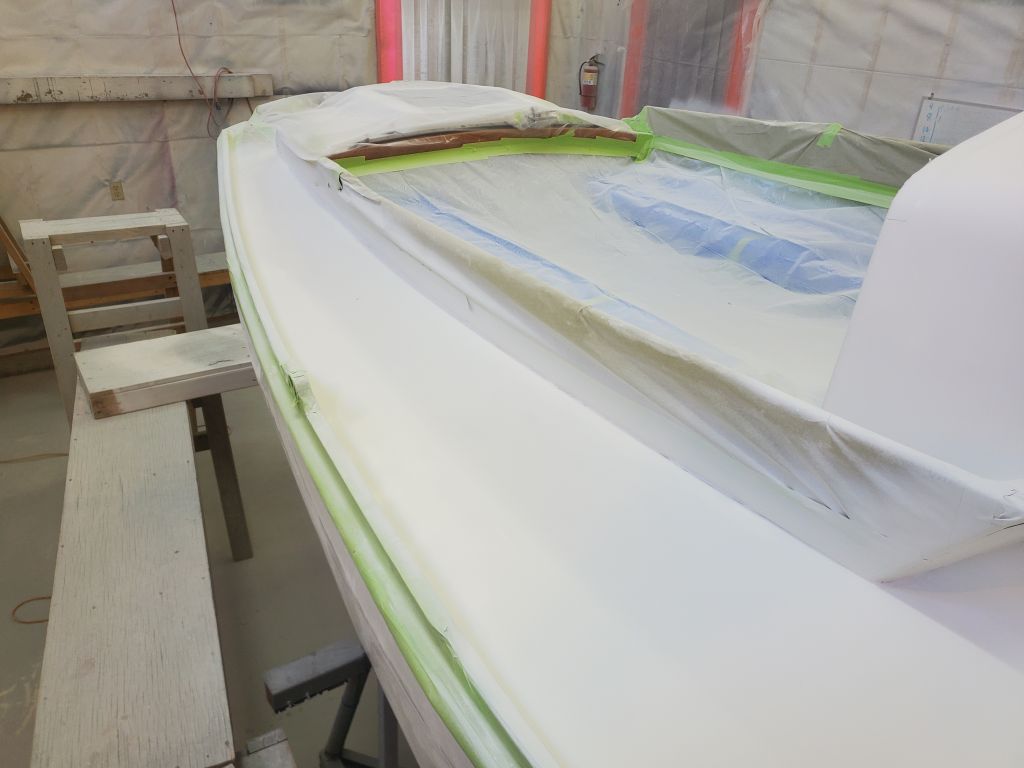
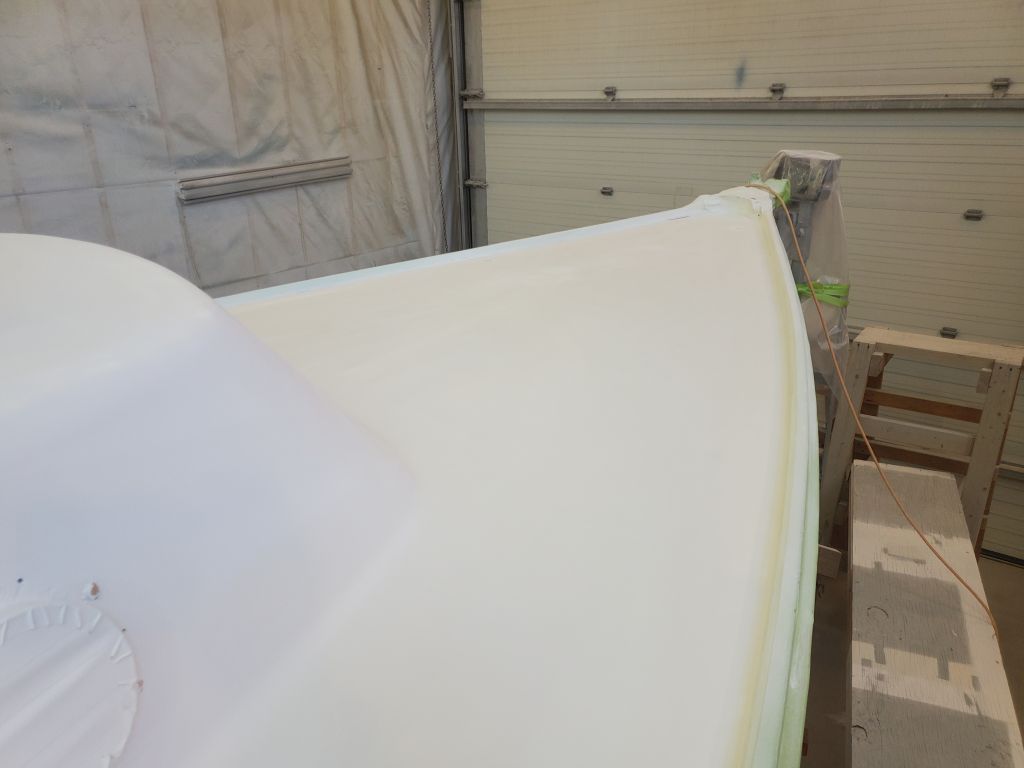
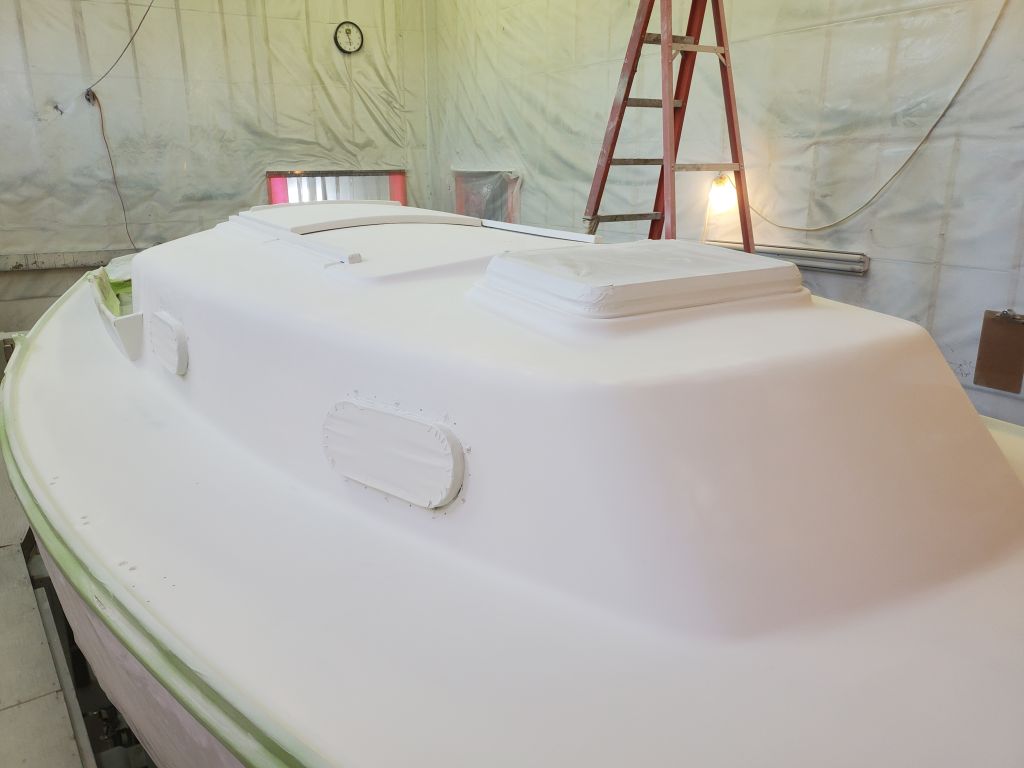
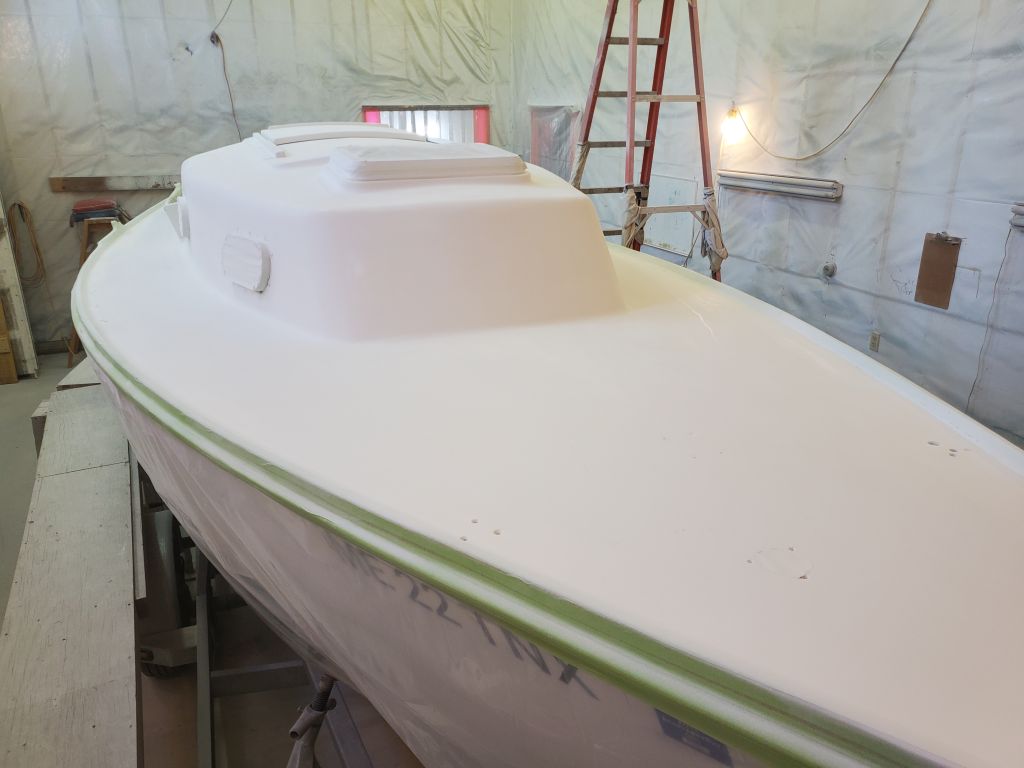
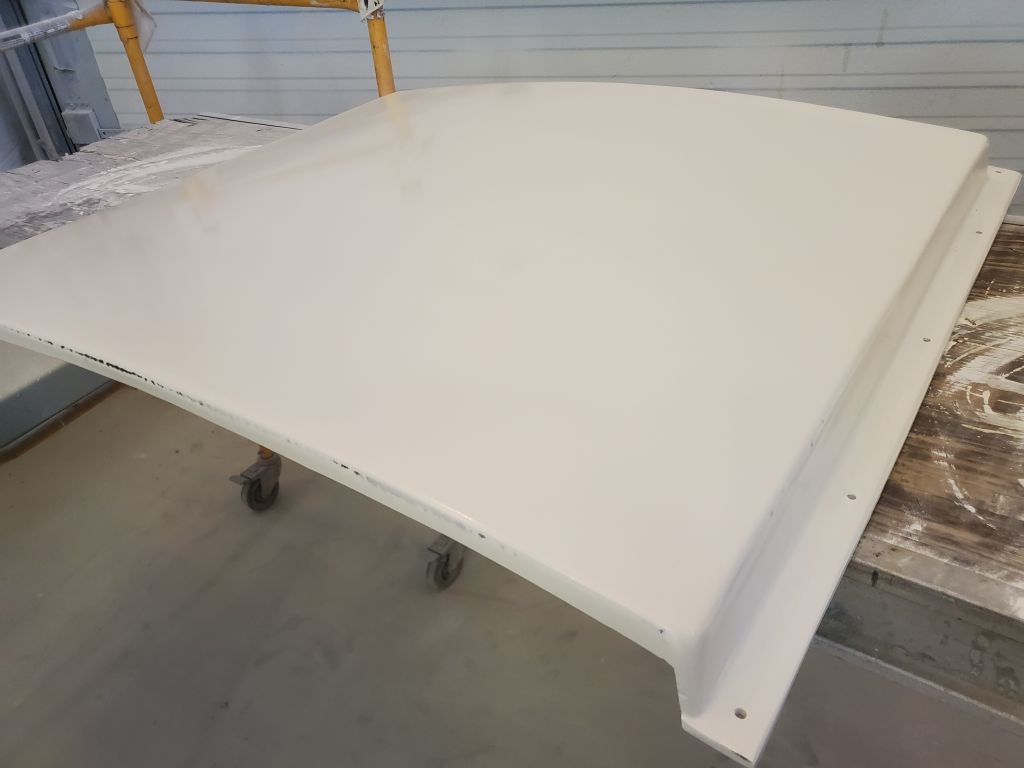
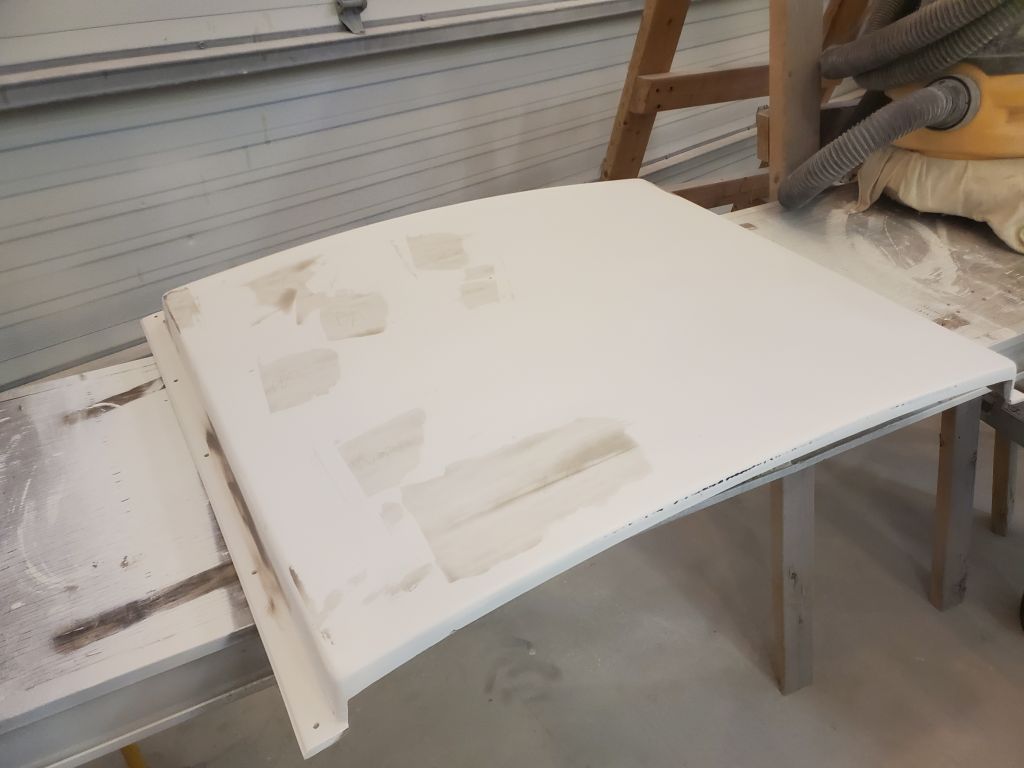
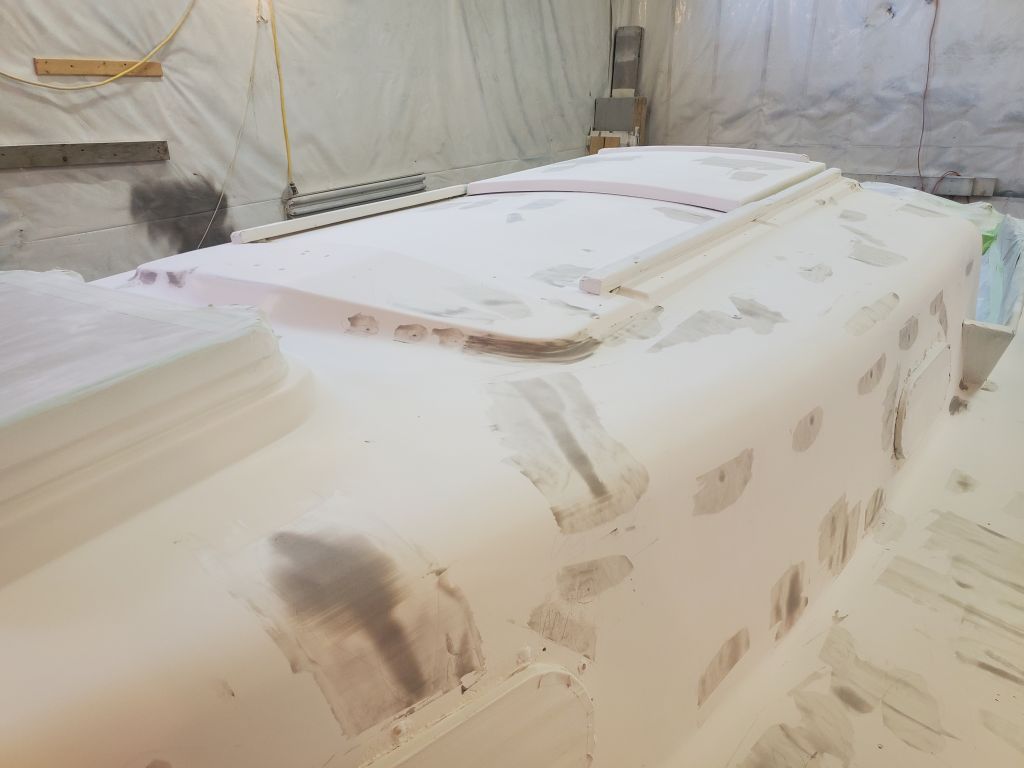
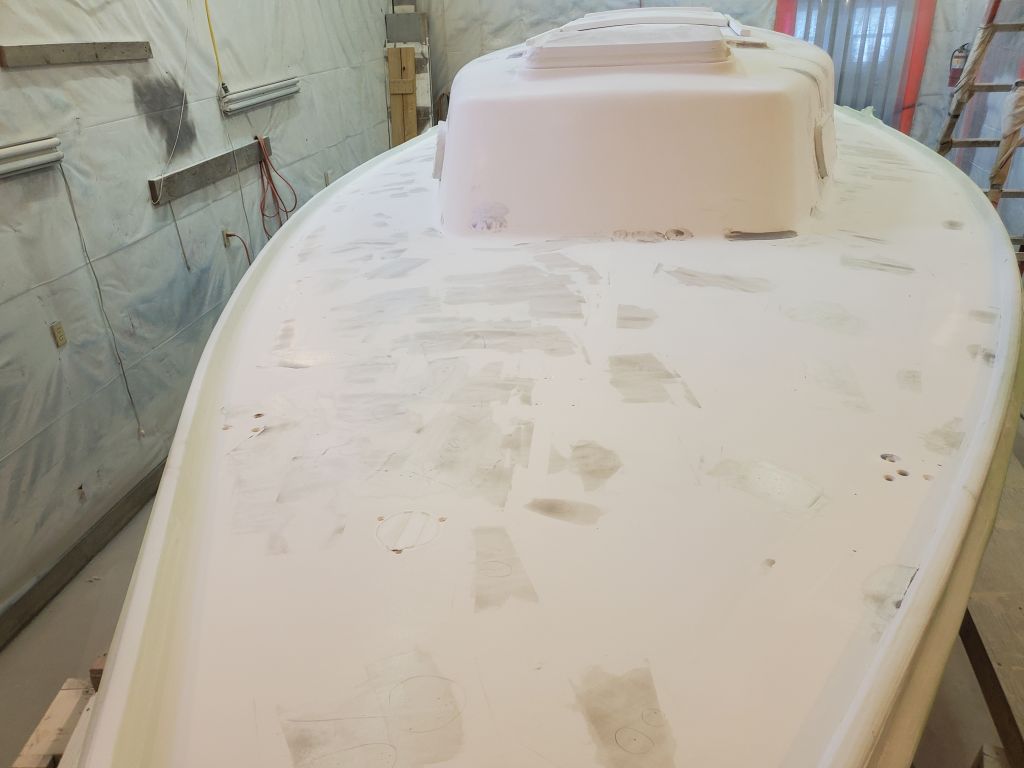
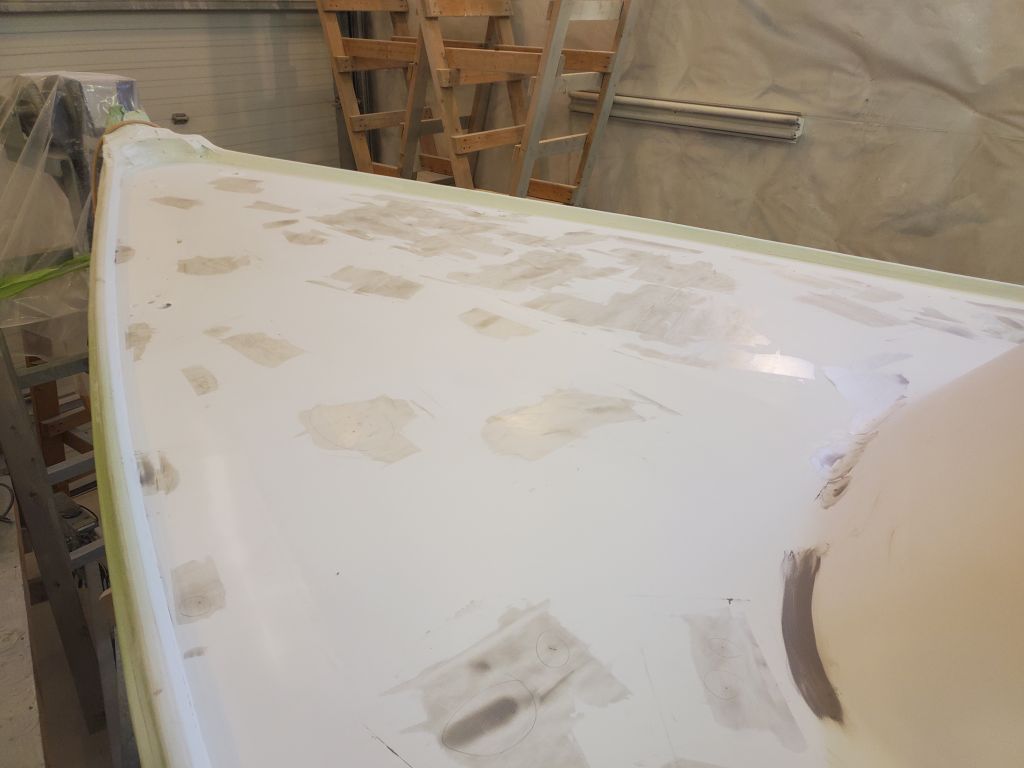
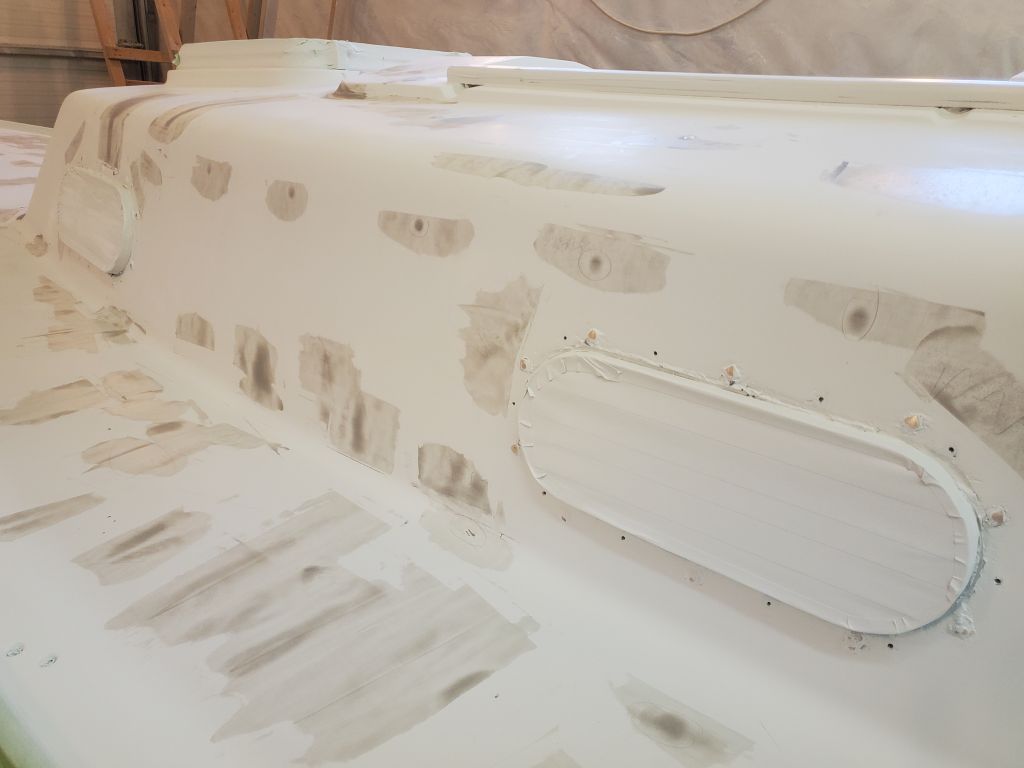
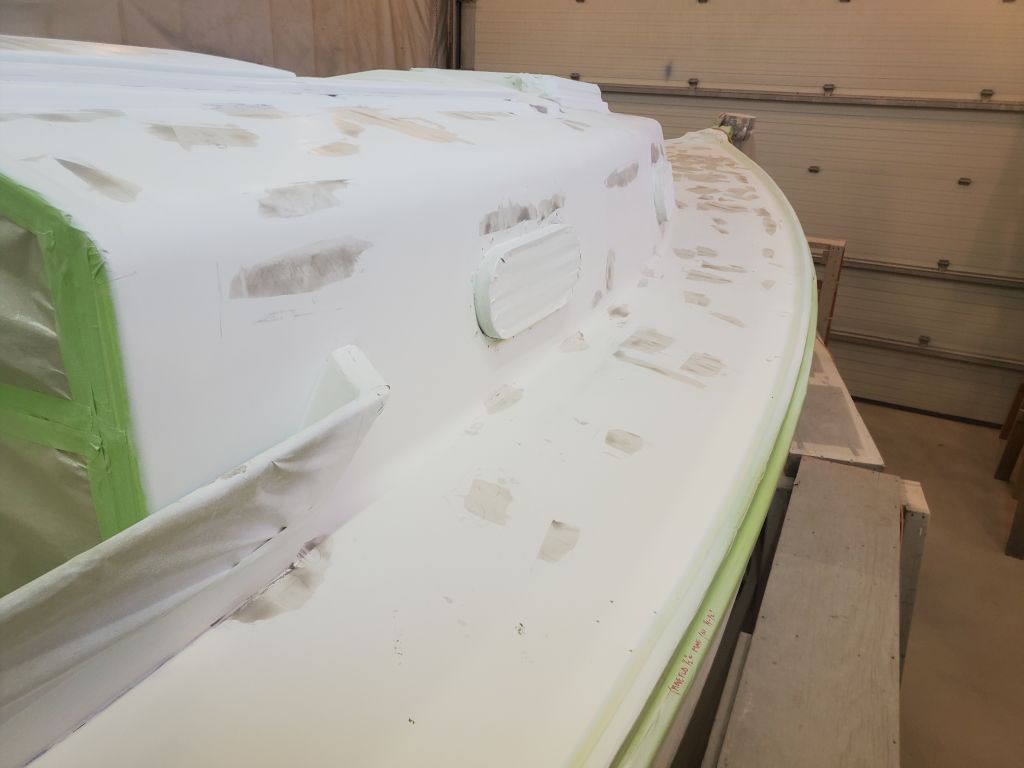
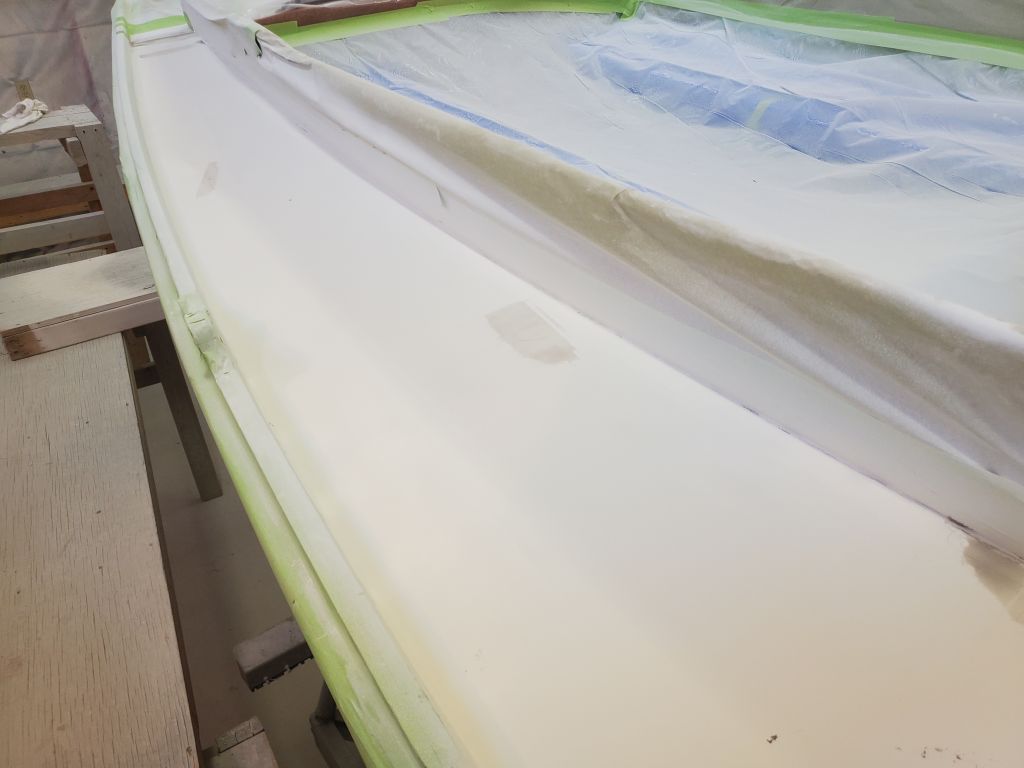
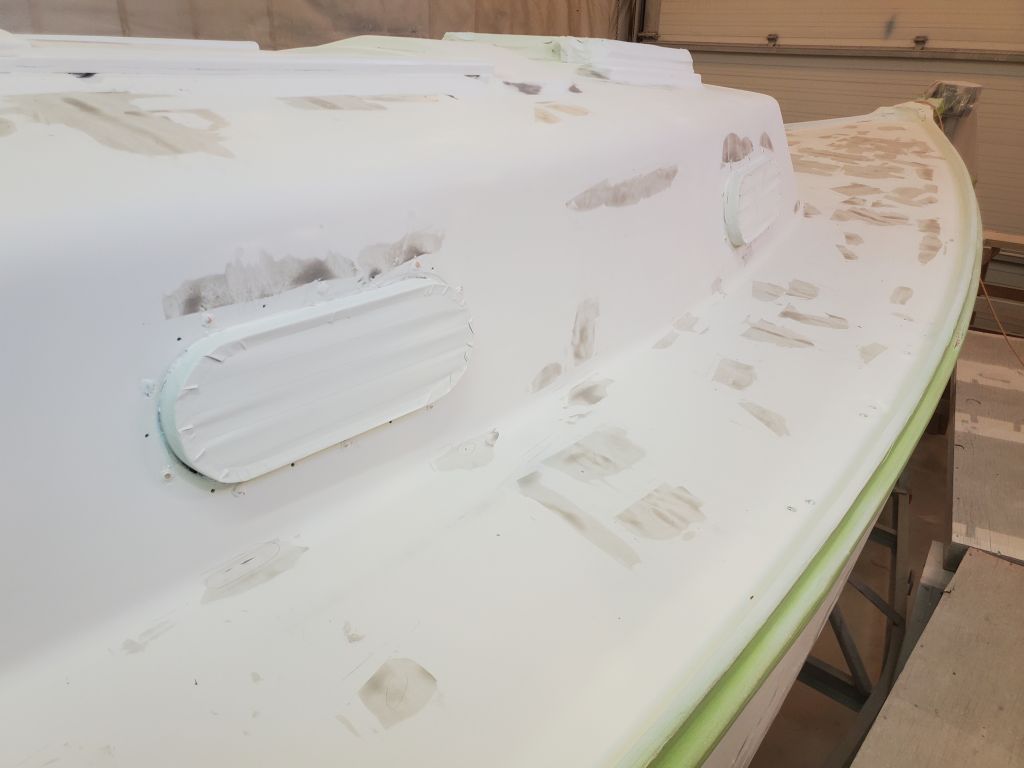
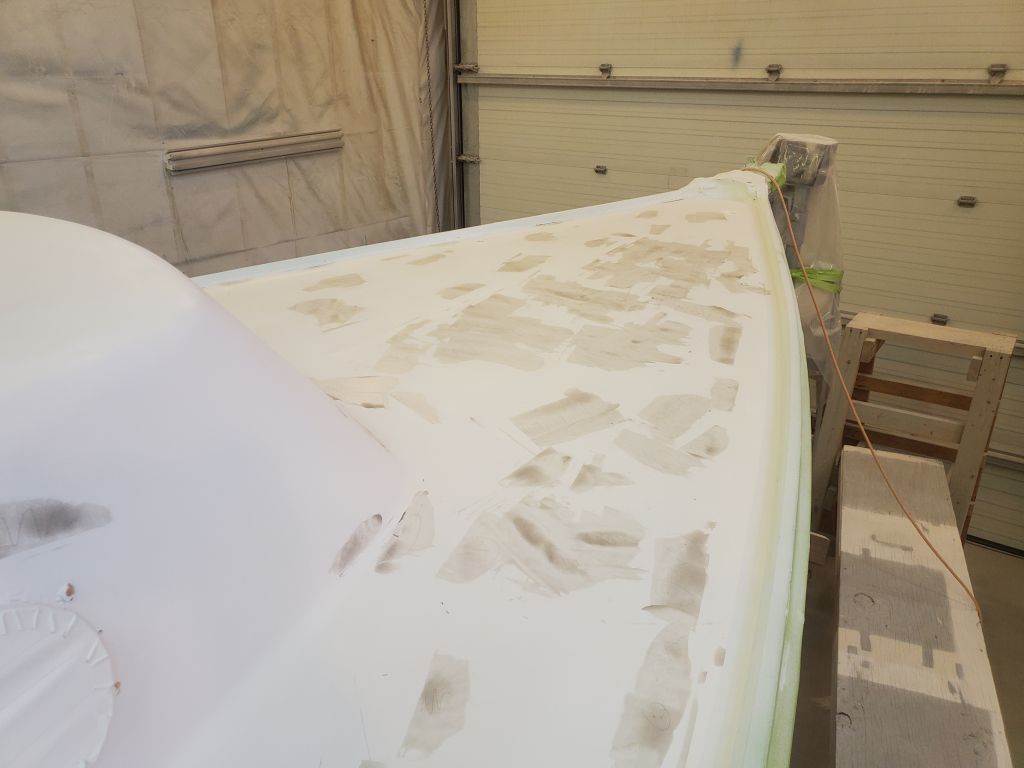
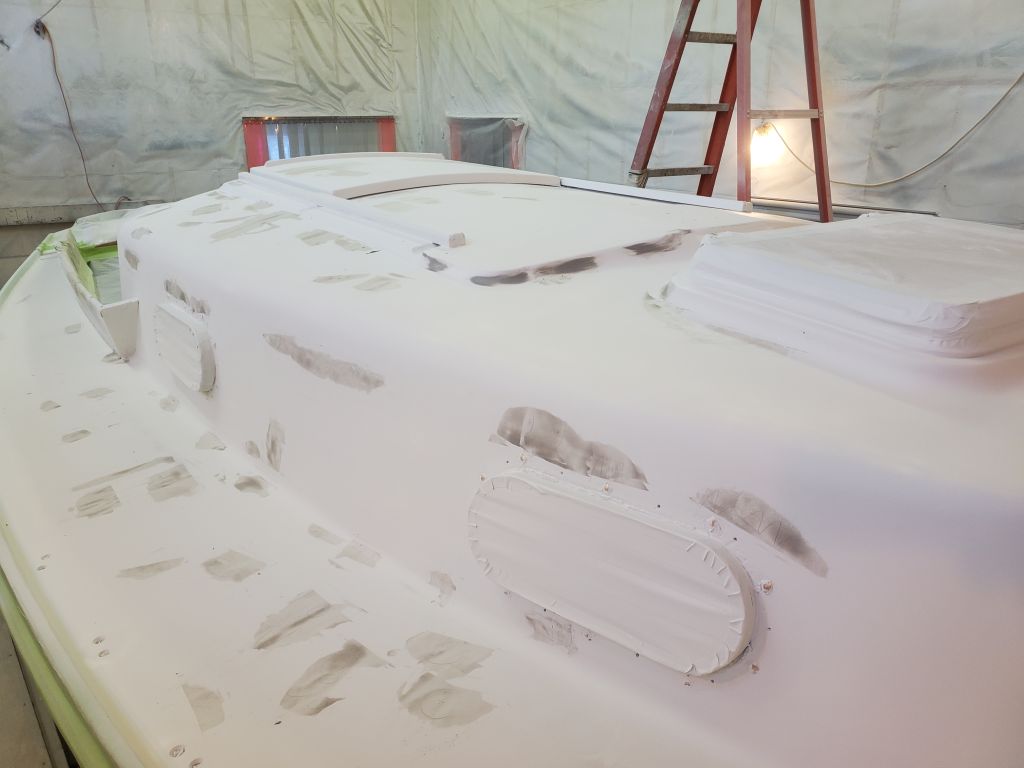
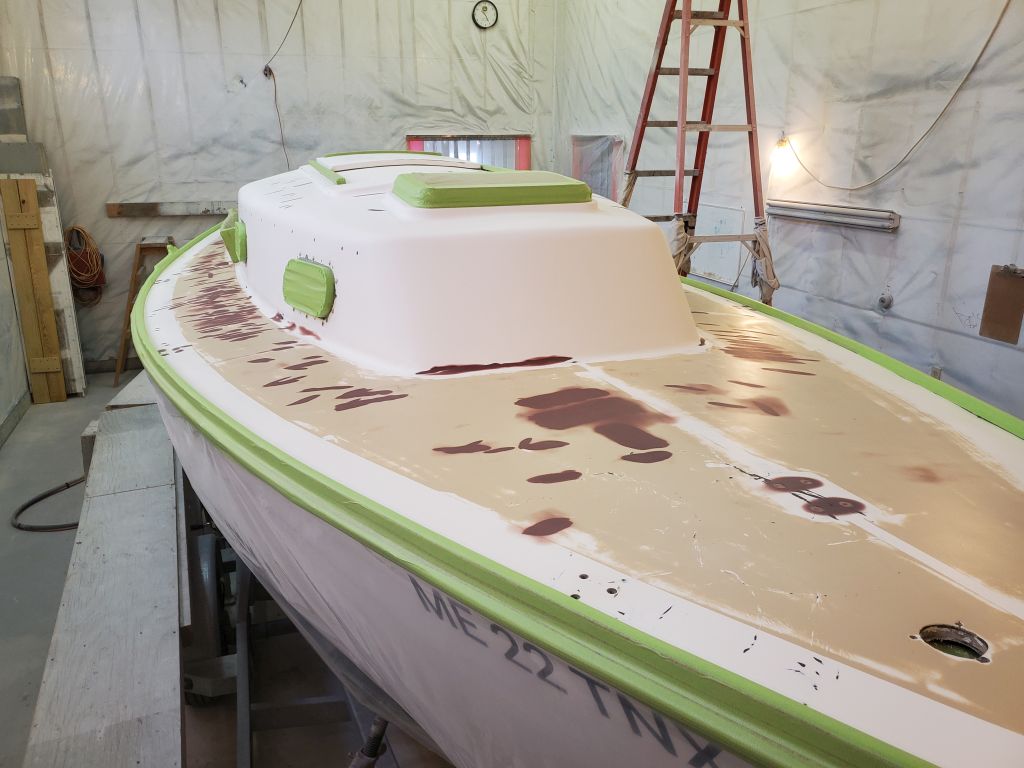
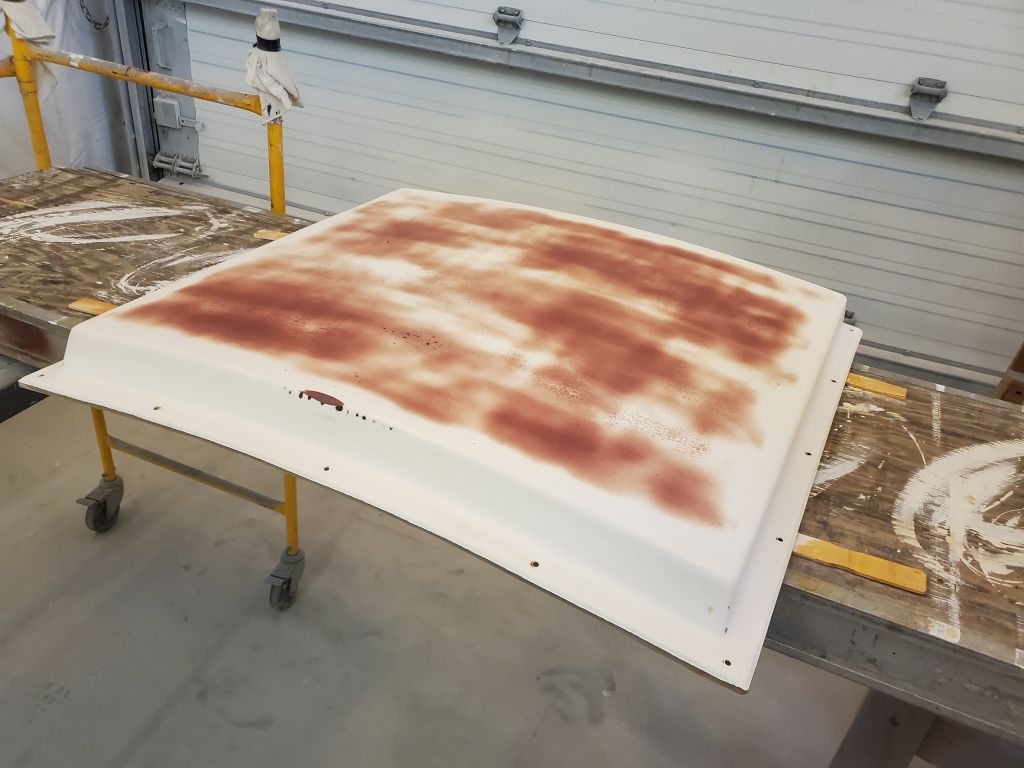
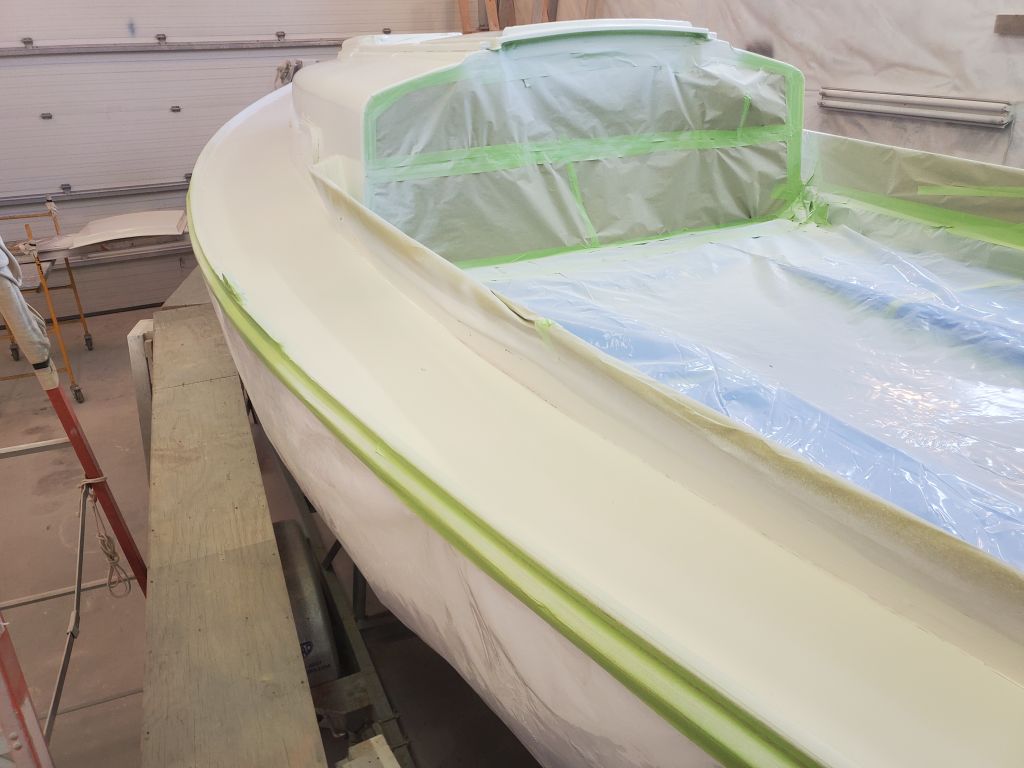
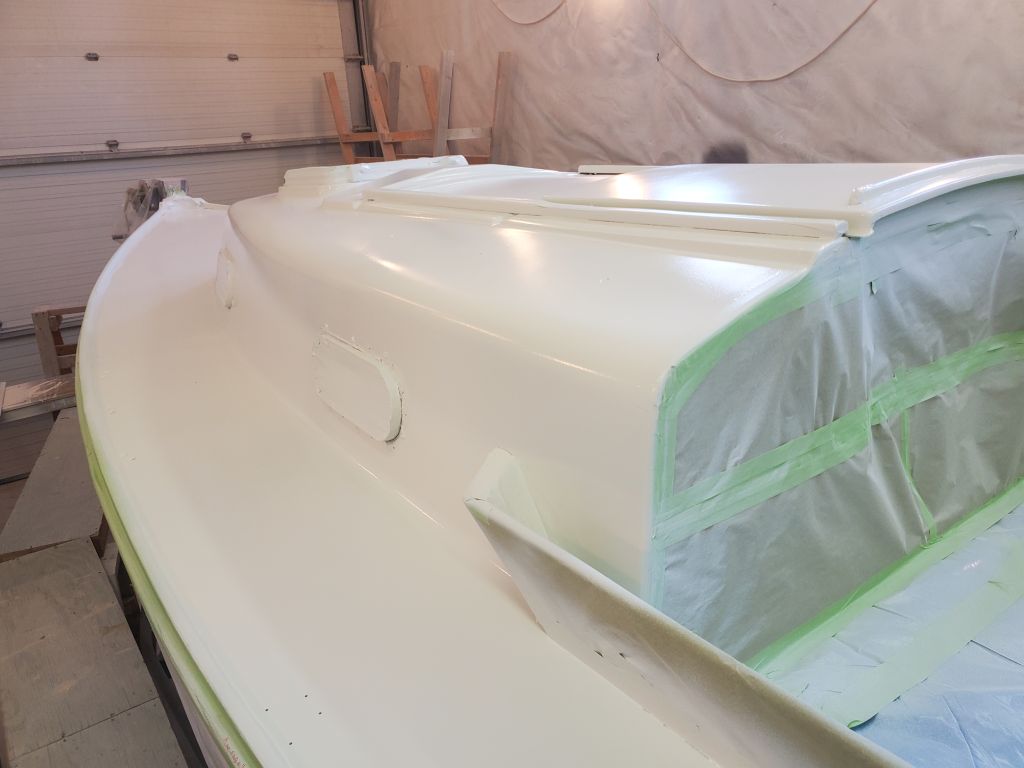
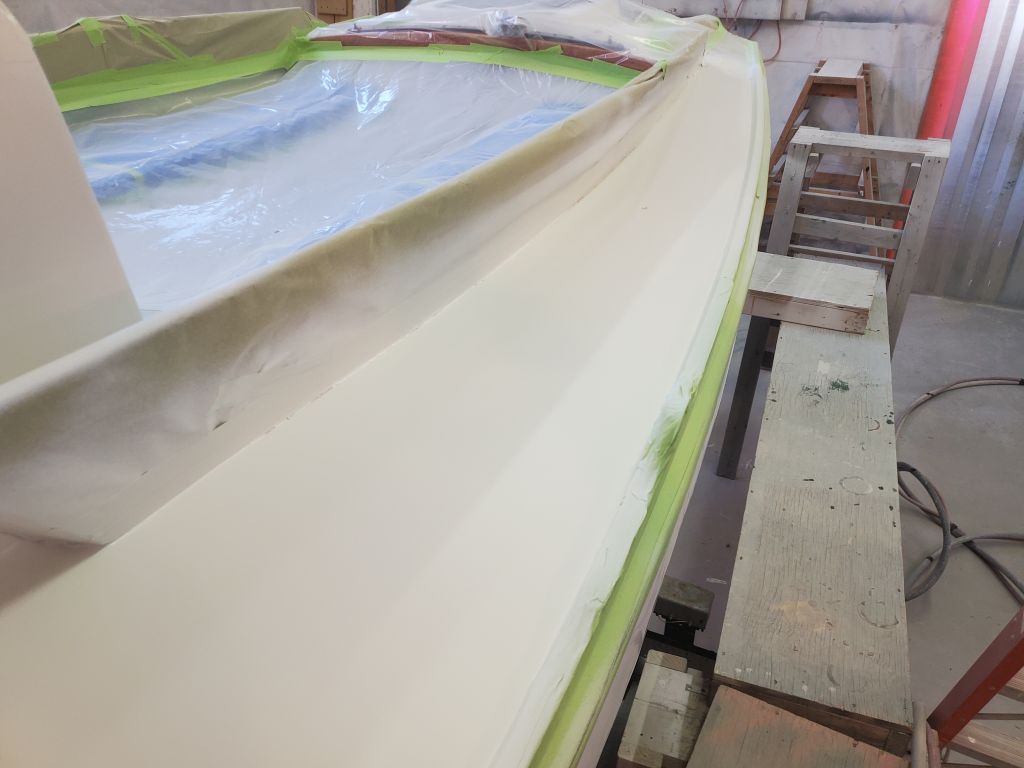
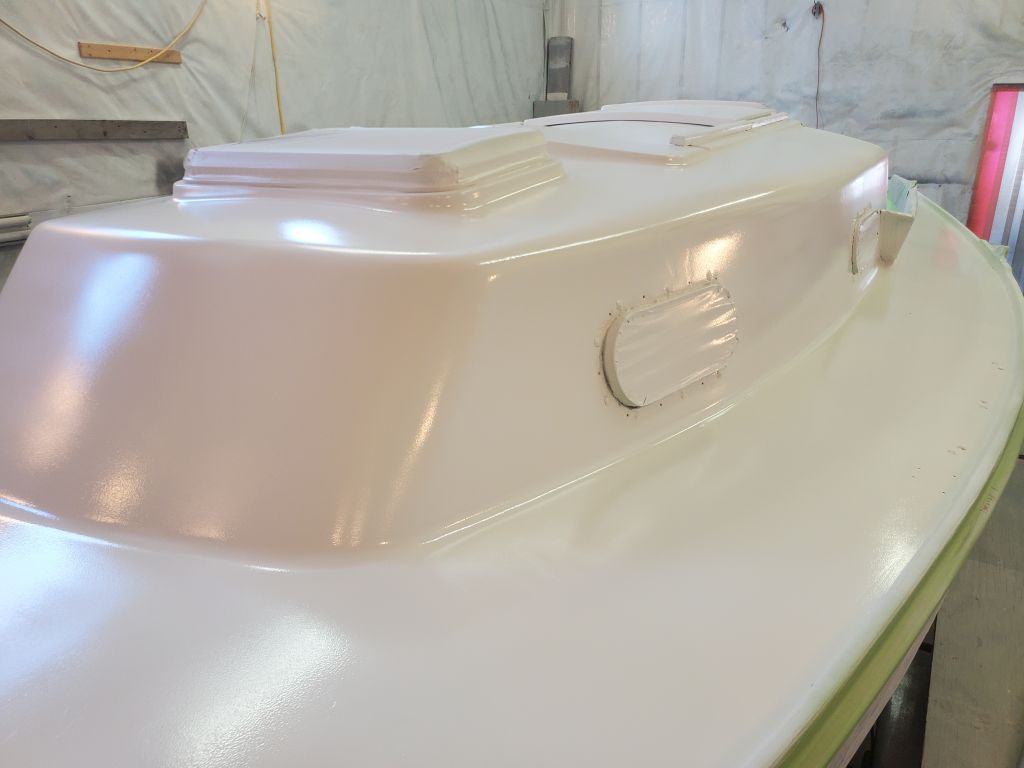
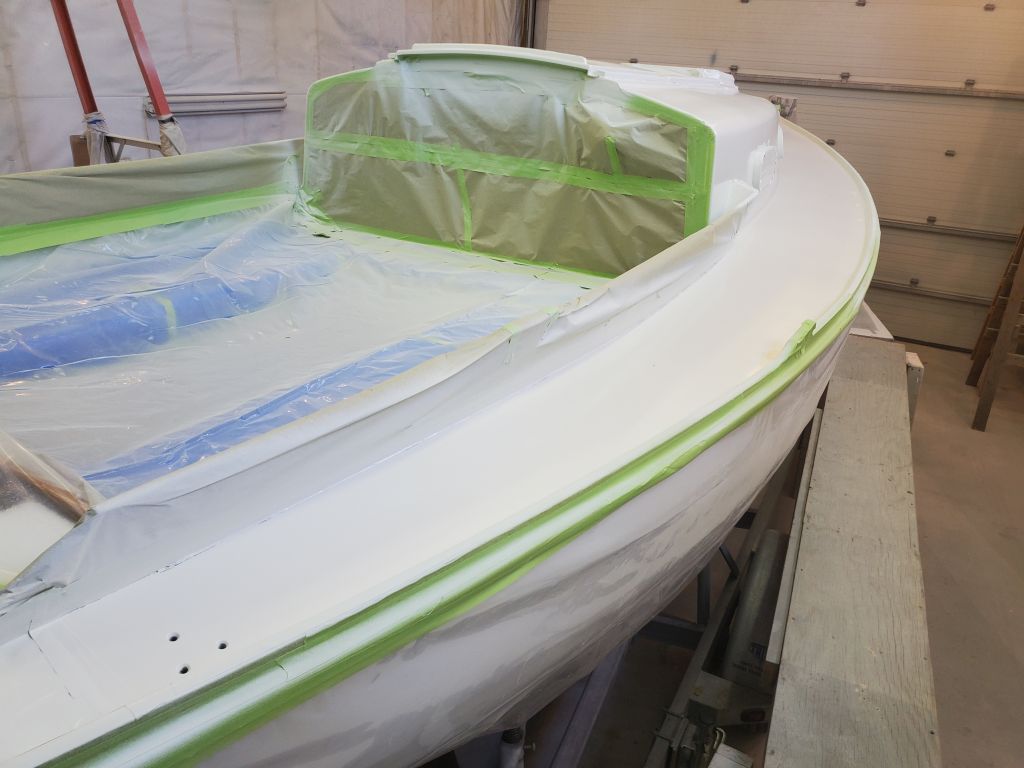
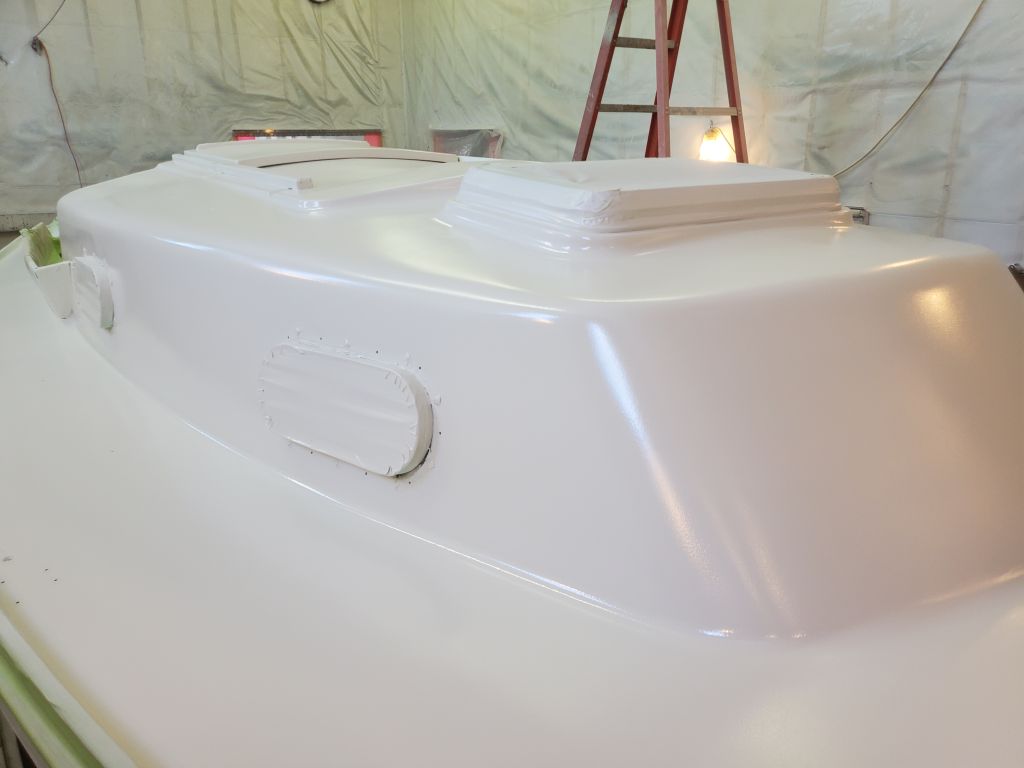
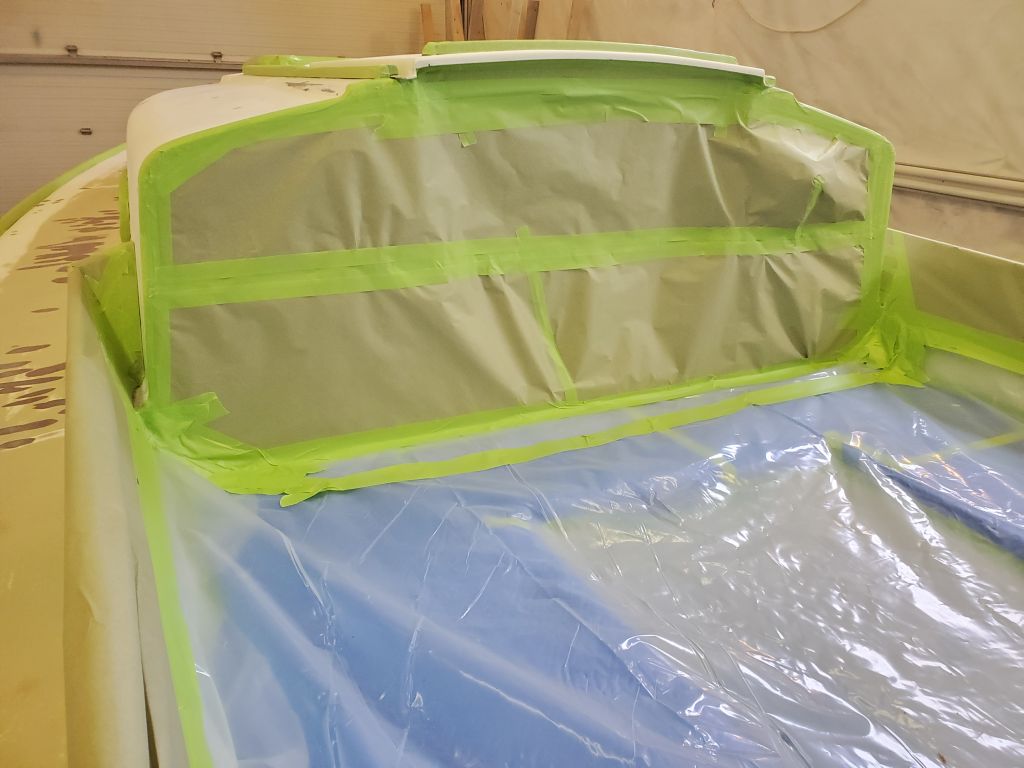
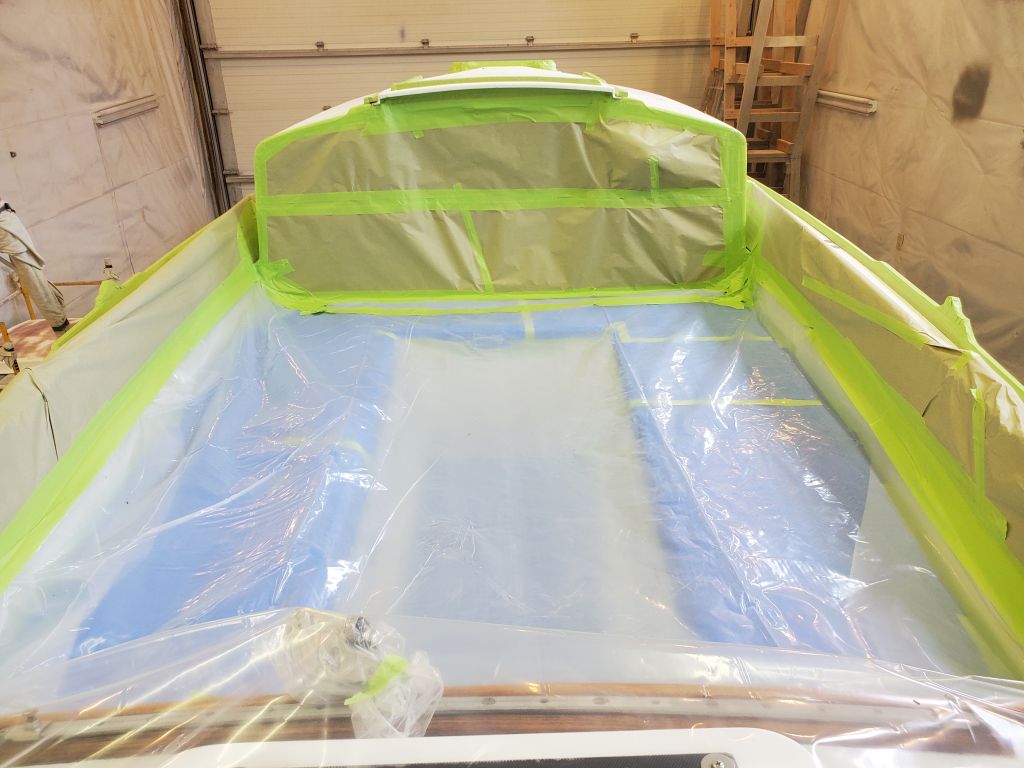
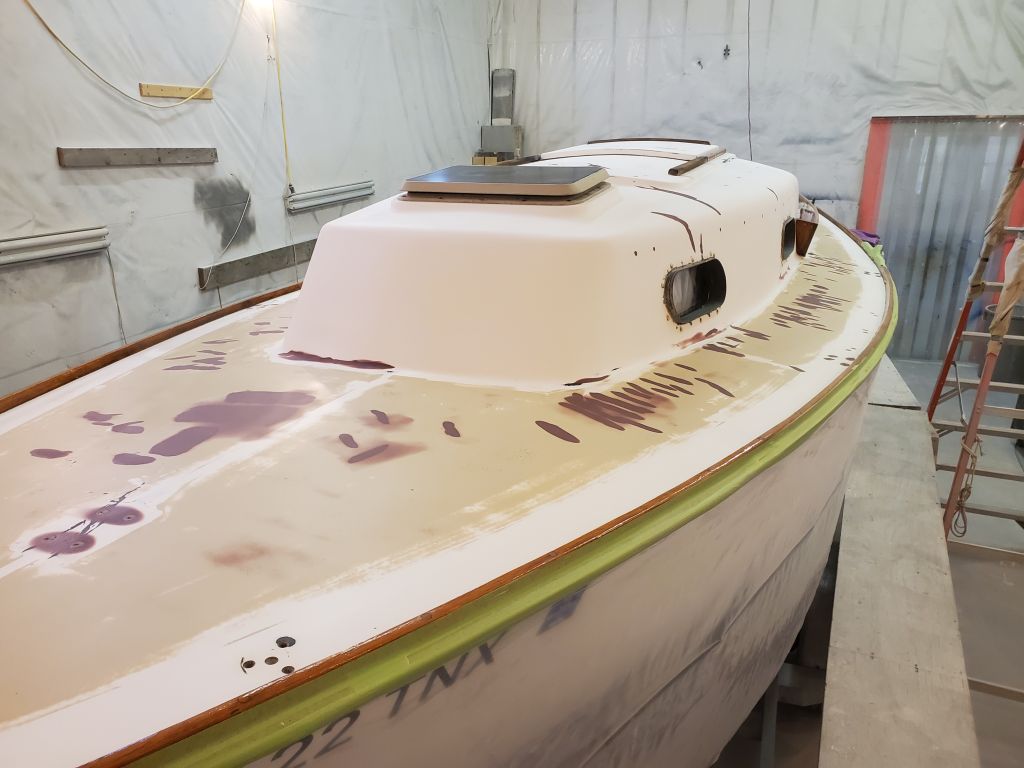
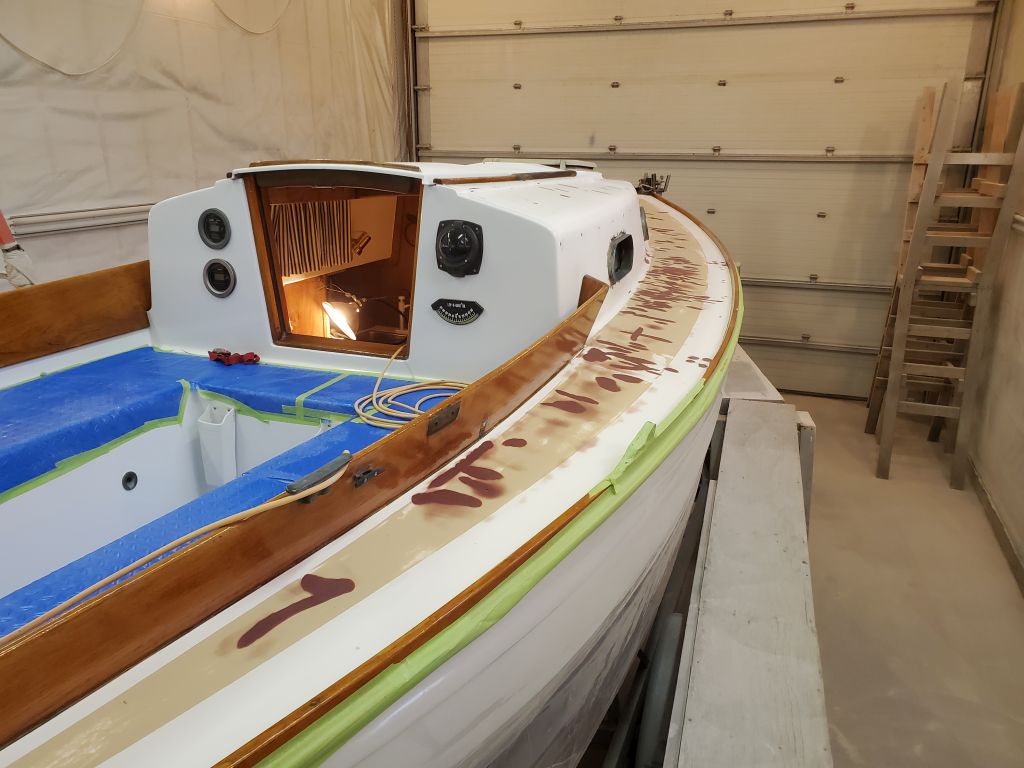
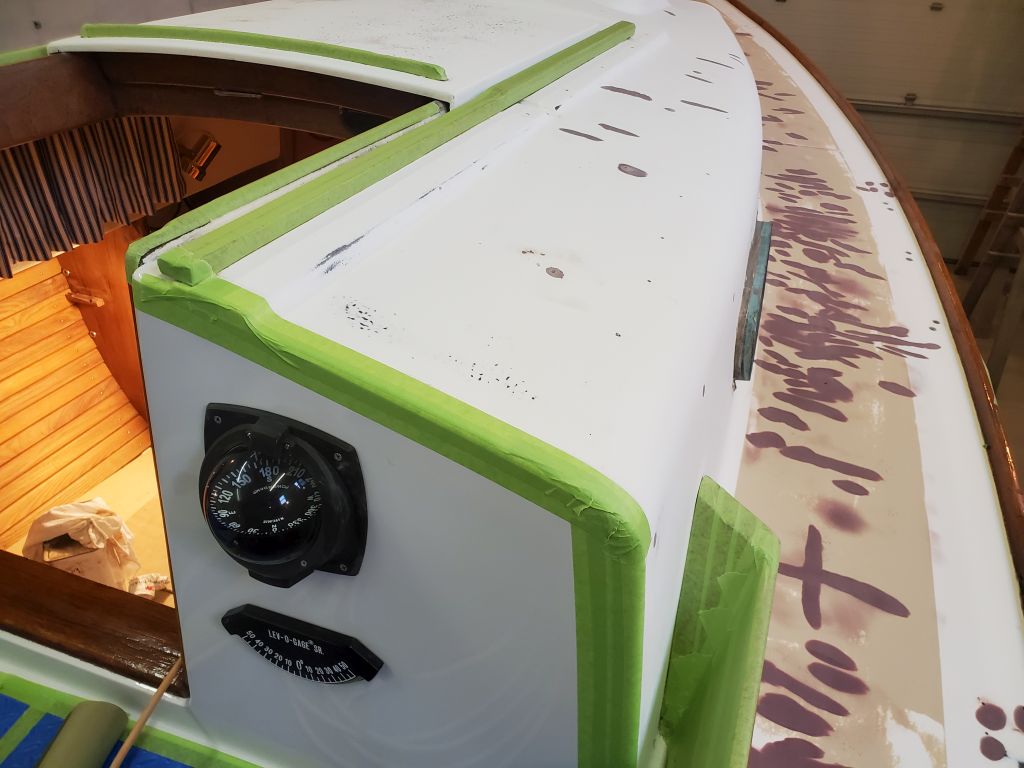
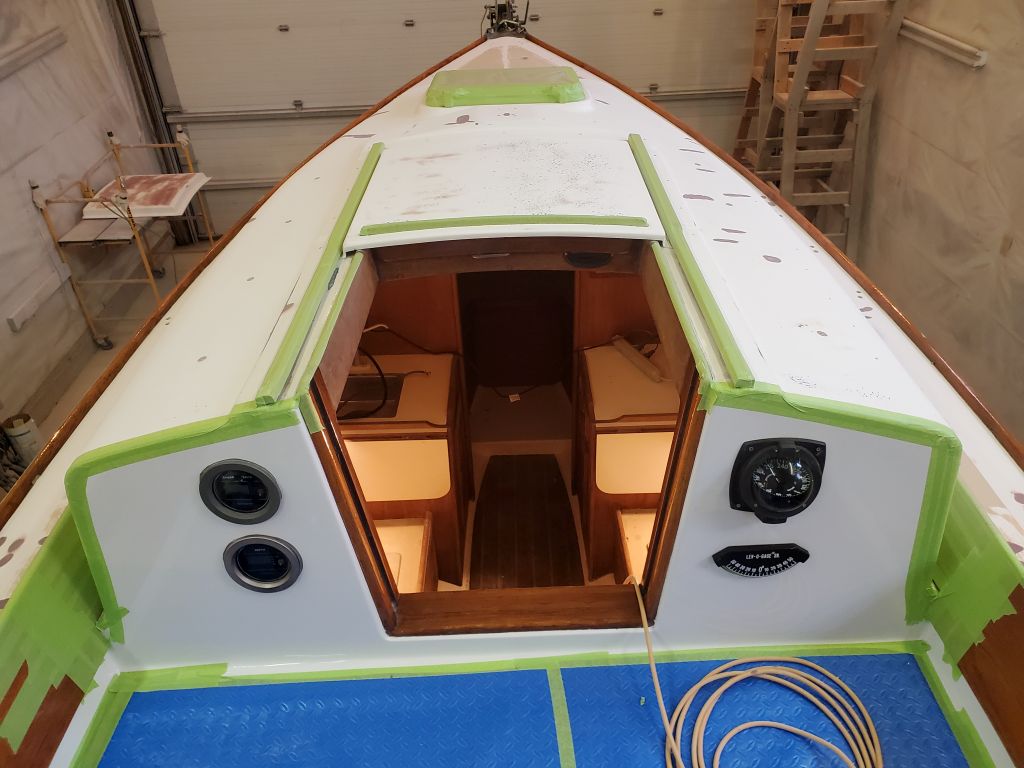
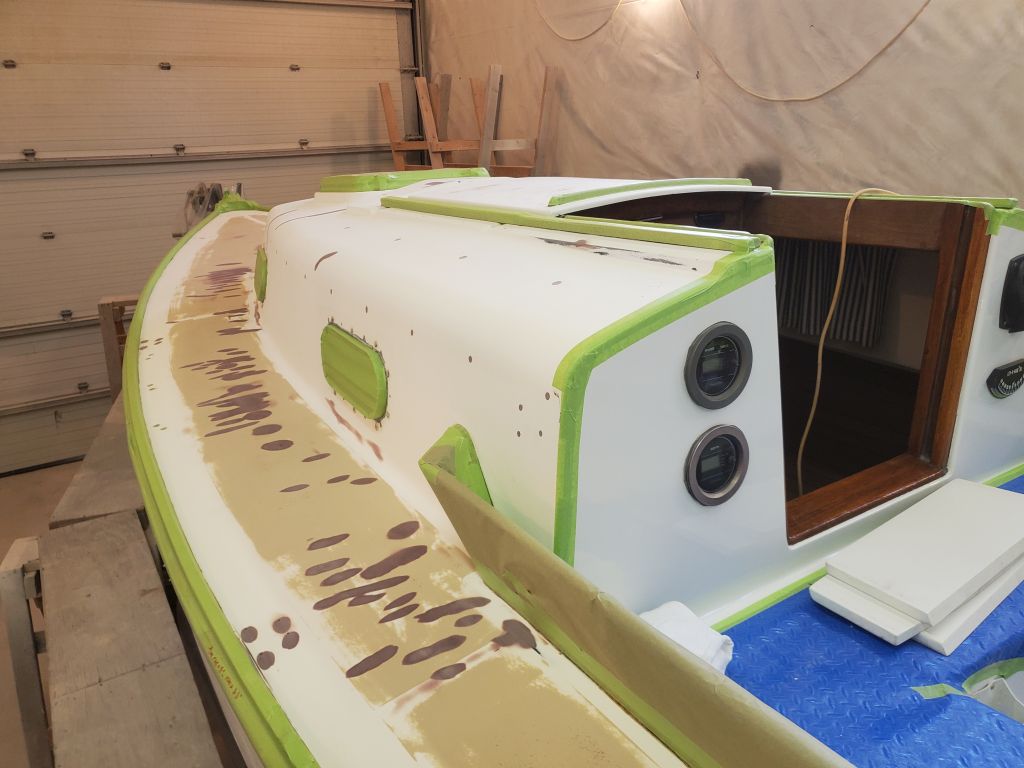
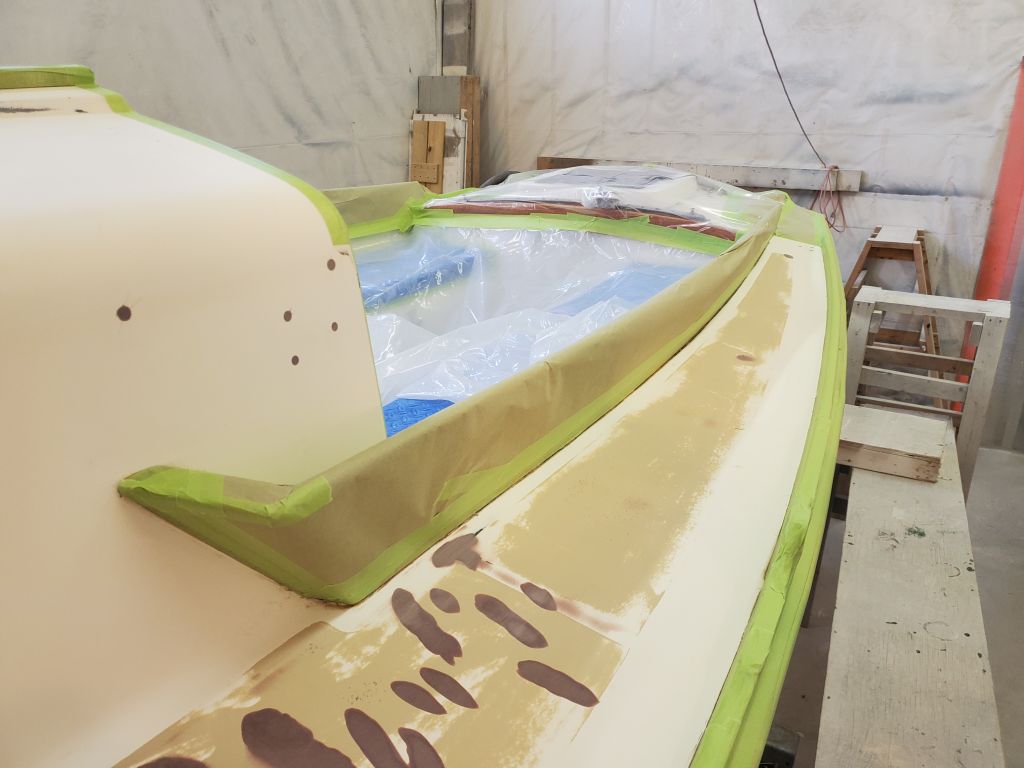
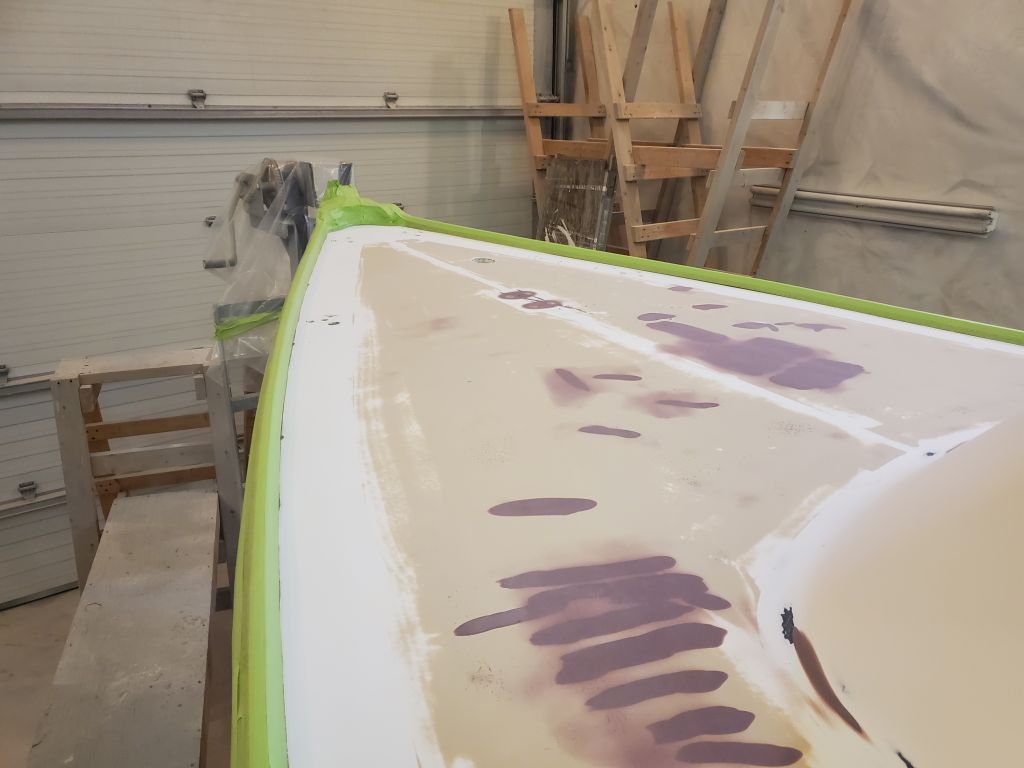
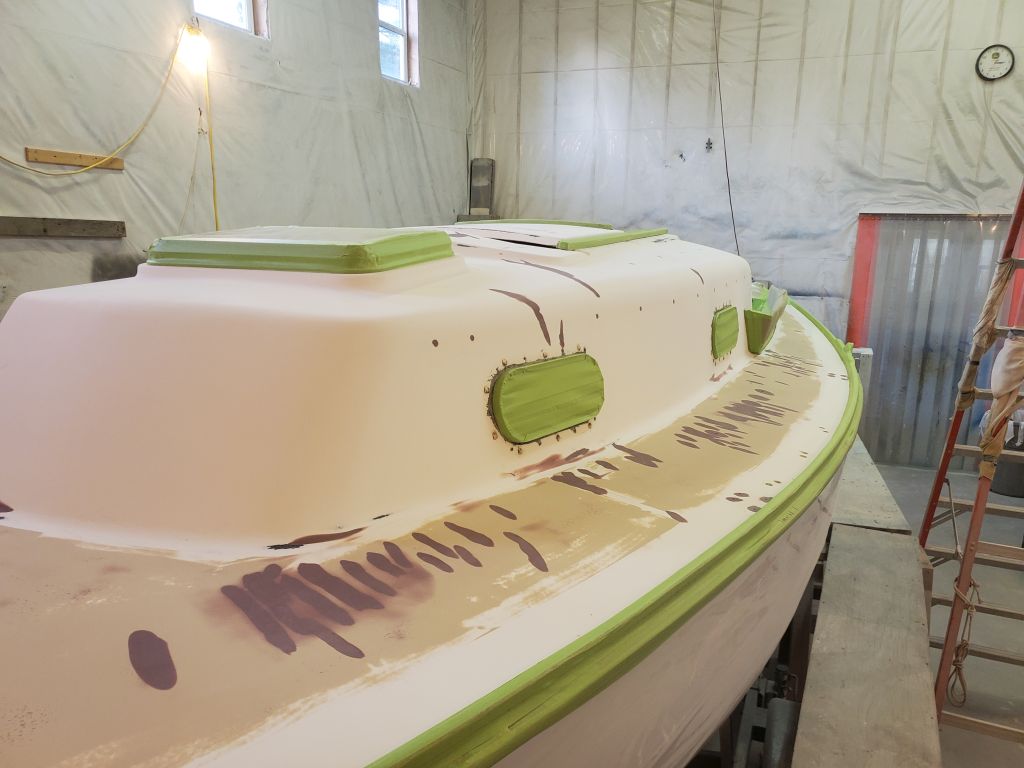
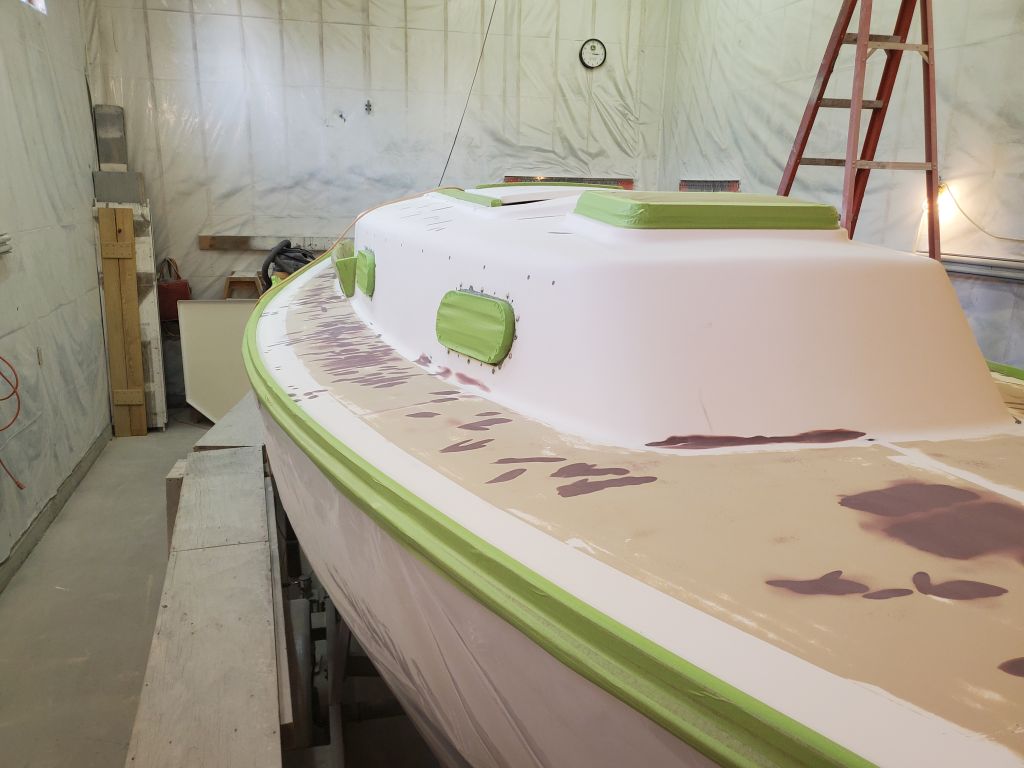
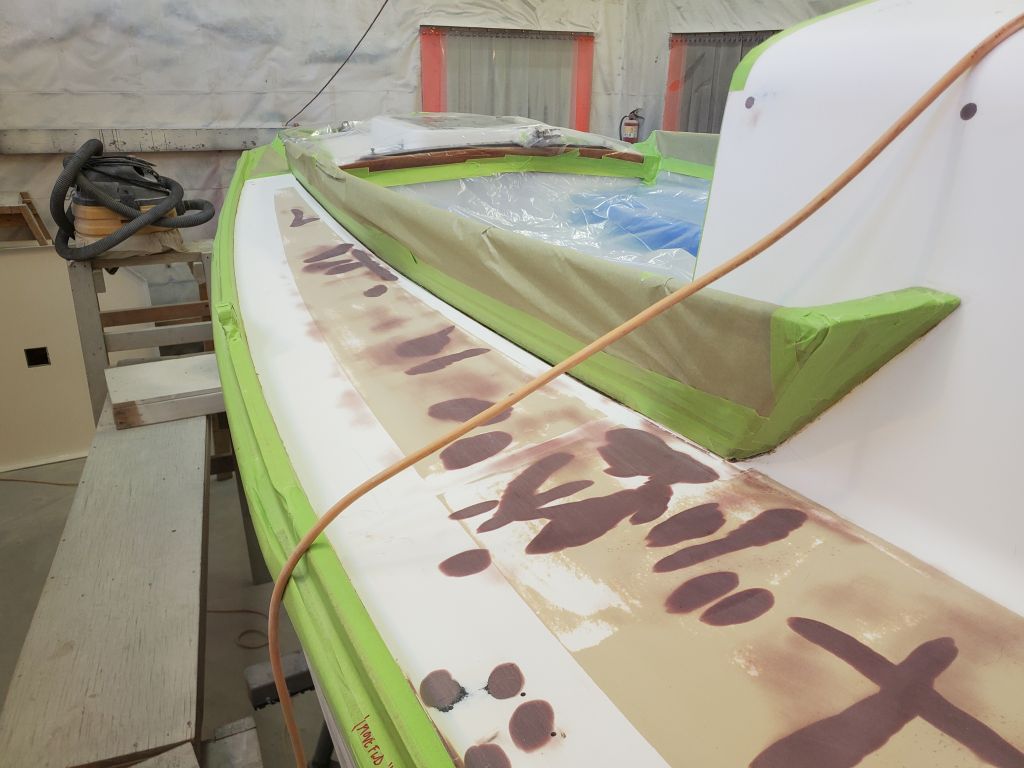
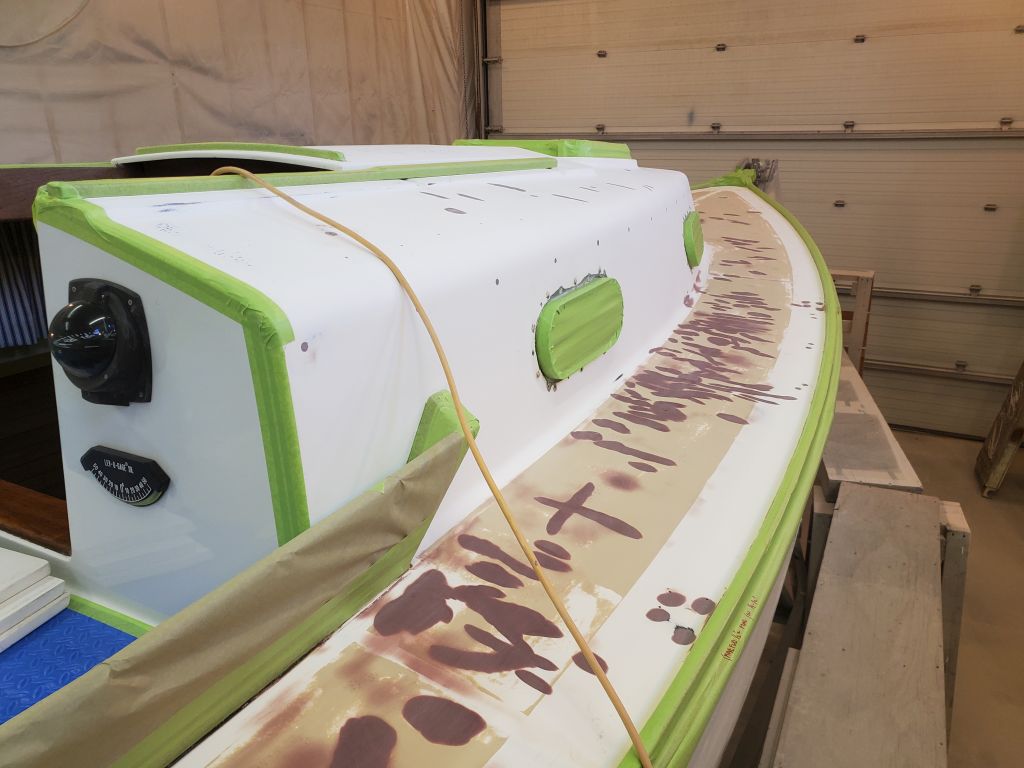
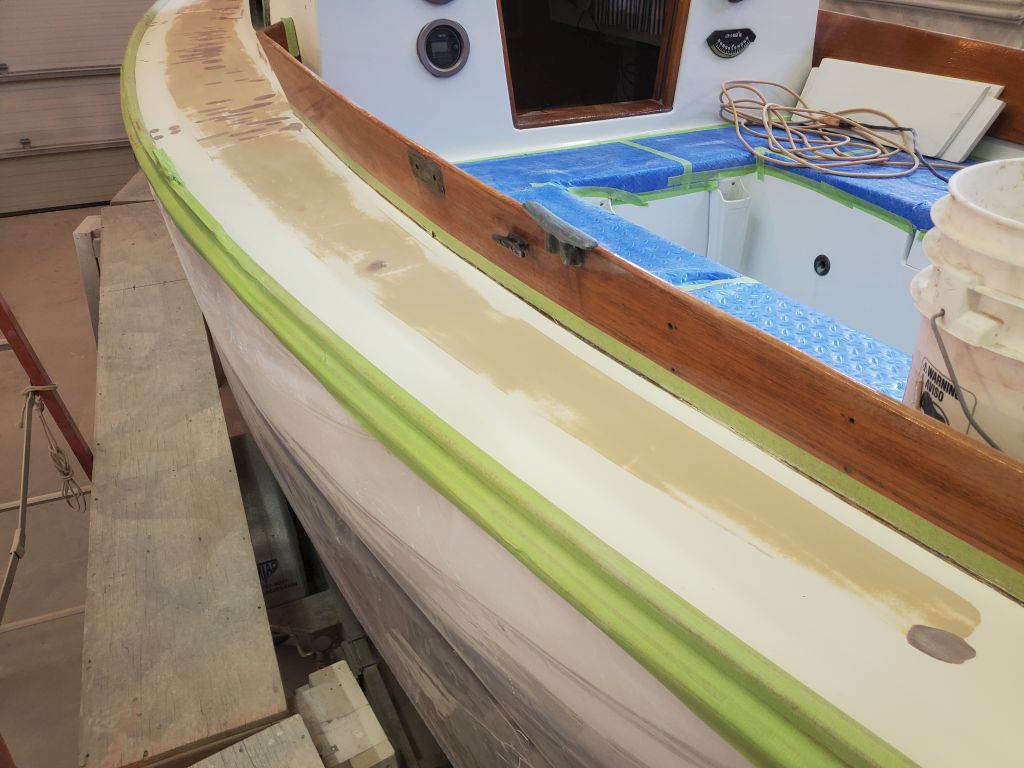
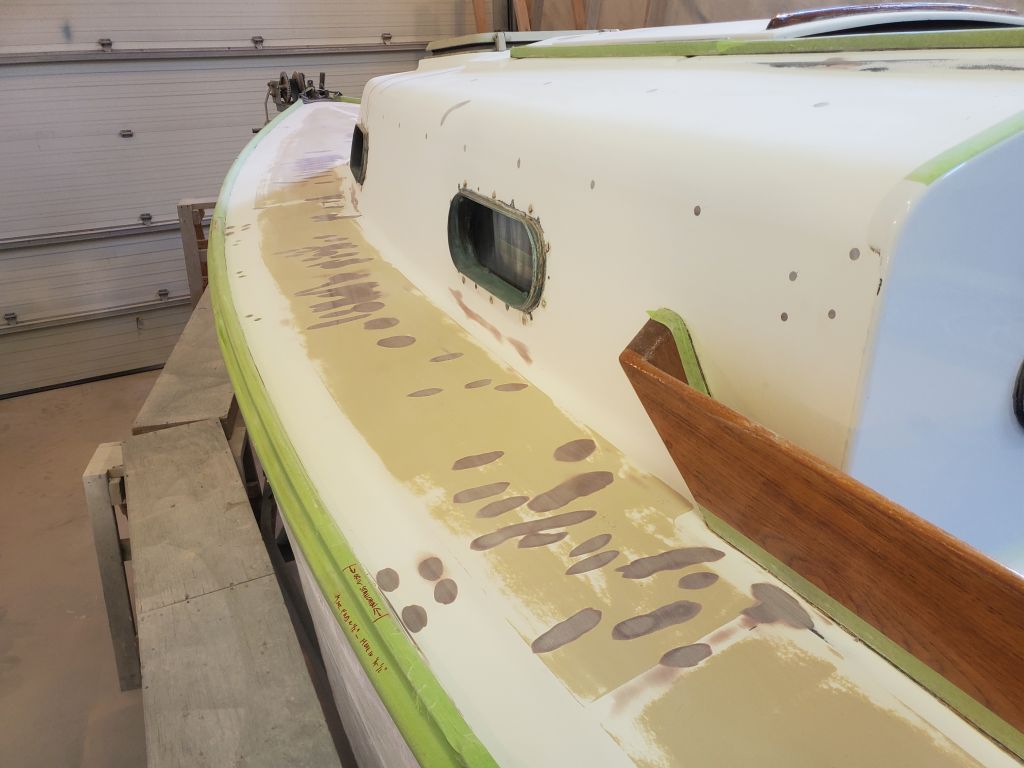
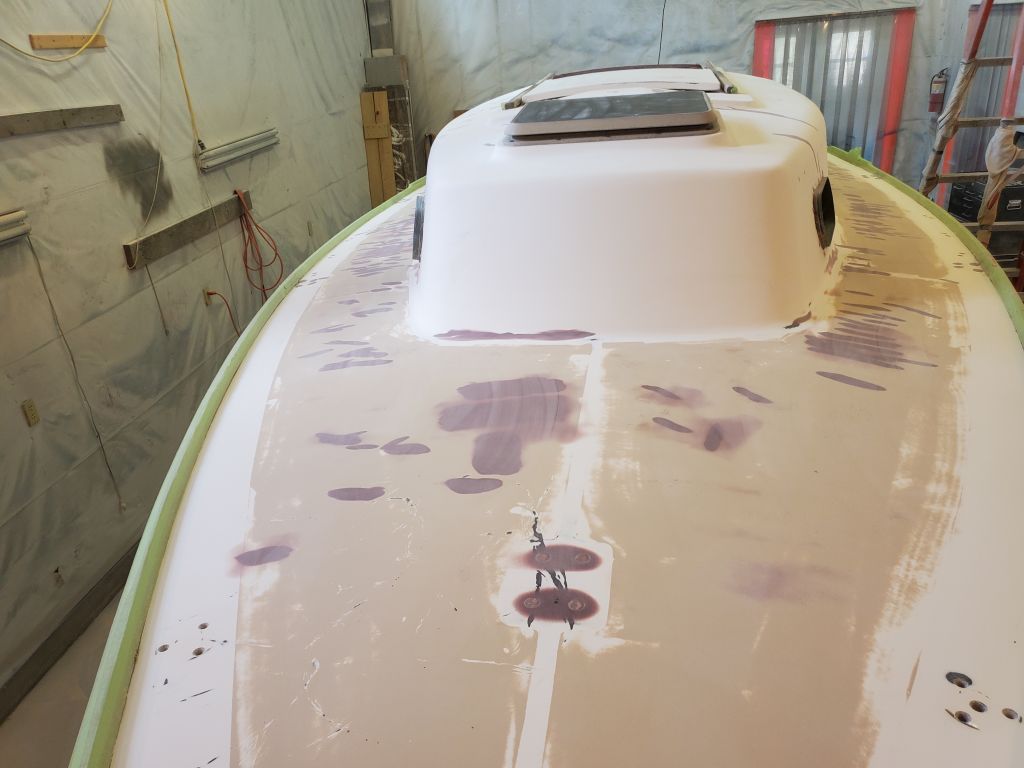
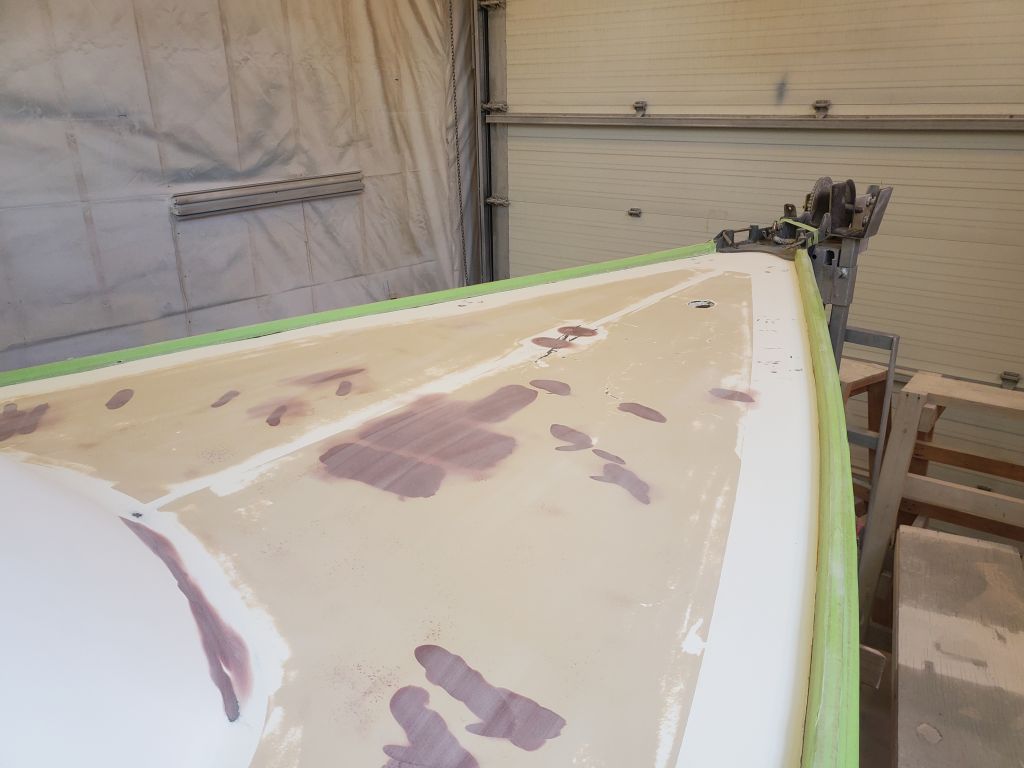
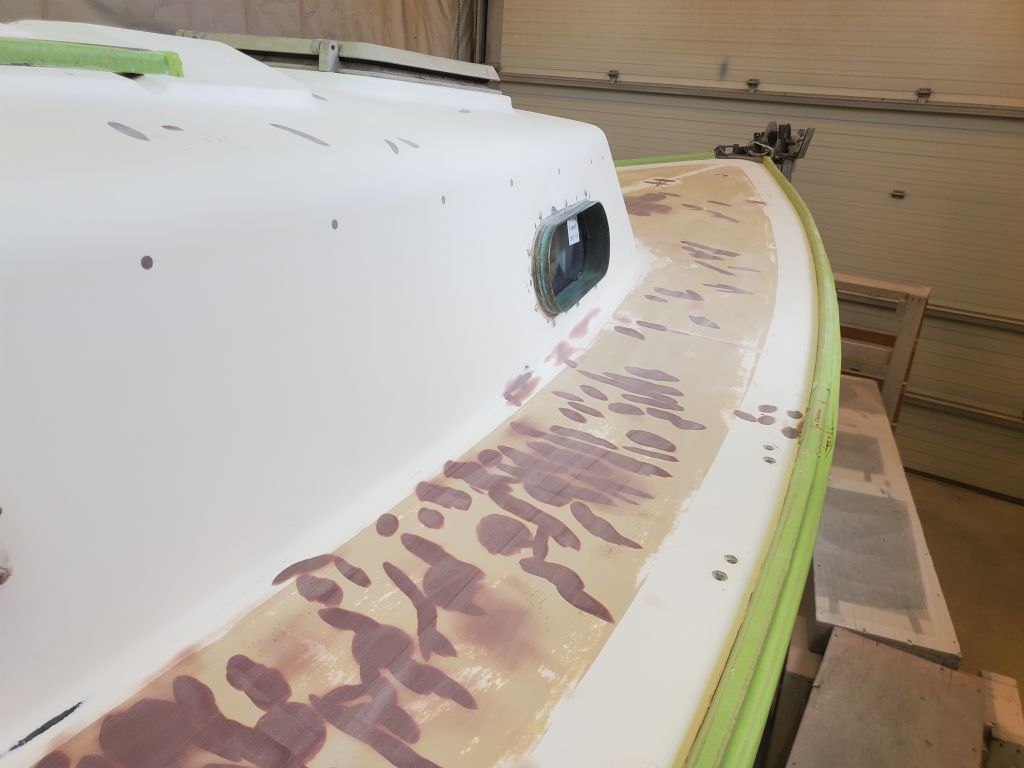
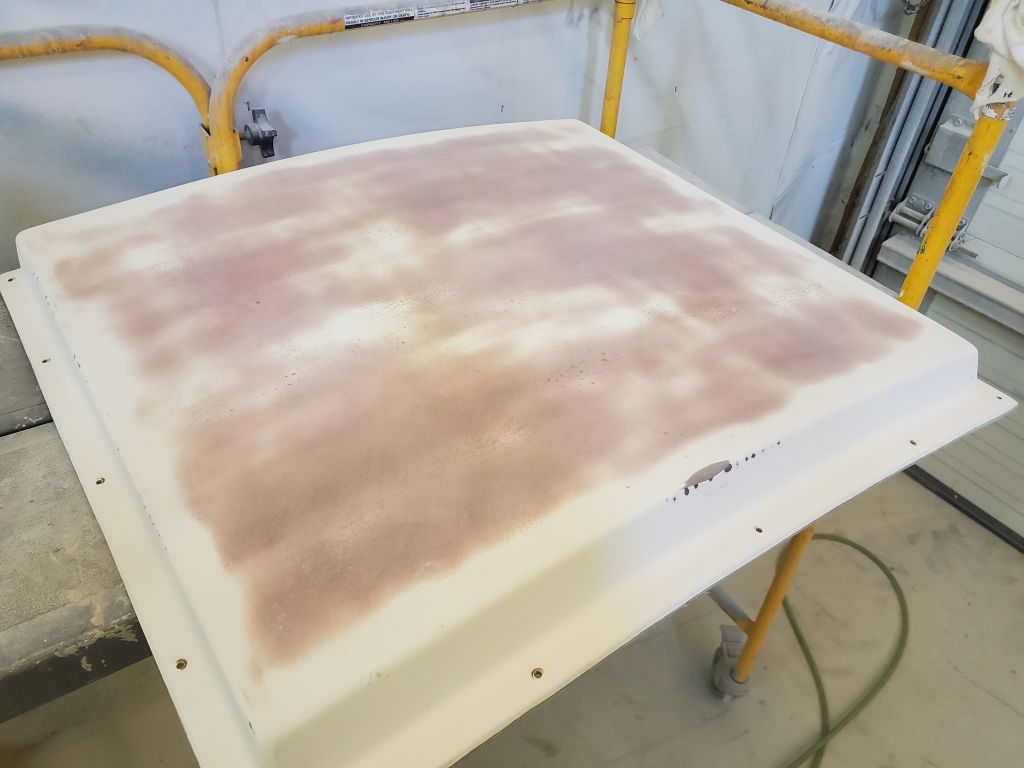
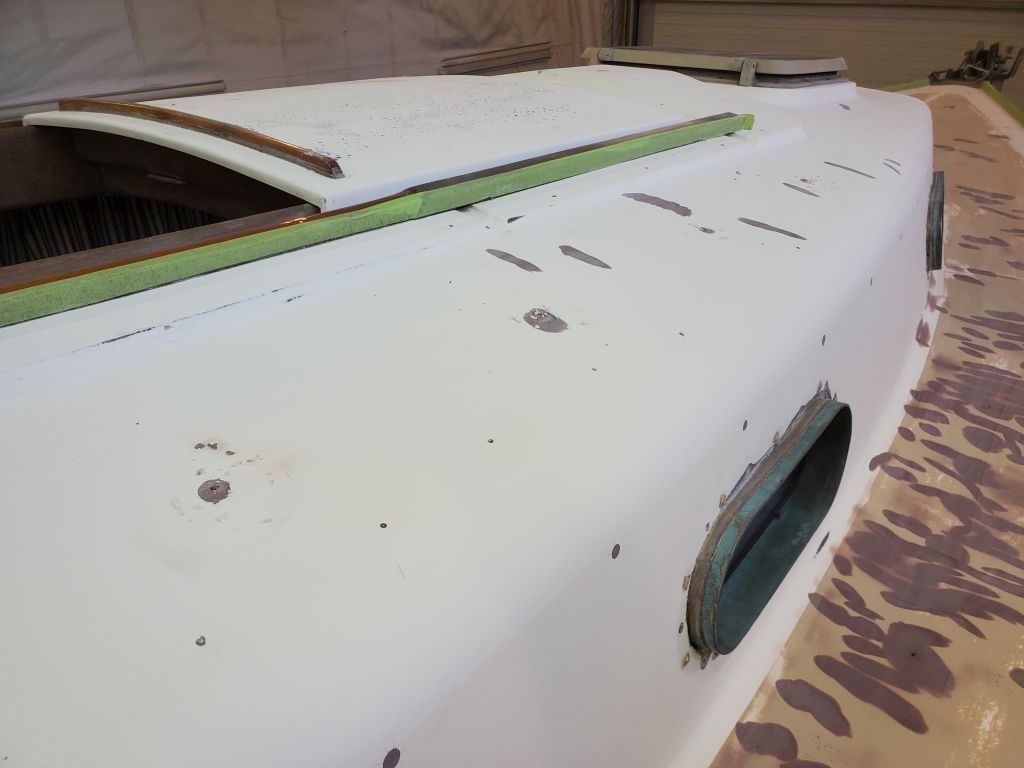
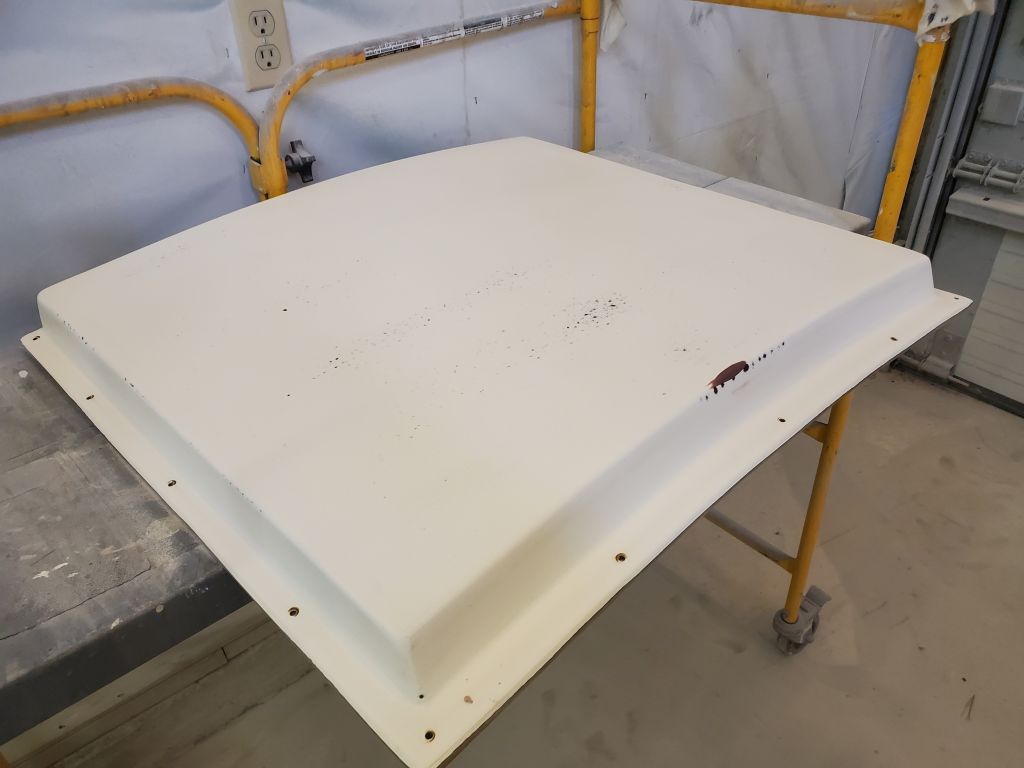
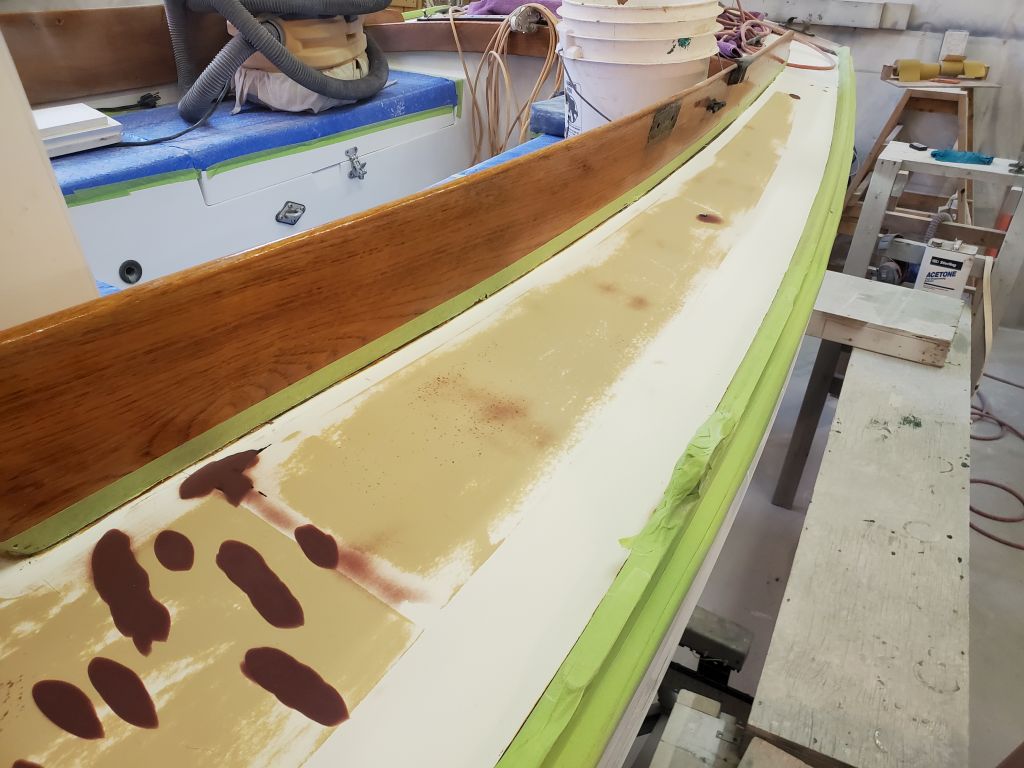
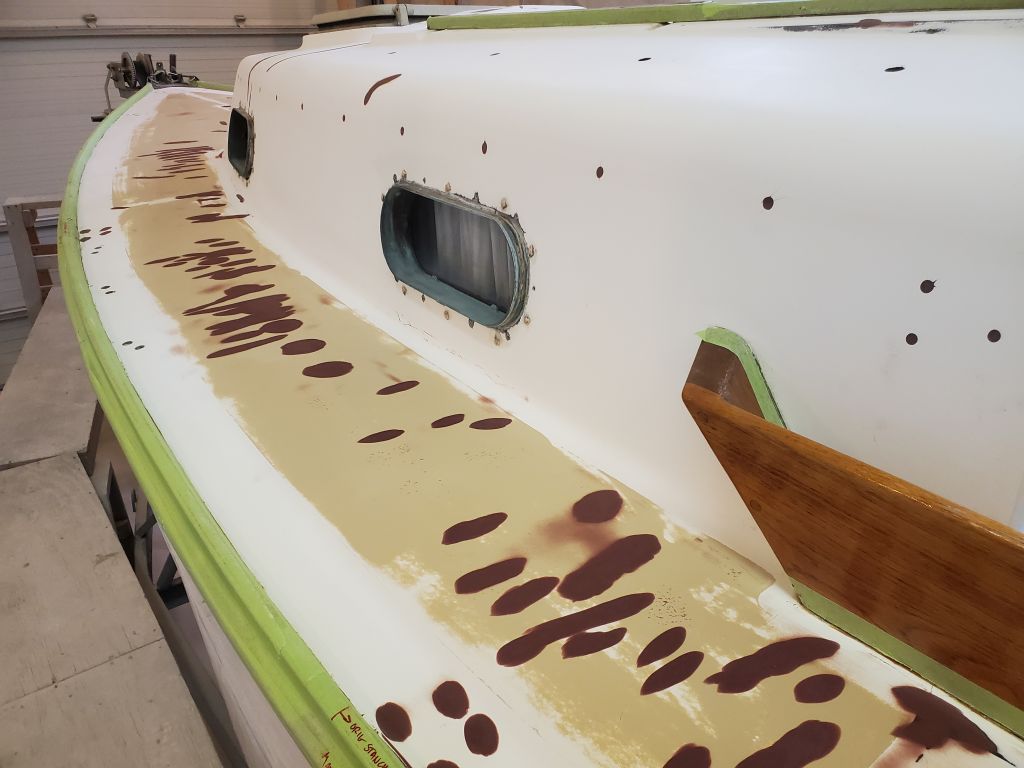
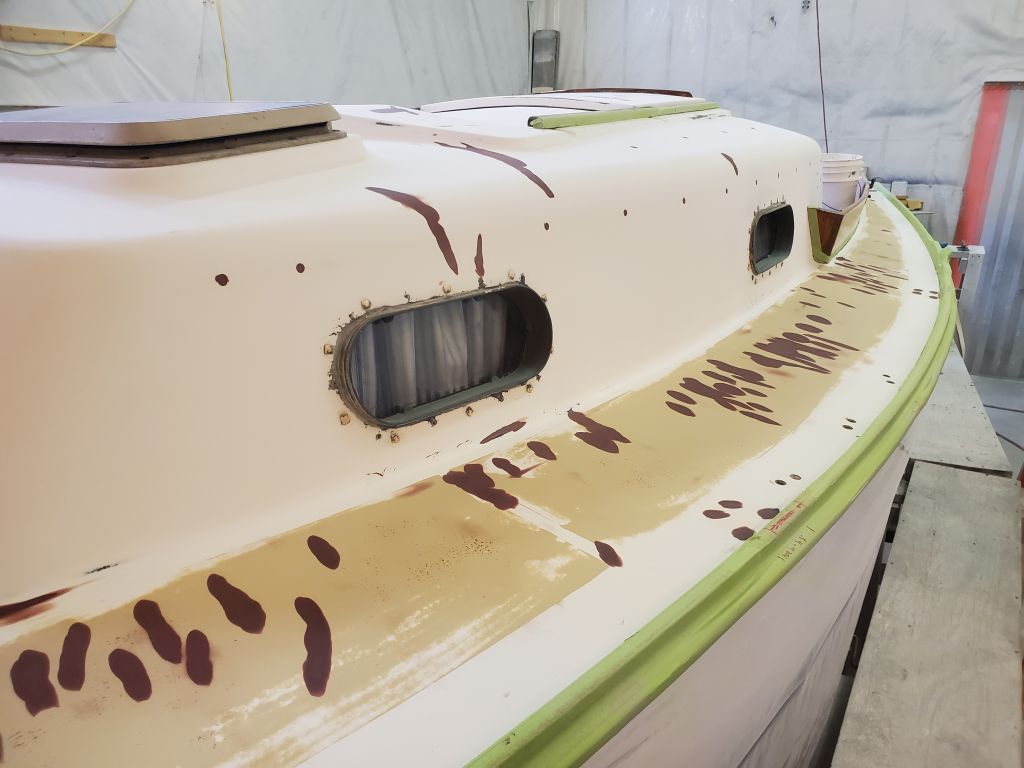
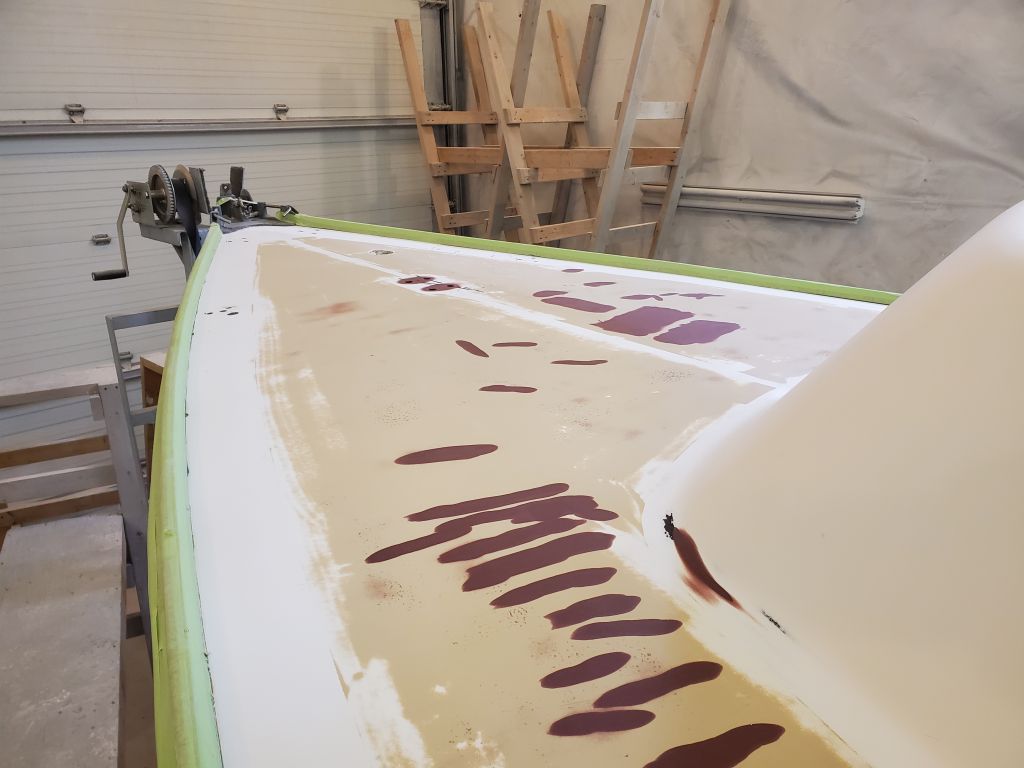
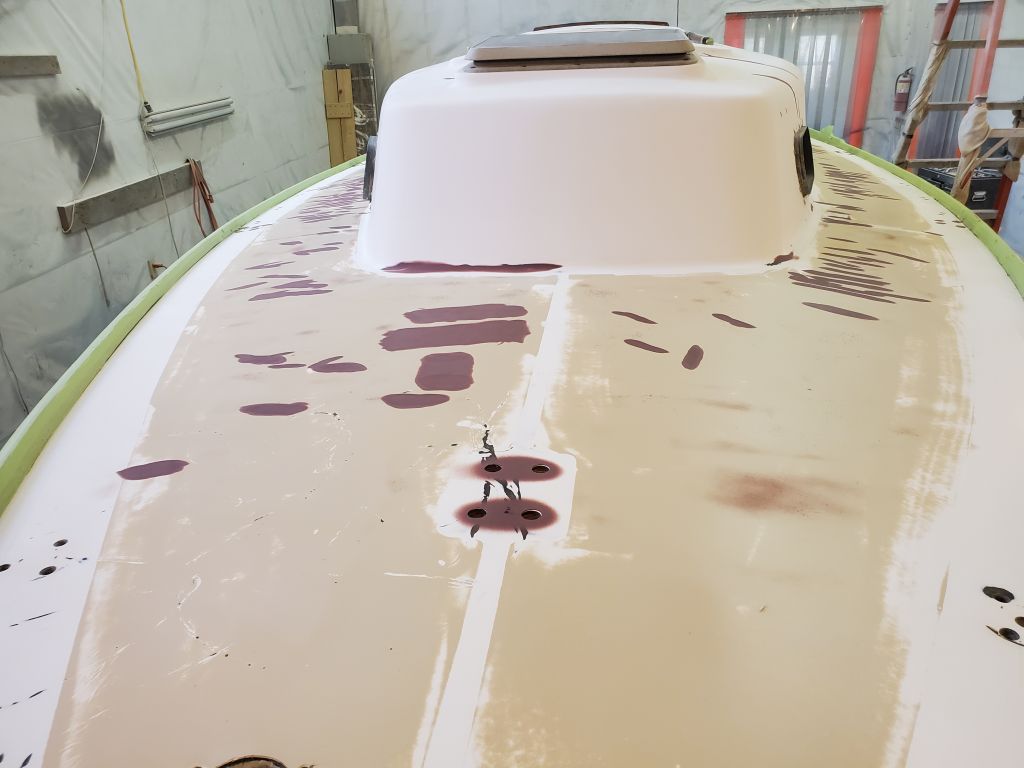
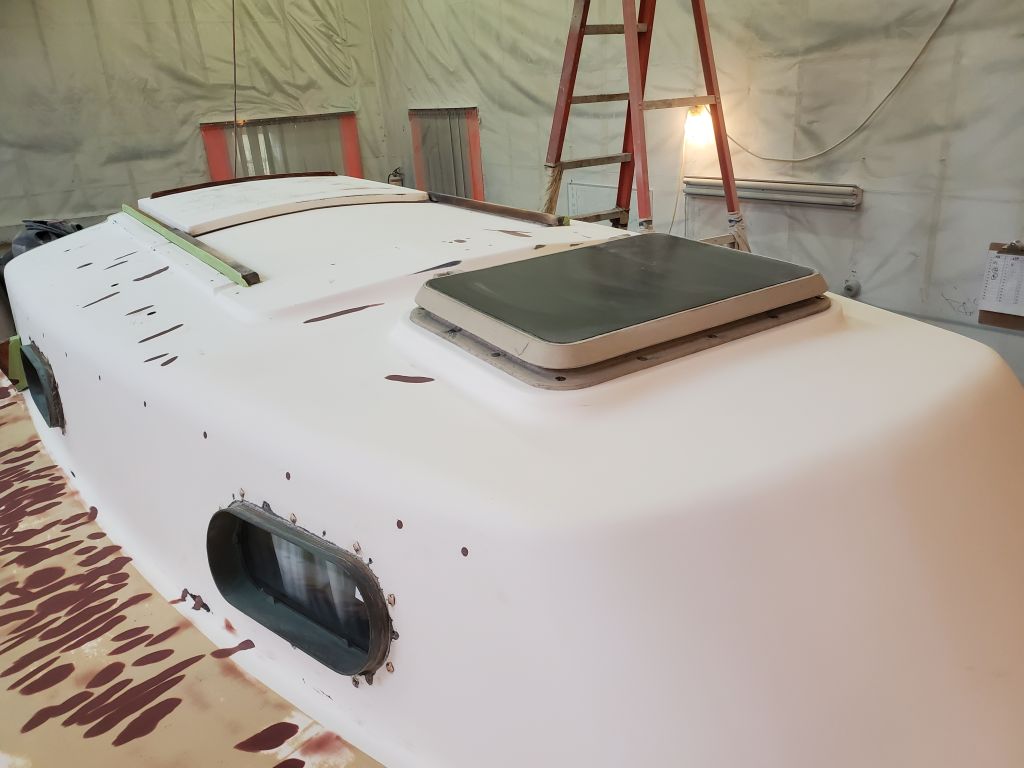
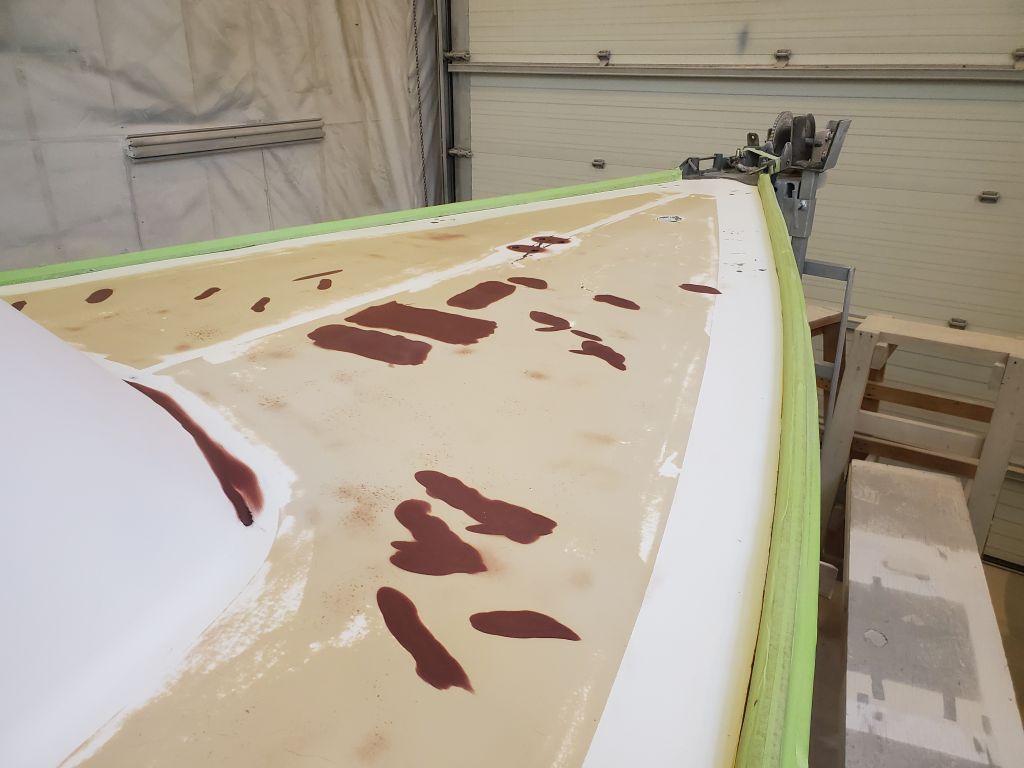
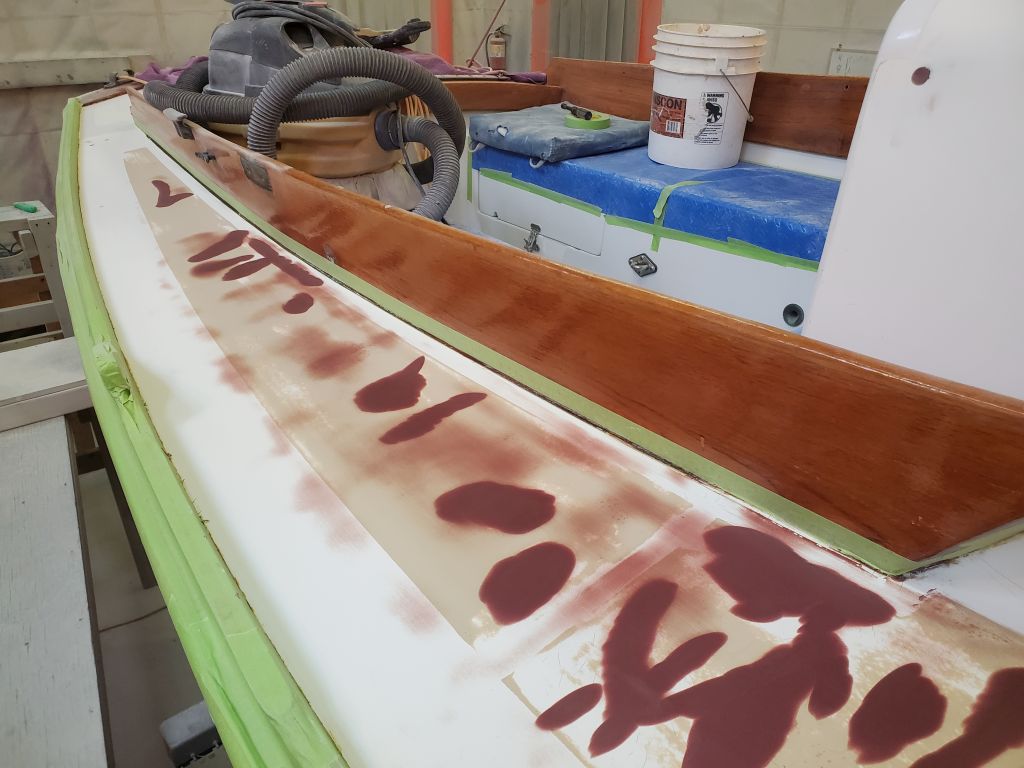
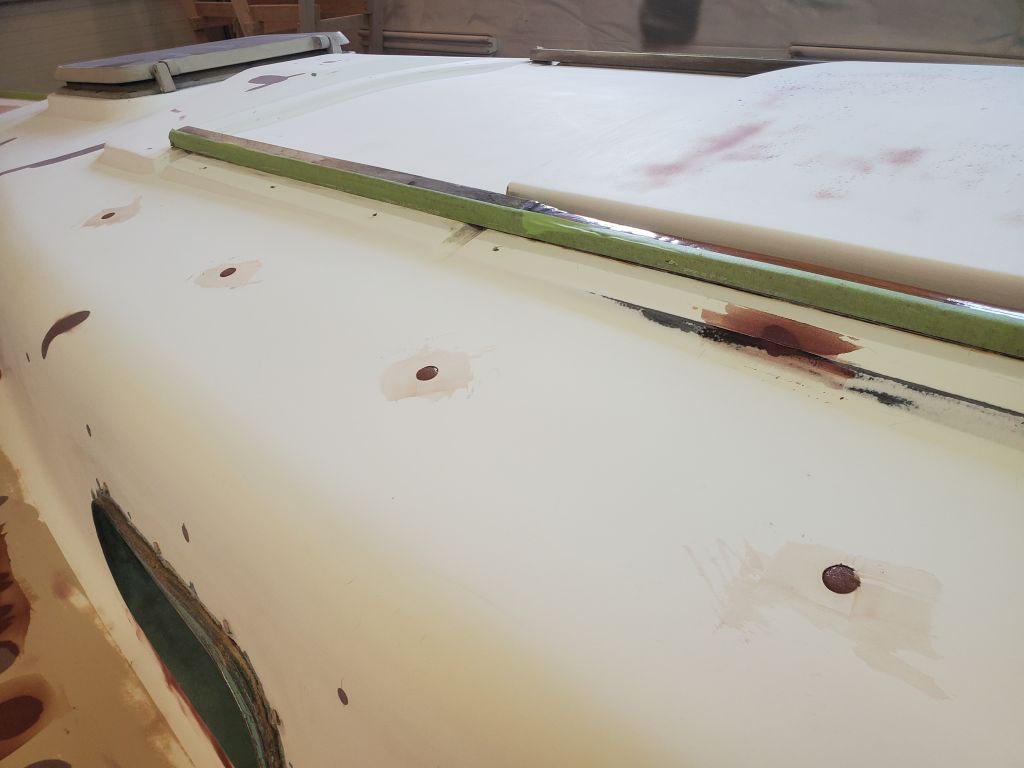
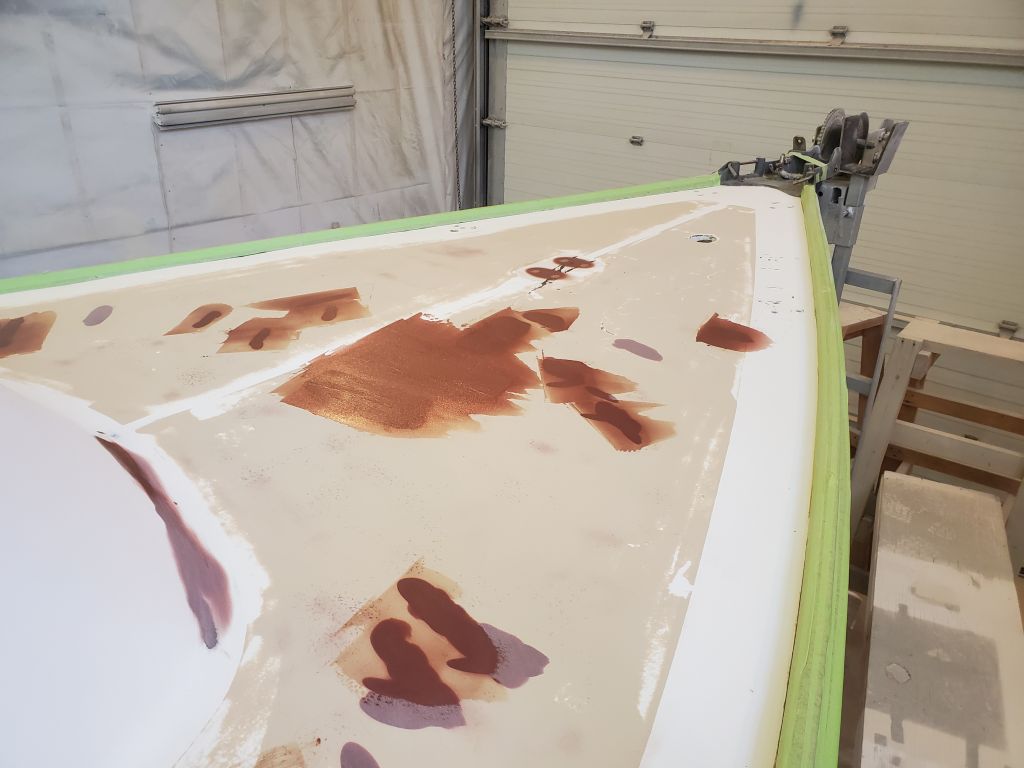
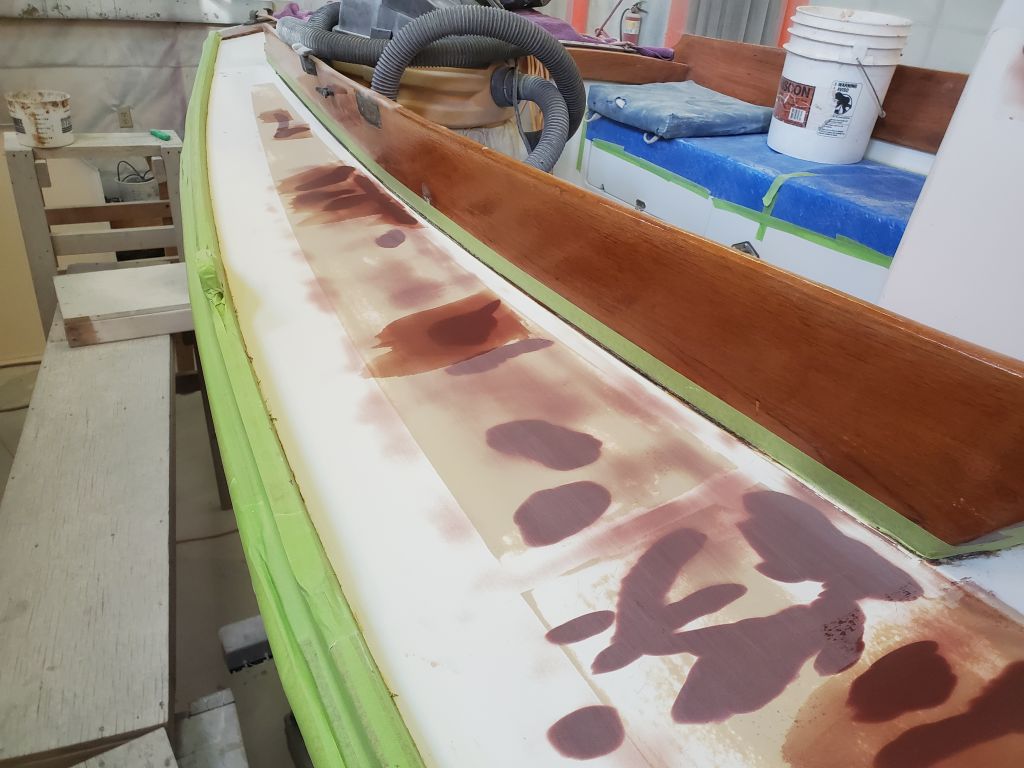
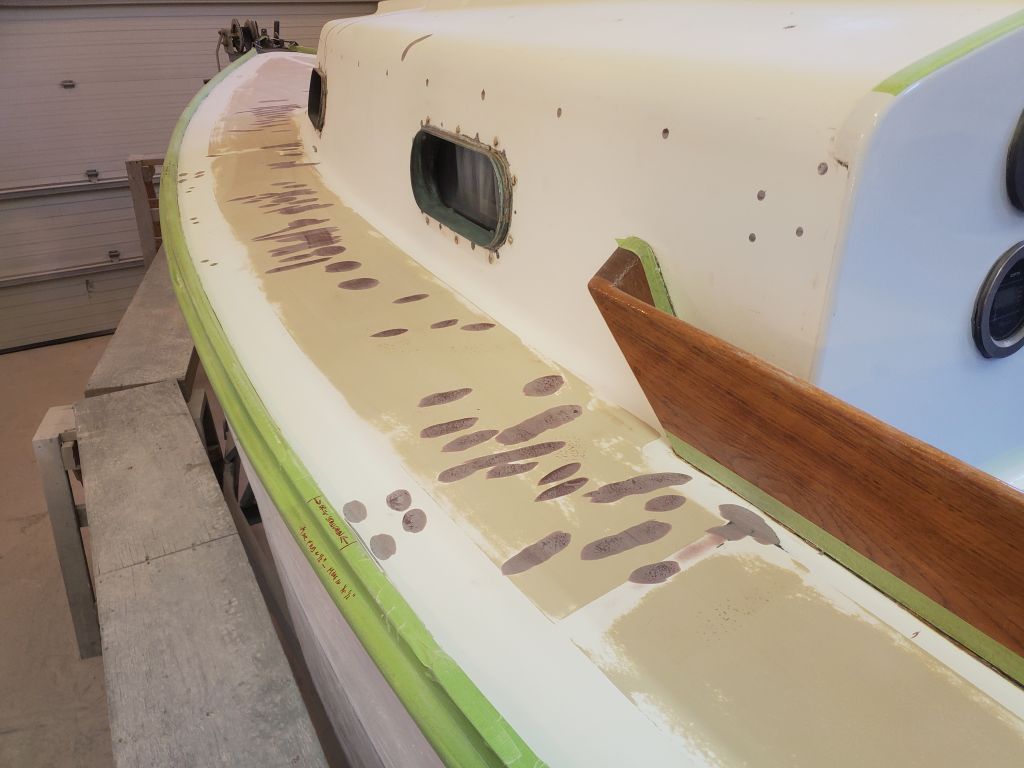
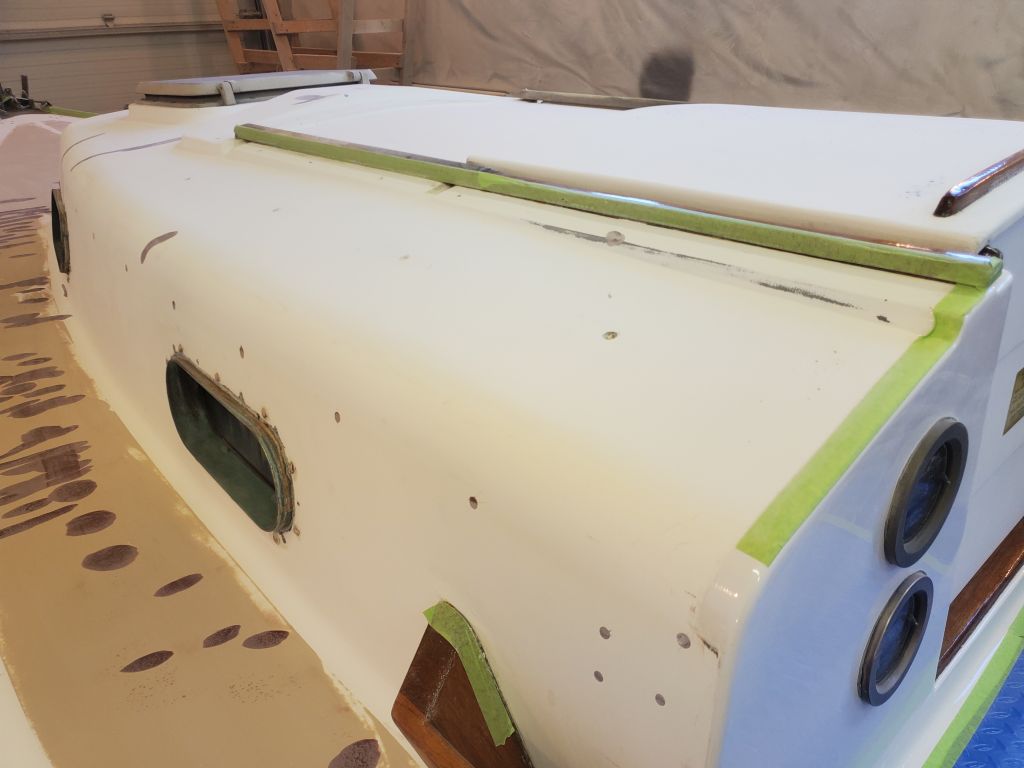
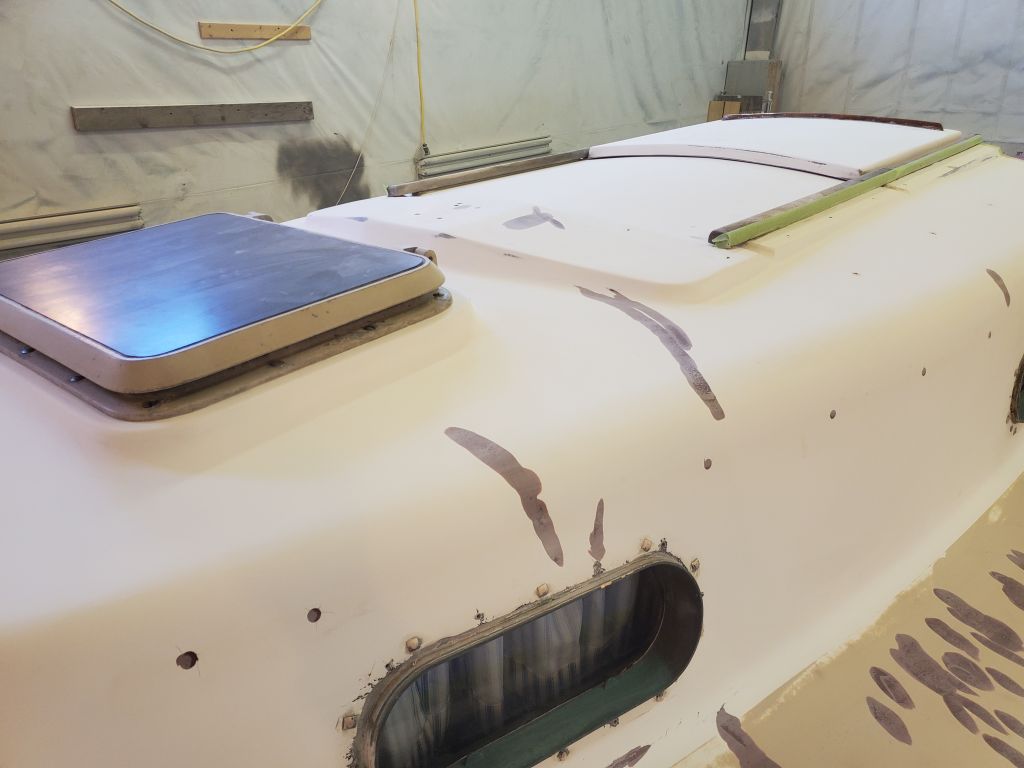
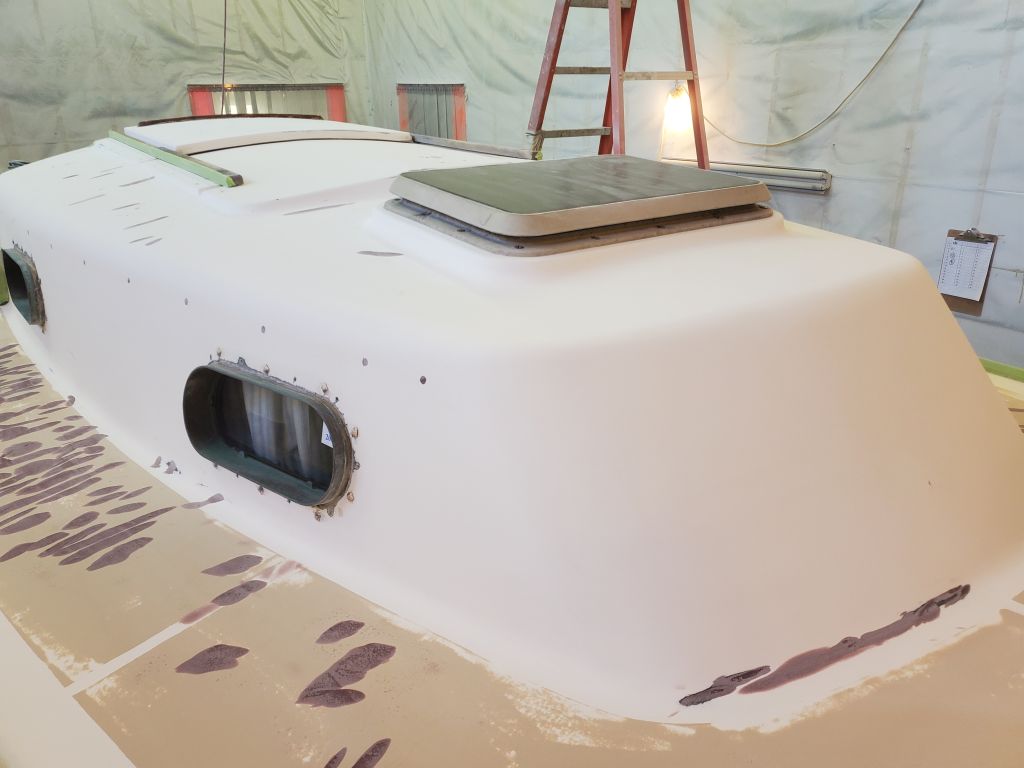
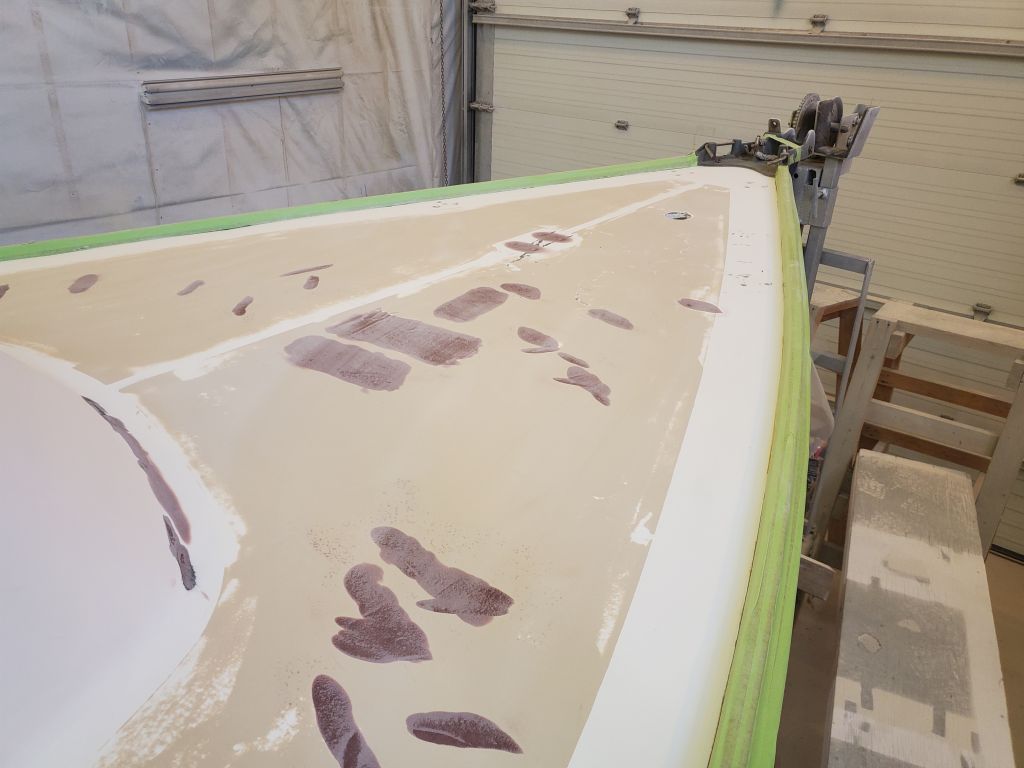
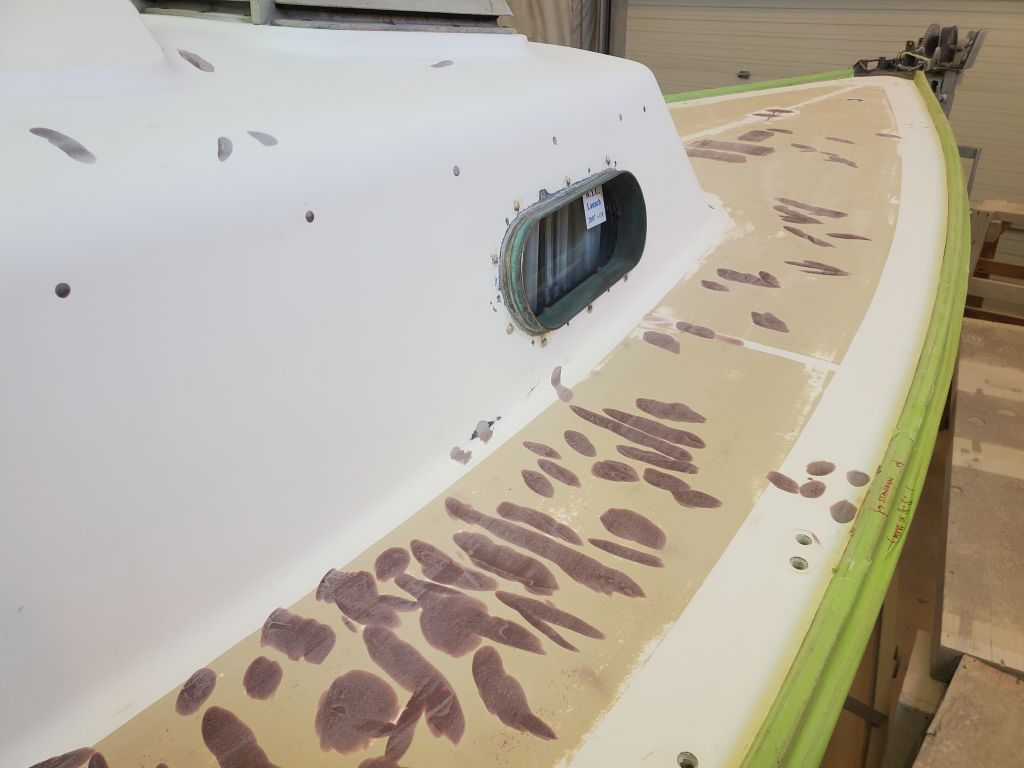
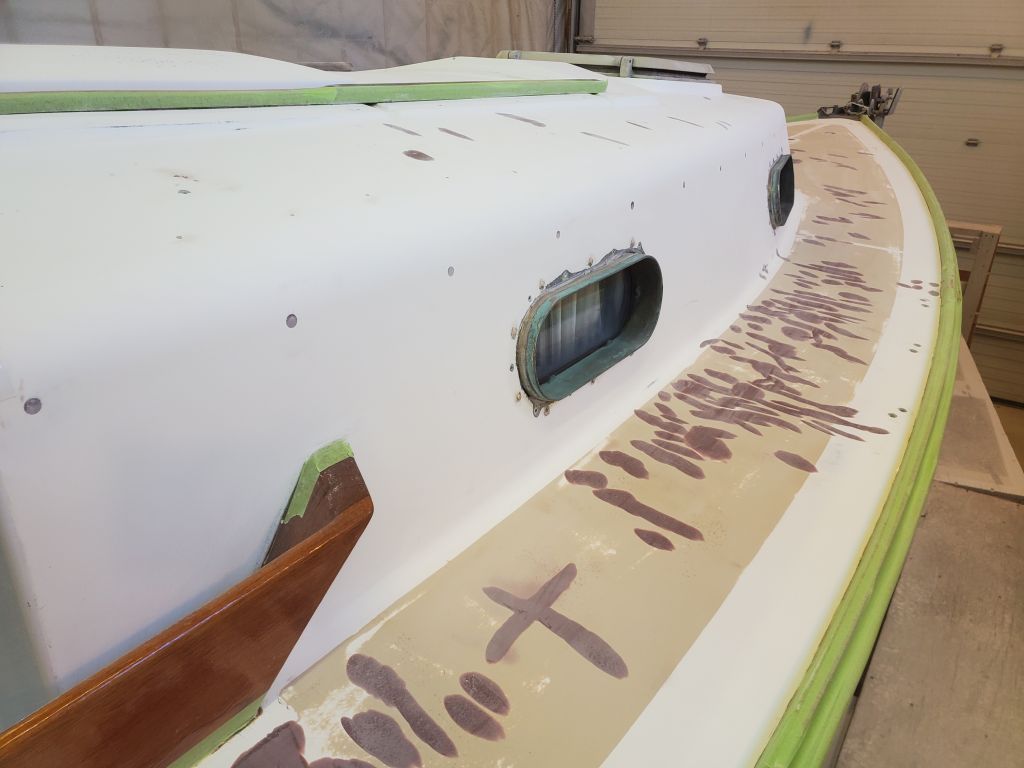
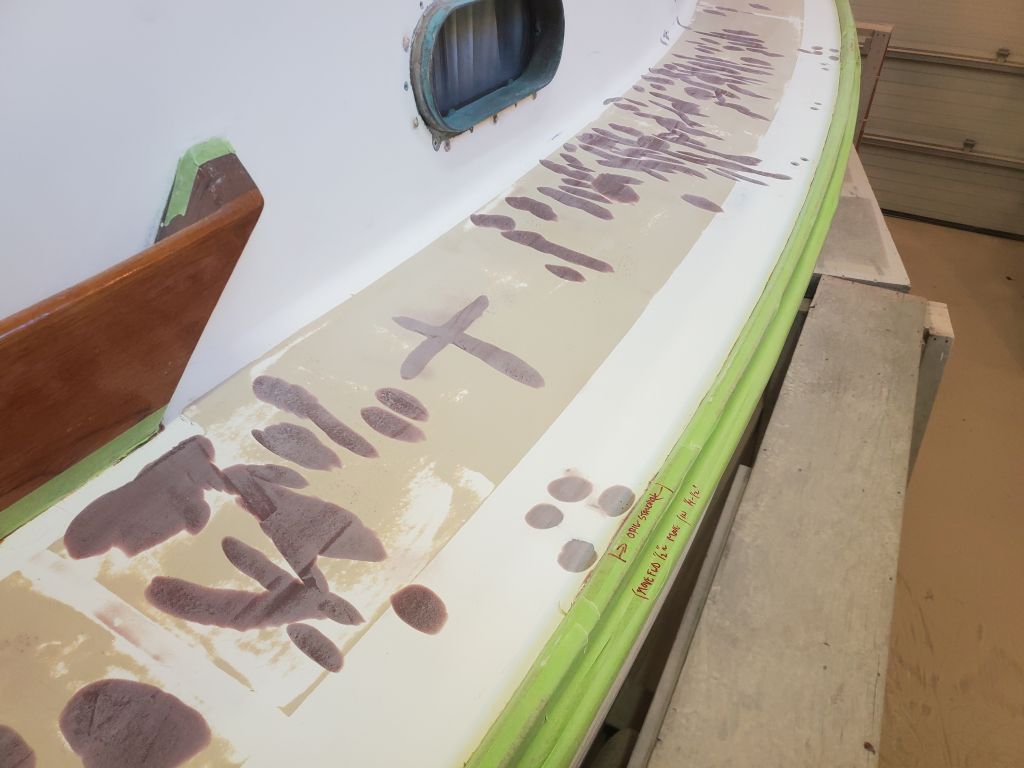
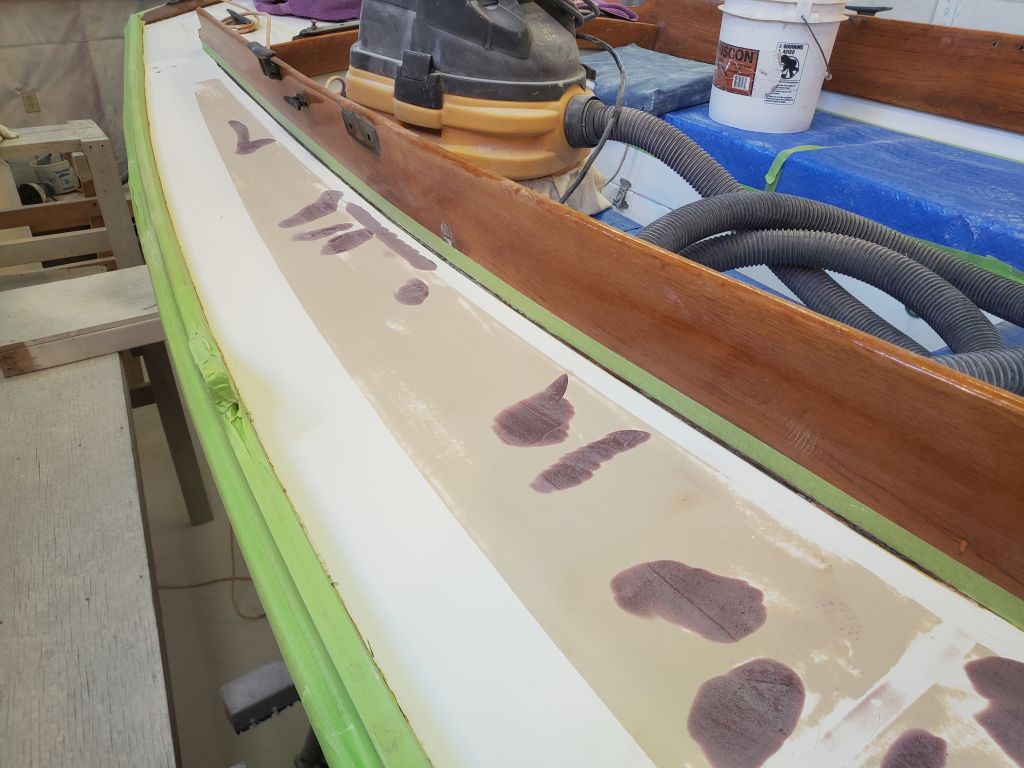
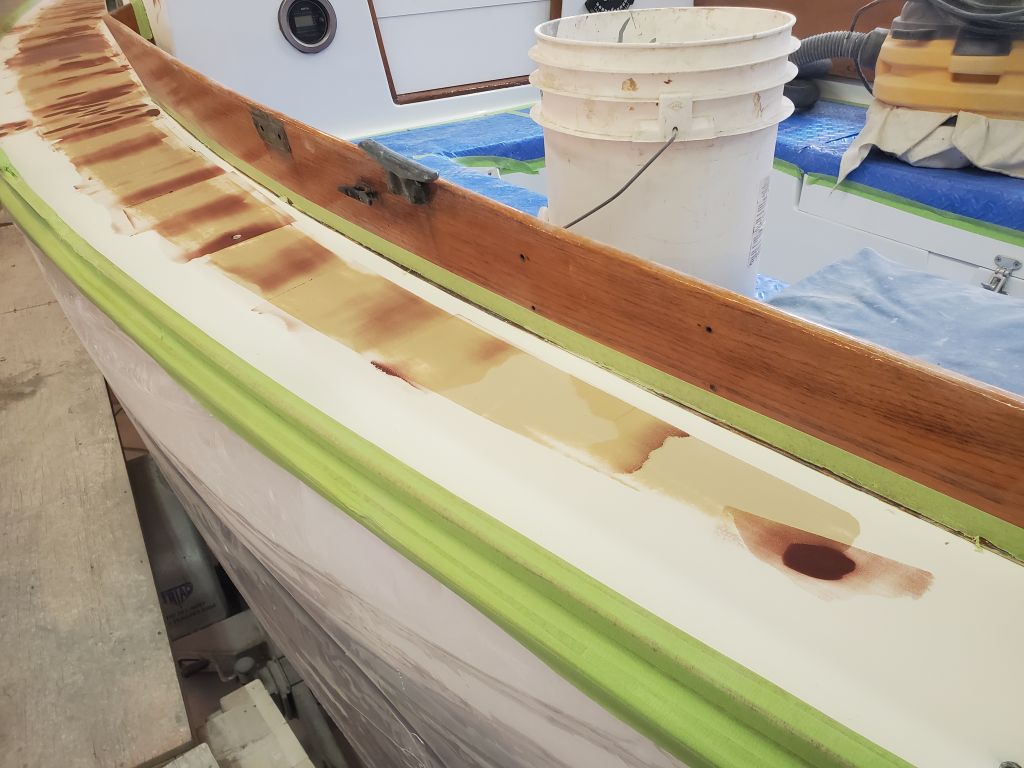
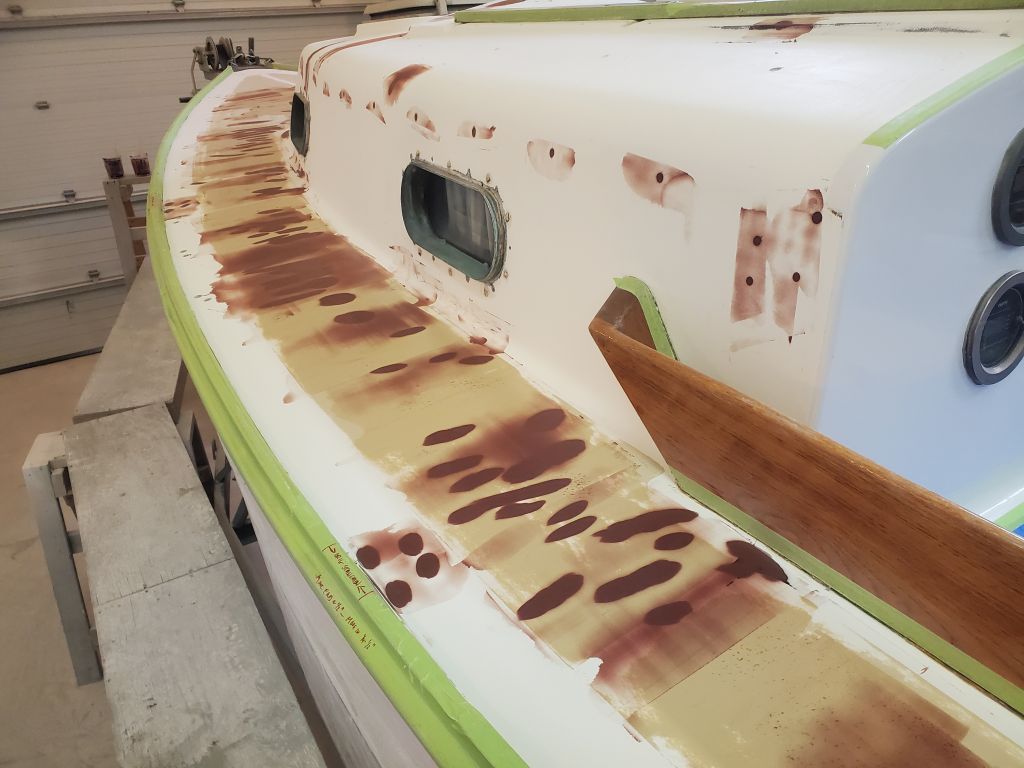
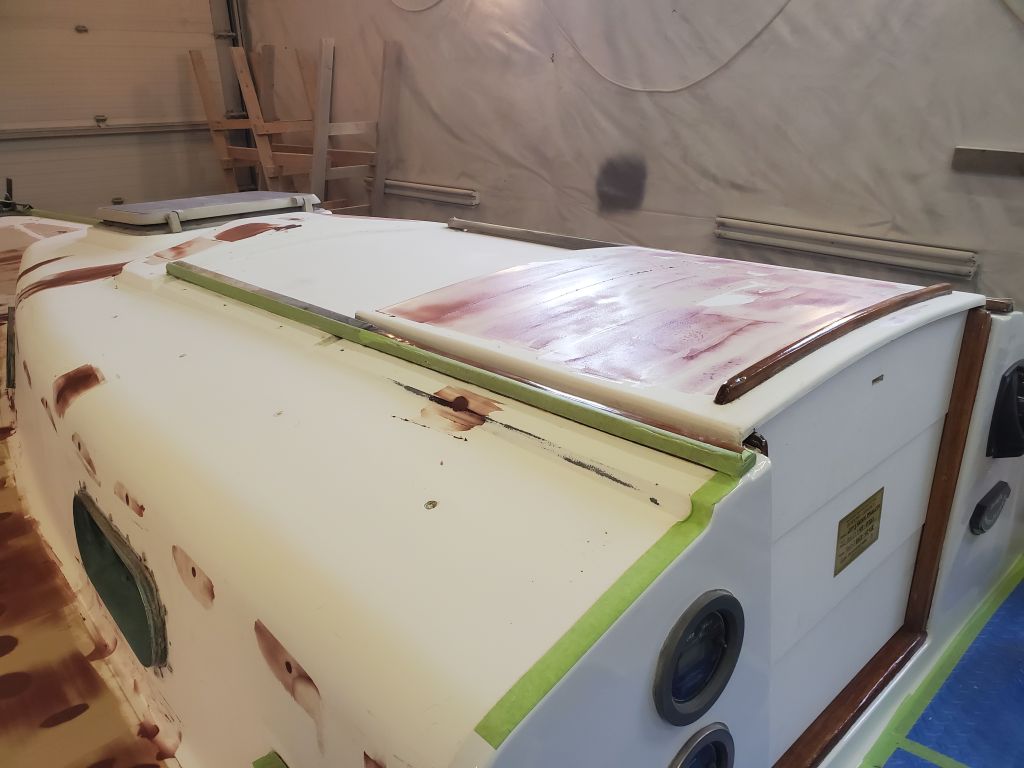
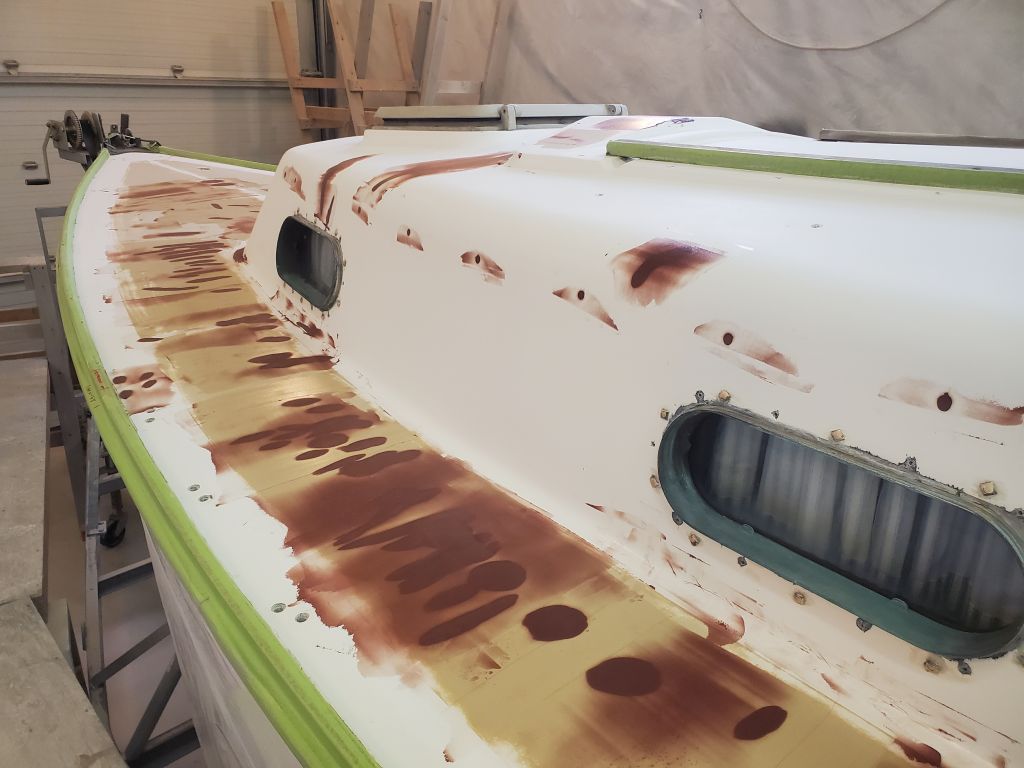
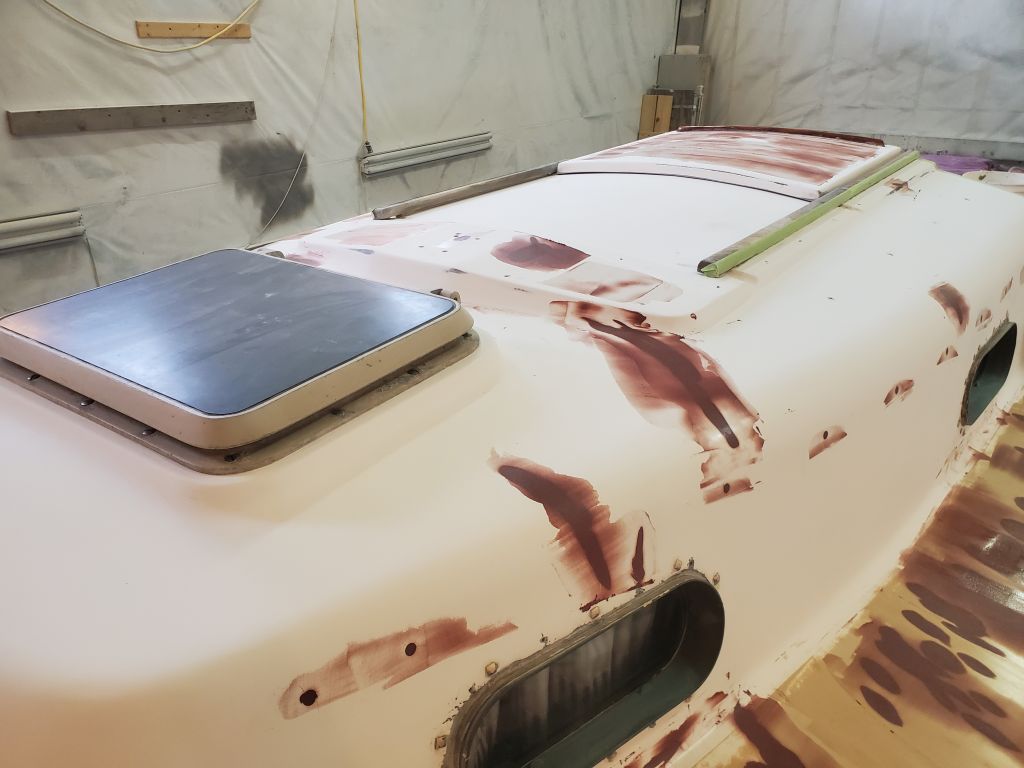
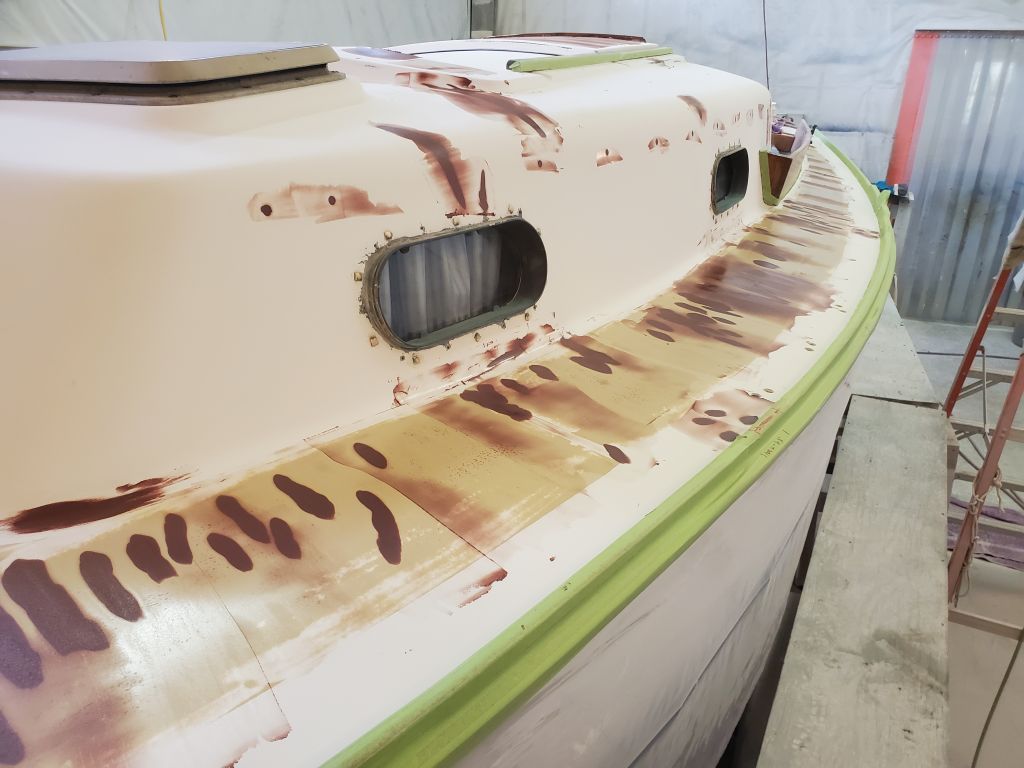
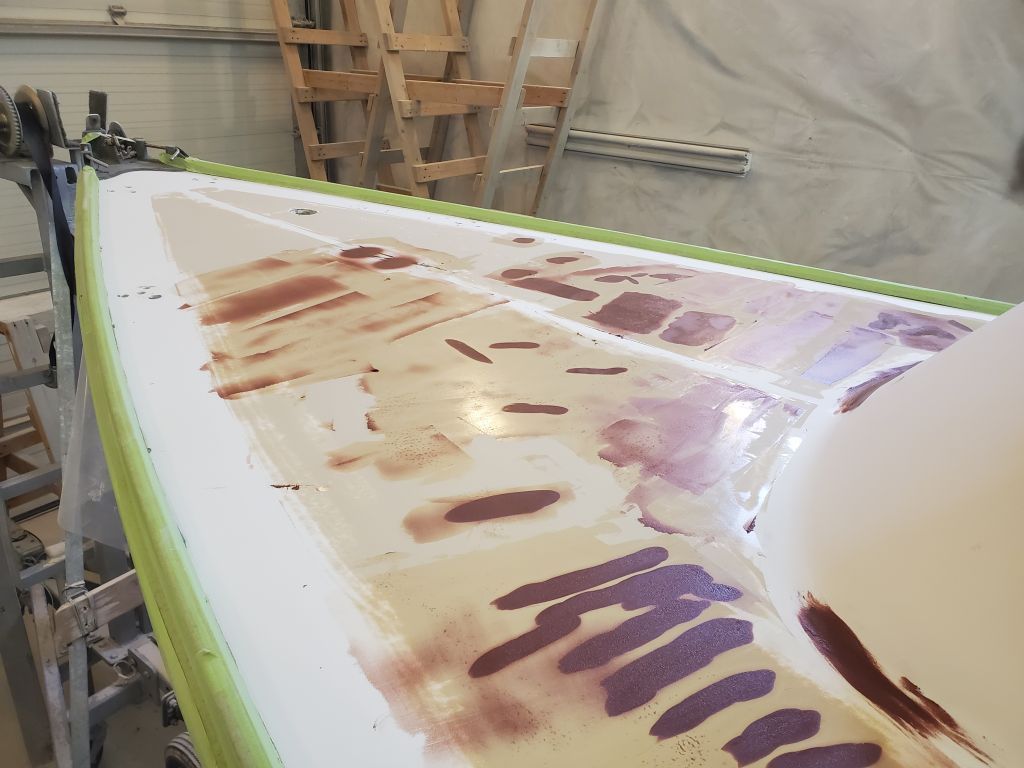
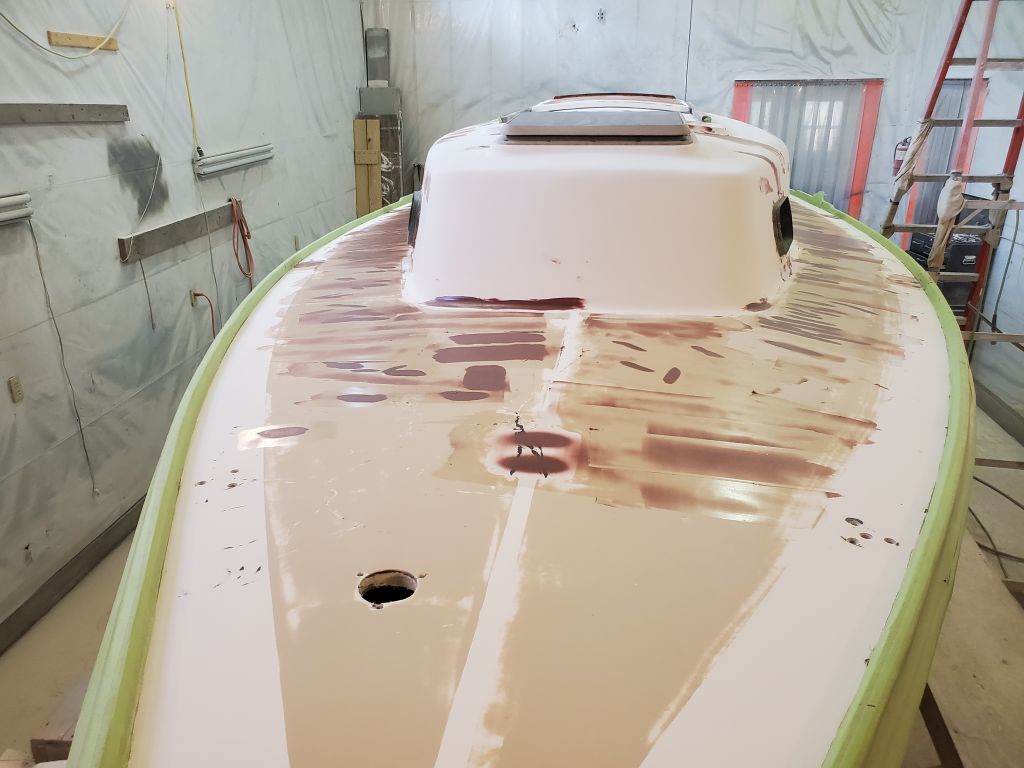
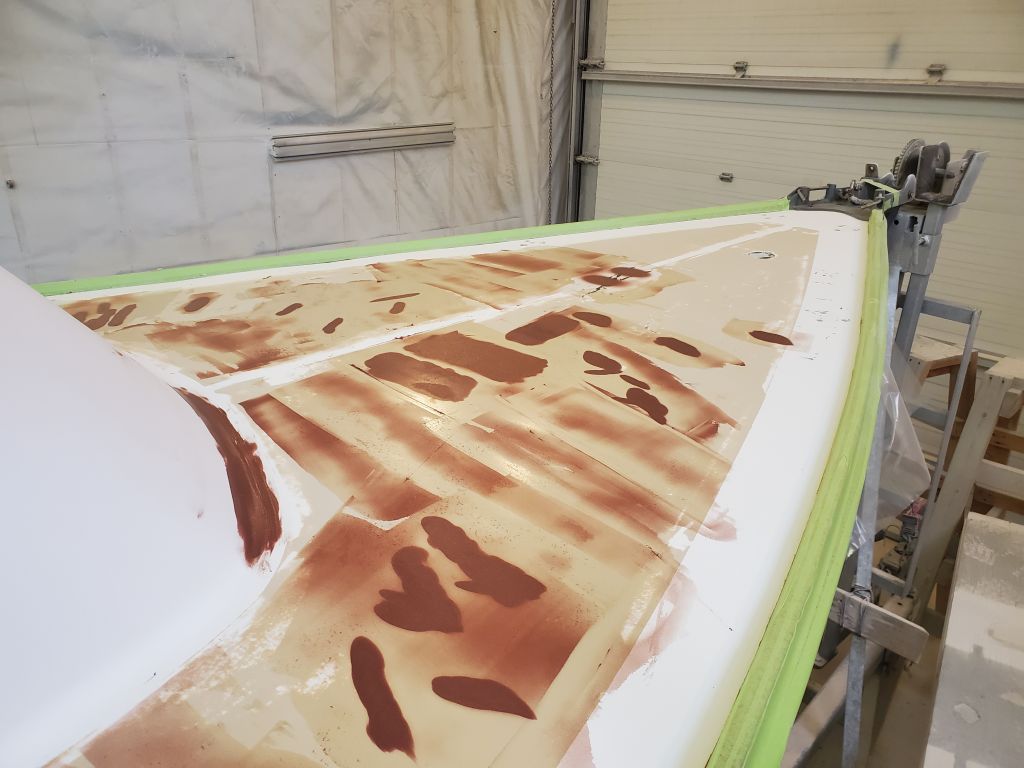
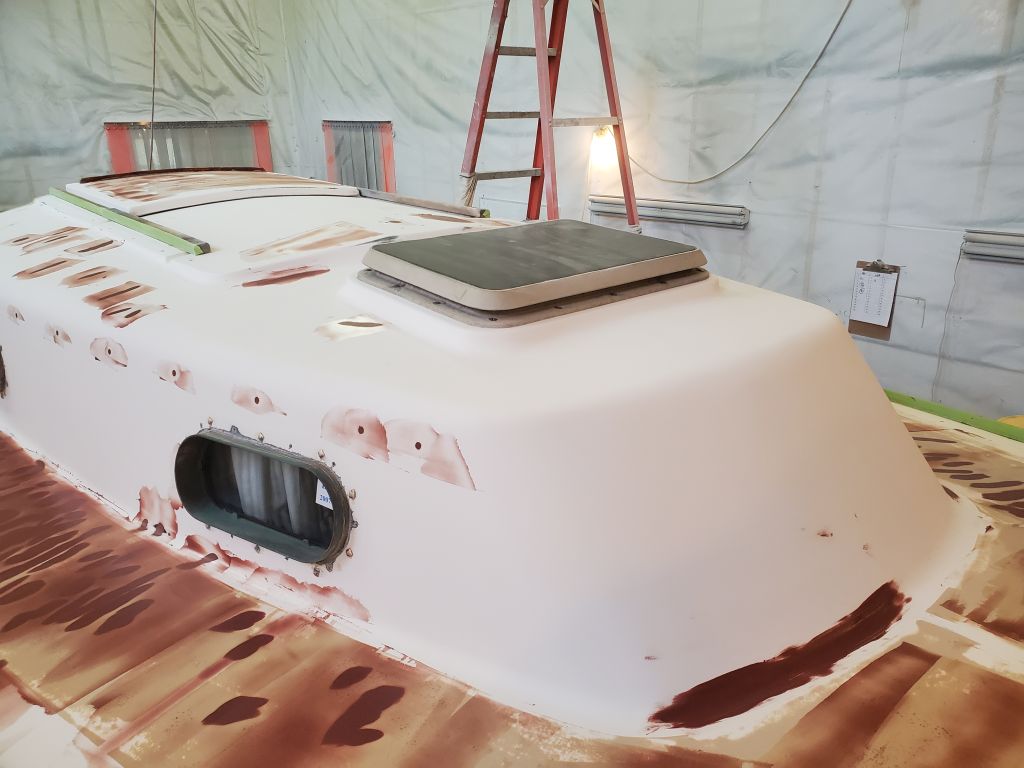
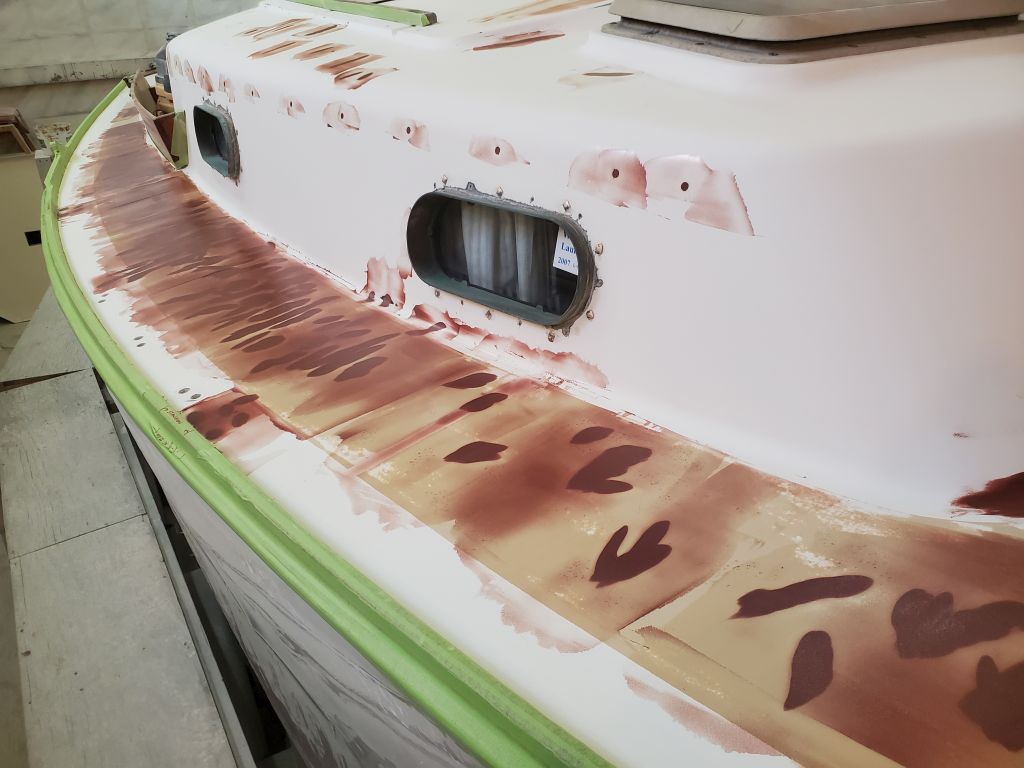
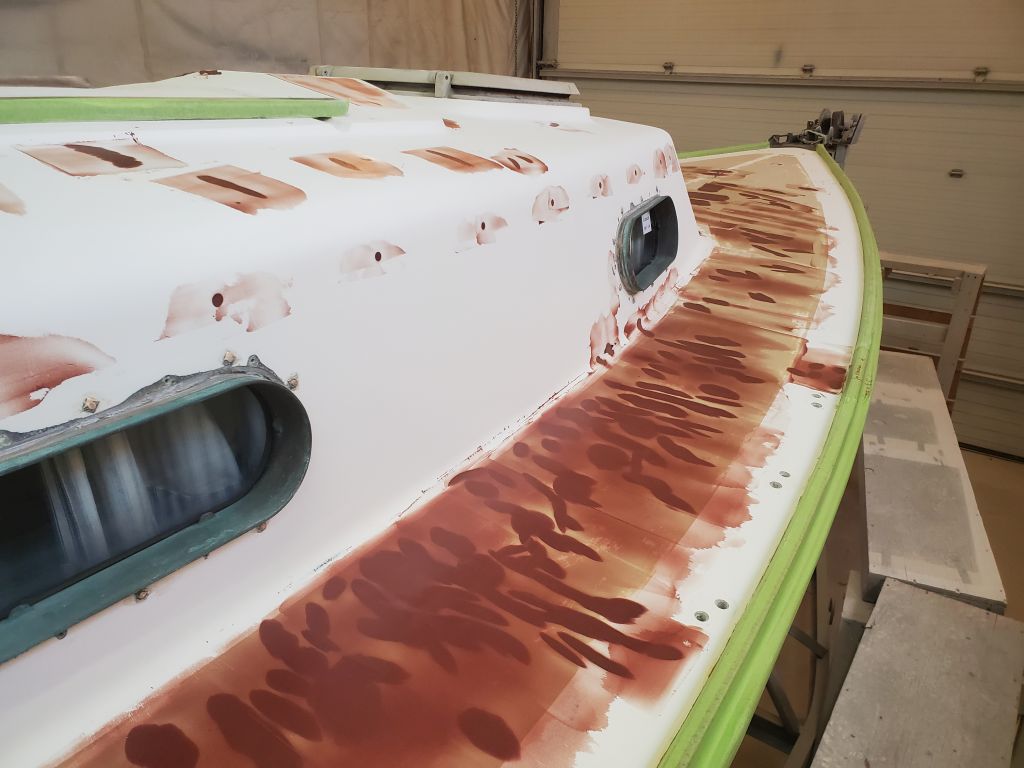
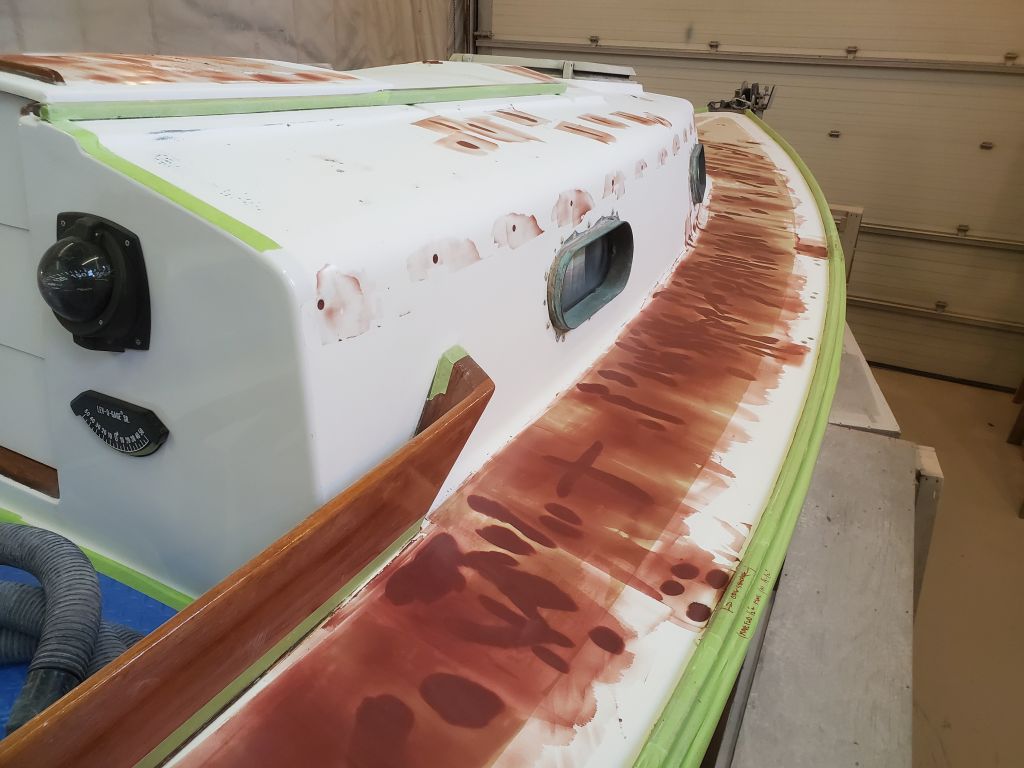
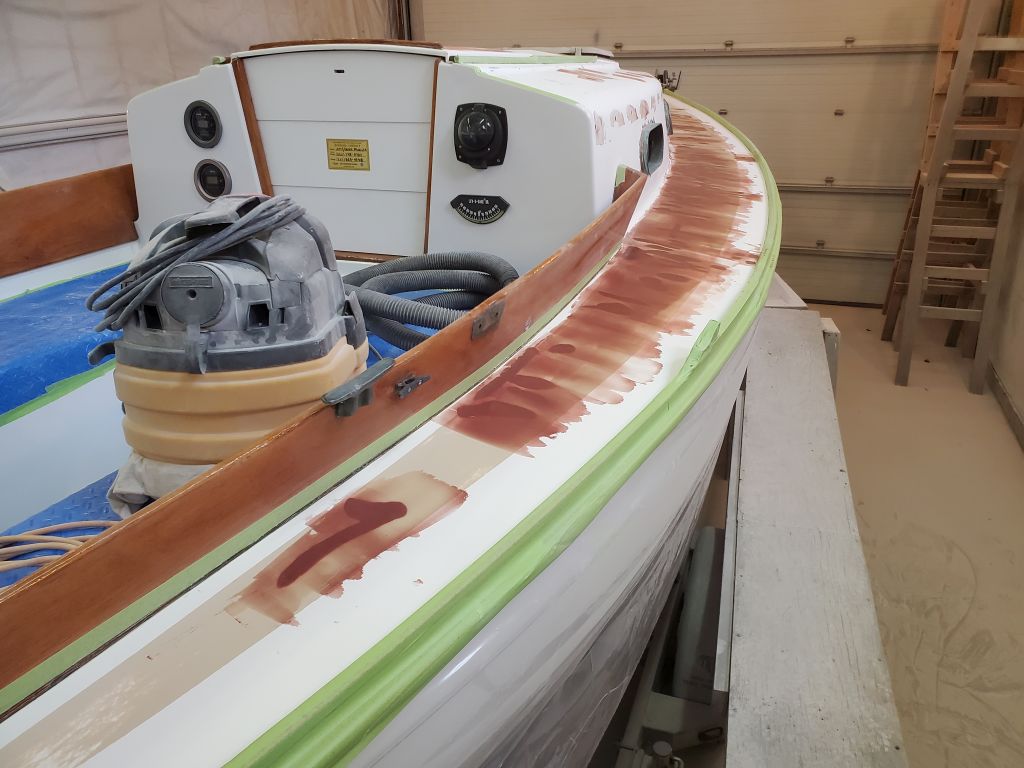
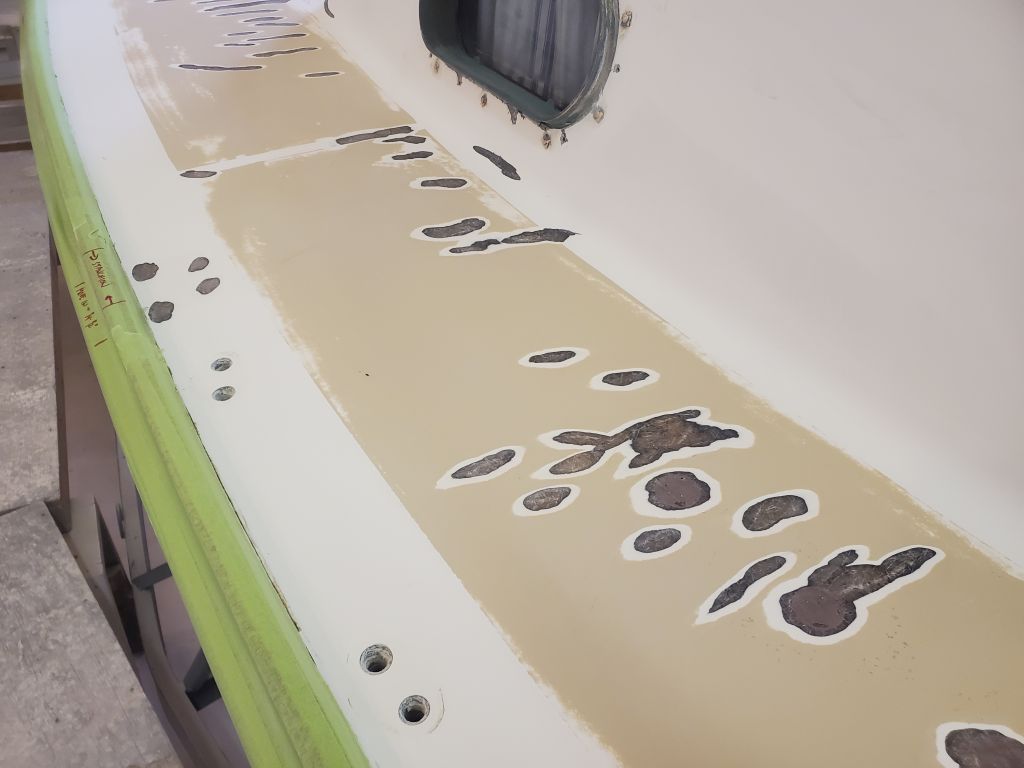
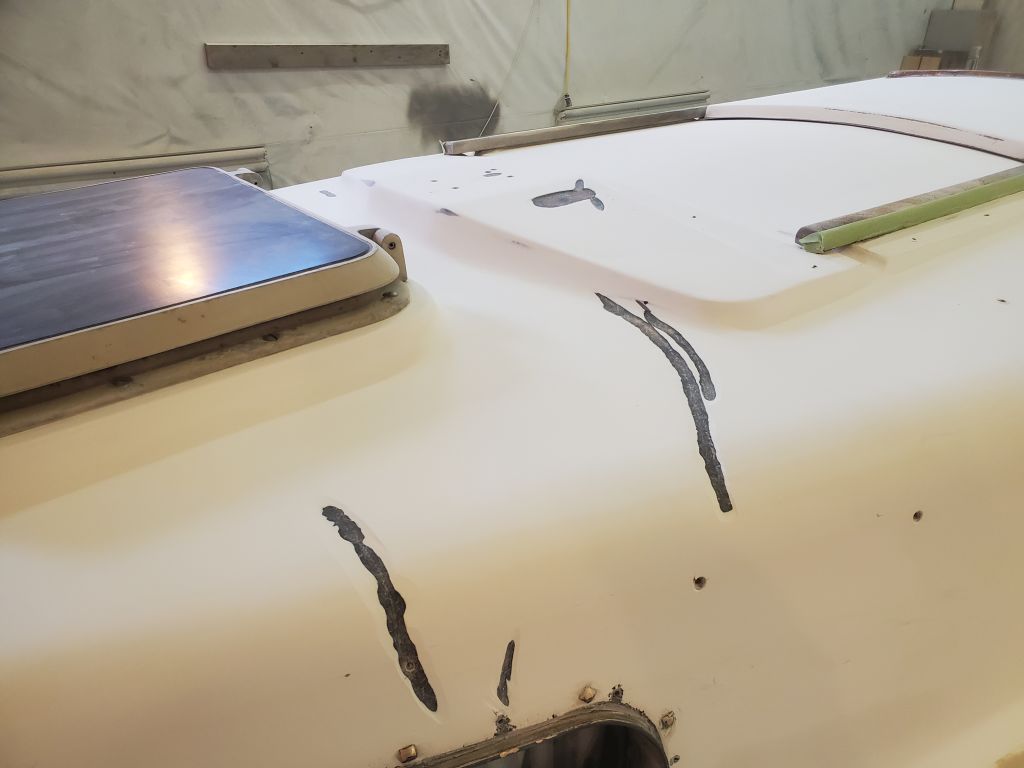
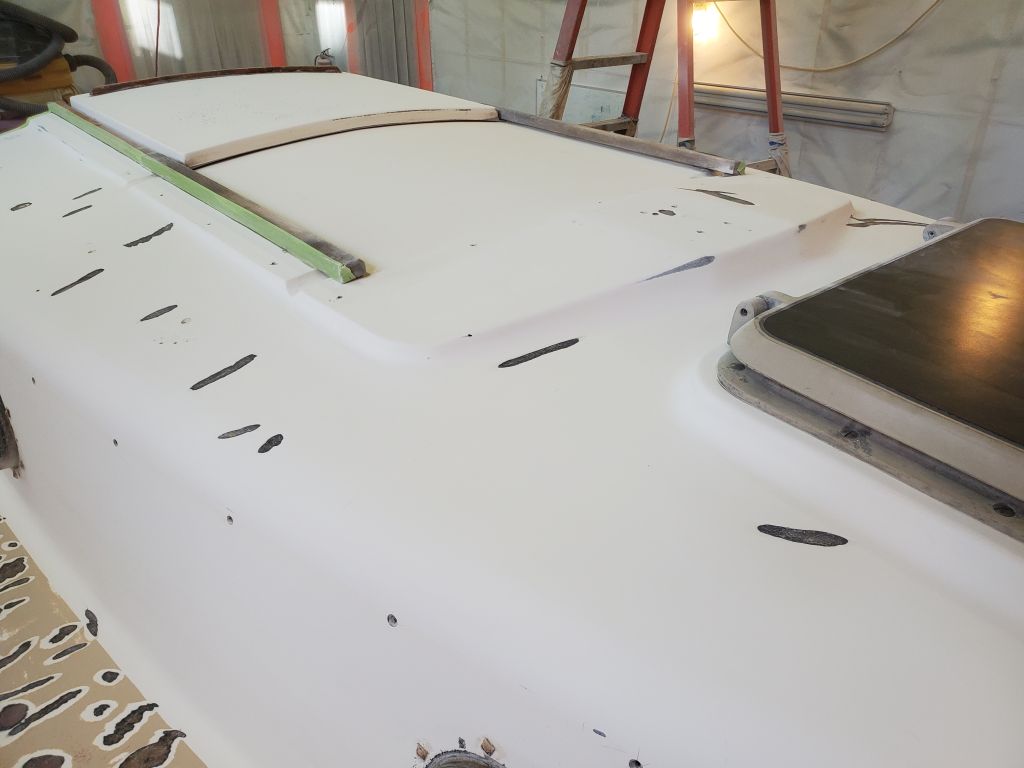
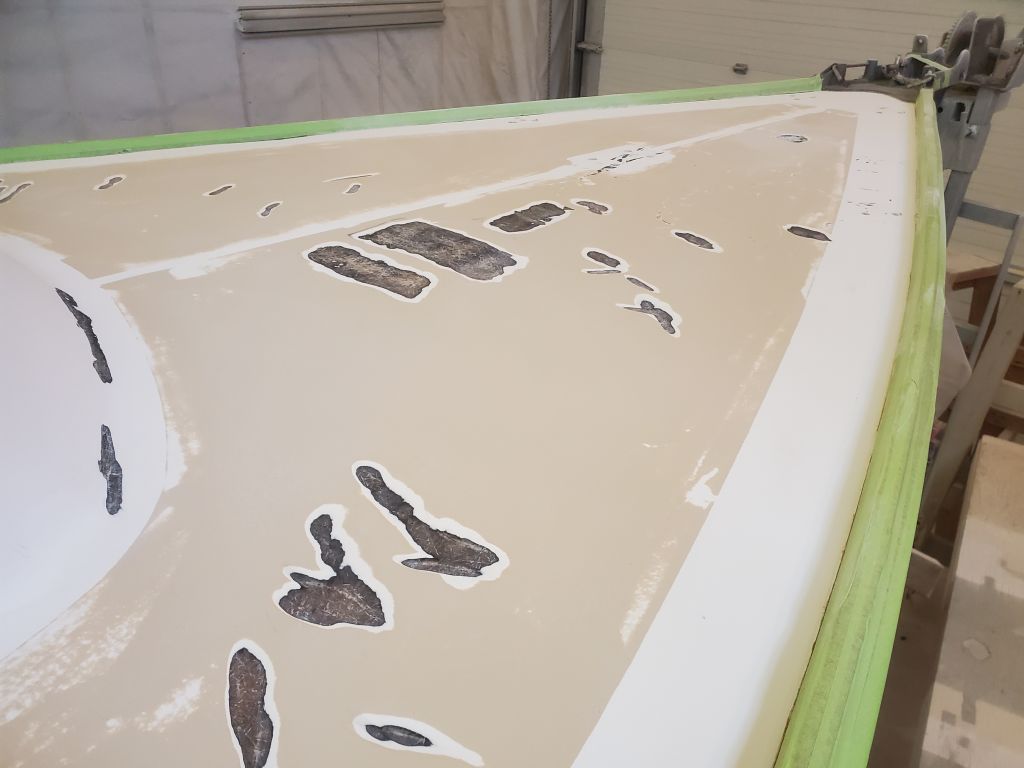
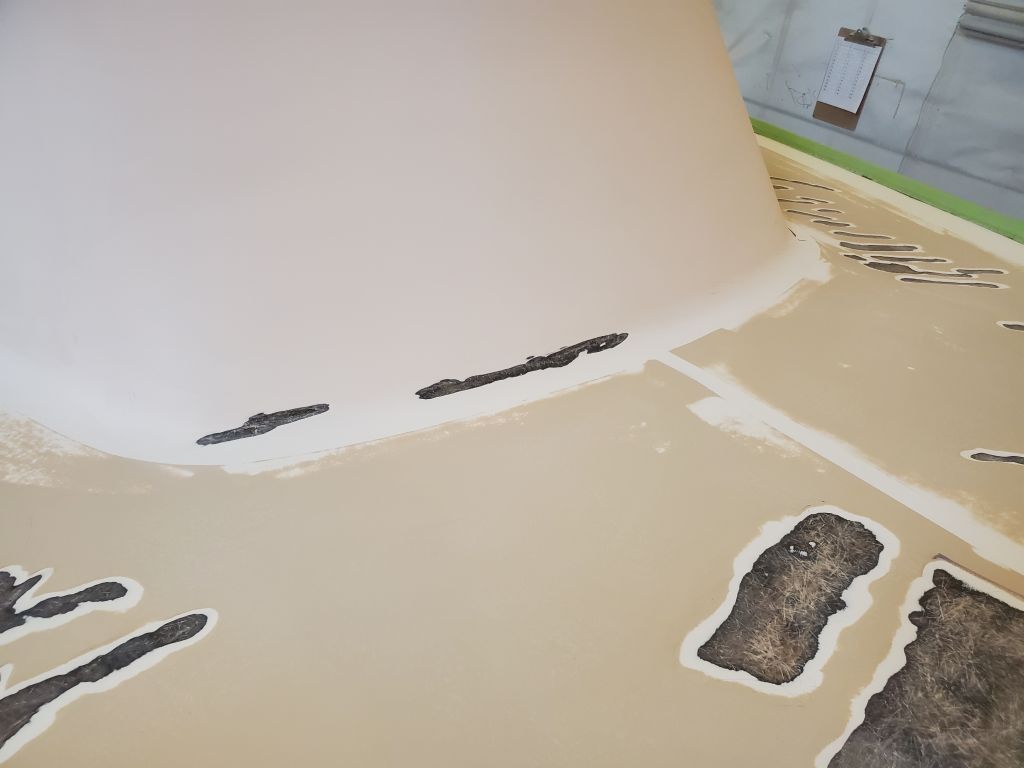
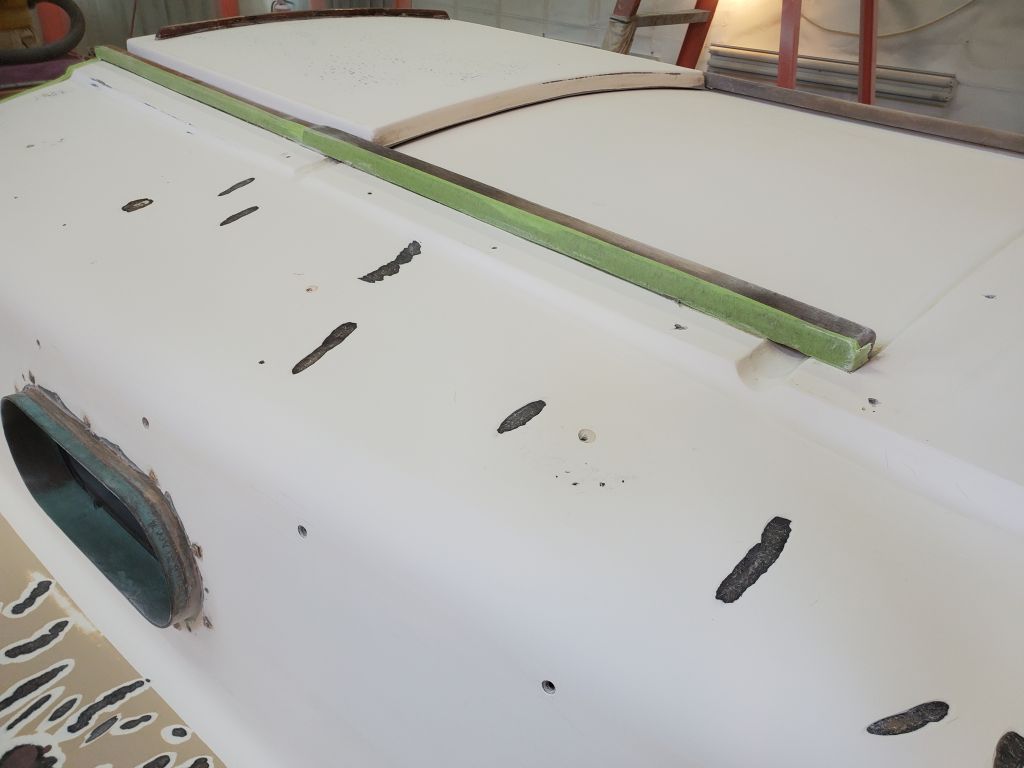
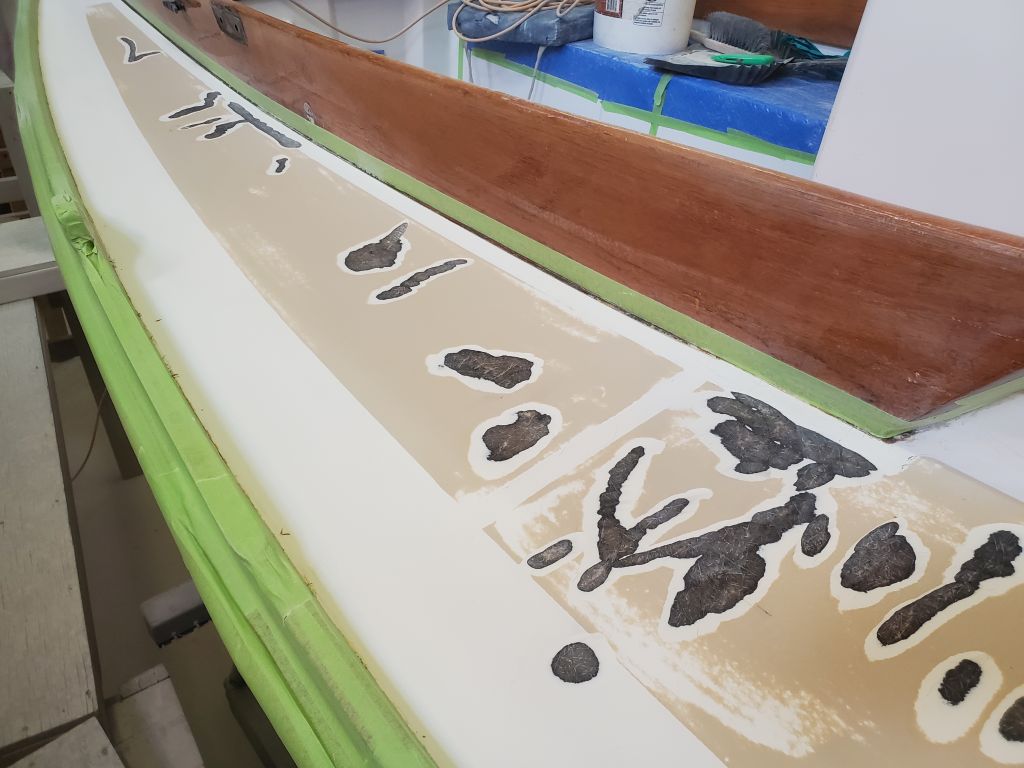
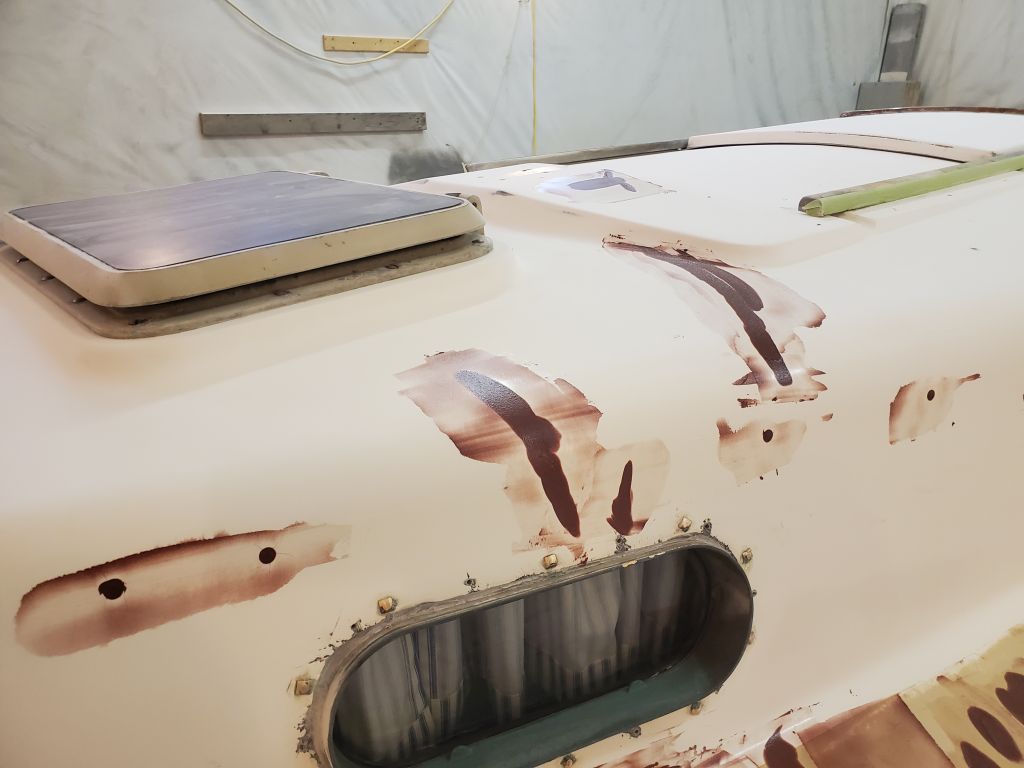
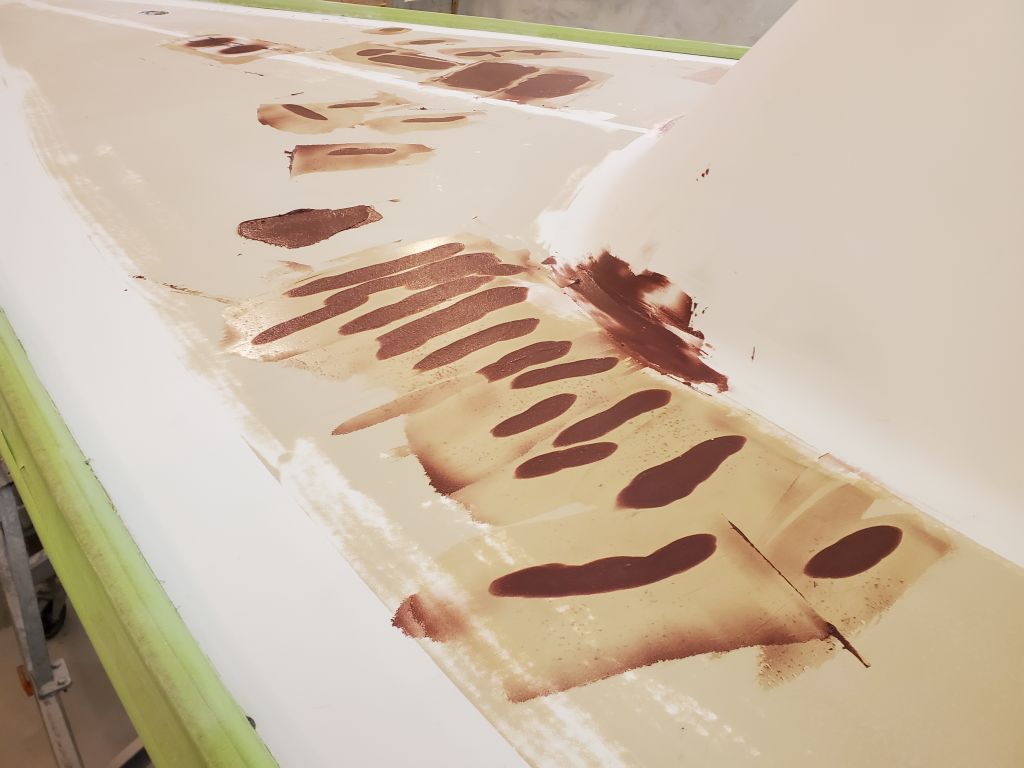
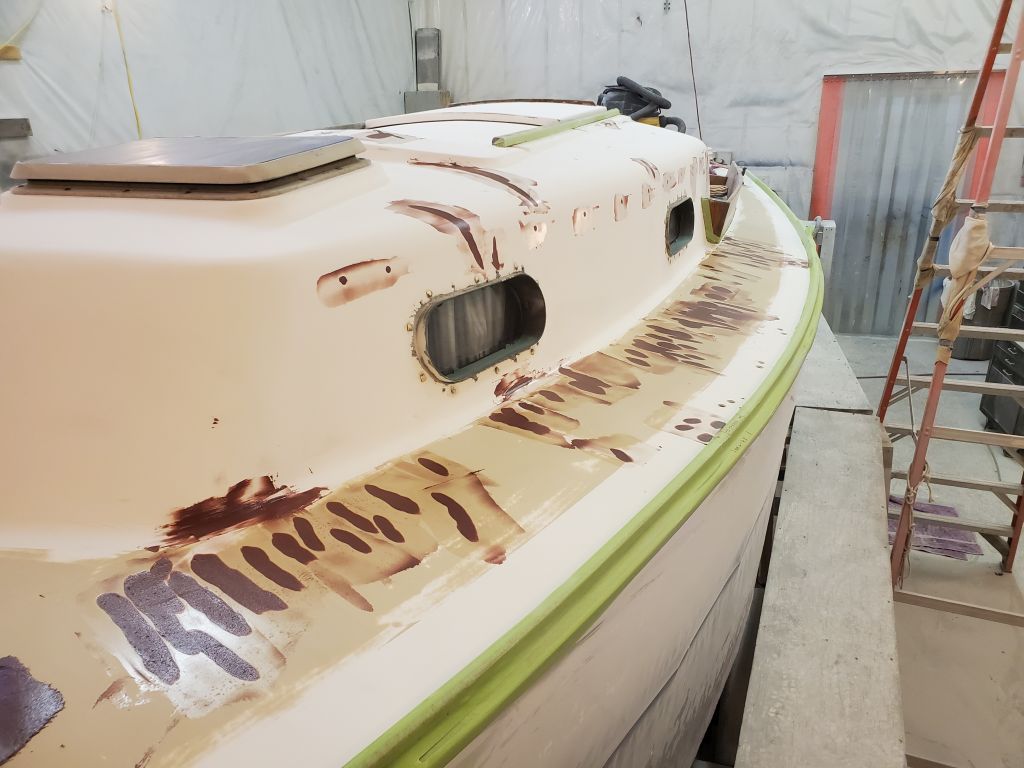
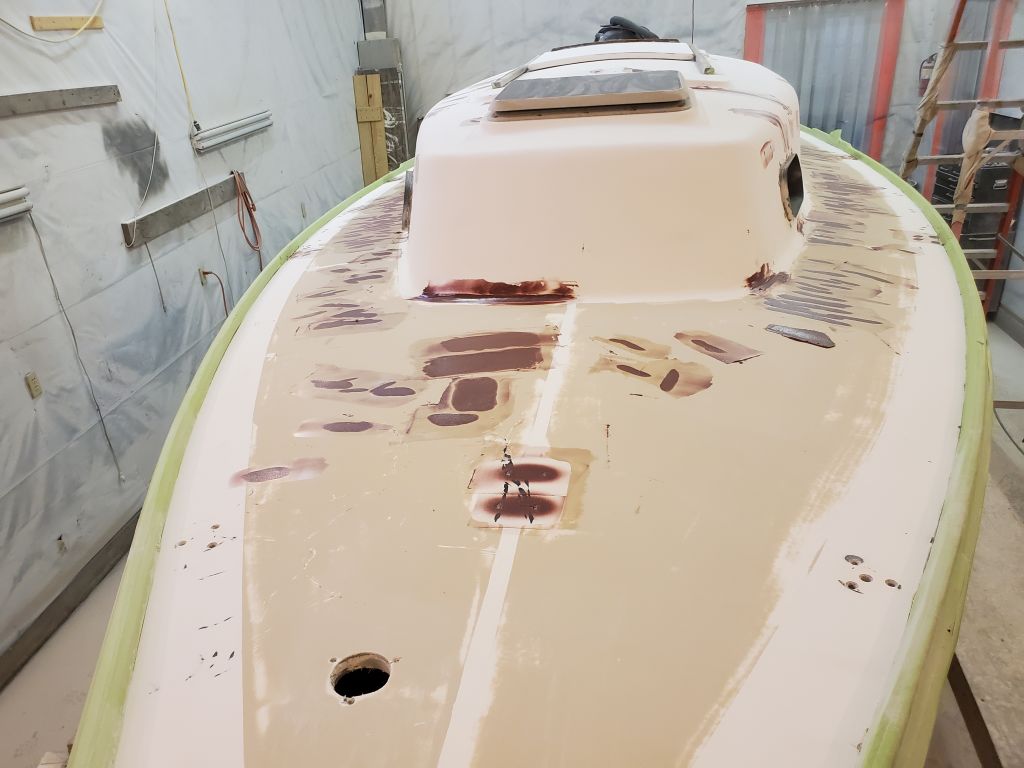
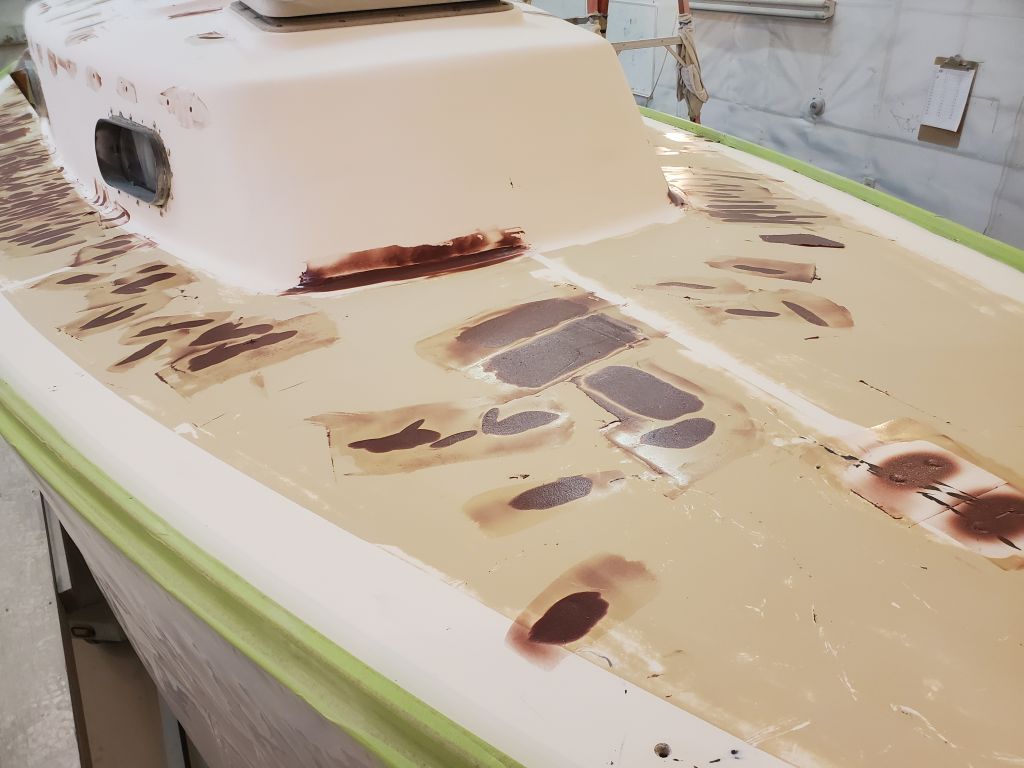
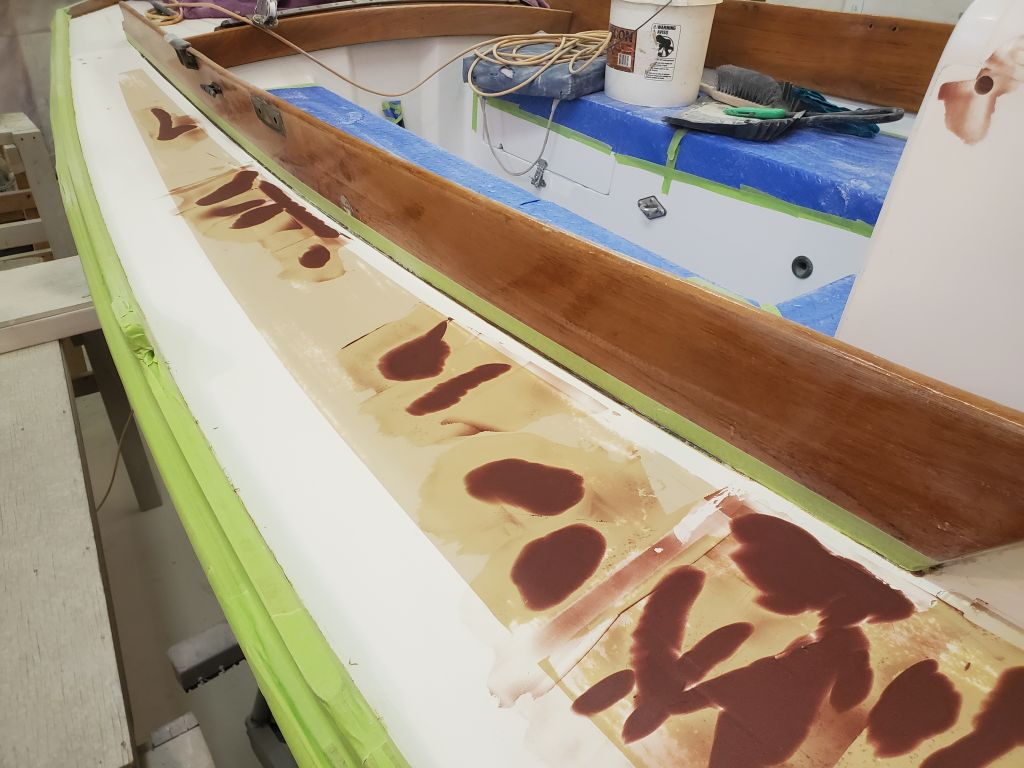
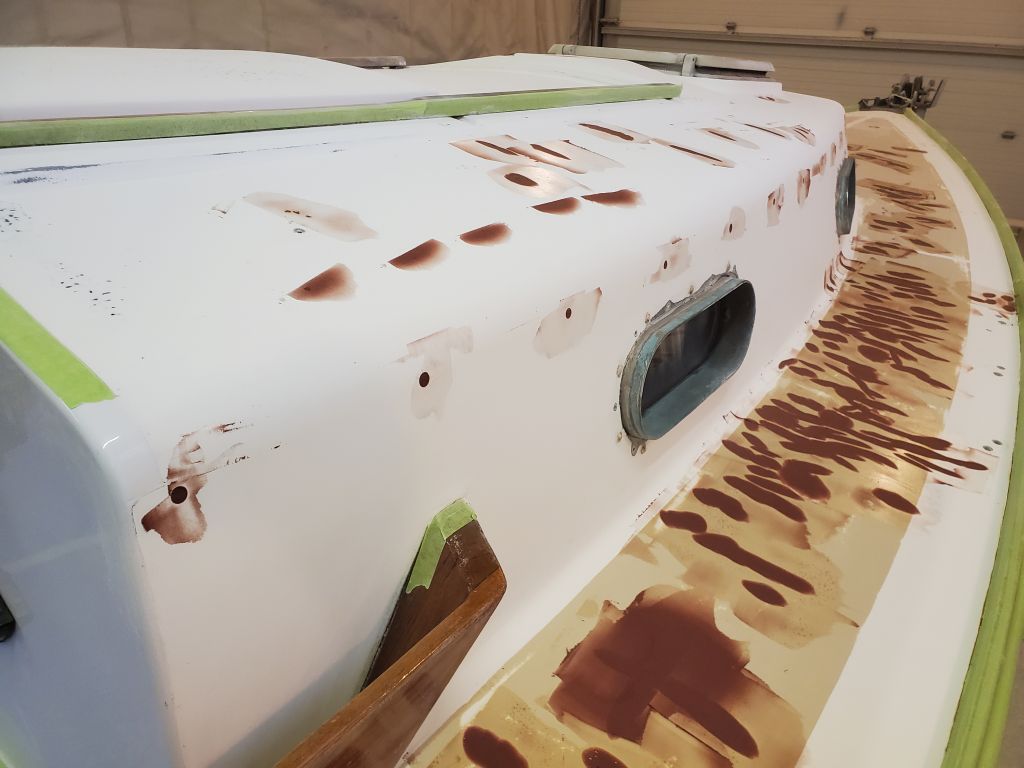
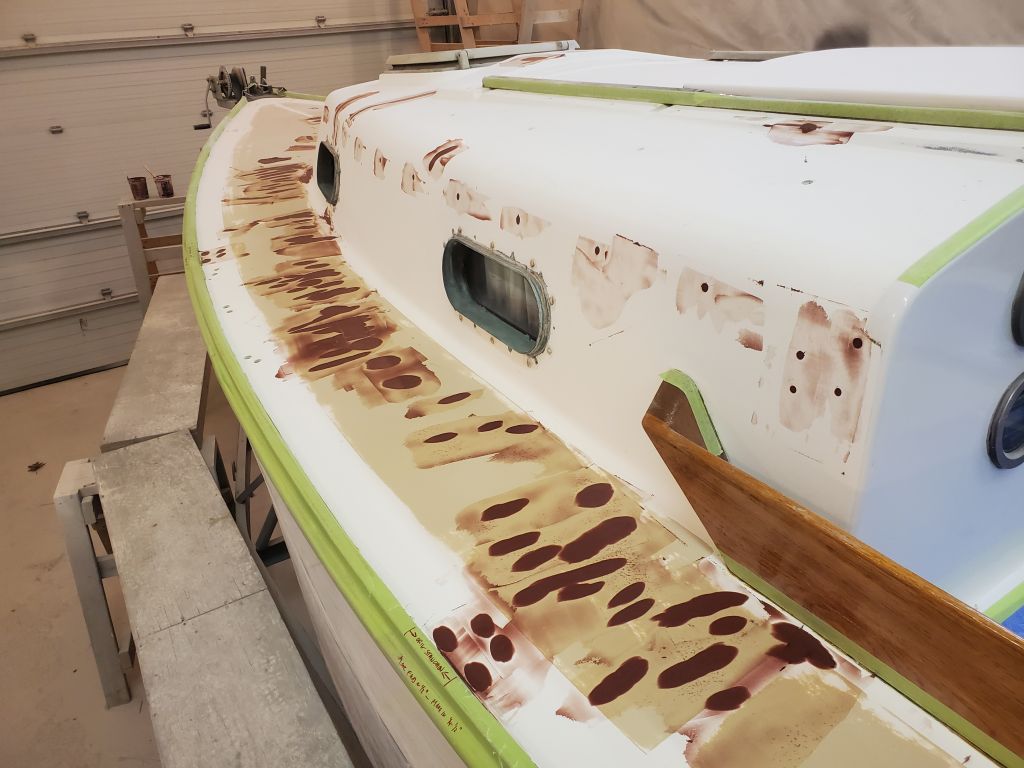
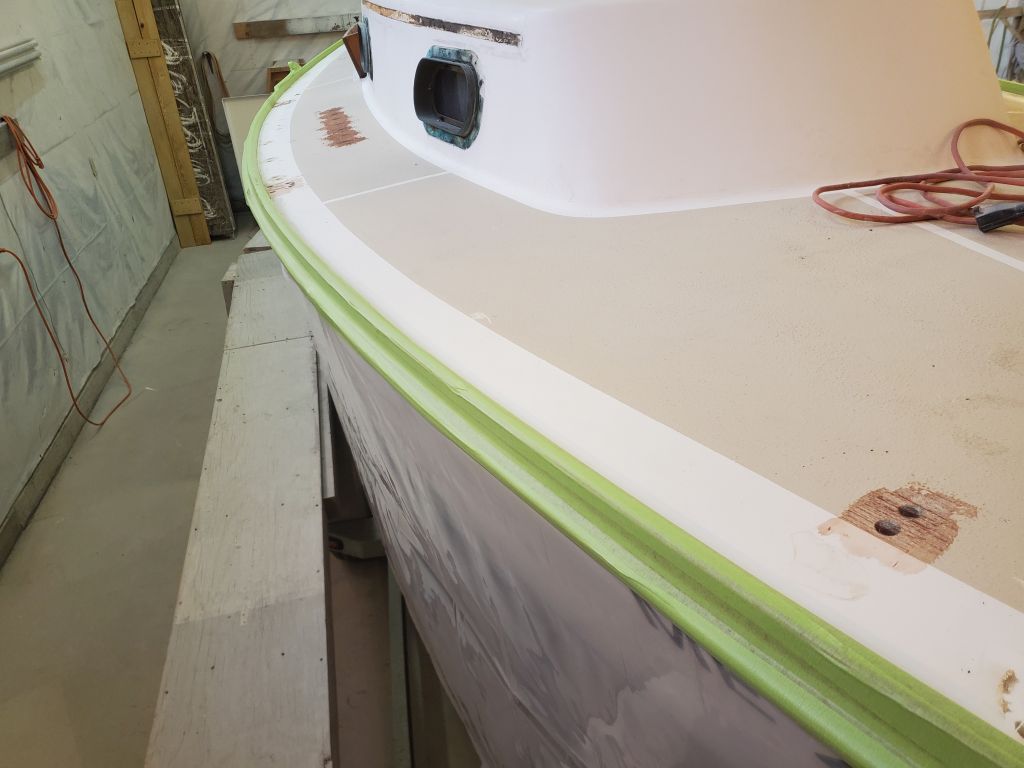
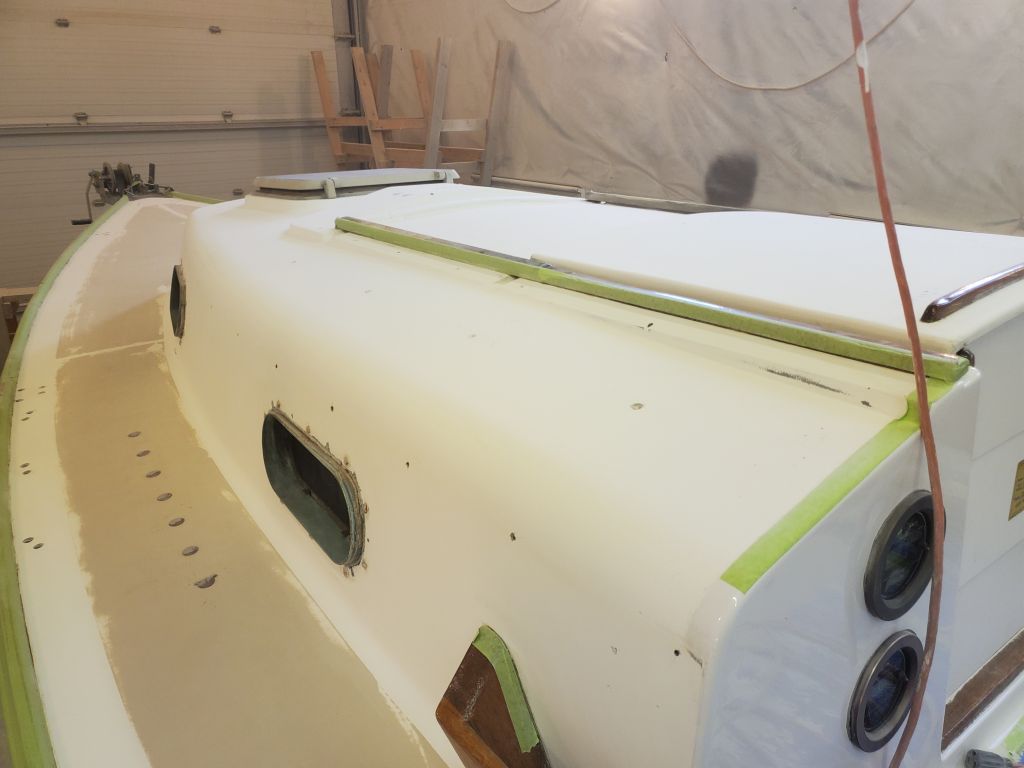
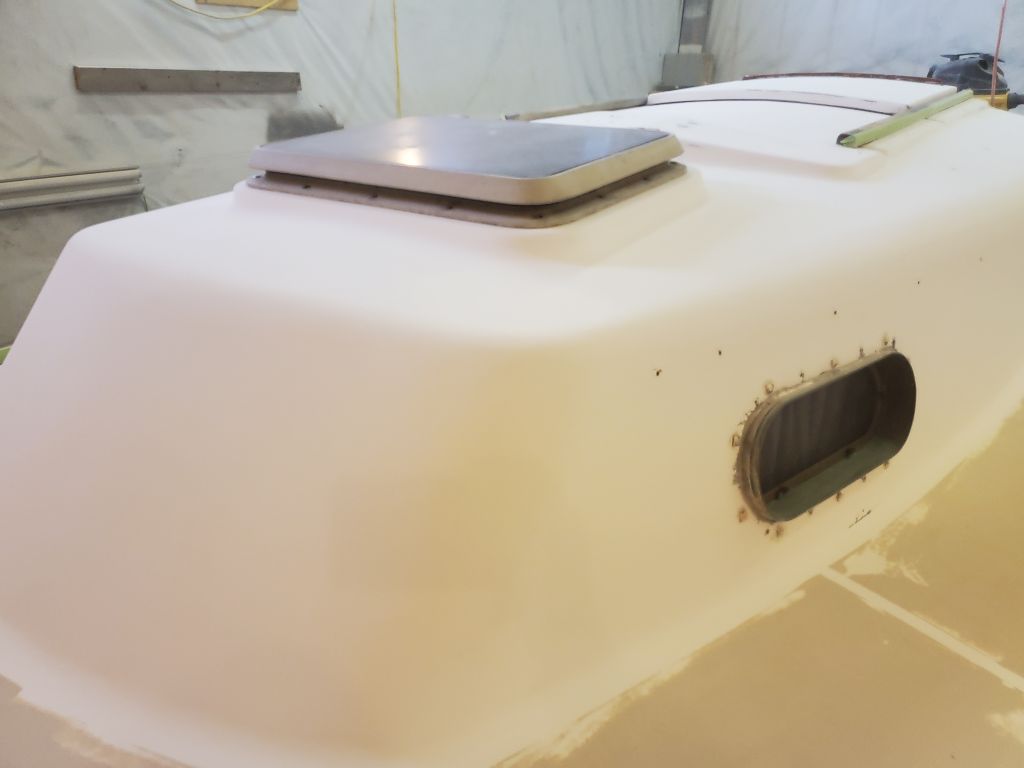
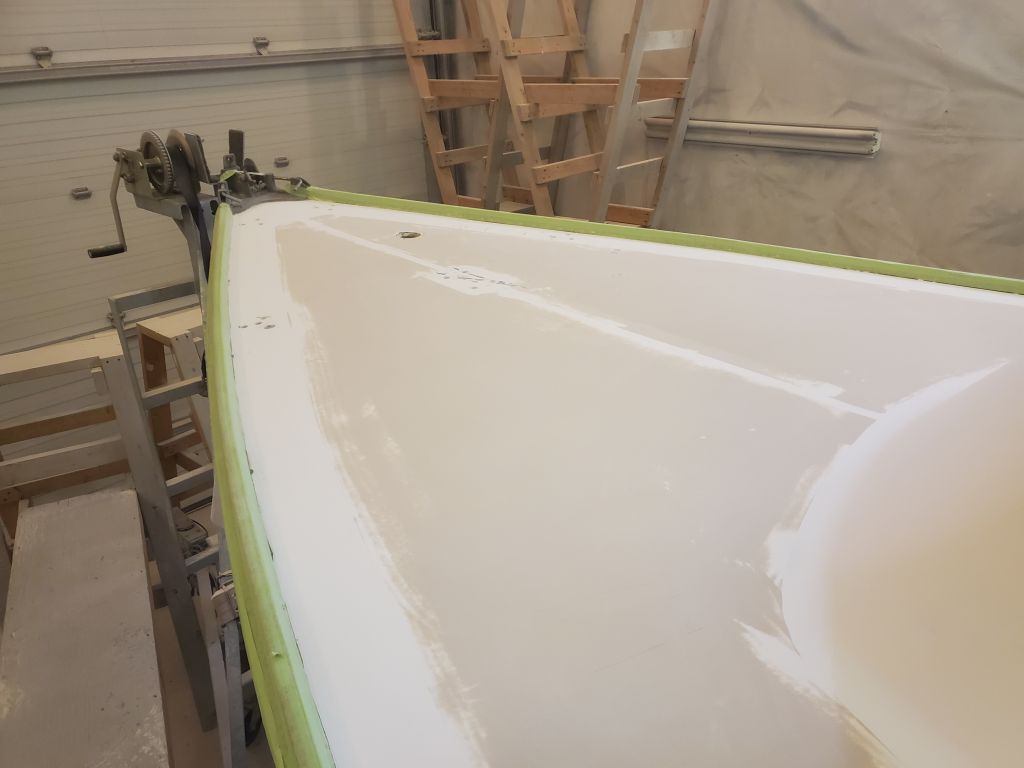
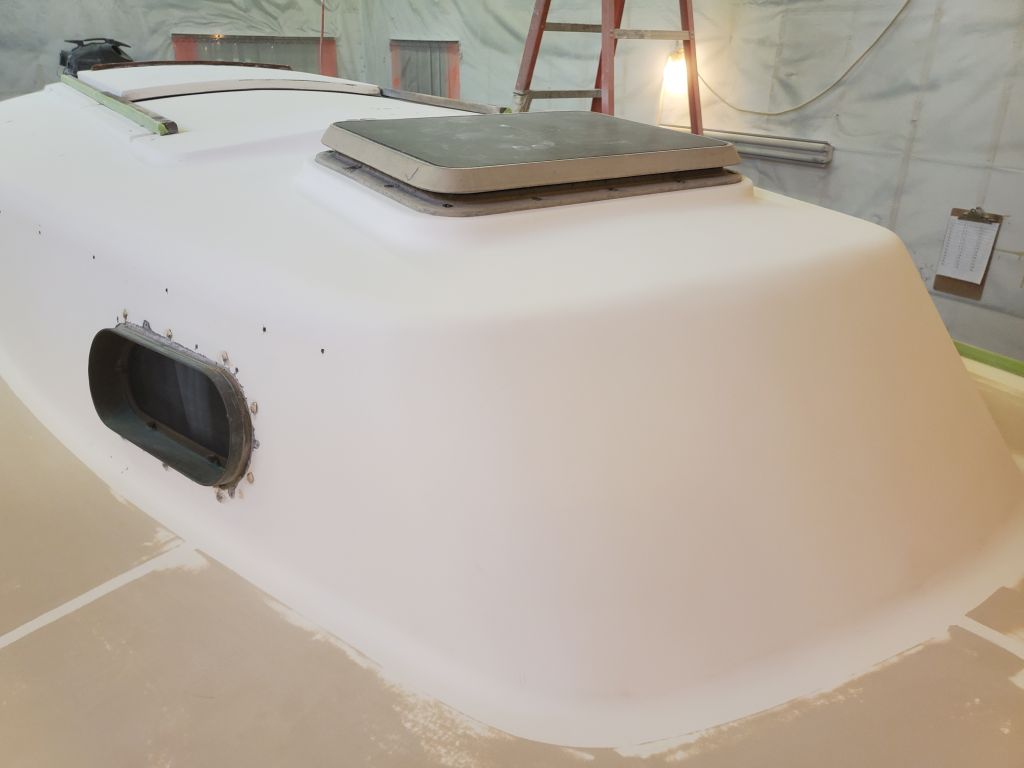
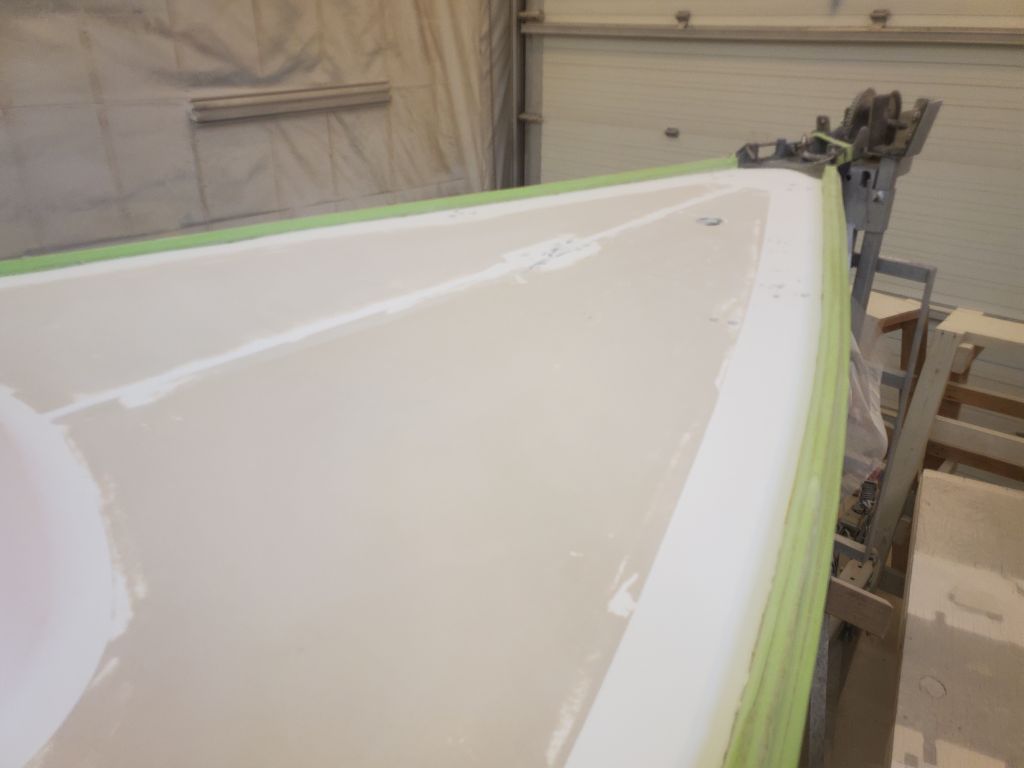
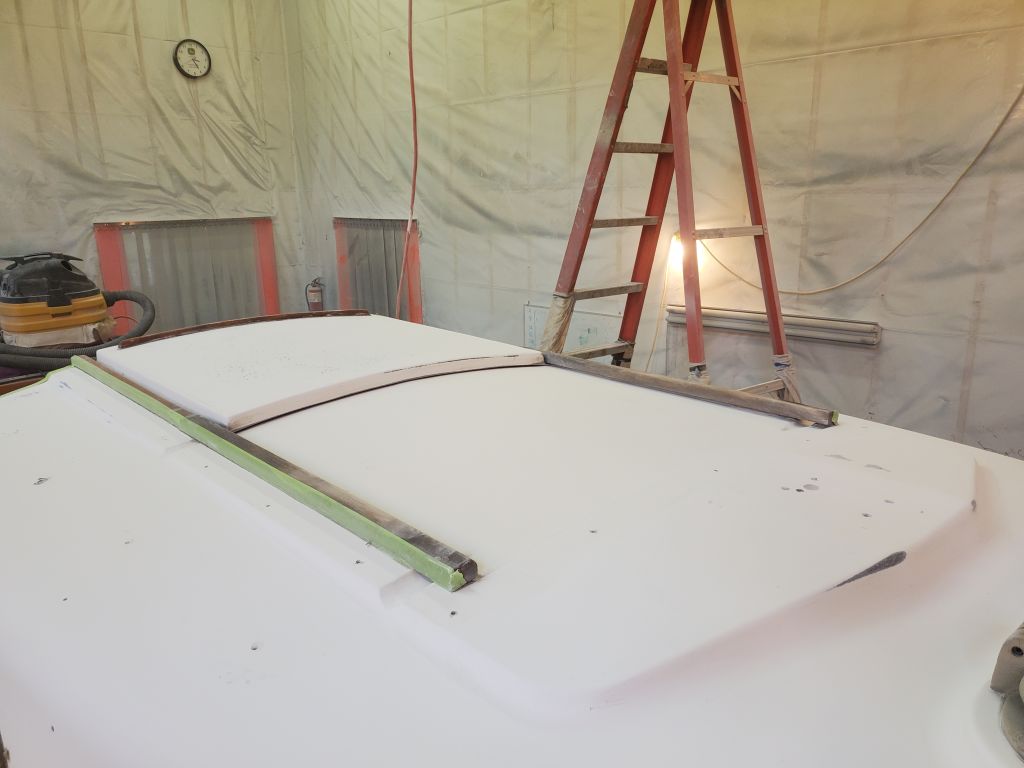
During the morning, I sanded all the deck areas once more, all finish sanding by machine and hand with 120 grit, to bring the decks to their pre-primer state of readiness.

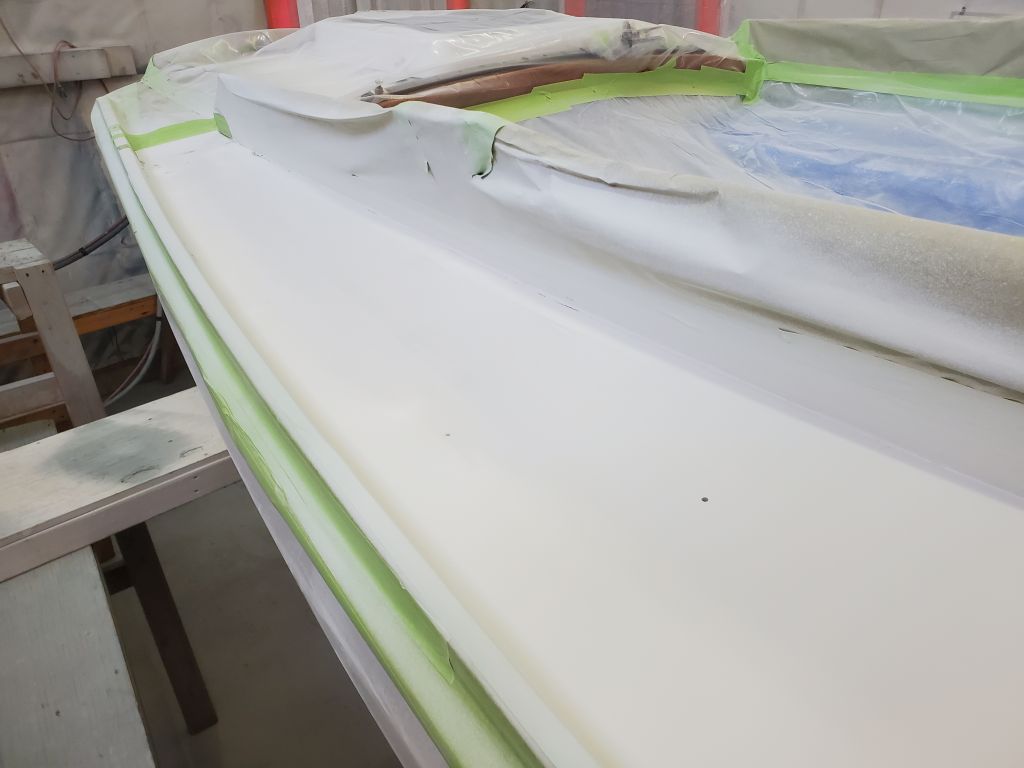
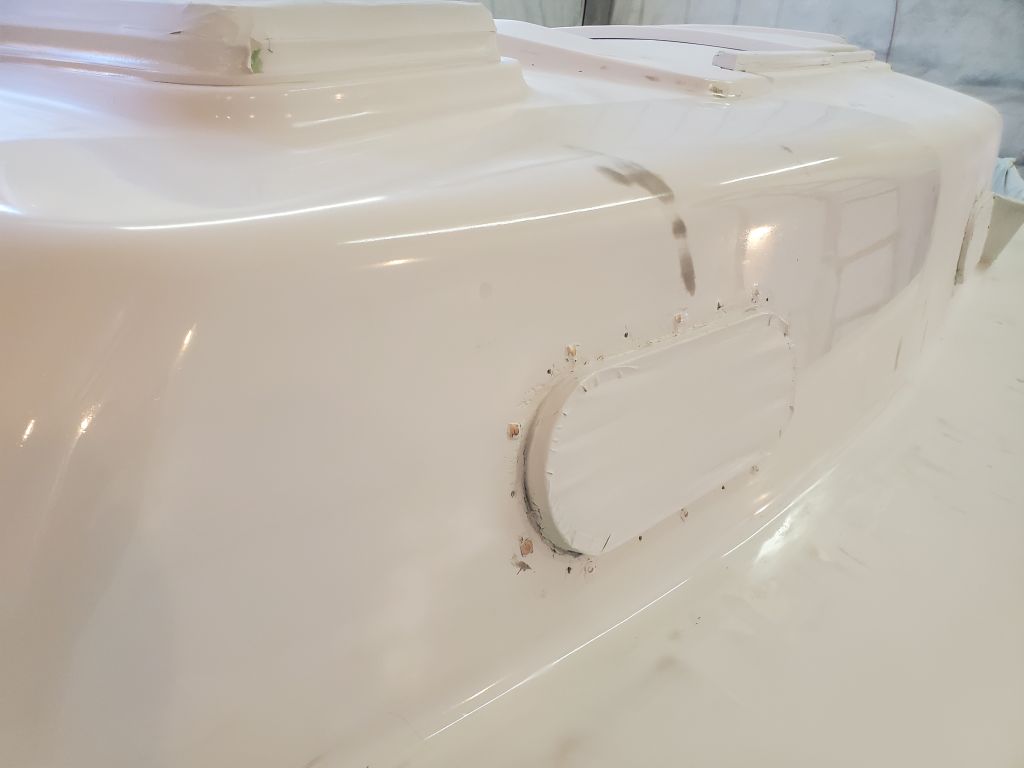
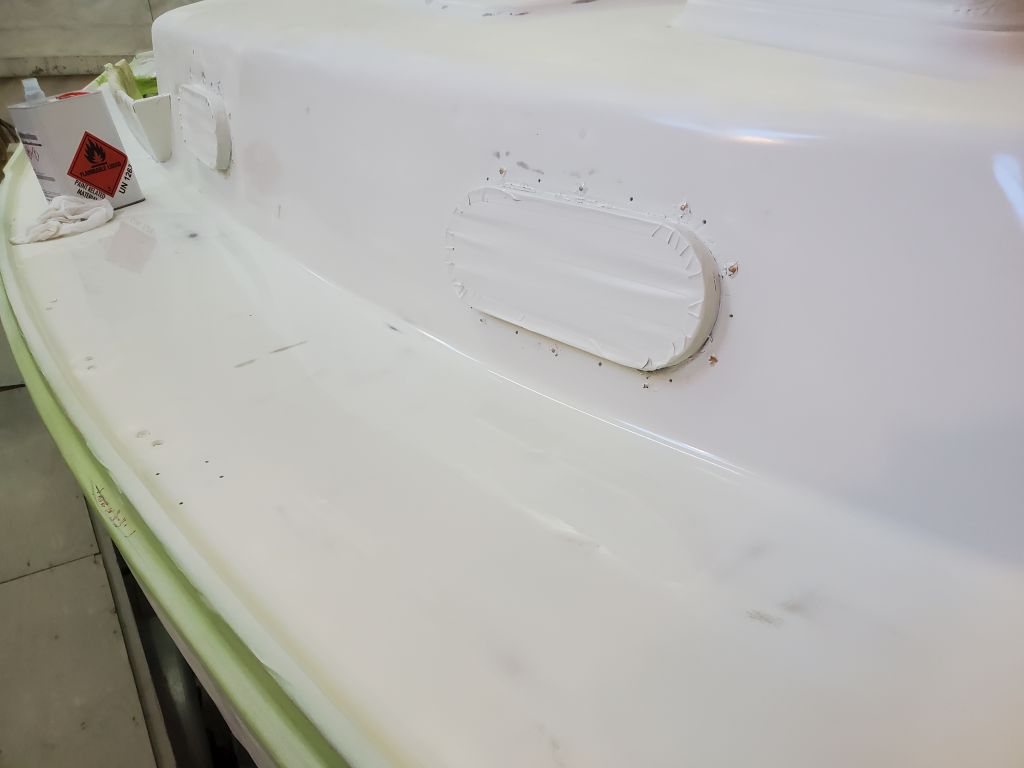
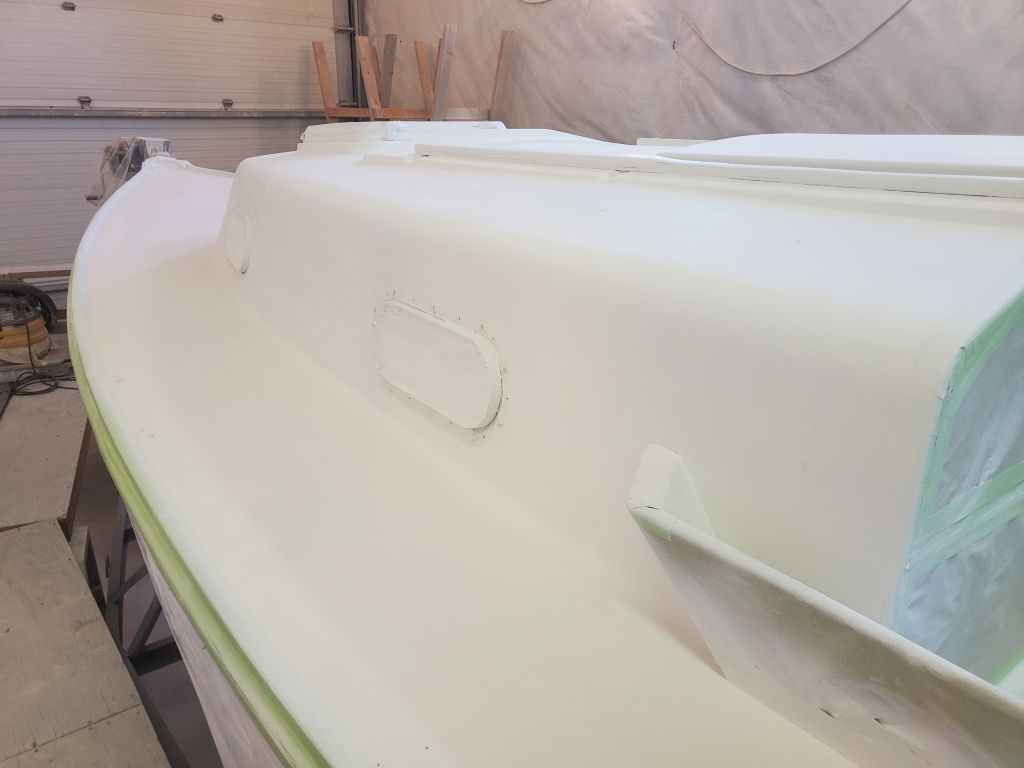
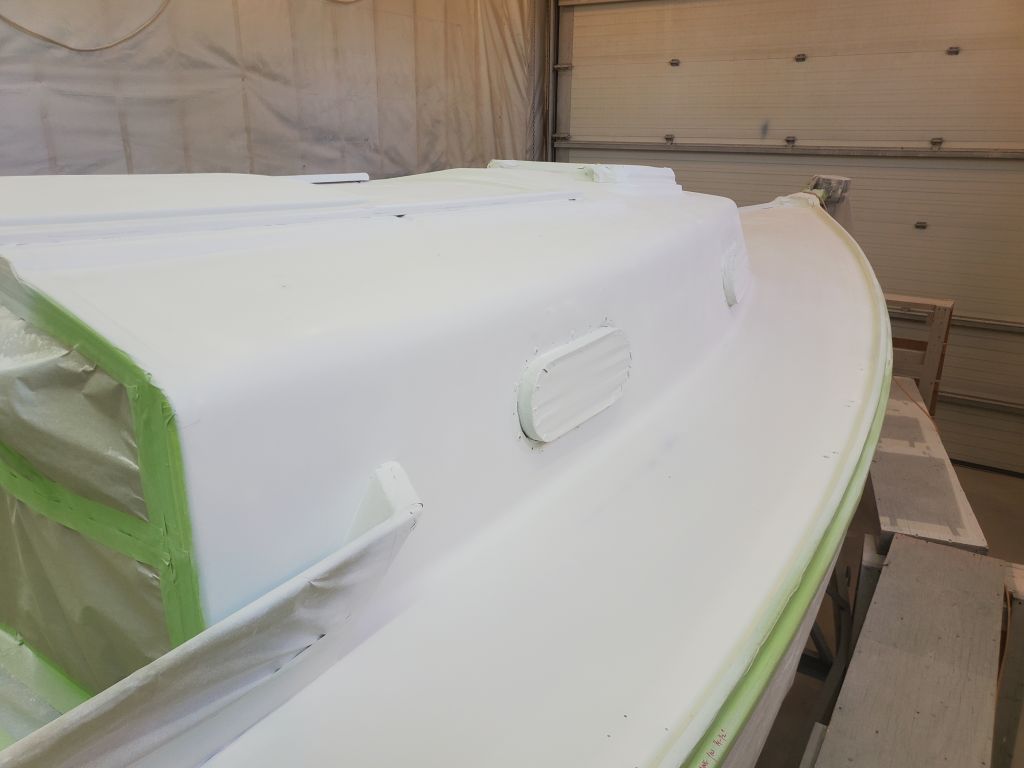
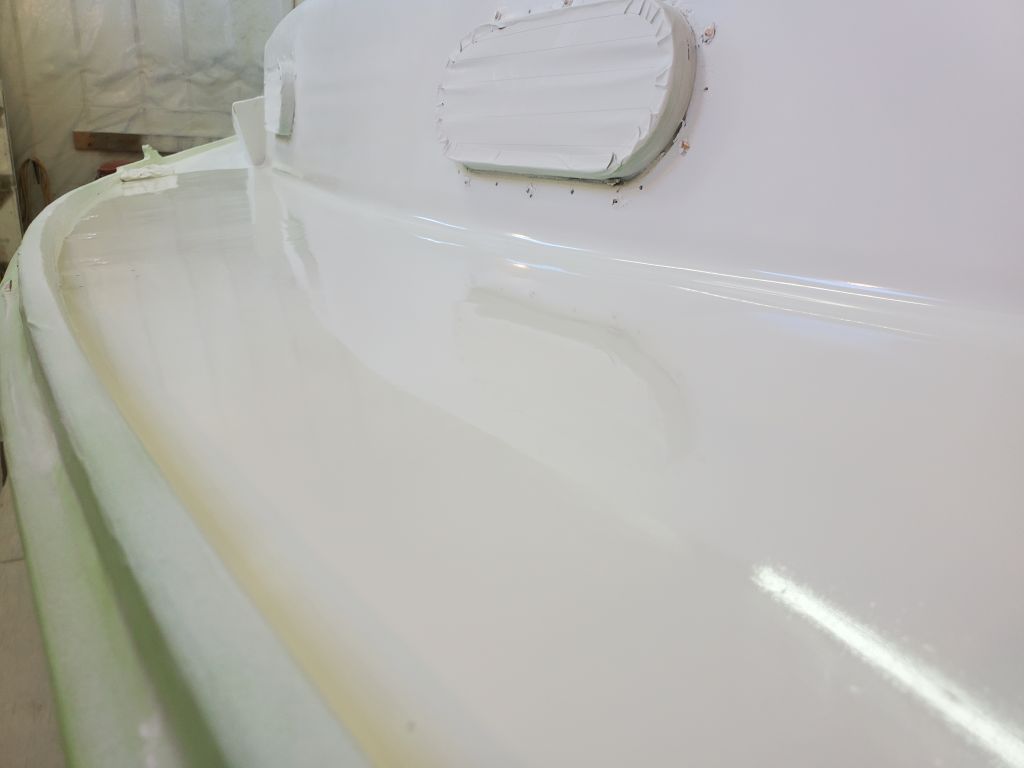
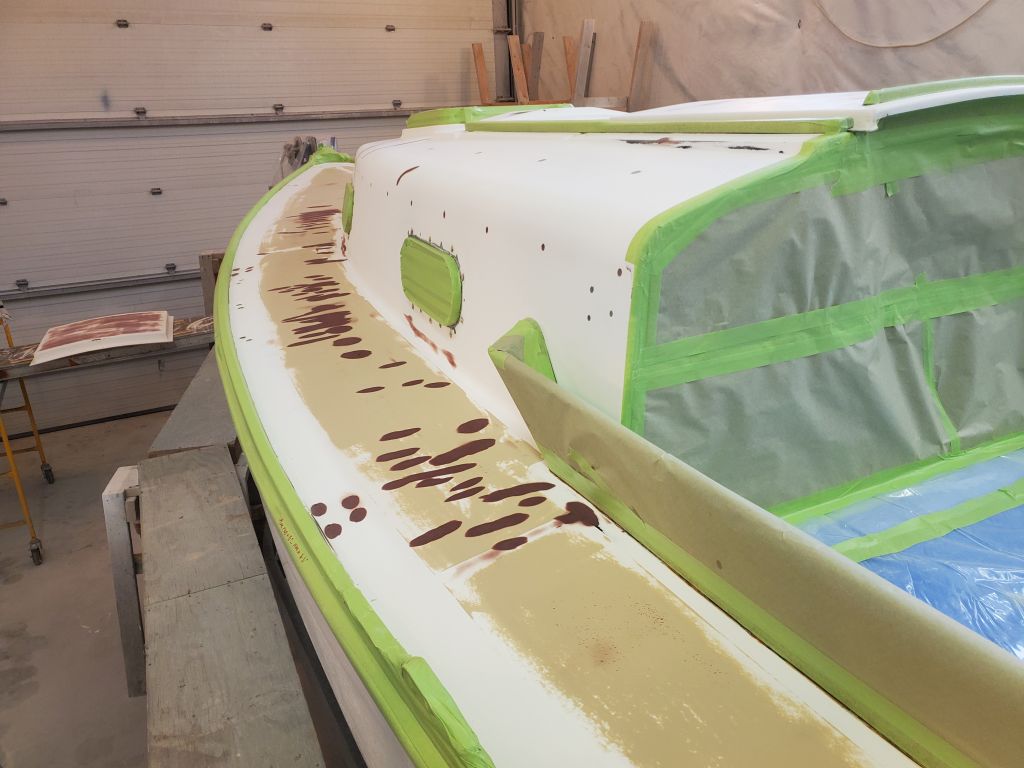
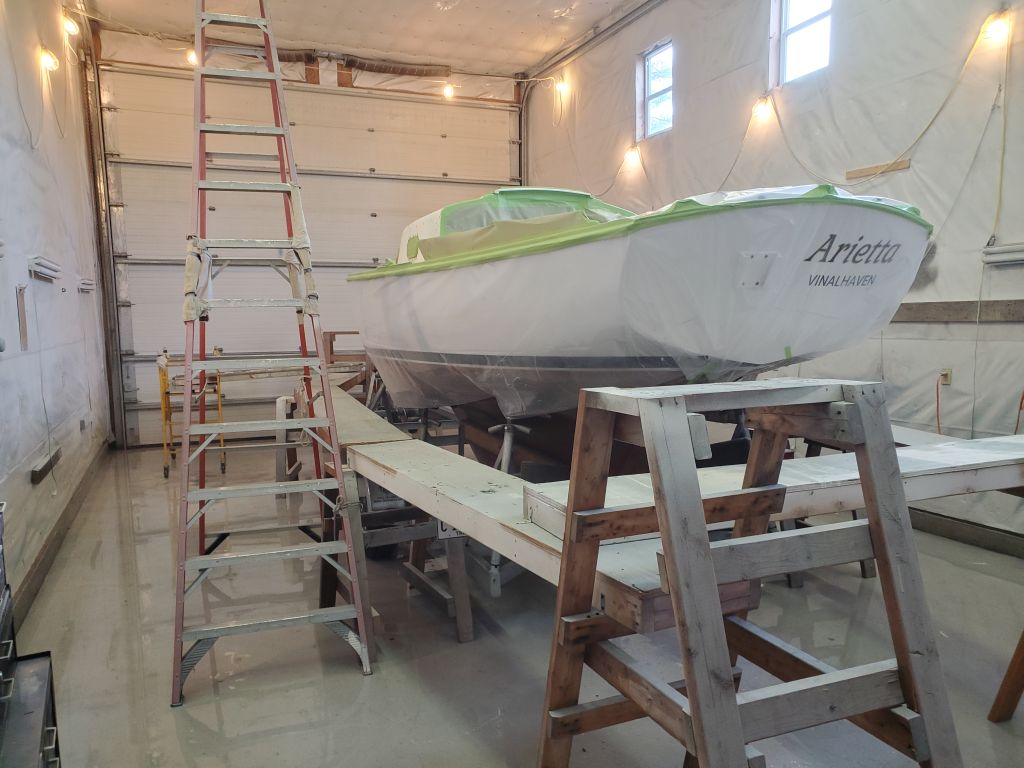
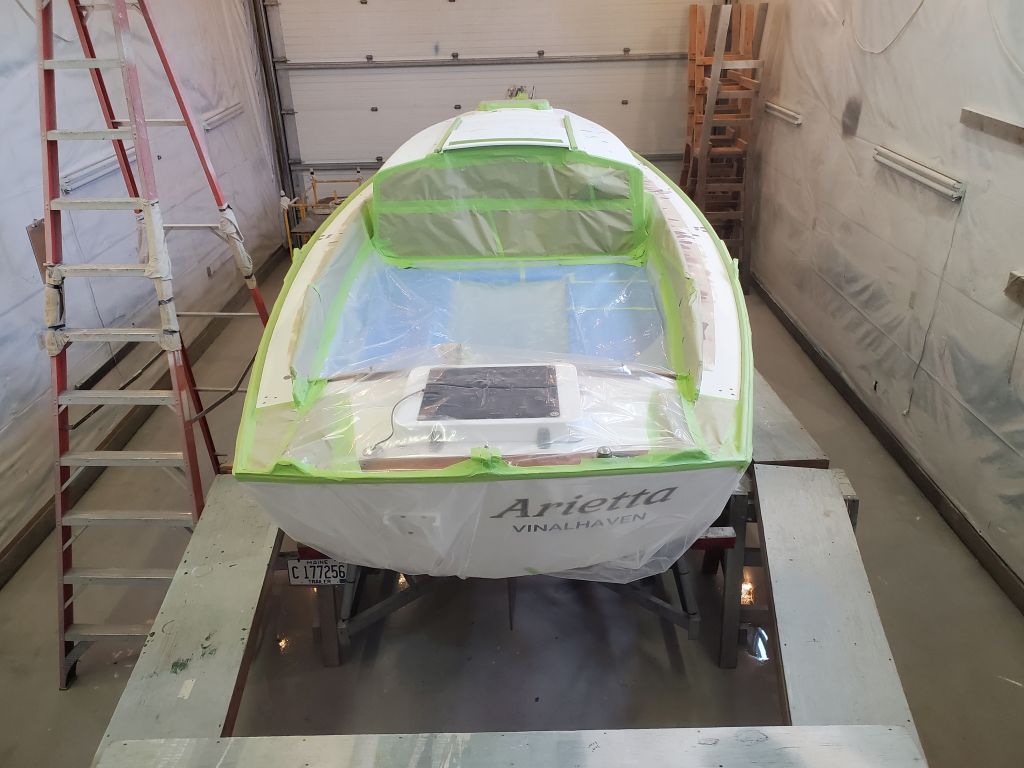
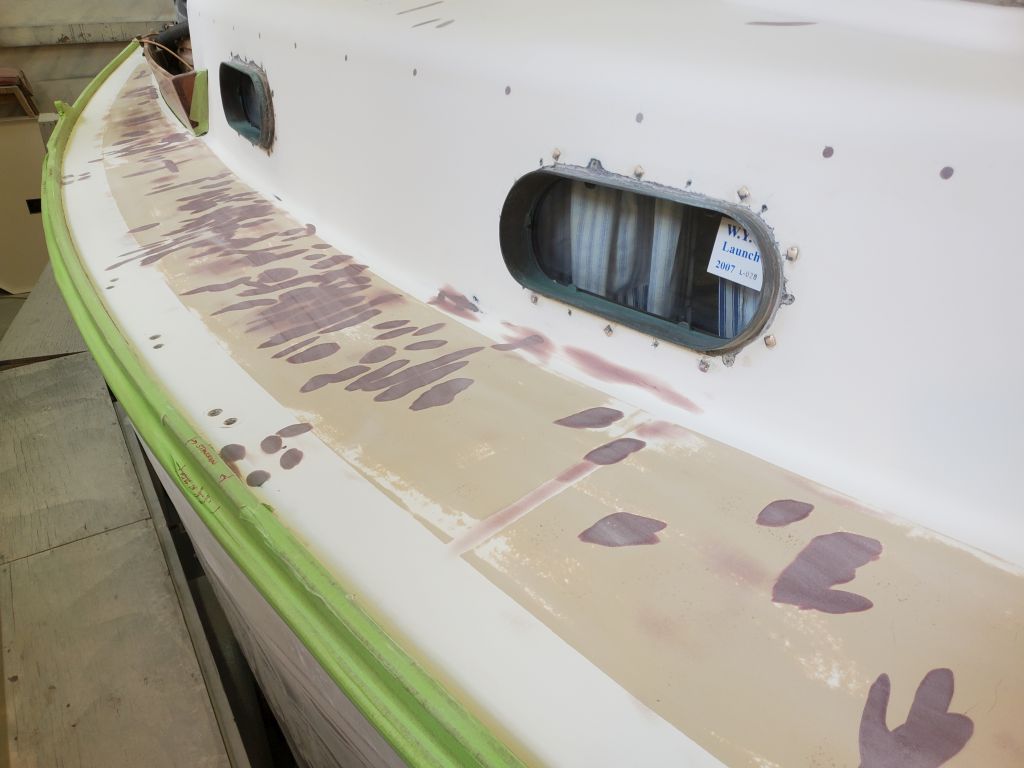
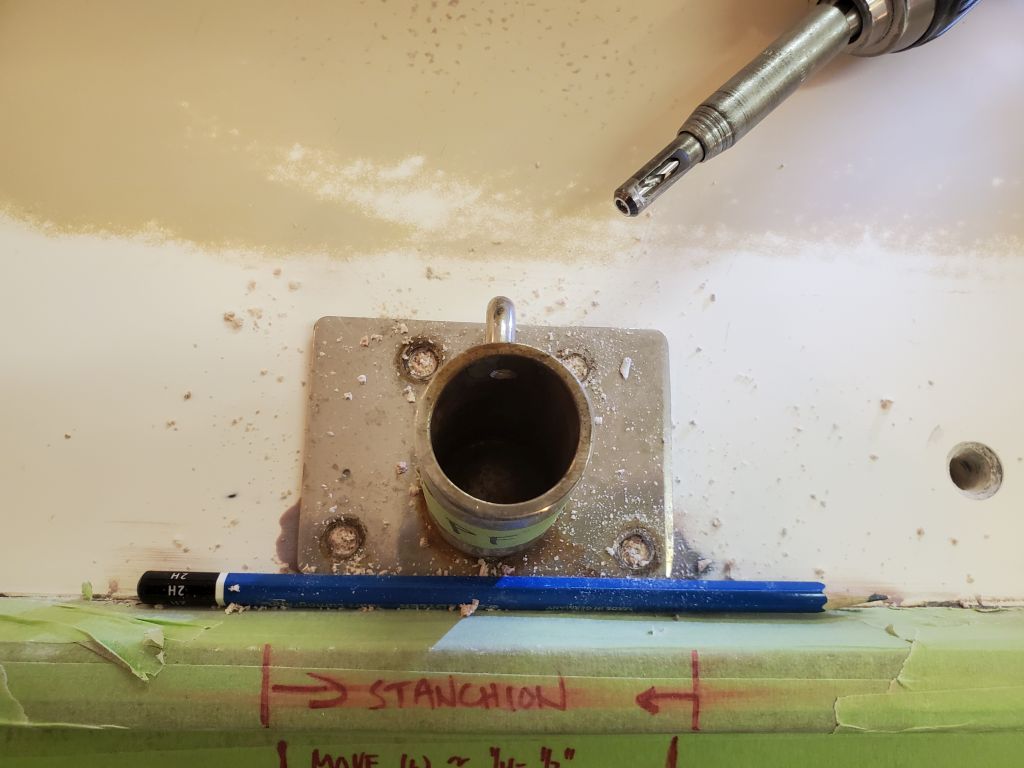
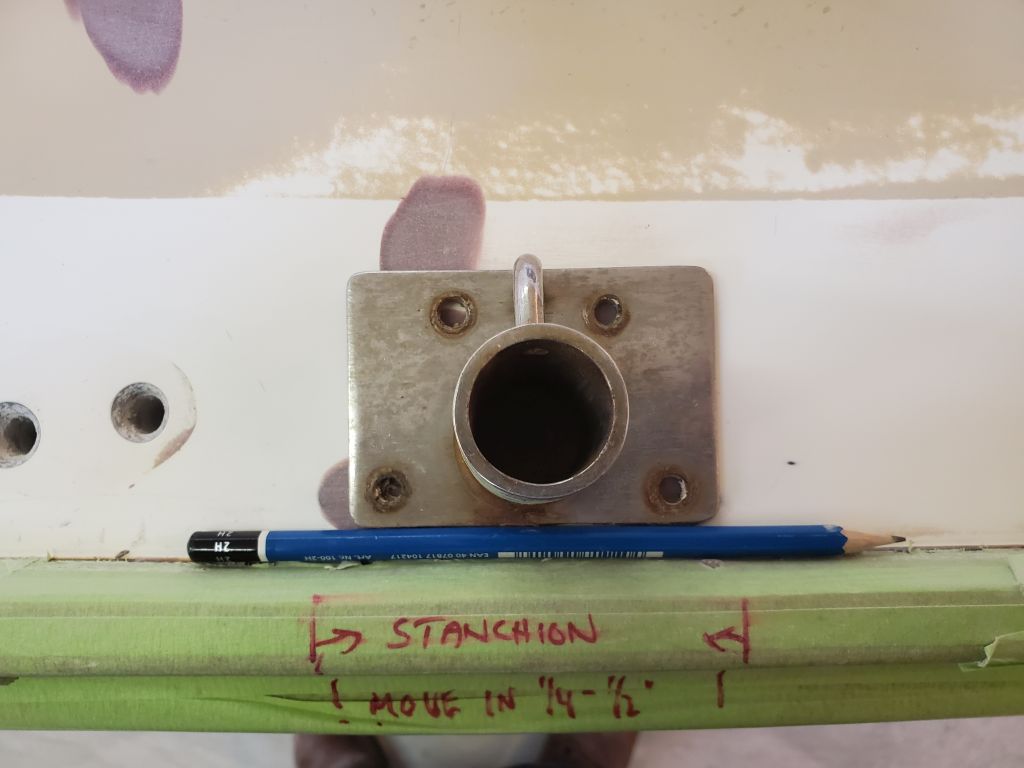
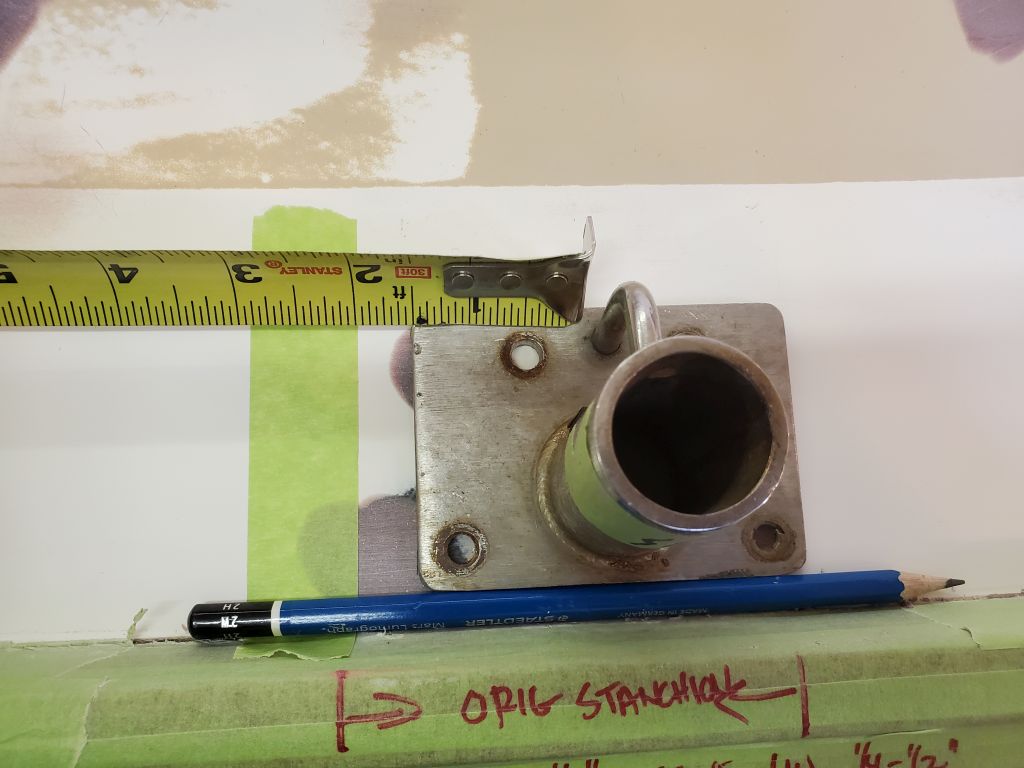
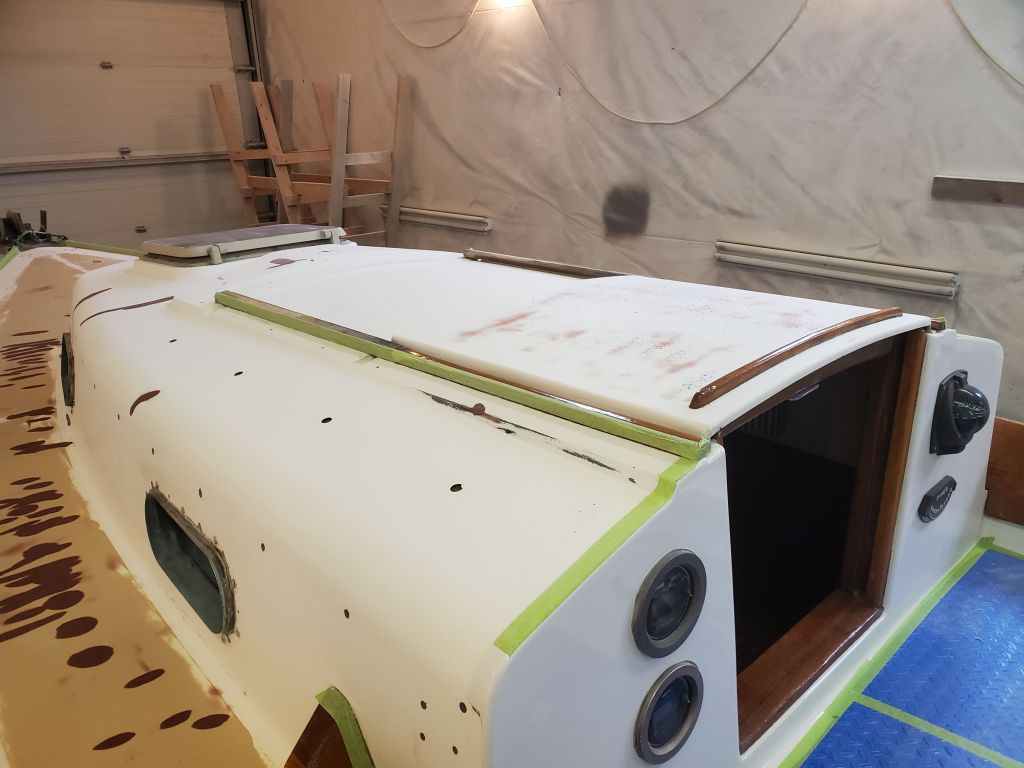
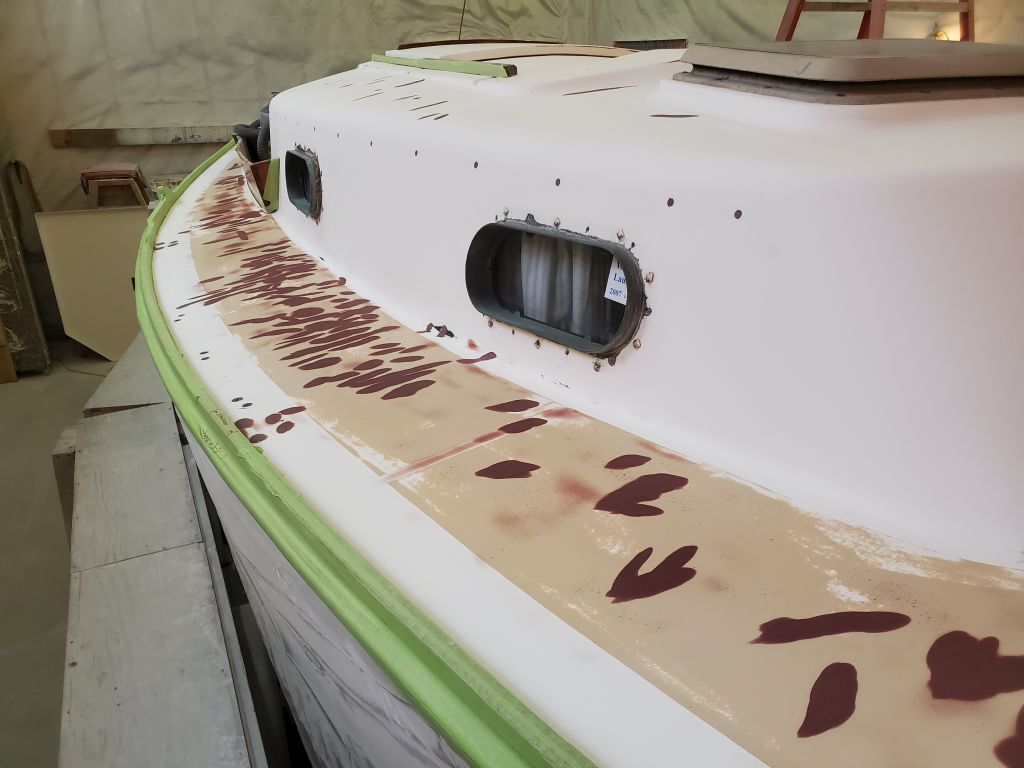
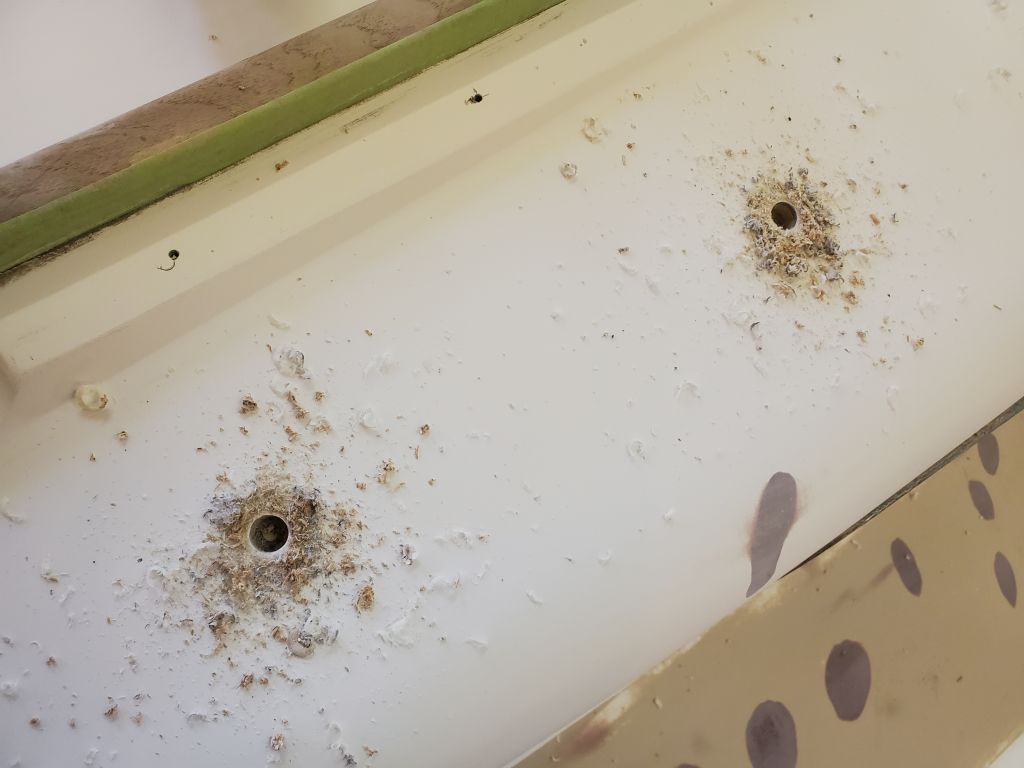
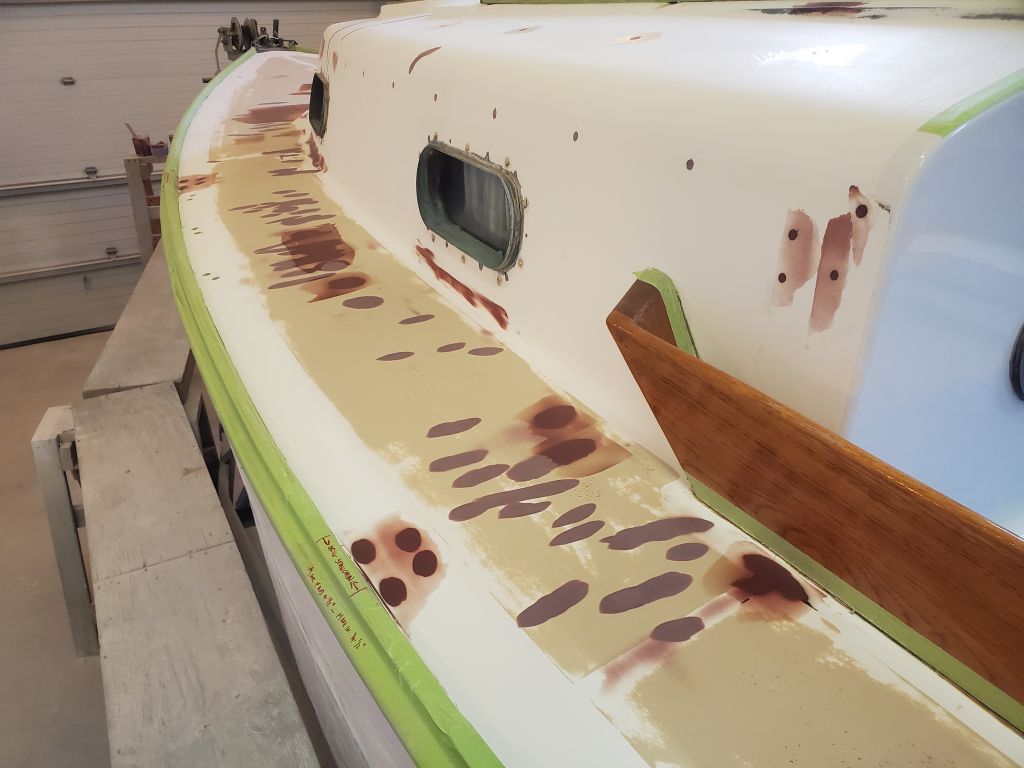
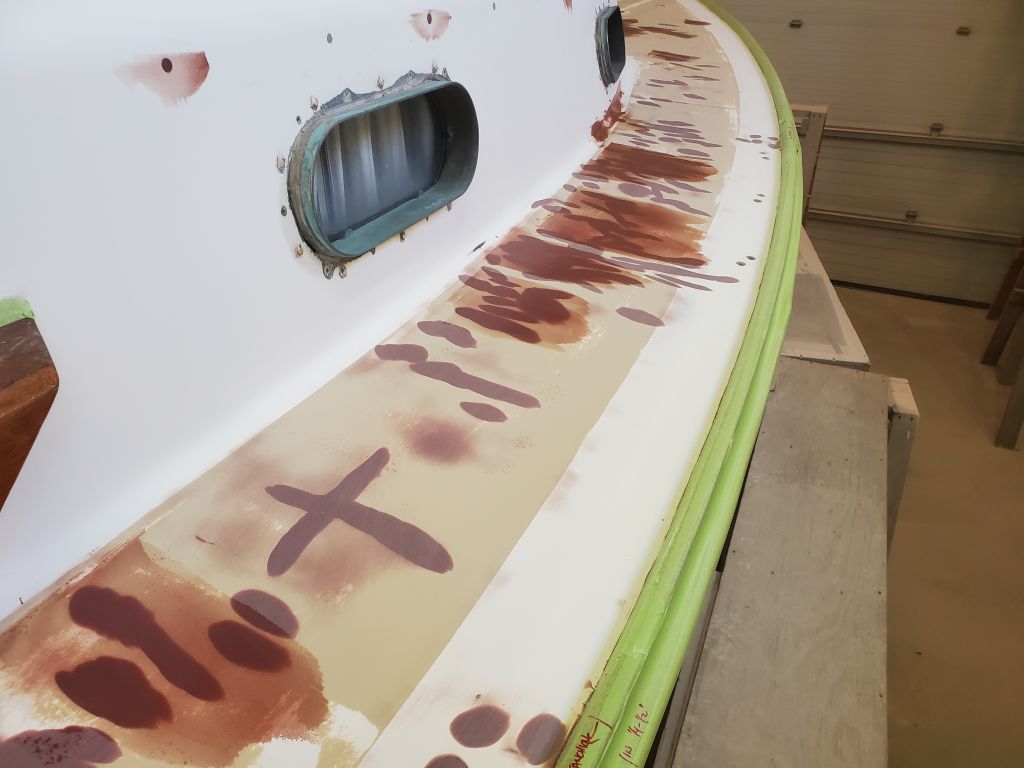
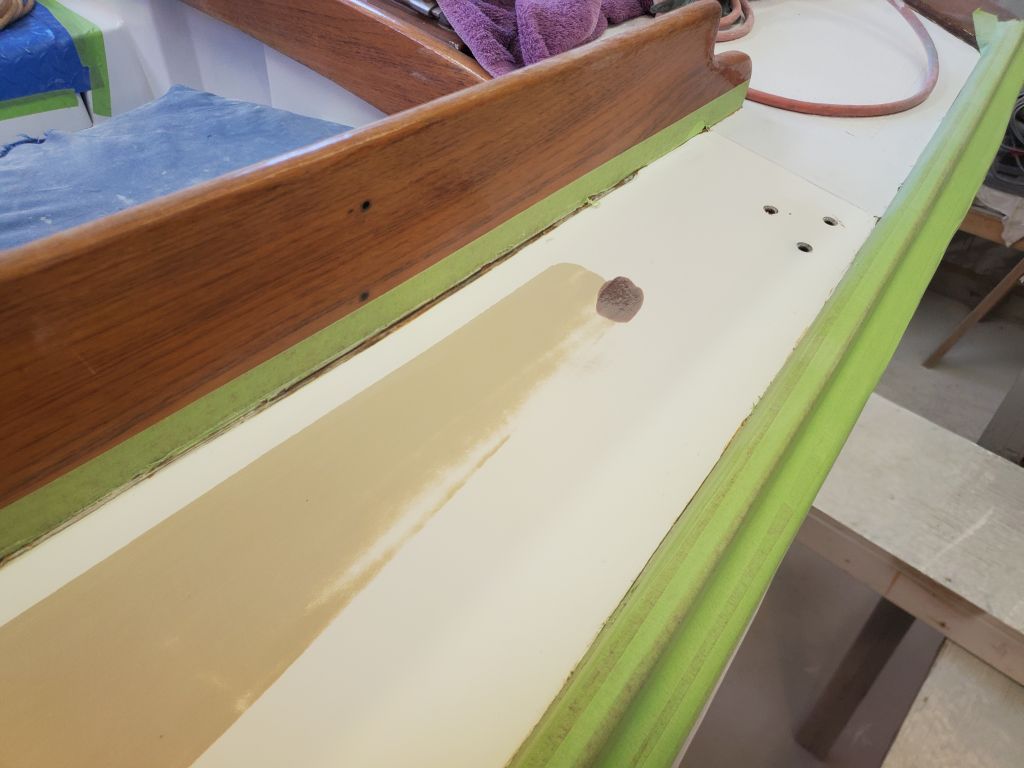
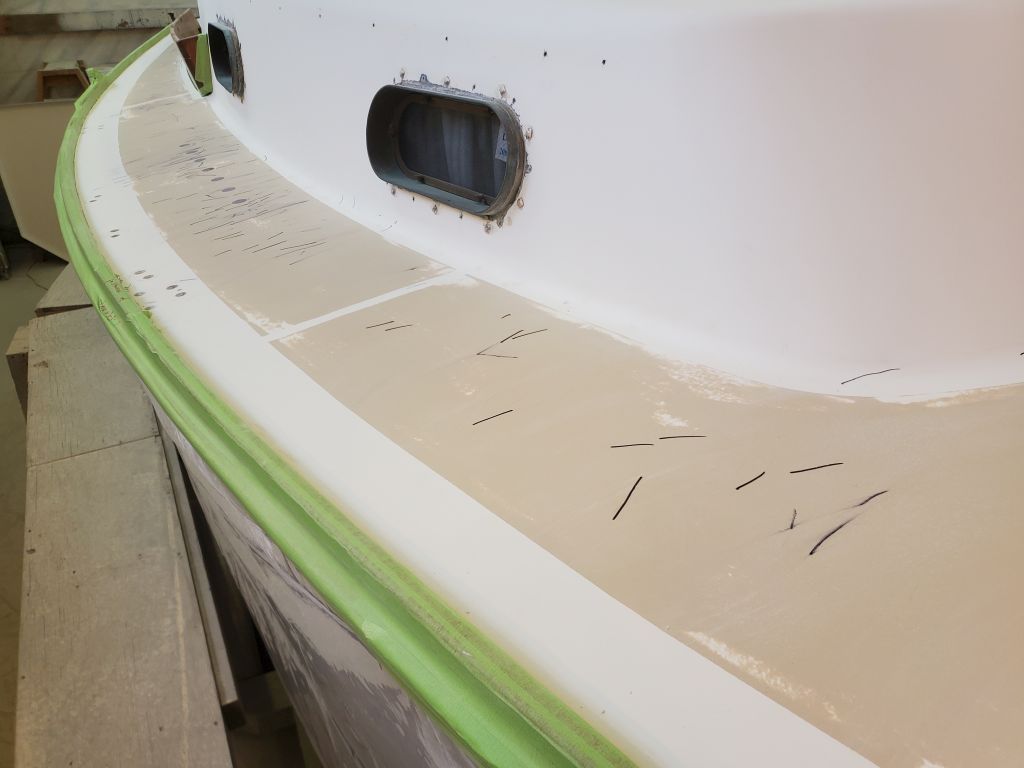
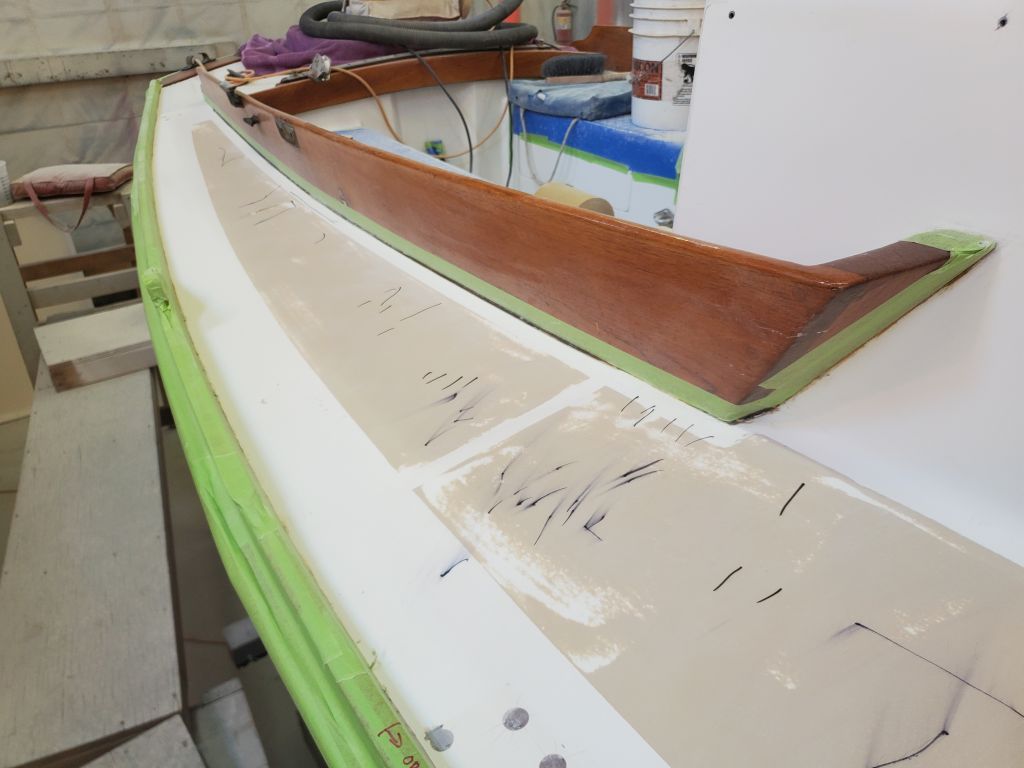
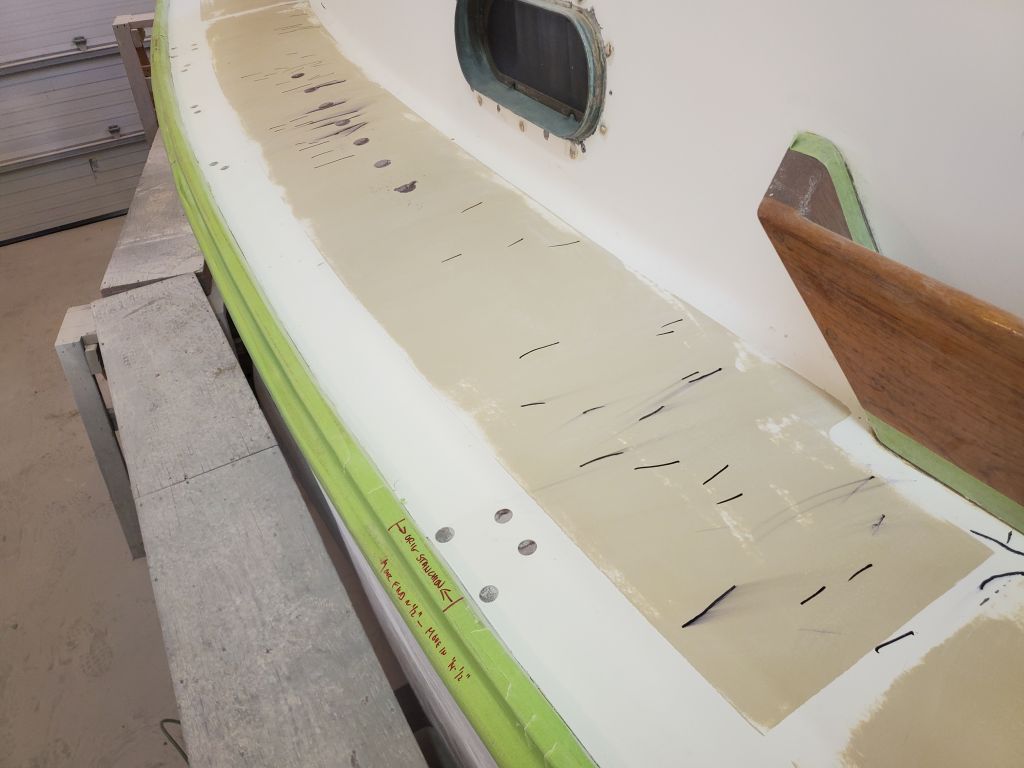
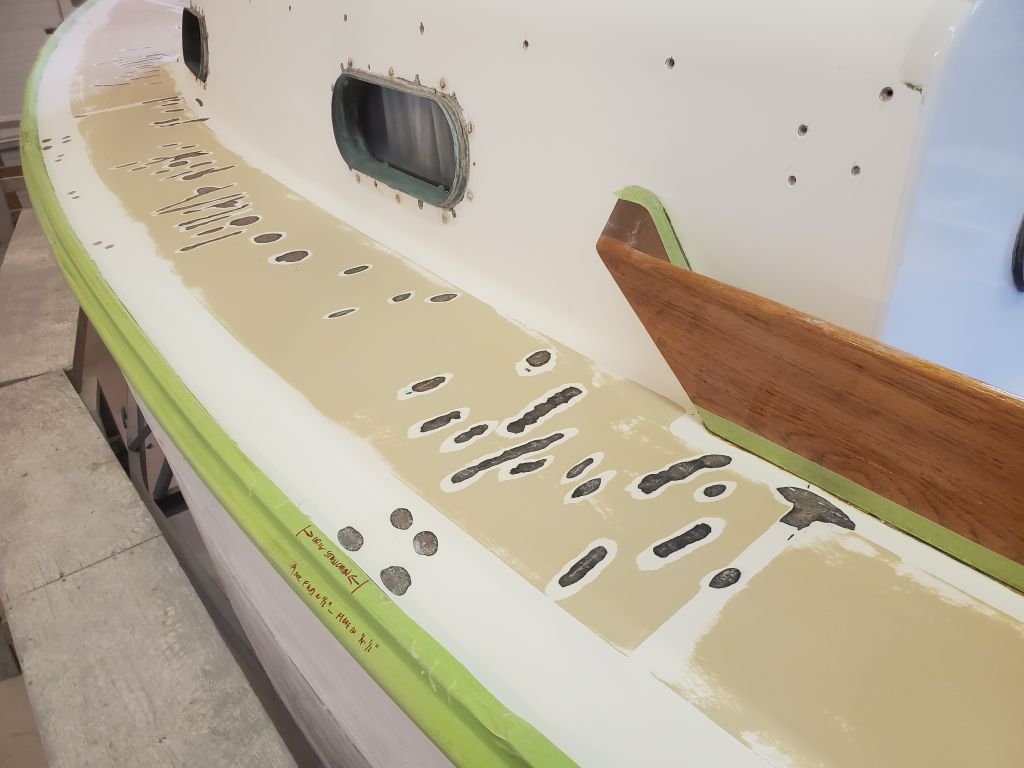
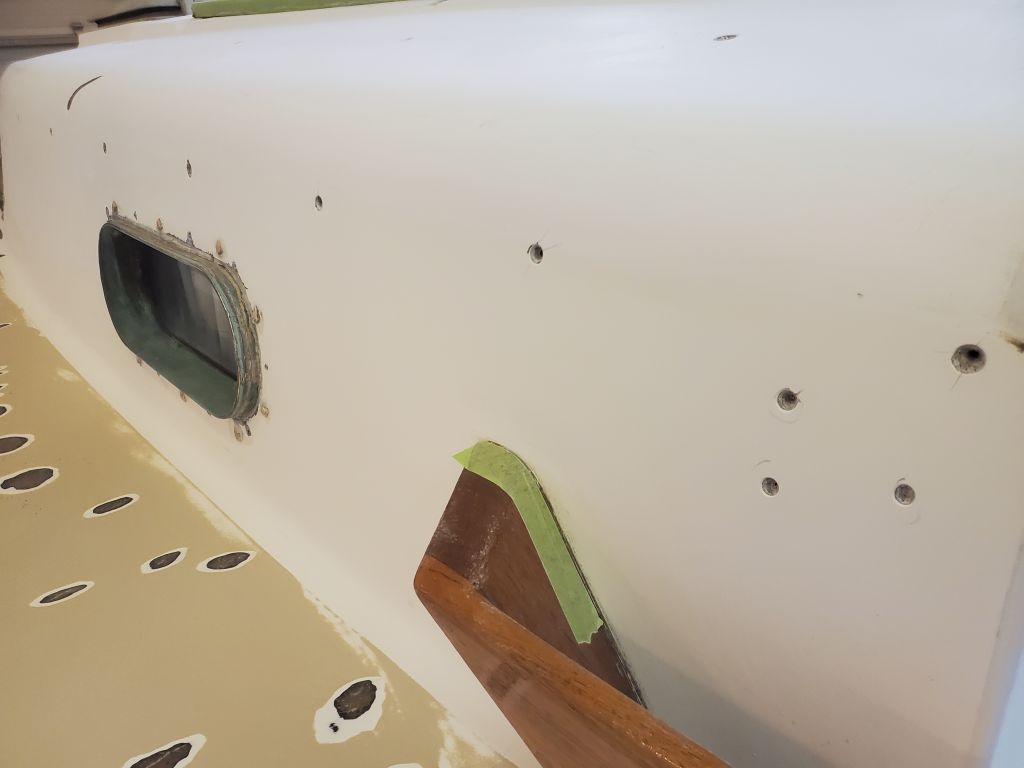
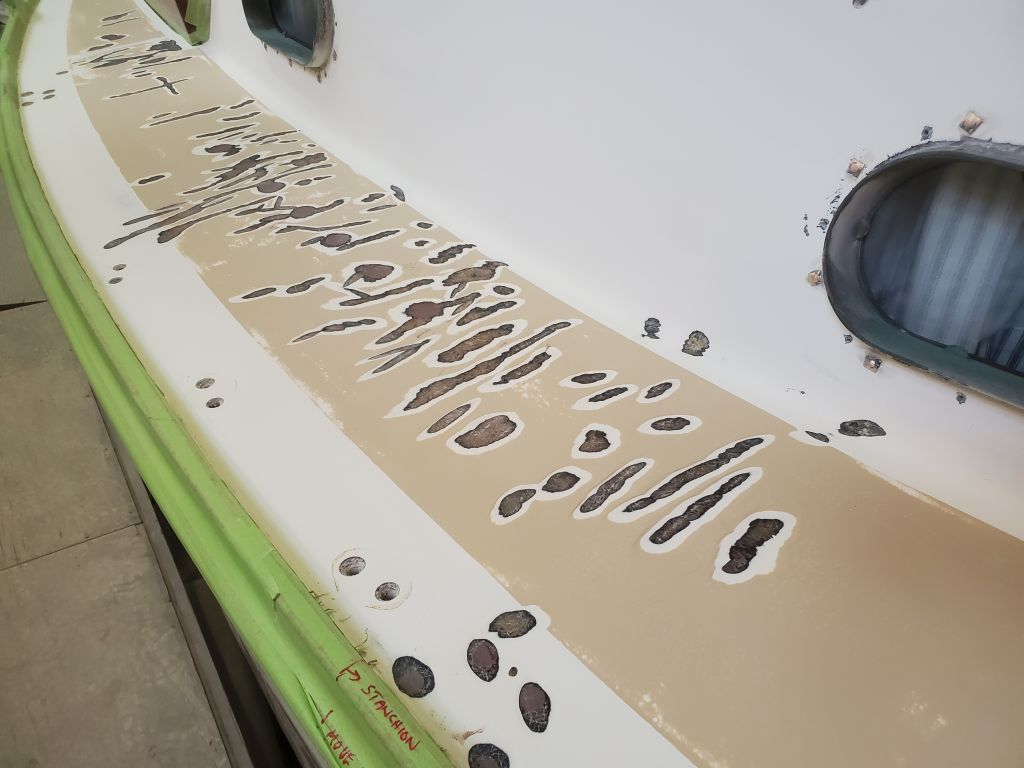
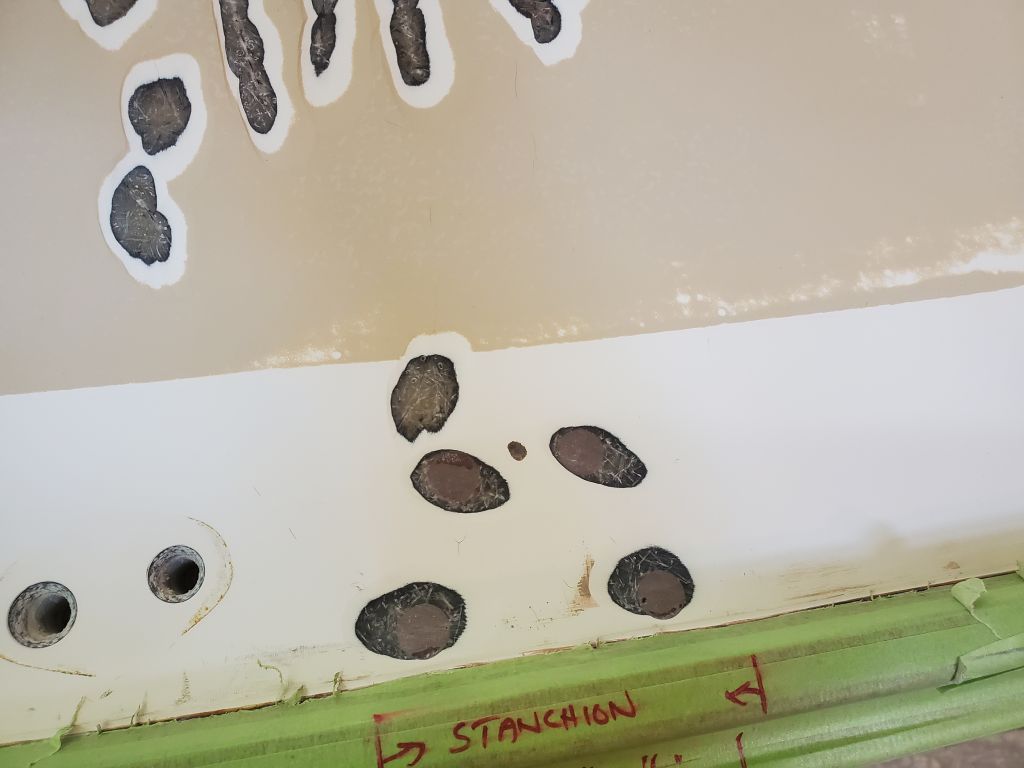
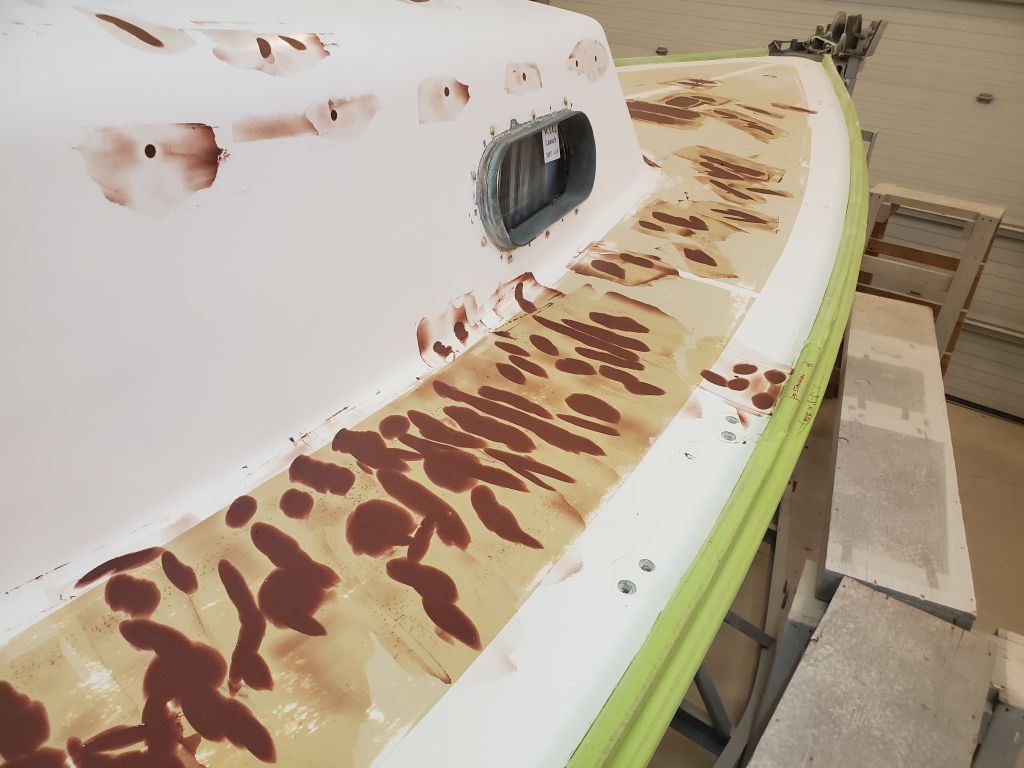
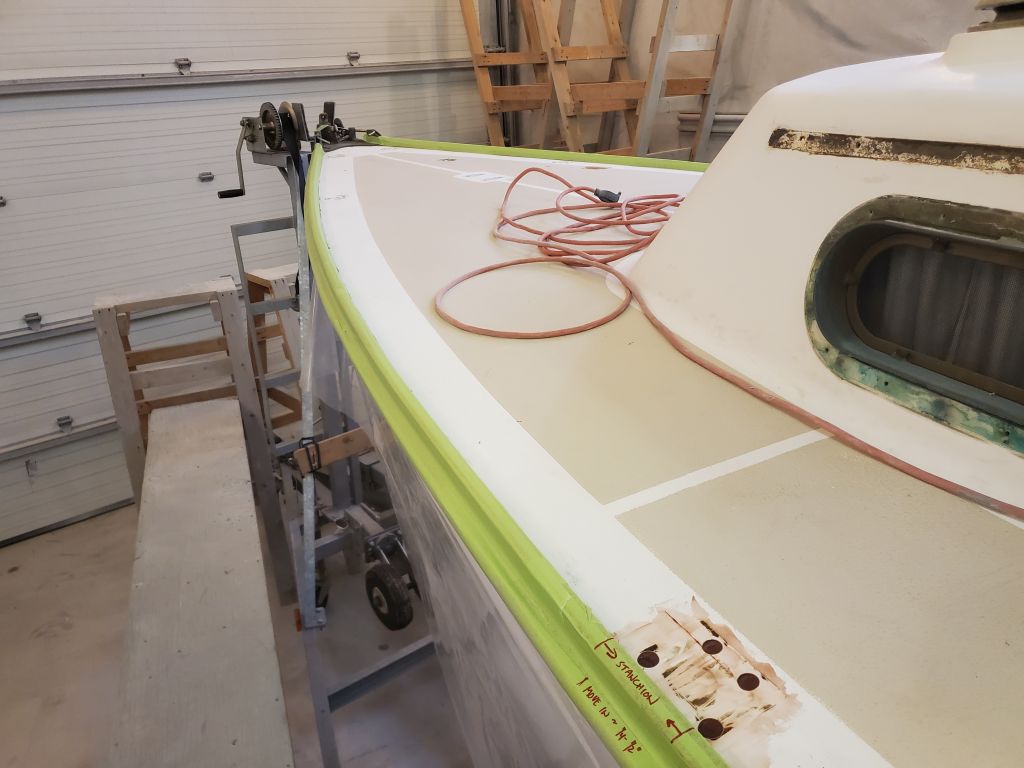
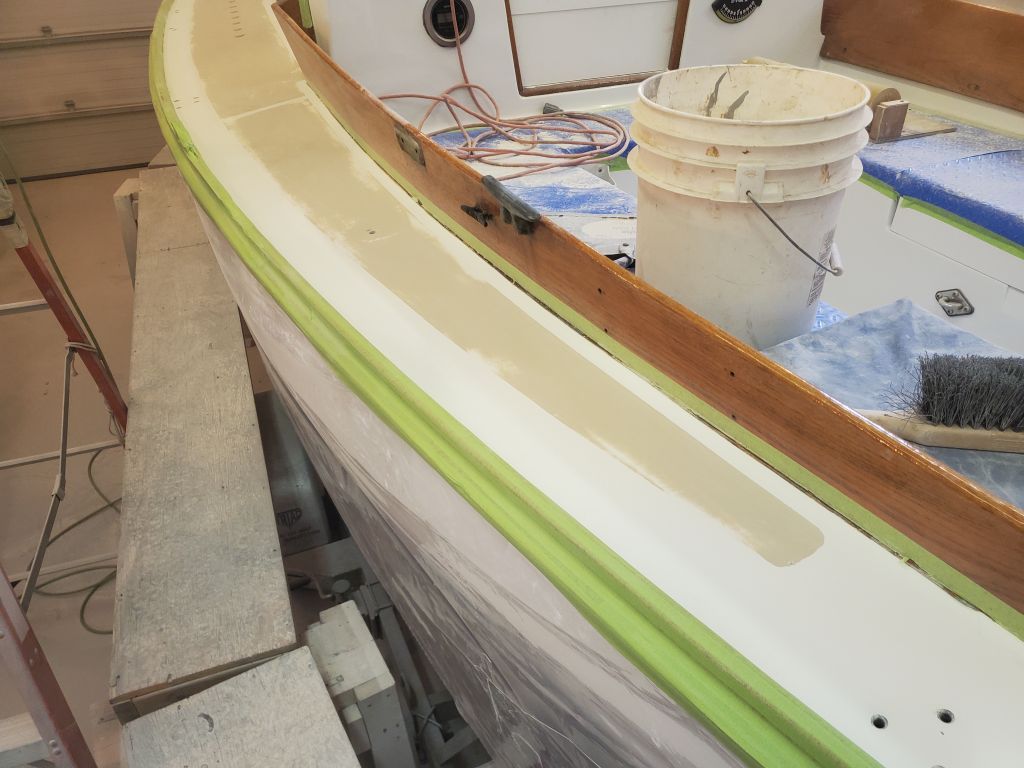
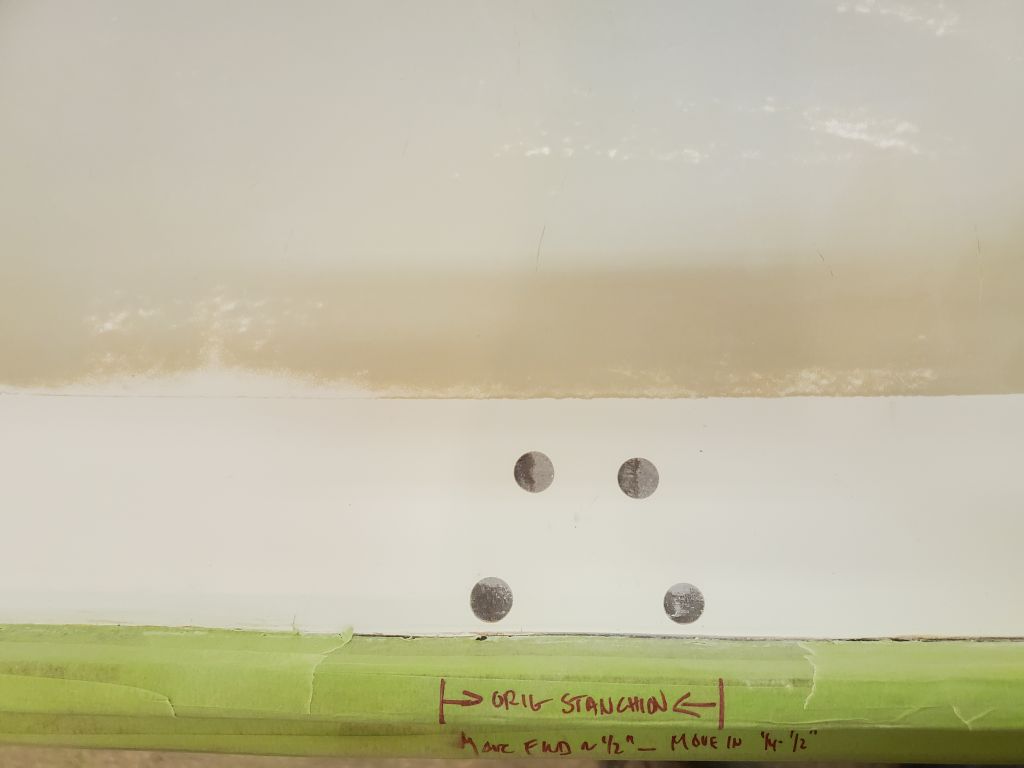
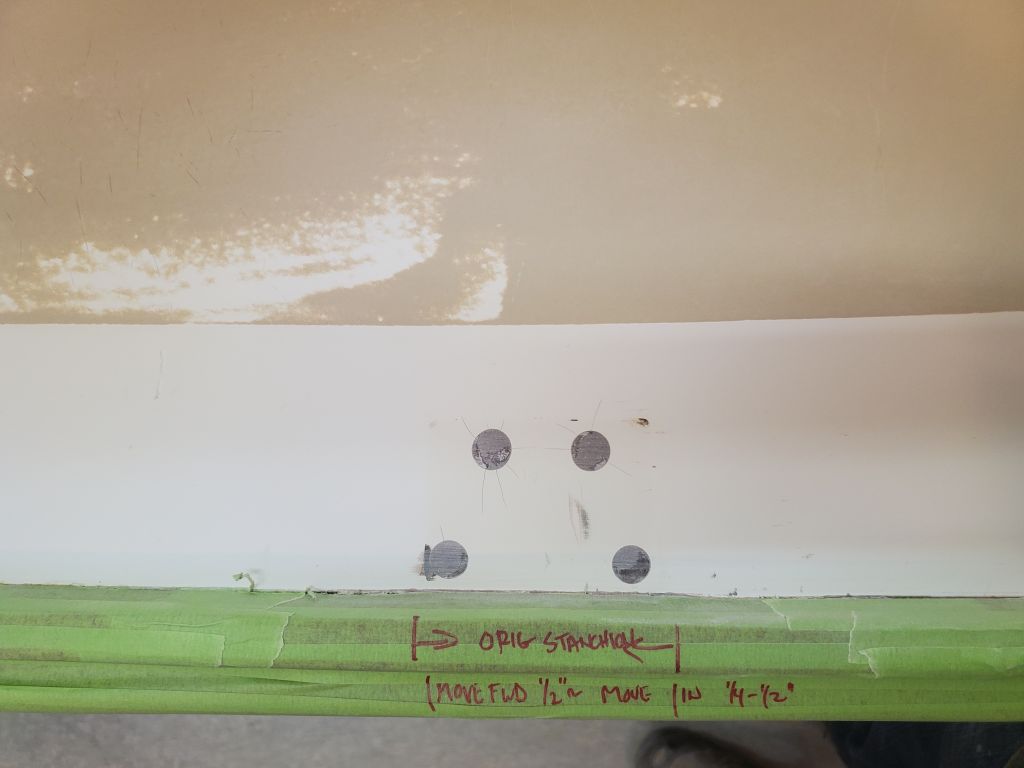
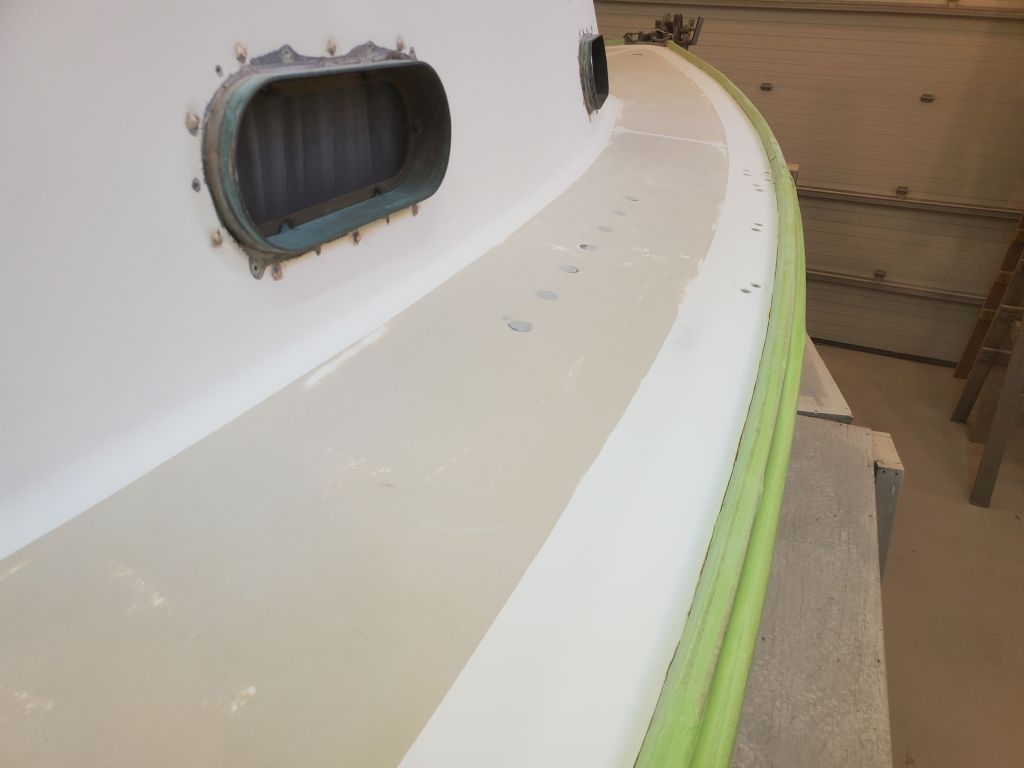
After a fairly thorough cleaning of boat and shop, now that the heaviest sanding was complete, I relocated the four stanchion bases as requested by the owner.  The bases had originally been installed flush against the inside of the toerail, which didn’t leave sufficient room for proper drainage or for adequate maintenance of the wood.  Belowdecks, I checked each of the four locations to determine how far I could move the bases inboard; the way the bases landed over the hull/deck flange, and the amount of room available inside the molded liner, affected the position of all four bases, and using the least-good situation as my baseline, I determined I could move the bases in about 1/4″, a  reasonable compromise between the hoped-for effects and the various practical considerations forced by the boat’s construction.

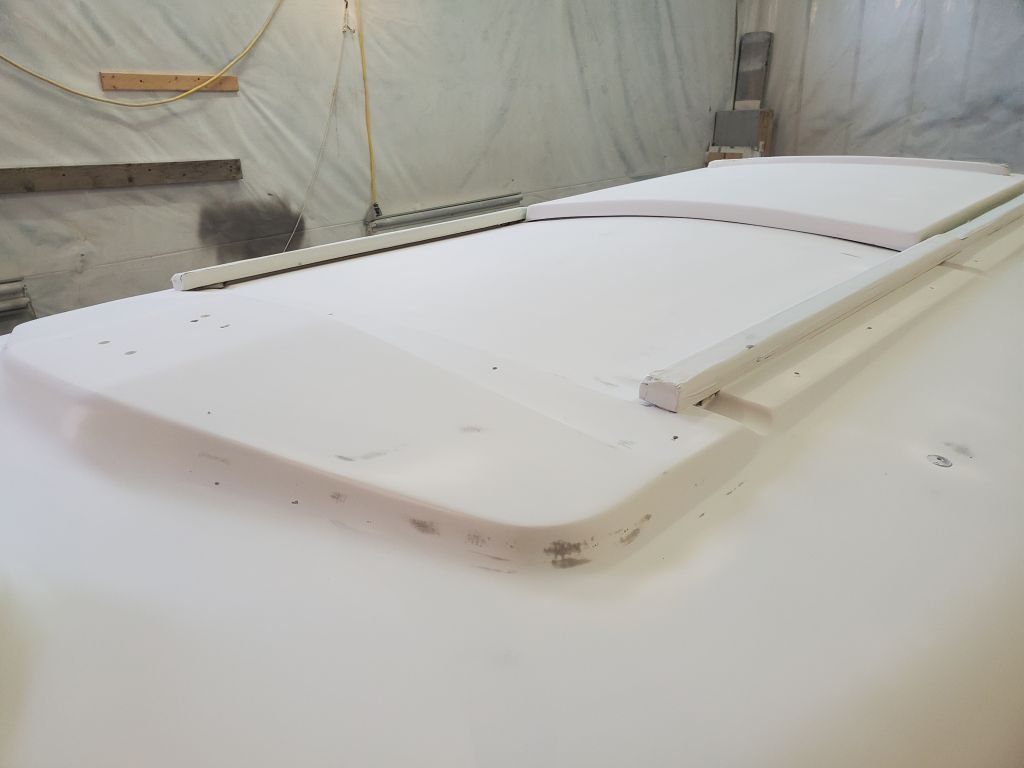
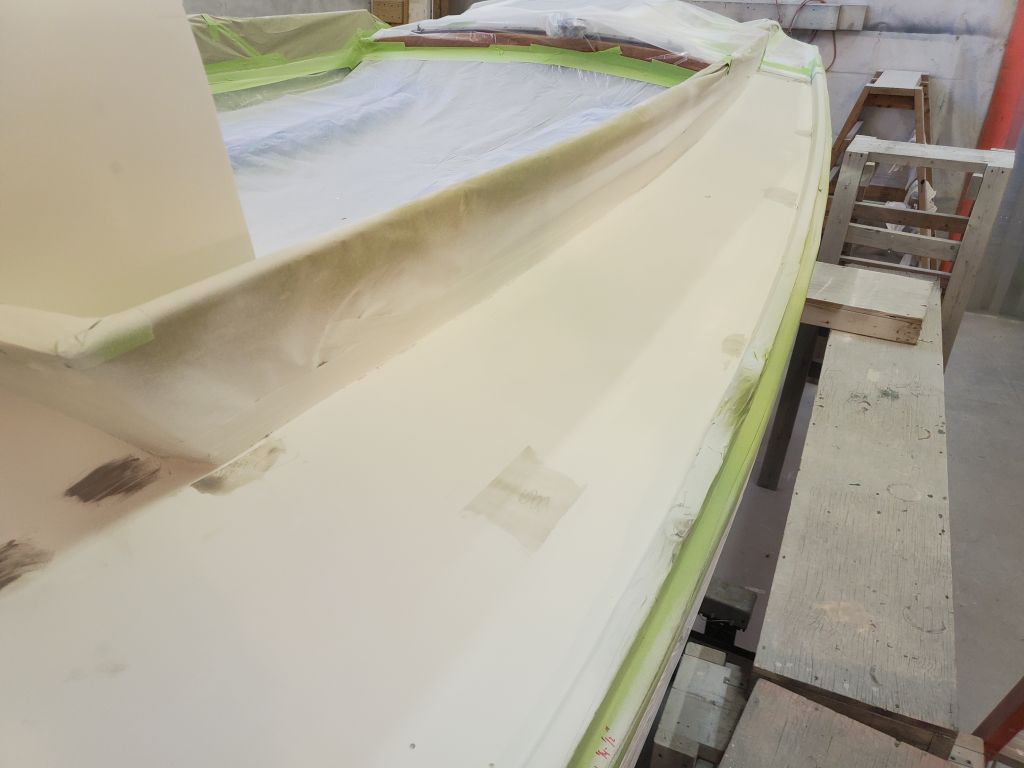
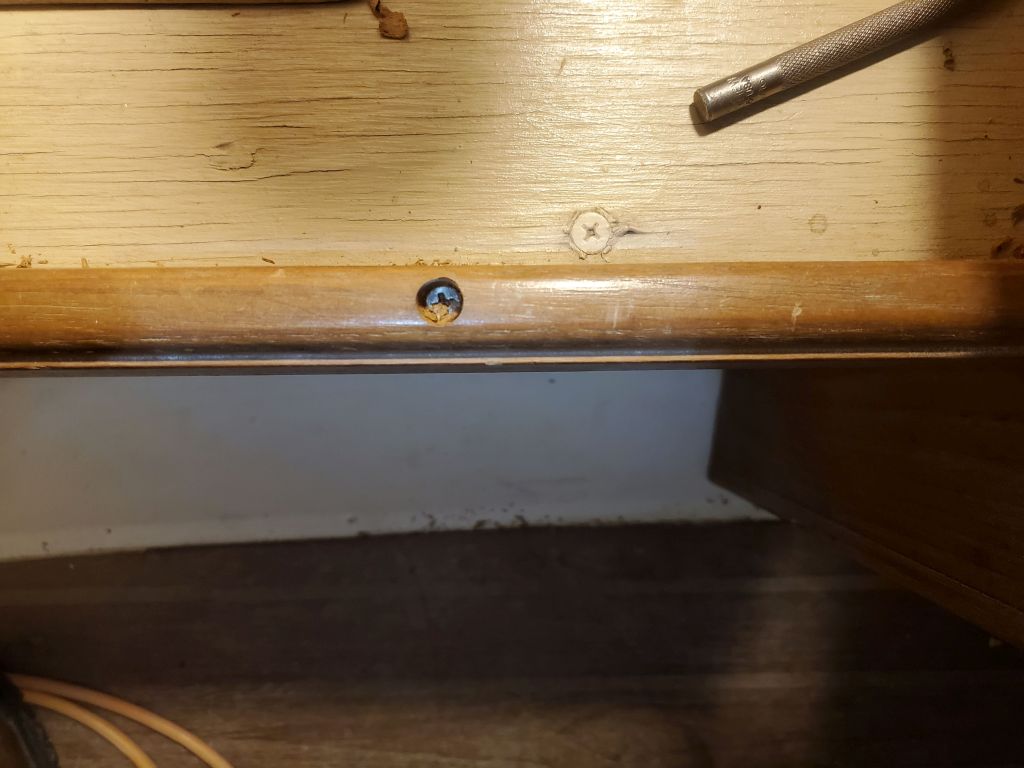
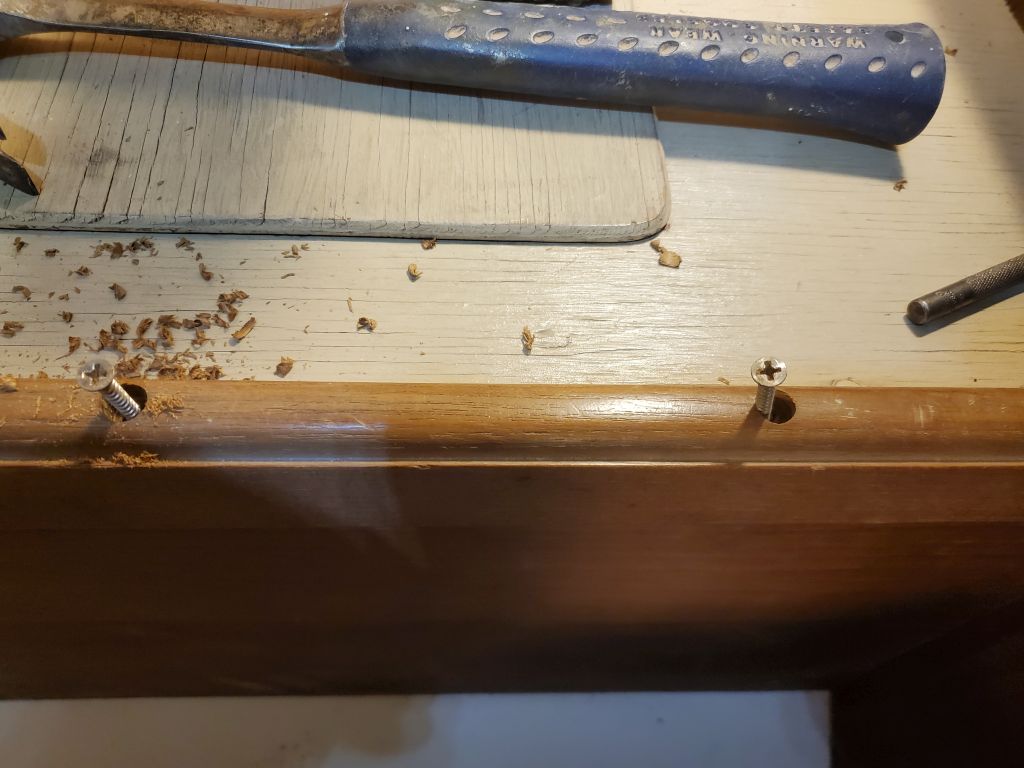
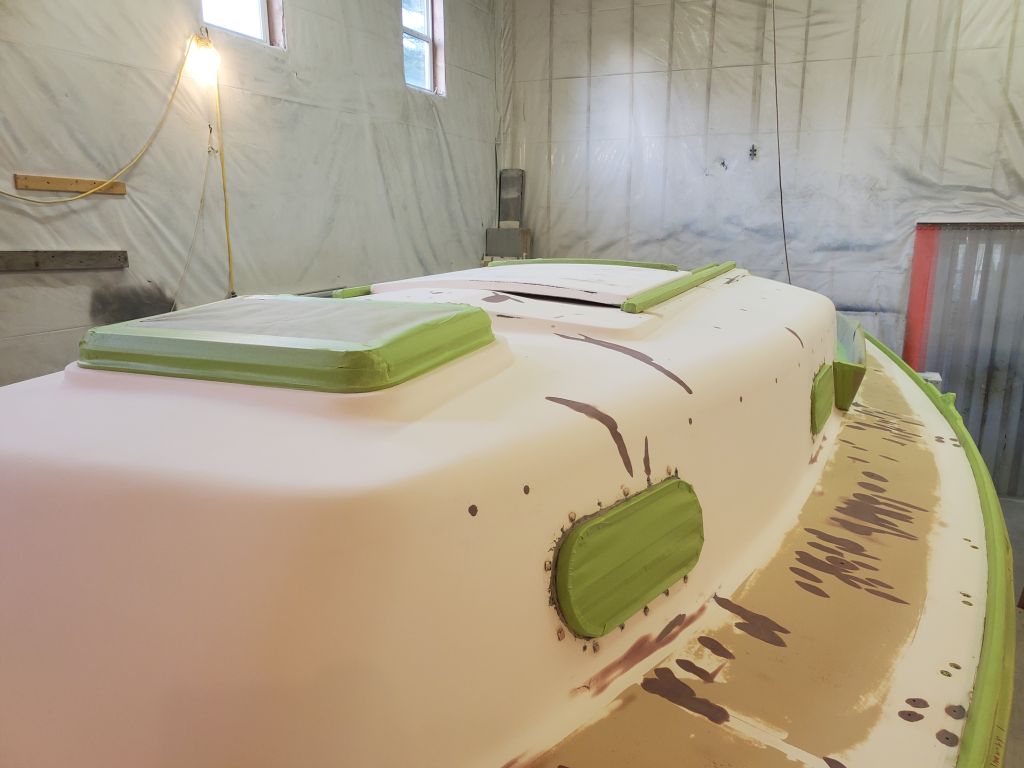
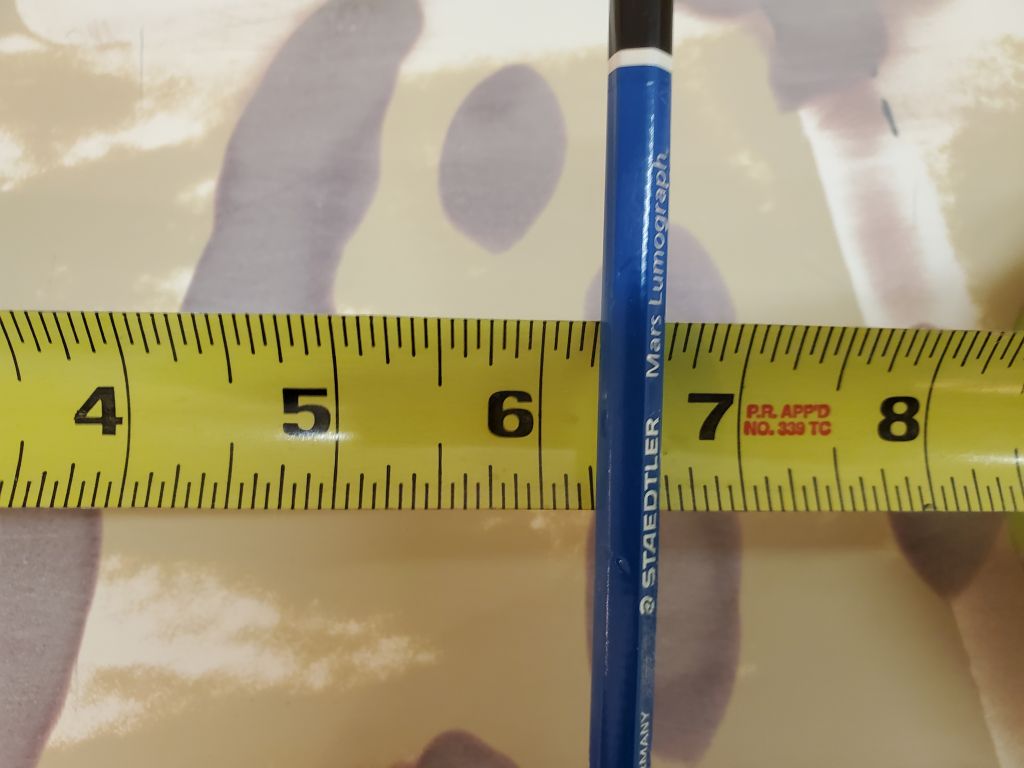
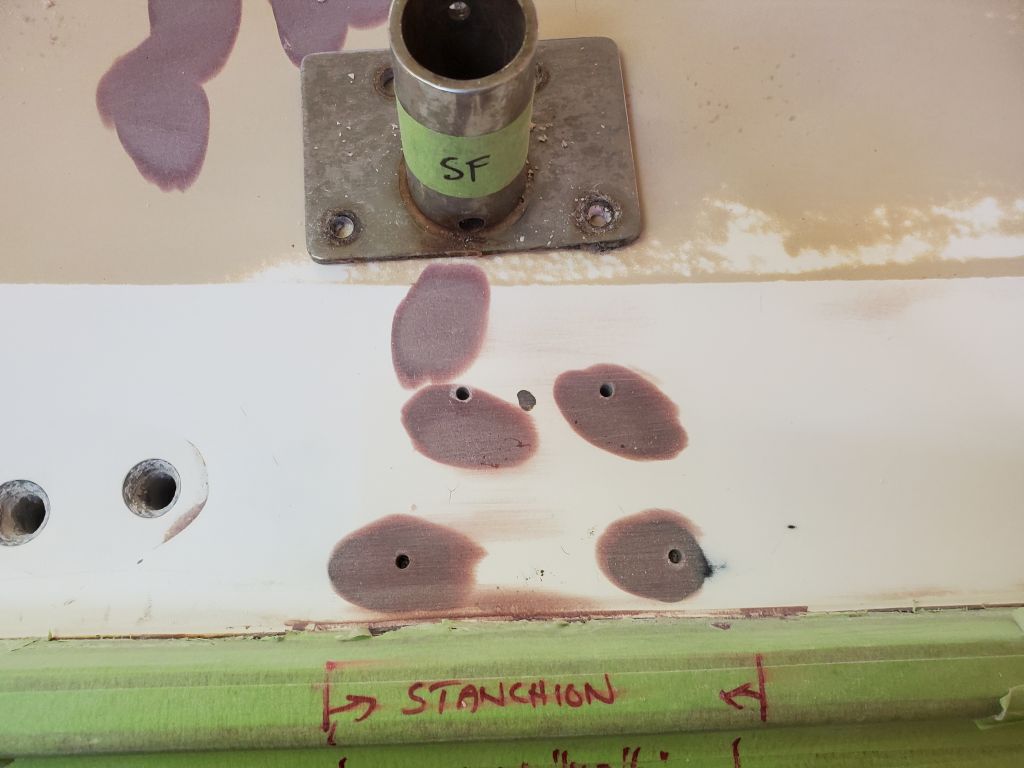
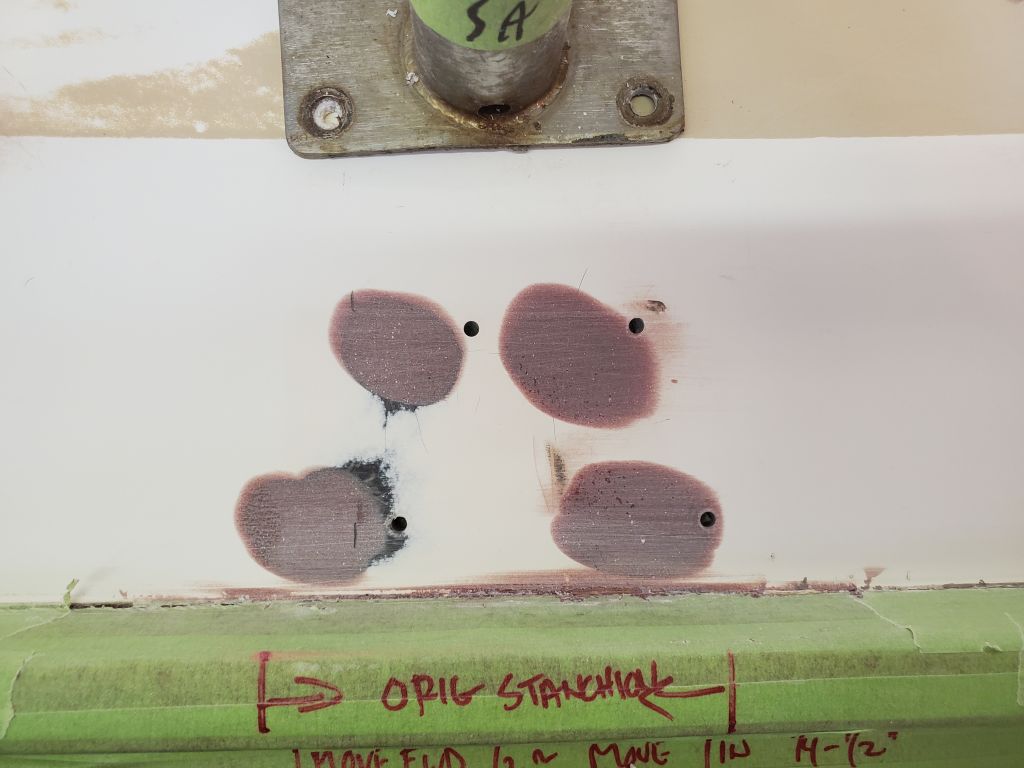
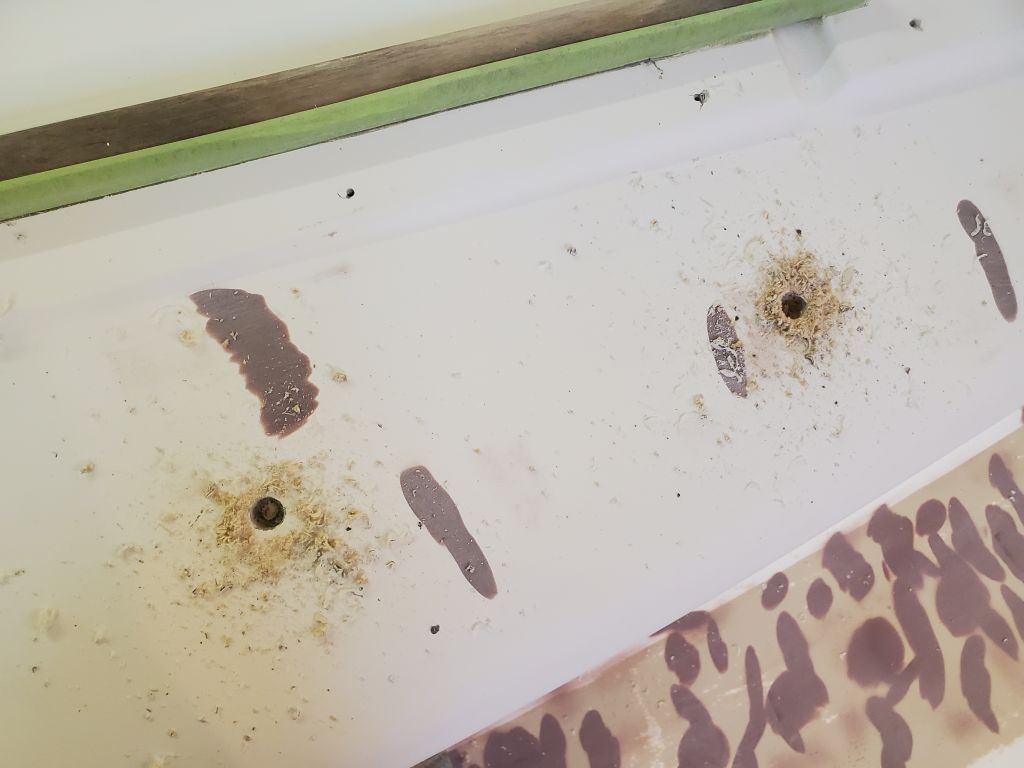
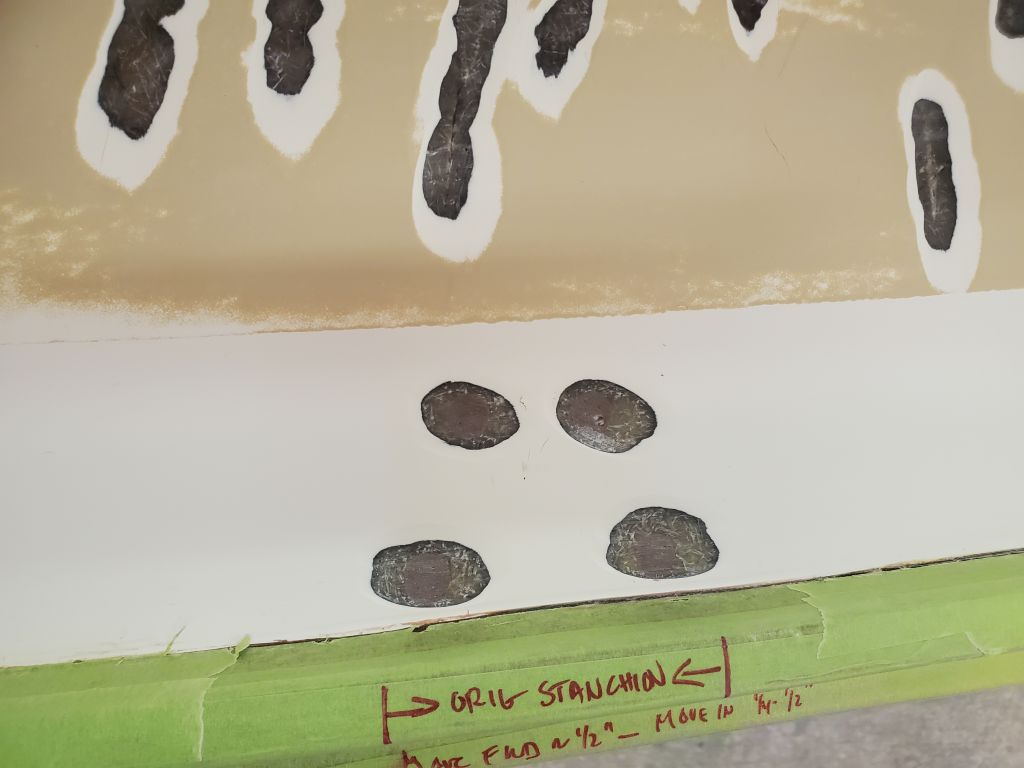
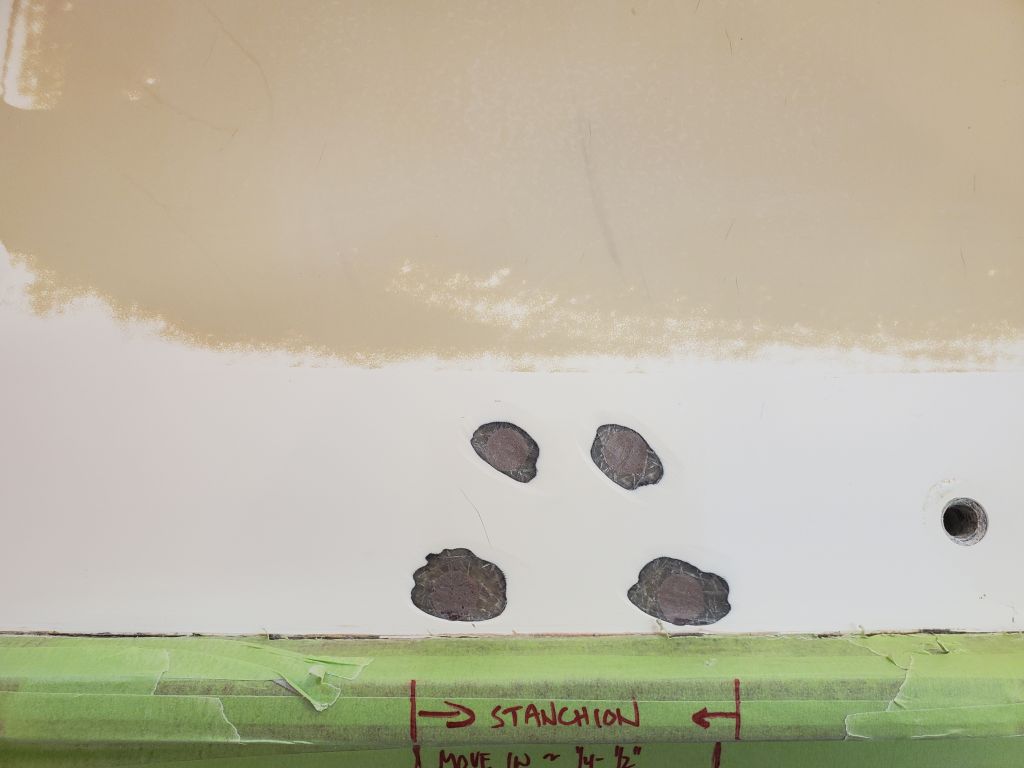
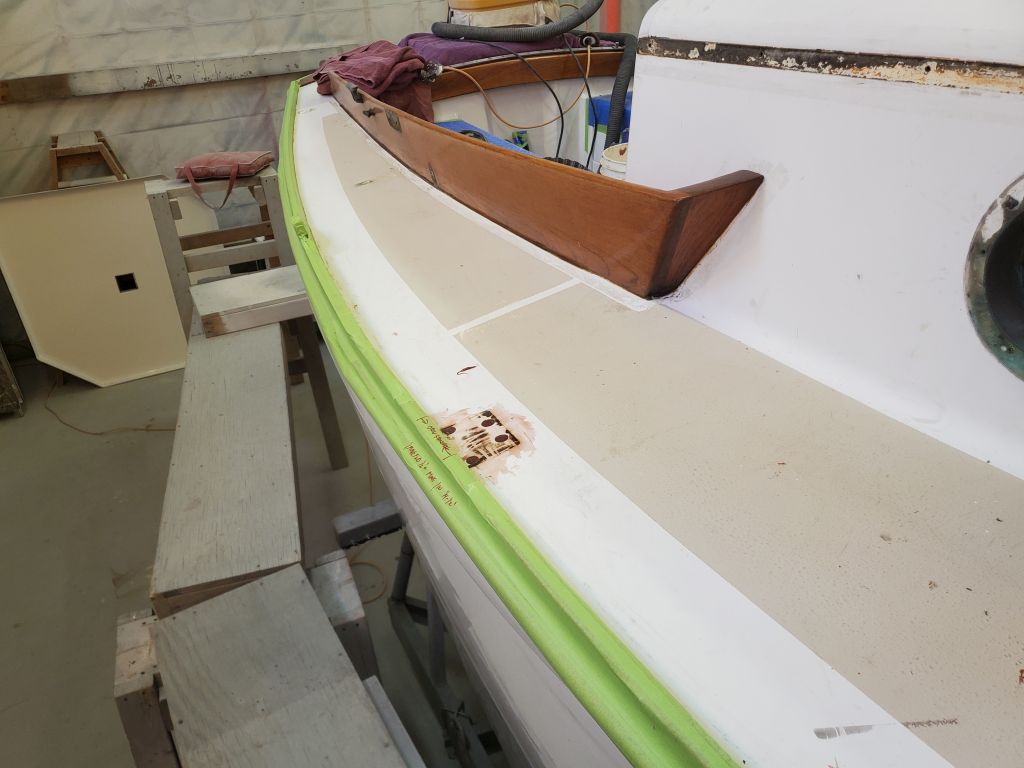
For the forward pair of bases, this was the only position adjustment required, so using a pencil as an easy guide (it was 1/4″ in diameter), I repositioned the bases and drilled small pilot holes through each mounting hole.  These holes did not penetrate all the way through the deck, and would serve to mark the bases’ locations through the two primer applications so that I could easily locate the bases later.

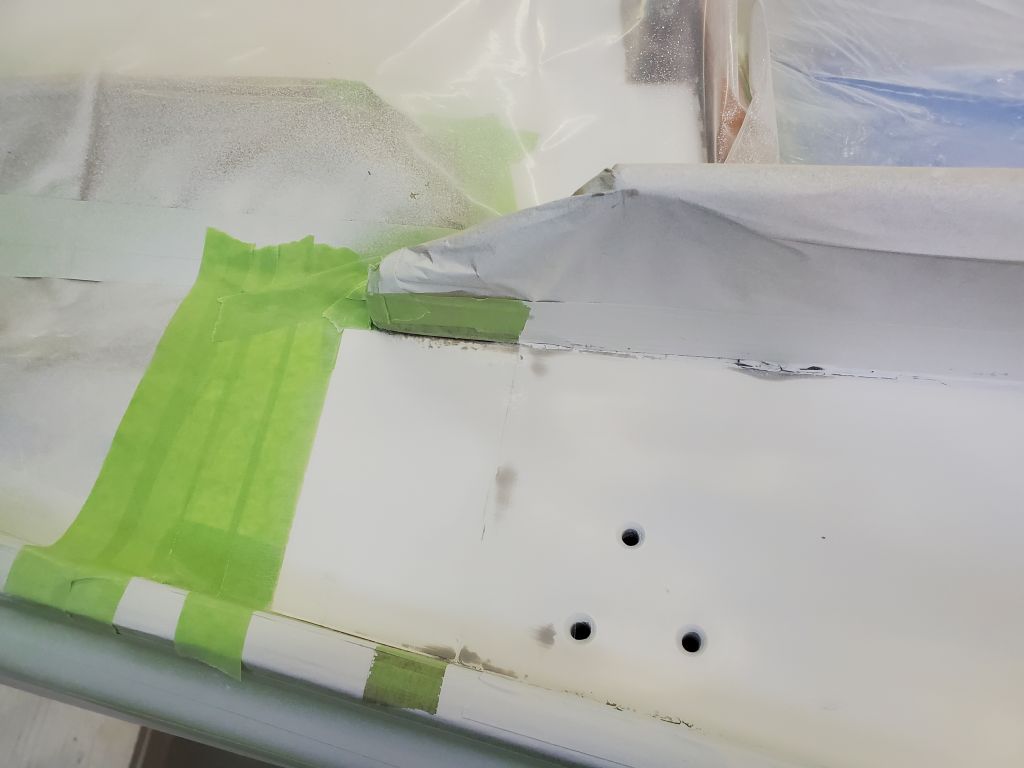
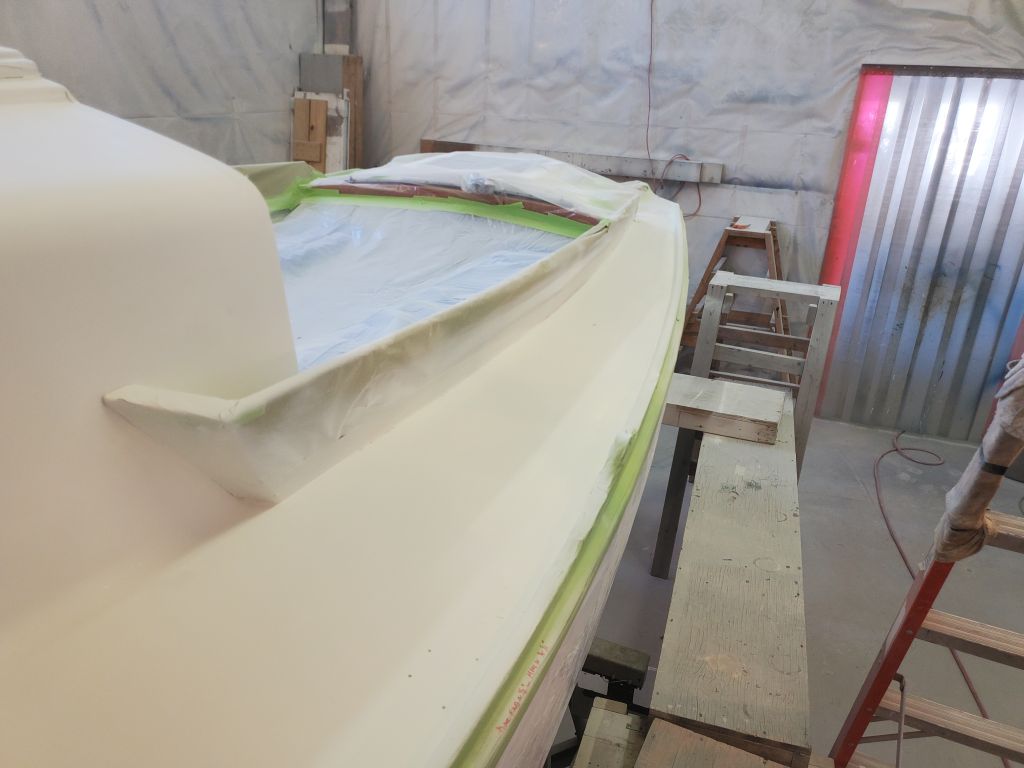
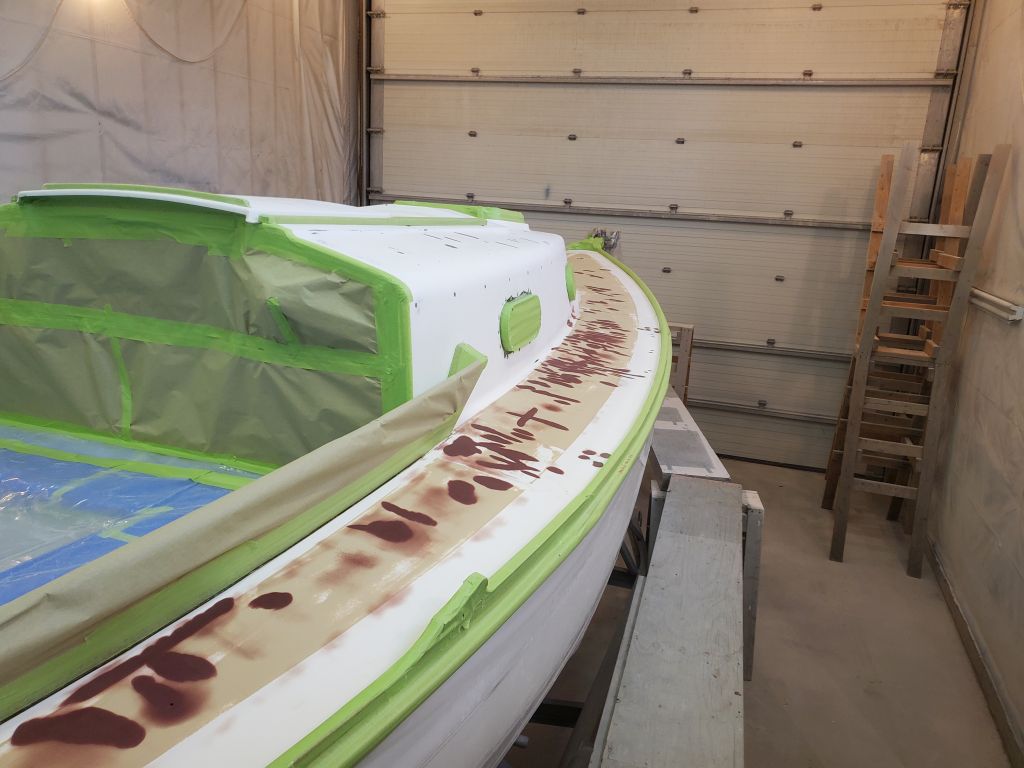
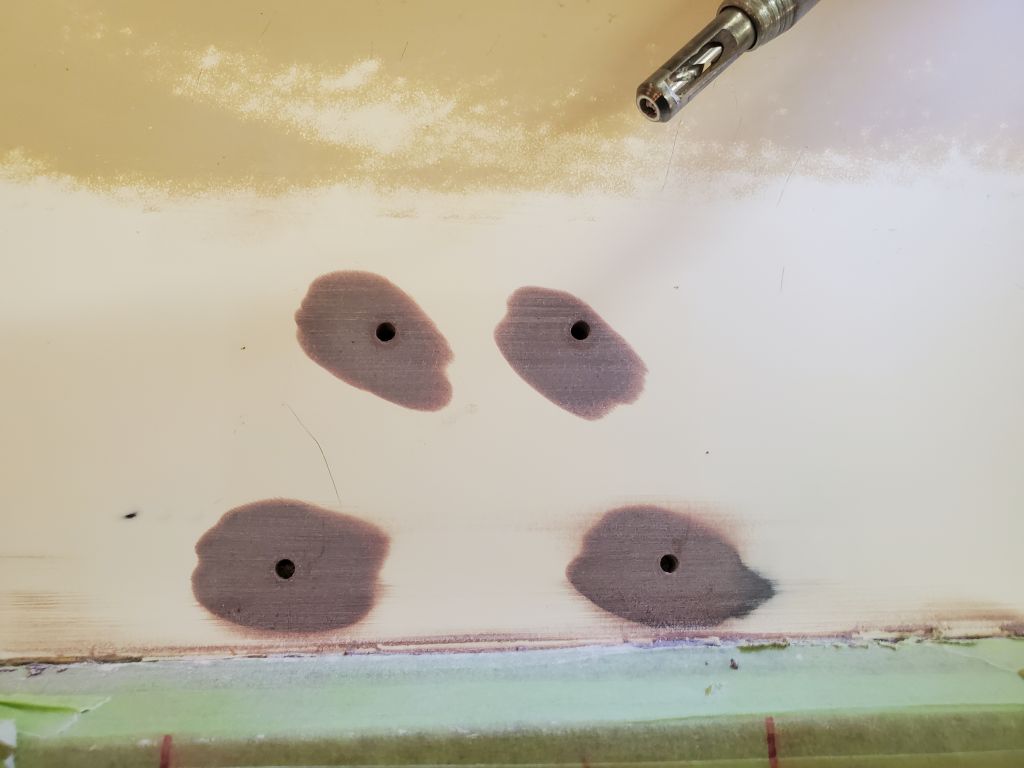
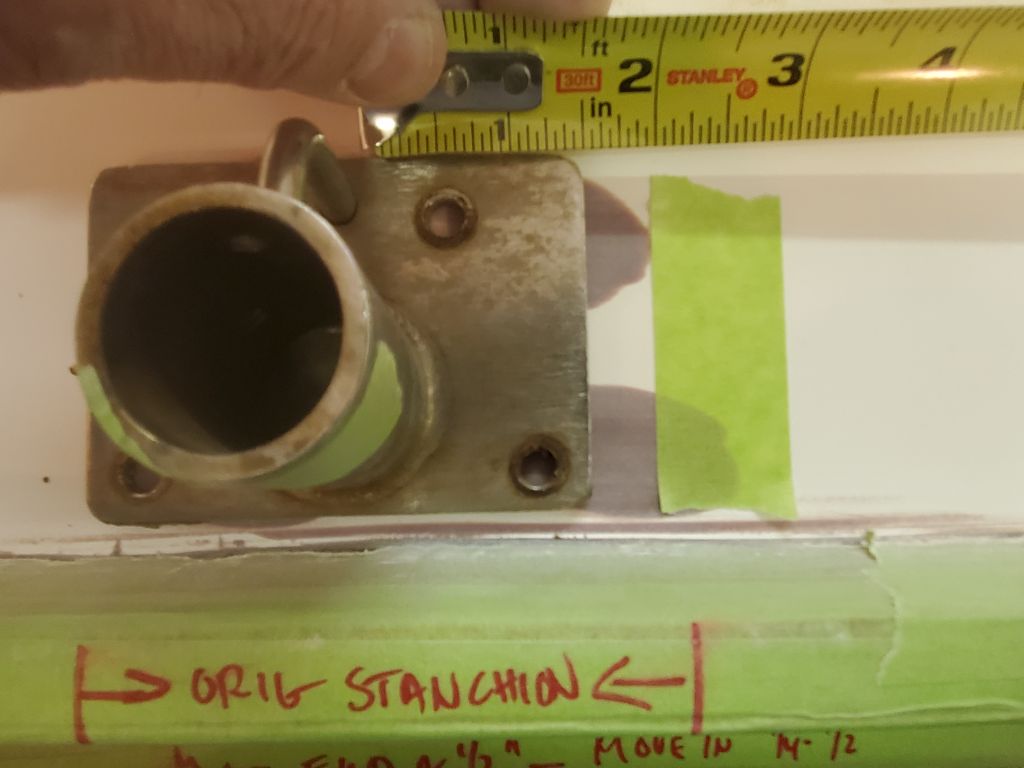
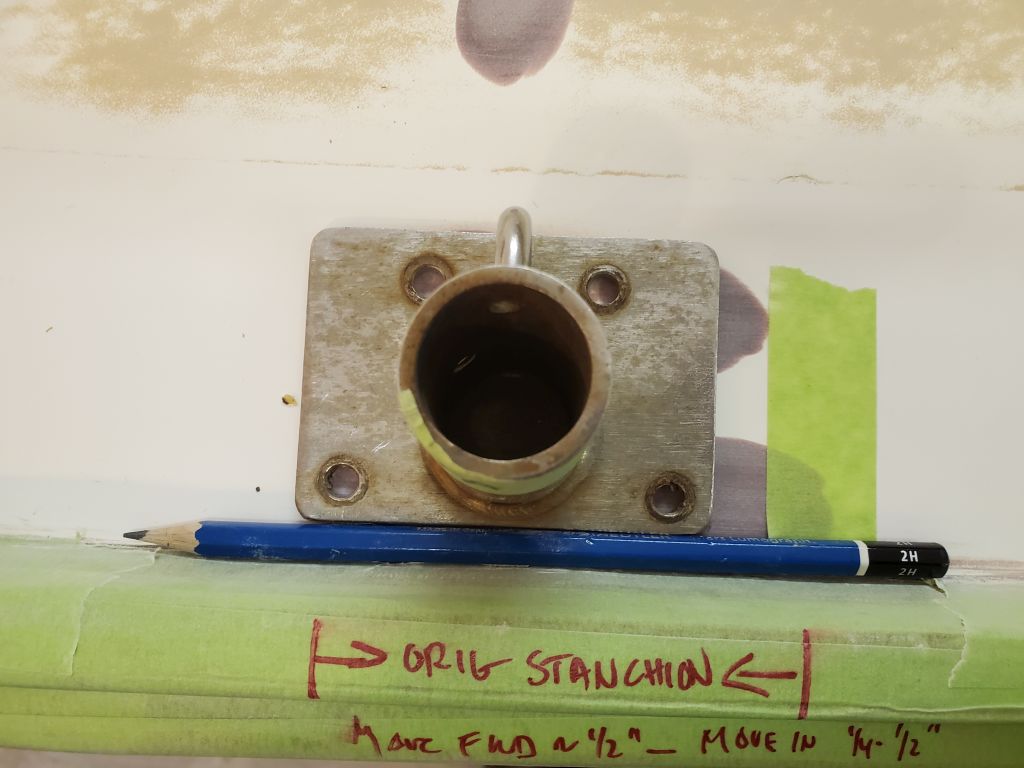
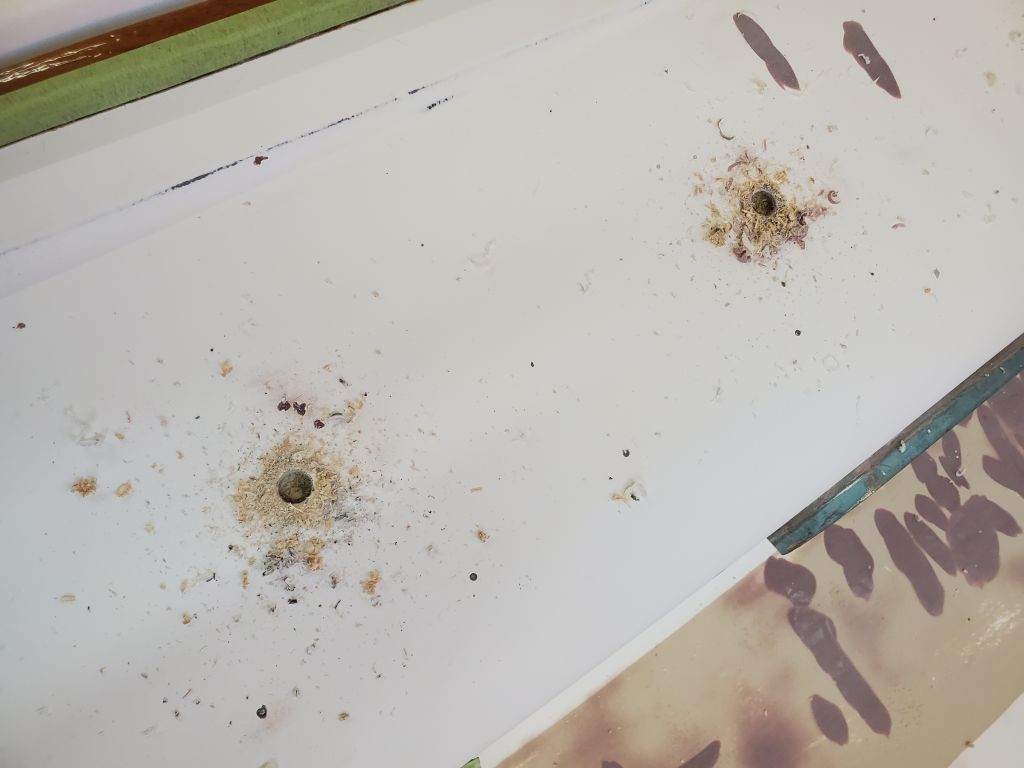
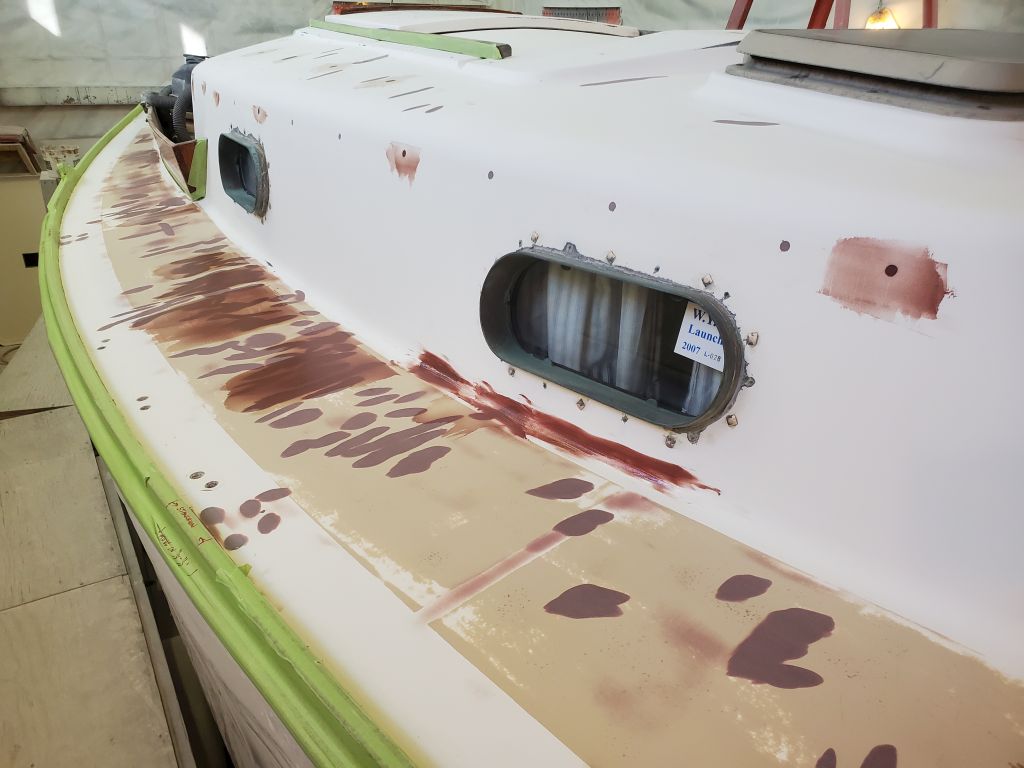
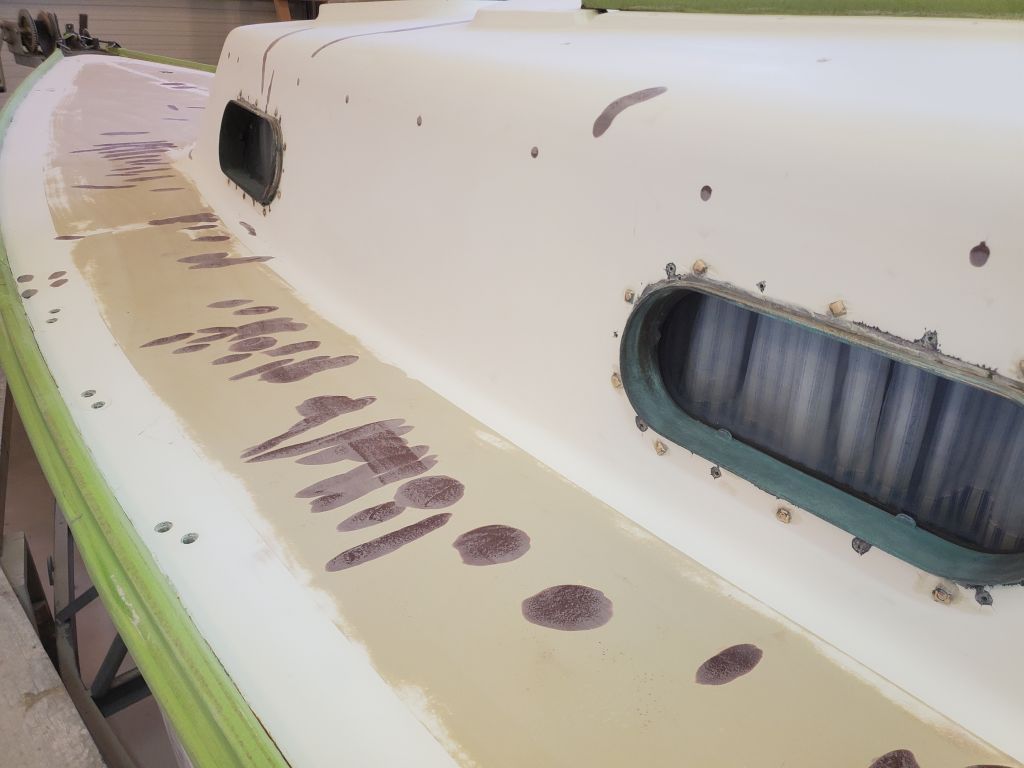
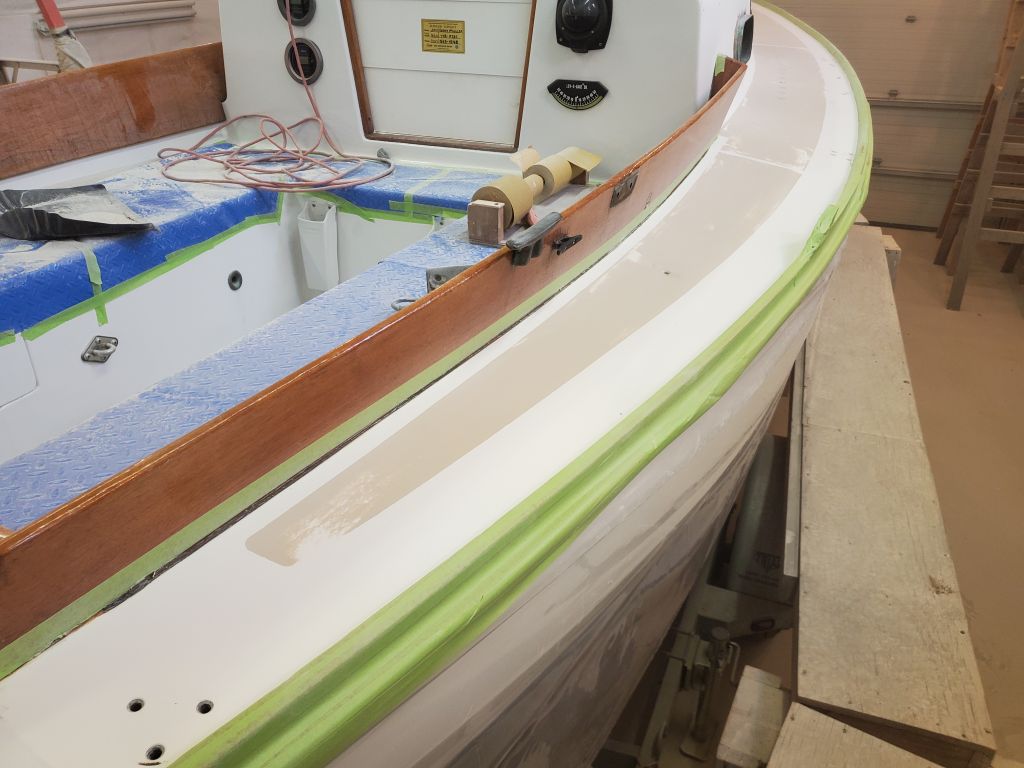
For the after pair of bases, the owner also requested that I move them forward, to help make up for a slightly overlong lifeline gate section that had maxed out its adjustment.  From examining the turnbuckles at the fixed, forward end of the lifelines, I determined that I could safely move the bases forward 1/2″, so after marking the original position with tape, I made the forward adjustment and, along with the new 1/4″ space at the toerails, marked and drilled the pilot holes for the two after bases in their new positions.

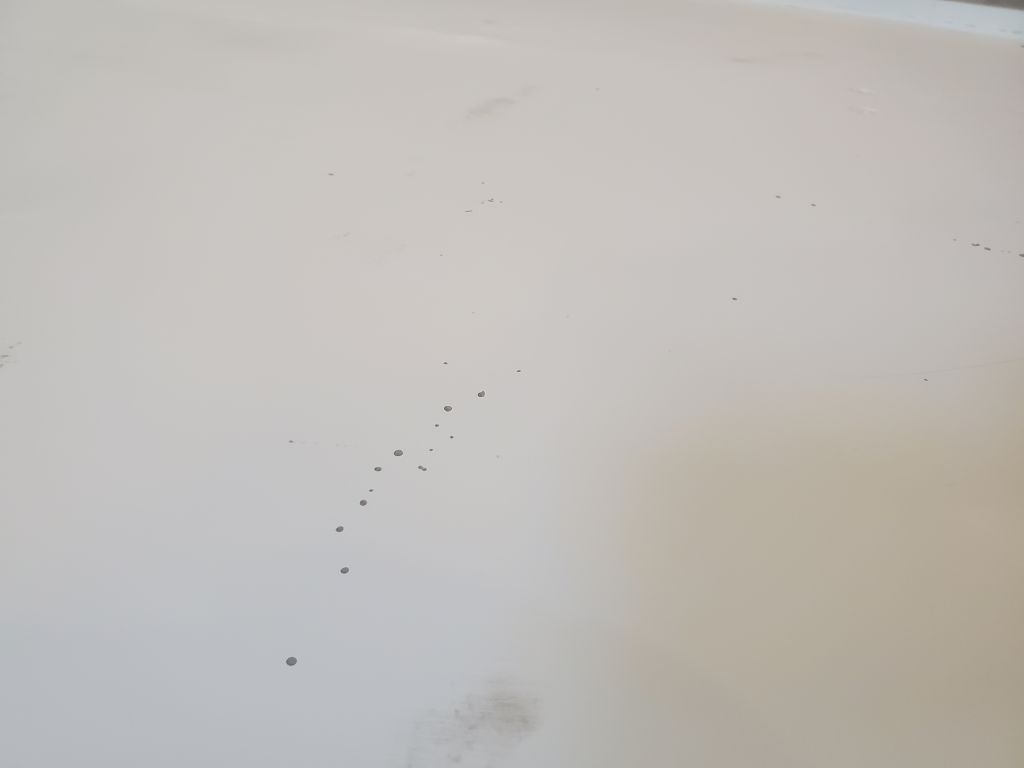
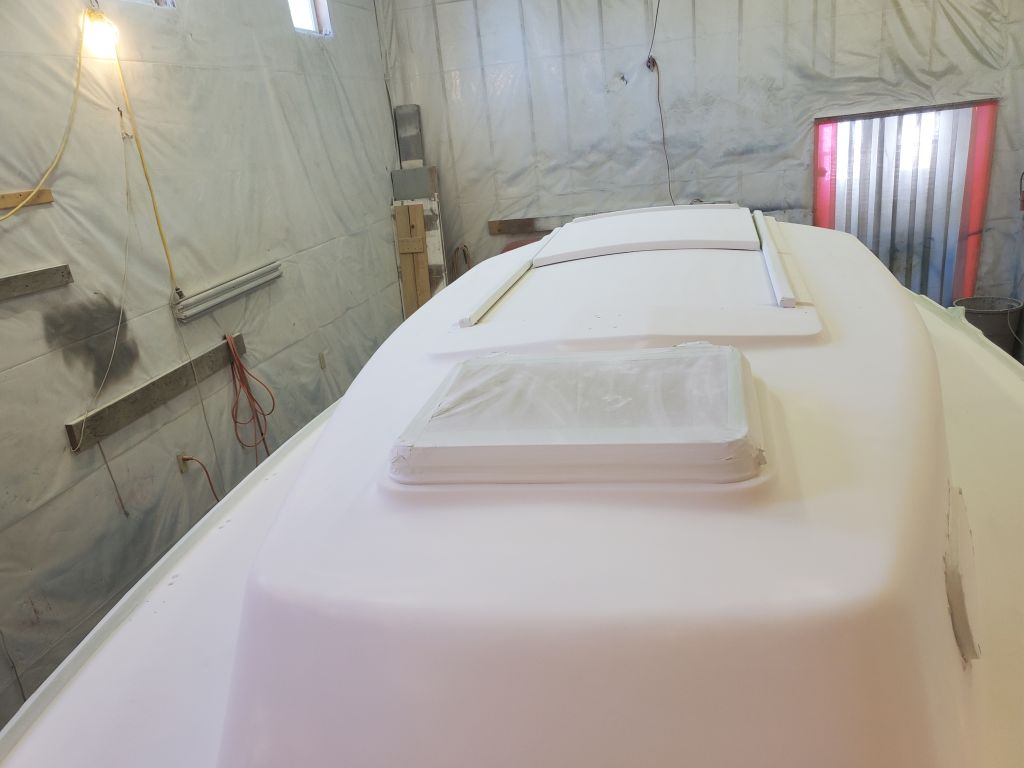
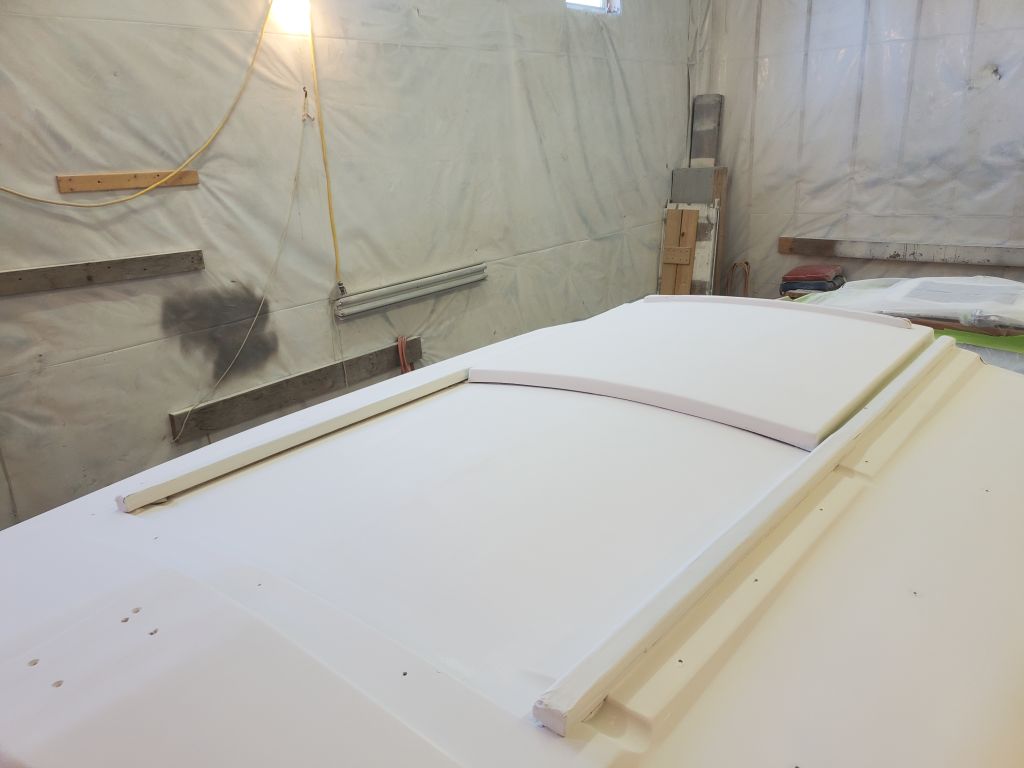
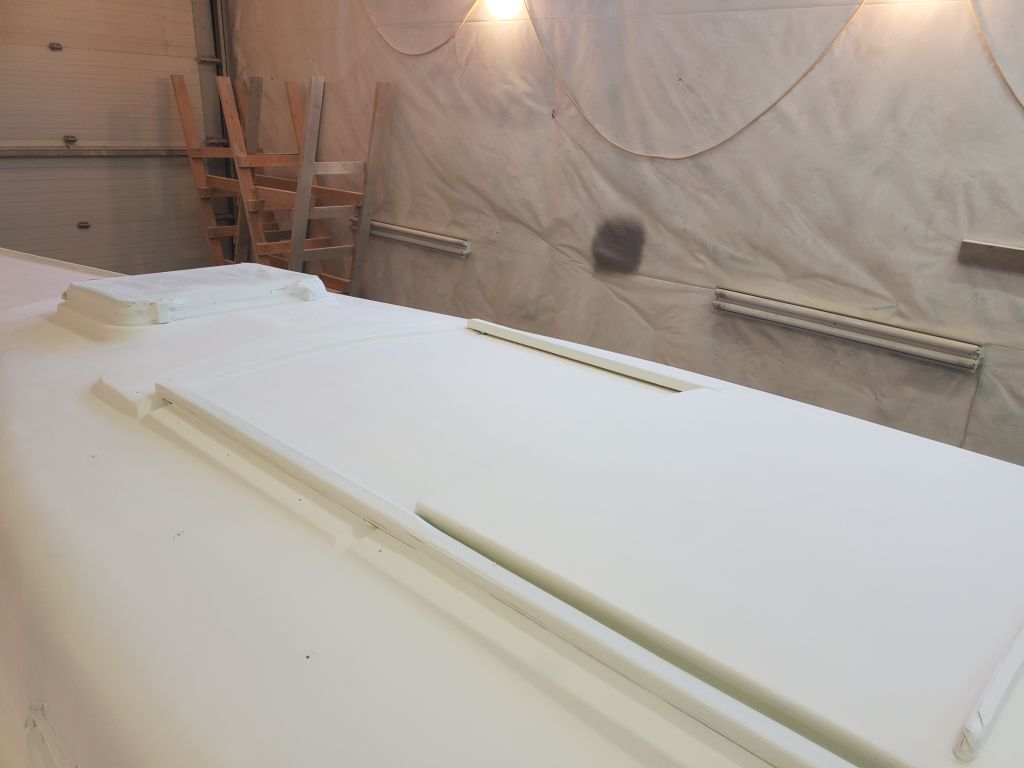
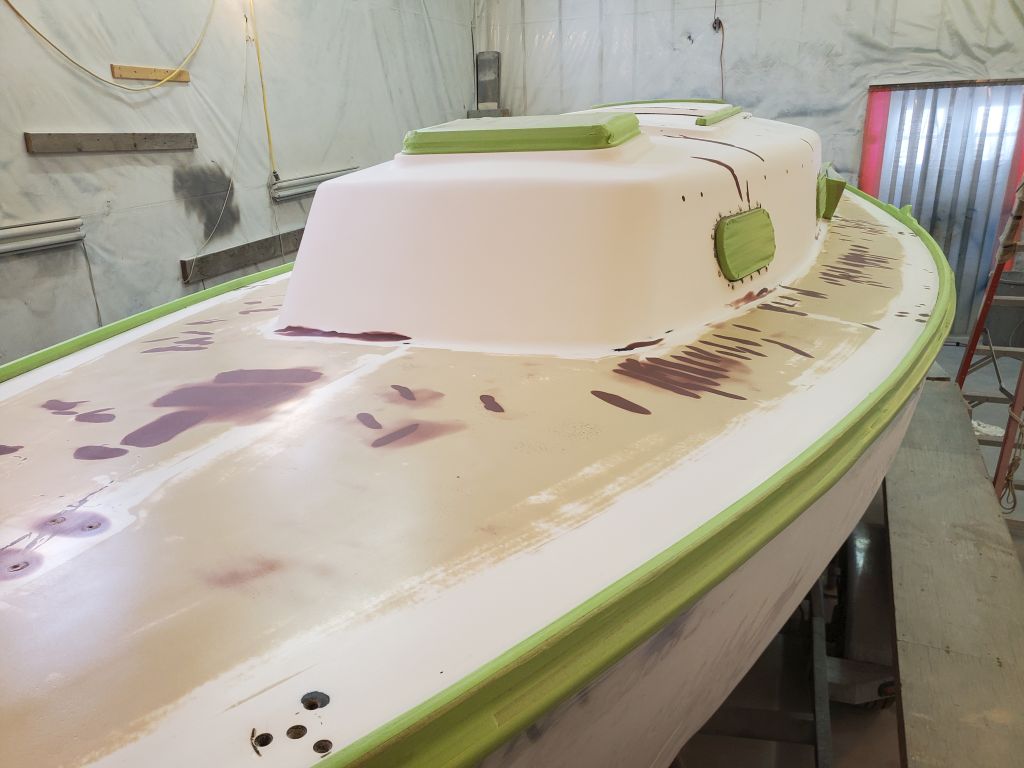
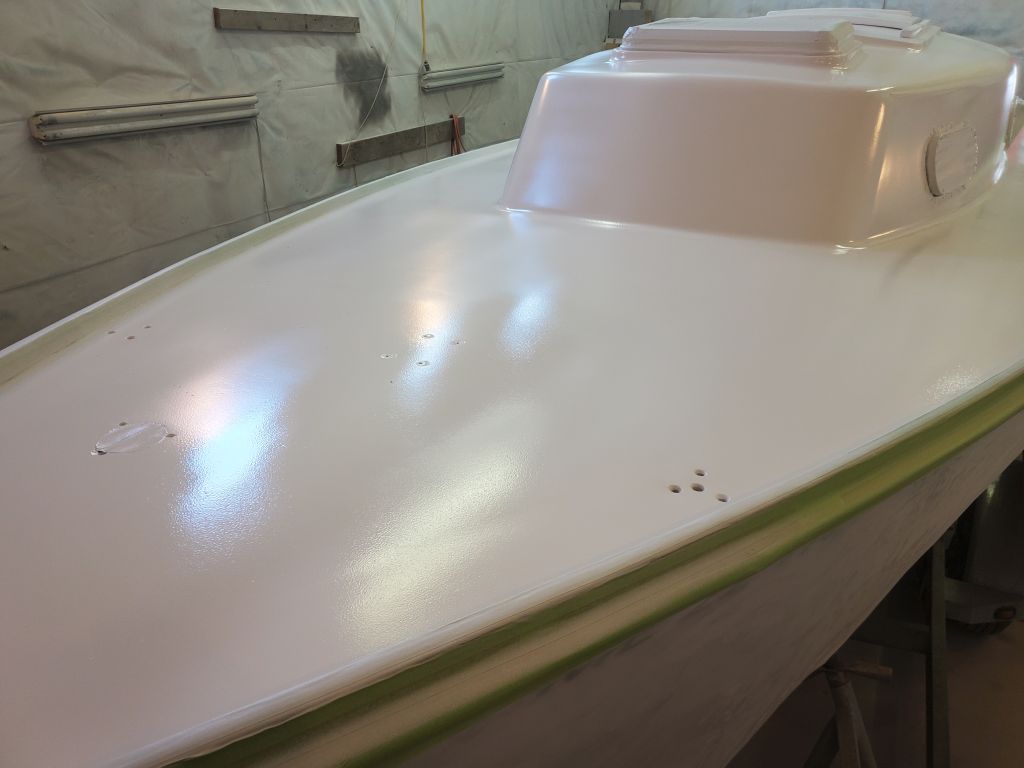
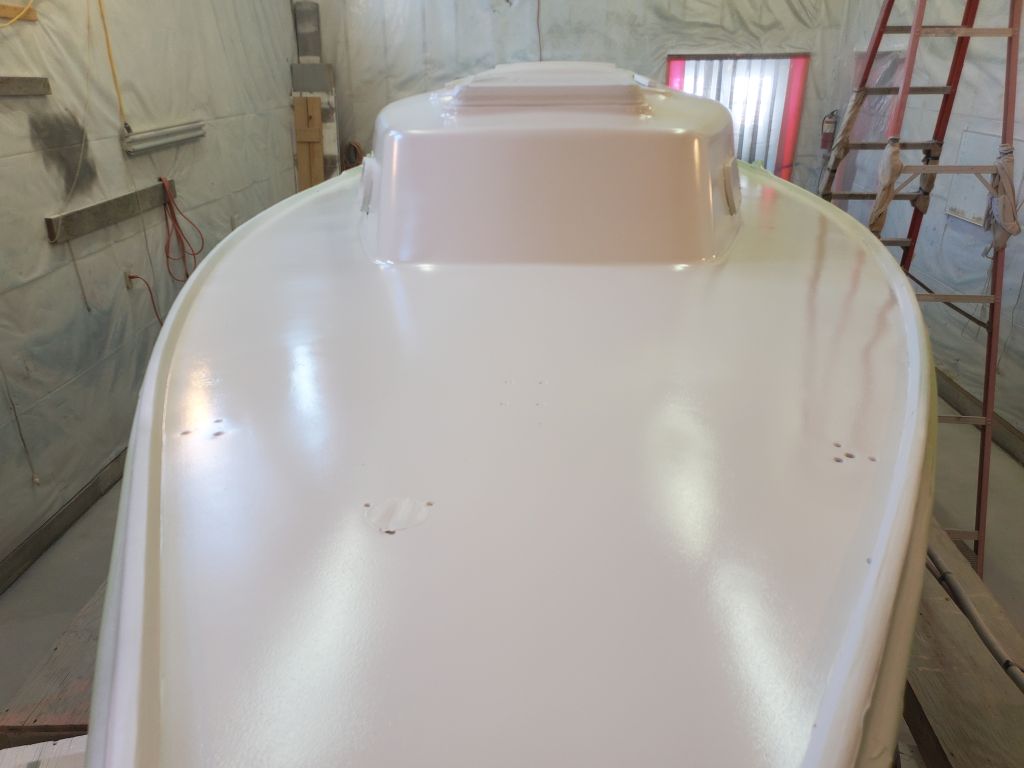
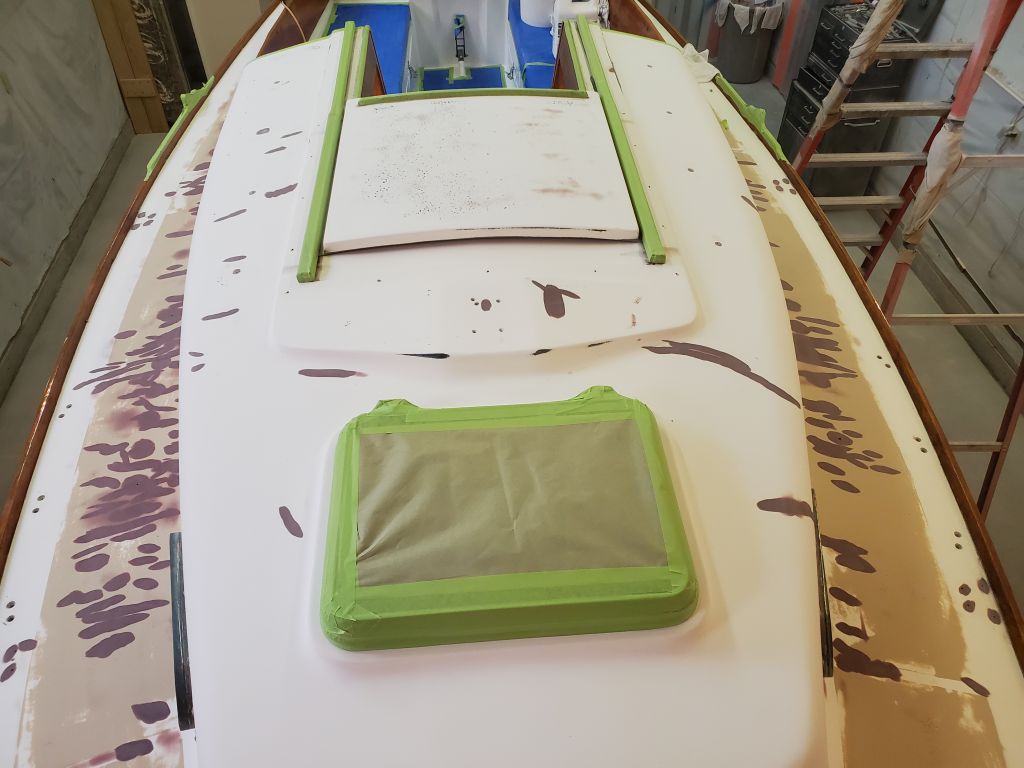
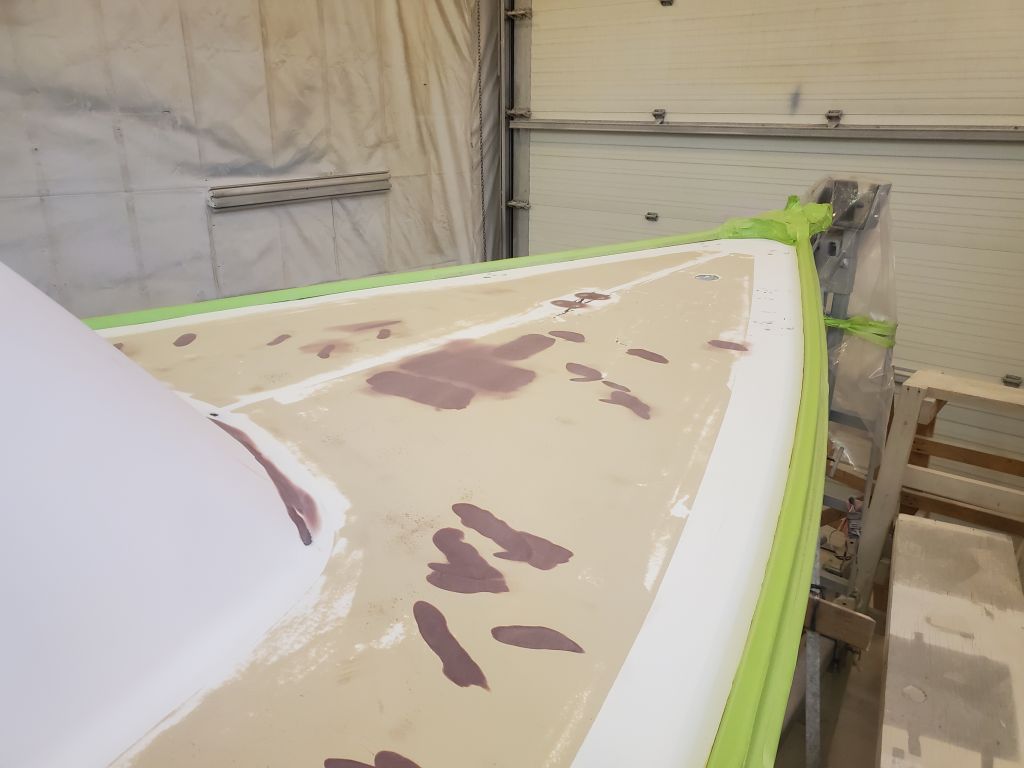
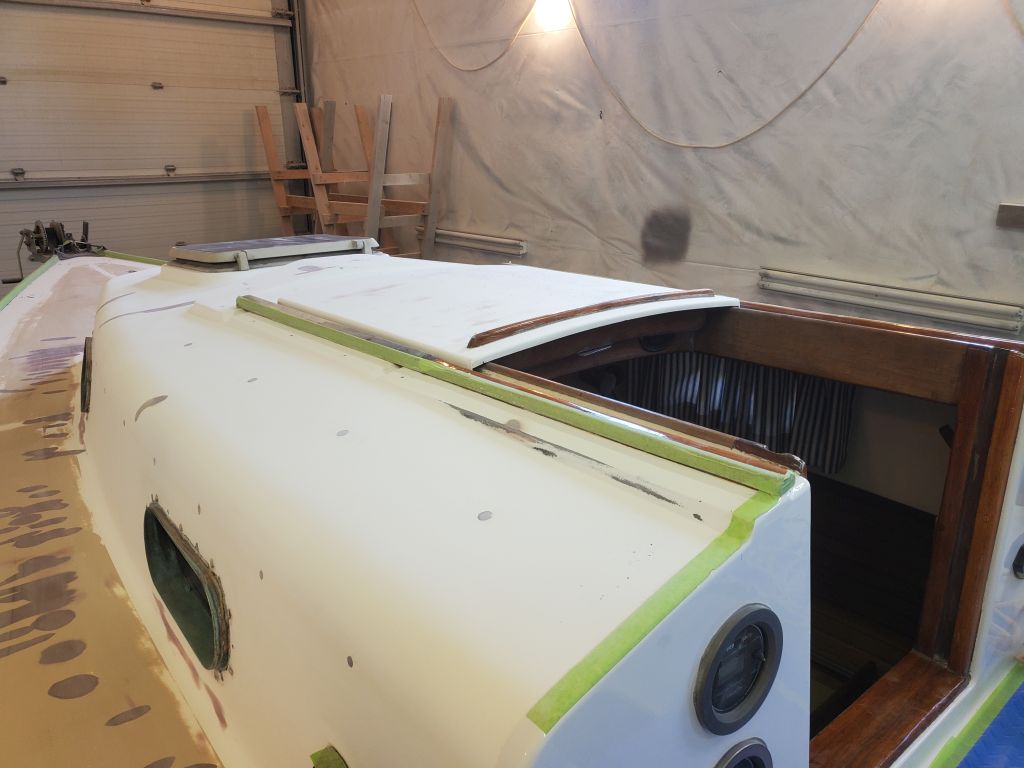
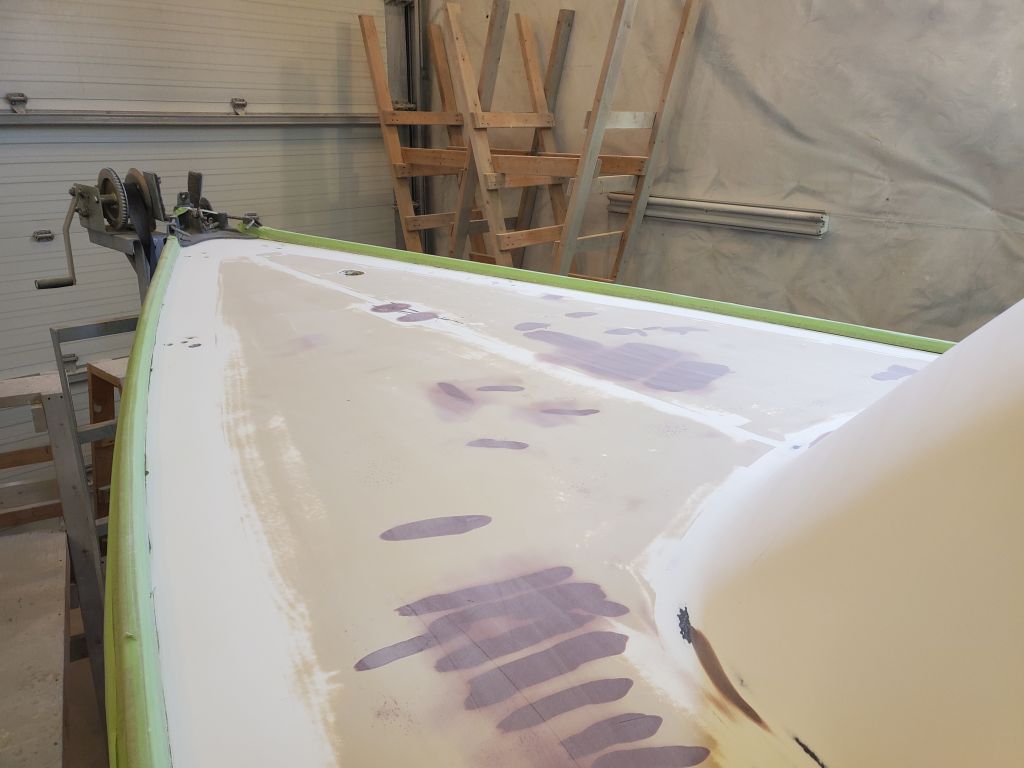
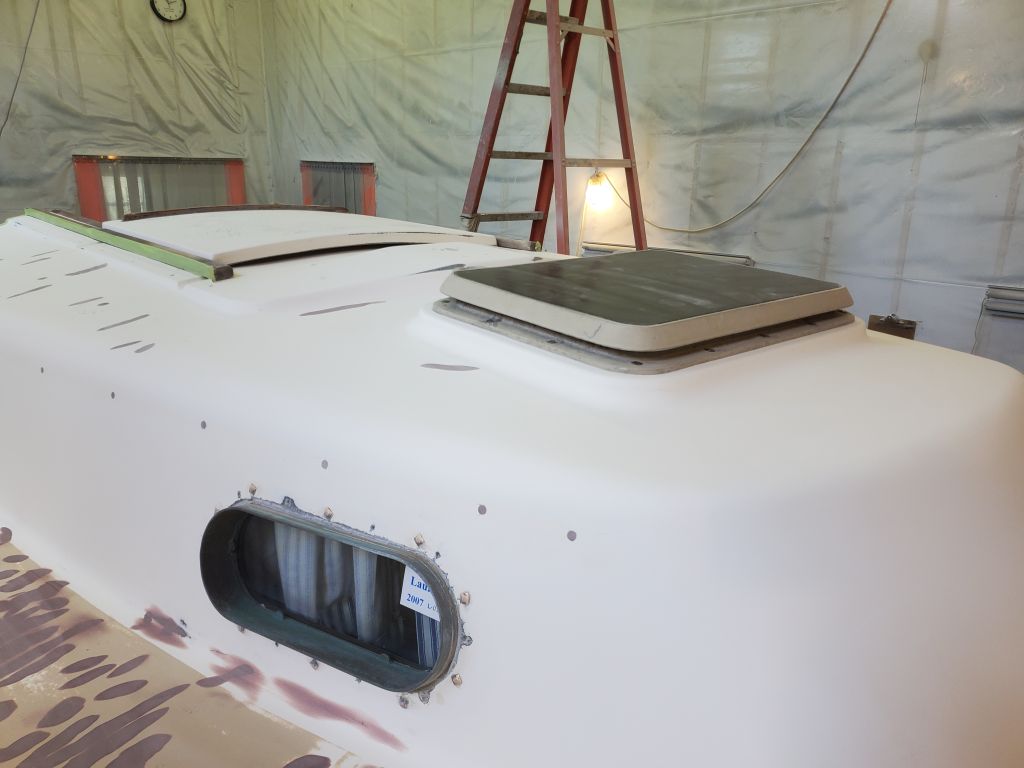
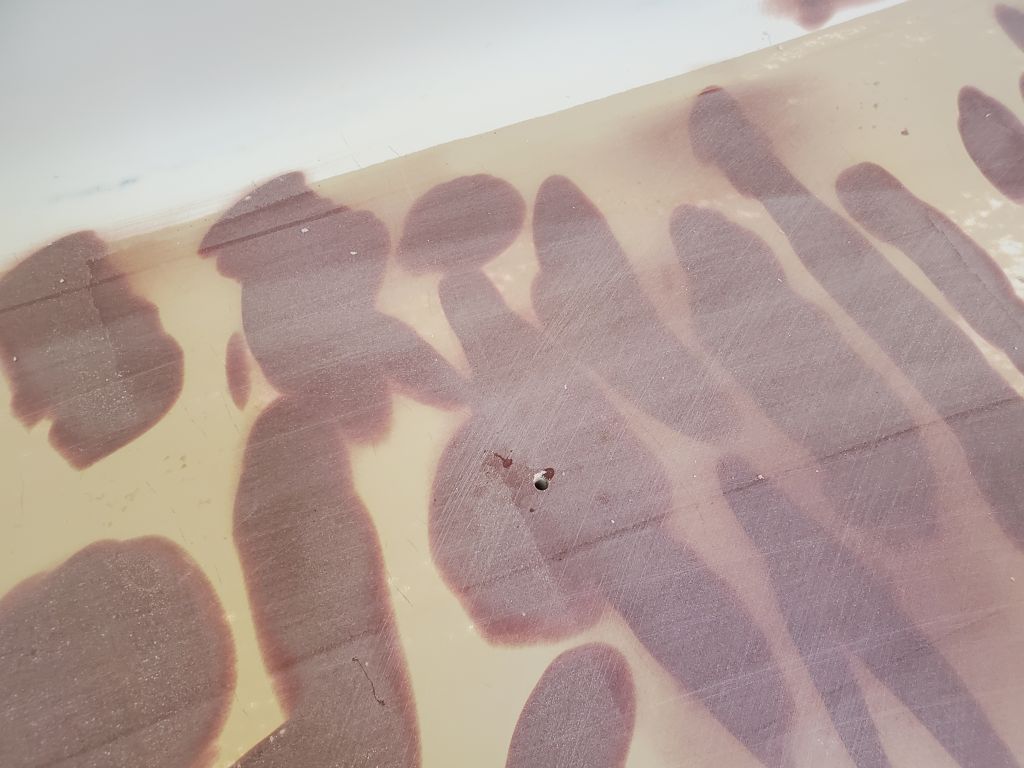
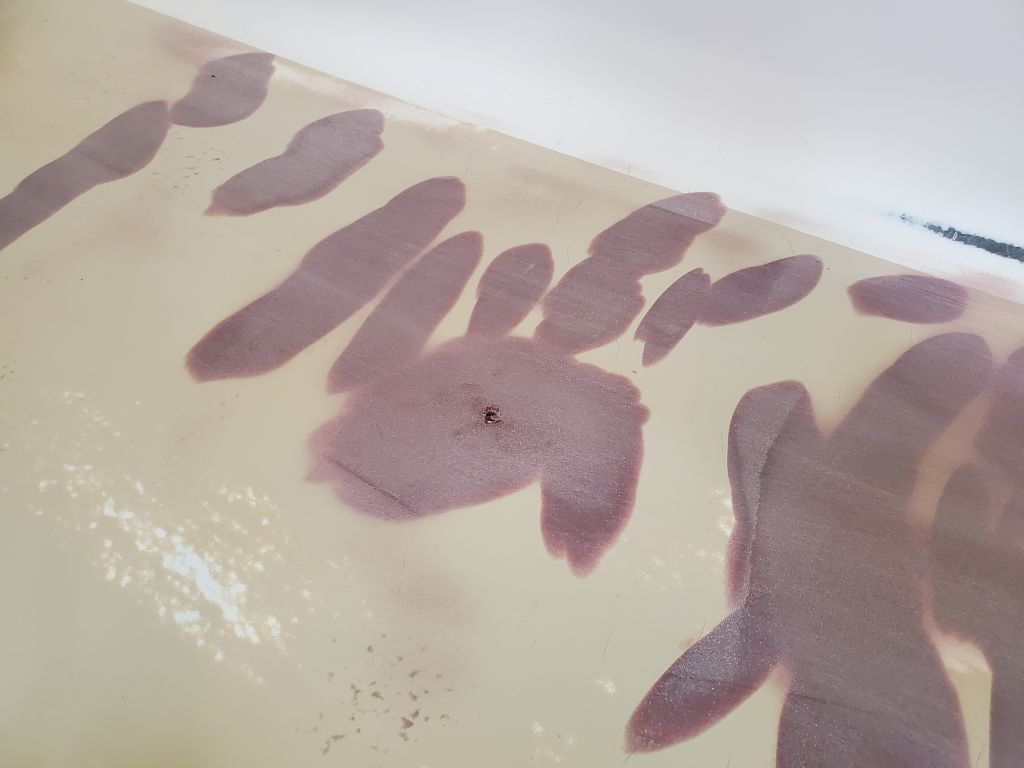
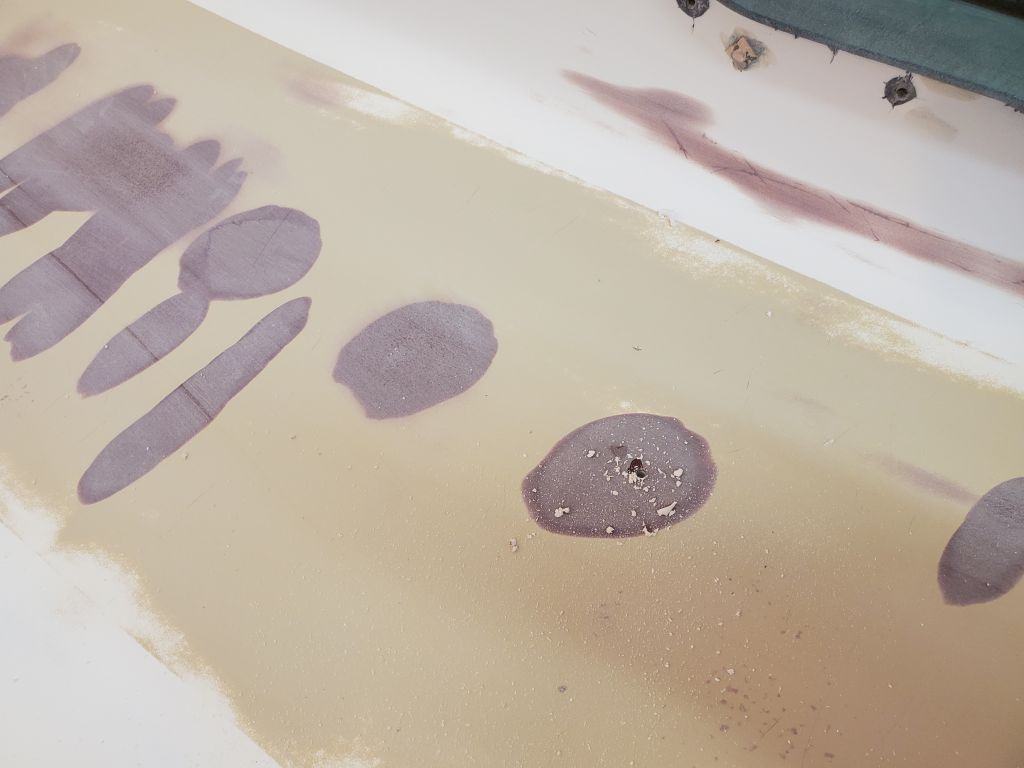
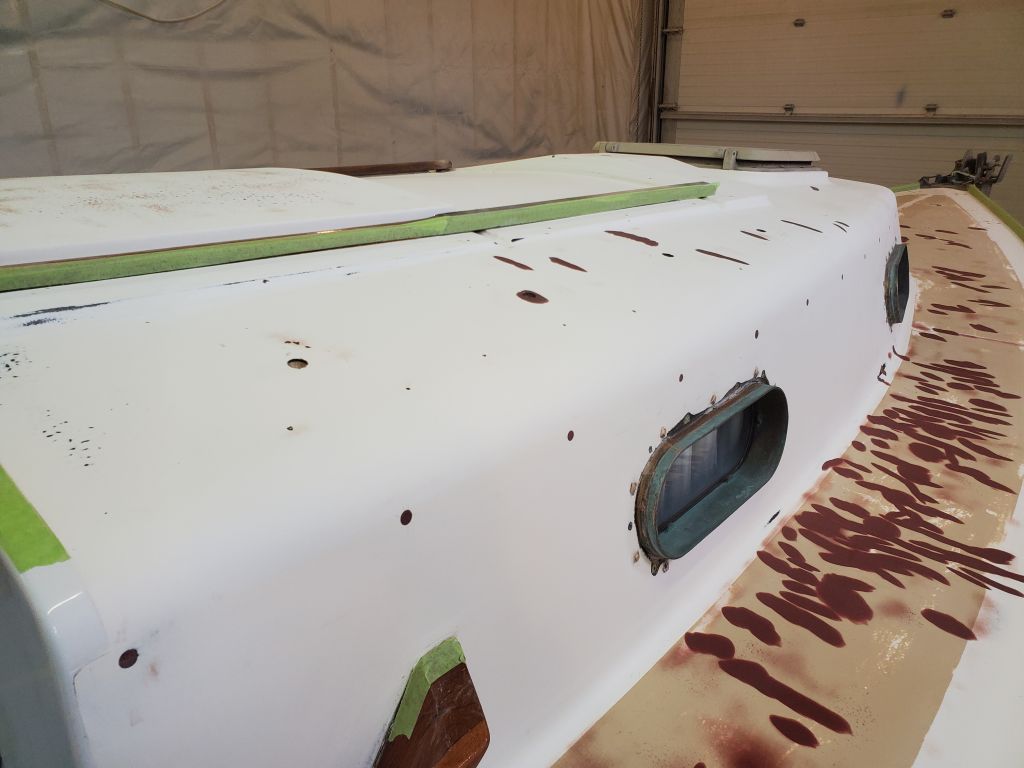
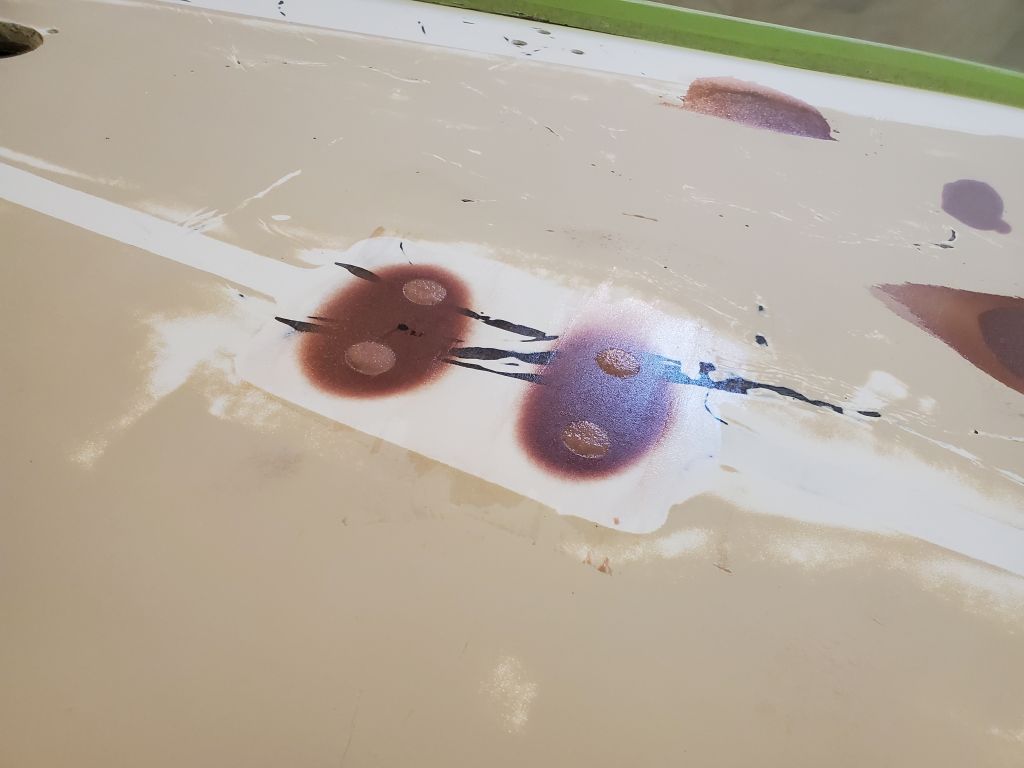
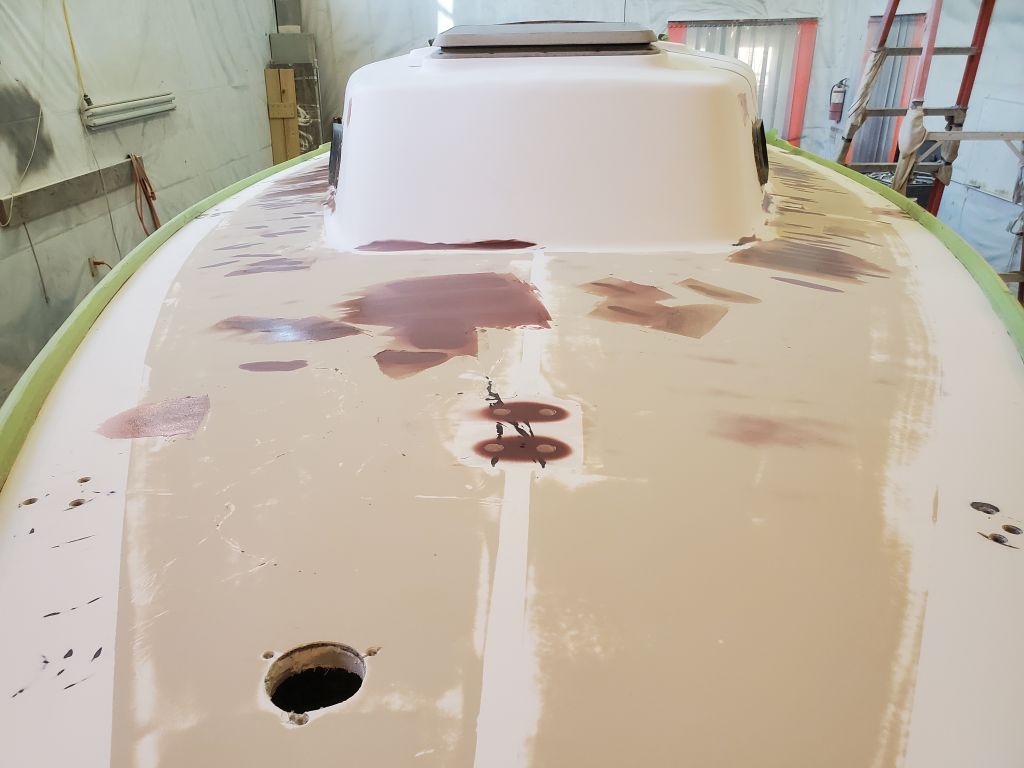
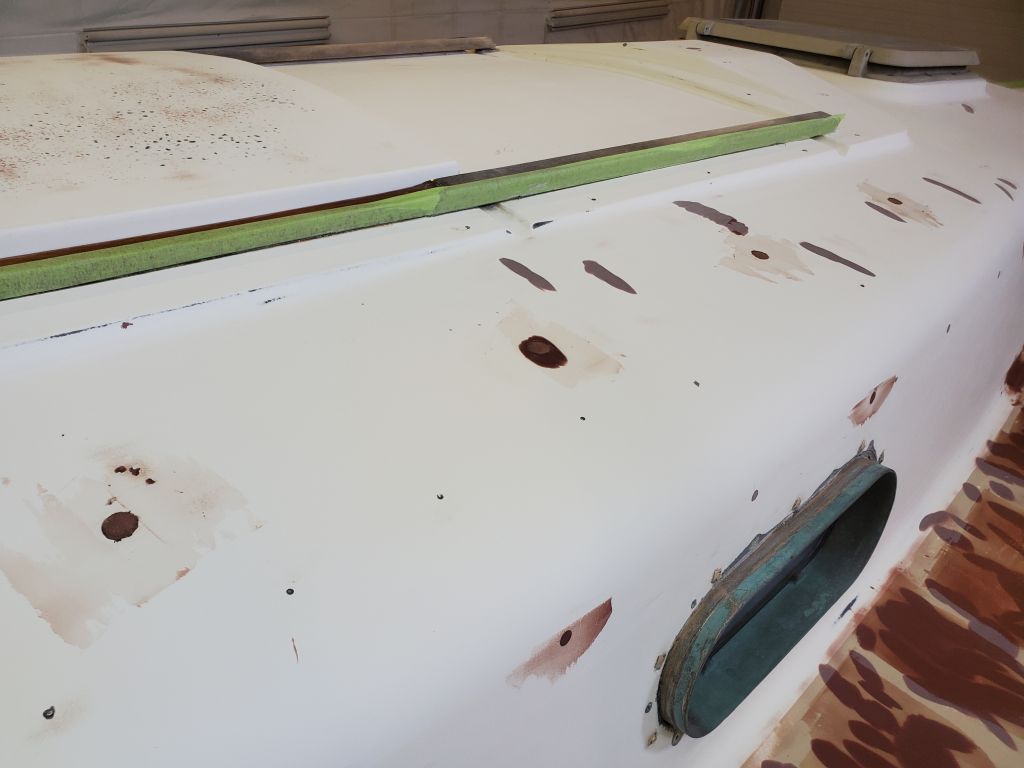
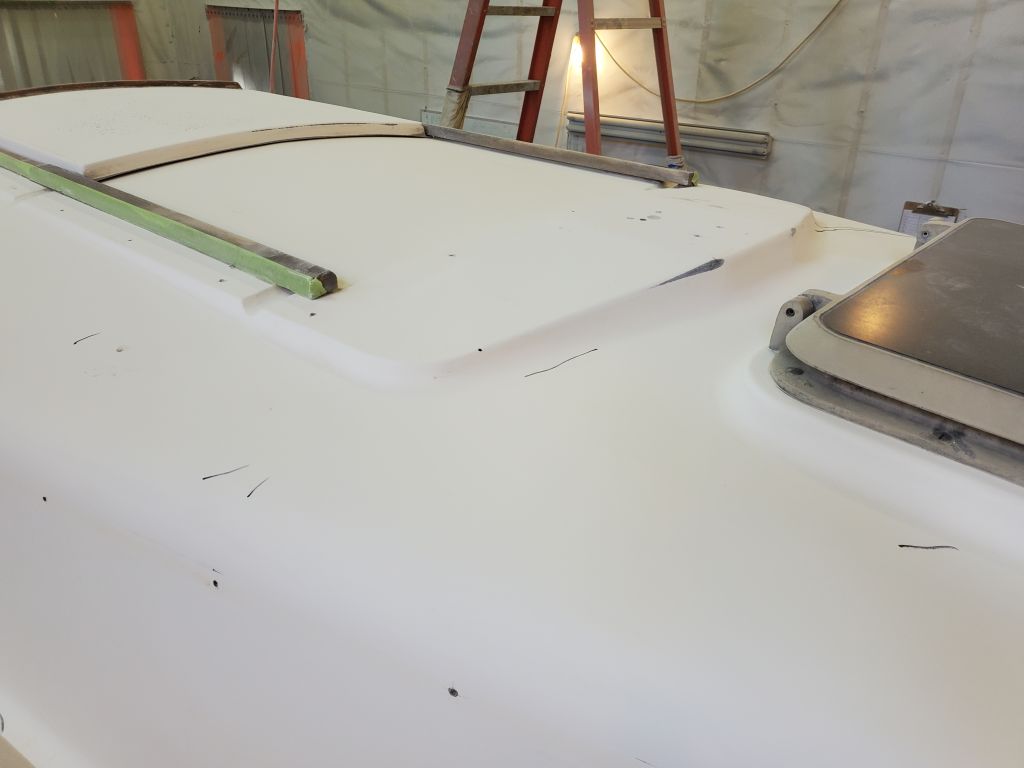
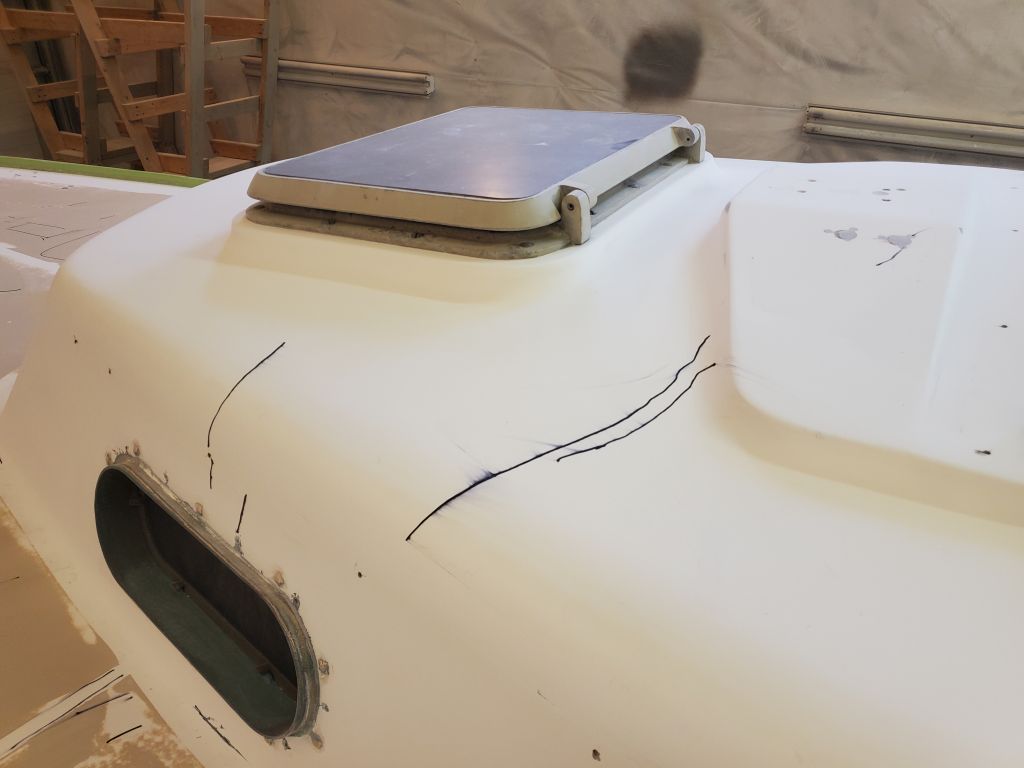
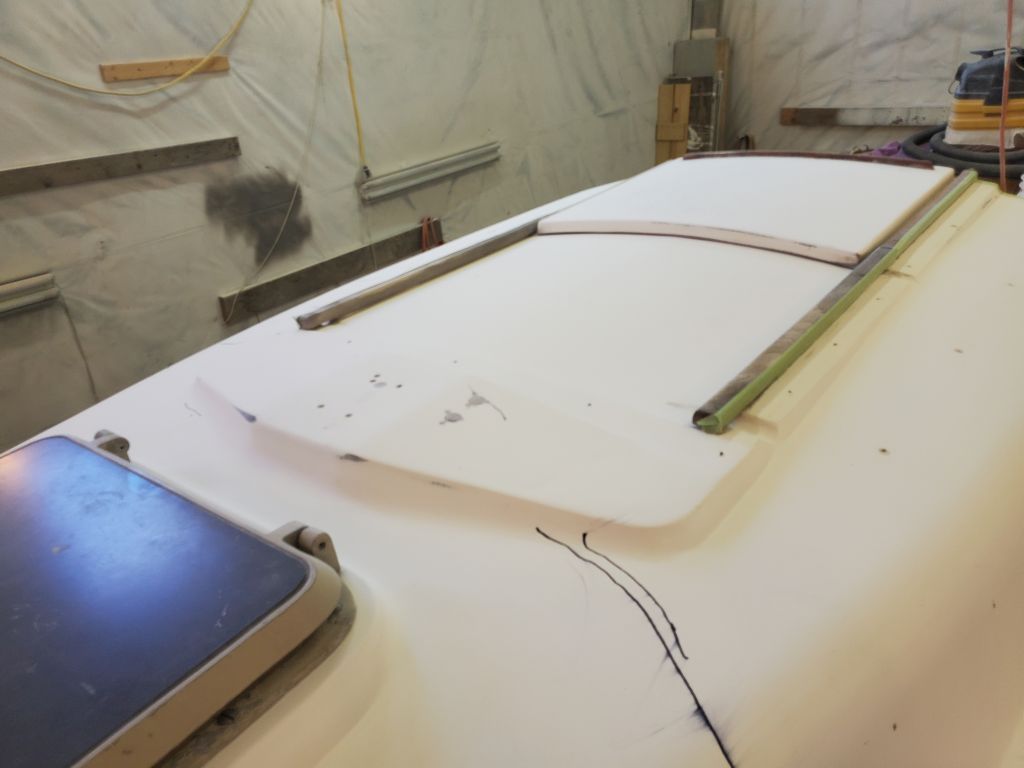
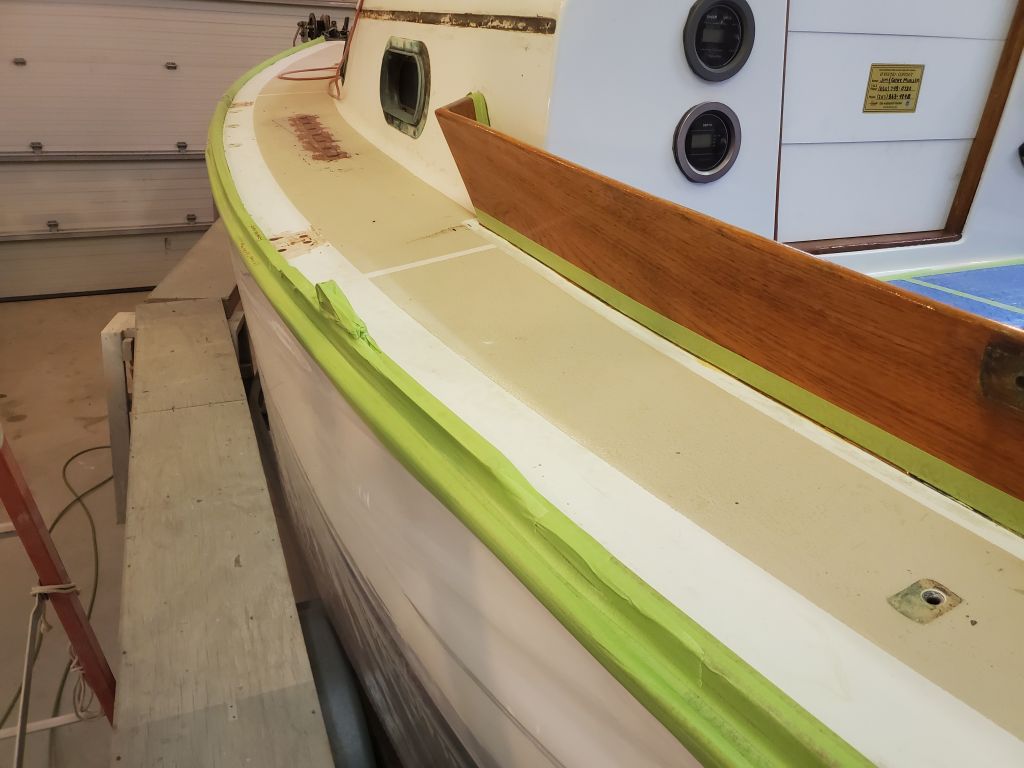
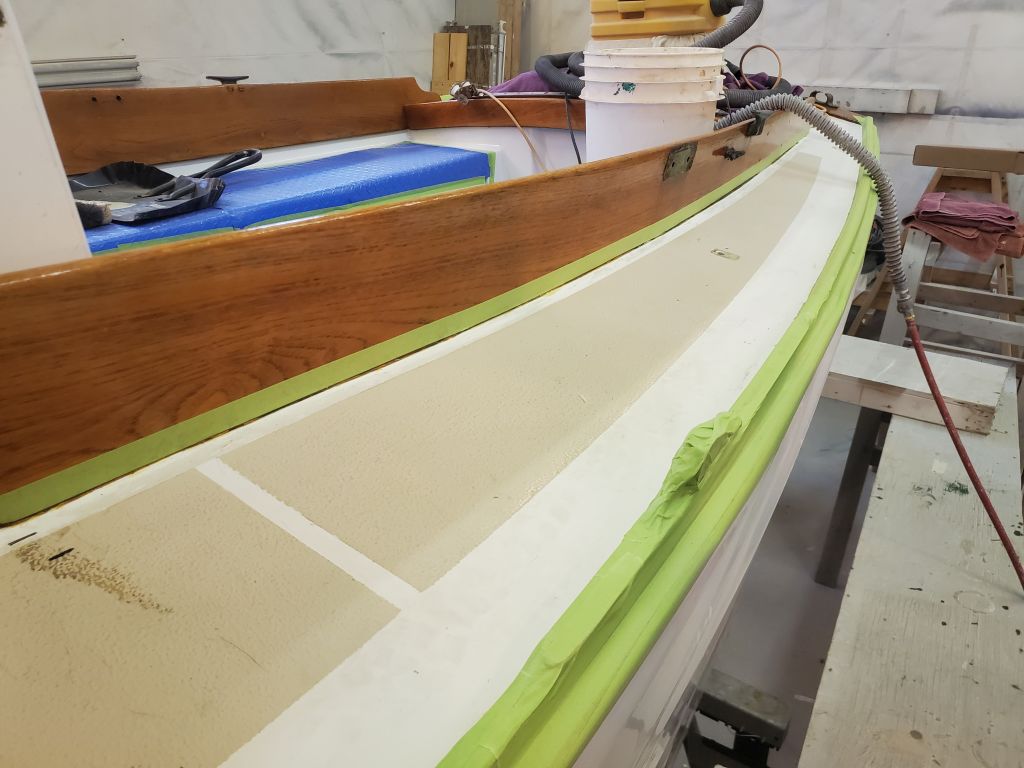
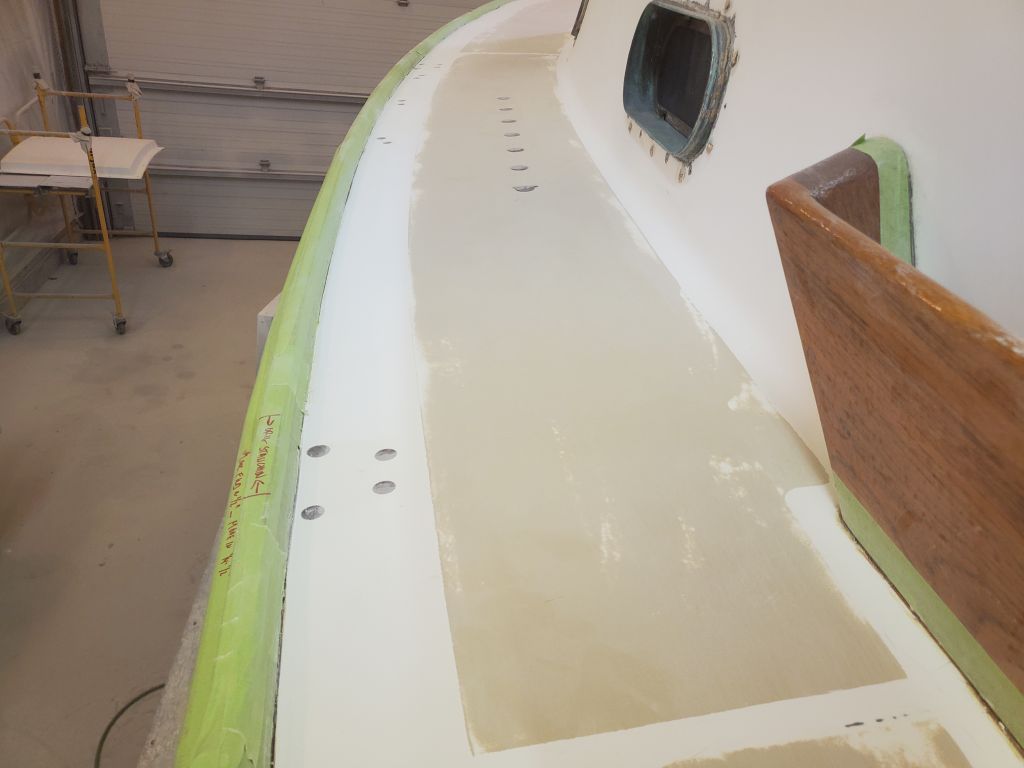
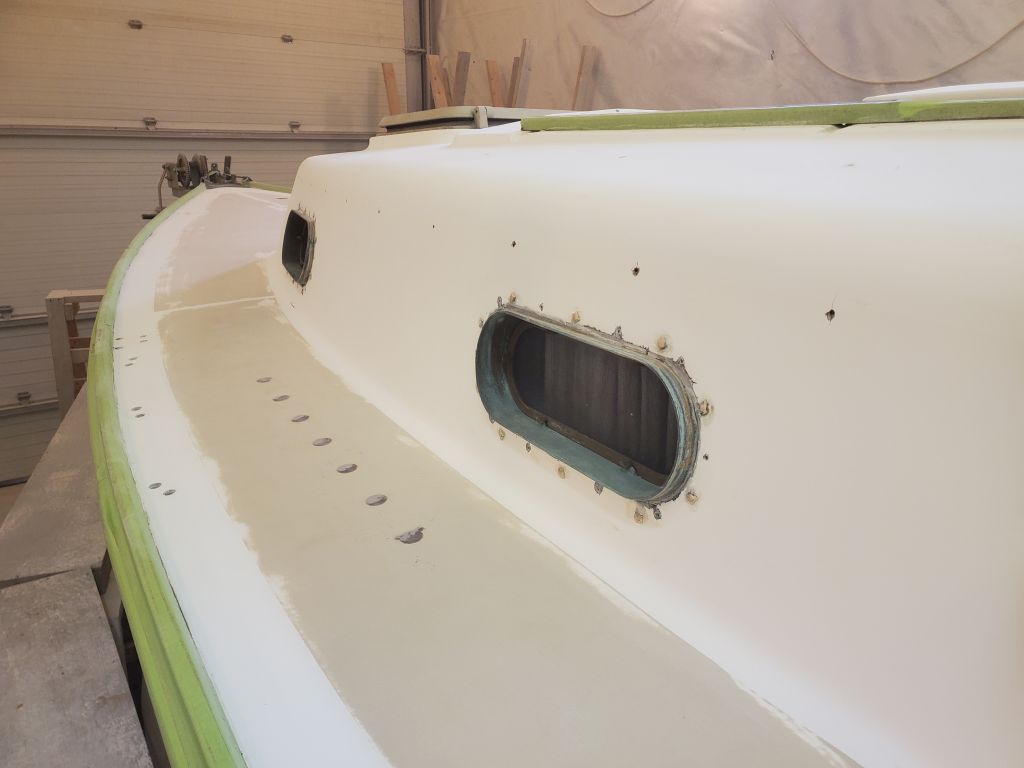
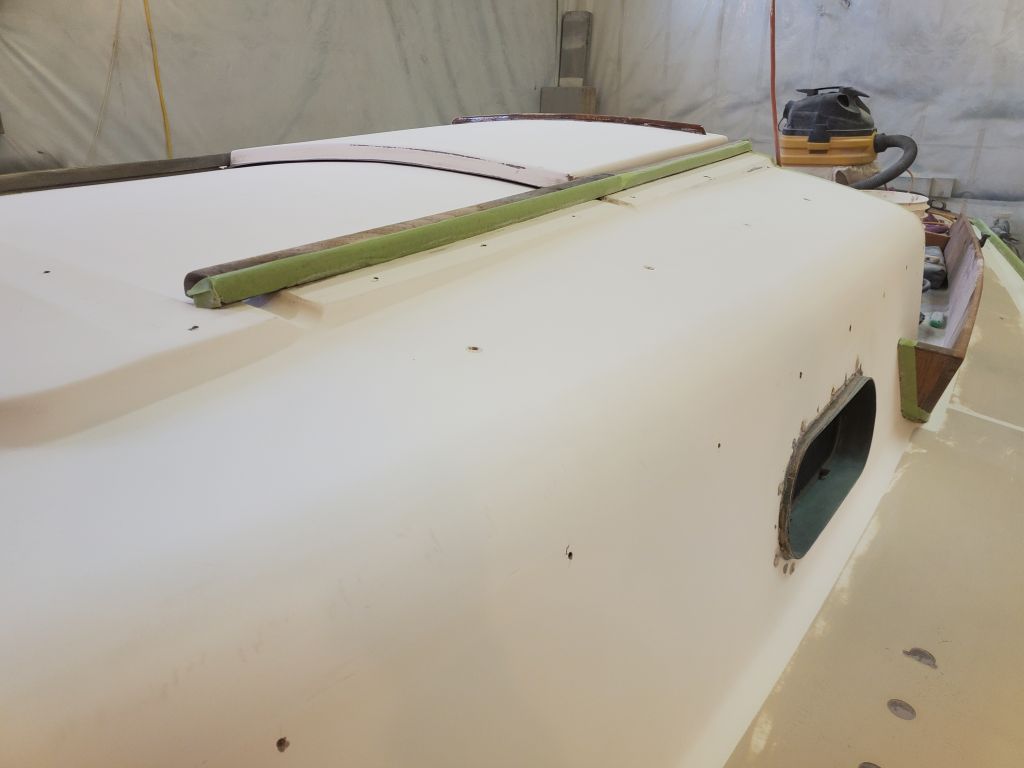
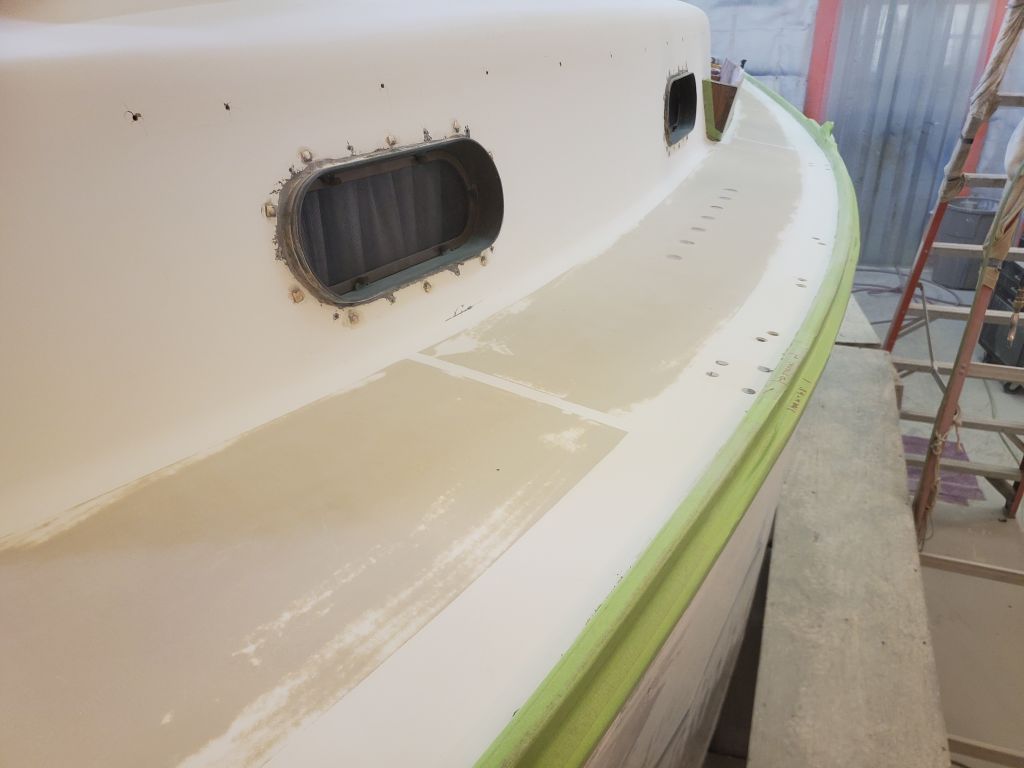
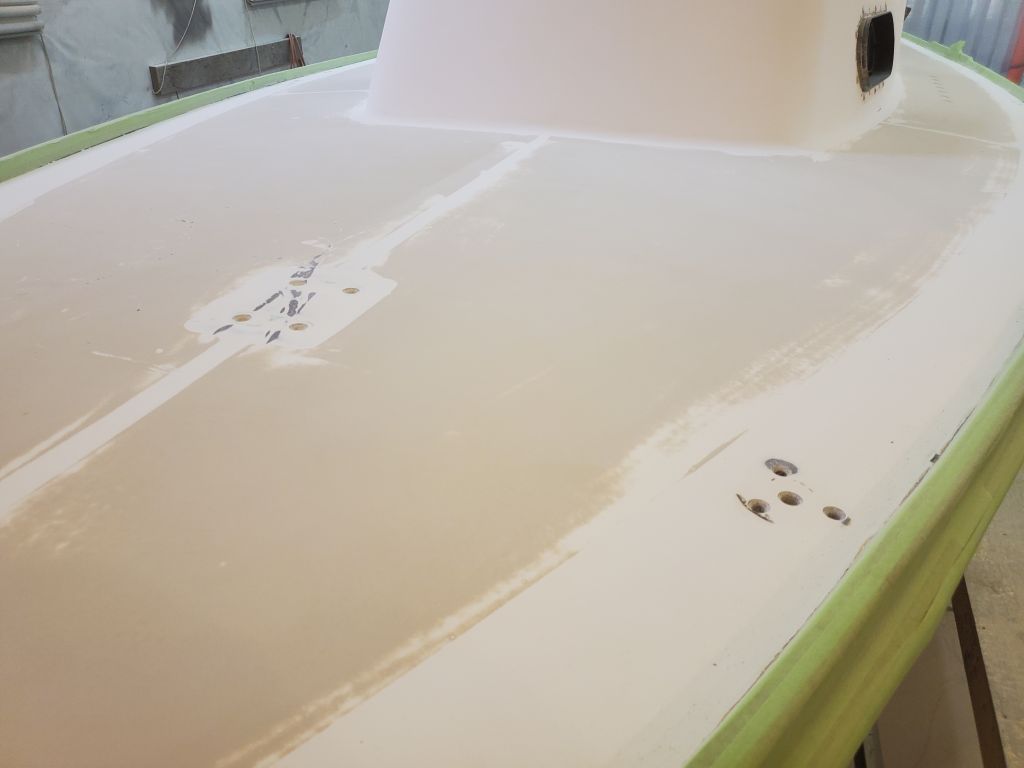
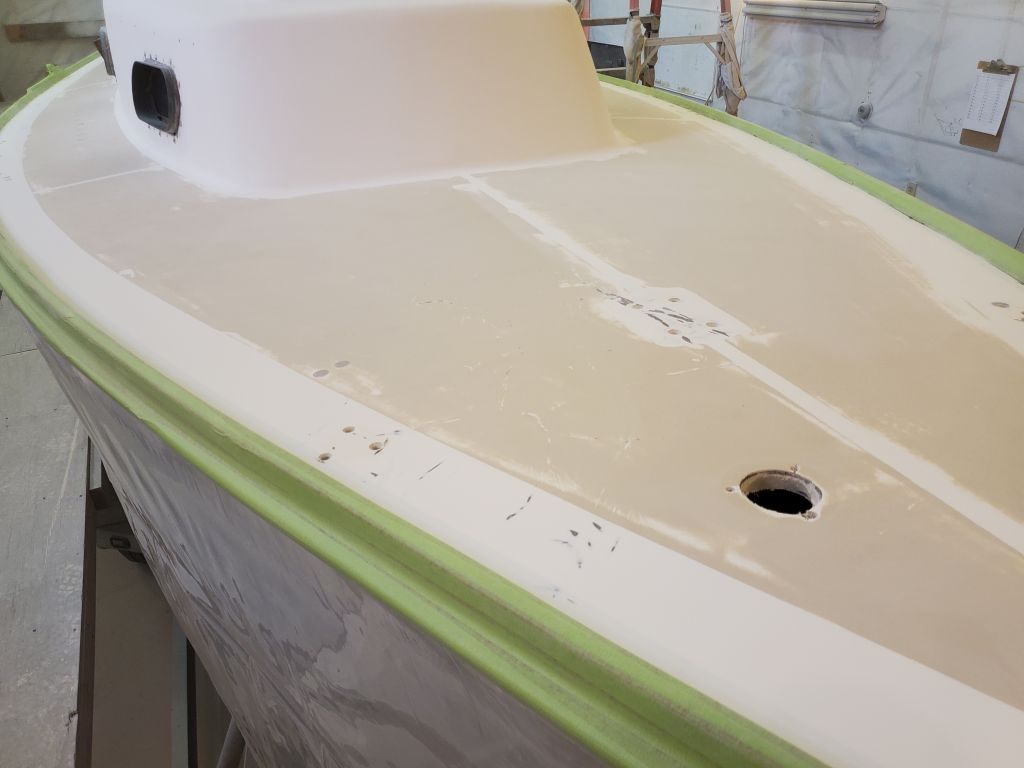
From belowdecks, using the pilotholes I drilled during the jib track layout, I drilled back up through the deck to redetermine the track position now that I’d filled and faired the deck above.  For these purposes, I chose only to mark the forwardmost and aftermost holes on each side, which would be enough for me to recreate the tracks’ location later.

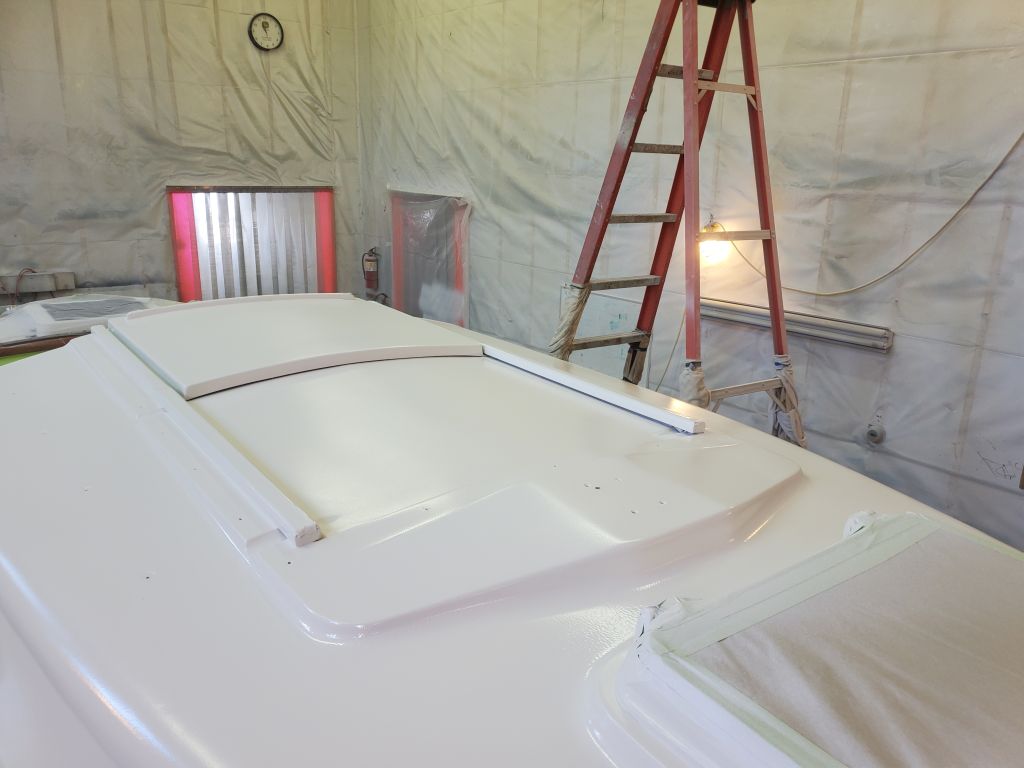
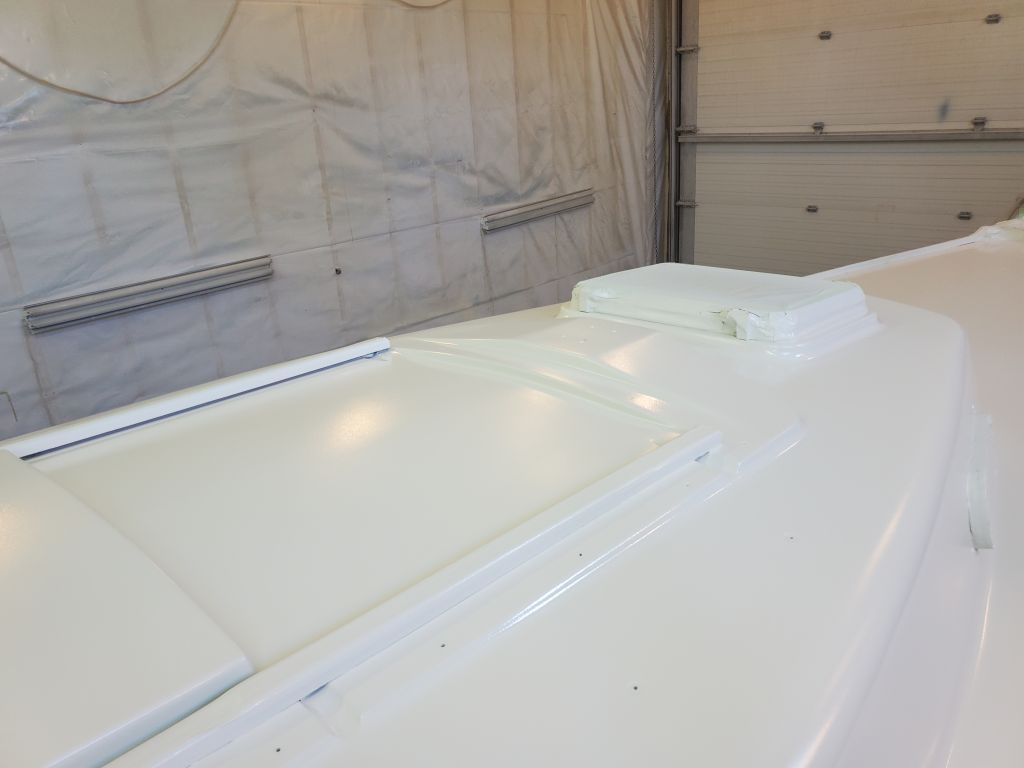
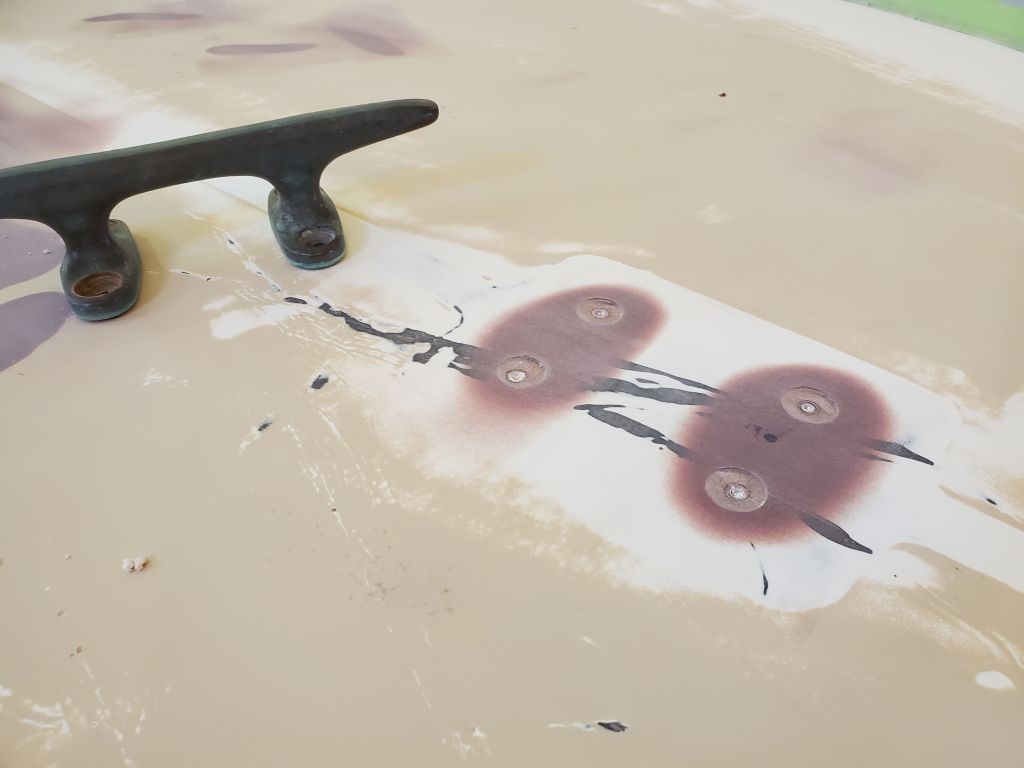
Similarly, I marked the holes for the cabintop handrails and, at the bow, the foredeck cleat.

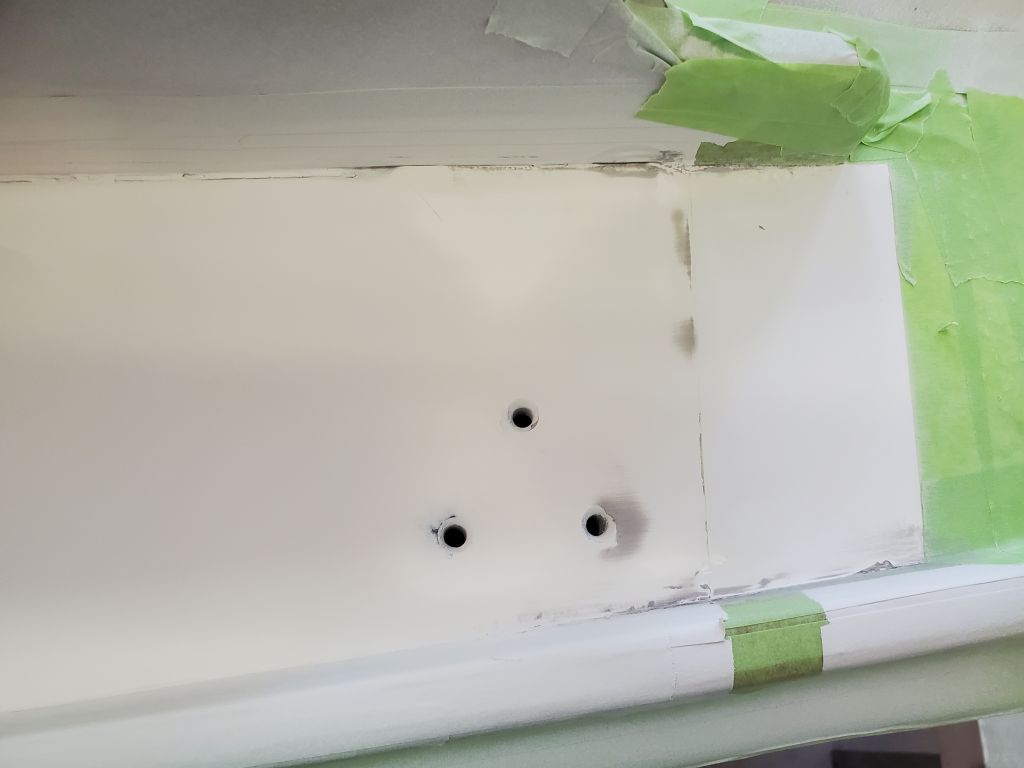
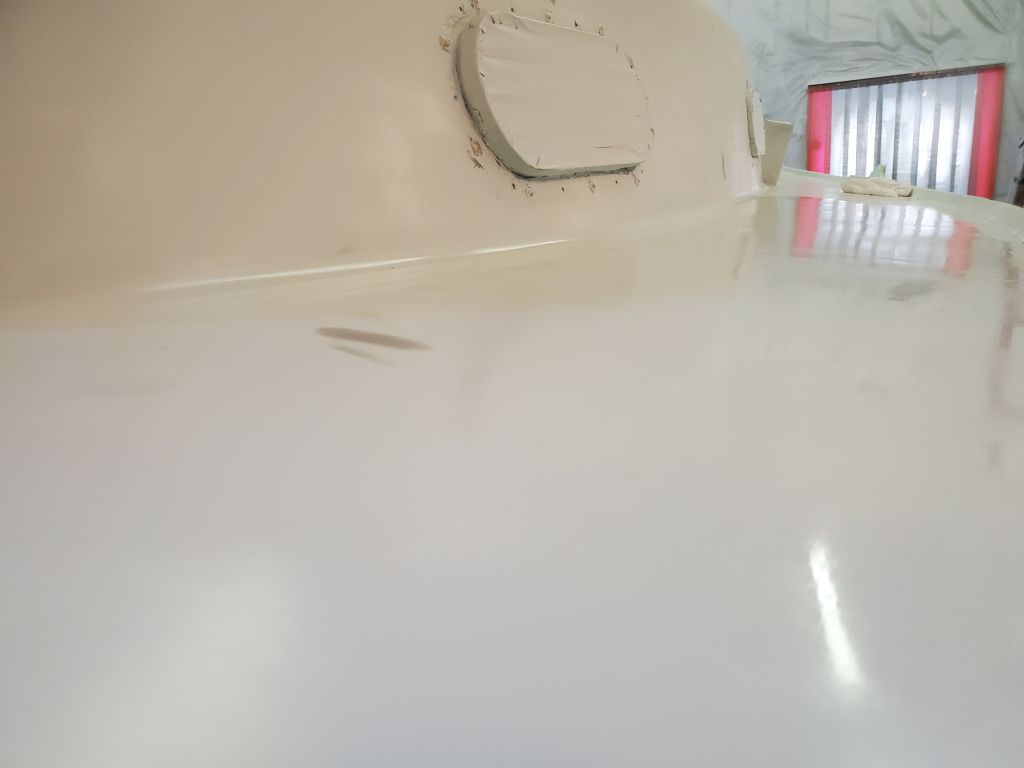
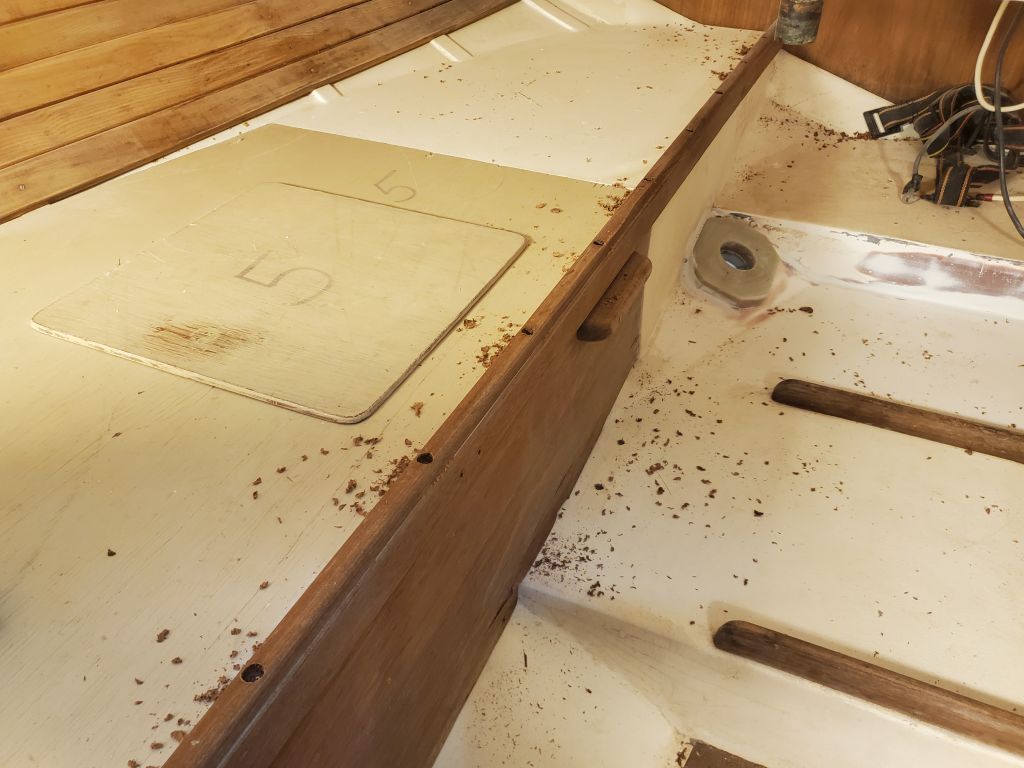
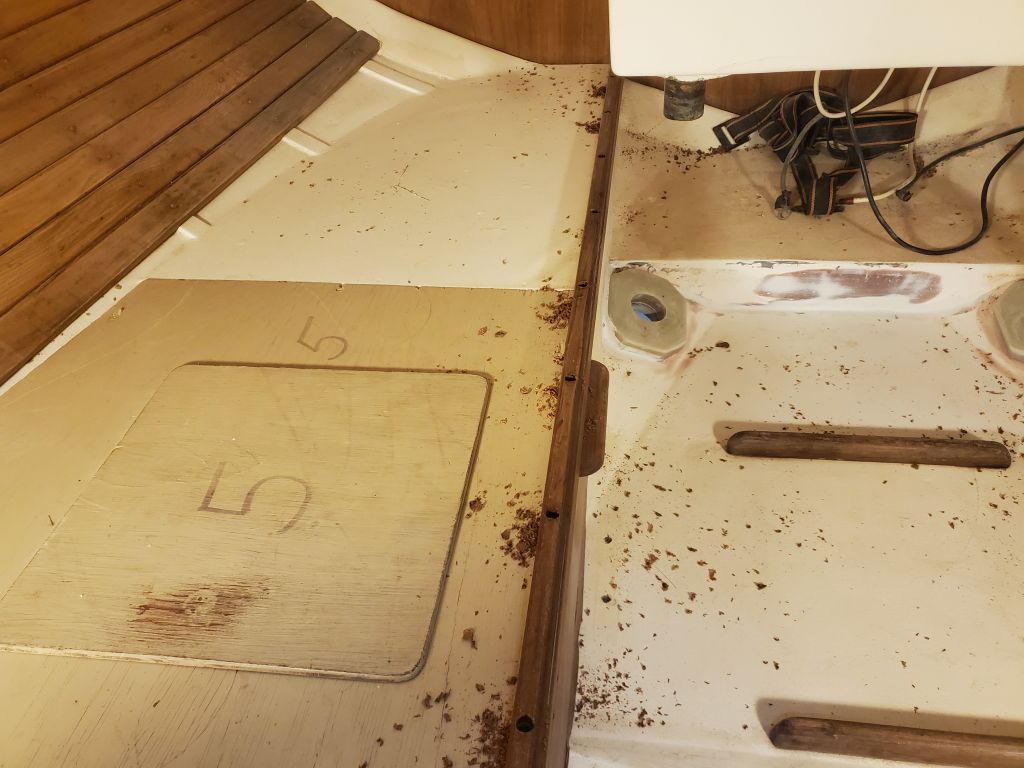
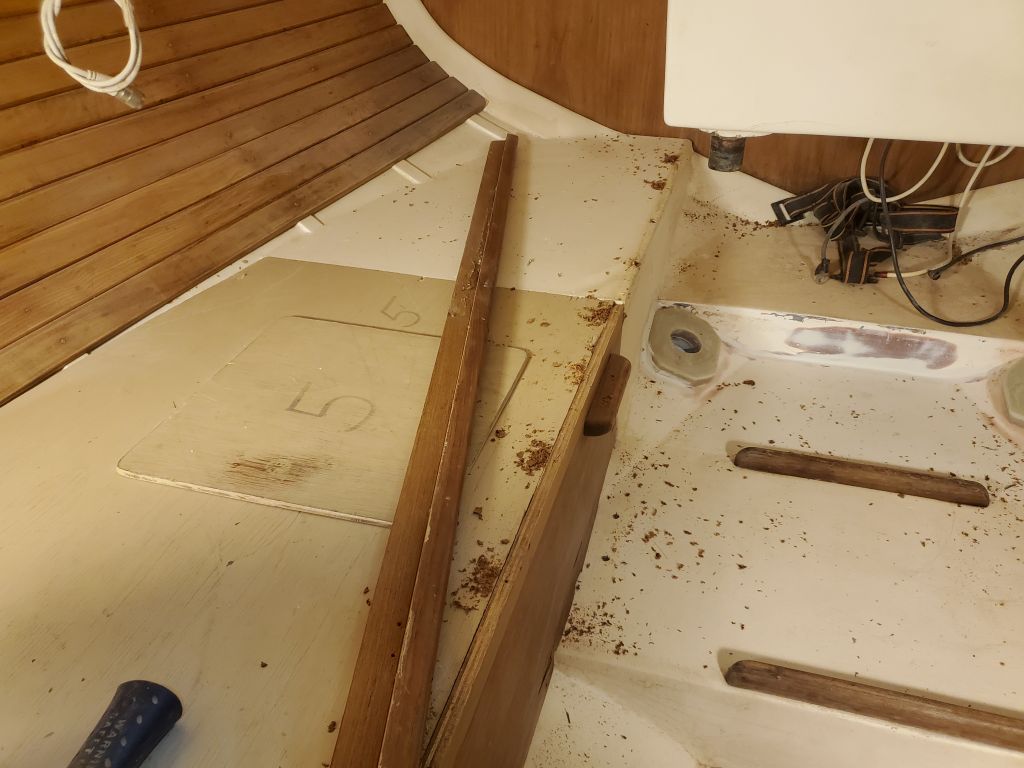
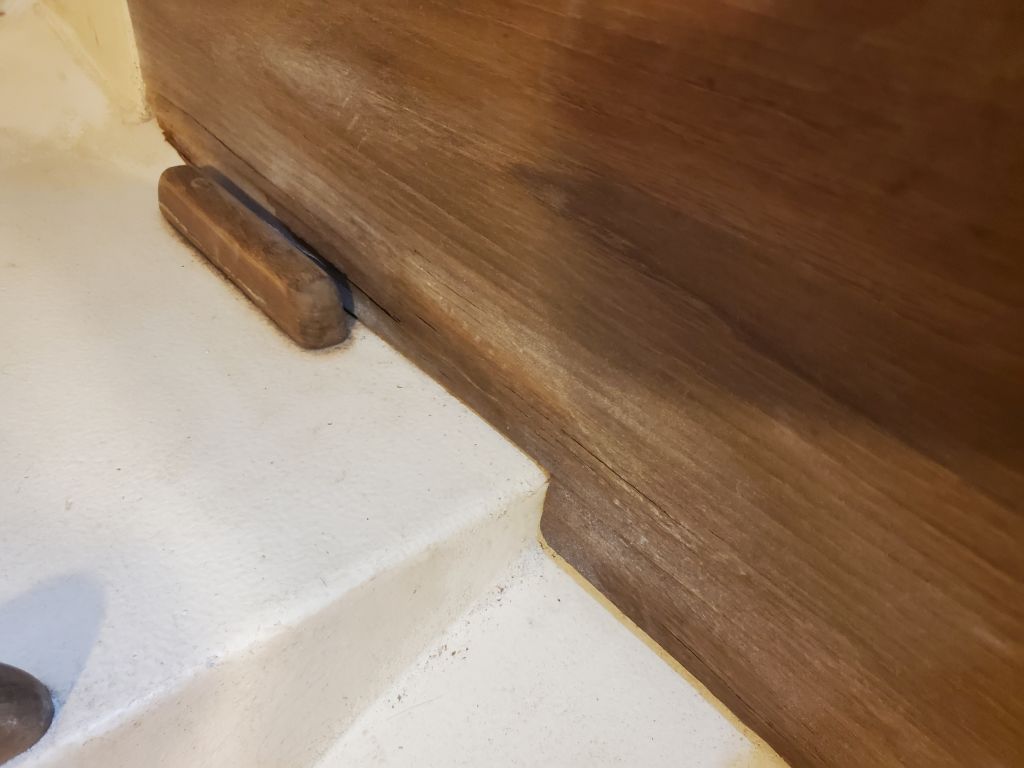
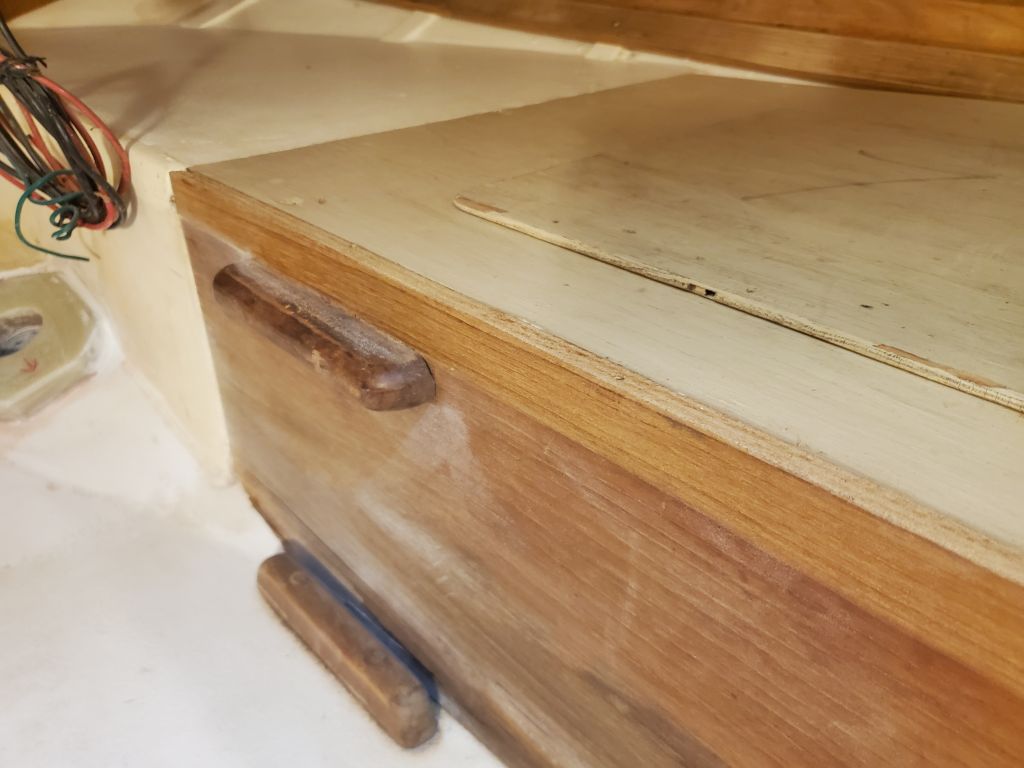
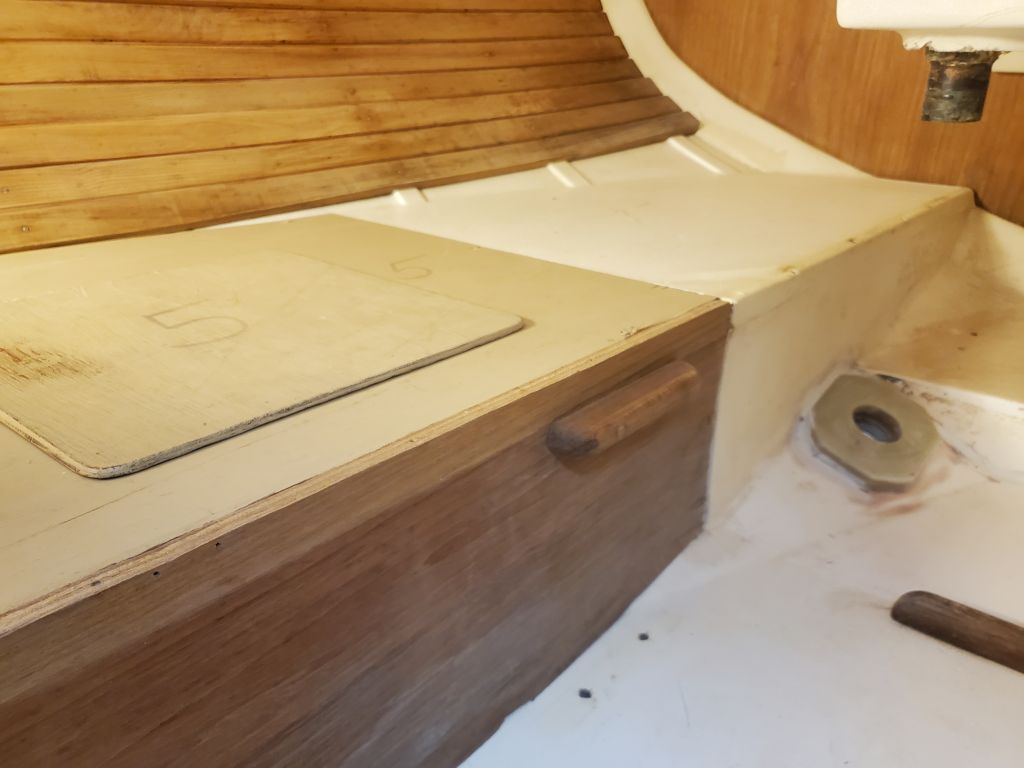
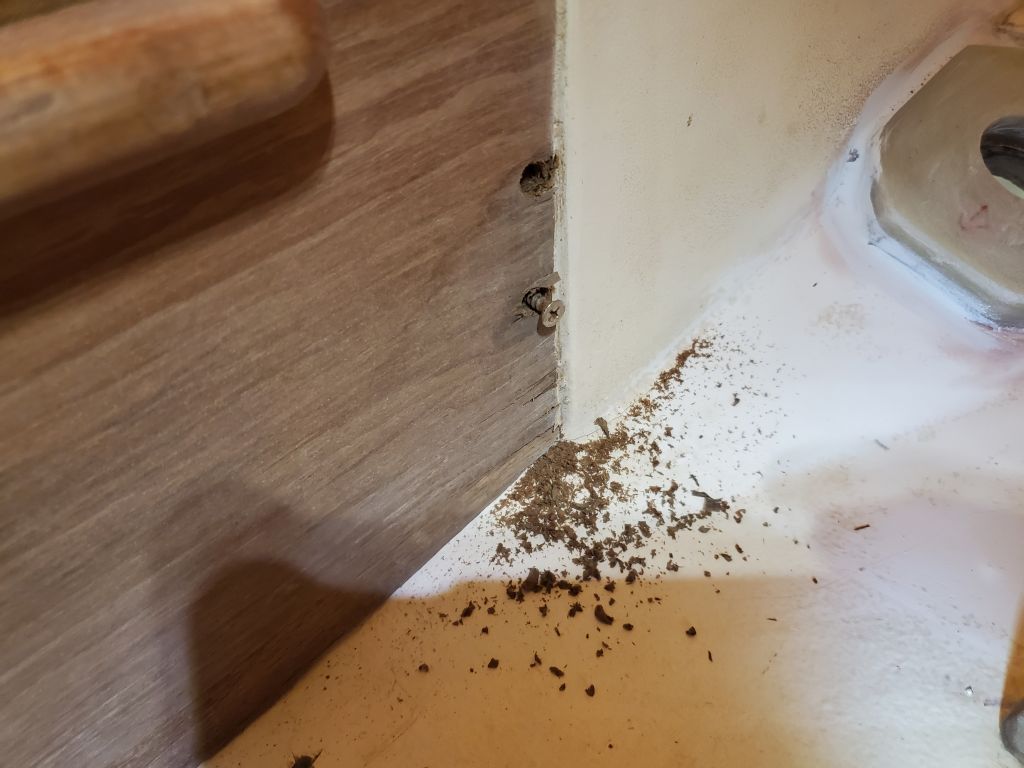
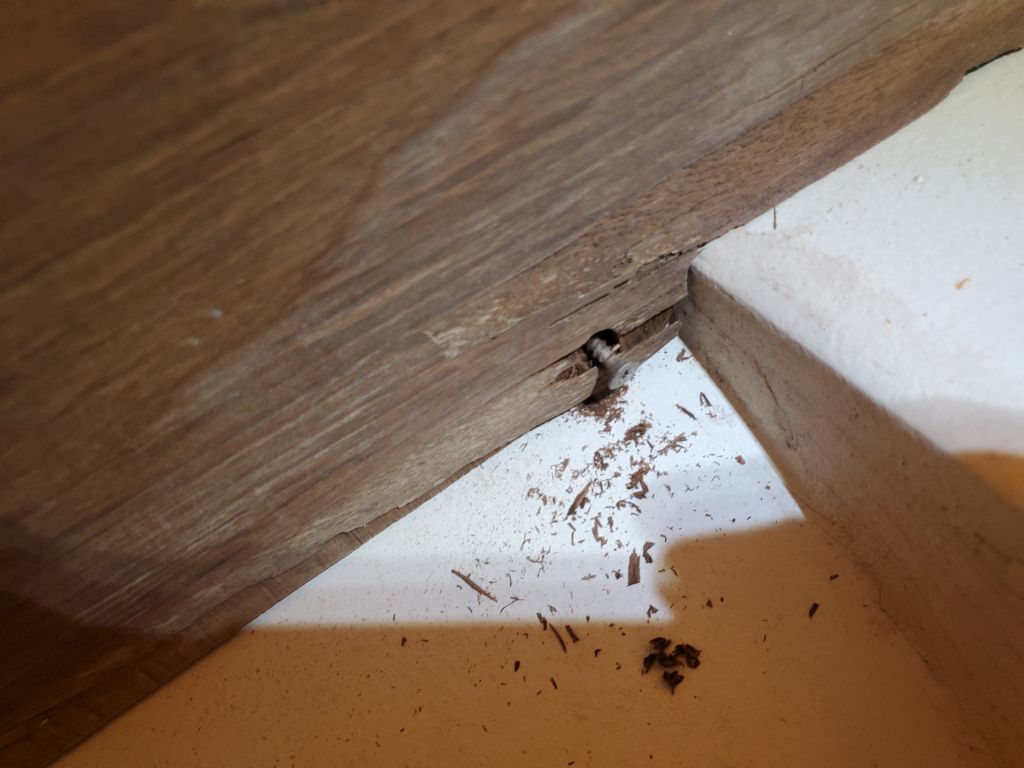
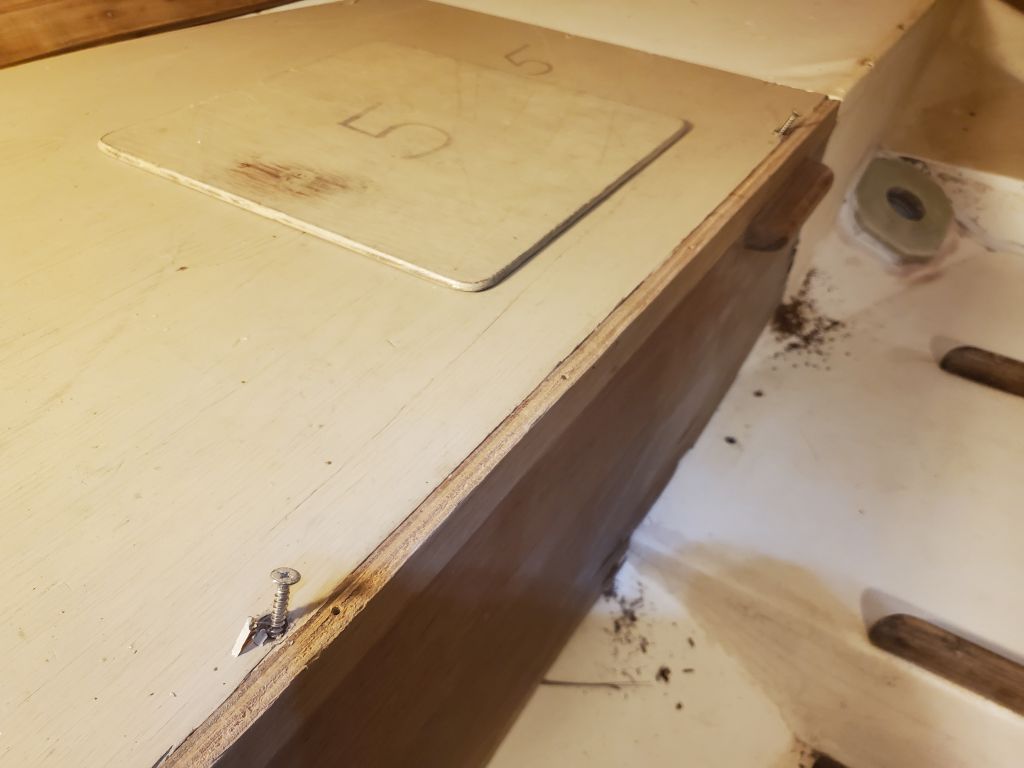
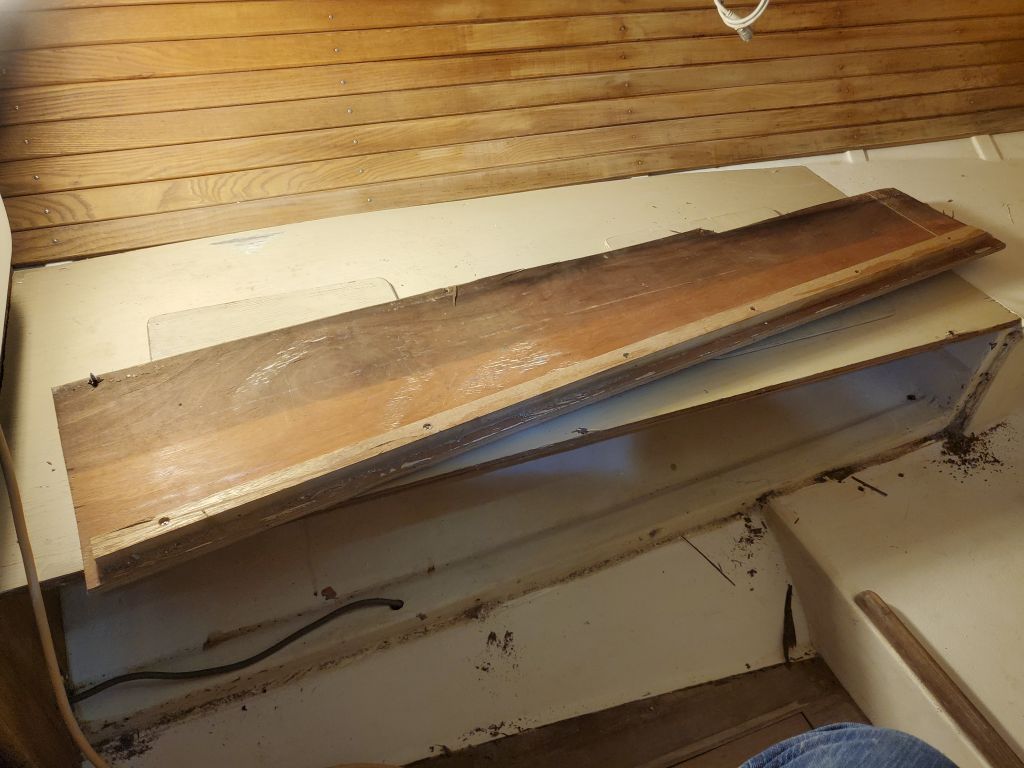
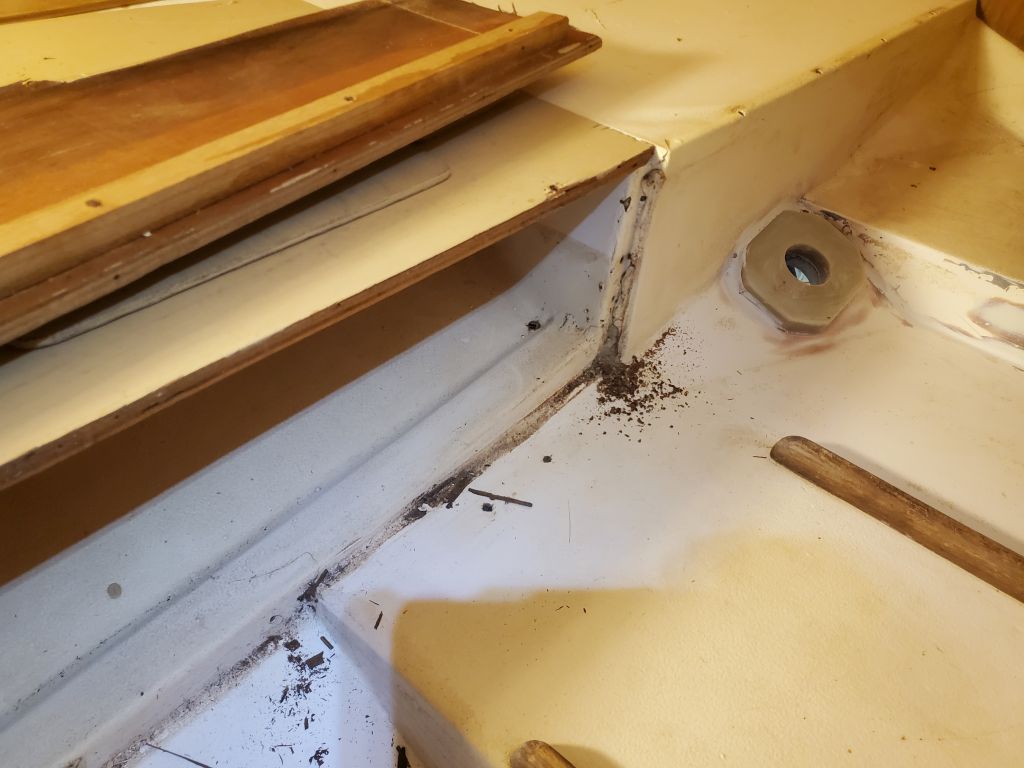
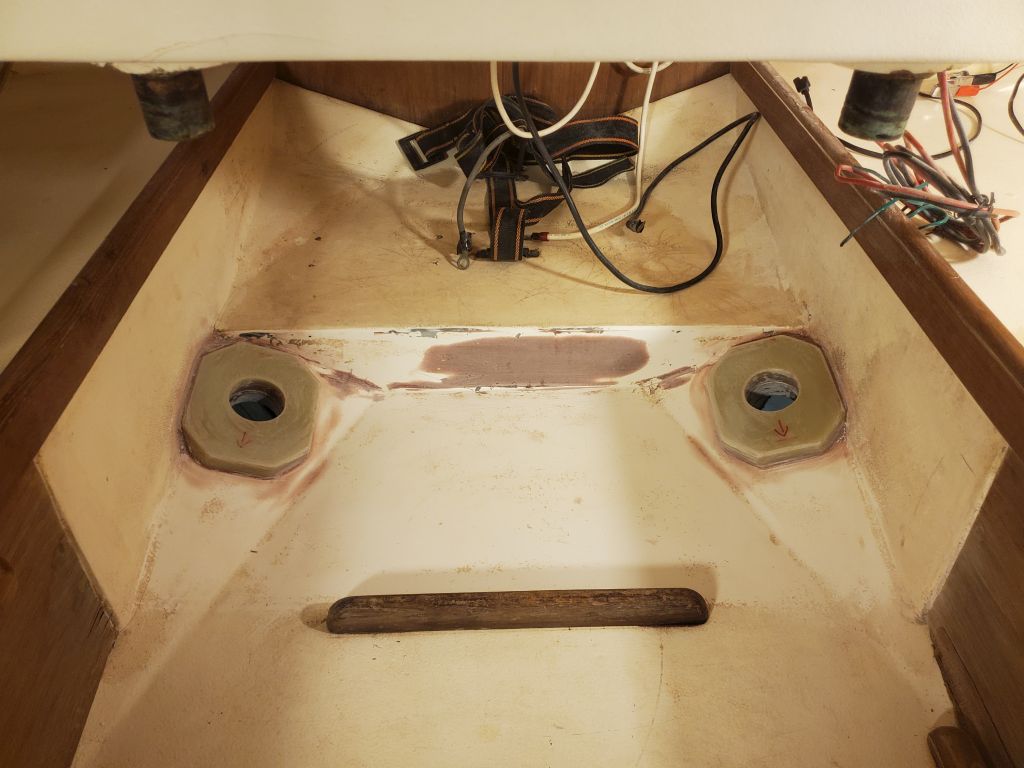
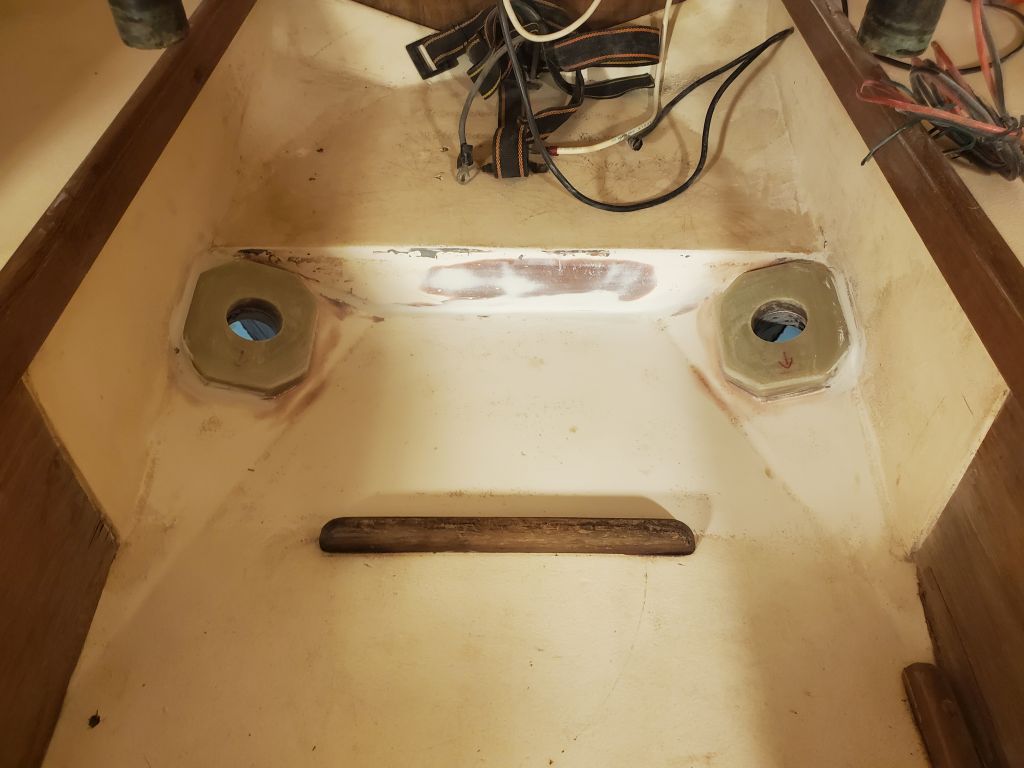
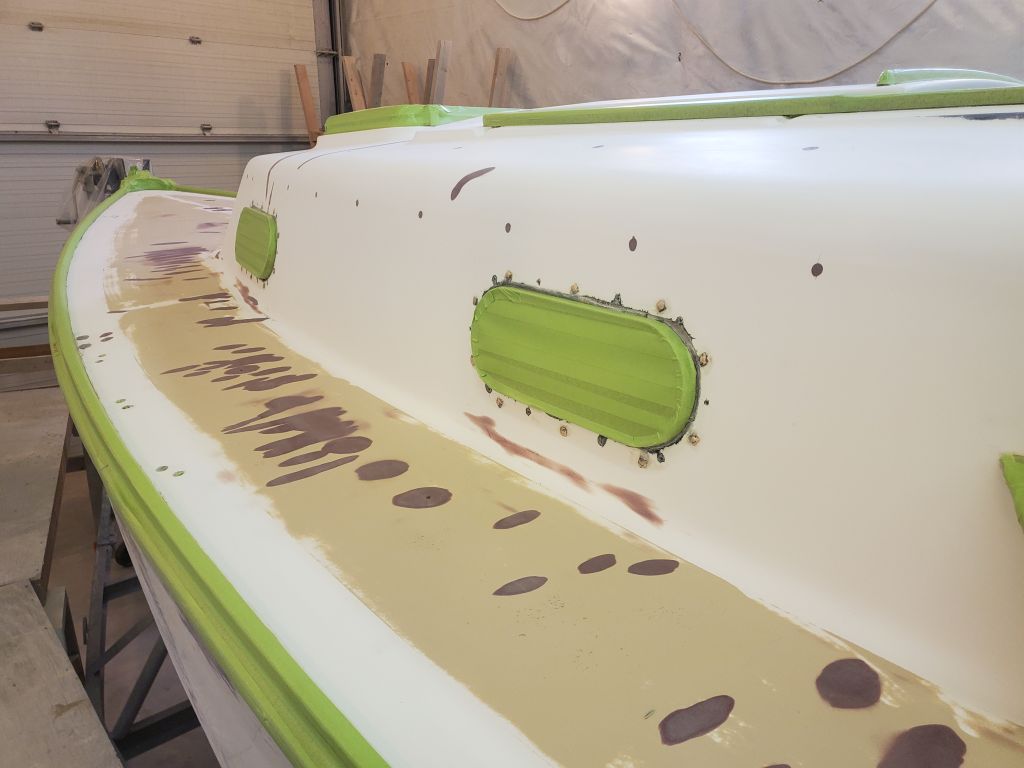
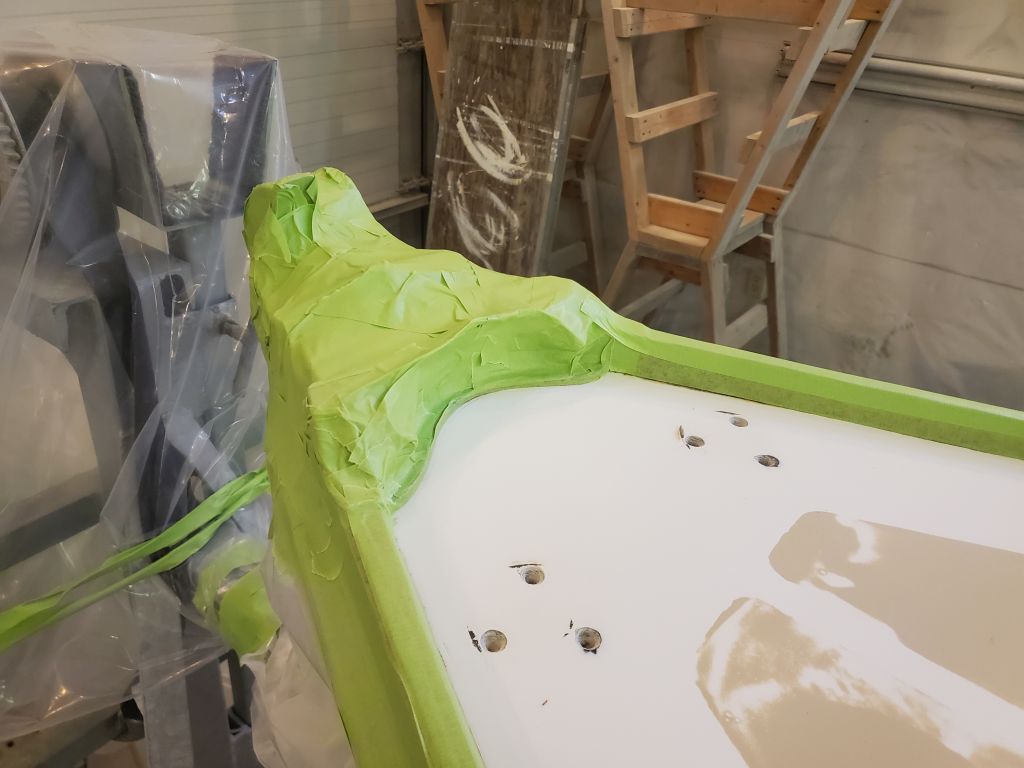
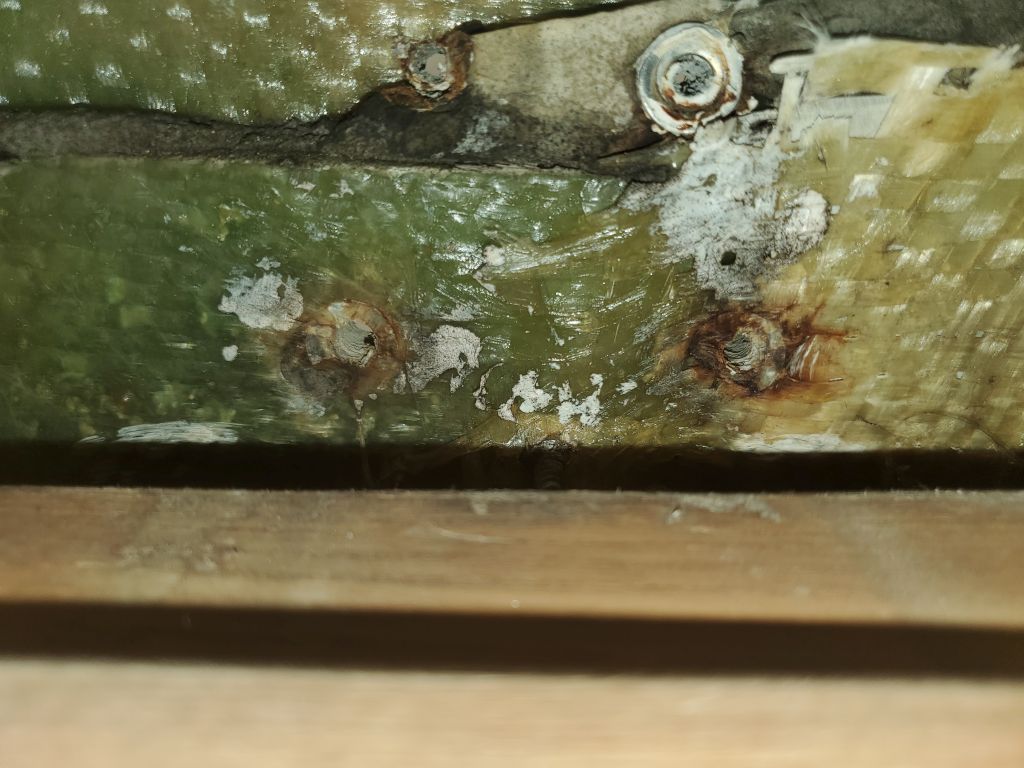
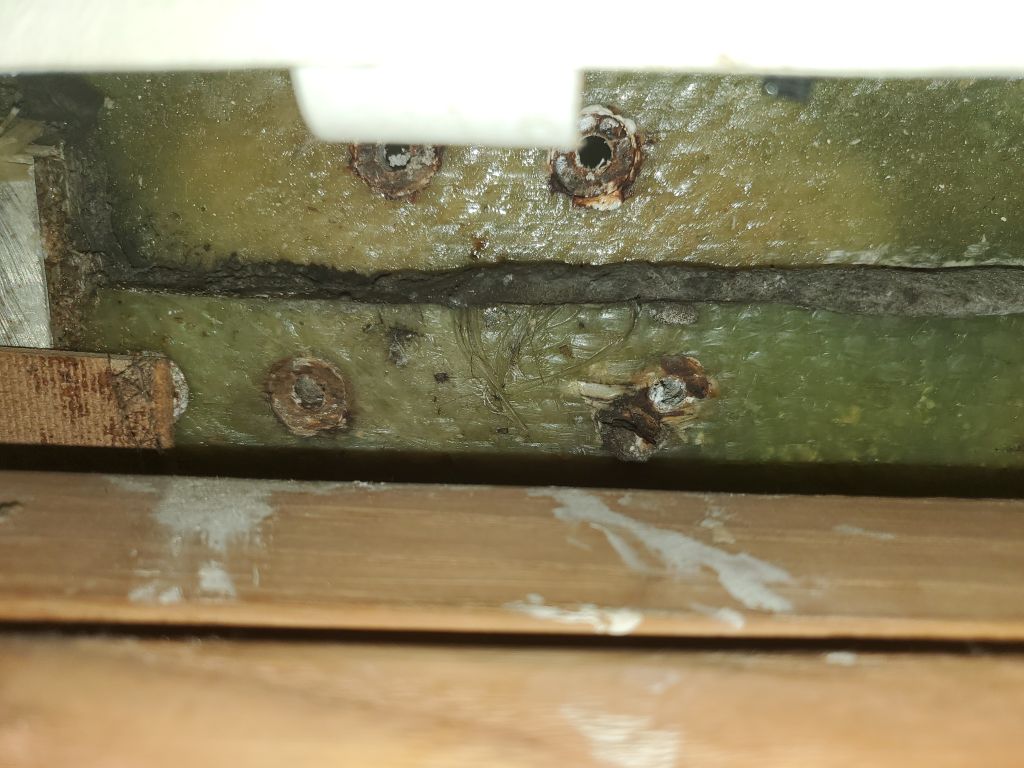
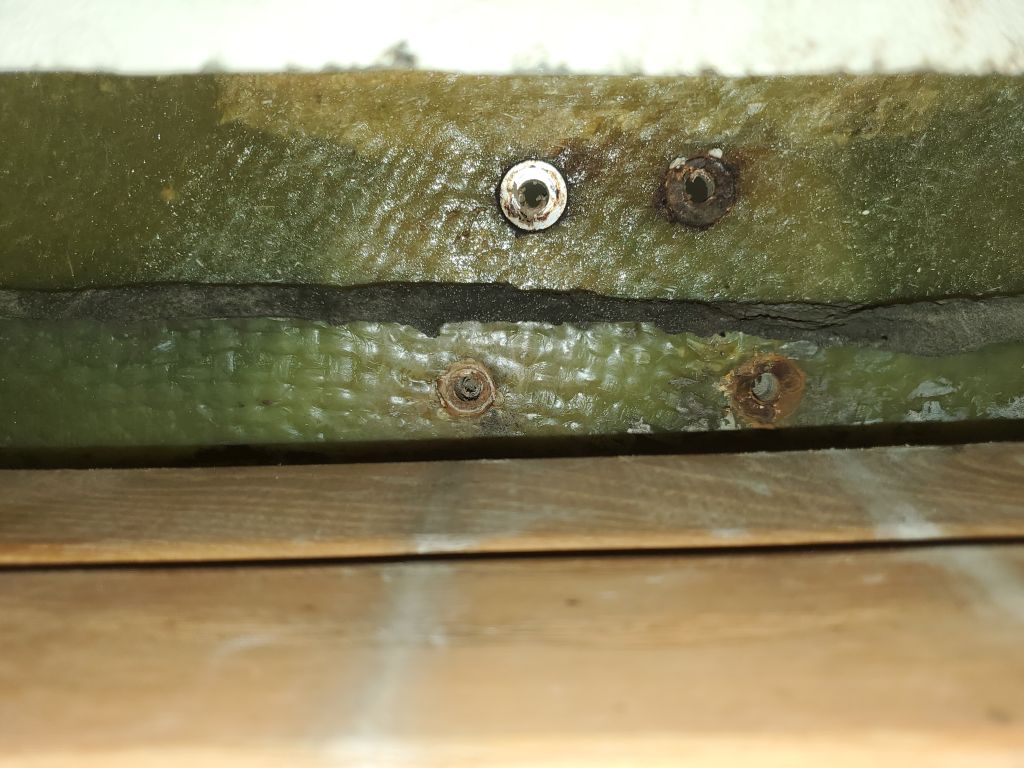
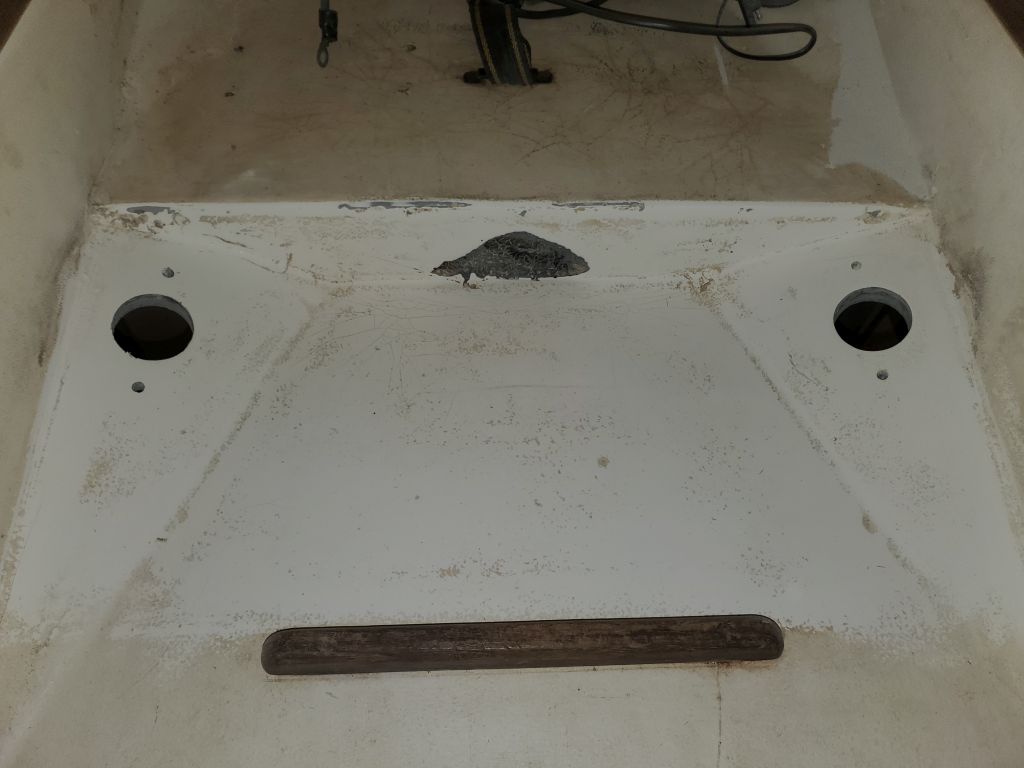
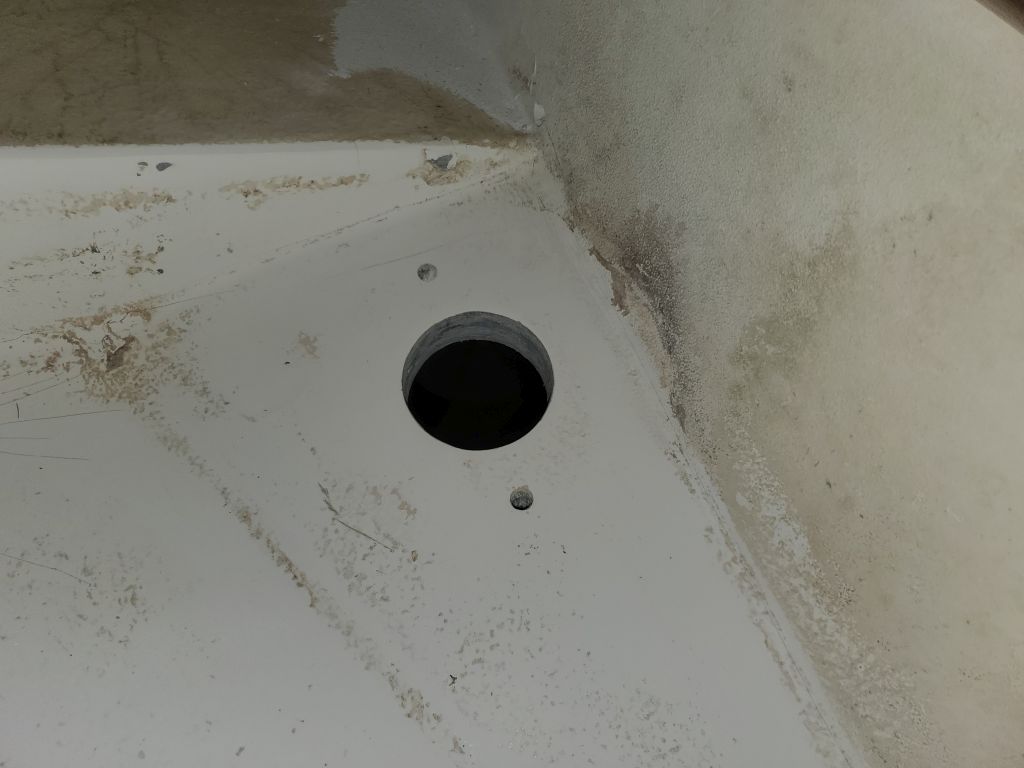
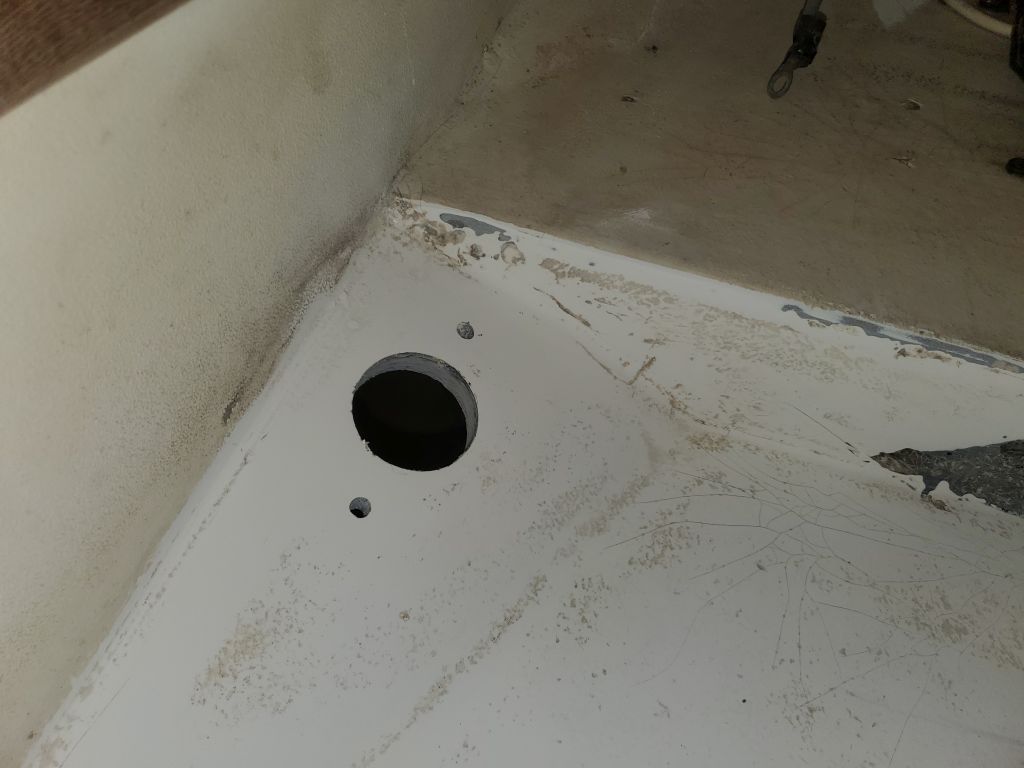
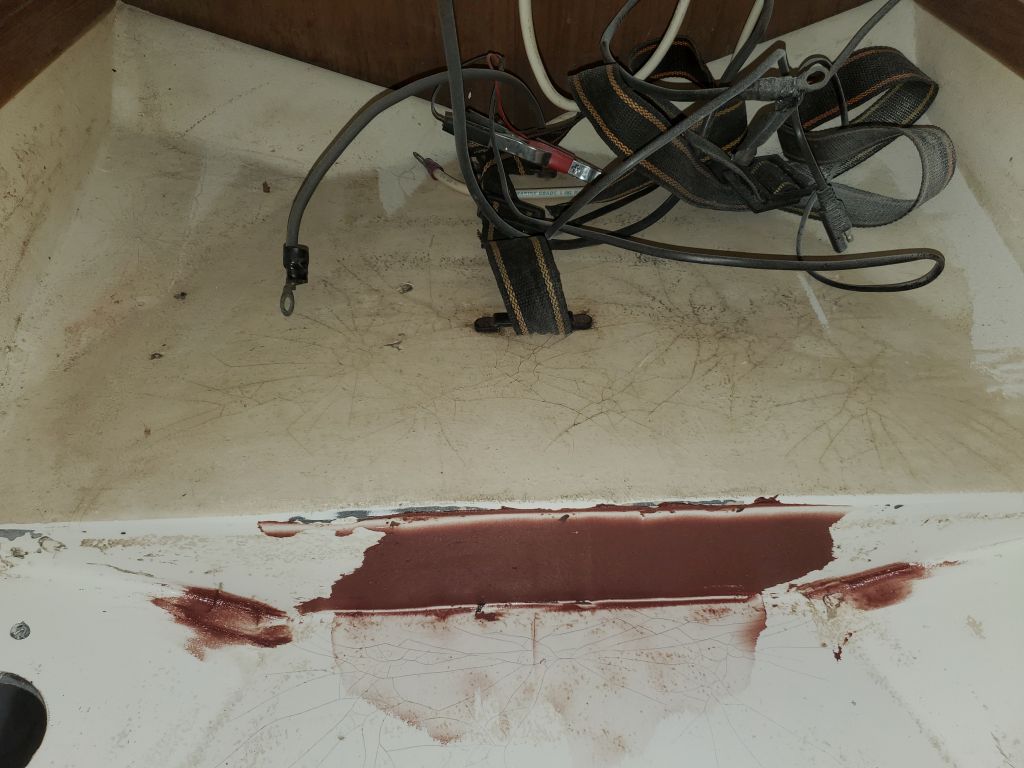
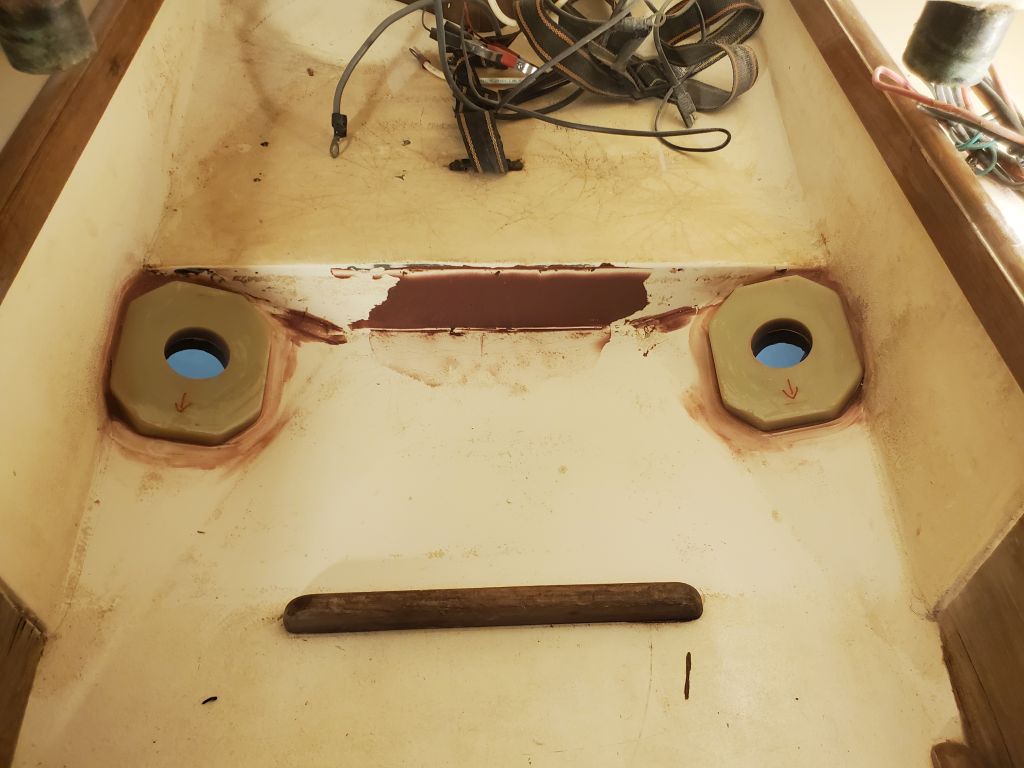
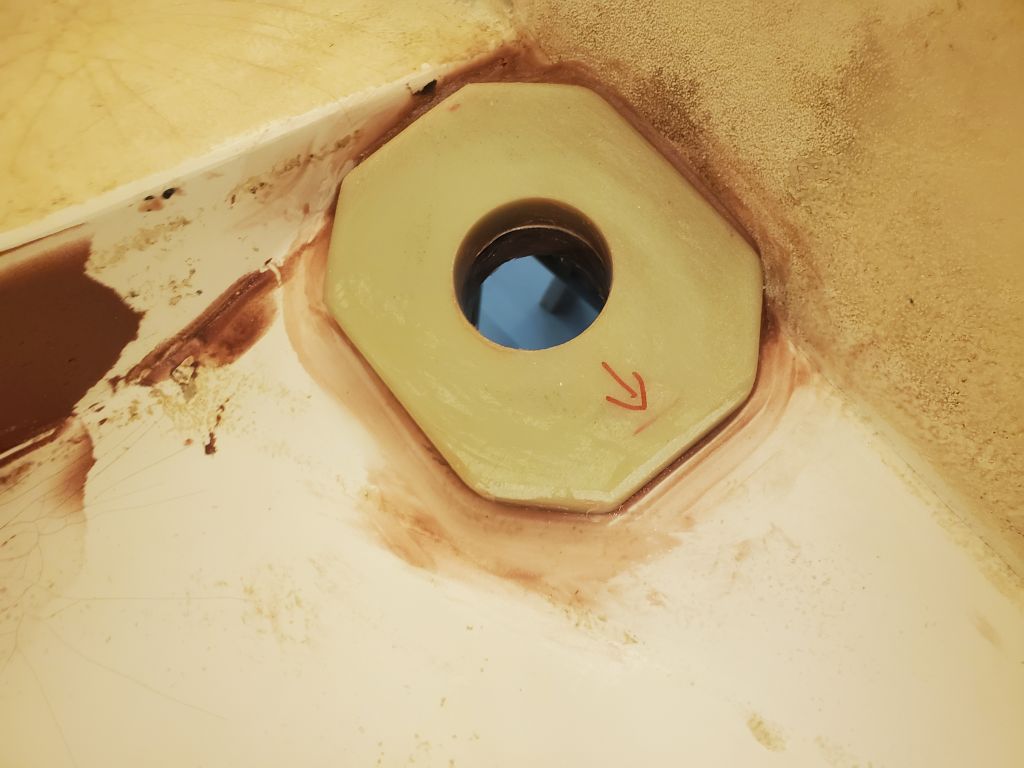
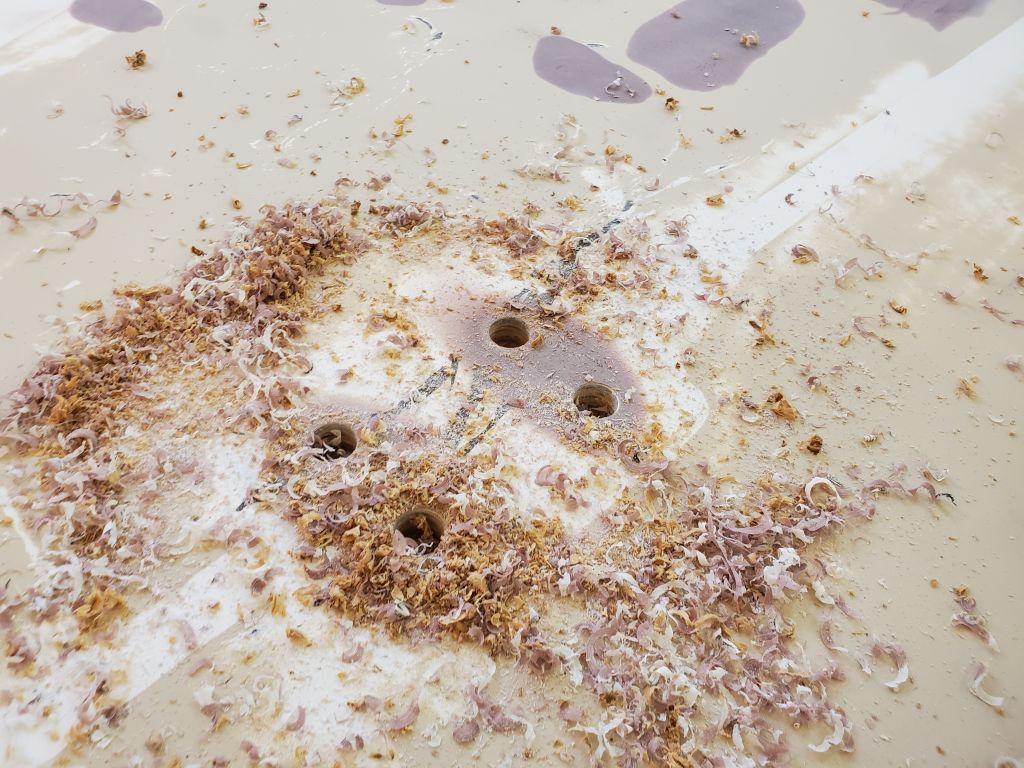
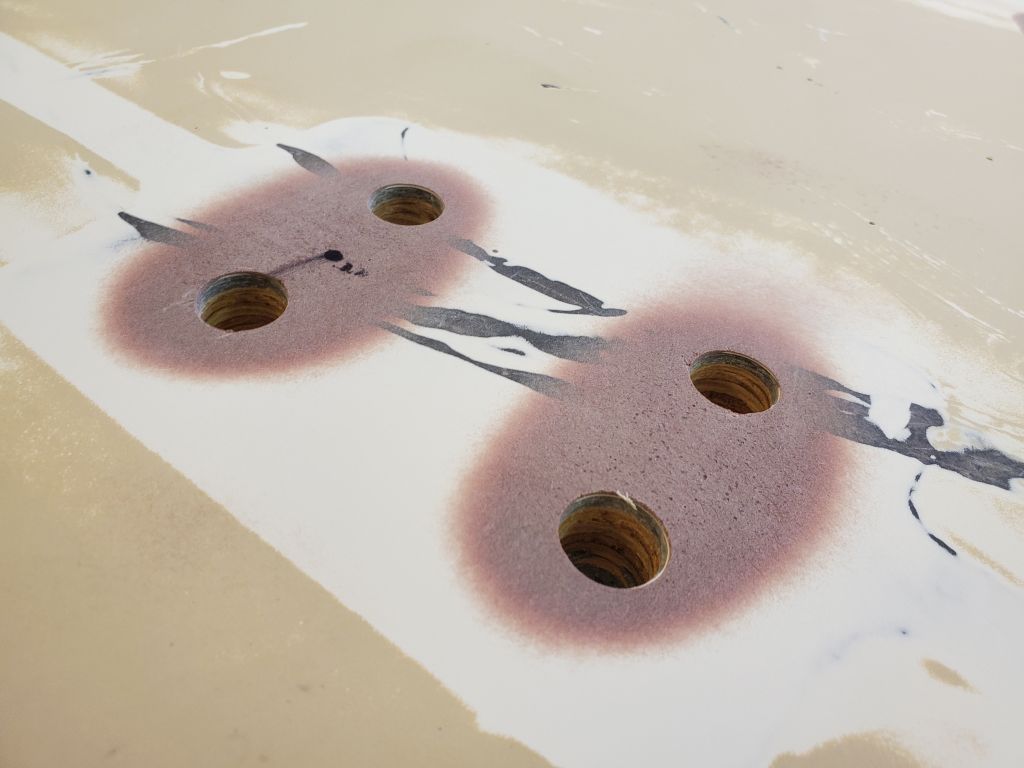
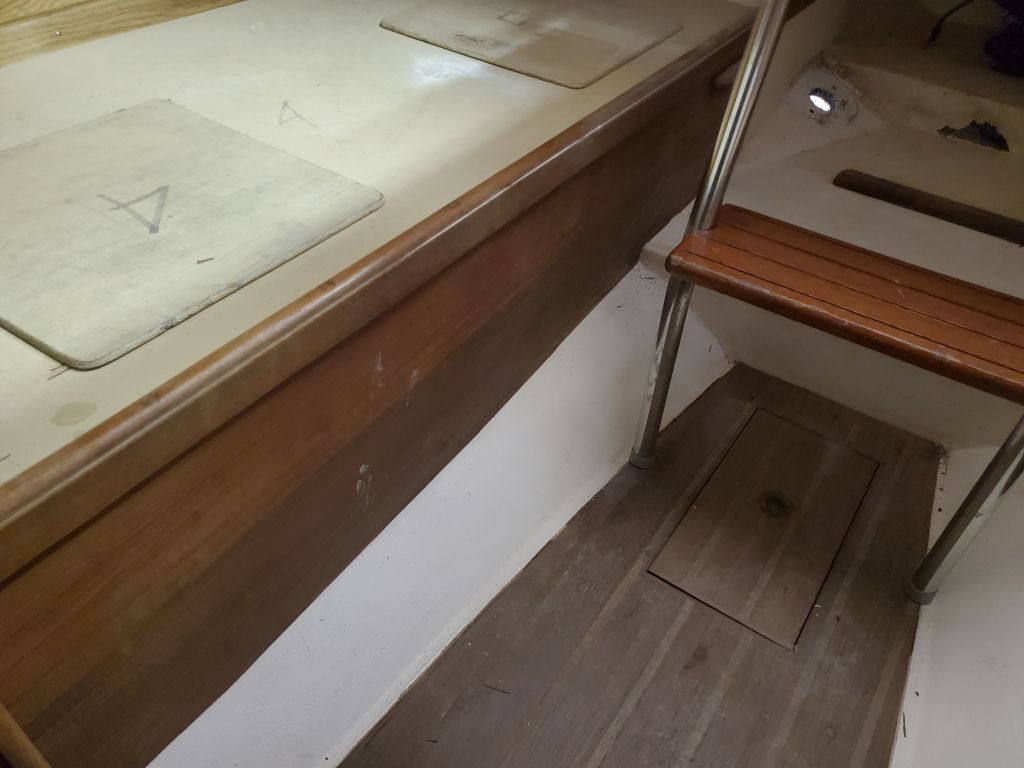
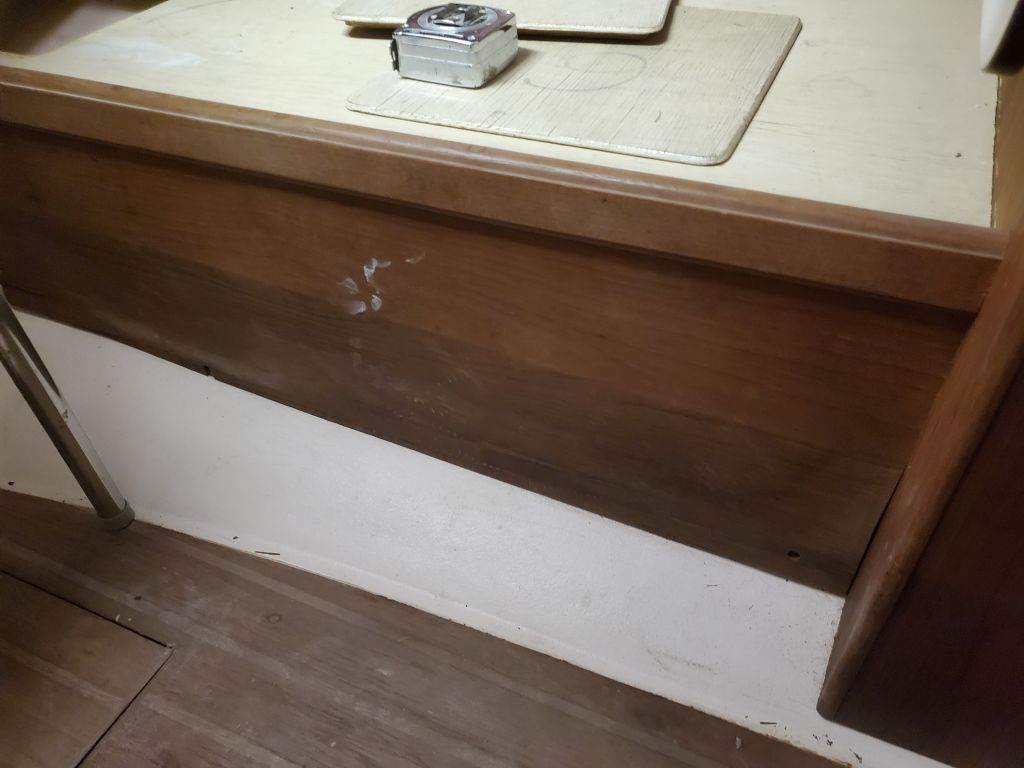
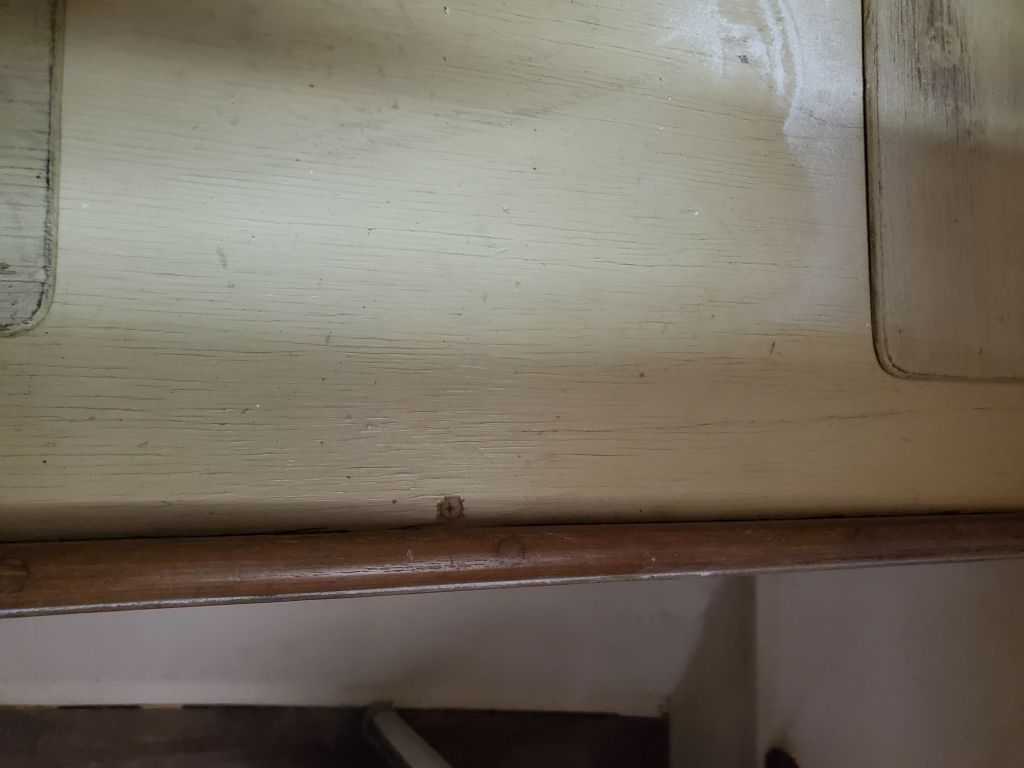
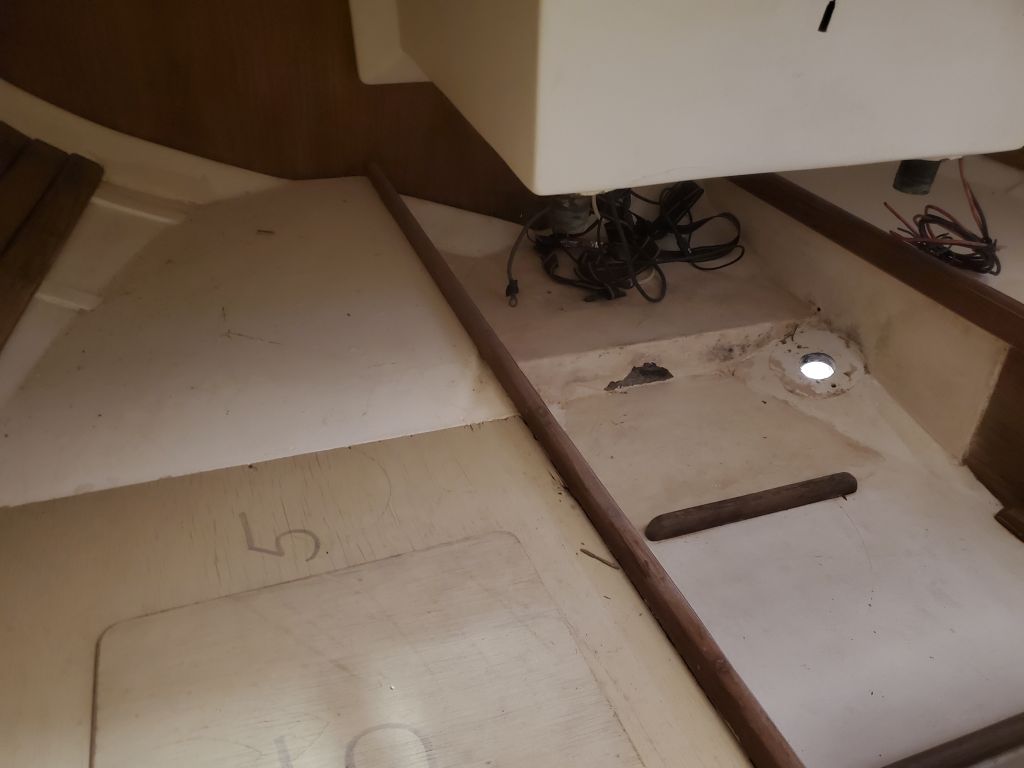
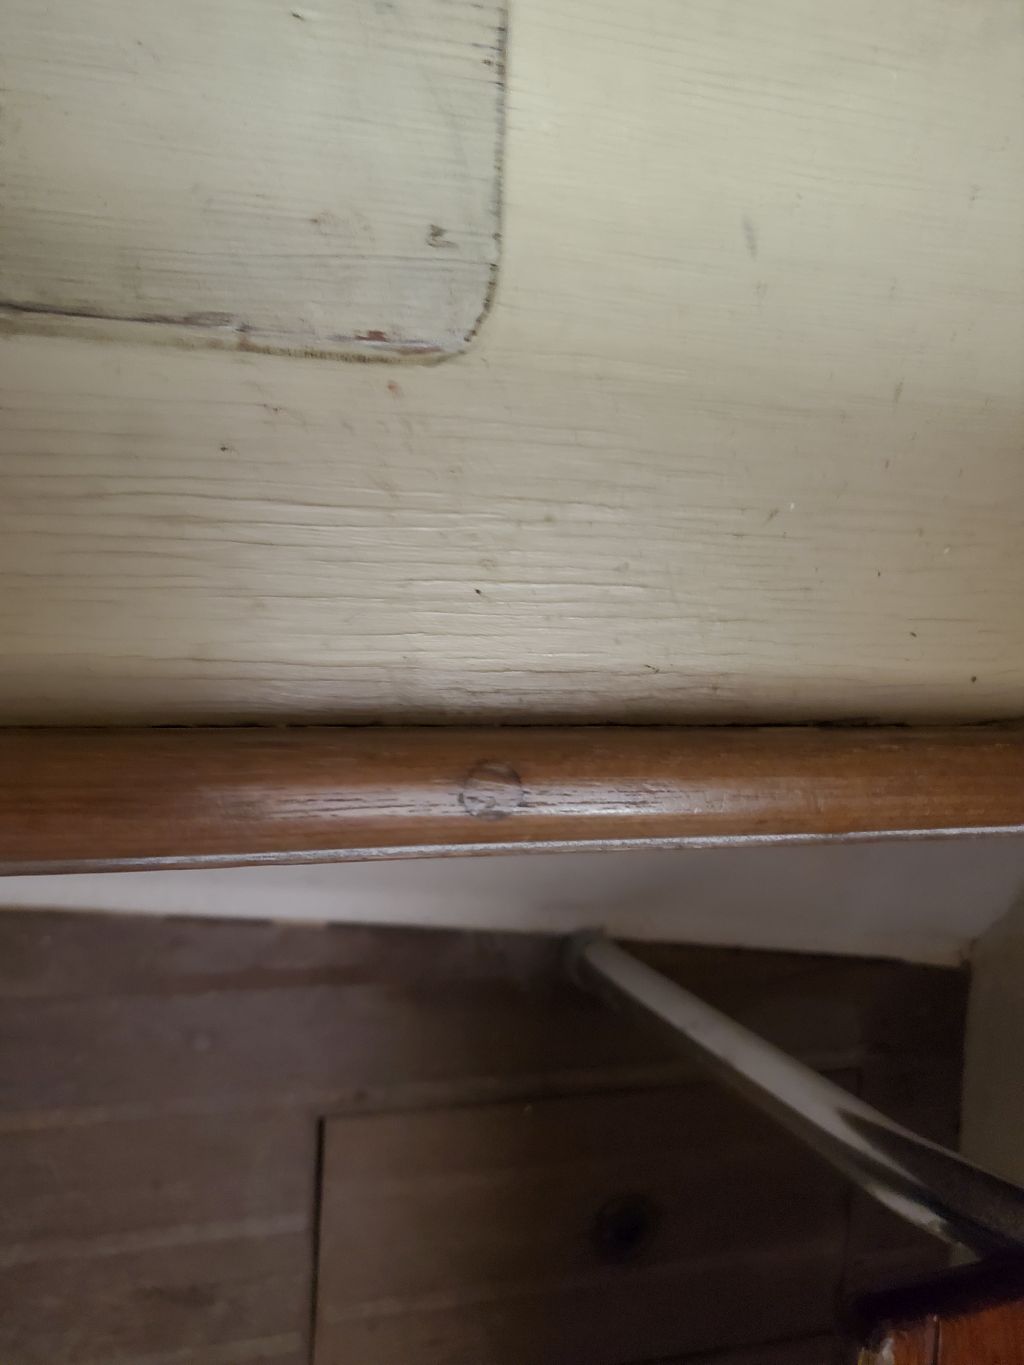
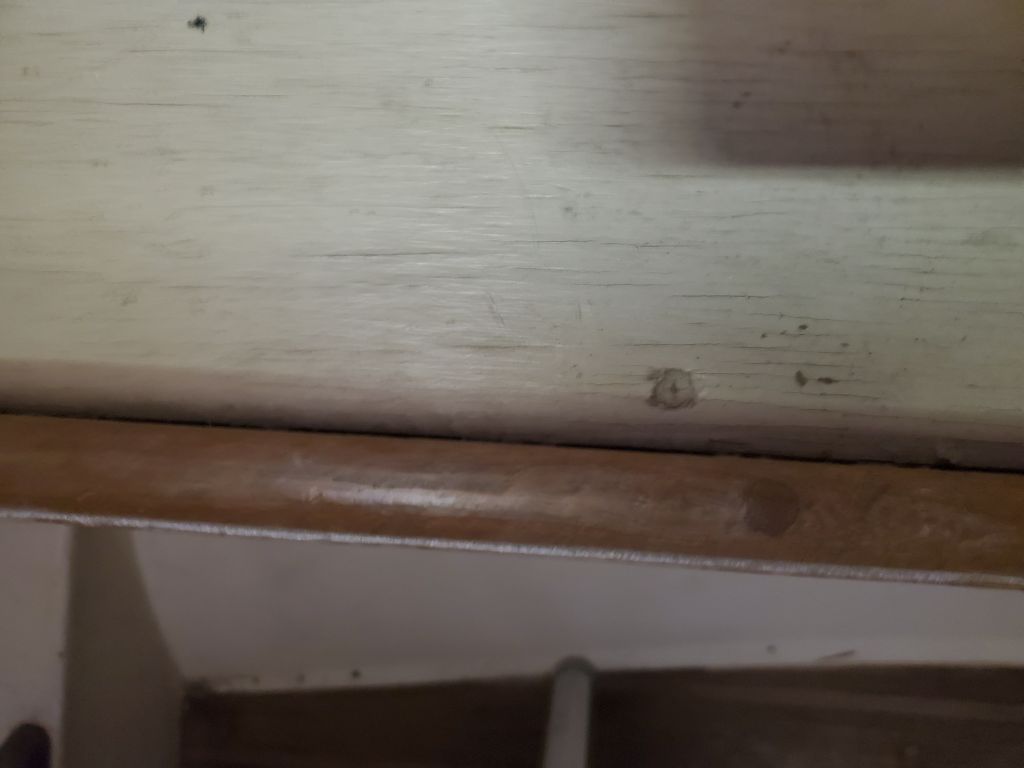
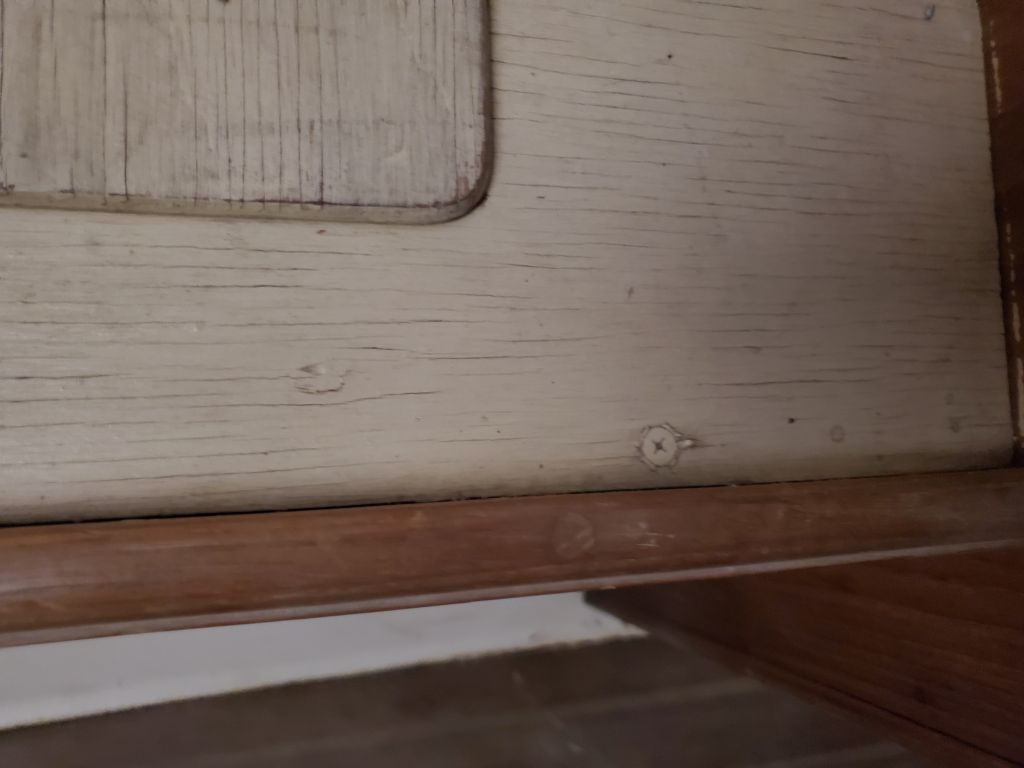
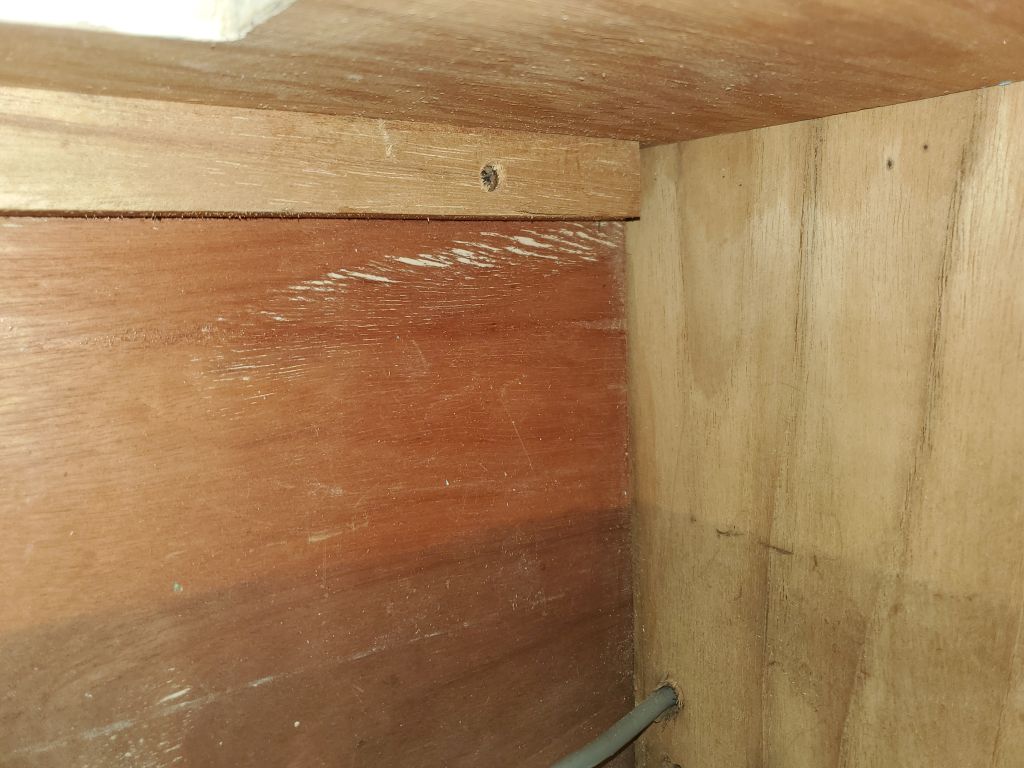
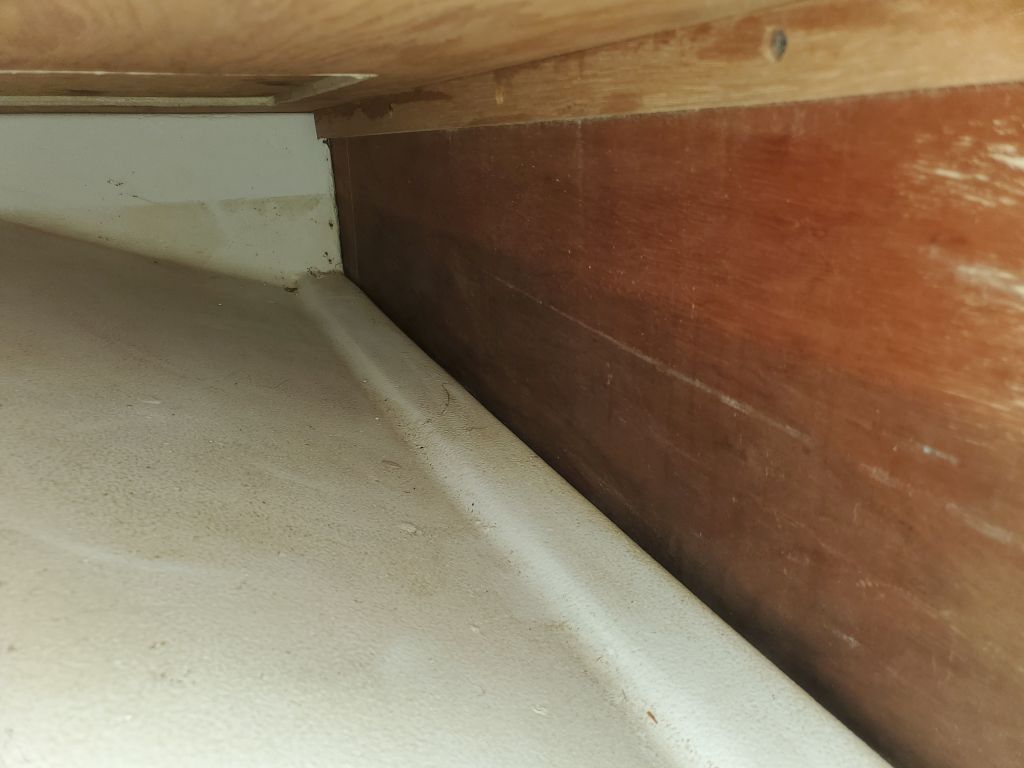
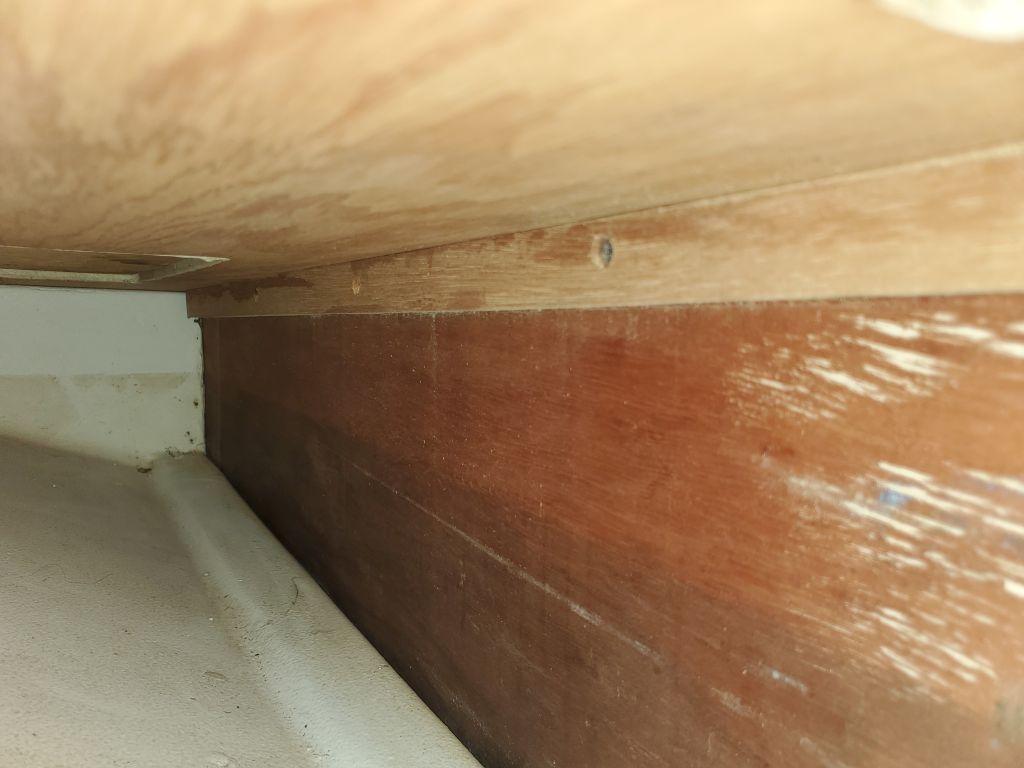
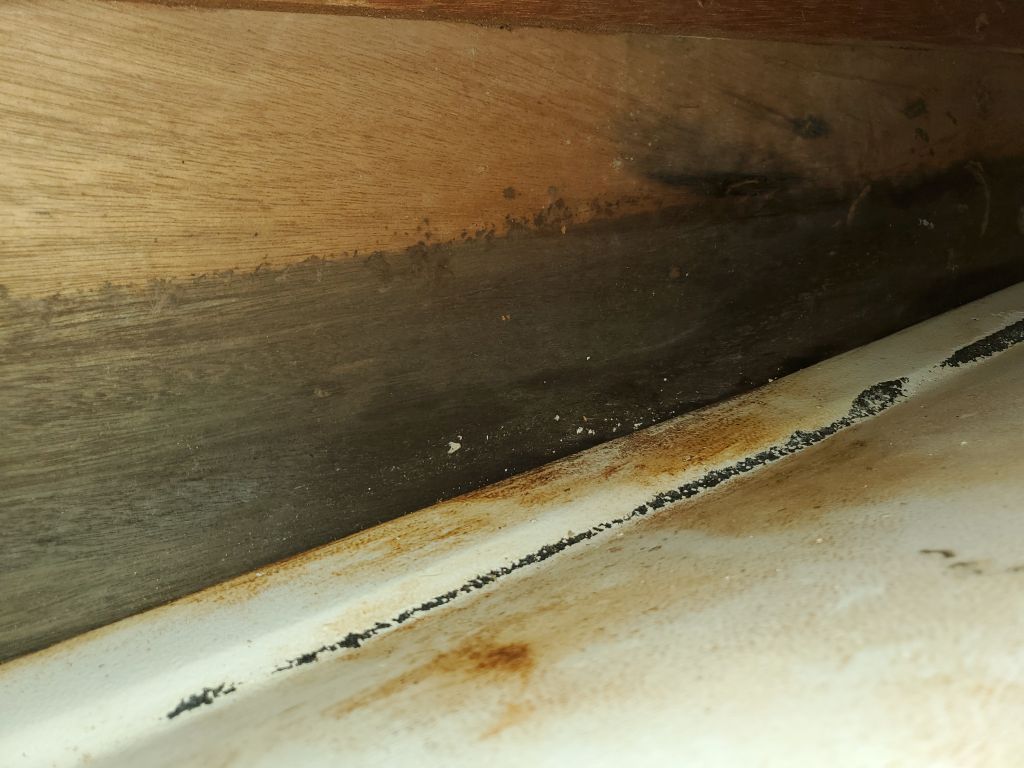
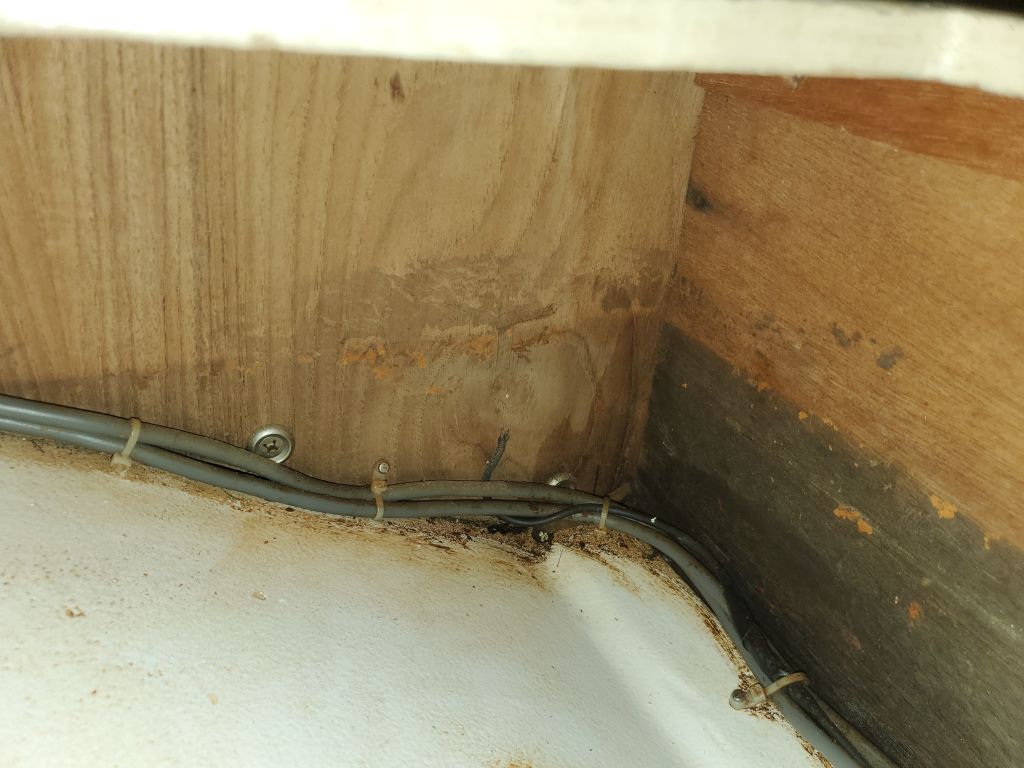
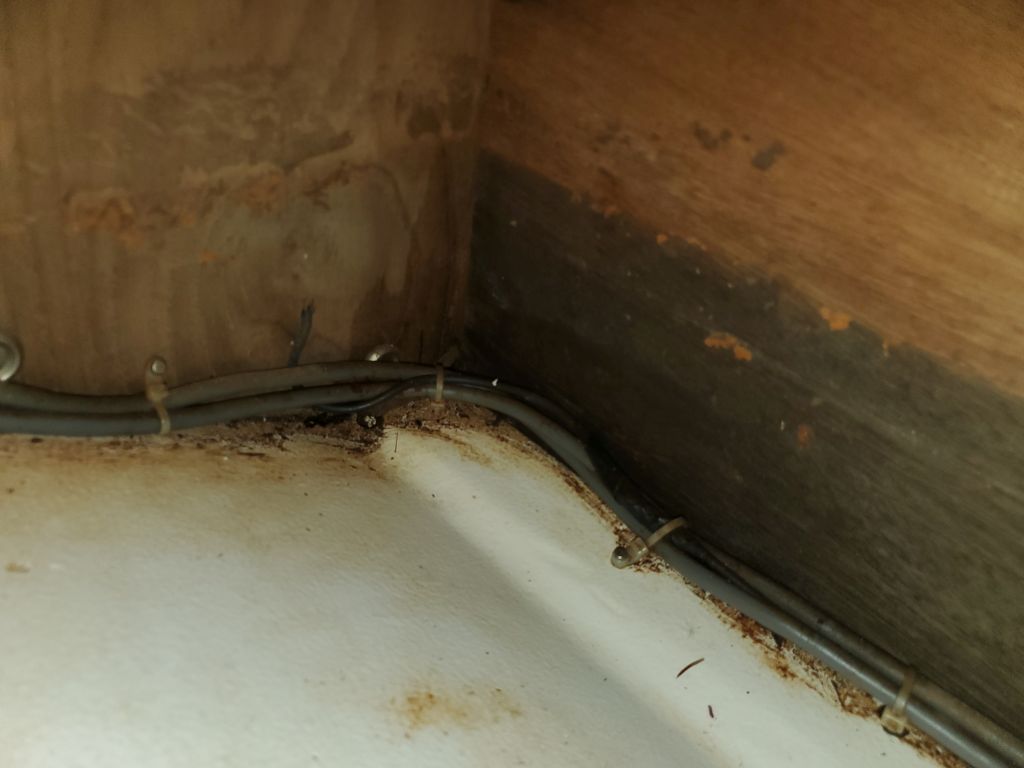
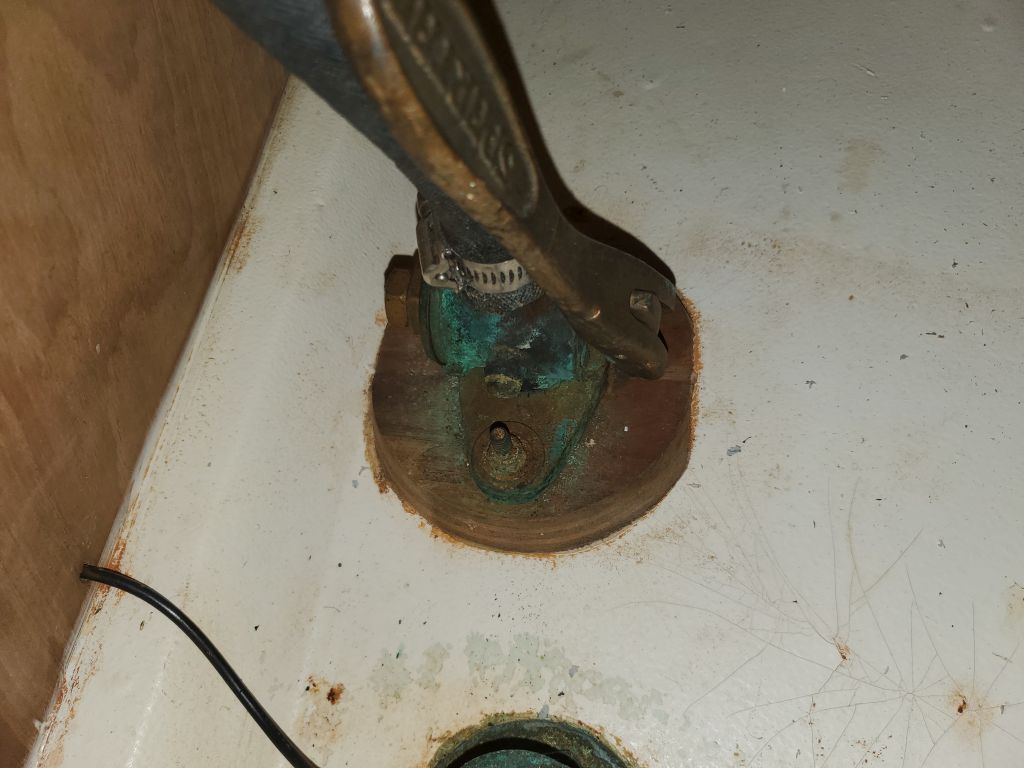
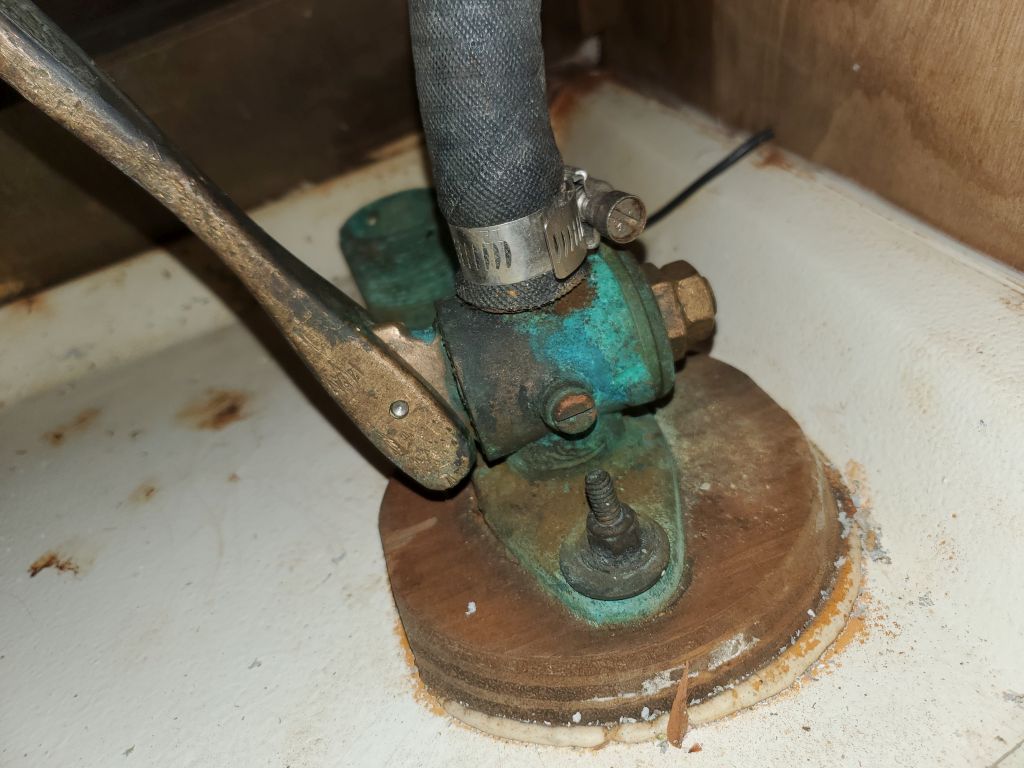
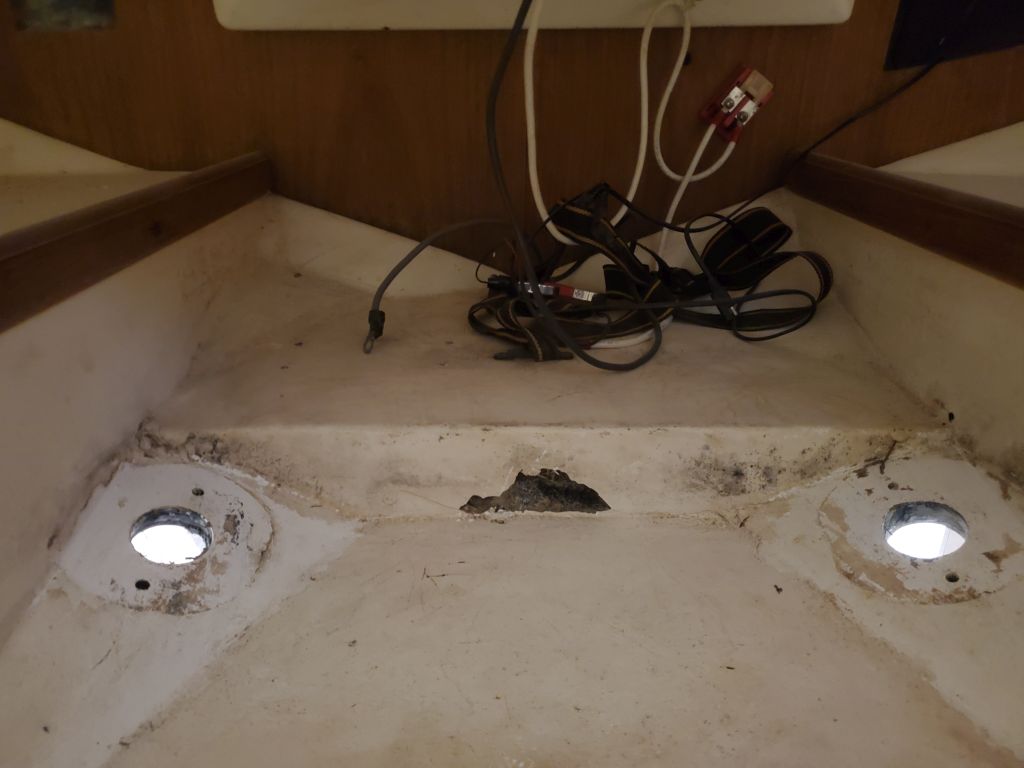
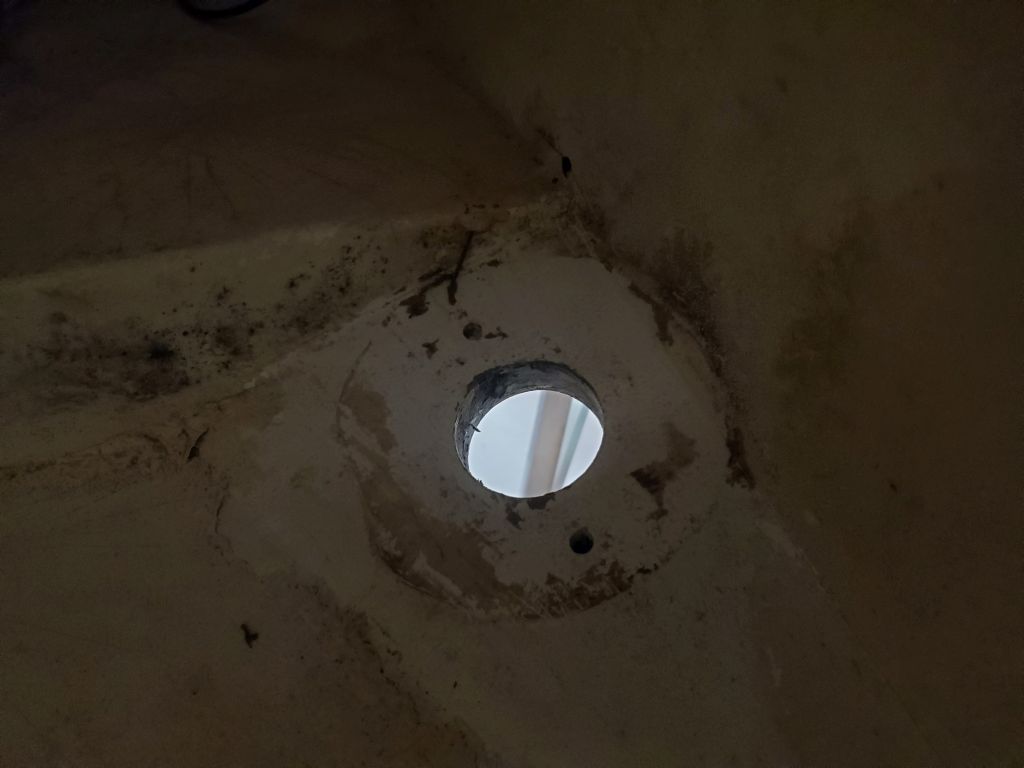
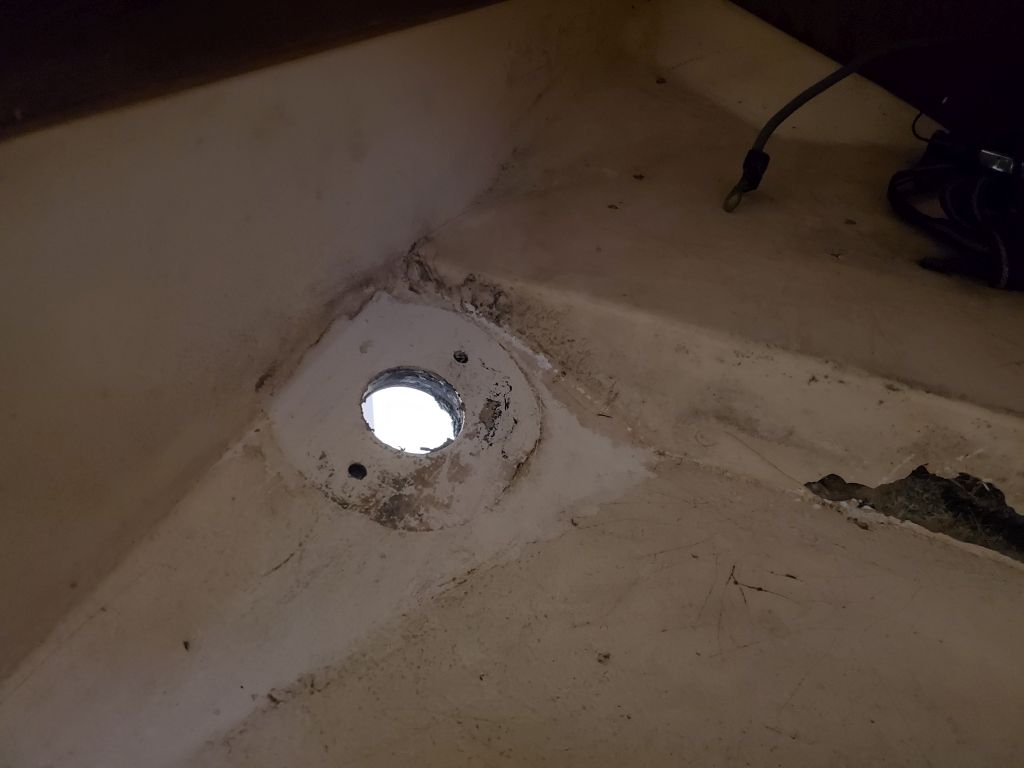
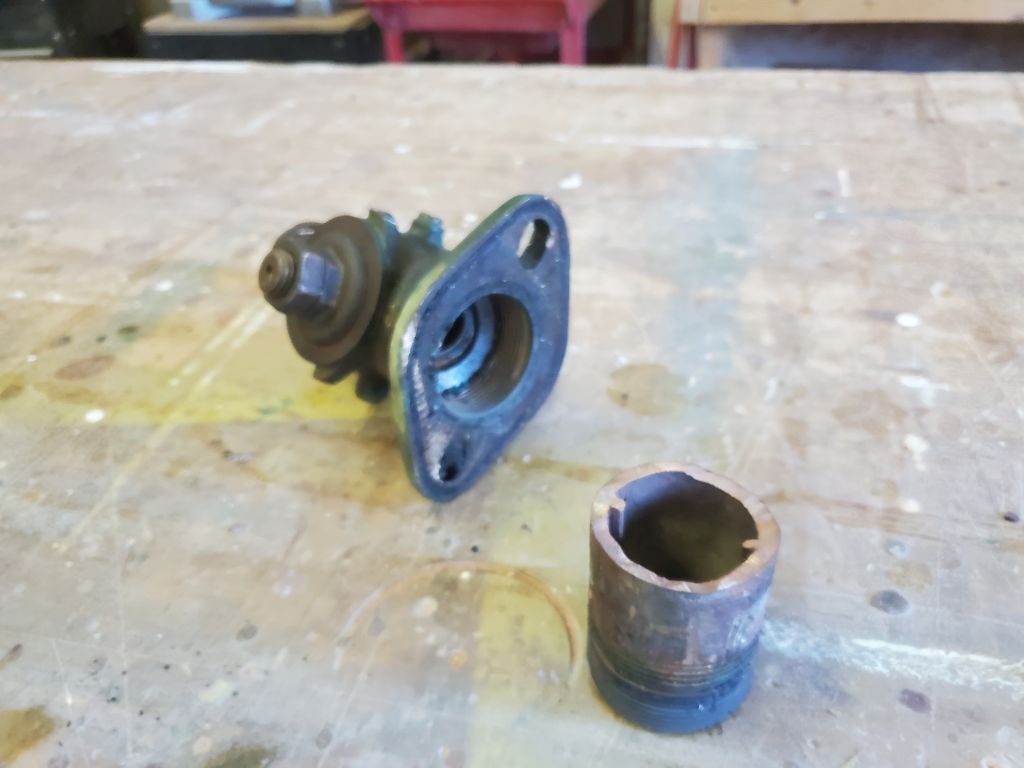
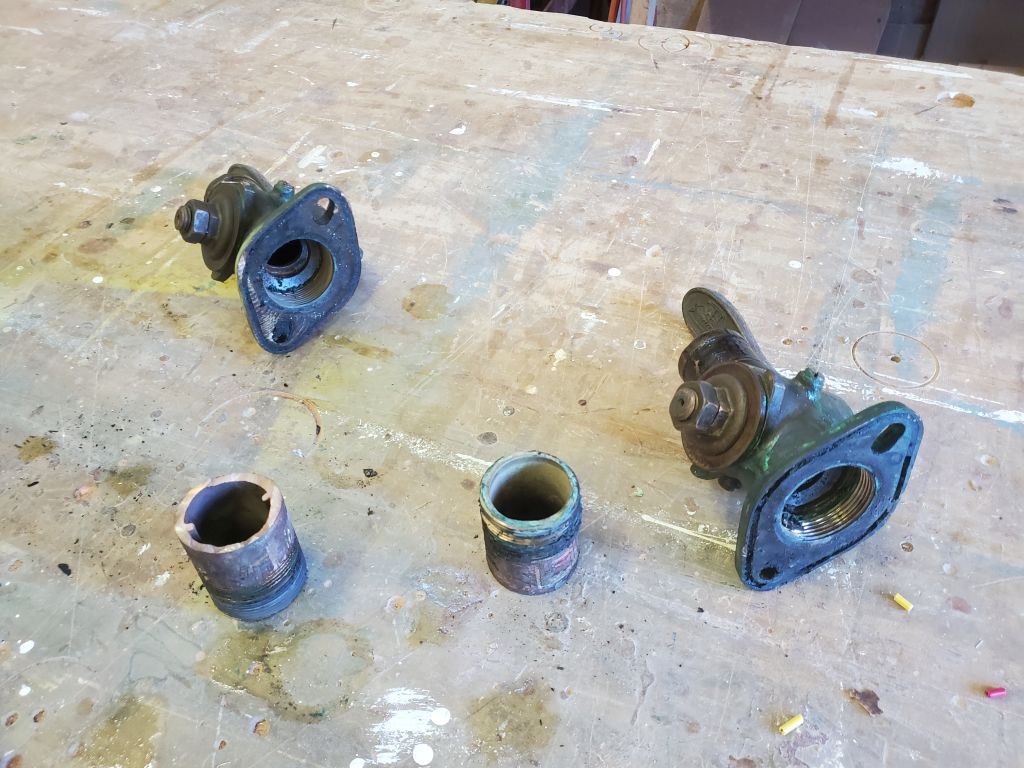
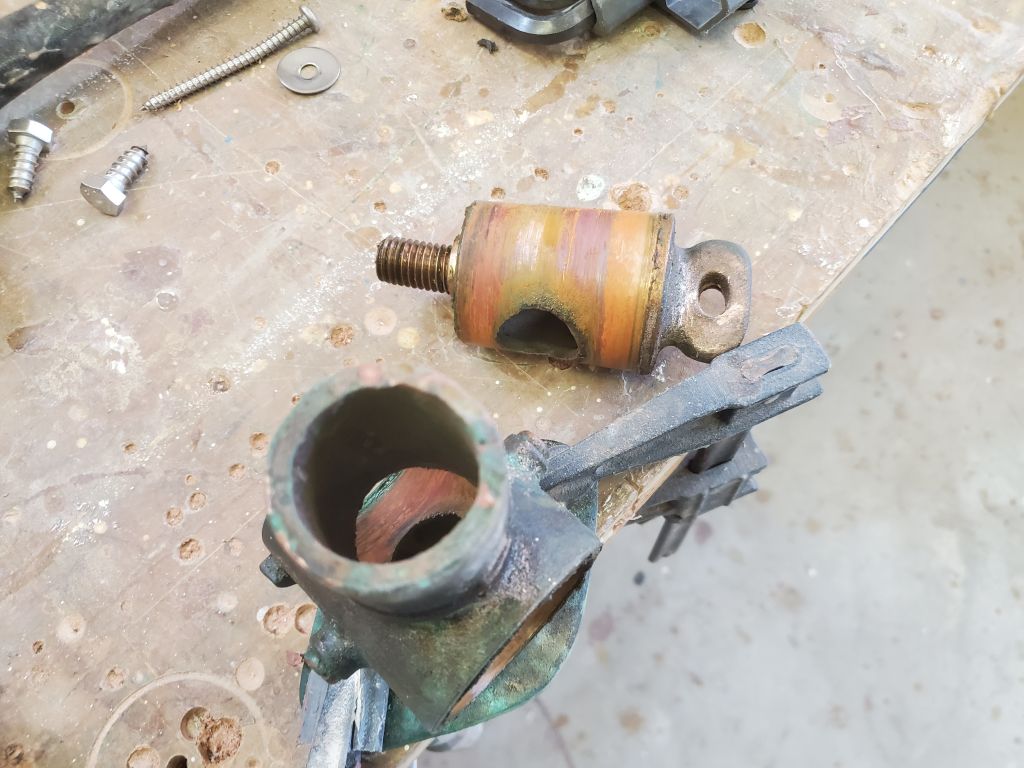
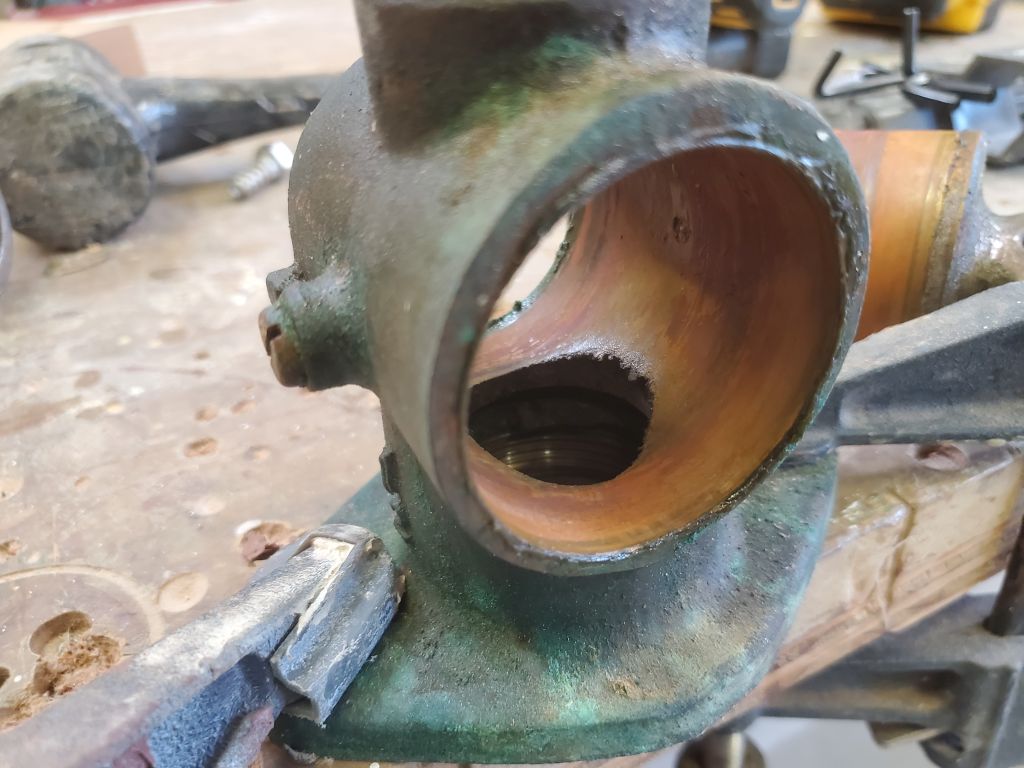
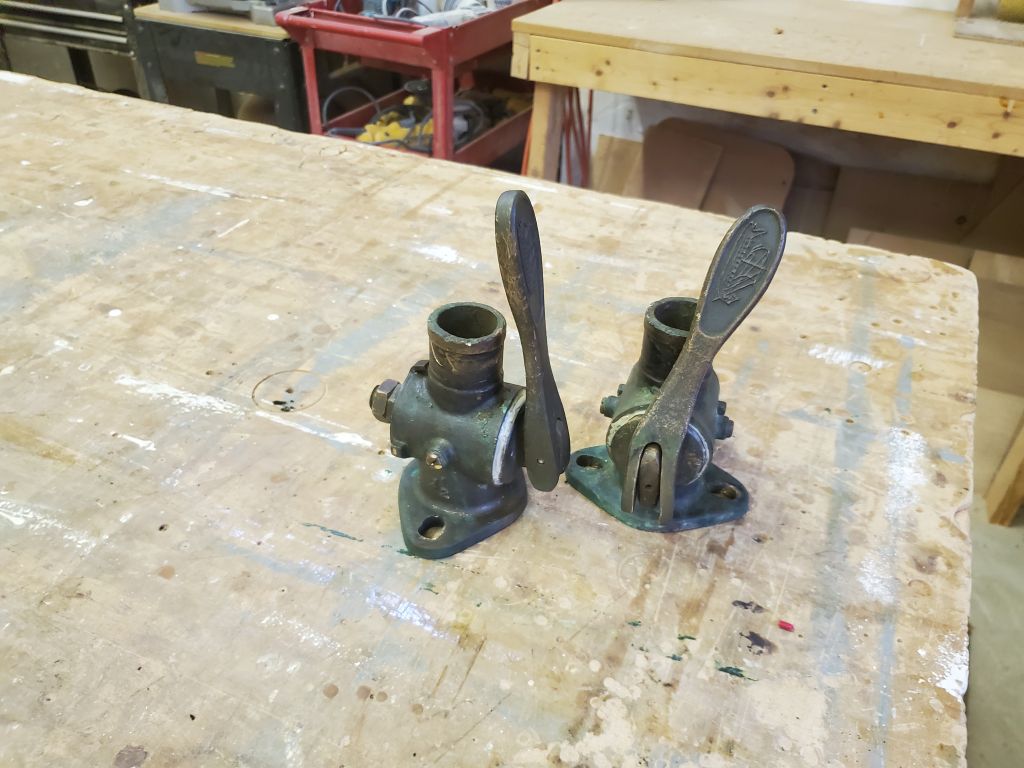
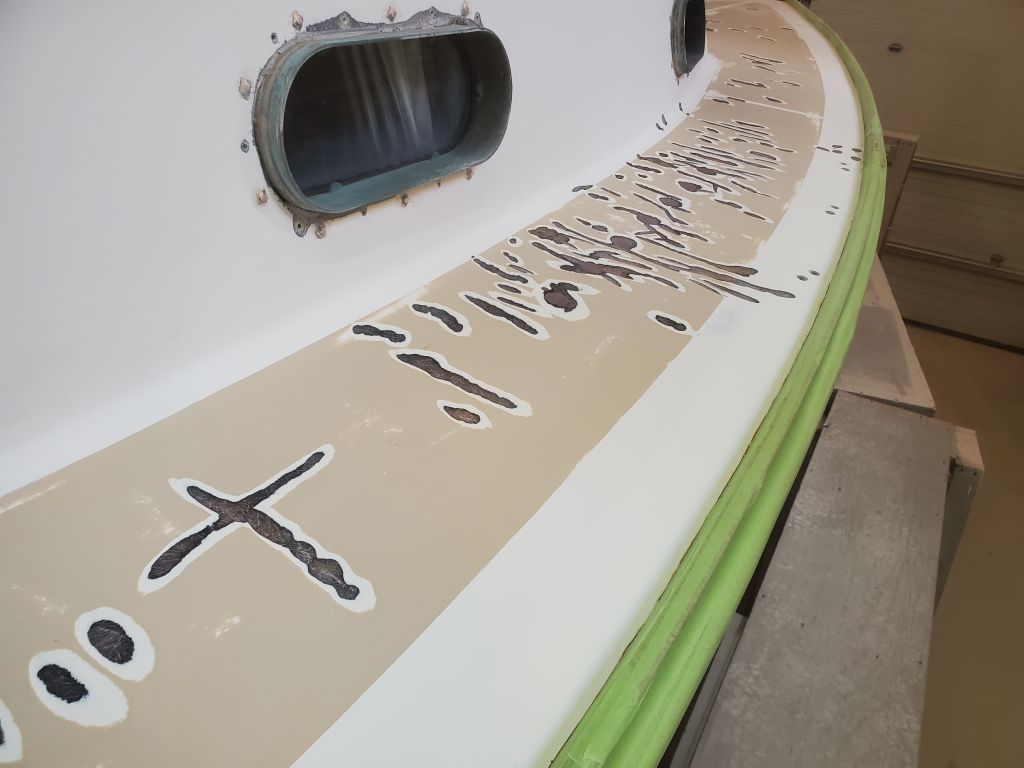
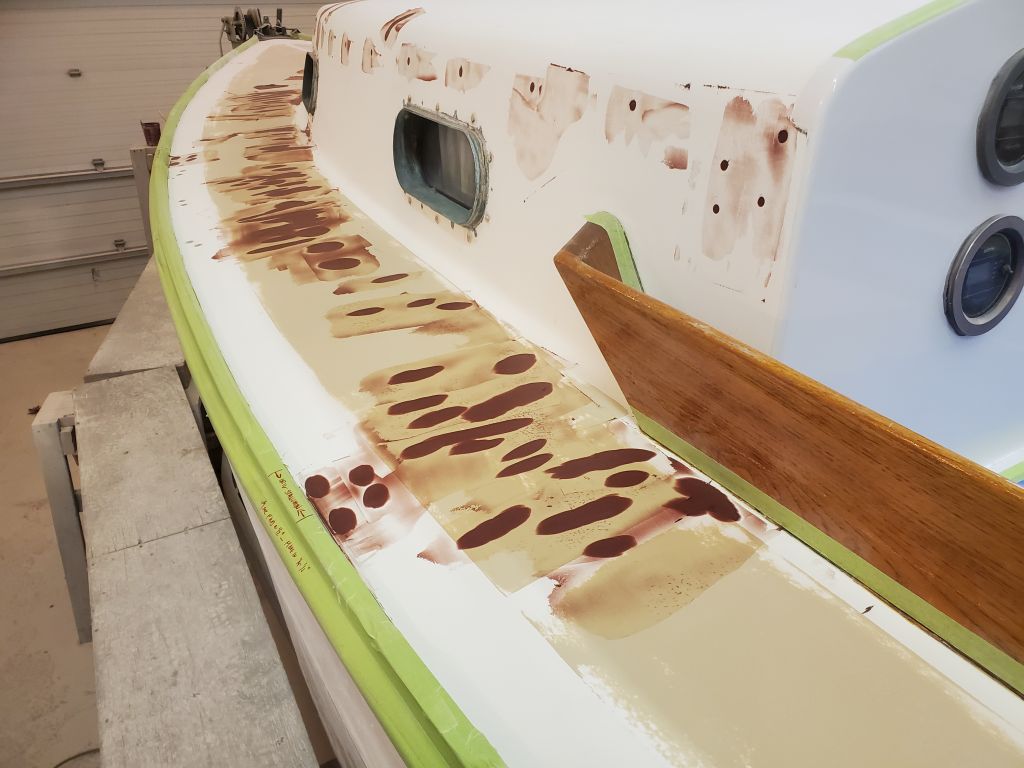
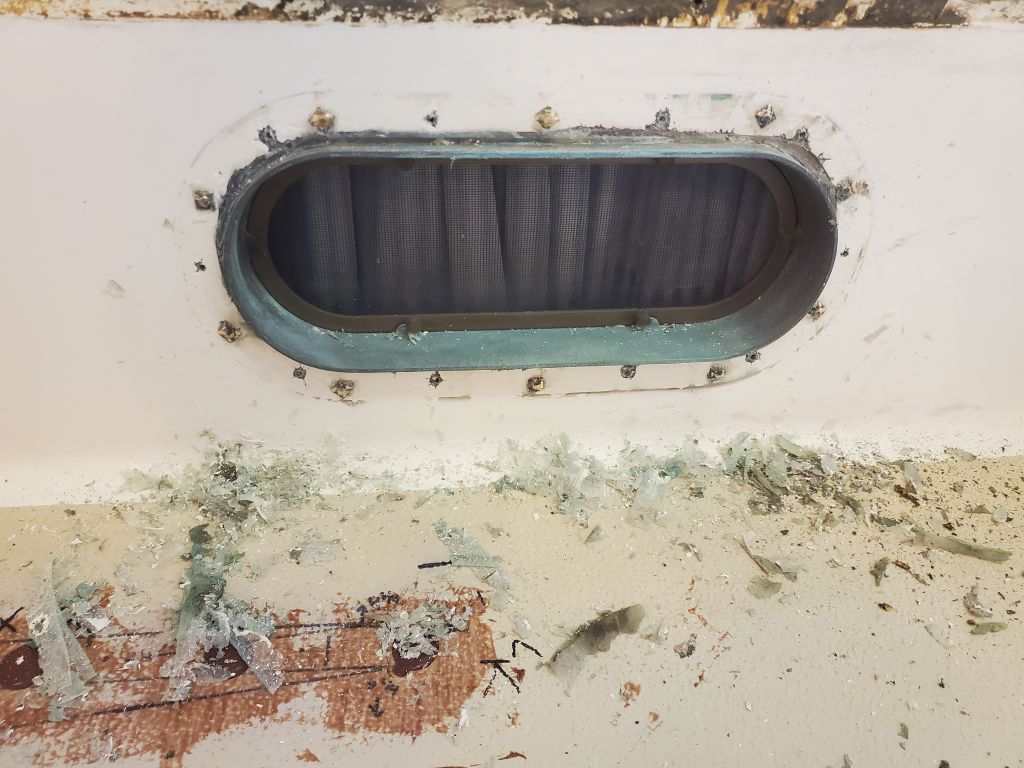
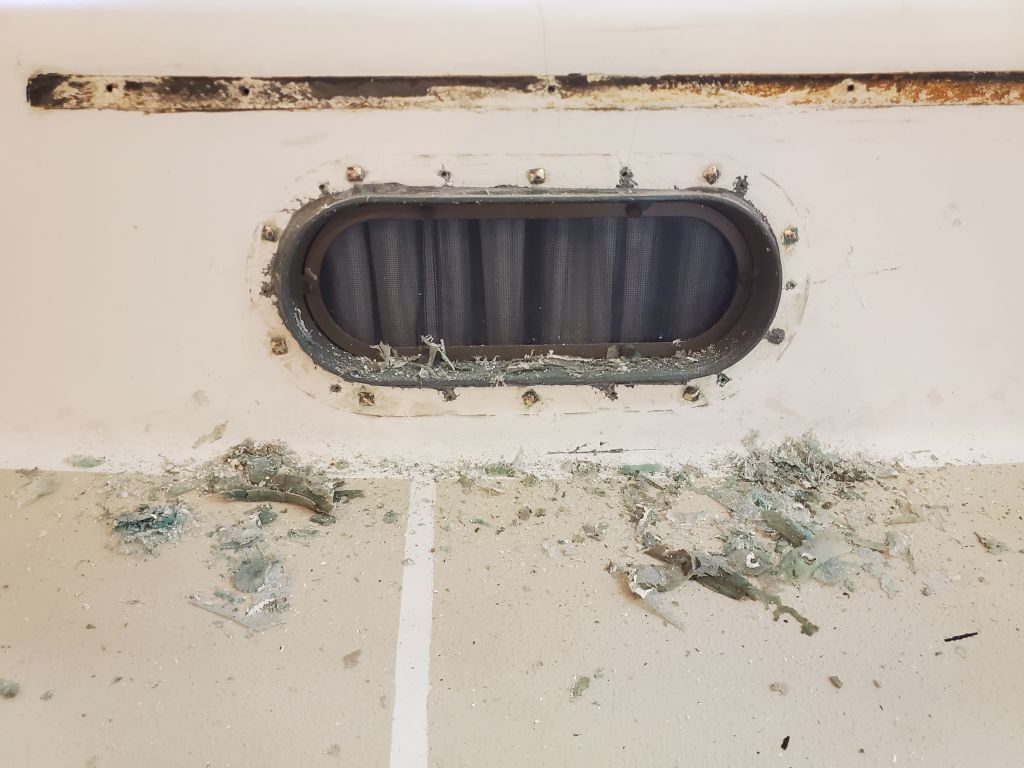
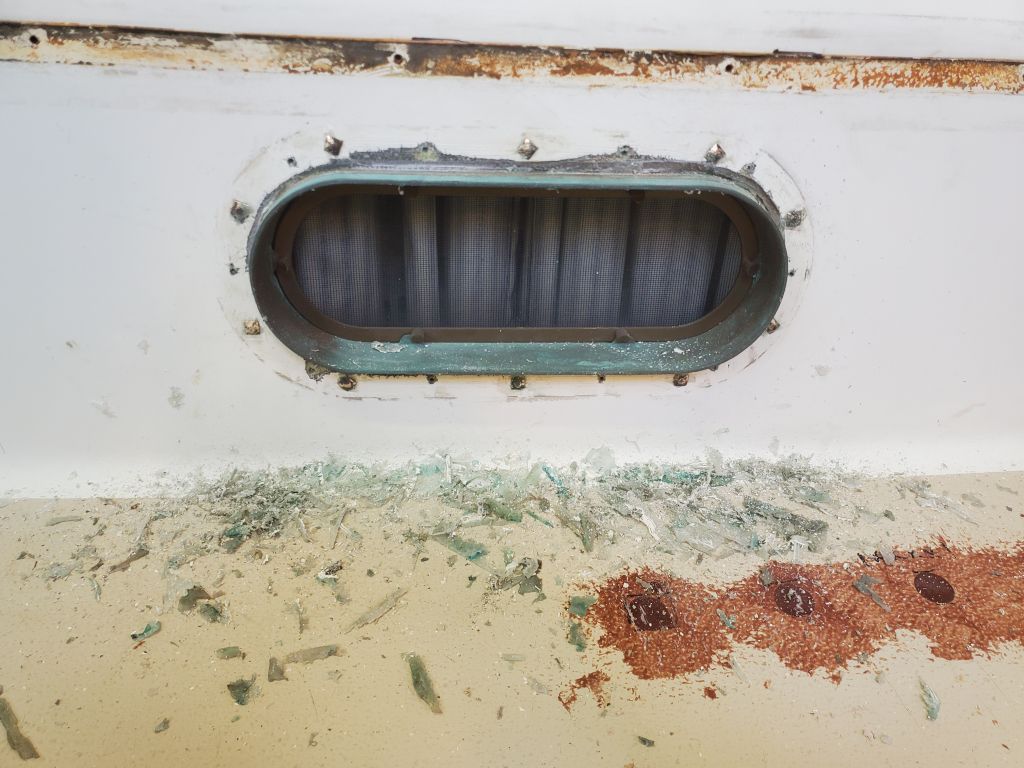
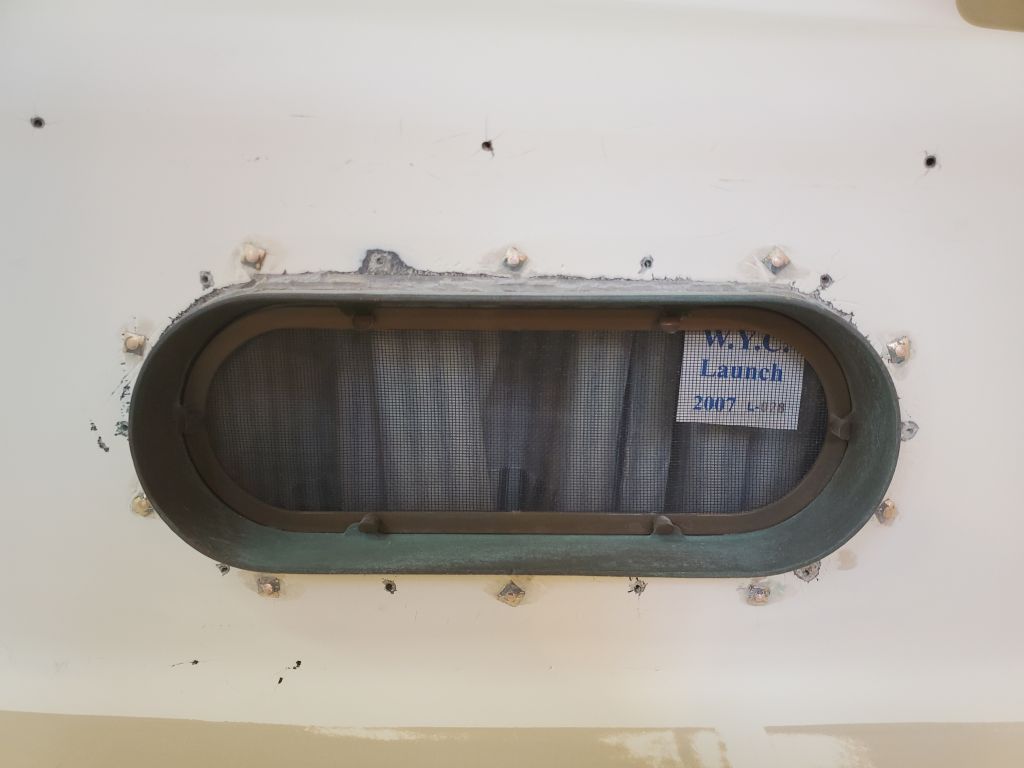
In the cabin, I  sanded and prepared the damaged liner between the two scupper seacock locations, and also sanded clean the areas in way of each through hull for the new installations to come, and reamed out the existing hull holes to remove old sealant.  For repainting purposes, I sanded clean the entire area aft of an existing wooden cleat to give me a defined and logical stopping point.  Afterwards, I applied some epoxy filling compound to the liner.

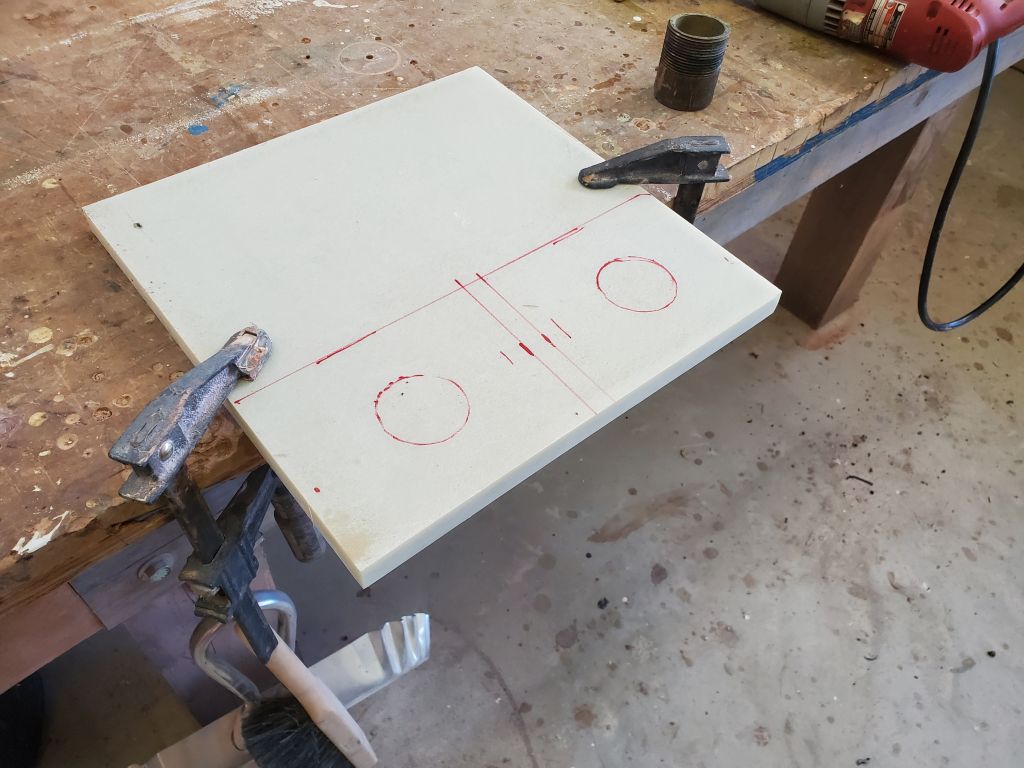
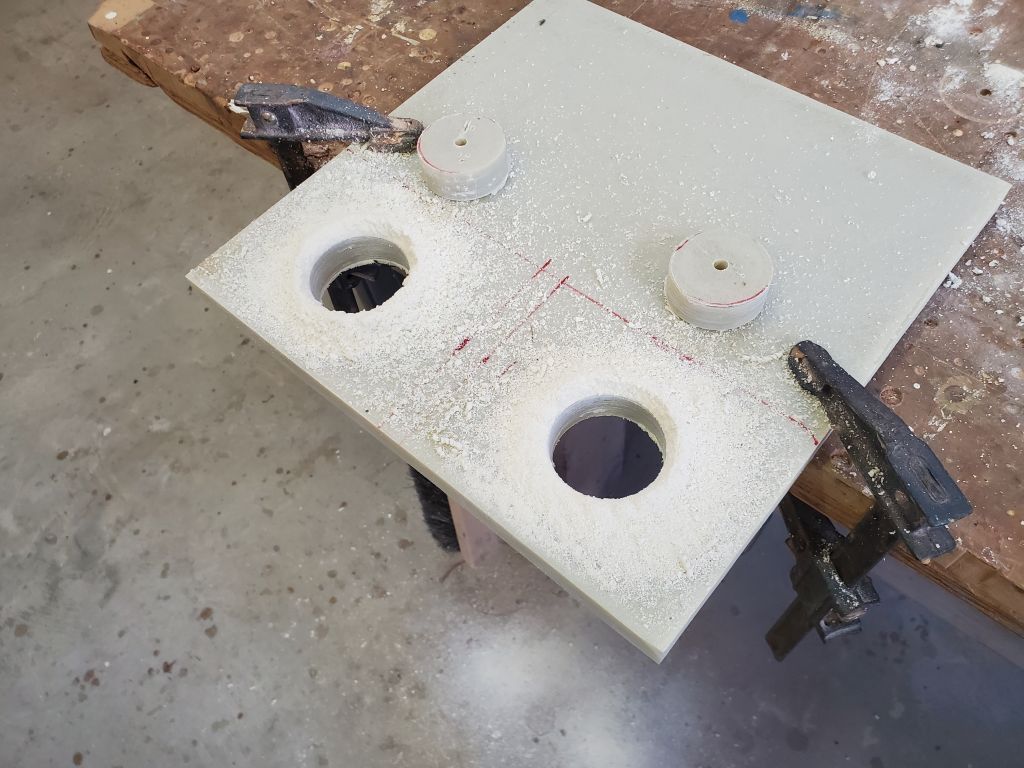
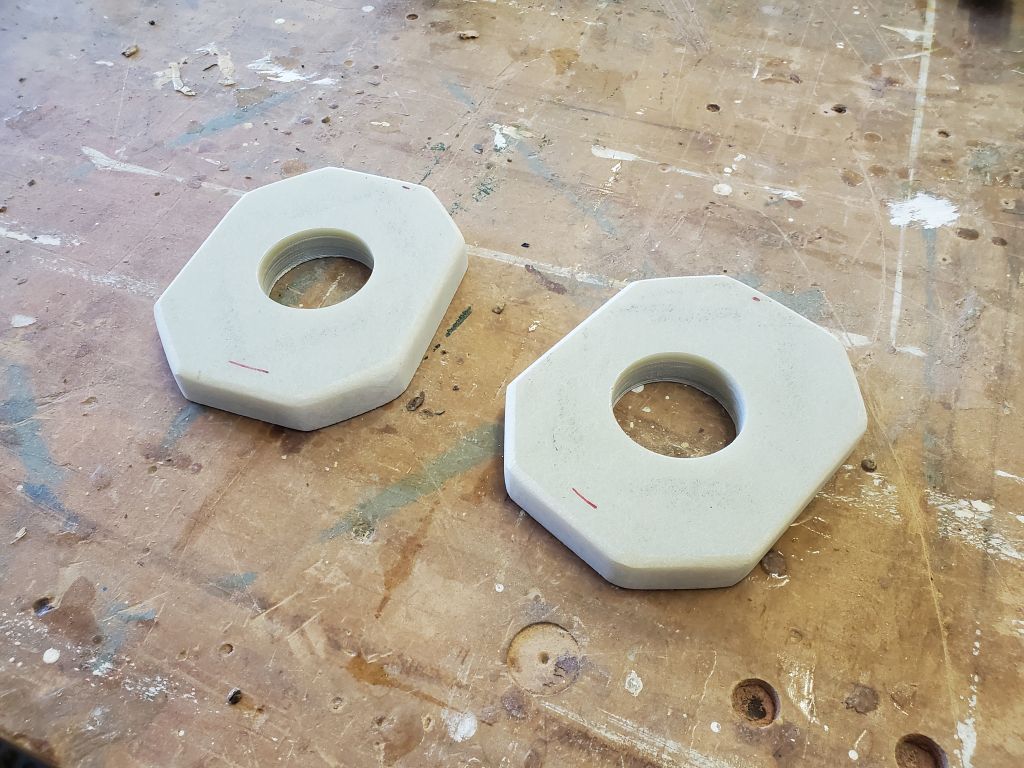
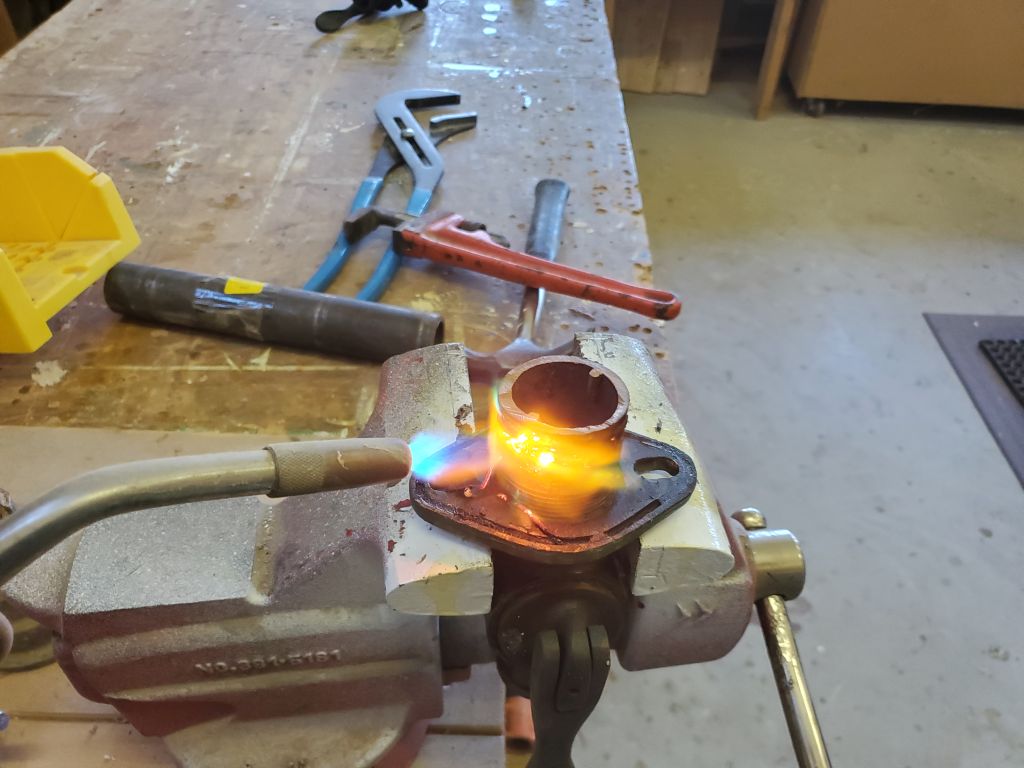
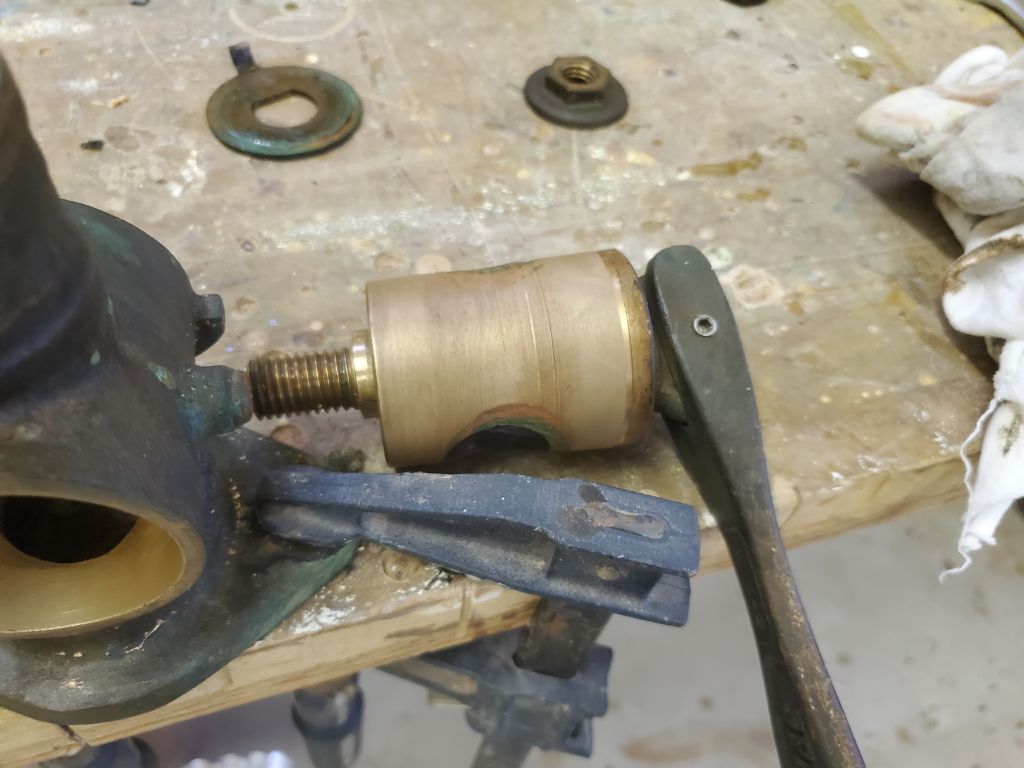
From a sheet of 3/4″ G10, I made up new backing blocks for the seacocks.  I like to drill the large holes first, before cutting the sheet, to give me more clamping surface to hold the piece conveniently.

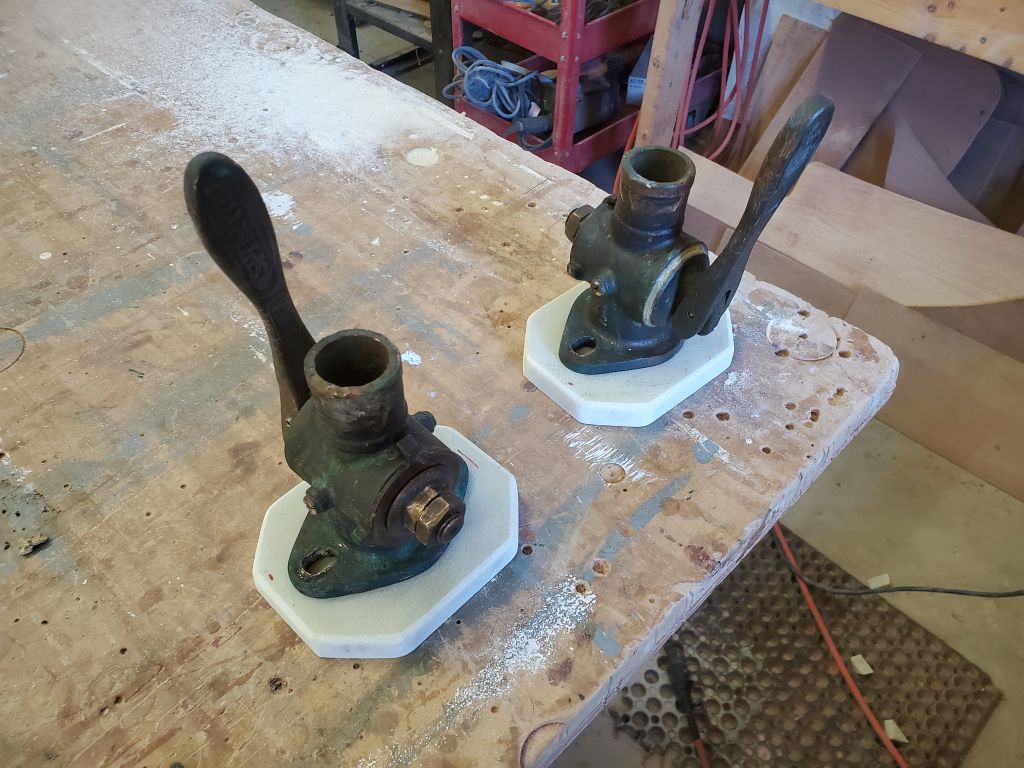
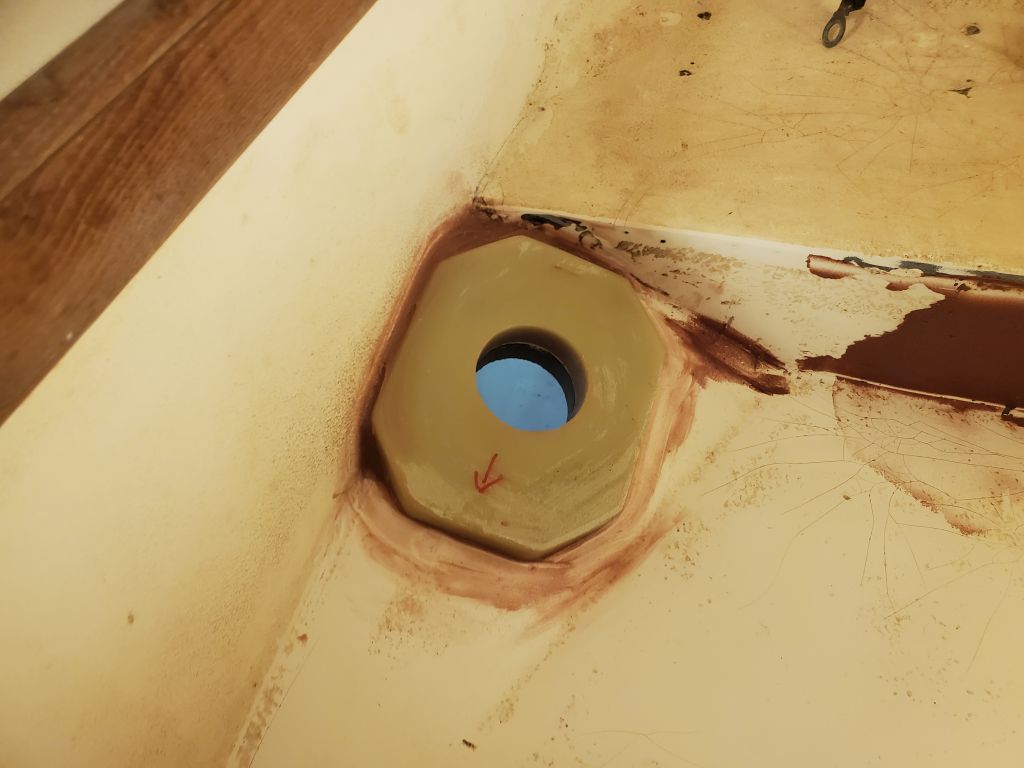
After a test-fit and final preparations, I installed the new blocks in a heavy bed of thickened and strengthened epoxy.

Total time billed on this job today:   6.5 hours

0600 Weather Observation:  38°, clearing.  Forecast for the day:  Clearing, 46°

Arietta Phase 2-13

Thursday

Continuing with the deck surface prep, I spent the morning on another round of sanding and cleaning the decks once more.  Things were close to their final contours.

I also completed some standard hole prep at the handrail bolt locations (4 per side) and the bow cleat, using a 5/8″ bit to remove the core from these locations.  The existing core was in good condition–balsa in the coachroof at the handrail locations, and plywood in the center of the foredeck beneath the bow cleat.

I filled the reamed-out bolt holes with a structural epoxy mixture using high-density filler, then, as needed, applied another round of fairing filler to the decks, mainly to a few obviously low areas in the patchwork.

One of the jobs on the extended “if time allows” list for this season was to replace the plywood settee fronts, two short sections of plywood at the forward ends of the settees that were delaminating from water damage.  I spent some time examining the situation.  Replacing these panels would require removing the teak fiddles from the edges of the berths (held in place with bunged fasteners), and removing various other screws securing the fronts to the berth tops (a hardwood cleat screwed into both pieces), and additional screws securing the bottom edges of the fronts to the molded flange in the fiberglass liner.

There was a clear, straight line visible on both sides of the plywood in these lockers, suggesting that the lockers (or perhaps the whole interior) had once been filled with water to this level for some period of time.  This line was also visible on the outside faces of the settees, though I only truly noticed it once I’d spent the time inspecting the insides of the lockers (seen in the series of photos above).

None of this made much difference to the plan ahead–I just thought it was interesting.  Other than the tedium and care required to remove all the bungs covering the screws securing the fiddles, I thought the settee replacement would be rather straightforward, and I could proceed once we chose the materials.  I had hoped to use an offcut of teak plywood that I had in the shop, but alas, it was too short by about an inch.  The owner indicated he would also consider white-painted plywood, which I thought would be the best and right answer, but we’d soon decide that.

I also had a look at the last through  hull and seacock in the boat, servicing the galley sink.  This had been a question mark on the to-do list, depending on the condition of its backing plate, but the original plywood looked to be sound and in good condition, with no signs of imminent deterioration, and given this, I saw no reason to go through the rigamarole of replacing it just as a matter of course.

Along with preparing the area for the new backing blocks and seacock installation beneath the cockpit, I planned to repair a section of damaged gelcoat in the liner between the through hulls, another request on my project list.  I planned to prepare this area, and the through hull holes, next time I had the sanding gear out.

Total time billed on this job today:   6.75 hours

0600 Weather Observation:  48°, overcast.  Forecast for the day:  Mostly cloudy, 58°

Arietta Phase 2-12

Wednesday

I began the day with a round of sanding to smooth the first application of epoxy on the deck areas.

After vacuuming and solvent-washing all deck areas, I applied a second coat of epoxy fairing filler, focusing on the repaired areas but also skimming over the existing gelcoat where needed to fill remnants of the old pattern.

During what remained of the day, I worked on the two scupper seacocks that I’d removed earlier.  Over the past week or so since I got the seacocks out of the boat, I’d made a few minor attempts to remove the remaining through hull studs from the valves, and had been soaking them in penetrating oil repeatedly throughout.  So far, I’d not been able to budge the old threads, partly because of vice problems and figuring how best to secure the valves during the removal, and partly because of age and sealant probably holding the threads tightly.  Now, however, it was pretty much do-or-die time, as I didn’t want to waste time on a lost cause.

Trial and error finally led to a clamping situation that held the valves securely enough against the force required to break free the threads, and some judicious heating of the pipes probably didn’t hurt either, though it took about as much force as I could muster to finally get the old studs to move.  But finally the job was done.  The valves were in generally good condition overall.

One of the valves had been frozen in the open position when it was still in the boat, so I decided to disassemble and service both seacocks to prepare them for reinstallation.  The stuck valve was really quite stuck, and after clamping the base to the bench I had to remove the bronze handle so I could use something larger to break free the tapered plug within.  Fortunately, the components of the valve were in good shape otherwise.  After cleaning out the old grease and other residue from the plug and body, I lightly lapped the parts just to clean up the bronze, after which I applied new Spartan grease and reassembled the valve.

I repeated the process with the second valve, which wasn’t as difficult to disassemble and was in similar condition to the first one.  New backing plate material was on the way, I had the new through hull fittings on hand, and soon I could think about reinstalling the valves to wrap up this item on my list.

Total time billed on this job today:   6 hours

0600 Weather Observation:  36°, mainly clear.  Forecast for the day:  Increasing clouds, 41°

Arietta Phase 2-11

Tuesday

With a marker, I went around the deck and highlighted all the small deck cracks I wanted to grind out and repair.  Most of these were small enough that they were hard to see, particularly once the gelcoat dust started flying, so by tracing them I hoped to make it easier to keep track.  While the sheer number of these cracks seemed overwhelming, they were mostly of a tight and minor nature in the heavy layers of gelcoat atop the deck, but for cosmetics if nothing else they required repair.

I’d planned to get right into grinding these out, but I was called away unexpectedly when my dentist appointment was moved up several weeks thanks to a cancellation, so to use up the time before the appointment, I chose instead to work on the bow pulpit.

When Arietta was here last time, the owner had asked if I could straighten a bent bow light bracket on the bow pulpit, but I was unable to do so with the pulpit on the boat–I tried, but the little bracket was amazingly strong, strong enough that I wondered how it ever got bent in the first place without also causing damage to the pulpit itself, and nothing I could try on the boat itself budged it even a little, so we postponed the project till now, when I knew the pulpit would be off the boat and easier to work on or, if needed, to take somewhere.

Some days  earlier, I’d prepared for this by removing the bow light assembly to expose the bracket, and tried unsuccessfully then some various clamping positions and pressure to straighten out the bracket.

Now, I eventually straightened it out with a few different positions and machinations in the vice.

Afterwards, I took the opportunity to replace the wiring through the pulpit, then reinstalled the light fixture to complete the project.

Later, back from my appointment, I ground out all the cracks on deck, creating wide-ish bevels around all the cracks and through the gelcoat layers as needed to eliminate the cracks.  I also reamed out the screw holes from the old eyebrow trim–the new trim might use different spacing–and created wider, gentle bevels around the new jib track hole locations and at the stanchion base fasteners to prepare for additional filling.

After cleaning up, I applied the first round of epoxy filling compound to all these areas.

Total time billed on this job today:   5.5 hours

0600 Weather Observation:  34°, mainly clear.  Forecast for the day:  Sunny, 43°

Arietta Phase 2-10

Monday

When the owner first delivered the boat this fall, he showed me how the setscrew on the outboard bracket had seized during the summer (stainless steel screw in an aluminum bracket), rendering it unremovable.  Over the weeks since, in short sessions here and there as time allowed (the latest over the weekend), I extensively soaked the frozen fastener in penetrating solvent and made various attempts at removal, eventually succeeding by drilling out the fastener from the back side, leaving a slightly misshapen hole since the bit wandered a bit.

To repair the hole and hopefully to better avoid the seizing problem in the future, I installed a stainless steel threaded insert, drilling and tapping the aluminum to accept the insert with its coating of permanent red Loctite, which, once fully set, would (at least theoretically) hold the insert from turning when the setscrew was used.  I’d source a new thumbscrew to complete this small task.

Before beginning the bulk surface prep on the main decks, I masked off the toerails and a few other areas for added protection during the initial rounds of sanding, mainly for the areas adjacent to where I’d be sanding.  I expected to need to replace some of this tape later, before the painting steps.

With a sharp scraper, I removed the excess sealant from the ports from the areas beneath the trim rings, removing as much of the residue as possible.

I spent the remainder of the day sanding the decks, including the cabin trunk, companionway hatch, sea hood, and all main deck areas.  In all areas, I sanded smooth the original molded (gelcoat) nonskid pattern, particularly easing the edges where the nonskid met the smooth areas.  This initial pass, in addition to removing the old nonskid, was the first of several rounds of sanding to smooth, clean, and otherwise abrade all areas to be painted.  I used 80 grit paper on a 5″ DA for this round, as the original gelcoat nonskid was soft enough not to require more aggressive grits to start.

With this complete, I switched to a 4″ palm sander and hand work to sand the entire area again, focusing now on the edges and corners where the more powerful tool couldn’t safely reach.  By the end of this round, the decks were fully prepared for the next steps, which would include grinding out and filling various cracks, dings, and other areas, along with additional work on the hole filling I’d begun earlier.

Total time billed on this job today:   7.5 hours

0600 Weather Observation:  40°, light rain.  Forecast for the day:  Showers, gradual clearing, 45°

Older posts Newer posts