(page 2 of 4)

Arietta Phase 2-29

Wednesday

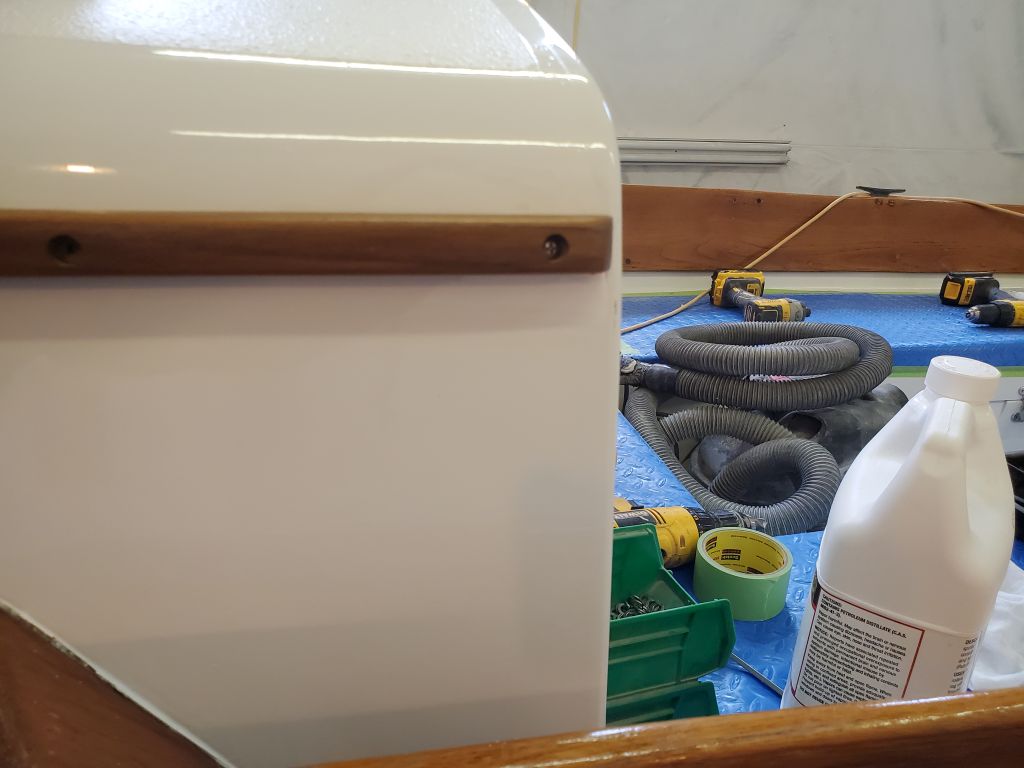
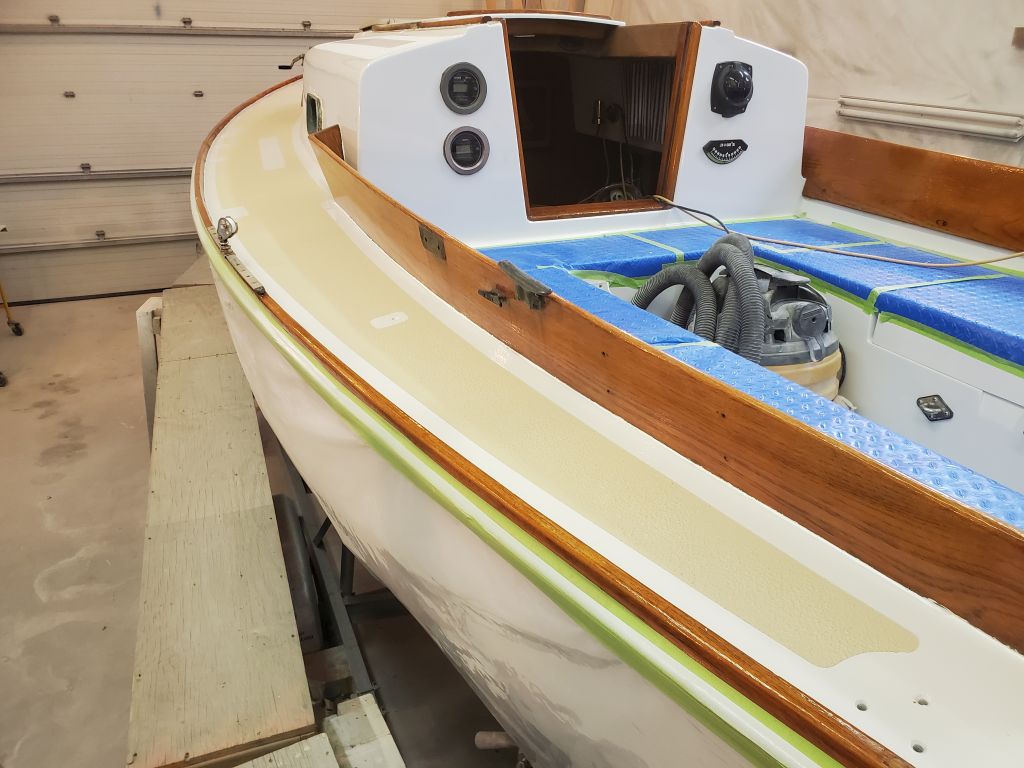
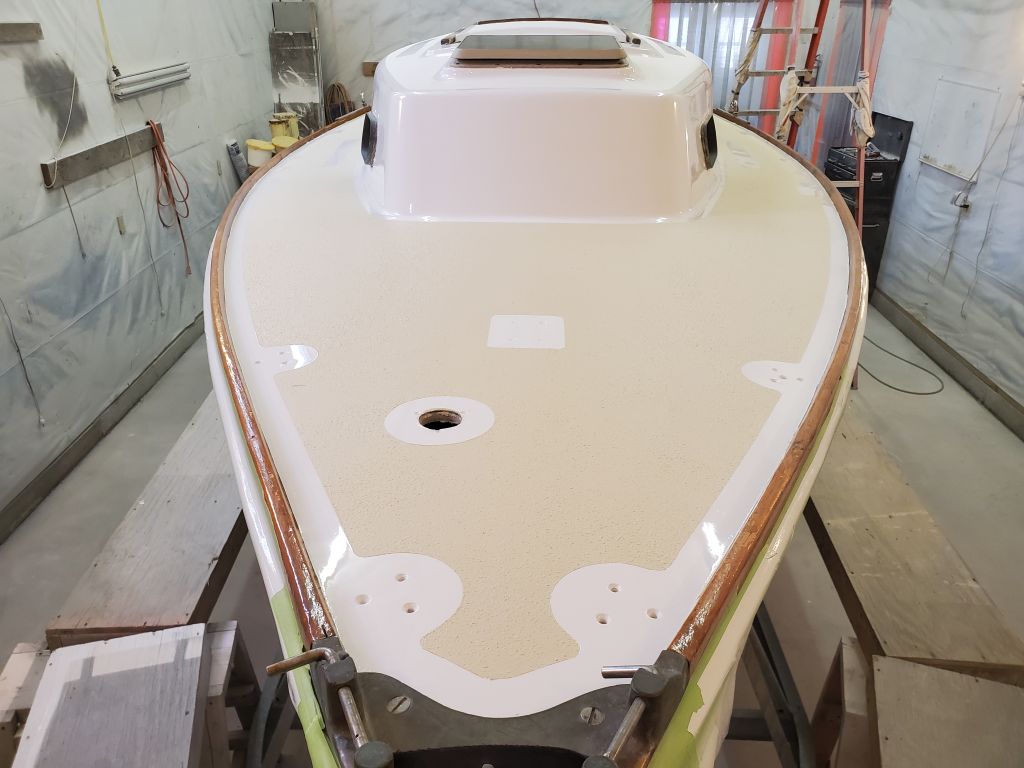
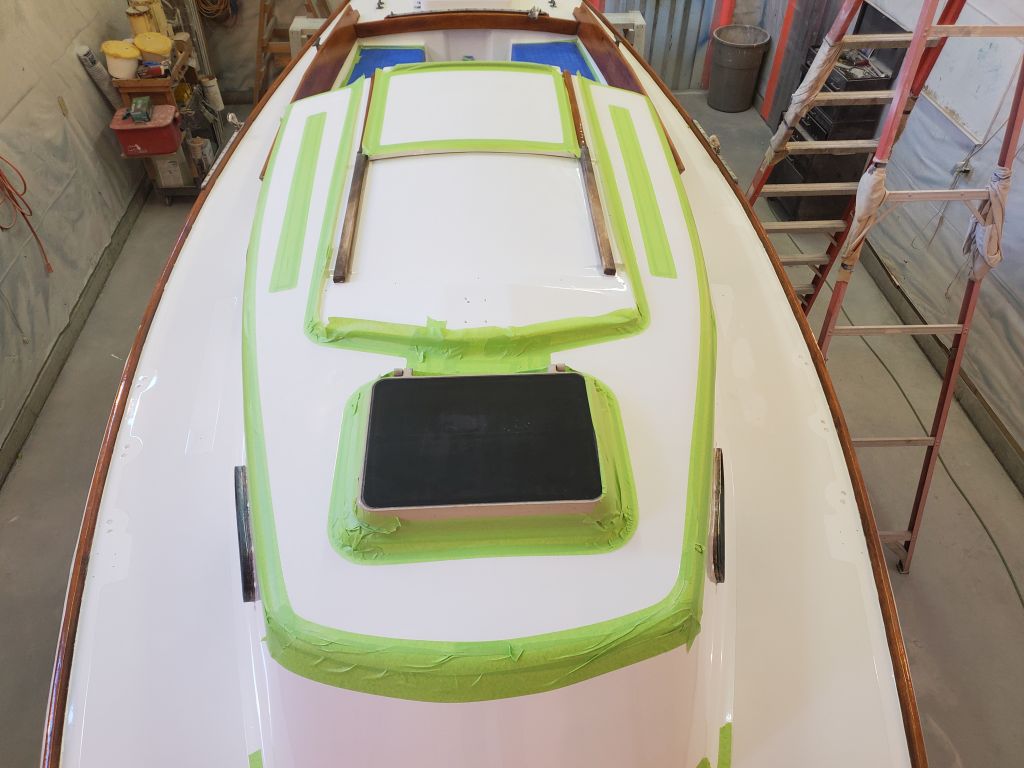
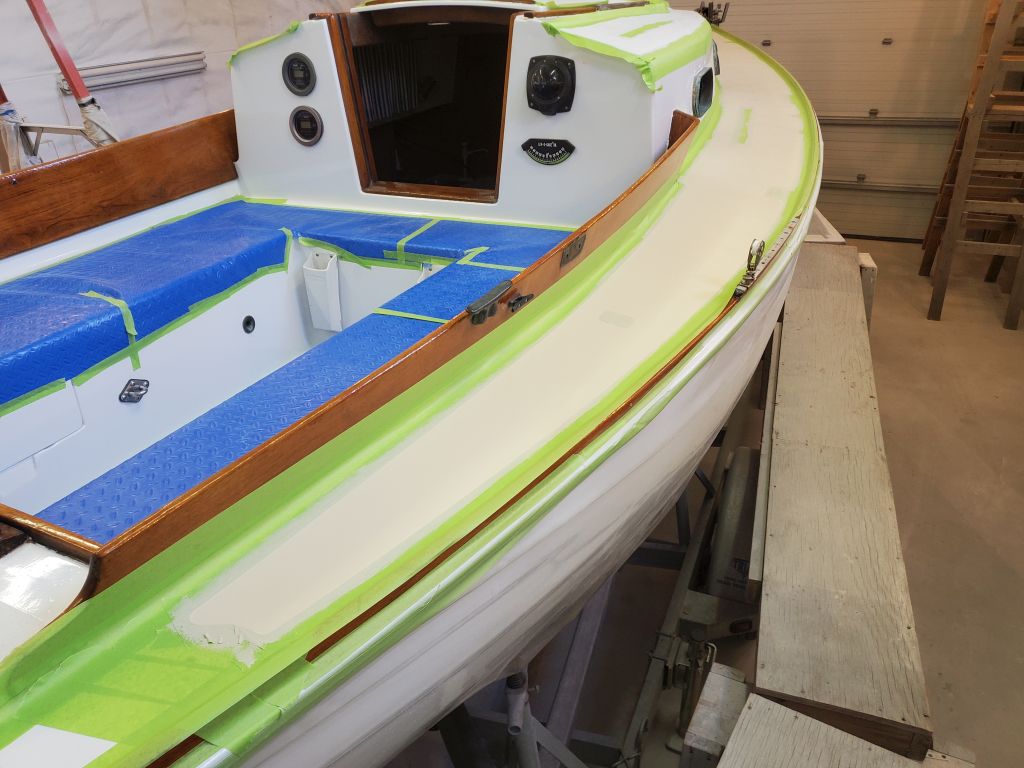
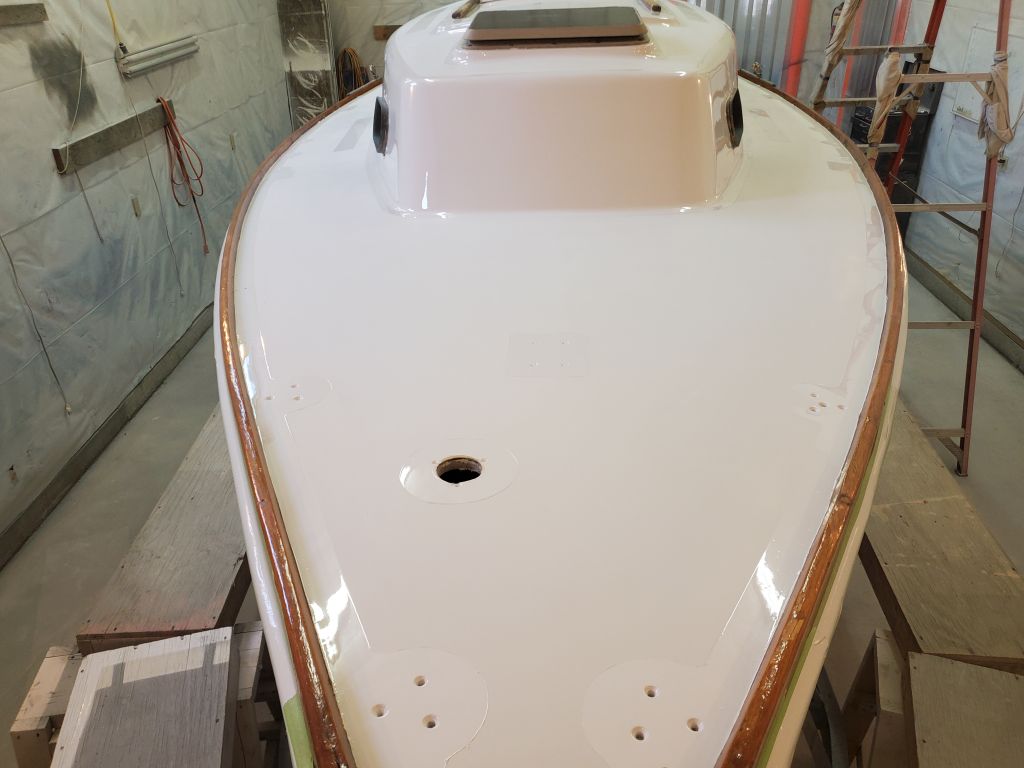
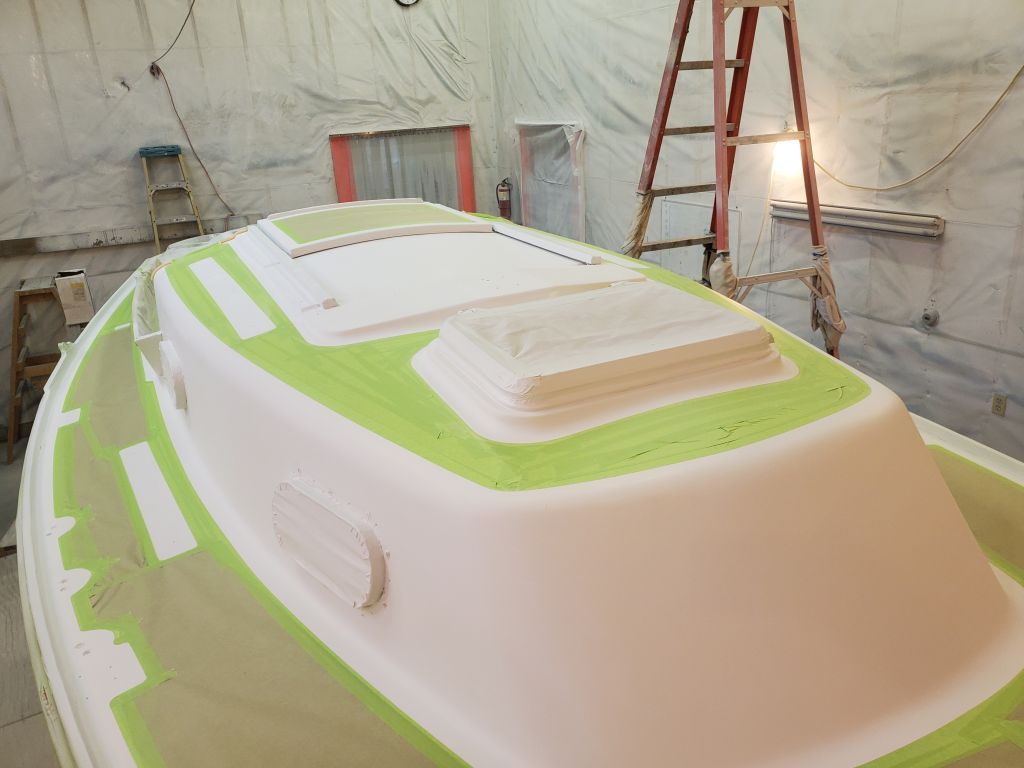
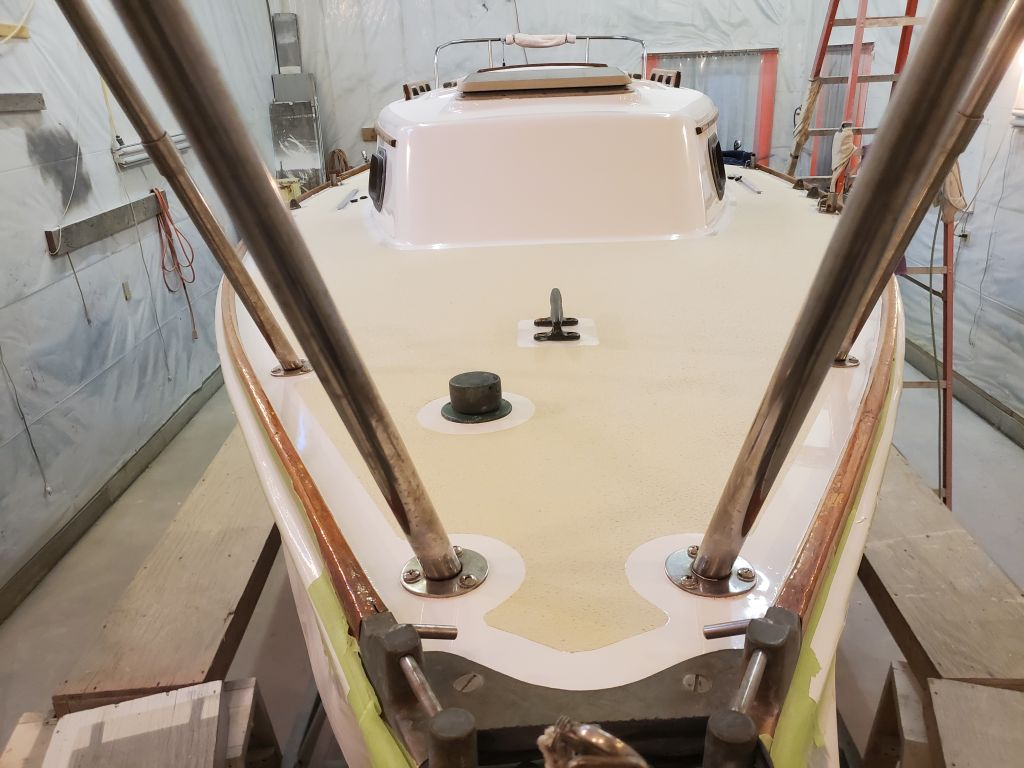
I began the day’s work with the bow pulpit, installing it with new fasteners and sealant through the existing holes.

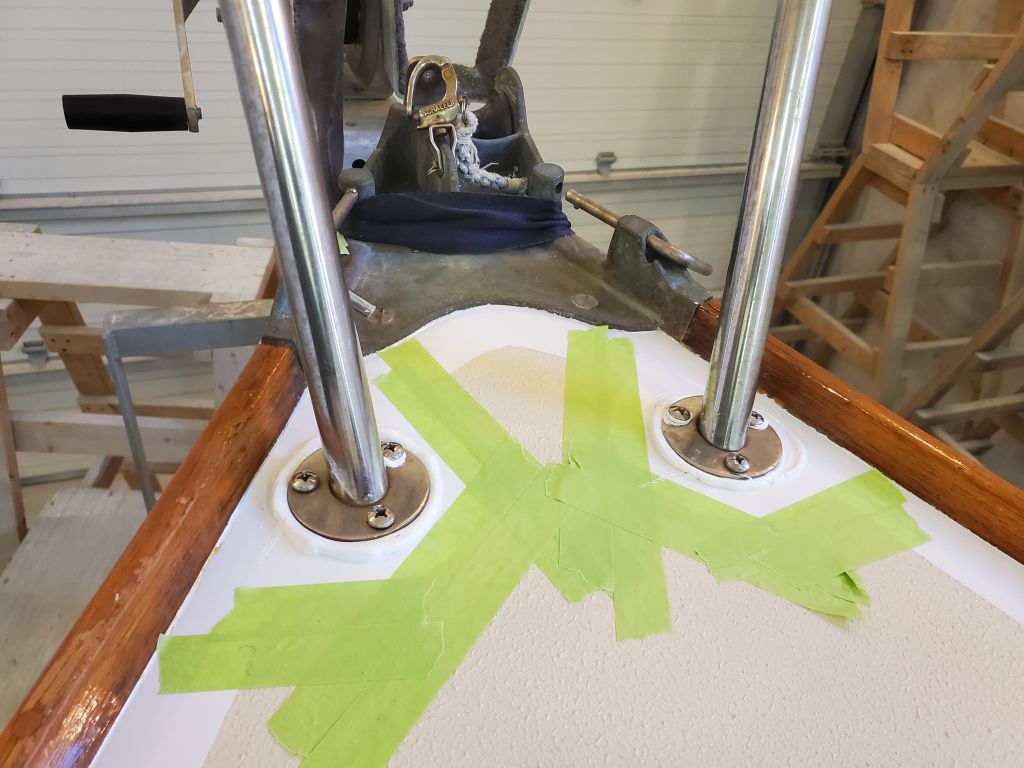
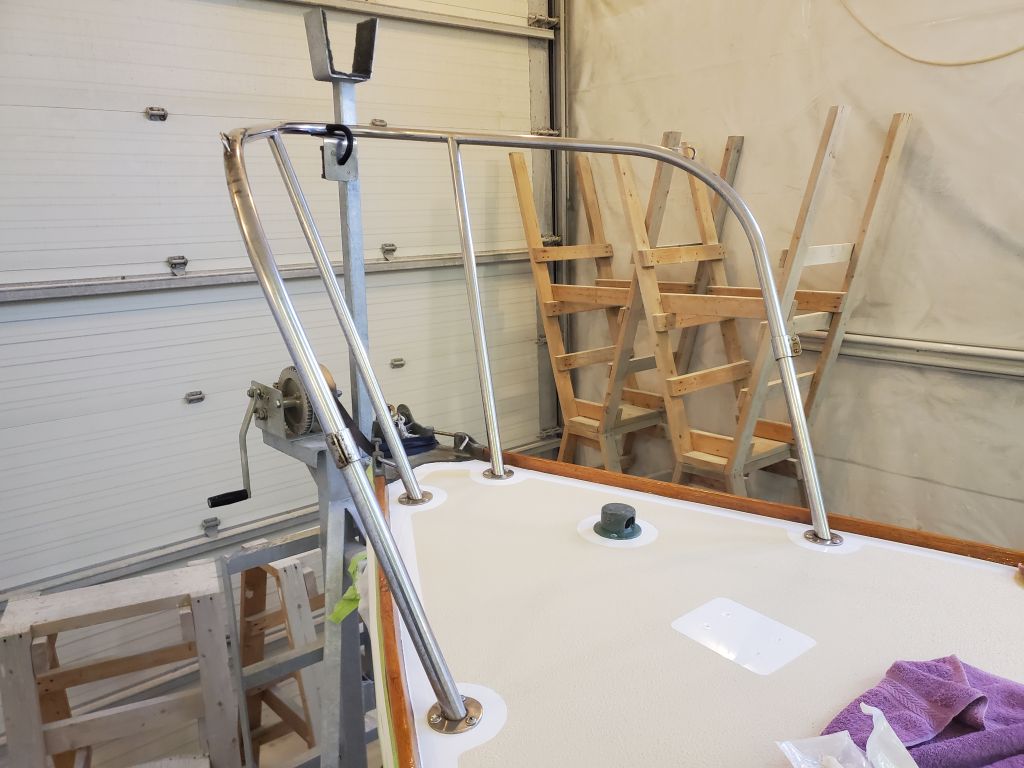
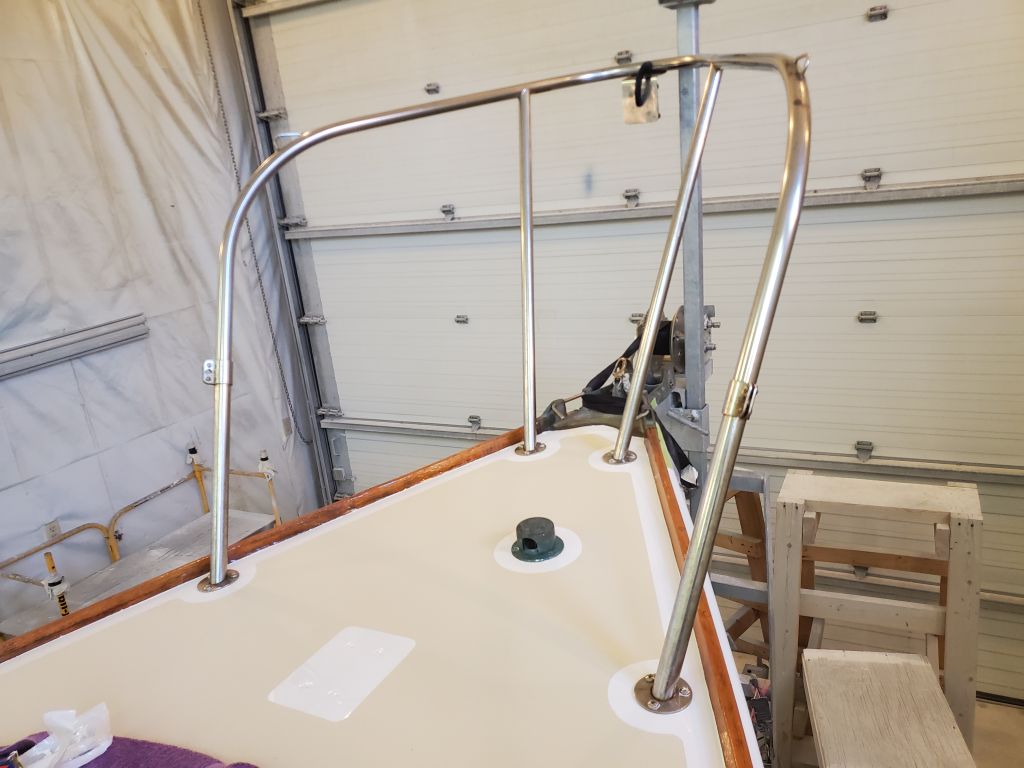
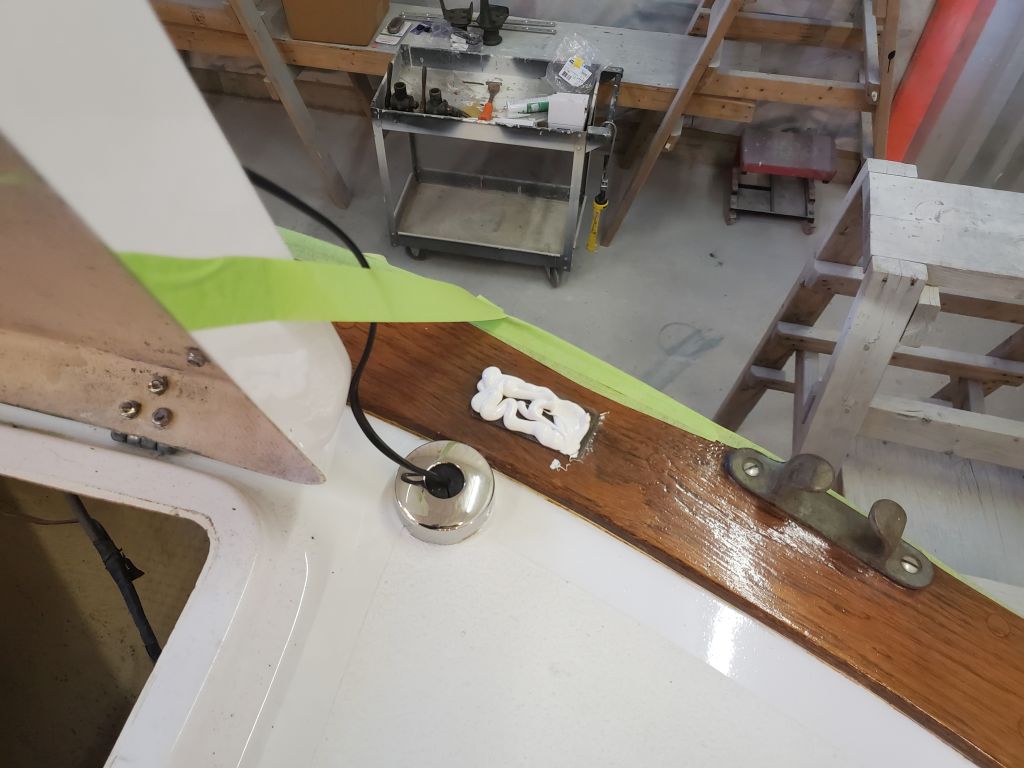
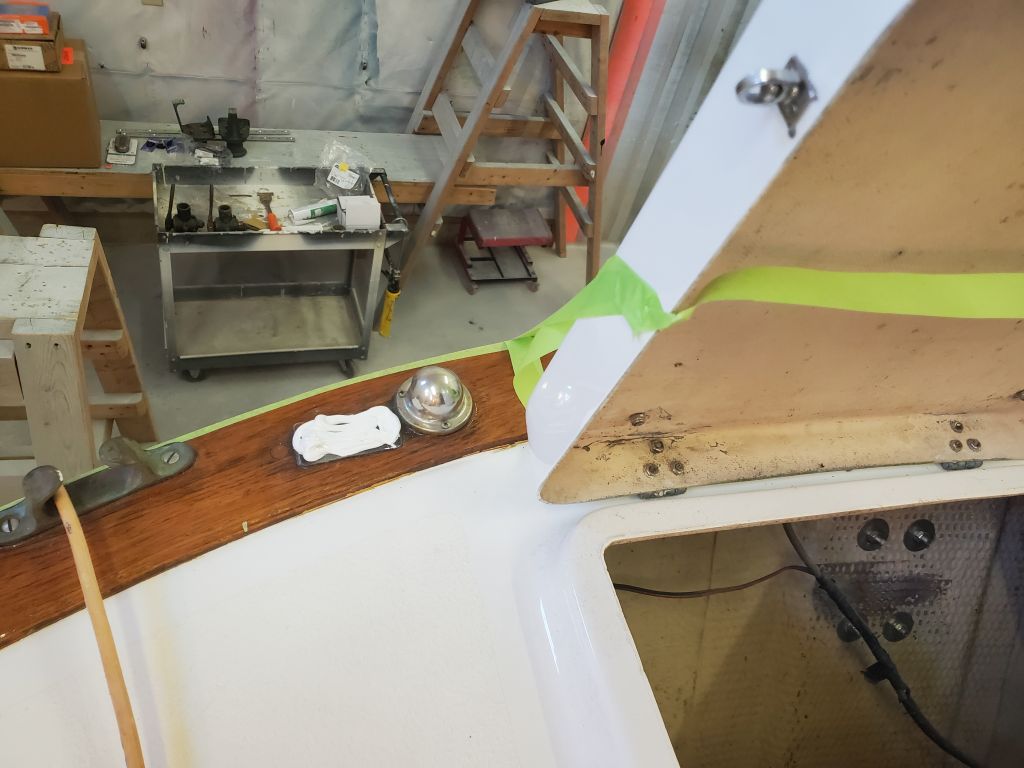
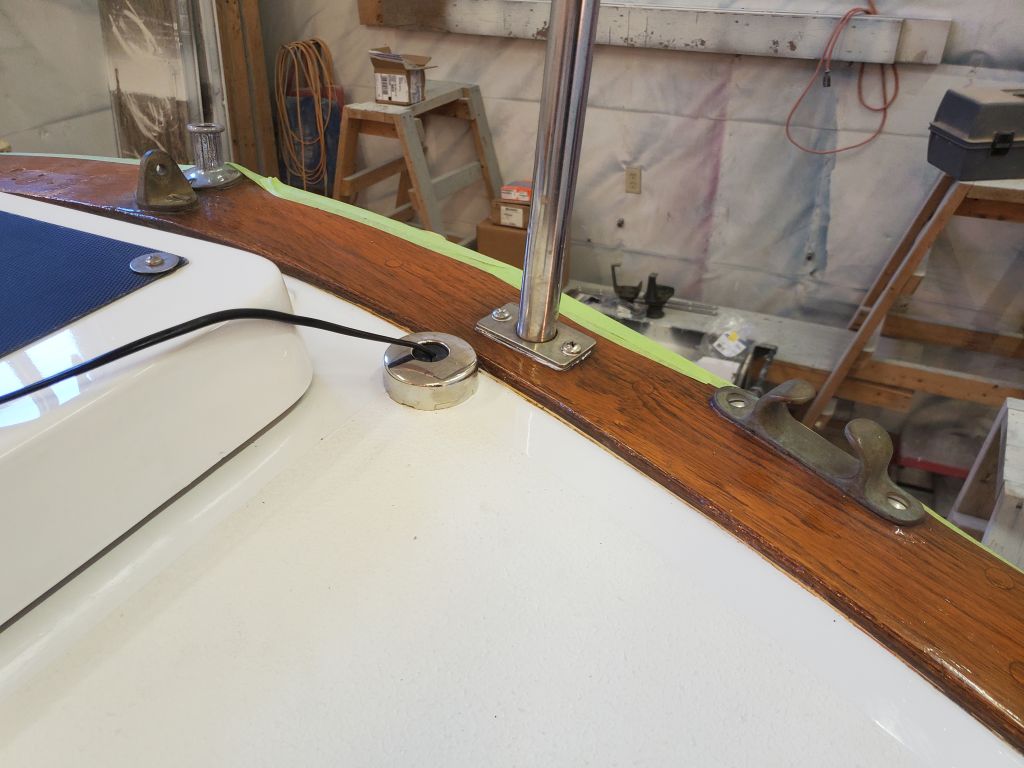
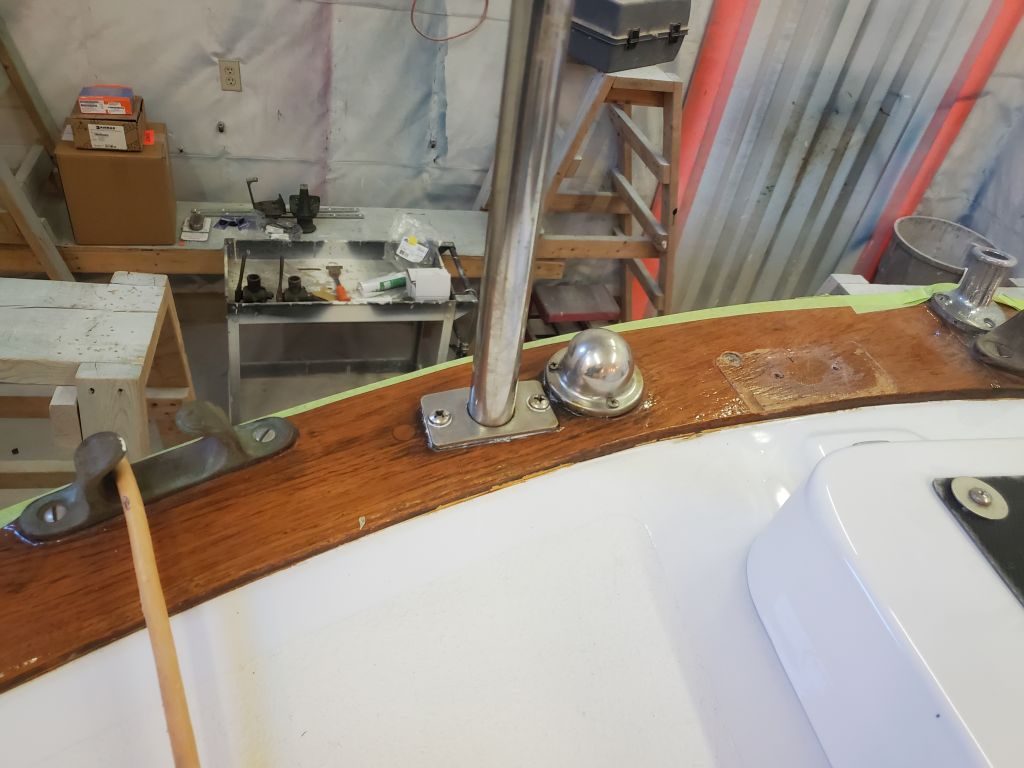
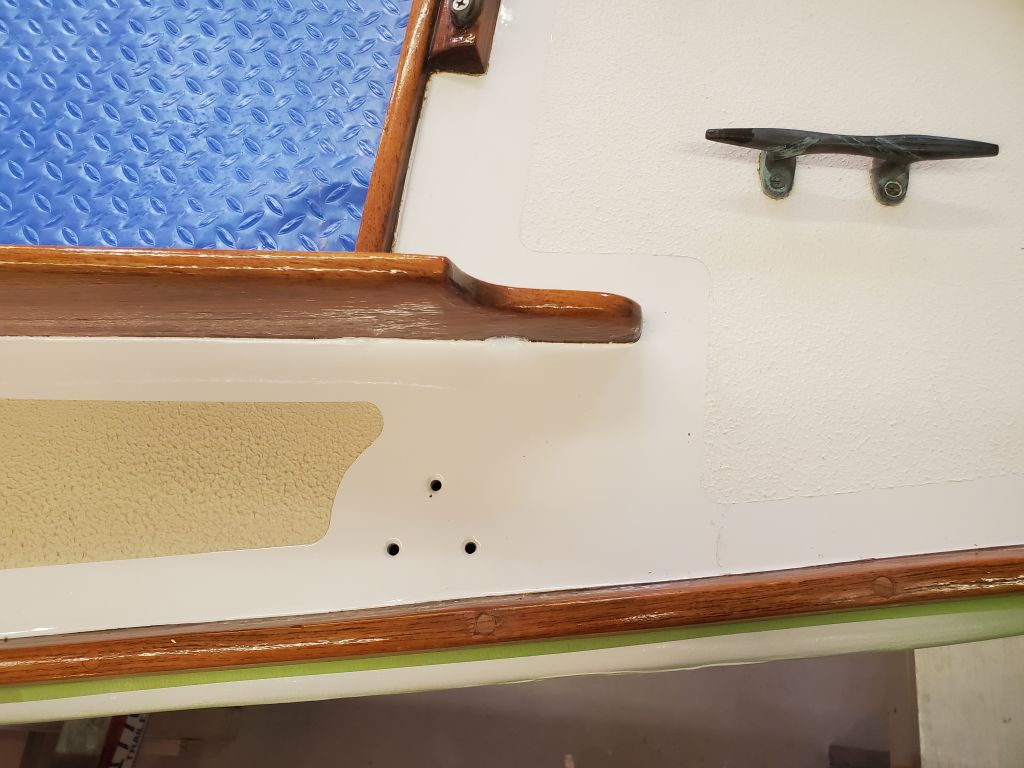
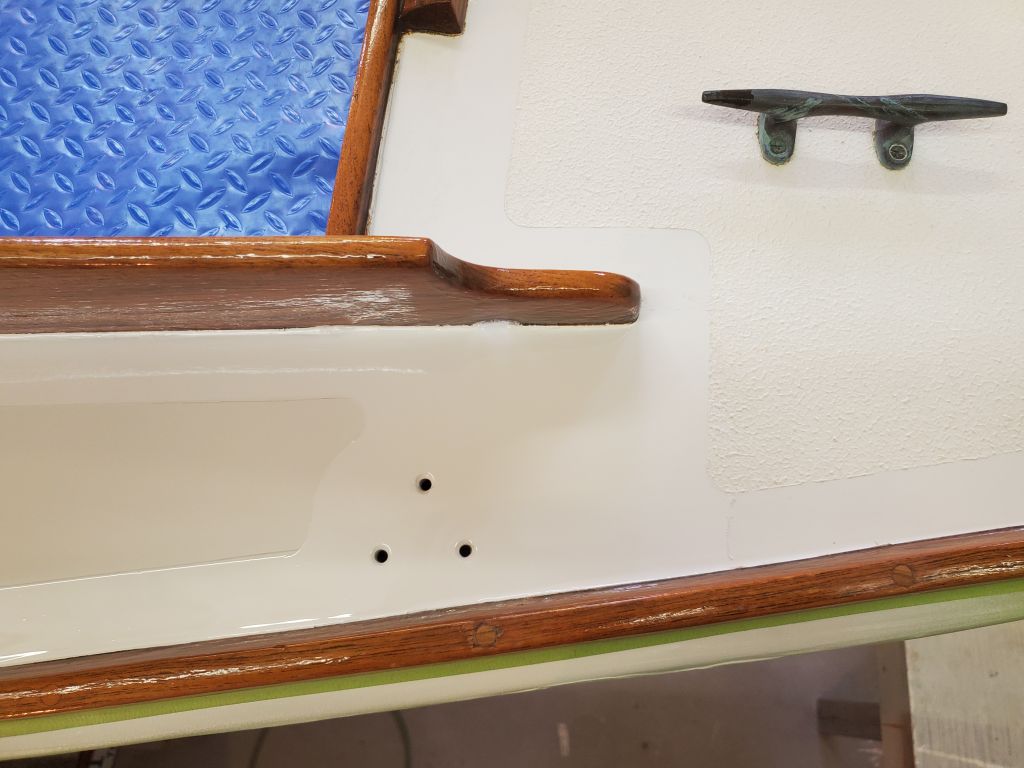
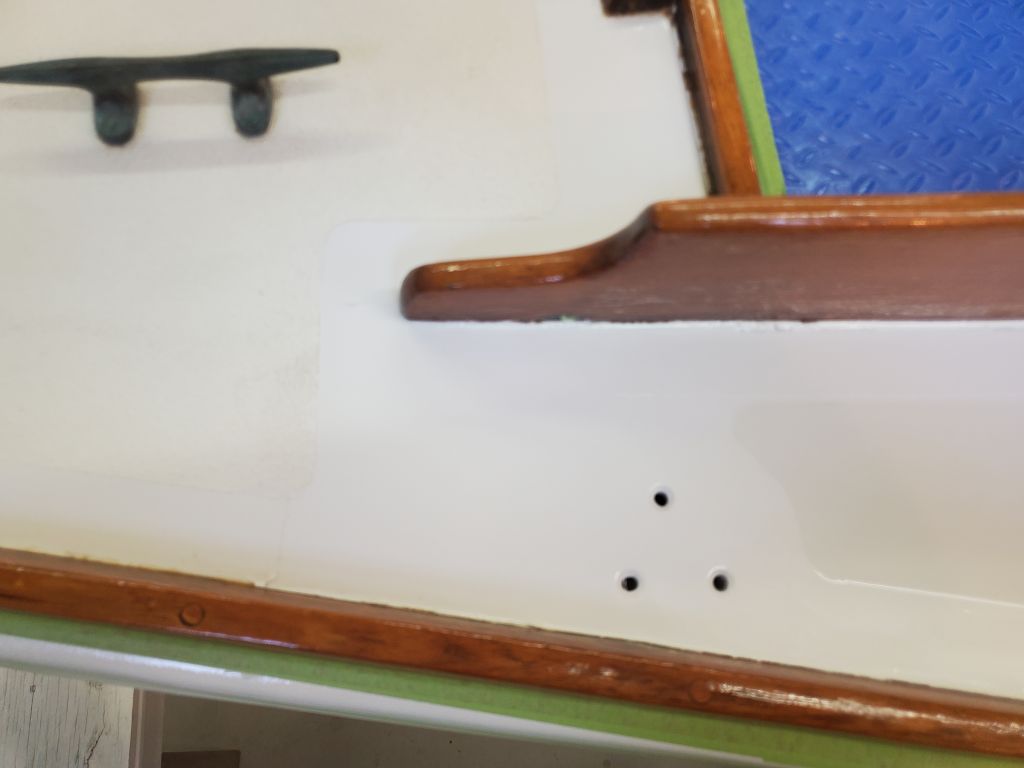
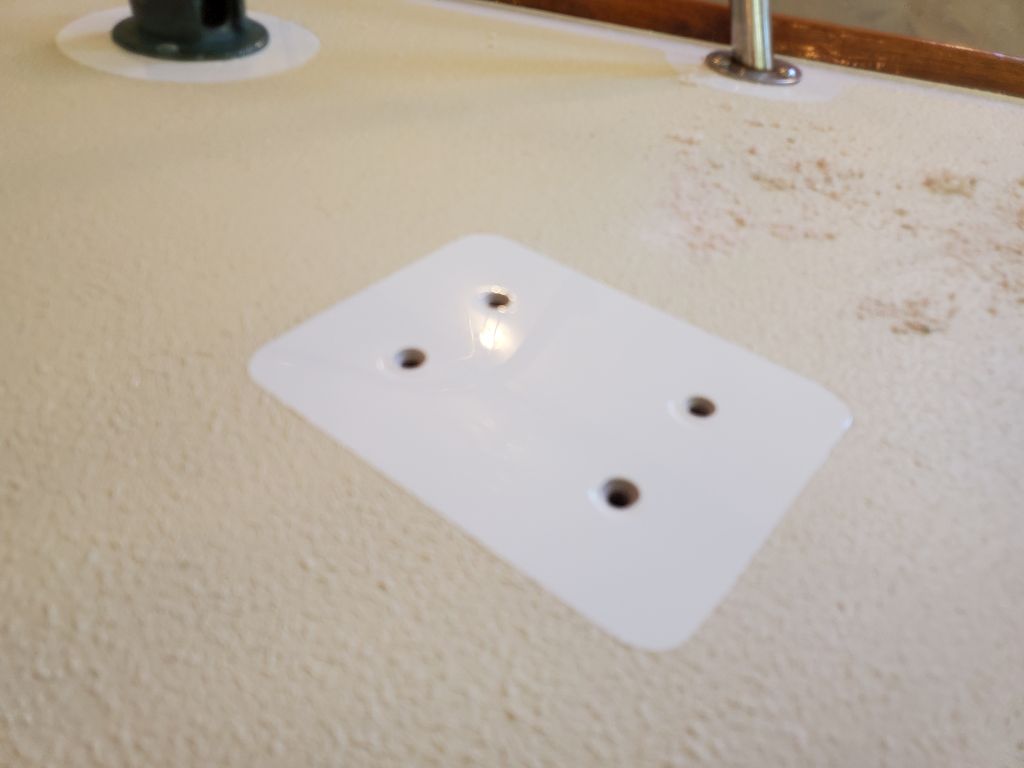
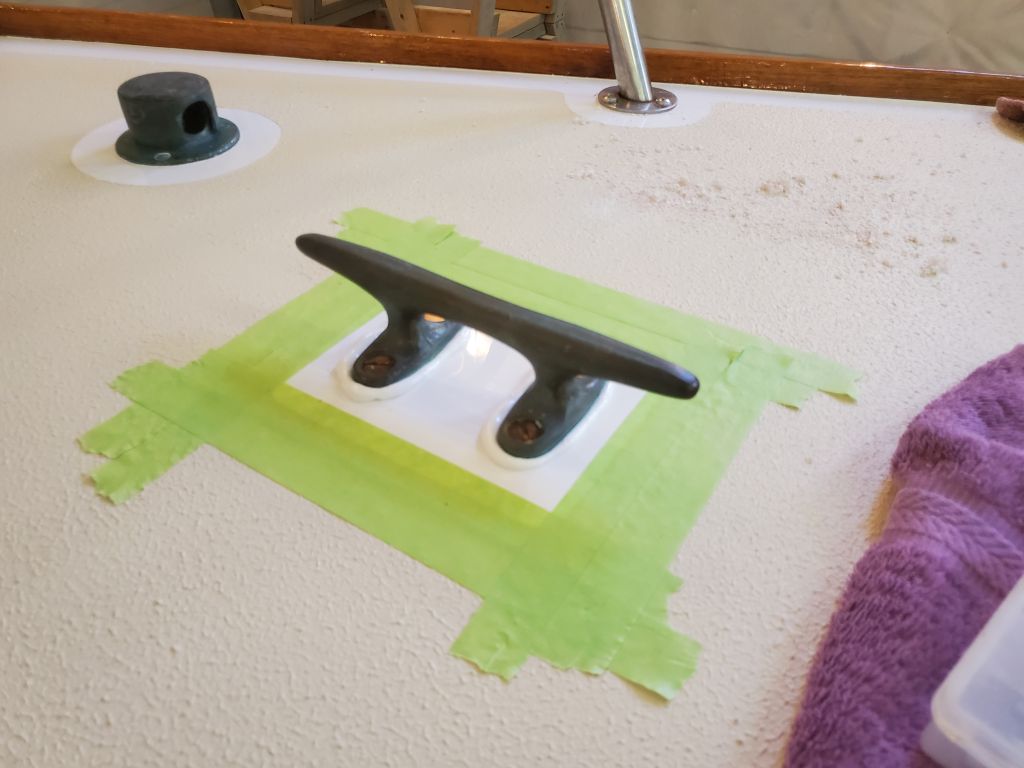
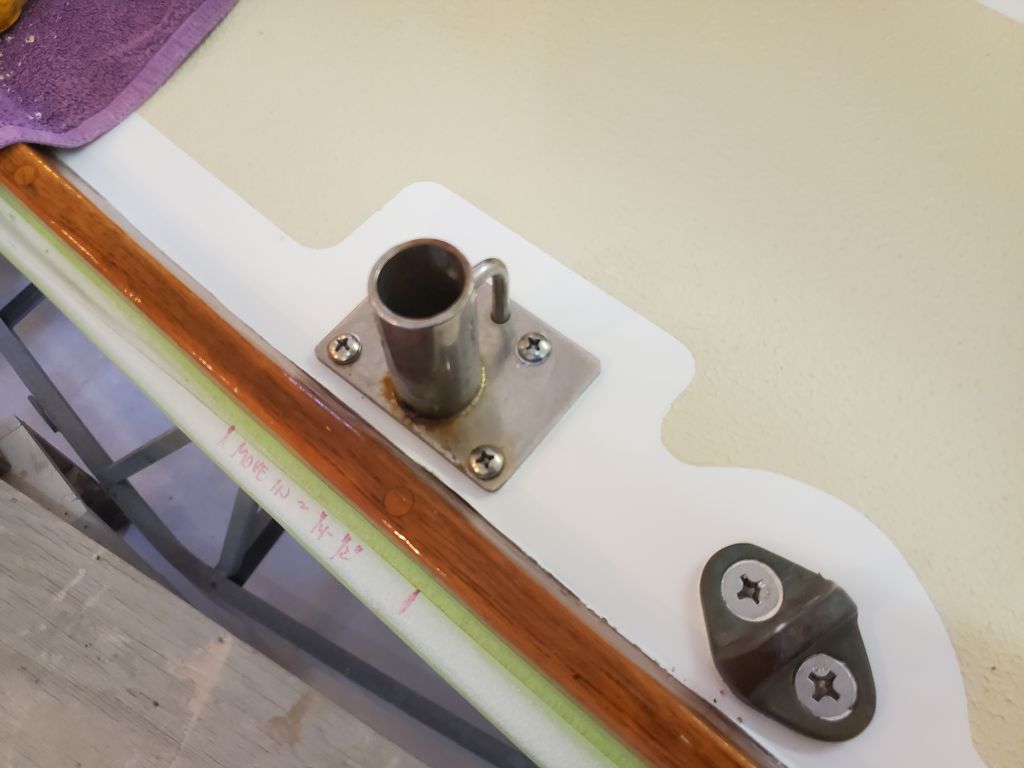
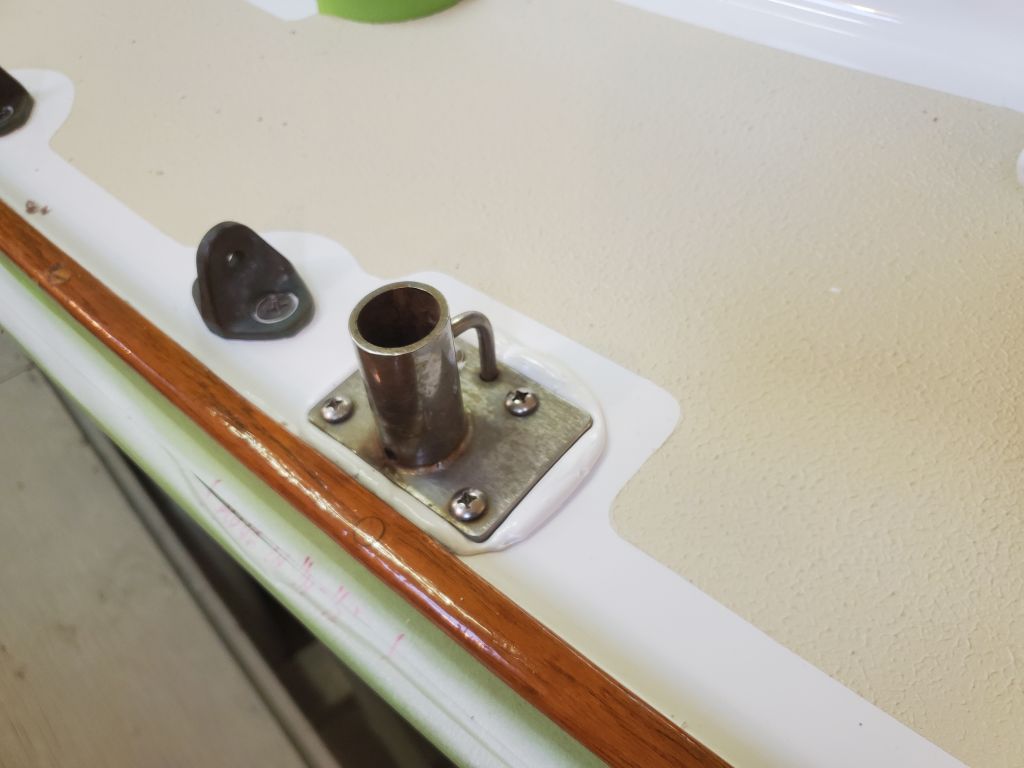
Continuing aft, I installed the bow cleat.

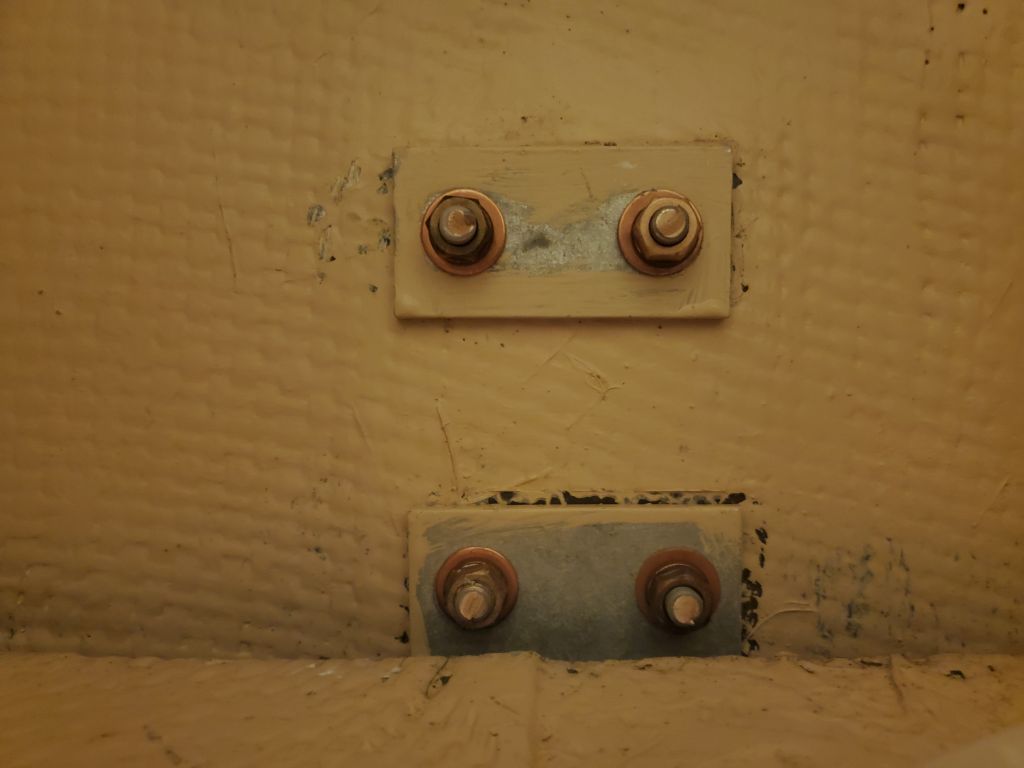
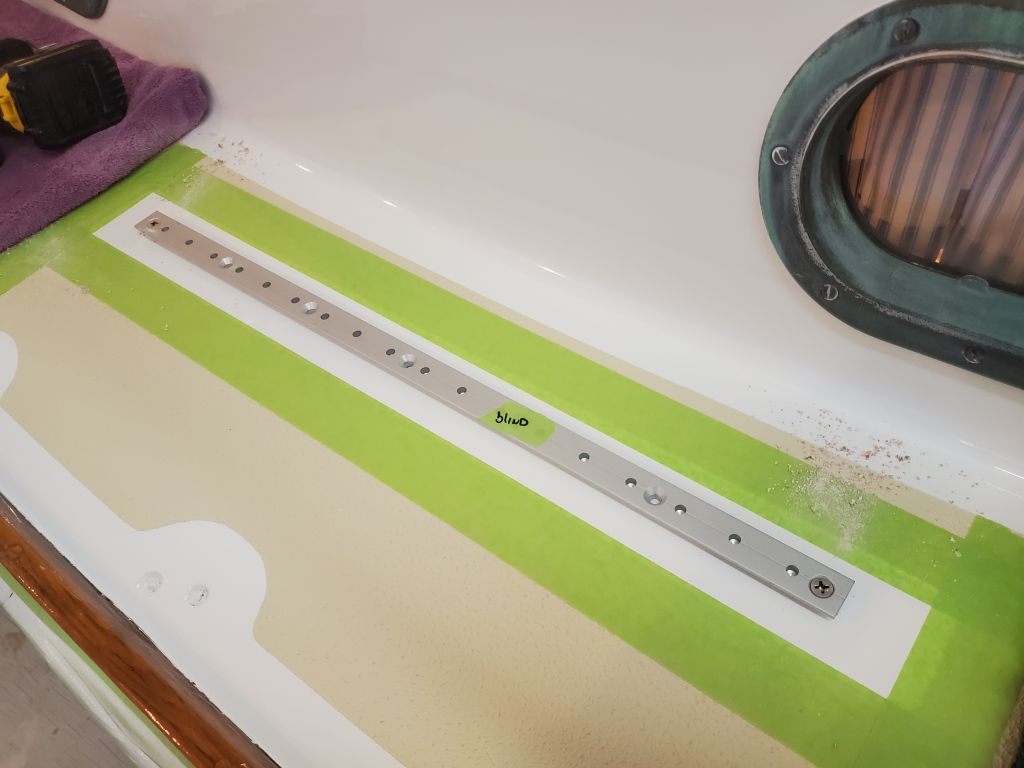
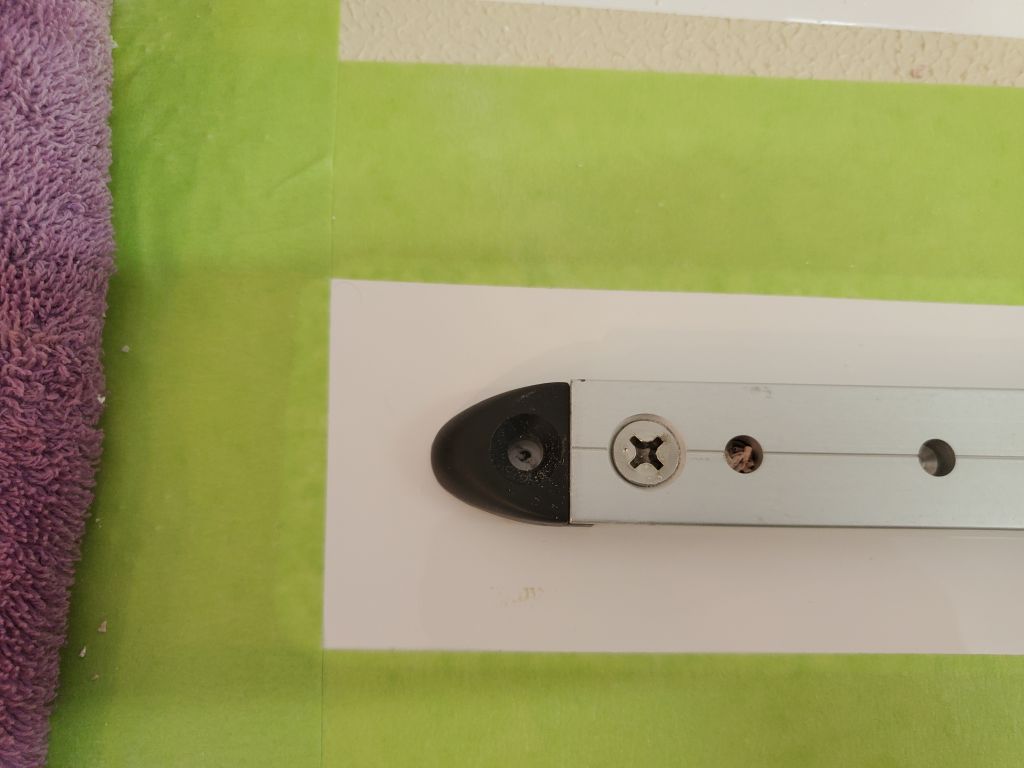
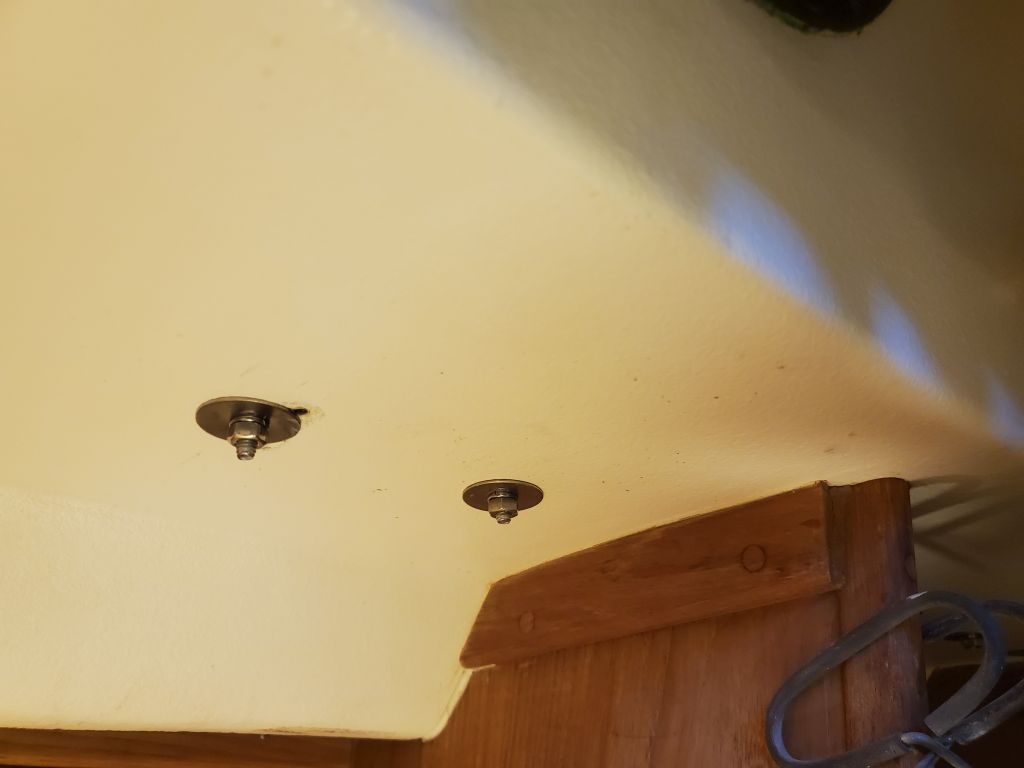
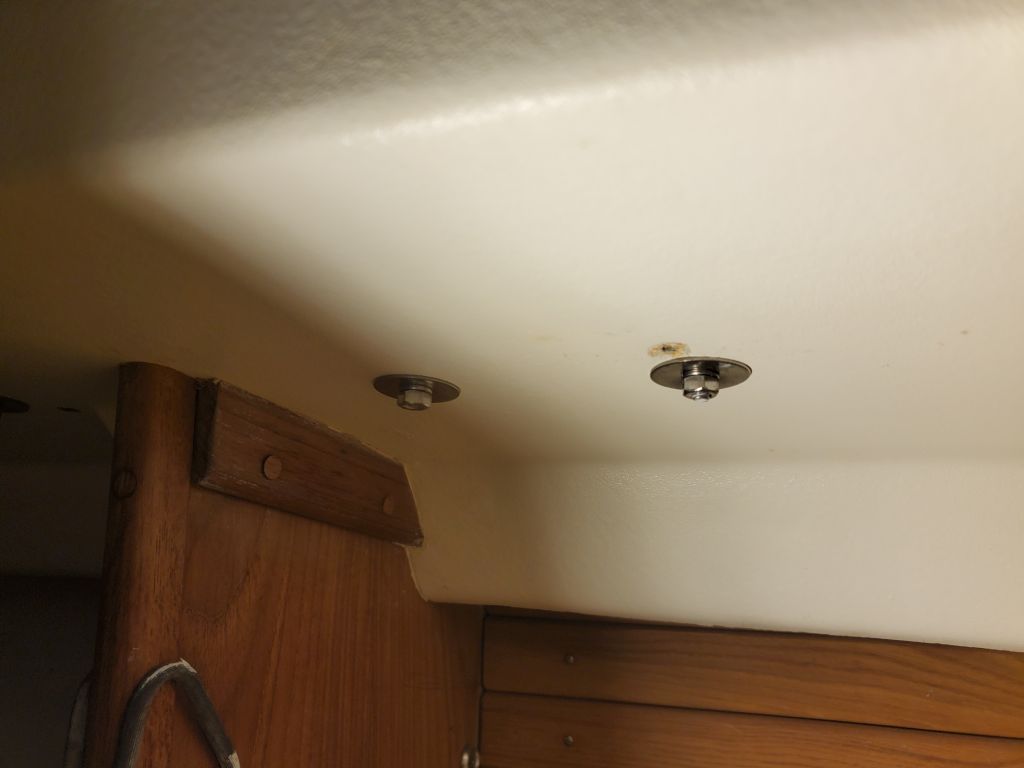
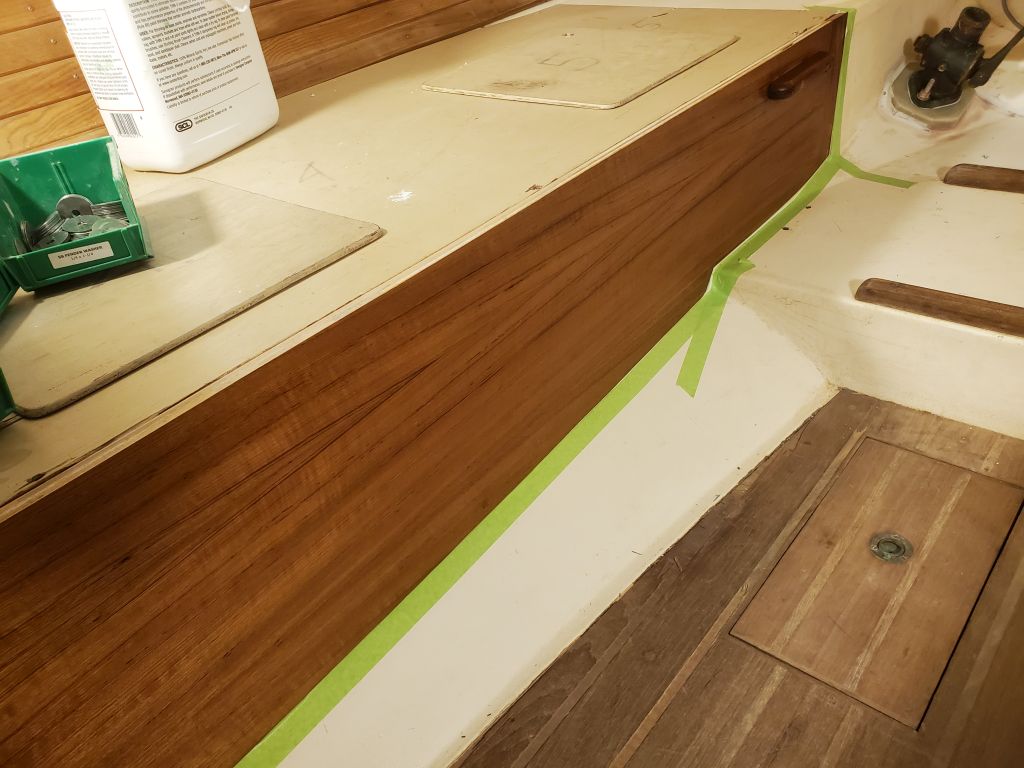
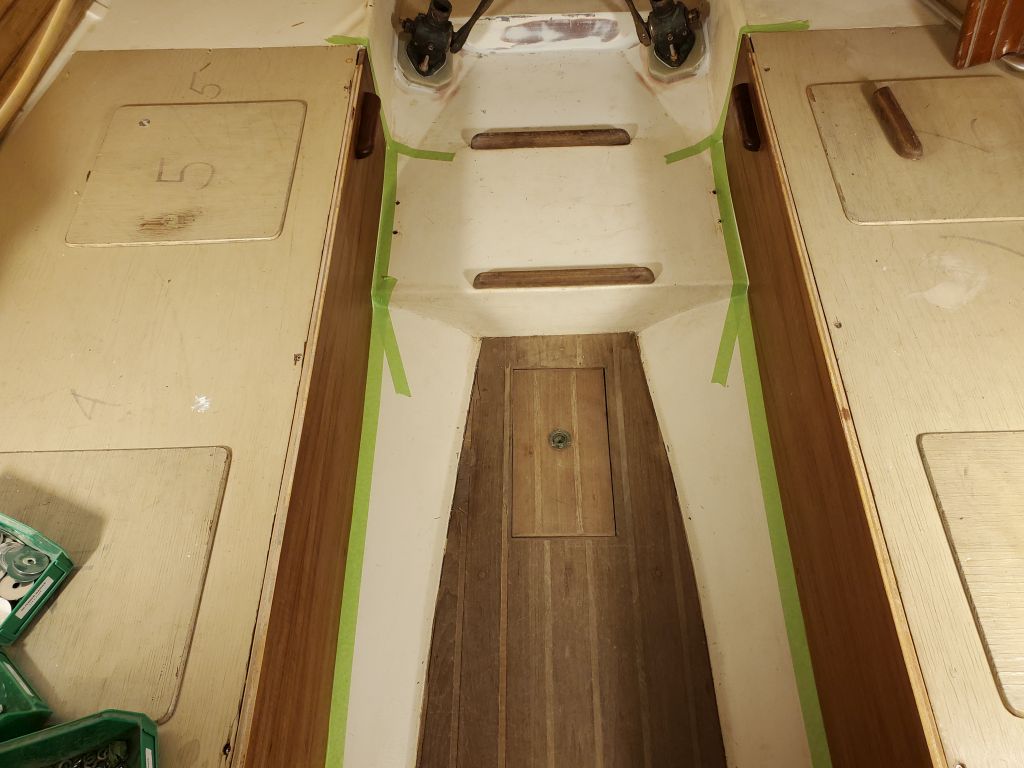
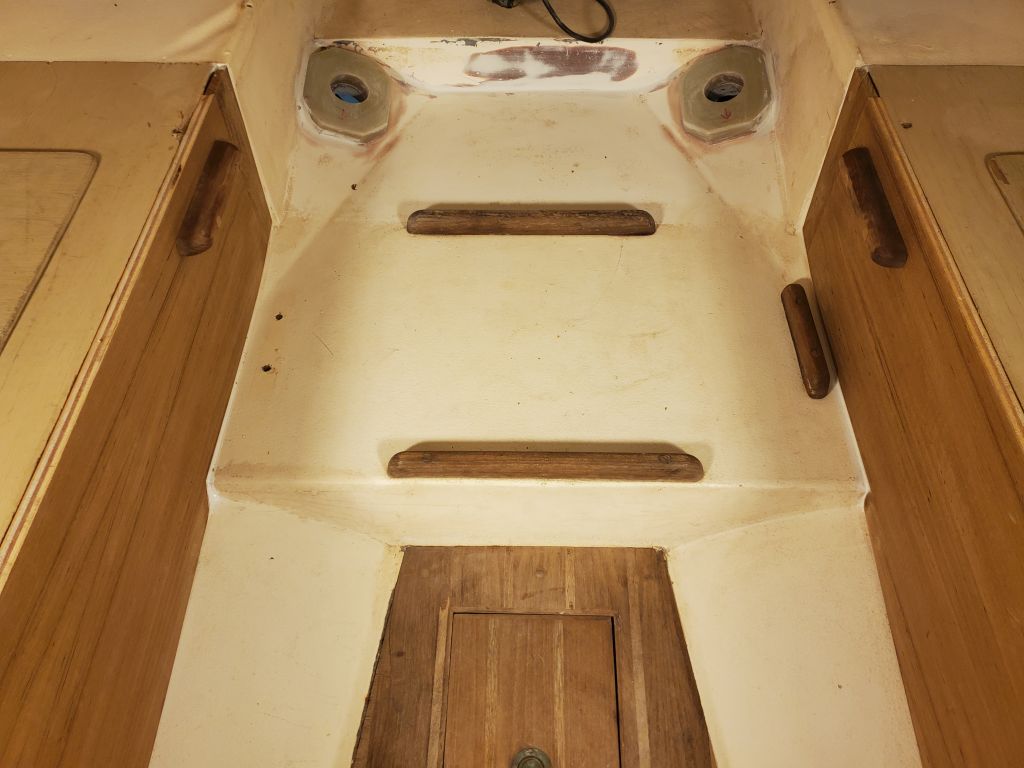
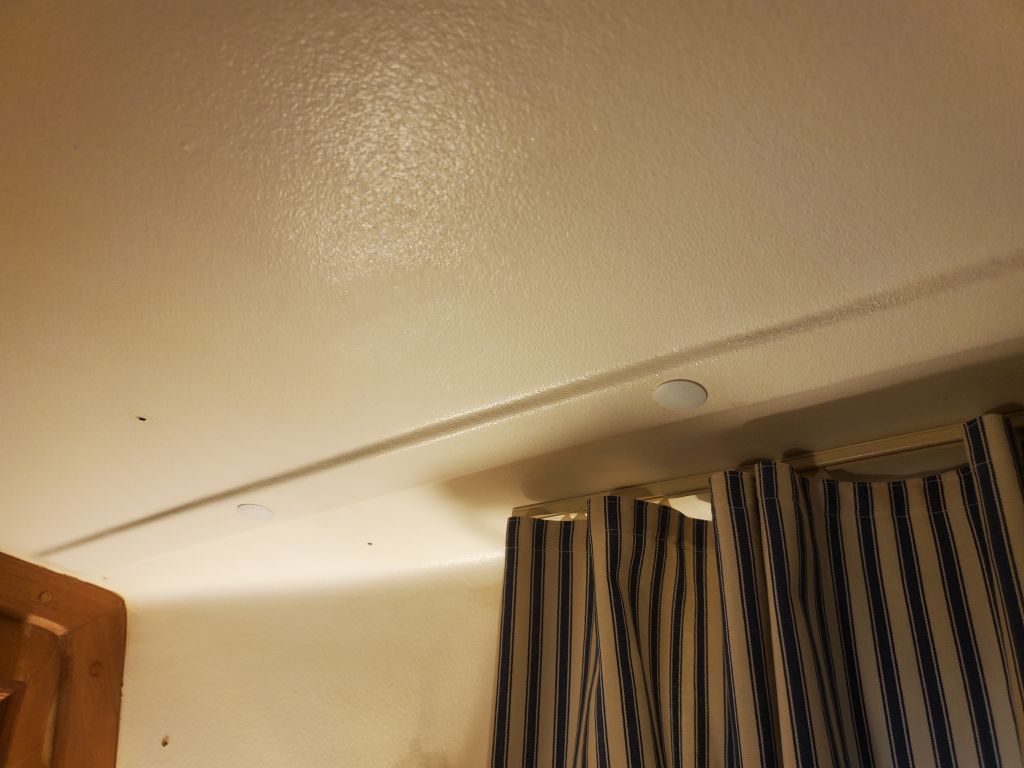
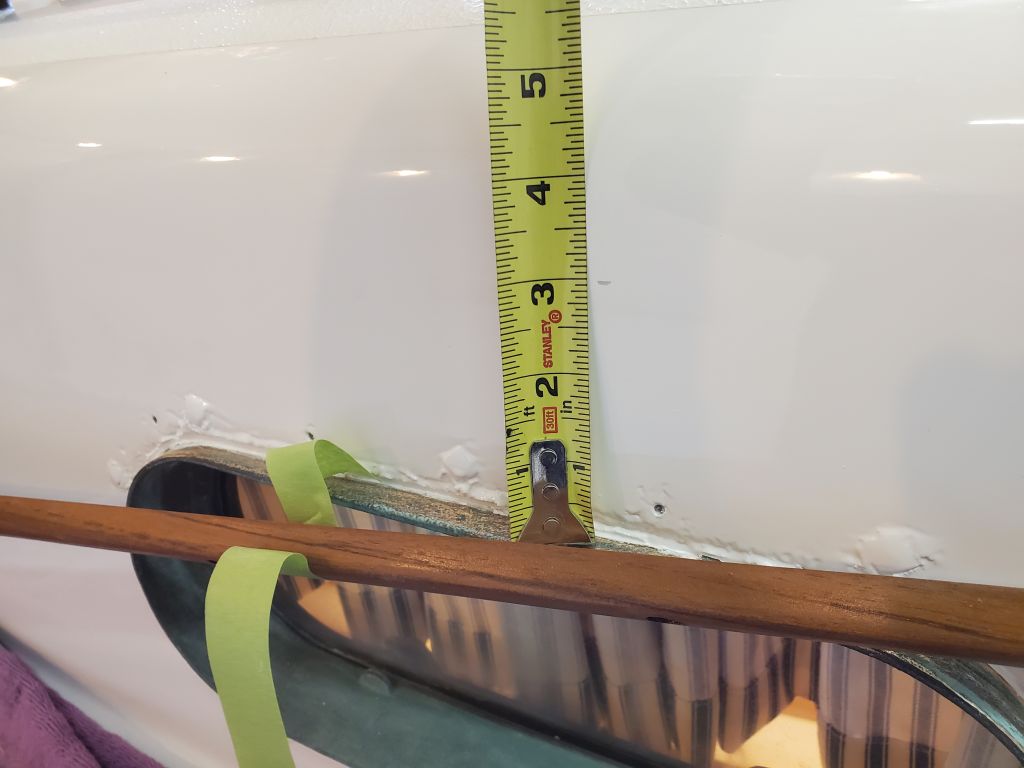
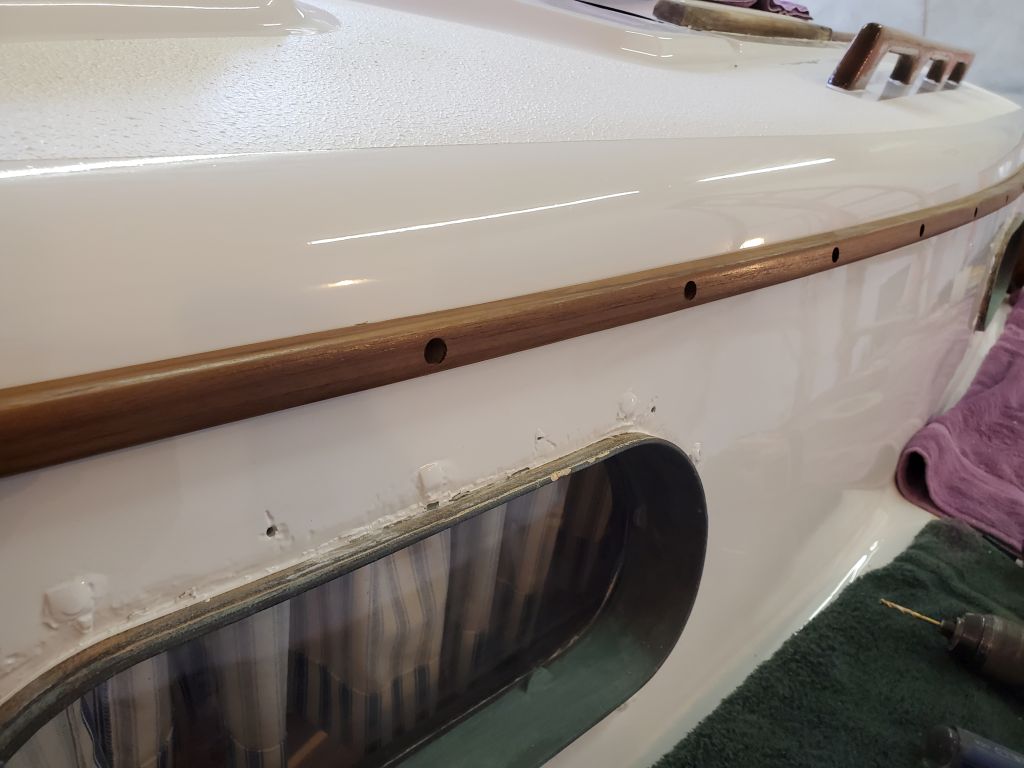
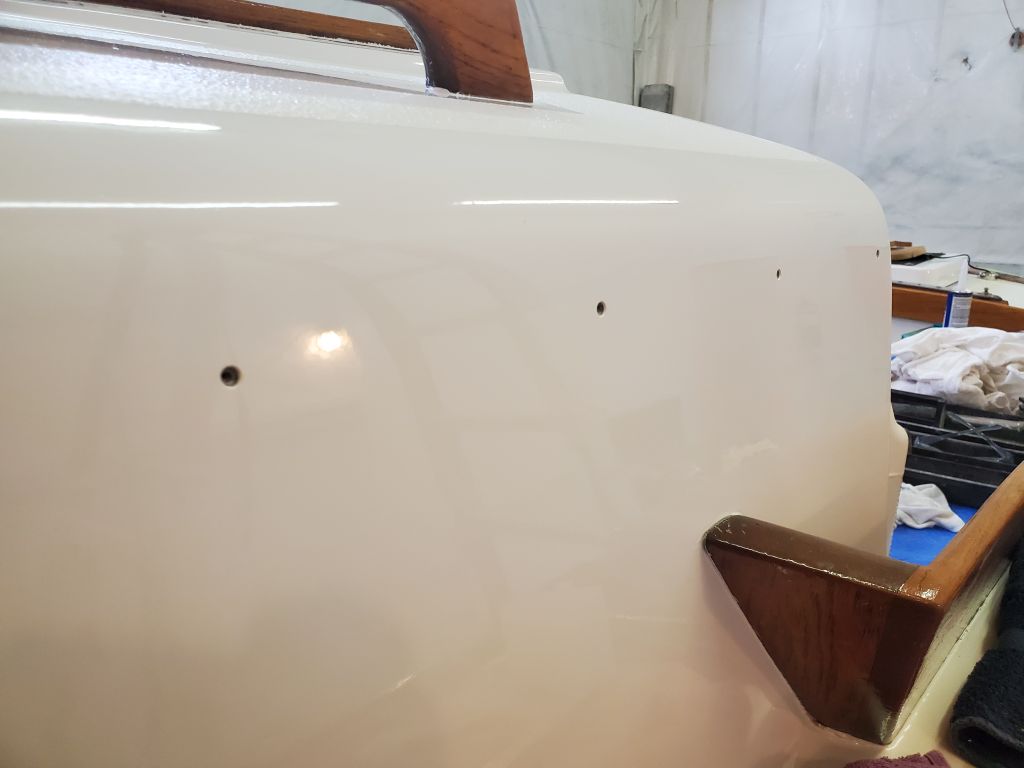
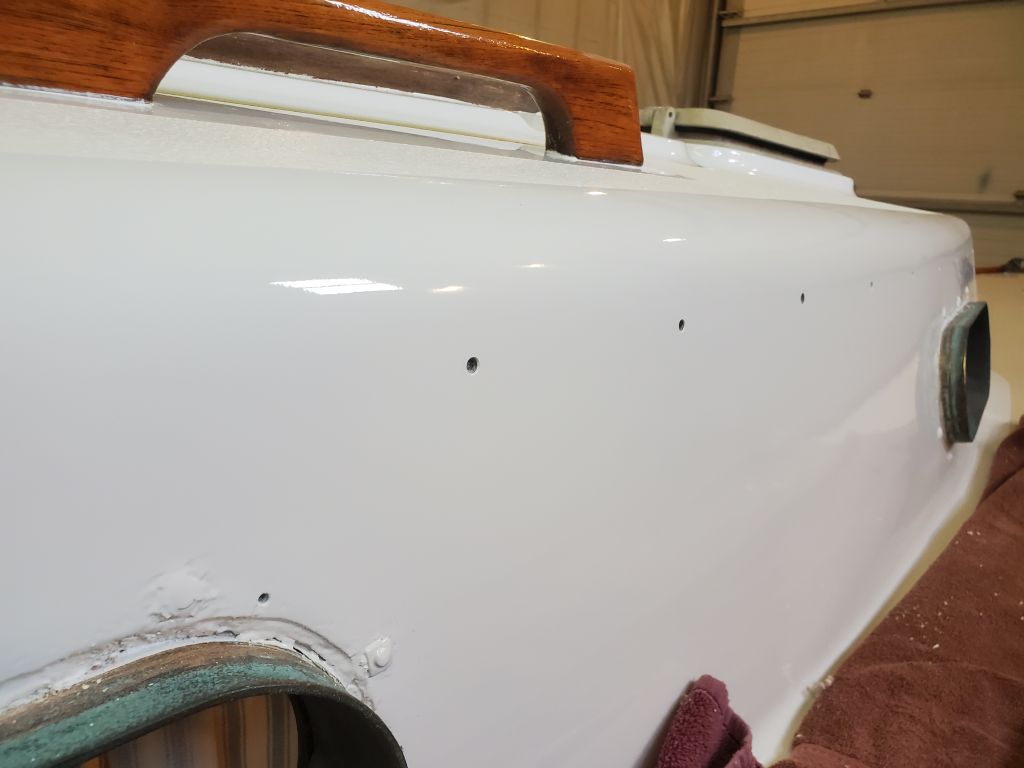
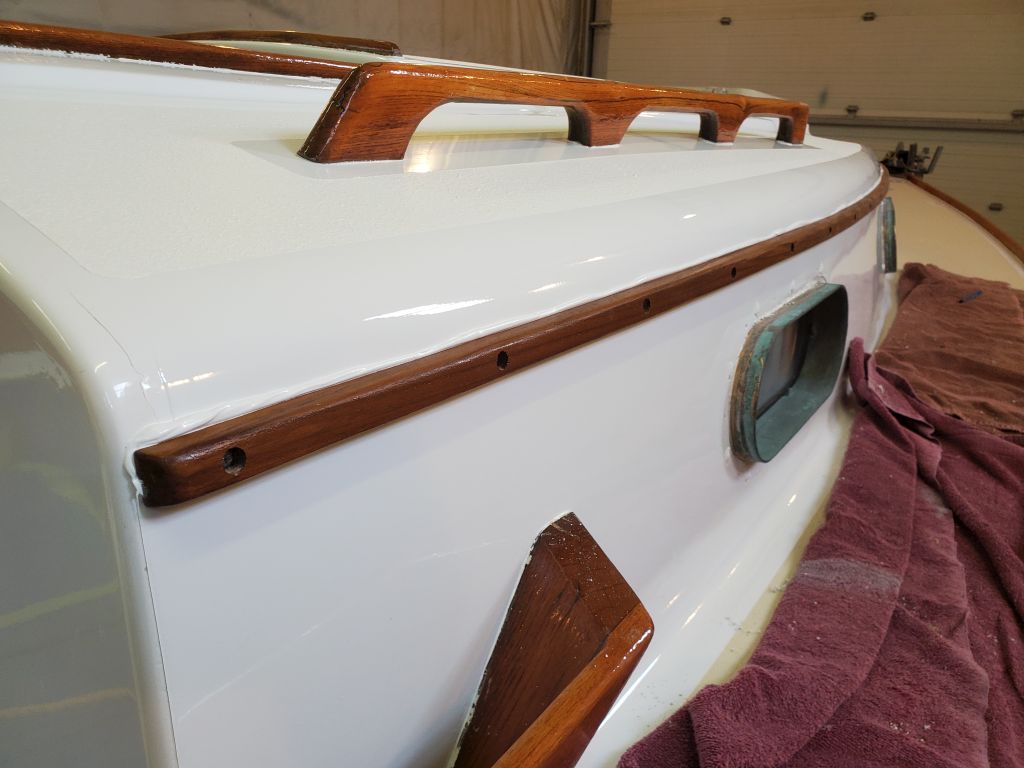
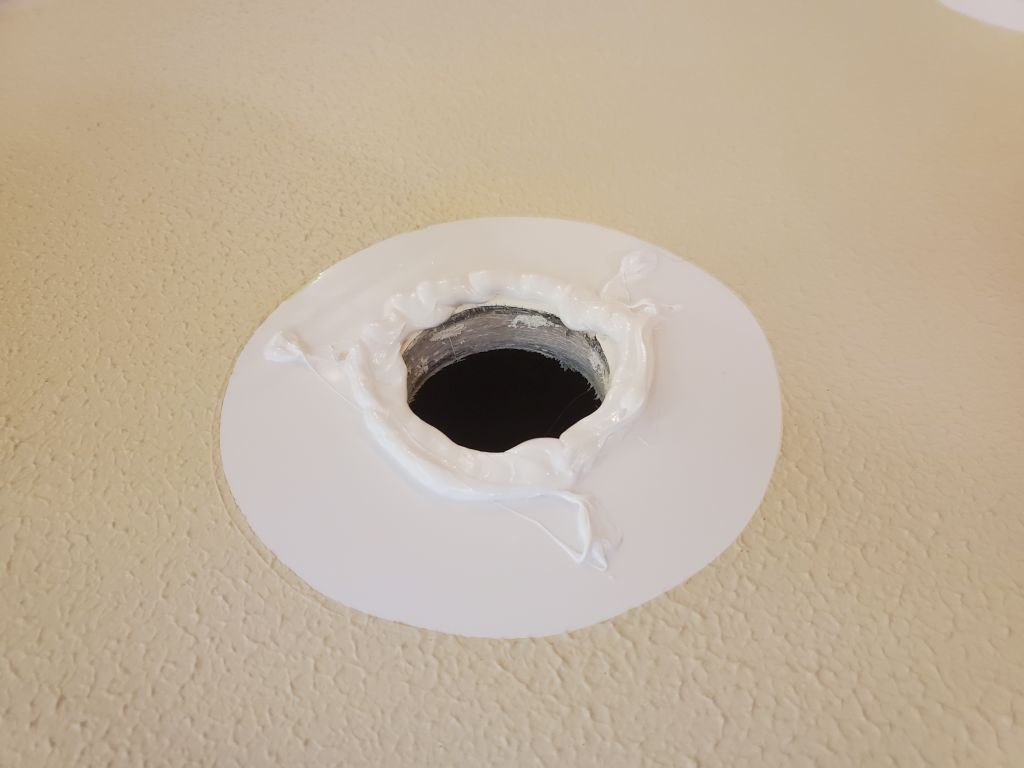
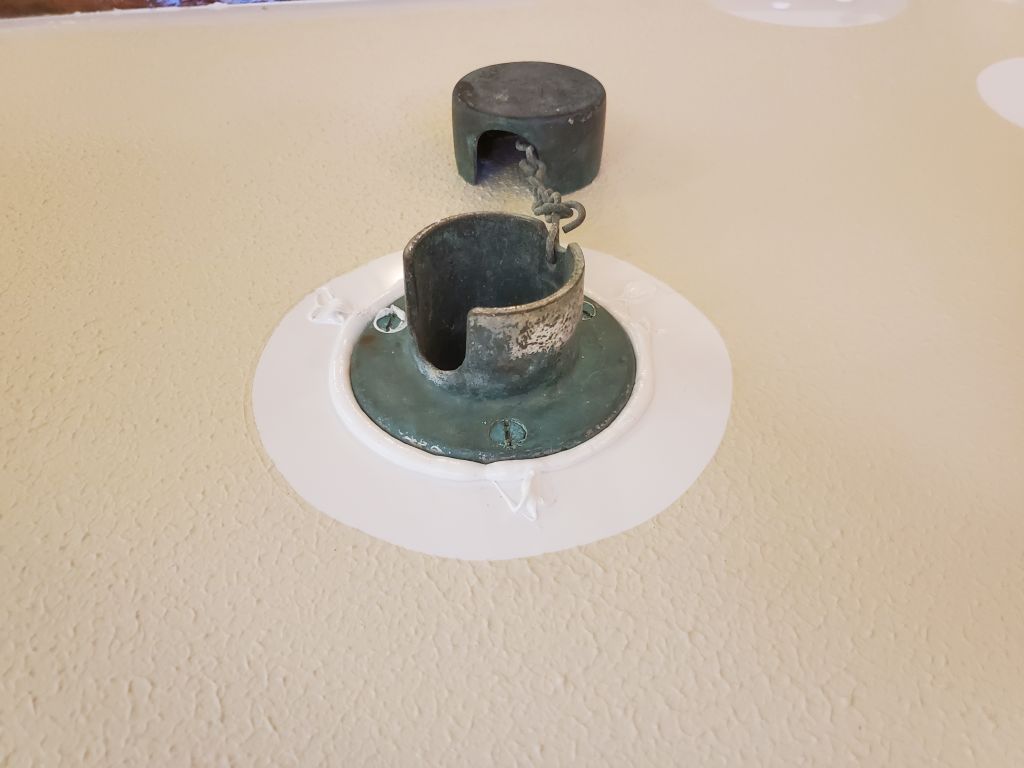
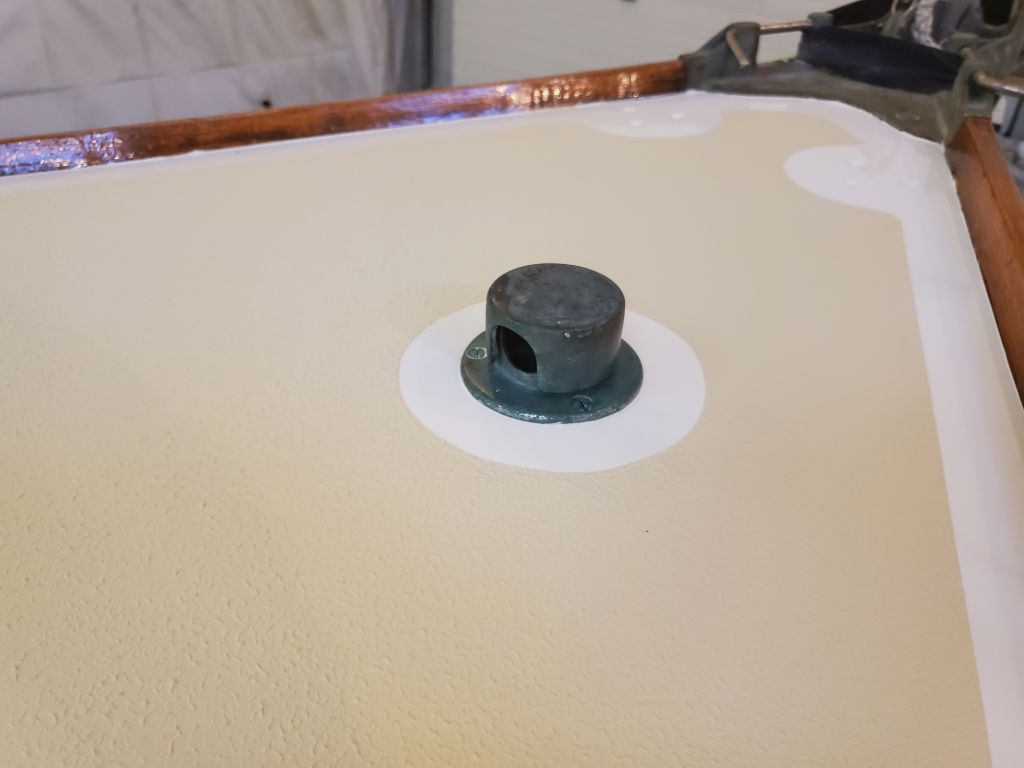
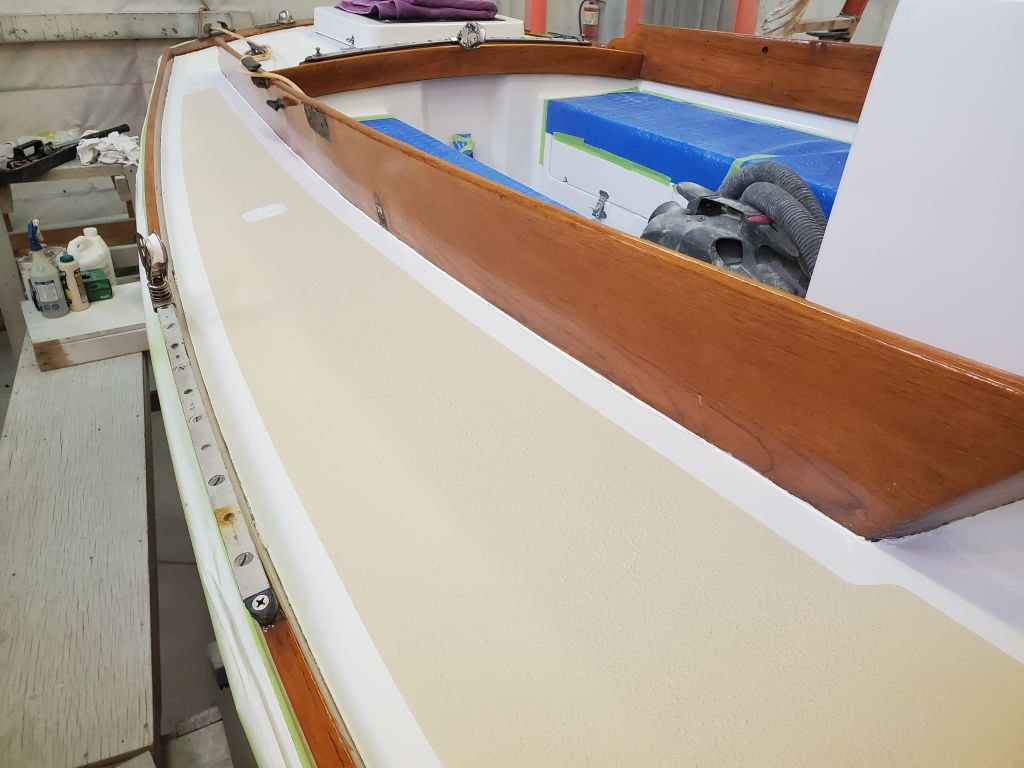
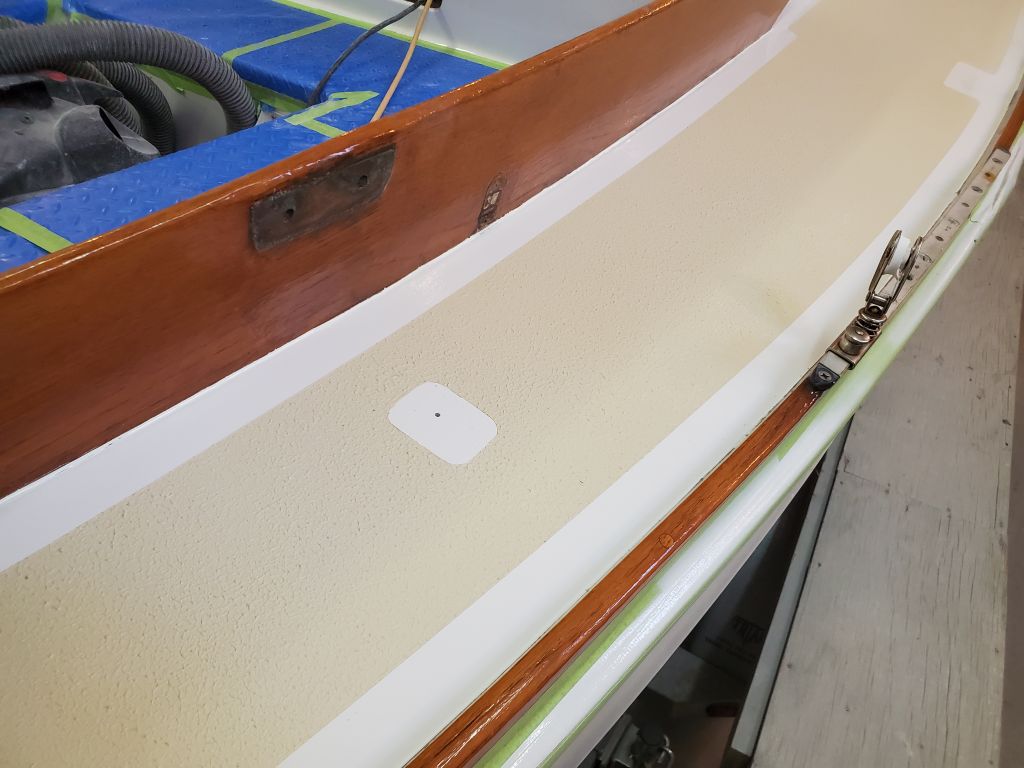
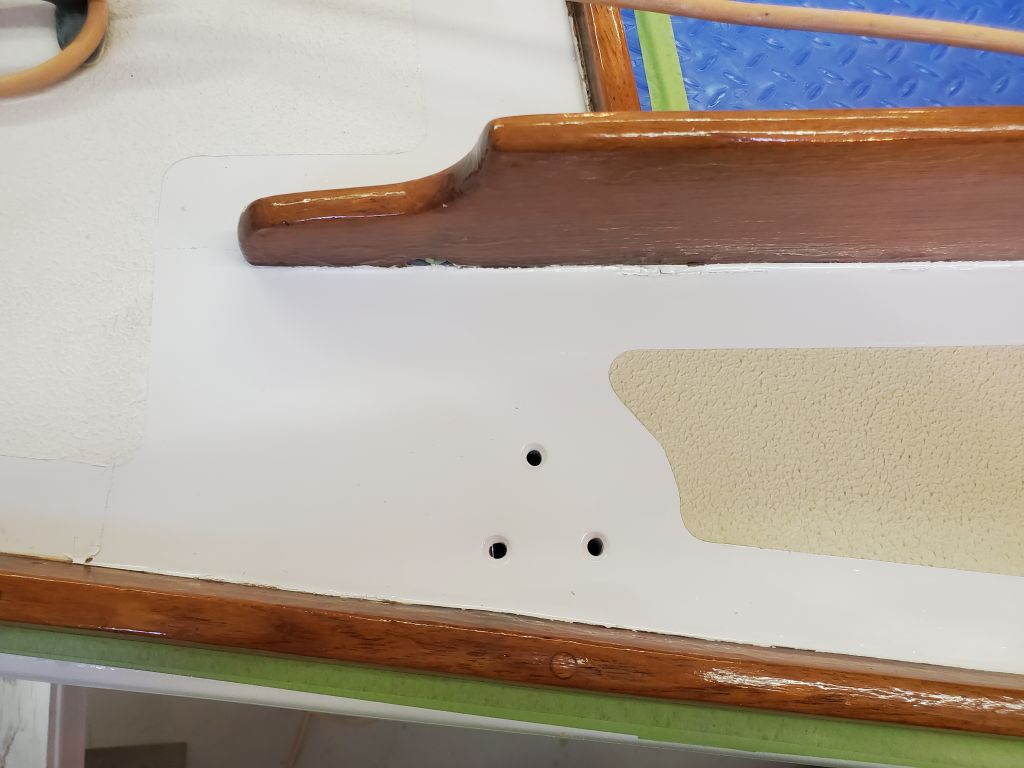
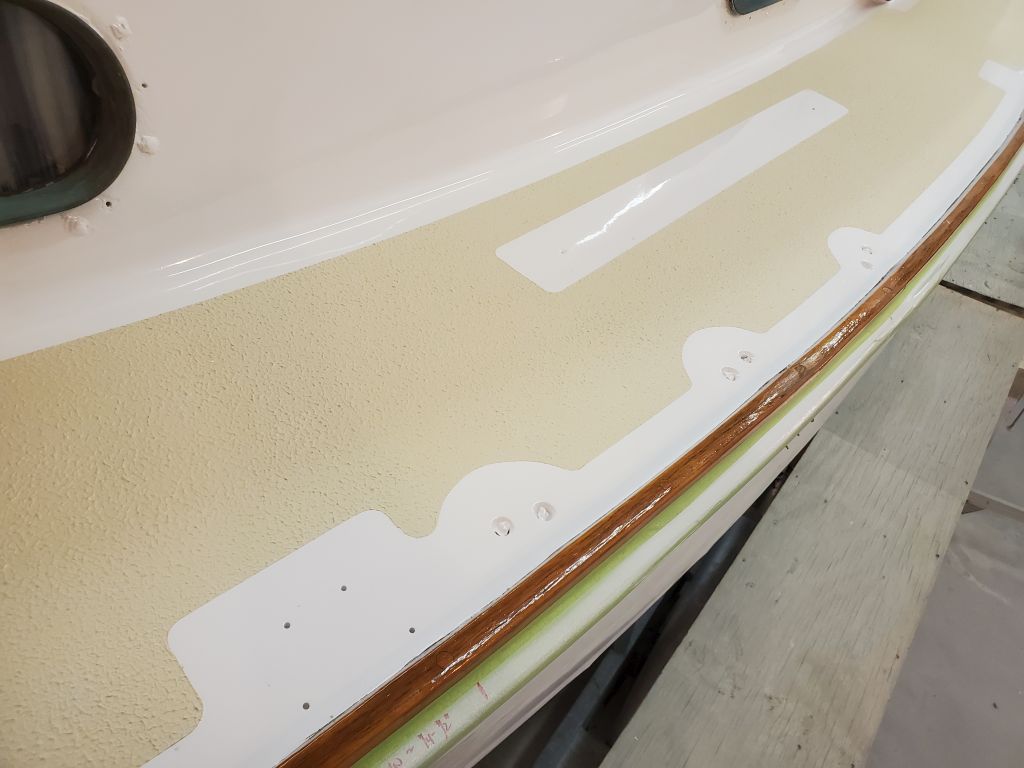
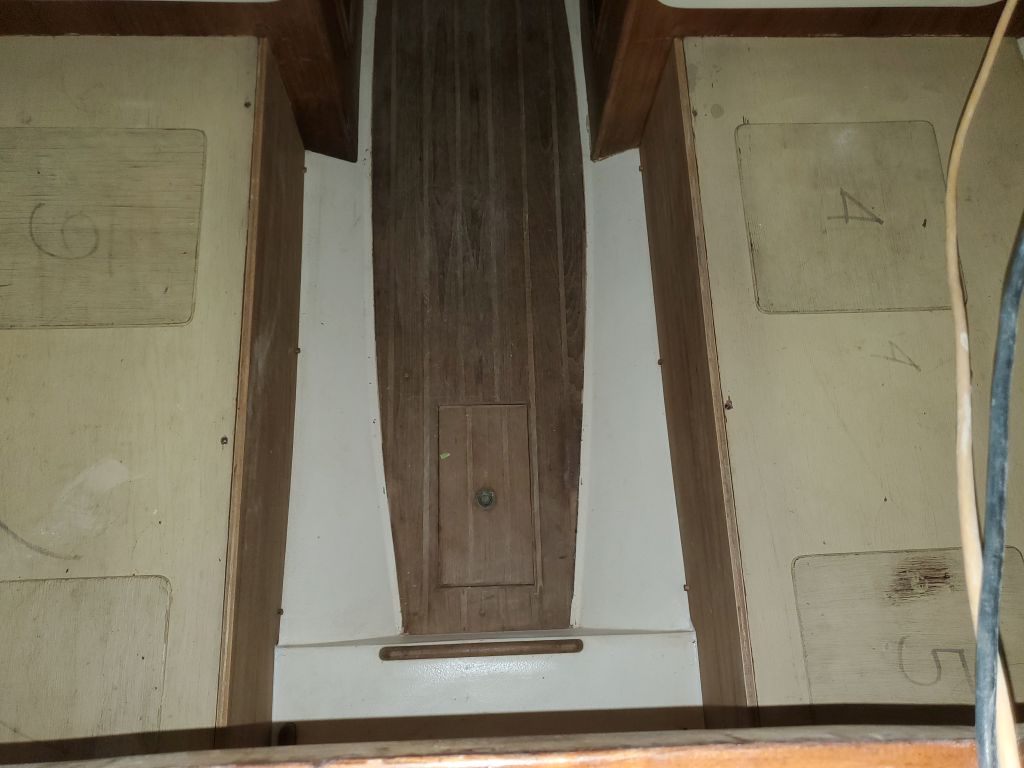
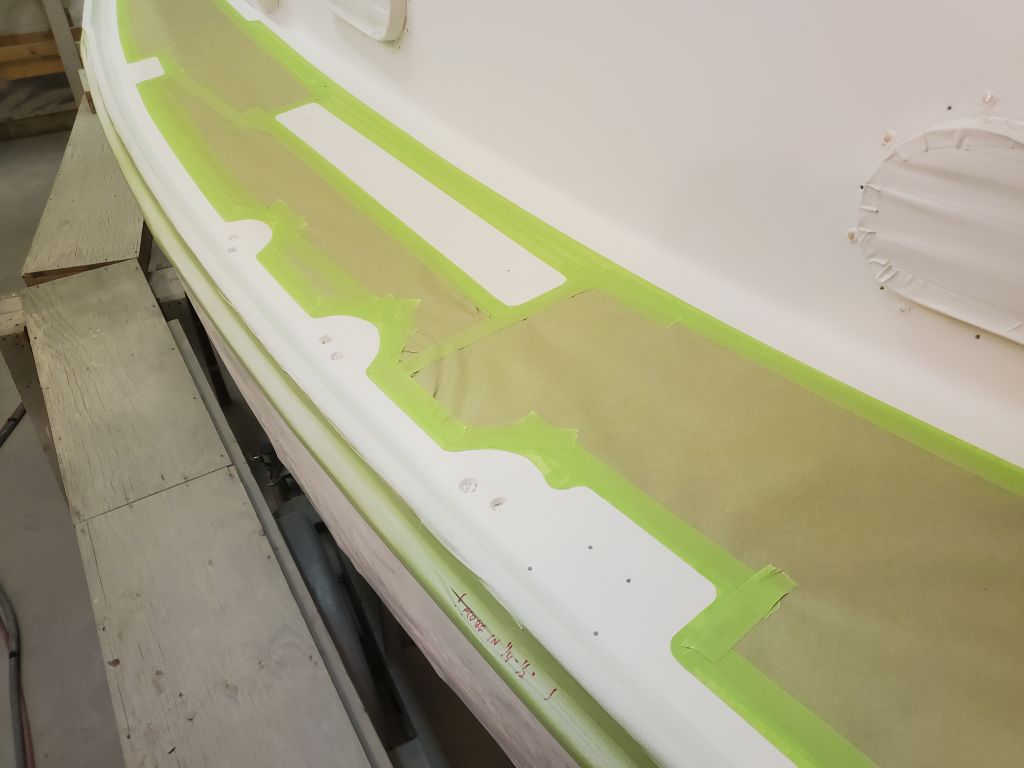
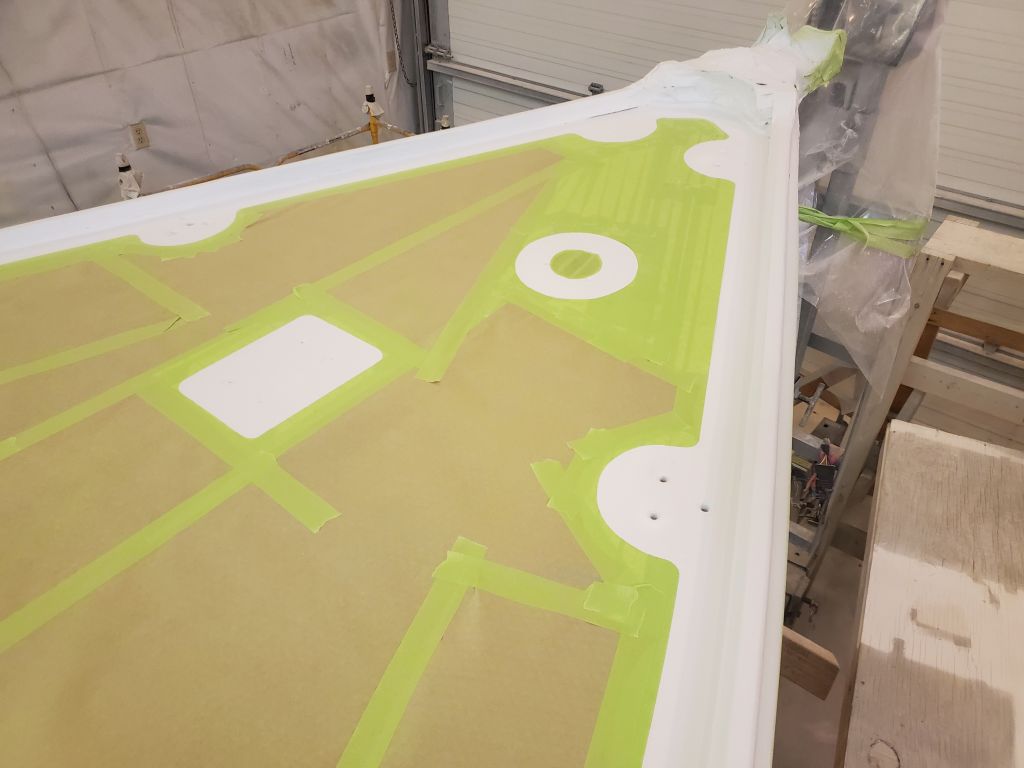
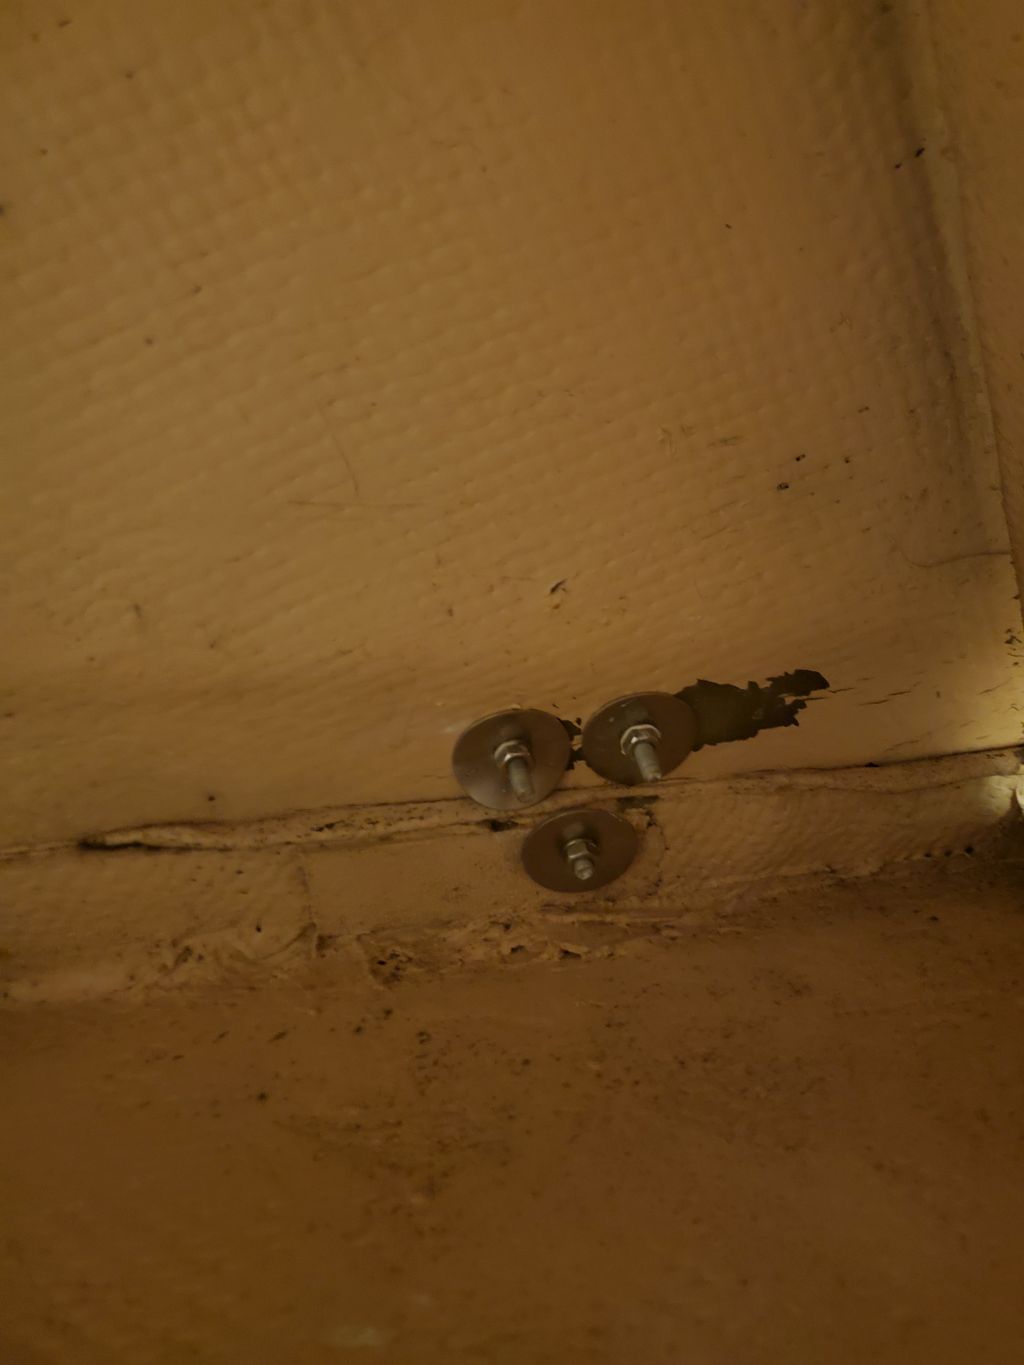
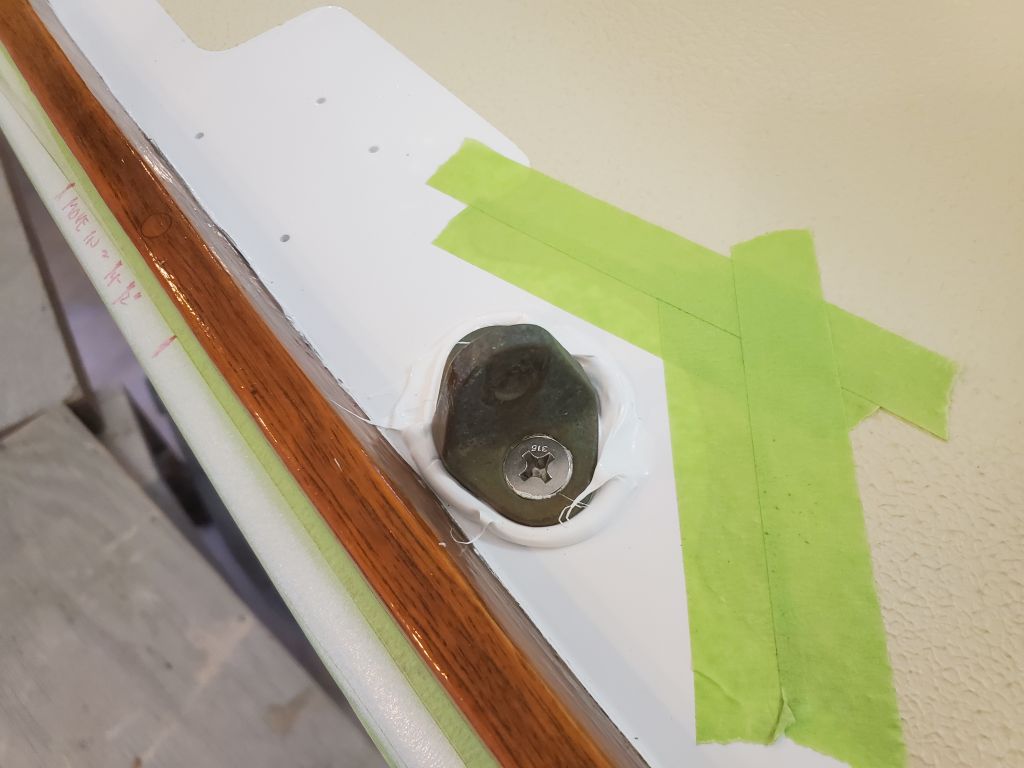
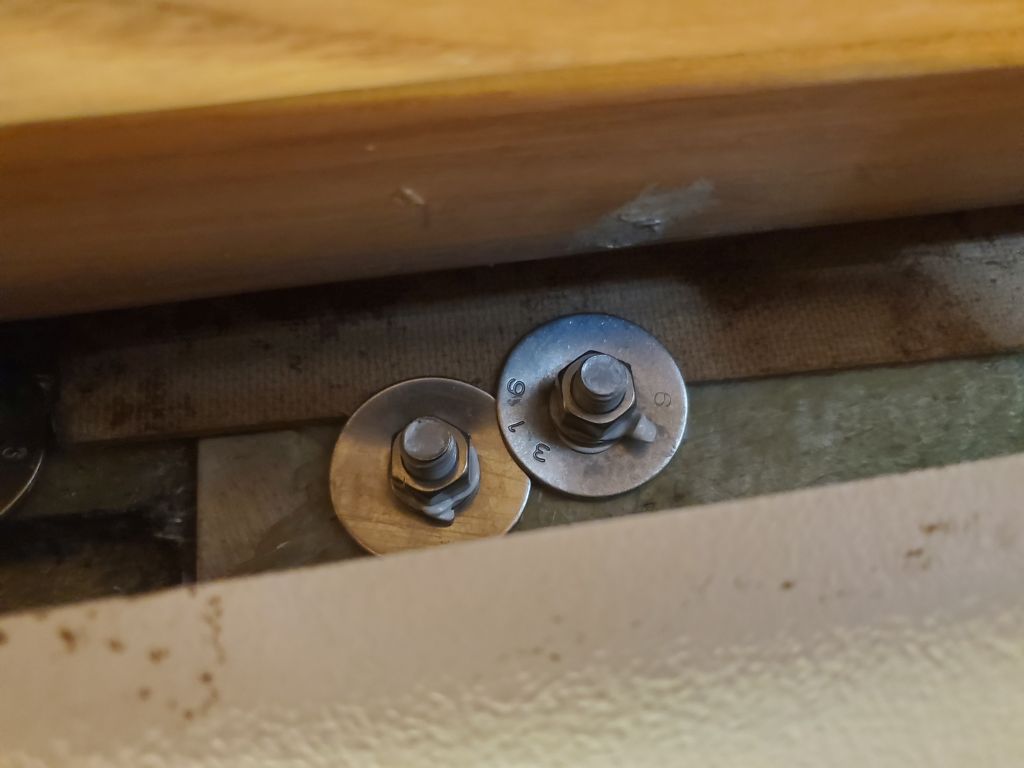
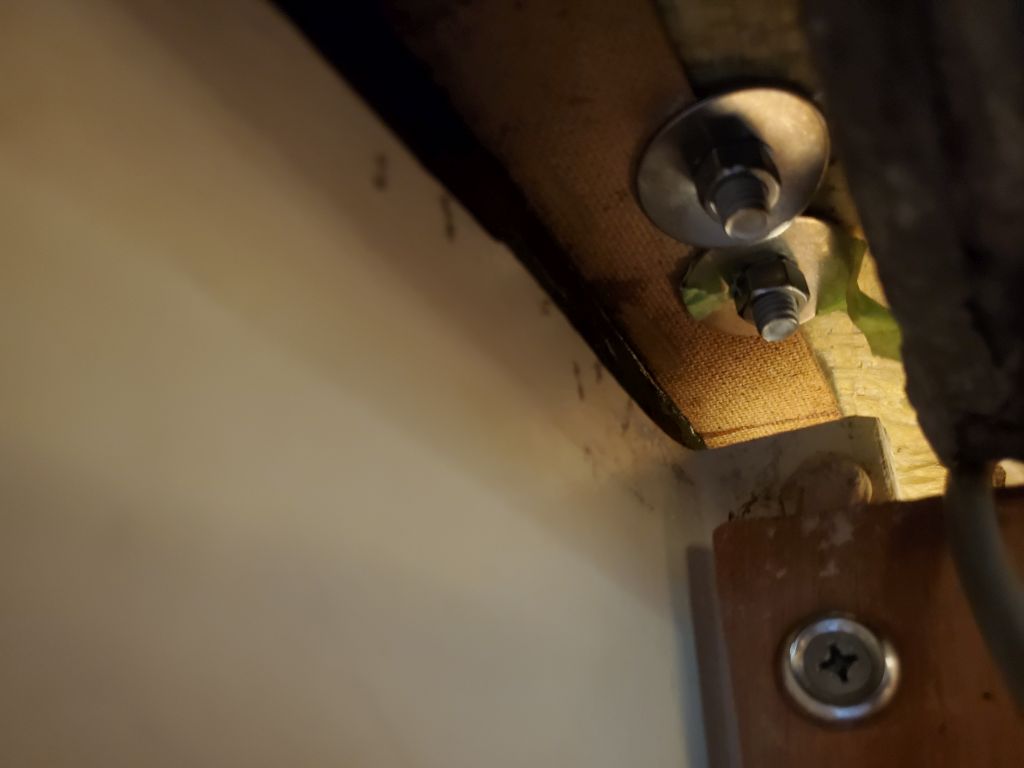
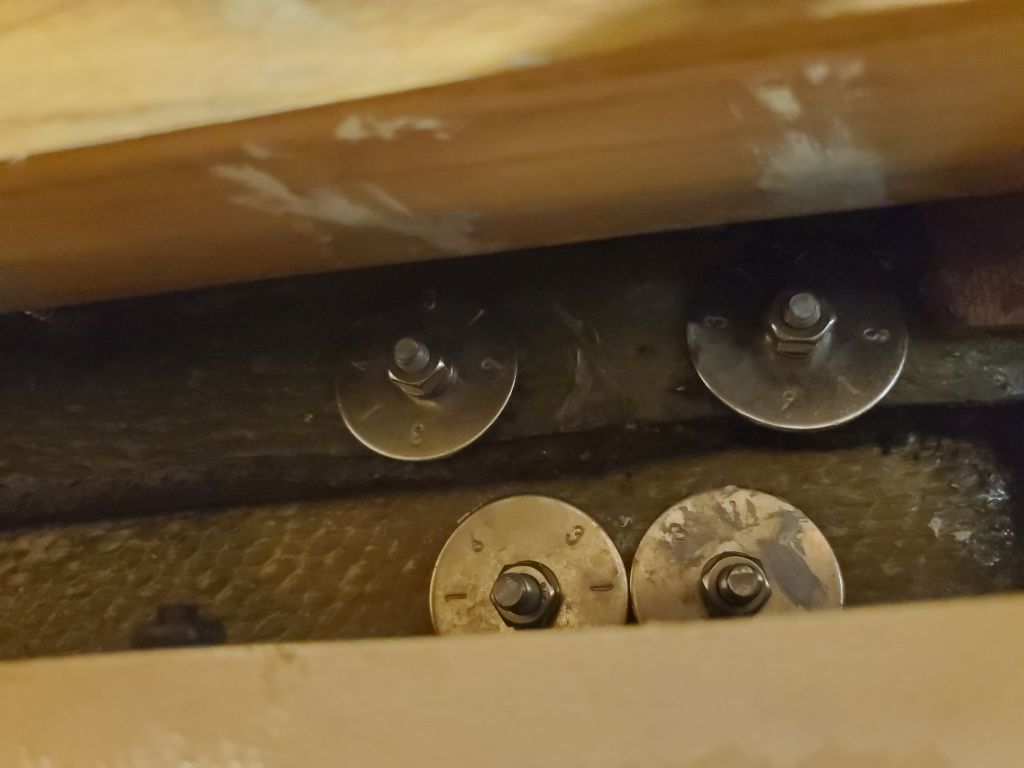
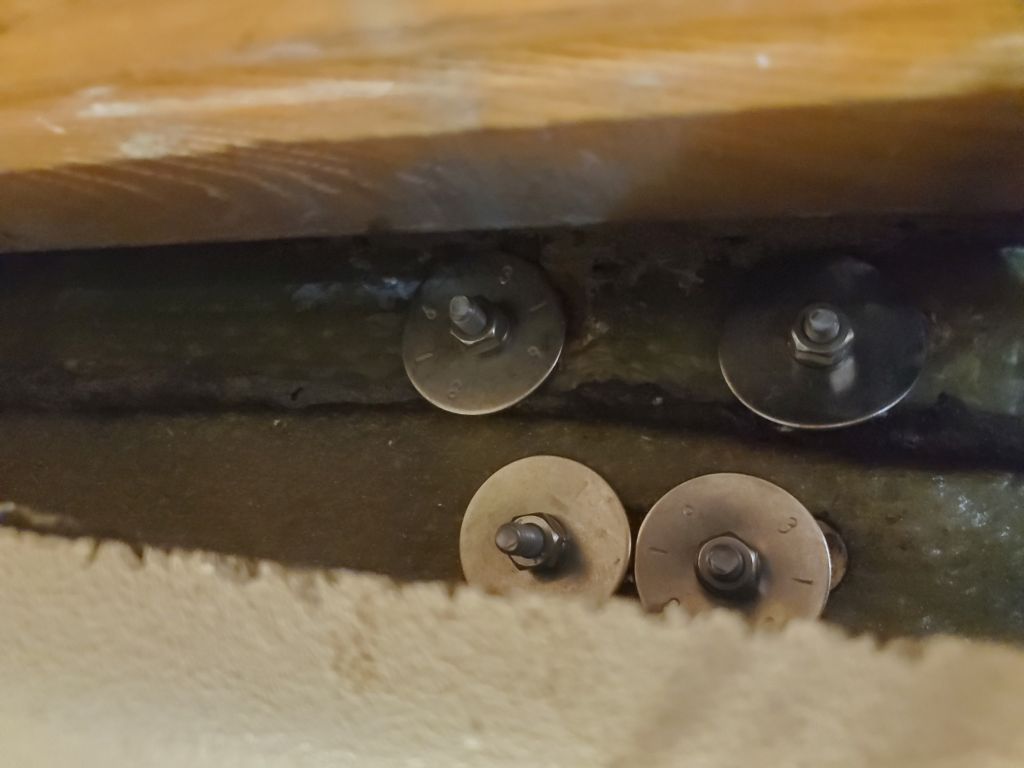
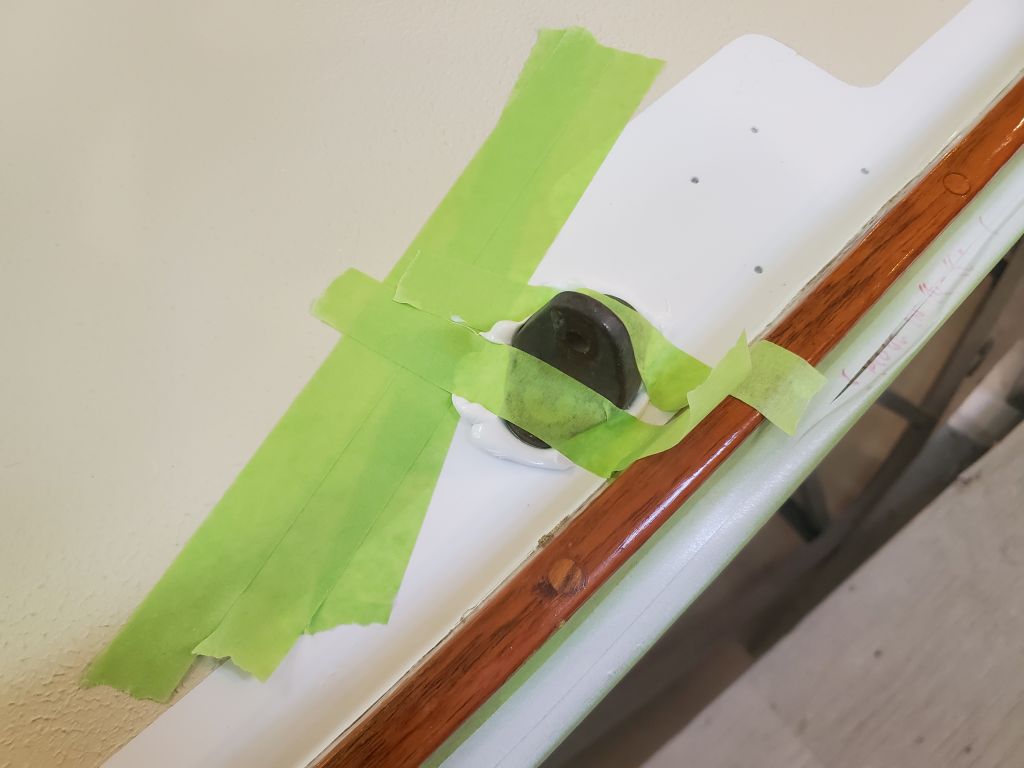
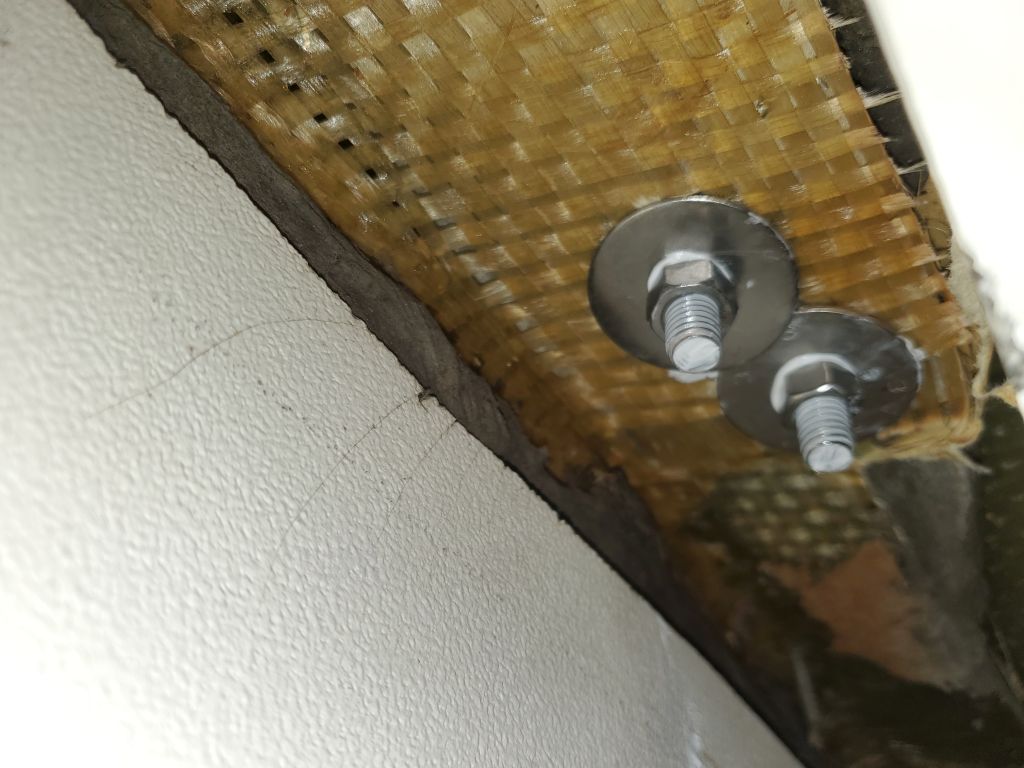
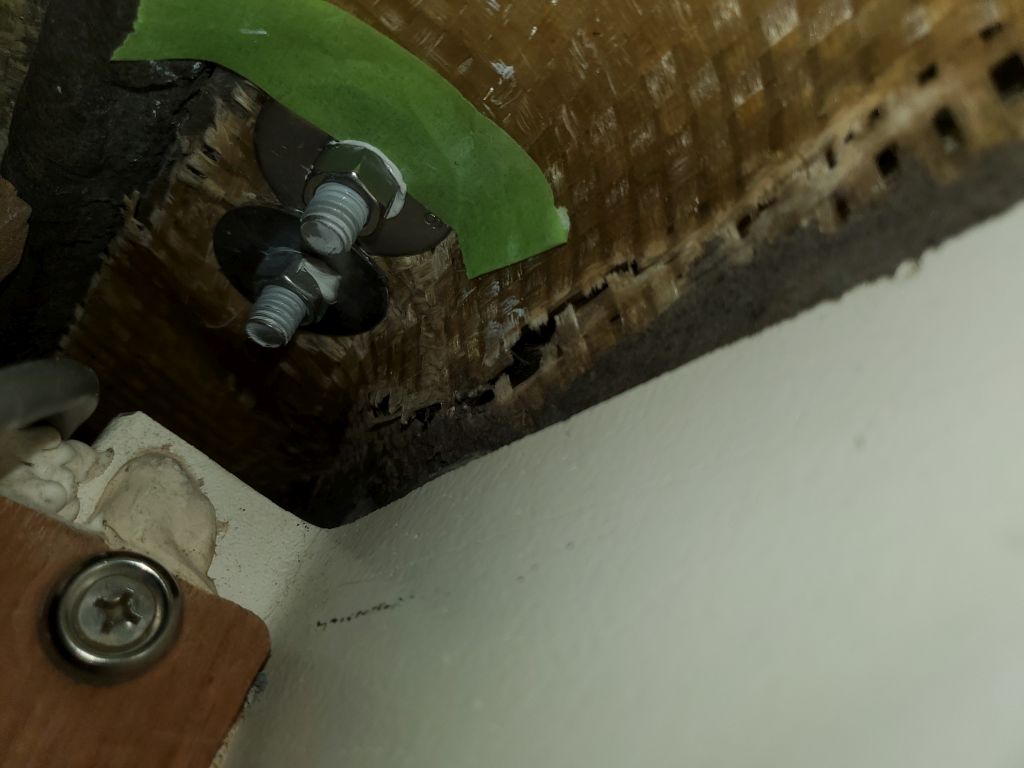
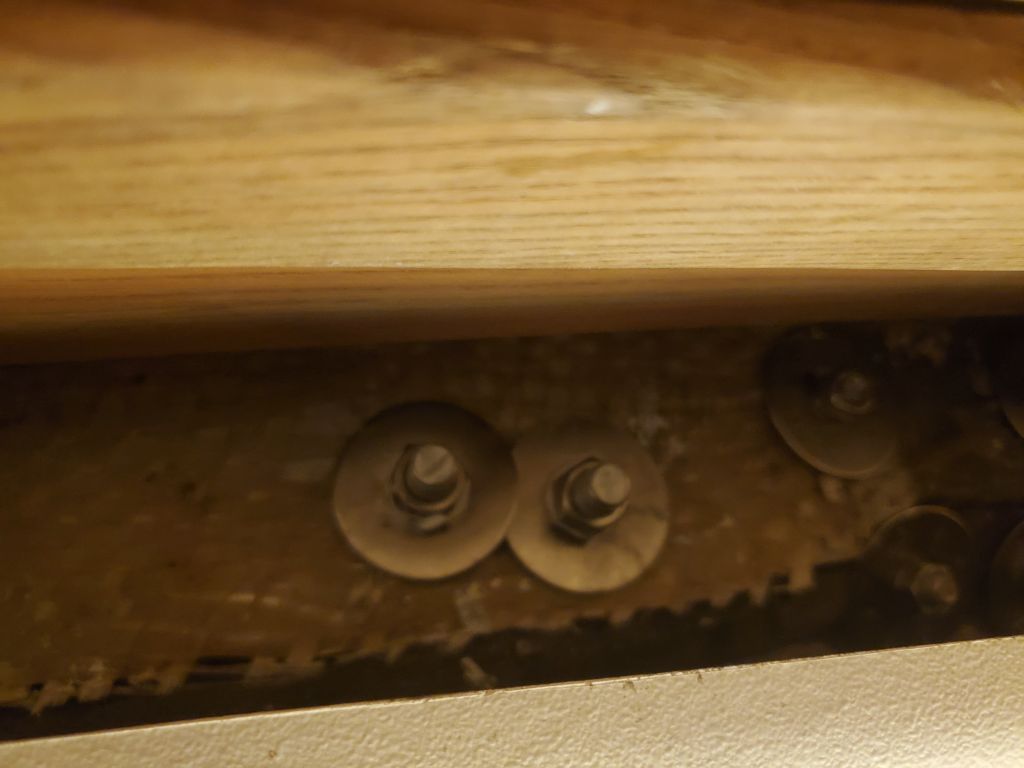
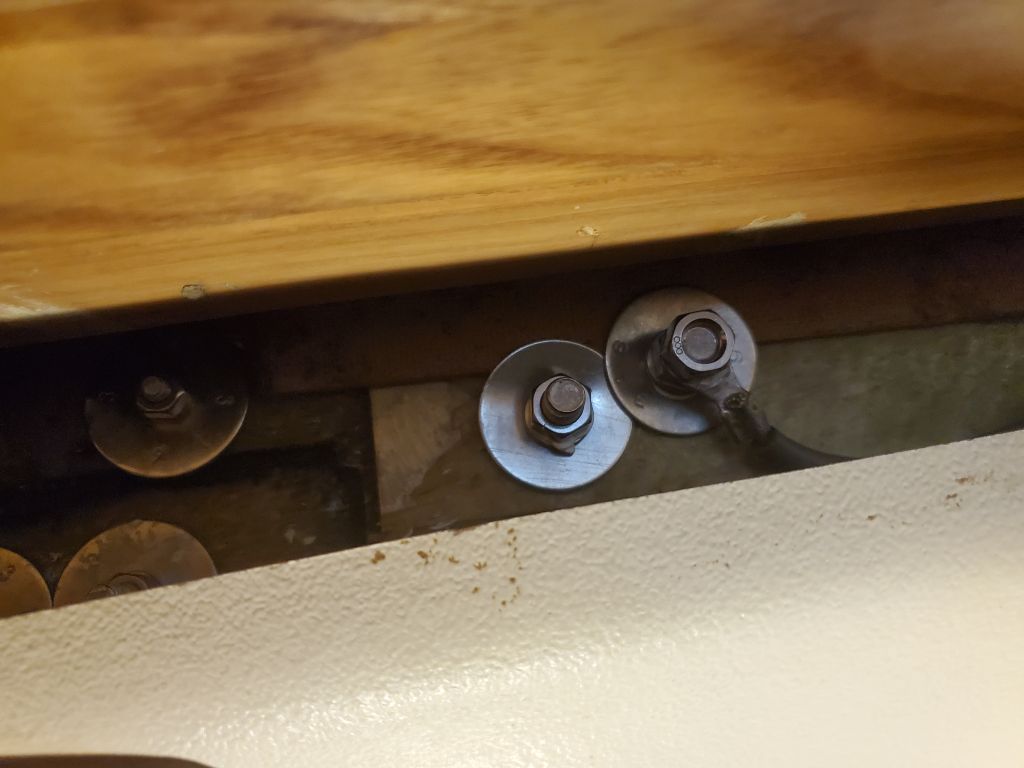
I’d not been looking forward to reinstalling the chainplates, since the access (particularly for the middle ones) was so difficult, so these were next on my list, starting with the port side.   Other than the expected challenges in getting the nuts started belowdecks, with the invisible access, tight quarters, and awkward hand angles required, the installations were otherwise straightforward enough.  I used some tape to help hold the washers in place on a few of the fasteners, which gave me the time to get the nuts started without the washers continually falling off the stud.  I also found I had to tape over the fasteners from above so that my efforts belowdecks wouldn’t push the fasteners up, as these existing holes were unthreaded.

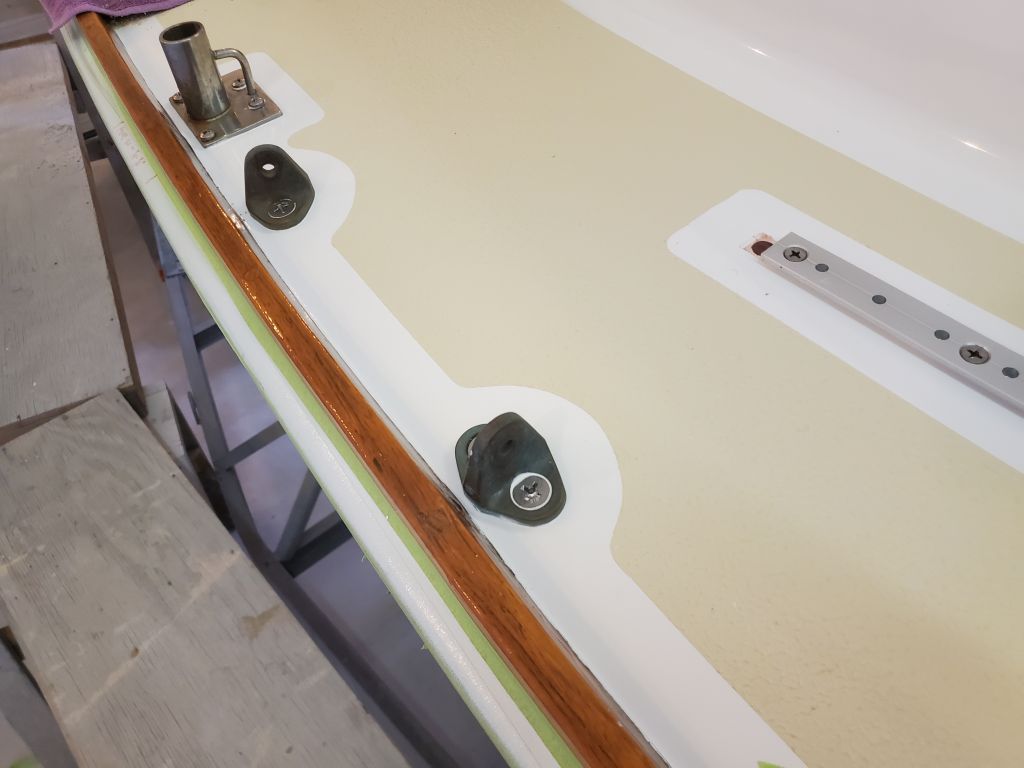
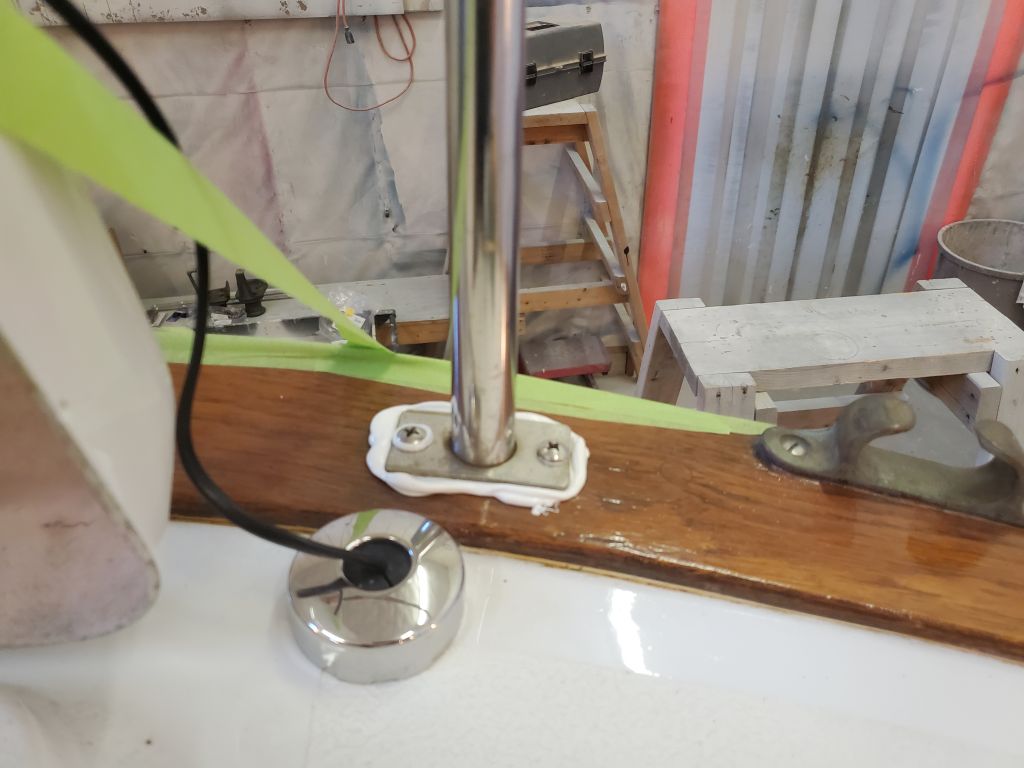
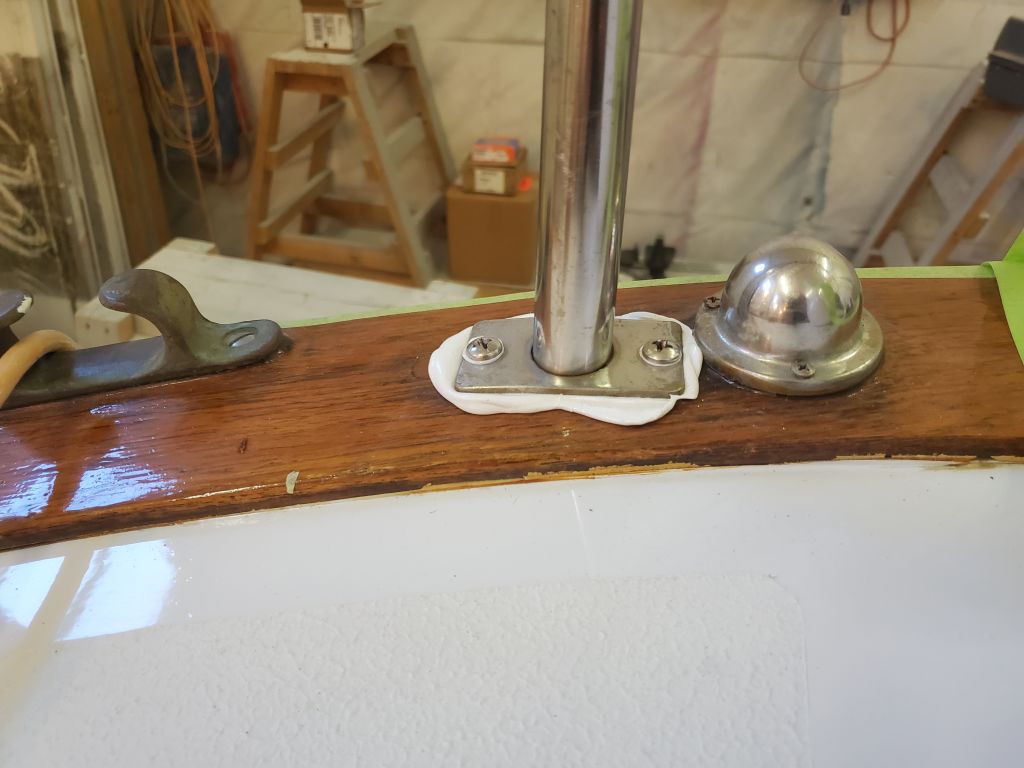
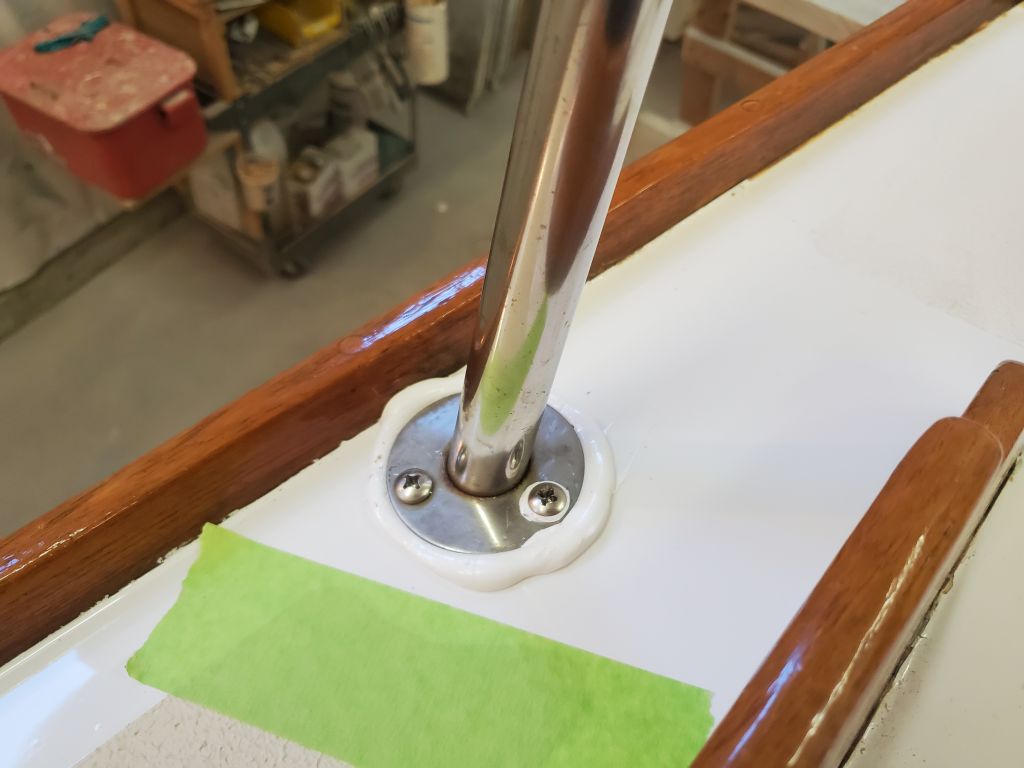
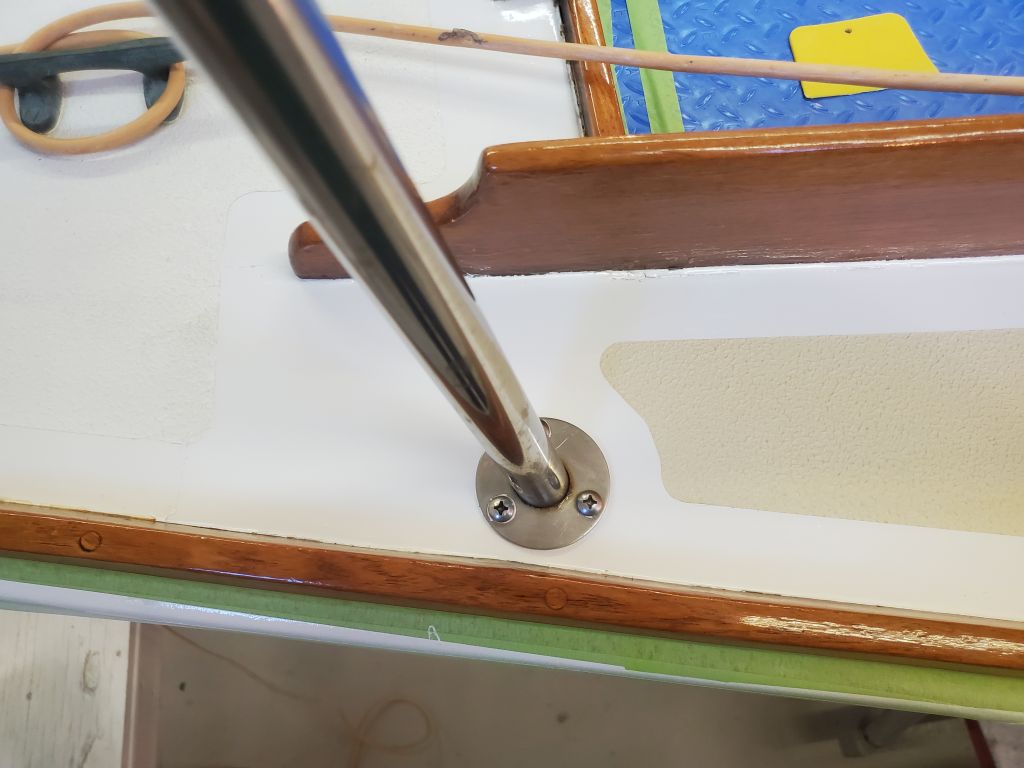
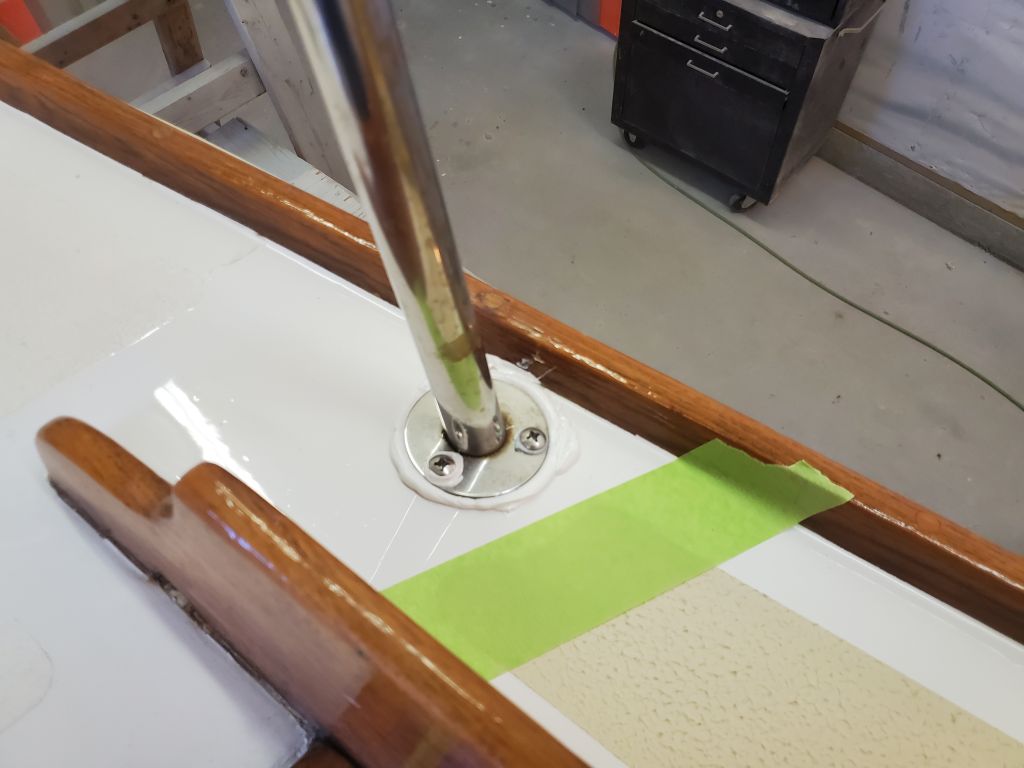
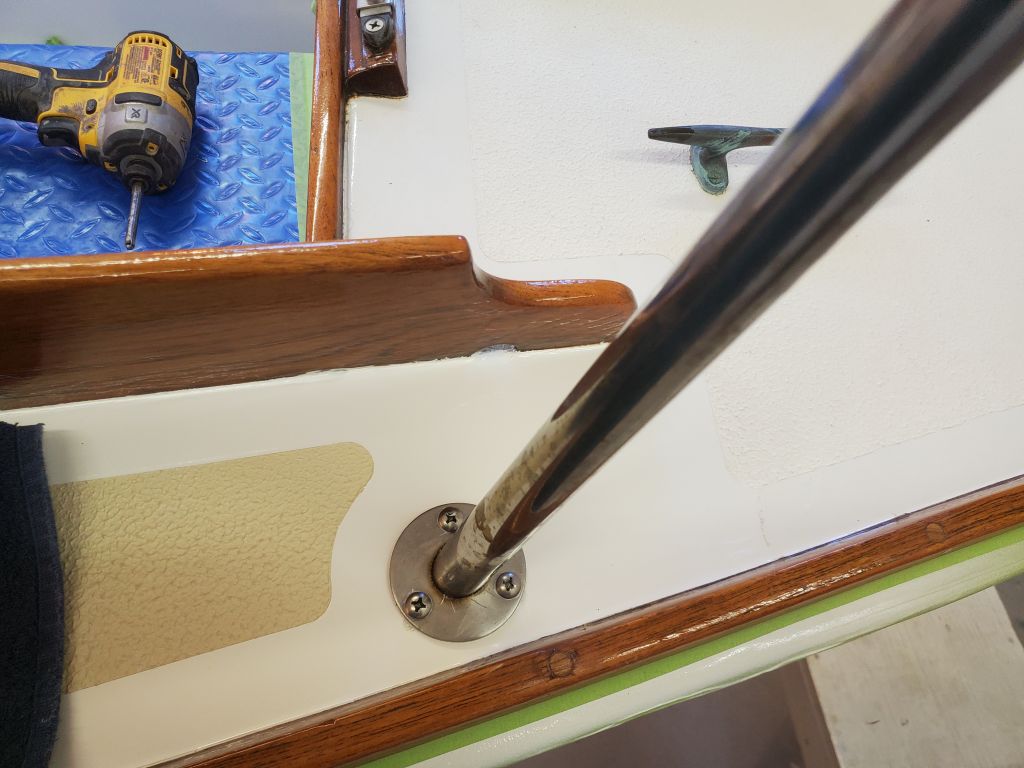
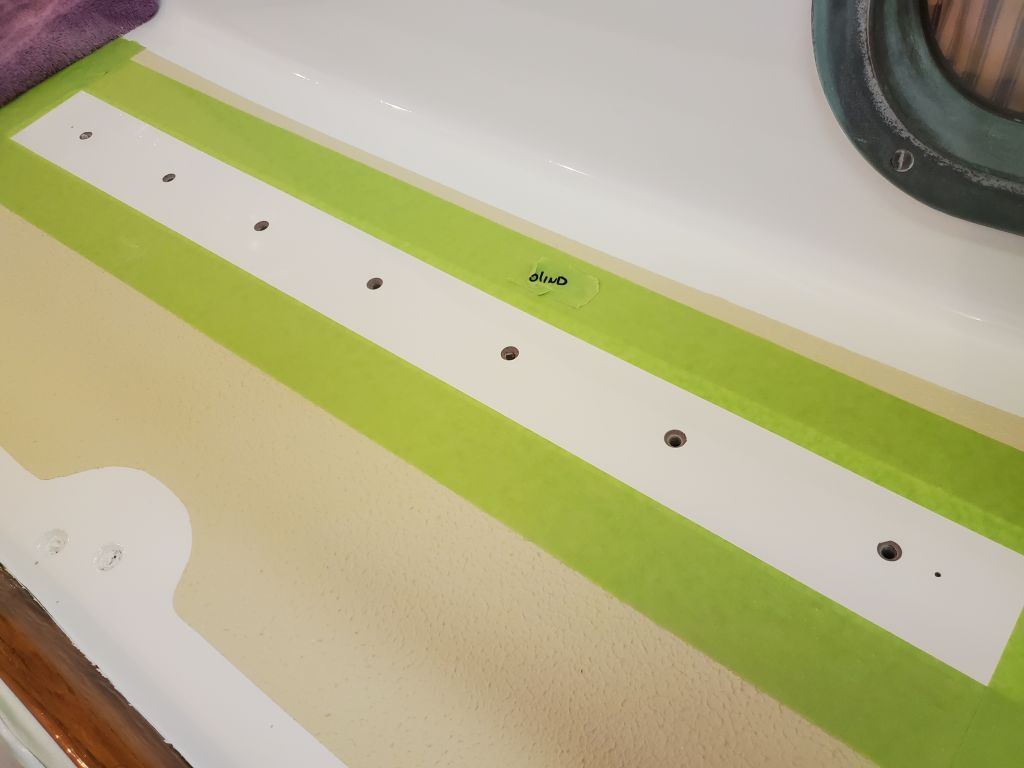
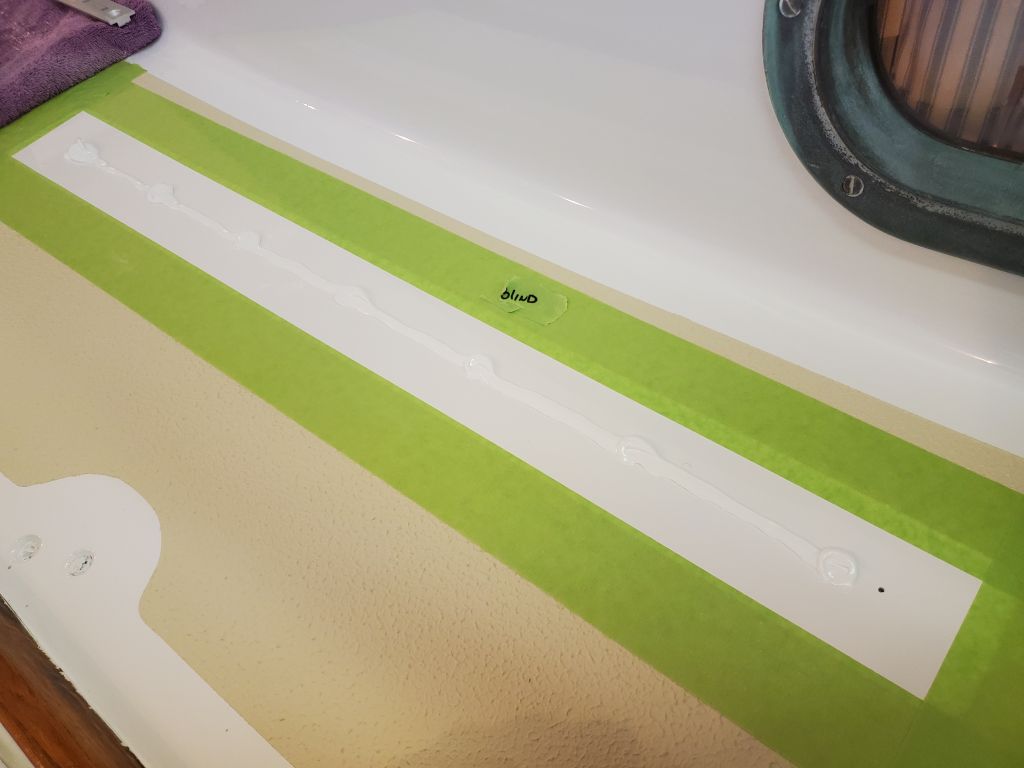
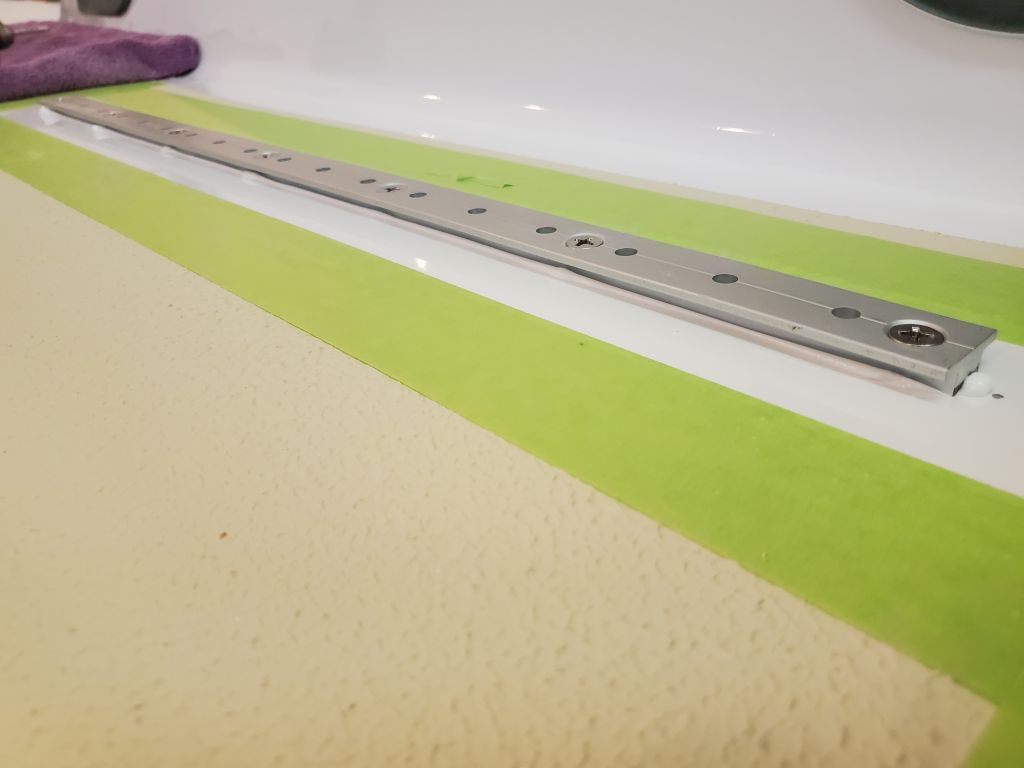
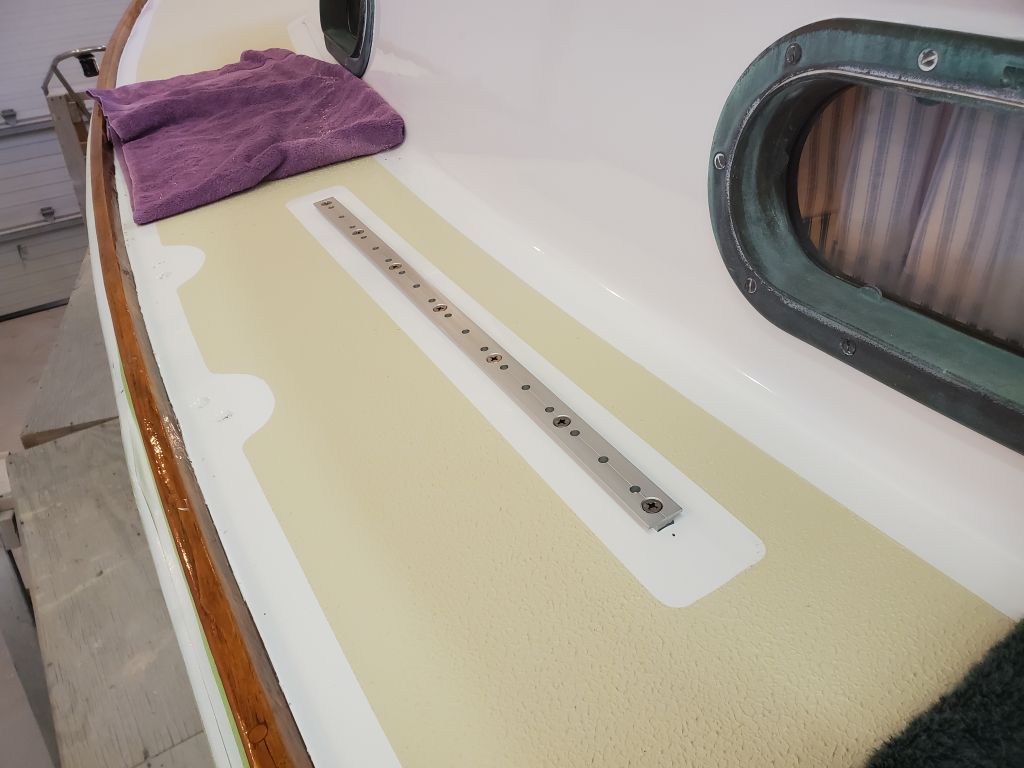
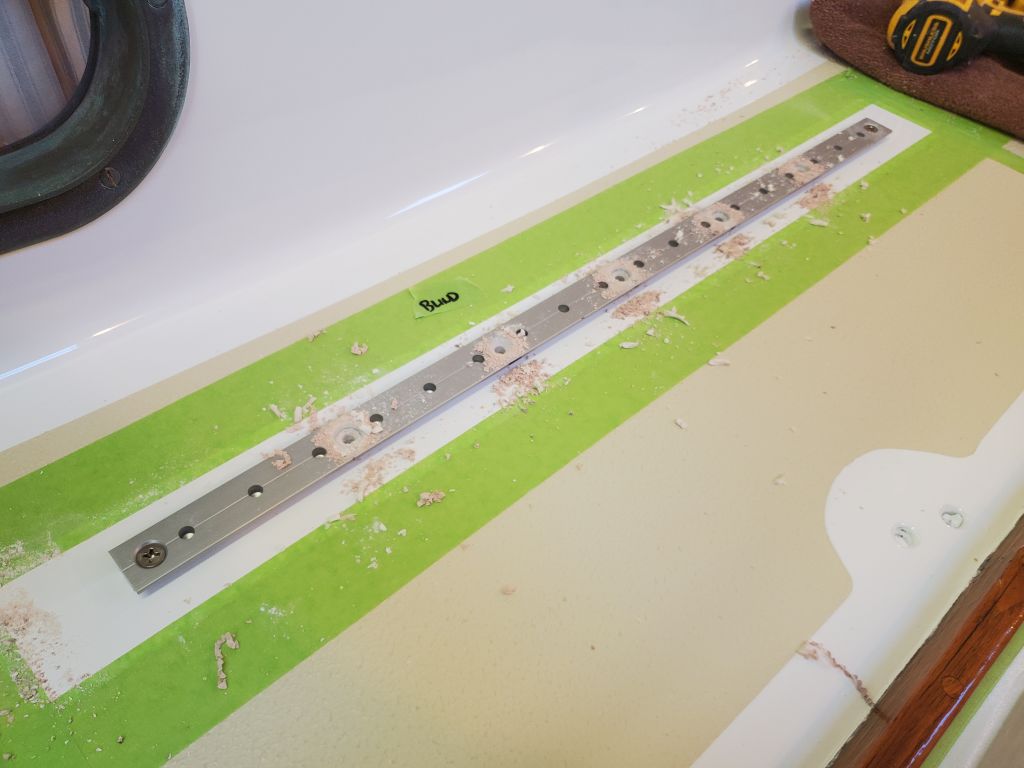
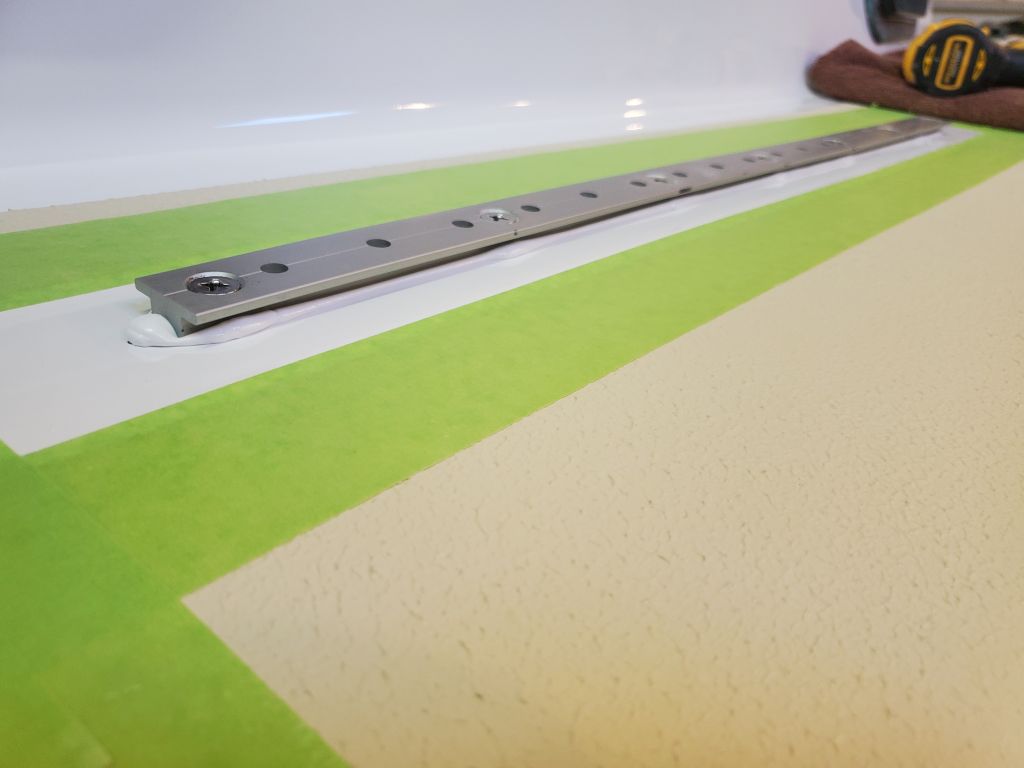
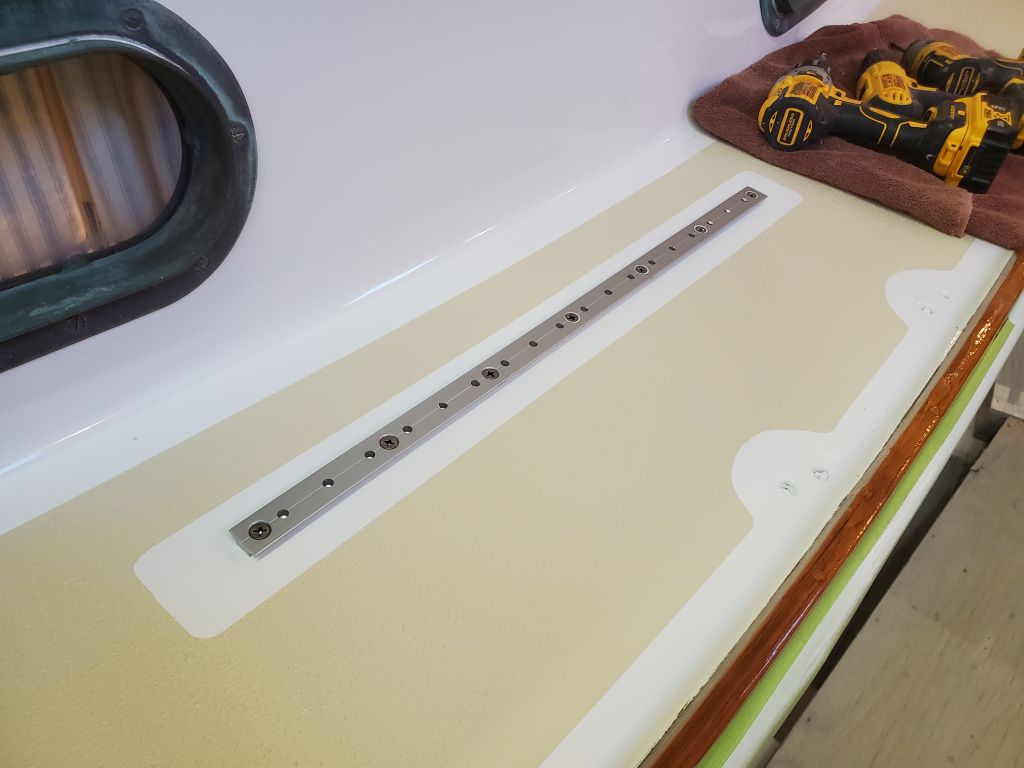
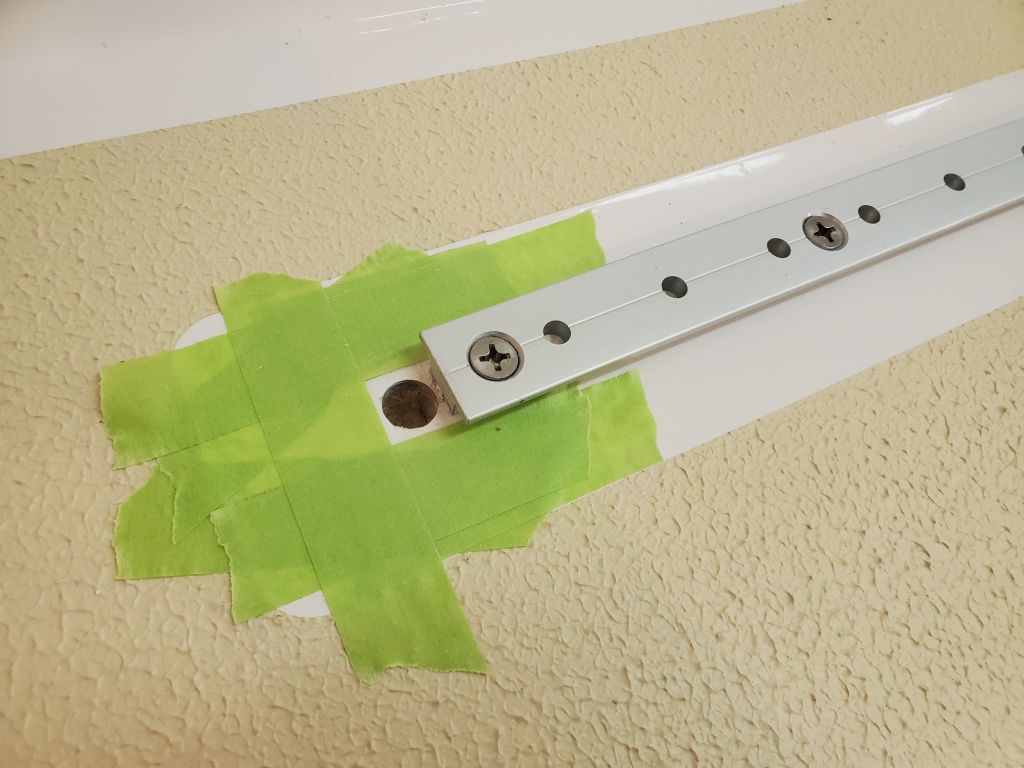
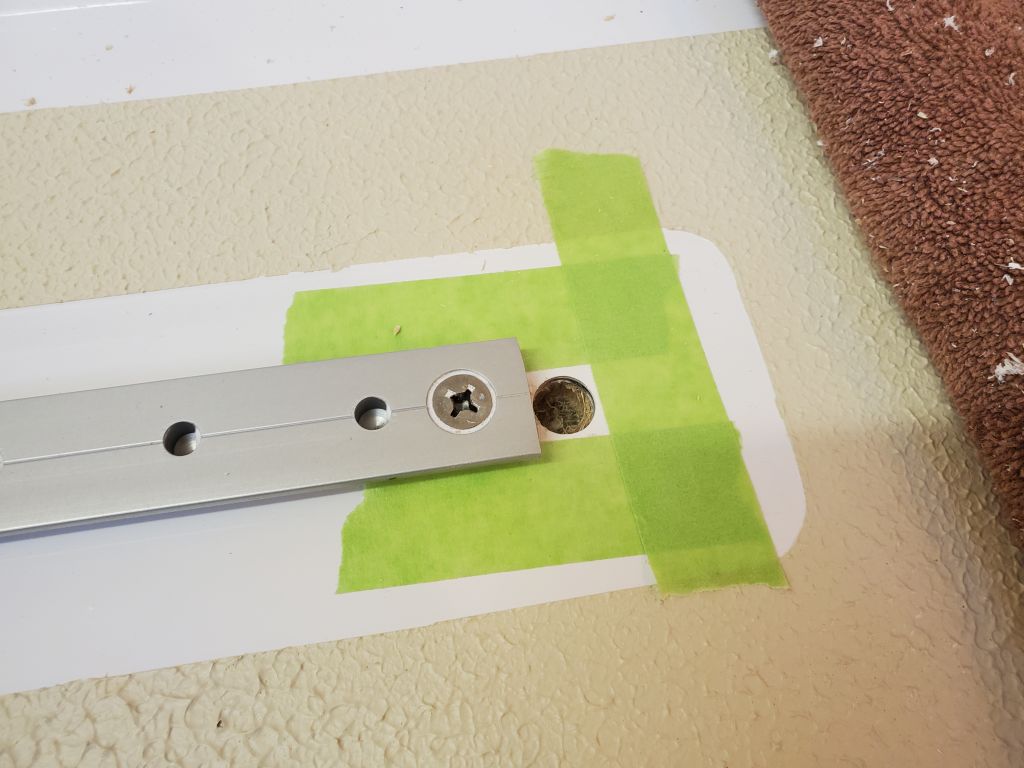
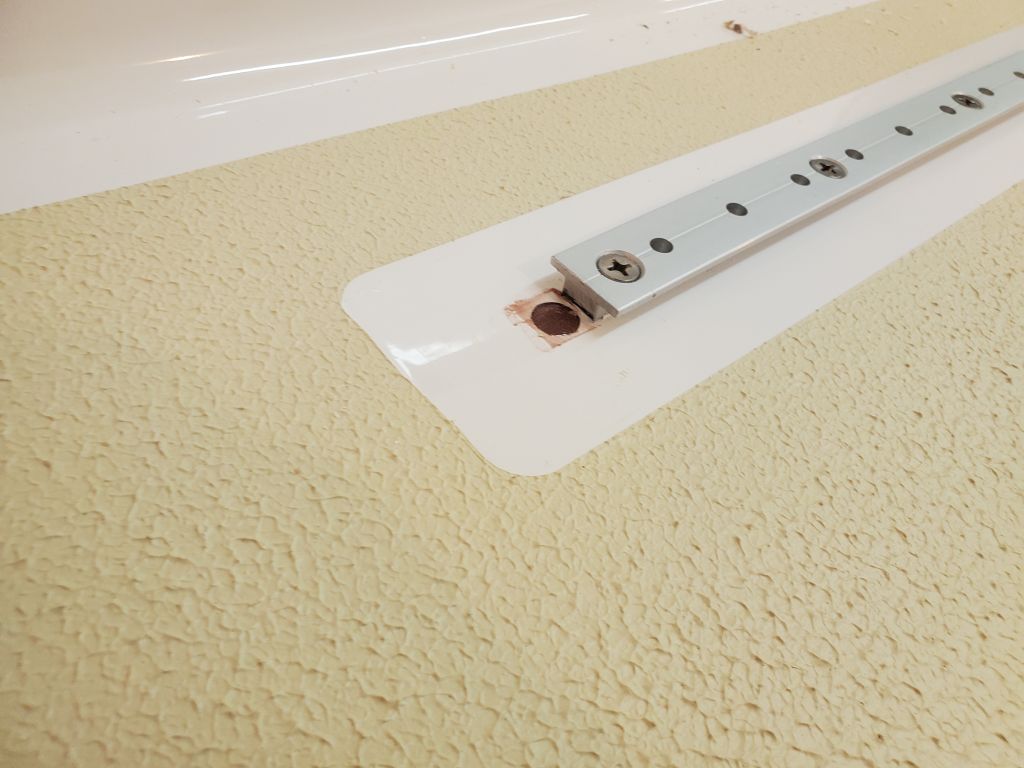
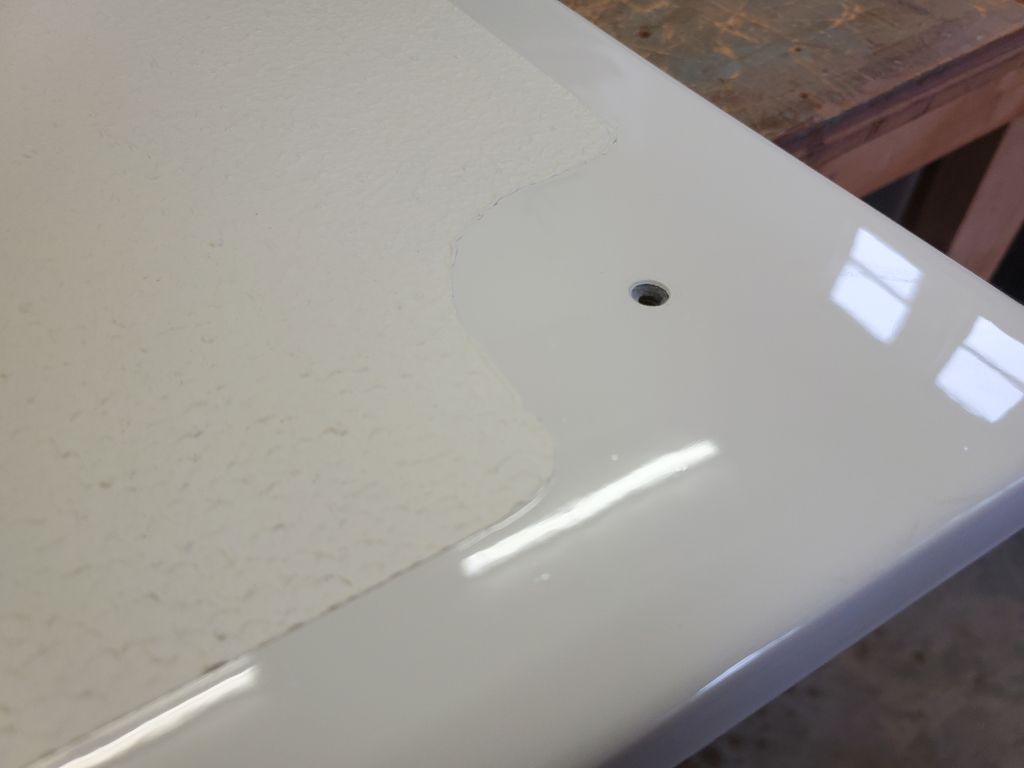
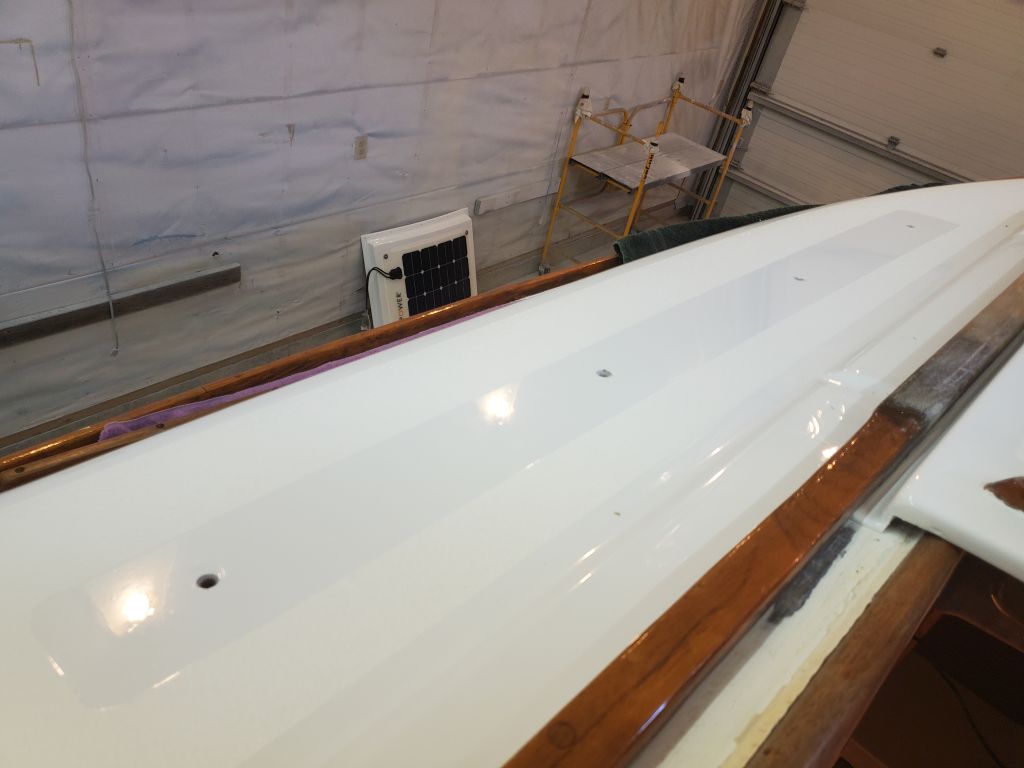
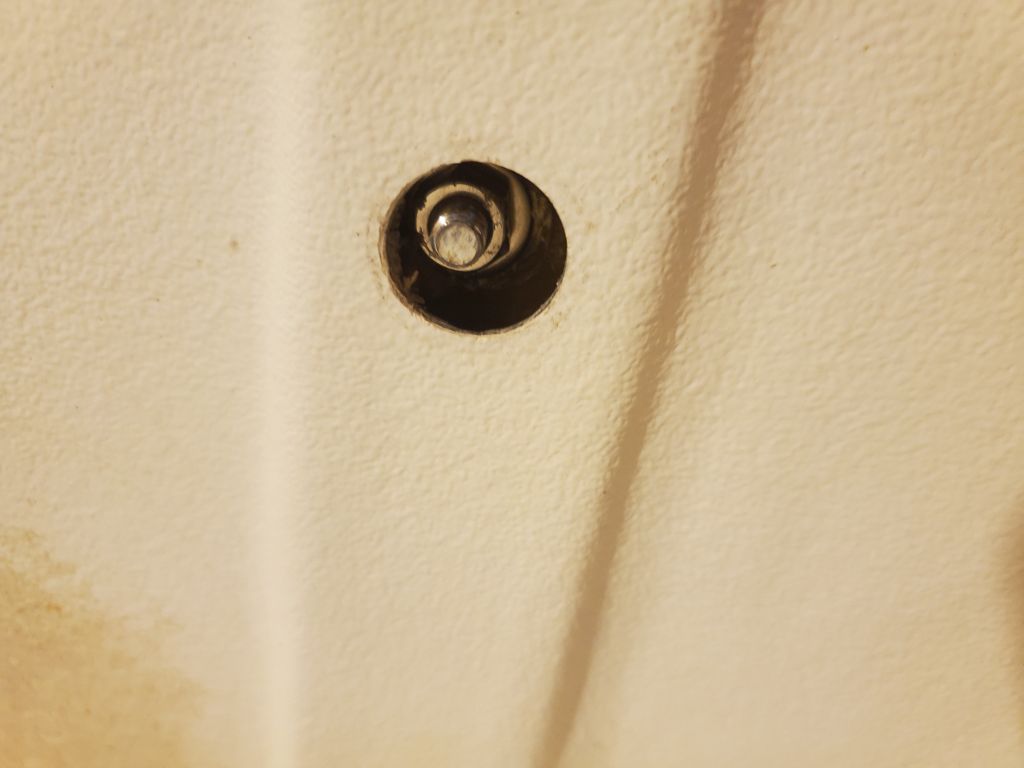
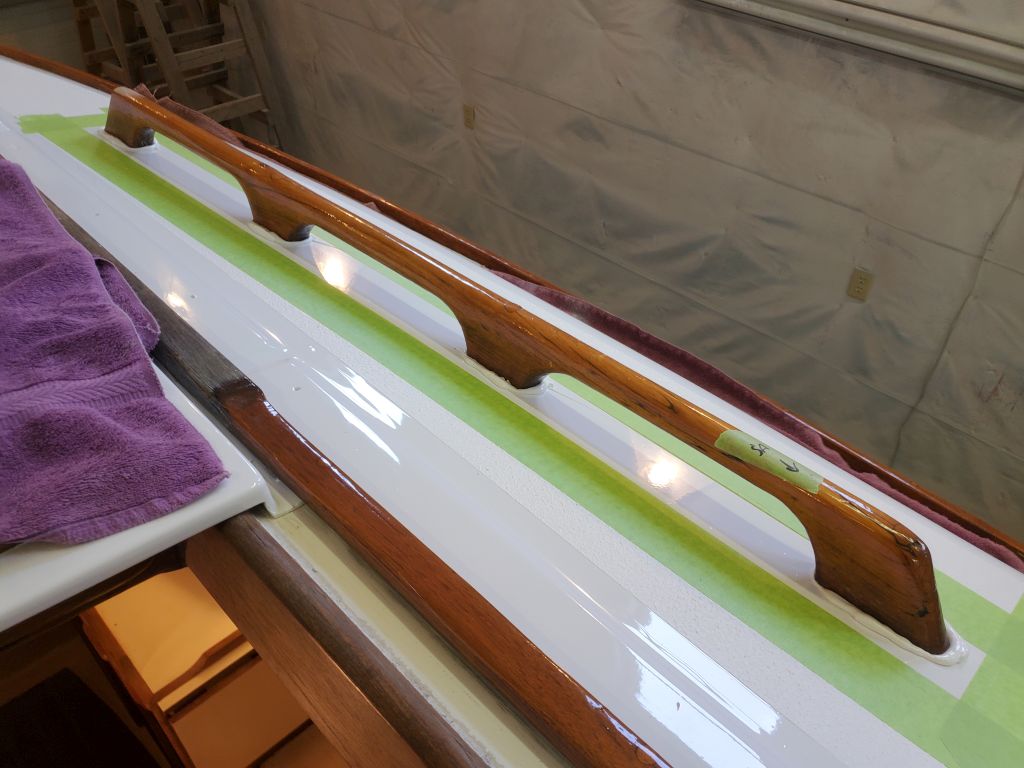
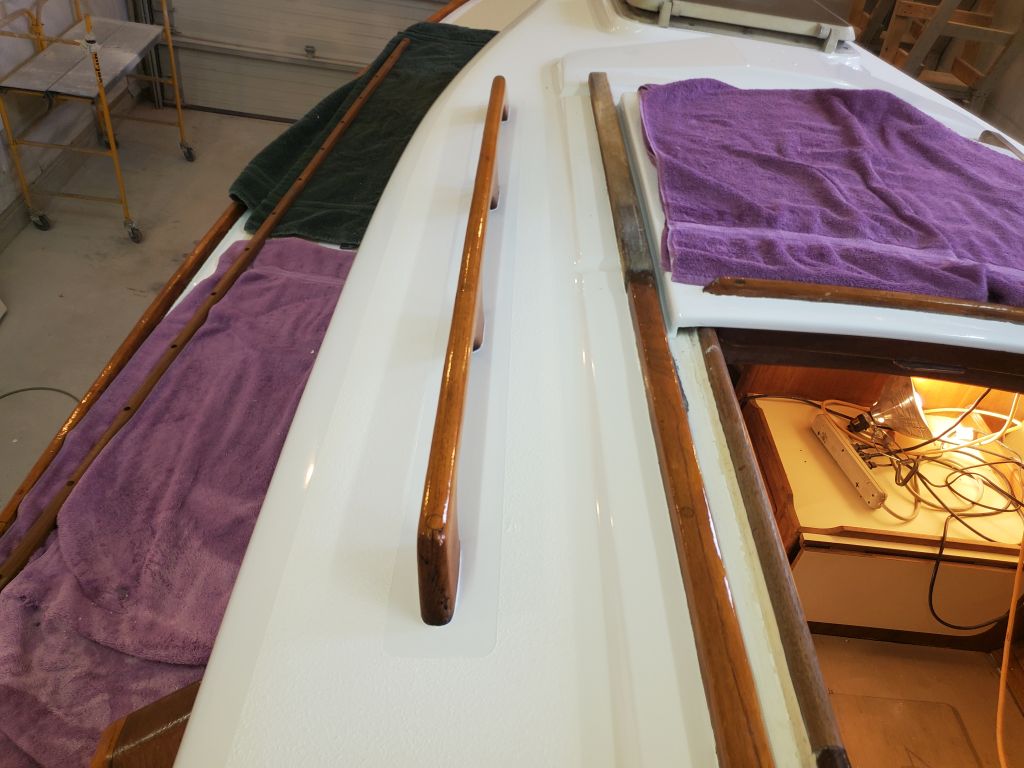
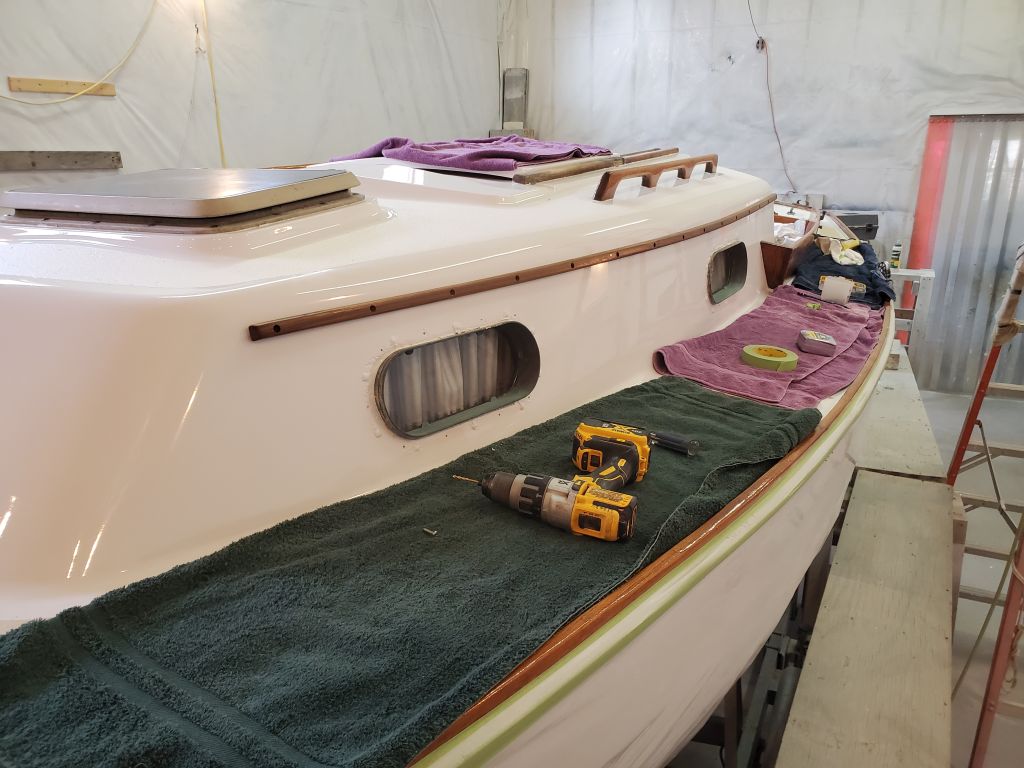
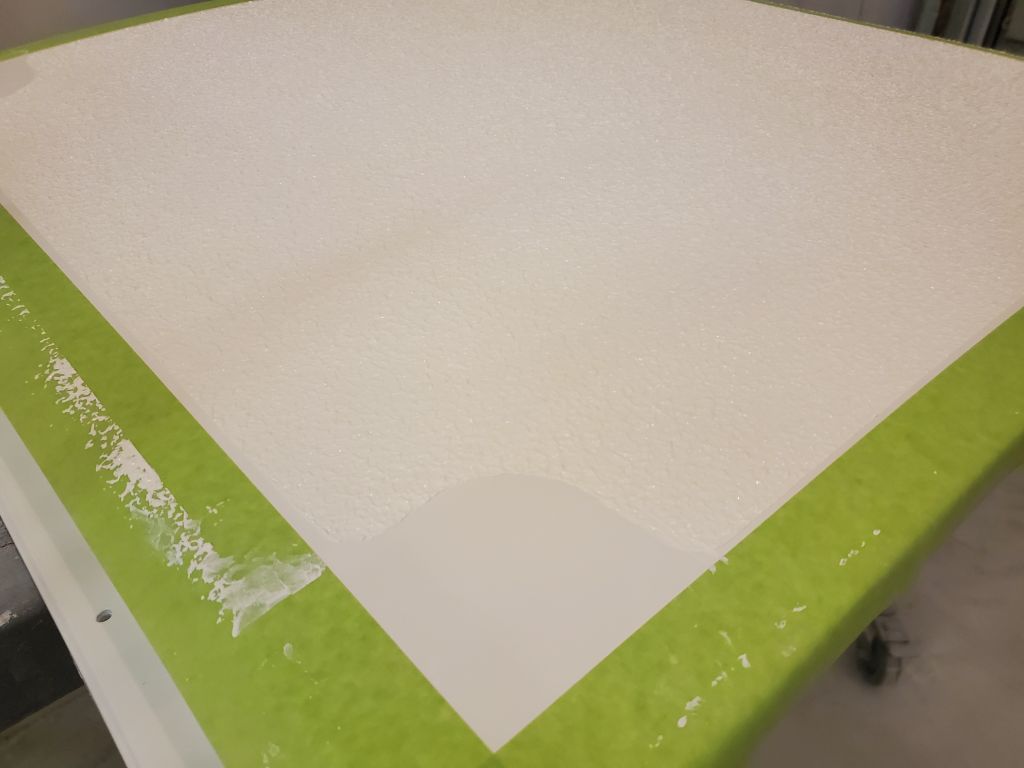
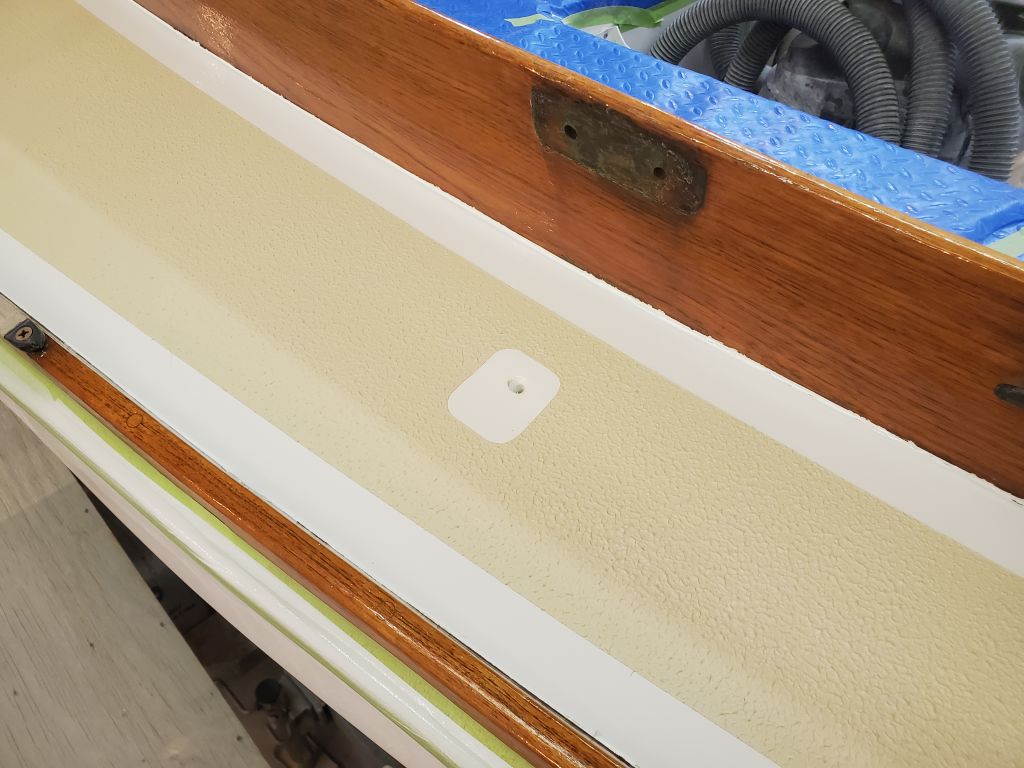
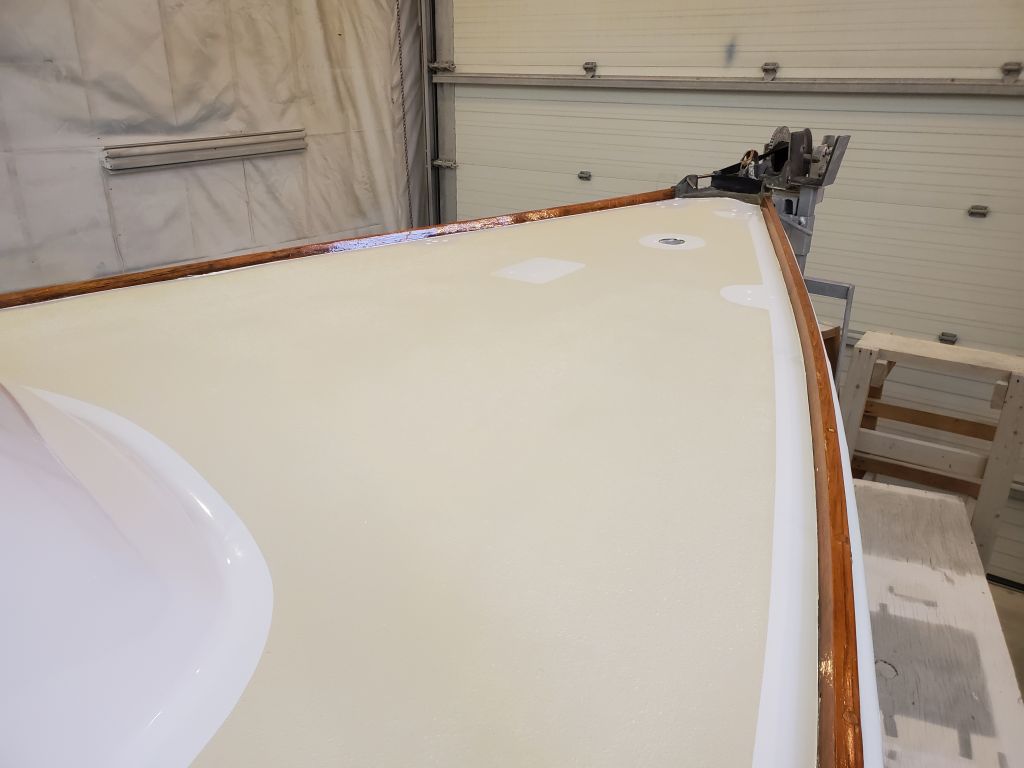
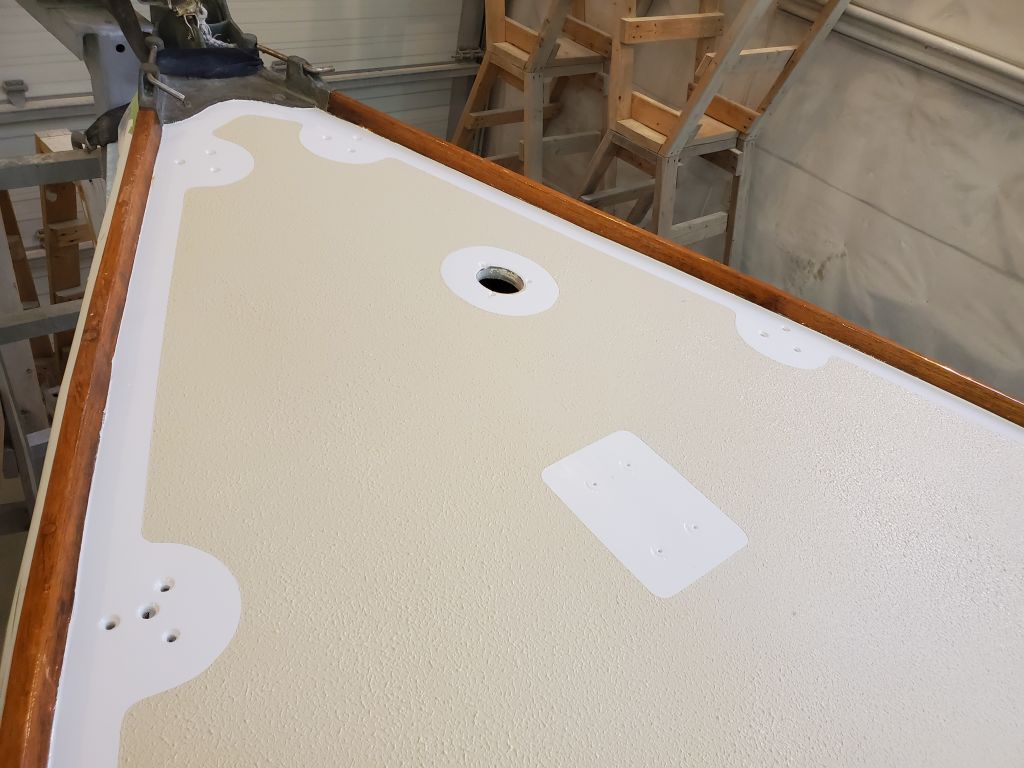
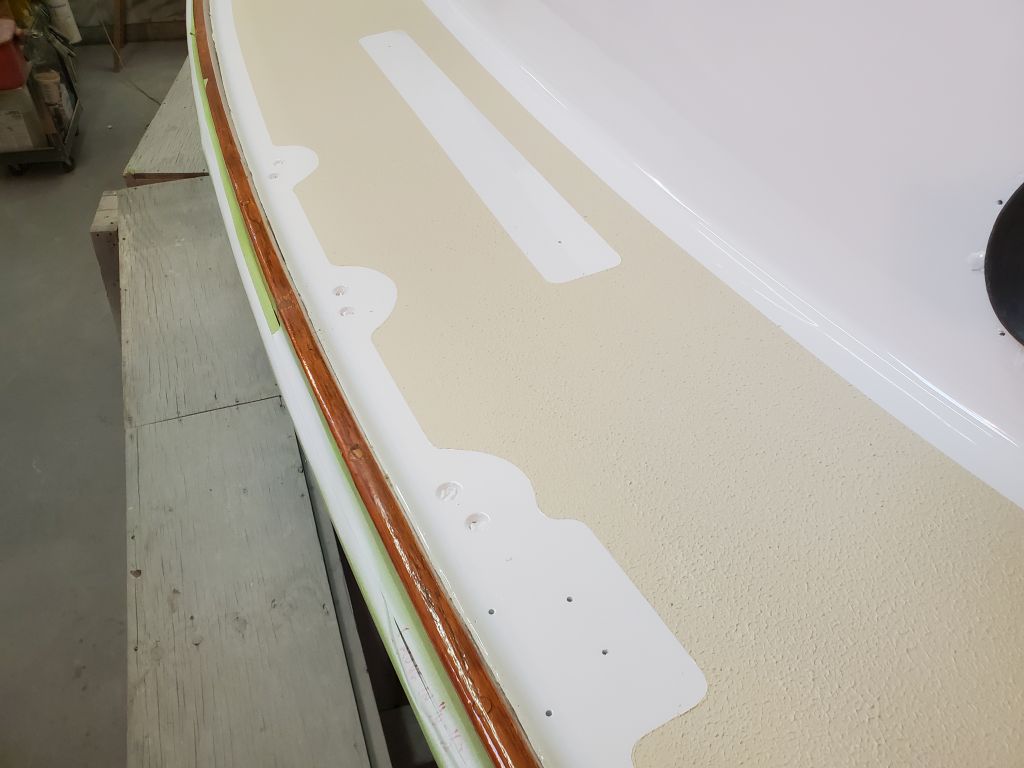
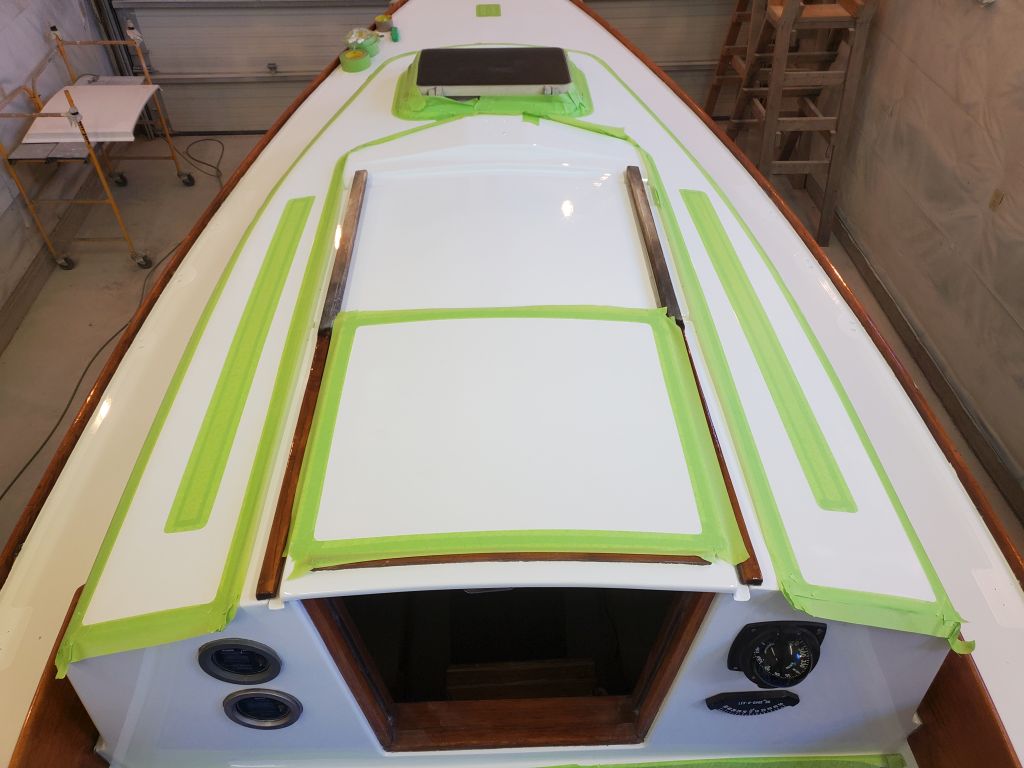
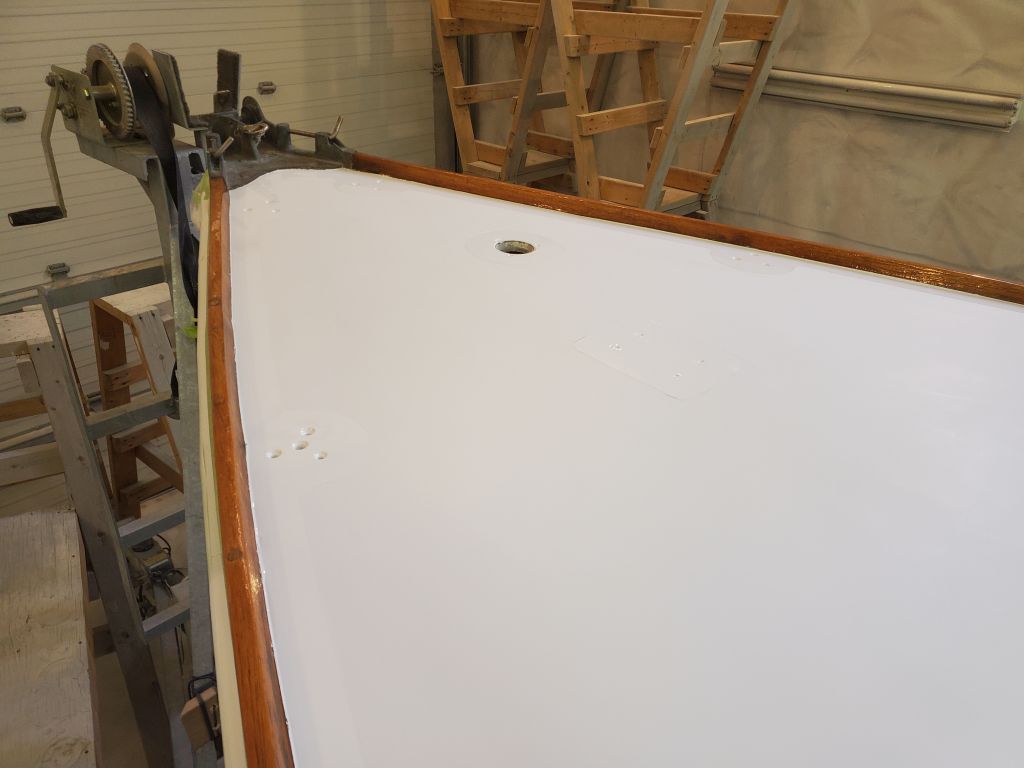
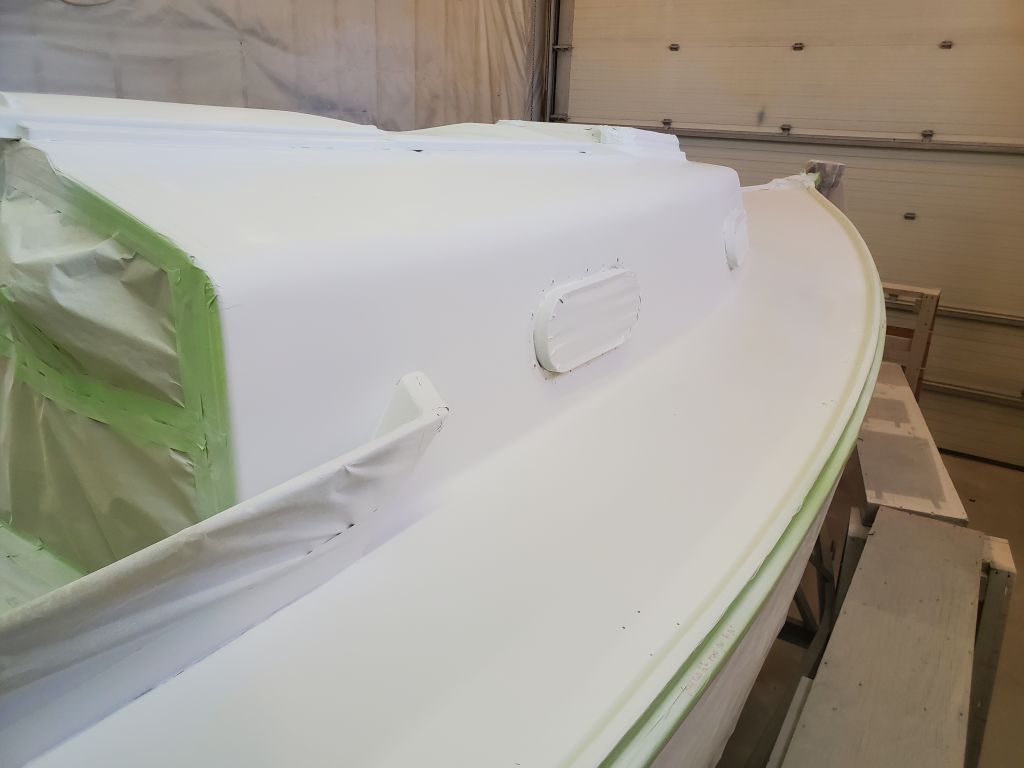
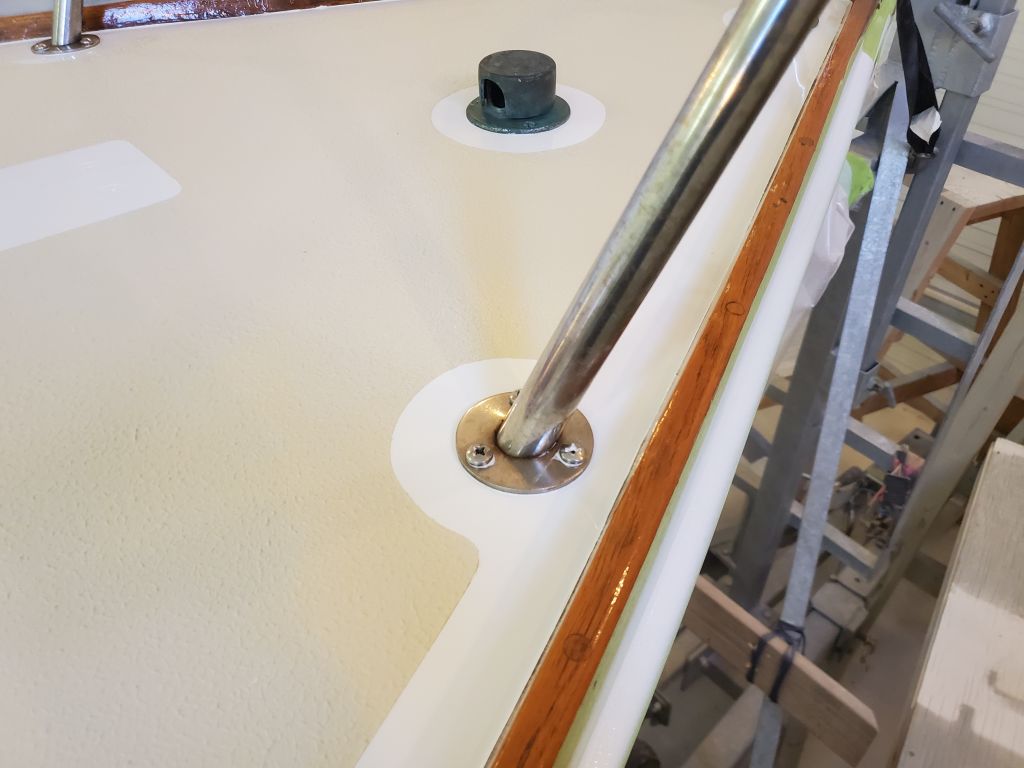
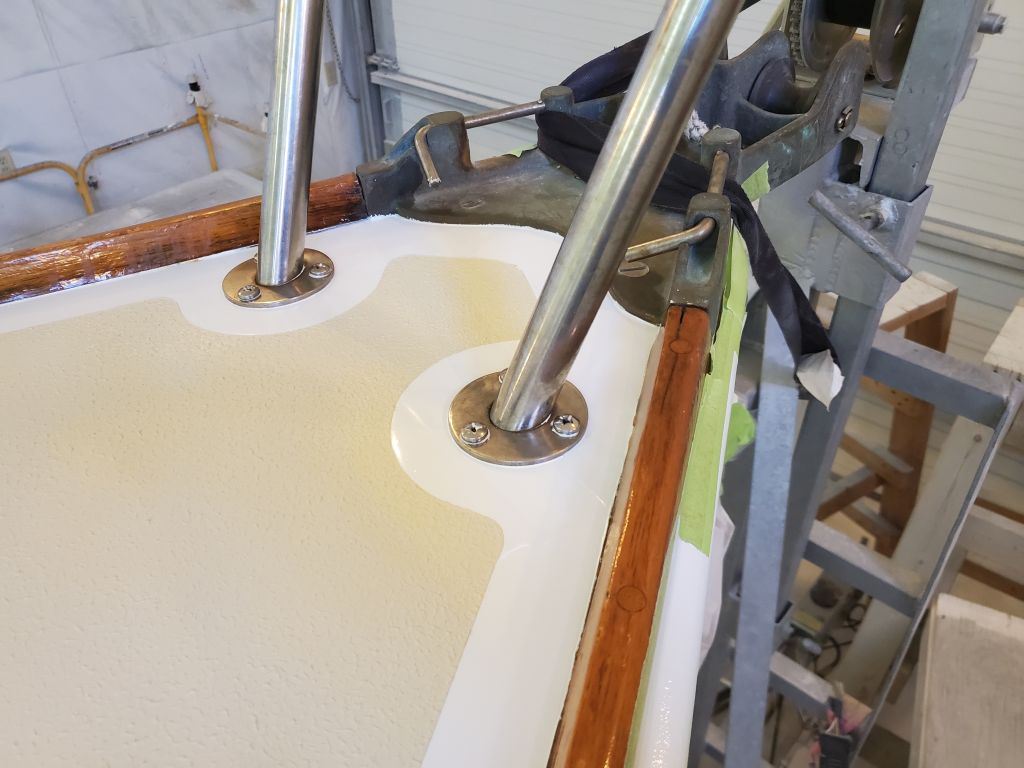
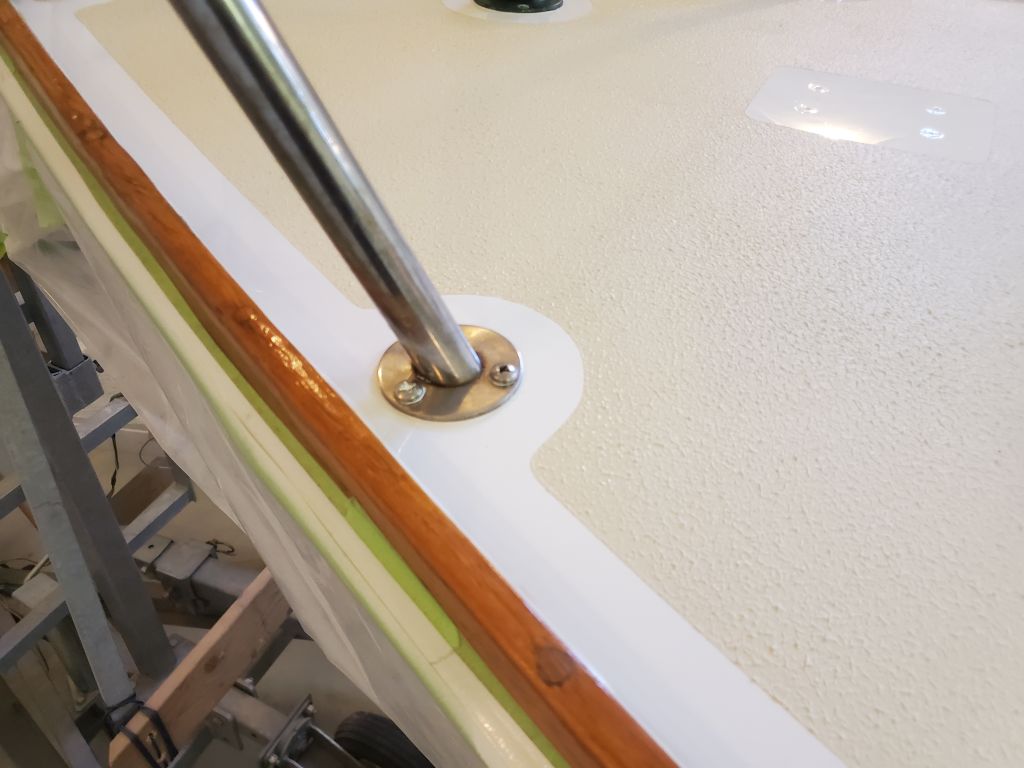
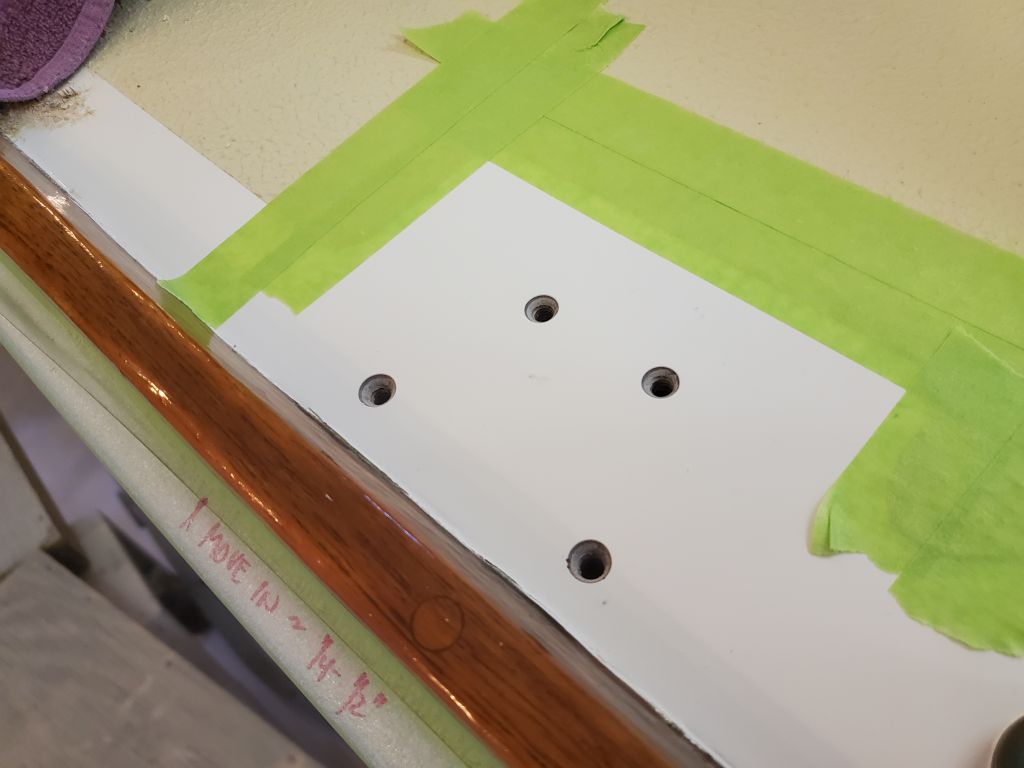
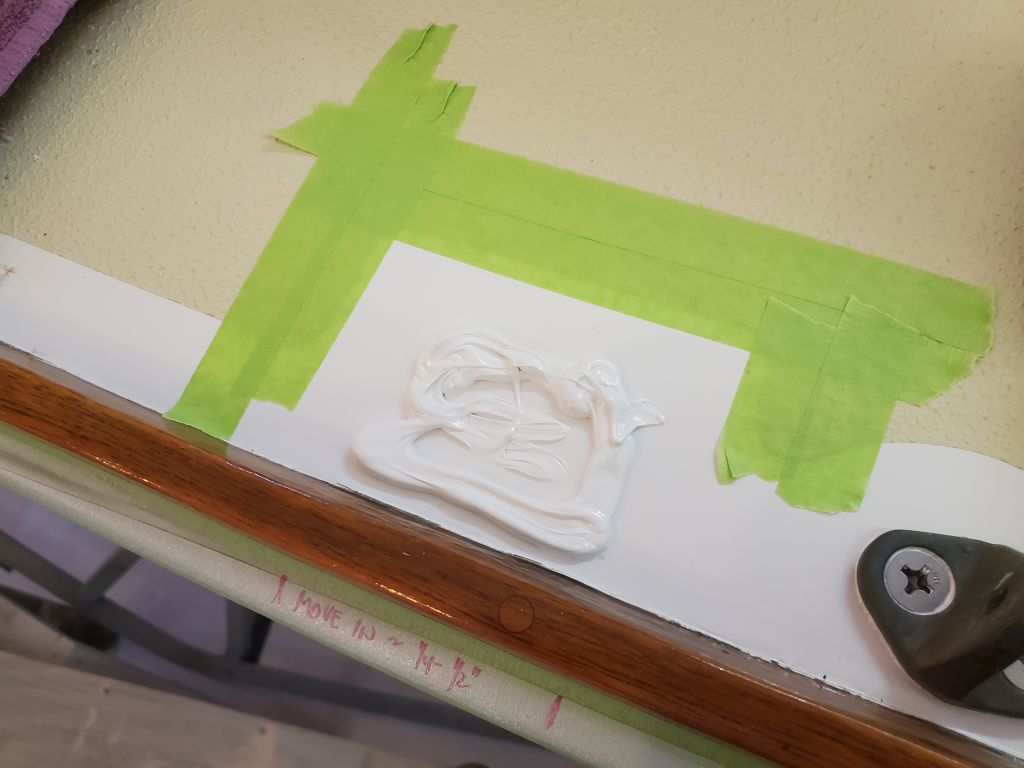
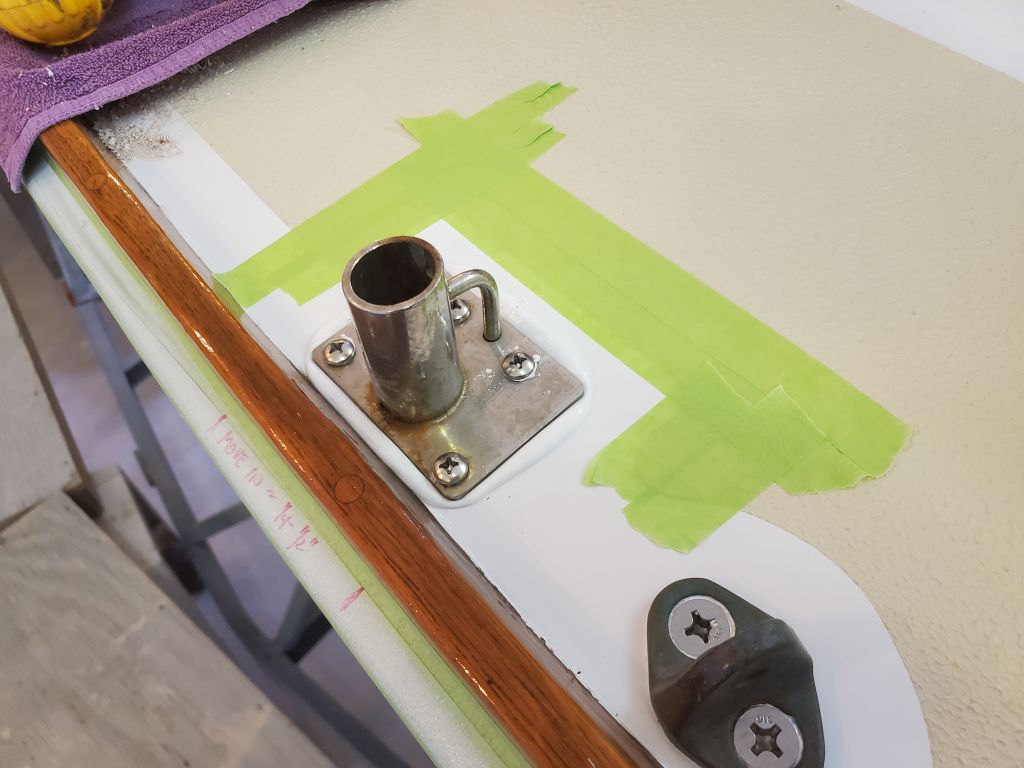
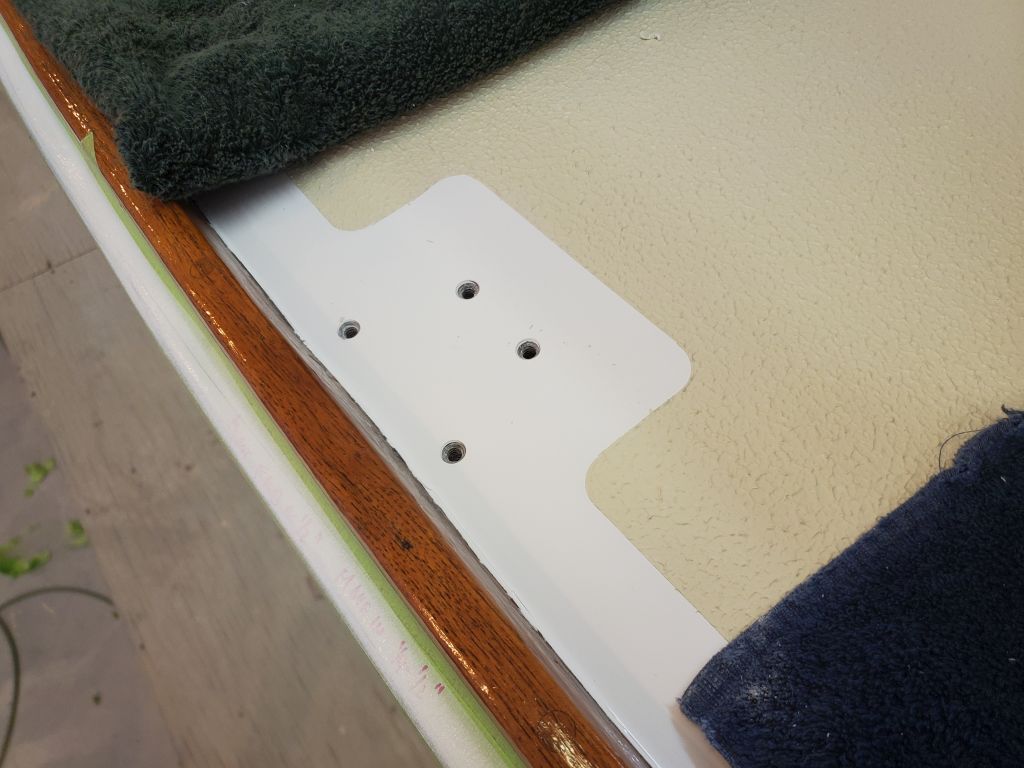
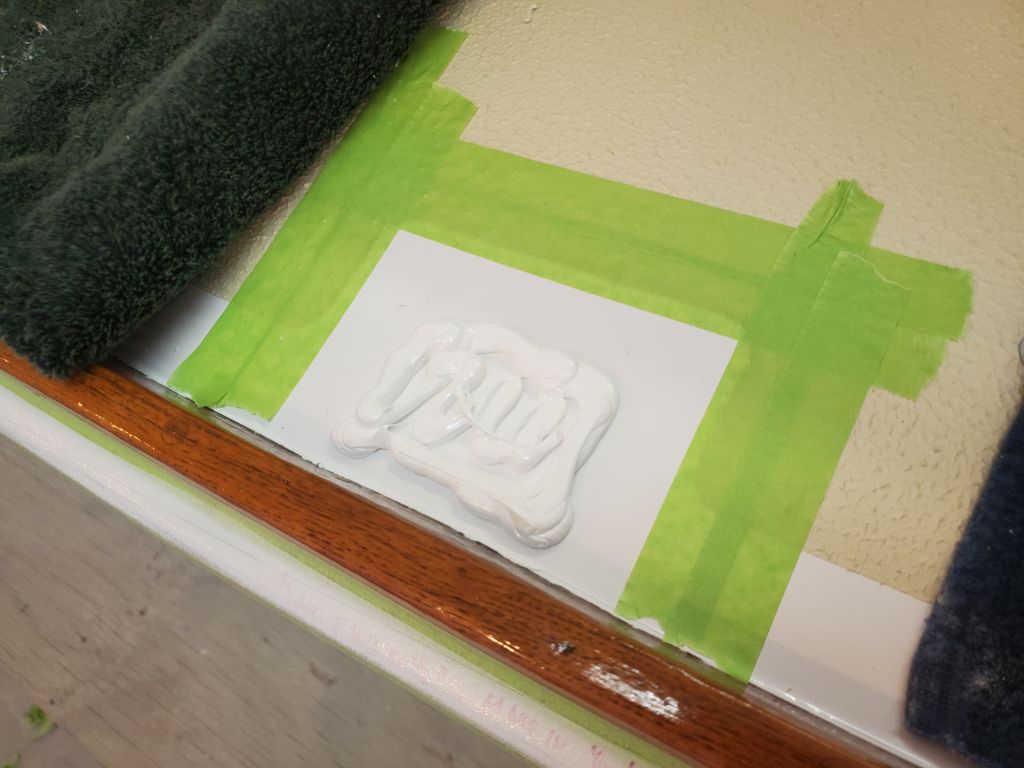
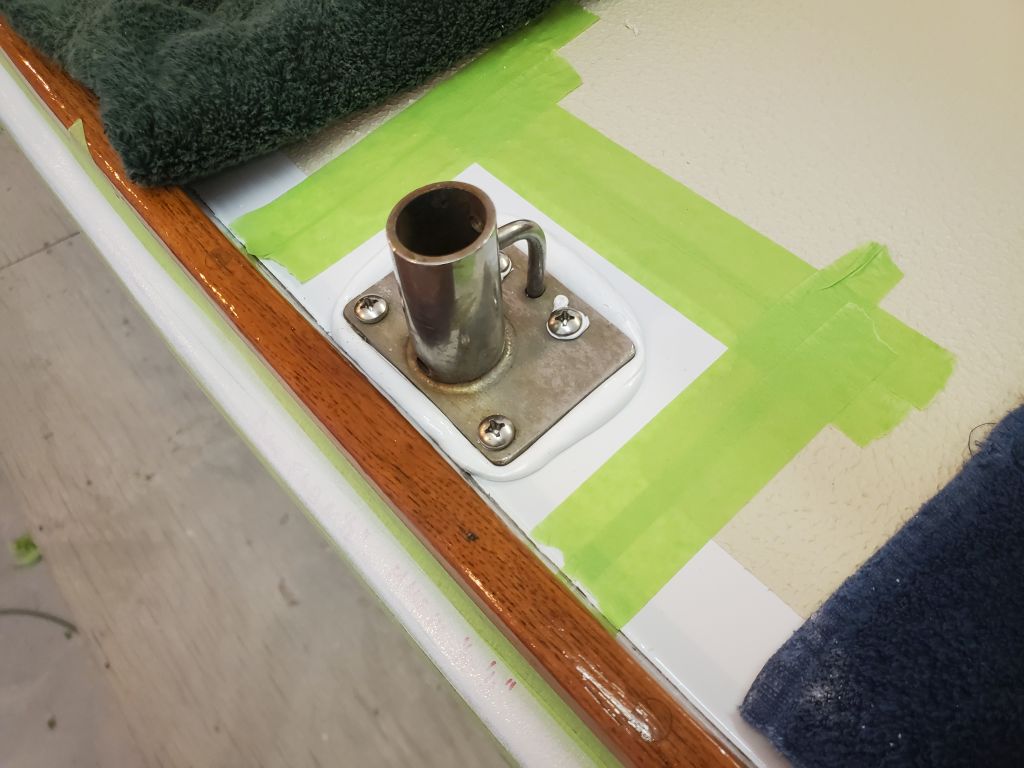
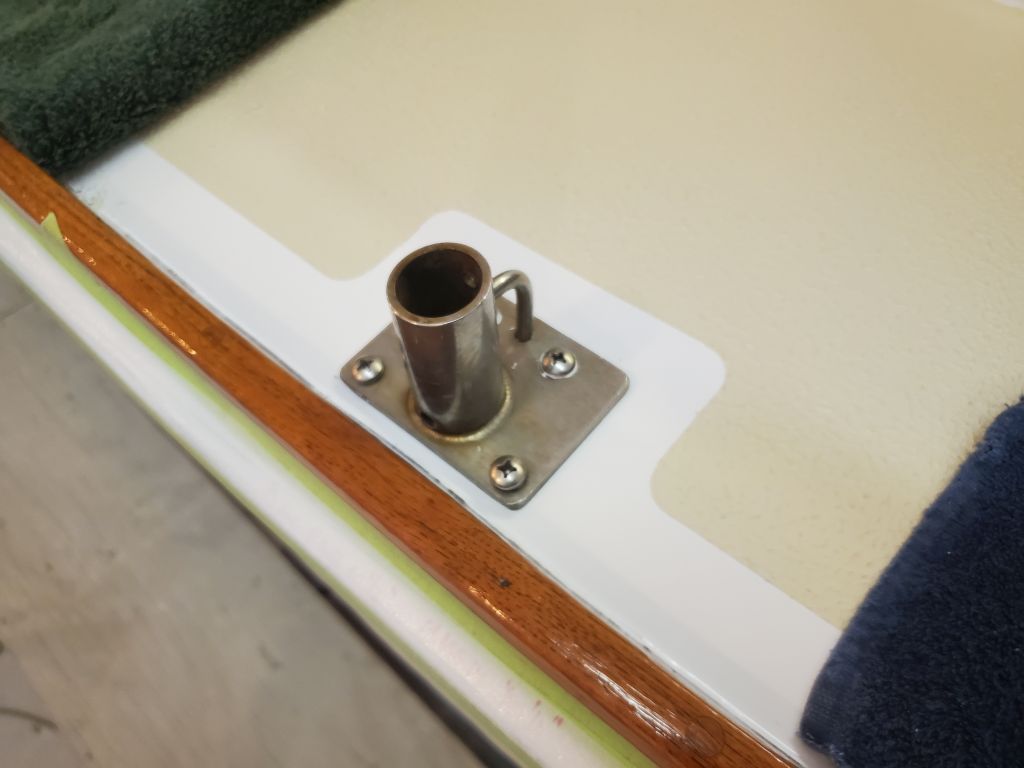
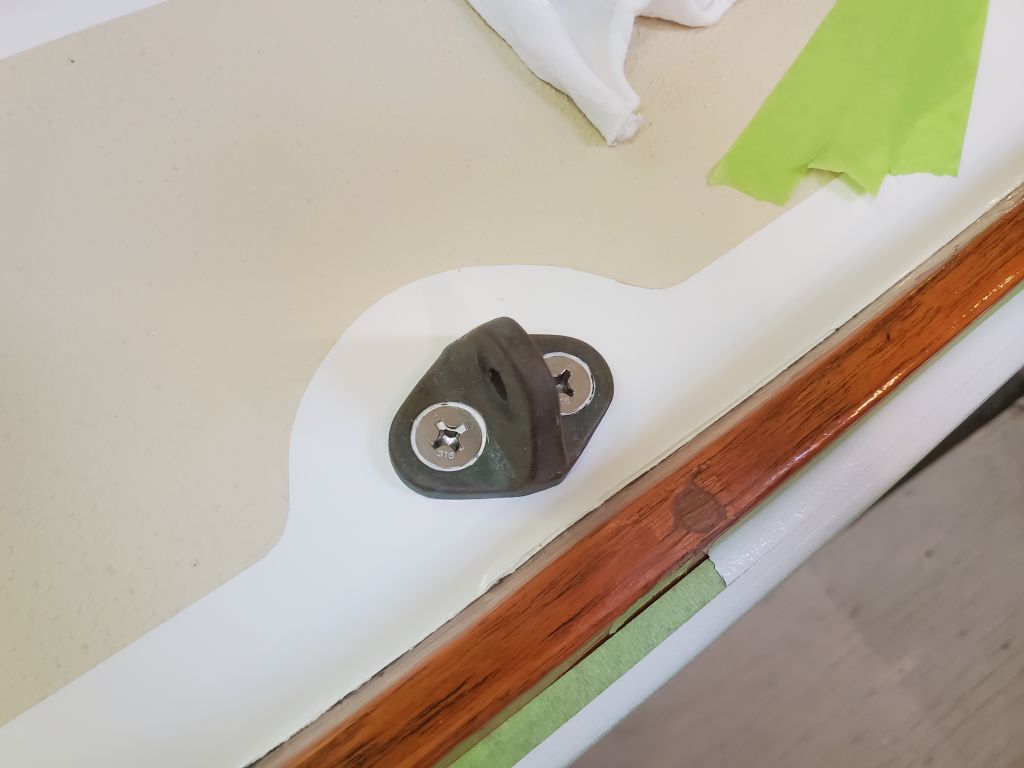
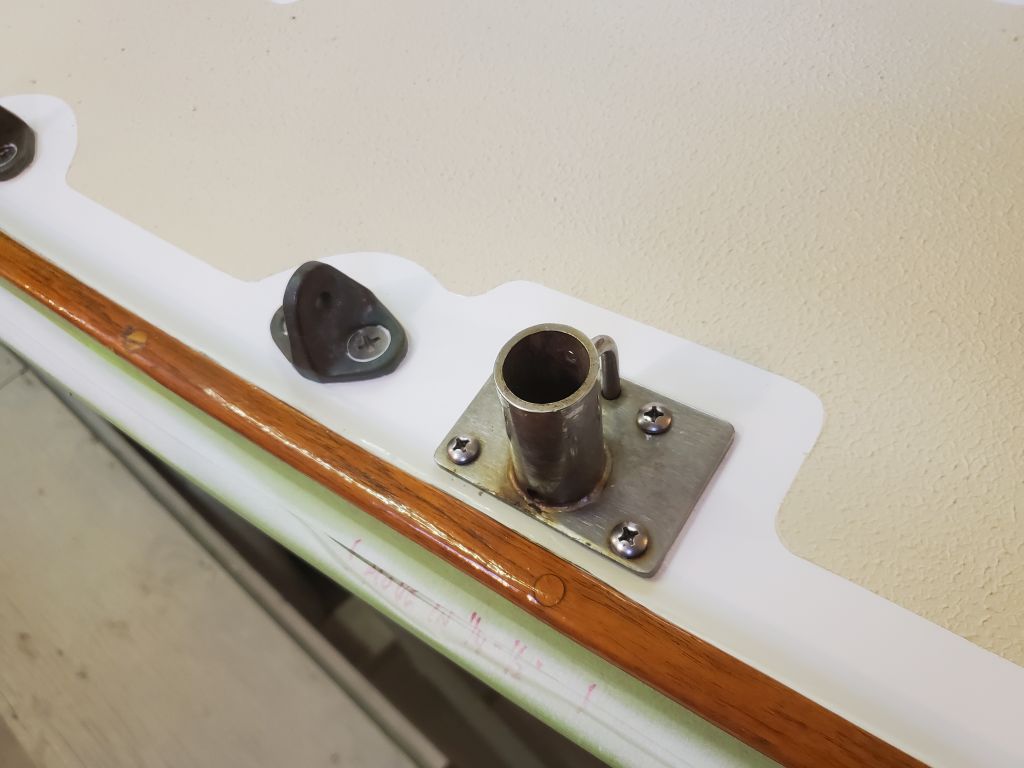
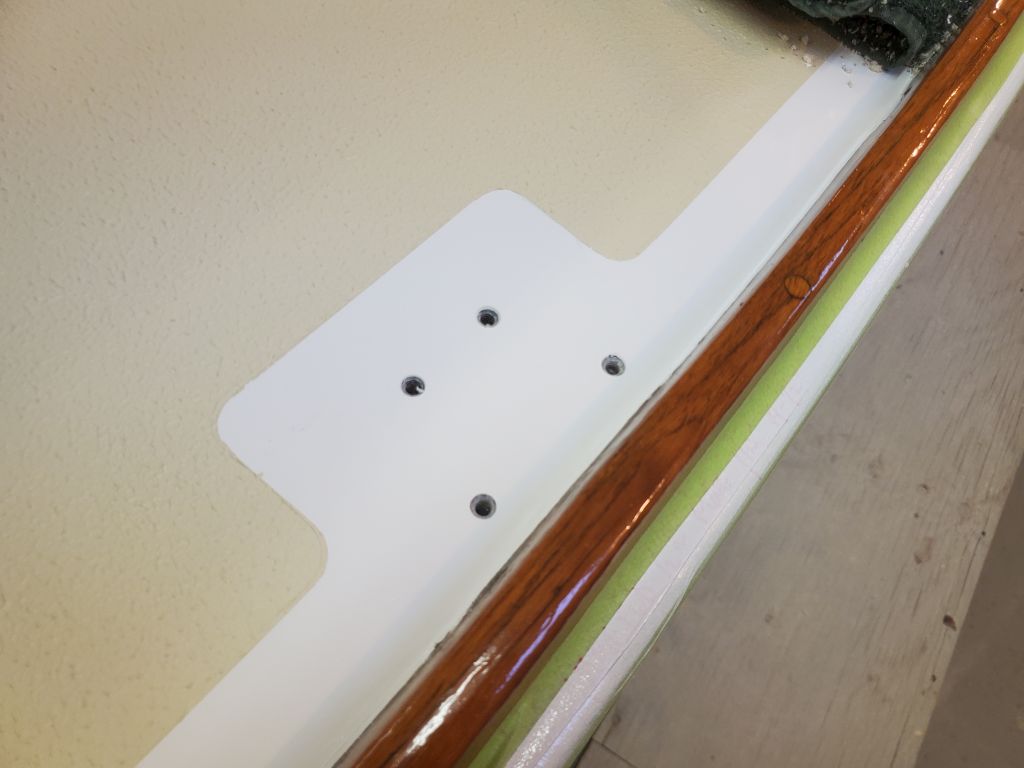
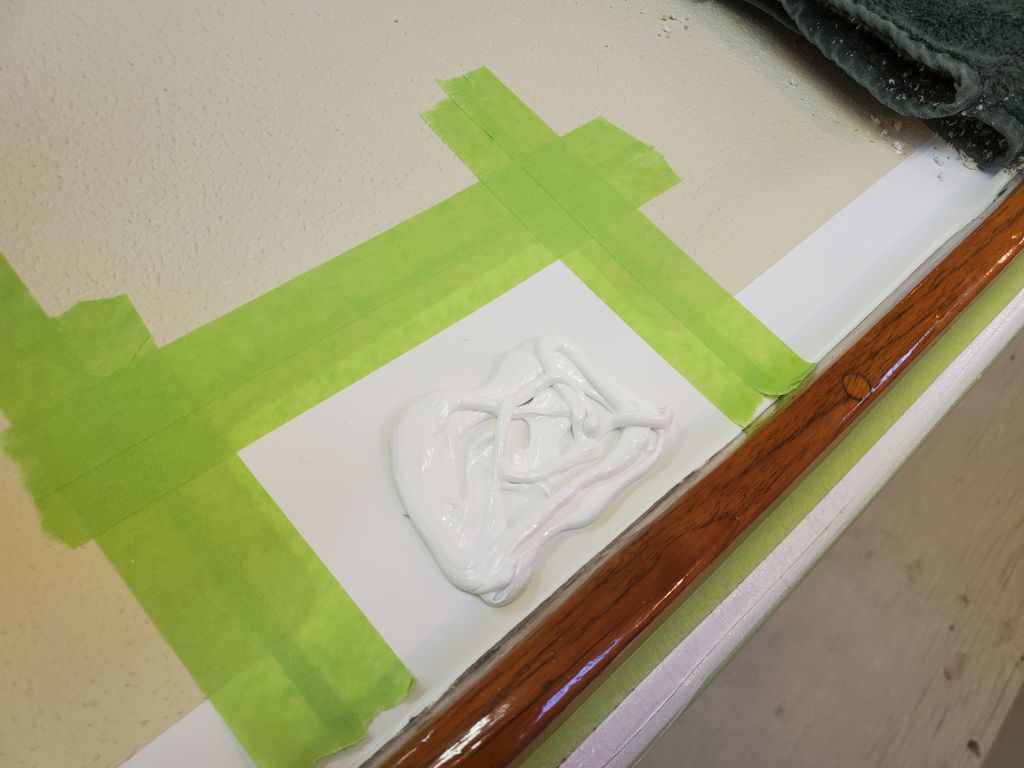
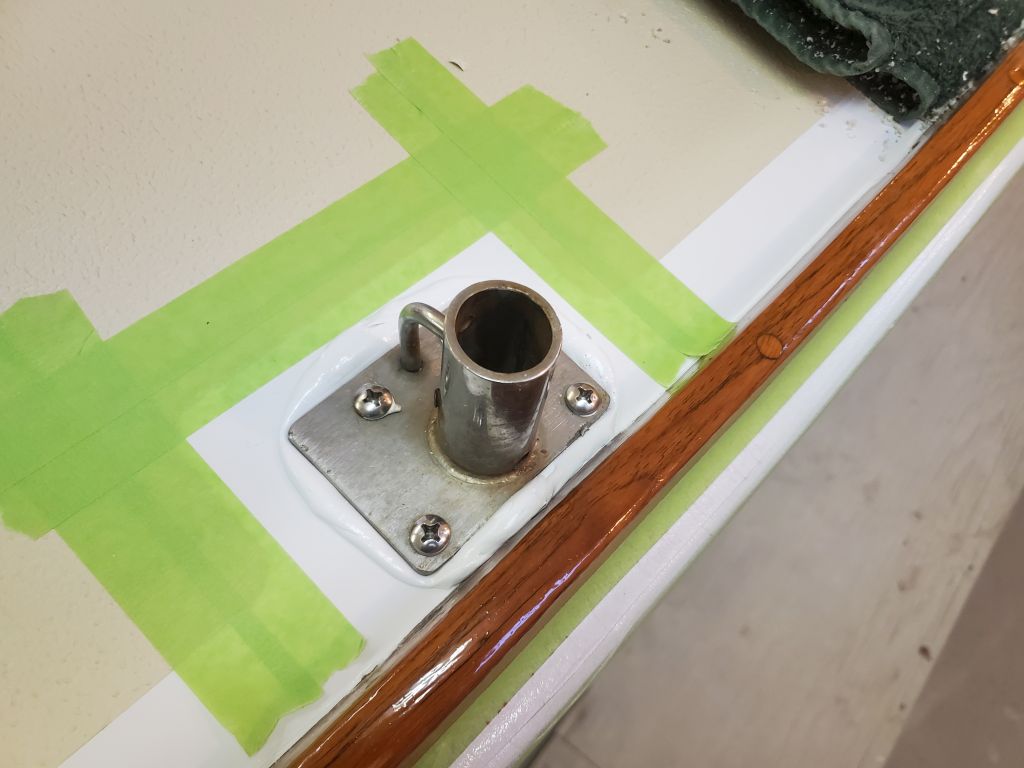
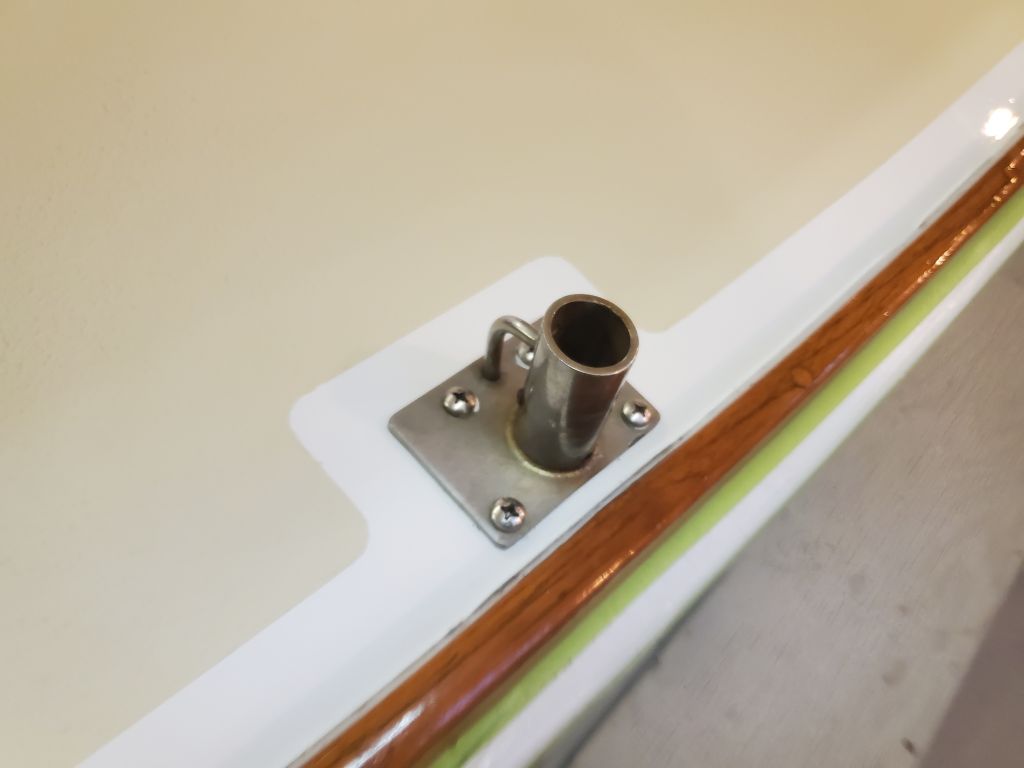
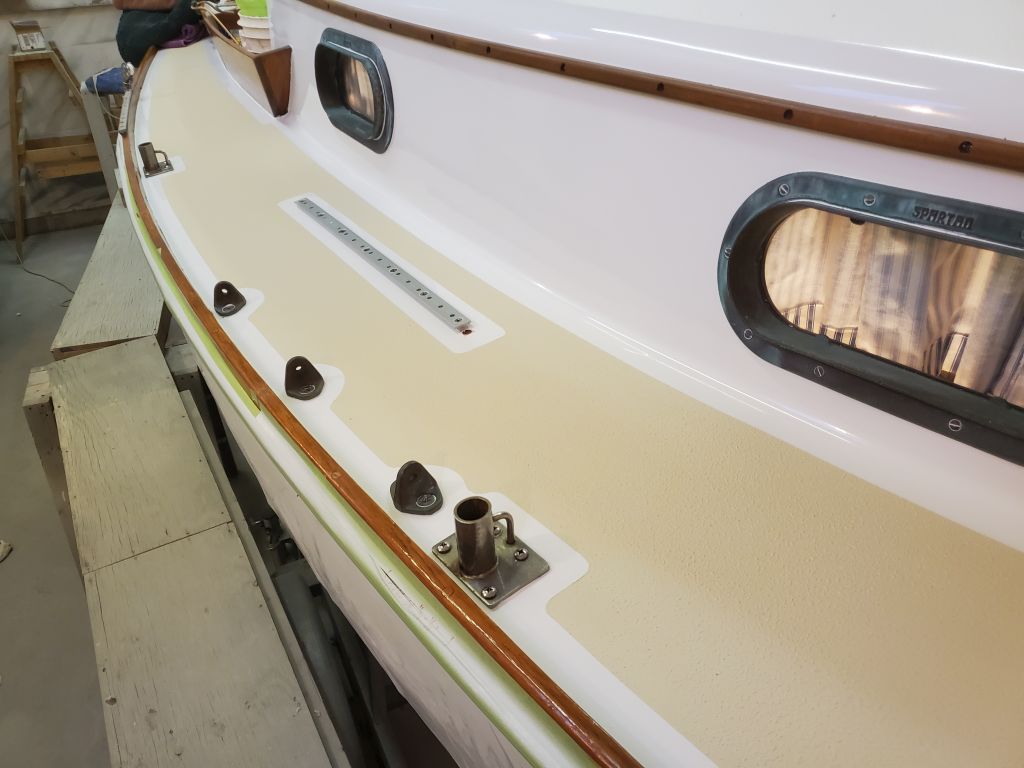
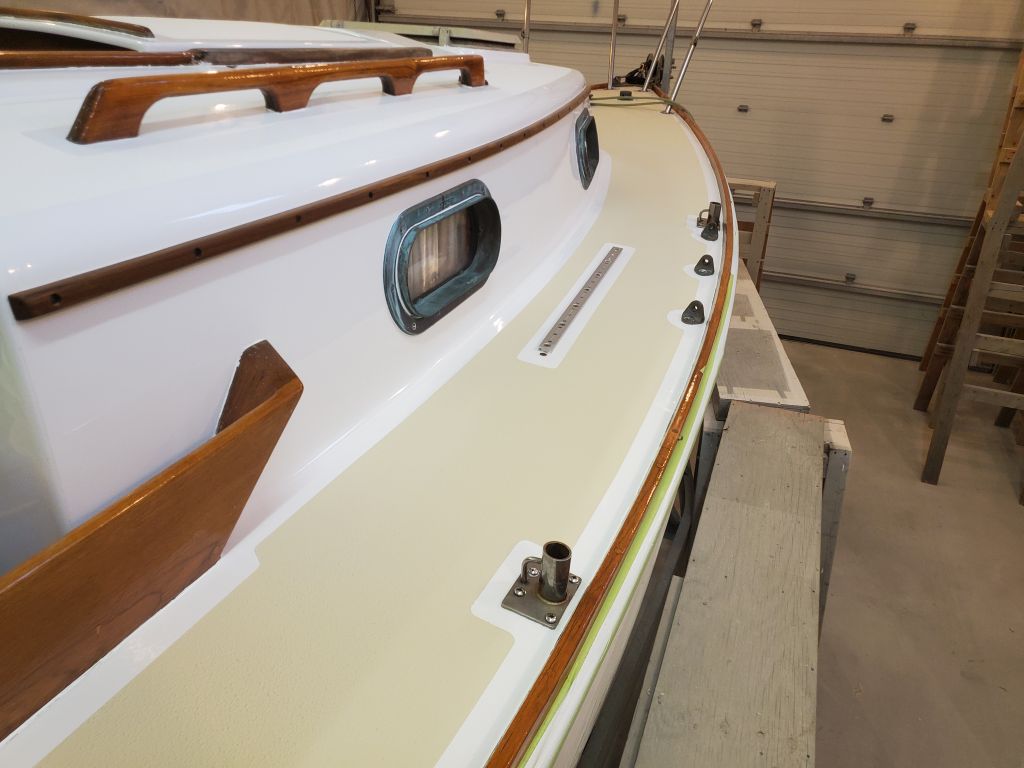
Next, I installed the two port stanchion bases, using my little pilotholes to locate each stanchion base correctly, then drilling and tapping and countersinking the fastener holes in my habitual way.  The outer pair of fasteners in each case went through the thick hull flange at the perimeter of the deck, and the inner holes were located in solid laminate outboard of the deck core.

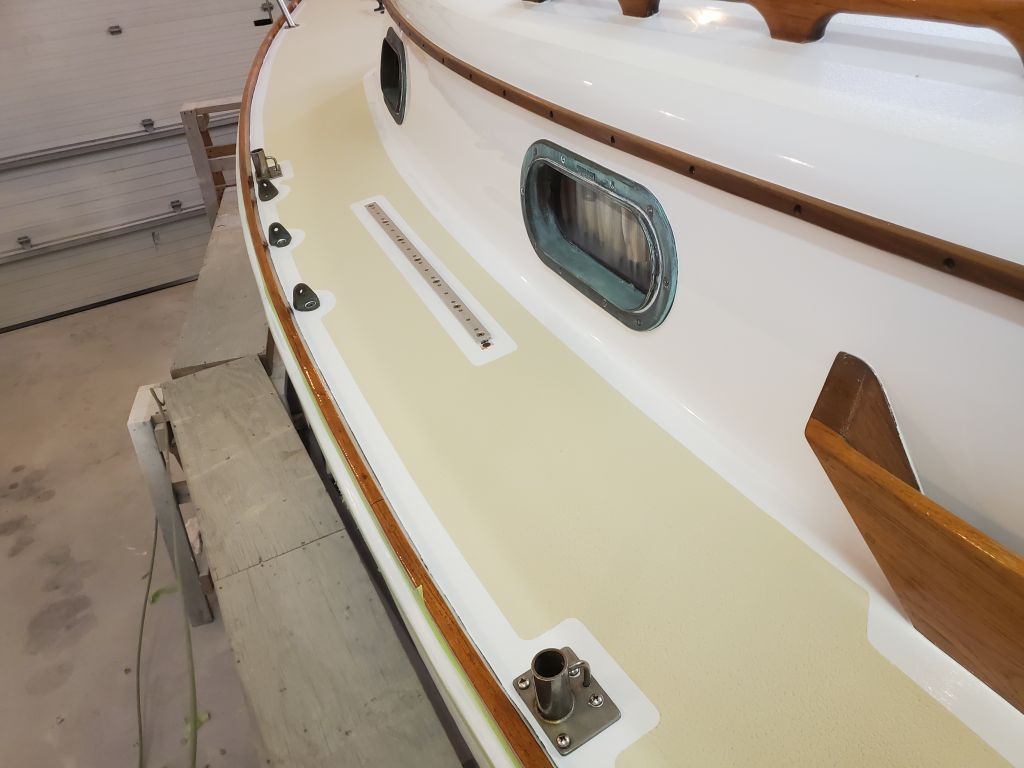
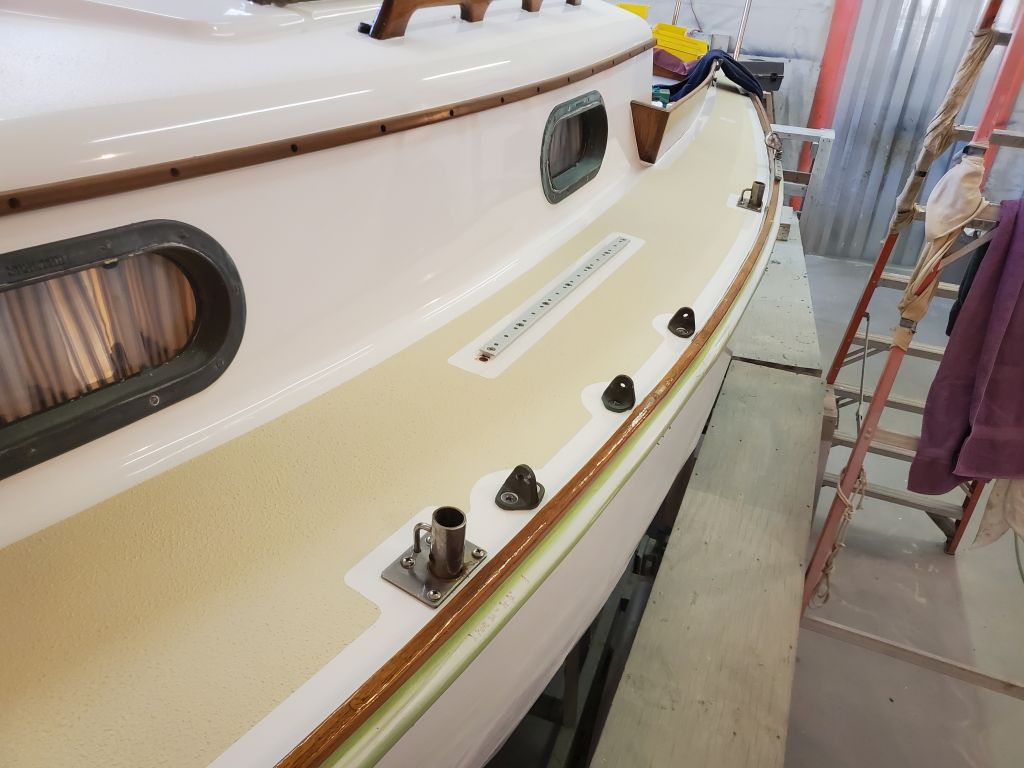
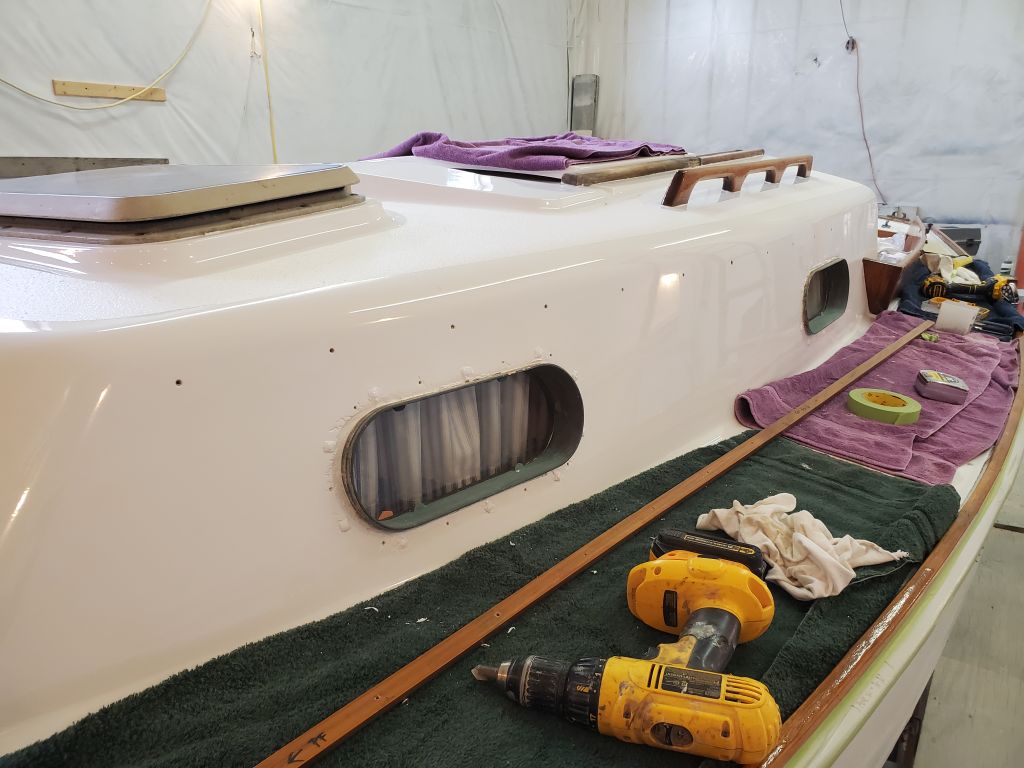
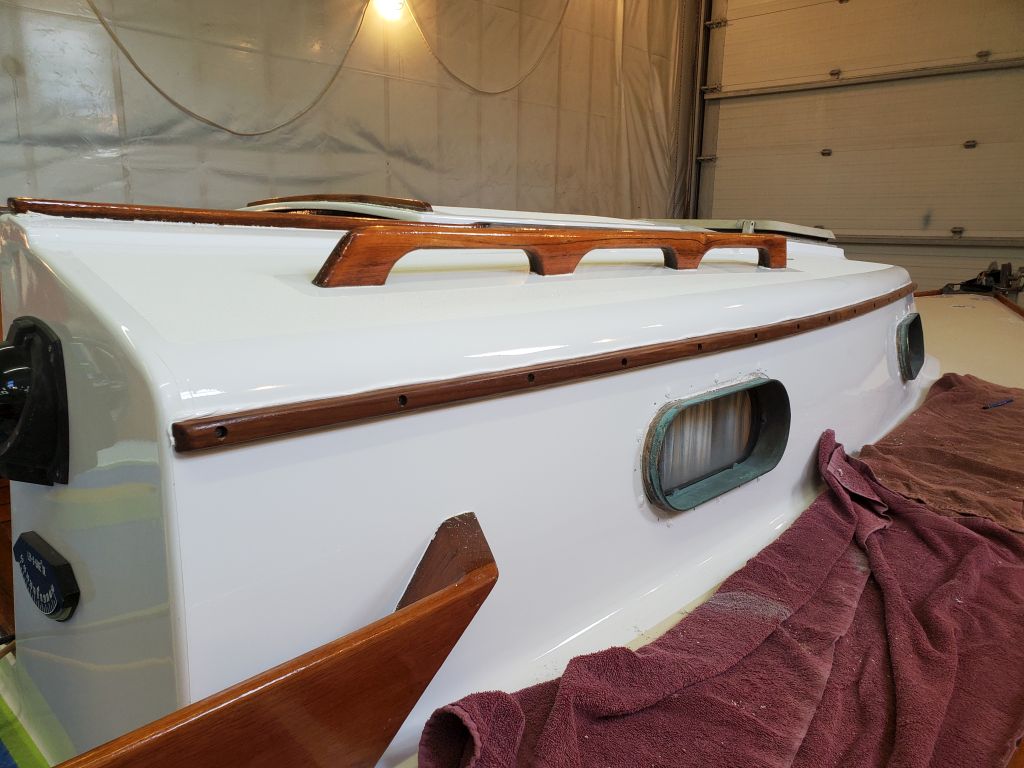
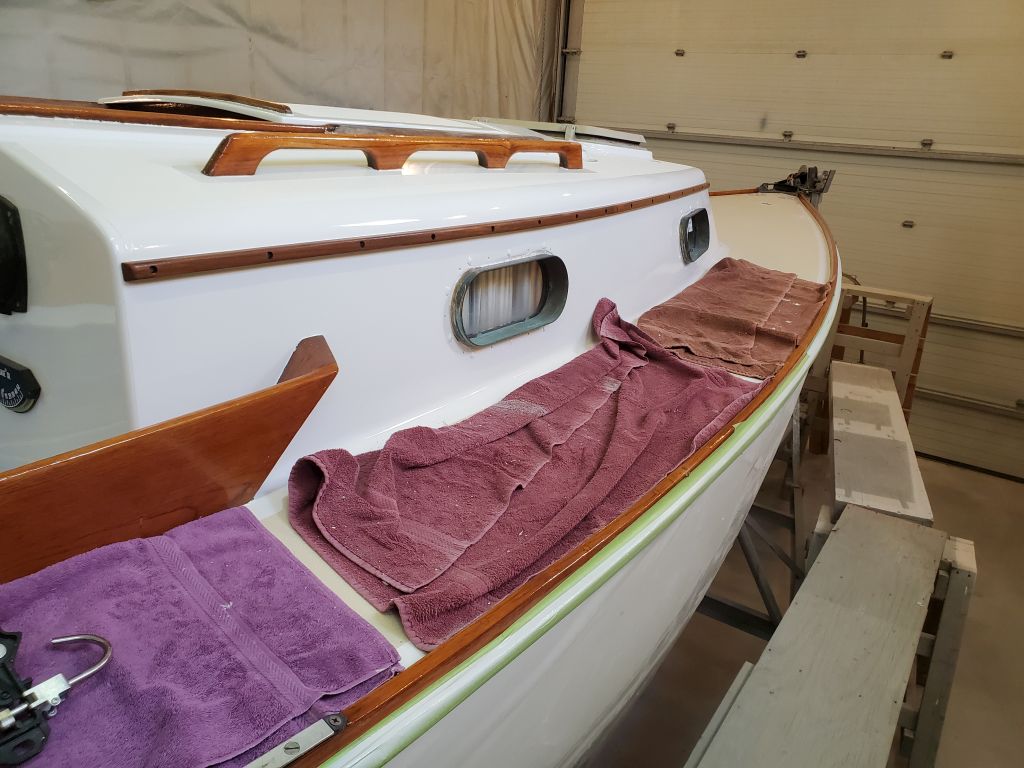
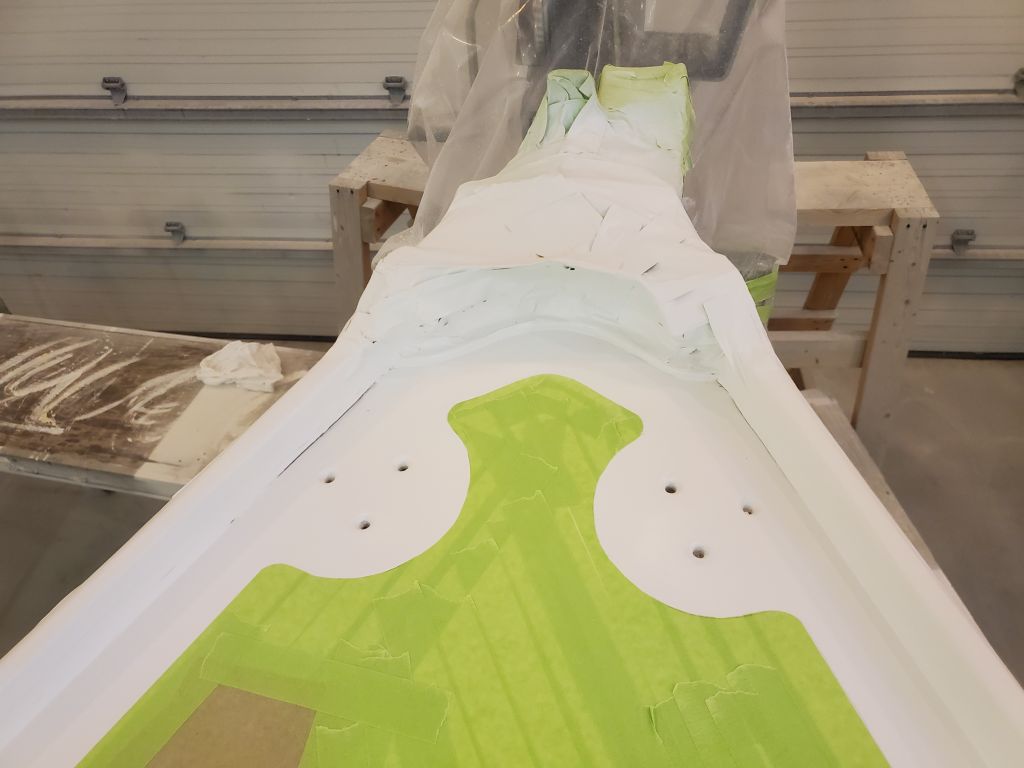
I shifted my operations to the starboard side, and repeated the process, starting with the three chainplates.

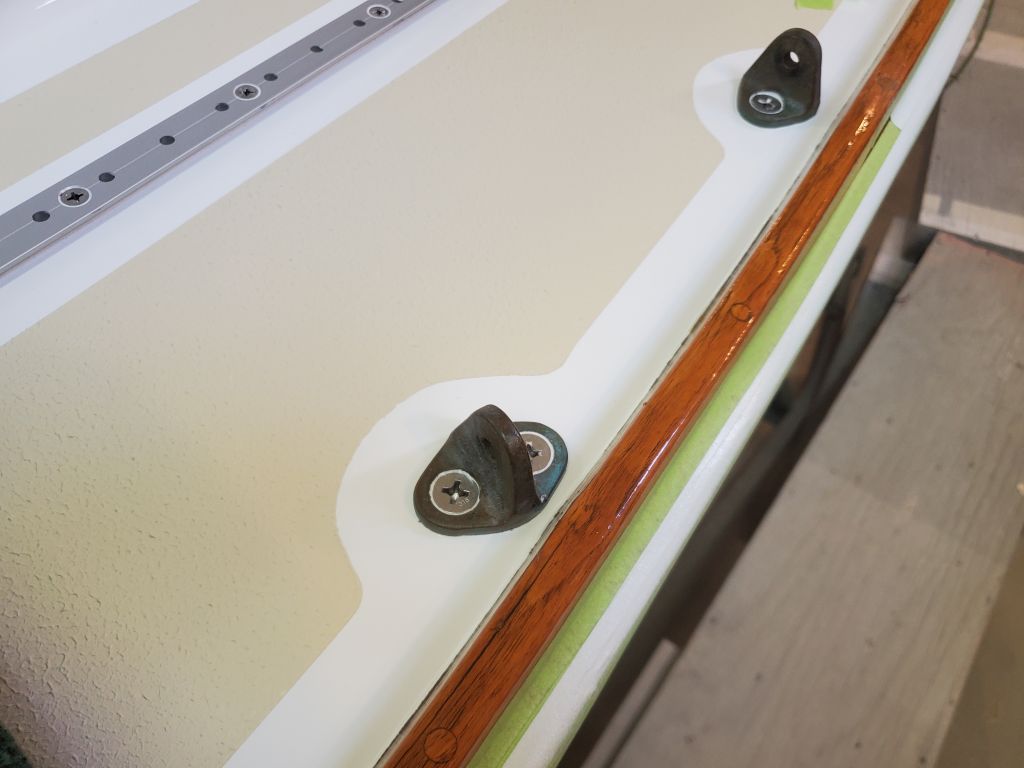
Then I continued with the two starboard stanchion bases.

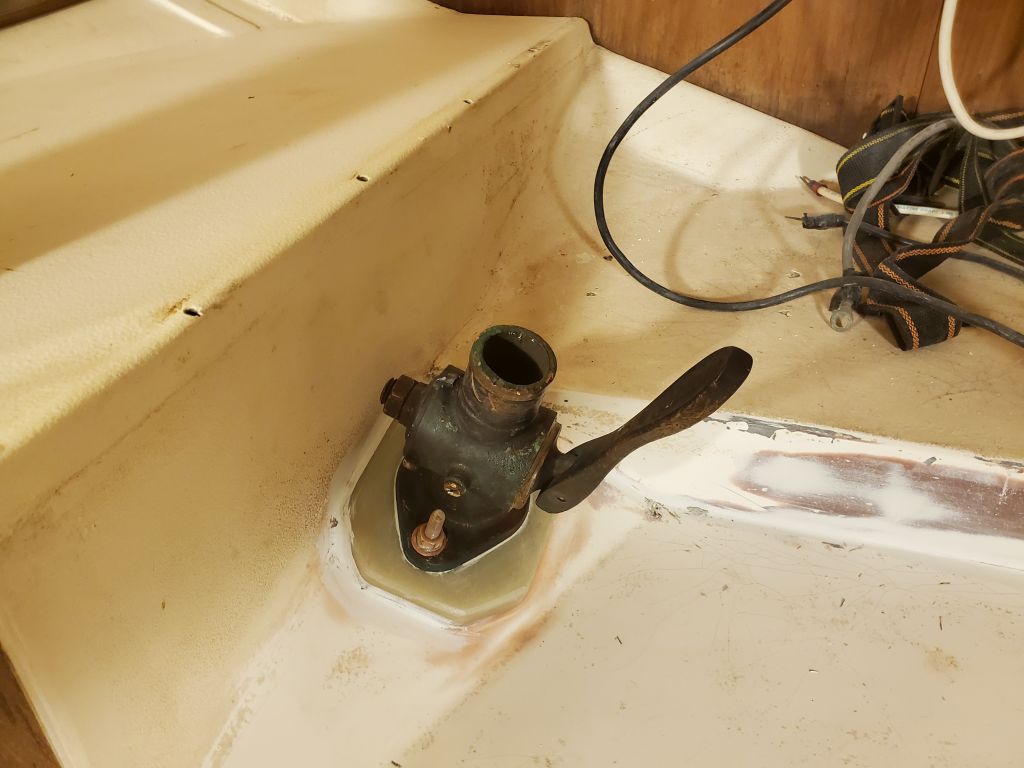
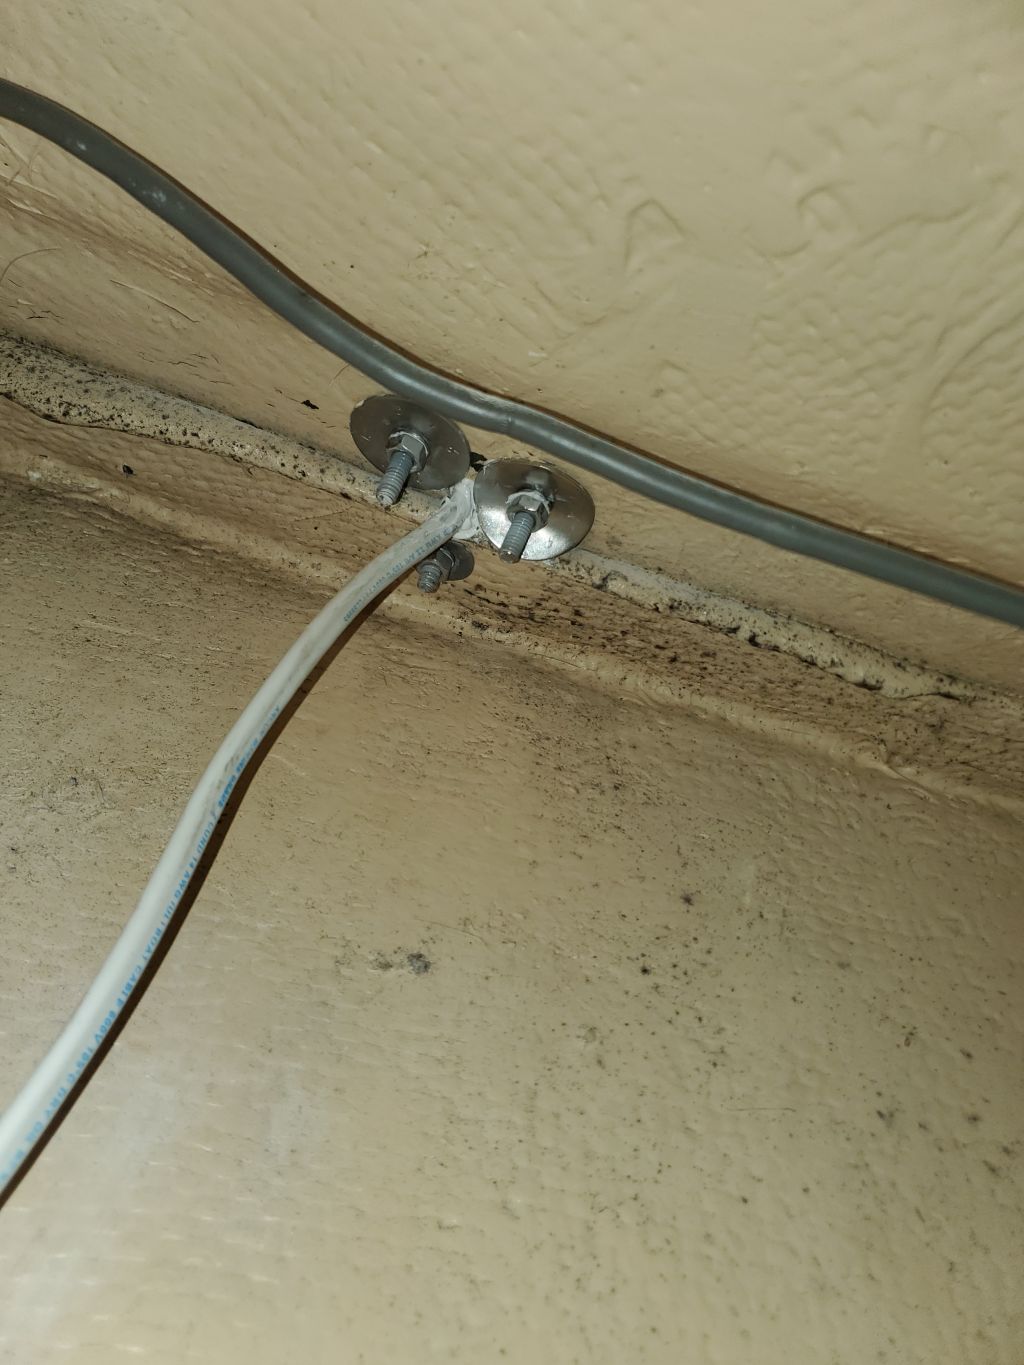
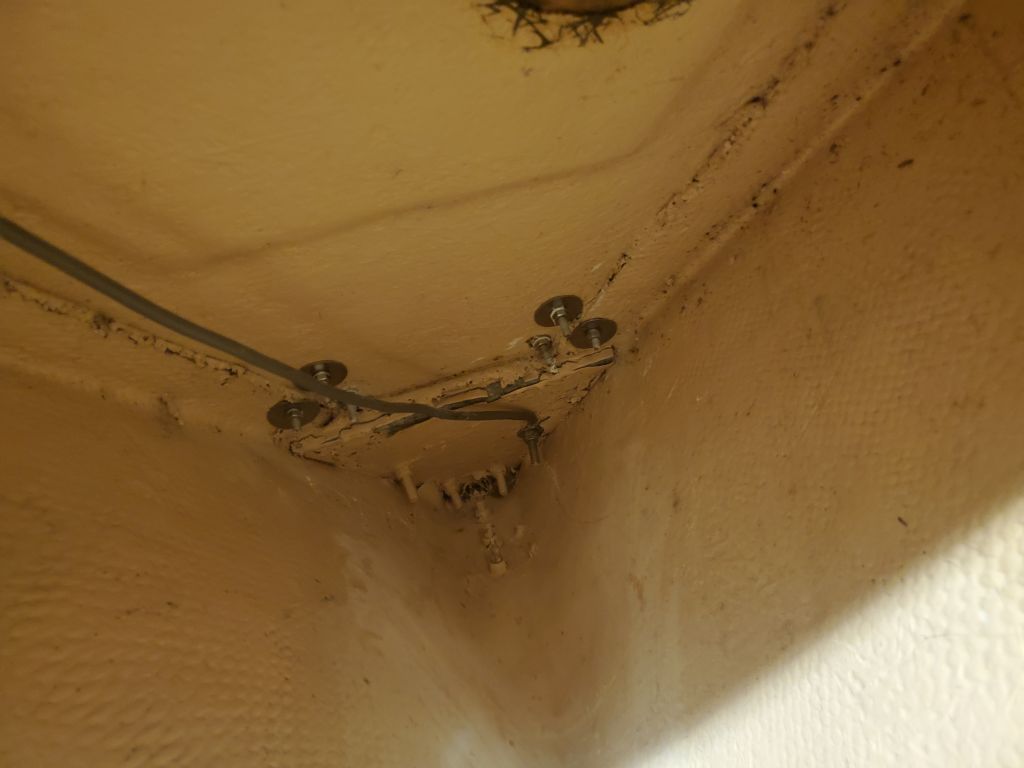
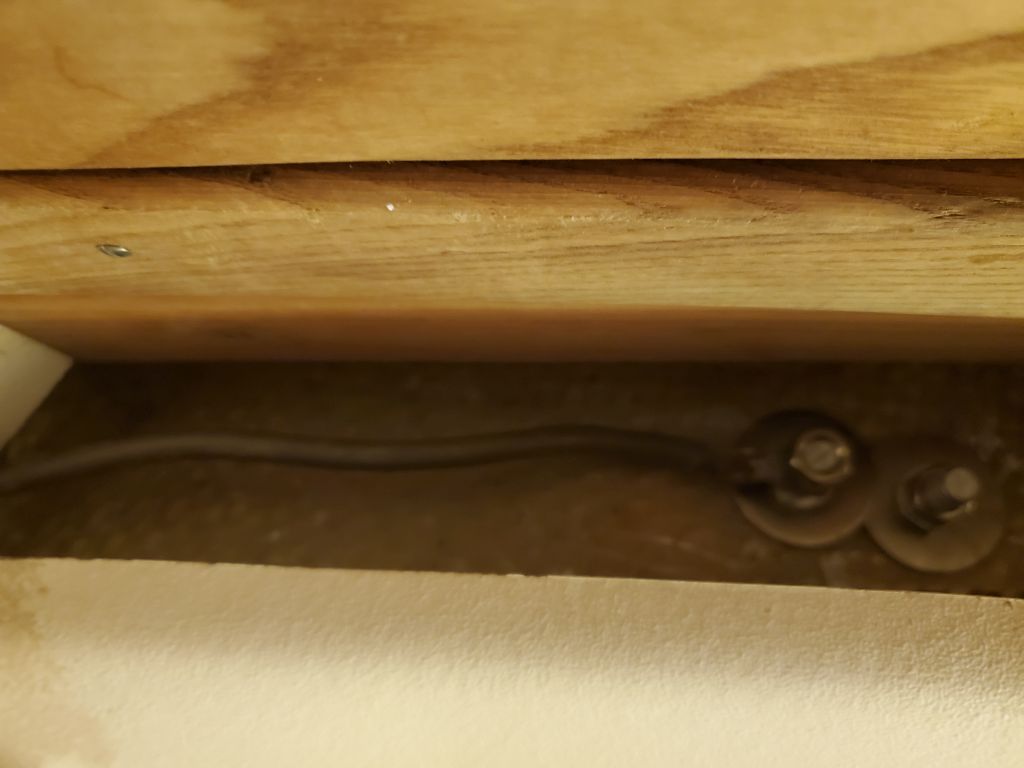
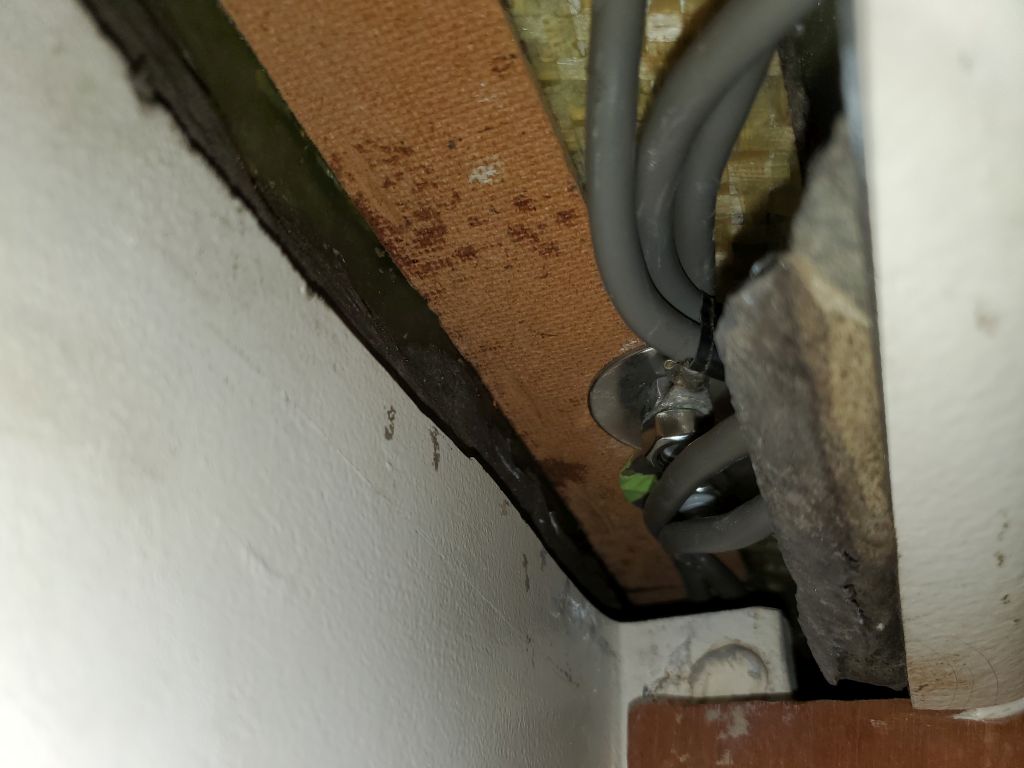
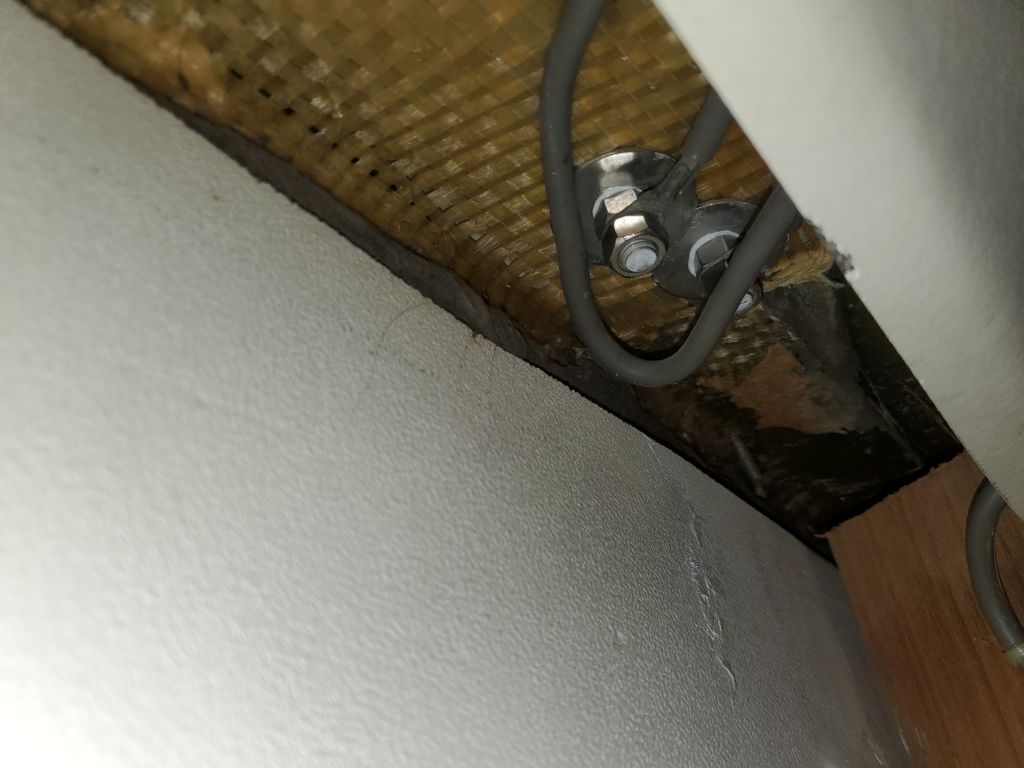
To finish up the day’s work, I reinstalled the grounding cables to the six chainplate locations.

Total time billed on this job today:  7.25 hours

0600 Weather Observation:  19°, partly clear.   Forecast for the day:  Mostly sunny, 33°

Arietta Phase 2-28

Tuesday

To begin the morning, I installed the stern pulpit, beginning with the two after bases on the taffrail, then the two forward bases.

Next, I installed the new working jib tracks on the sidedecks.  Using the pre-marked holes at each end, I drilled and tapped the deck for 1/4″ machine screws at each fastener location.  At the track ends, I used a small drill bit to mark the centers of the holes for the end caps, as these needed to be overbored and epoxy-filled to accept their screws, as I’d forgotten to do so during the earlier deck work.    Afterwards, I finished preparing the fastener holes with the usual small countersink, then applied sealant and secured the tracks in place with machine screws, nuts, and washers from below.  In these locations, the cabin liner was tight against the underside of the decks.  A few of the fasteners would require trimming  below later for cosmetic purposes.

Port side:

Starboard side:

With the tracks in place, I used a 1/2″ Forstner bit to drill out the top skin and core from the end cap fastener locations, then filled the voids with a thickened epoxy mixture, leaving that to cure before installing the end caps.

New fasteners were due later in the day, which would then allow me to continue with the rest of the deck hardware, but for the moment I decided to reinstall the cockpit drain seacocks and through hulls I’d removed earlier.  To begin, and using the old bolt holes as a starting point, I drilled up through the hull with a 5/16″ bit, enlarging the original holes (which were just 1/4″) and extending them through the new fiberglass backing plates.  I test-fit the seacocks in place to ensure that the slots lined up with the holes and made minor adjustments.

For each side, I first threaded the new through hulls as far as they’d go into their respective seacocks, making a mark on the neck for reference when I next dry-installed the fittings through the hull to see how much of the threads would need to be cut off before installation.  As expected, the through hulls were somewhat longer than needed.

With the seacocks pinned in place with a couple bolts from above, I threaded the through hulls up from beneath till they bottomed out, then noted the excess length from below.  This acted as a real-world confirmation of the various other measurements, as well as an opportunity to test the fitment of all components together.  Then, I cut off the excess length on each fitting and cleaned up the threads before dry-fitting all the pieces together again to ensure the cut through hulls threaded easily into their seacocks.

The installation process thereafter got a little messy and hectic, with numerous trips back and forth between the bottom of the boat and the cabin to get things properly aligned and the threads started (it never fails that despite numerous successful dry-fits, alignment and threading difficulties only come to light once the sealant is applied), so there are fewer photos of the process than I’d planned, but for each fitting I installed the through hull and mounting bolts in heavy beds of 4200, with additional sealant around the hole beneath the seacock flanges.  I left everything loose till I got the through hull threads started, then could tighten the new 5/16″ mounting bolts and finish up the through hull installation tightly from below, finally ending with the usual sealant cleanup.  Later, I cut off the excess bolt length at the seacock flanges (not shown here).

The through hulls took longer than expected, but I had enough time at the end of the day to prepare and apply a coat of oil to the new settee panels.

Total time billed on this job today:  6.75 hours

0600 Weather Observation:  38°, mostly clear.   Forecast for the day:  Sunny, 4o°

Arietta Phase 2-27

Monday

Some of the hardware reinstallation would have to wait till I received my new supply of fasteners in a day or so, but in the meantime there was no shortage of things I could do.  After working on a couple unrelated projects and an errand in the morning, I got to work on the sea hood, where I installed the new solar panel the owner had provided.  I secured the panel through its four mounting eyes with sealant, machine screws, and fender washers in tapped holes in the corners of the sea hood, ensuring that the fasteners didn’t protrude at all through the sea hood since there was little clearance to the sliding hatch beneath when installed.  As I was awaiting a supply of the correct fasteners for the sea hood itself, I set it aside for now to await final installation soon.

In the cabin, I took a few moments to pare away and sand smooth the excess bungs on the new settee fronts.  These were complete except for applying finish to the new wood.

Using the previously-marked holes as a guide, I drilled the coachroof for the handrails on each side, then reinstalled these with ample sealant and new nuts and washers from below.  I covered the holes in the interior liner with new plastic cosmetic plugs, and cleaned up the excess sealant to complete the installation.

Earlier in the project, after I removed the original eyebrow trim, I made a note of the position of the trim for future reference:  the top edge of the trim was 3″ above the port spigots at each location.  Now, to install the new eyebrow, which I’d prepared with several coats of finish on the bench first, I began on the port side because that’s where I began, and made a mark 3″ above each of the port spigots.  With a third known position at the aftermost end (because it is where I had stopped the cockpit paint a year before and was still visible), I easily laid out the new trim, securing it with a few screws aligned with the three known marks.  Once the trim was thusly in place, I drilled pilot holes at all the remaining locations before removing the trim again and finishing the holes with small countersinks at the surface.

I applied a bead of sealant about halfway the length of the trim from the aft end, then installed a few screws to hold it securely before continuing the sealant and securing the forward end, and installing all the remaining fasteners between.  After cleaning up the excess sealant, the new trim was complete except for the 15 bungs required to hide the screw holes.

After shifting my operation to the starboard side, I repeated the whole process to install the eyebrow there.

After removing a few vestiges of old sealant from the bronze port trim rings, I reinstalled them at all four locations with their original fasteners (still in fine condition) and “bo-koo” sealant around the spigots and beneath the trim rings.

Finally for the day, I installed the bronze hawsepipe on the foredeck.

Total time billed on this job today:  5 hours

0600 Weather Observation:  30°, mostly clear.   Forecast for the day:  Sunny, 46°

Arietta Phase 2-26

Friday

I got started right away with the second coat of nonskid paint–this time applied with the special textured roller–beginning on the coachroof with white paint.  The heavy textured coating requires that the masking tape be removed while the paint is still wet, and I’d planned the masking accordingly so that I could easily (at least in theory) remove the strip of tape immediately adjacent to the paint, but not necessarily all the extra tape I’d applied to widen the boundaries.  This is a messy and hateful part of the job with this particular paint.

With the coachroof and sea hood done, I switched to the beige (tinted as moon dust) texture coat for the main decks, and removed the first round of tape there.

Near the end of the day, the textured paint had cured sufficiently that it was safe for me to go back and remove all the remaining masking tape from the decks.

Once I finished the paint application, I worked on the settee bases, starting with a light sanding to clean up any layout marks (on the back sides) and to smooth and clean the visible sides as needed.  Then, at the aft ends of each panel, where they would sit on the raised molded platform behind the companionway ladder, I masked off the teak to protect it from the sealant I planned to use to bed the panels in this area, mainly as a hedge against future water damage like that which had ruined the original panels.  With the epoxy-coated end grain and the planned bed and slight fillet of sealant, along with management of whatever seepage had caused the original problems, the new panels should last at least as long as the originals.

After loading all sorts of tools and supplies into the boat (carefully boarding at the transom to avoid all the fresh deck paint), I prepared the installation areas by cleaning up any old sealant, dirt, and grime.

For each panel, I dry-fitted and from the inside marked the extent of the molded fiberglass mounting surfaces on the backs of the panels, which then gave me a boundary within which to drill pilotholes for the mounting screws:  two on the aft edge, and four along the bottom edge on each panel.  Then I drilled pilot holes into the fiberglass mounting surfaces, and counterbored each hole for bungs.

One side at a time, I masked off the fiberglass adjacent to the panels on the raised platform, applied sealant to the base and aft edge, then installed the teak panel with the six mounting screws along the edges, and reinstalled the screws at the settee tops into the cleats on the backs of the panel to secure the whole arrangement fully once more.  I cleaned up the excess sealant, forming small cosmetic fillets as needed, reinstalled the original teak cleats at the upper aft ends, and then bunged all the screw holes.  Once the sealant cured and I removed the excess bungs, I’d finish the faces of the panels to tie in with the original cabinetry, and then install the teak fiddles to complete the work.

I rounded out the day by going through the deck hardware to check my fastener stock and order any new fasteners I’d need to begin the hardware installation in the immediate future.

Total time billed on this job today:  6.5 hours

0600 Weather Observation:  17°, mainly cloudy.   Forecast for the day:  Cloudy with snow showers, 32°

Arietta Phase 2-25

Thursday

The first order of the day was to mask off the fresh gloss paint on deck so I could get going on the nonskid.  Beginning on the coachroof, and then around the main decks, I lavishly masked off the surrounding areas, providing wide taped borders to protect against the inherent sloppiness of the special application tool for the chosen nonskid, which was Kiwigrip to match that in the cockpit, which had in turn been chosen originally to generally match the boat’s original texture.

With the masking and other final preparations complete, I applied an untextured light layer of the nonskid coating with a smooth-nap roller, an extra step that I’d found provided the necessary consistent base of color beneath the heavily-textured final coat to come, which otherwise risked leaving the occasional color void.  For this boat, as specified by the owner and in keeping with the way the pattern was originally laid out from the factory, I applied white nonskid to the coachroof and sea hood, and beige nonskid to the main deck areas.

Leaving the first coat to cure overnight, I worked on the new settee fronts for the remainder of the day.  These small pieces were critical to the continuation of other parts of the project since the settees were structurally unsound while the fronts were removed, so to be ready to reinstall deck hardware and work below I needed the settees back in business.  The solid teak end caps had cured sufficiently and now I could use the original fronts to finish patterning and cutting the aft ends of both sides.

I sanded a curved bevel into the bottom edge of the back sides of the plywood to allow it to fit against the molding in the boat, and after a test-fit found only one place on the port side where I was required to remove a touch more material so the new panel would fit properly.  In these photos, the panels are somewhat awkwardly held loosely in place for illustration only, and I’d not yet installed the support cleat for the settee tops.

On each panel, and working off the originals as a guide, I marked the screw locations for the solid teak cleats that I’d removed from the originals, part of the ice cooler-retention system in this area of the boat.  I’d reinstall these cleats a little later in the process.

I cut a pair of hardwood cleats, 3/4″ x 1″, to mount to the inside top edges of each panel; these formed the critical support for the berth tops.  Using some strips of 1/2″ plywood (the same thickness as the settee tops) as a guide, I secured the new cleats in place with glue and screws 6″ on center to ensure a firm mounting for the settee system in accordance with its original configuration.  Afterwards, I masked the panel faces (not shown) and a border a couple inches above the bottom edges of the panels (and along the vertical front seam) so I could coat the plywood end grain and a portion of the panel backs with epoxy for added moisture protection once in place.  The tape on the (unseen) front protected the epoxy from staining the visible teak, and on the back side provided a neat border for the application.  I removed the tape once the epoxy was applied so there’d be no difficulties in removing it later.

Total time billed on this job today:  6.75 hours

0600 Weather Observation:  16°, partly clear.   Forecast for the day:  Becoming mostly sunny, 30°

Arietta Phase 2-24

Wednesday

After cleaning up and putting away the spray equipment, I spent the remainder of the morning removing all the masking tape and paper from the decks, leaving the plastic sheeting in place over the hull for now to maintain protection during the next few jobs on board.  The fresh paint would require another day’s cure time before I could tape over it to prepare for the nonskid.

In the afternoon, I turned to the settee fronts.  Earlier, I’d determined that  piece of teak plywood I had on hand was just a bit too short for these fronts, but after some discussion the owner and I decided that extending the plywood slightly with glued-on solid wood would be an acceptable and preferable treatment here.  I’d originally though of adding solid wood to each end of the panel, but the owner requested that we do it all at the aft end, which was fine with me.

Using the old panels as templates, I laid out and cut the two new panels from the 1/2″ teak plywood.  The panels were approximately 2″ shorter than required, so from scrap teak I made up slightly oversized blocks to glue to the aft end of each panel.  The solid pieces were a bit thinner than the plywood, as it was what I had available in the appropriate width and the way the original panels were made the aft ends were sculped away on the back sides anyway, where they met the molded fiberglass liner, so most of any thicker material would have been removed anyway.  I didn’t have any clamps long enough to span the lengths of the panels with their extensions, so I worked out a way to clamp the wood in place atop a flat panel that I’d covered with plastic to ensure that the face was absolutely flush.  I left the glue to cure overnight, and would finish shaping and dimensioning the panels next time.

The original eyebrow trim from the cabin trunk could have been reused, as it had come off cleanly enough, though it had been sanded down enough over the years that there was no longer any depth for bungs (and all the bungs but one had been missing when I removed the trim earlier), so even before removal we had long ago decided that it made more sense in any case to simply mill new trim when the time came.

The time was now, and from some teak offcuts of appropriate size I milled two new pieces to fit.  Basing the profile off the originals, but thicker to allow room for bungs, I milled the narrow pieces about 3/4″ wide with a 10° angle on the top and 5° angle on the bottom edge, then, after cutting to length, sanded the new trim smooth and rounded over the edges.  I marked and drilled counterbores for bungs and pilot holes for fasteners, then, before leaving for the day, applied a first coat of finish to all sides of the new trim.

Total time billed on this job today:  6.5 hours

0600 Weather Observation:  24°, partly clear.   Forecast for the day:  Increasing clouds, then light snow likely in the afternoon, 27°

Arietta Phase 2-23

Tuesday

After final preparations, I applied three sprayed coats of snow white gloss topcoat to the prescribed deck areas.

Total time billed on this job today:  4 hours

0600 Weather Observation:  35°, partly clear.   Forecast for the day:  Increasing clouds, 36°

Arietta Phase 2-22

Monday

Starting on the coachroof, I laid out and masked off the eventual nonskid field areas, leaving borders along the various edges and around hardware installations, which the owner had requested in this case.  I used a 1-1/2″ border for the deck edges, and 1″ wide borders around the hardware (just the cabintop handrails in this case) and molded coamings like the forward hatch and companionway, where the overall visual width of the border was already wider thanks to the contours of the molded coamings.  At the aft edges of the coachroof, where I’d chosen to end the previous year’s cockpit painting work, I used some foam tape to help ease the paint transition and provide some tapered overspray I could use to blend the new and old paint as needed; later (not shown in this gallery but visible further down the page), I lightly sanded the transition between primer and “old” topcoat where necessary.

I continued on the main decks in the same way, marking off a 1-1/2″ wide border along the inside edge near the cabin trunk, and along the channels by the toerails.  This was the right width for these areas, but too wide around hardware, so I chose a 1″ wide border around all the hardware, including the bow cleat, hawsepipe, stanchions, chainplates, pulpit bases (I made a cardboard template of the bases to use in laying out the borders), and jib tracks (including the end caps).  Where the winch bases bolted to the deck, a 1″ border was far too wide, since the bases themselves were so slim at that point, so there I used a 1/2″ wide border more in keeping with the small profile of those particular pieces.

On the sea hood, I first marked where the new solar panel would eventually be installed, then, as suggested by the owner,  laid out rounded corners at the mounting locations to accommodate the eventual fasteners in gloss paint.

At the aft ends of the sidedeck, where the new work would meet last year’s work, I further extended the opening as far back as the nonskid on the poopdeck, then used foam tape at the two narrow edges to help blend the new paint in the most minimal way, and sanded the transition between year-old topcoat and new primer as needed to prepare for the fresh paint on the morrow.

Once all the edges and hardware were masked off and shaped, I filled in the field areas with masking paper and tape to prevent overspray.

To finish up the final prep for the painting ahead, I set up some additional lighting along the walls, and performed the final solvent wash of the exposed deck areas.

Total time billed on this job today:  7 hours

0600 Weather Observation:  39°, overcast.   Forecast for the day:  Showers, rain, wind, 54°

Arietta Phase 2-21

Friday

I spent the morning sanding the freshly-primed decks with 320 grit paper, by machine and hand as needed.  Once I’d sanded over all deck areas one time, I vacuumed up the dust and went around again to touch up any areas requiring more attention that the dust created by the first round of sanding had helped obscure.  There were only a few such areas, but this gave me the chance to fine-tune.

Afterwards, I cleaned up the boat and shop, vacuuming once more, then solvent-washing, then rinsing off the floor and staging to settle any remaining dust.  This left the decks clean, fair, smooth, and dust-free, ready for the next steps, which would begin with laying out and masking for the nonskid pattern.  I’d start this next time, since the fresh primer hadn’t yet cured to safe tape-dry stage.

Total time billed on this job today:   4.25 hours

0600 Weather Observation:  36°, clear, windy.  Forecast for the day:  Sunny, 34° but temperature falling throughout the day.

Arietta Phase 2-20

Thursday

After final preparations, I applied 4 coats of epoxy finish primer to the decks, spanning several elapsed hours.

It wasn’t my day for video.  My first attempt resulted in this unwelcome discovery when I retrieved the camera:

I formatted and reset the camera between coats, and tried again for the second coat, successfully recording the dramatic scene below.  However,  something happened to my final saved version of this video between 0:19 and 1:55 (frozen image,), and after some attempts I was unable (and/or unwilling and out of time to continue trying) to repair it. I decided to upload the video despite this, so just fast forward through the dead zone if you want to see the rest of the excitement.

I have legitimate respect for those people who make and post real videos.  I am not worthy, but it’s what I can do for now.  Anyway, the primer looked terrific, which is all that mattered.

Total time billed on this job today:   4 hours

0600 Weather Observation:  28°, overcast.  Forecast for the day:  Wintry mix, then rain, 48°

Older posts Newer posts