Monday
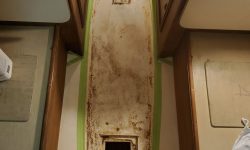
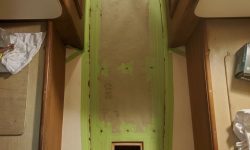
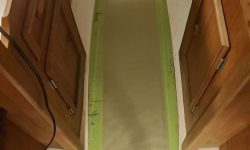
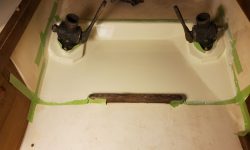
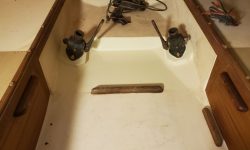
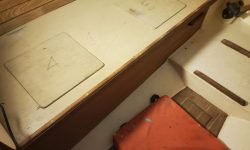
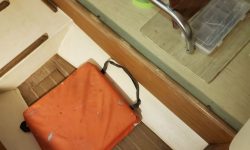
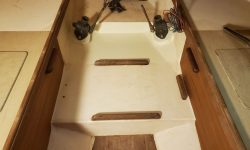
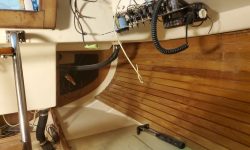
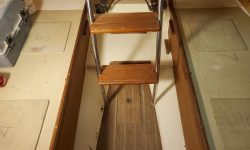
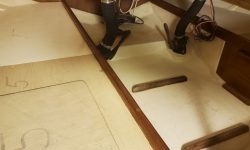
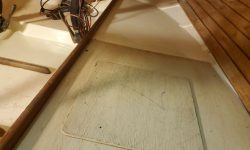
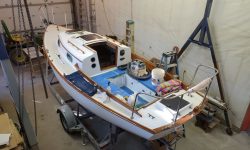
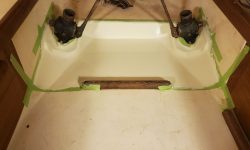
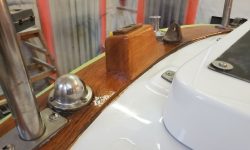
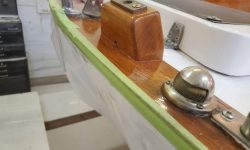
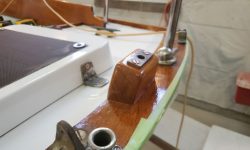
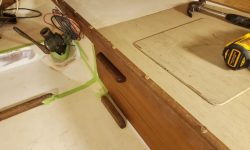
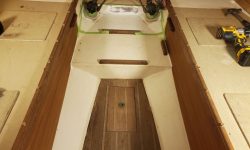
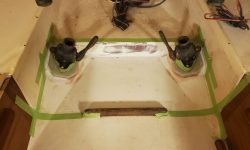
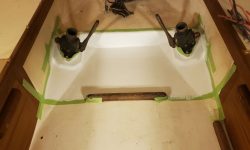
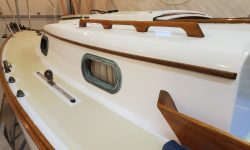
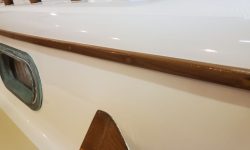
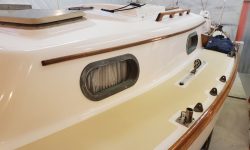
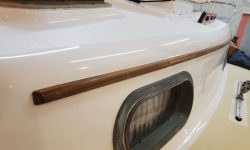
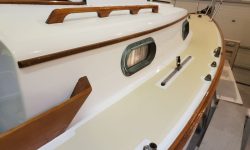
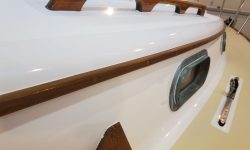
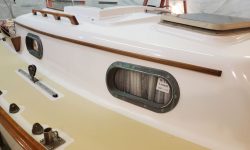
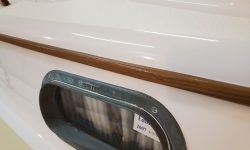
Over the weekend, I applied another coat of paint to the area beneath the cockpit. Later, when the paint was dry, I removed the tape to complete the job.
My remaining work list was short, and on the surface the jobs seemed straightforward, but as with most things the potential simplicity was deceiving, and from my goings on around the boat I knew some of the work was likely to run into various challenges. Therefore, I decided to simply start knocking off the items on my list one at at time, starting with those that I thought would be easier to finish.
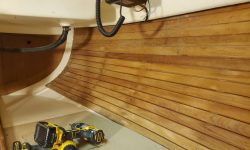
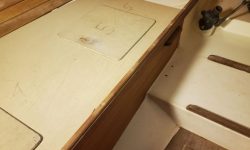
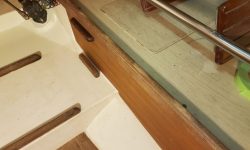
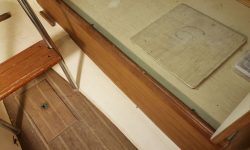
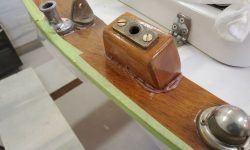
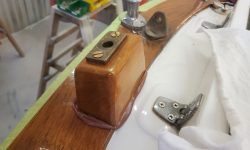
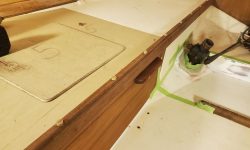
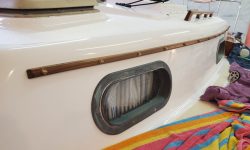
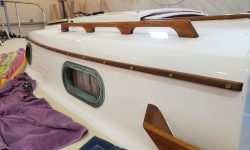
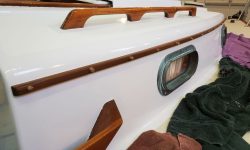
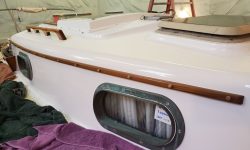
With the paint finished, I could pare off the new bungs over the screw holes securing the berth fiddles.
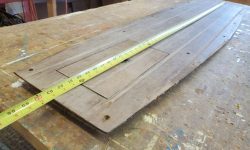
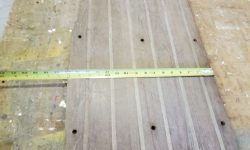
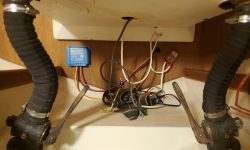
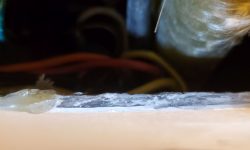
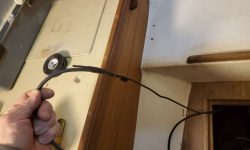
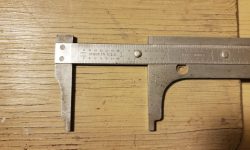
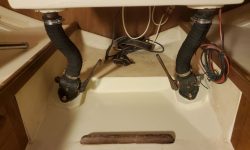
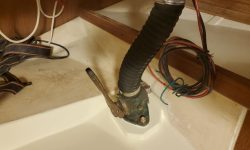
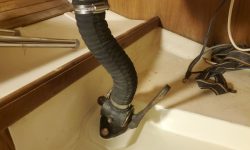
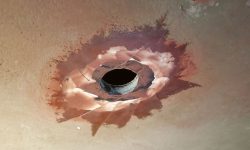
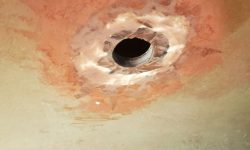
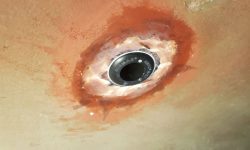
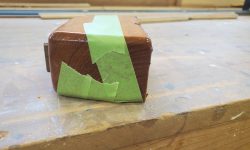
Next on the list: New scupper hoses, now that the work in the immediate area was done. I didn’t expect any great challenges here, and I pulled a short length of 1-1/2″ hose from my stock for the job, but of course right off I discovered to my dismay that the hose diameter was too small for the Spartan seacocks and cockpit drains–something I dimly remembered from work past. Try as I might, there was no way the heavy wire-reinforced hose was going to stretch over these fittings, which I measured now at 1-5/8″ (or even slightly larger at the end of the seacock barb, as represented by the measurement in the photo below).
I didn’t have this unusual size of hose on hand, of course, but digging further I did find a short length of 1-9/16″ hose suitable for the job, and fortunately it fit over the fittings without undue struggle, allowing me to finish the task at hand.
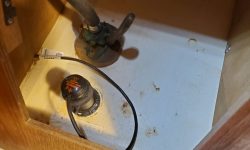
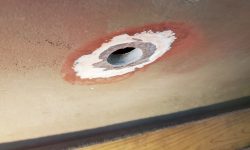
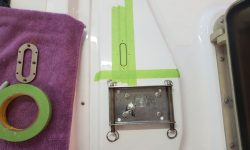
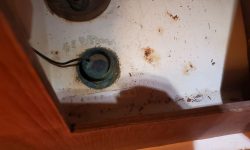
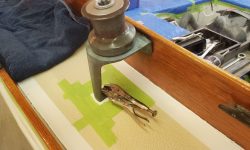
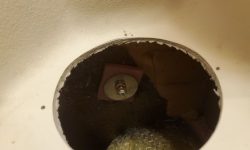
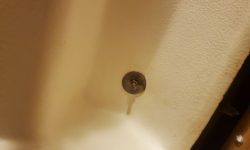
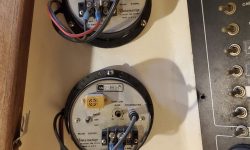
Next on my agenda was to replace the old depthsounder transducer with the new one supplied along with the replacement instruments. I couldn’t break free the fixing nut on the inside of the old bronze fitting, and with limited access and space to work in the small locker, I removed the fitting by grinding it off from the outside, as I hate wasting time fiddling when there’s a known solution. Not my favorite thing to do, but better now than later, after additional wasted effort.
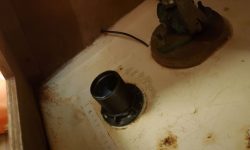
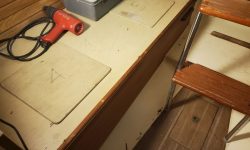
With the old fitting out of the way, I spruced up the hull a bit with some epoxy where I’d ground it during the removal, ensuring it was flat and smooth, and put a heat lamp on it to accelerate the curing process. After a couple hours, I could lightly sand the small ridges, then install the new transducer housing (just a threaded nylon fitting that accepted a removable transducer unit) with sealant and its cushy washer and nut from within. I left this to fully cure before thinking about installing the insert.
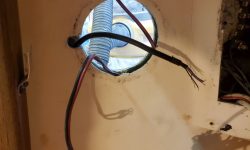
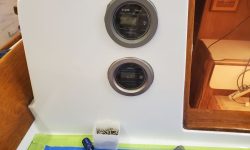
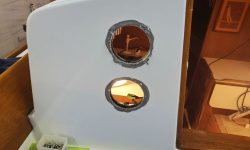
The old depthsounder wire ran from this locker, through the bulkhead, and then down into a hole in the molded liner, leading aft somewhere and then miraculously showing up again at the electrical panel and bulkhead openings where the instruments were to be installed. Running the new cable was a job for another day soon, but I had low expectations that I’d be able to lead it through the same path as the old. Time would tell, but I was already calculating other possibilities (likelihoods?).
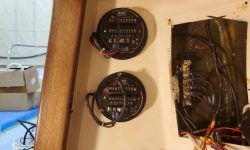
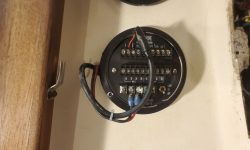
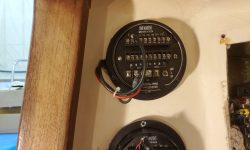
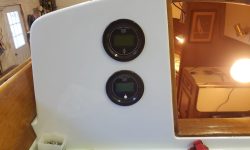
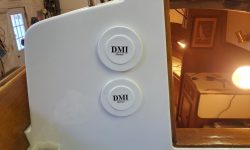
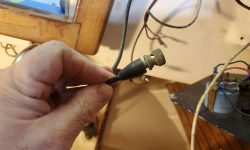
The speed transducer was not to be replaced, as the existing one and its cable were compatible with the replacement instruments. I had to check with the instrument builder because the old speed cable had a BNC connector at the end, while the new instruments had only screw terminals for wiring, but fortunately I learned I could cut off the old connector and use the core and shield as the connections required on the new instrument. This would happen in the near future, but for now I needed the instrument holes open so I could eventually lead in the new depth transducer cable.
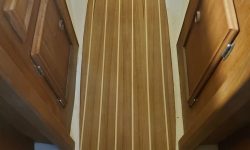
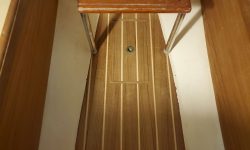
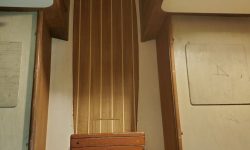
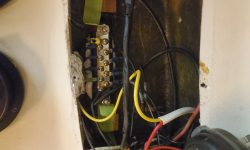
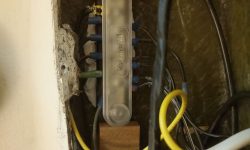
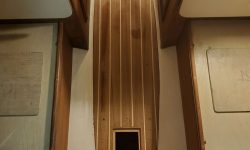
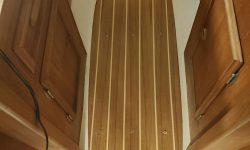
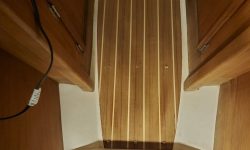
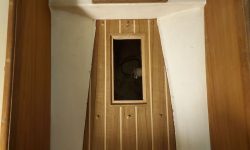
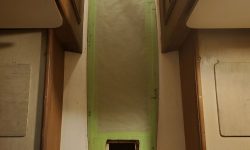
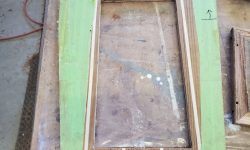
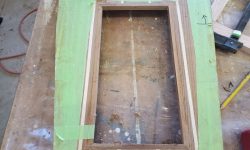
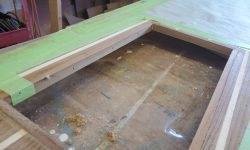
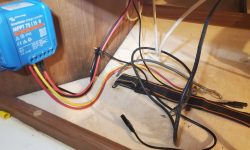
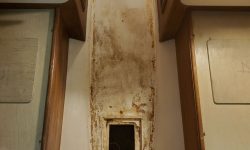
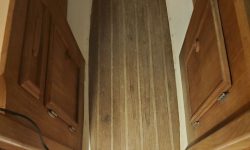
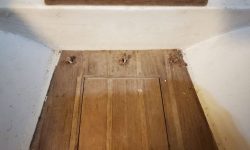
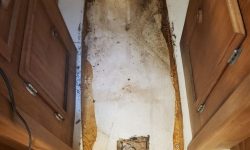
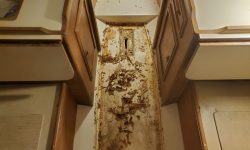
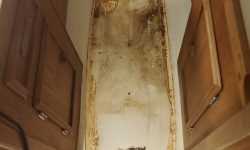
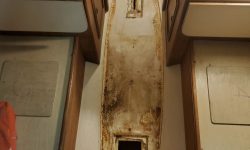
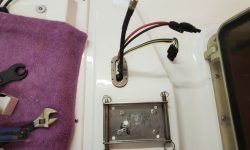
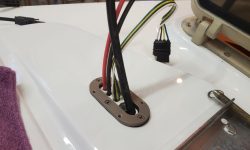
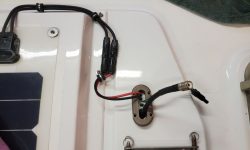
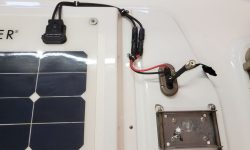
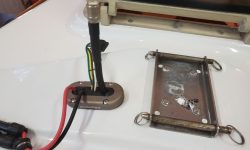
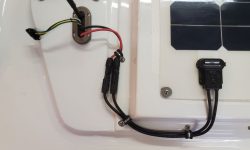
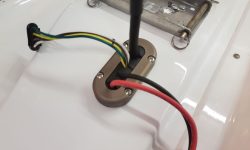
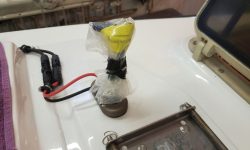
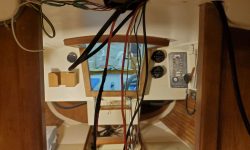
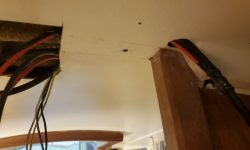
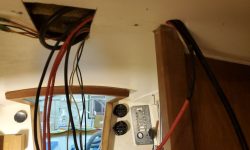
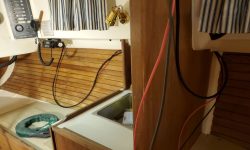
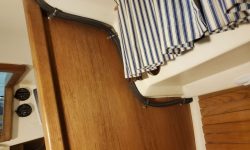
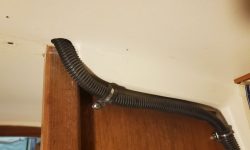
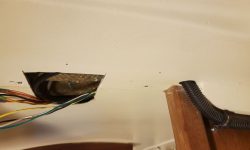
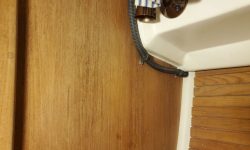
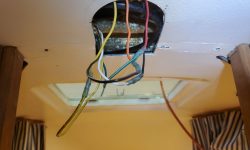
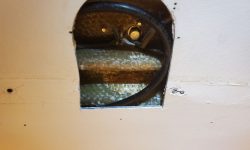
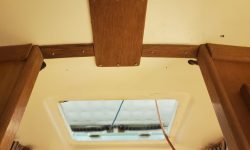
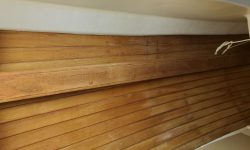
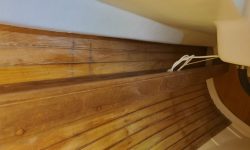
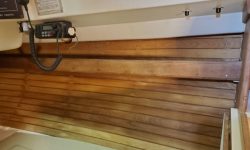
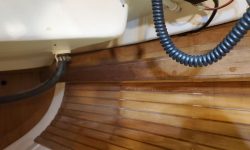
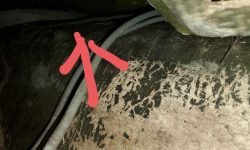
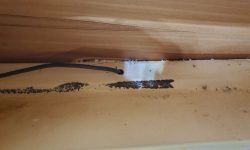
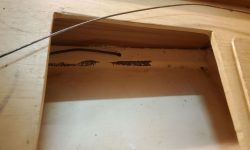
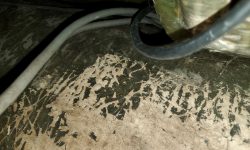
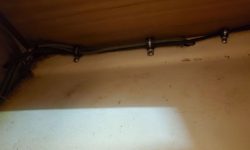
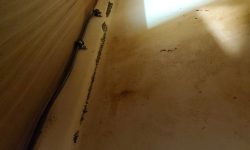
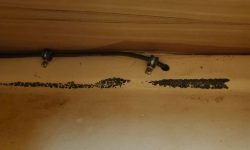
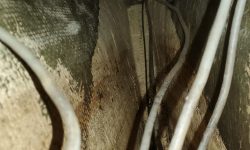
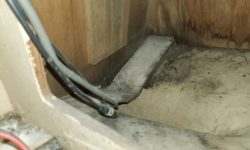
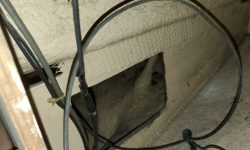
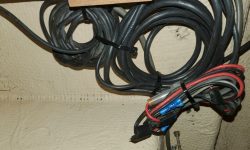
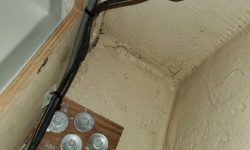
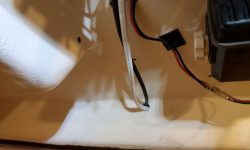
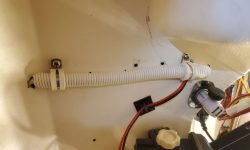
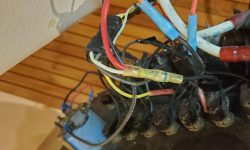
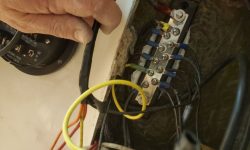
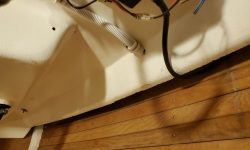
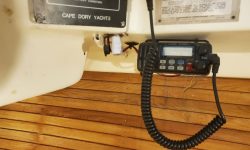
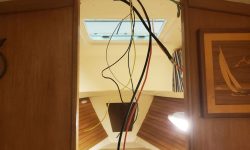
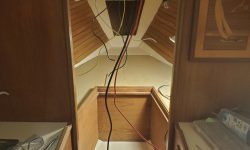
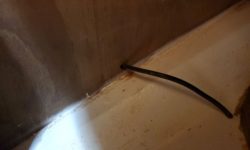
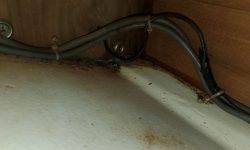
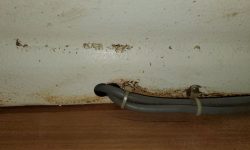
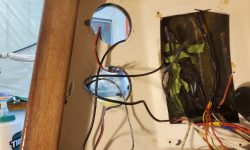
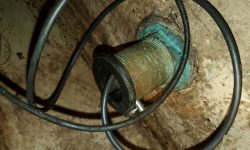
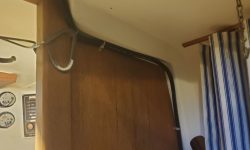
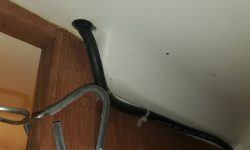
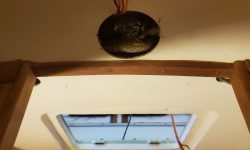
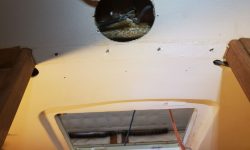
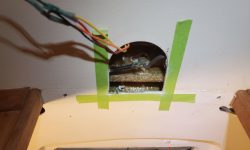
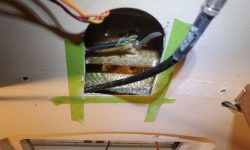
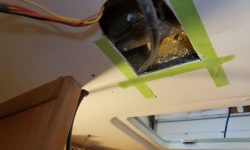
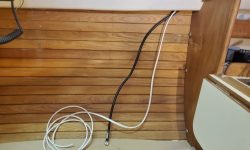
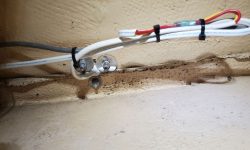
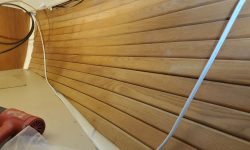
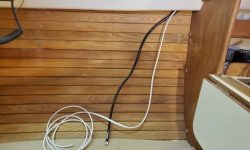
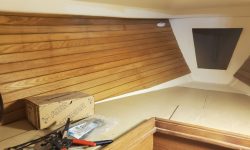
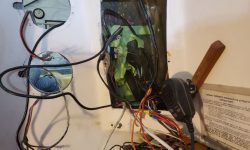
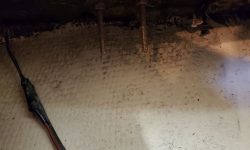
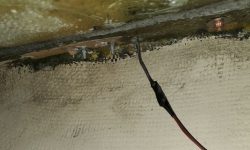
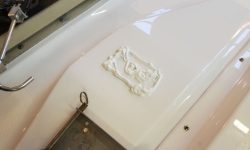
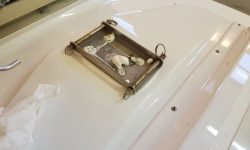
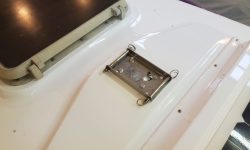
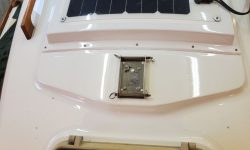
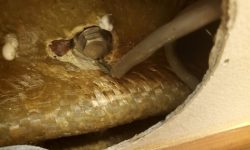
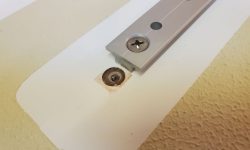
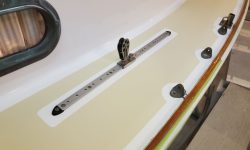
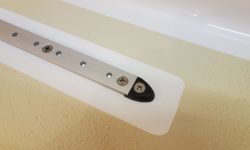
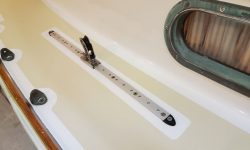
I purchased a new VHF antenna cable to replace the one I’d had to cut apart to remove from the deck earlier, but a few days before I’d run into difficulty getting it through the same path the original had taken–a small hole at the bulkhead in the forward cabin, then a frustratingly short–but now impenetrable–distance aft to the mast wiring opening, and to where I’d eventually lead it again through the deck through a new, yet-to-be-installed fitting. These photos, dating to November 20, 2021, show the original cable and its route, which I planned (from necessity if for no other reason) to follow anew.
I tried nine ways to Sunday to get the new cable through, but was stymied each time. There just wasn’t enough clearance between the liner and the deck above to get the cable through a surprisingly complicated passage containing several ribs glassed beneath the deck, the erstwhile mast beam and stiffening. It was only a few inches, but there was just no way to force the cable through, nor to grasp it from the nearby opening.
We’d already discussed the possibility, if needed, of opening up the liner more for better (or to provide actual) access to where the wires would eventually pass through the deck, a limited area not currently directly accessible (there’s an issue for the near future), but I decided I had to increase the liner cutout going forward so I could get this new cable run. I began by removing a trim piece that spanned the passageway to the forward cabin, hoping perhaps there’d be a seam in the liner there that I could spring open further. The liner was one piece, as it happened, but now I could extend the opening slightly further forward into the center of the area the trim had covered. This proved not to be quite enough, so I extended the opening about another inch (I’d build a new cover panel and trim later), and finally succeeded in getting the new cable through the tight spot. And so it goes with liners: Convenient for the builder, challenging for everyone forever after. I led the other end of the new cable aft into the main cabin and would eventually secure and neaten up the new cable run once I’d run it through the deck.
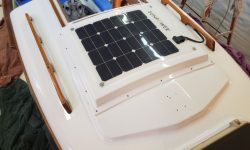
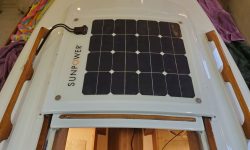
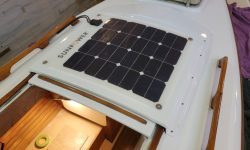
The liner and how to run wires through the boat looked to post additional challenges for the new wires required for the solar panel, which wires I didn’t have on hand yet (due in a couple days), but would need to run from the through-deck gland near the mast, and where the panel connections would be to the sea hood panel, then somehow aft to the battery space beneath the cockpit, aft of the scuppers. There was no passage through or beneath the overhead liner, as the space was simply too tight, and I figured these wires would have to follow the path of the VHF cable to the side of the boat, where they could run aft hidden by the liner along the top of the hull and deck edge. This was a problem for a few days hence, when I had the wires, but it was pretty clear that none of these basic wiring jobs would be conquered in the easiest or most convenient way.
One wiring job I thought I could mostly figure out now, and to satisfy another punch list item, was to lead a new wire pair forward to the bow pulpit, where I connected it to the wires leading from the running lights, then secured the slack to the existing wire bundle hidden in the open space outboard of the overhead liner. I’d finish leading this wire into the electrical panel area soon, though even this was likely to present a challenge thanks to the liner (all the original wire harnesses on the boat were built and installed before the boat was completely assembled, hence the difficulties today).
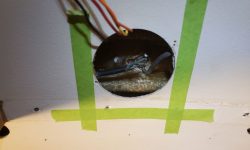
The wiring buss in the electrical locker that I’d glued in place last season when the boat was here had come loose, so I resecured it as needed. (The tape is just holding it while the adhesive cured.)
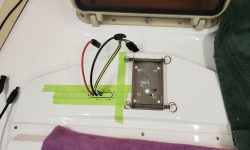
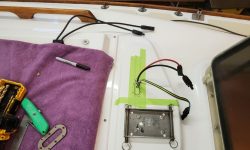
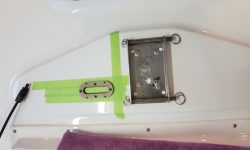
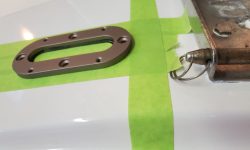
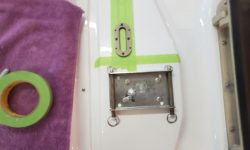
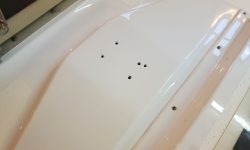
At the mast, I laid out the position for the new wiring gland, which the owner requested remain clear of the pins on the hinged mast step, and which the construction of the mast beams and structure futher limited to a narrow possible space. I’d wait to drill any holes till I had all my wiring on hand so I could lay things out correctly.
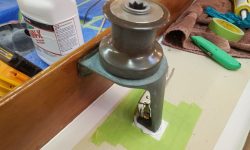
With my other main works complete for now, I finished up the day with a coat of oil on the settee fiddles, to blend the new bungs with the older wood.
Total time billed on this job today: 7 hours
0600 Weather Observation: 10°, clear. Forecast for the day: Sunny, 30°


