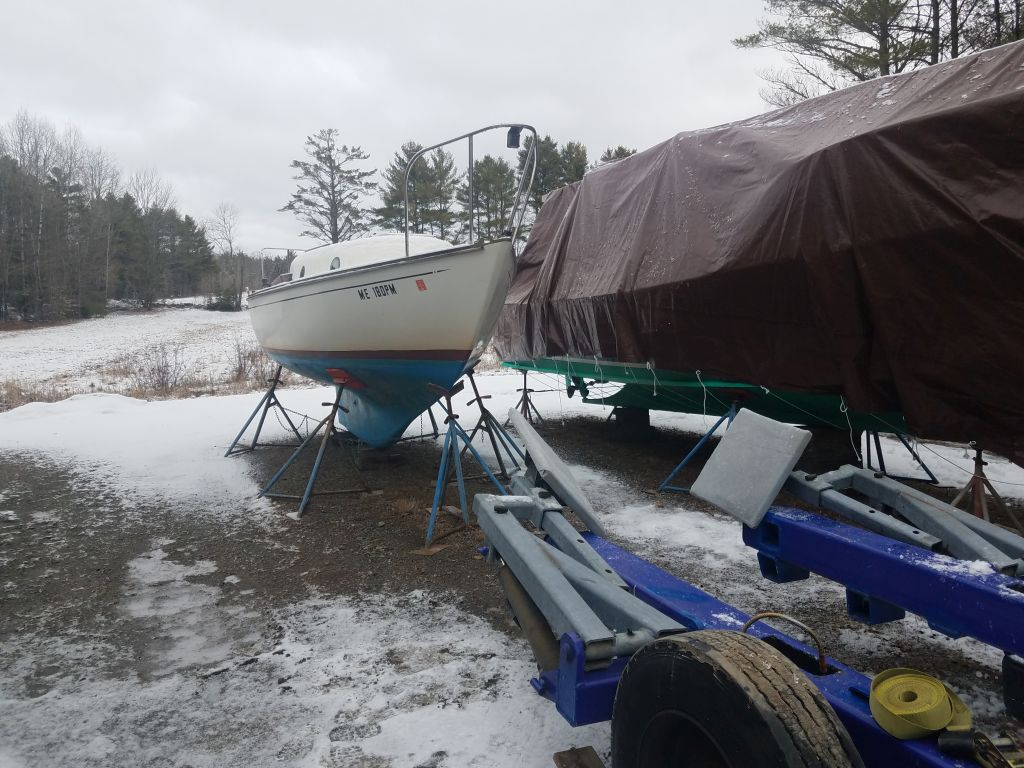
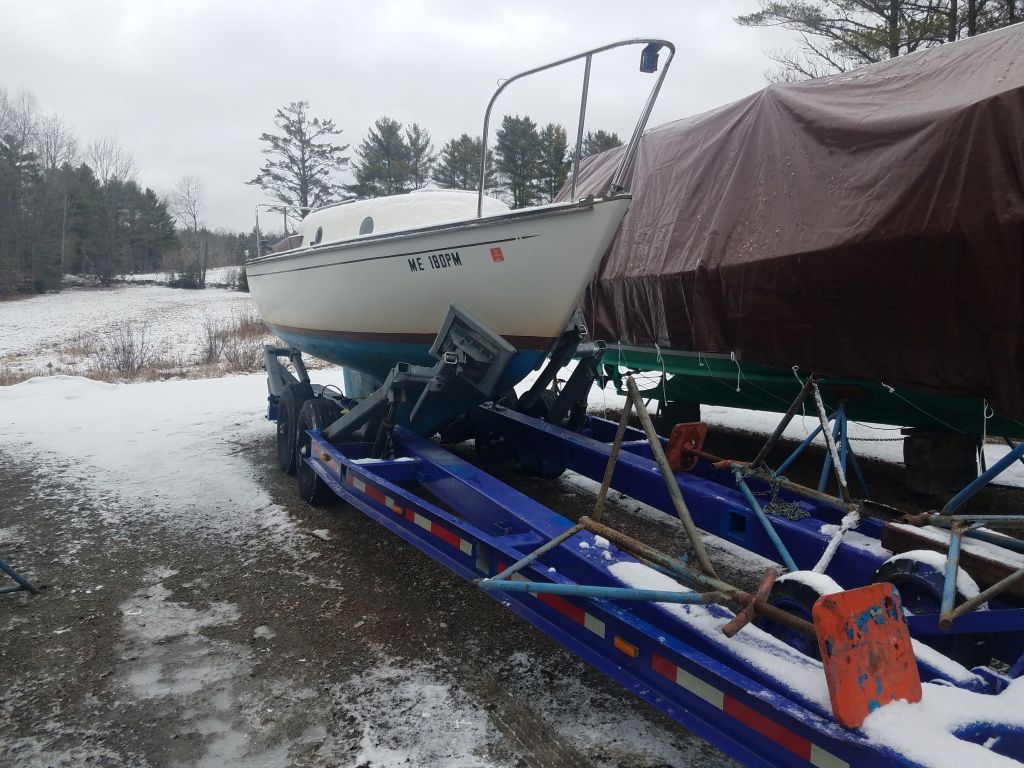
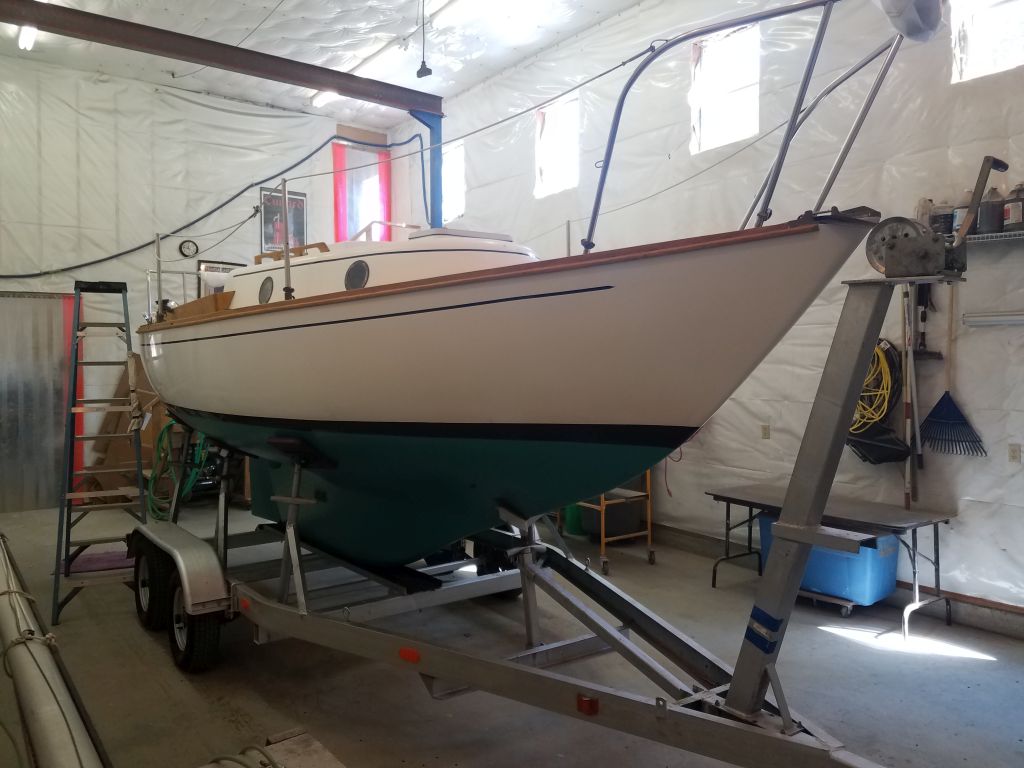
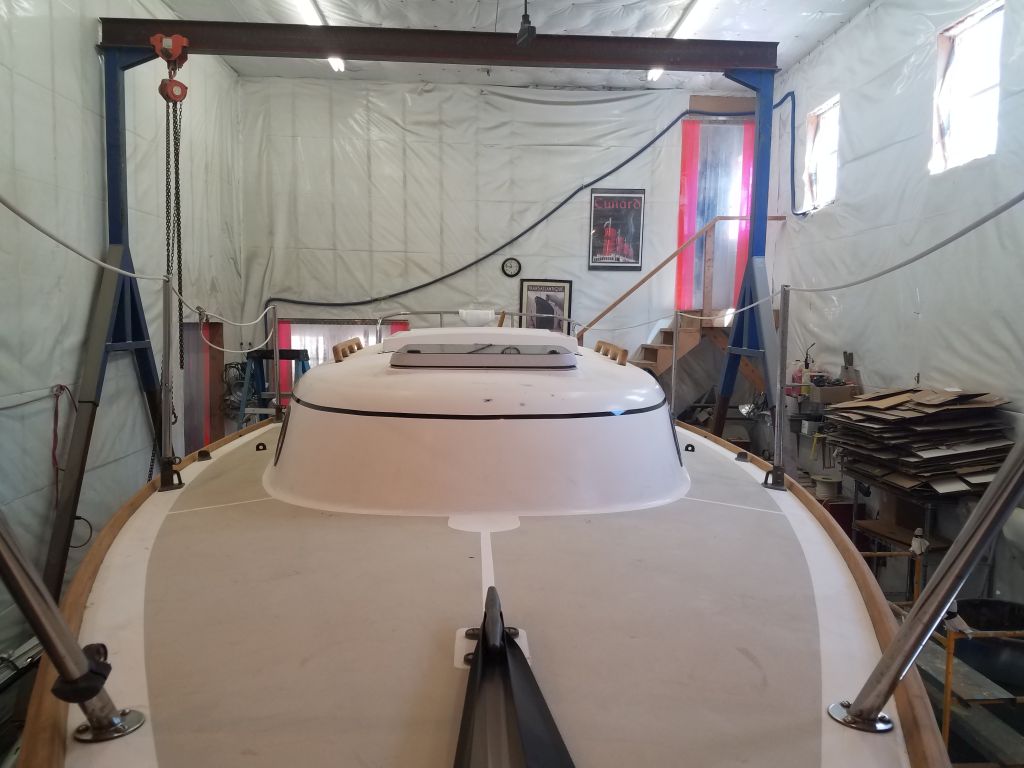
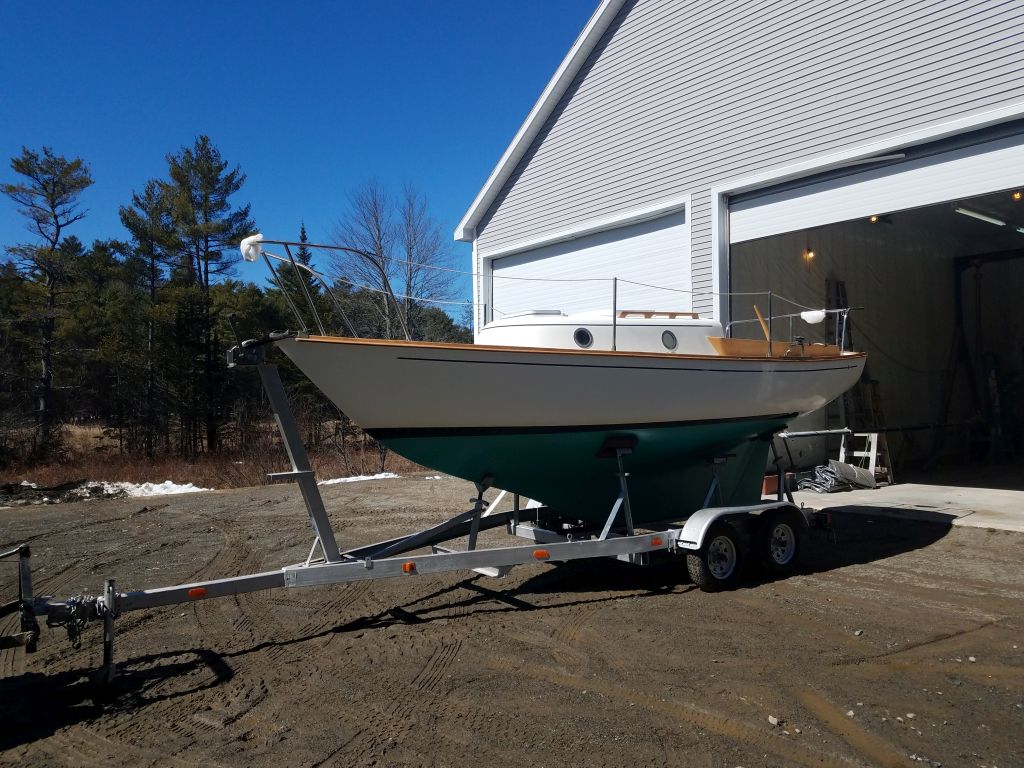
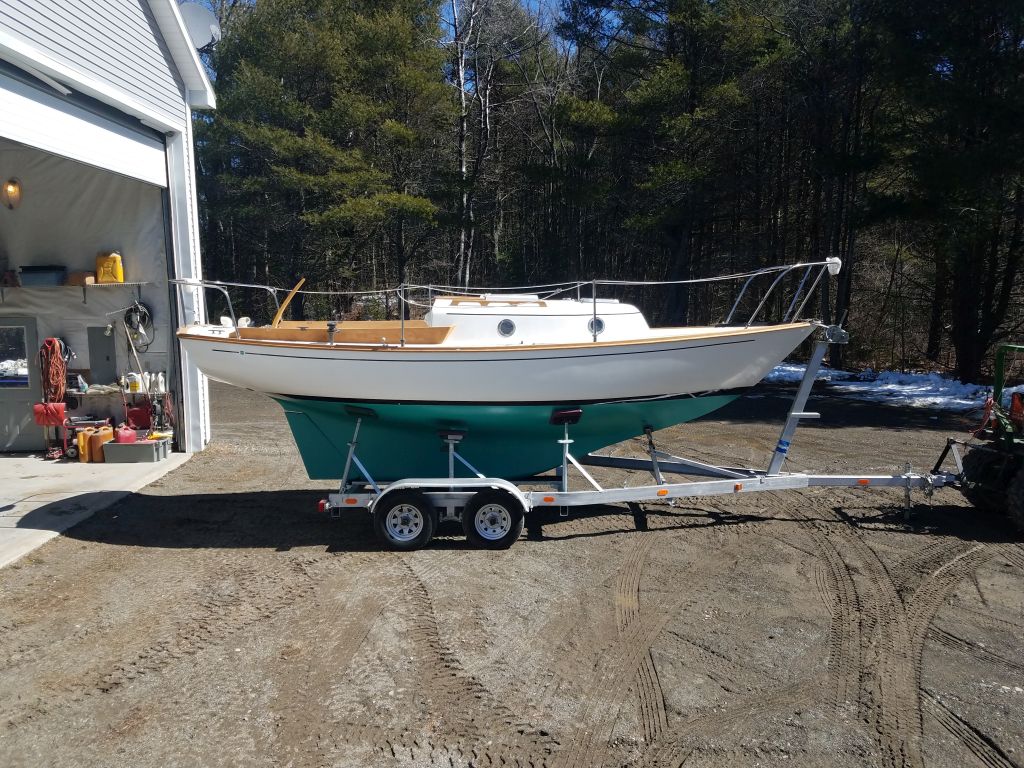
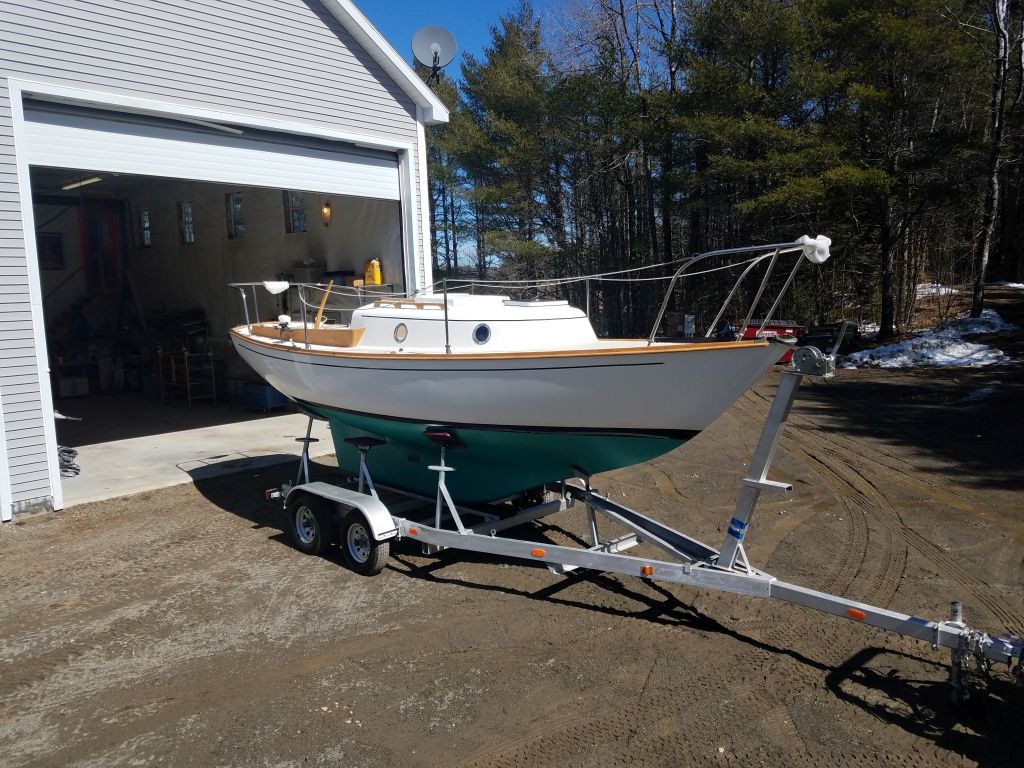
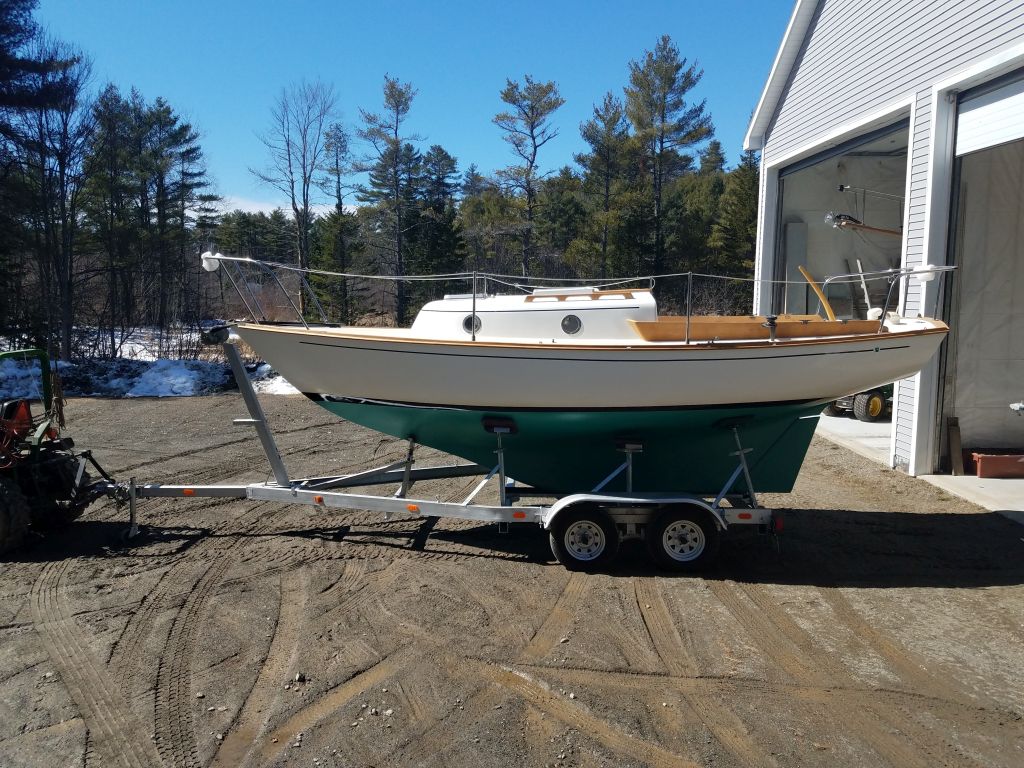
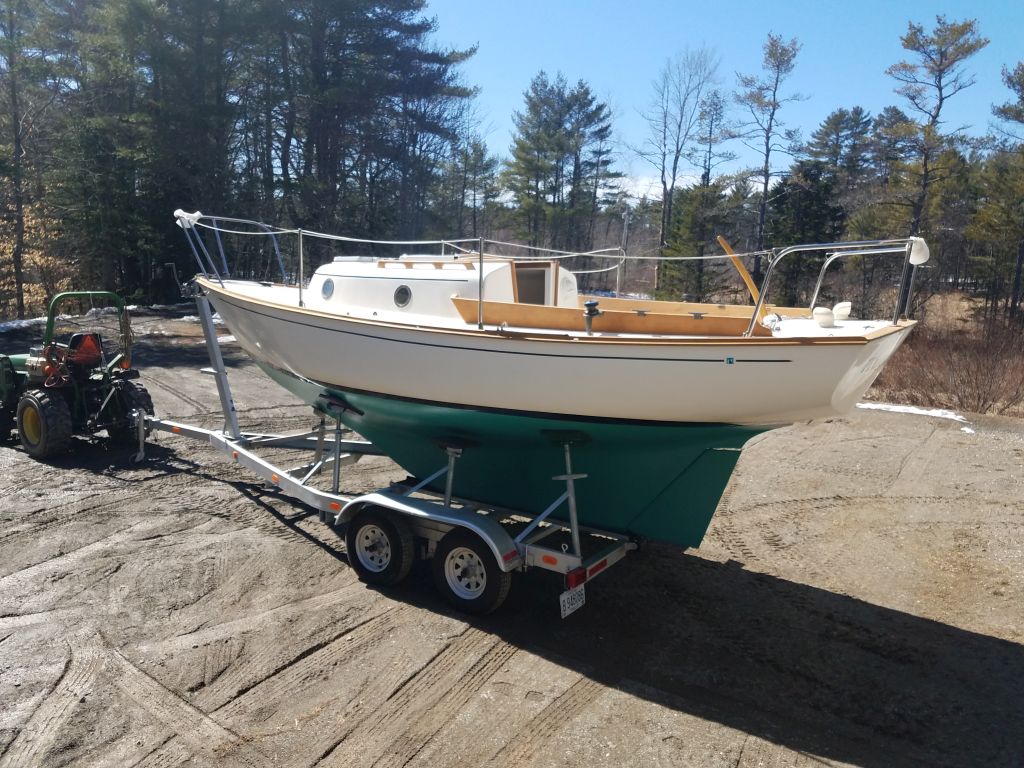
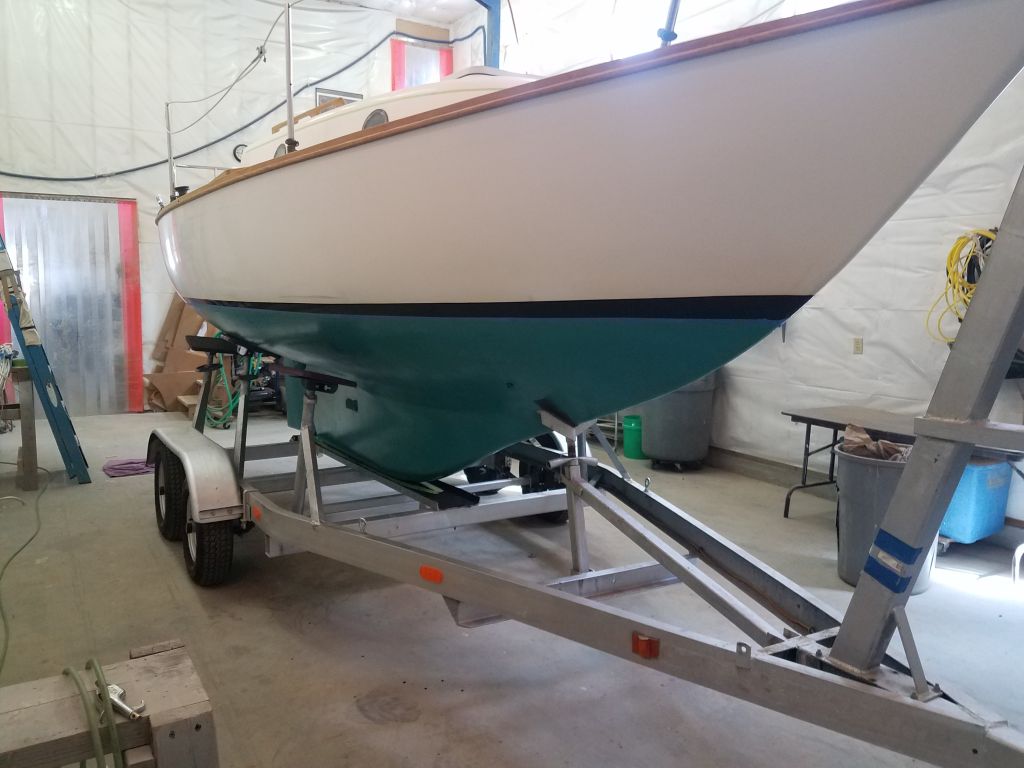
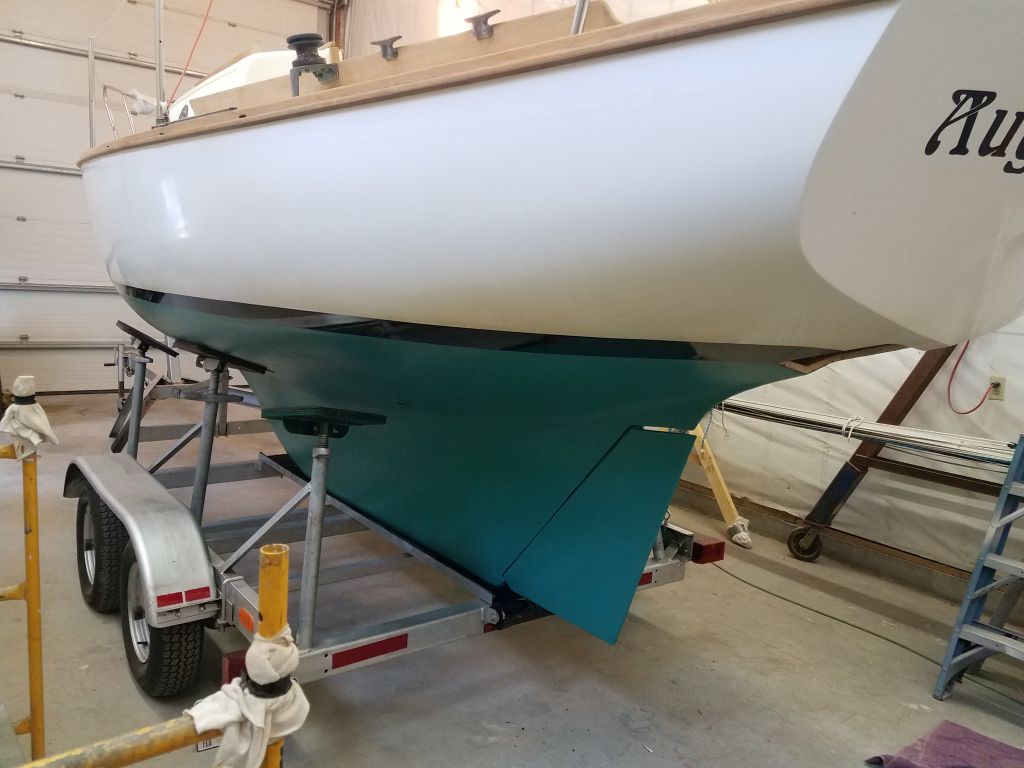
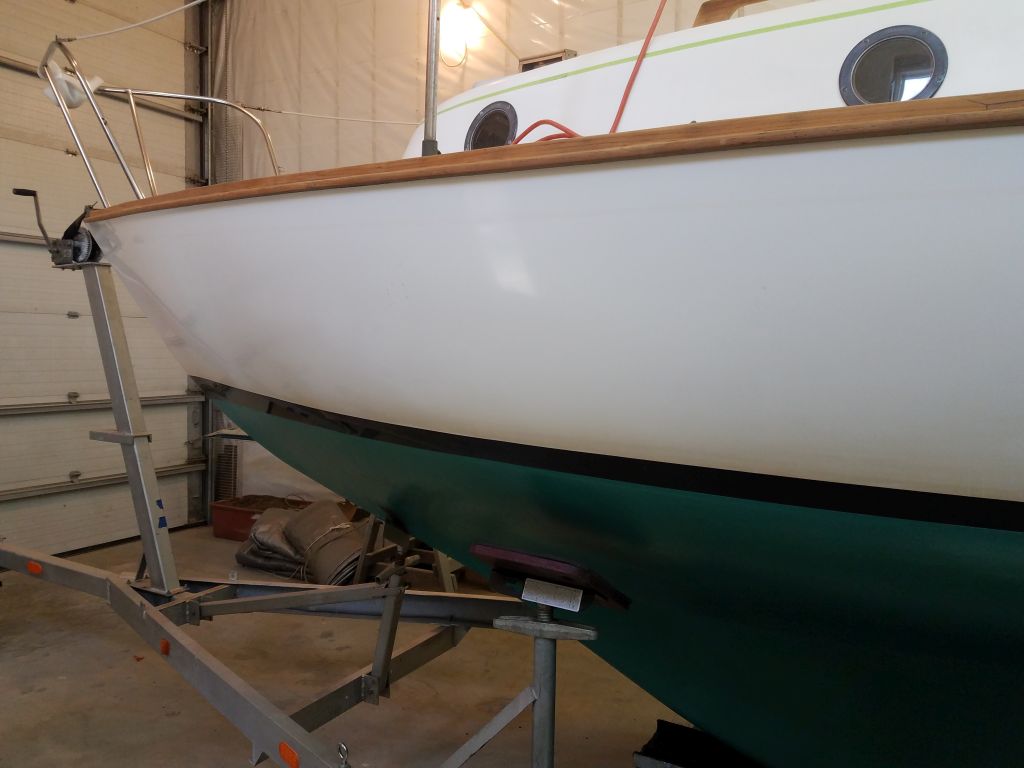
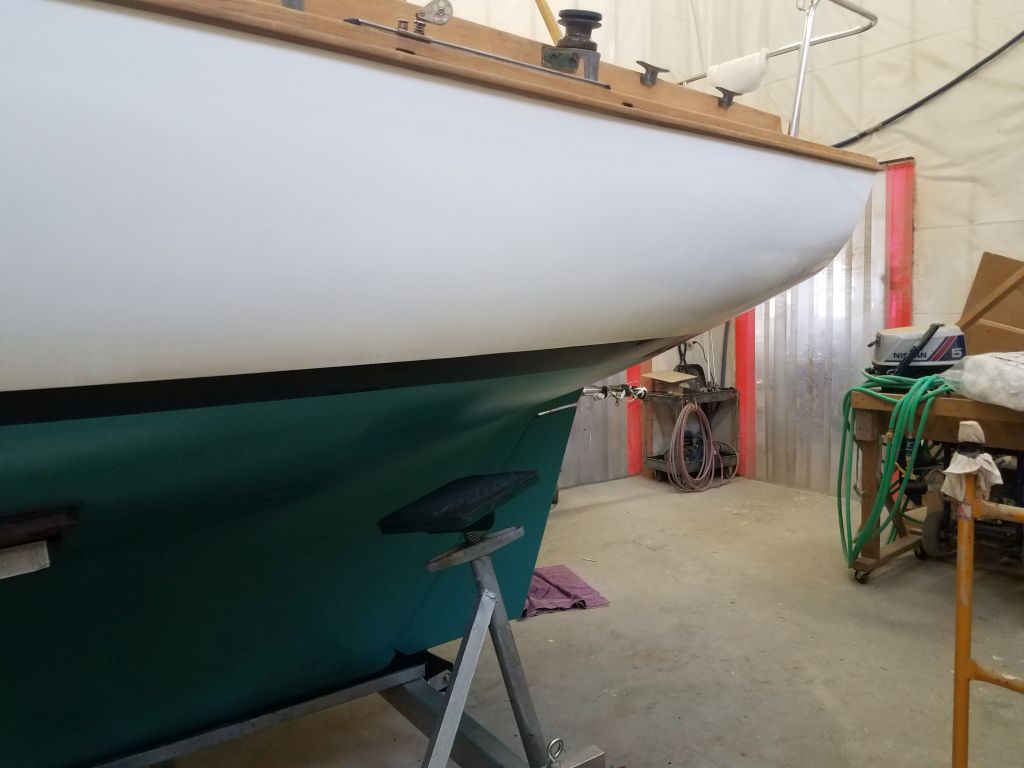
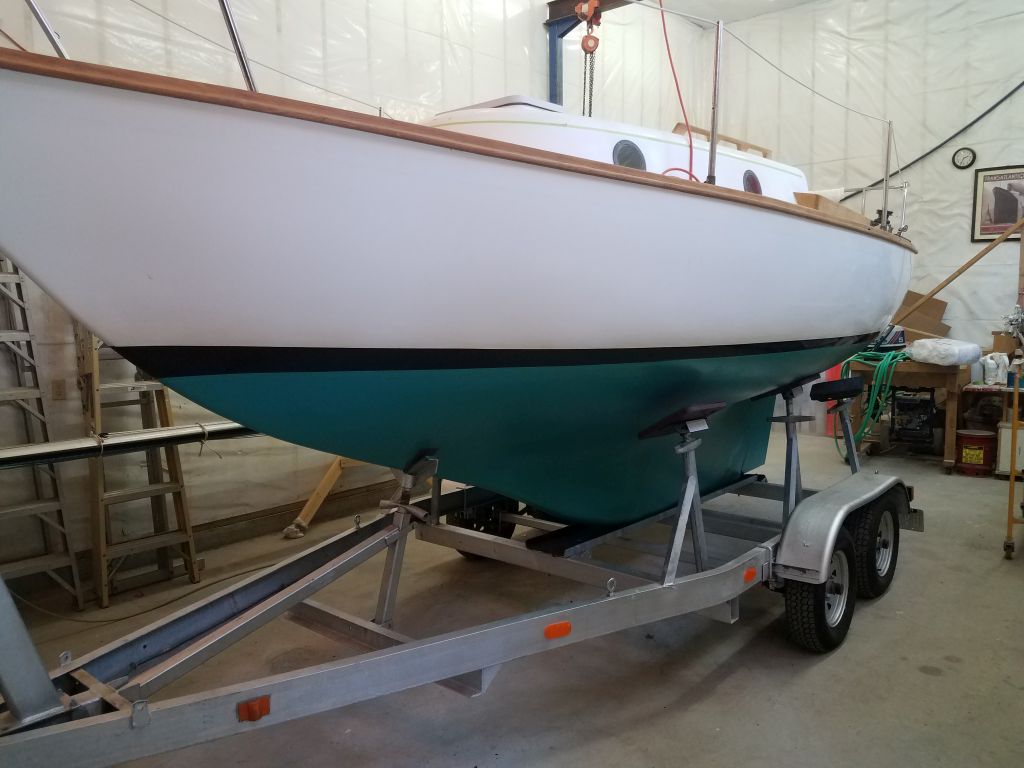
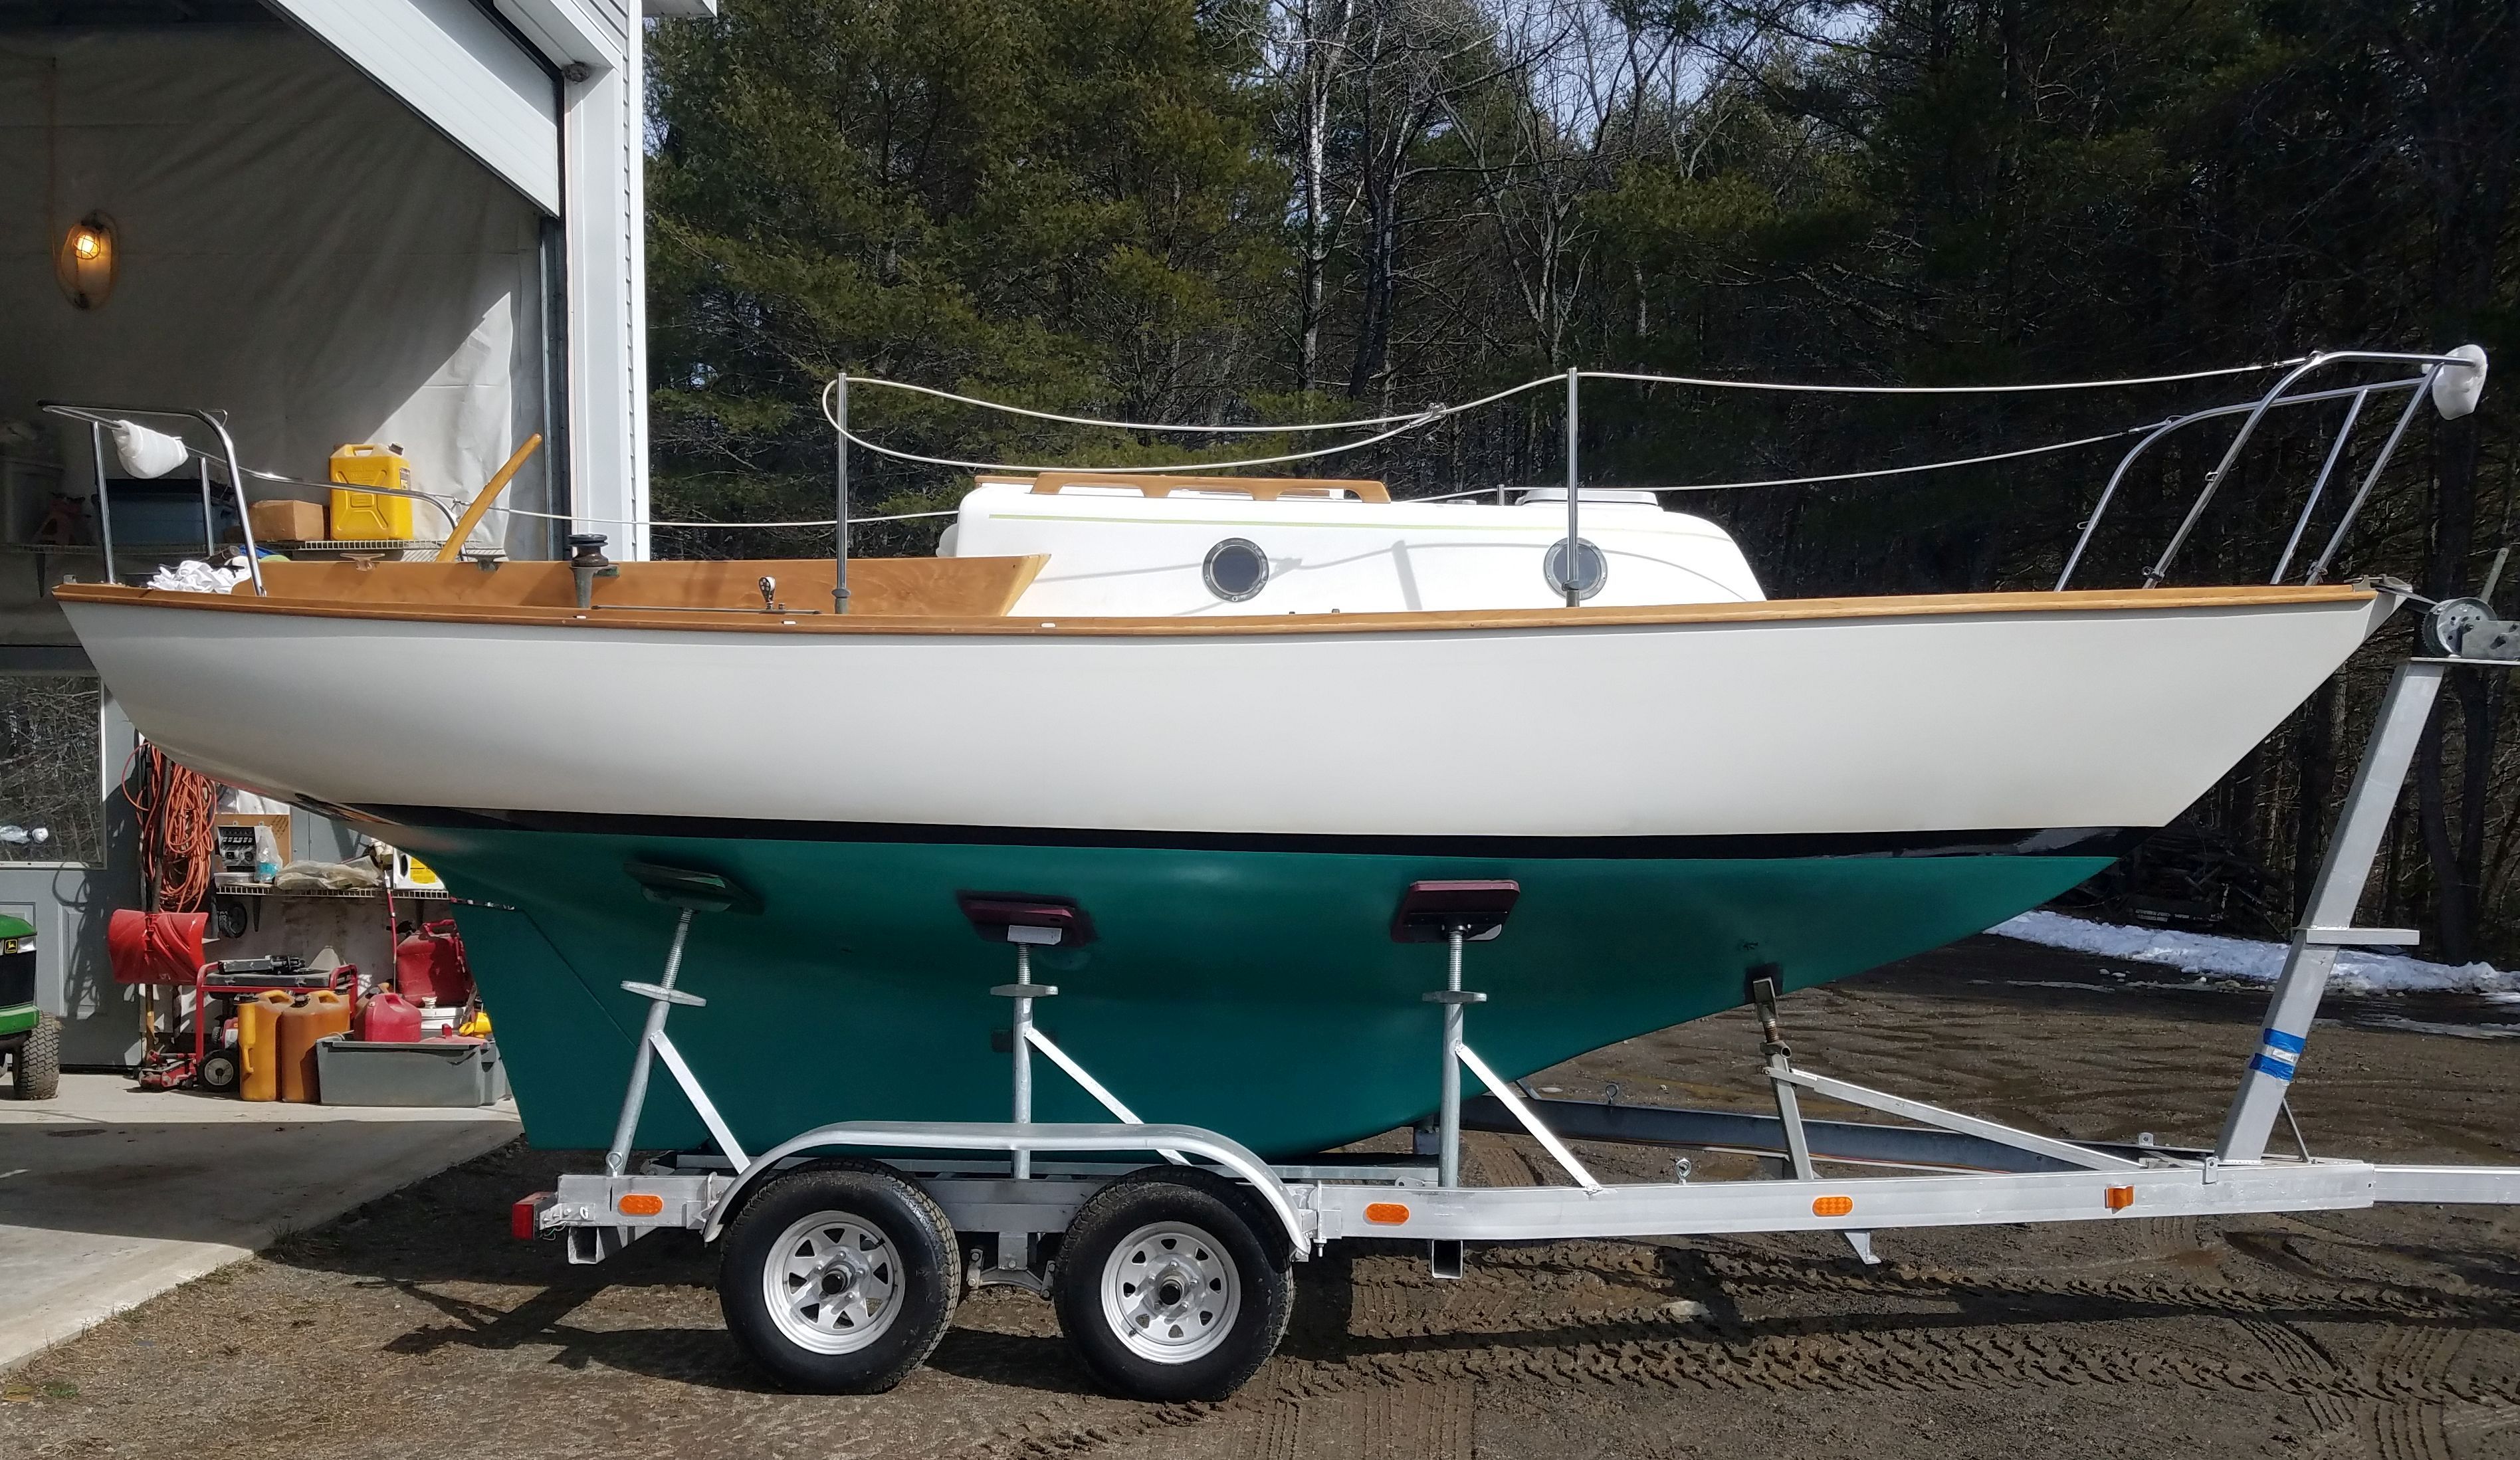
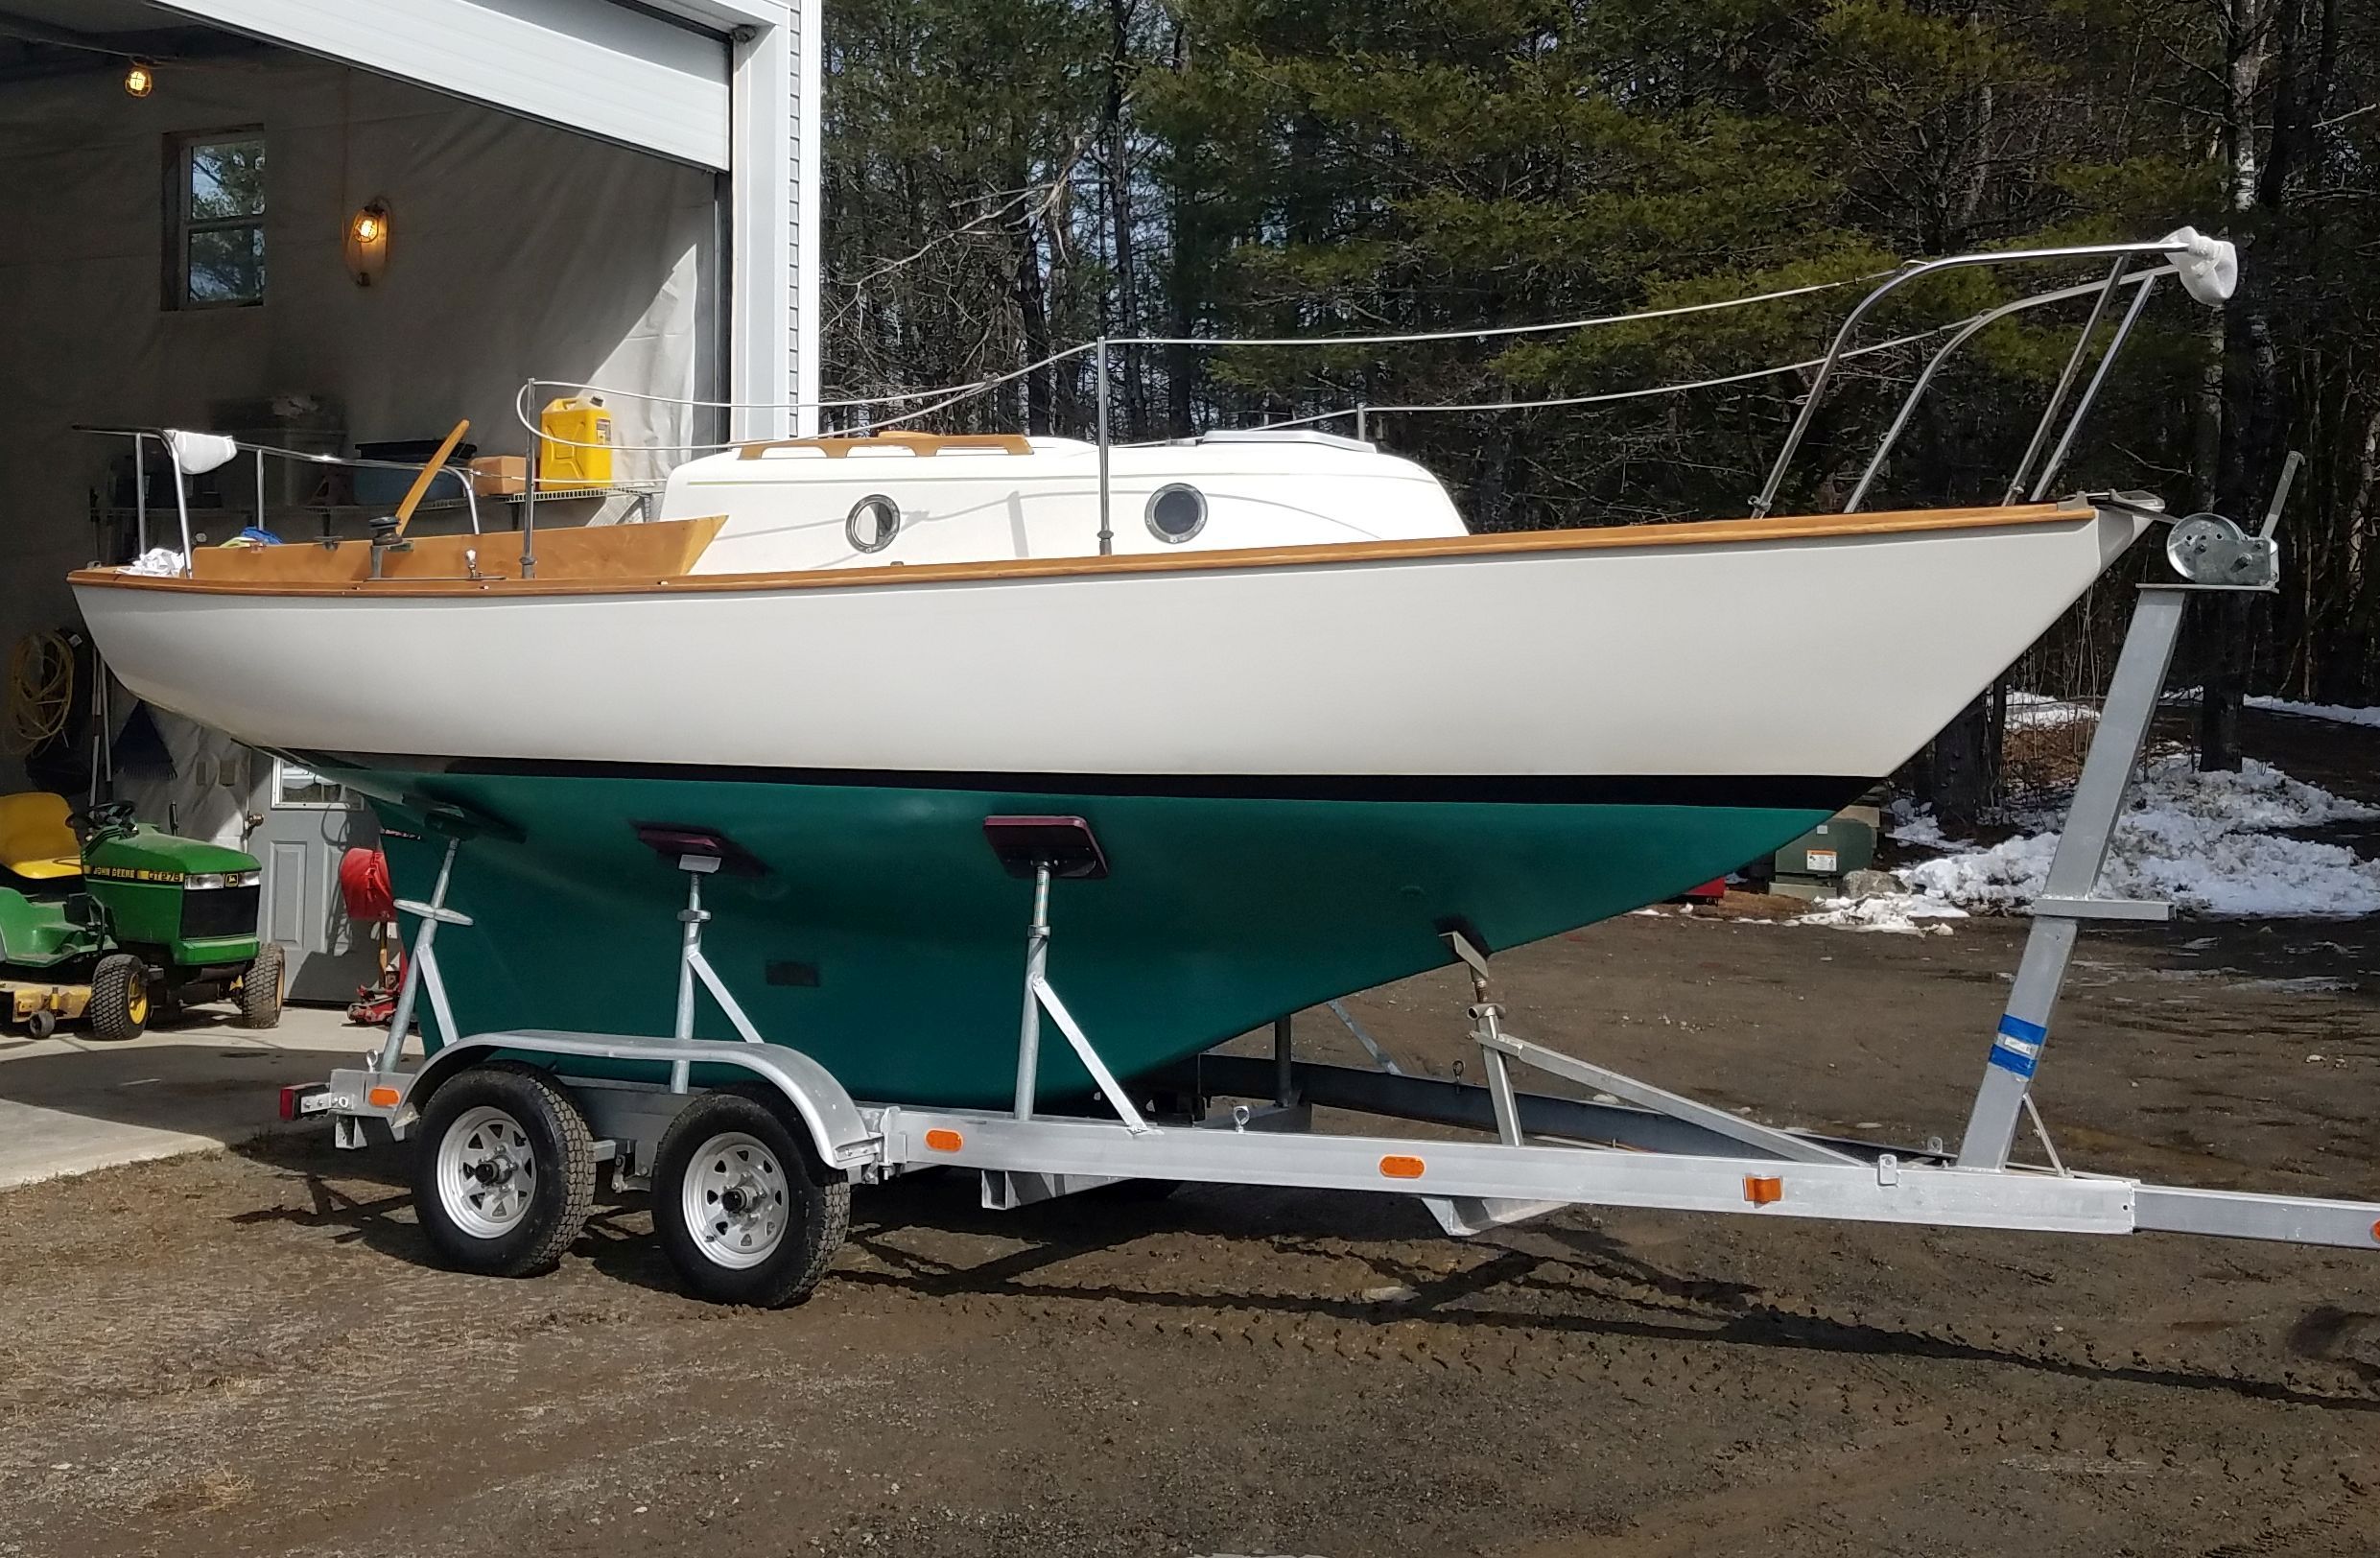
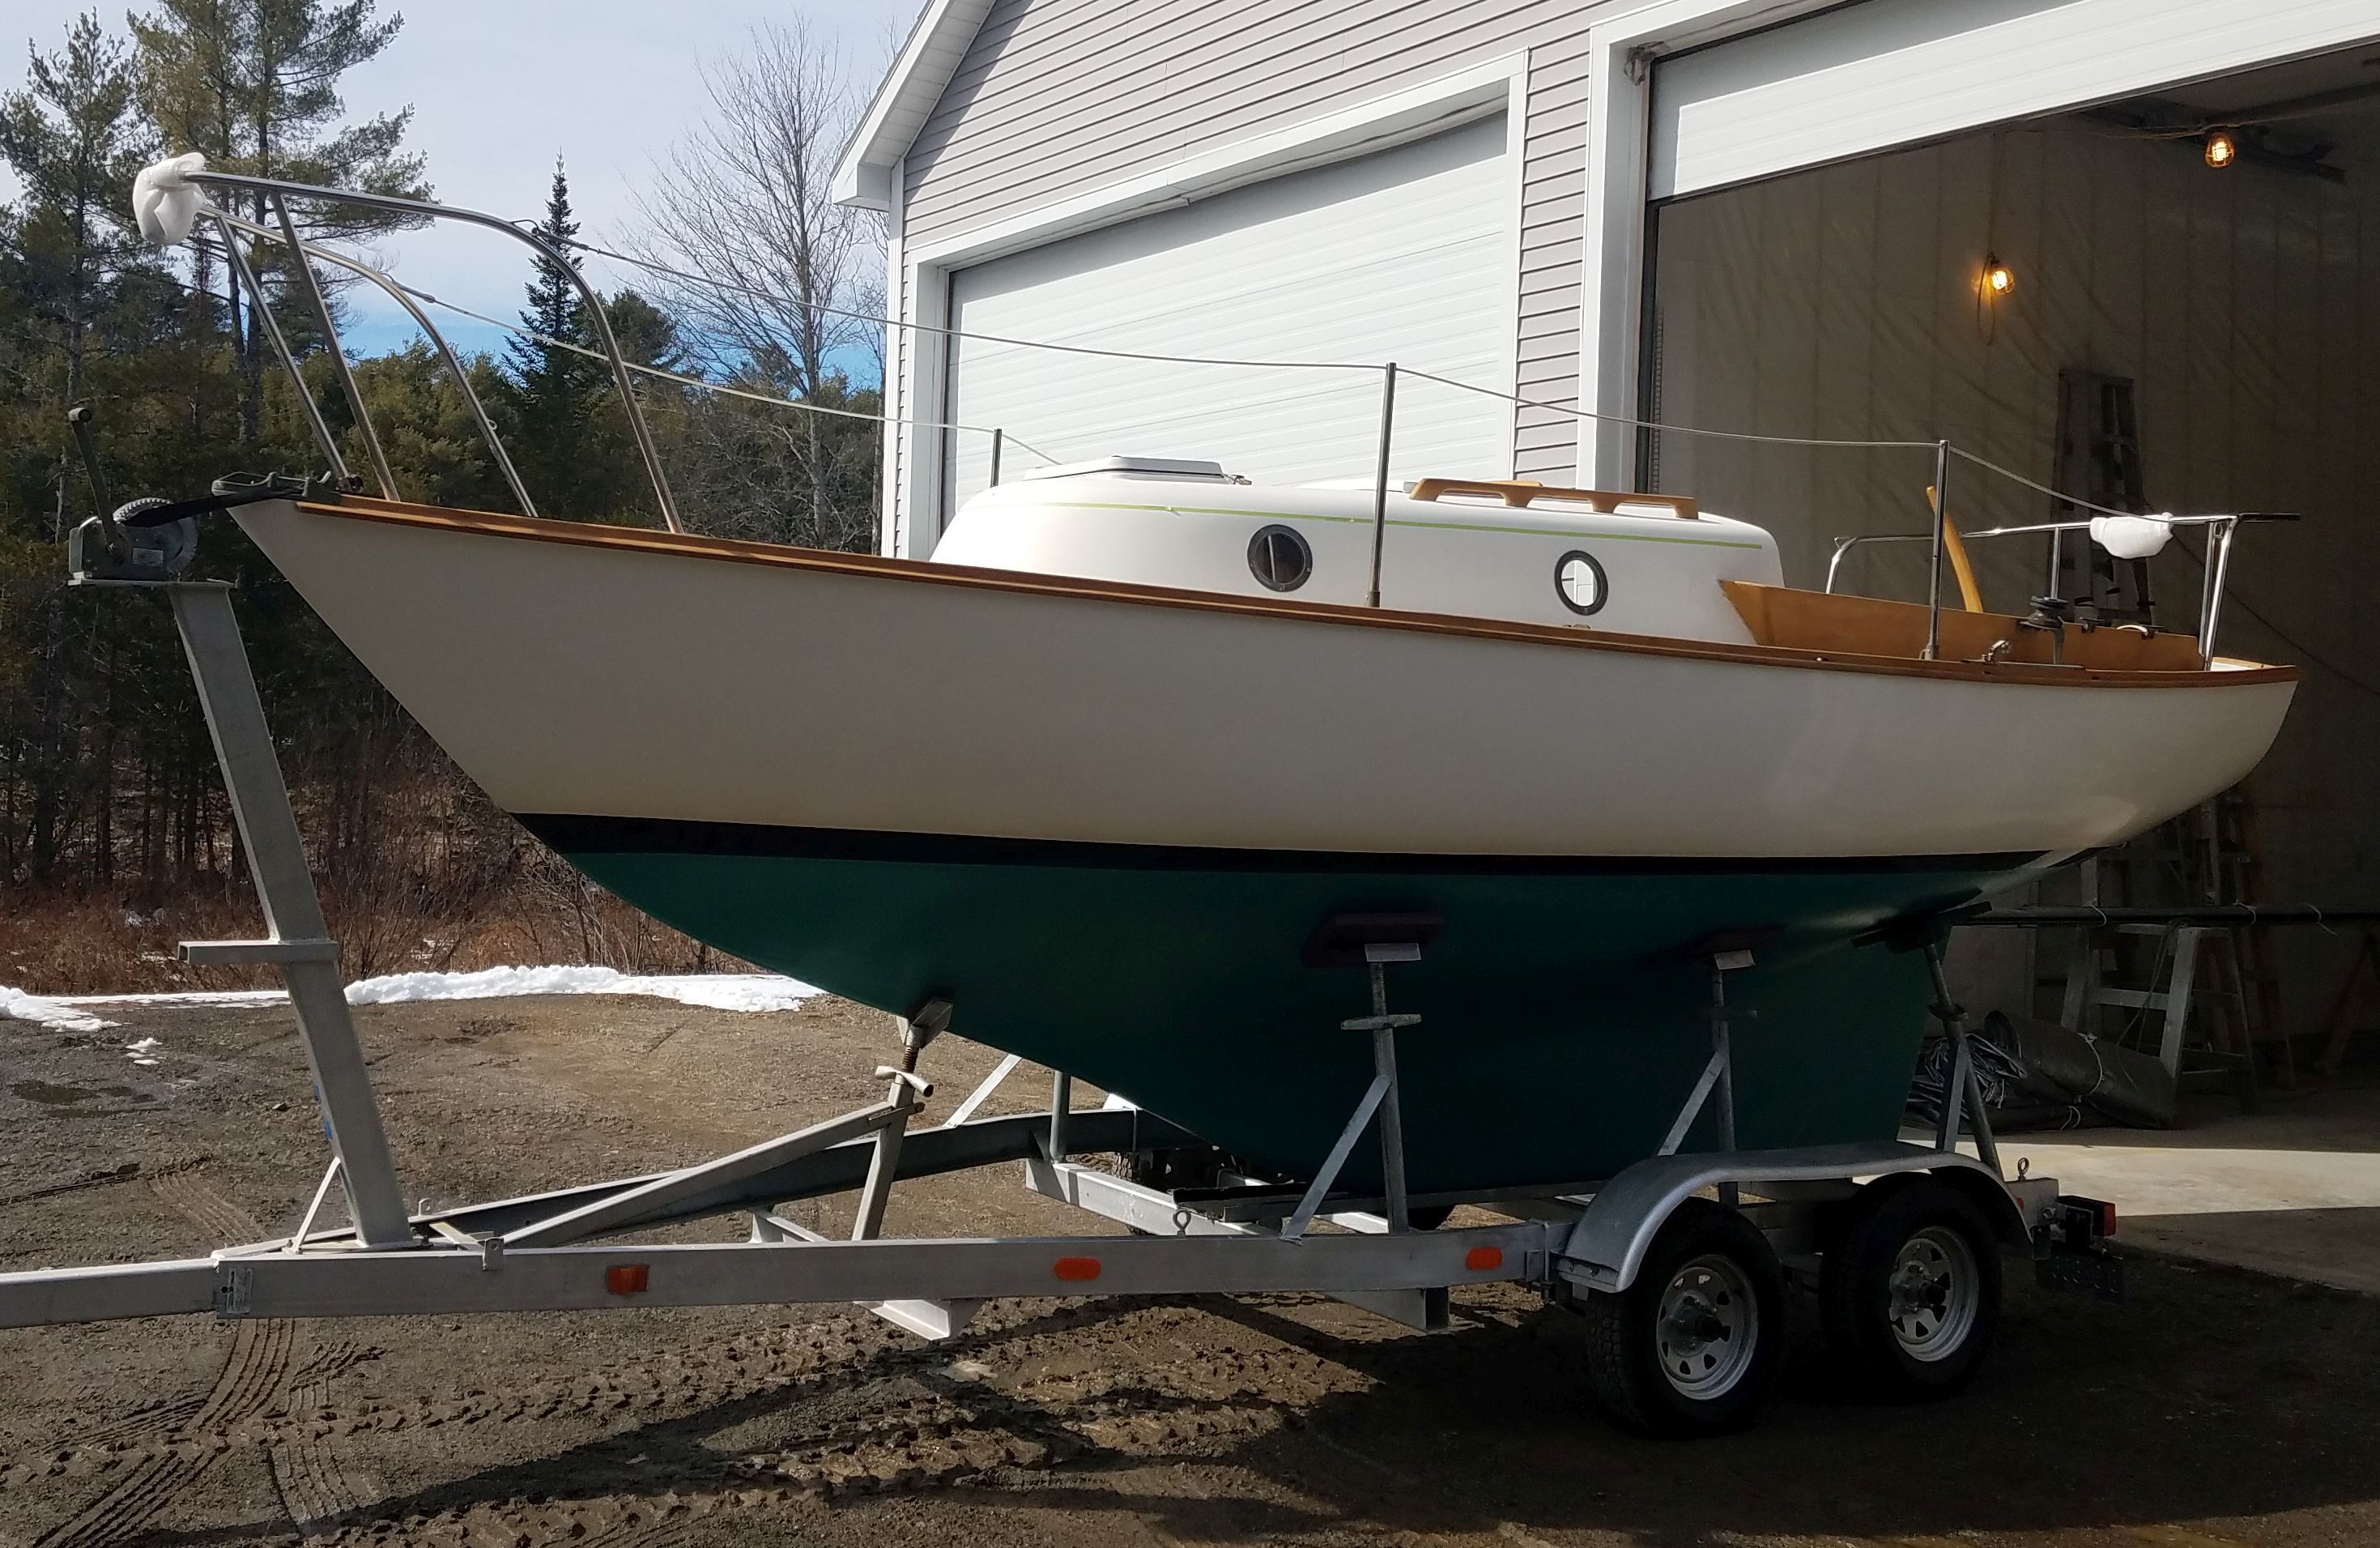
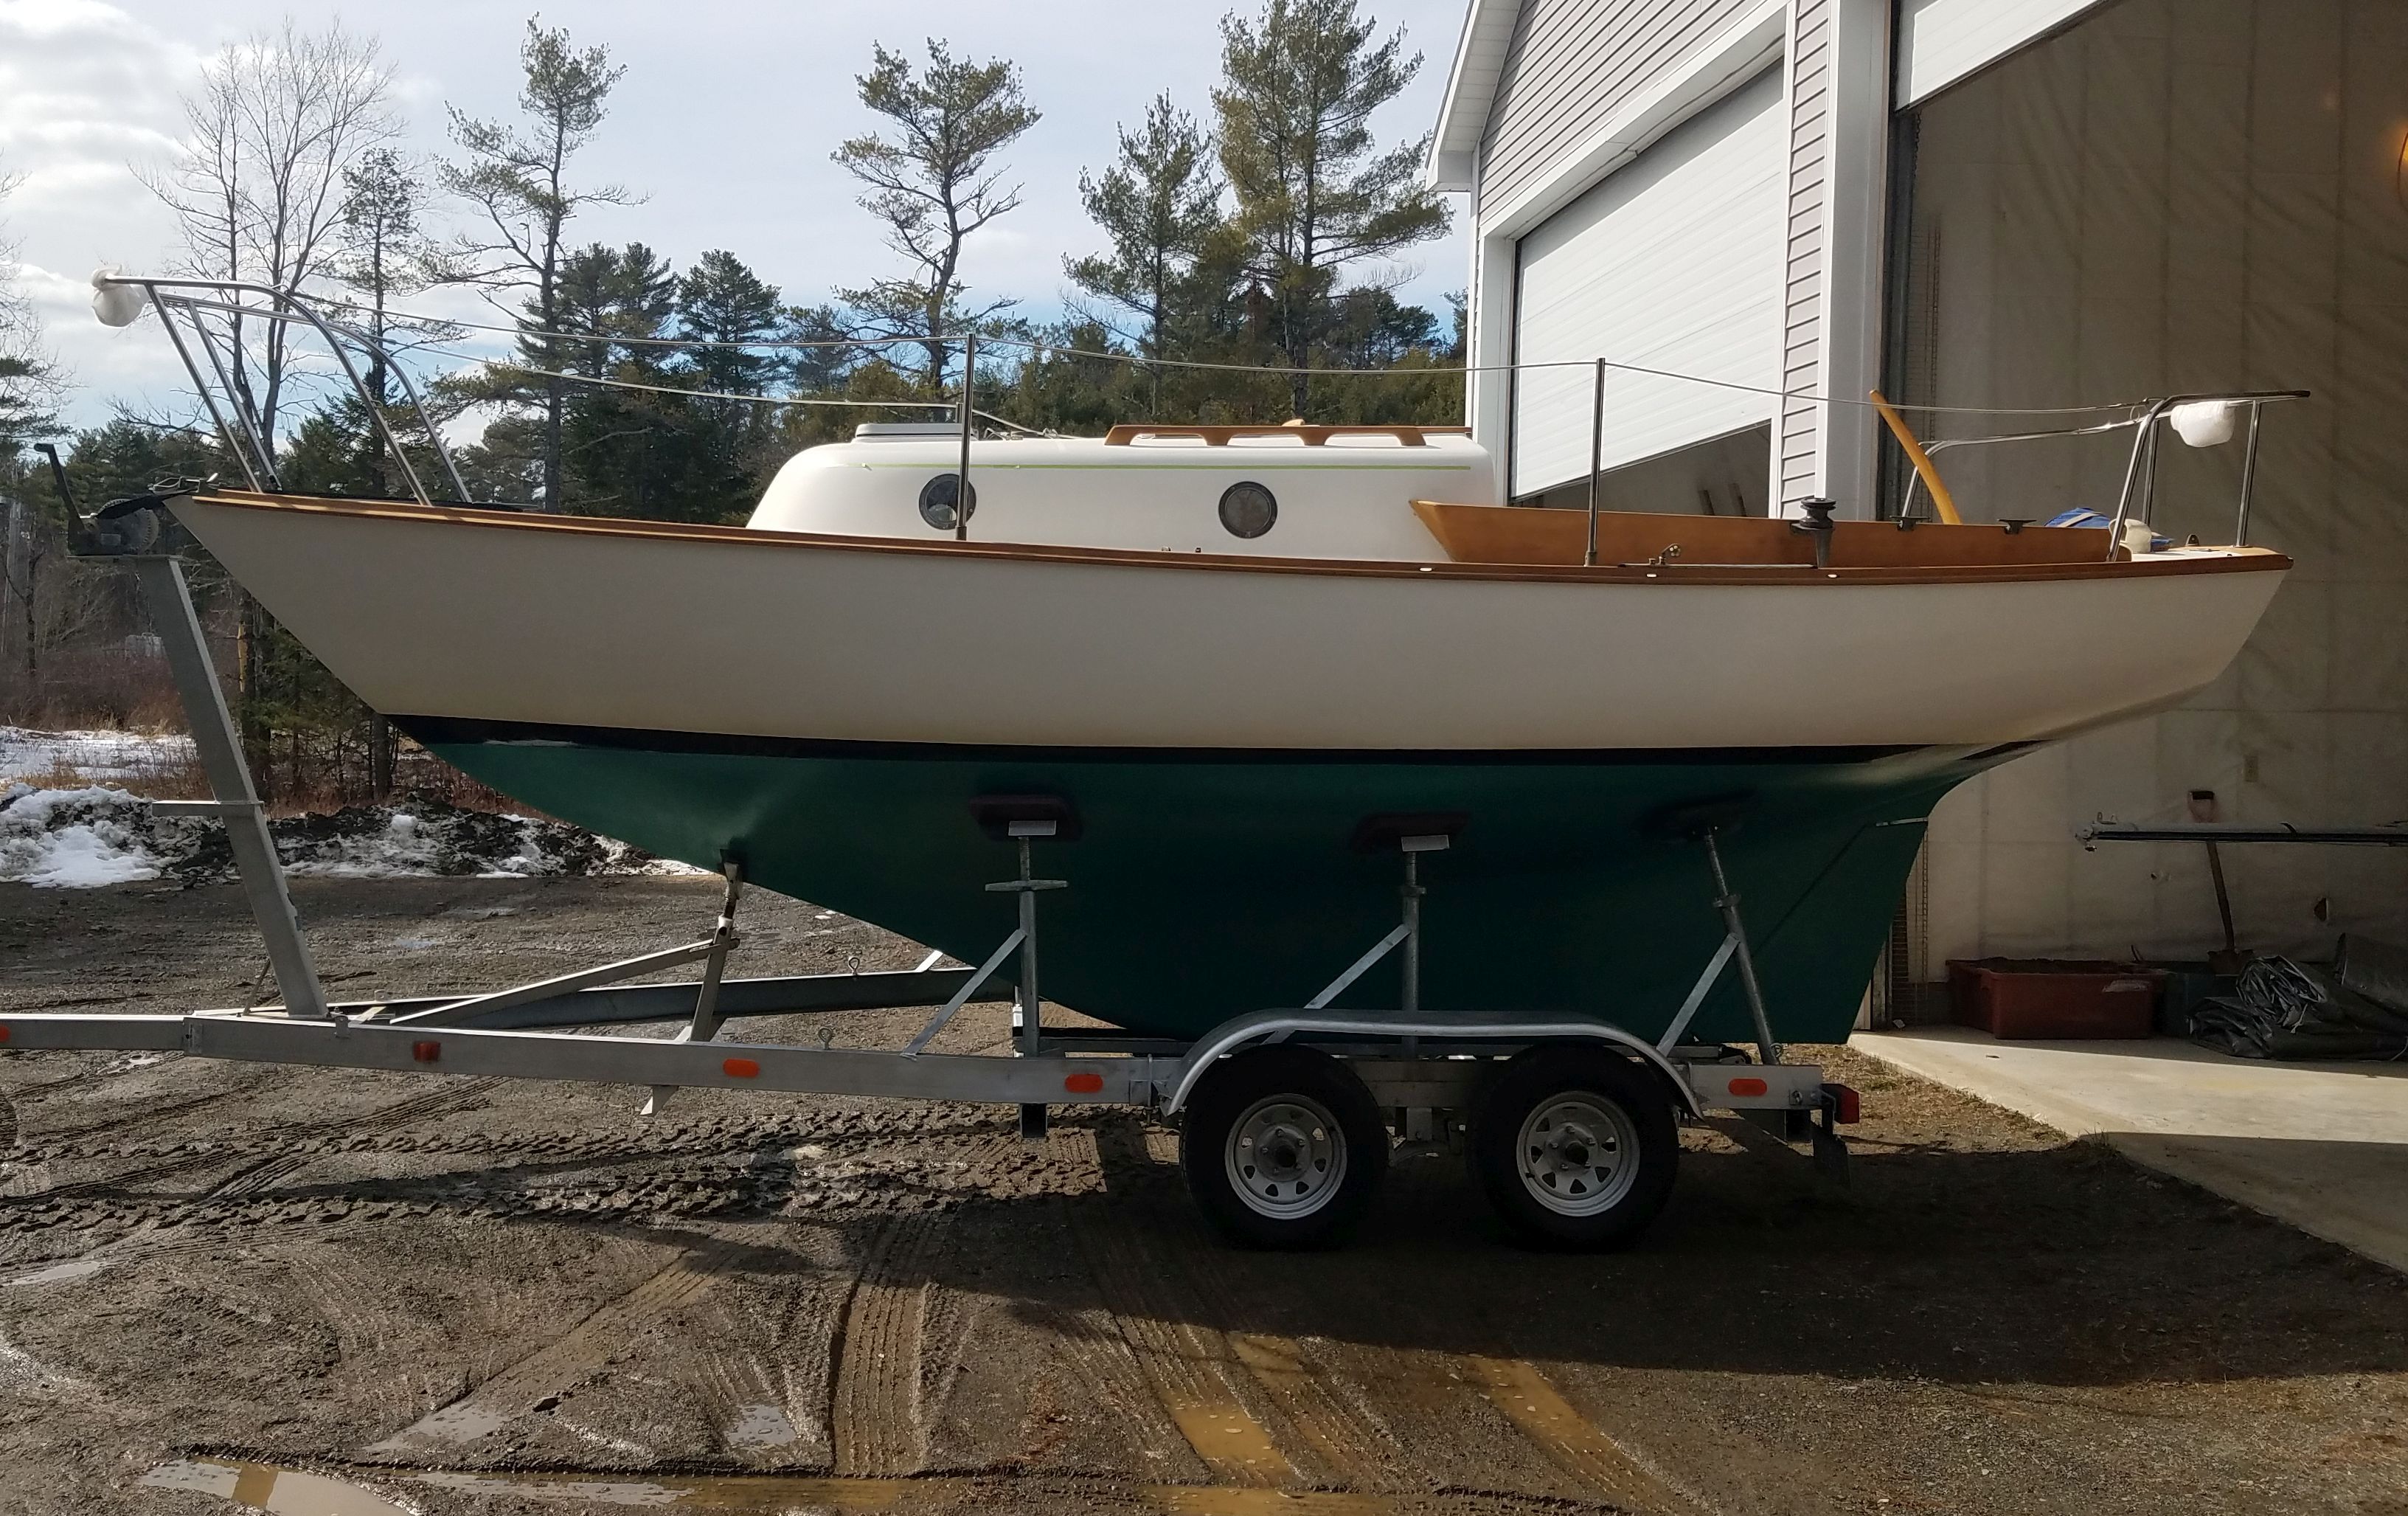
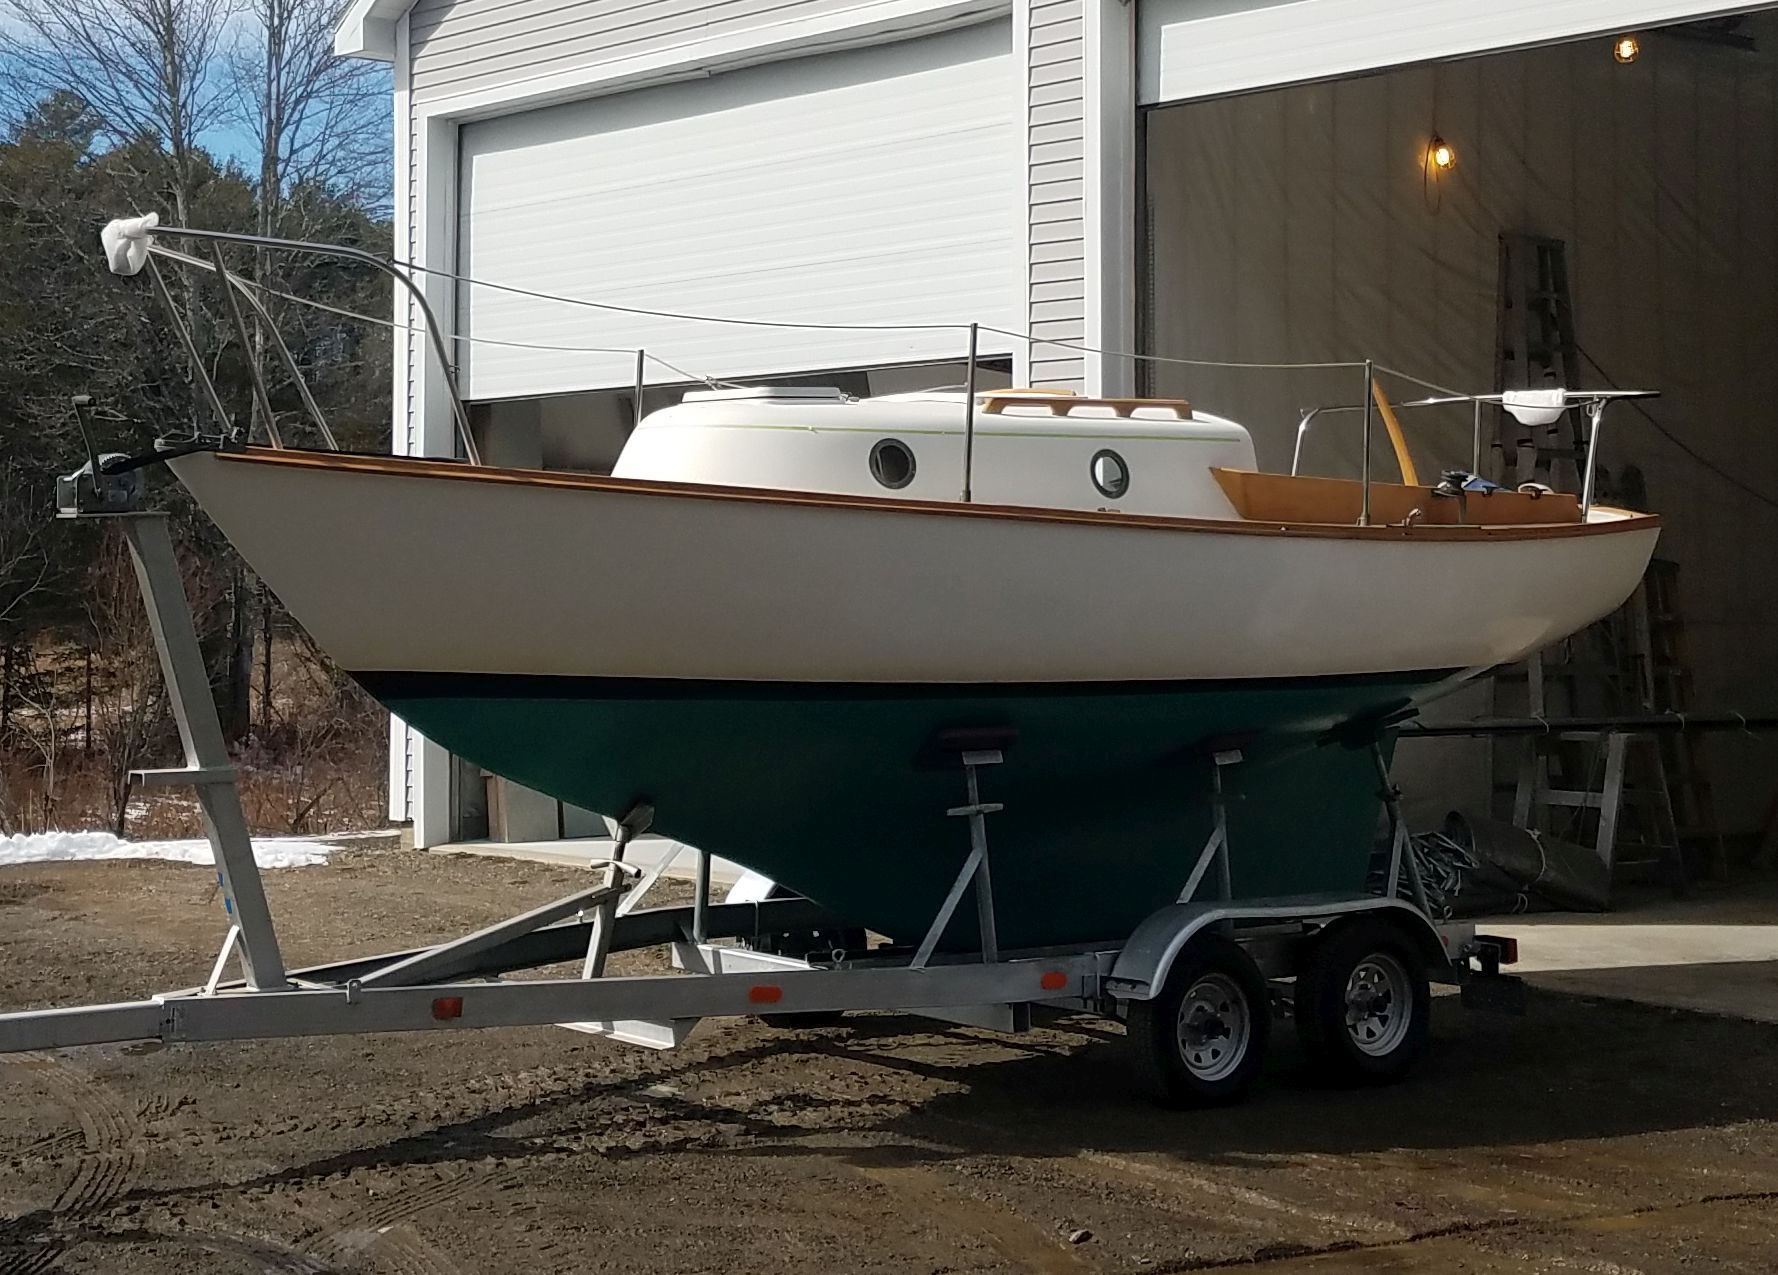
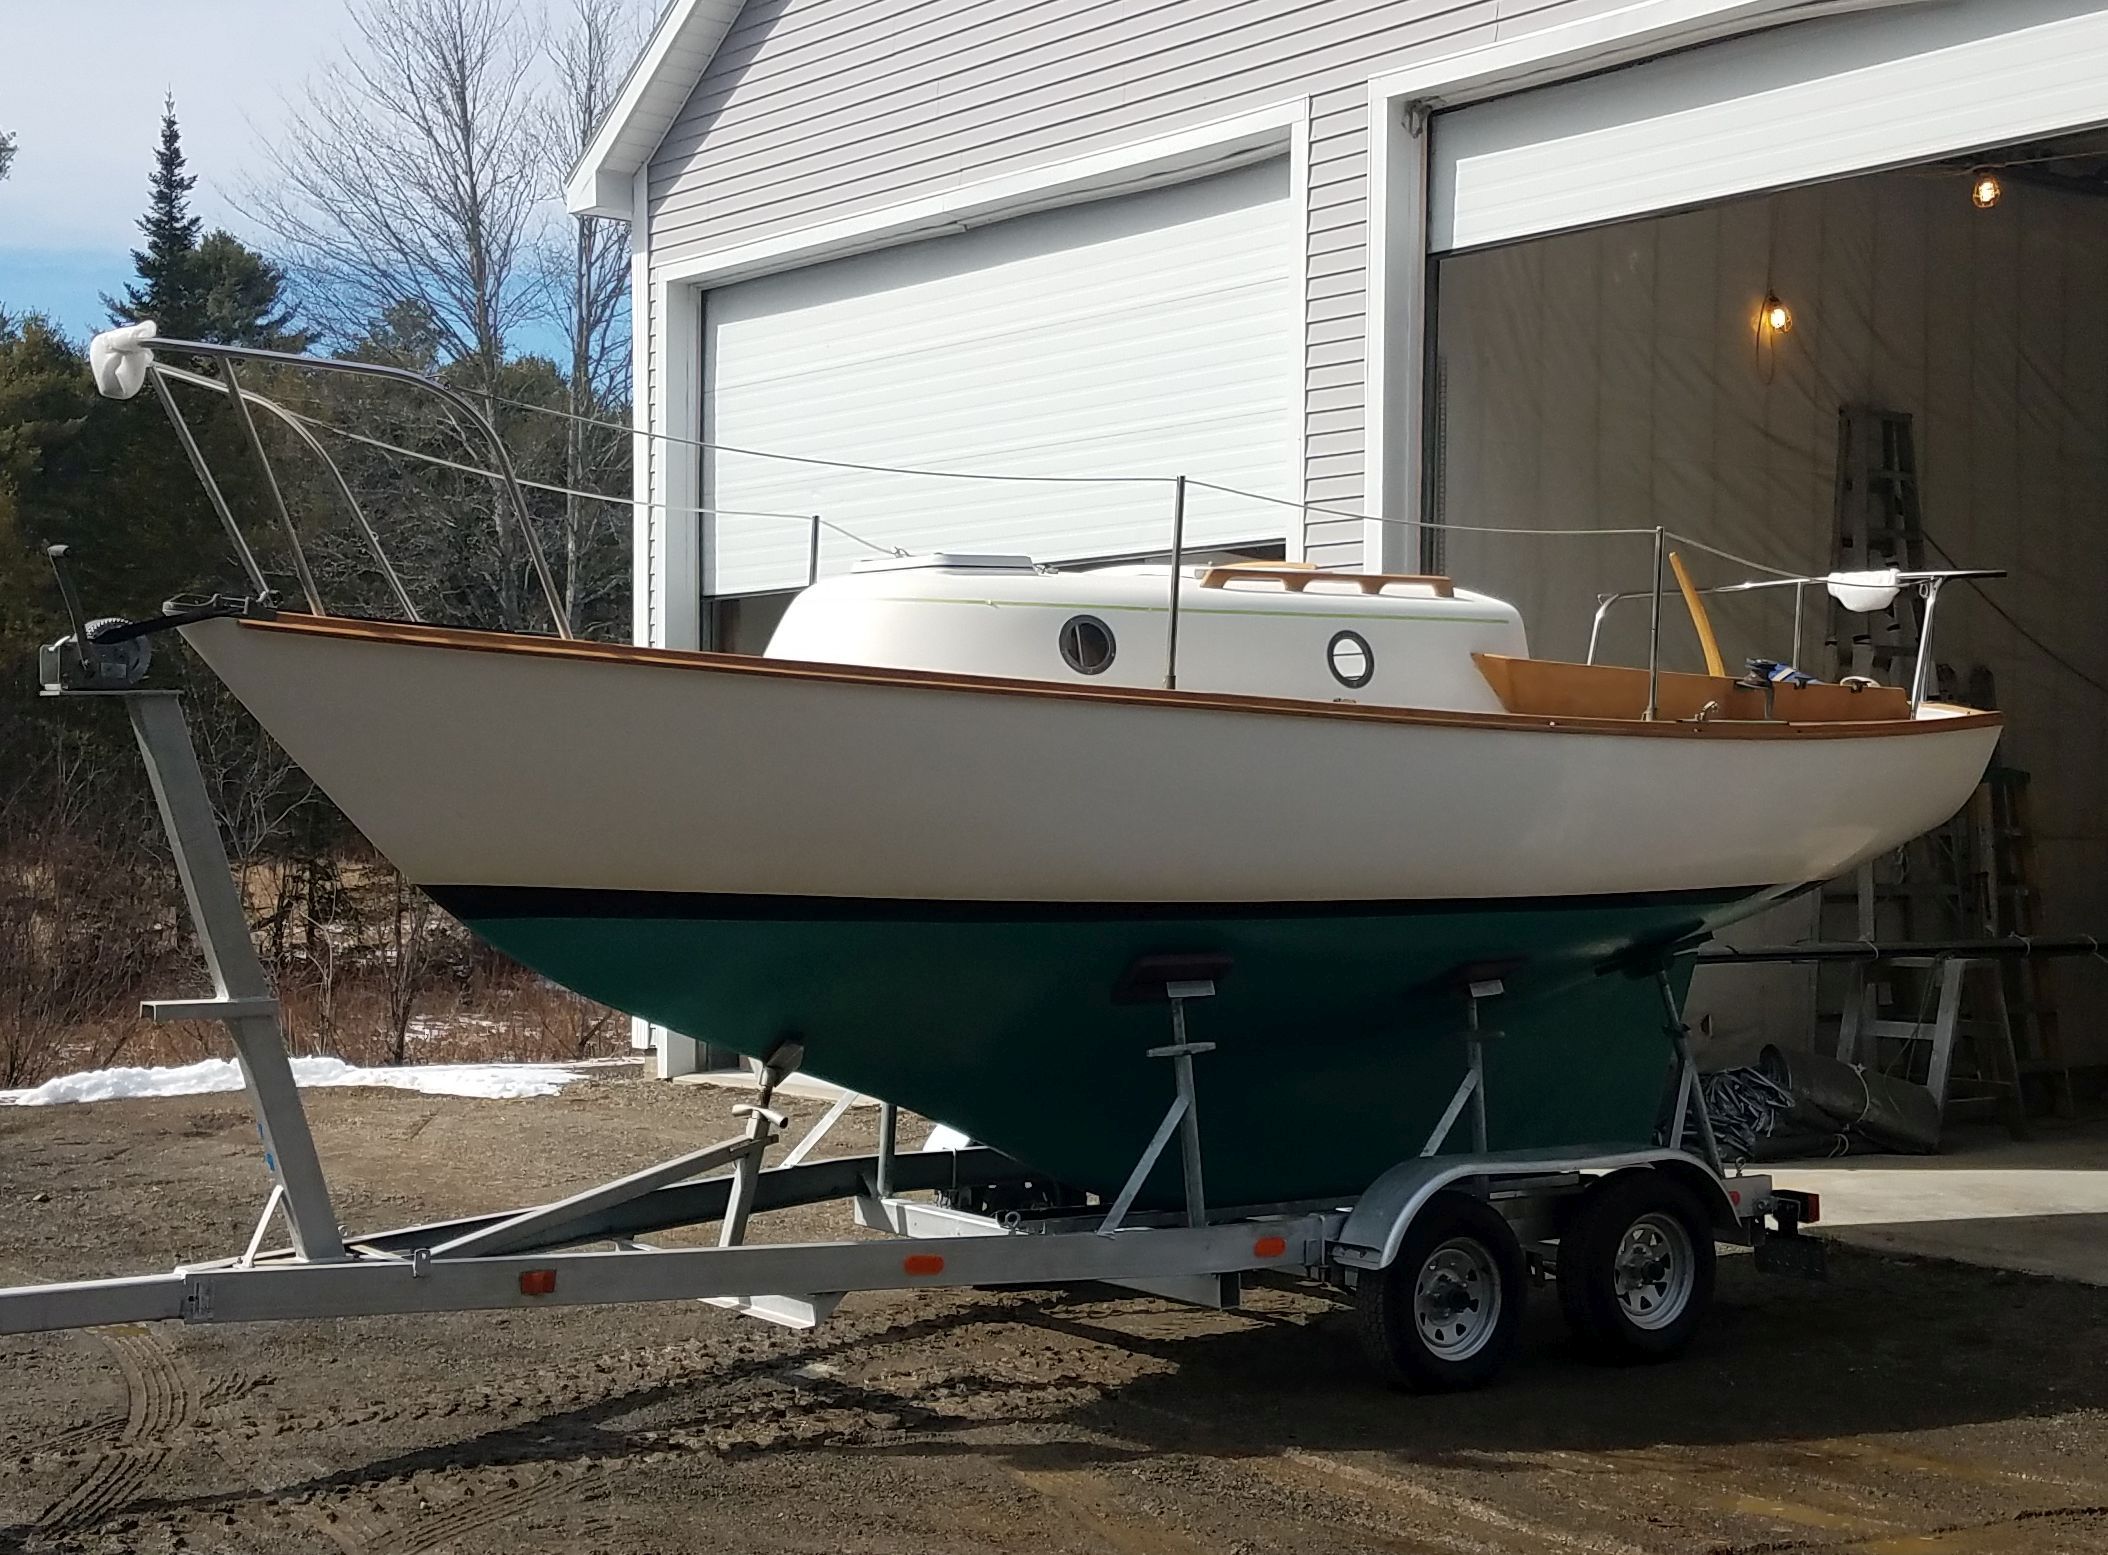
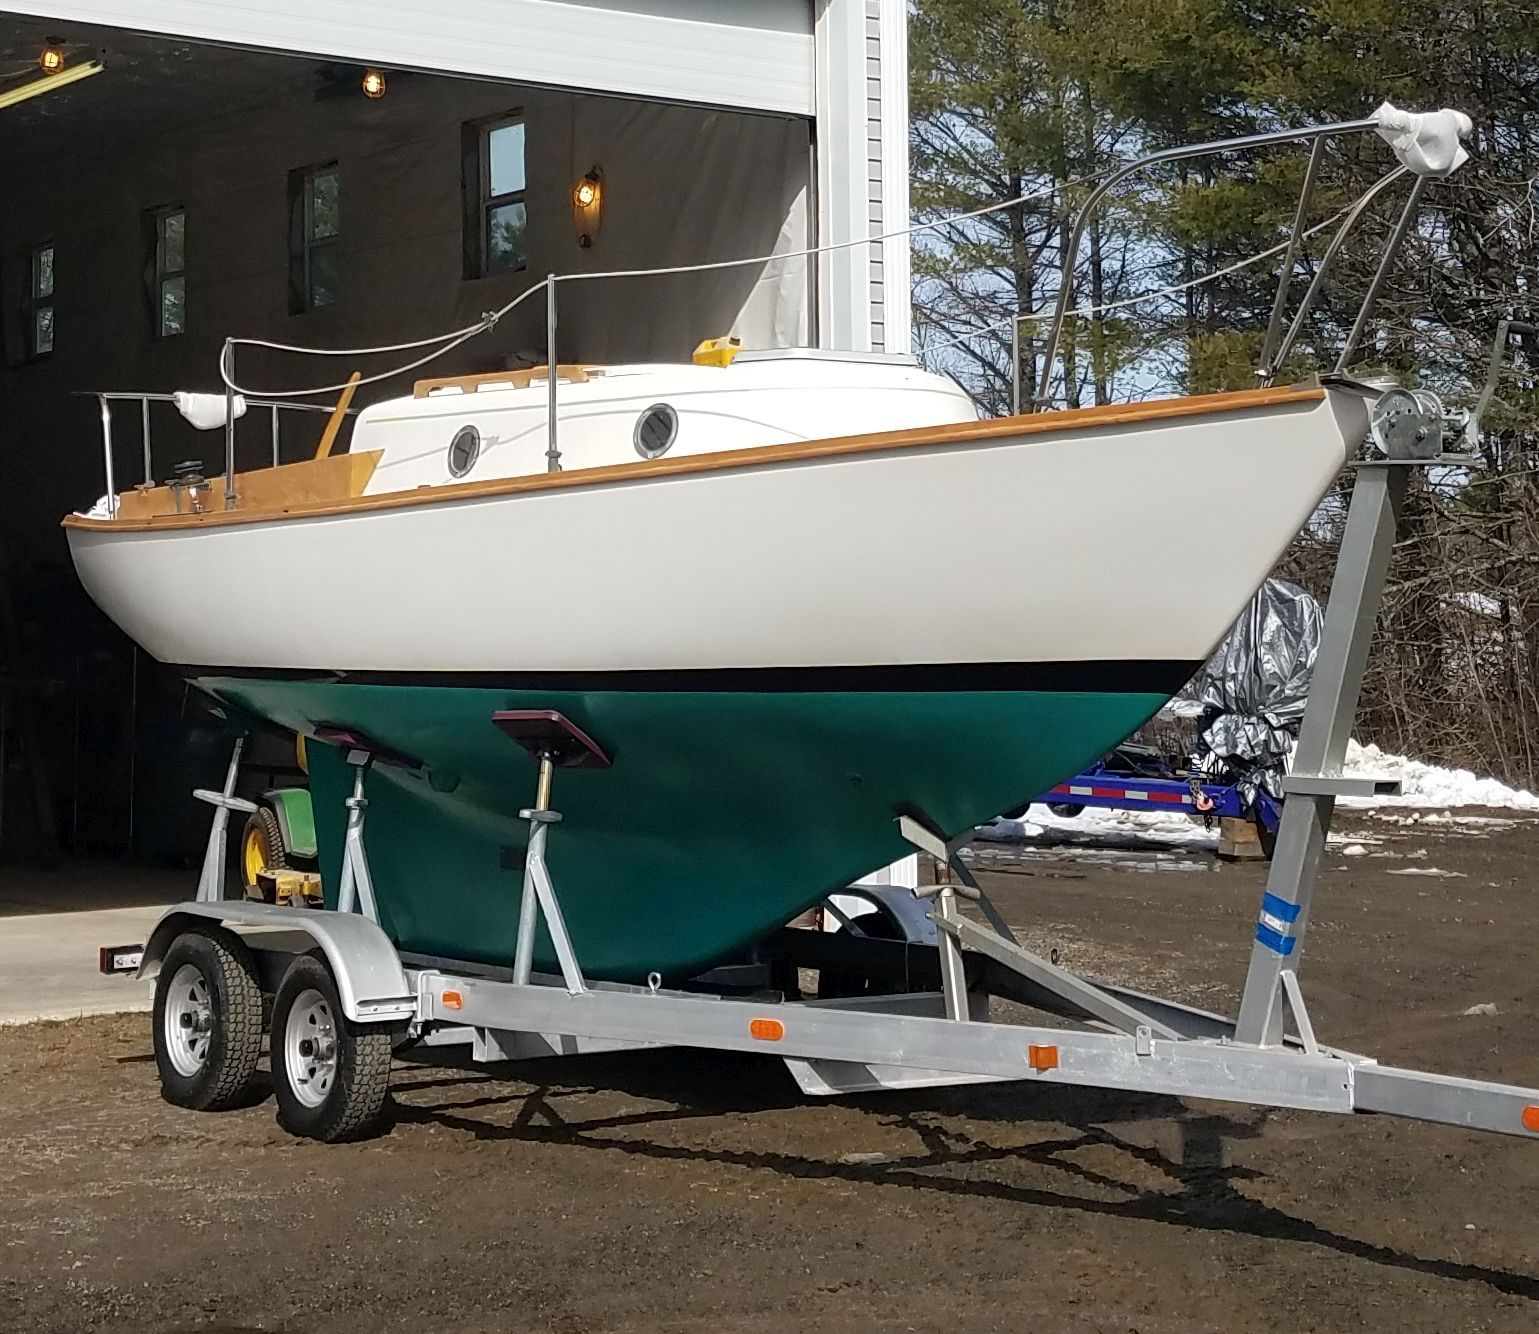
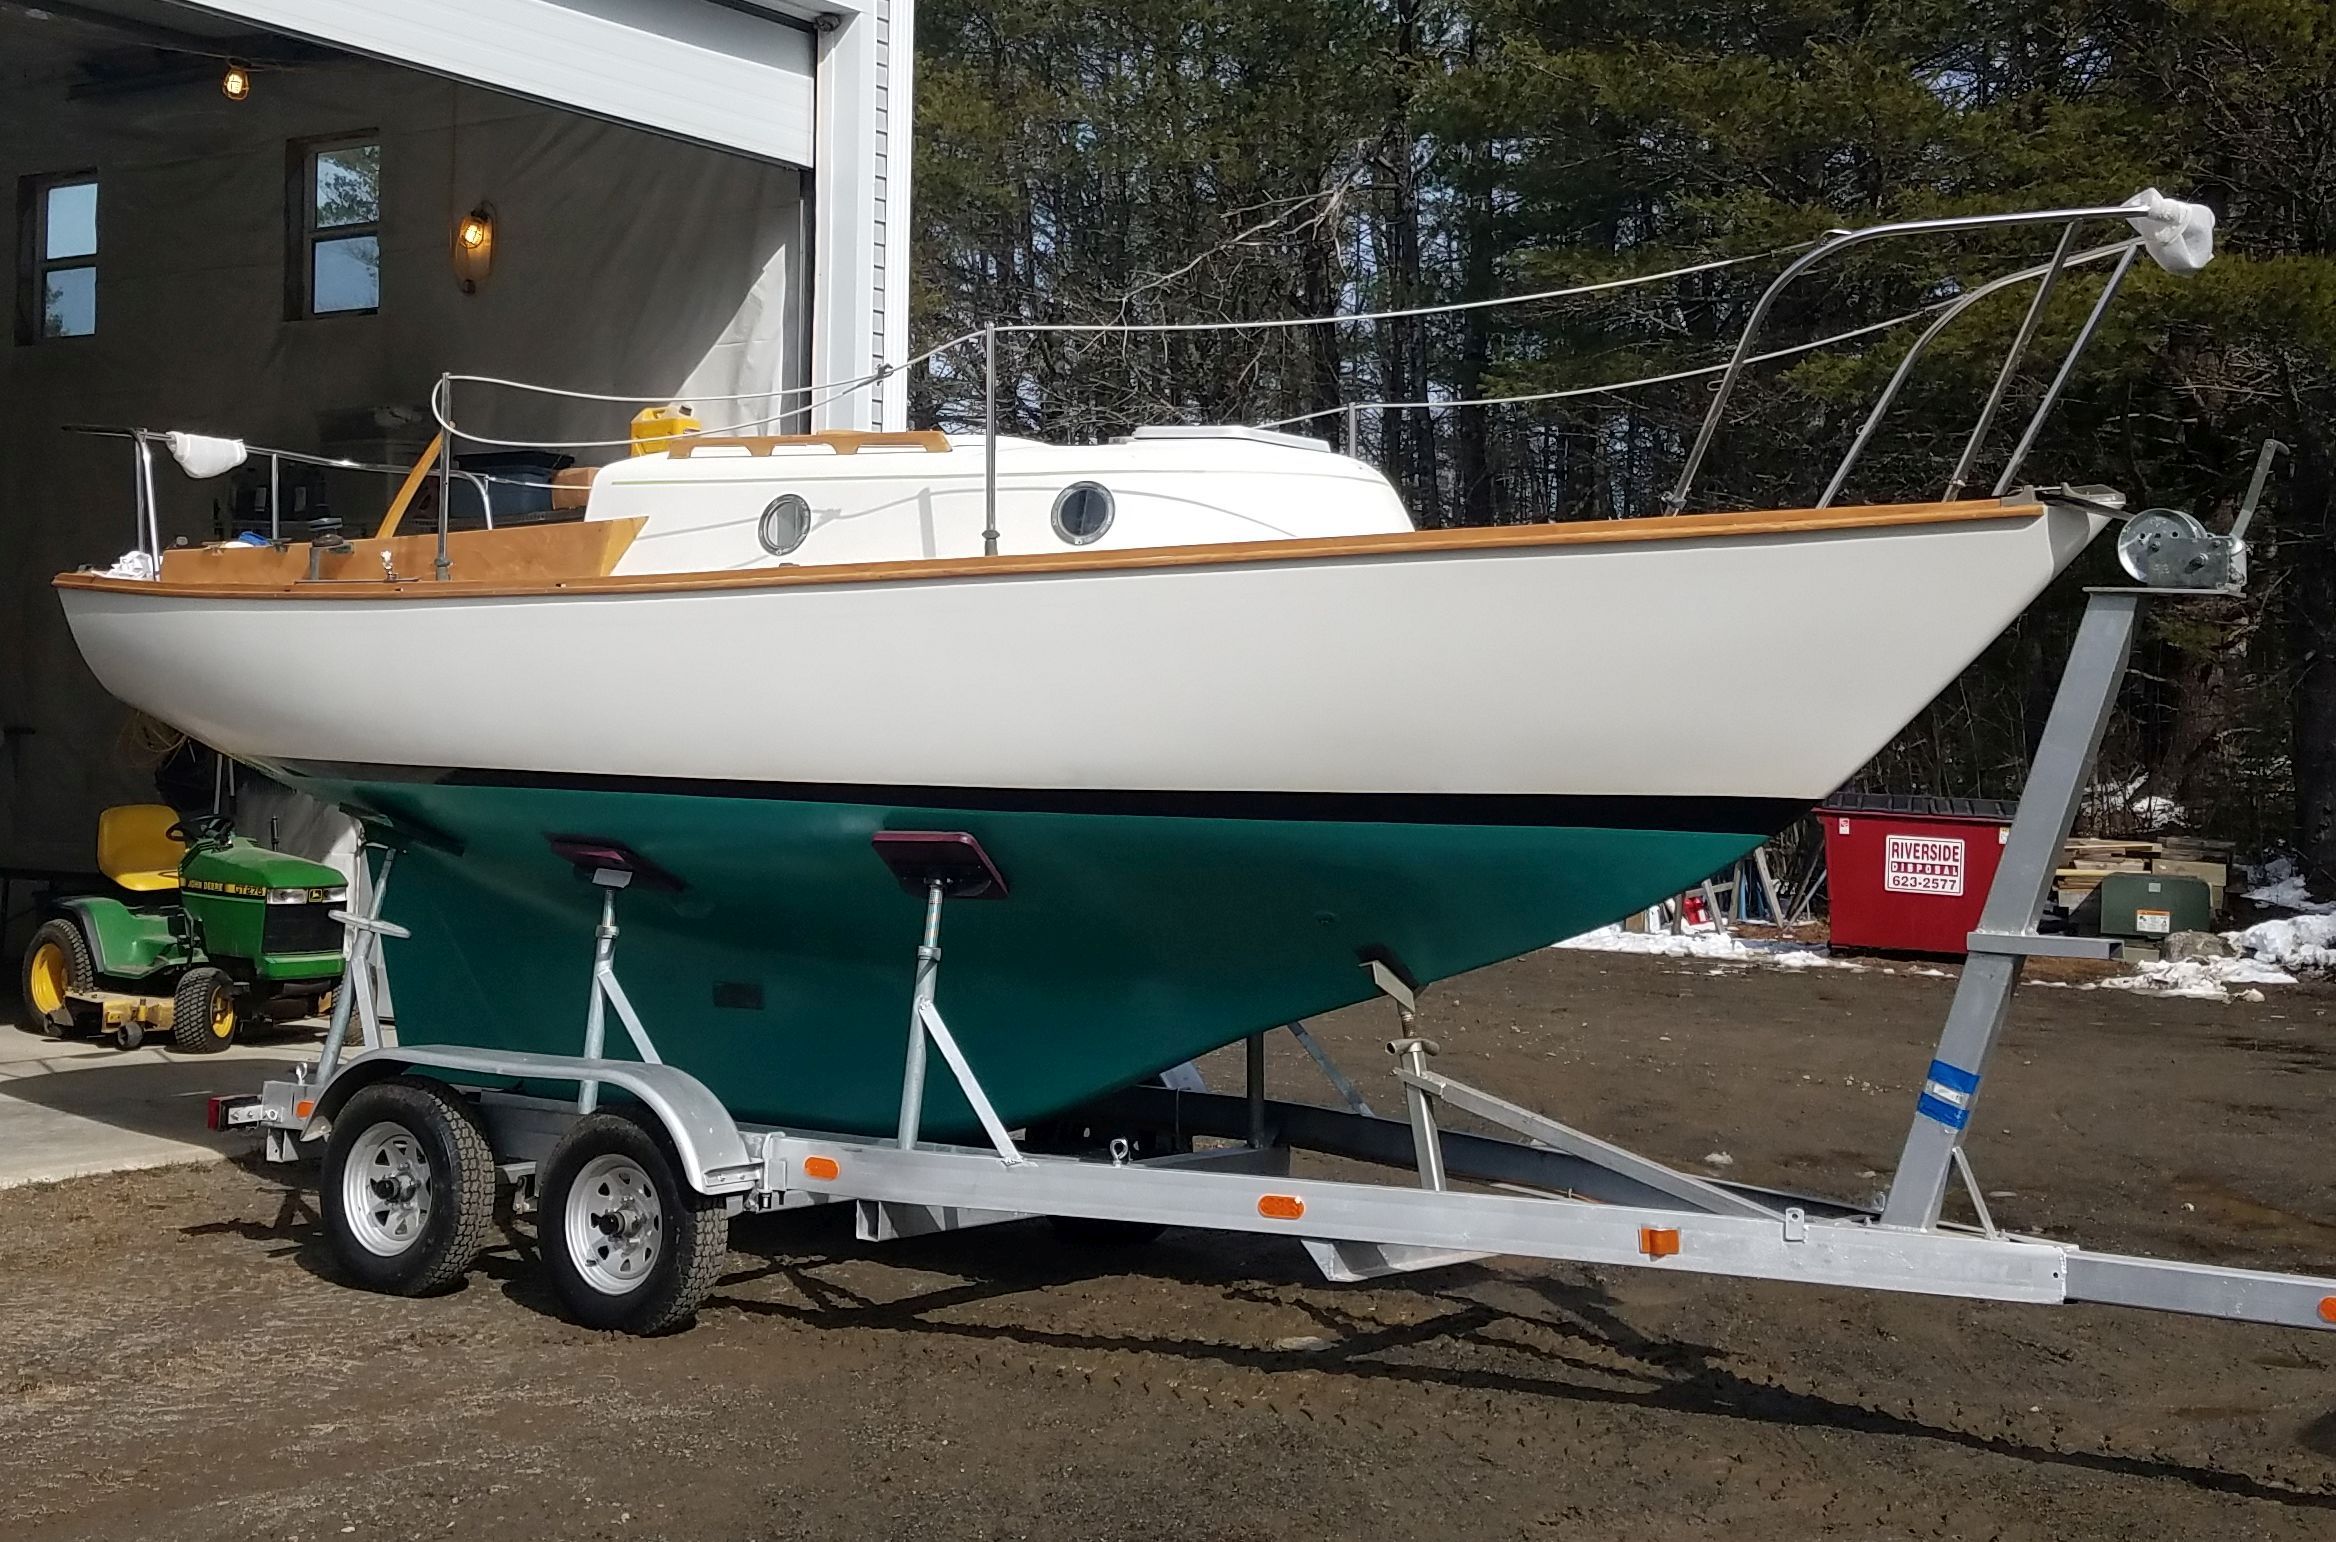
Wednesday
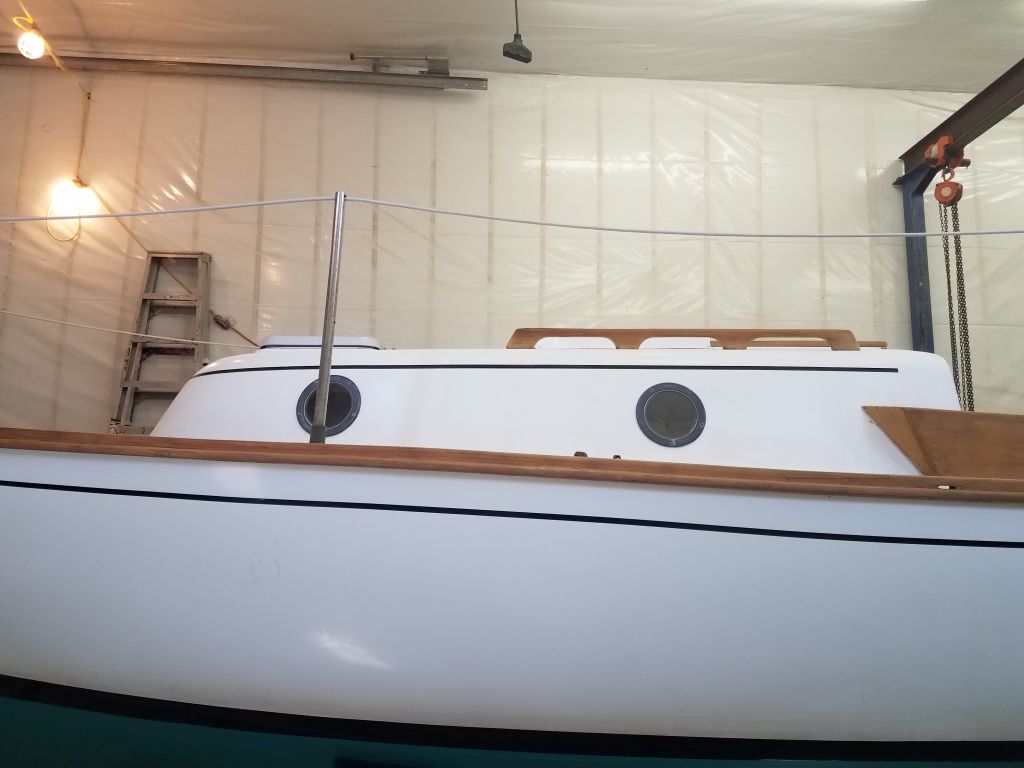
When the owner bought this boat last fall, he knew that there was an issue with the coachroof in way of the mast step, and possibly with the mast support beam beneath, and brought the boat here for this specific repair. As such, the overall scope of the job was limited to this area.
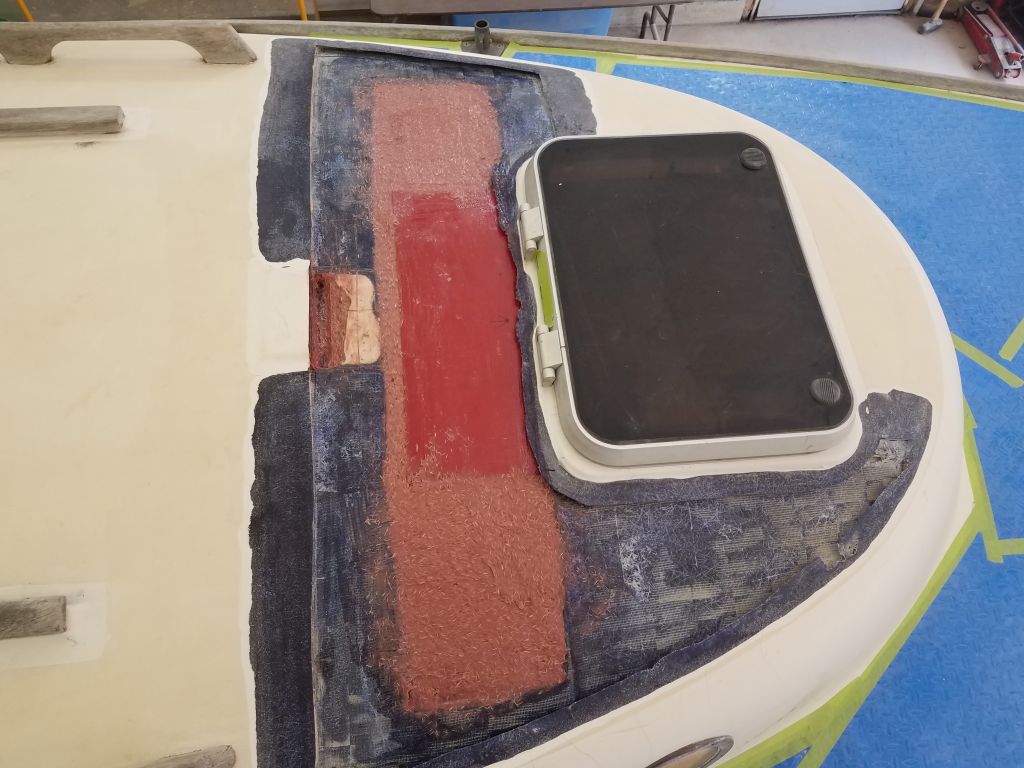
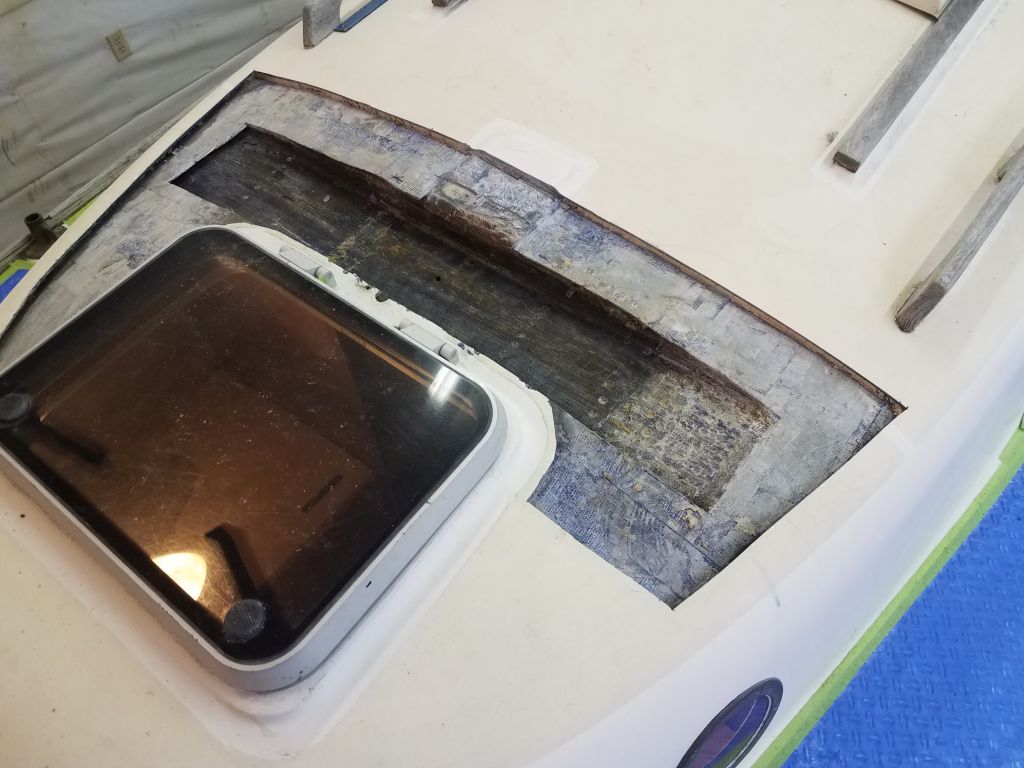
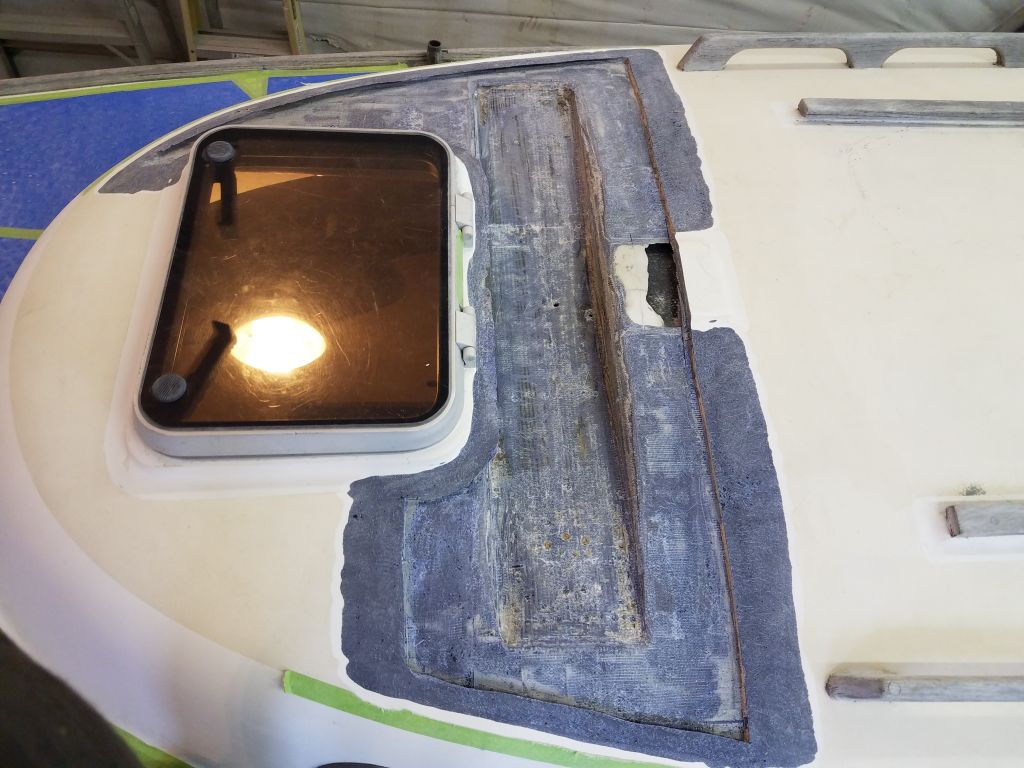
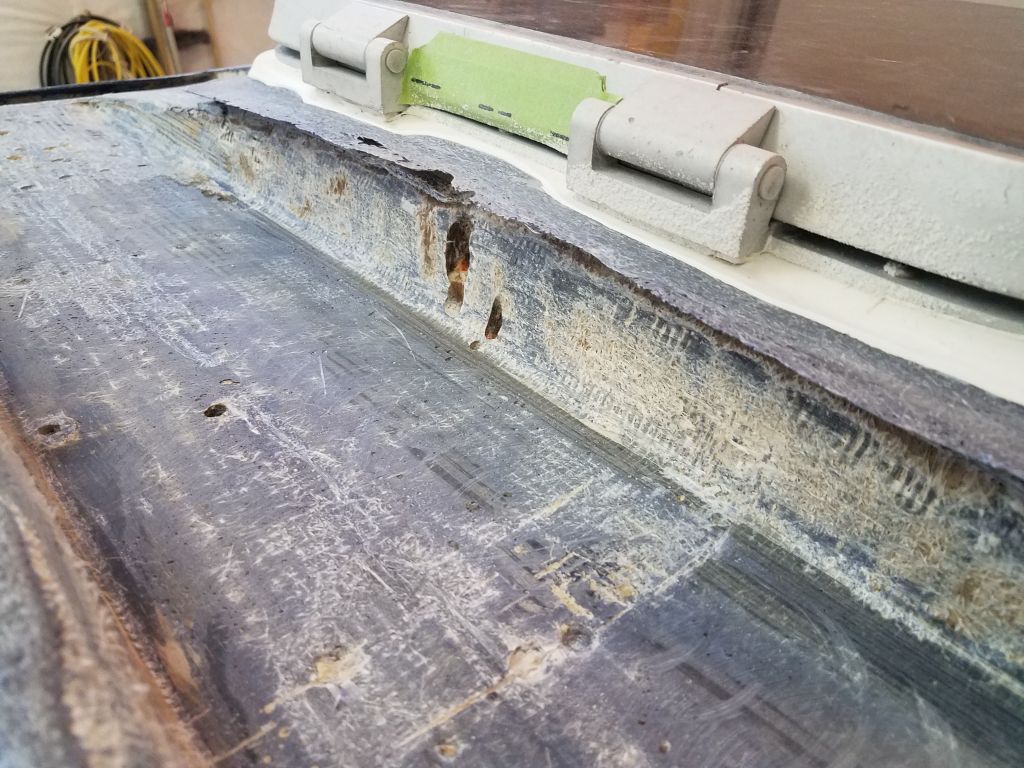
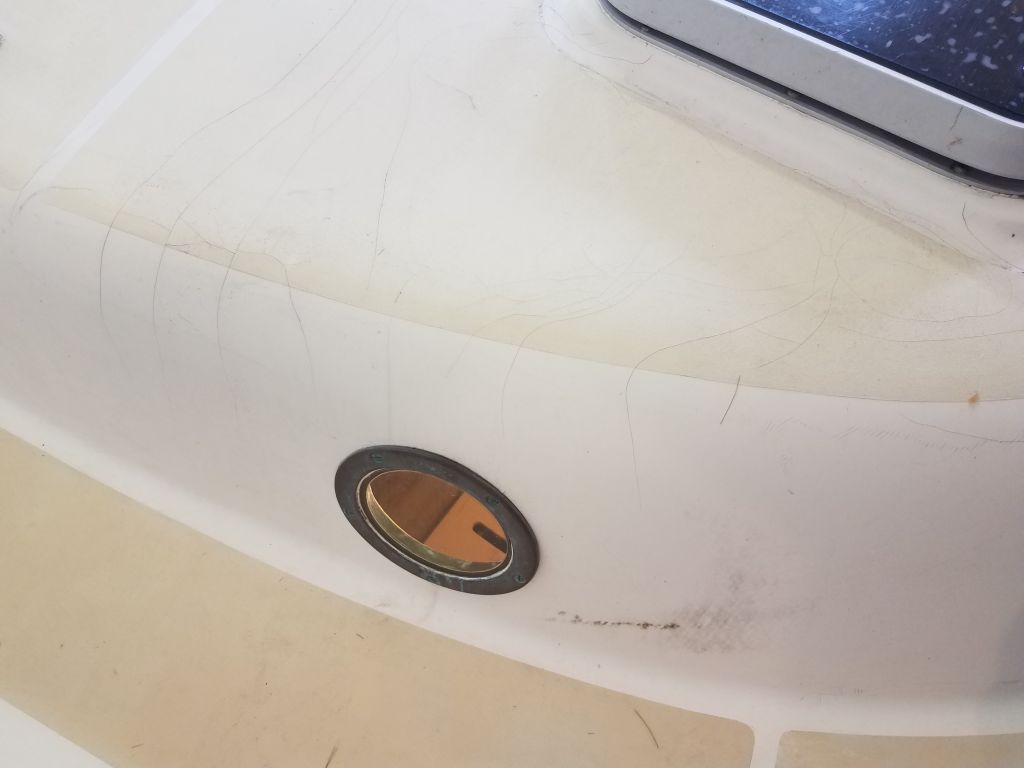
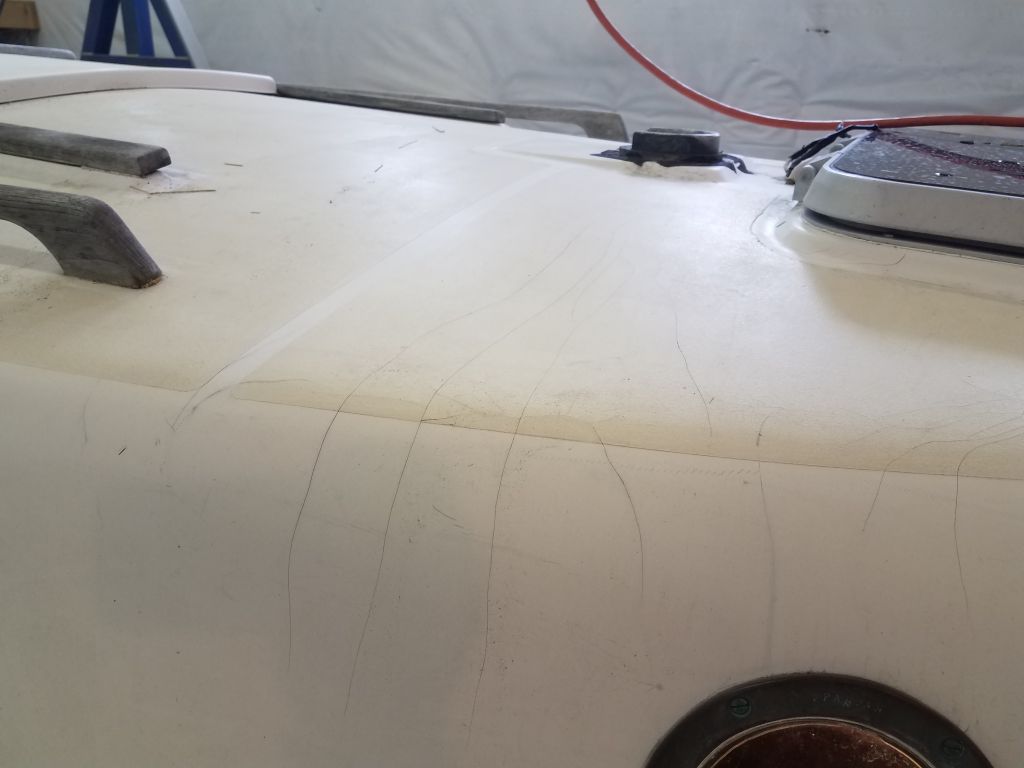
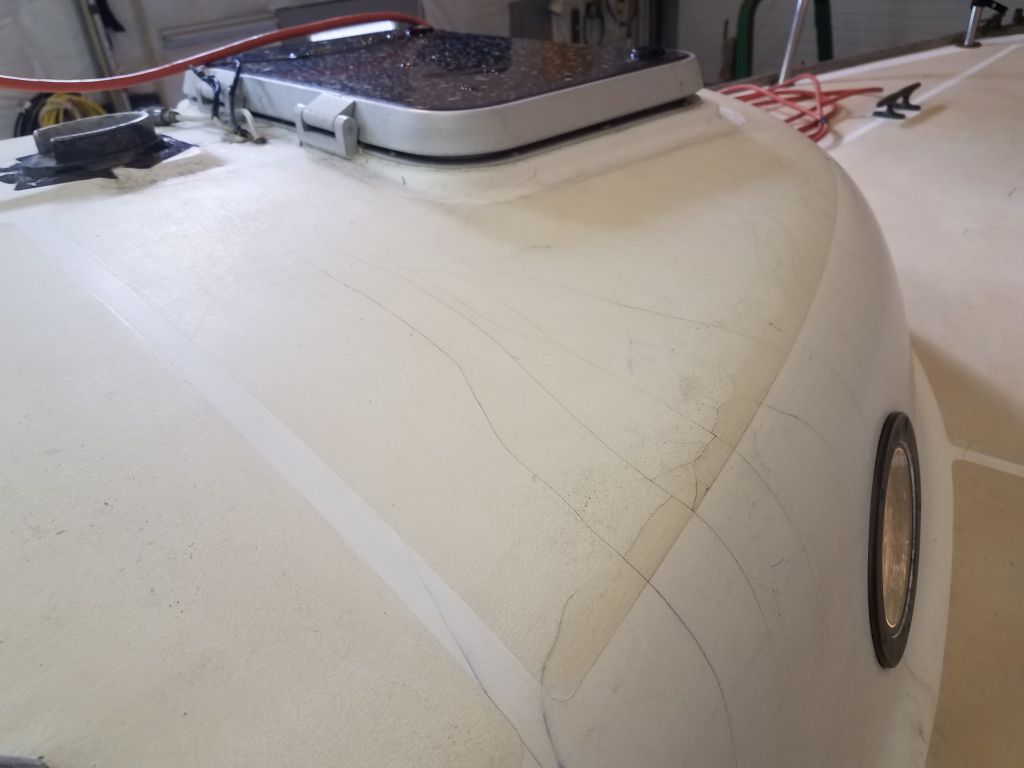
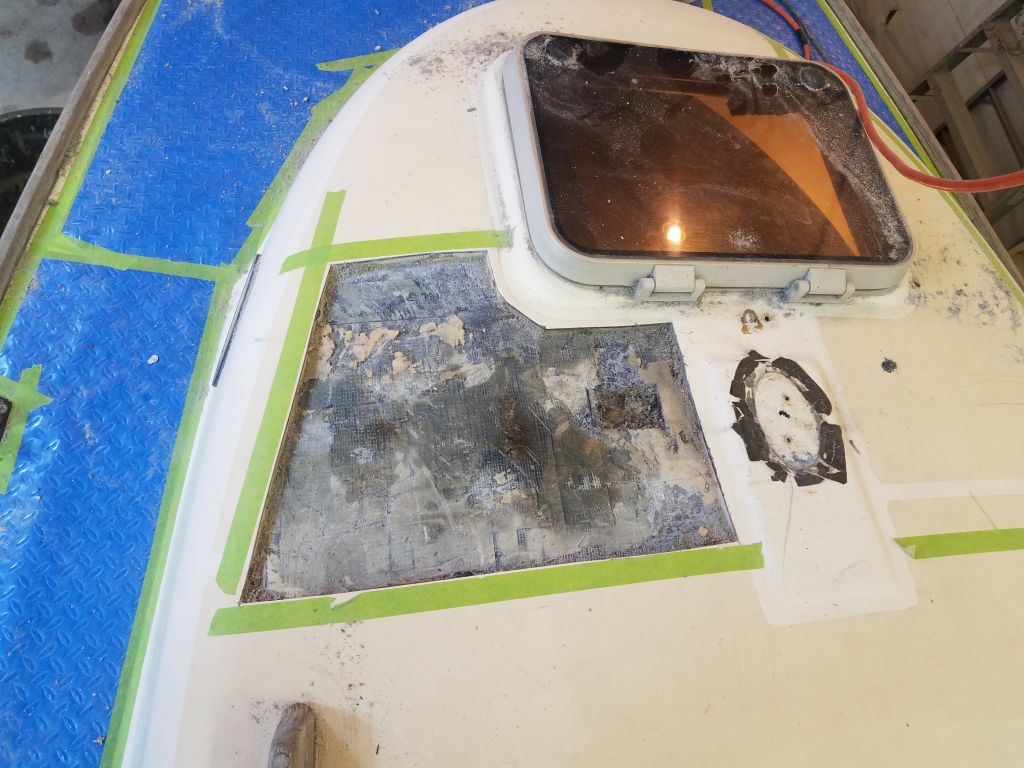
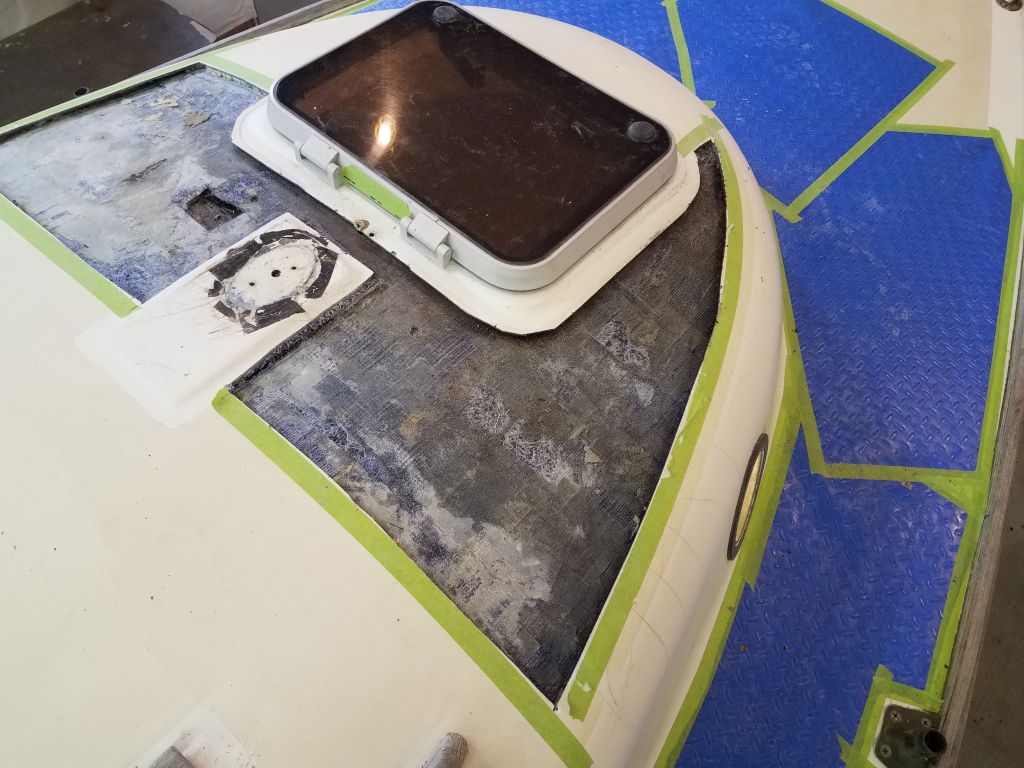
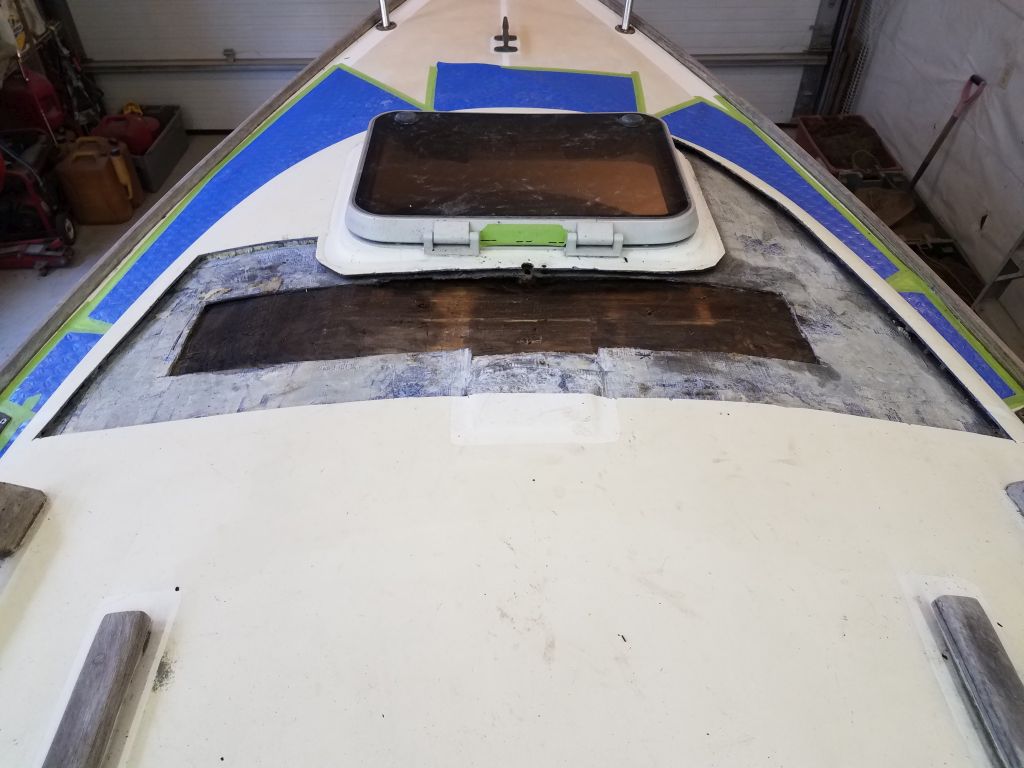
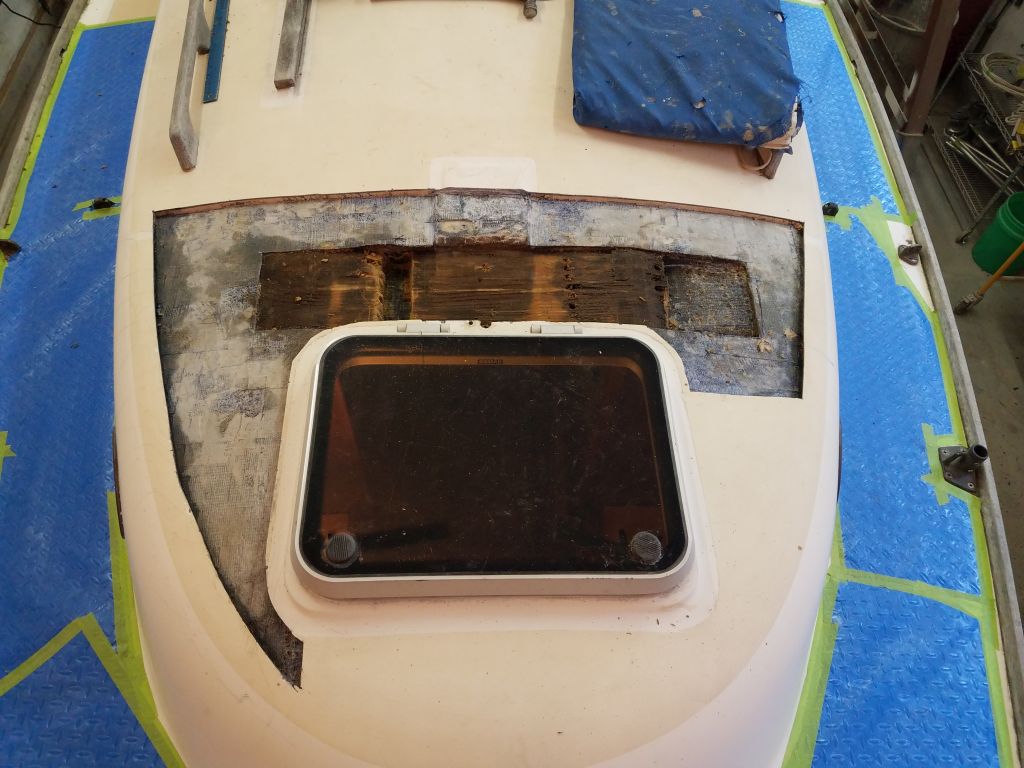
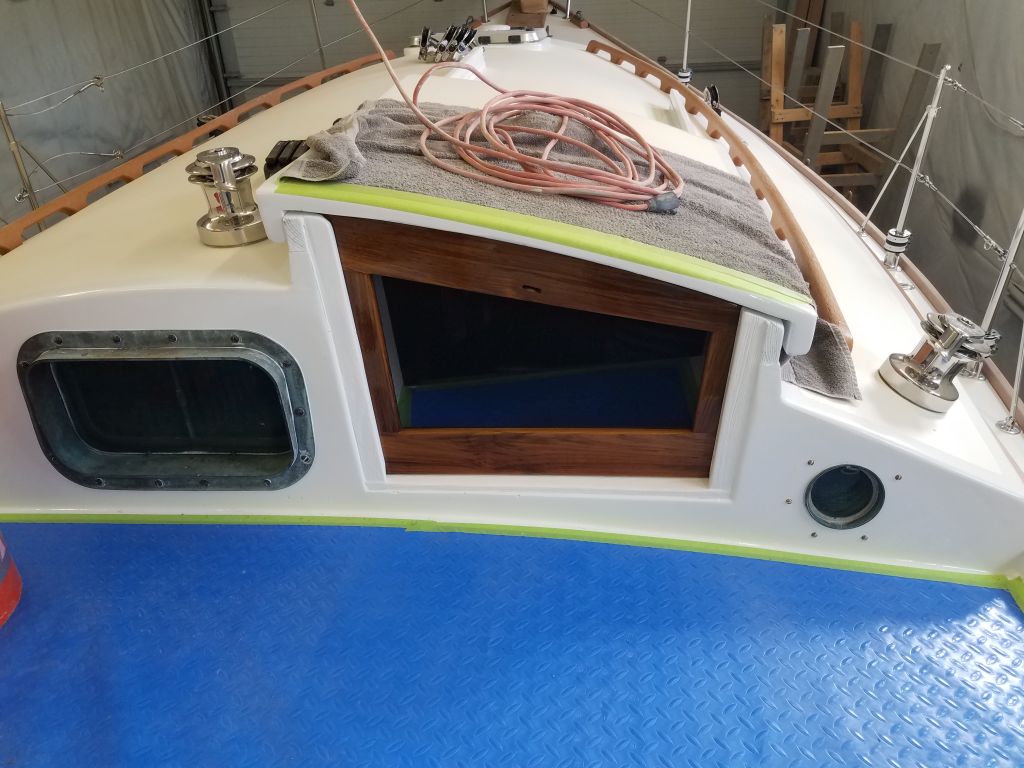
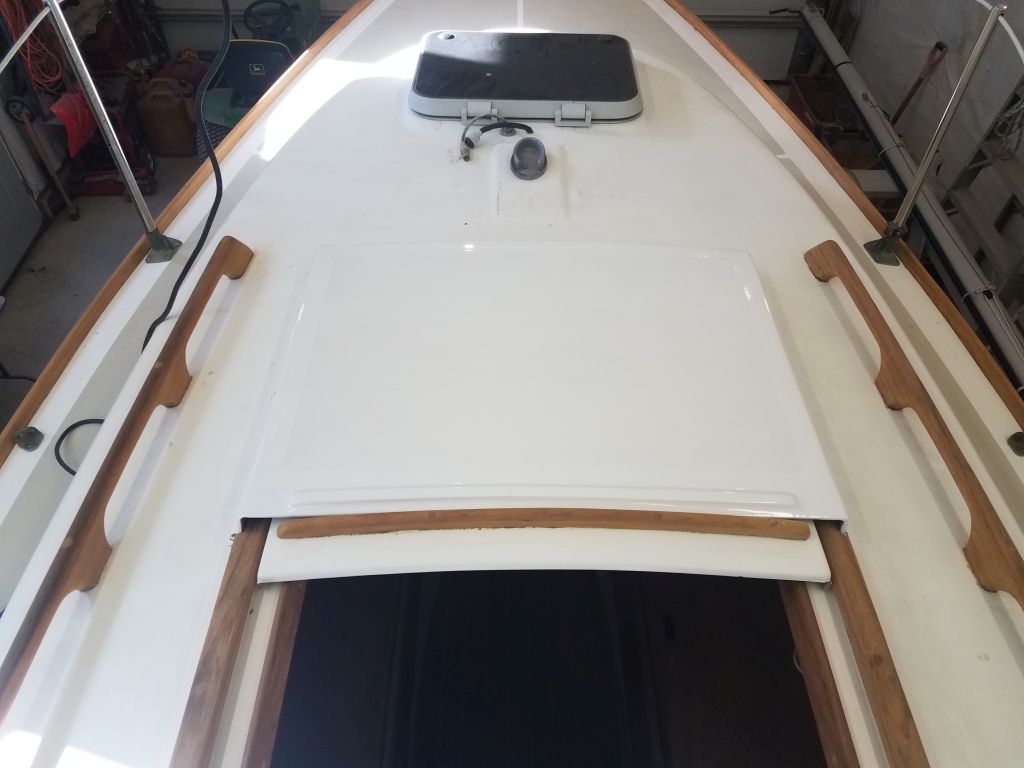
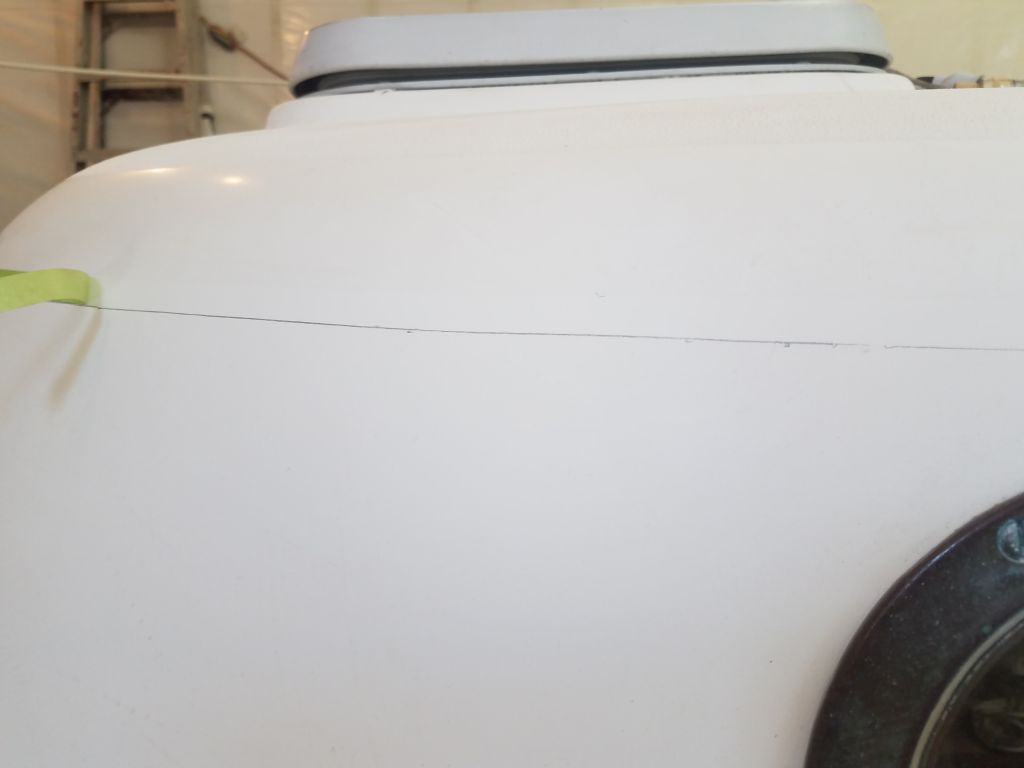
On deck, this issue manifested itself with a series of cracks across the coachroof,which, while indicative of the sort of construction at hand–that is, a deck structure in a highly-stressed area working independently of the other main structures in the boat, i.e. the deck was not tabbed to the bulkheads–it was still clear evidence of the stresses on the area. However, there was no outward sign of deck compression, and I suspected that the molded raised area beneath the step was reinforced with additional fiberglass.
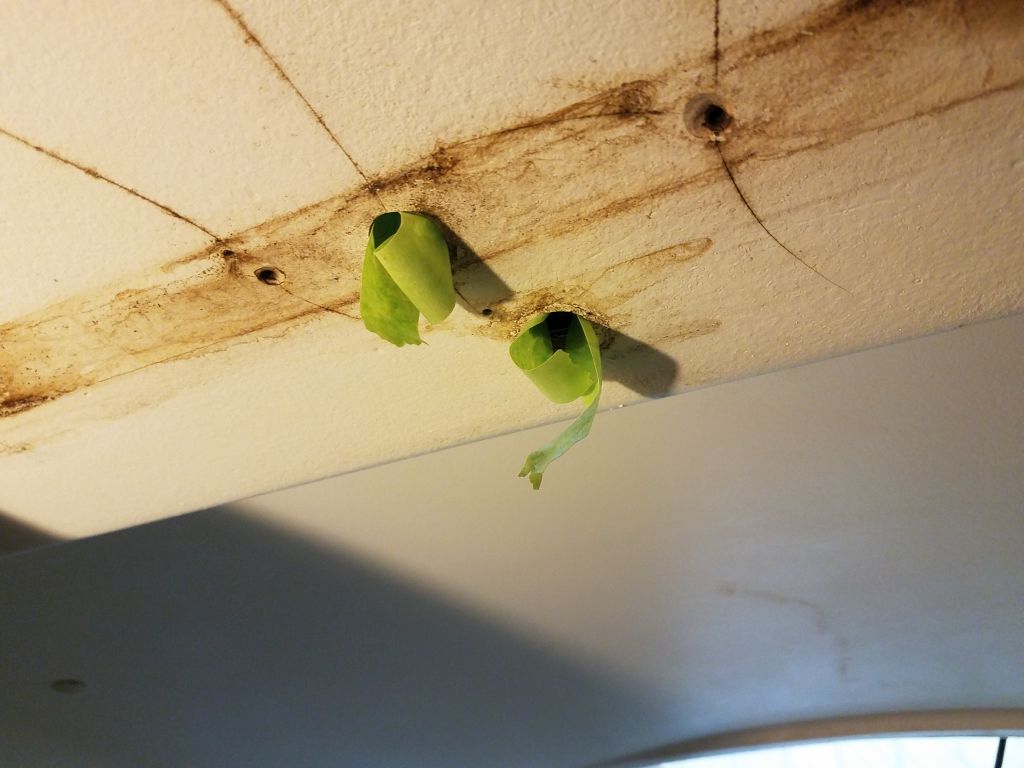
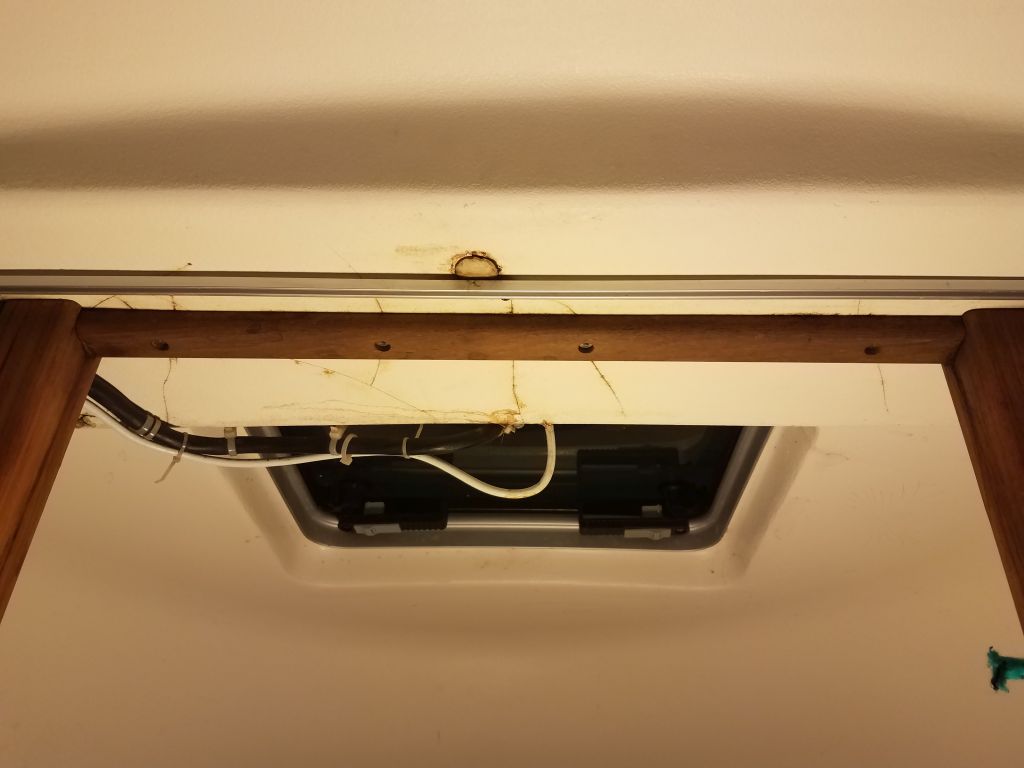
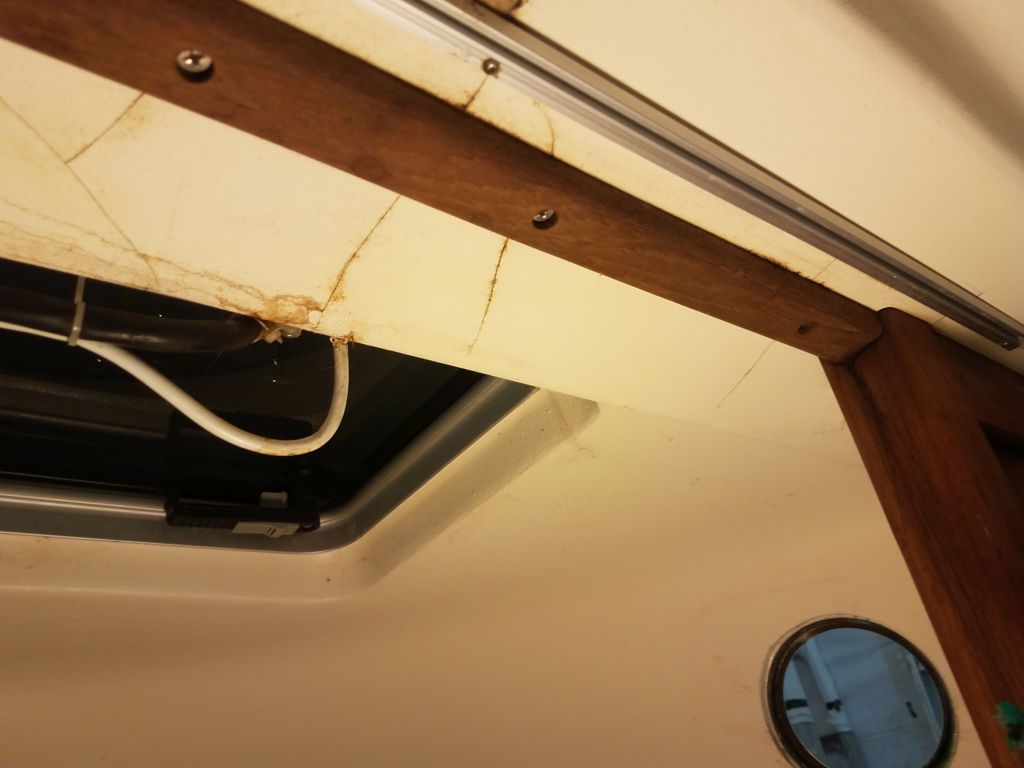
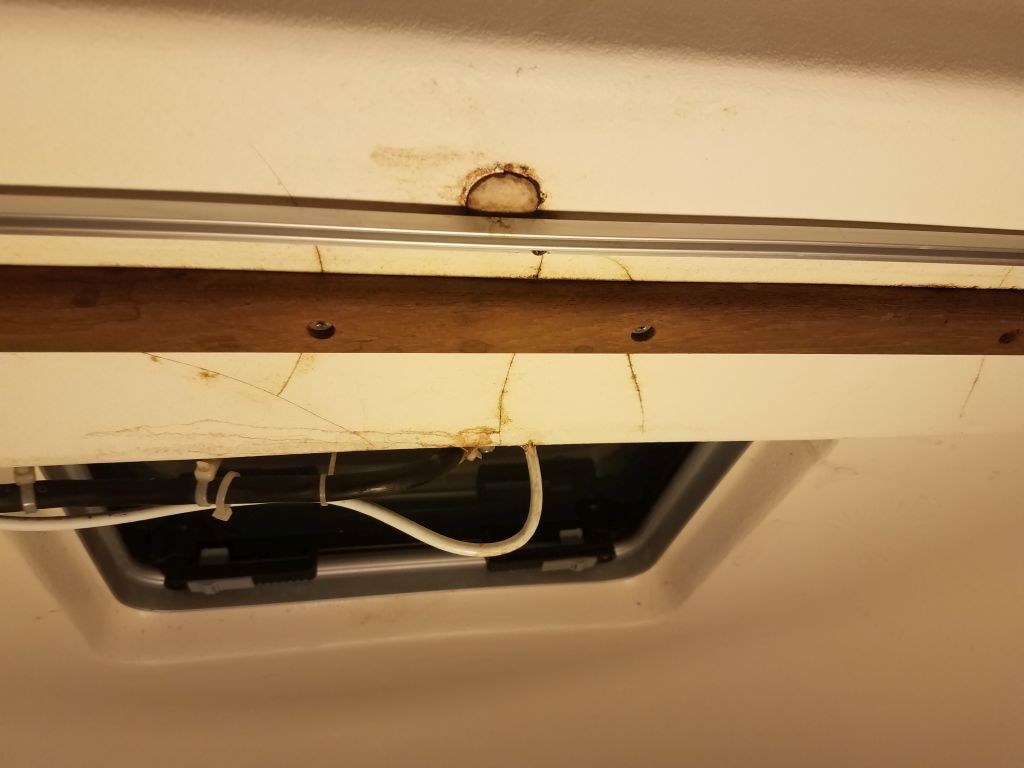
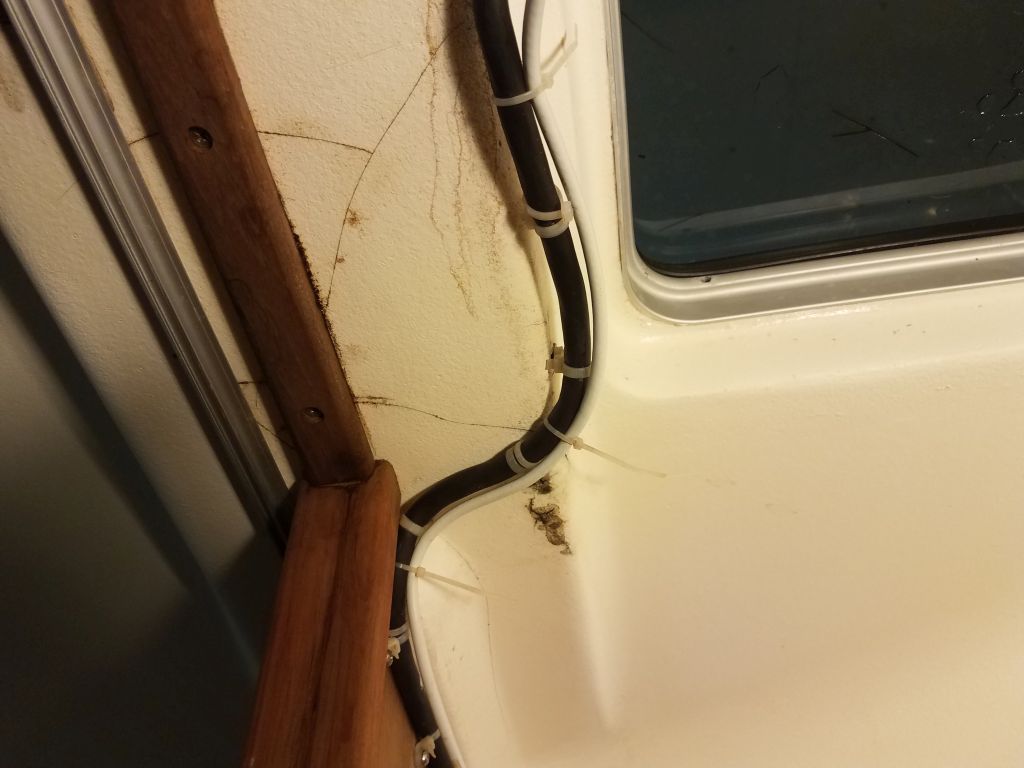
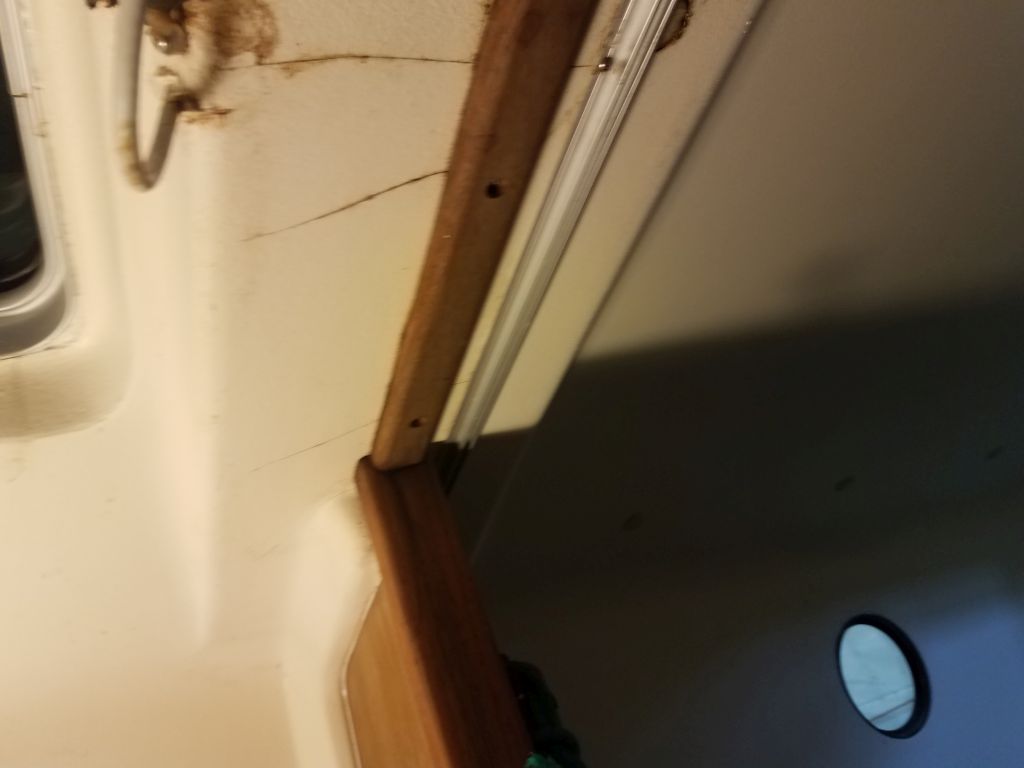
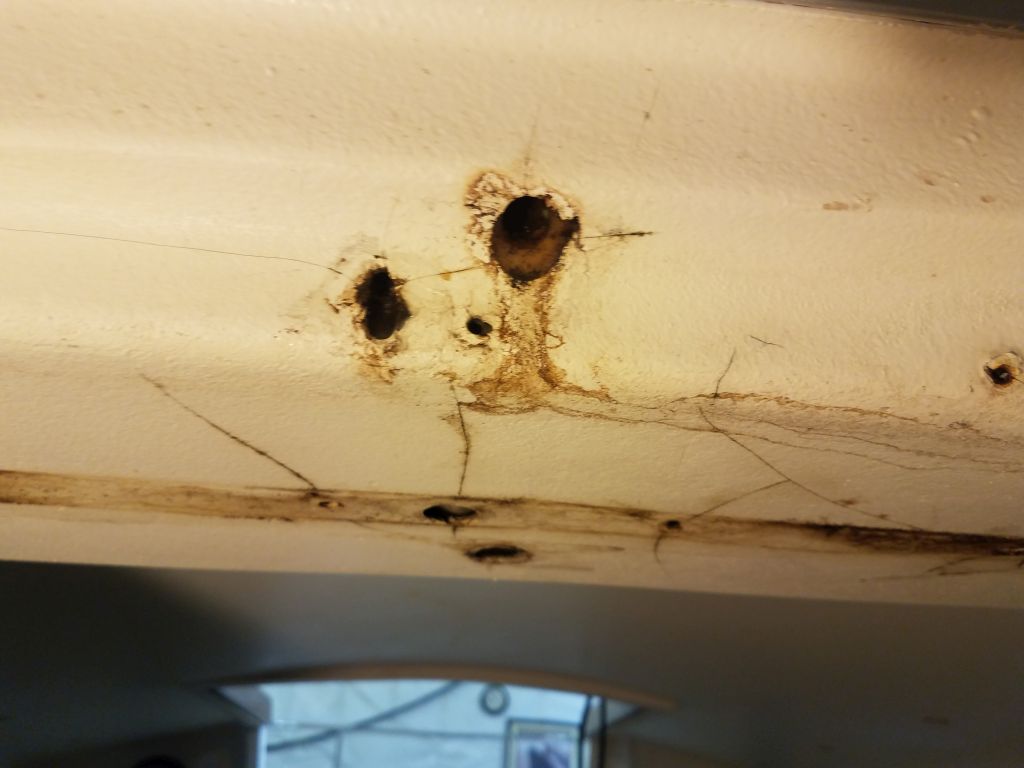
Belowdecks, while the structural components were hidden beneath the full molded cabin liner, there were additional cracks and signs of water ingress and wet wood-colored staining. Anecdotal information suggested the support beam hidden within the molded liner, and which spanned the opening to the forward cabin between the structural bulkheads, was built of wood, but exactly how the whole arrangement was constructed was unknown at the beginning of the project.
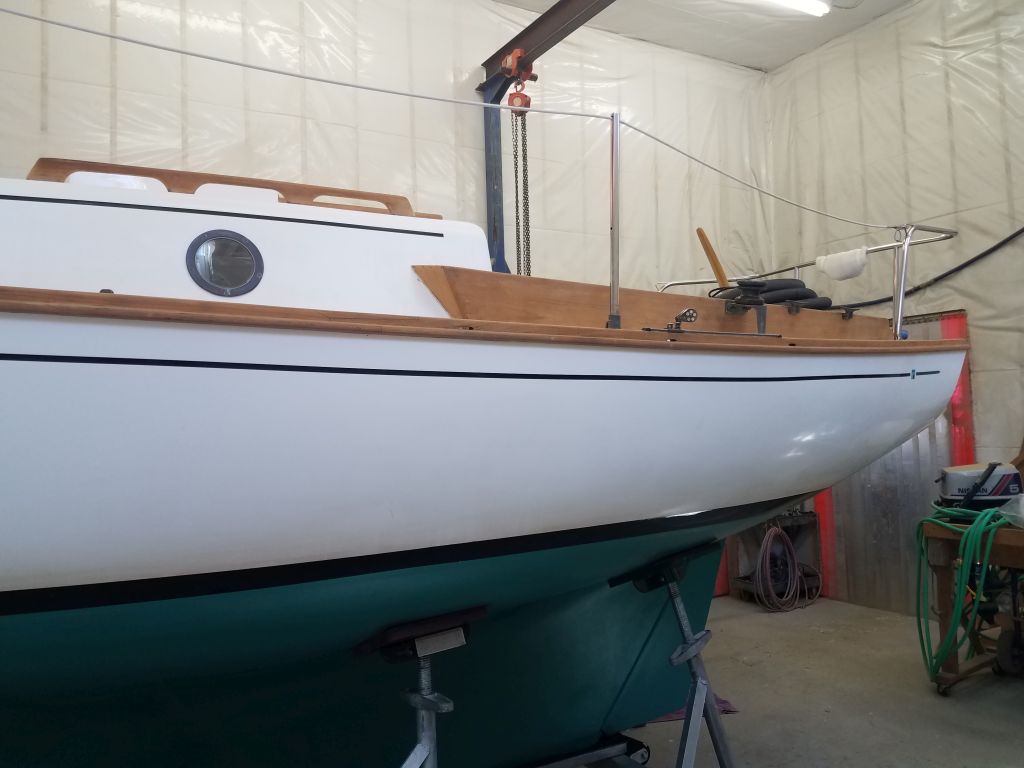
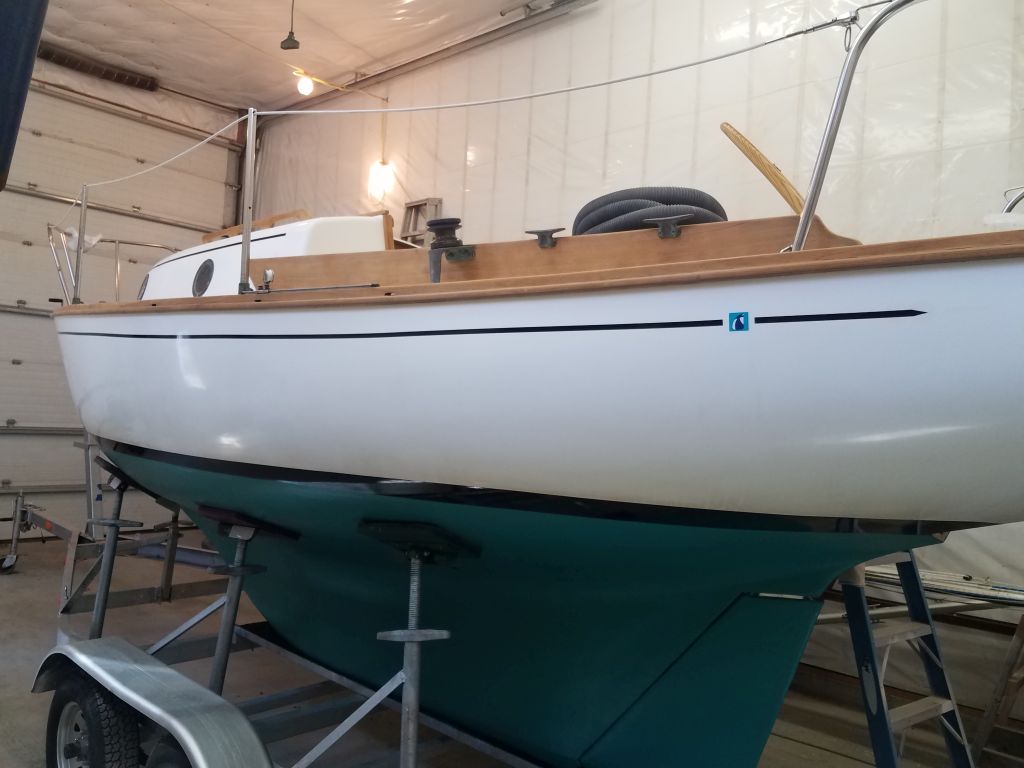
Though the scope of the project was outwardly limited to the known issues on the coachroof, I started out by inspecting the whole deck and cockpit as a matter of course, sounding with a hammer and noting nothing of extreme importance. I did note one confined area of top-skin debonding on the port sidedeck (likely a latent construction void), and an area of suspect core beginning near the rudderpost on the starboard side of the cockpit. While these were noteworthy in their existence, neither required any immediate attention, though monitoring them going forward would be prudent.
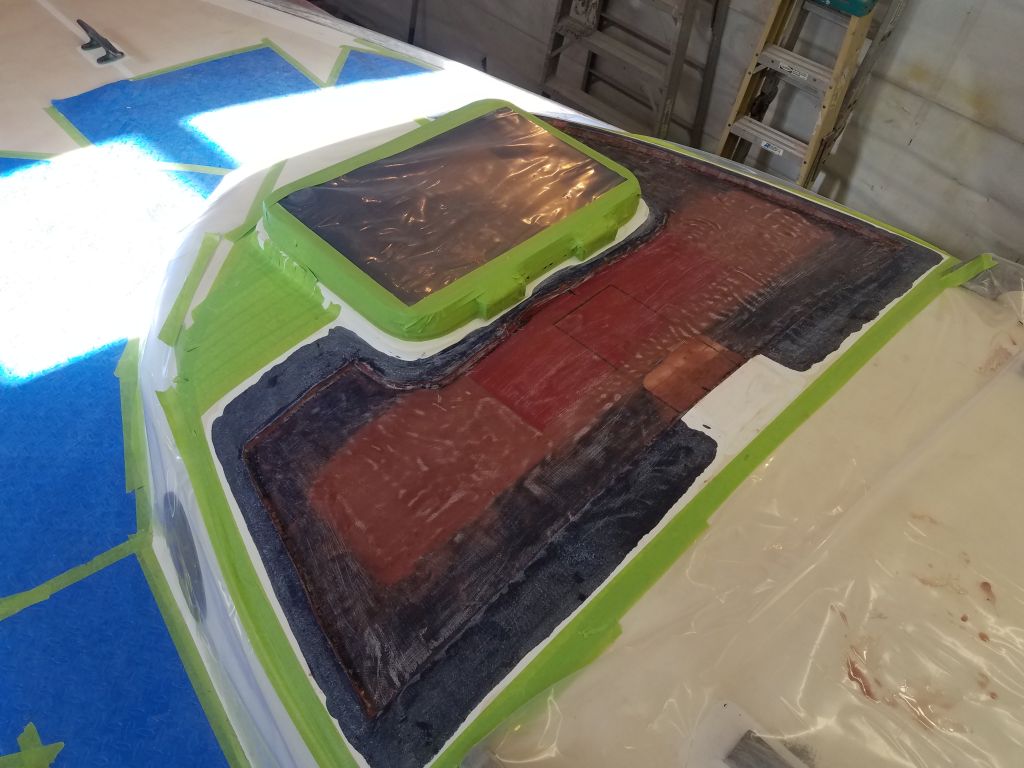
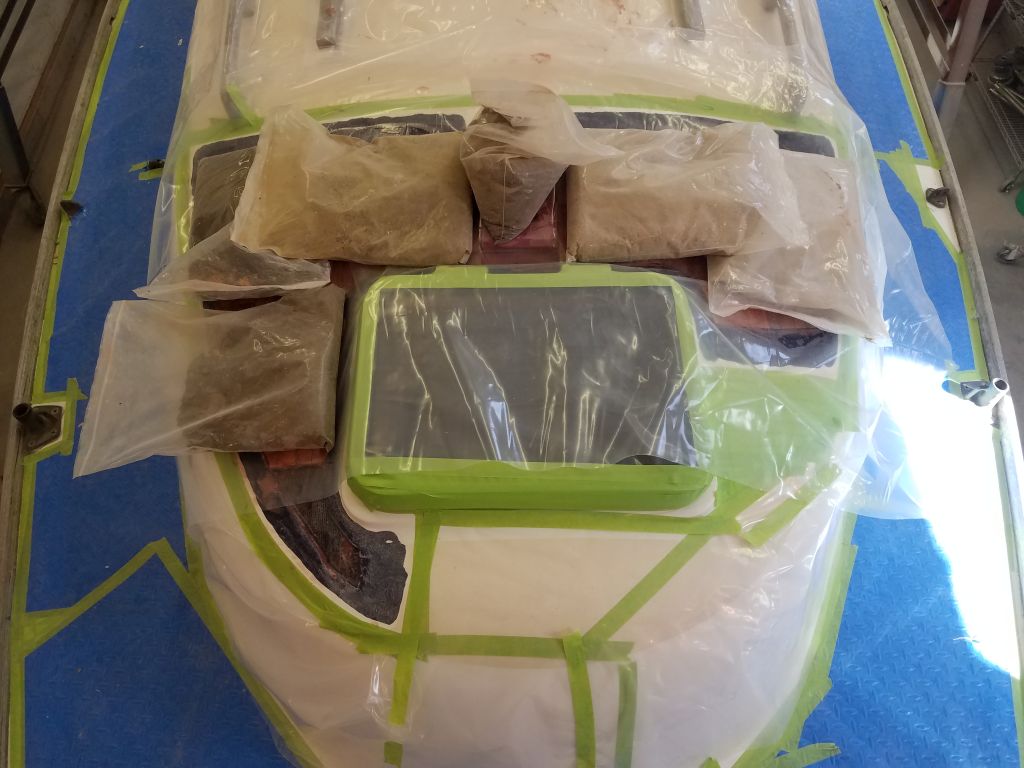
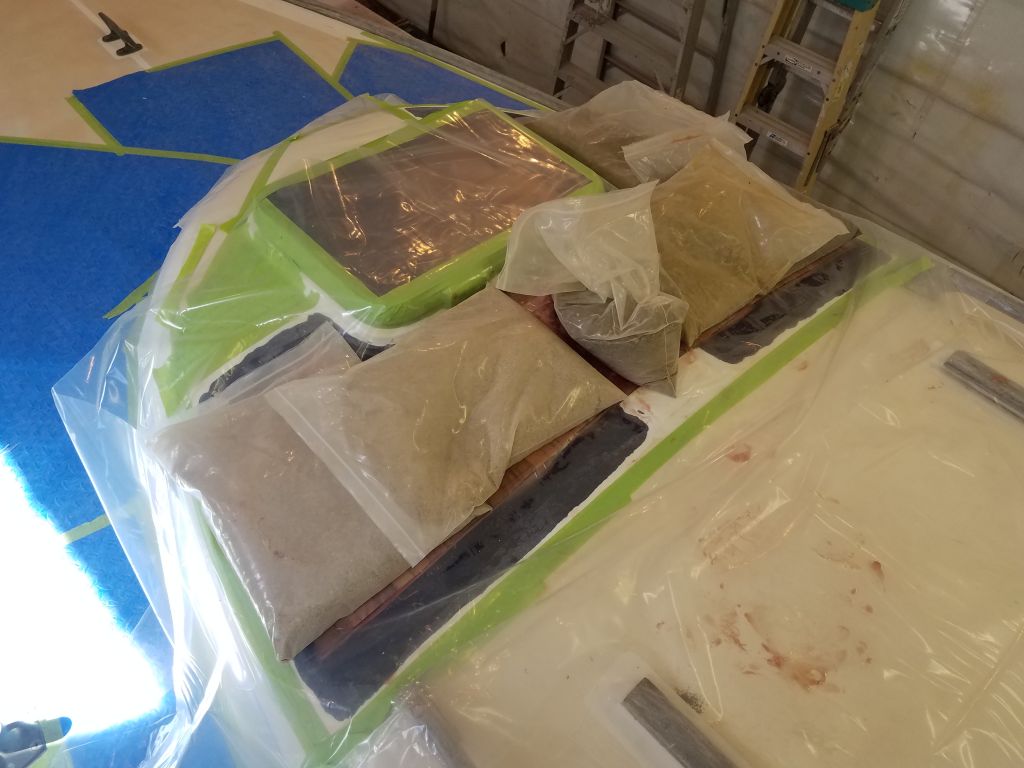
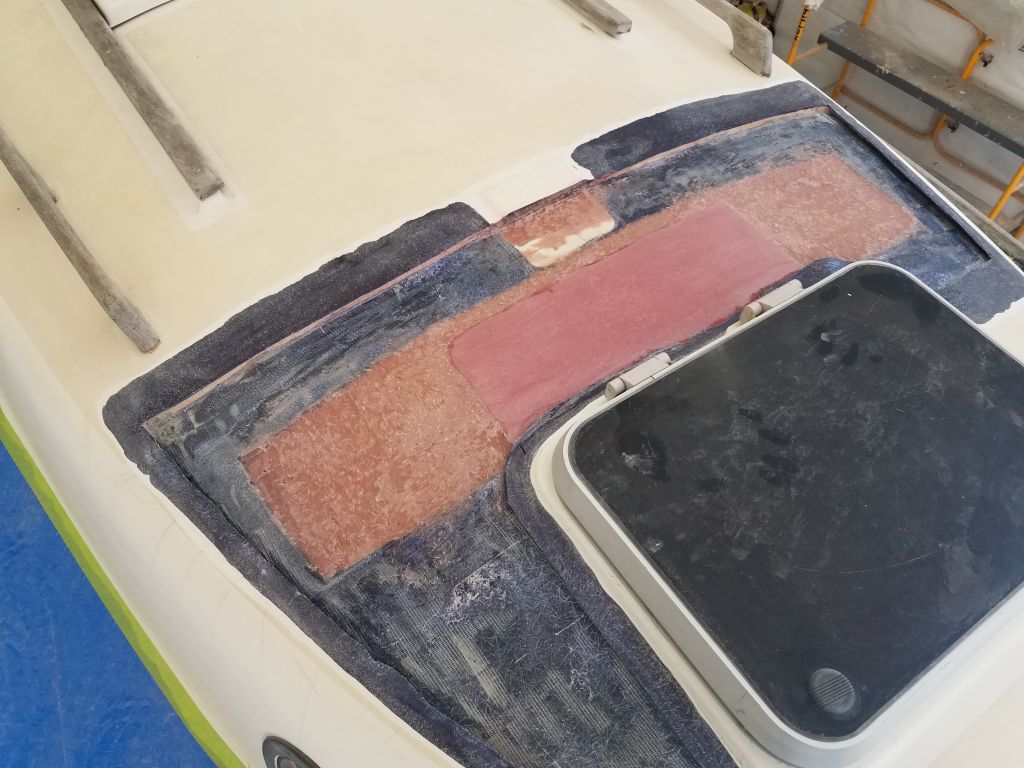
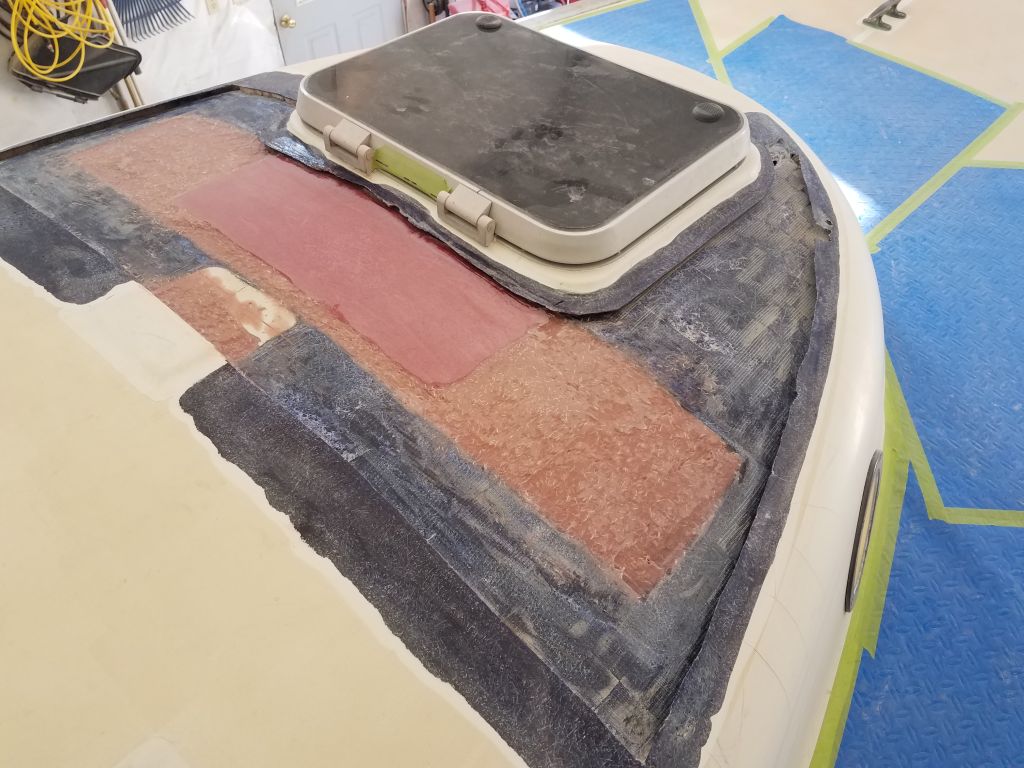
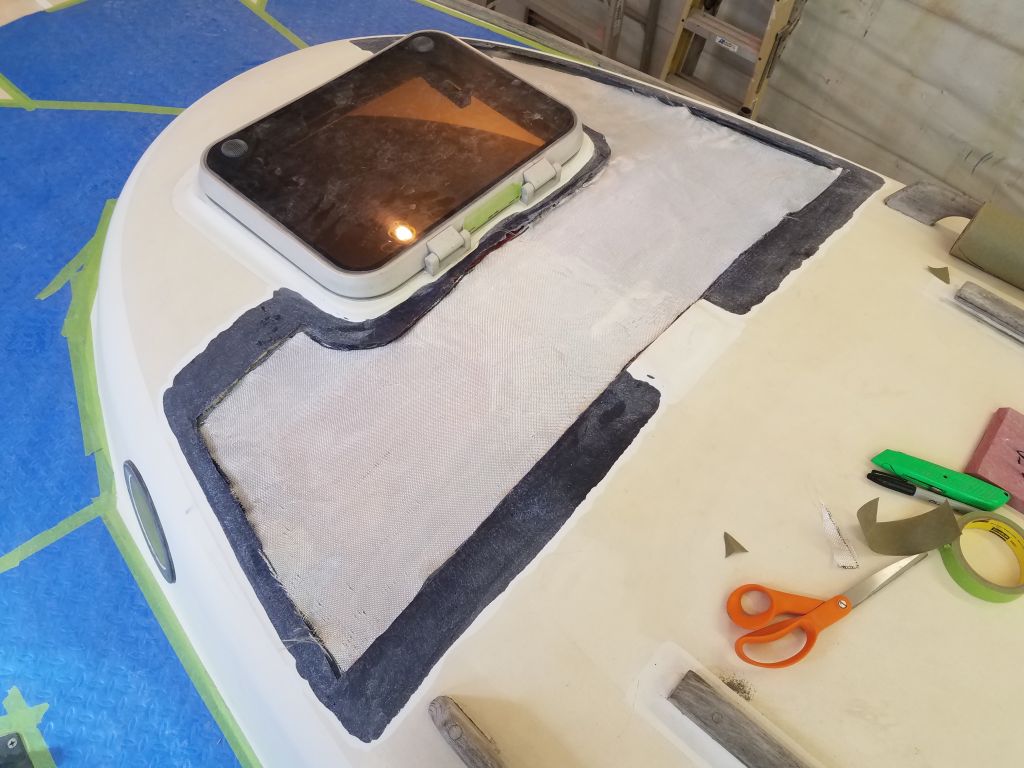
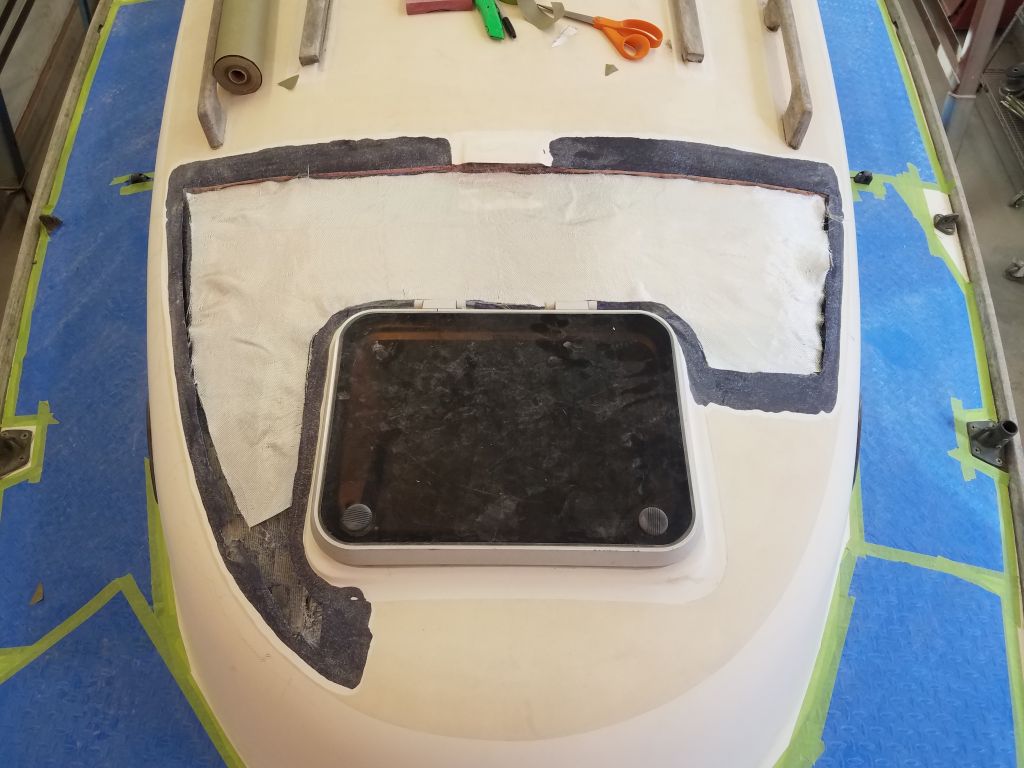
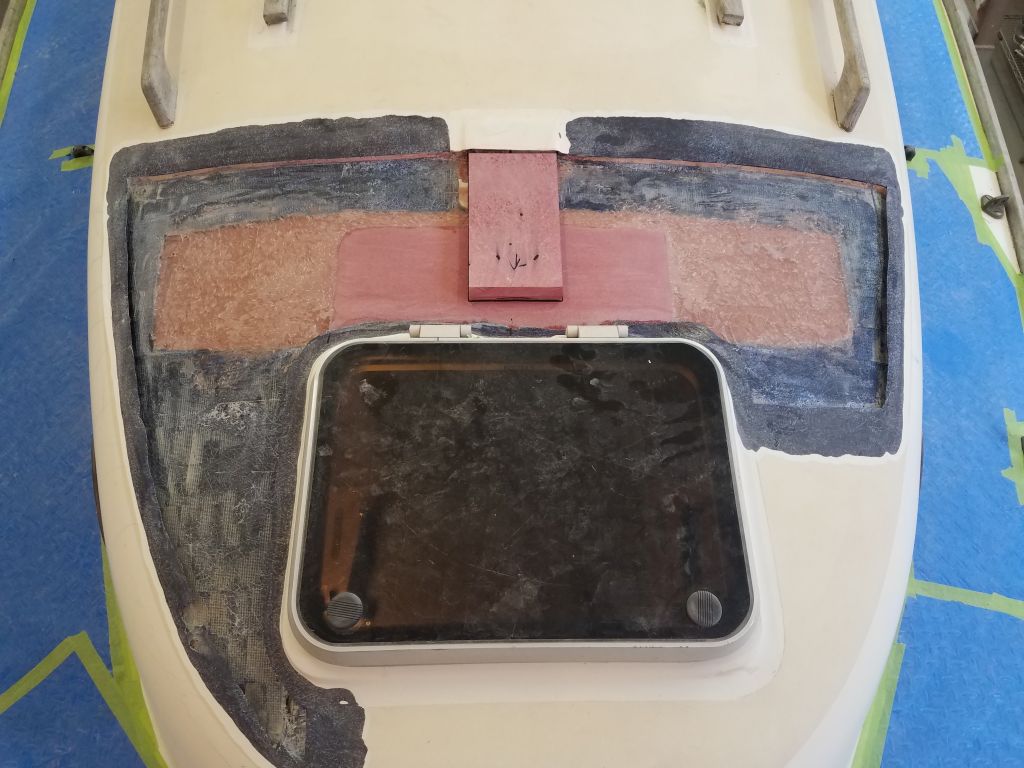
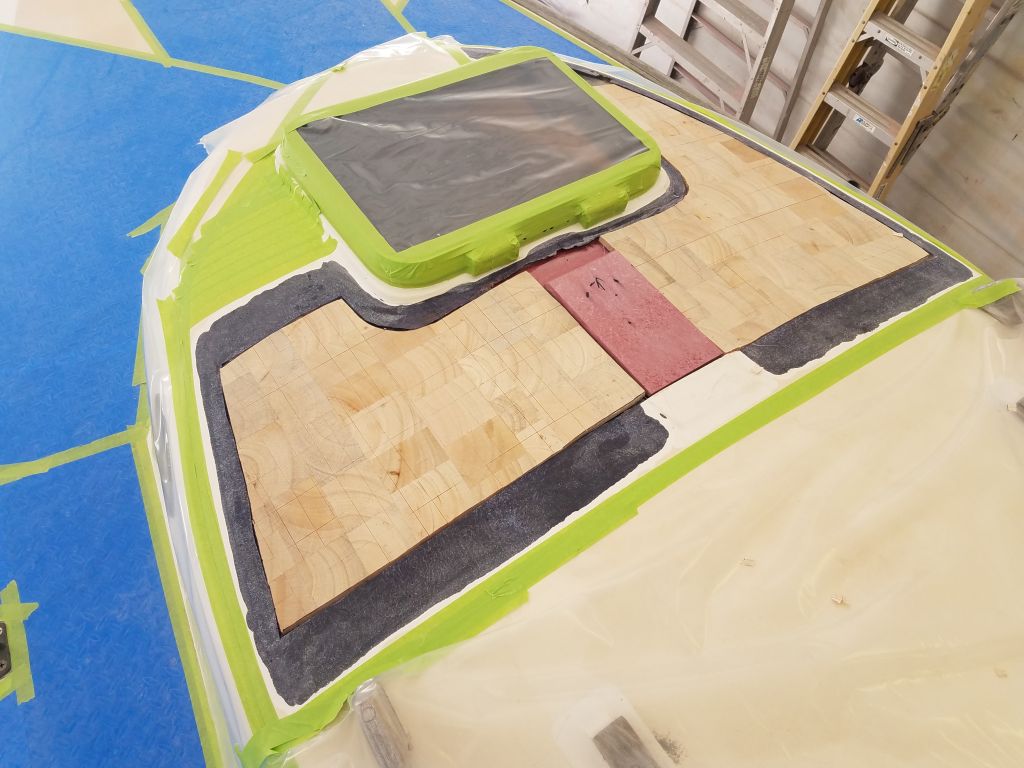
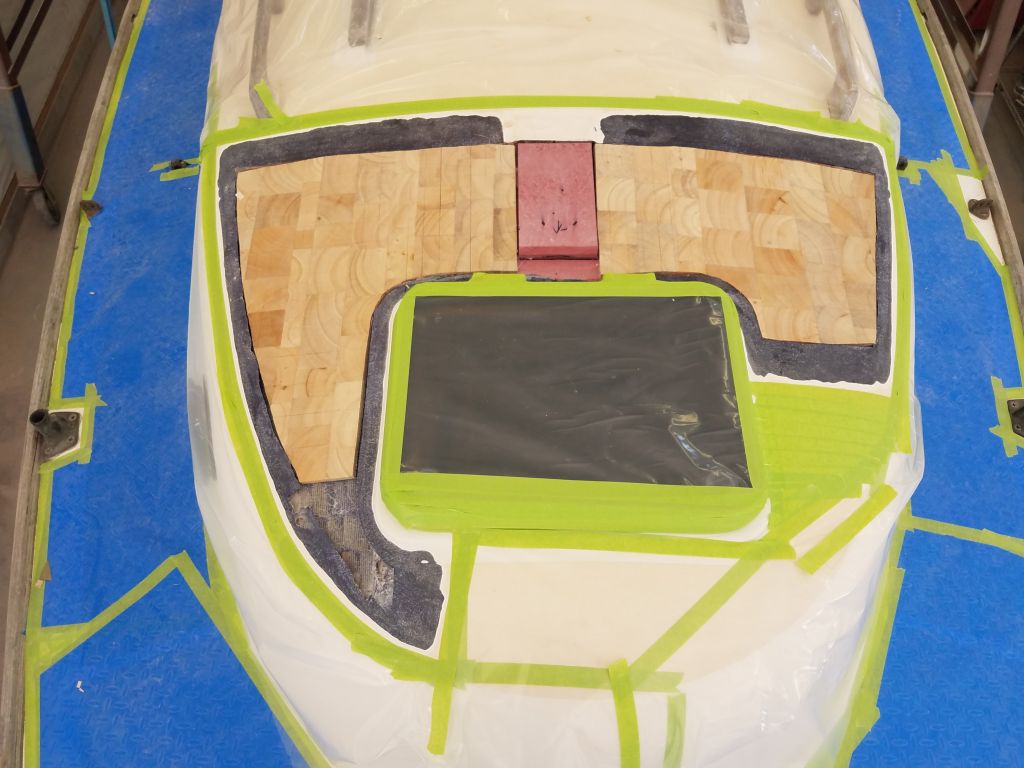
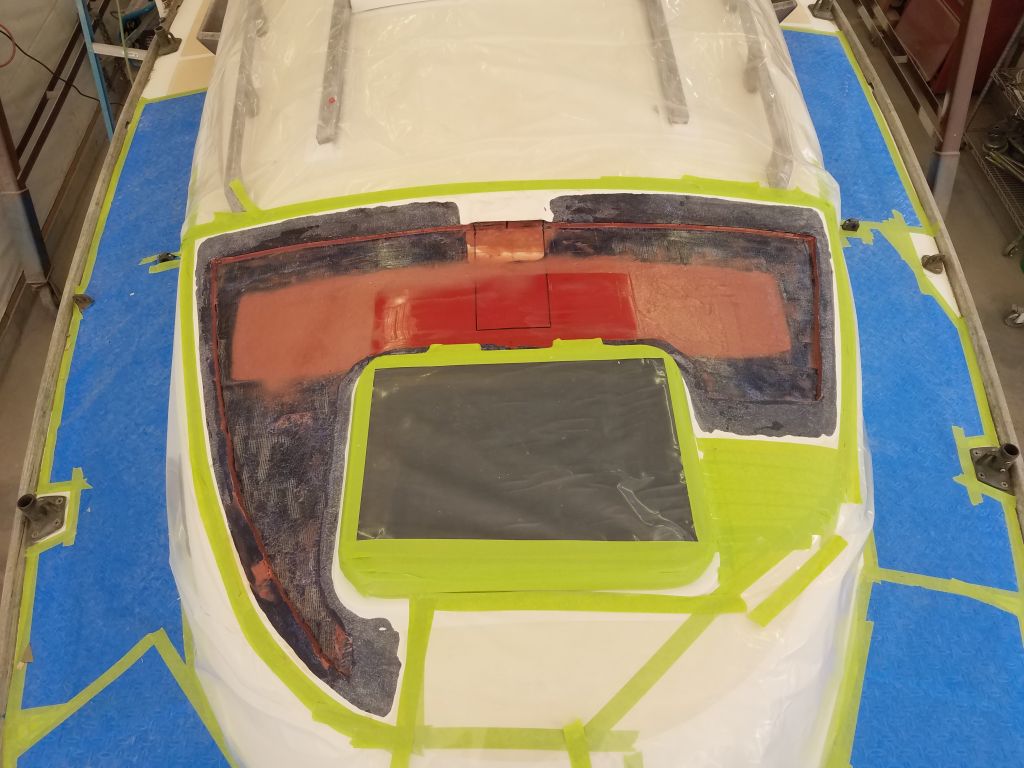
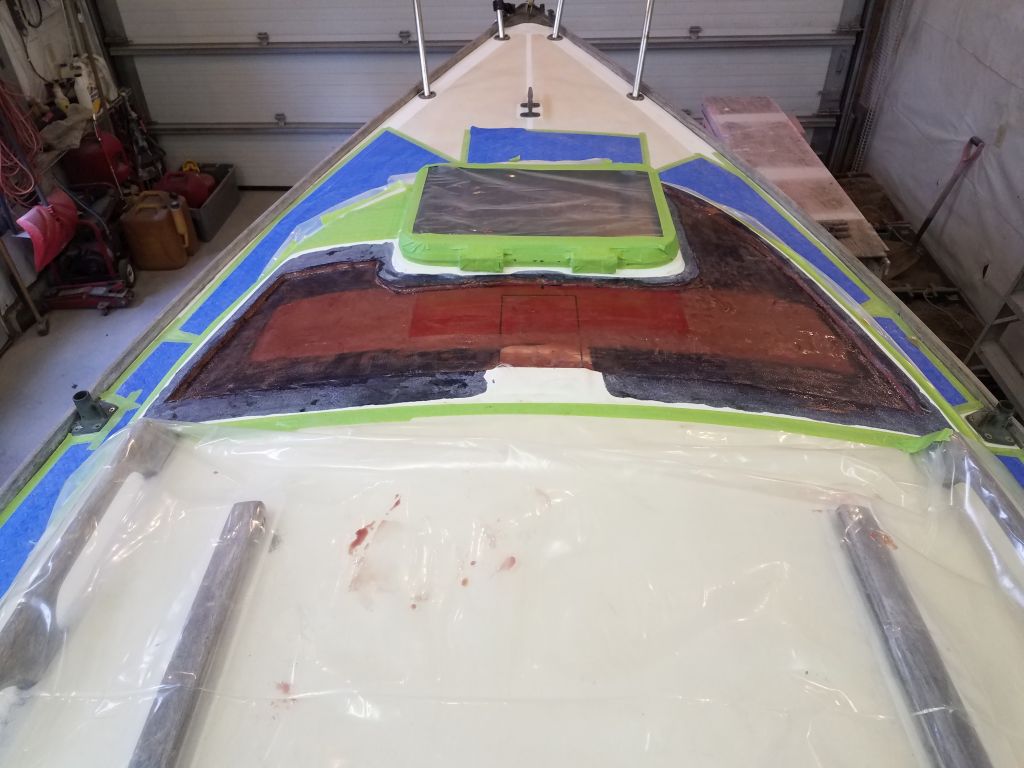
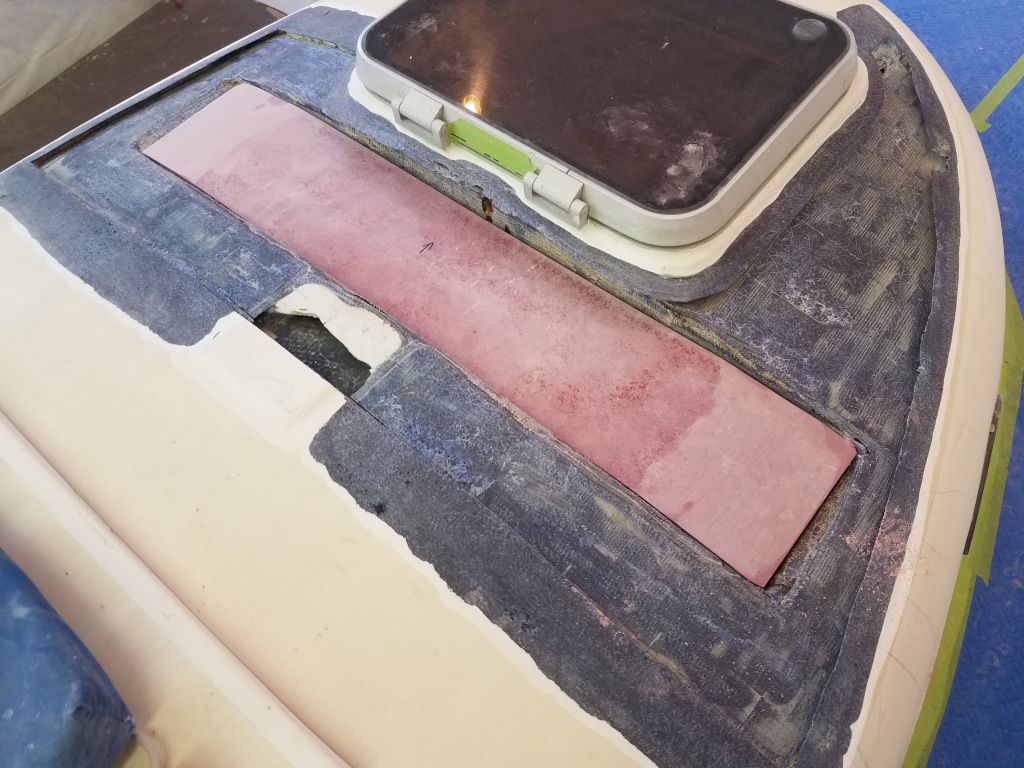
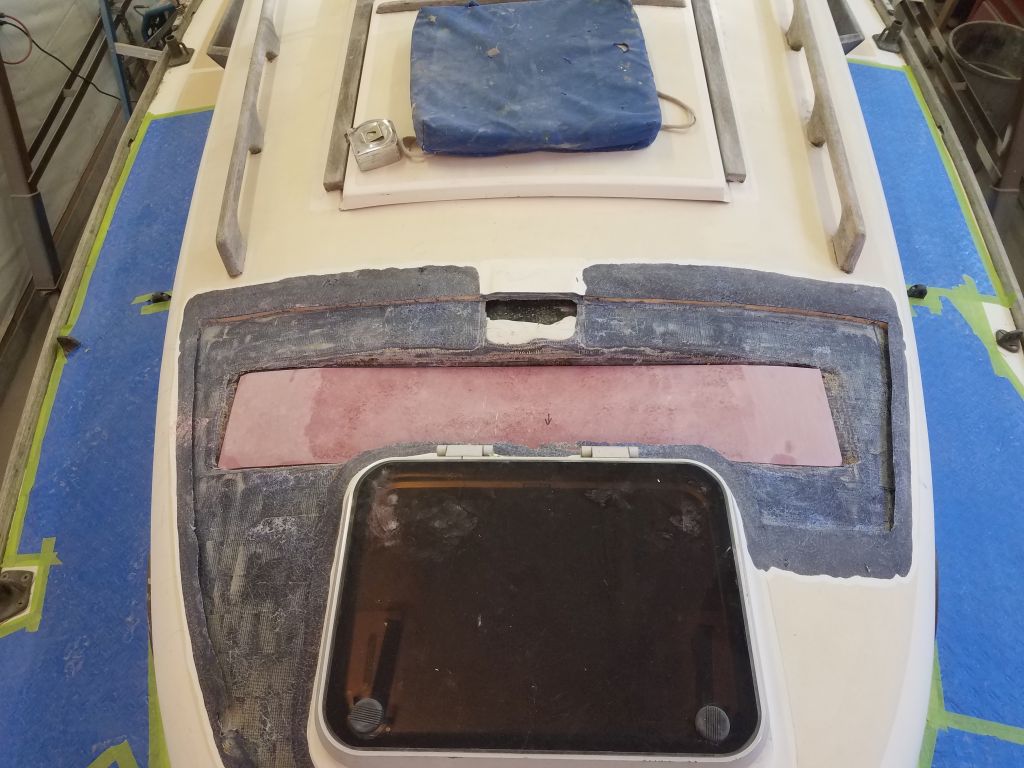
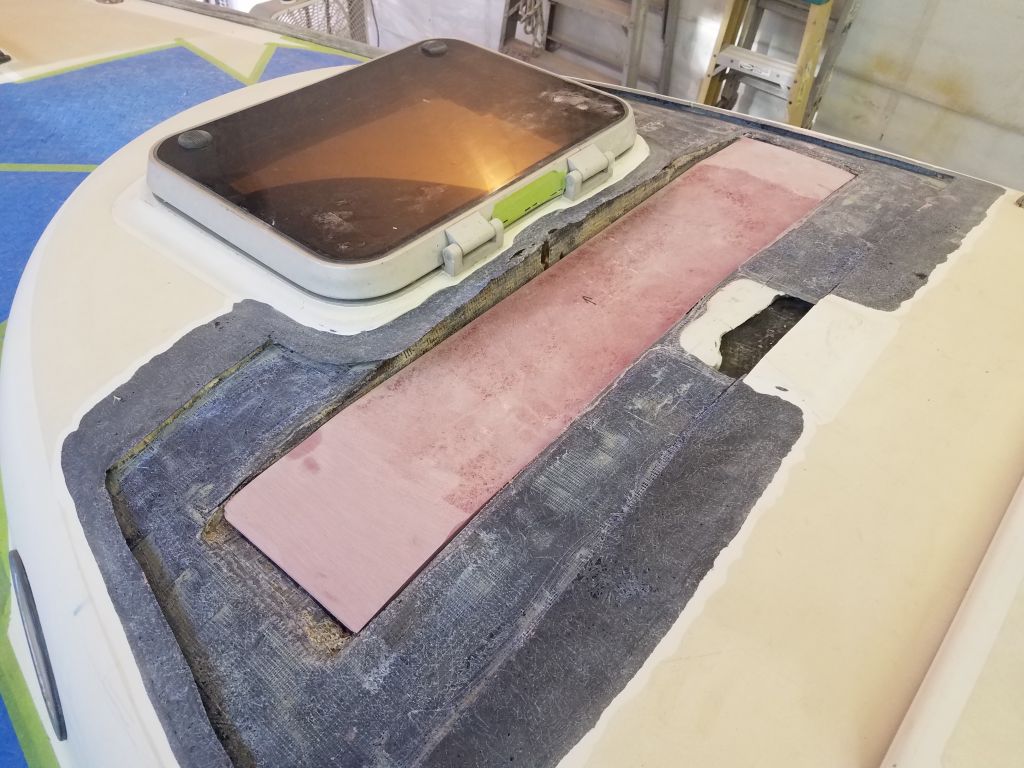
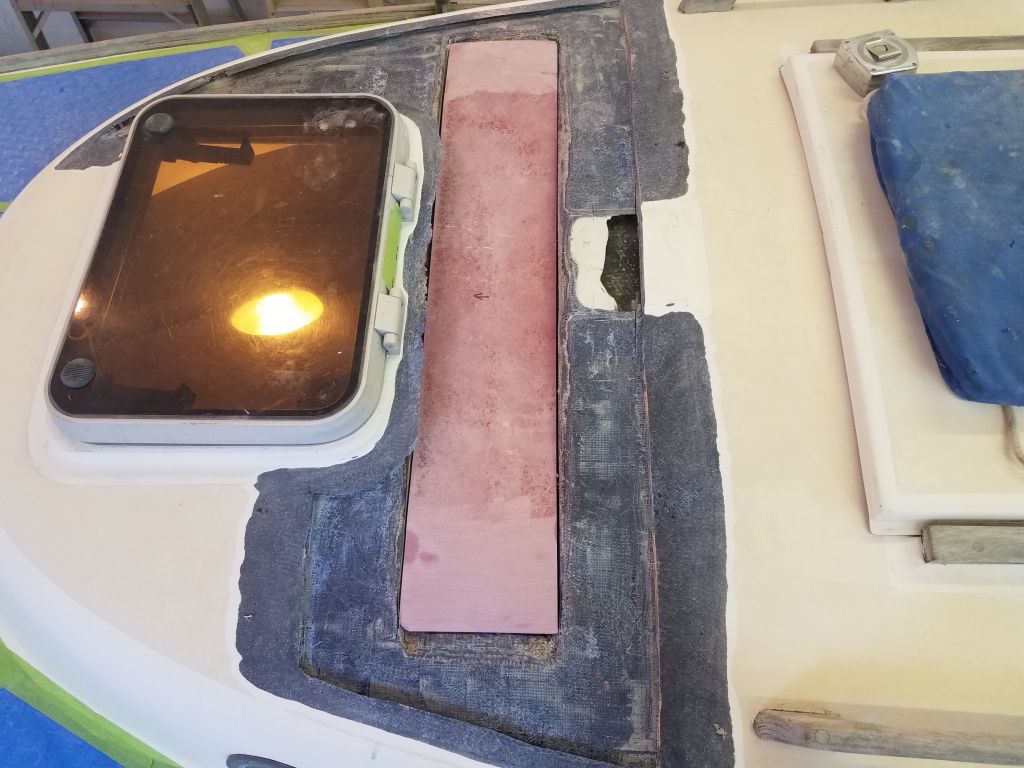
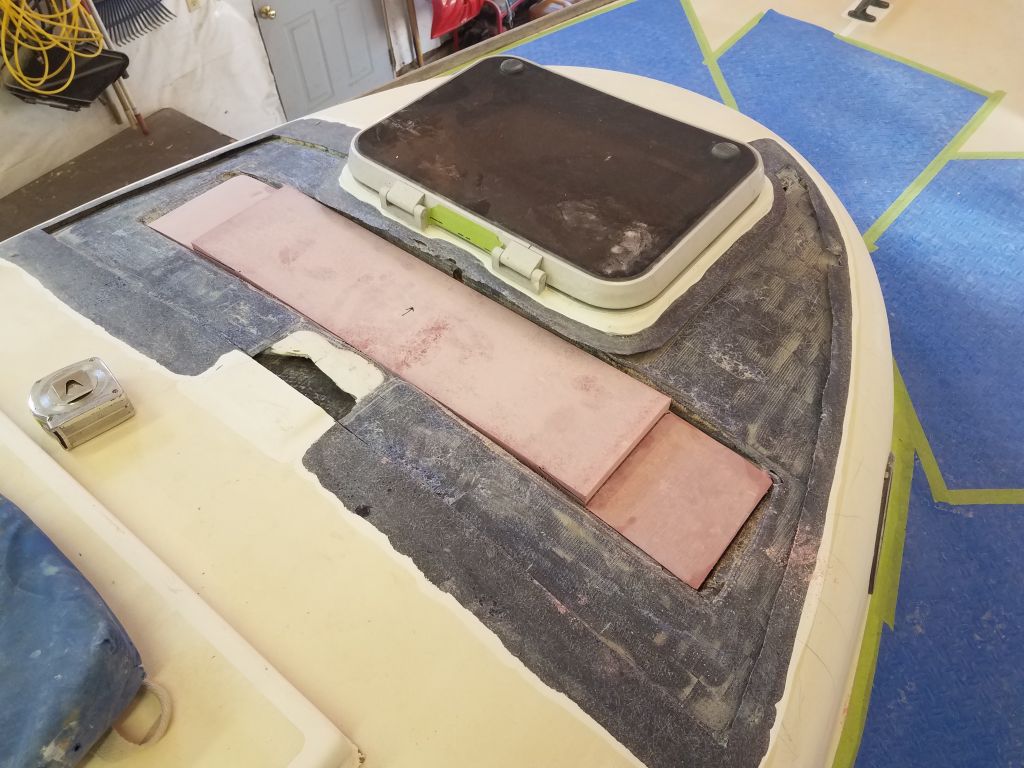
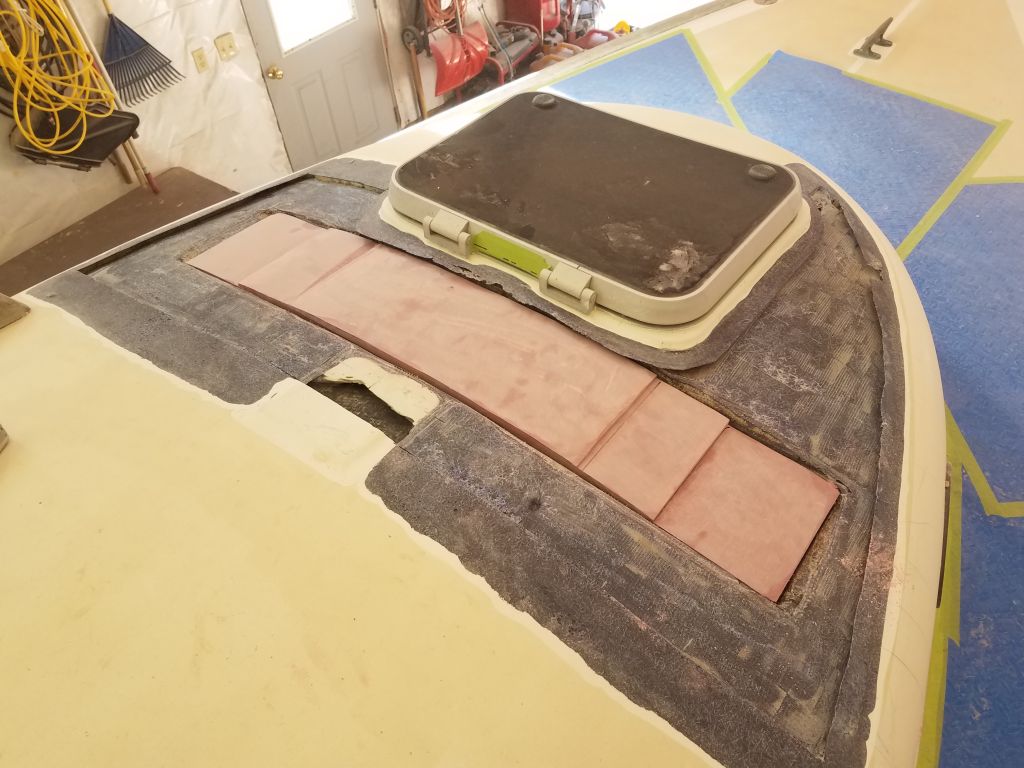
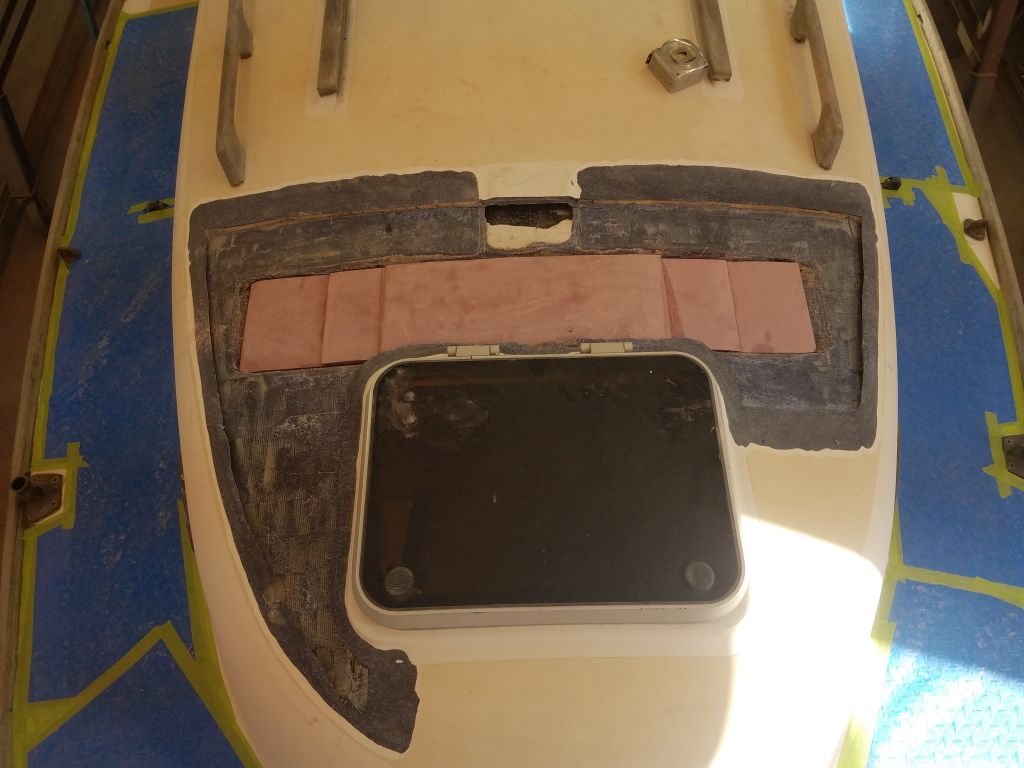
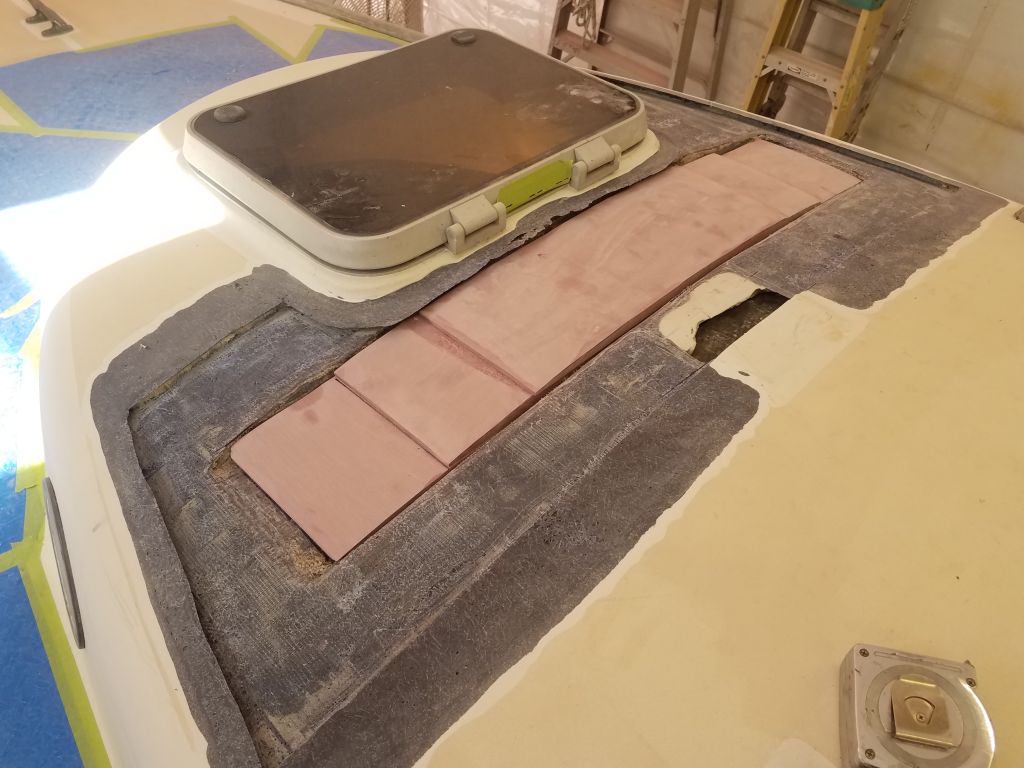
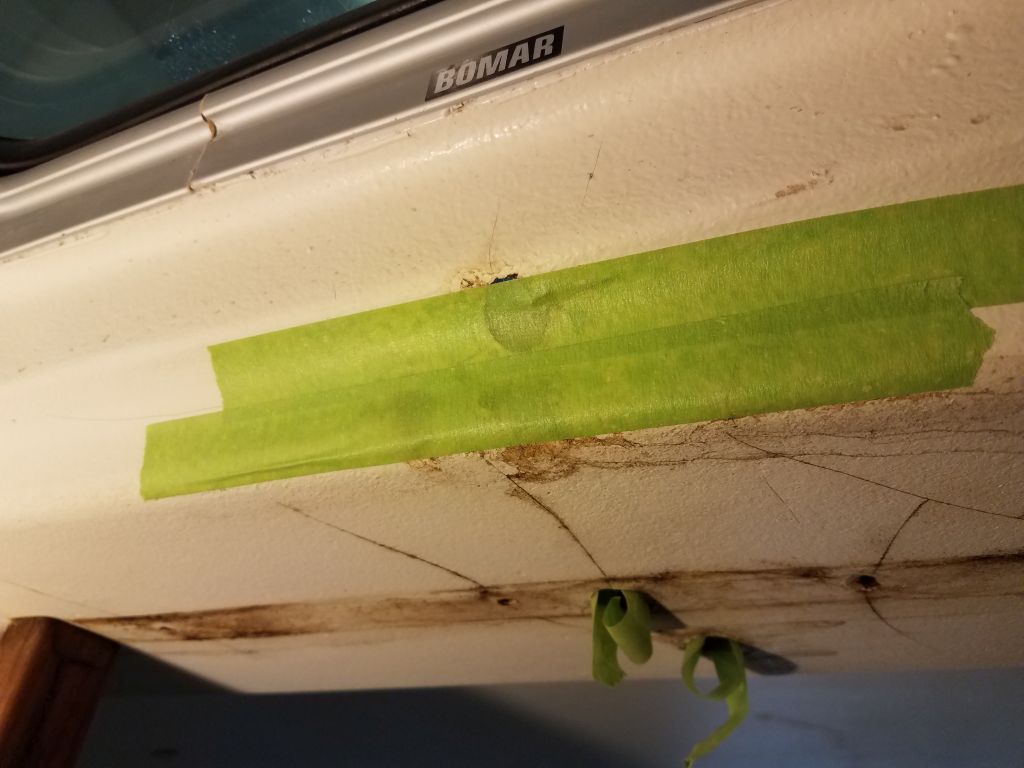
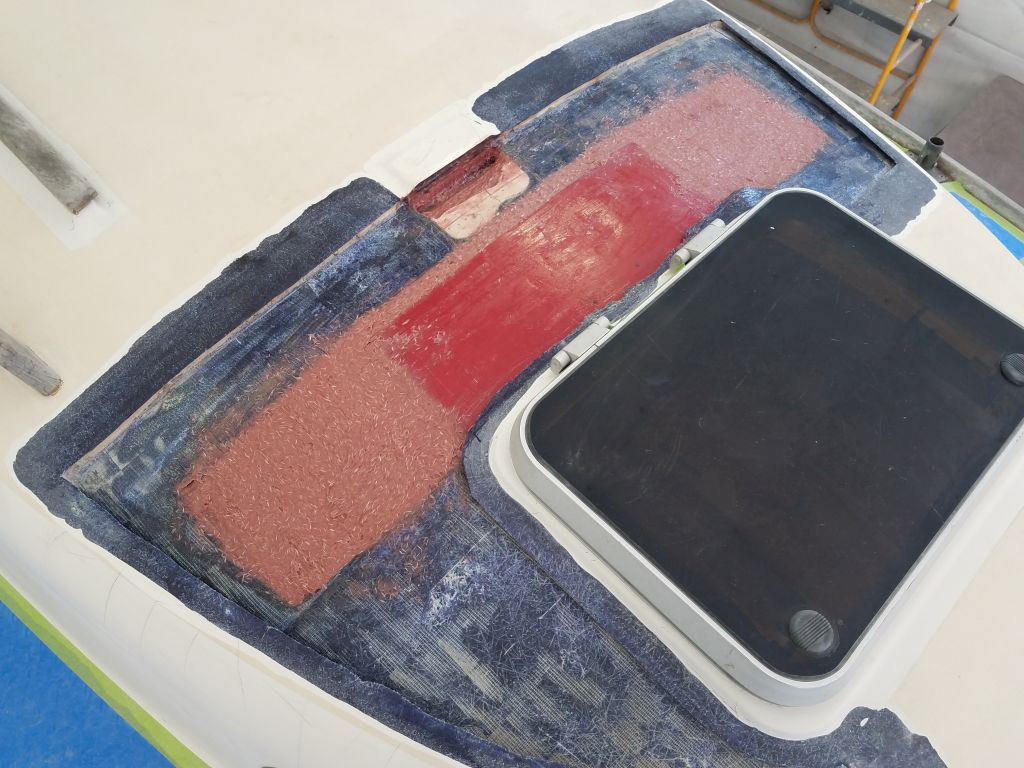
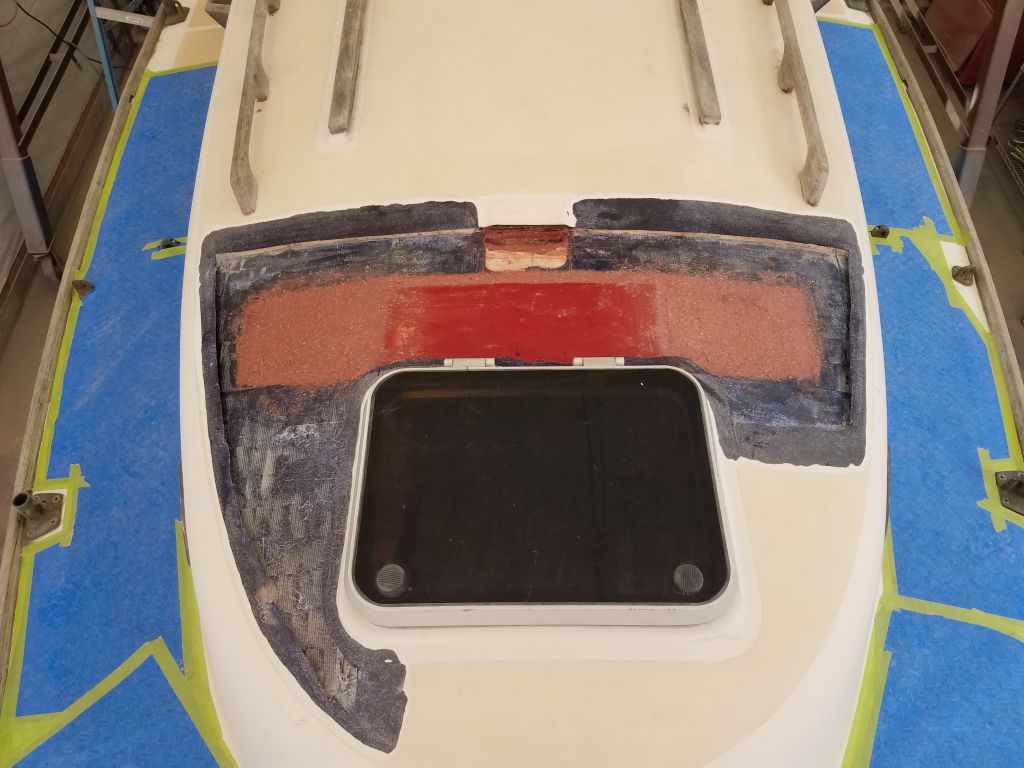
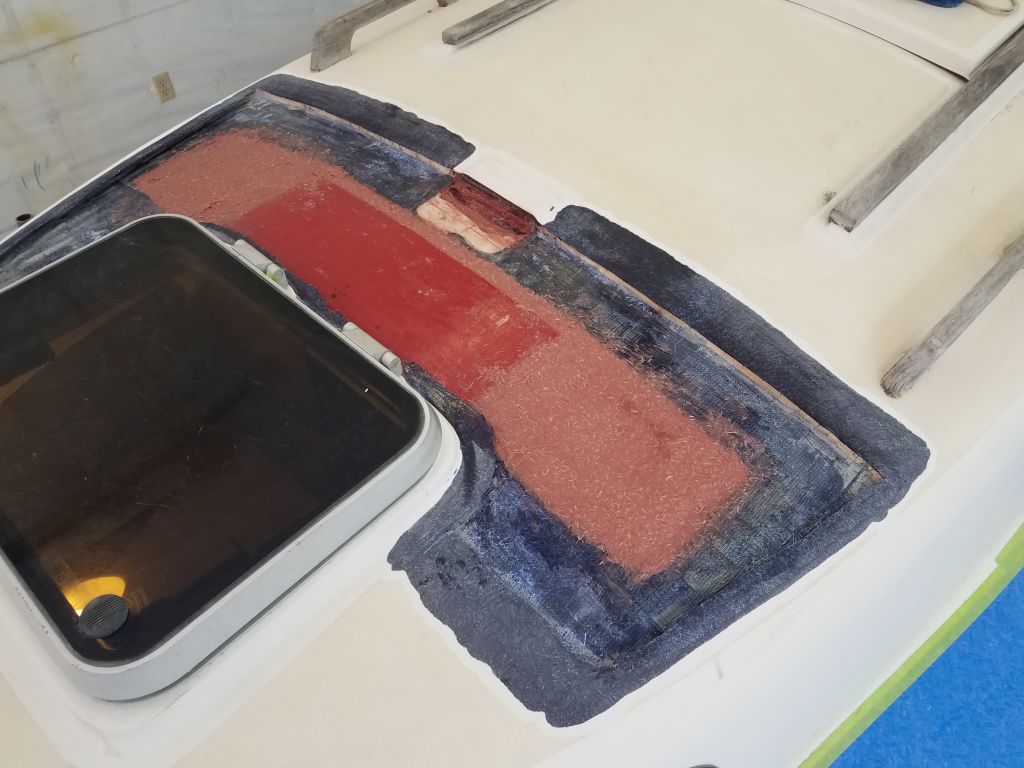
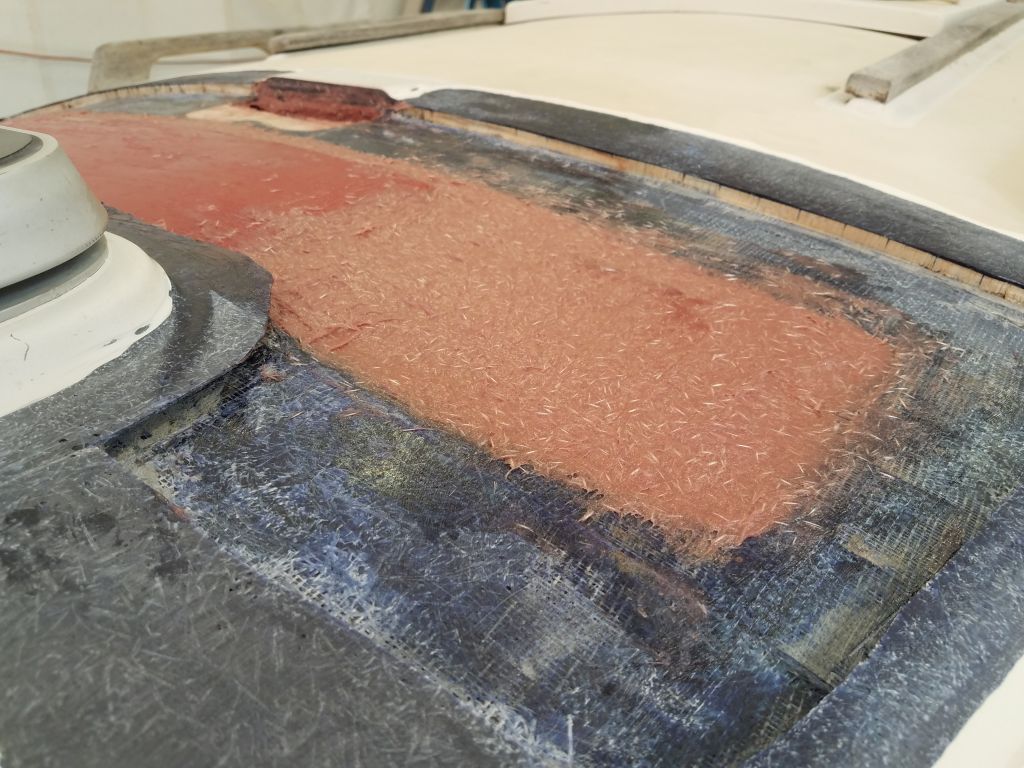
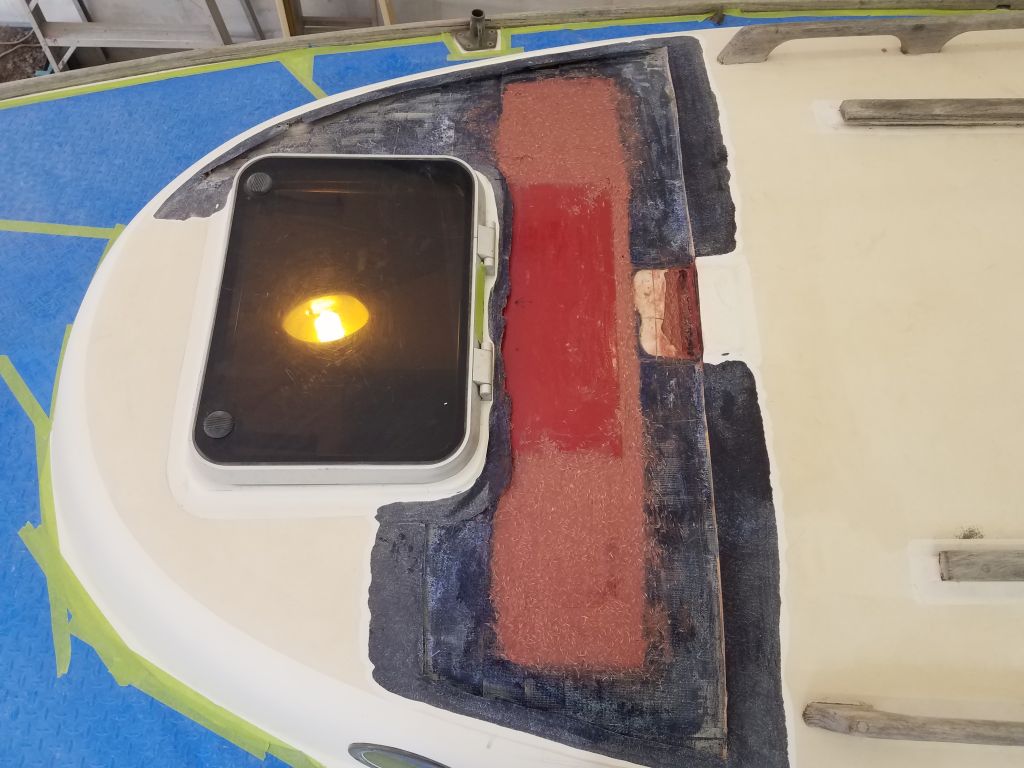
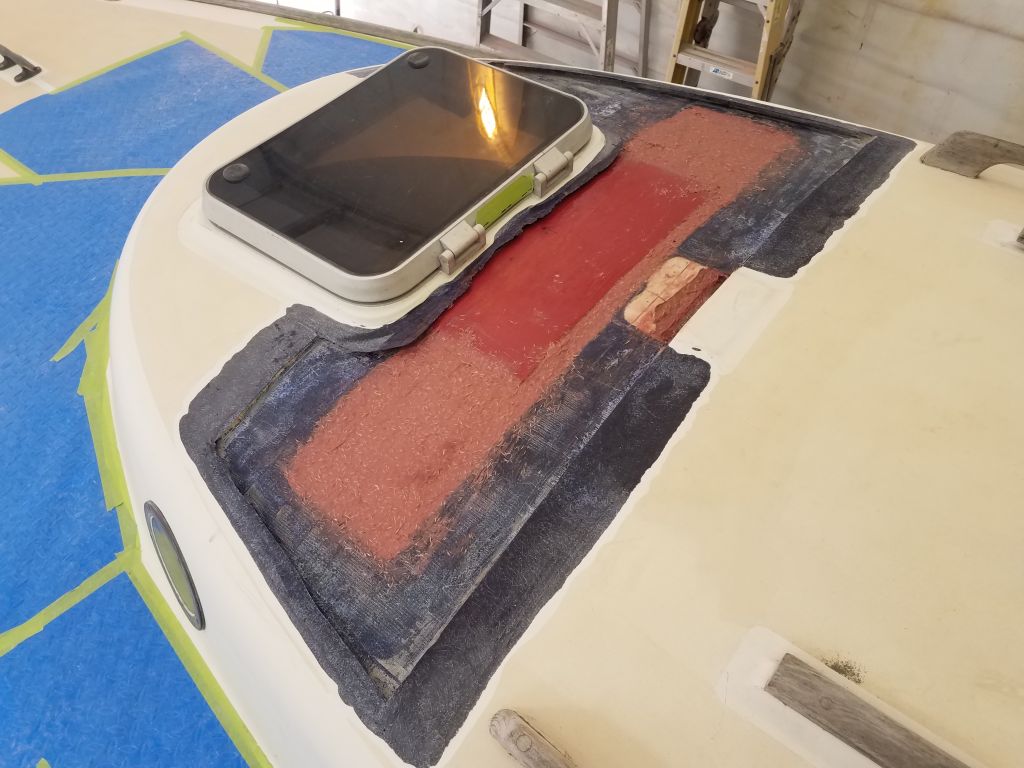
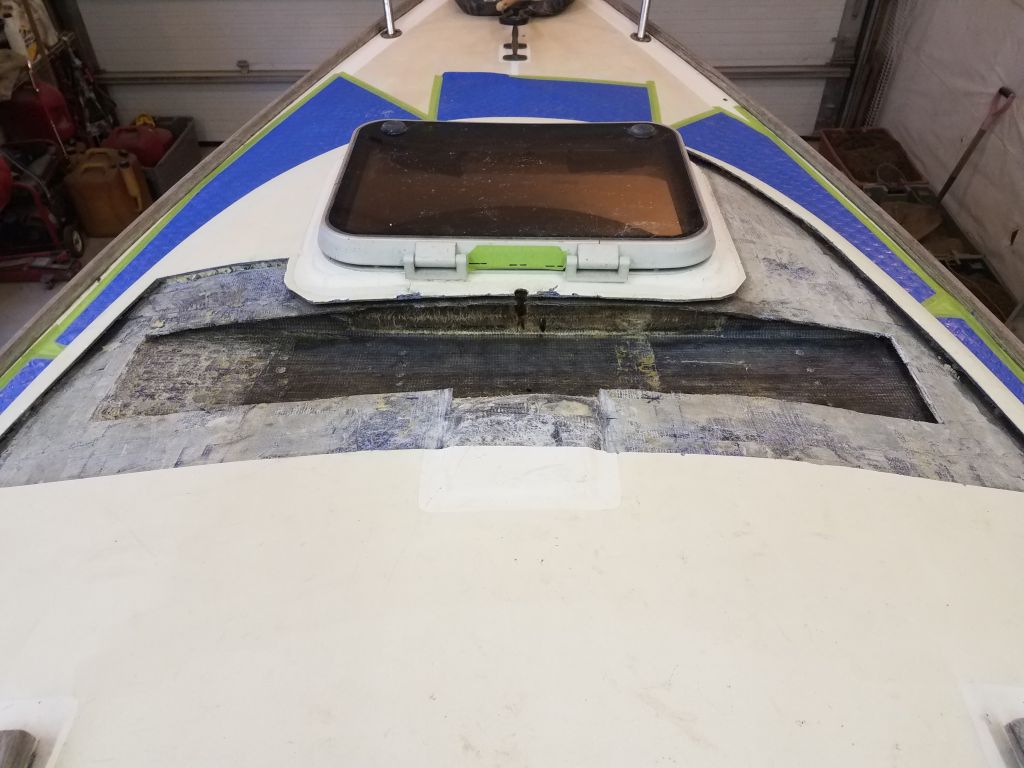
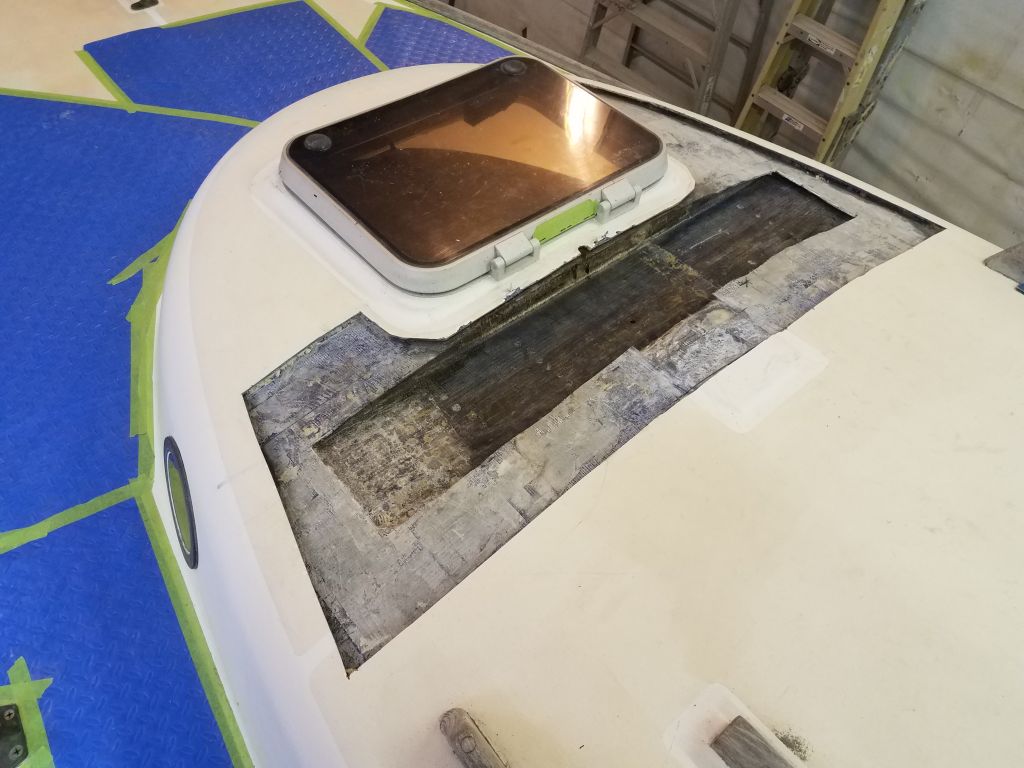
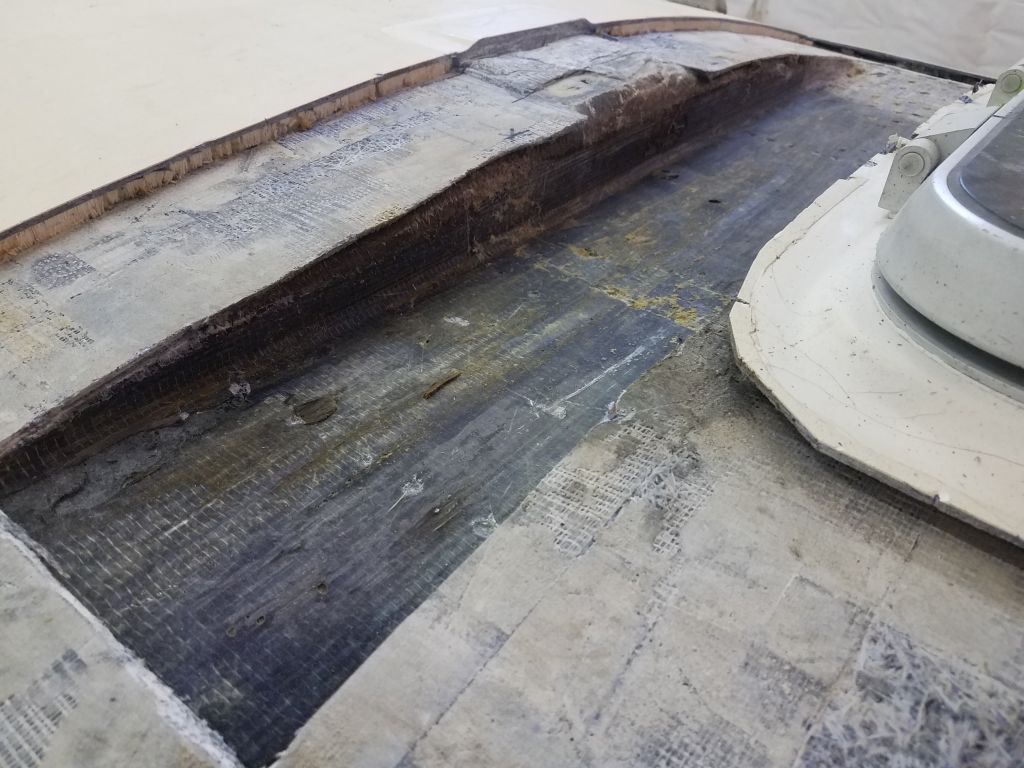
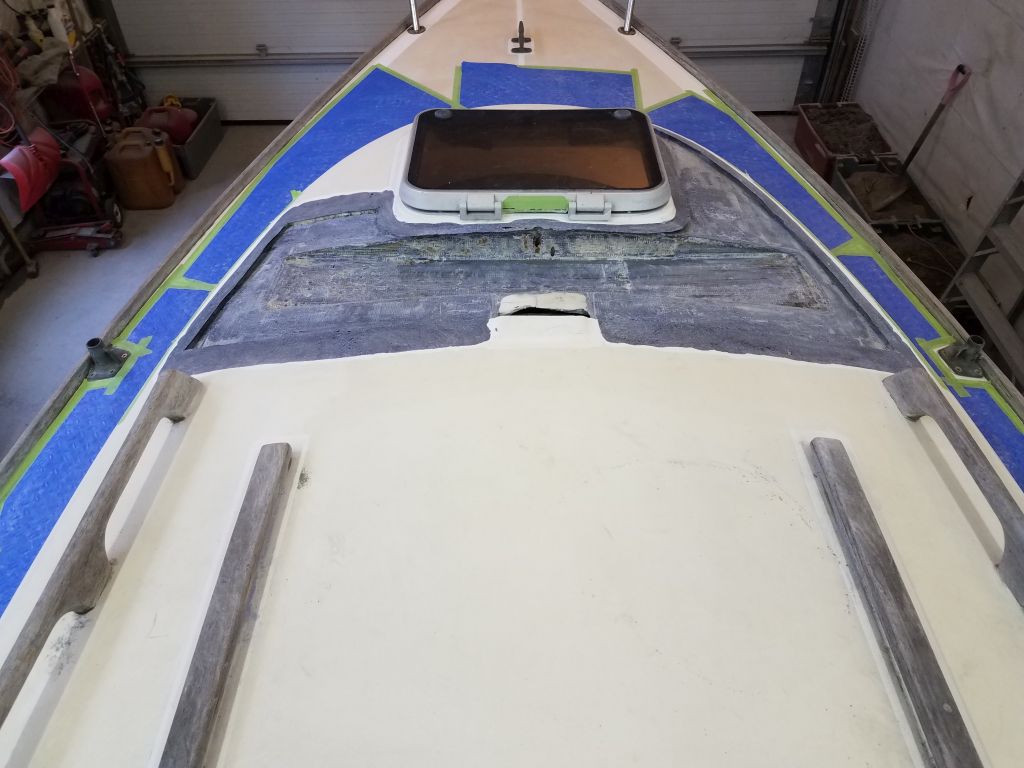
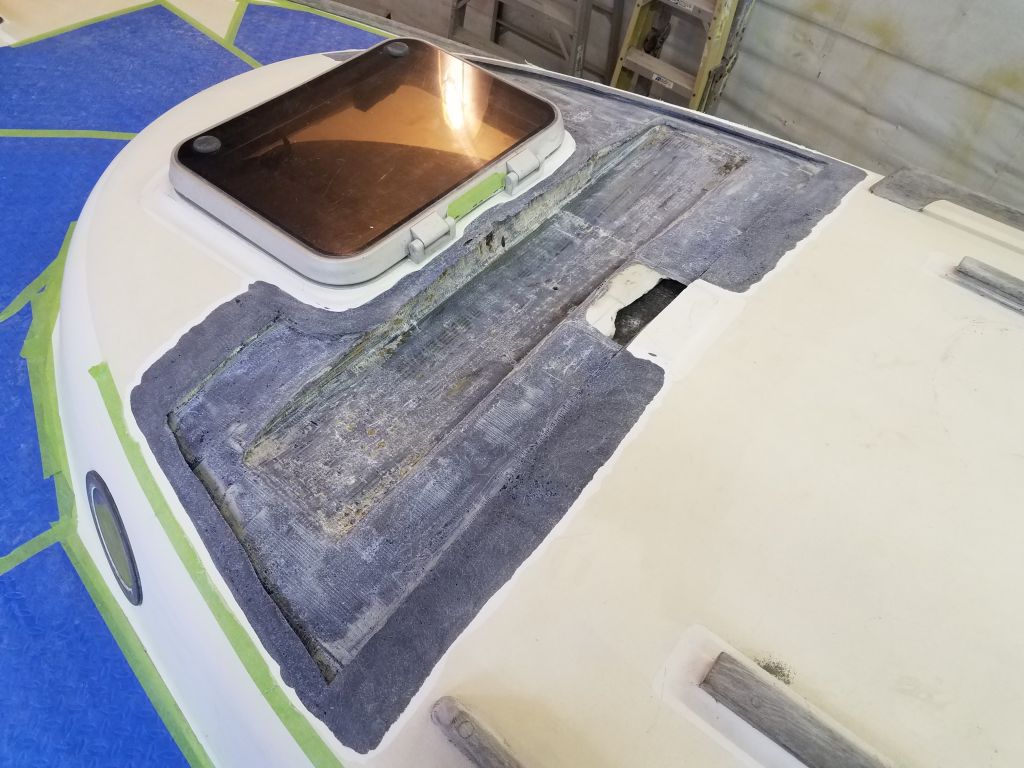
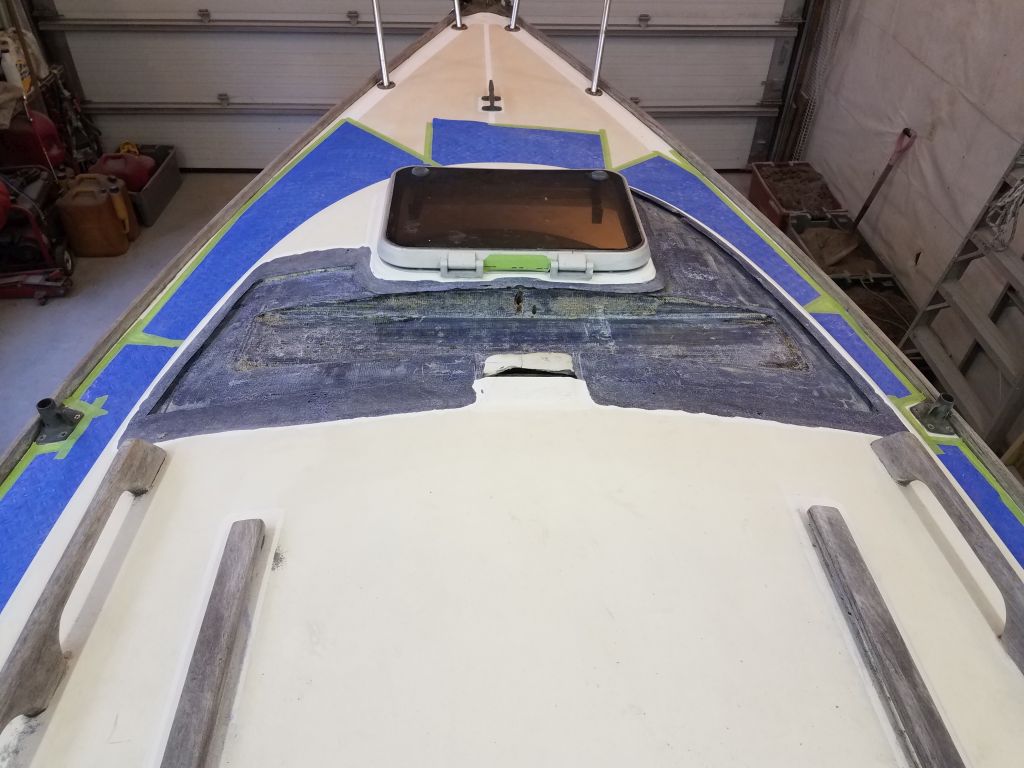
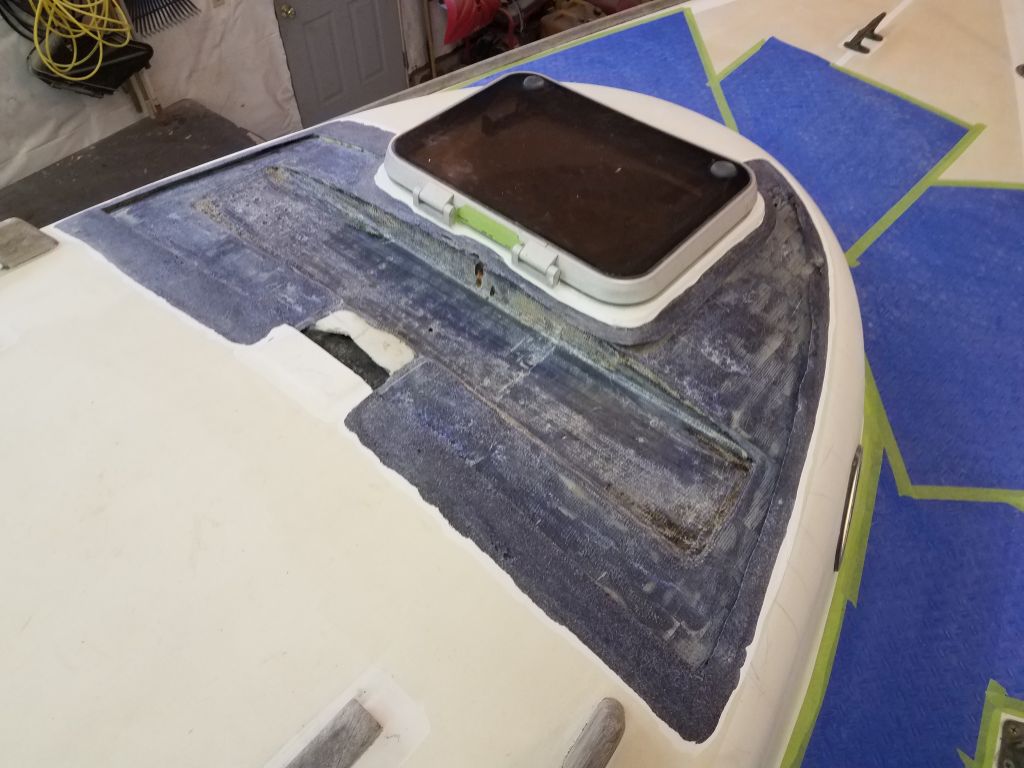
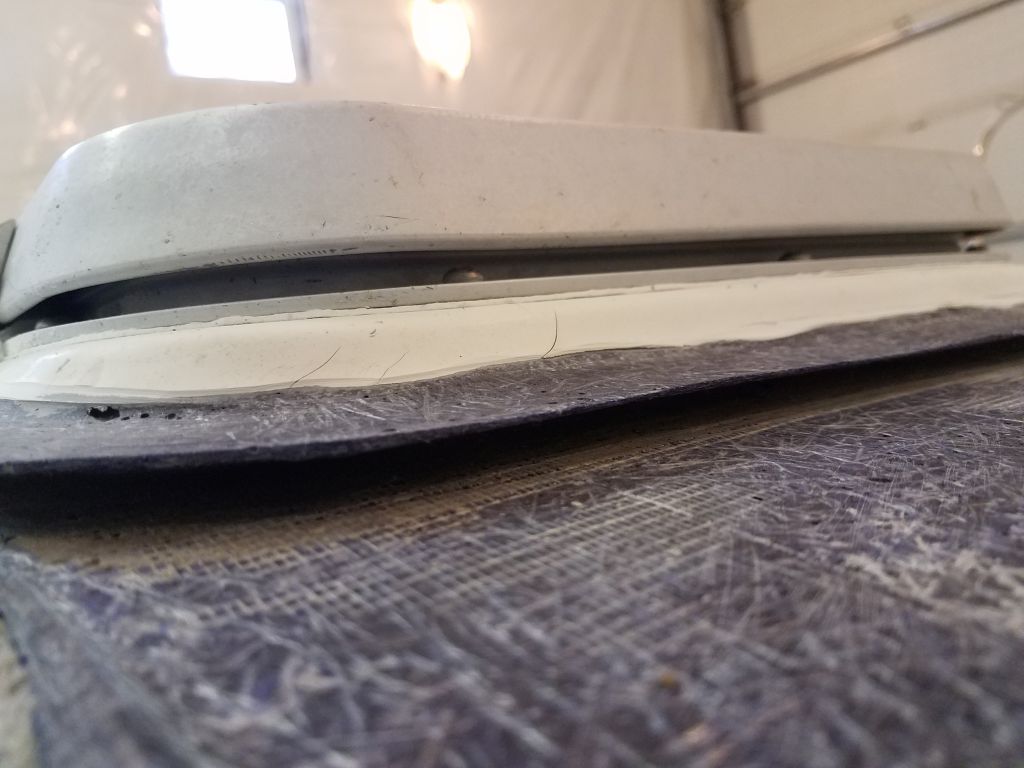
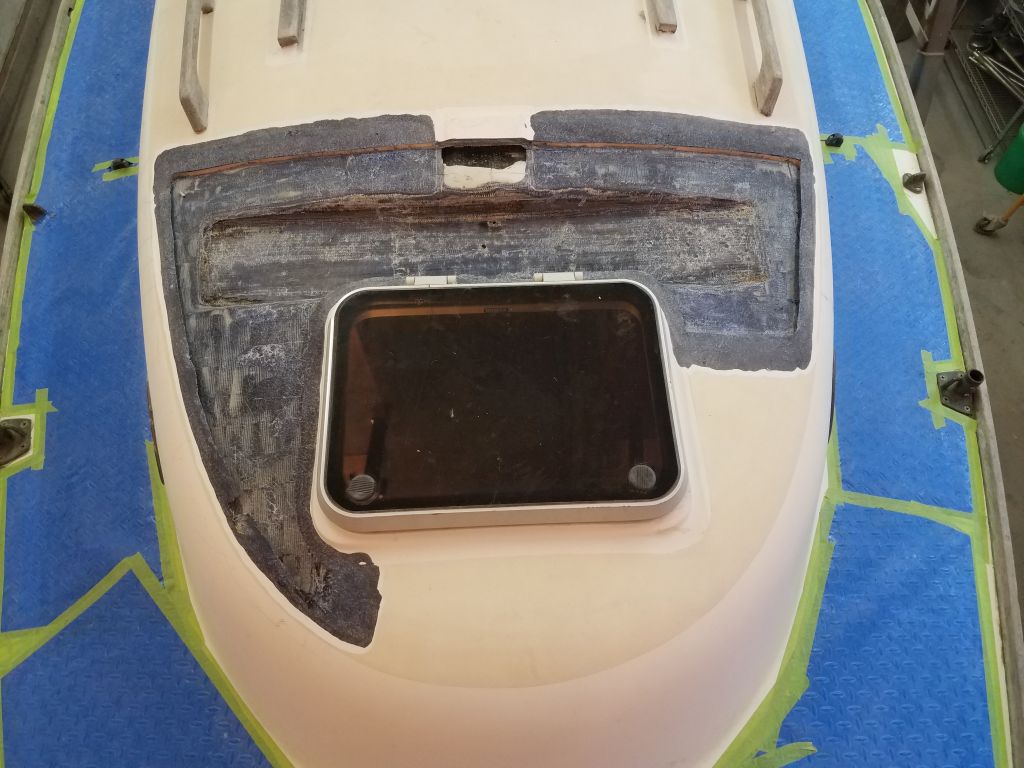
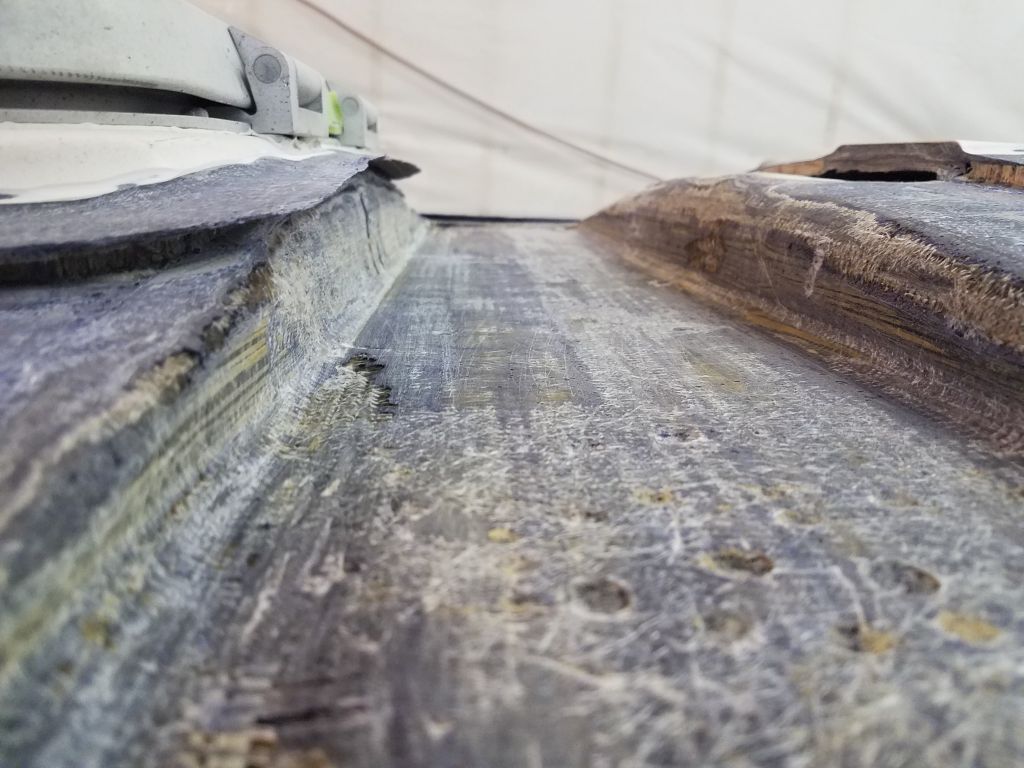
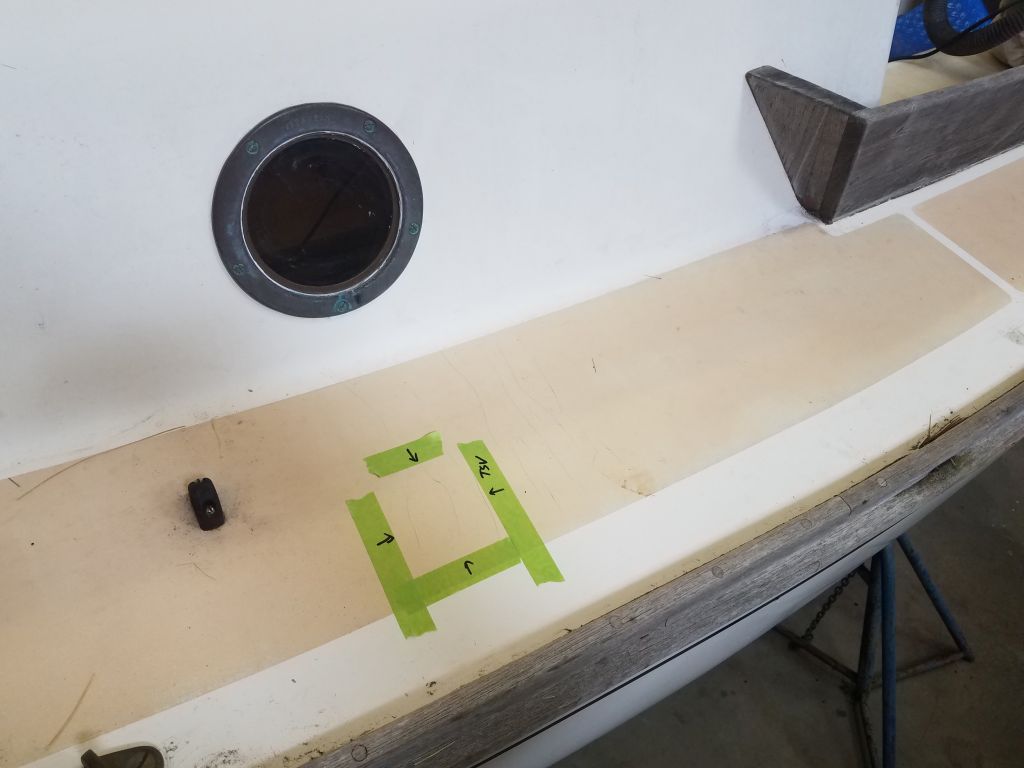
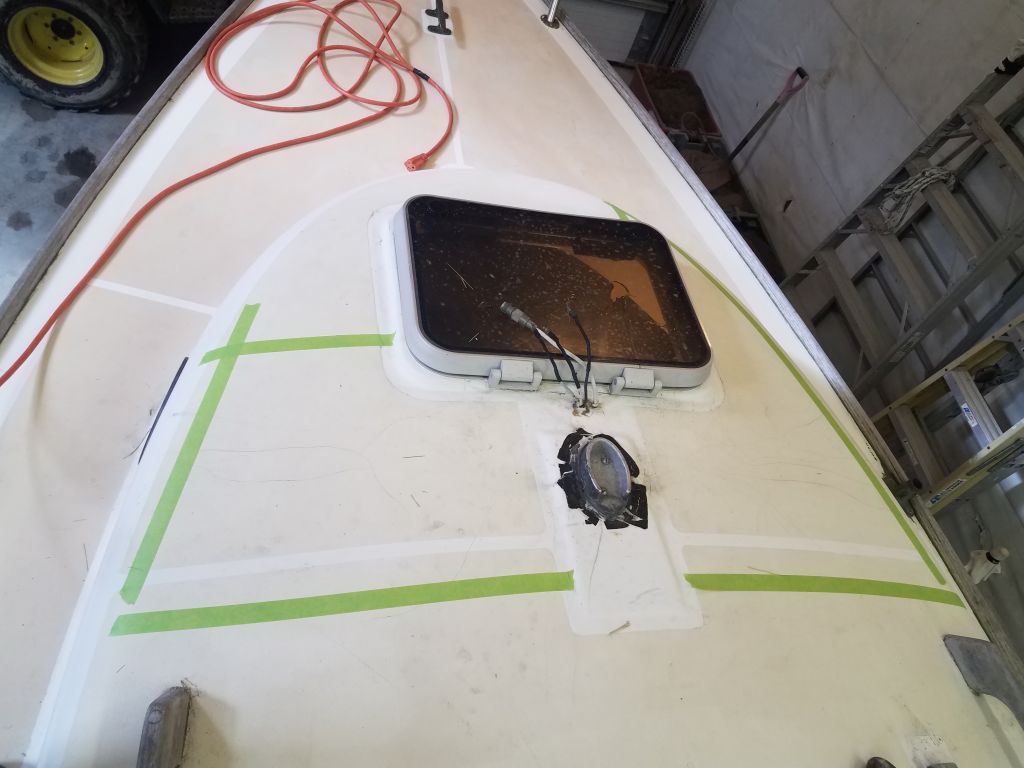
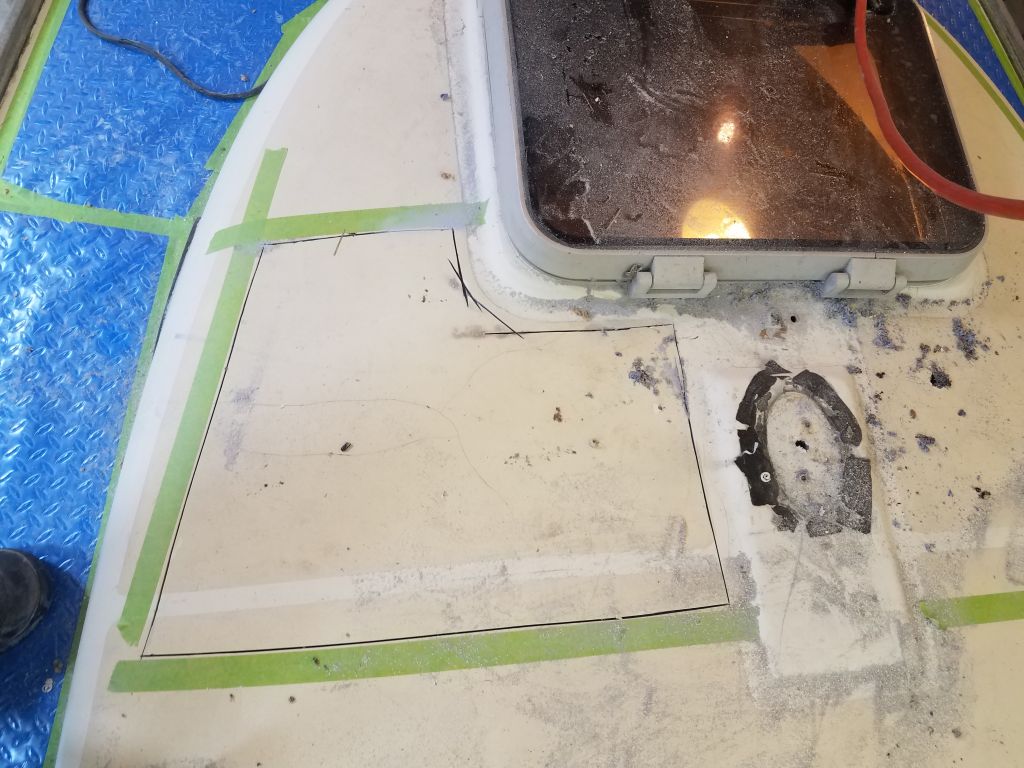
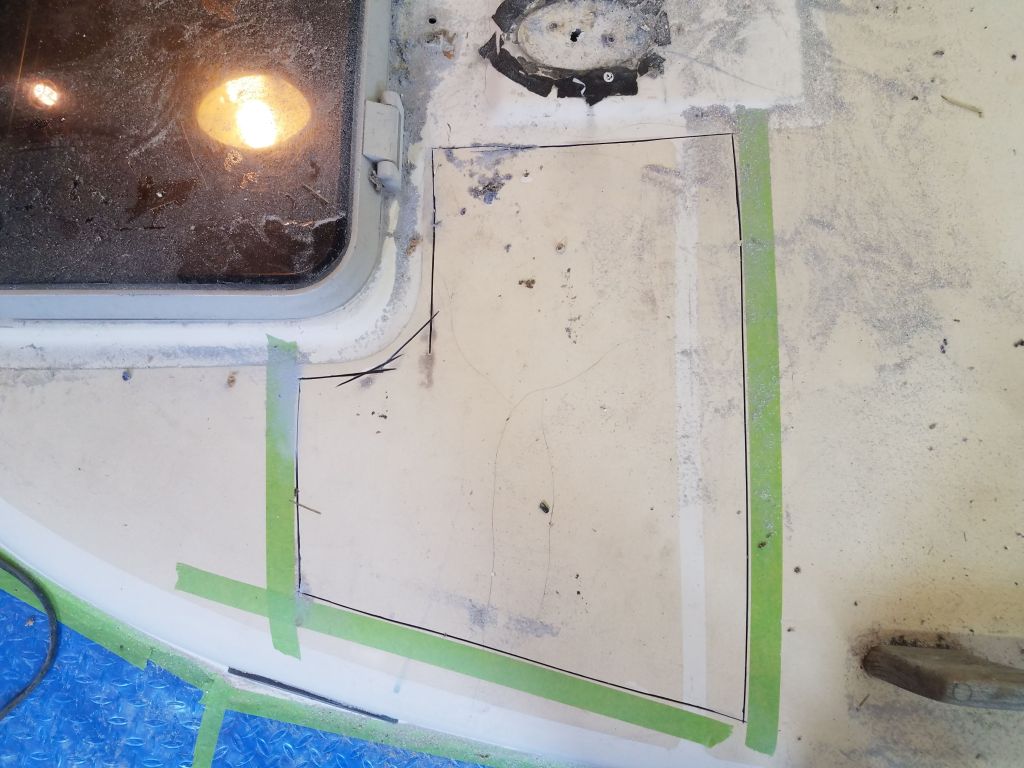
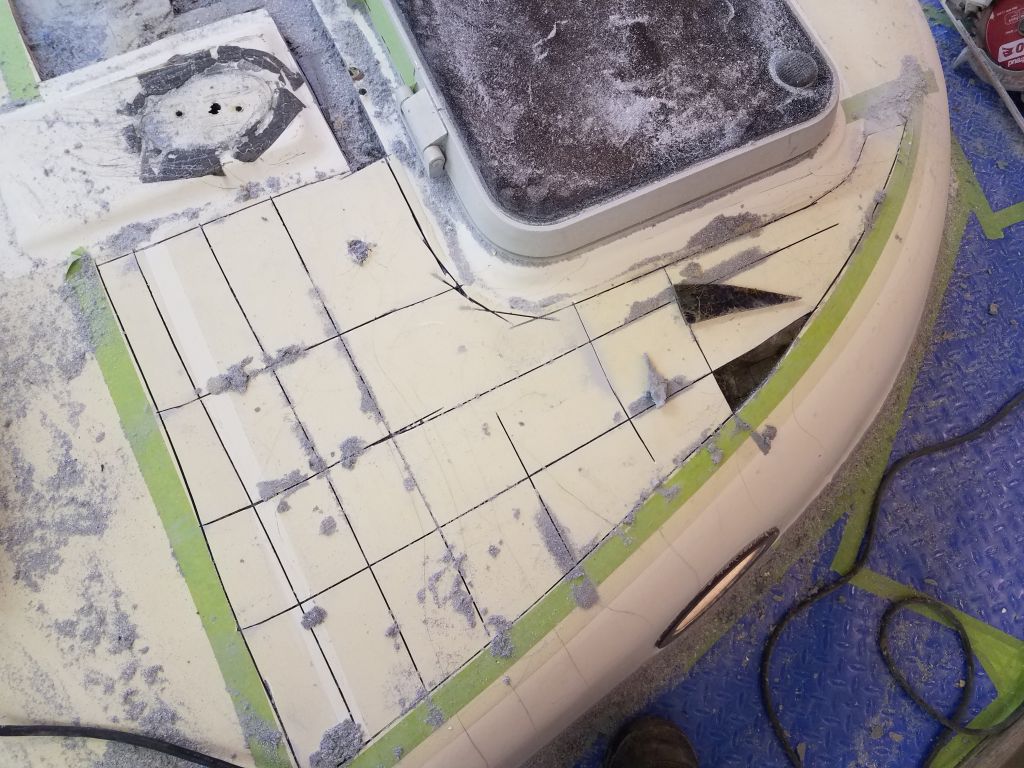
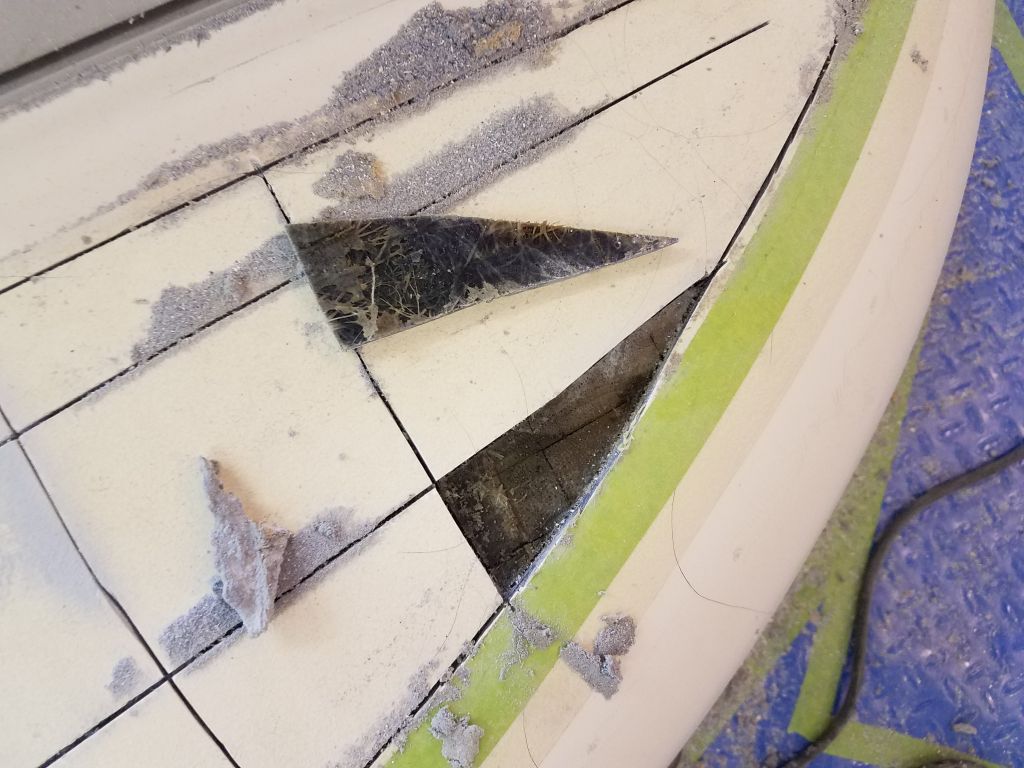
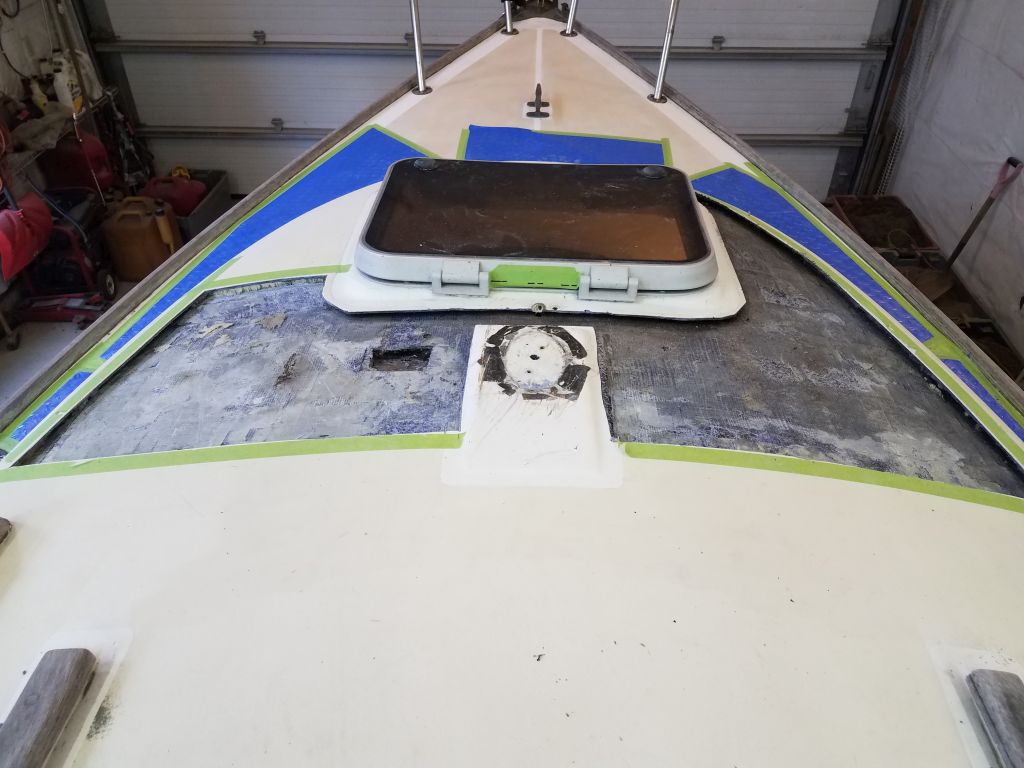
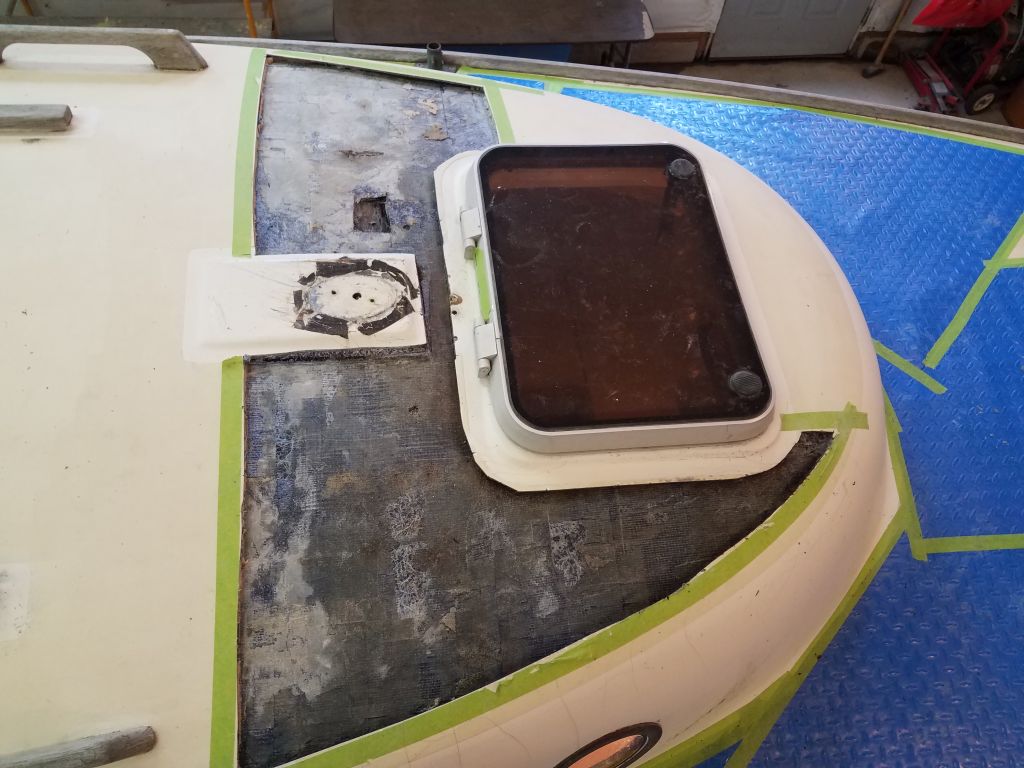
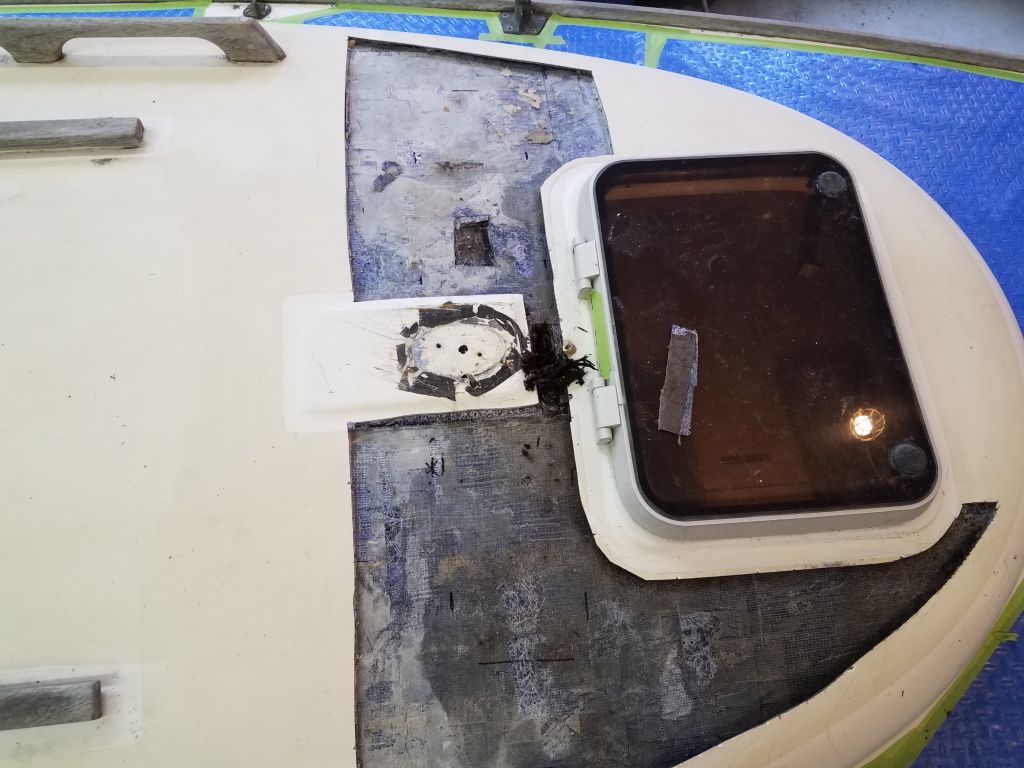
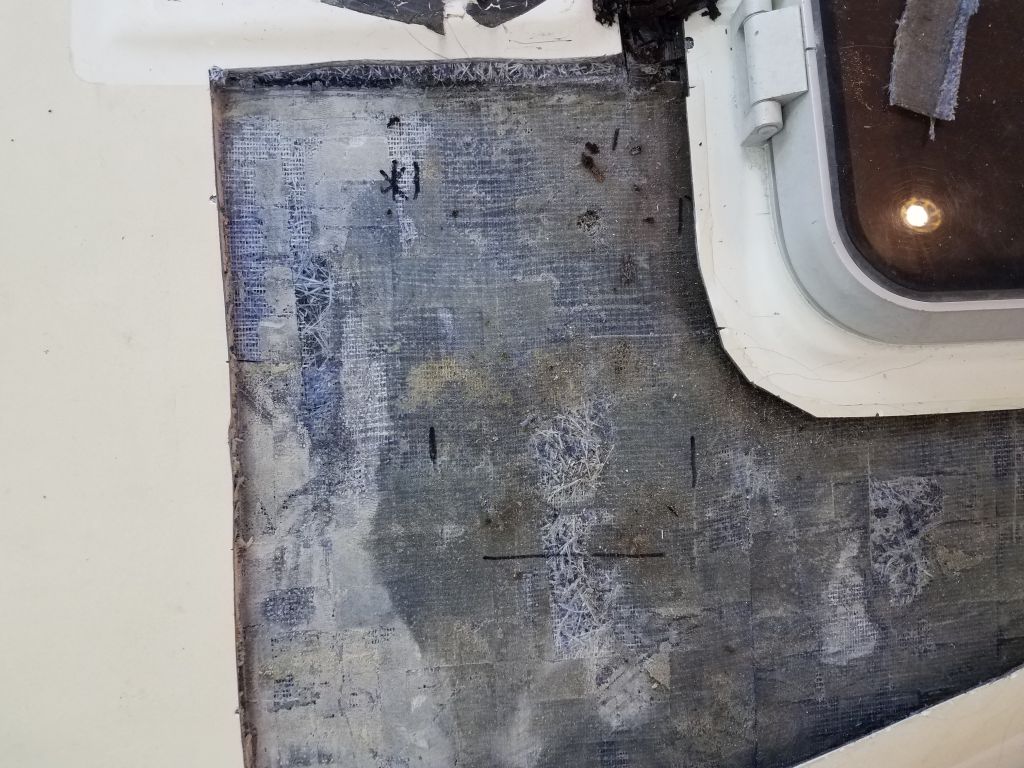
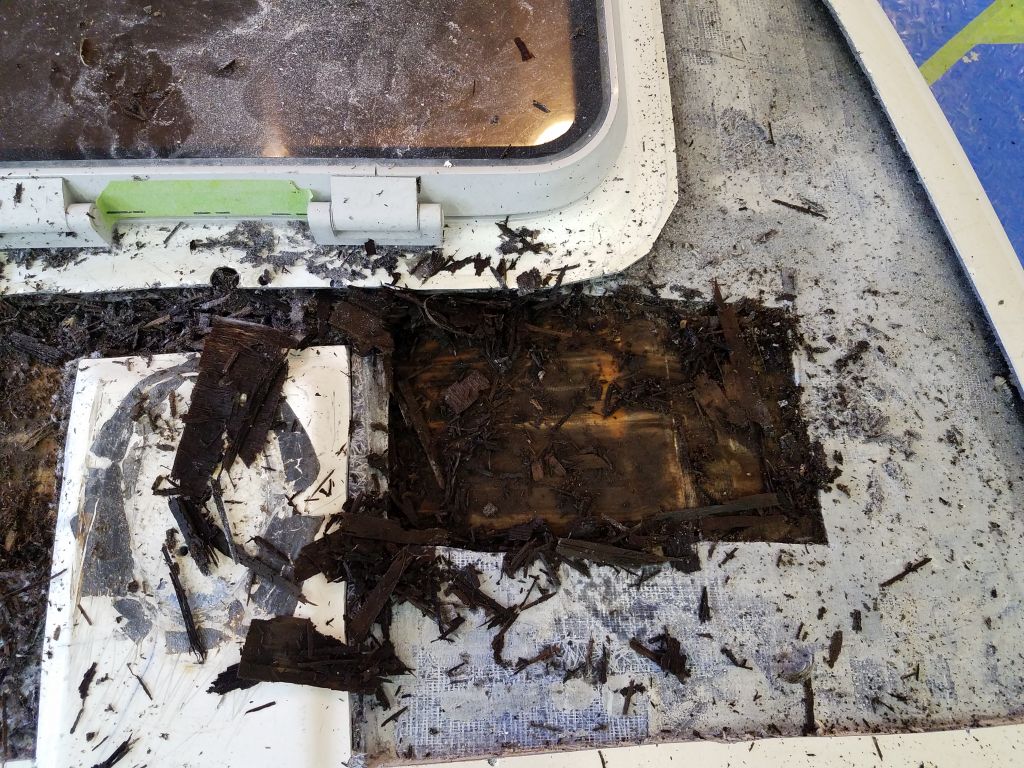
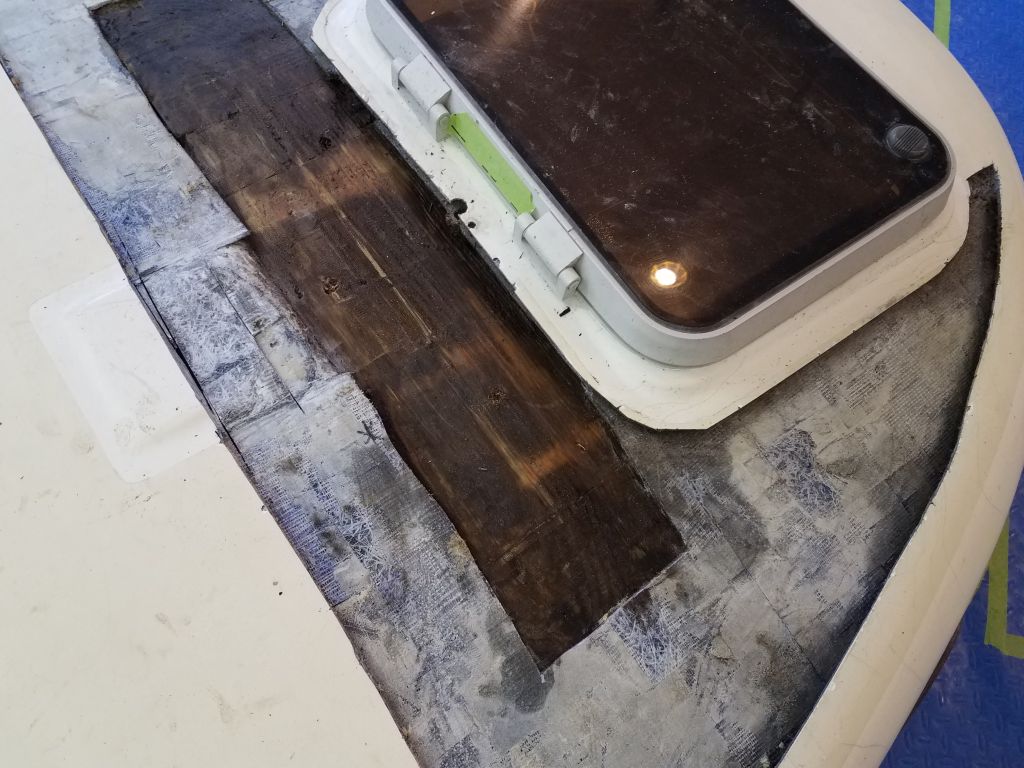
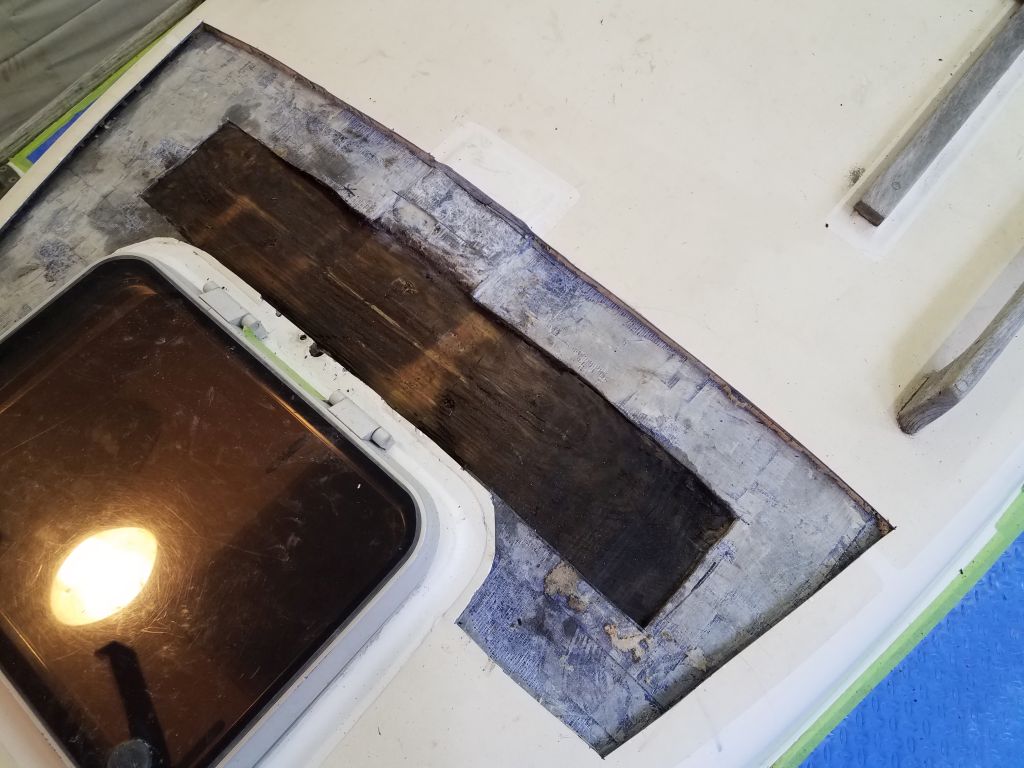
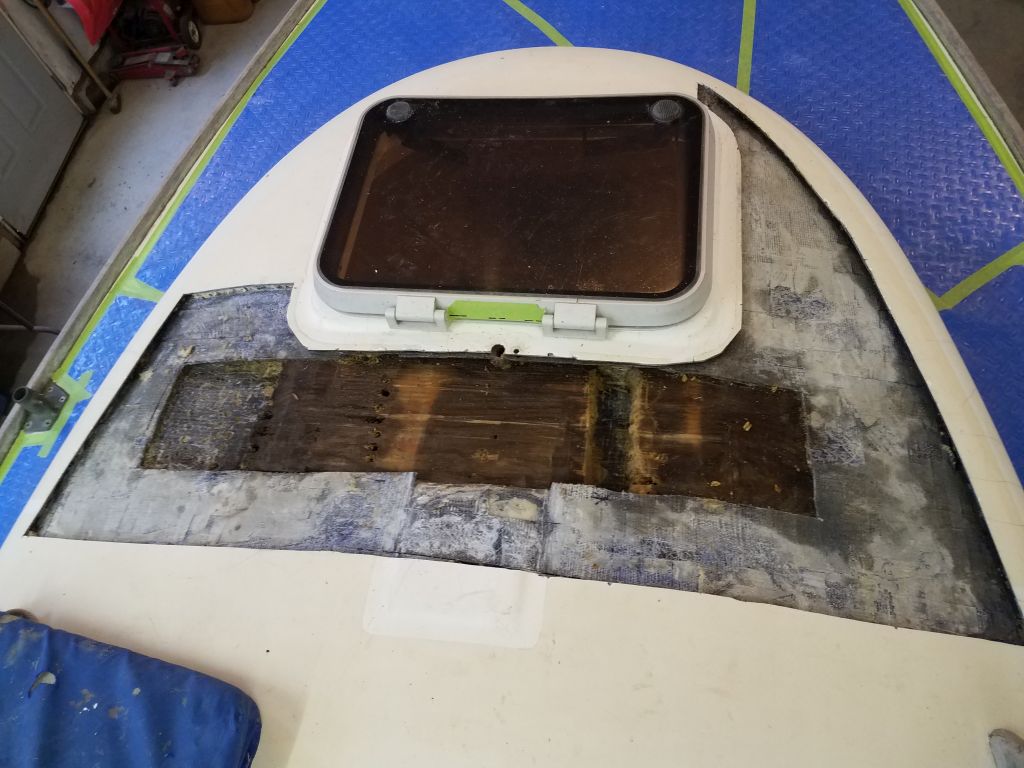
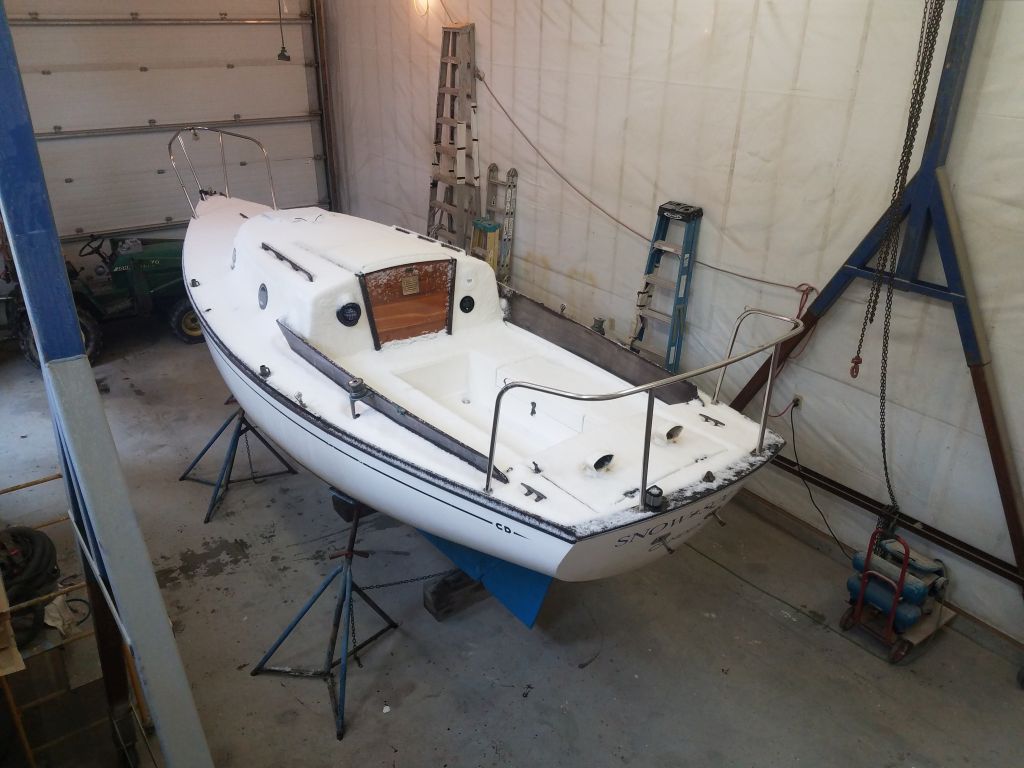
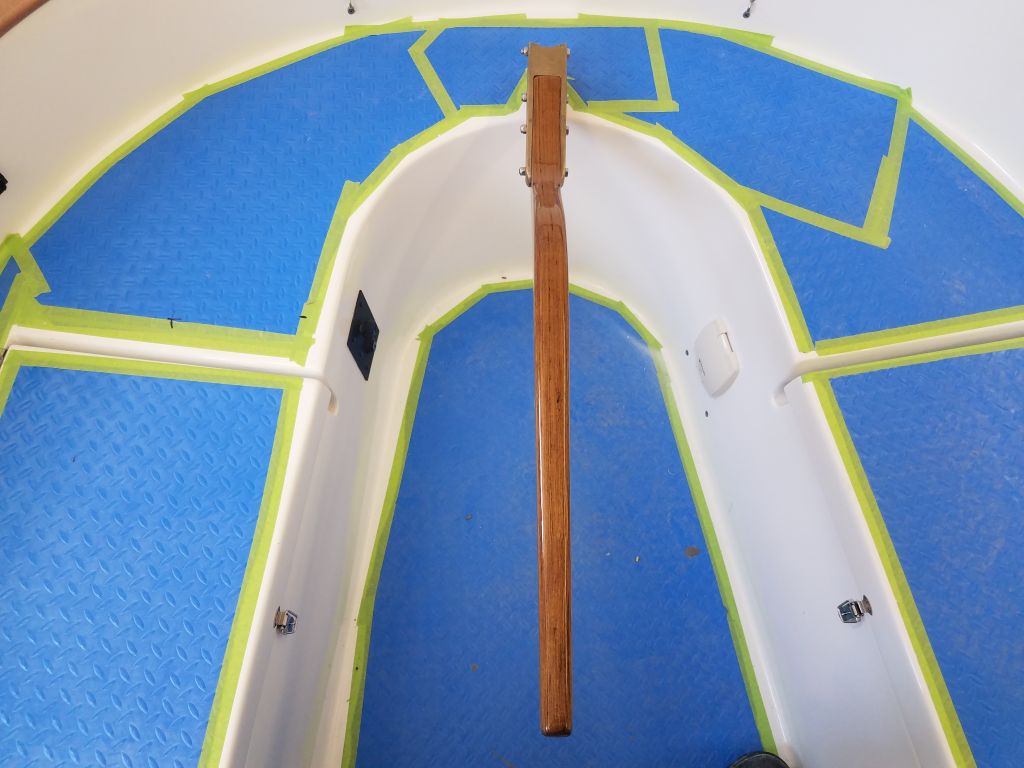
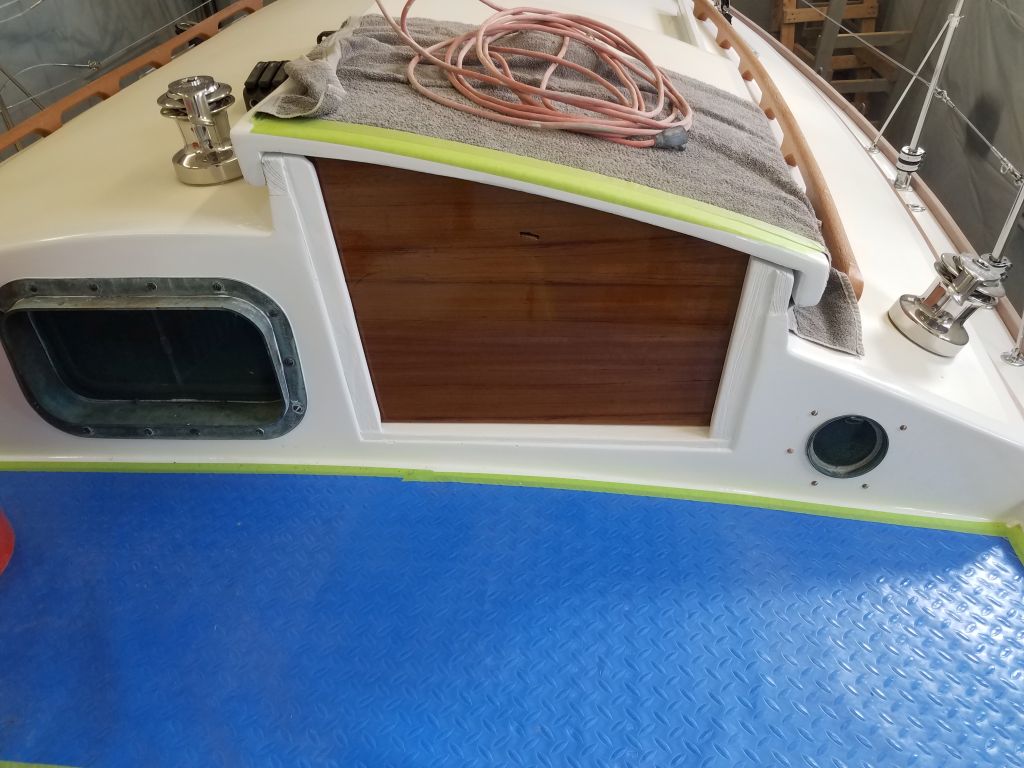
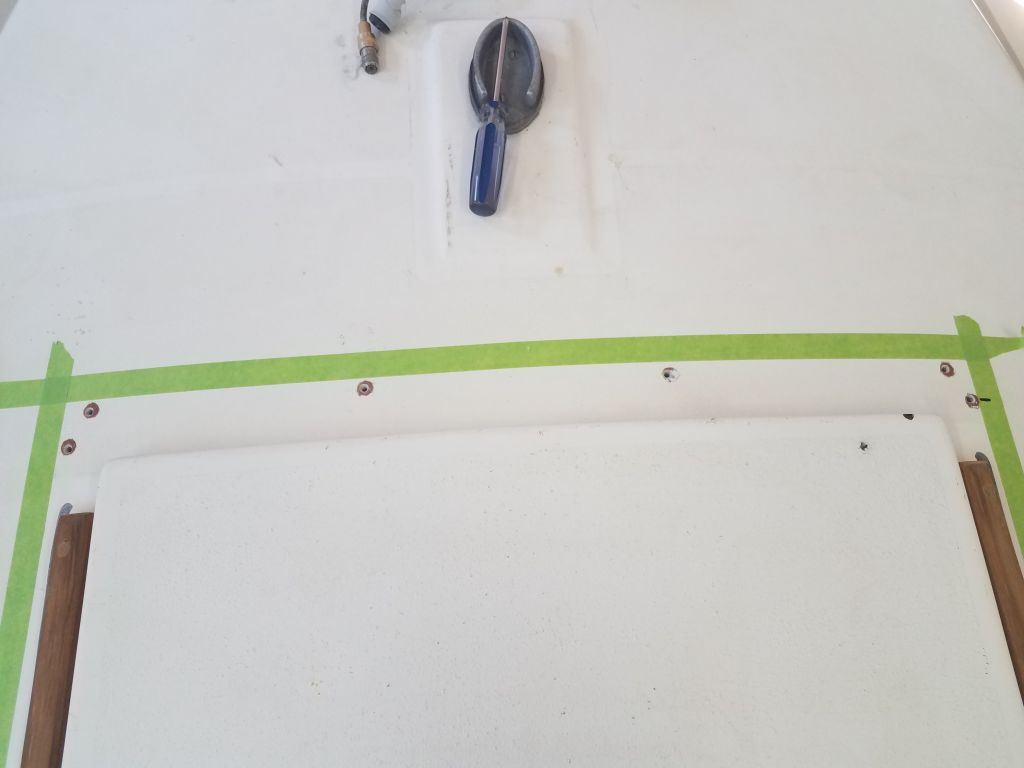
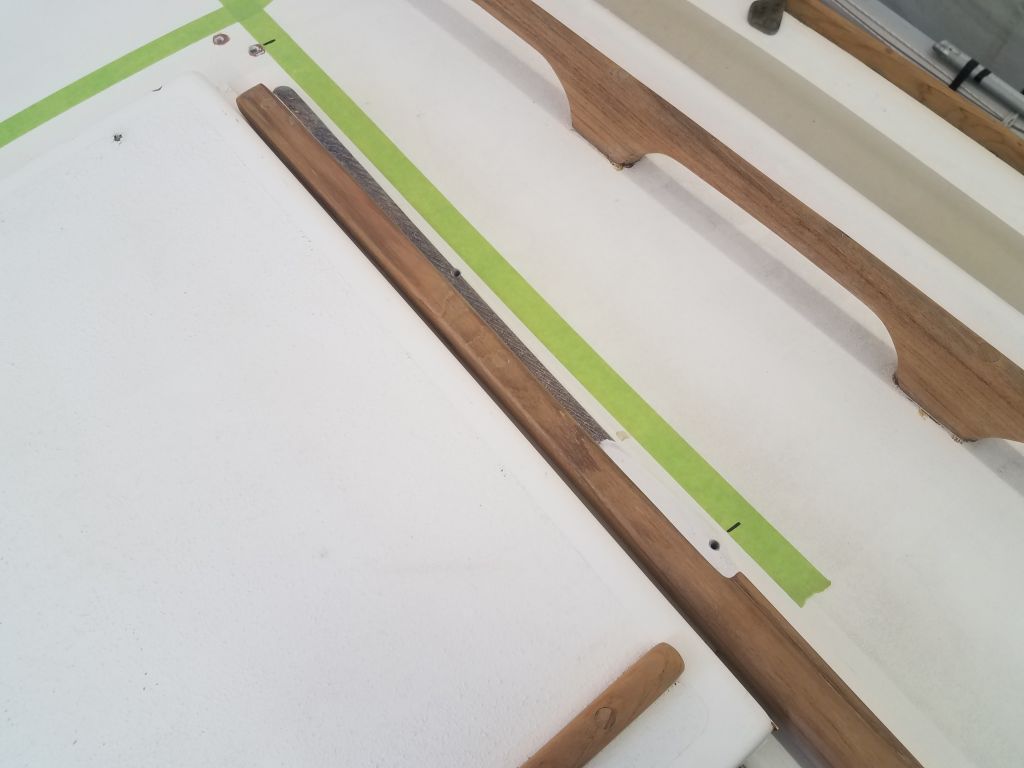
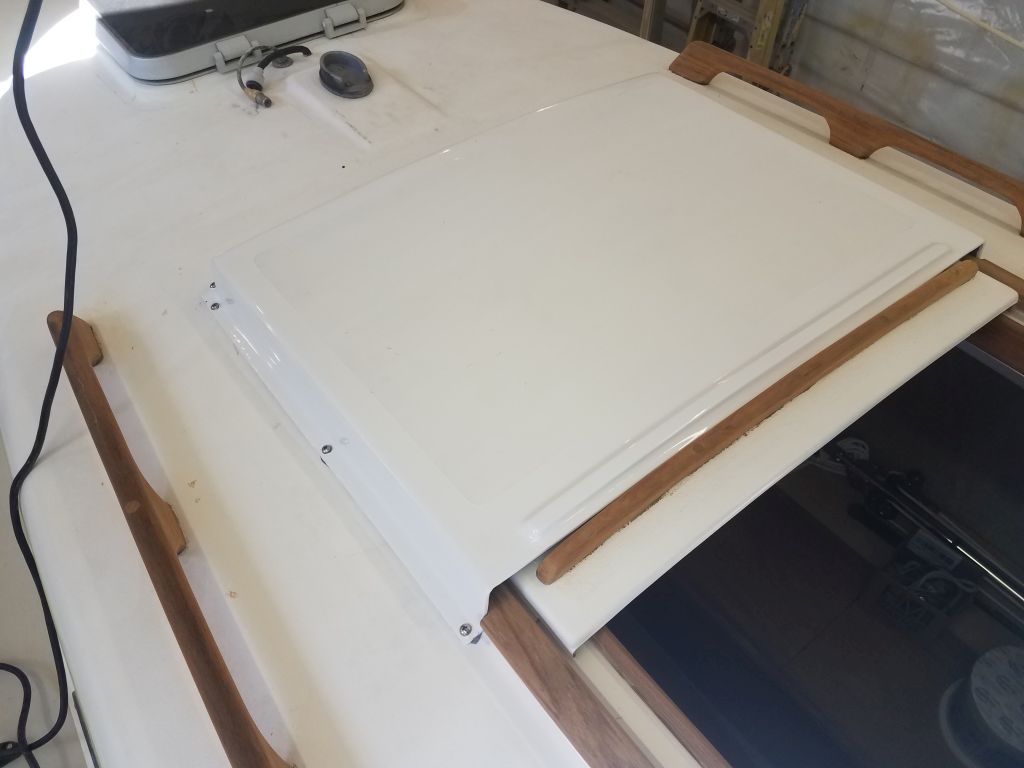
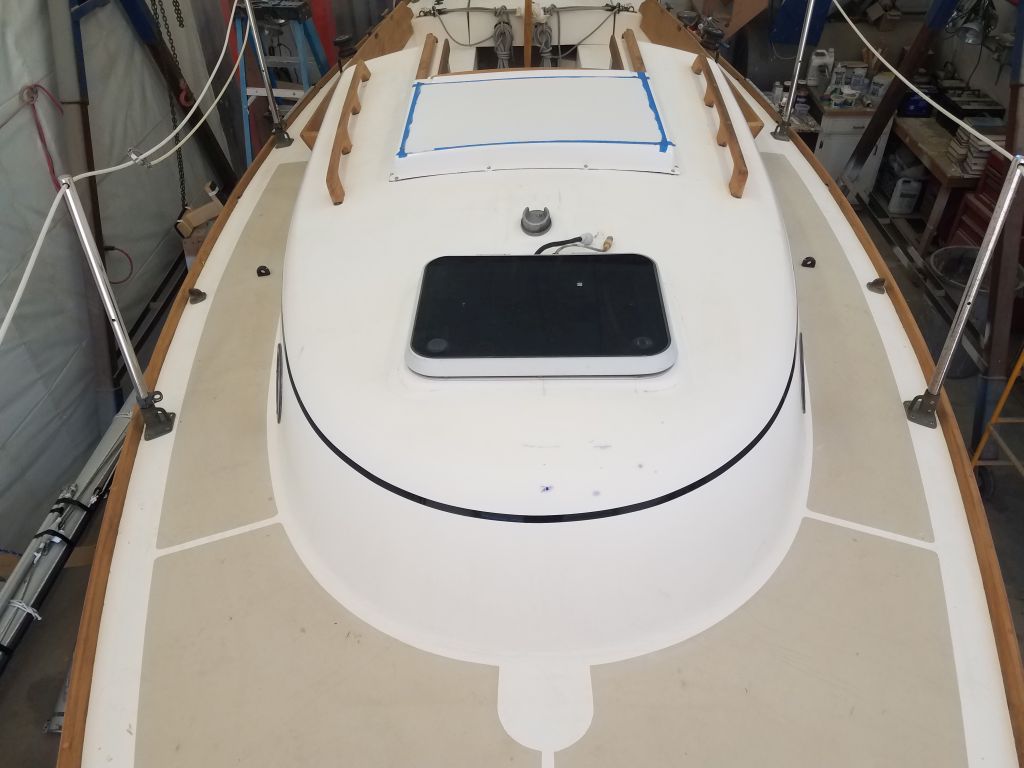
Most of the coachroof appeared sound, namely the after portions in and around the companionway hatch. As anticipated, however, the area on each side of the mast step presented with obvious signs of debonding, delamination, and damp or sodden core. I used the sounding hammer to determine the outer reaches of the obvious damage, and marked off the areas with tape. The inside edge of the tape would be my cutlines for opening the deck for repair. The apparent extent of the damage on the starboard side extended beyond the forward hatch, while to port the area was slightly smaller.
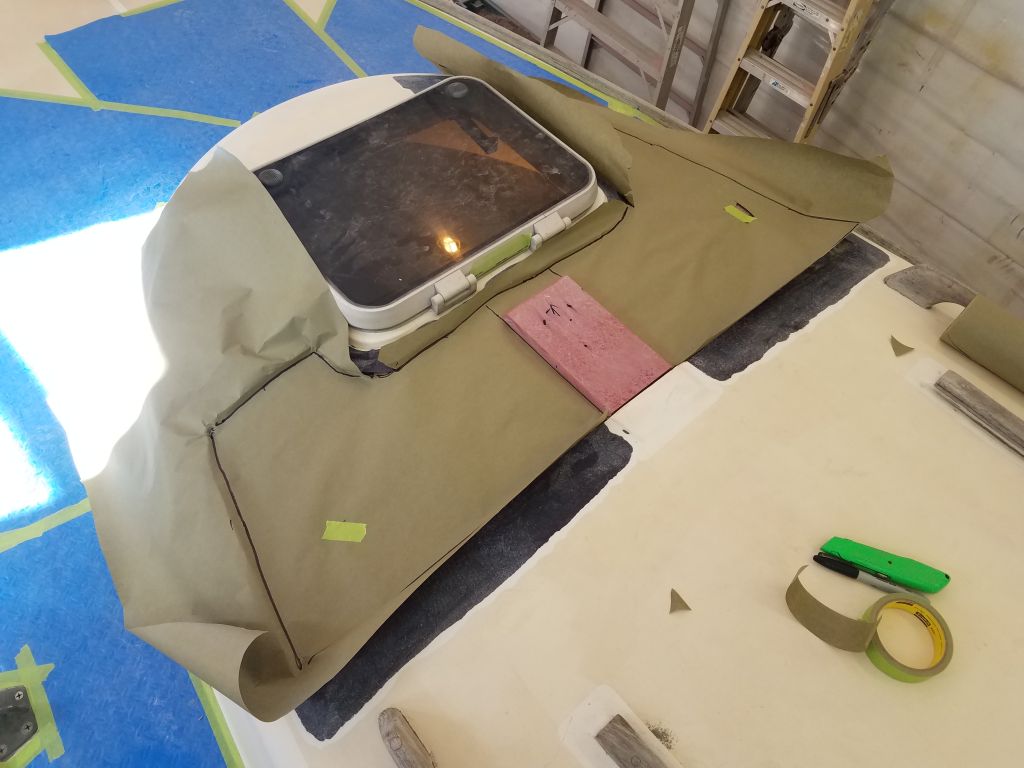
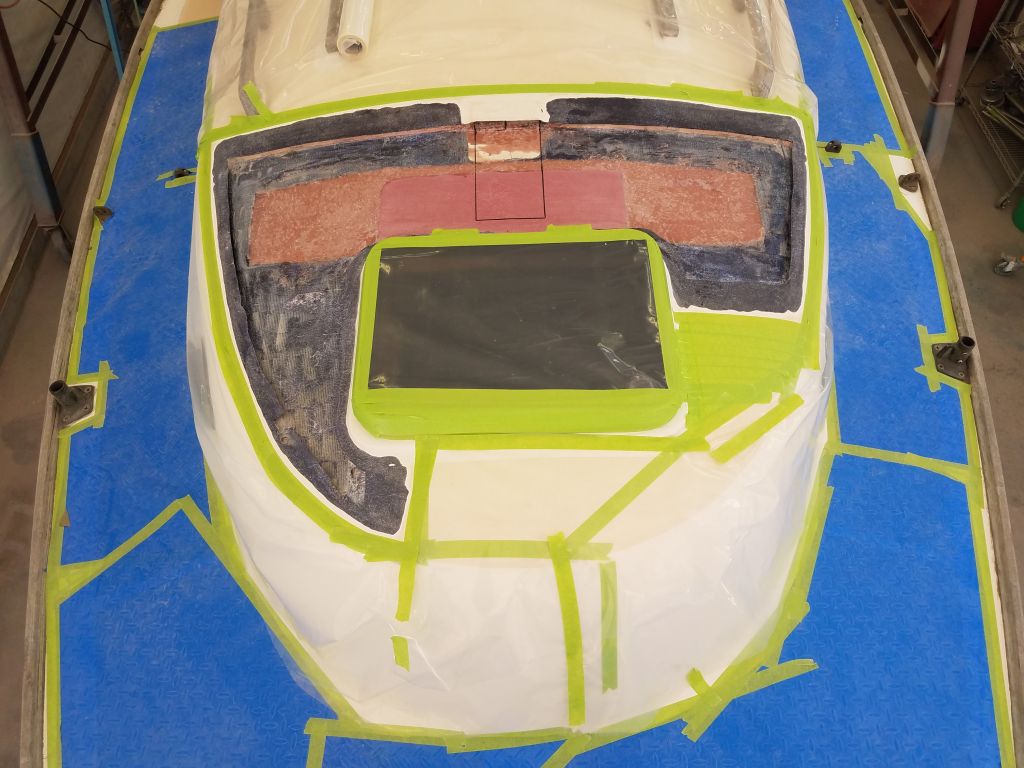
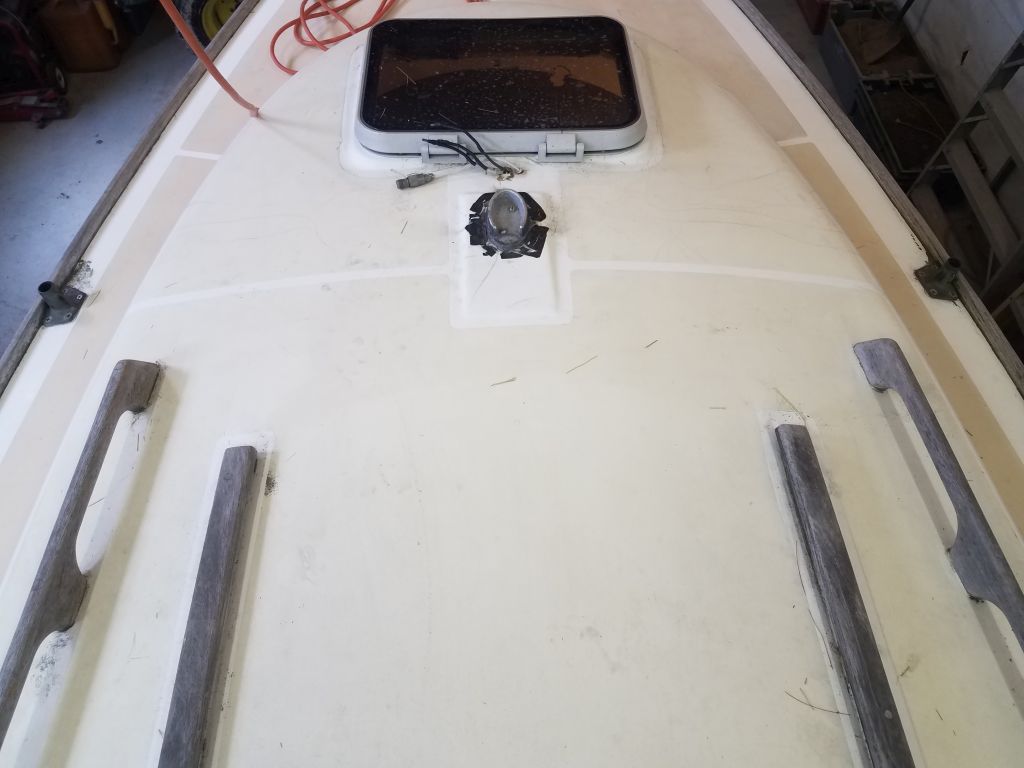
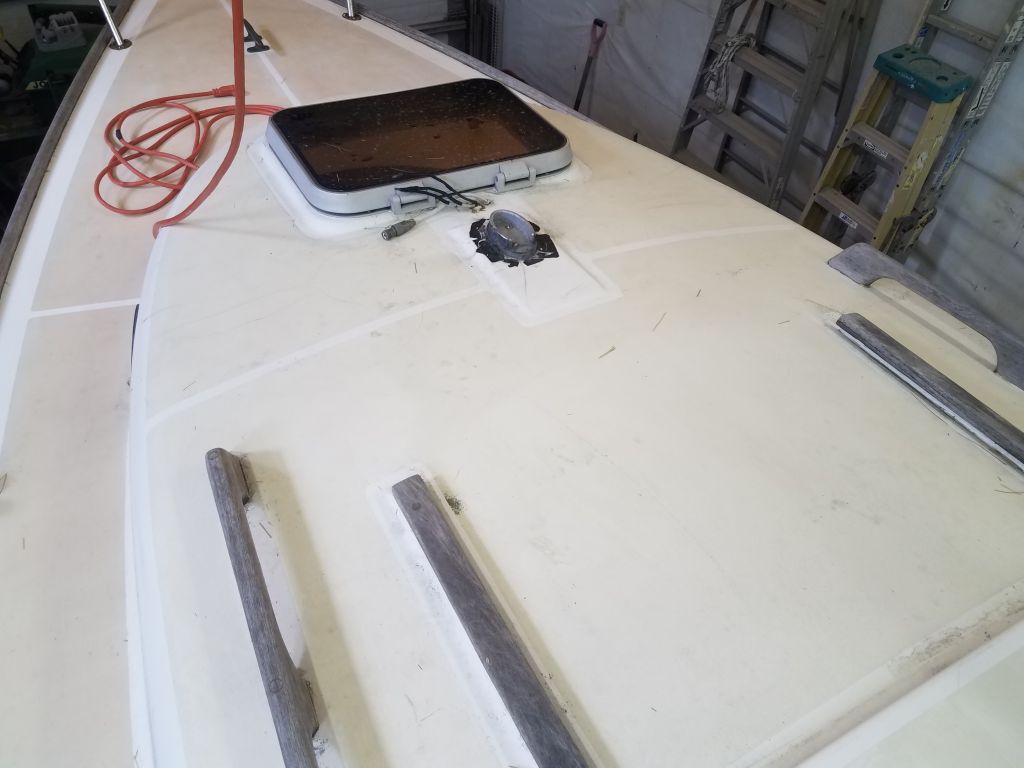
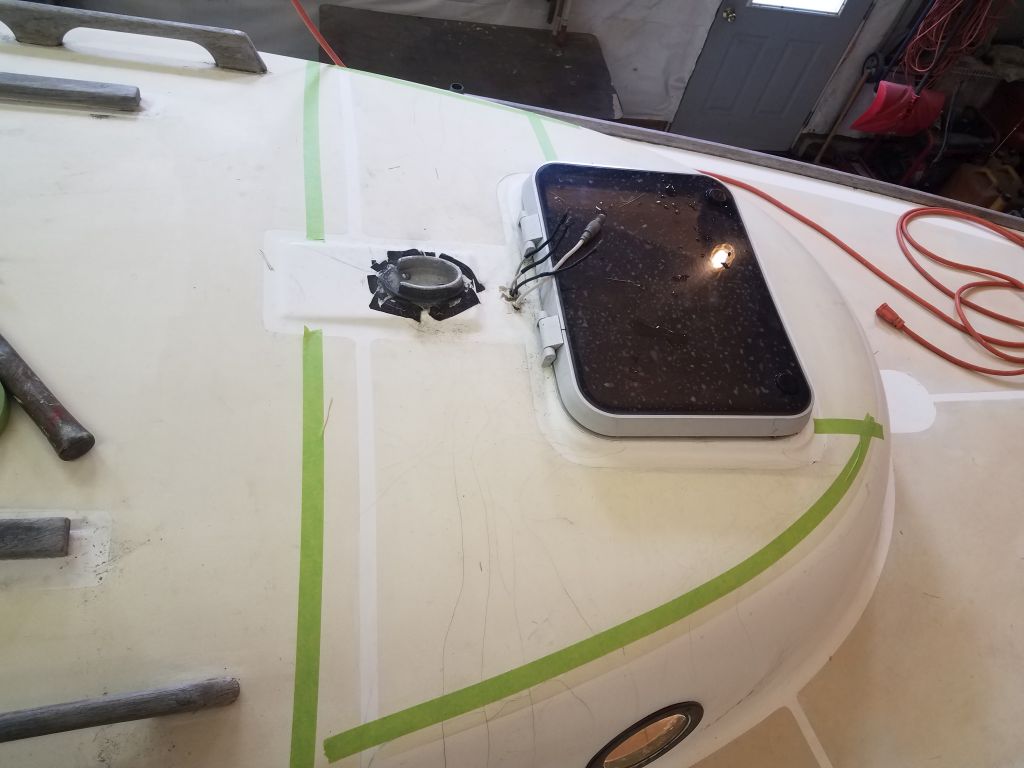
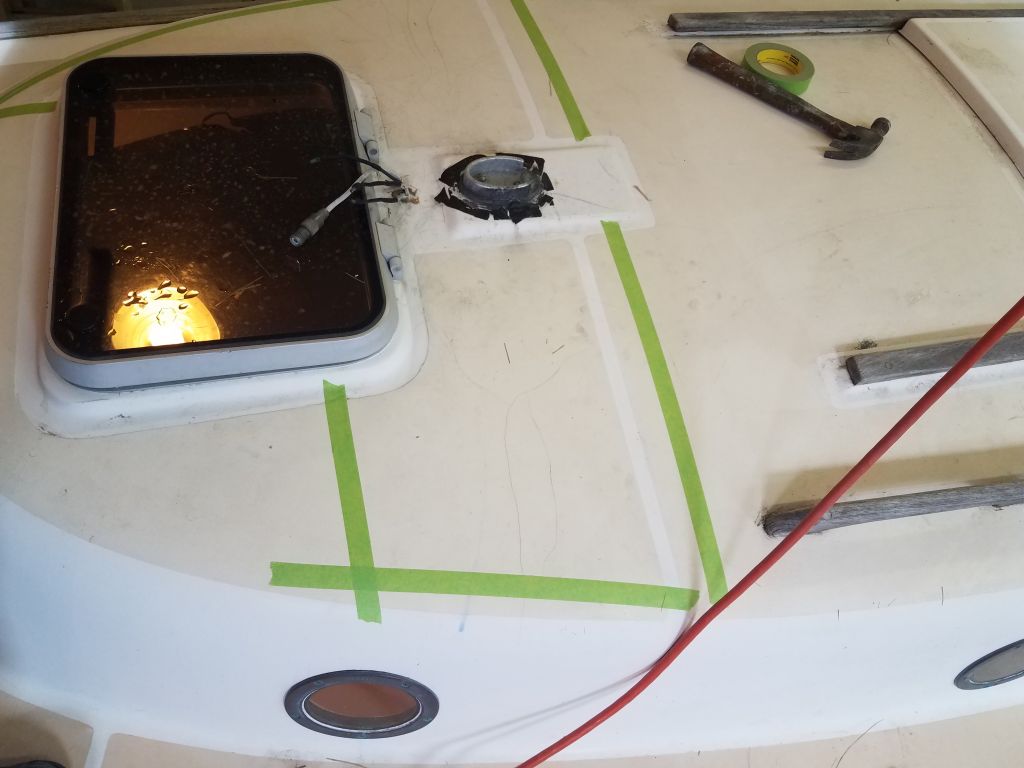
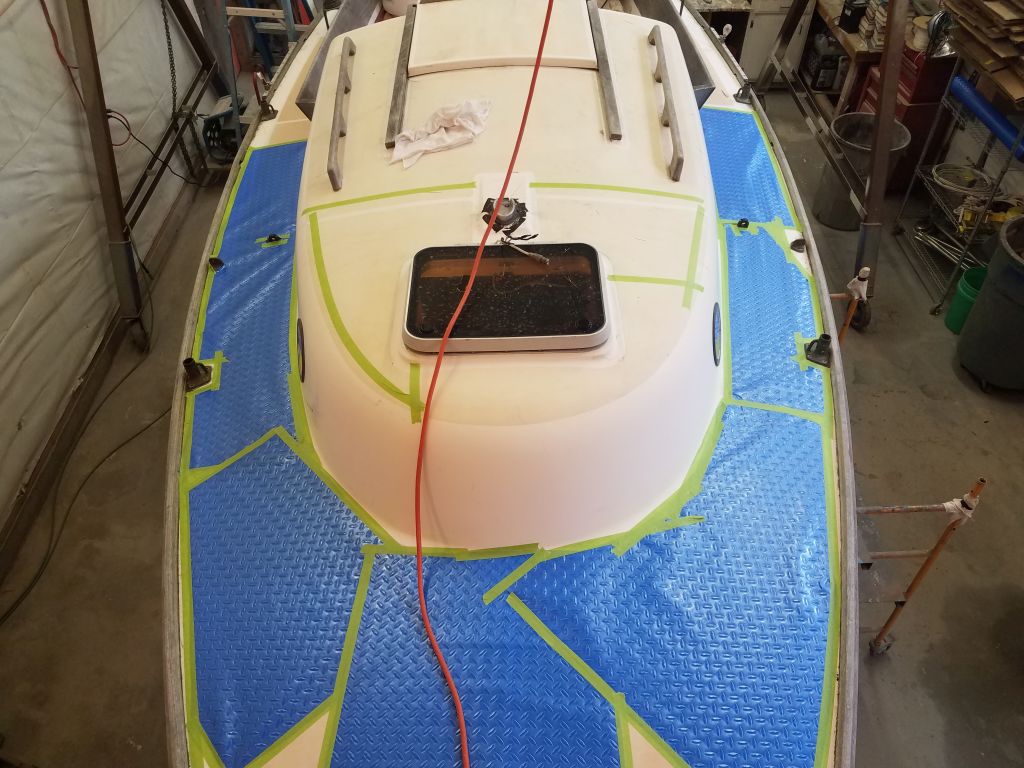
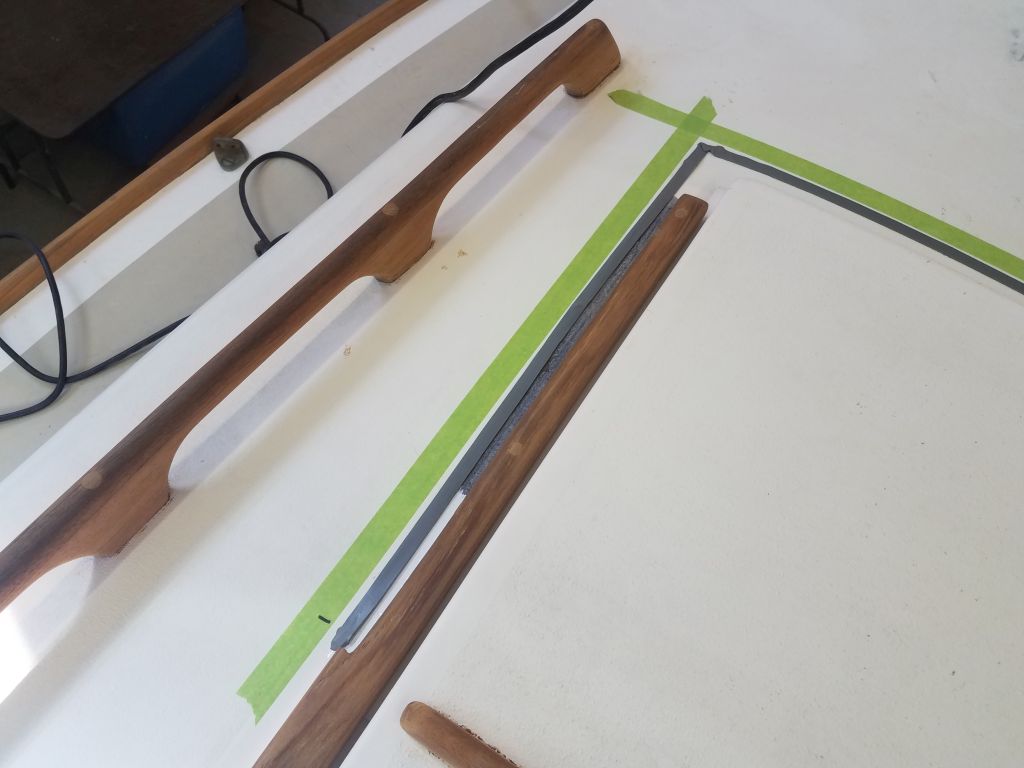
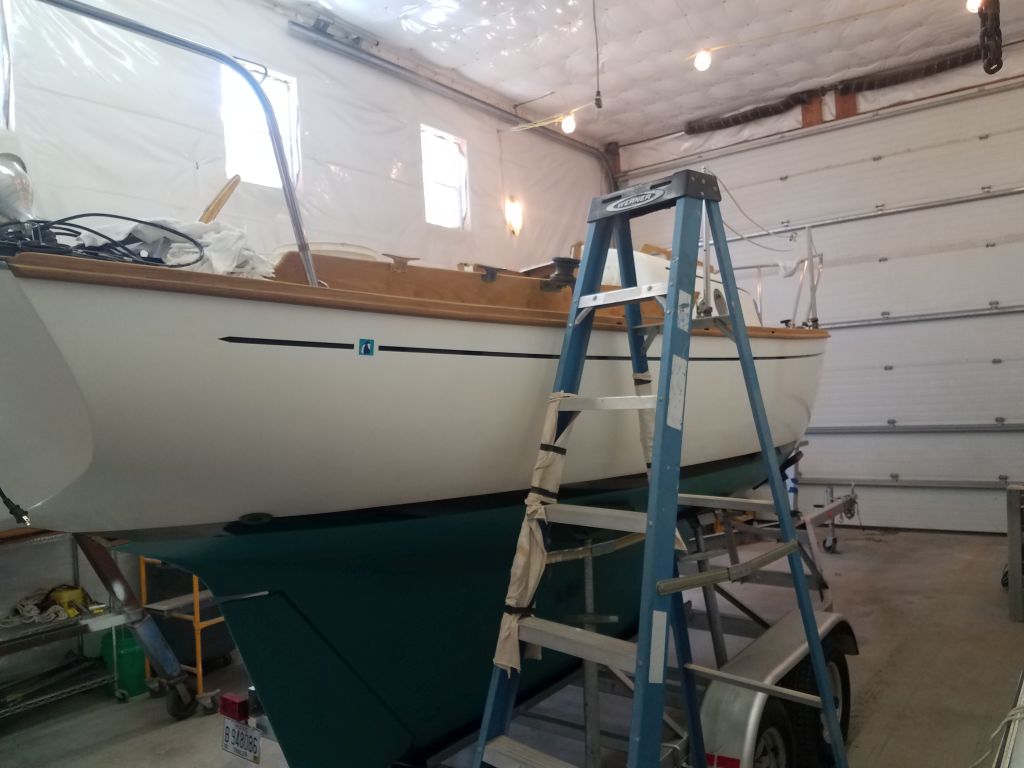
To prepare for the work ahead, I covered the sidedecks and foredeck with protective plastic, and assembled various tools, lighting, and electrical cords as needed.
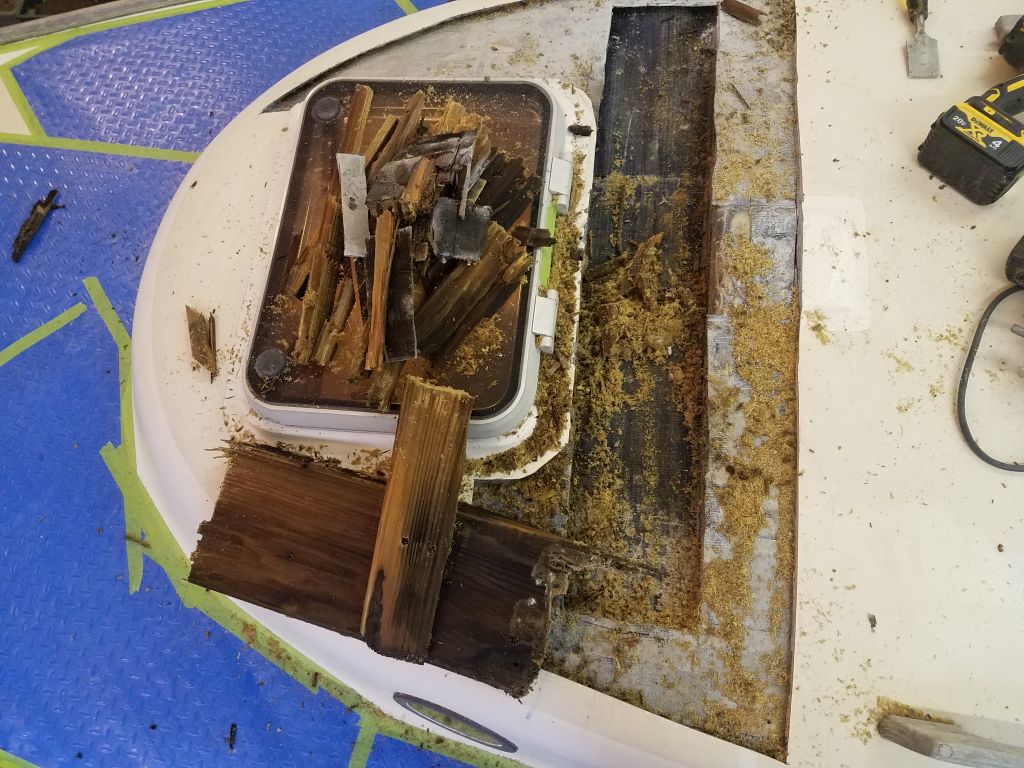
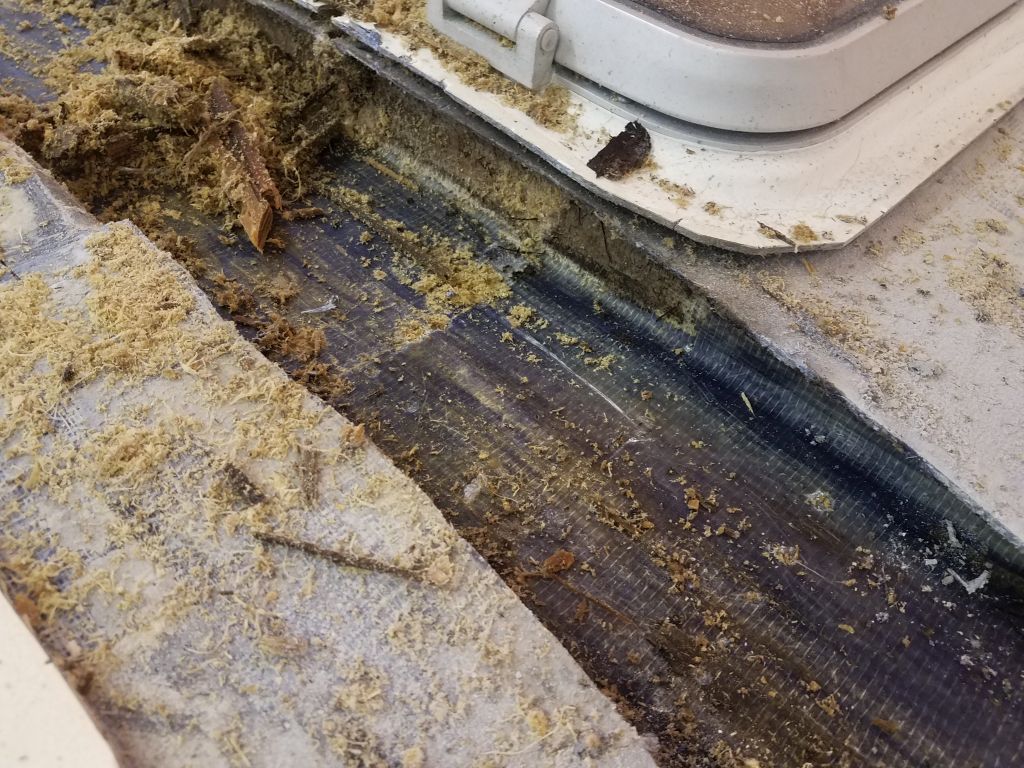
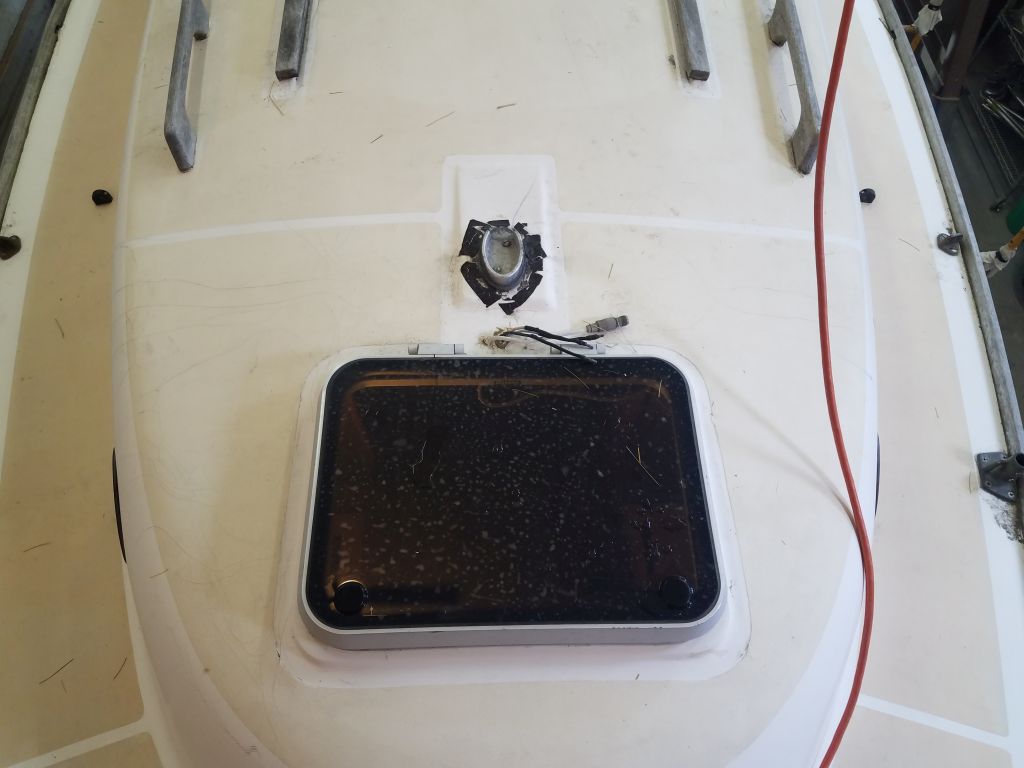
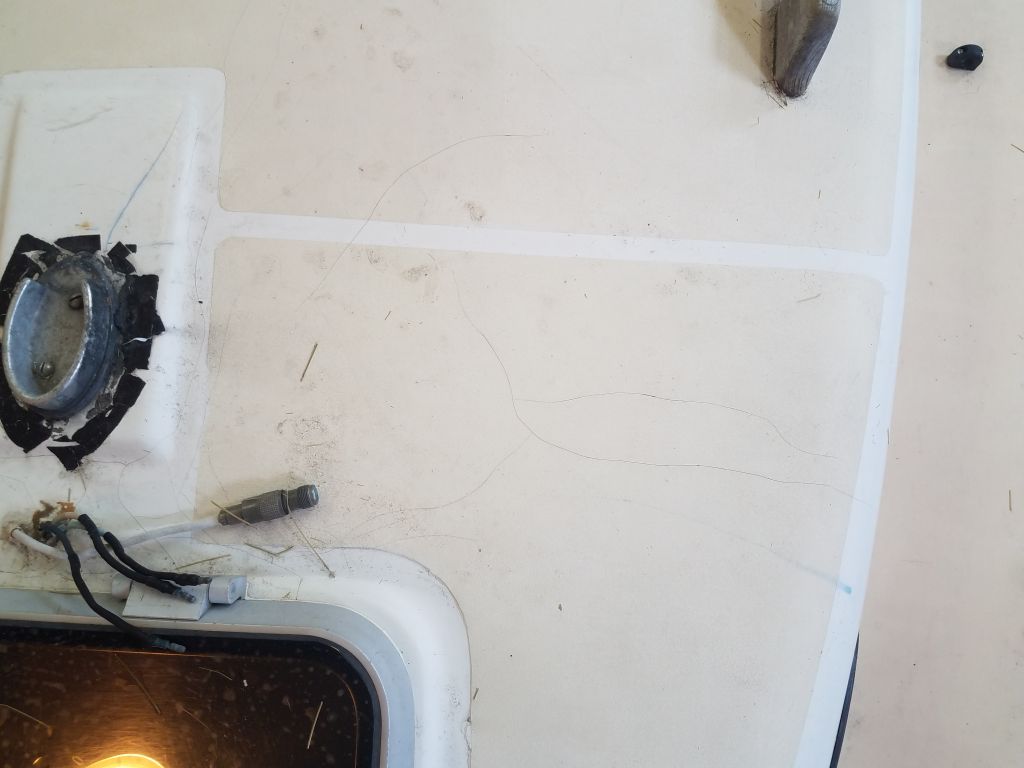
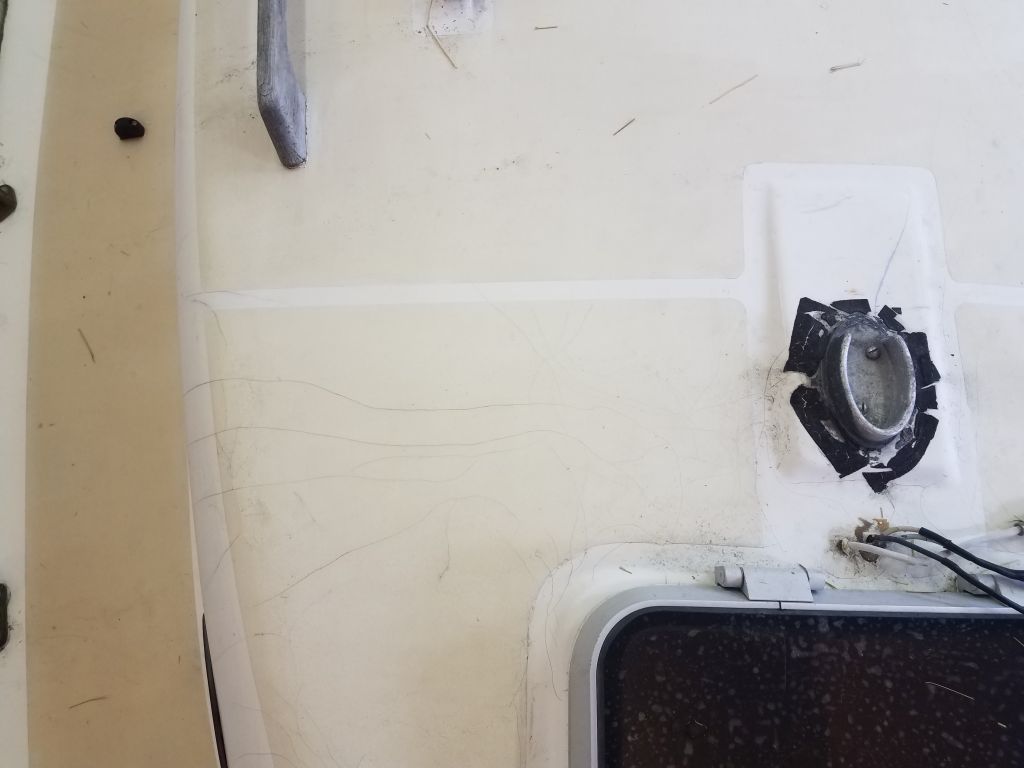
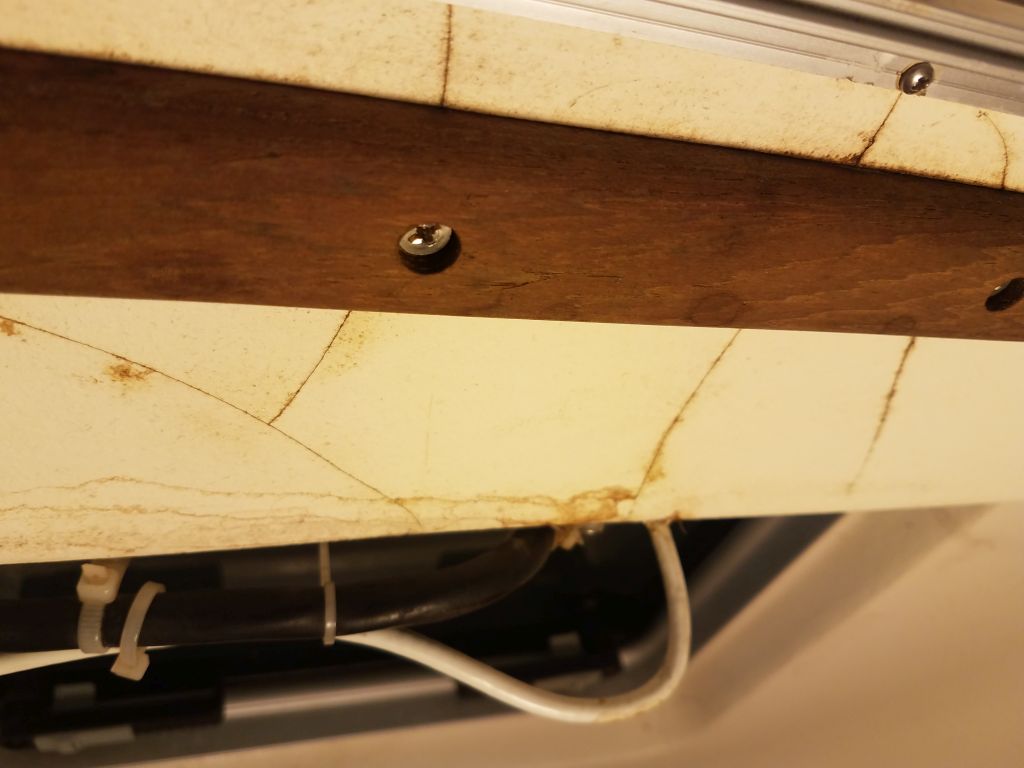
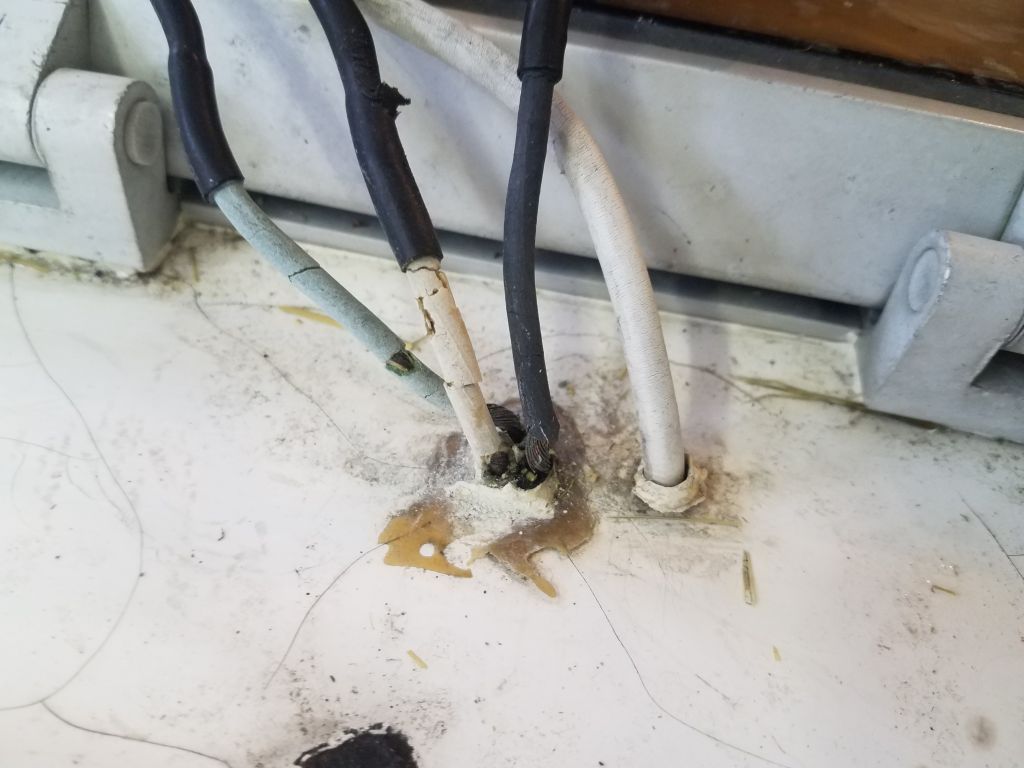
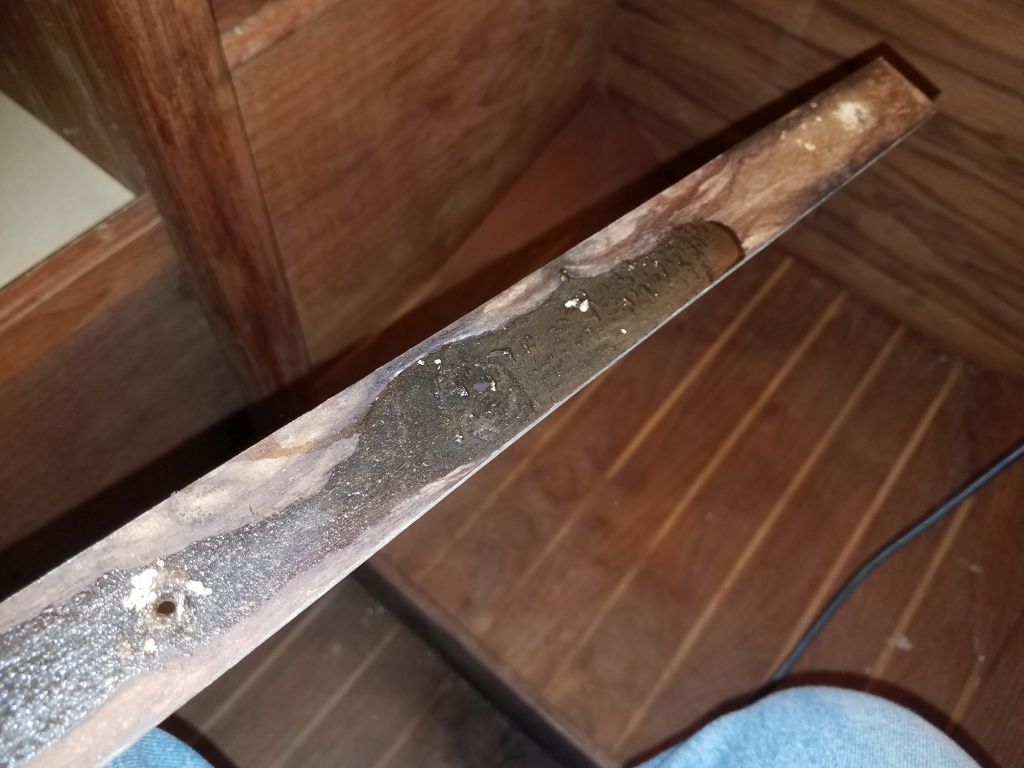
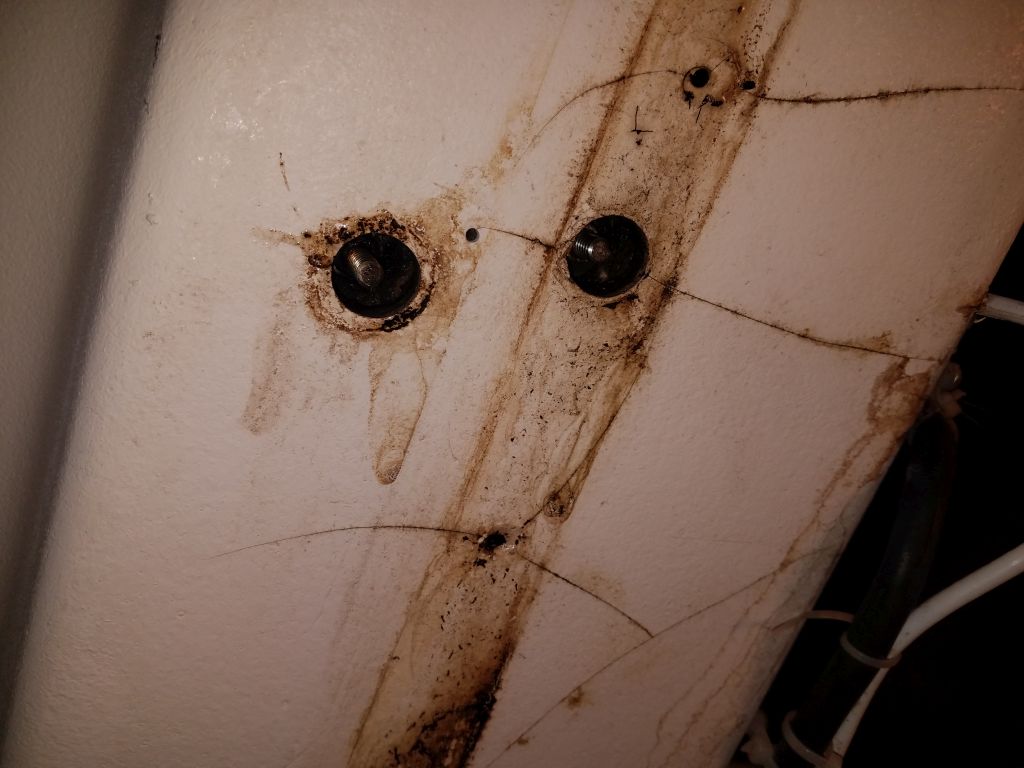
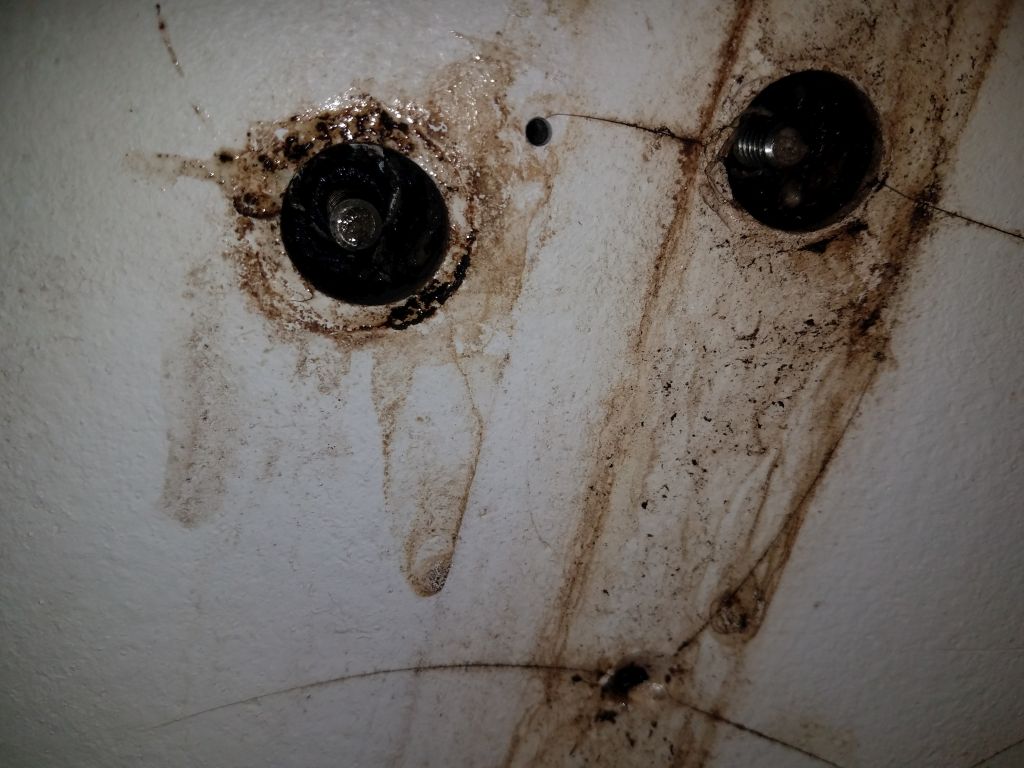
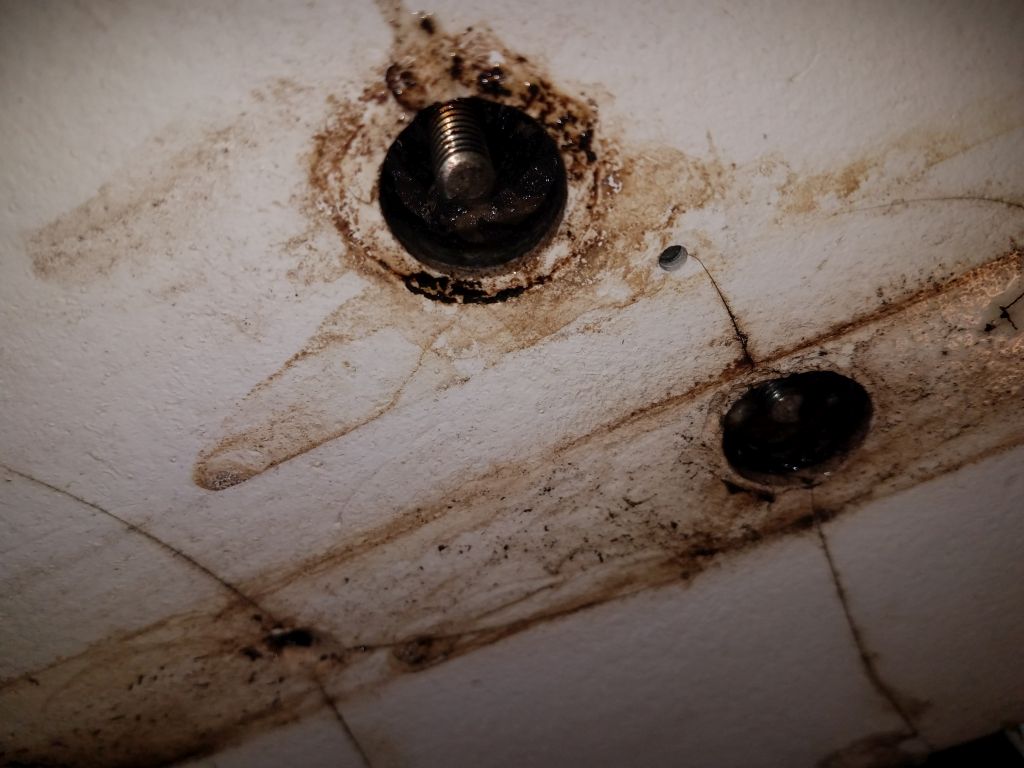
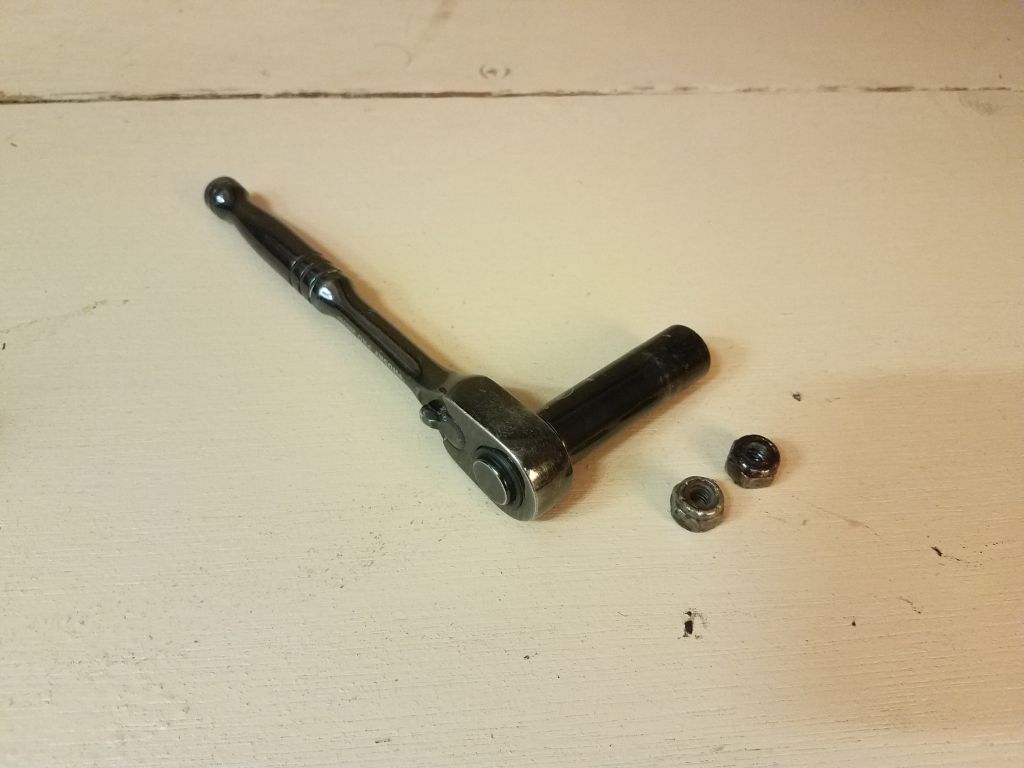
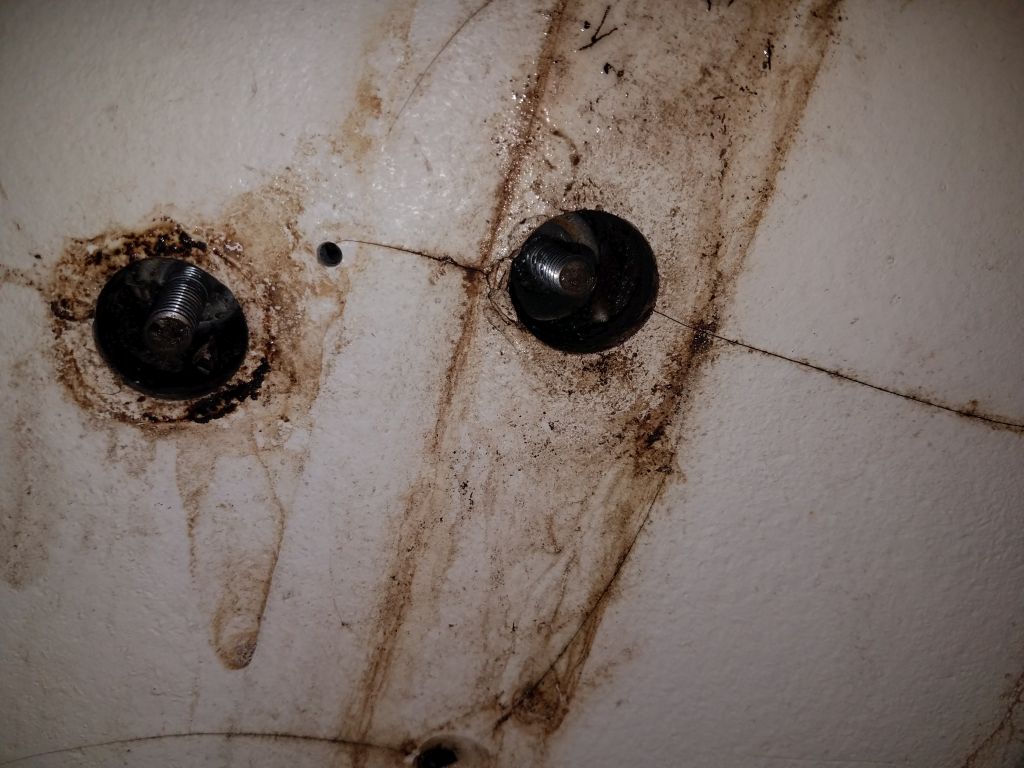
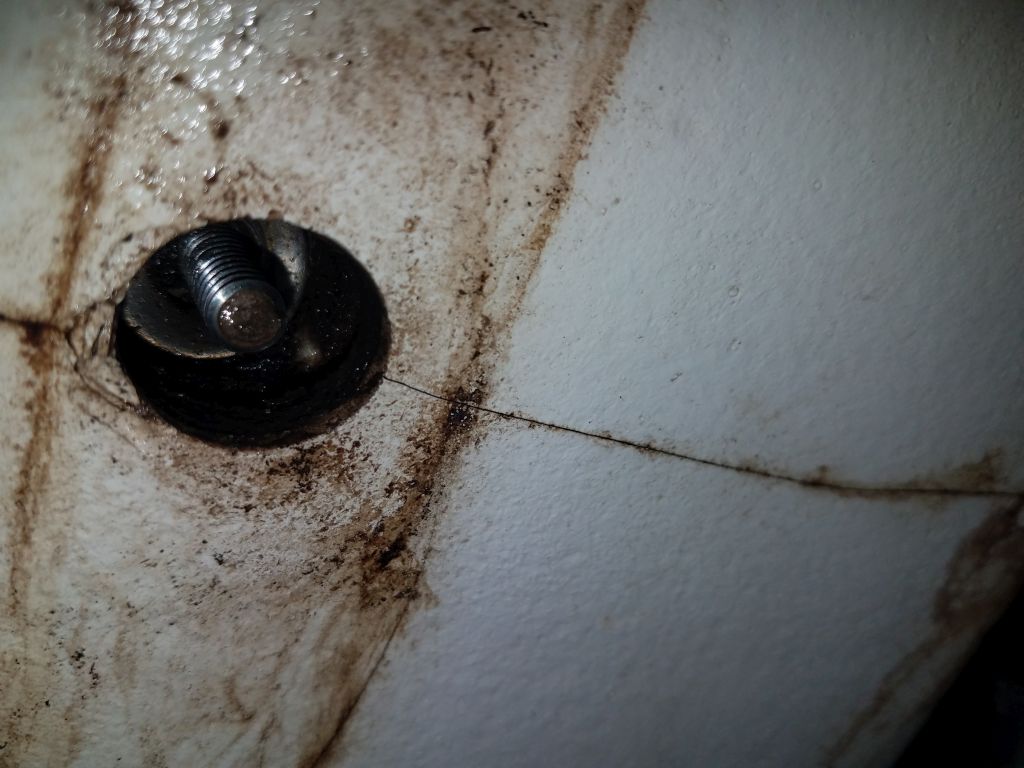
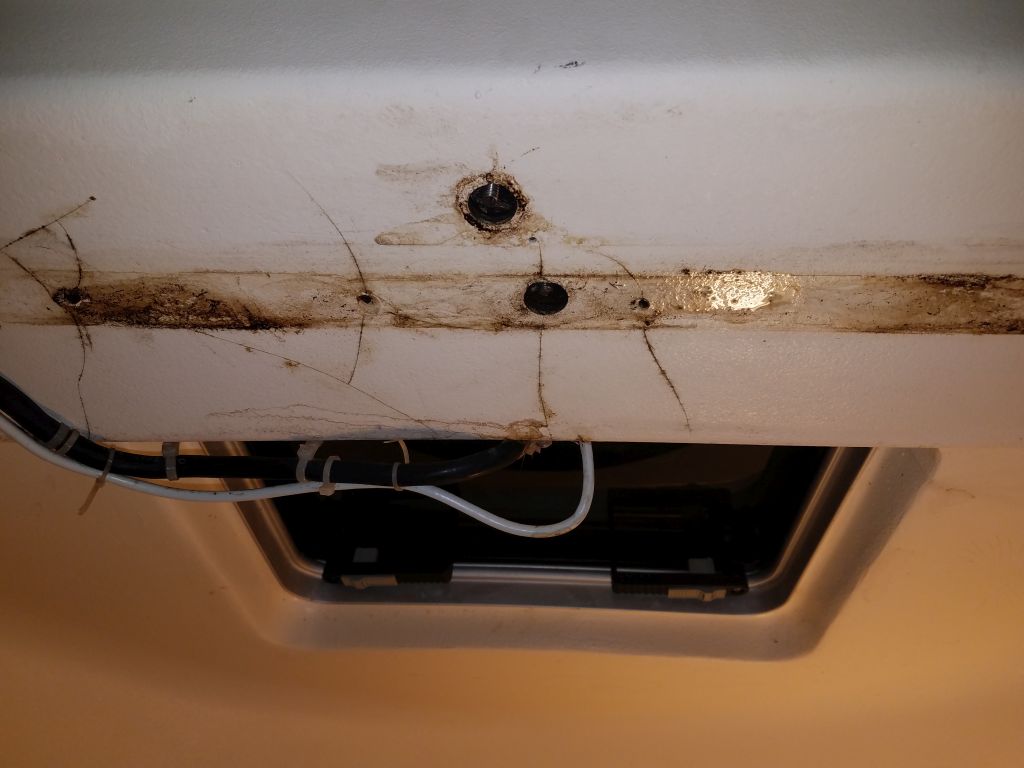
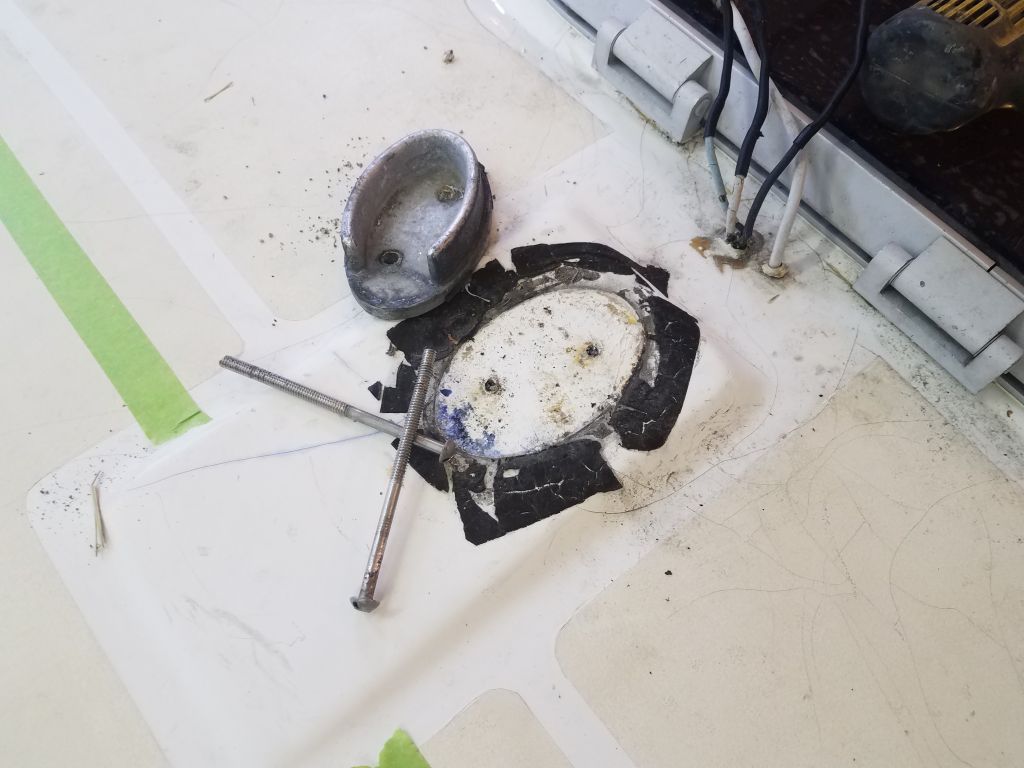
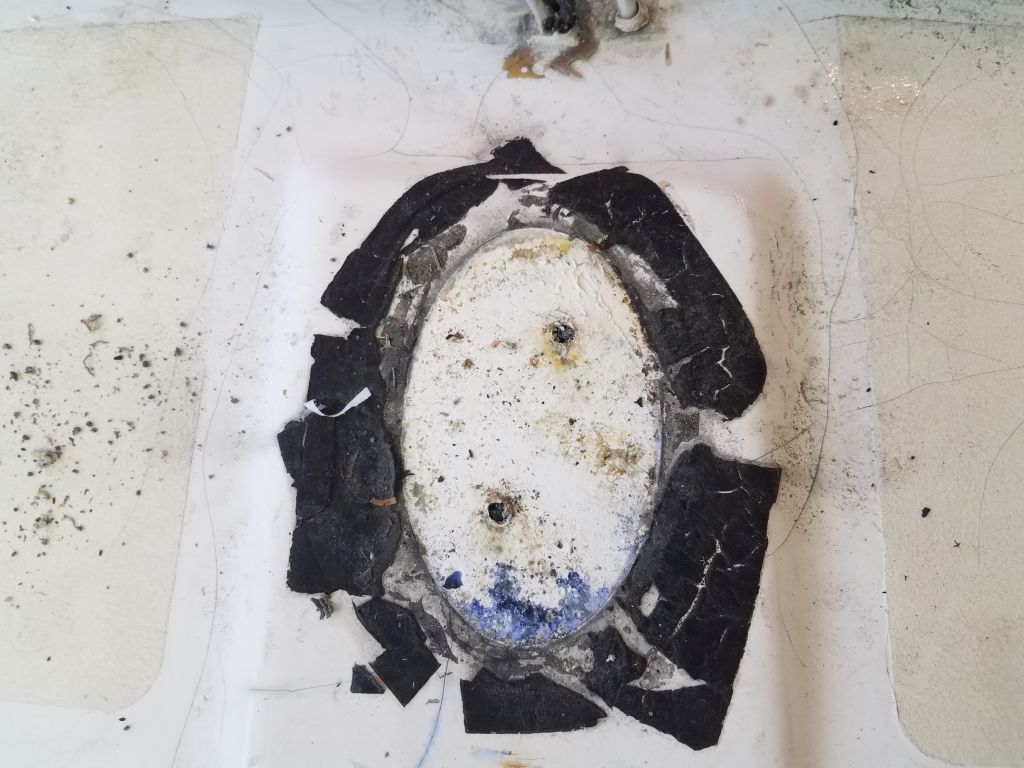
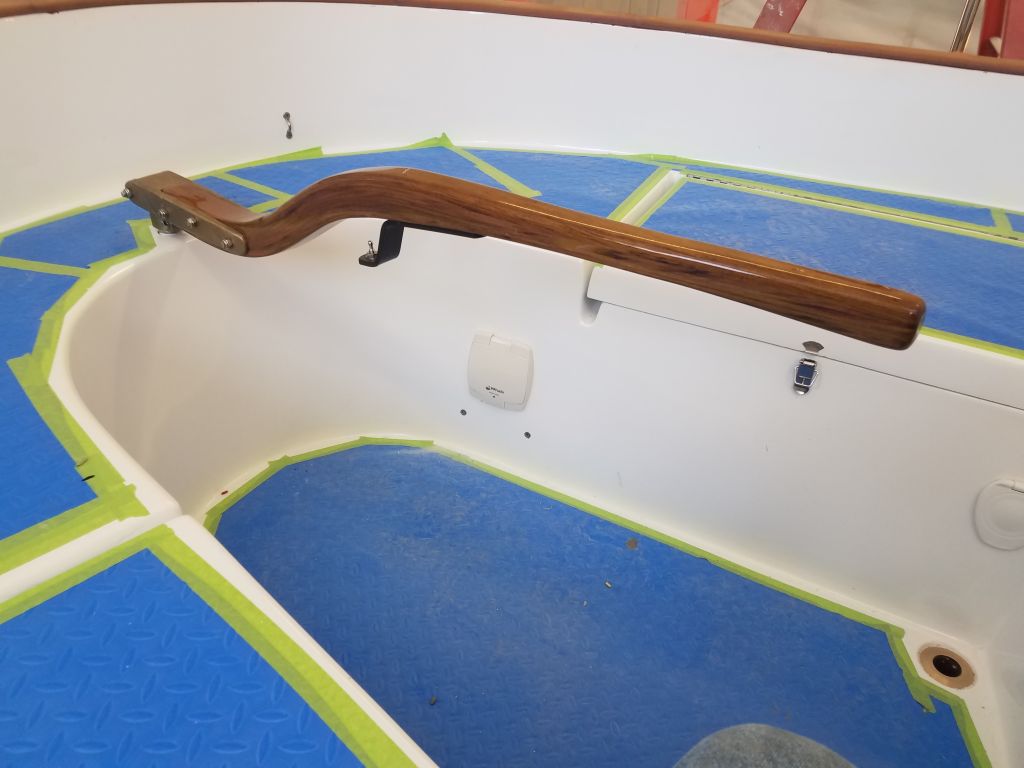
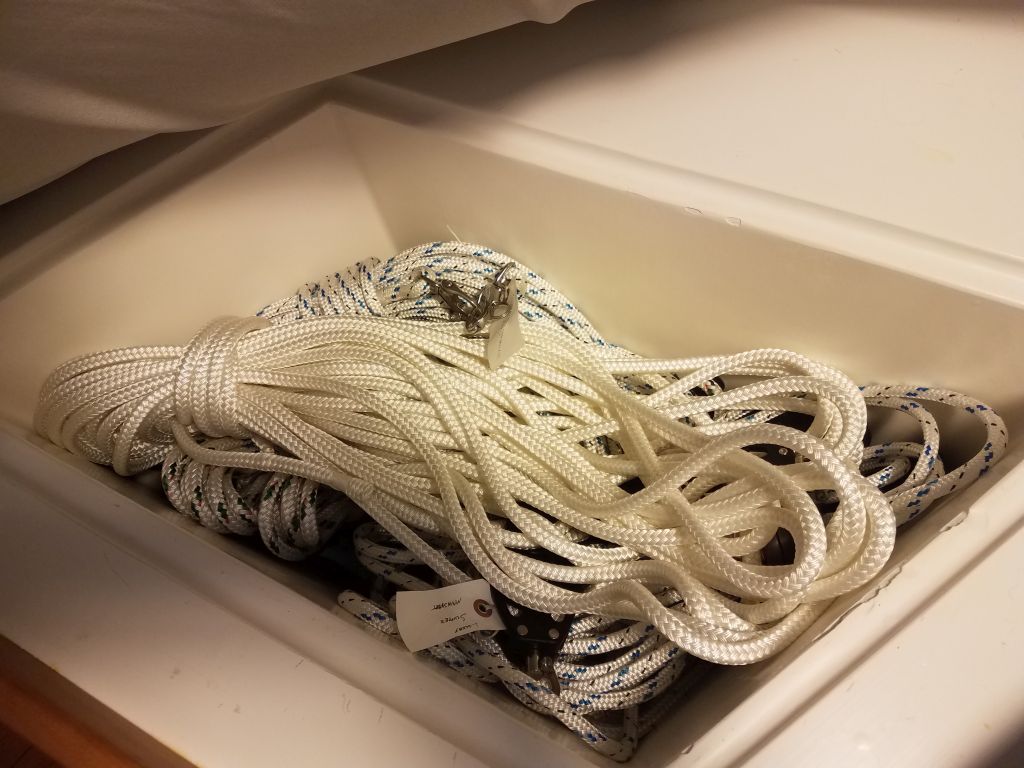
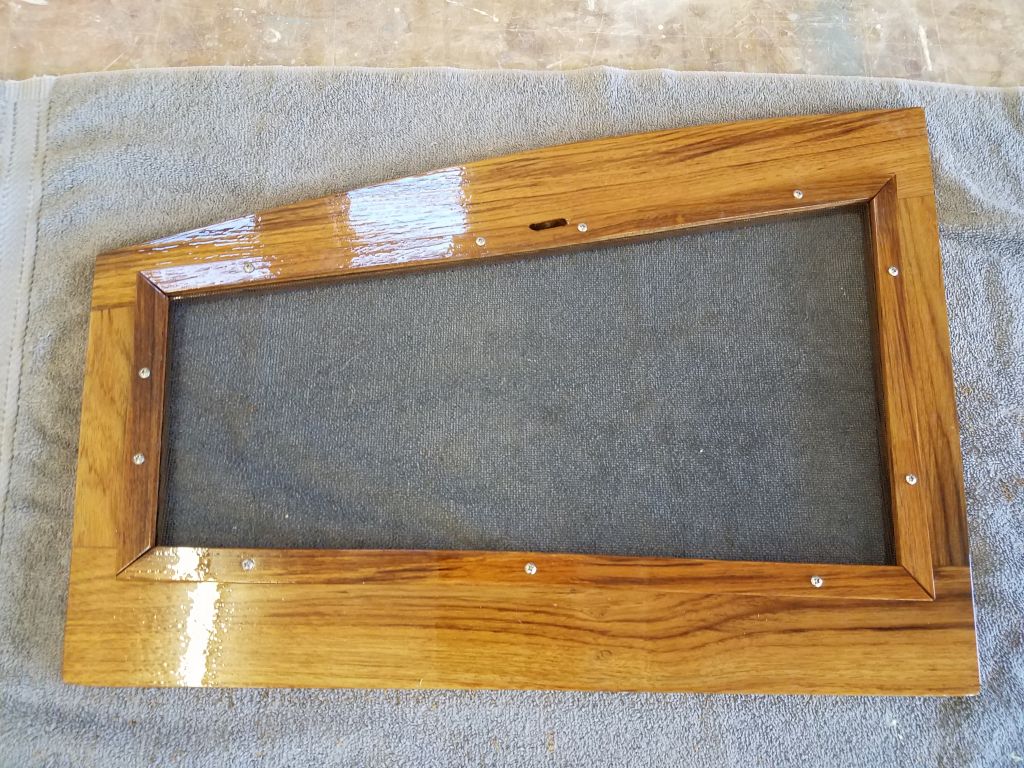
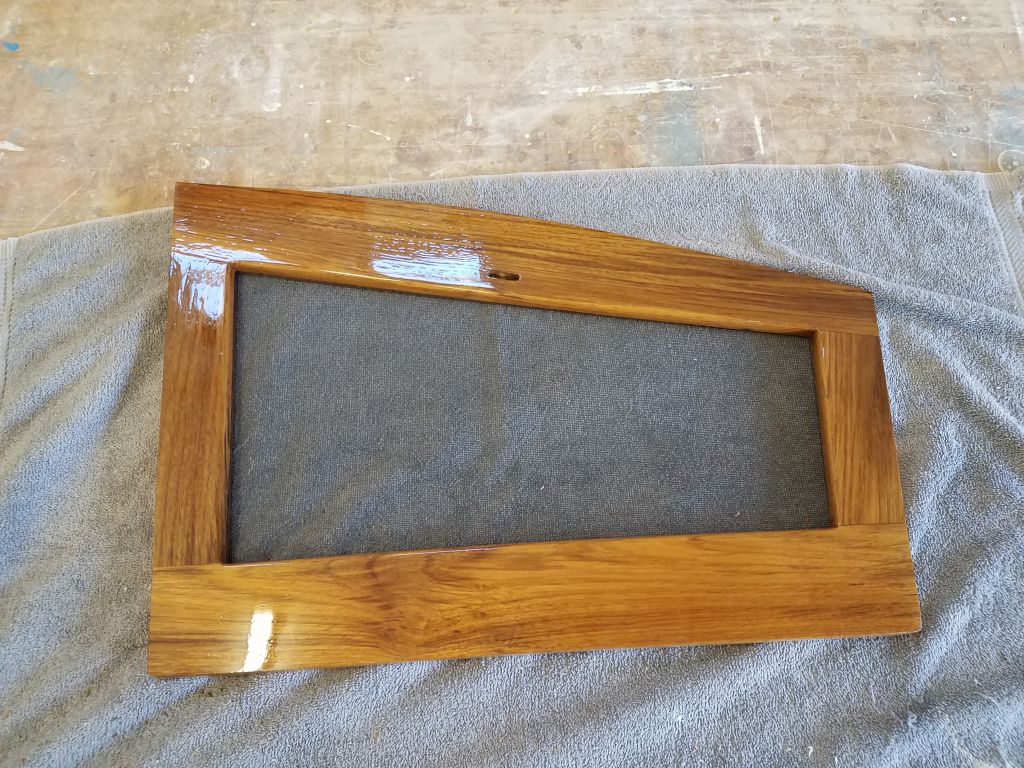
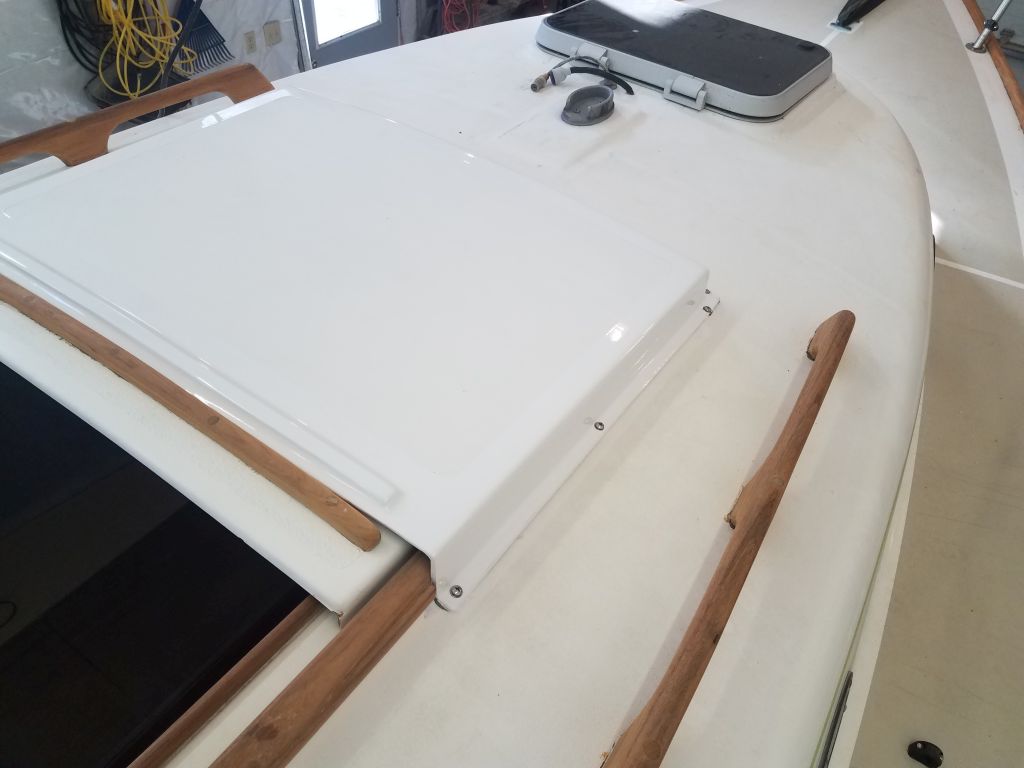
My first order of business was to remove the mast step itself, and also the wires leading through the deck, which were in poor condition with the insulation dried and cracked away, exposing corroded wire strands within. Belowdecks, I removed a teak trim piece from the opening, as this covered one of the bolt holes for the mast step. The underside of the trim was covered with standing water from within the molded liner, clear evidence of ongoing moisture issues that didn’t bode well for the wooden mast support. With the trim removed, I unbolted the mast step with a small socket, and removed the wiring from the immediate area.
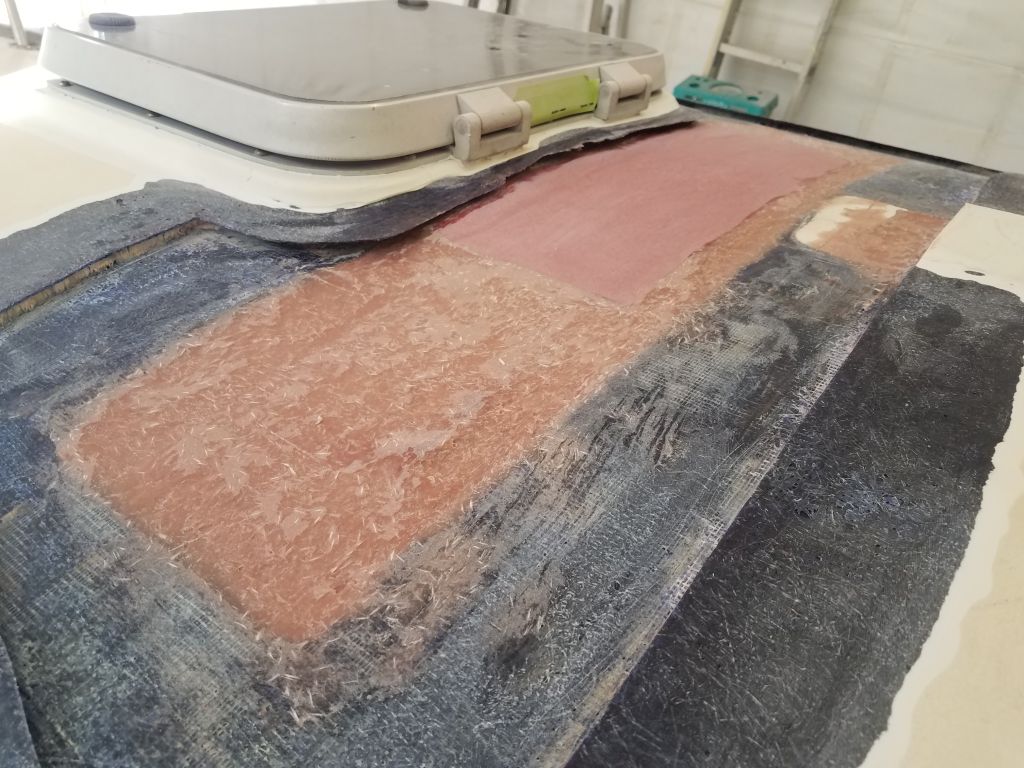
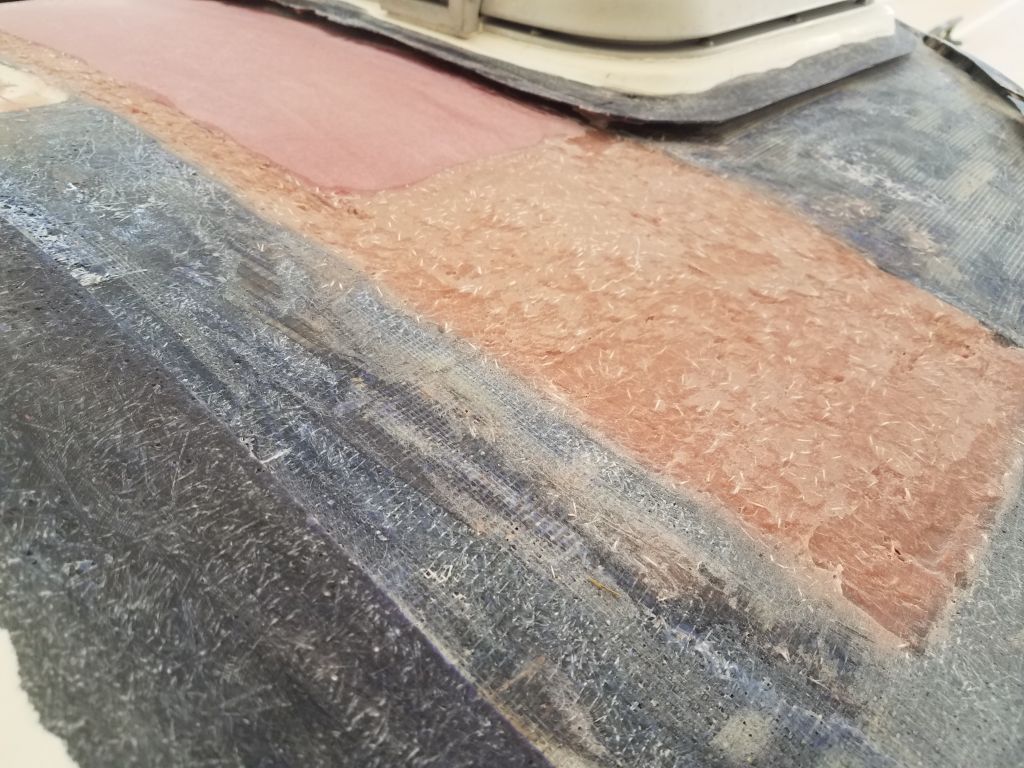
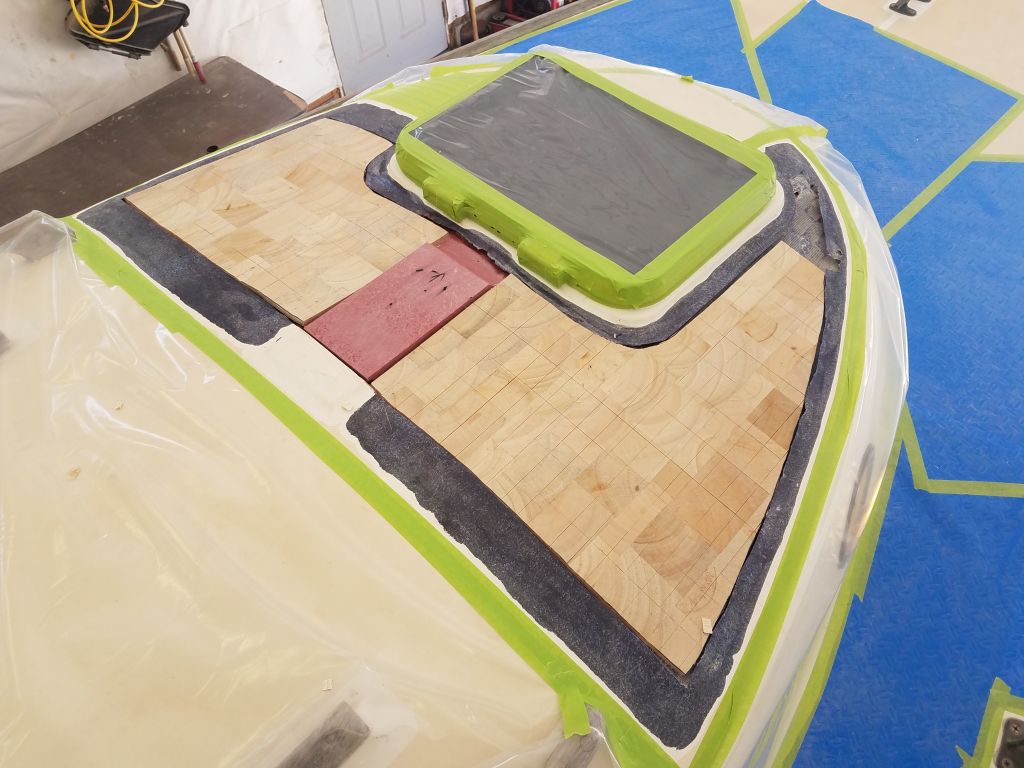
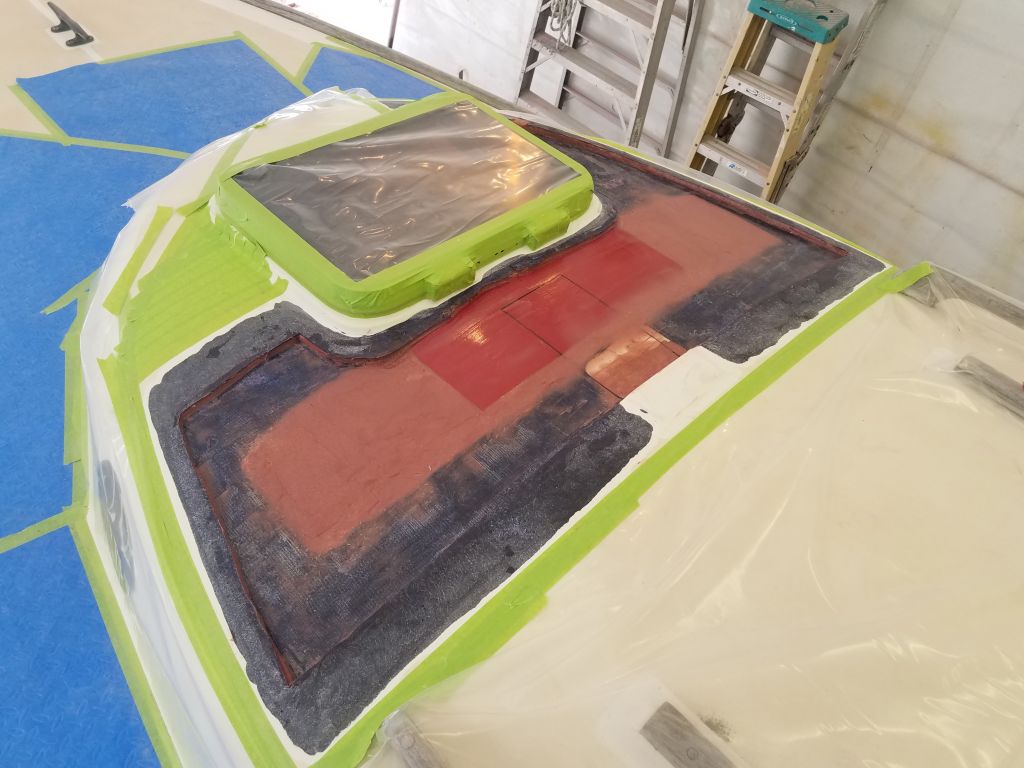
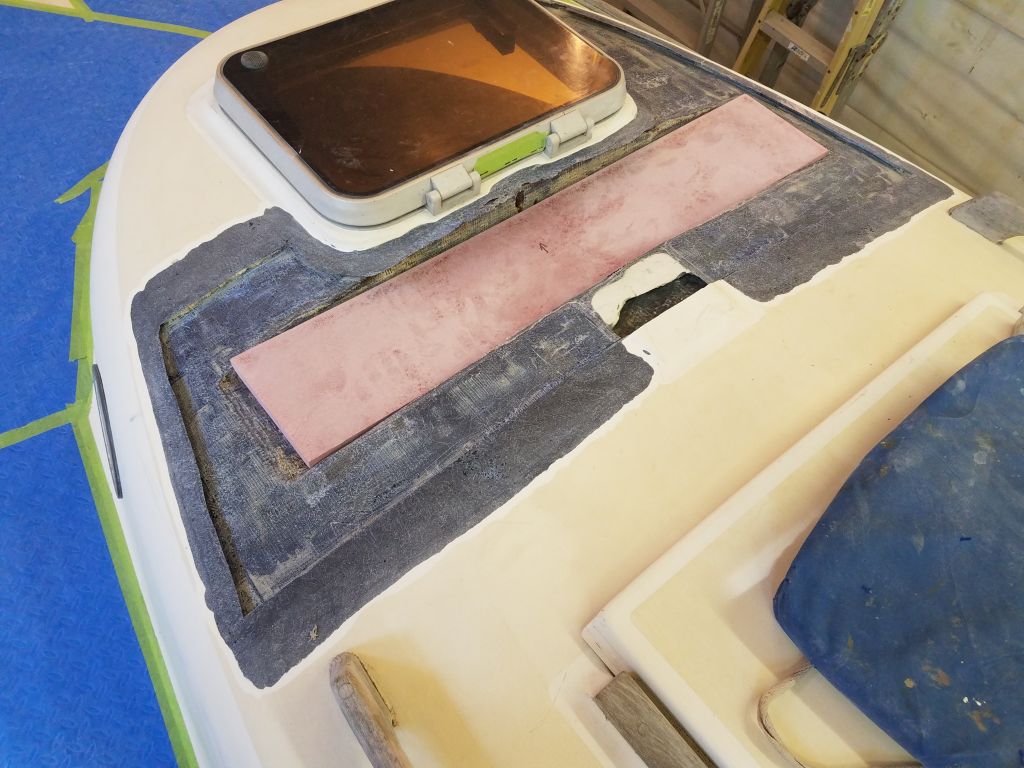
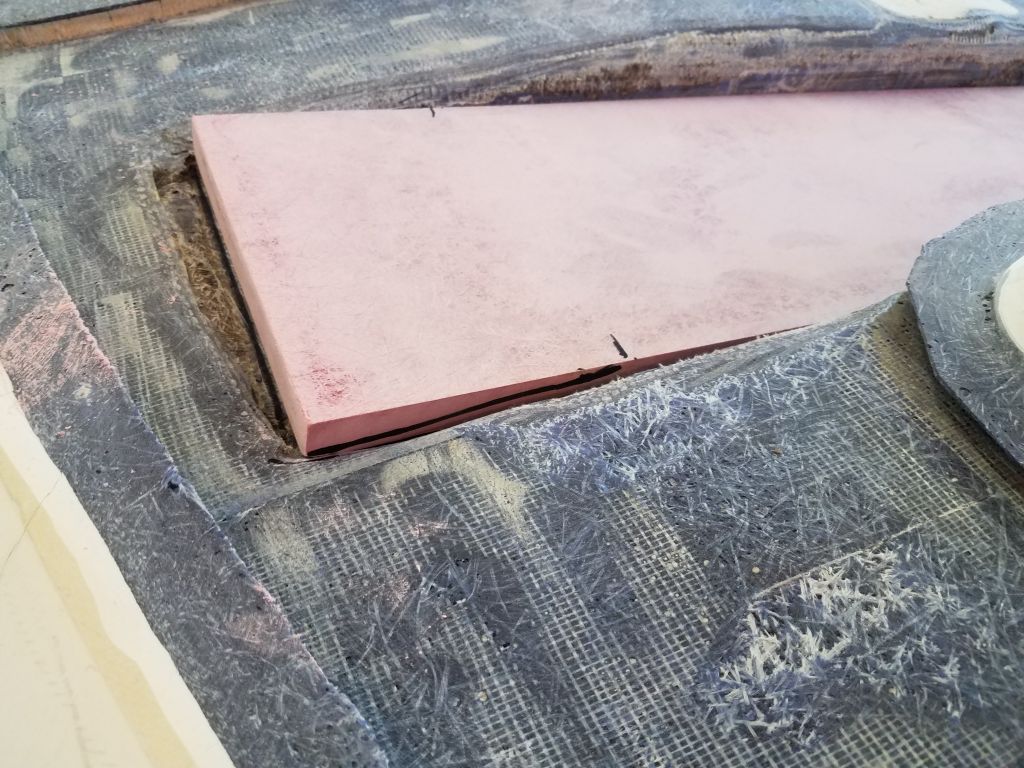
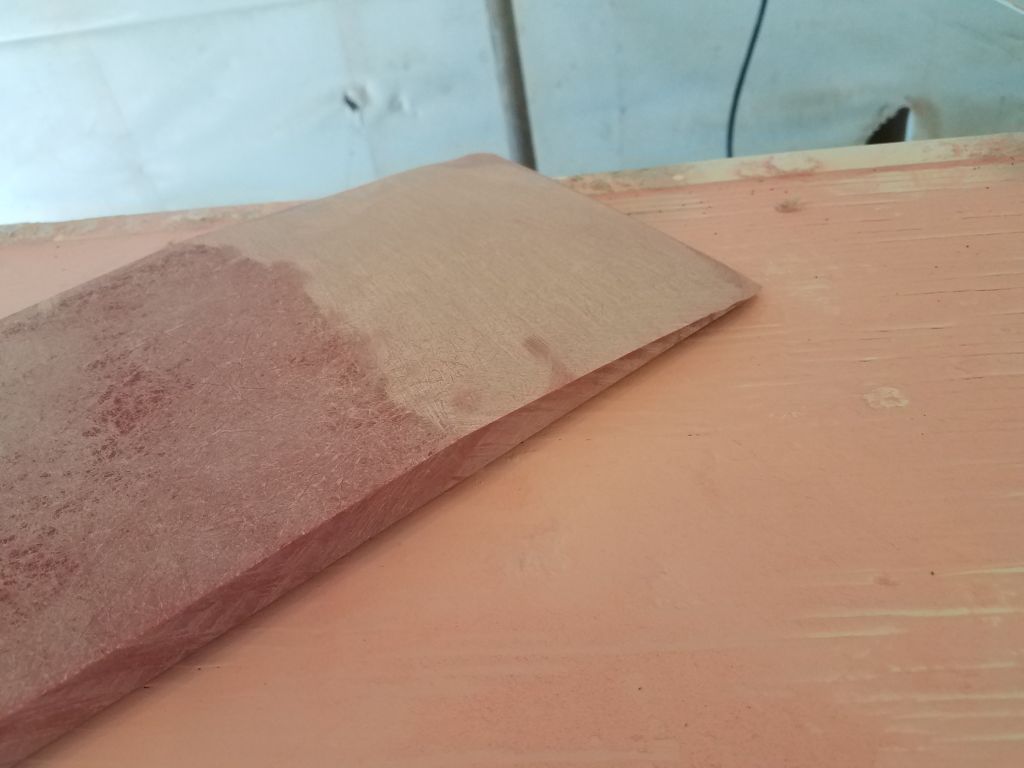
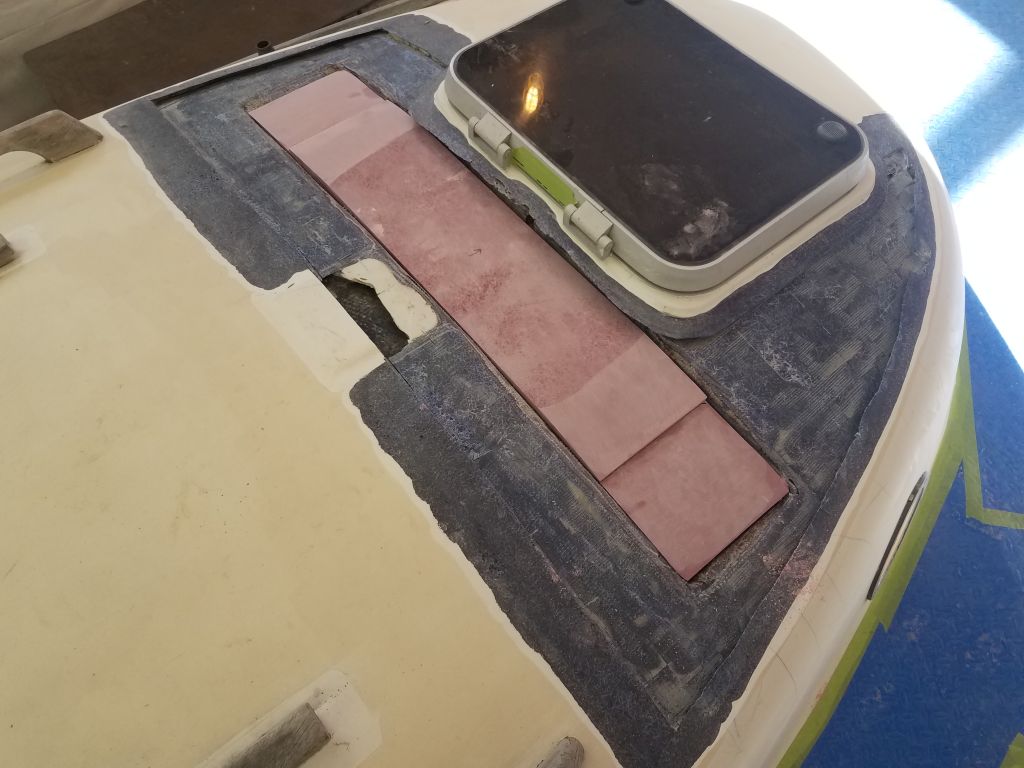
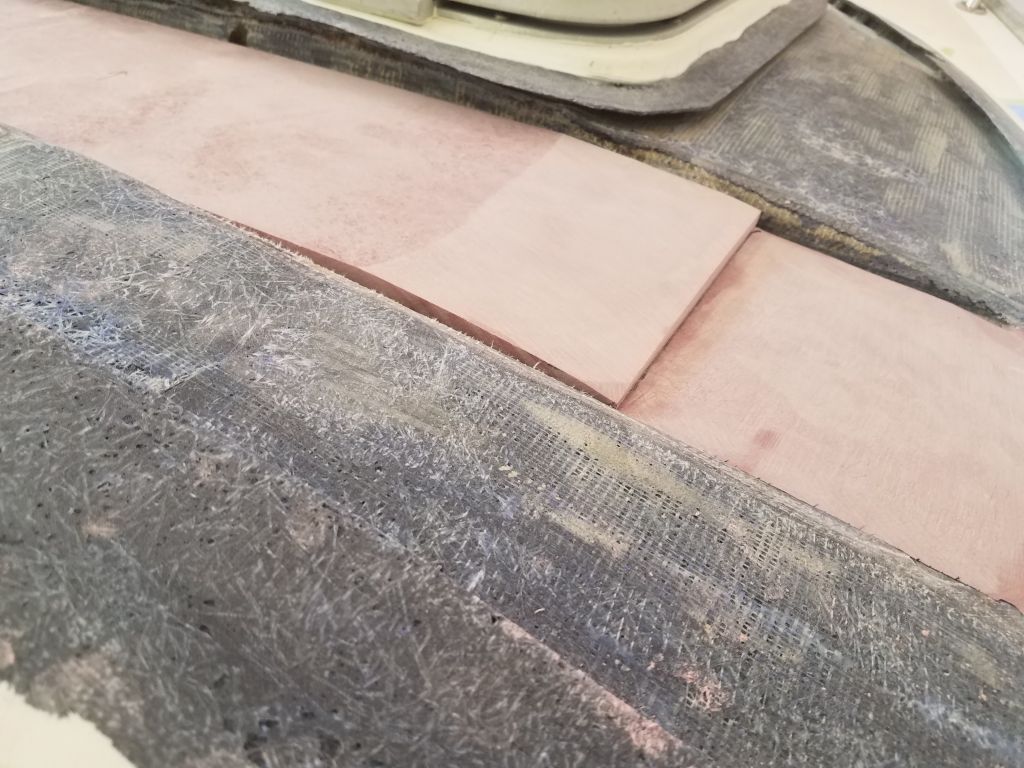
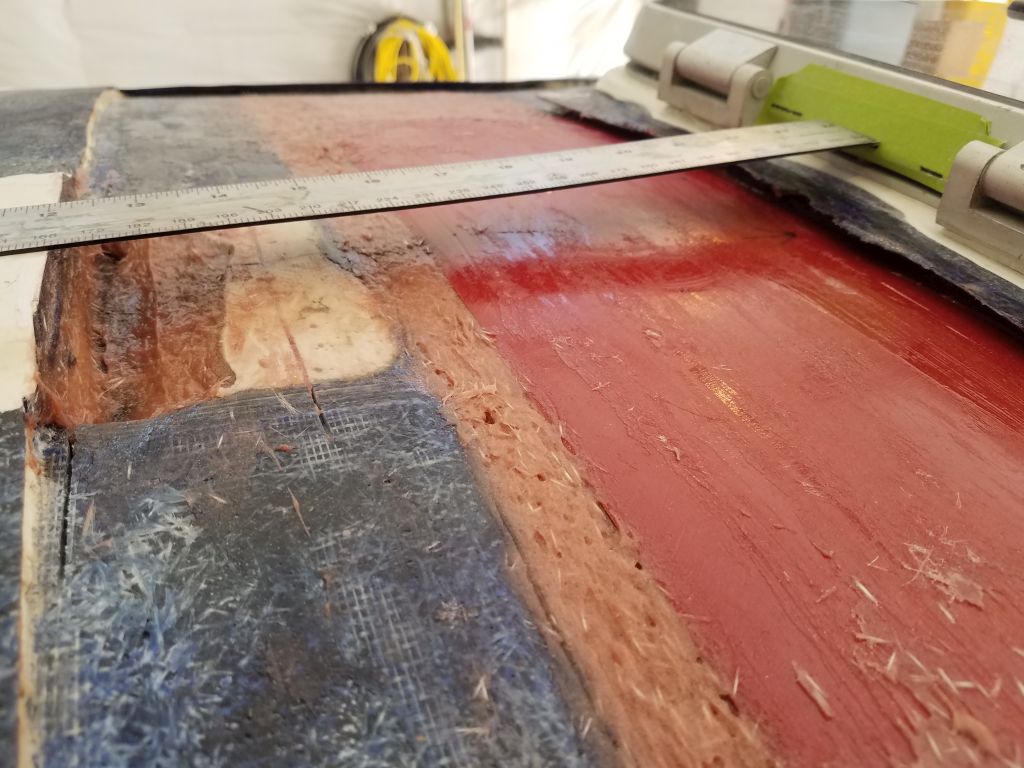
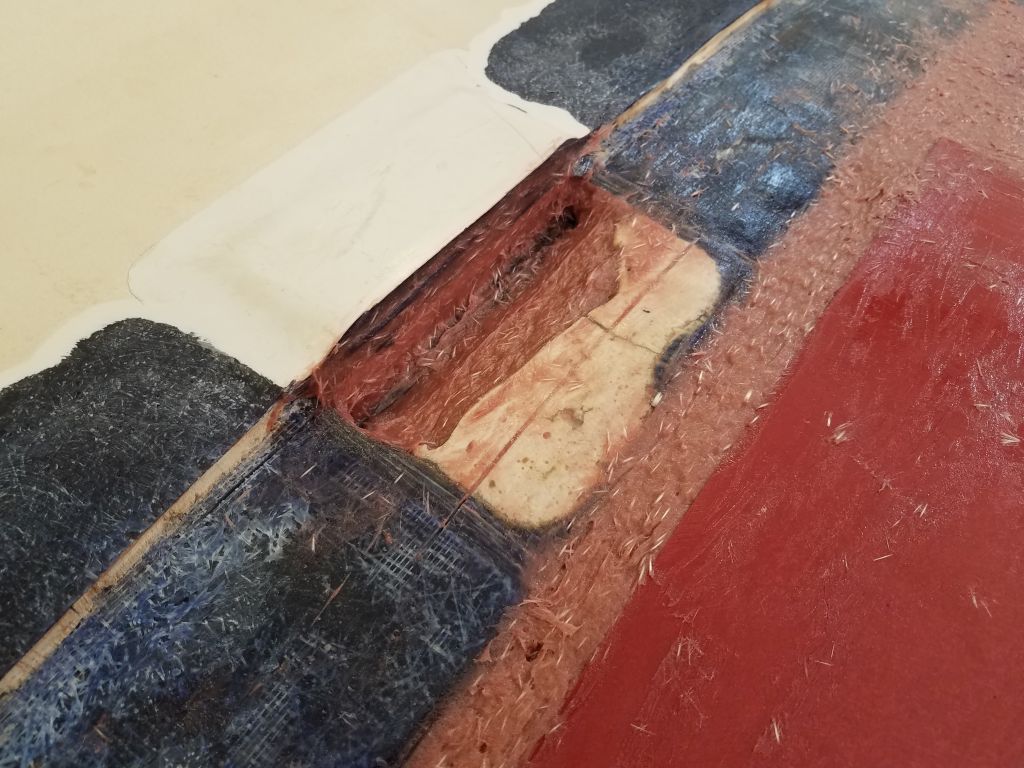
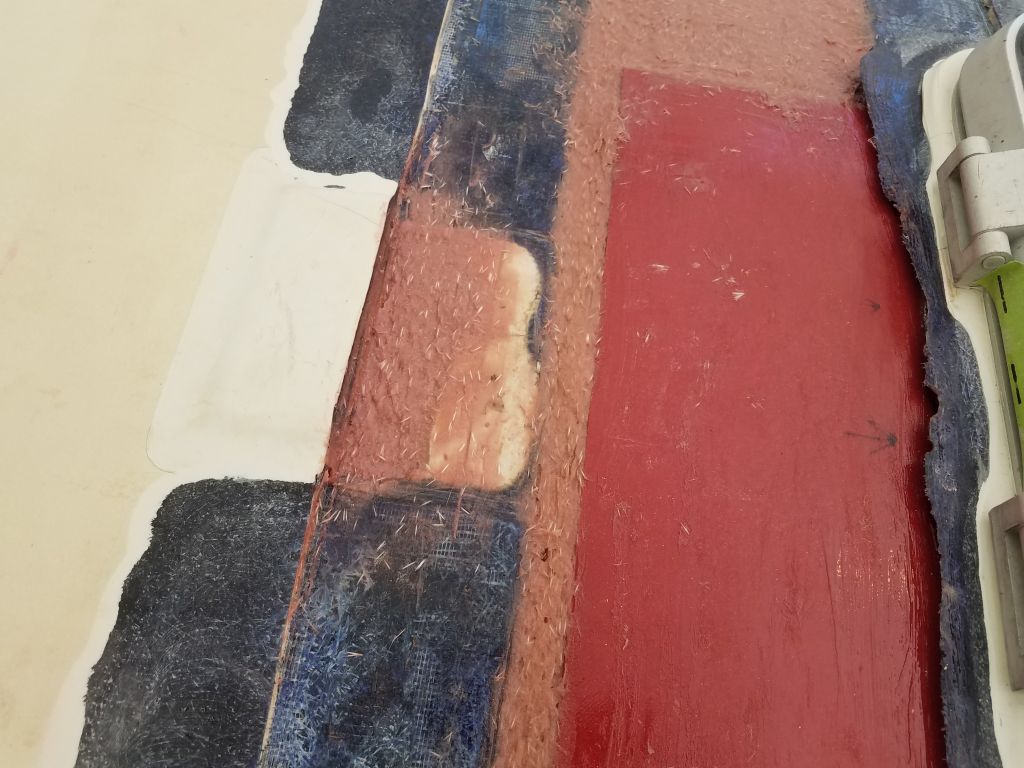
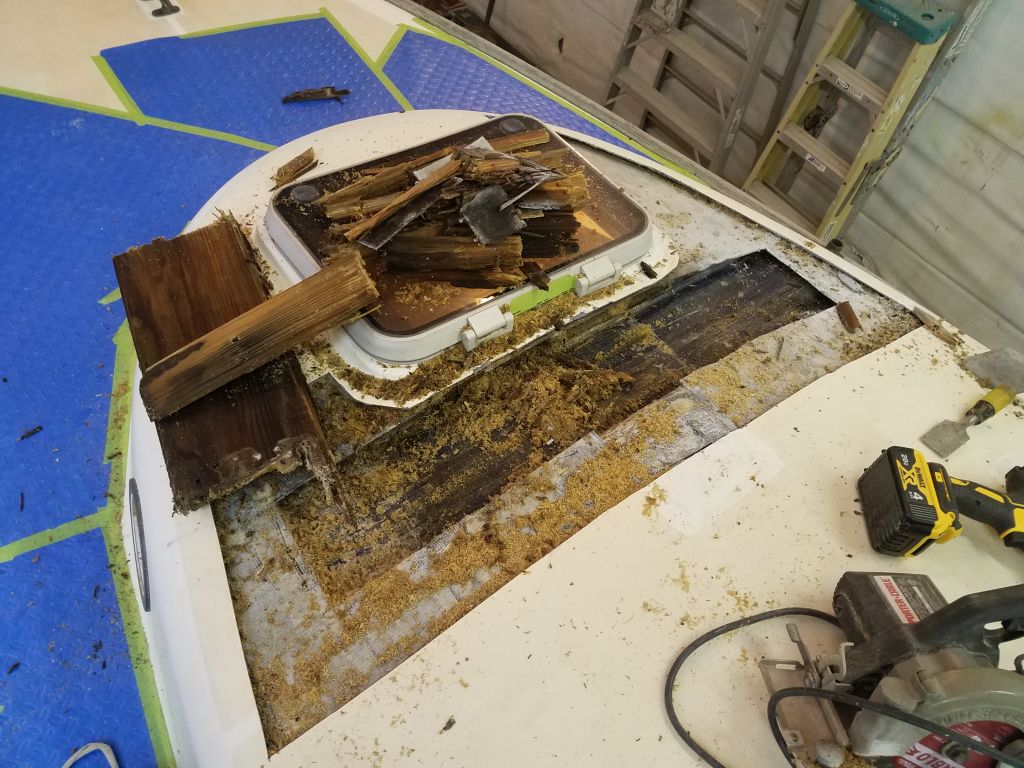
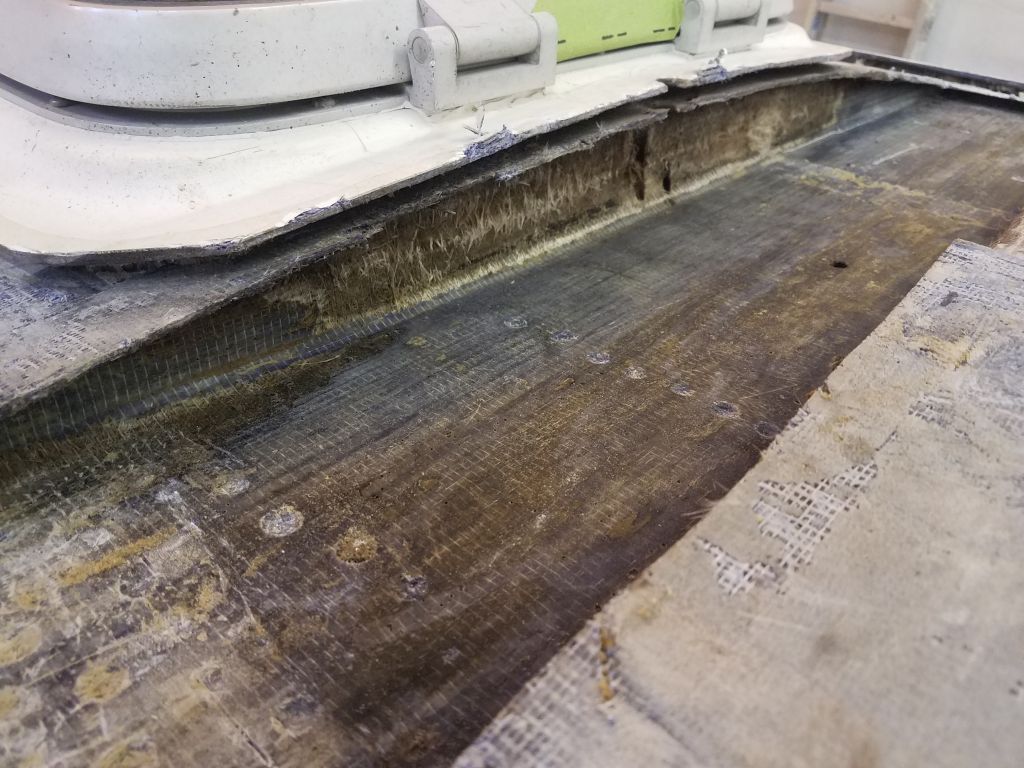
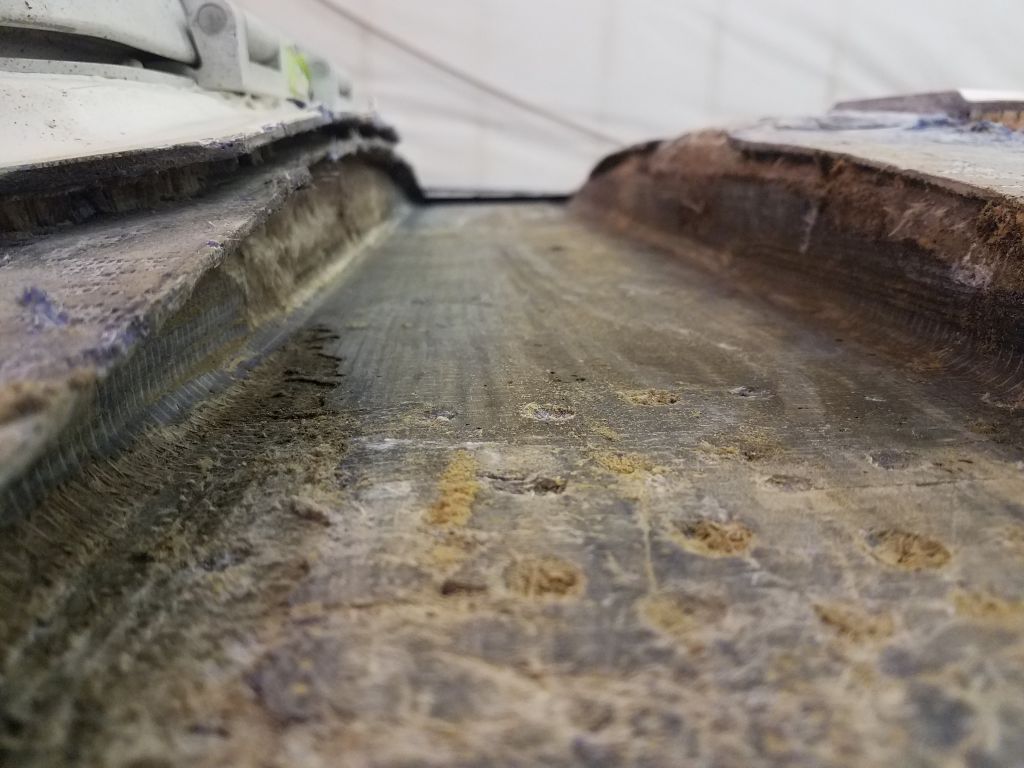
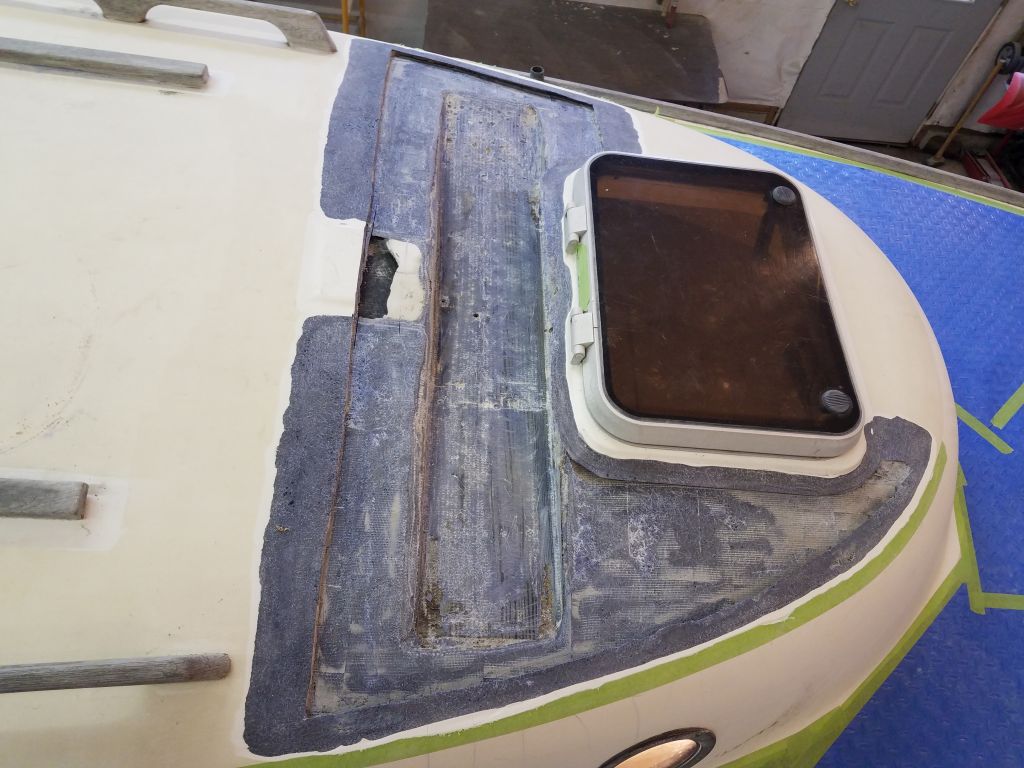
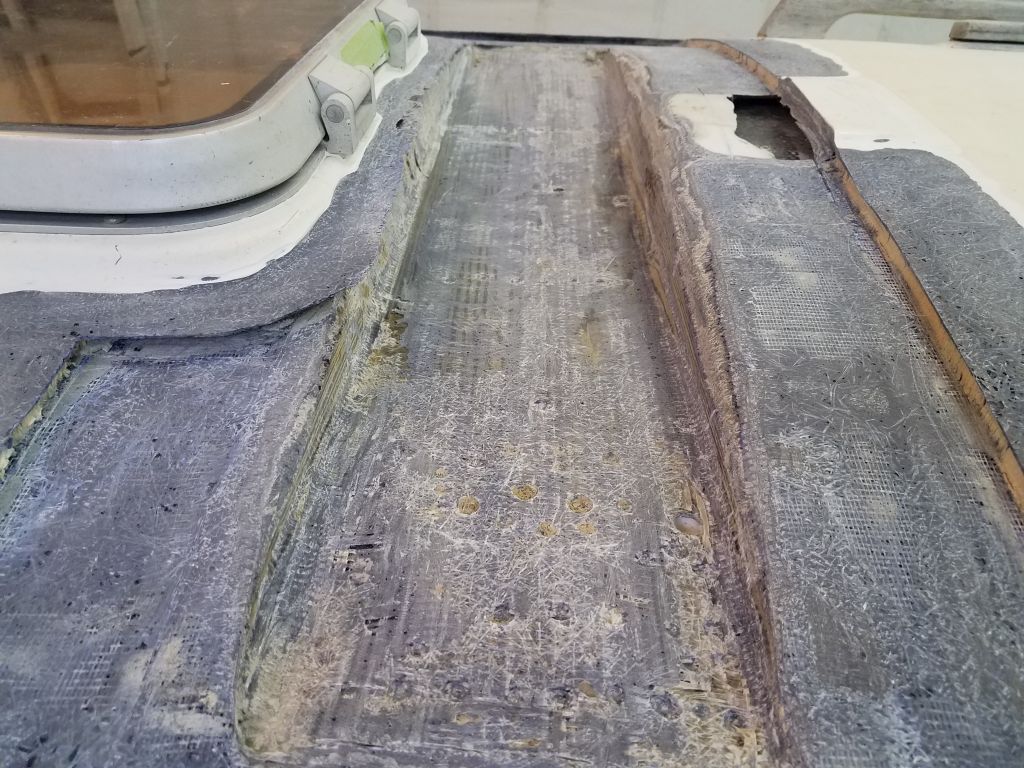
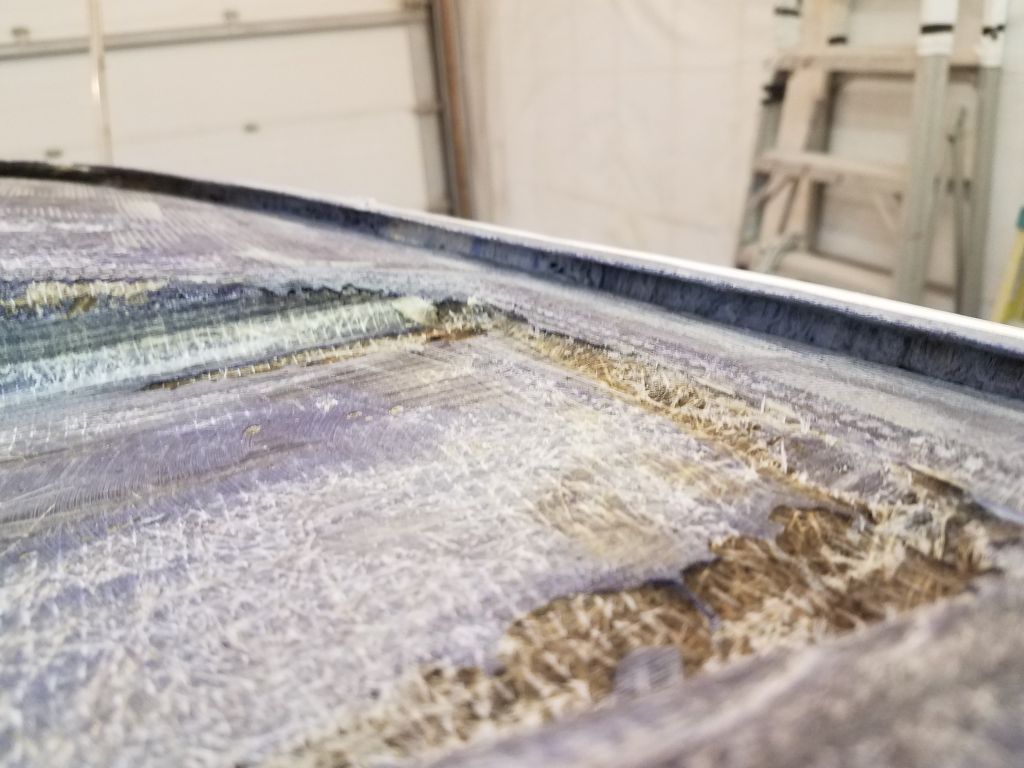
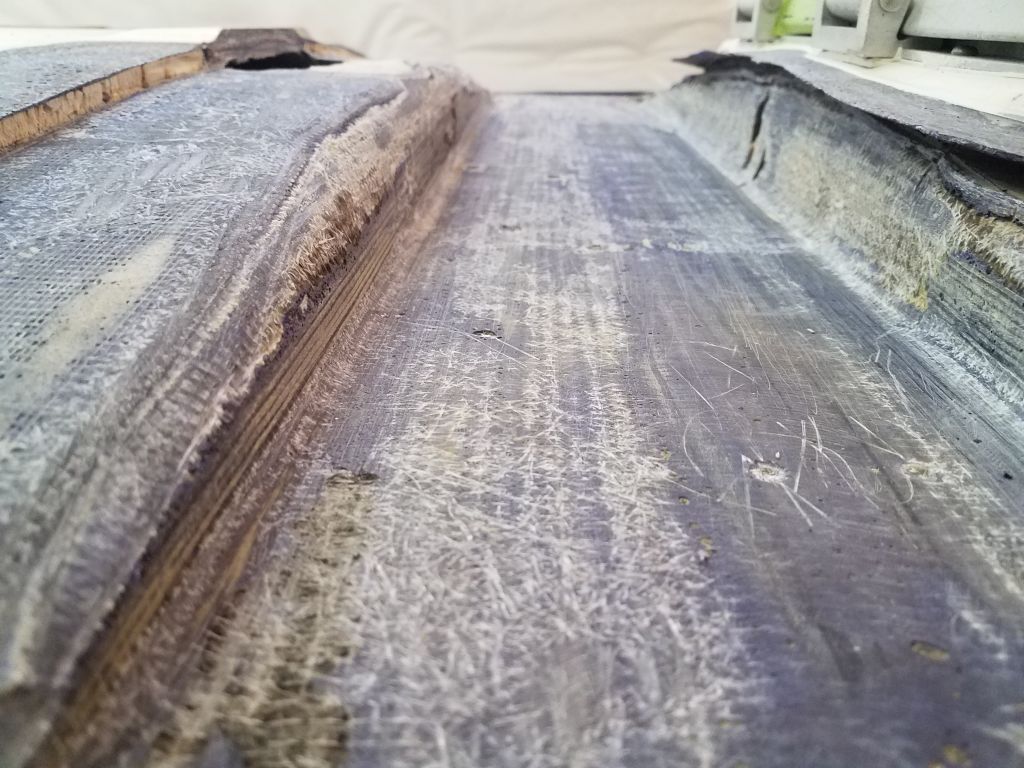
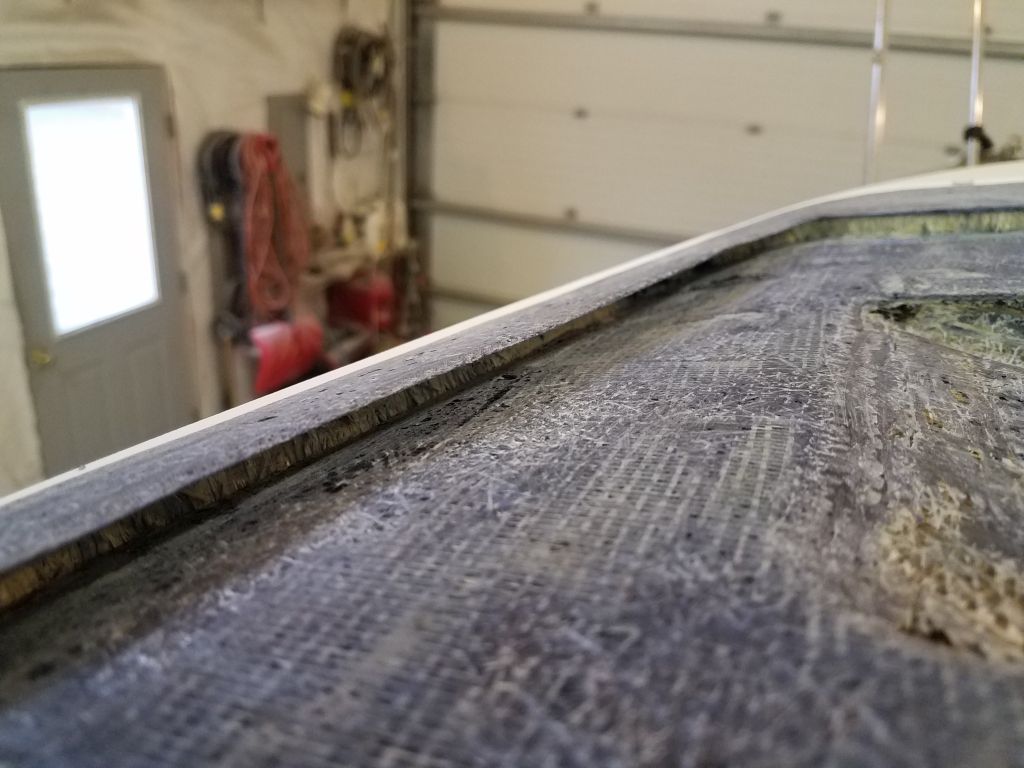
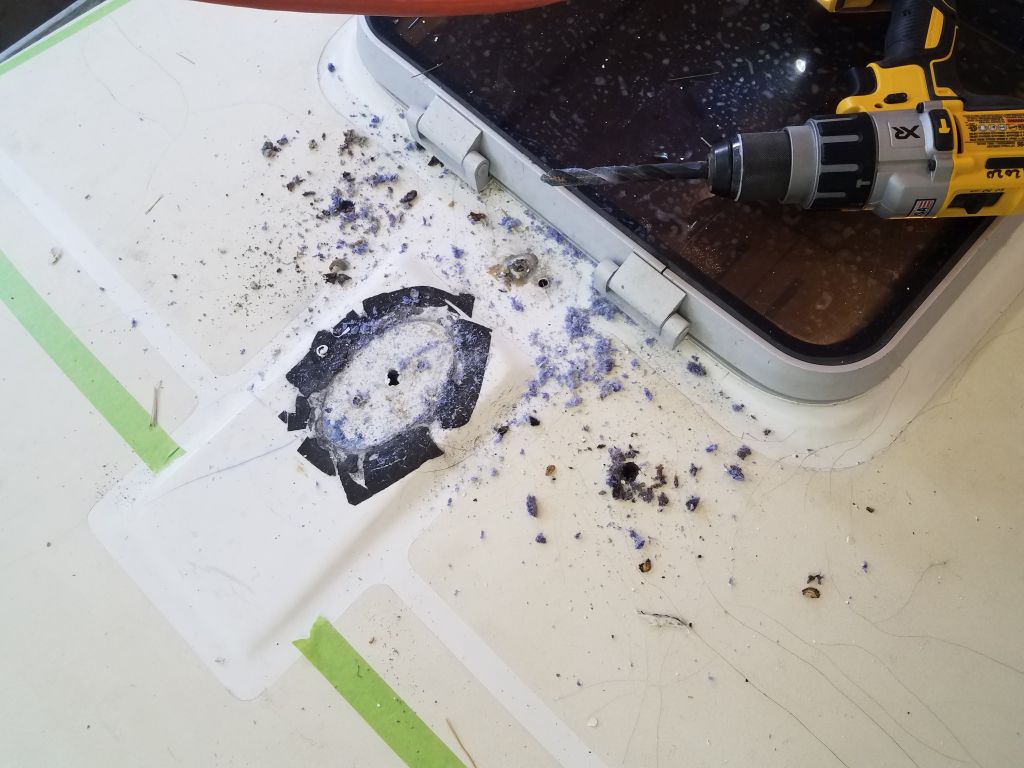
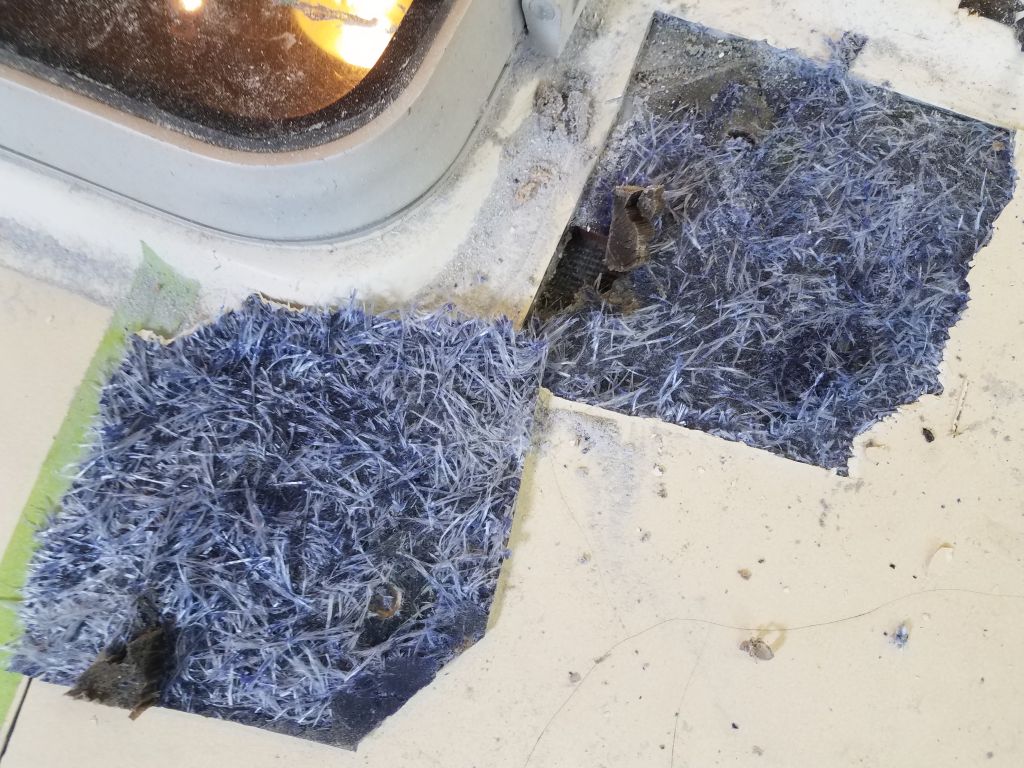
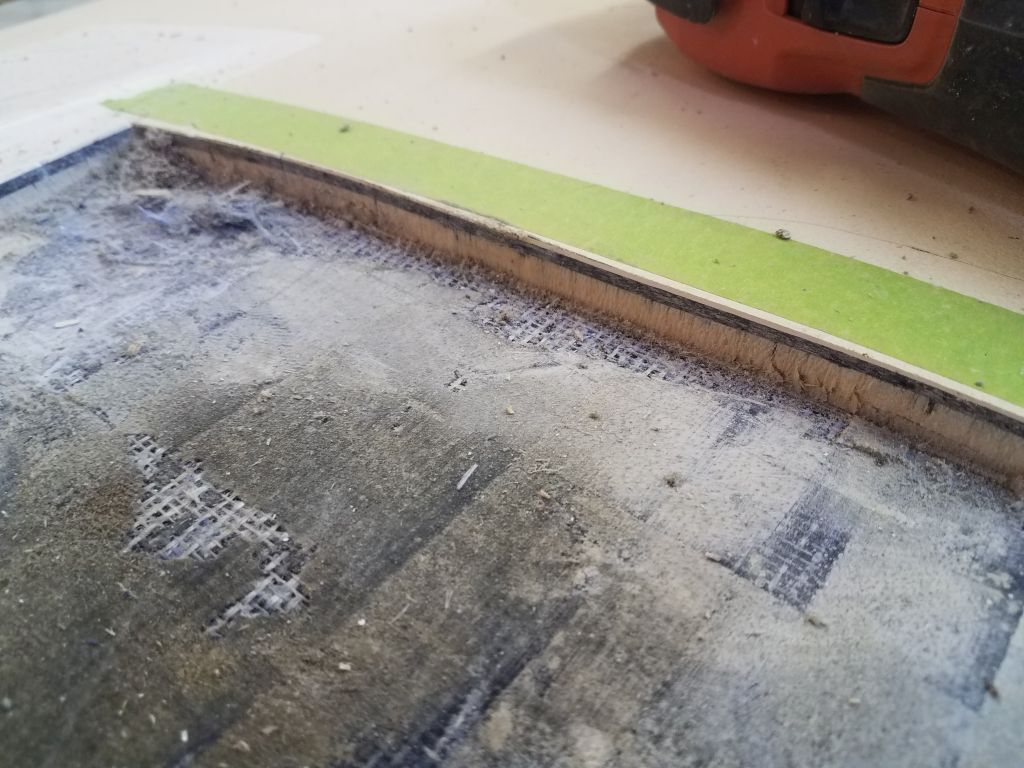
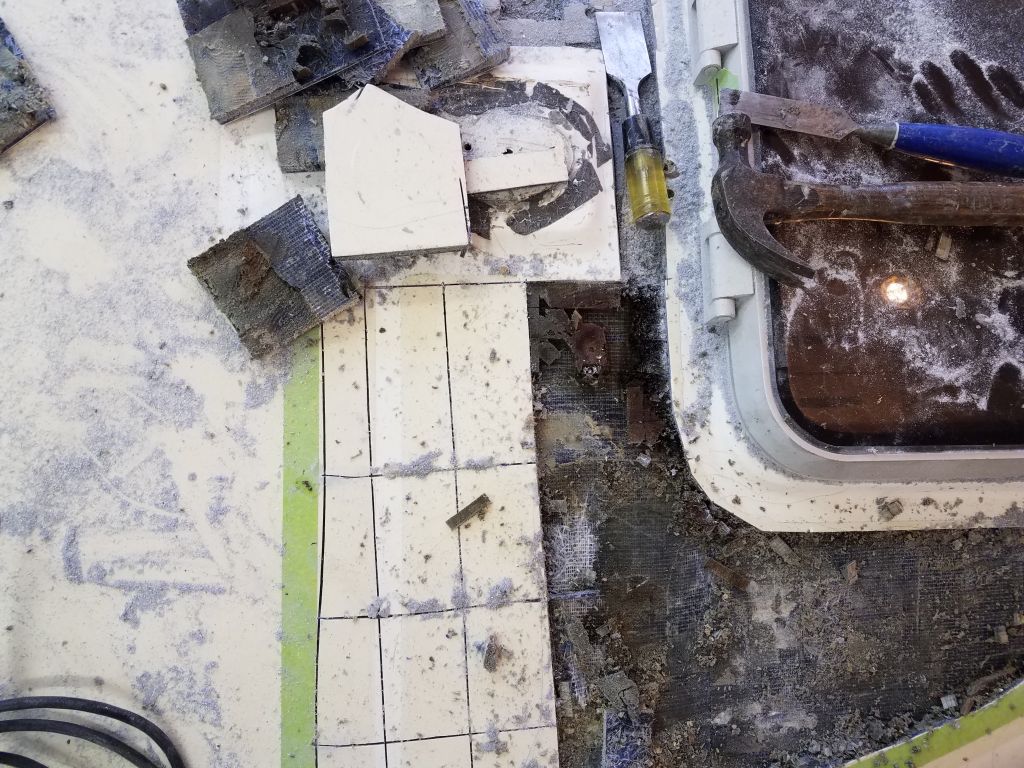
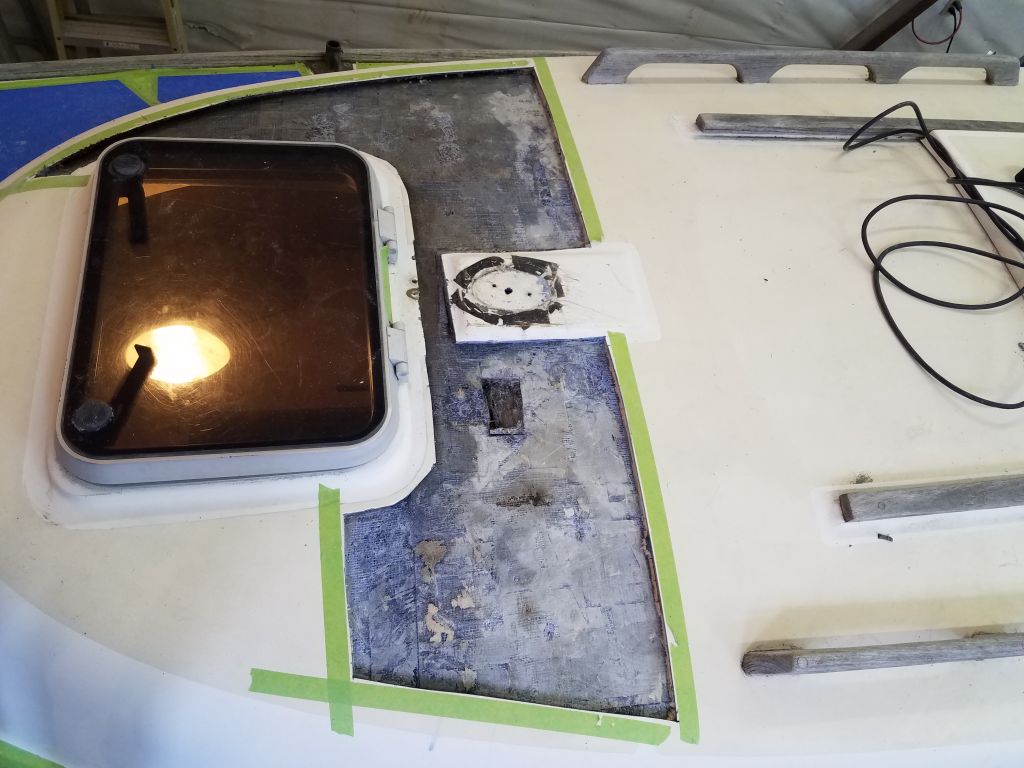
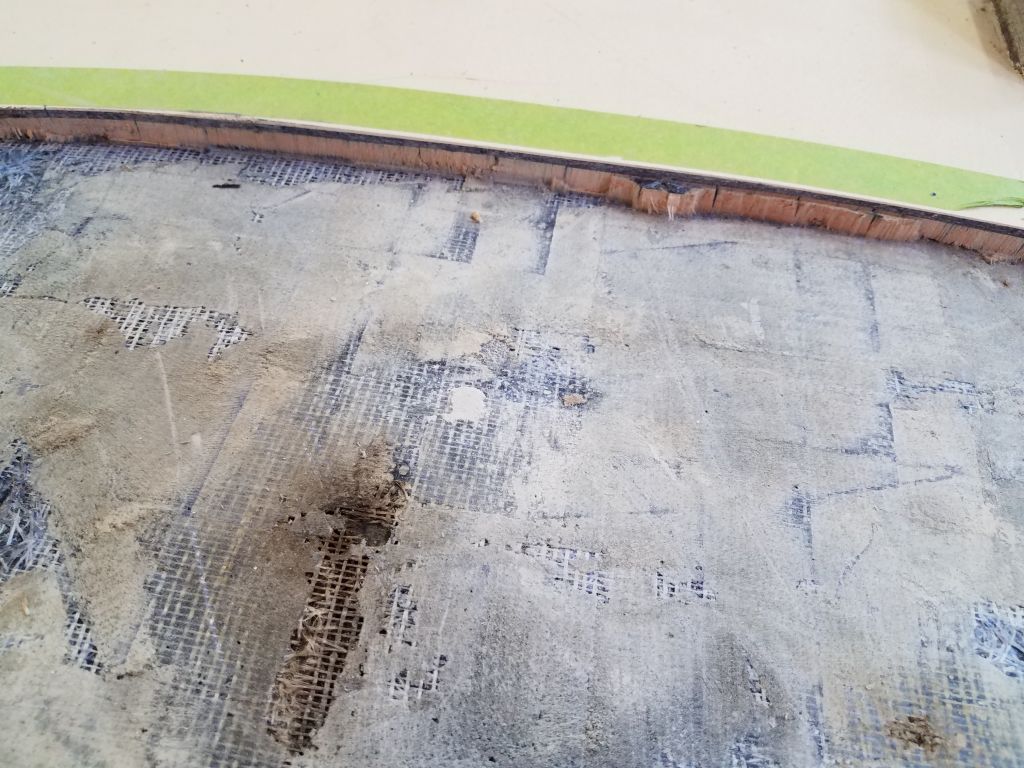
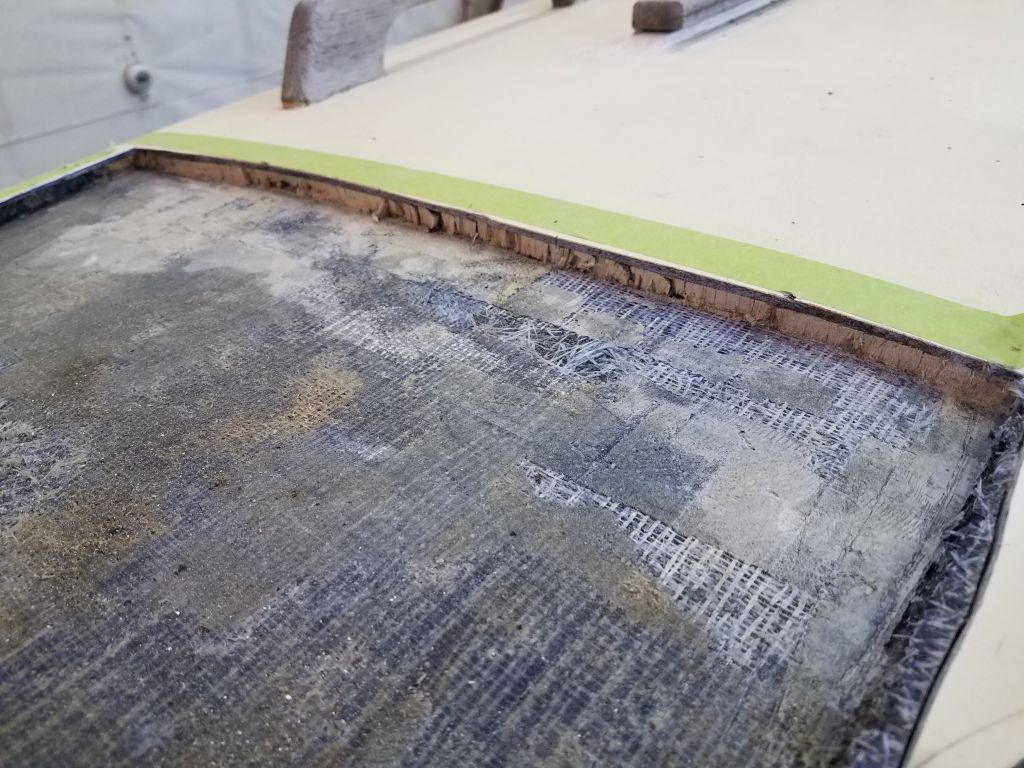
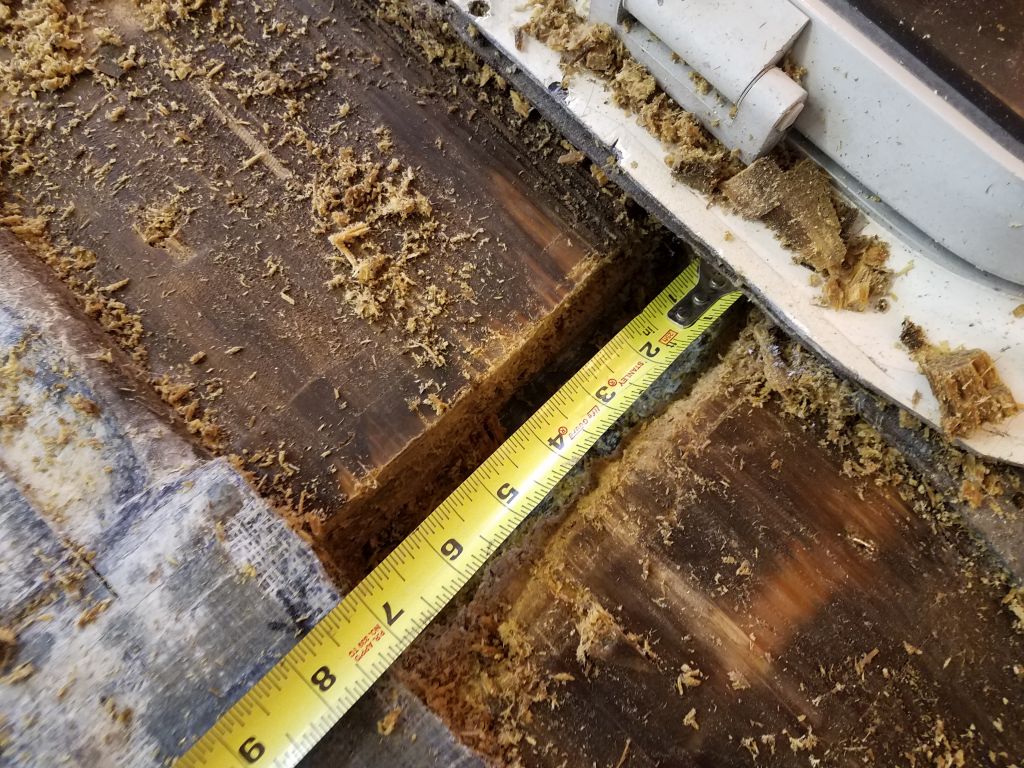
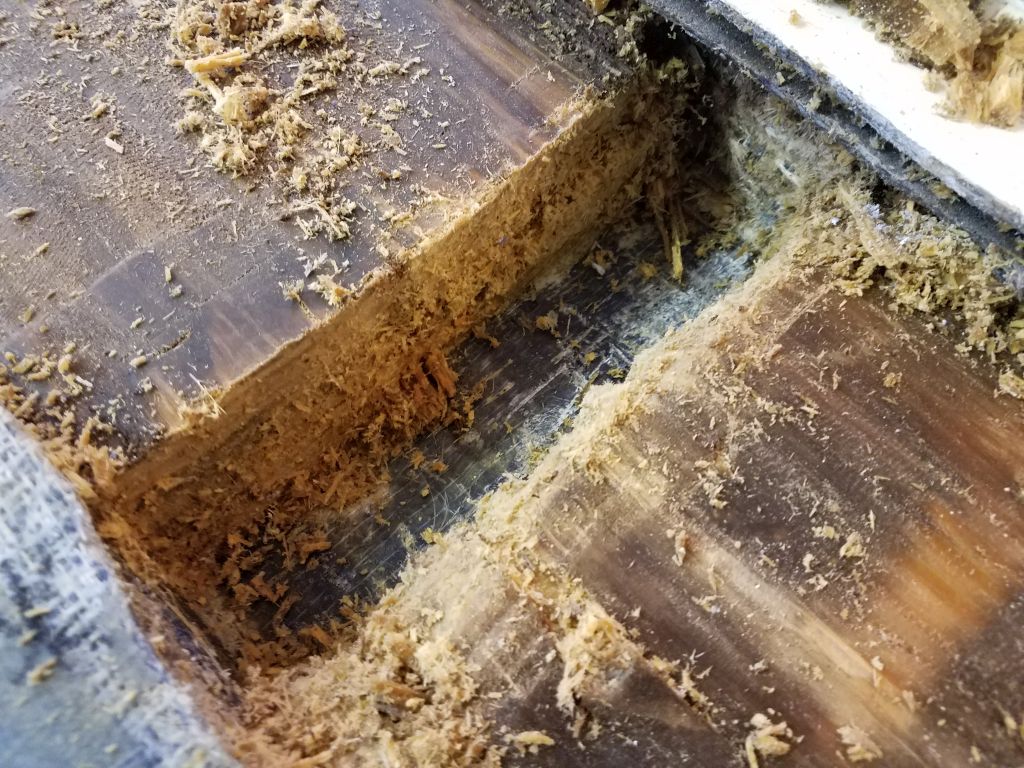
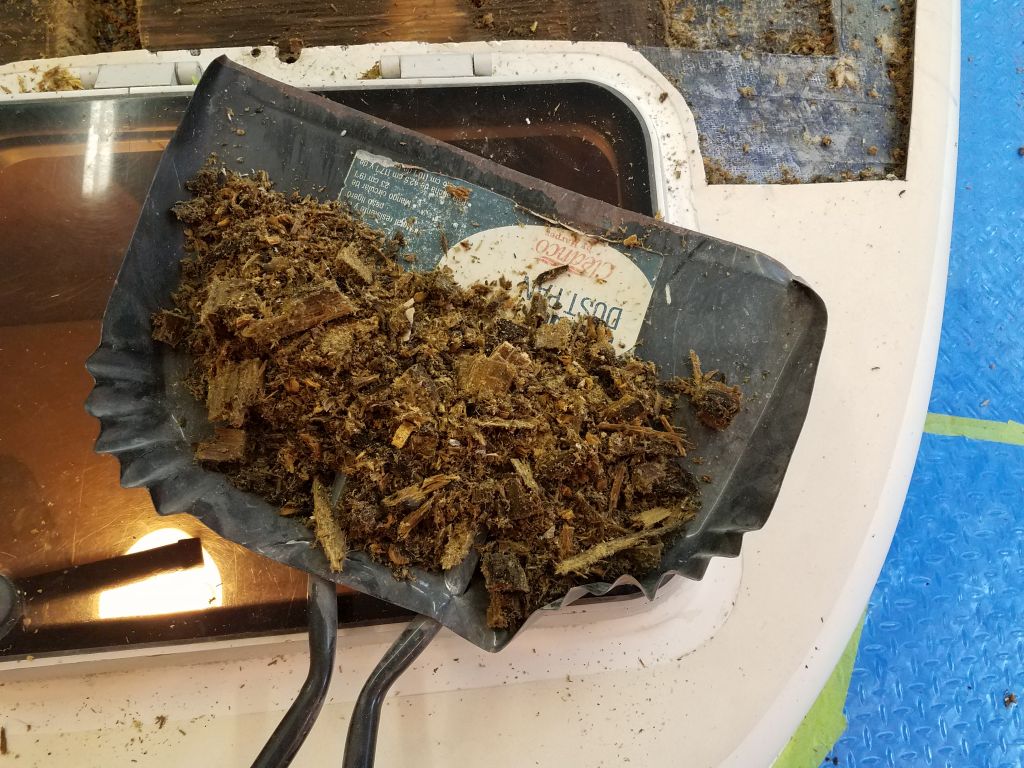
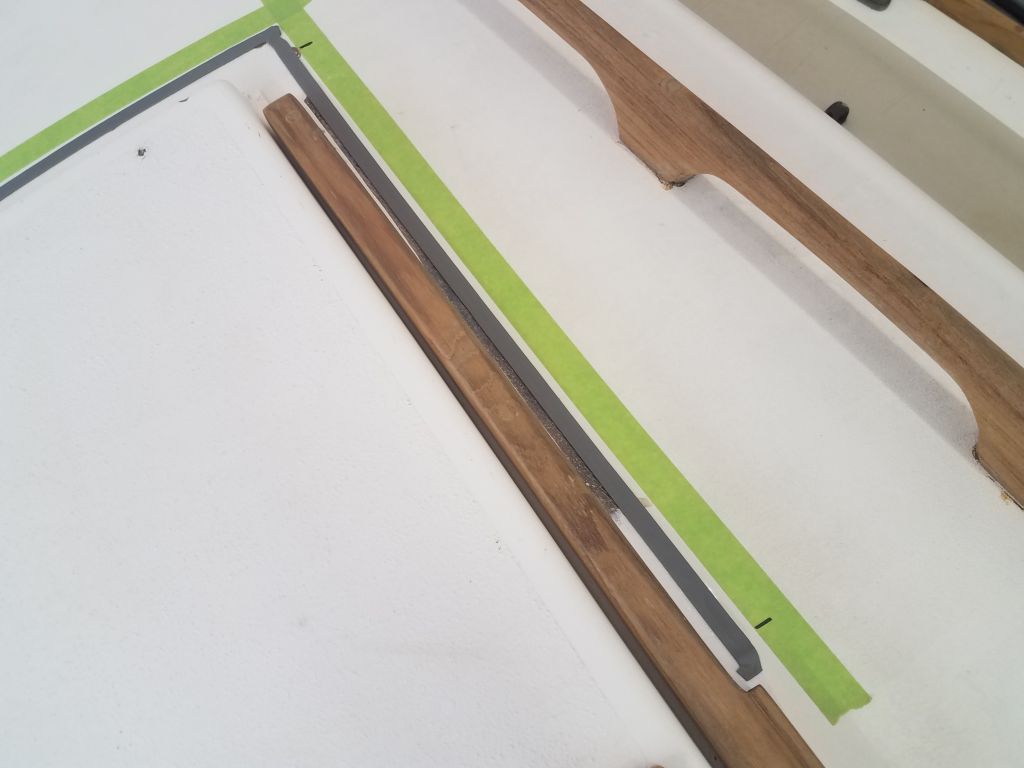
I drilled into the deck in a couple locations around the mast step to gauge the laminate thickness and overall core condition, then, beginning on the port side, cut open the top laminate inside the tape lines, ultimately exposing the core for removal. As expected, the core material was wet, though not rotten in most areas on the port side. I removed all the laminate and core from the opening, using chisels and an oscillating tool. The core just beyond my cutlines fore and aft was still dry and sound.
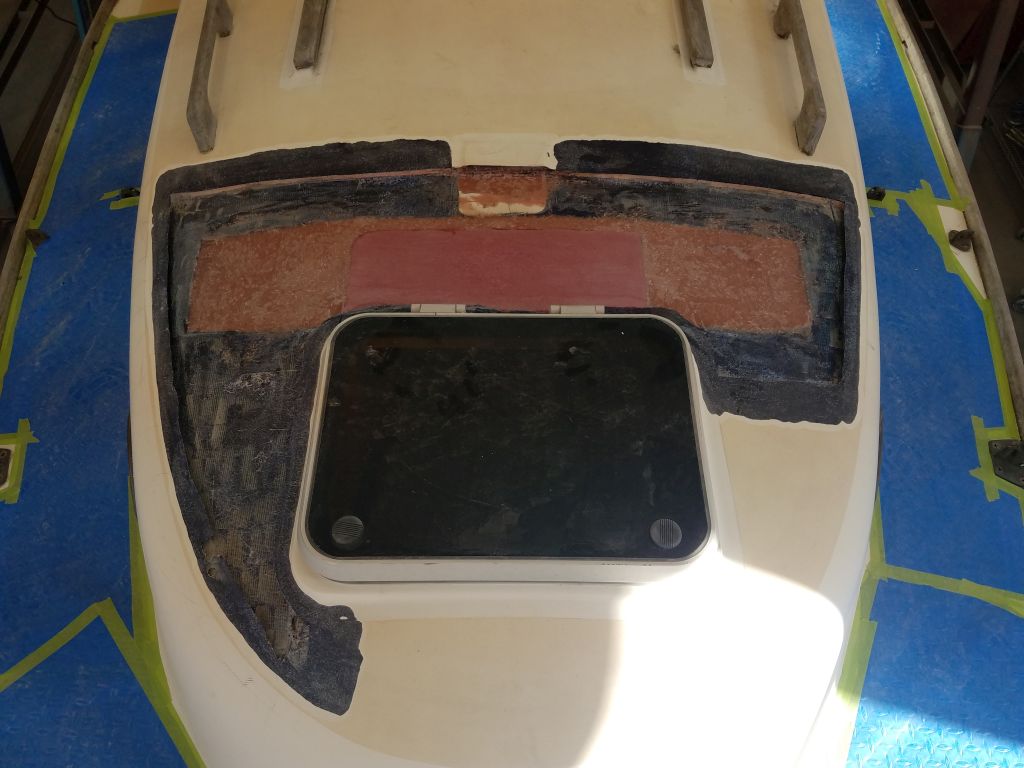
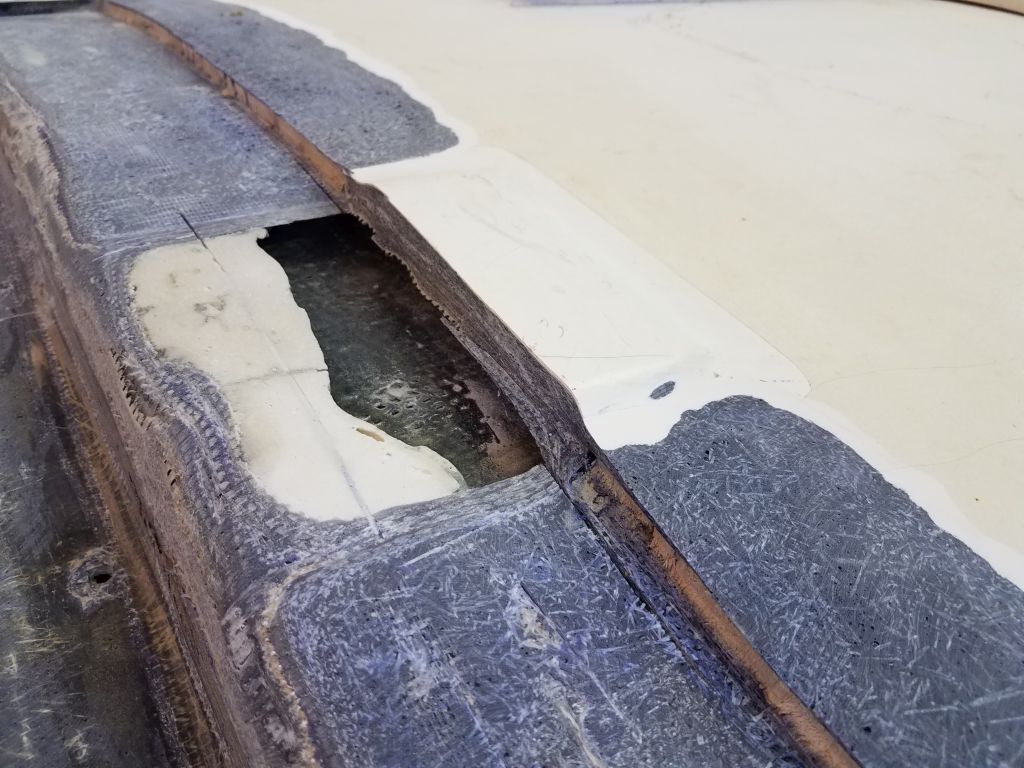
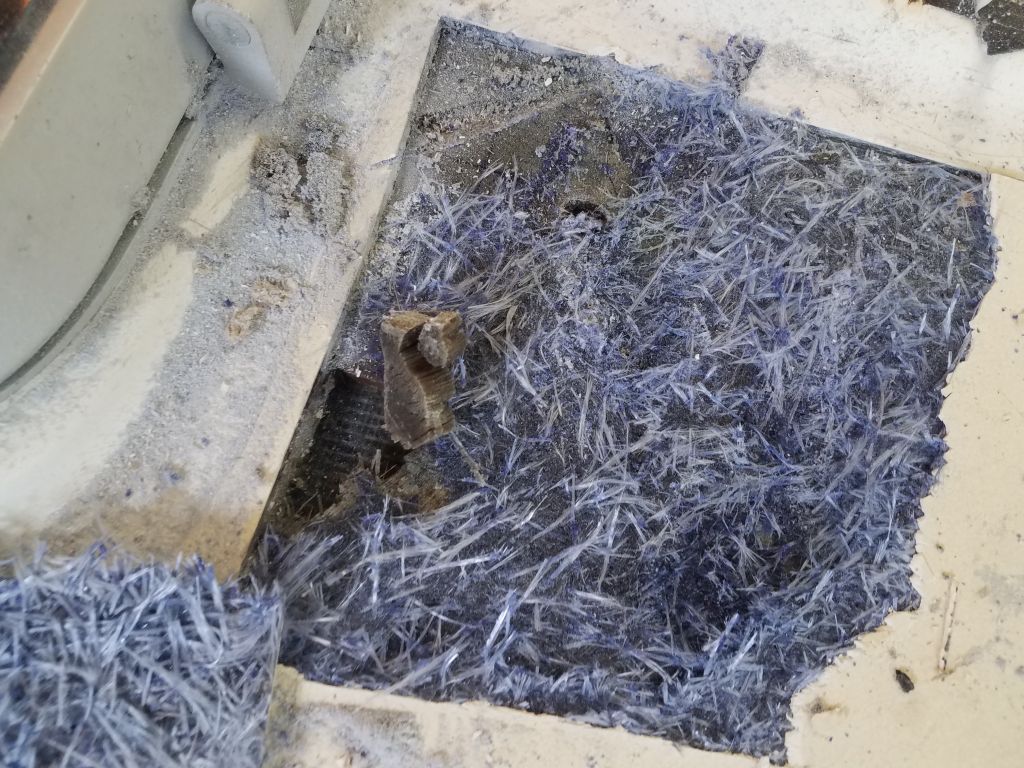
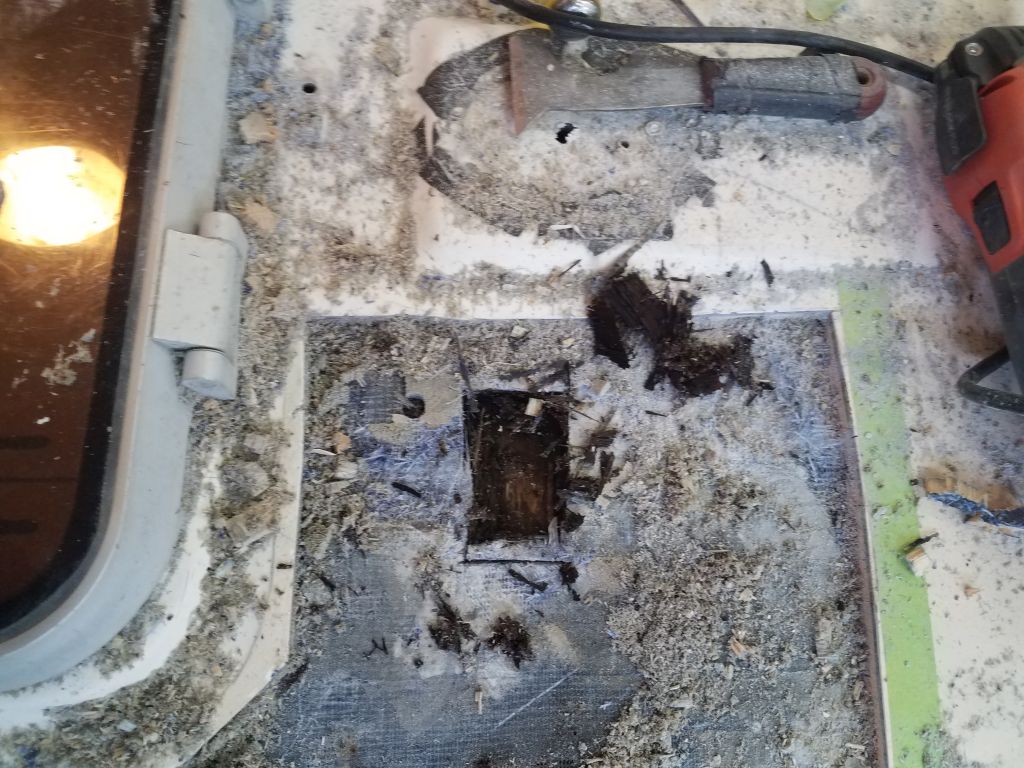
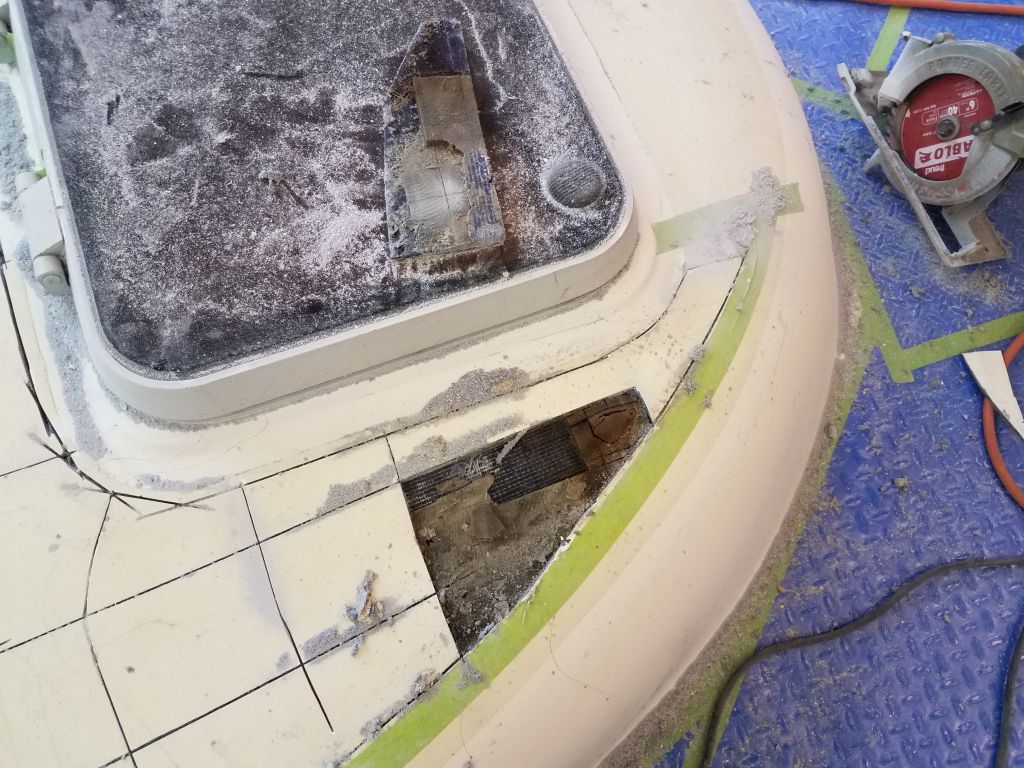
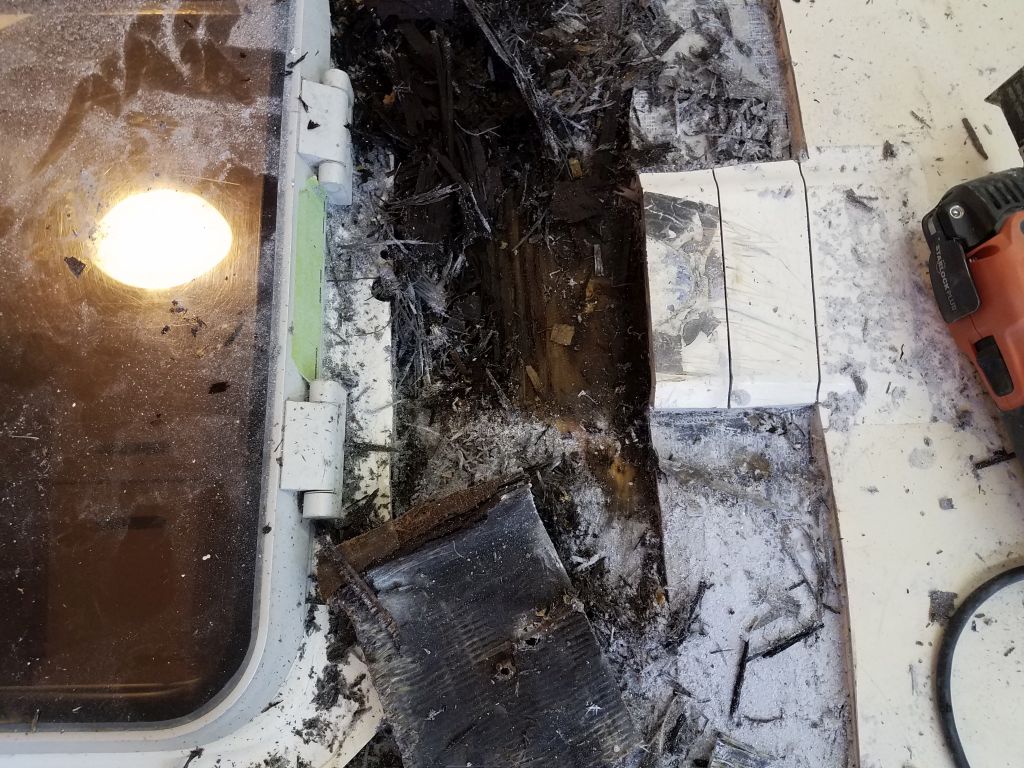
Now I cut a small access hole in the exposed inner skin, allowing me to begin to assess the mast beam that I expected would be hidden beneath. In this small access hole, near the mast step, I exposed a layer of badly water-damaged wood, apparently plywood, but once I removed the bad material I exposed additional wood–still wet, but sound. At this early stage, this served only to begin to educate me on the construction beneath, as well as the conditions I could anticipate, and from what I could see through this small hole, it was apparent that the mast beam was going to require replacement as well.
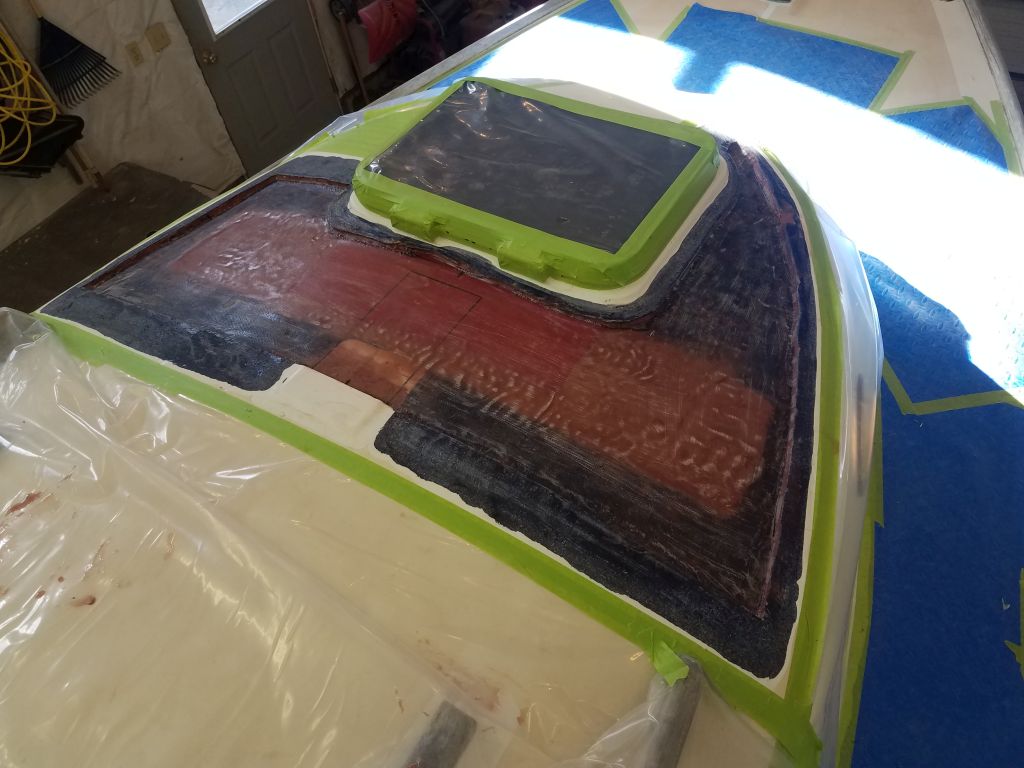
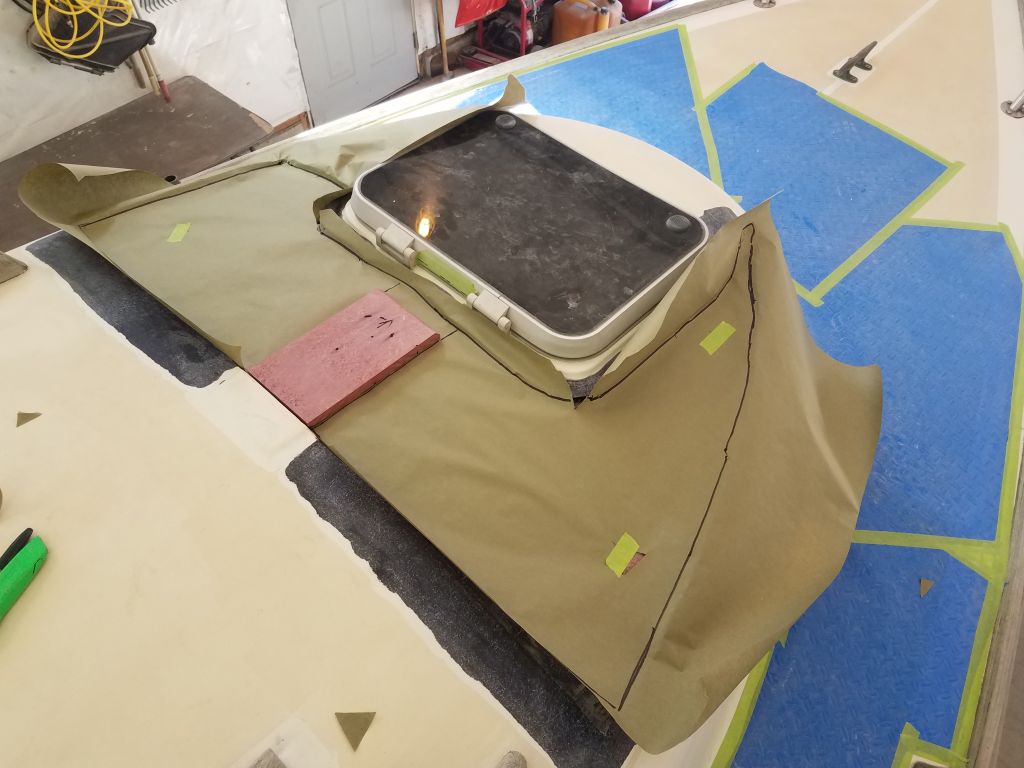
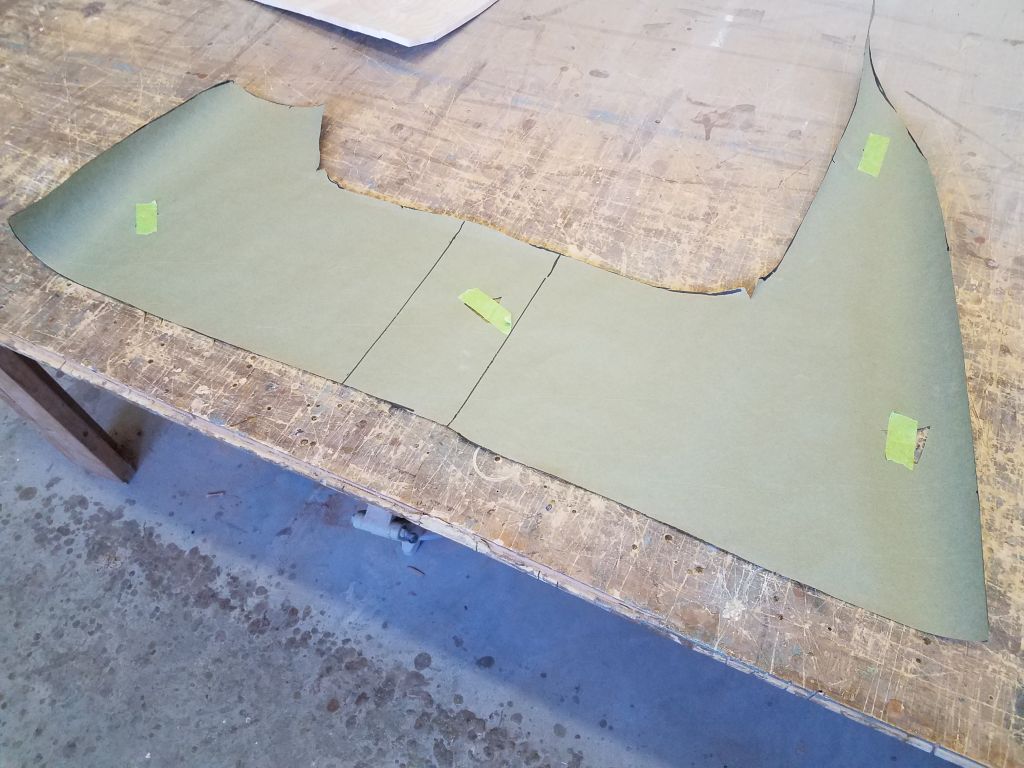
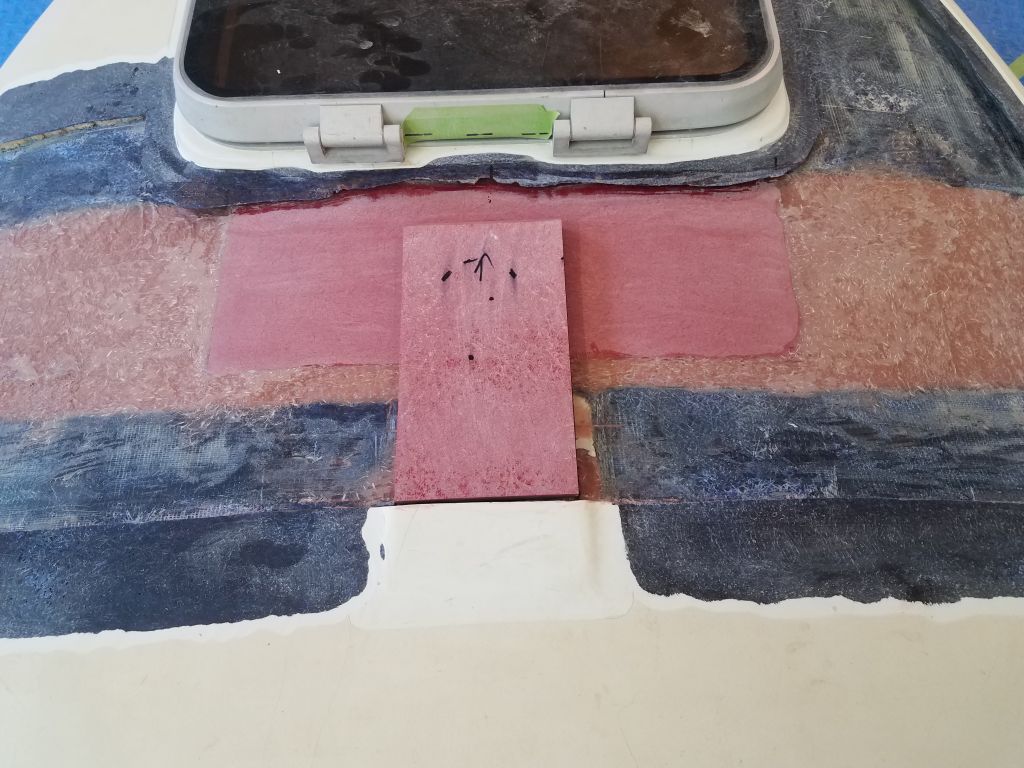
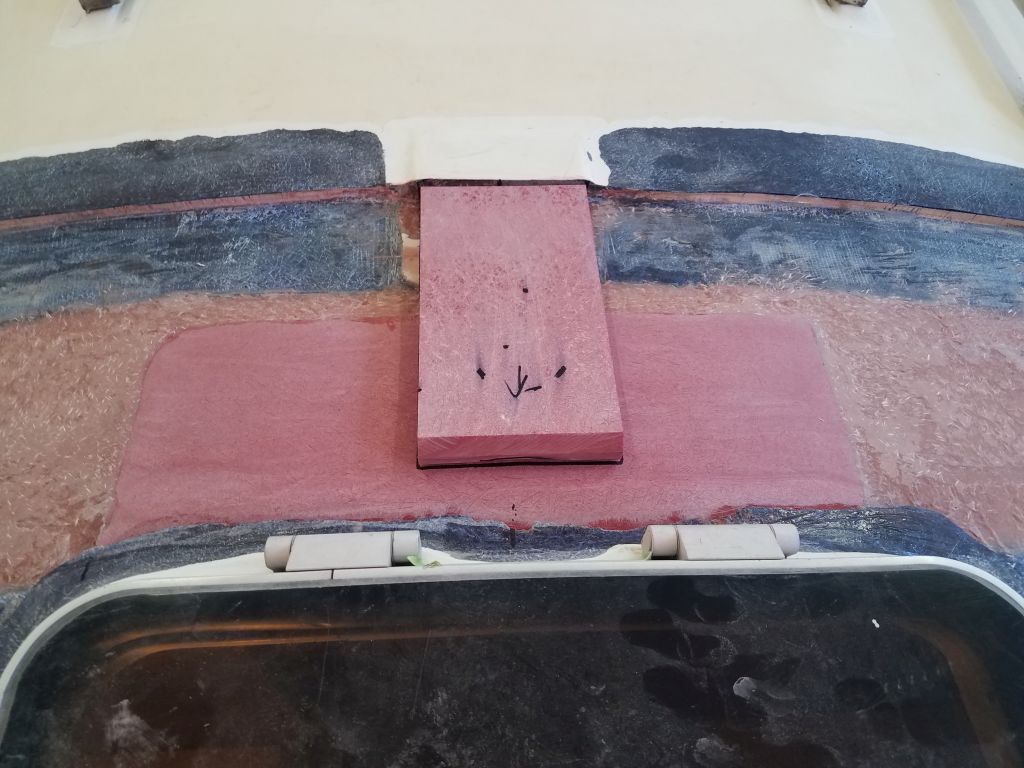
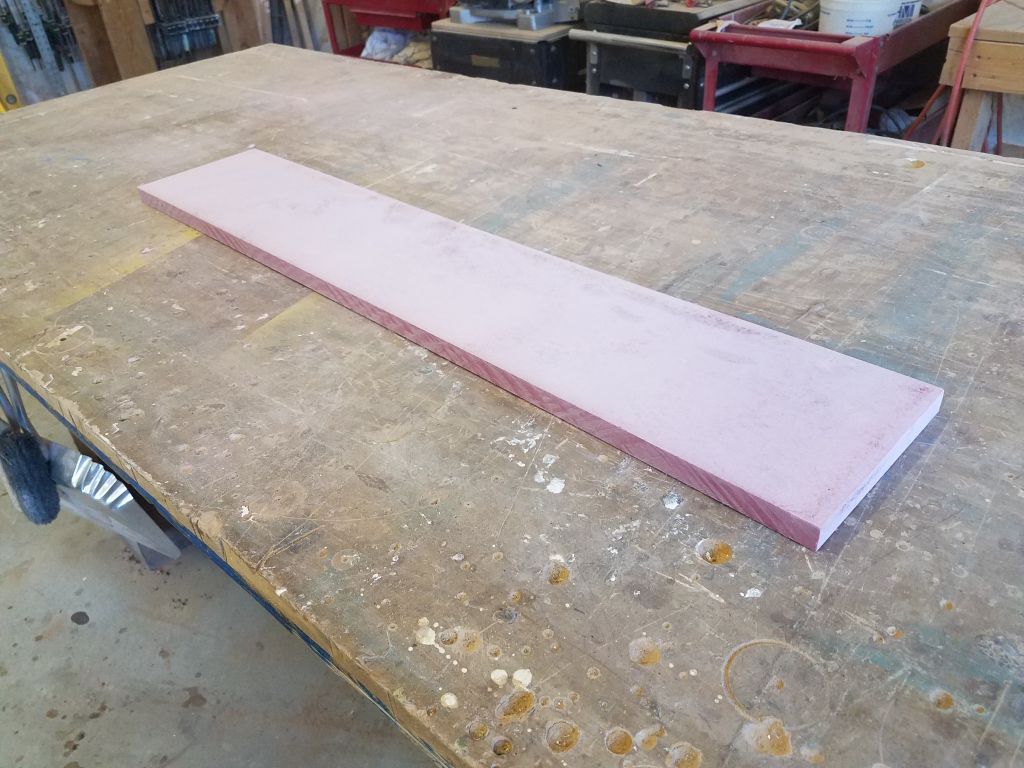
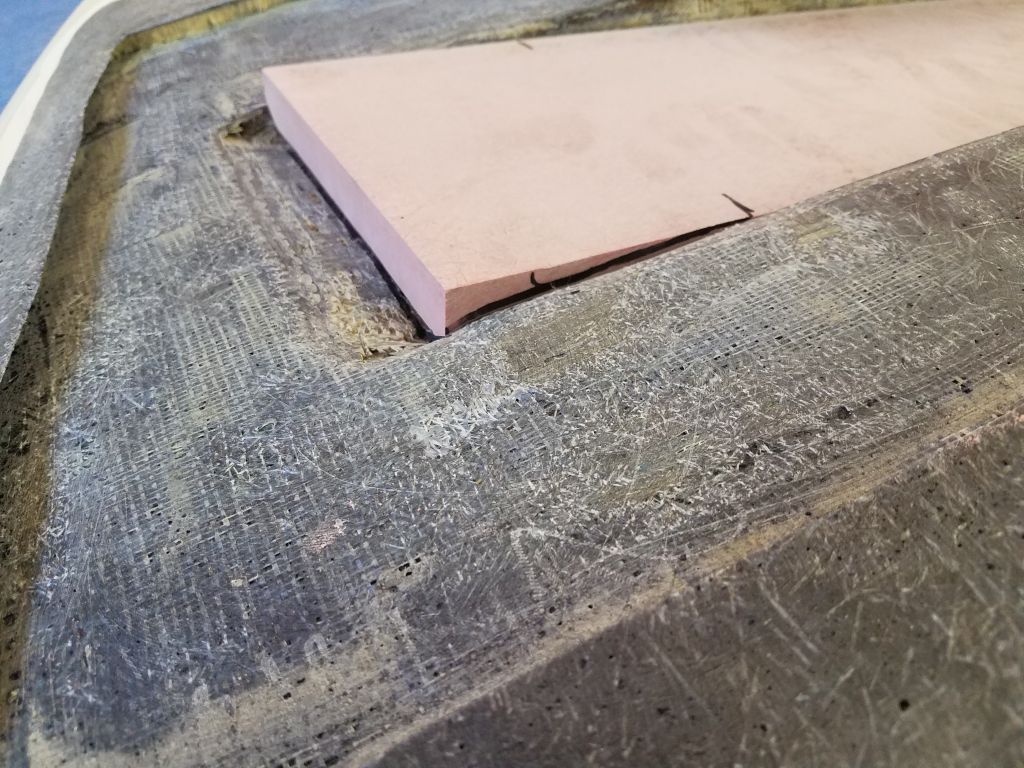
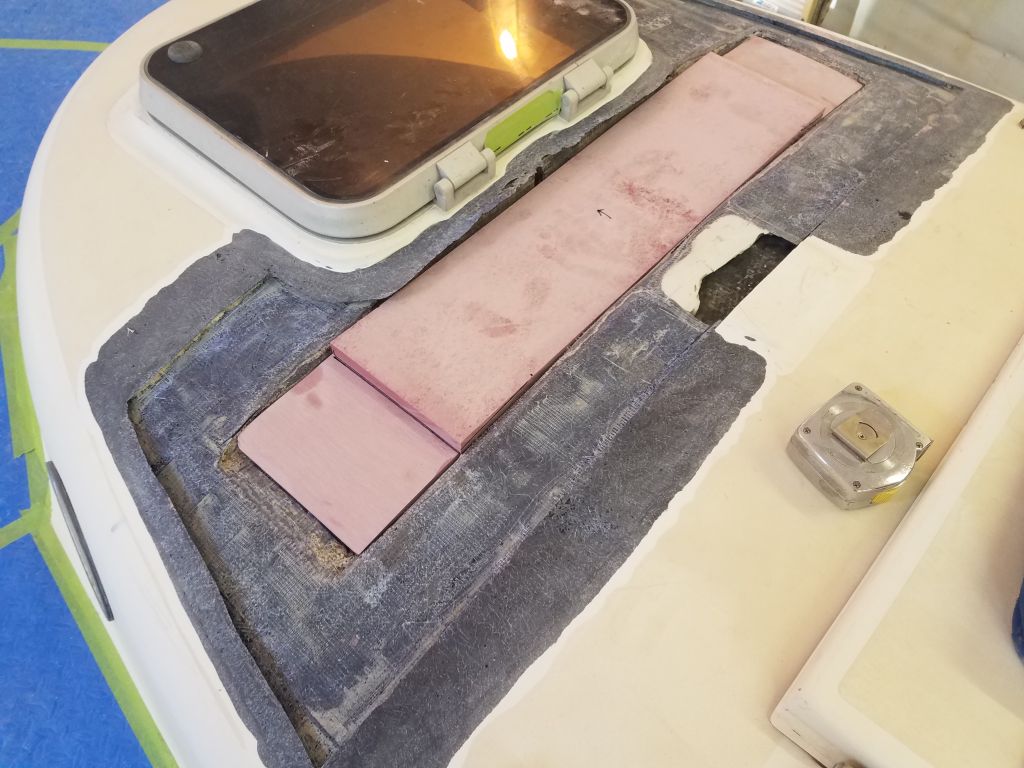
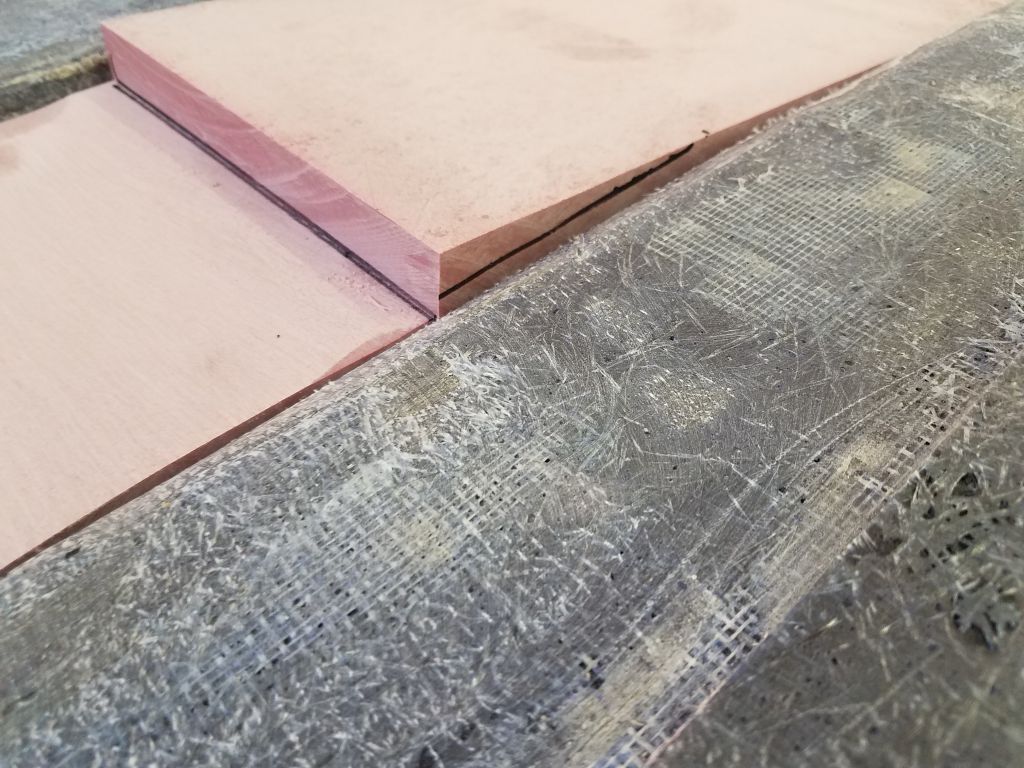
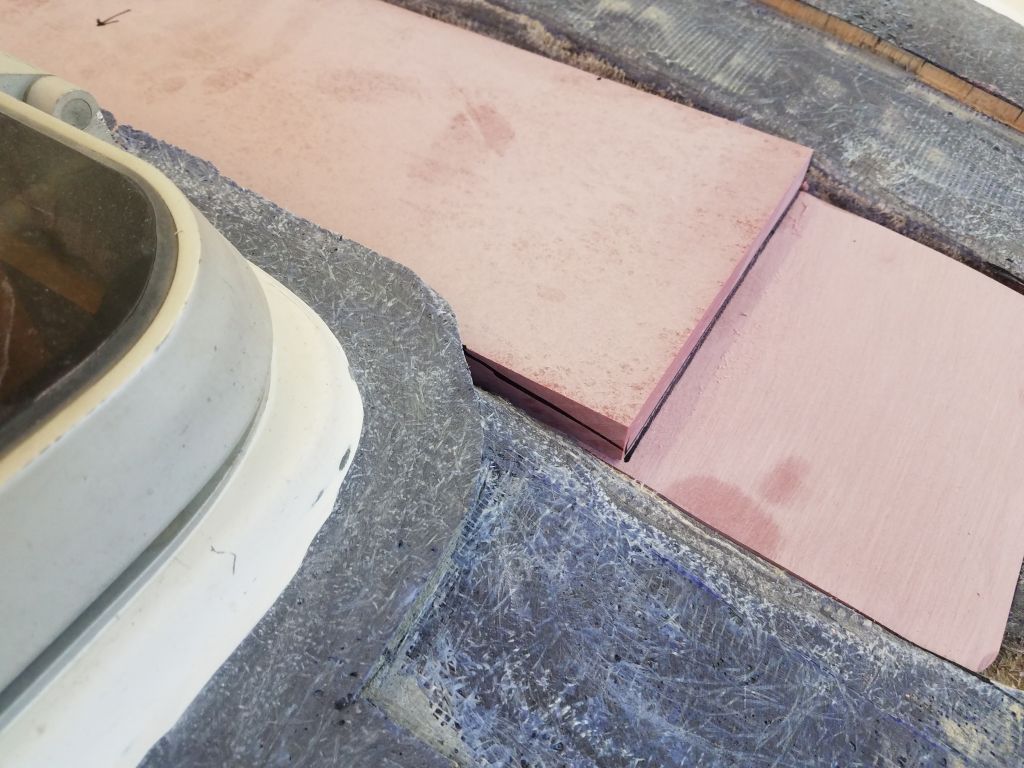
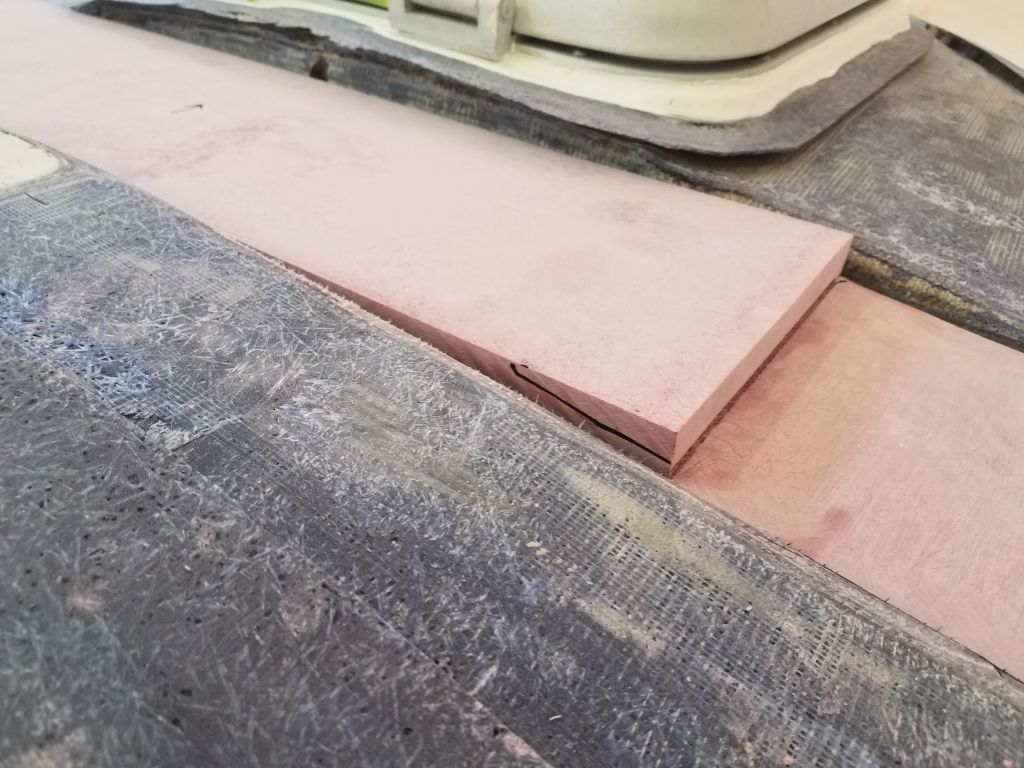
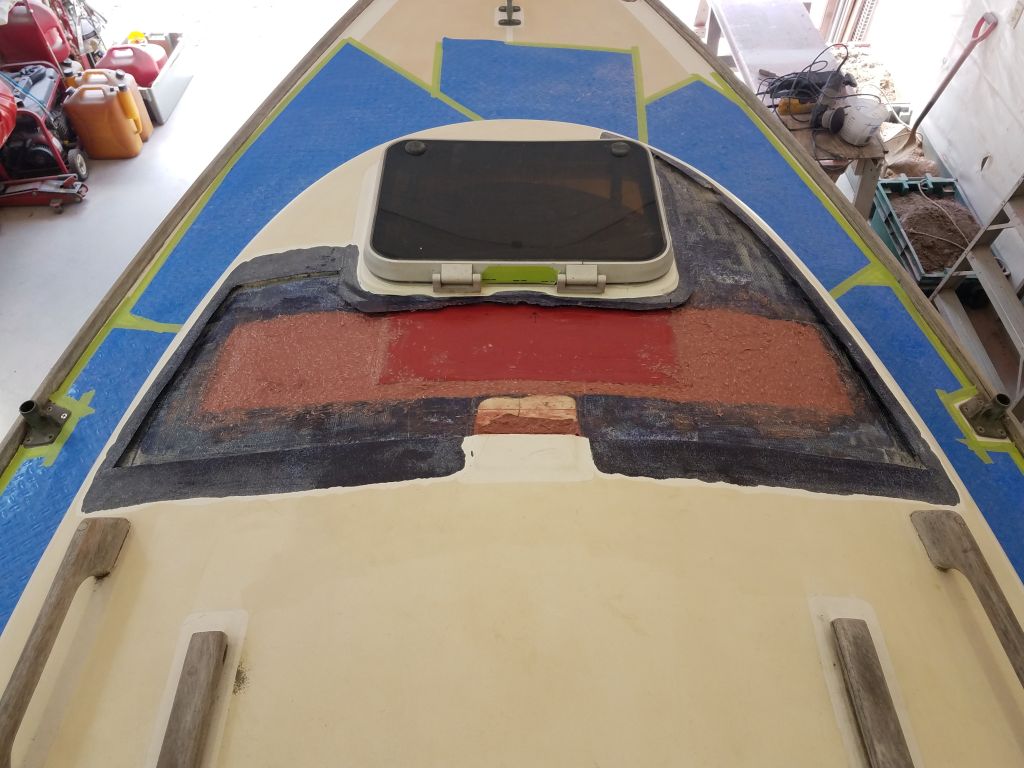
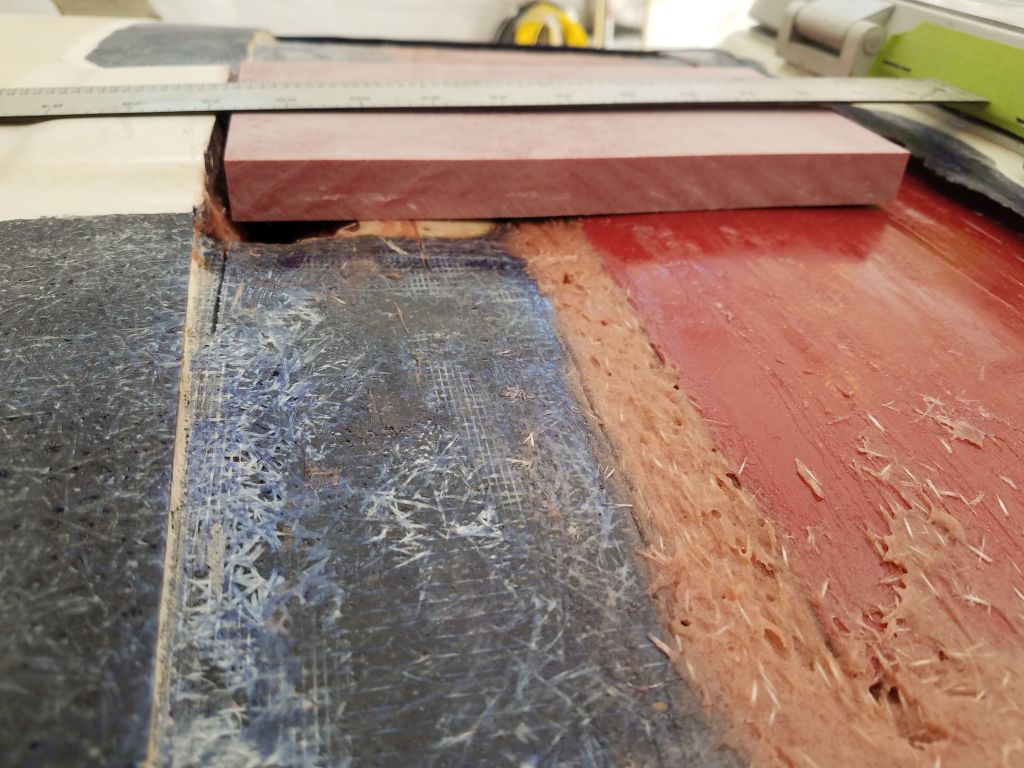
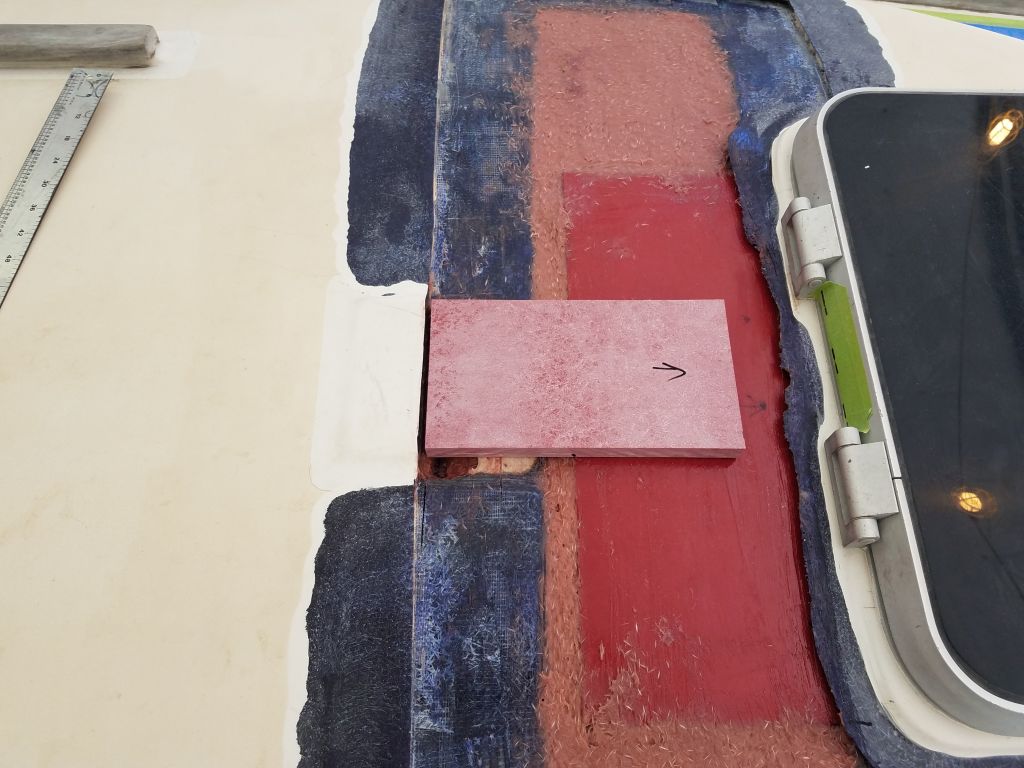
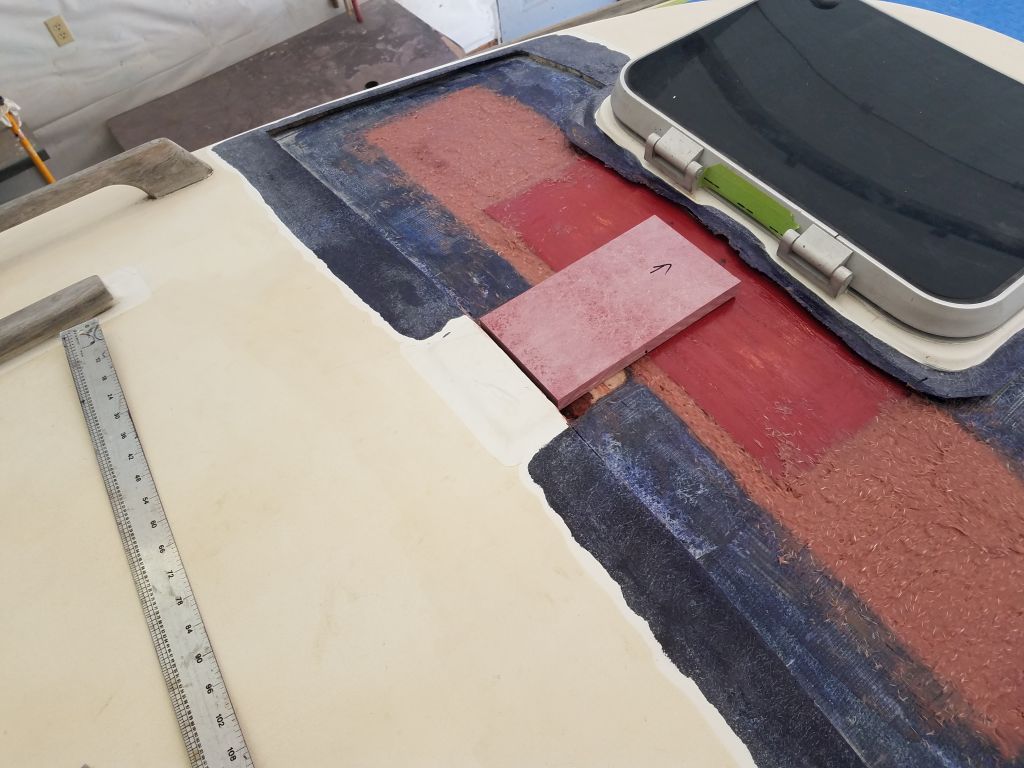
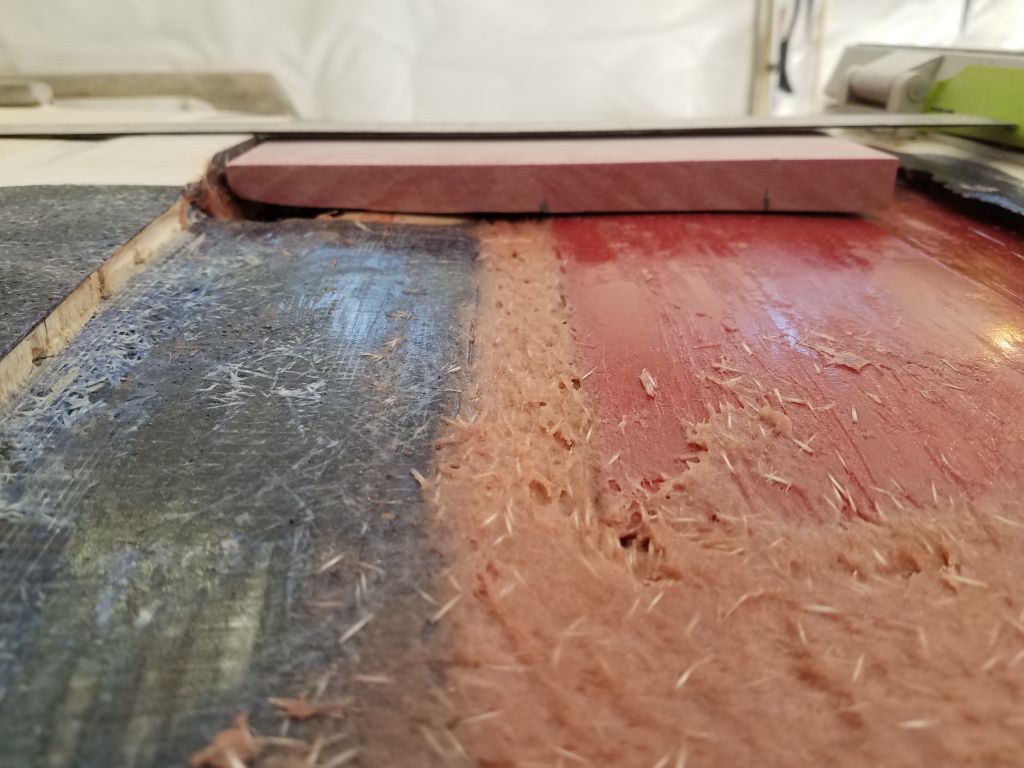
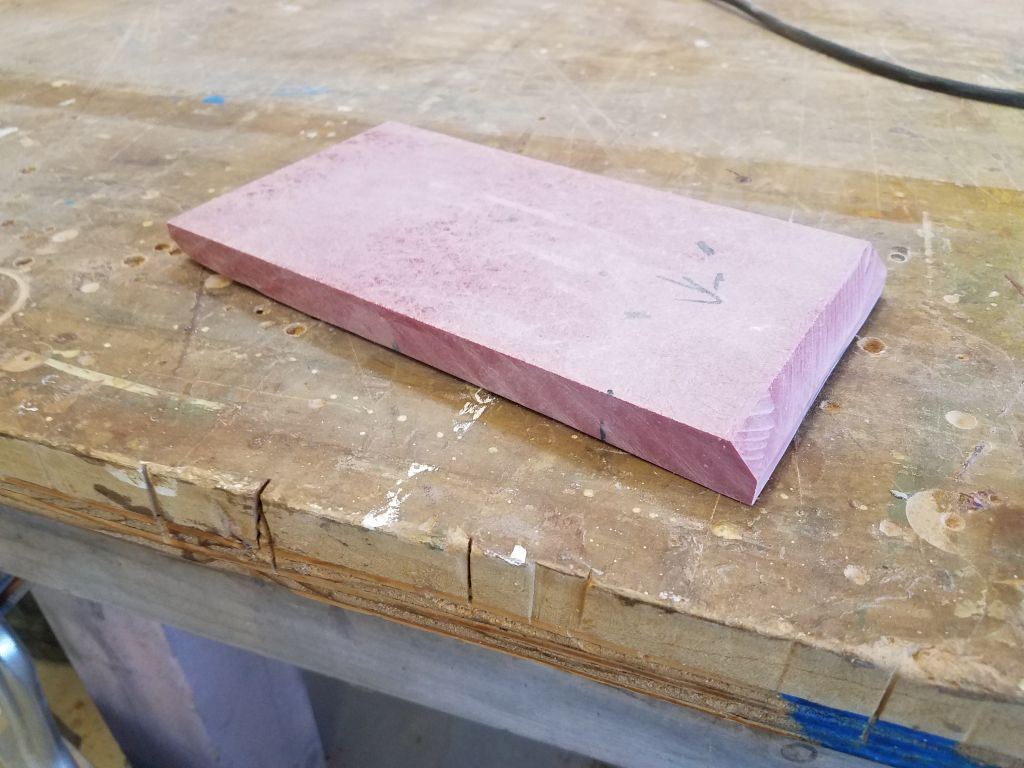
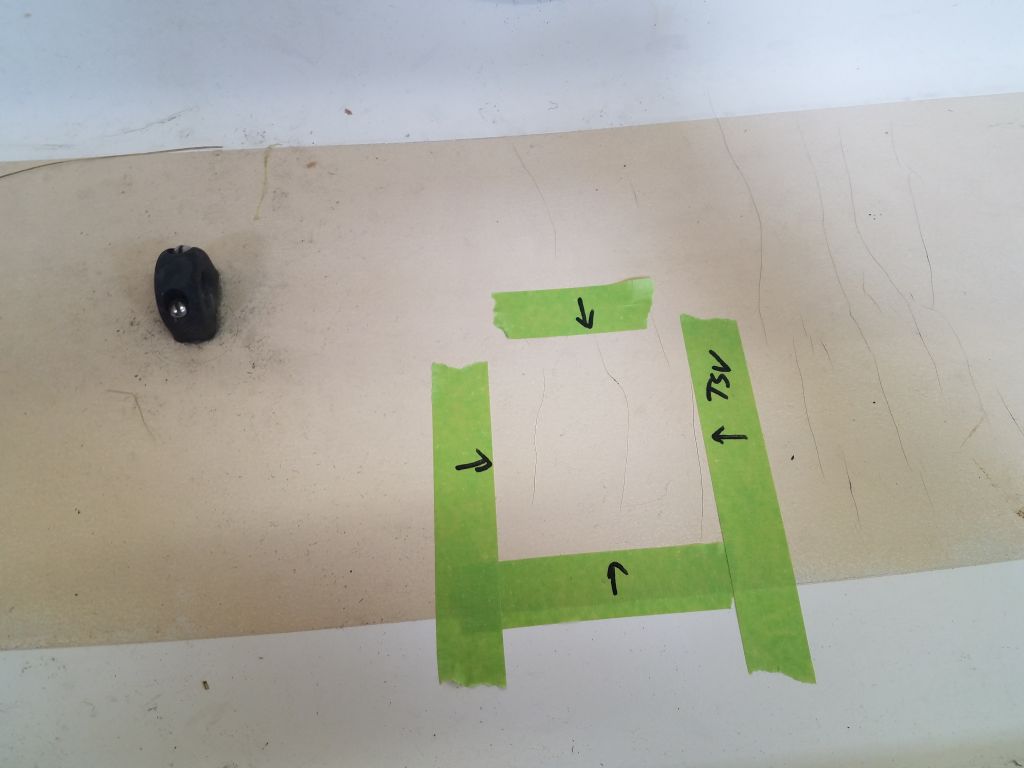
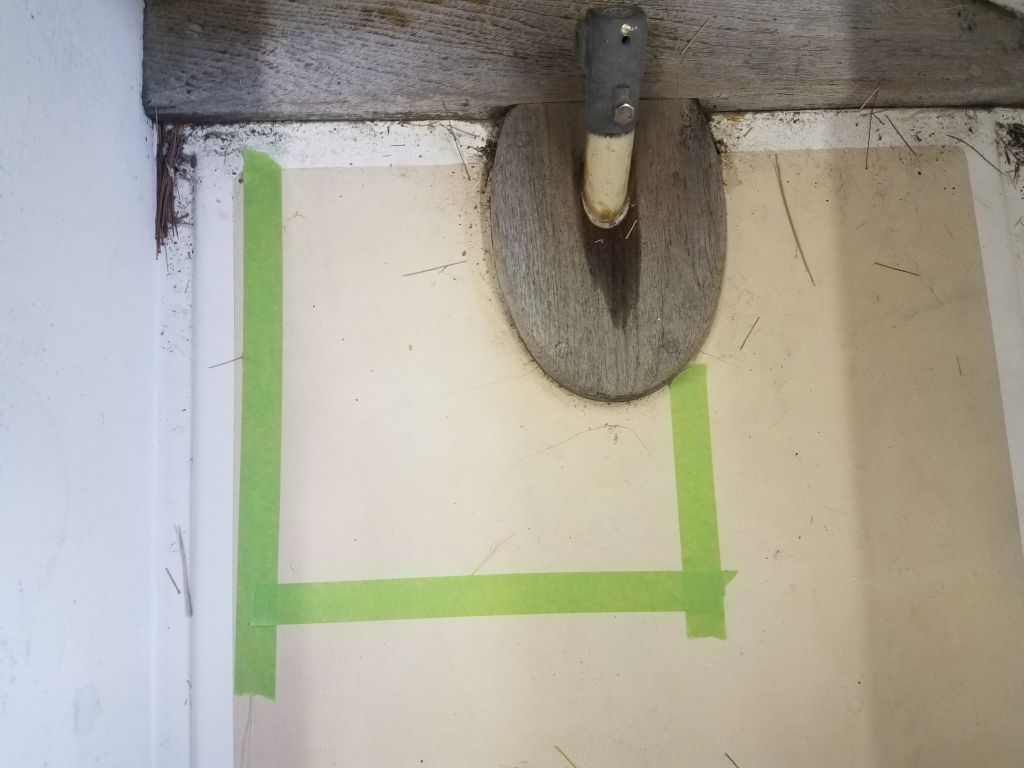
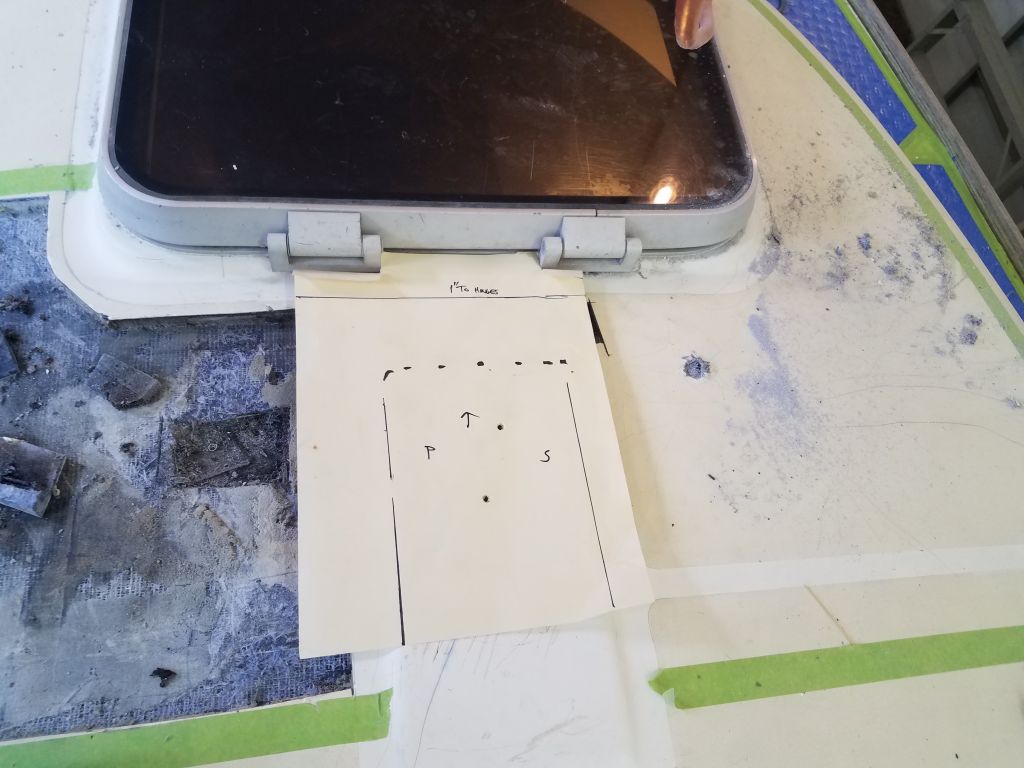
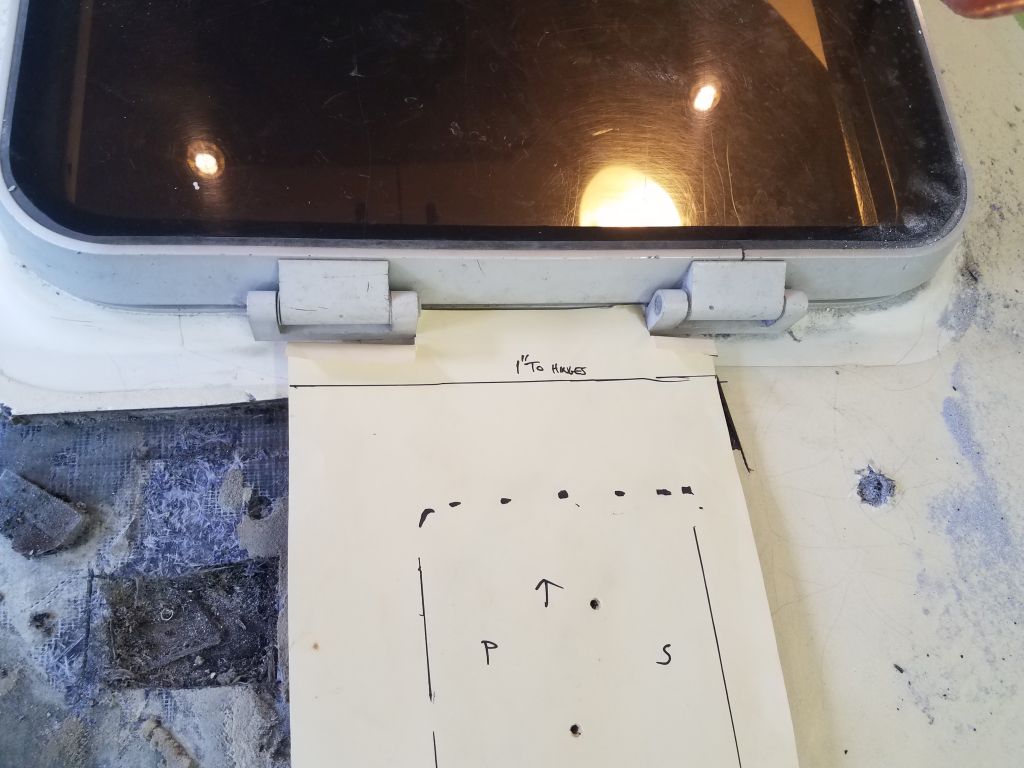
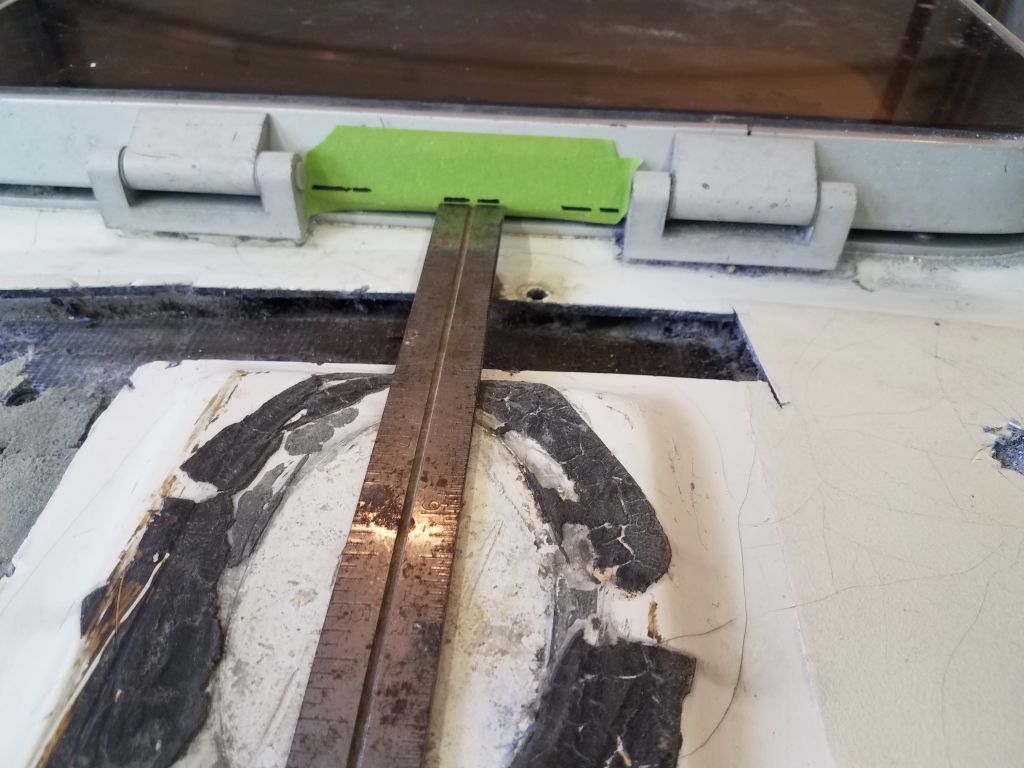
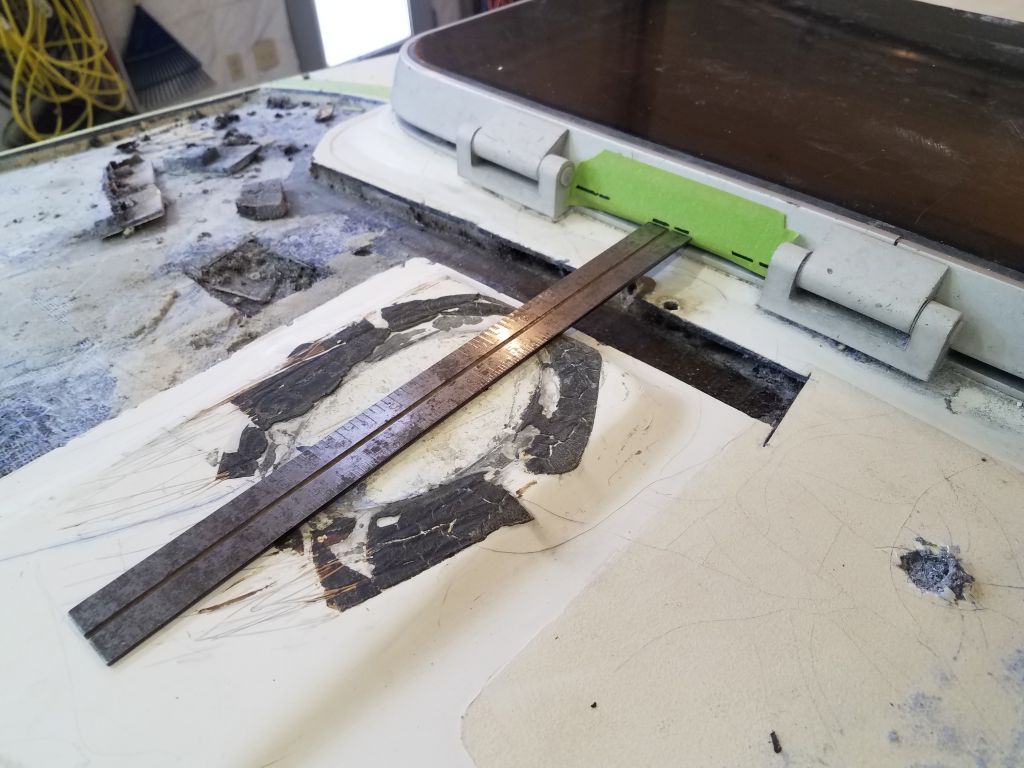
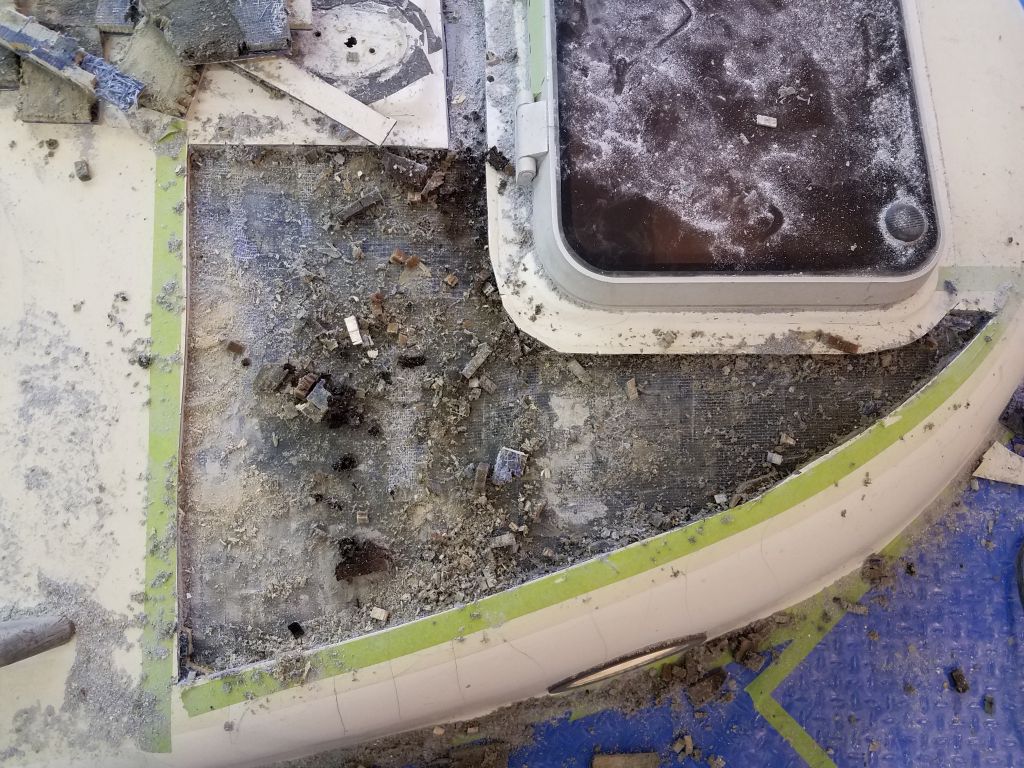
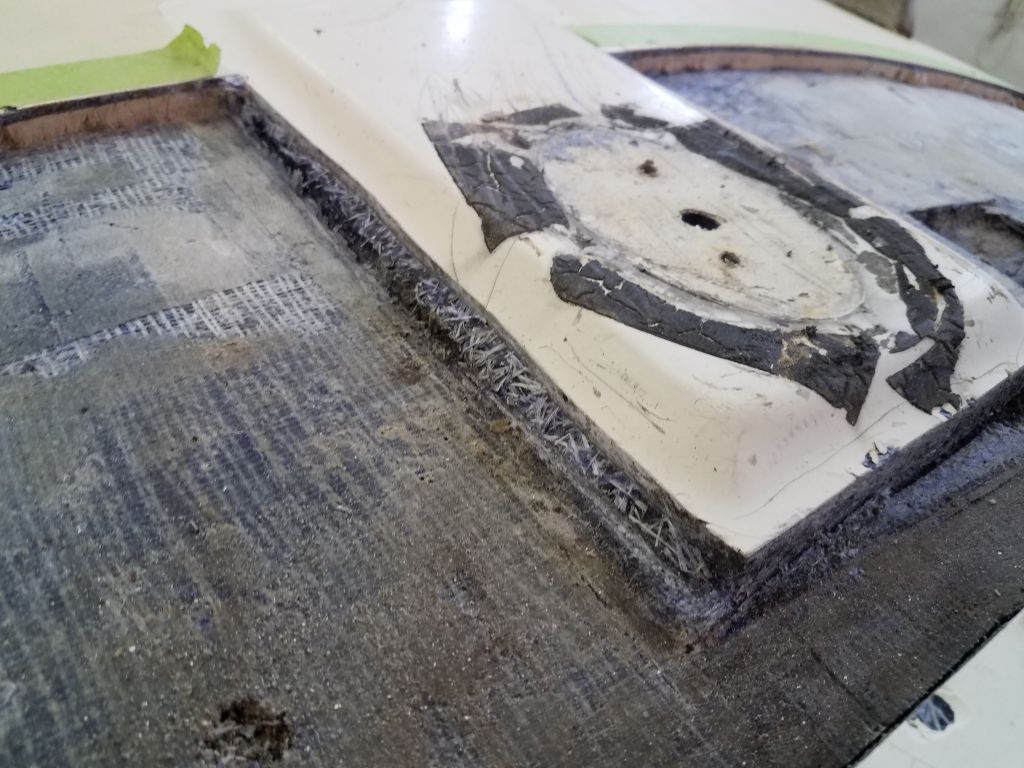
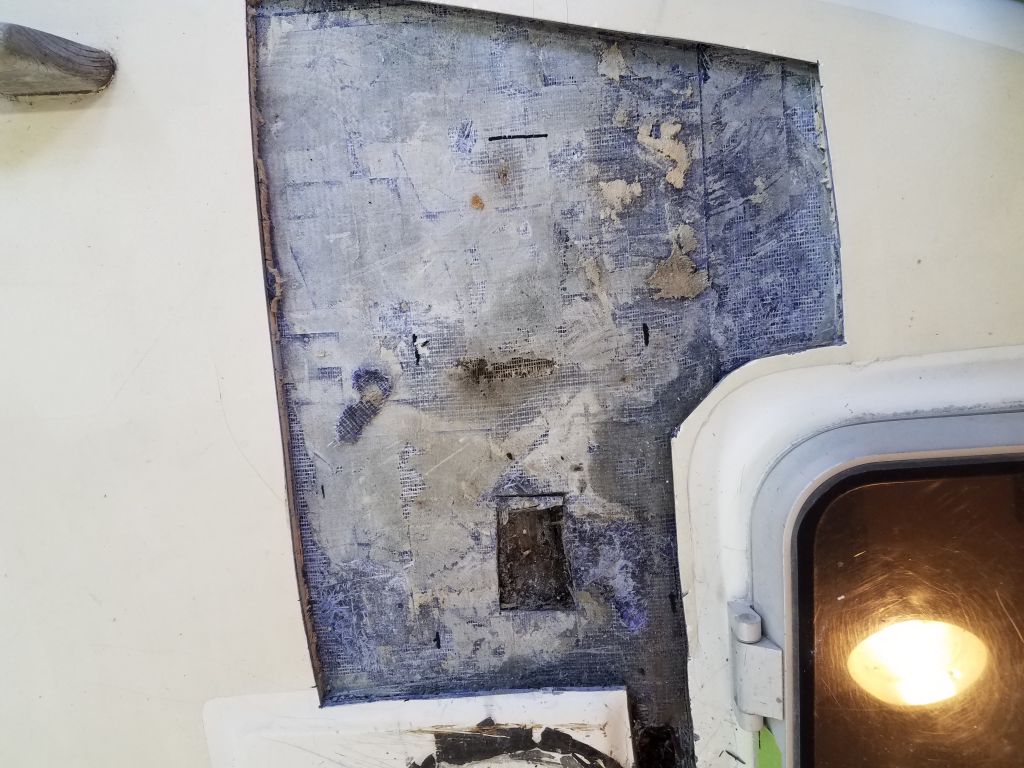
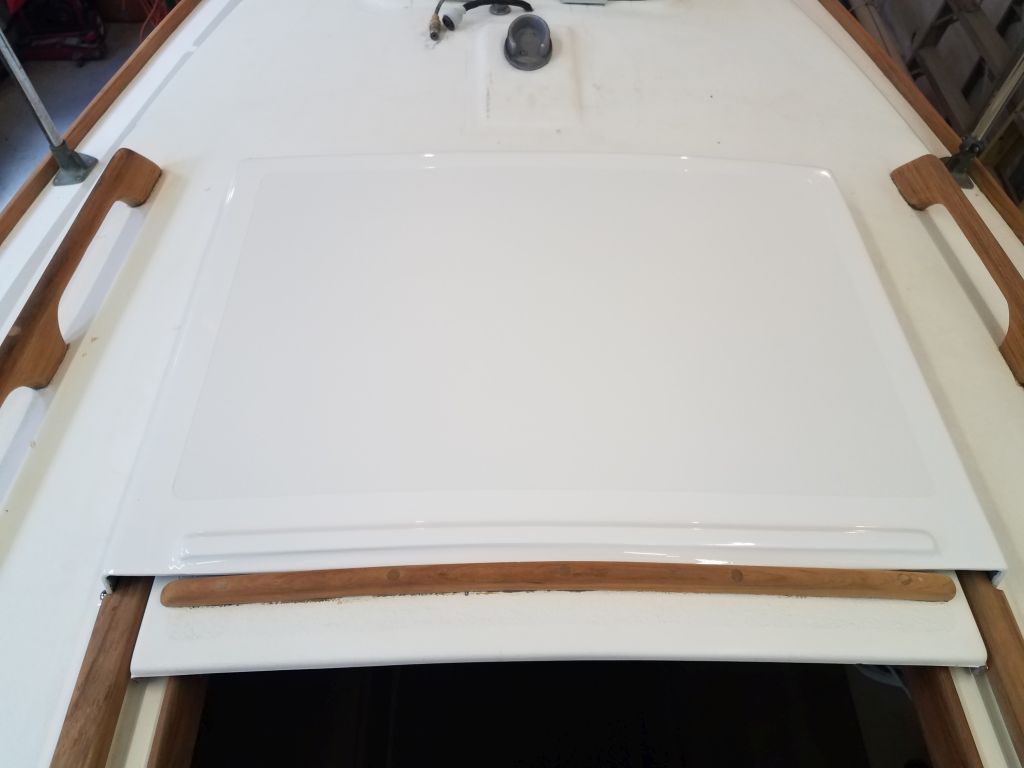
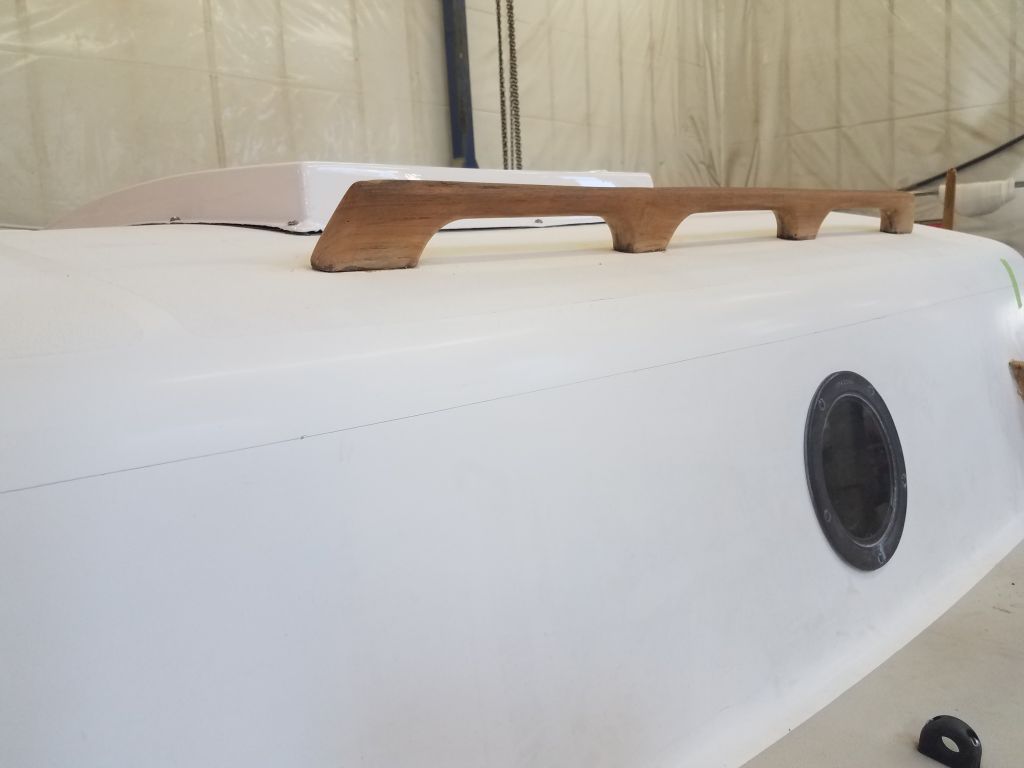
For the moment, I left the molded area beneath the mast step alone, as I wasn’t sure how the overall deck was constructed and wanted to work my way back to that area once I’d learned more about the scantlings. I figured I would probably have to remove the raised, molded flat area, however, so before I continued I made a quick template of the mast step location, registering it off the nearby forward hatch for reference, and also marked the plane of the surface on some tape on the hatch; these marks and templates would help me rebuild the area and install the mast step in the same location later.
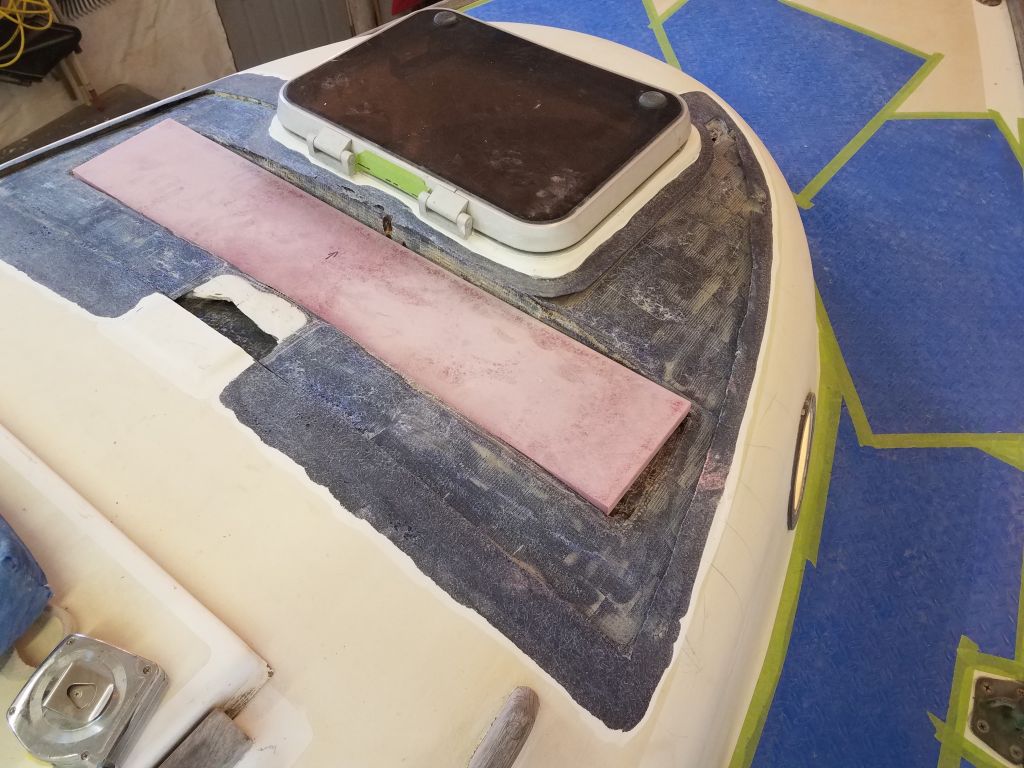
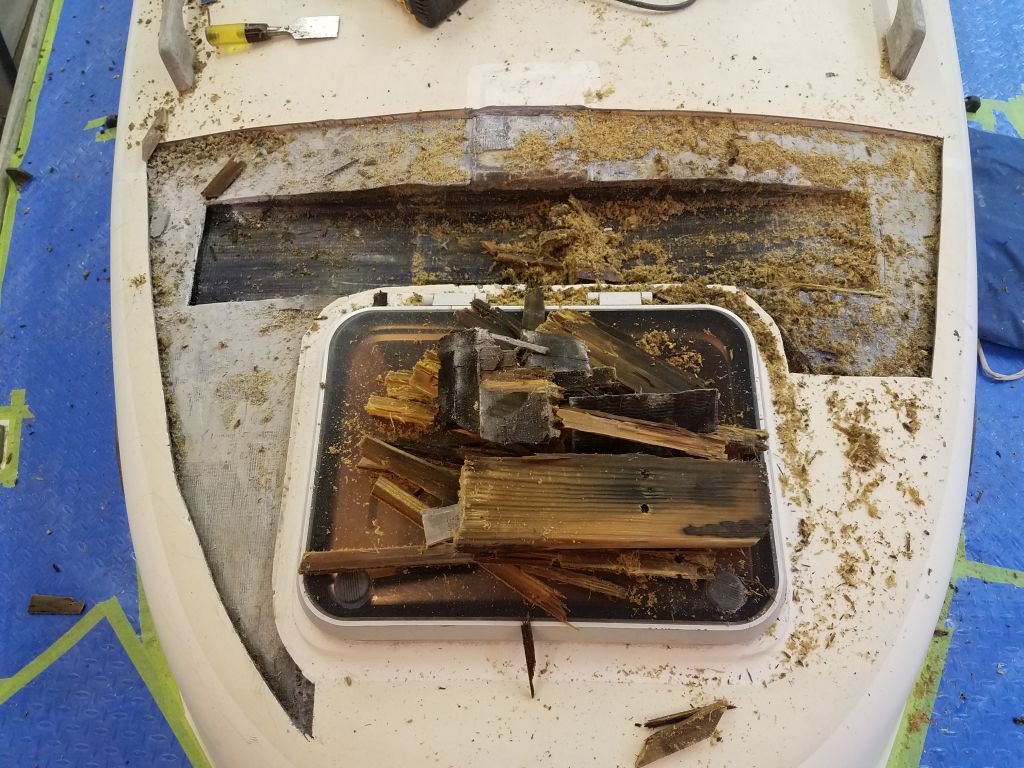
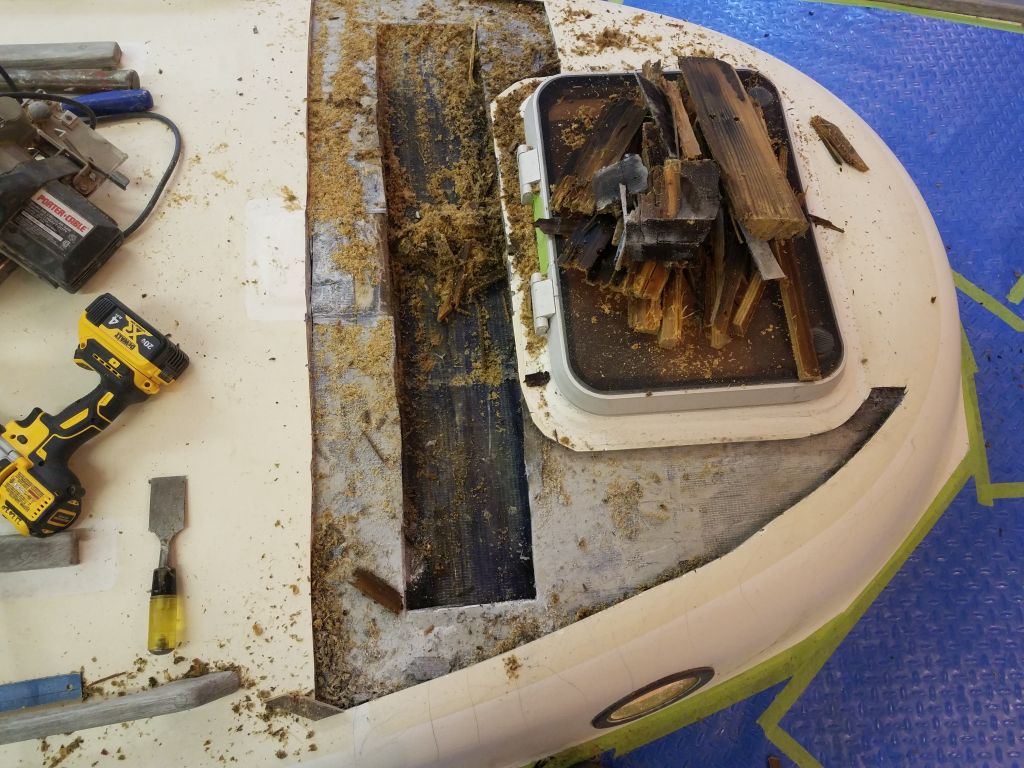
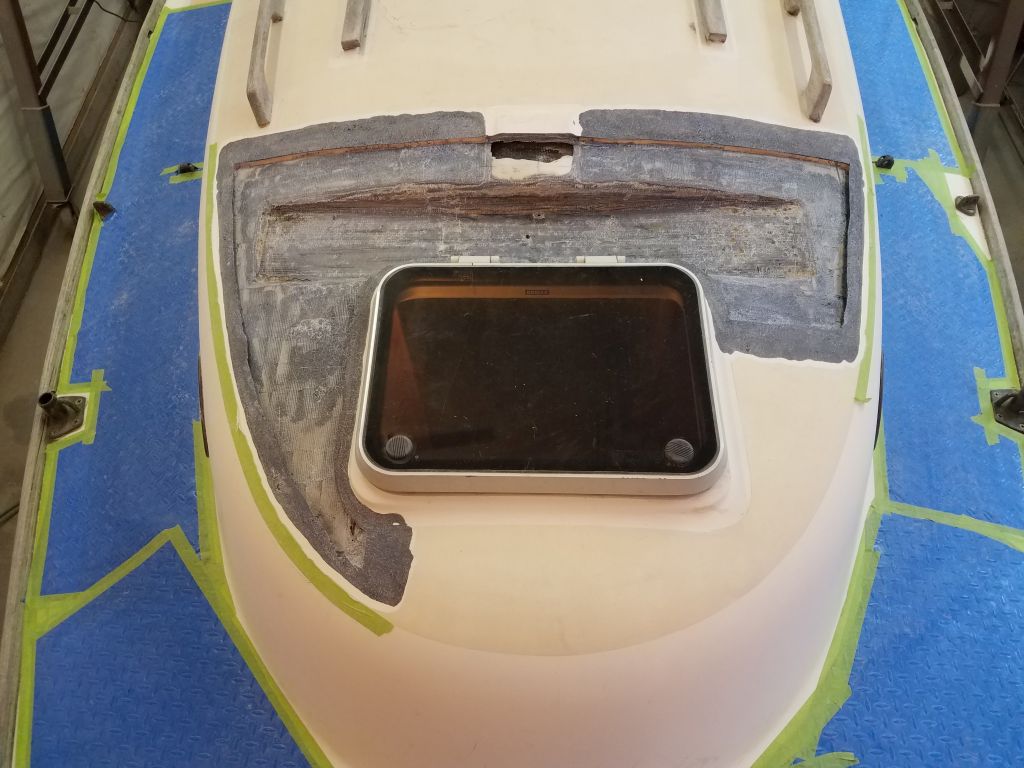
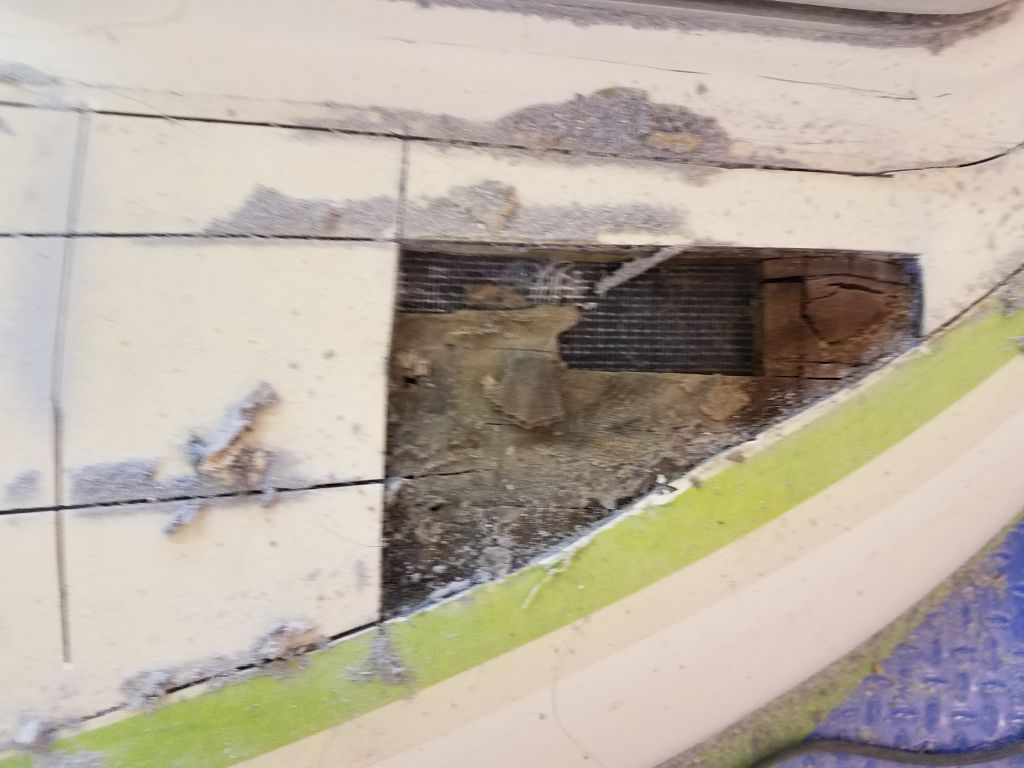
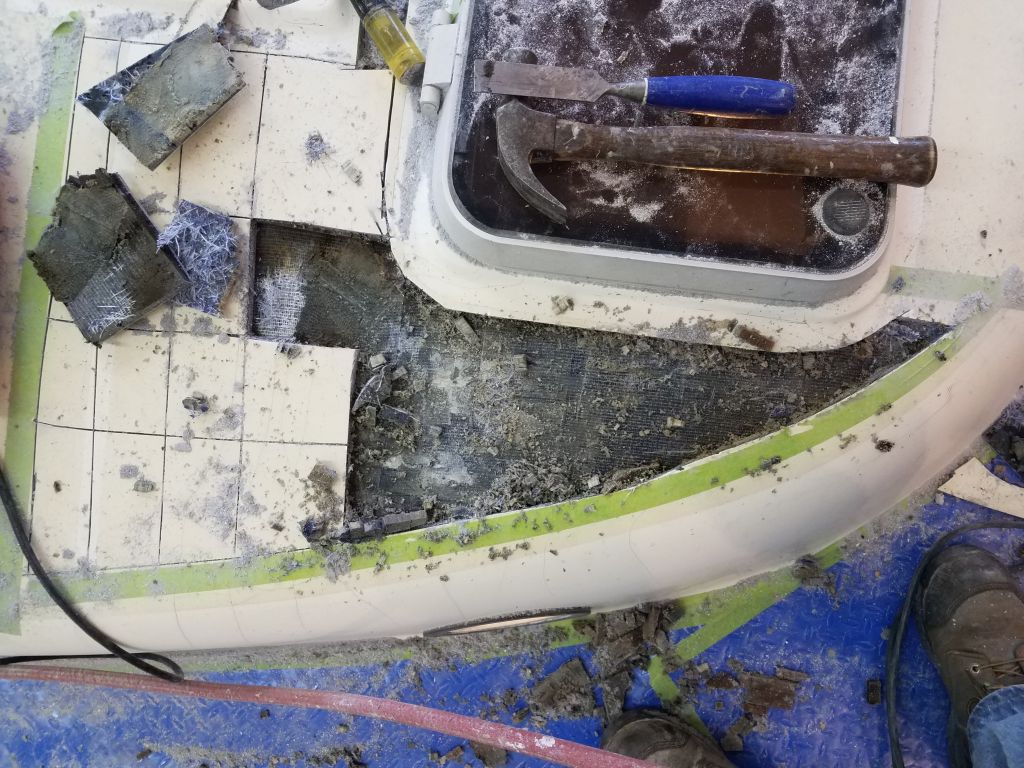
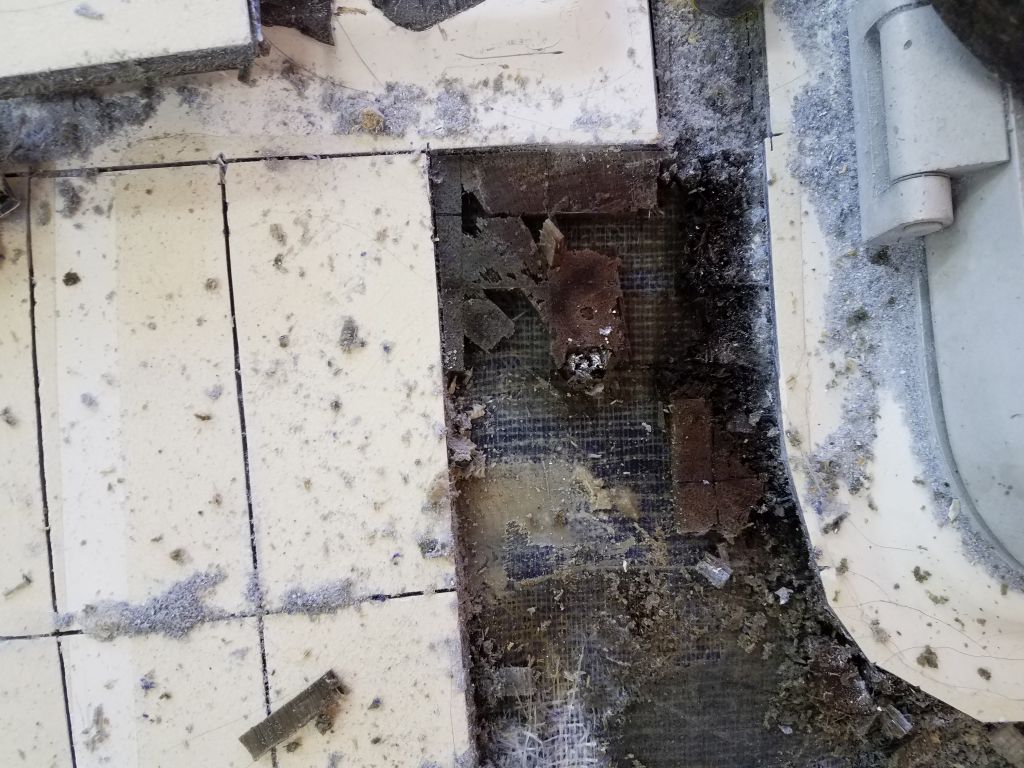
Next, I repeated the deck and core removal on the starboard side. Here, I found the core was in much worse condition than to port, which was pretty much what I expected since the outward visual signs and deck inspection had suggested this. Once I’d removed all the material from within the new openings, I reamed out the core from beneath the deck edge along the side of the coachroof and around the forward hatch, and cleaned up the area for now. As on the port side, the core at the edges of my cutlines was clean, dry, and sound.
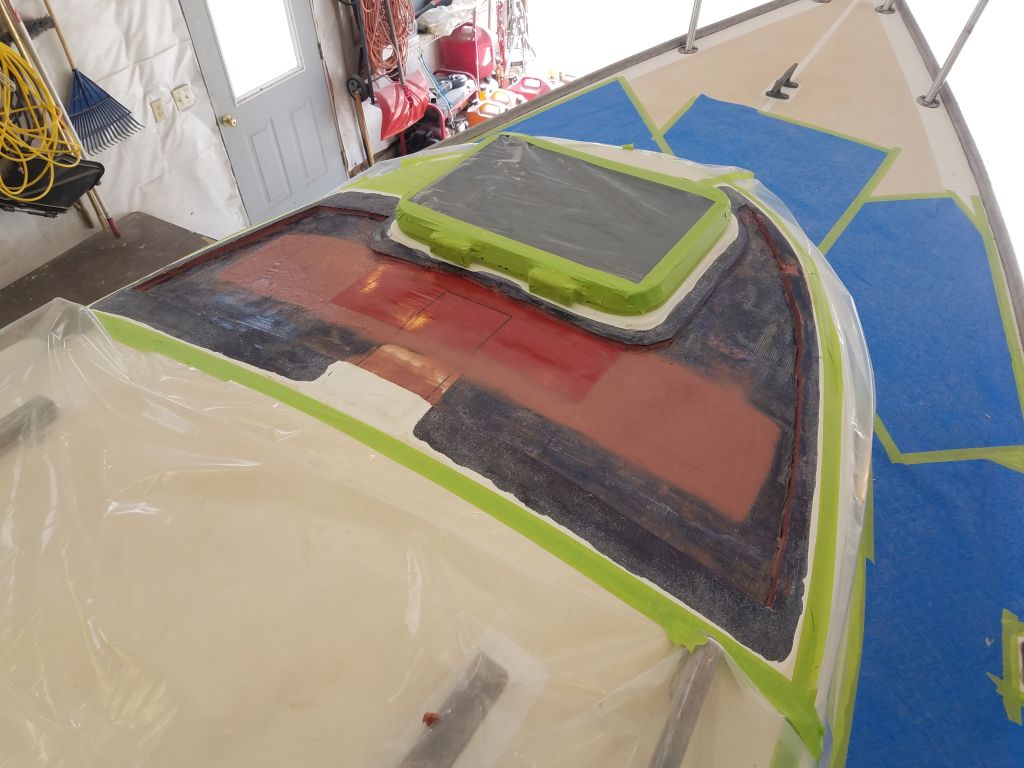
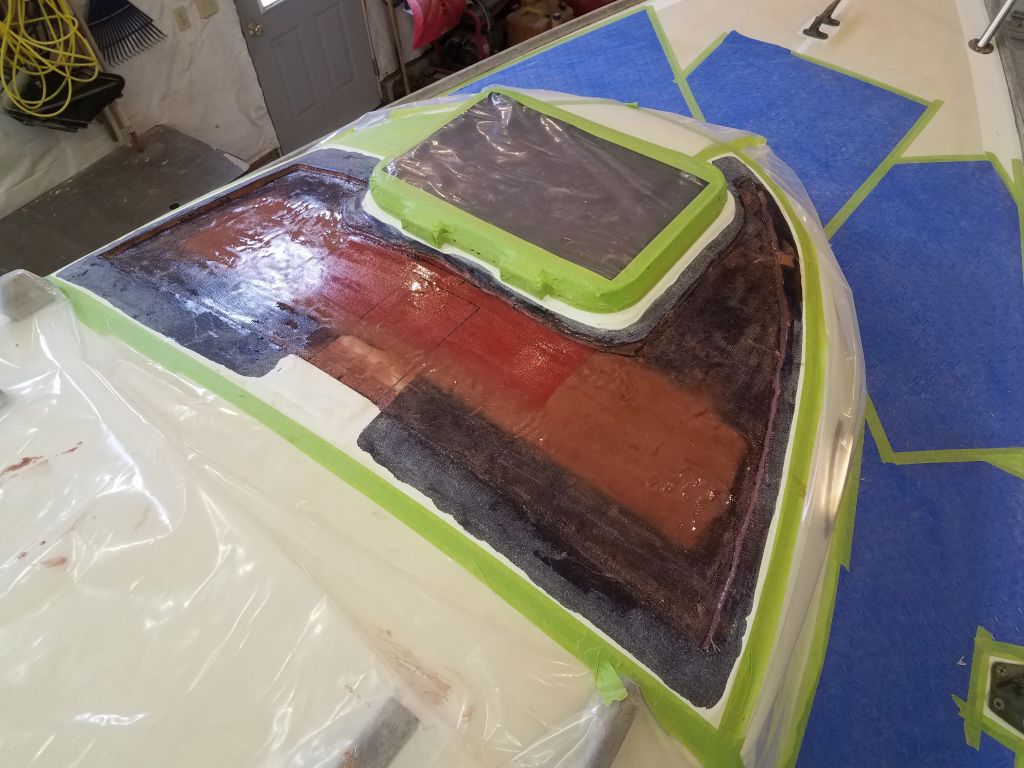
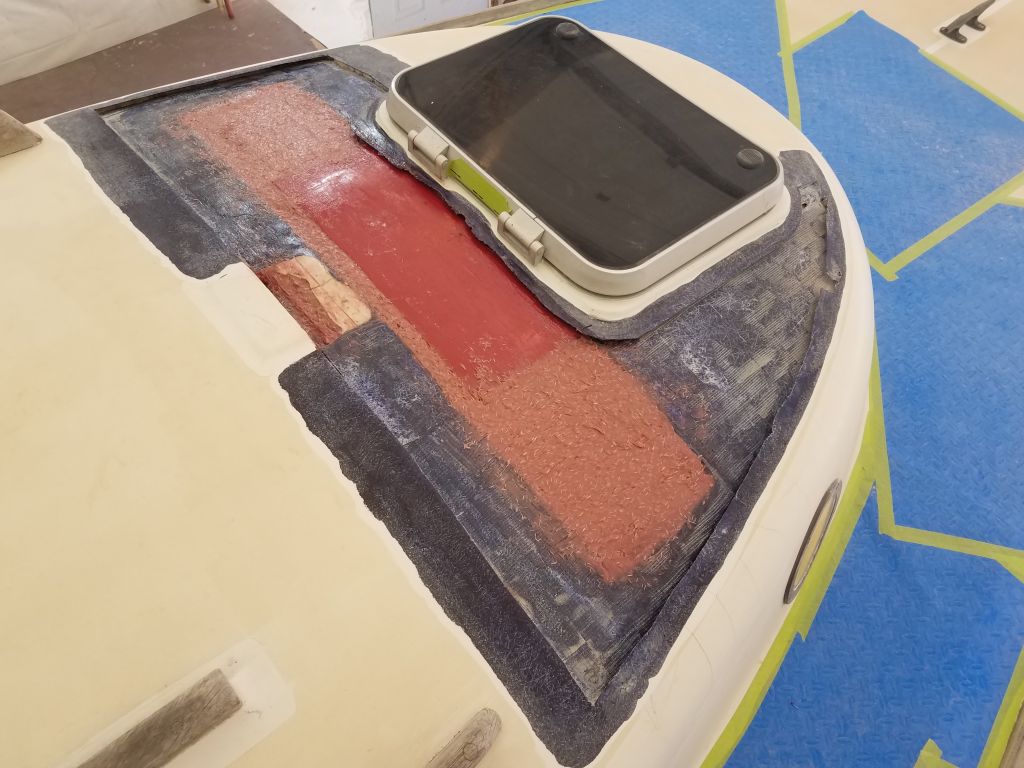
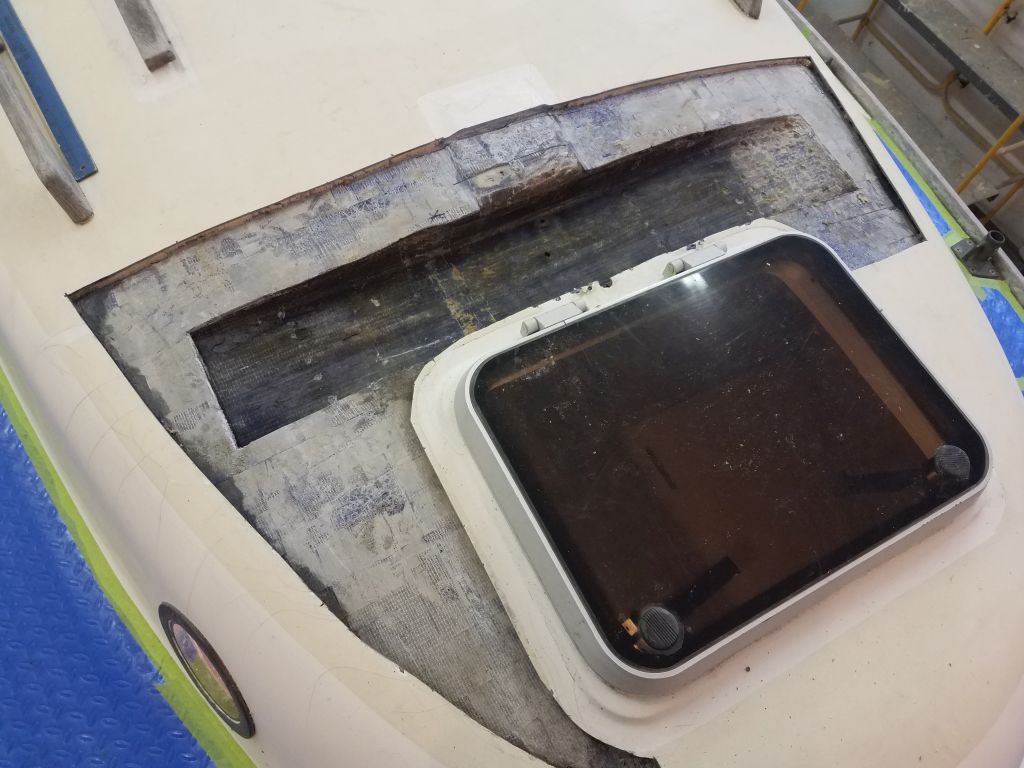
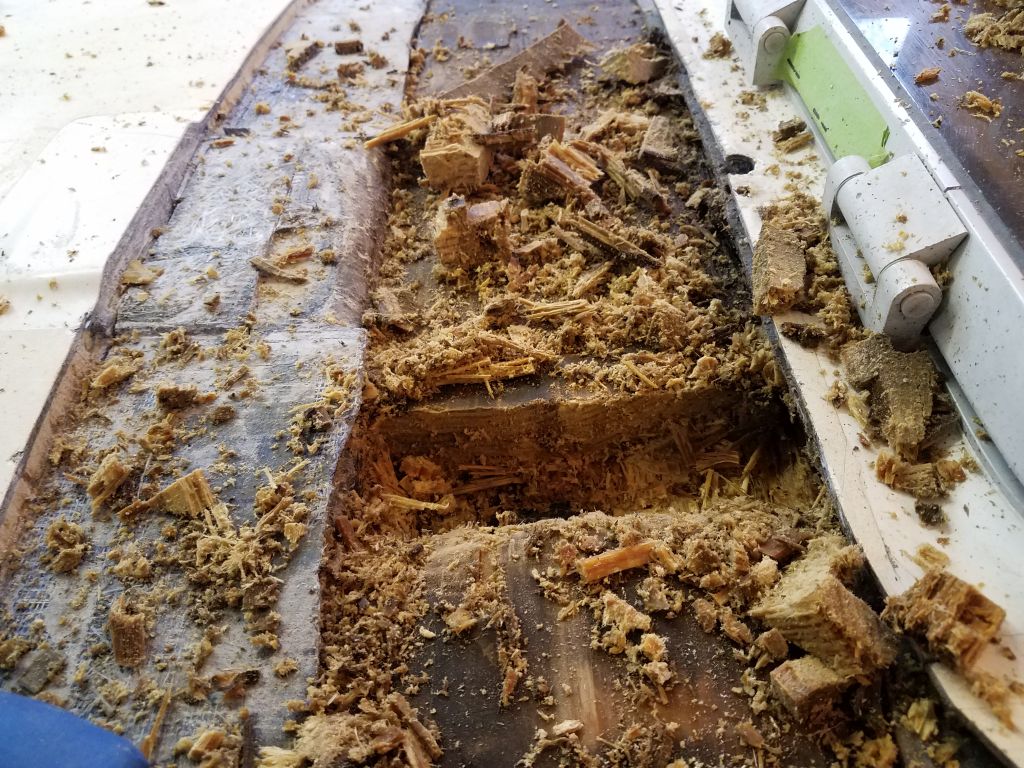
With a sounding hammer, I worked out the approximate dimensions and location of the mast beam below the exposed bottom skin; this was relatively straightforward, but till I could begin to expose things and truly understand the construction I was dealing with, I erred on the side of caution as I marked out the beam’s location, as I didn’t want to cut unnecessary or unwanted material. Once I had the extent of the beam roughly and conservatively marked out, I began to carefully cut away the skin to expose the entire thing. To begin, I left the mast step assembly in place, since although I assumed the beam ran directly beneath it, I wanted to be sure before I removed the molded flat (which rested on an area of solid glass rather than core in the original top deck structure).
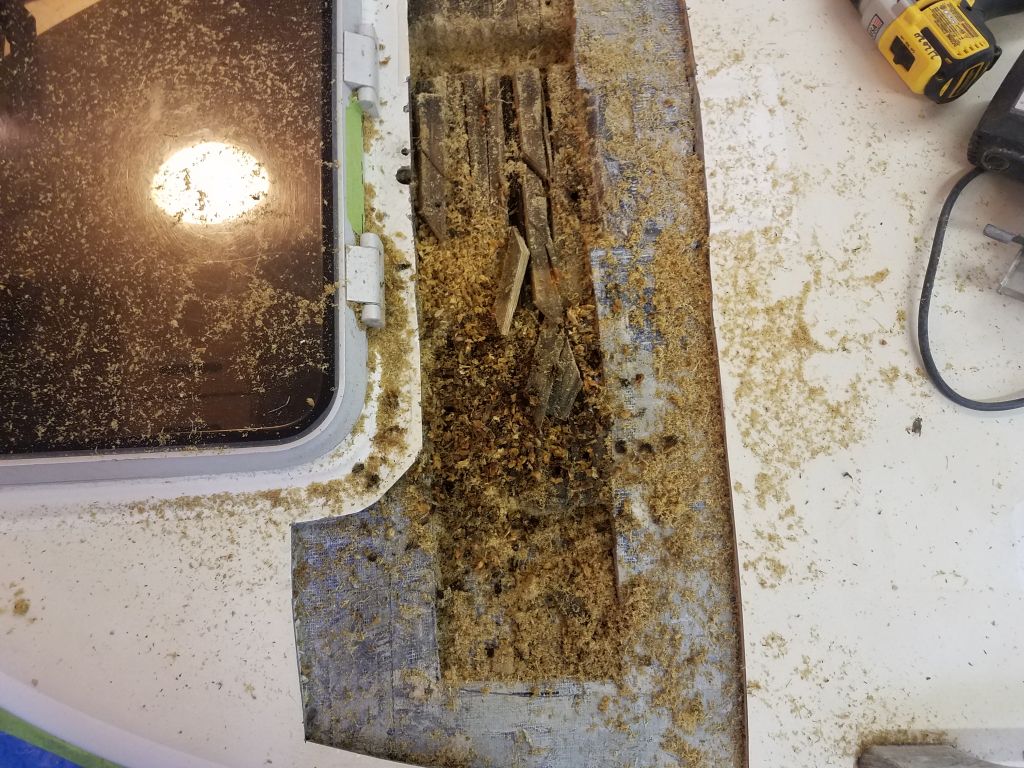
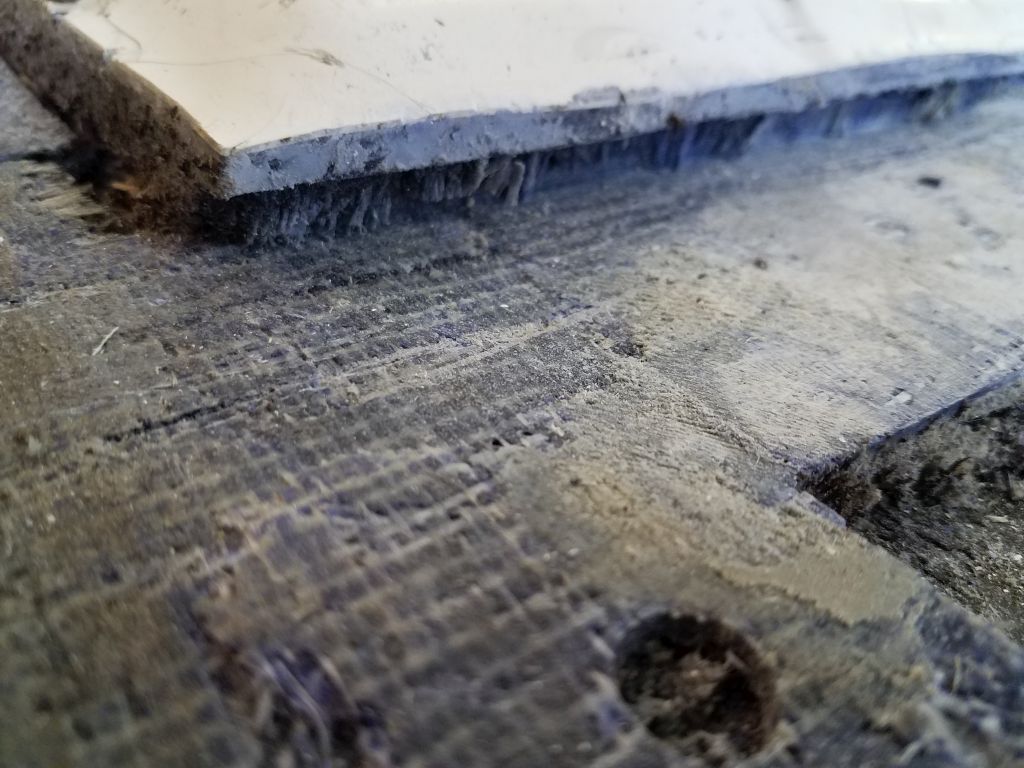
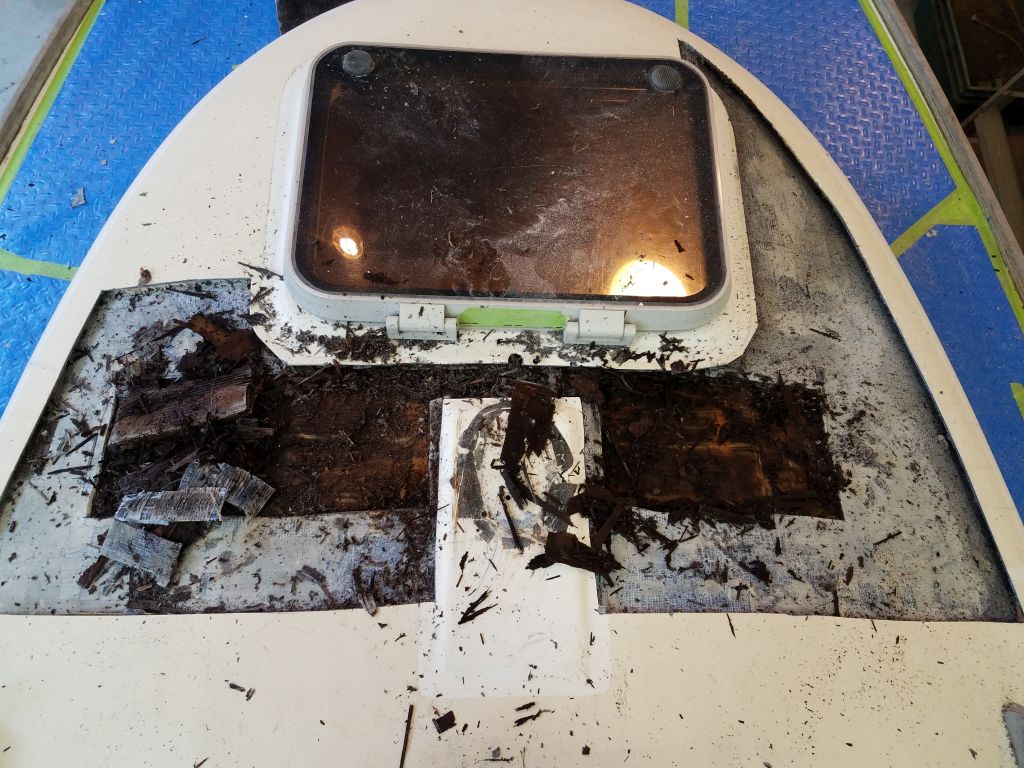
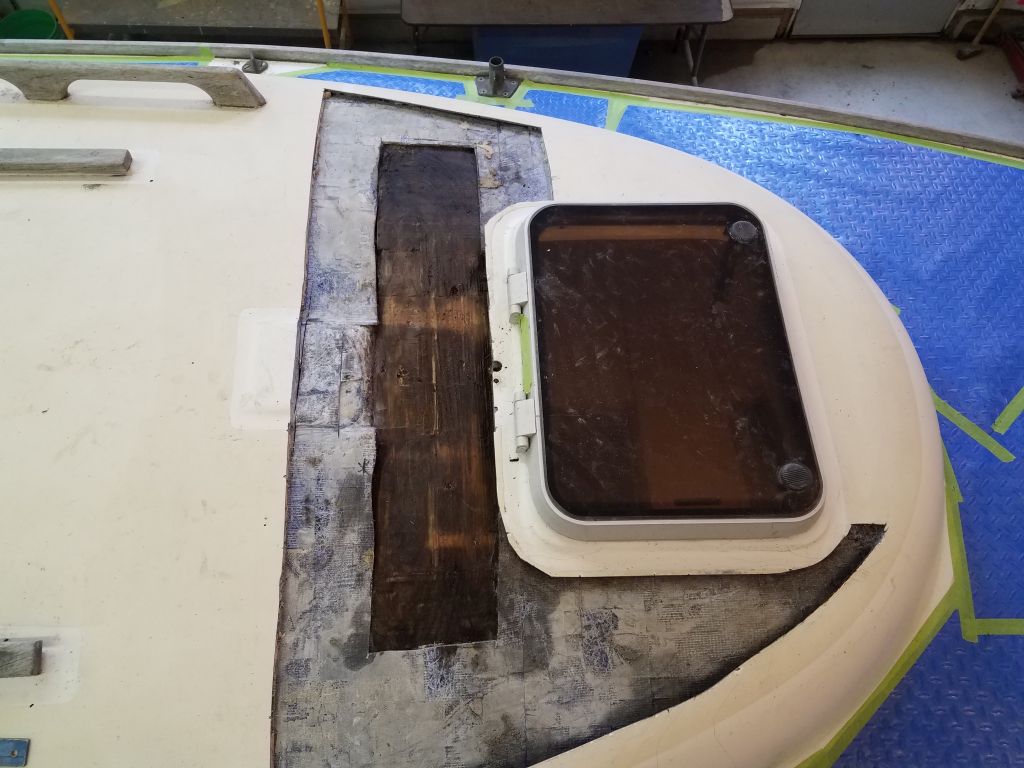
As I exposed the mast support, it became clear that it was completely wet, but further construction details also became apparent. Because of the deck camber, the beam tapered to each side, and in the center, where it was thickest, there had originally been a layer of plywood, perhaps 1/2″ thick, and this was the heavily rotted wood I was removing as I cut. Below this, however, was a dense, still-solid layer of wood which, while clearly wet, had not deteriorated.
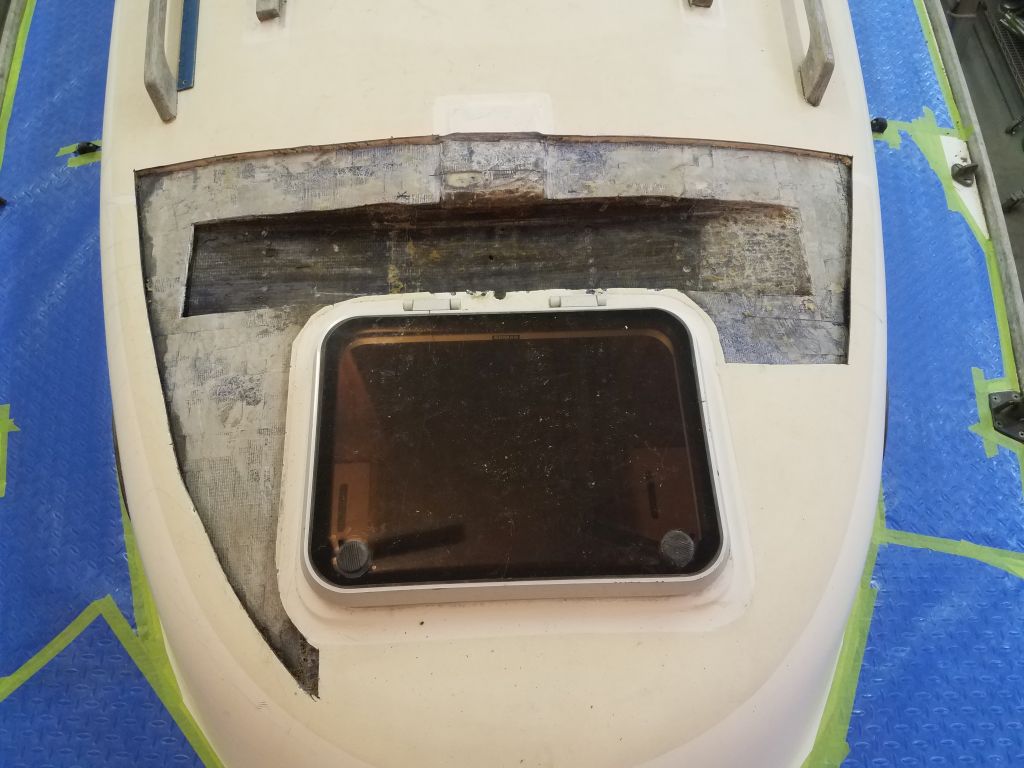
Now I had exposed enough to know that I needed to cut away the mast step platform, so I did. This exposed the rest of the mast beam.
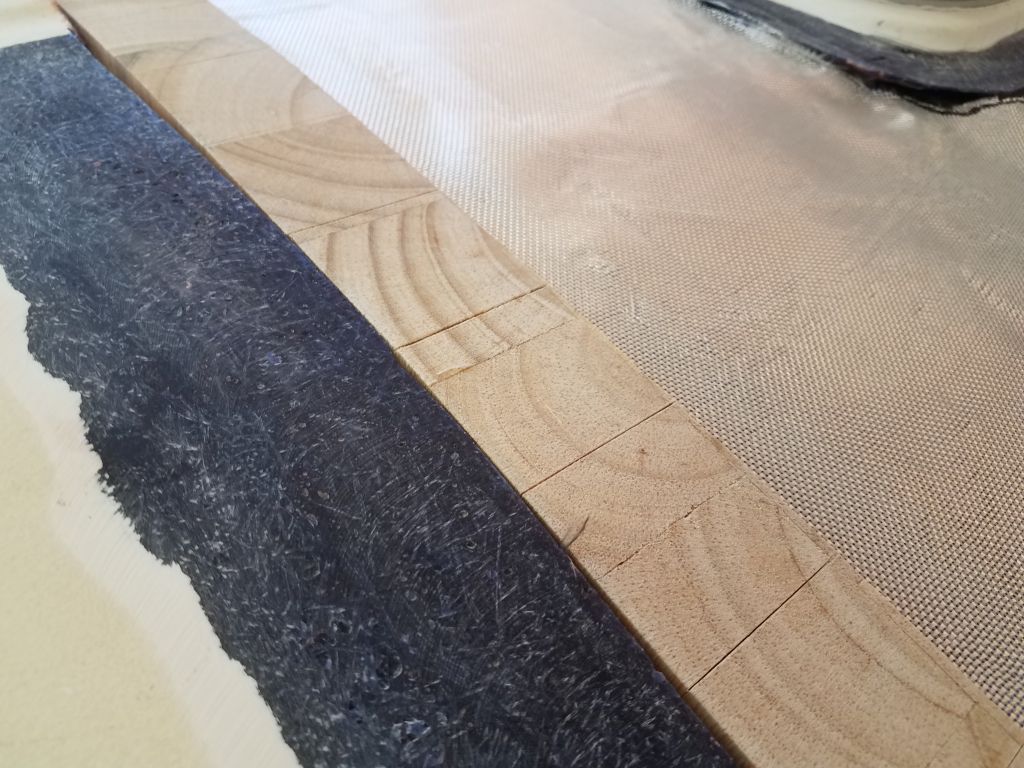
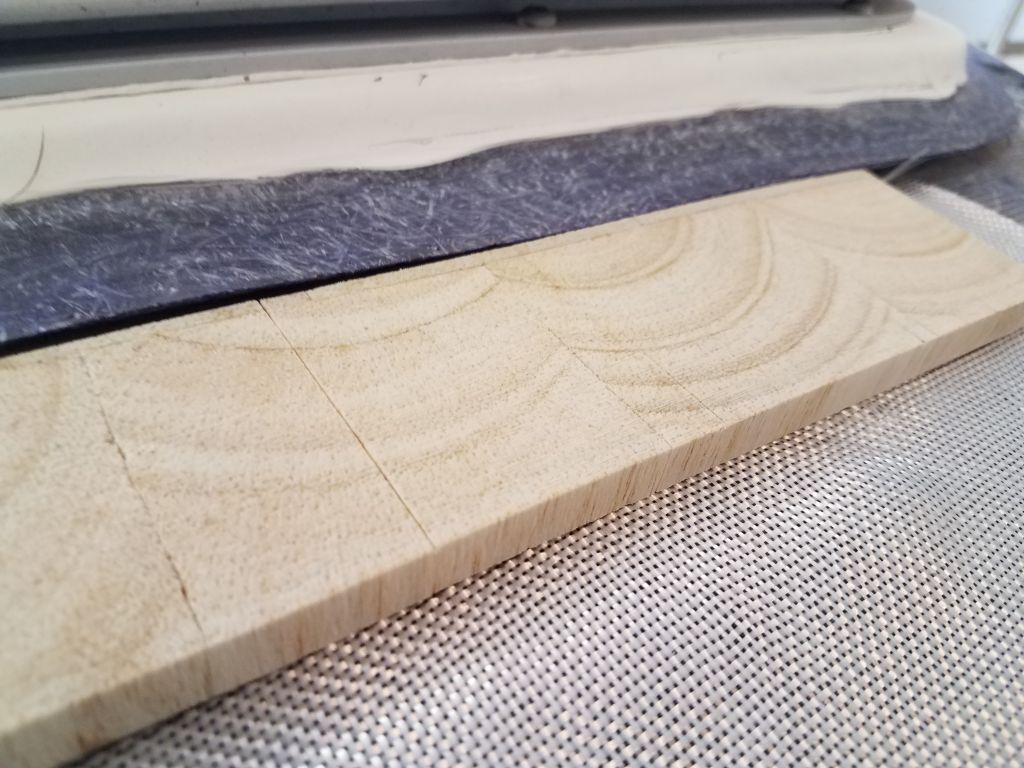
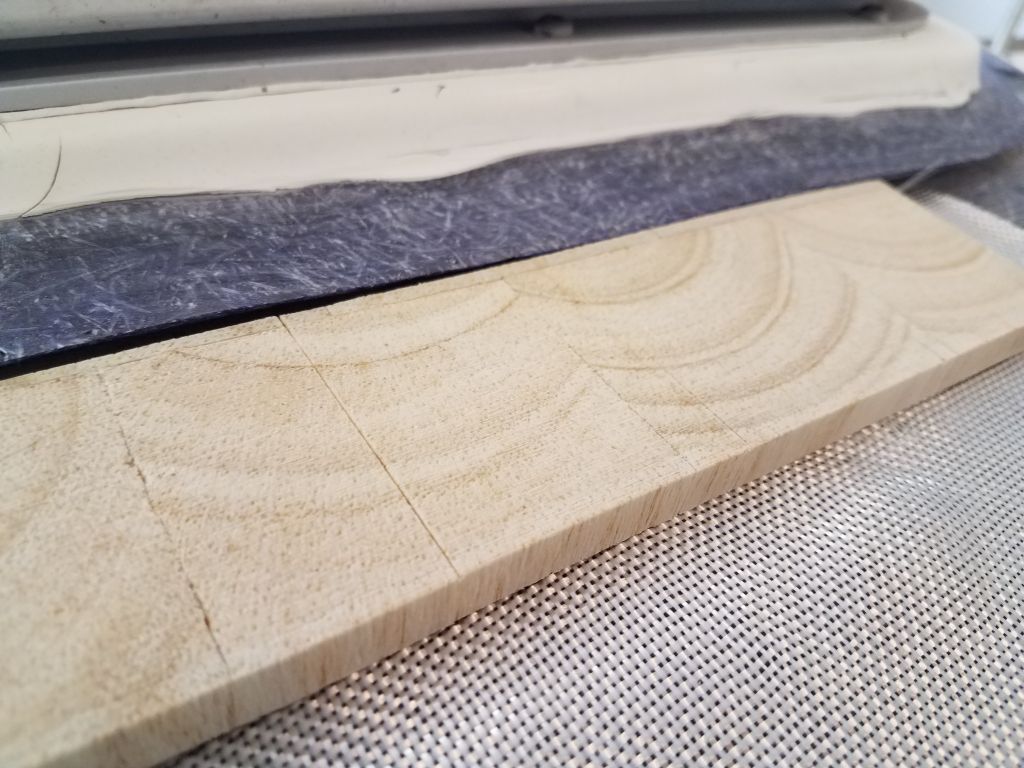
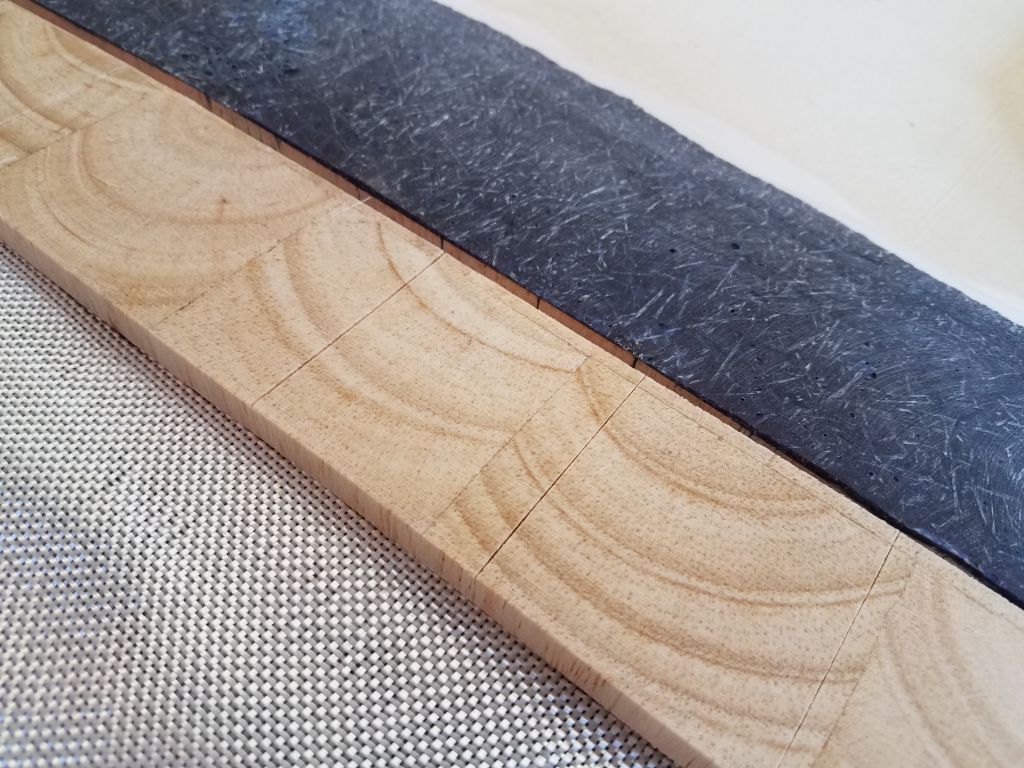
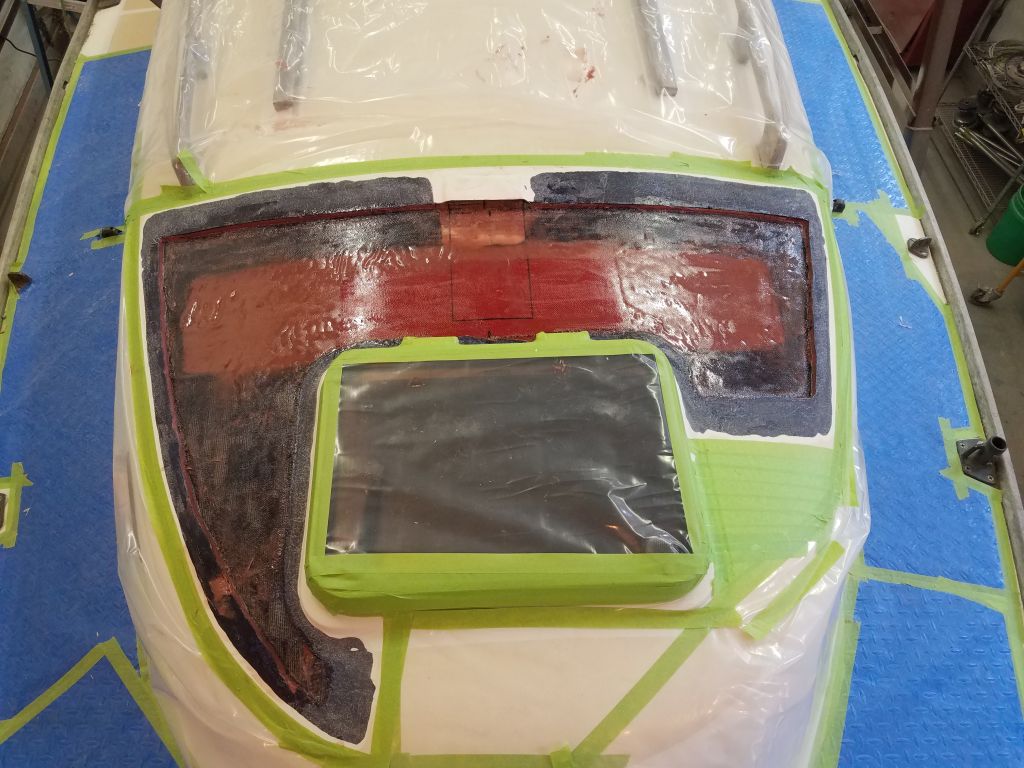
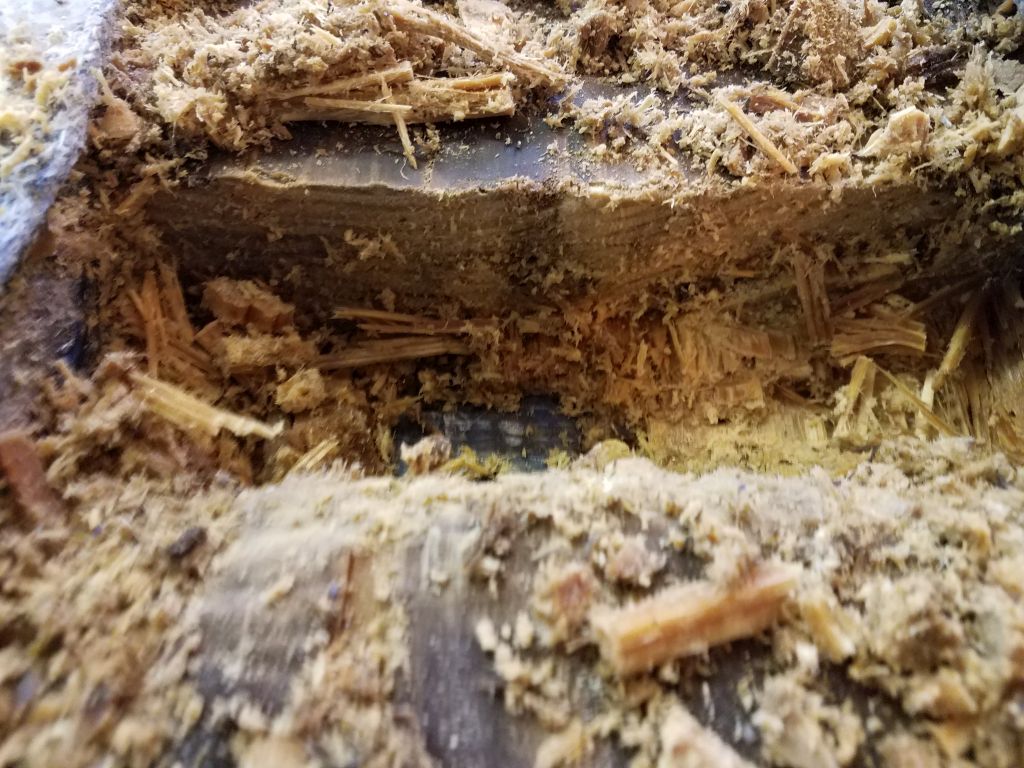
To figure out what I was dealing with, I drilled a series of holes in the center, thickest section of the beam, then chiseled out a segment of the wood till I reached the bottom and sides of the molded housing. It became clear that the beam was probably a piece of standard 2×8 pressure-treated construction lumber; because it was treated, it had not rotted, but the wood was completely saturated throughout and from side to side.
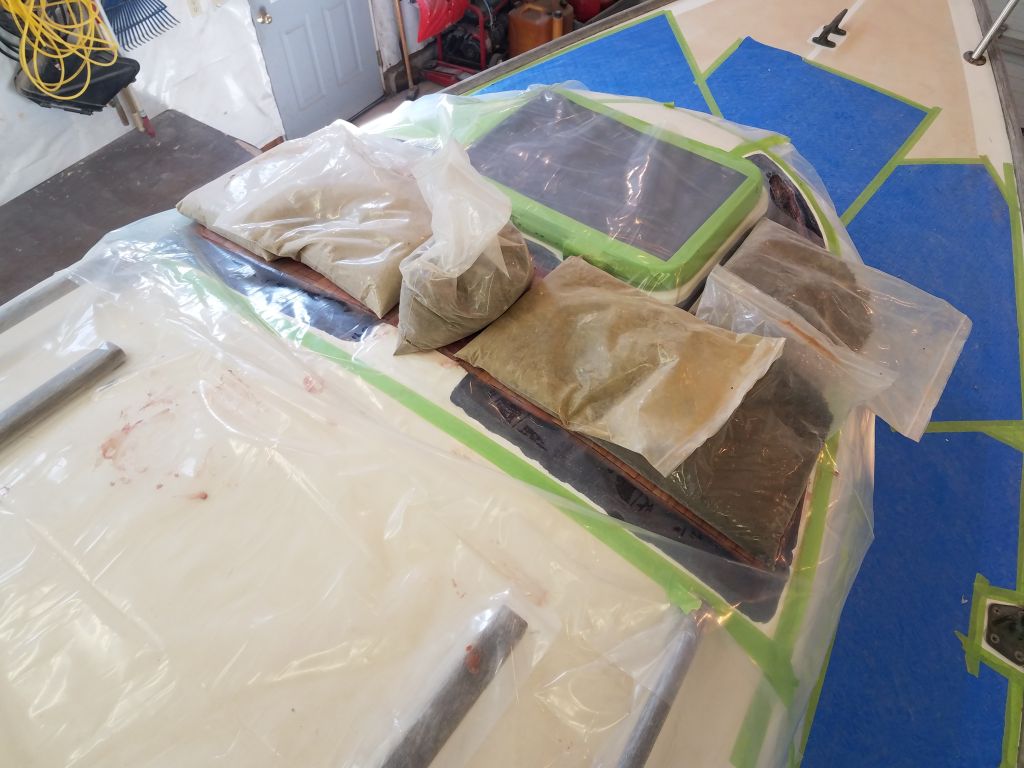
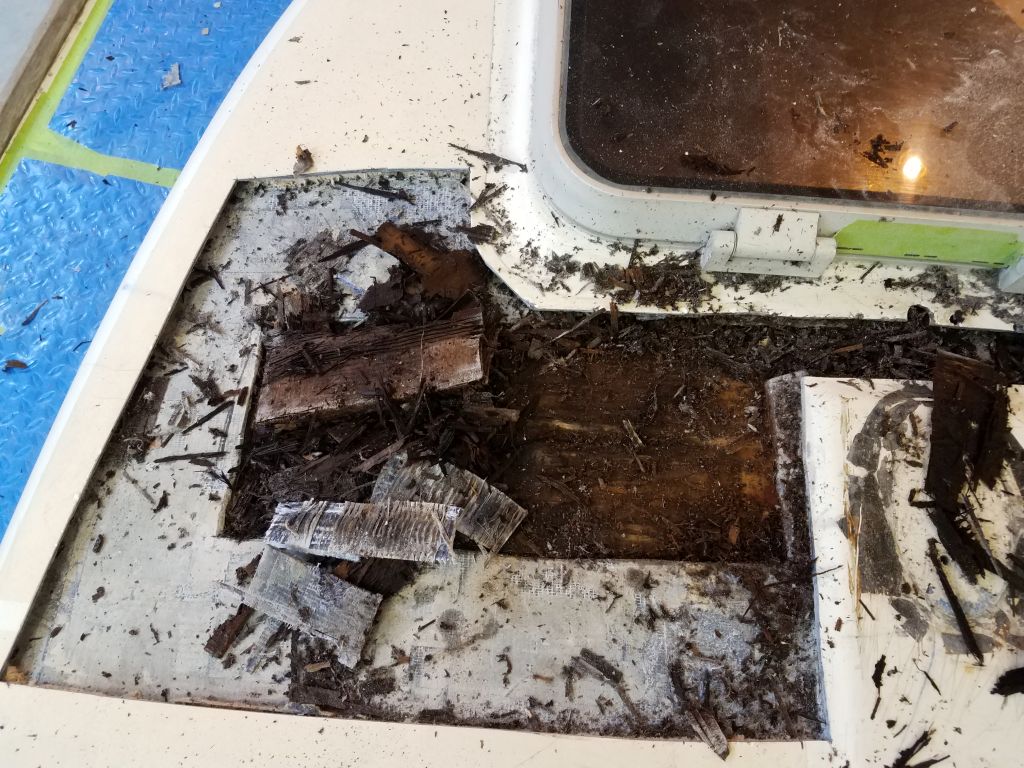
It was getting late in the day, but now that I knew what I was dealing with, I started at the port edge and began to remove the beam, drilling and chiseling away another section; because of the deck camber, the beam had tapered away to zero thickness near the deck edge, growing thicker as I moved inboard. I’d come up with a more efficient way to chisel out the remaining part of the beam next time, but for now the day was done.
Total time billed on this job today: 6.75 hours
0600 Weather Observation: 32°, mainly cloudy. Forecast for the day: Mostly cloudy, 43°