Tuesday
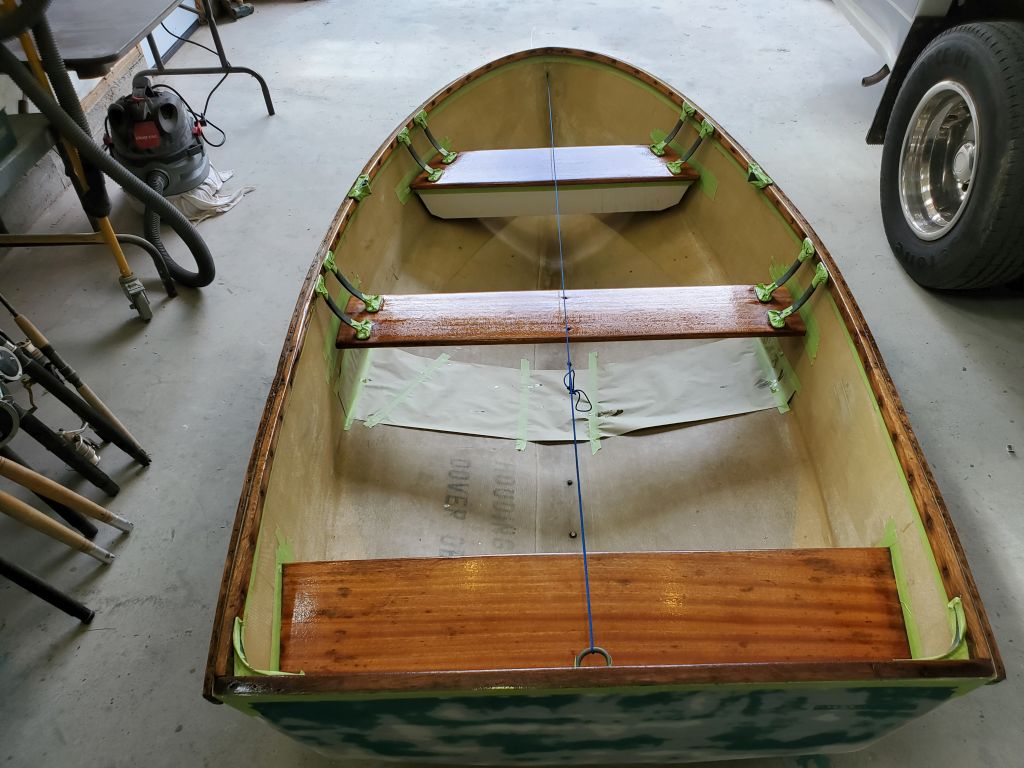
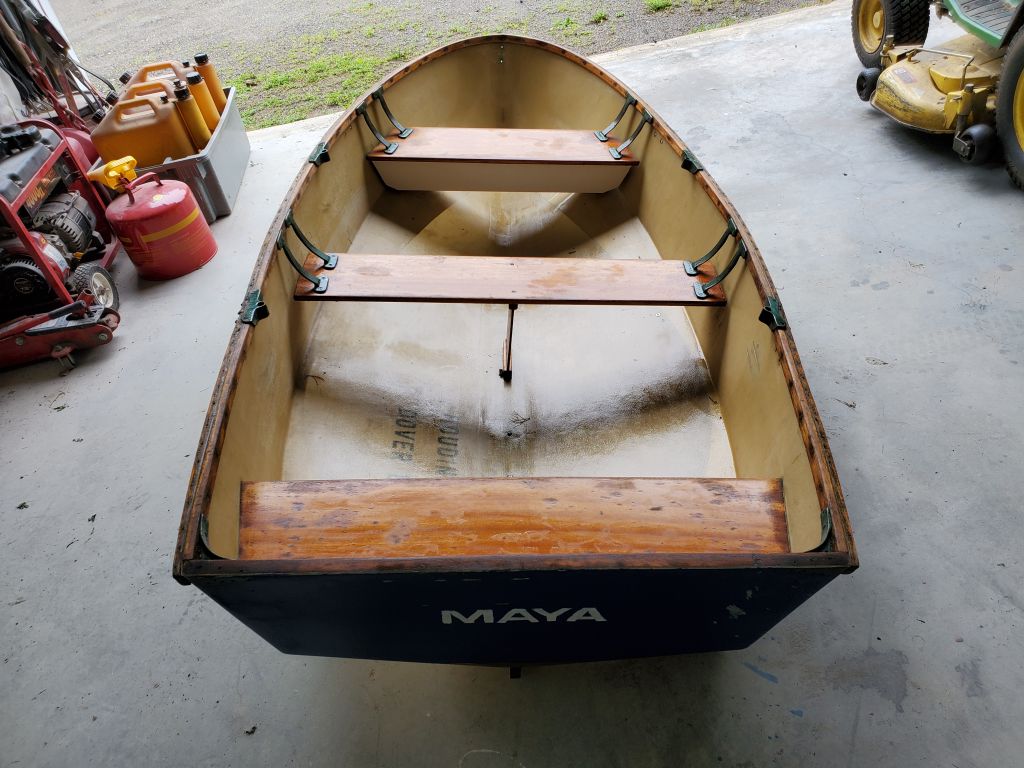
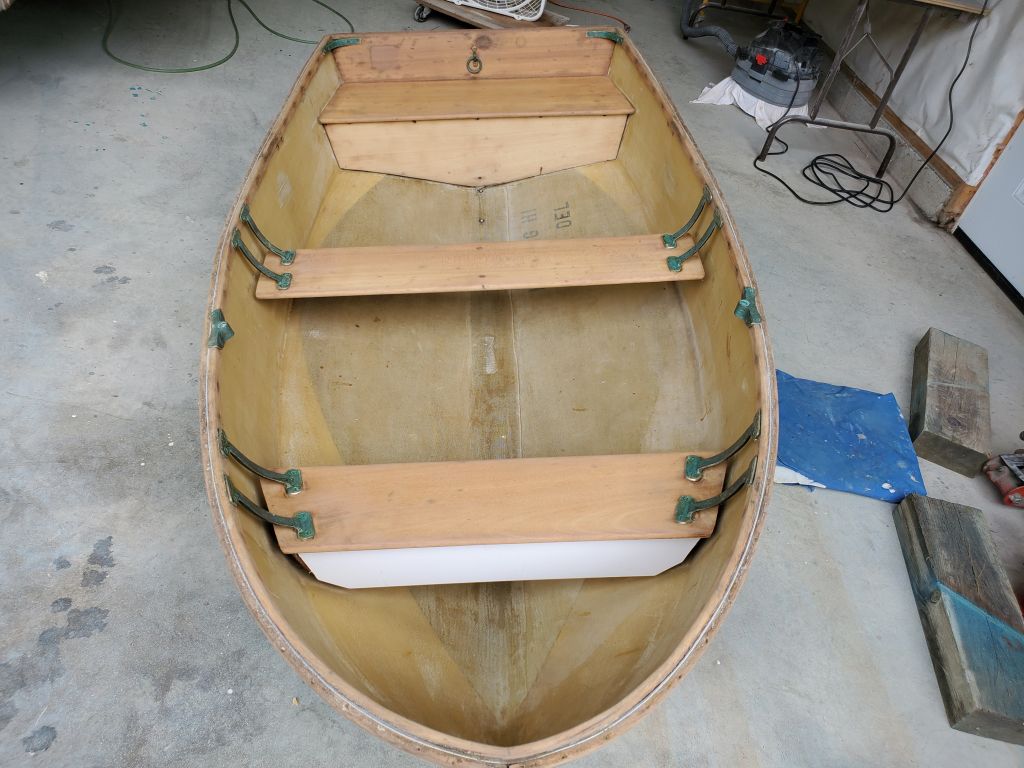
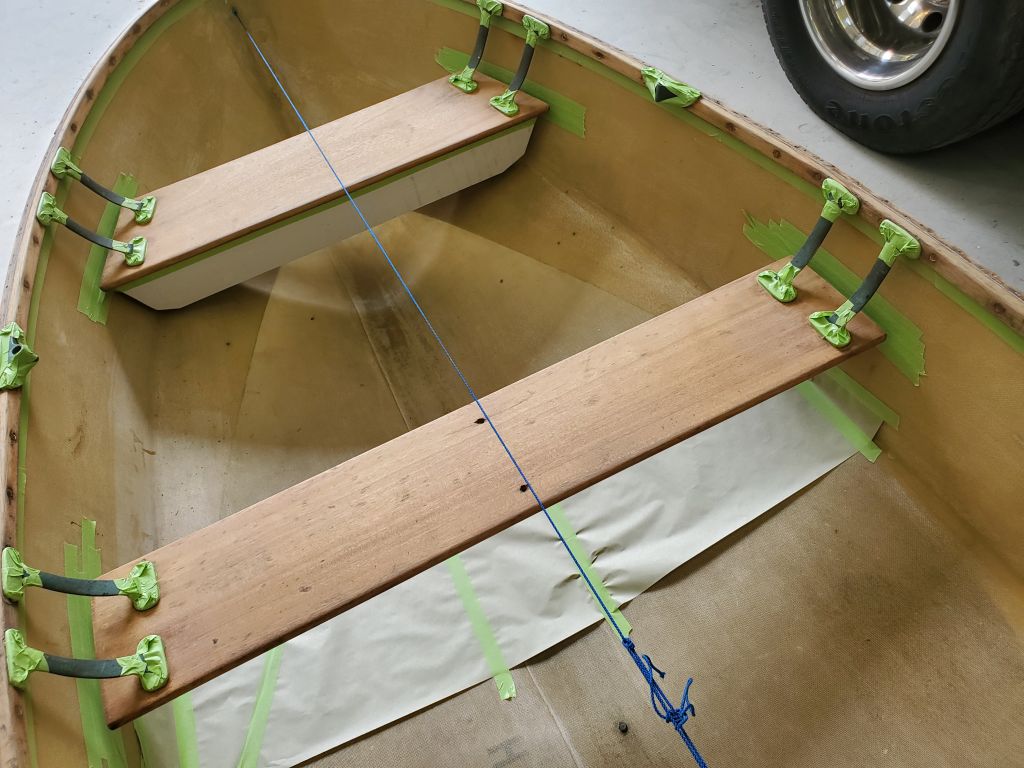
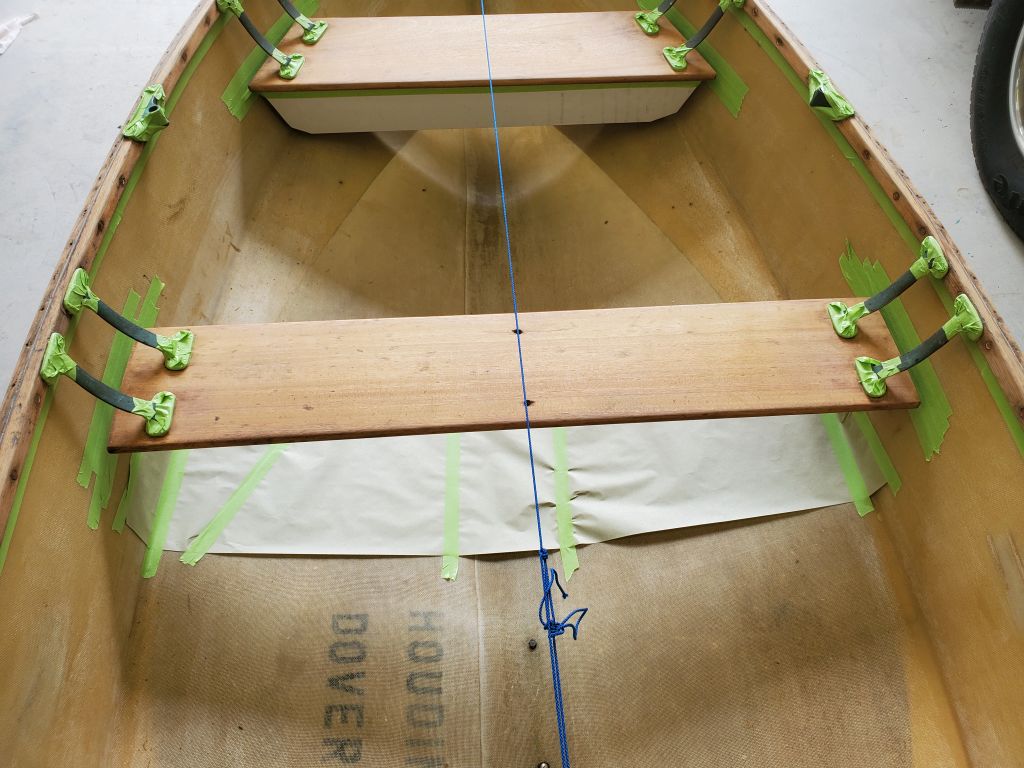
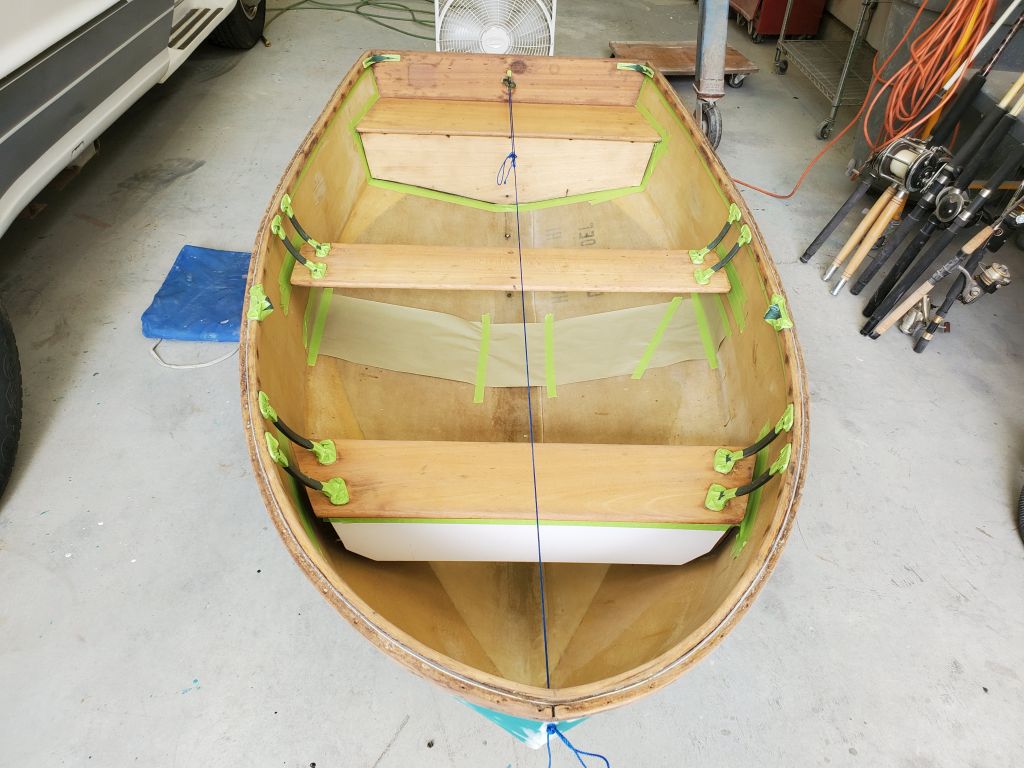
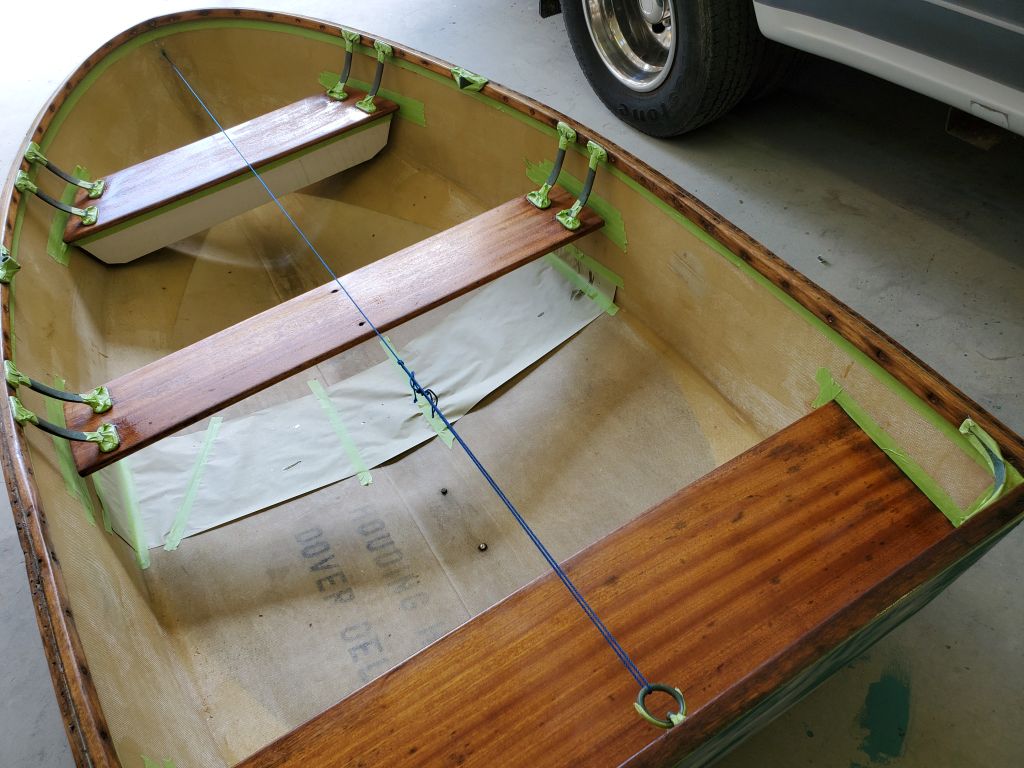
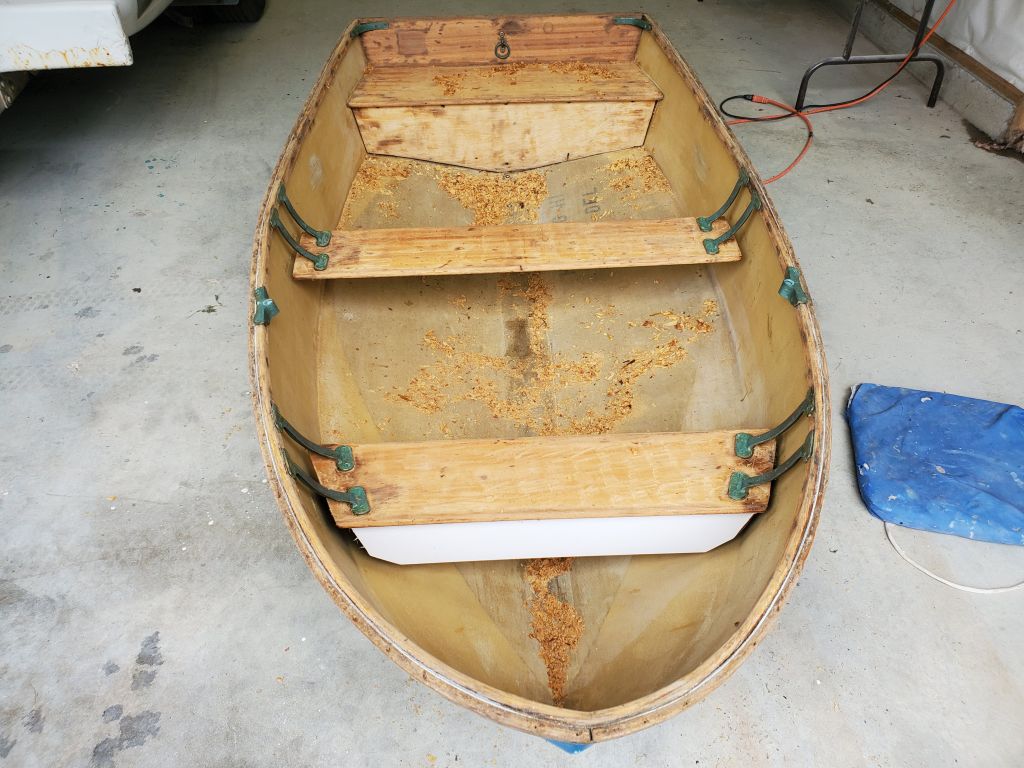
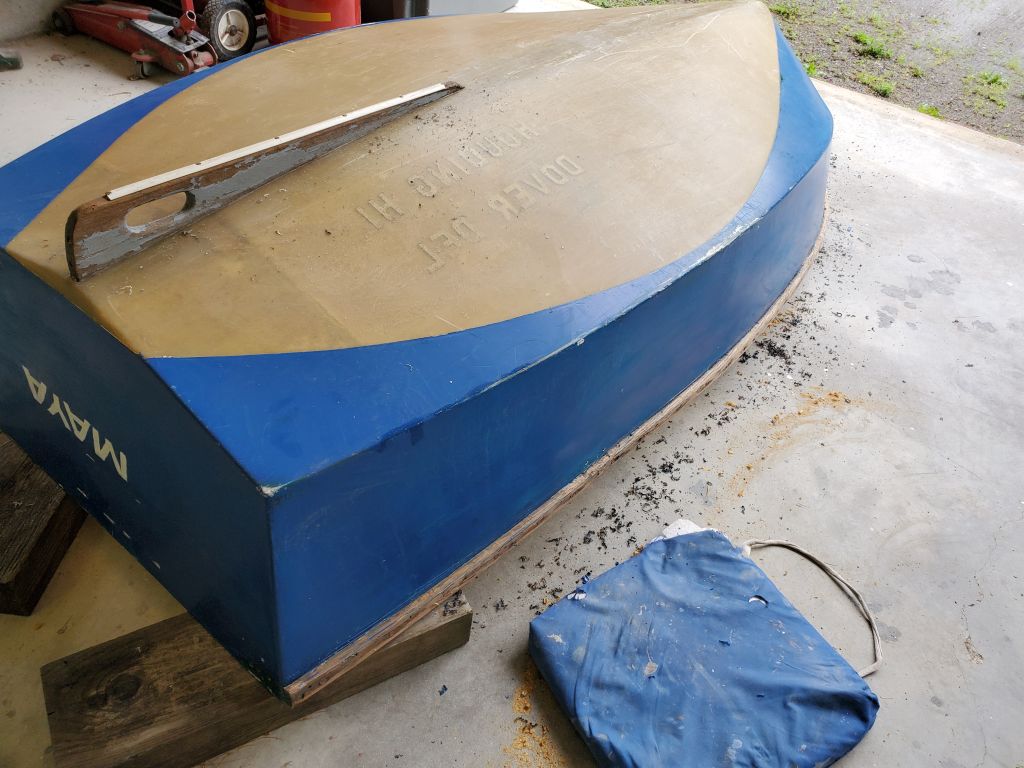
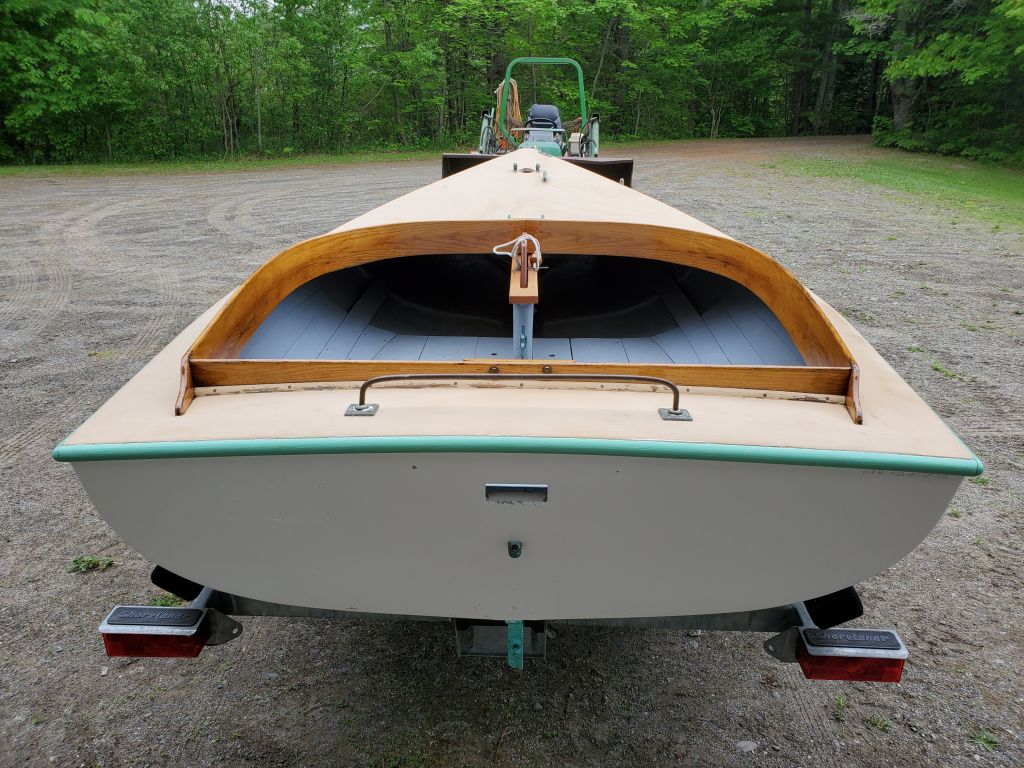
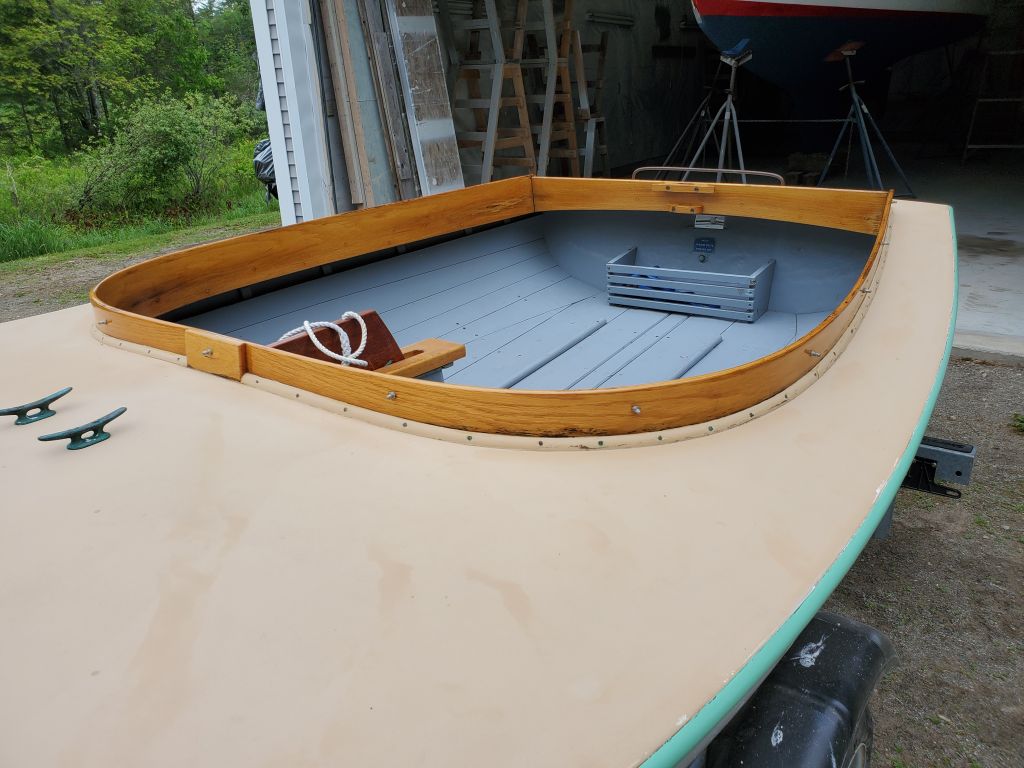
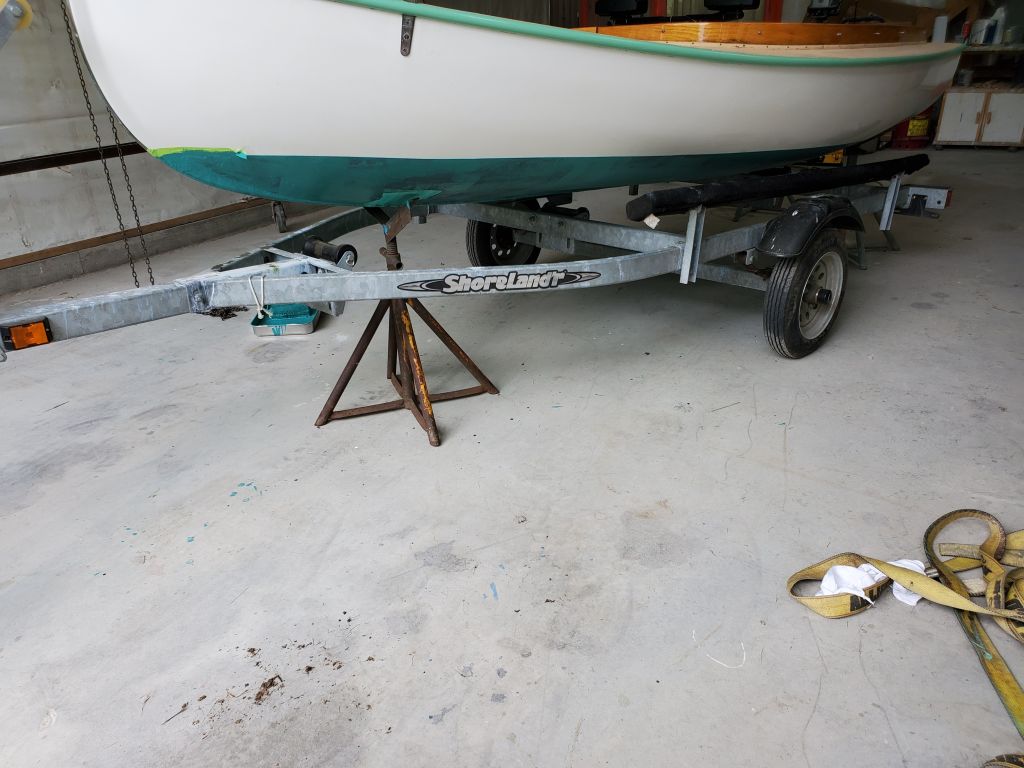
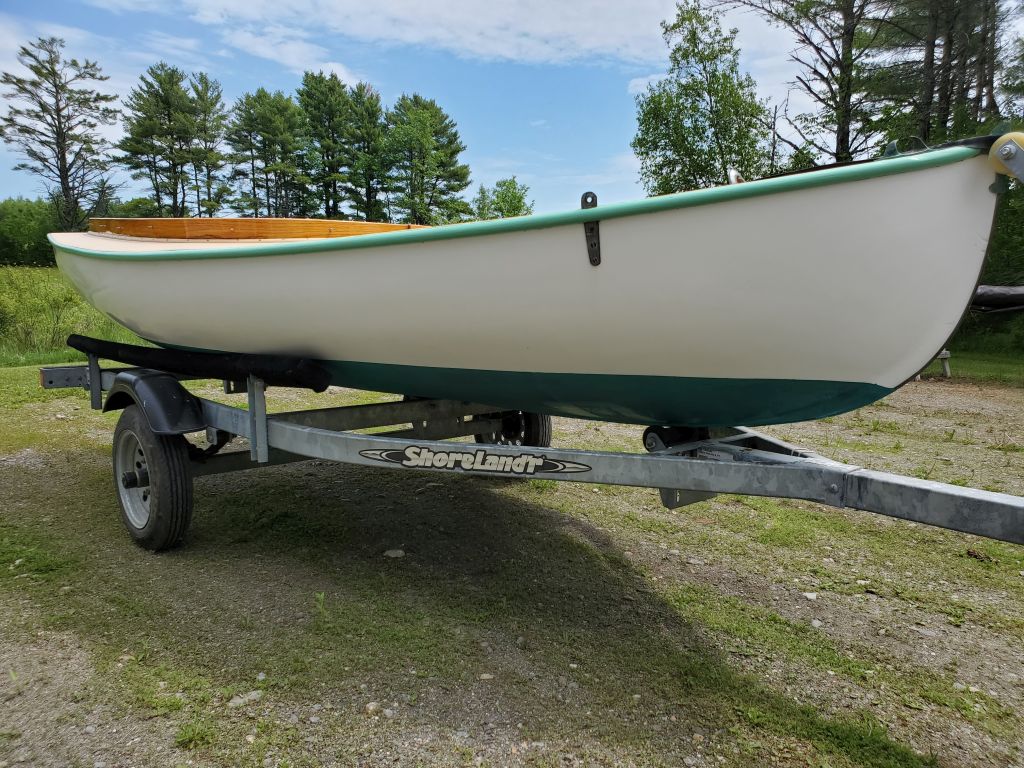
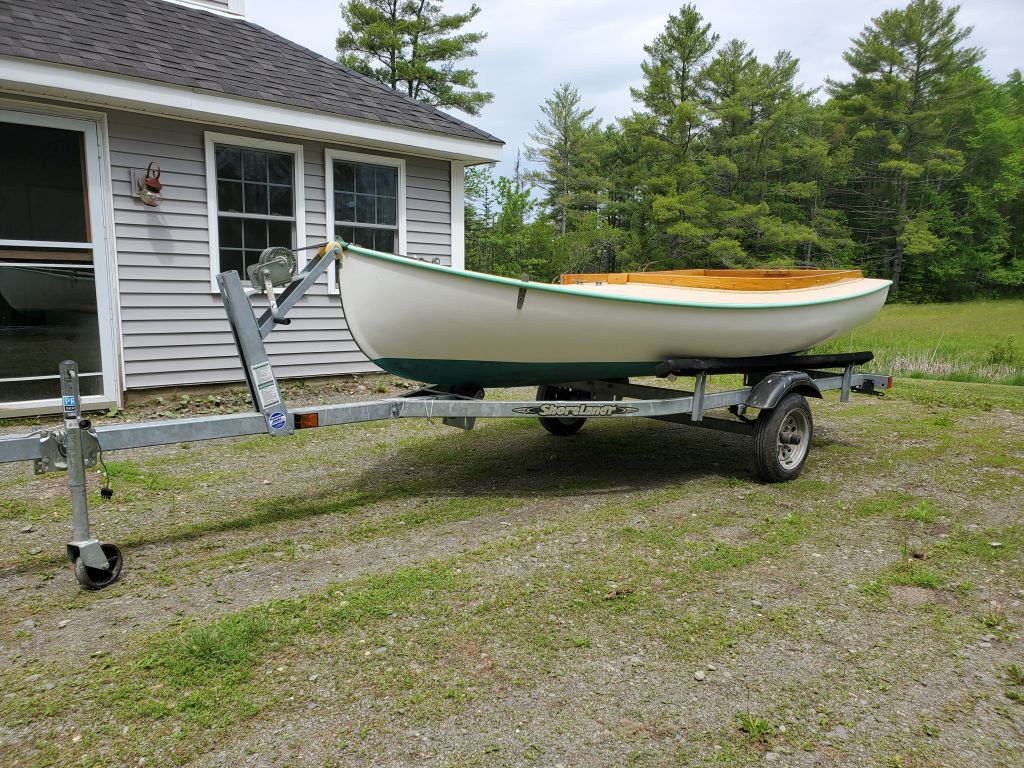
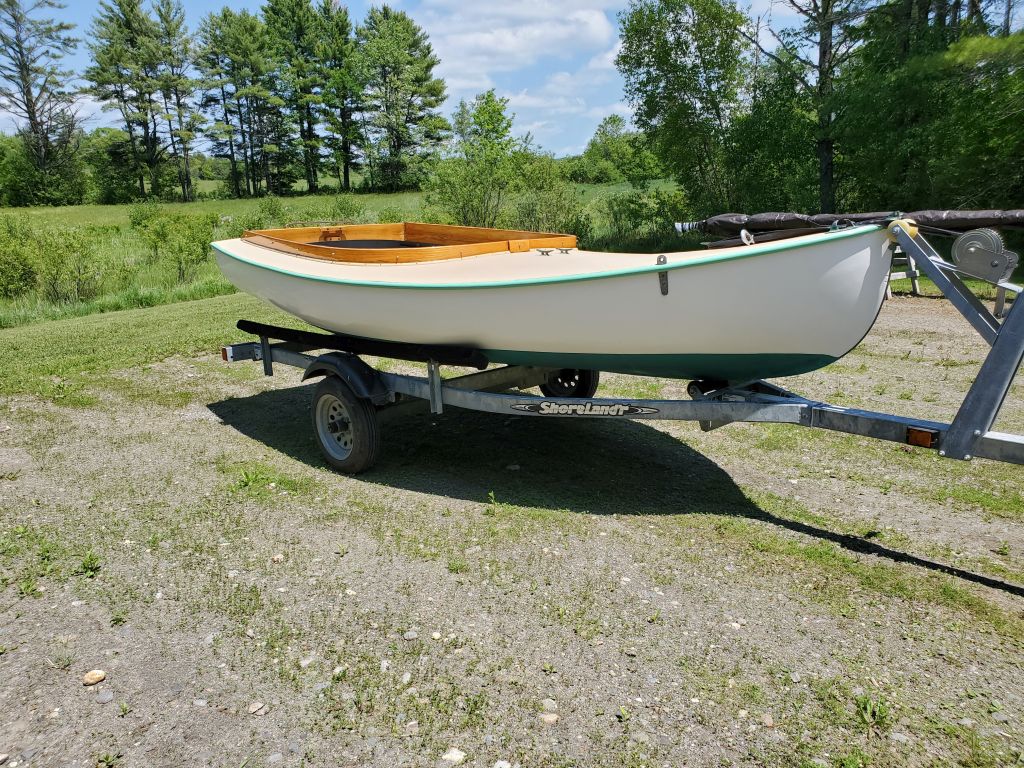
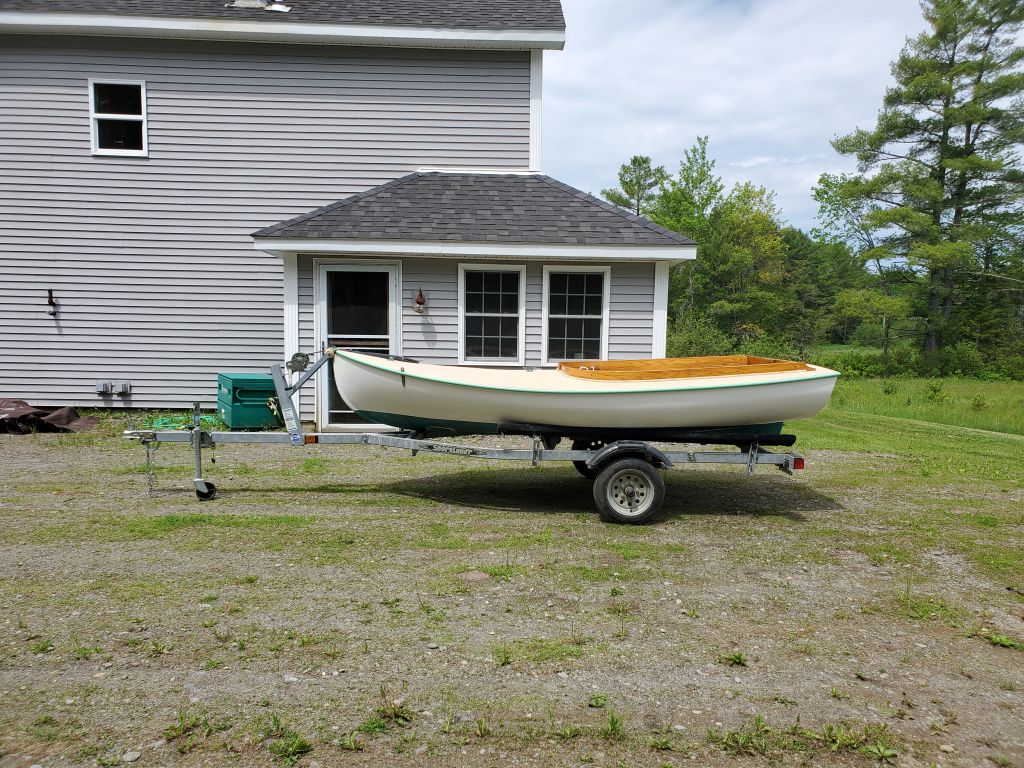
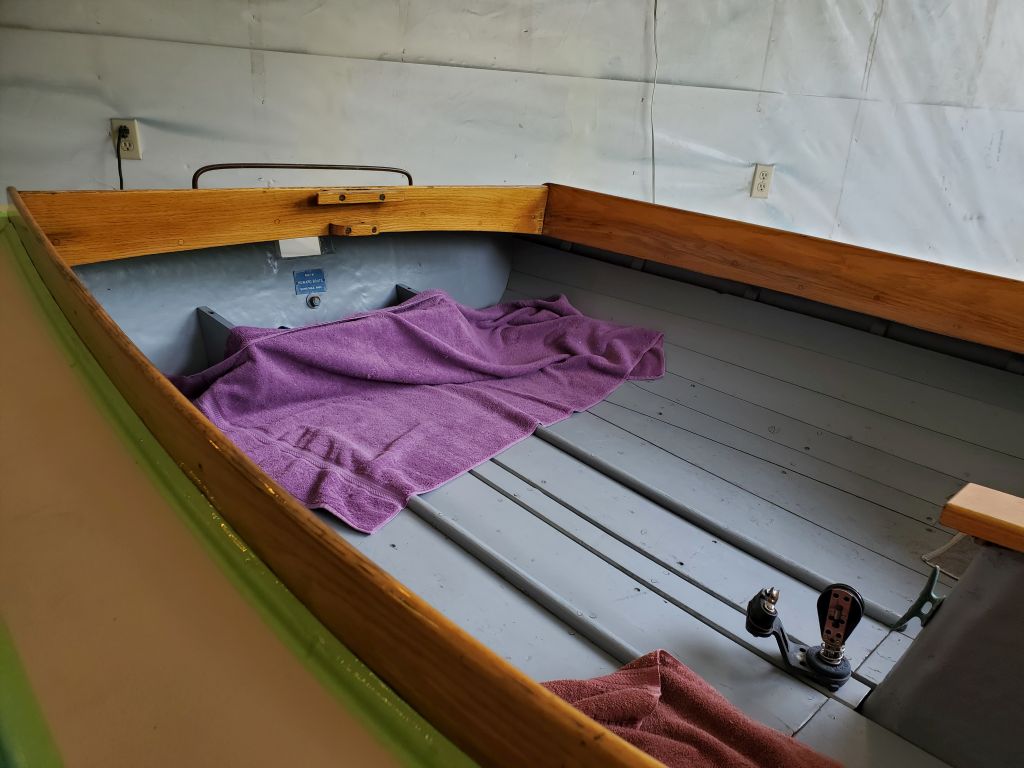
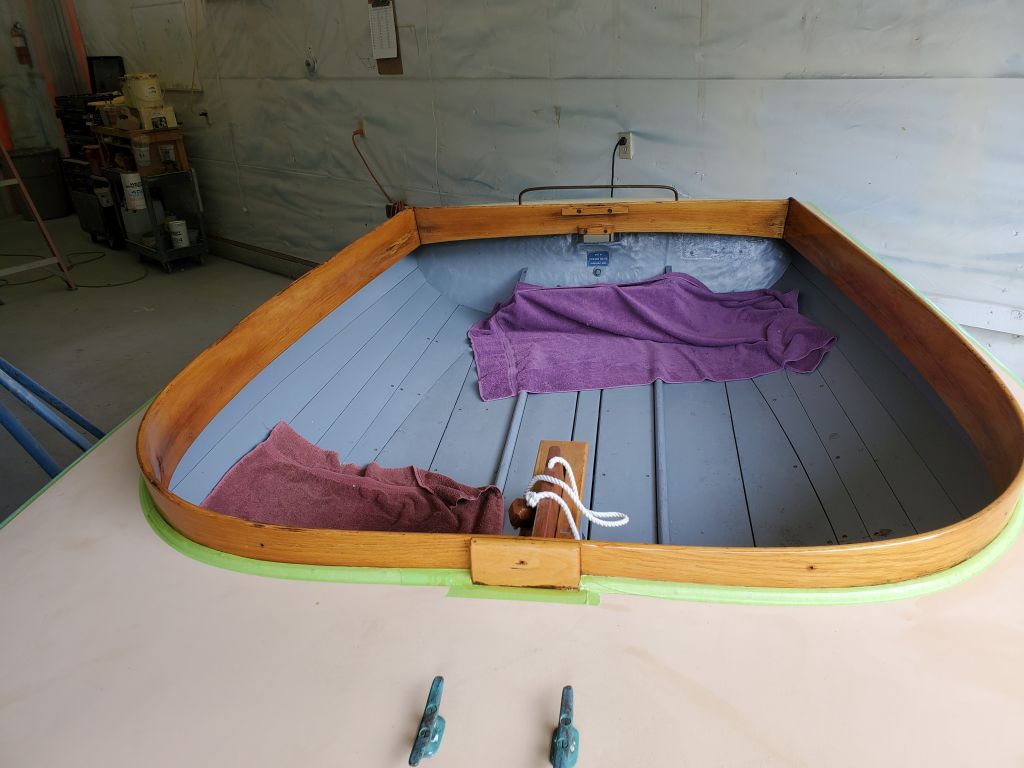
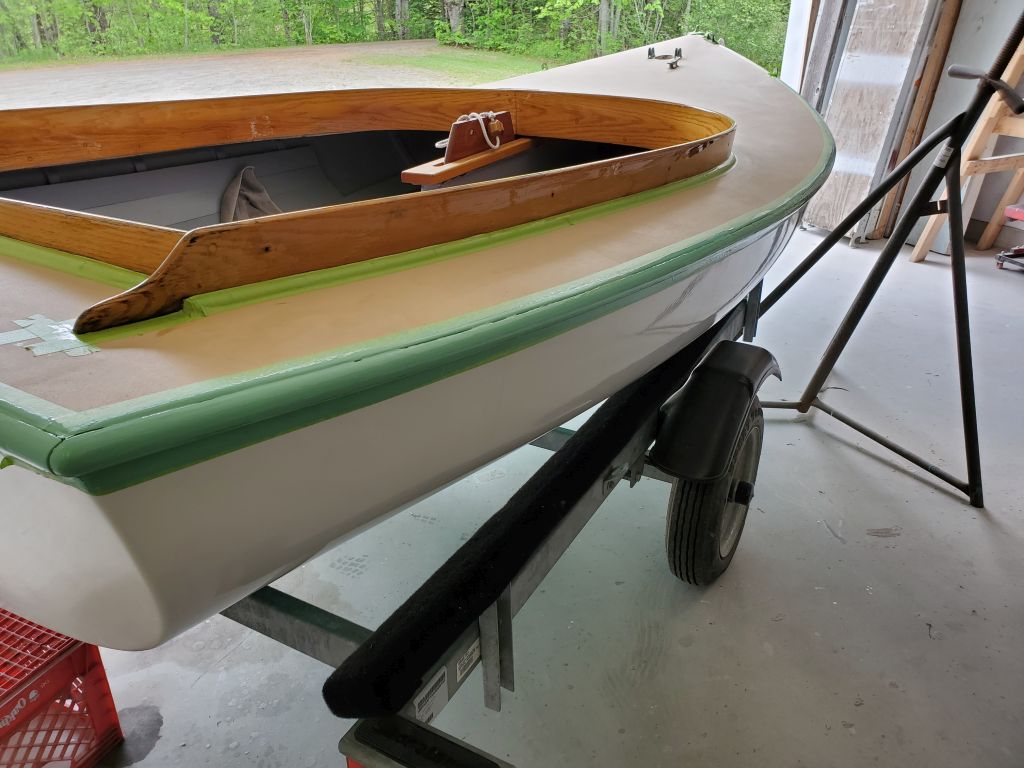
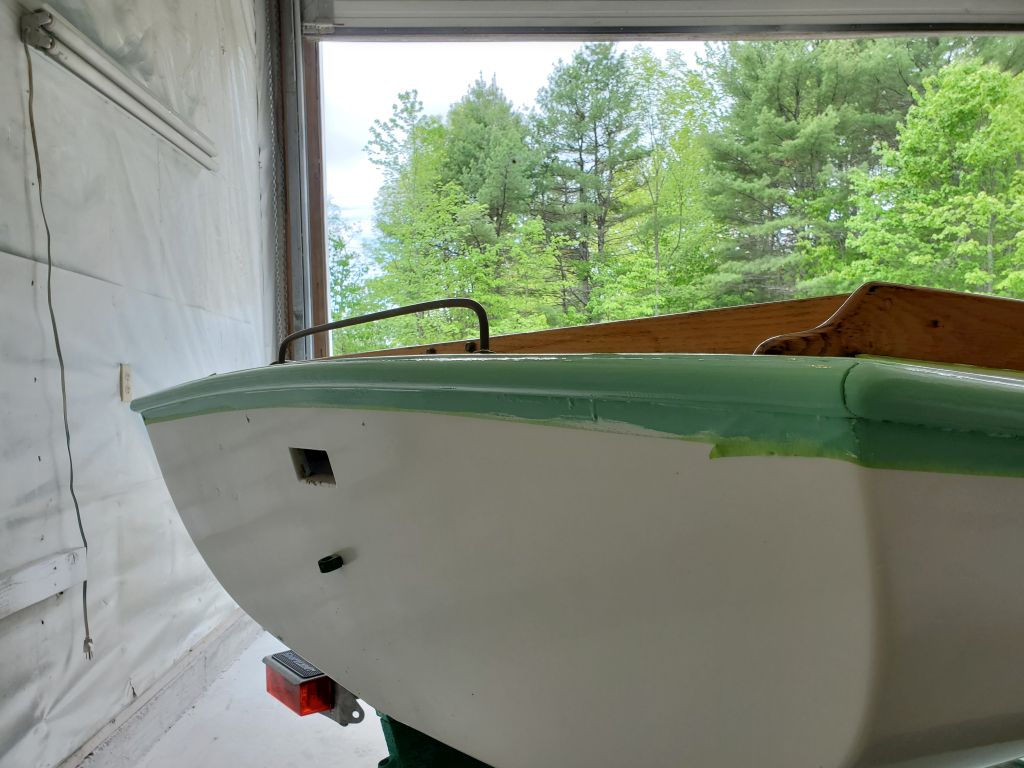
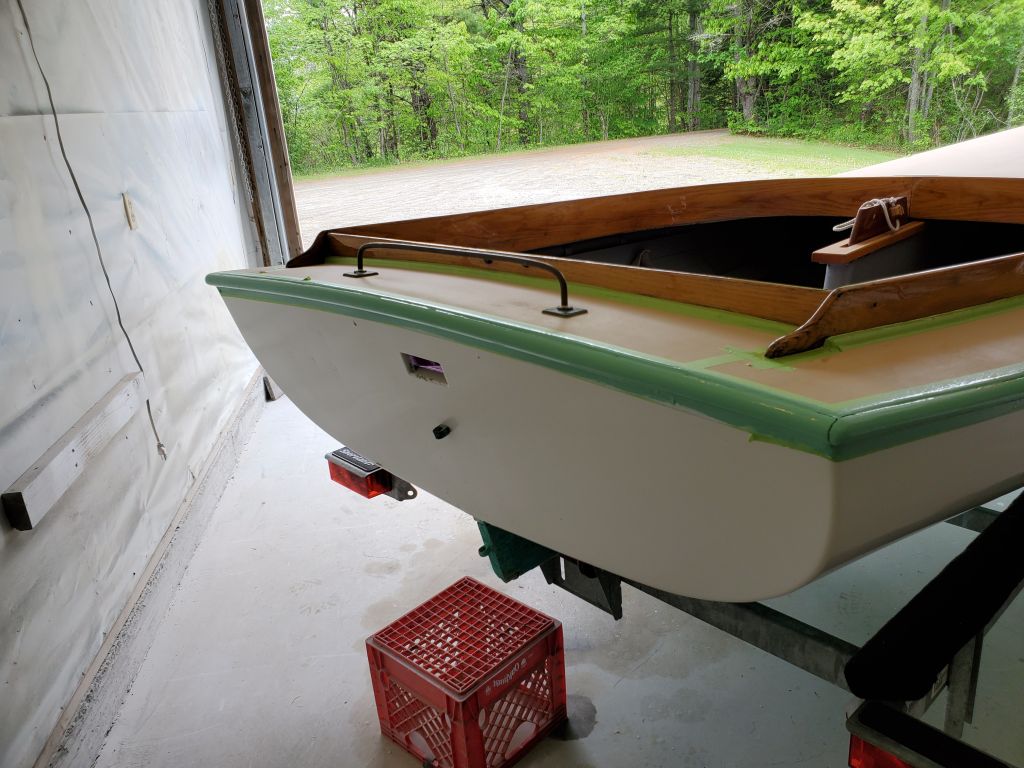
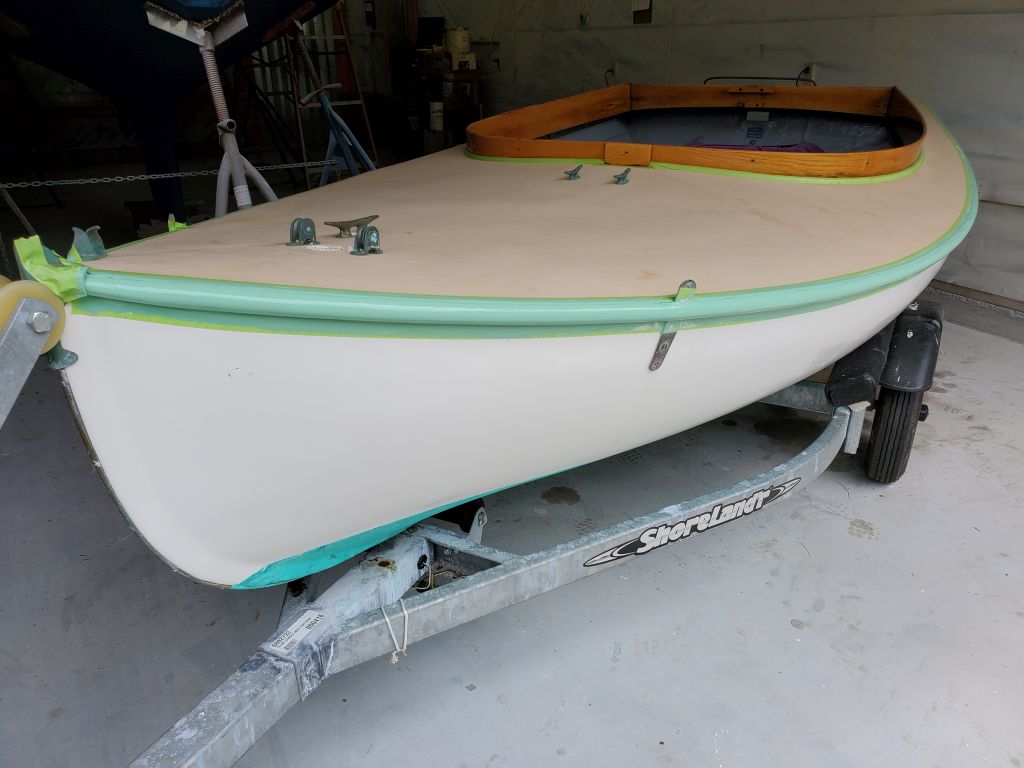
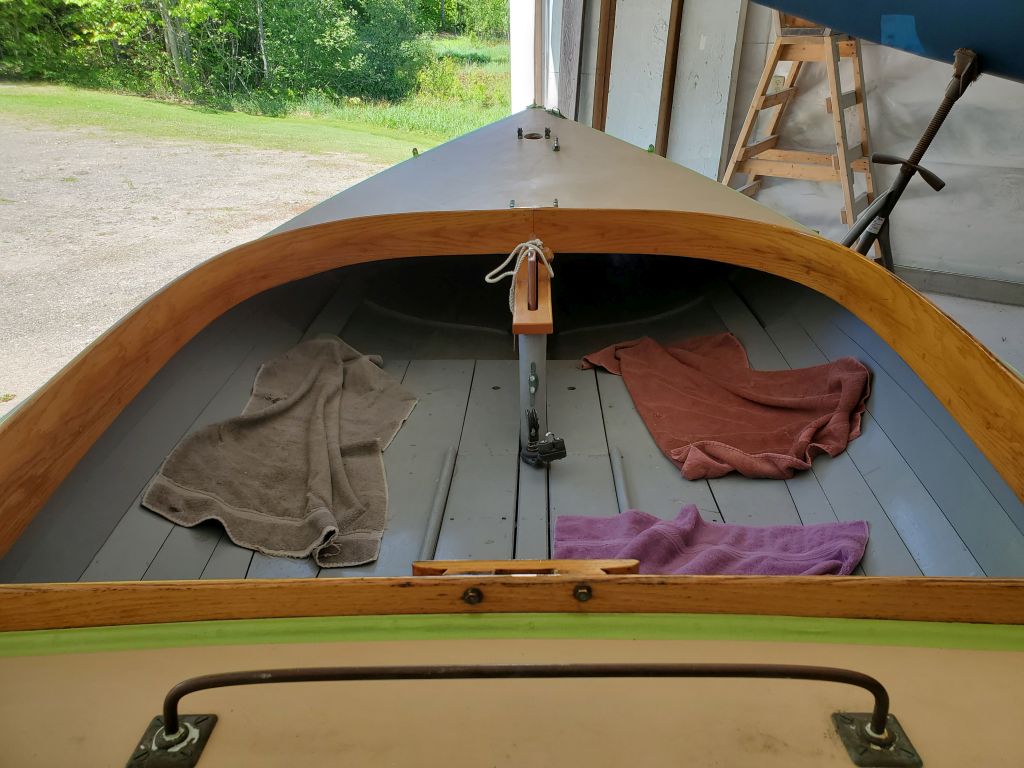
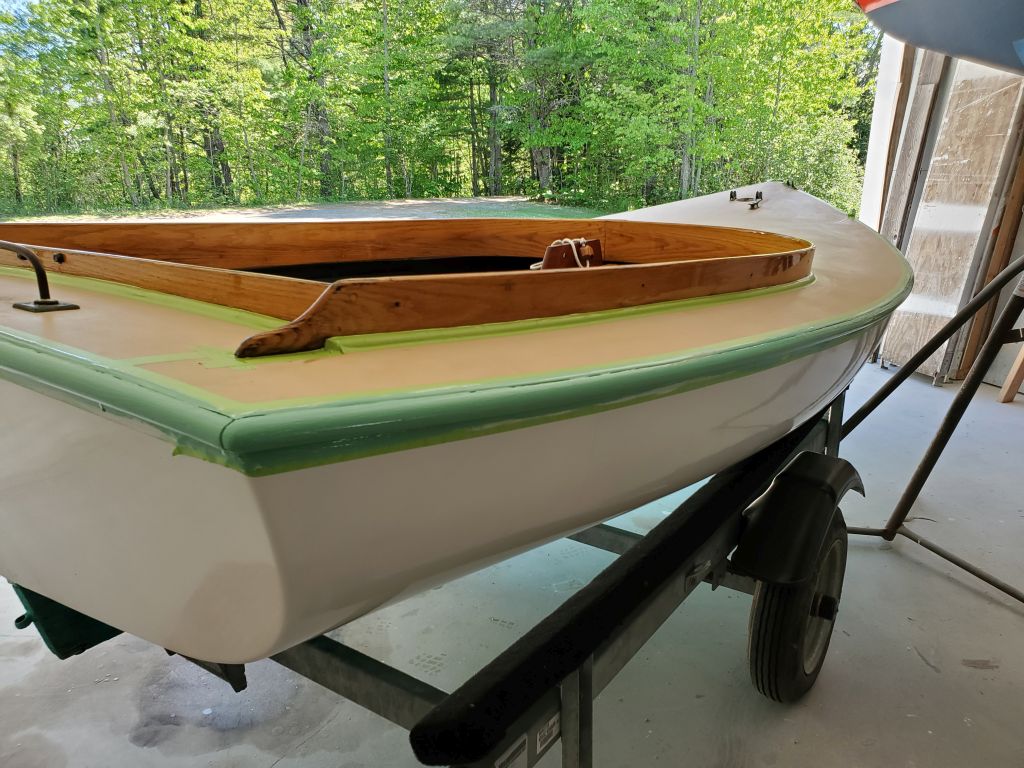
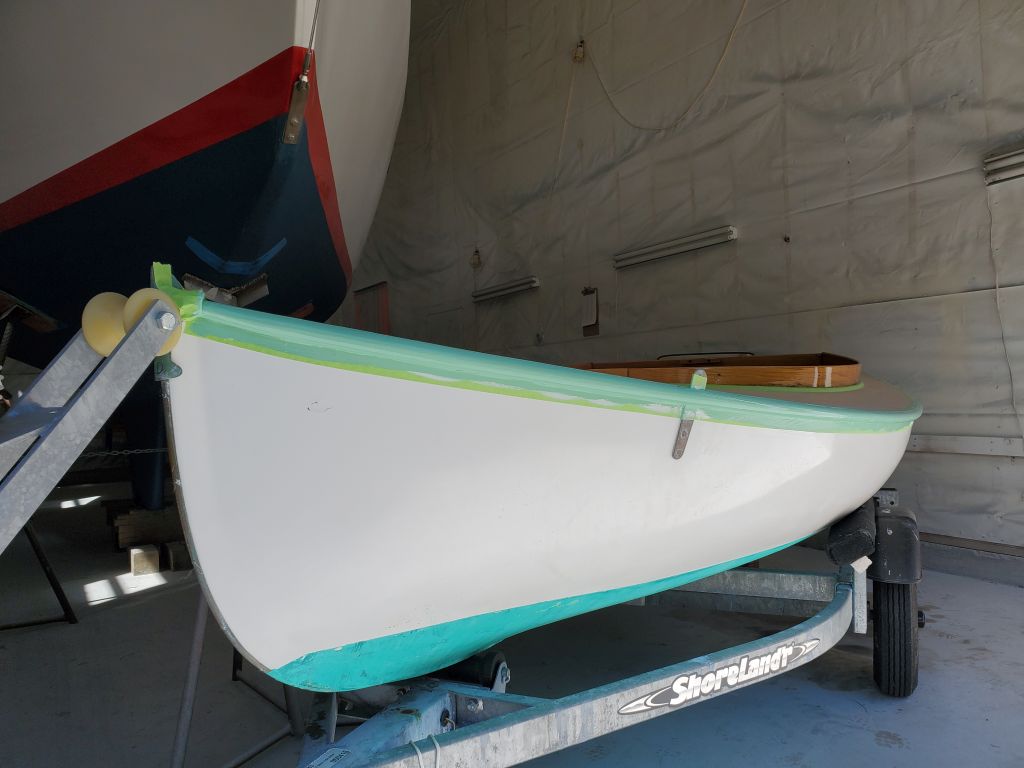
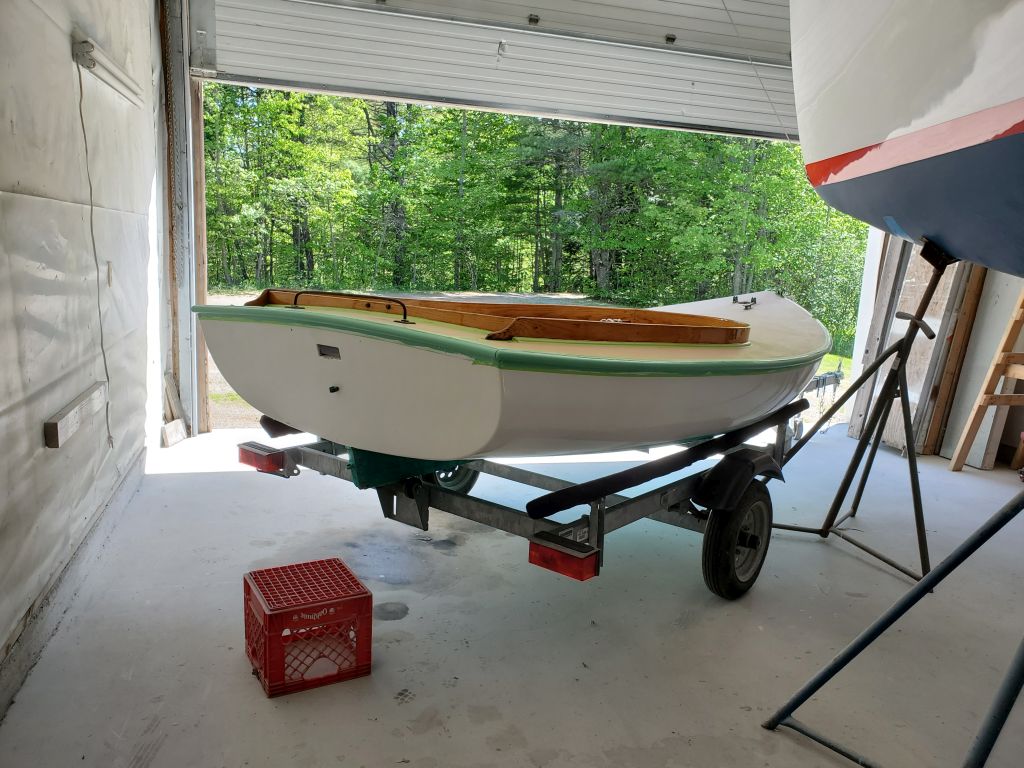
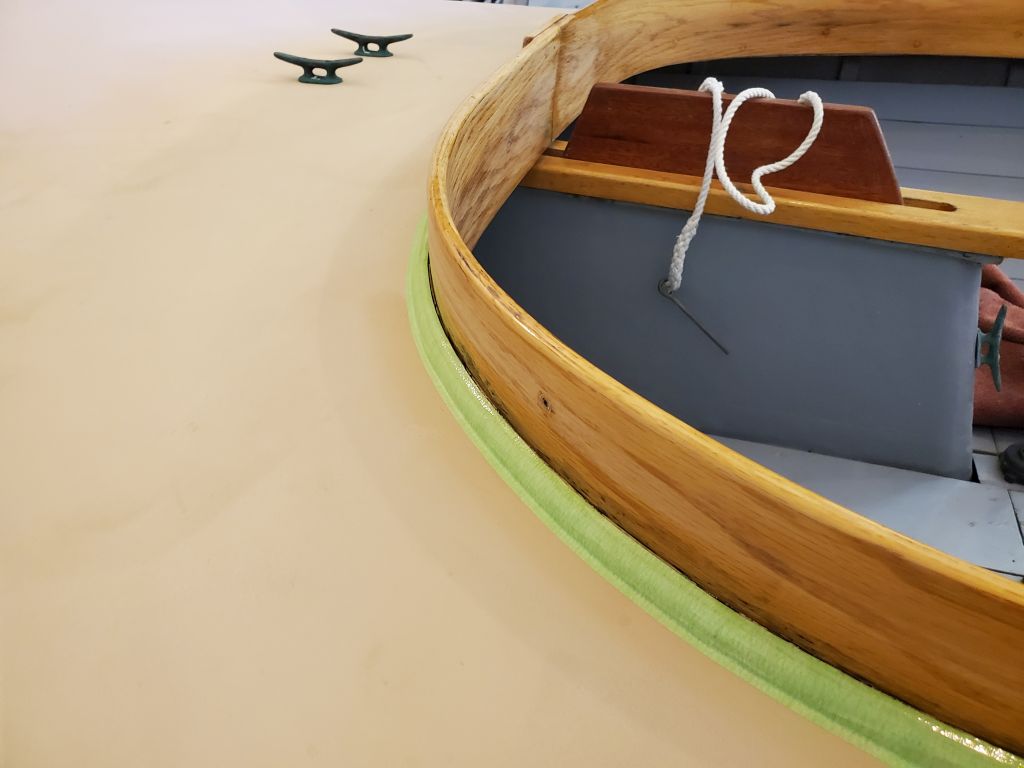
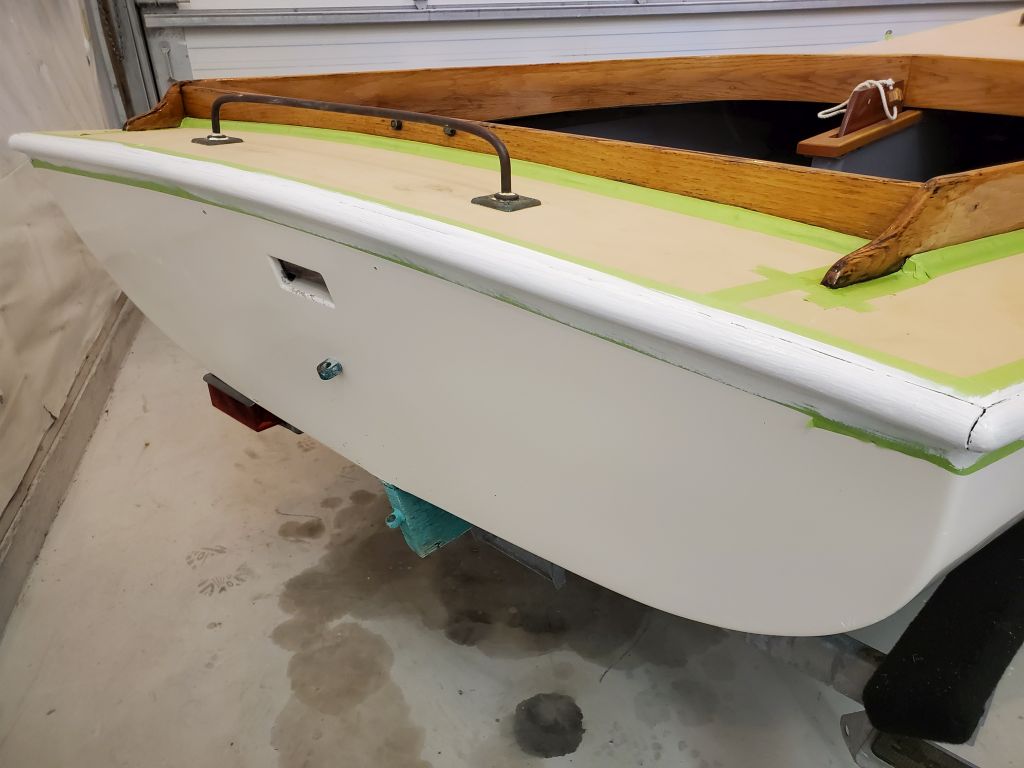
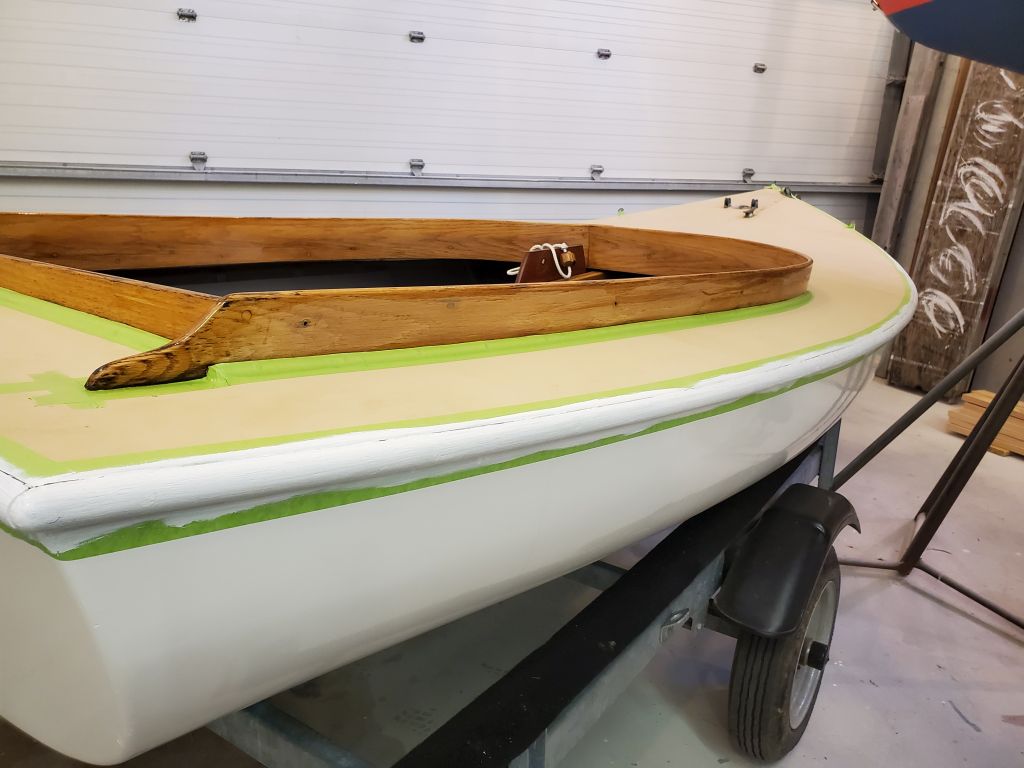
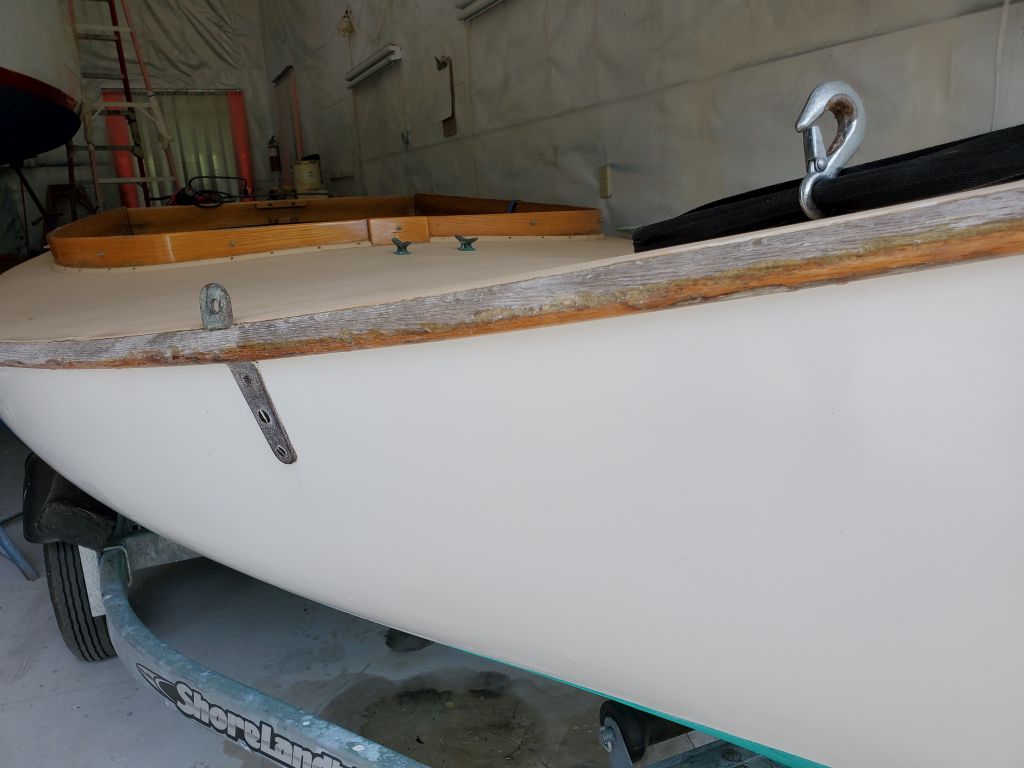
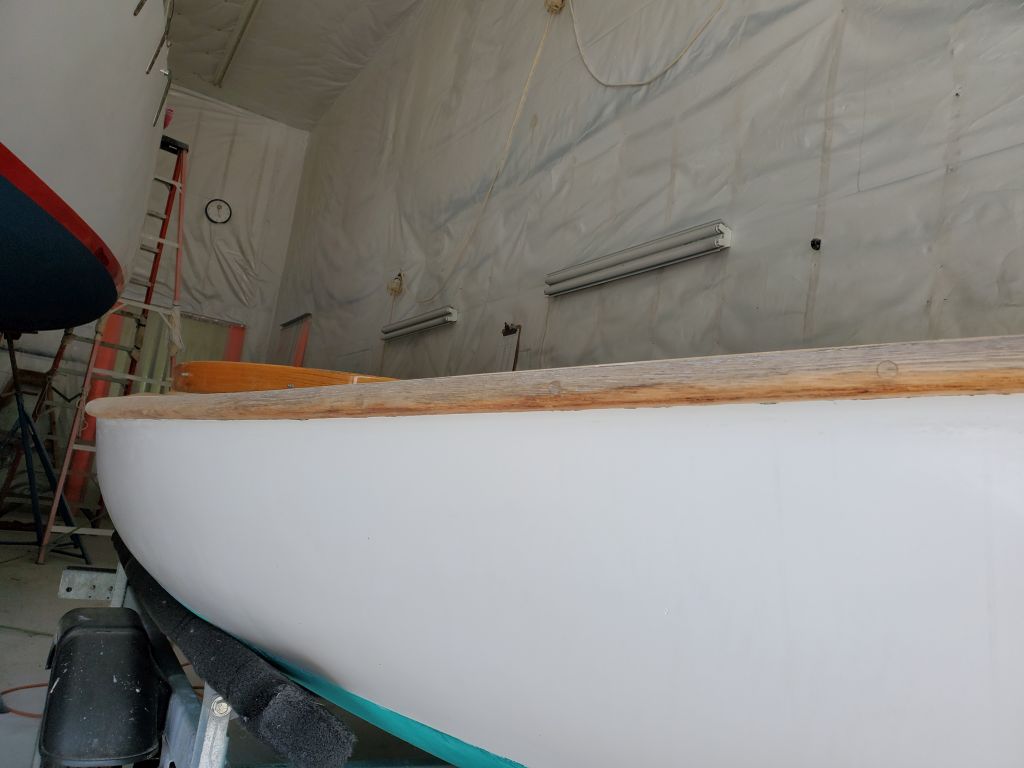
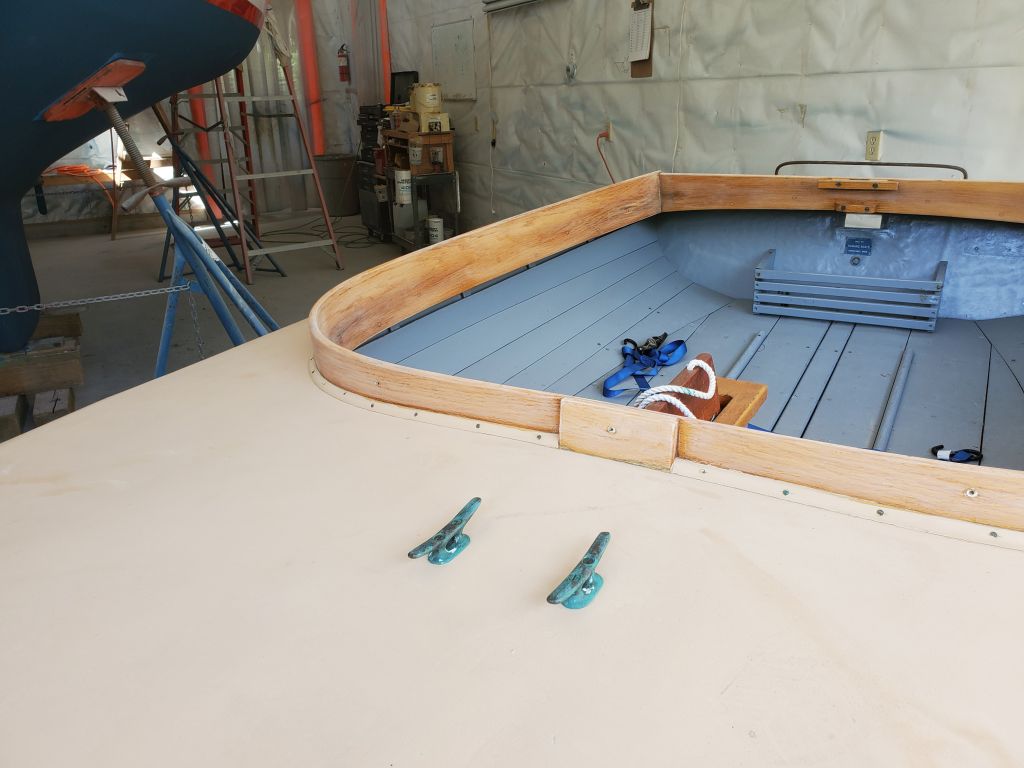
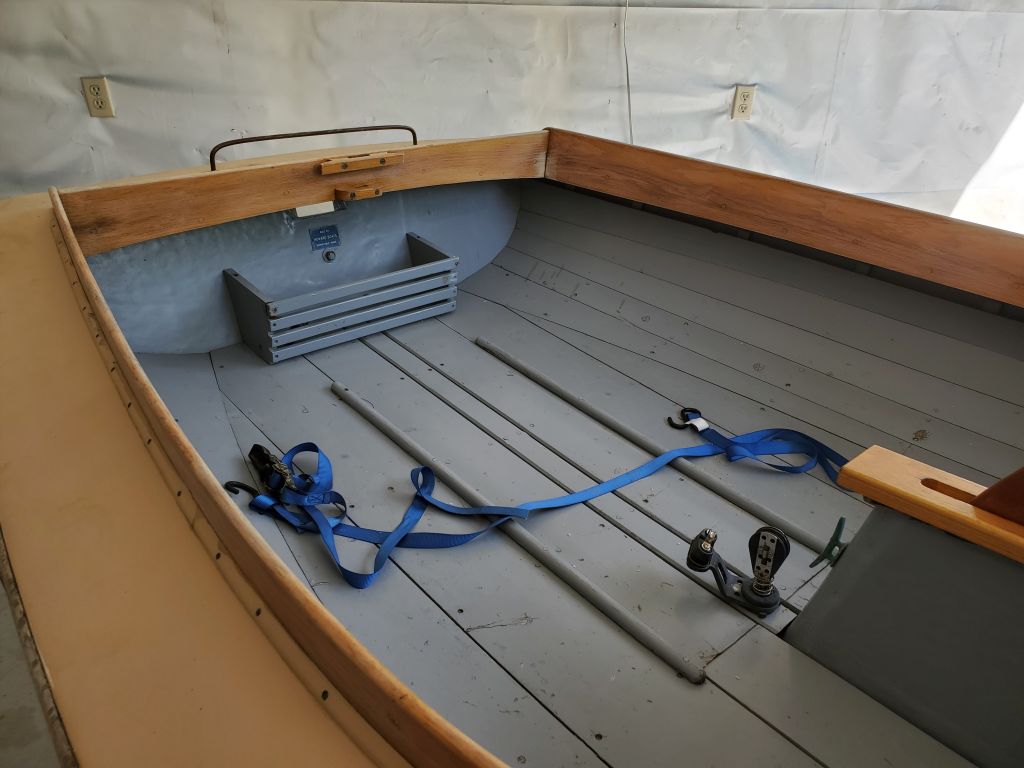
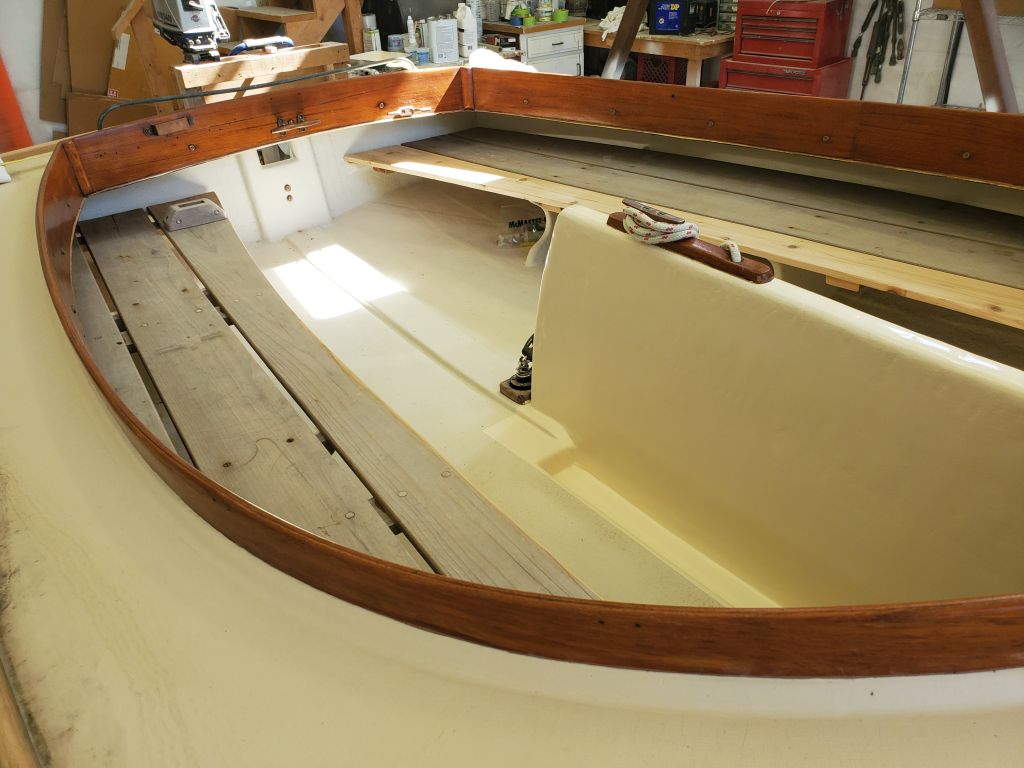
The owner of this classic Dyer Midget (8′) dinghy asked me to strip and refinish the interior woodwork (seats and rails), as well as to prepare and prime the hull for him for later painting.
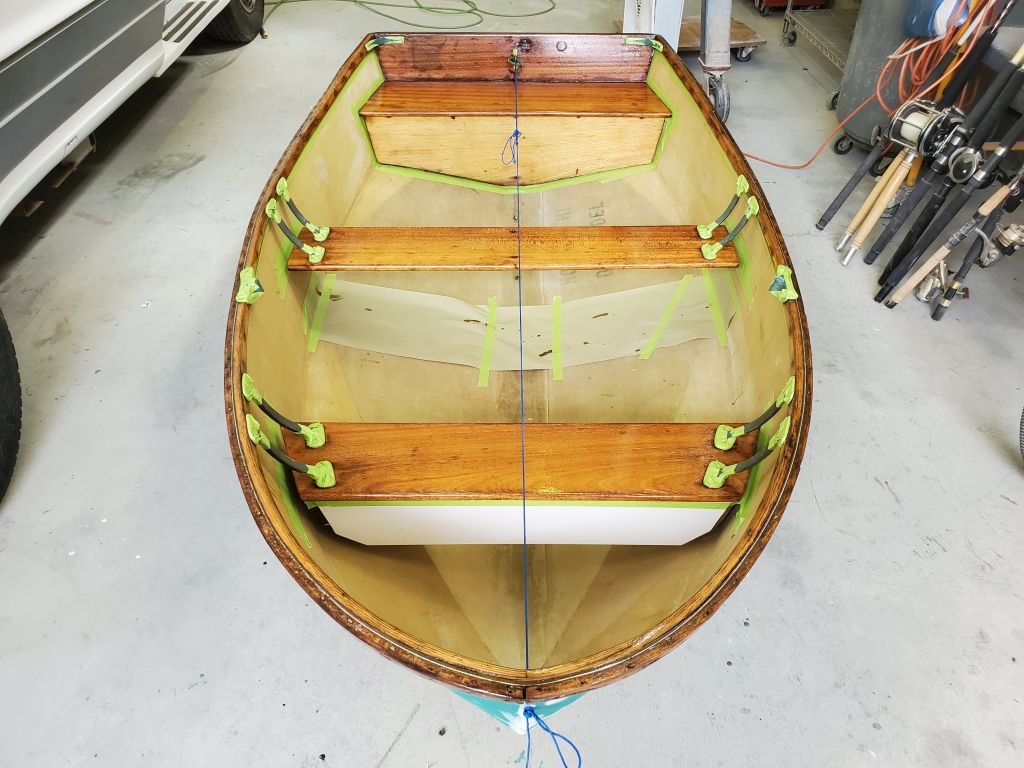
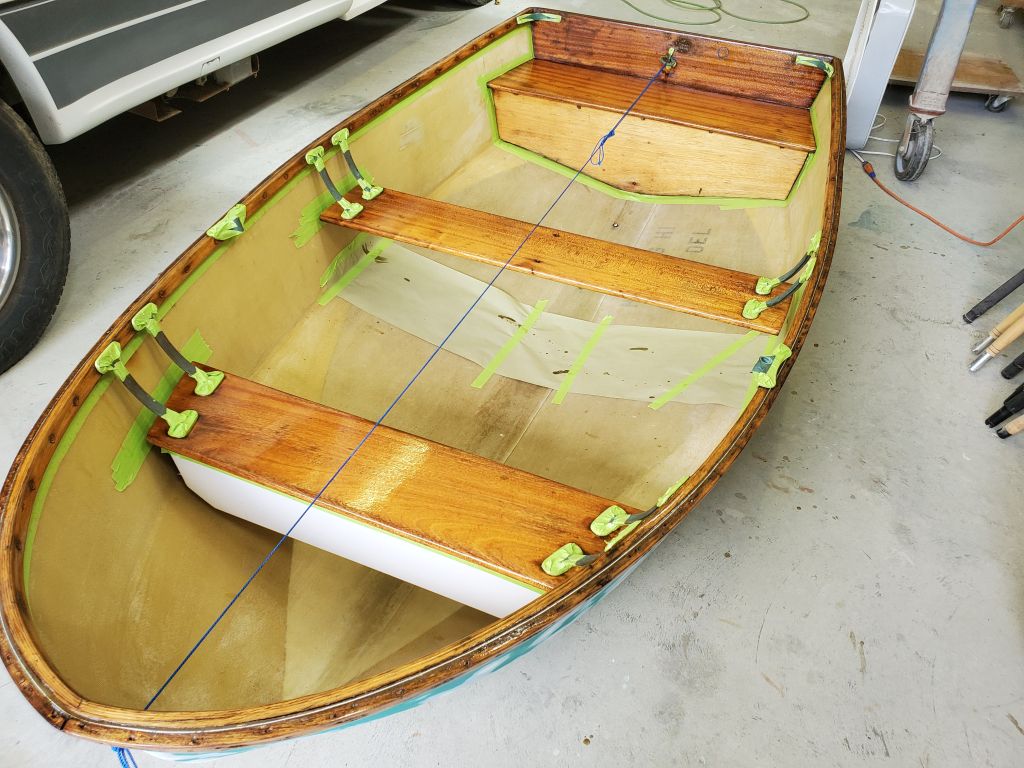
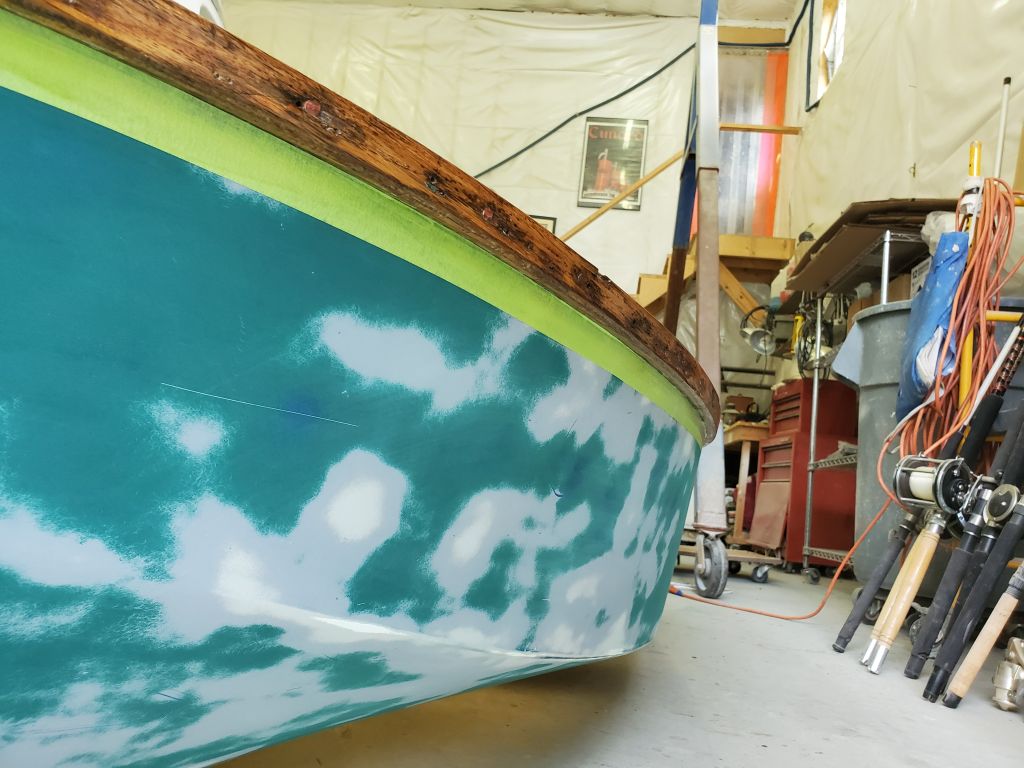
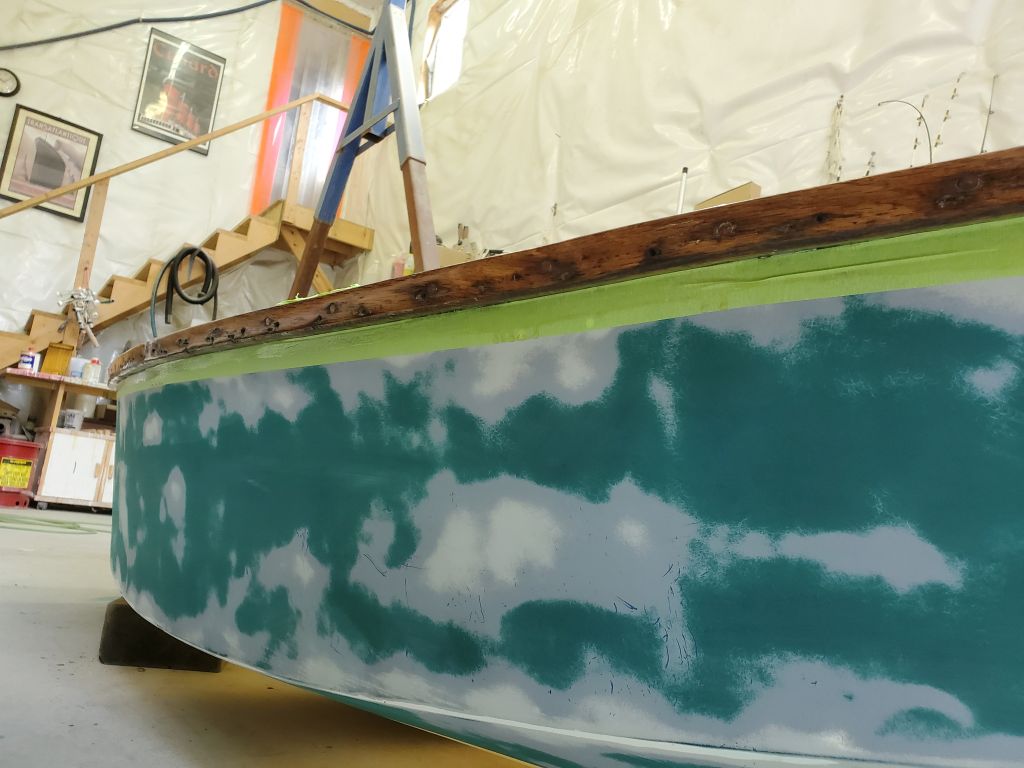
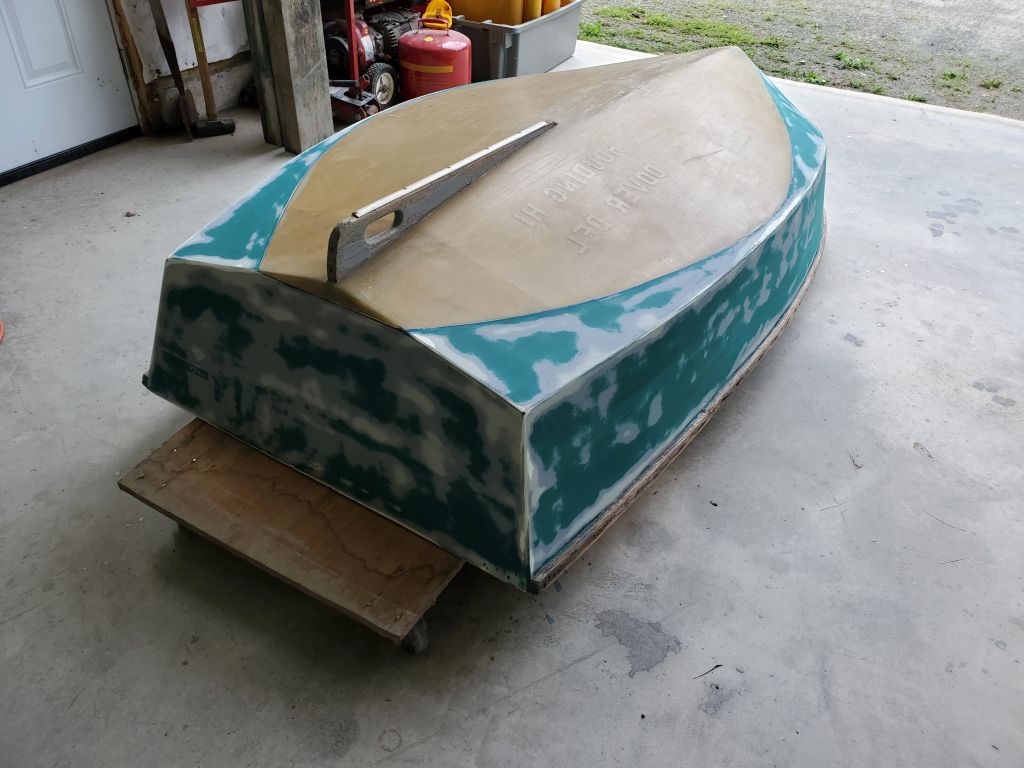
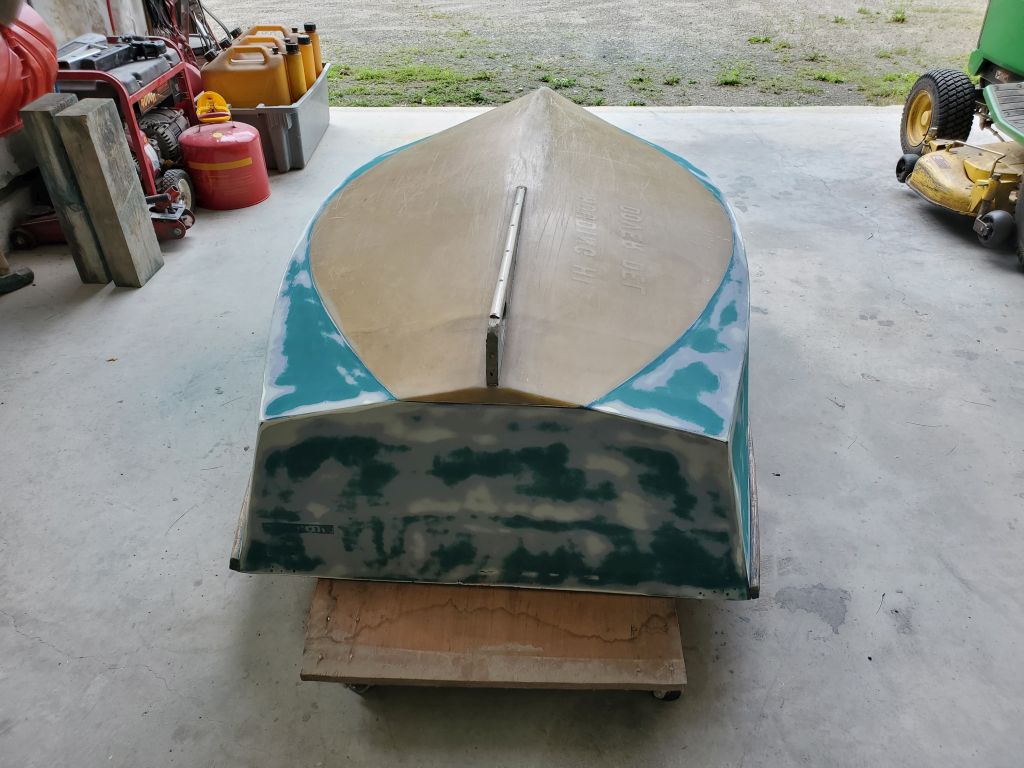
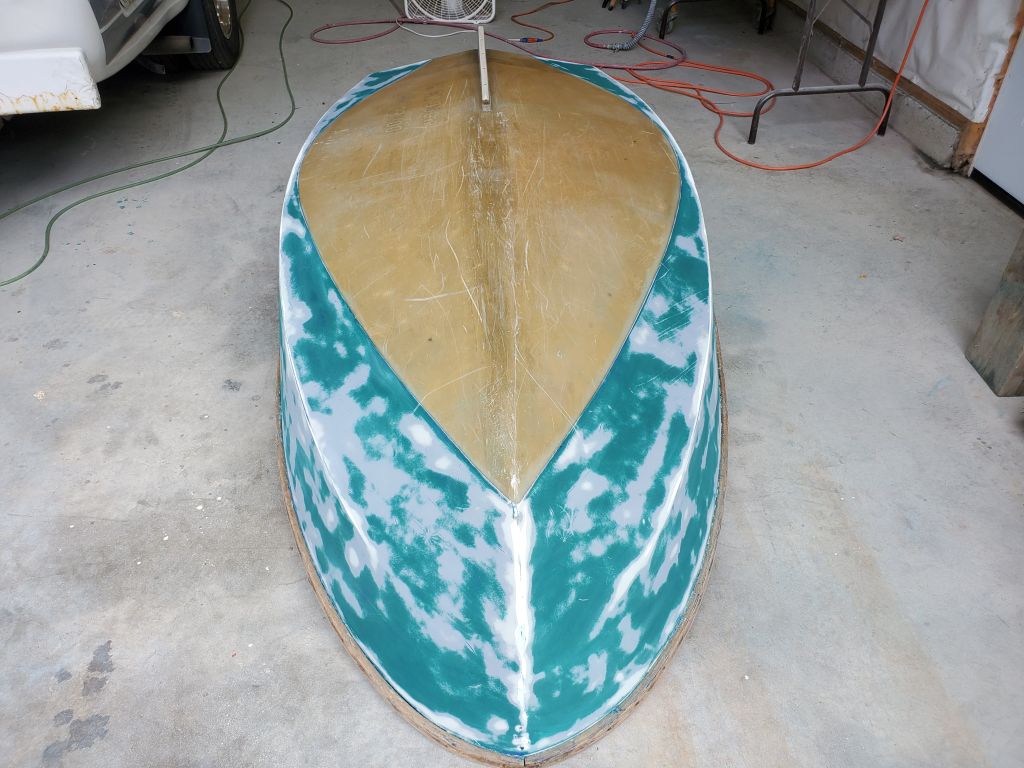
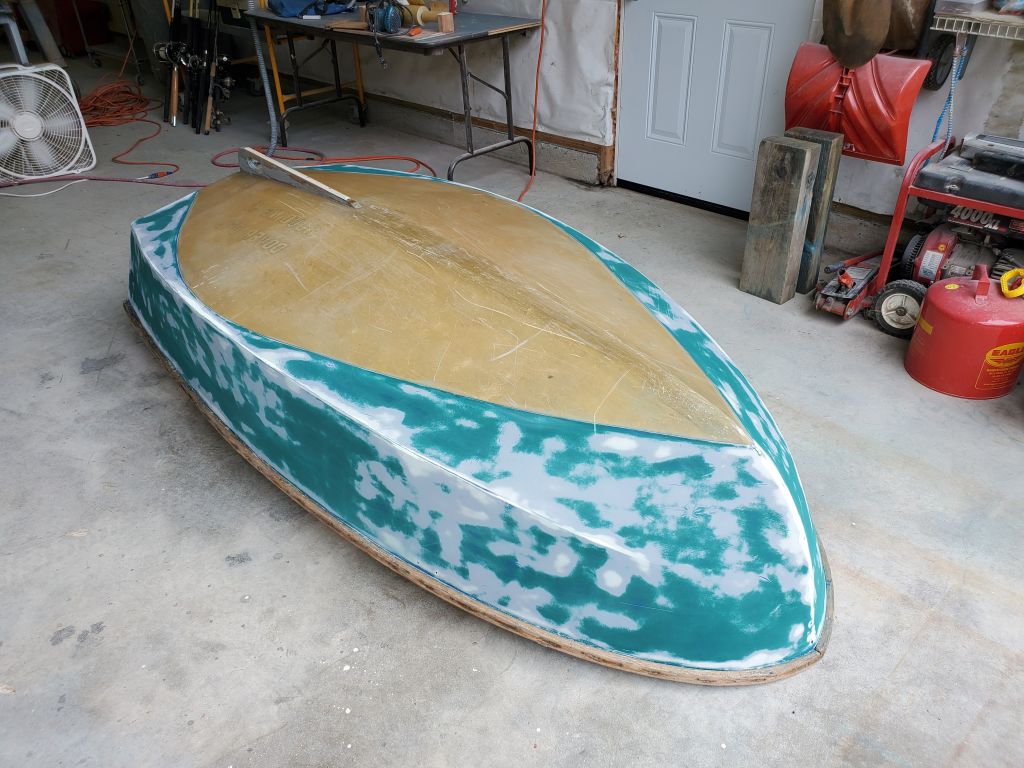
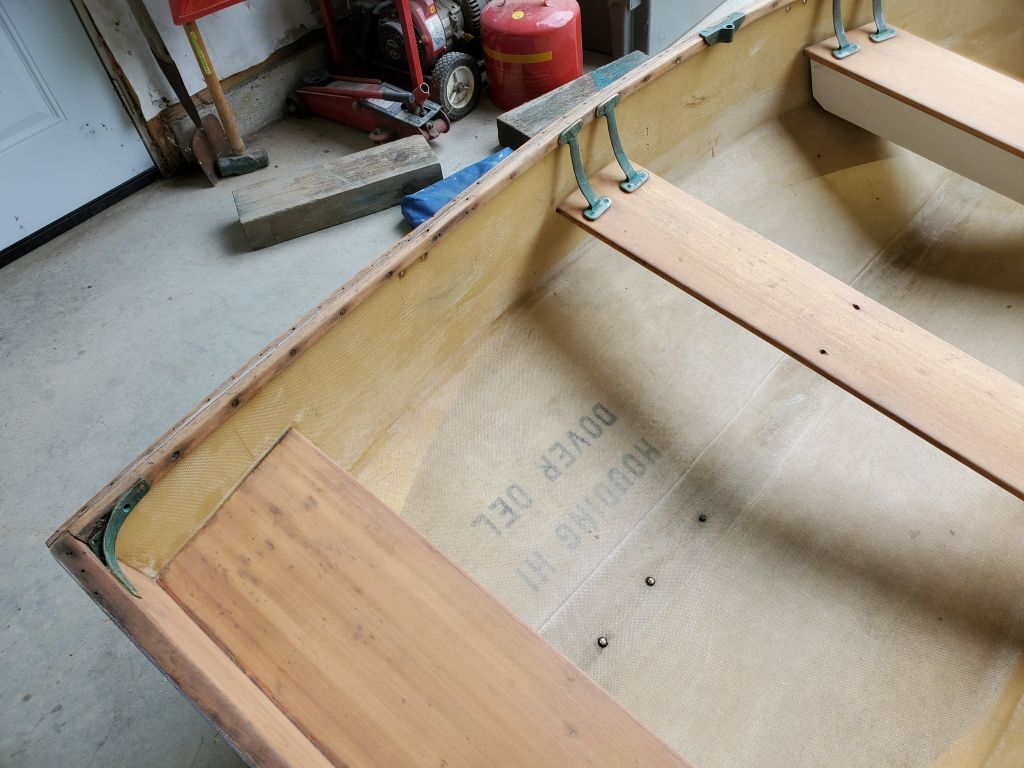
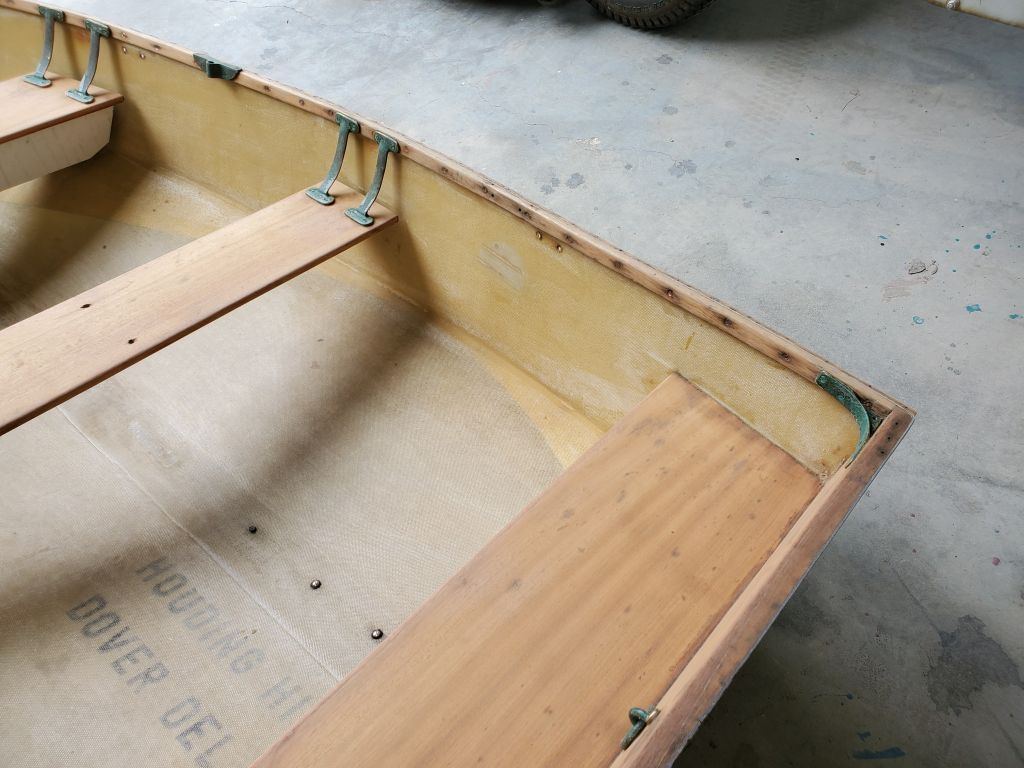
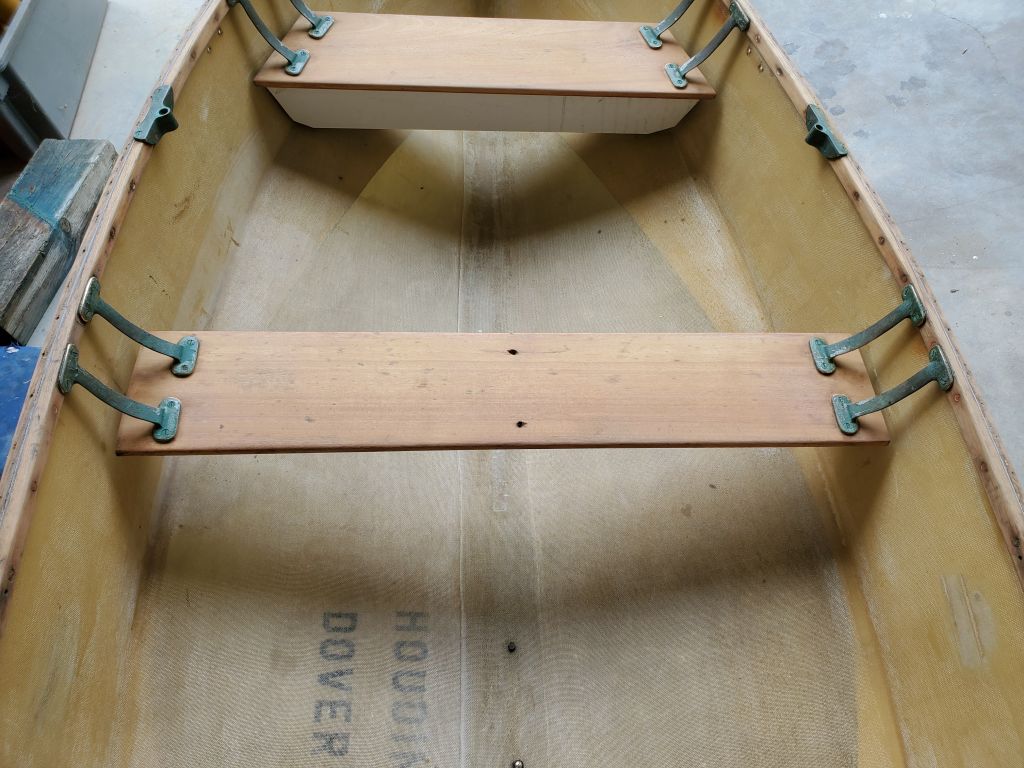
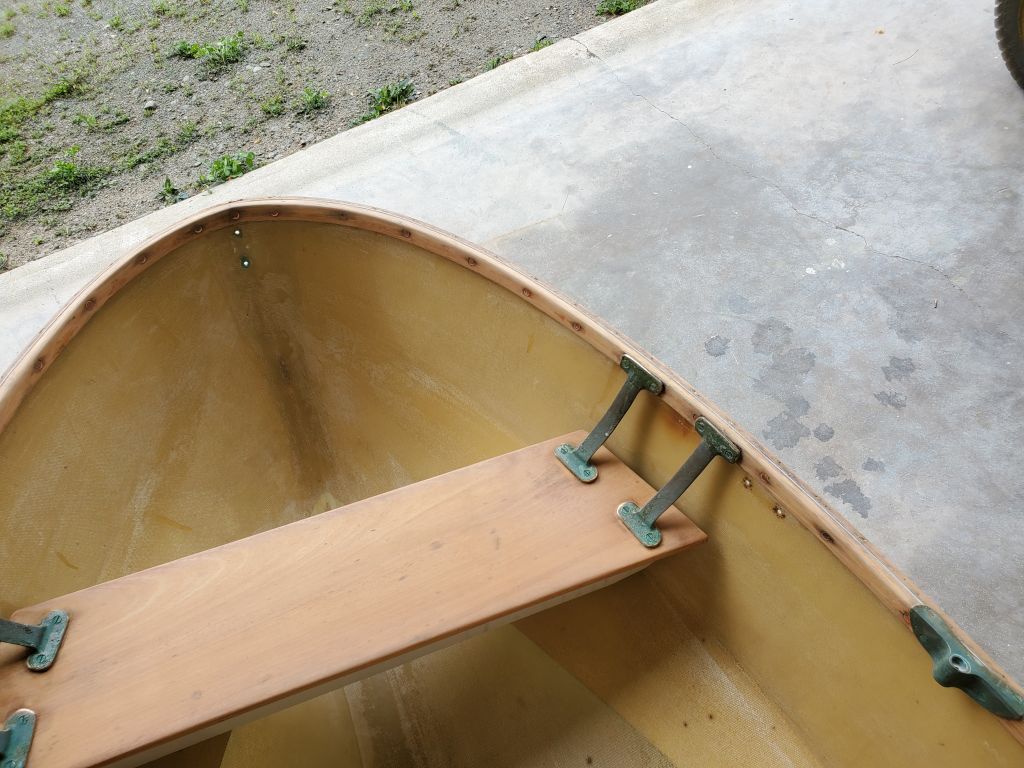
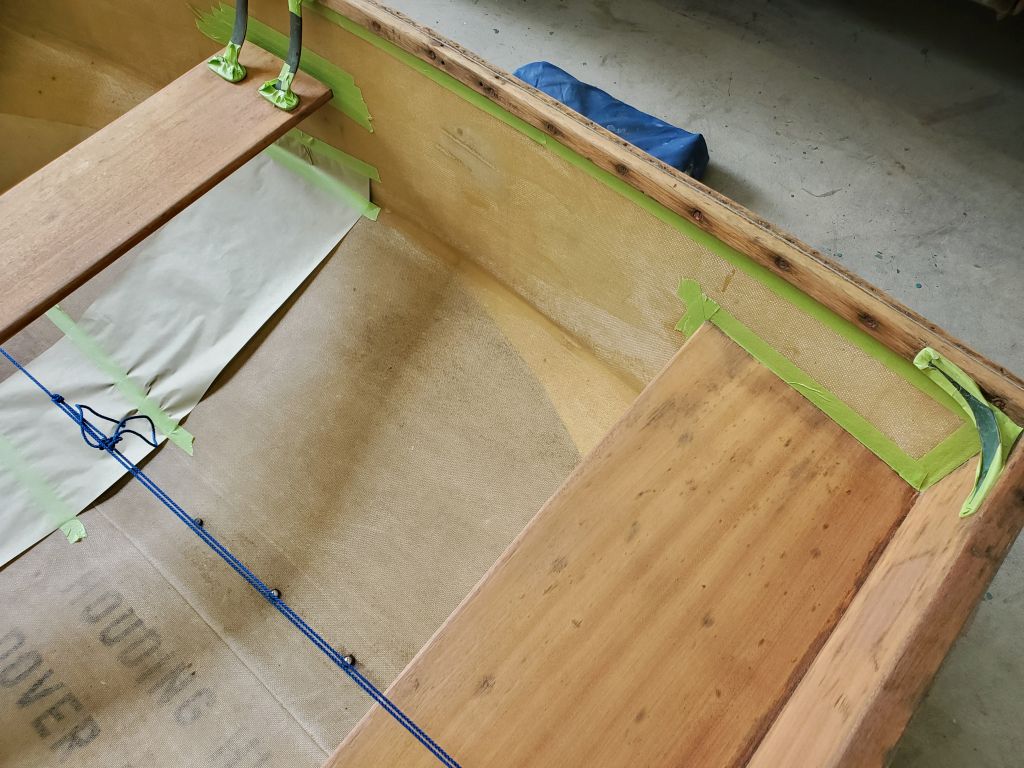
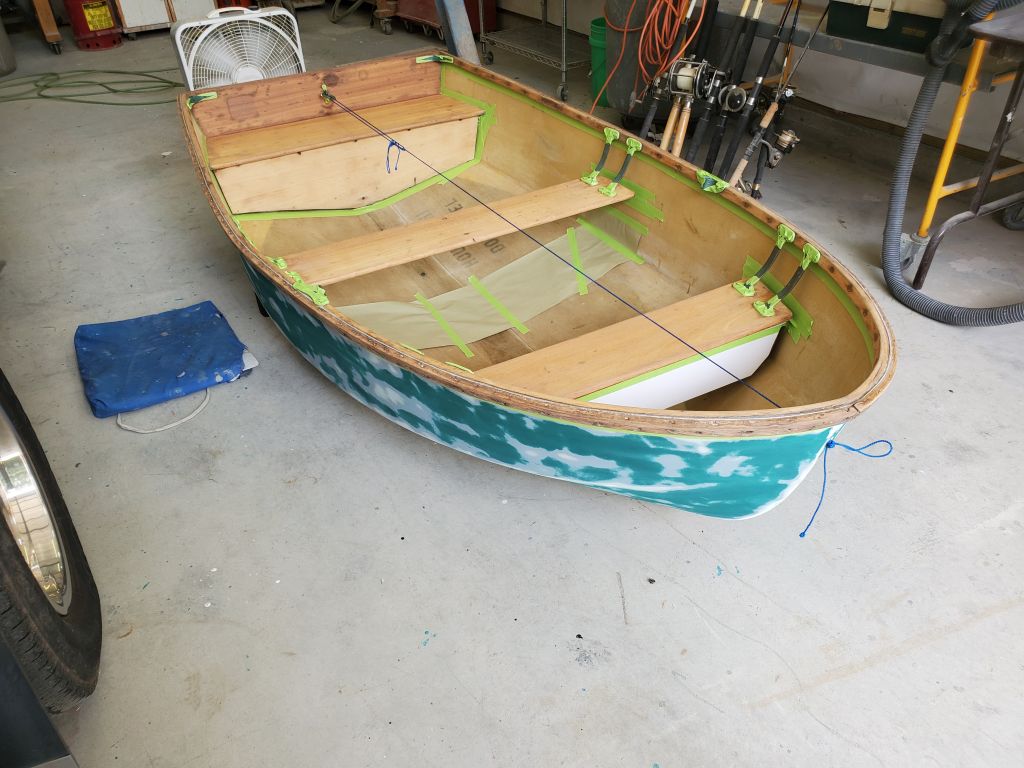
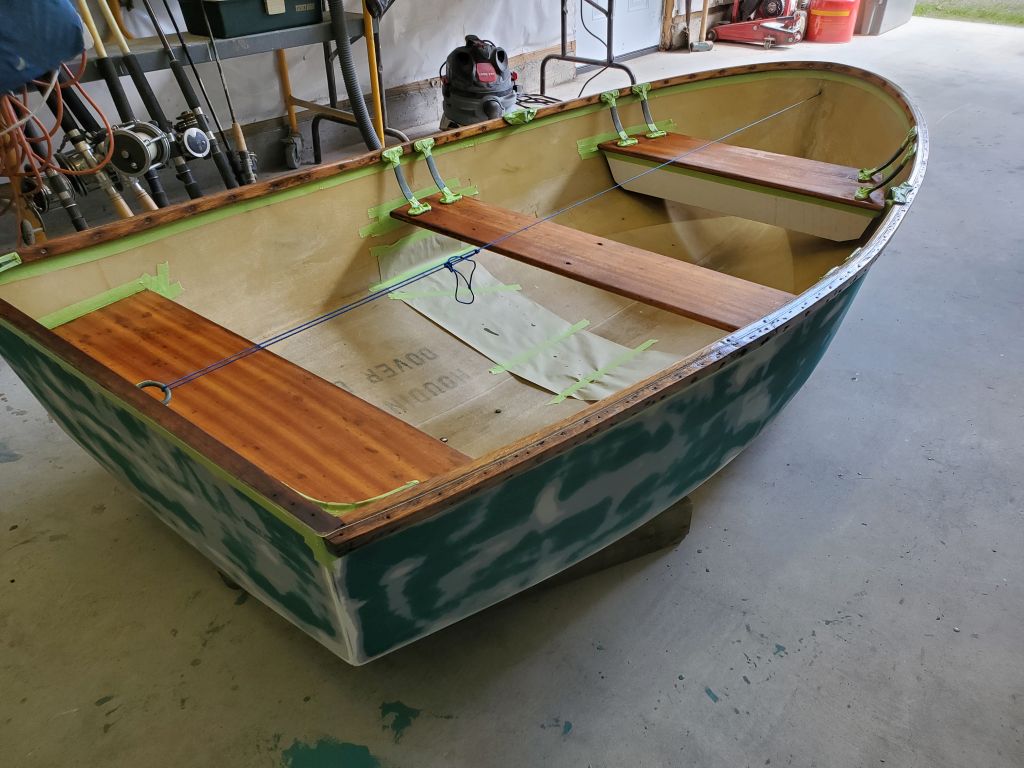
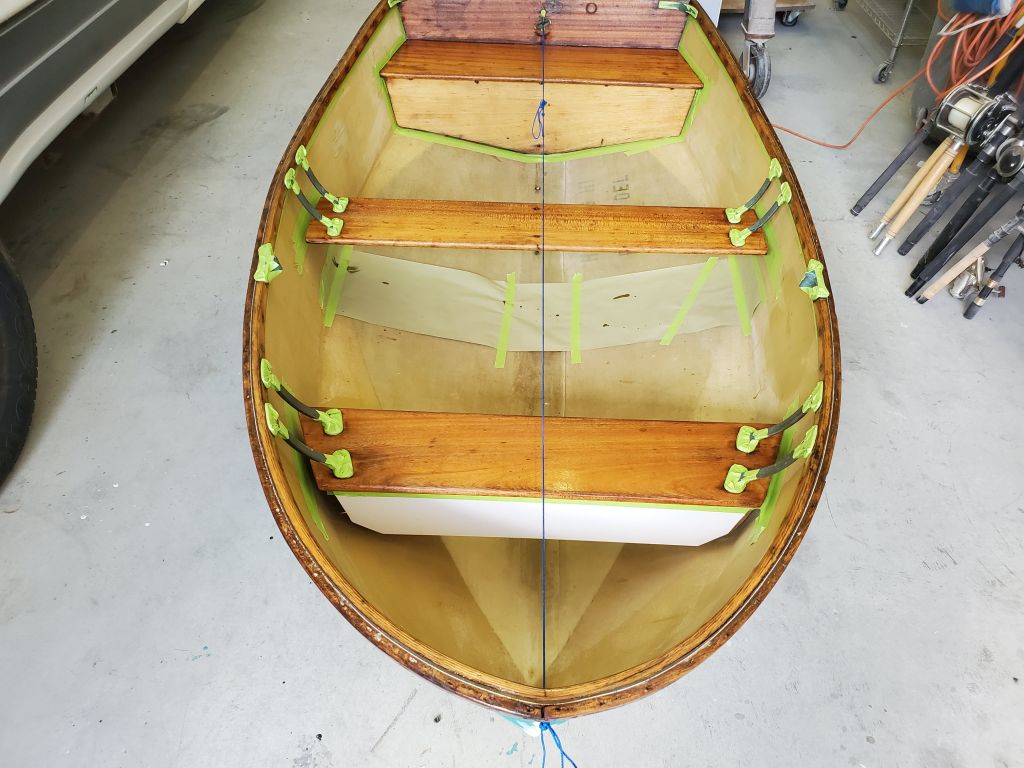
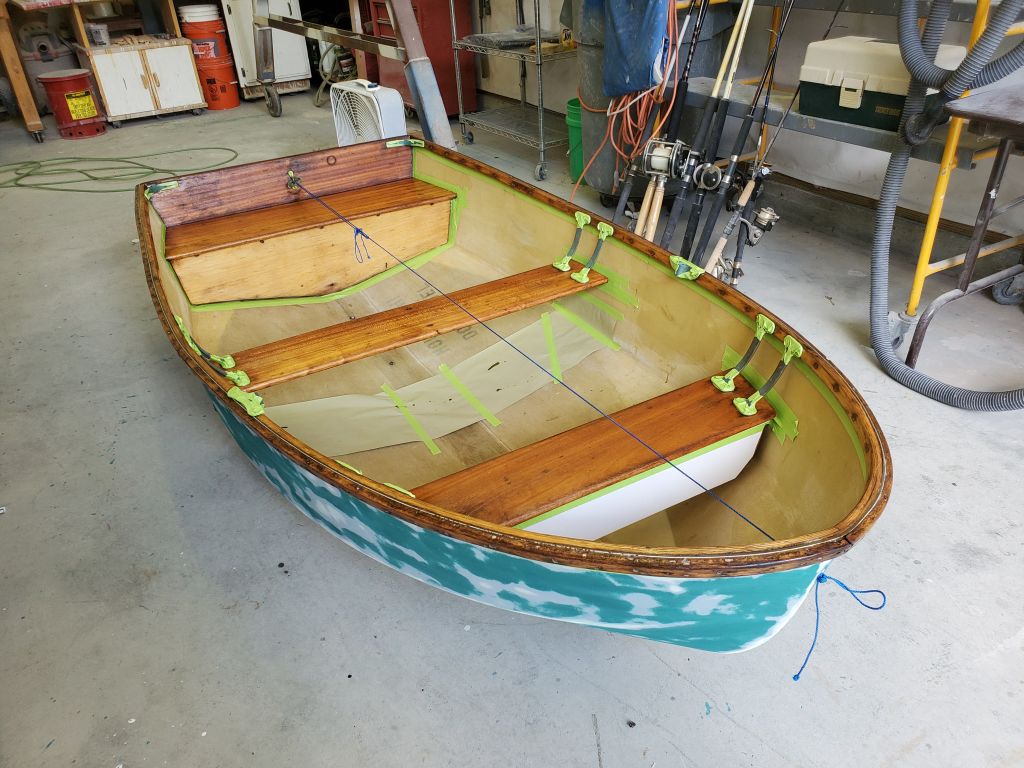
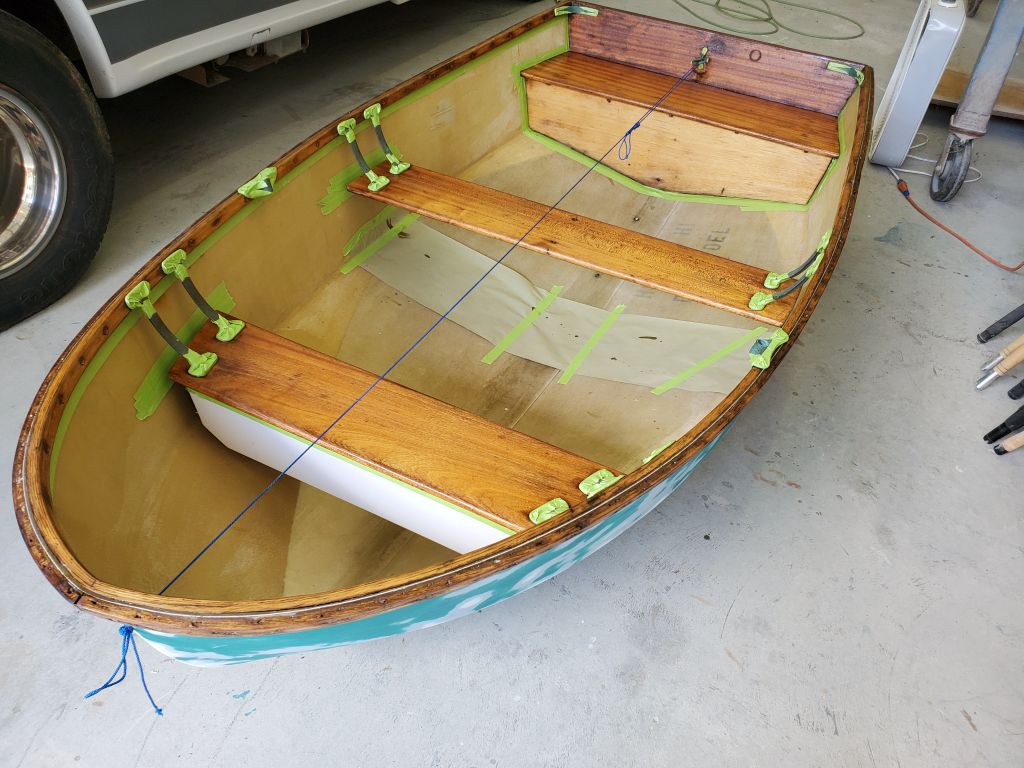
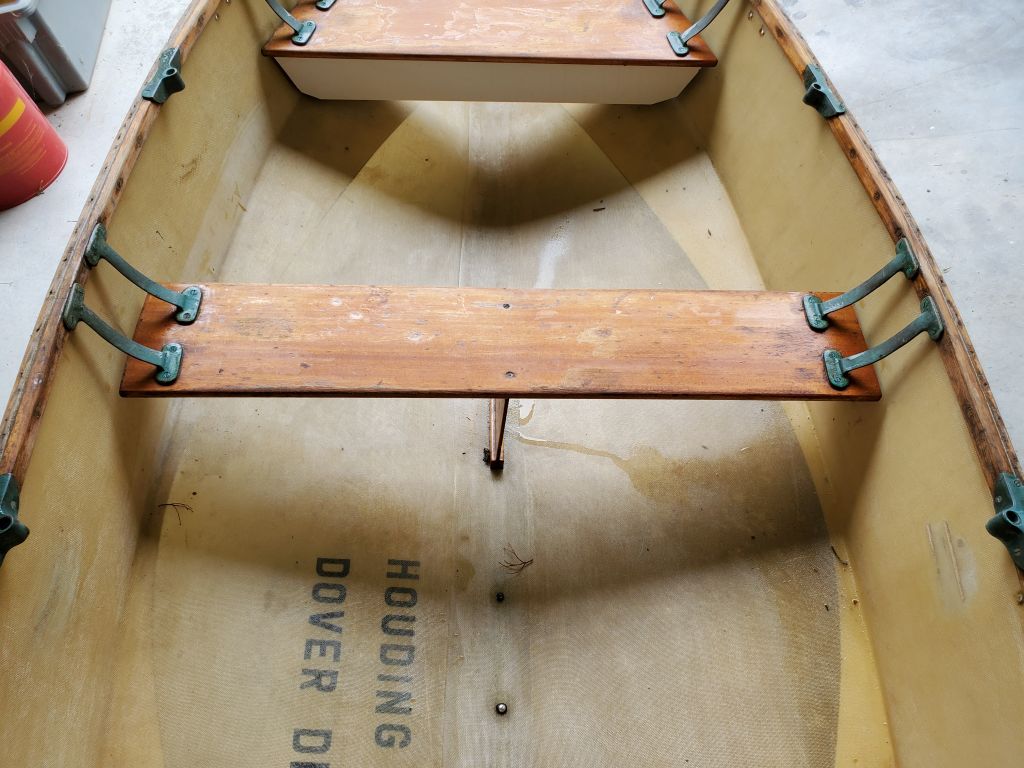
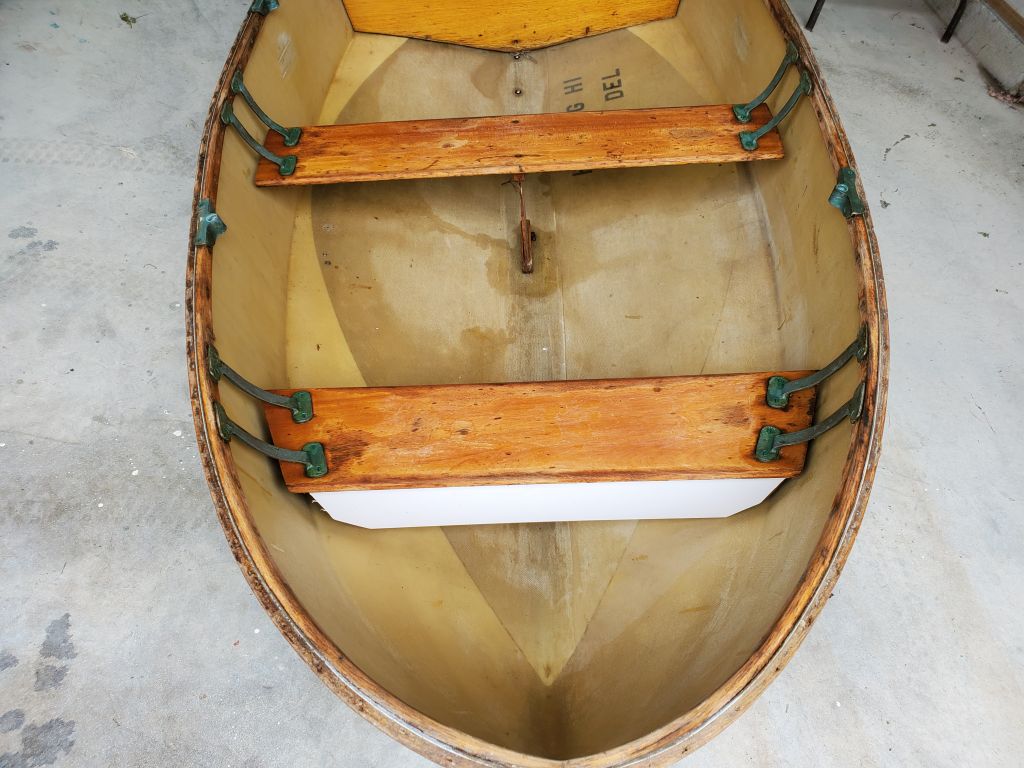
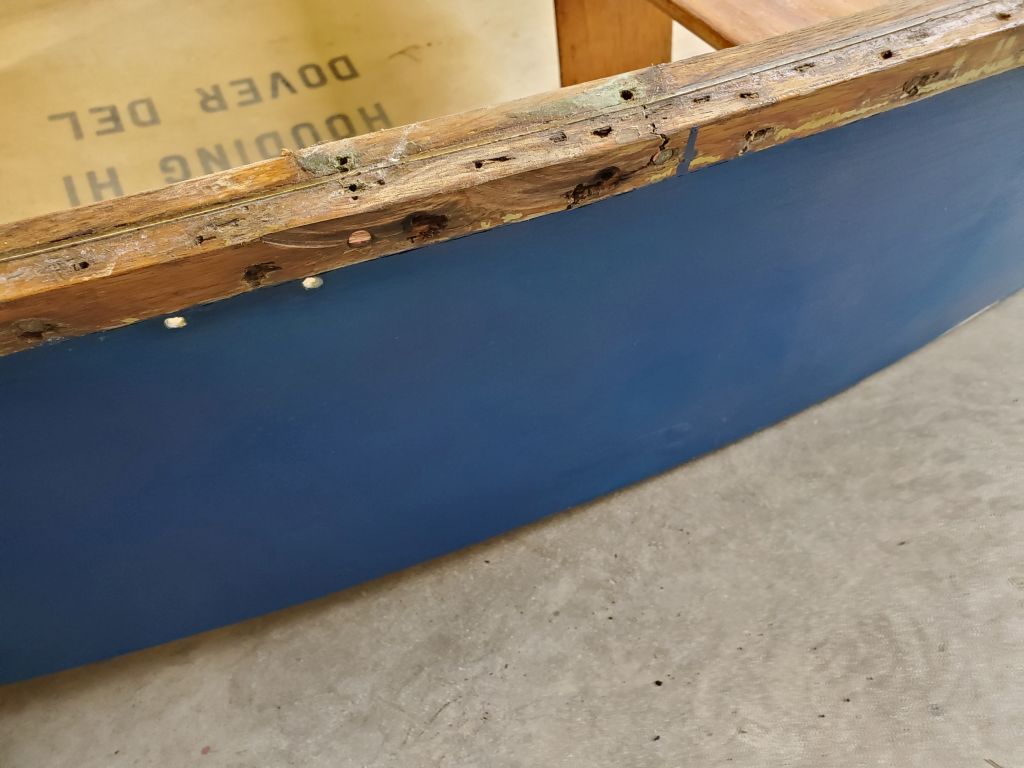
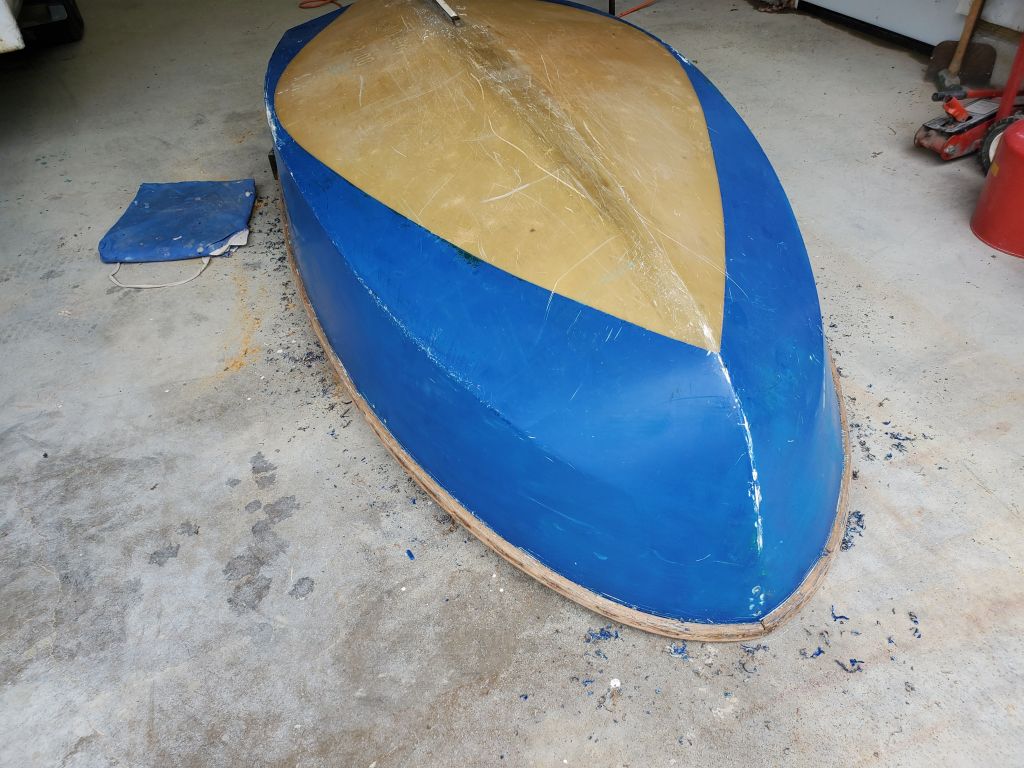
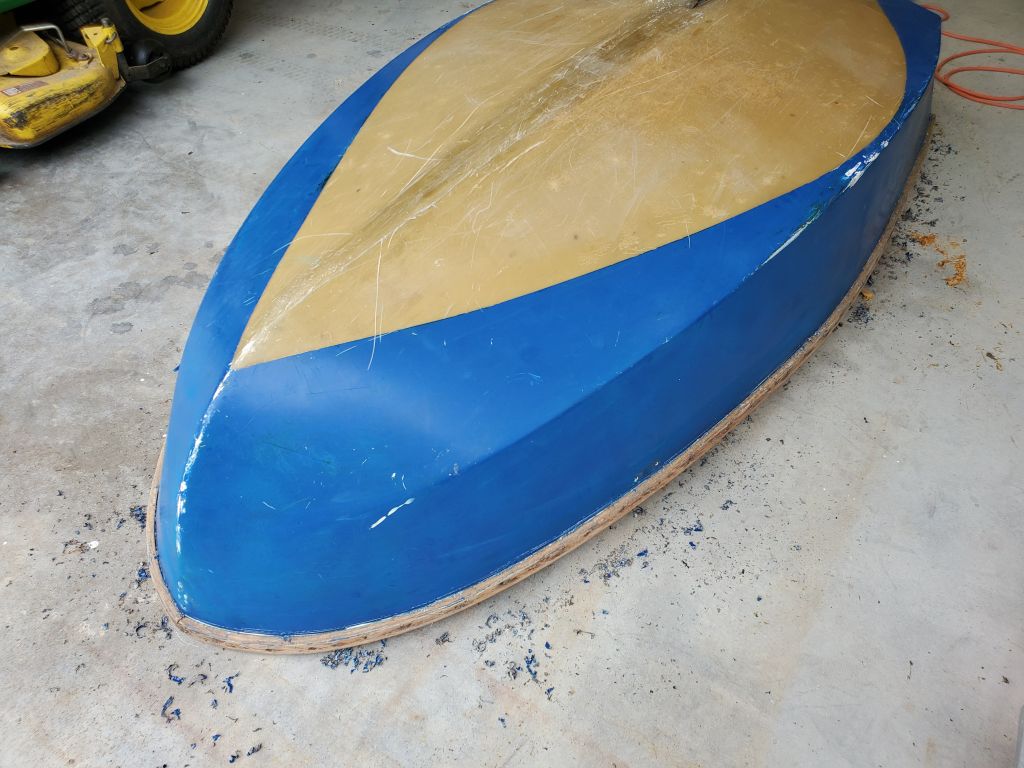
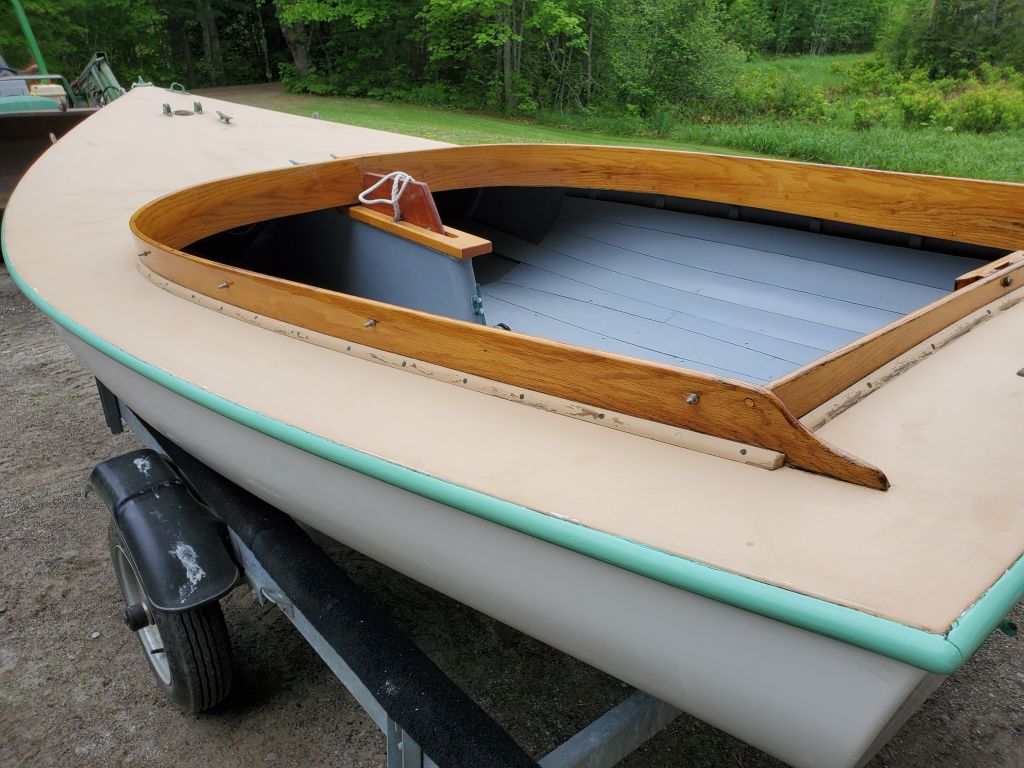
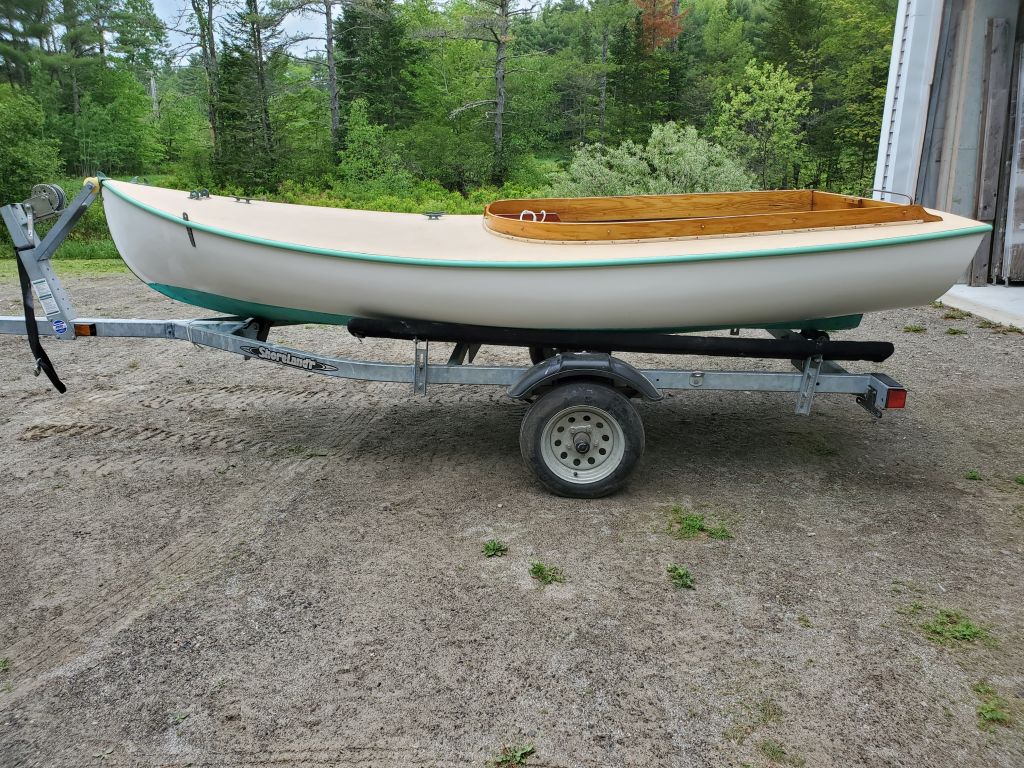
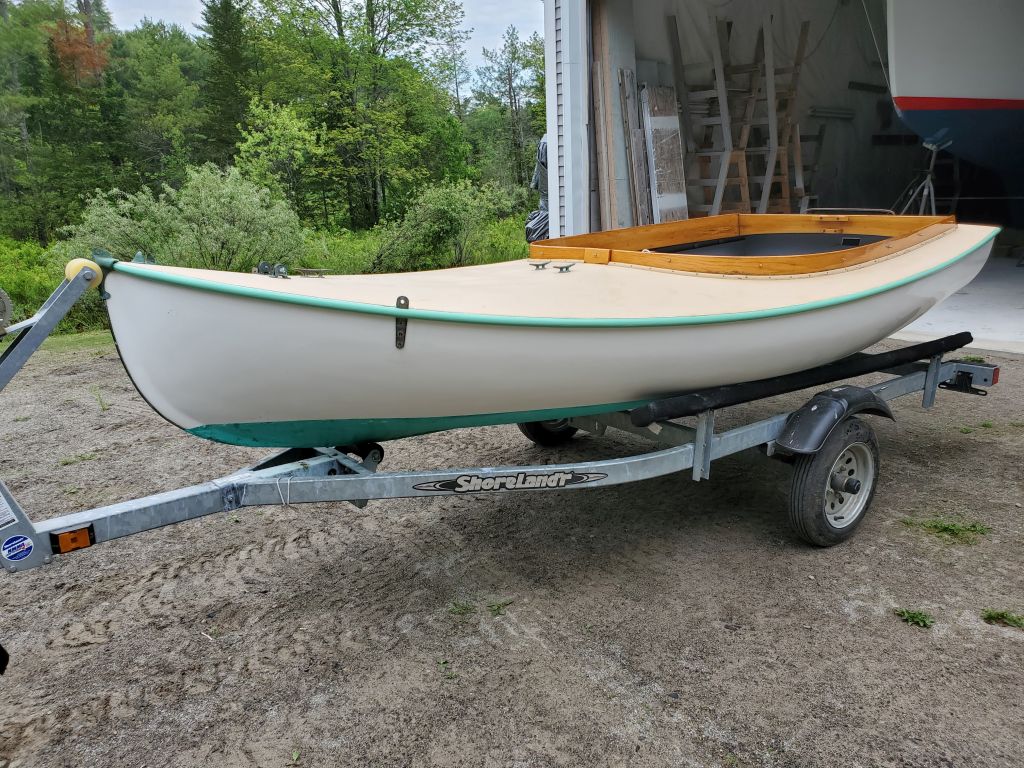
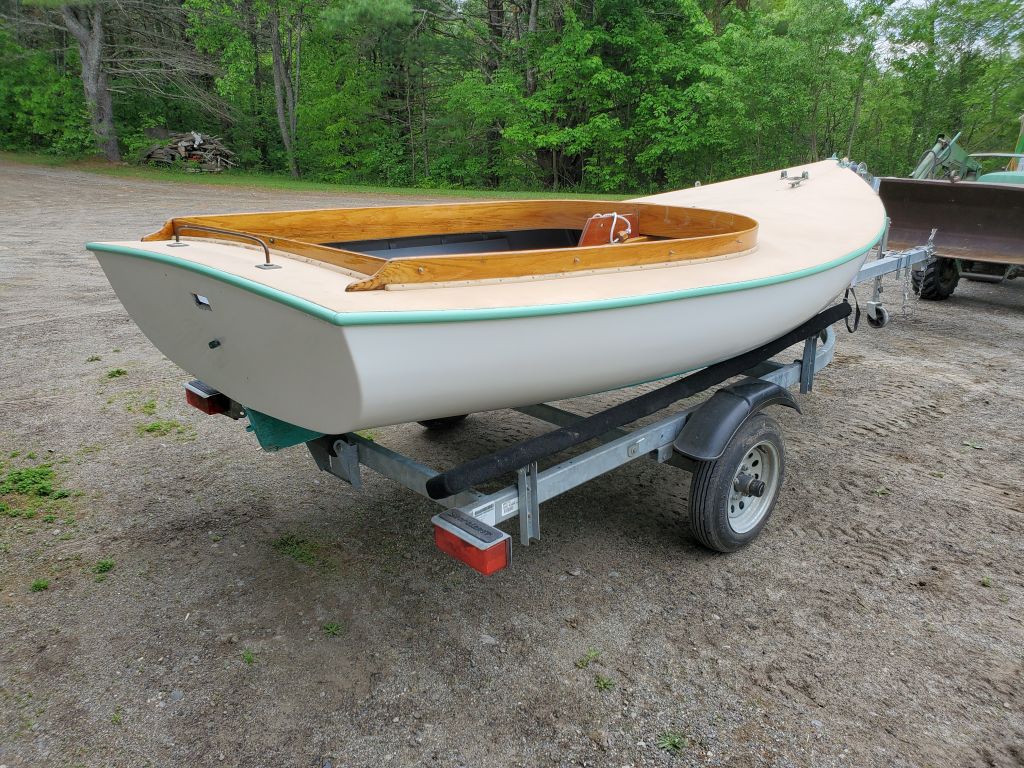
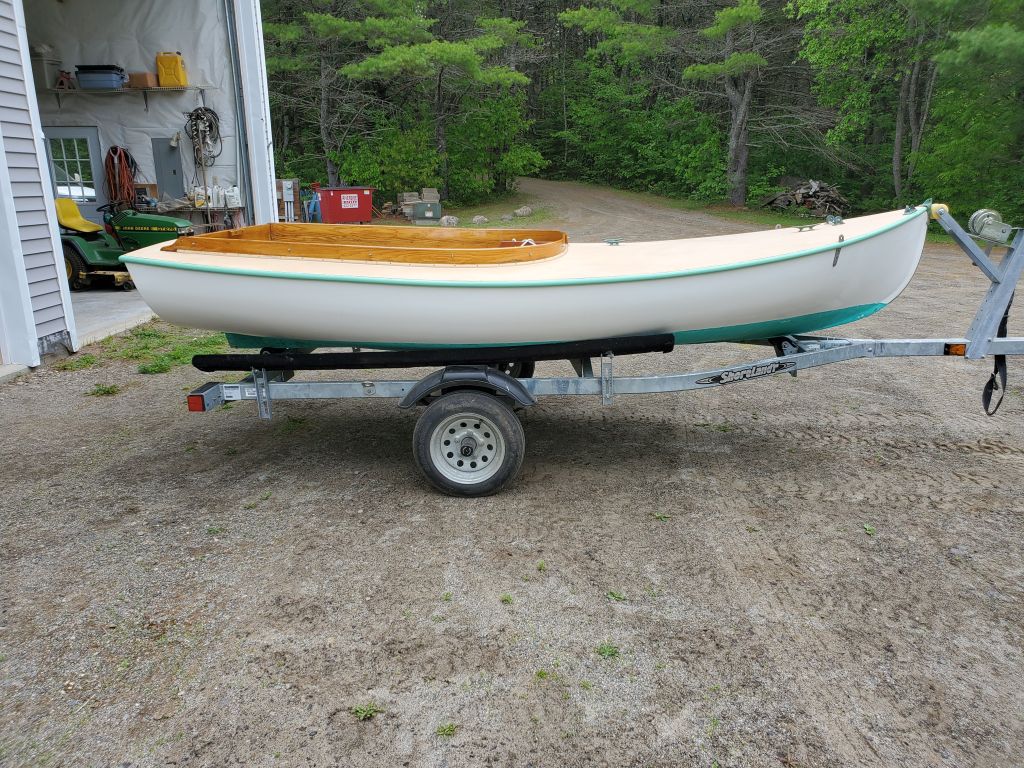
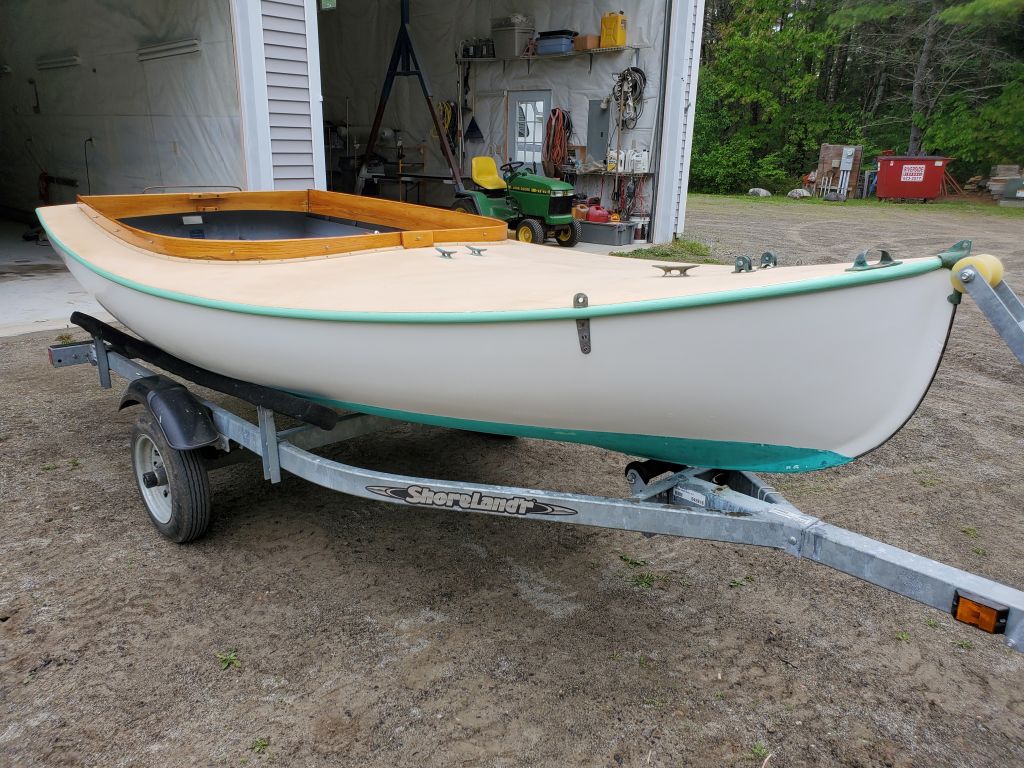
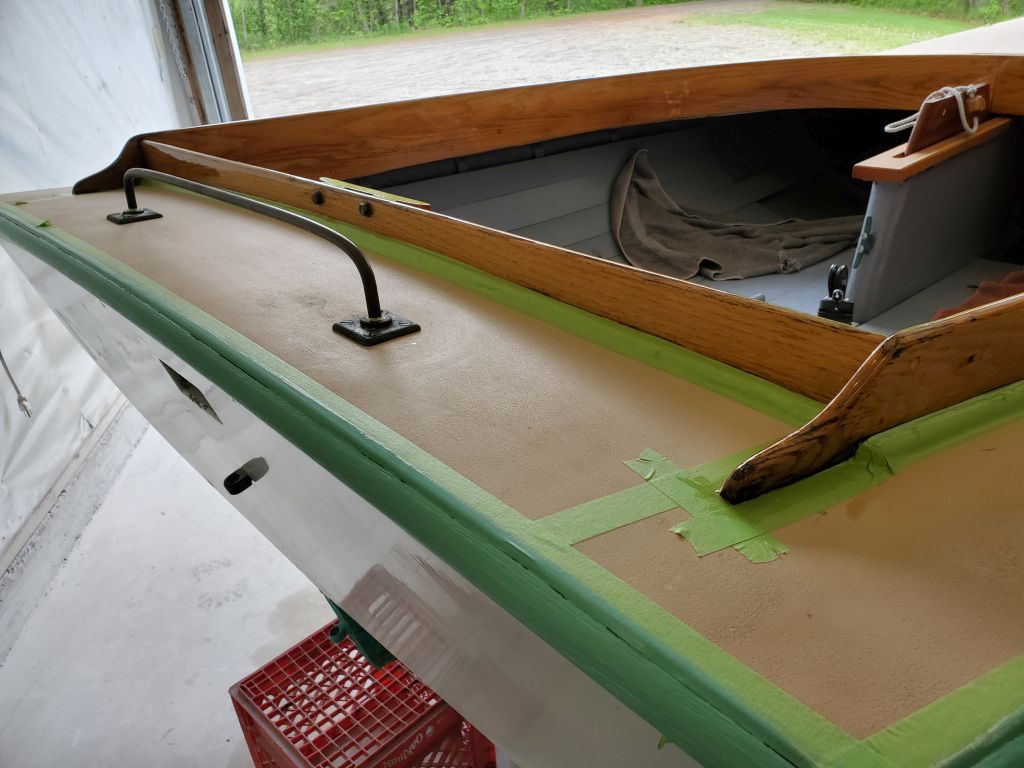
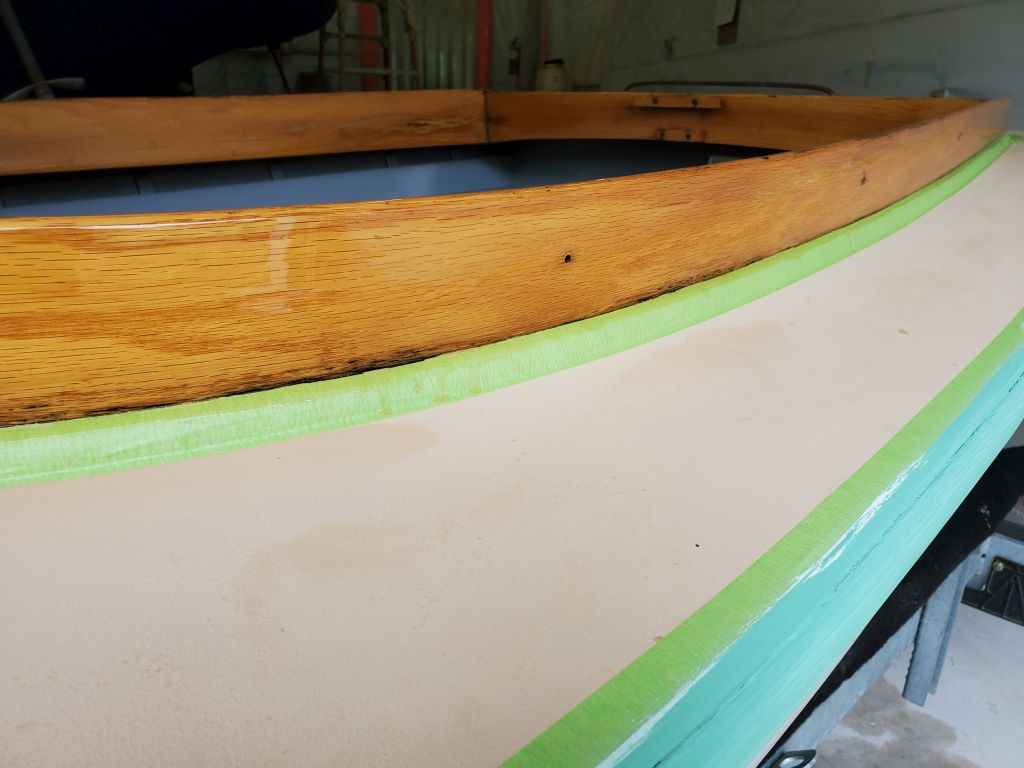
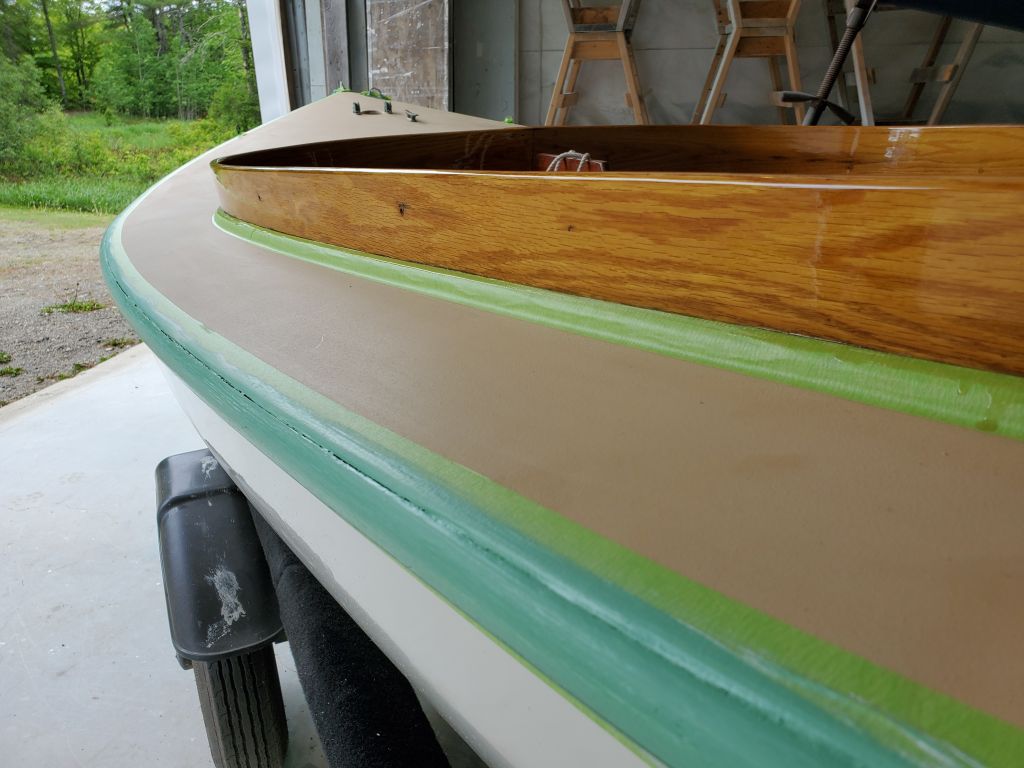
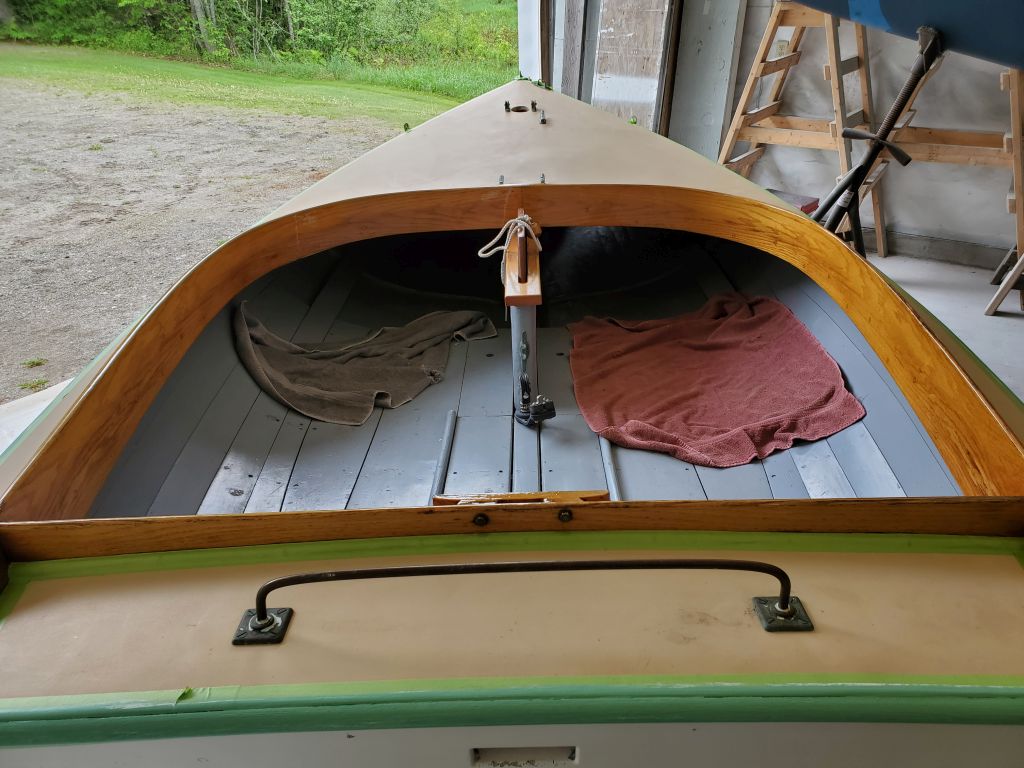
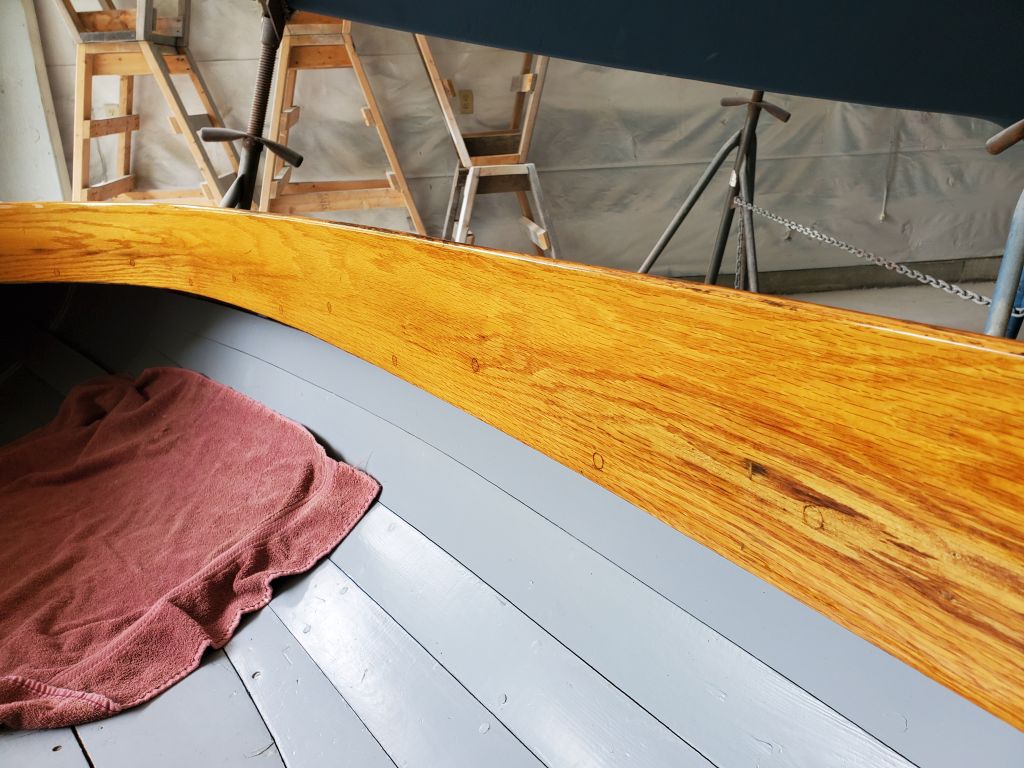
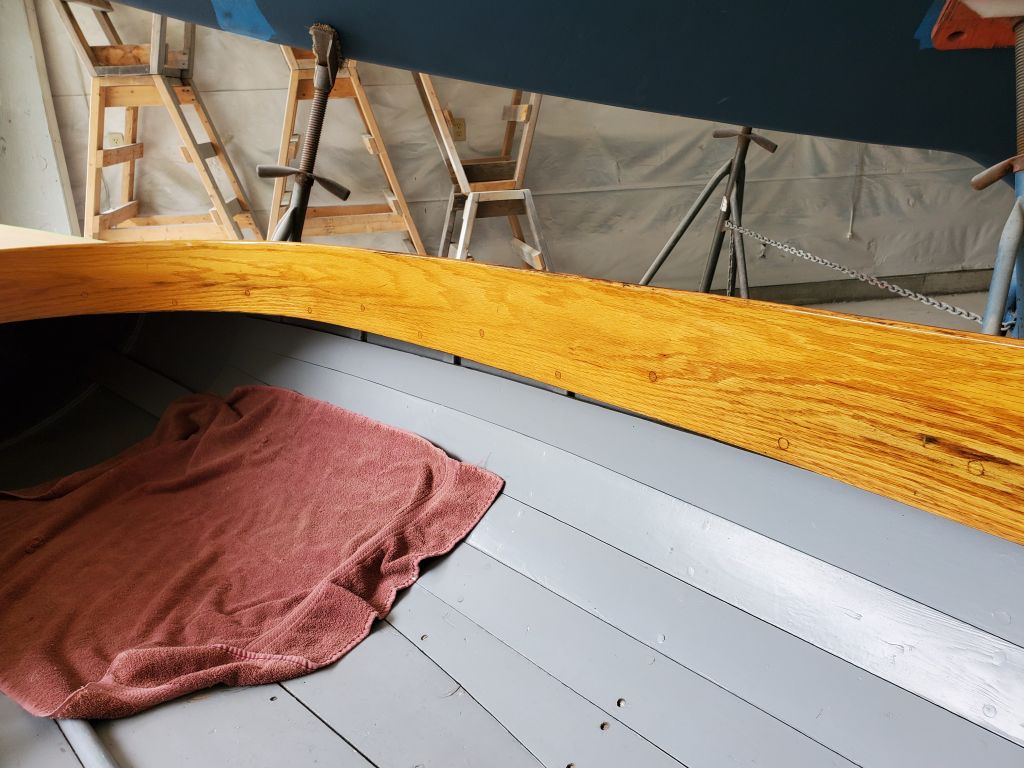
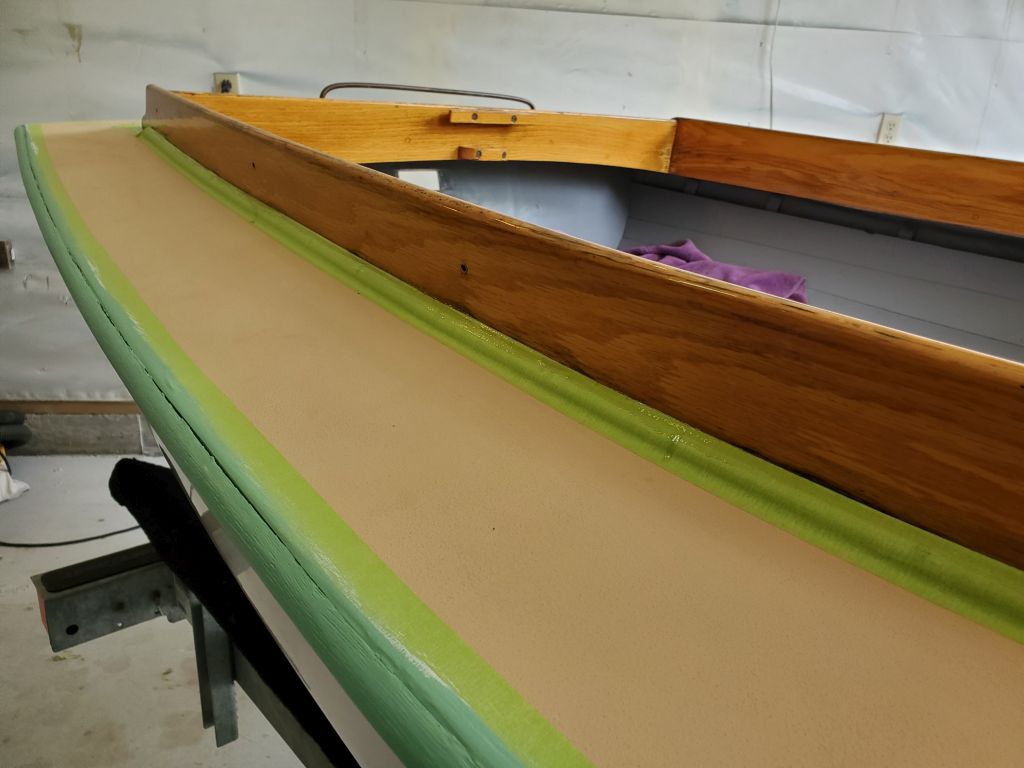
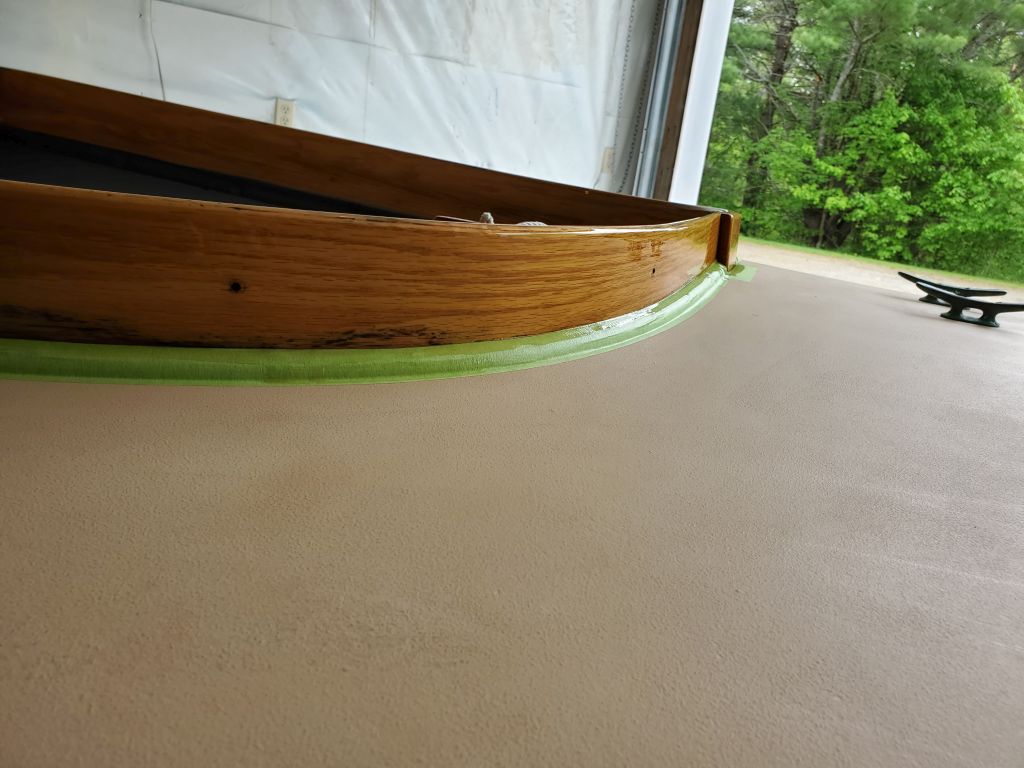
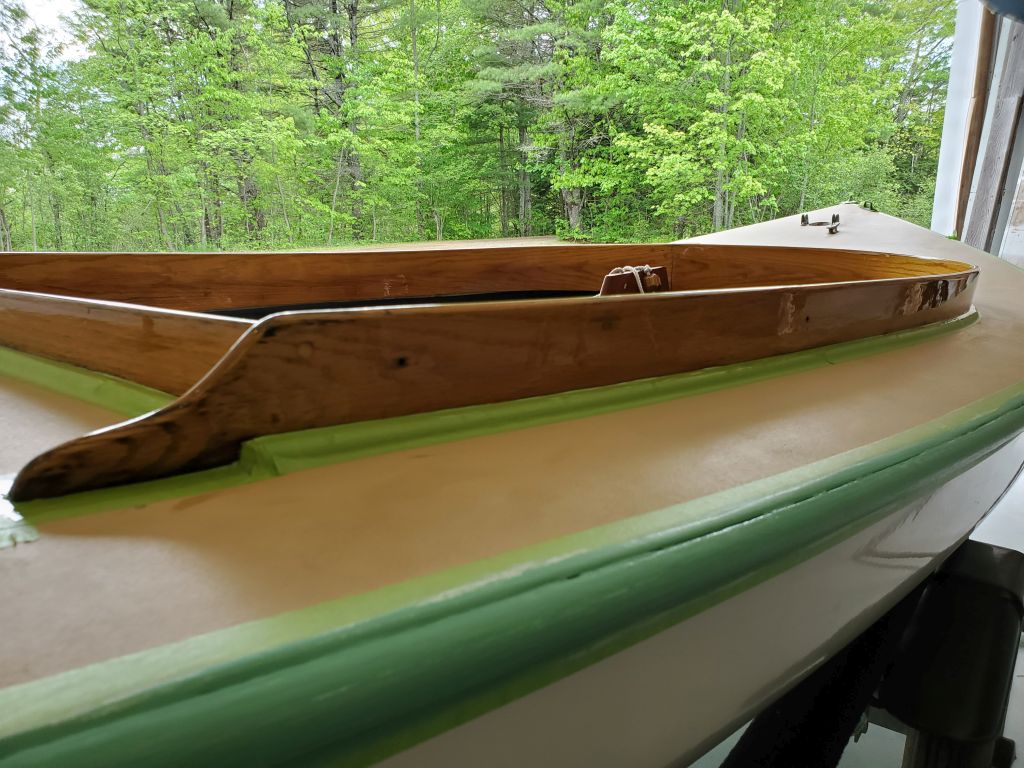
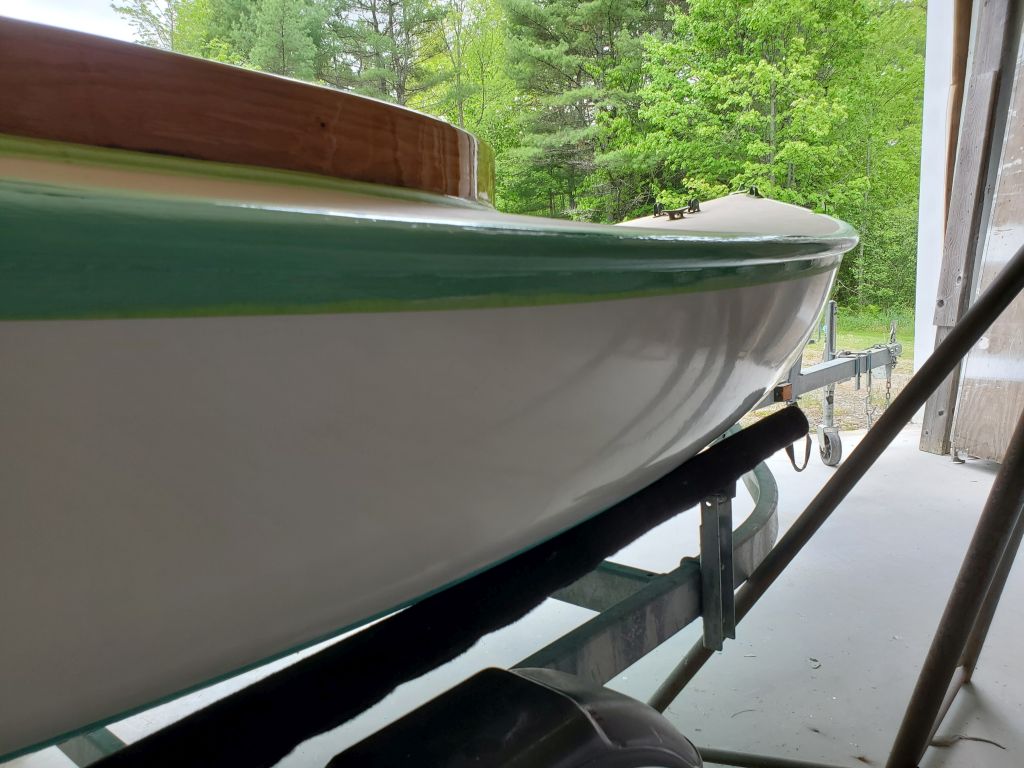
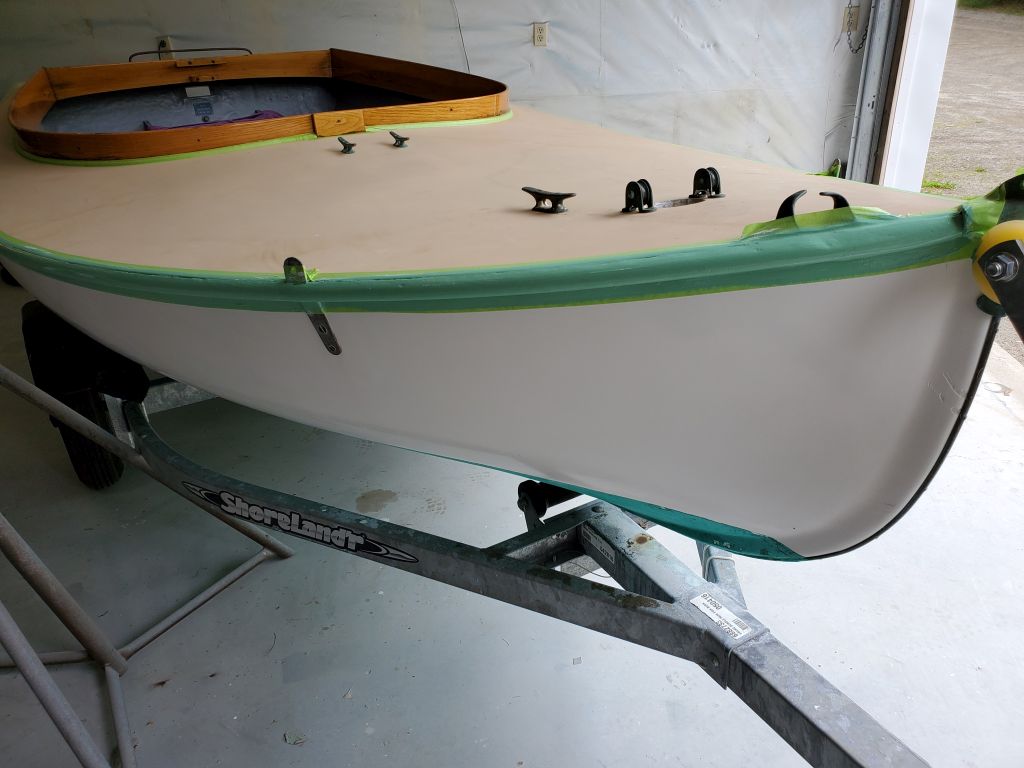
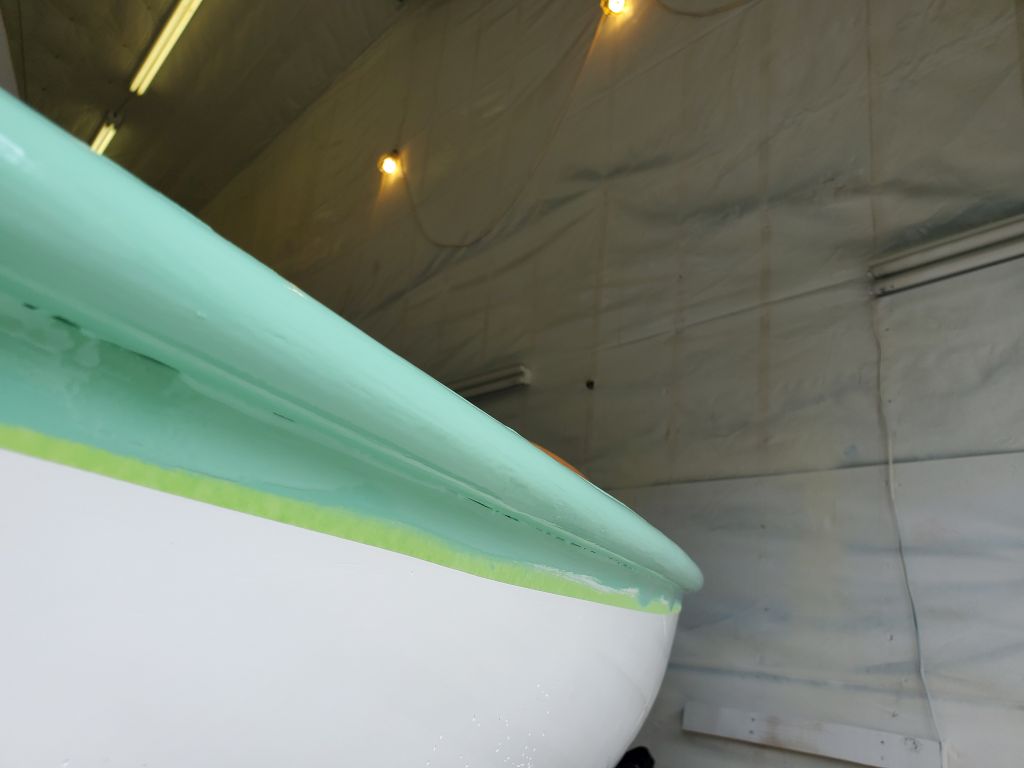
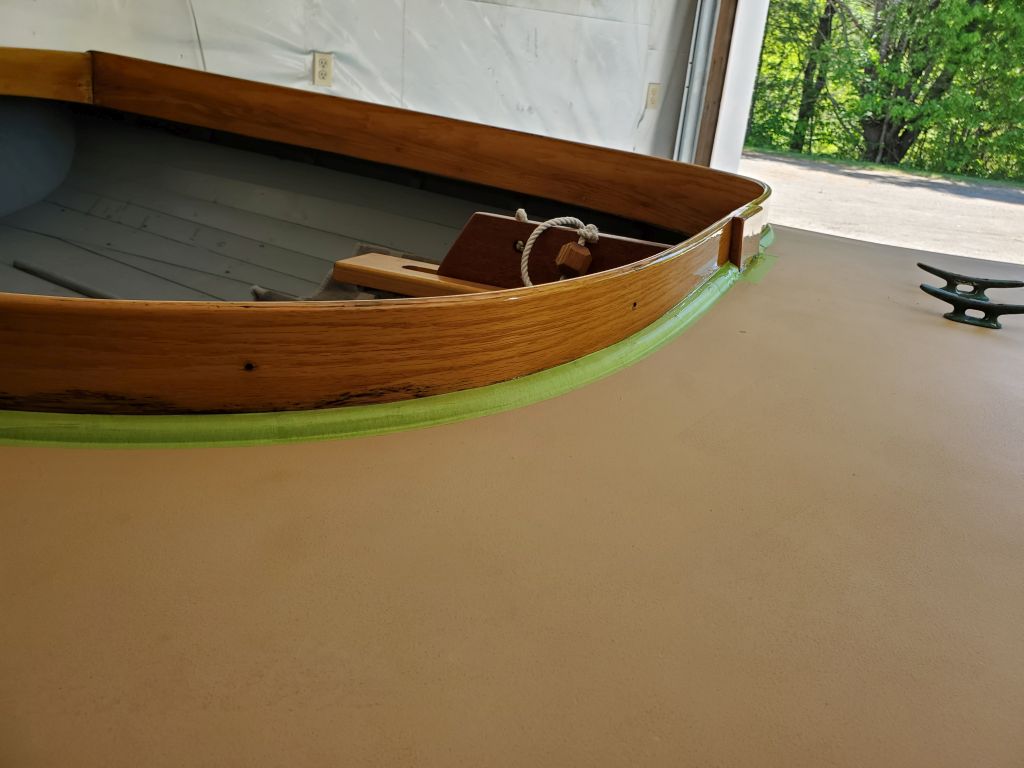
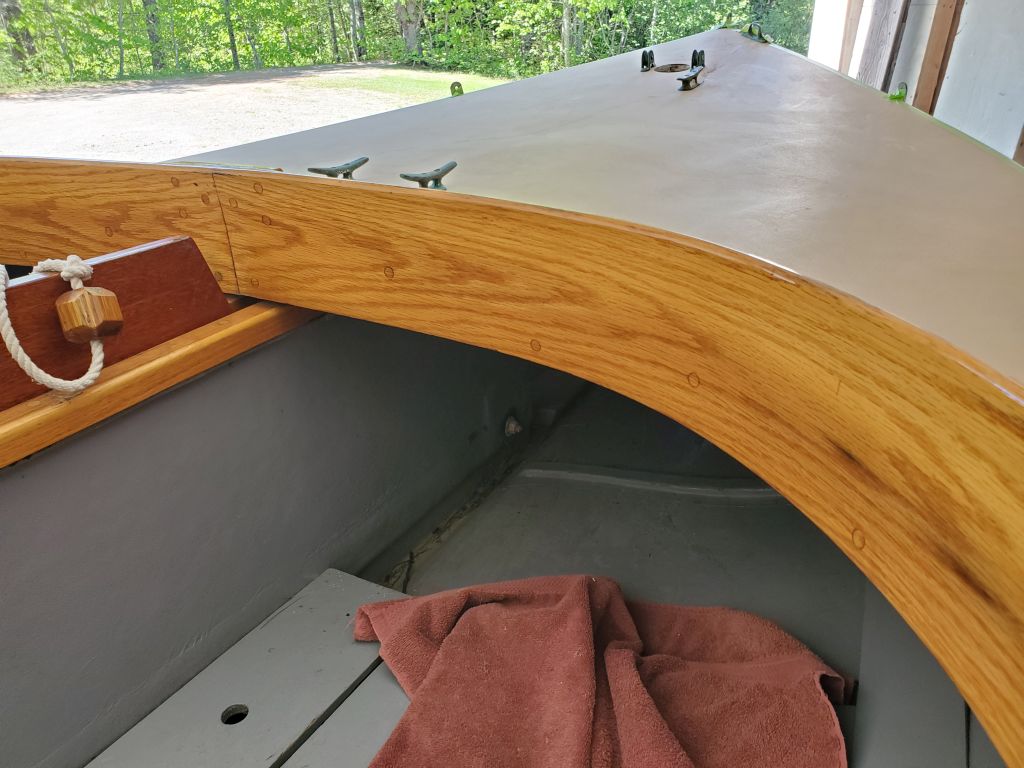
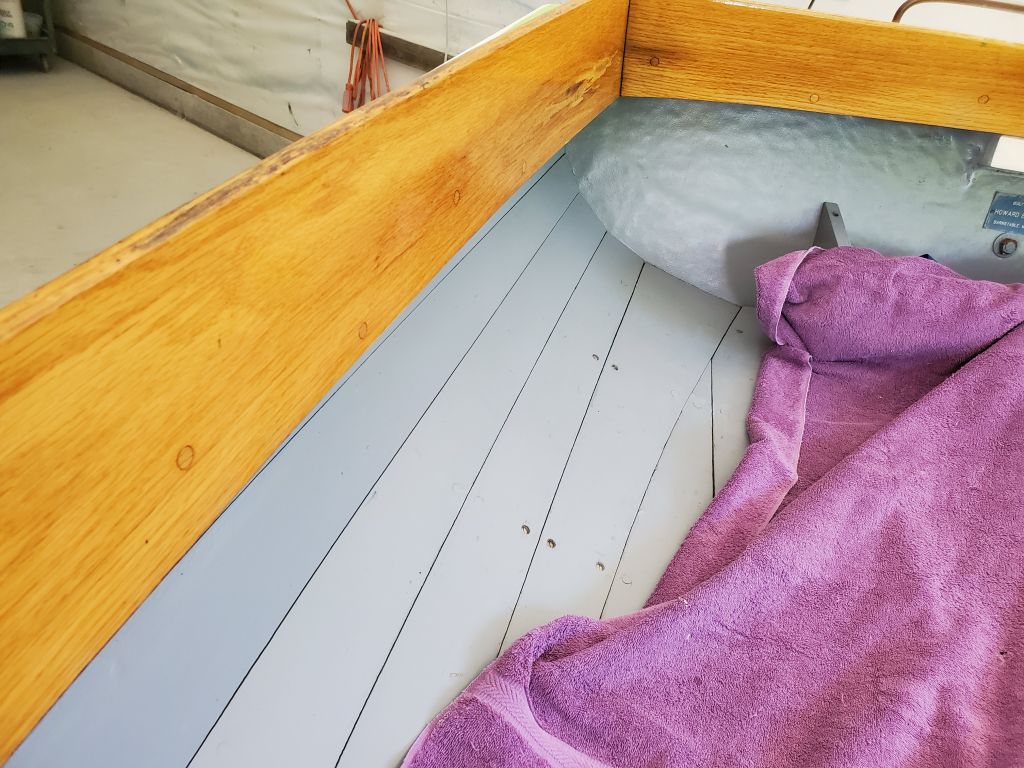
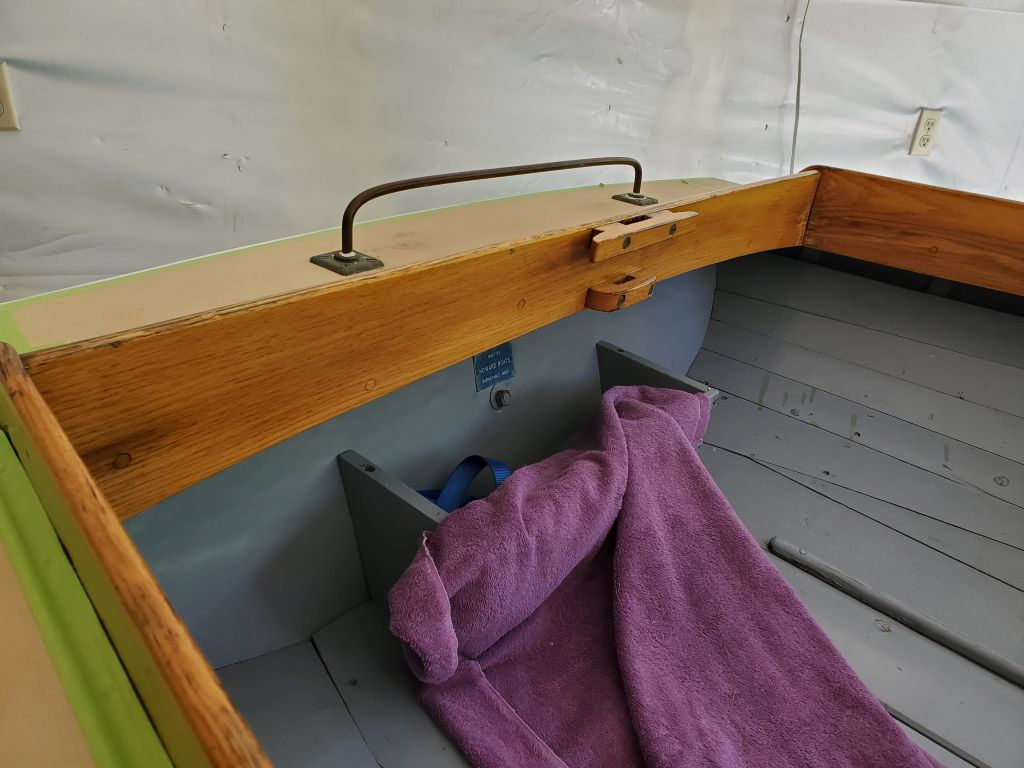
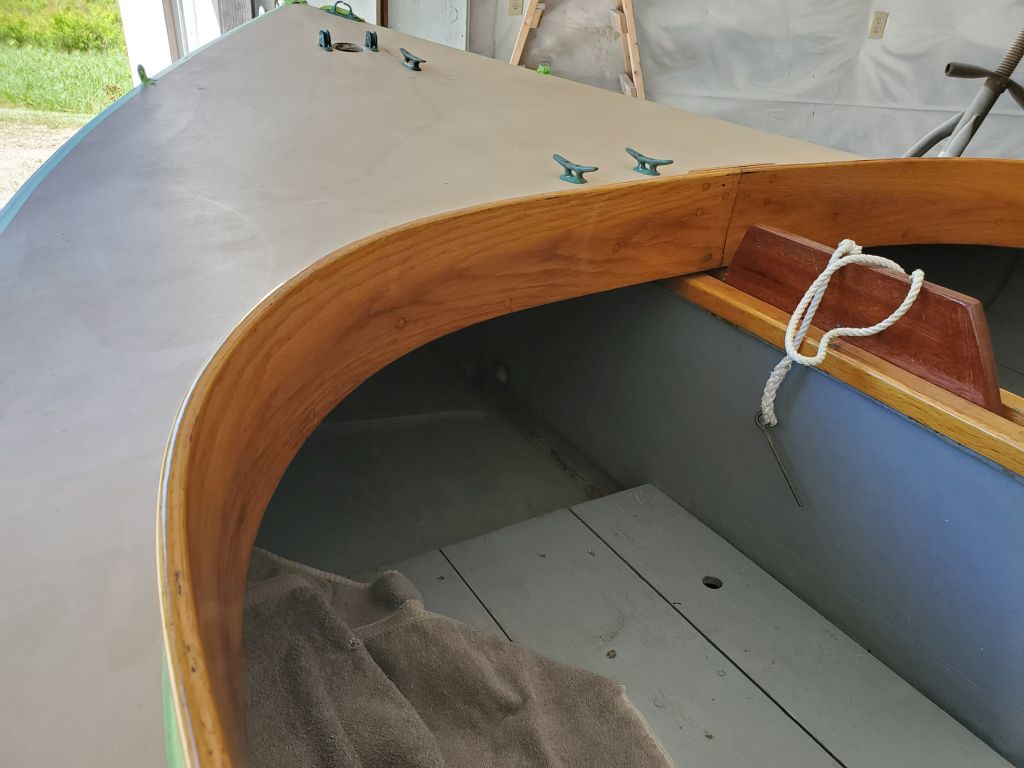
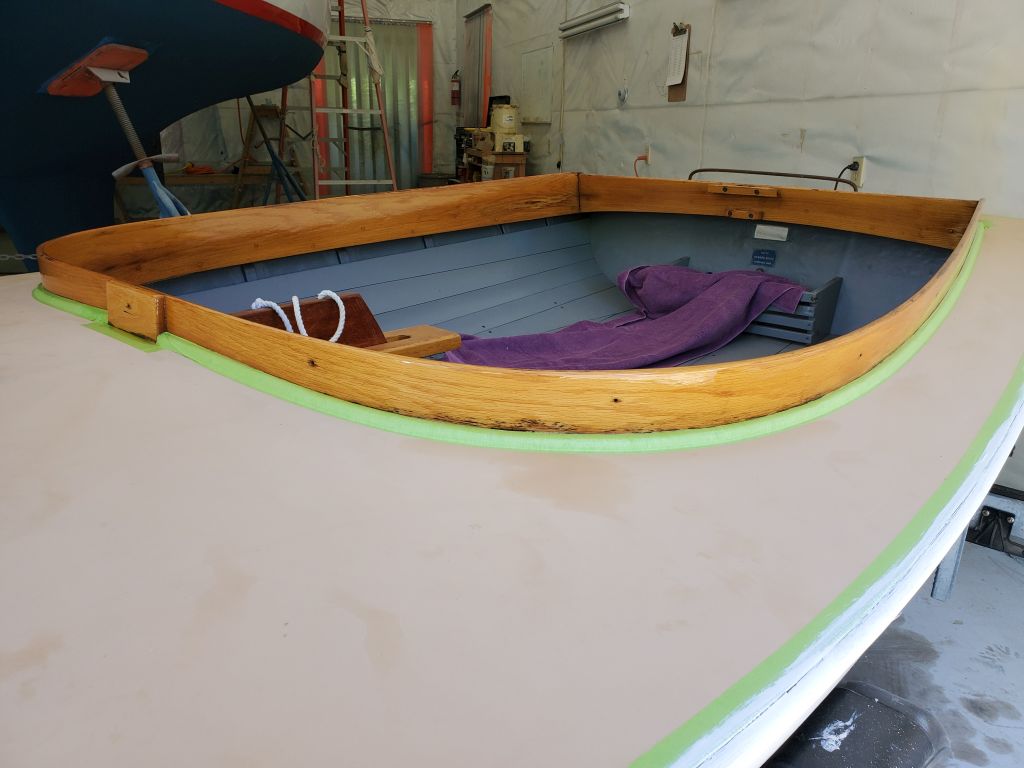
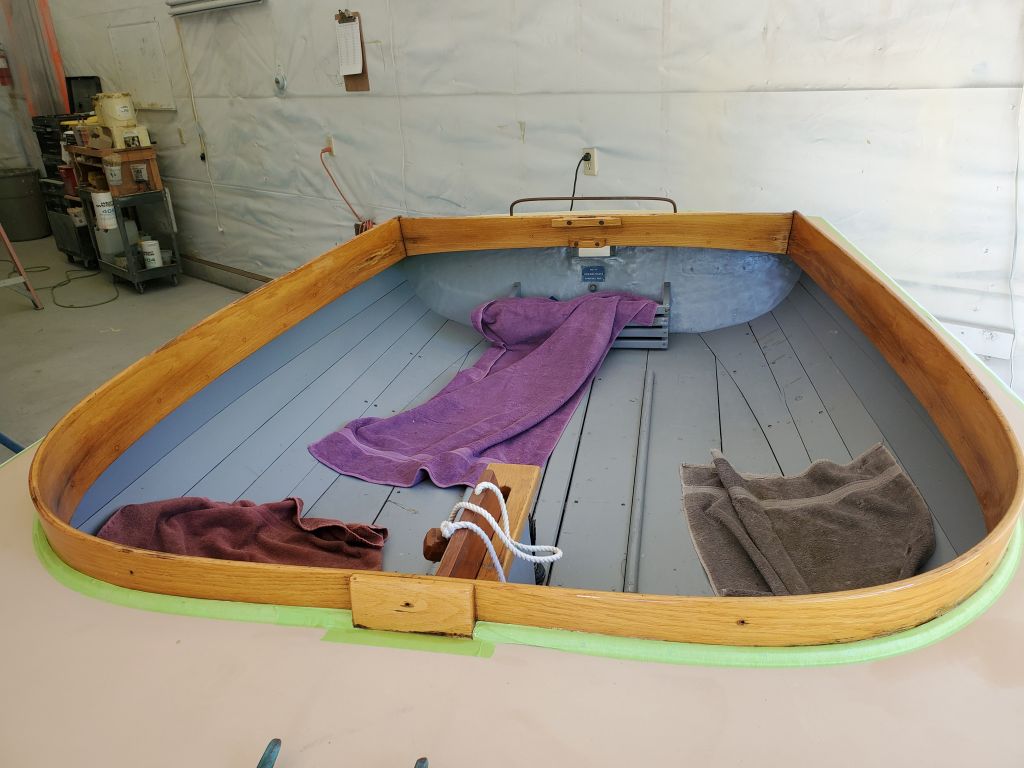
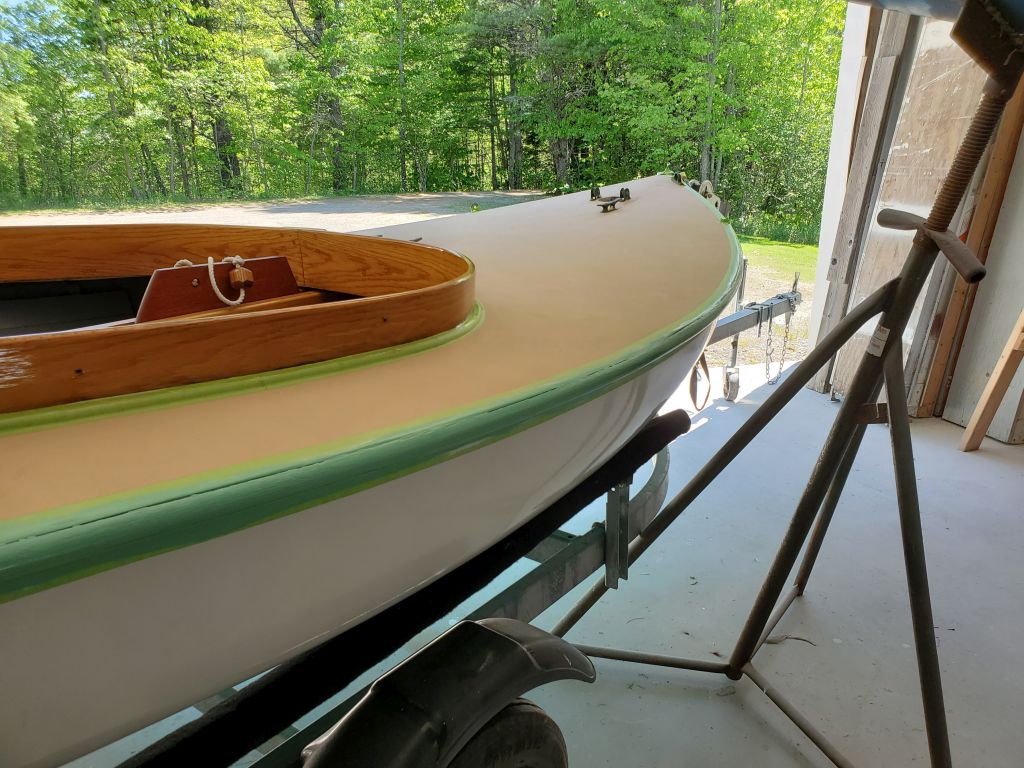
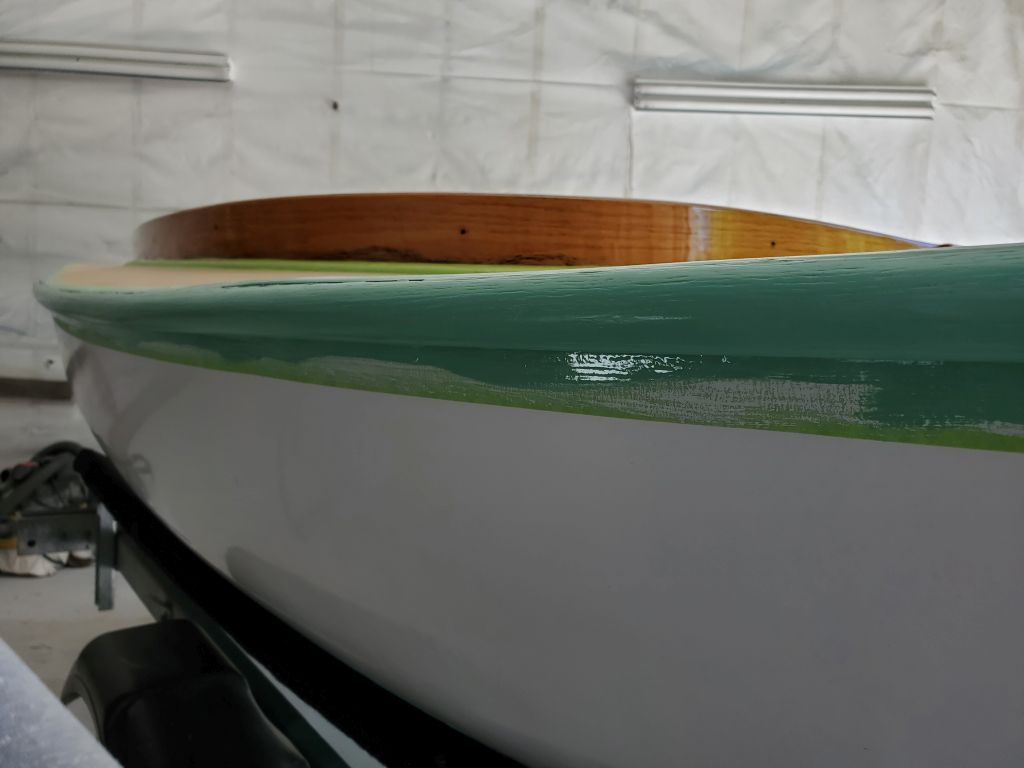
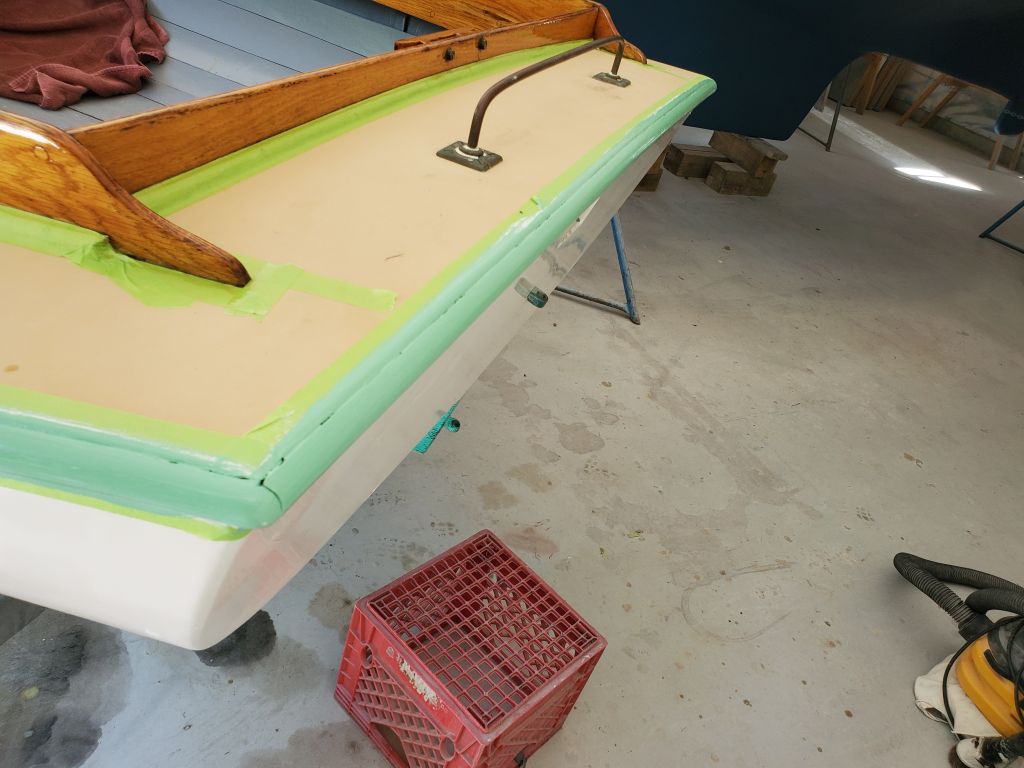
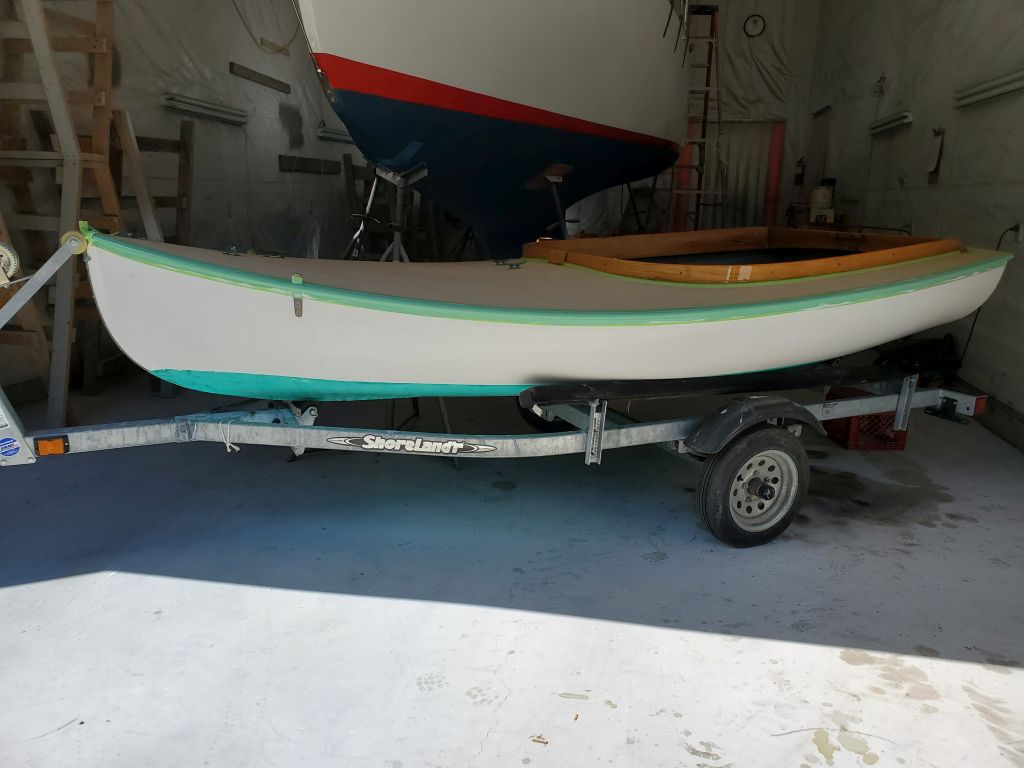
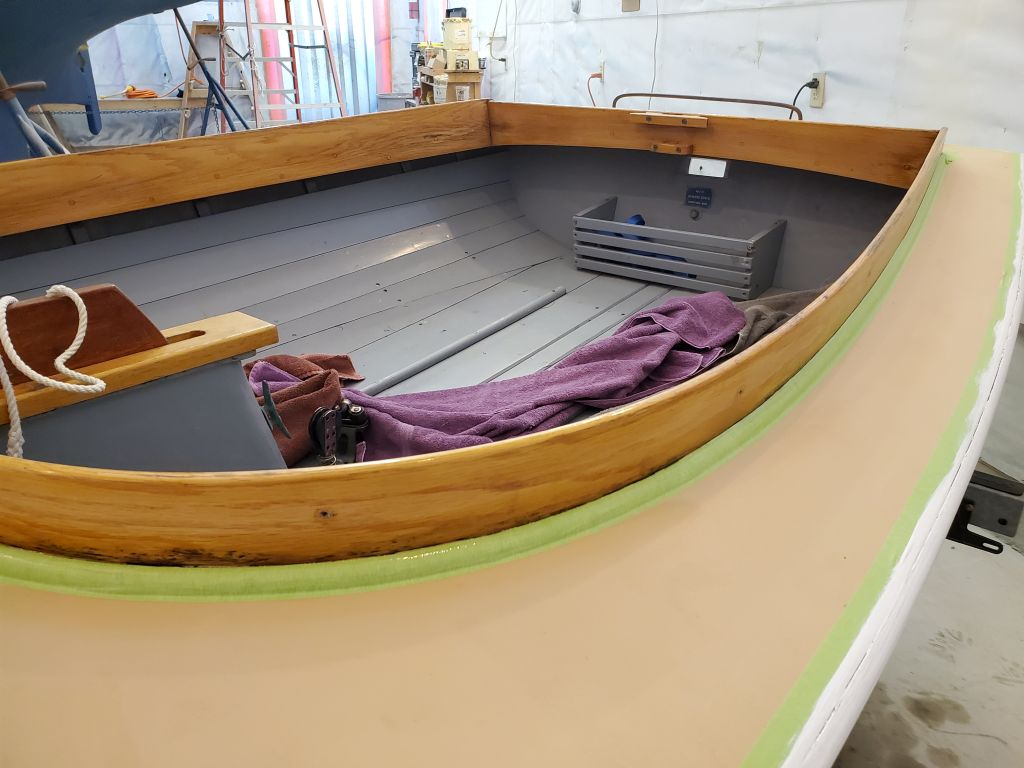
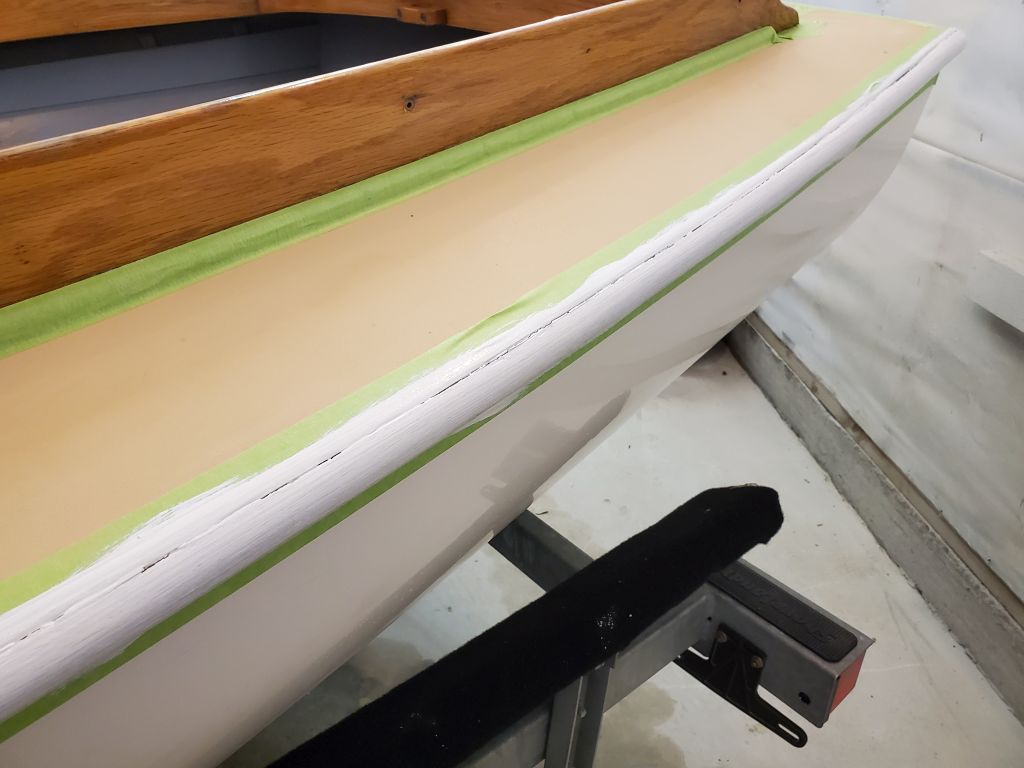
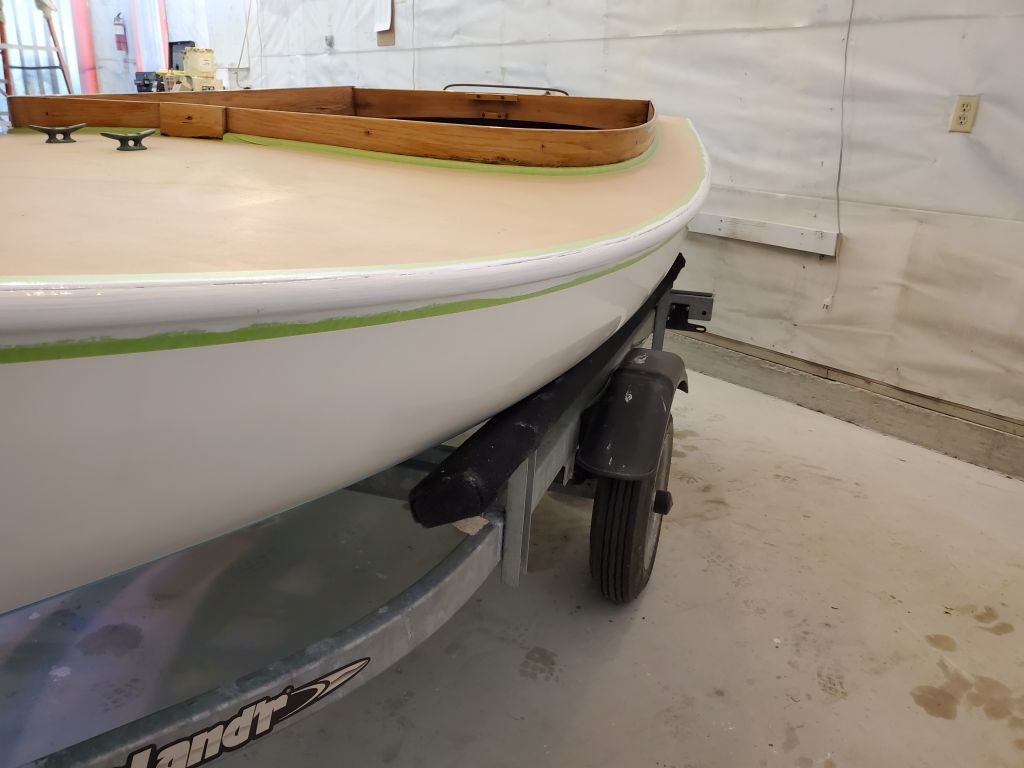
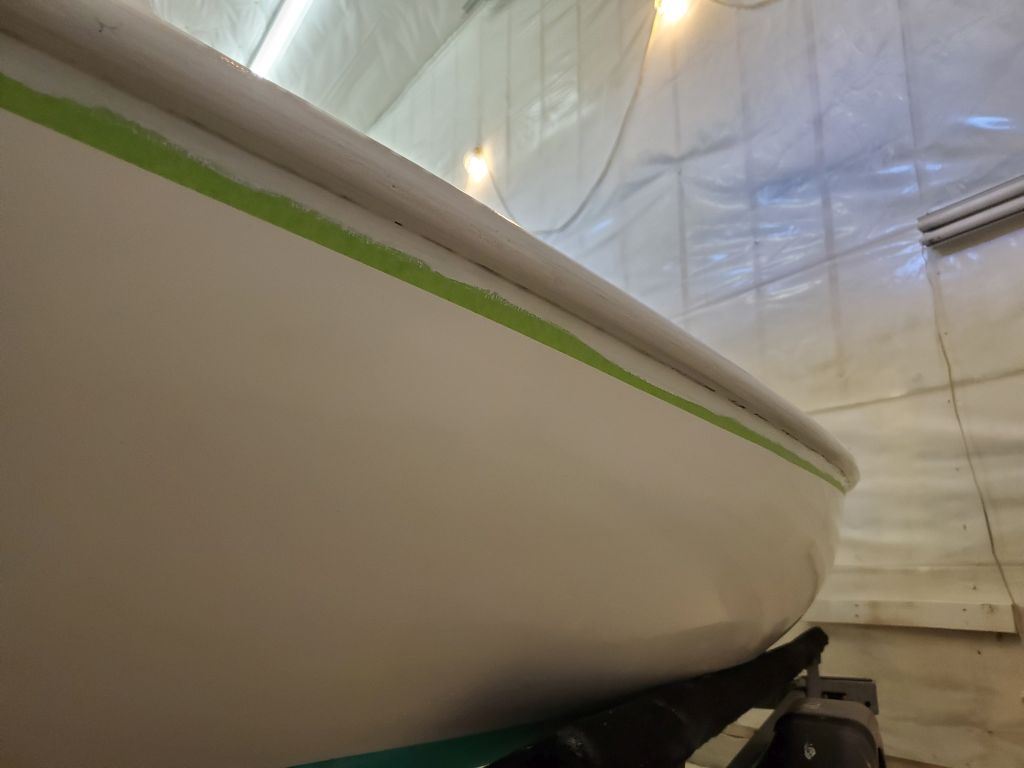
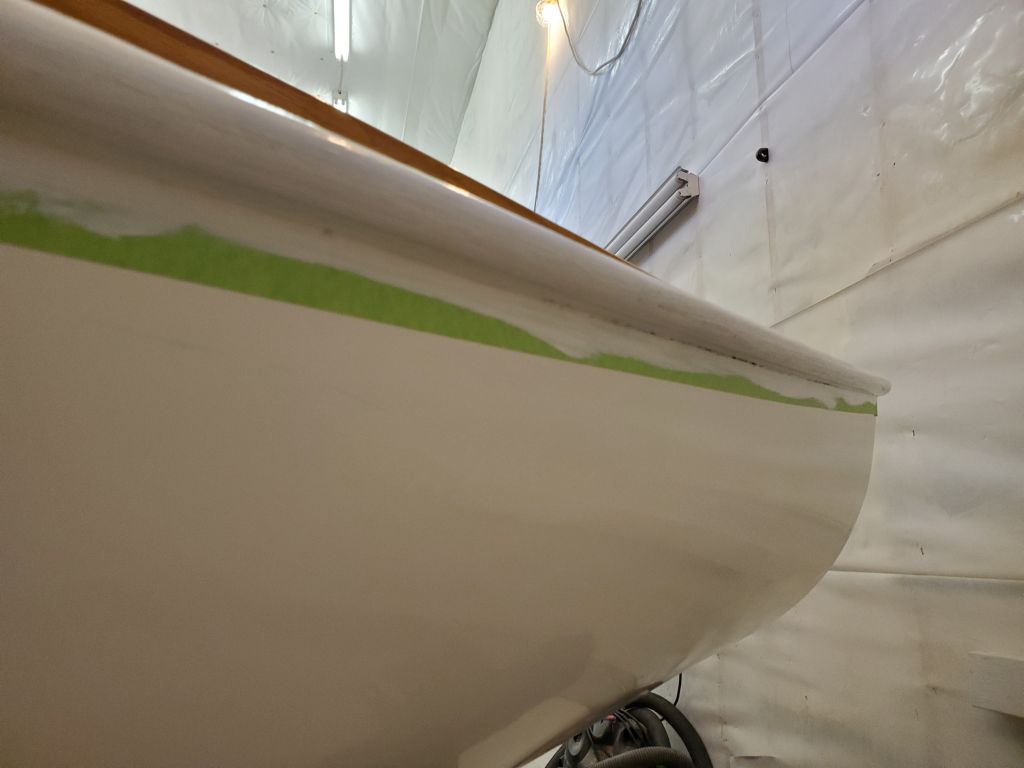
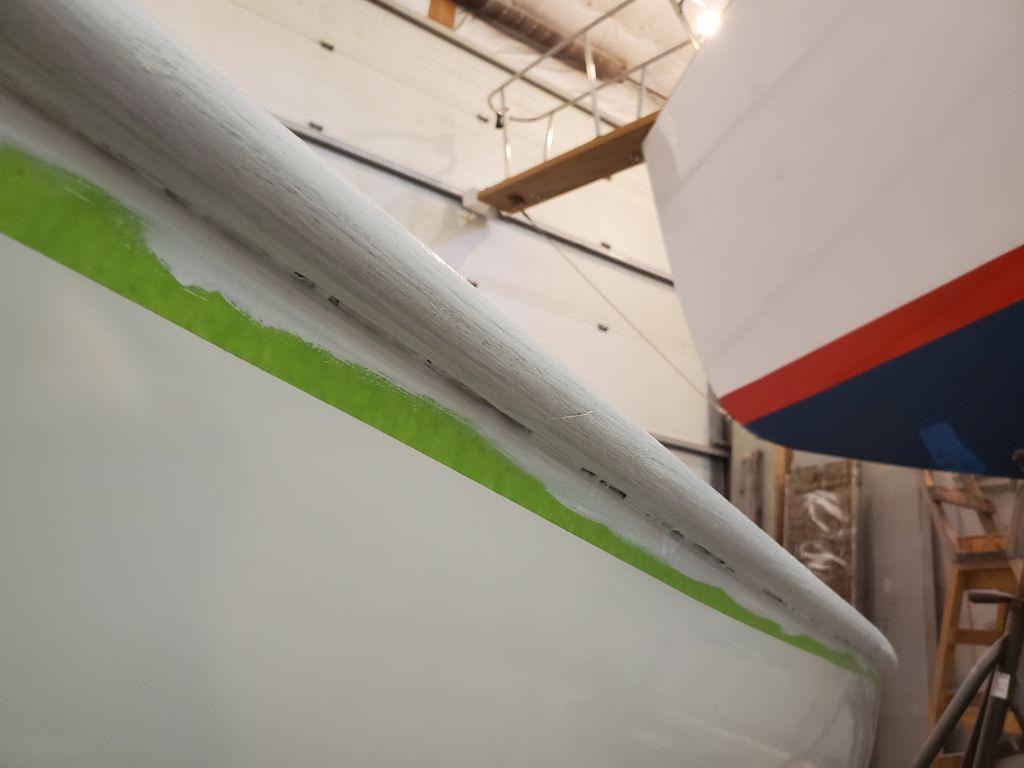
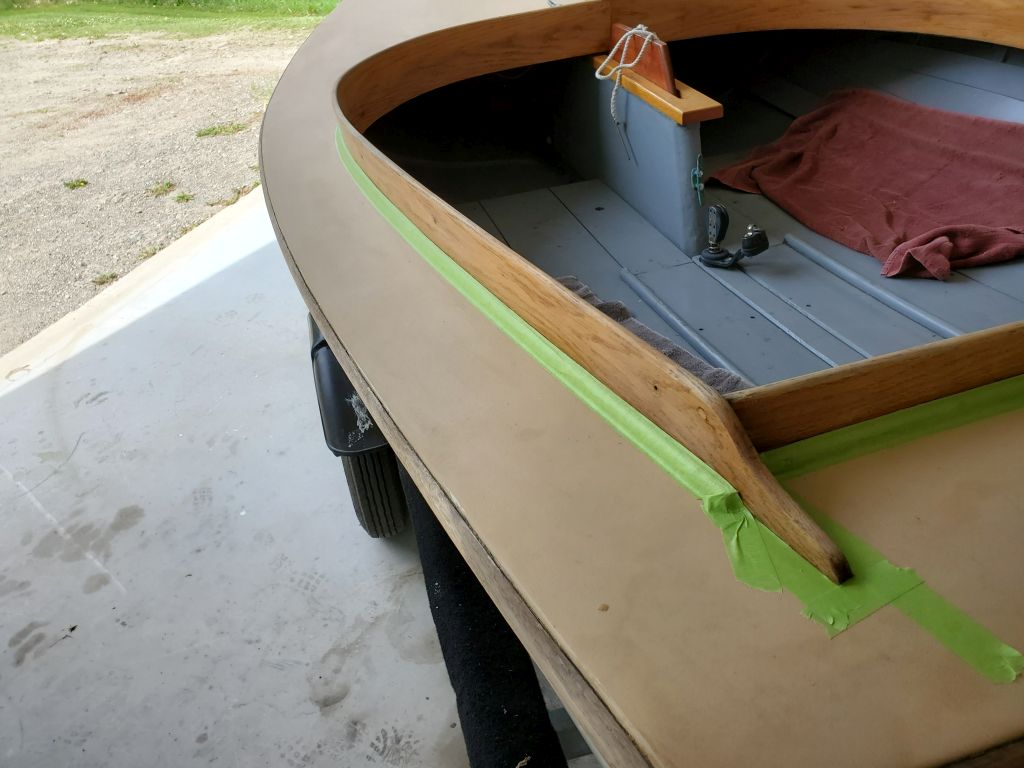
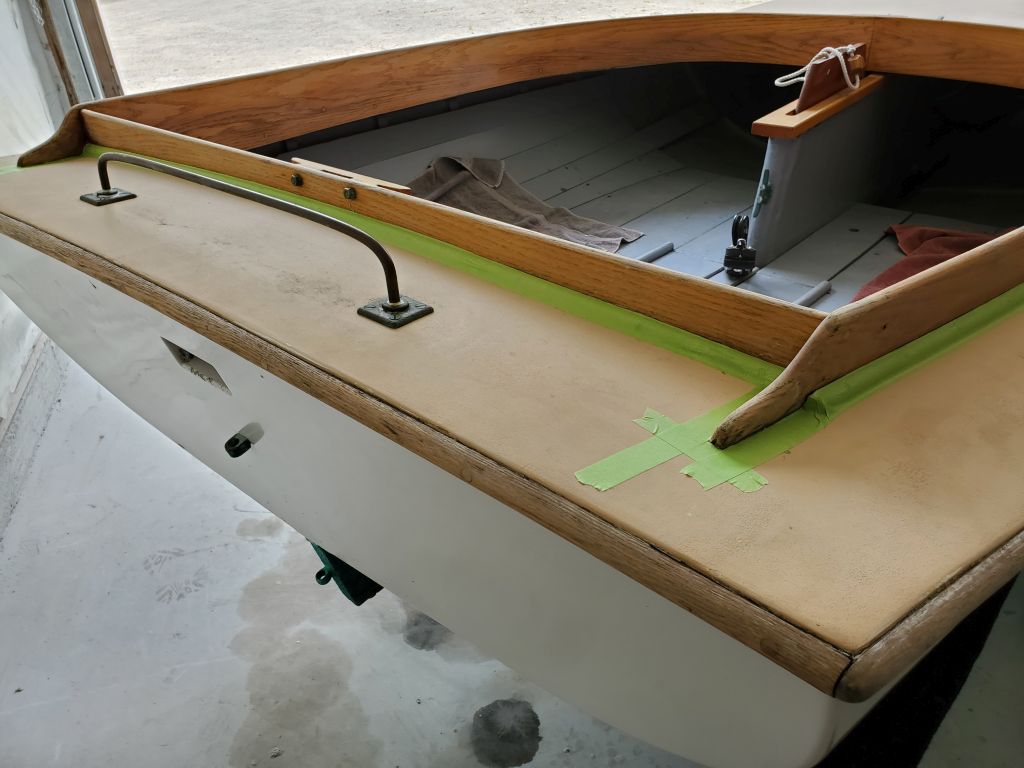
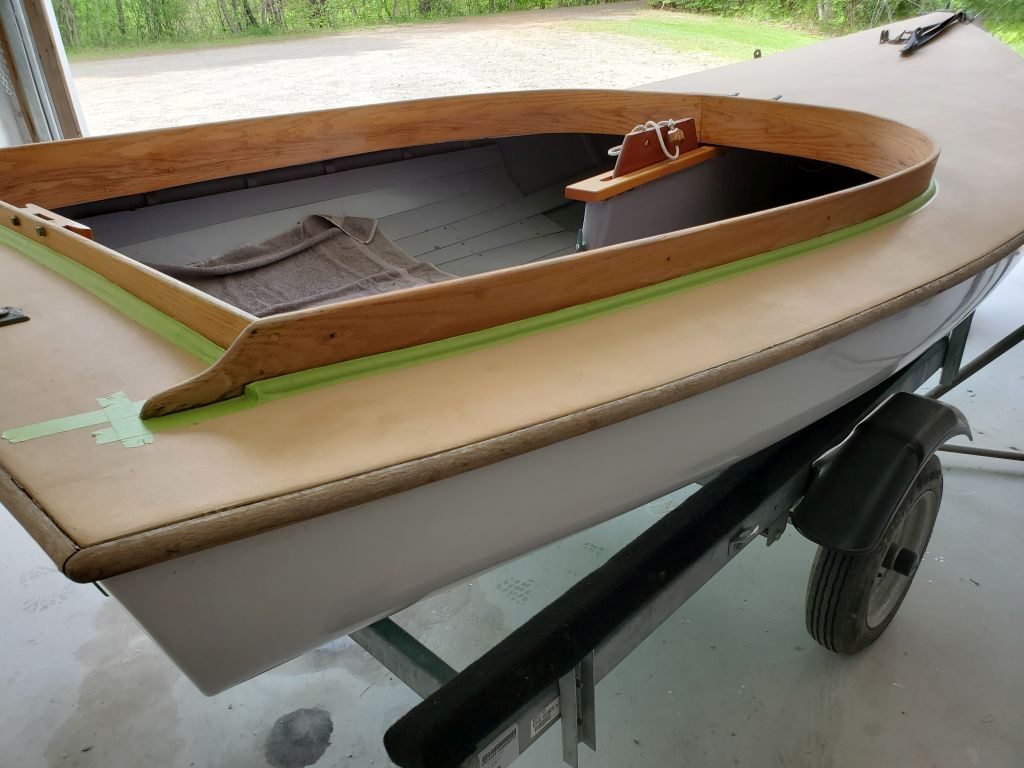
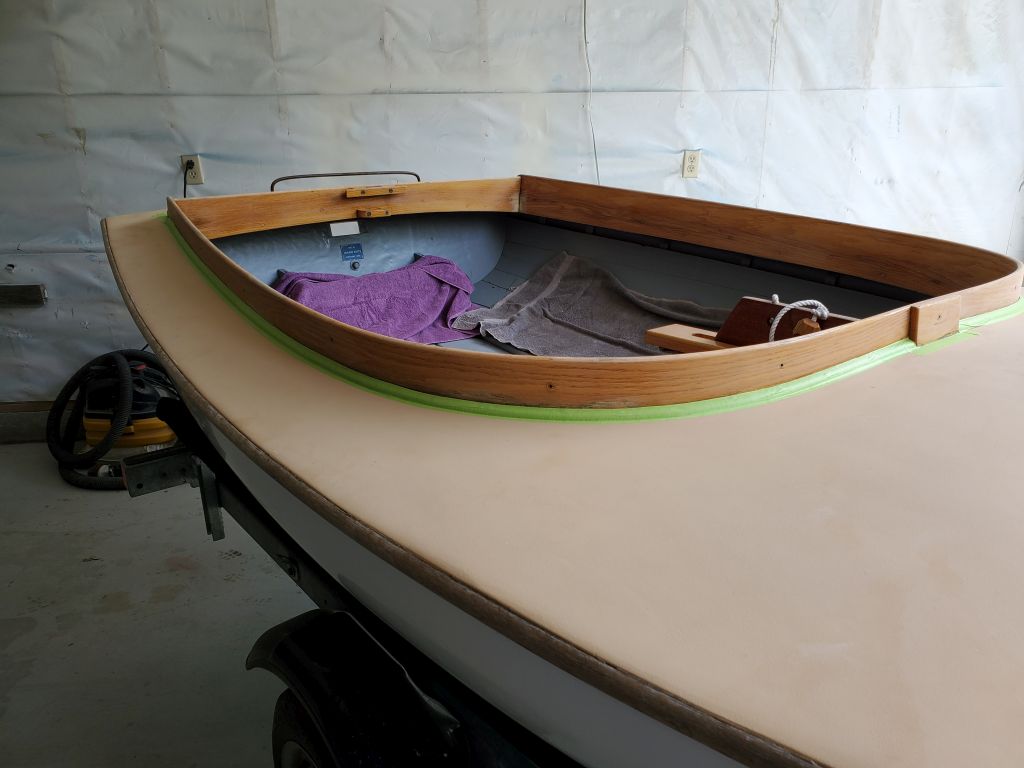
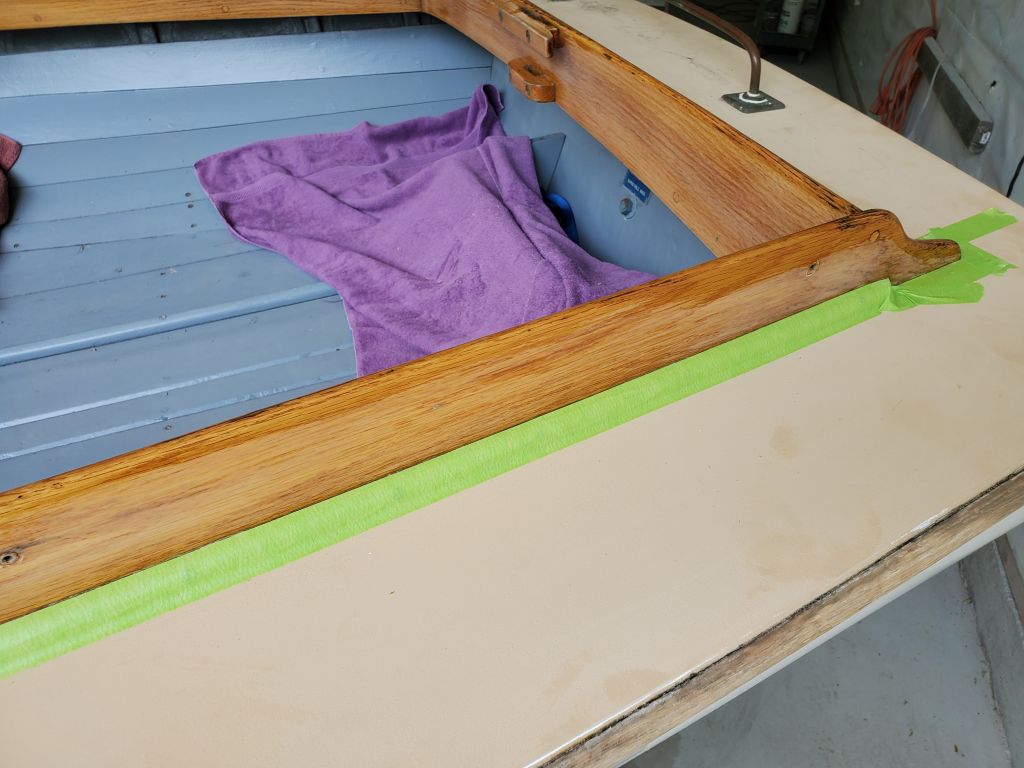
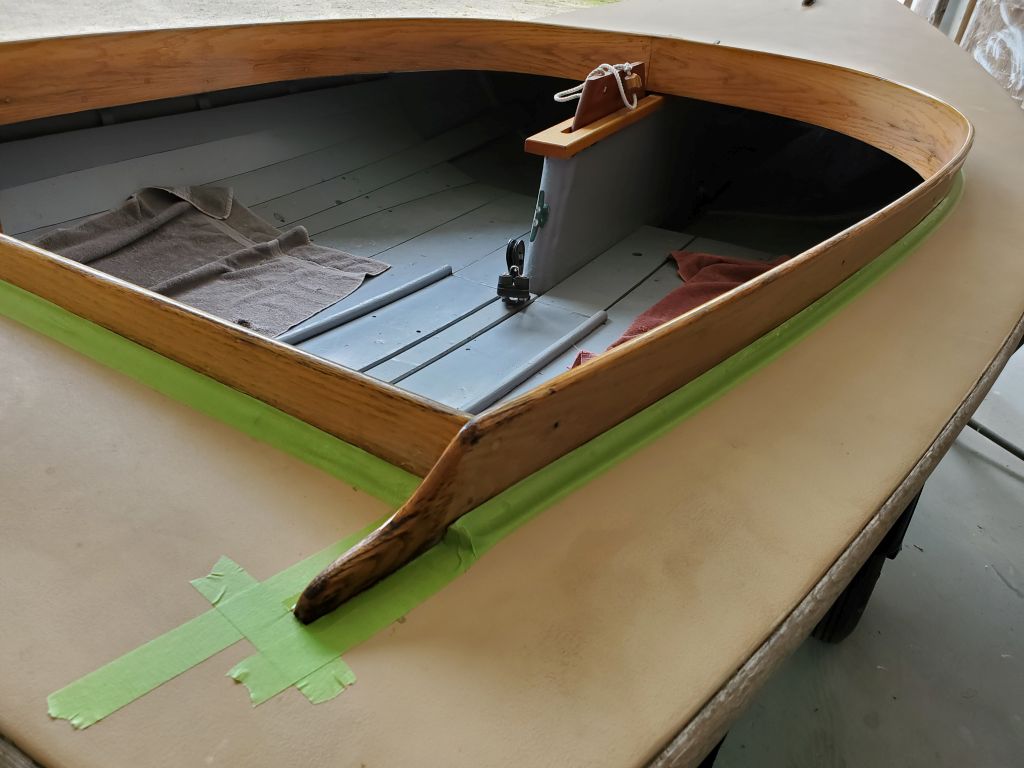
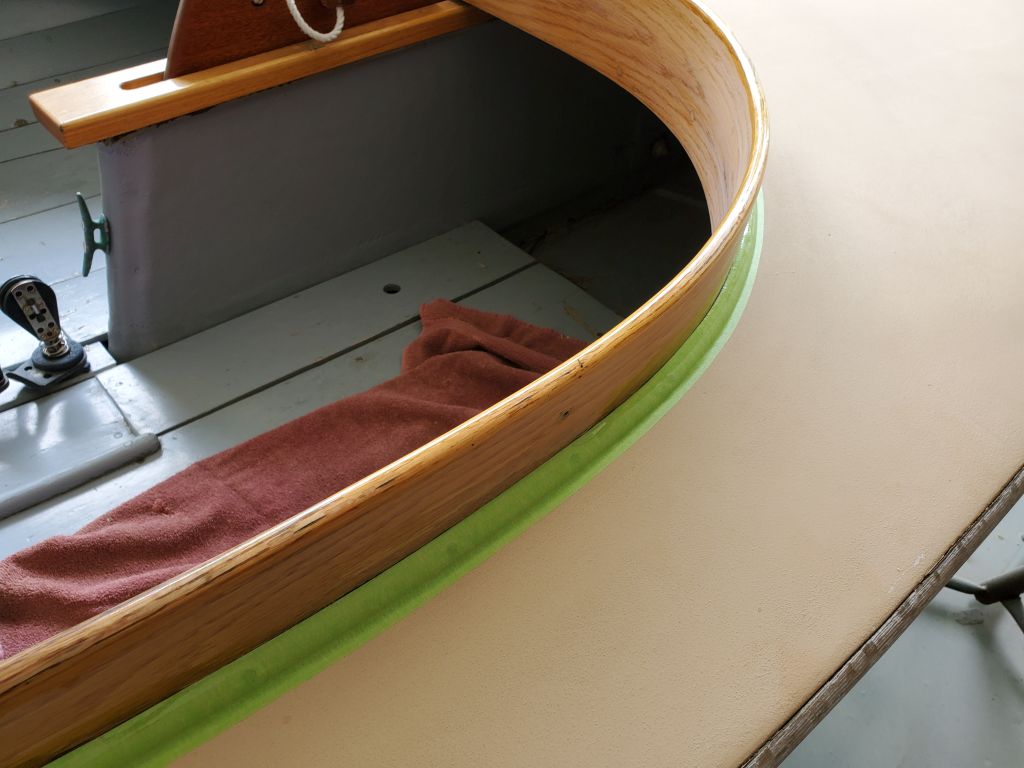
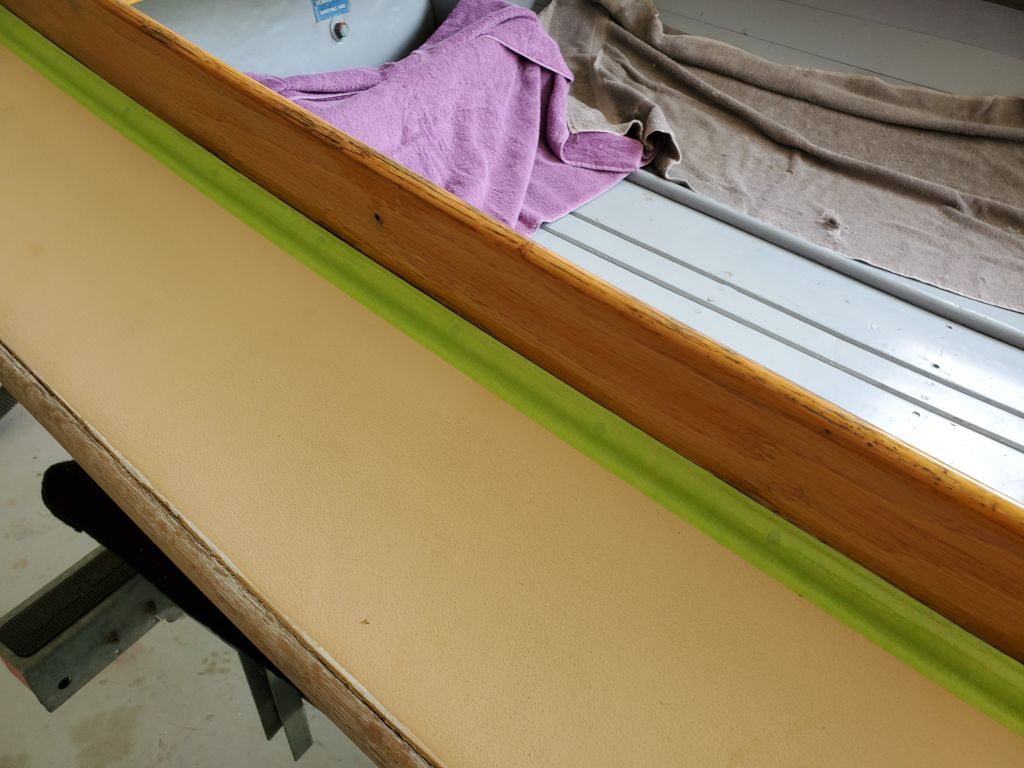
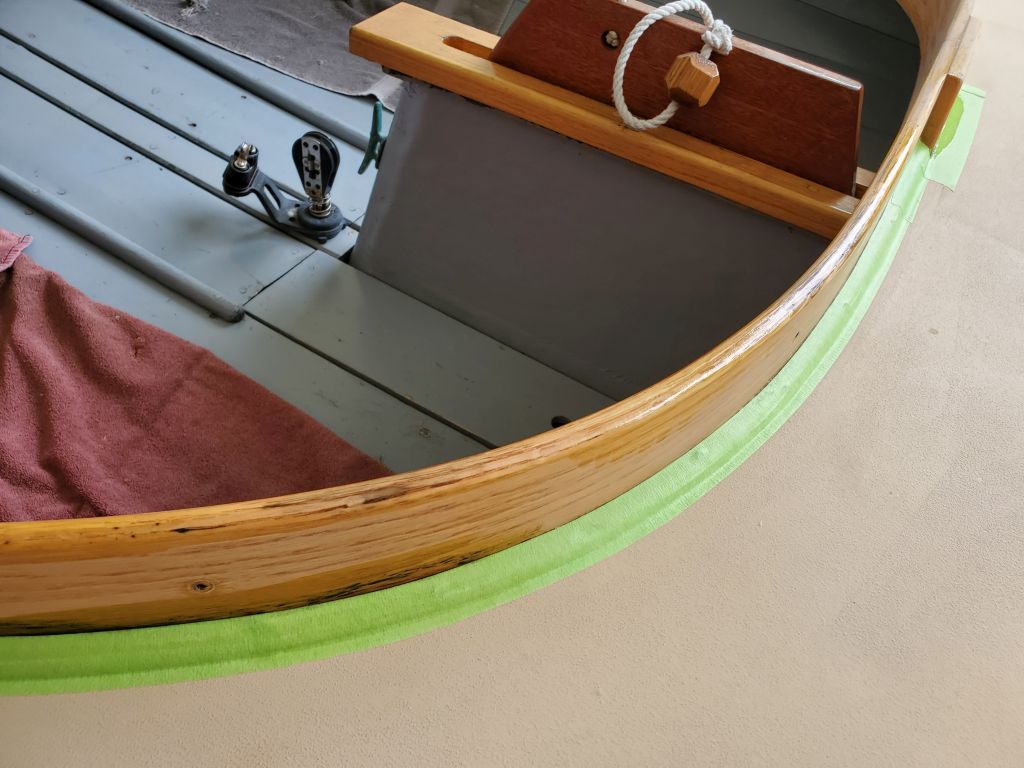
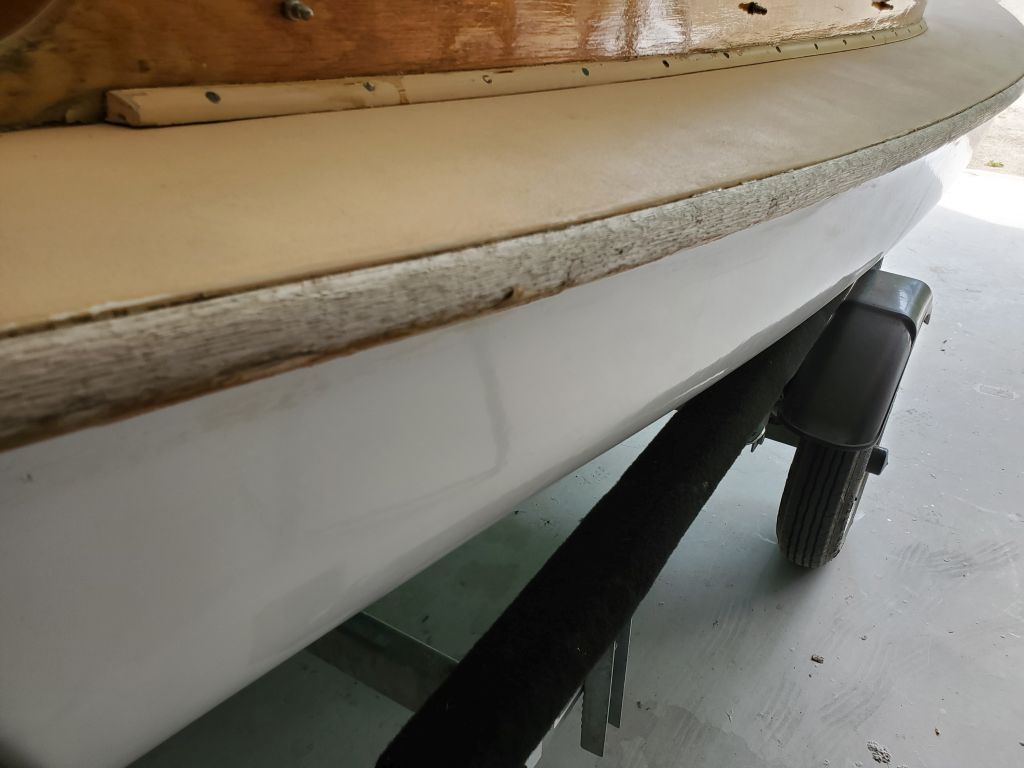
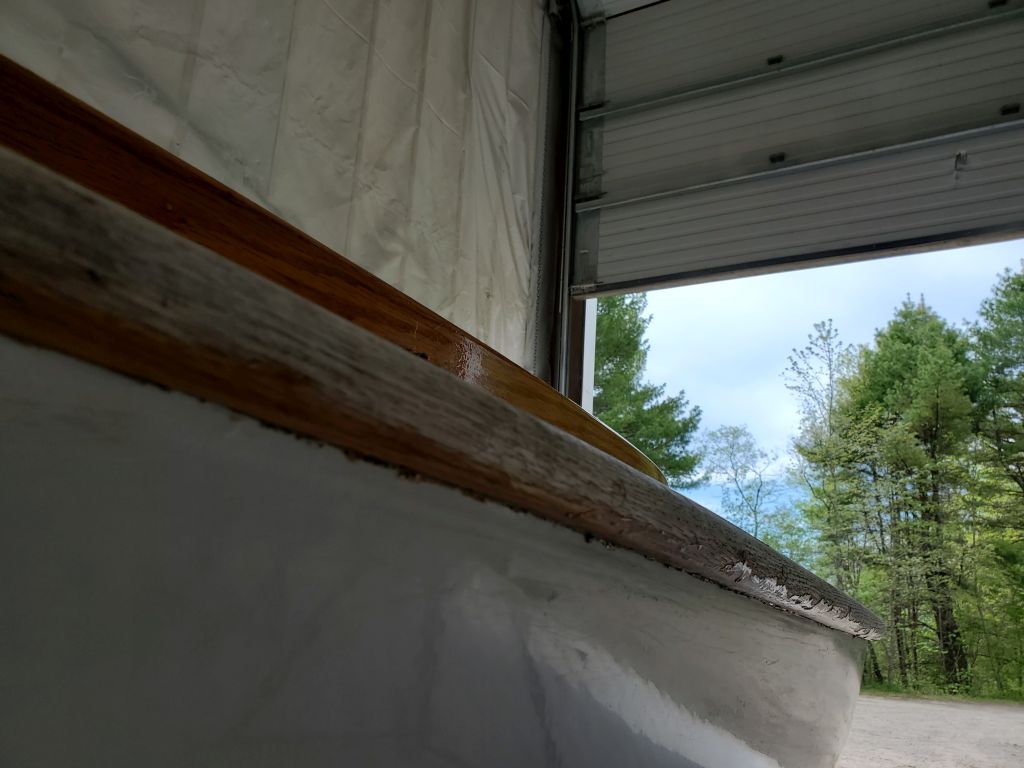
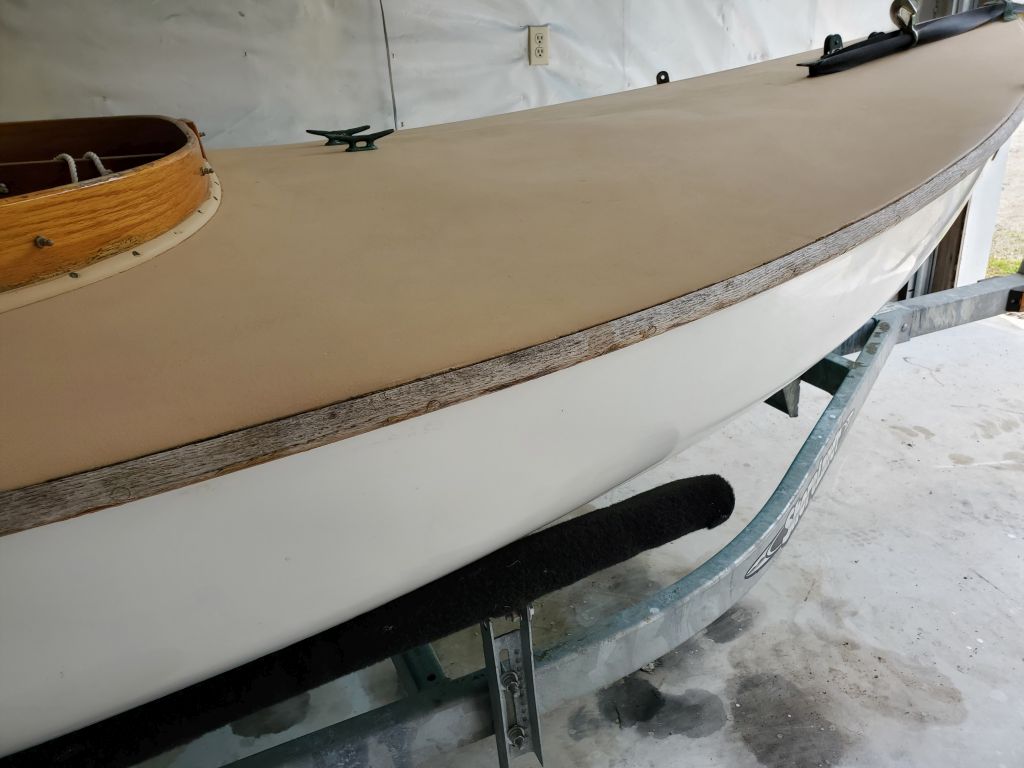
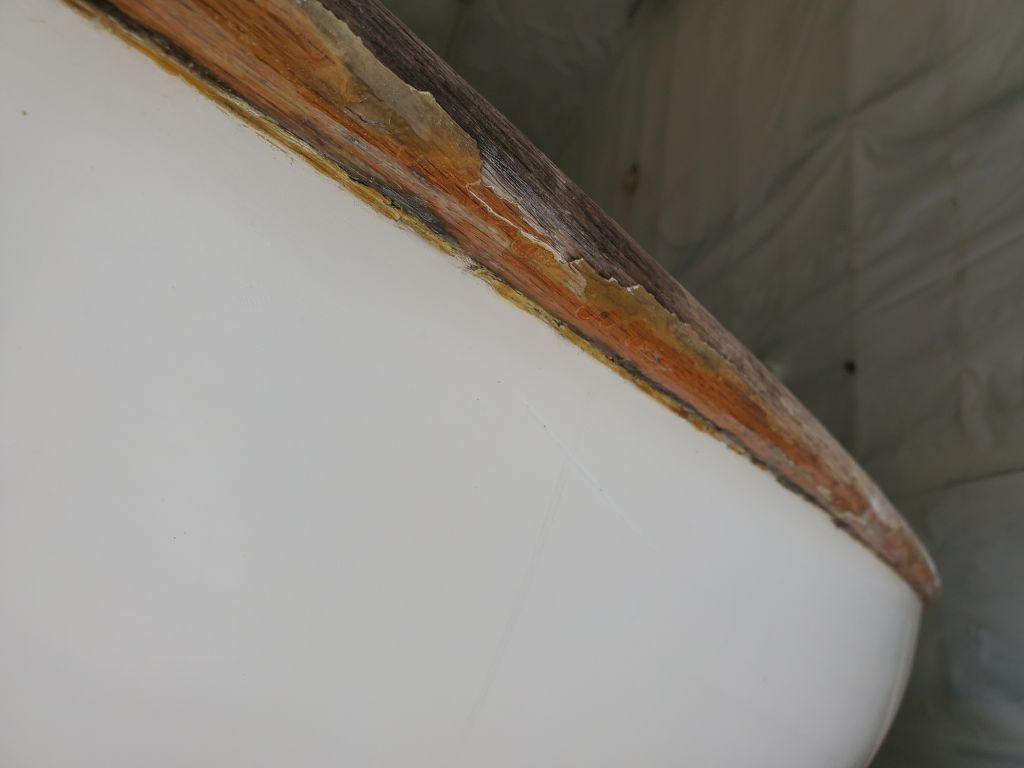
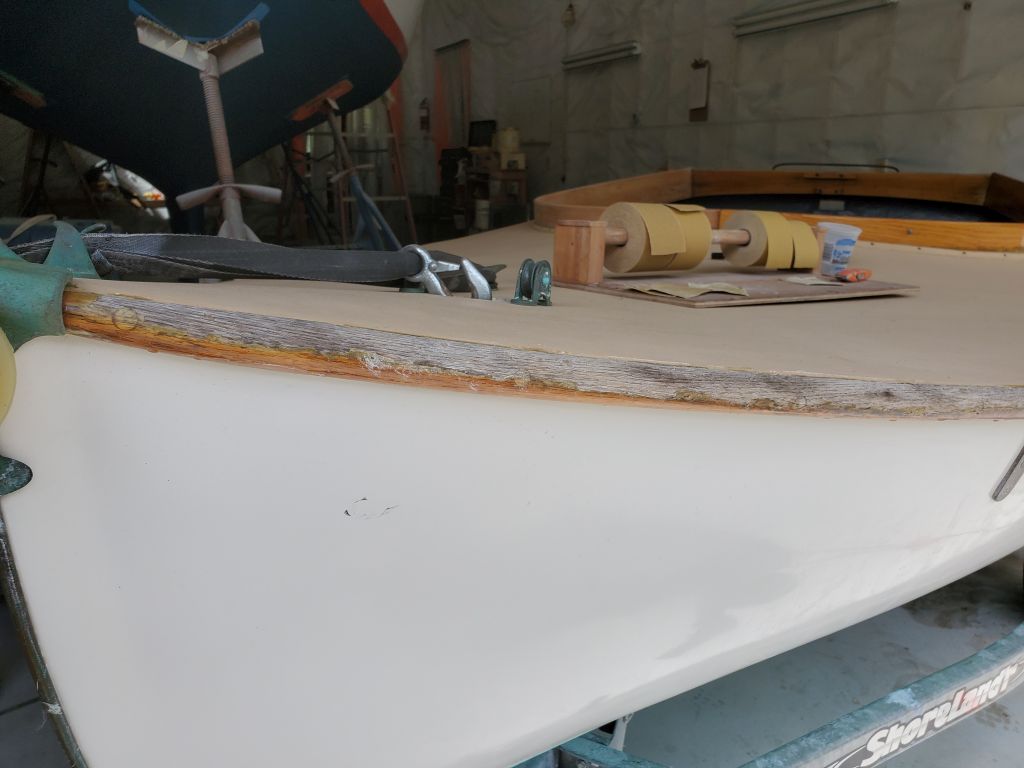
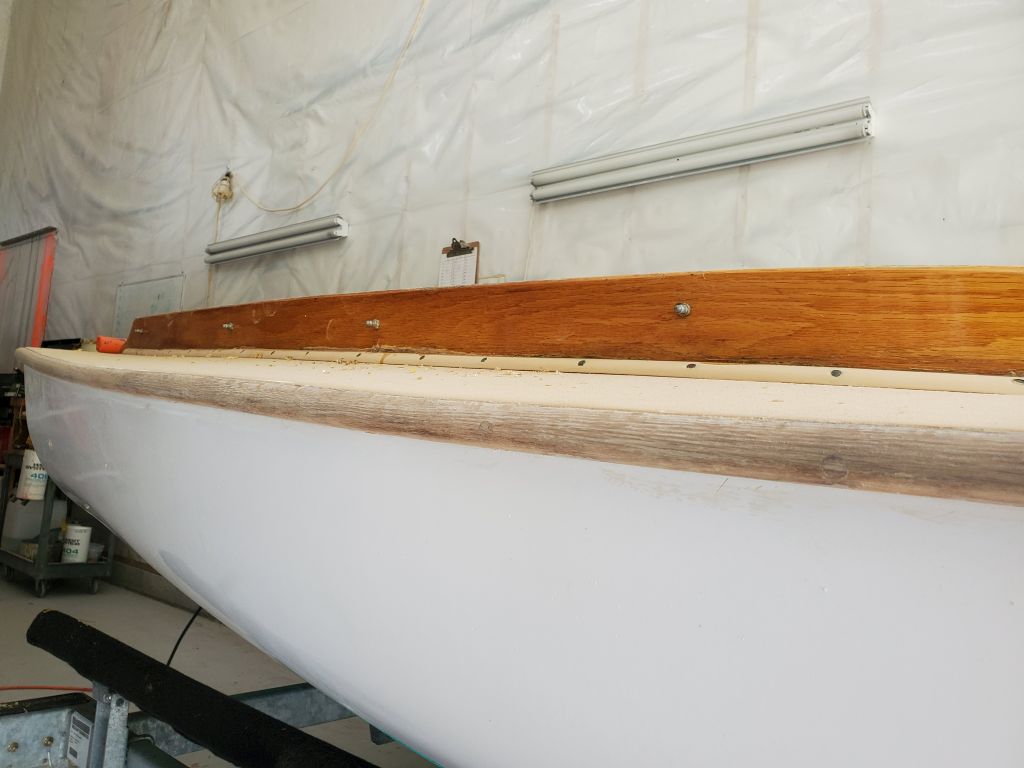
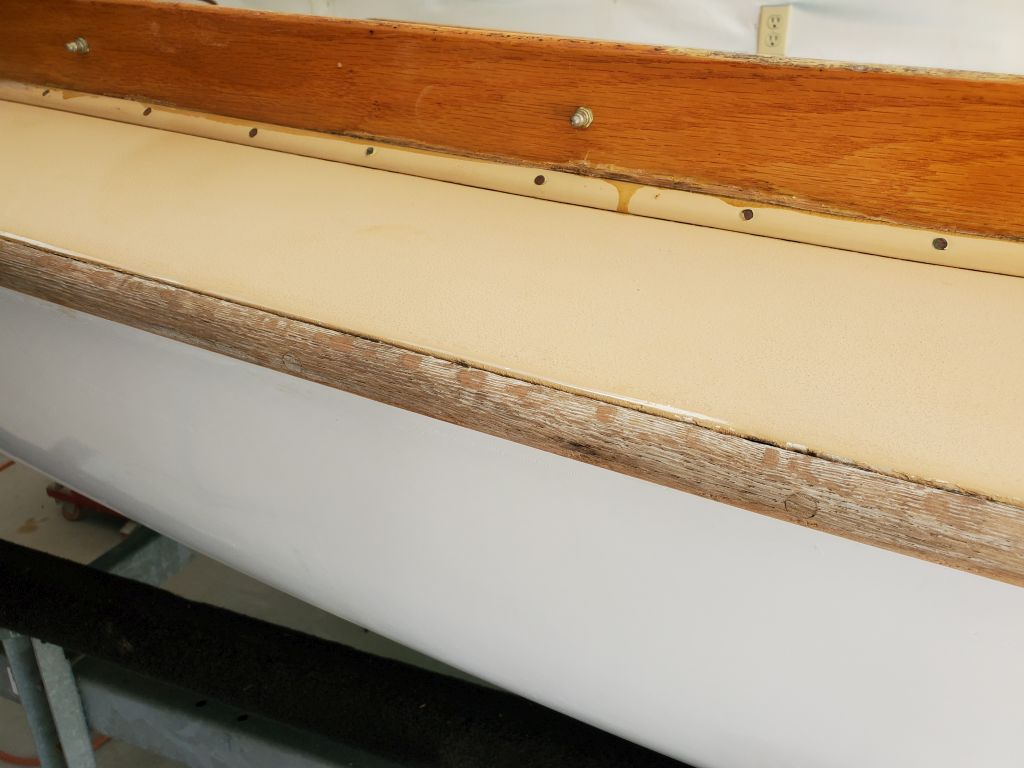
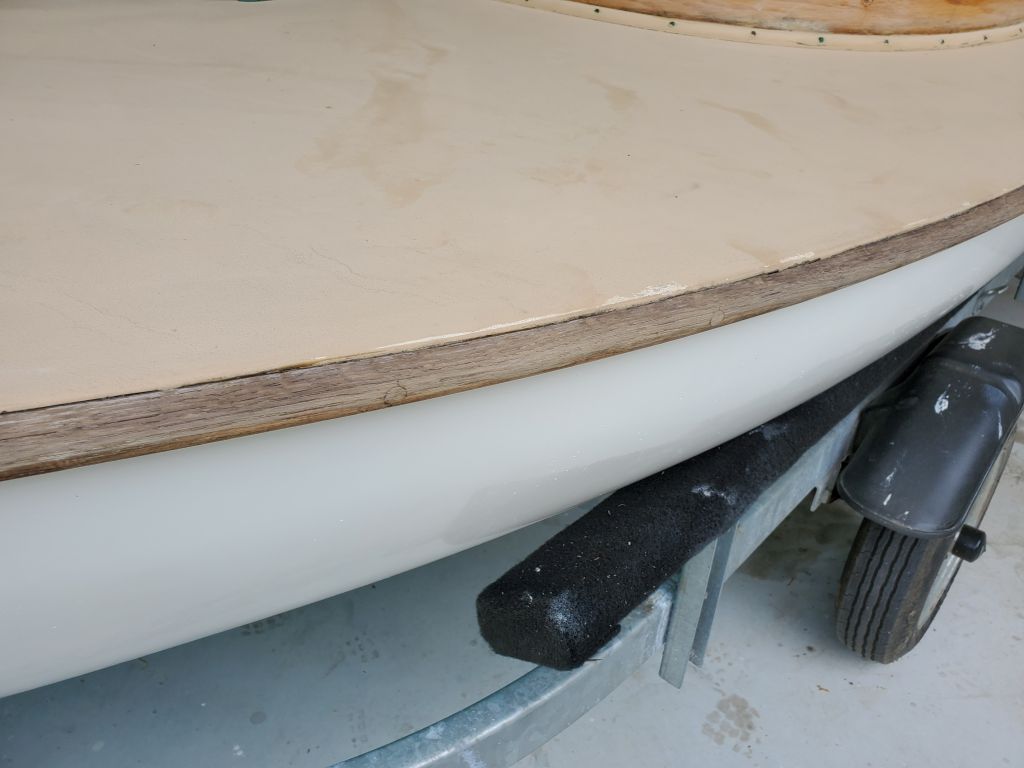
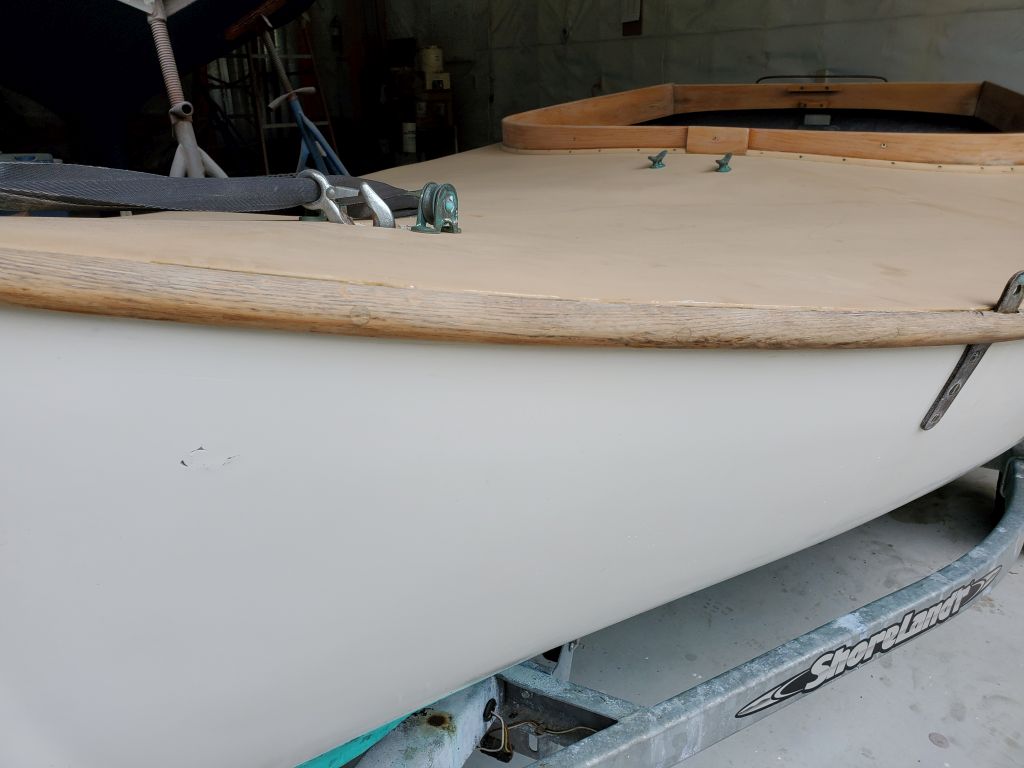
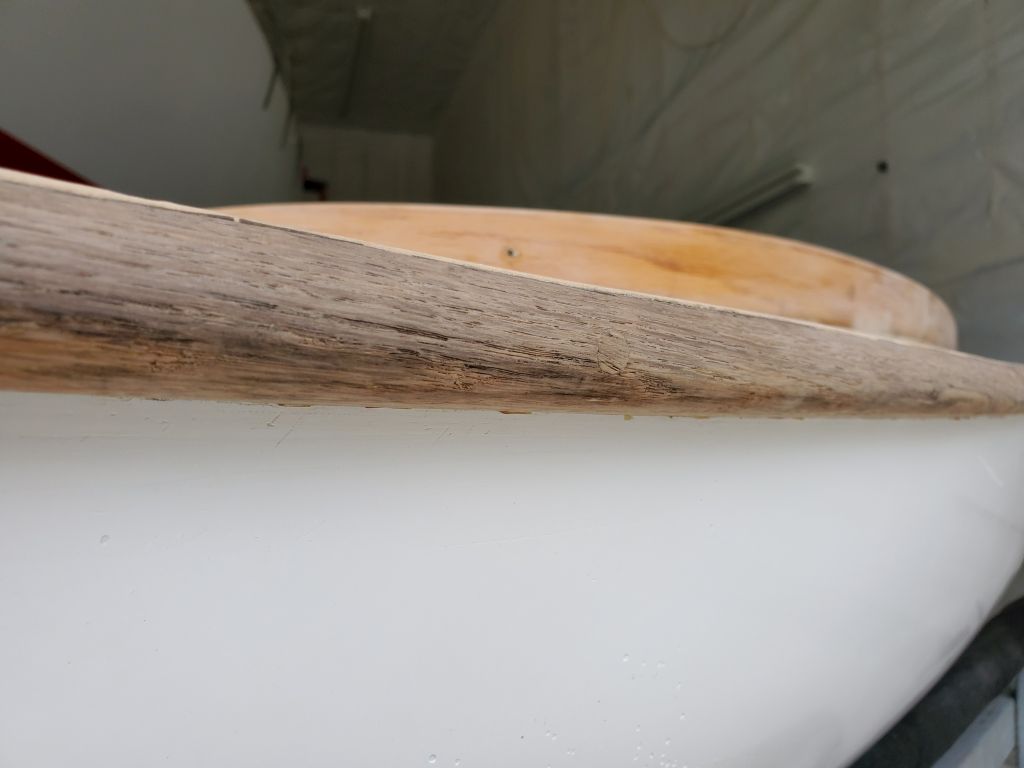
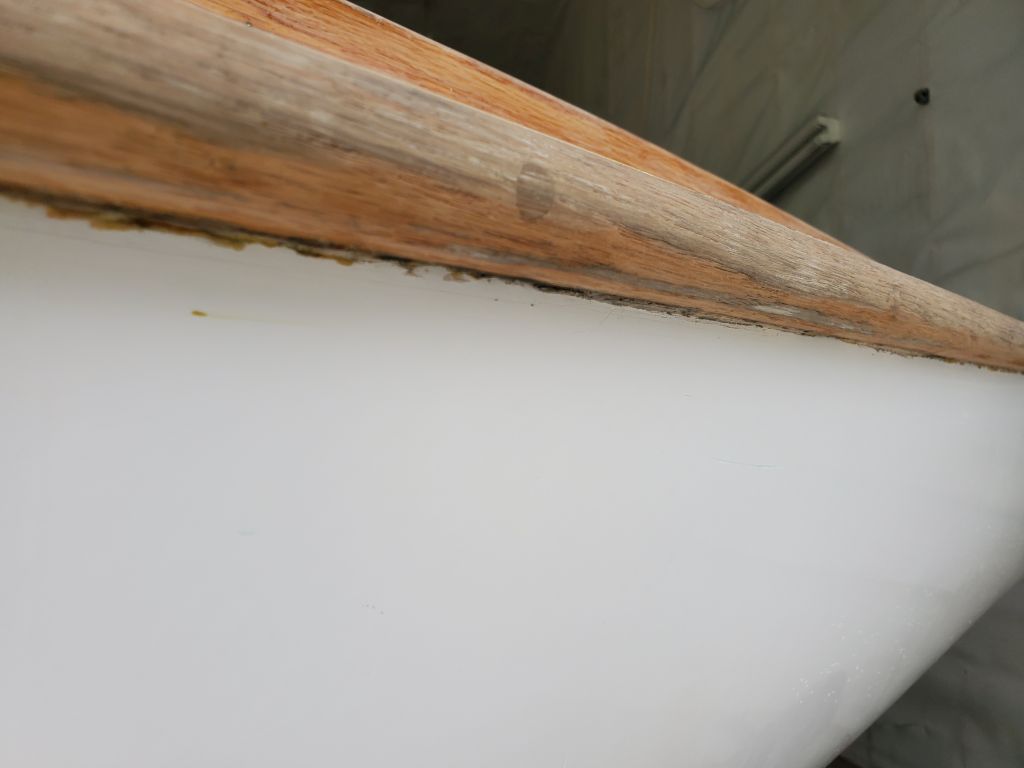
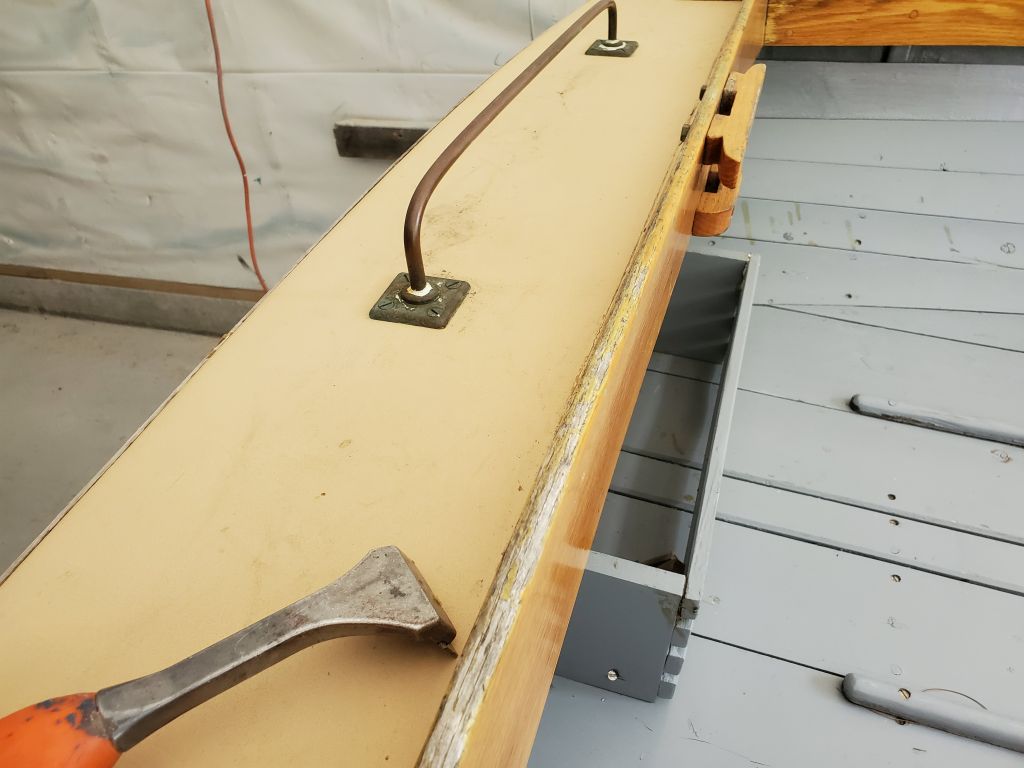
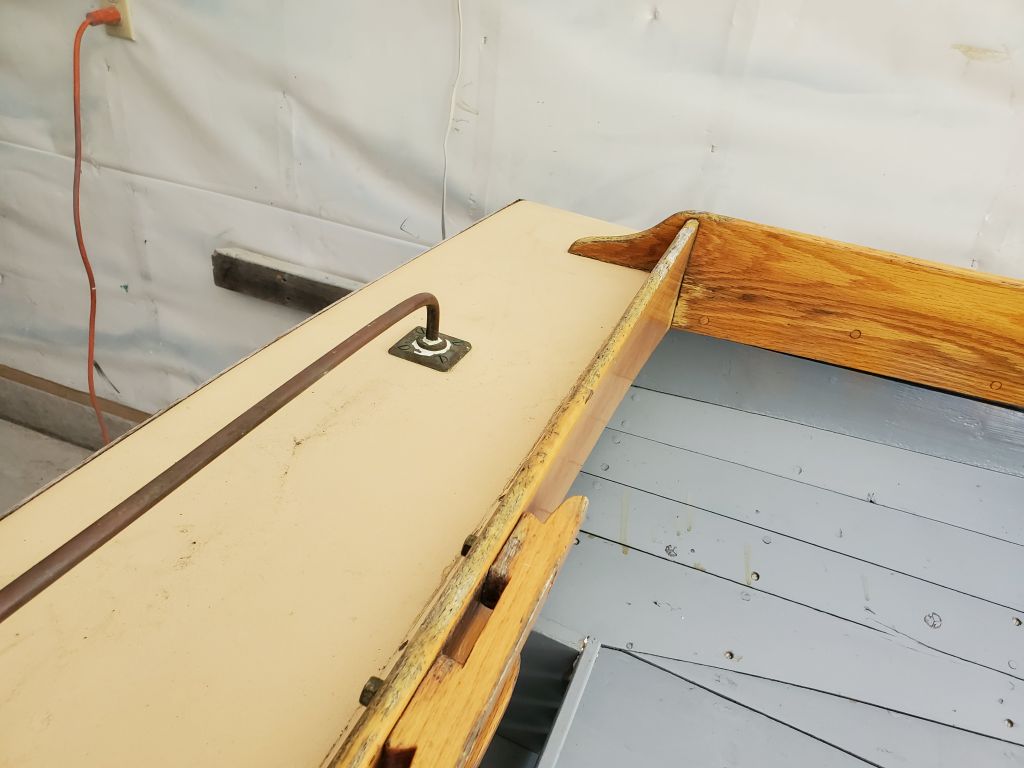
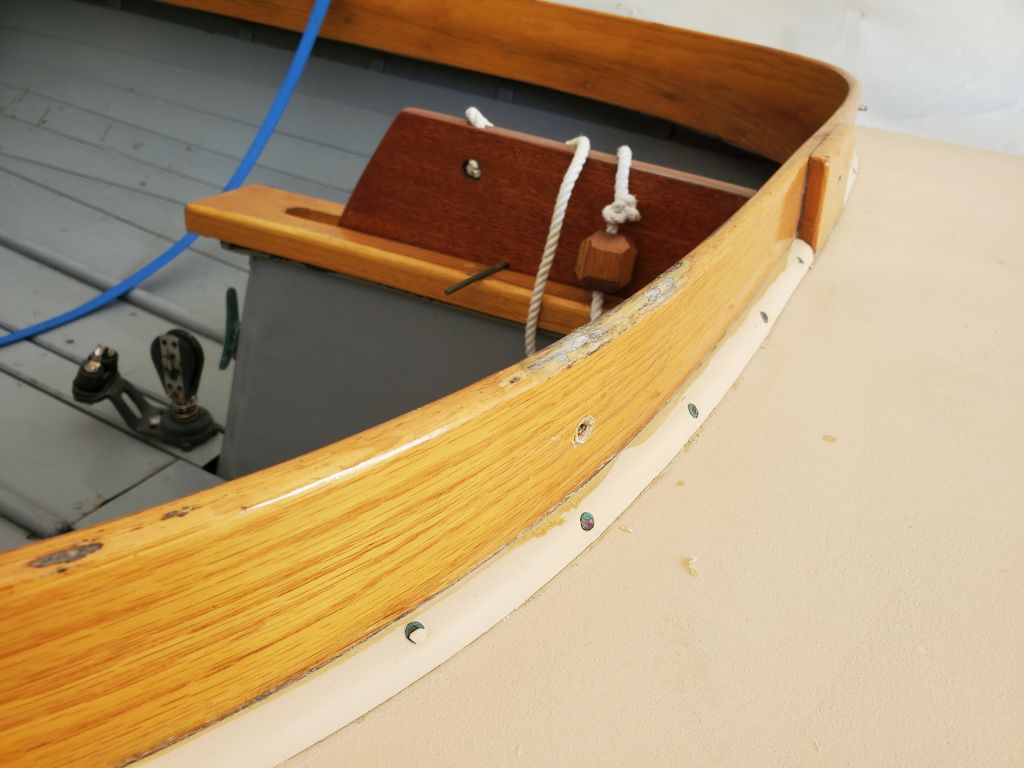
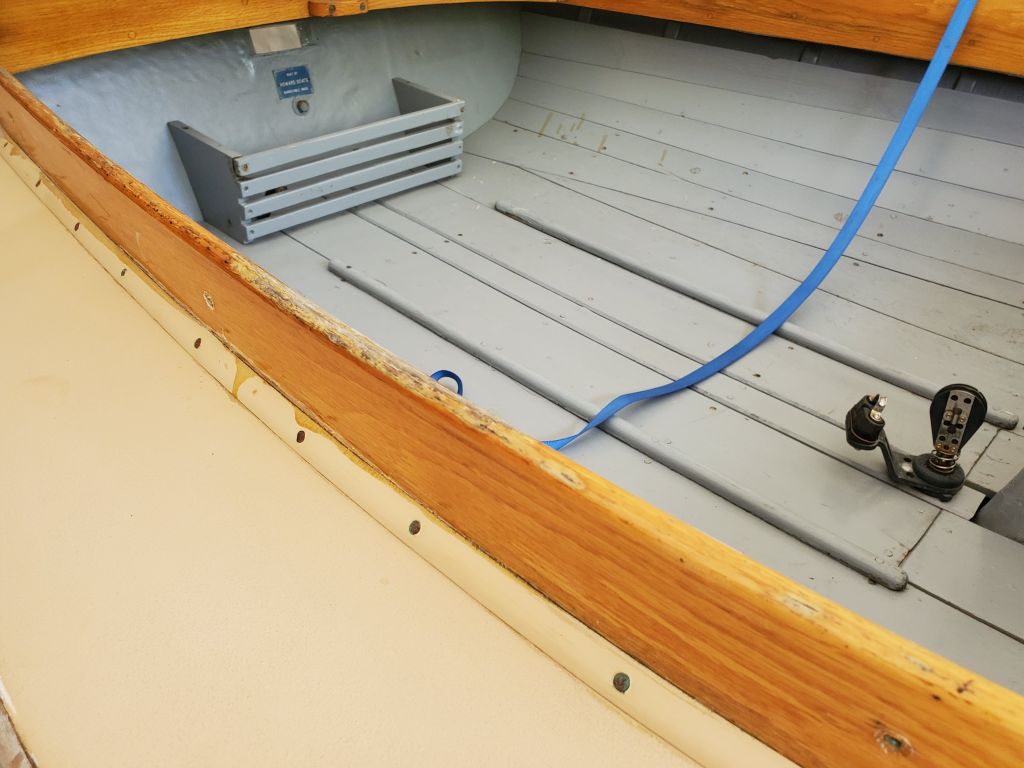
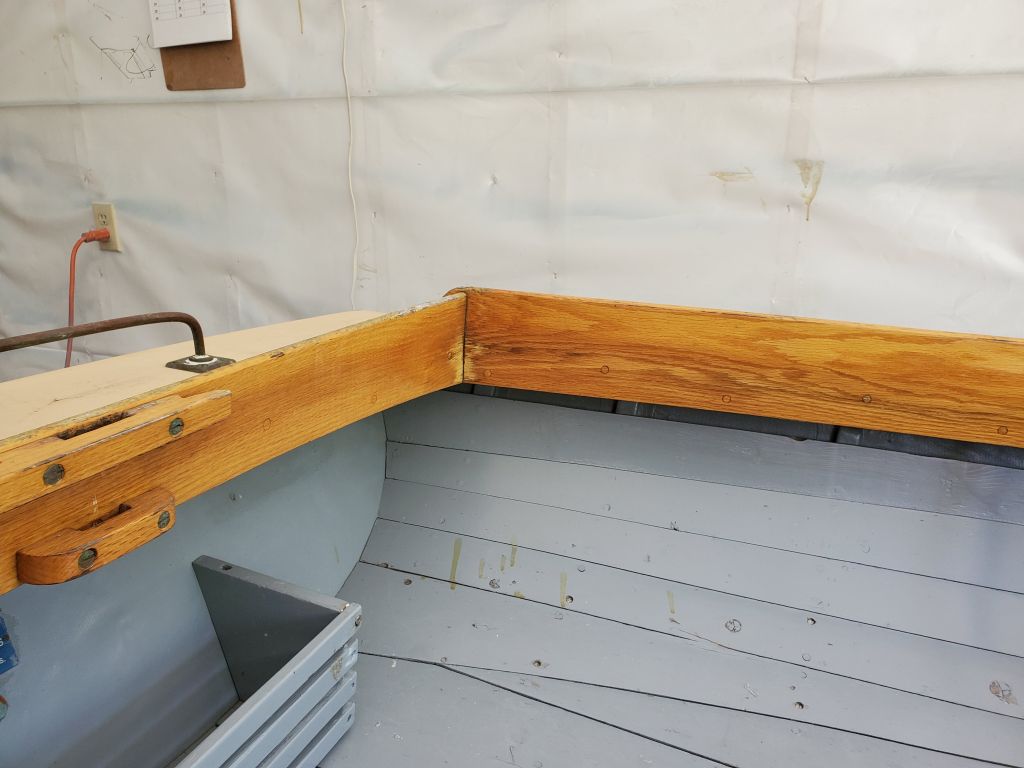
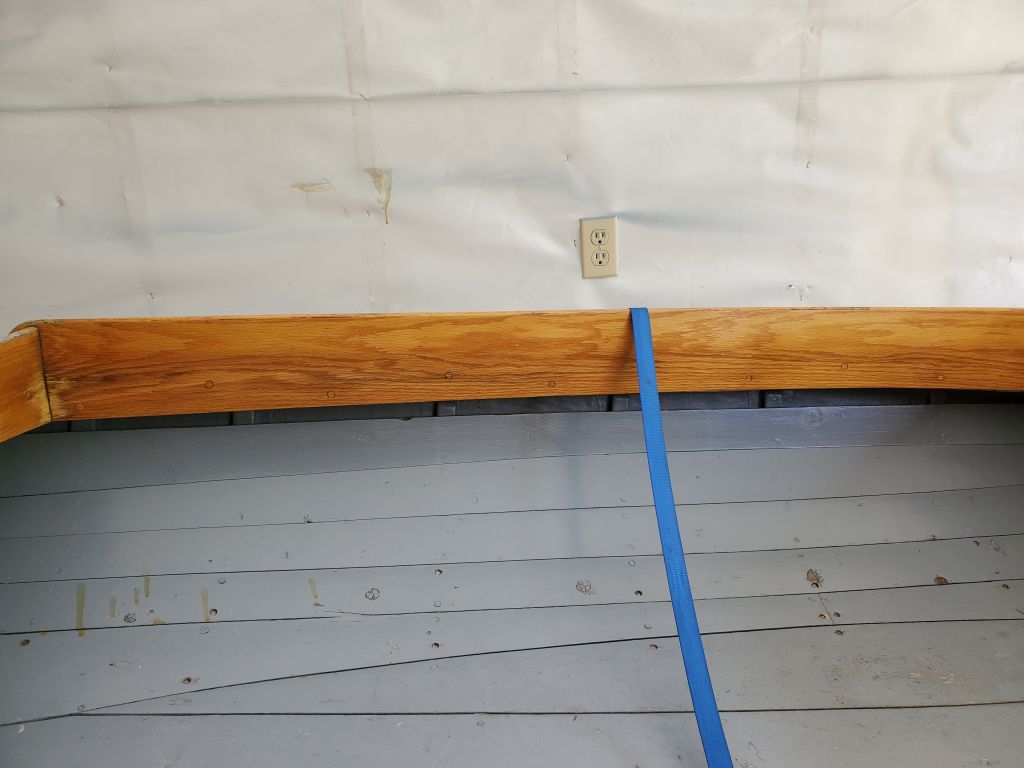
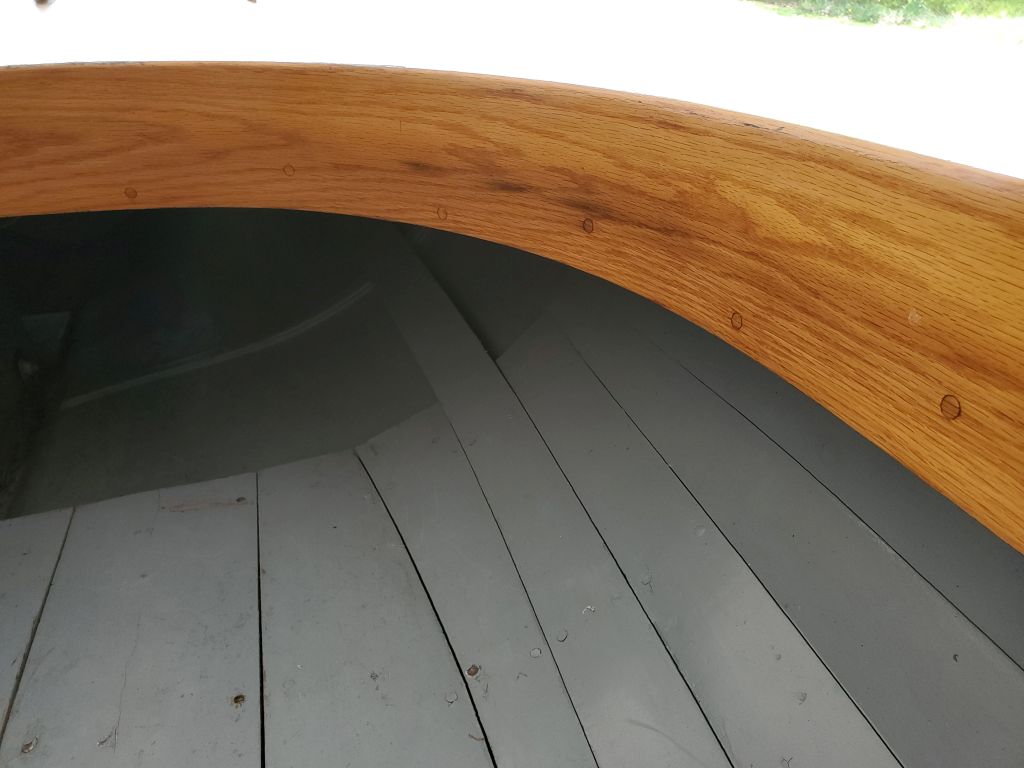
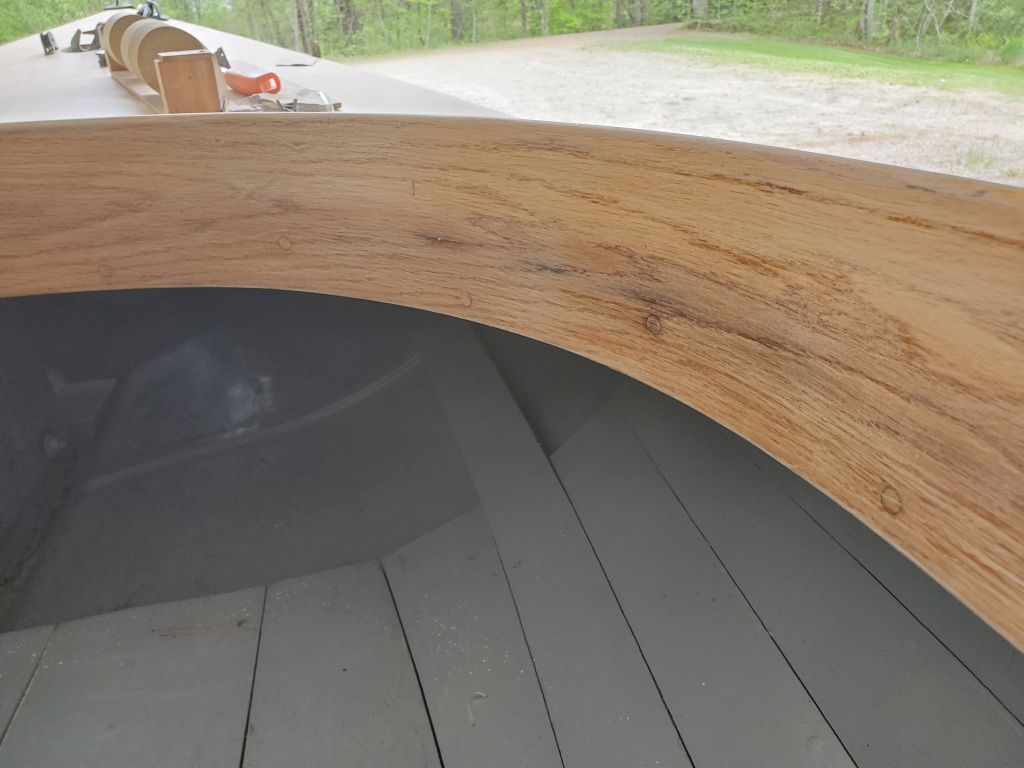
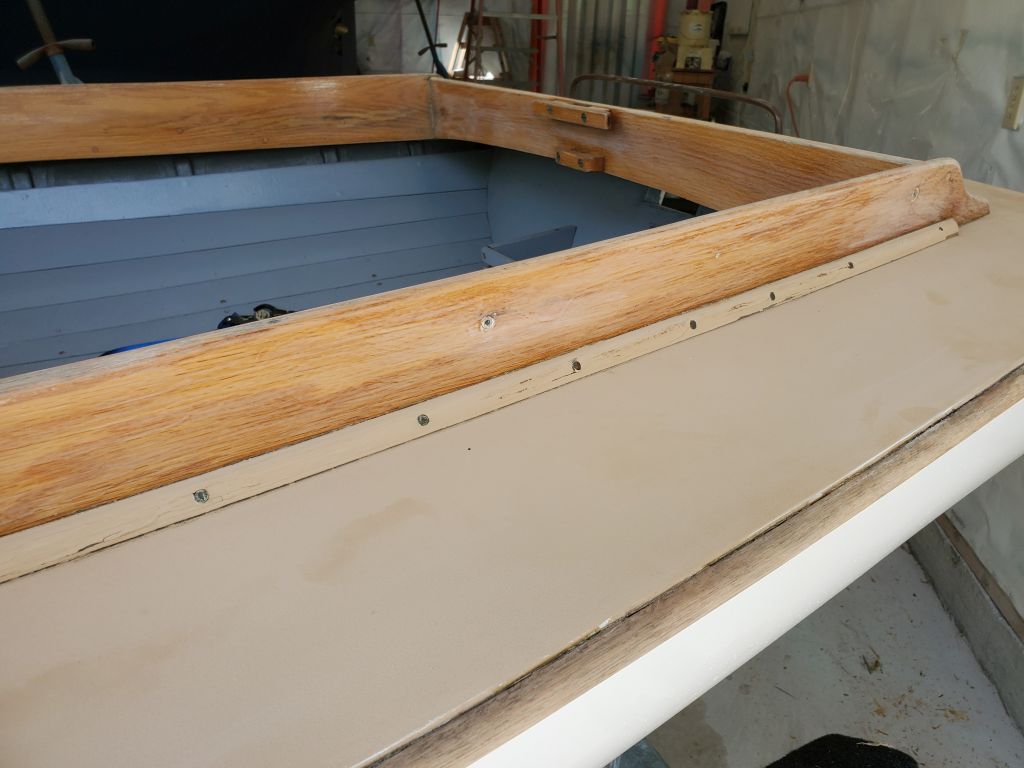
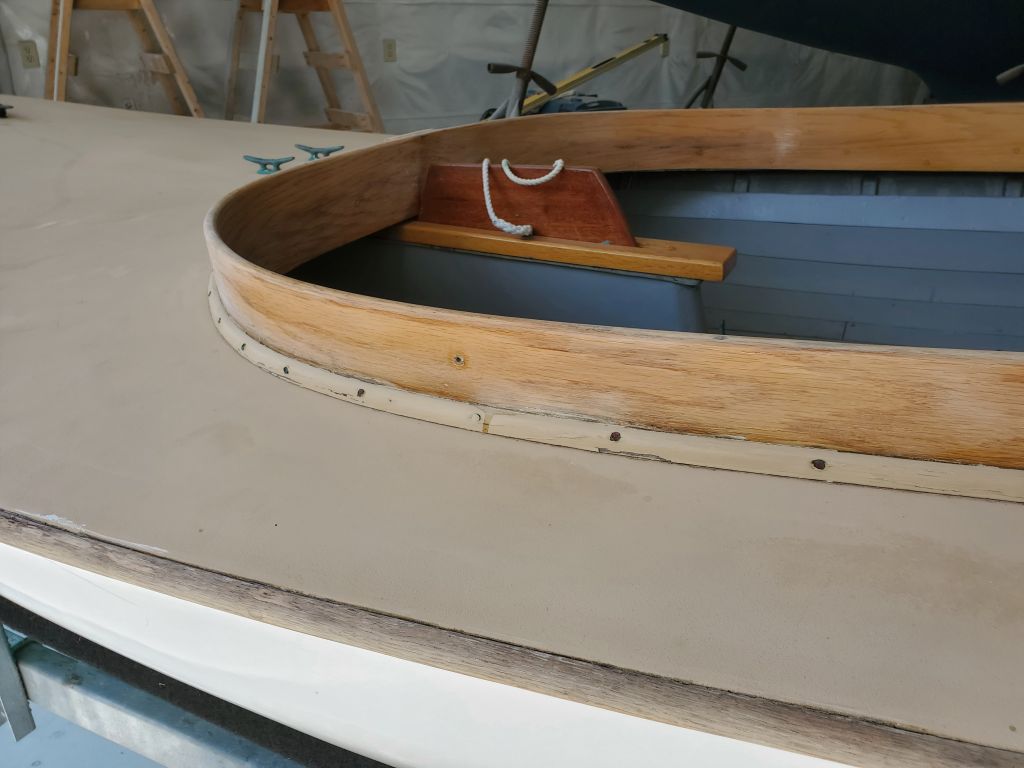
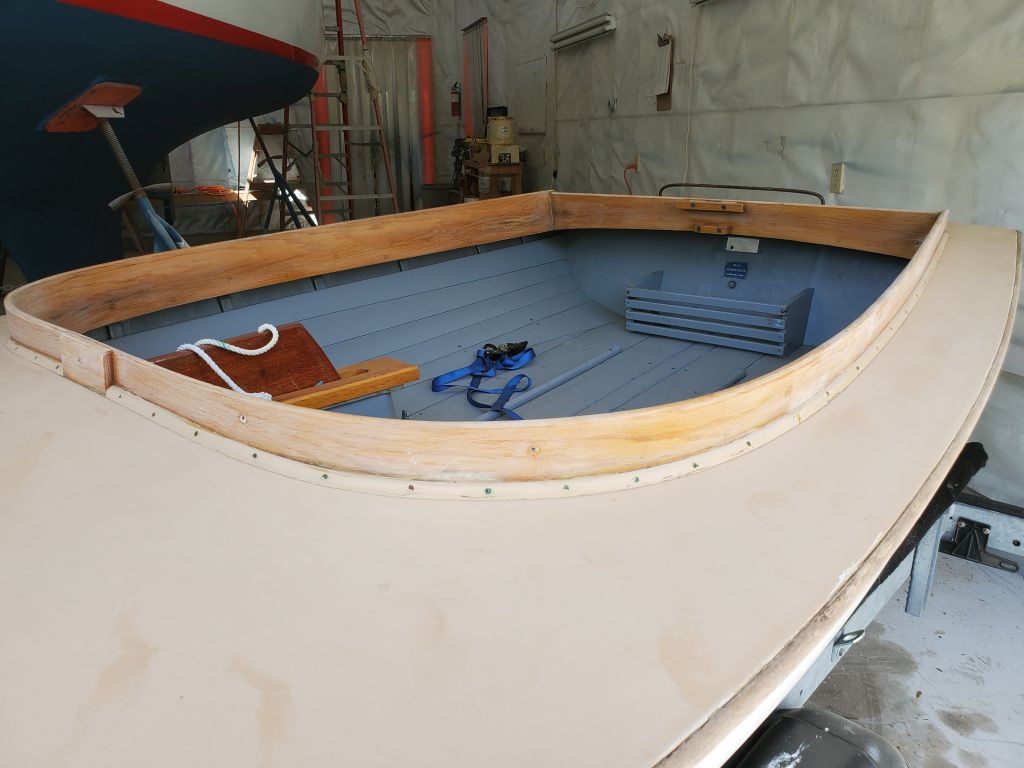
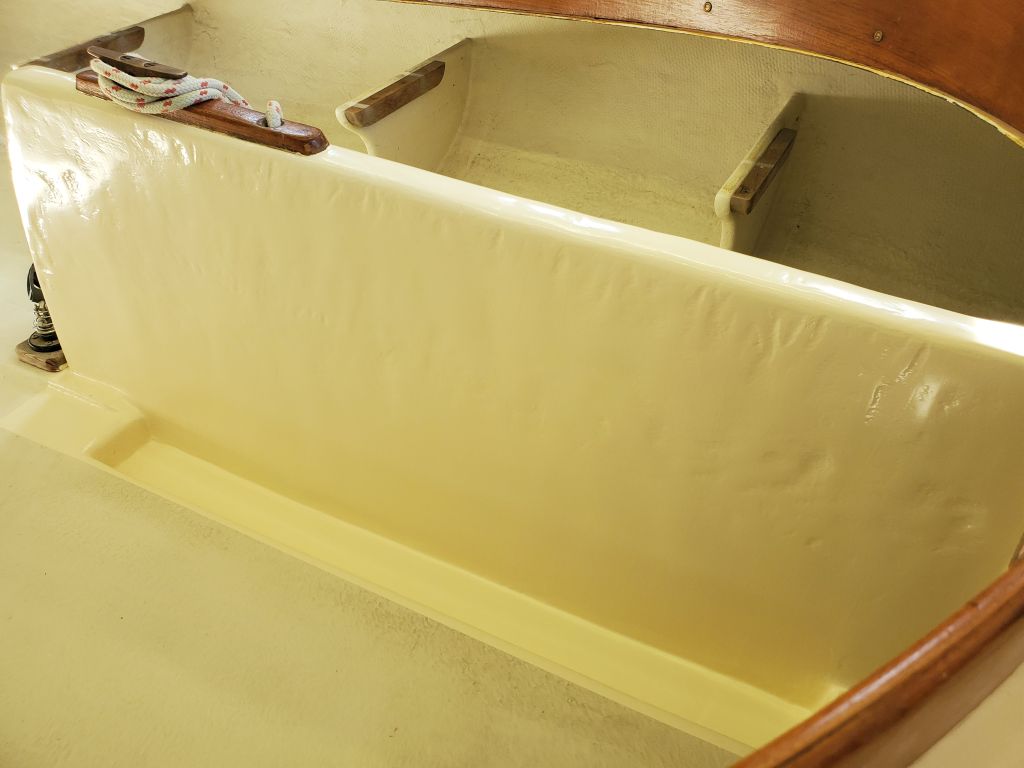
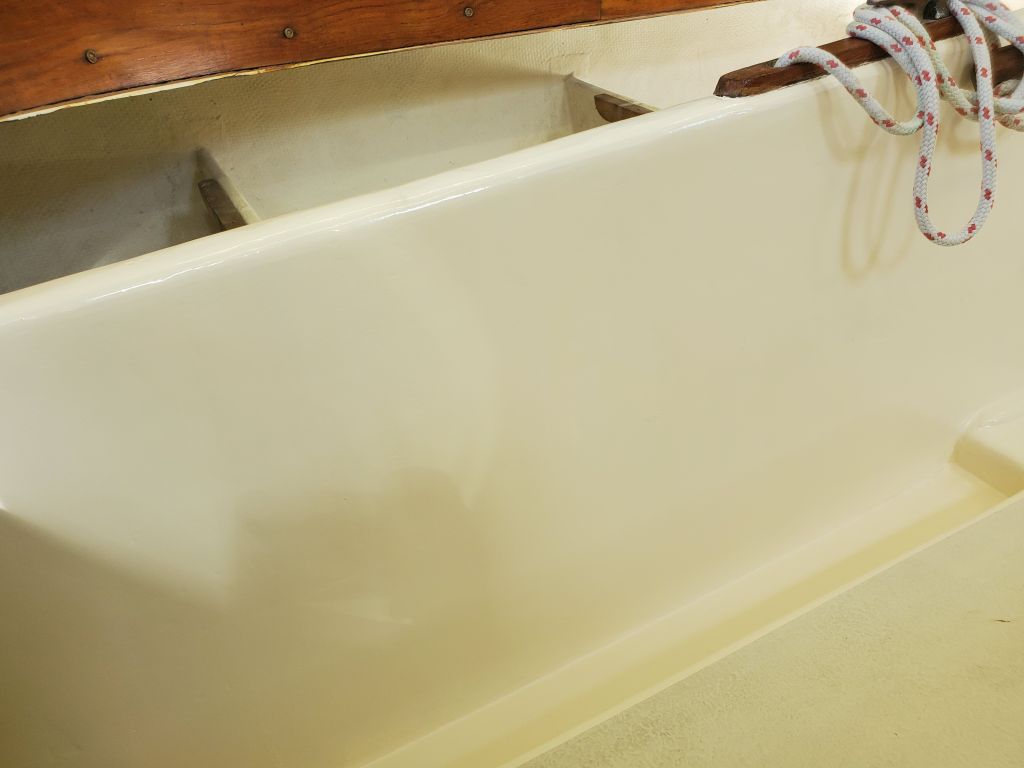
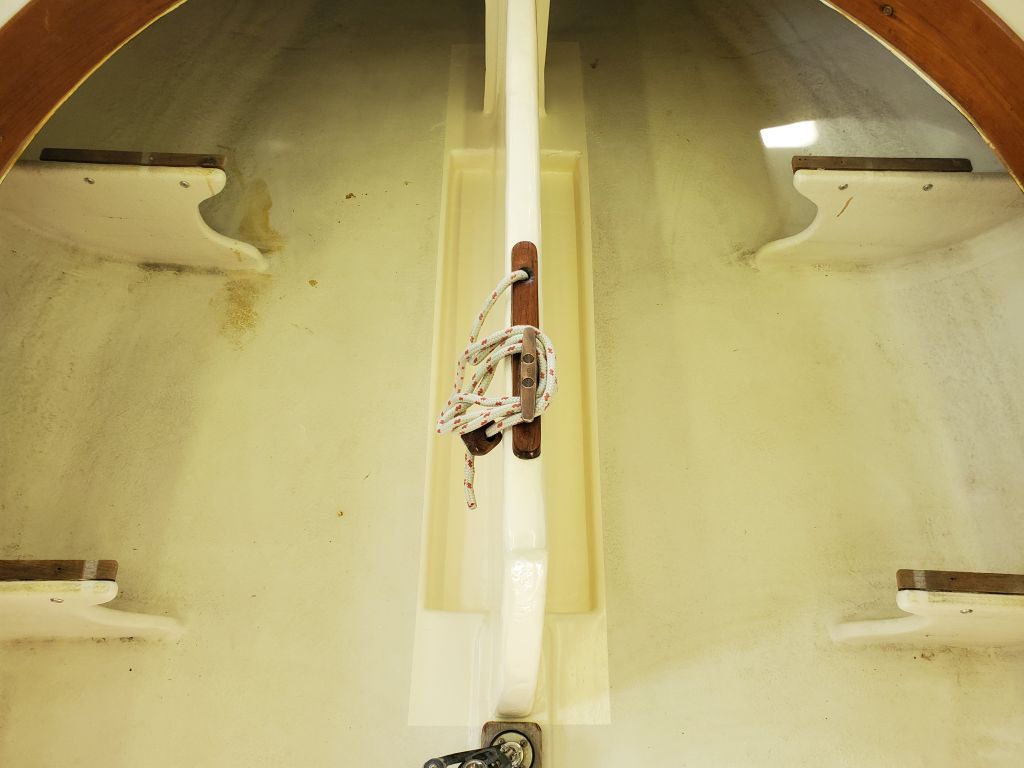
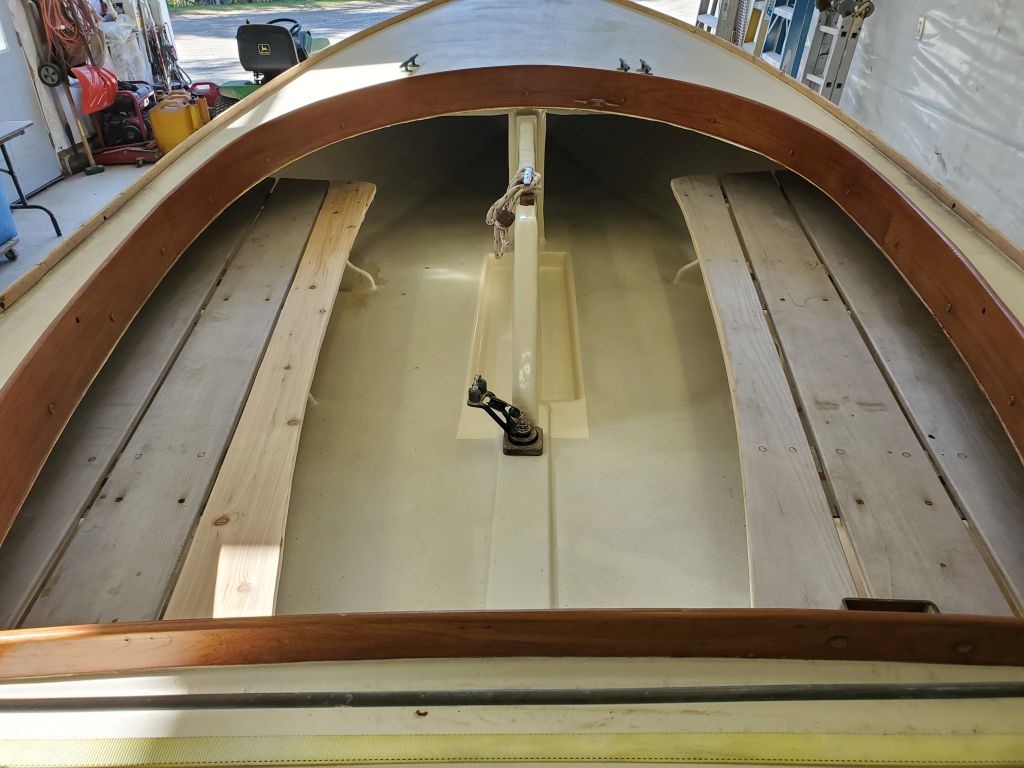
The boat as delivered featured the original translucent/bare fiberglass interior, woodwork in generally good condition with partial and thin coats of finish in place, and a hull that had been painted at least twice, with the most recent paint being a bold blue in marginal condition.
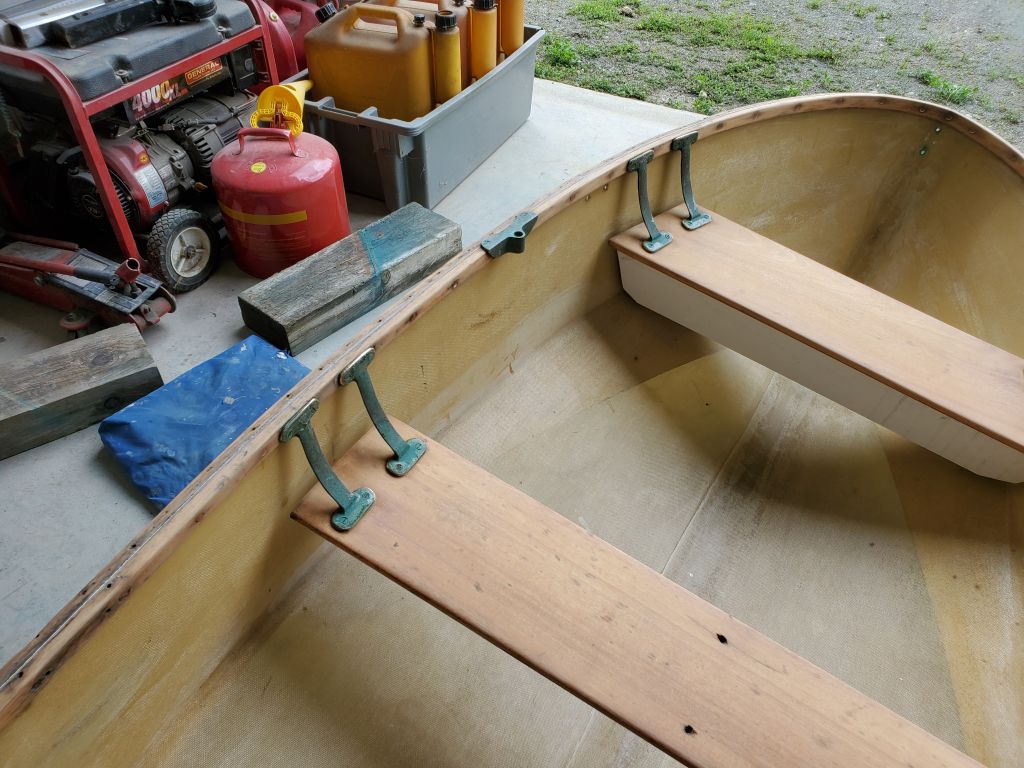
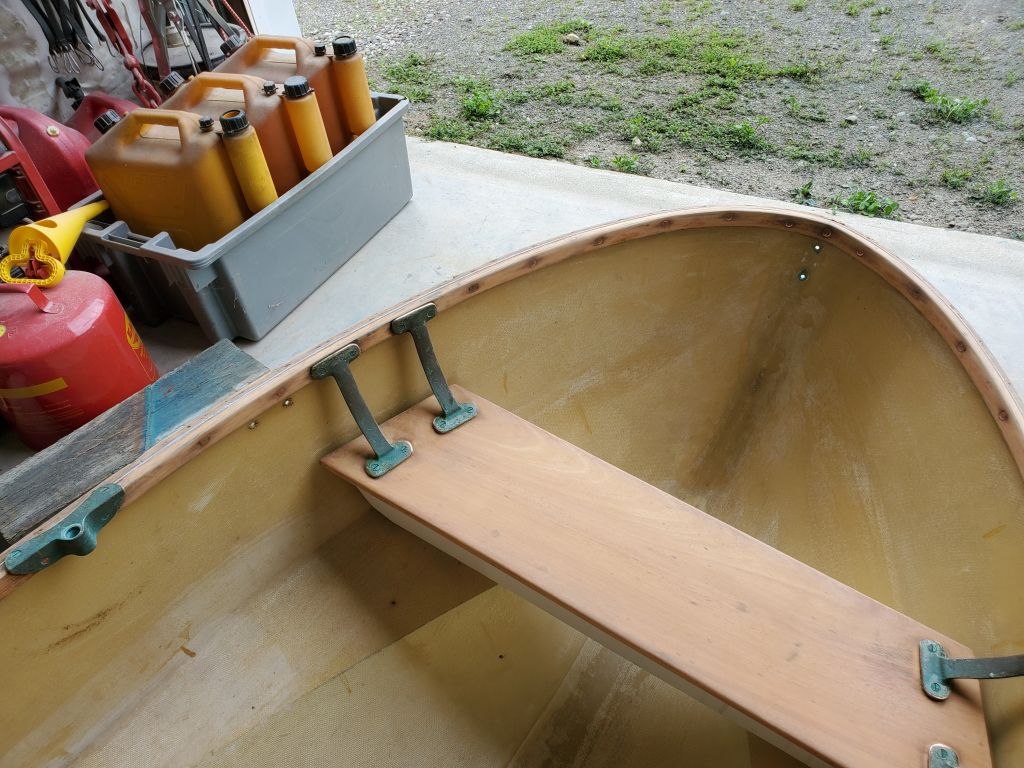
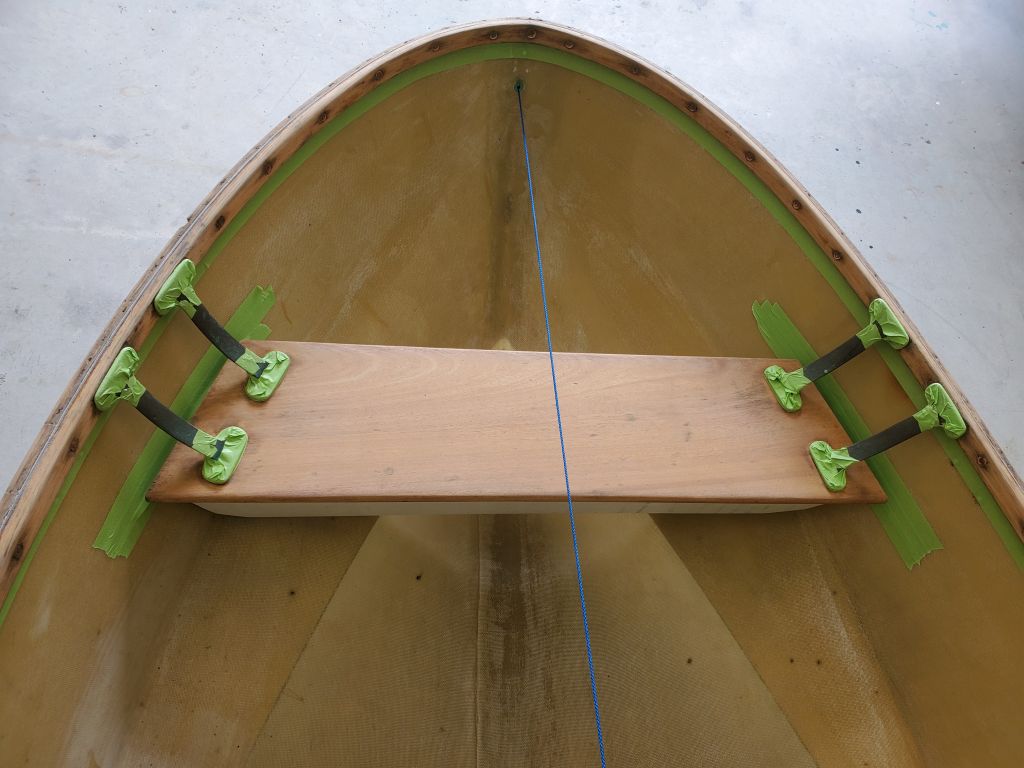
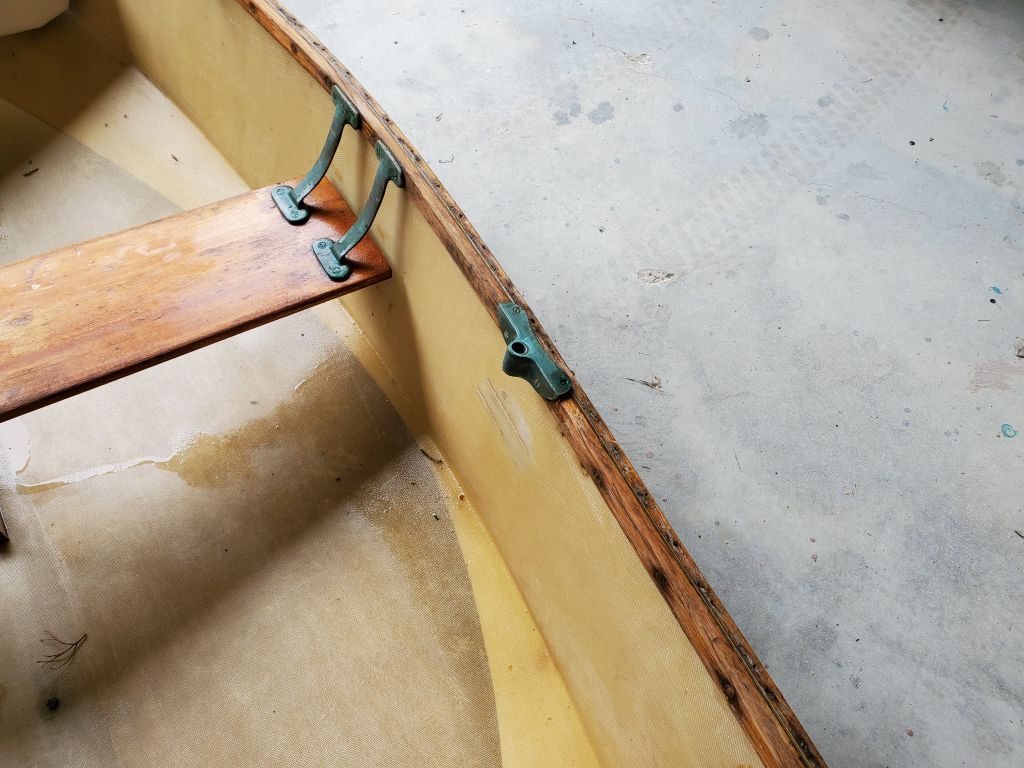
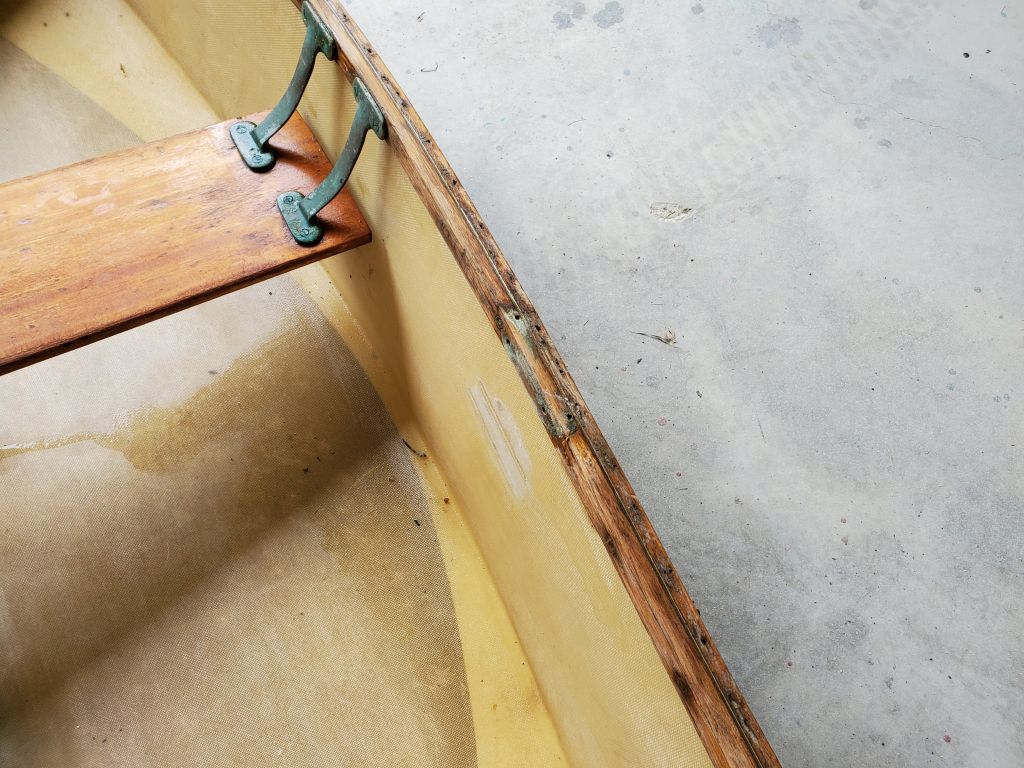
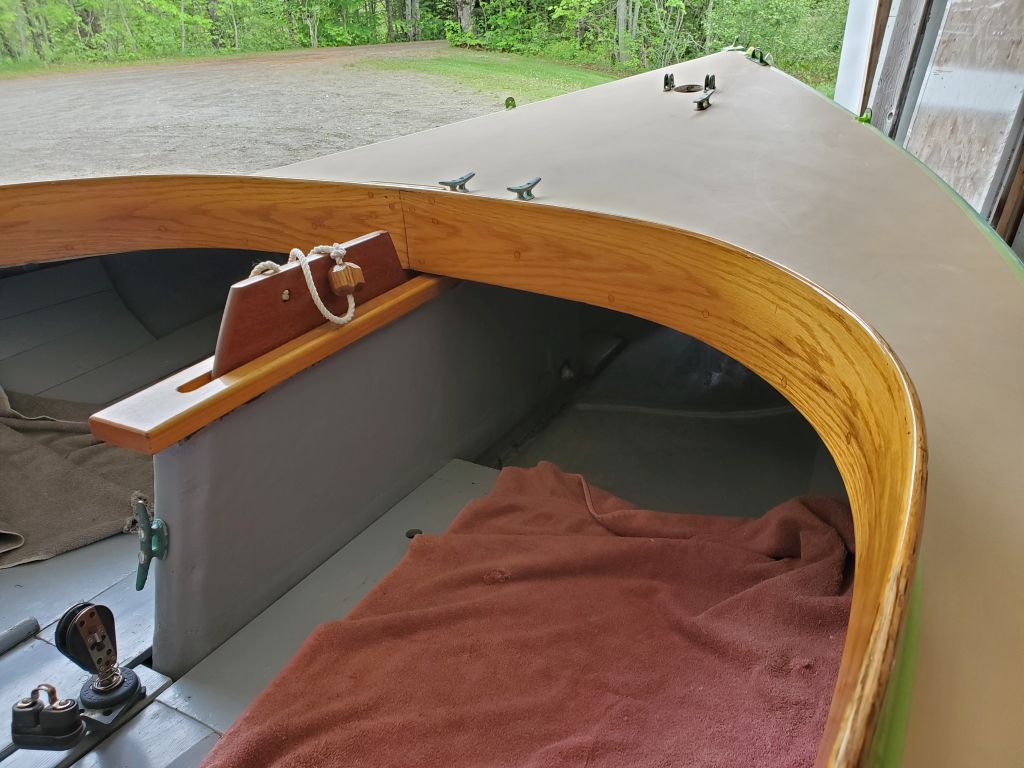
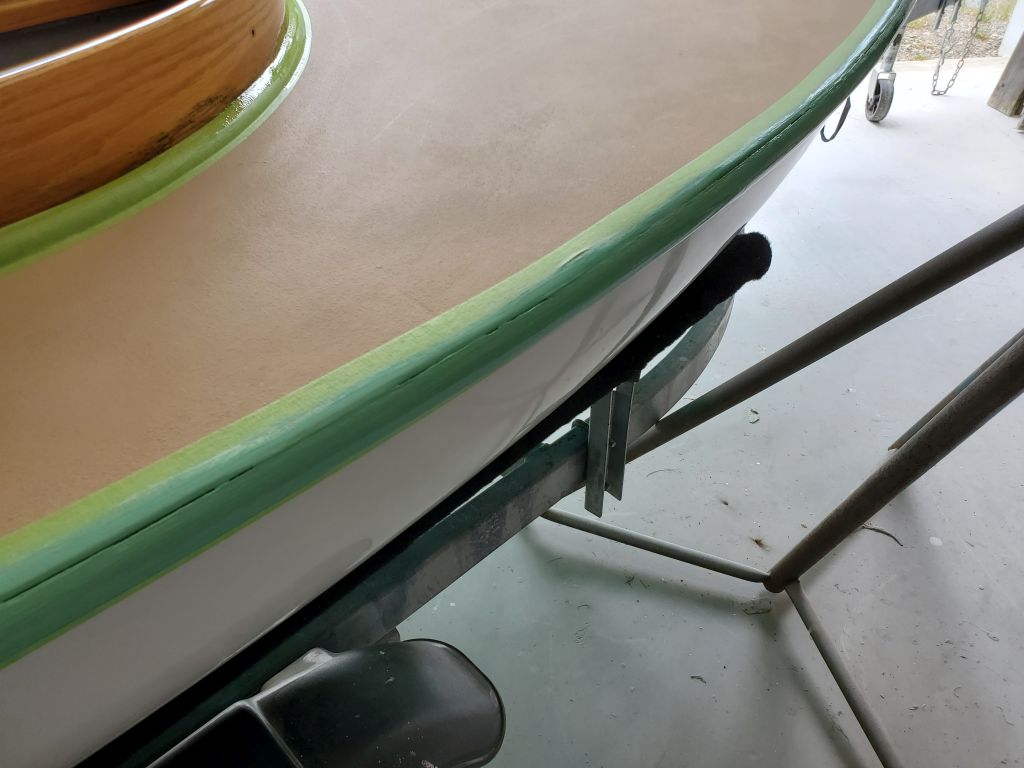
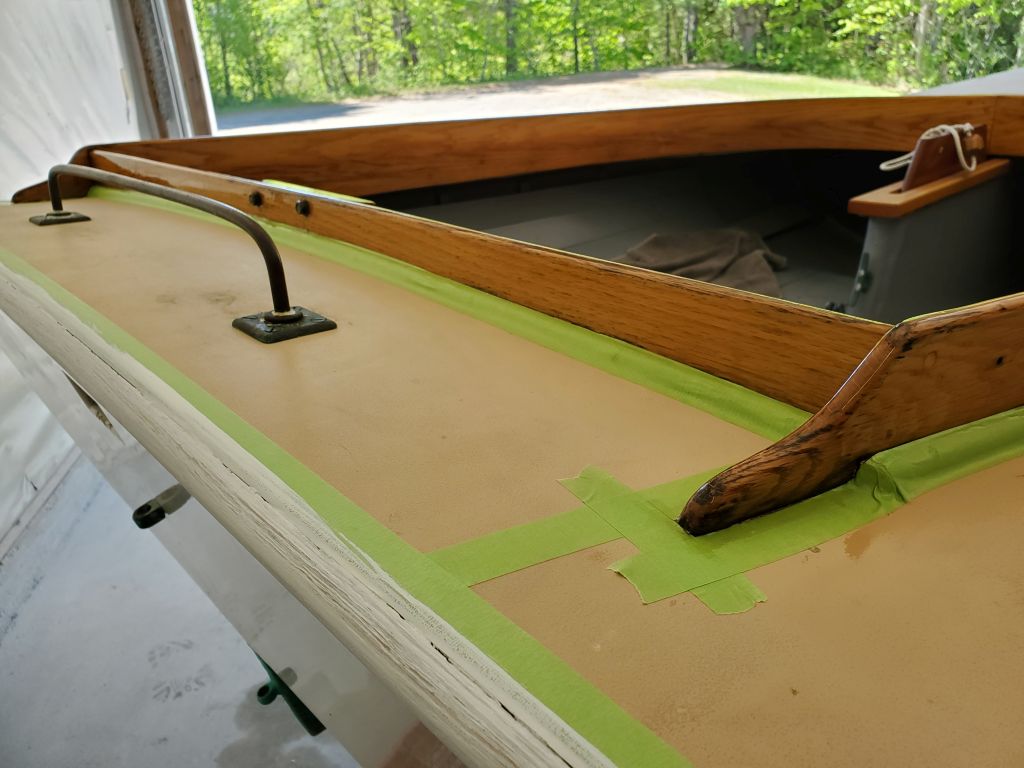
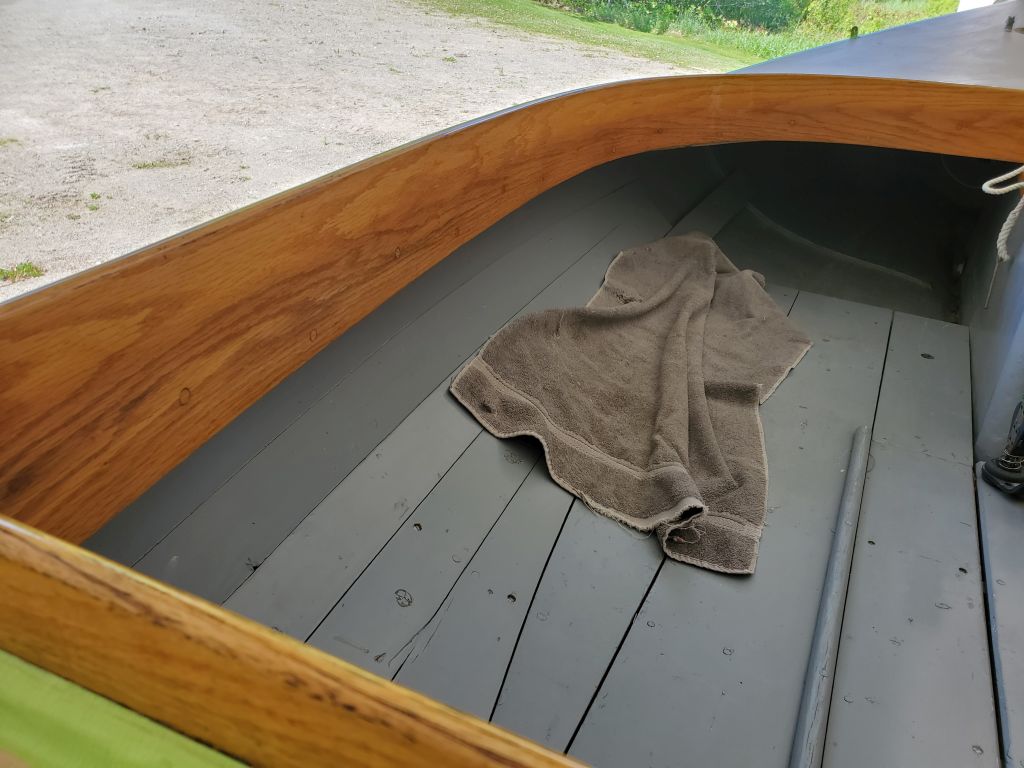
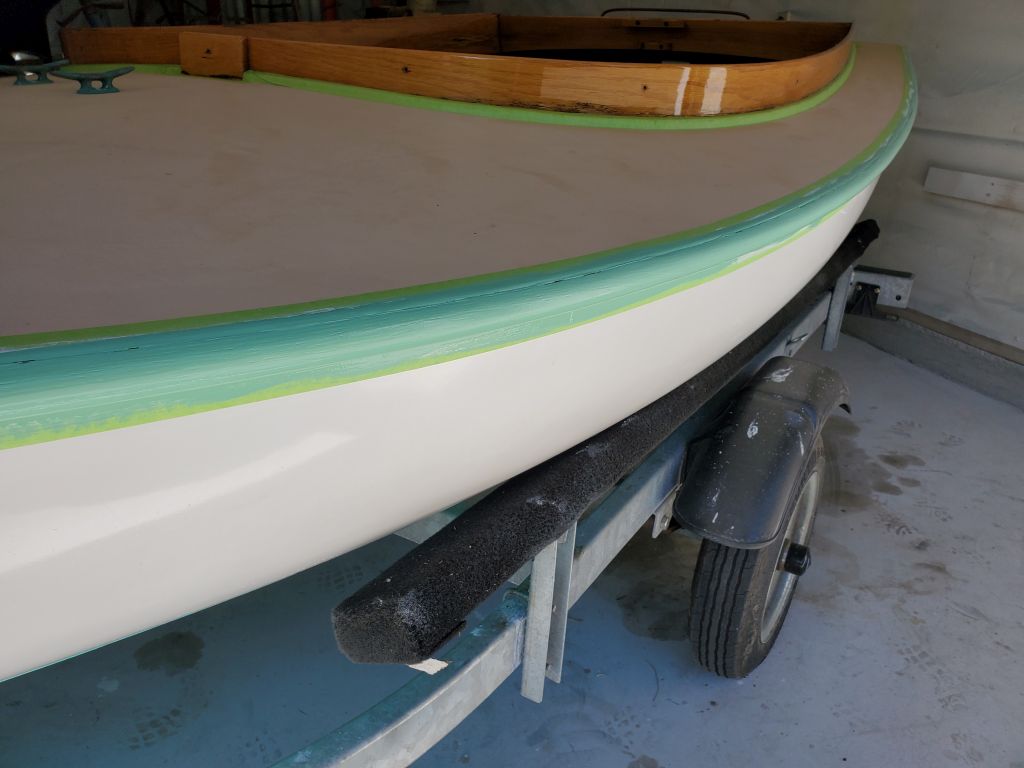
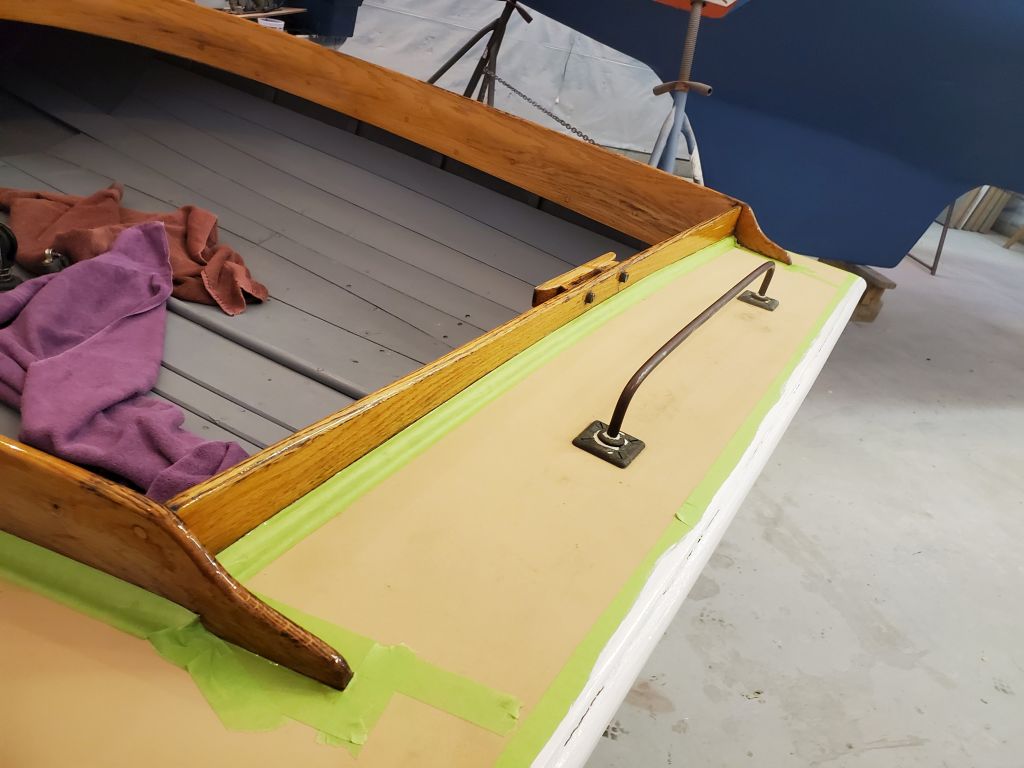
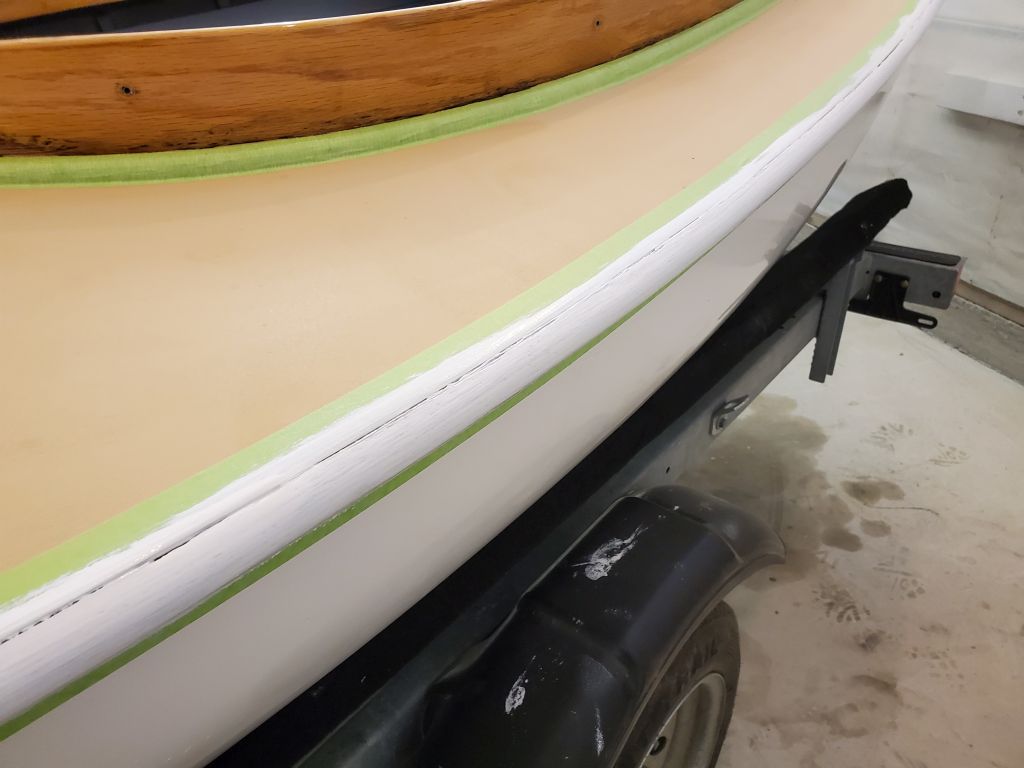
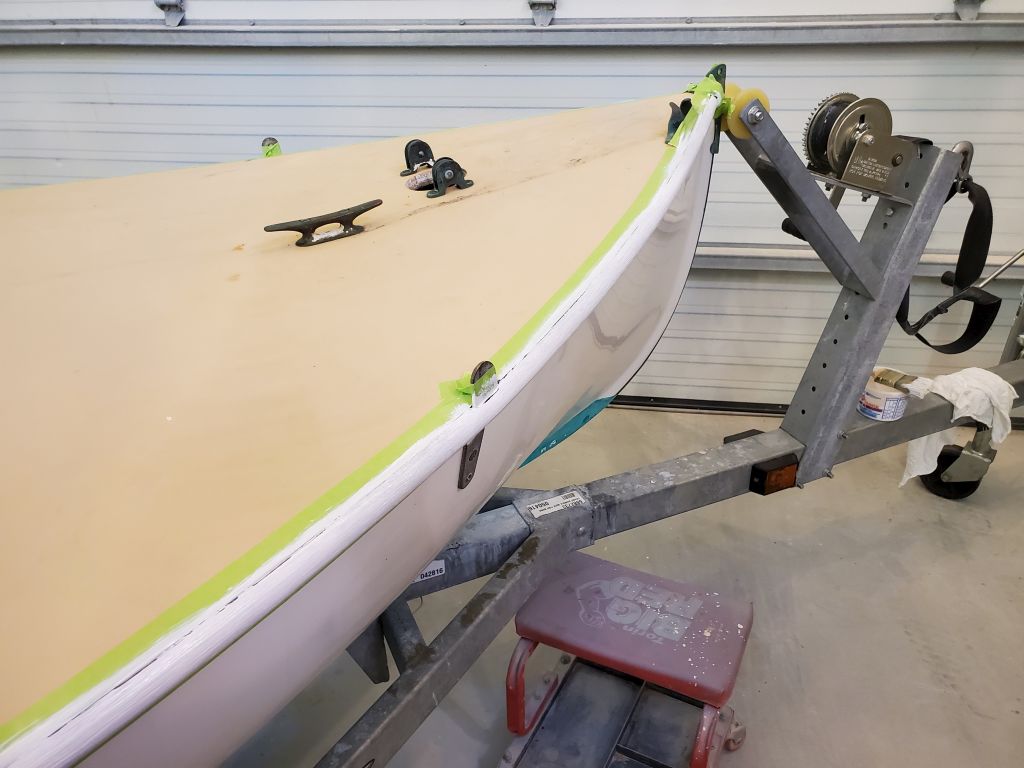
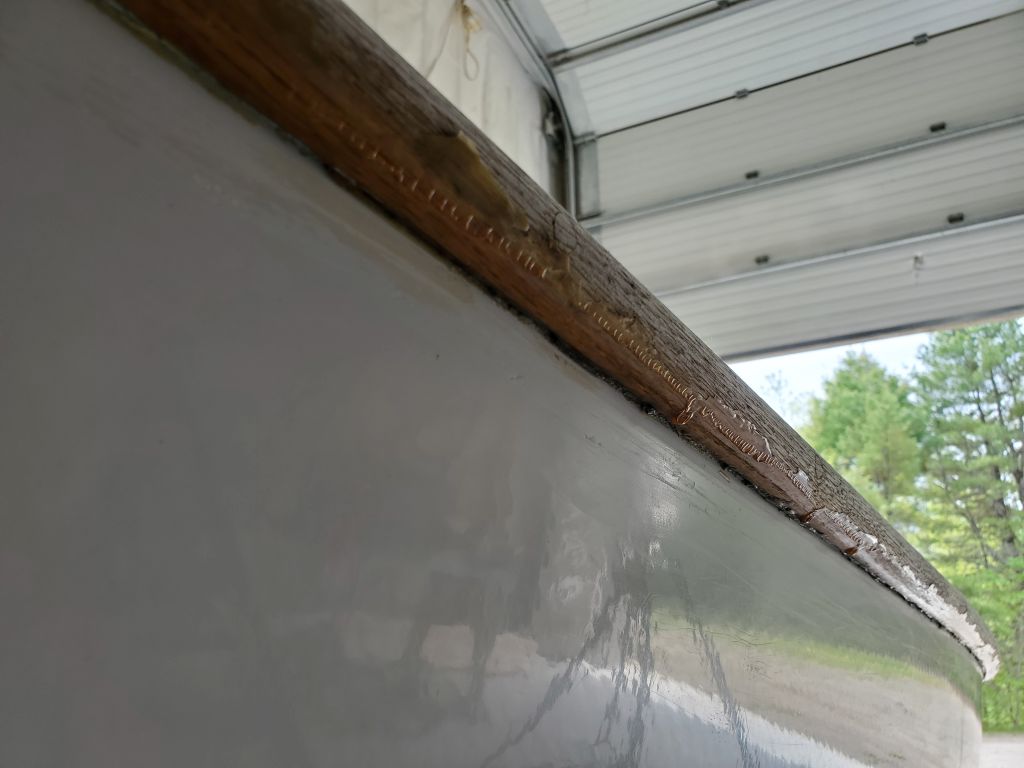
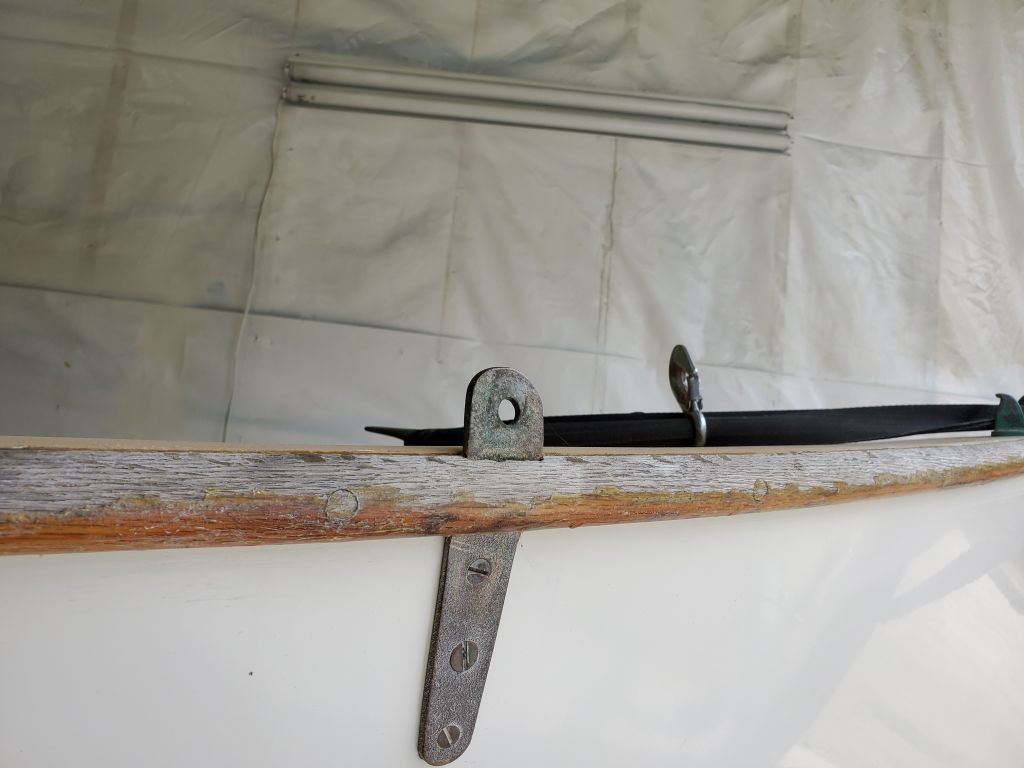
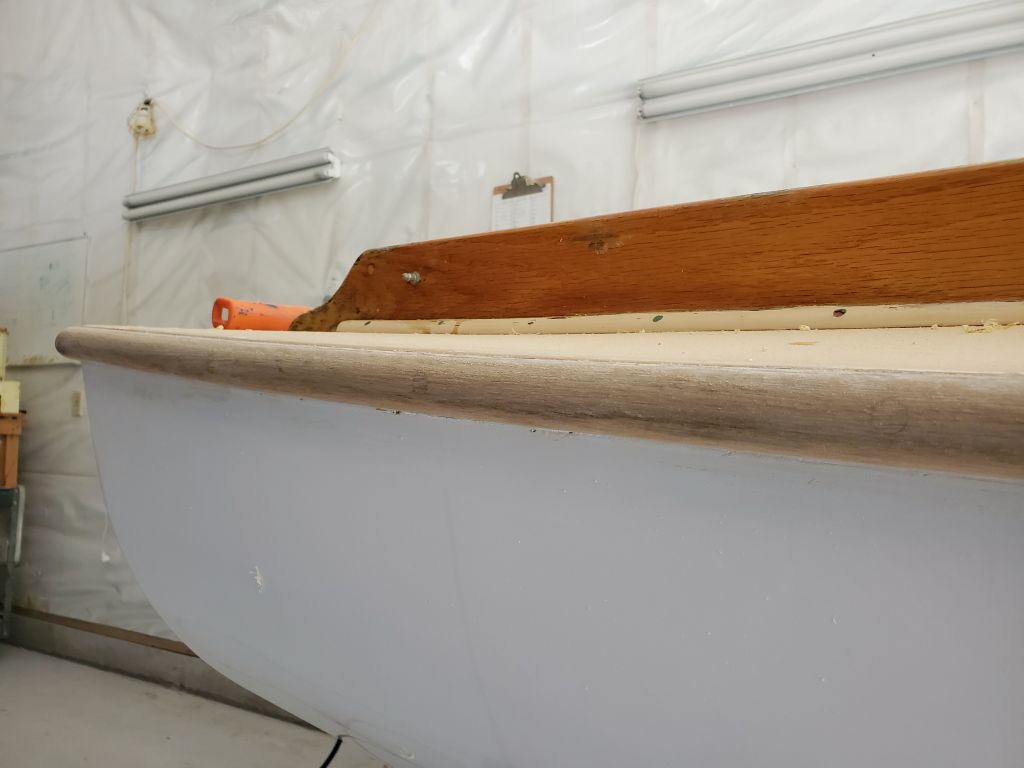
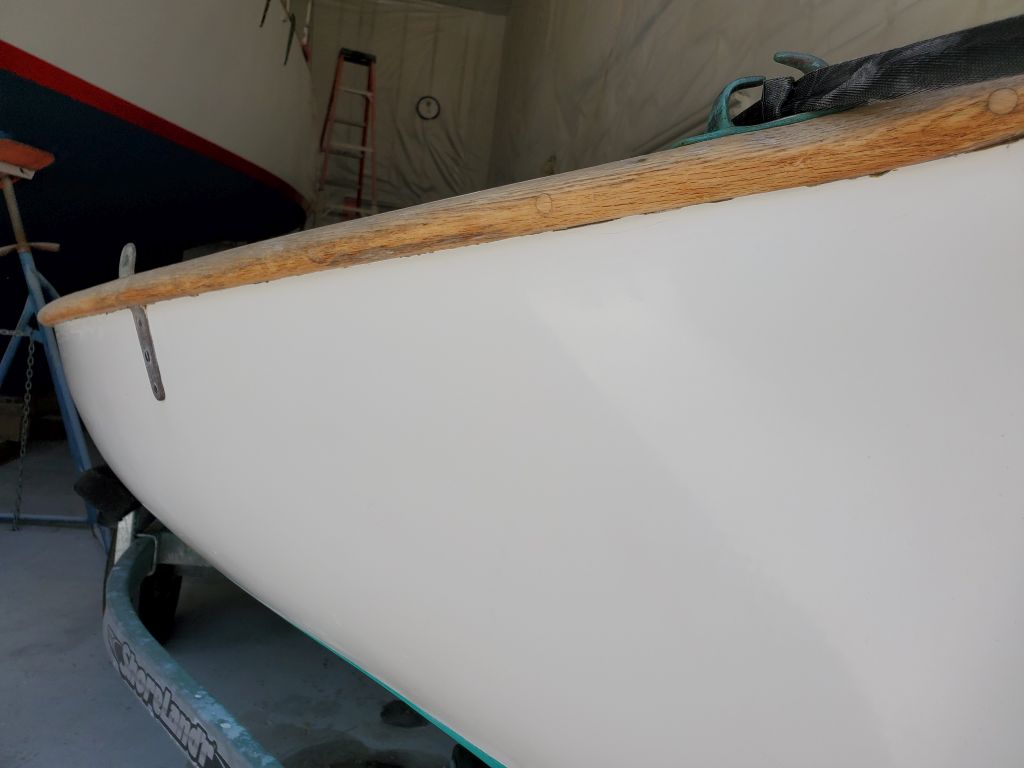
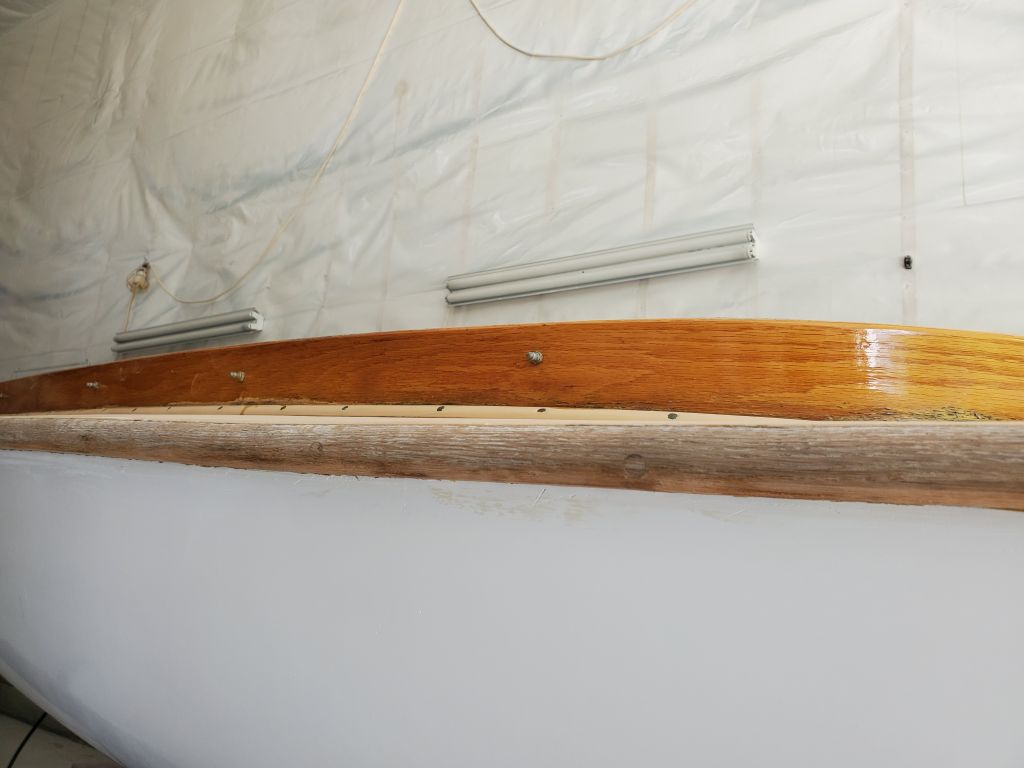
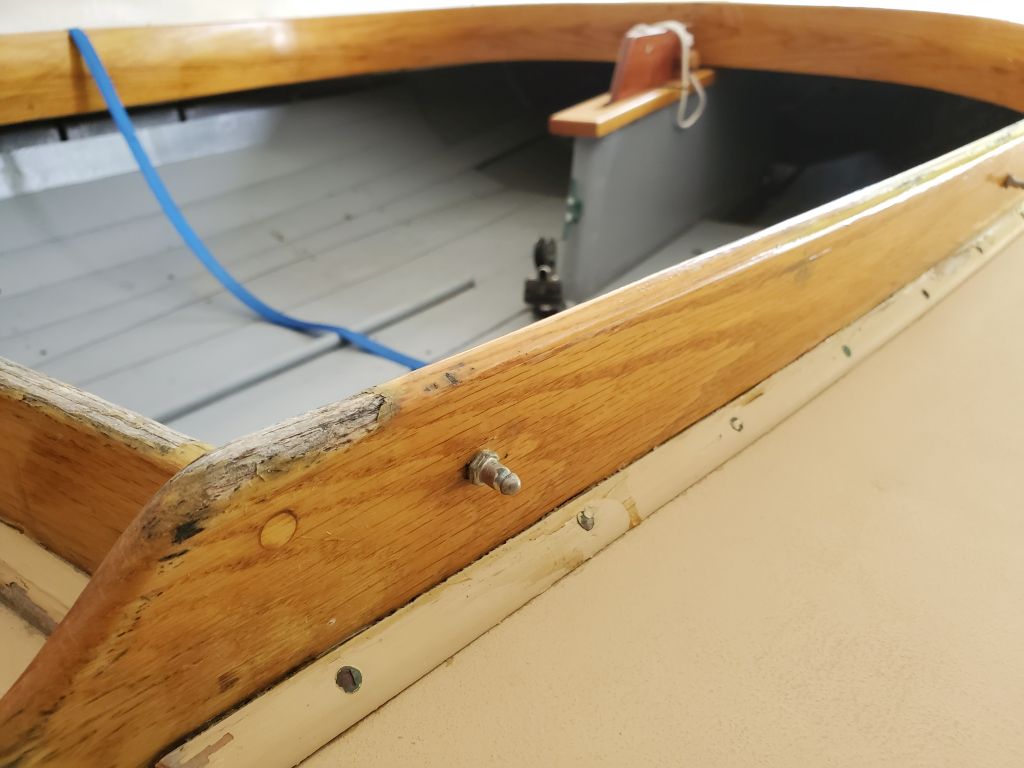
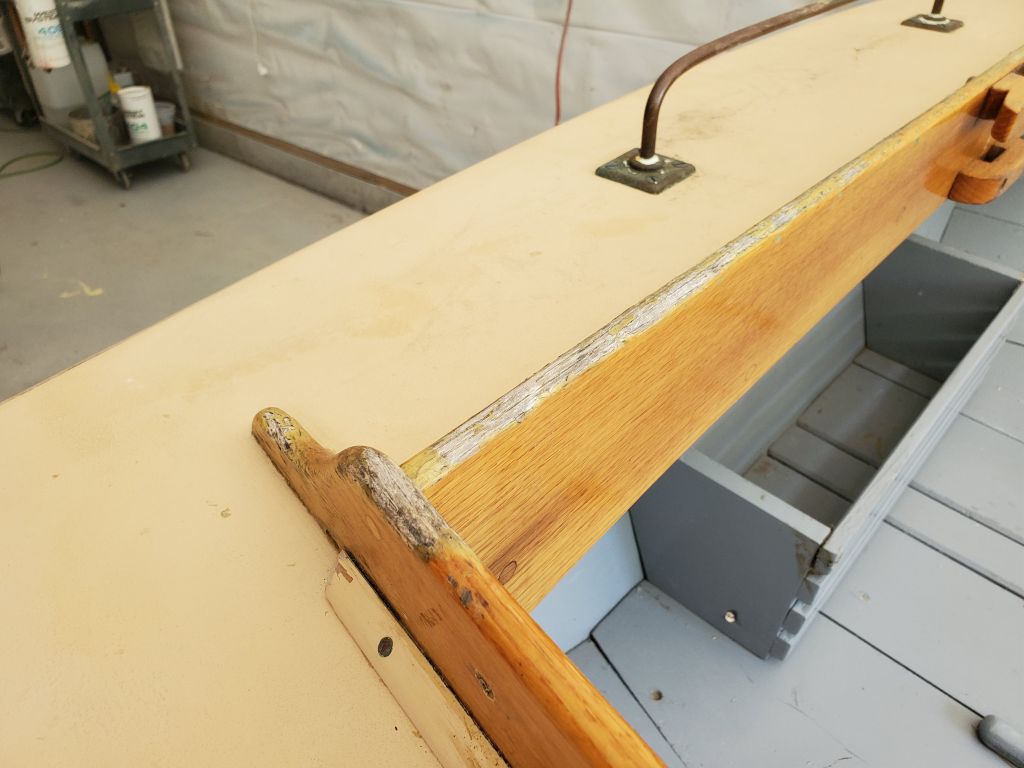
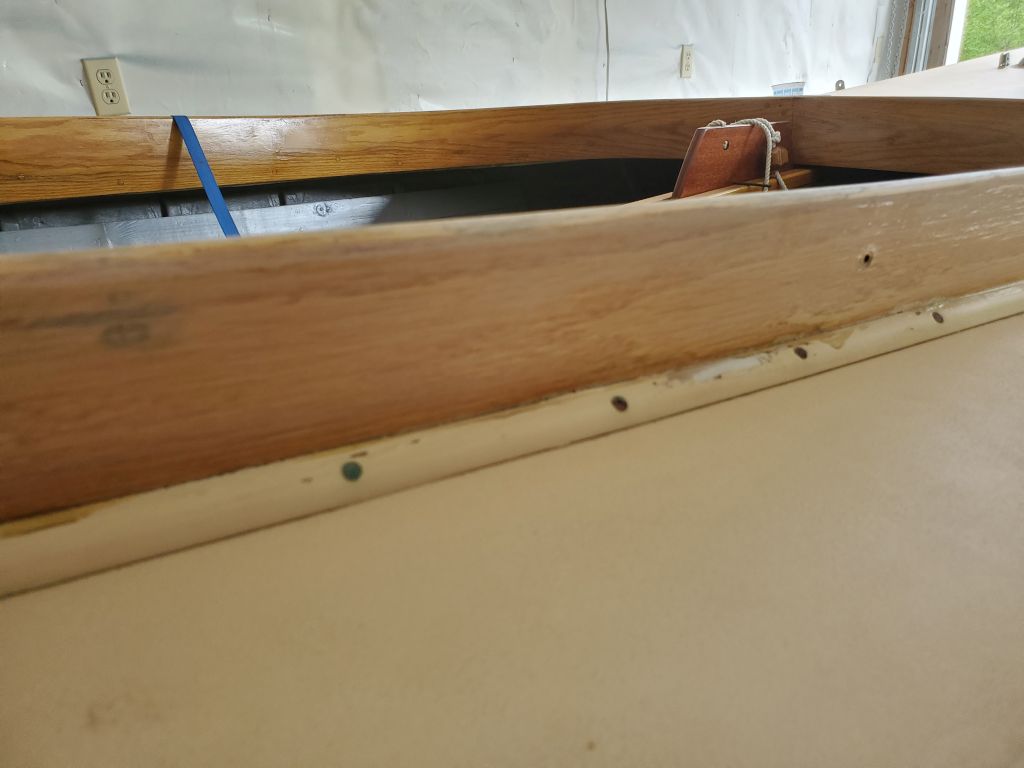
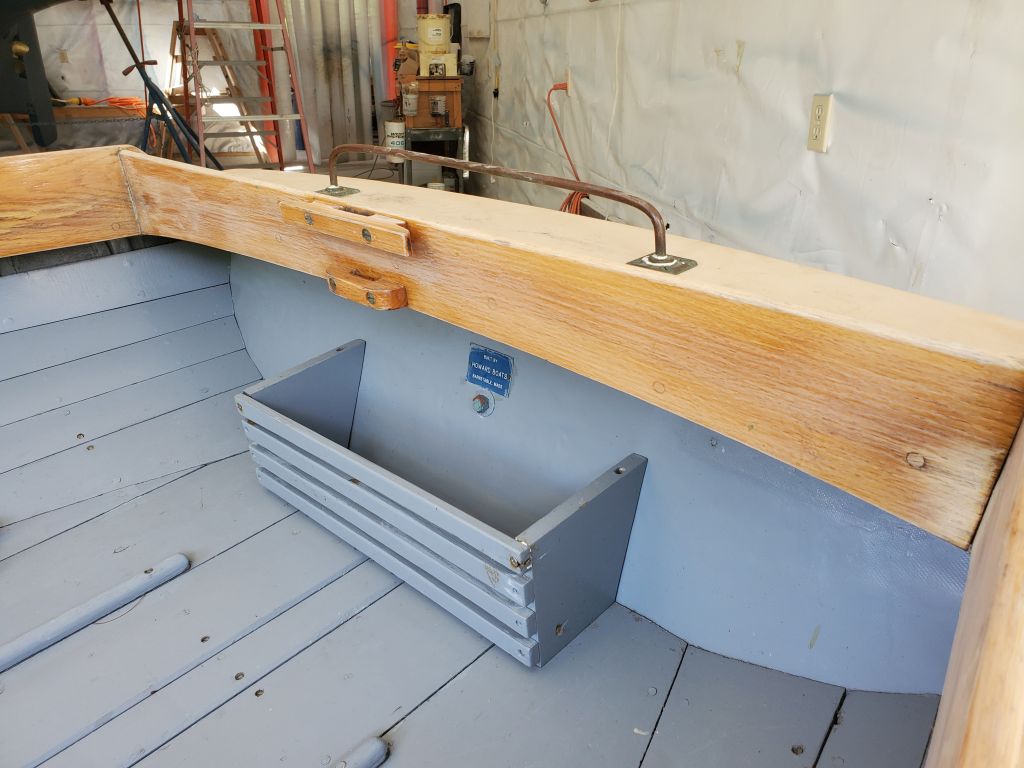
The boat was wet from the rain outside, so my first task was to dry things off, after which I removed the after two oarlocks, which a previous owner had bolted in place through the inner and outer rails (and hull), but this left dangerously protruding nuts on the exterior. The original oarlocks (including, still, the forward set) had been secured with screws, and the owner asked that I do the same with the after set.
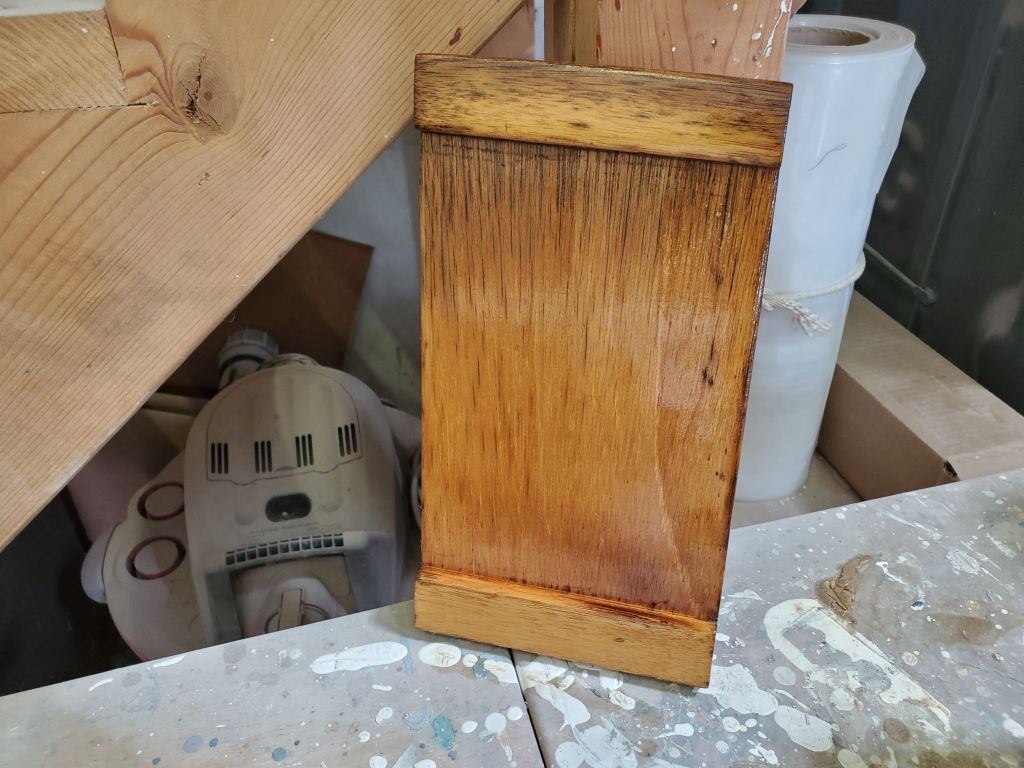
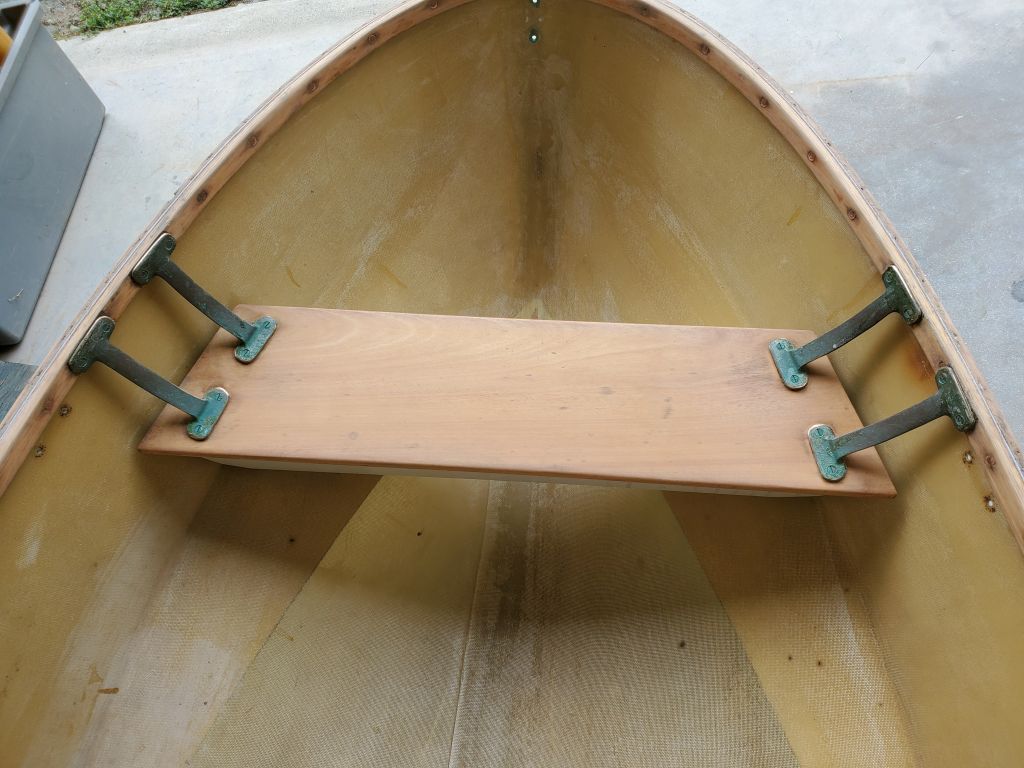
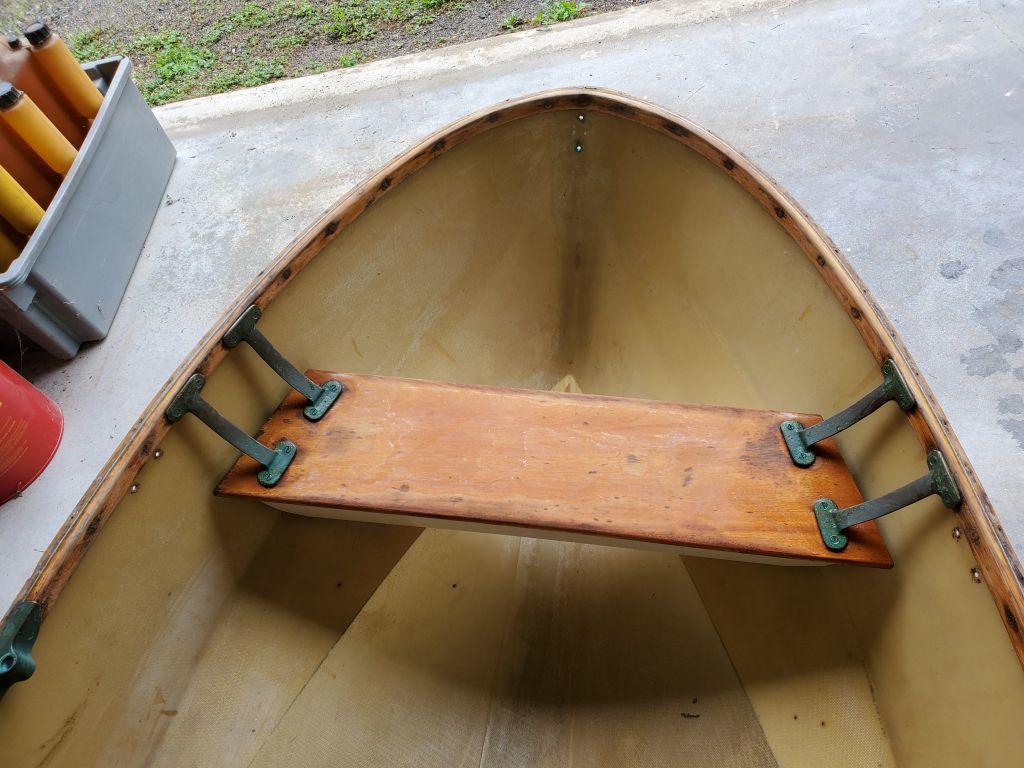
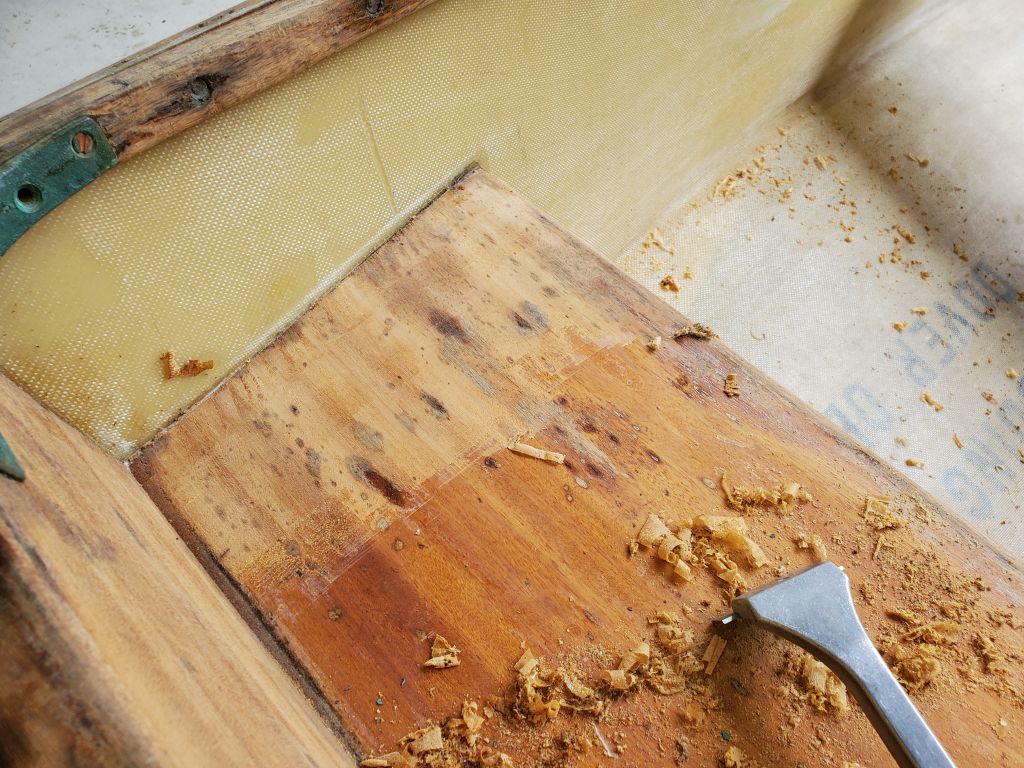
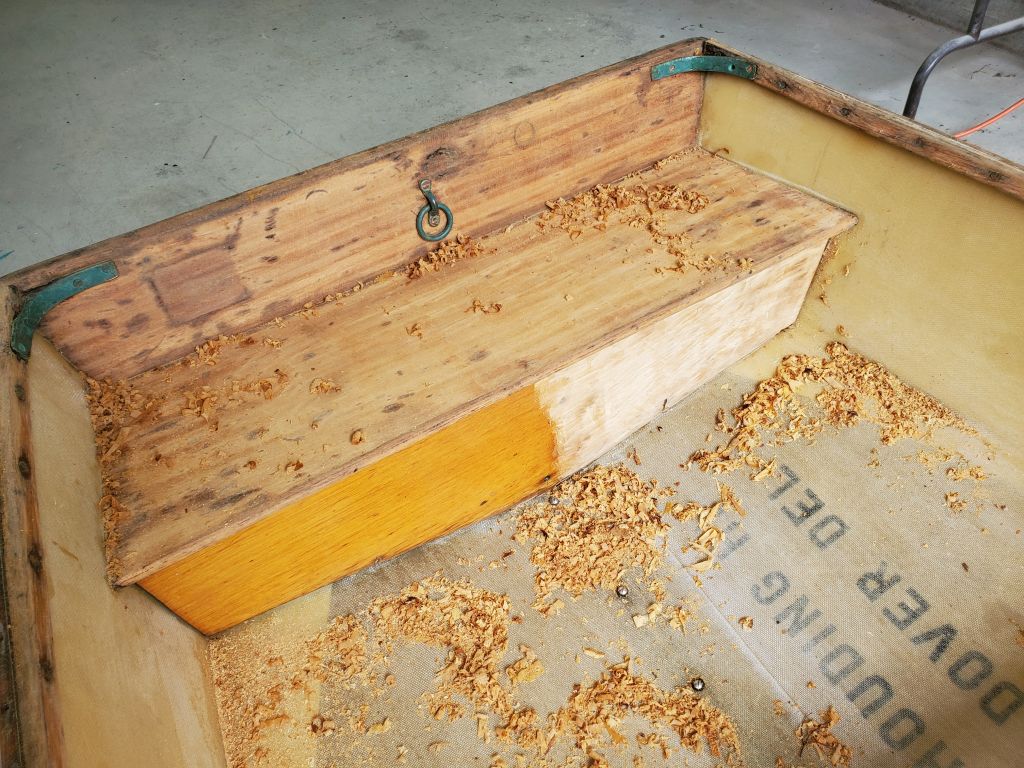
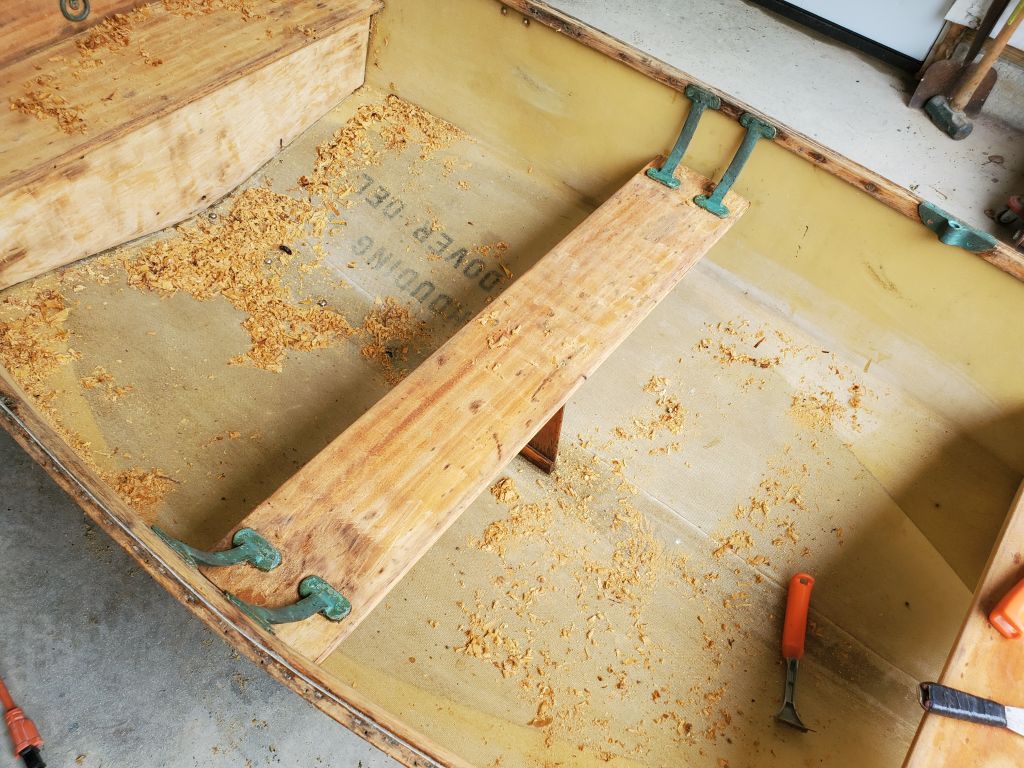
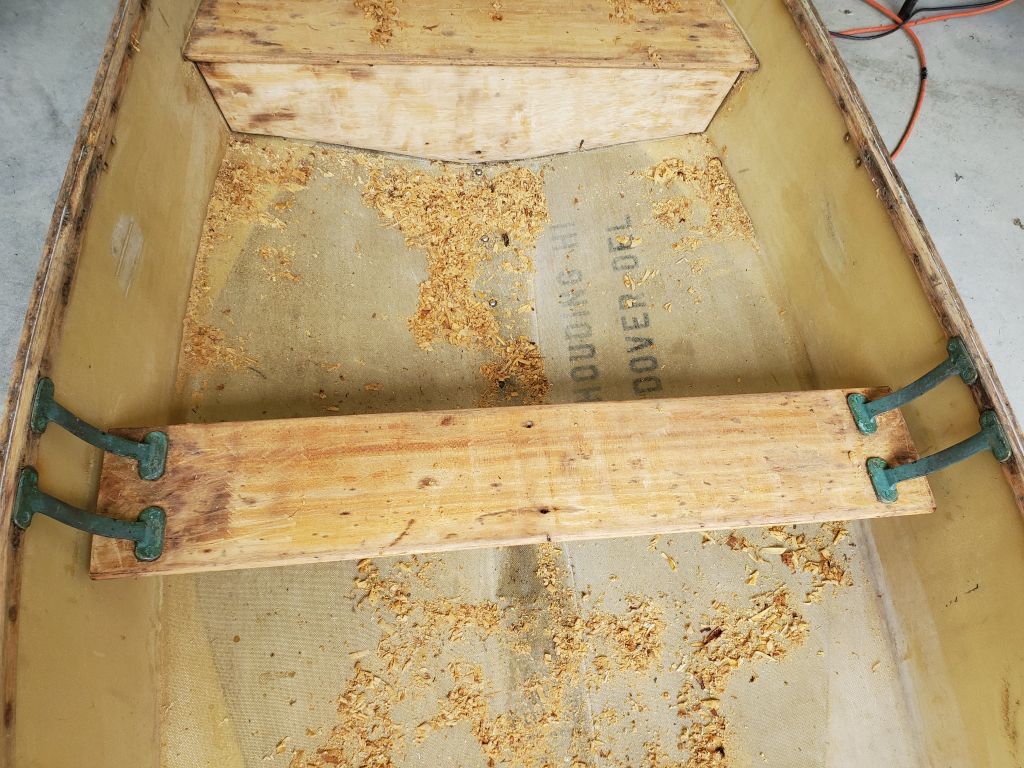
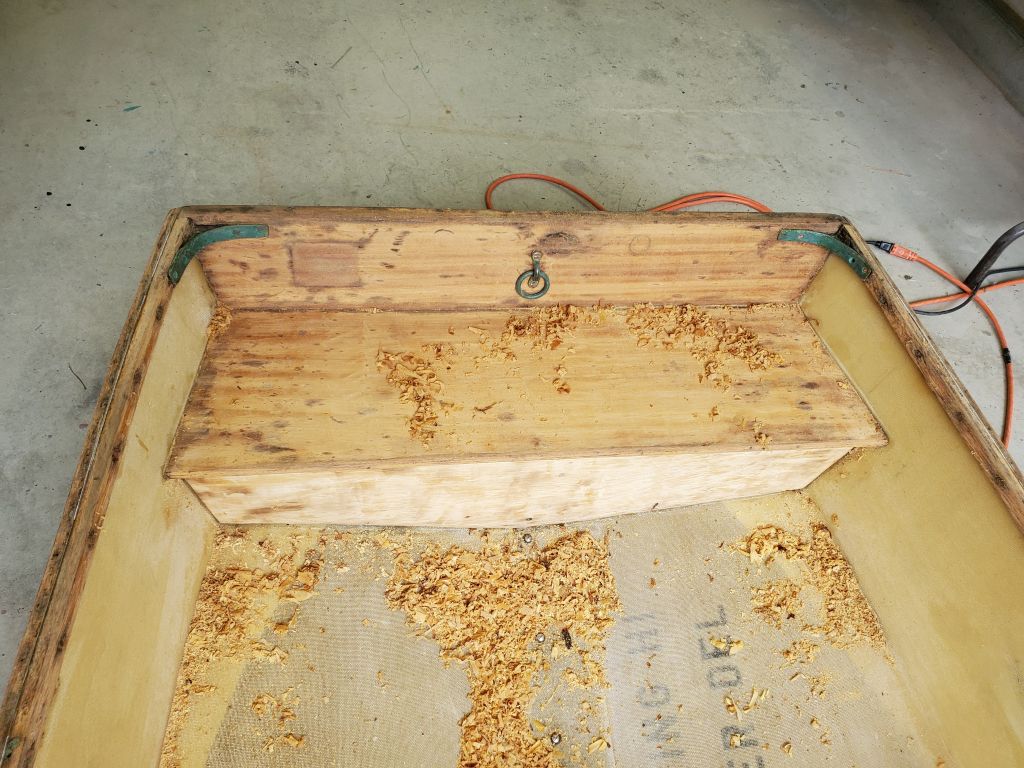
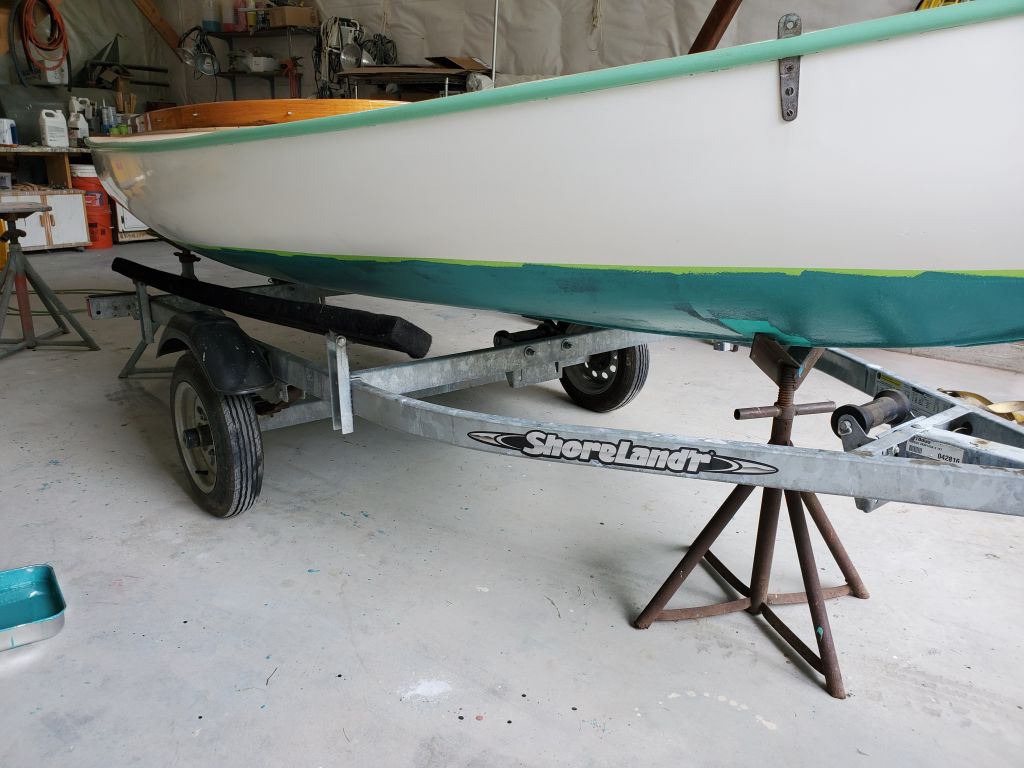
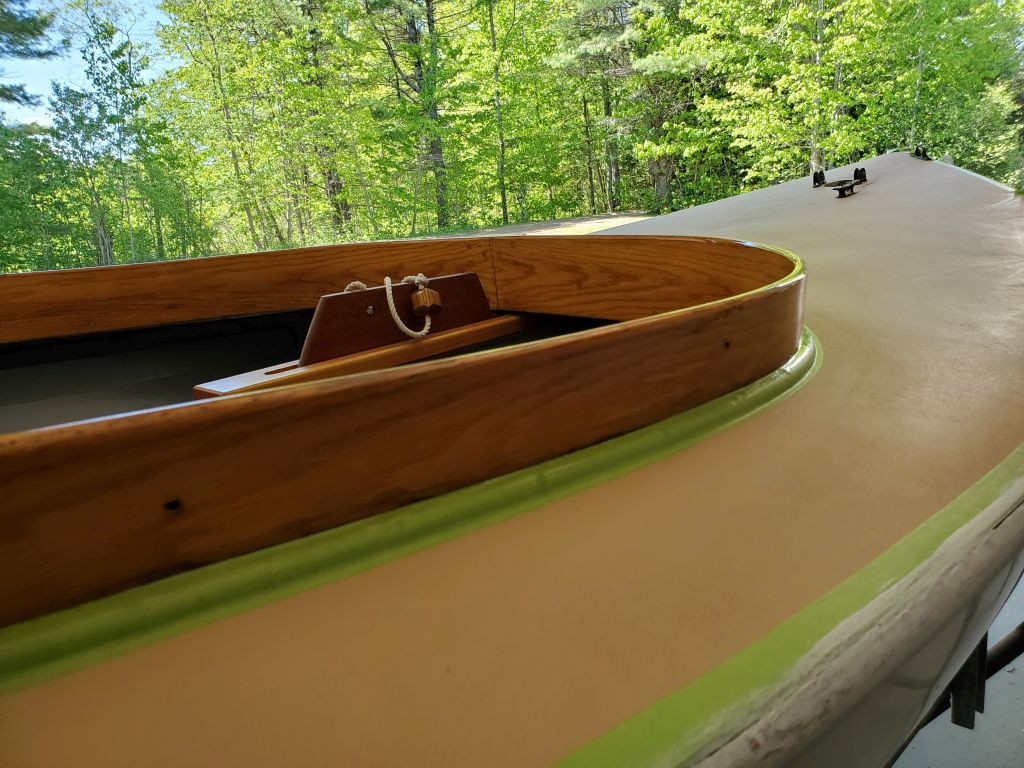
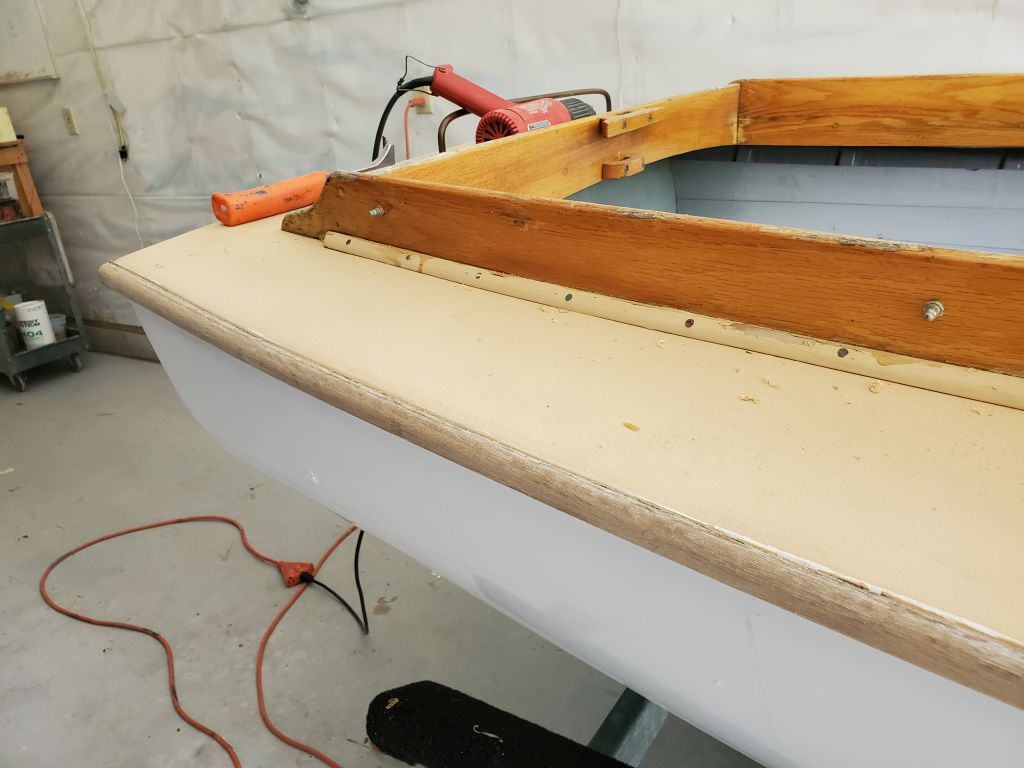
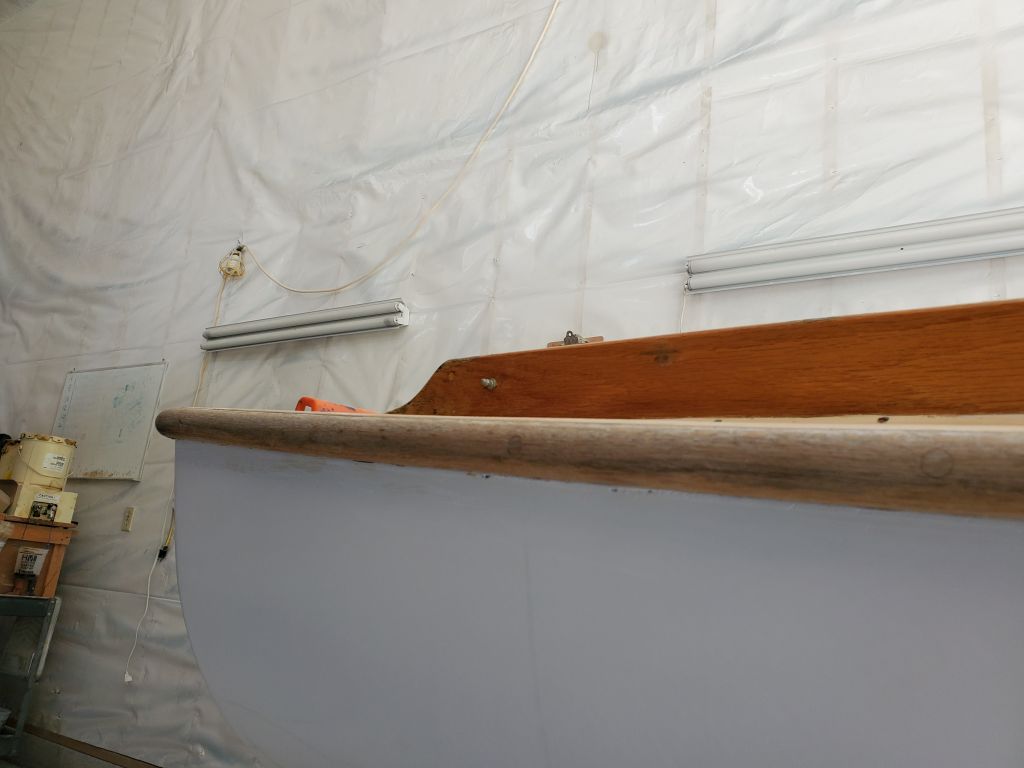
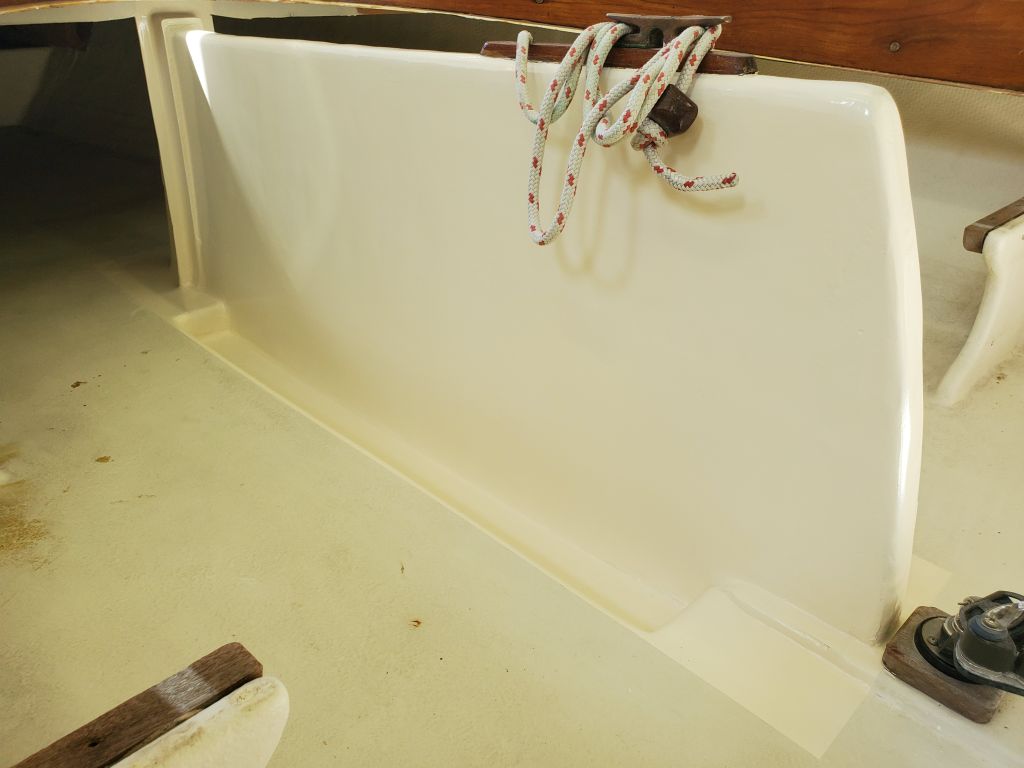
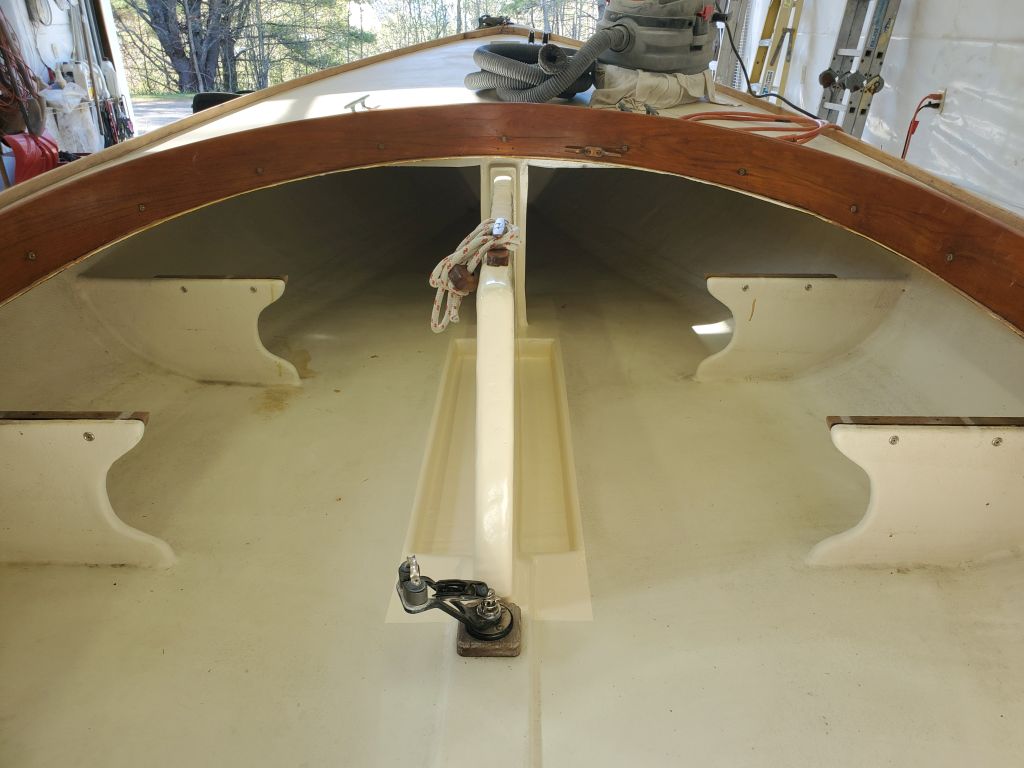
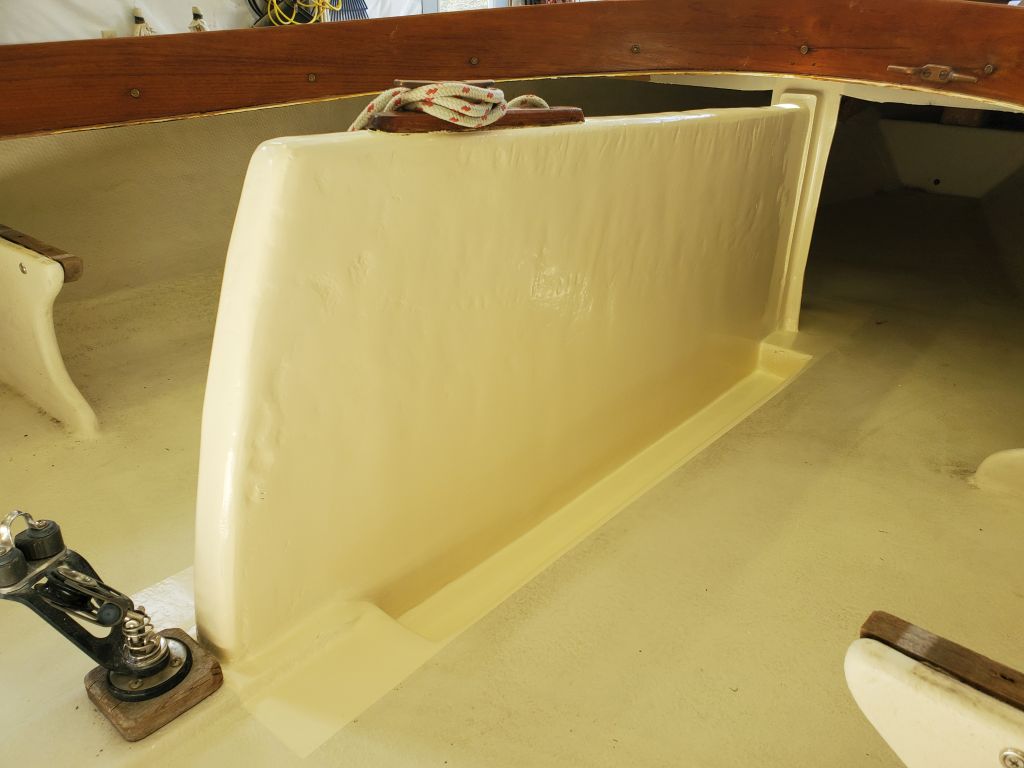
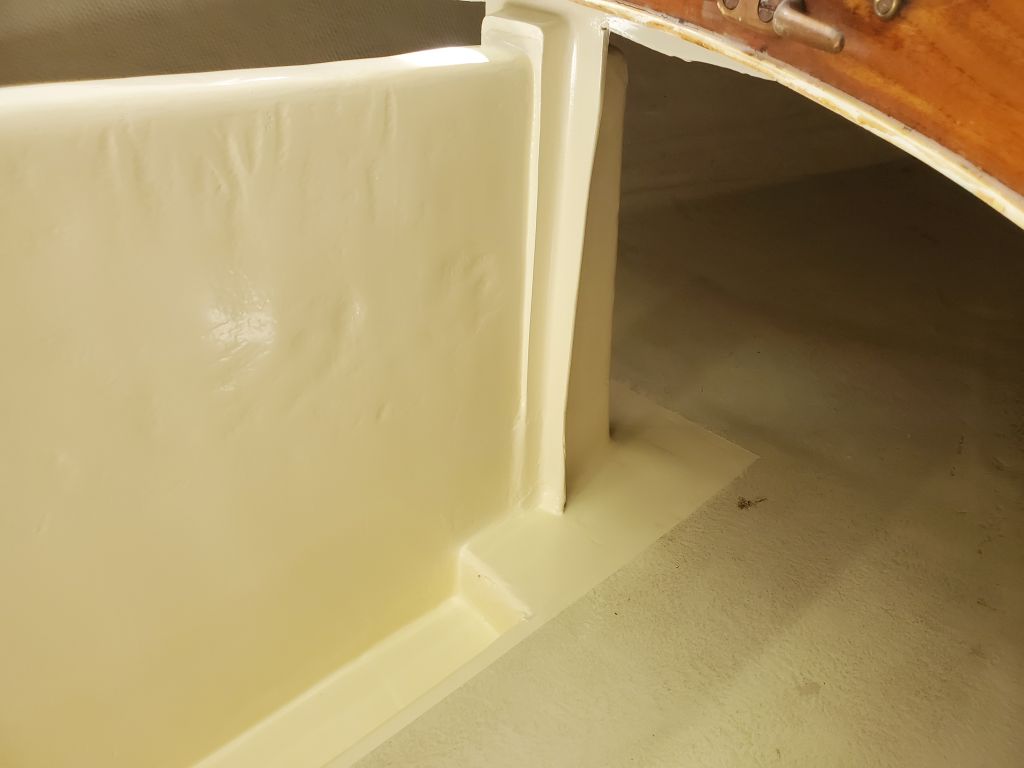
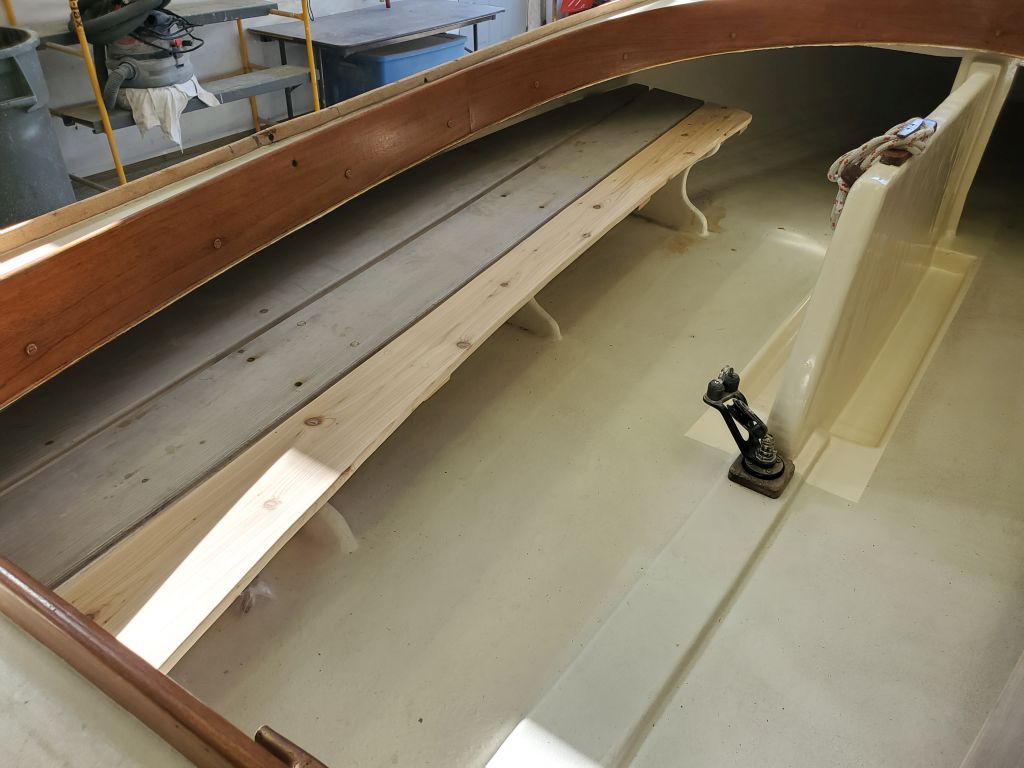
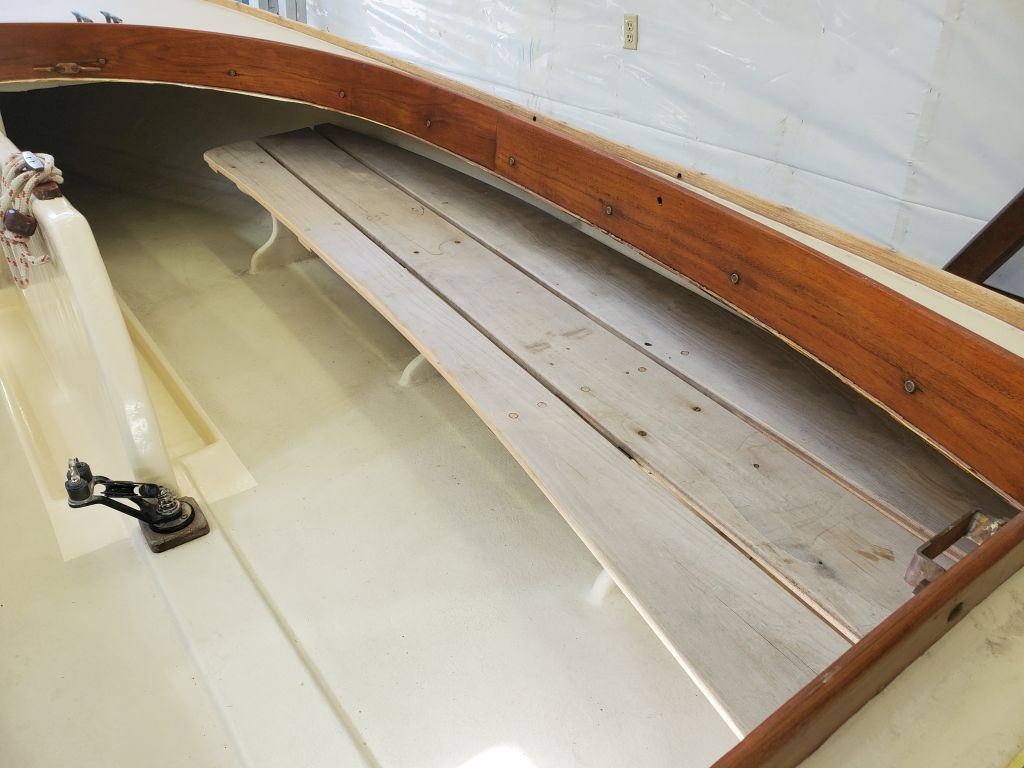
Hoping to remove some of the other hardware before stripping and varnishing the wood, I tried several of the screws, but the old bronze screws were crumbling, and it was clear that there’d be no clean removal of the remaining hardware, so I left things be and planned to work around the hardware instead. I did remove the vertical plywood support from beneath the center thwart, as this would make it much easier to clean up and refinish this part separately. I did have to carefully drill out the screw heads in order to remove this piece, but it seemed worthwhile to make working on the semi-hidden piece more straightforward.
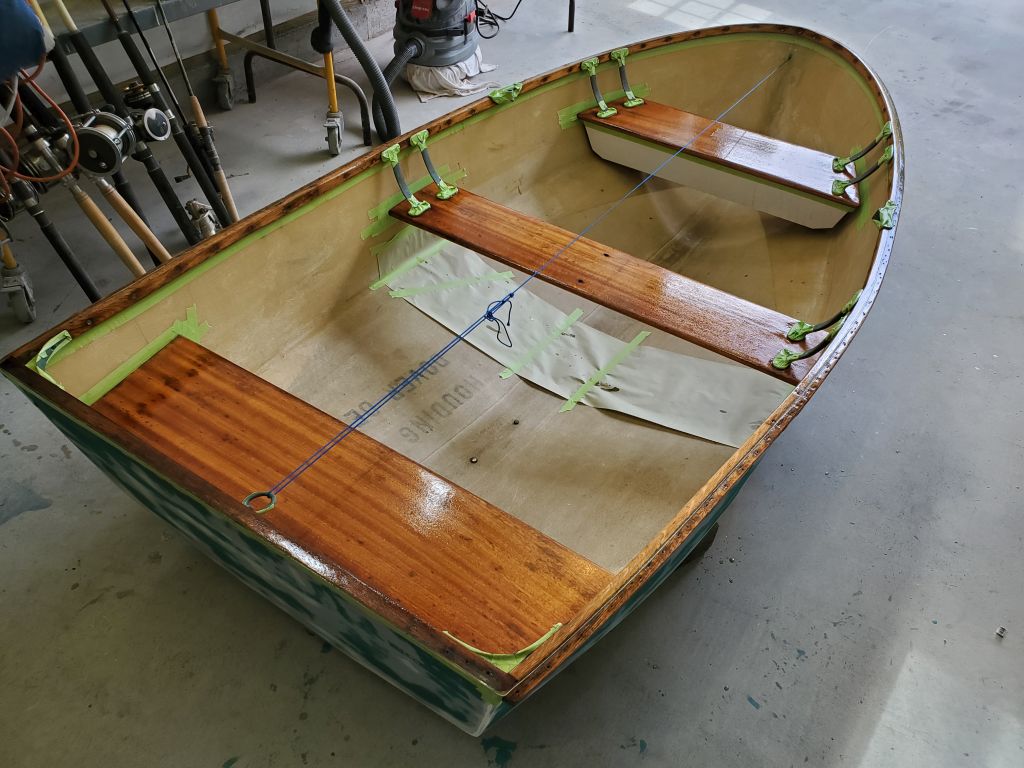
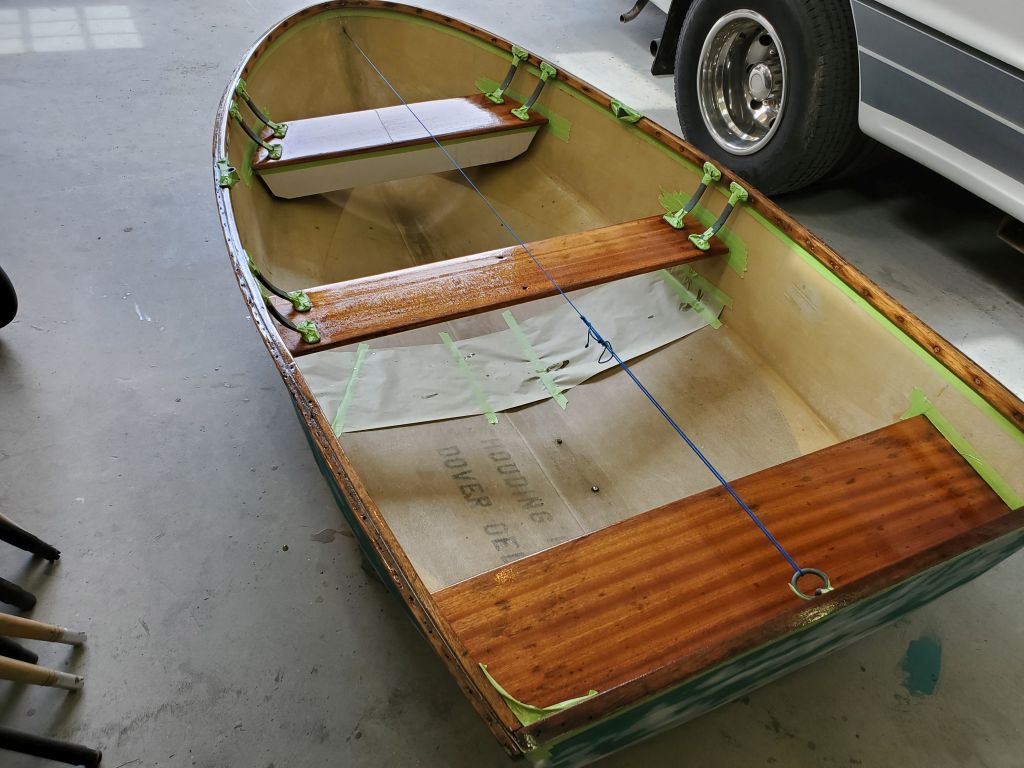
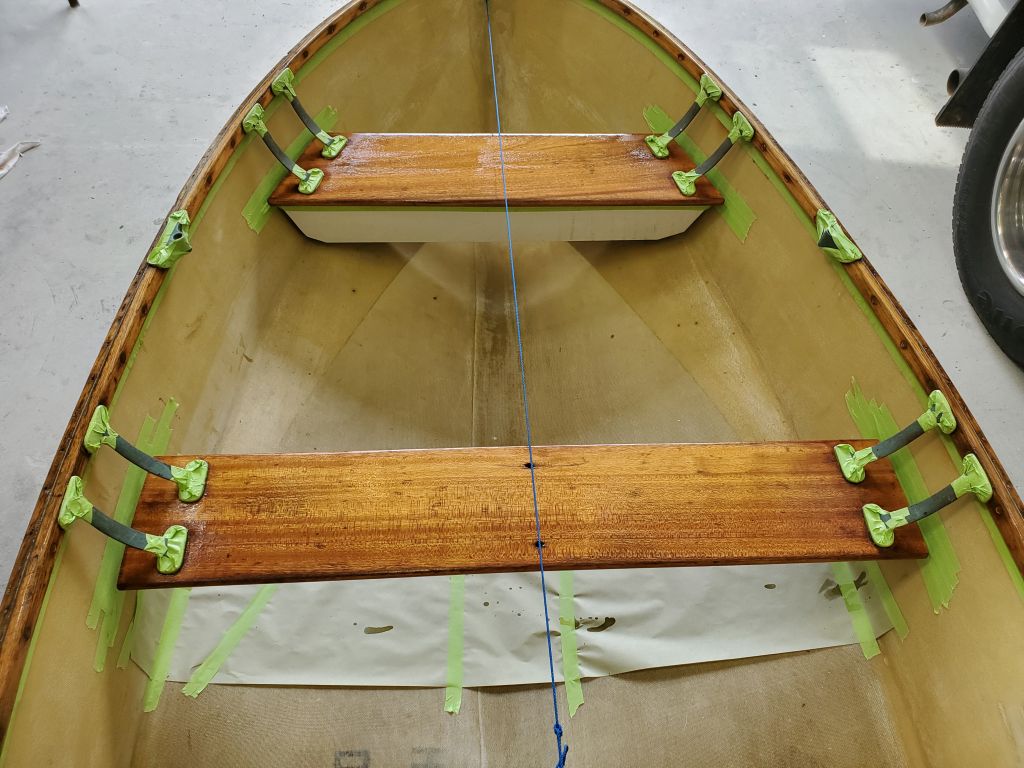
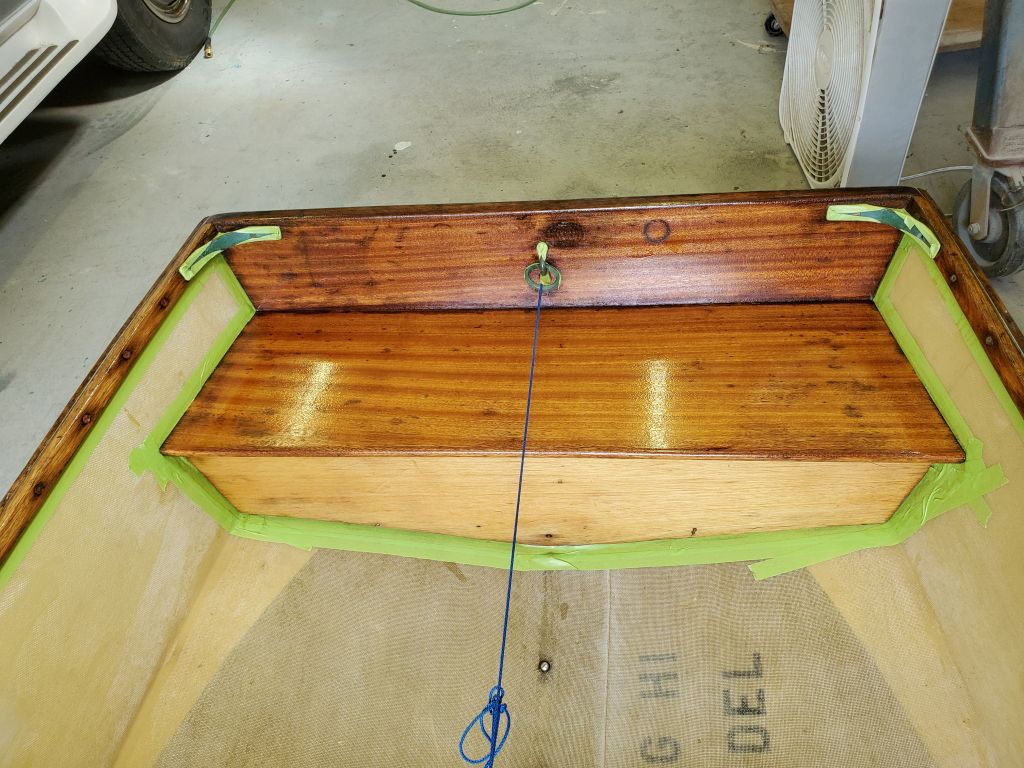
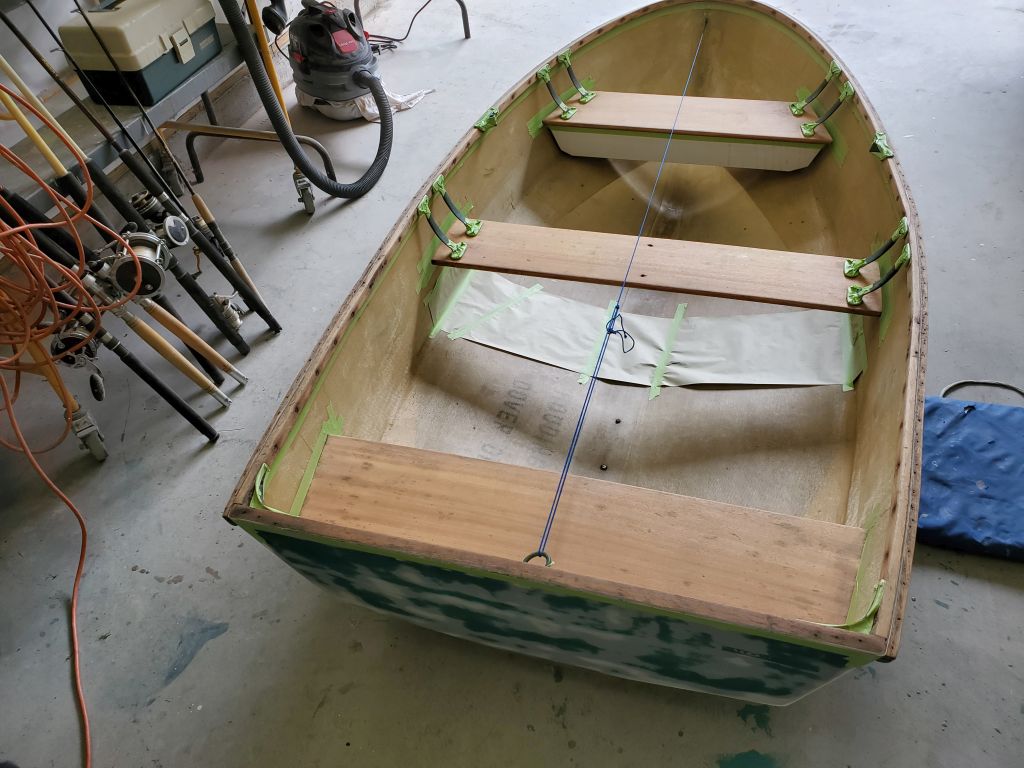
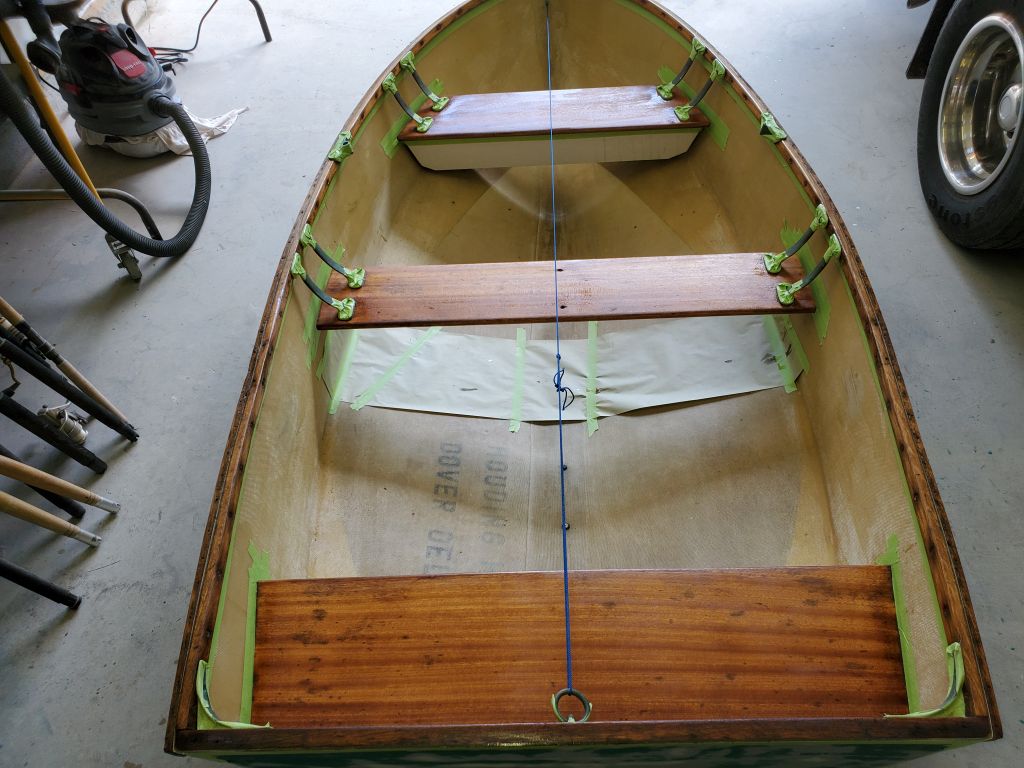
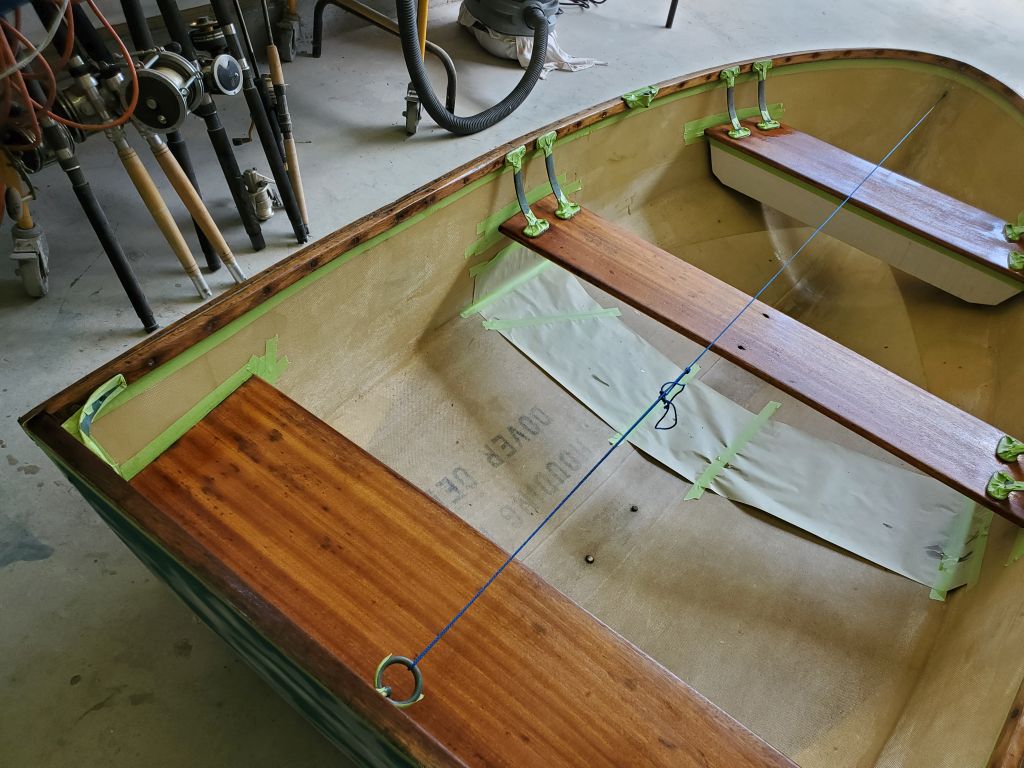
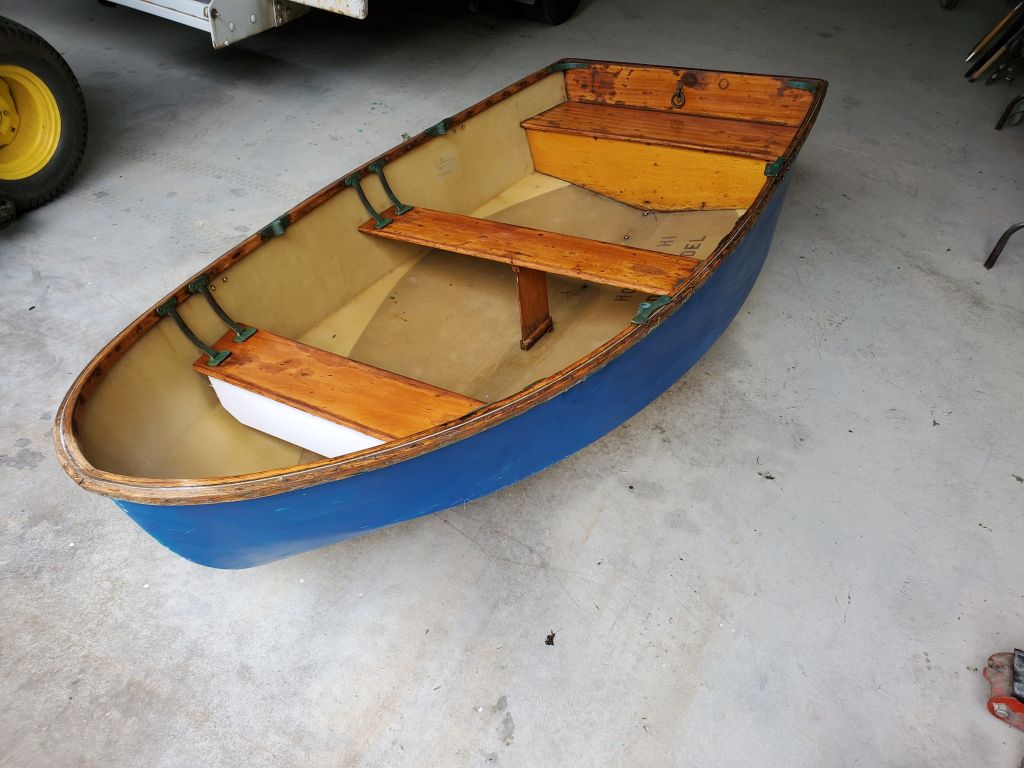
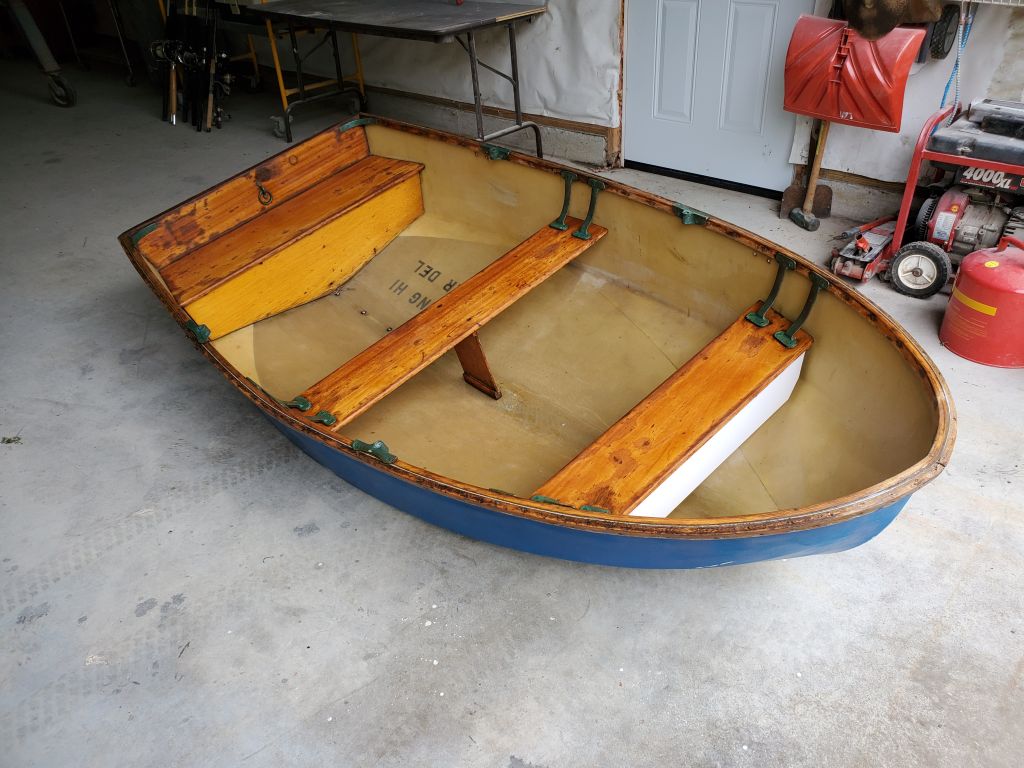
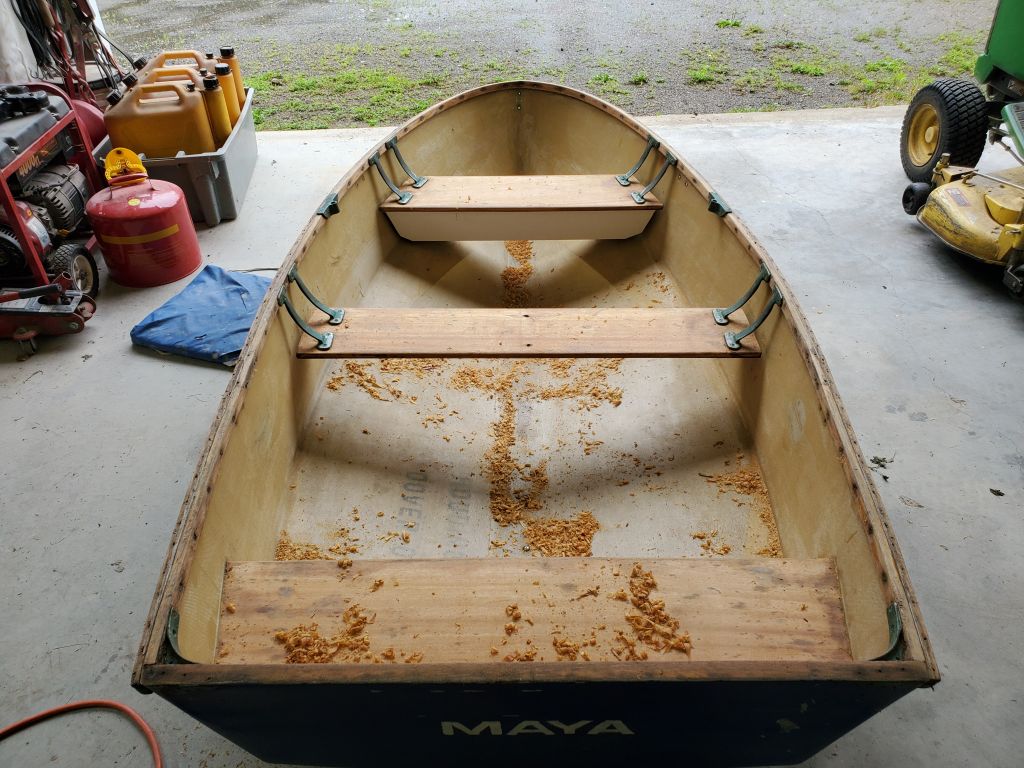
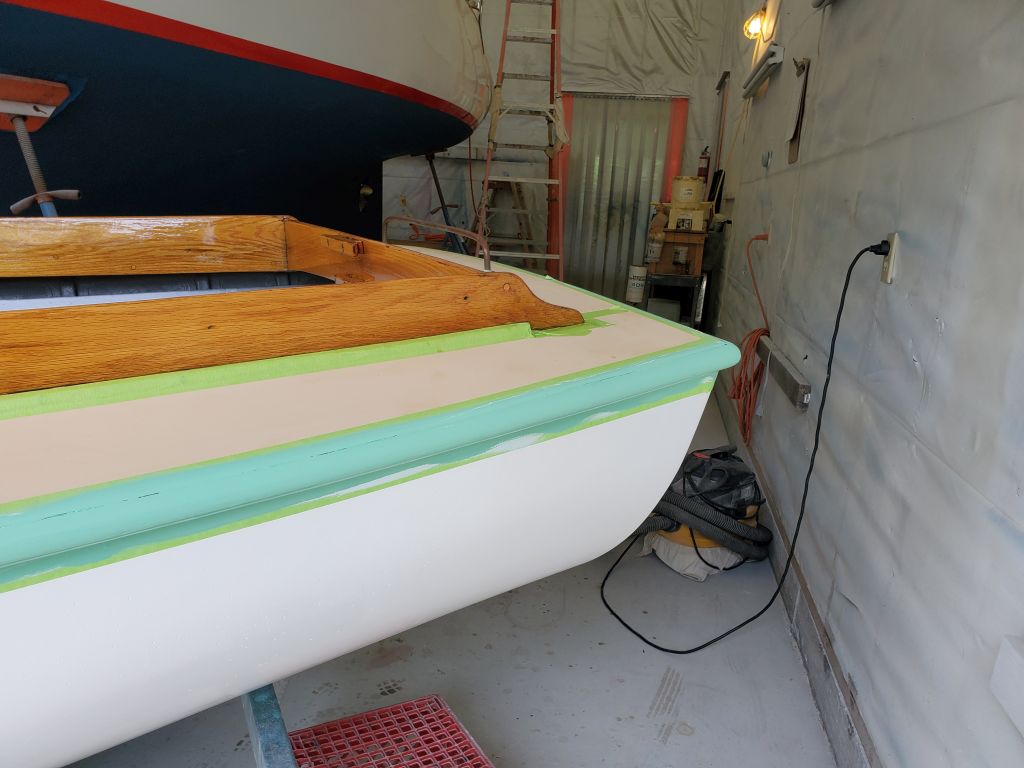
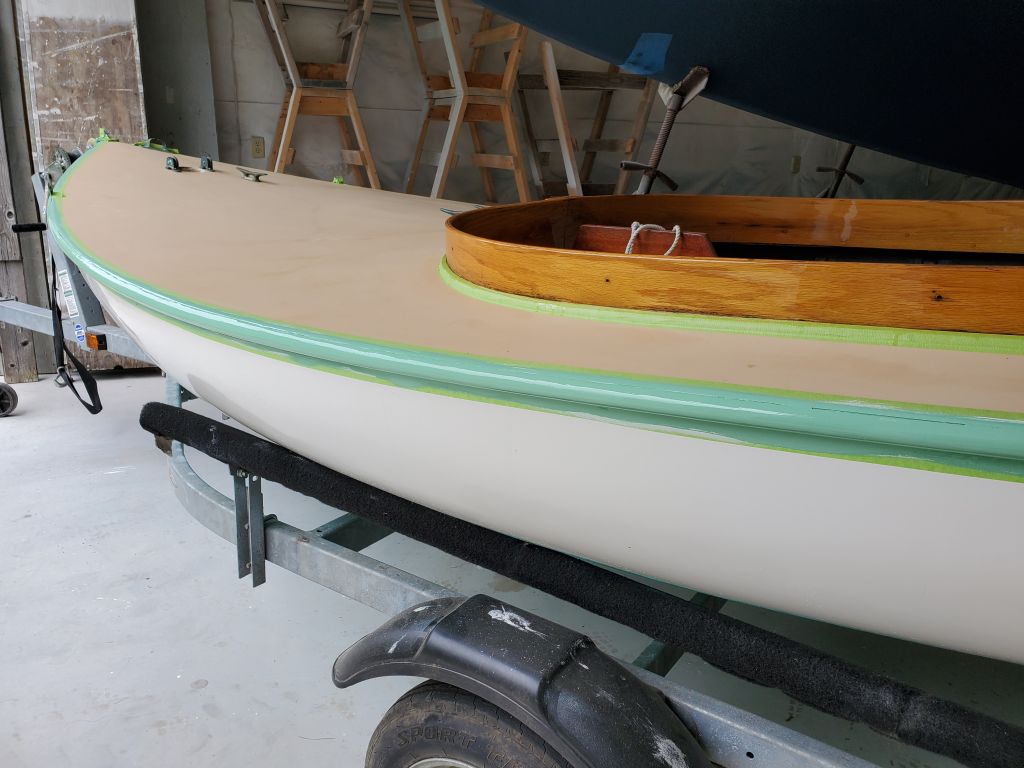
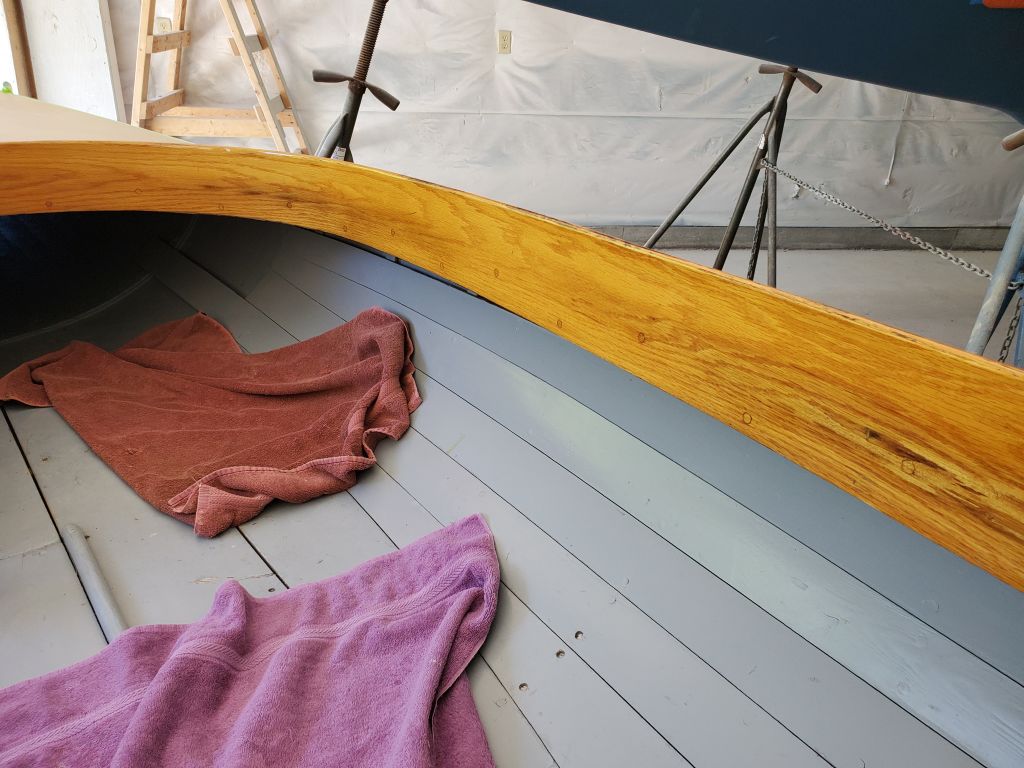
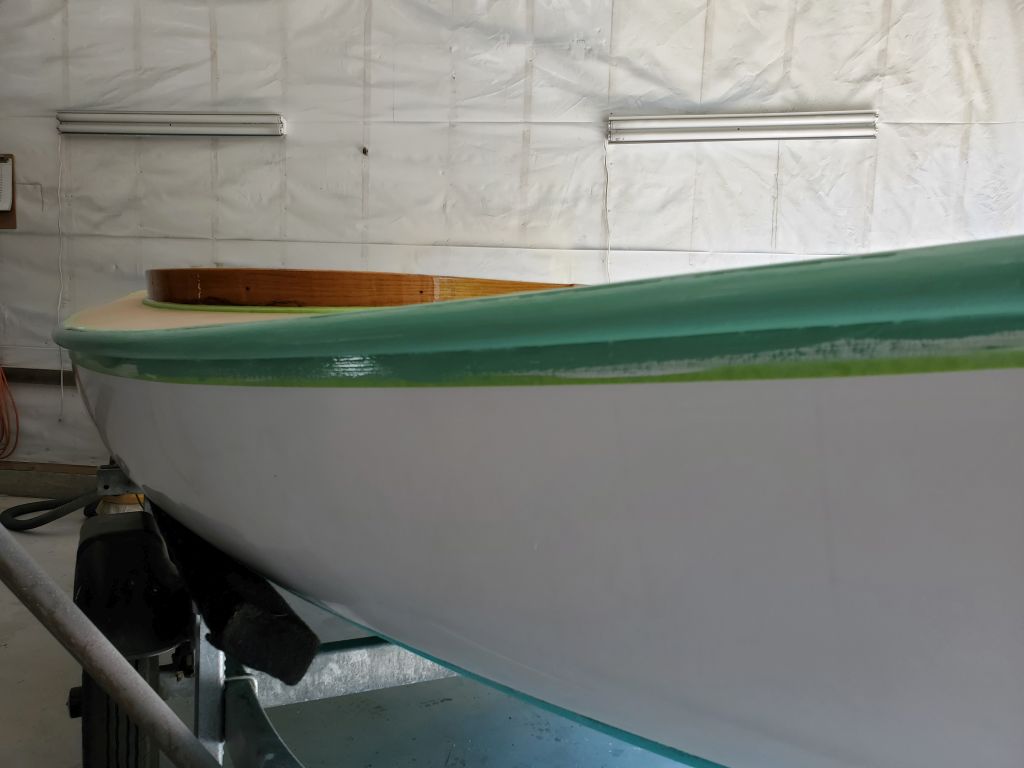
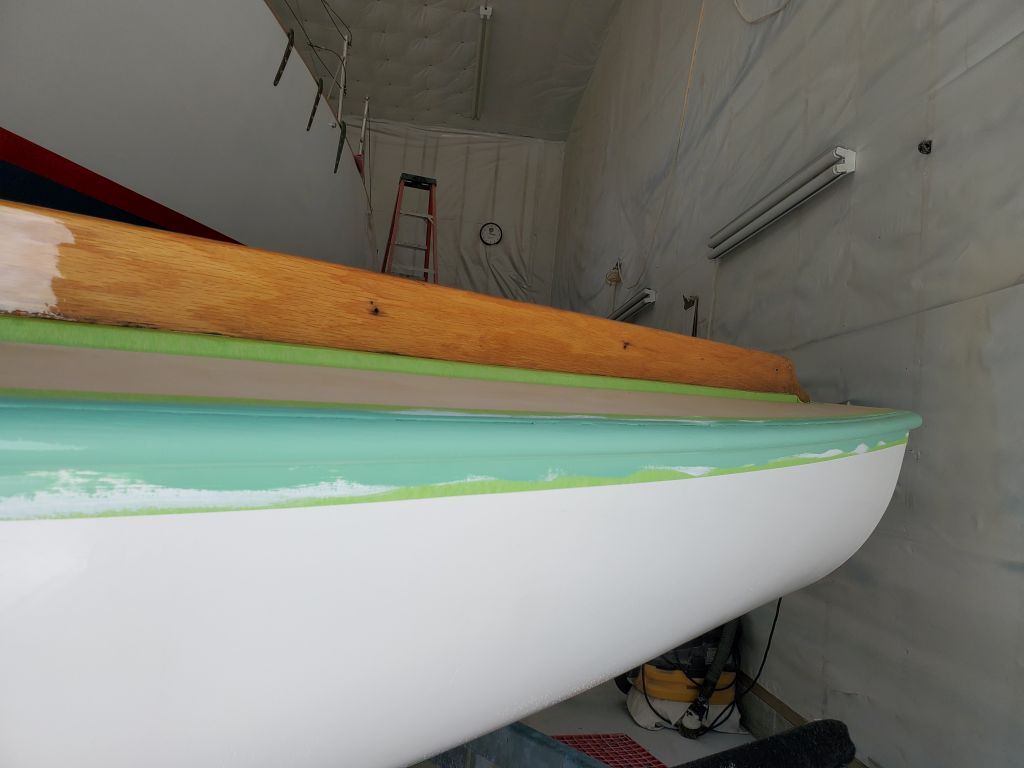
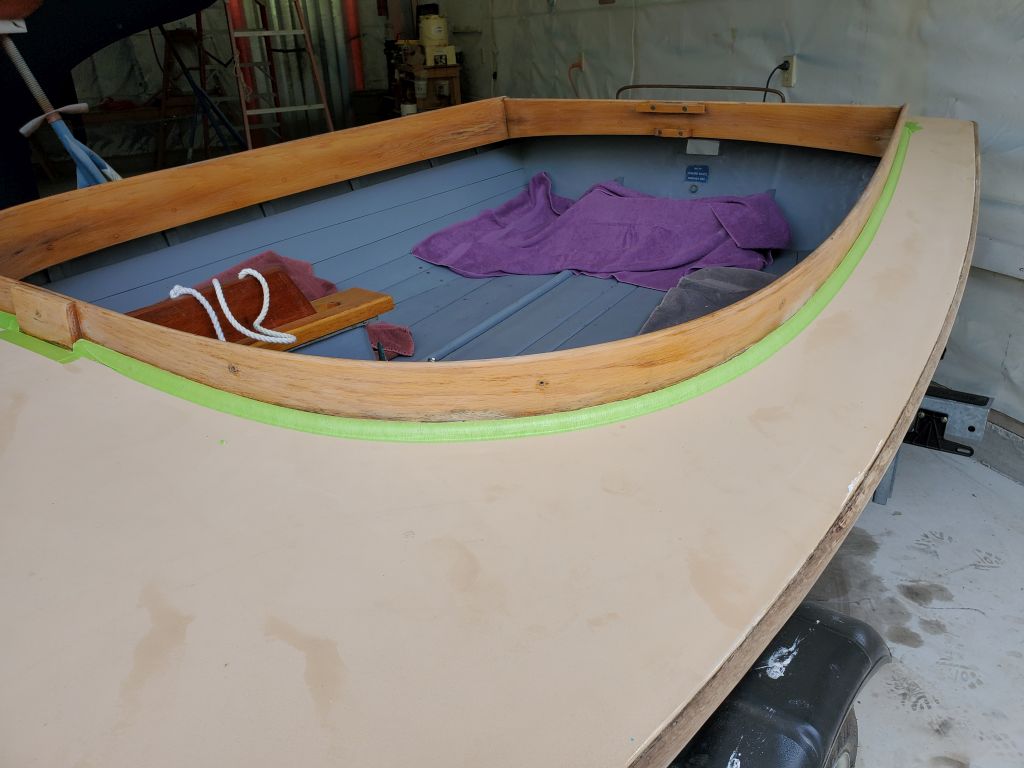
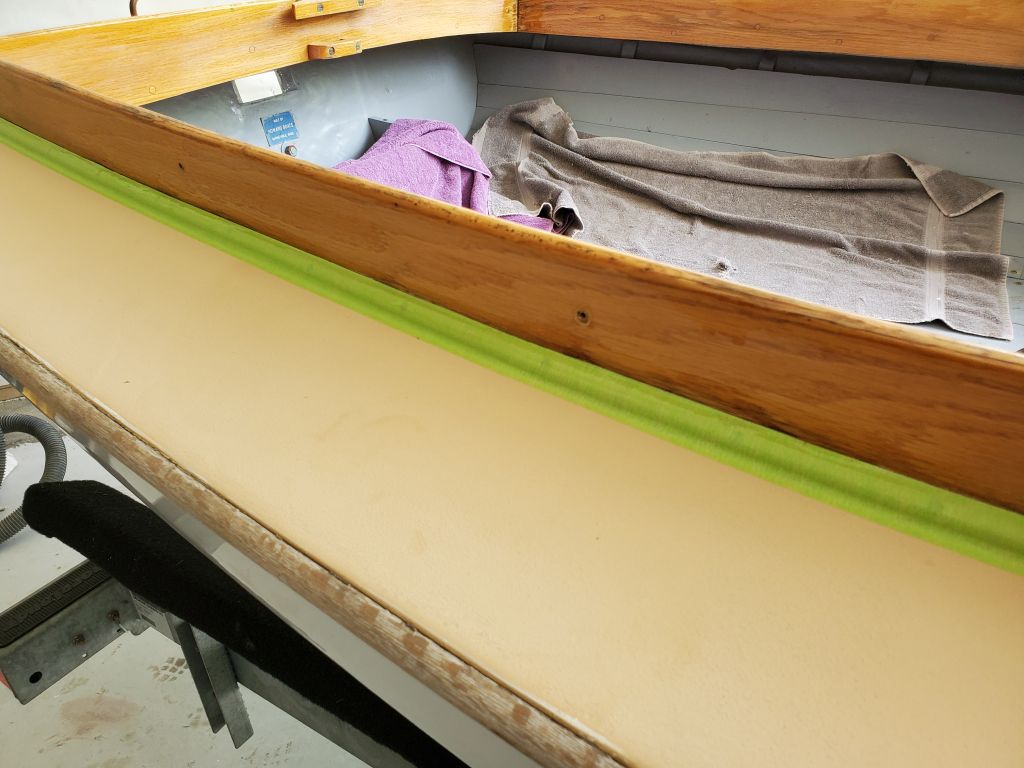
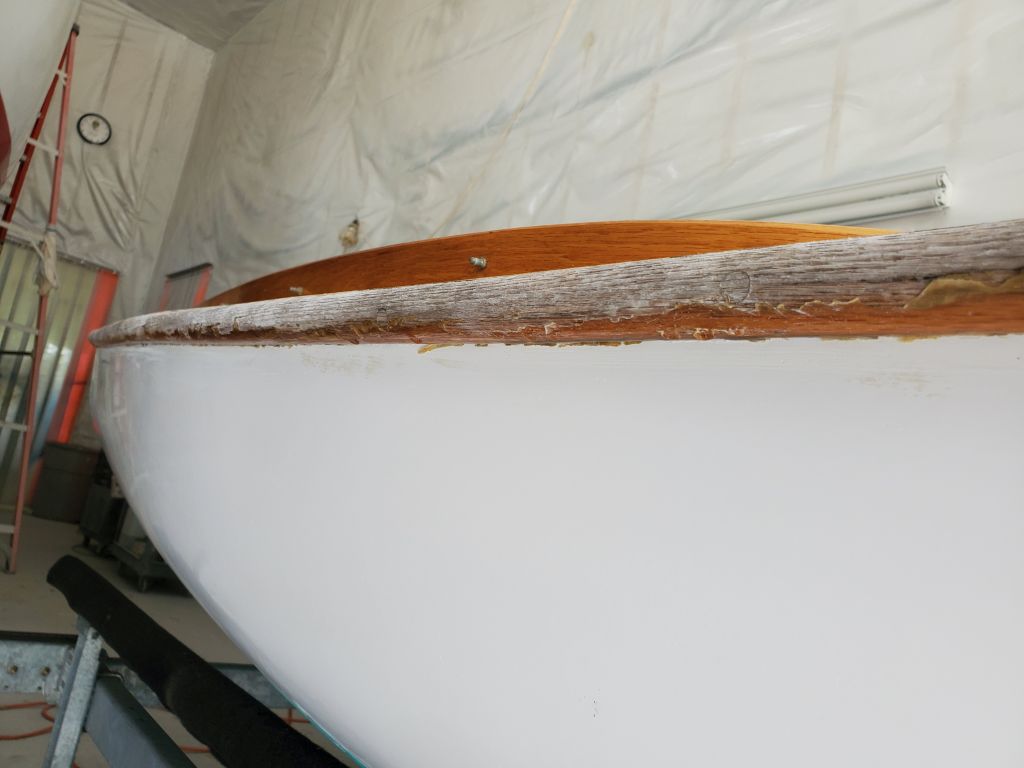
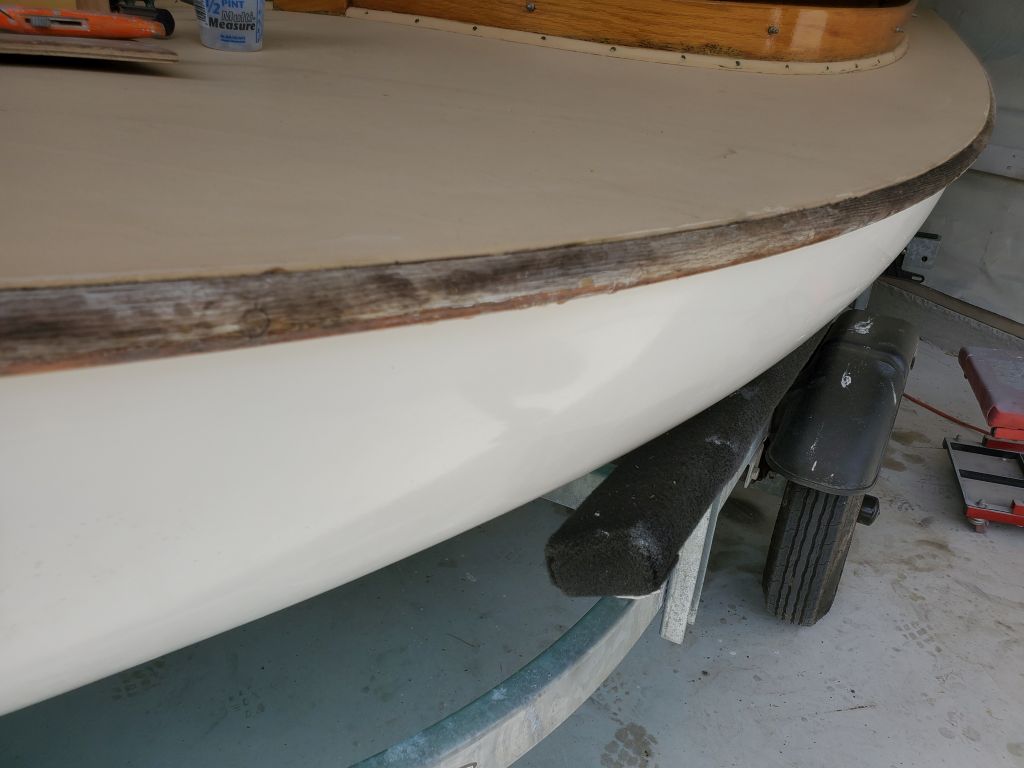
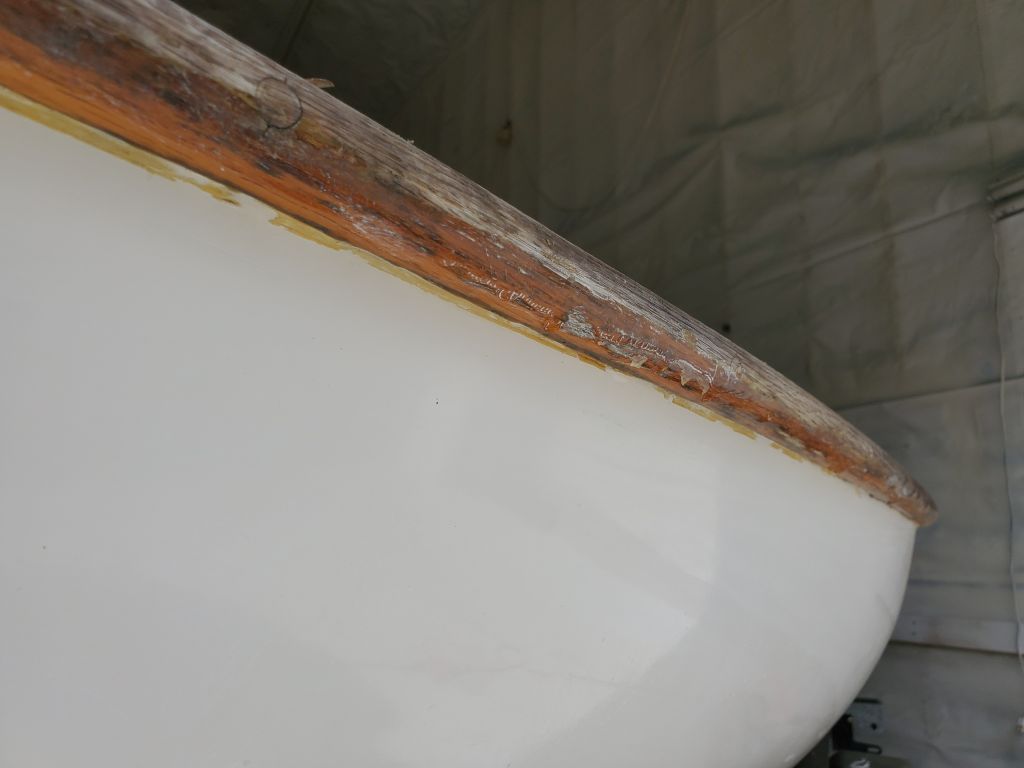
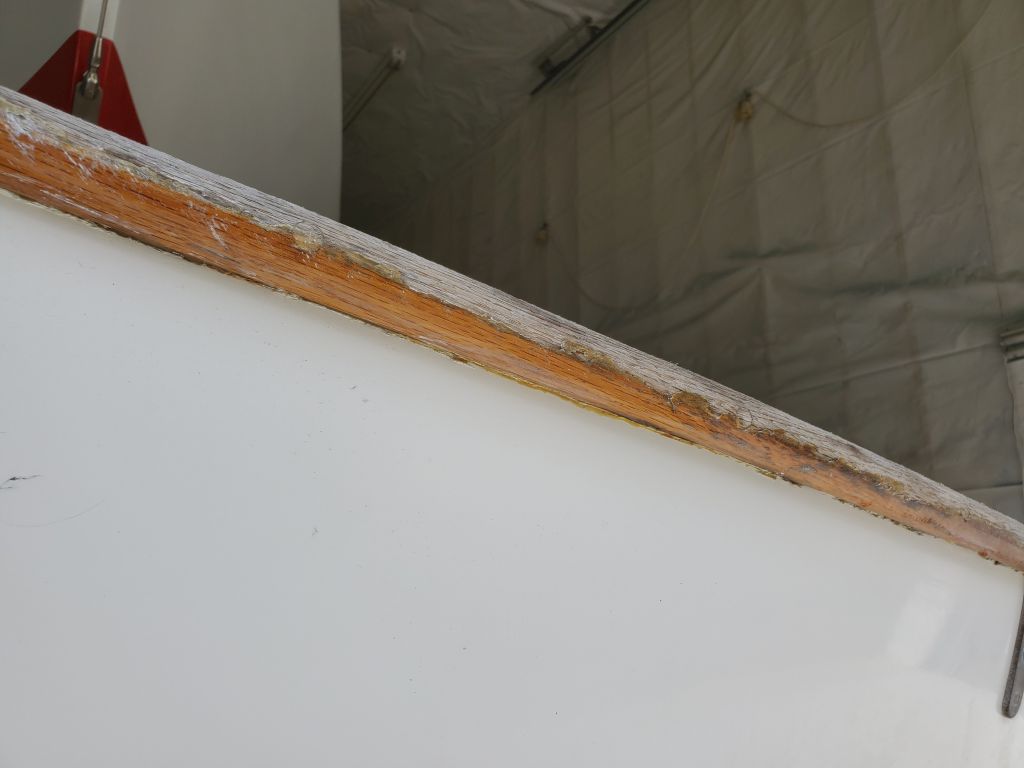
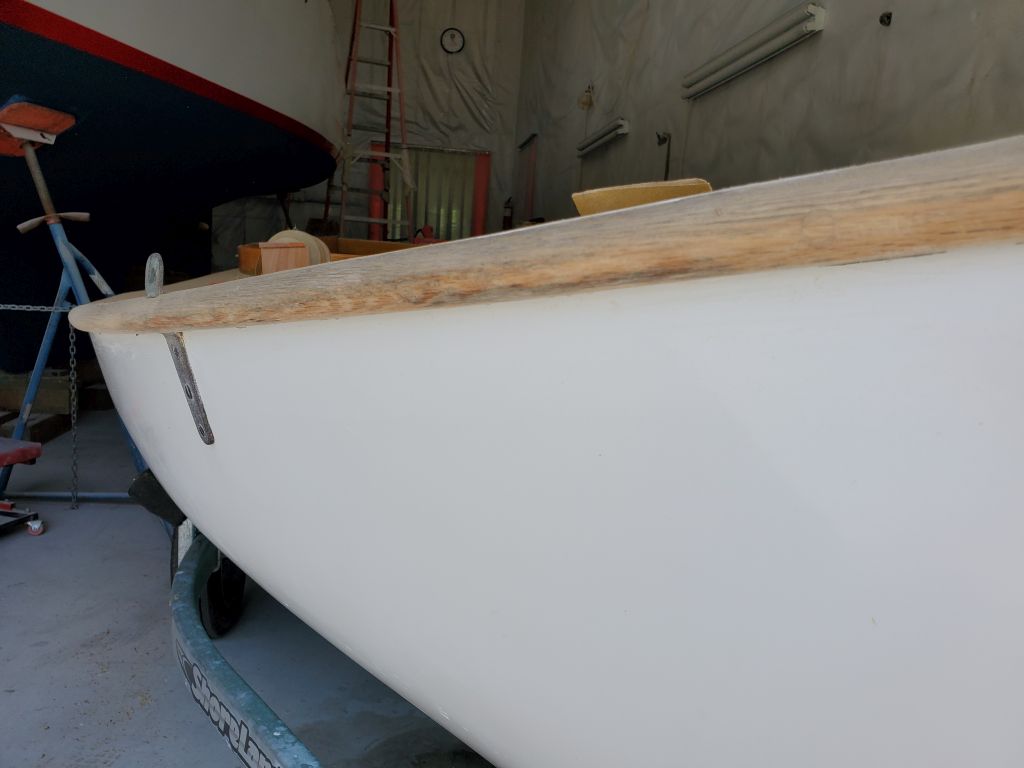
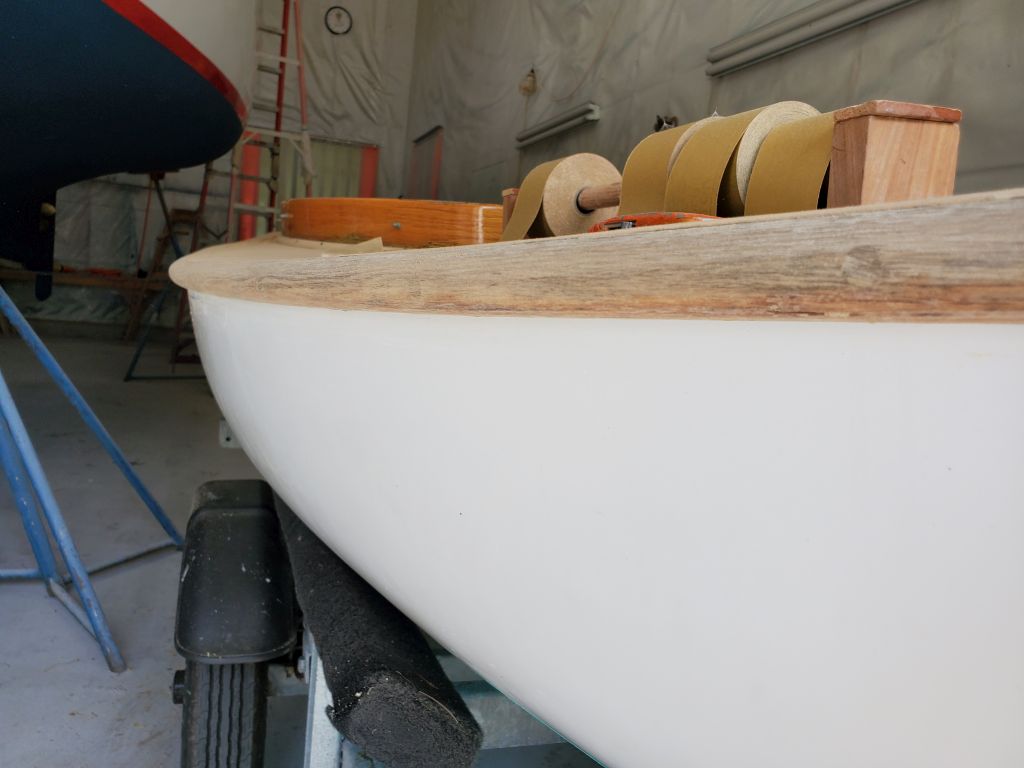
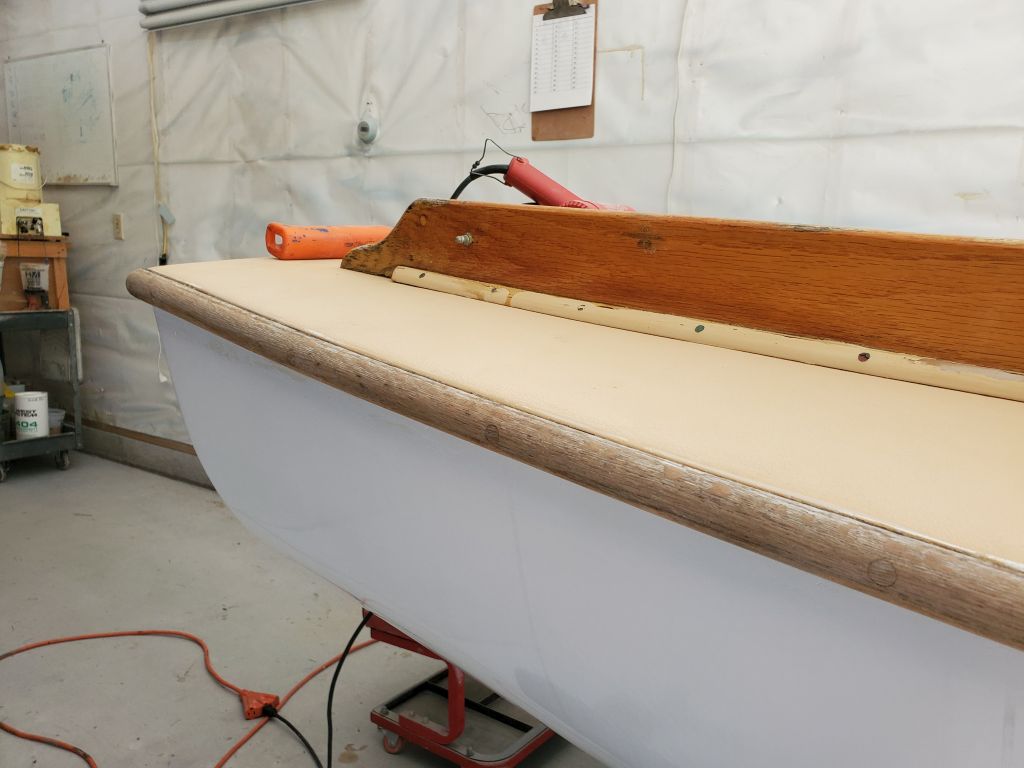
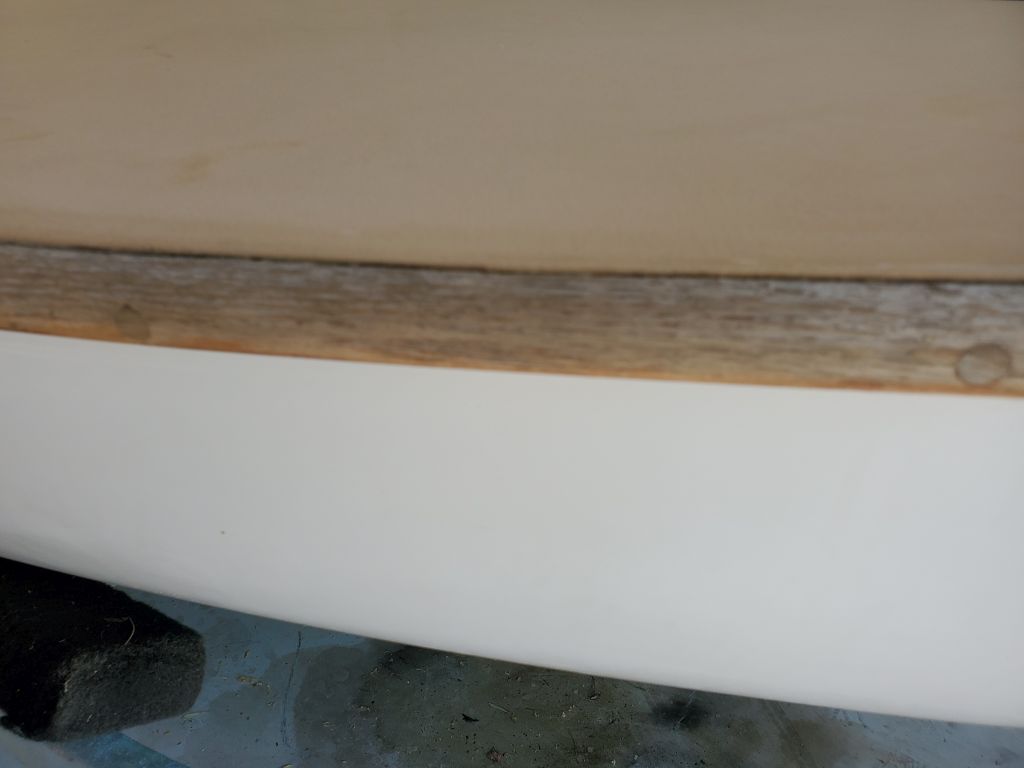
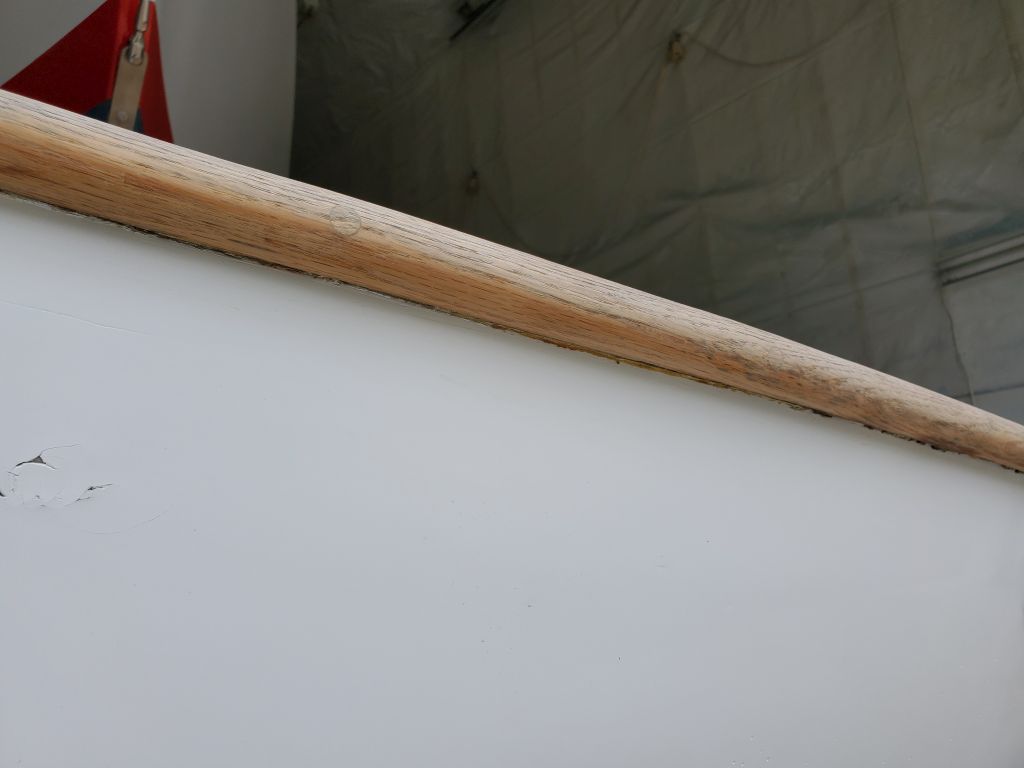
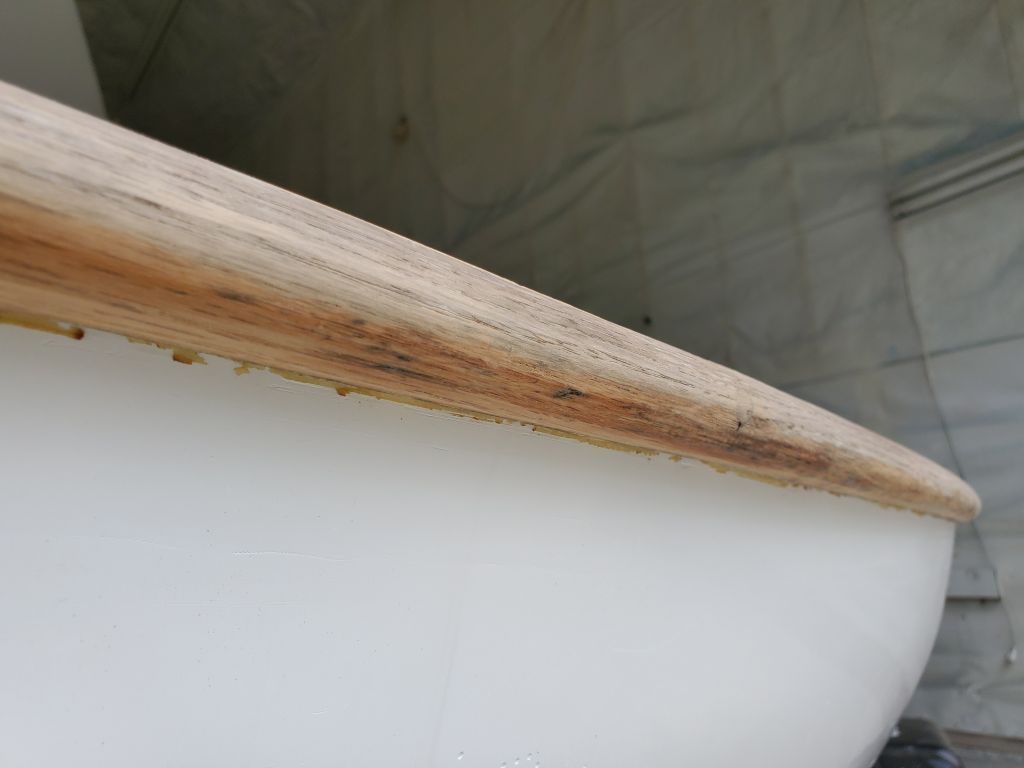
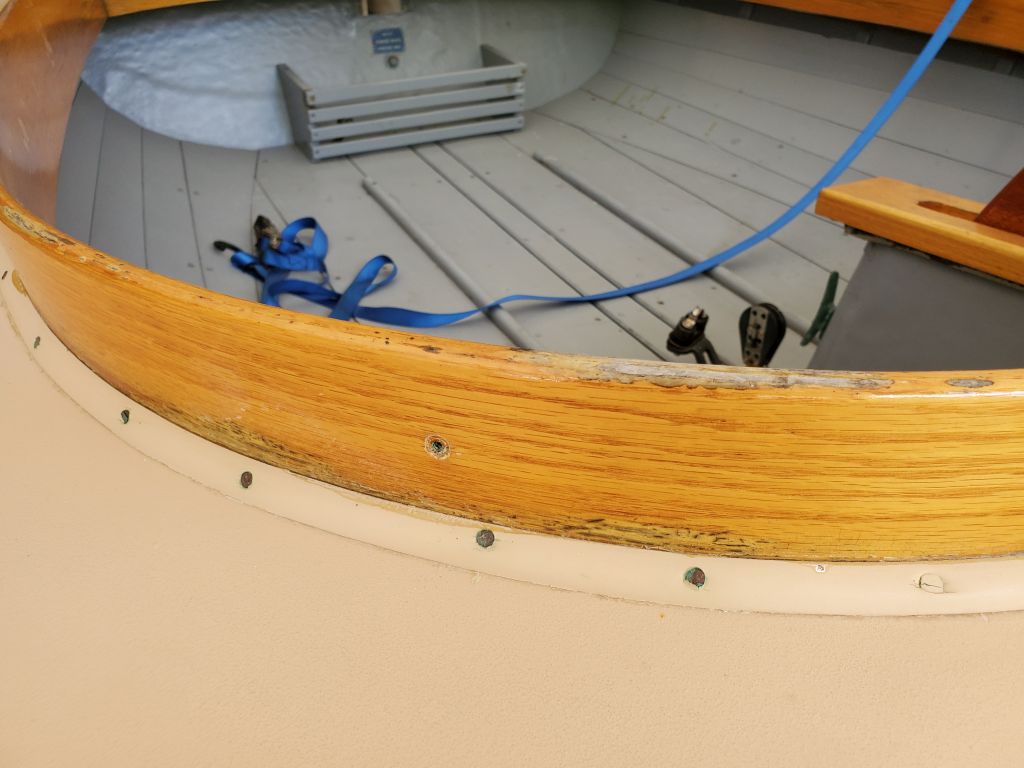
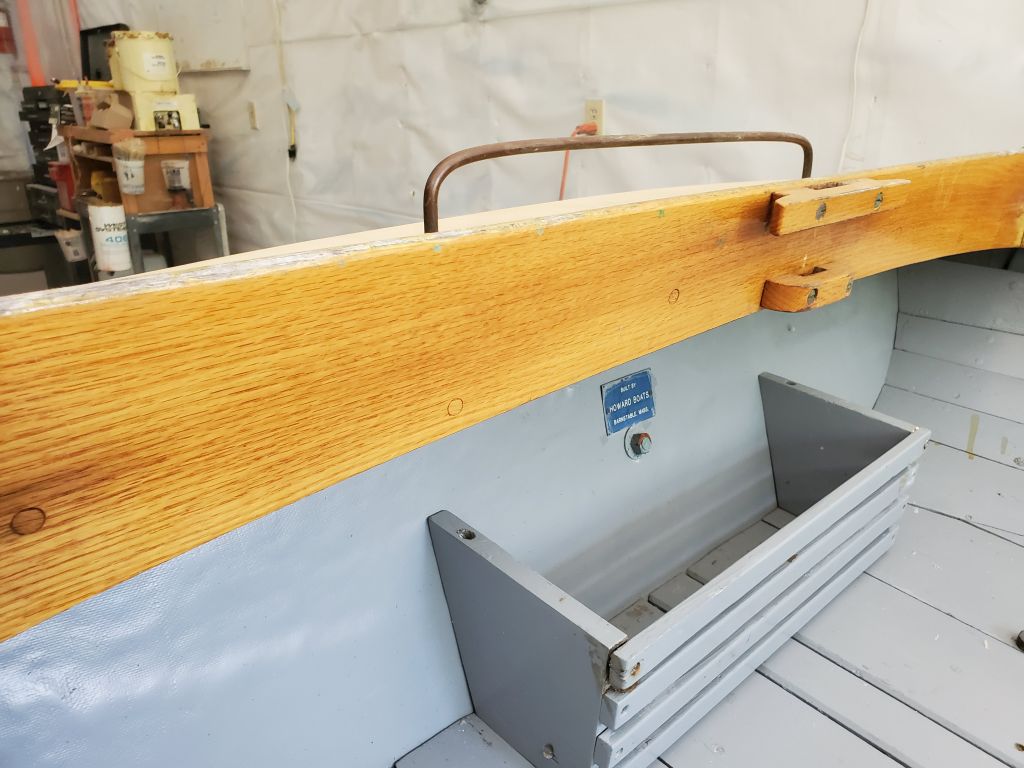
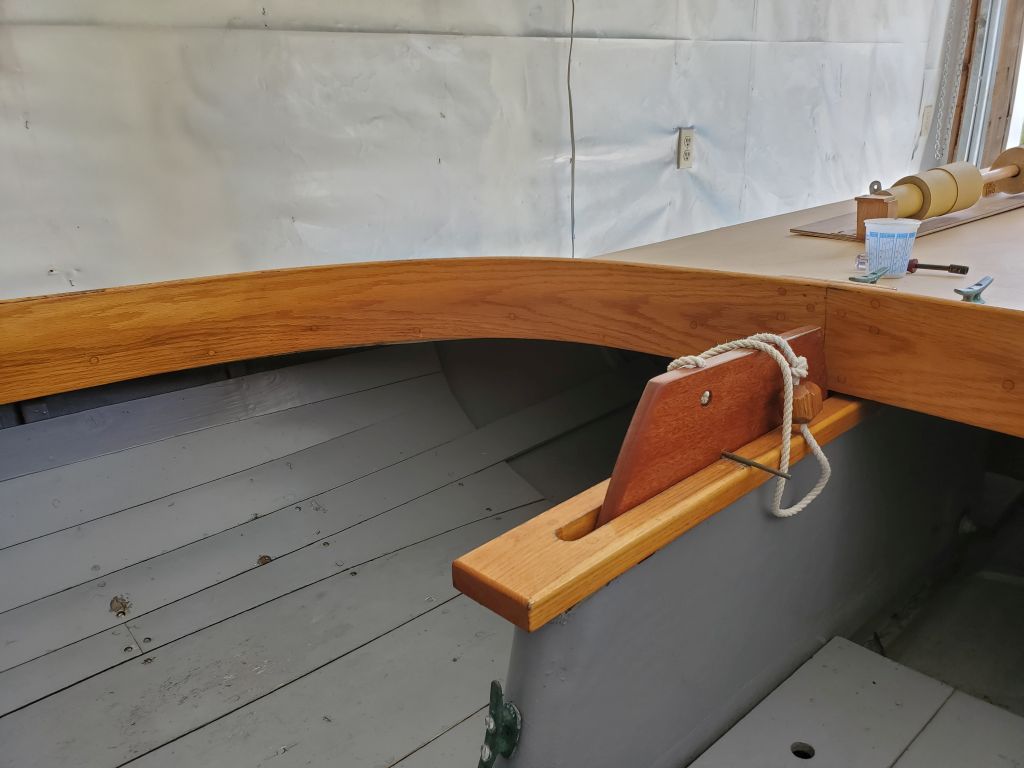
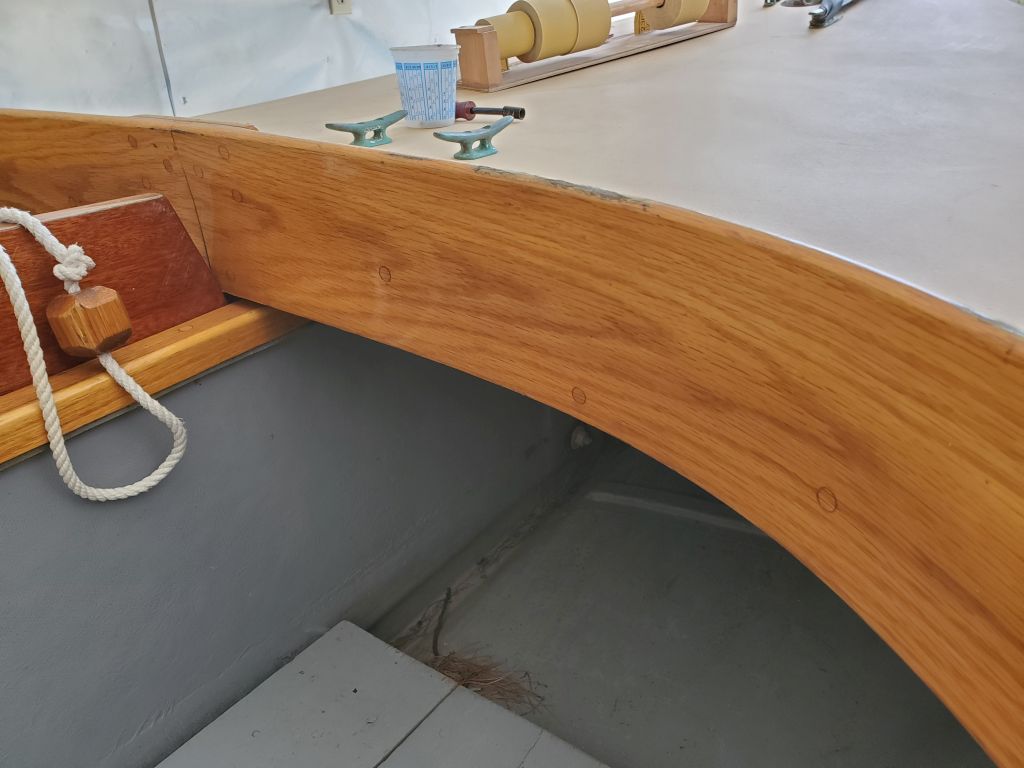
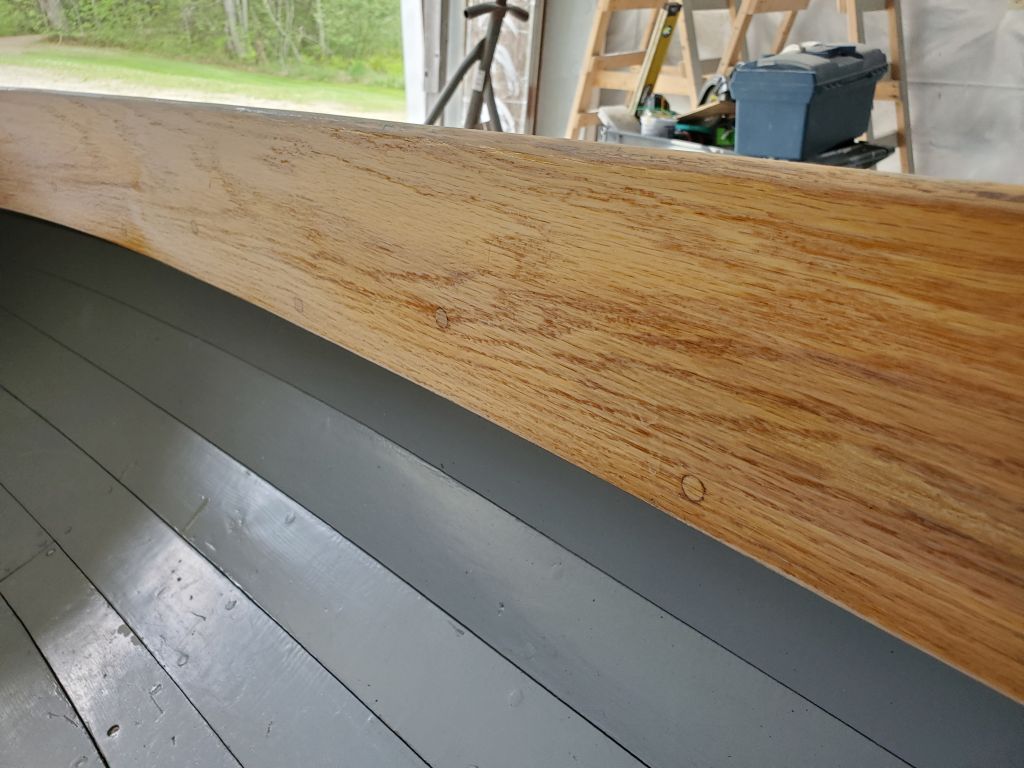
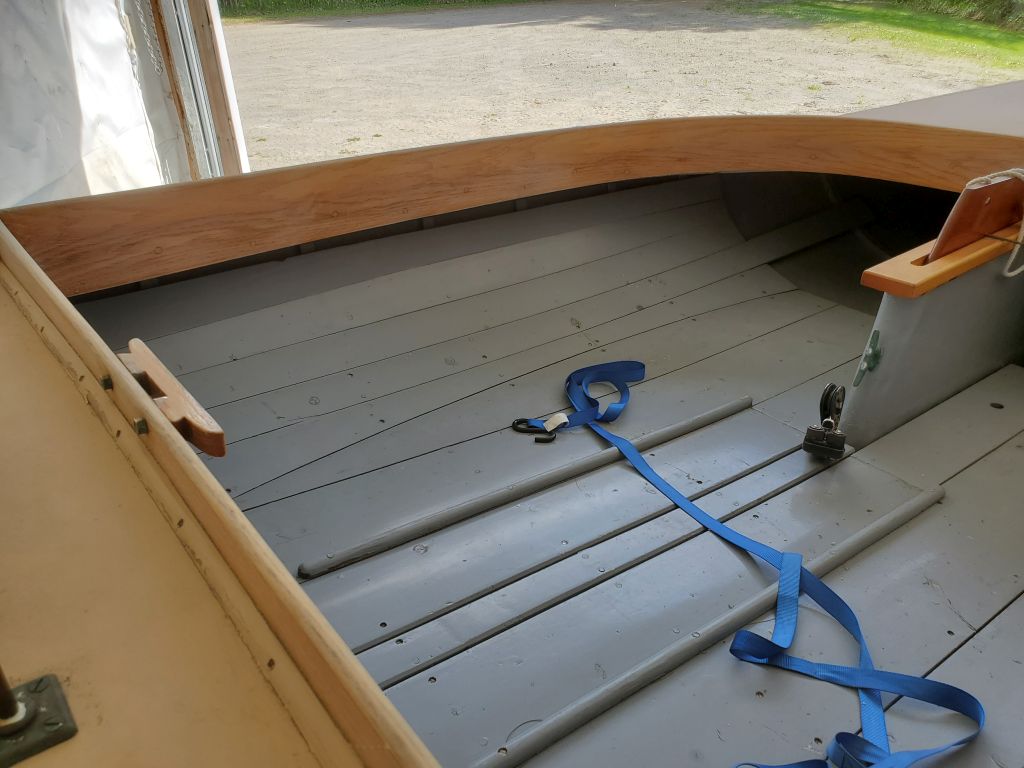
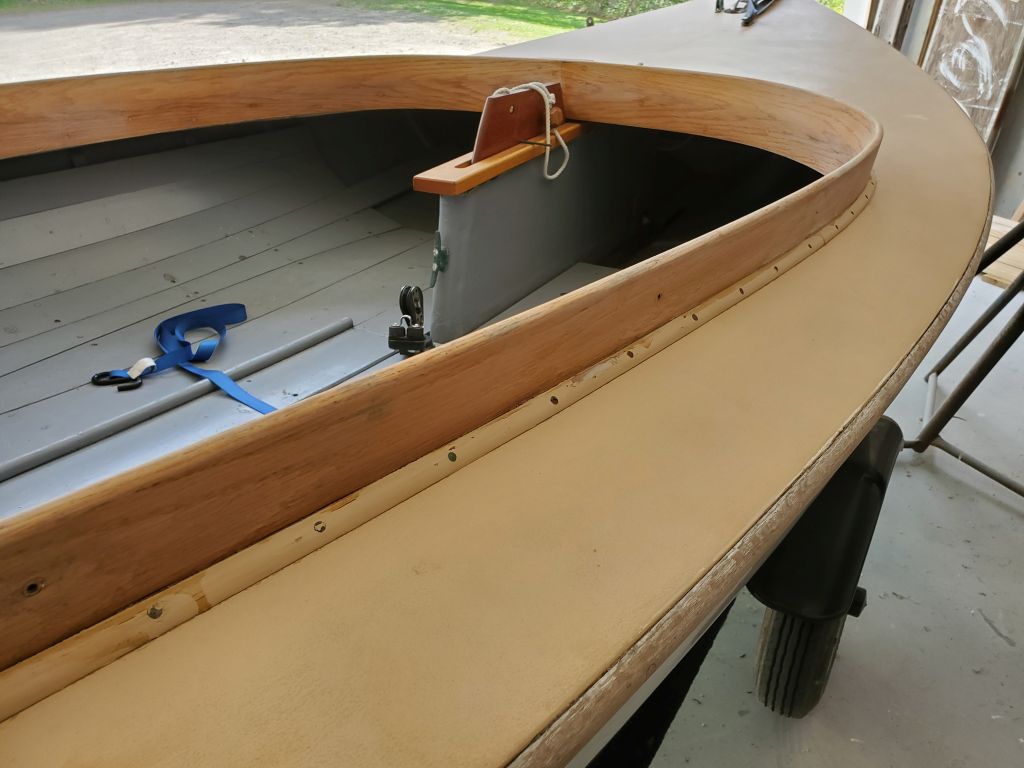
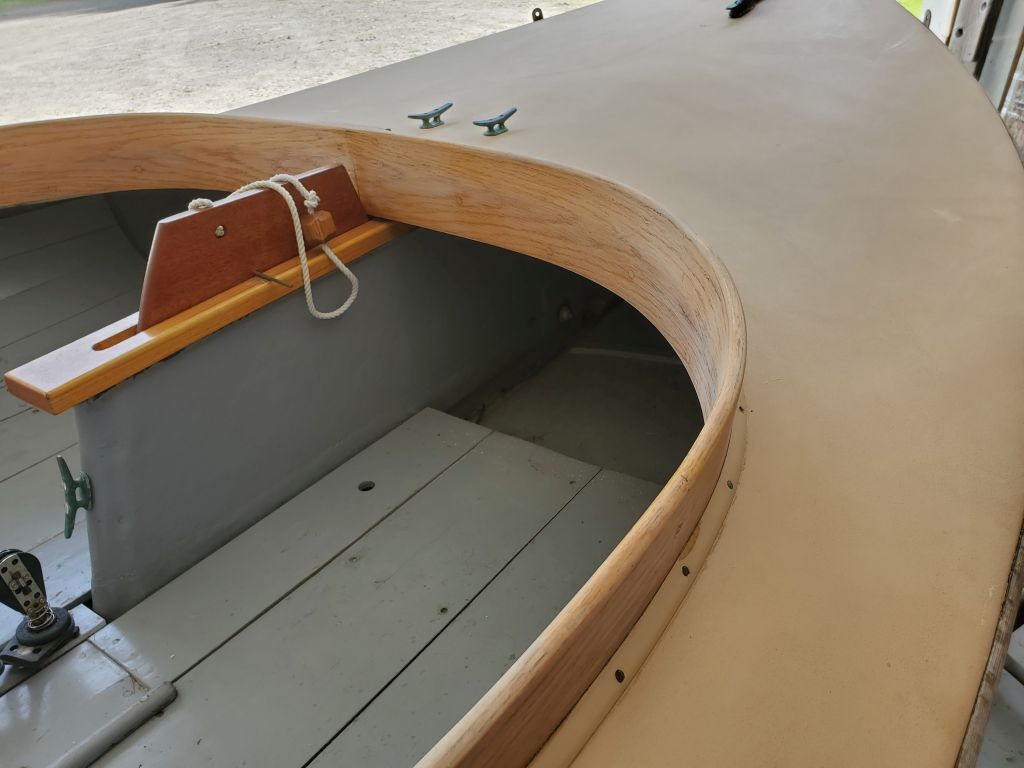
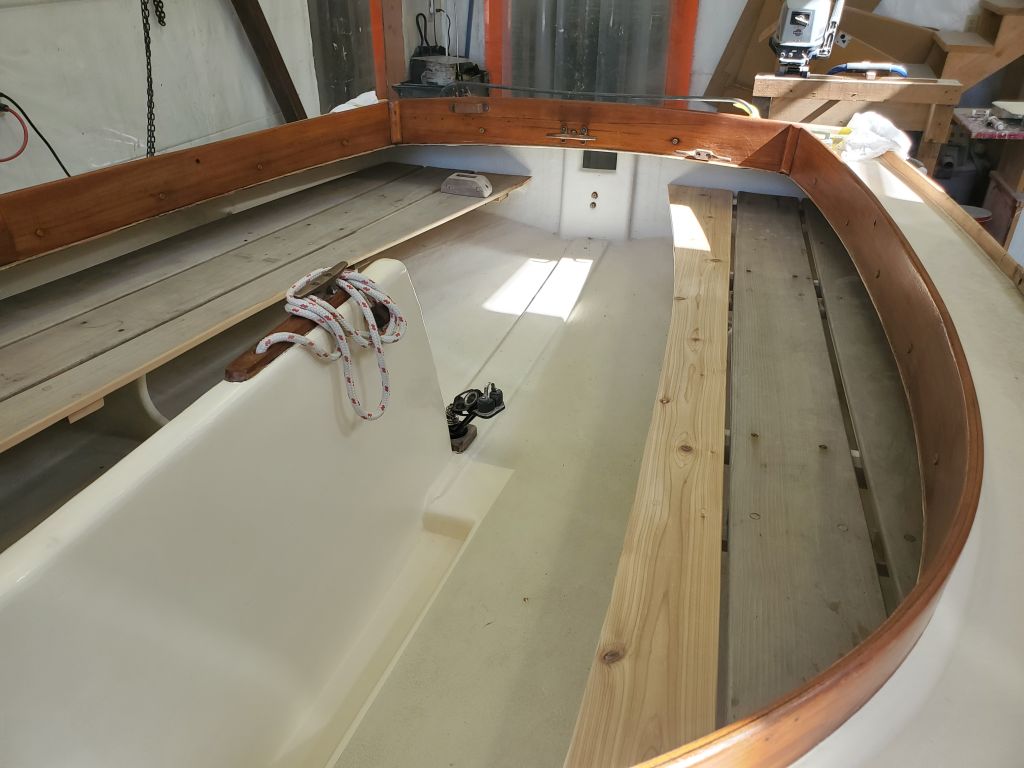
Now the boat was dry enough so I could get to work with heat gun and scraper, and during the afternoon I removed all the existing coating from the rails and seats. The wood beneath was in good condition, with a few dark stains characteristic of old mahogany.
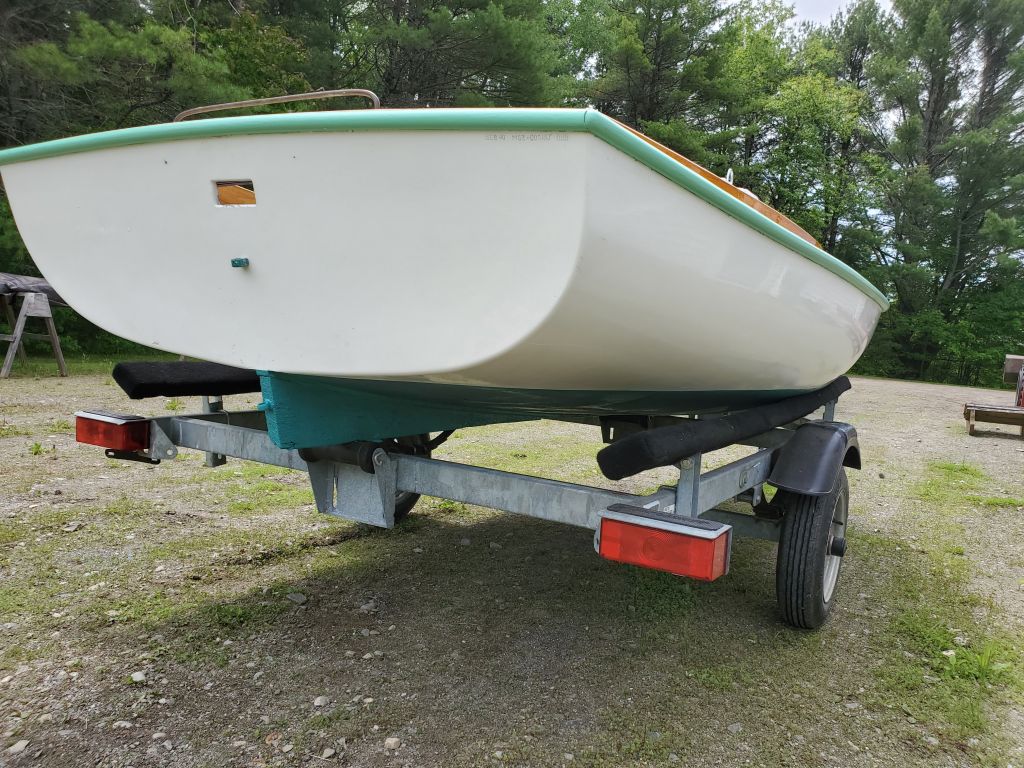
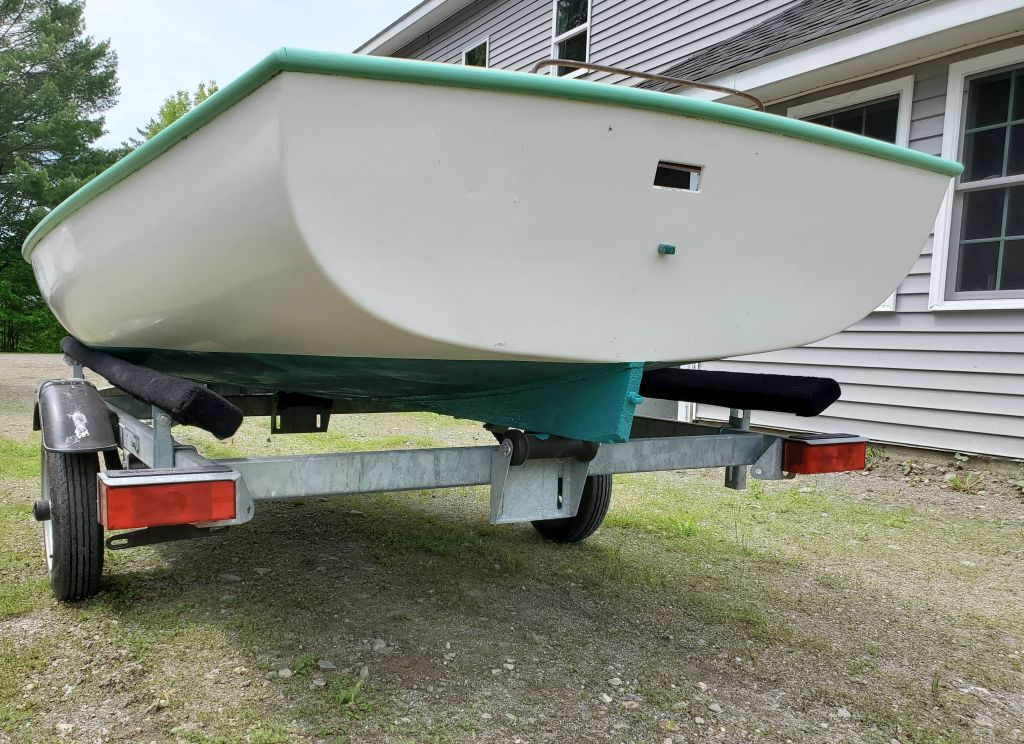
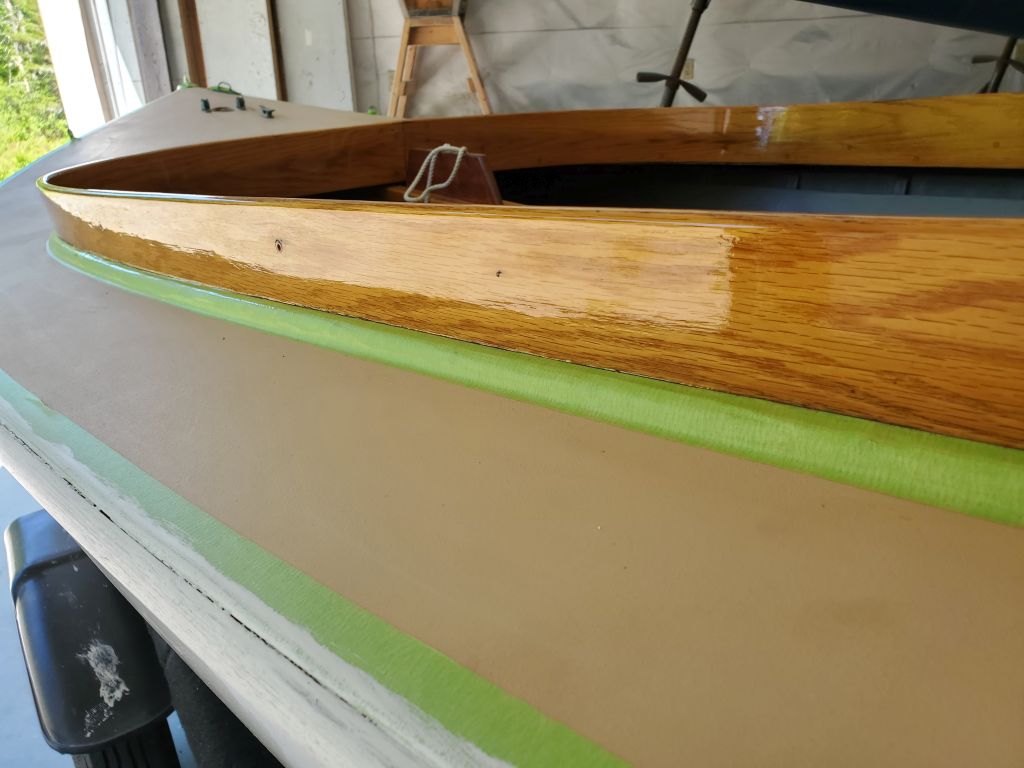
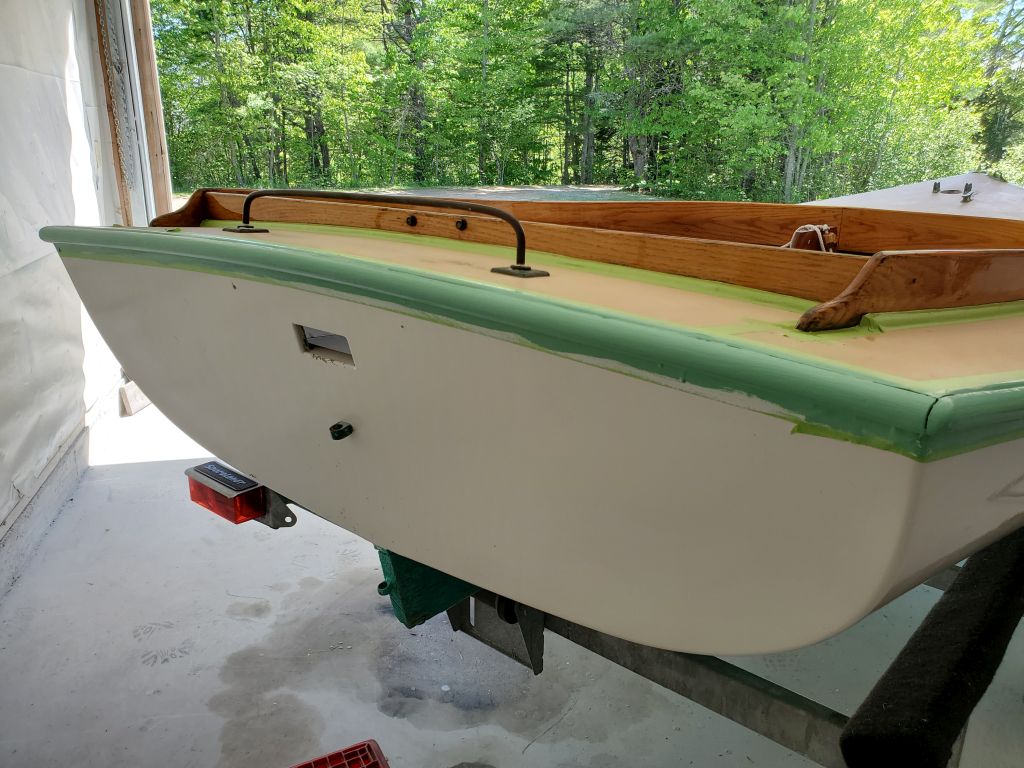
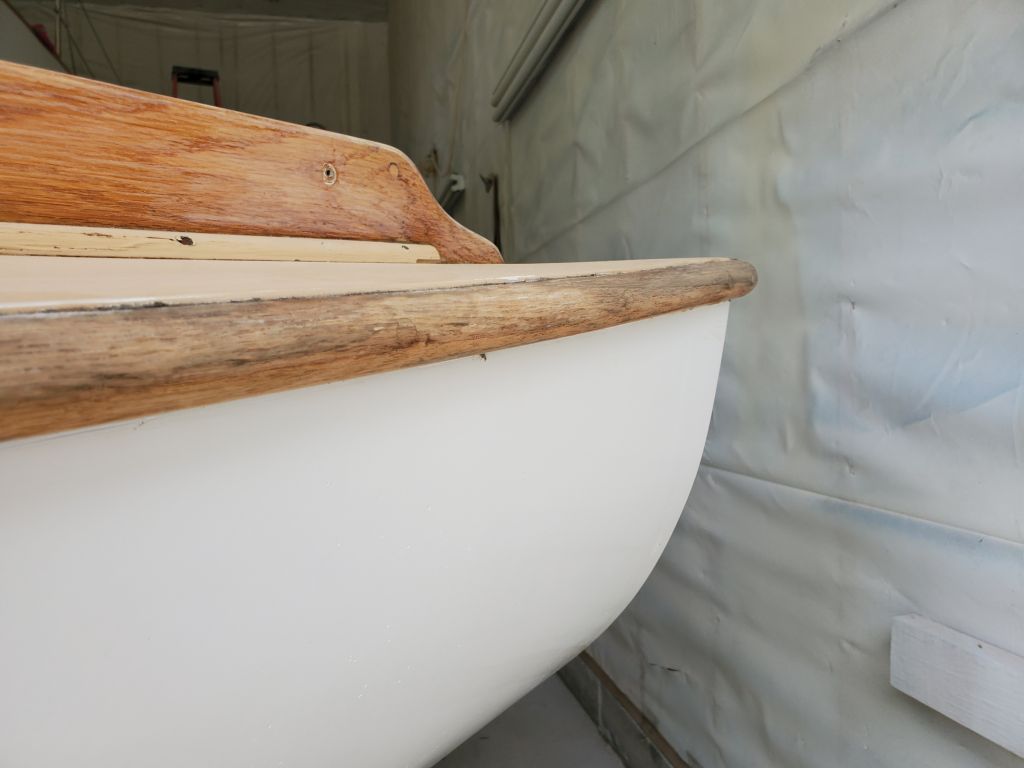
I flipped the boat over and finished up the day’s work by removing the paint and other finish from the undersides of the outer rails.
Total time billed on this job today: 3.5 hours
0600 Weather Observation: Fog and drizzle, 60°. Forecast for the day: Clouds, fog, and showers, 80°