Thursday
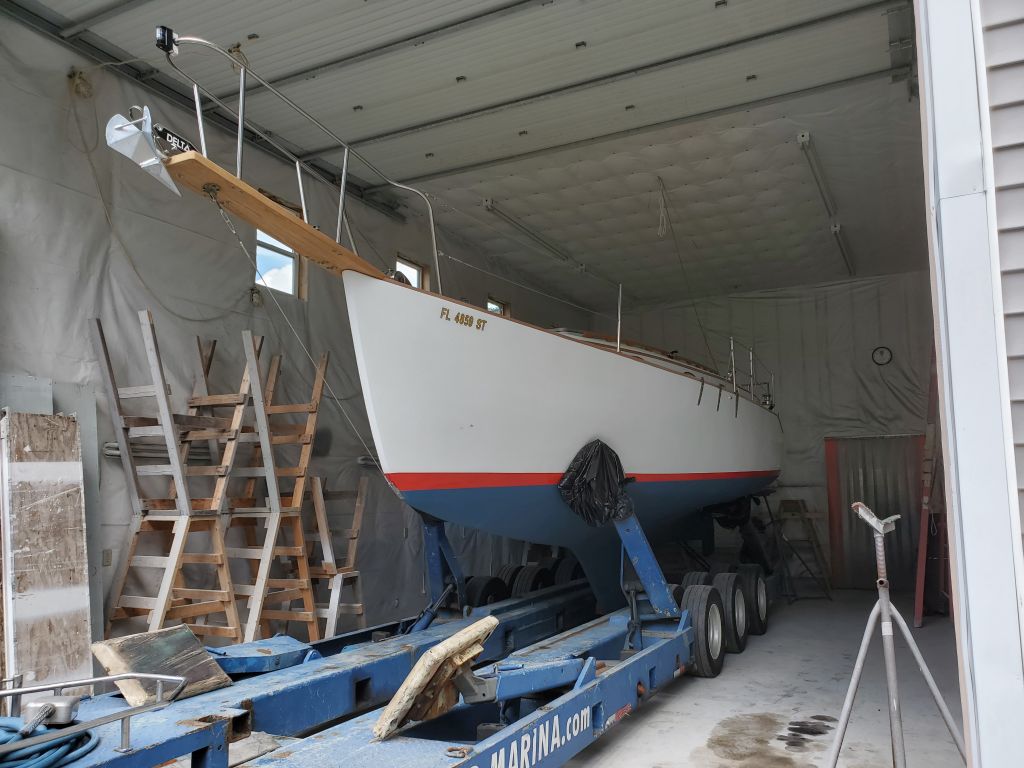
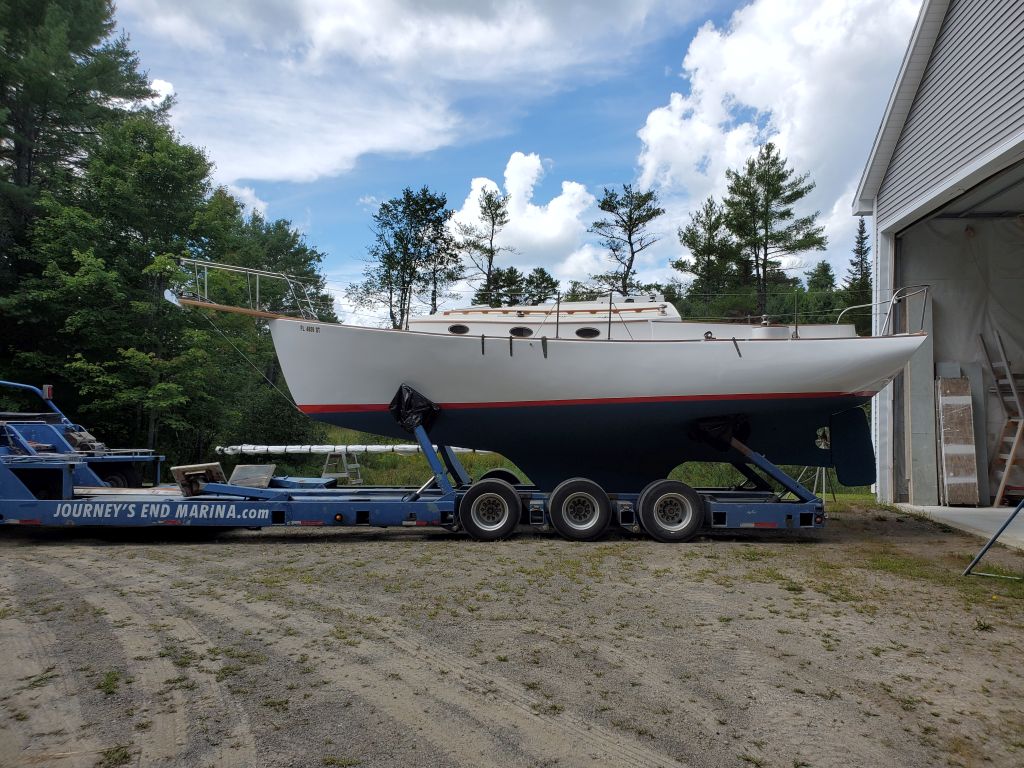
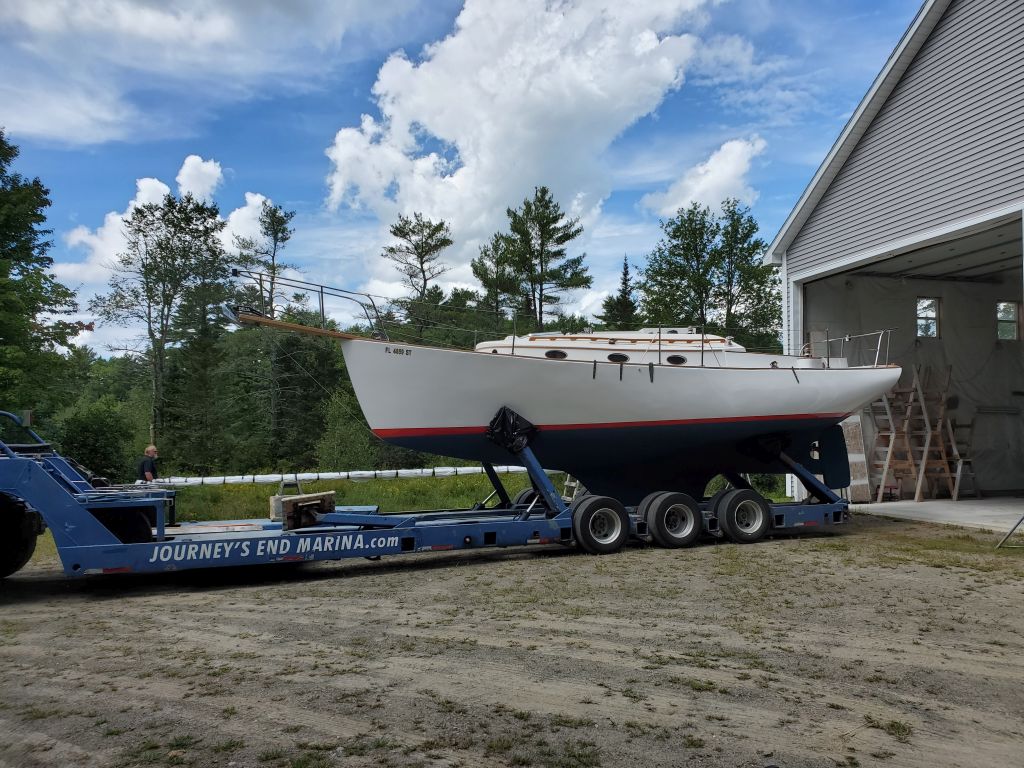
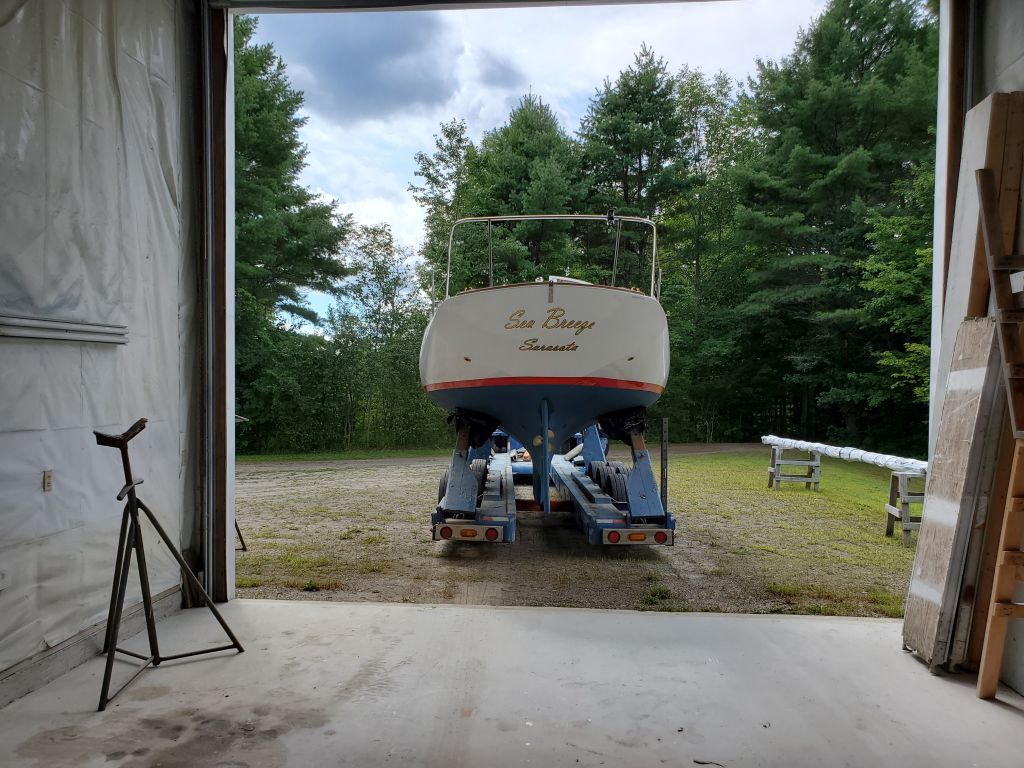
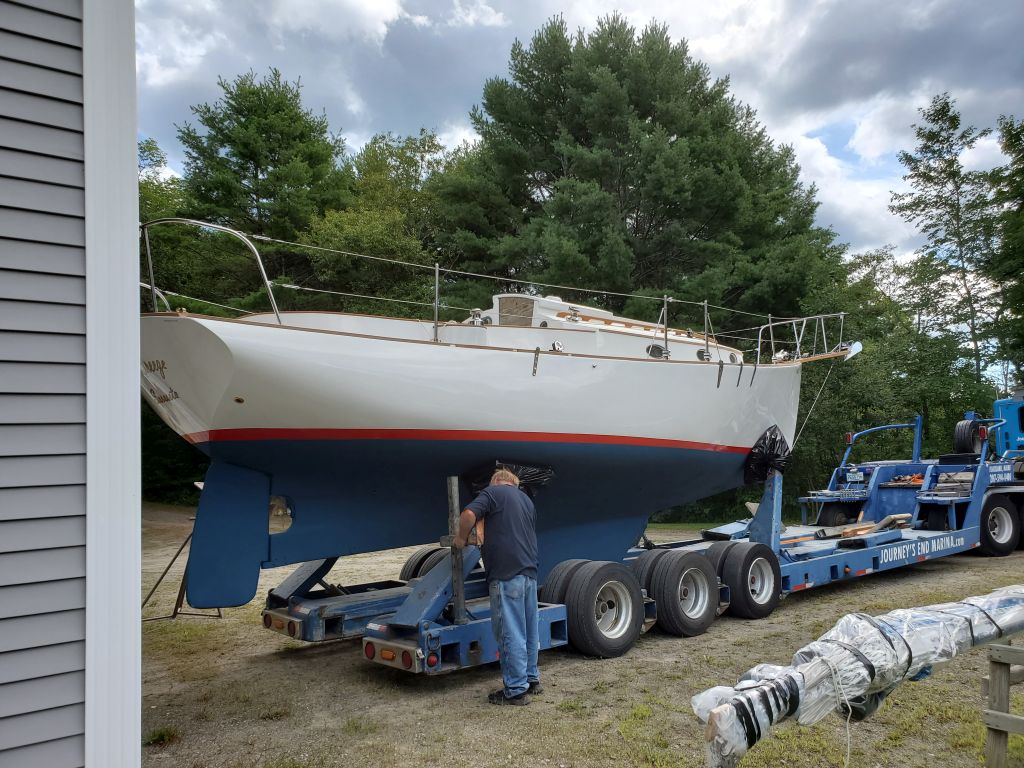
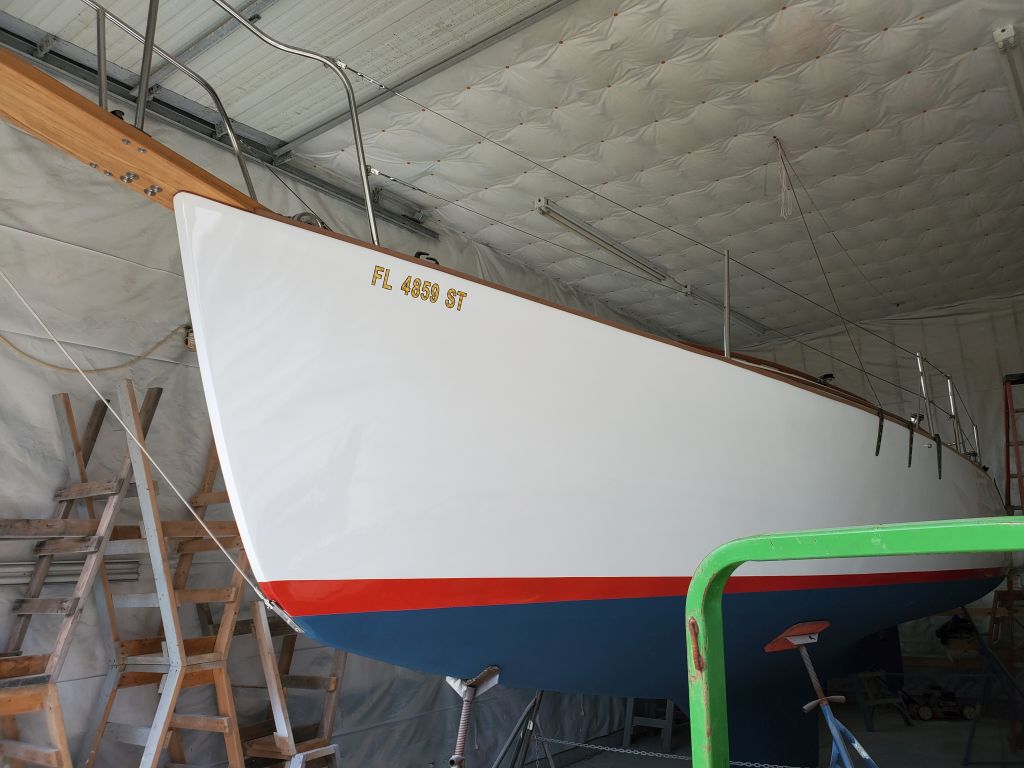
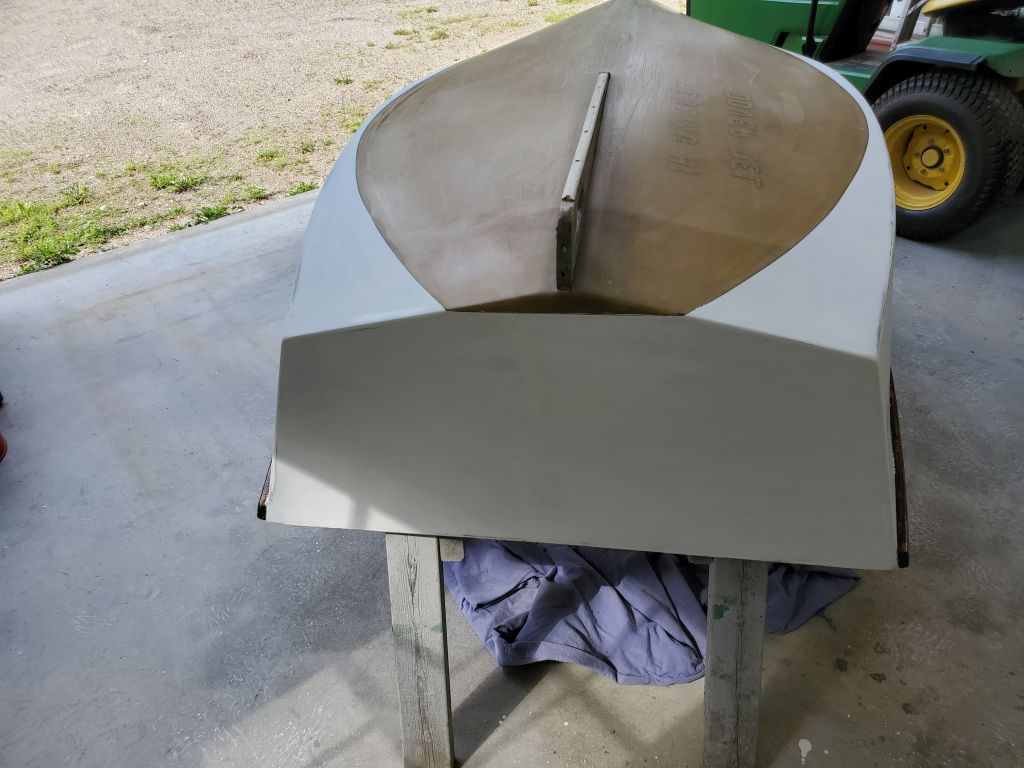
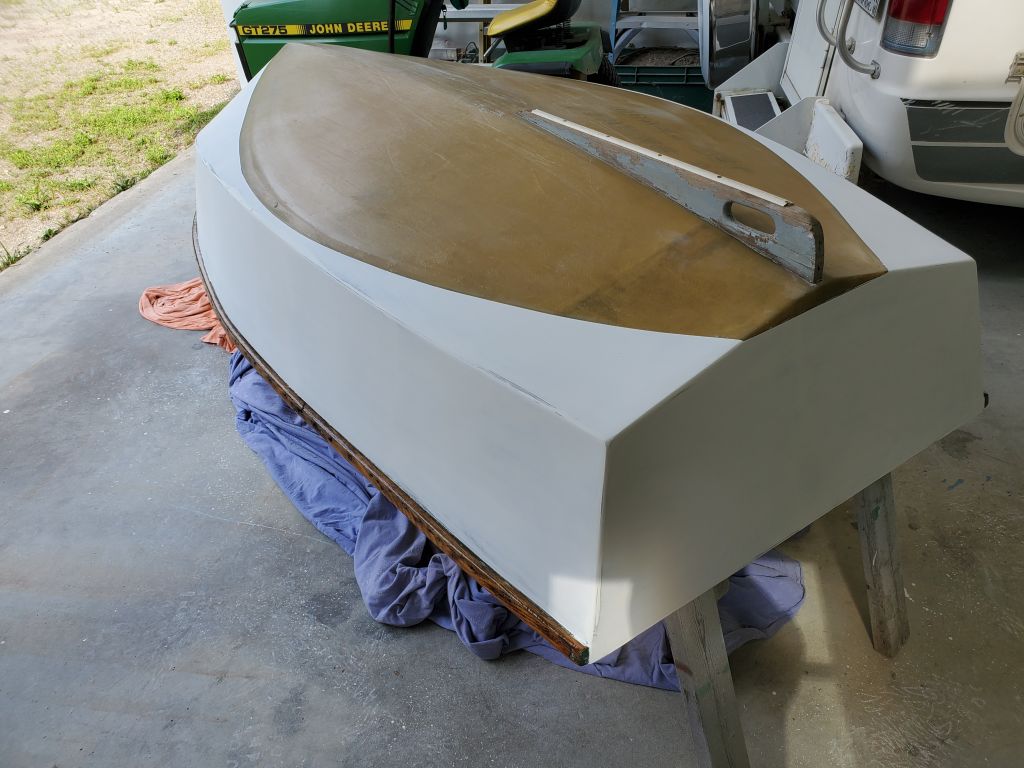
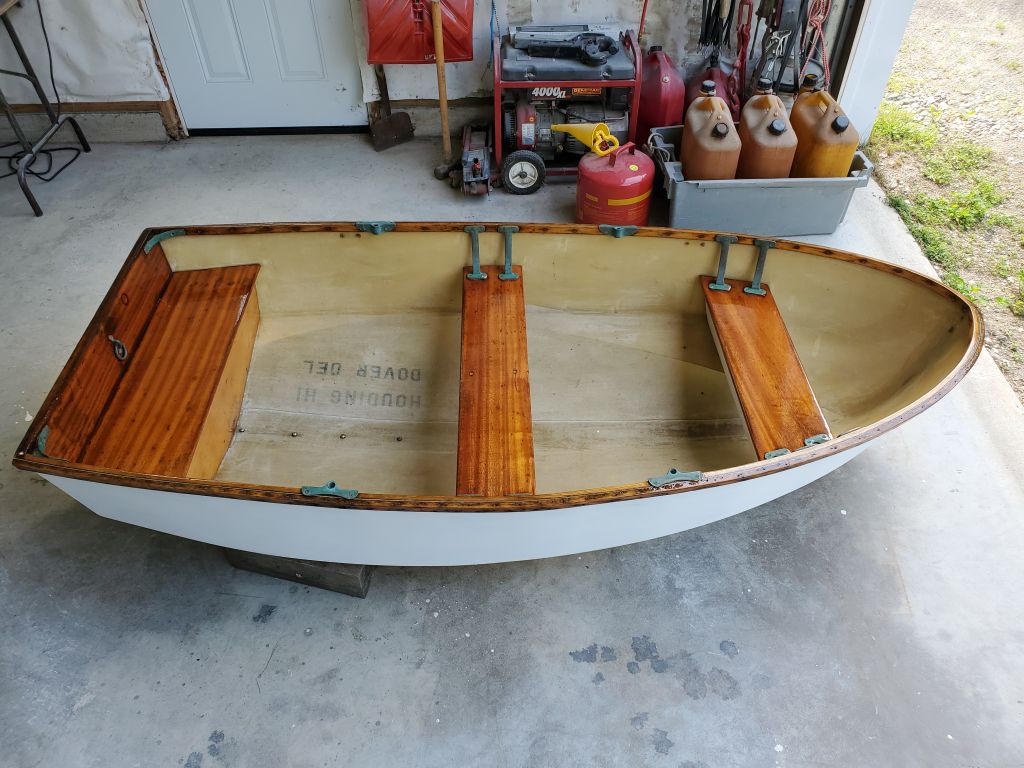
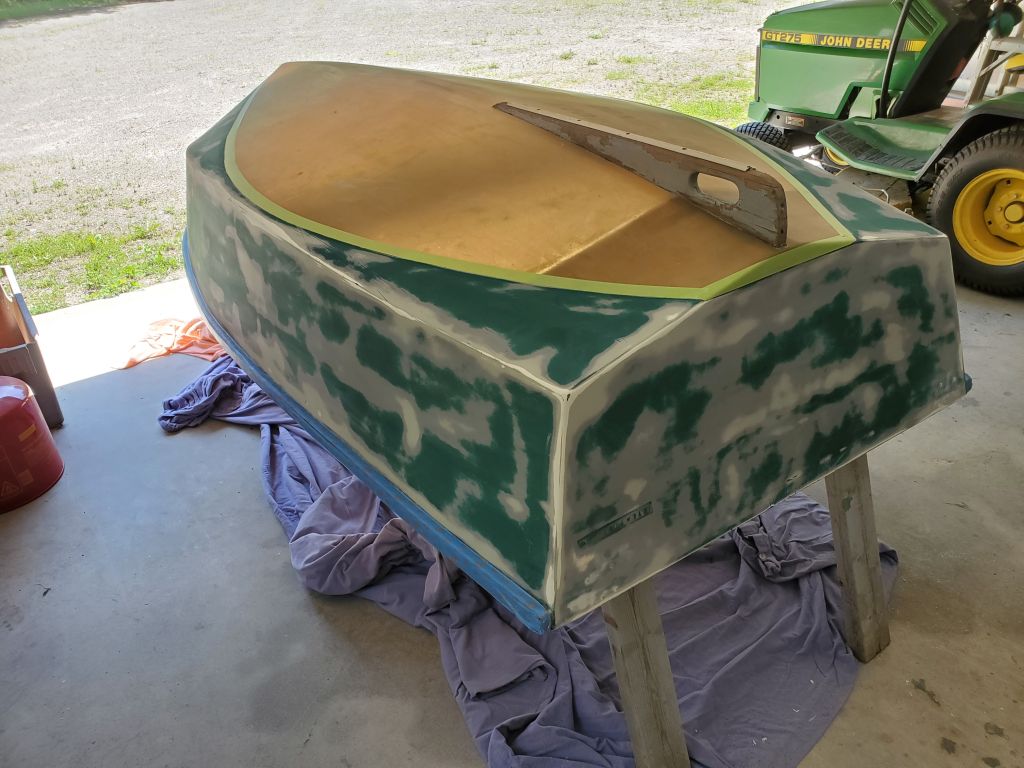
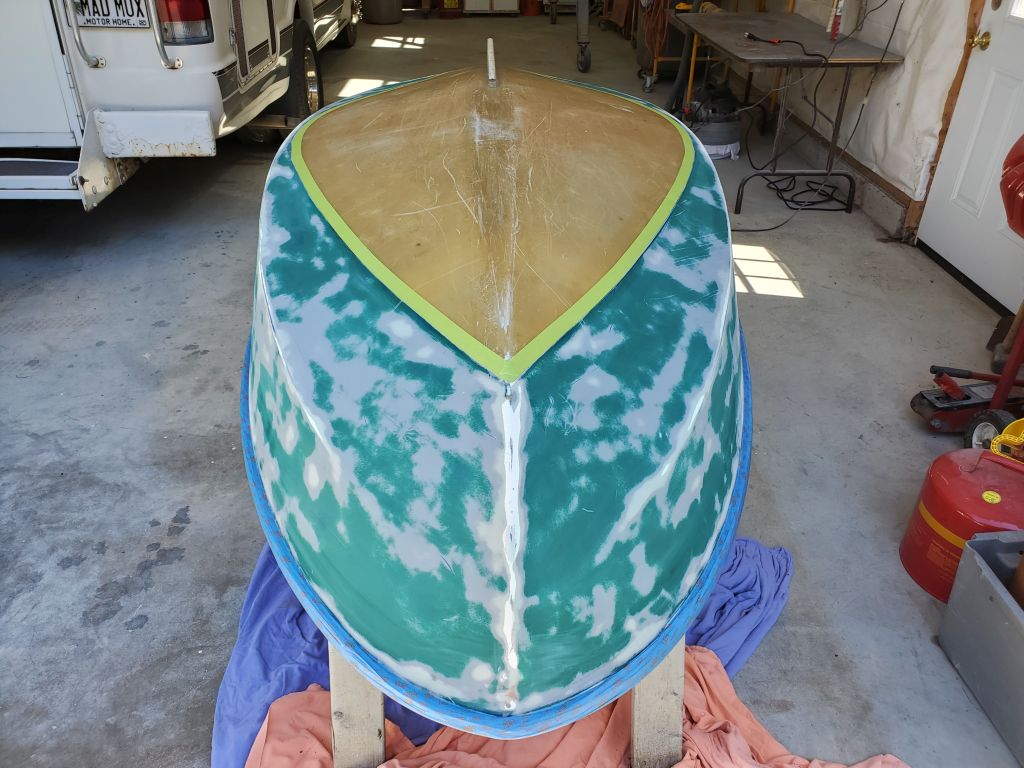
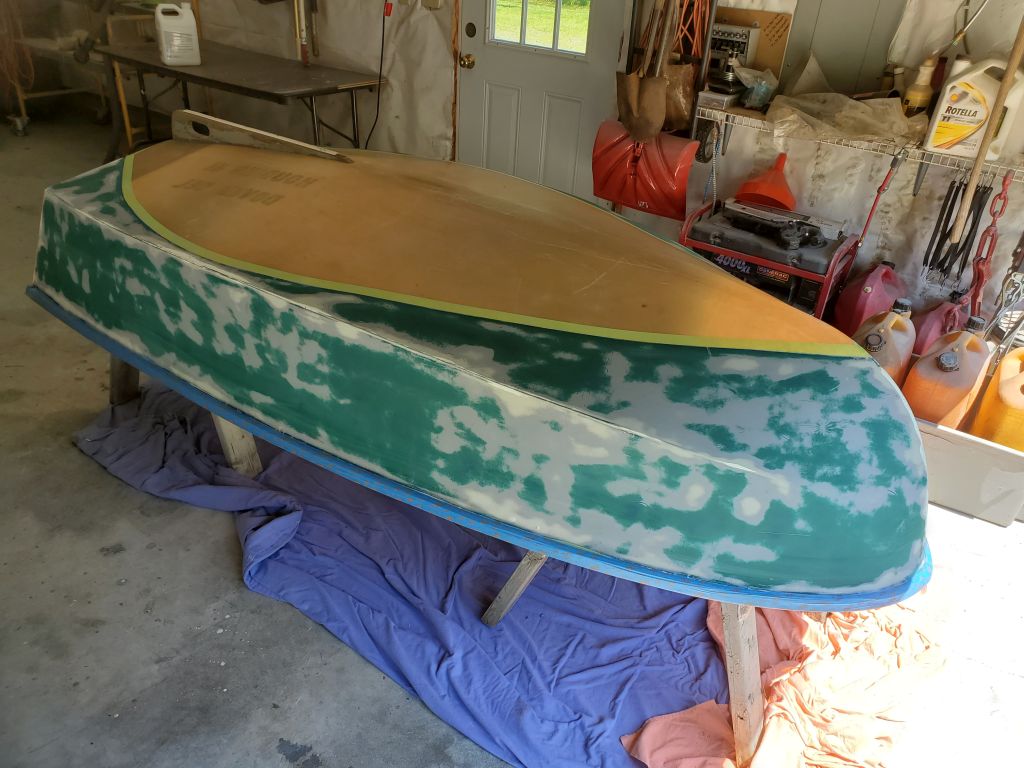
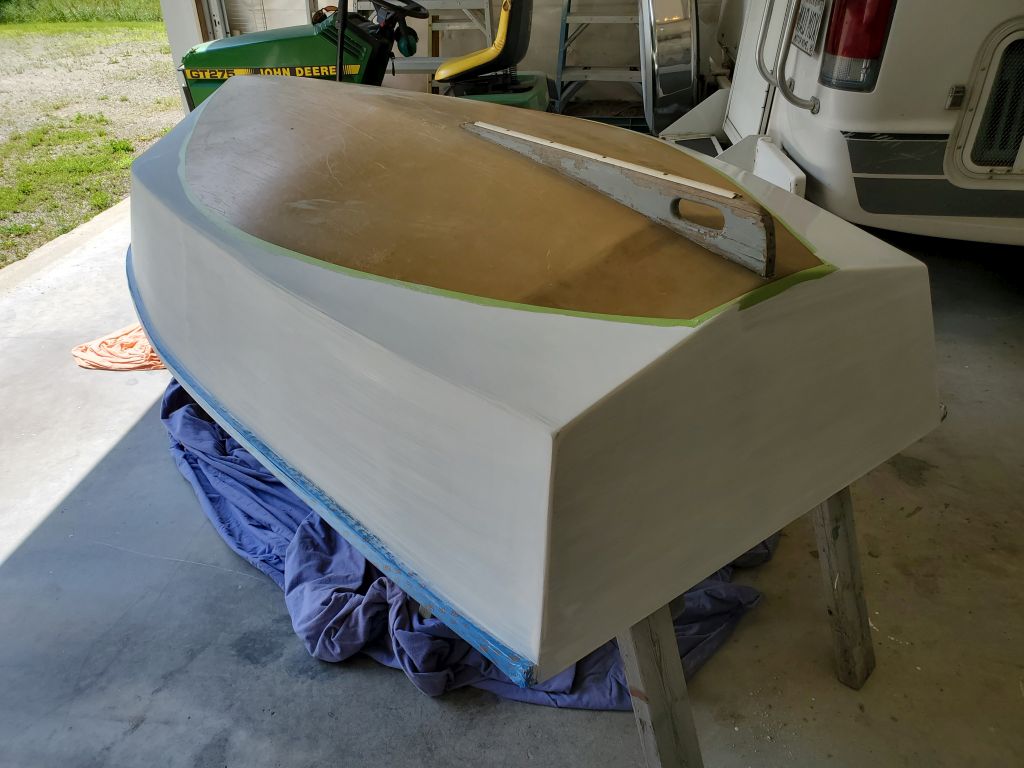
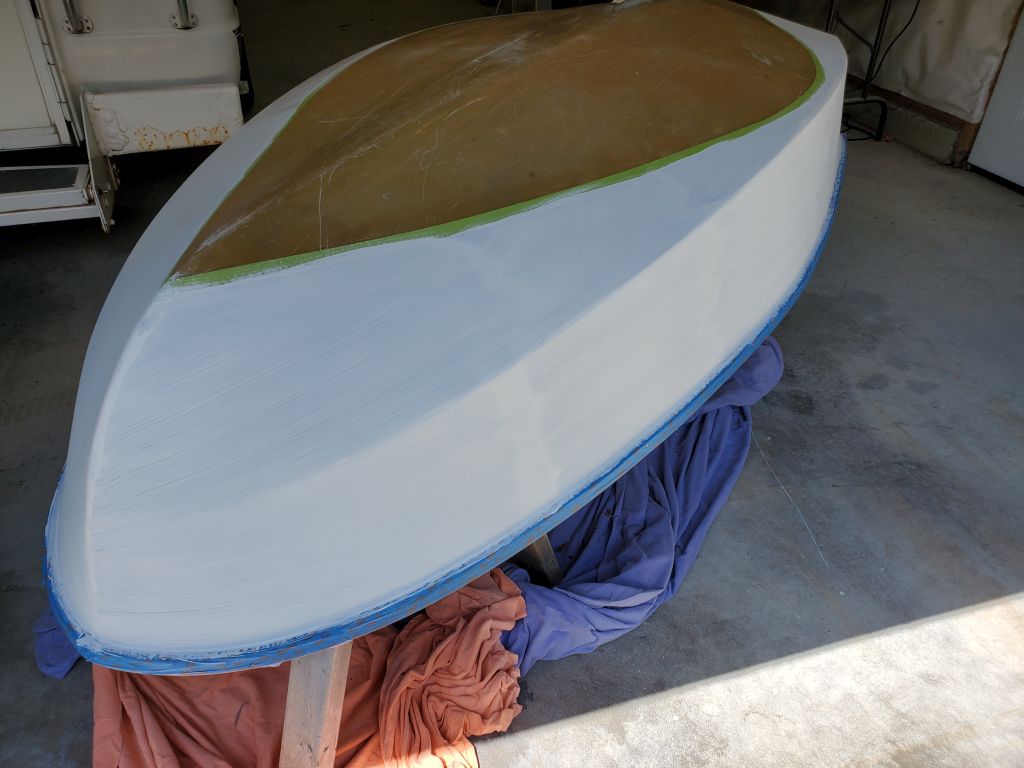
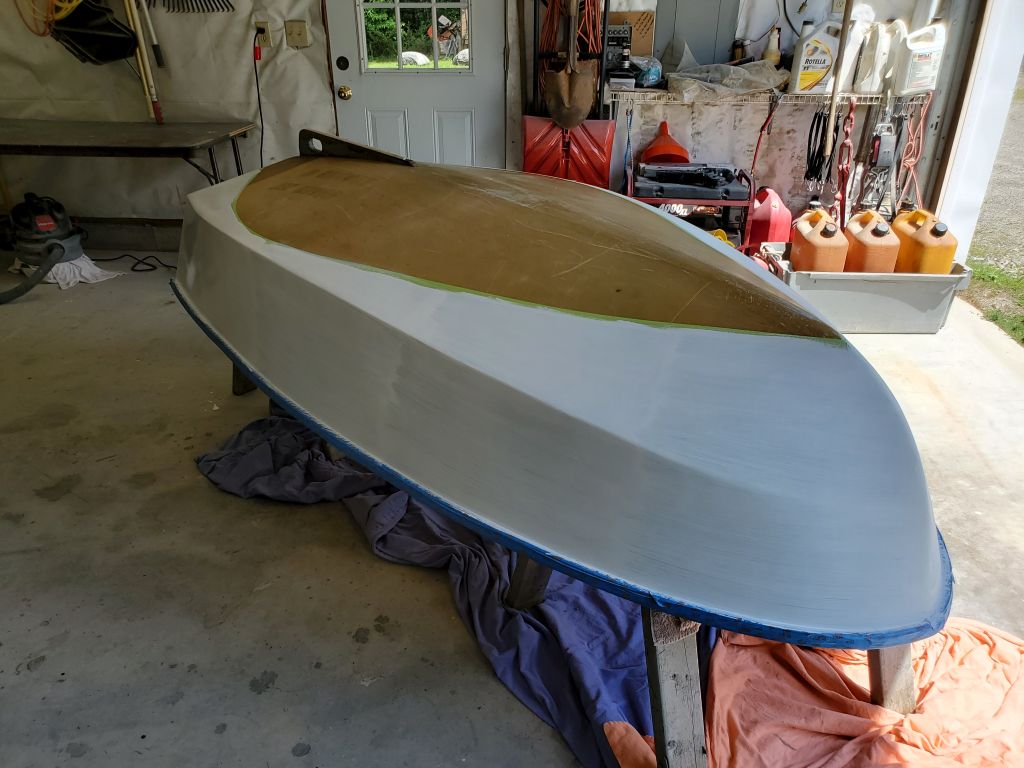
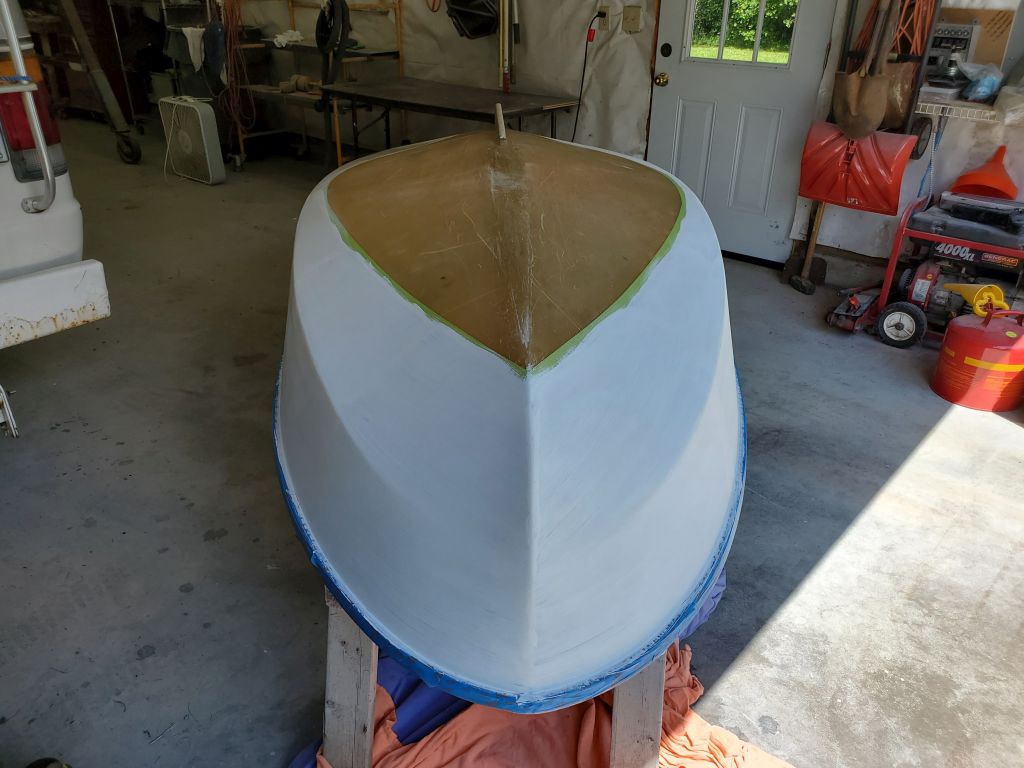
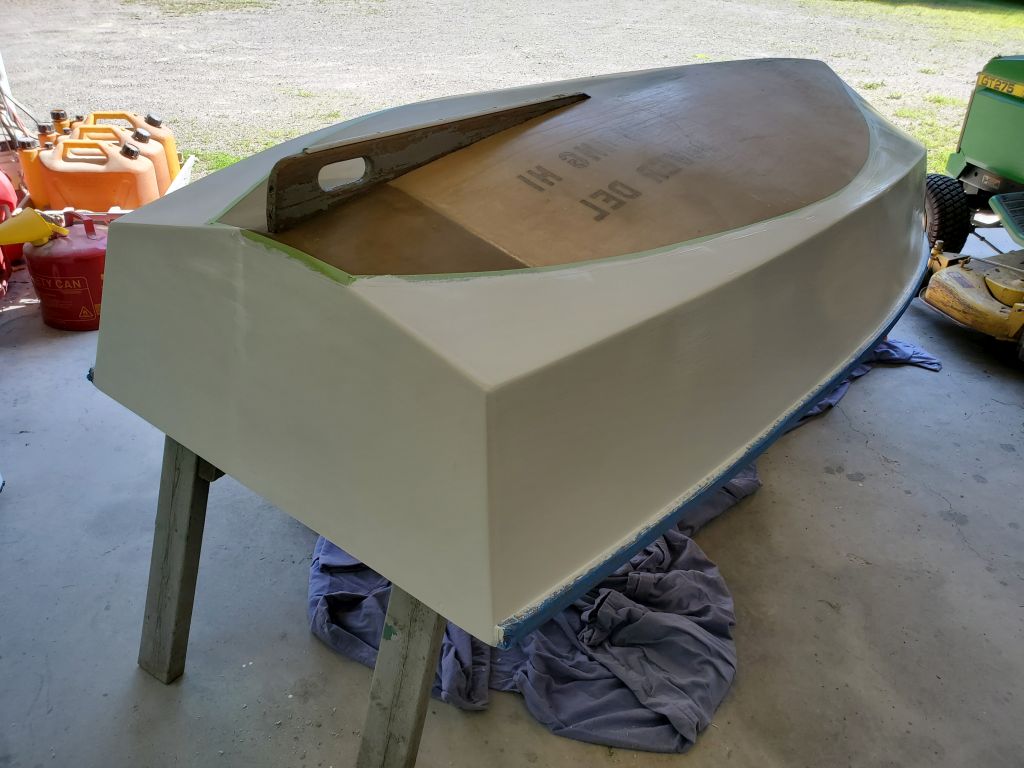
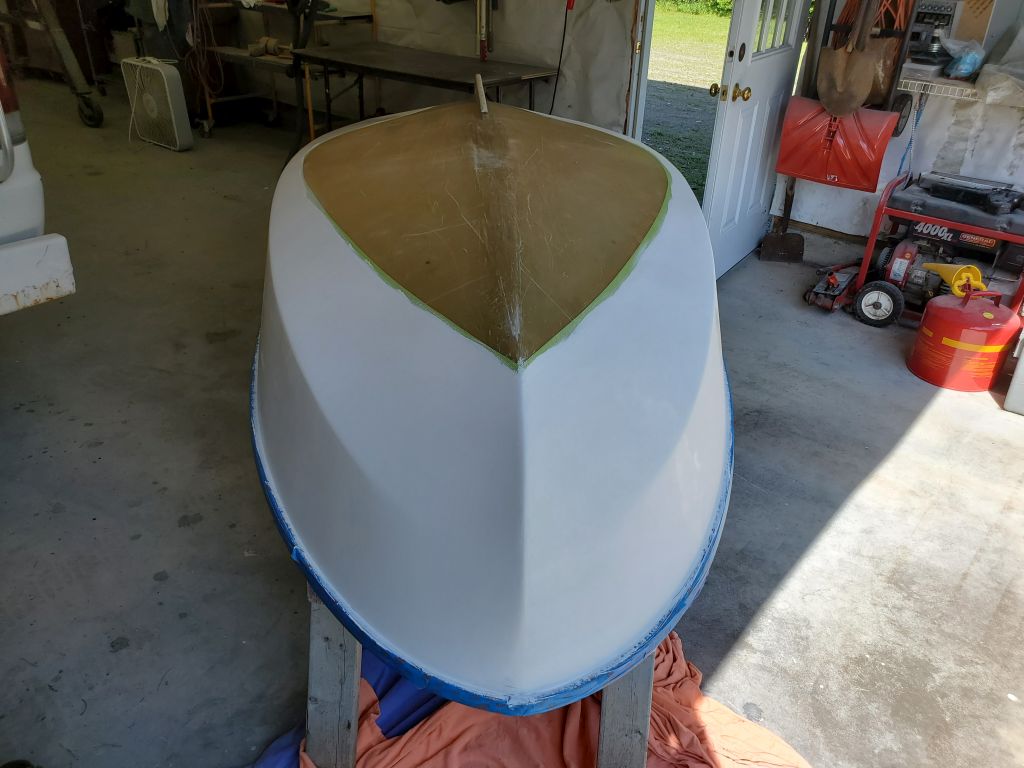
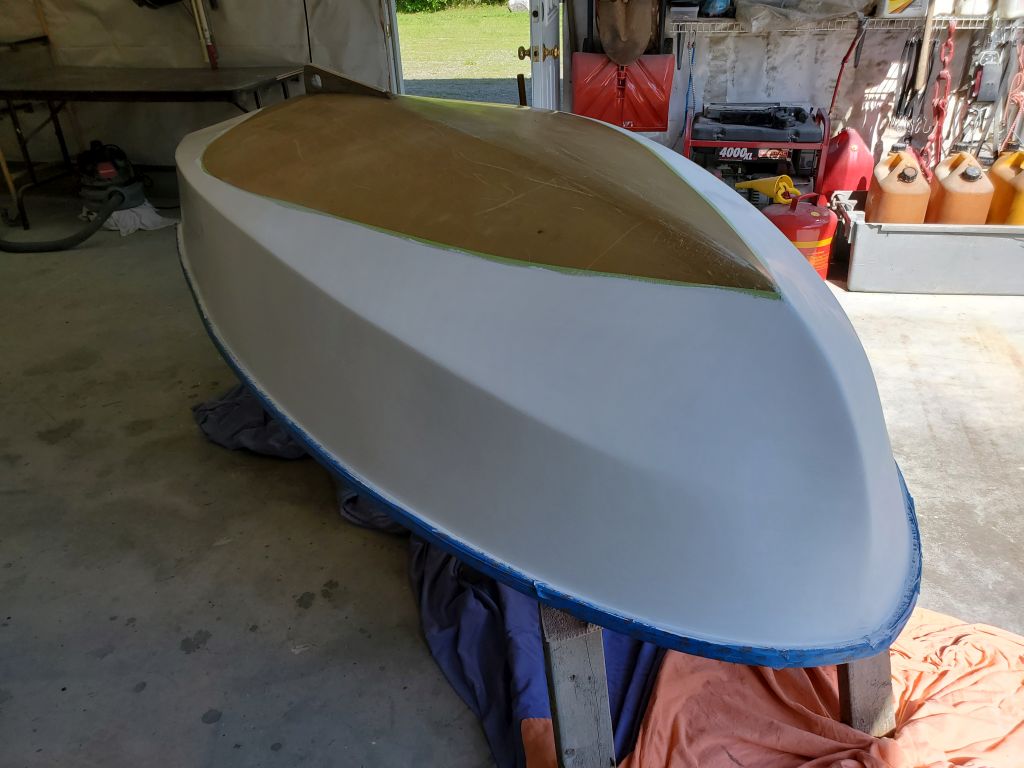
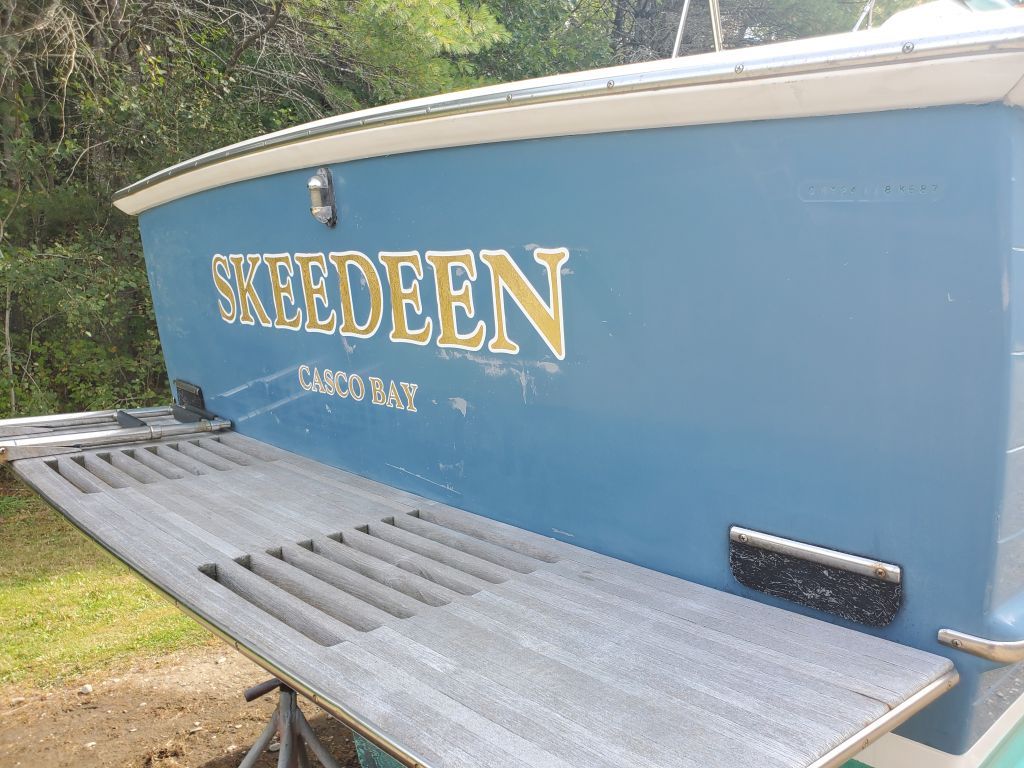
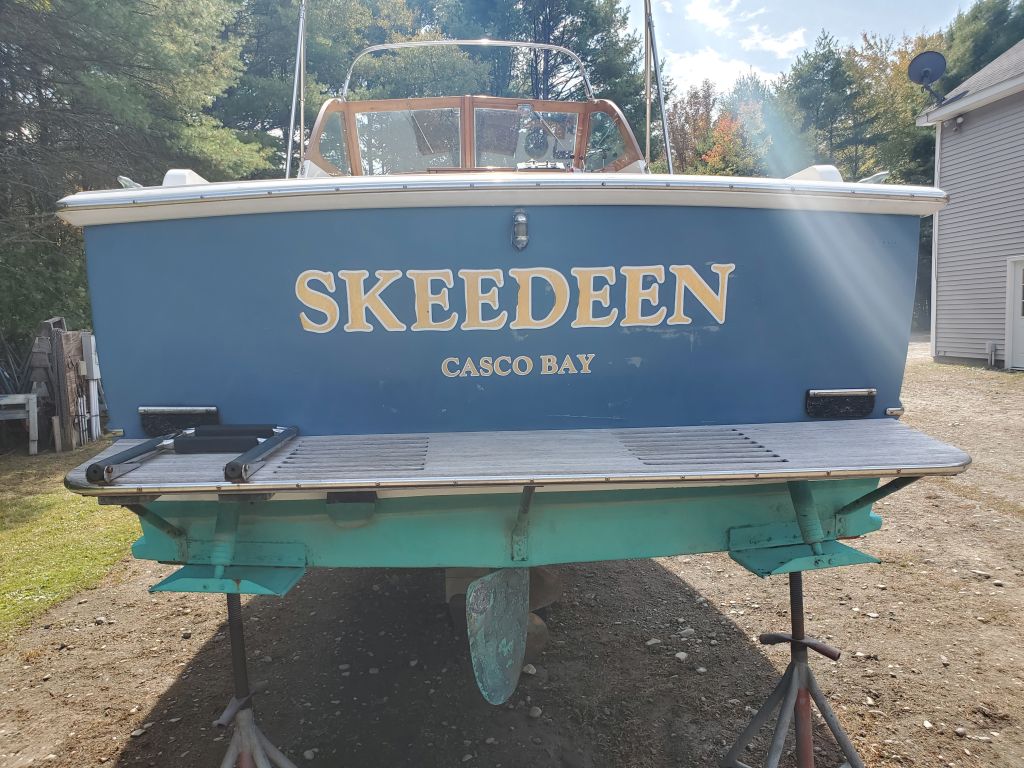
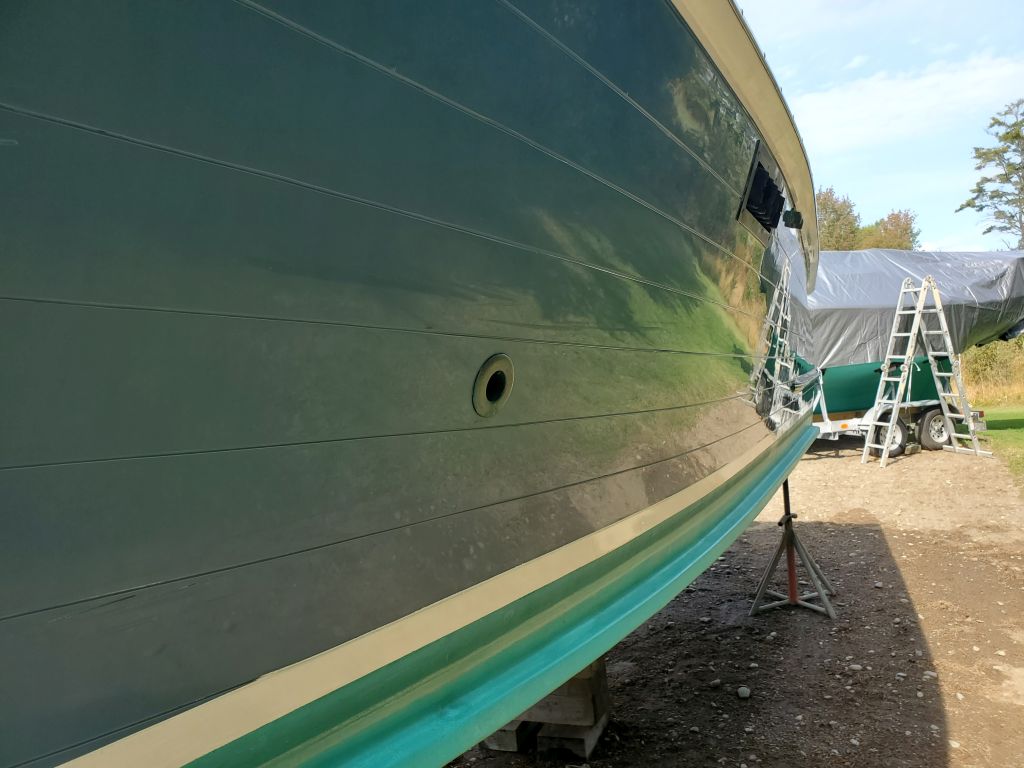
Skeedeen arrived at the shop for another round of work, this time focused on repainting the hull, with the added interest of having a local artisan paint the transom in faux teak woodgrain, something both the owner and I were looking forward to watching come together.
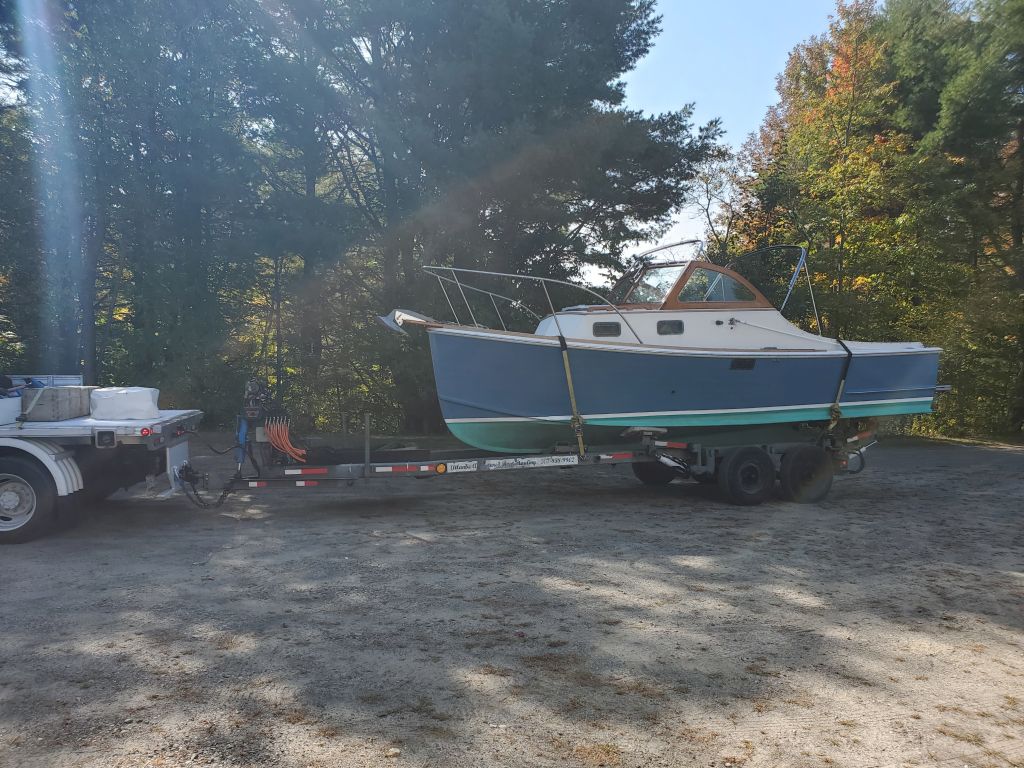

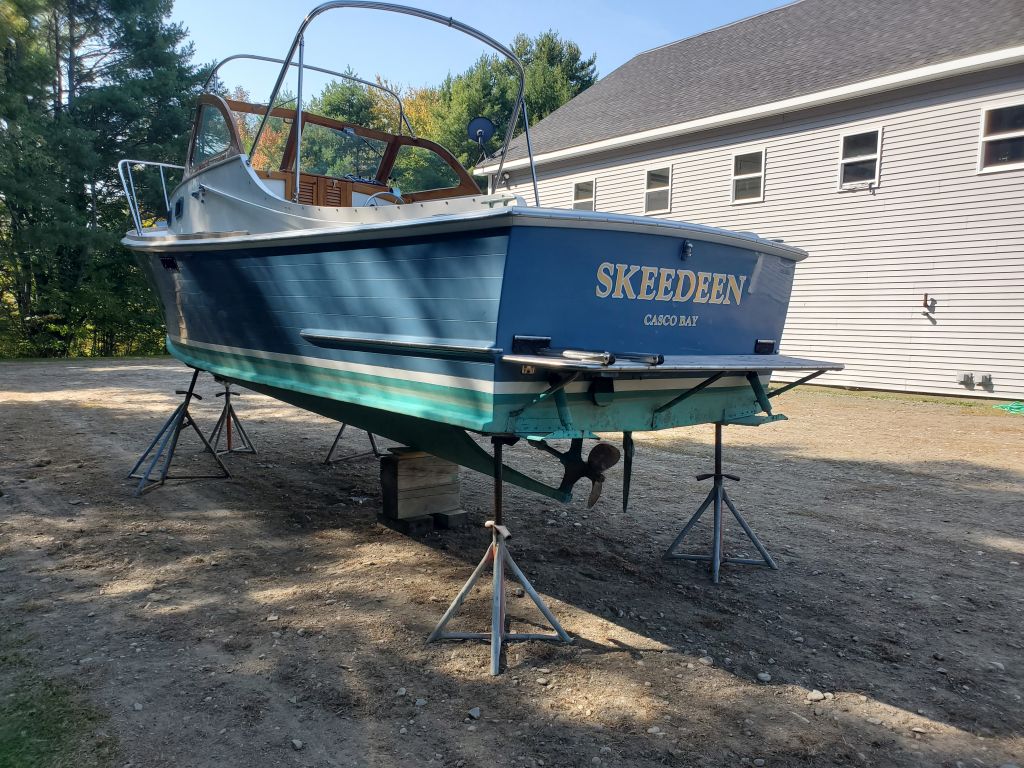
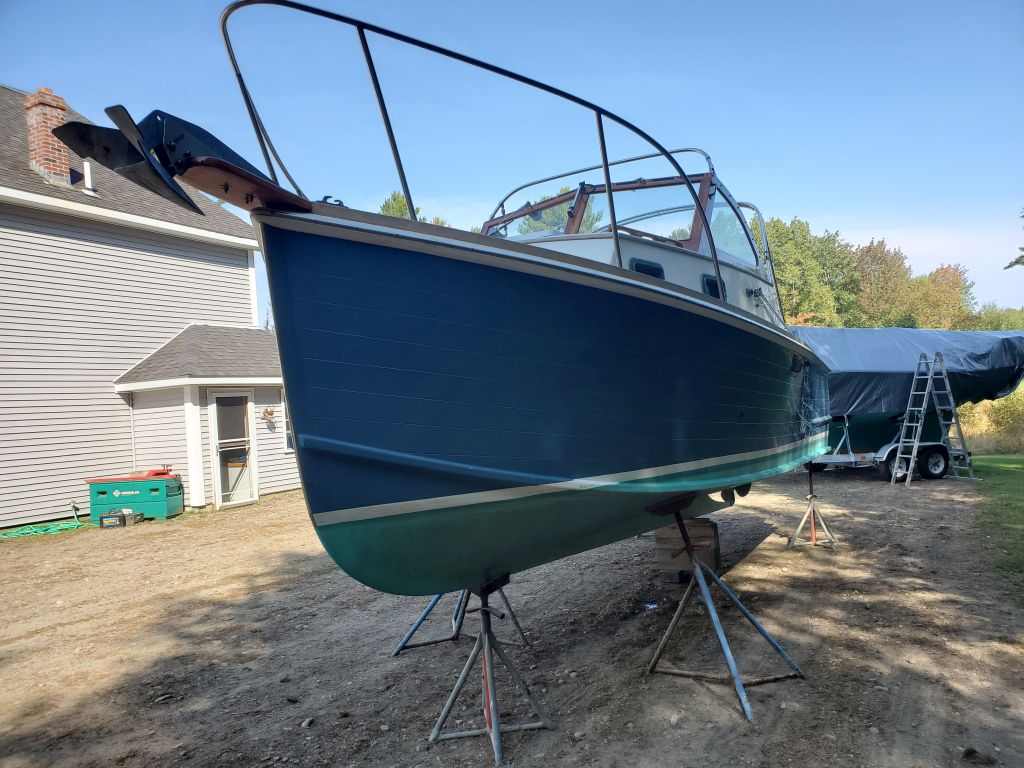
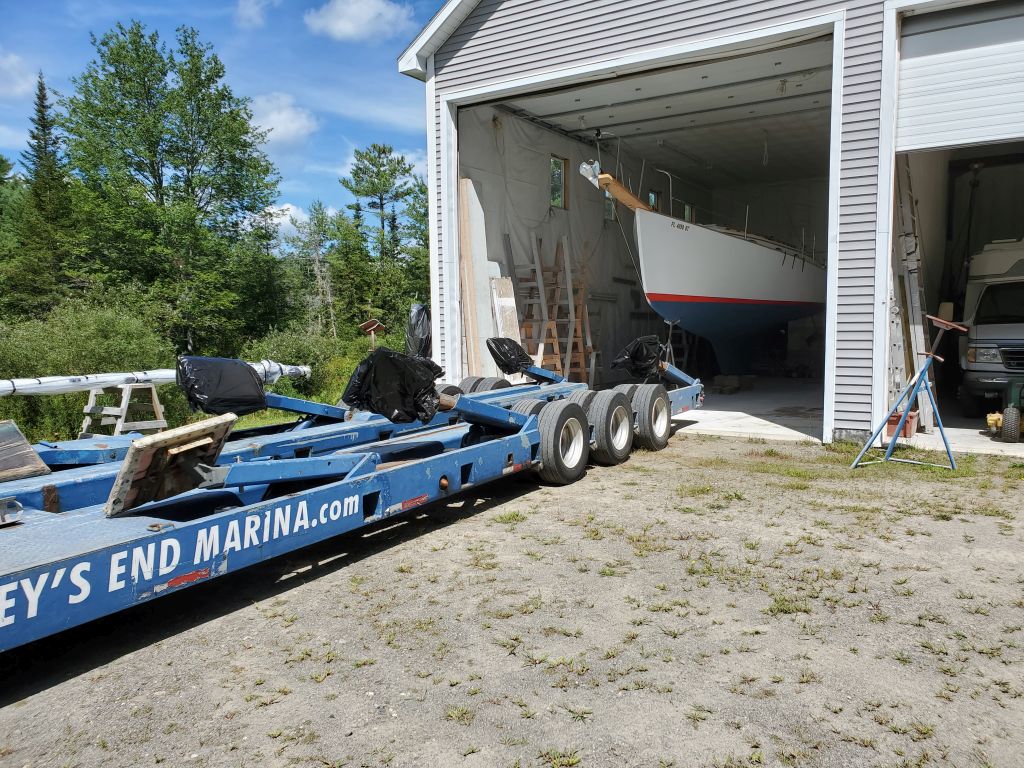
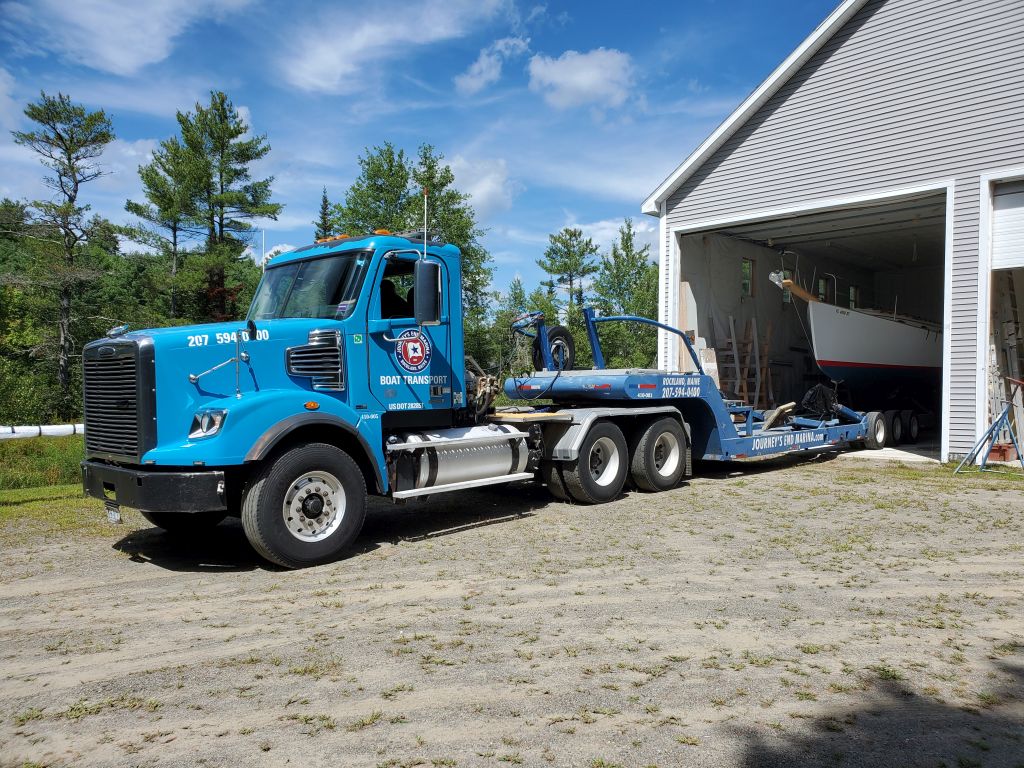
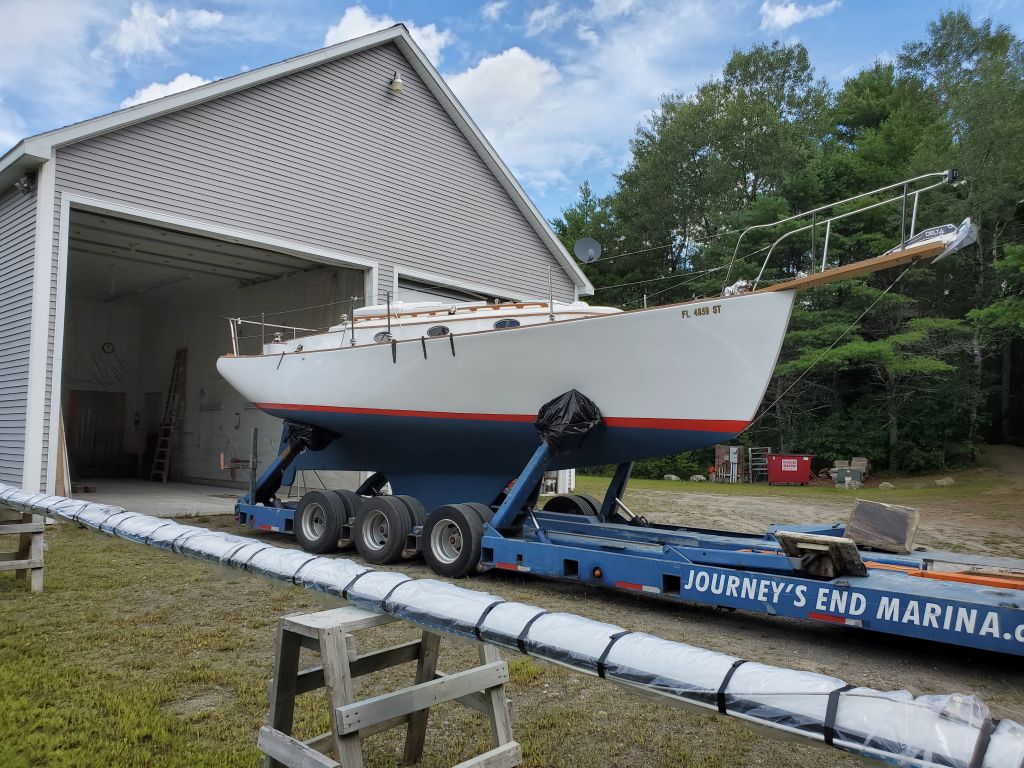
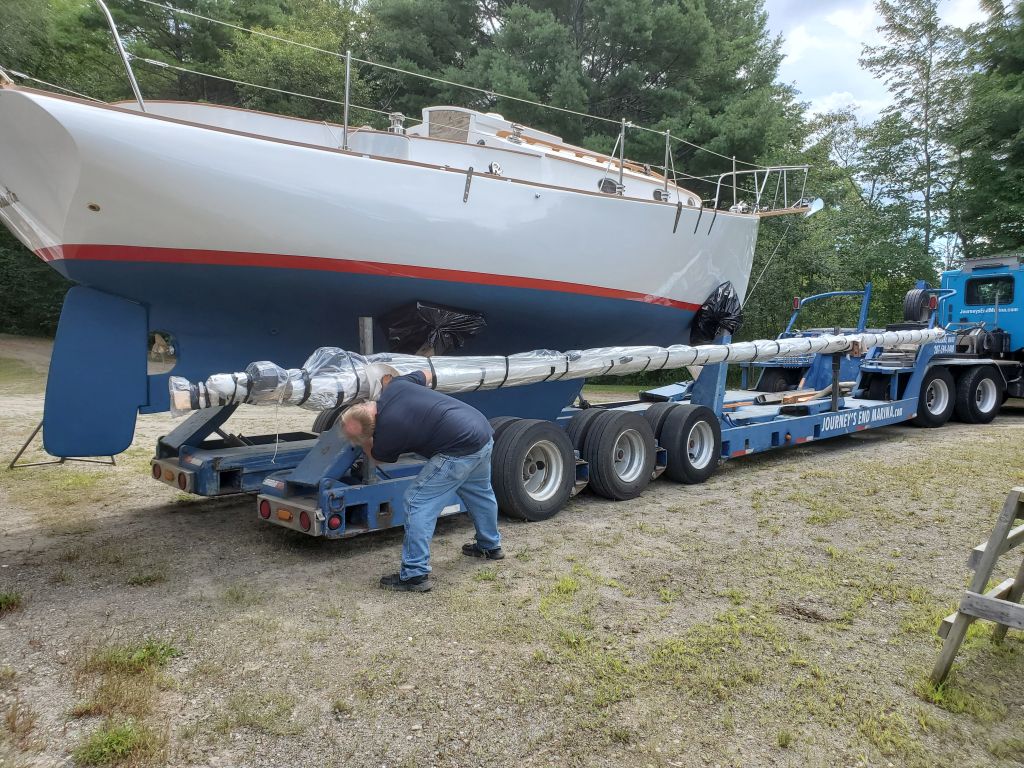
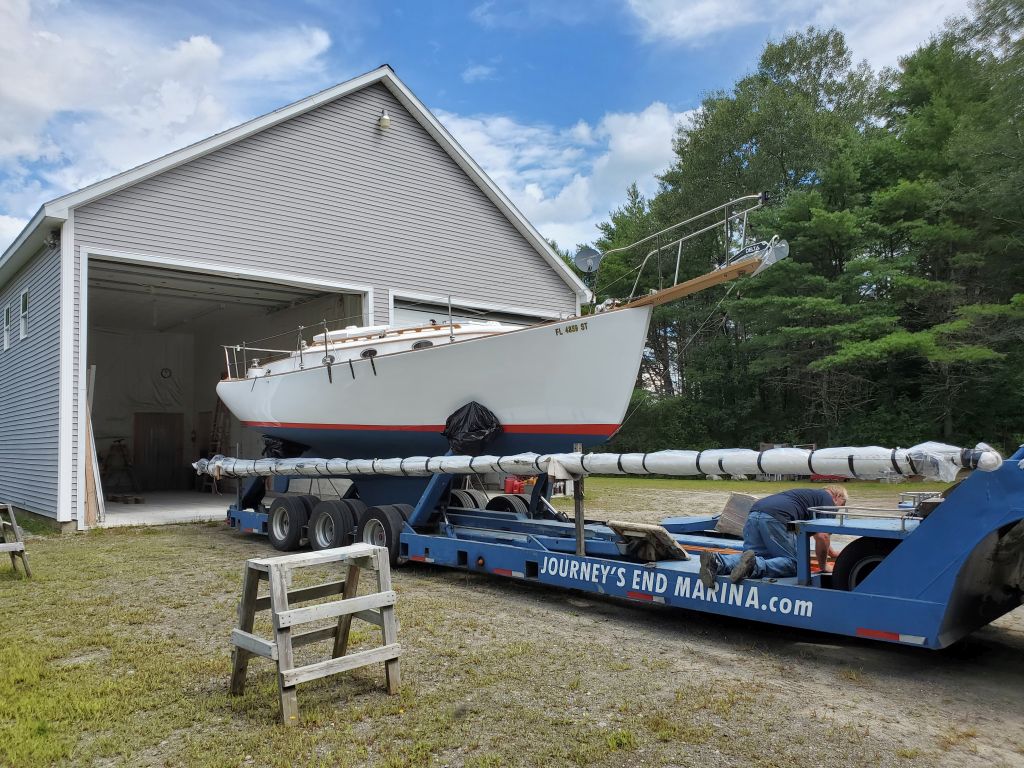
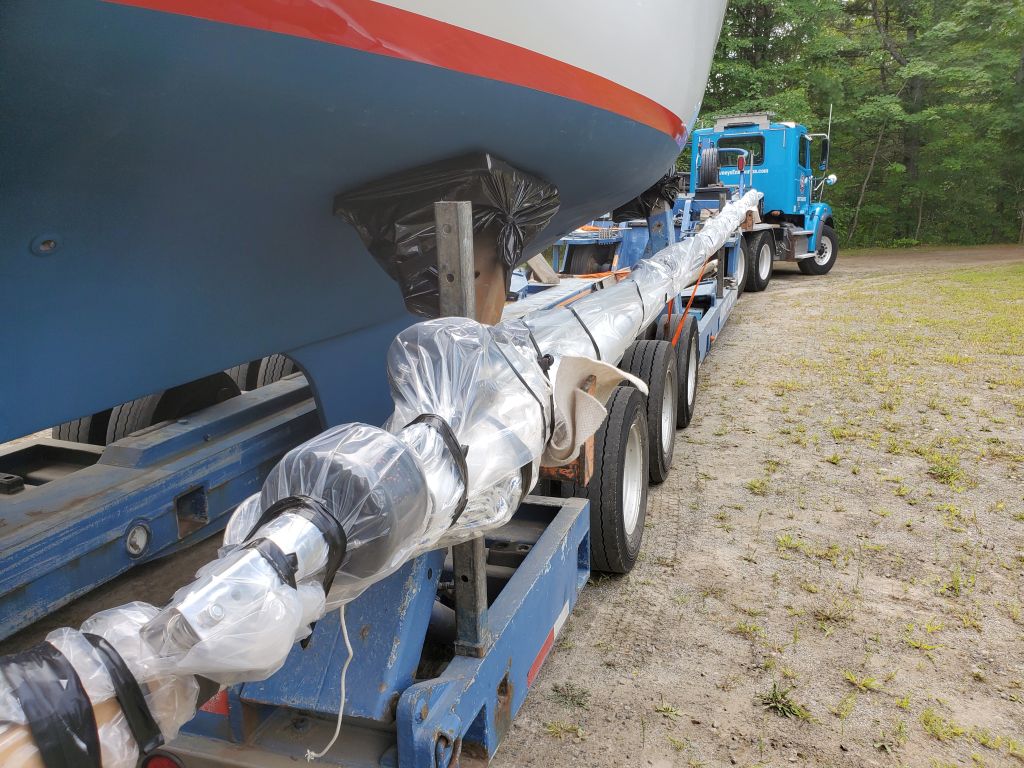
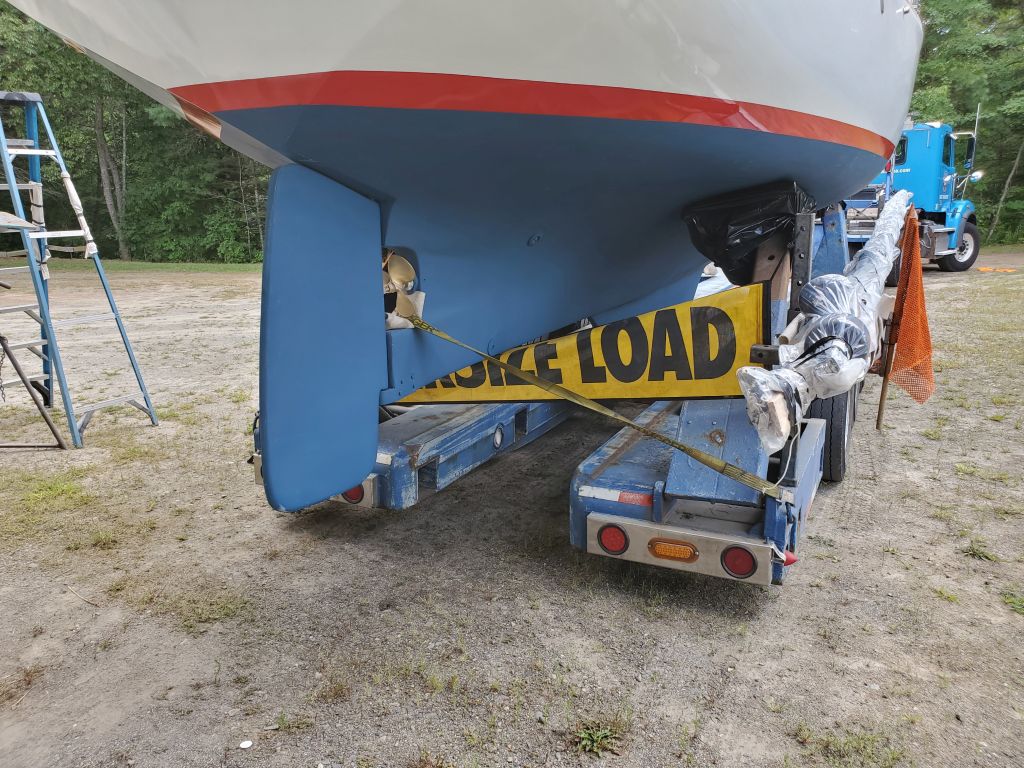
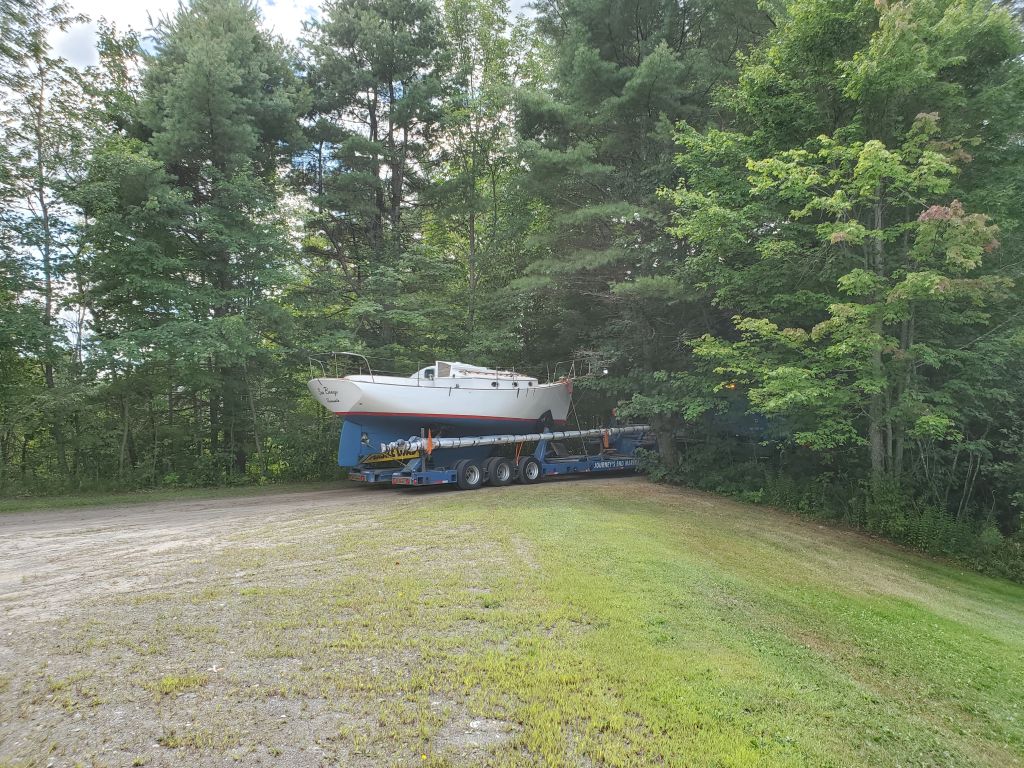
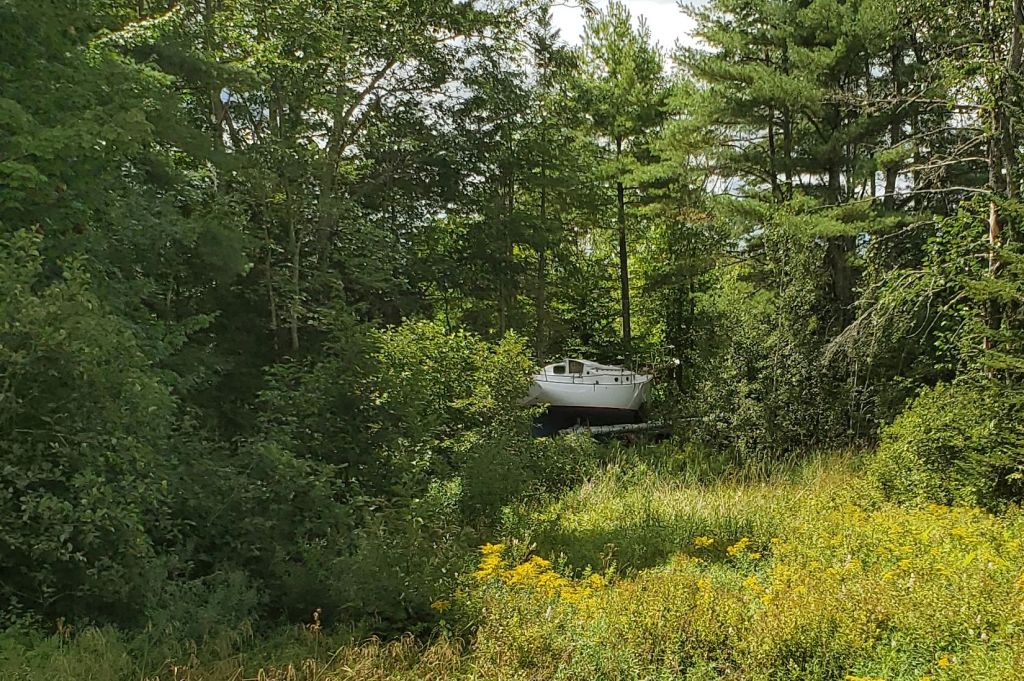
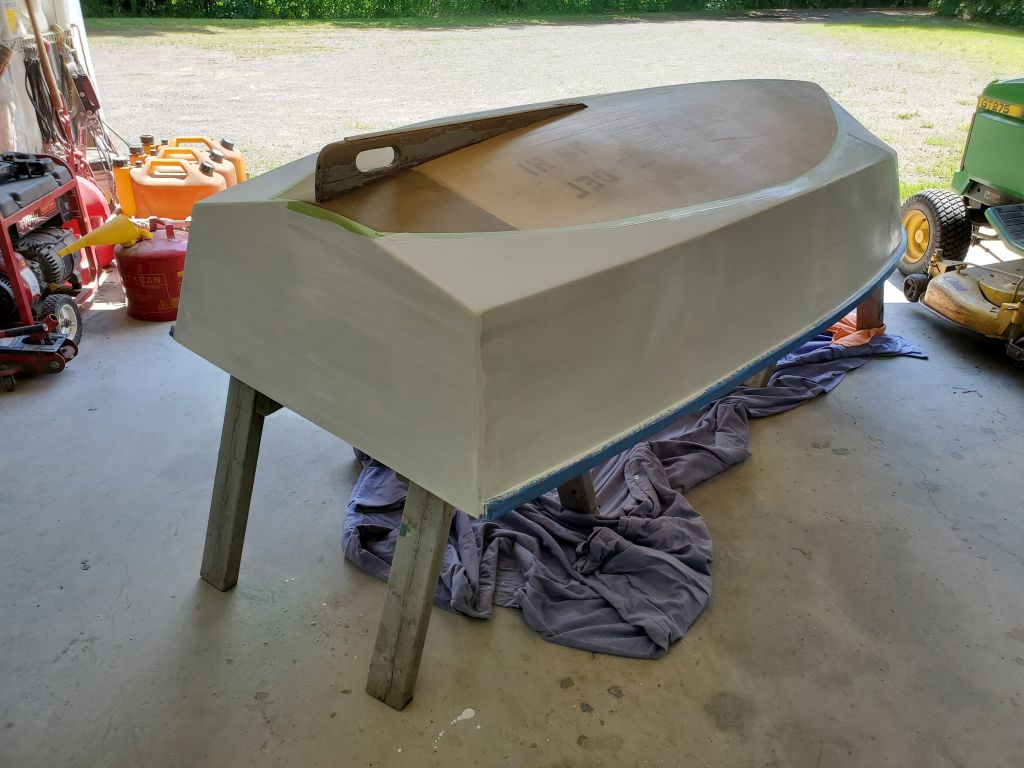
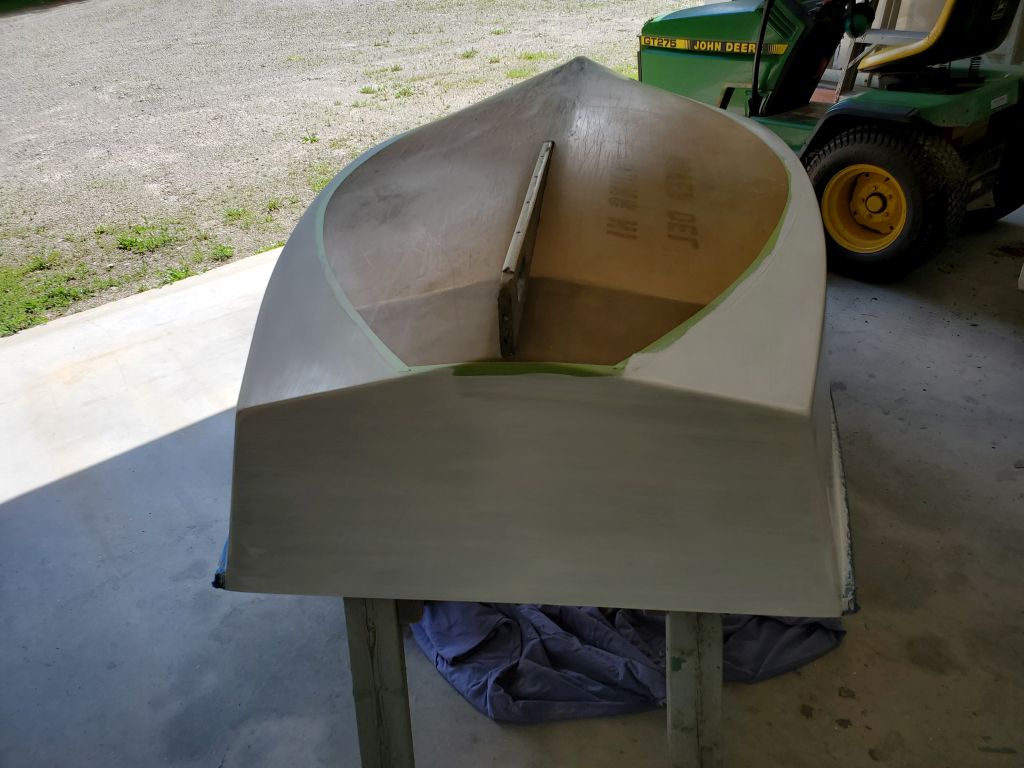
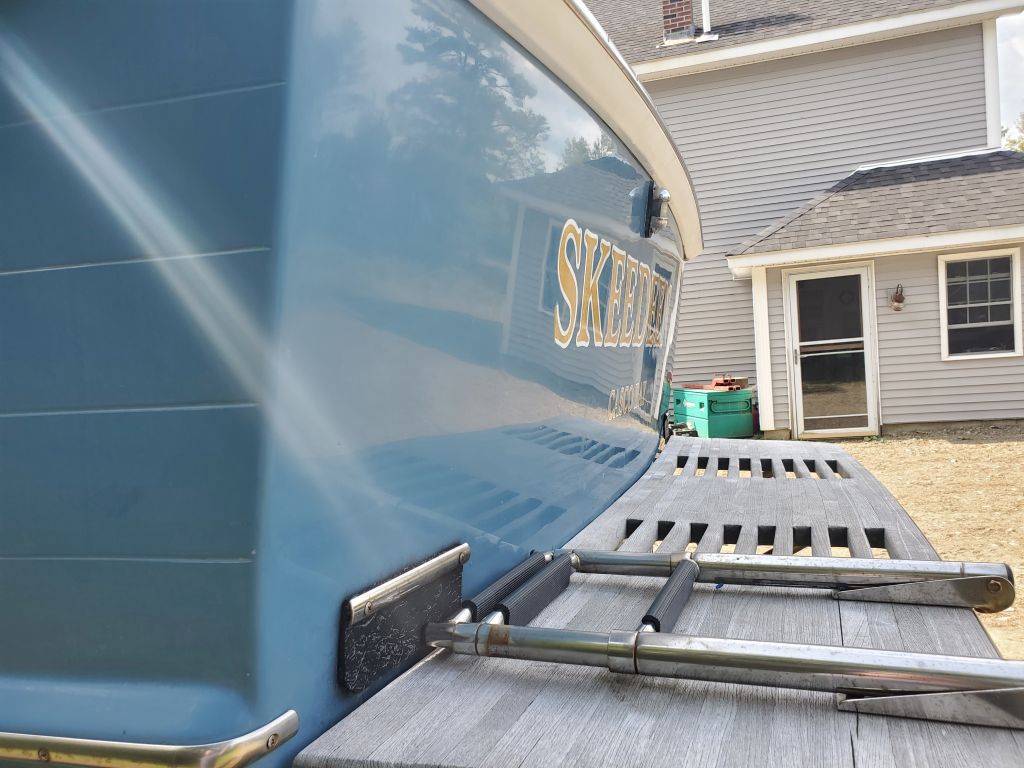
The boat had recently spent some time at another boatyard because of some engine problems, and as a result she was quite dirty. I’d had the boat hauler drop the boat outdoors so I could start by washing the whole boat to remove boatyard grime and dirt, which was my first task.

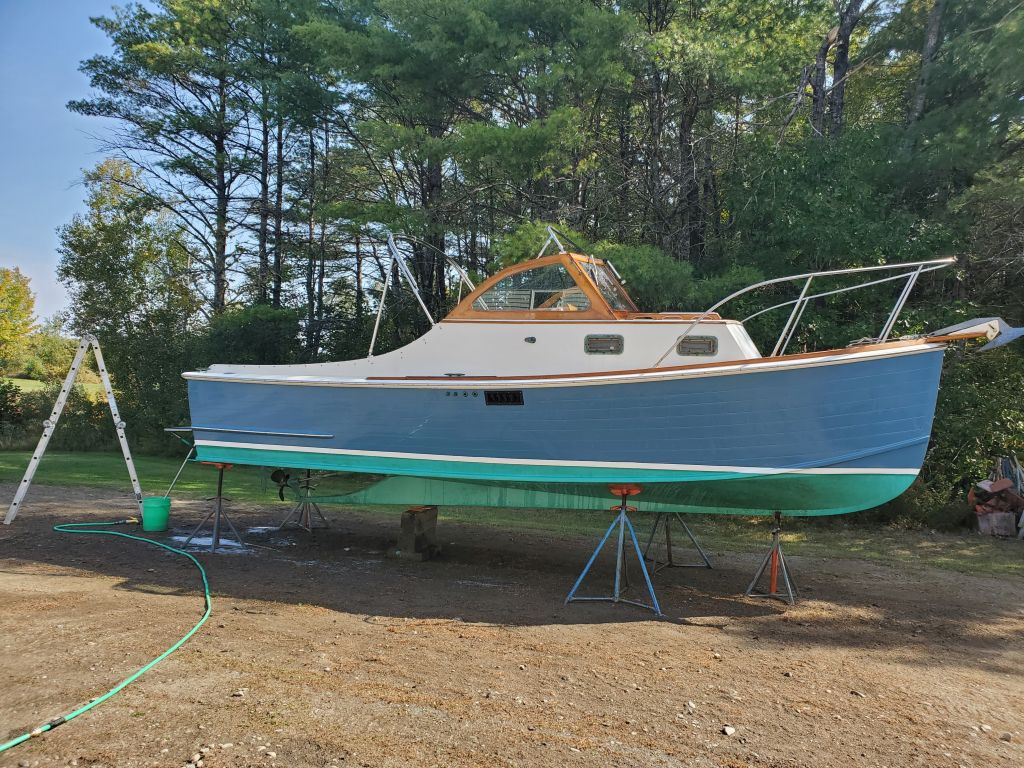
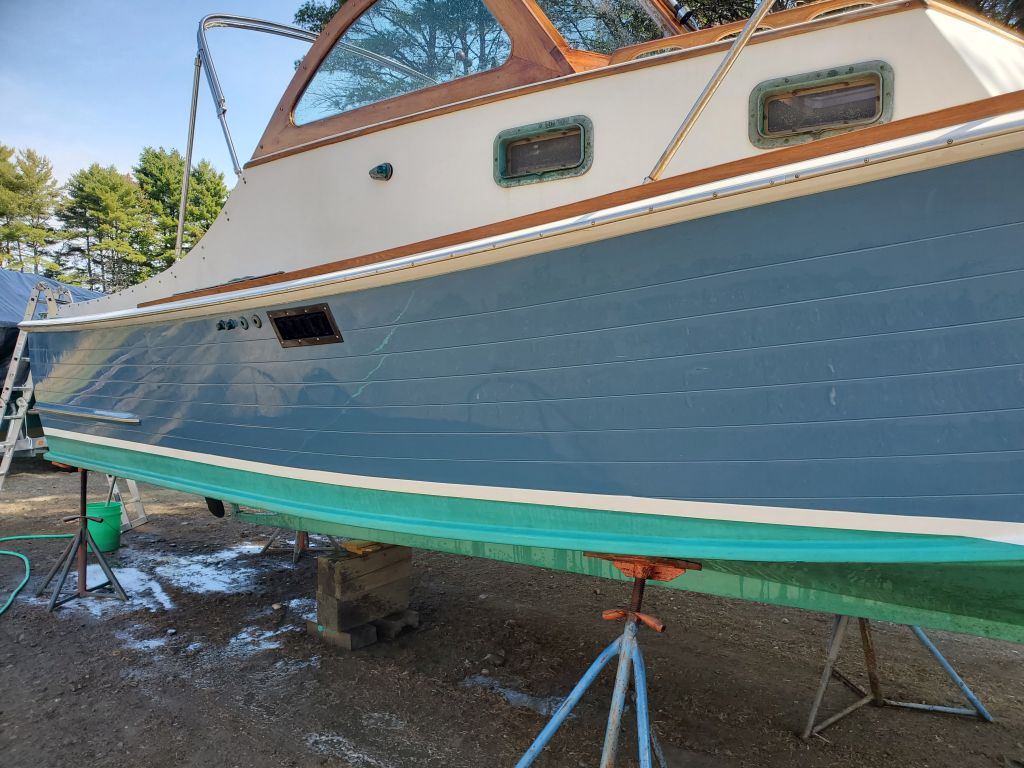
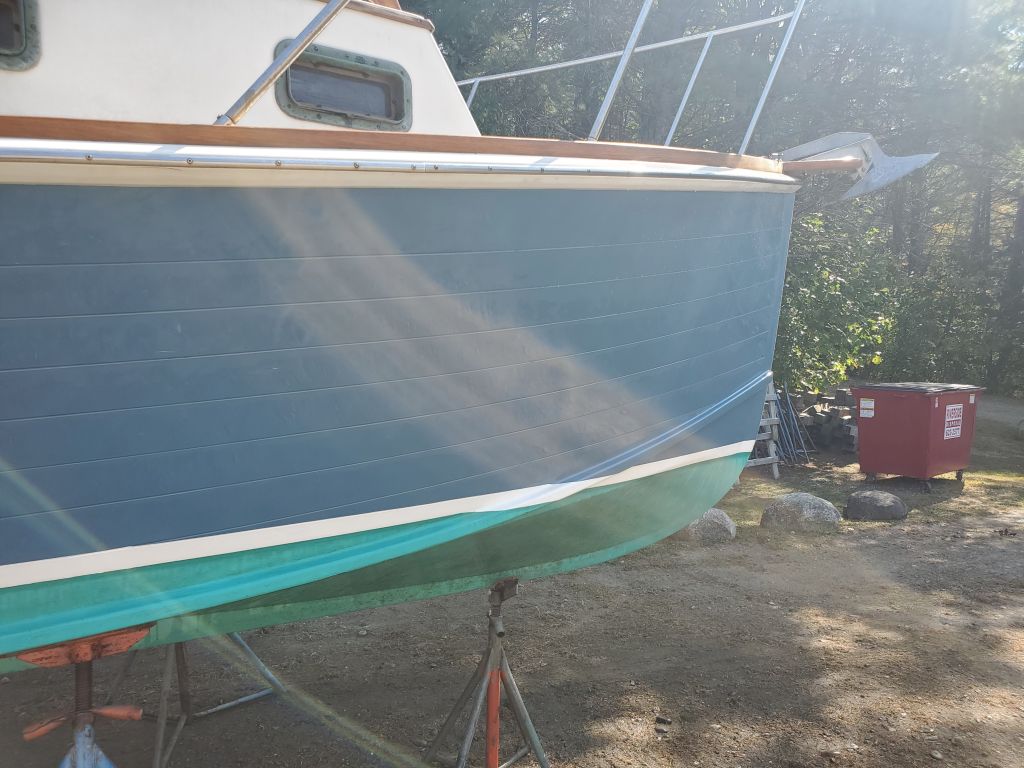
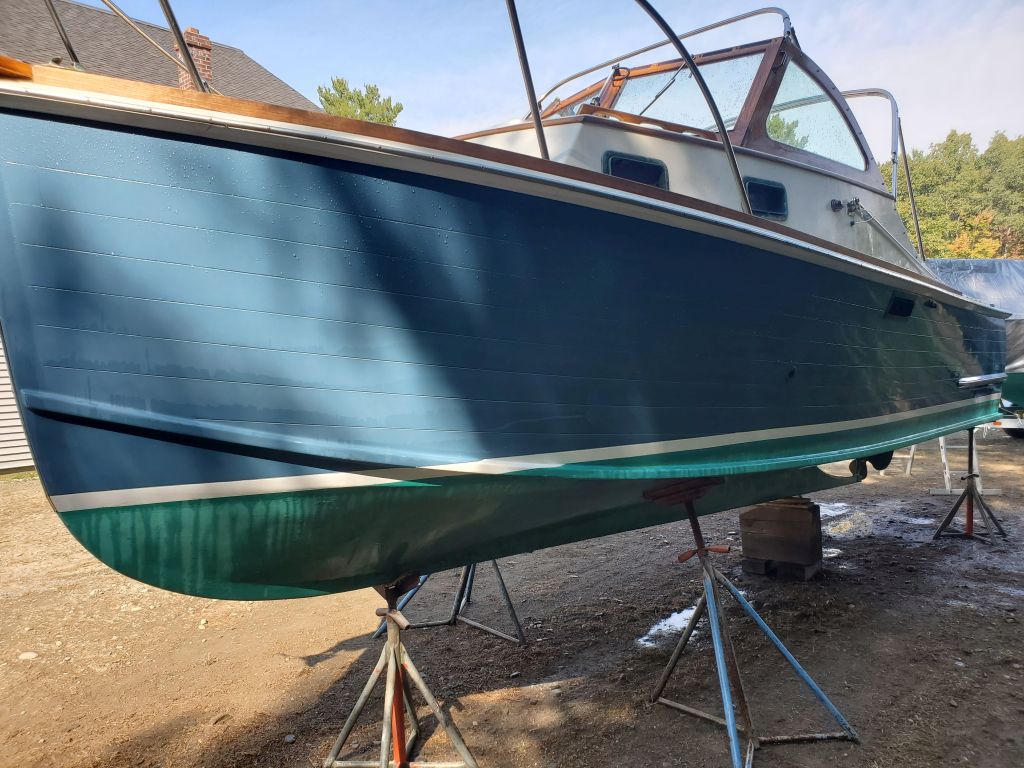

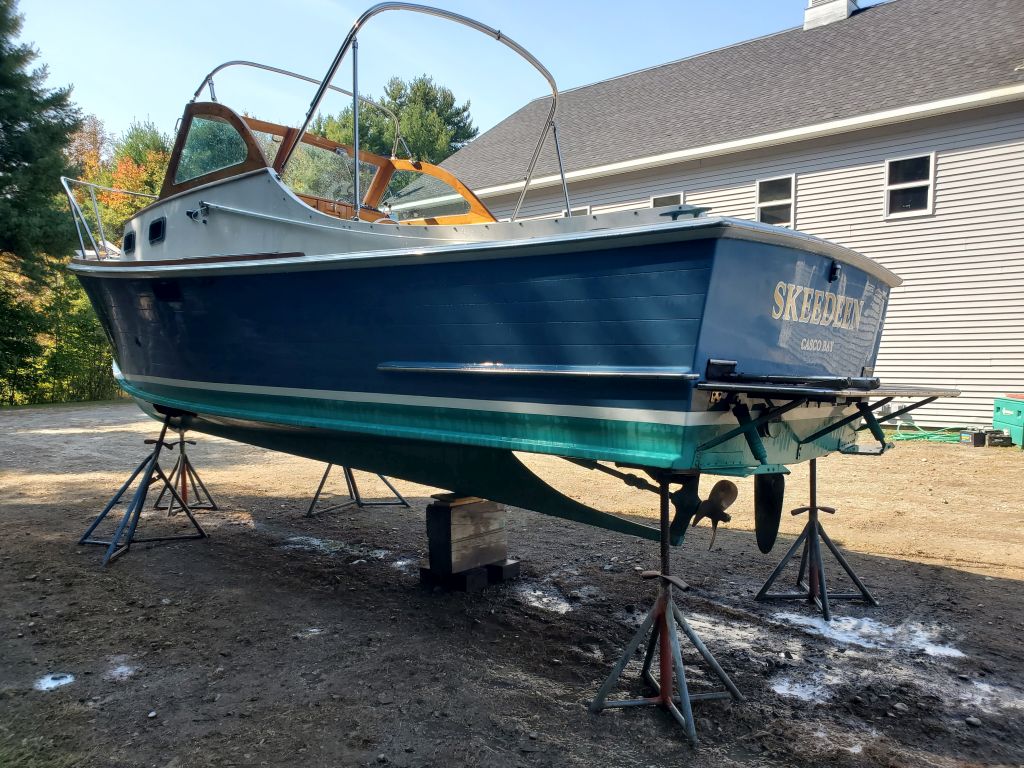
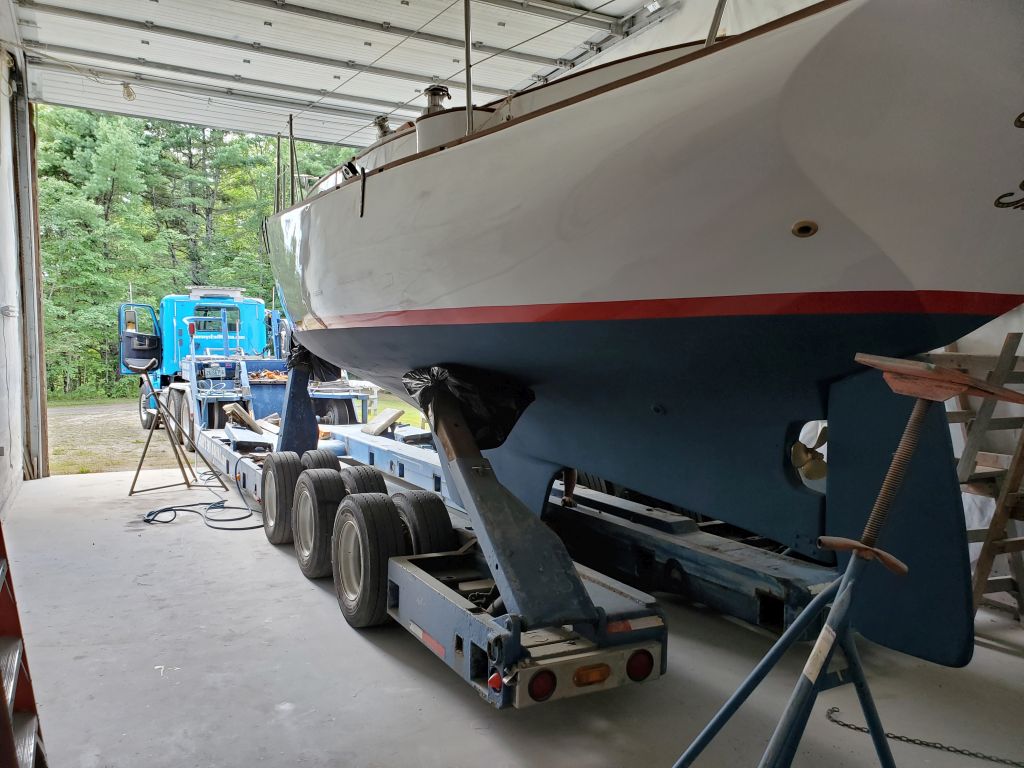
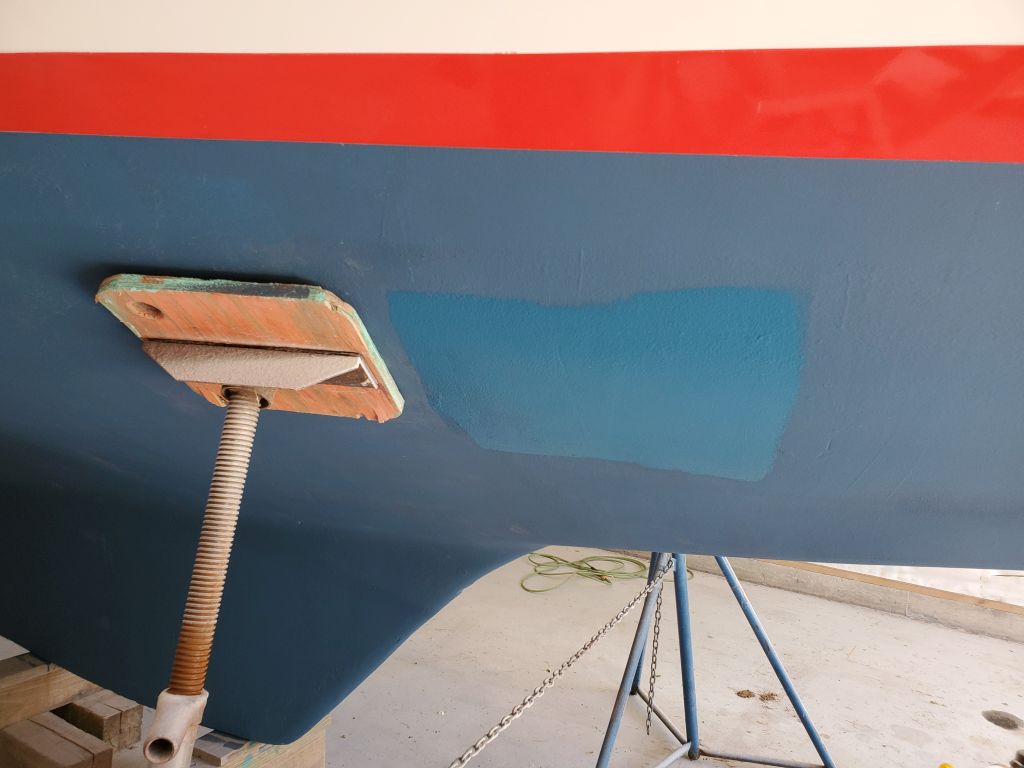
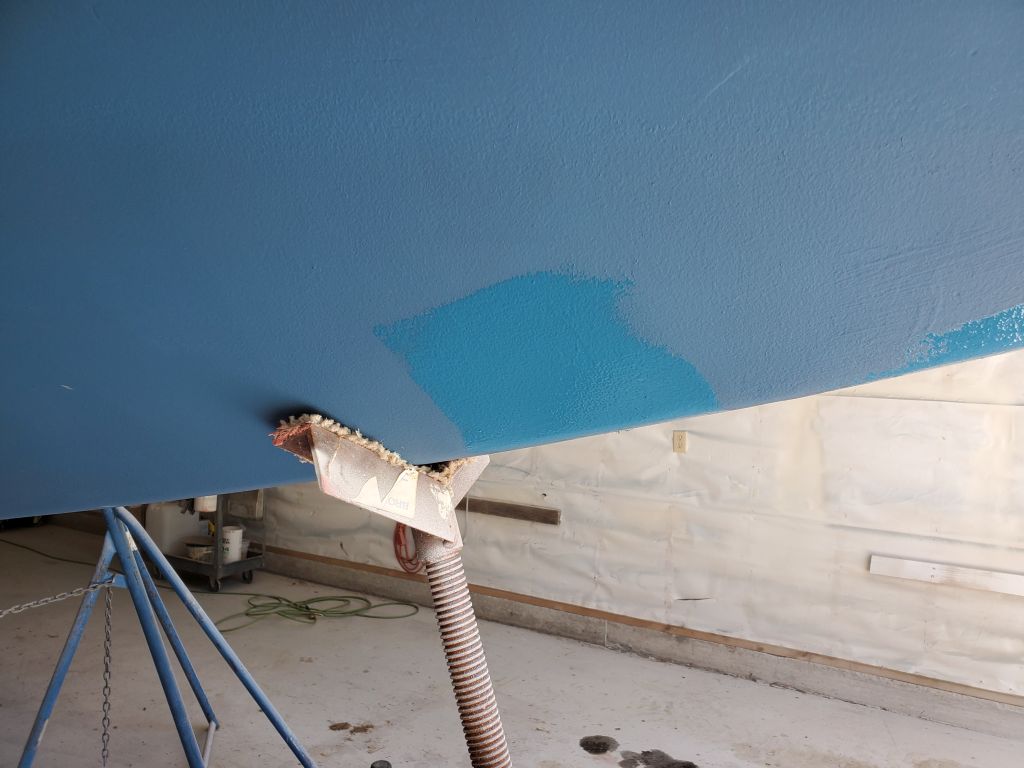
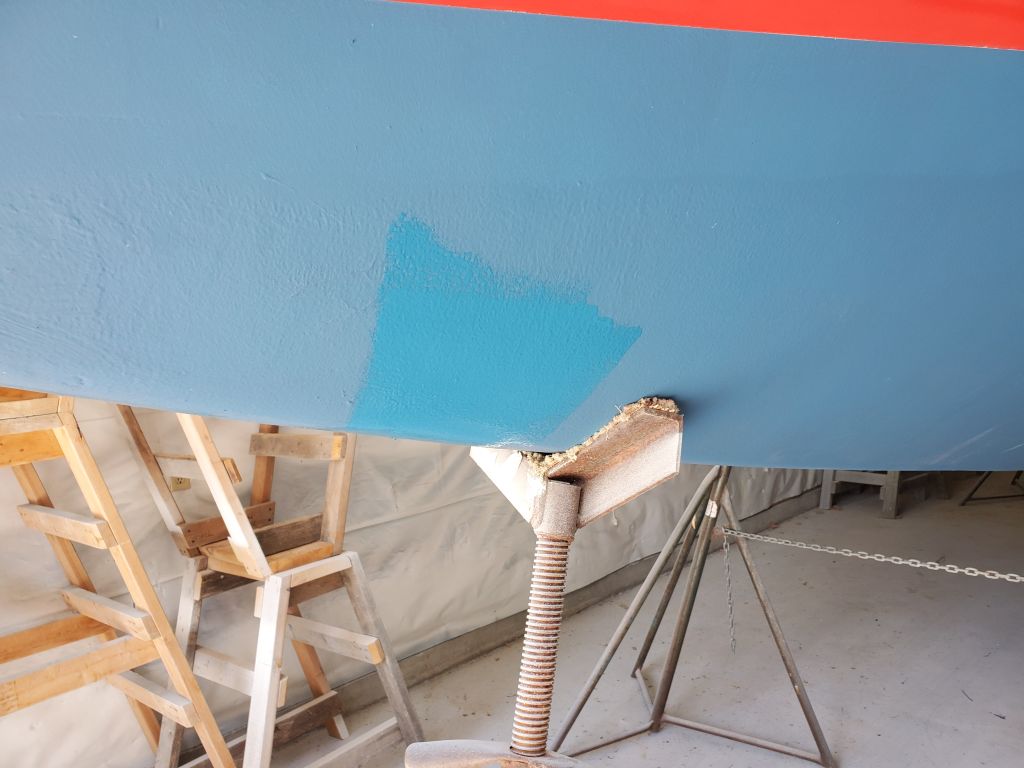
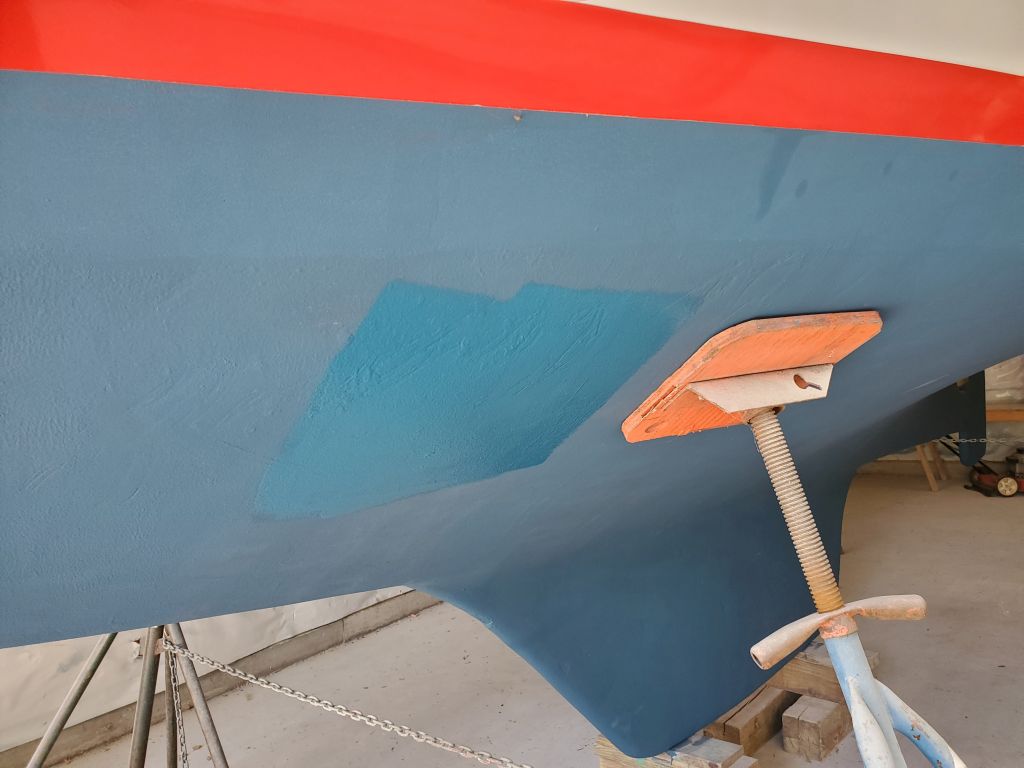
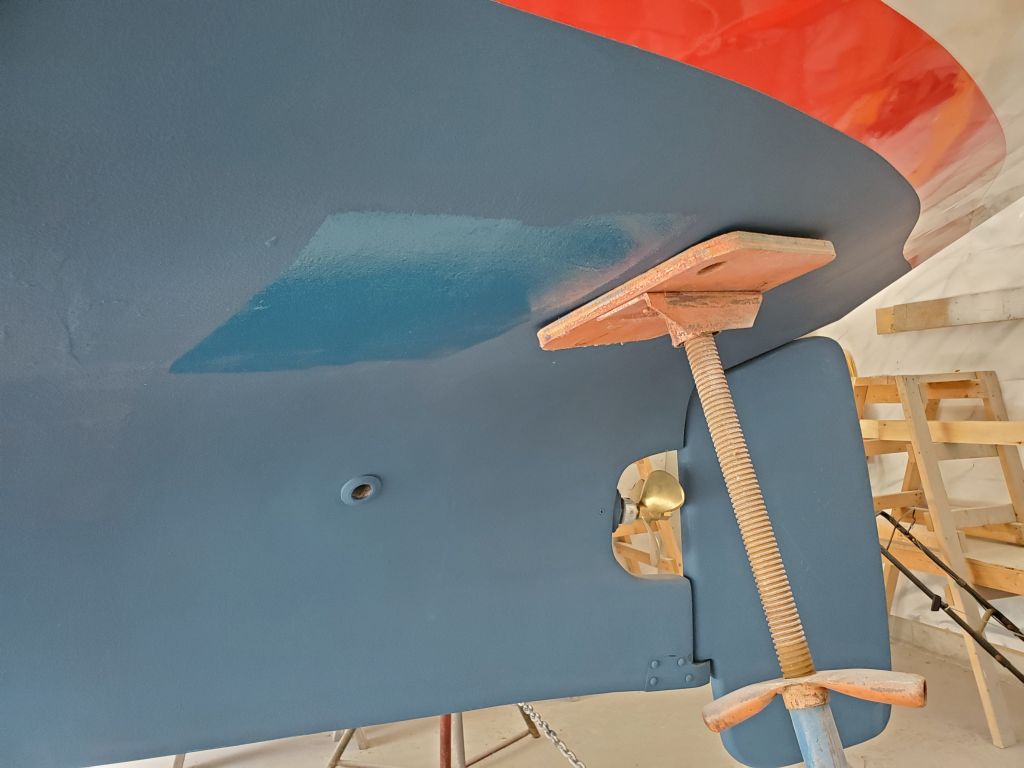
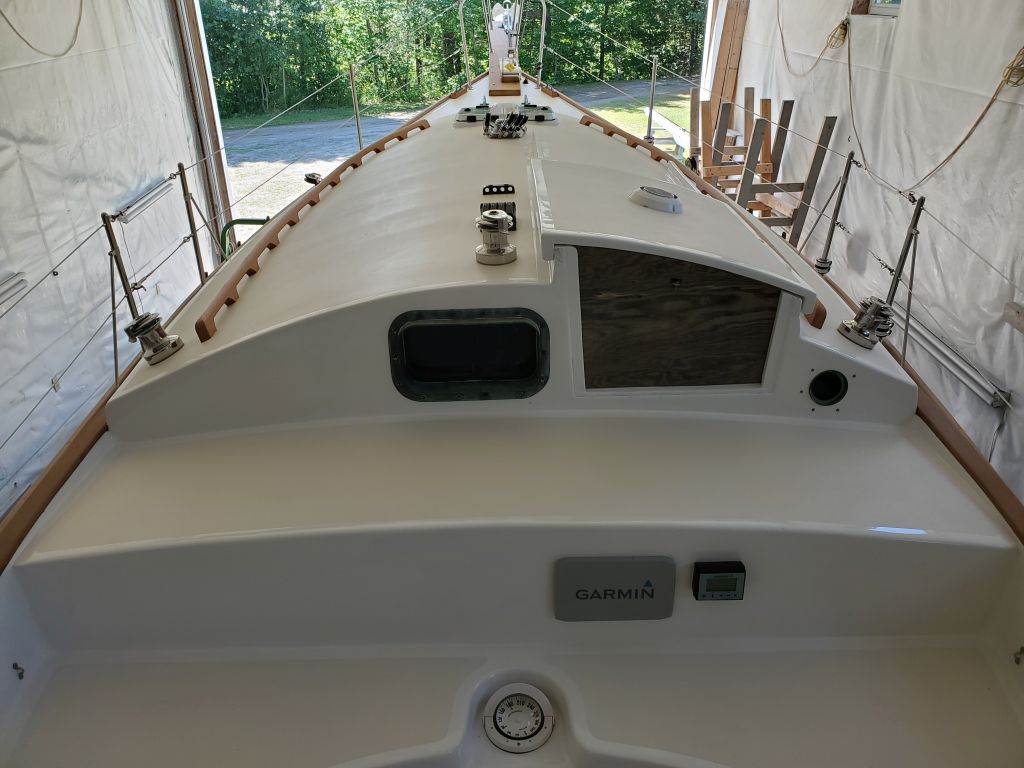
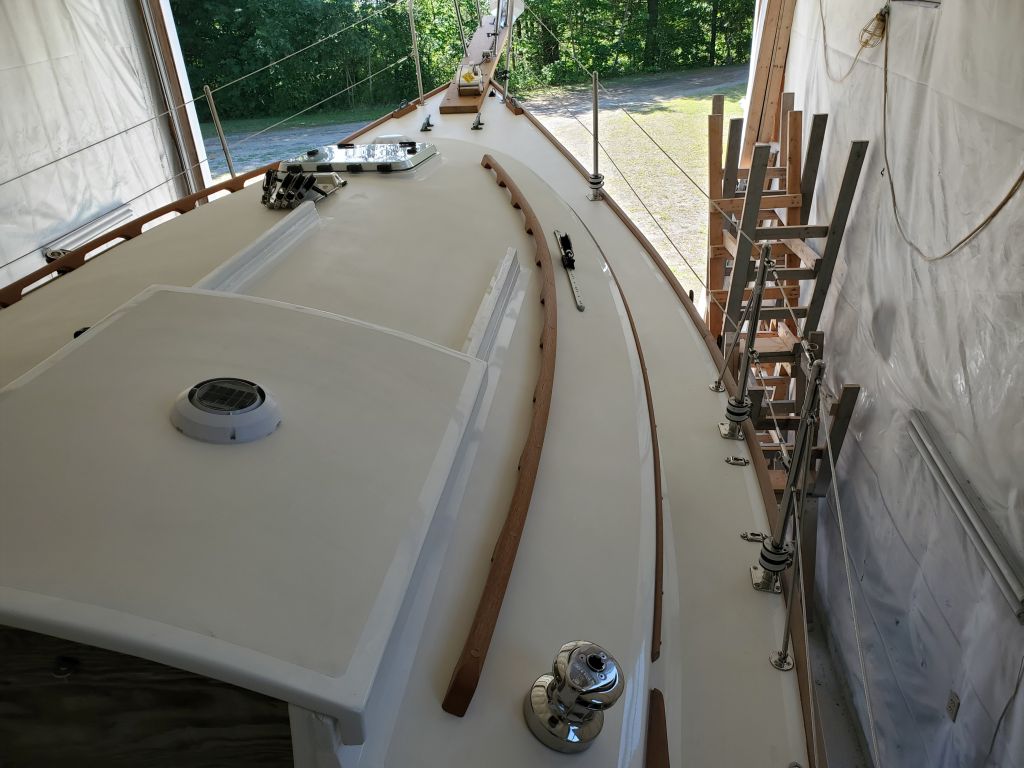
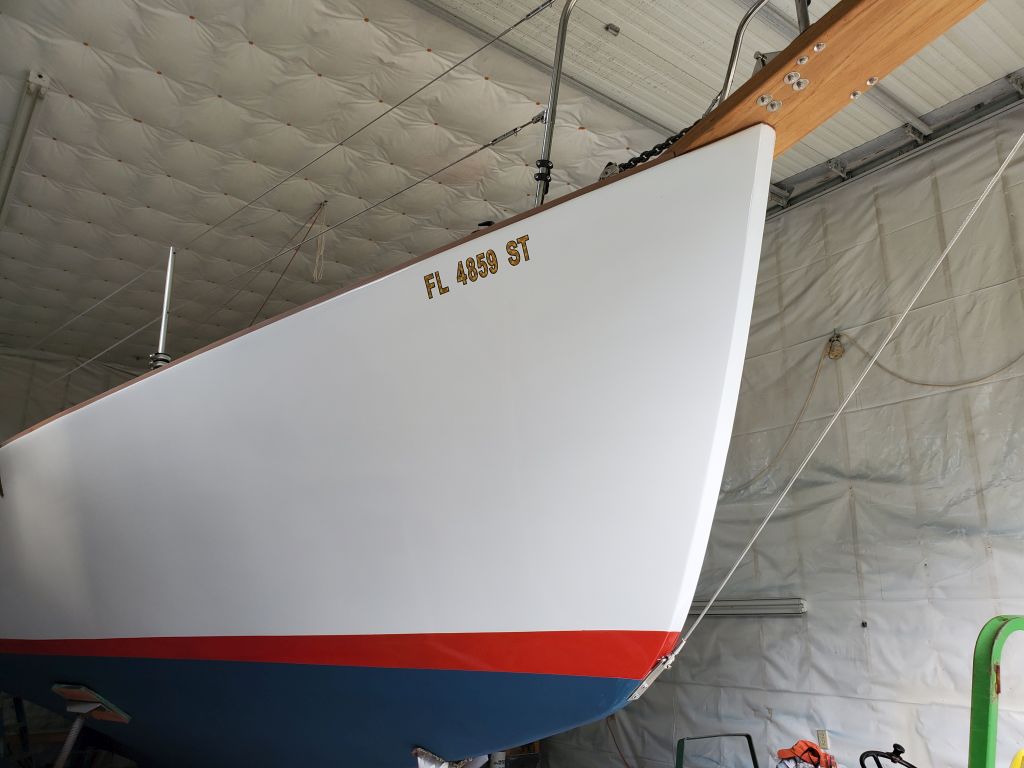
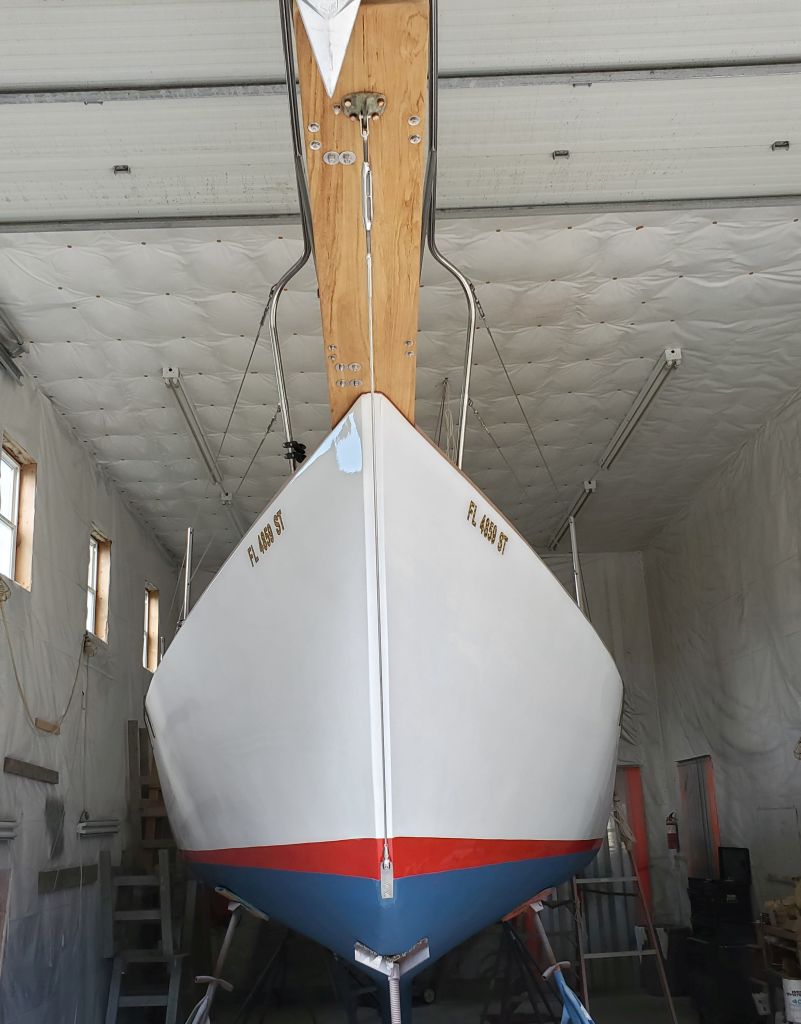
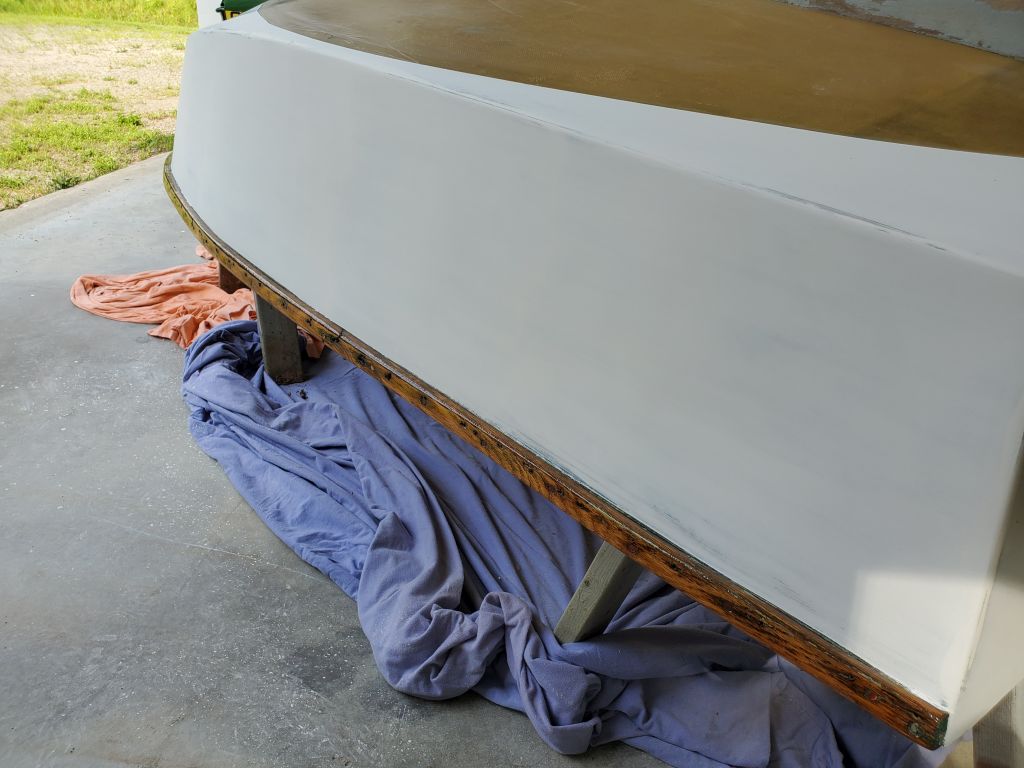
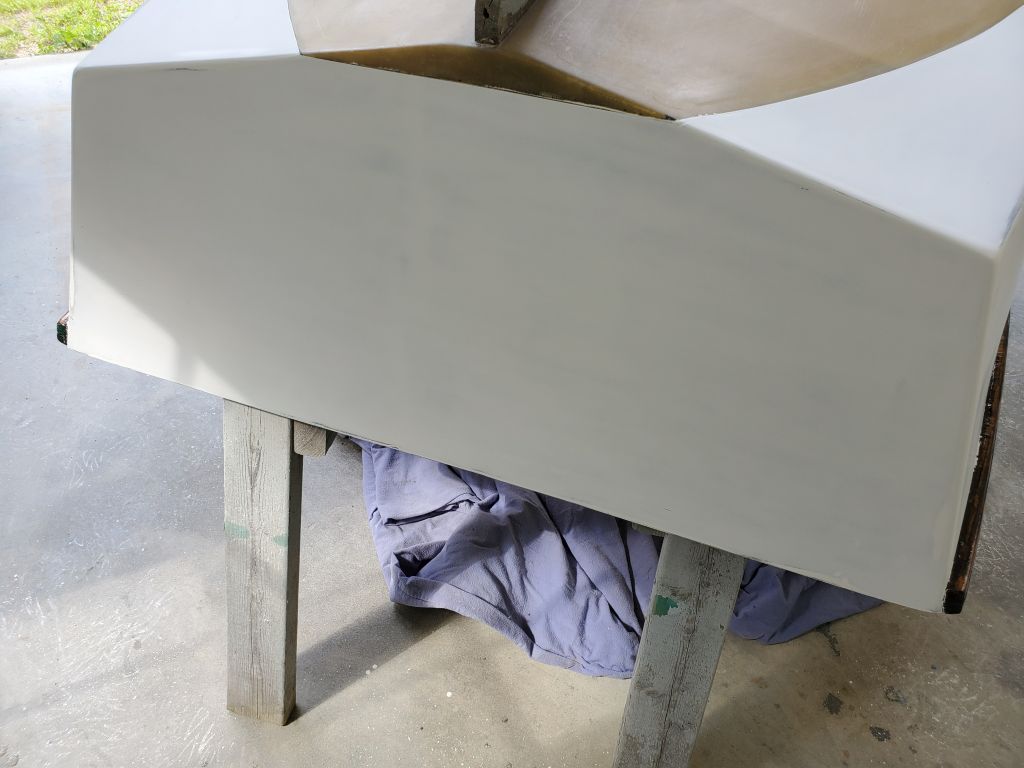
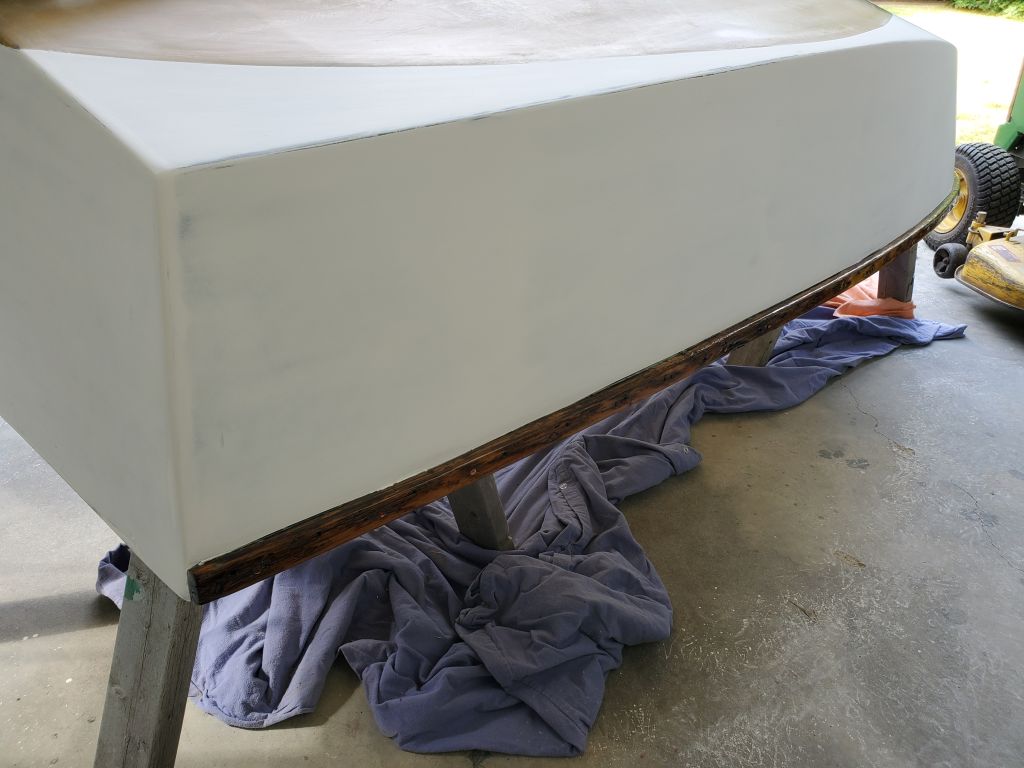
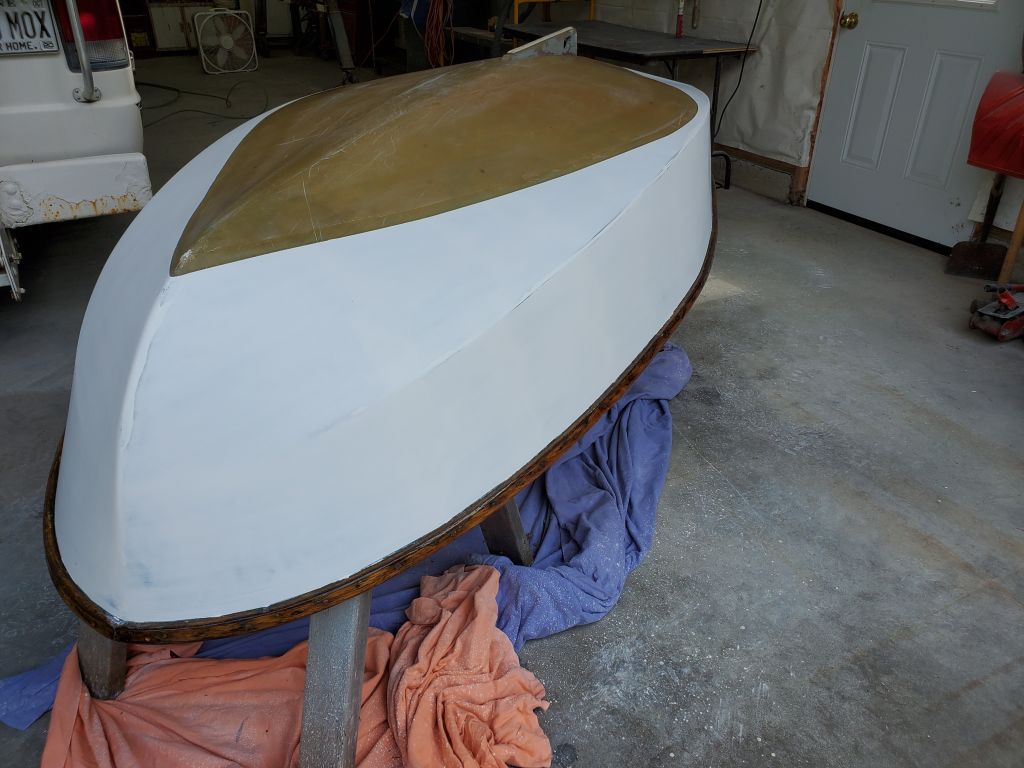
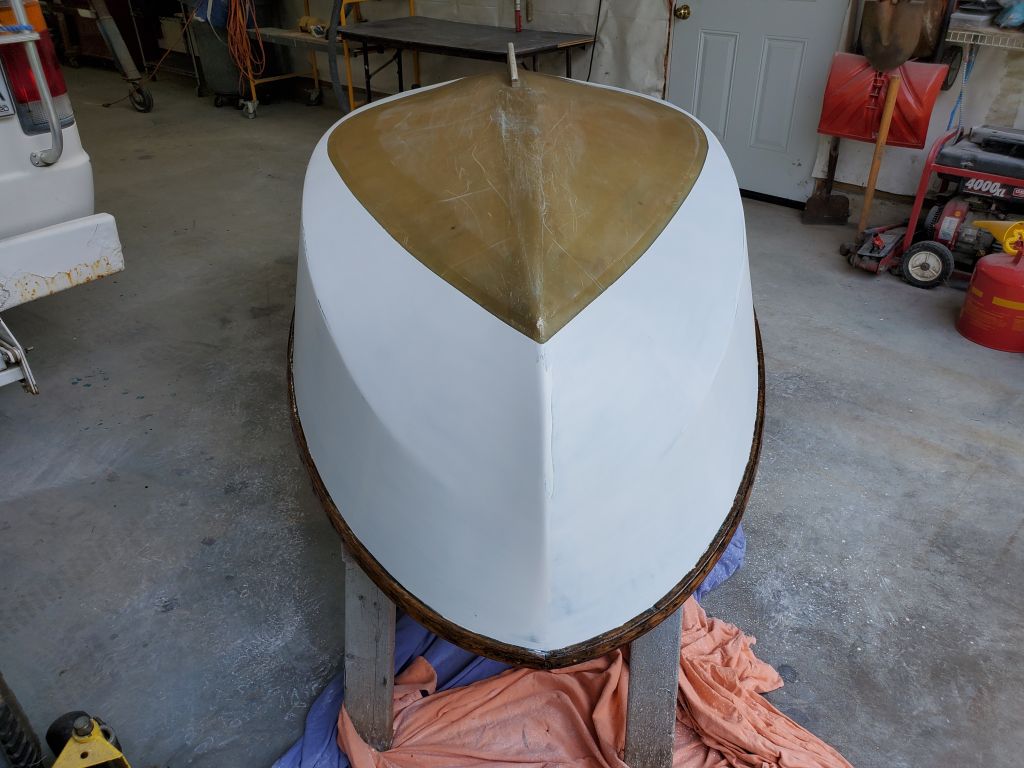
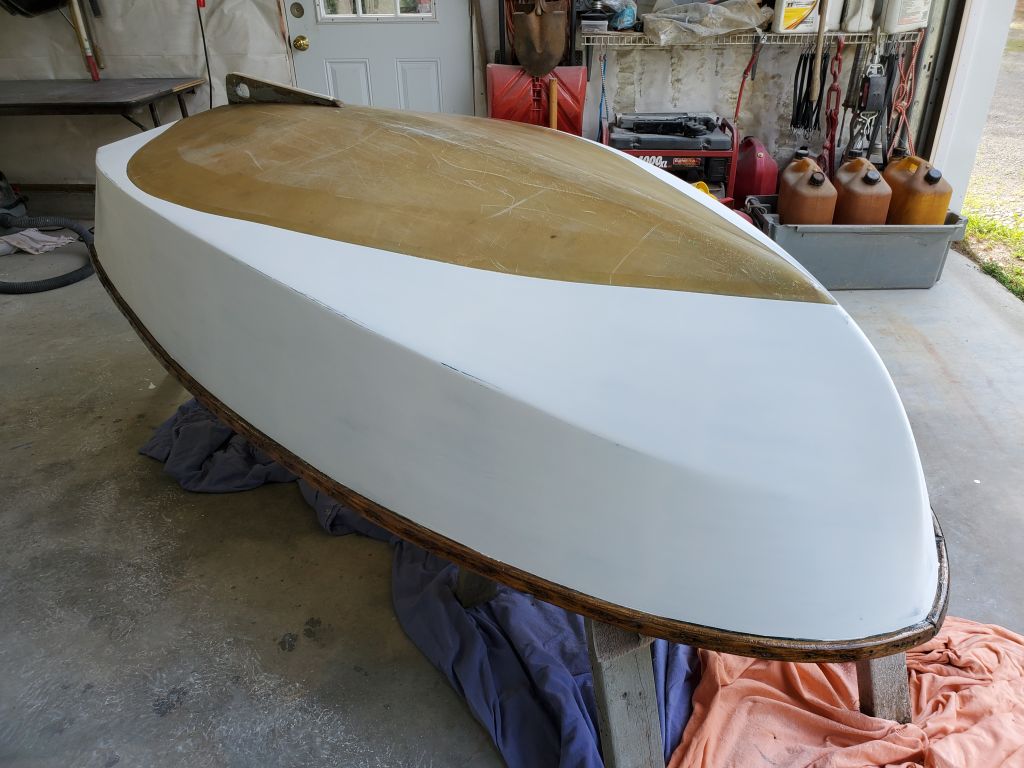
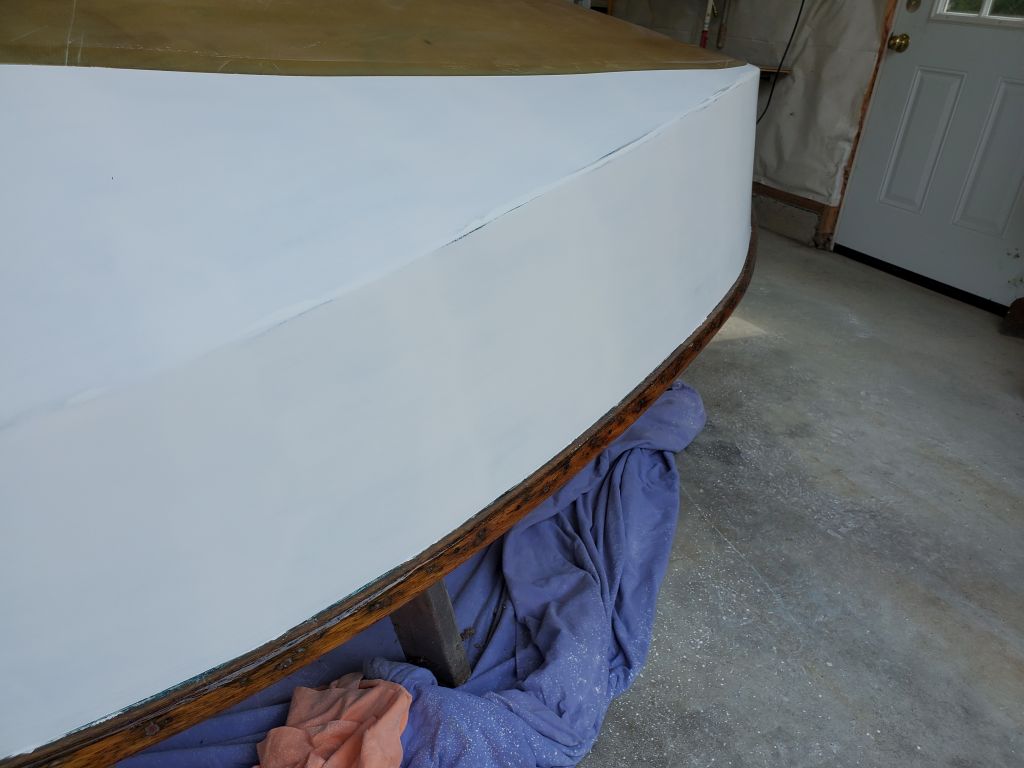
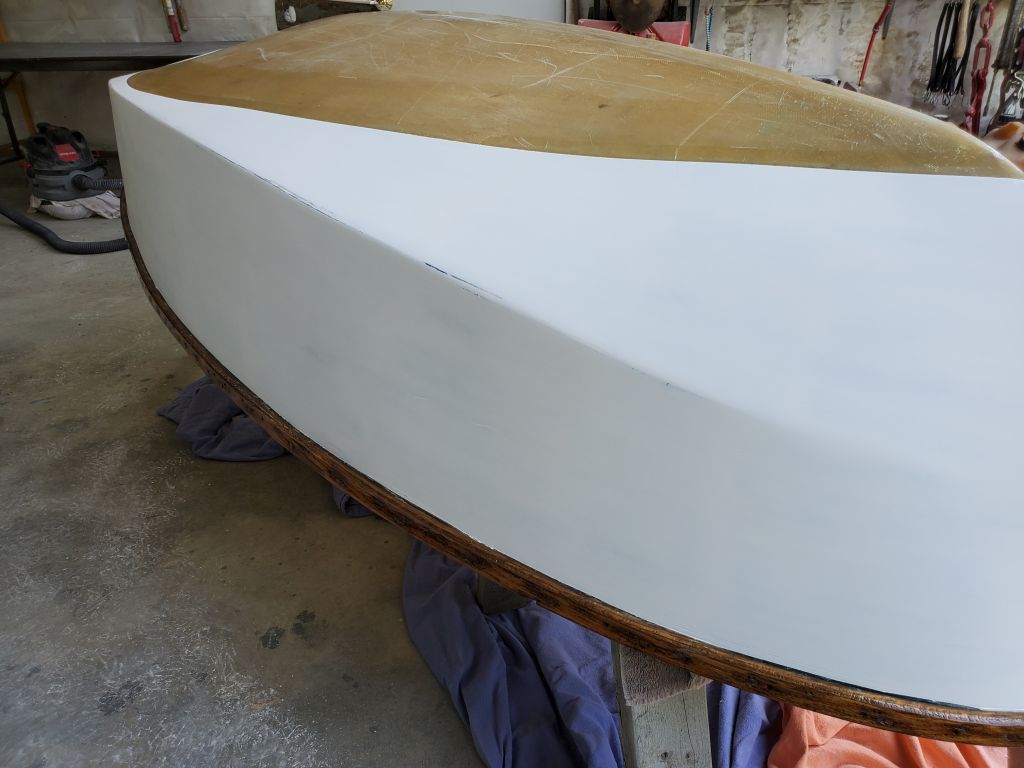
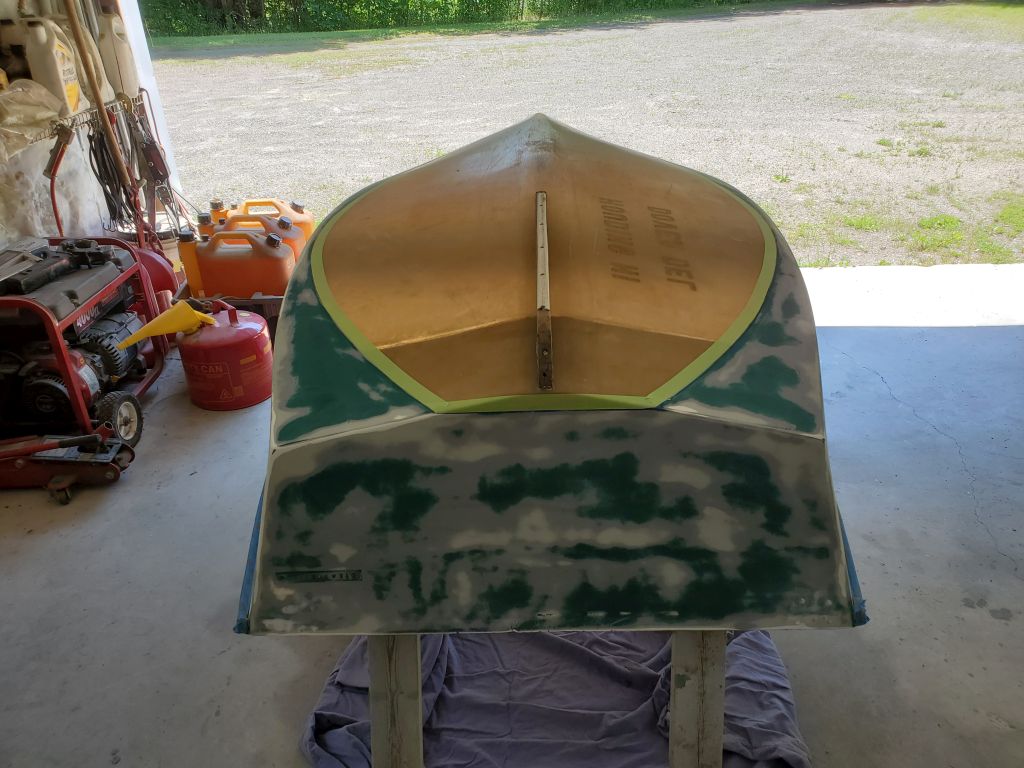
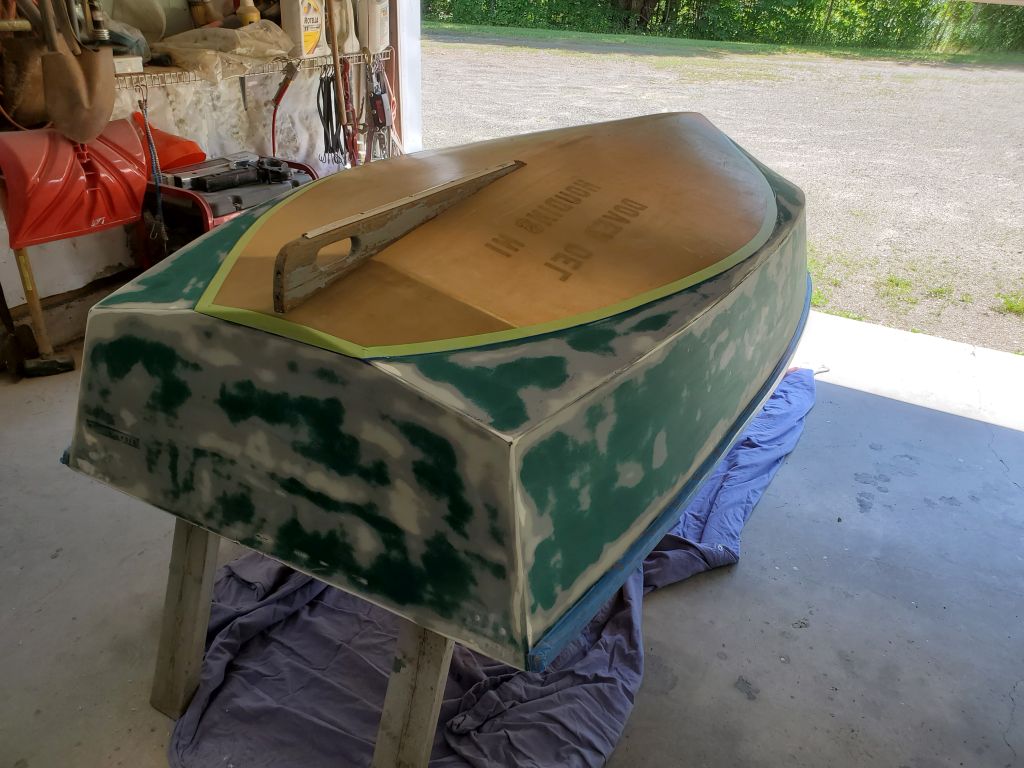
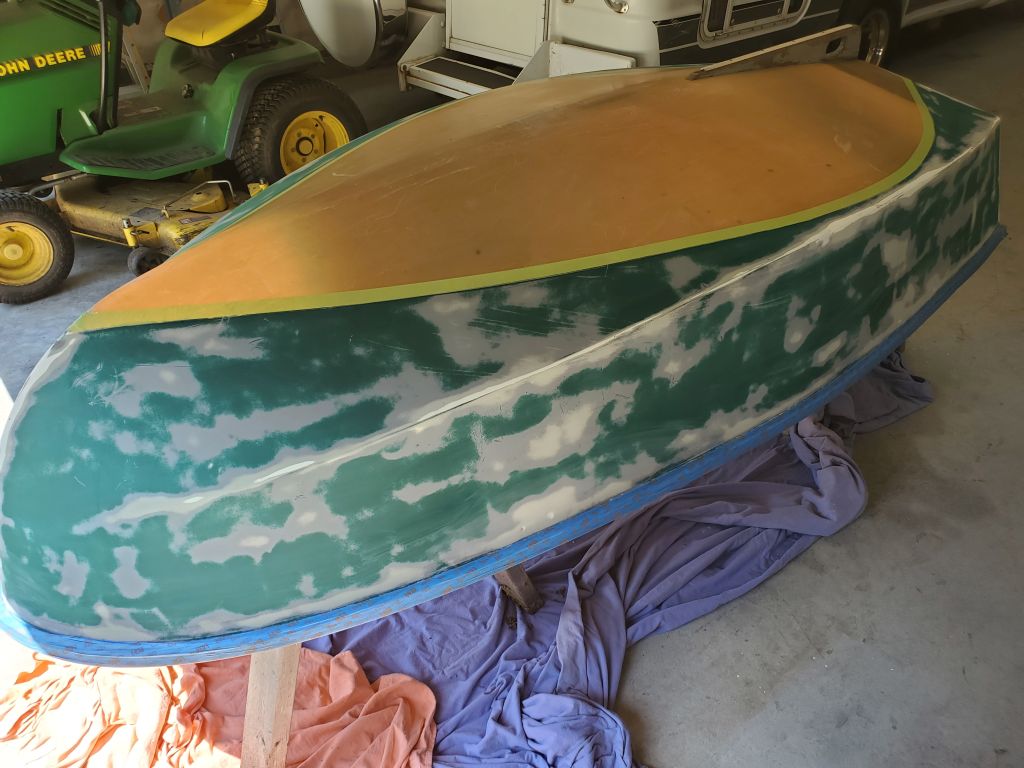
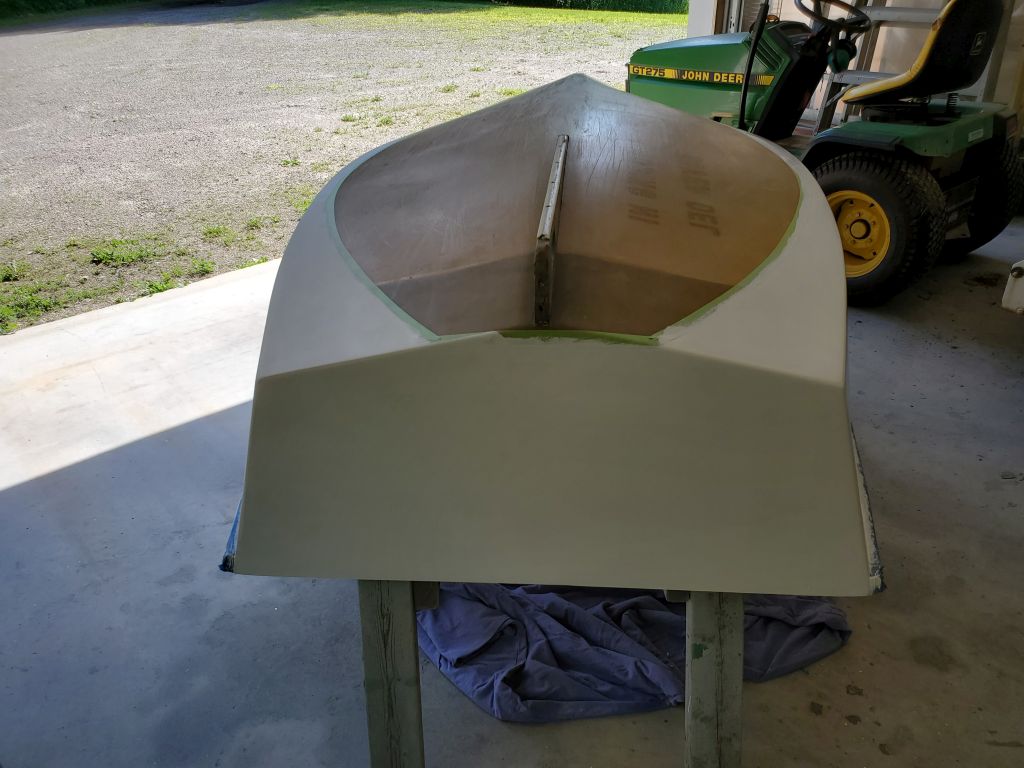
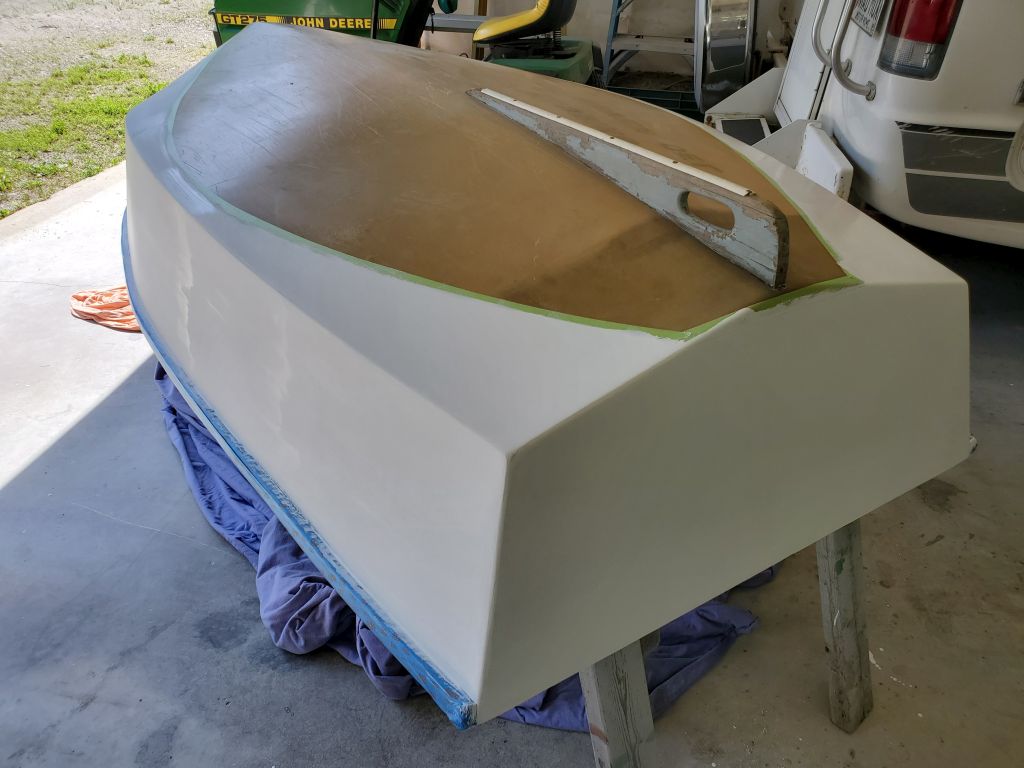
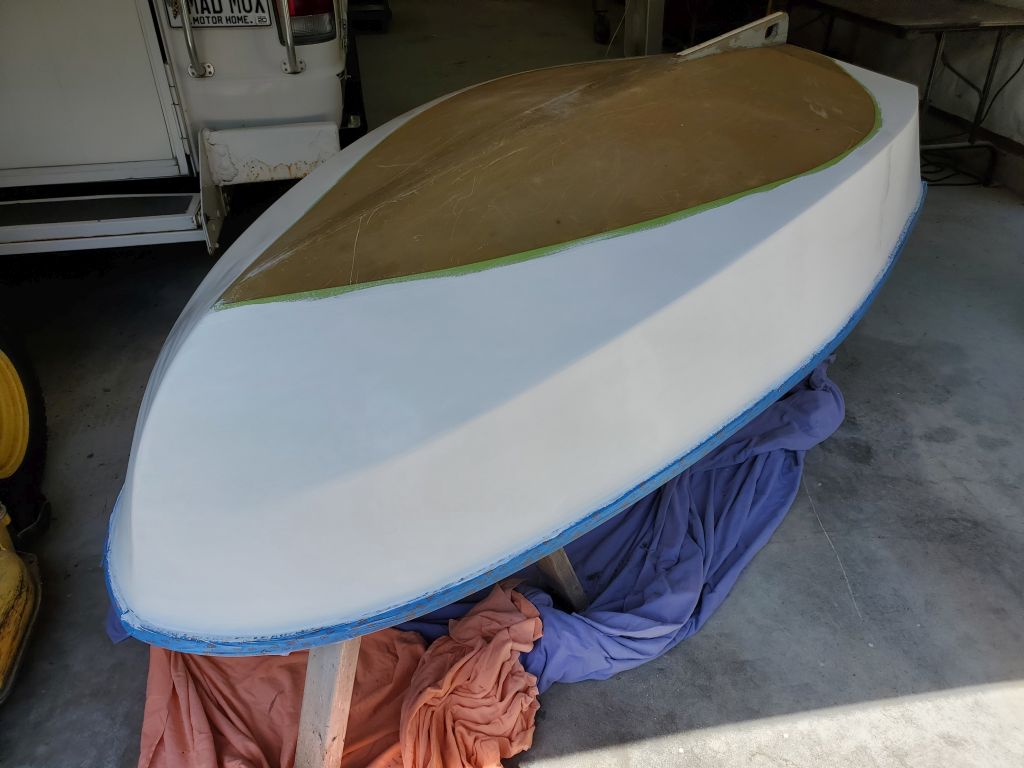
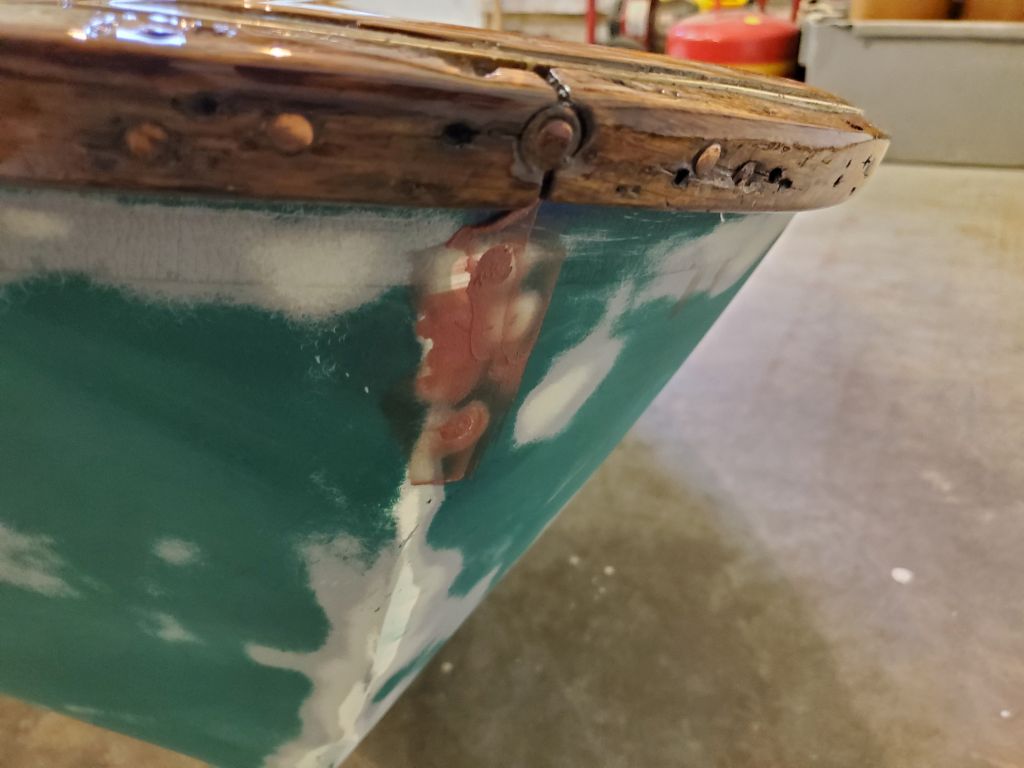
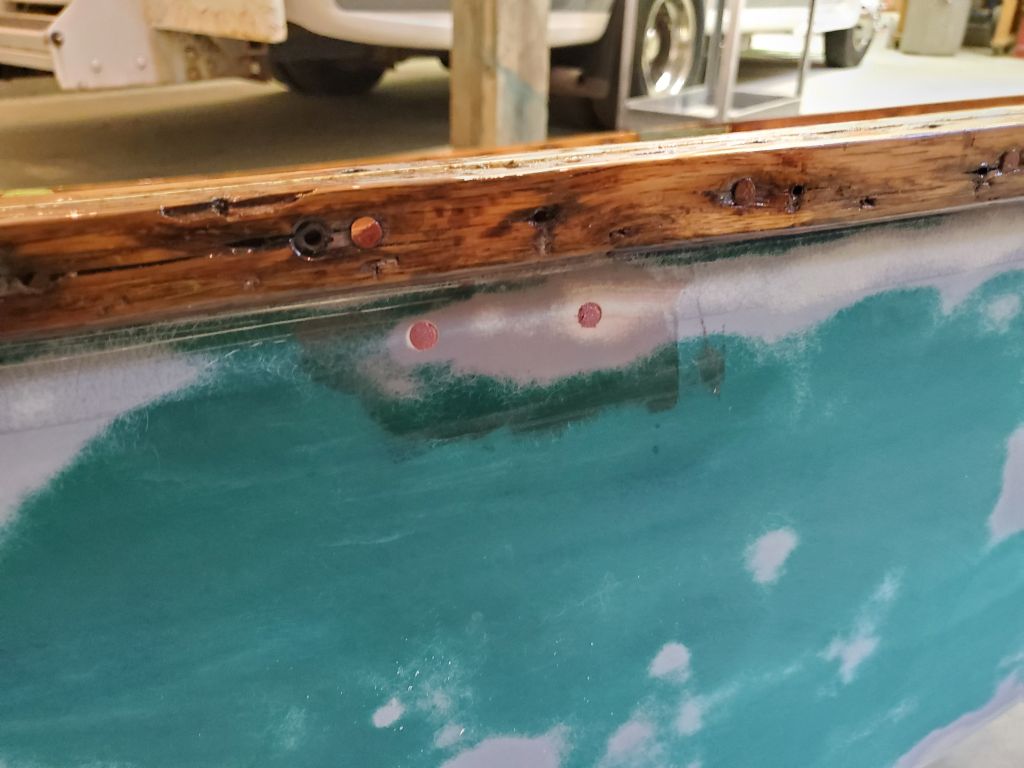
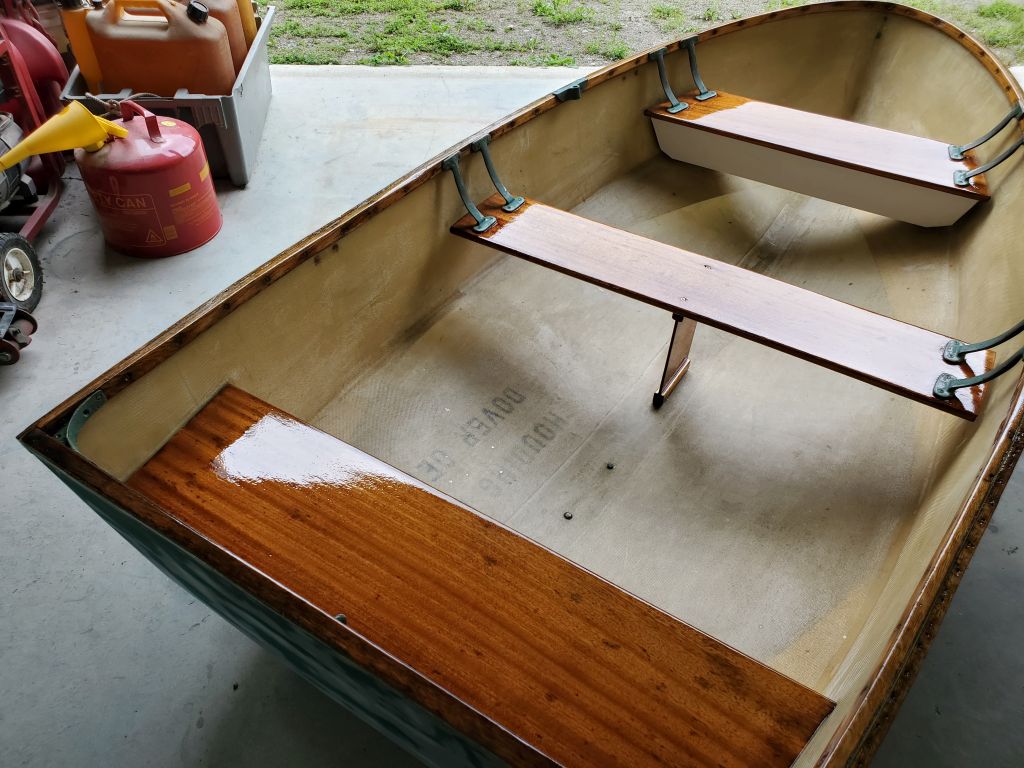
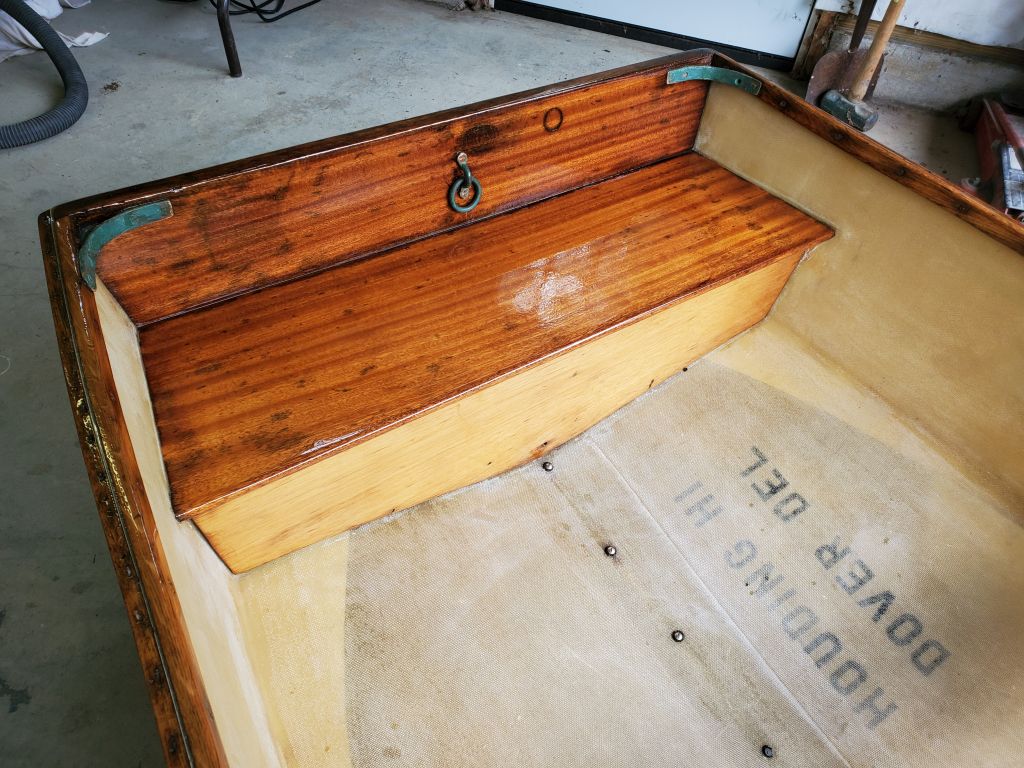
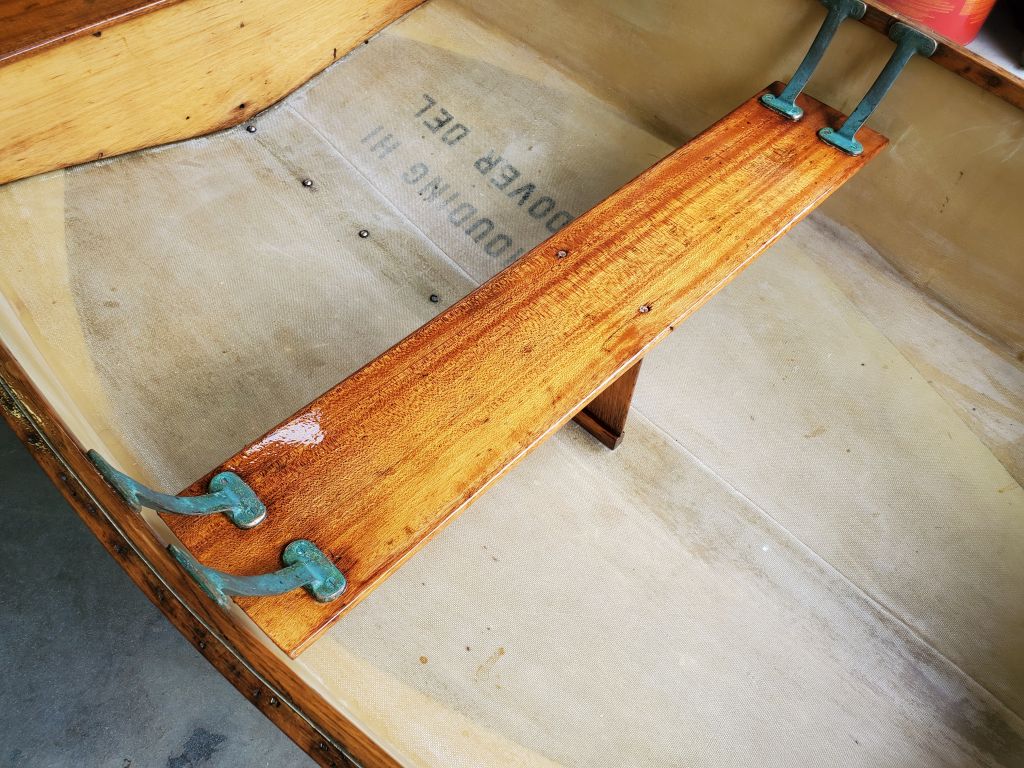
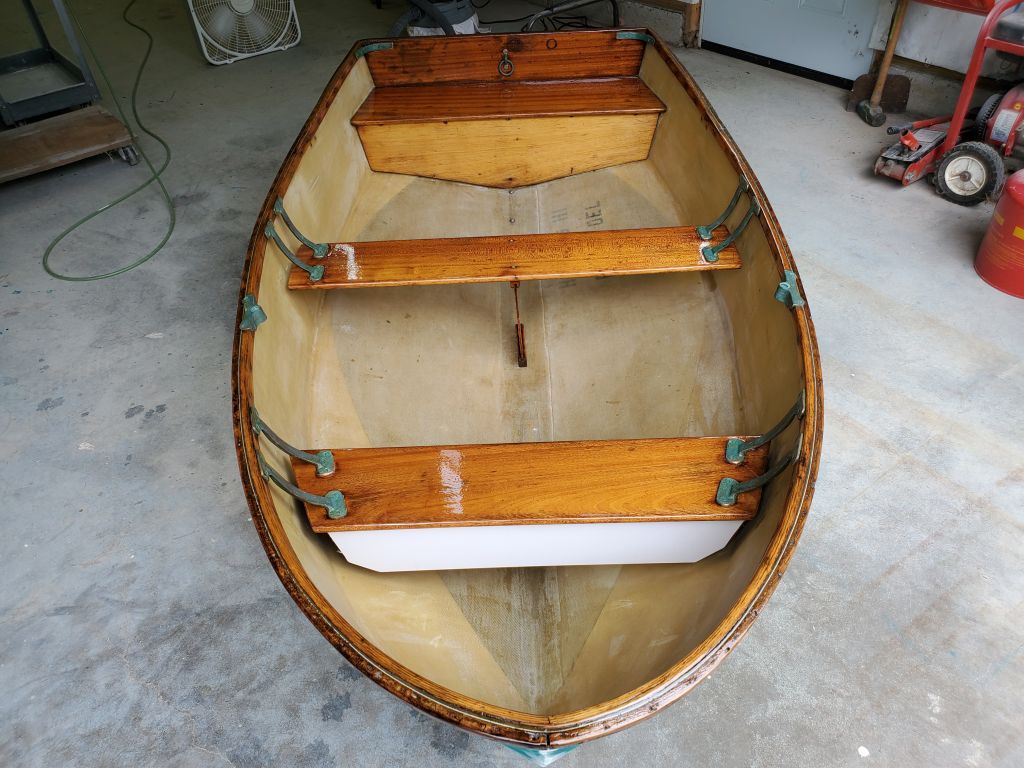
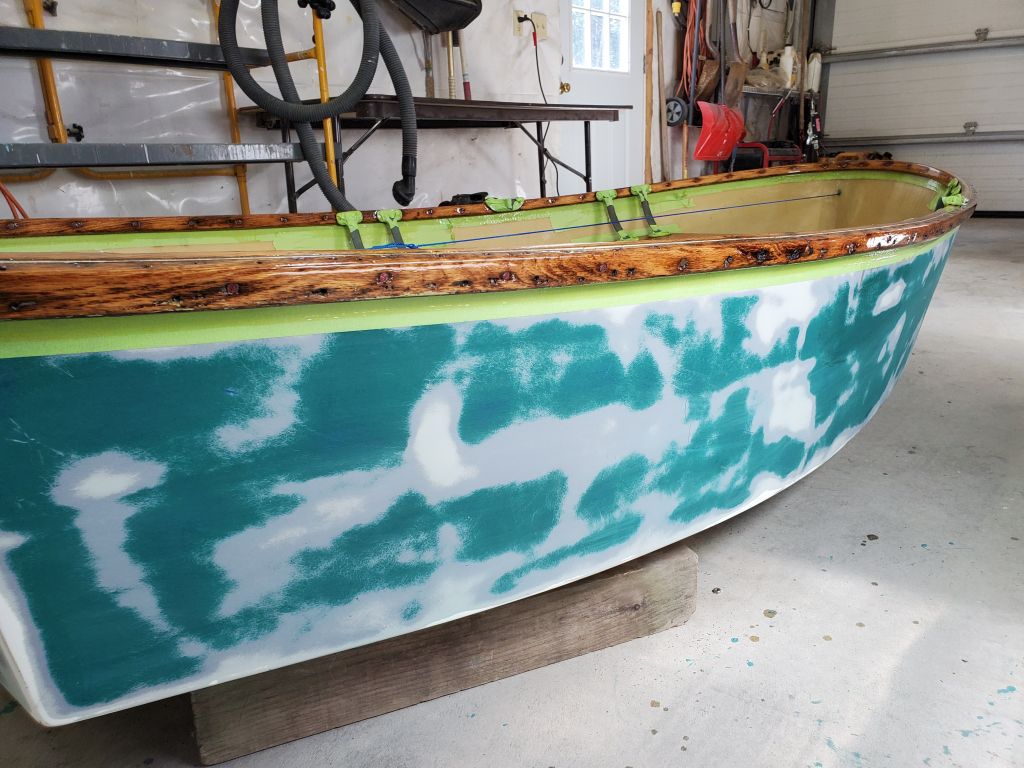
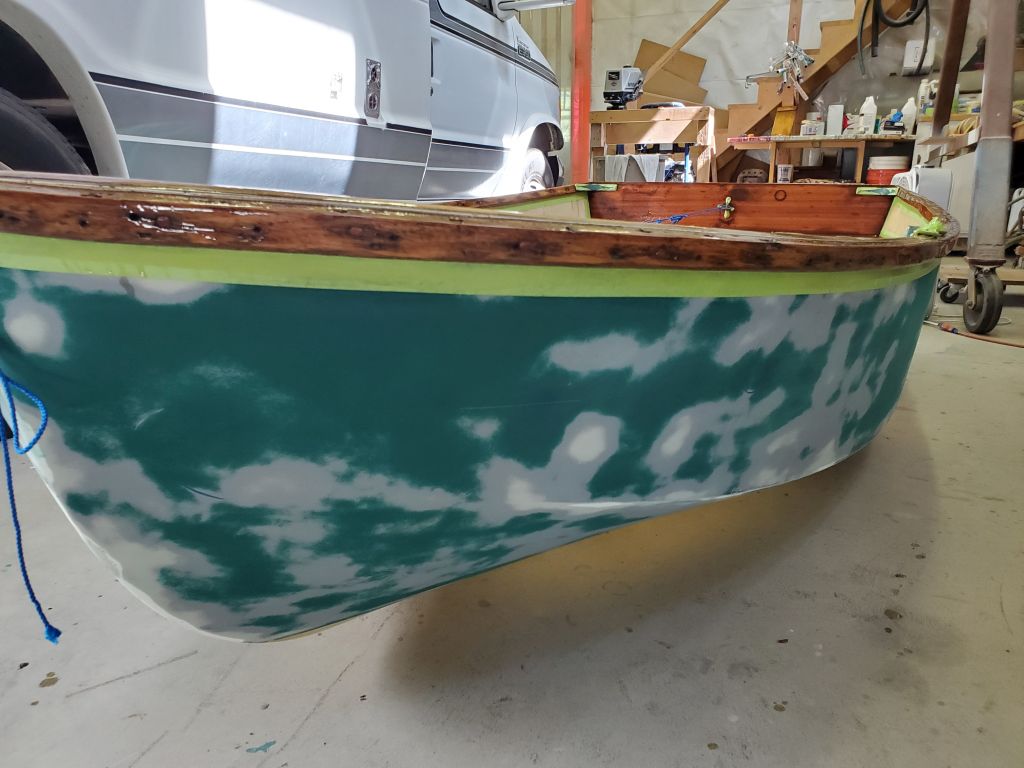
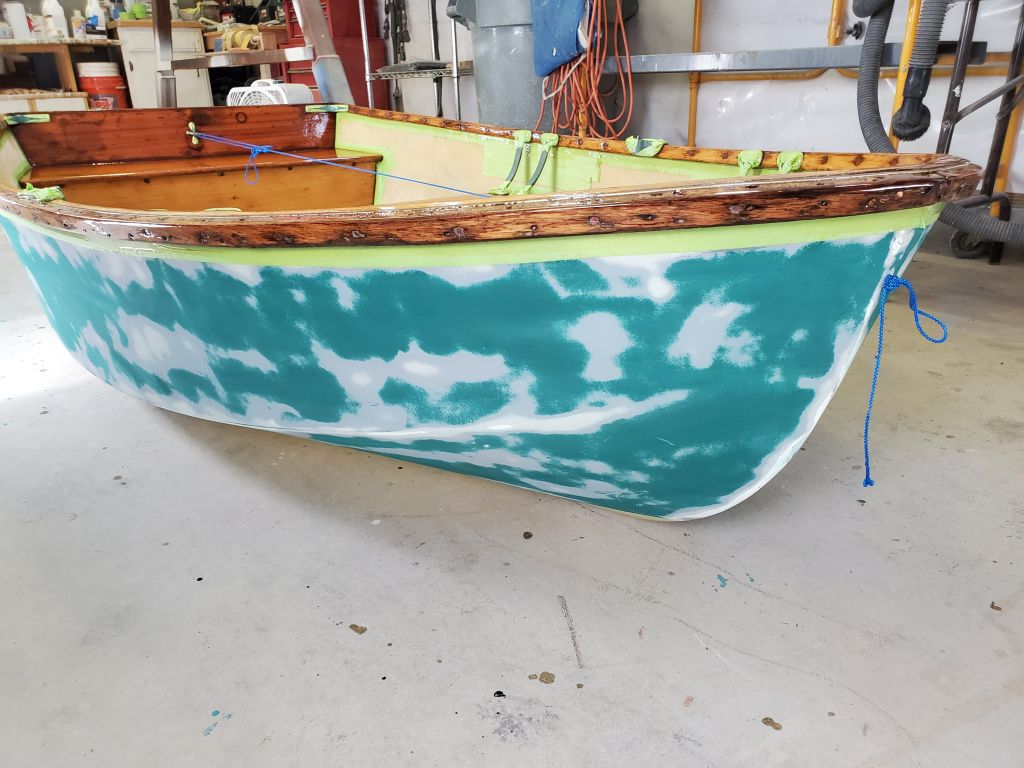
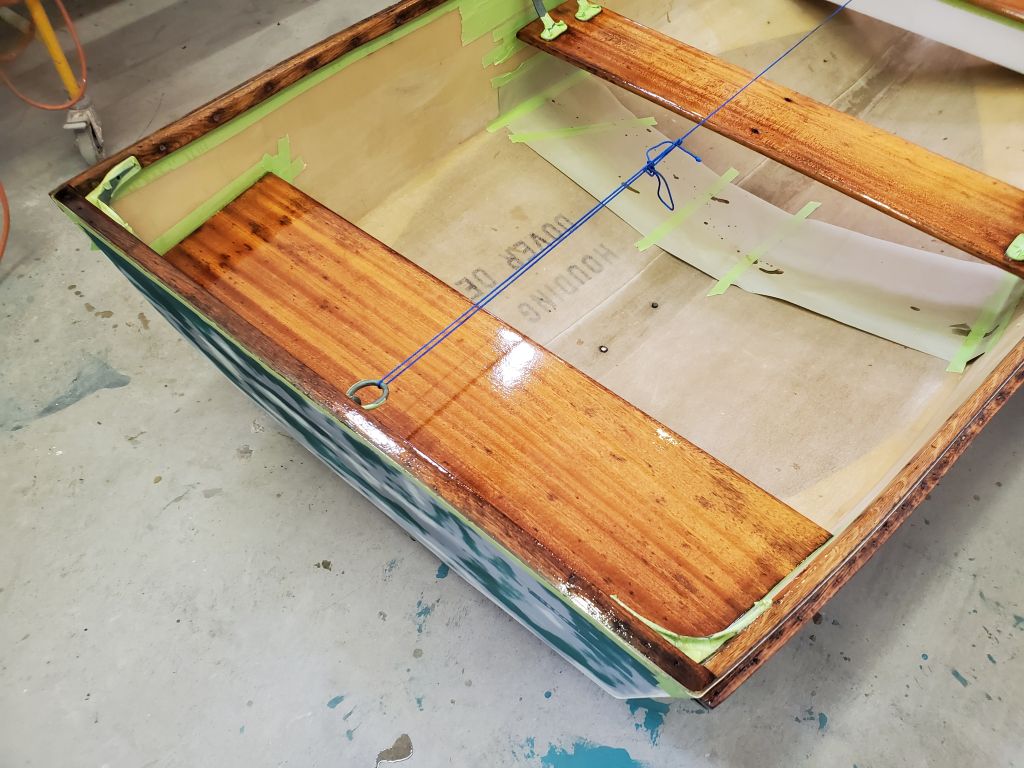
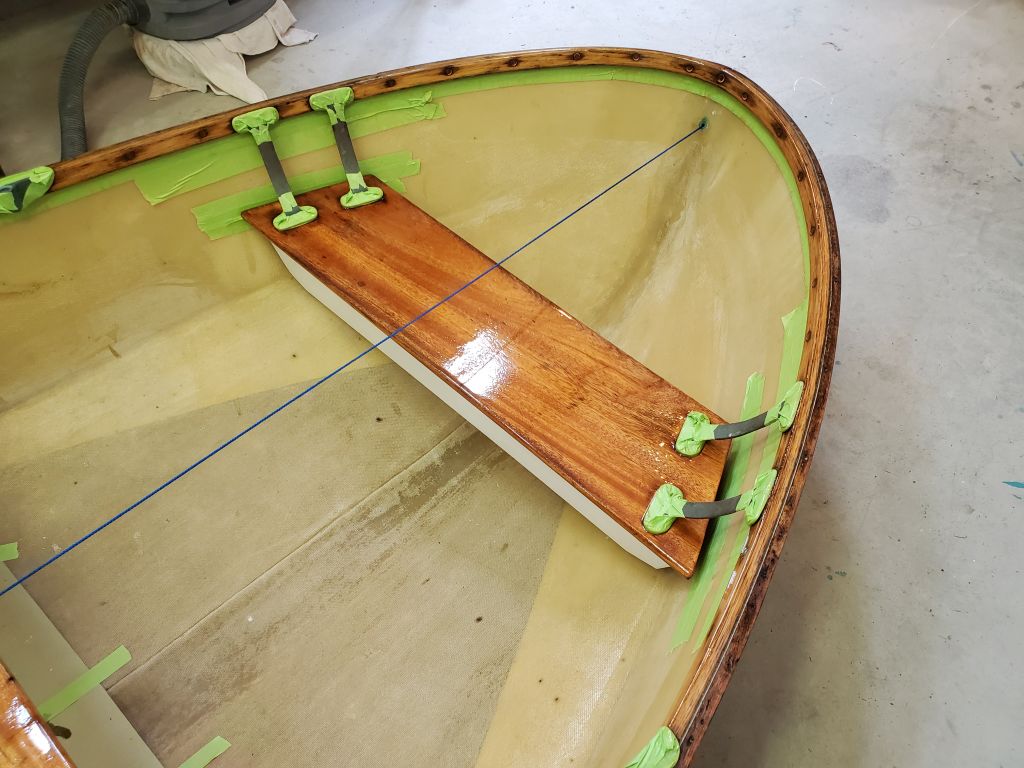
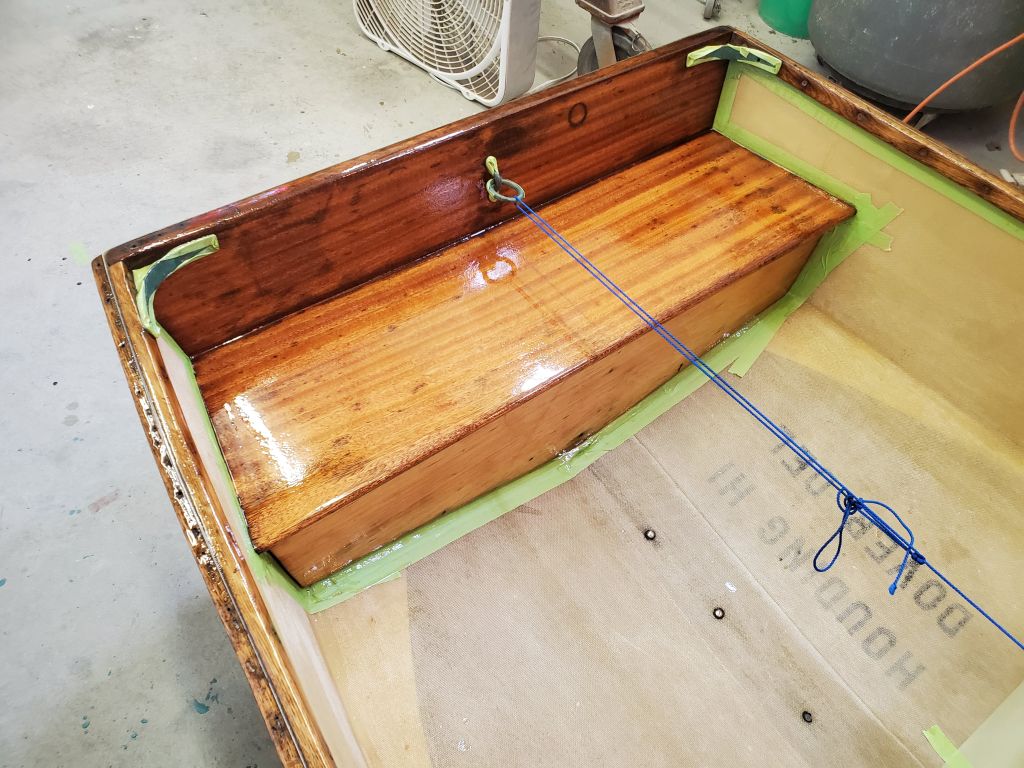
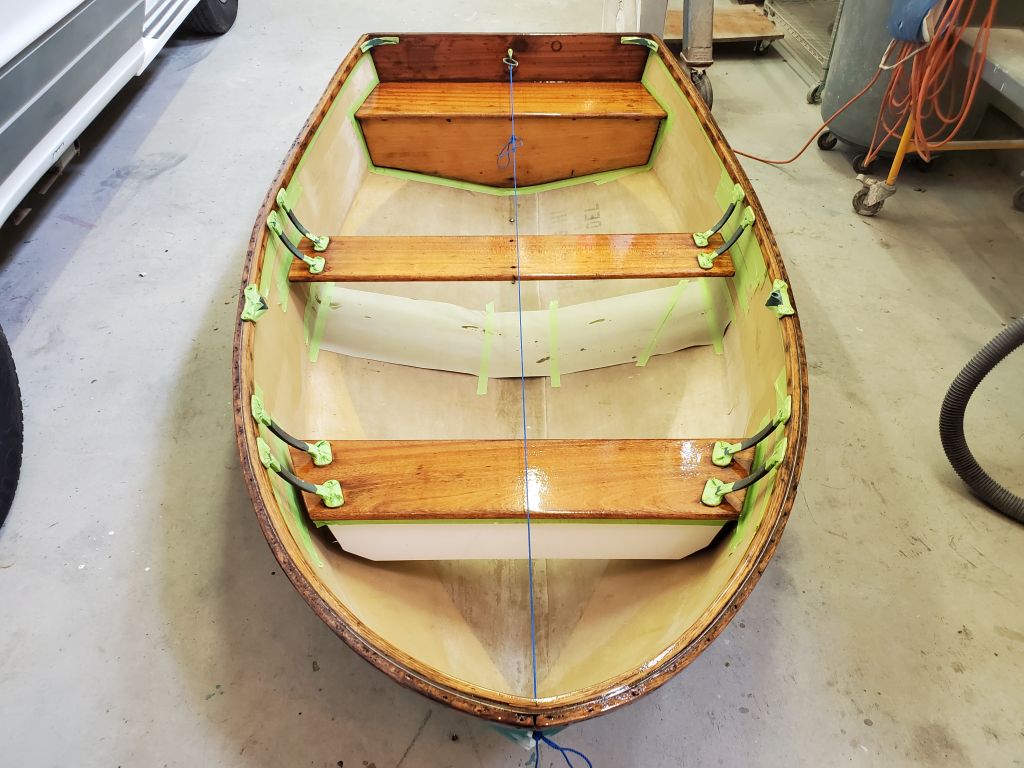
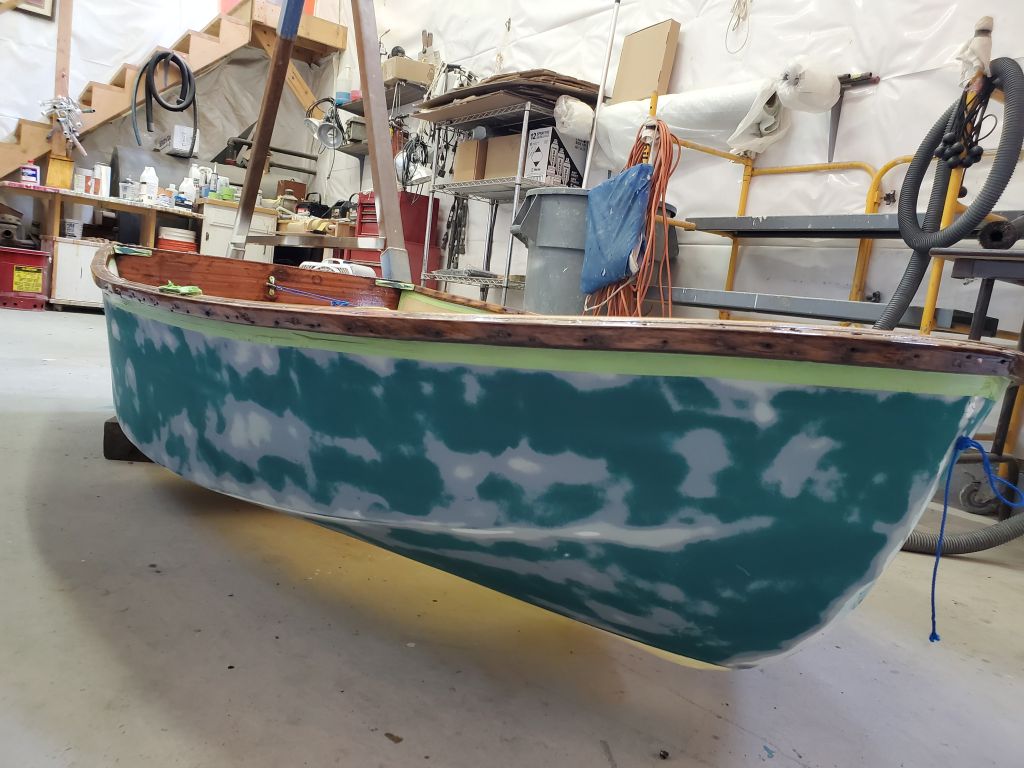
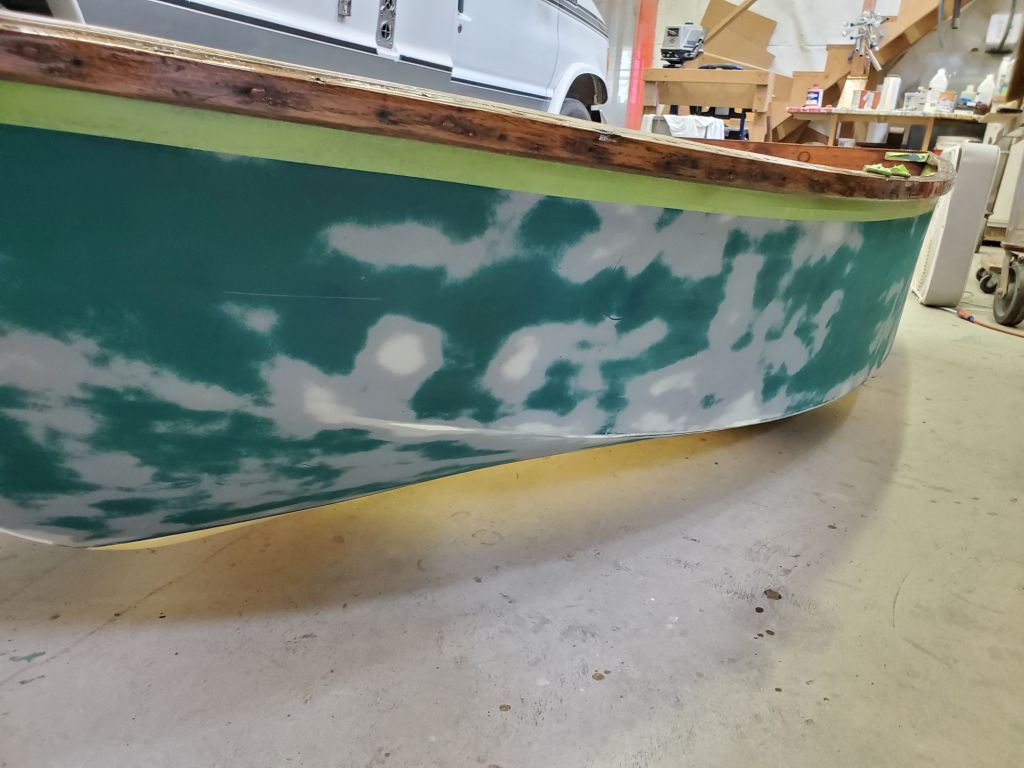
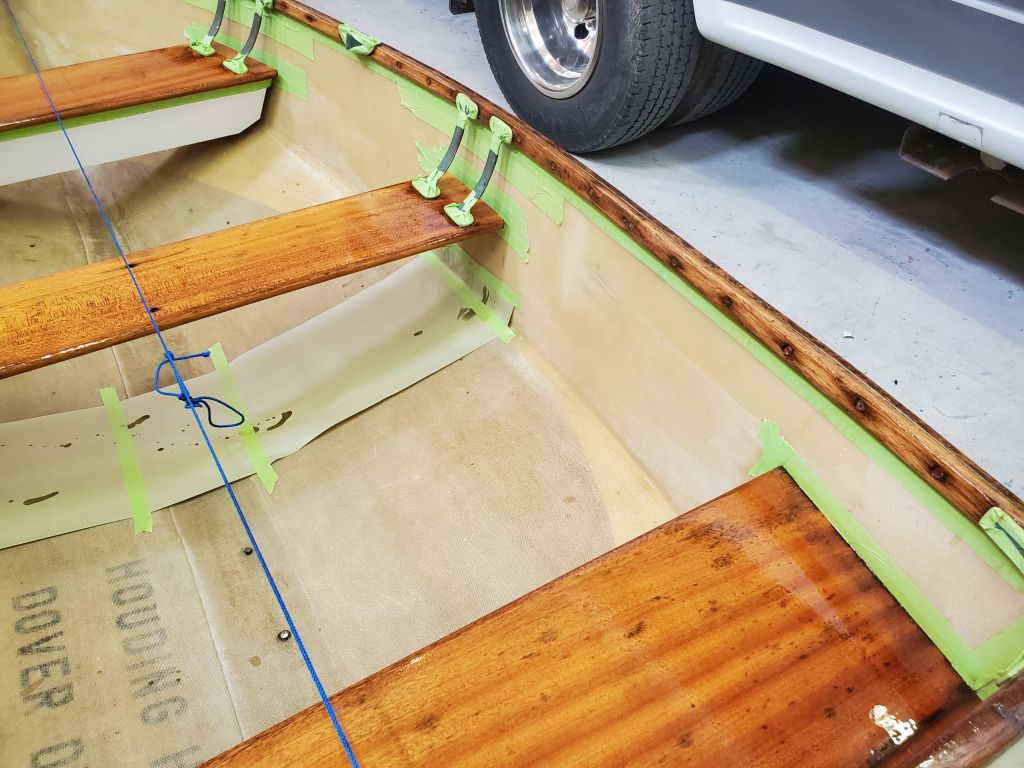
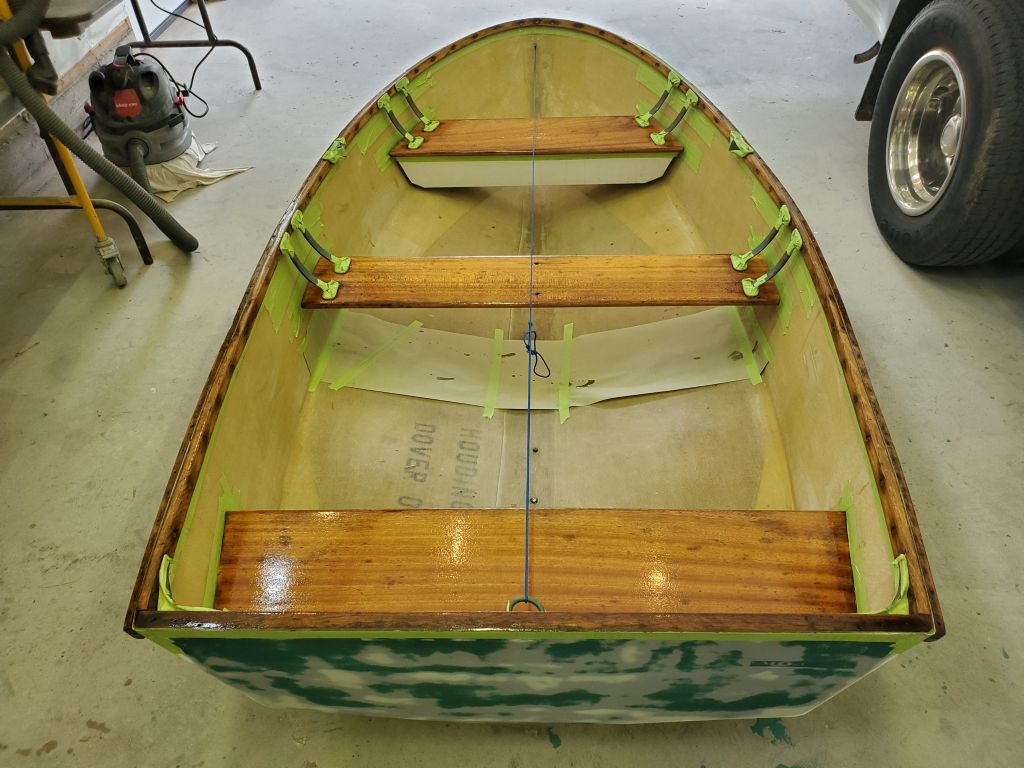
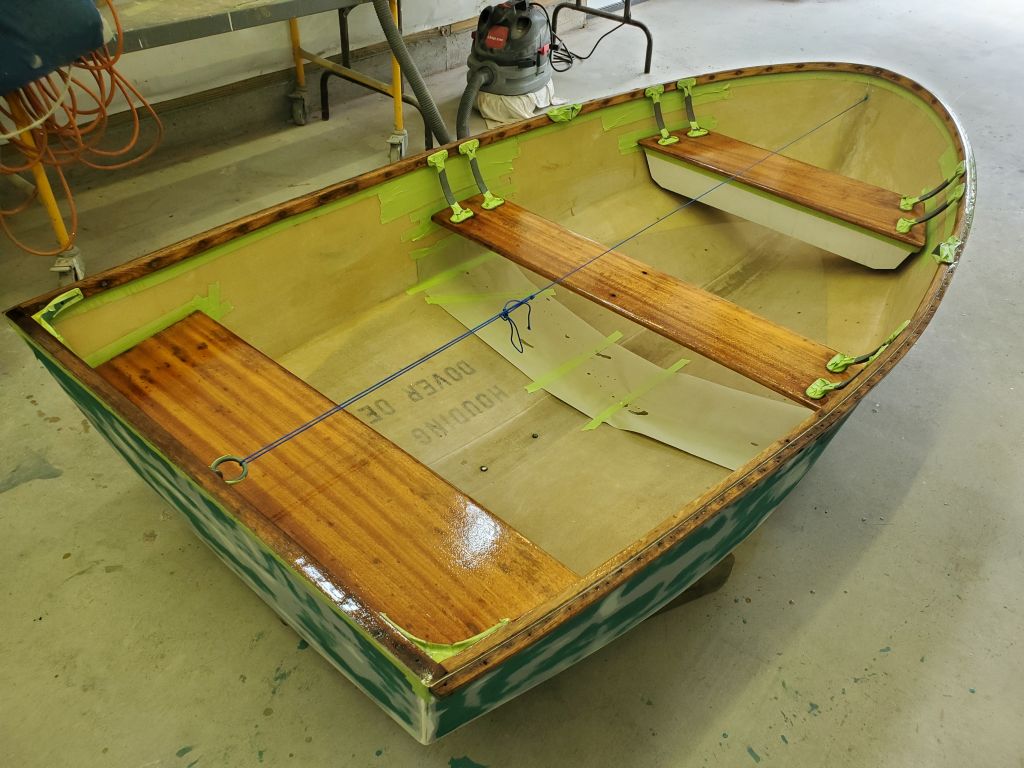
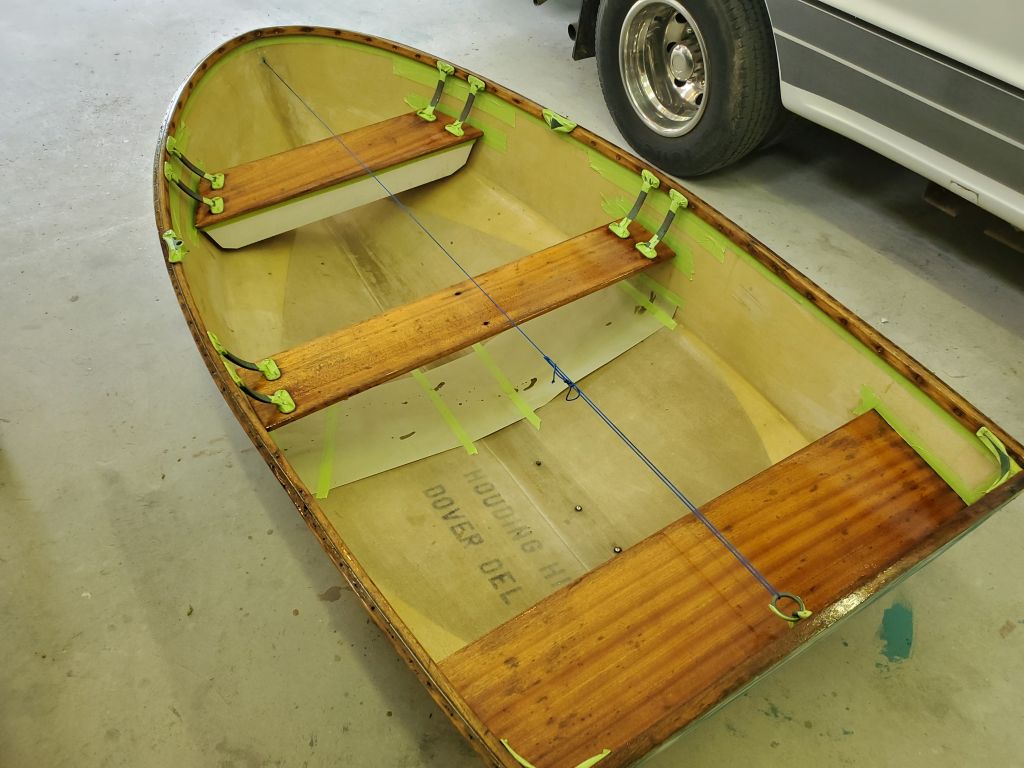
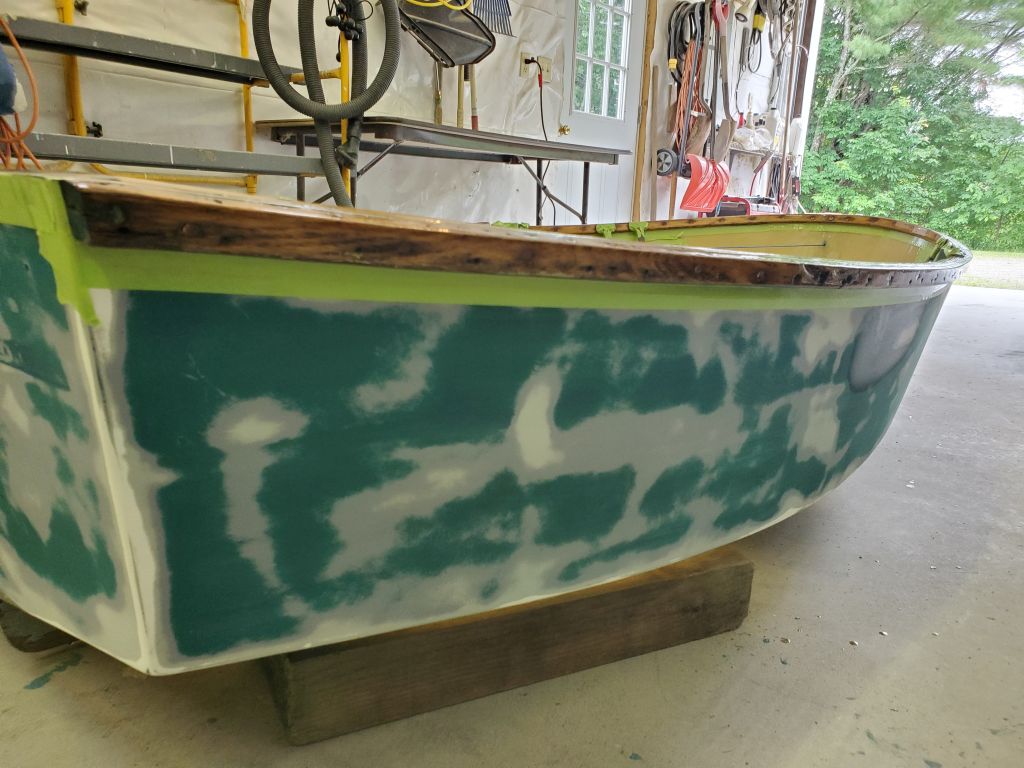
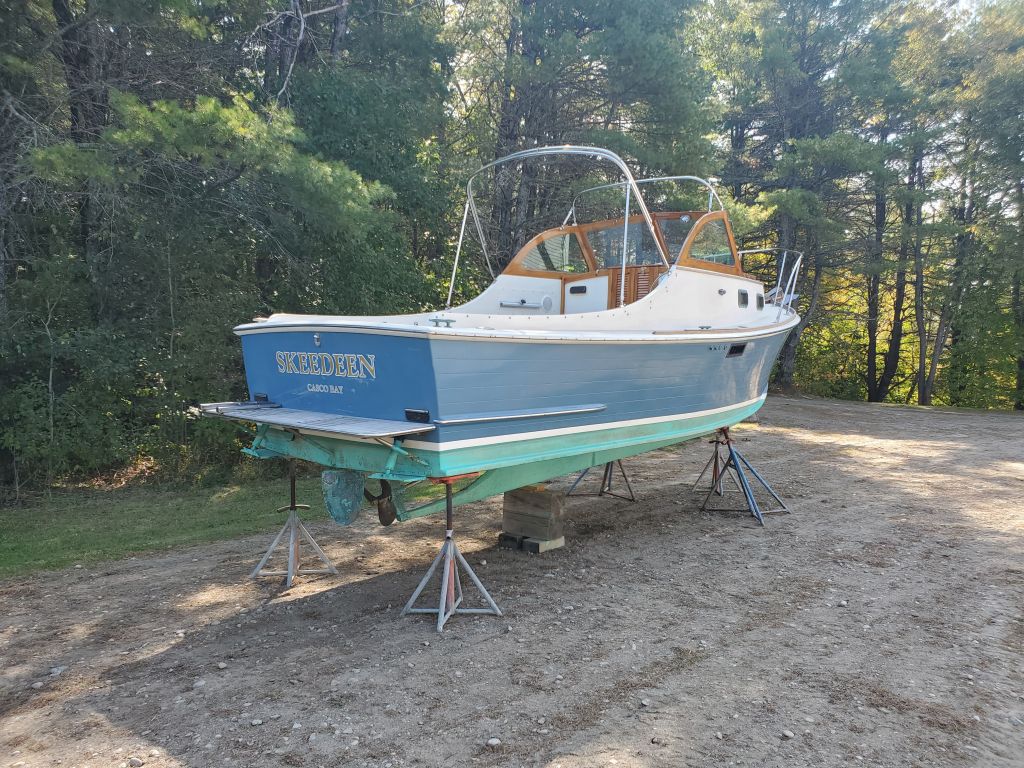
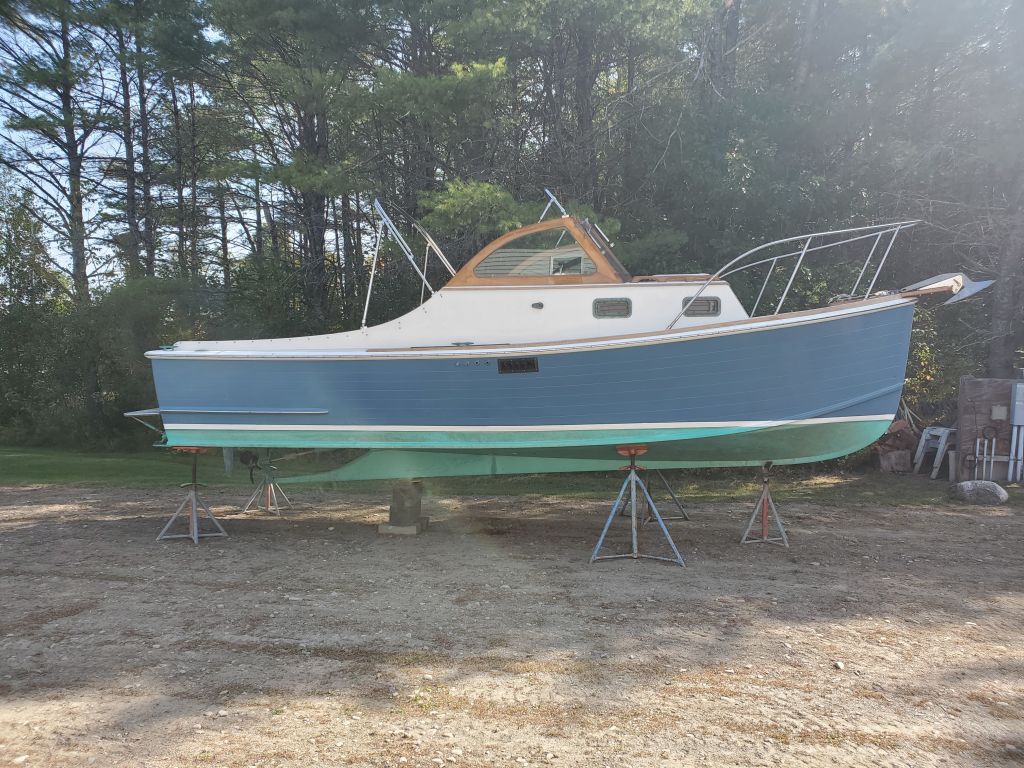
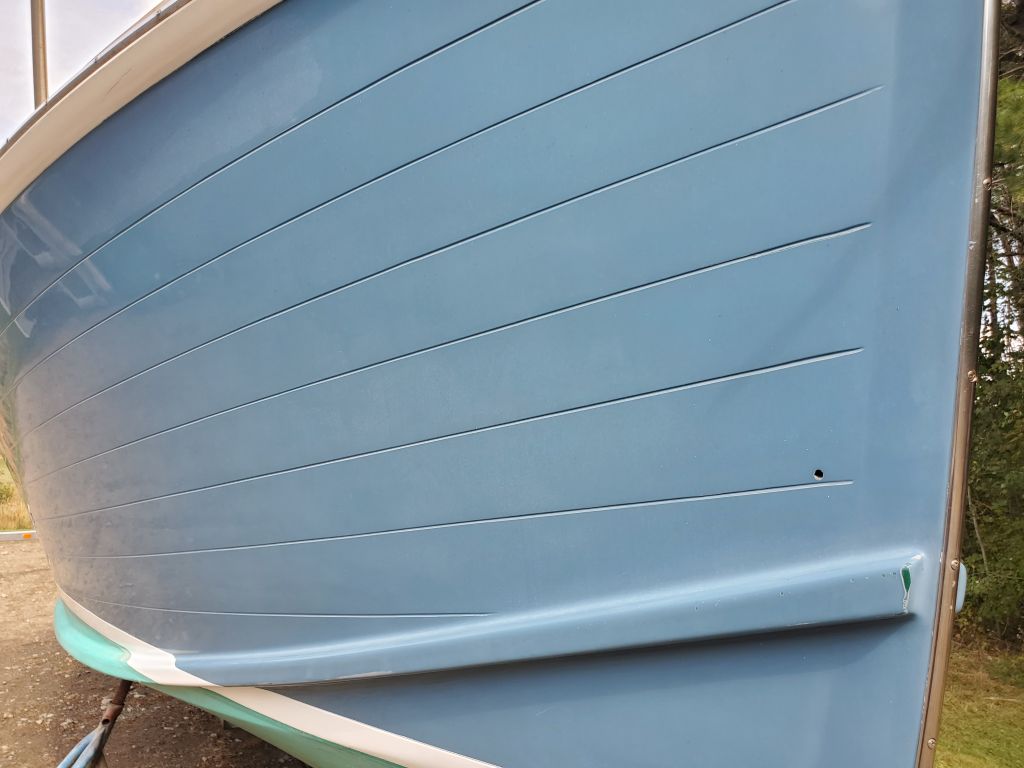
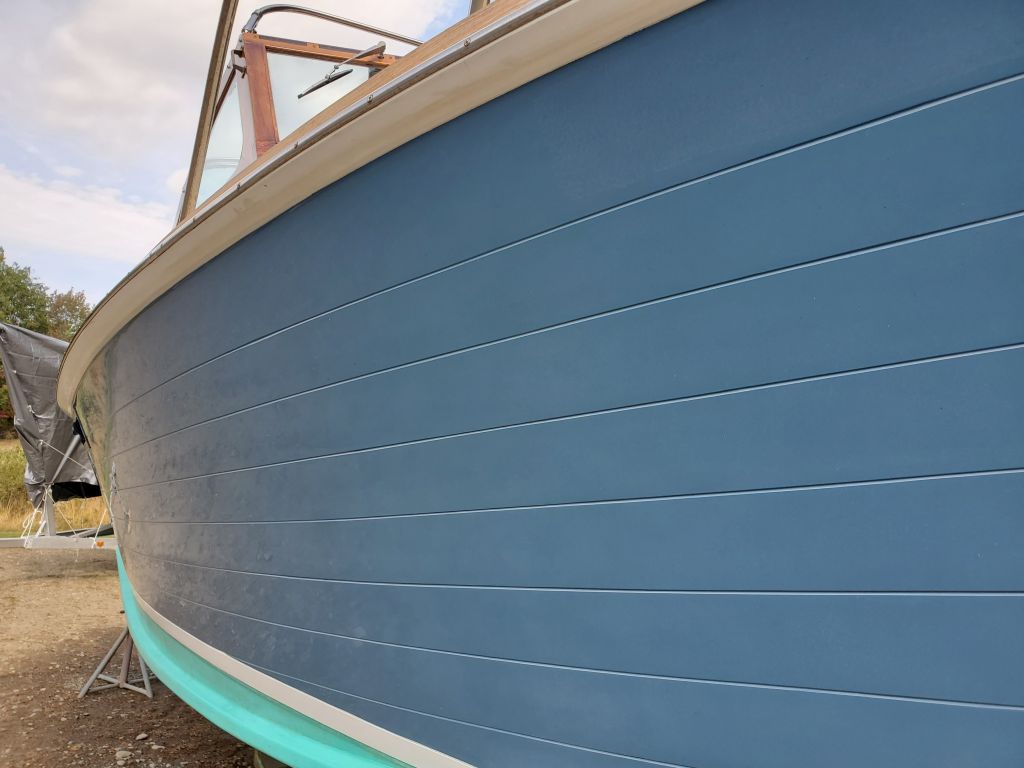
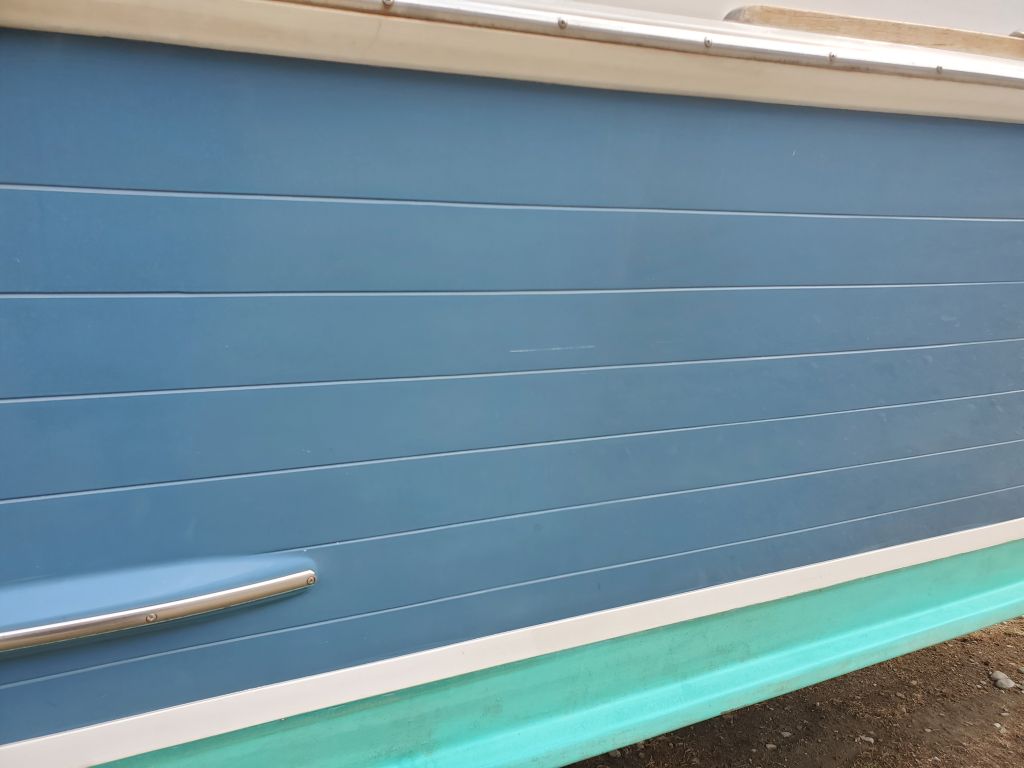
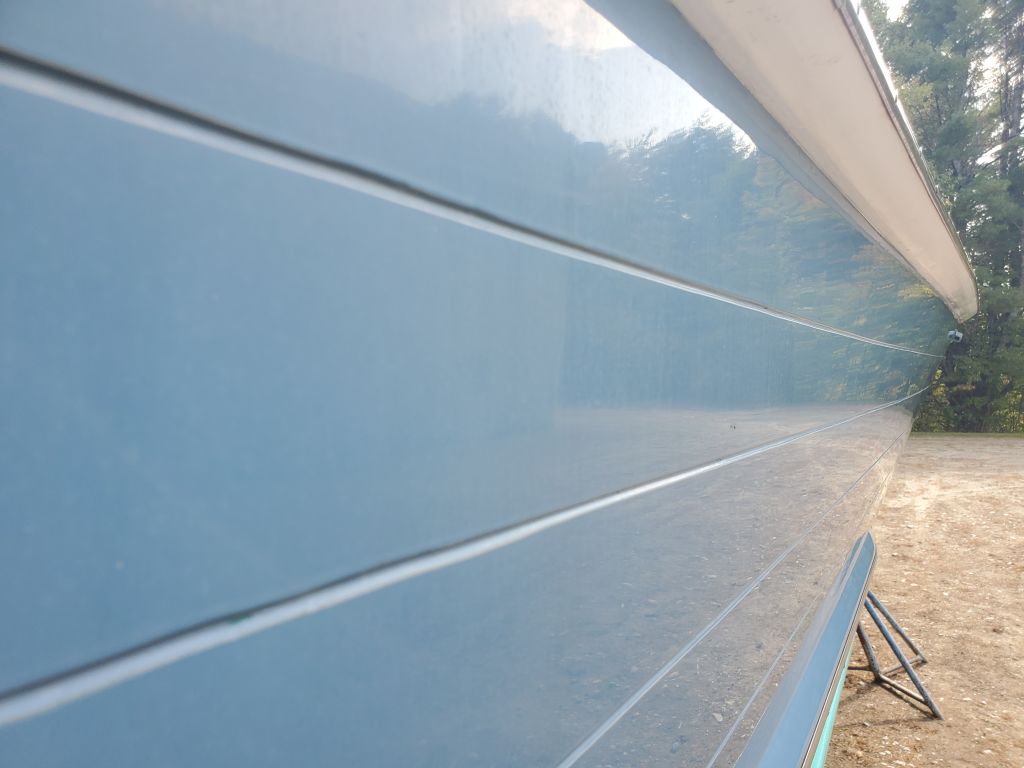
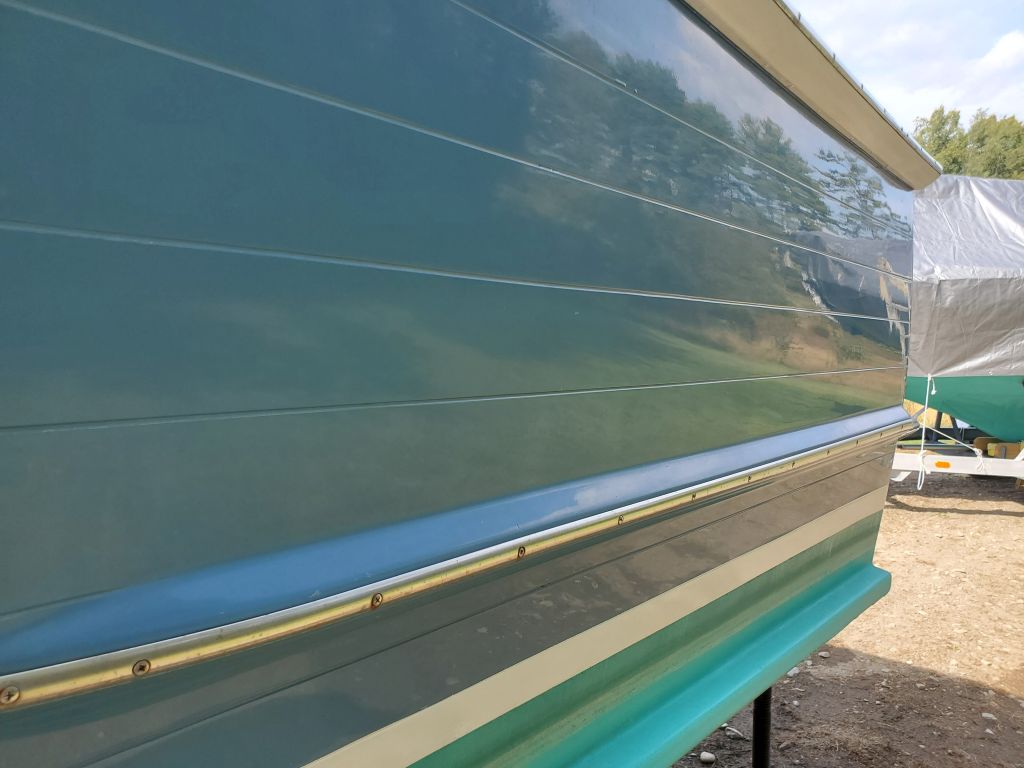
Preparing for the work ahead, I documented the existing condition of the hull for later reference. The existing paint, which had been applied sometime before the current owner bought the boat over 12 years ago, was still in good condition with only minor wear, oxidation, and fading.
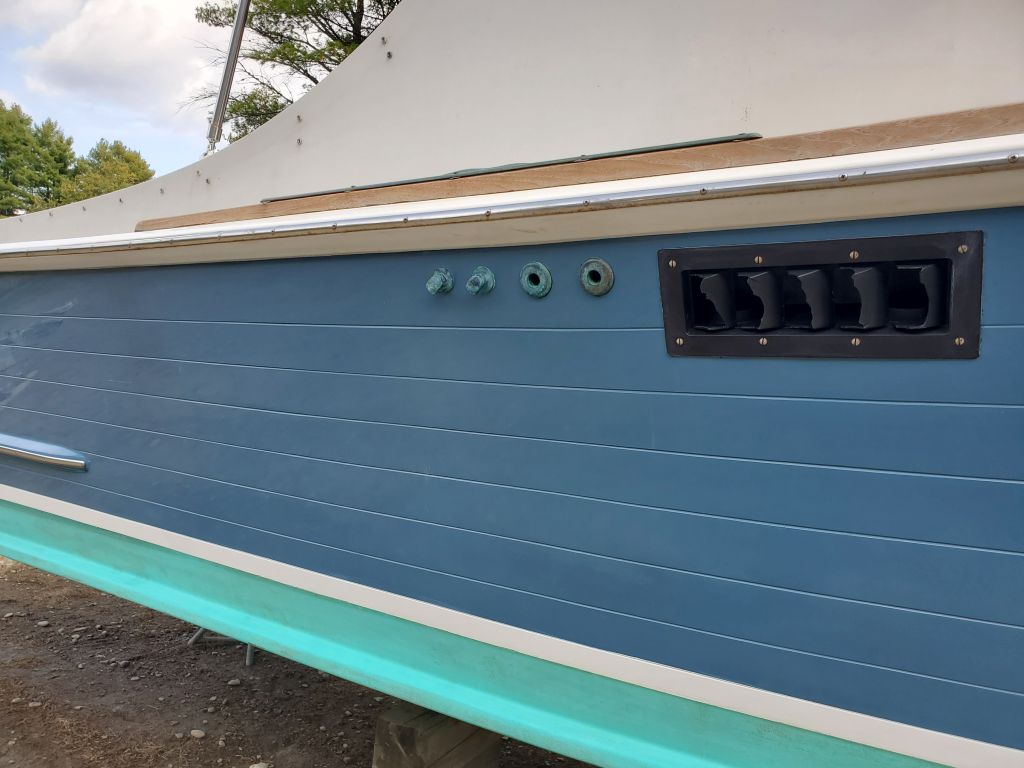
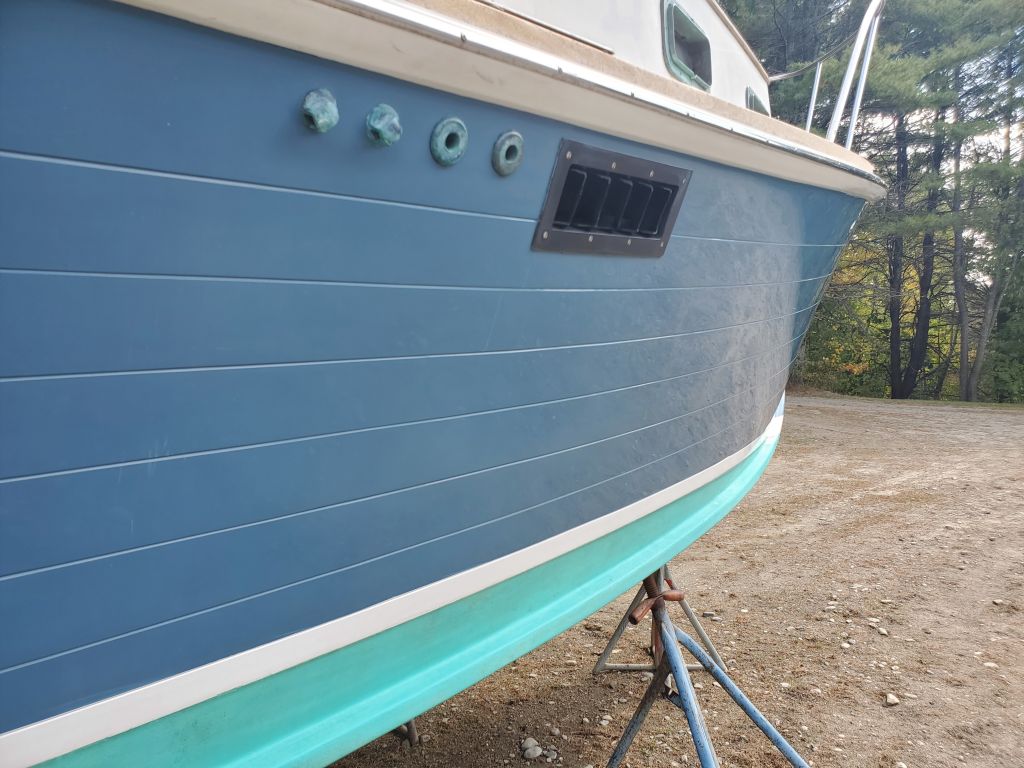


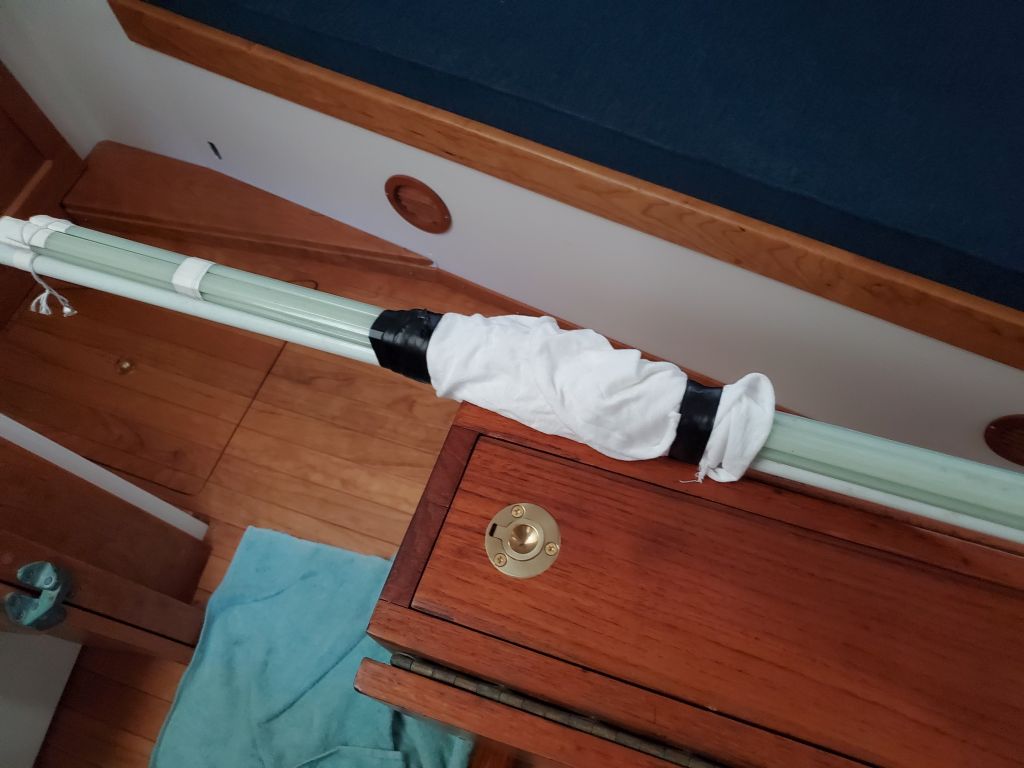
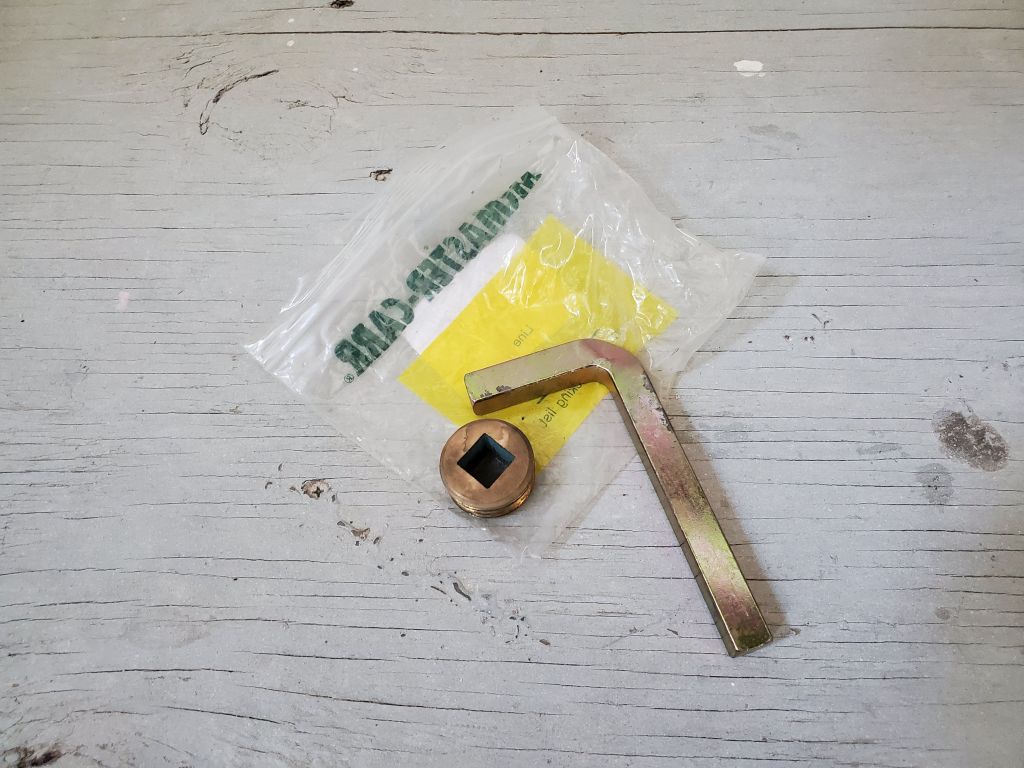
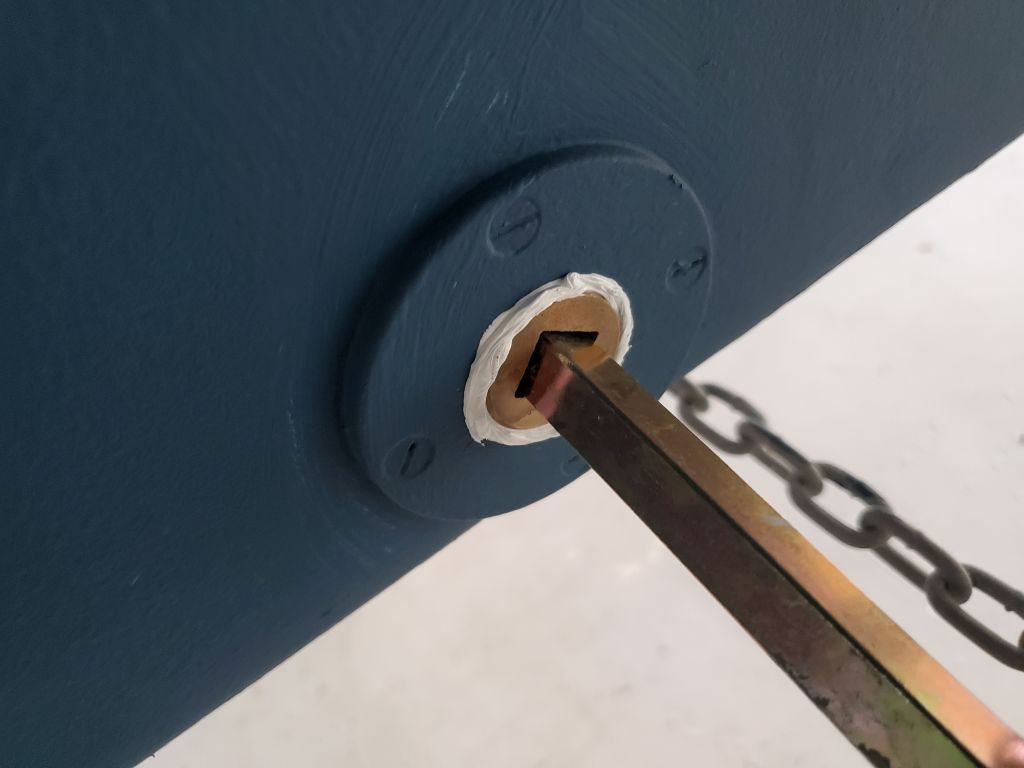
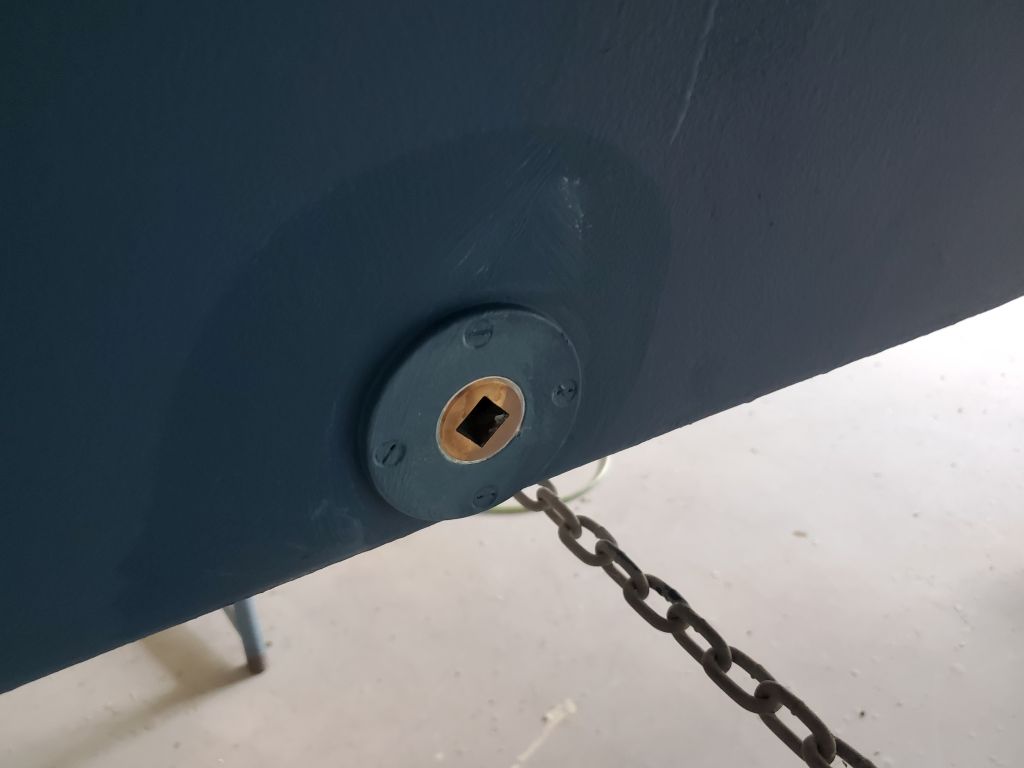
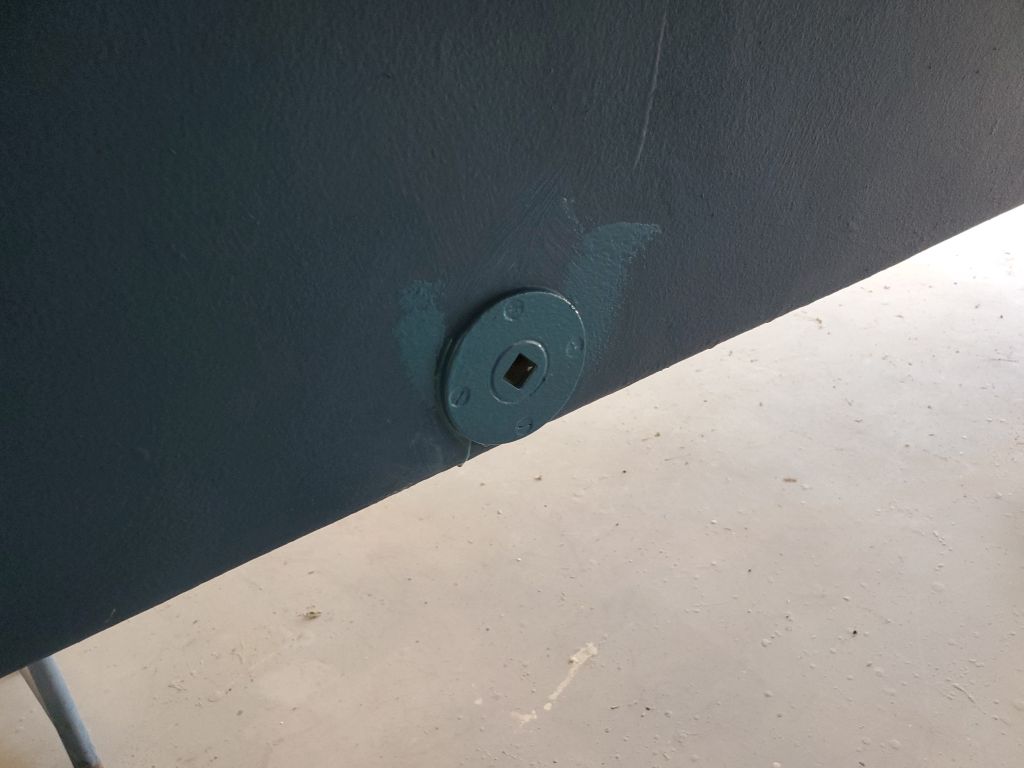
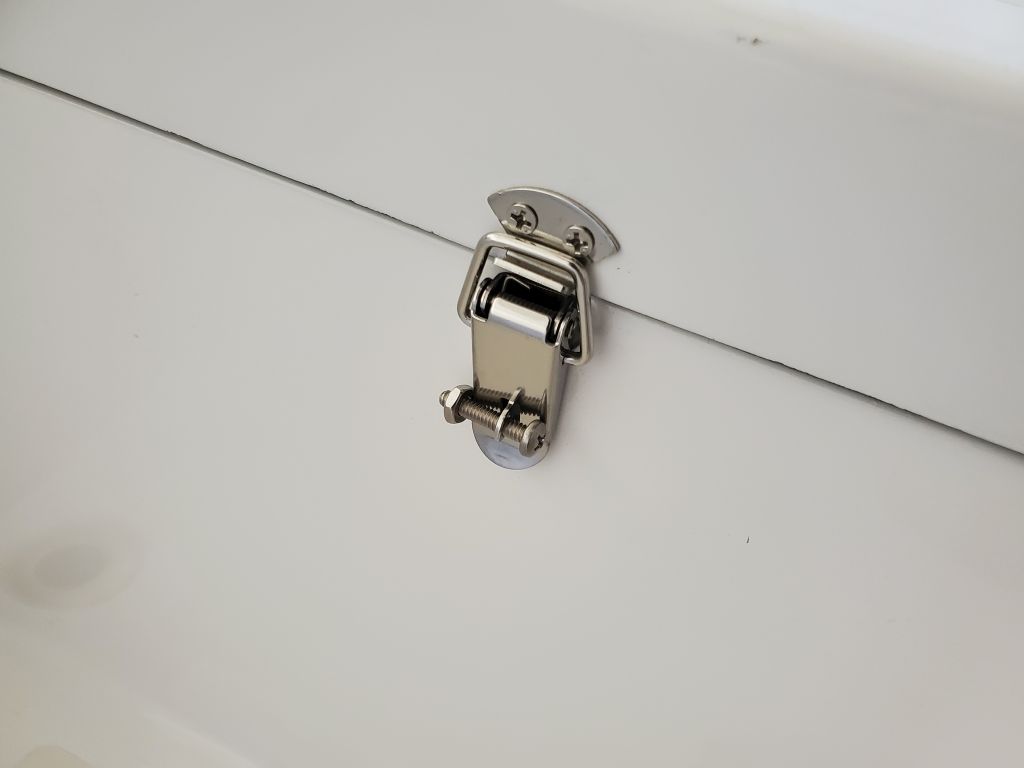
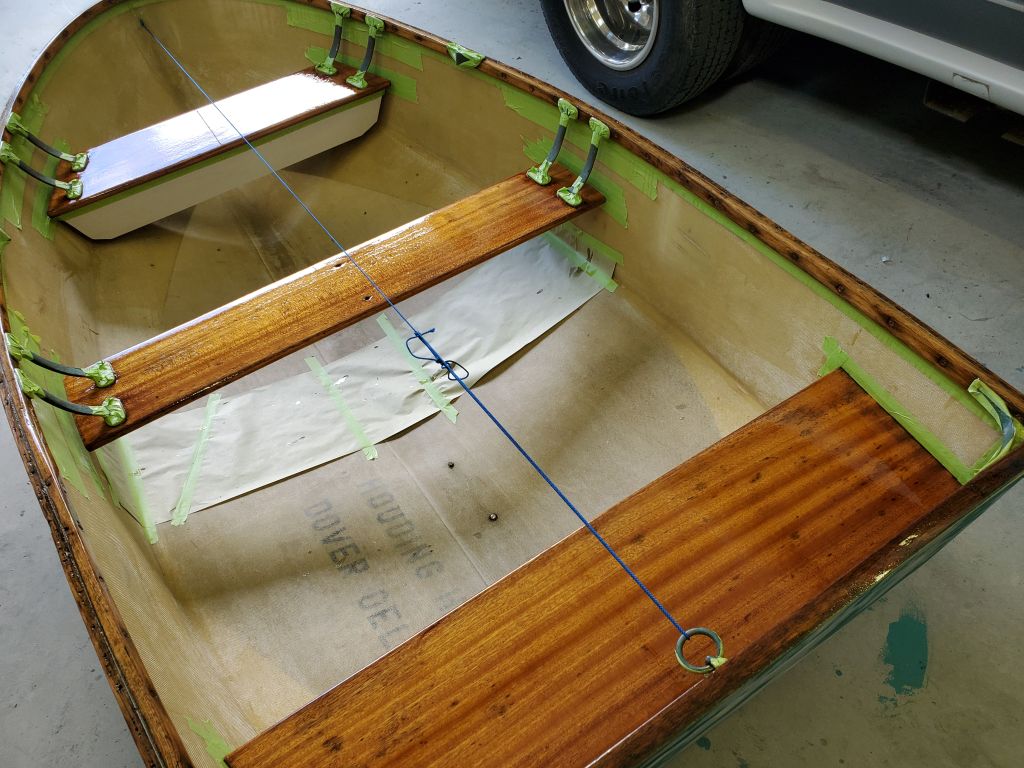
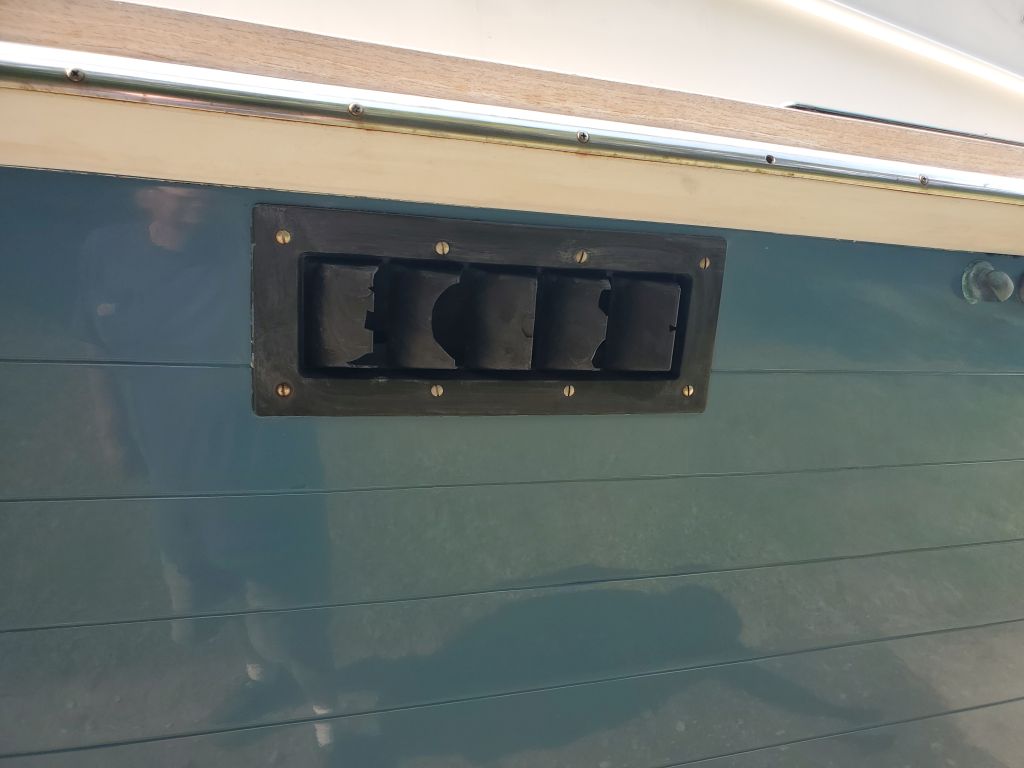
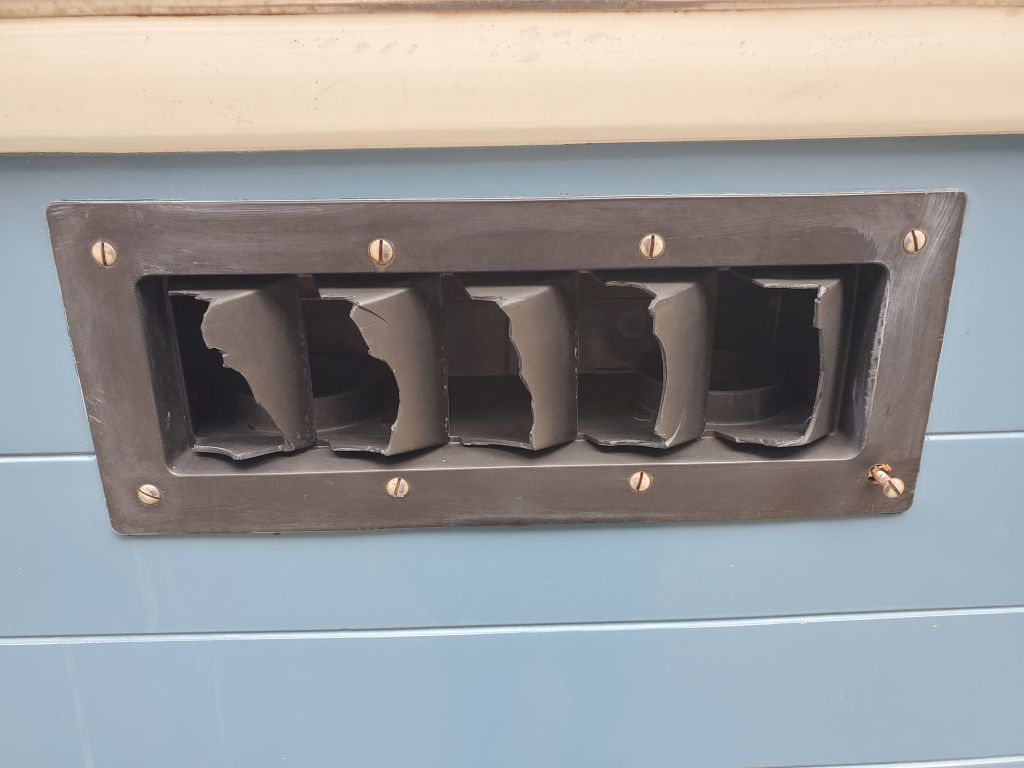
I planned to start the project in earnest soon, but one of the first tasks I intended to complete was to remove the existing black plastic engine room vents on each side of the hull. The owner and I had talked about having new vents made from bronze, through some contacts at a local yard, and I hoped to remove the old vents forthwith so they could be replicated as soon as possible.
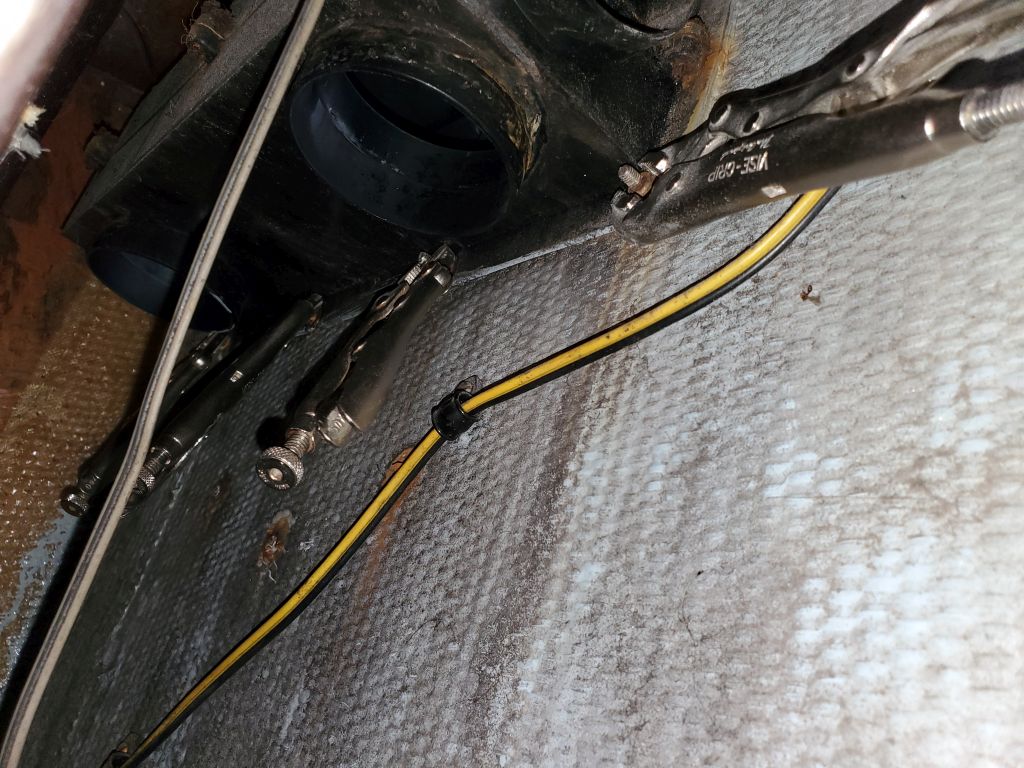
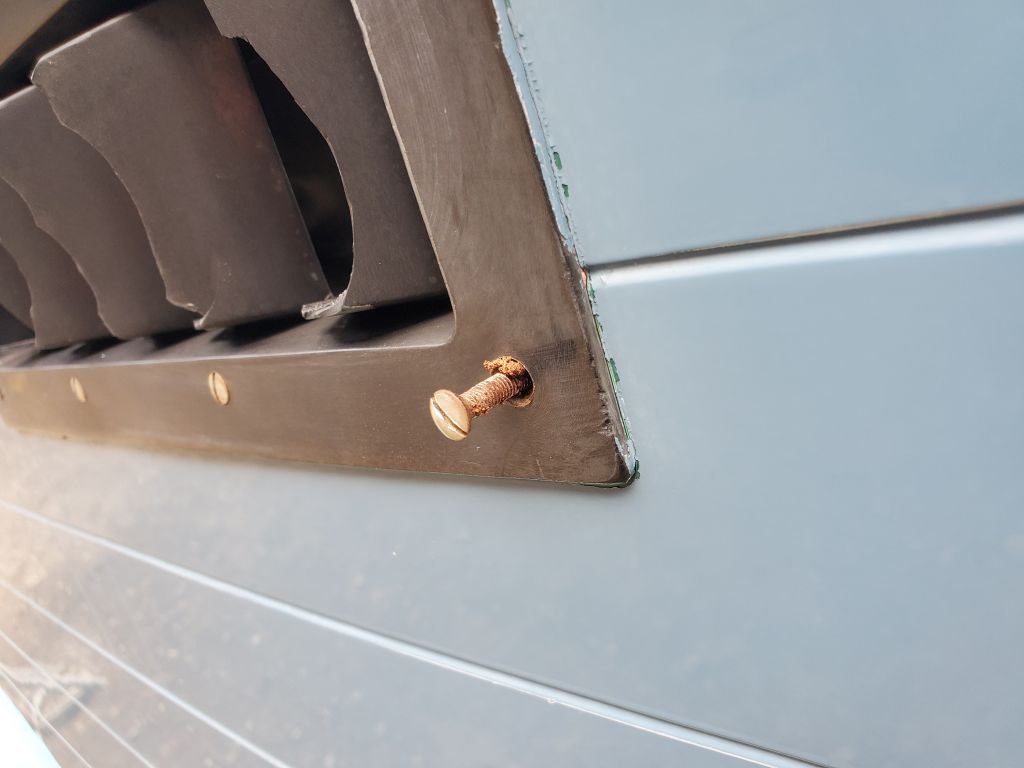
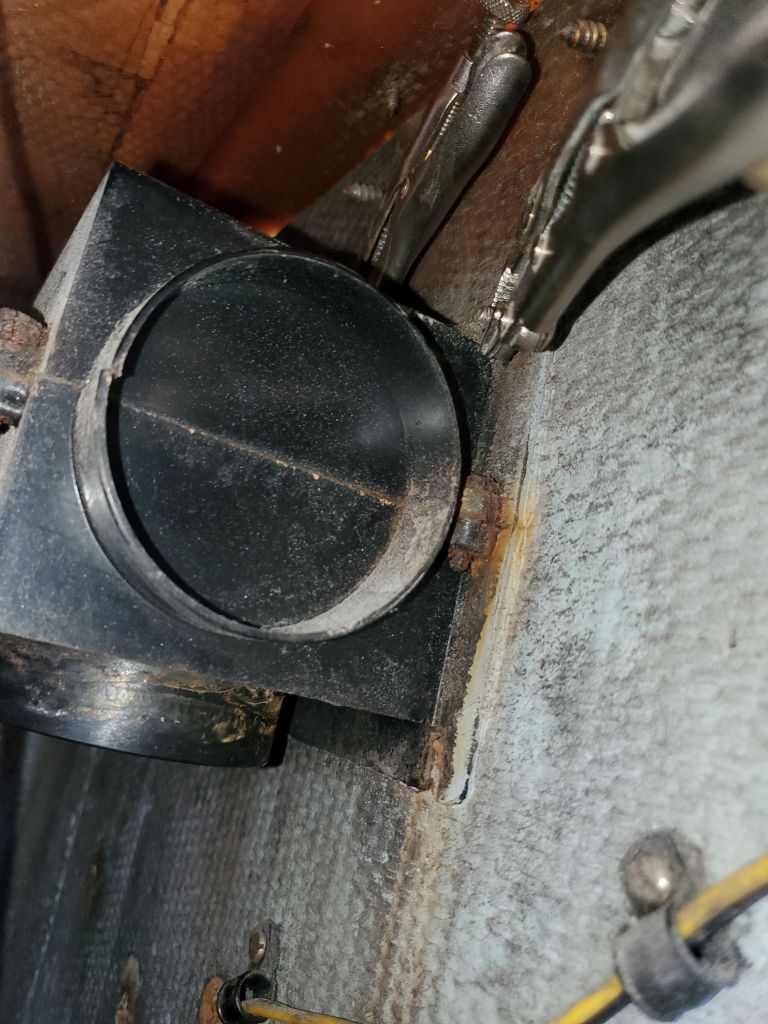
Starting on the starboard side, I thought I’d quickly remove the vents with a screwdriver, but immediately I found that to my dismay, the vents were throughbolted. Removing an access panel in the cockpit liner, I found to my further dismay that the vents weren’t directly accessible through the panel: In fact, the vents were completely forward of the opening, and the narrow space within would make access to the eight nuts and bolts difficult. Various installations also in the compartment further complicated the access. The vent box and grill had clearly been installed in the boat before the deck and liner were assembled during original construction, and had equally clearly never been touched or removed before.
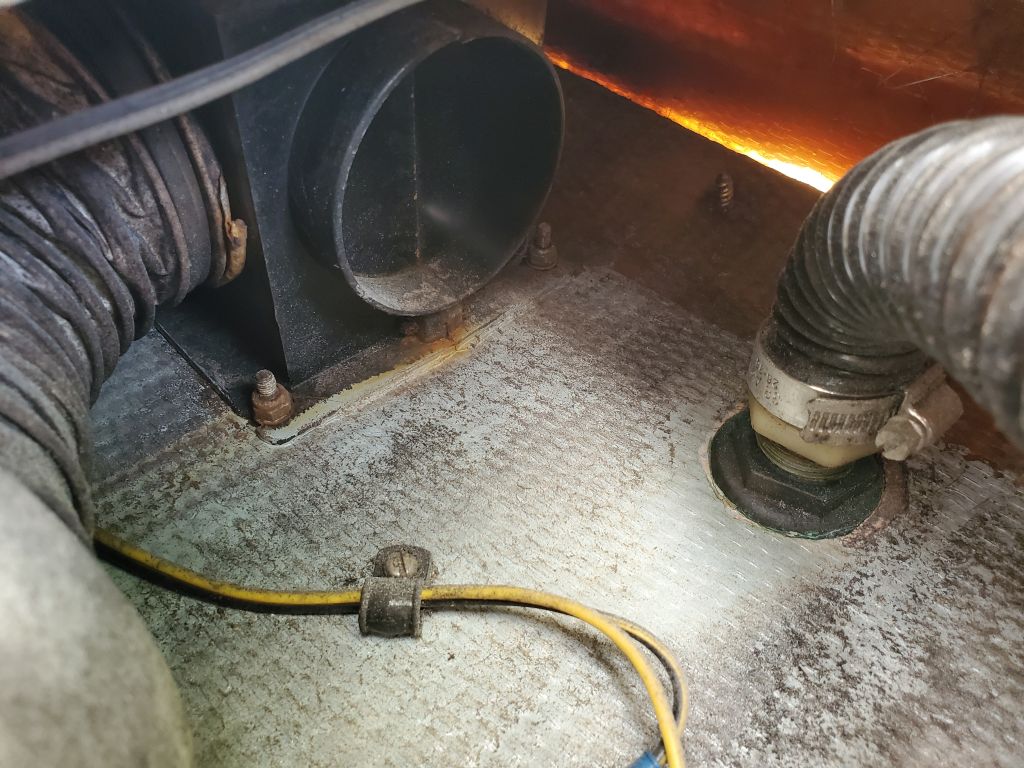
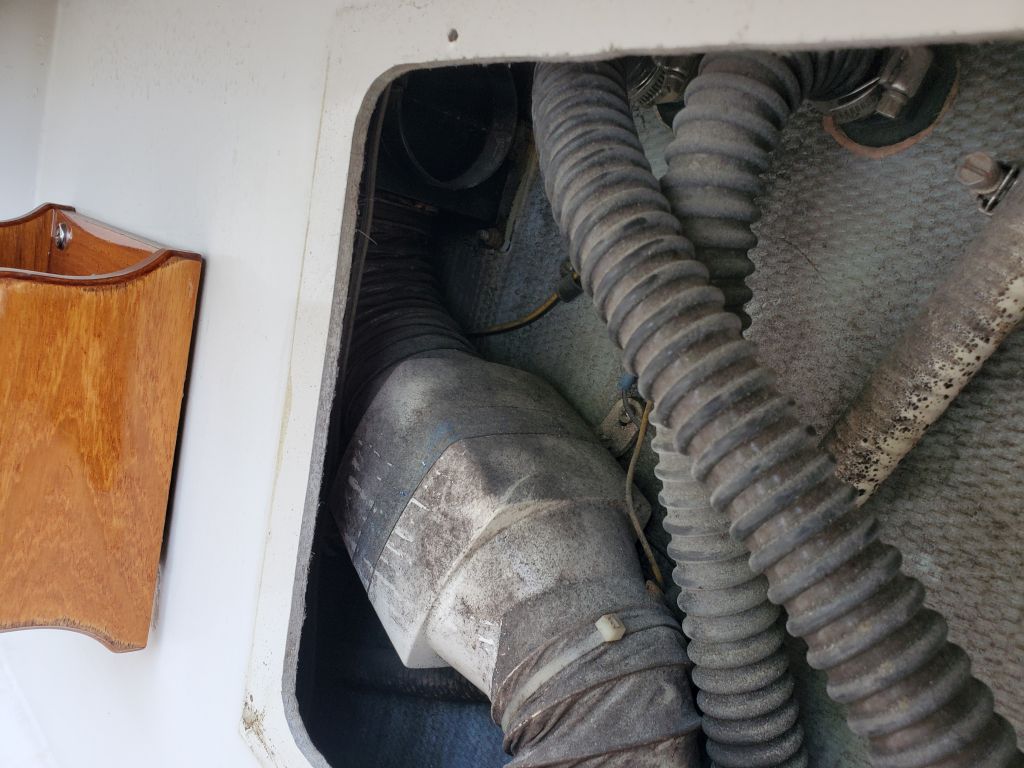
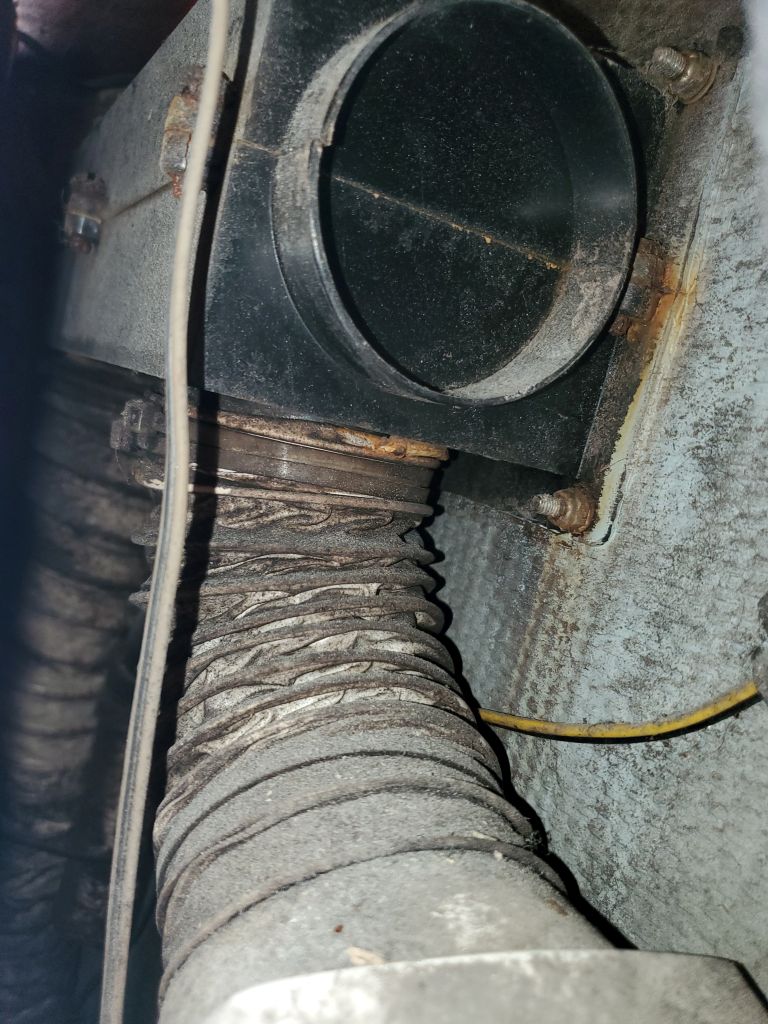
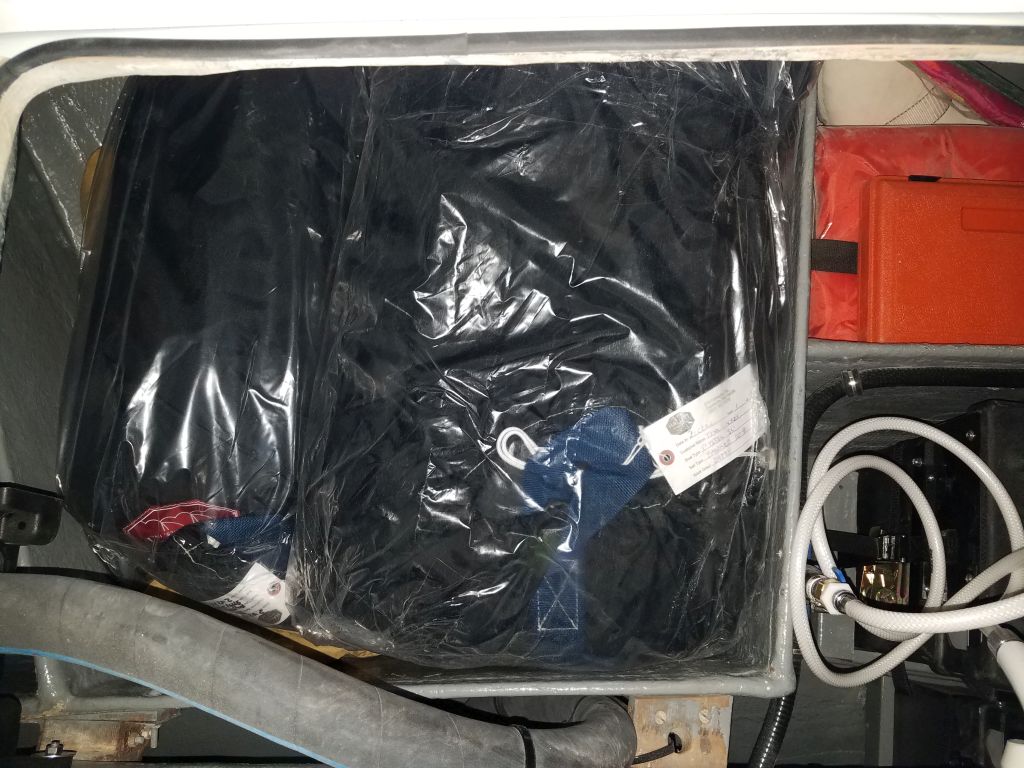
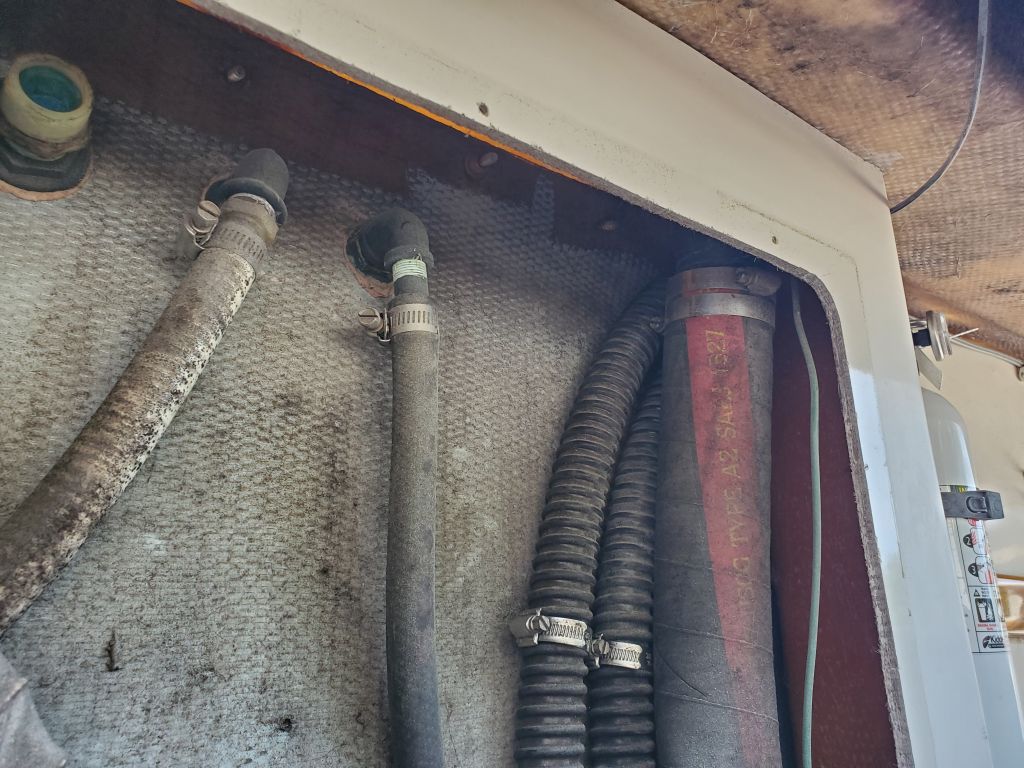
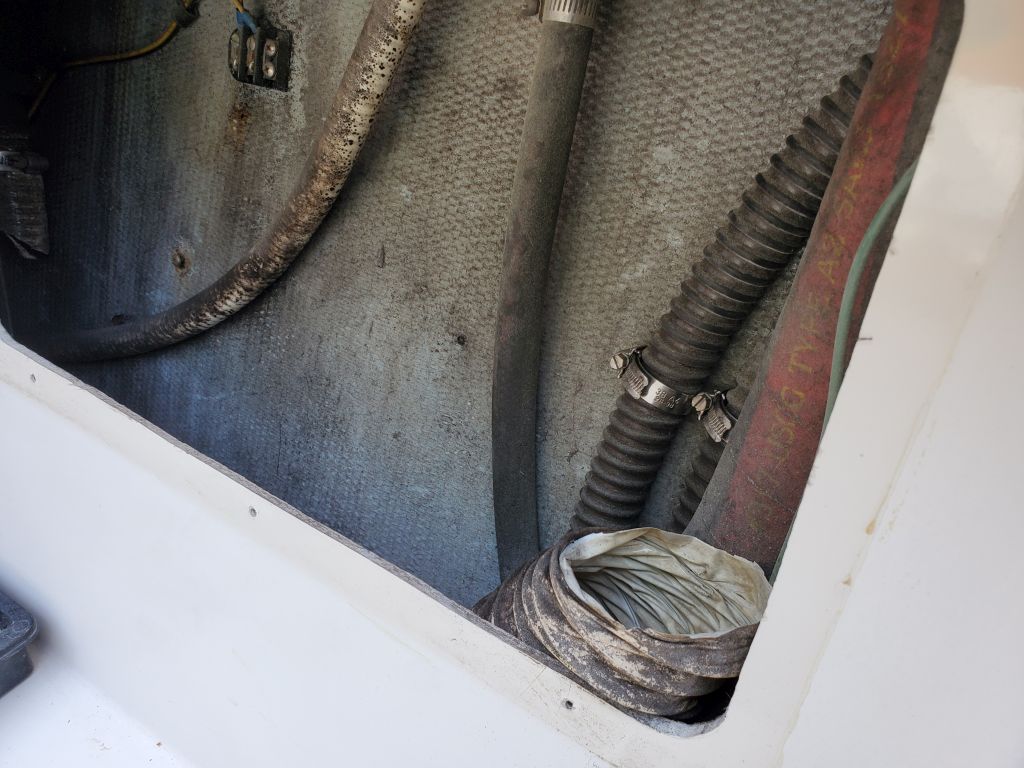
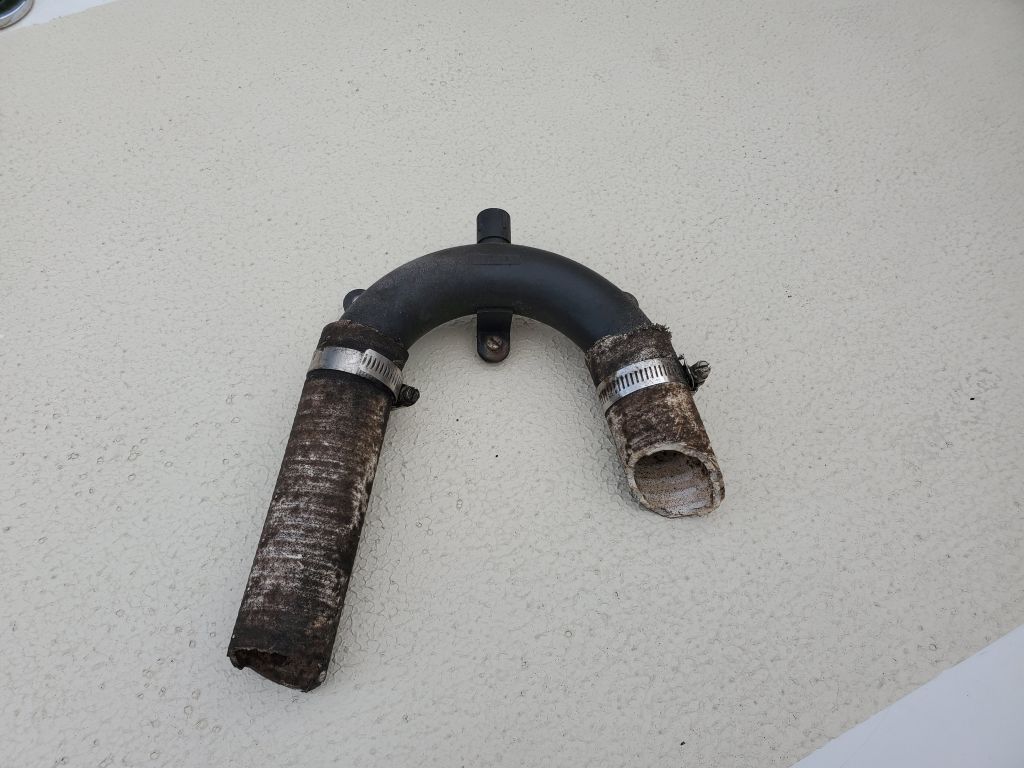
To improve access, I unclamped the two corrugated bilge pump hoses from their outlets in the hull, and moved the hoses out of the way. Then, I removed the bilge blower and its hoses, along with another length of vent/intake hose further forward. Also in the mix was an old septic system vented loop, which had been disconnected many years earlier, and now with relatively clear access I could remove this from the space permanently as well.
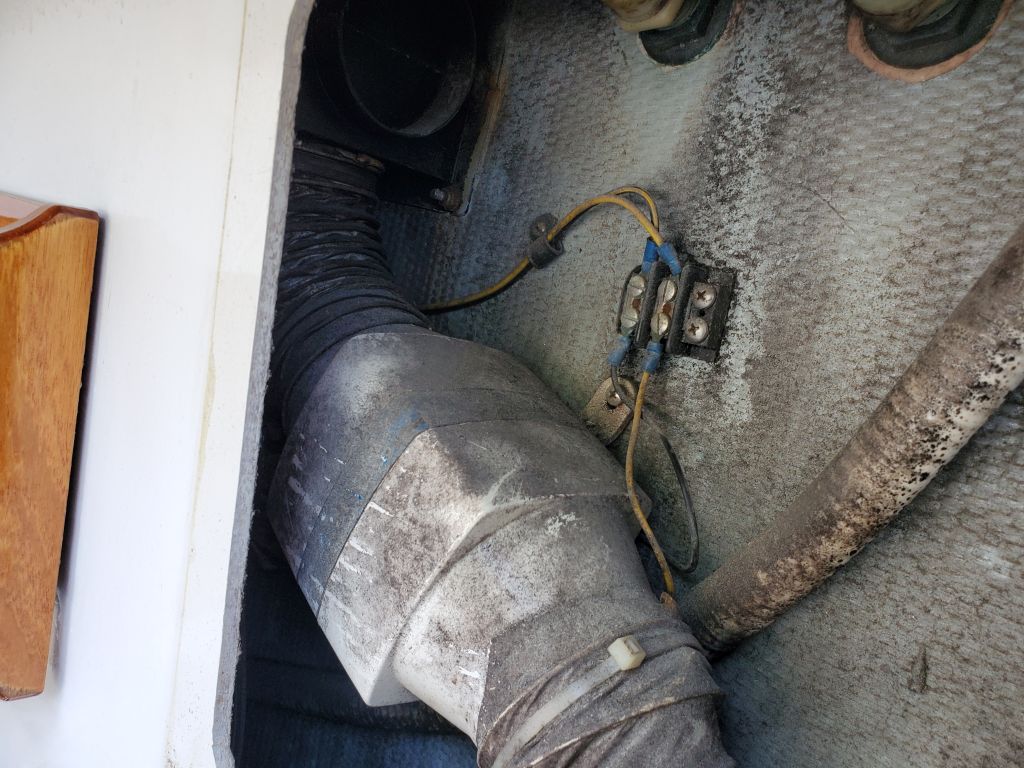
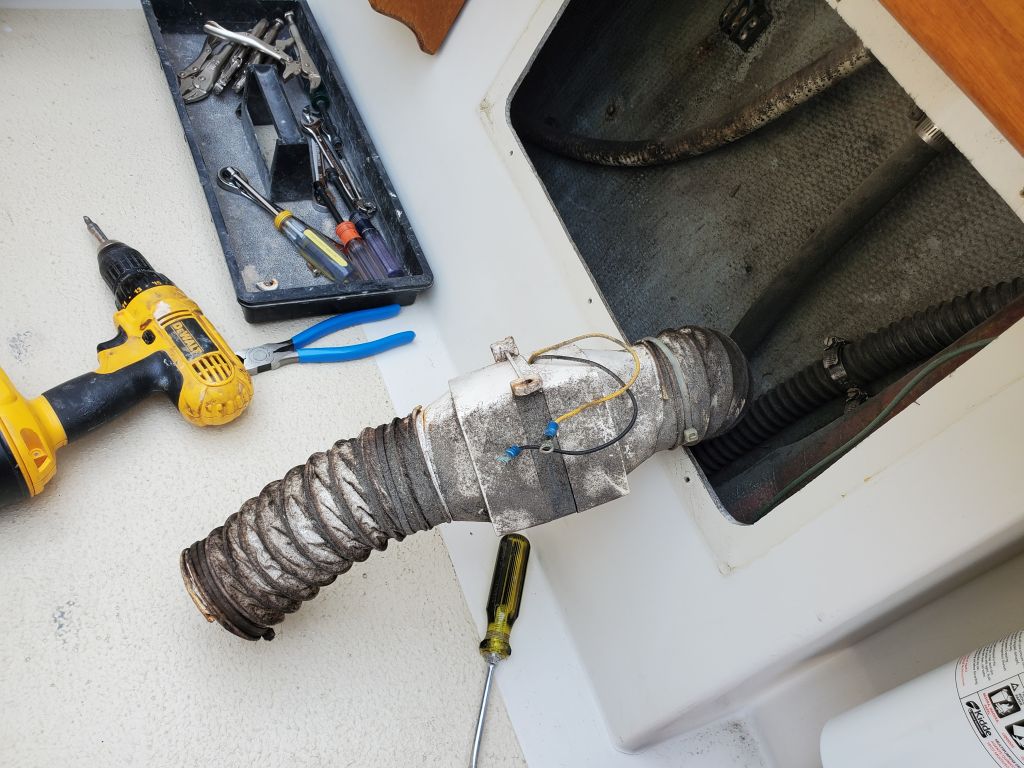
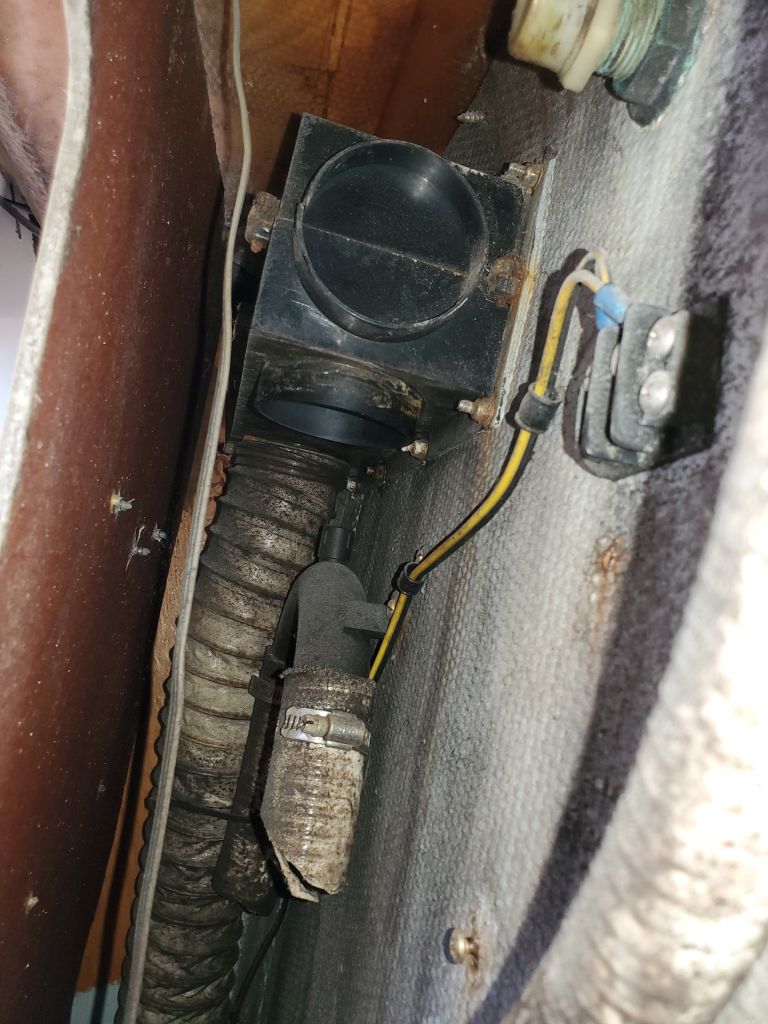
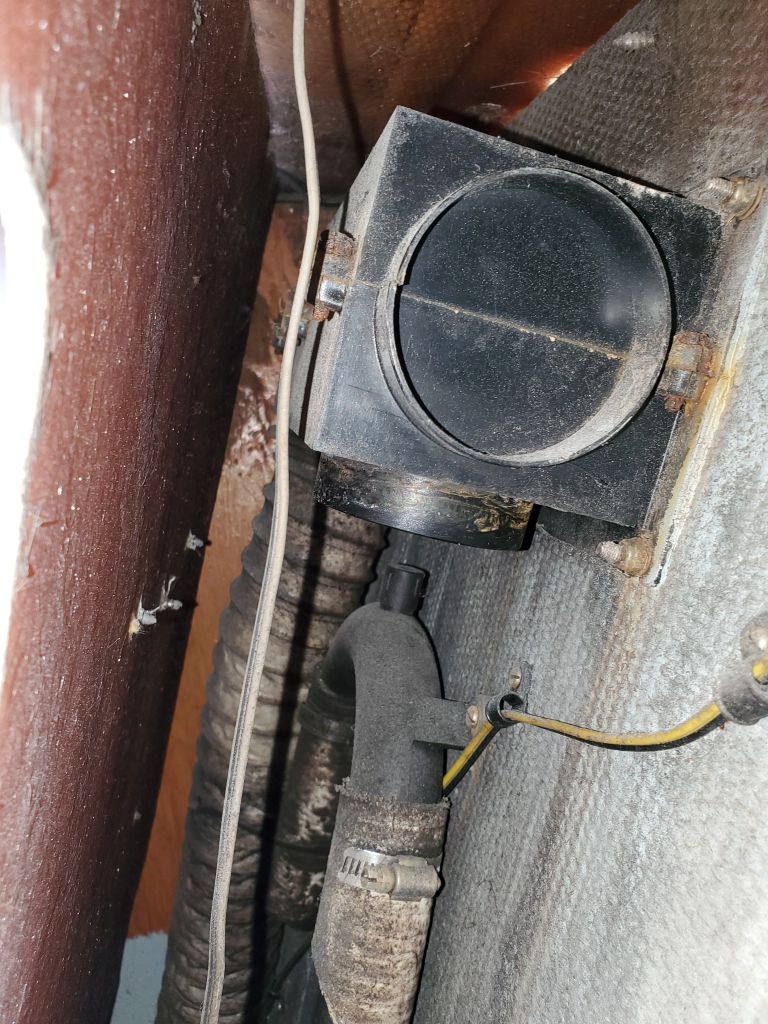

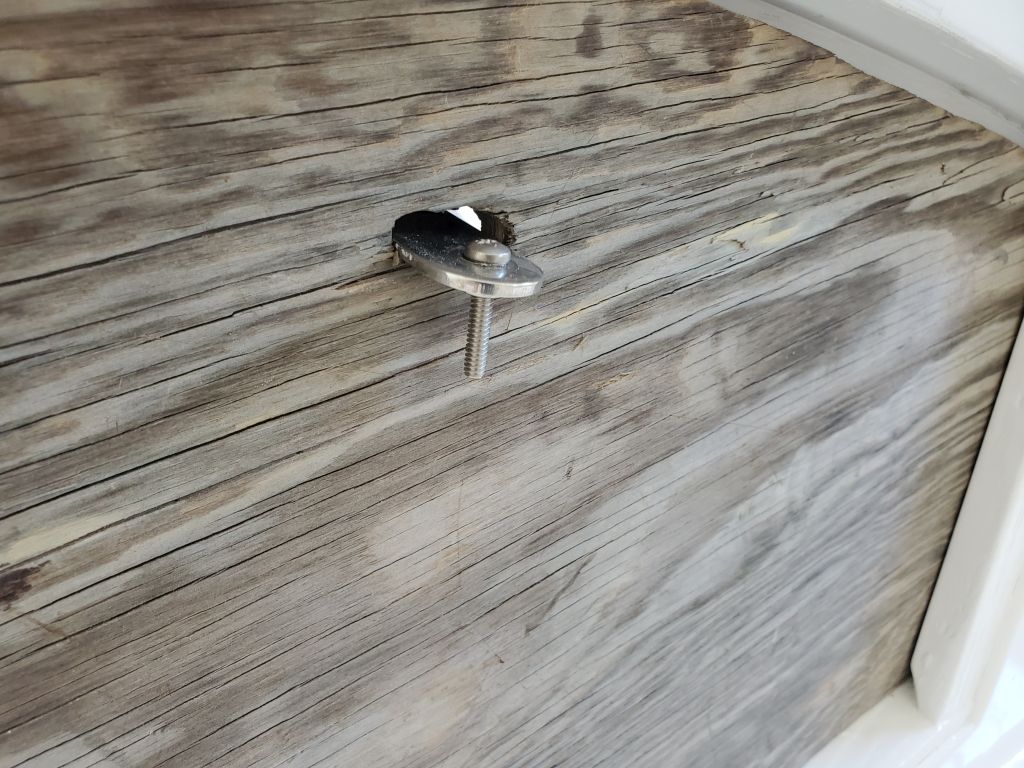
With the clutter out of the way, at least I had a chance of accessing the nuts, though the tight confines of the space and the shape of the vent box itself made it impossible to use regular wrenches or sockets on the nuts. I managed to get four pairs of locking pliers on the lower nuts, and from outside the boat removed the screws without much added difficulty. Then, working one at a time because the access to the top side of the vent box was so poor, I removed three of the four nuts there, but simply and physically could not manipulate any wrench or pliers as far forward as the top forwardmost nut. I left dealing with that for another day.
Total time billed on this job today: 2.5 hours
0600 Weather Observation: Clear, 50°. Forecast for the day: Sunny, 75°