Monday
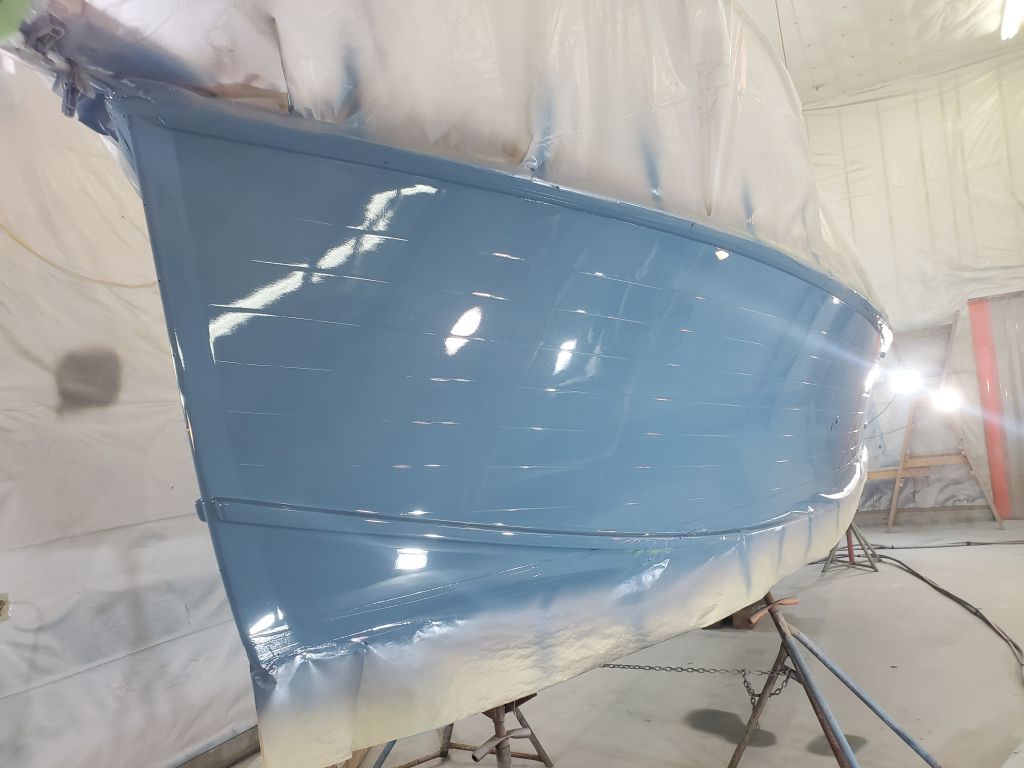
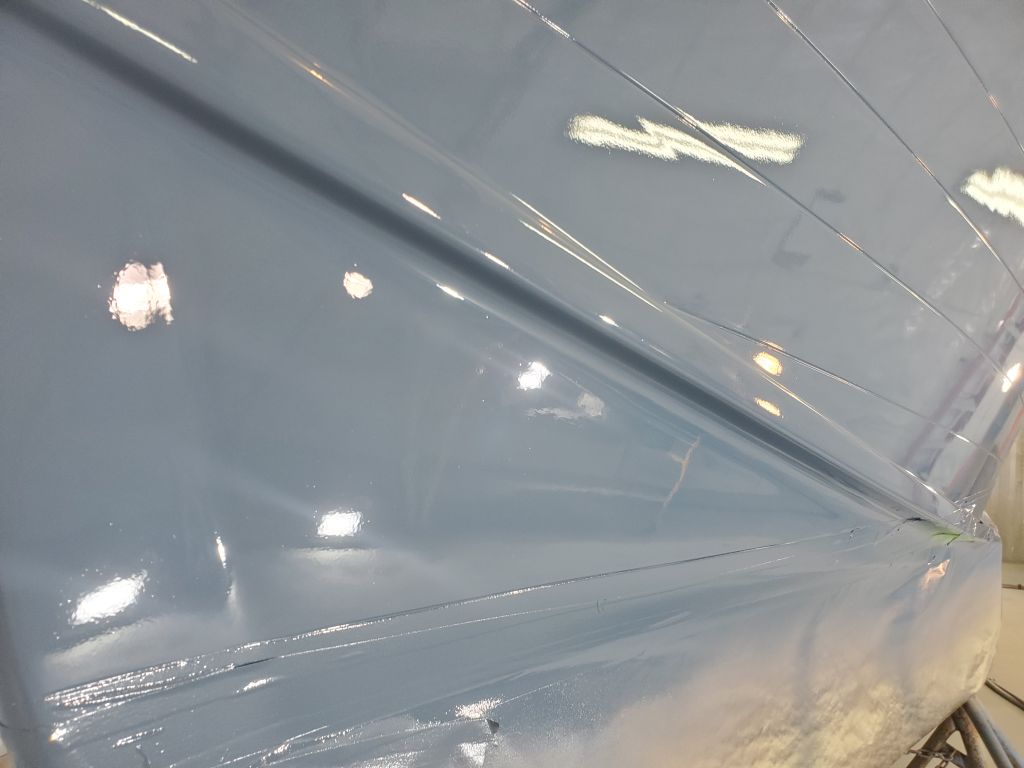
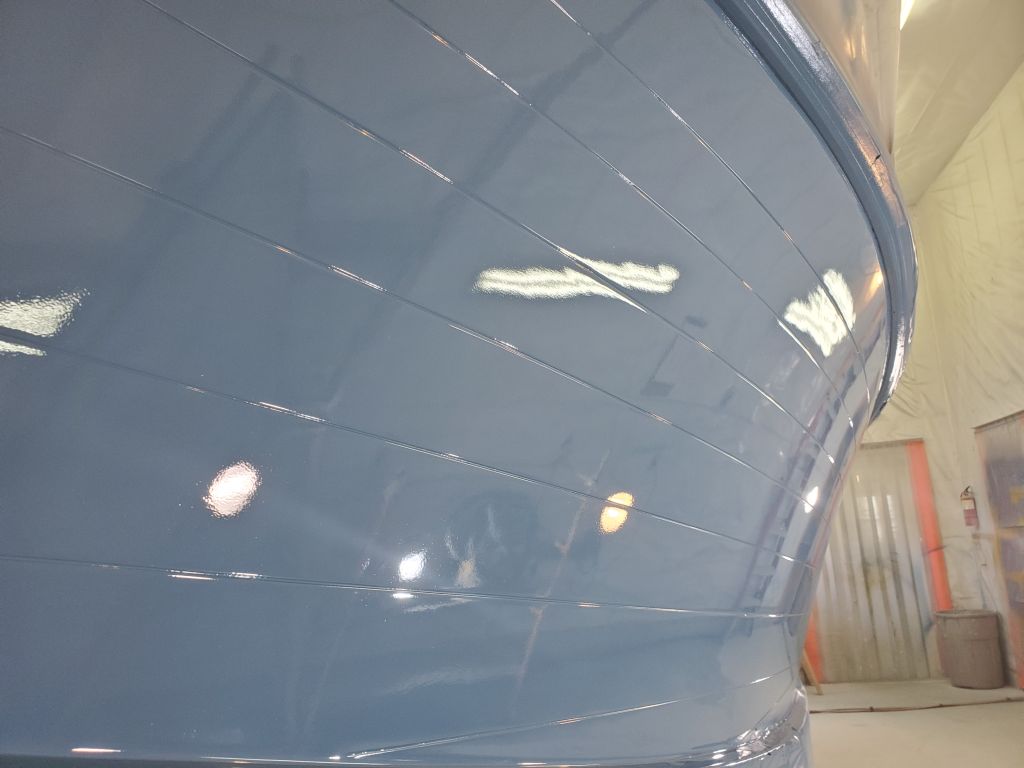
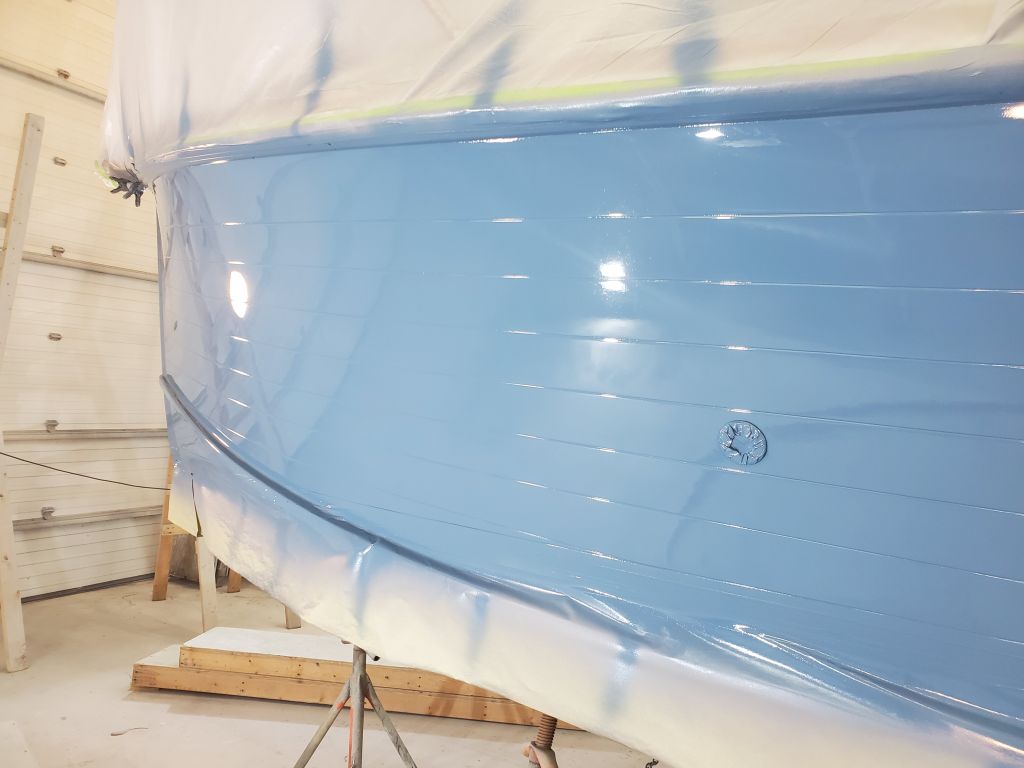
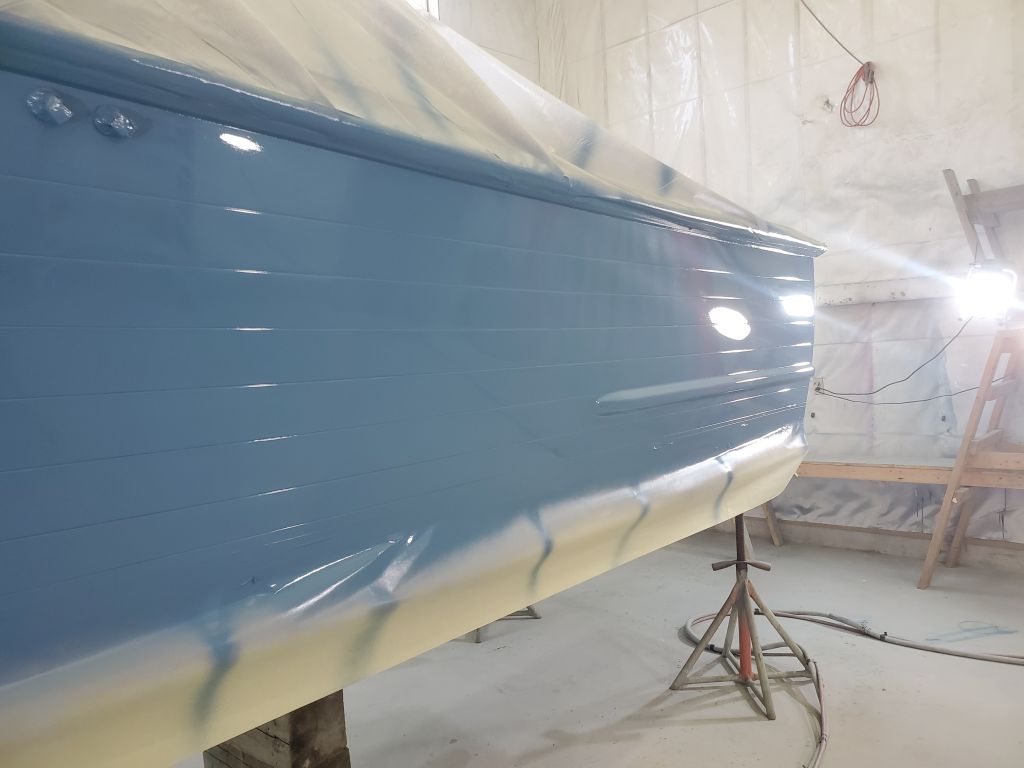
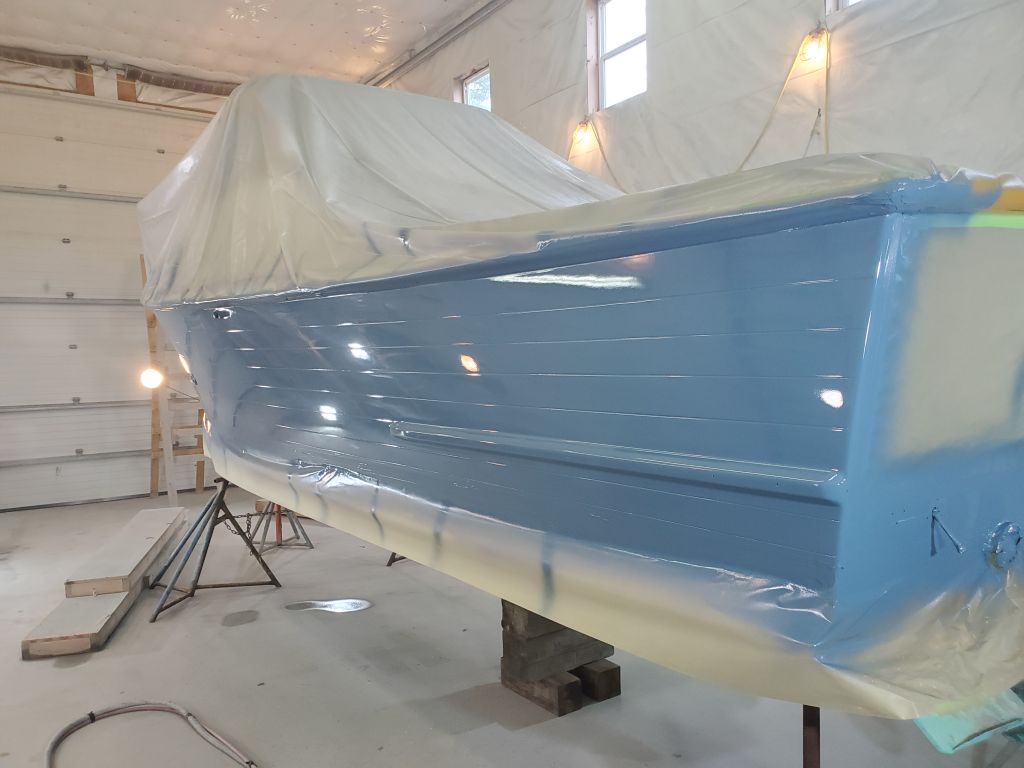
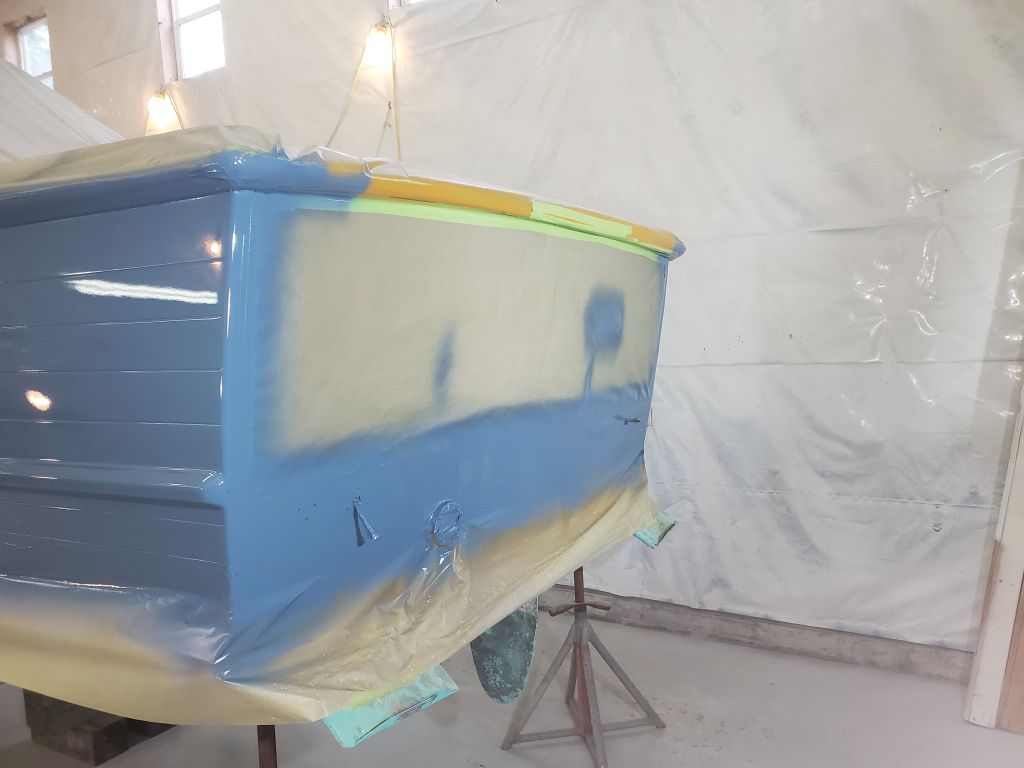
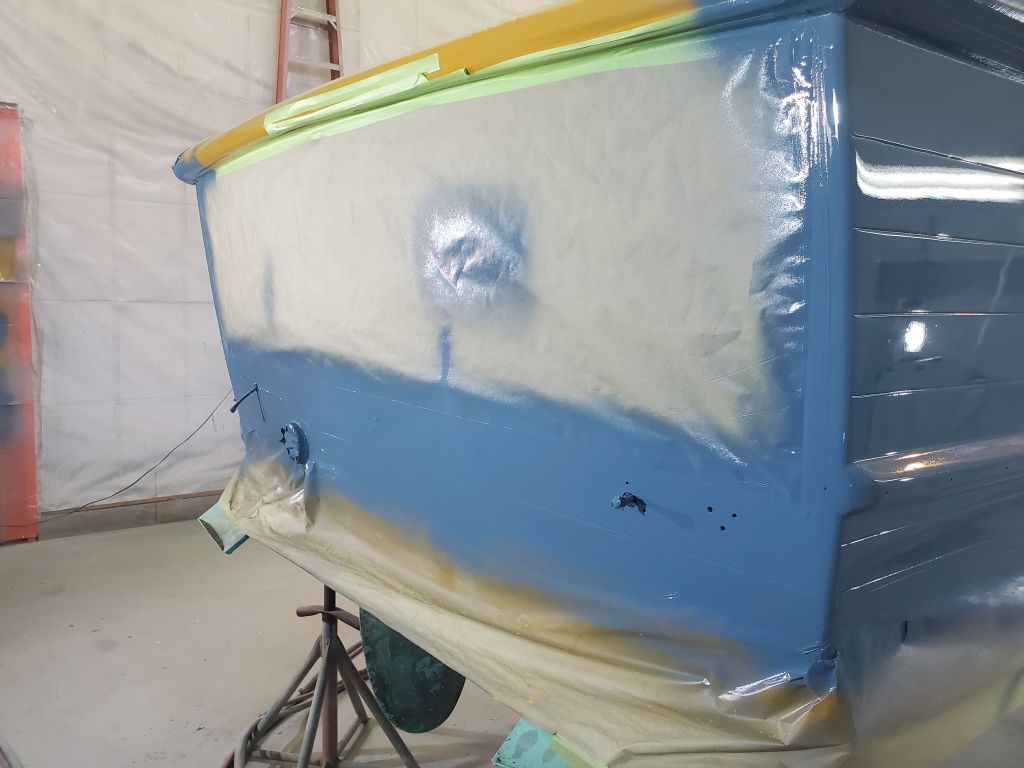
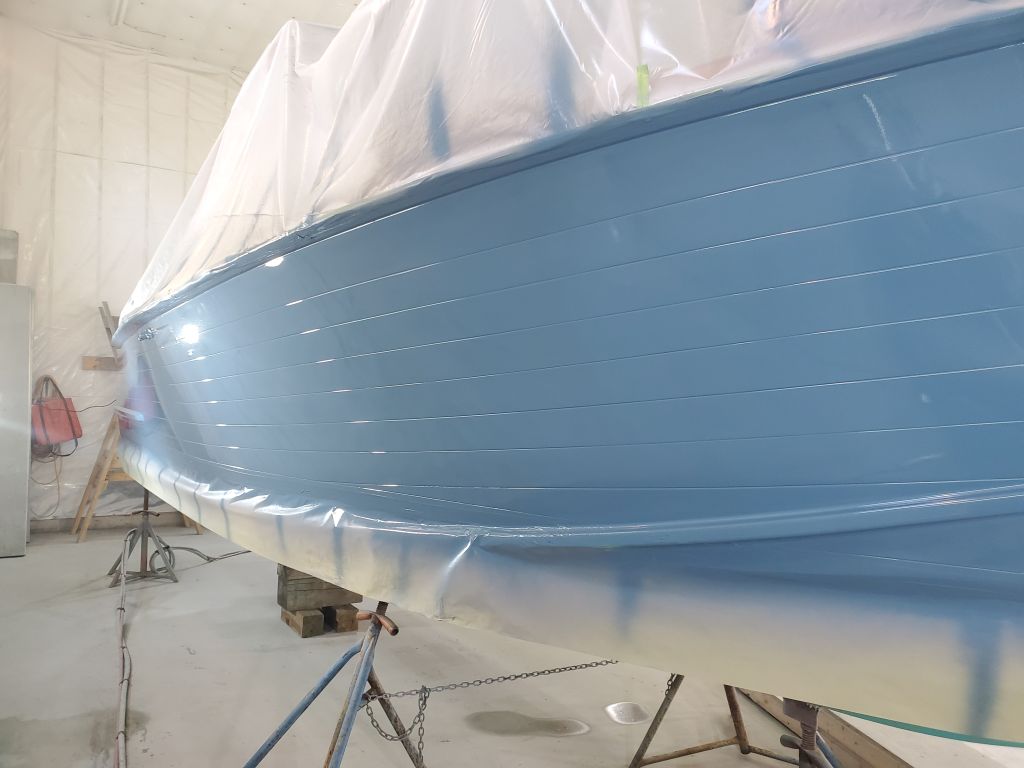
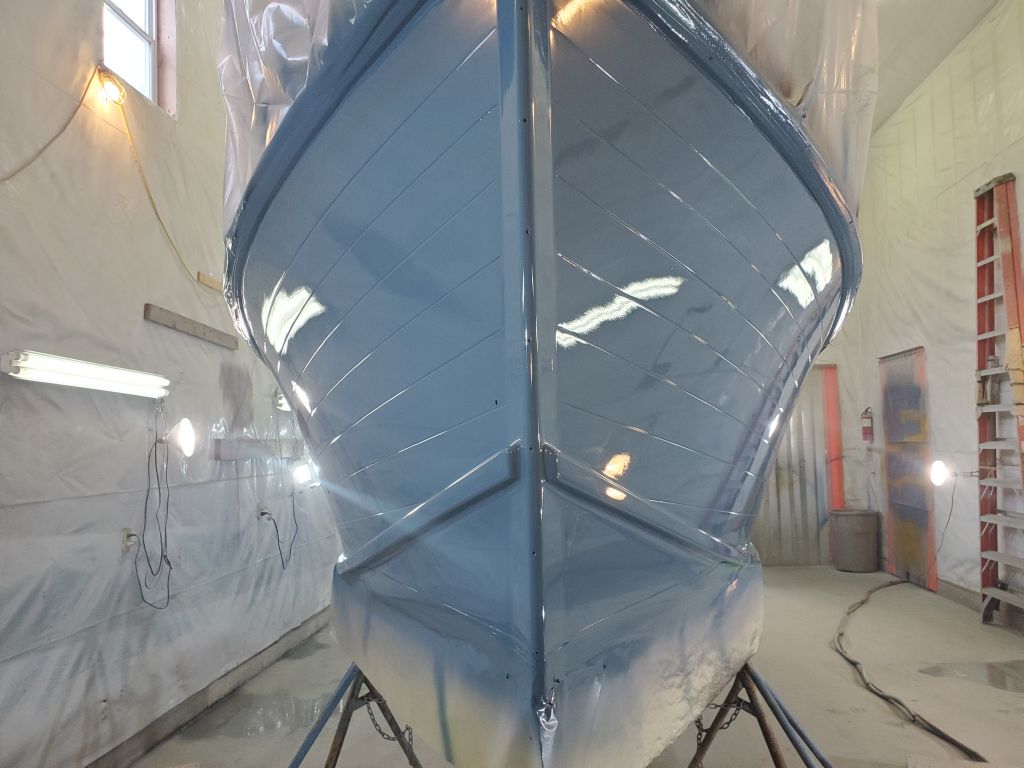
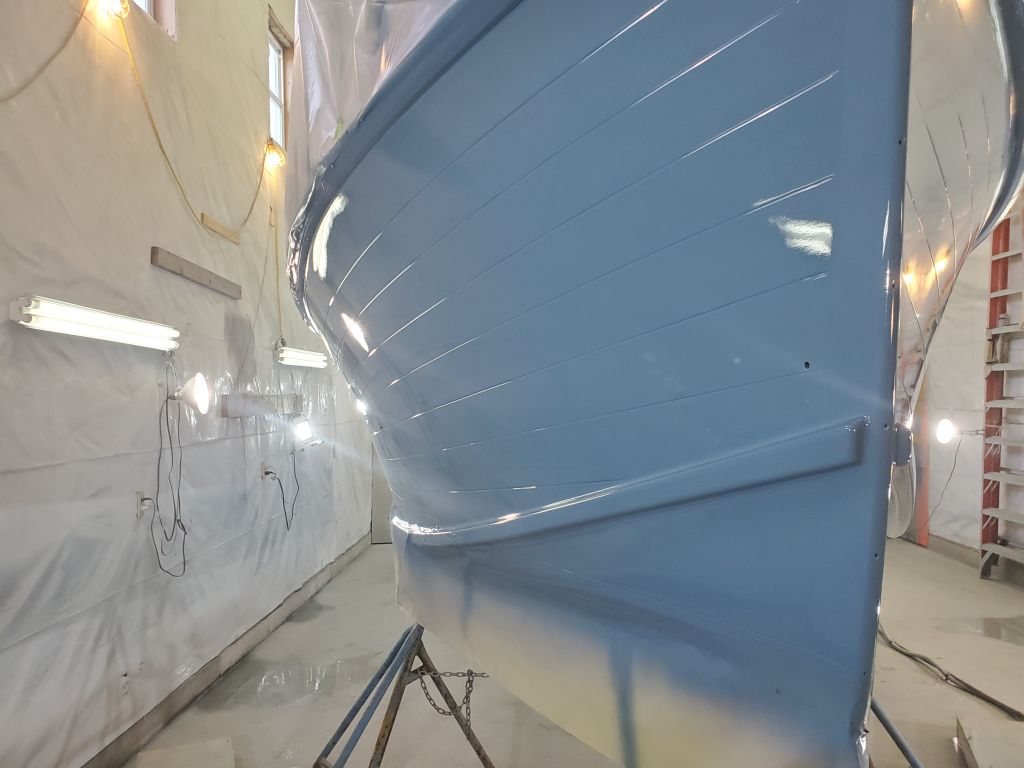
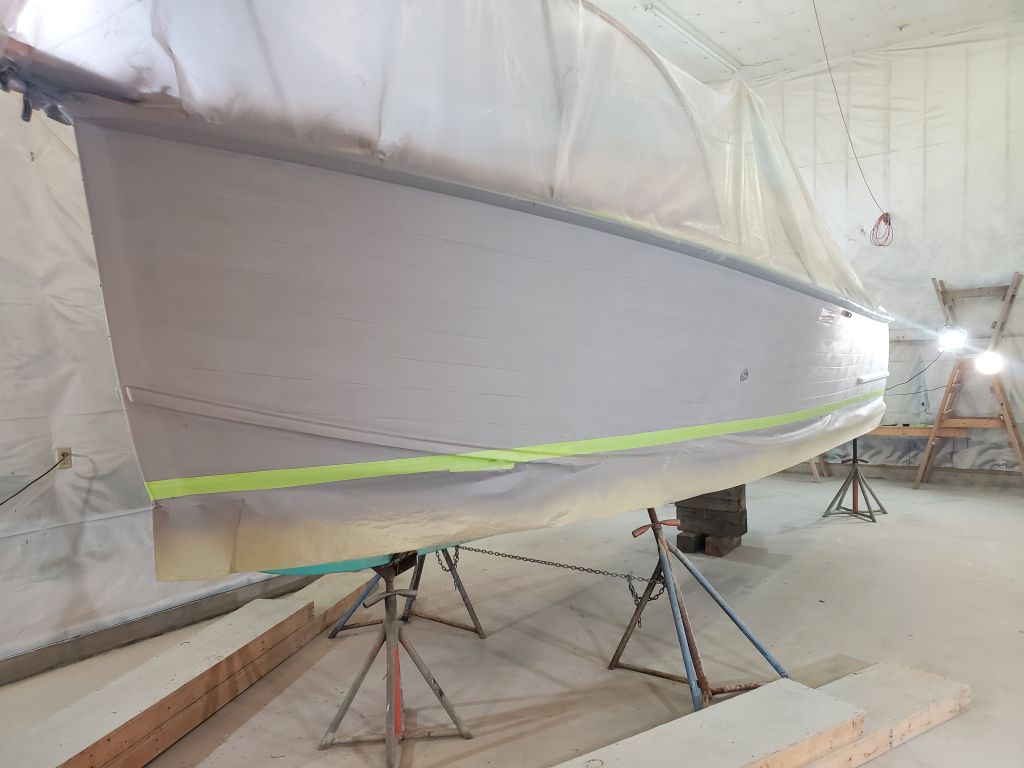
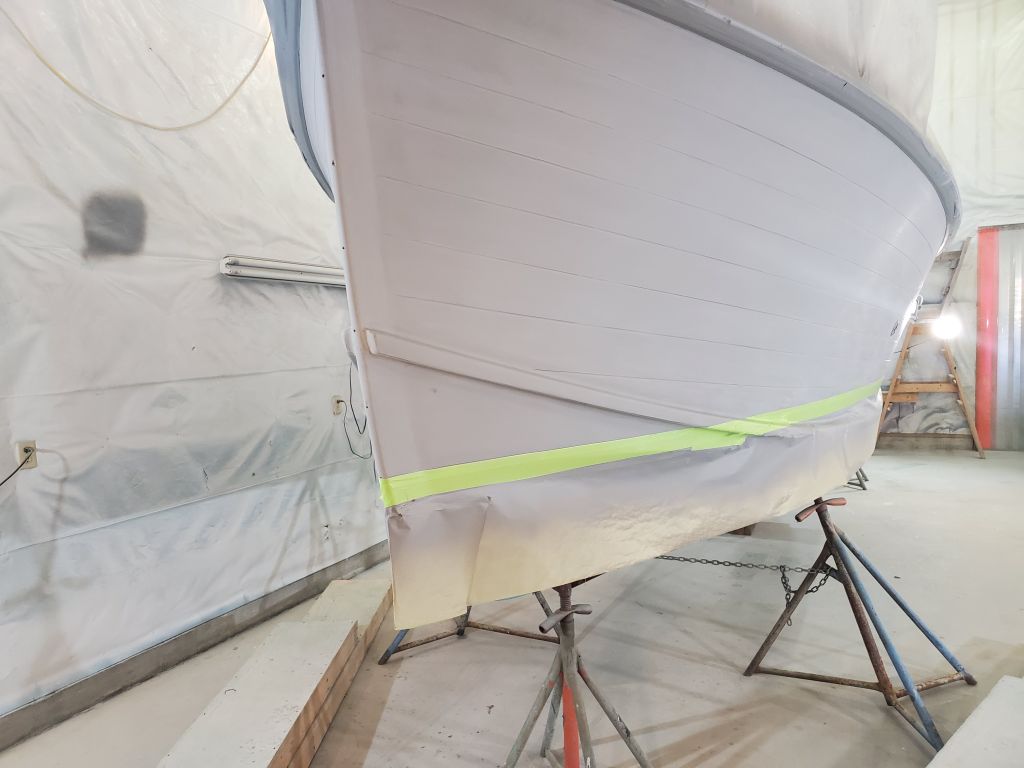
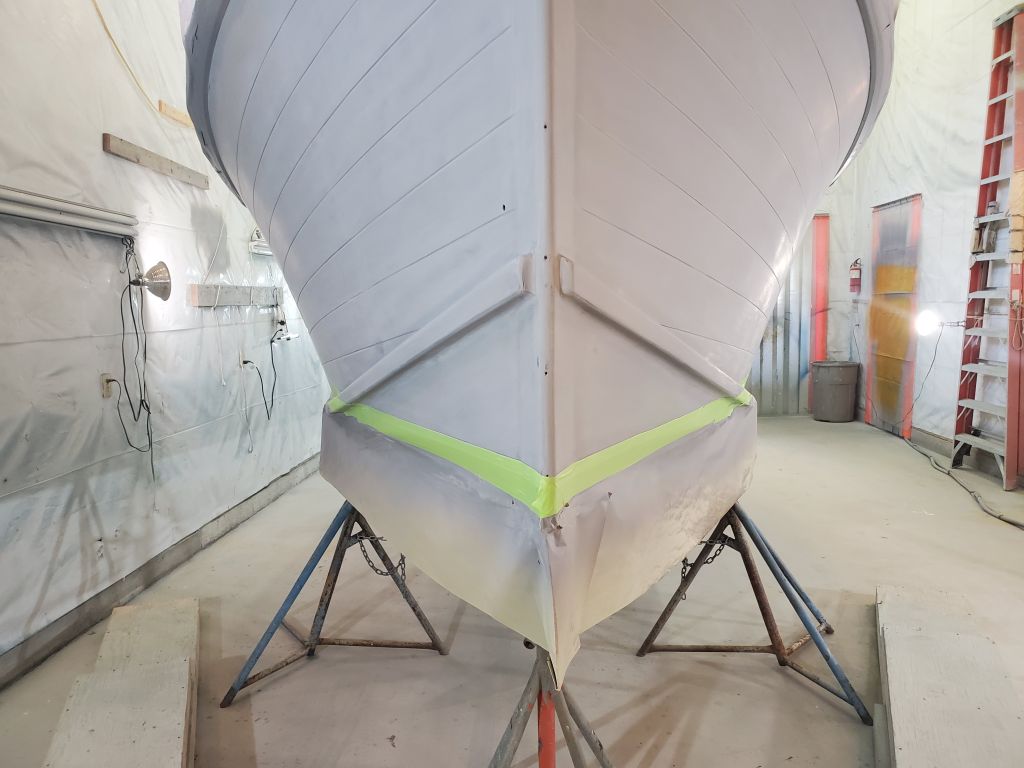
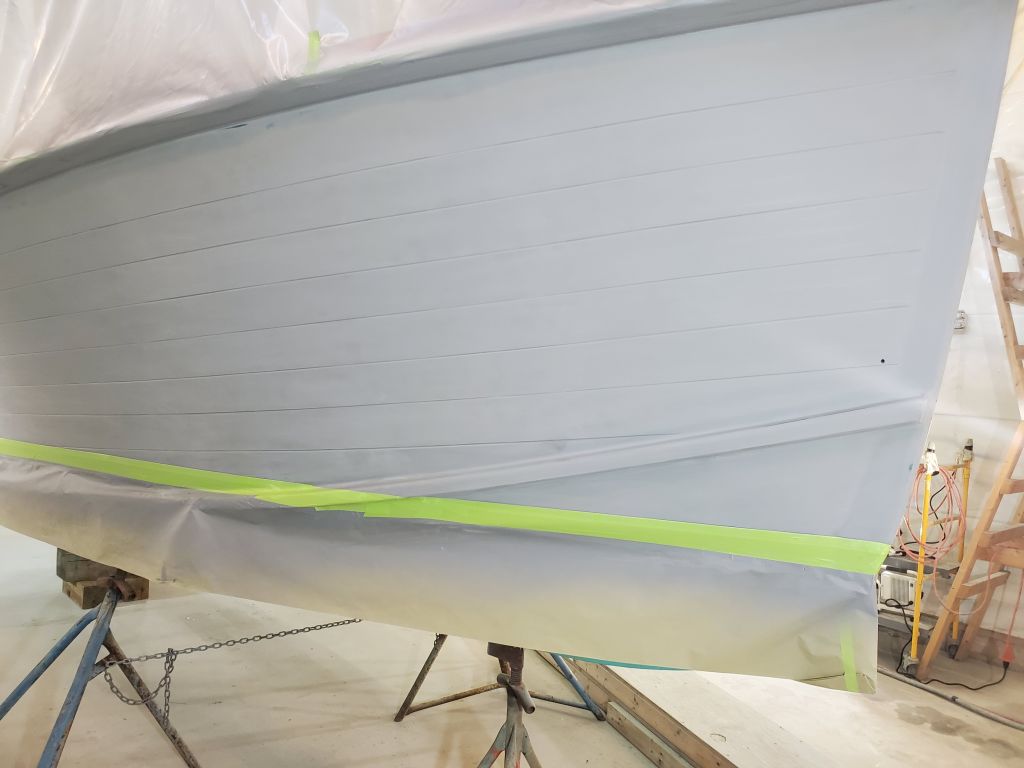
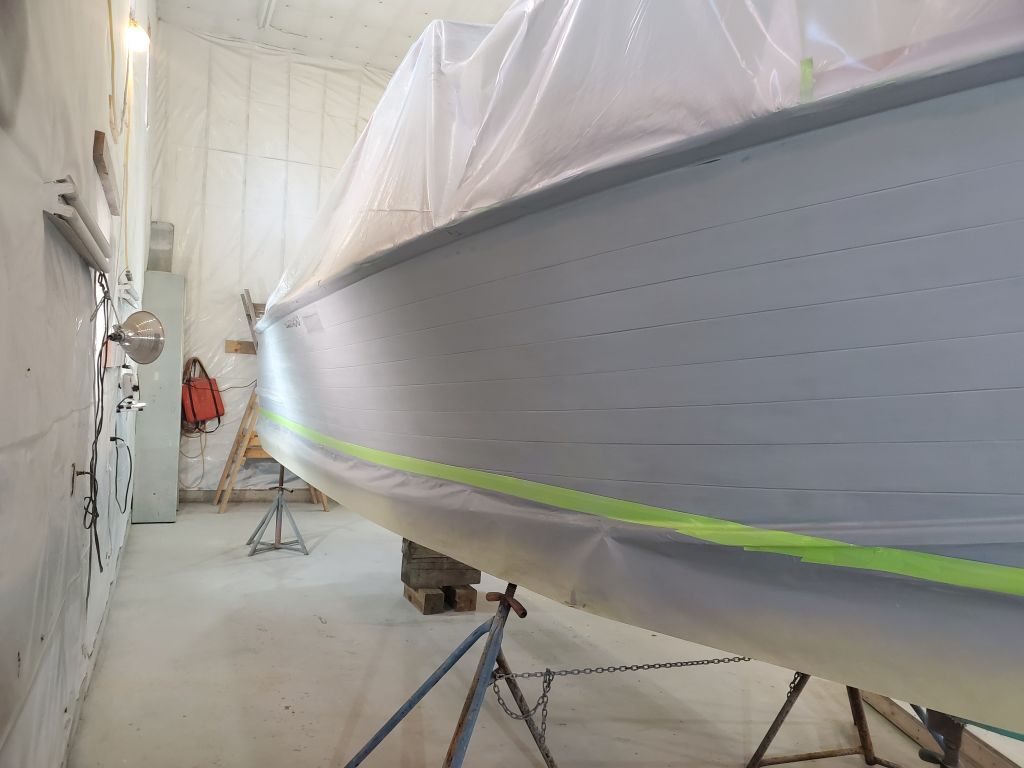
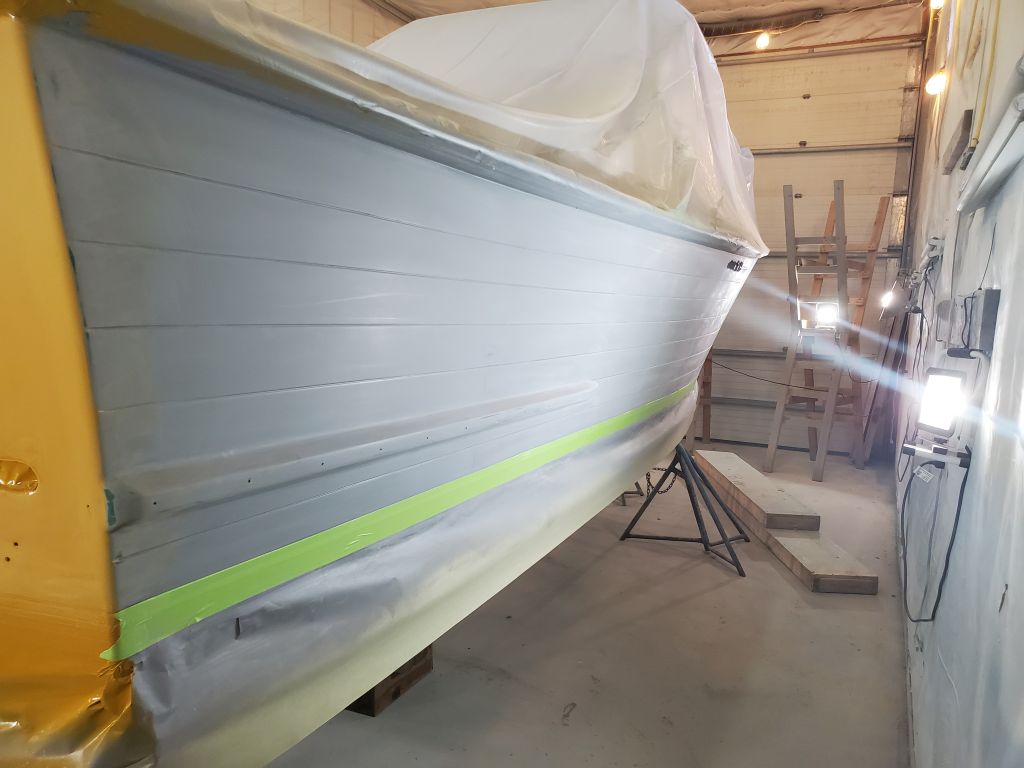
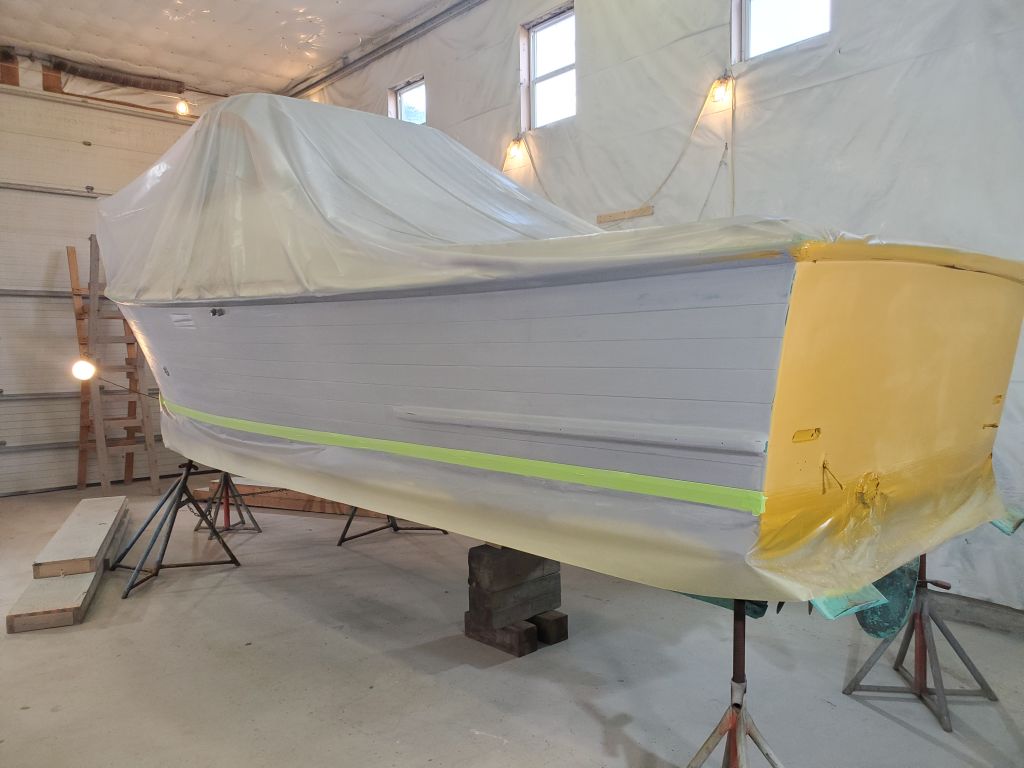
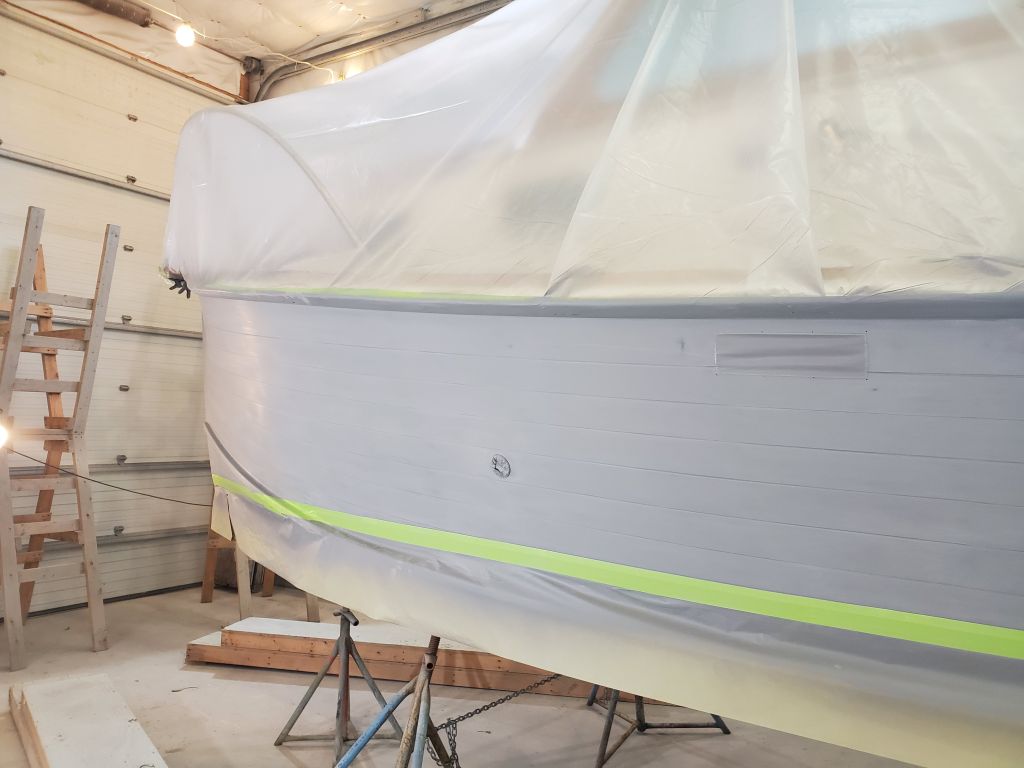
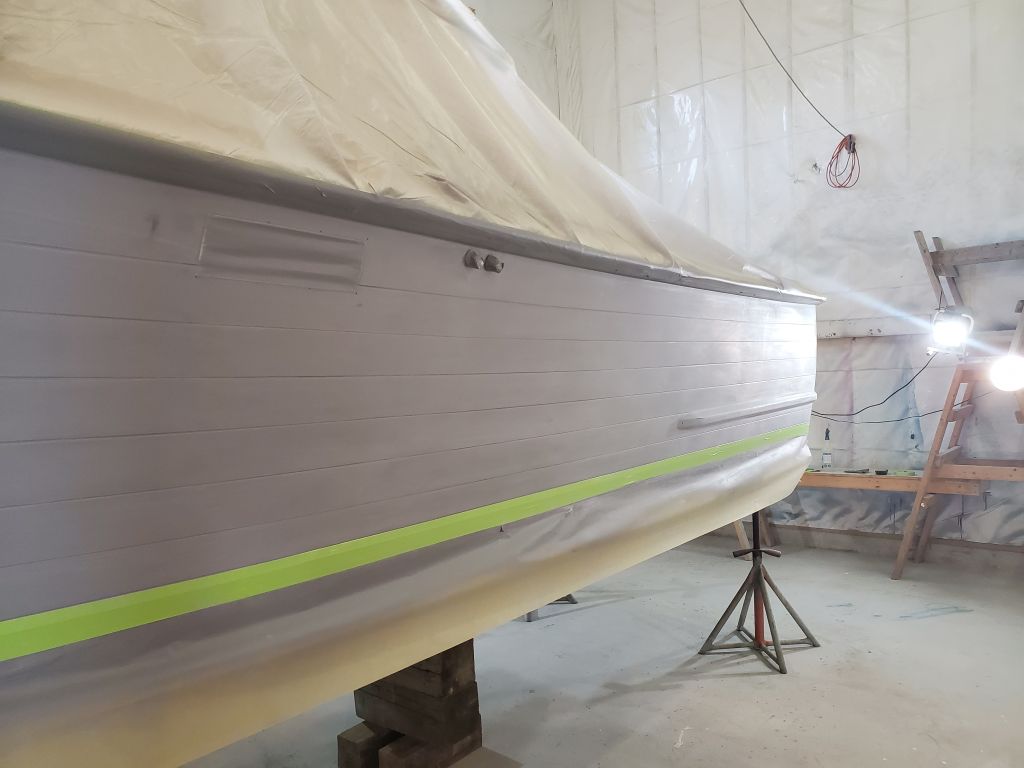
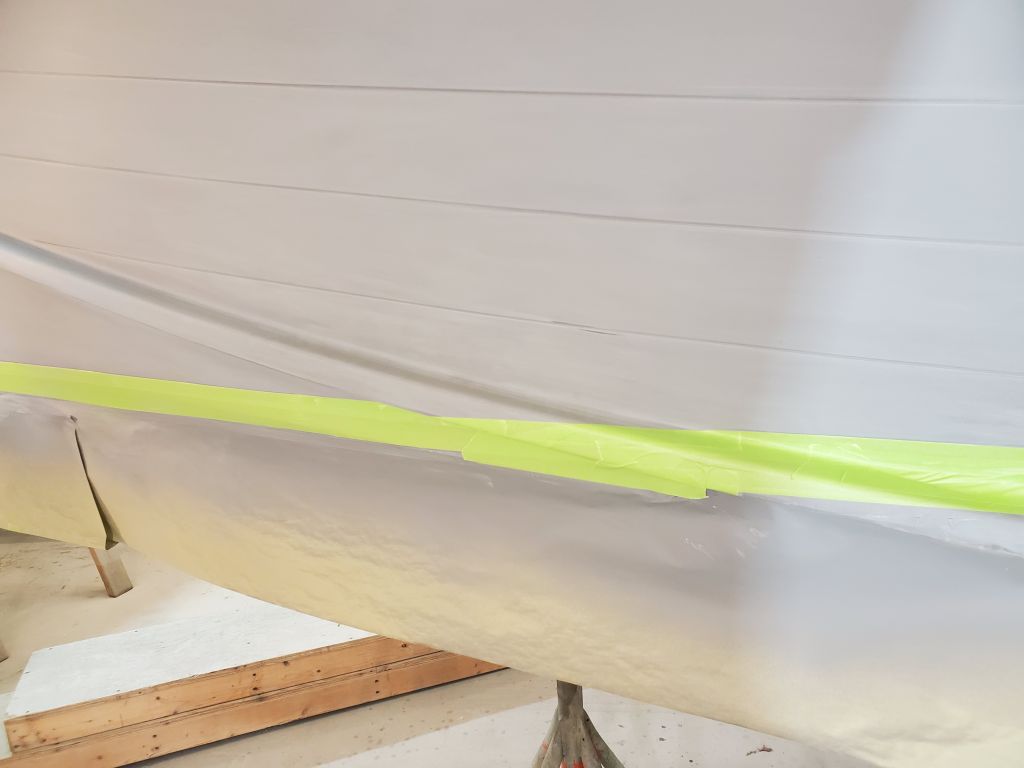
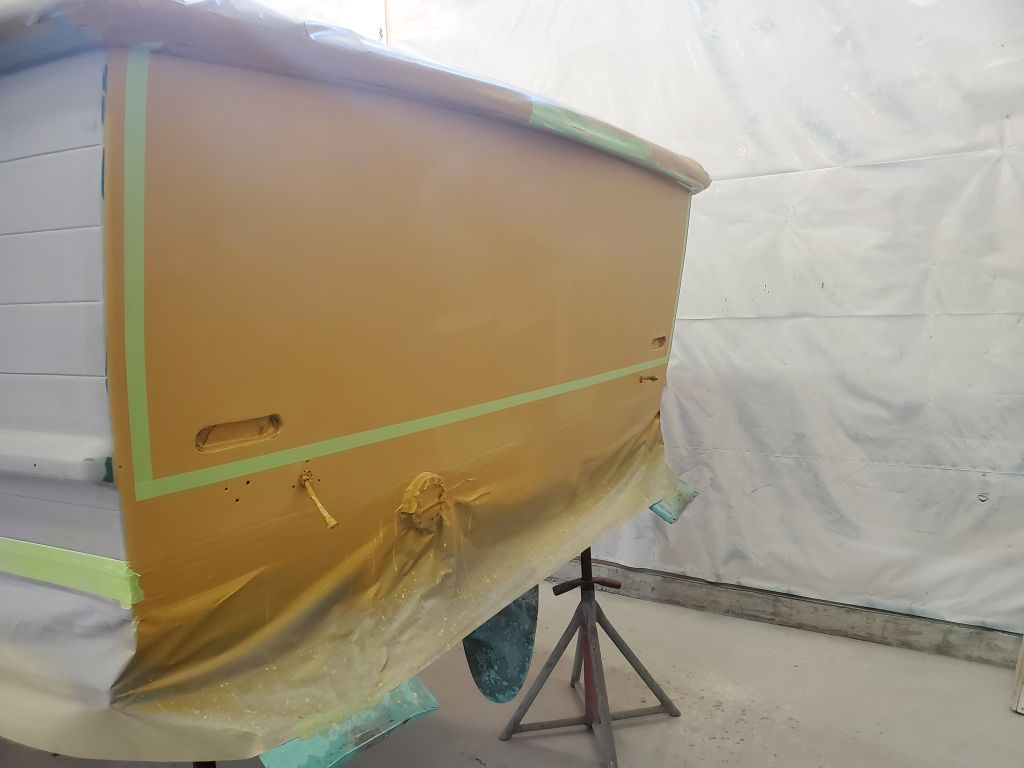
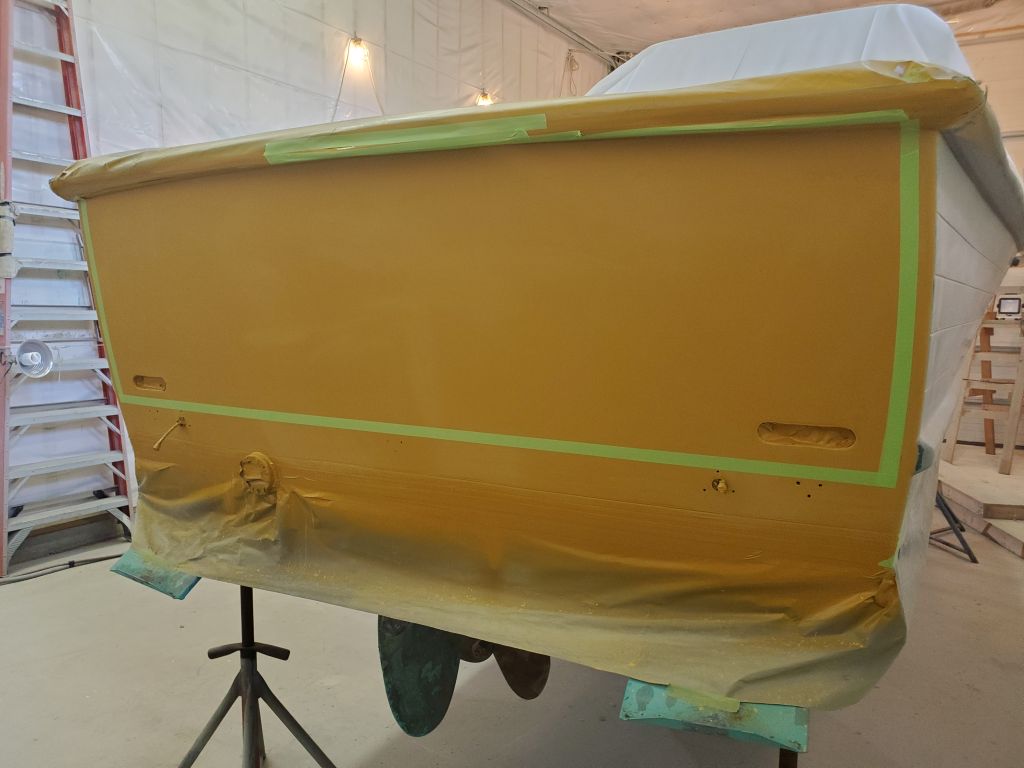
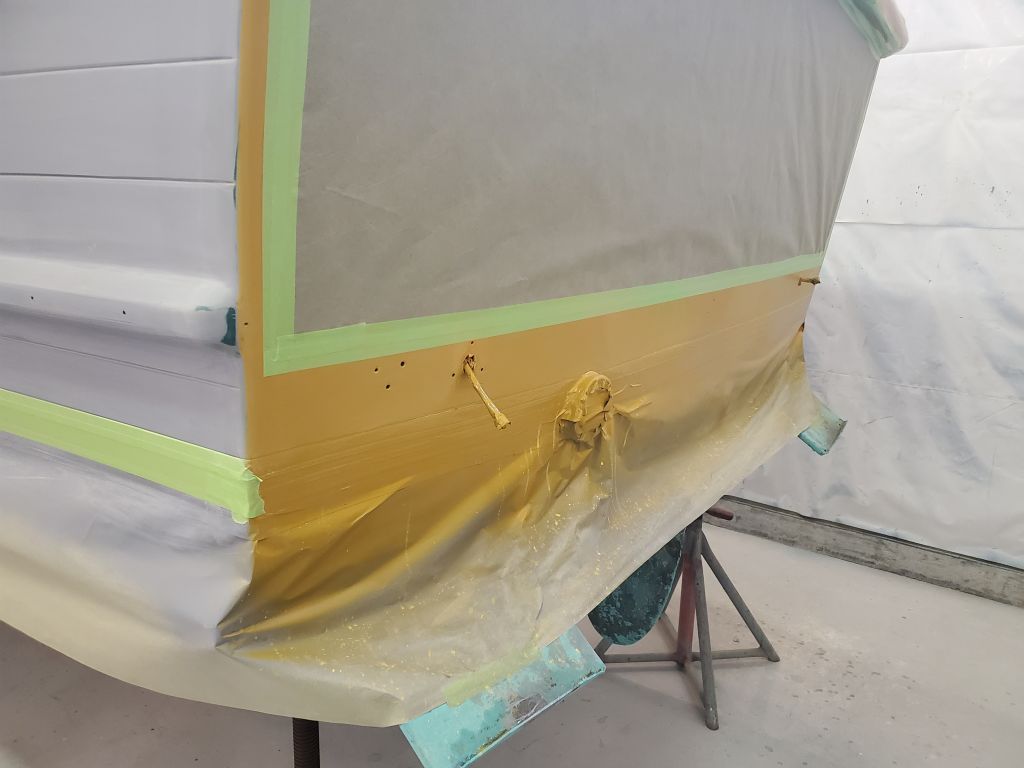
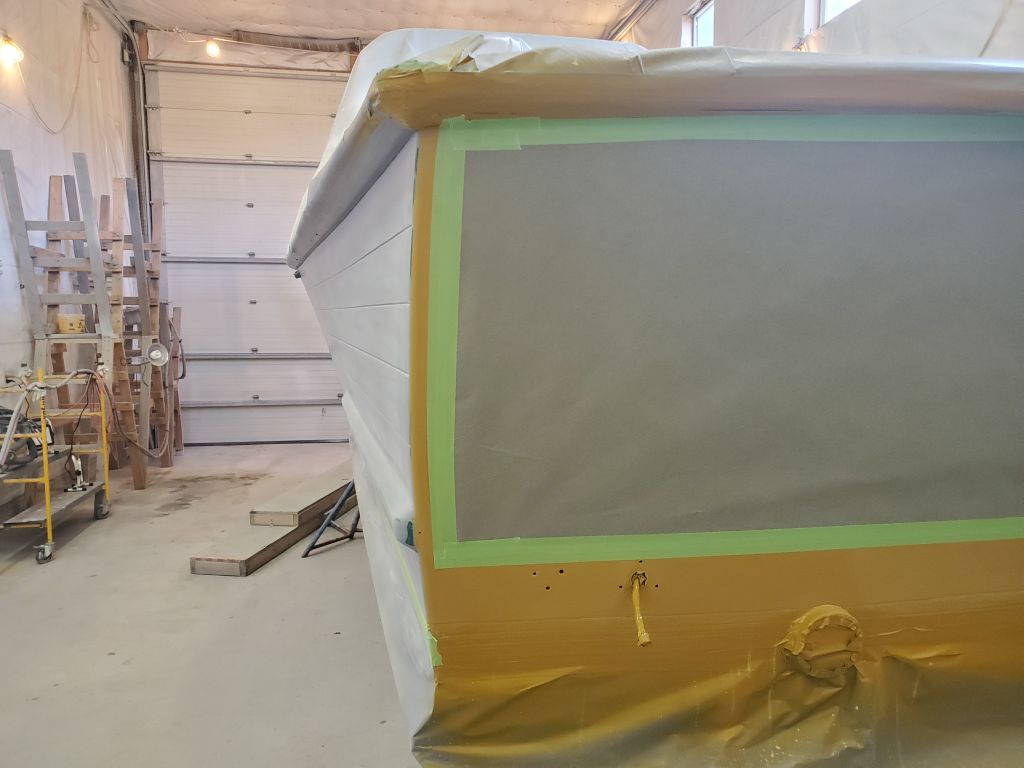
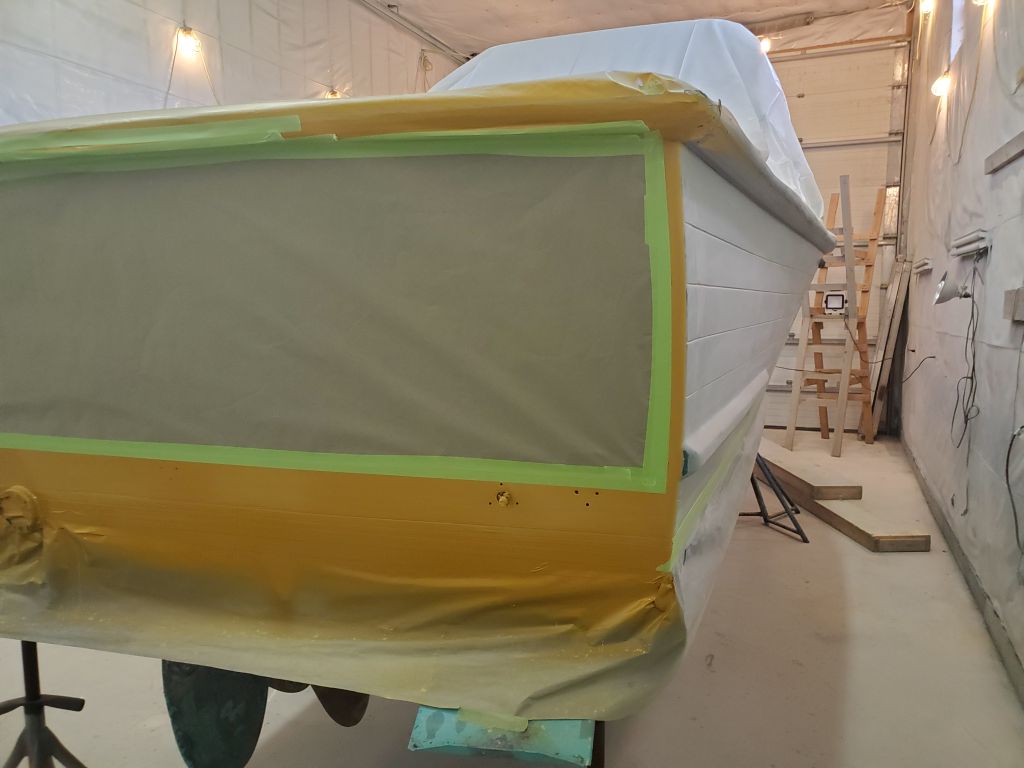
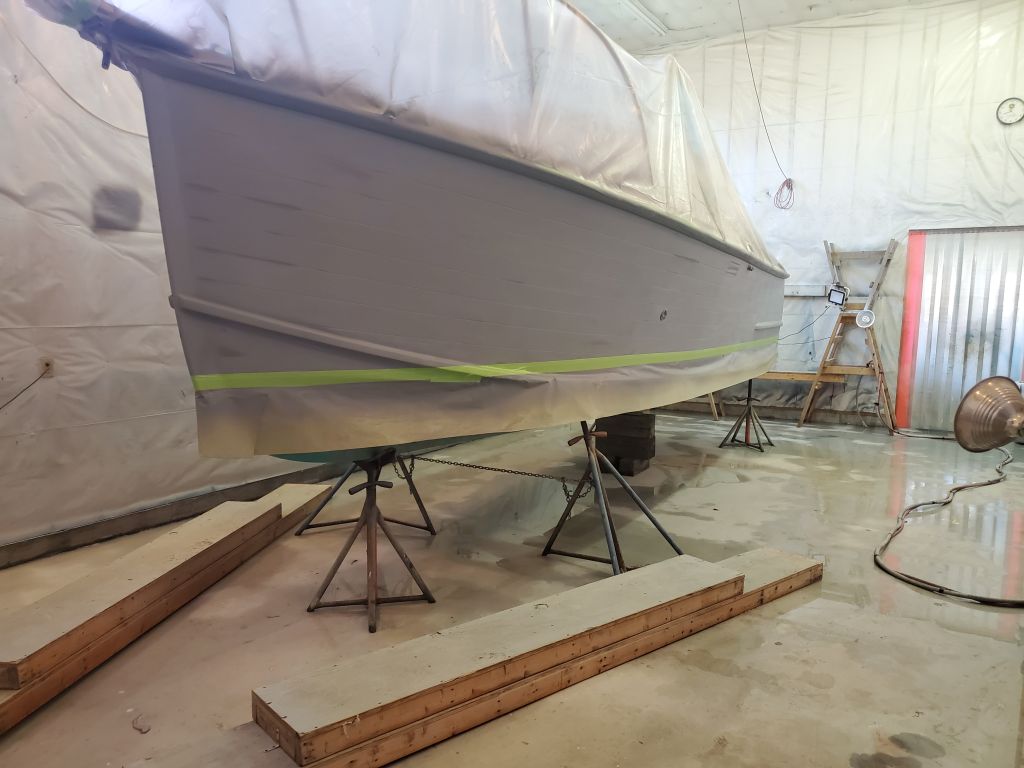
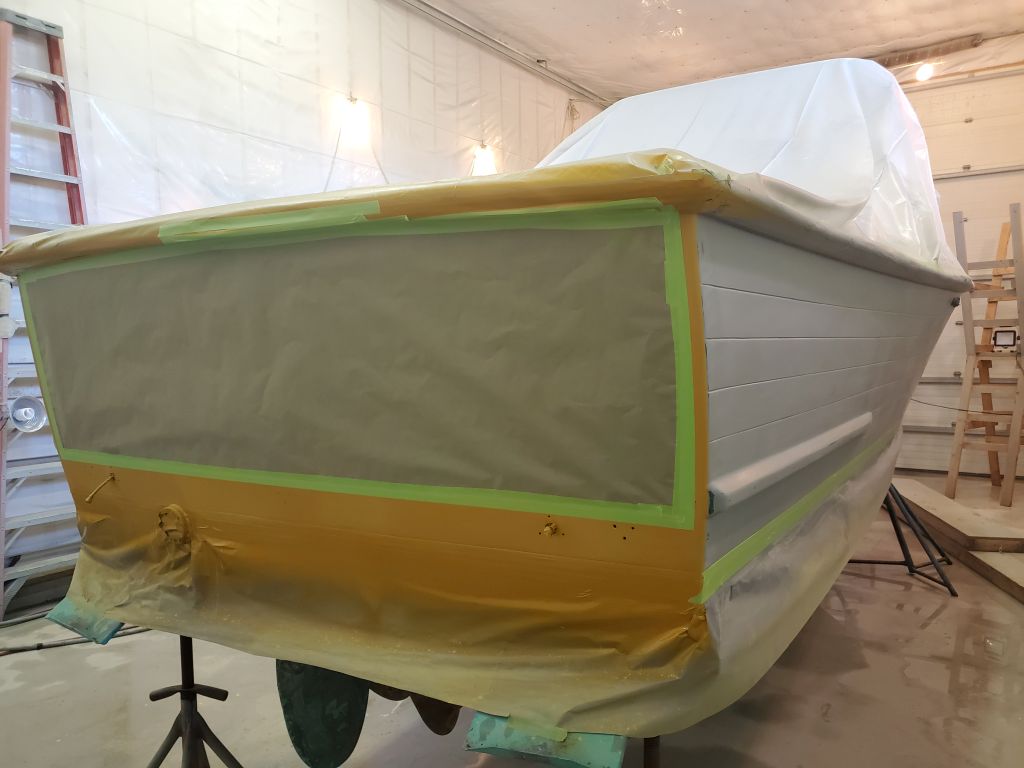
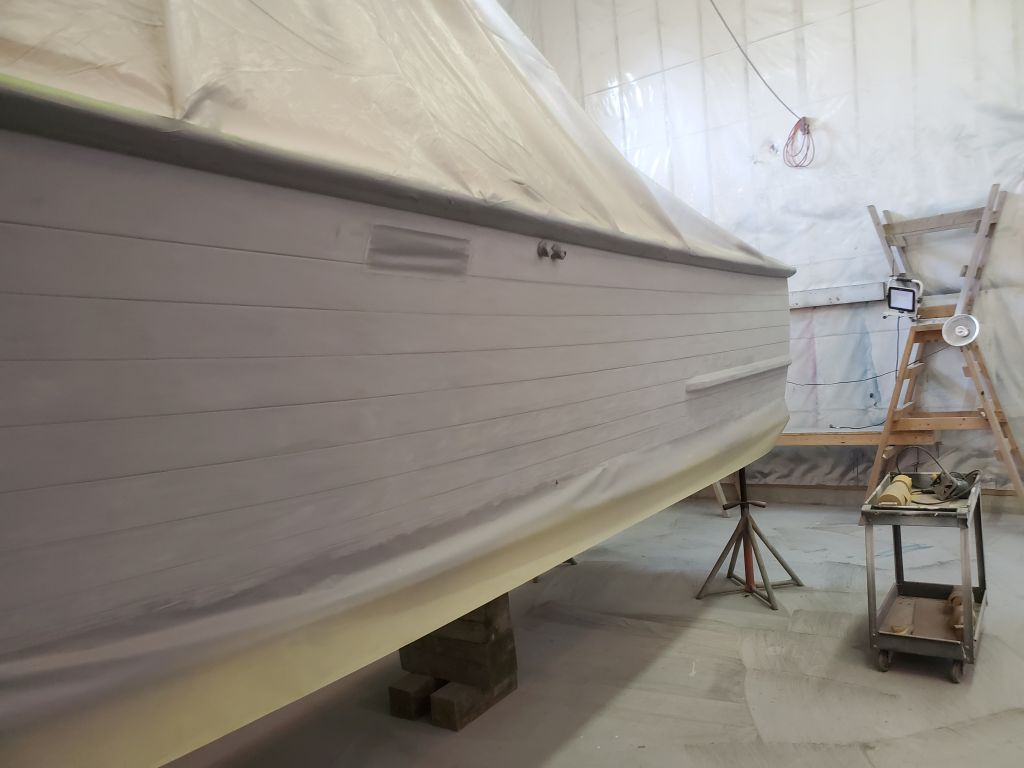
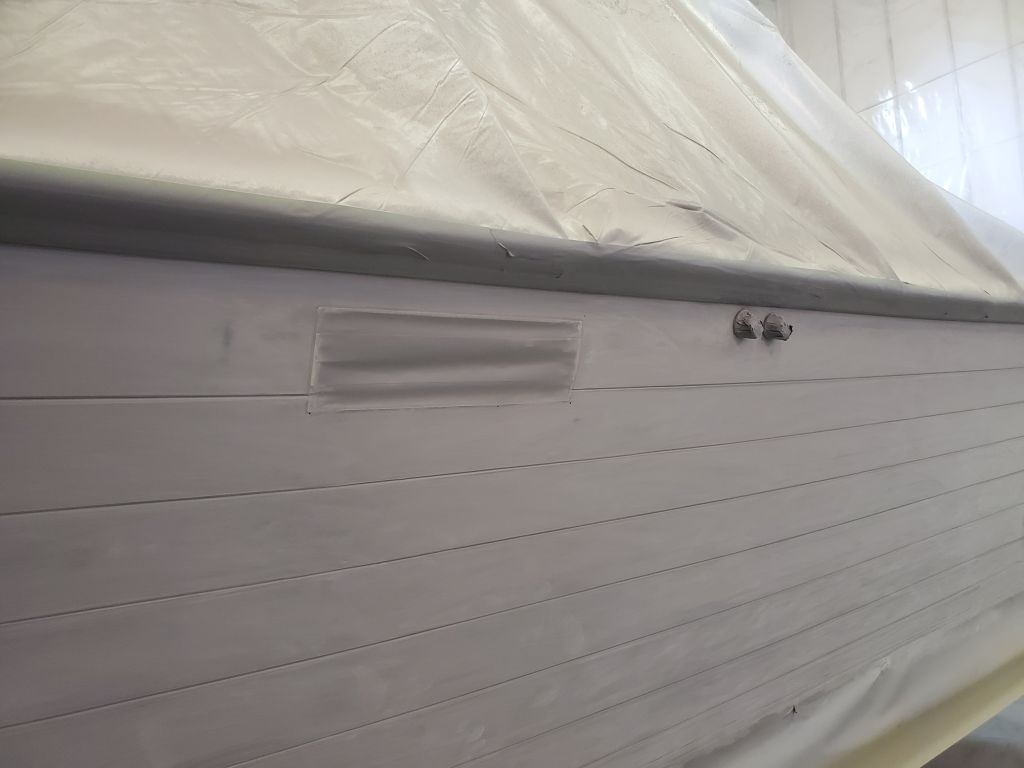
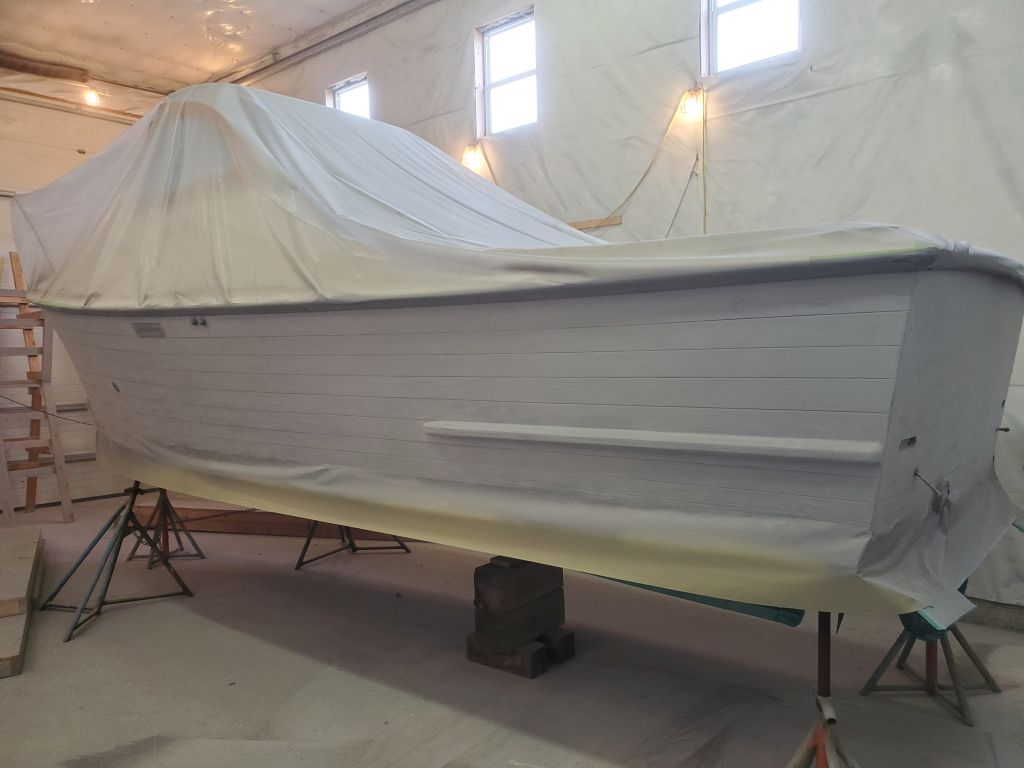
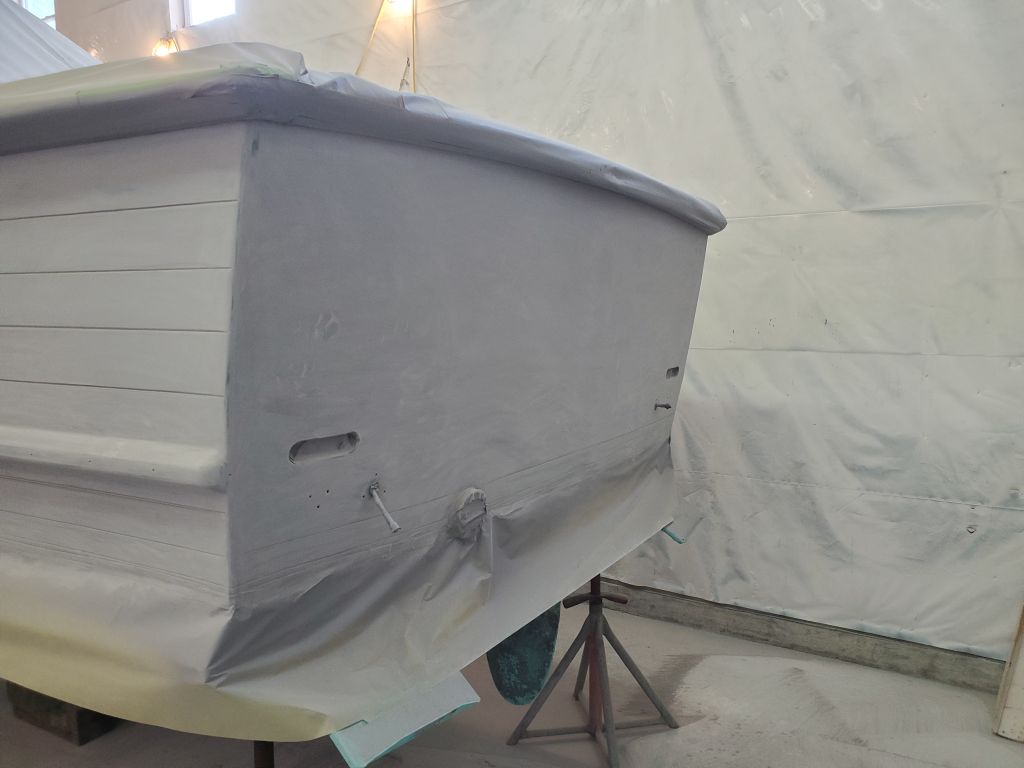
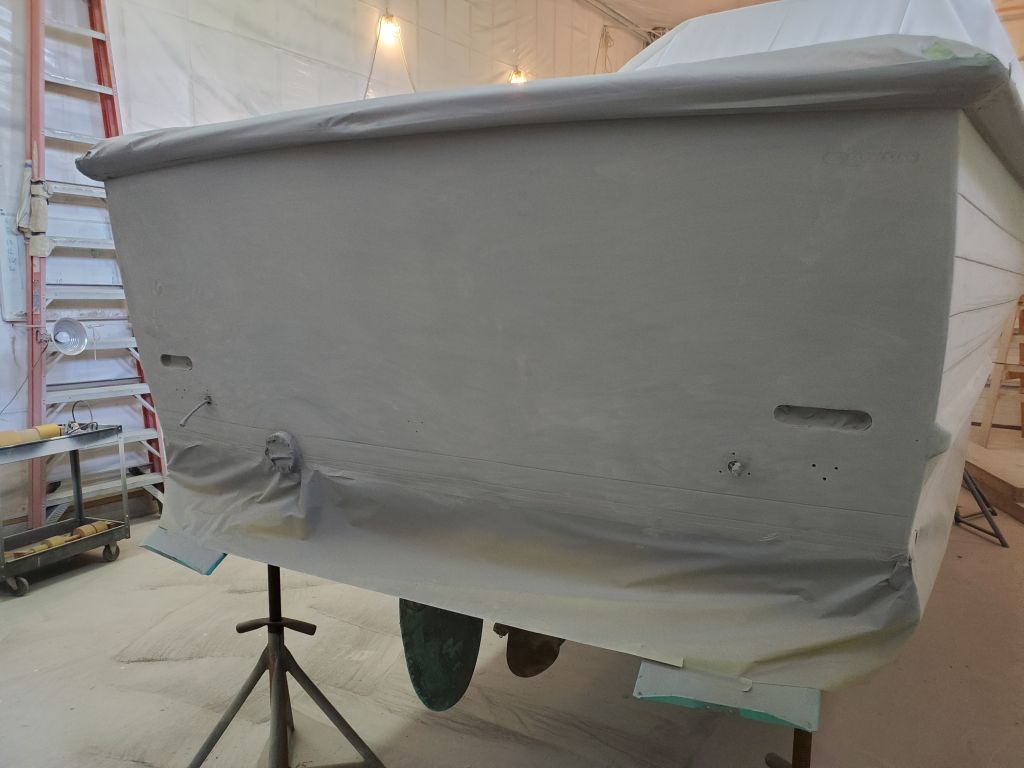
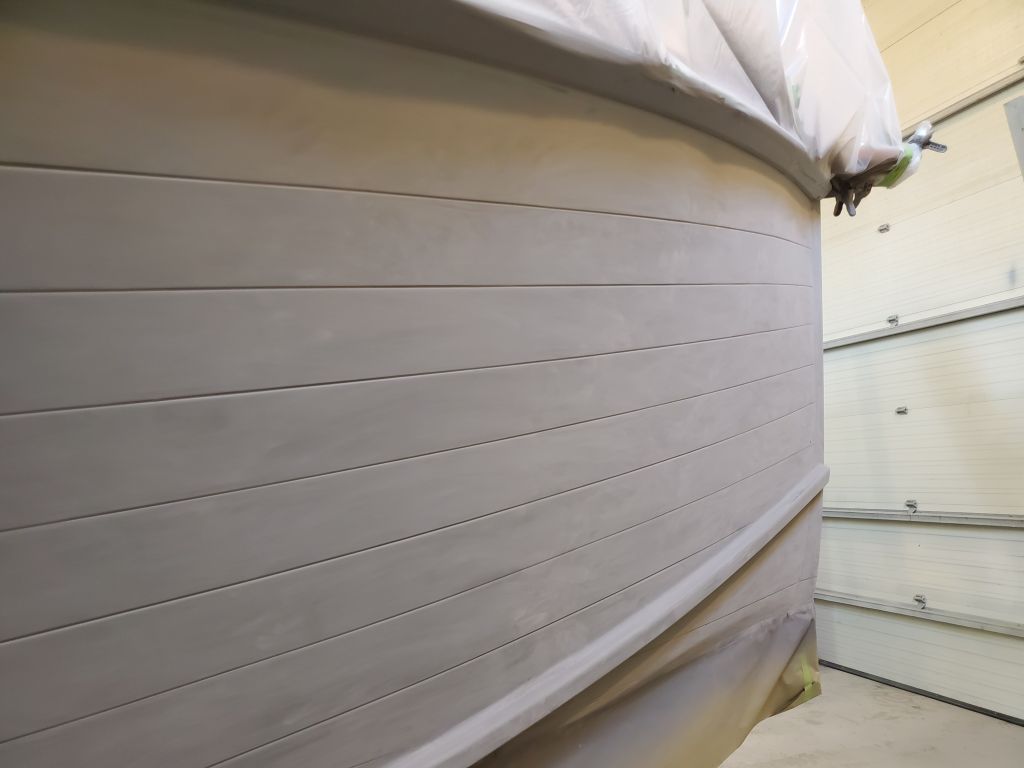
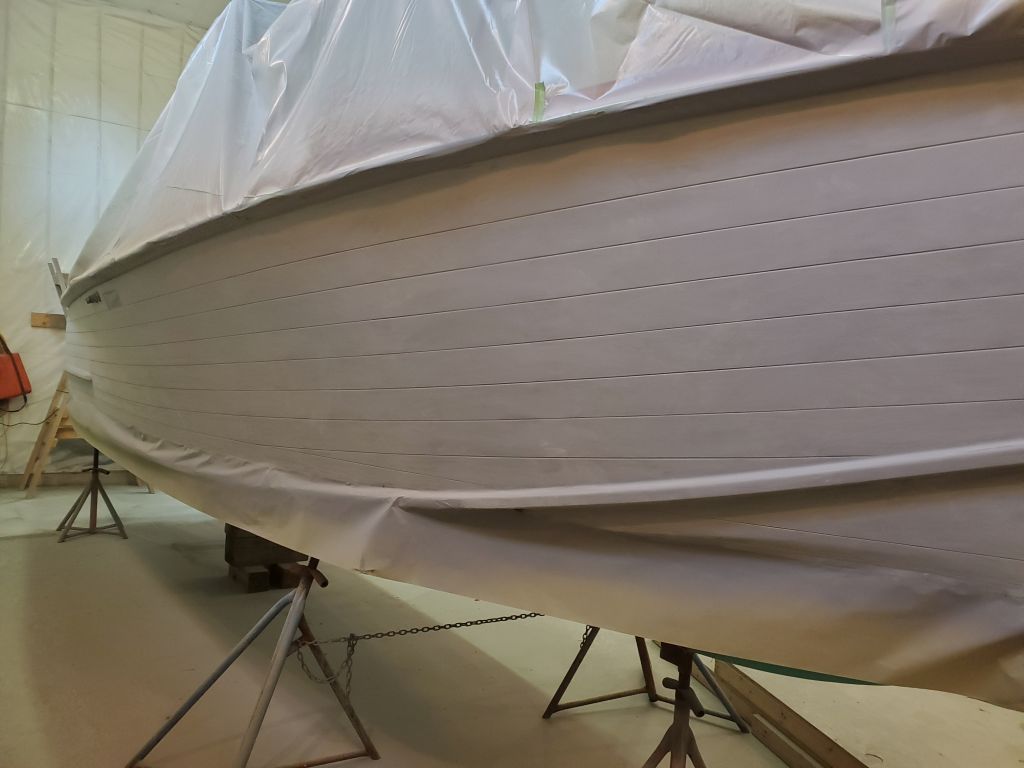
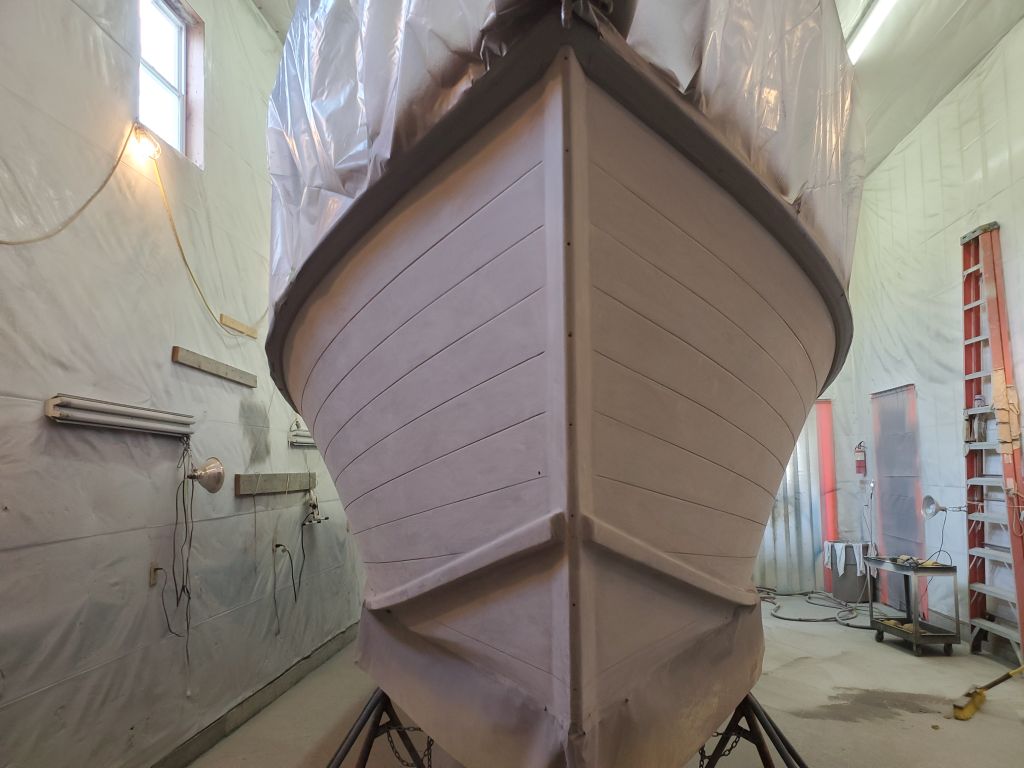
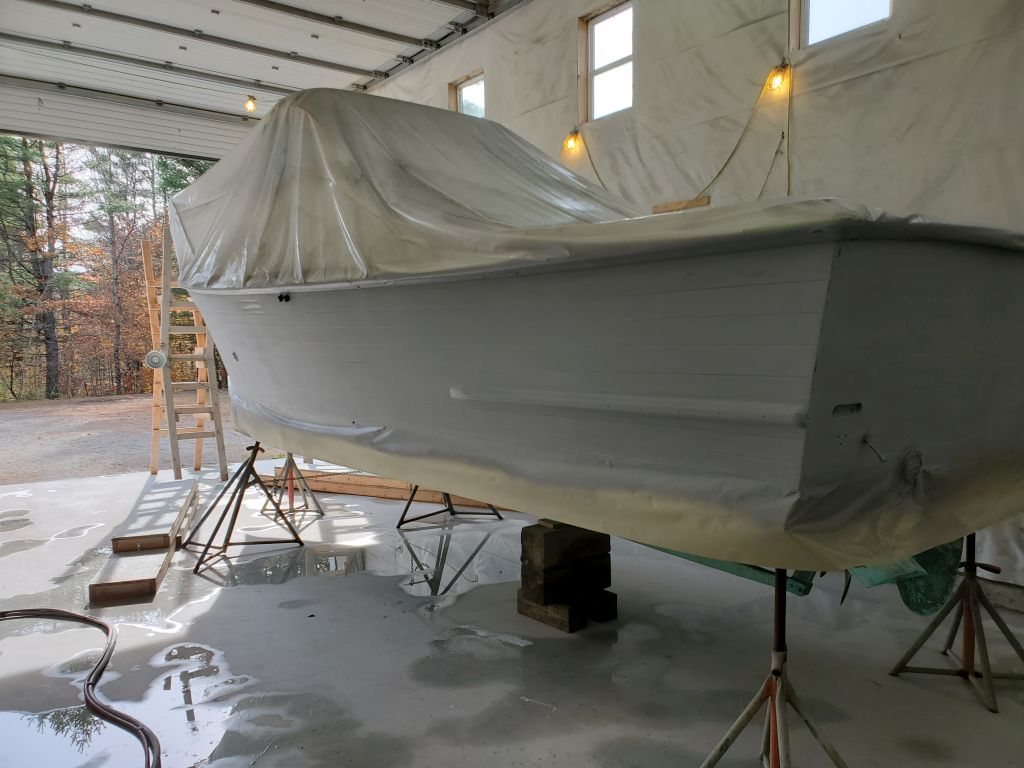
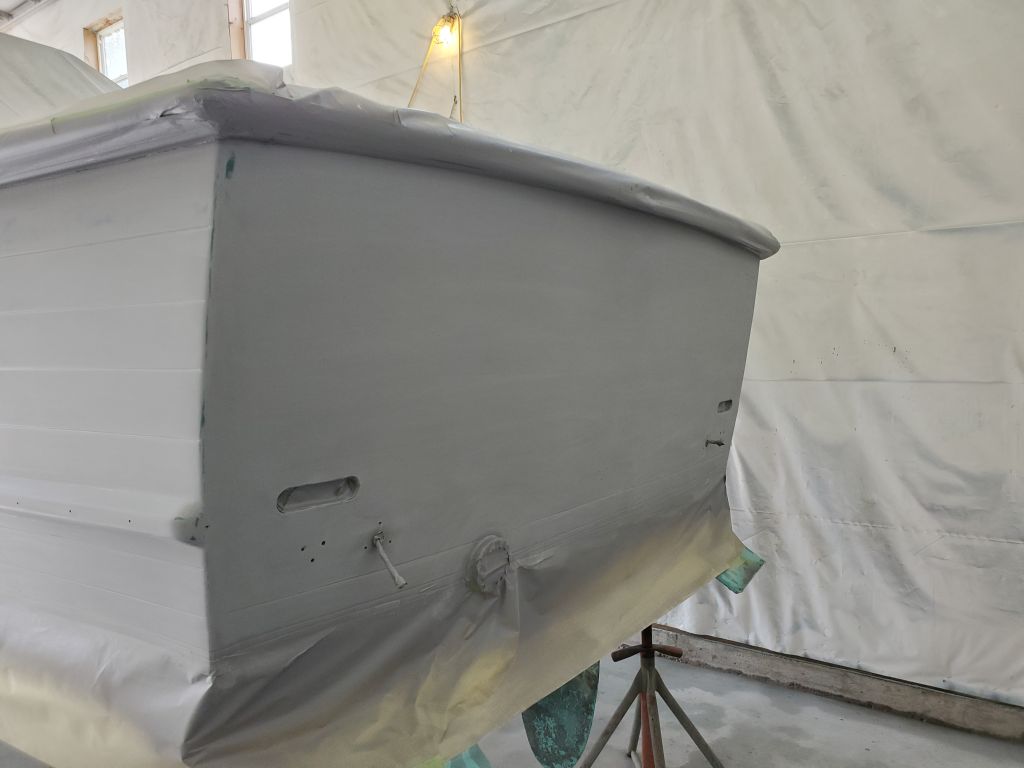
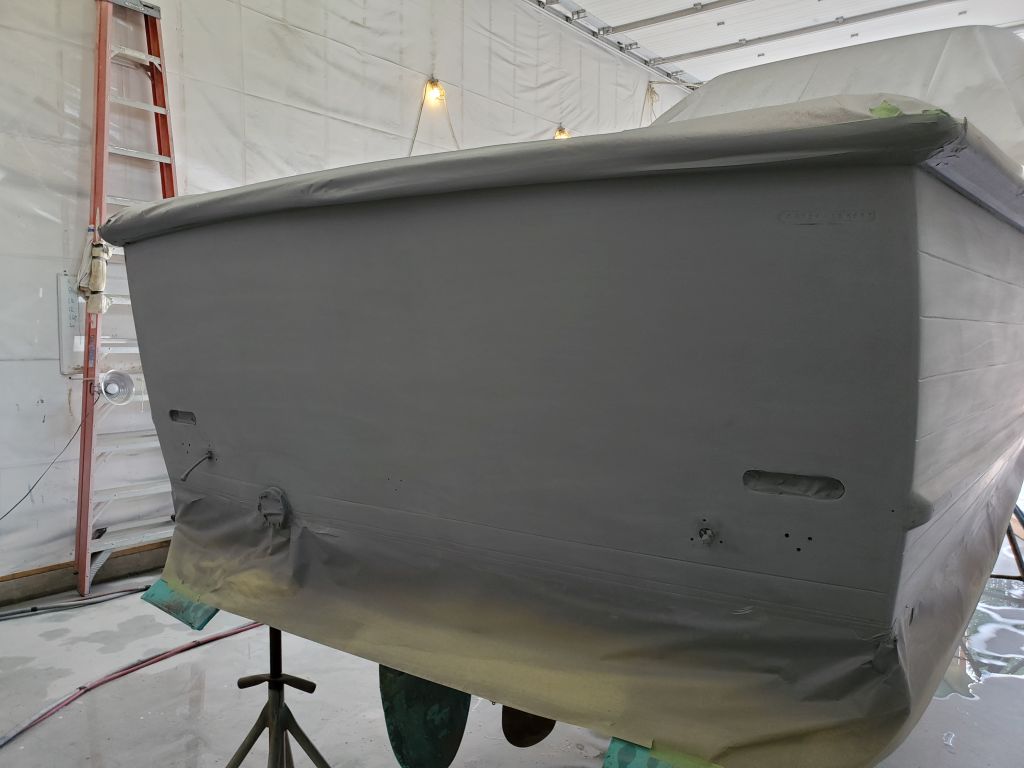
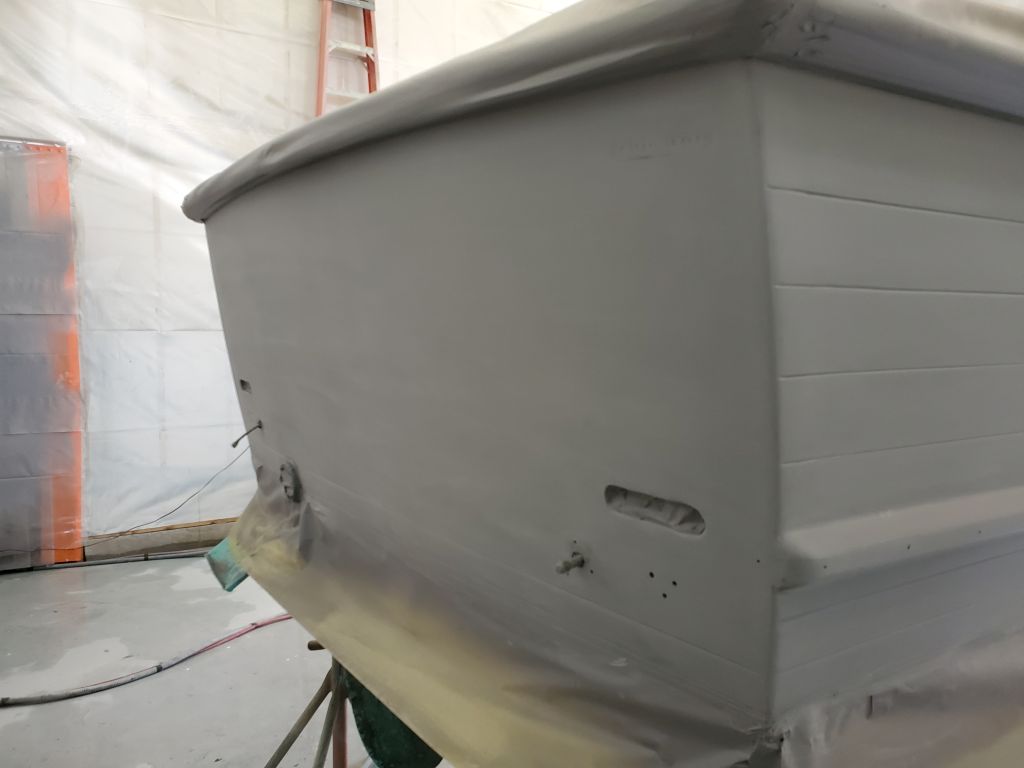
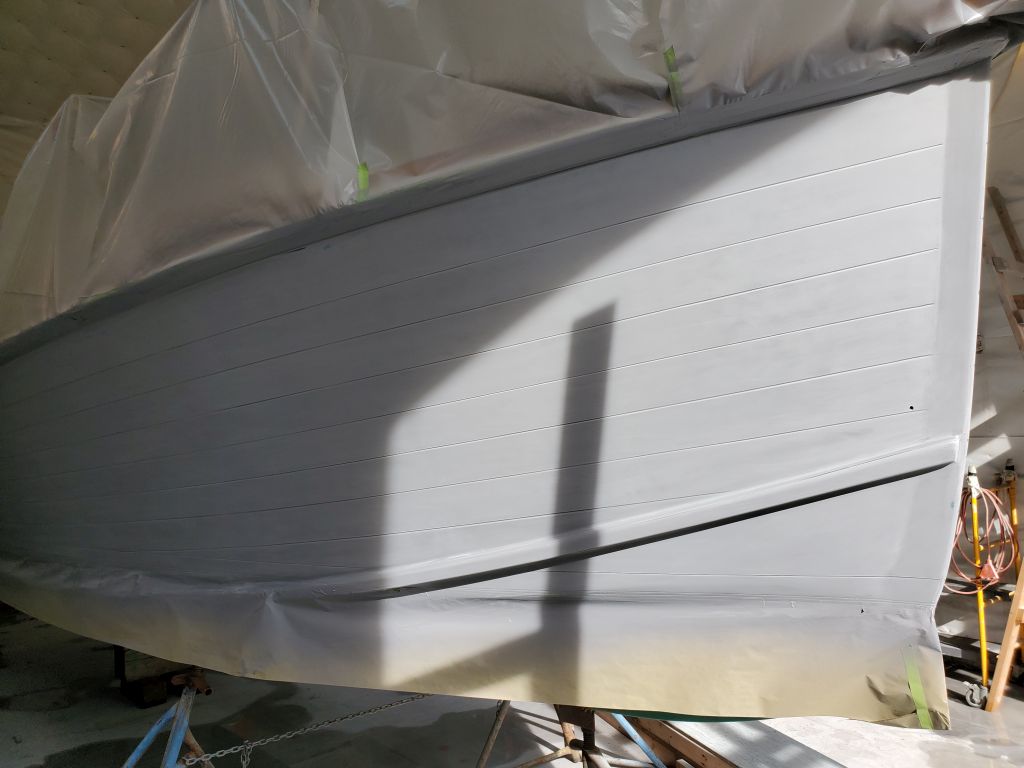
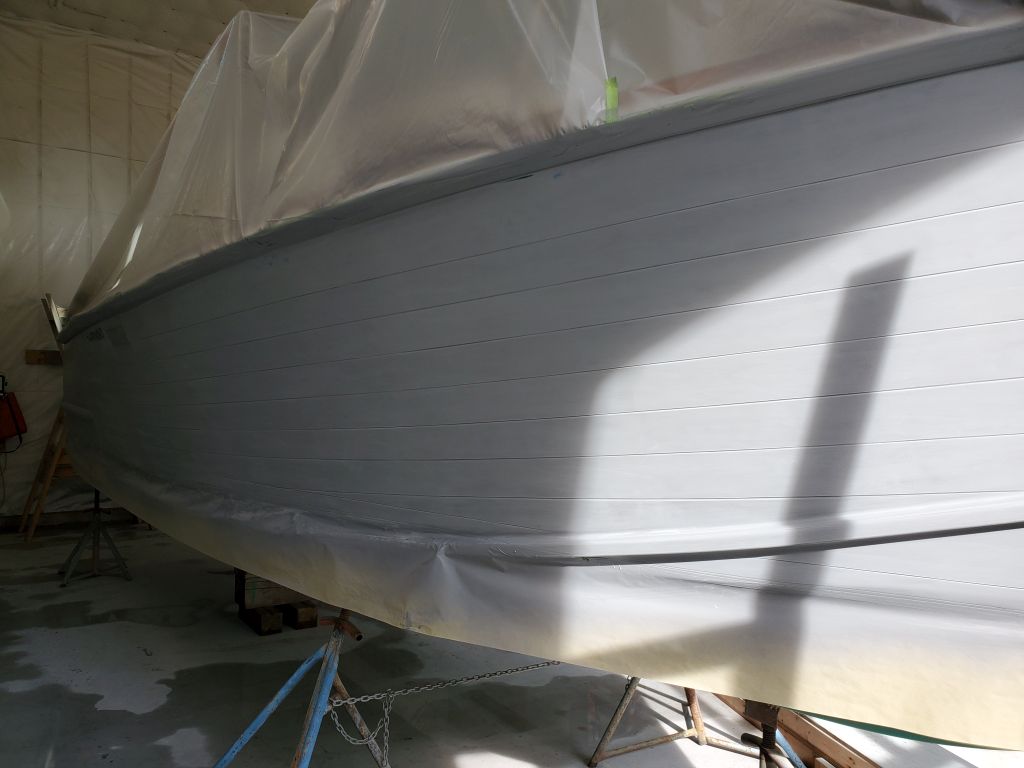
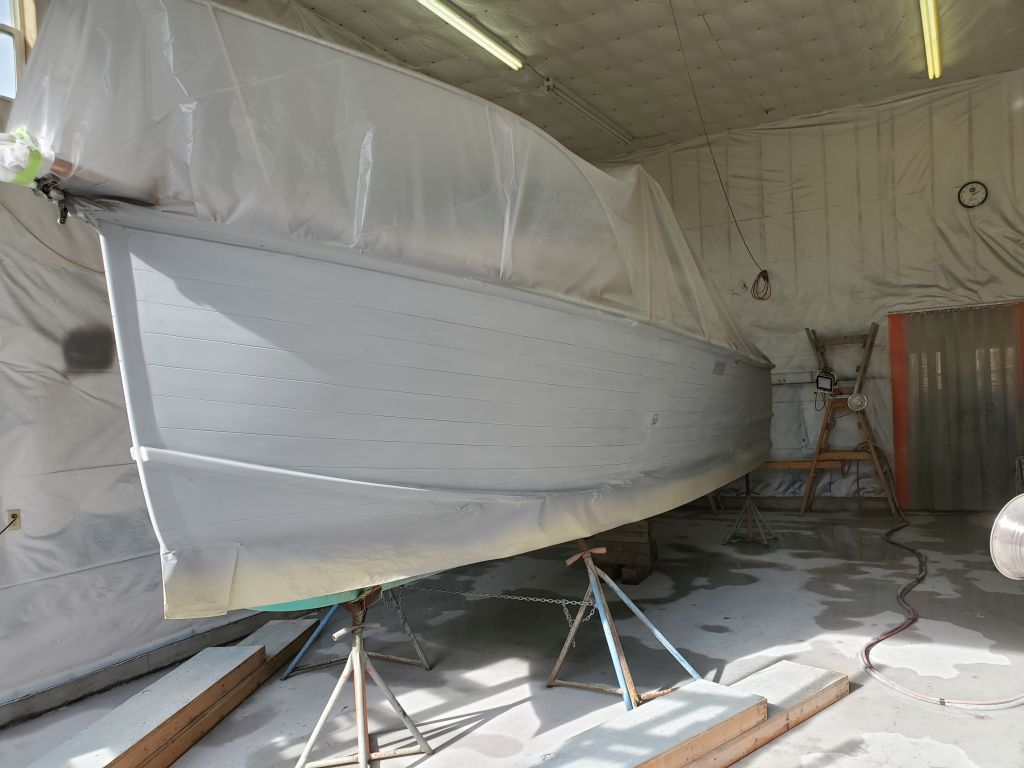
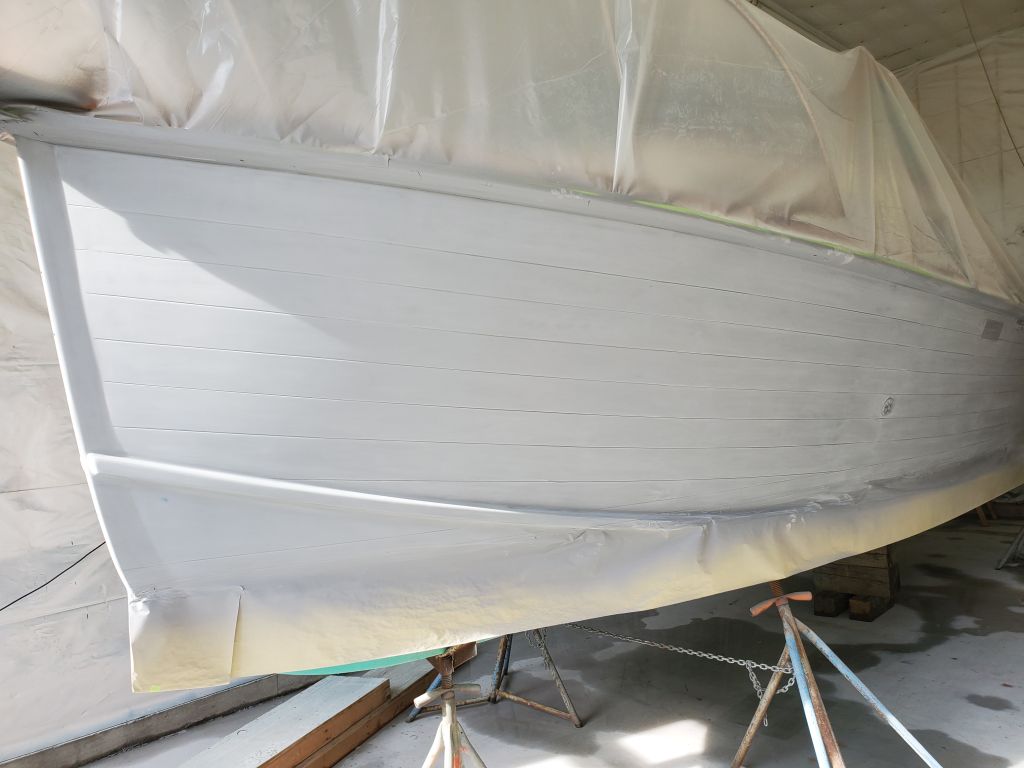
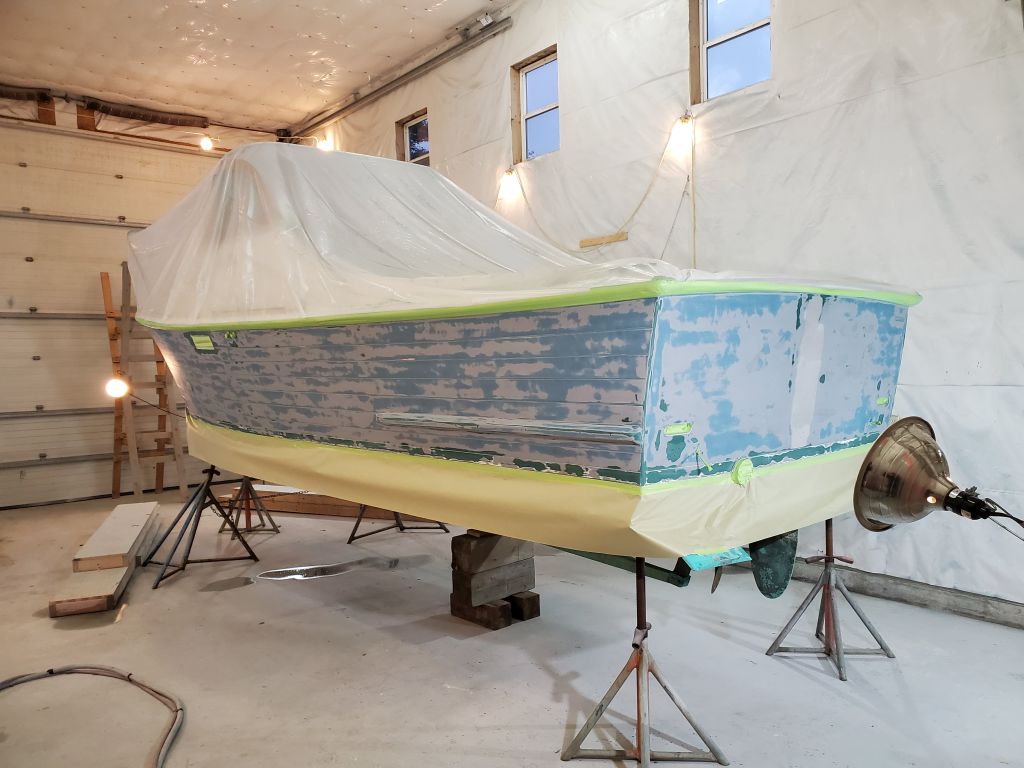
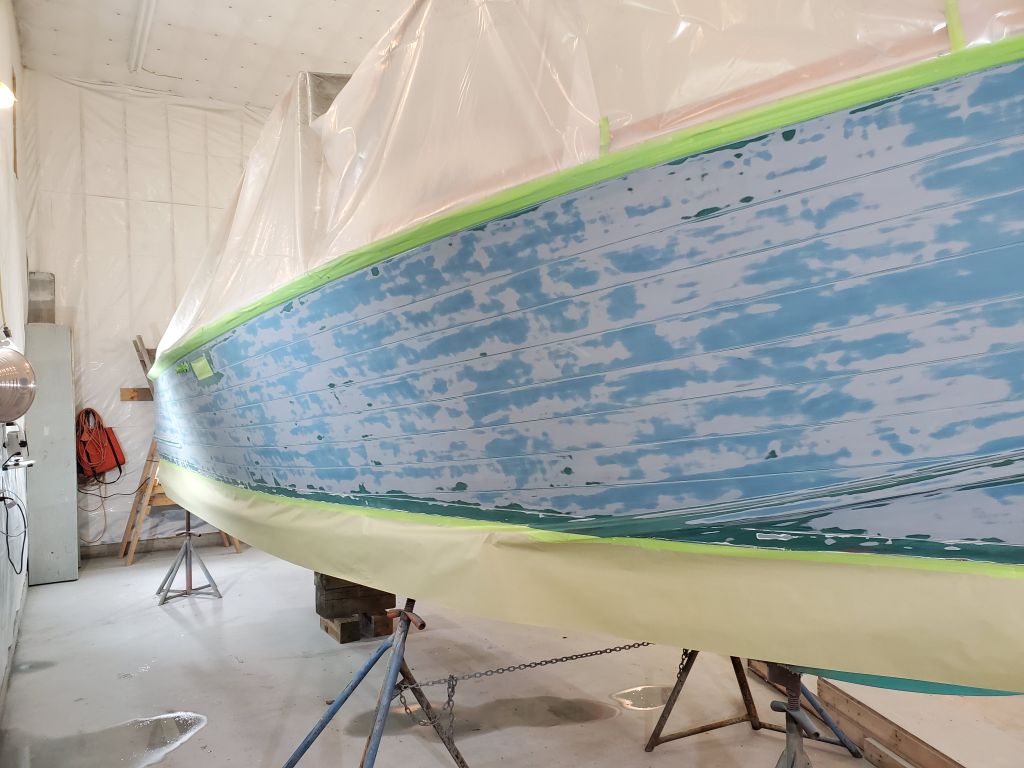
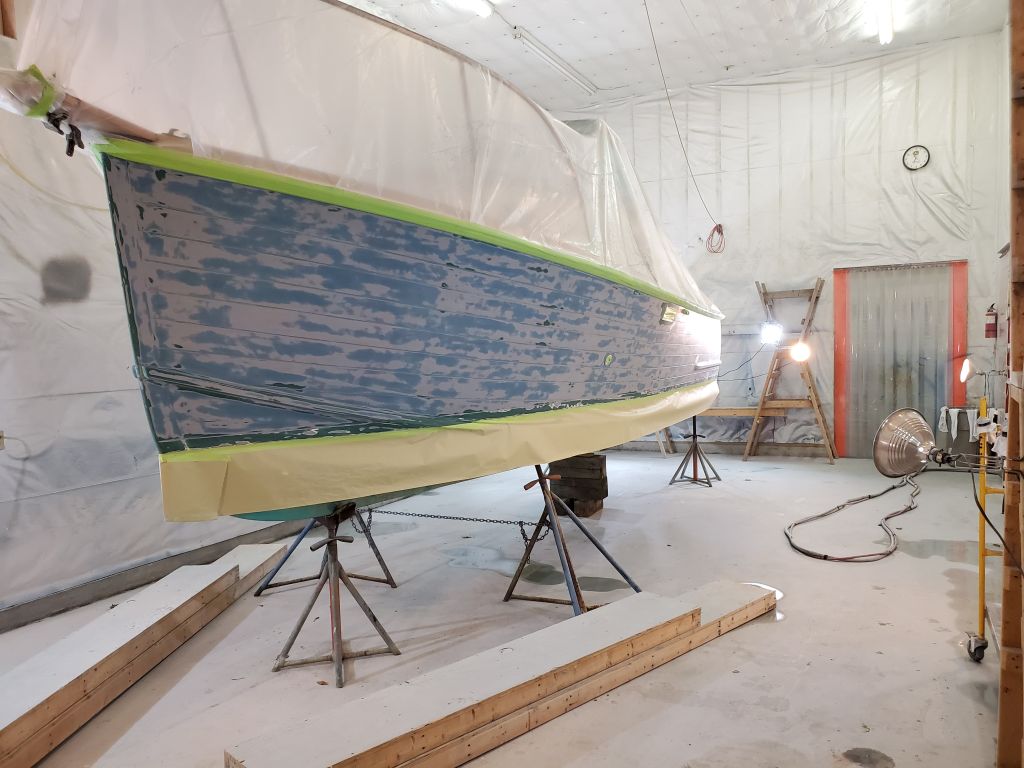
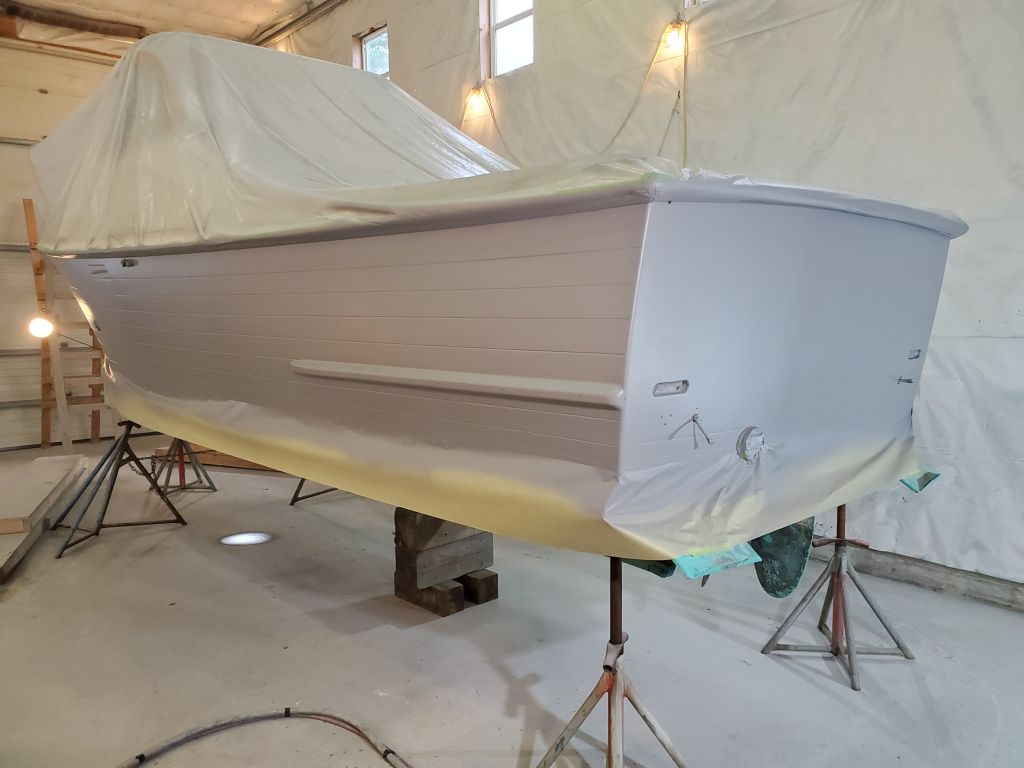
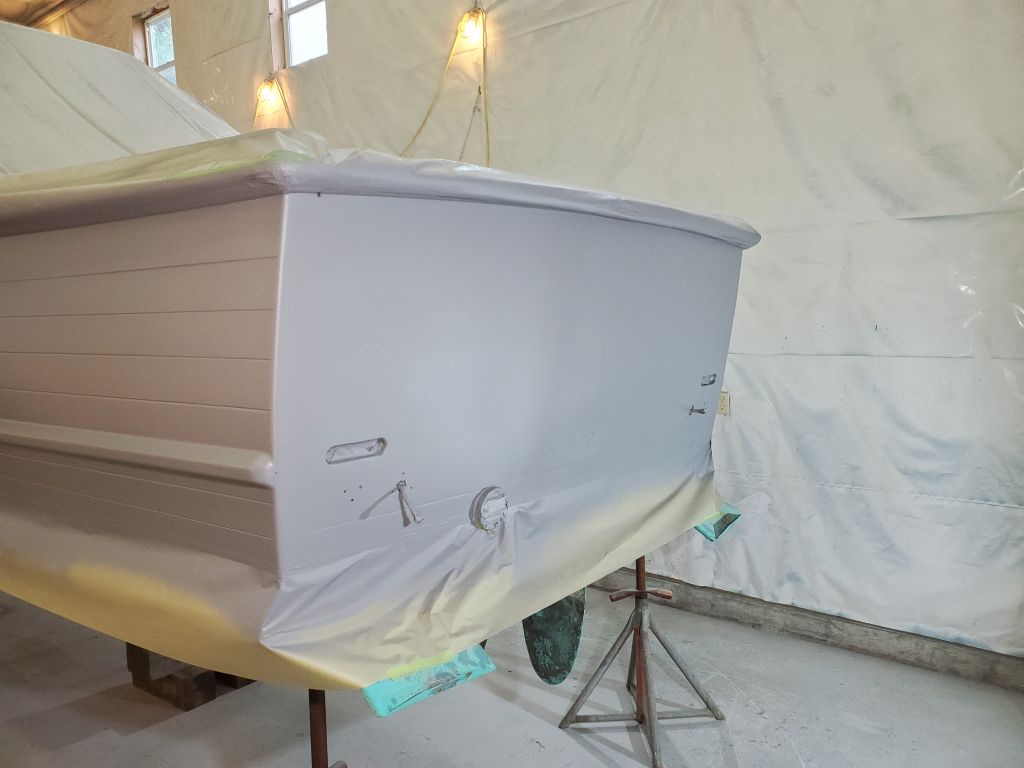
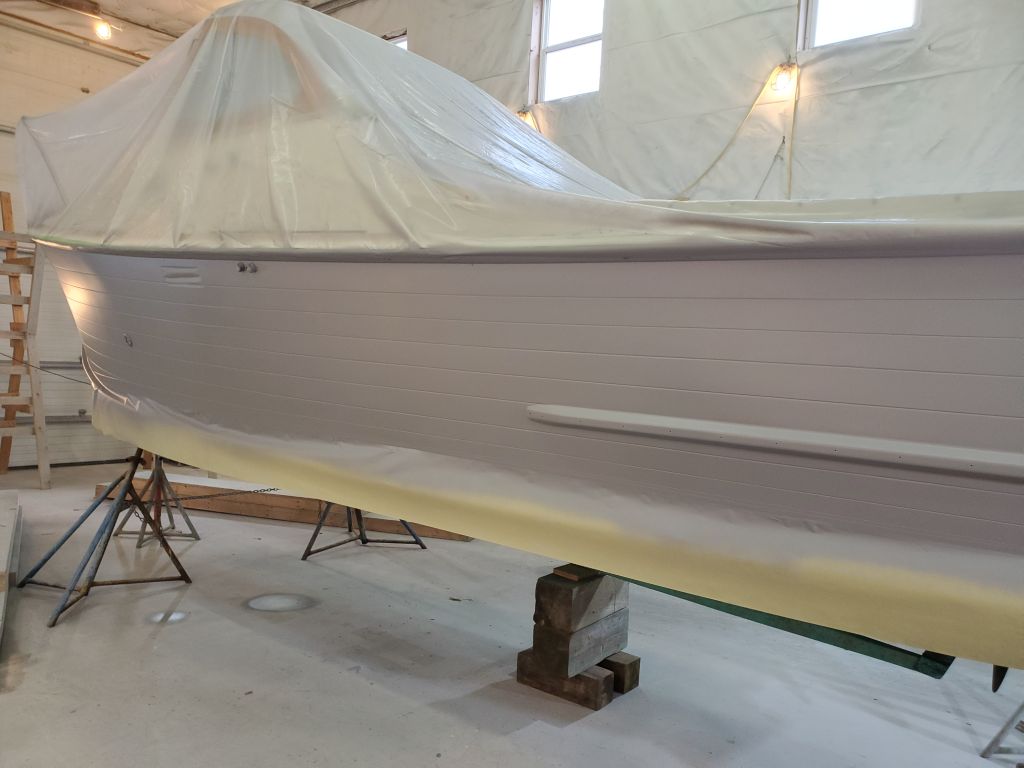
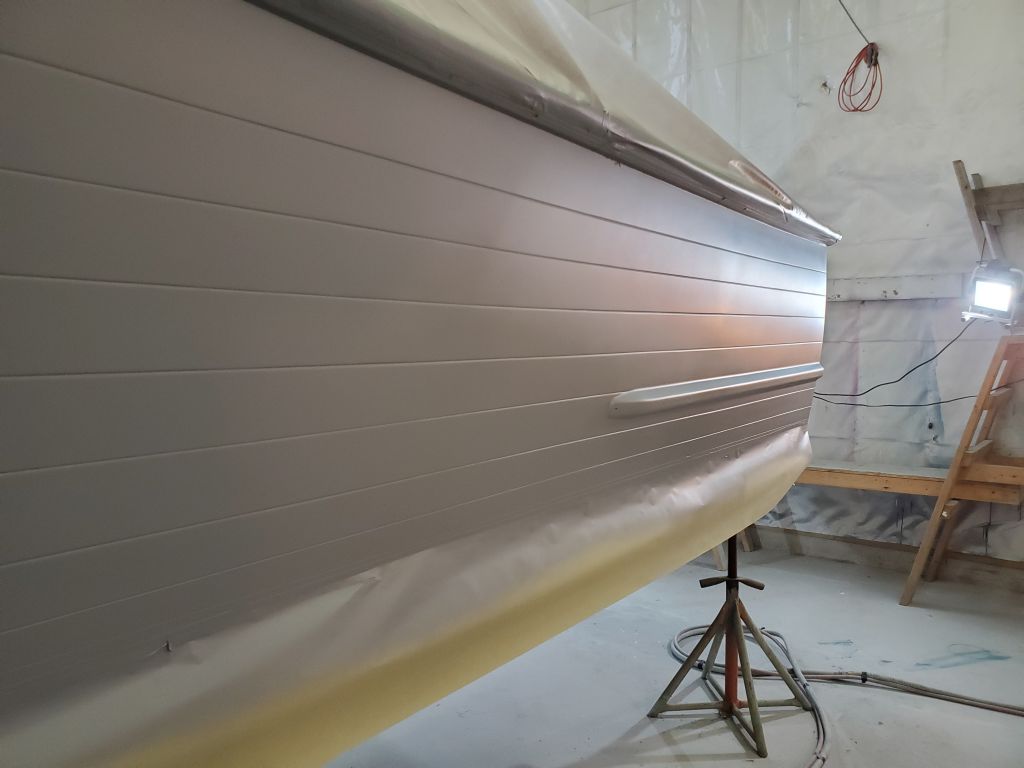
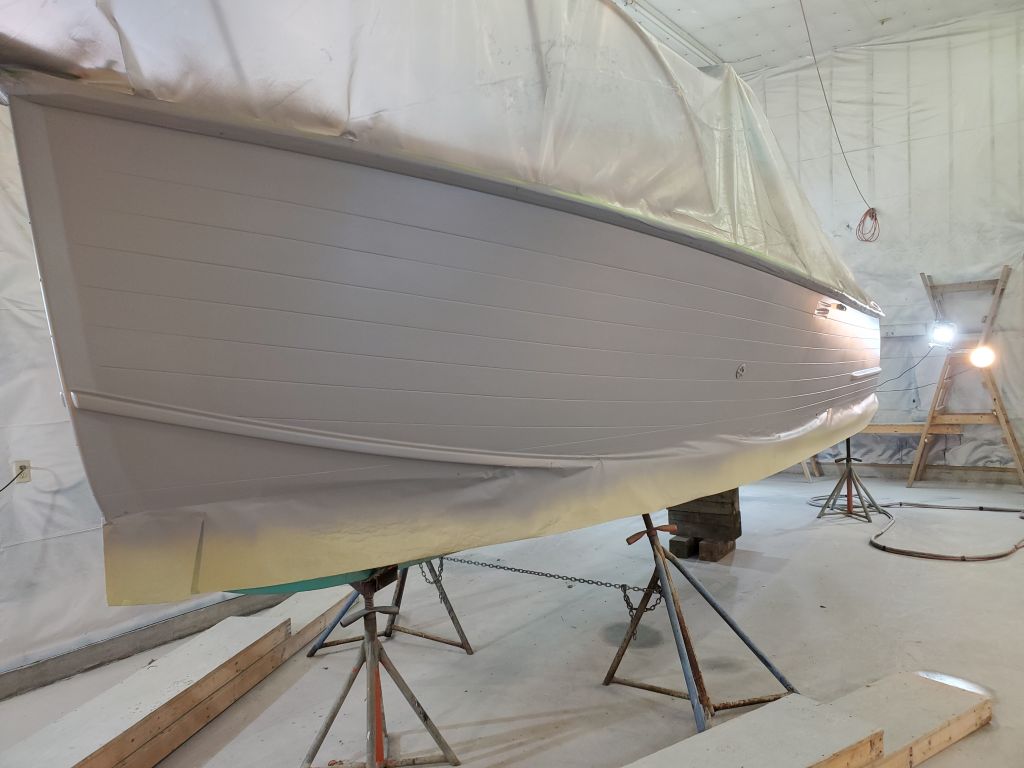
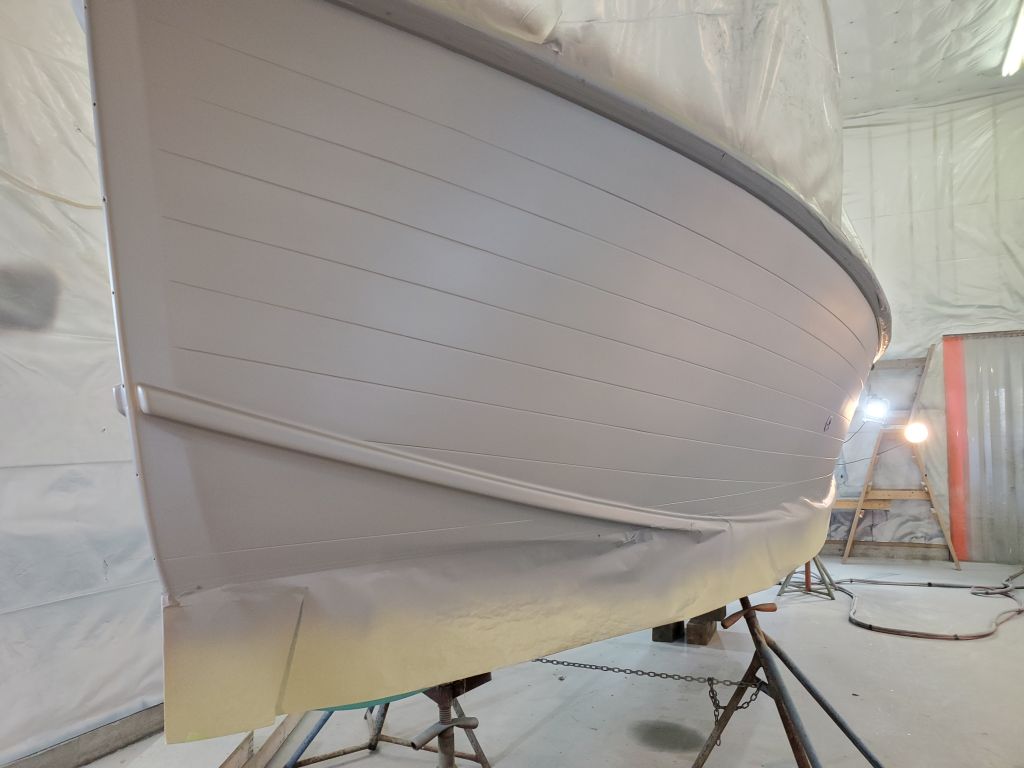
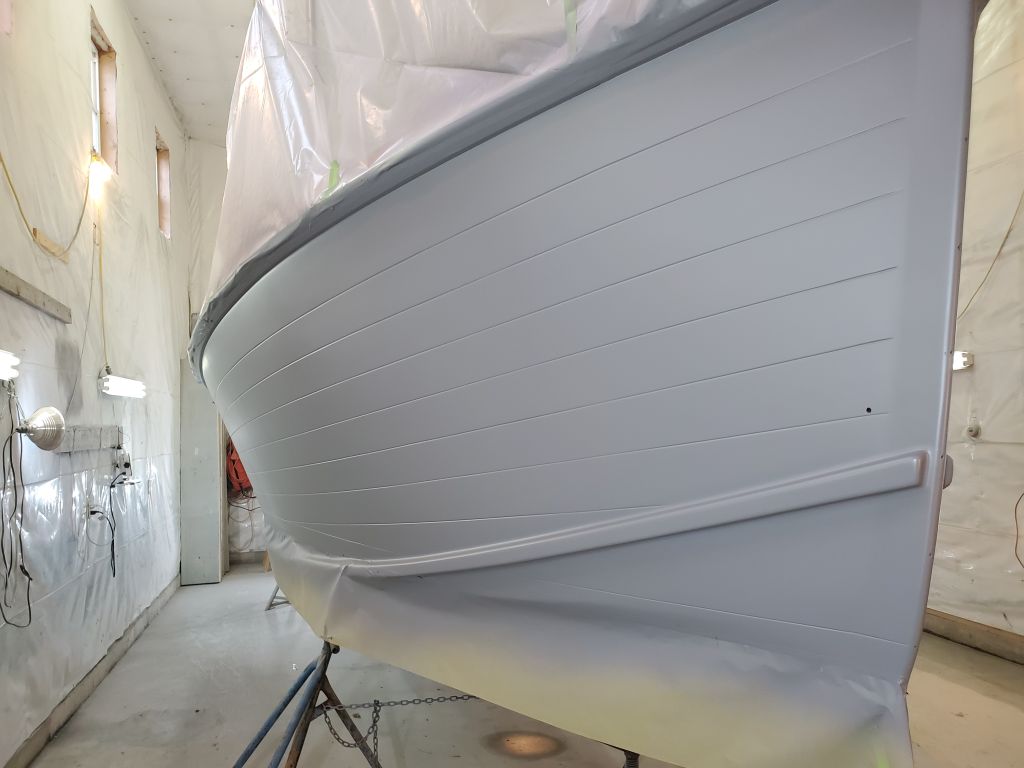
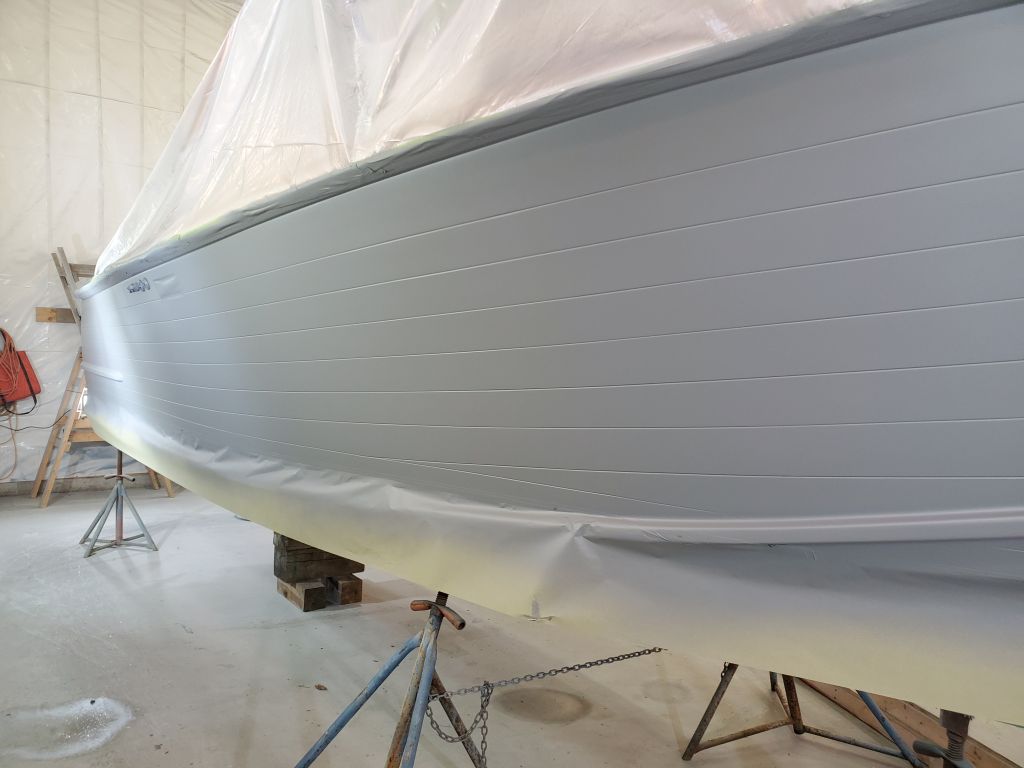
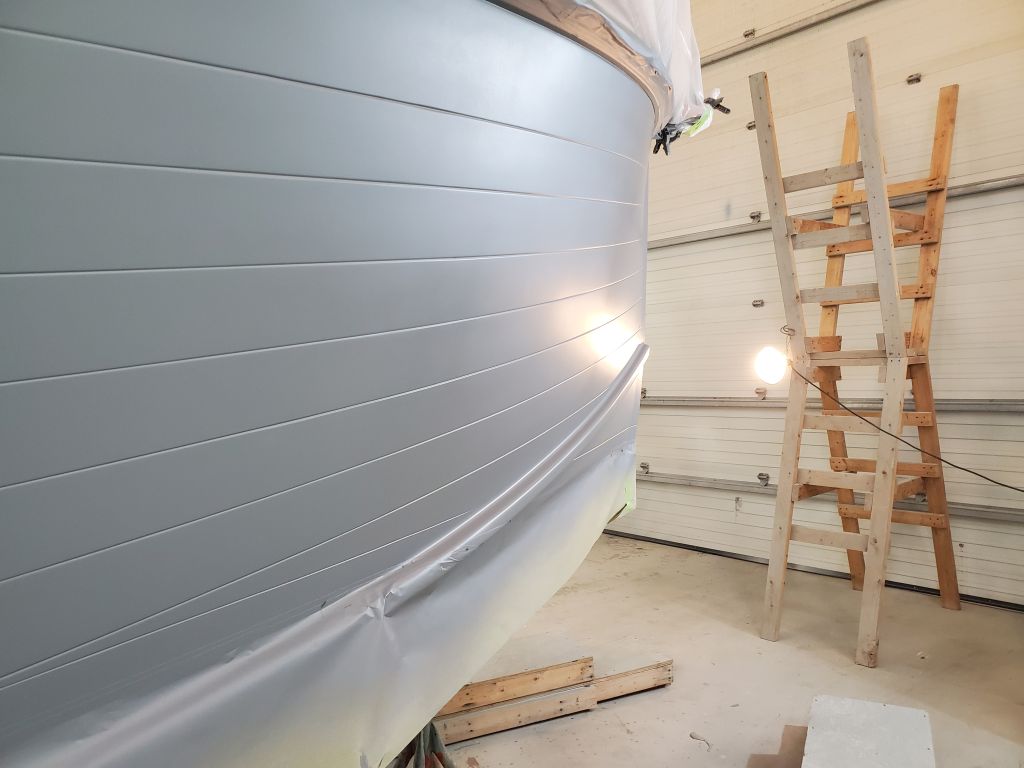
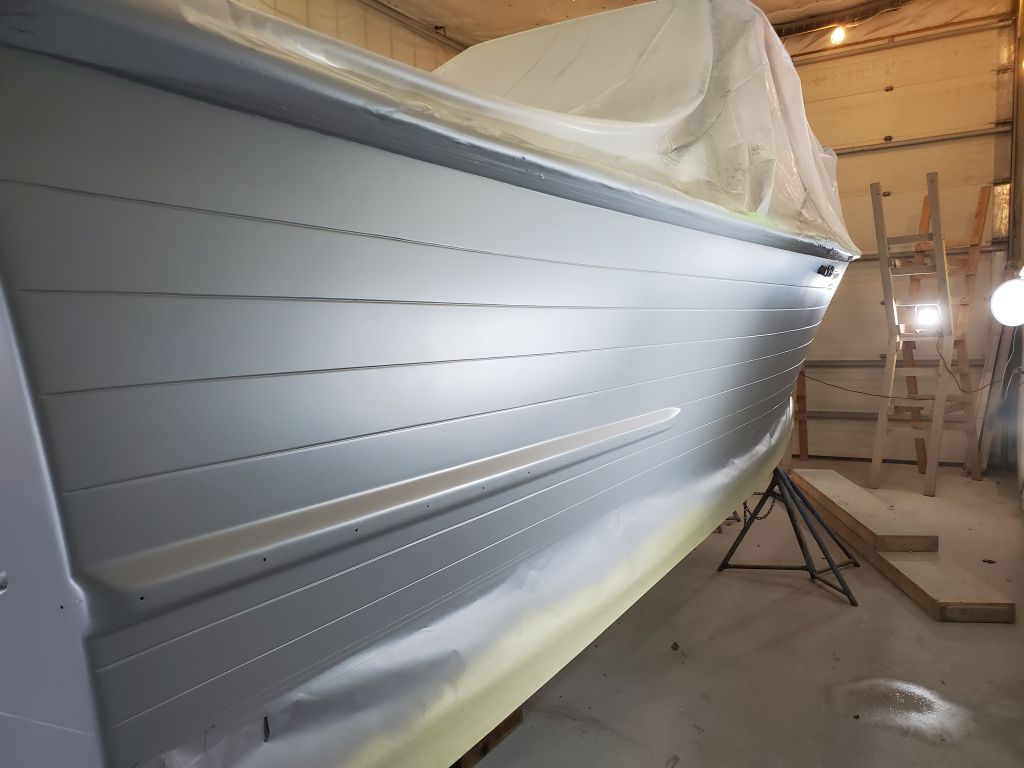
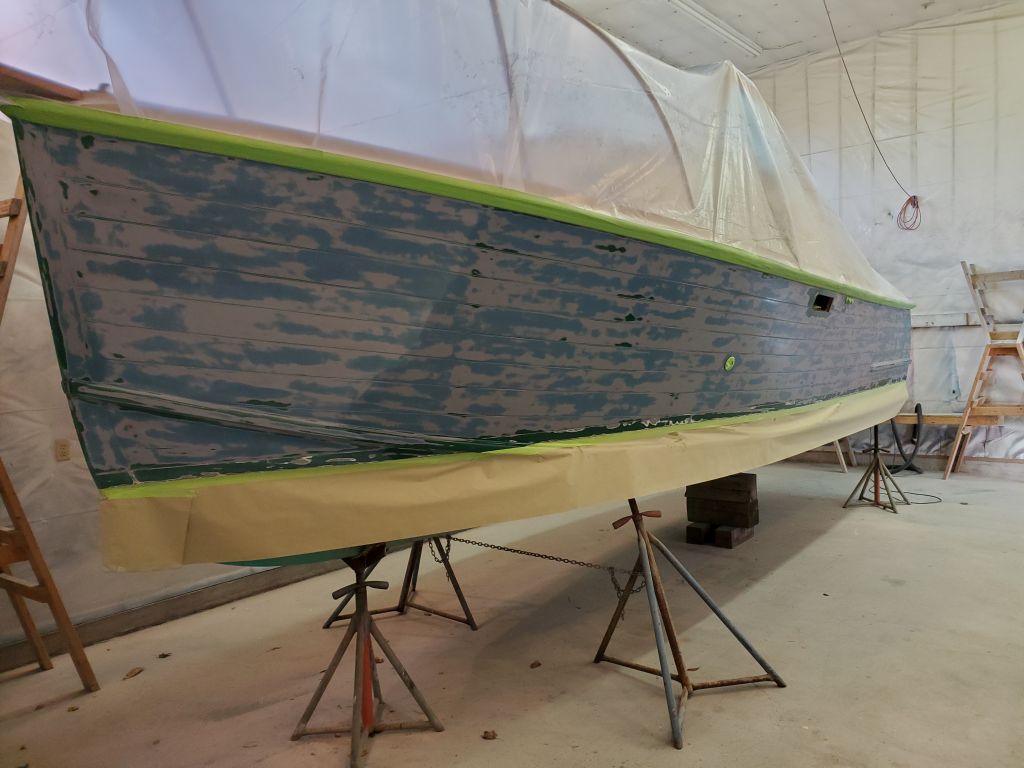
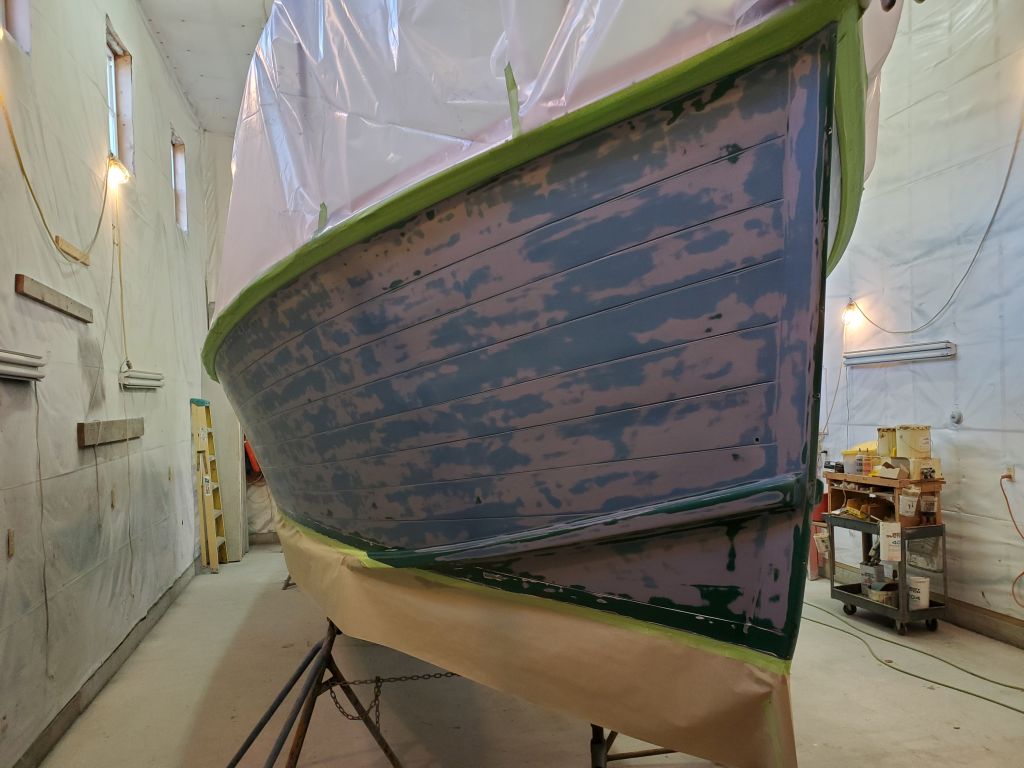
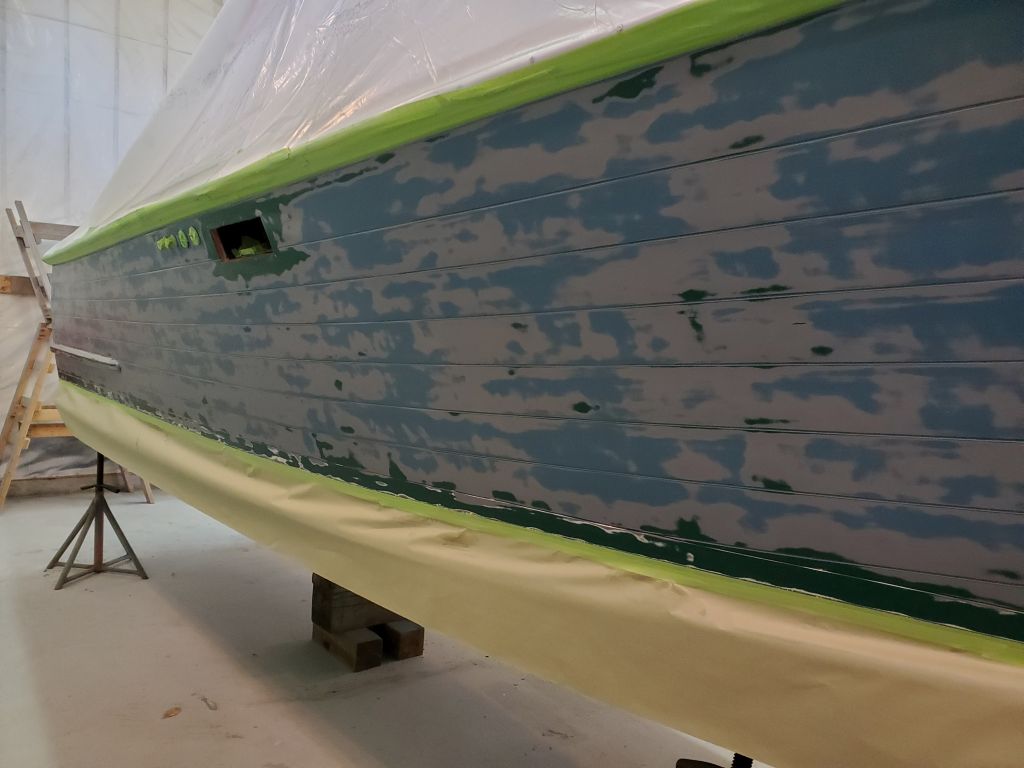
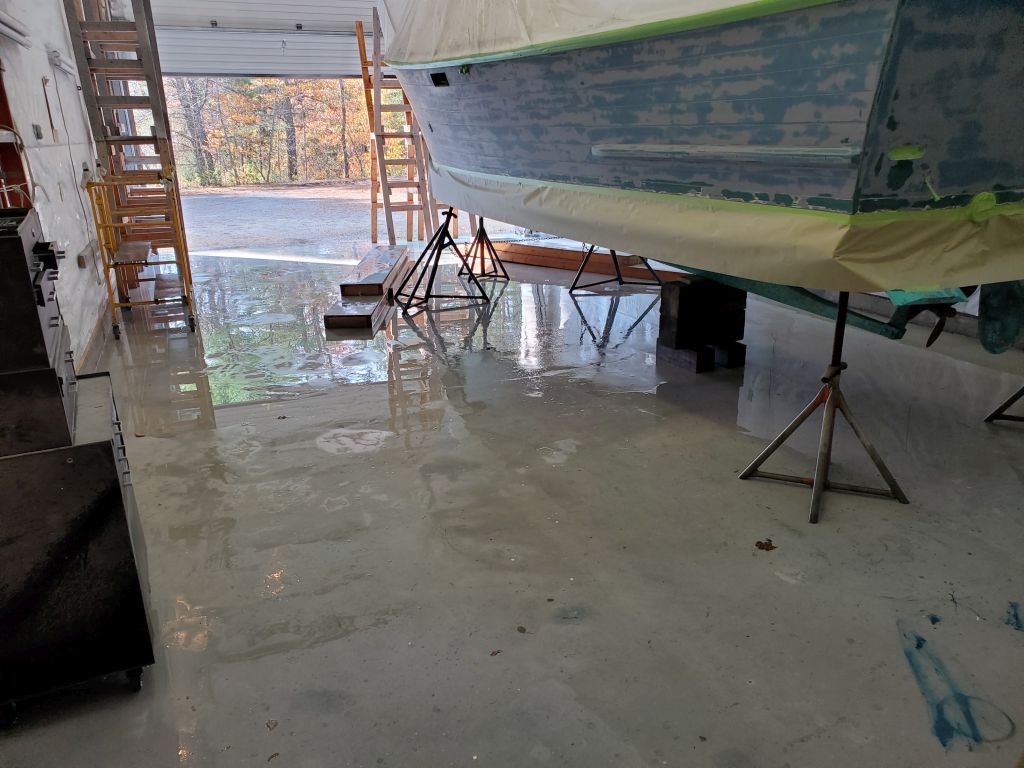
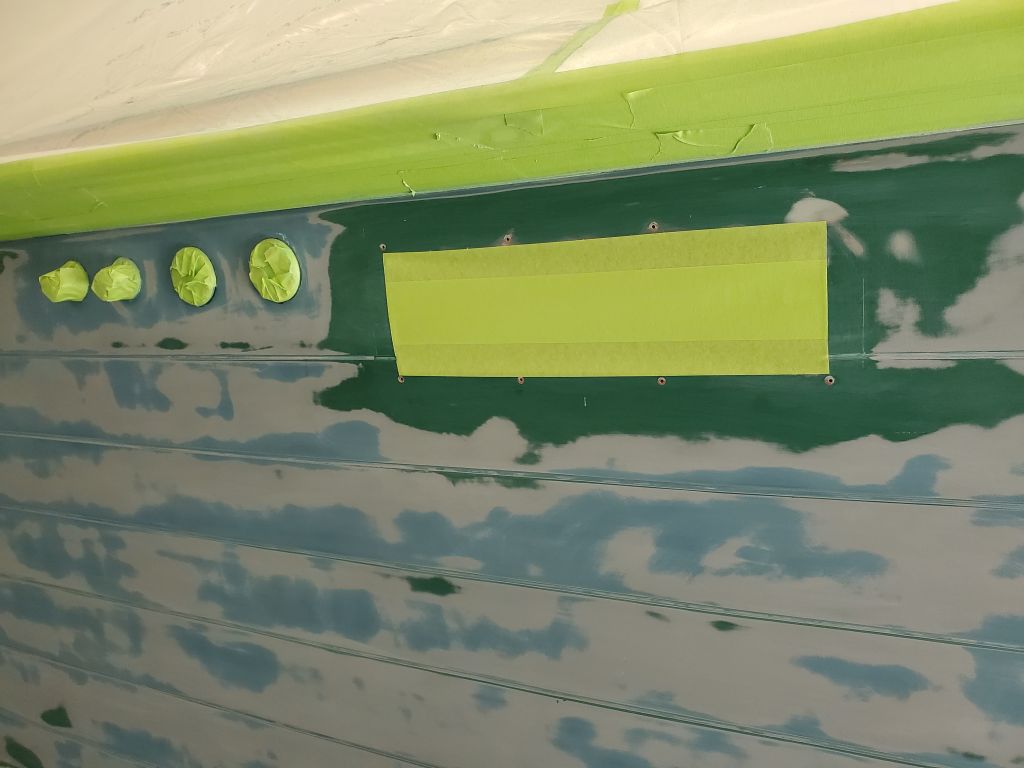
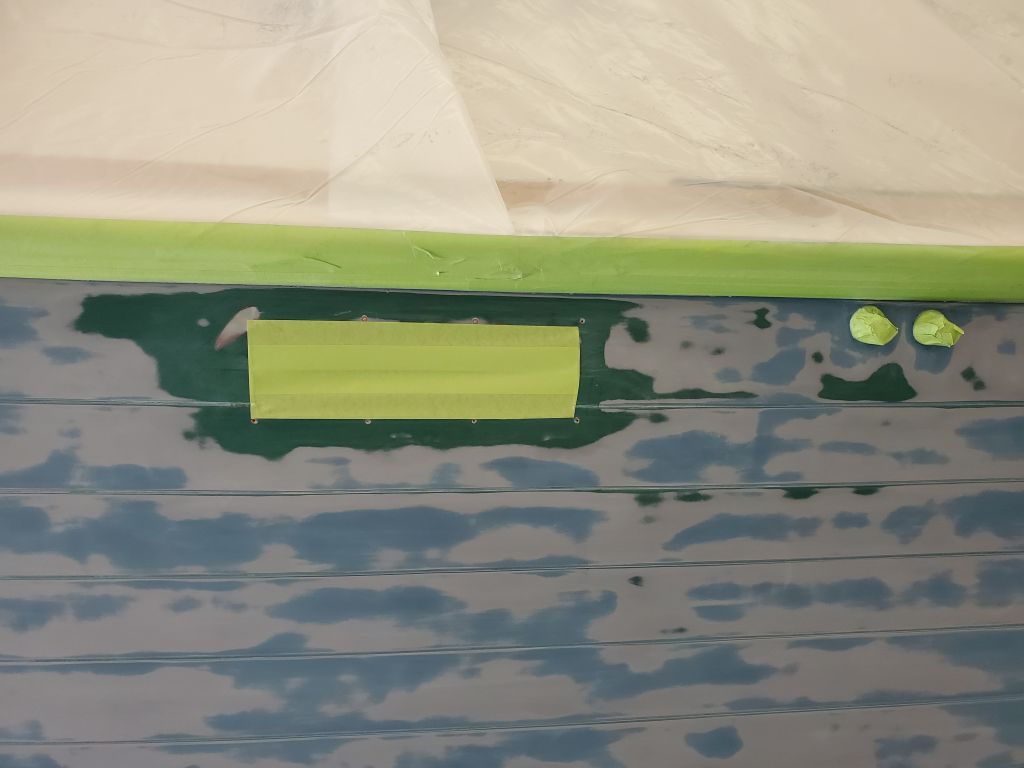
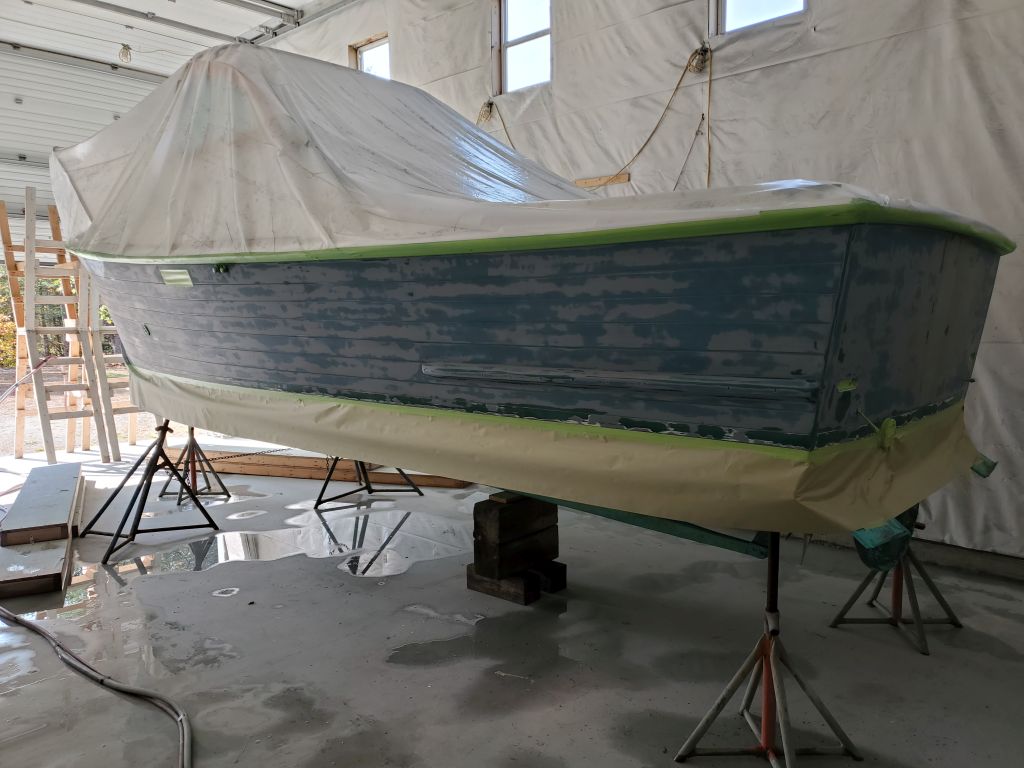
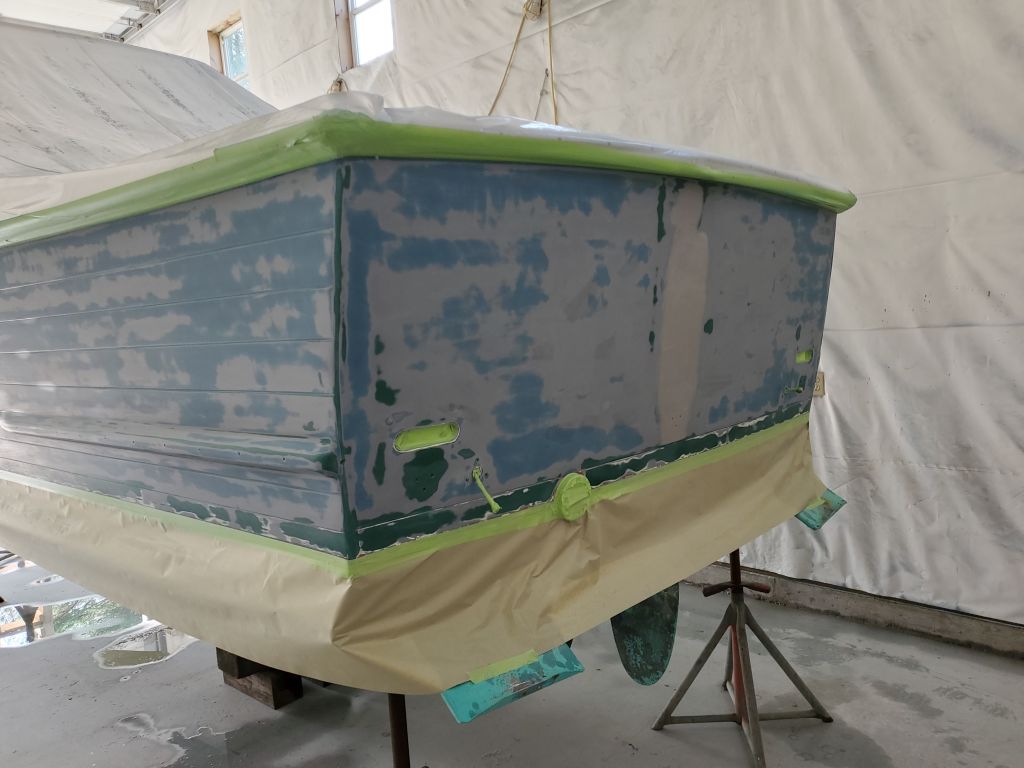
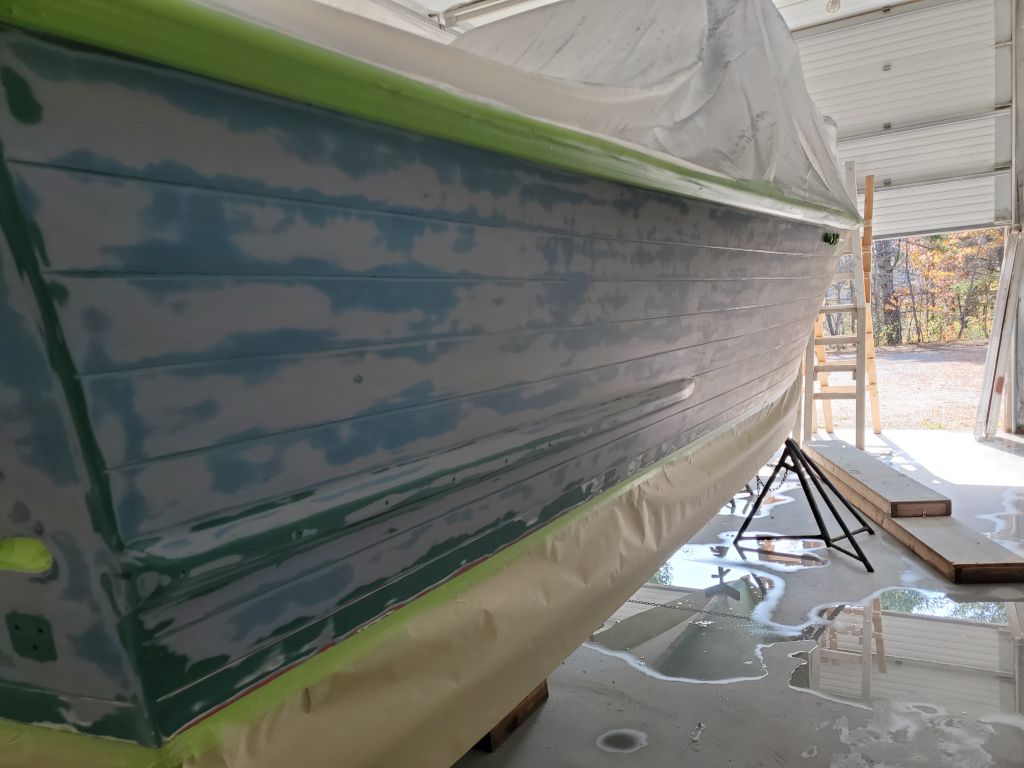
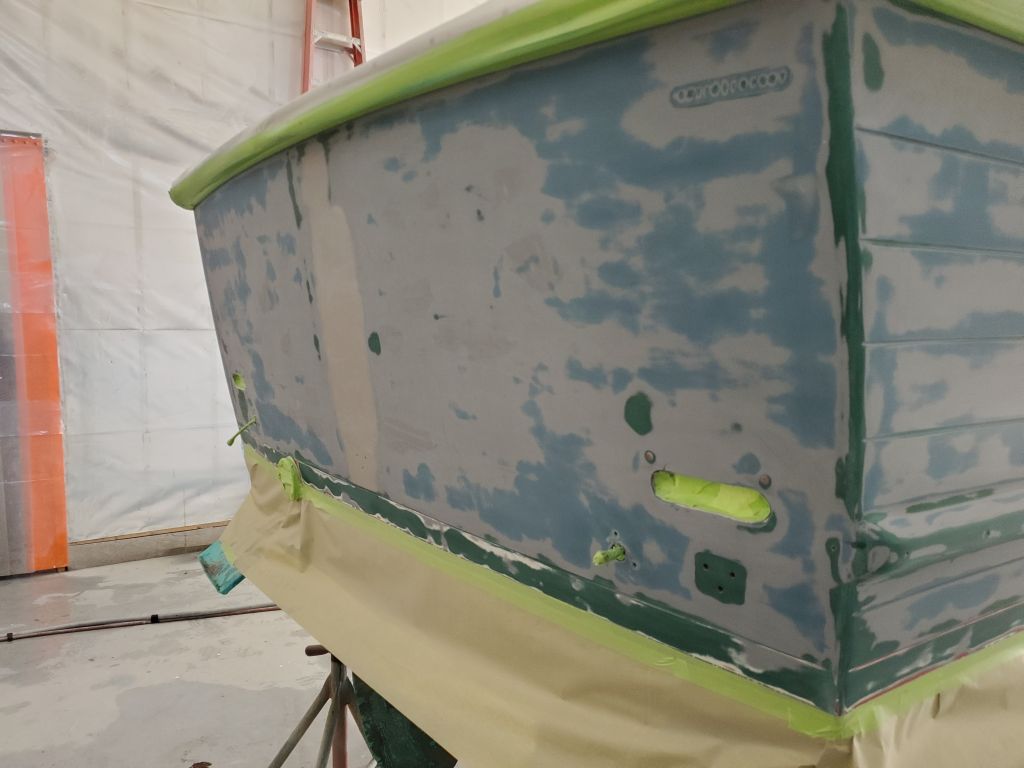
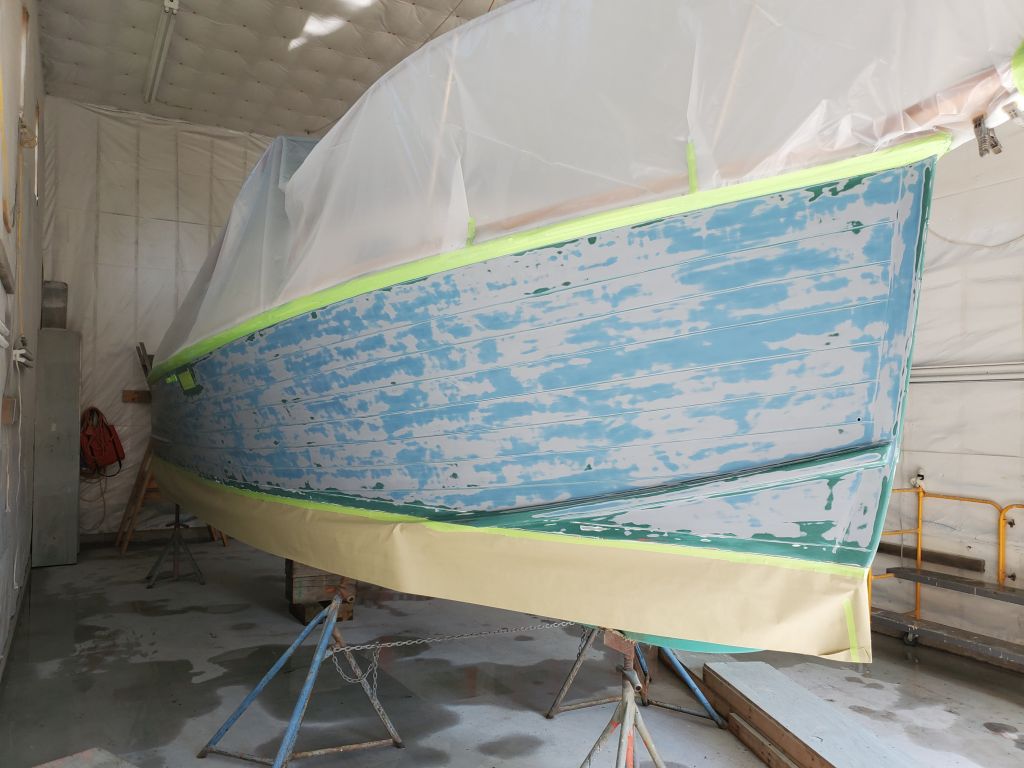
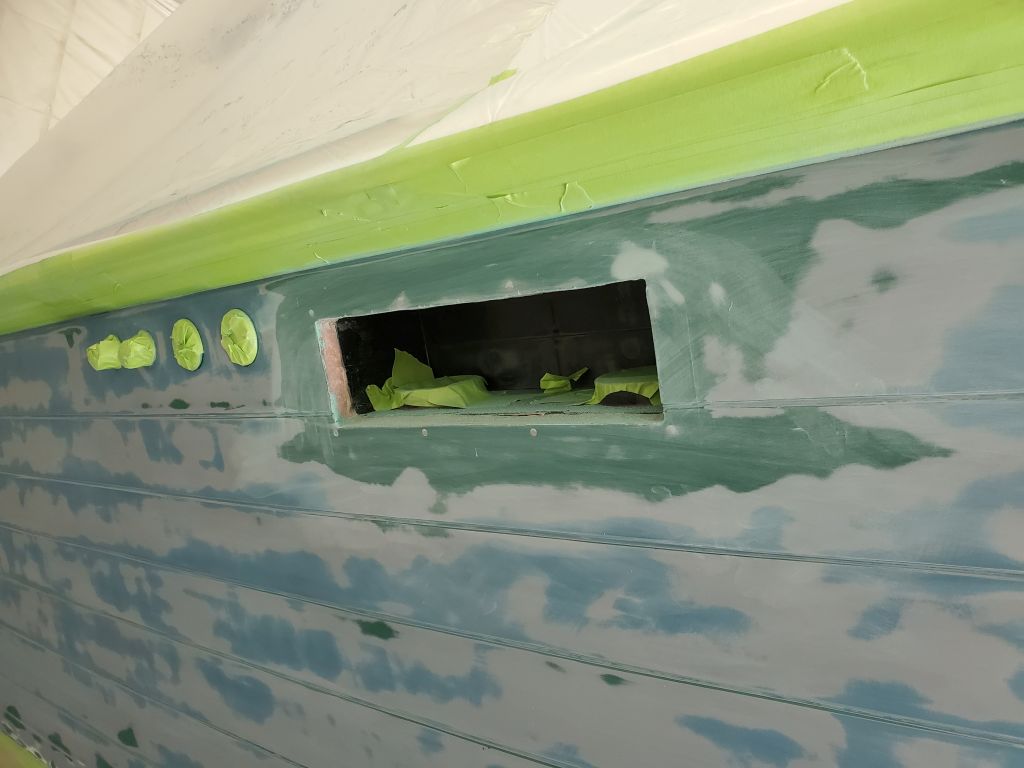
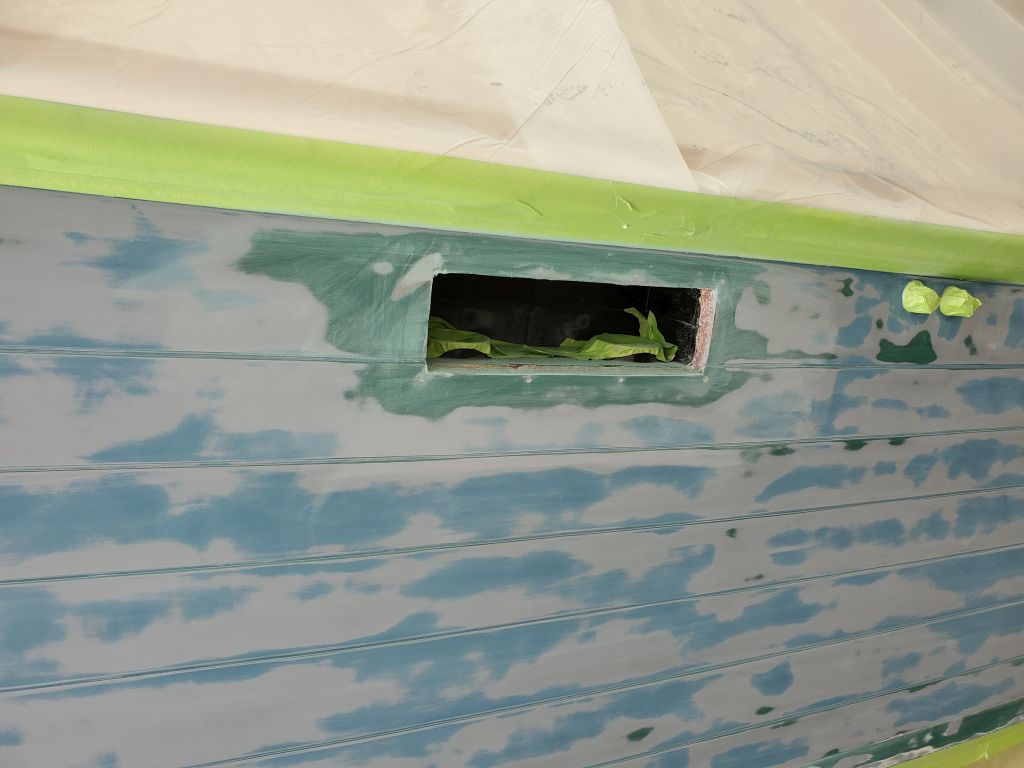
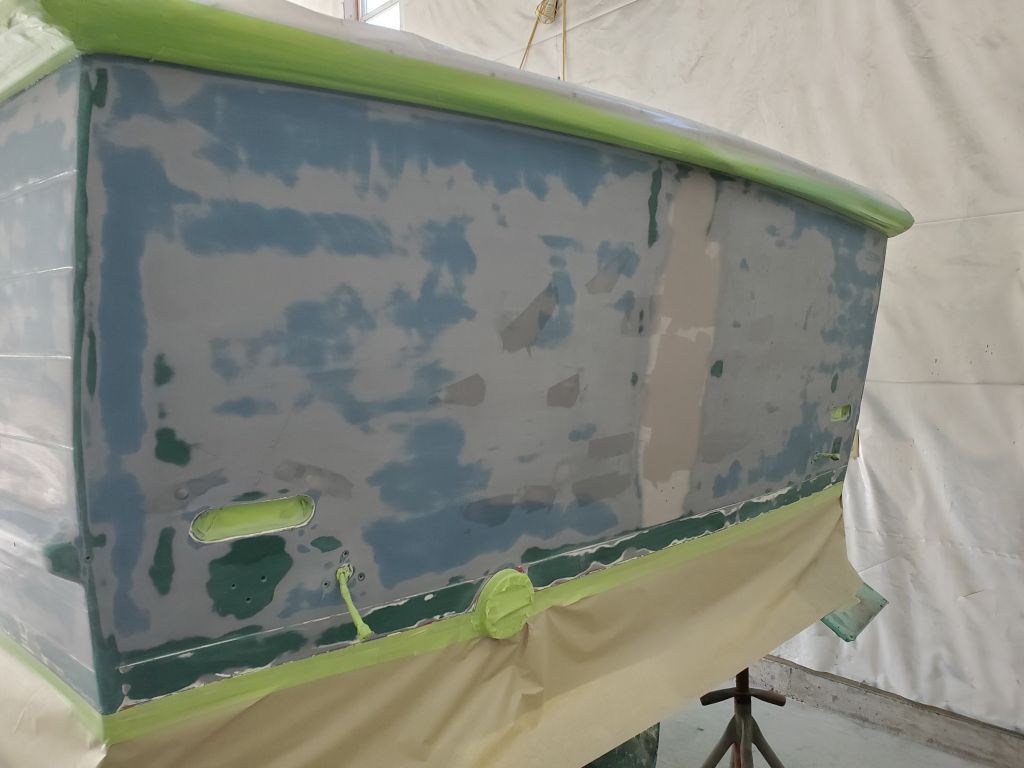
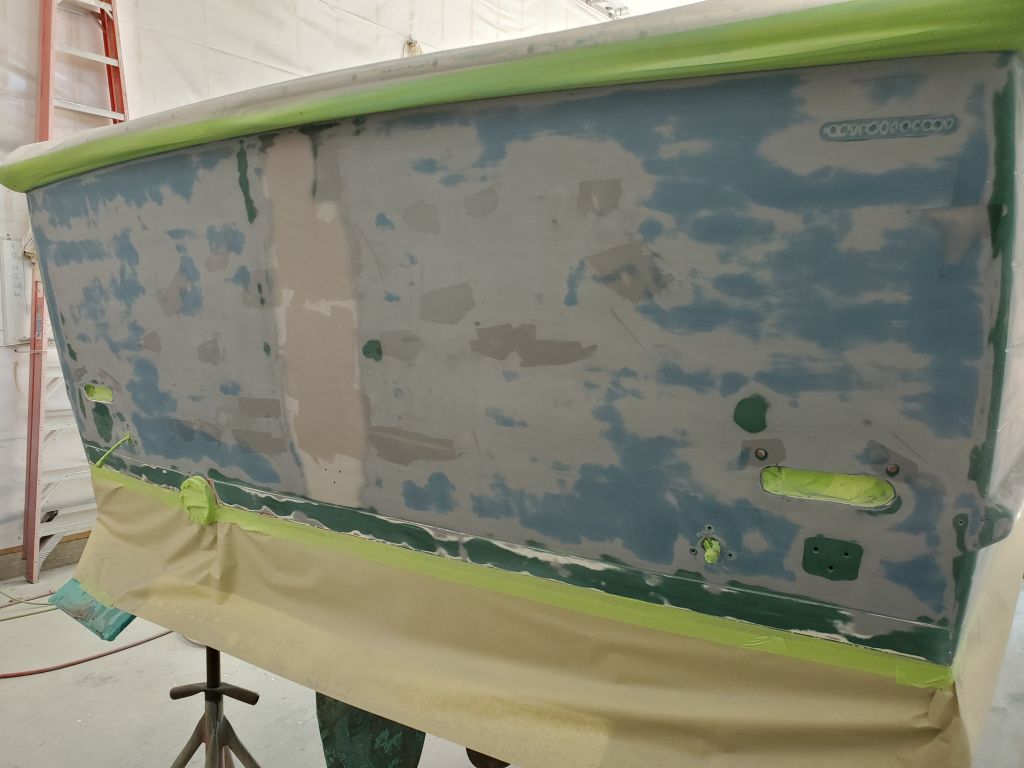
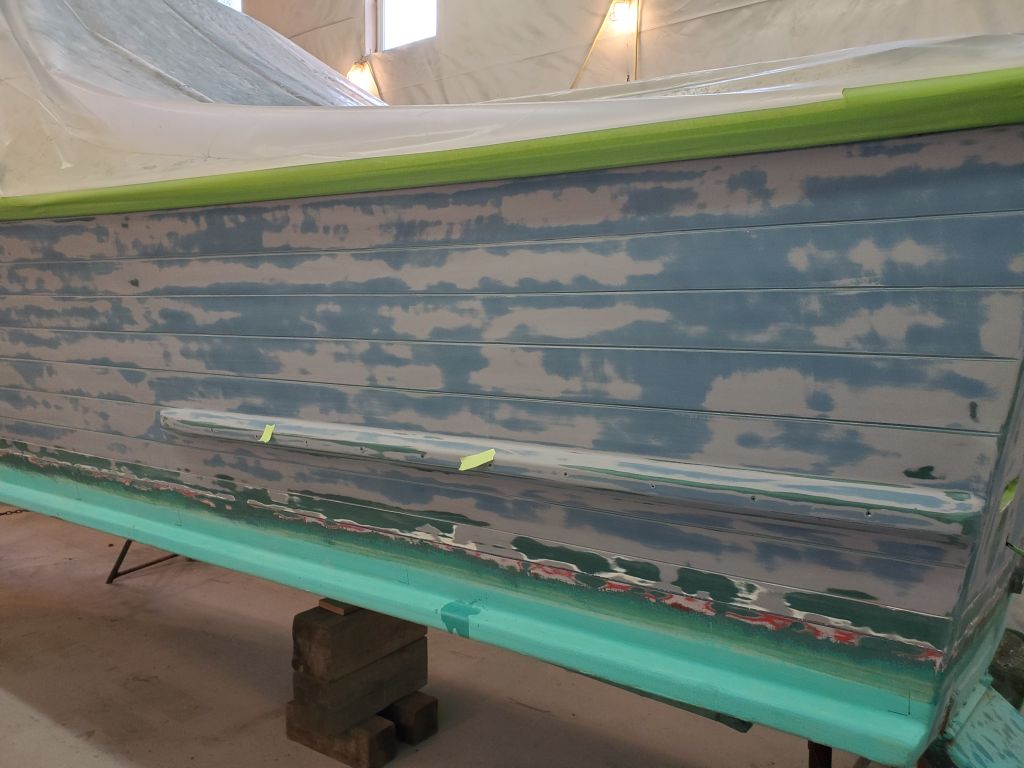
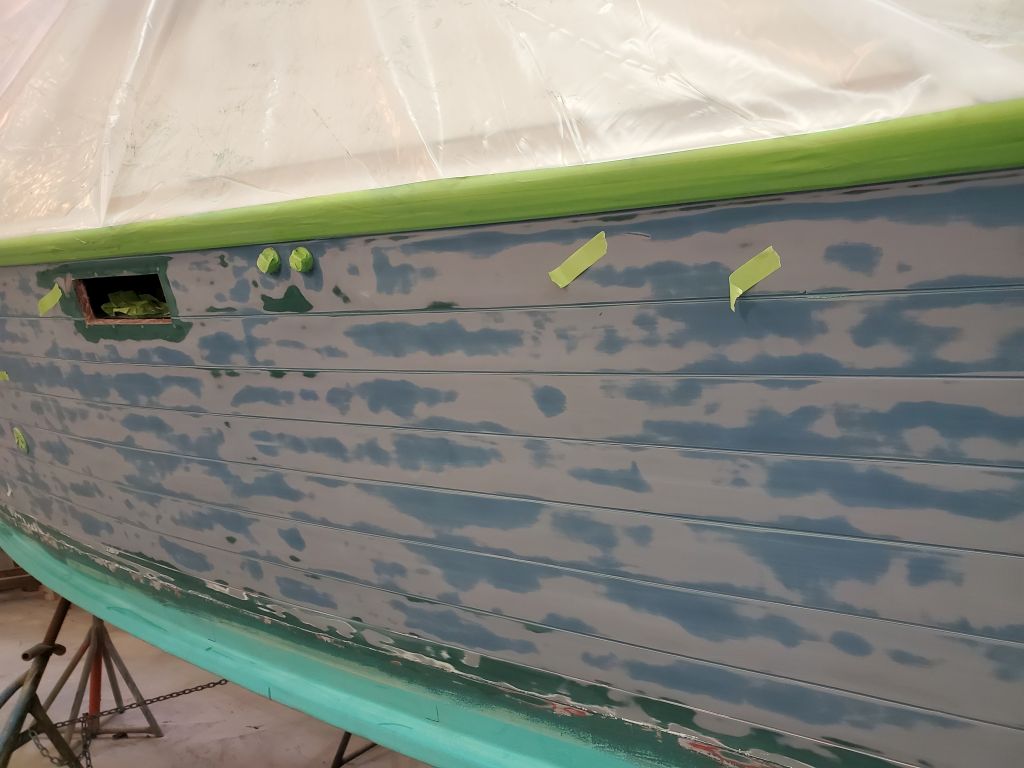
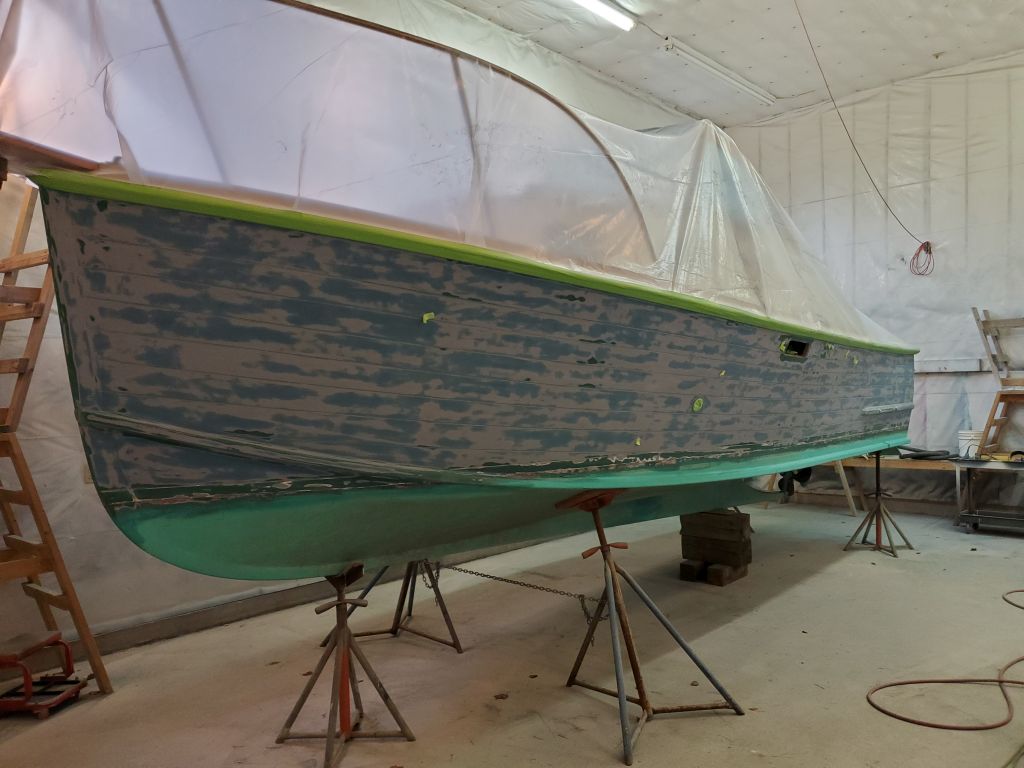
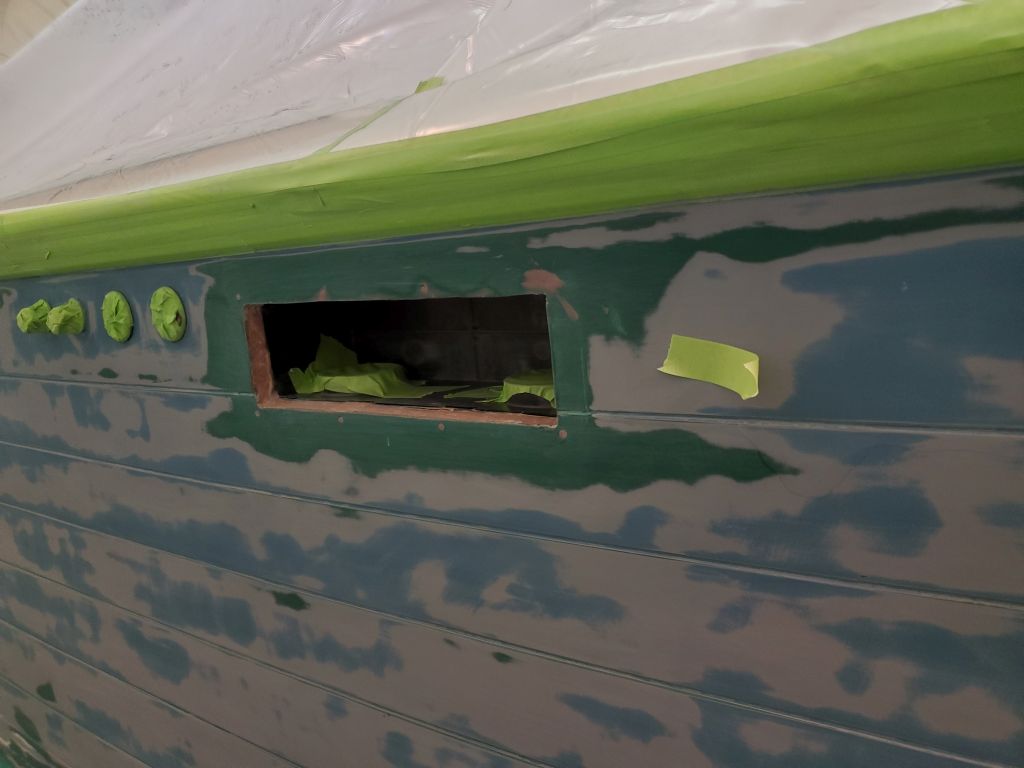
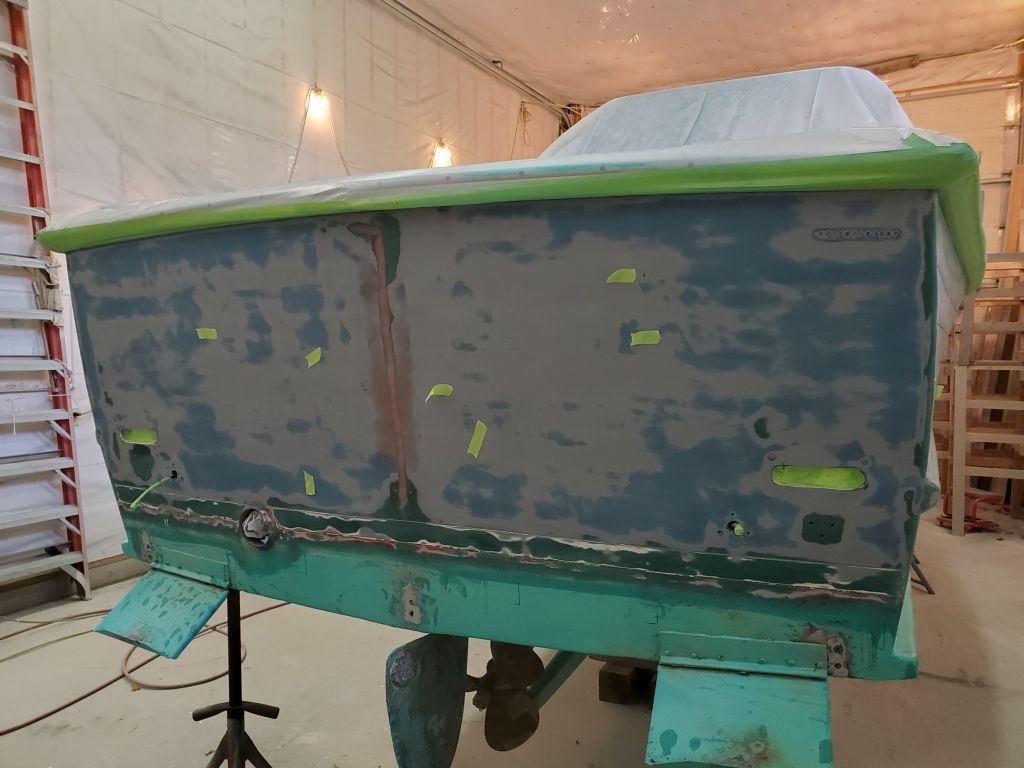
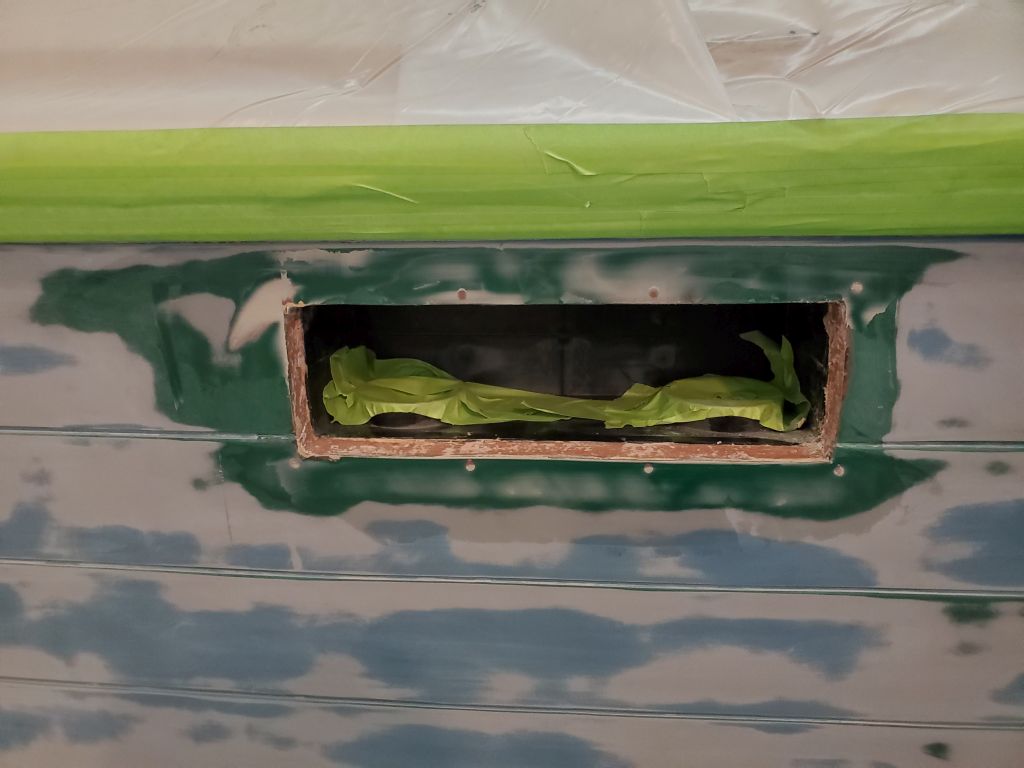
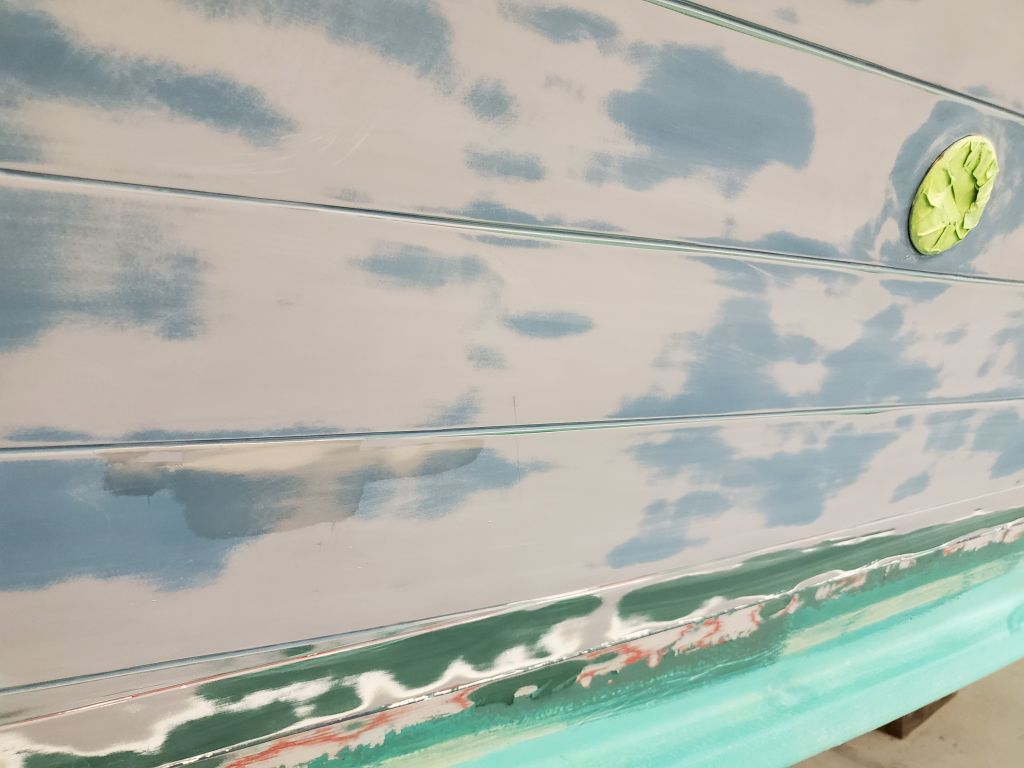
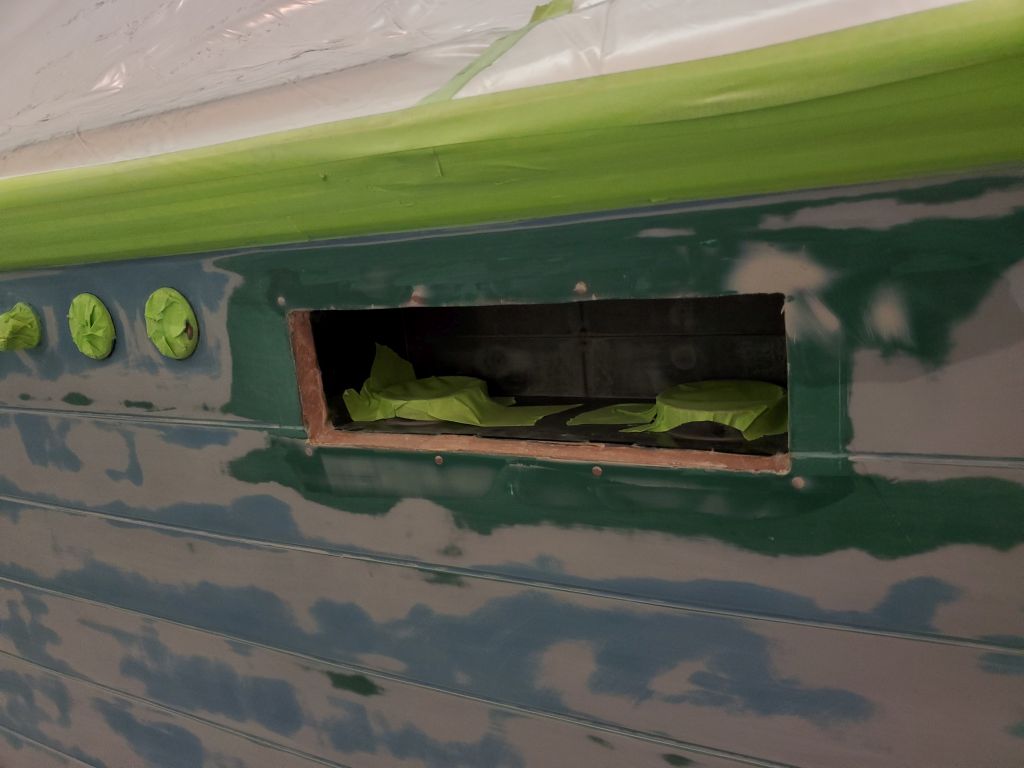
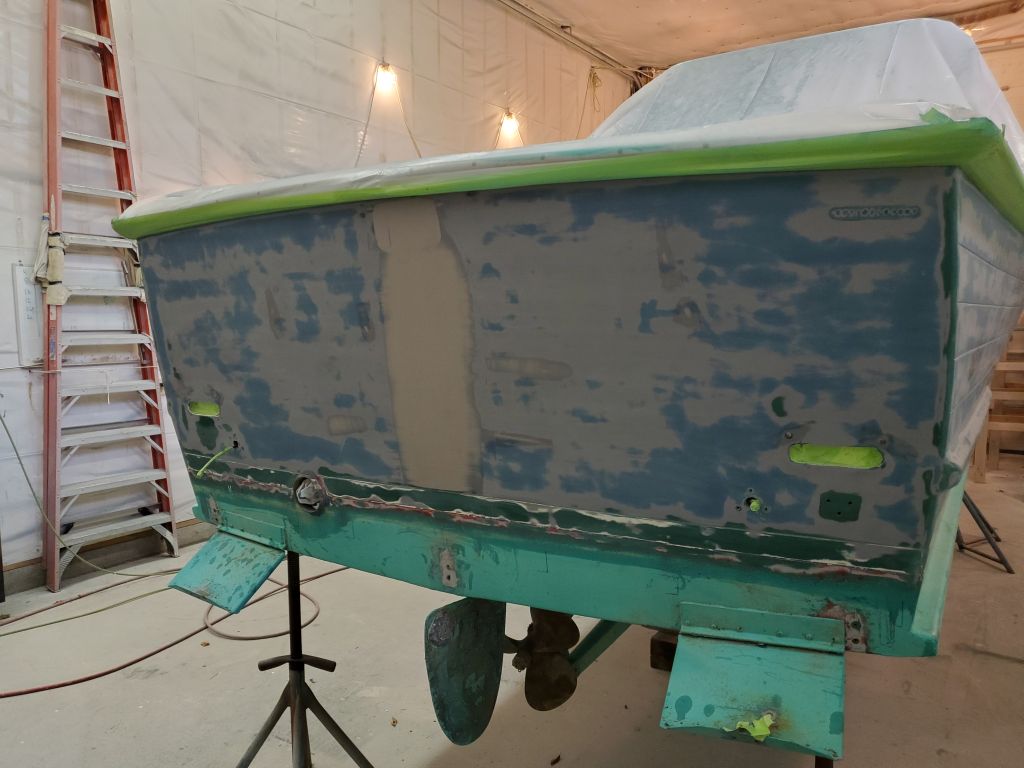
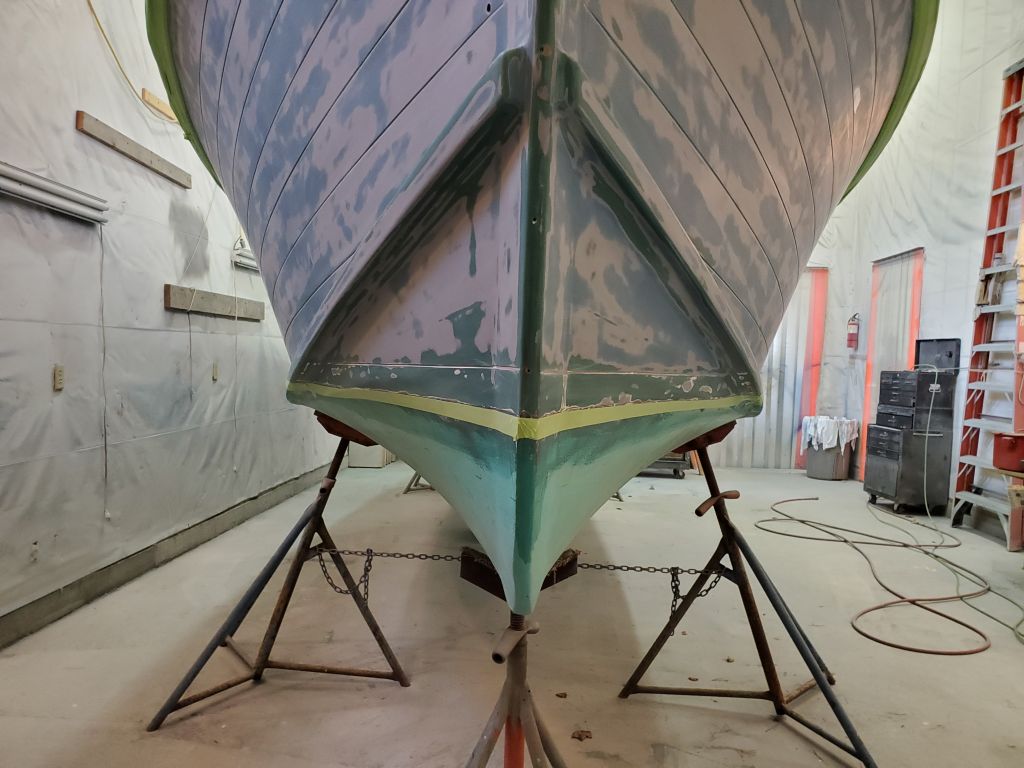
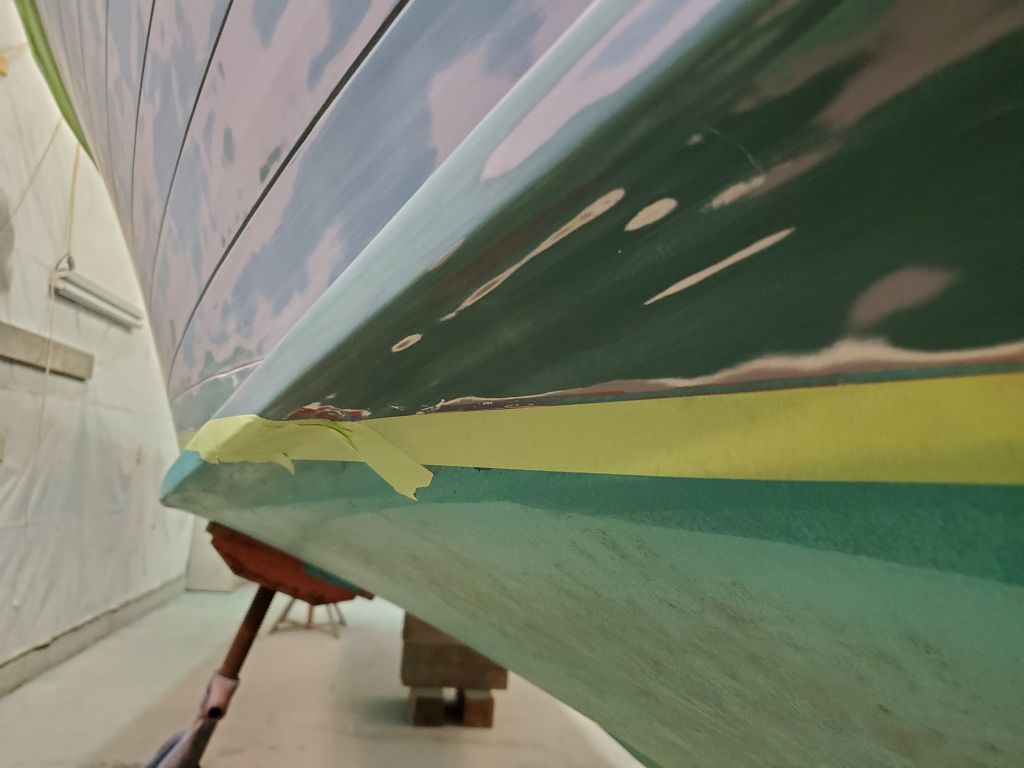
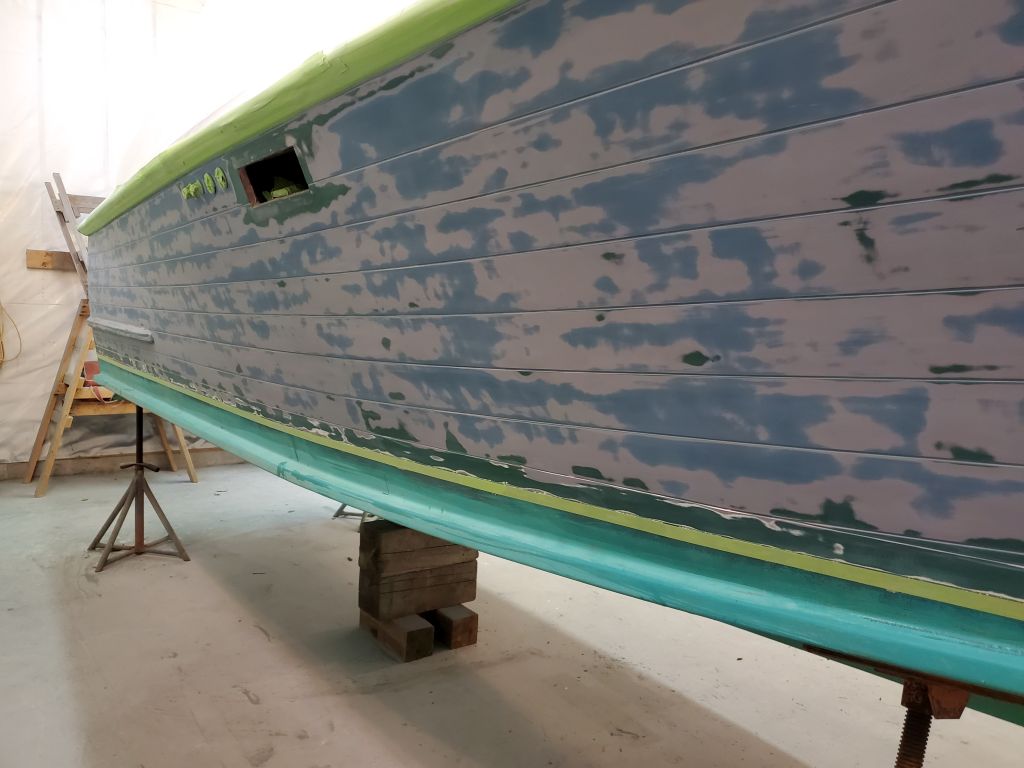
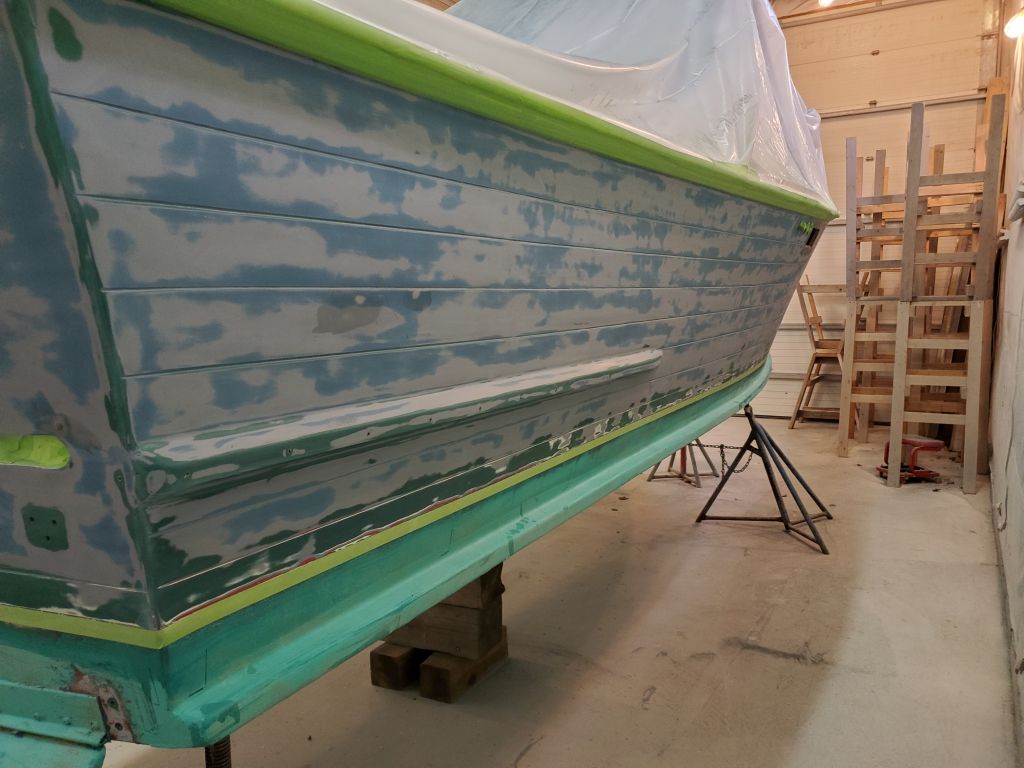
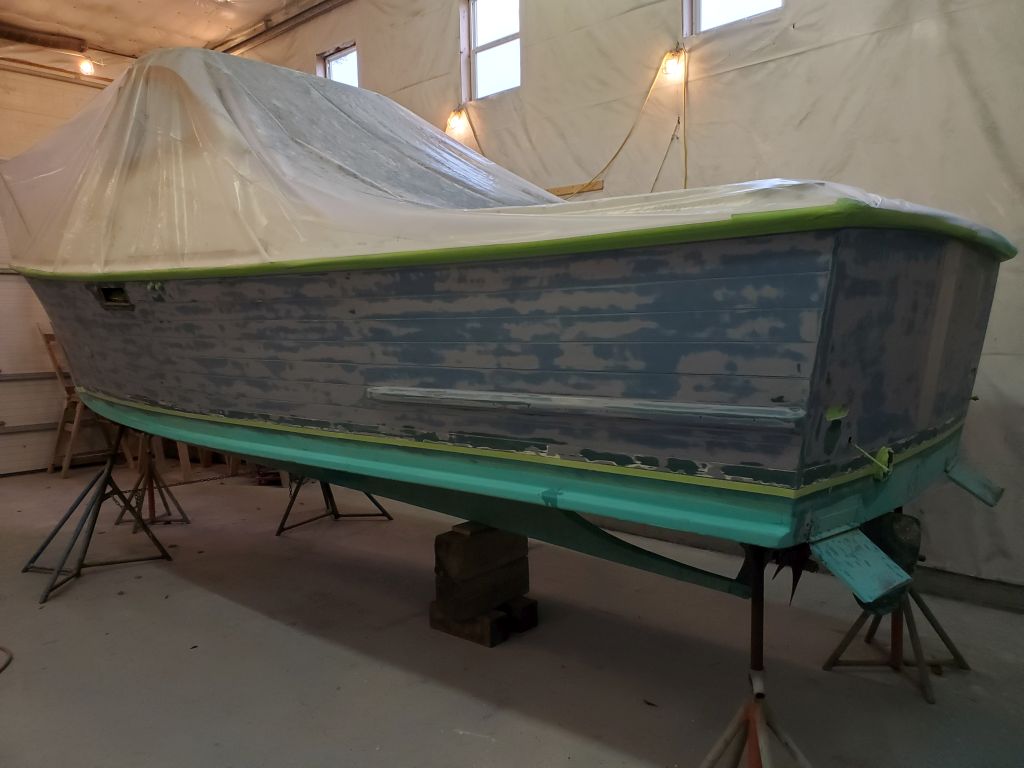
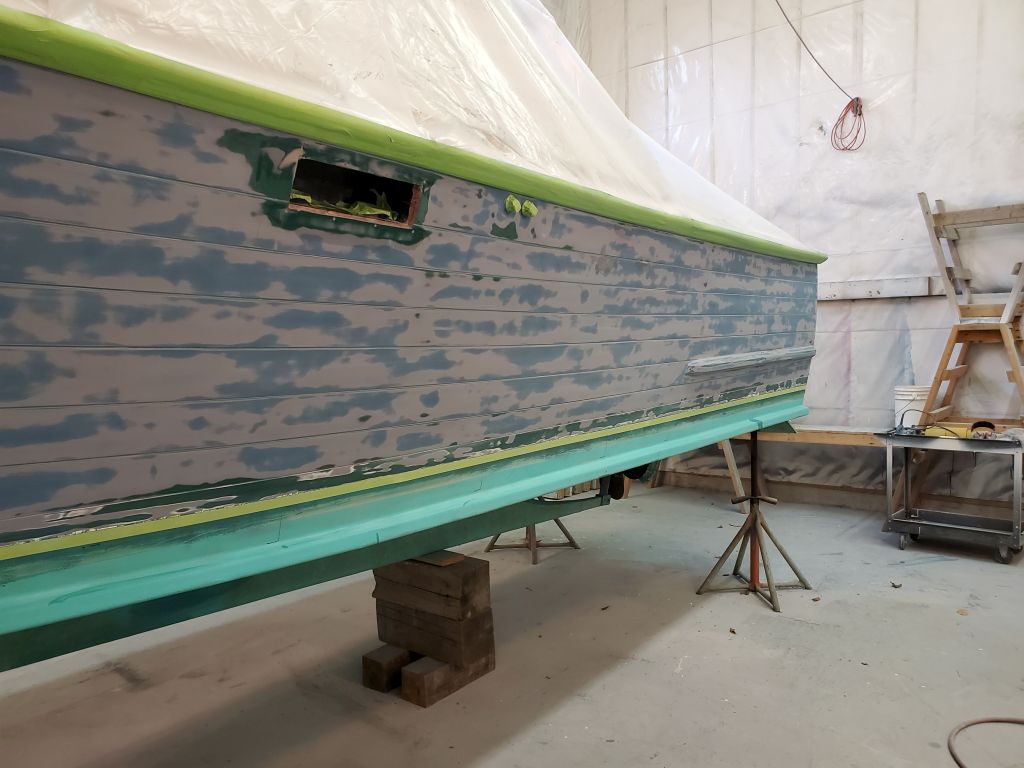
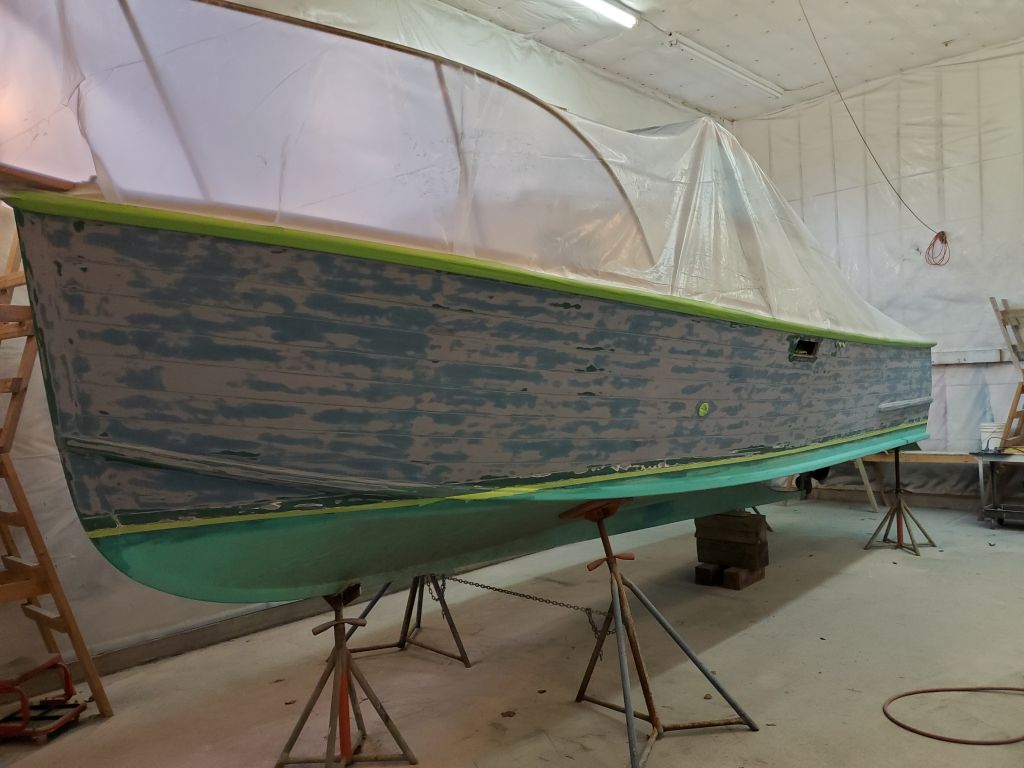
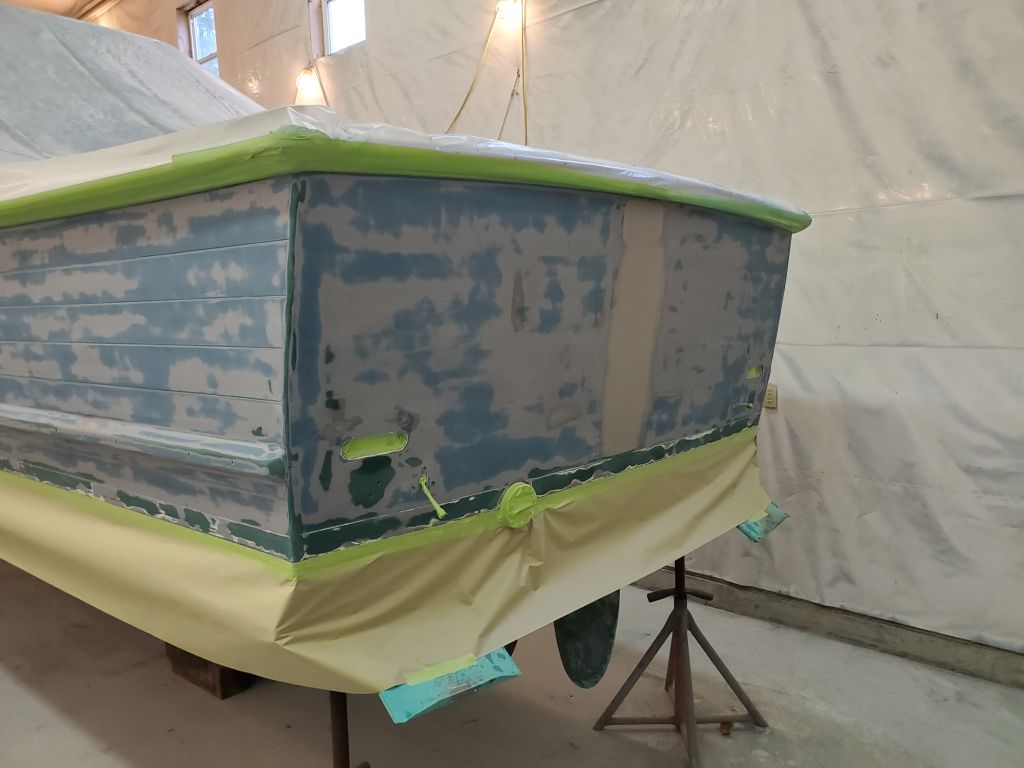
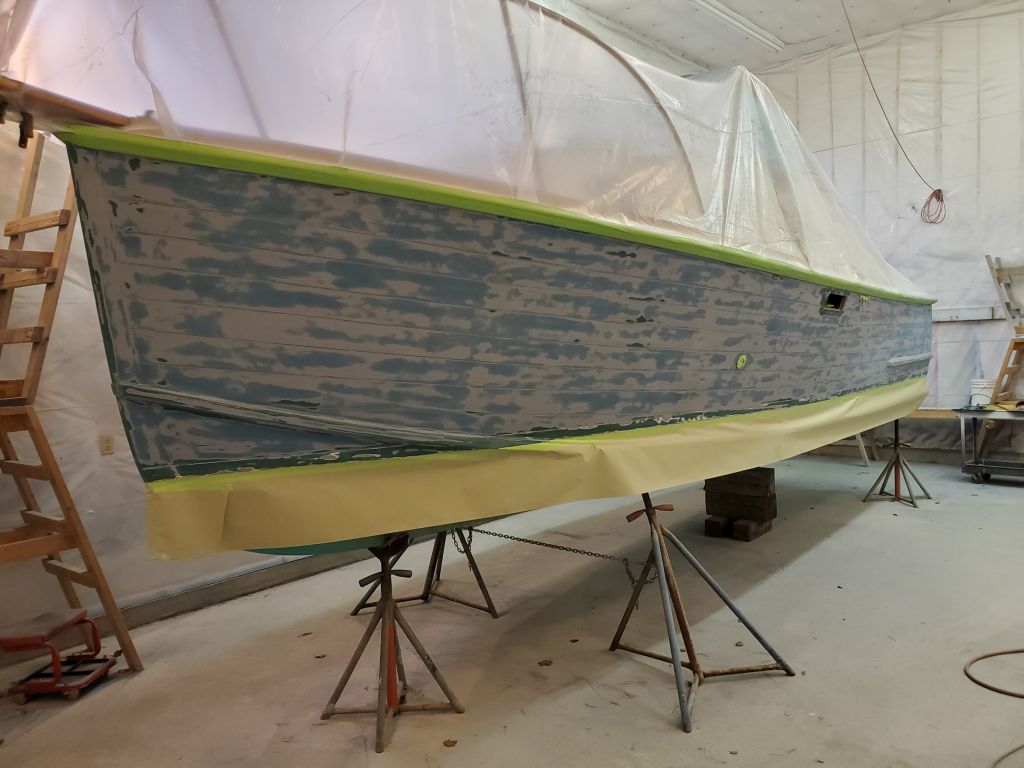
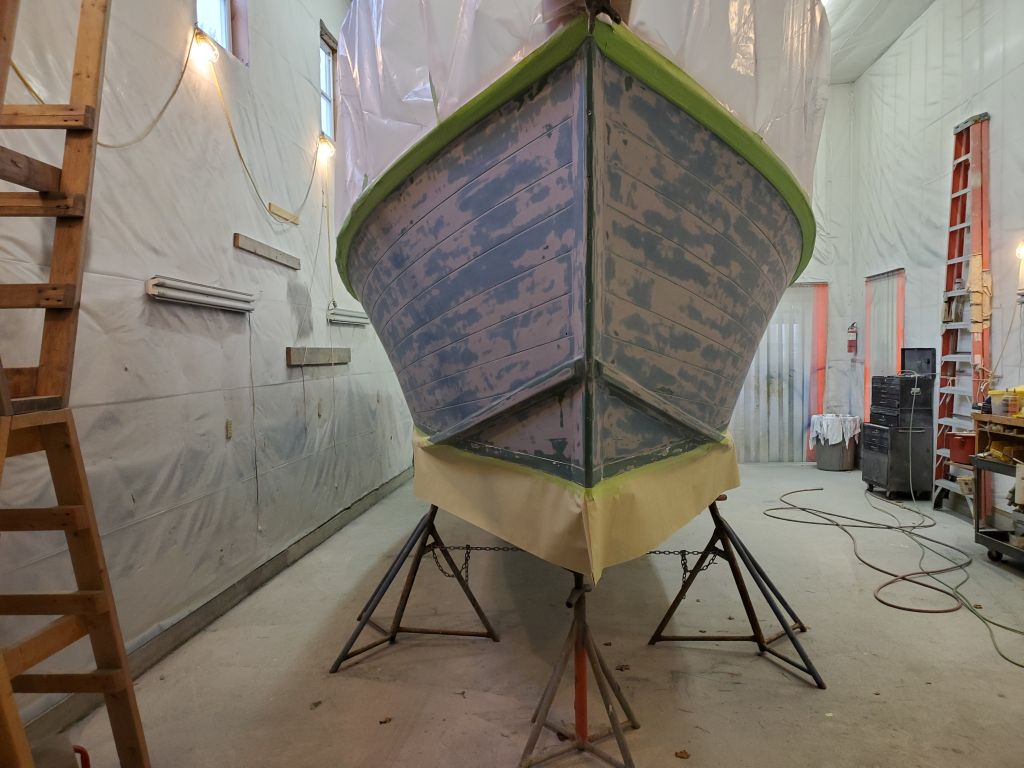
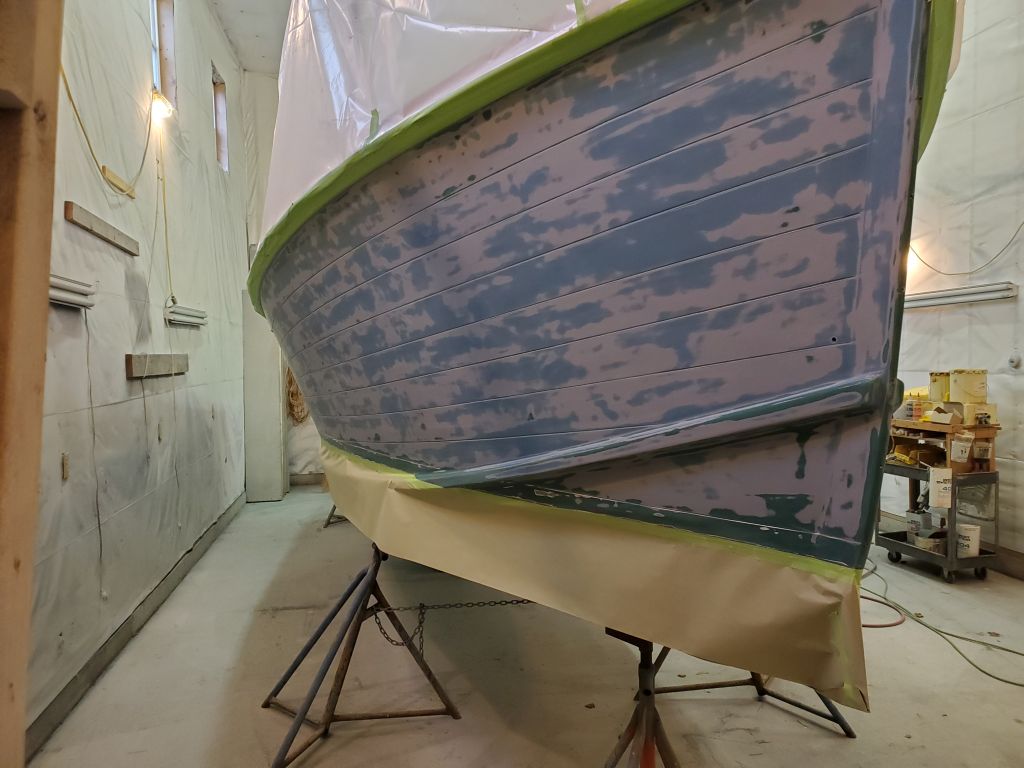
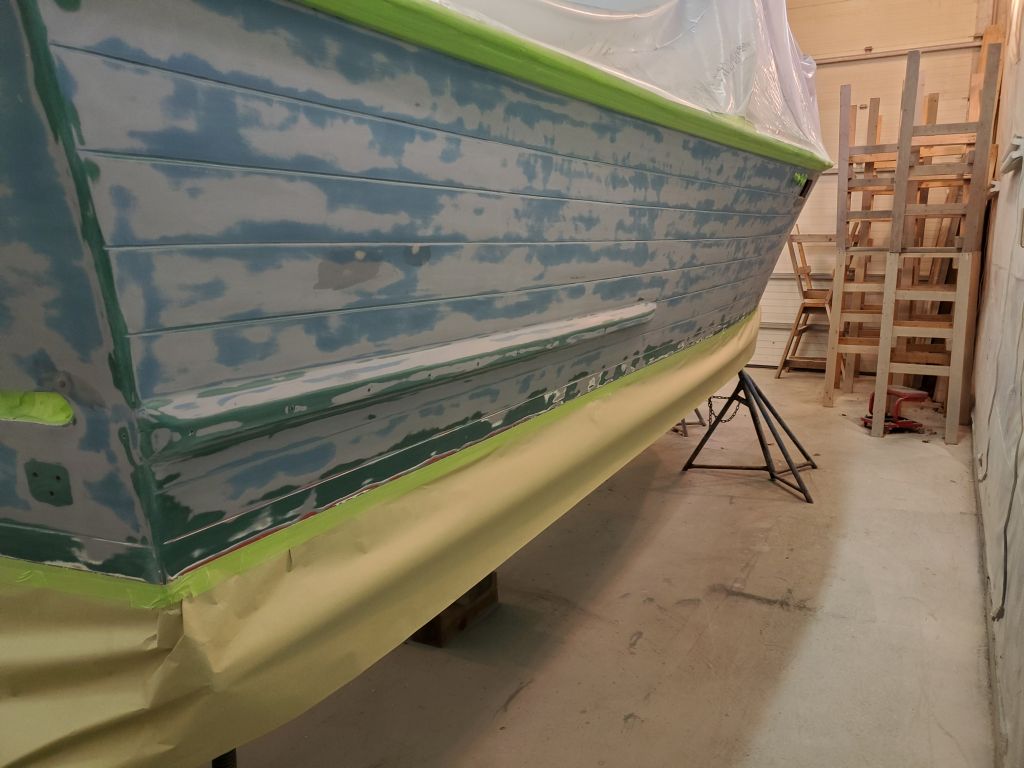
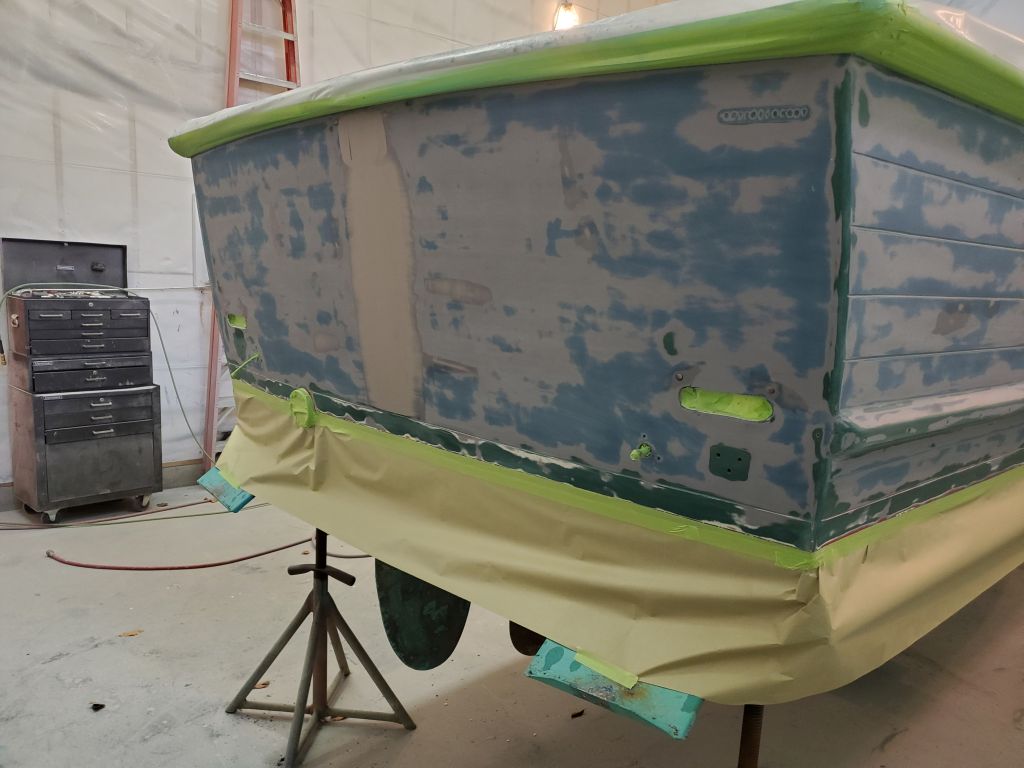
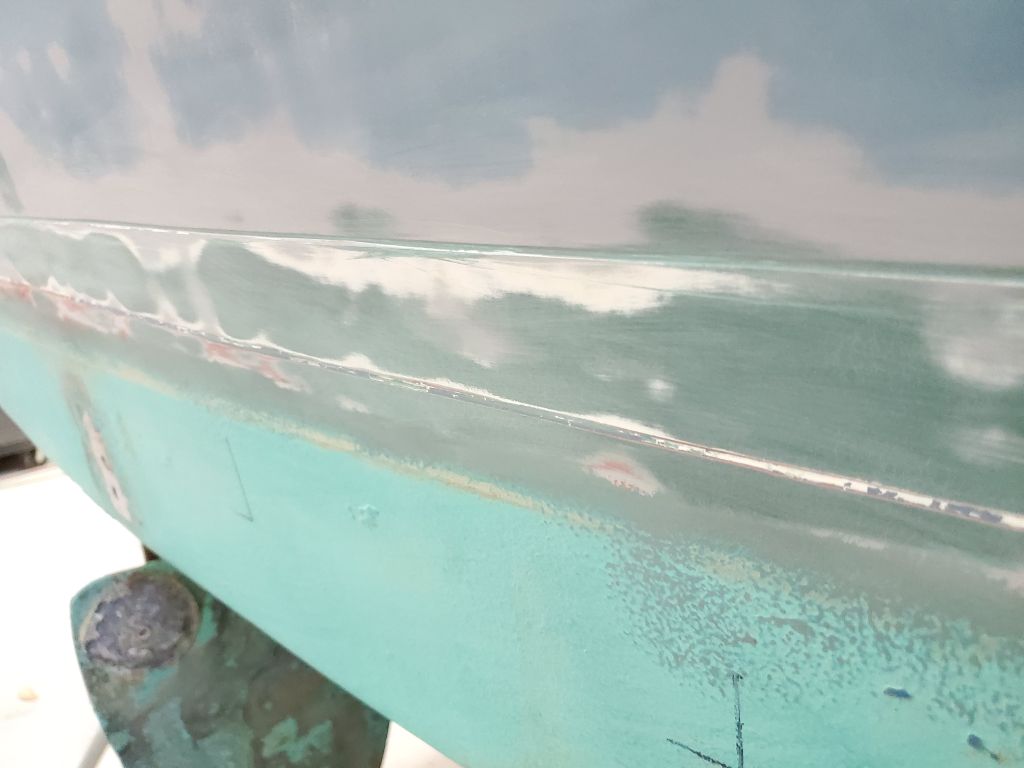
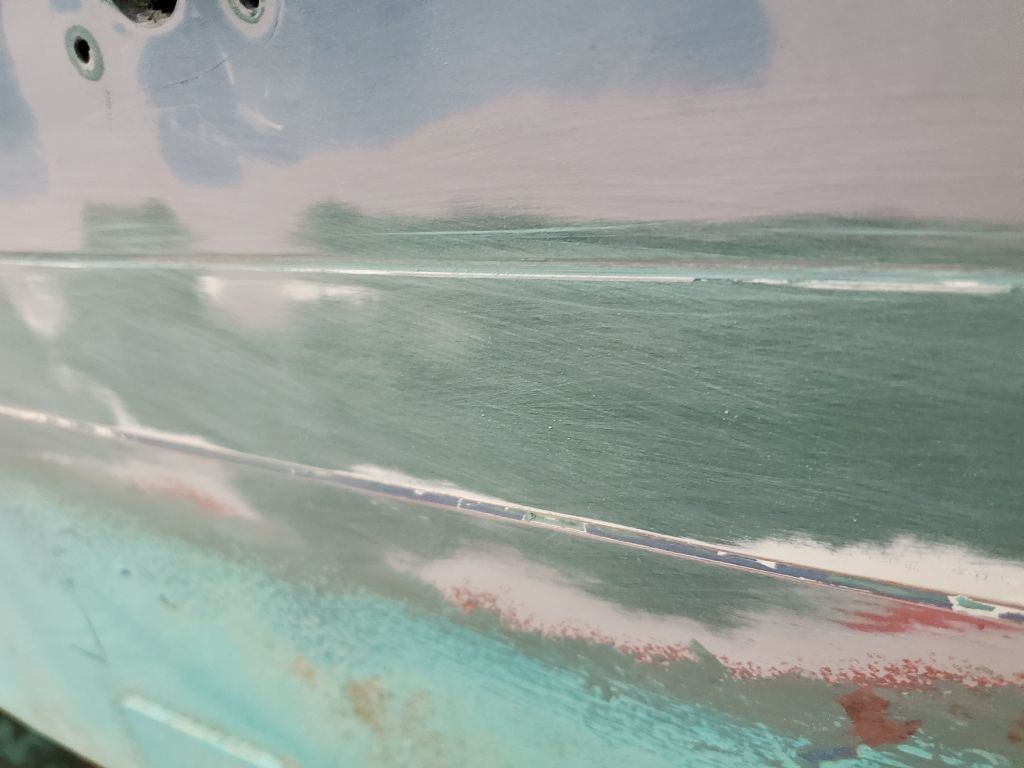
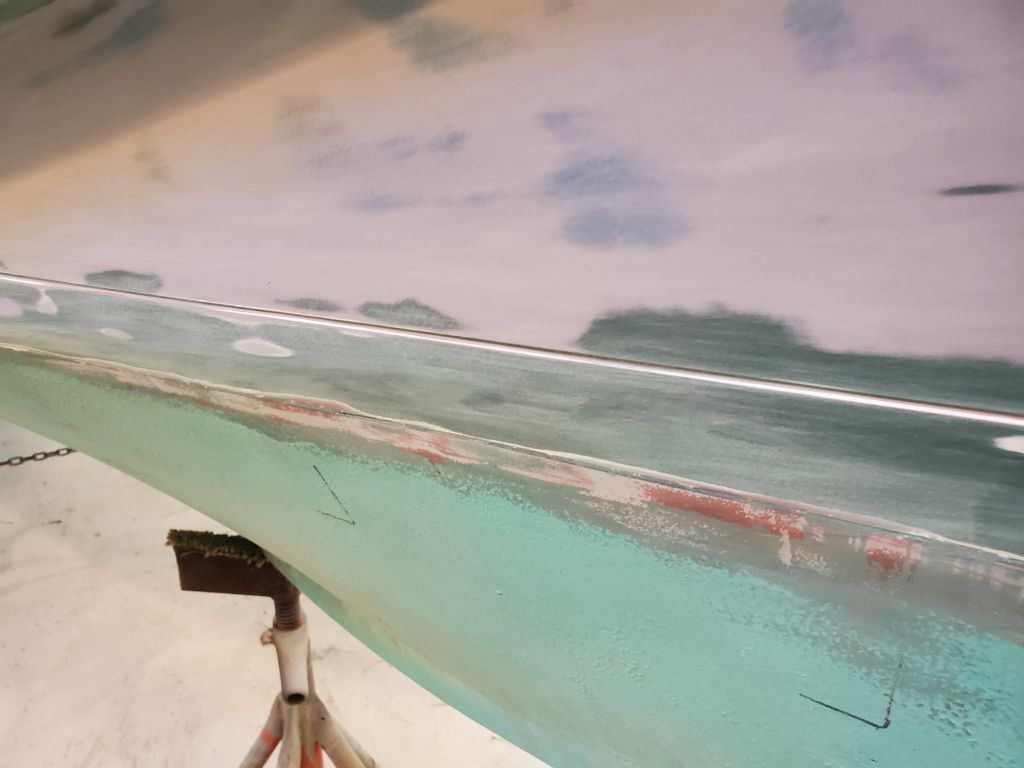
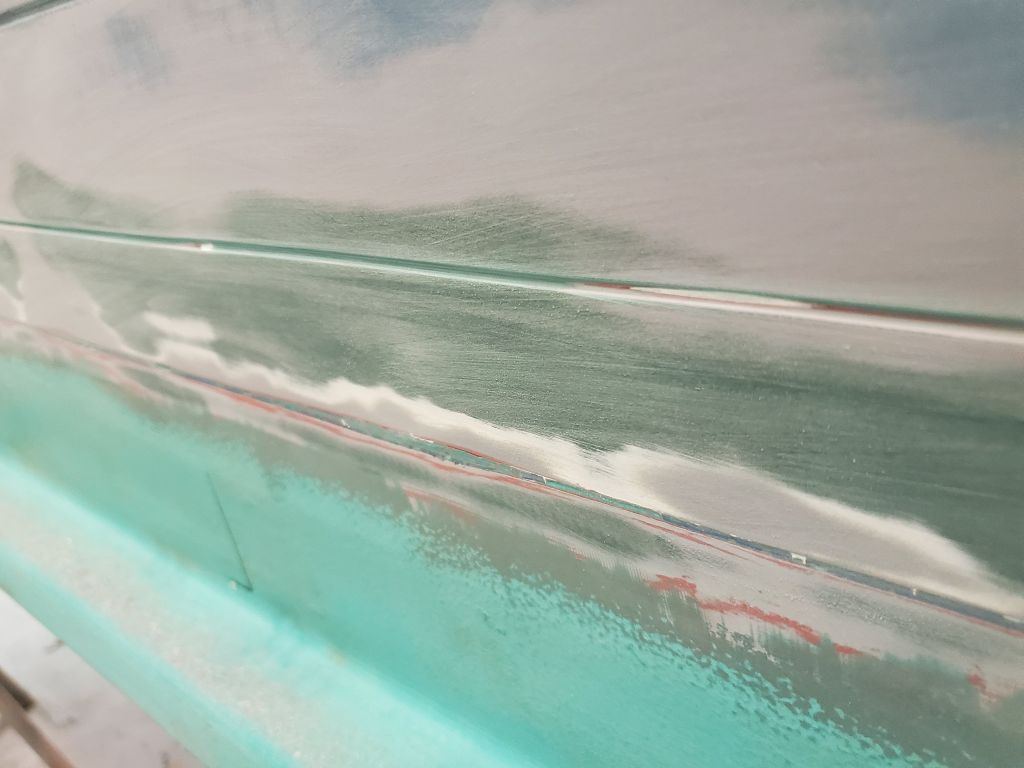
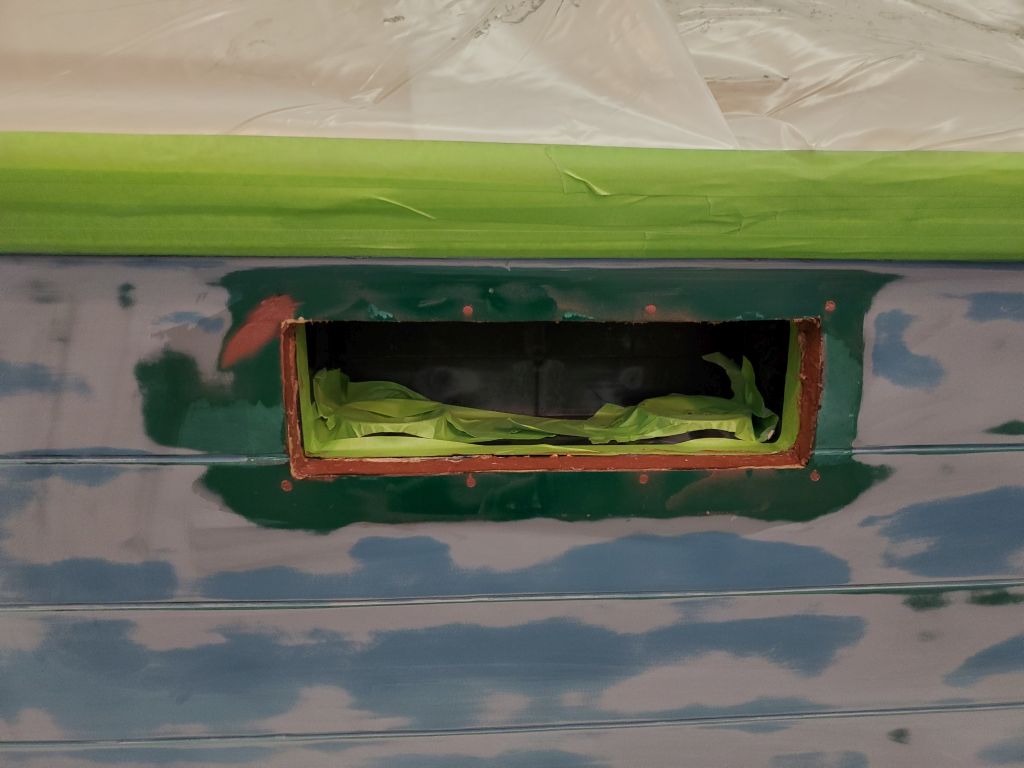
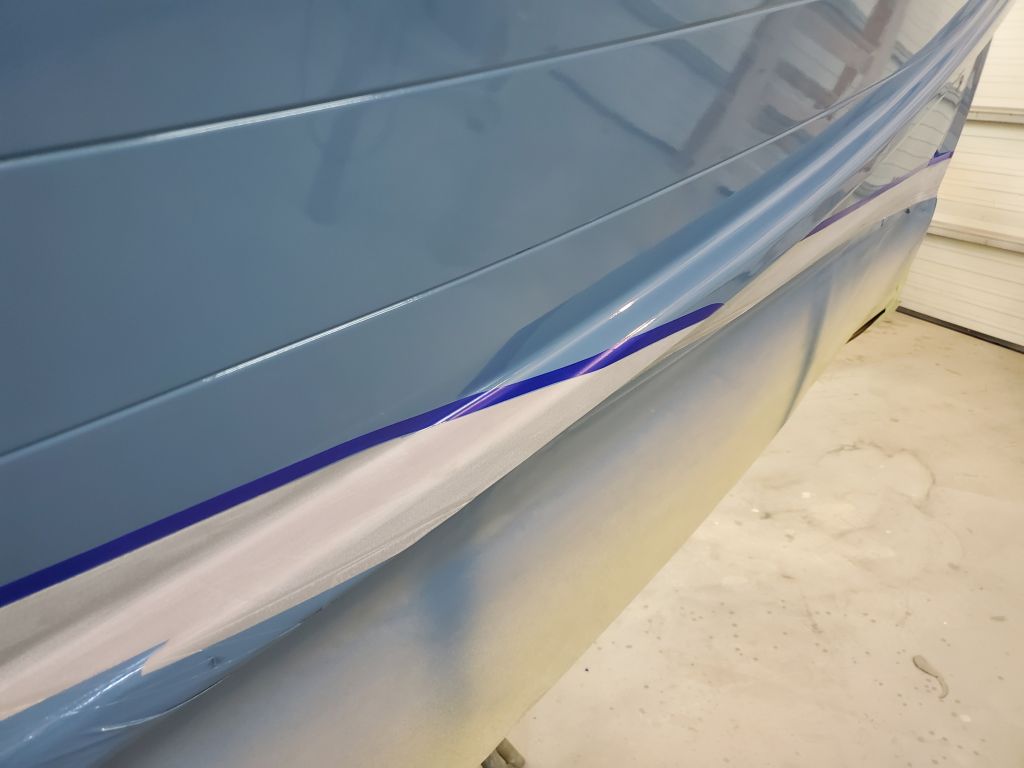
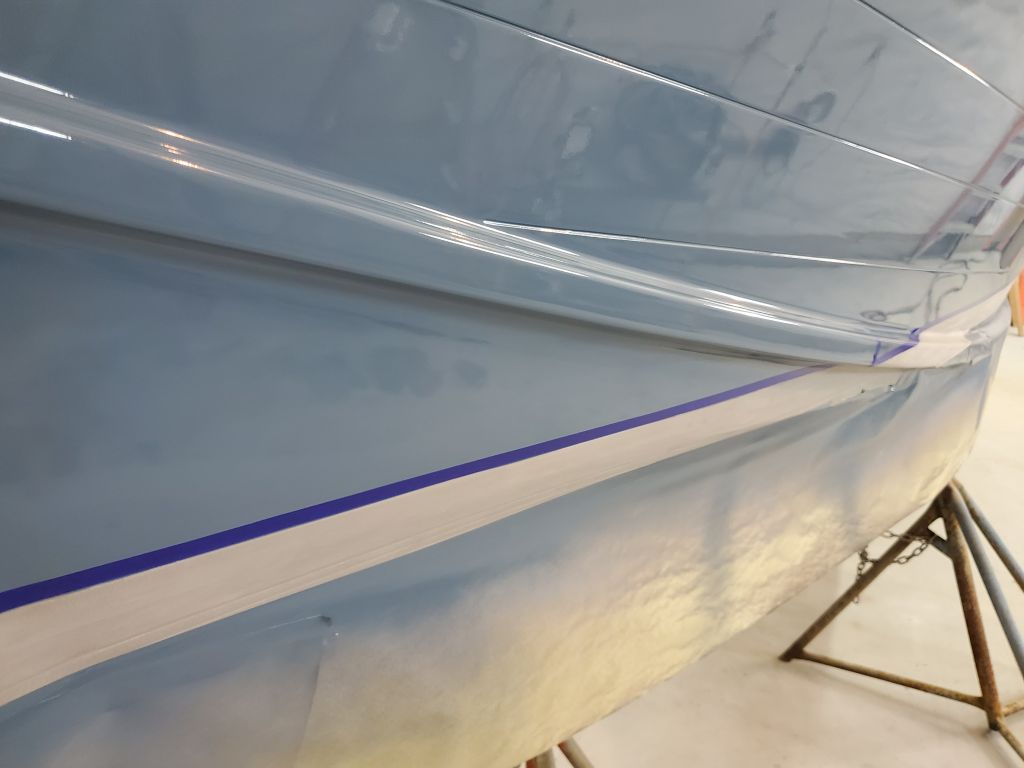
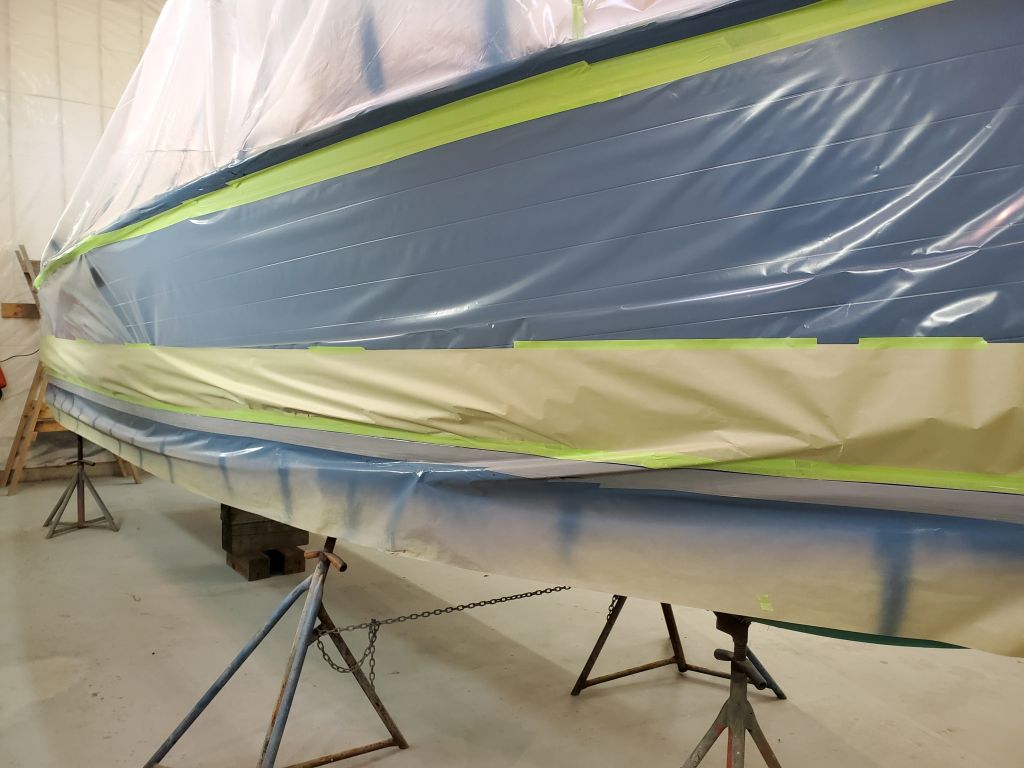
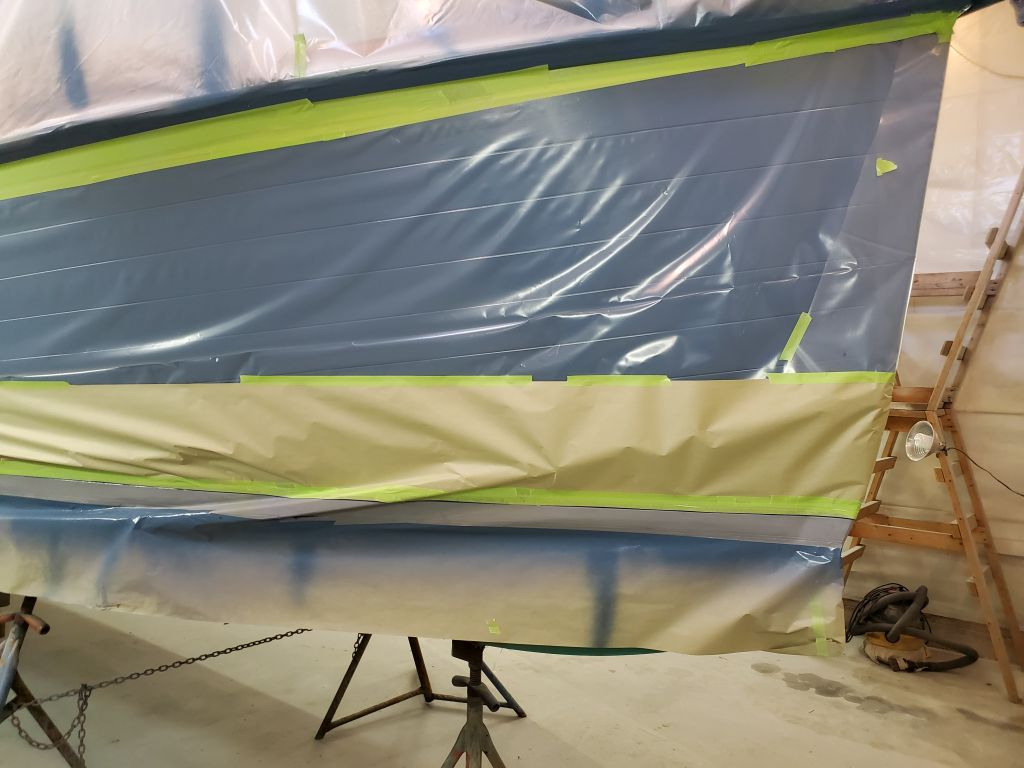
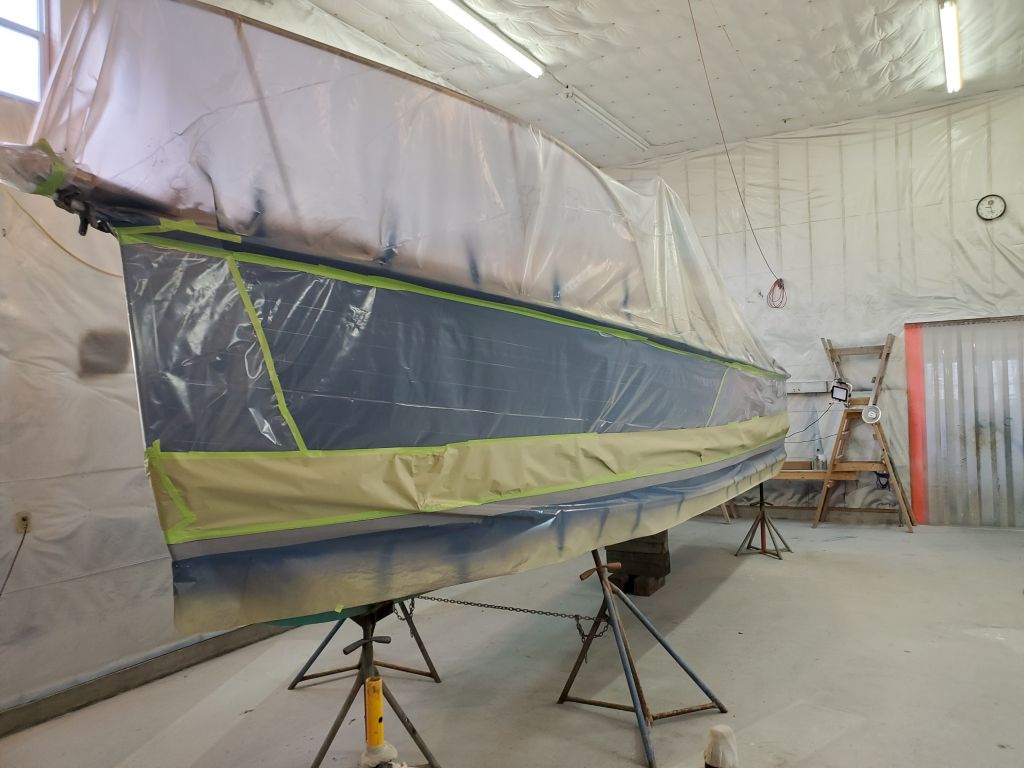
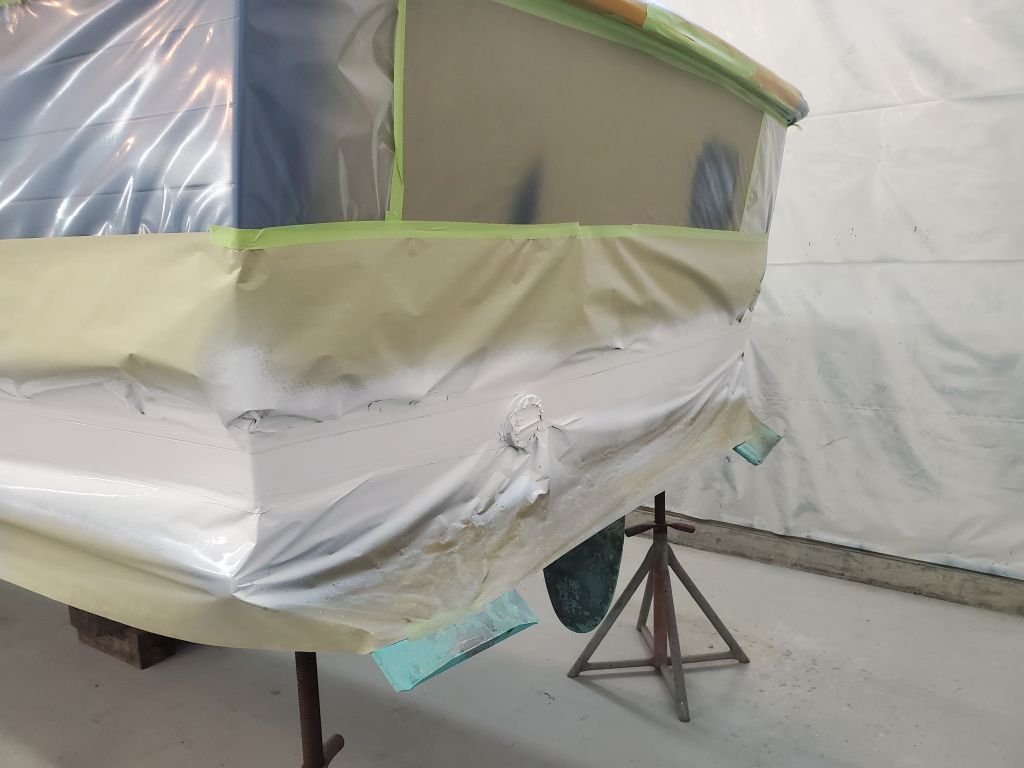
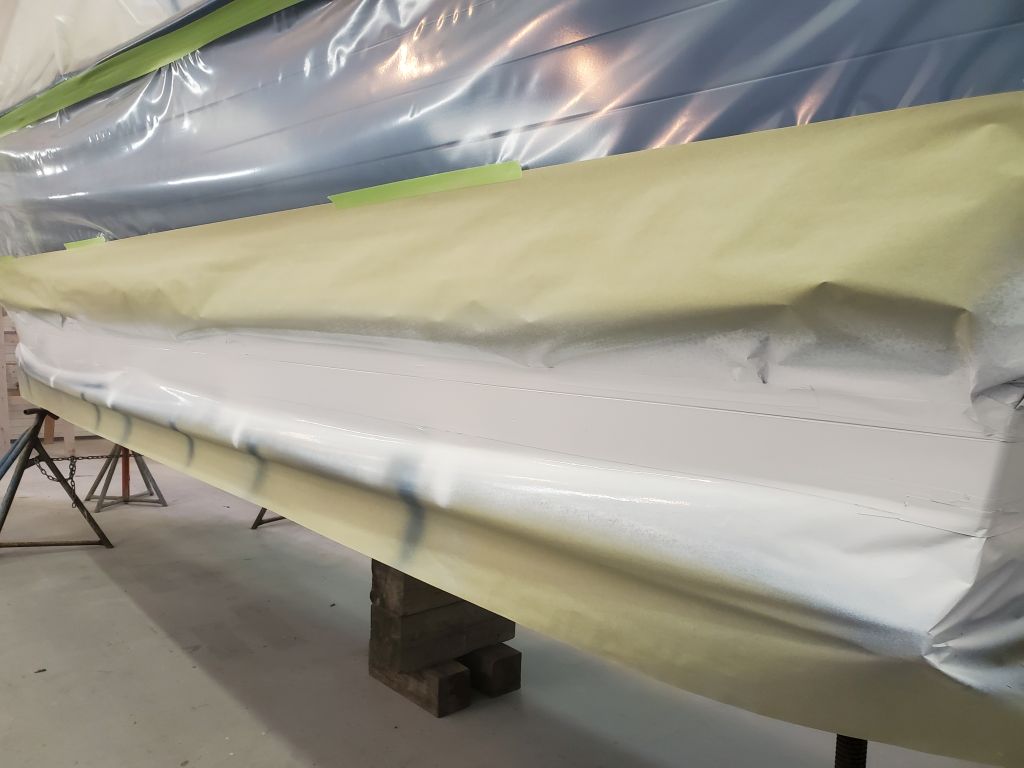
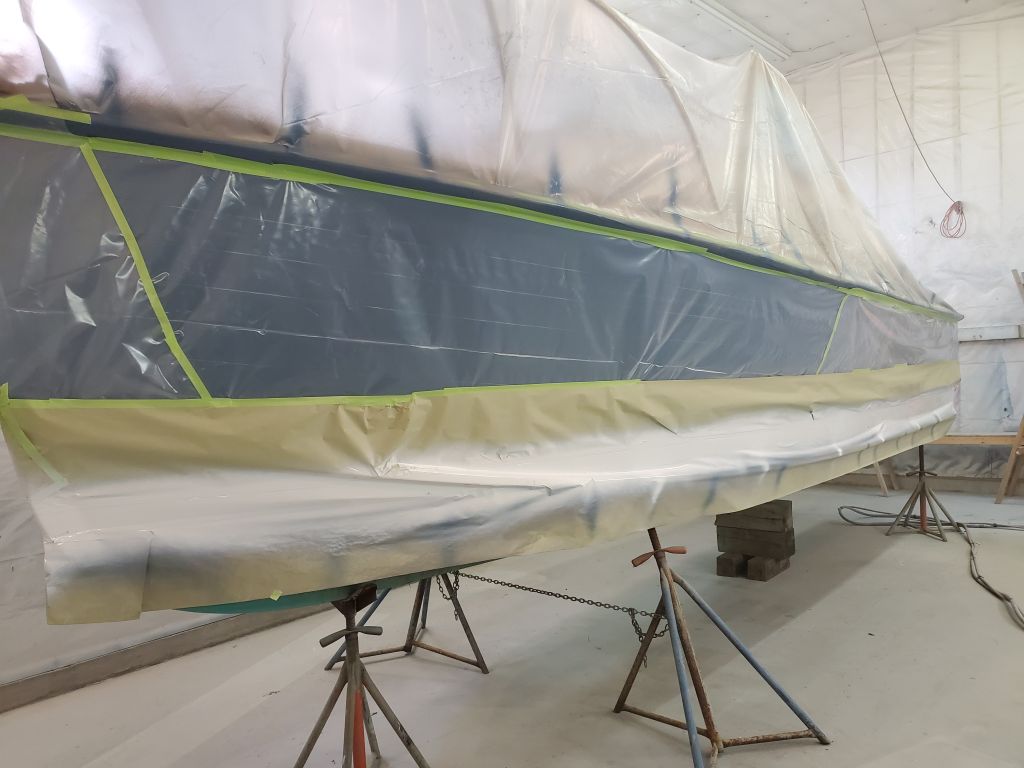
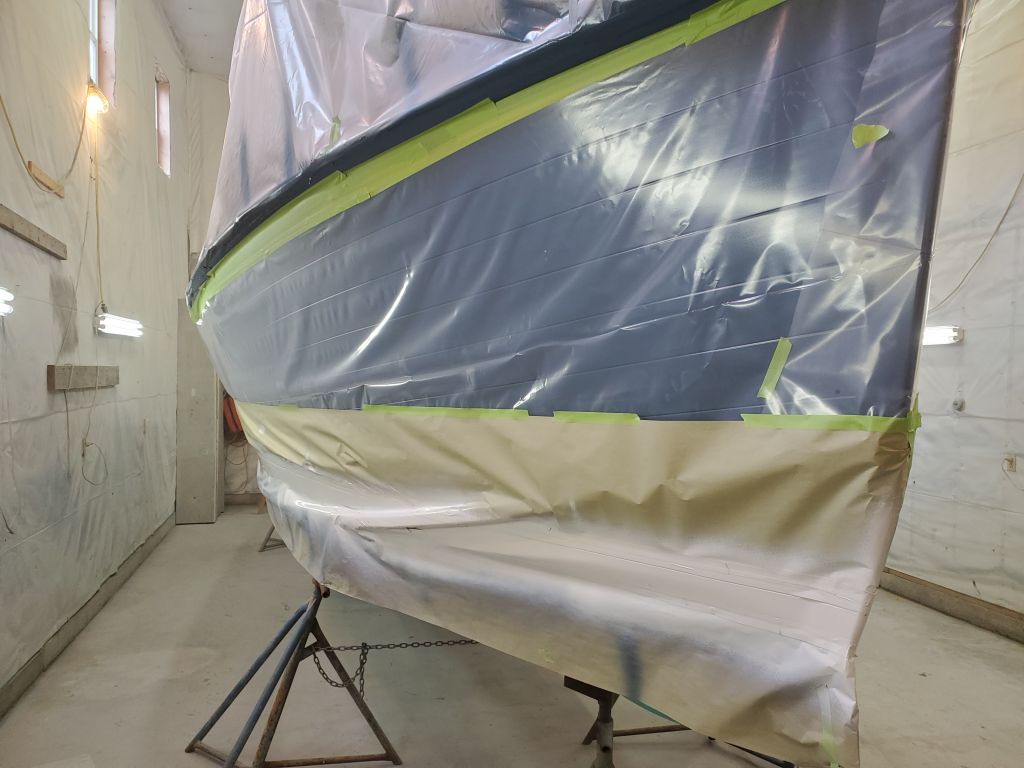
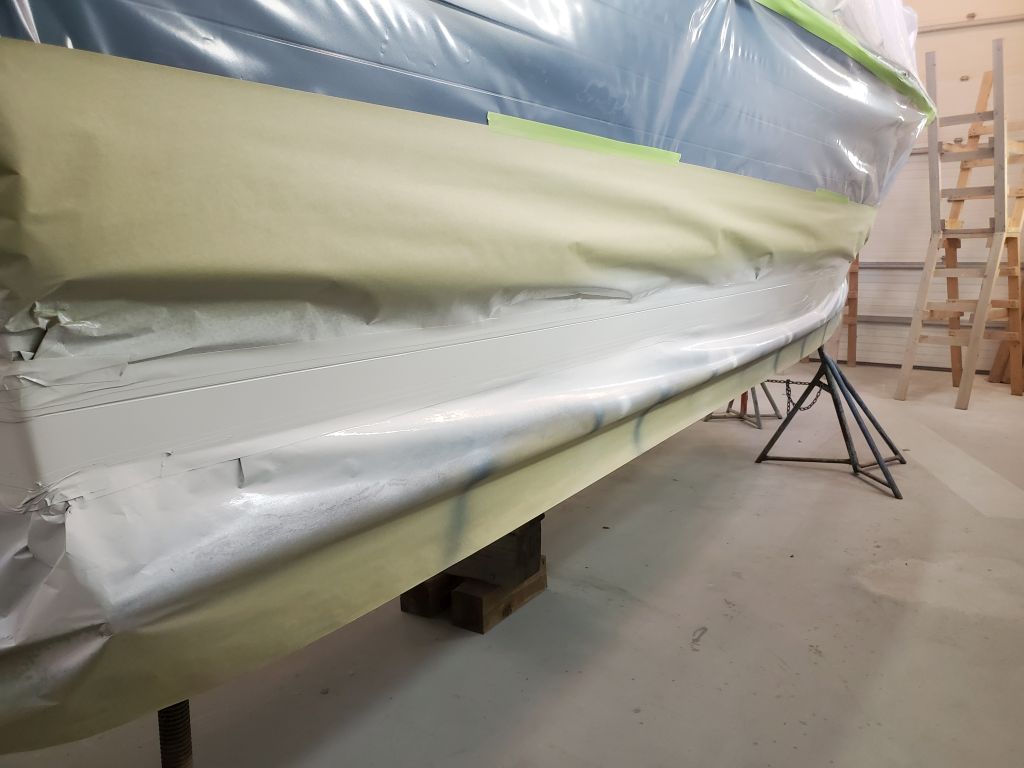
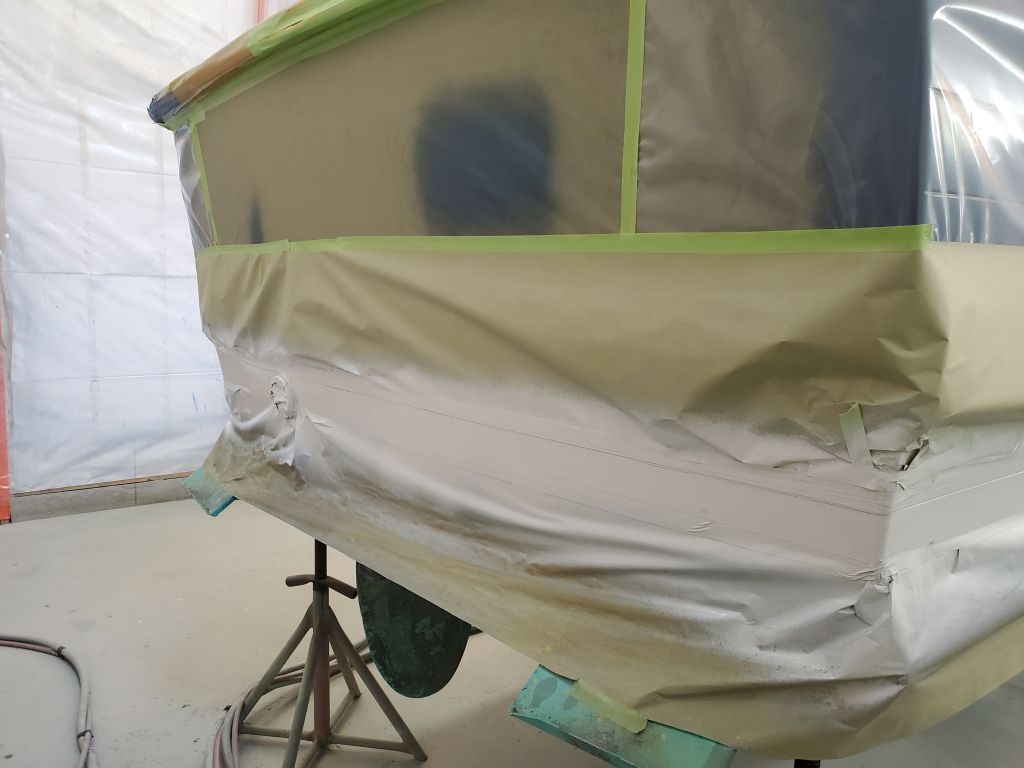
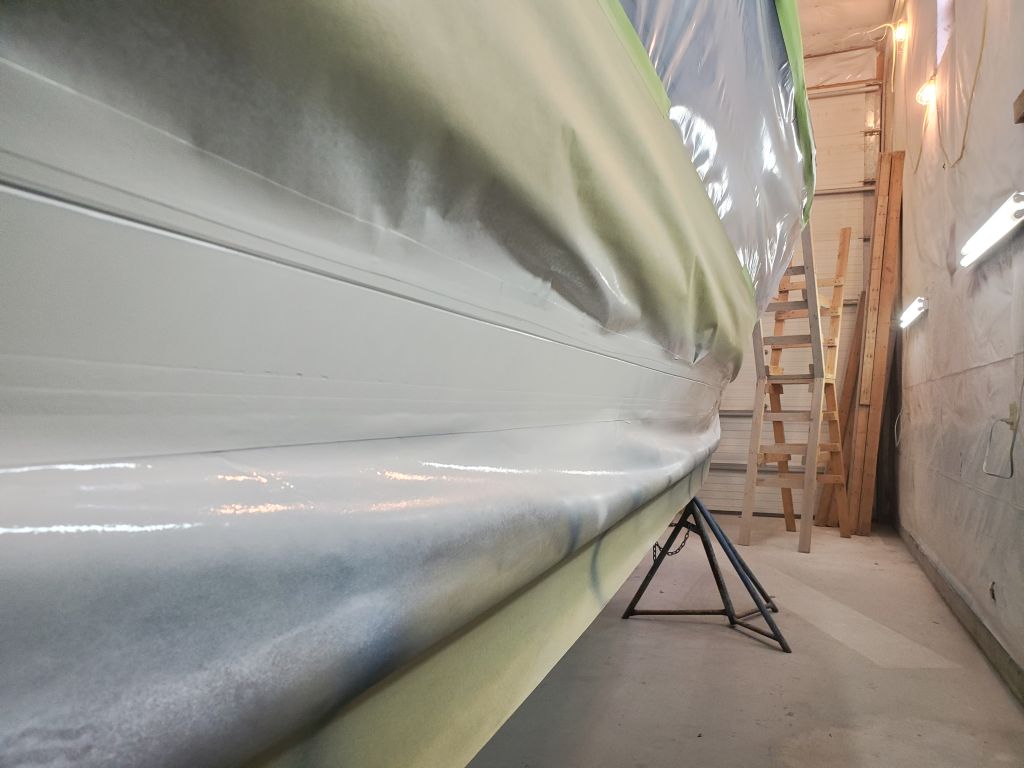
I spent part of the morning getting the boat and shop ready for the boottop painting. I started by getting rid of the low staging platforms I’d used for the hull–no longer needed–then masked off the top edge of the boottop, following the scribe line in the hull. As usual, I started with a thin strip of vinyl masking tape that helps provide a crisp paint line, then covered it with regular masking tape since the shiny vinyl allows paint to run if left exposed. Then, I masked off the whole hull with plastic and paper to protect it from overspray.
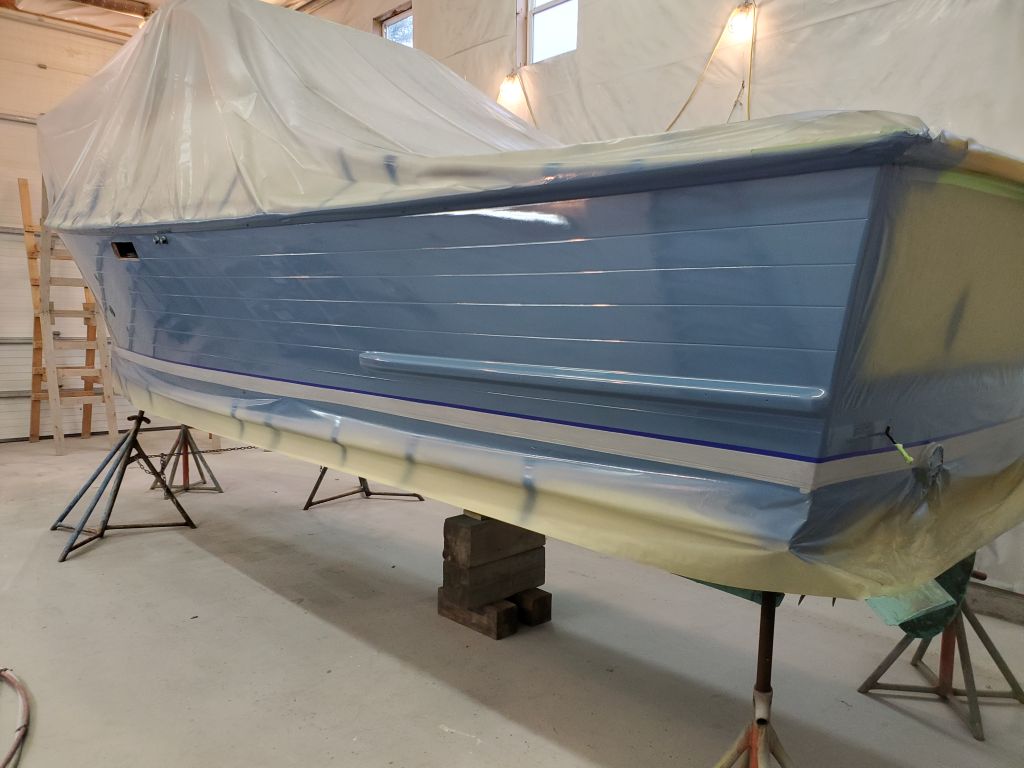

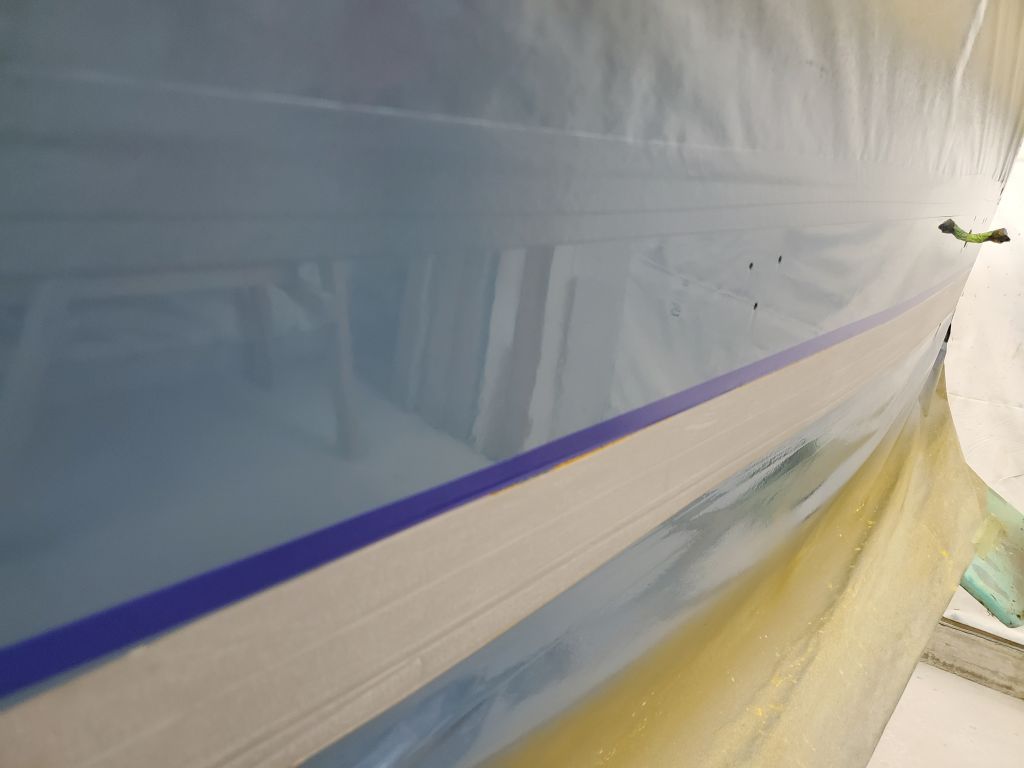
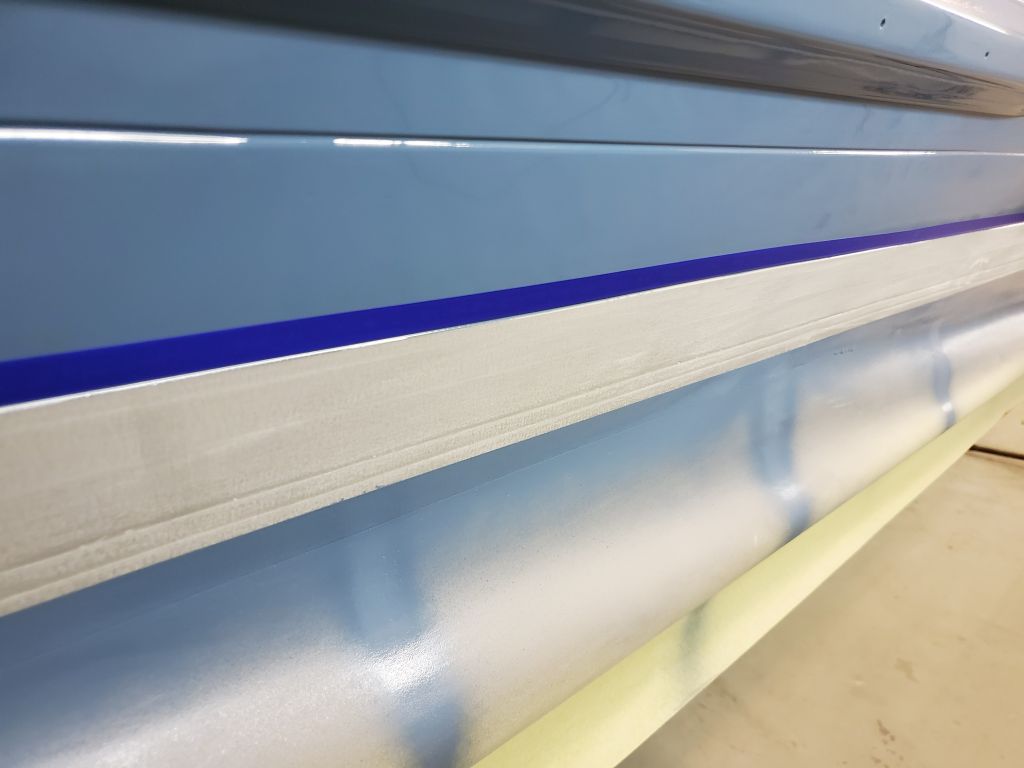
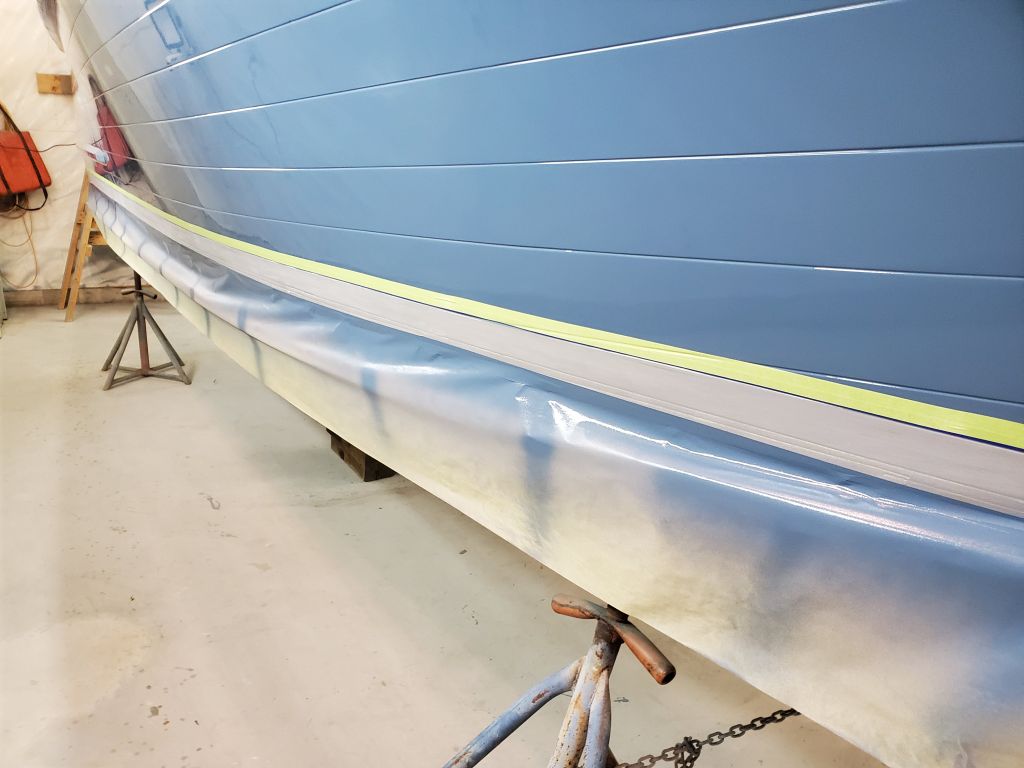


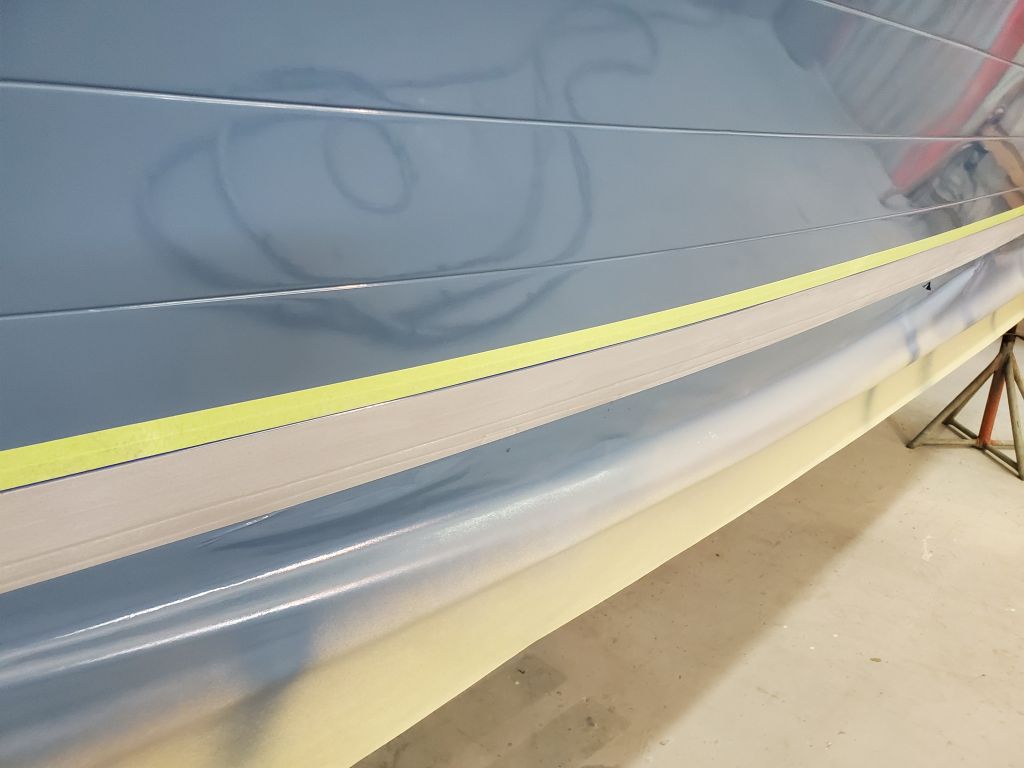
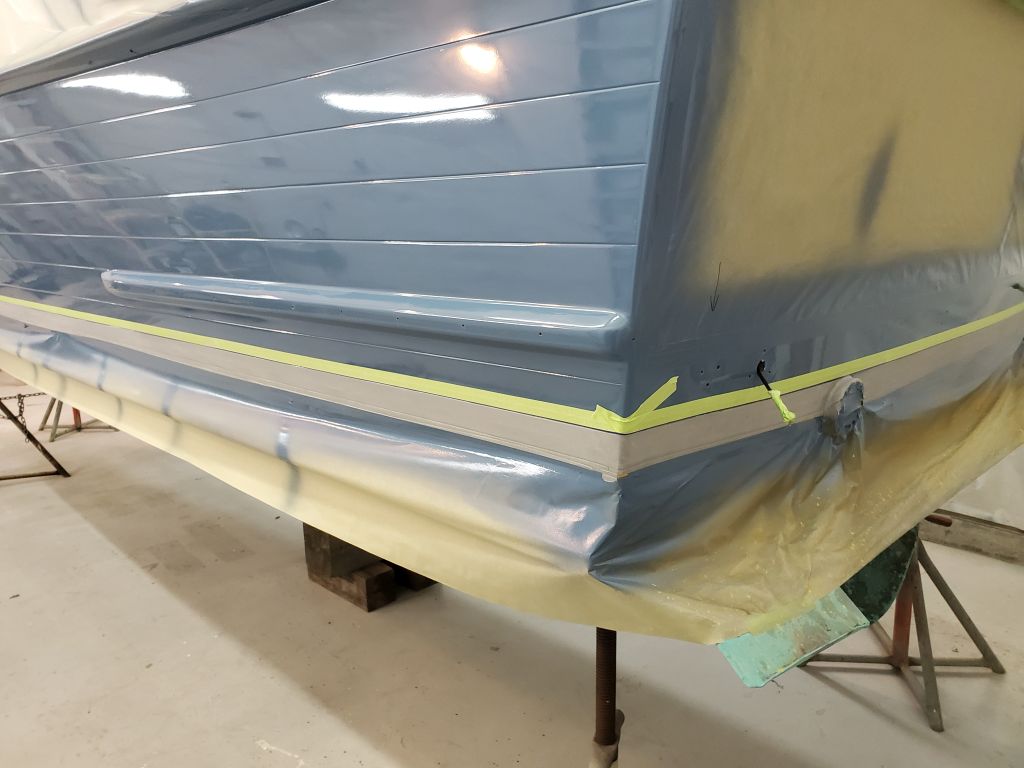

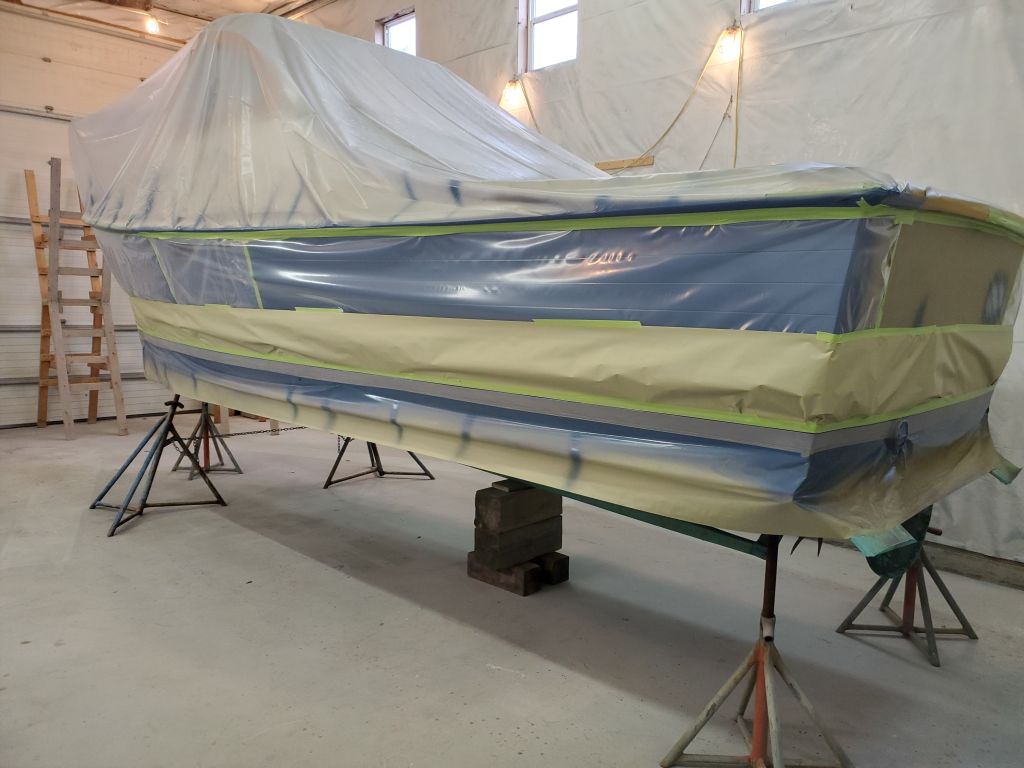
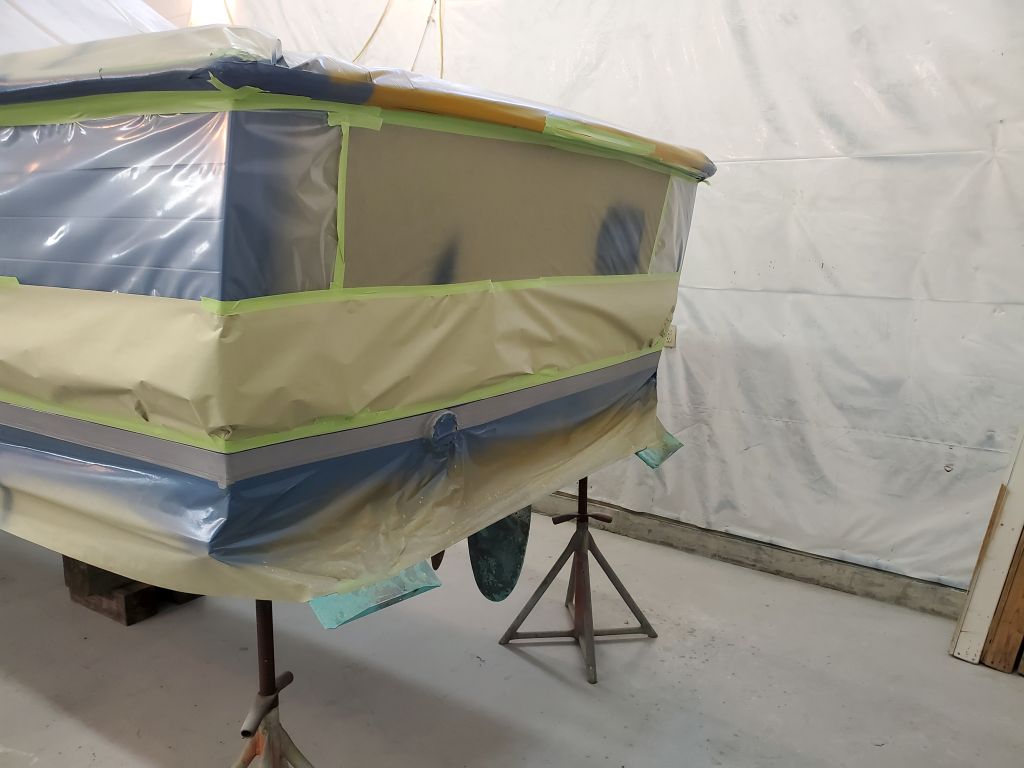
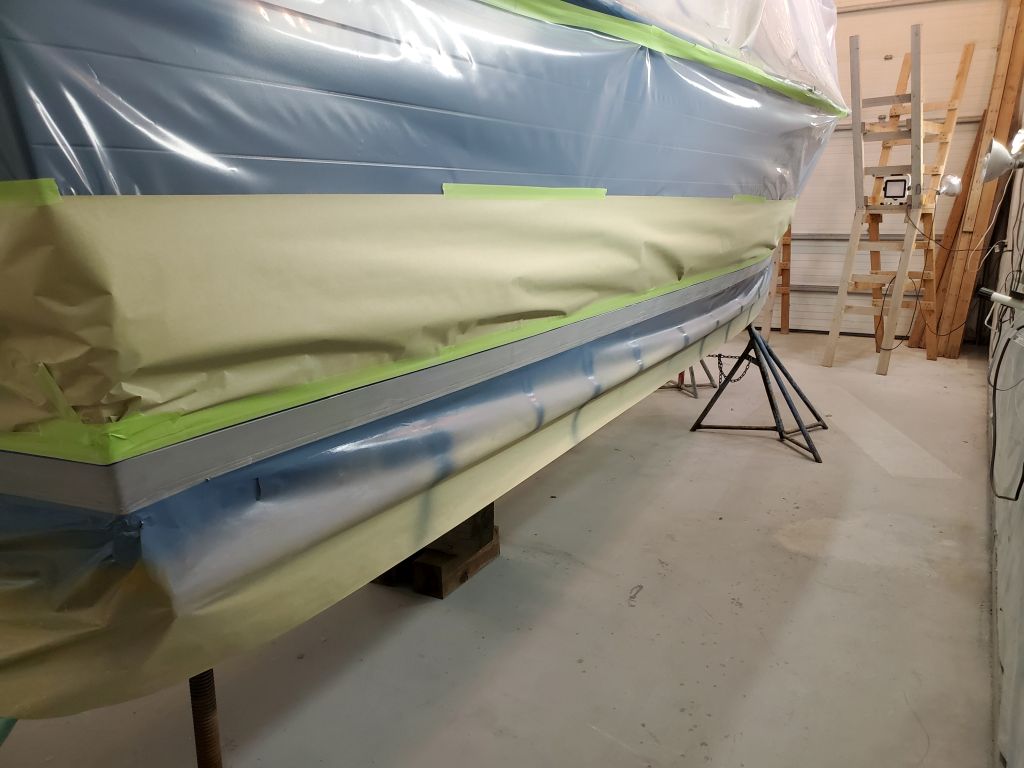
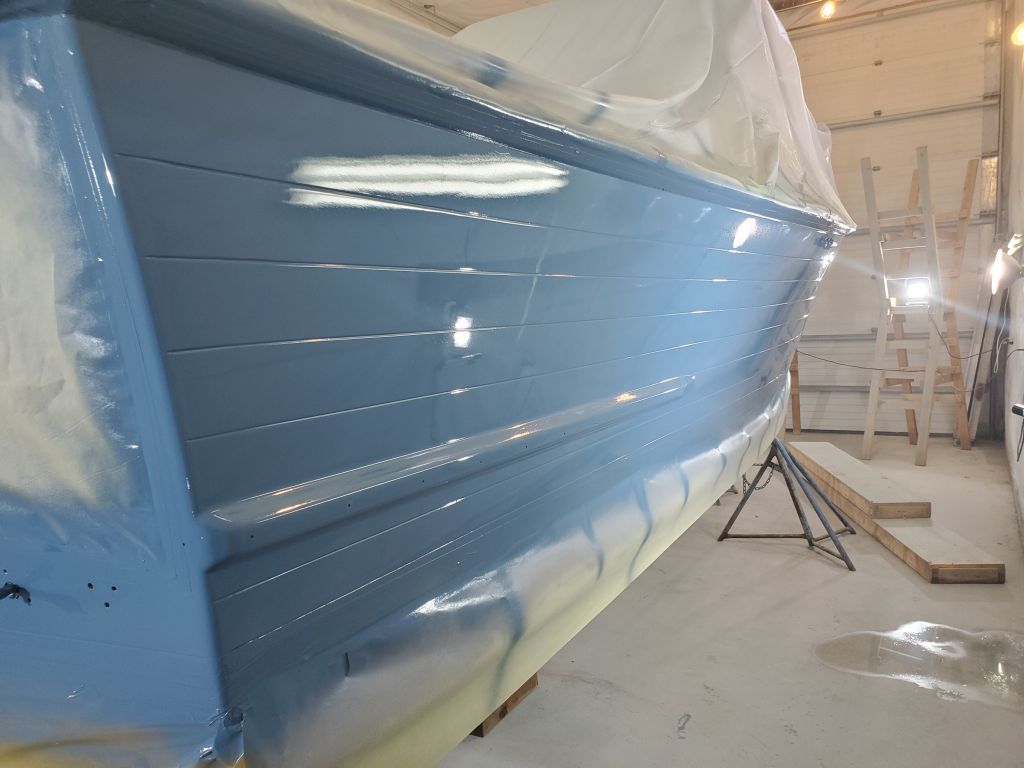
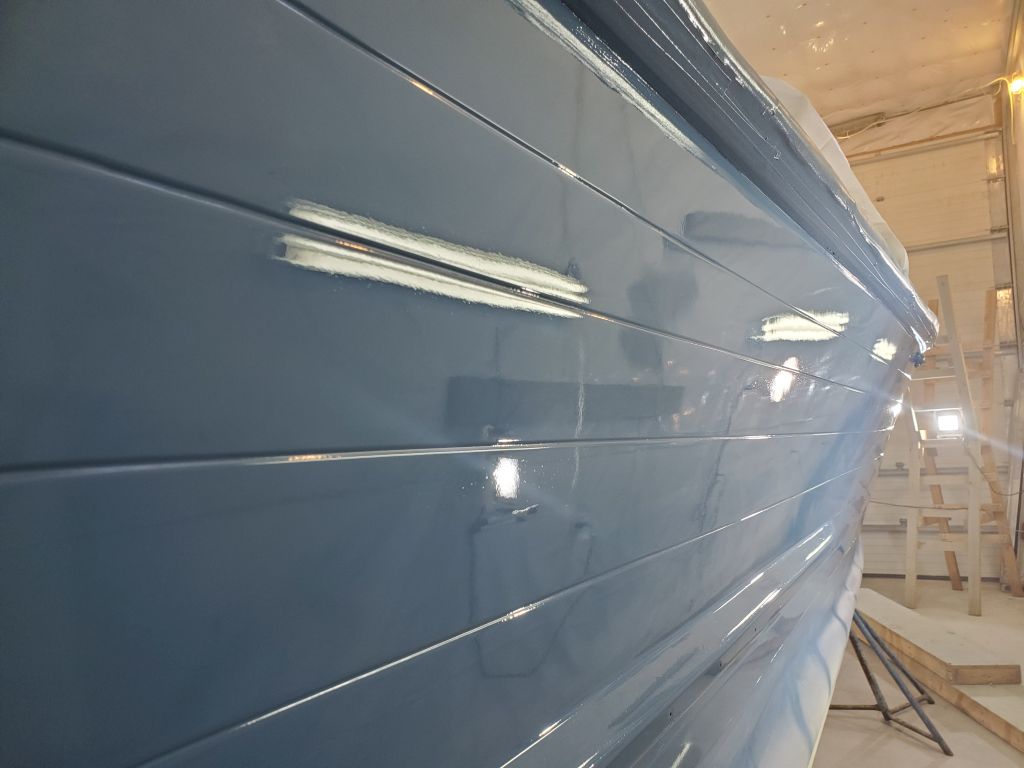
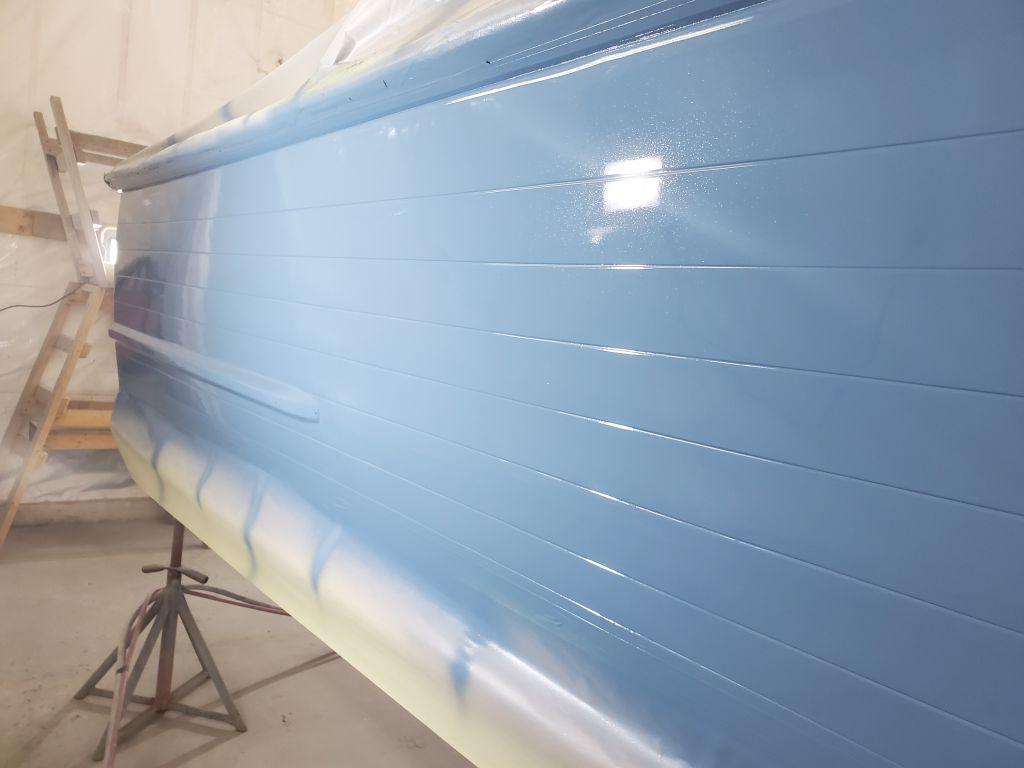
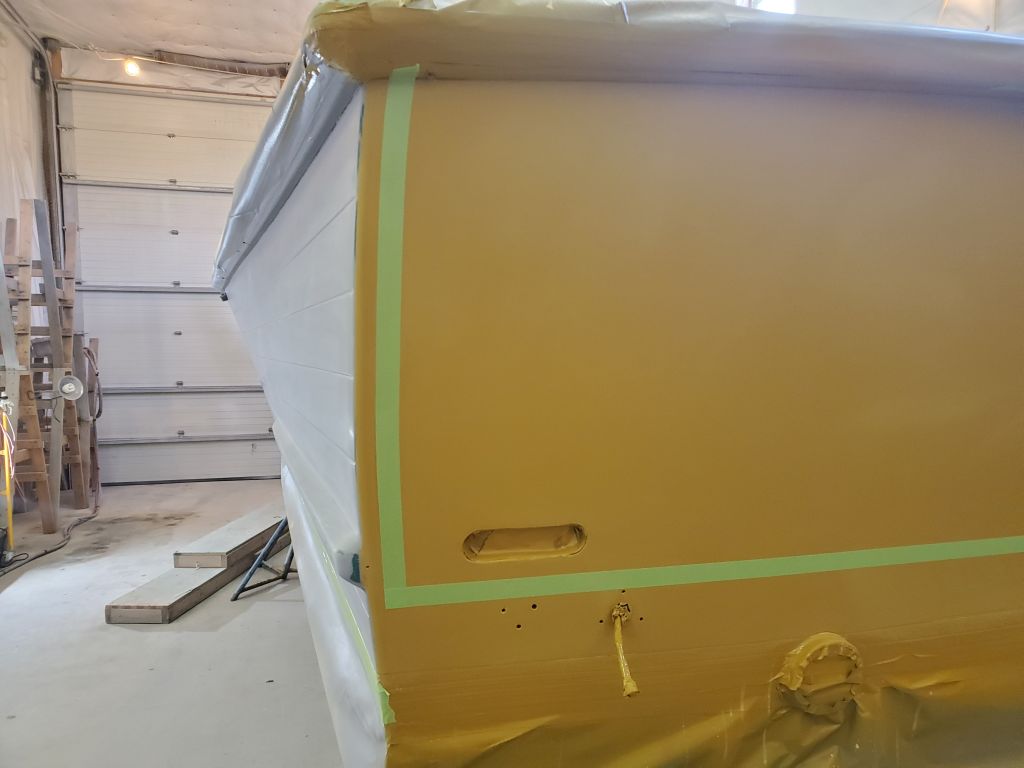
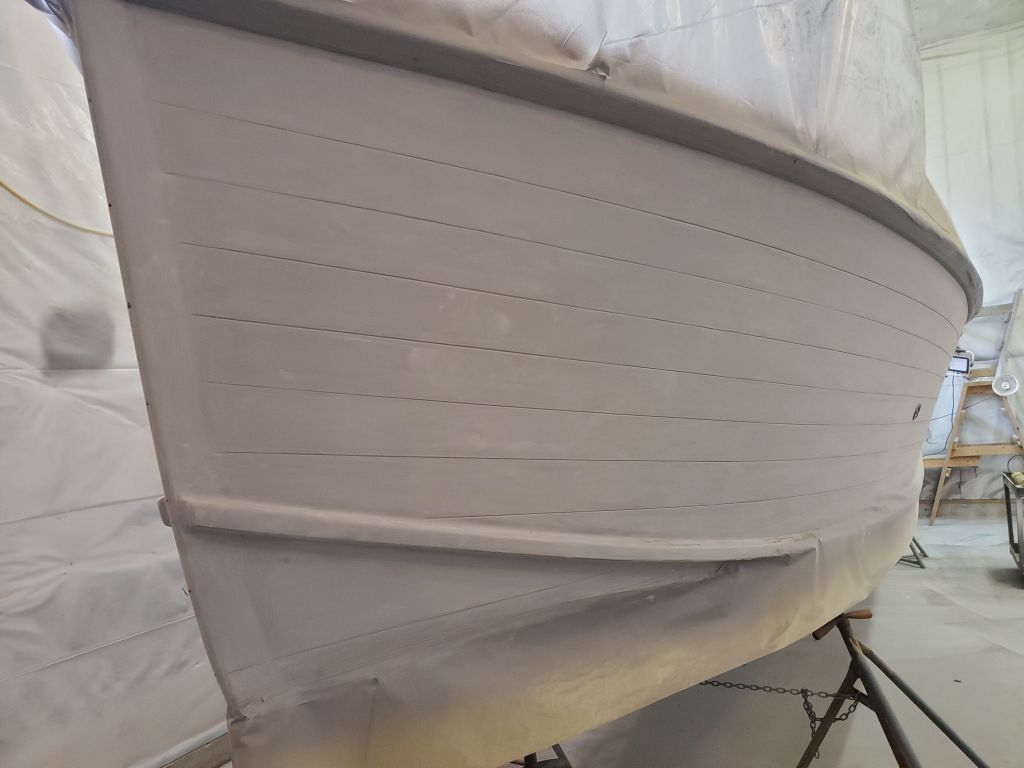
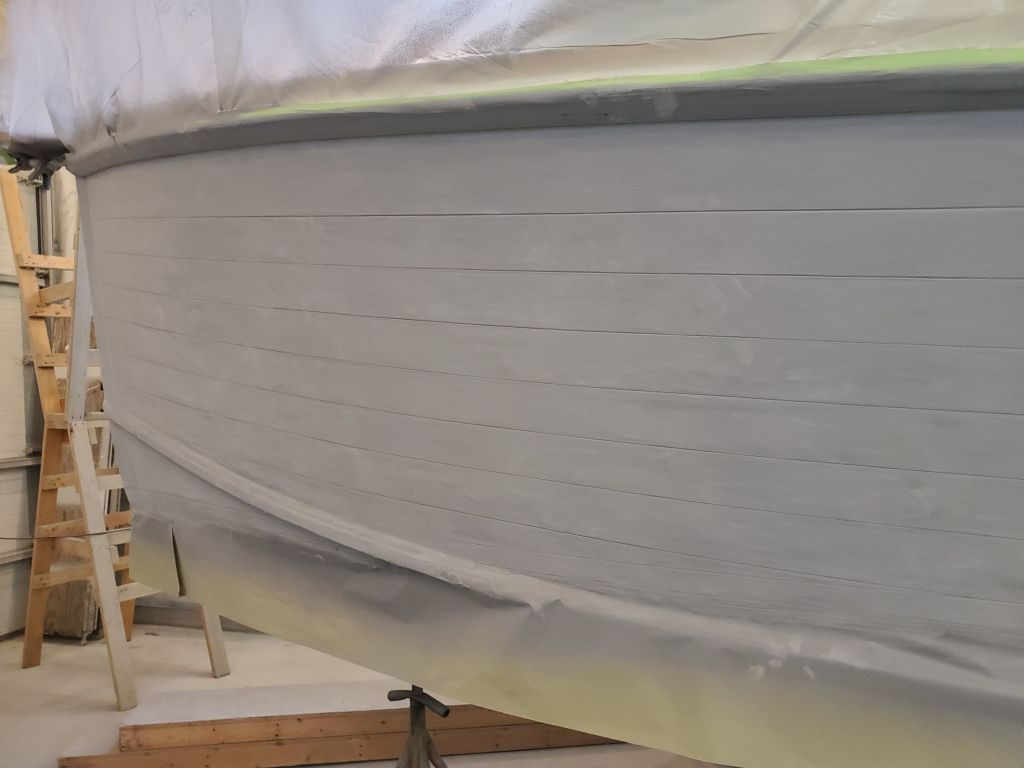
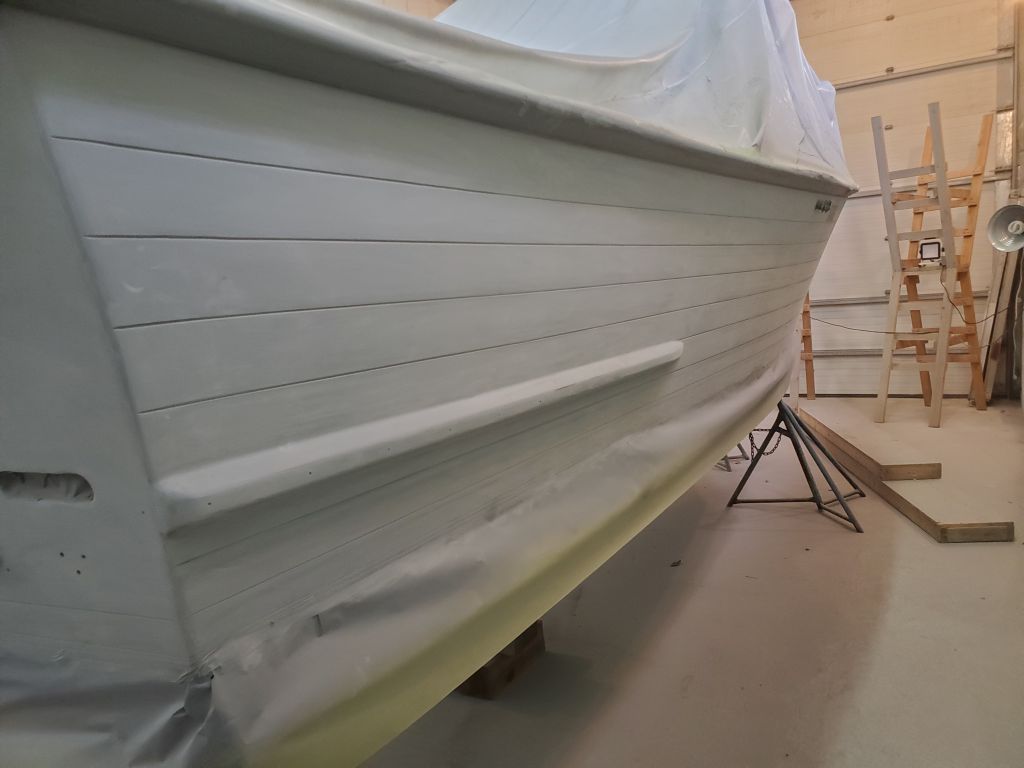
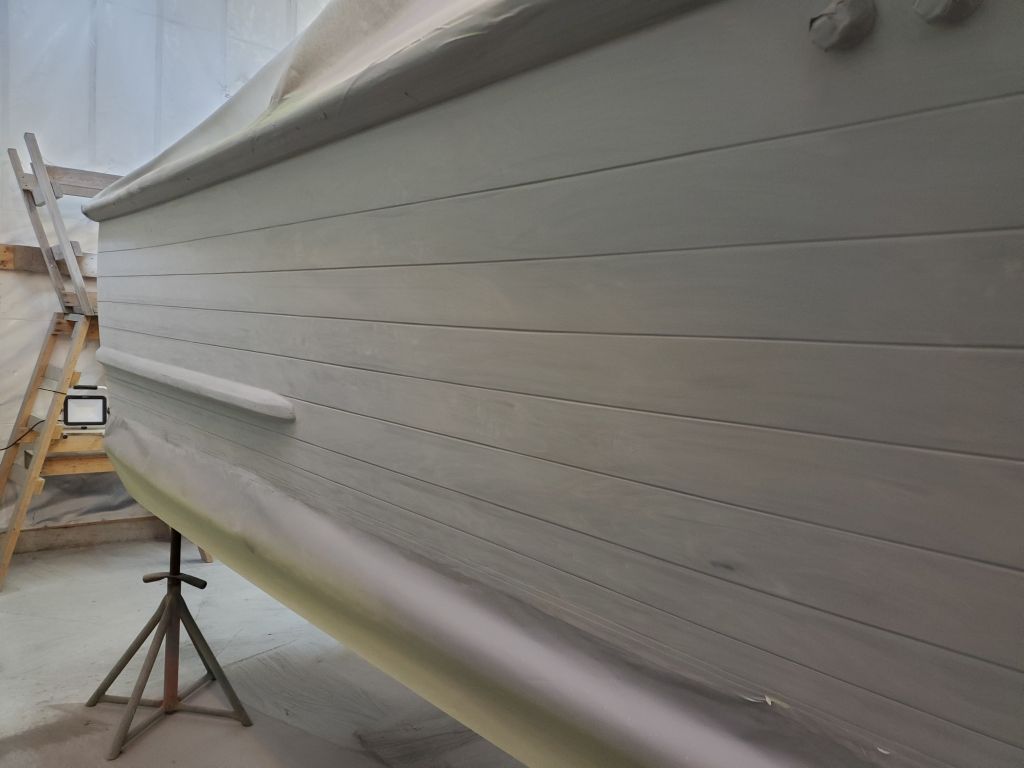
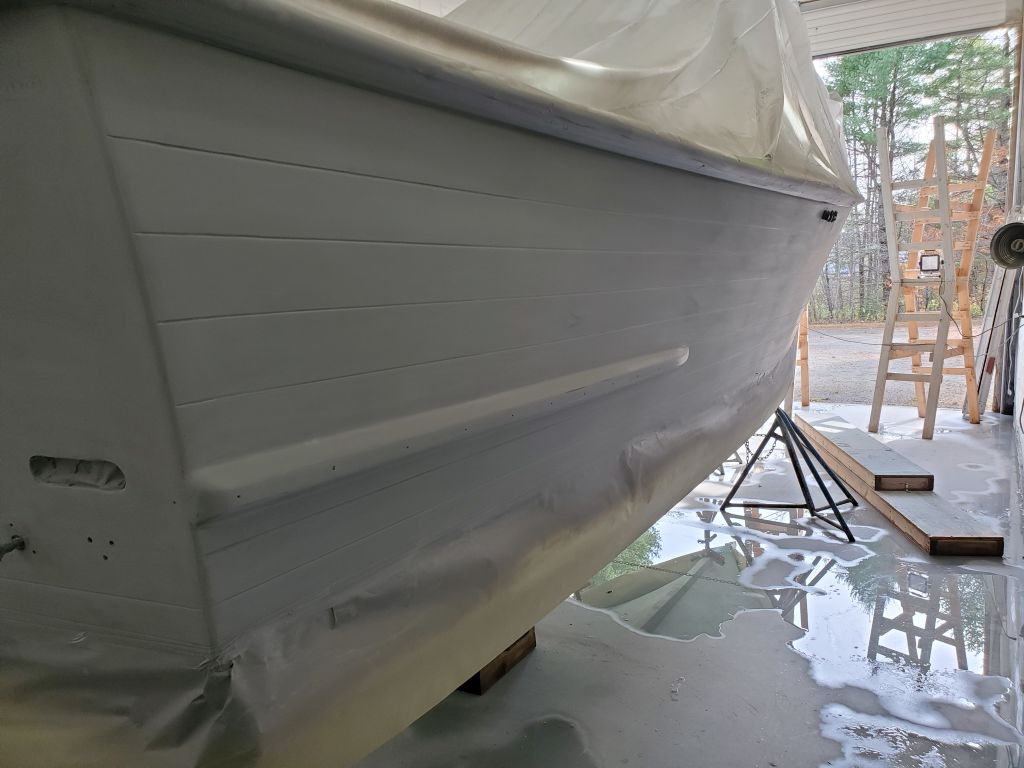
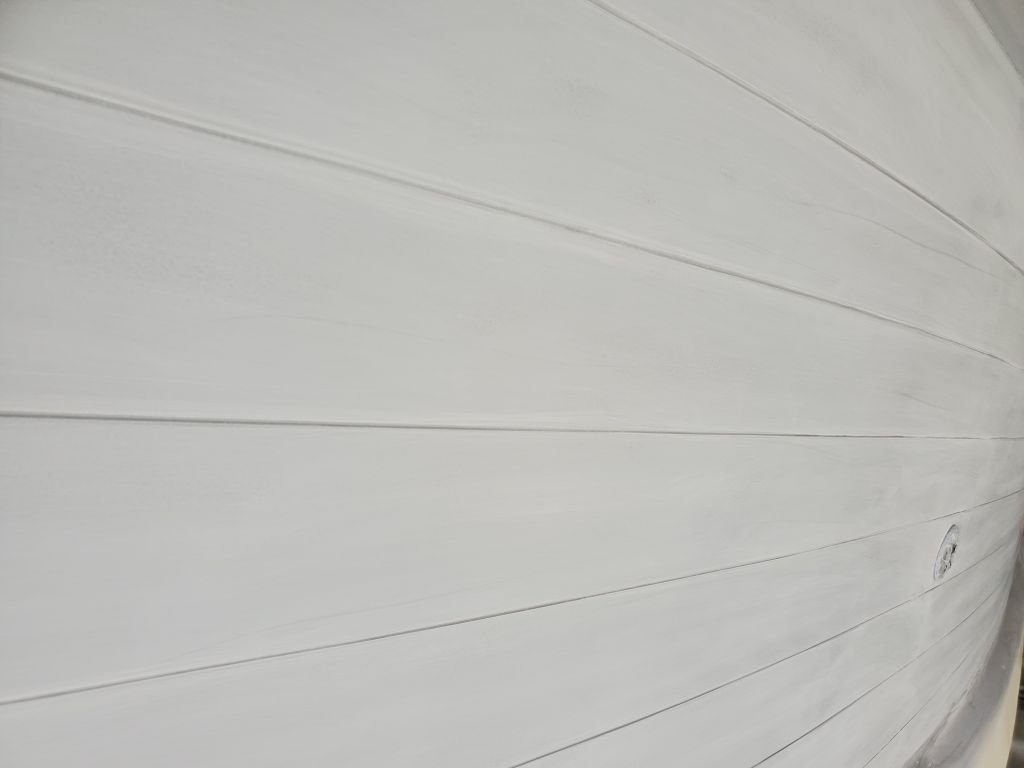
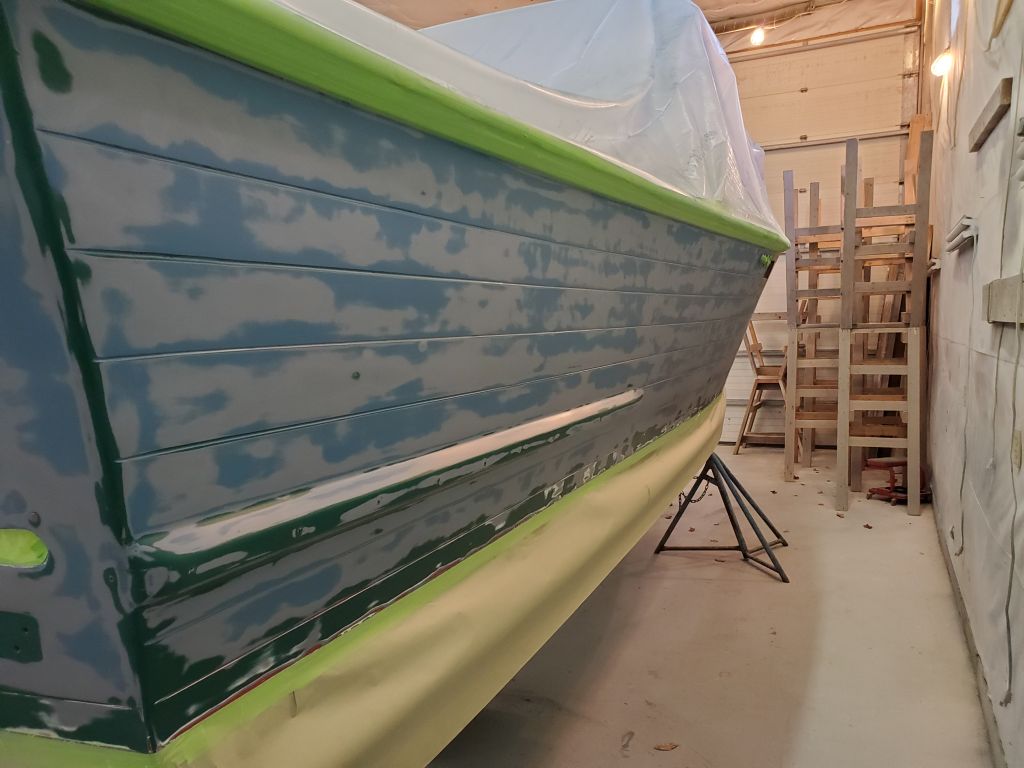
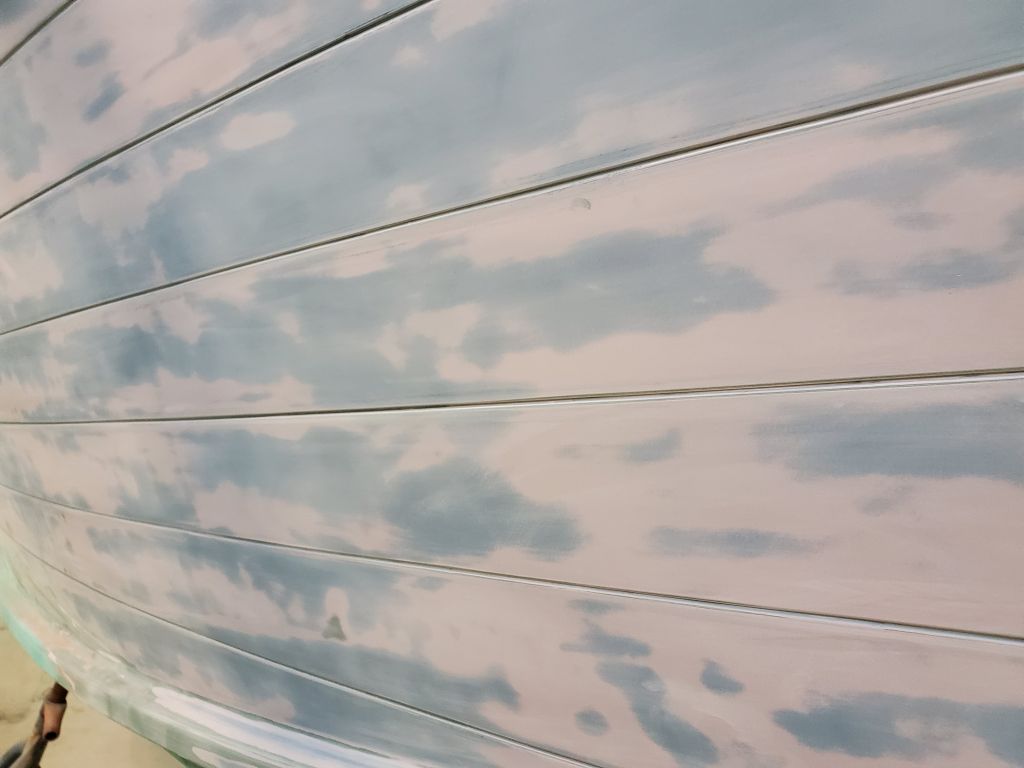
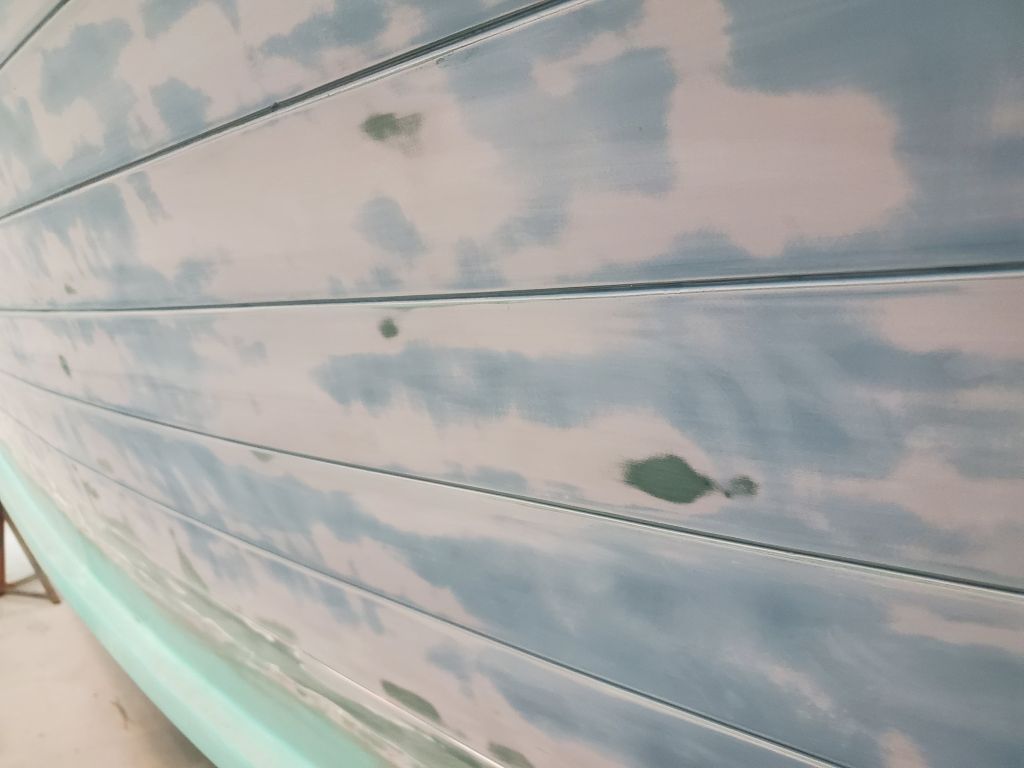
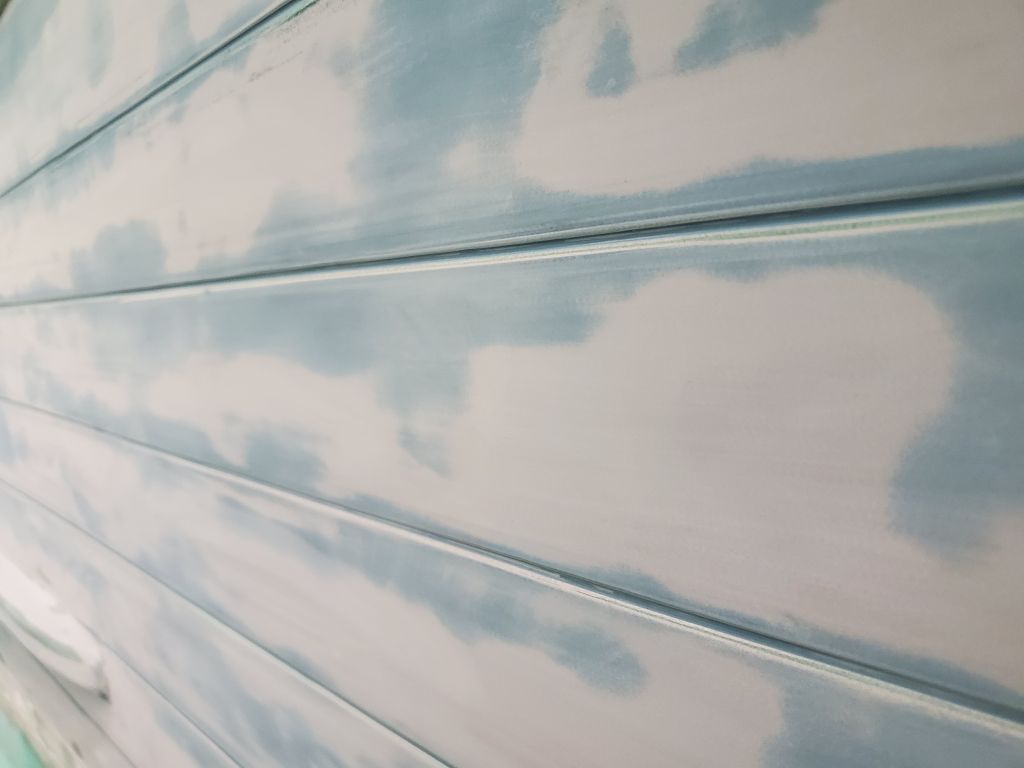
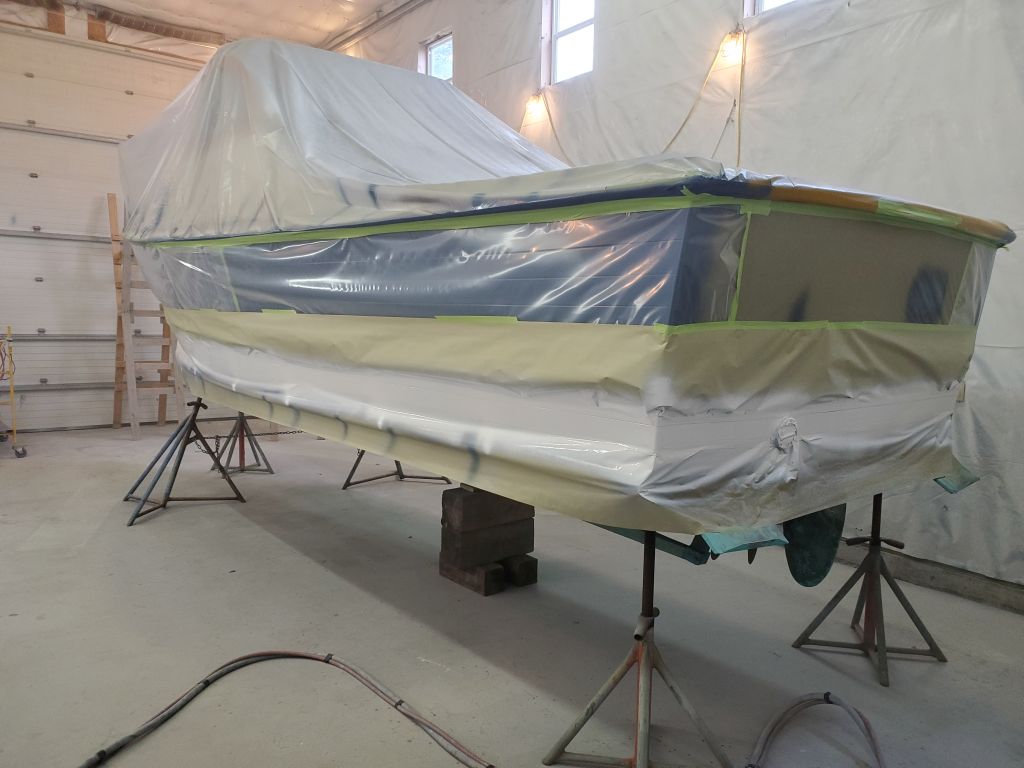
With preparations complete, including solvent wash and tack-off of the boottop area, I applied three coats of Alexseal snow white to the boottop, taking a few elapsed hours to do so.

Total time billed on this job today: 5.5 hours
0600 Weather Observation: 37°, overcast. Forecast for the day: Cloudy with chance of showers, 46°