Wednesday
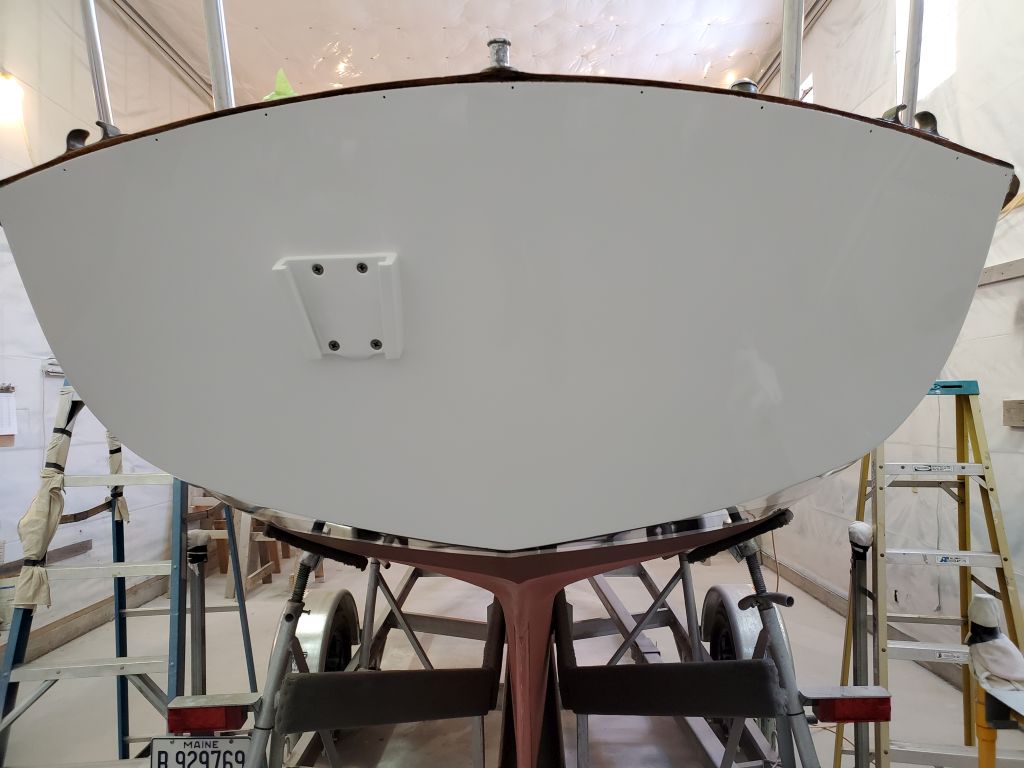
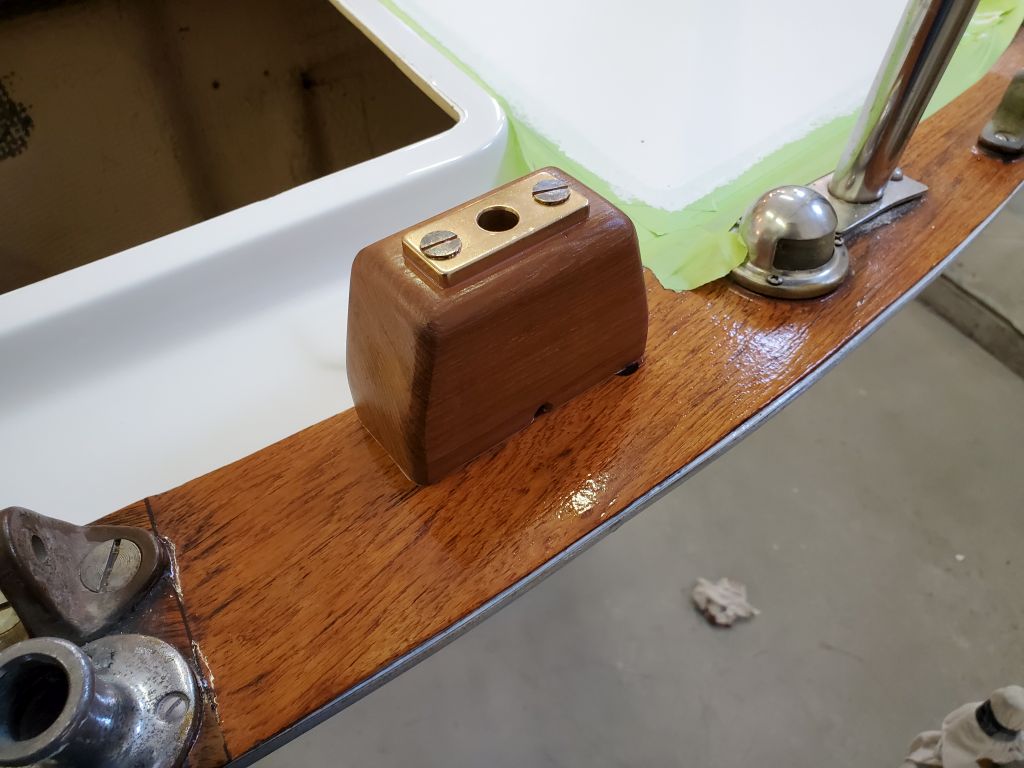
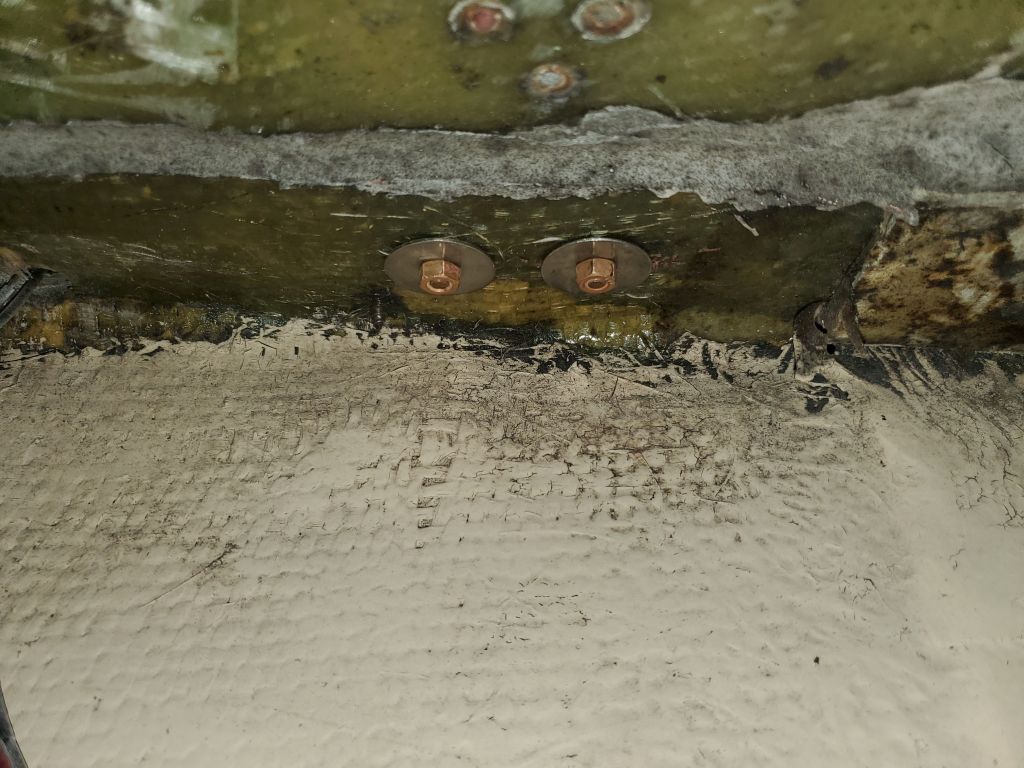
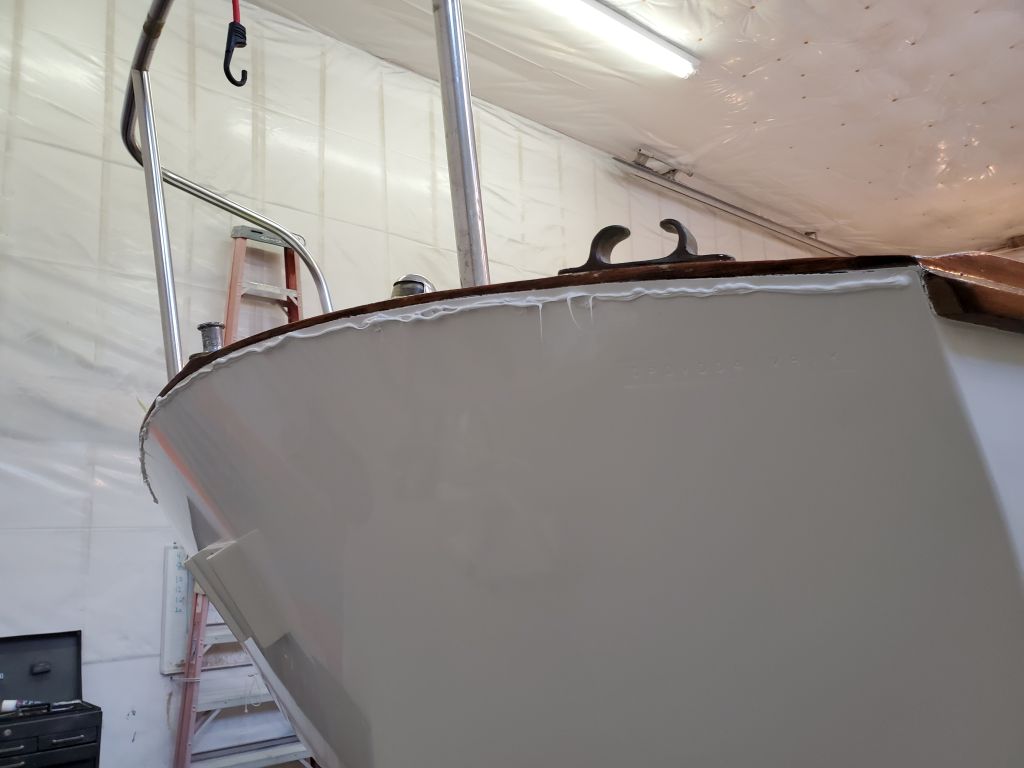
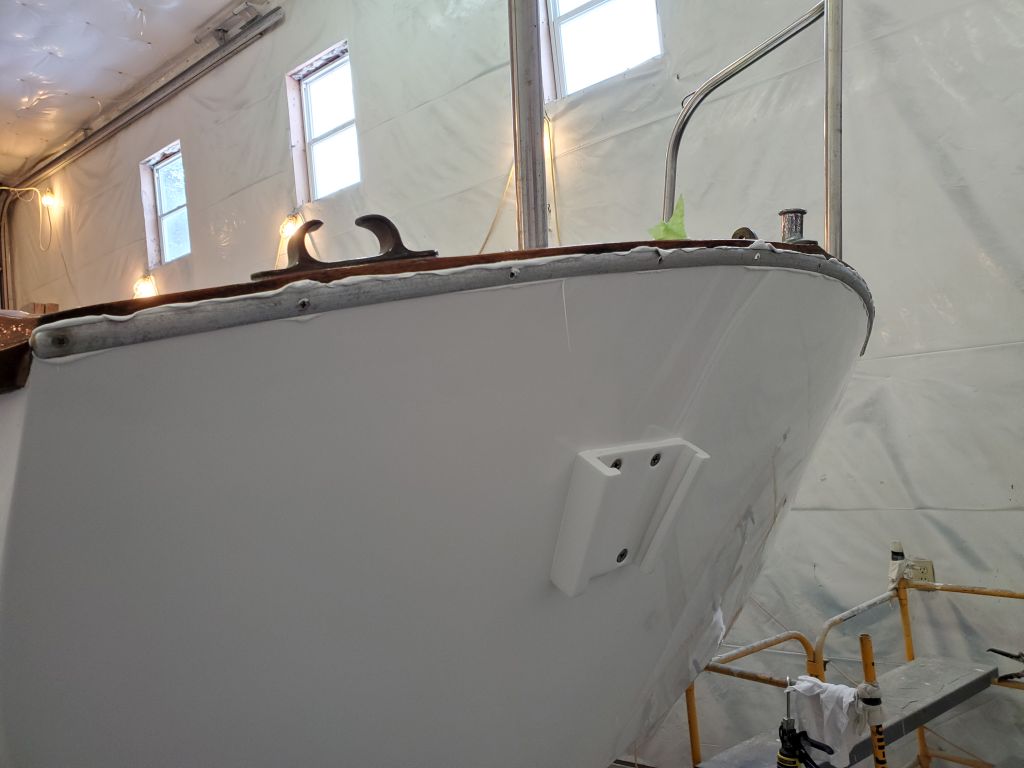
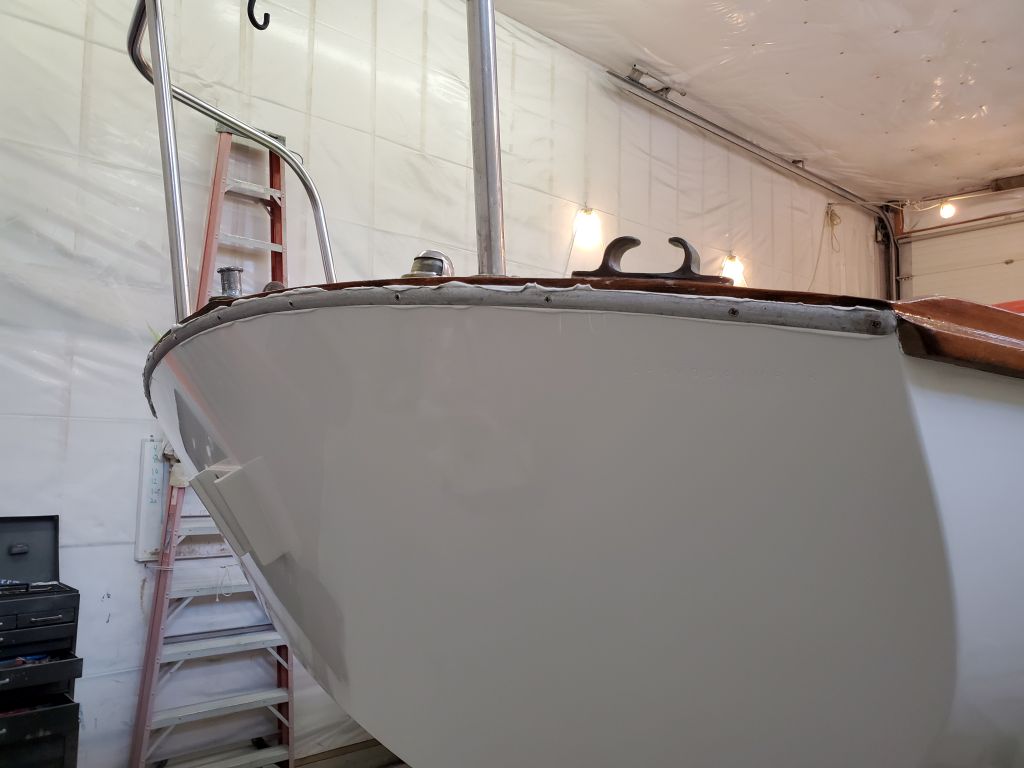
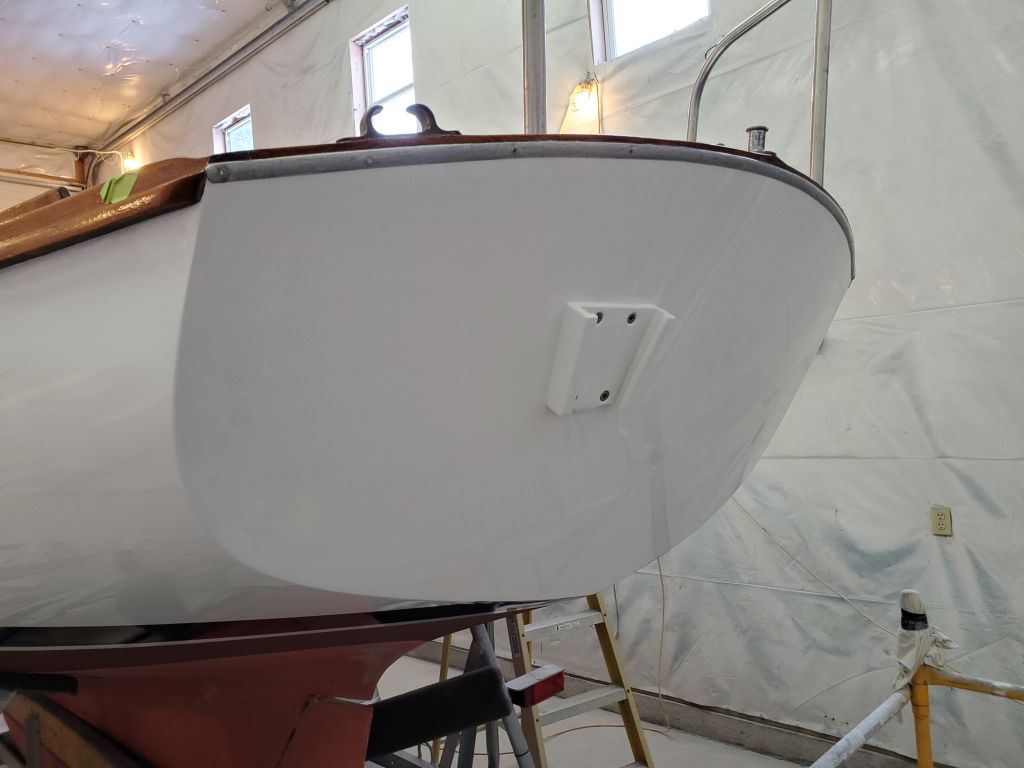
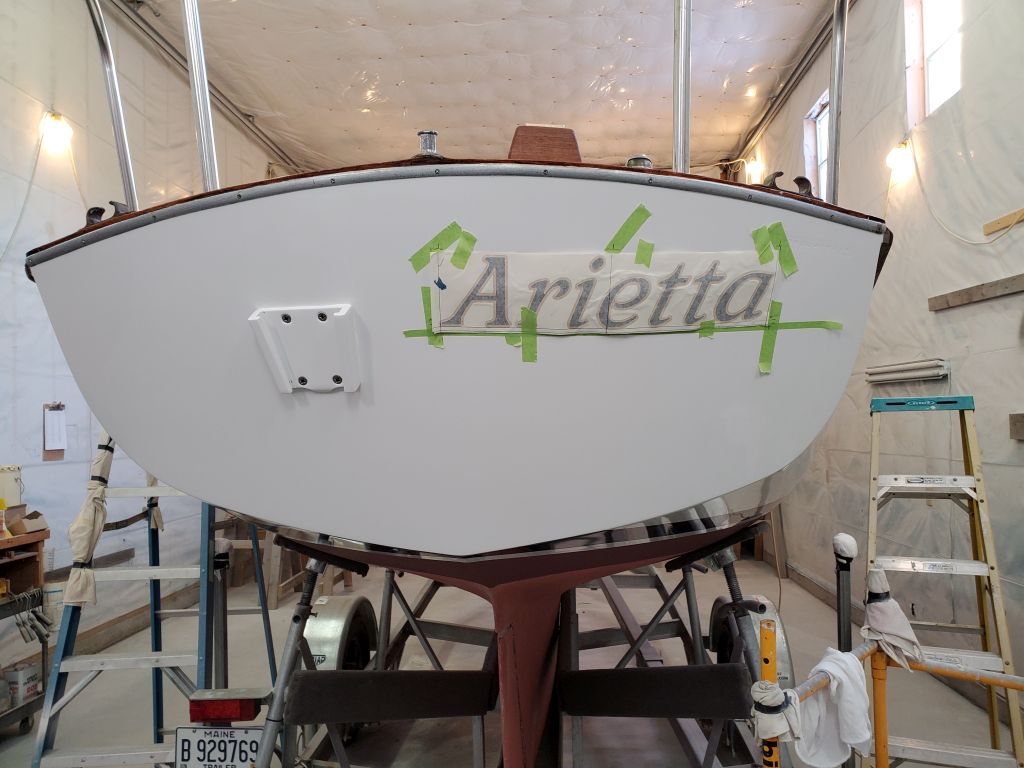
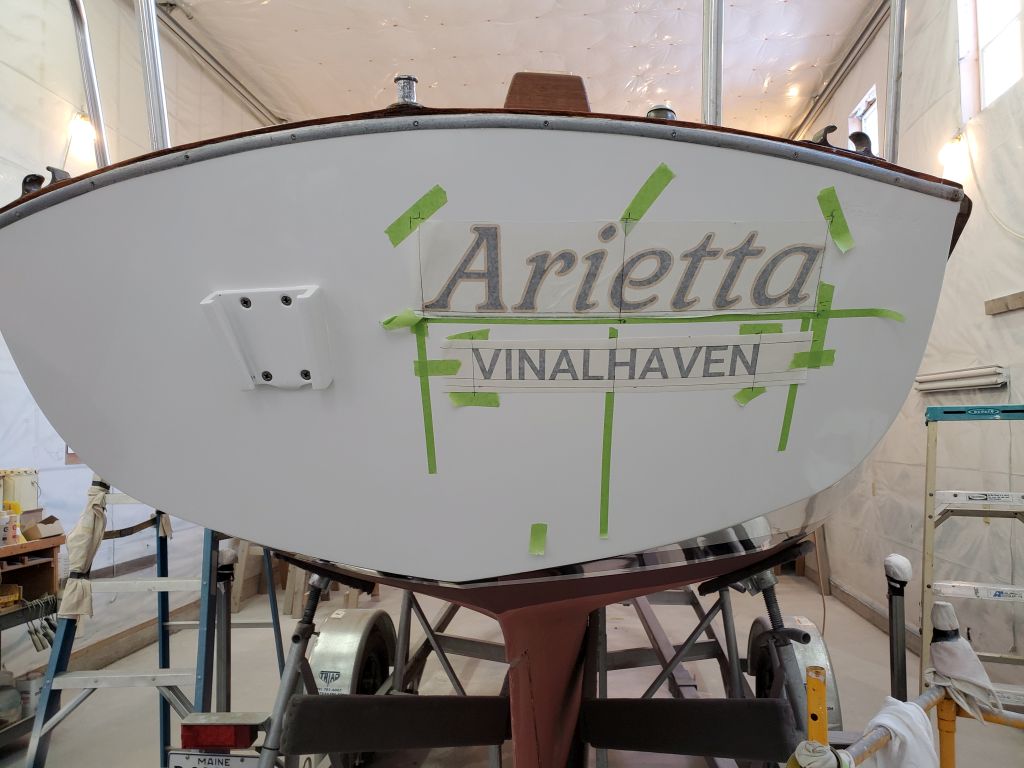
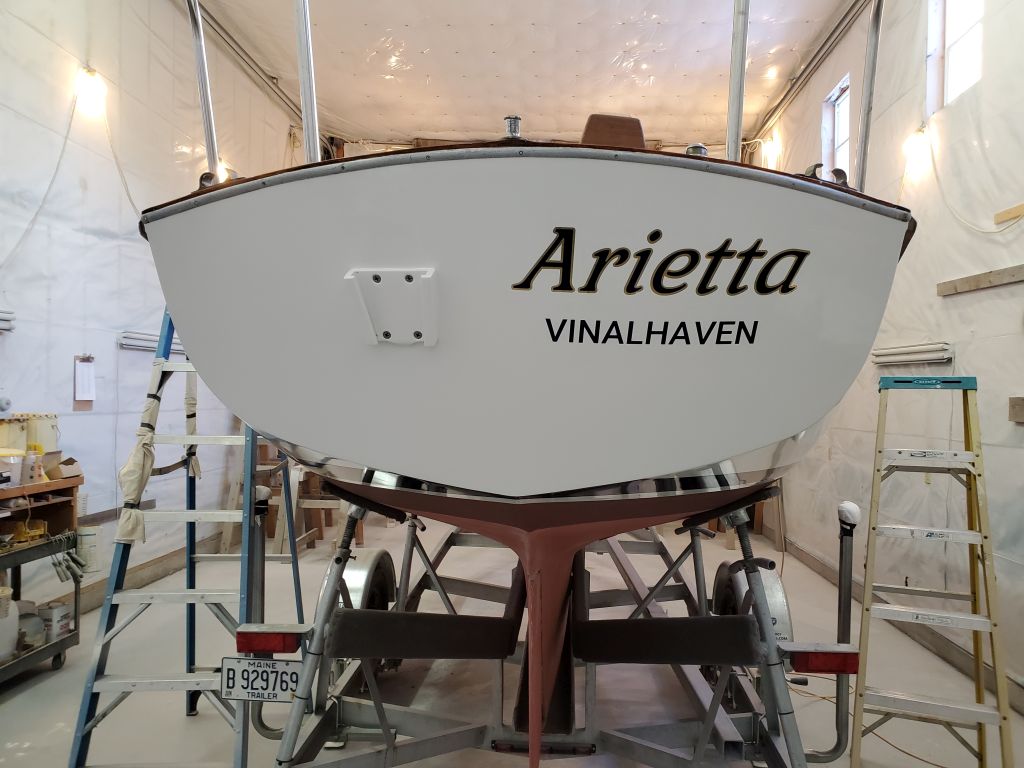
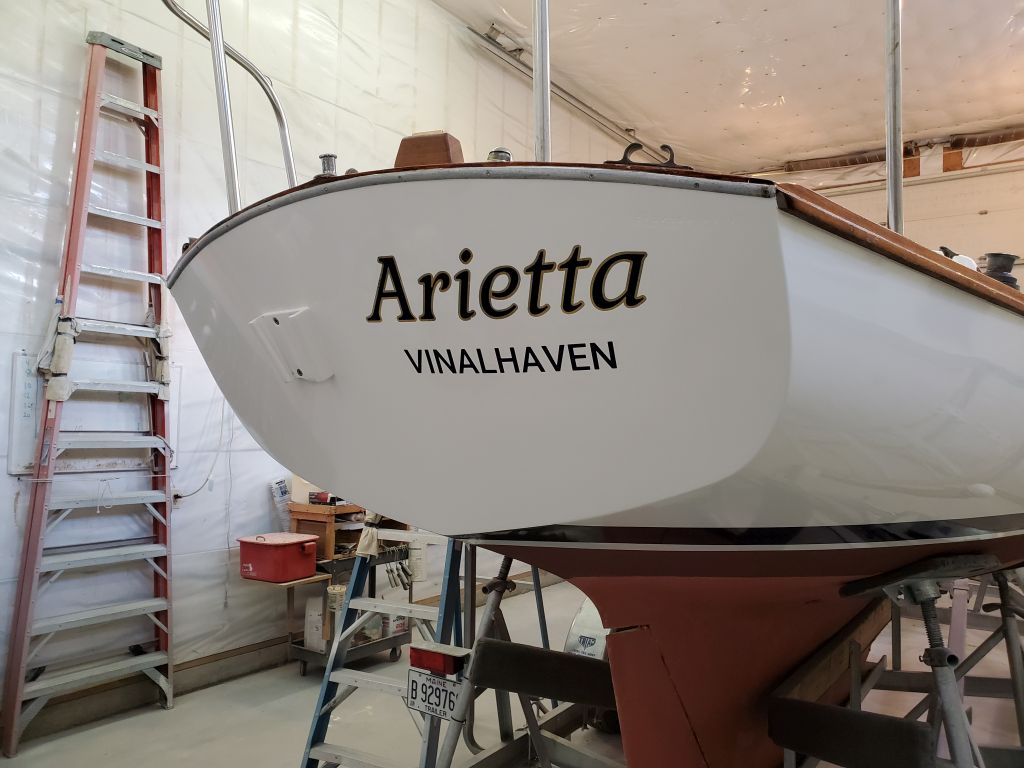
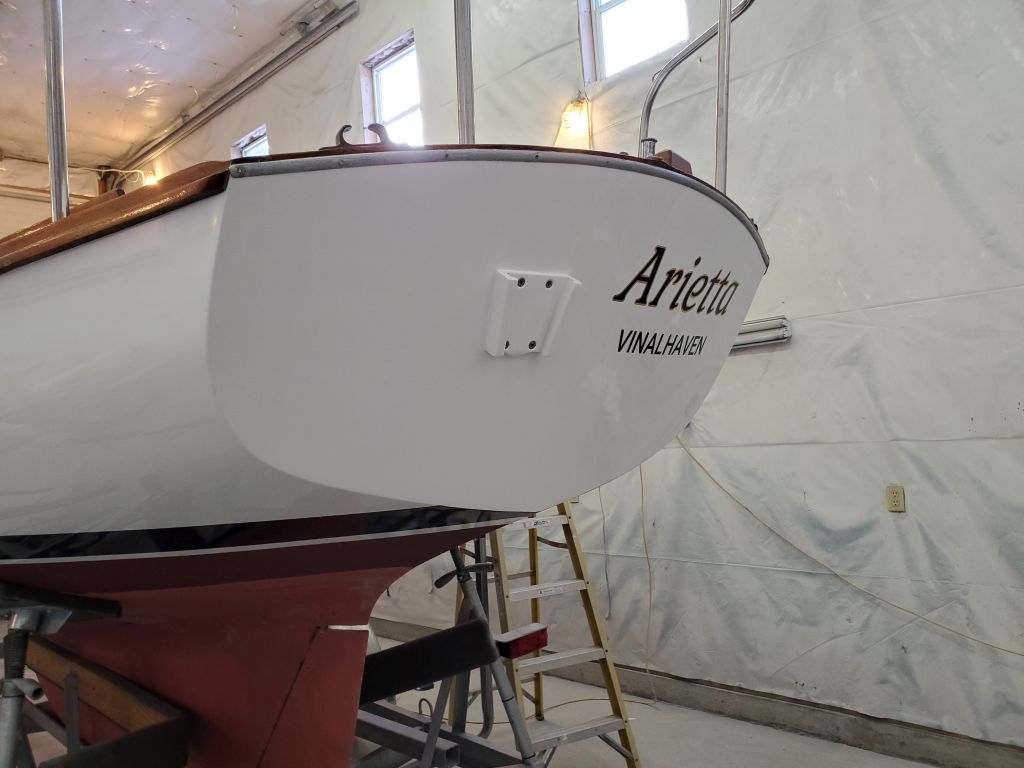
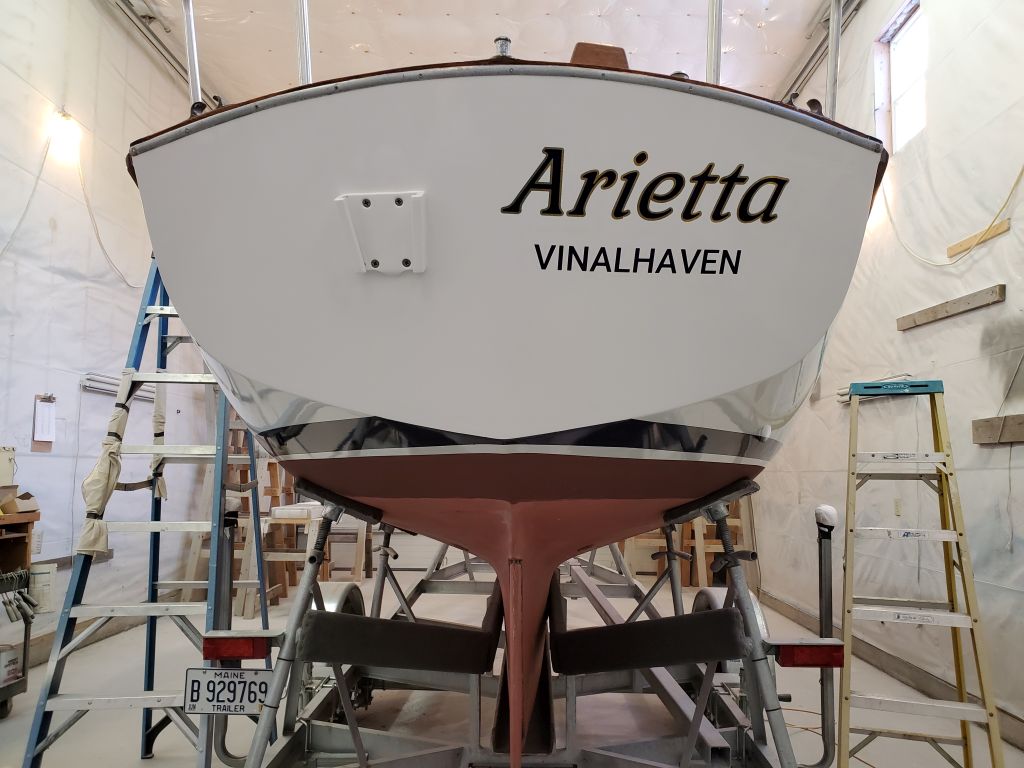
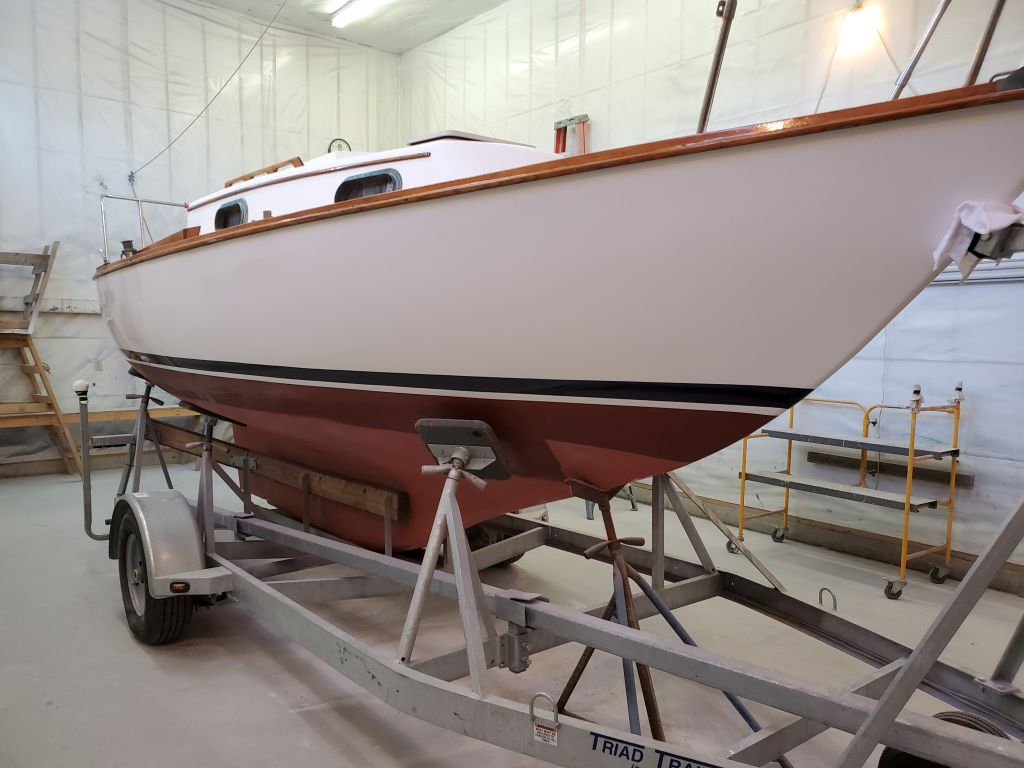
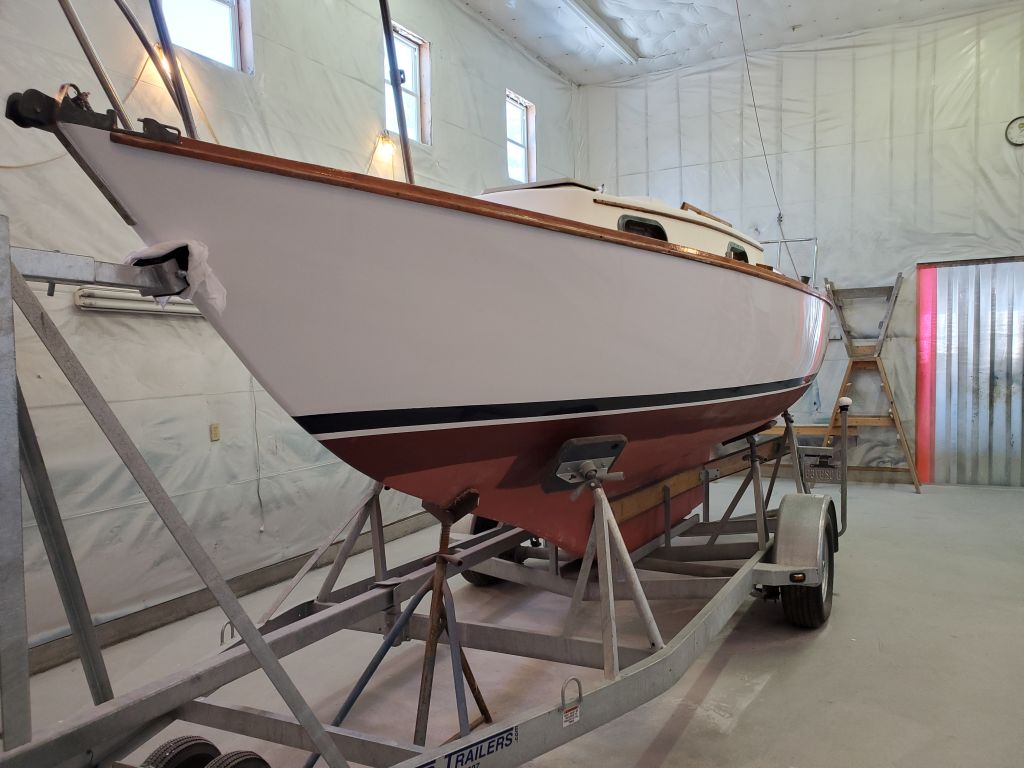
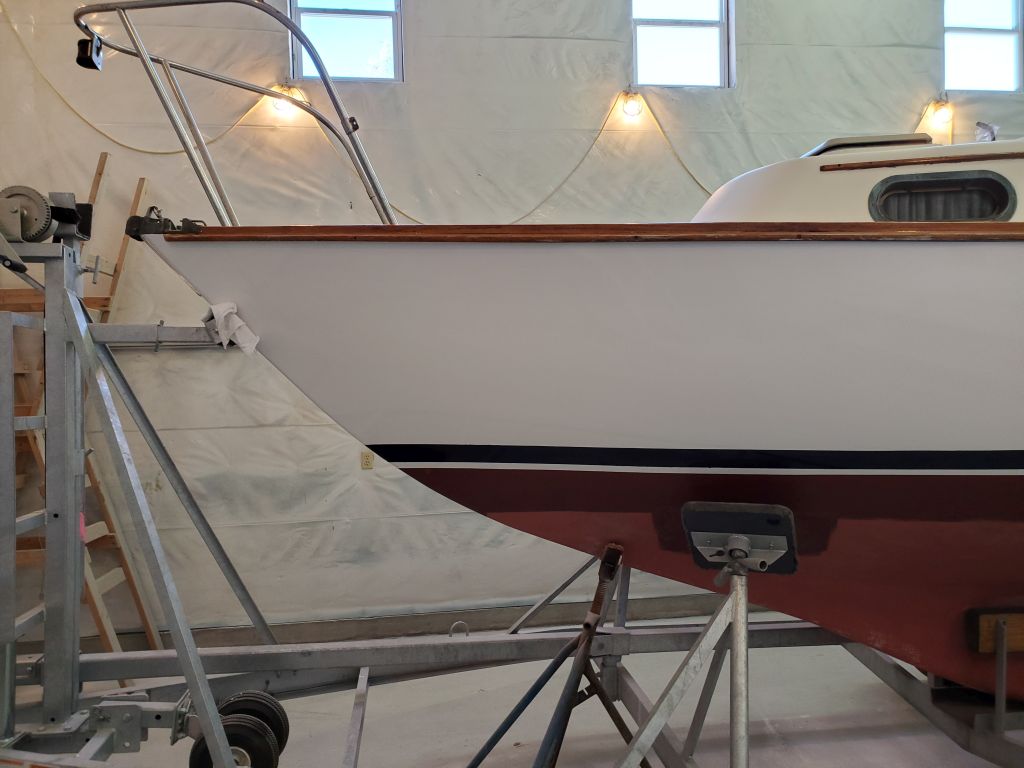
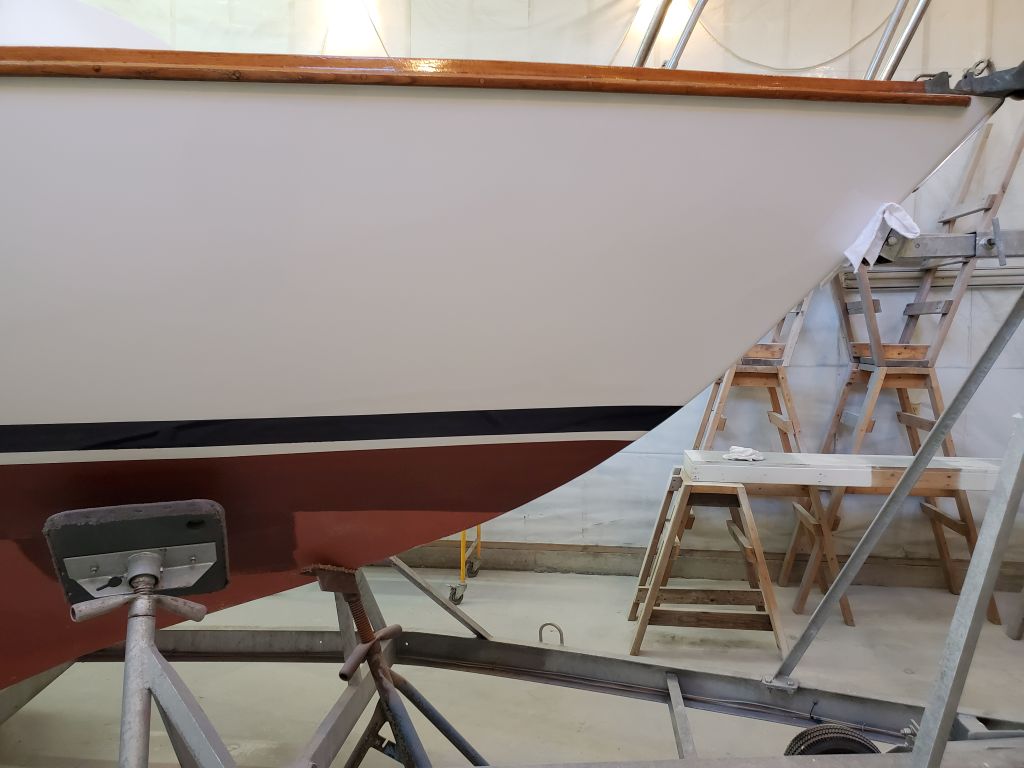
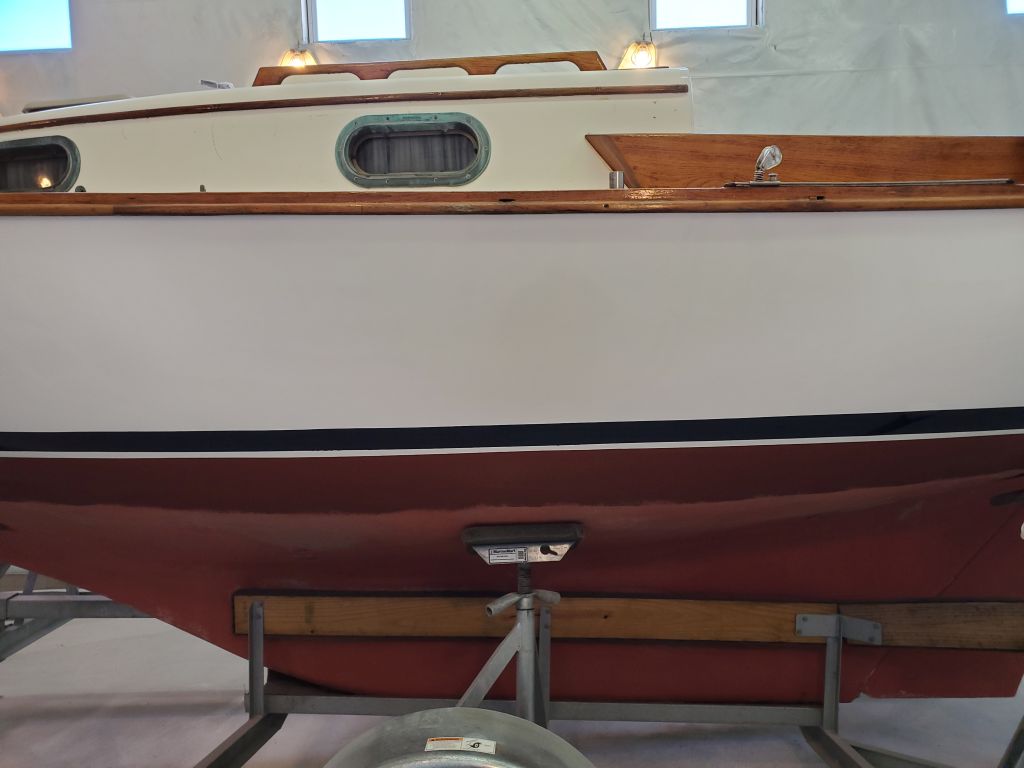
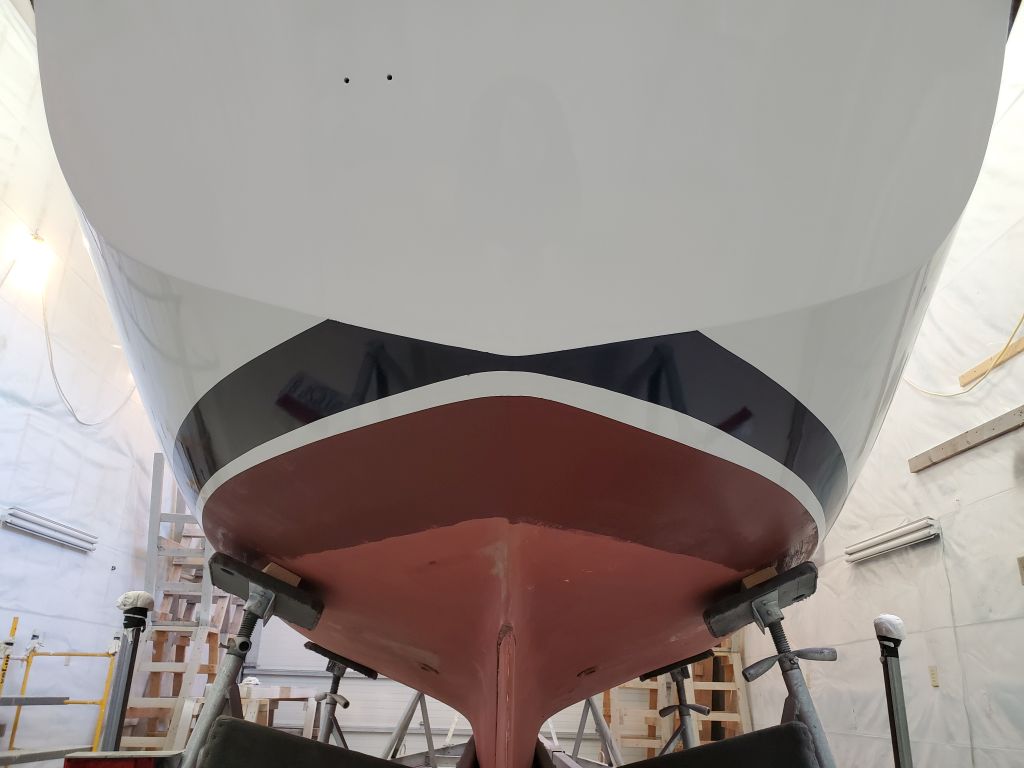
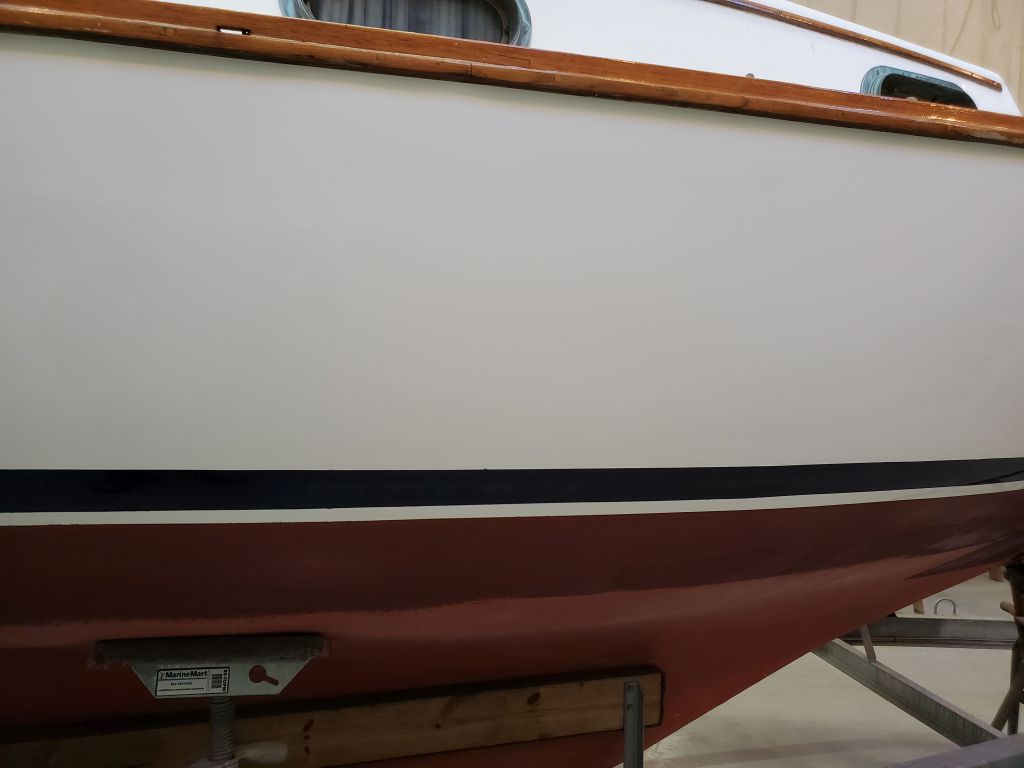
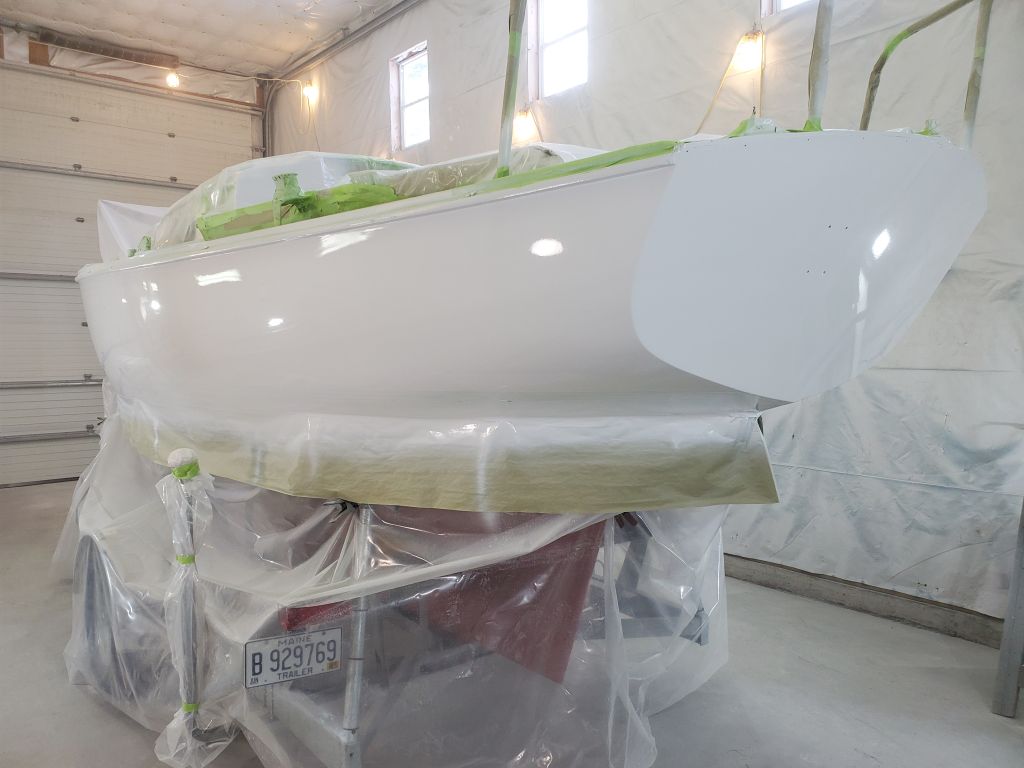
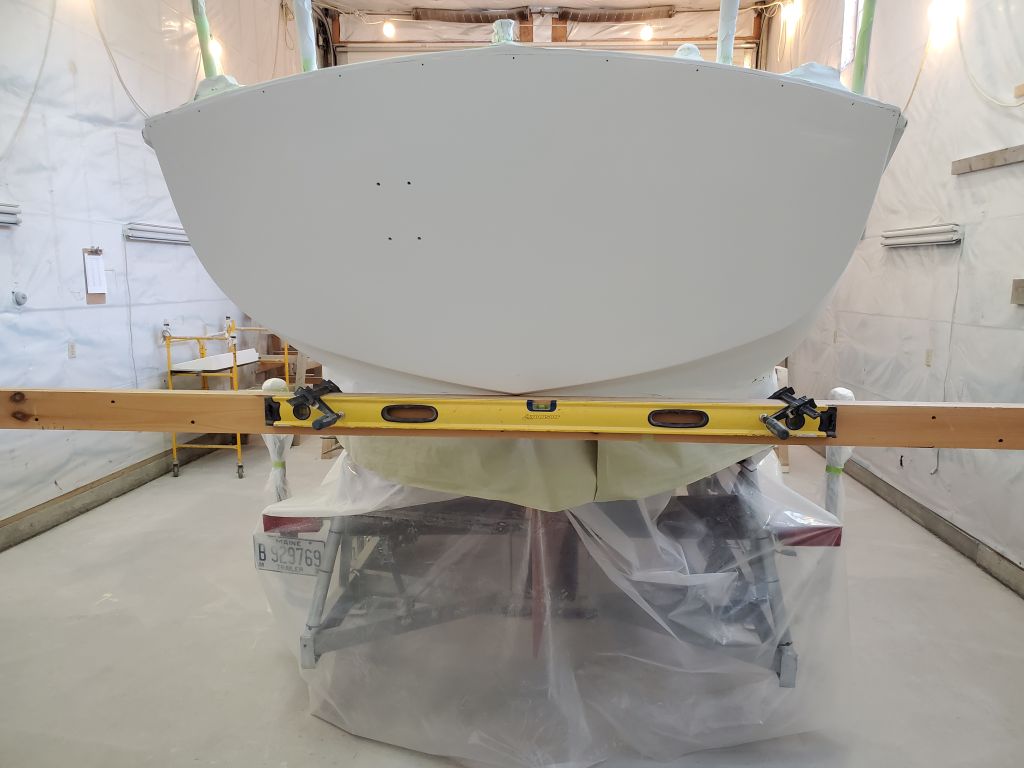
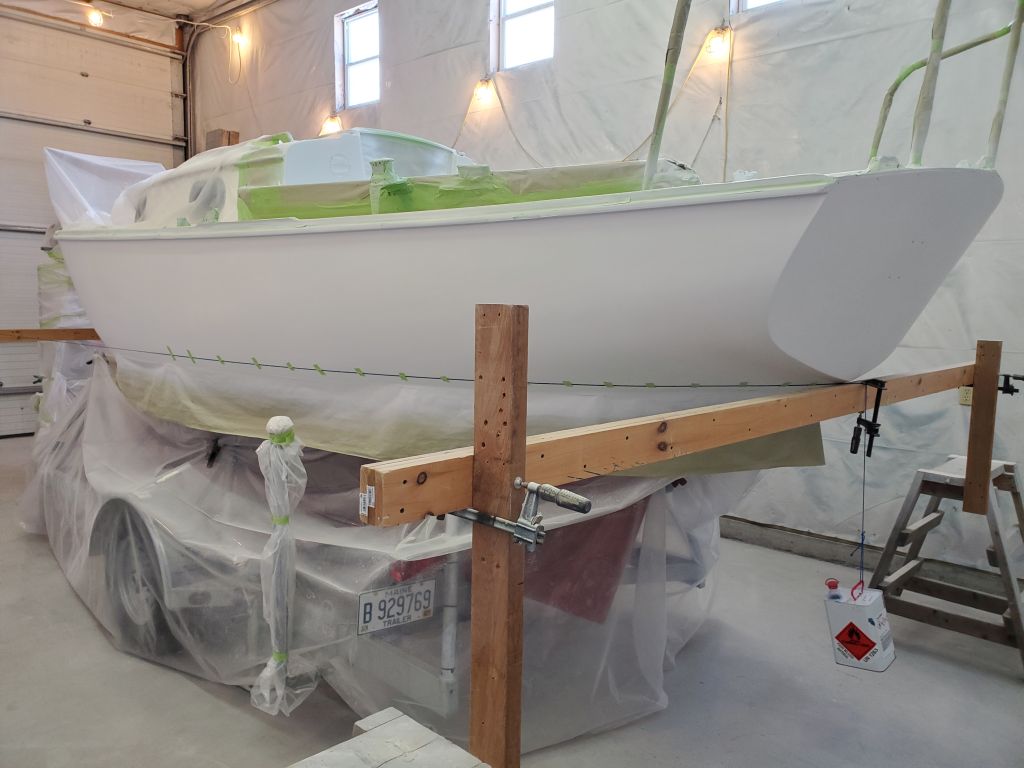
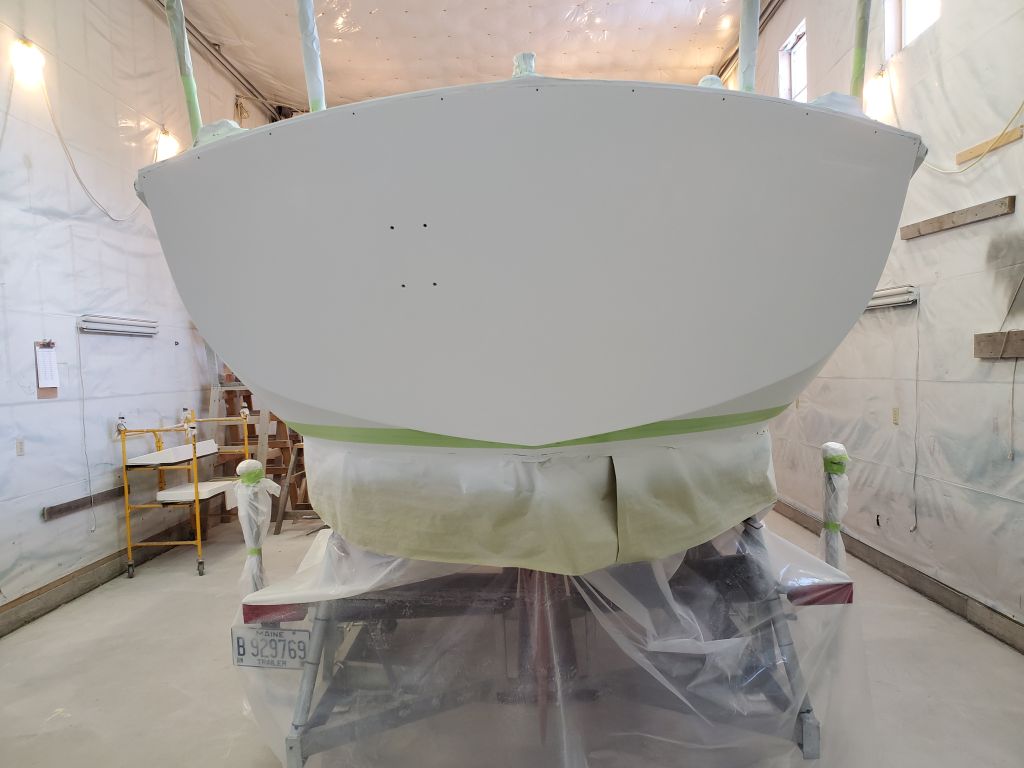
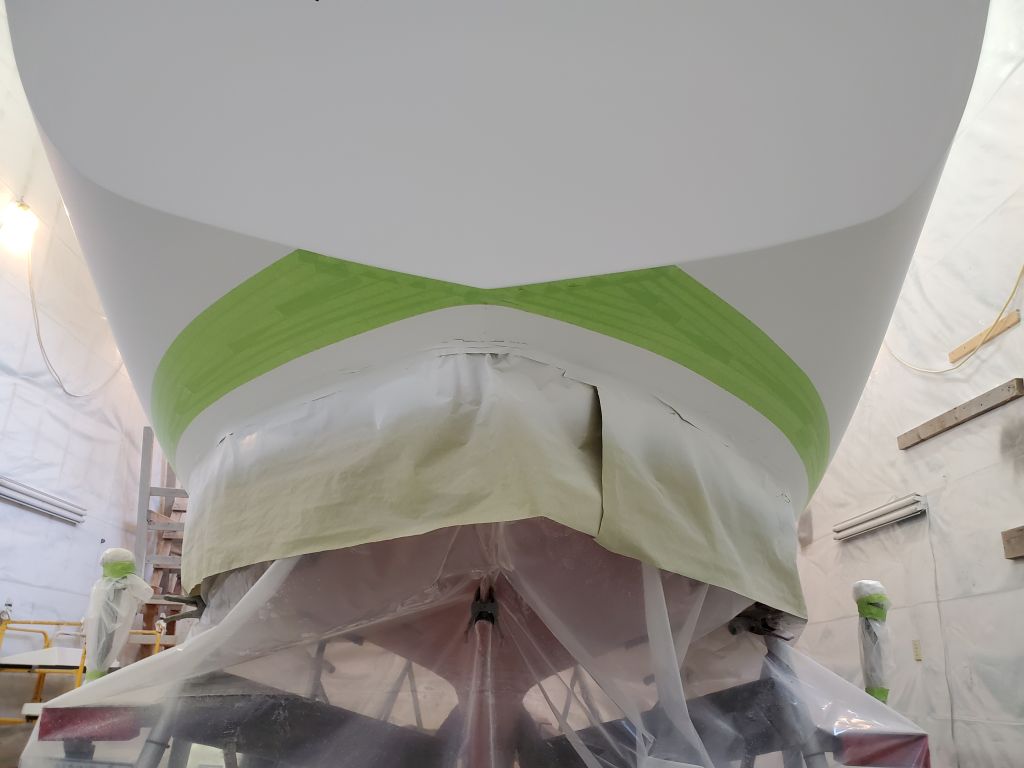
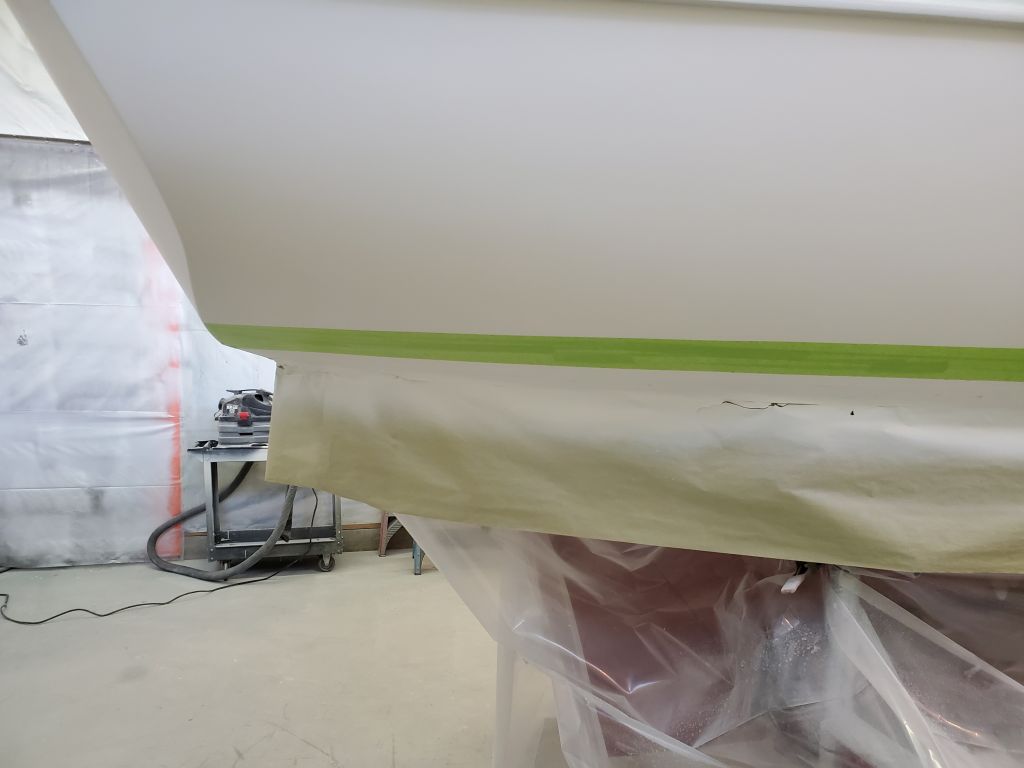
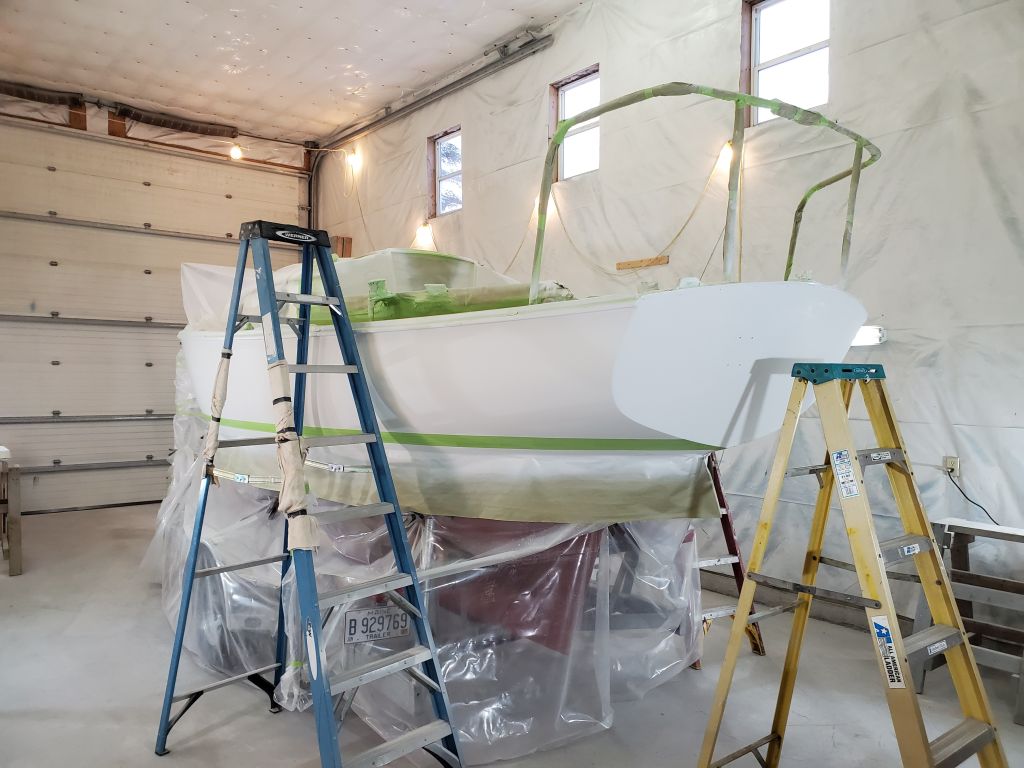
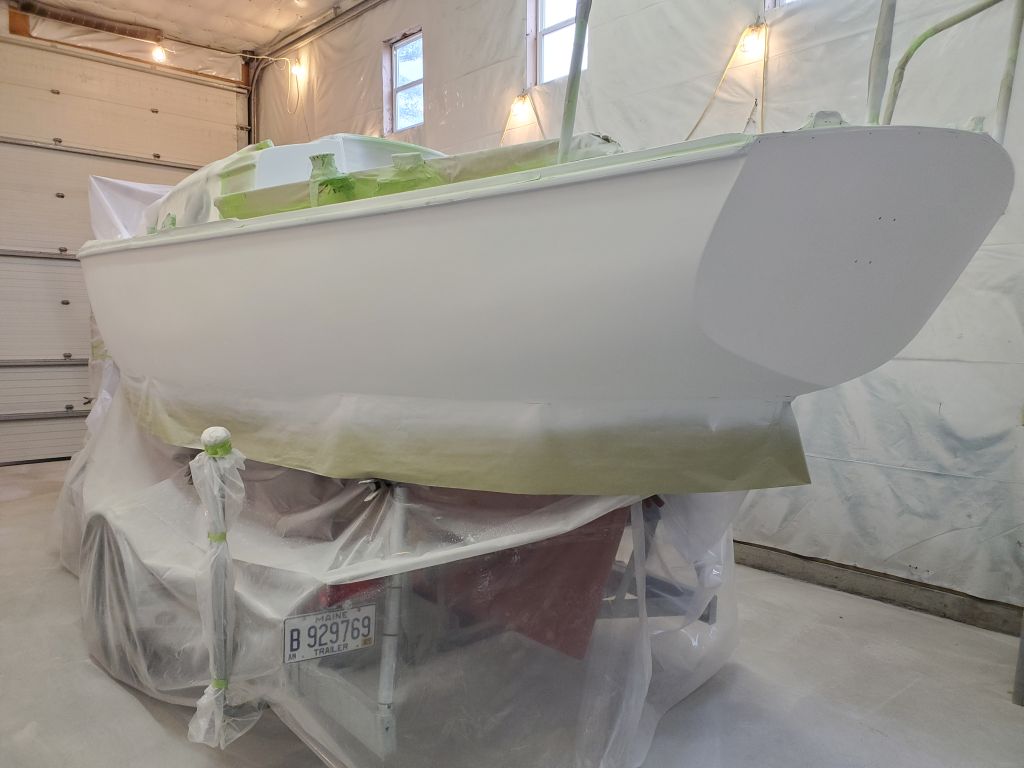
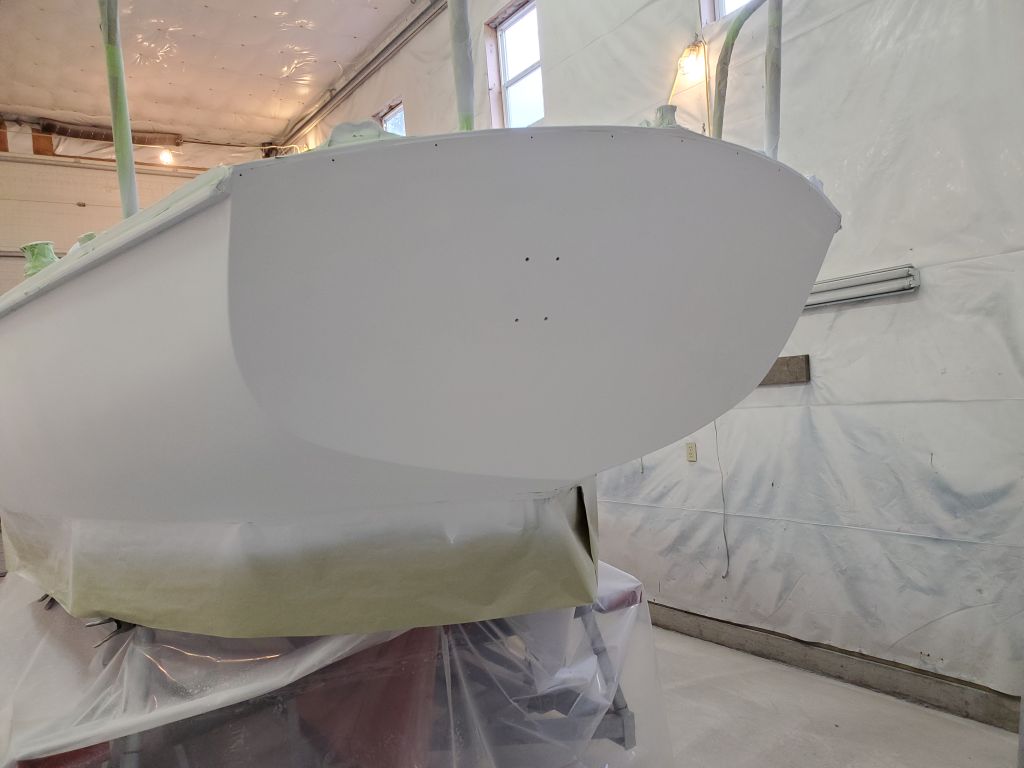
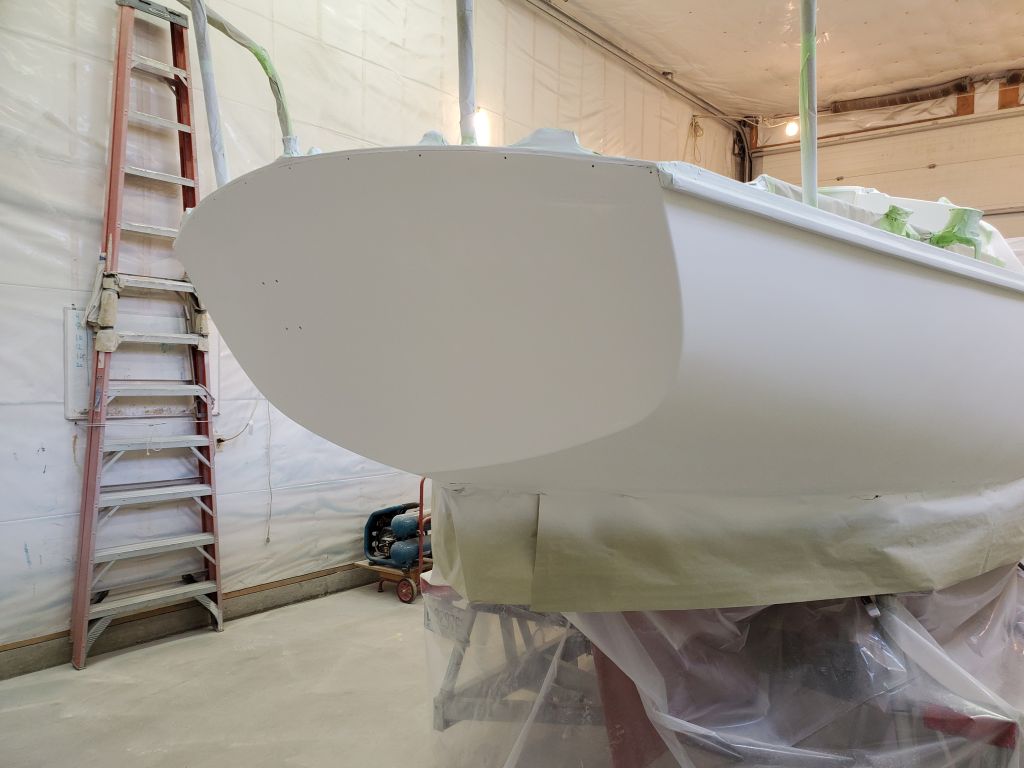
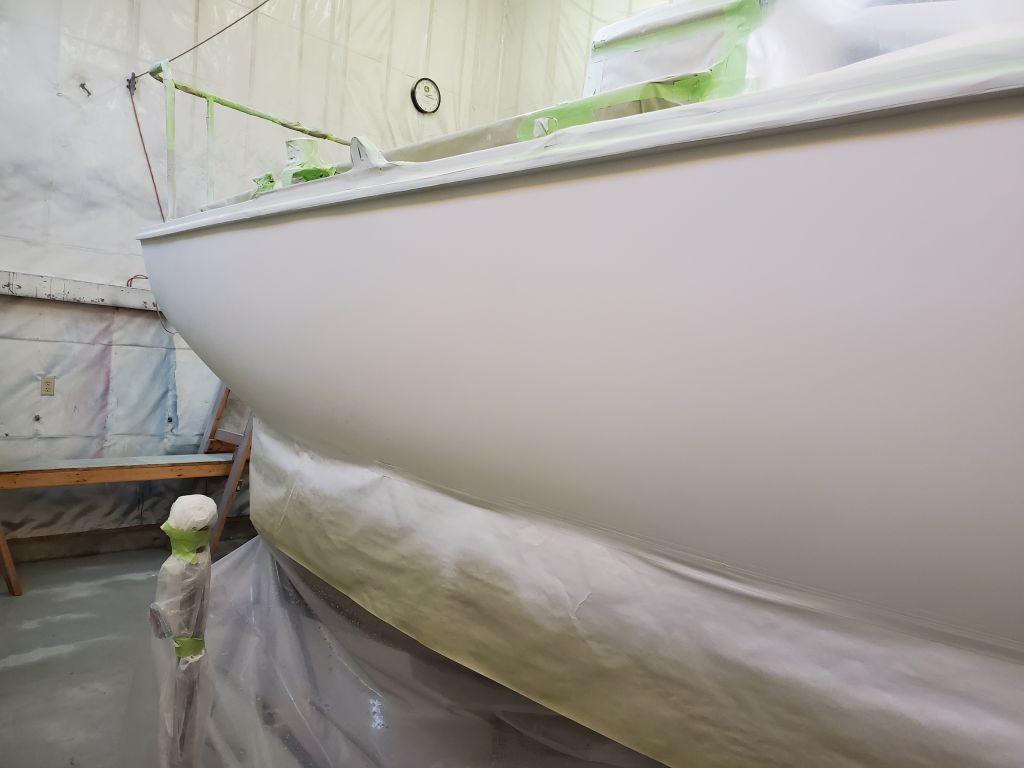
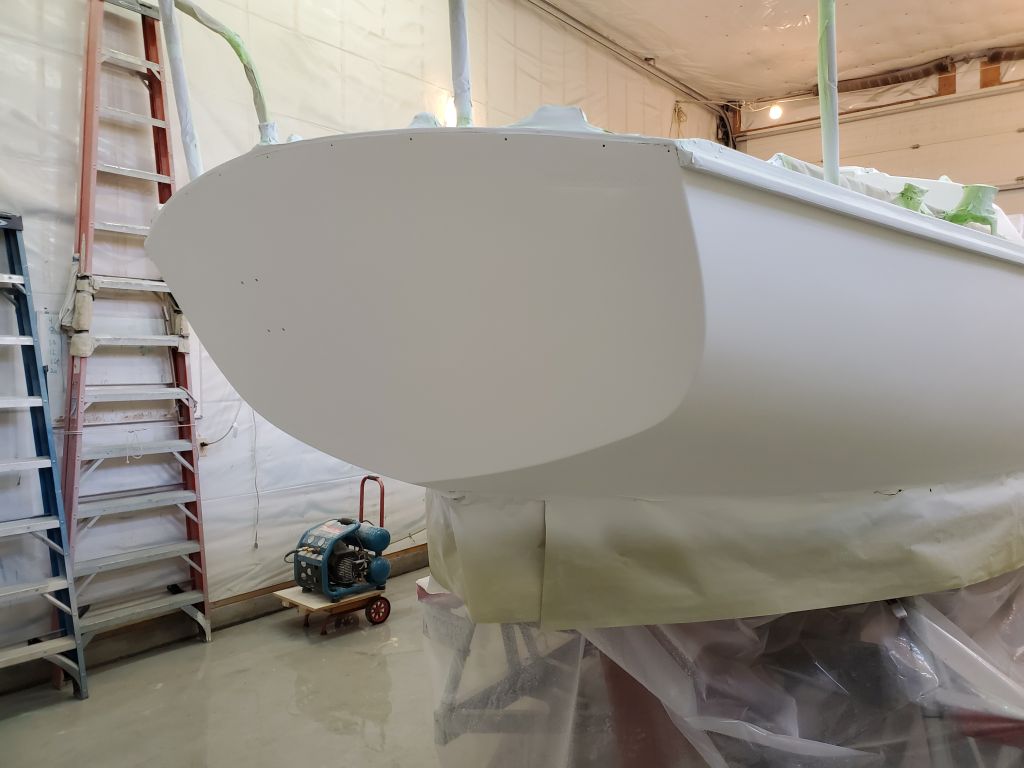
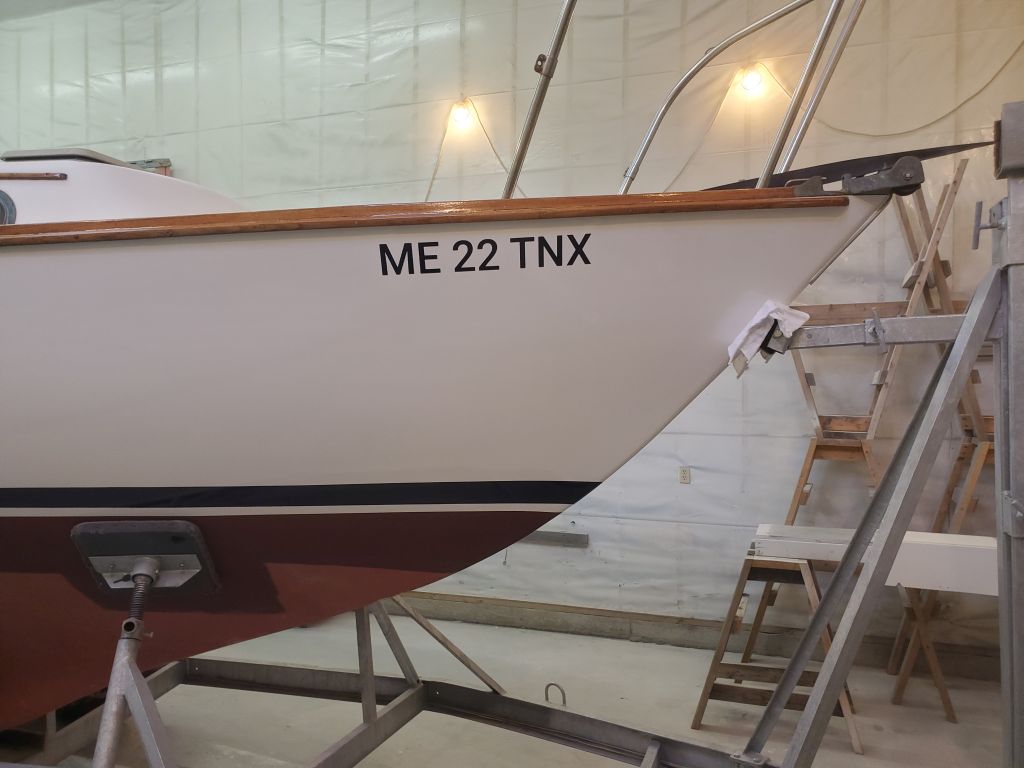
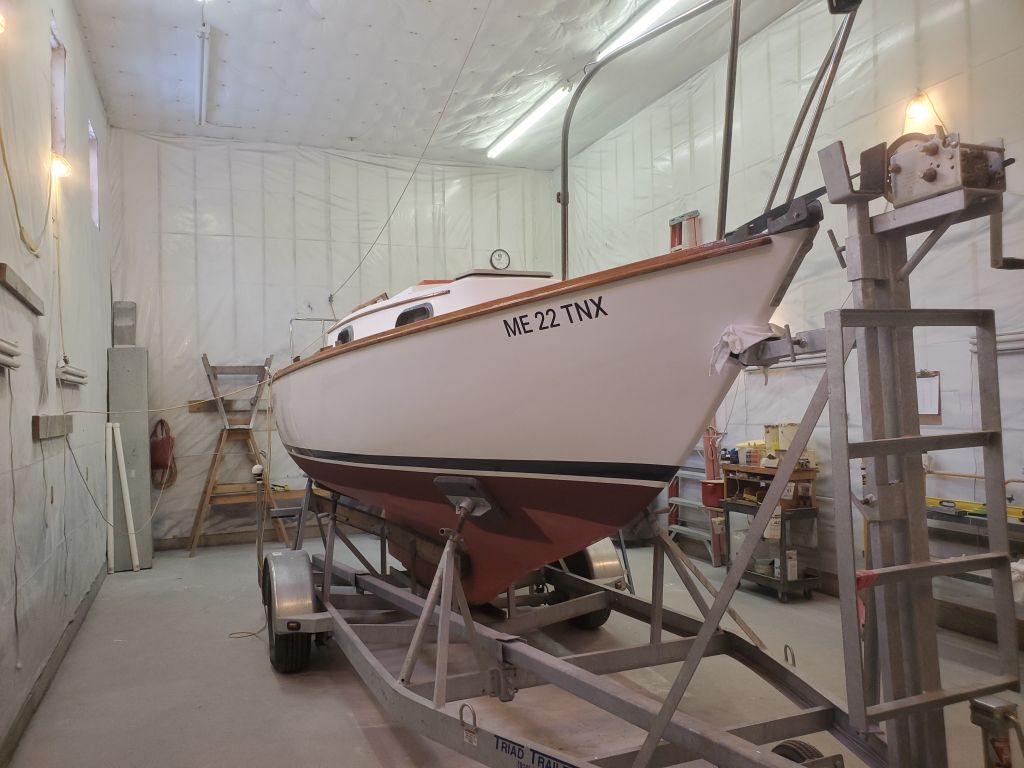
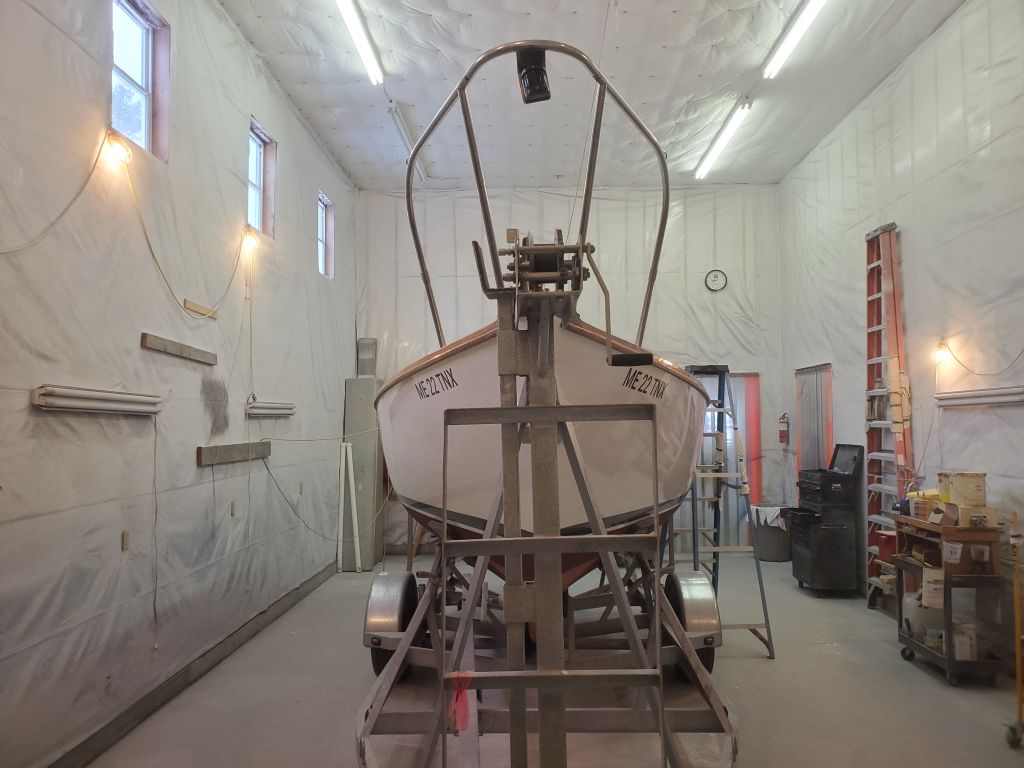
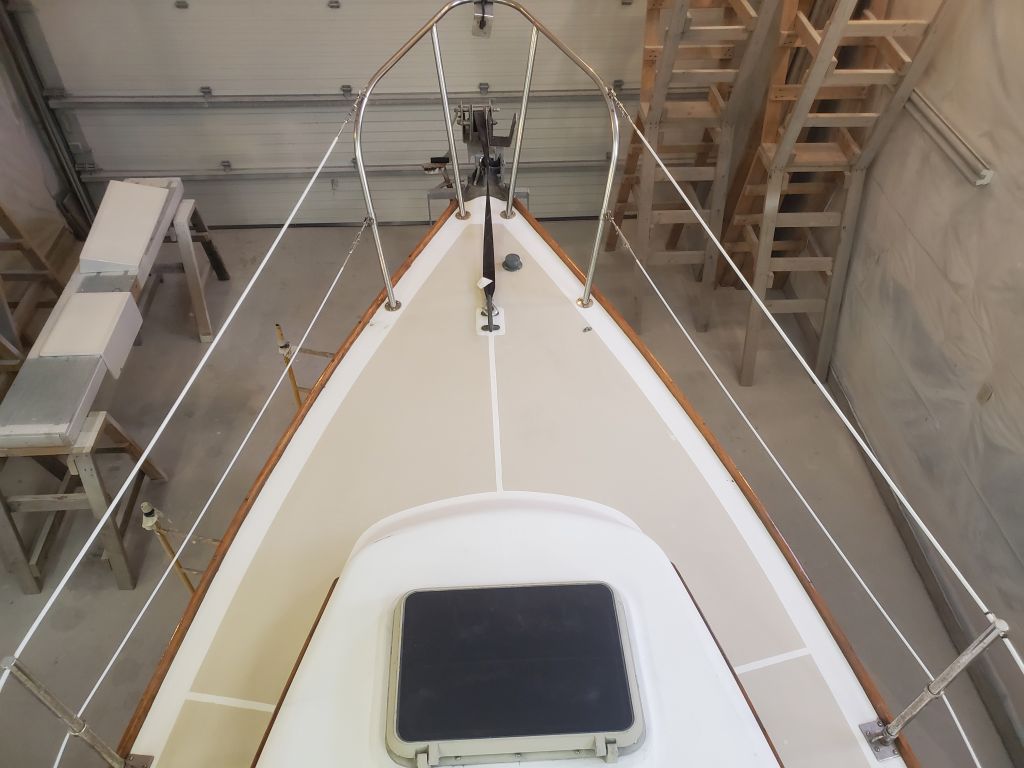
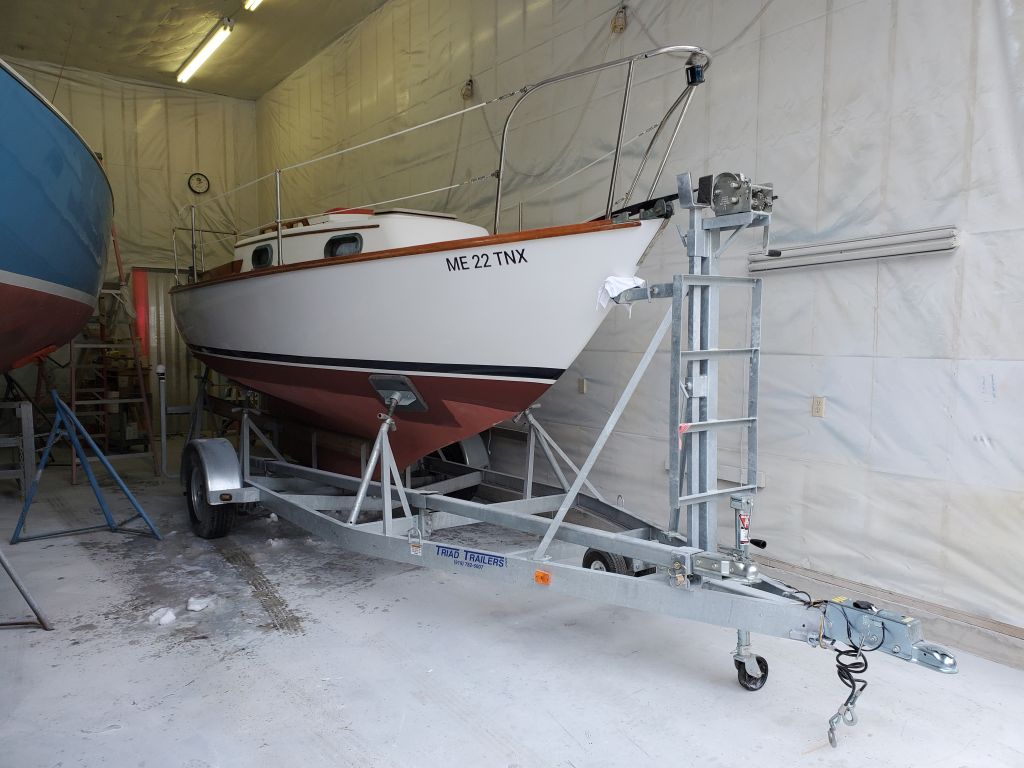
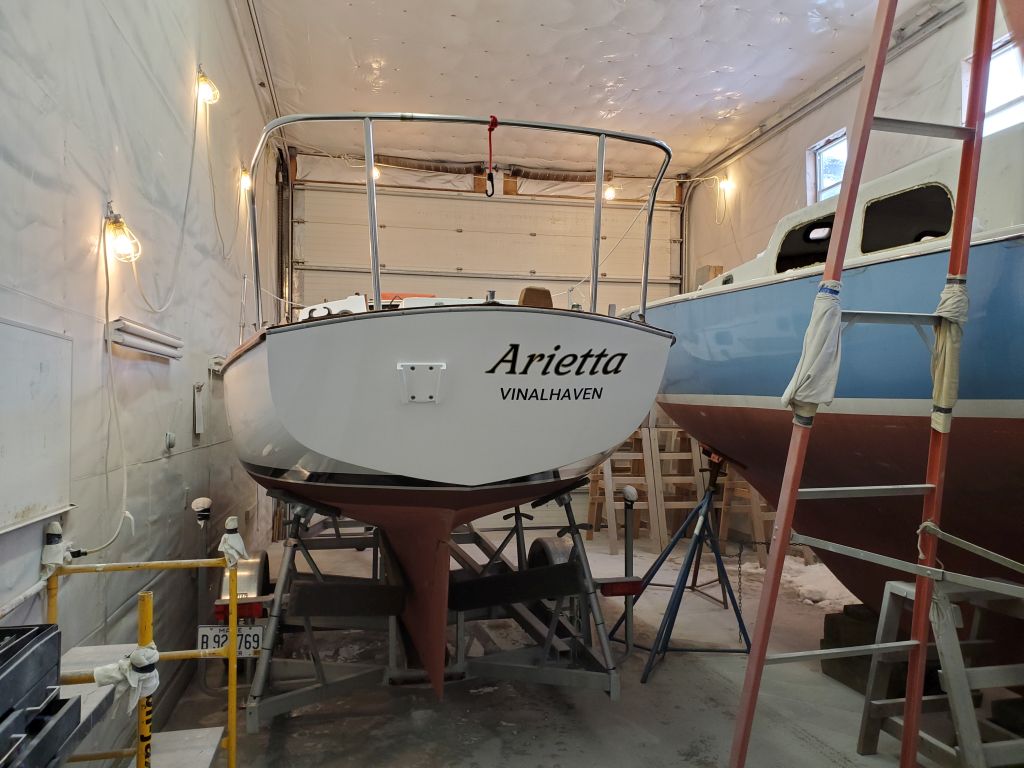
At the bow, I installed the newly-made registration numbers, locating them about 27-1/4″ aft of the stem on each side, which corresponded roughly with the cutwater below.

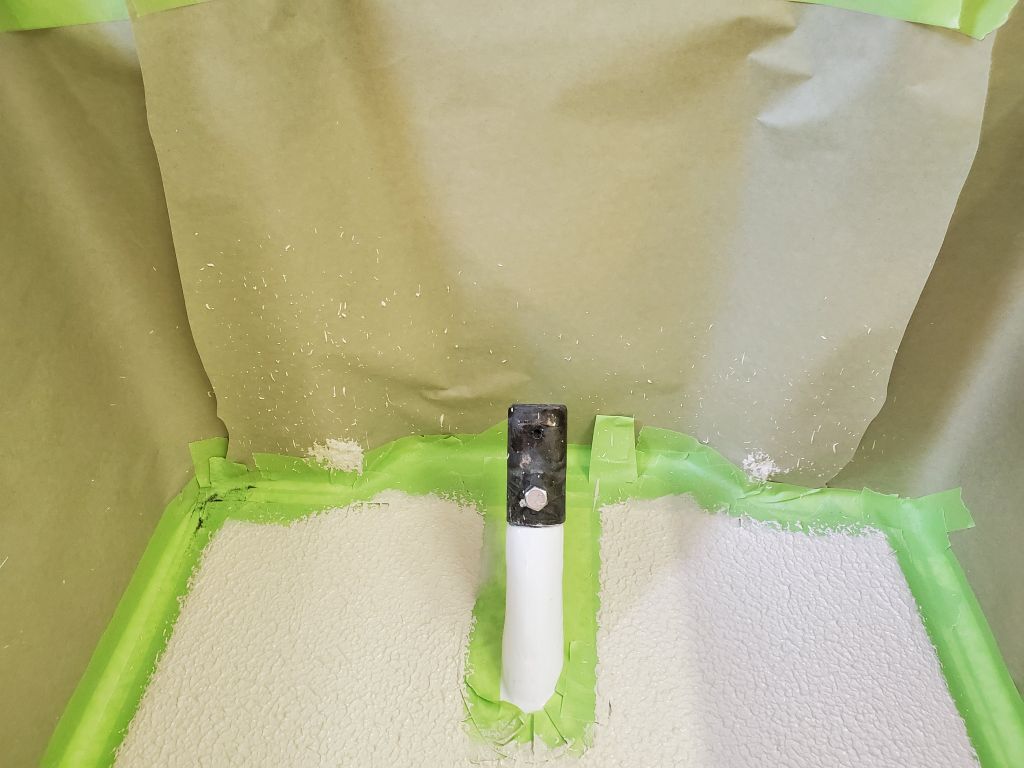
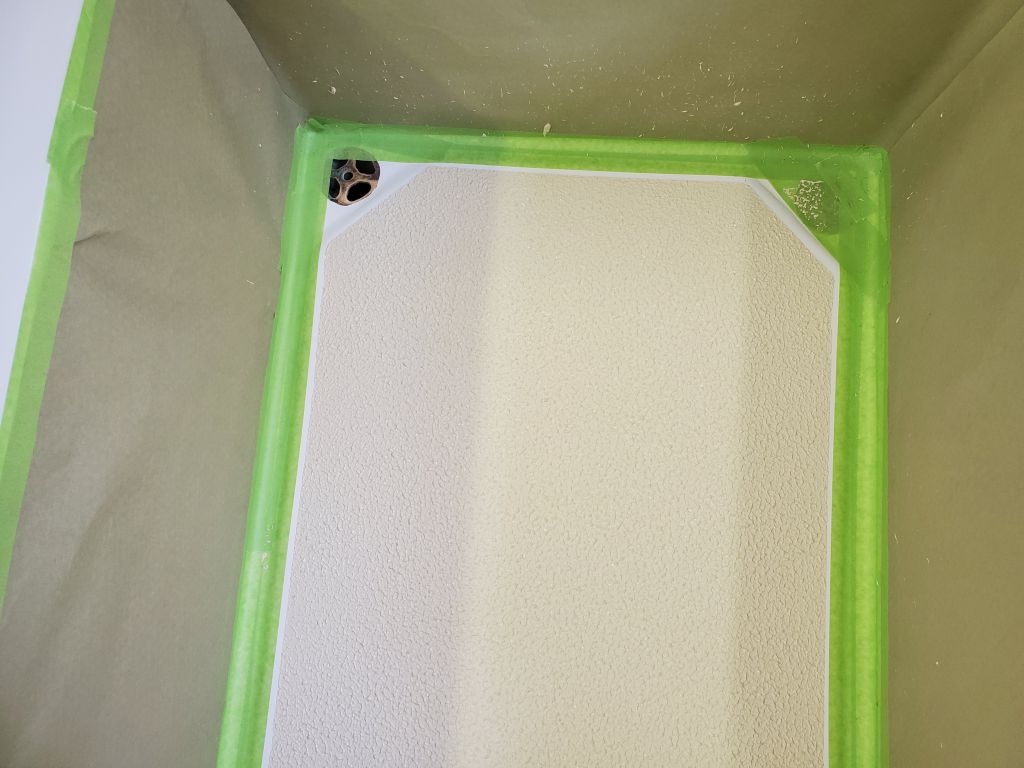
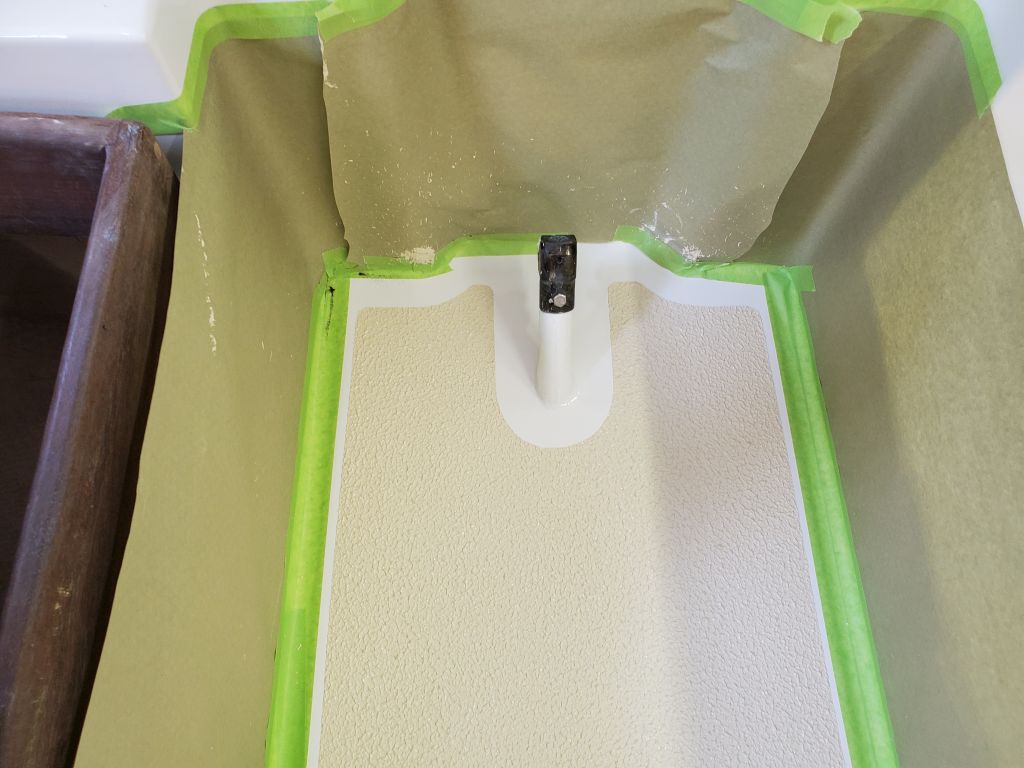
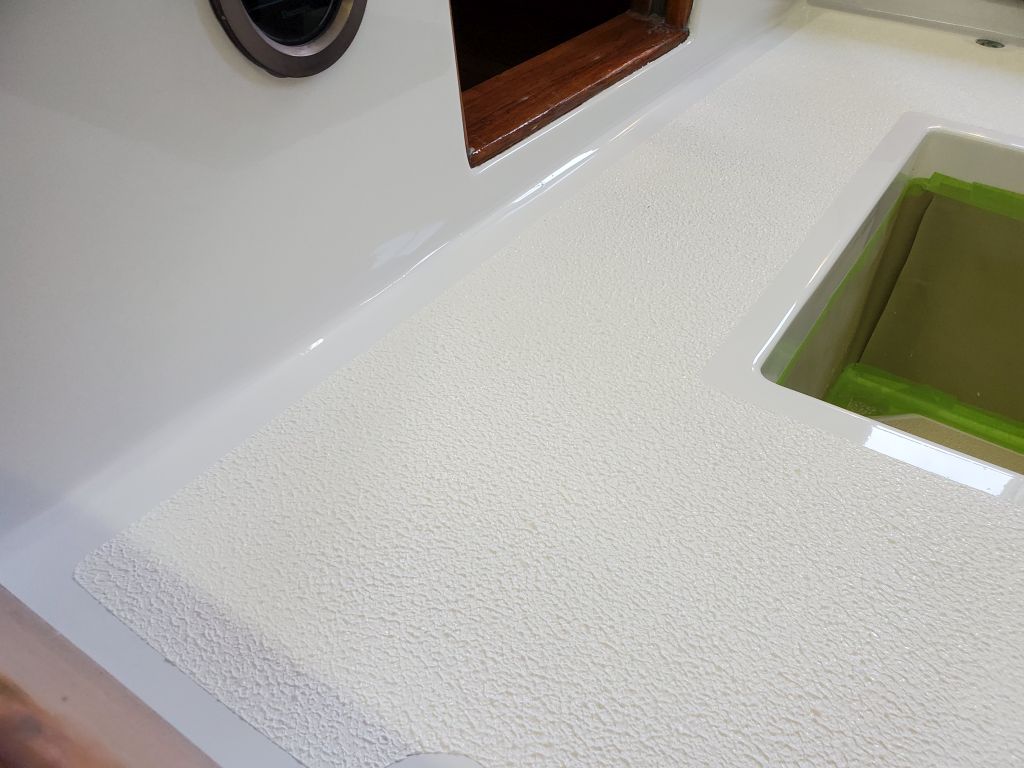
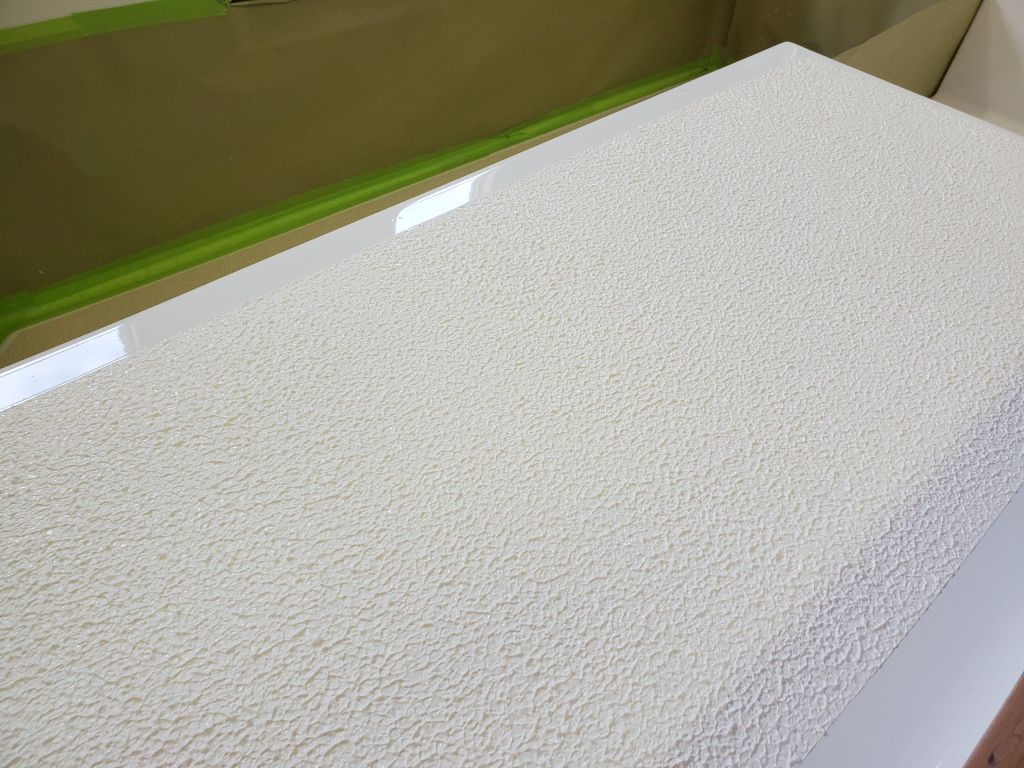
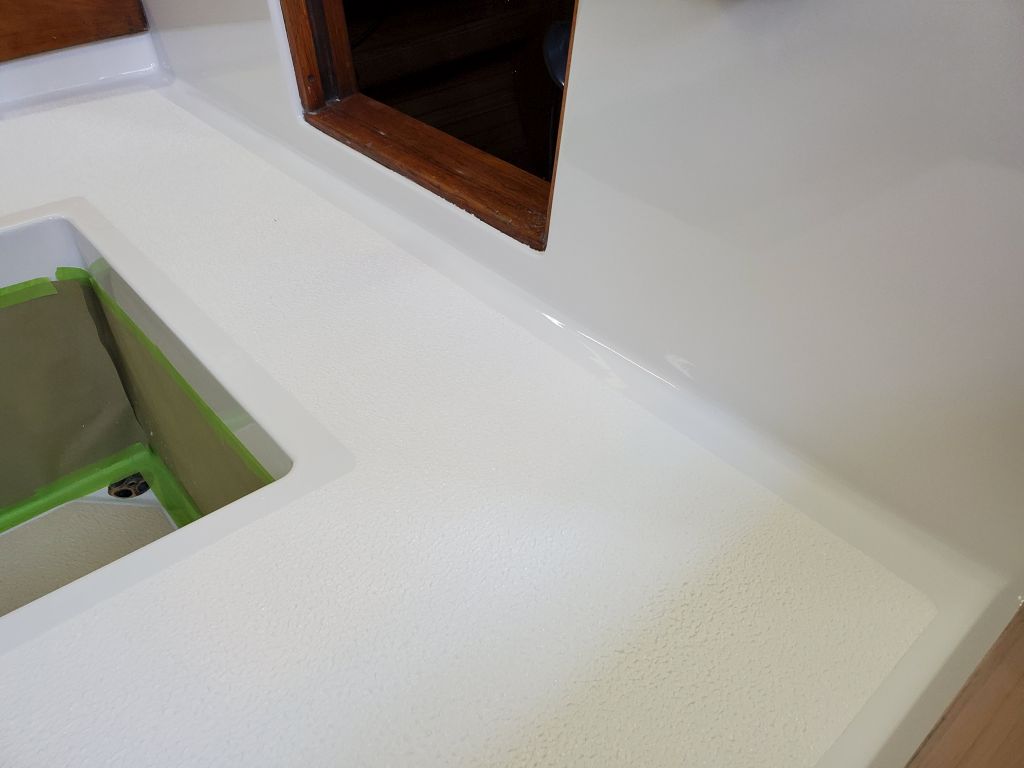
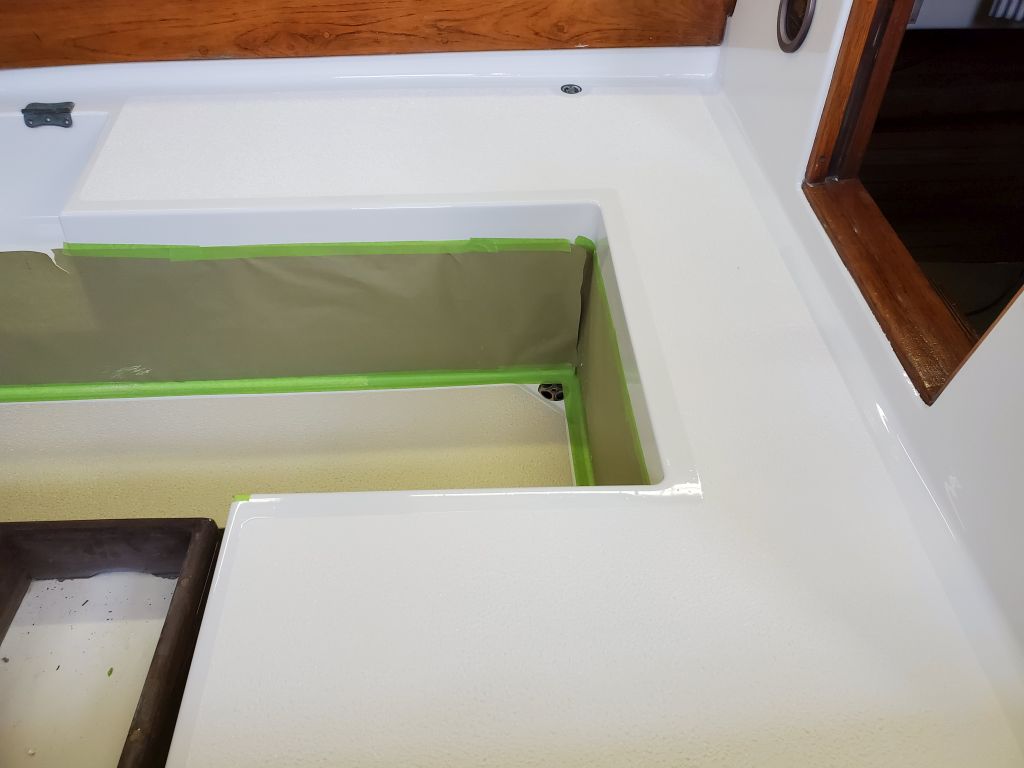
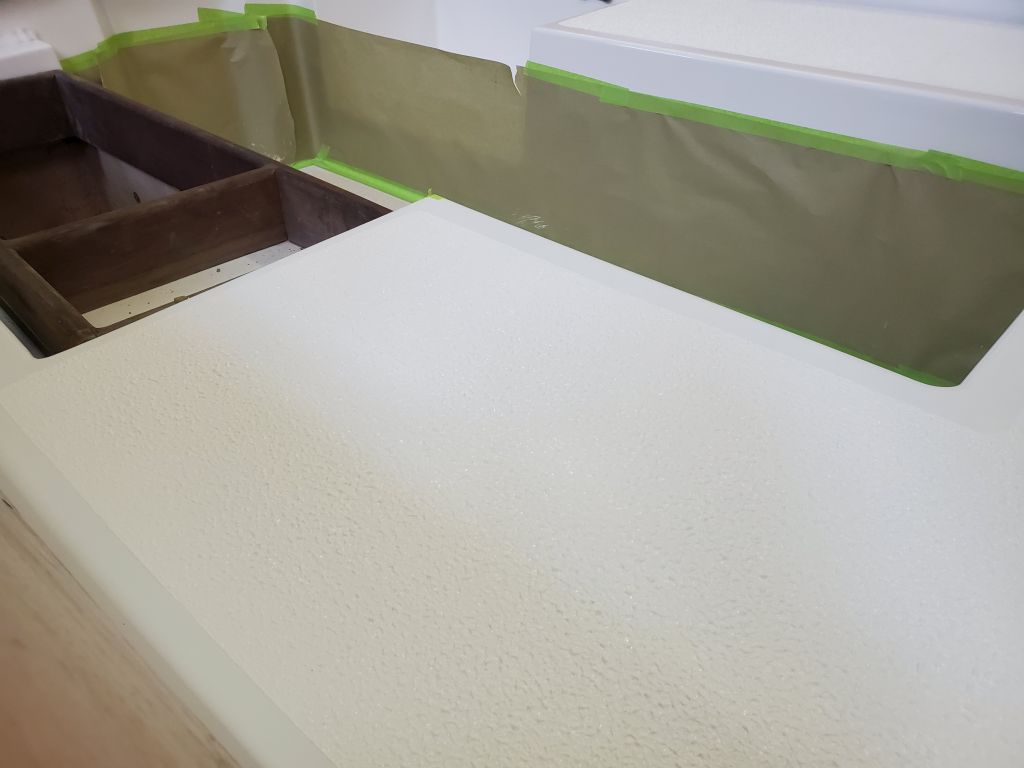
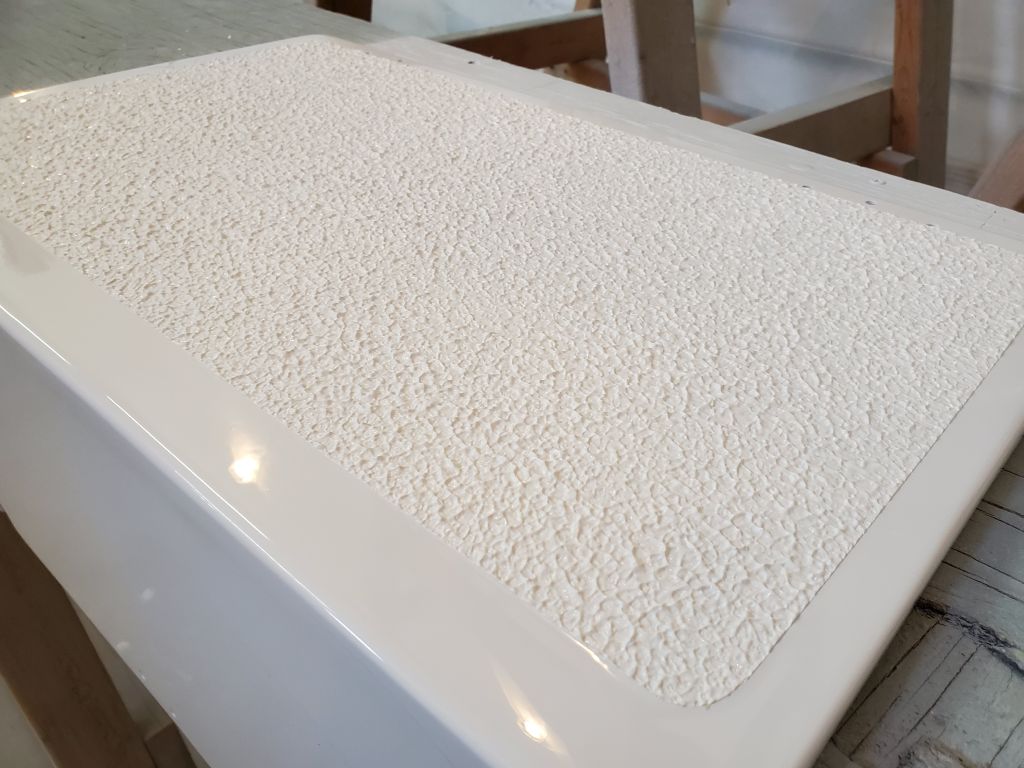
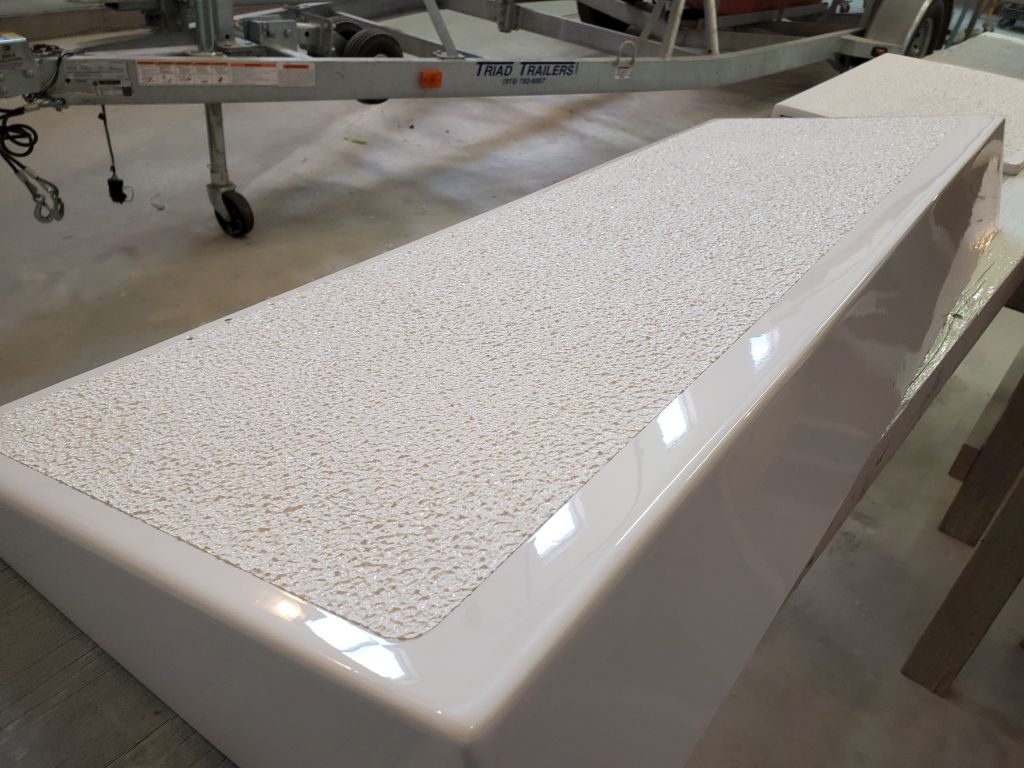
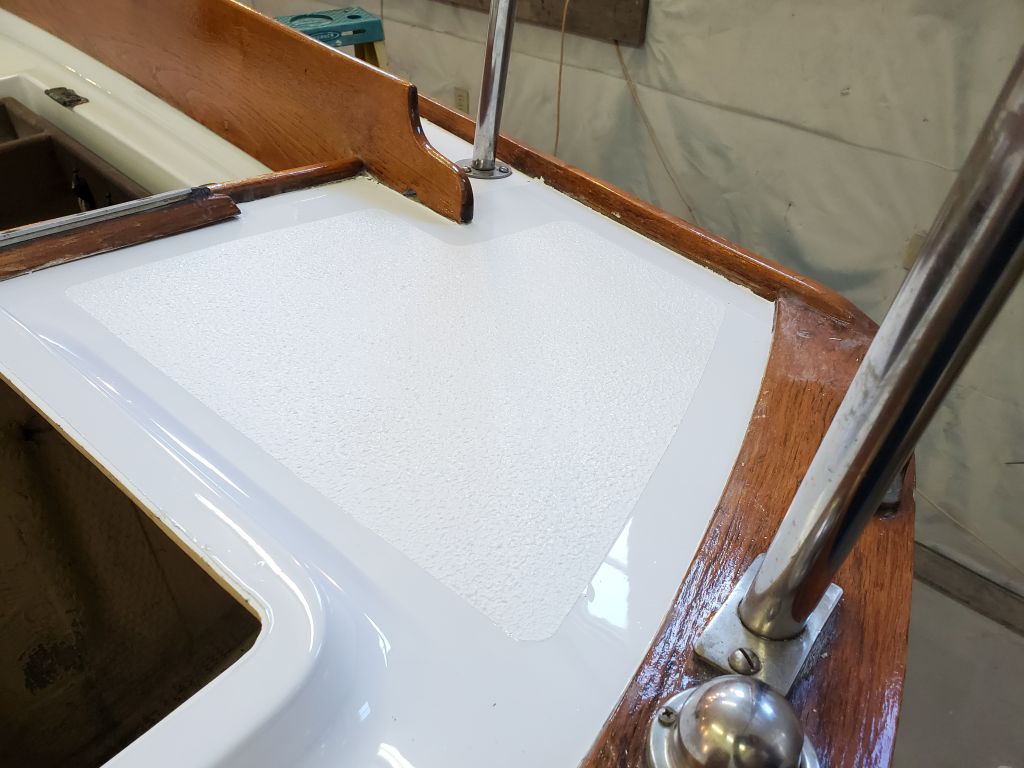
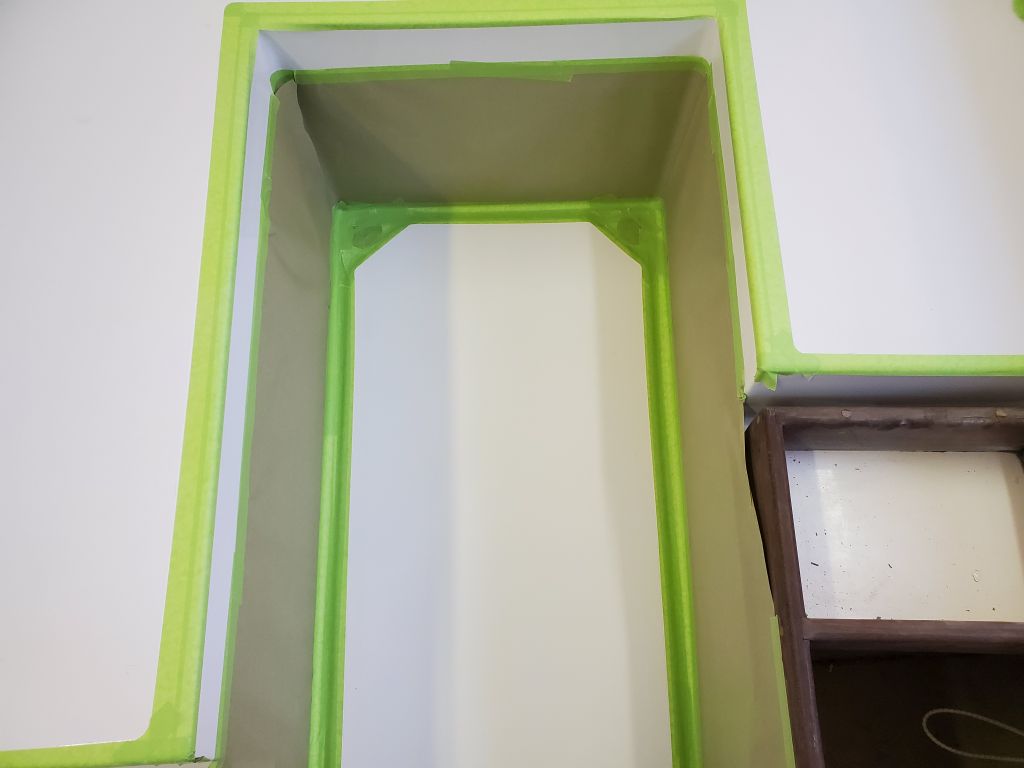
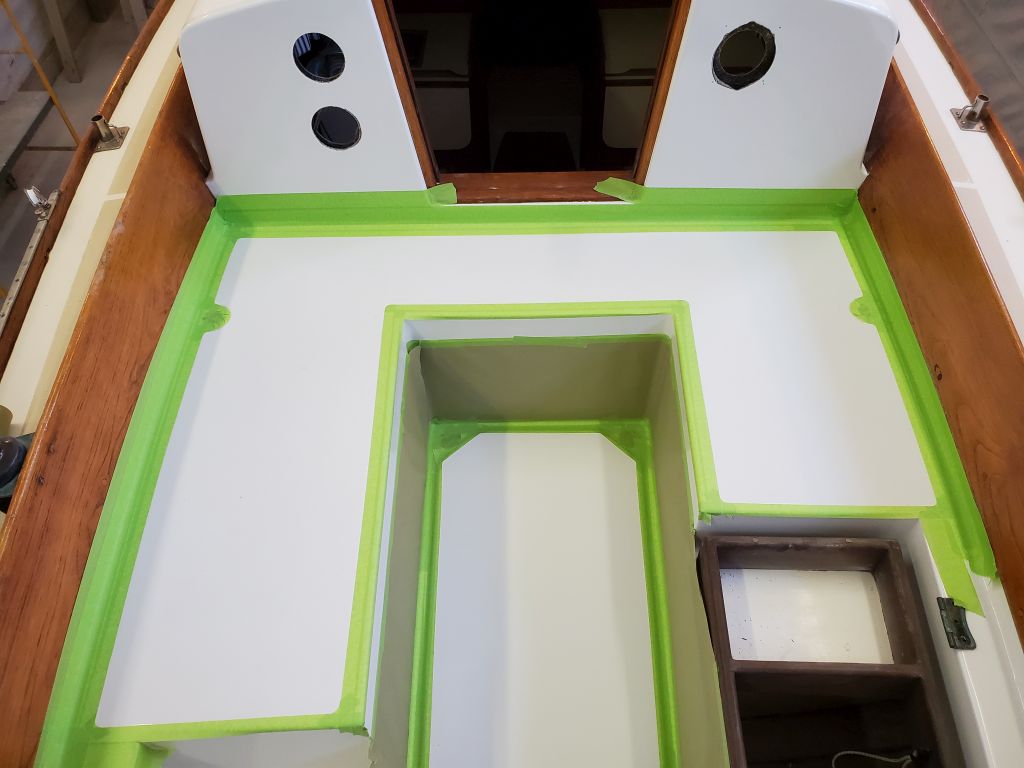
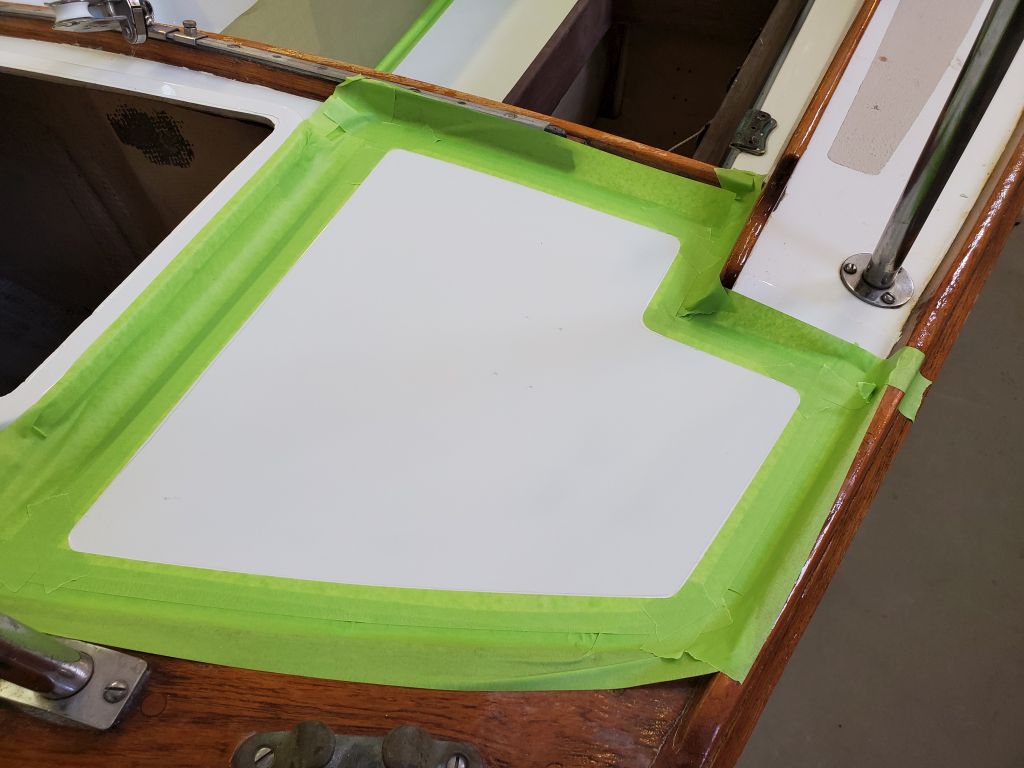
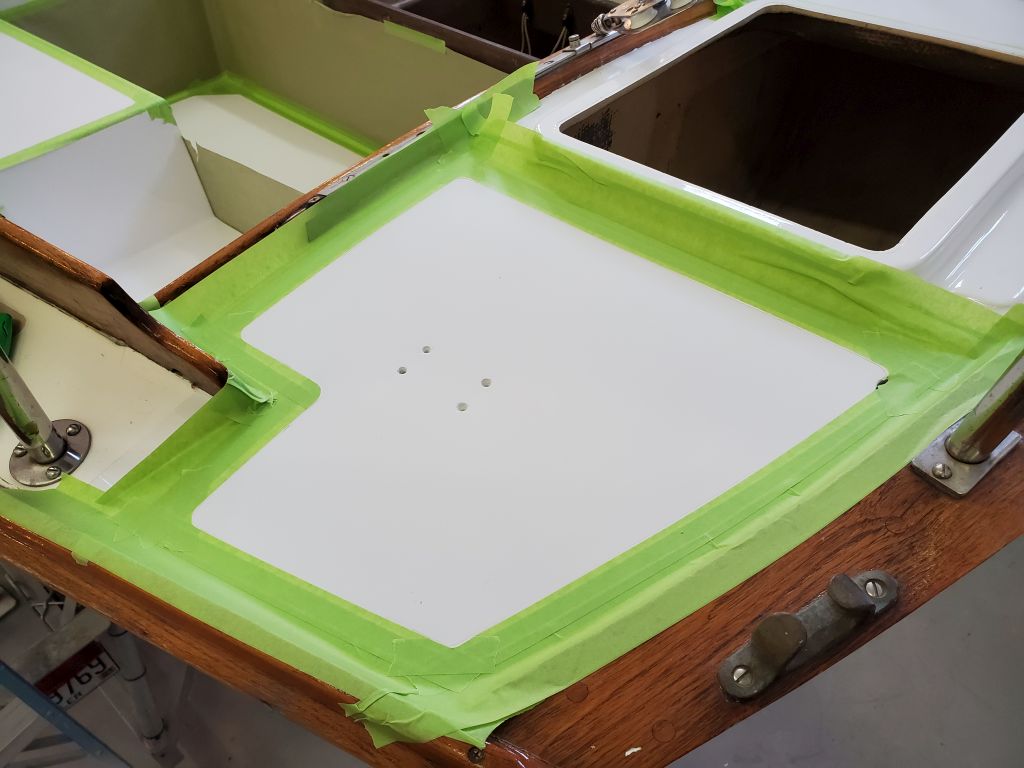
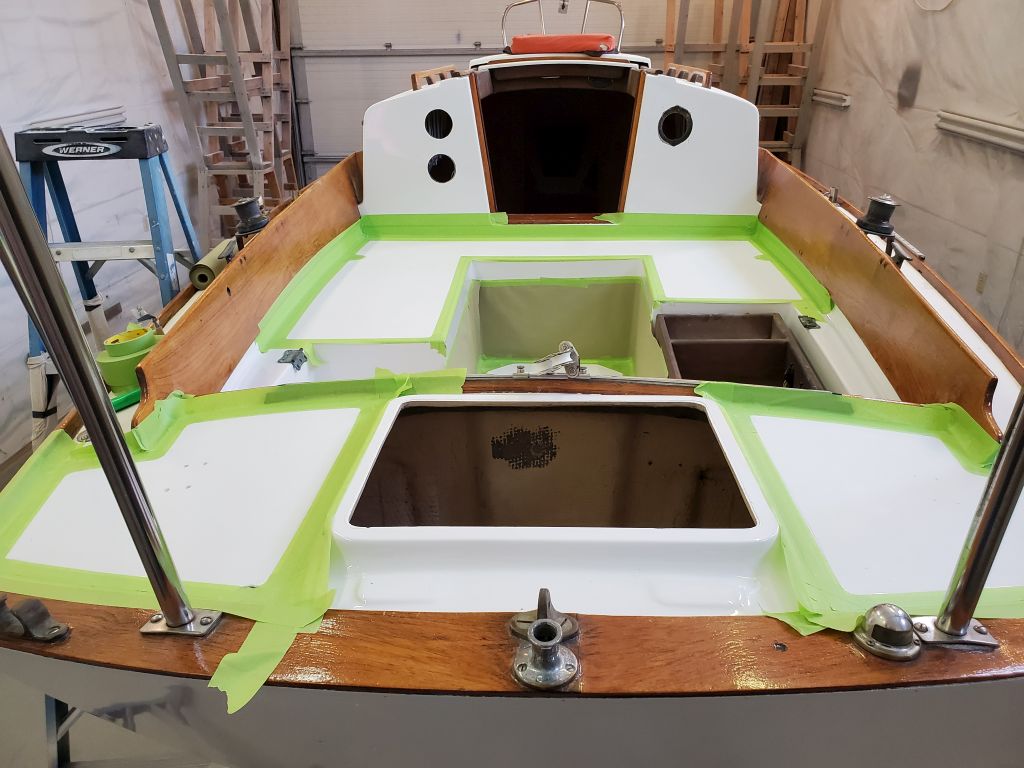
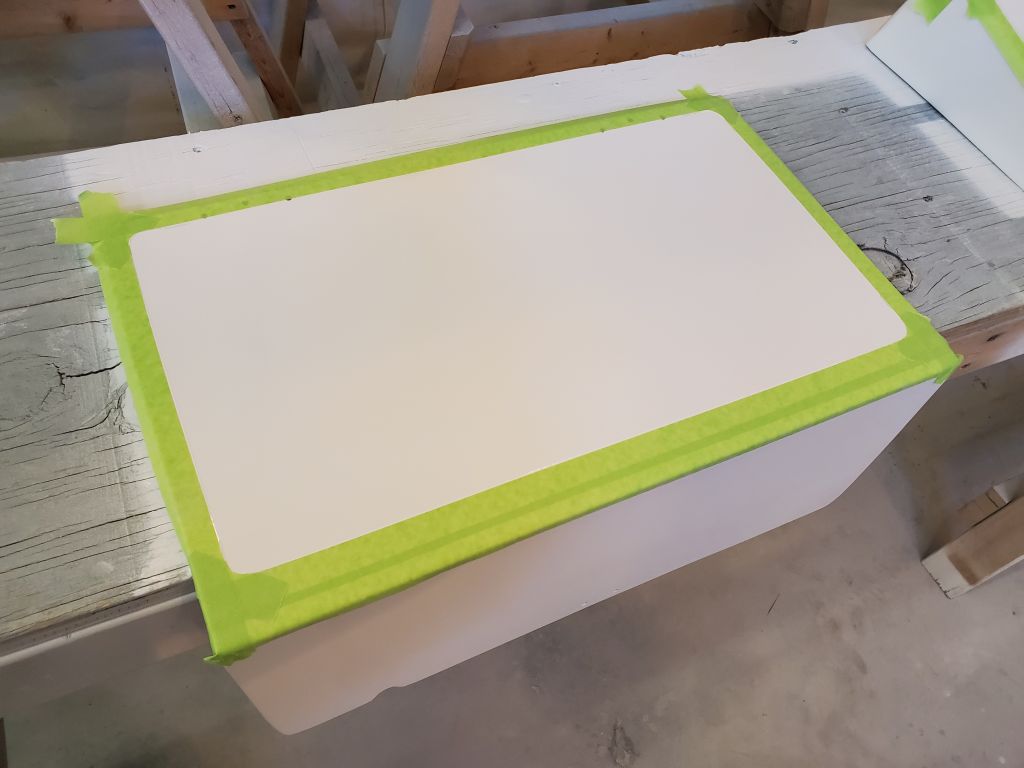
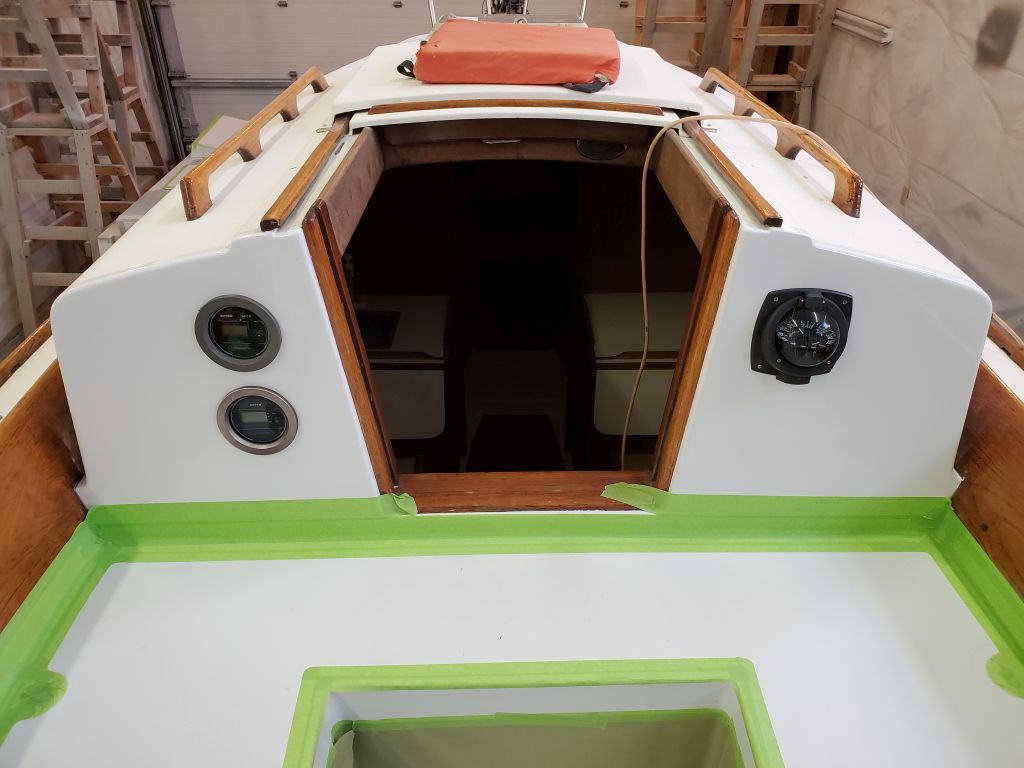
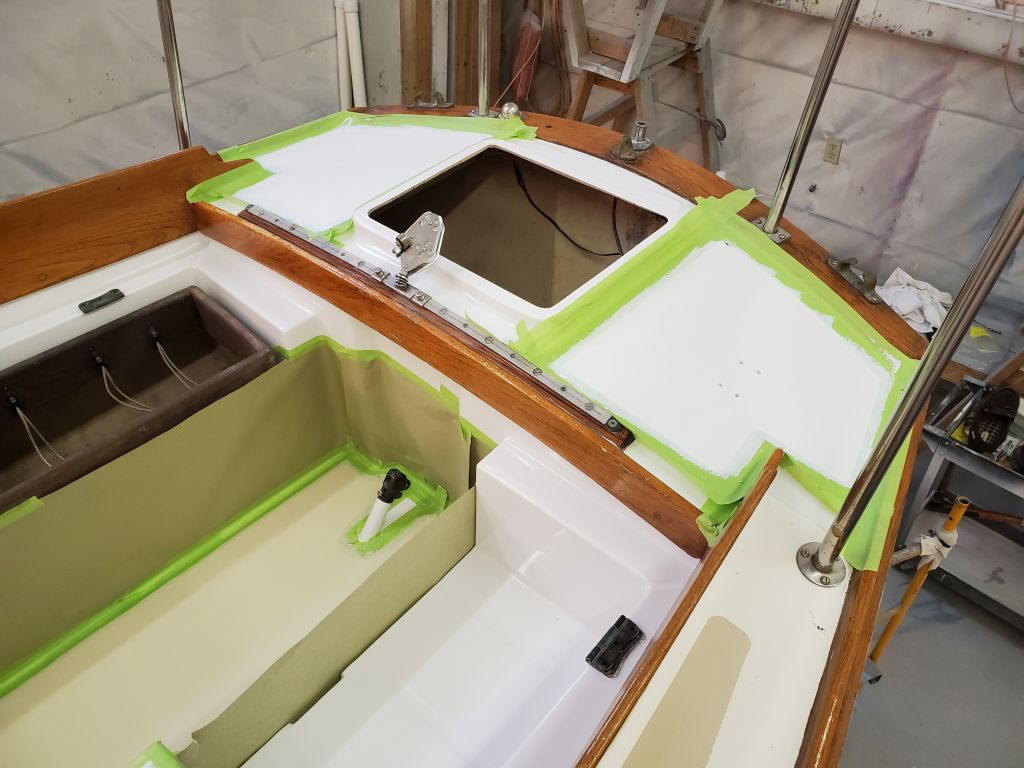
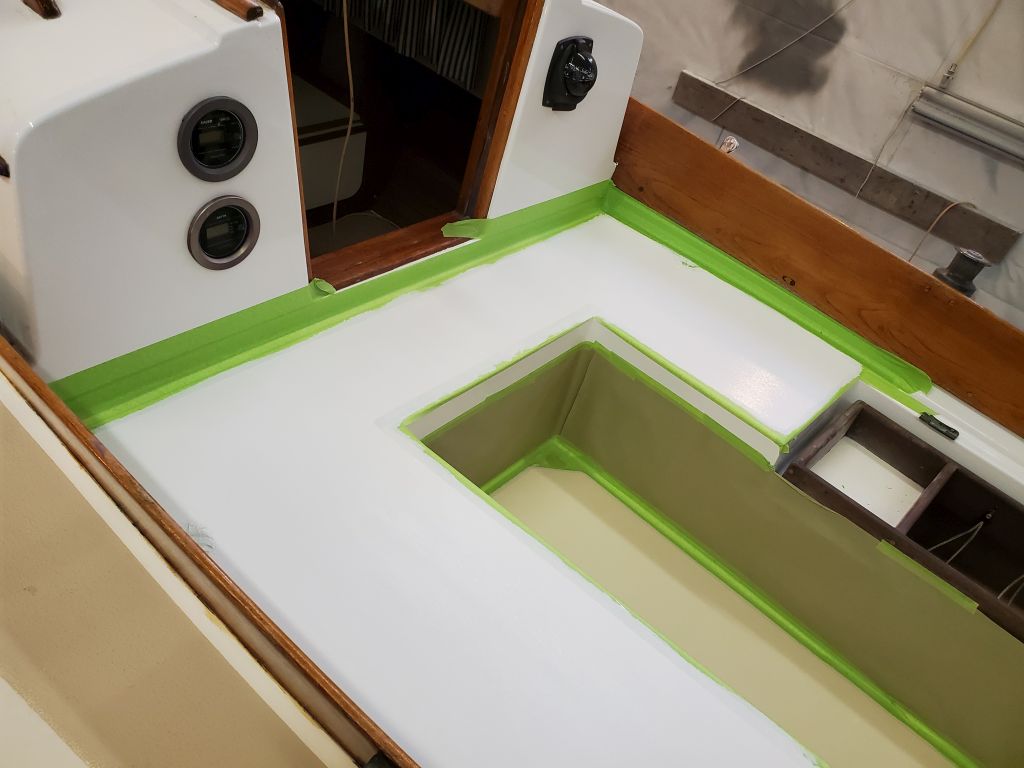
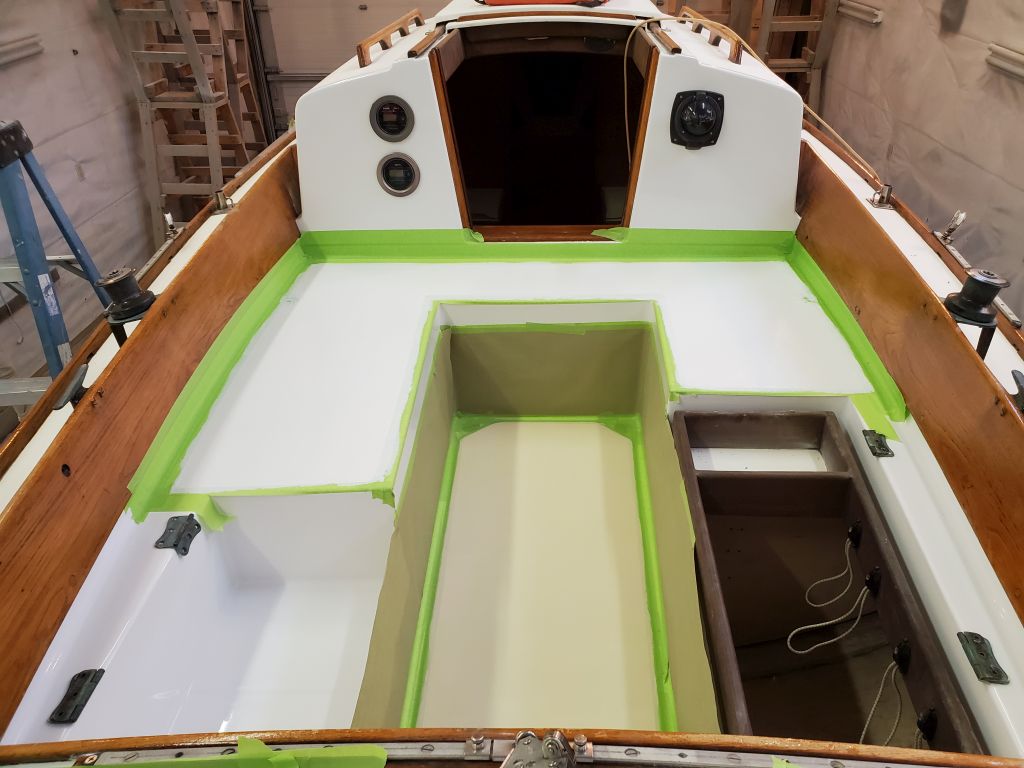
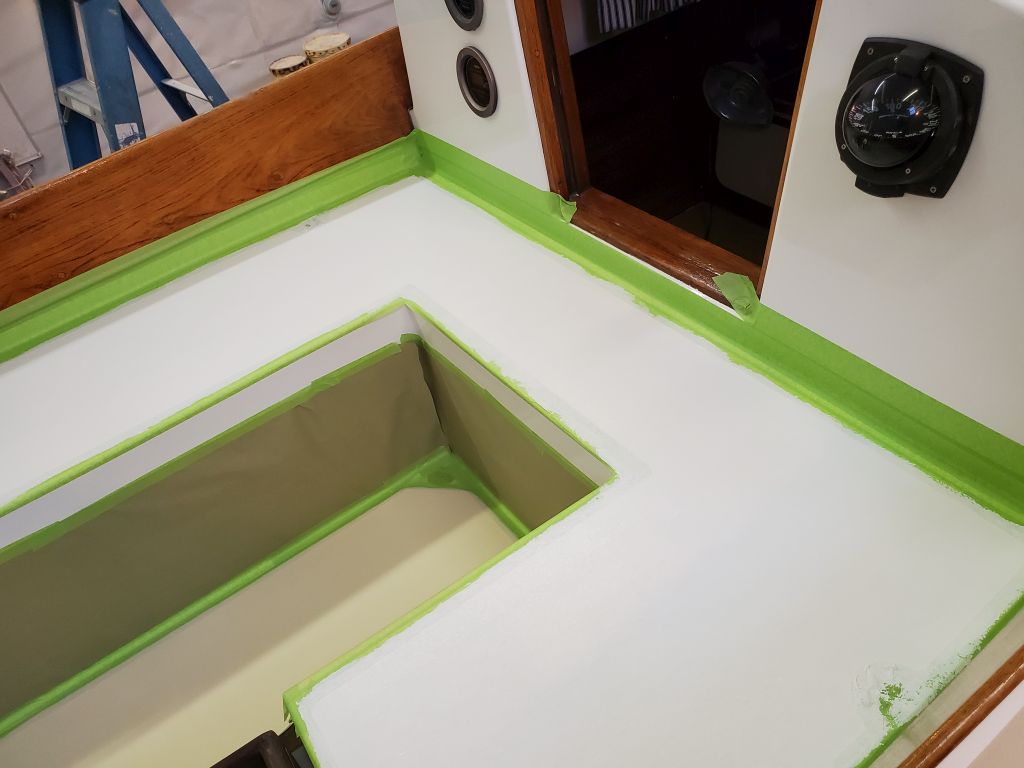
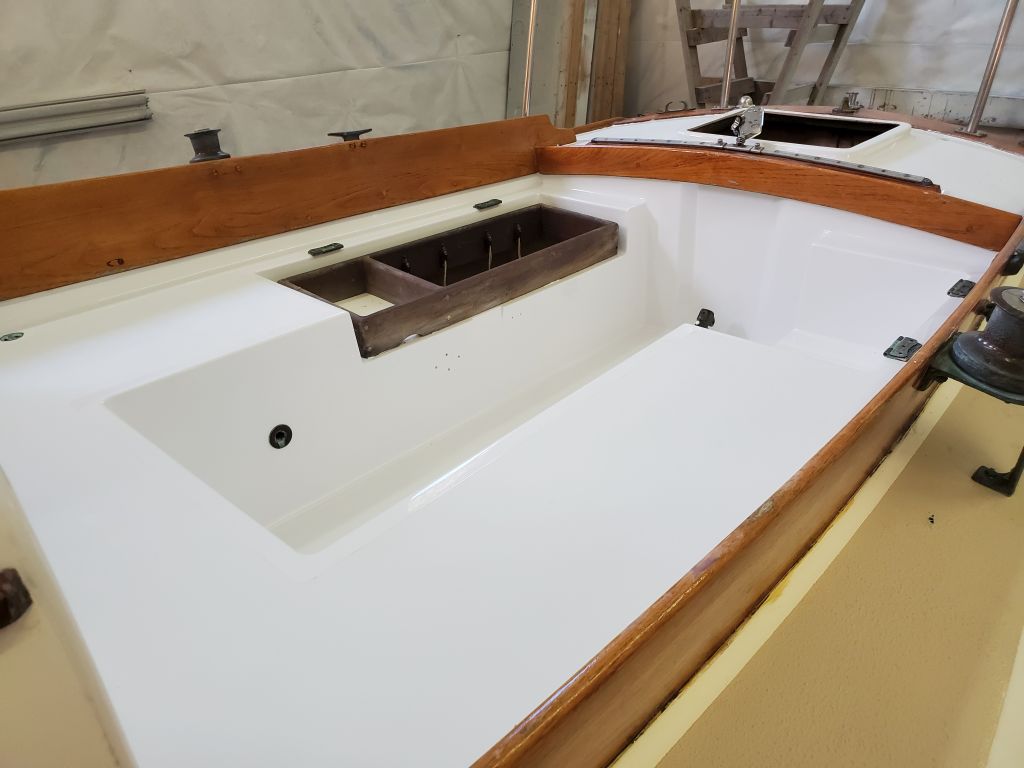
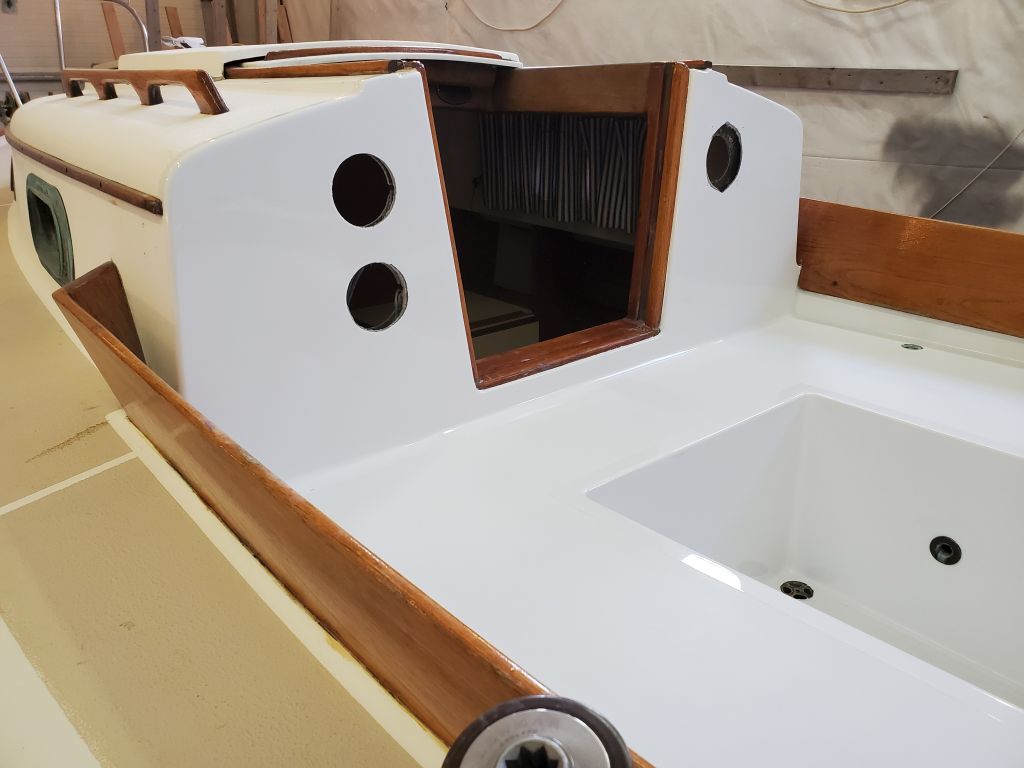
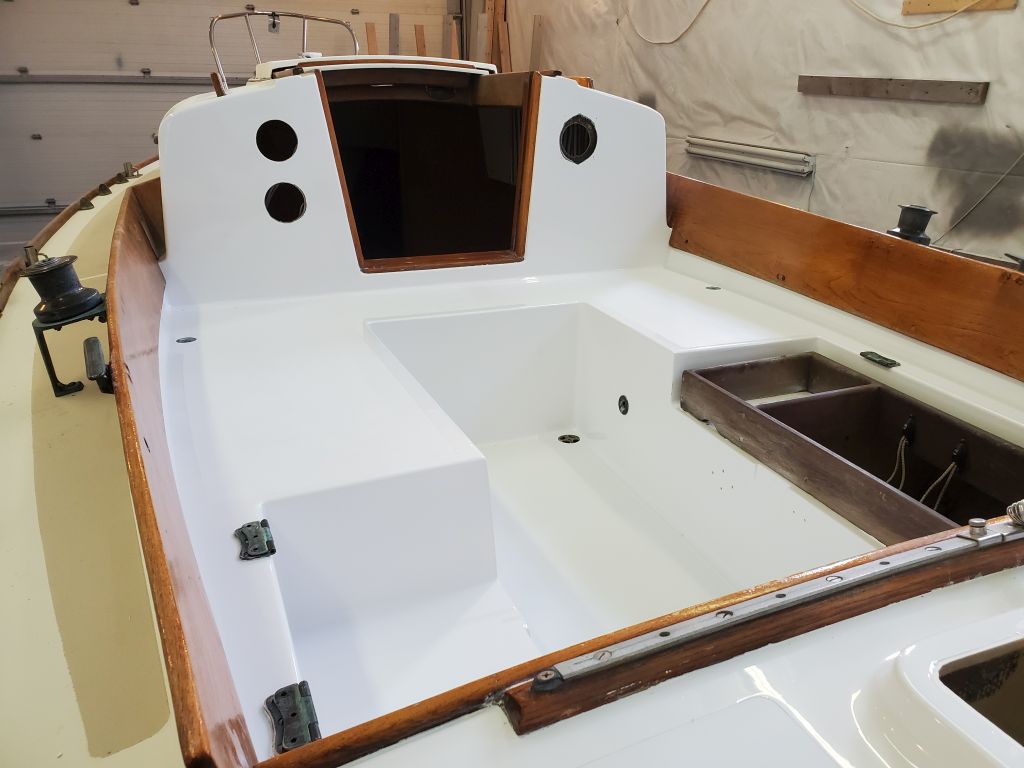
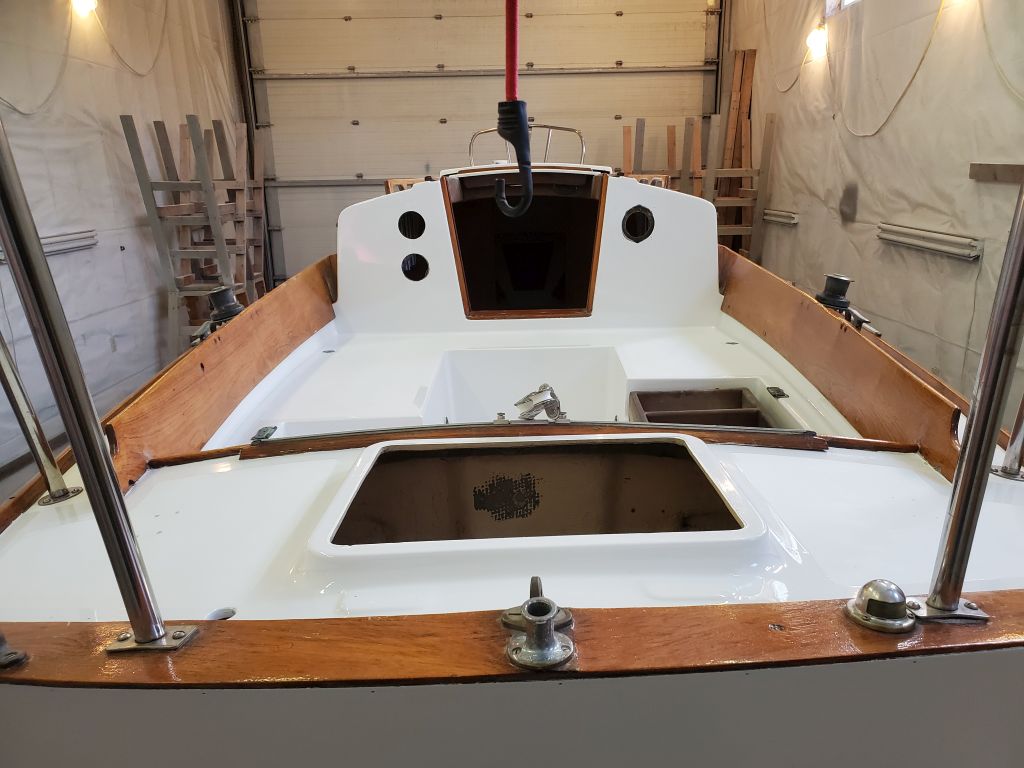
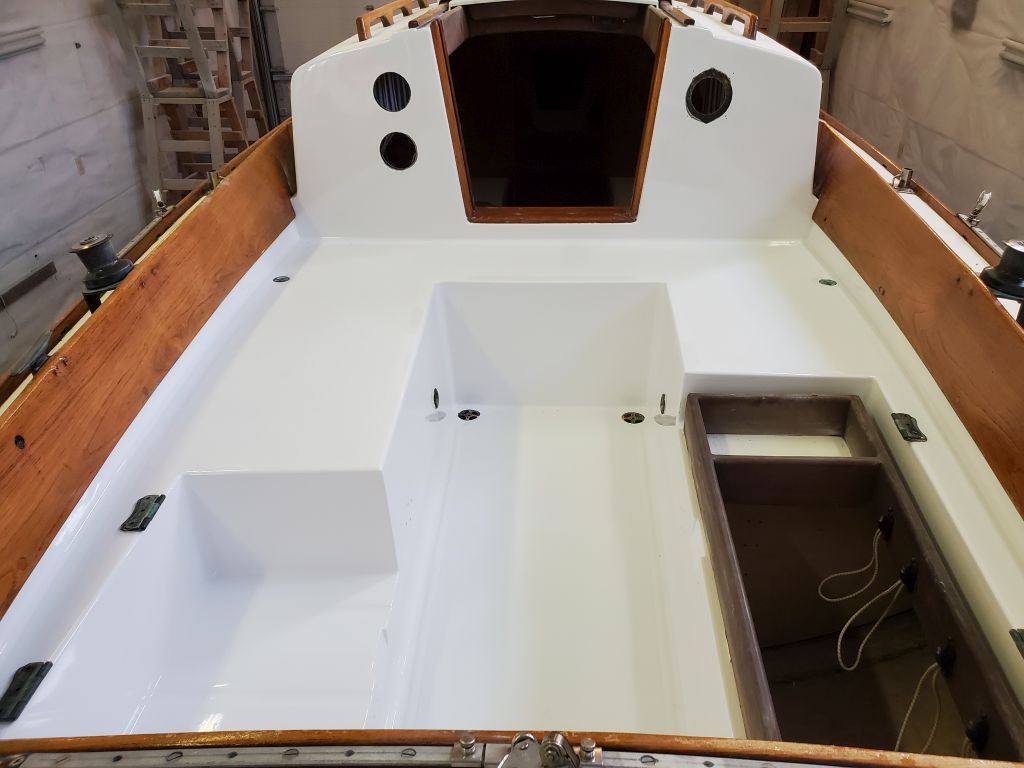
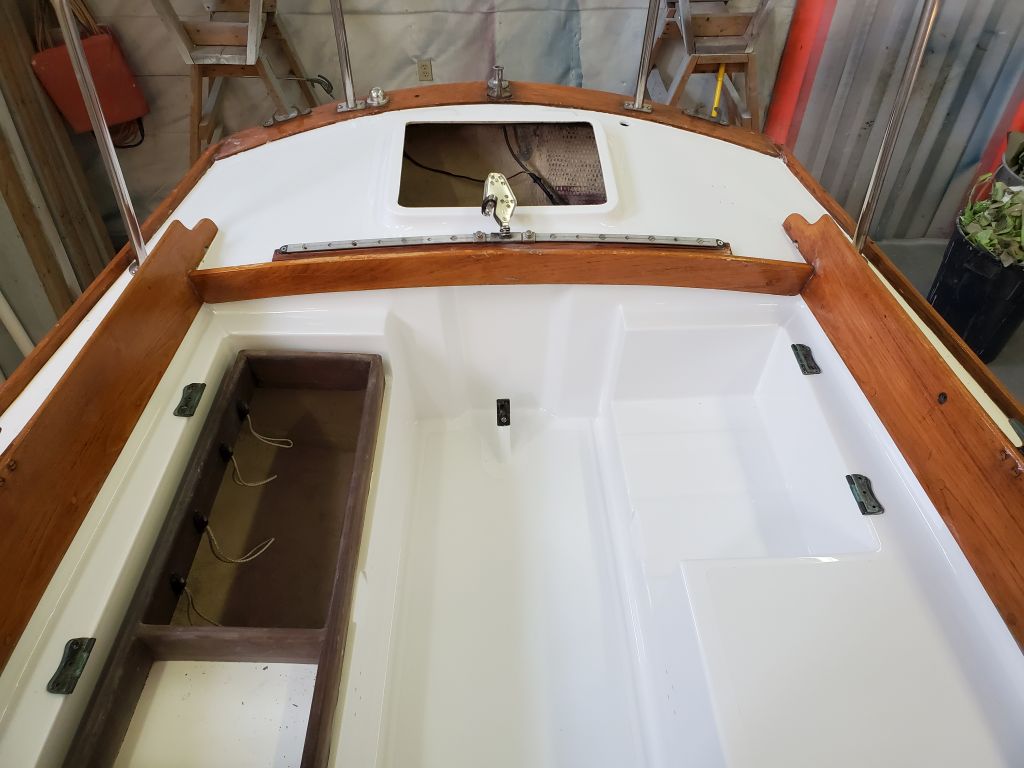
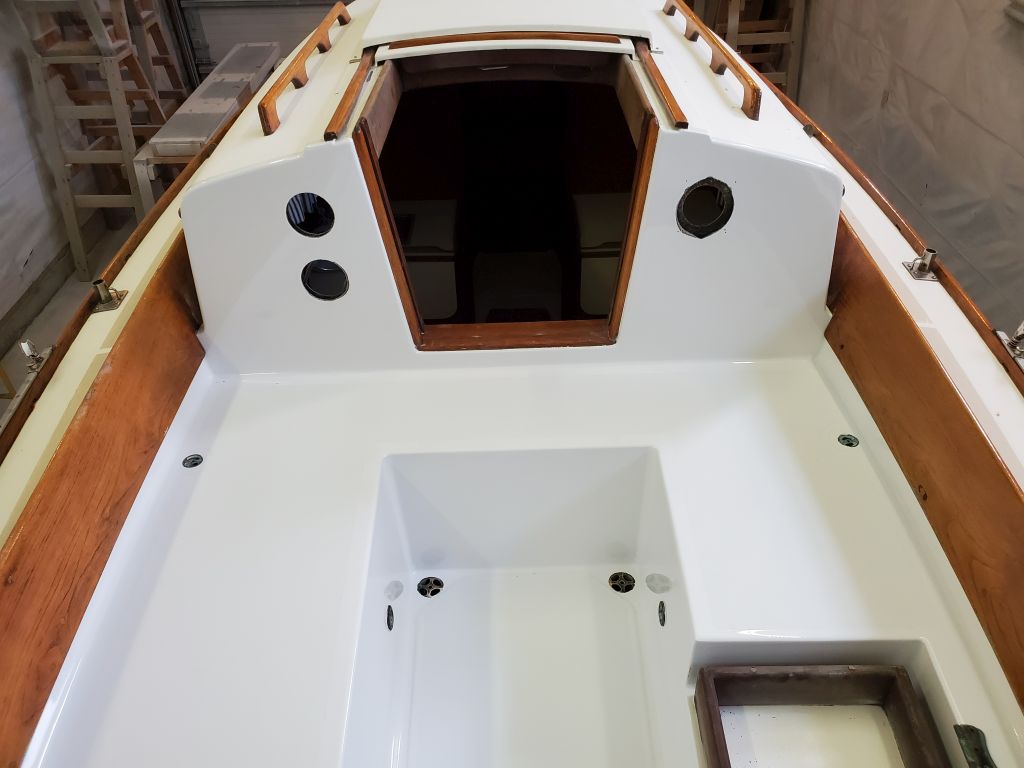
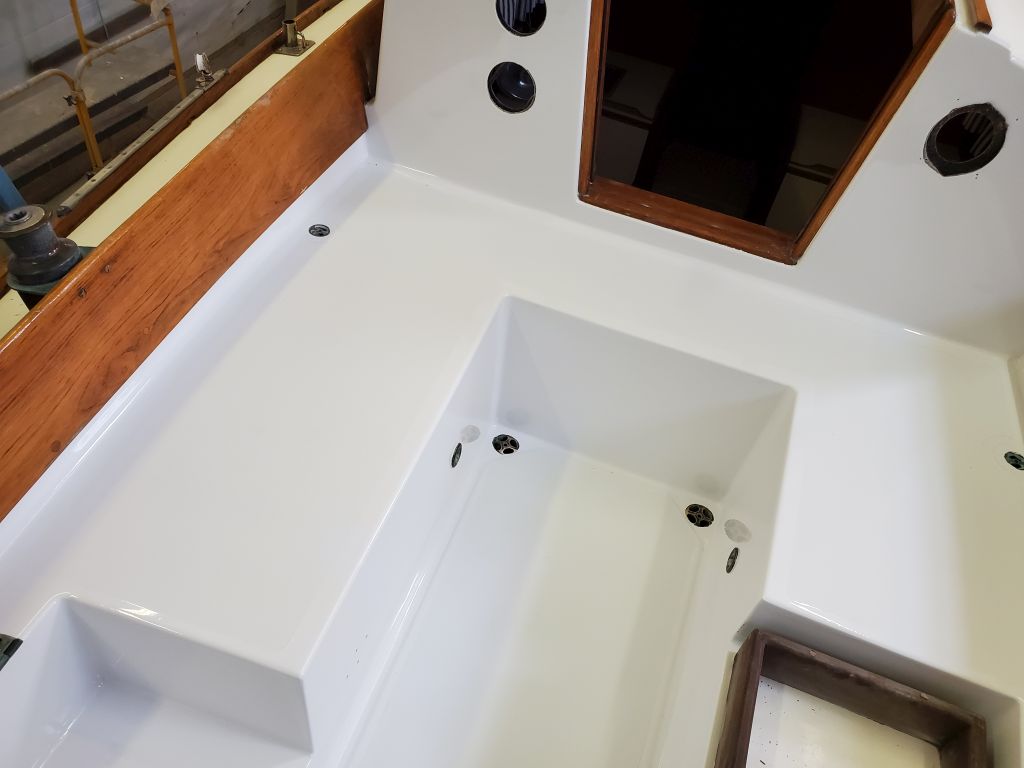
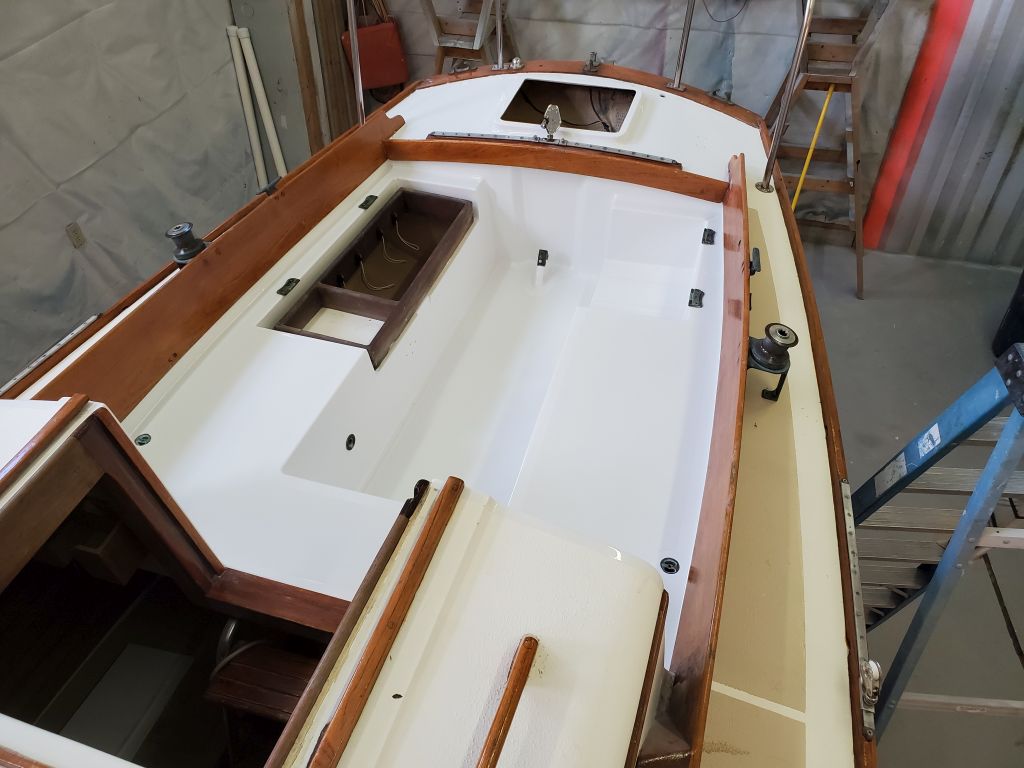
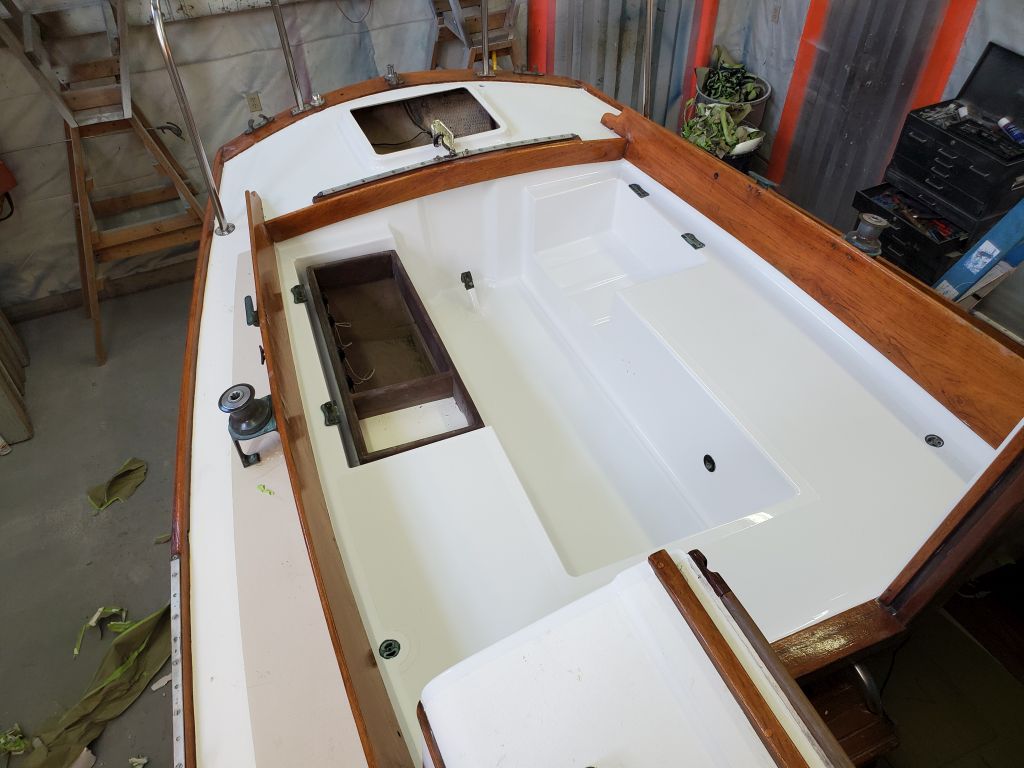
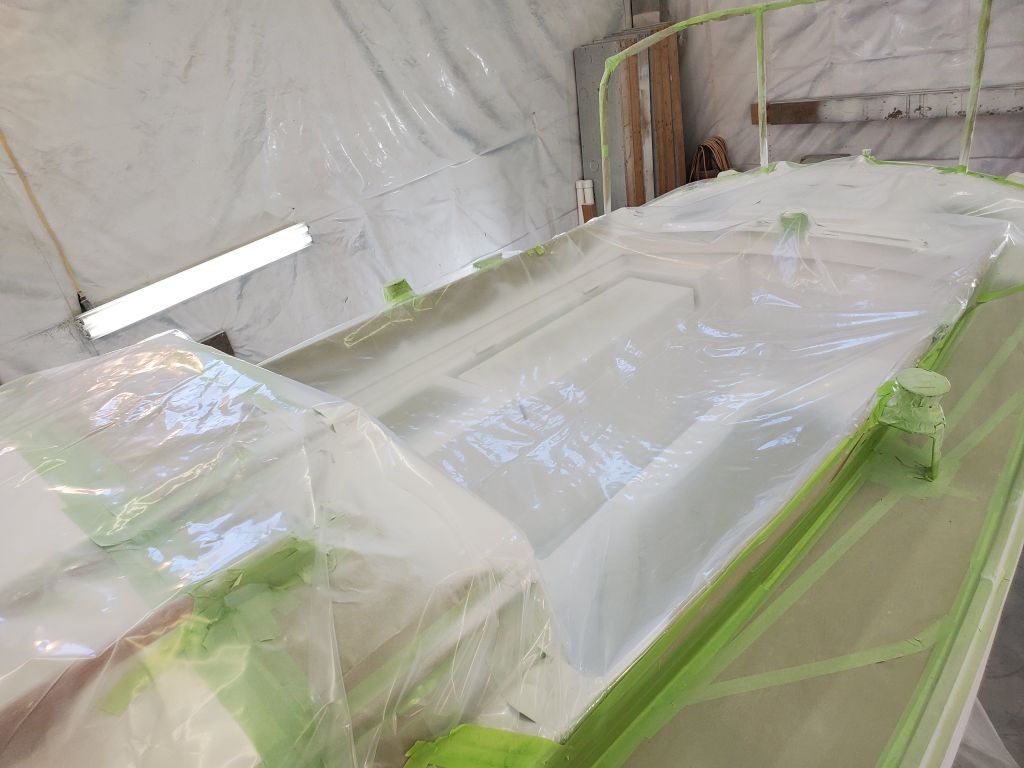
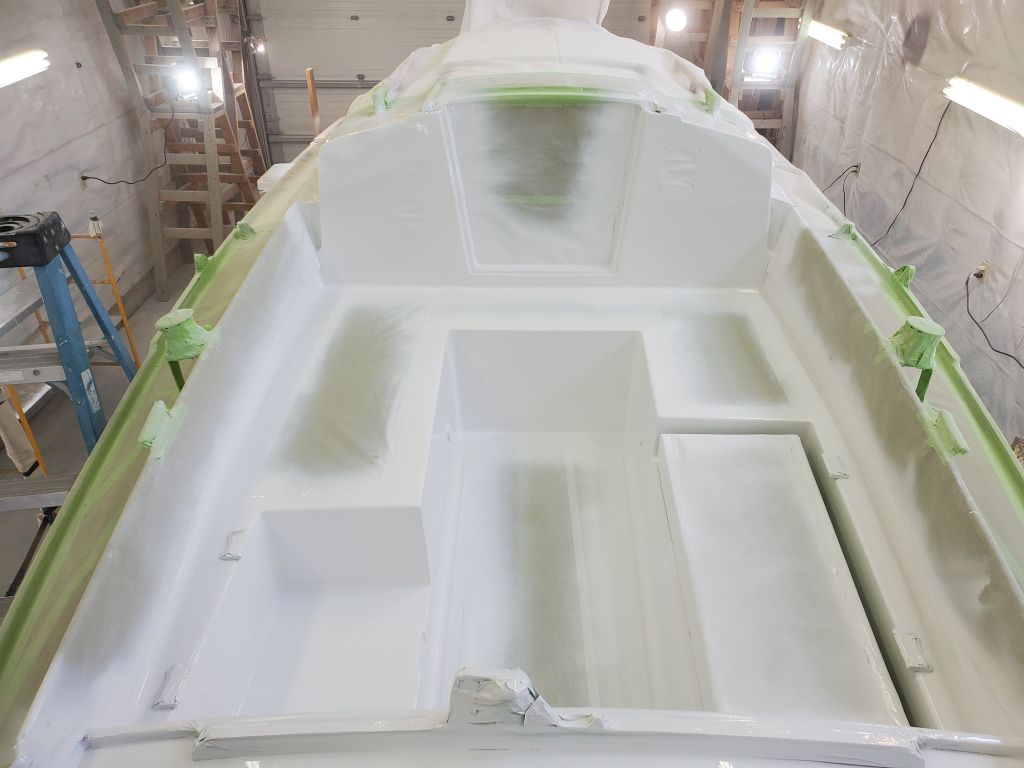
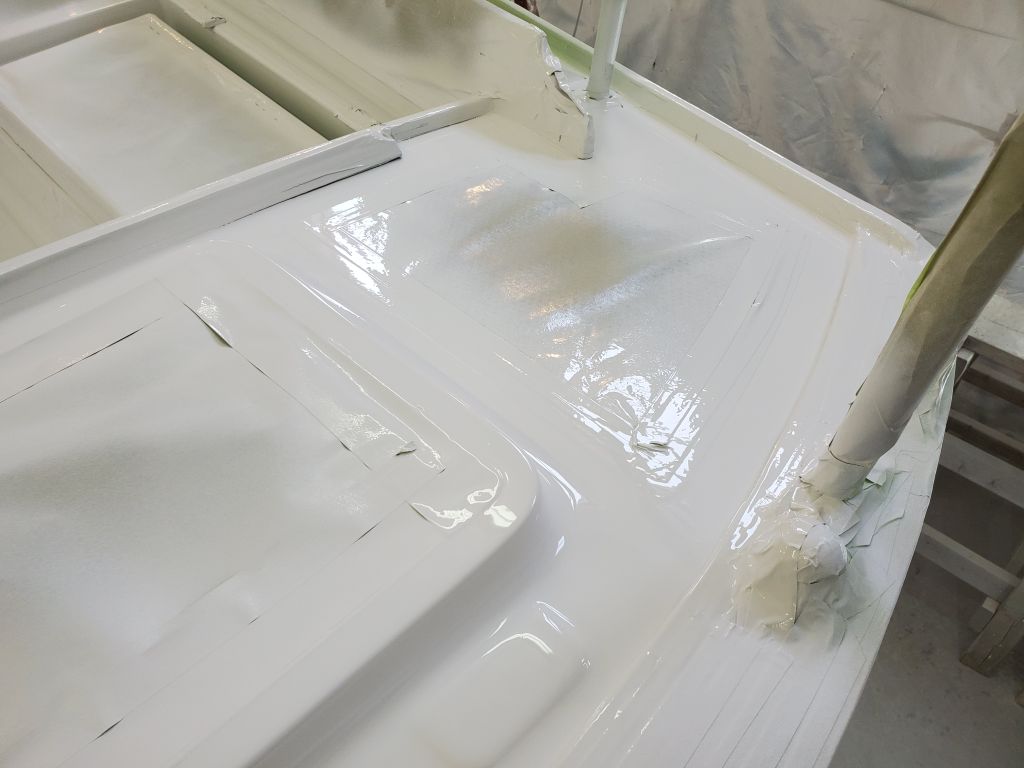
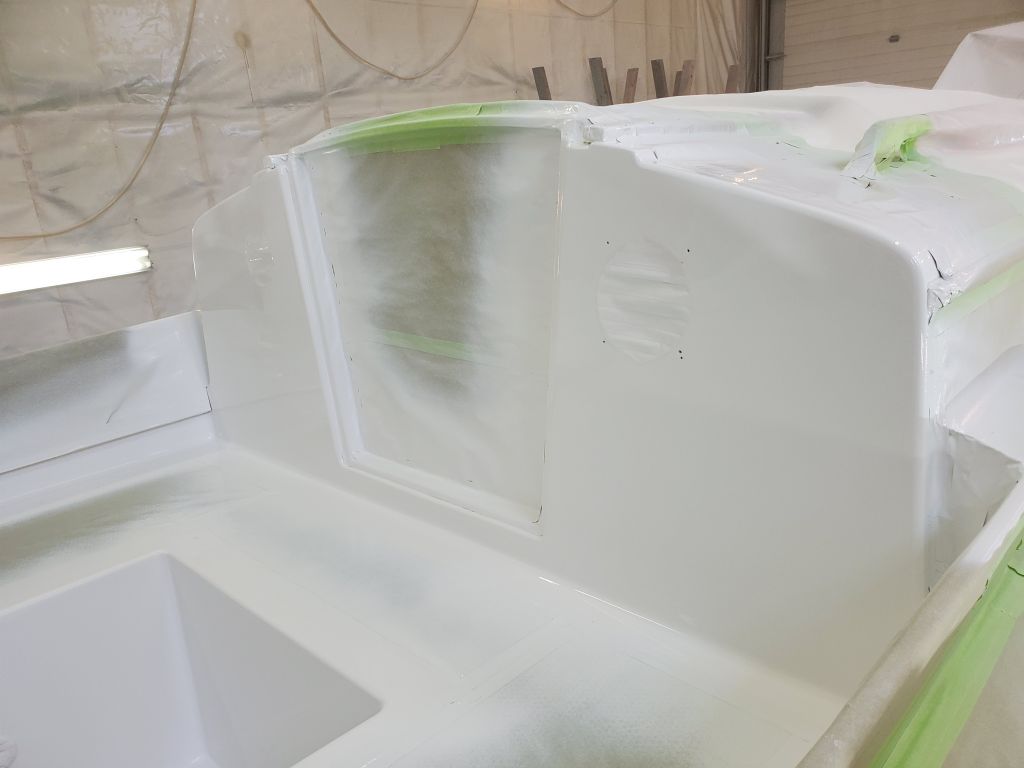
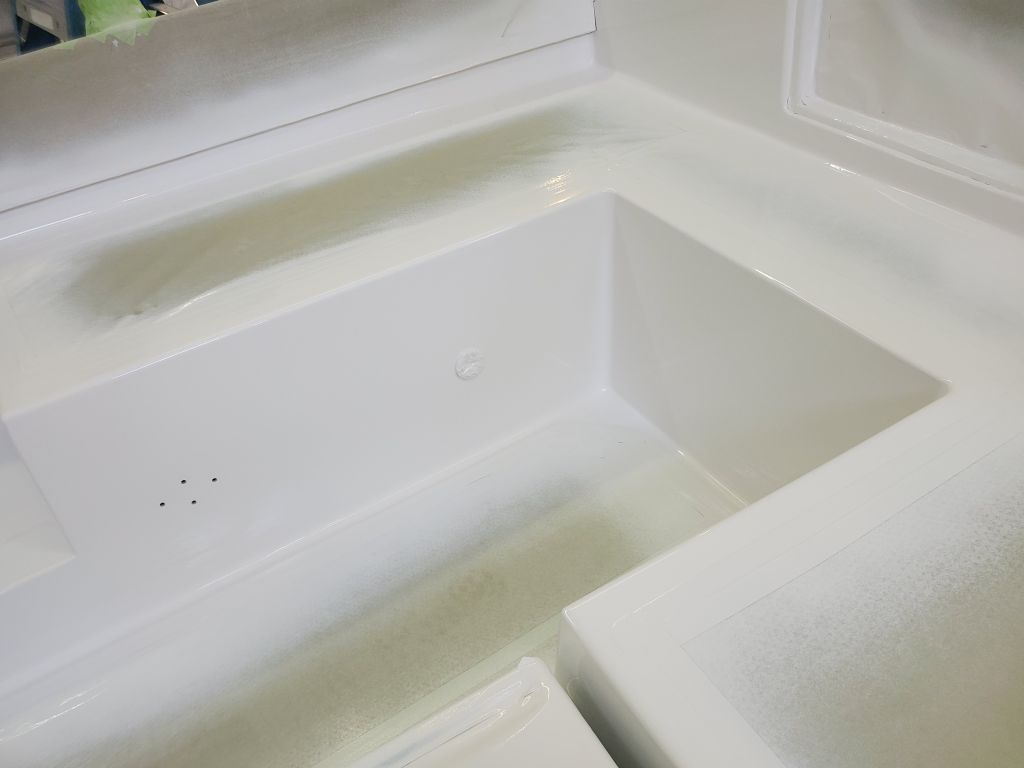
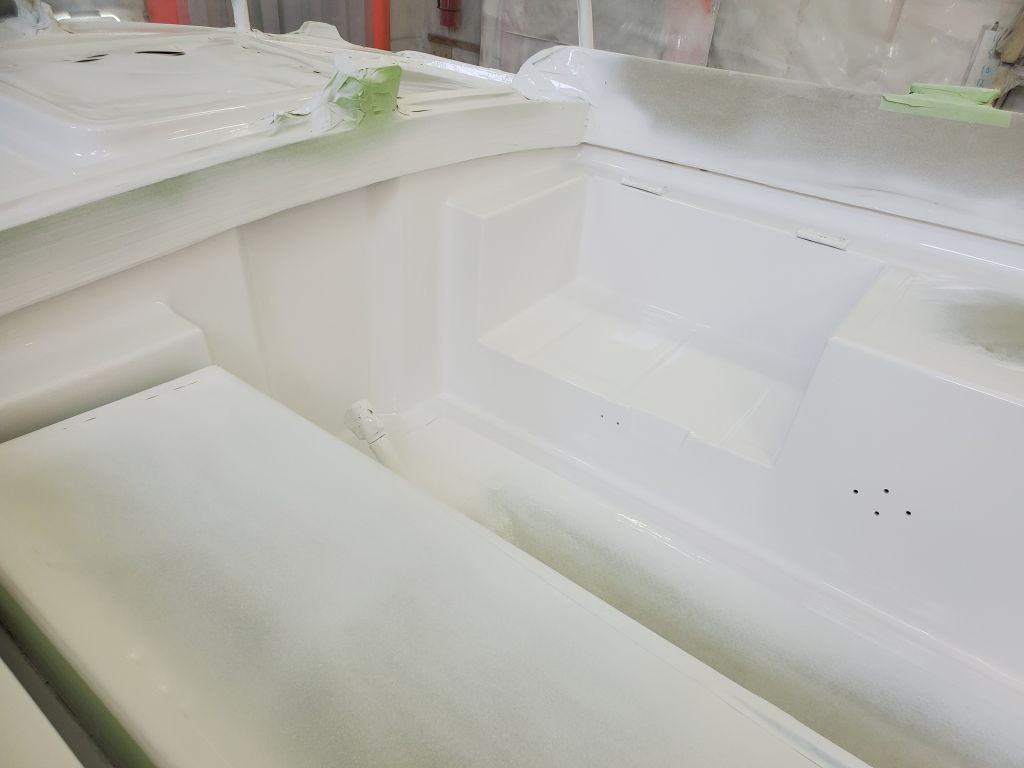
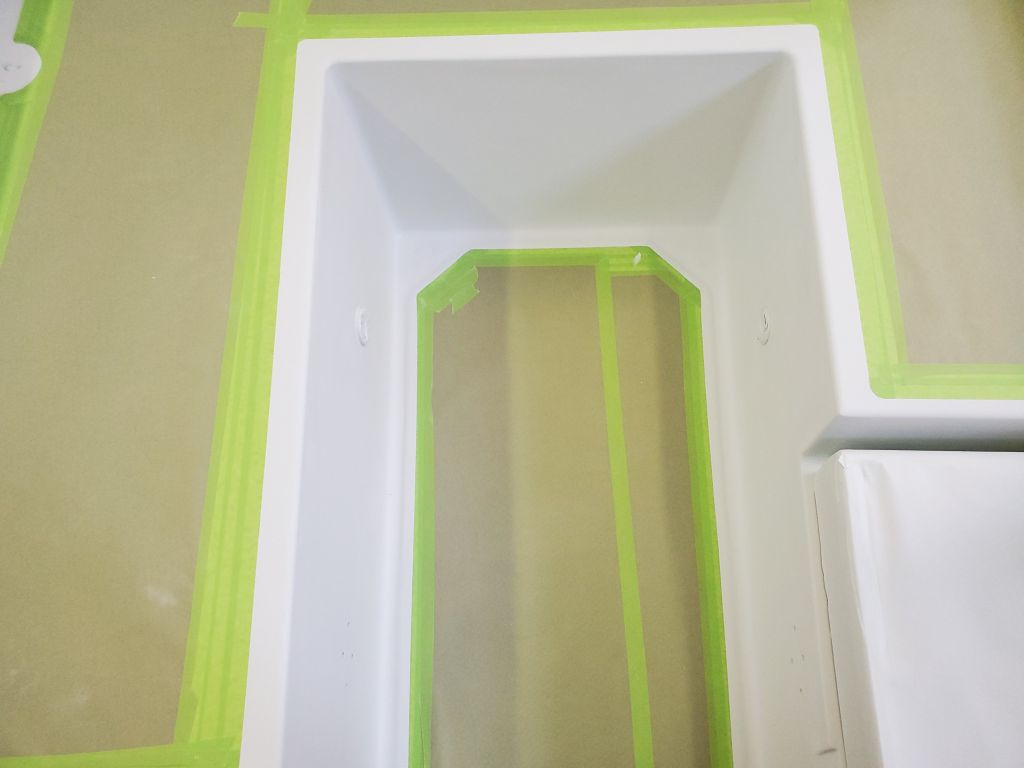
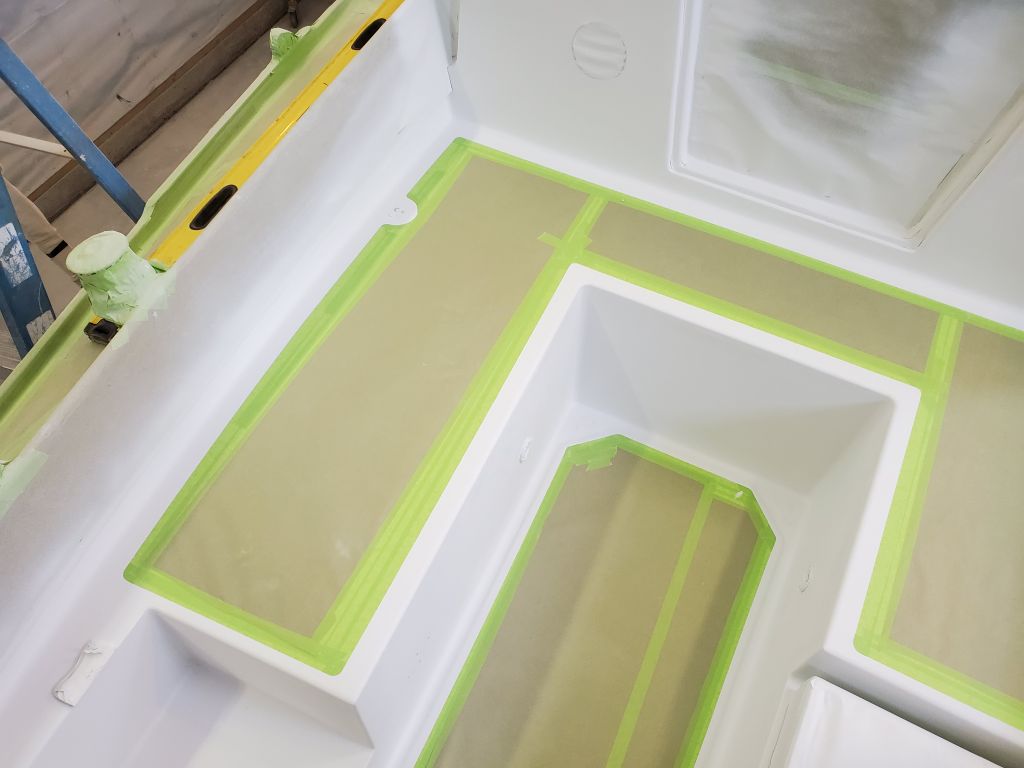
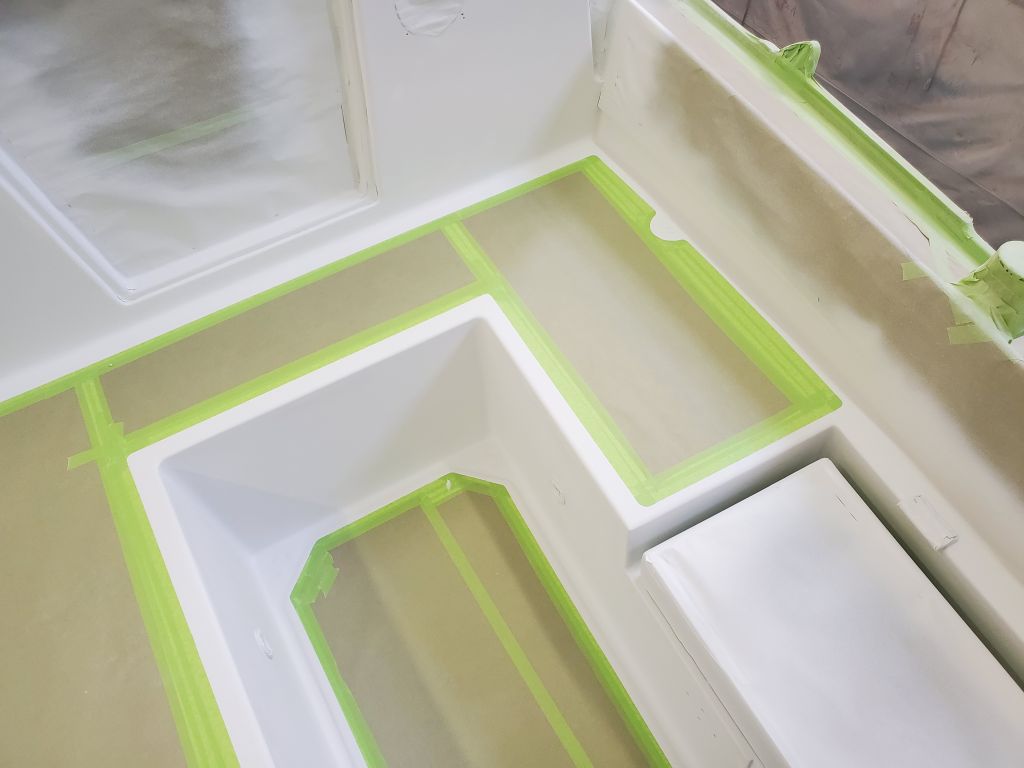
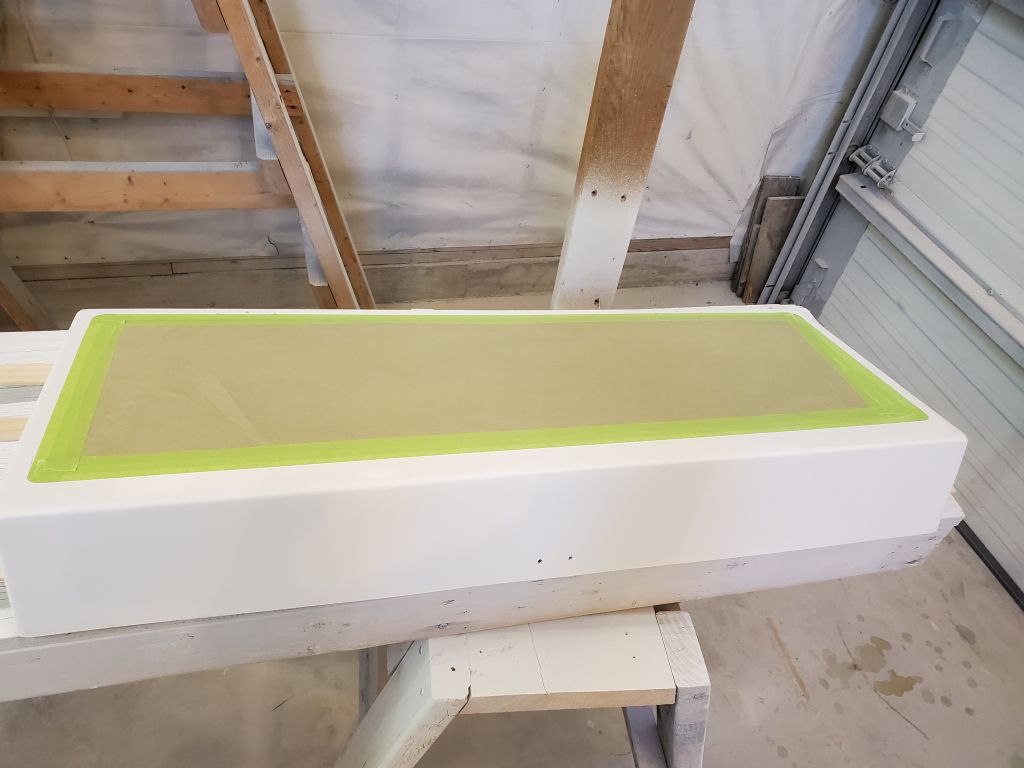
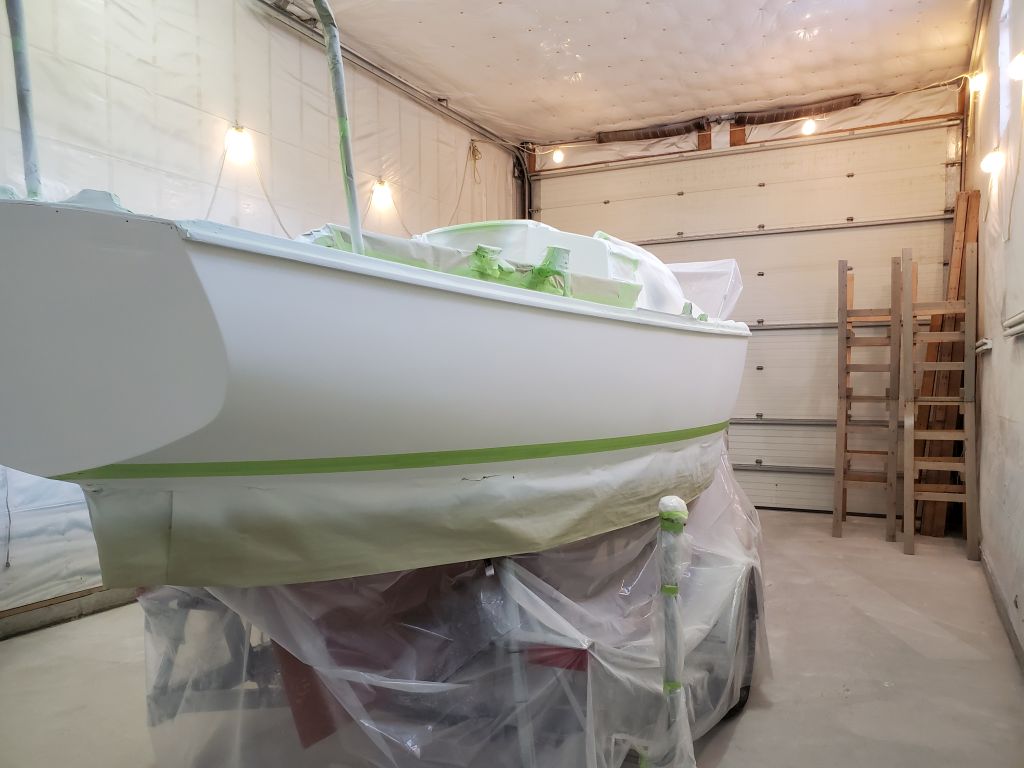
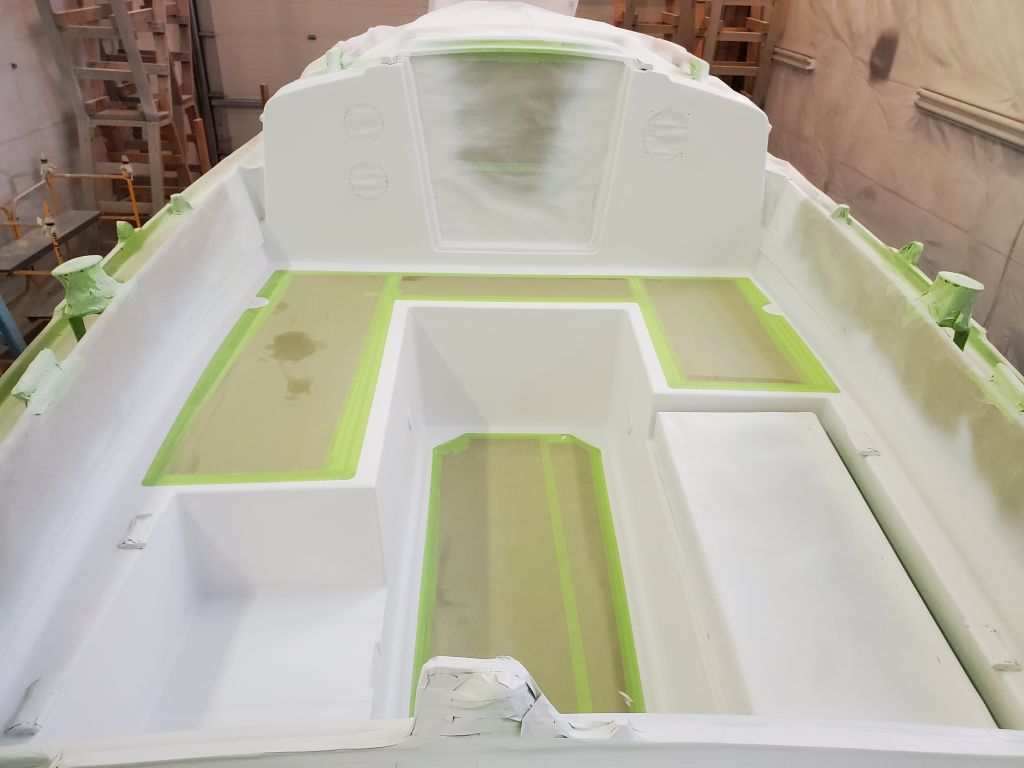
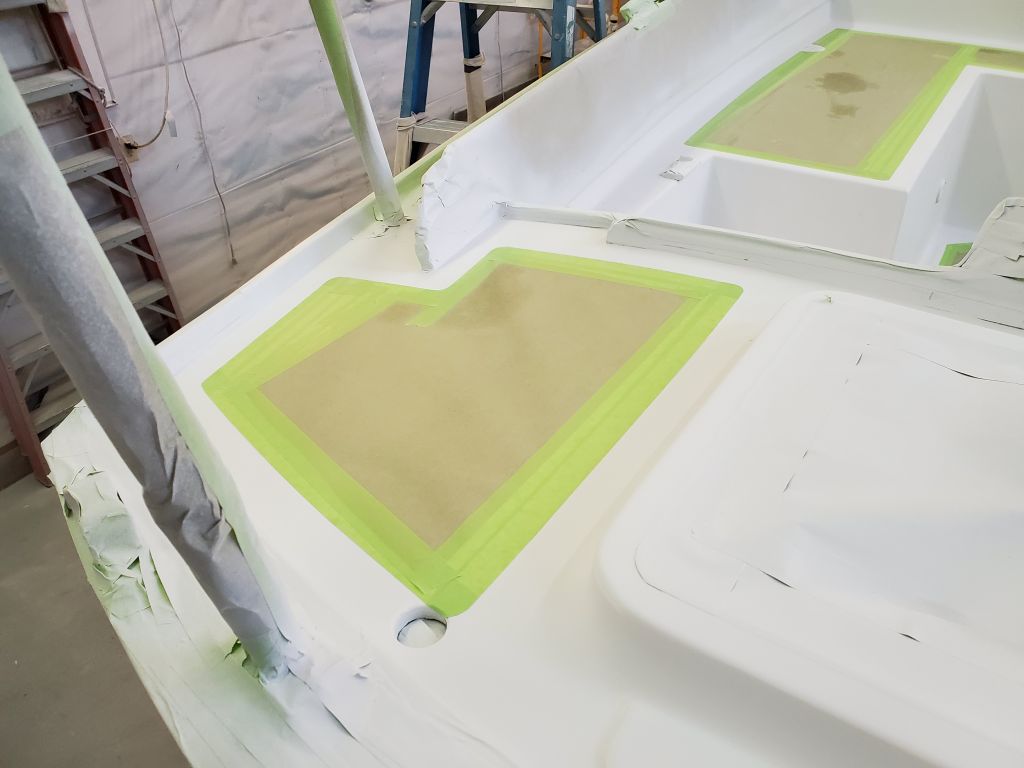
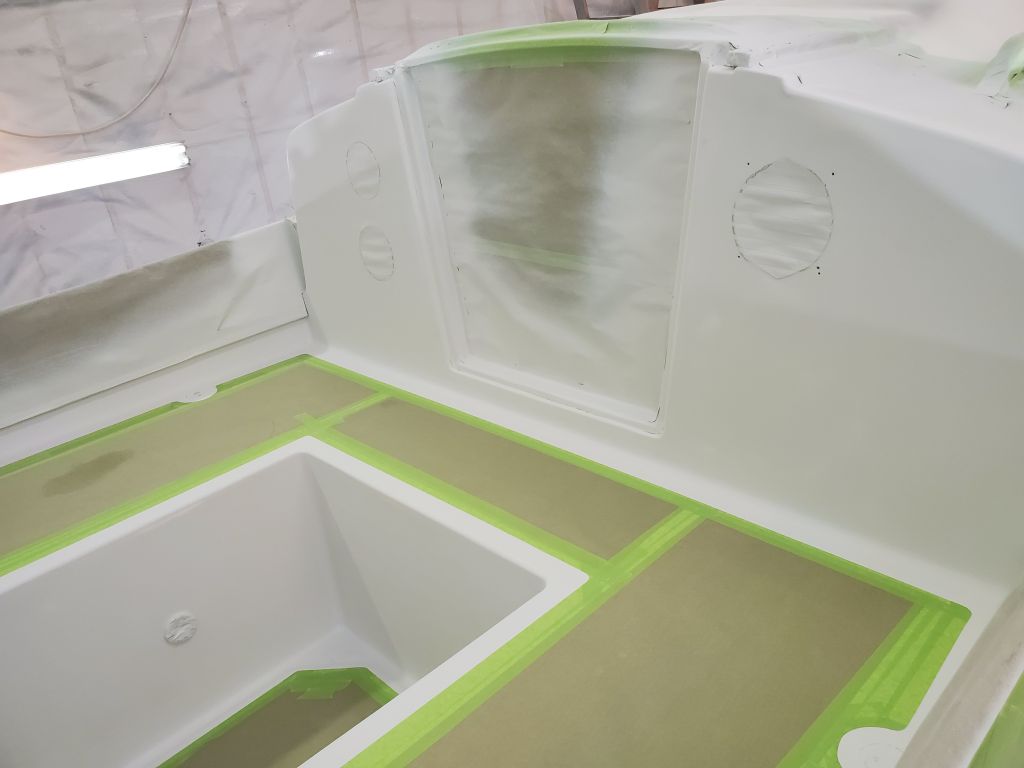
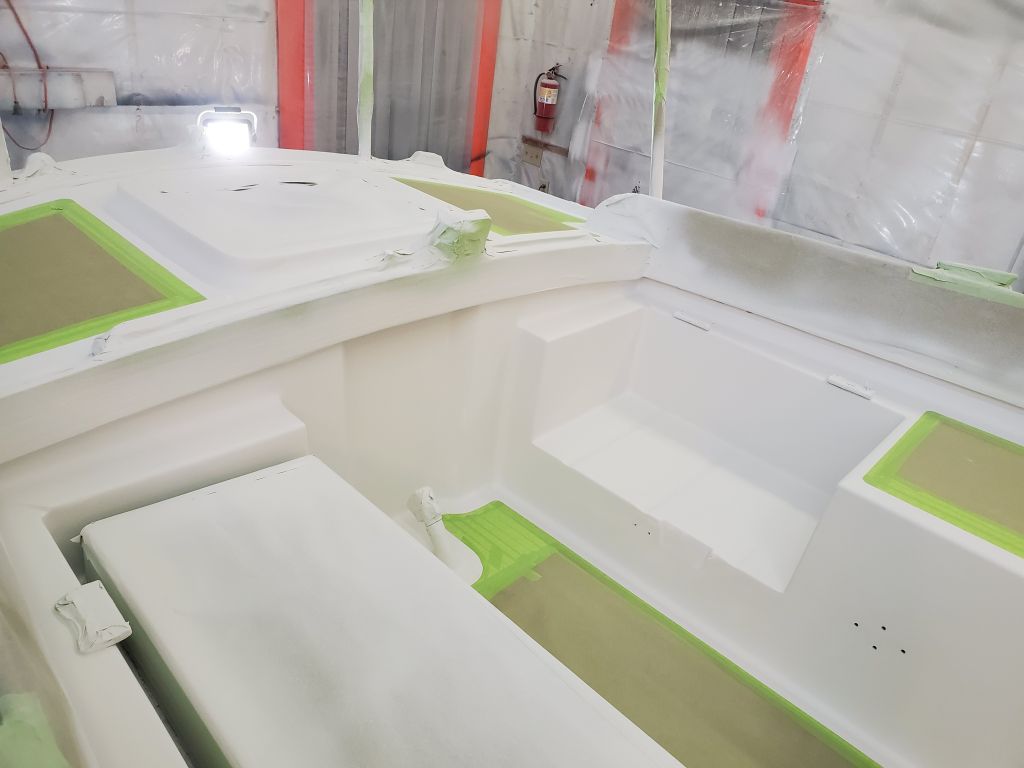
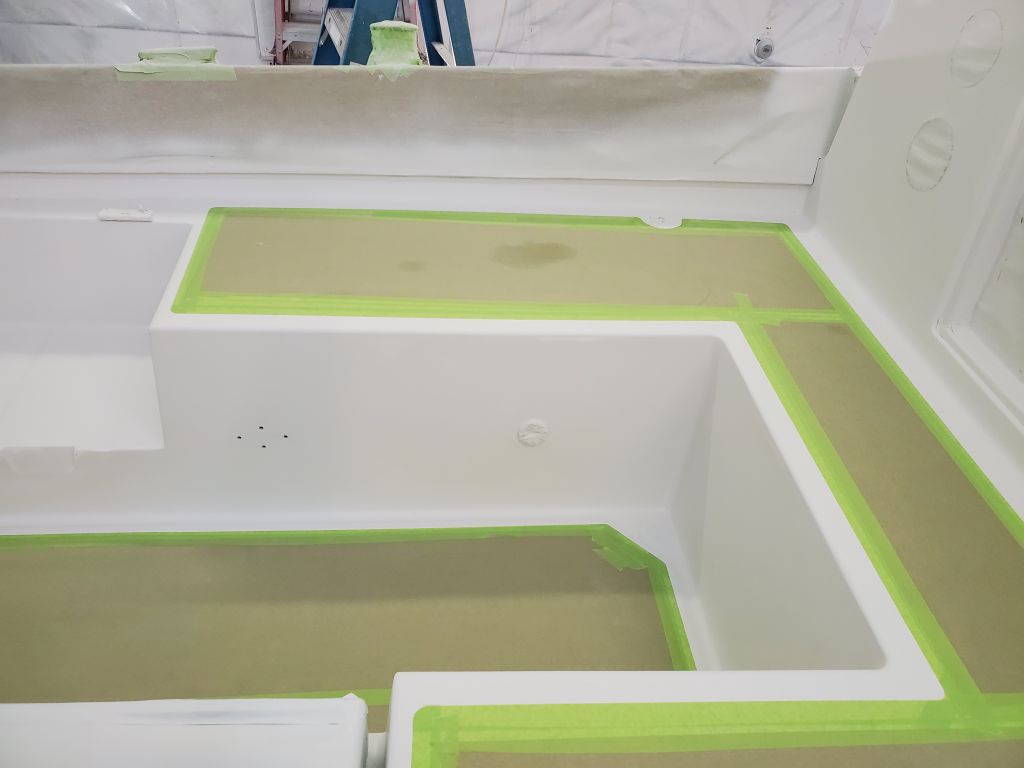
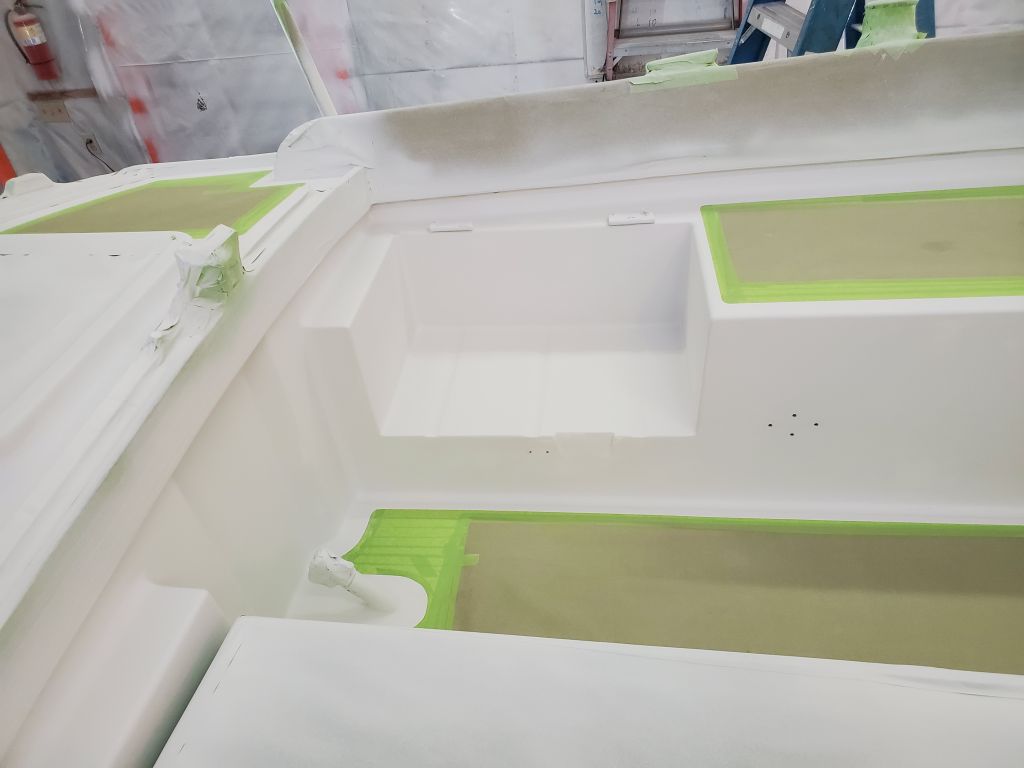
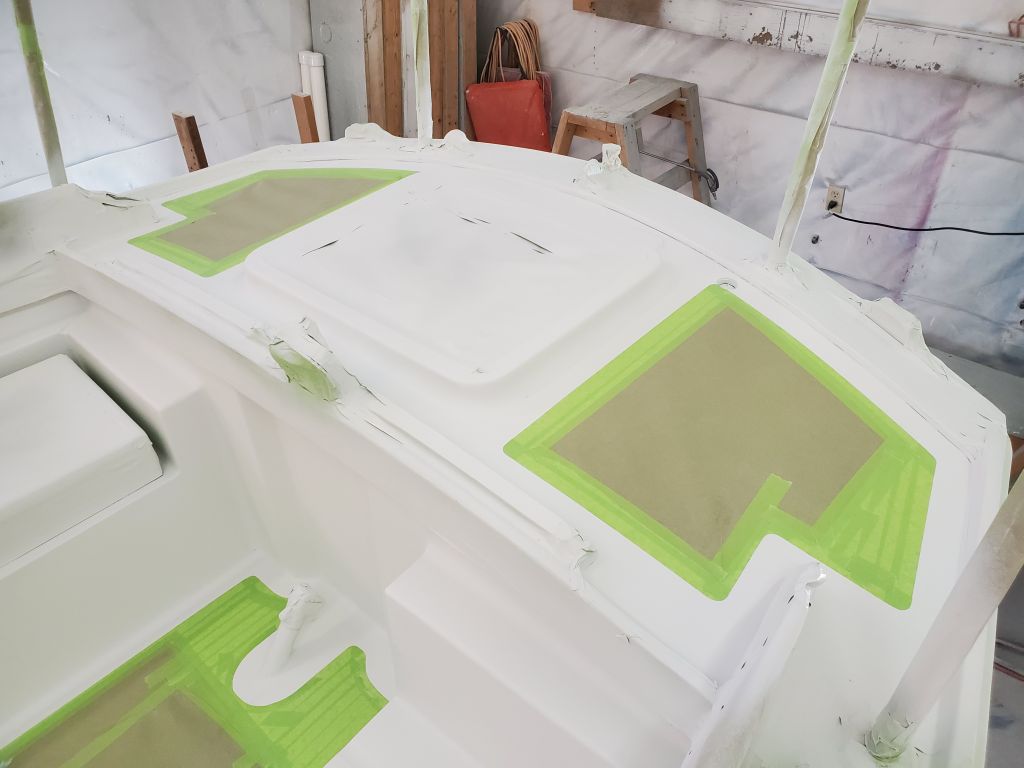
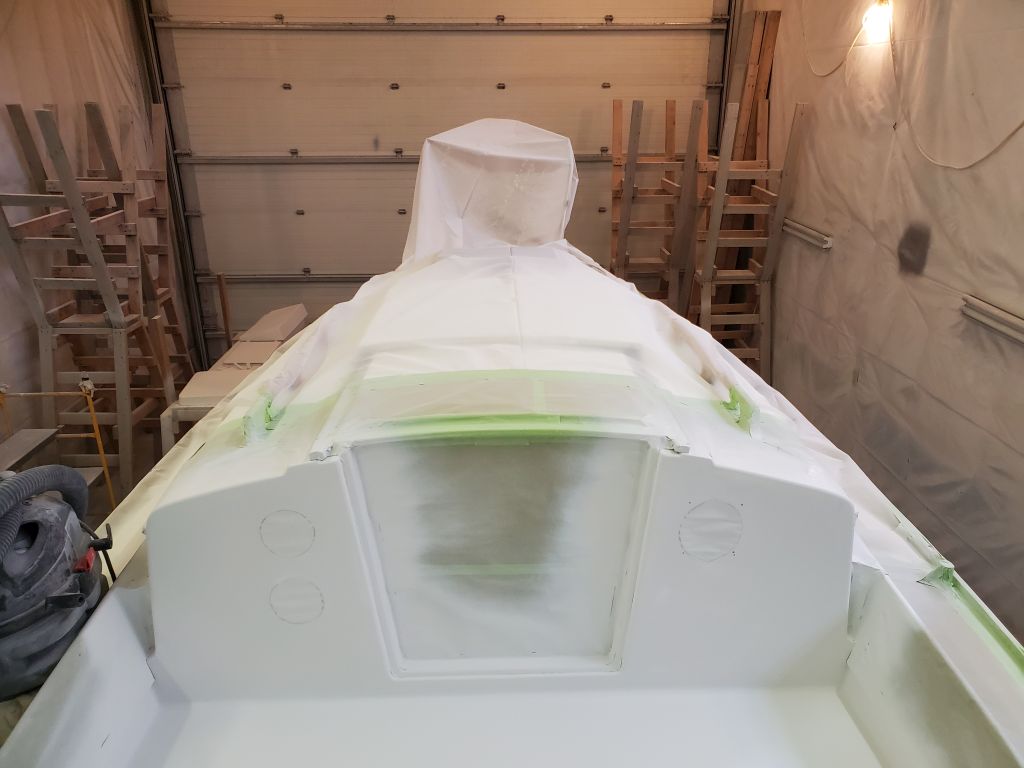
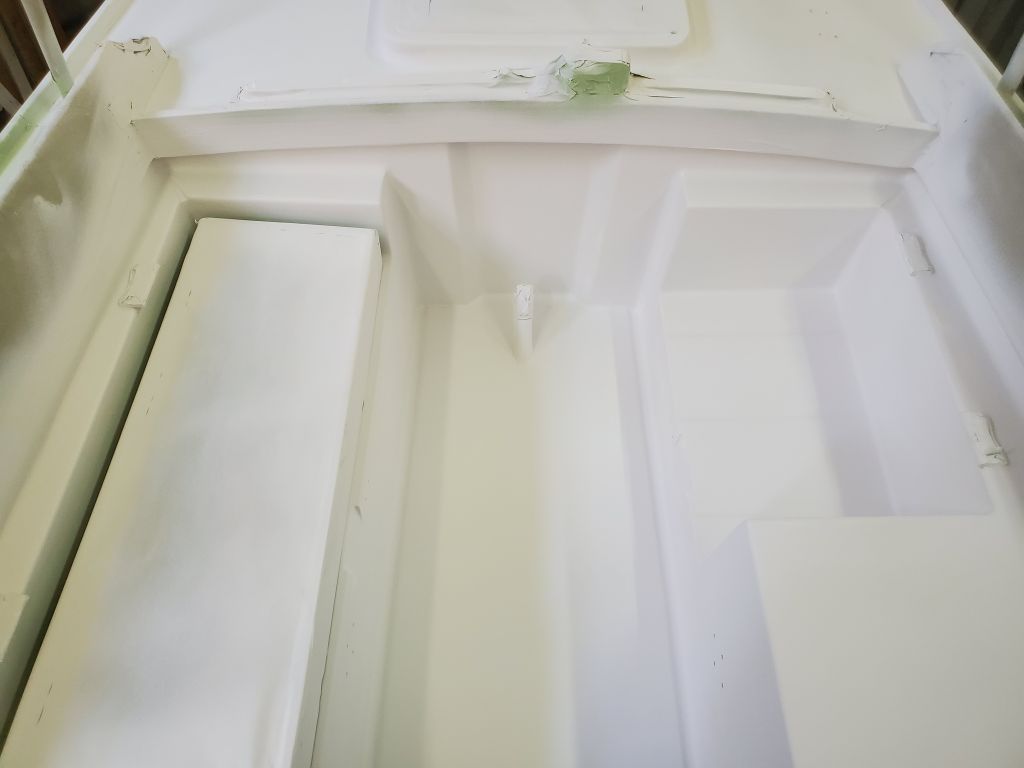
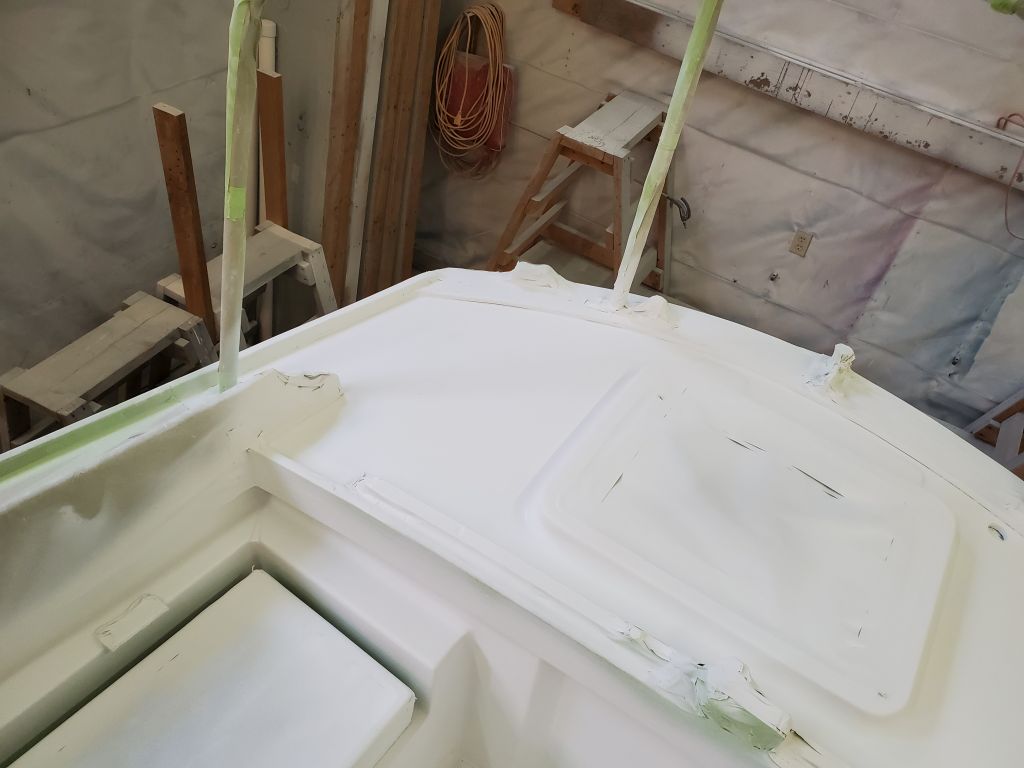
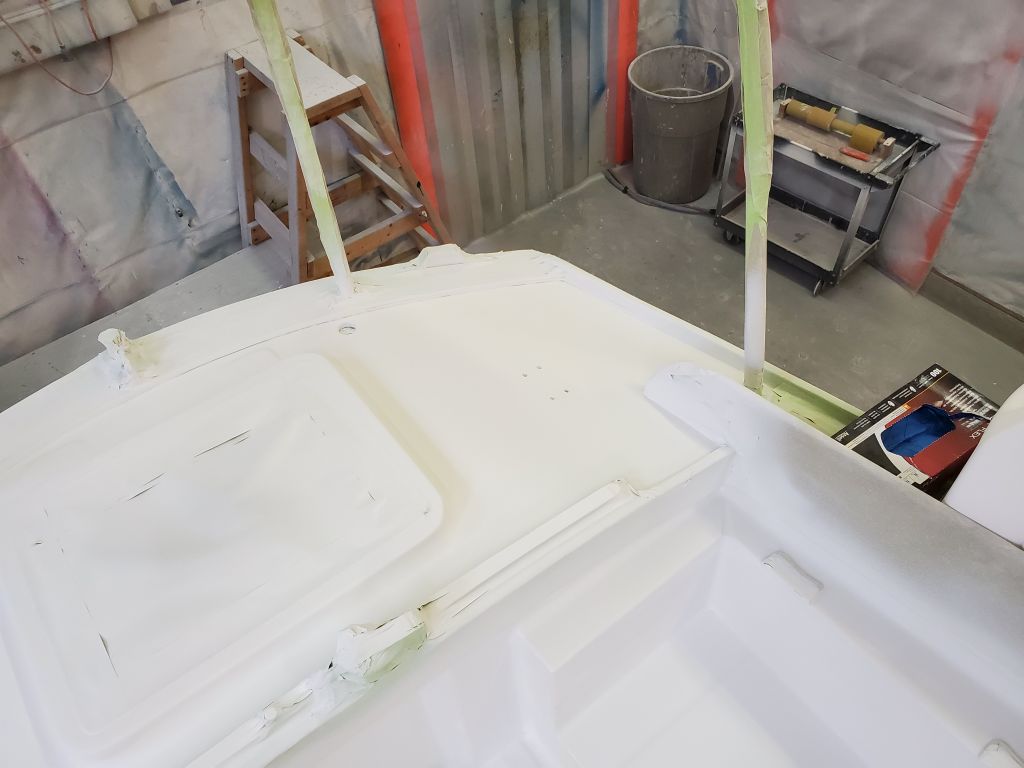
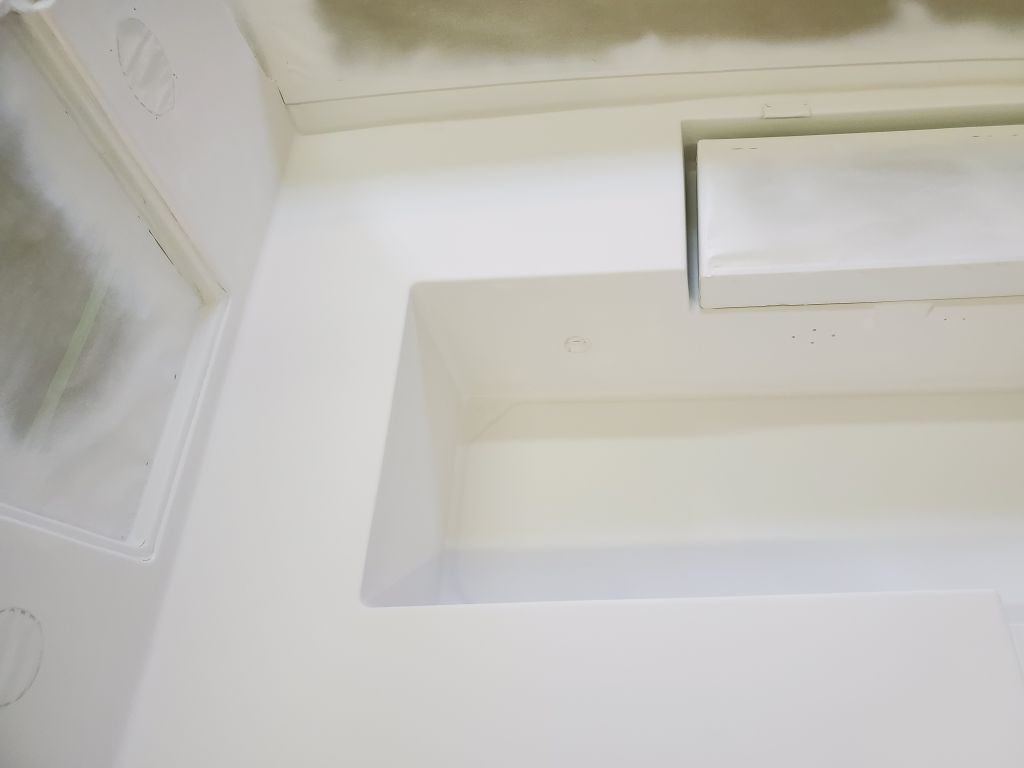
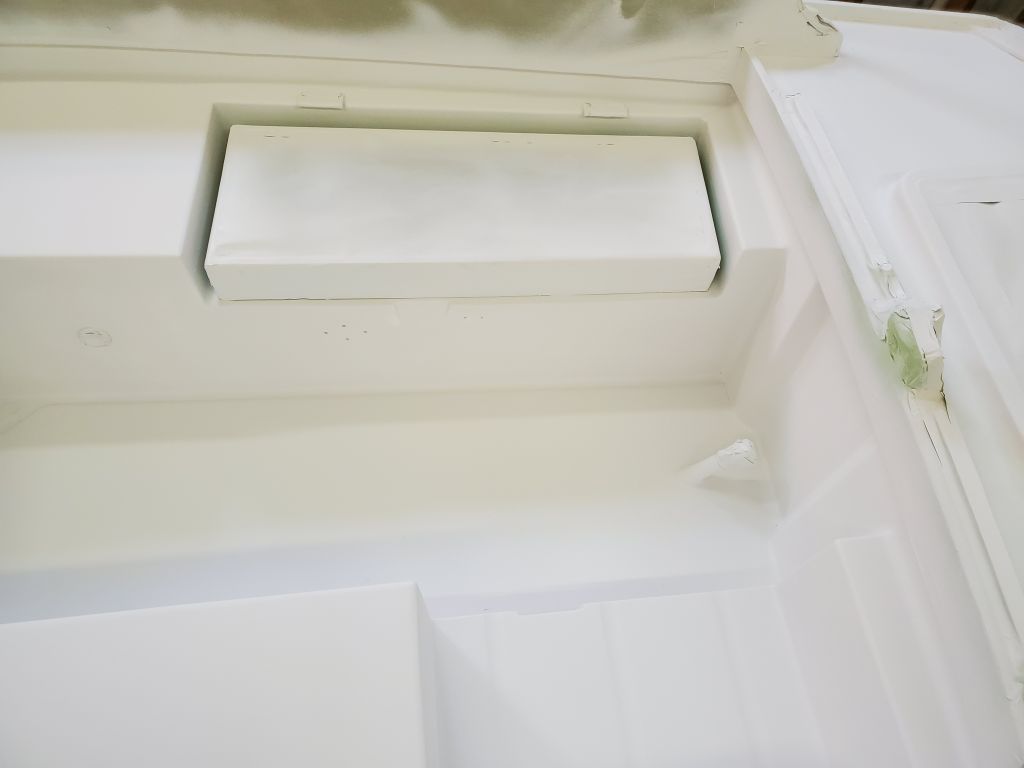
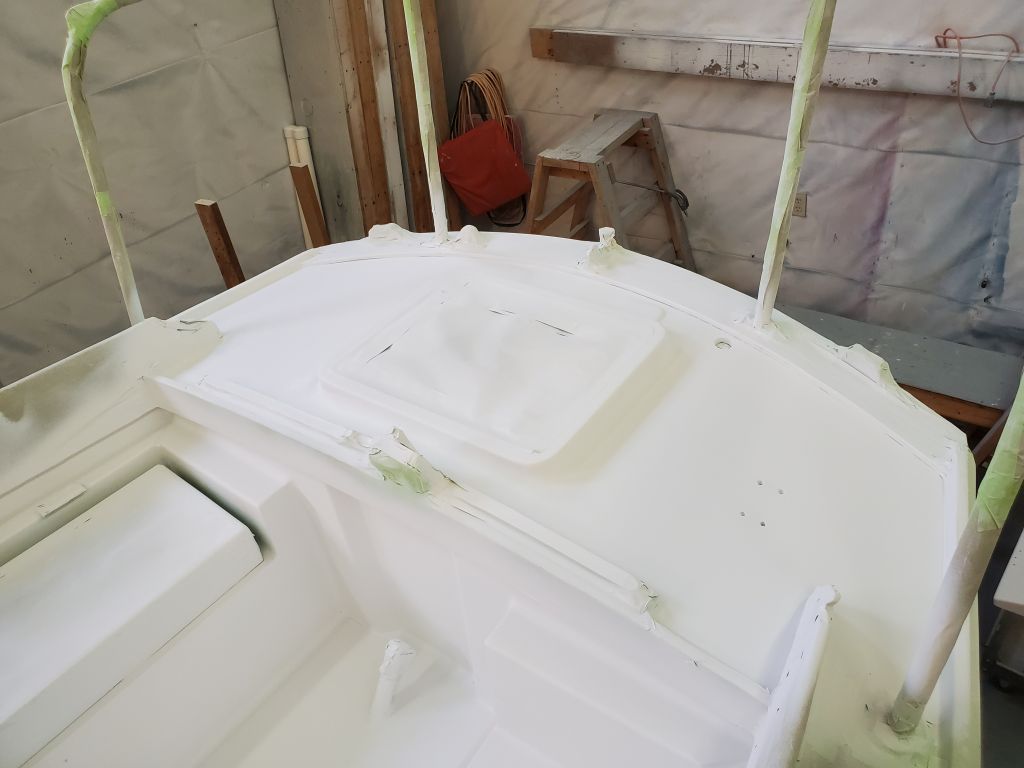
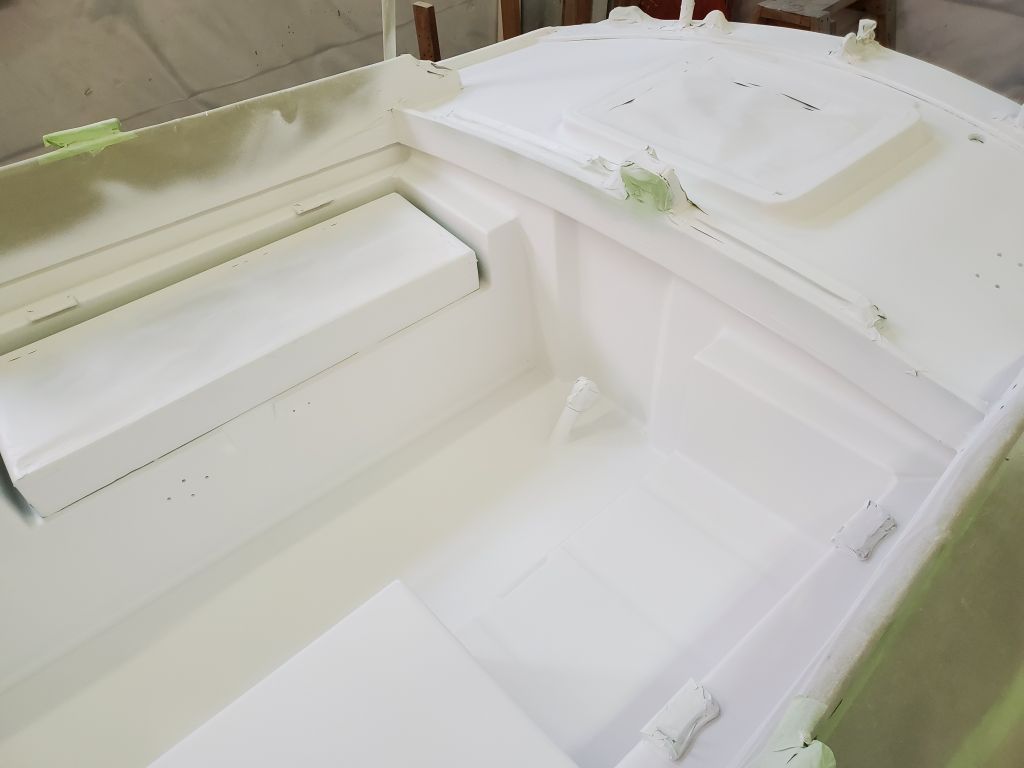
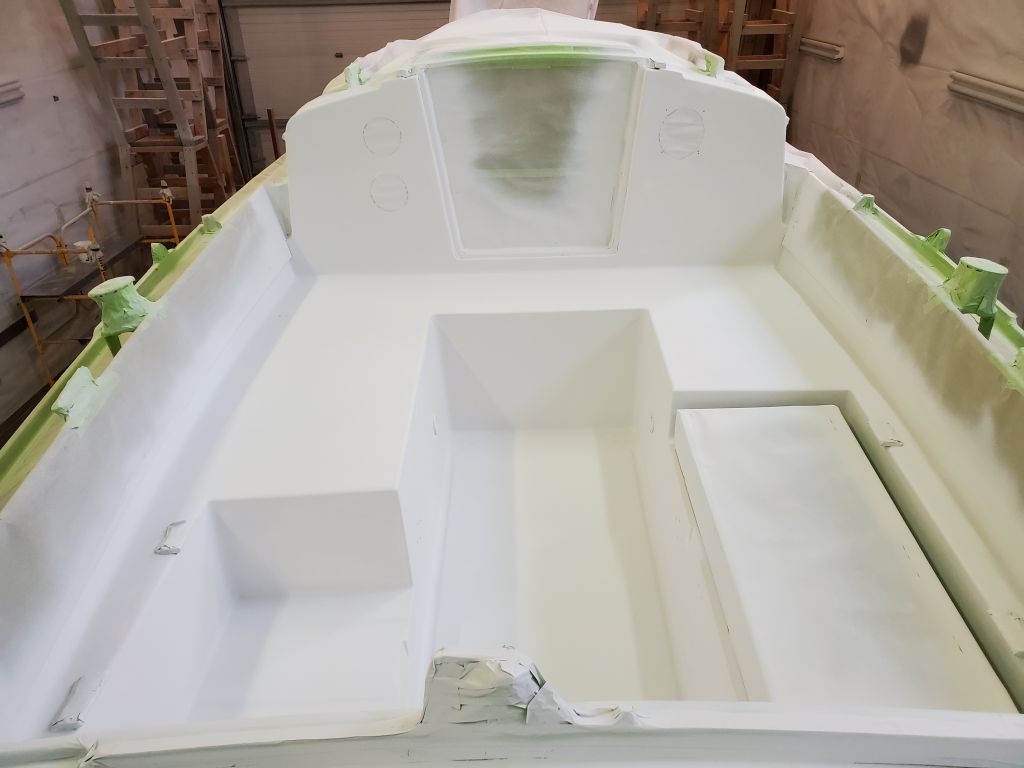
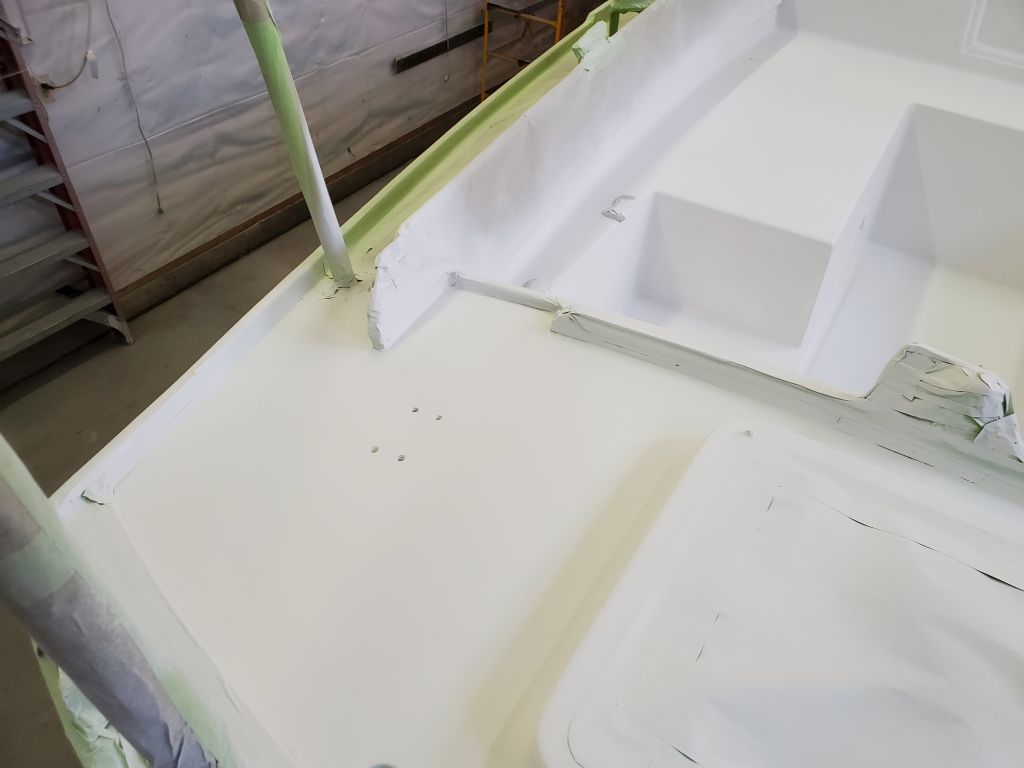
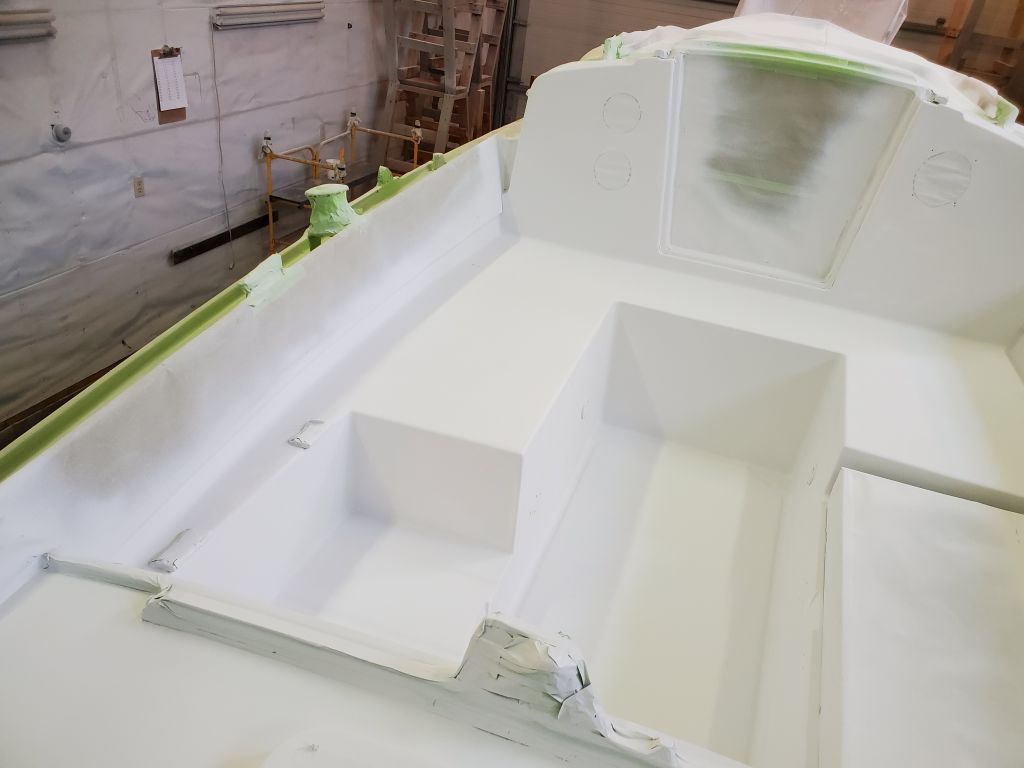
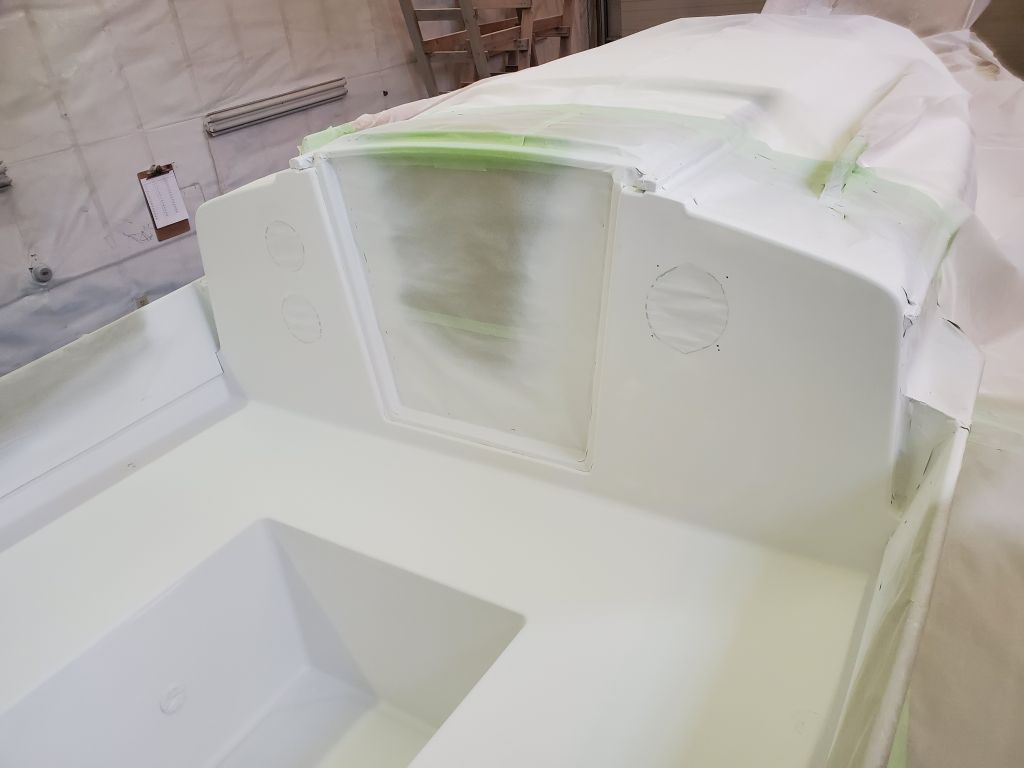
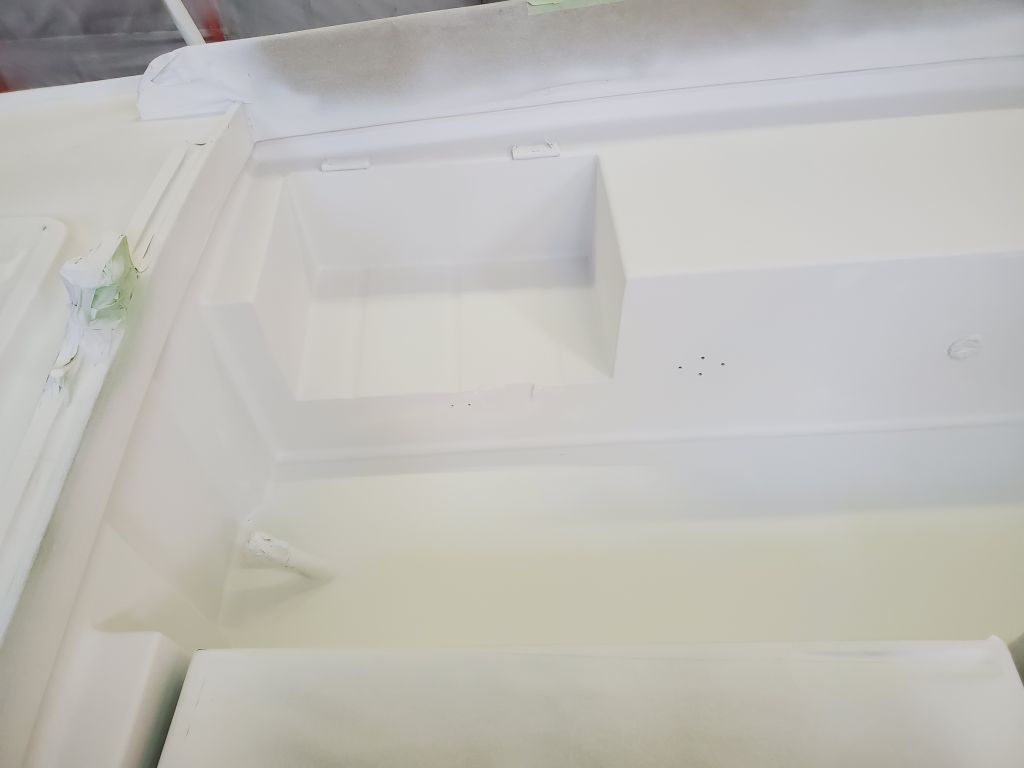
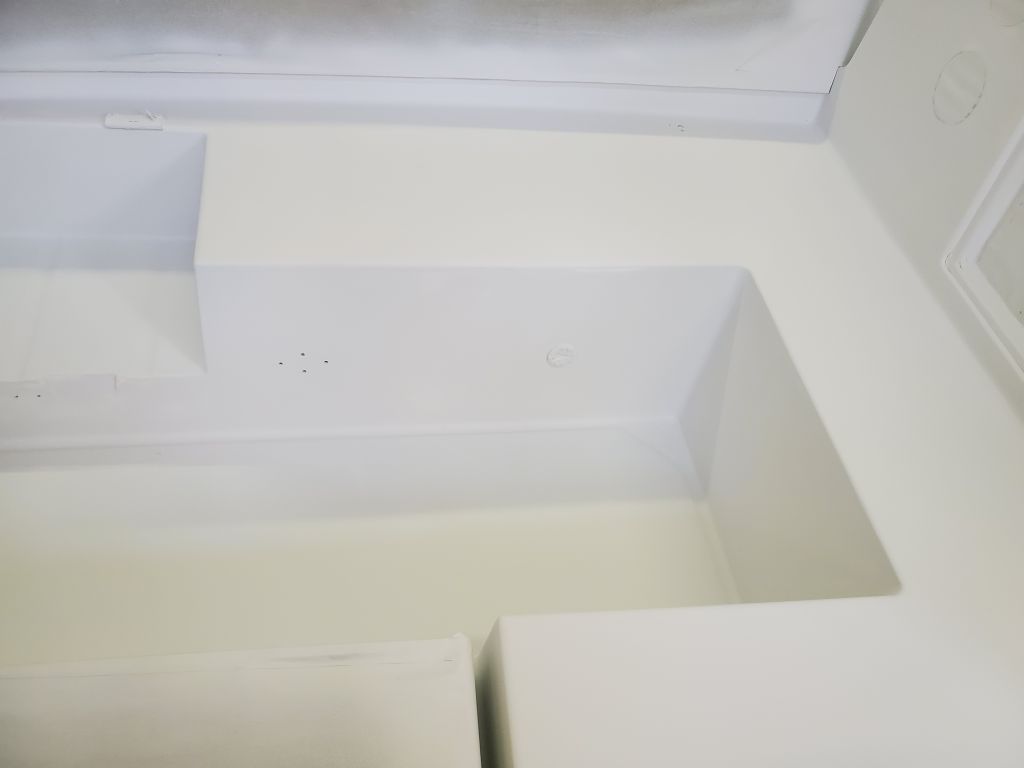
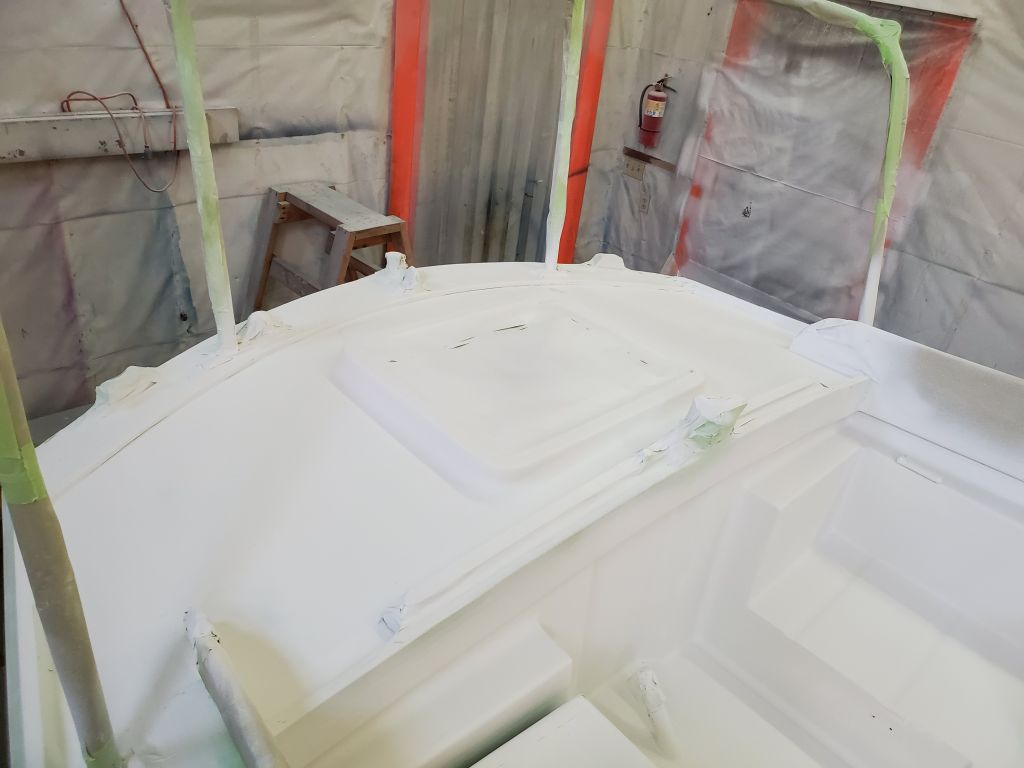
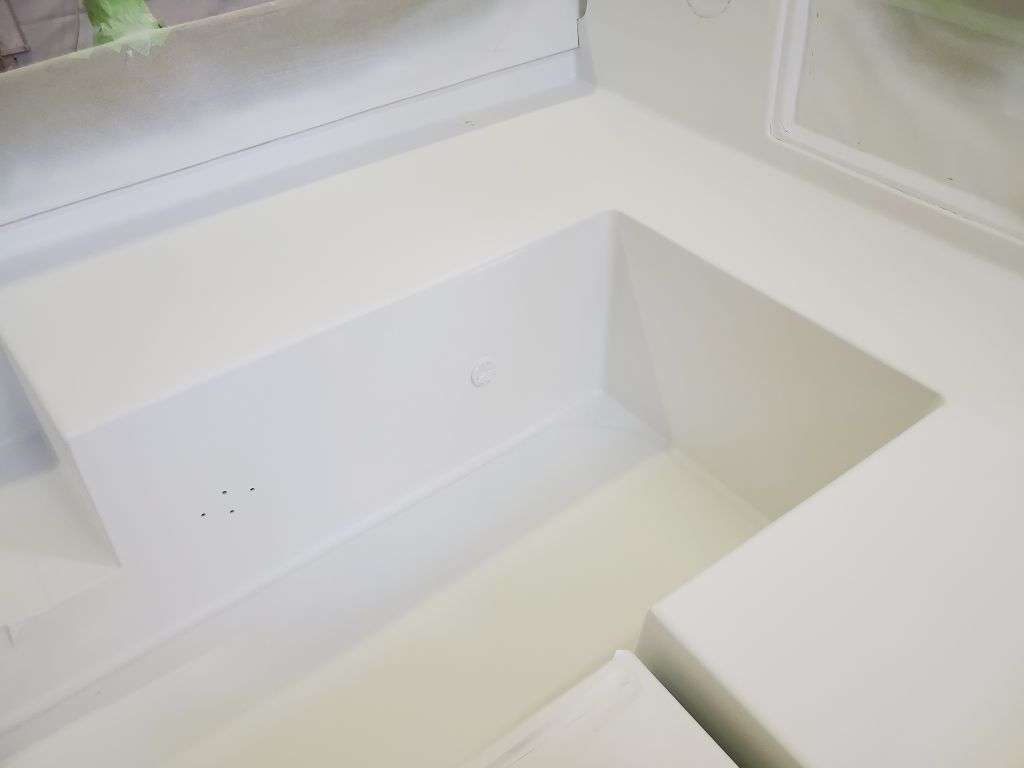
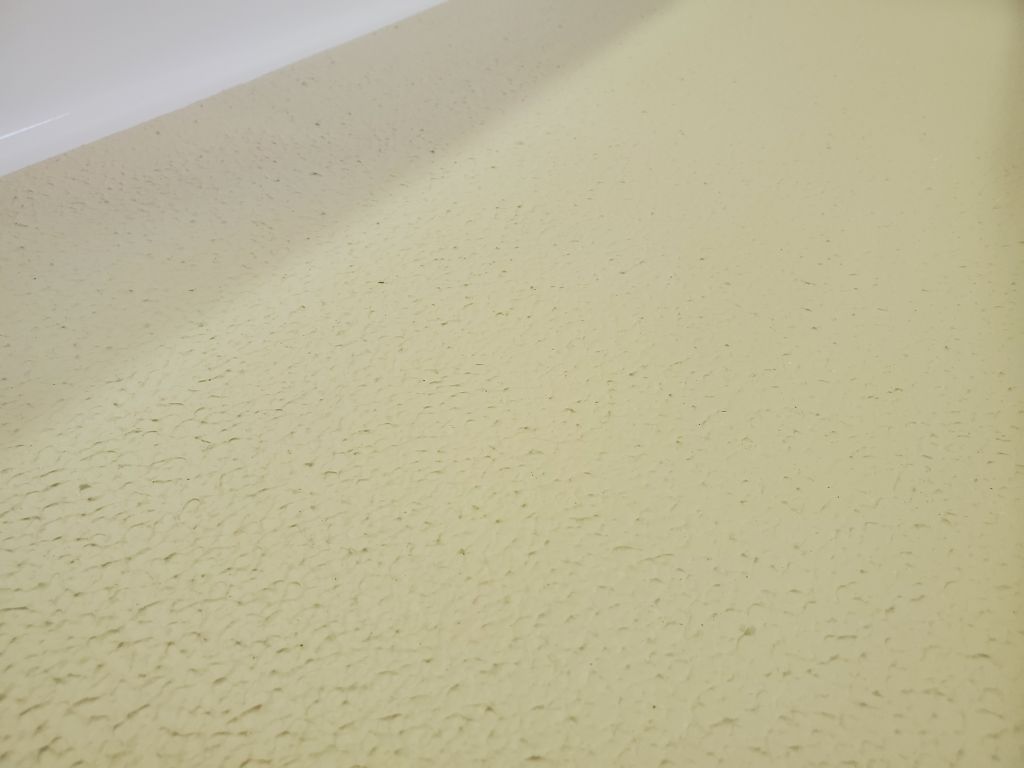
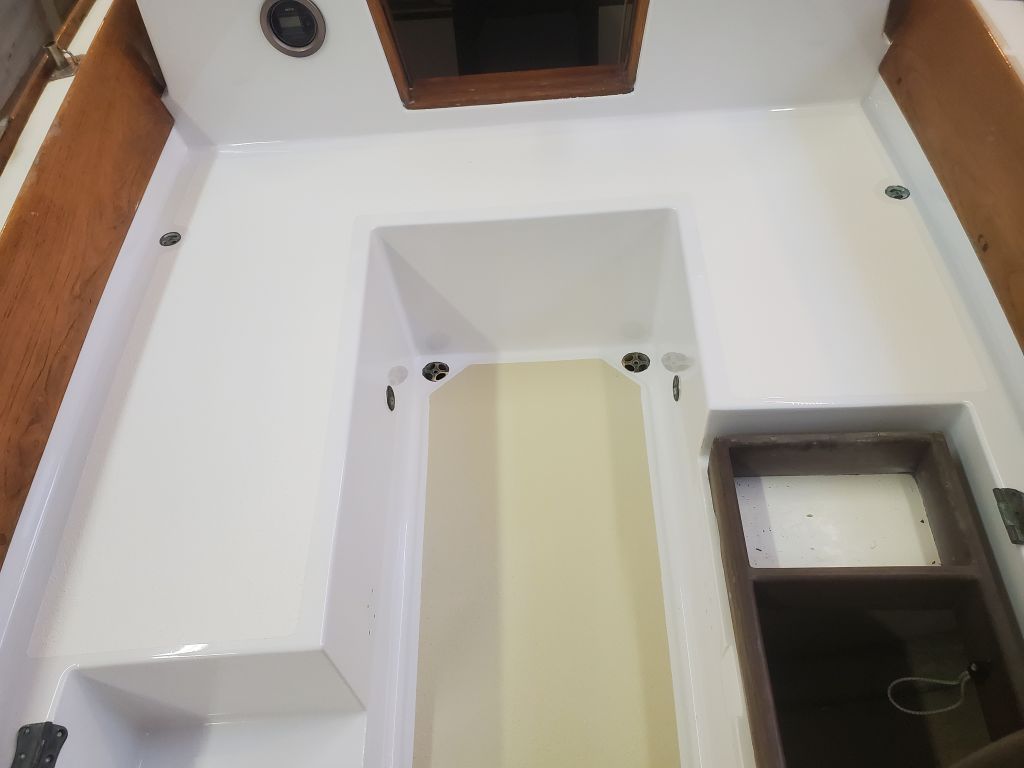
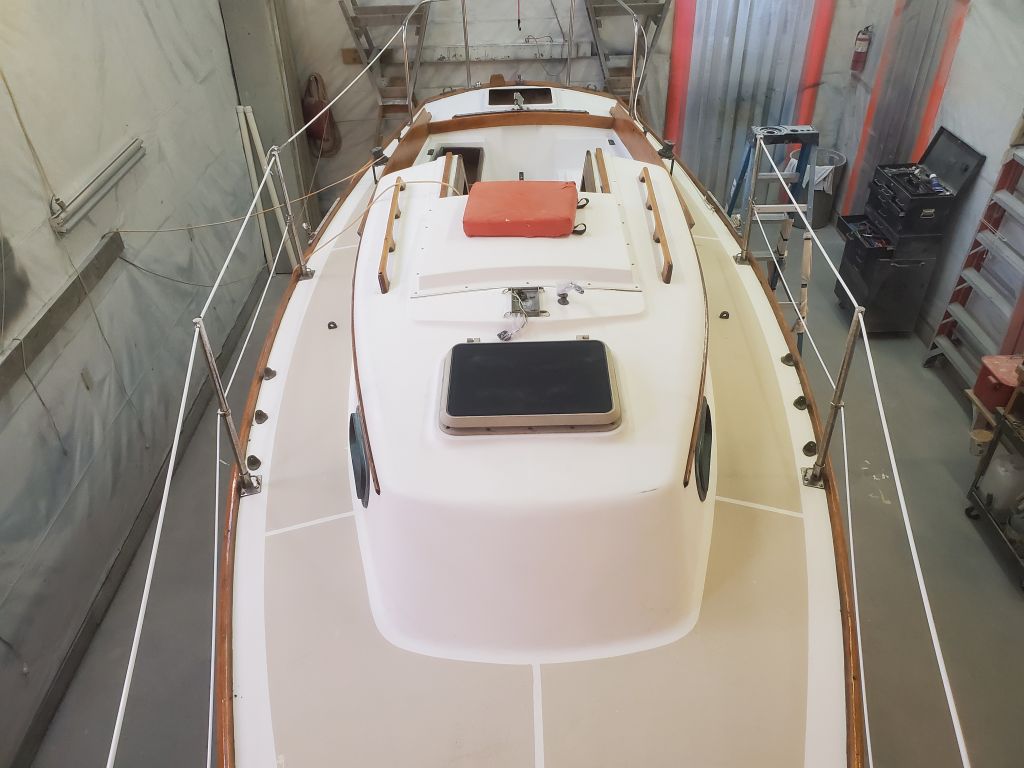
Now that the nonskid paint was dry enough, I could remove the remaining masking from the cockpit.
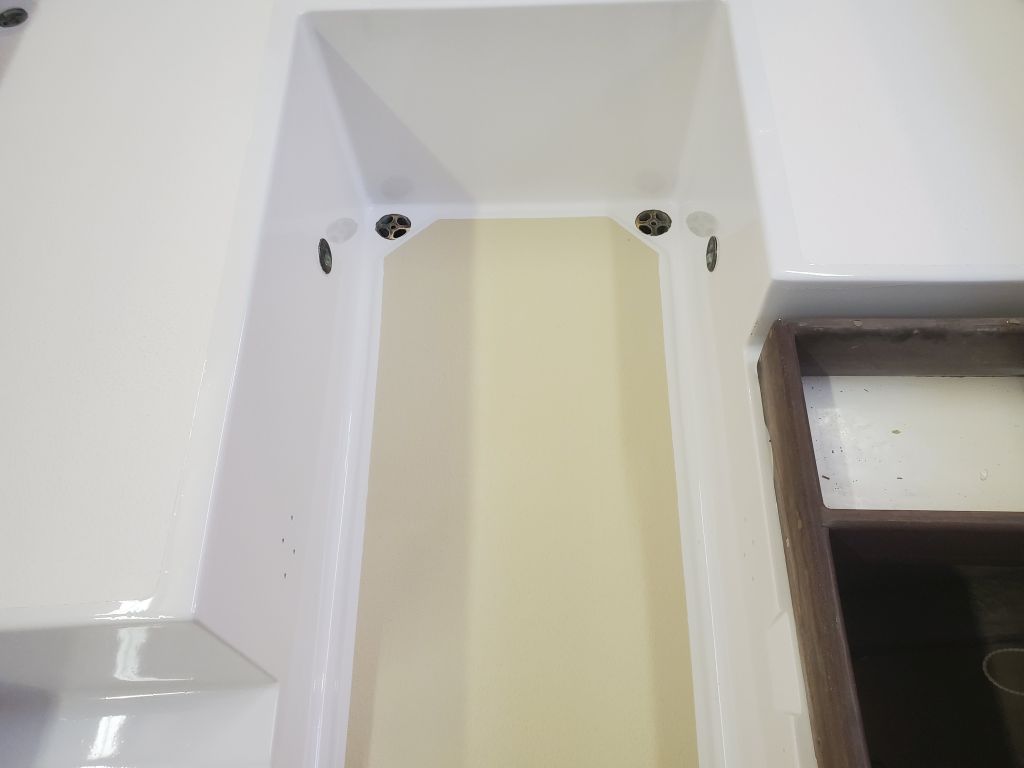


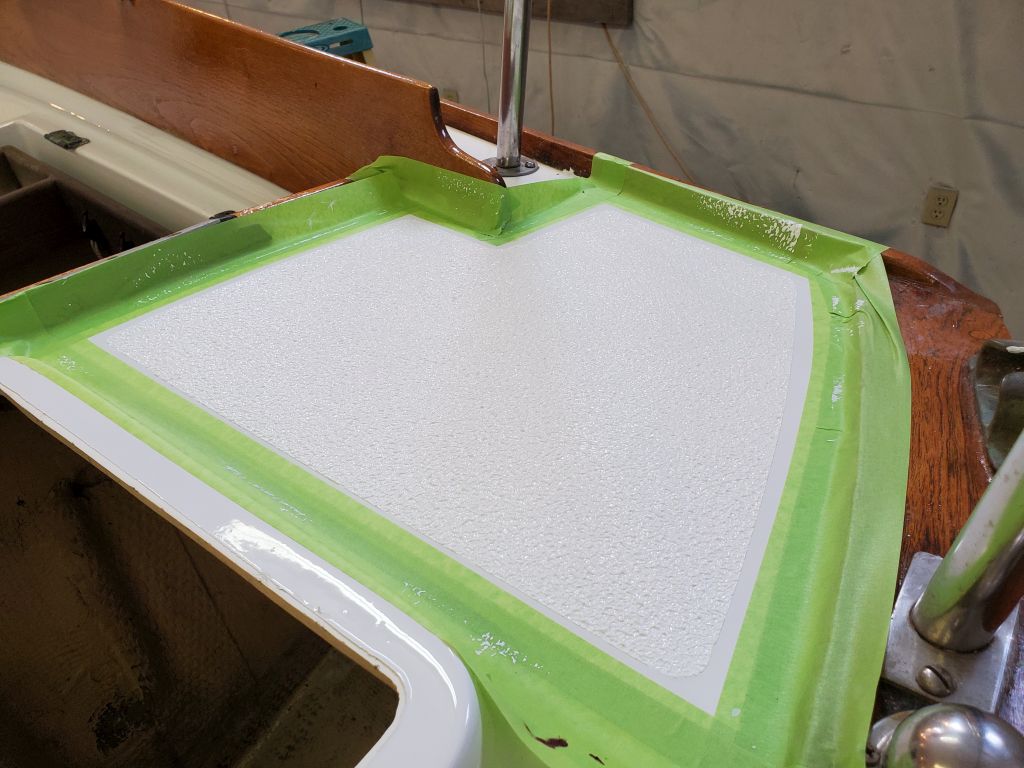
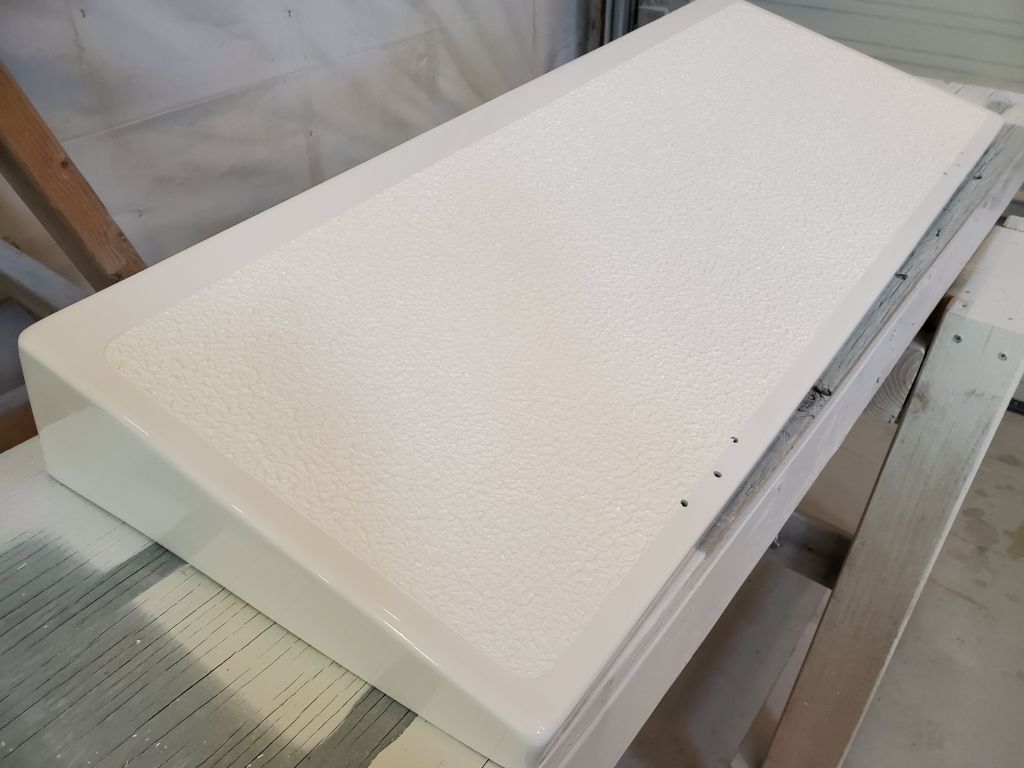
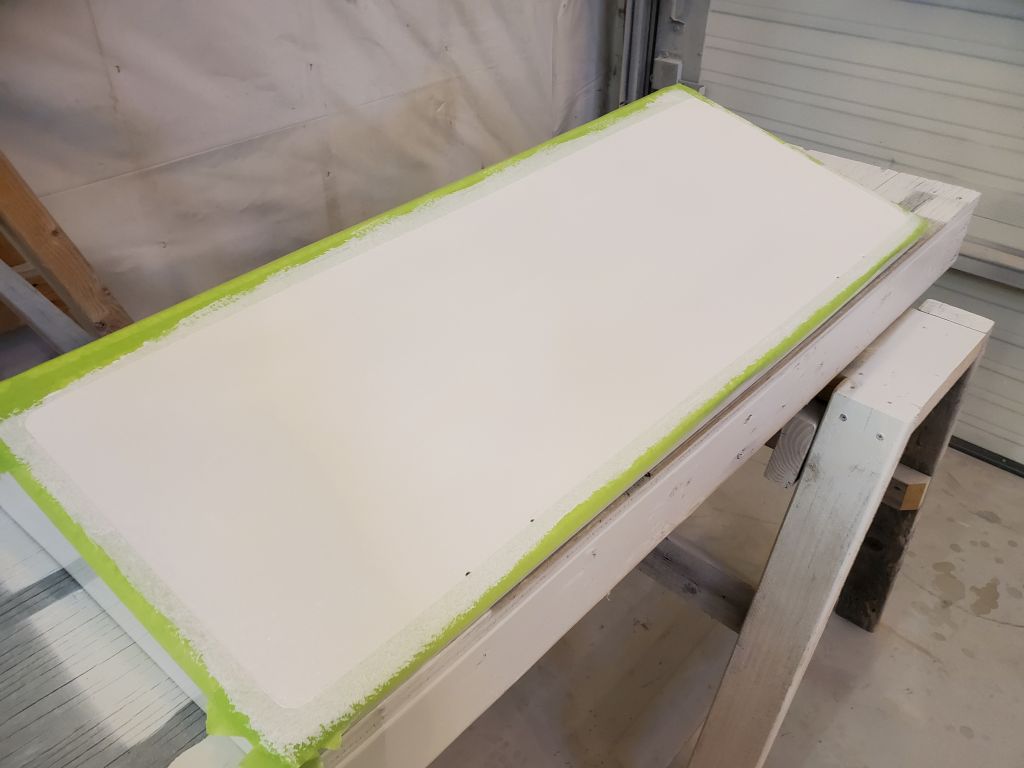
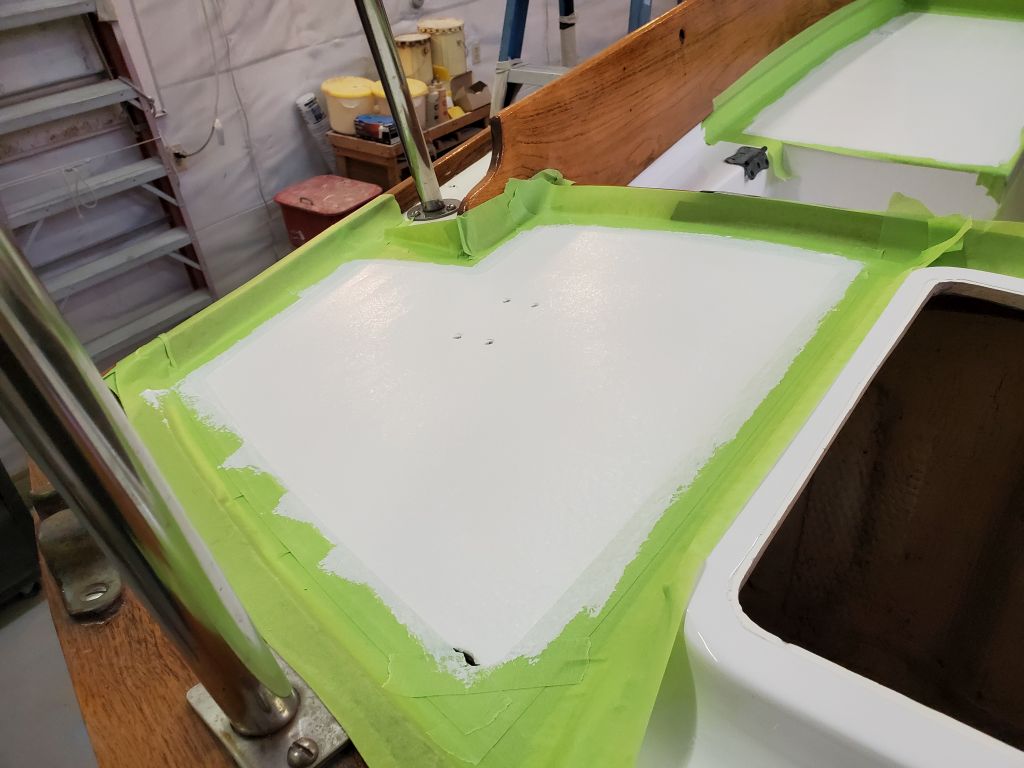
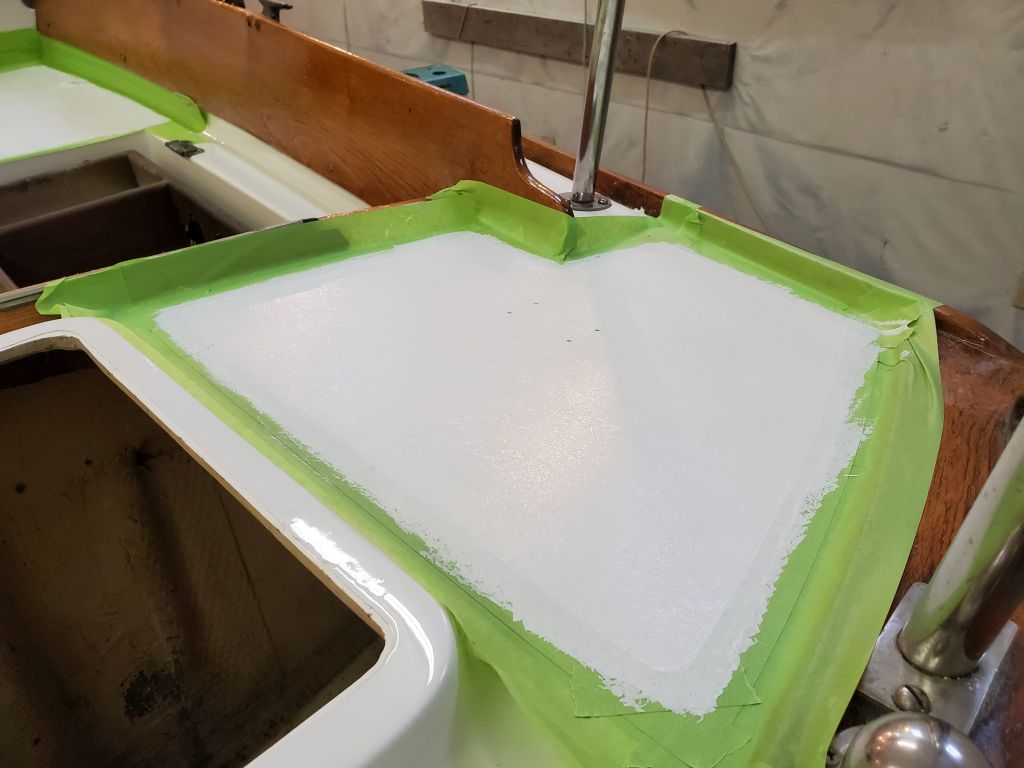
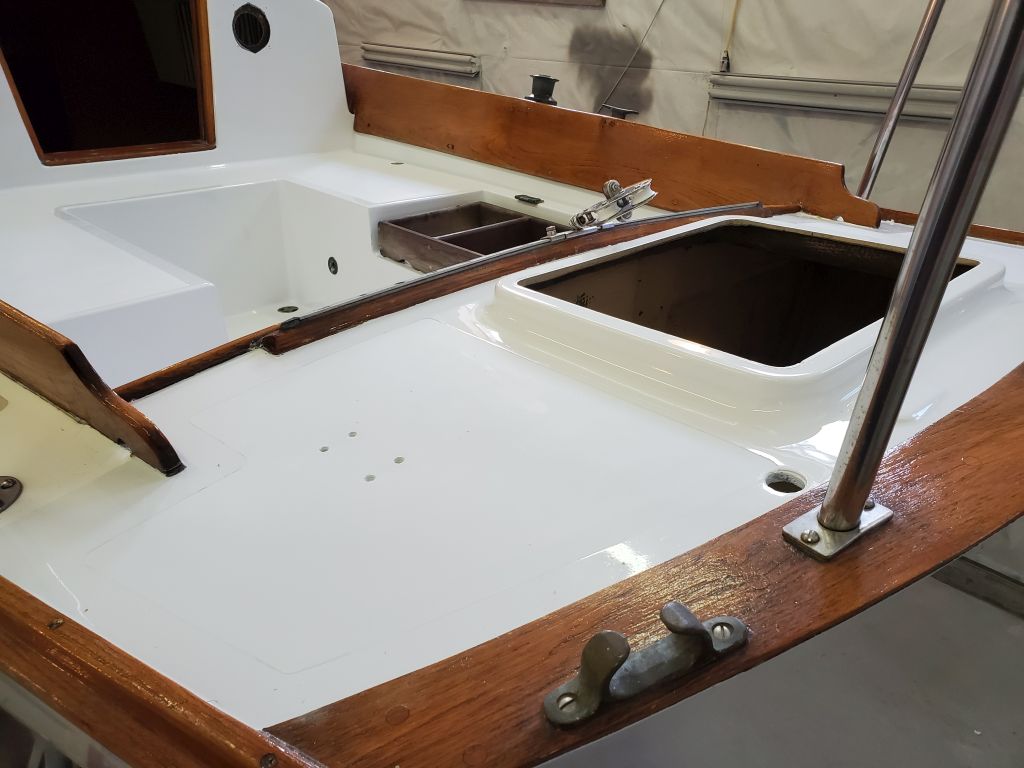
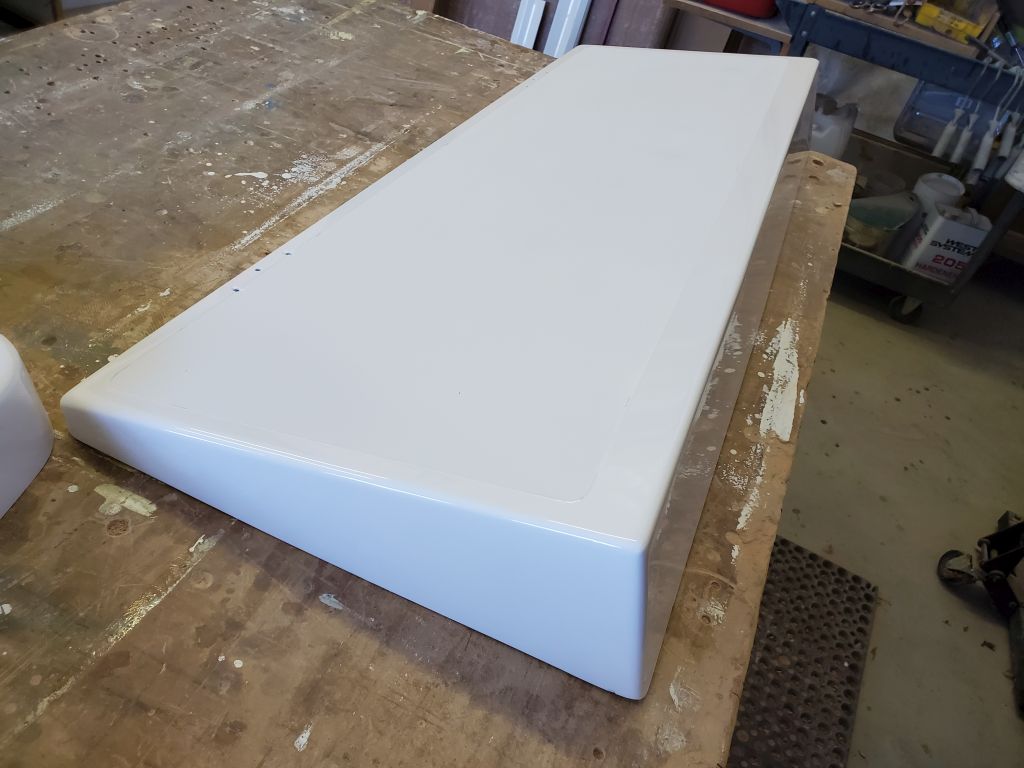
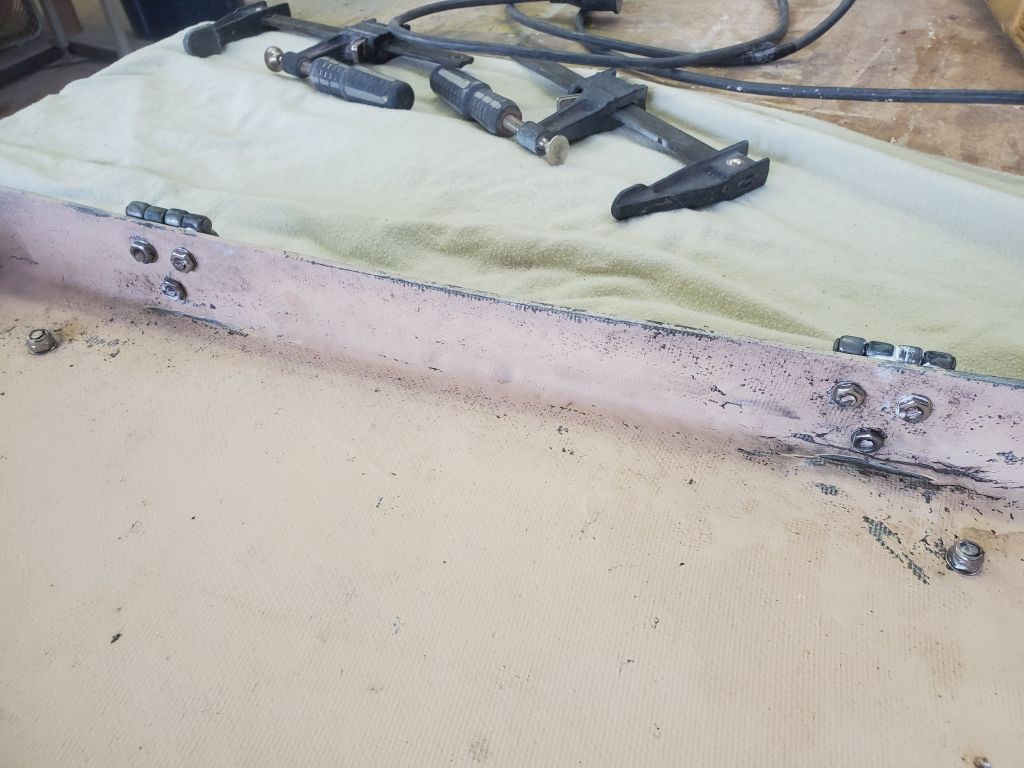
I wanted to give the cockpit at least another day to cure before I started working within to finish up the hardware installations there, so for now I worked on the lazarette hatch, reinstalling the original hinges on the hatch before installing the hatch permanently on the deck with new bolts in tapped screw holes. Later, I’d add a small hasp, but since part of that might be on the fresh nonskid, I wanted to wait a little longer.
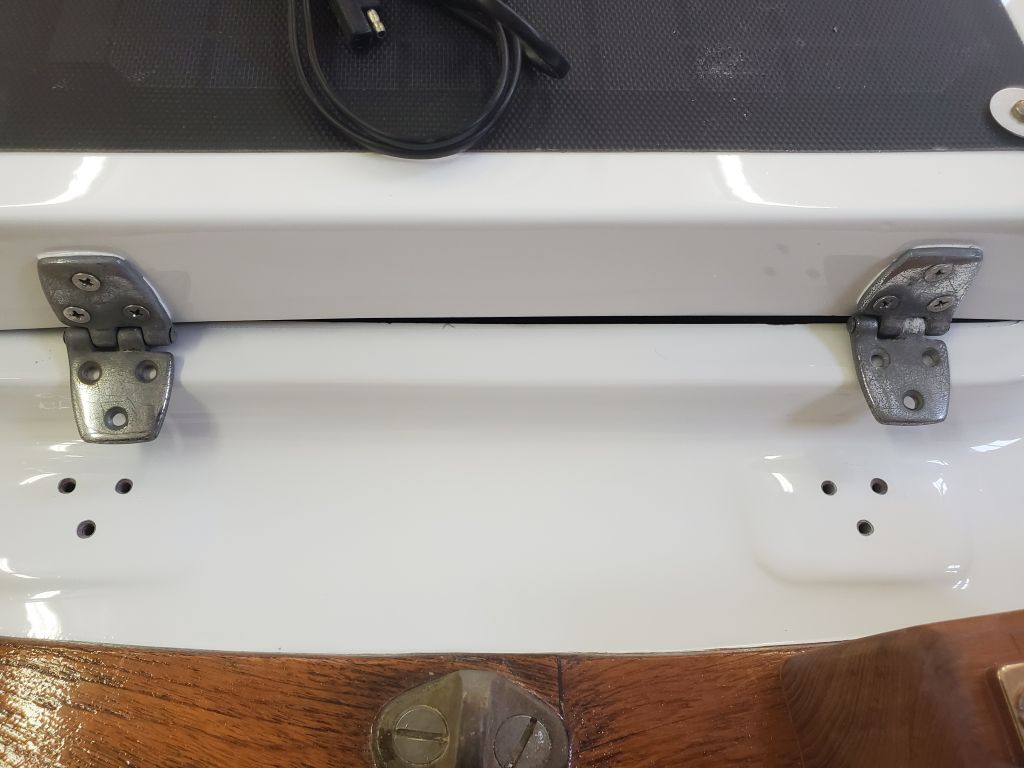
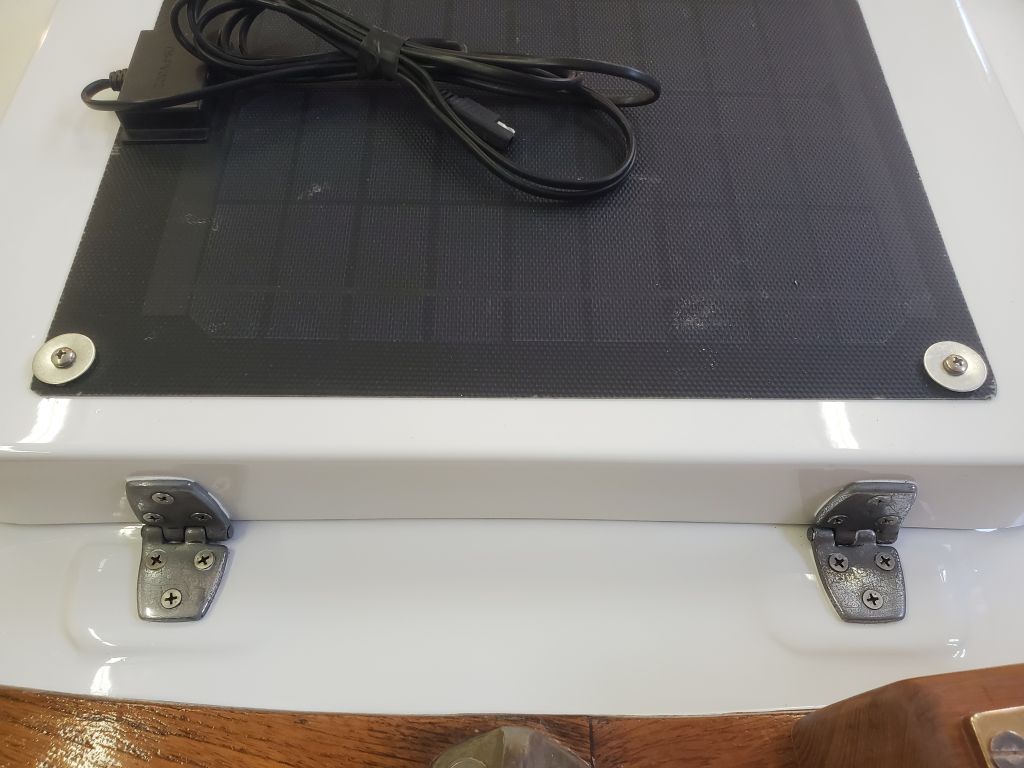
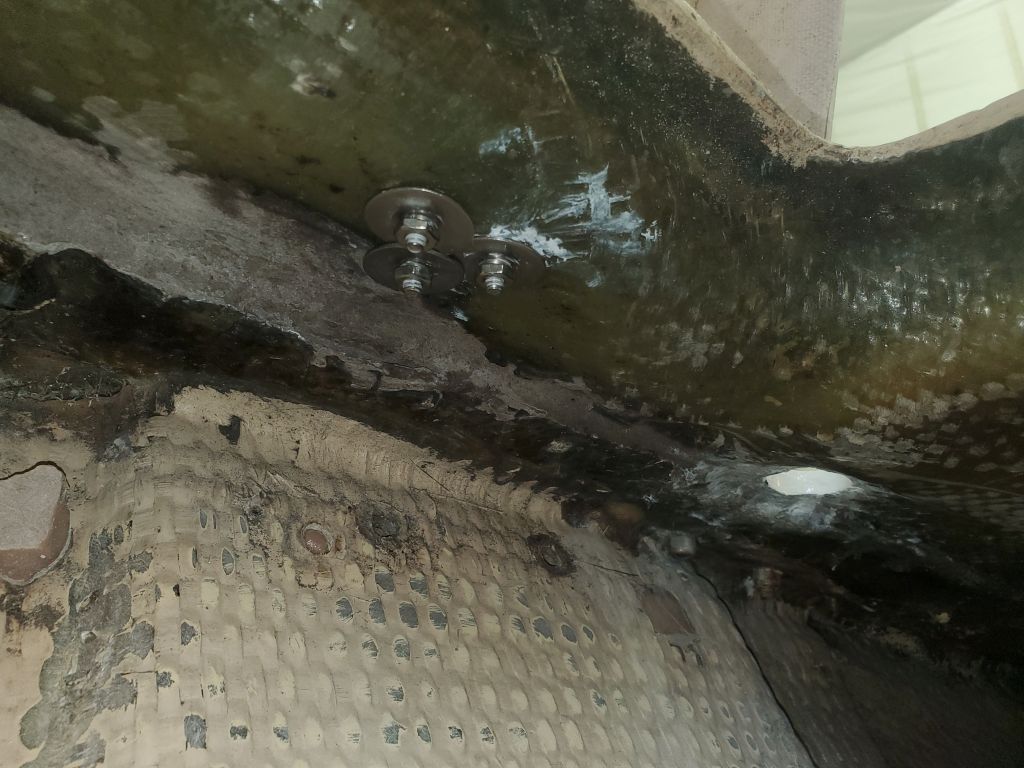
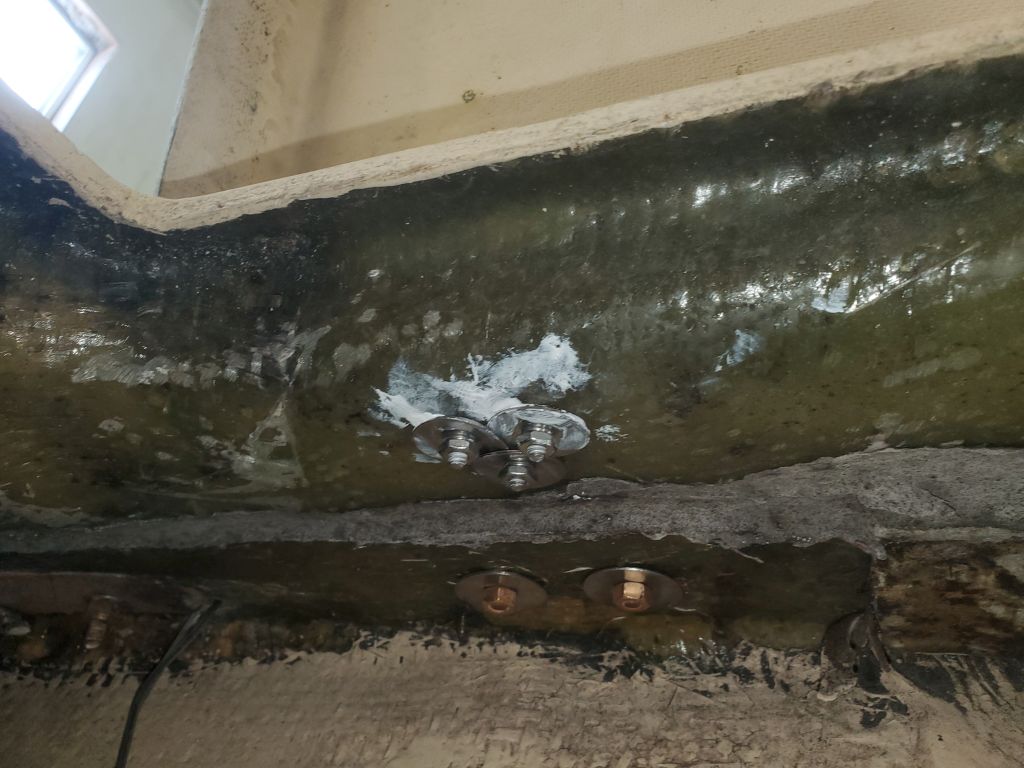
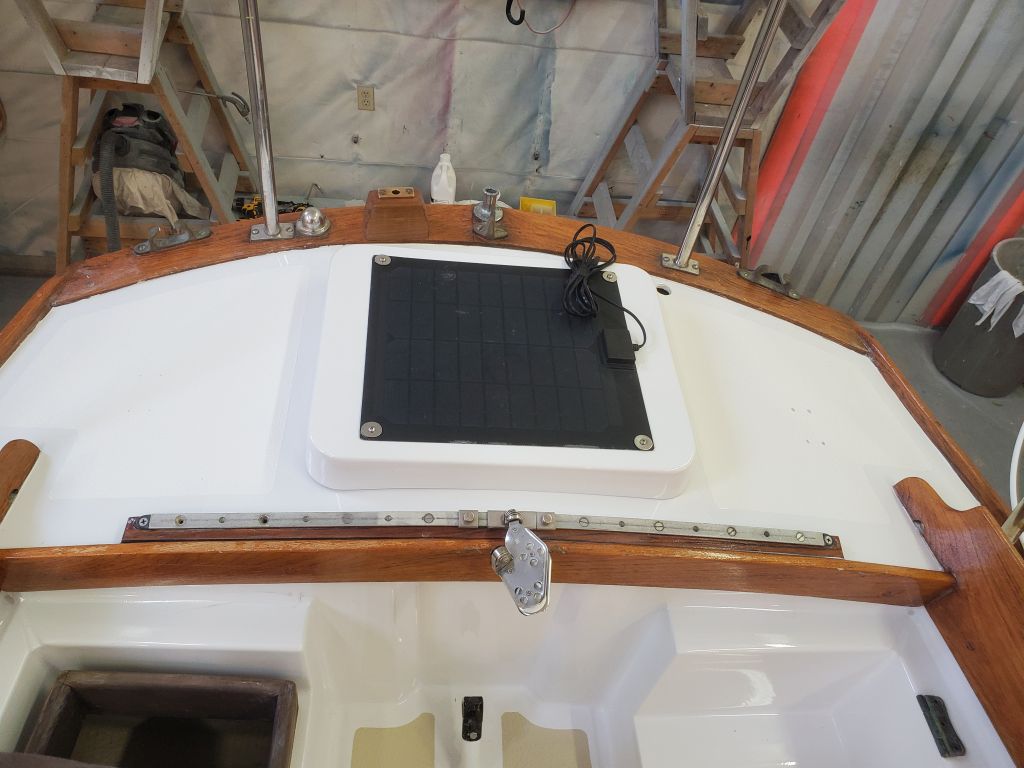
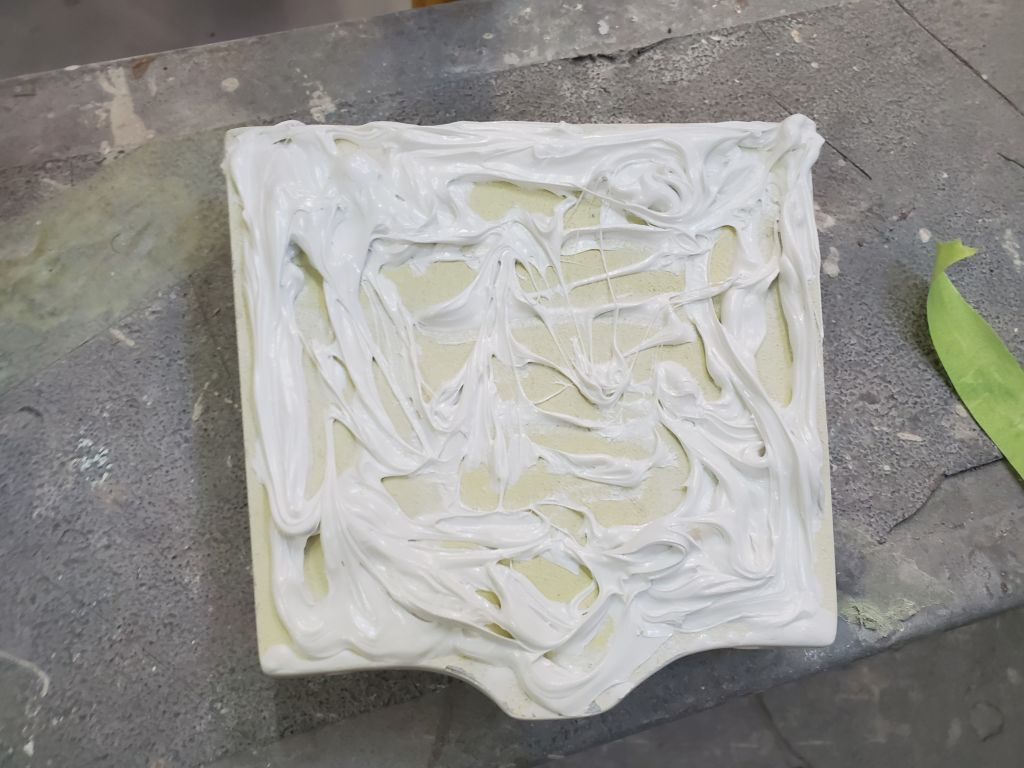
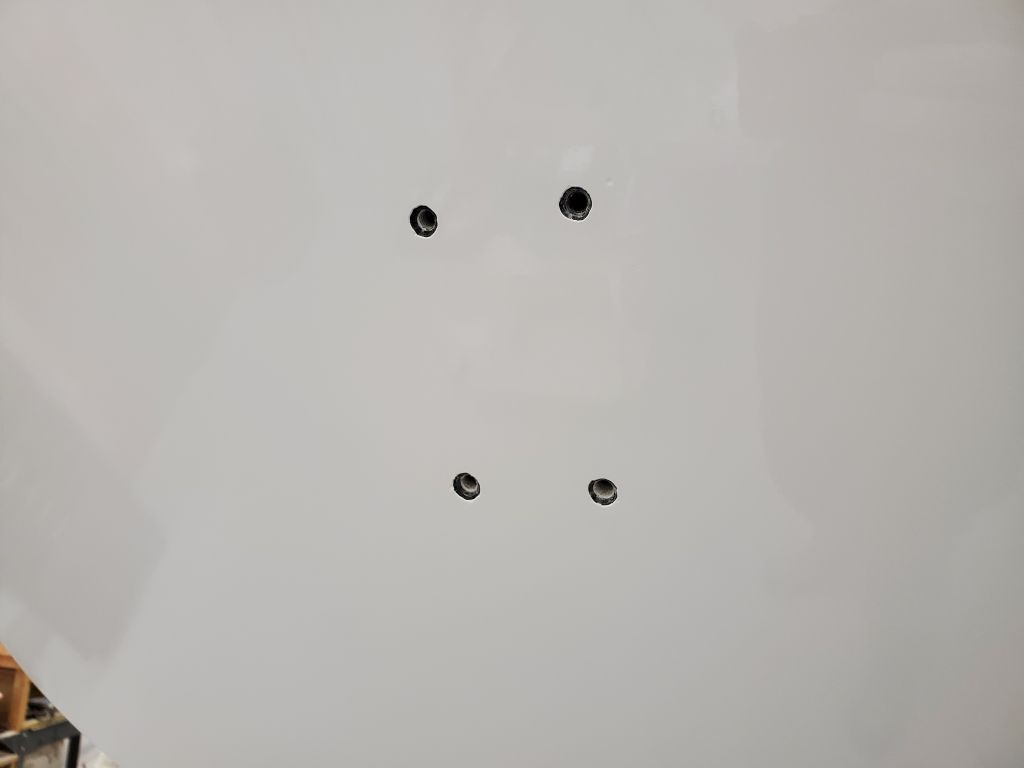
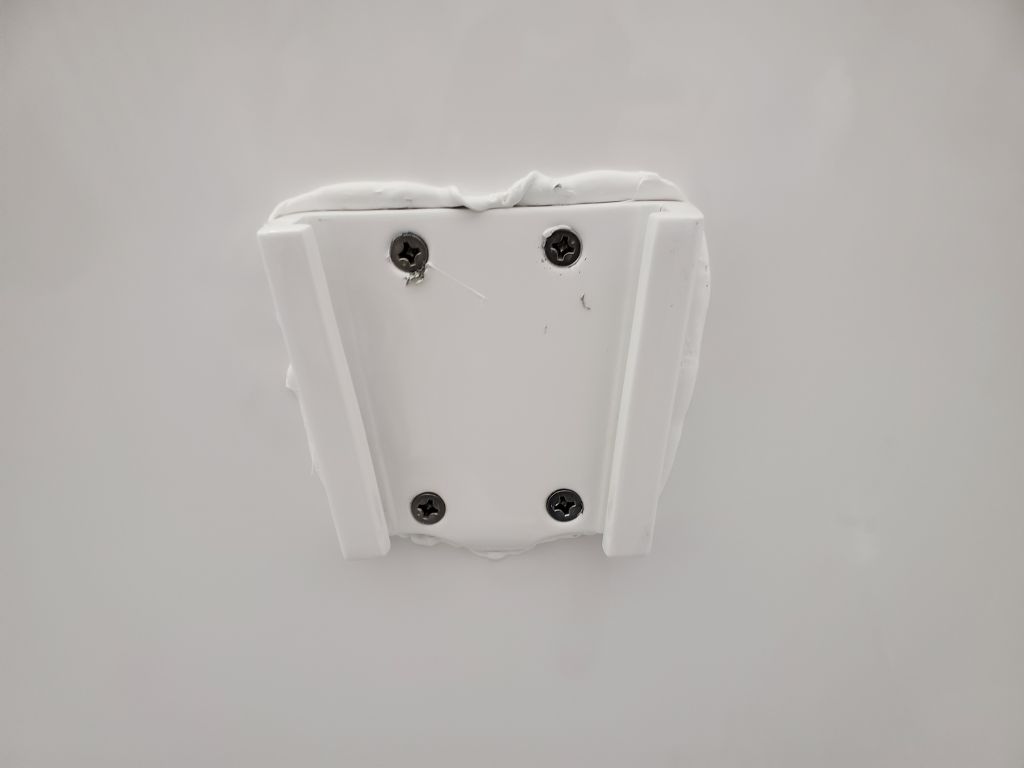
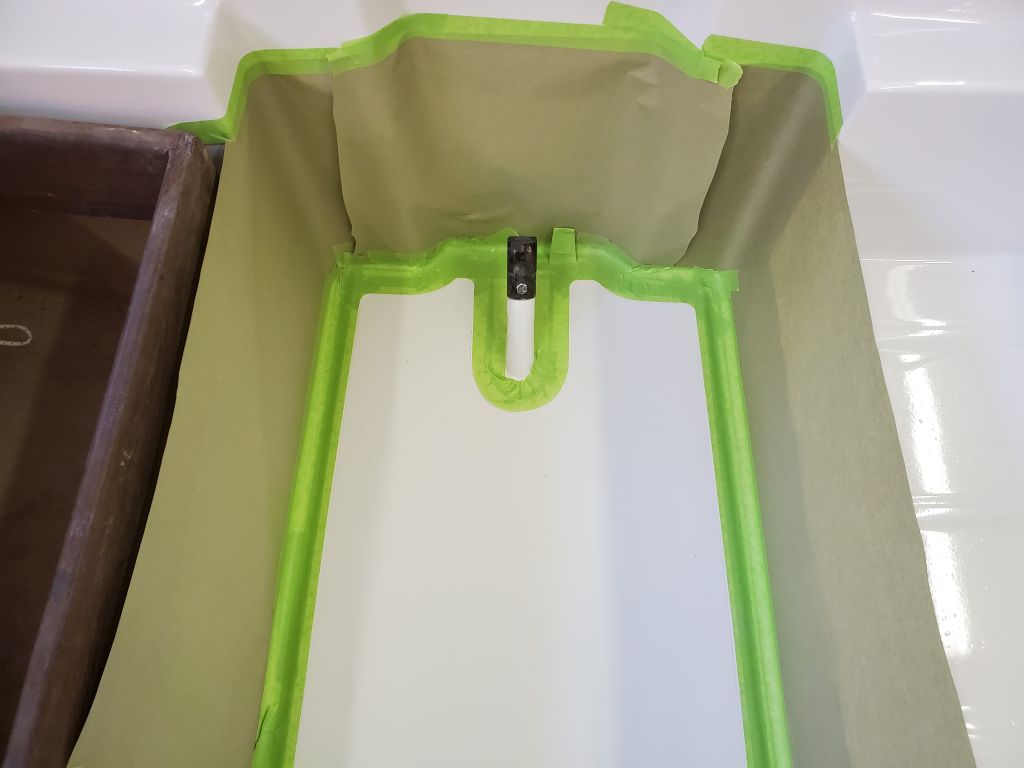
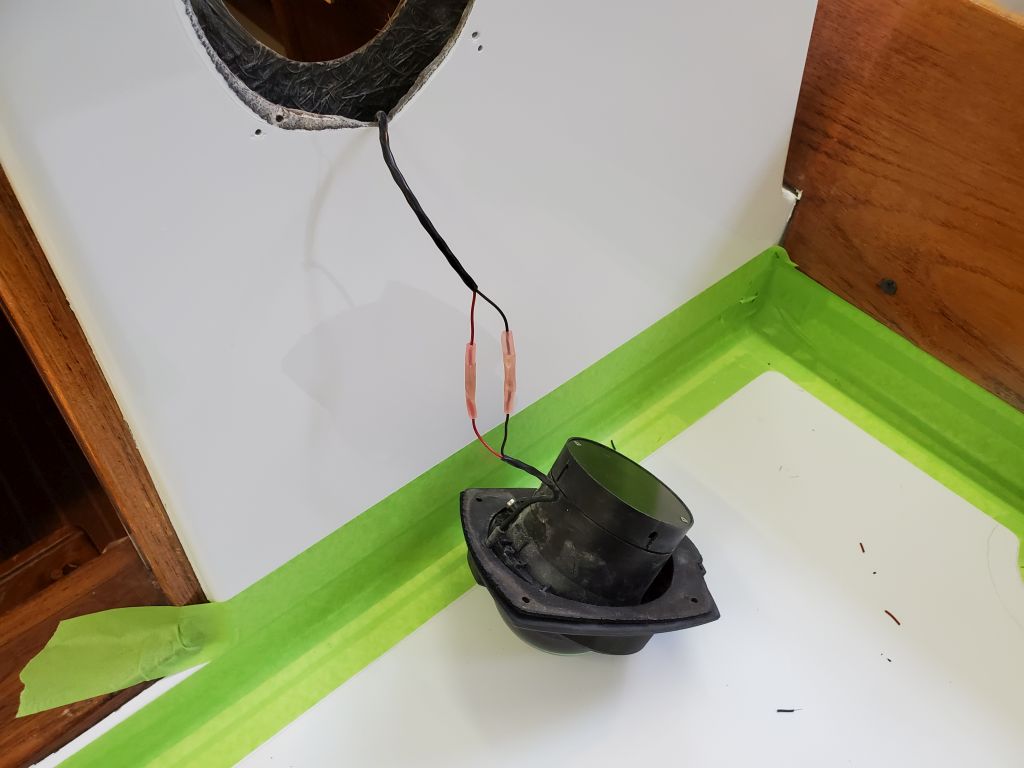
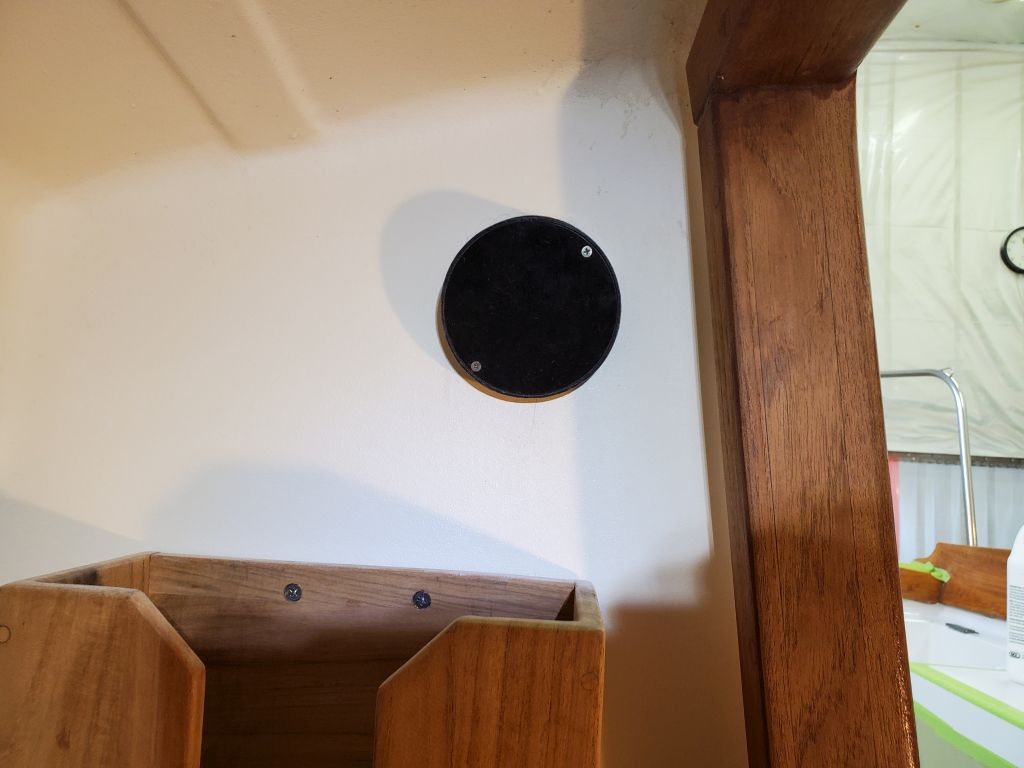
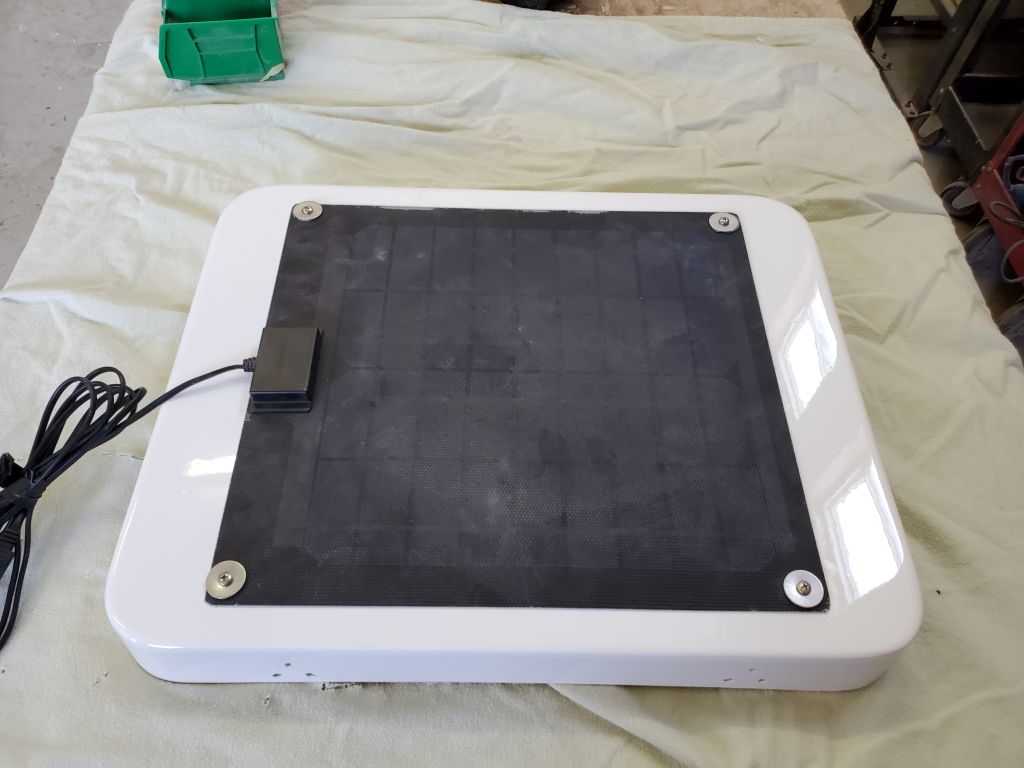
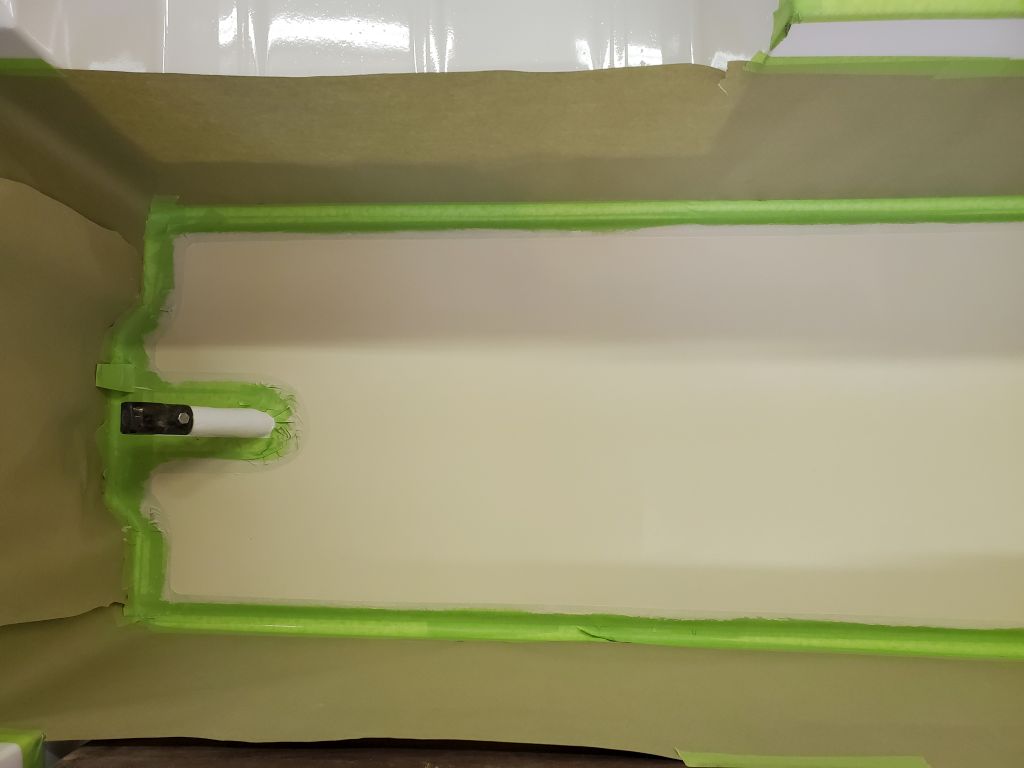
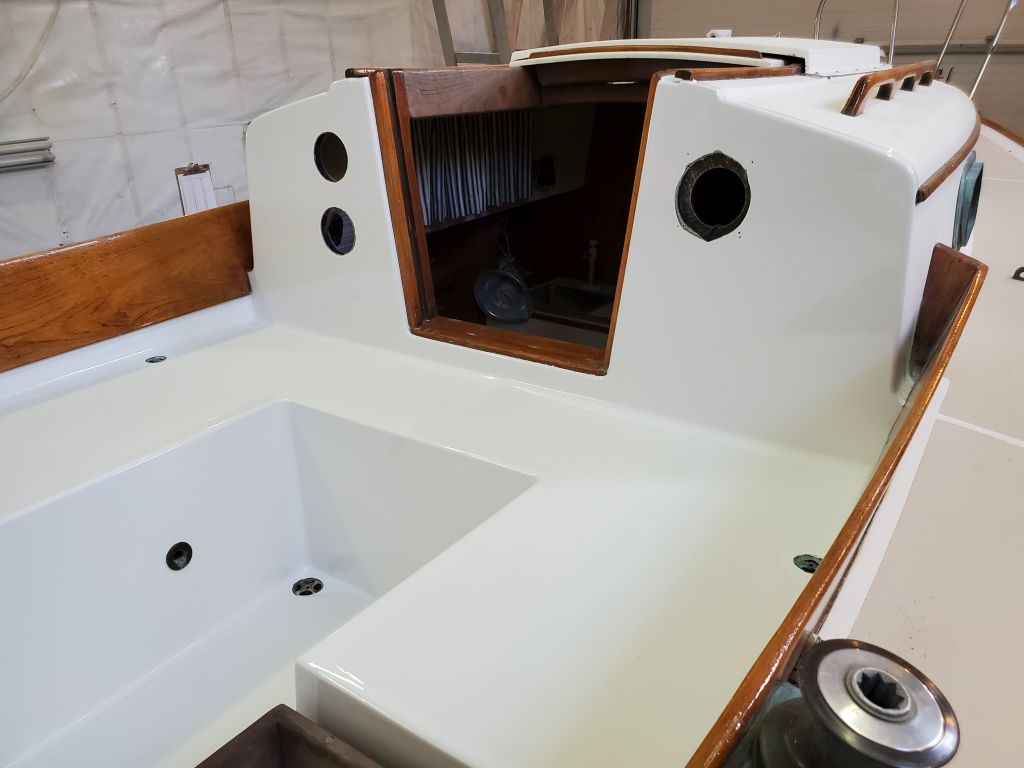
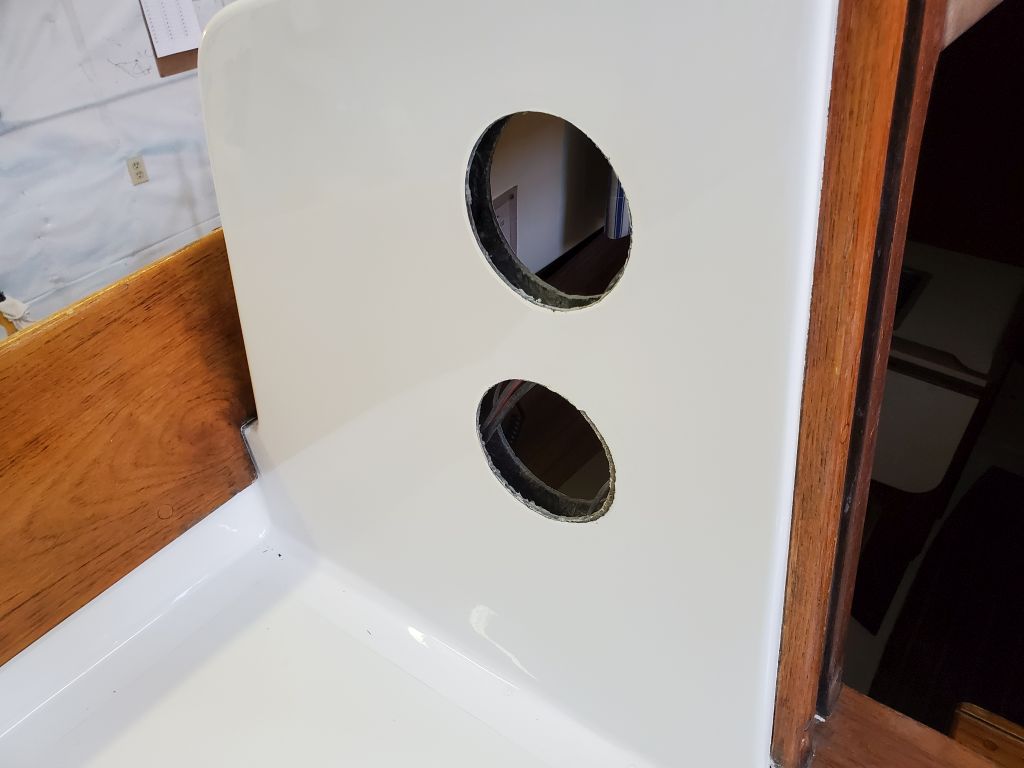
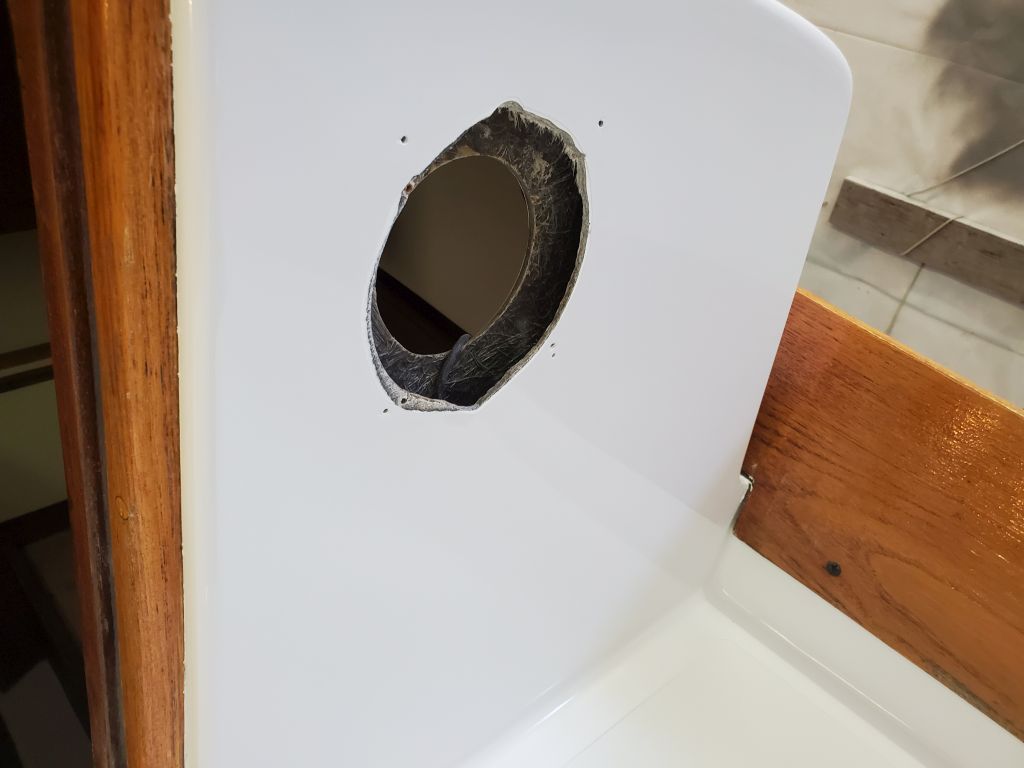
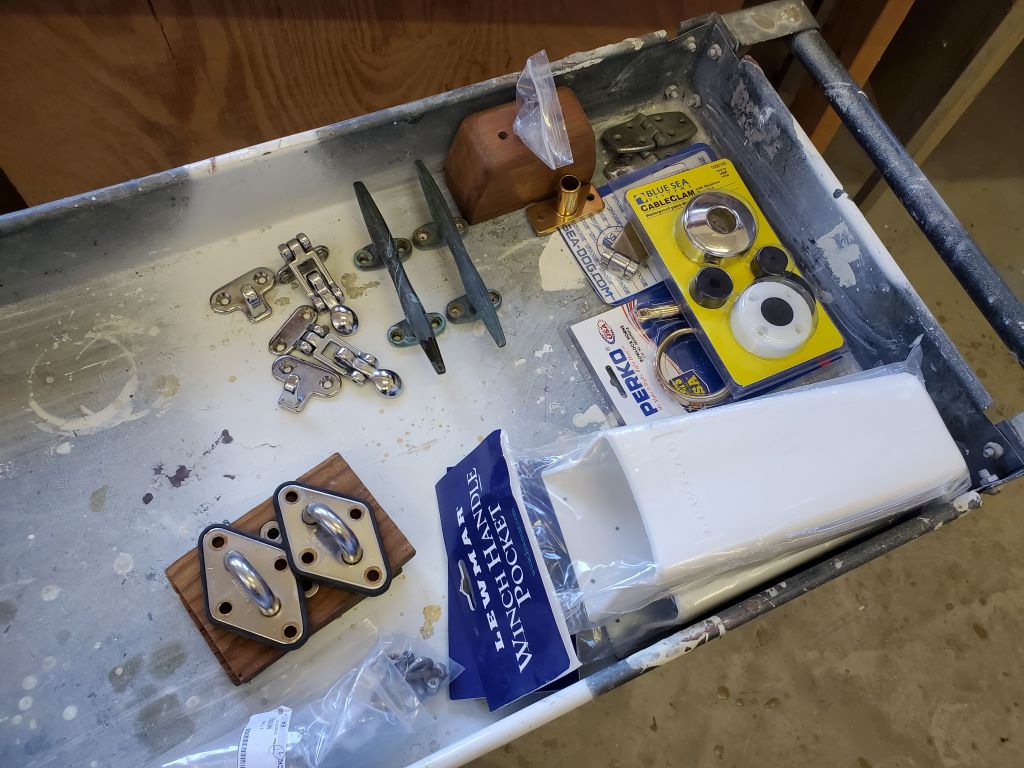
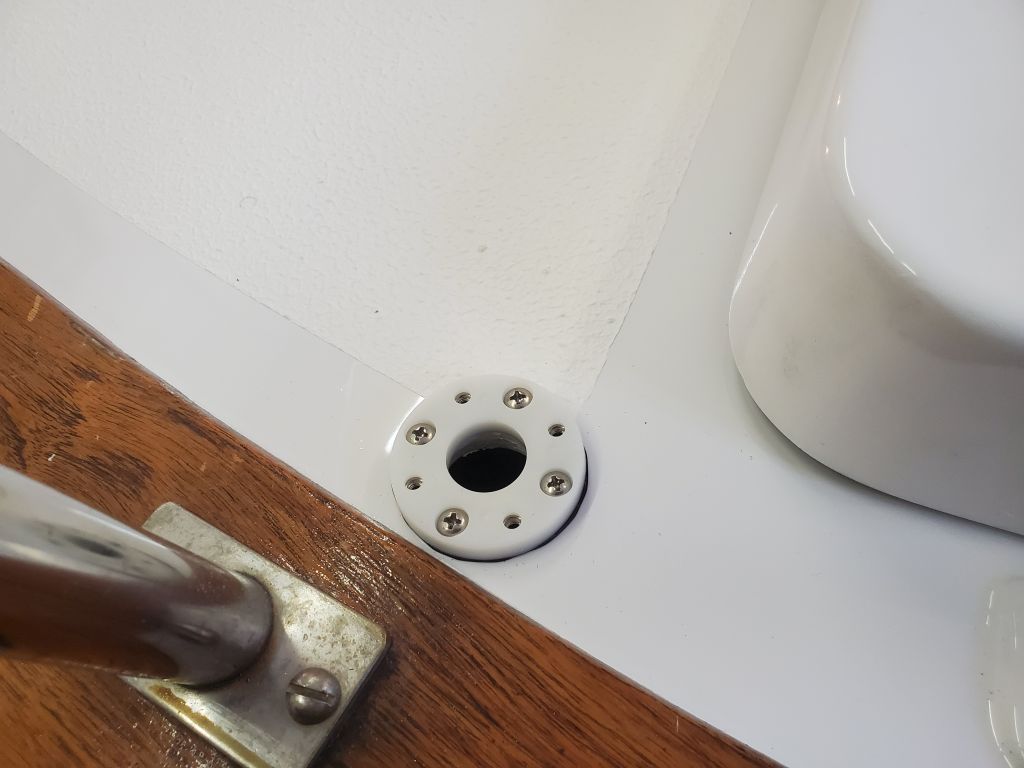
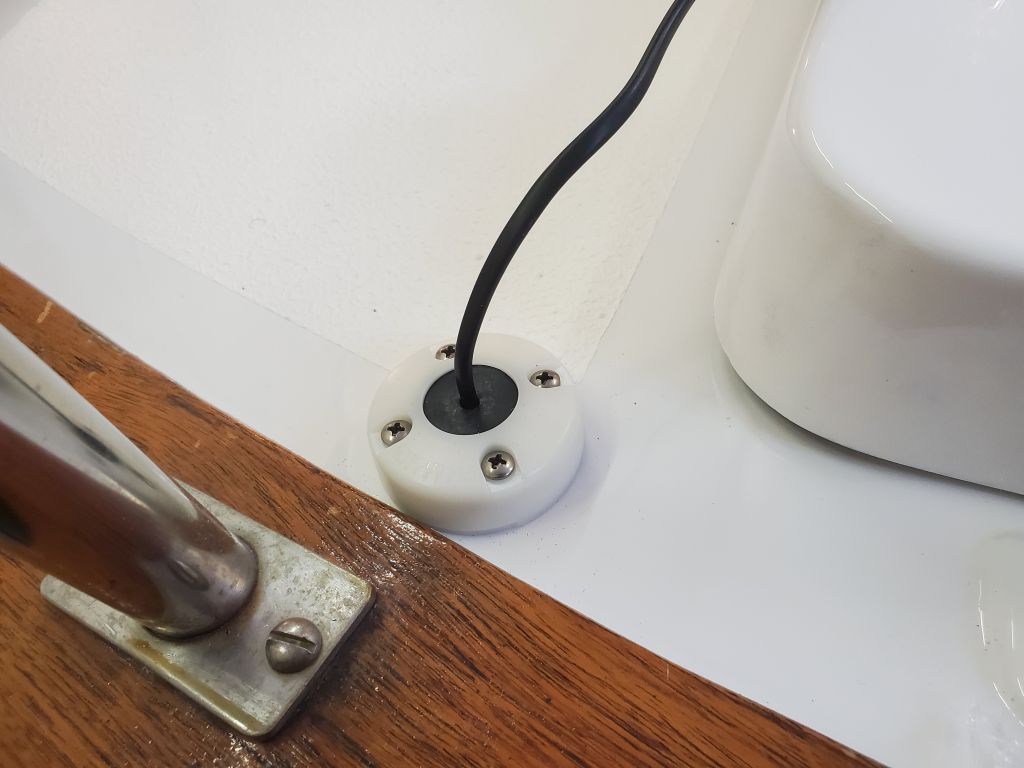
To lead the solar panel wire belowdecks, I used the same hole that it had been led through previously, but now I installed a weatherproof cable clam over the hole, which better sealed the cable and secured it. I left enough slack for the hatch to operate as needed.

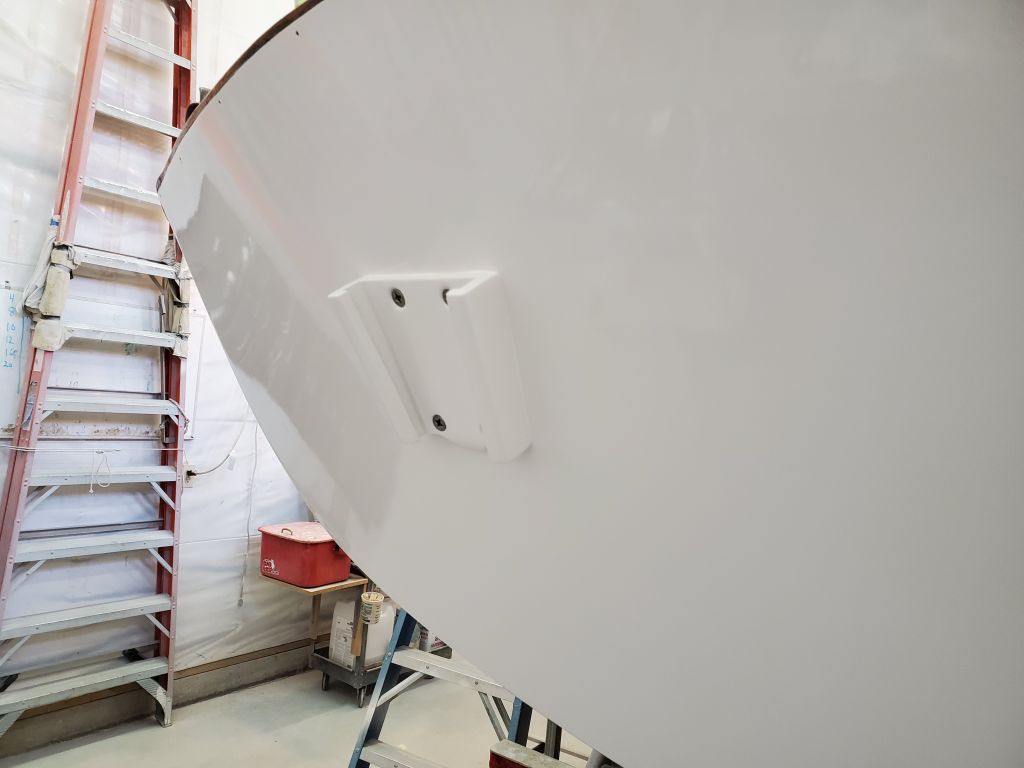
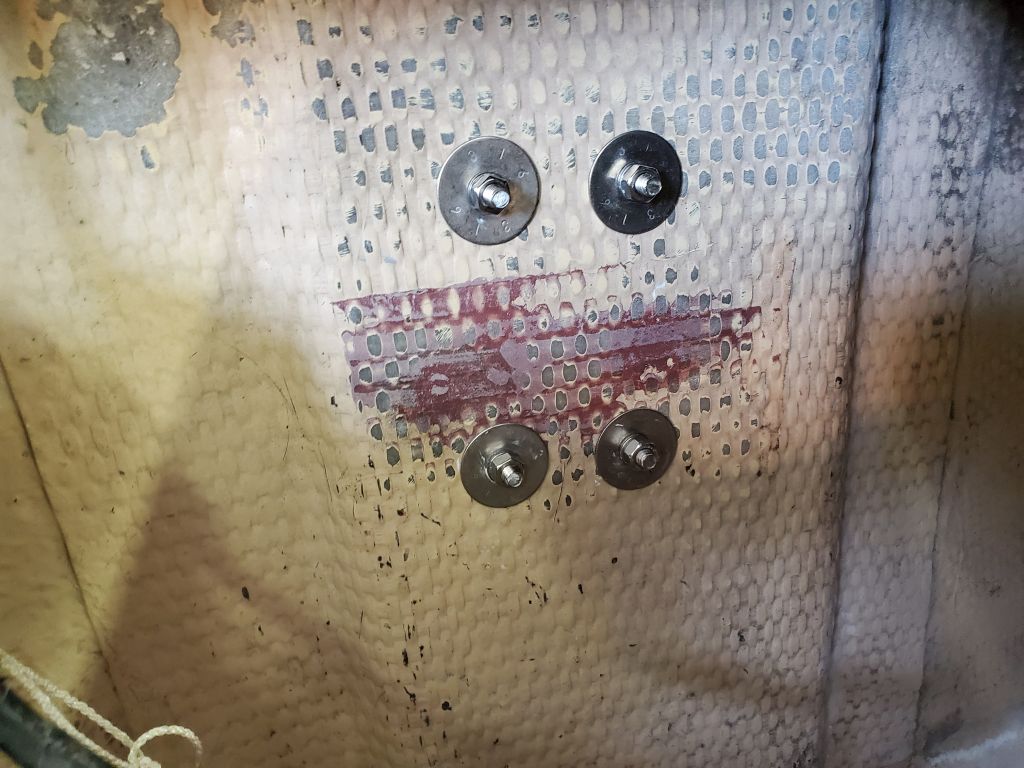
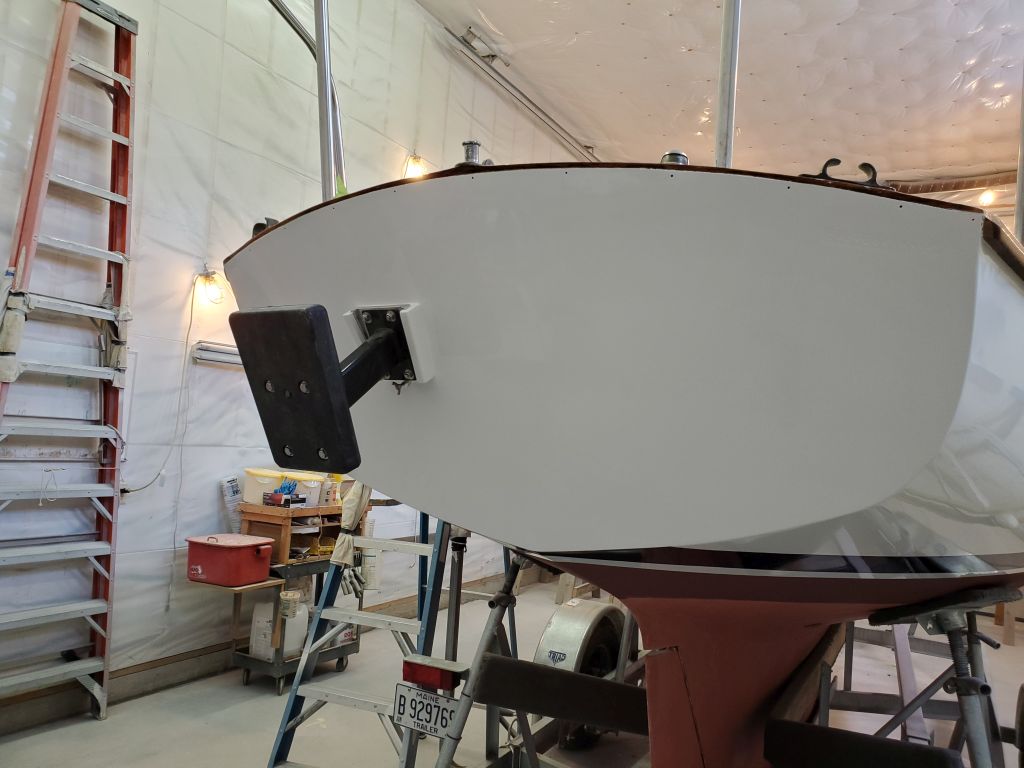
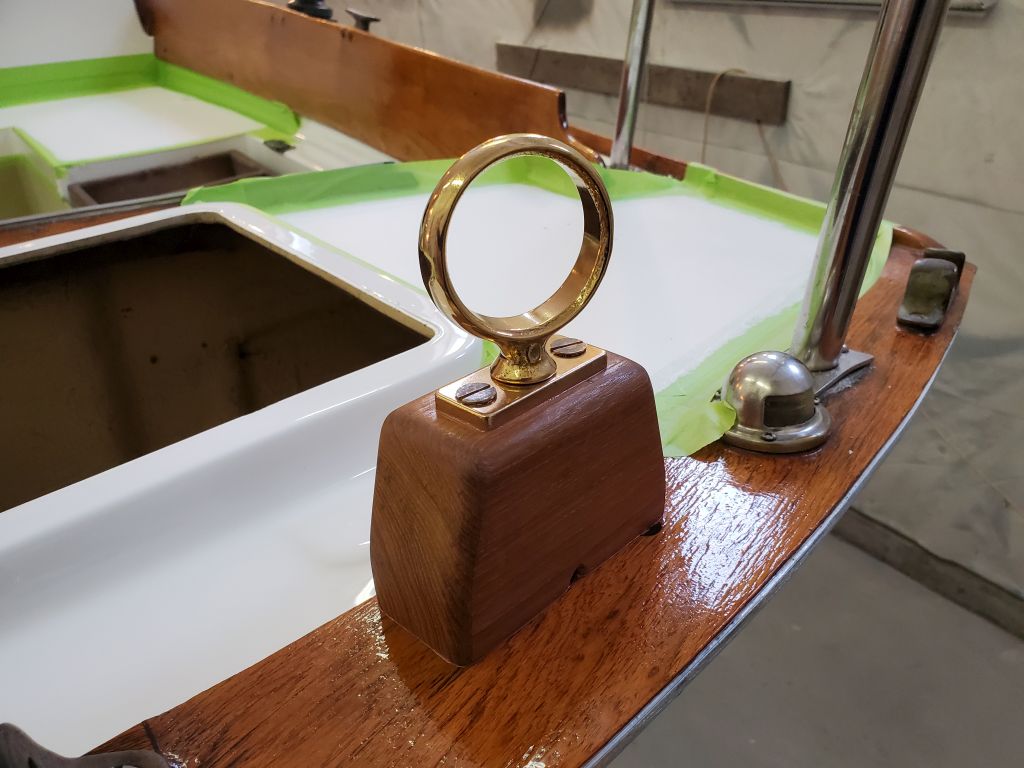
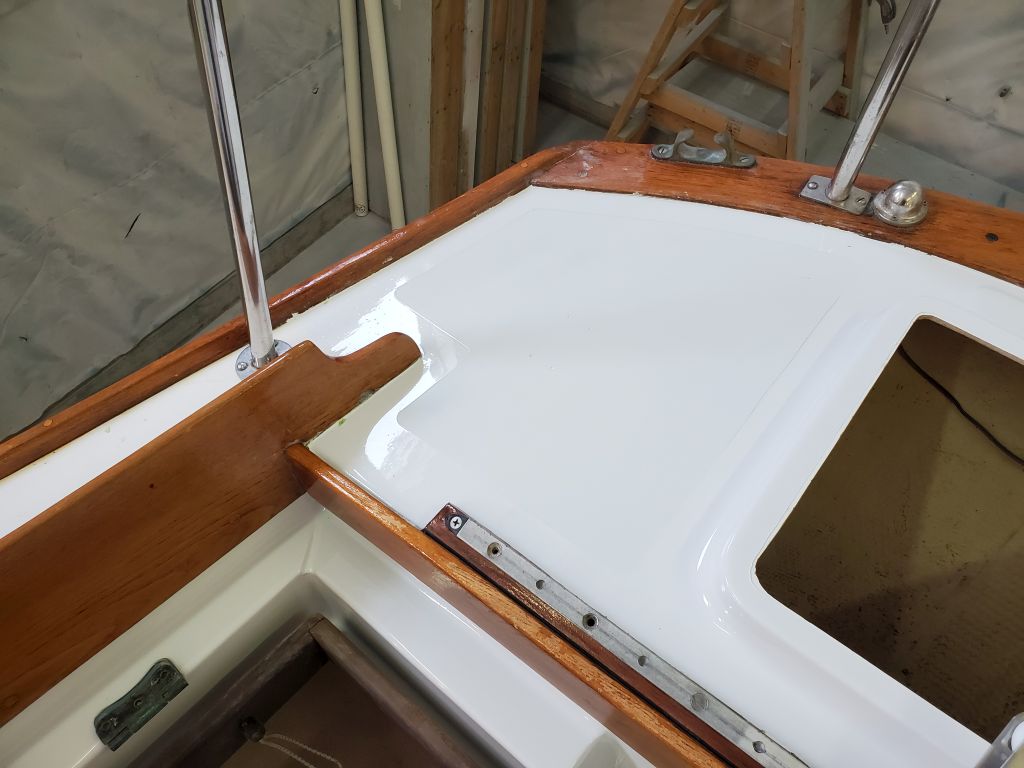
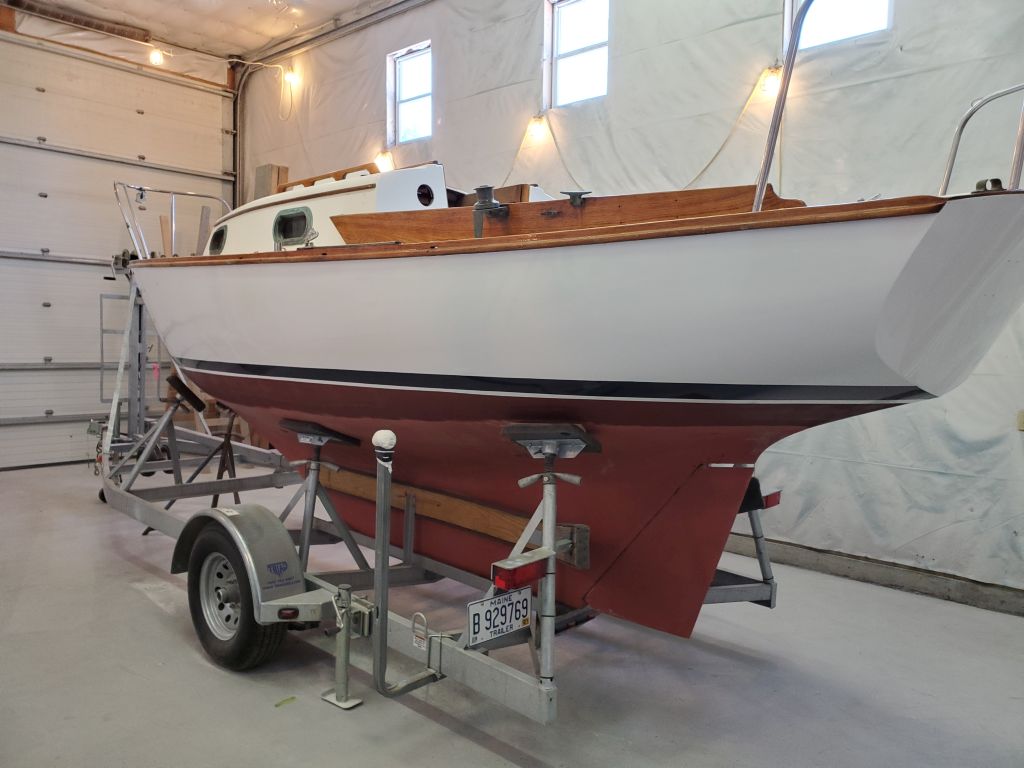
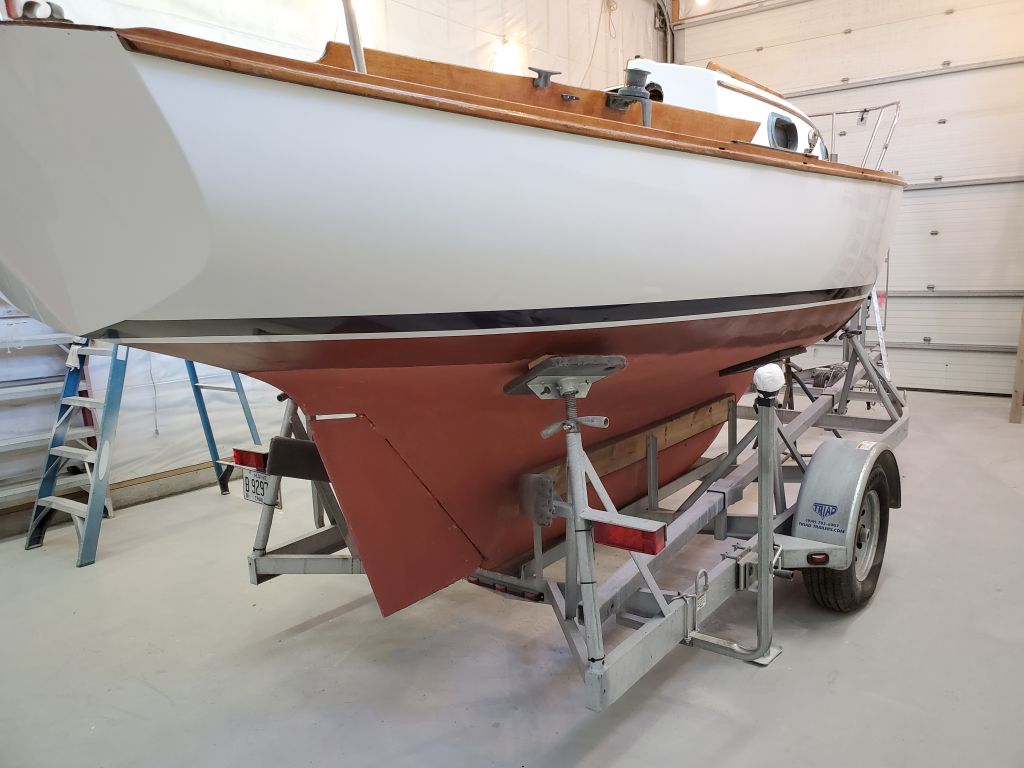
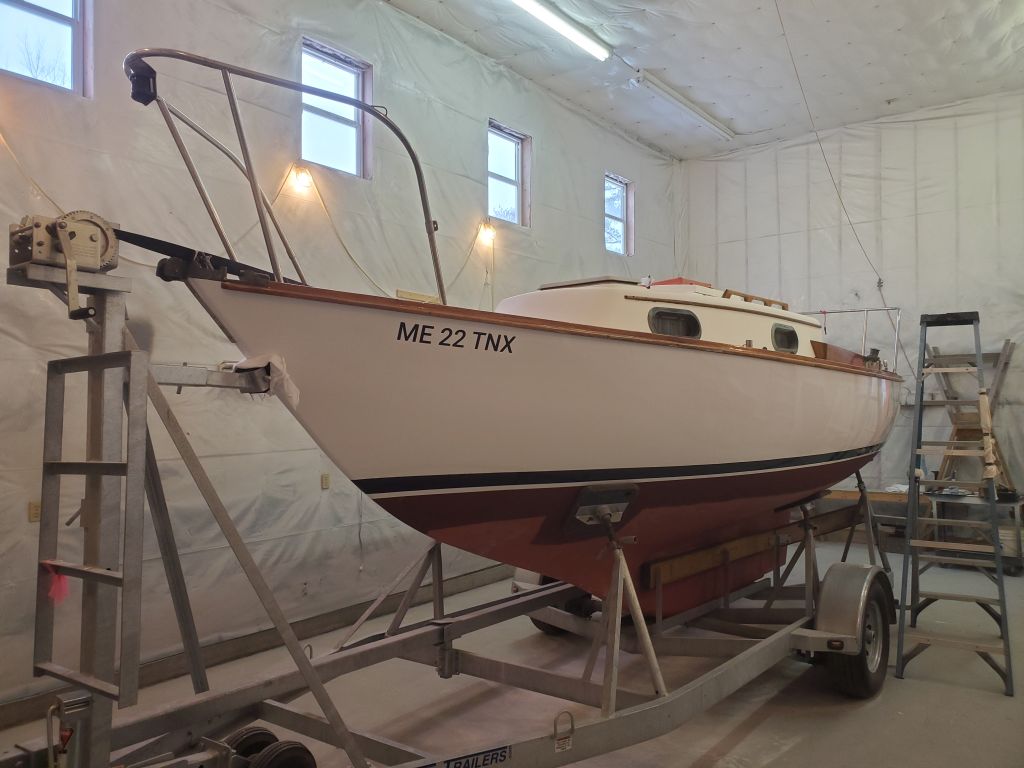
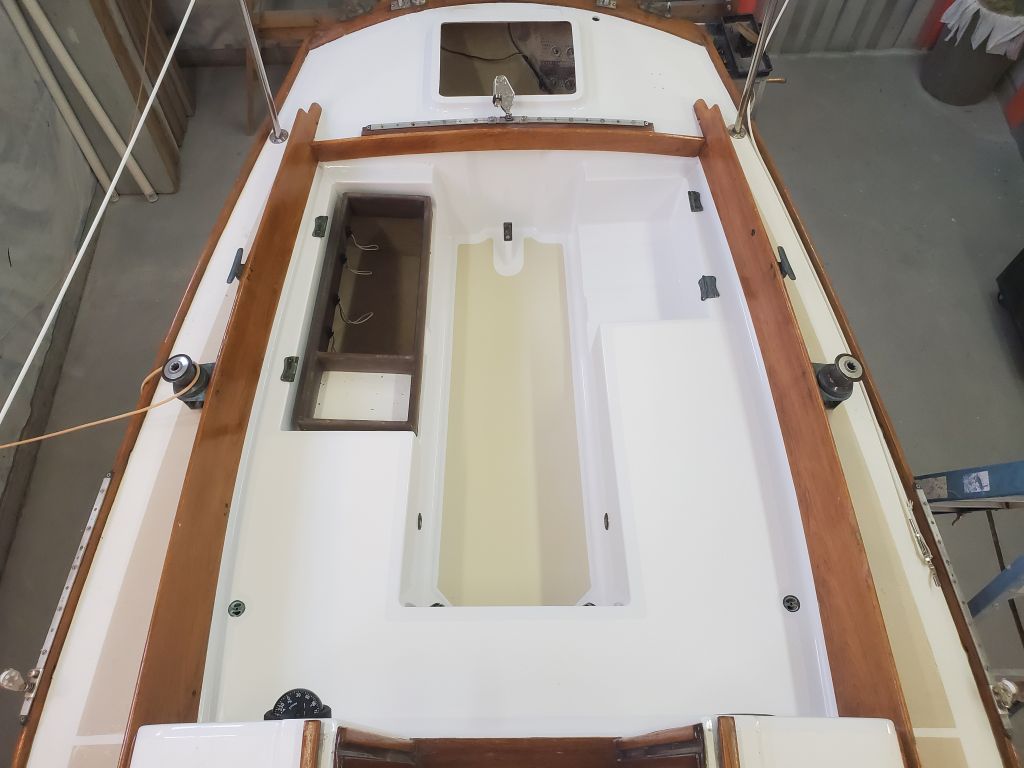
Next, I reinstalled the stanchions and lifelines that I’d removed early in the painting preparations.
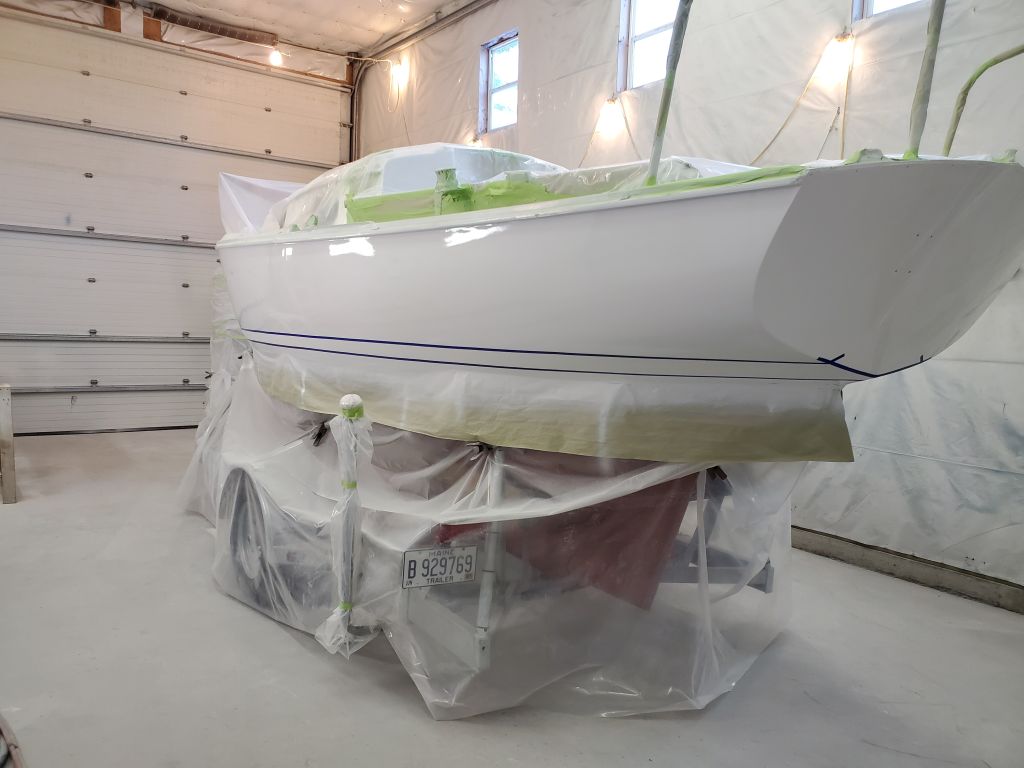
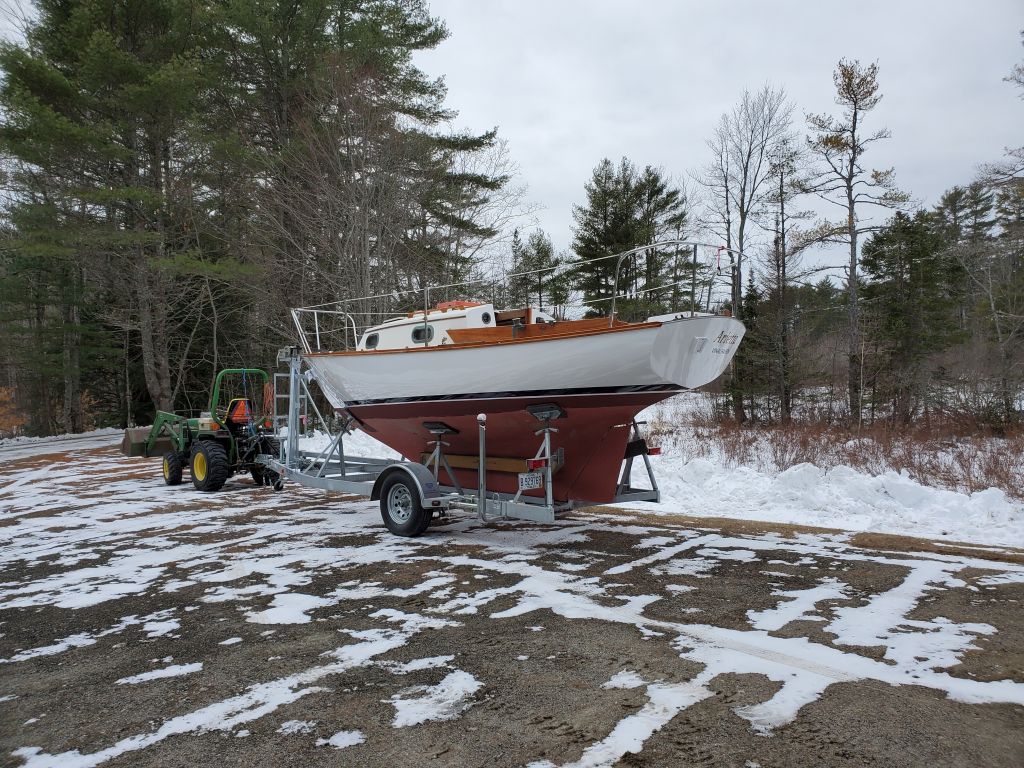
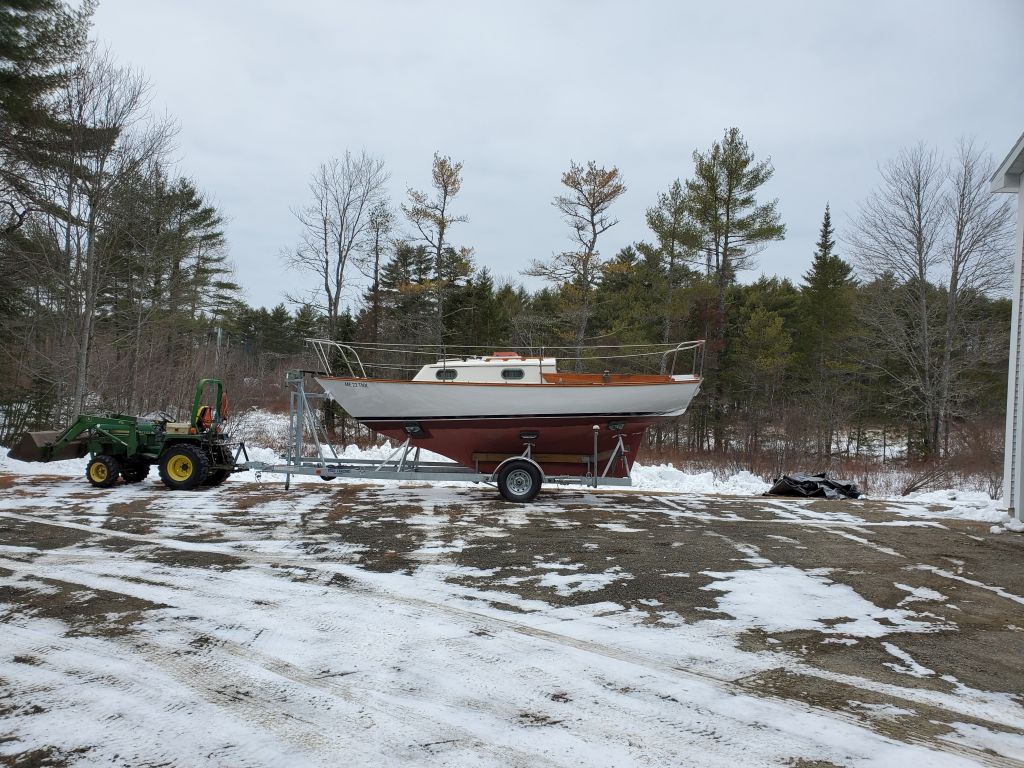
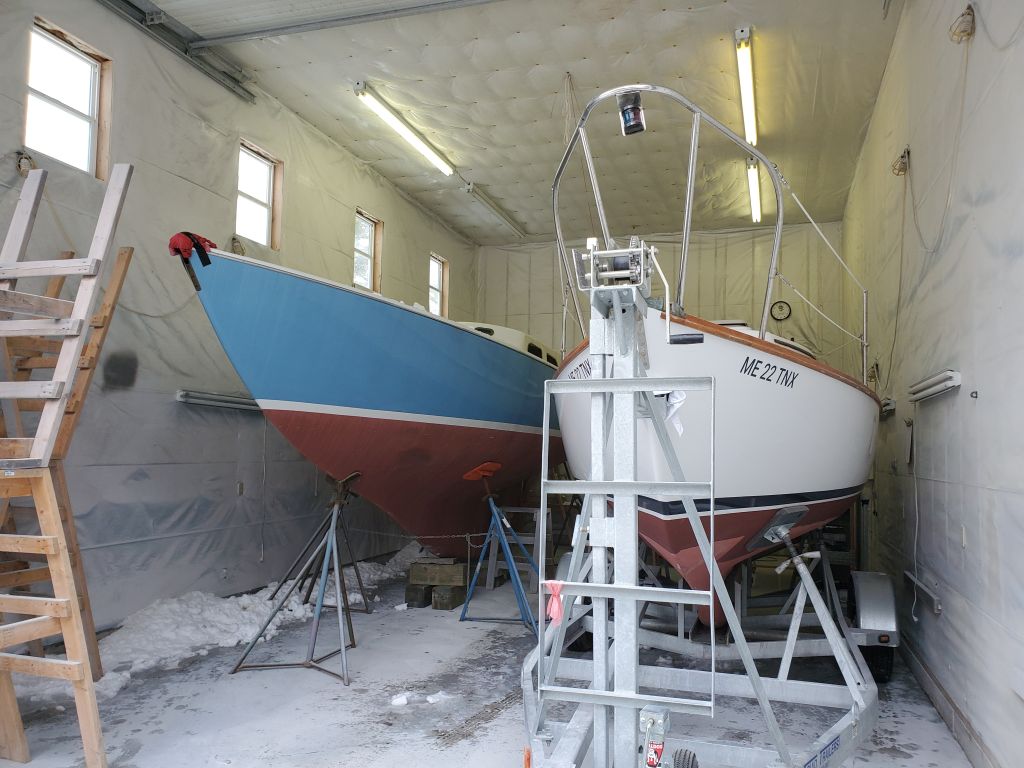
This was about all I could do till the cockpit had a bit more cure time, so it seemed a good time to move some boats around. Fortunately, my next project would fit in the shop at the same time as Arietta, which meant I could leave her indoors for the winter months ahead rather than attempt to engineer an effective and non-damaging cover for the boat in the meantime, and it also meant I could take advantage of the current benign weather pattern to shuffle boats without undue cold, storms, snow, or ice. So after moving some things around in the shop to make room, I temporarily moved Arietta outdoors on her trailer so I could move the other boat in. Then, later, I moved her back to the spot she’d occupy for the remainder of the winter, which still gave me opportunity to finish up the final hardware installations later in the week.

Total time billed on this job today: 3.25 hours
0600 Weather Observation: 28°, cloudy. Forecast for the day: Partly sunny, 36°