Thursday
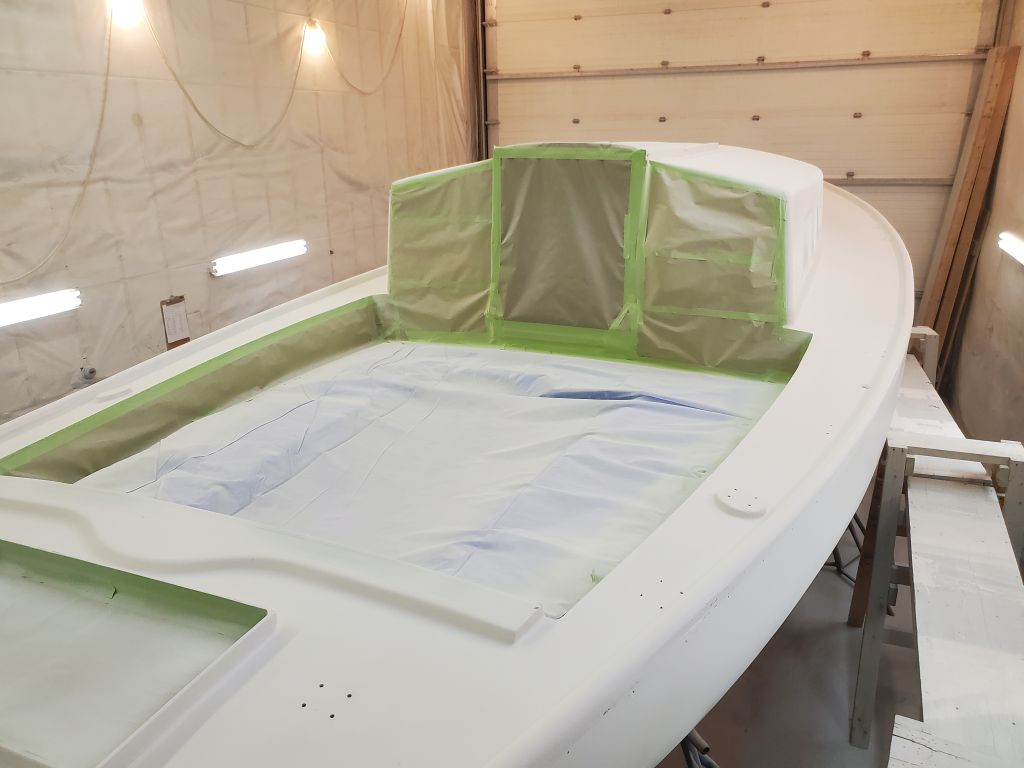
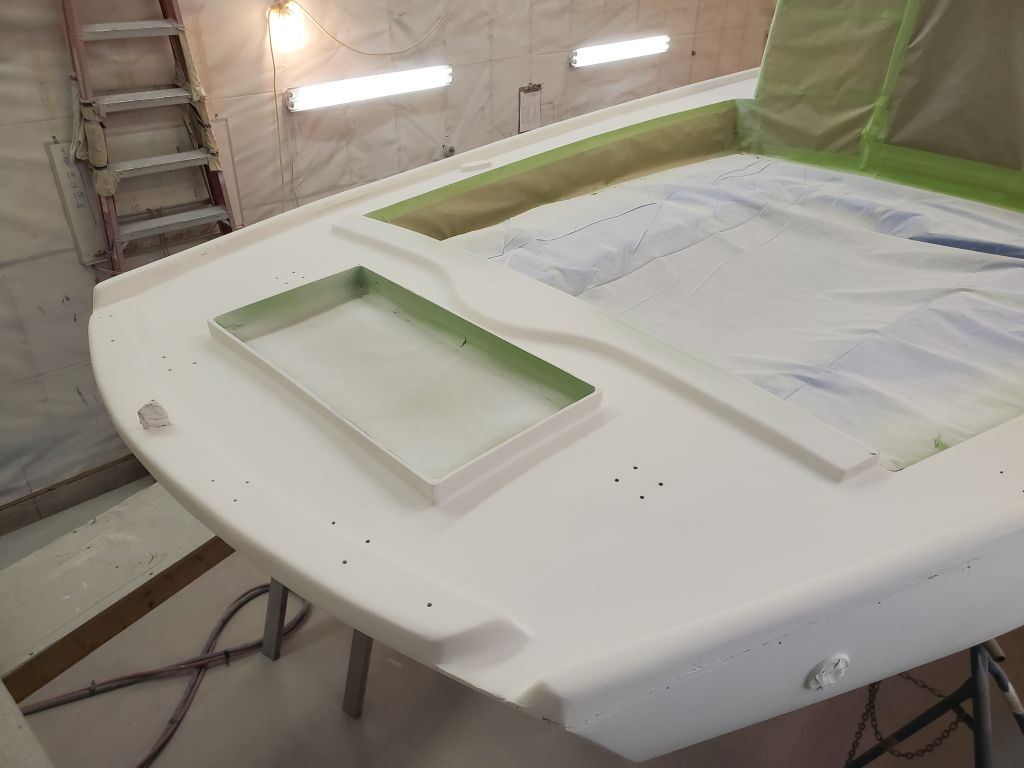
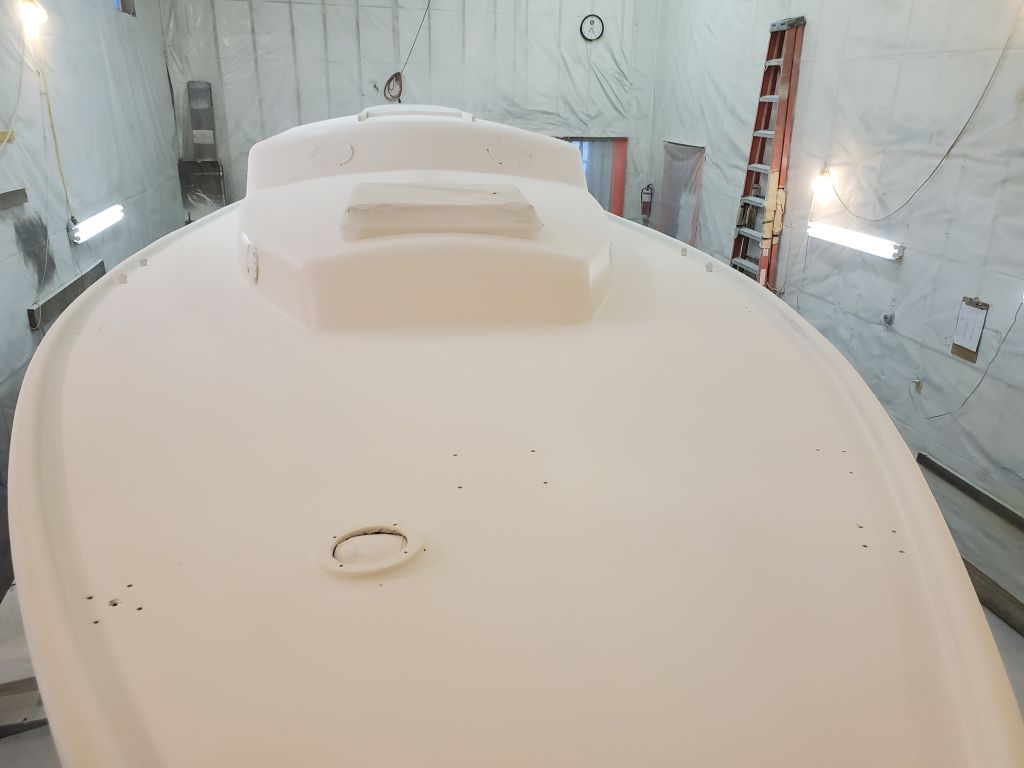
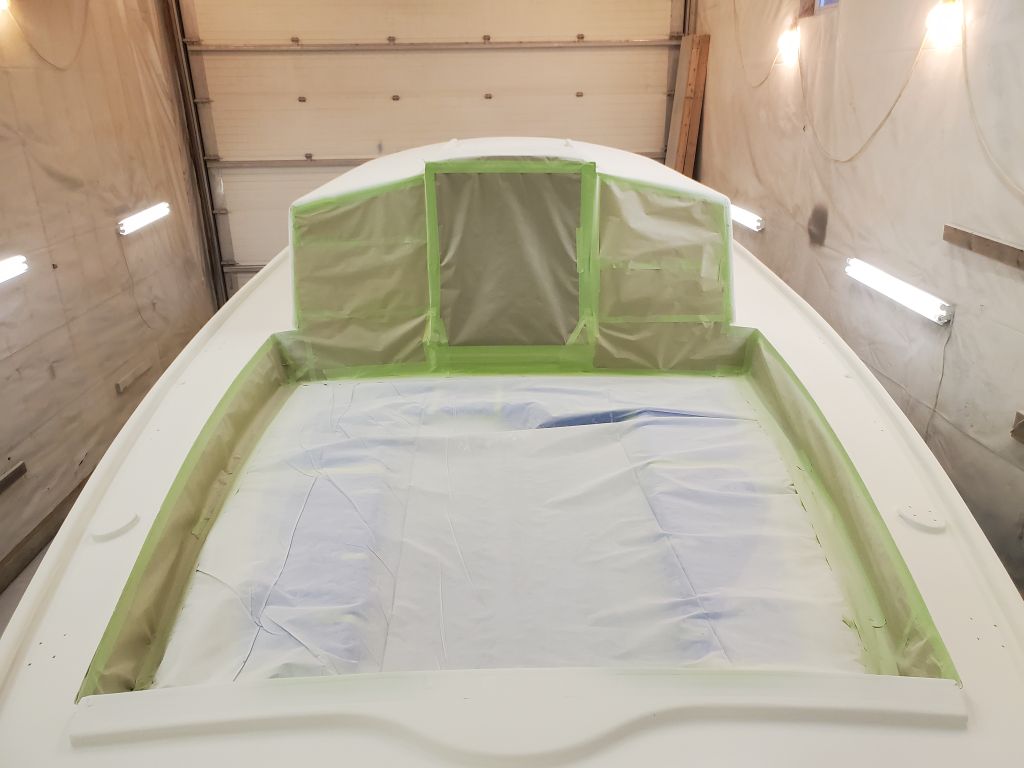
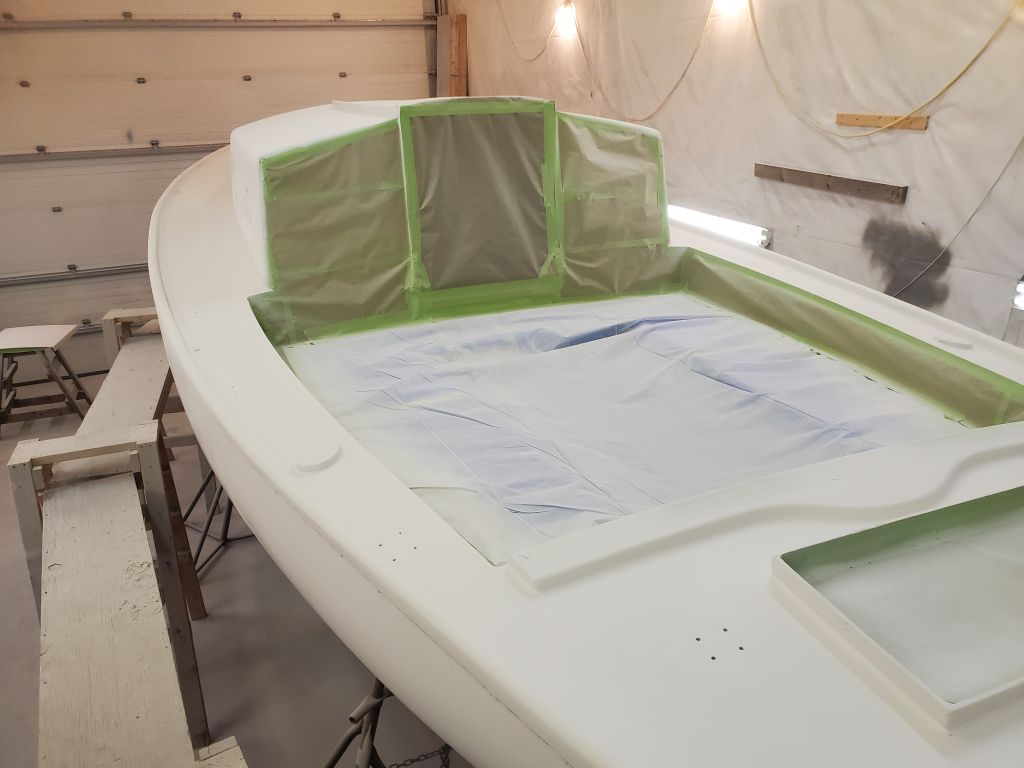
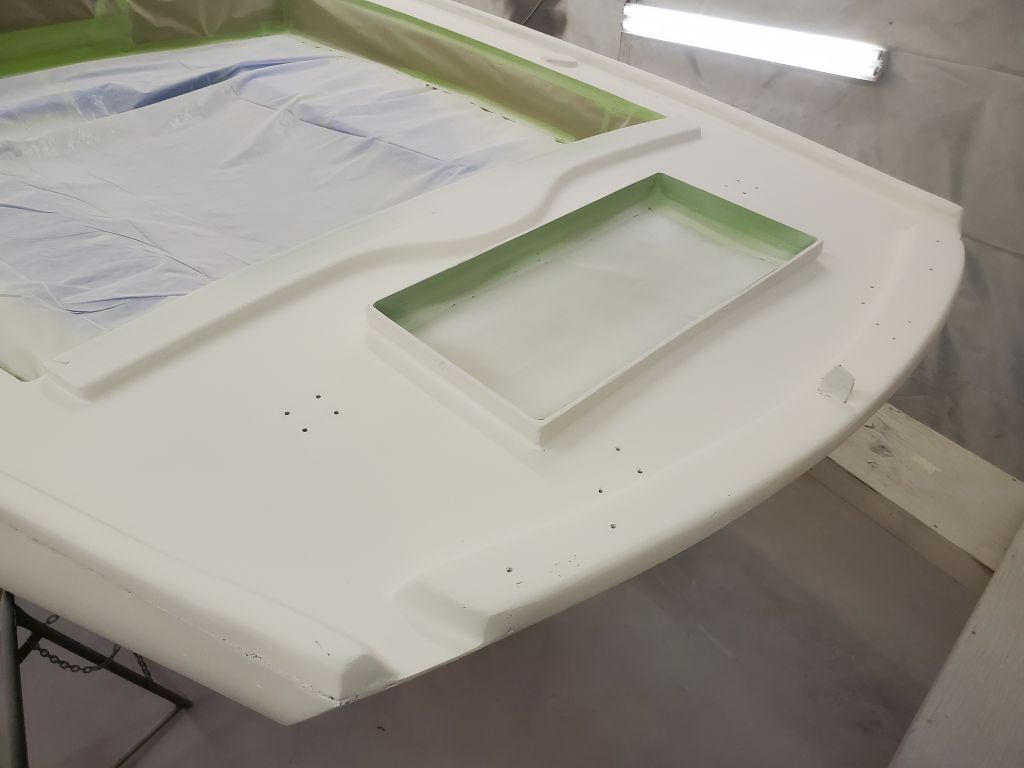
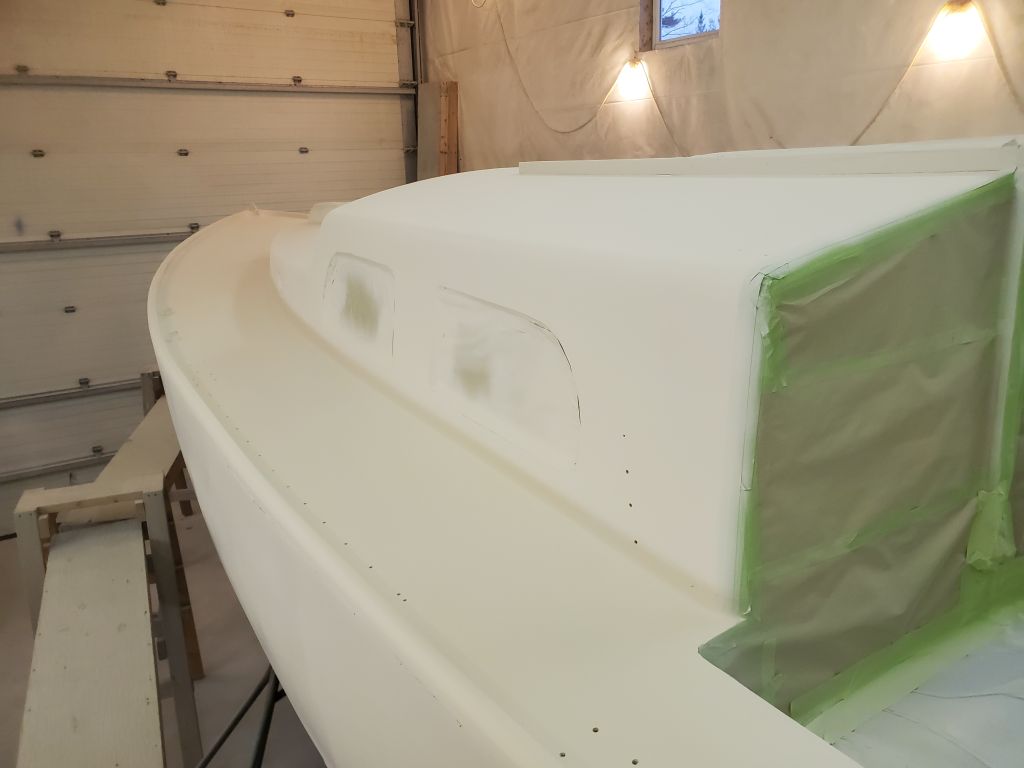
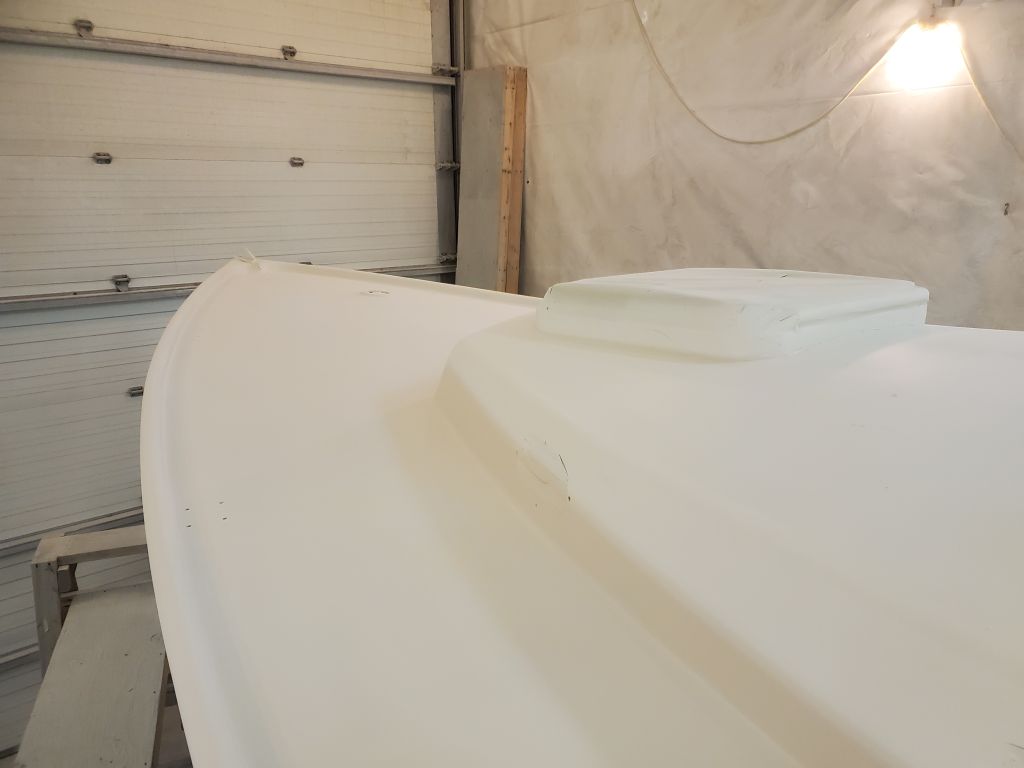
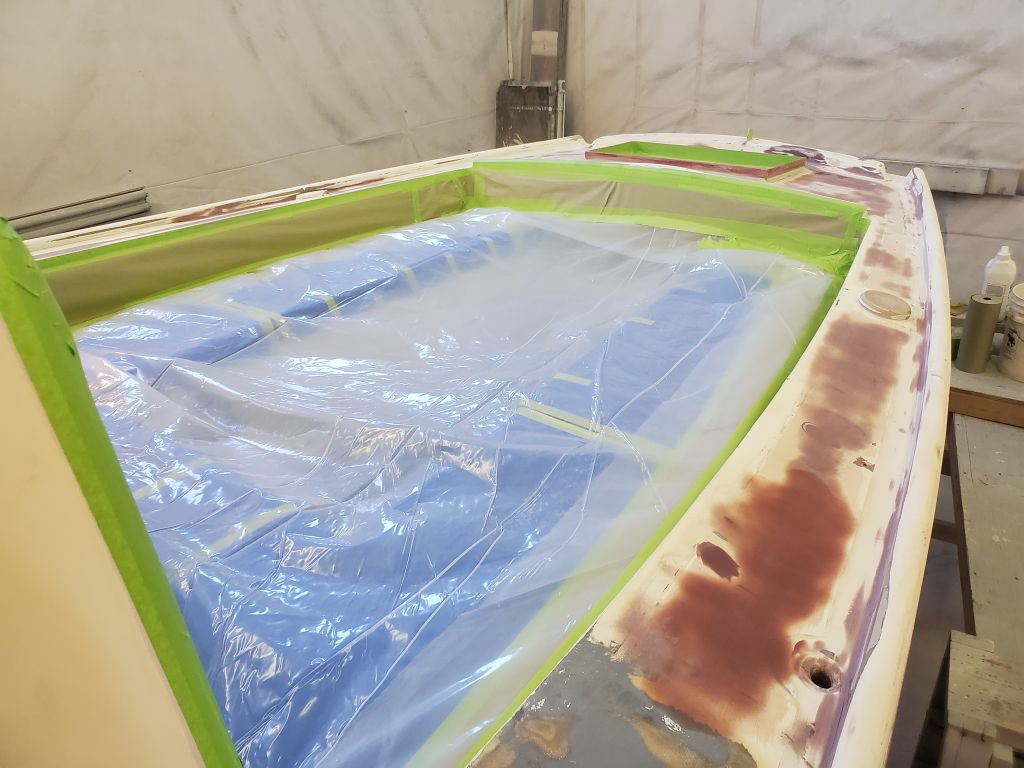
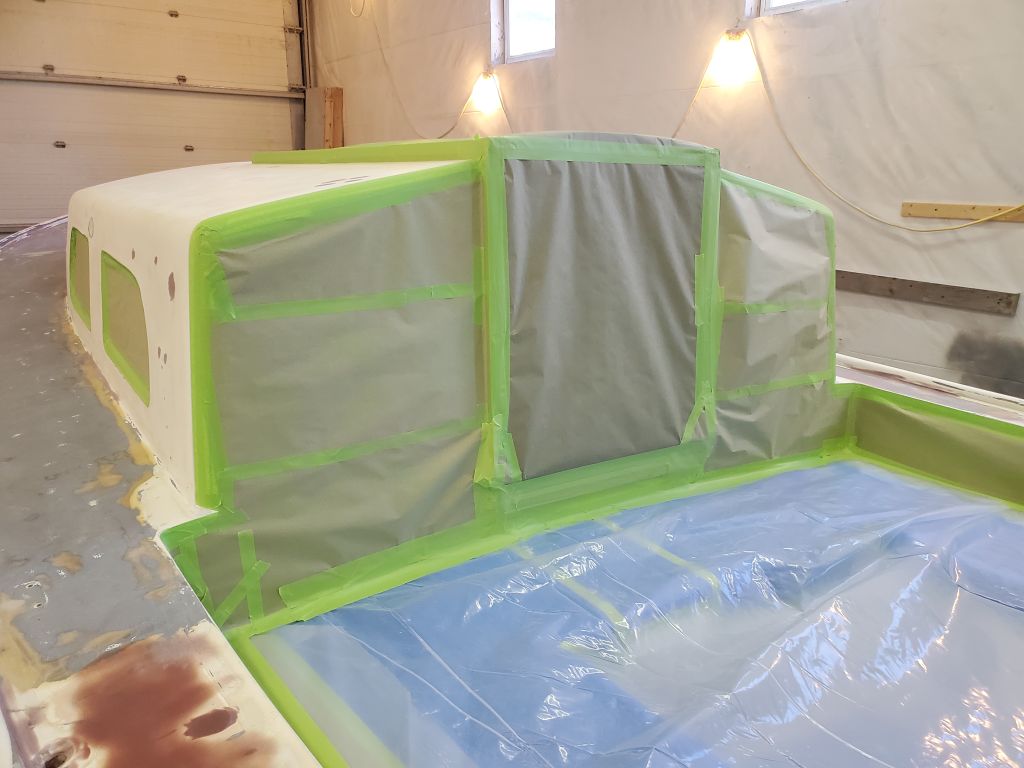
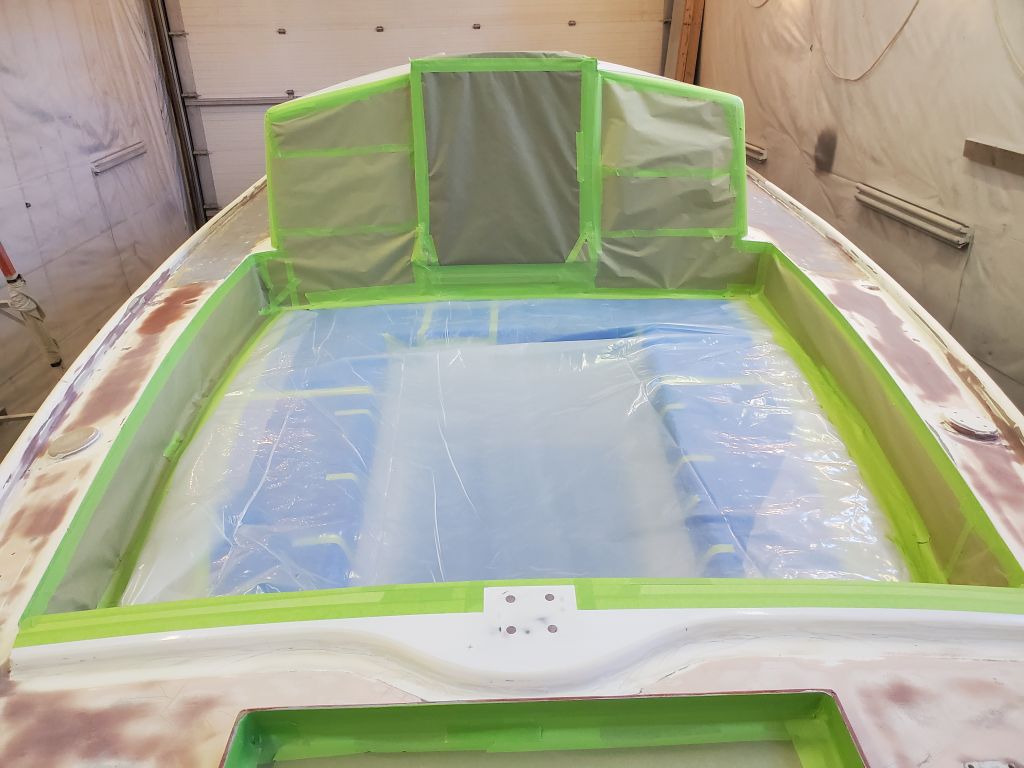
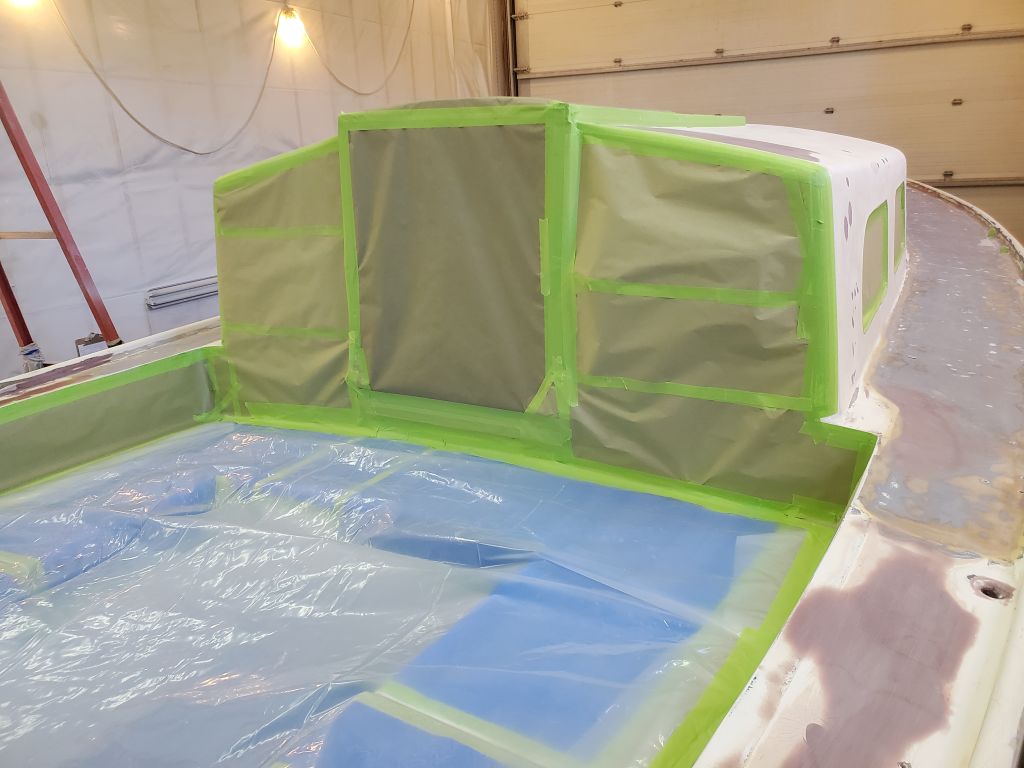
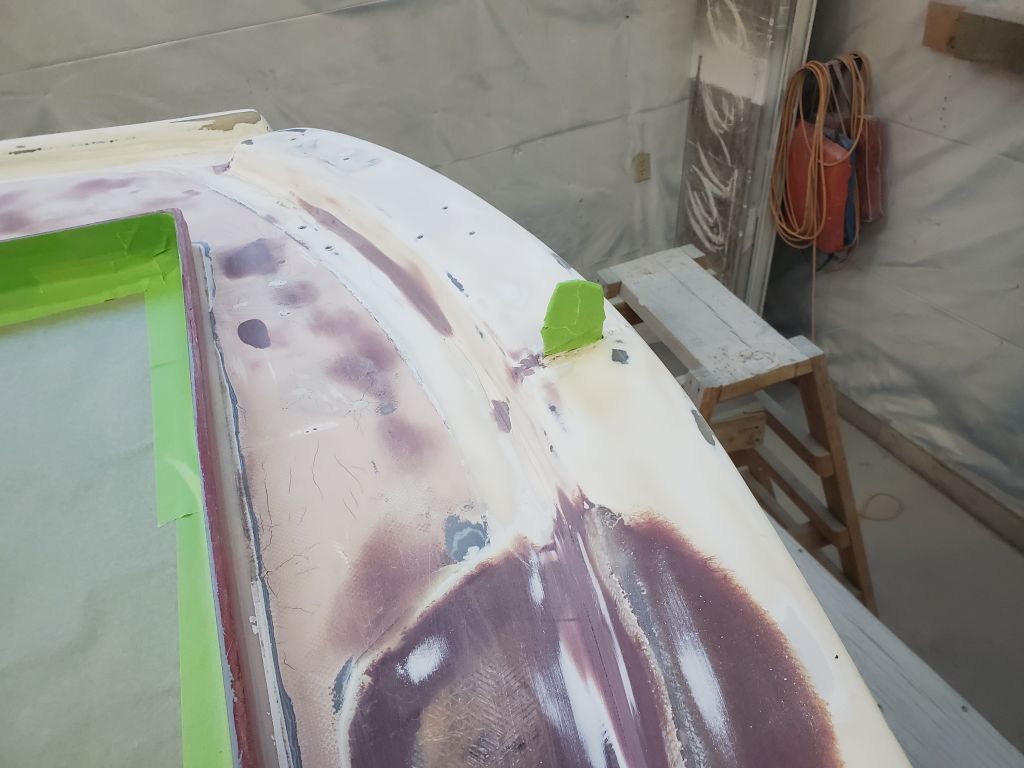
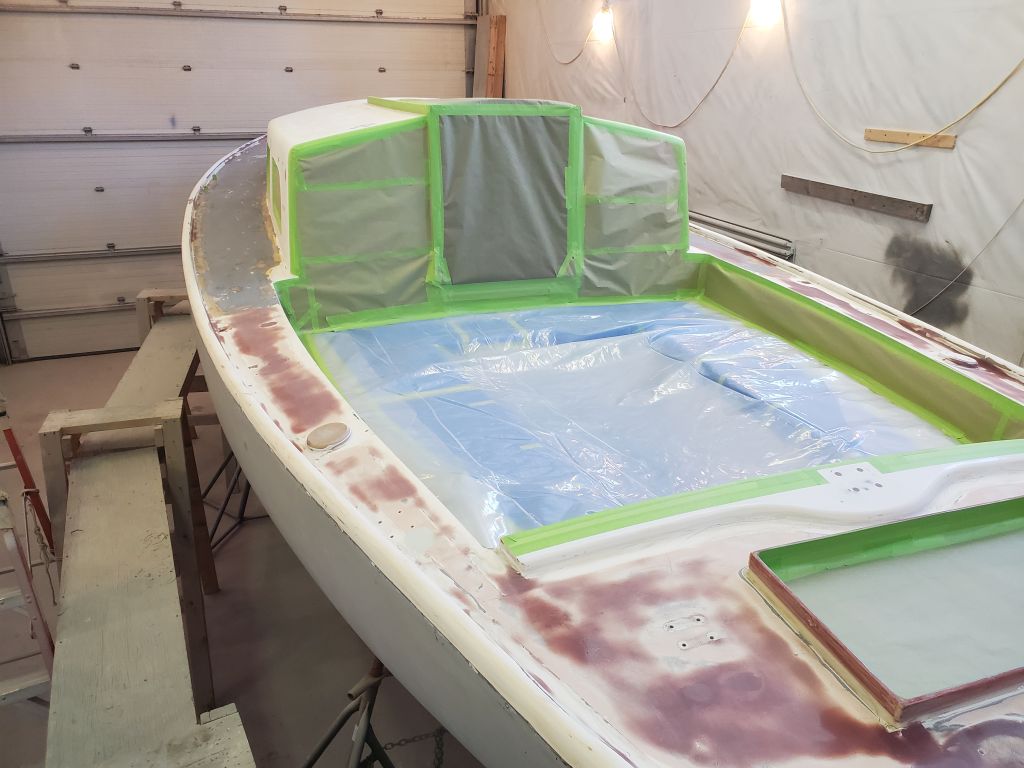
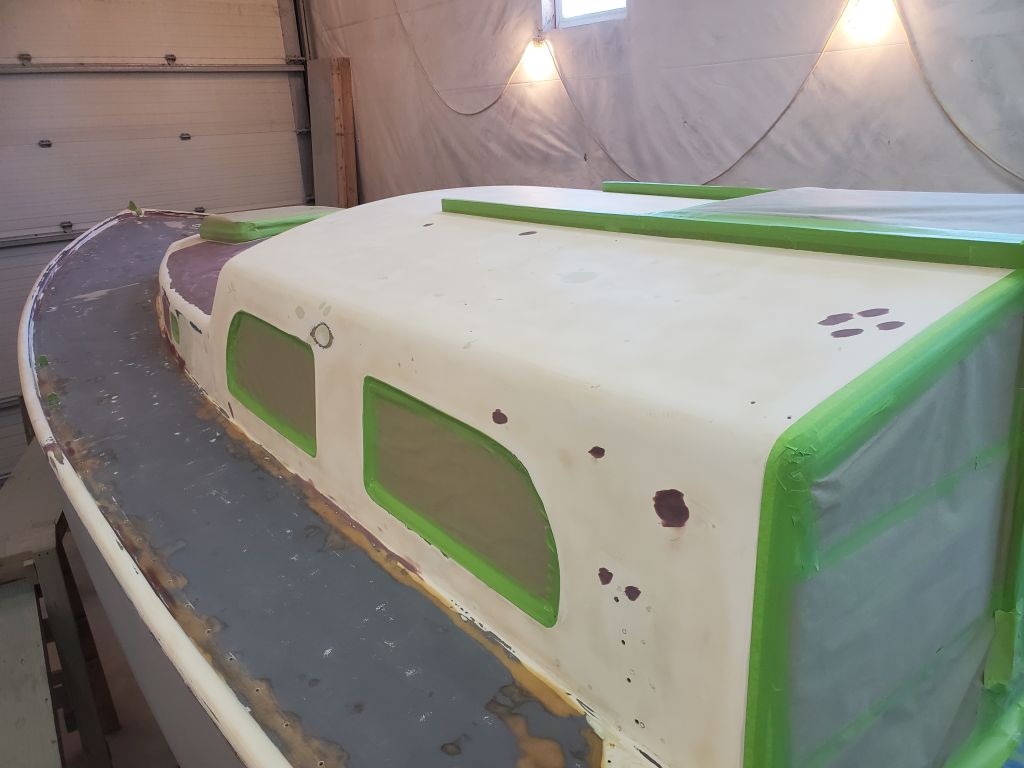
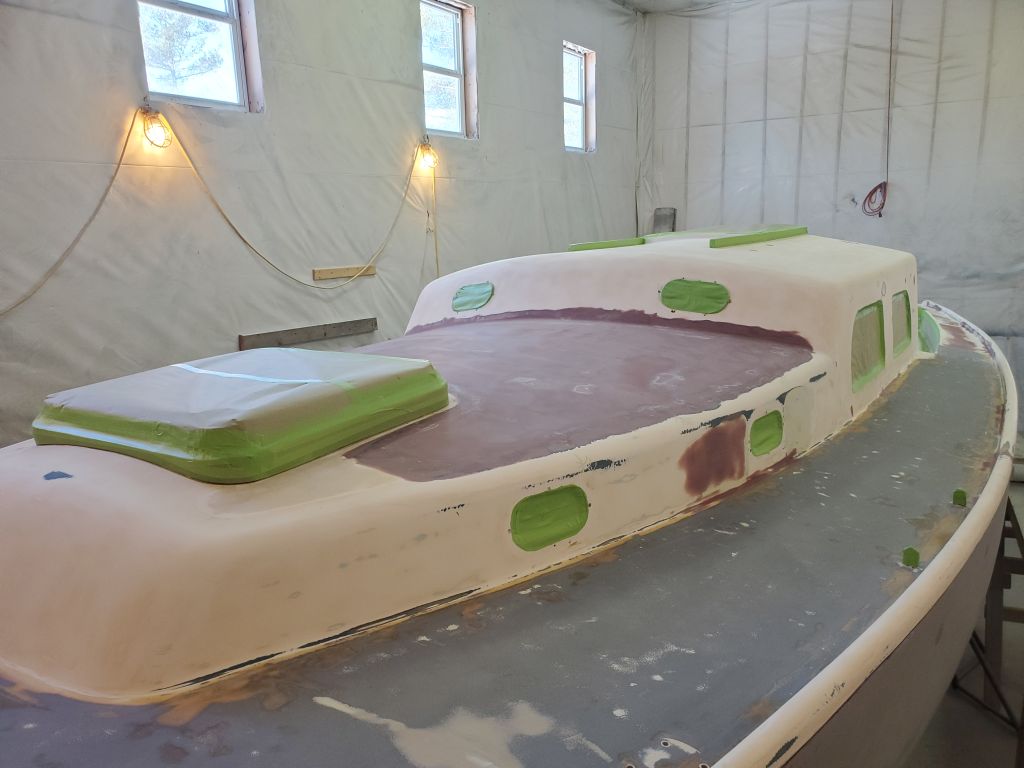
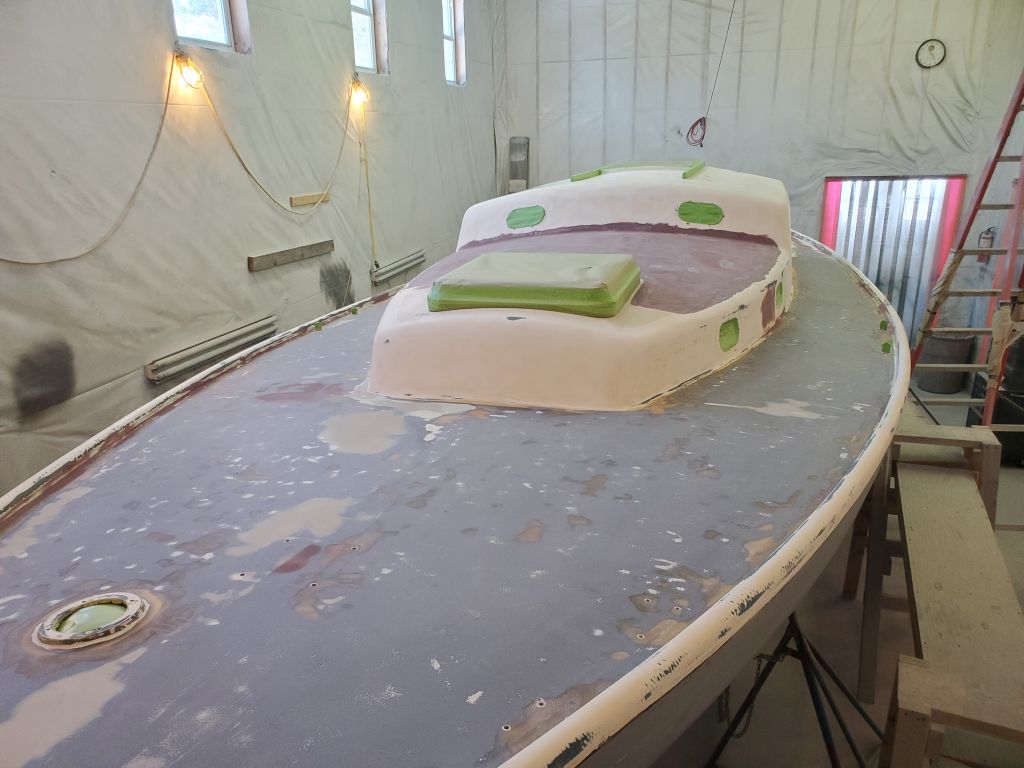
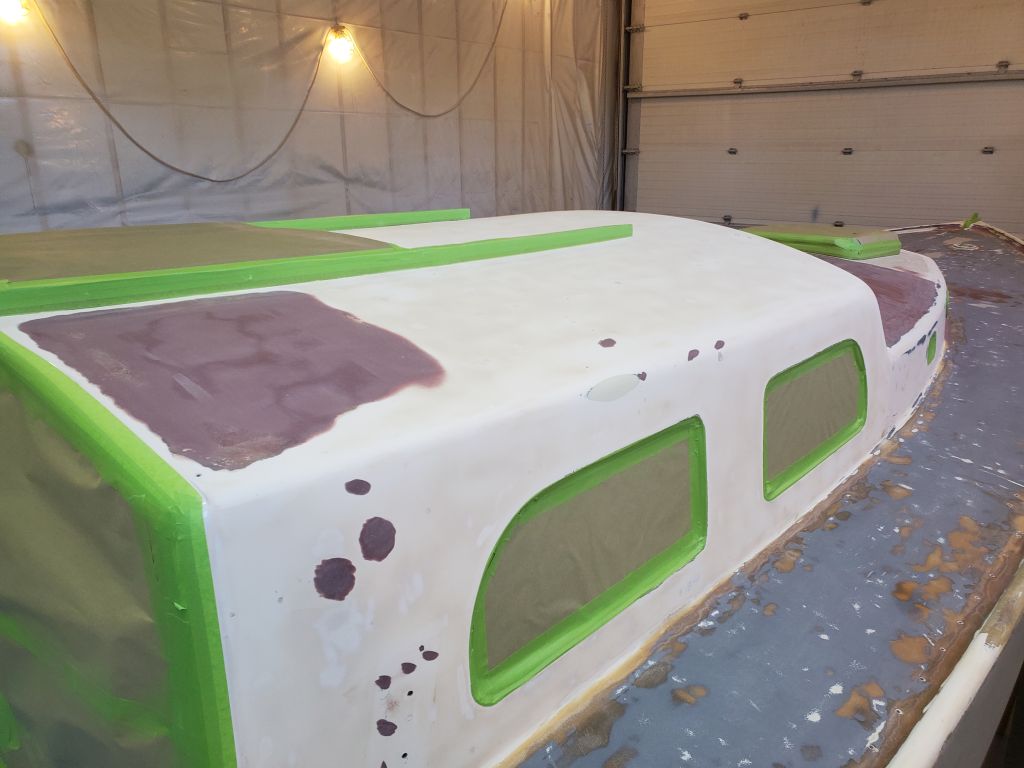
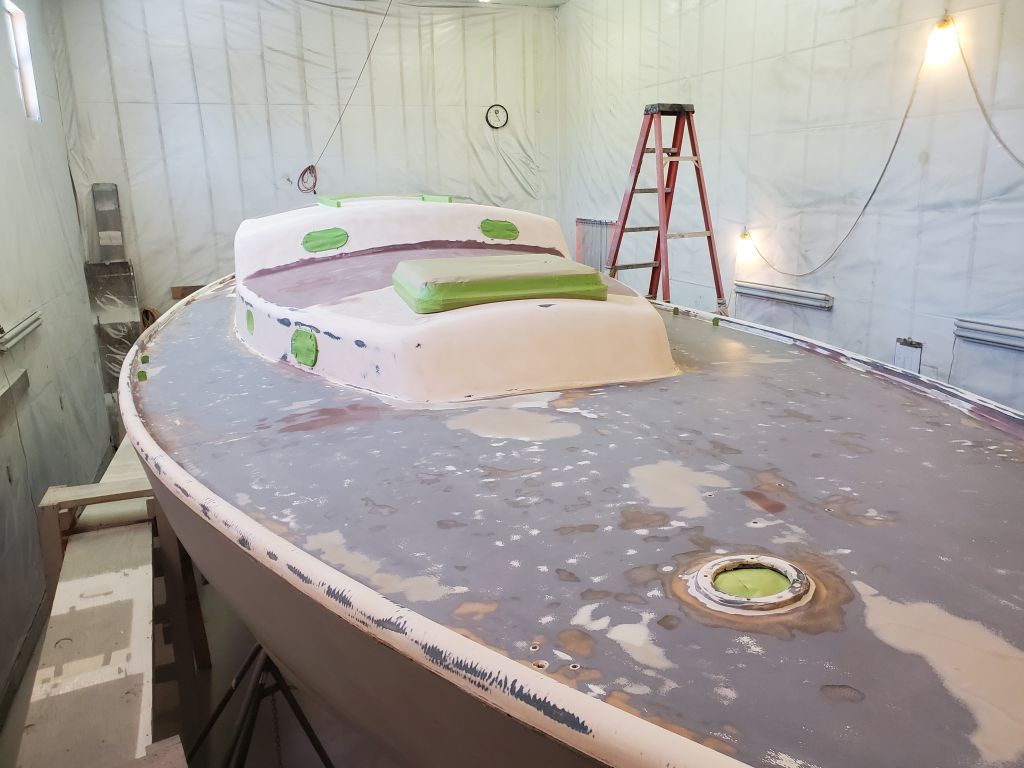
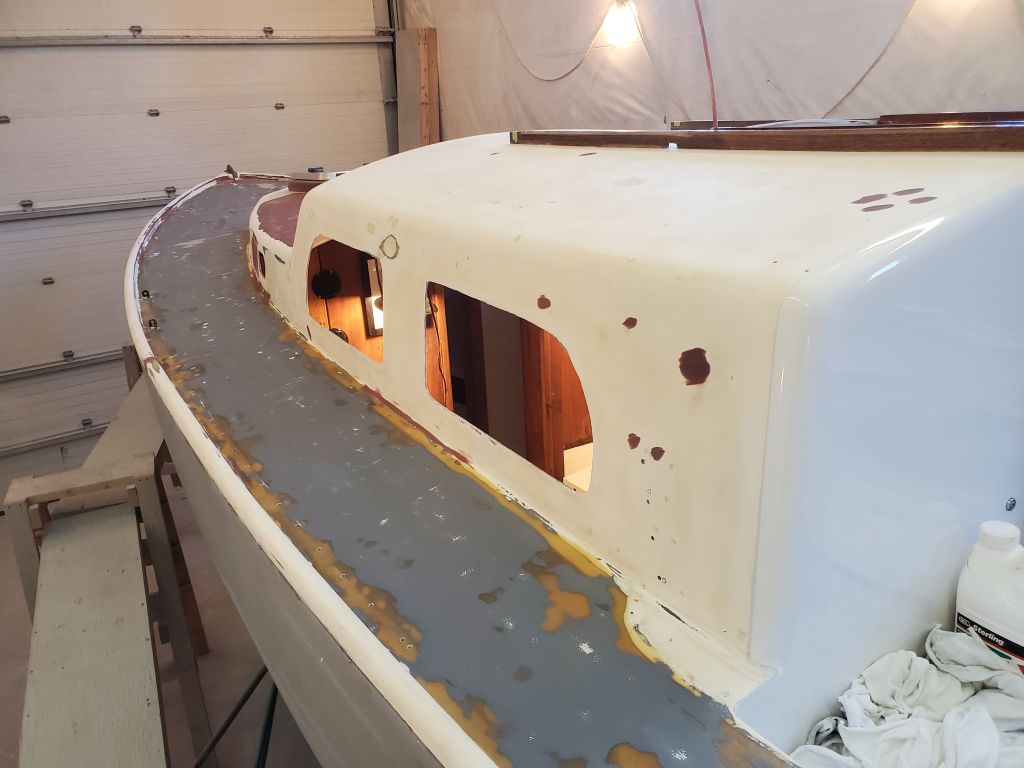
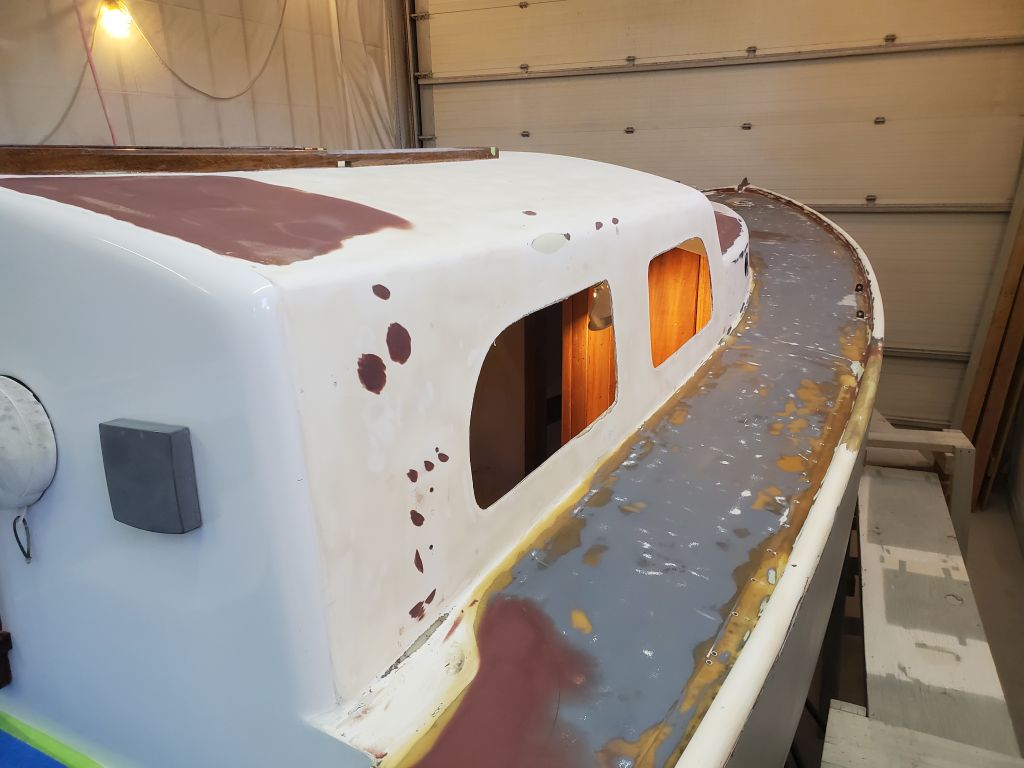
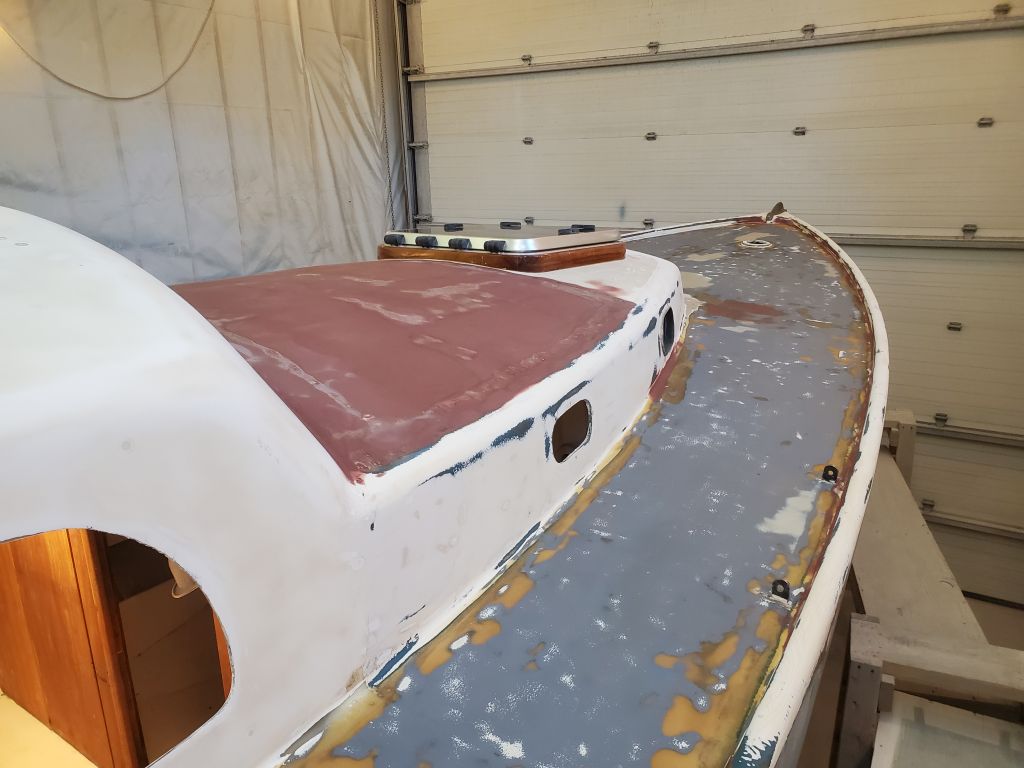
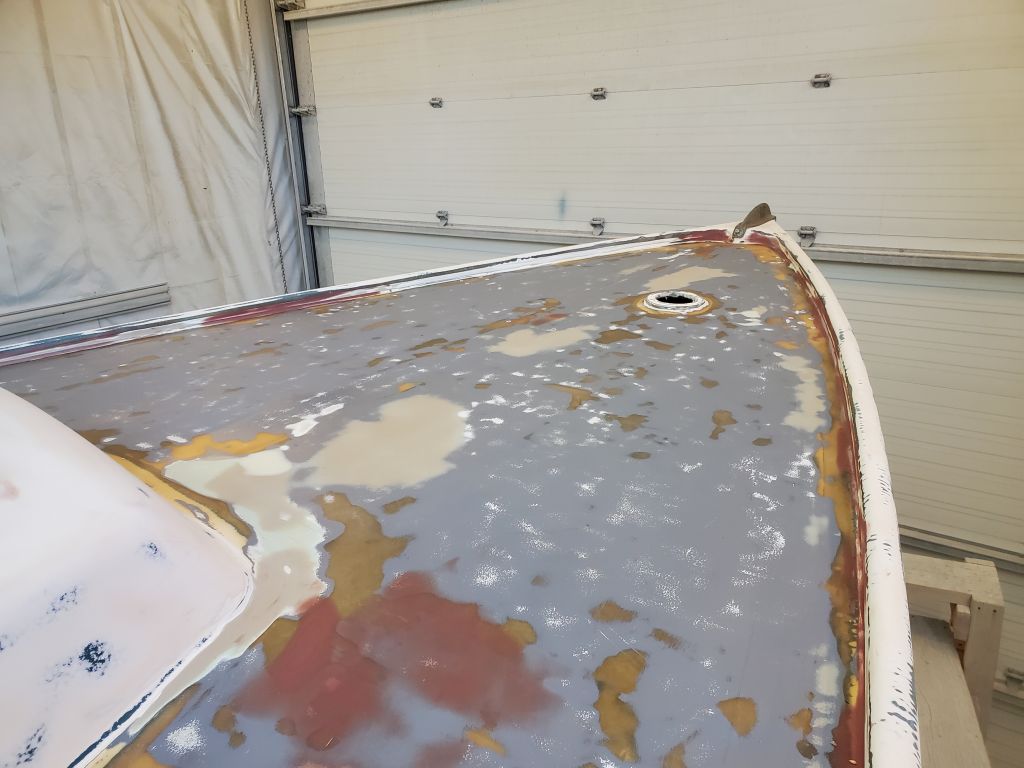
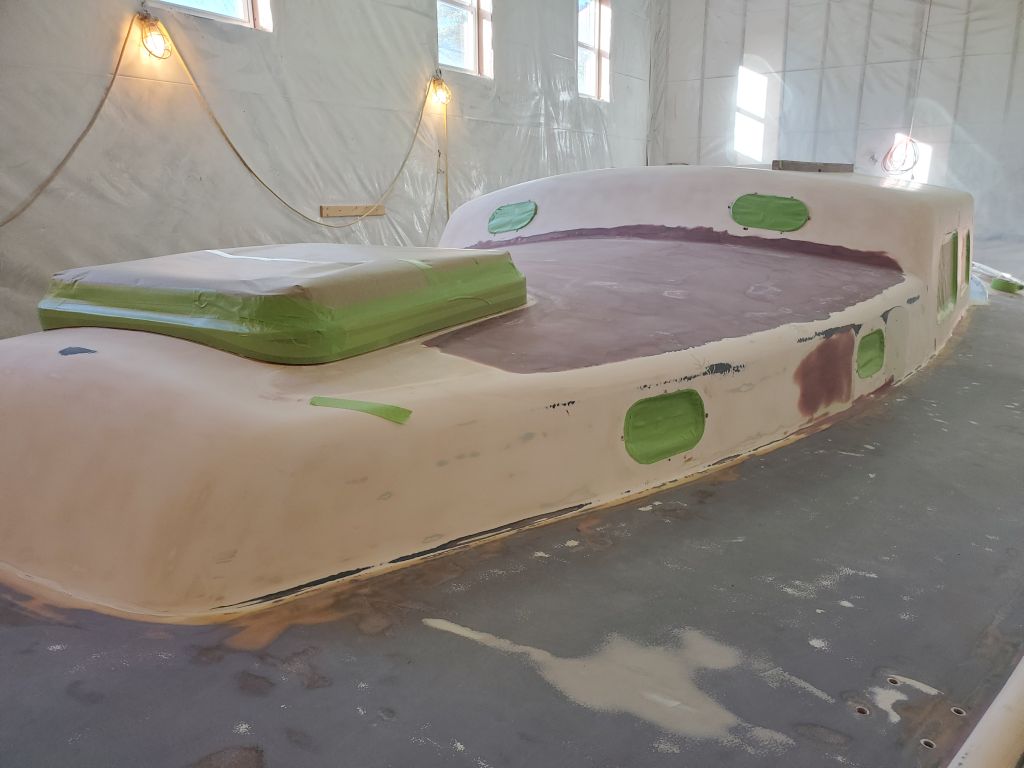
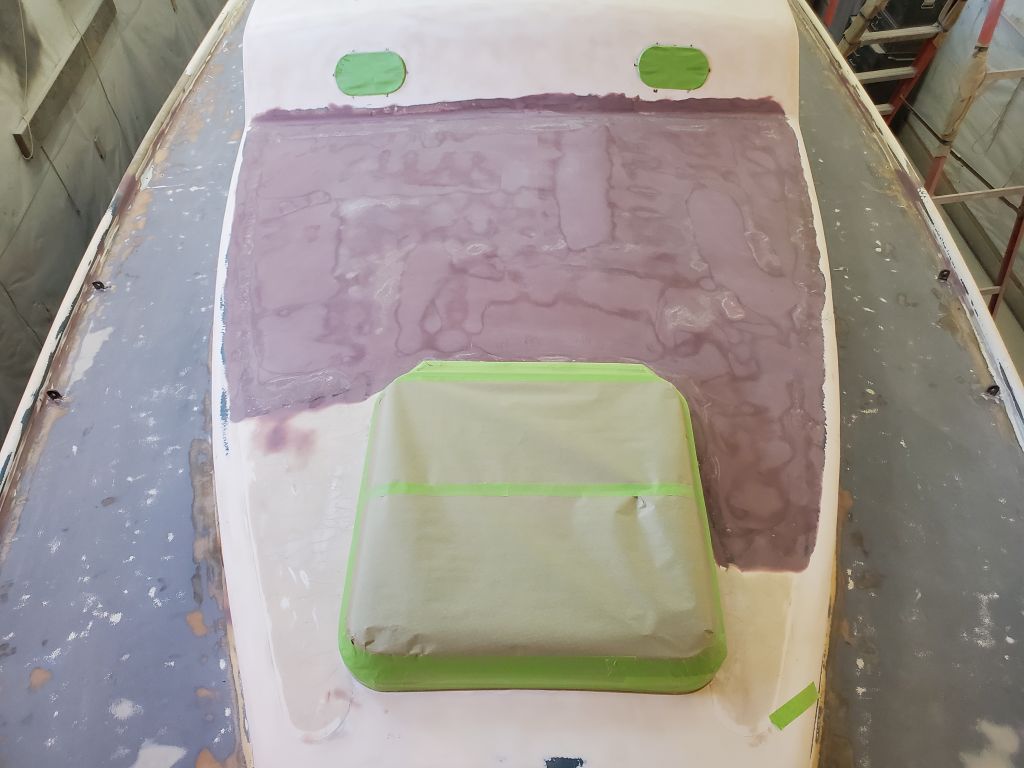
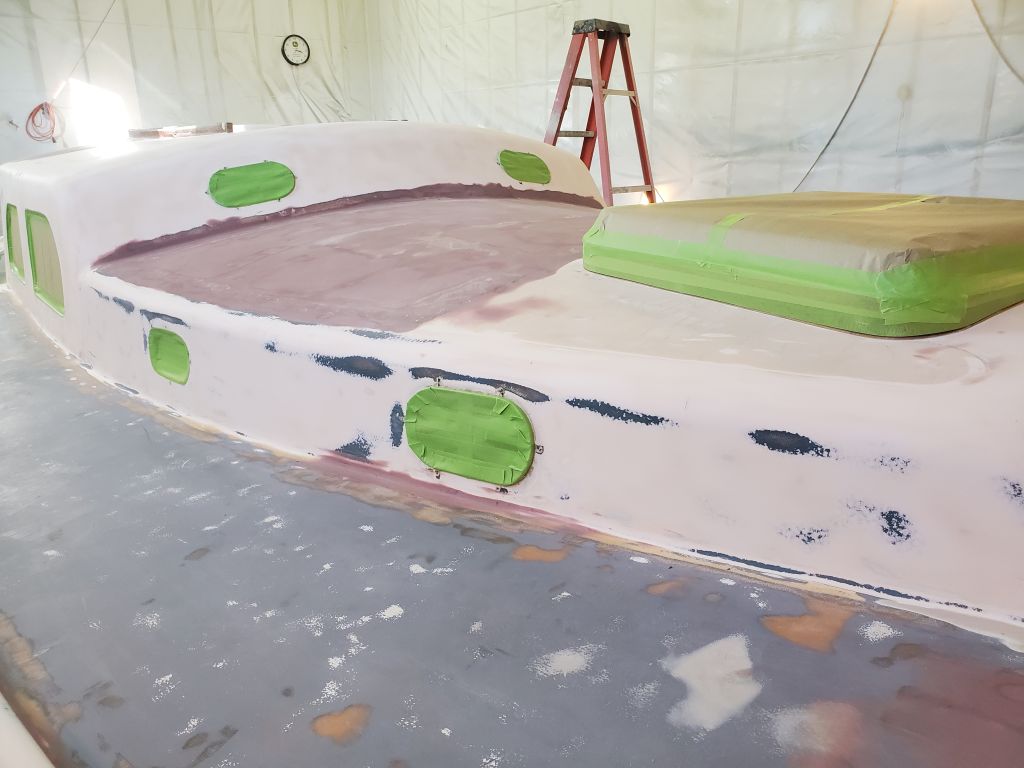
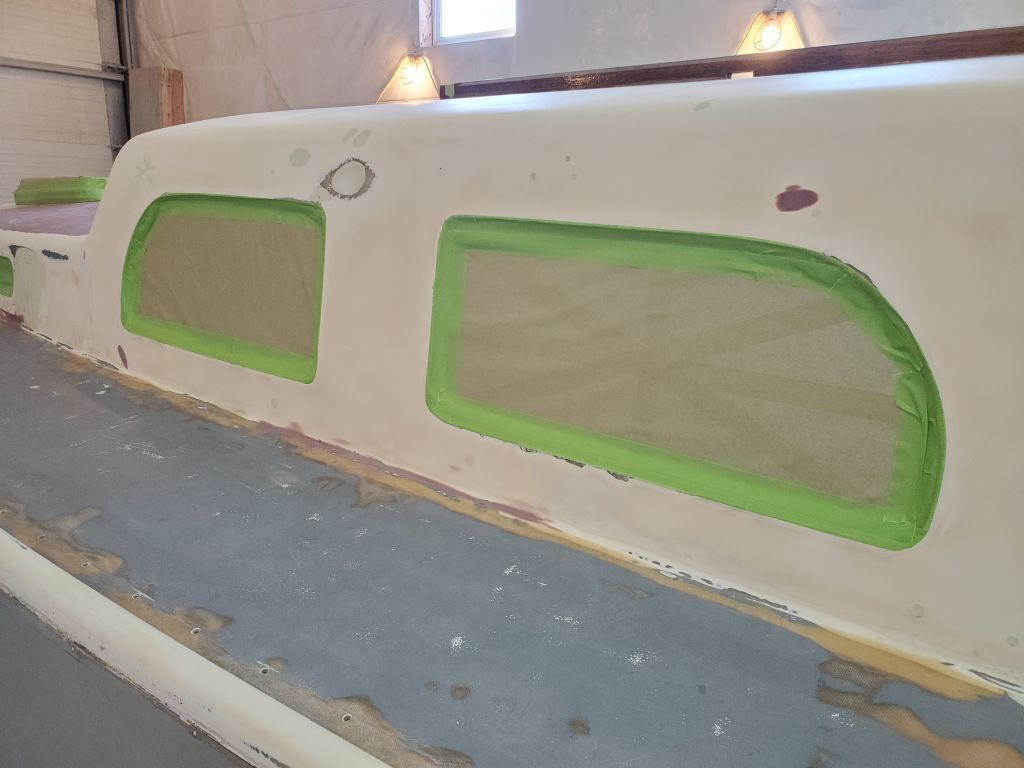
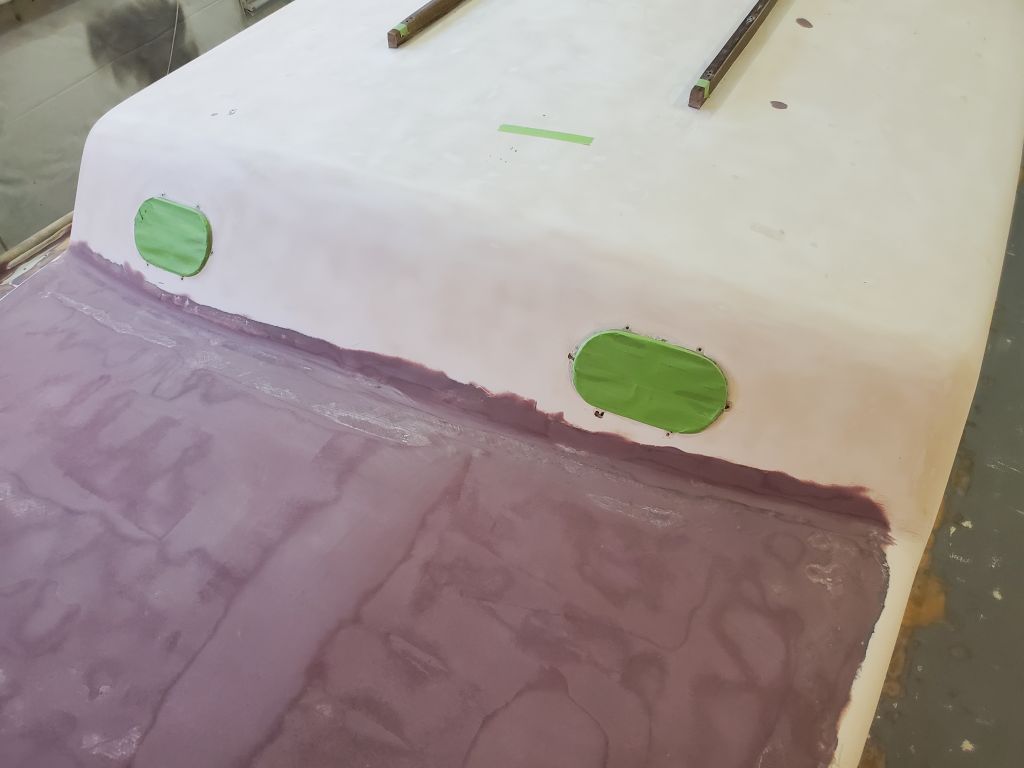
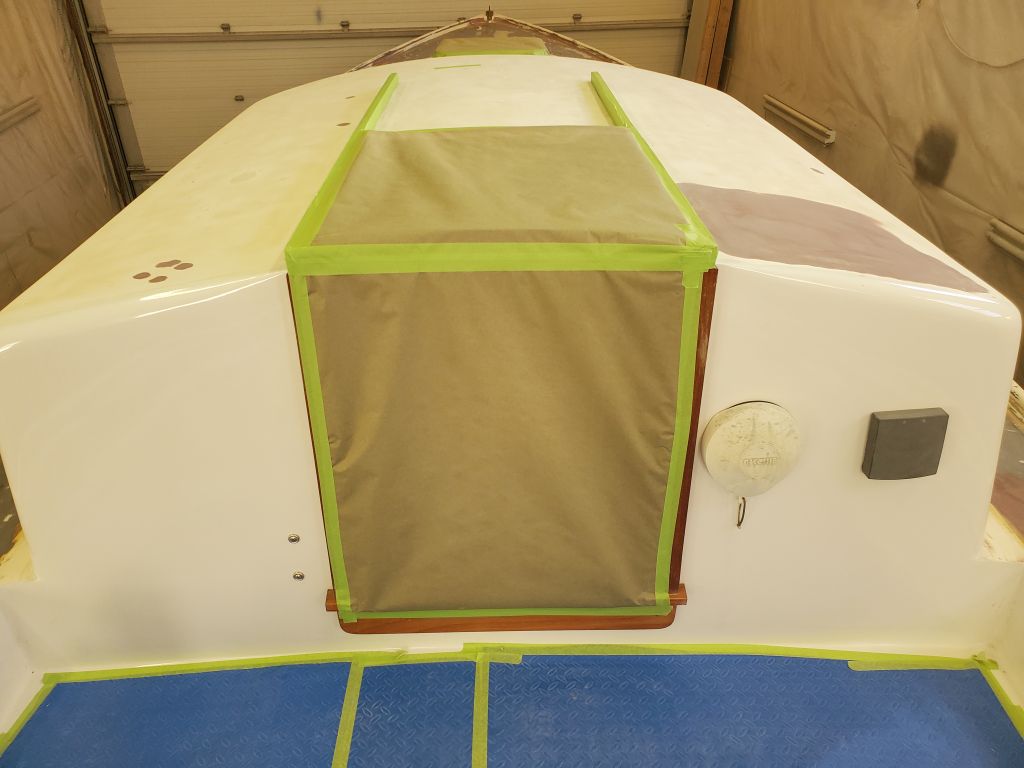
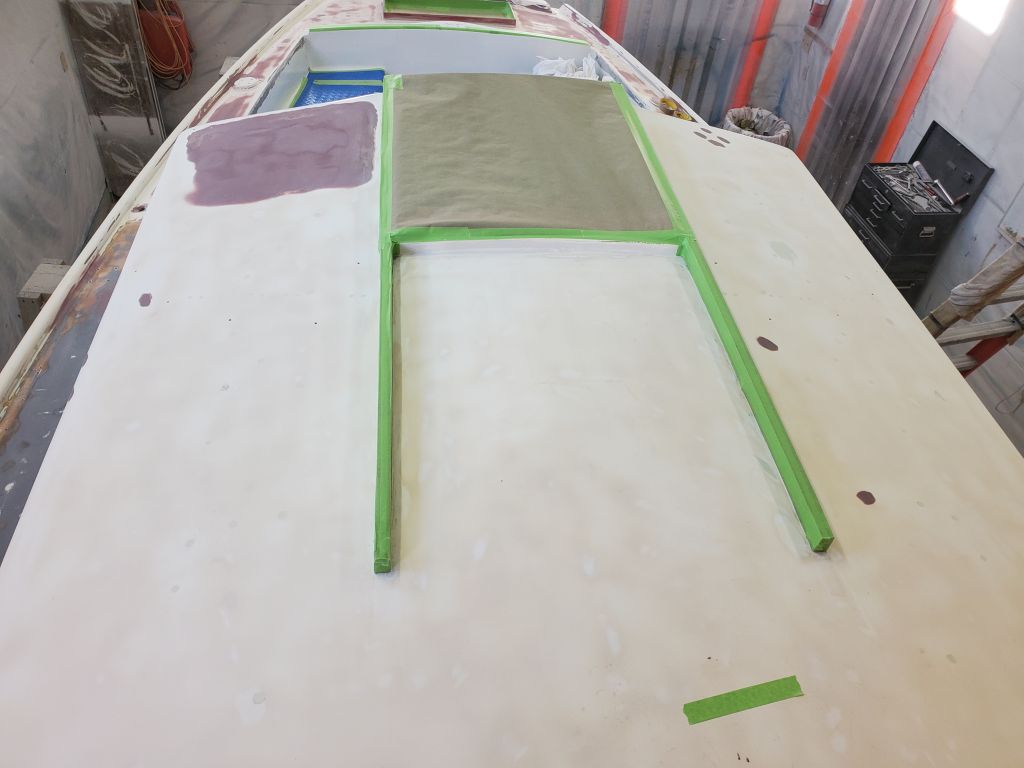
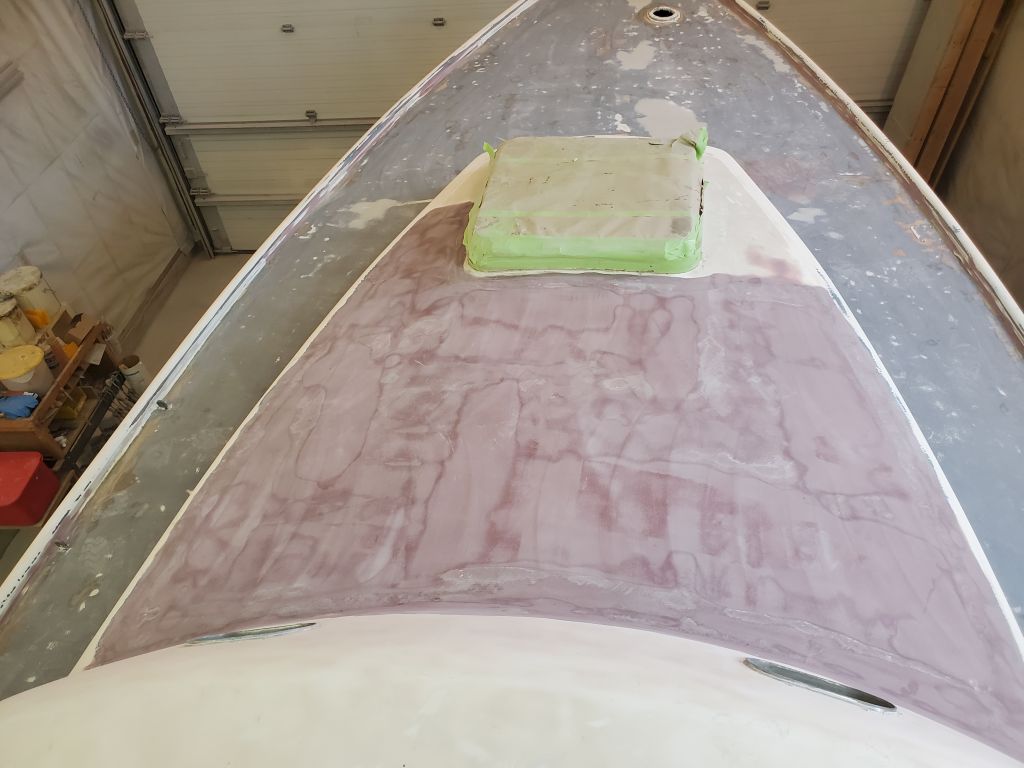
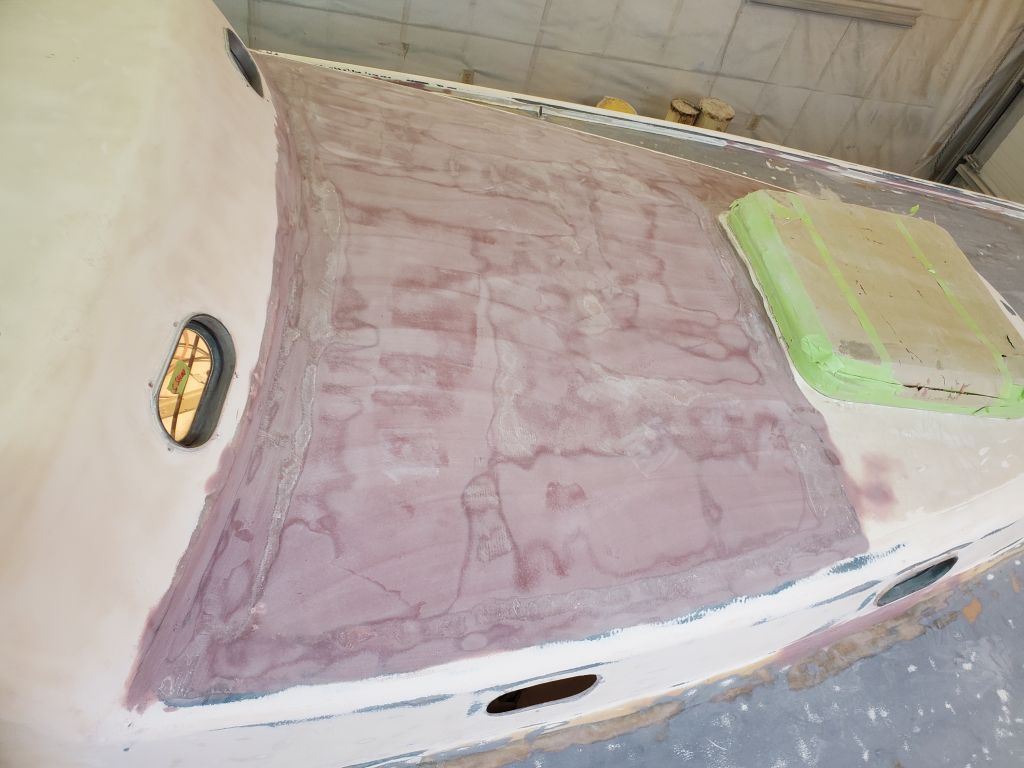
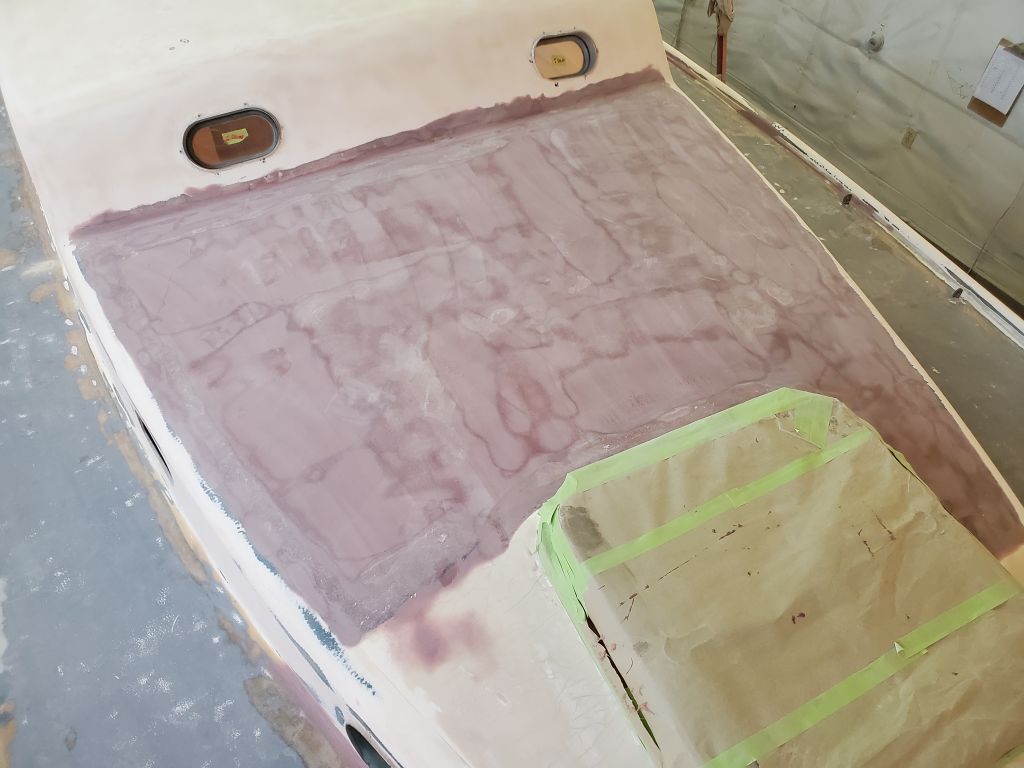
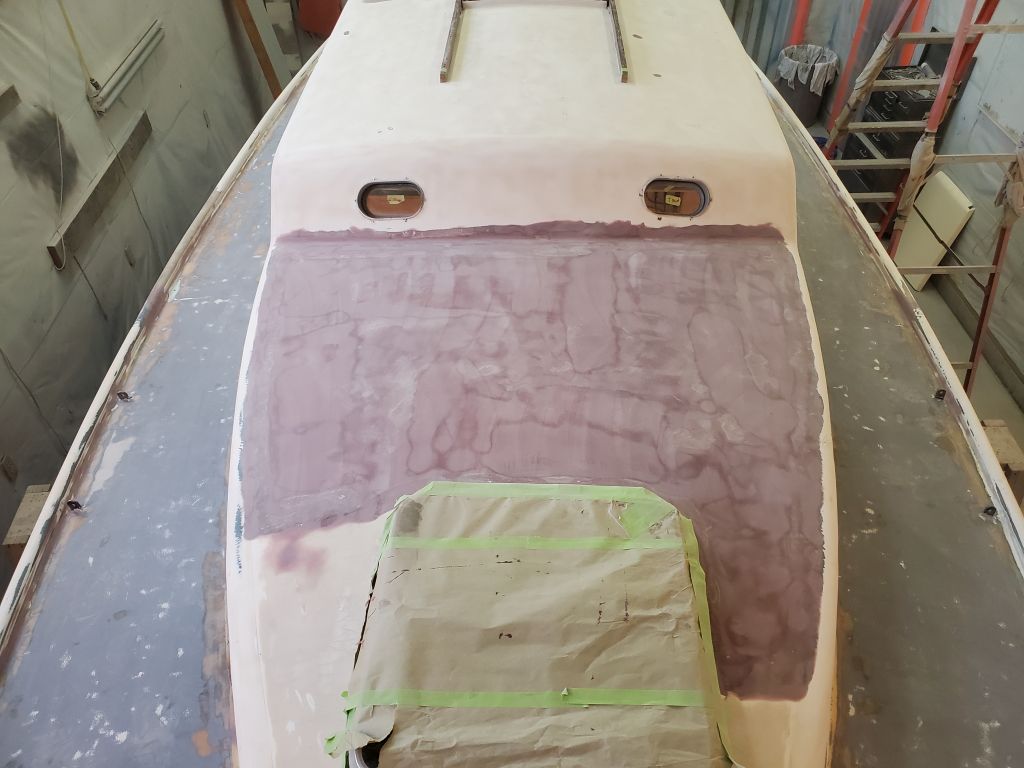
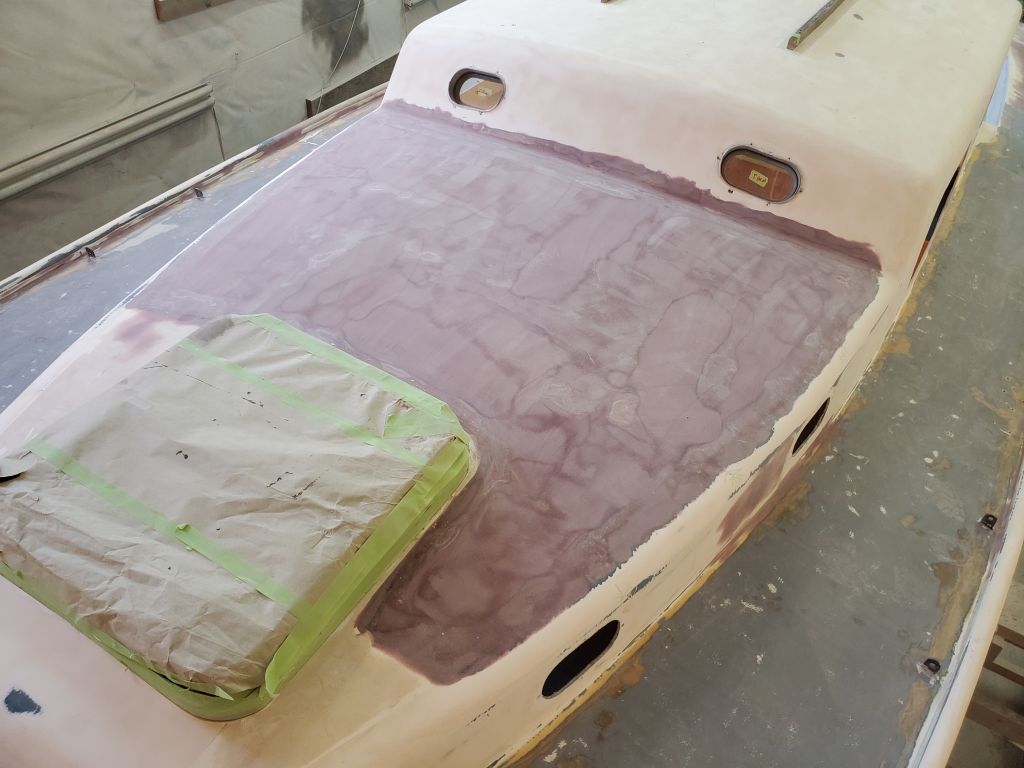
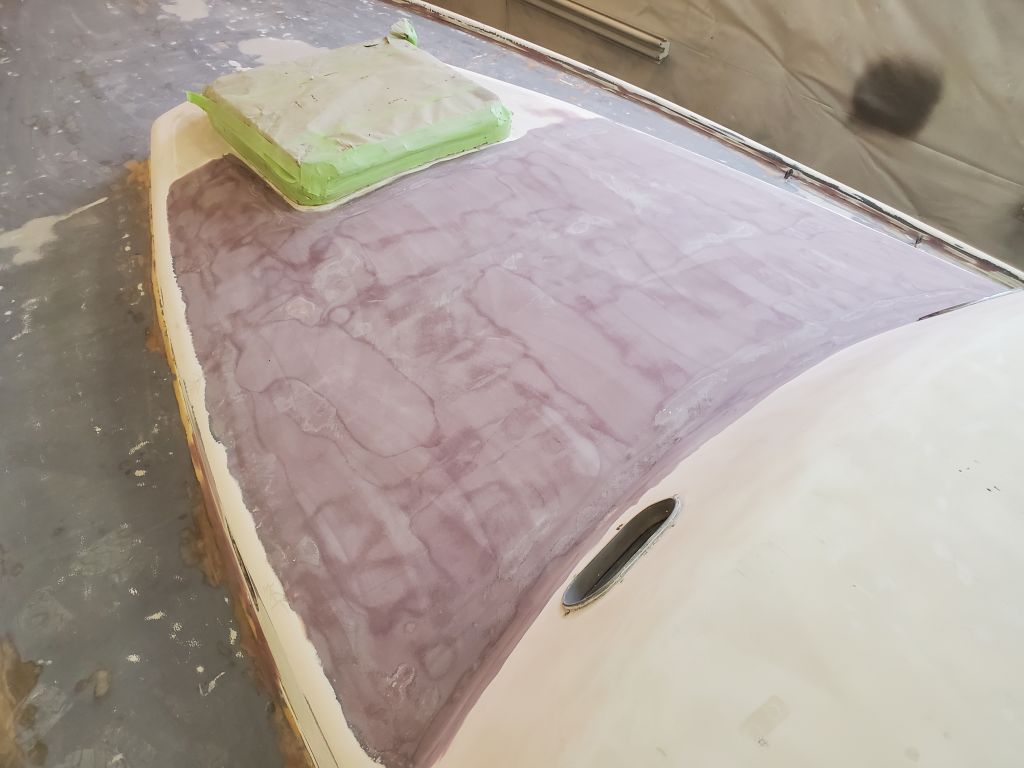
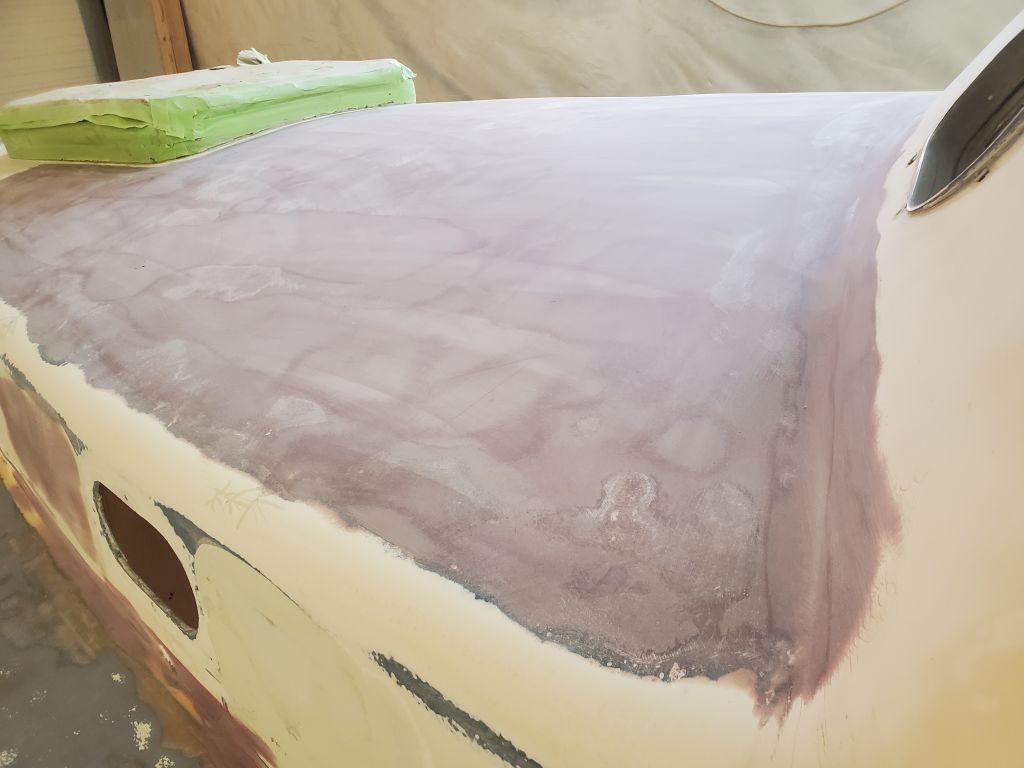
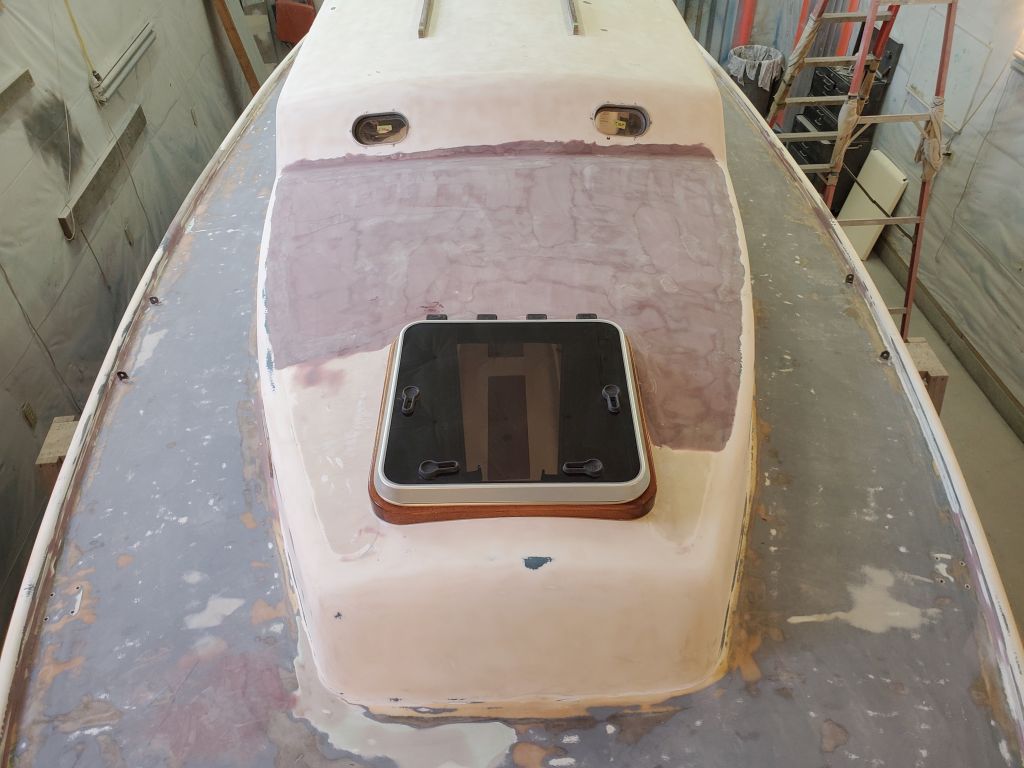
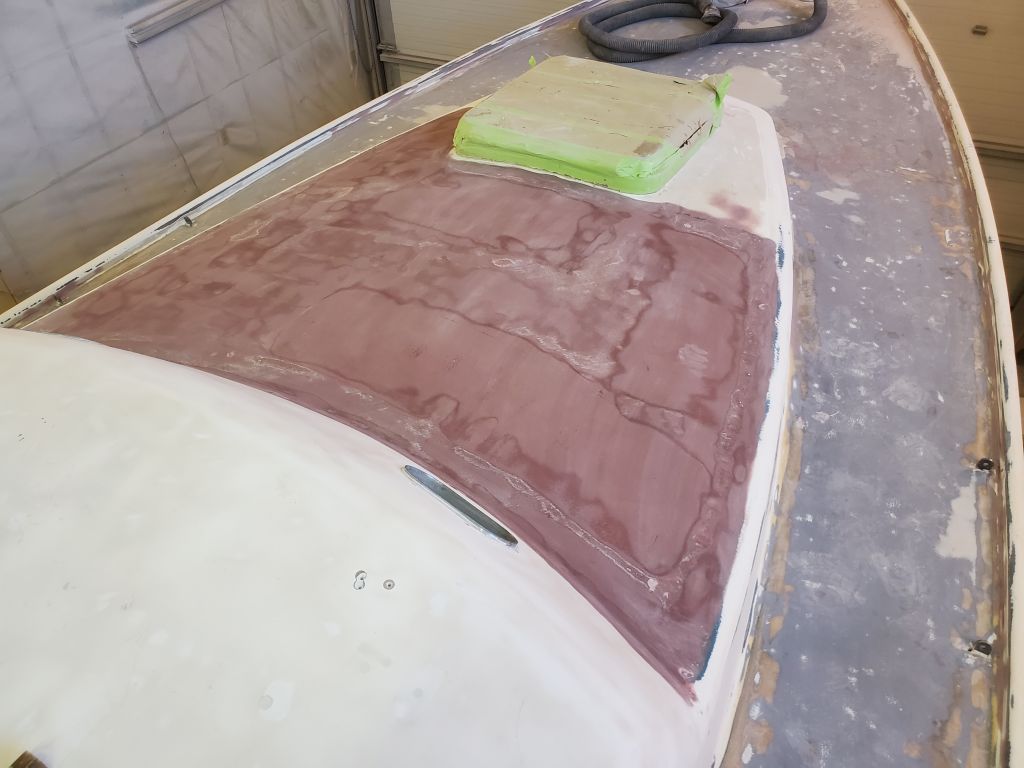
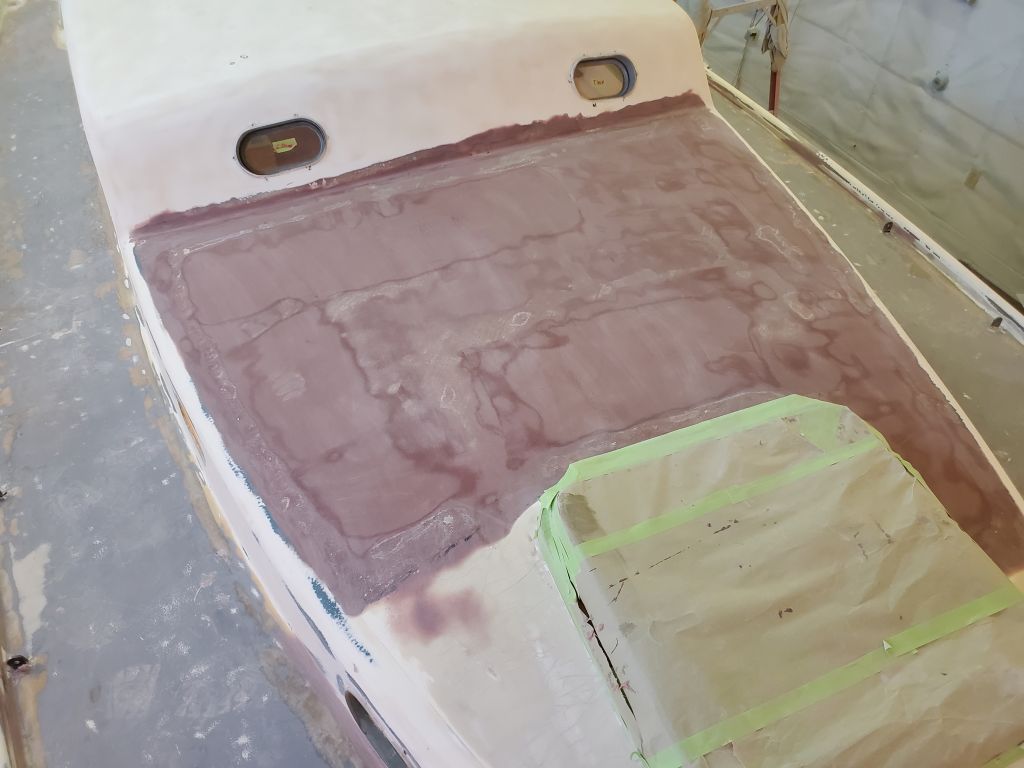
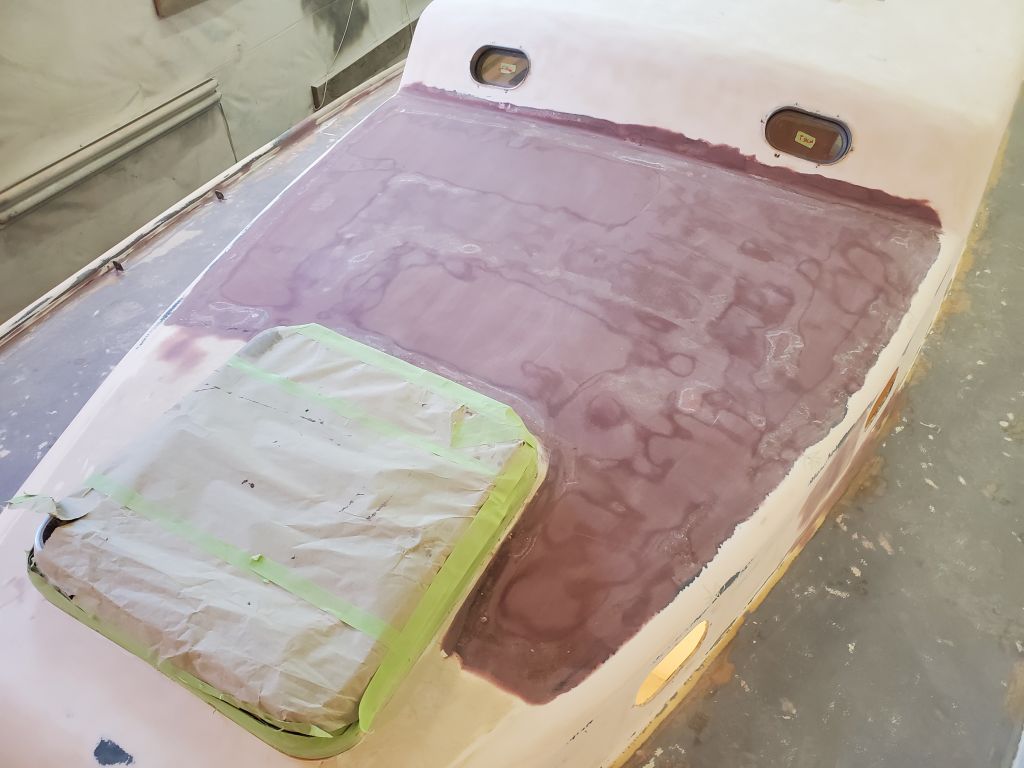
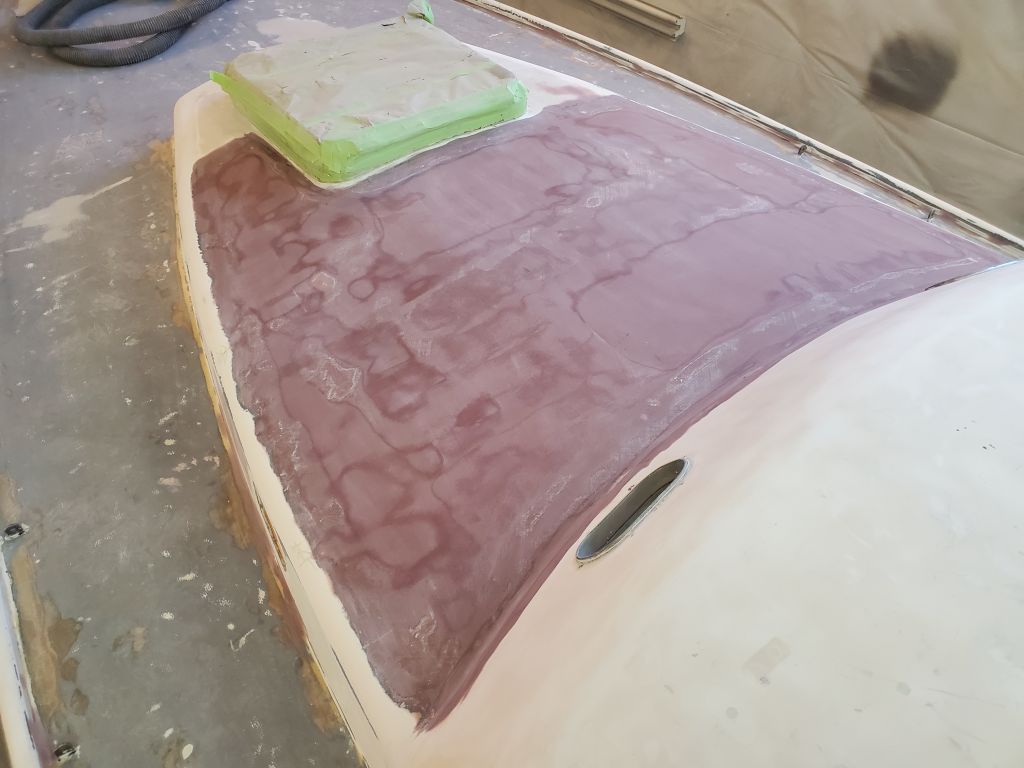
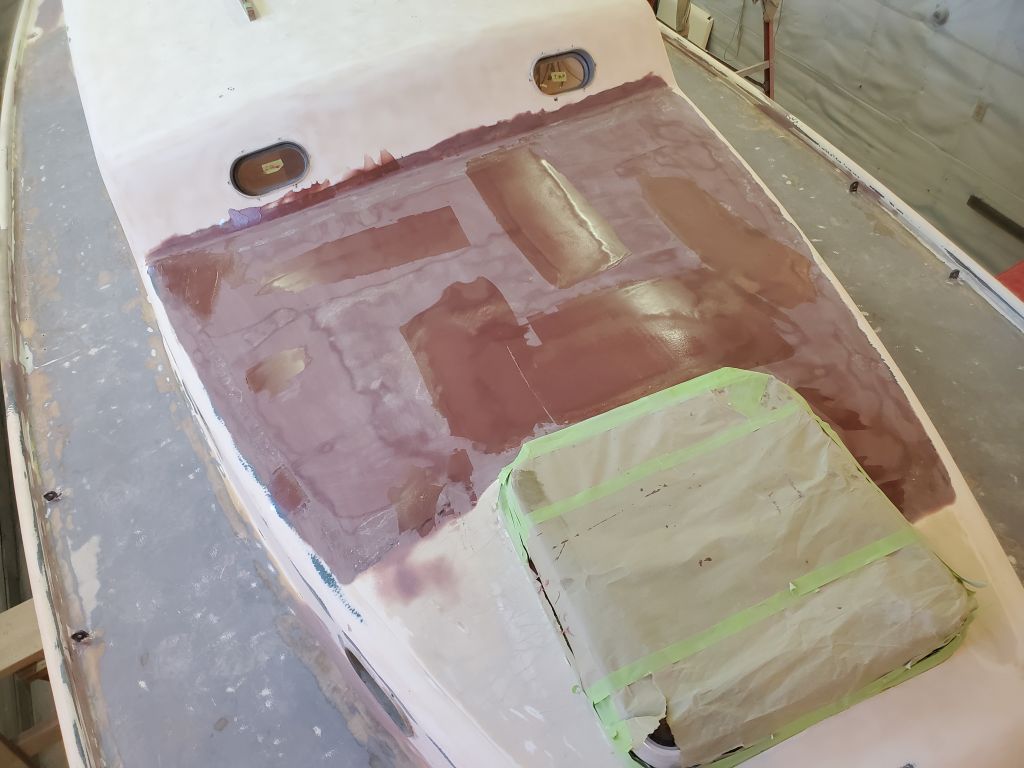
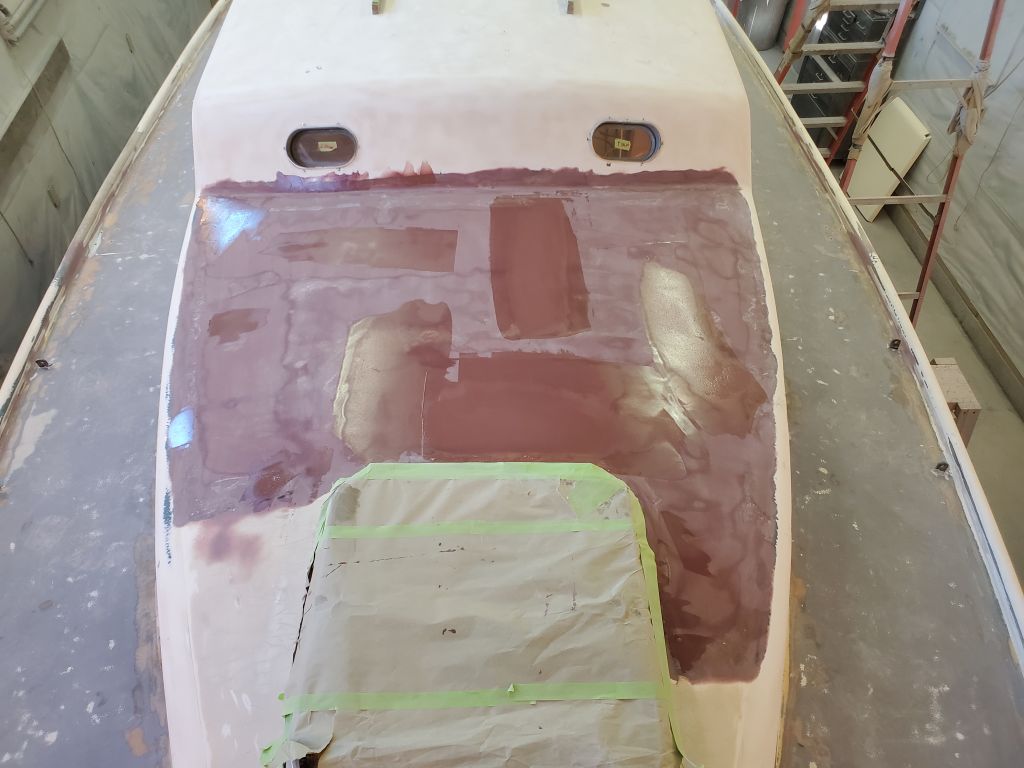
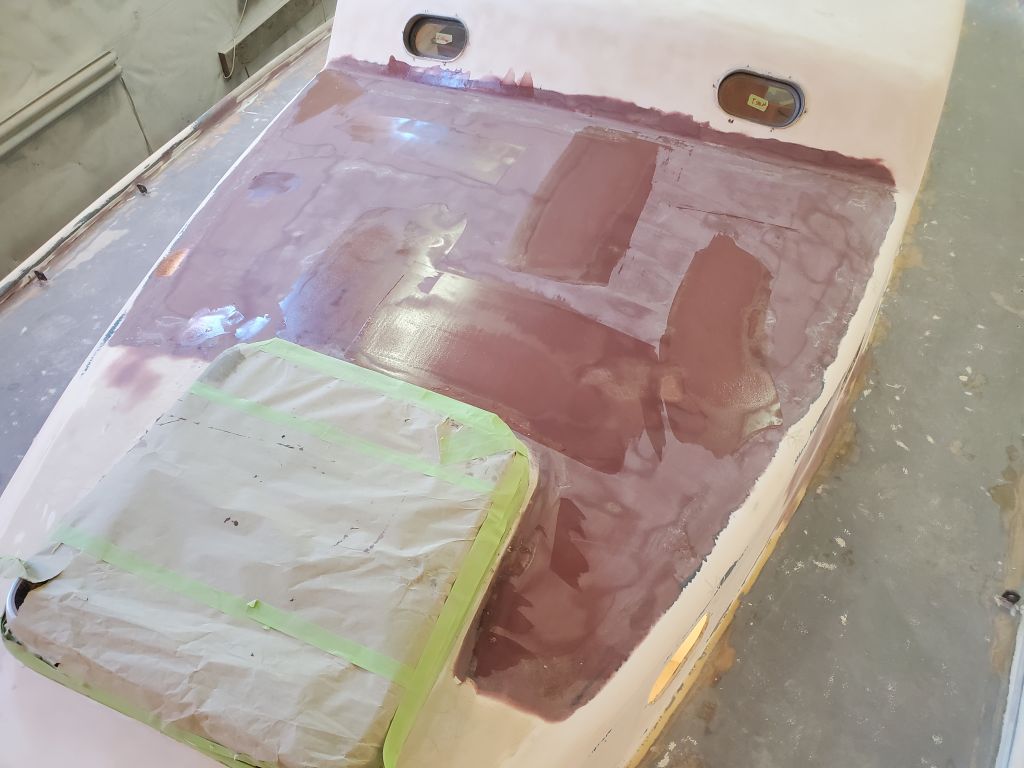
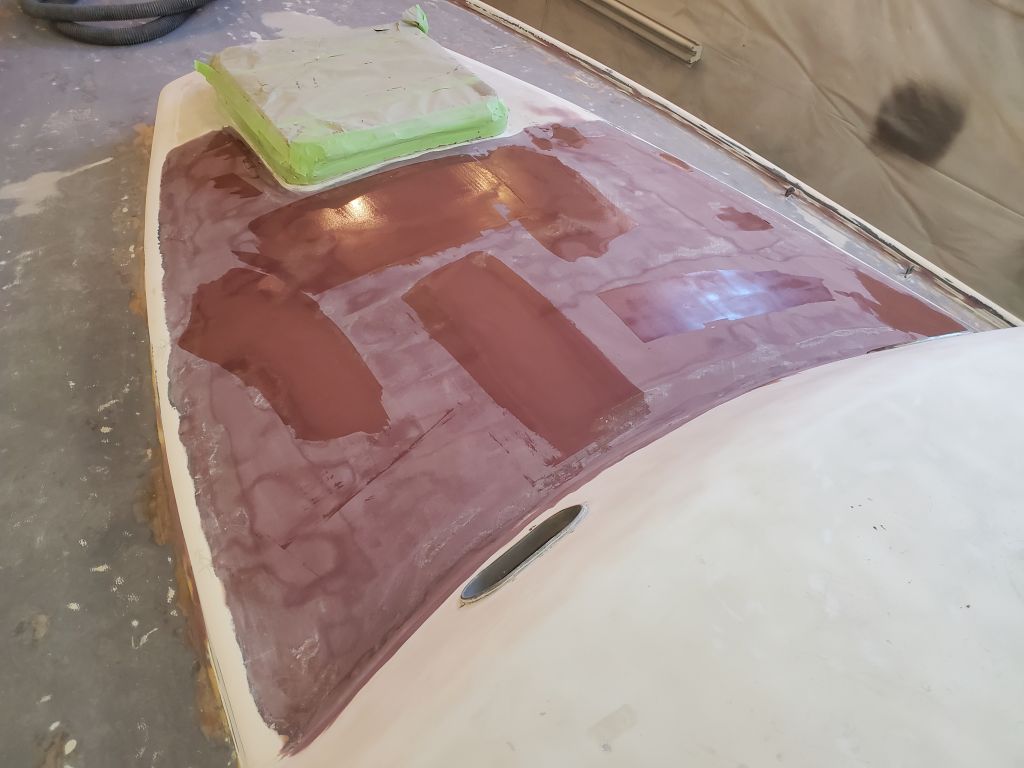
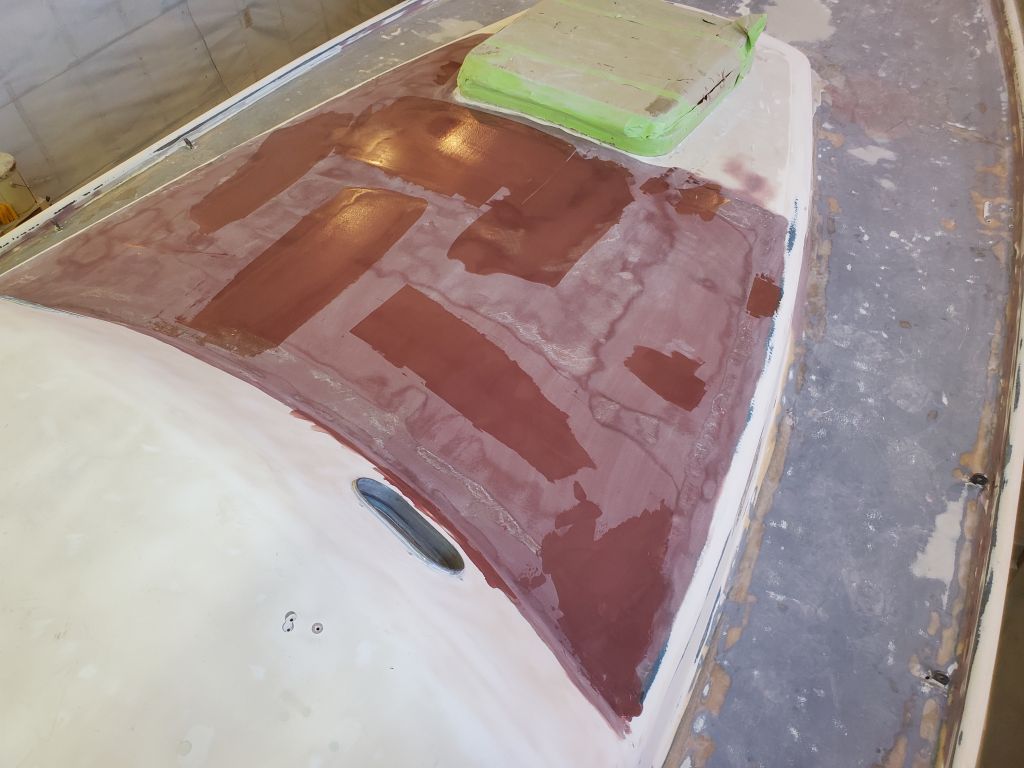
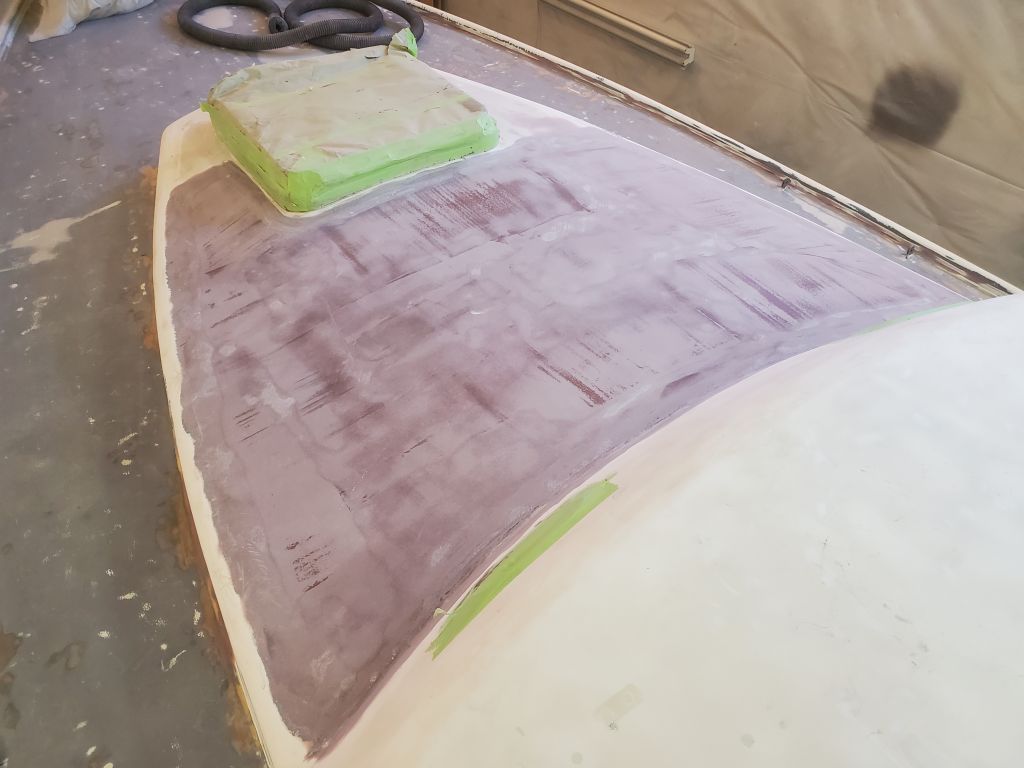
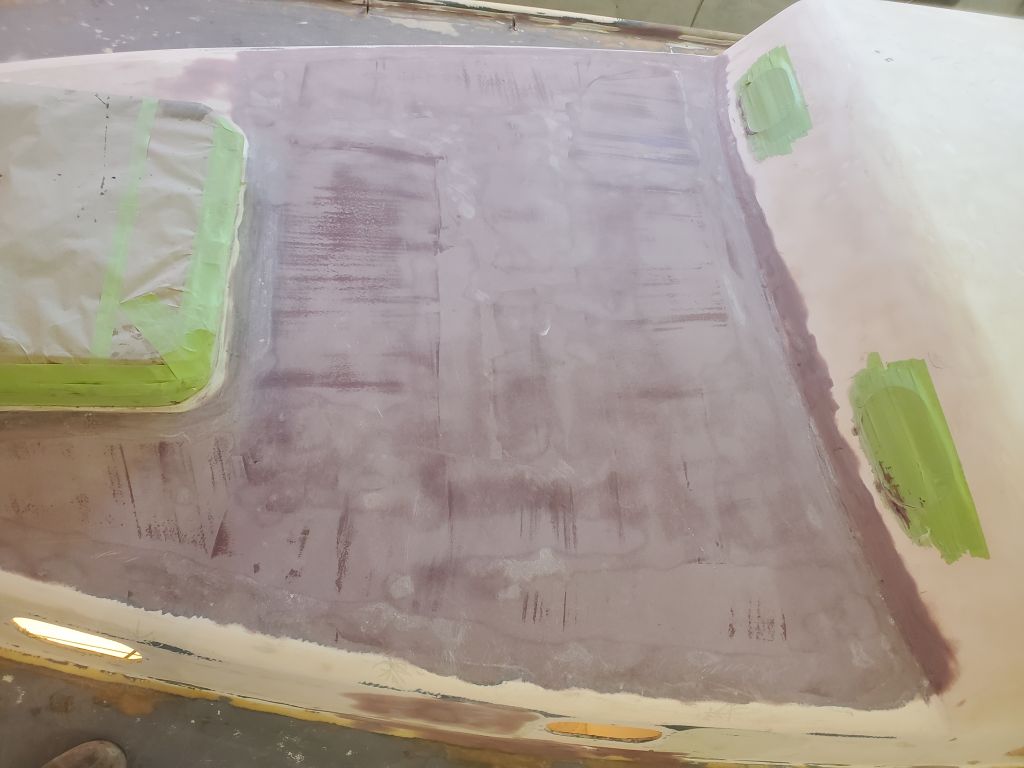
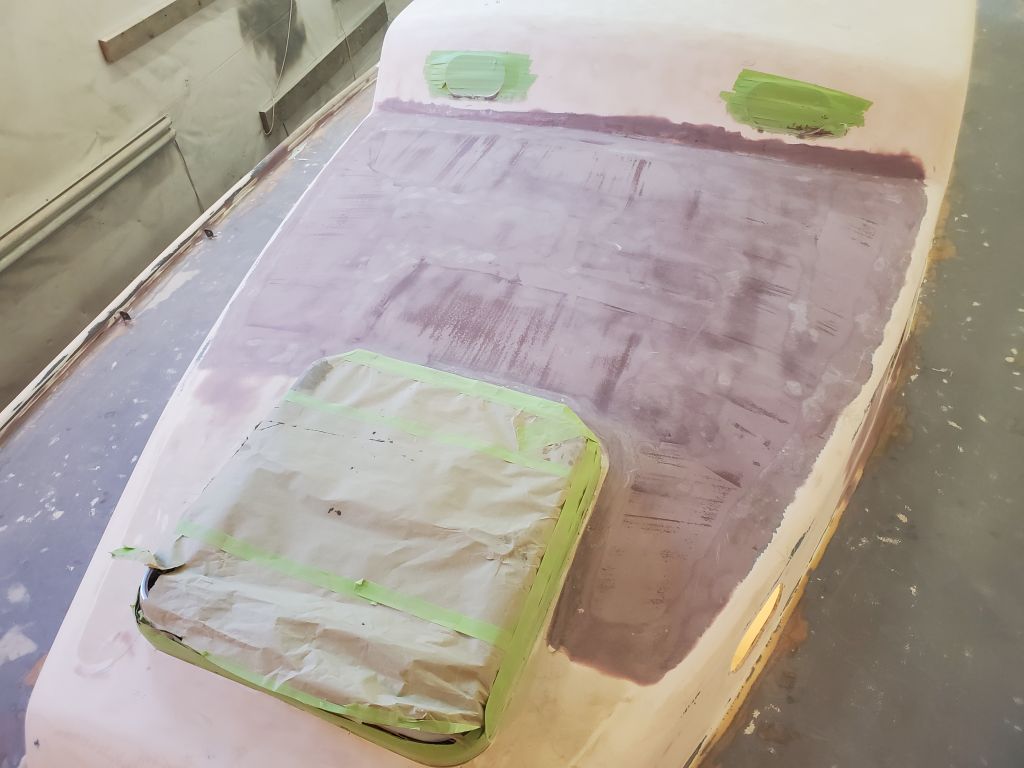
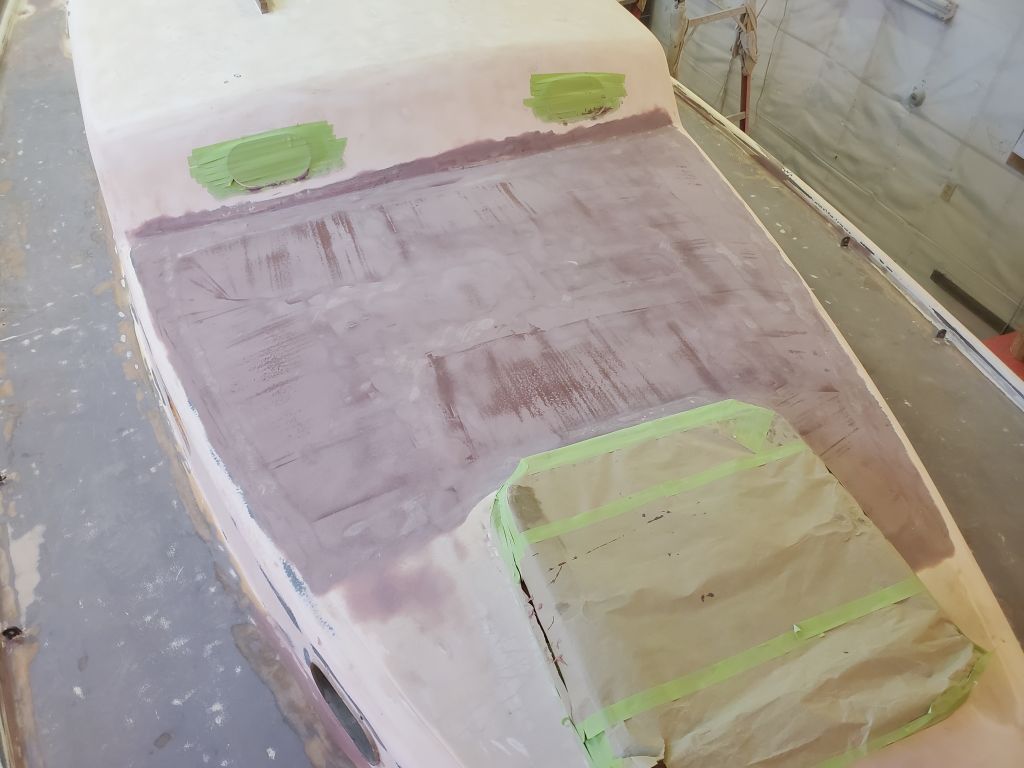
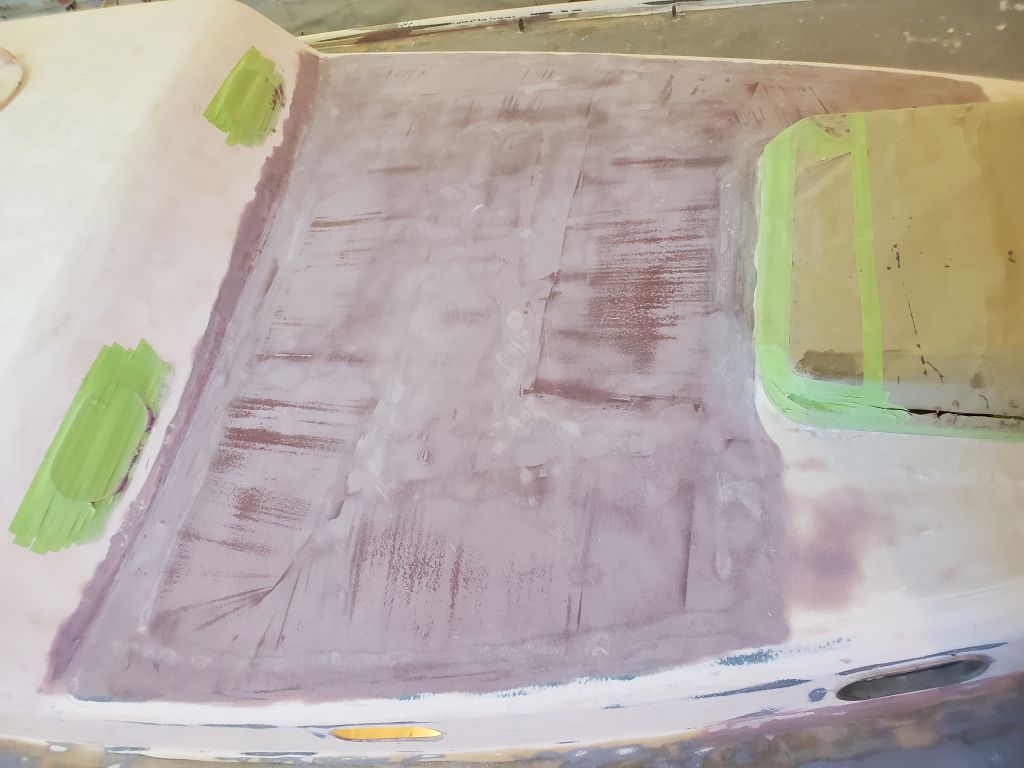
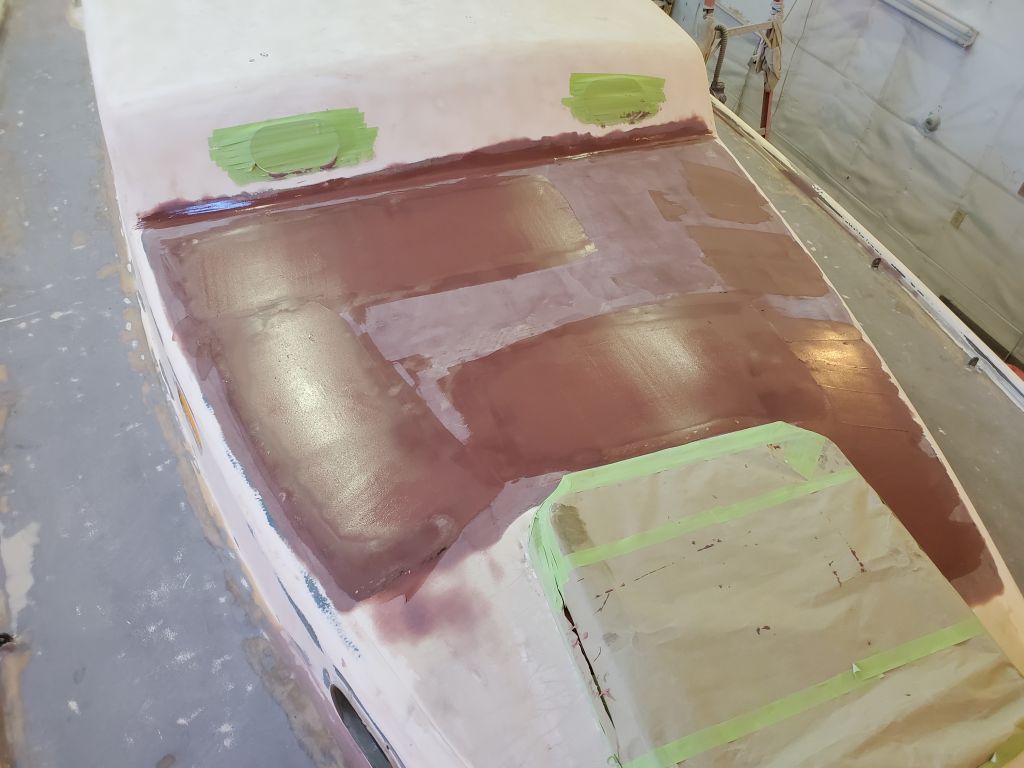
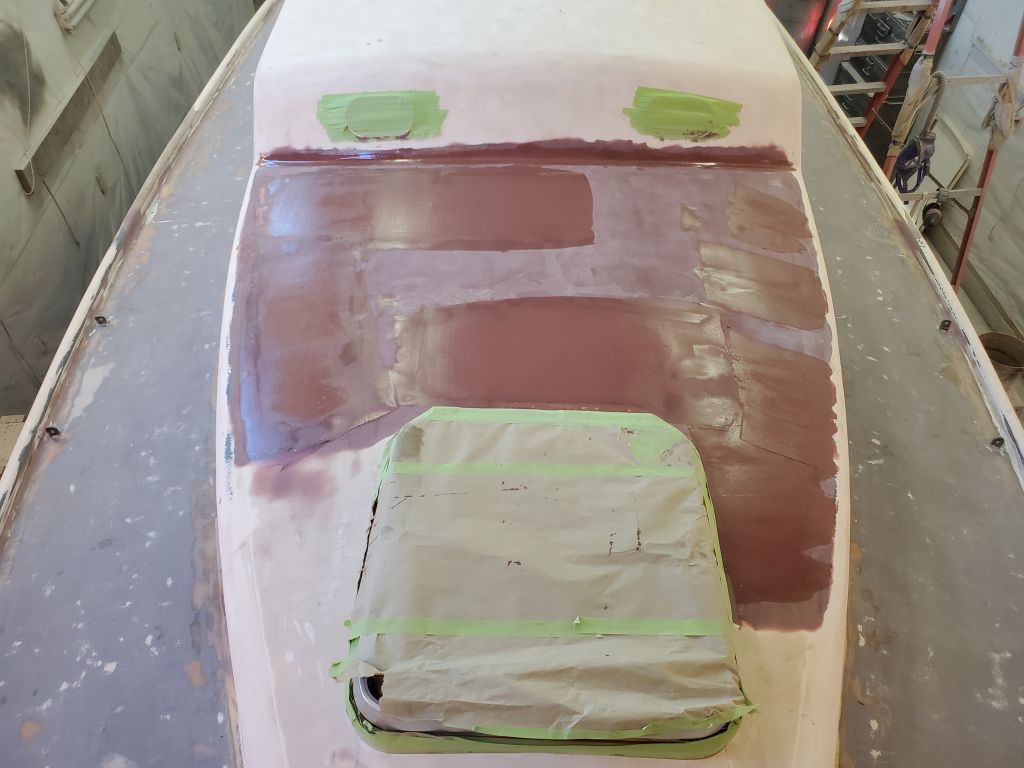
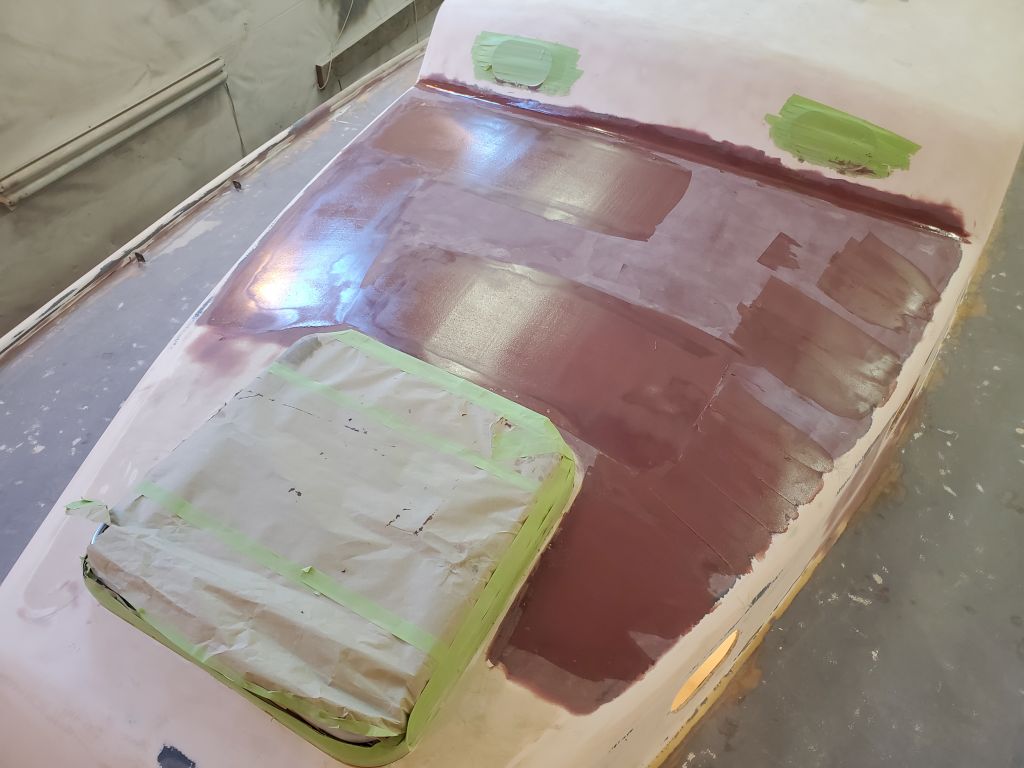
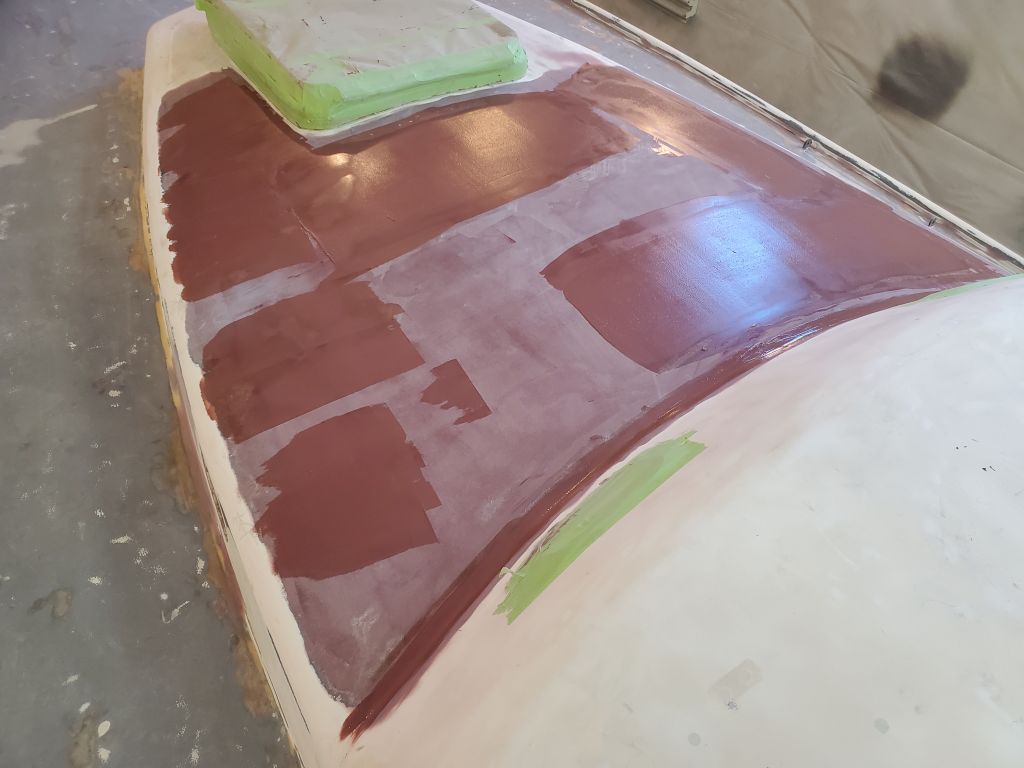
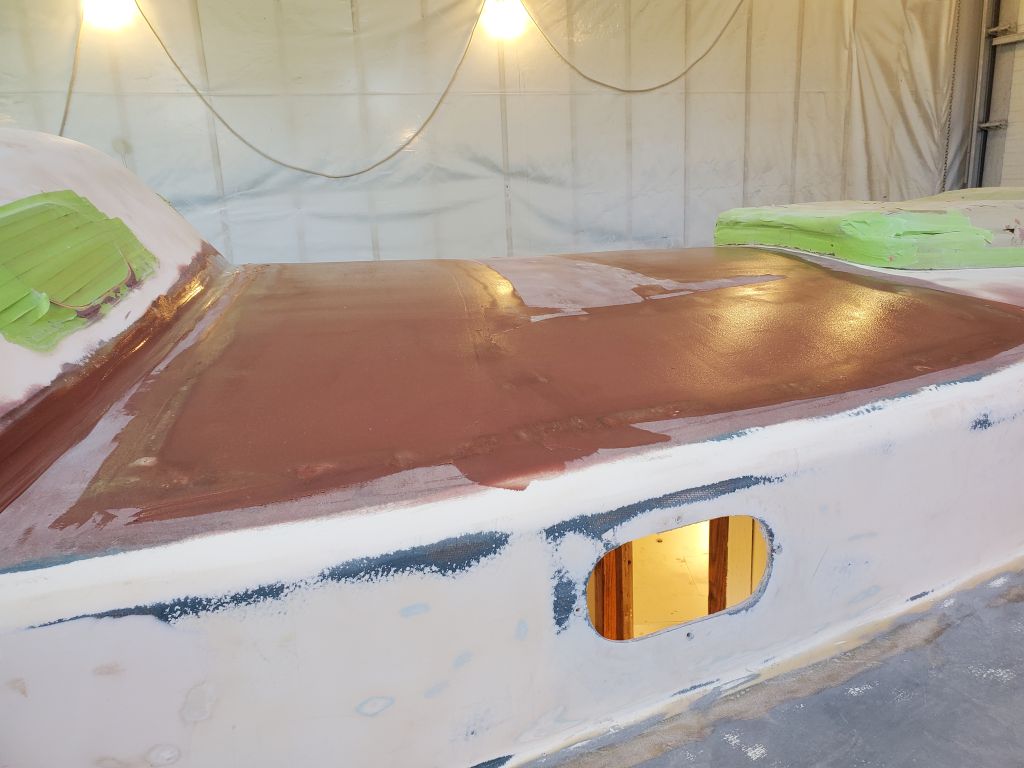
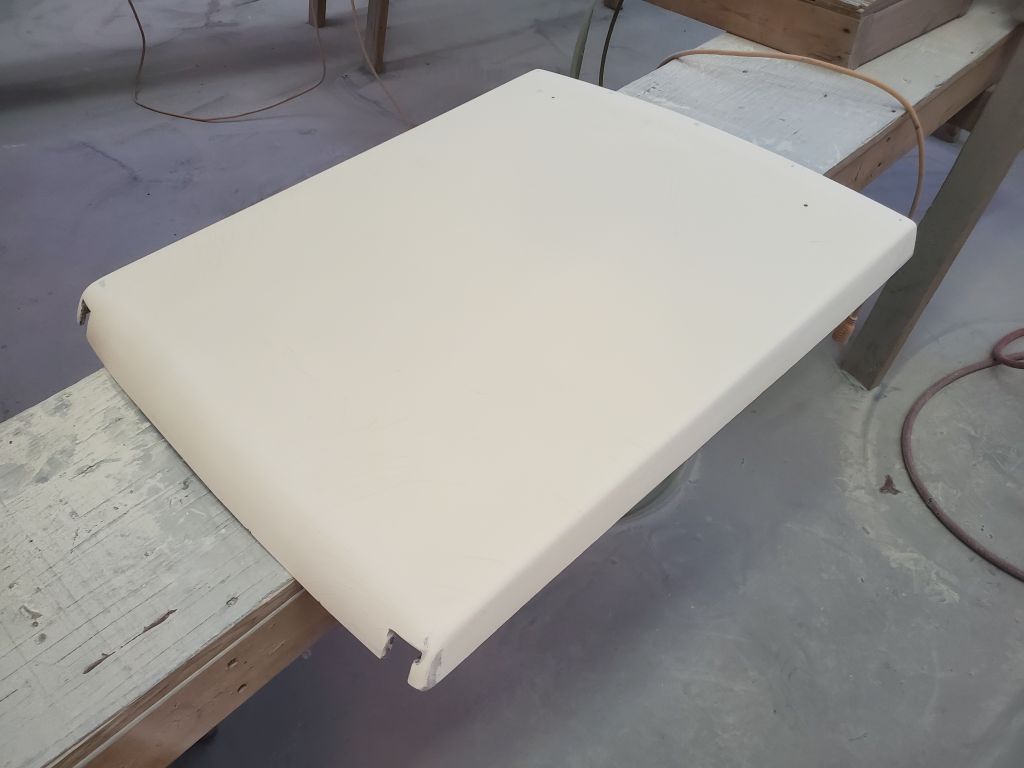
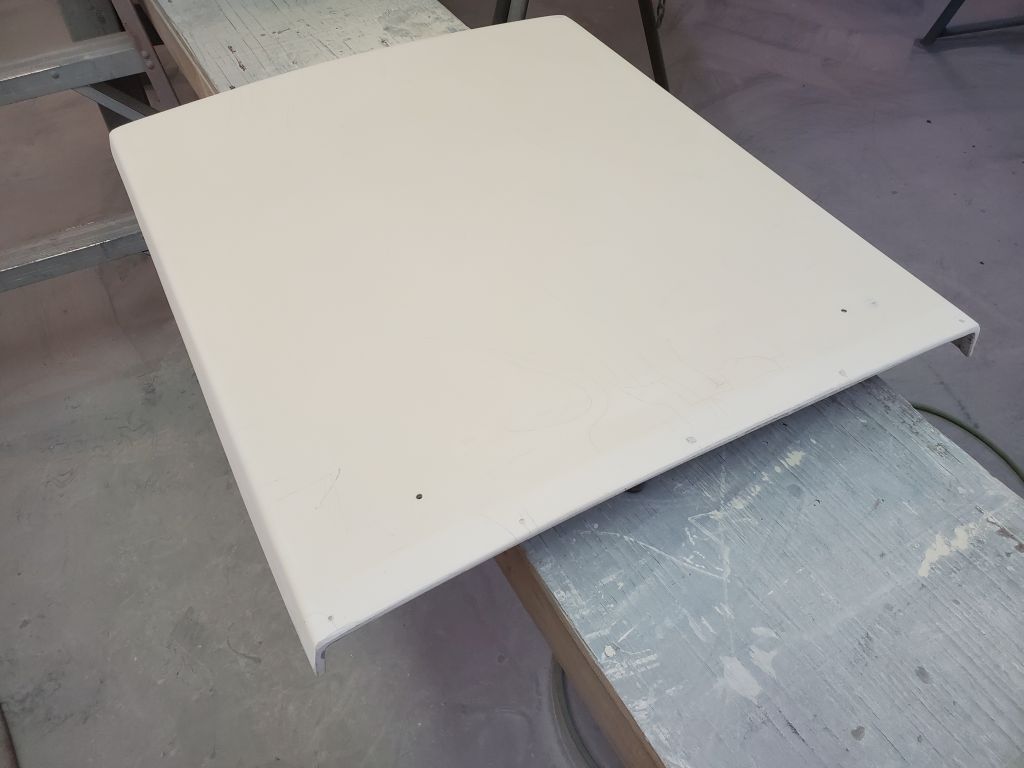
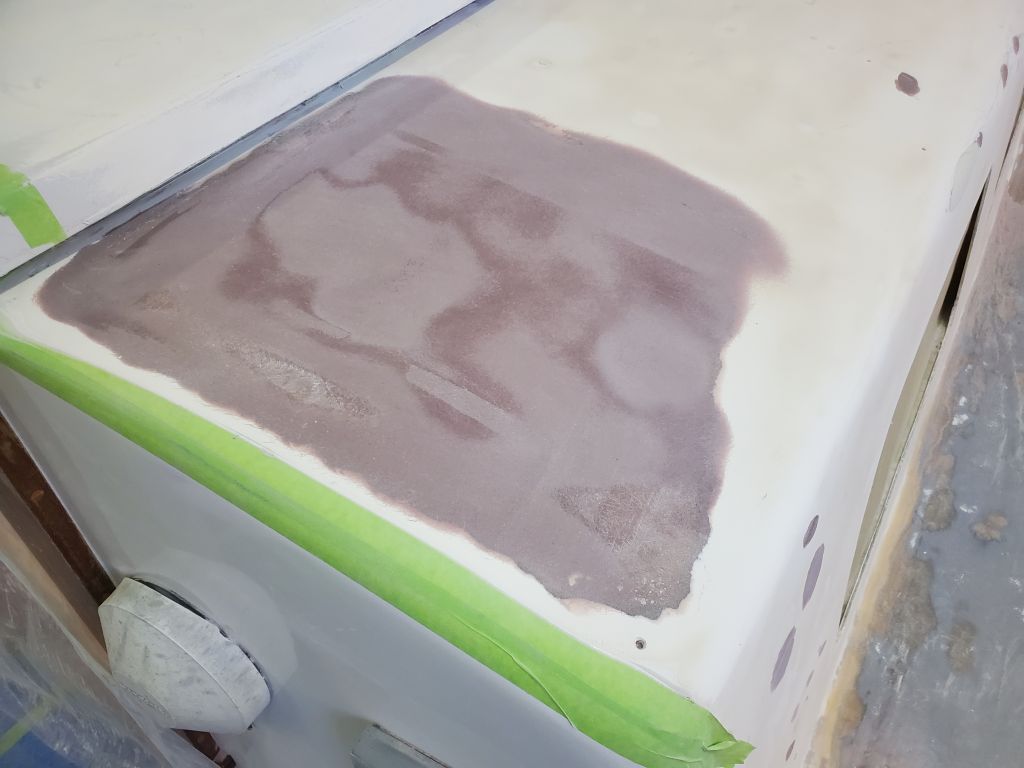
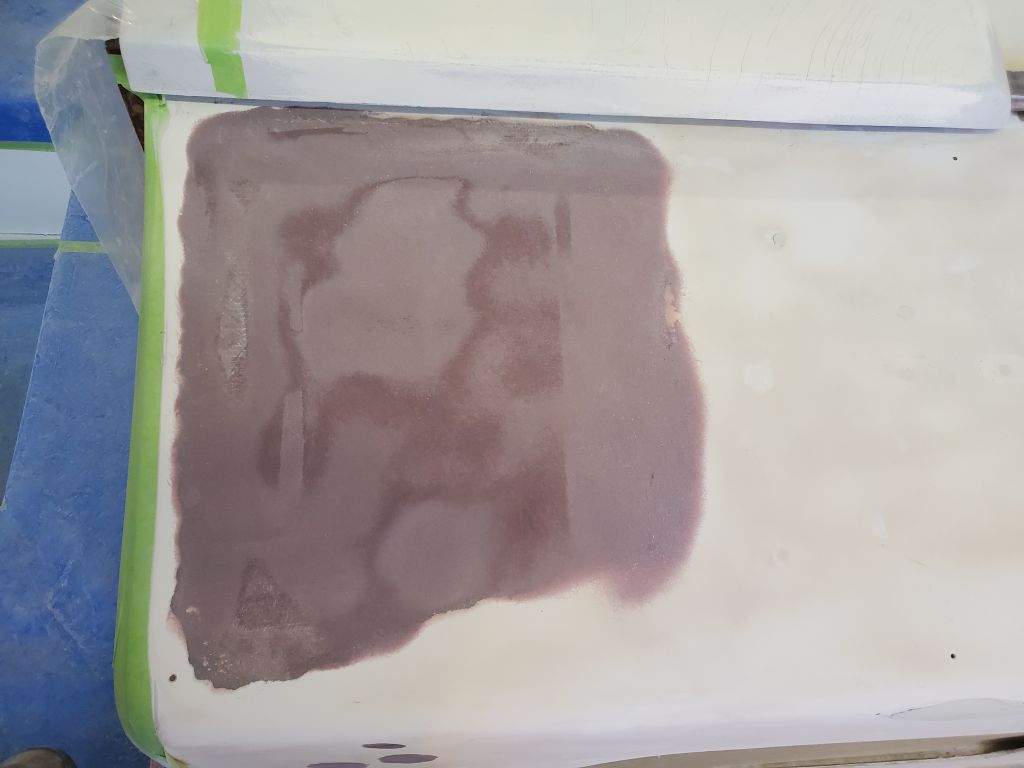
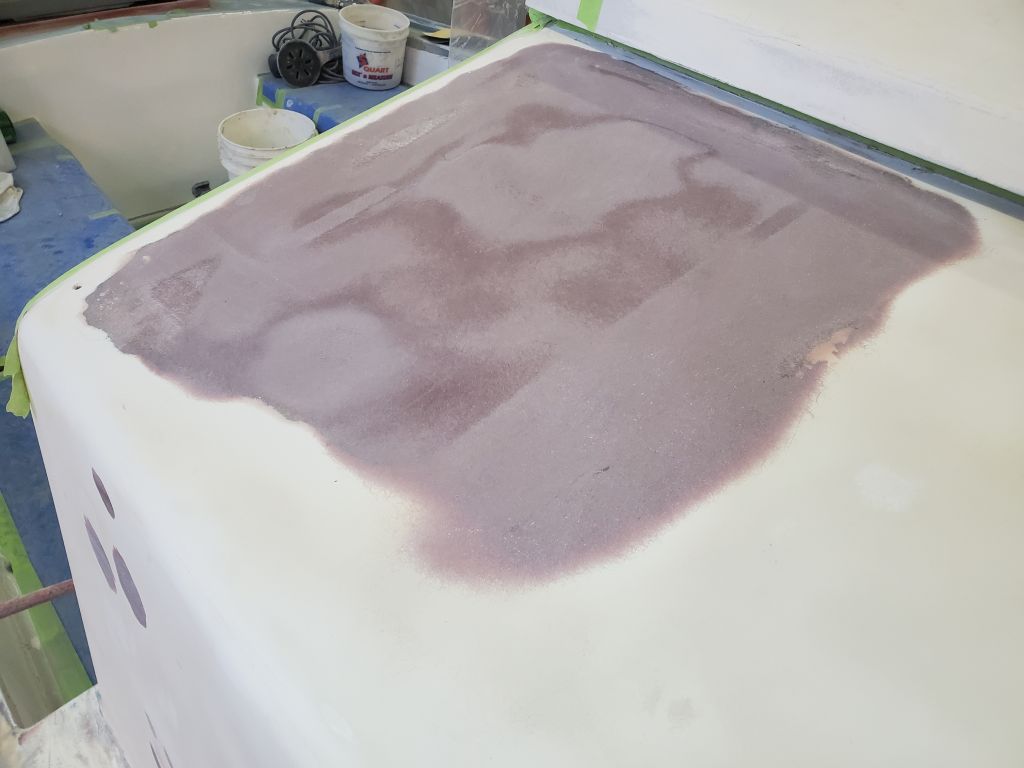
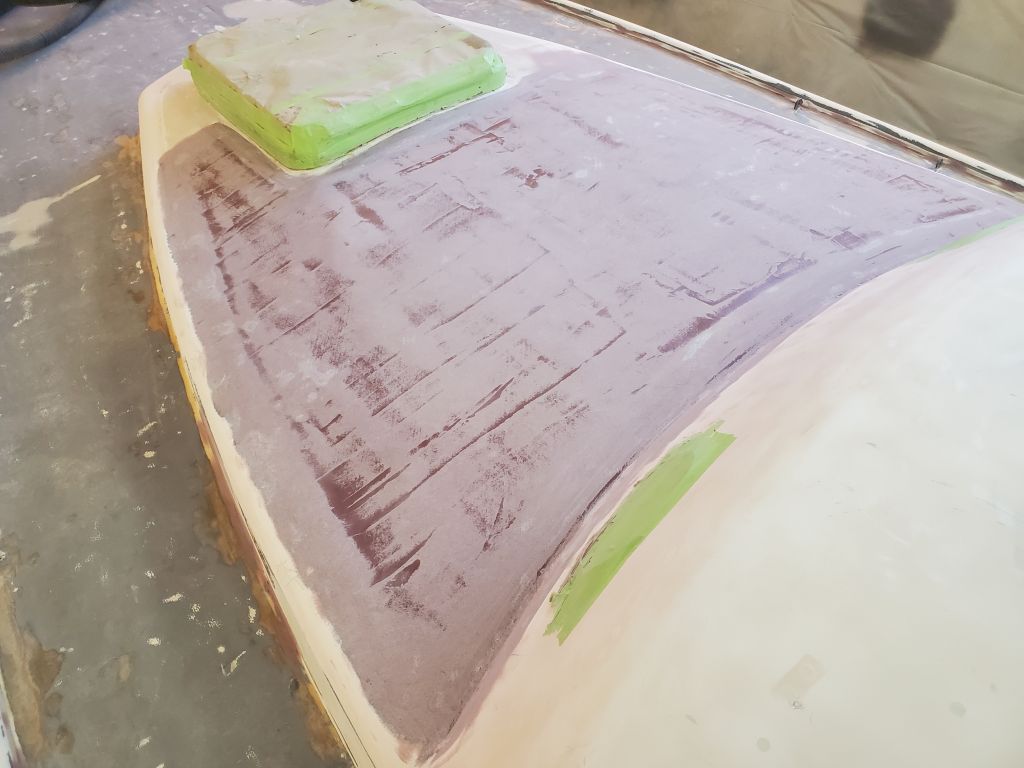
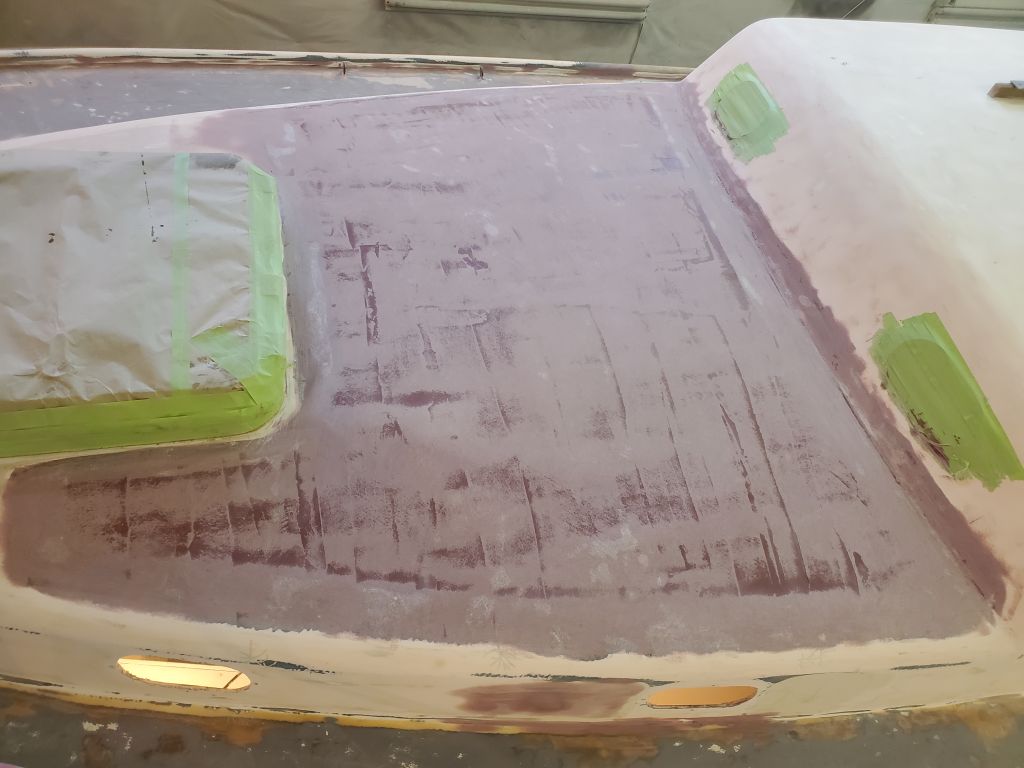
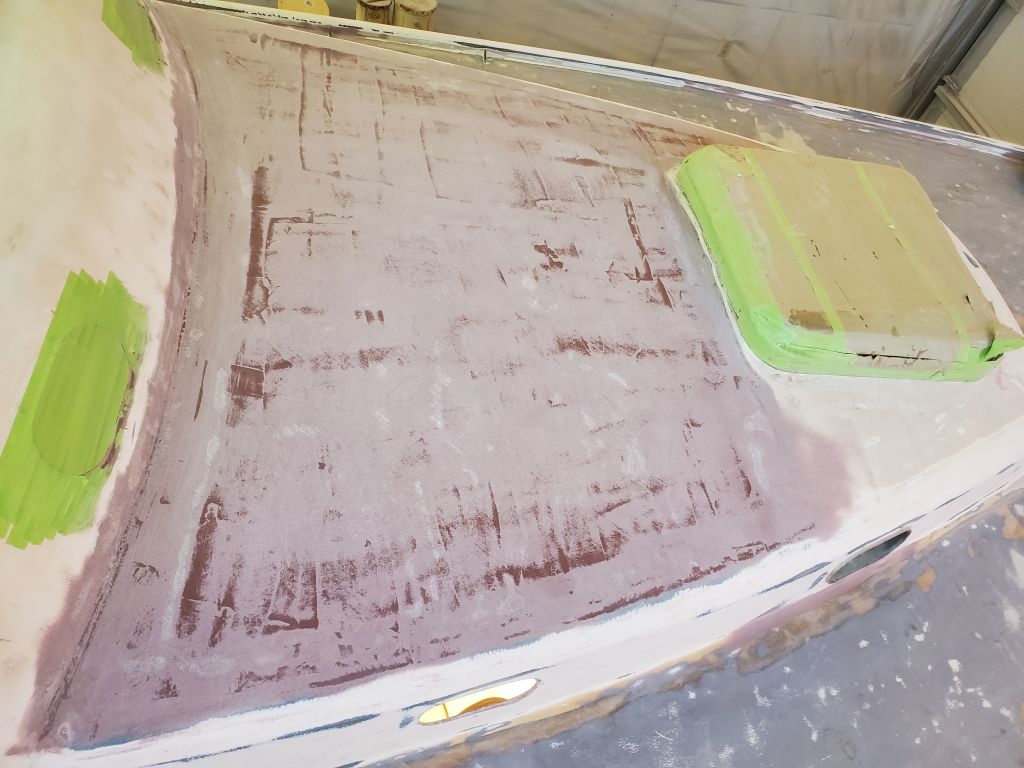
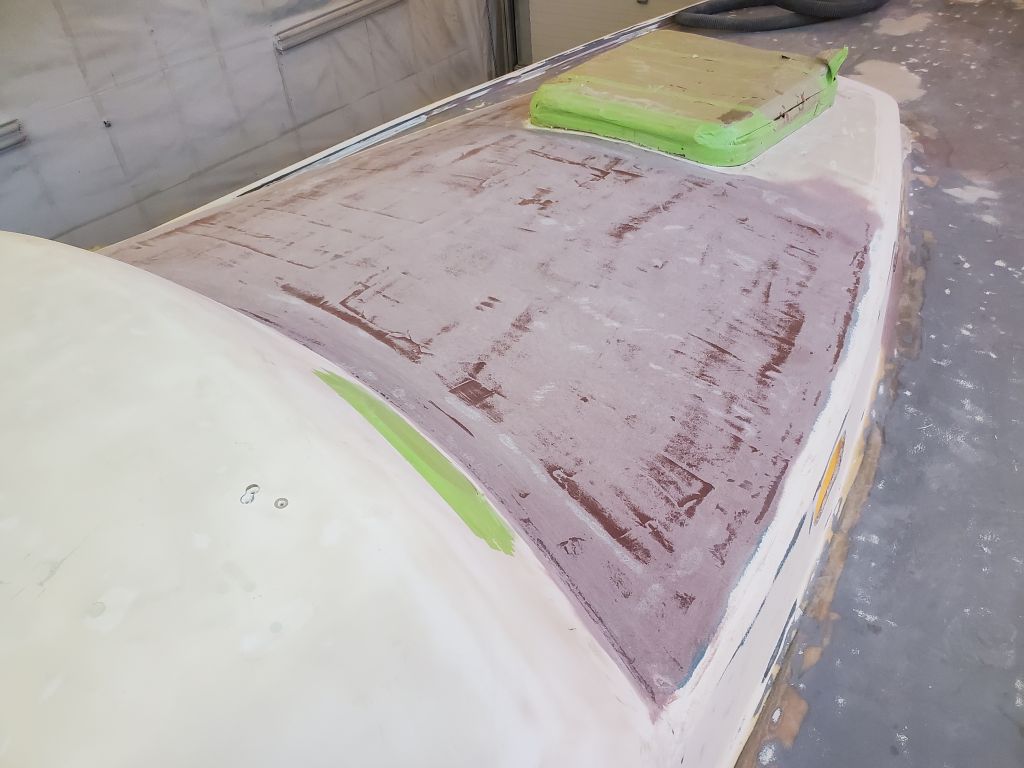
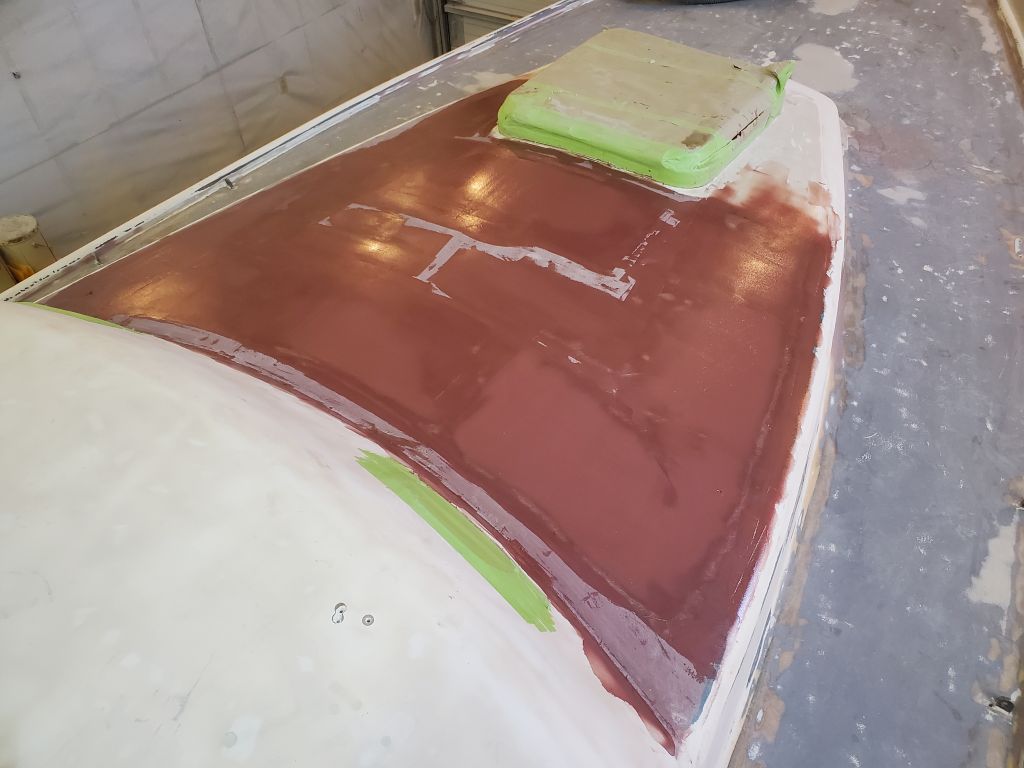
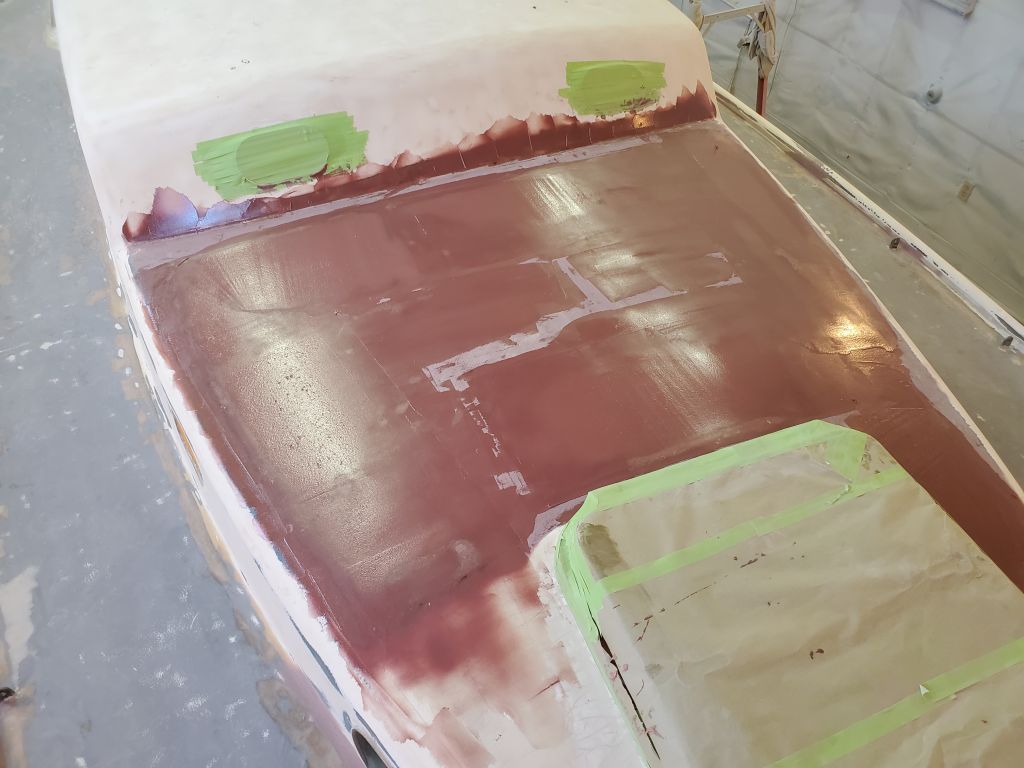
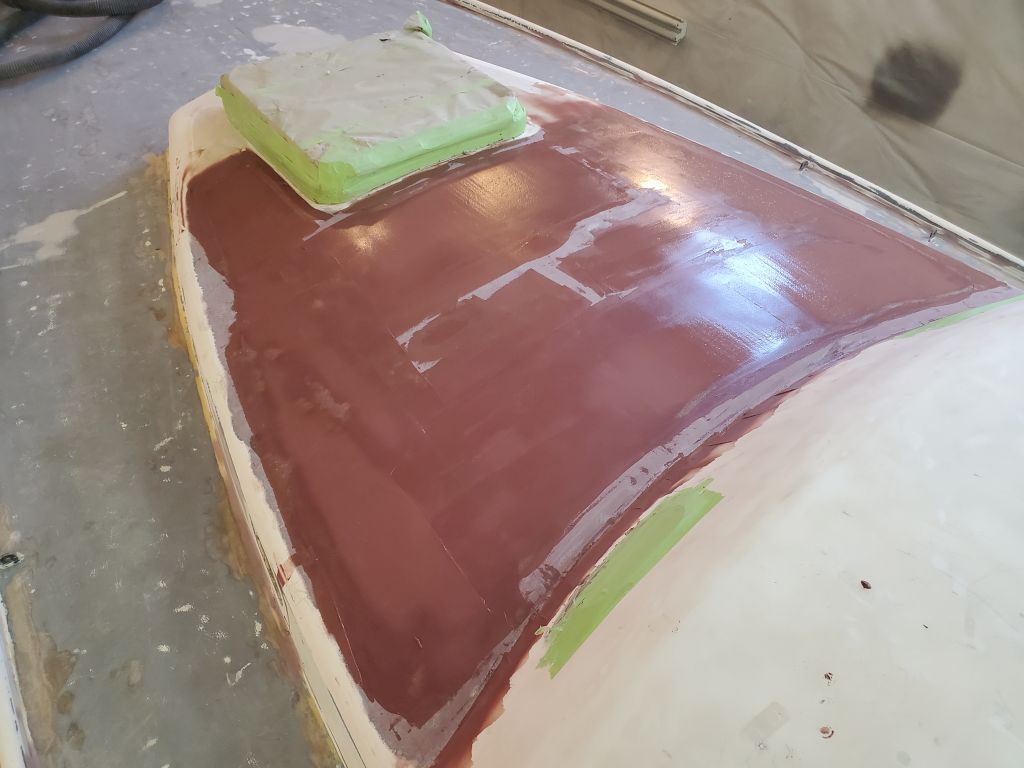
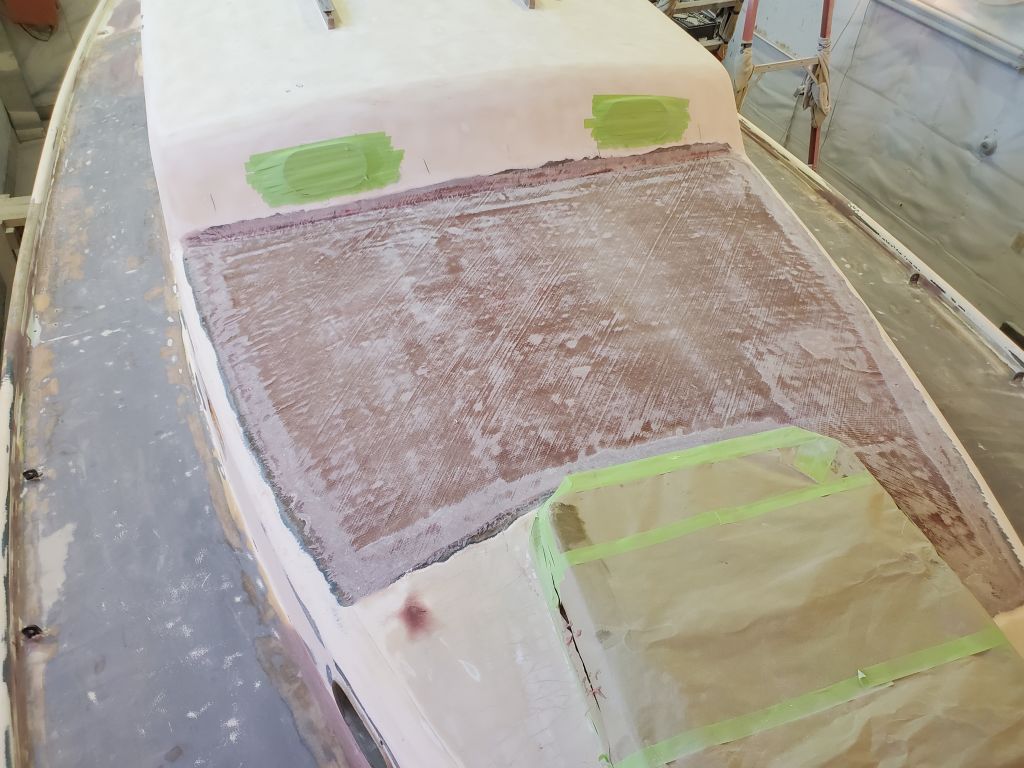
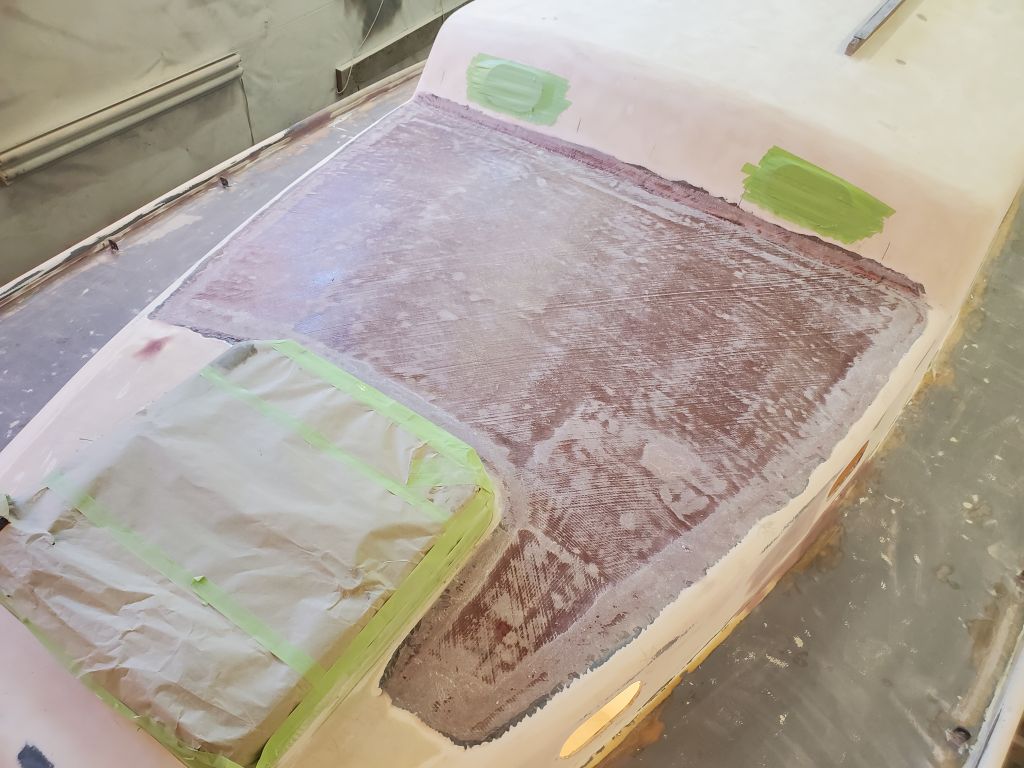
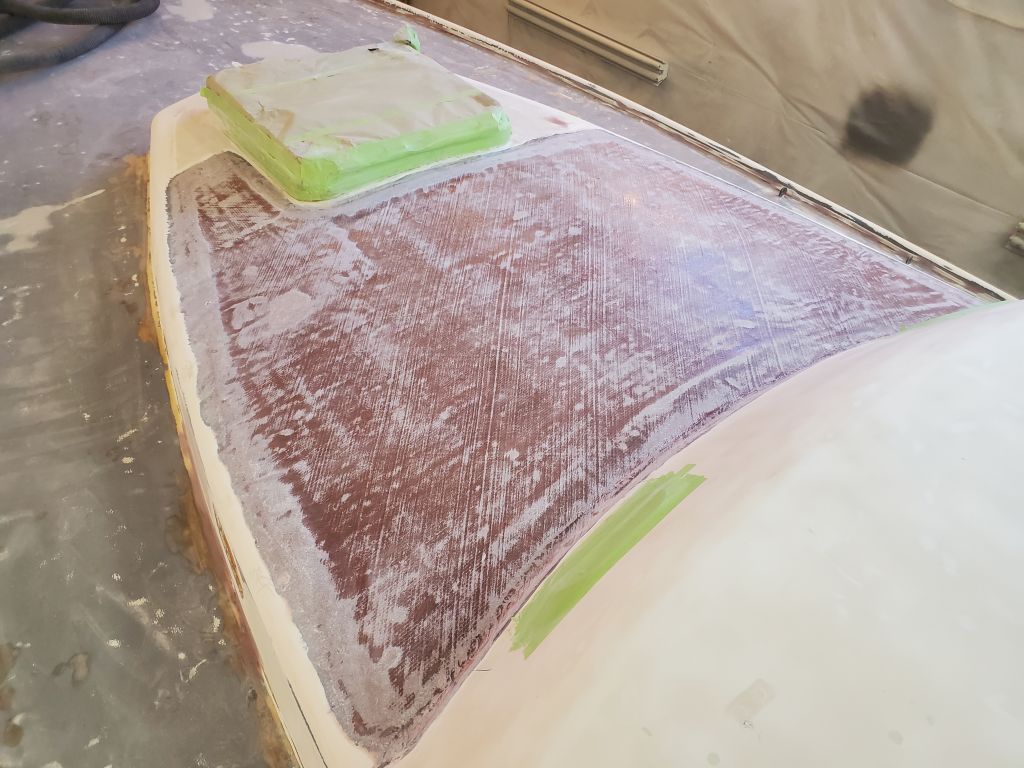
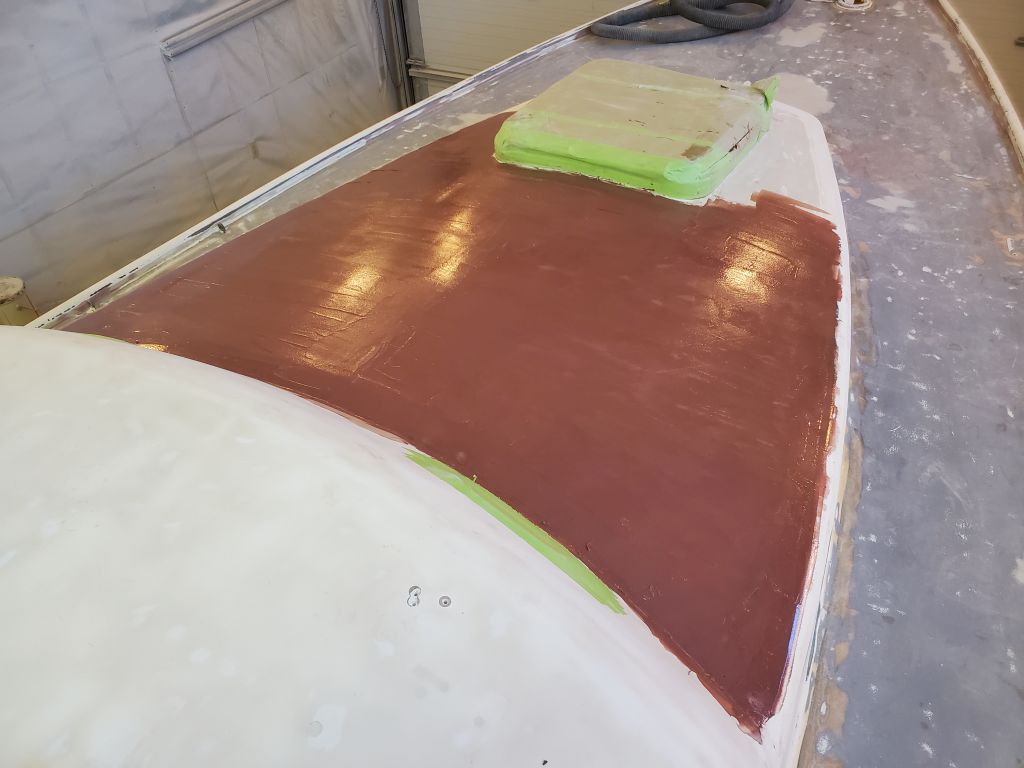
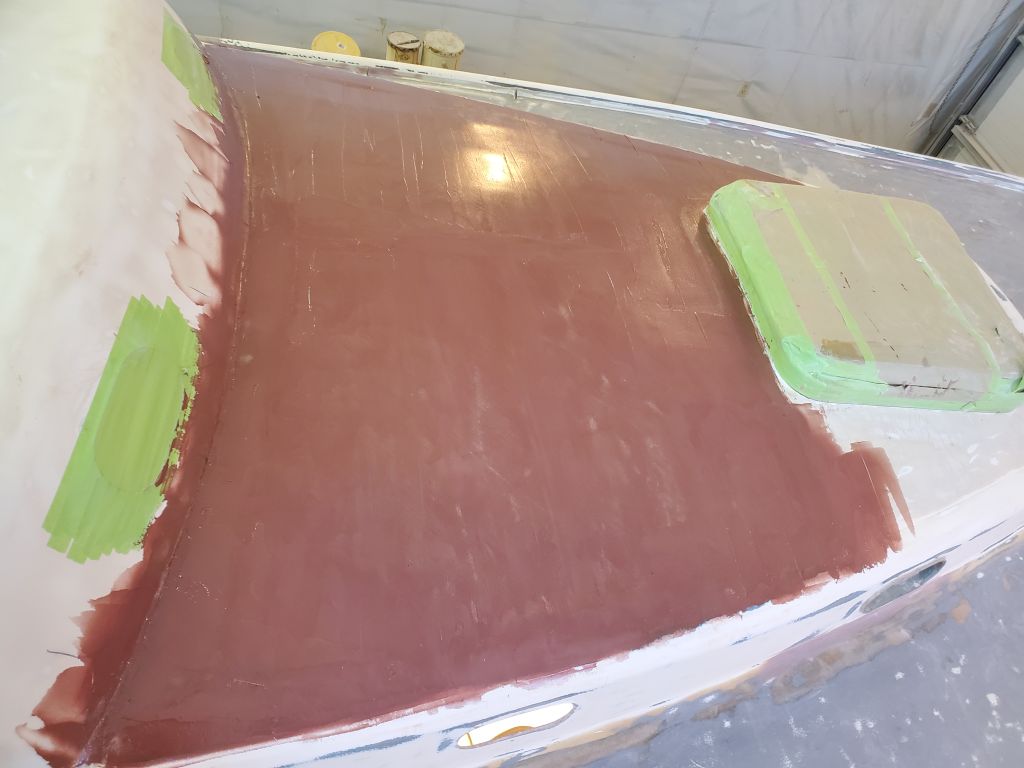
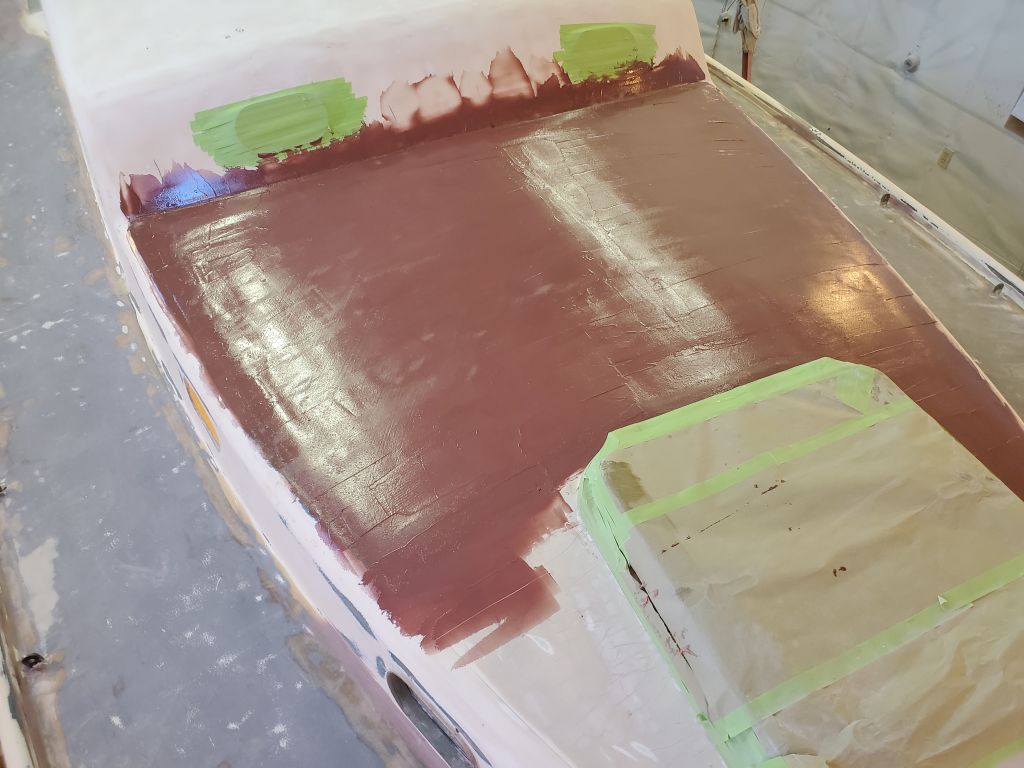
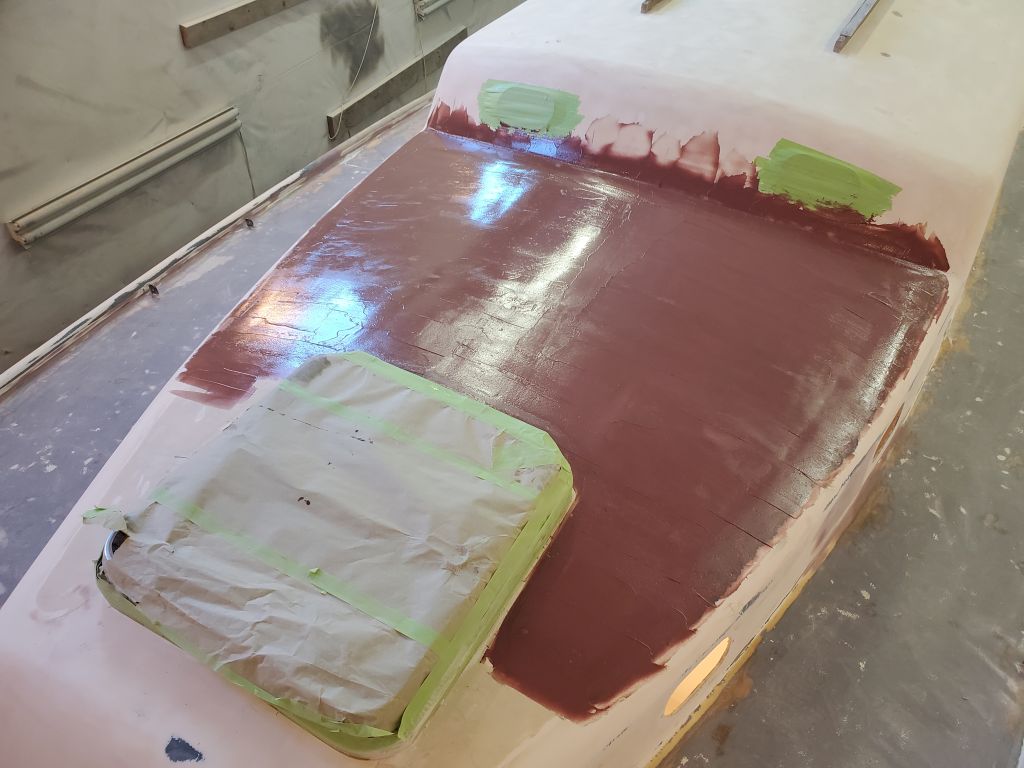
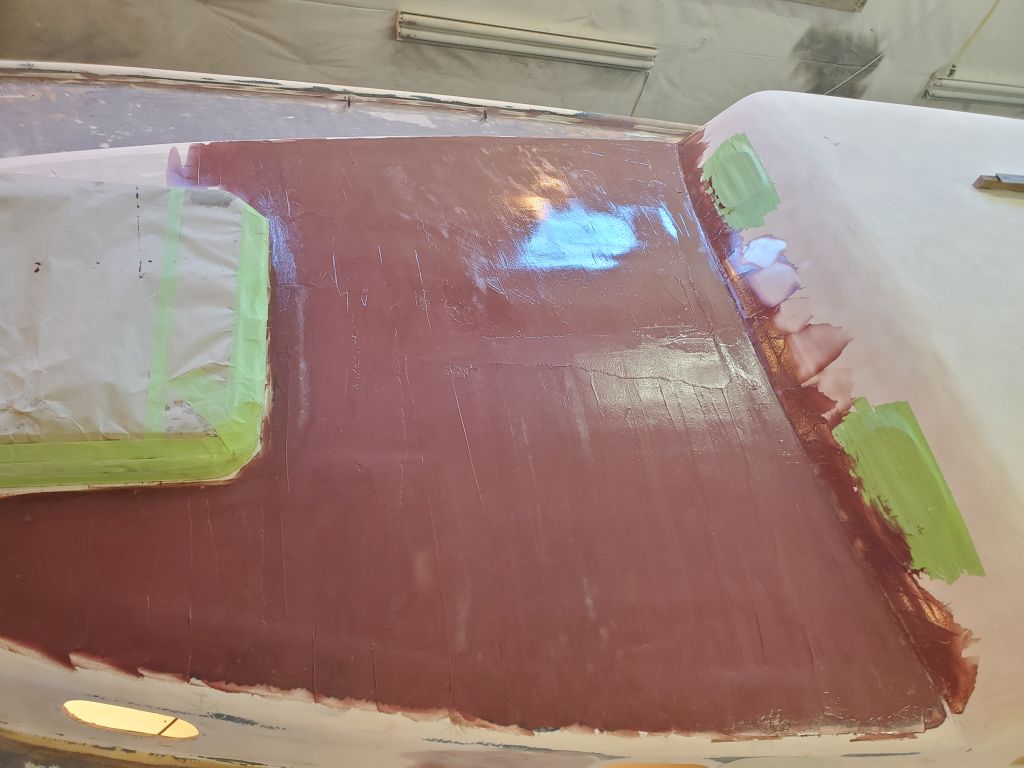
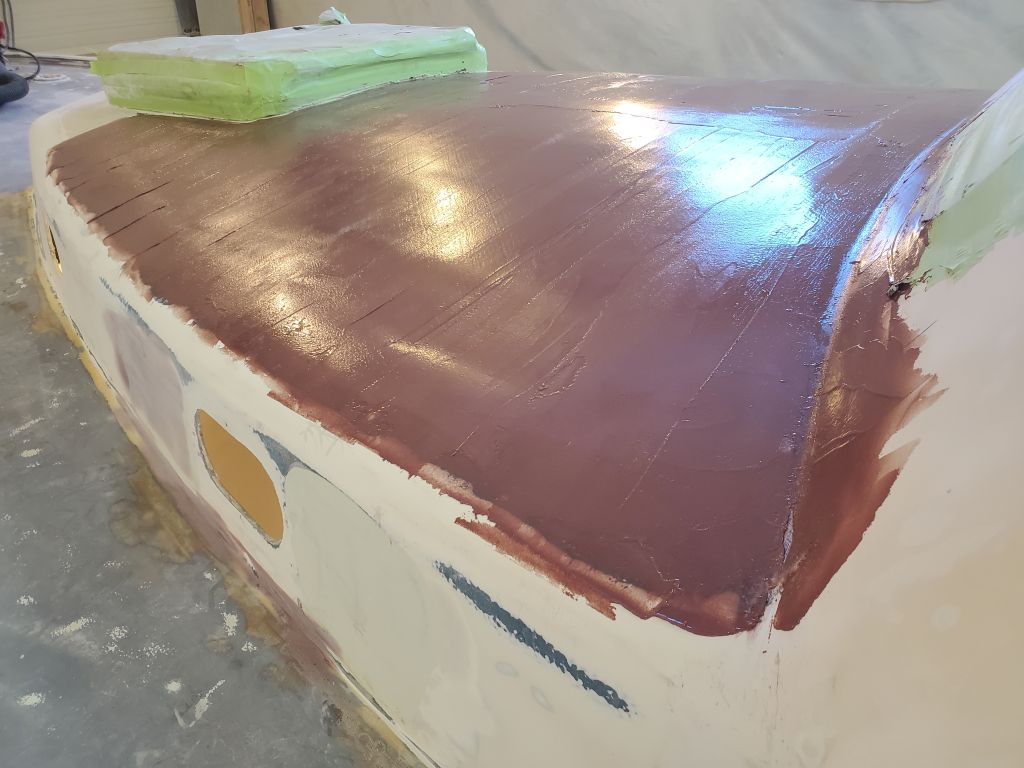
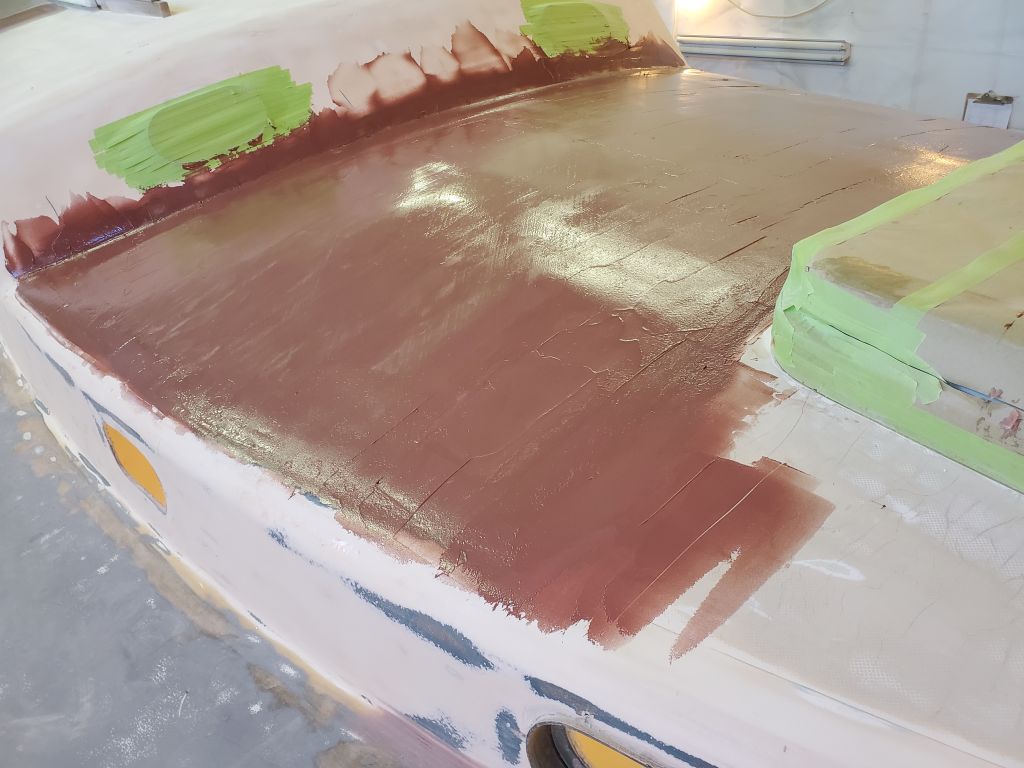
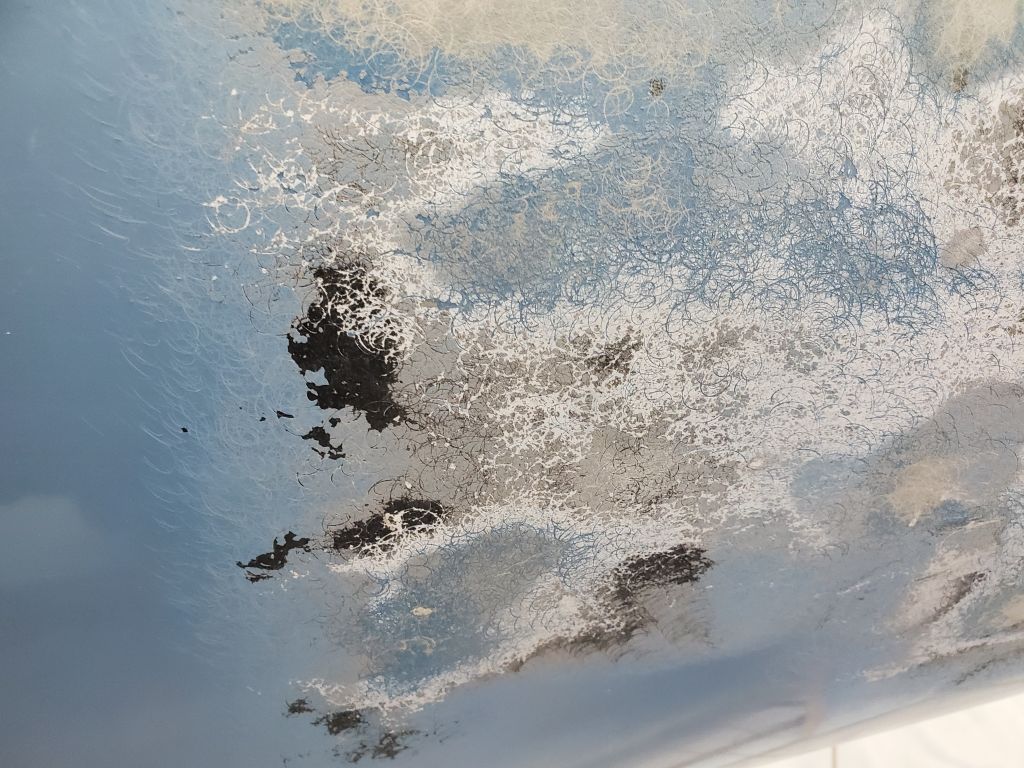
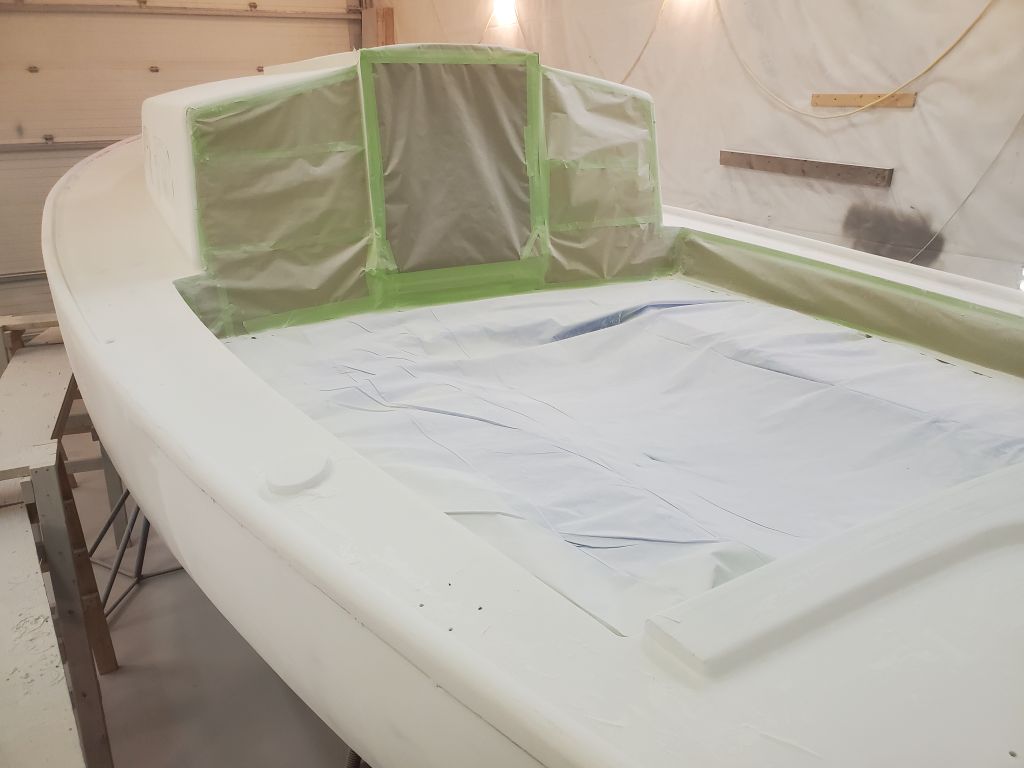
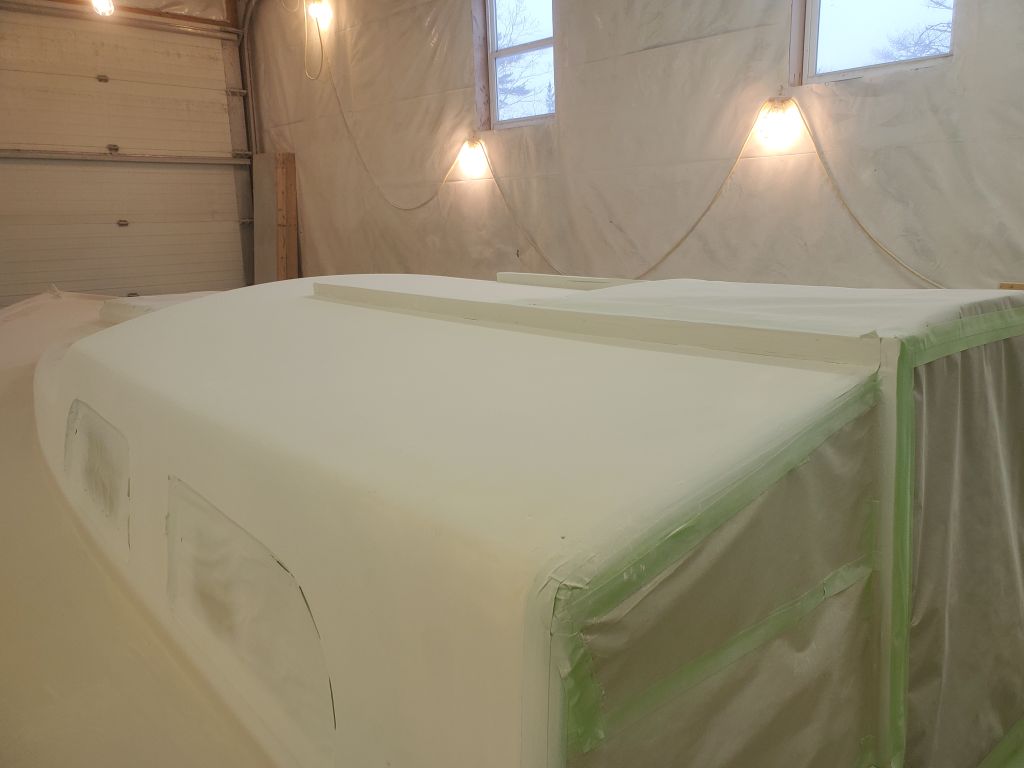
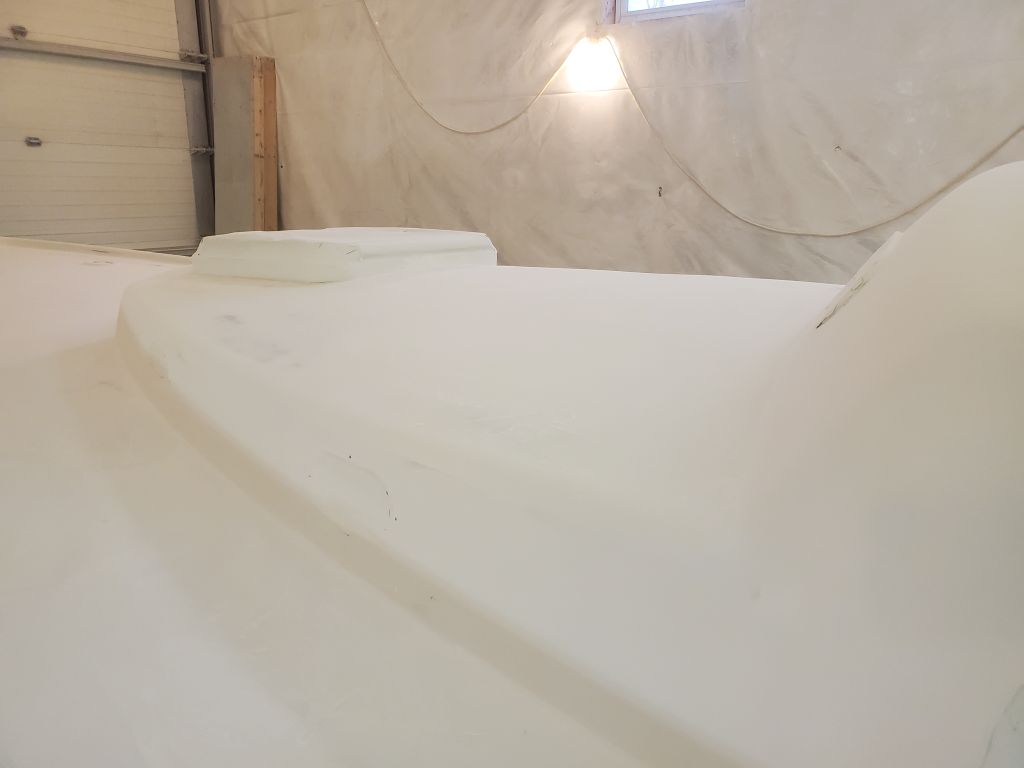
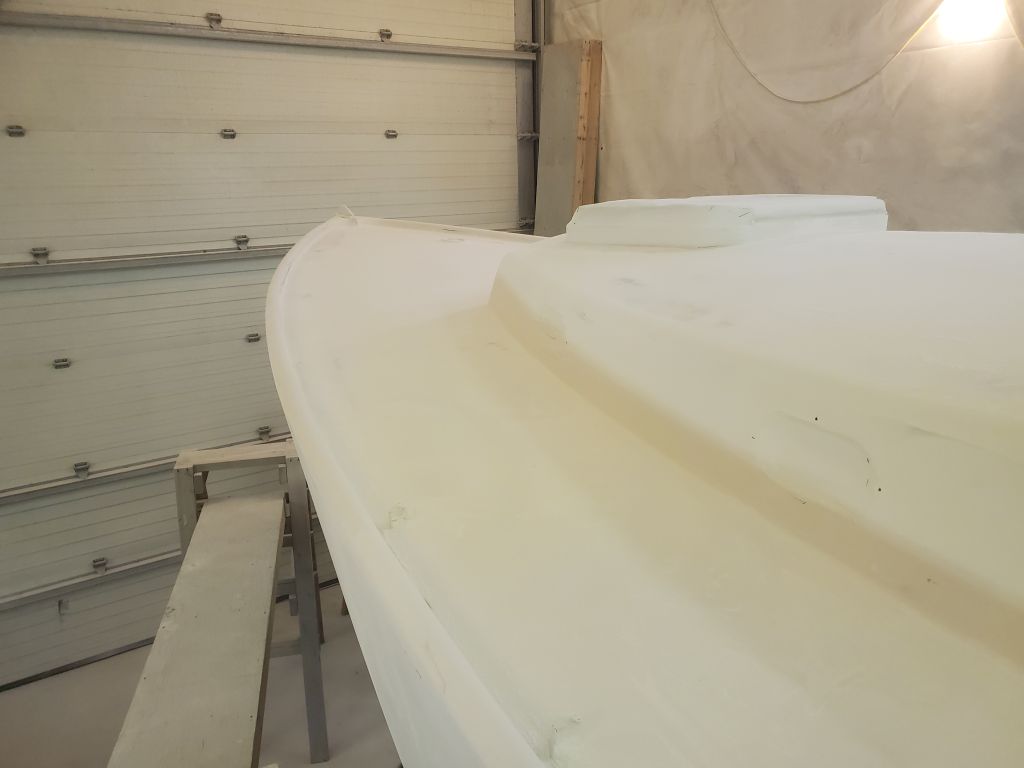
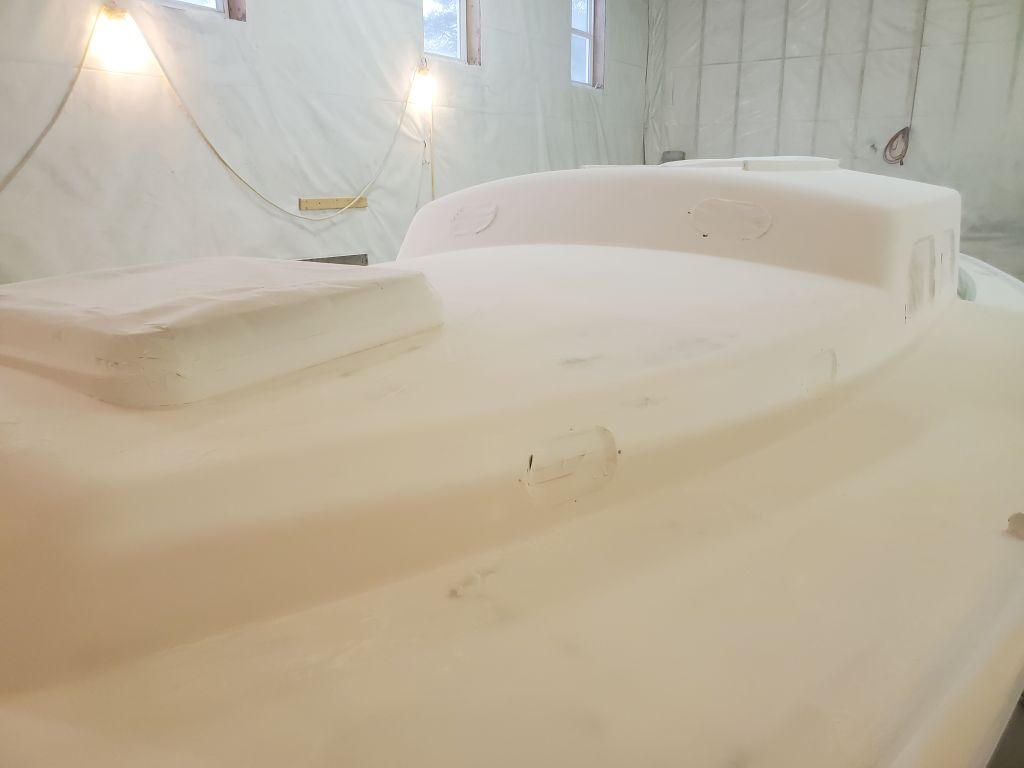
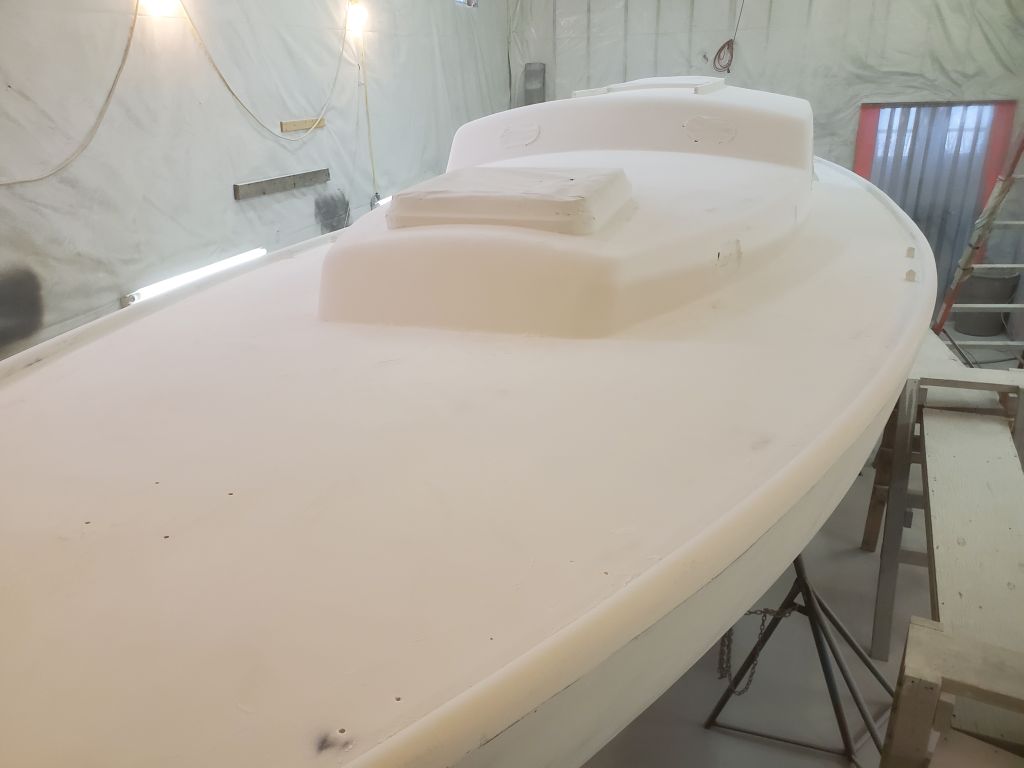
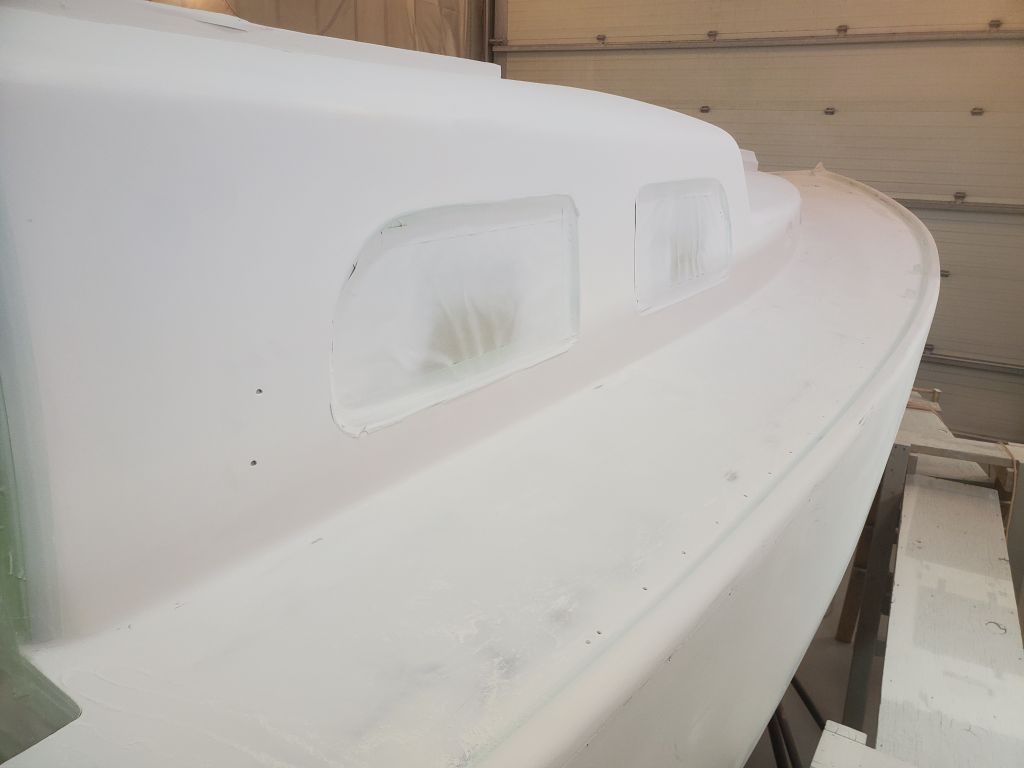
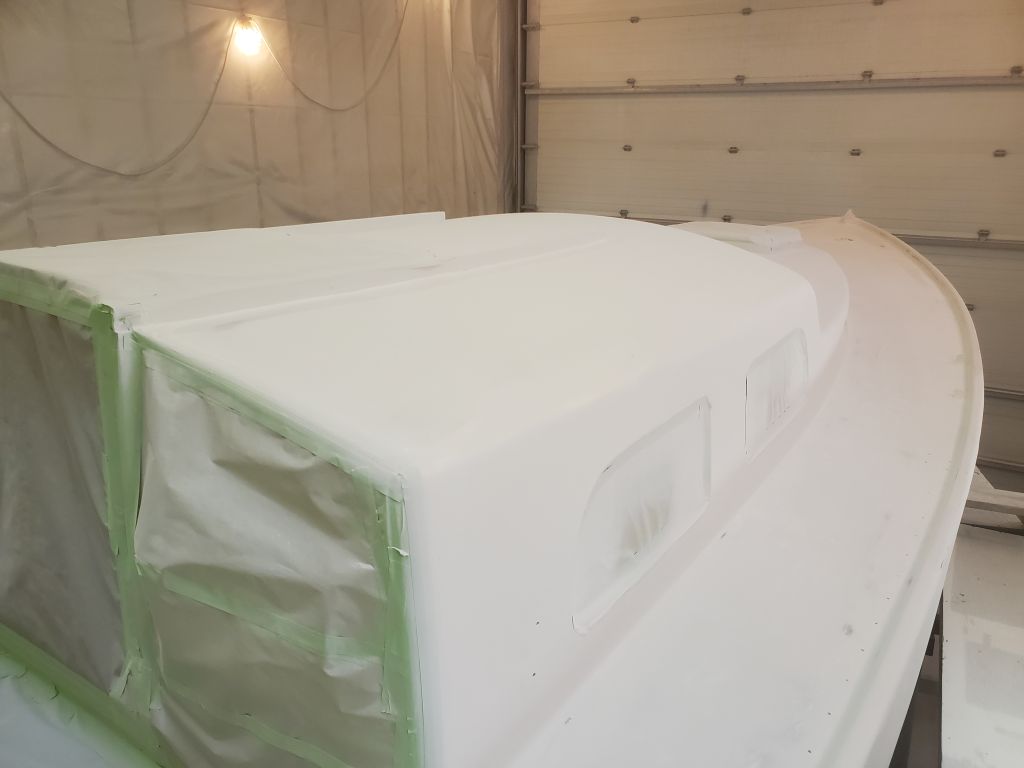
I began the day’s sanding odyssey on deck, sanding the areas I couldn’t reach from the staging, including the upper and lower coachroof and the center part of the foredeck. From there, I continued the deck sanding from the comfort of the staging, working my way around the whole area to sand and smooth the primer by machine and hand.

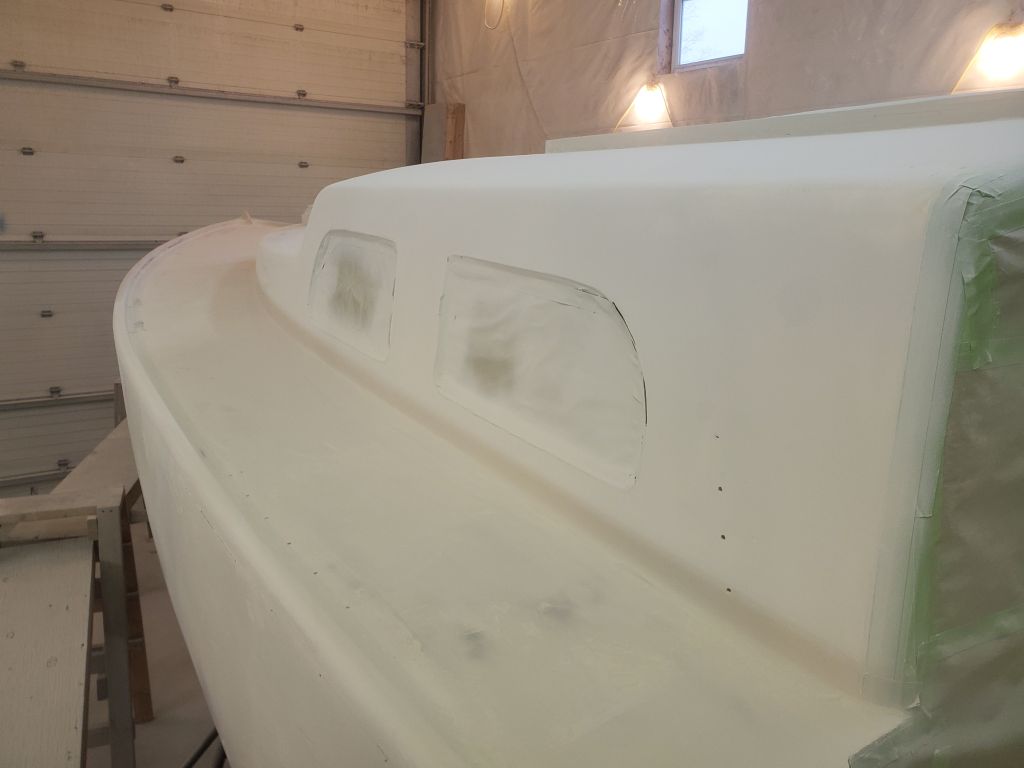

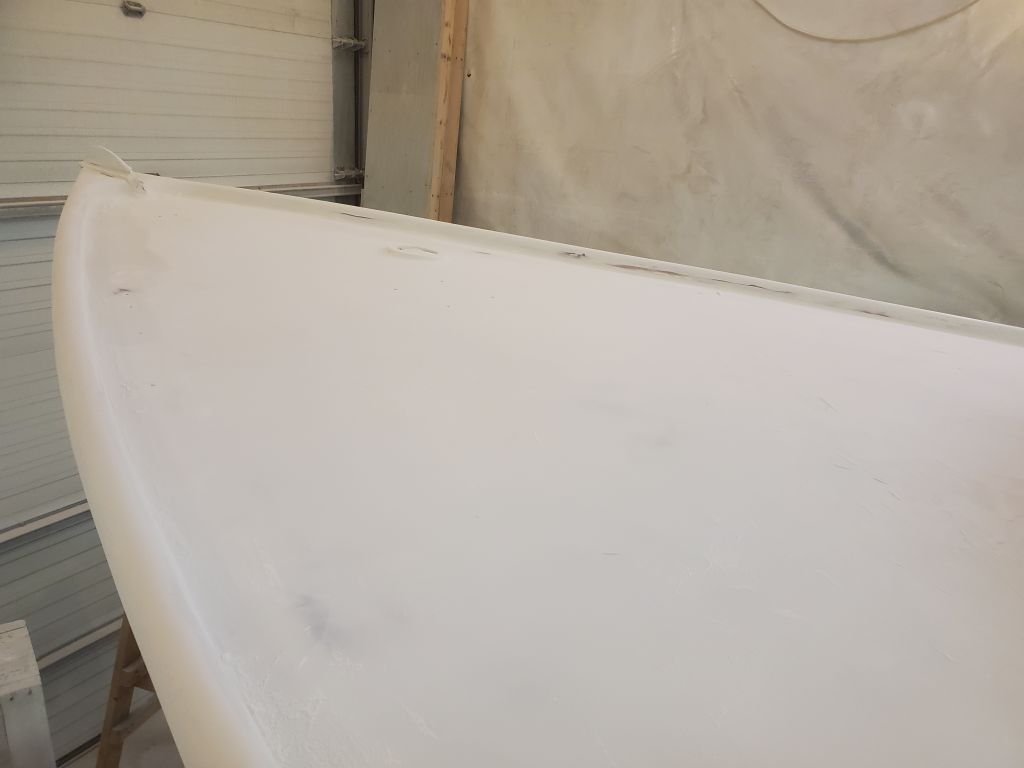


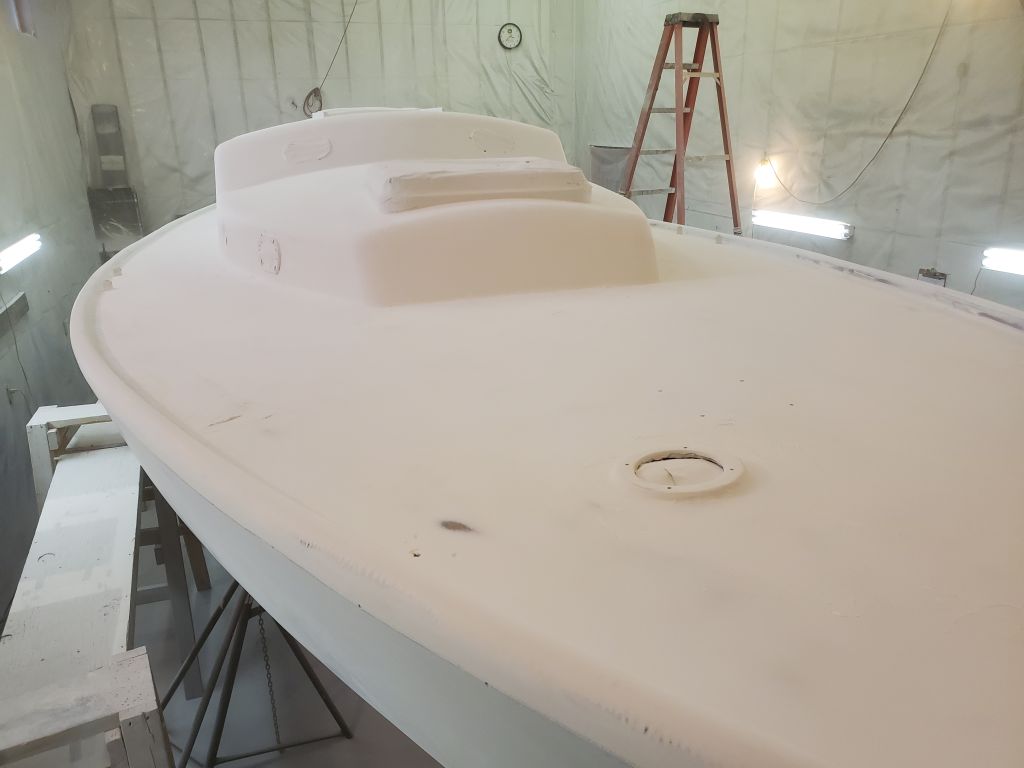
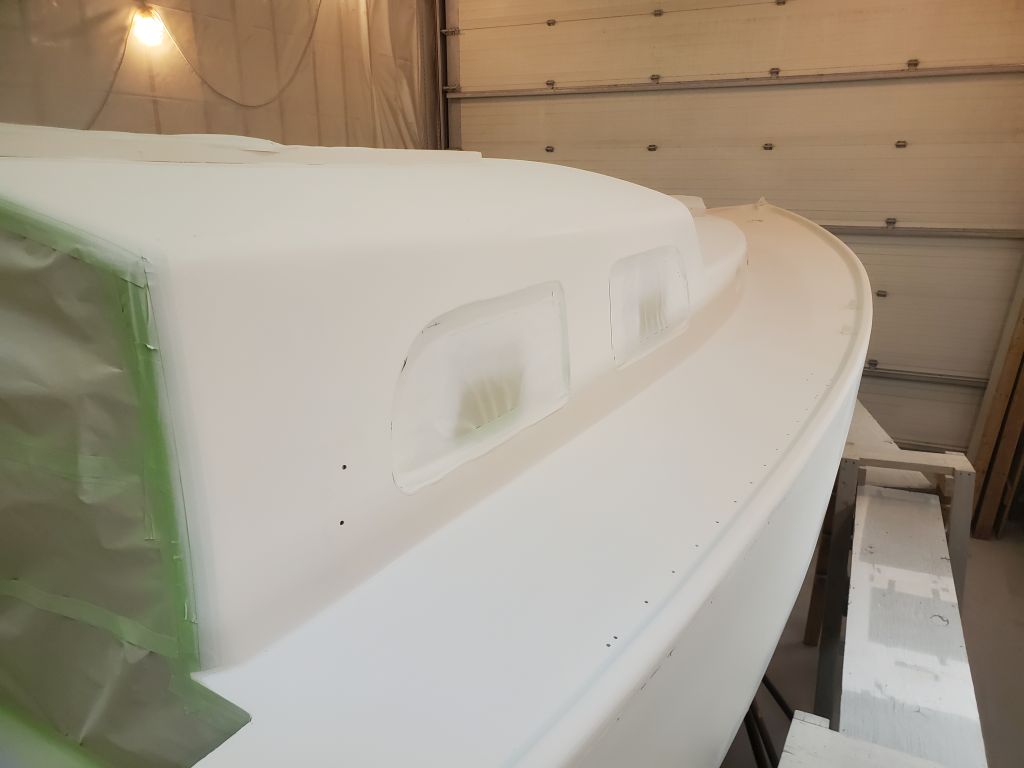
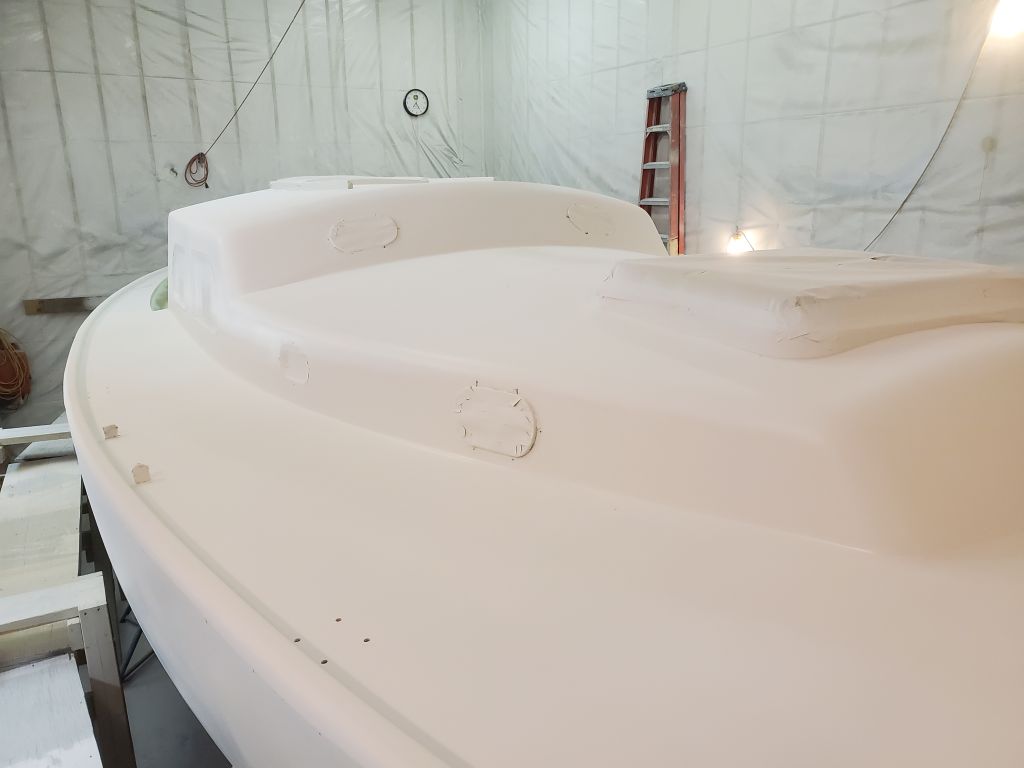
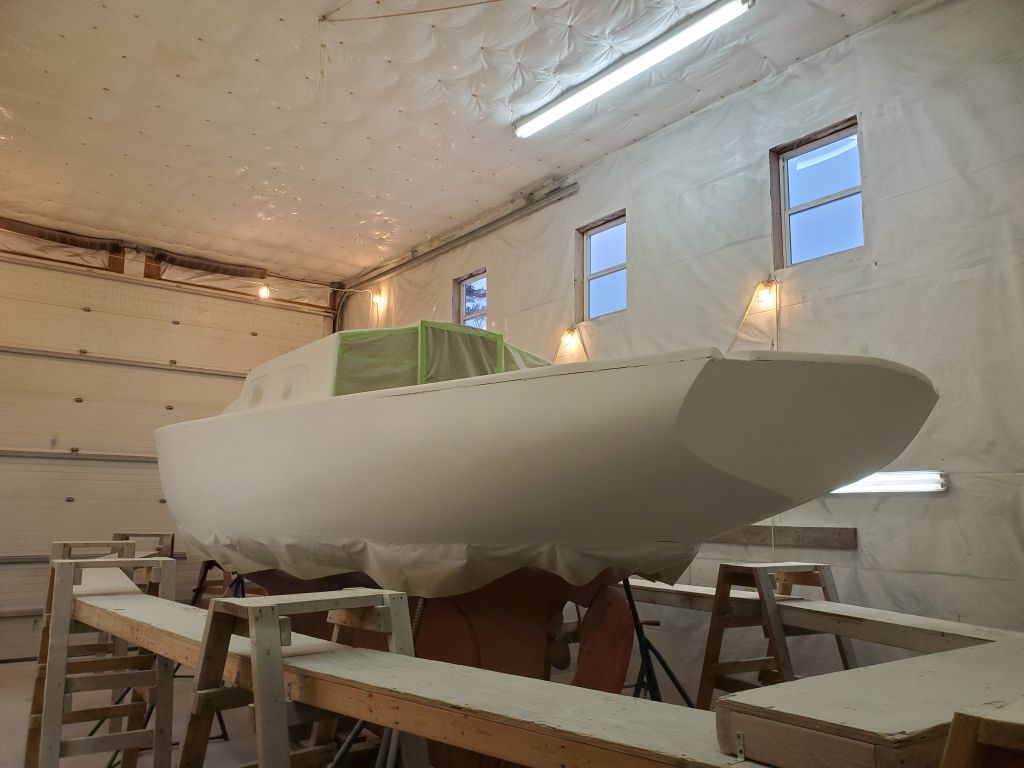
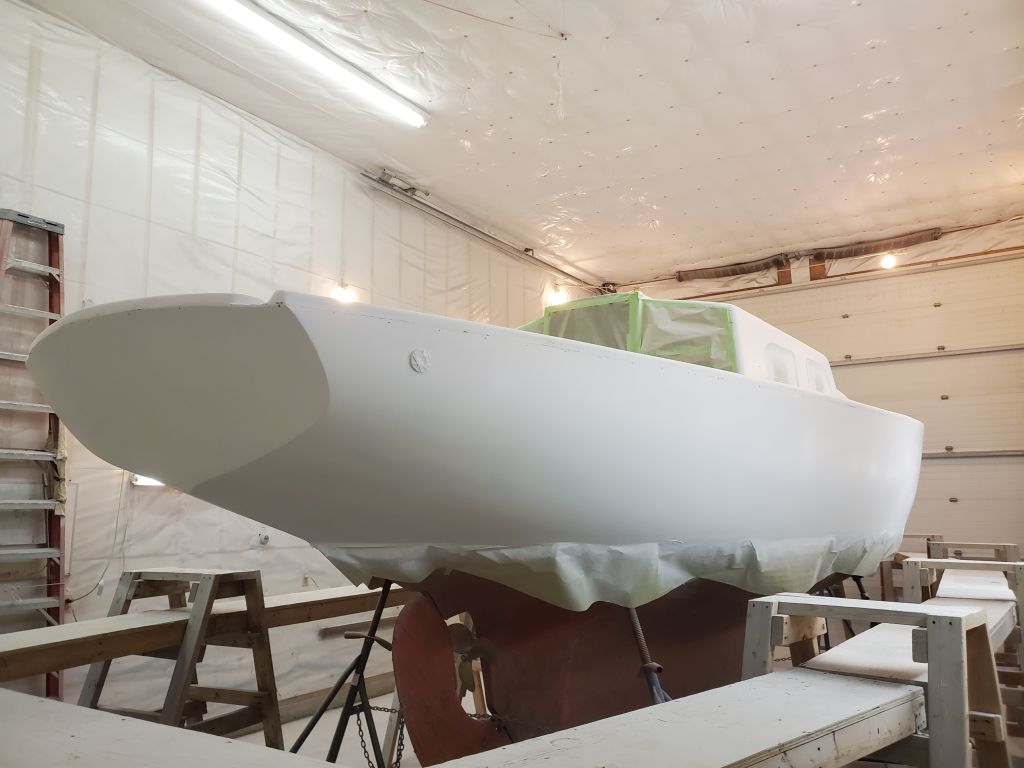
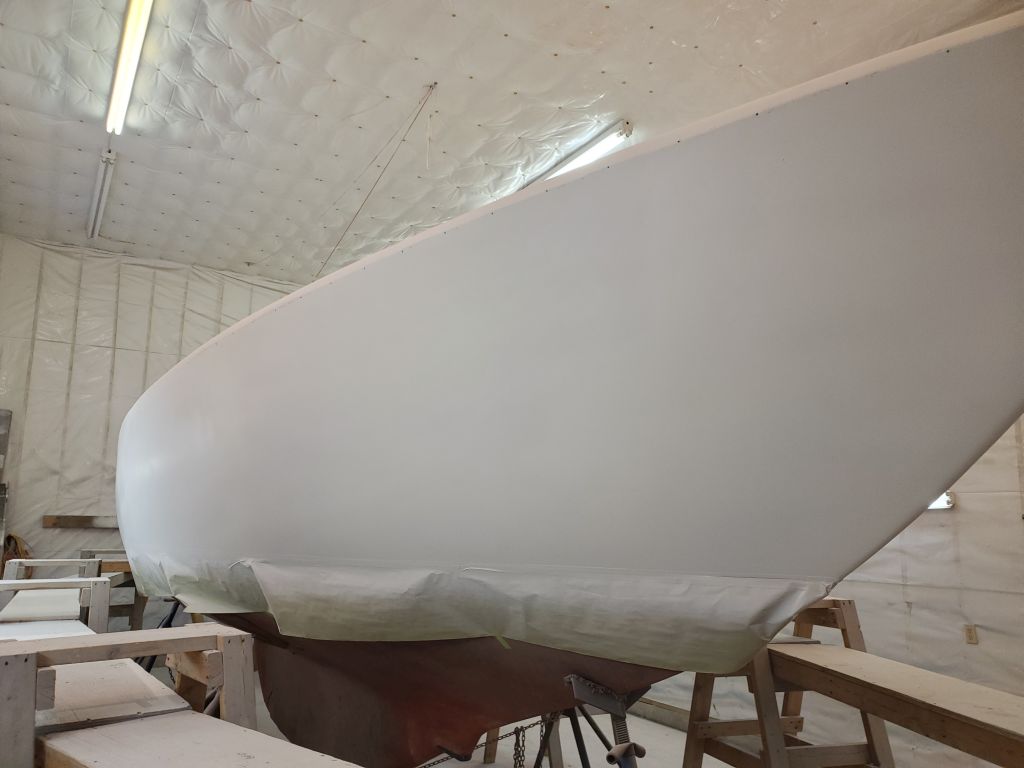
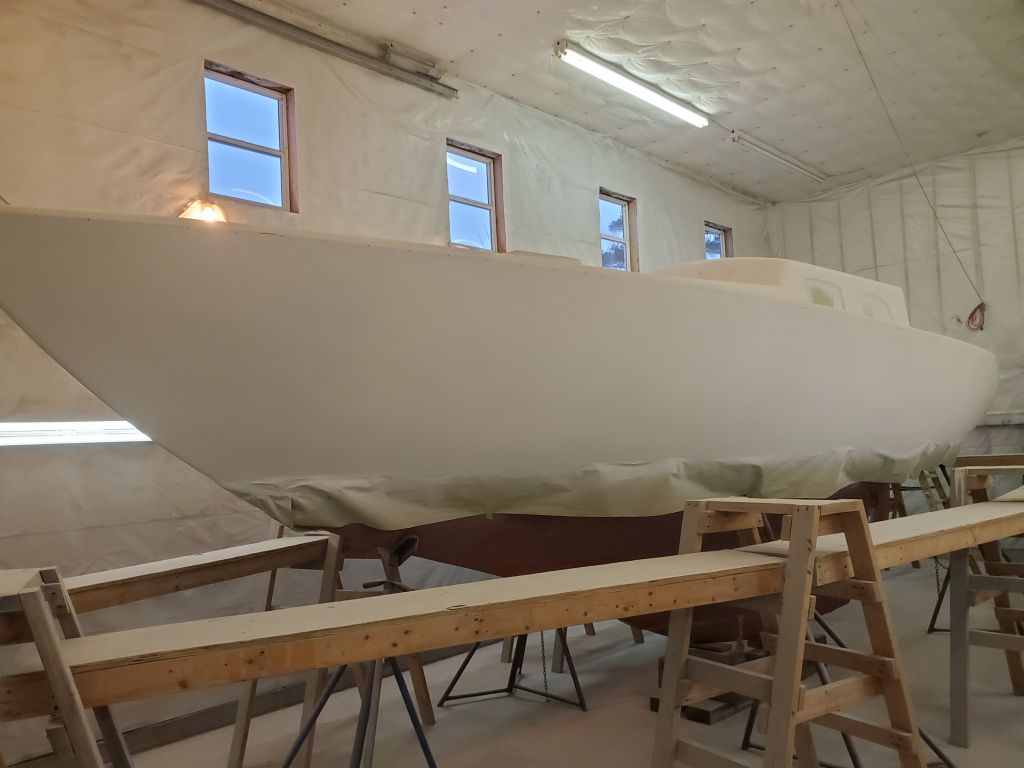
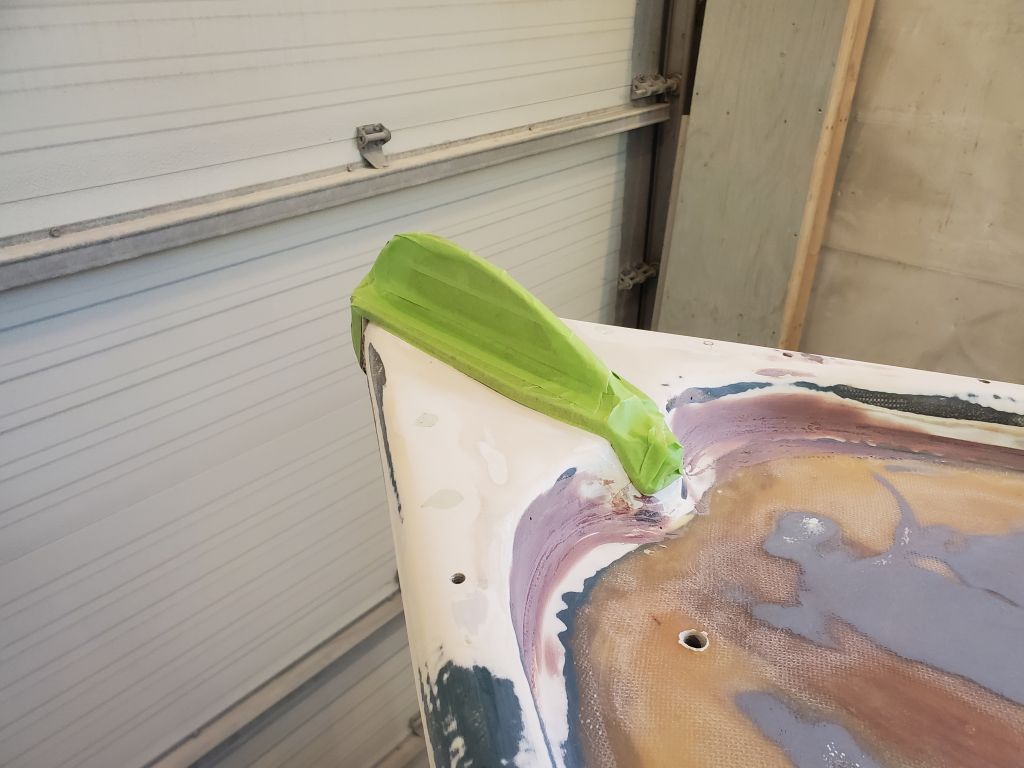
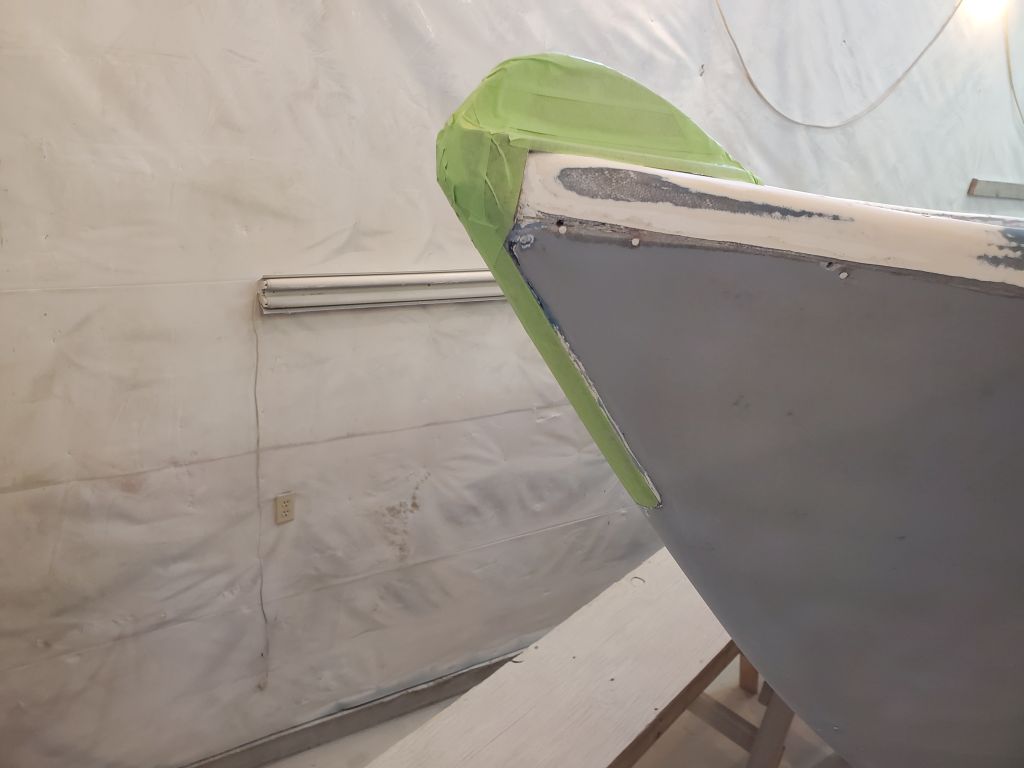
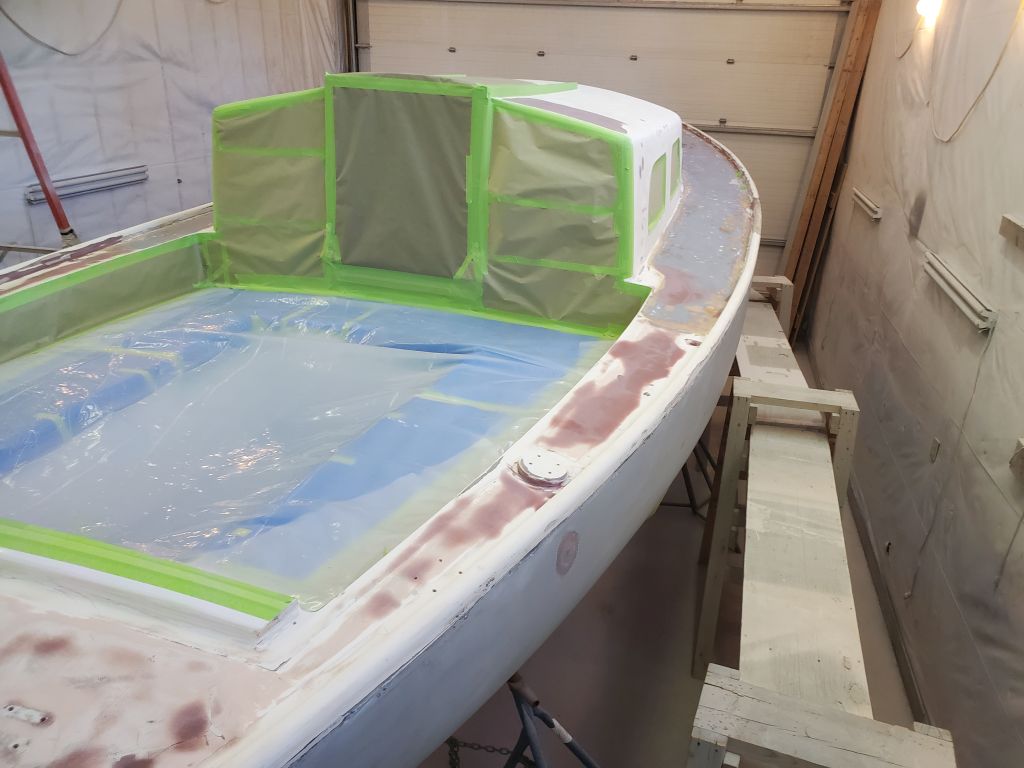
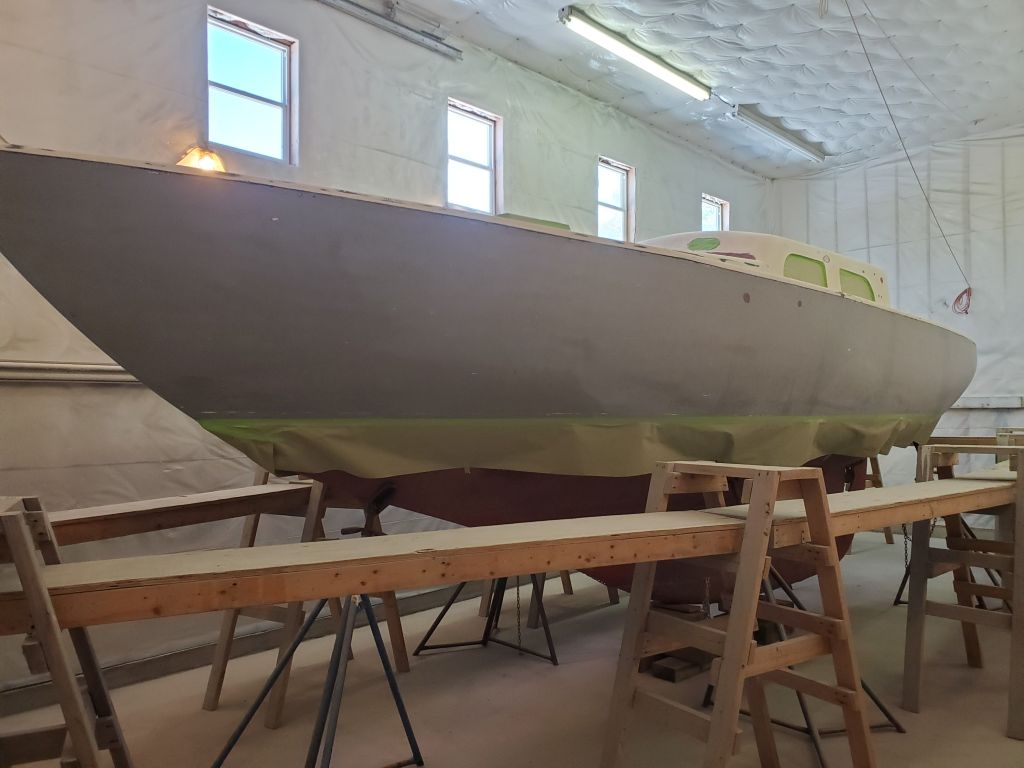
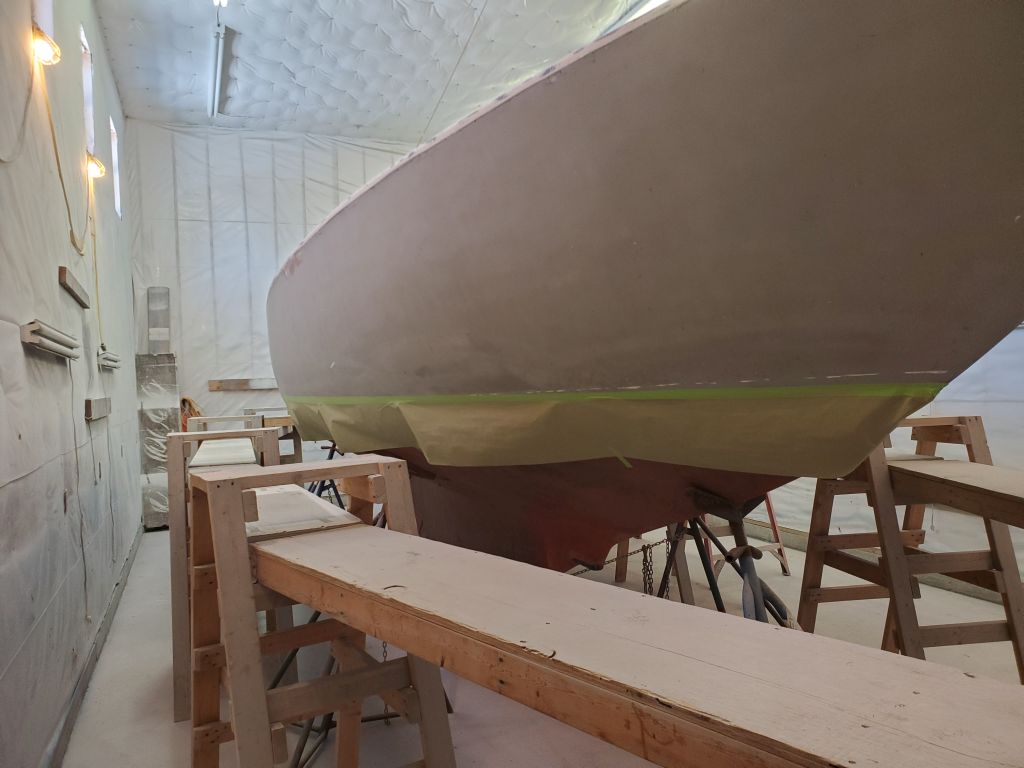
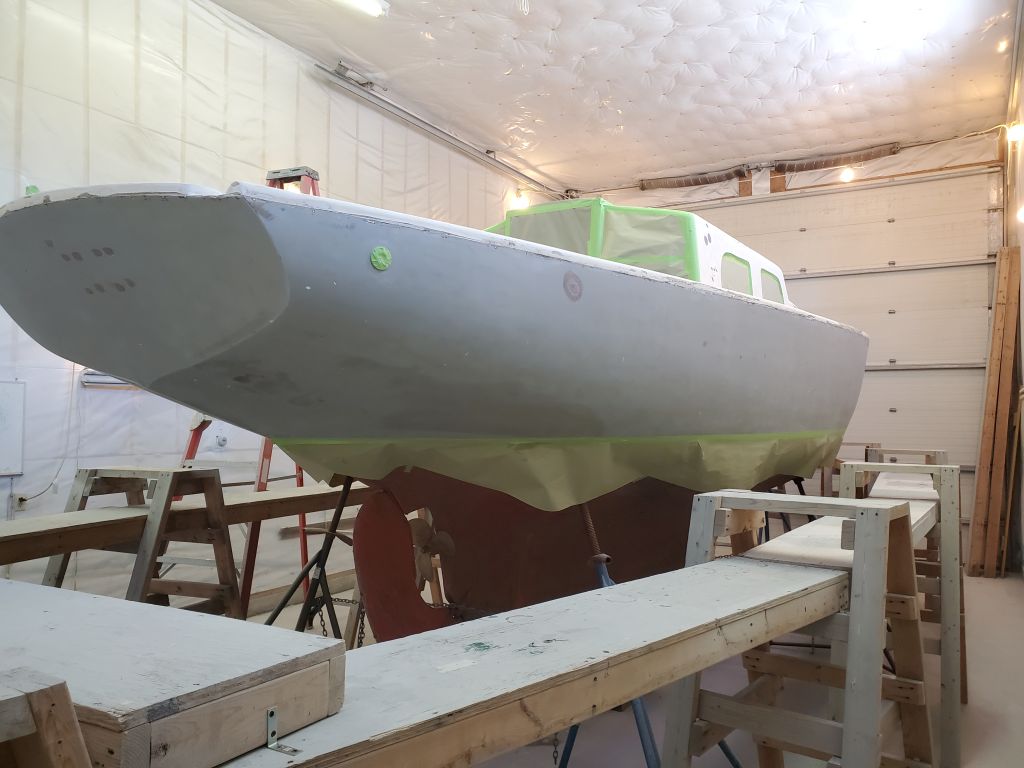
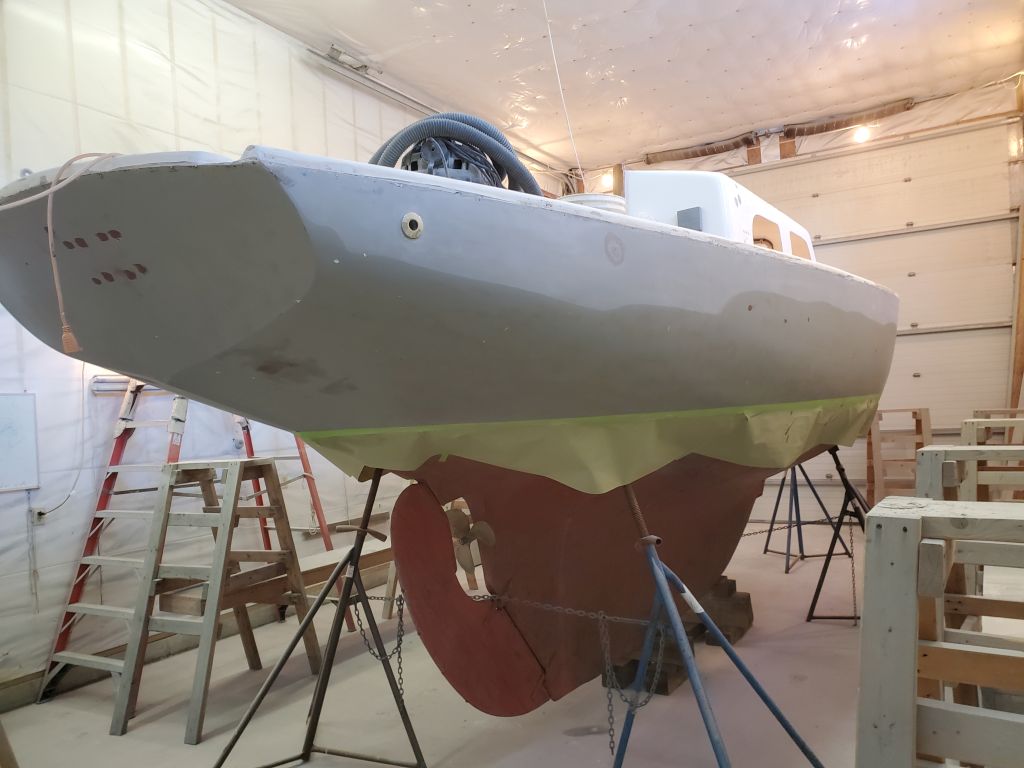
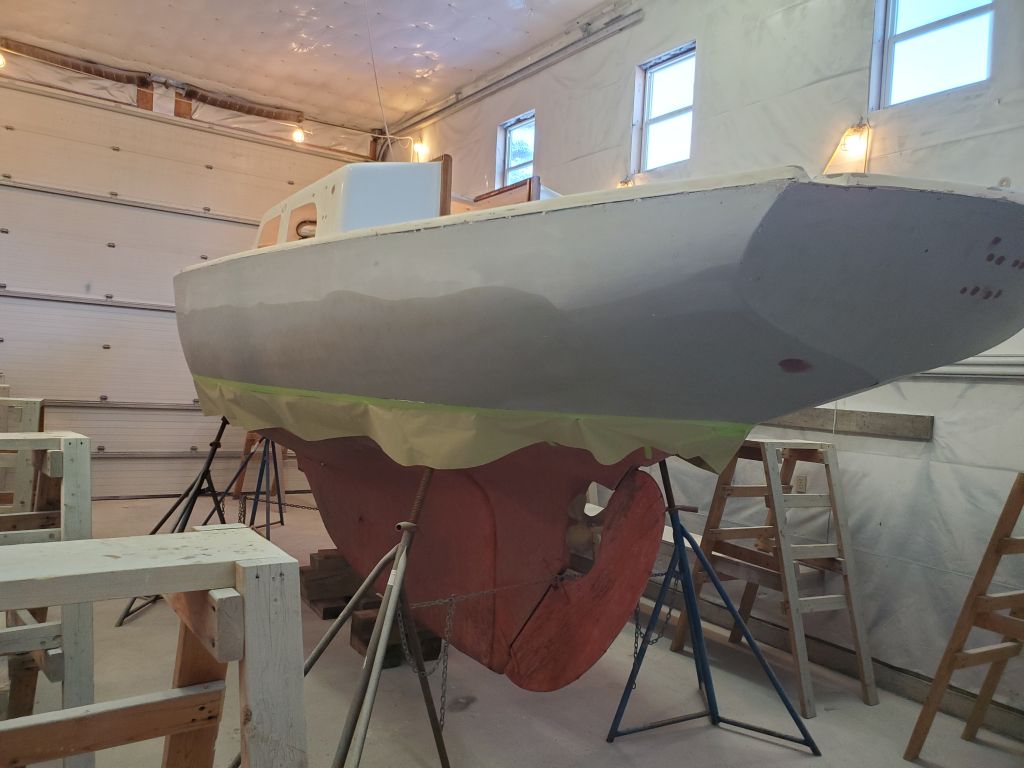
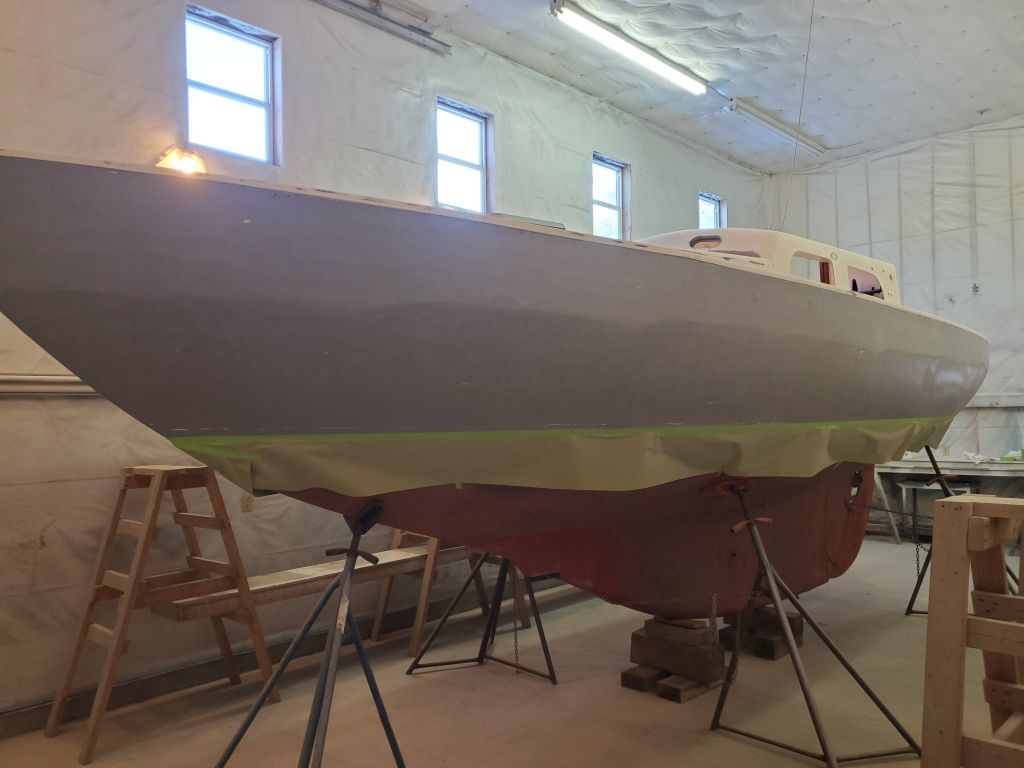
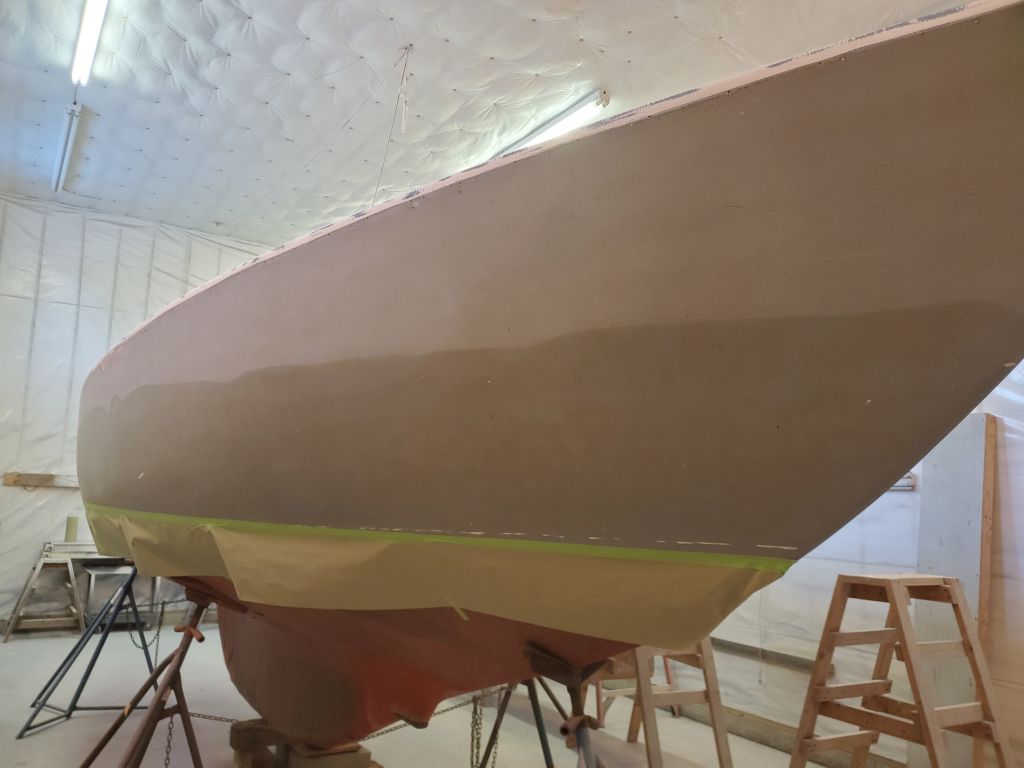
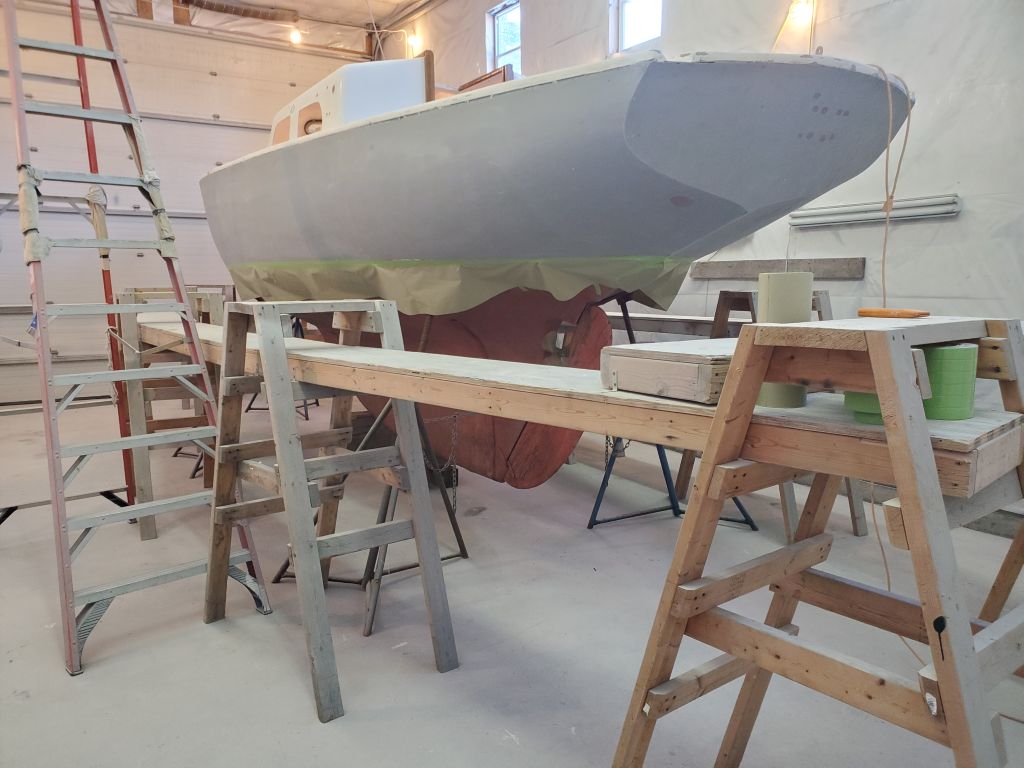
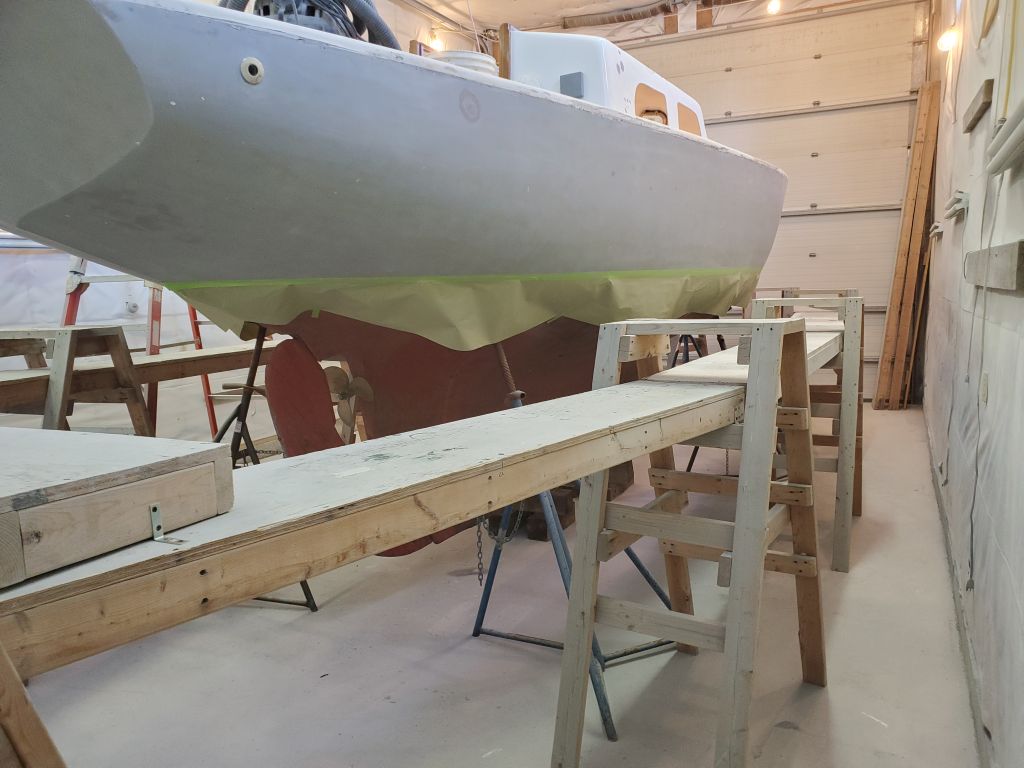
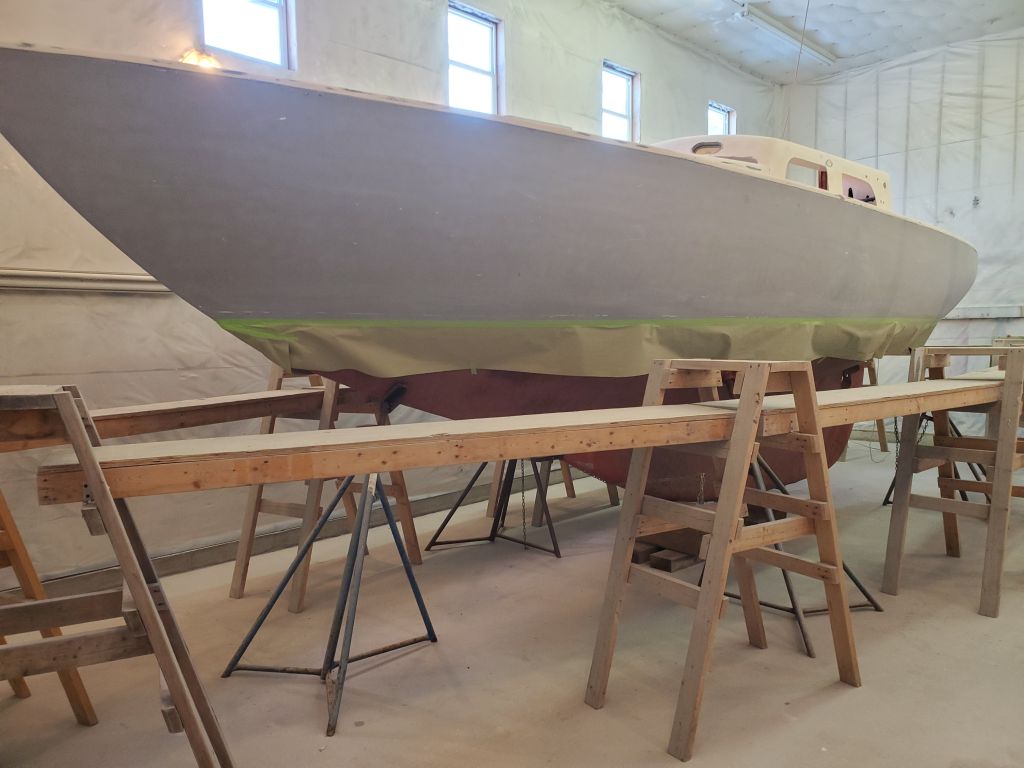
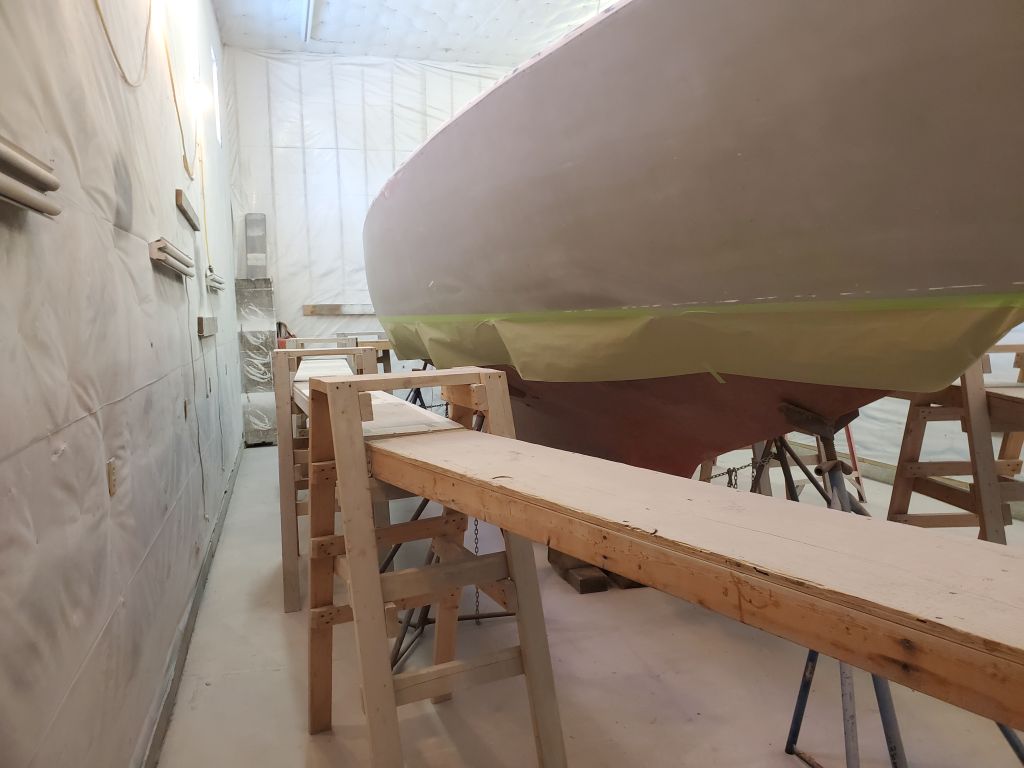
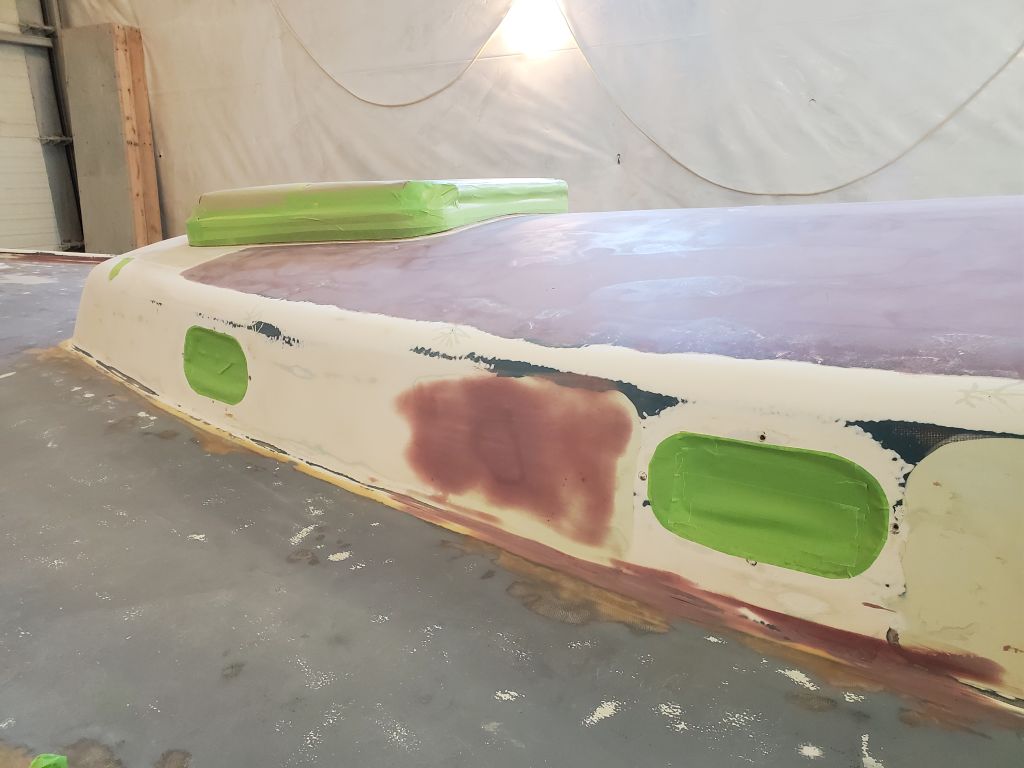
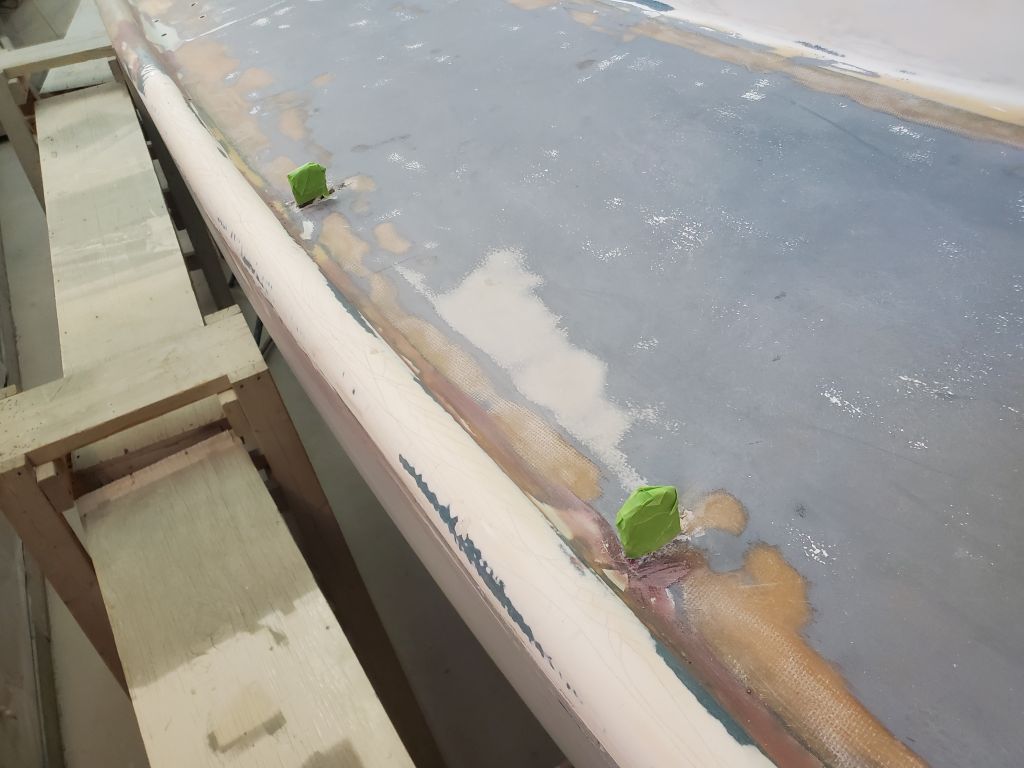
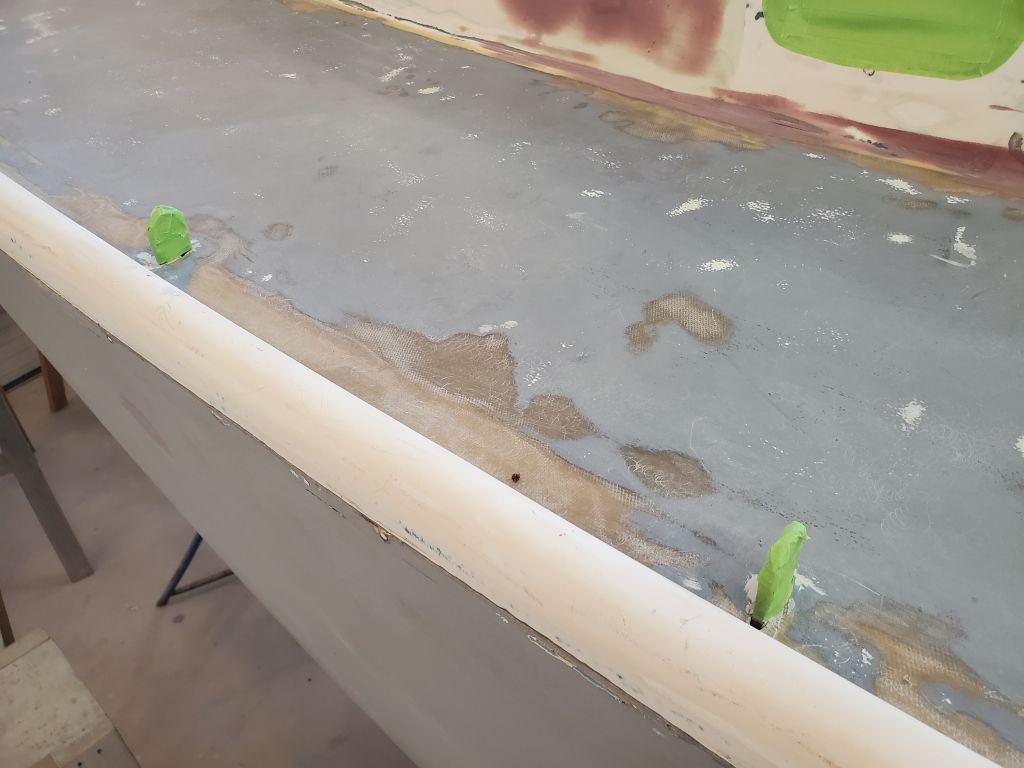
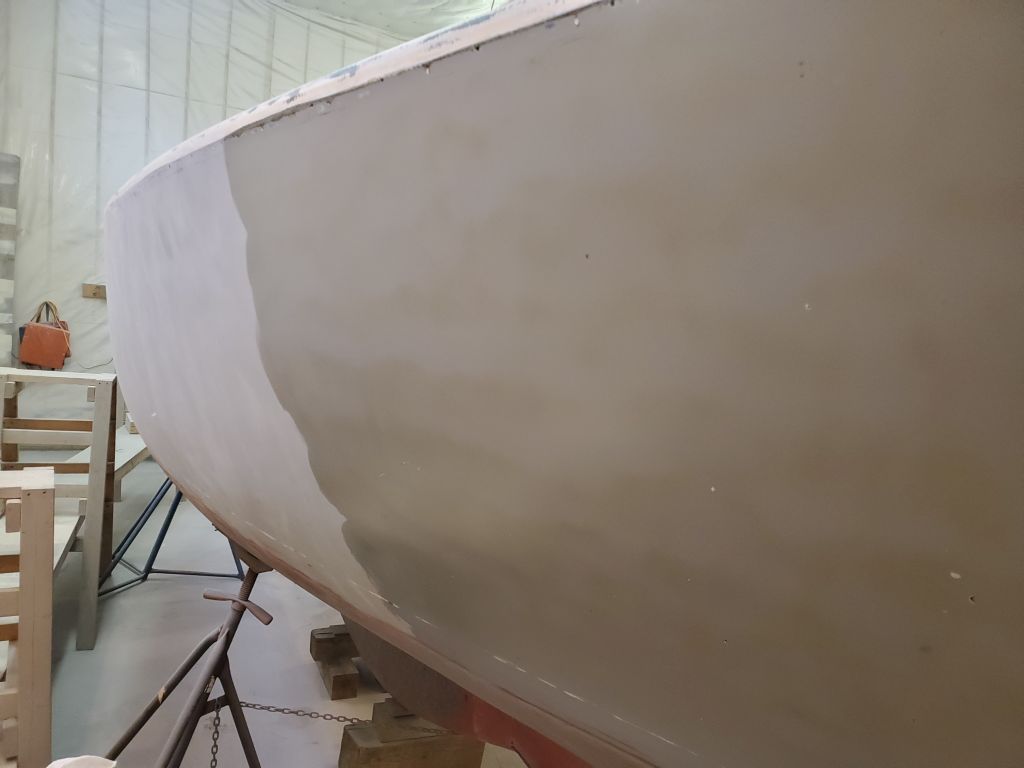
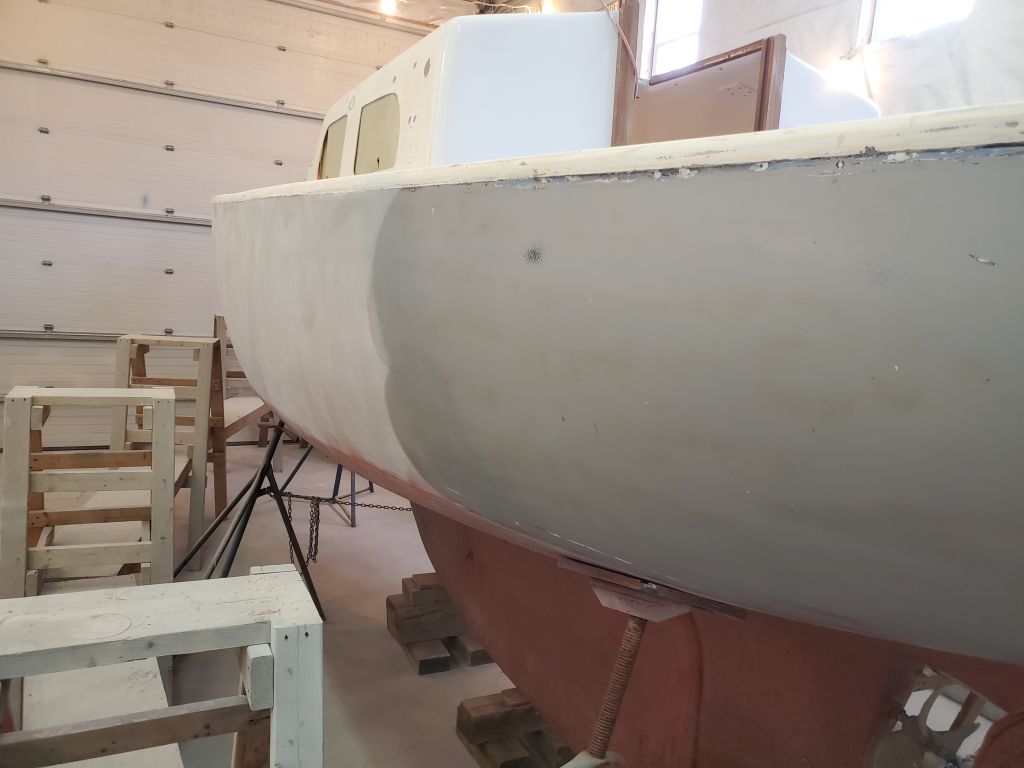
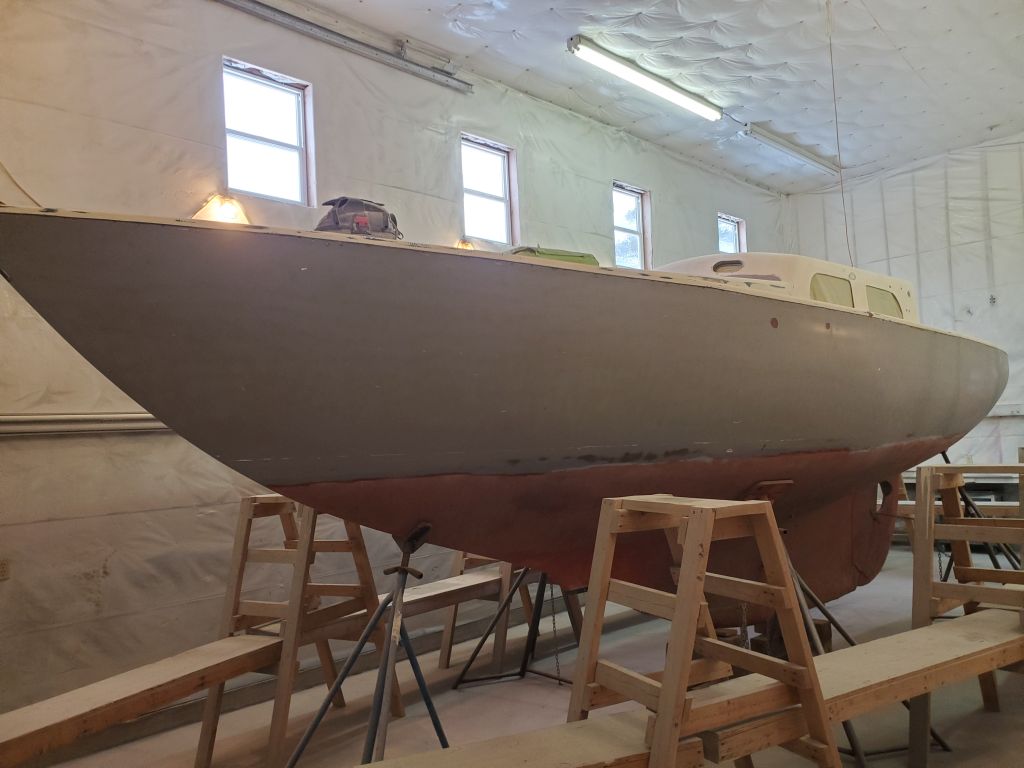
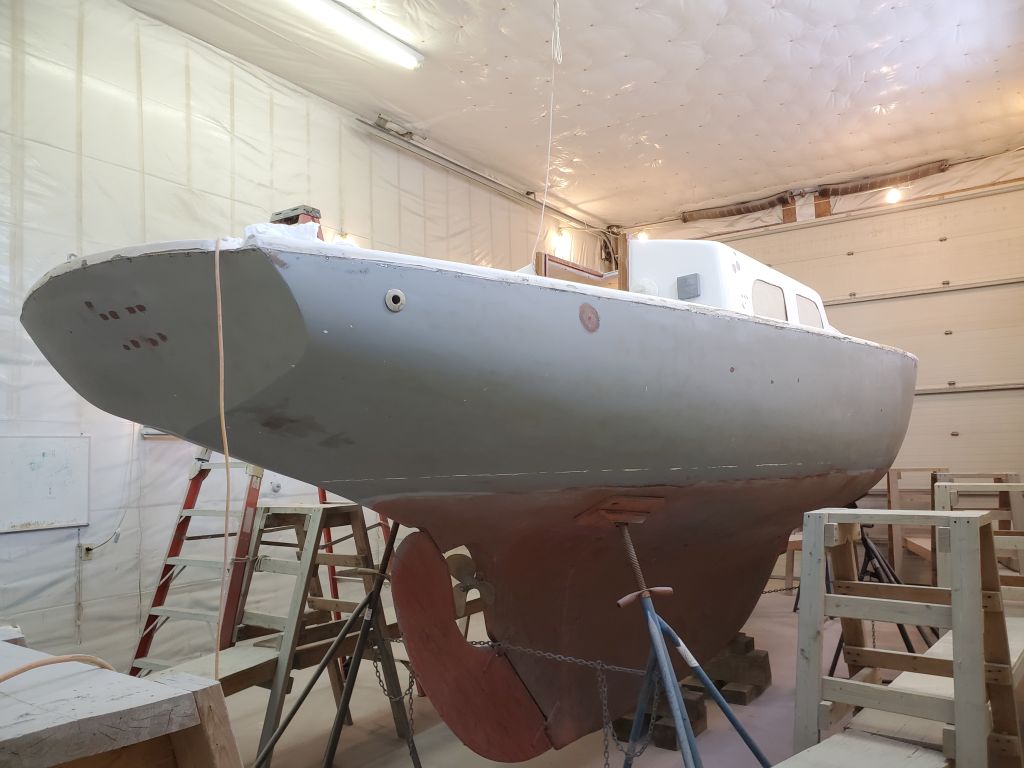
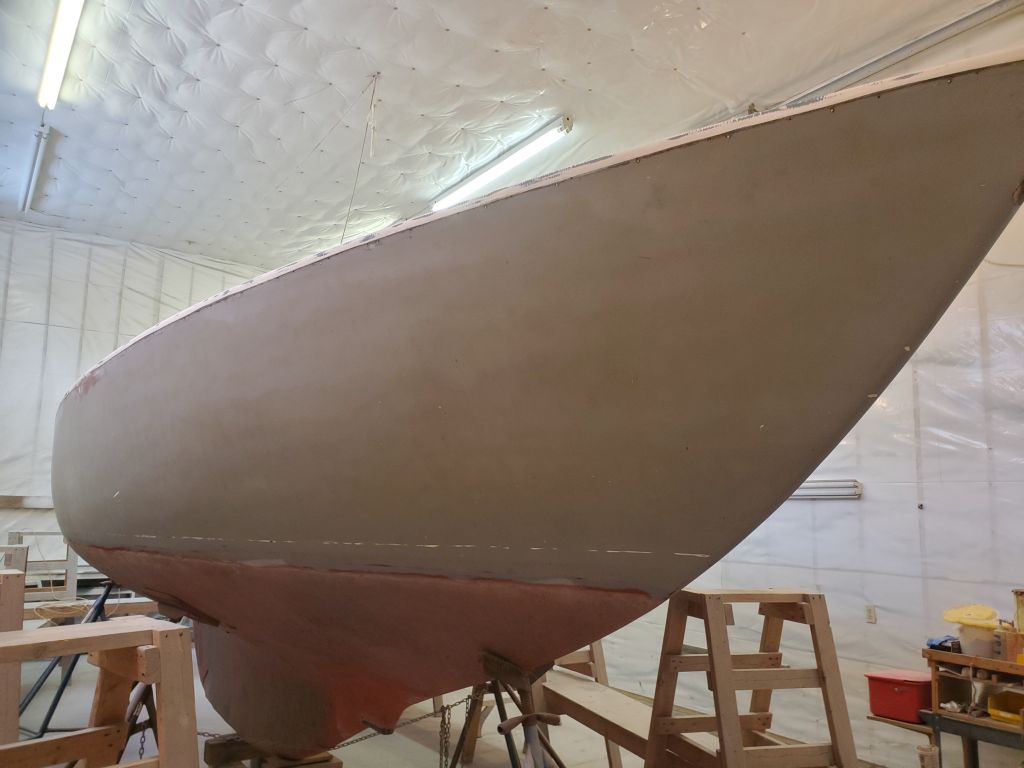
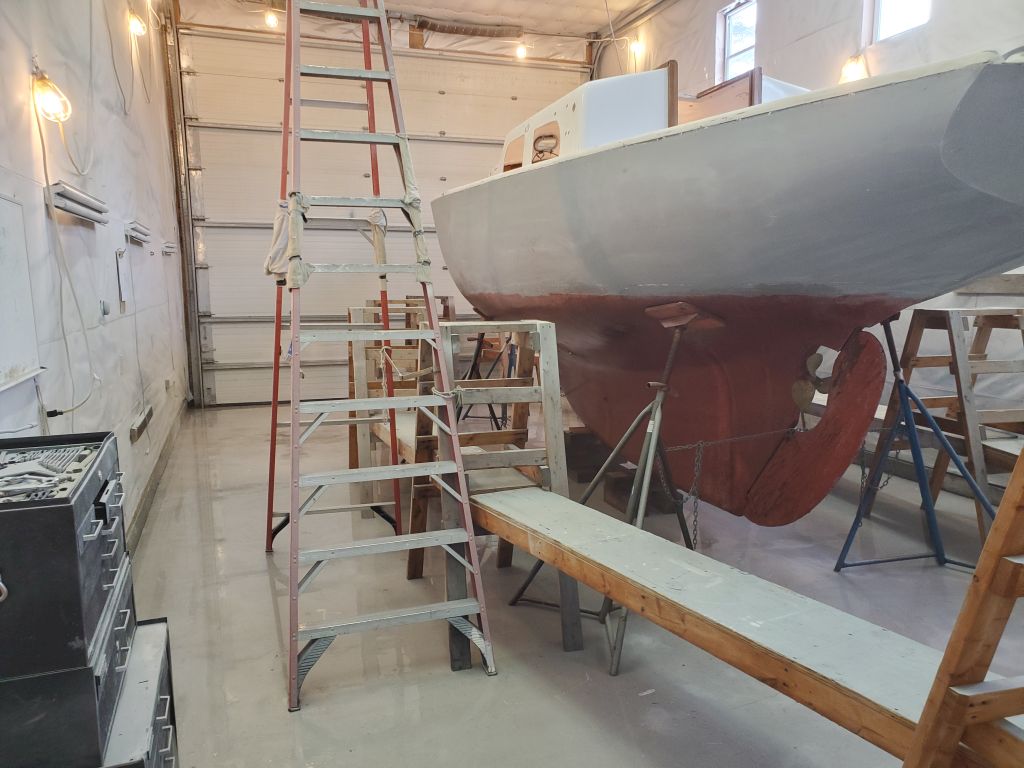
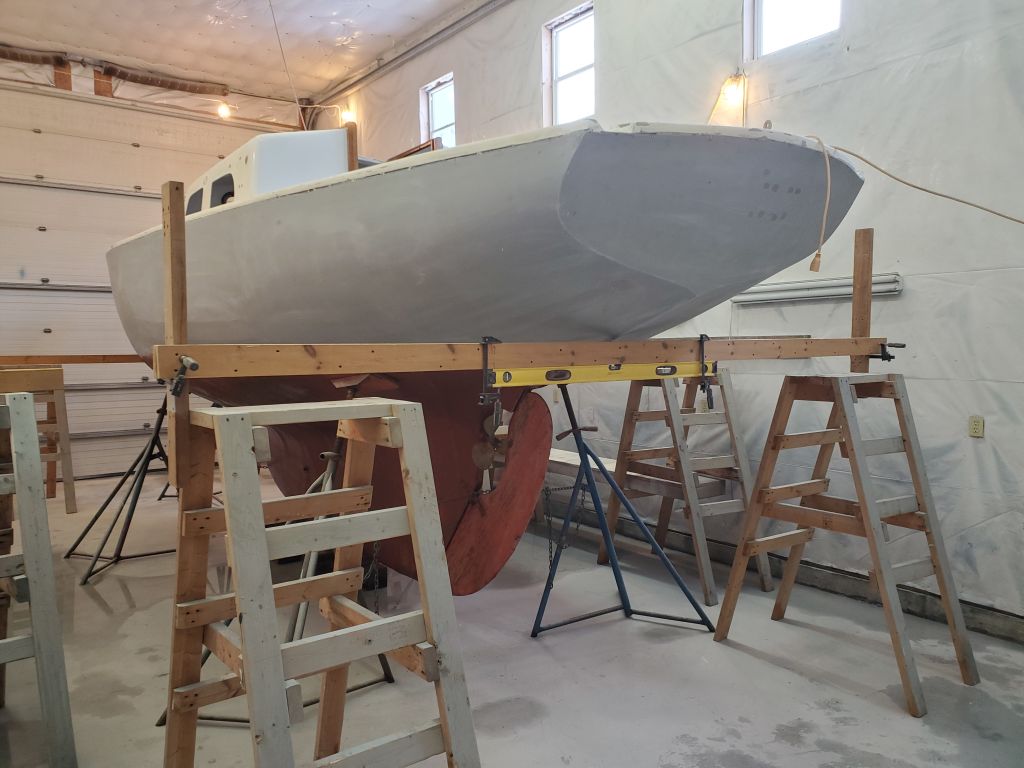
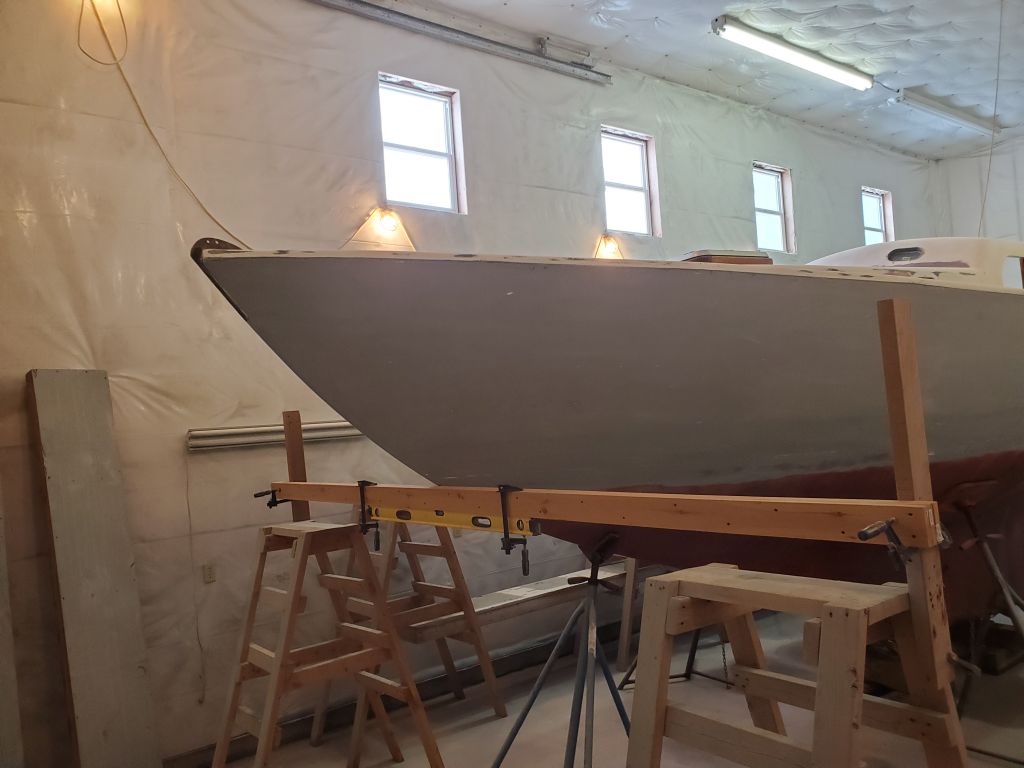
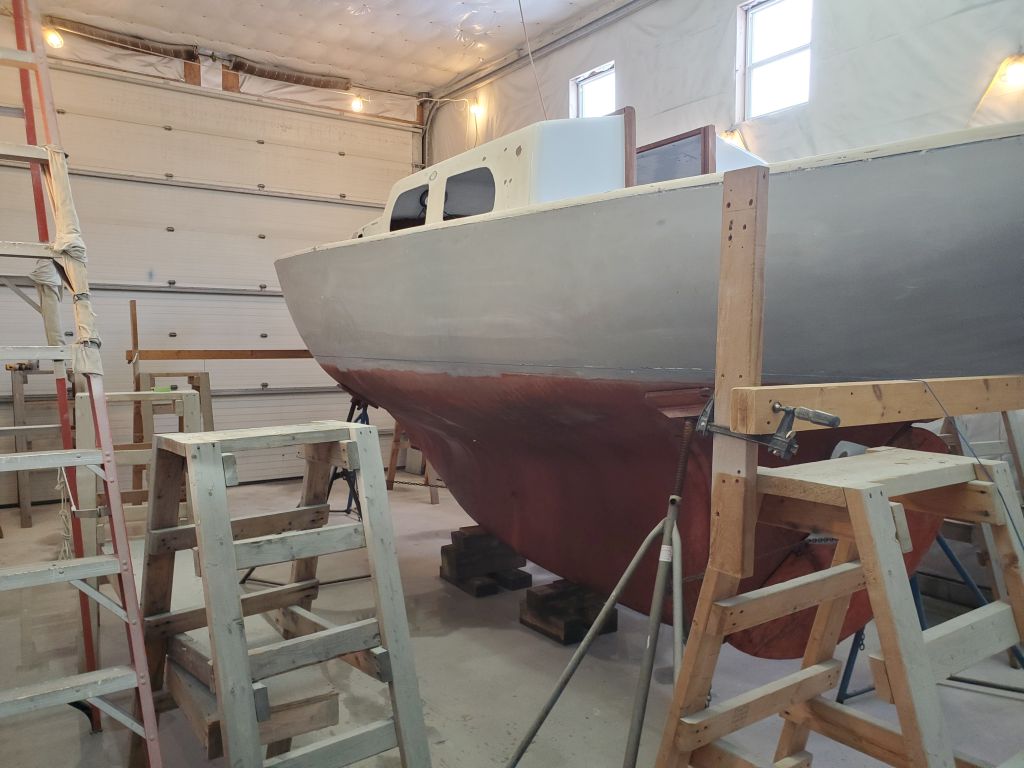
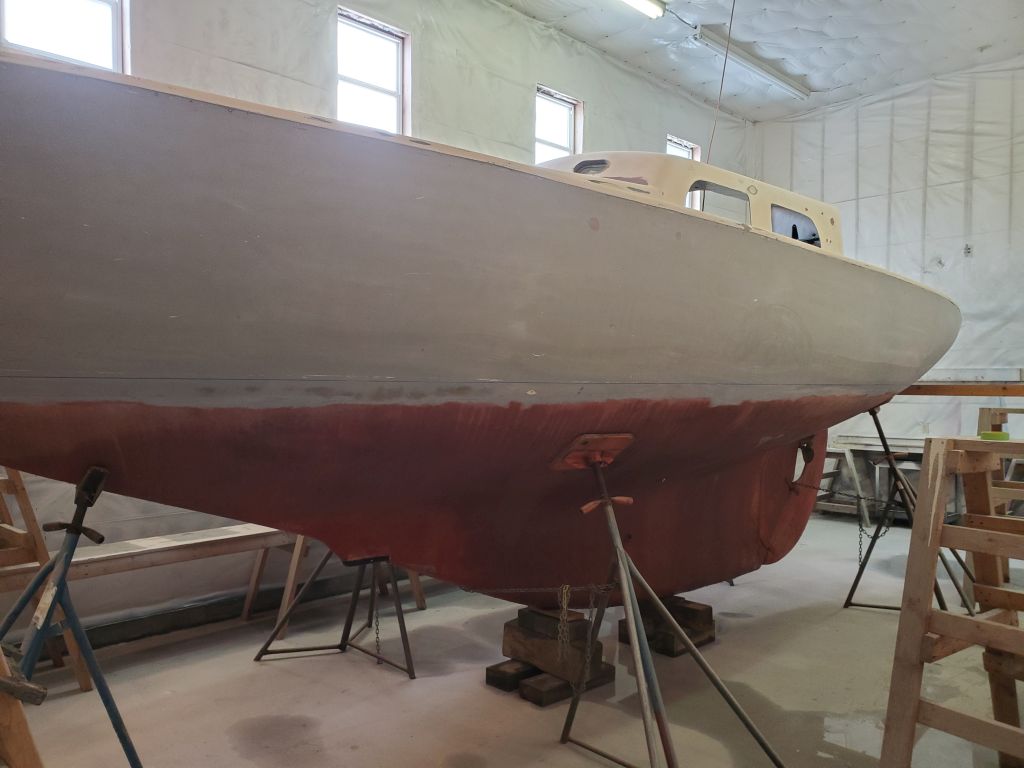
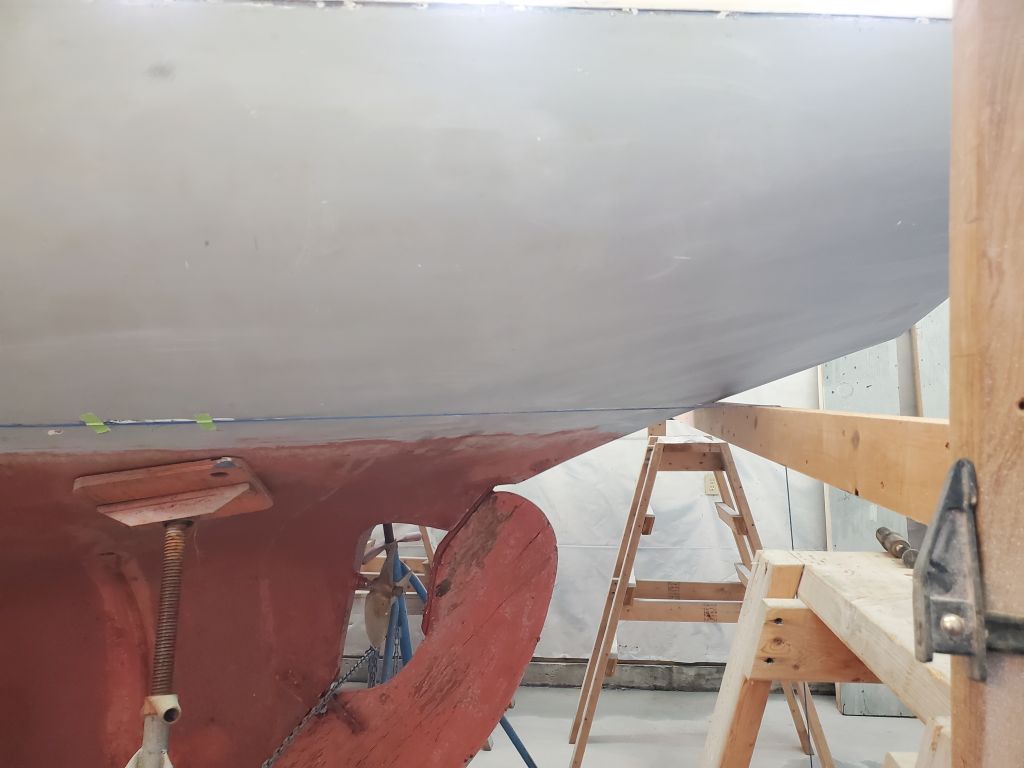
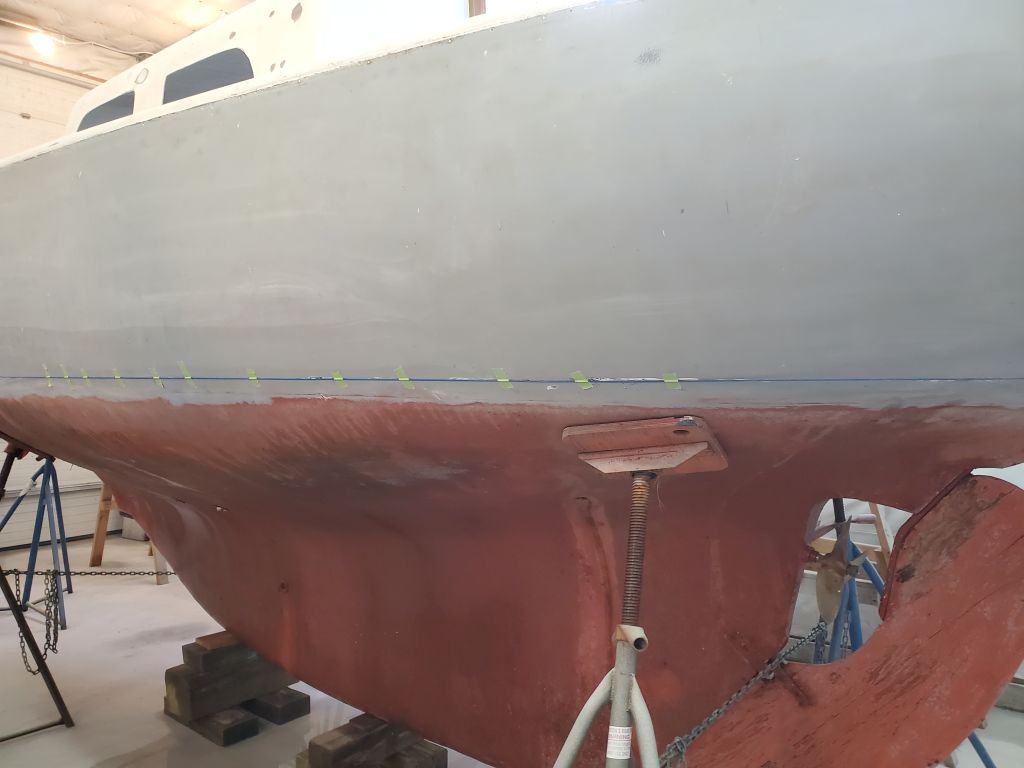
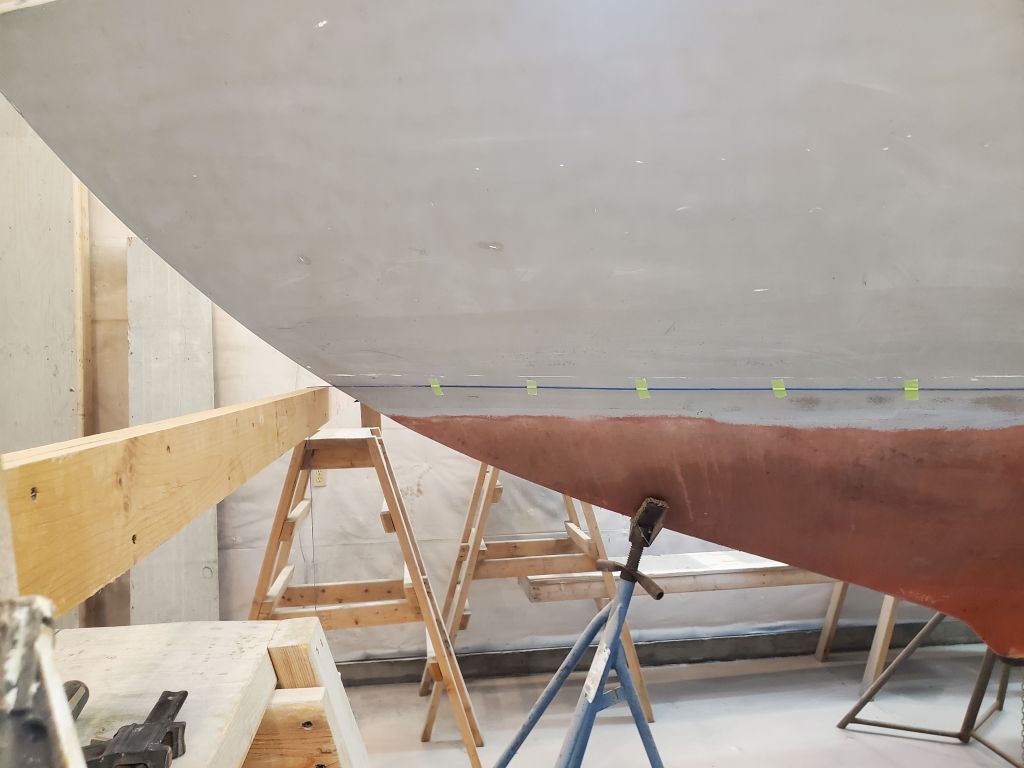
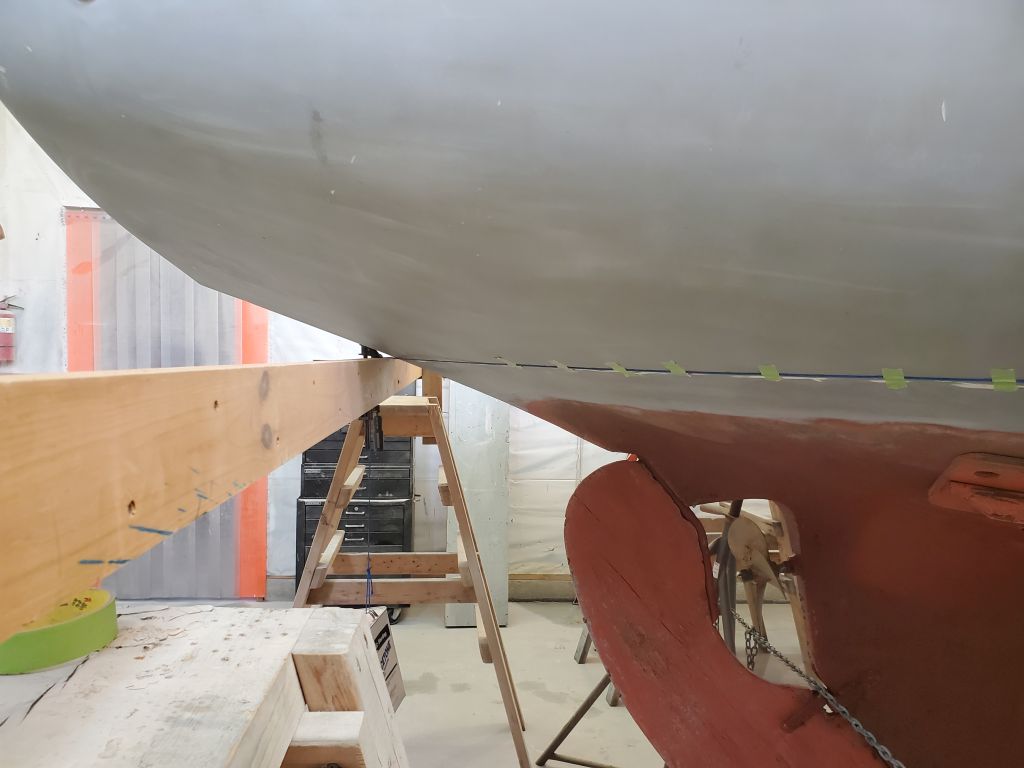
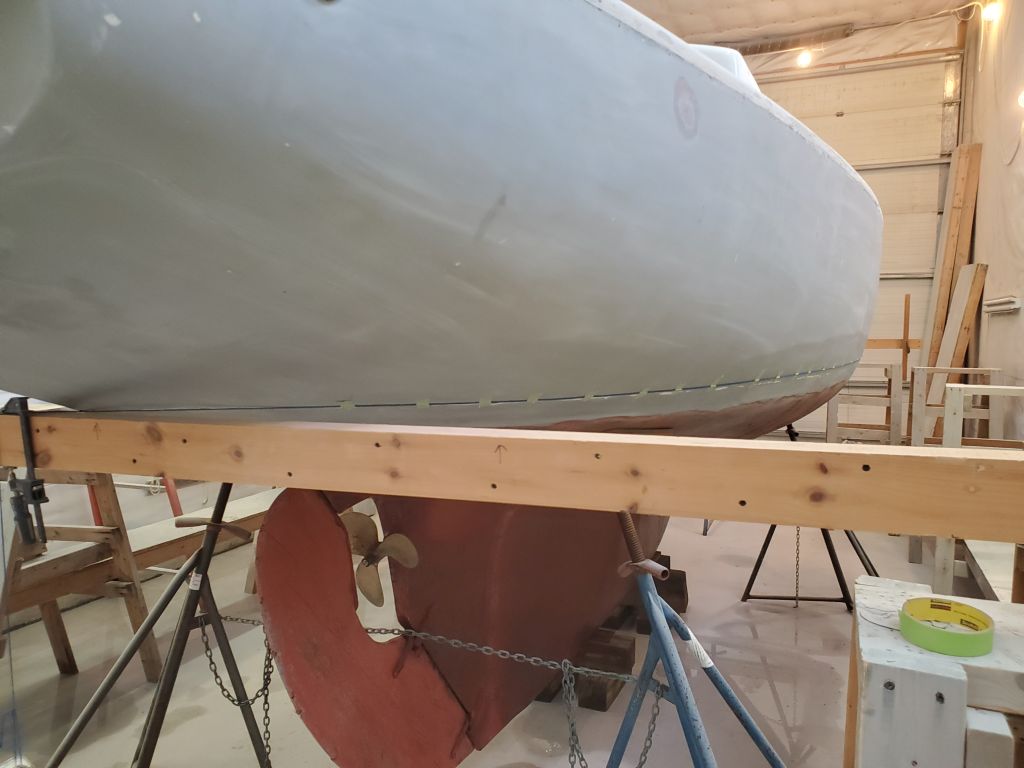
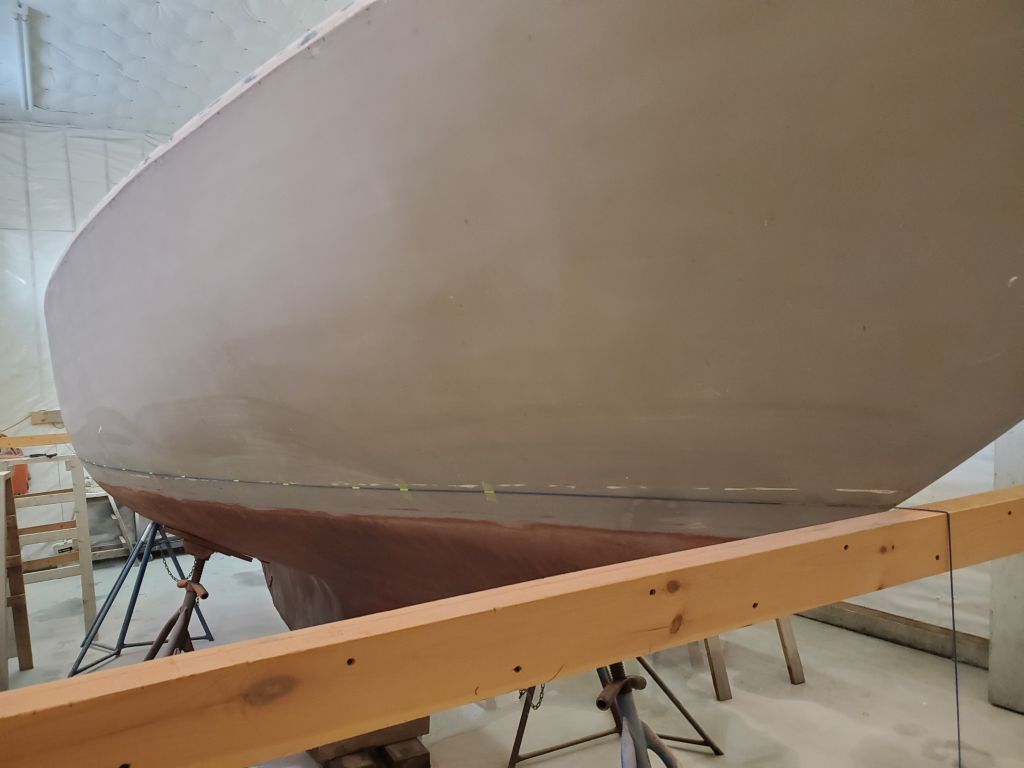
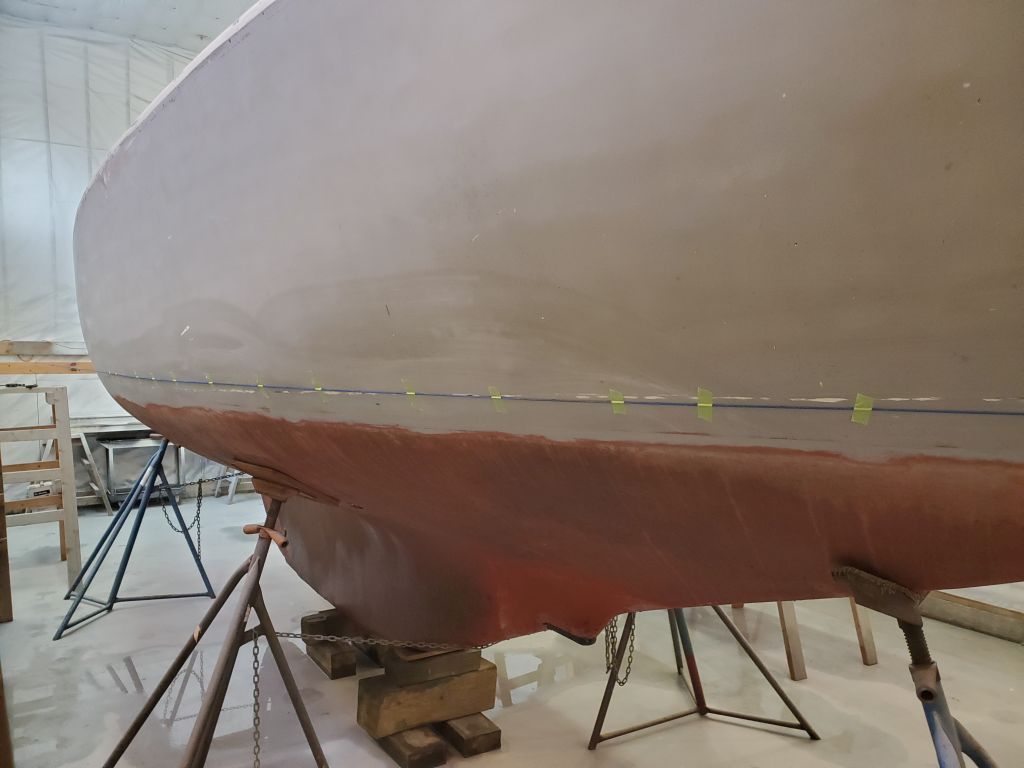
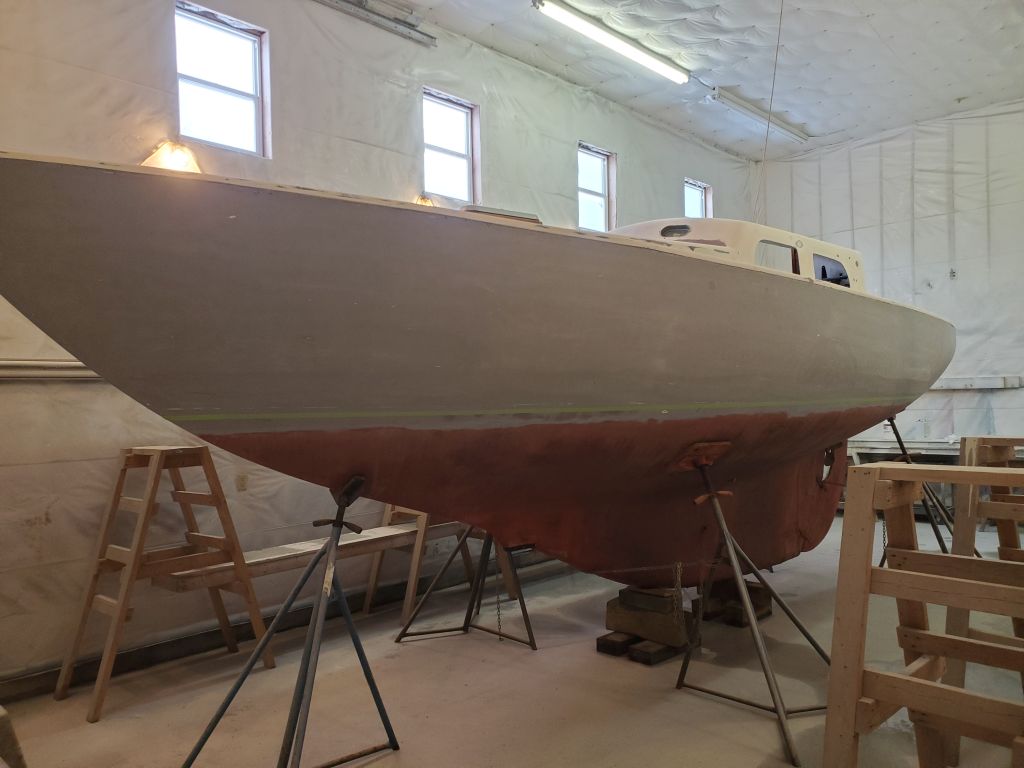
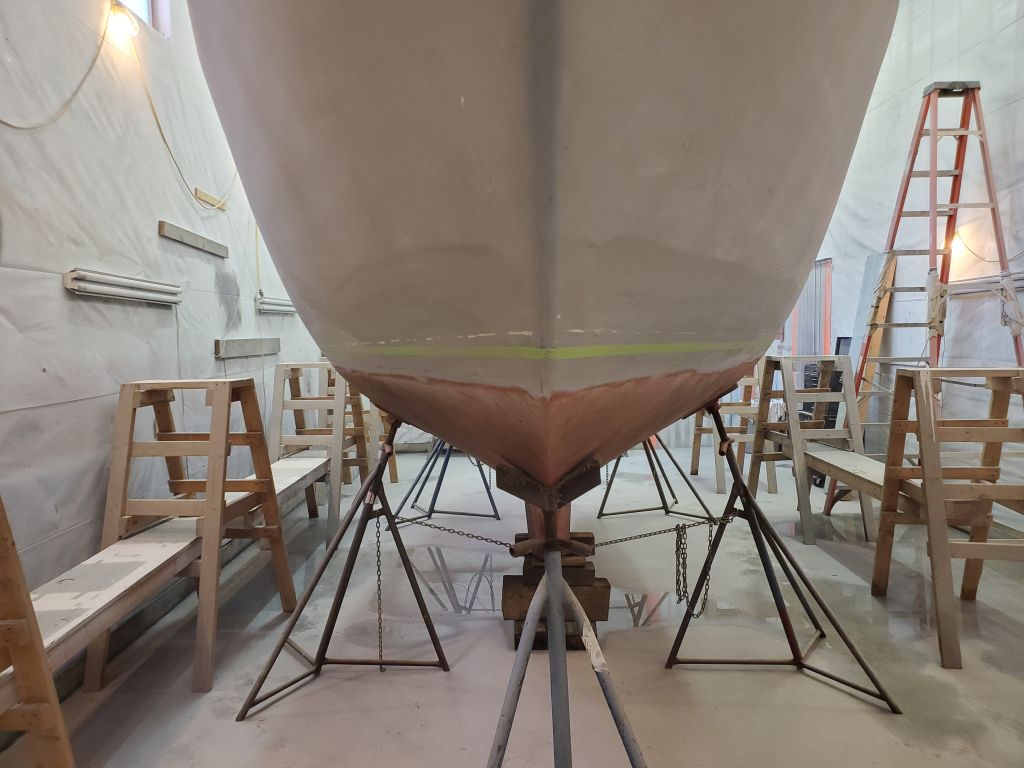
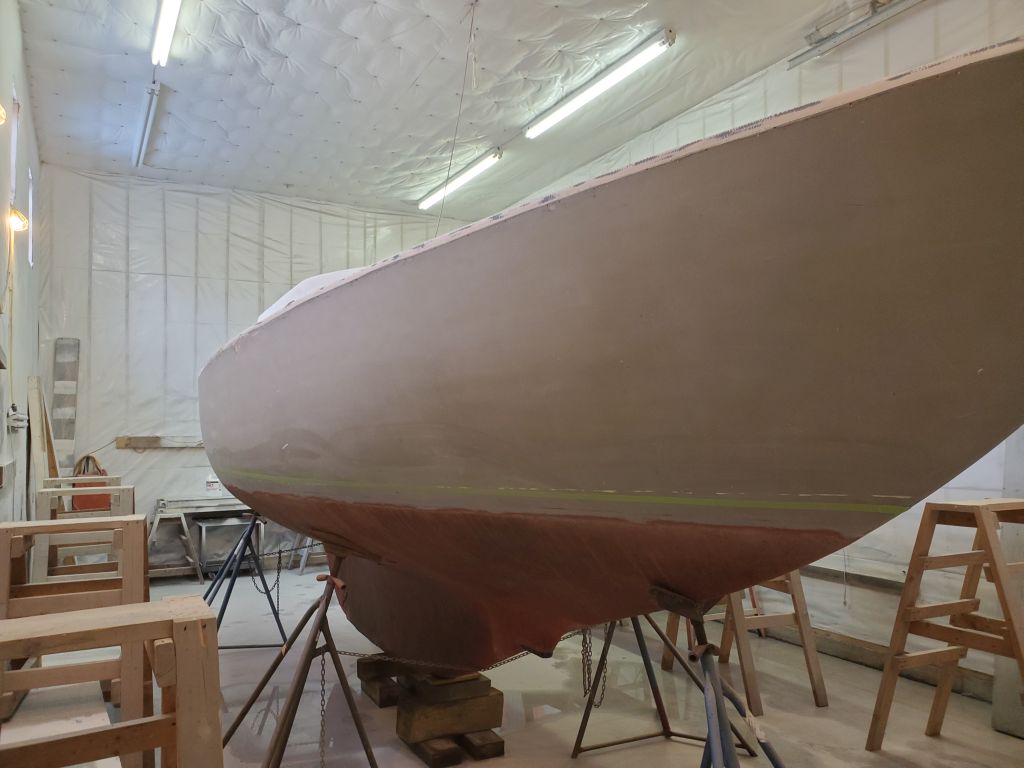
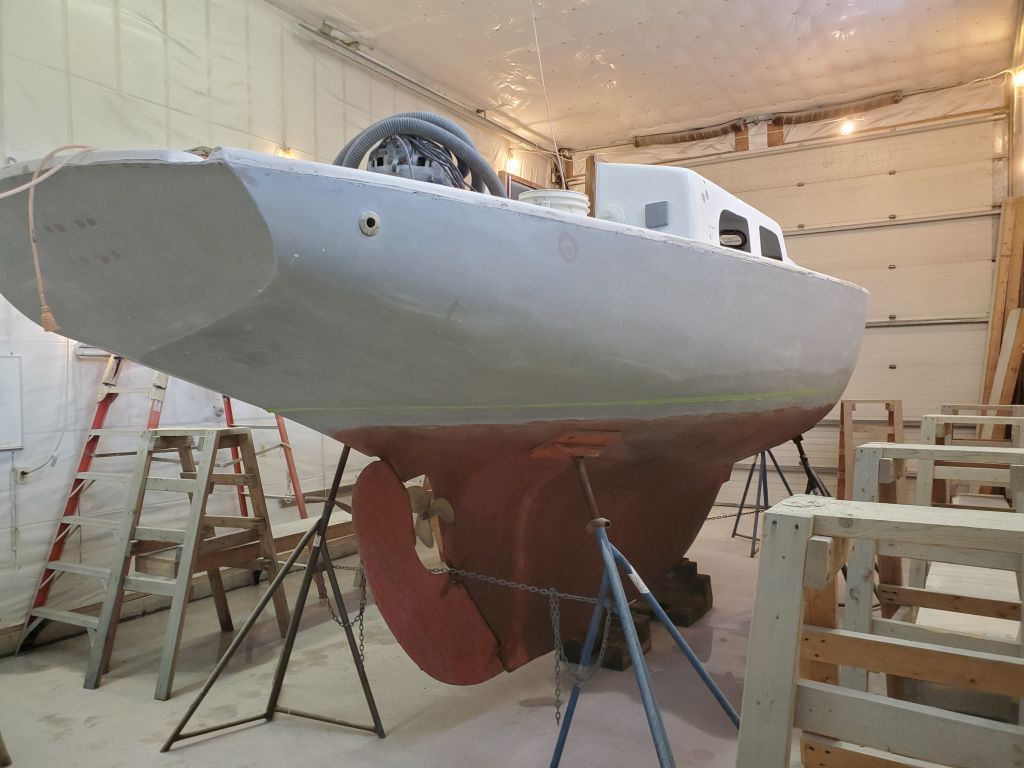
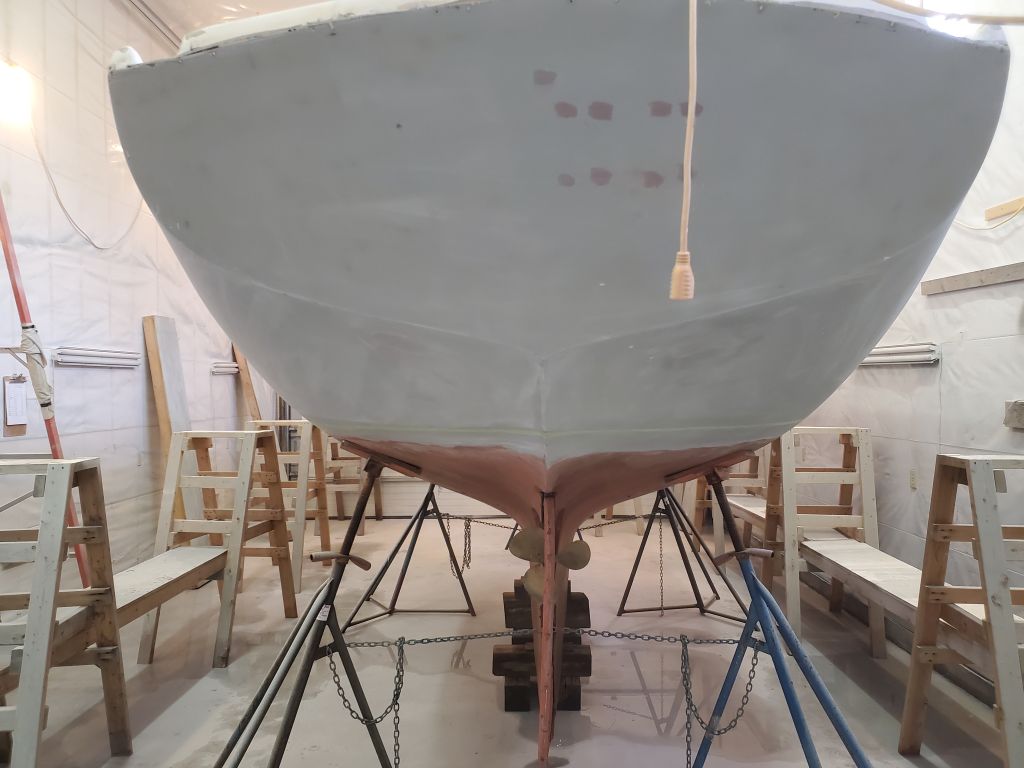
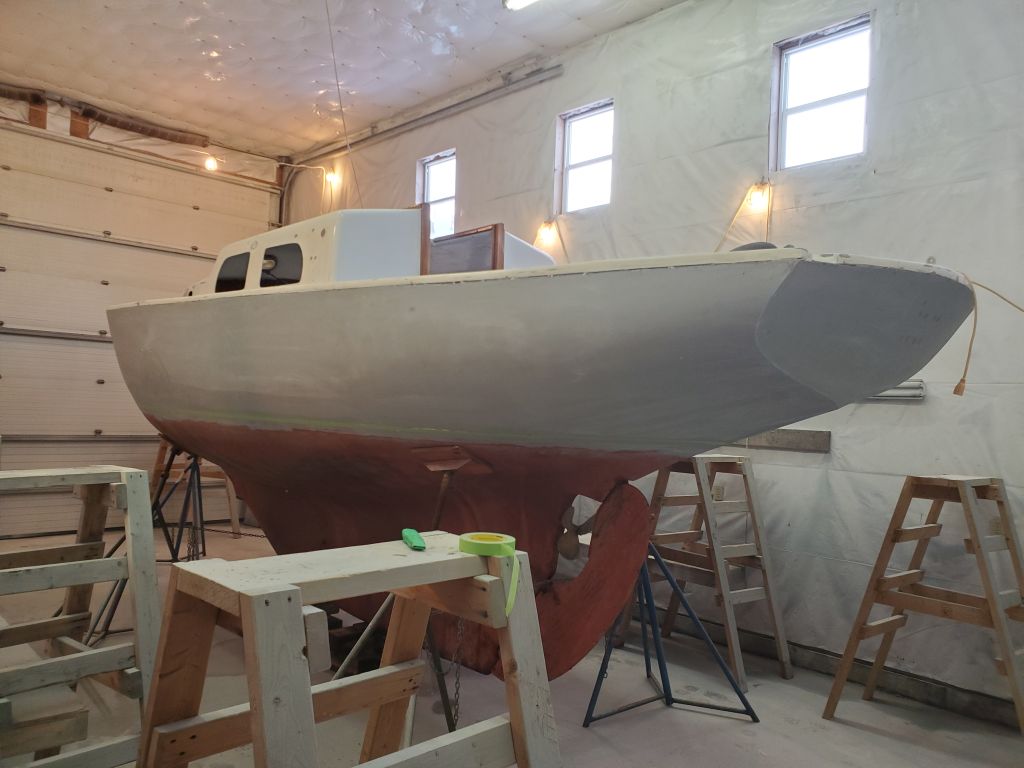
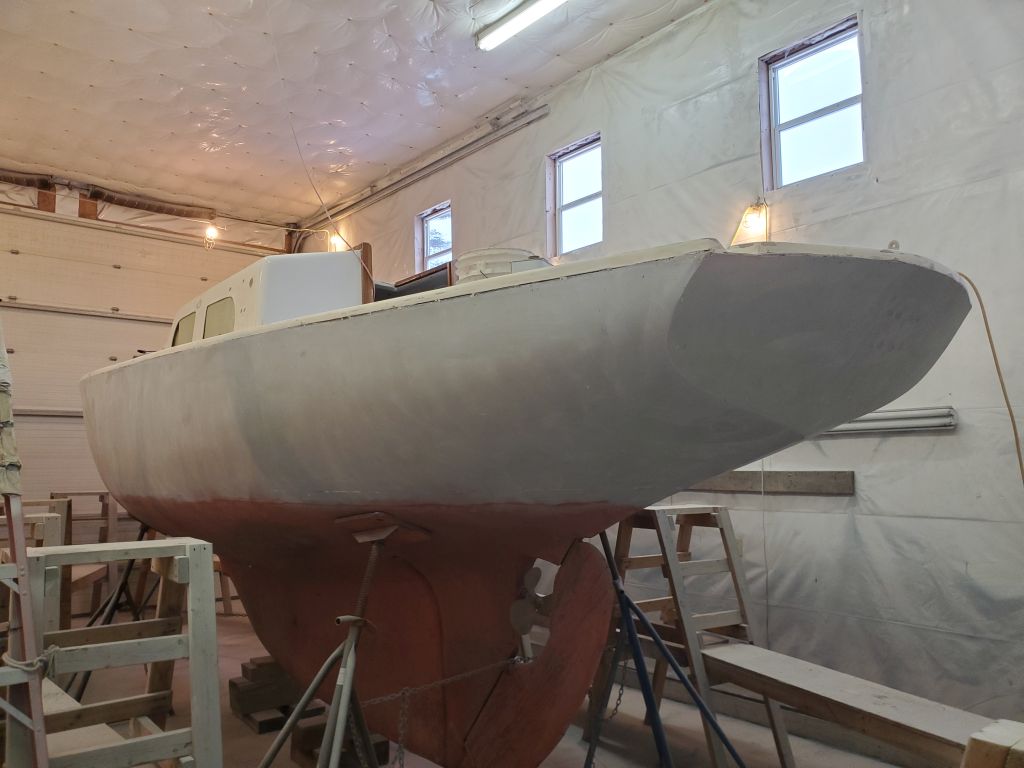
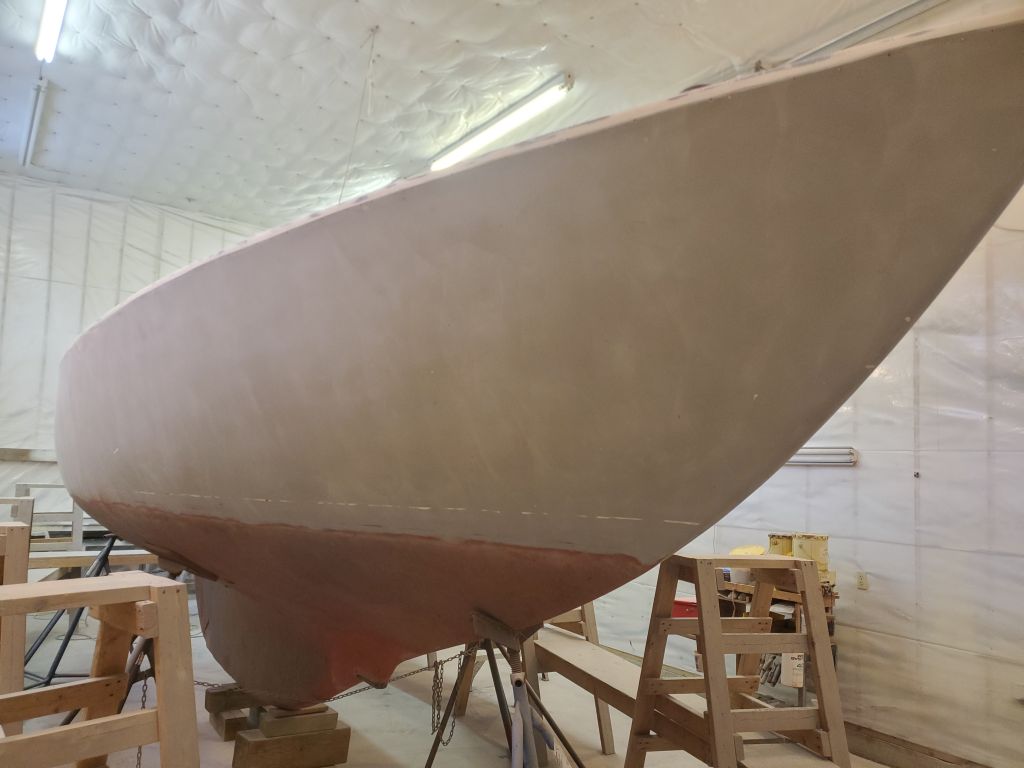
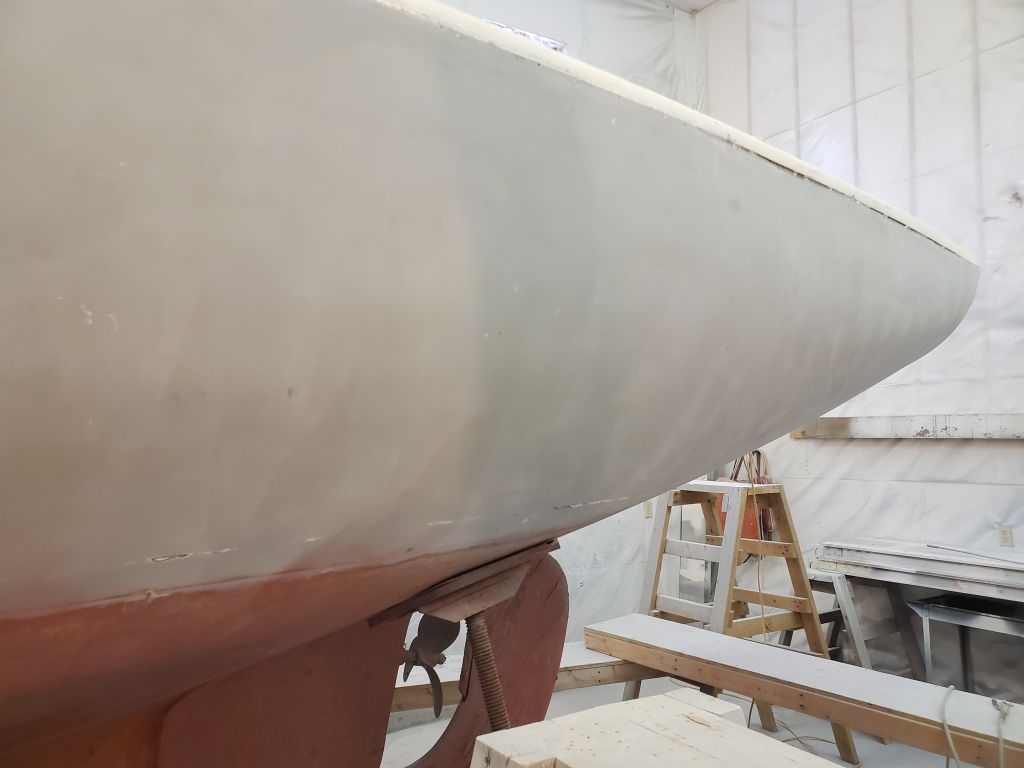
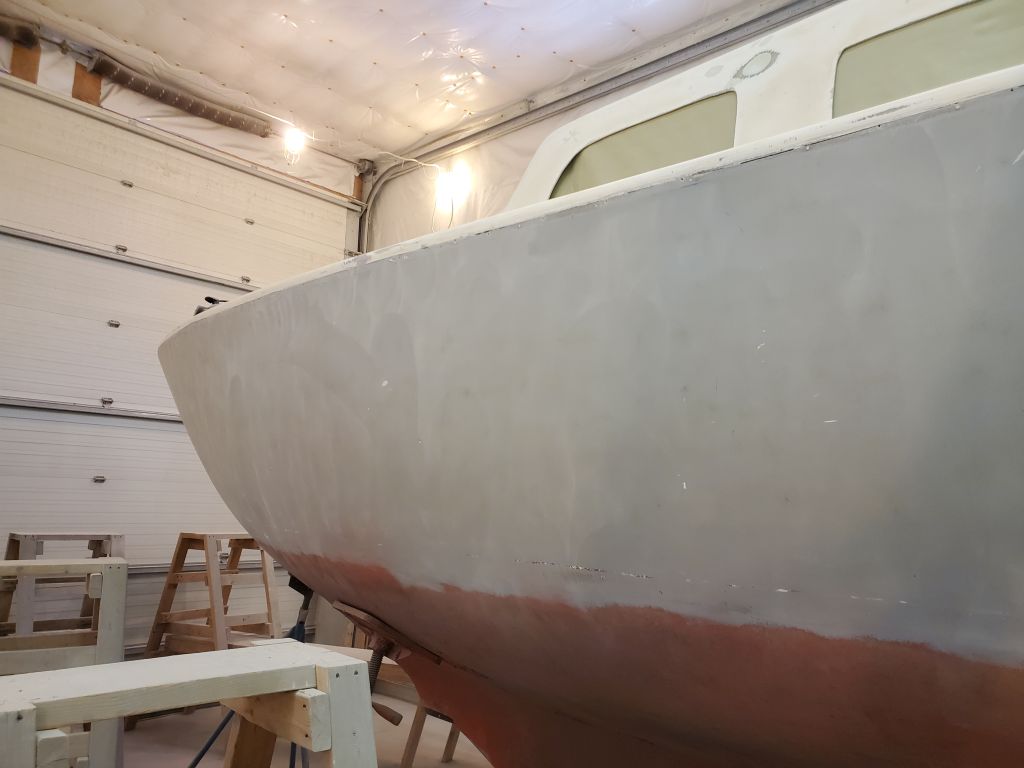
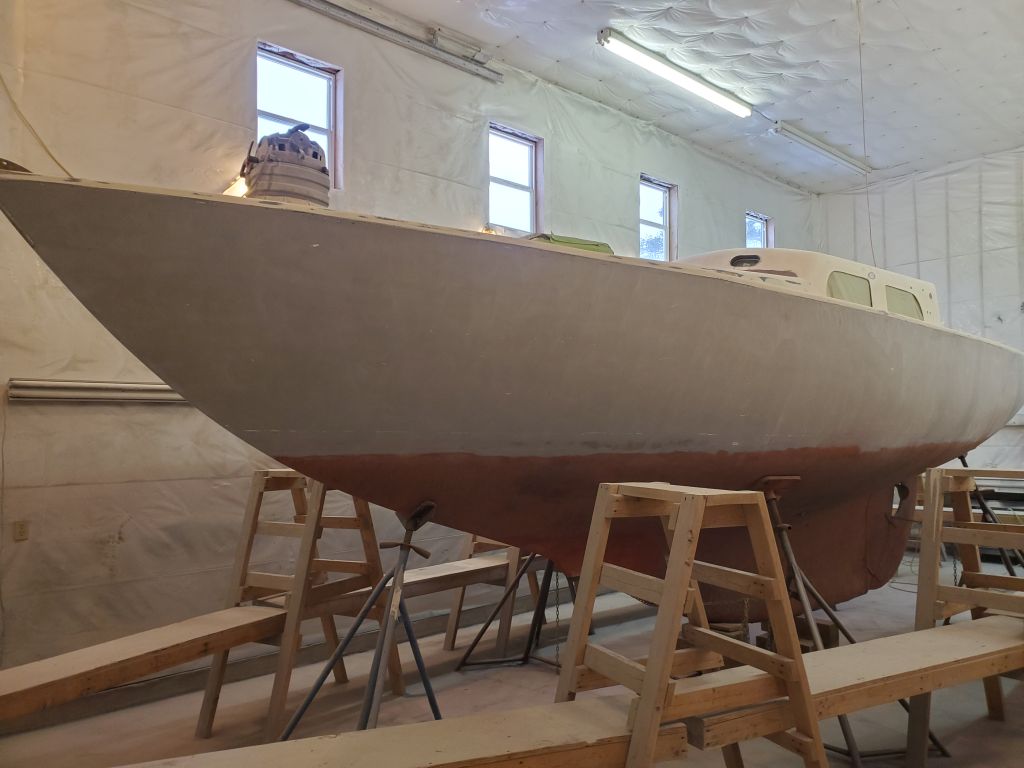
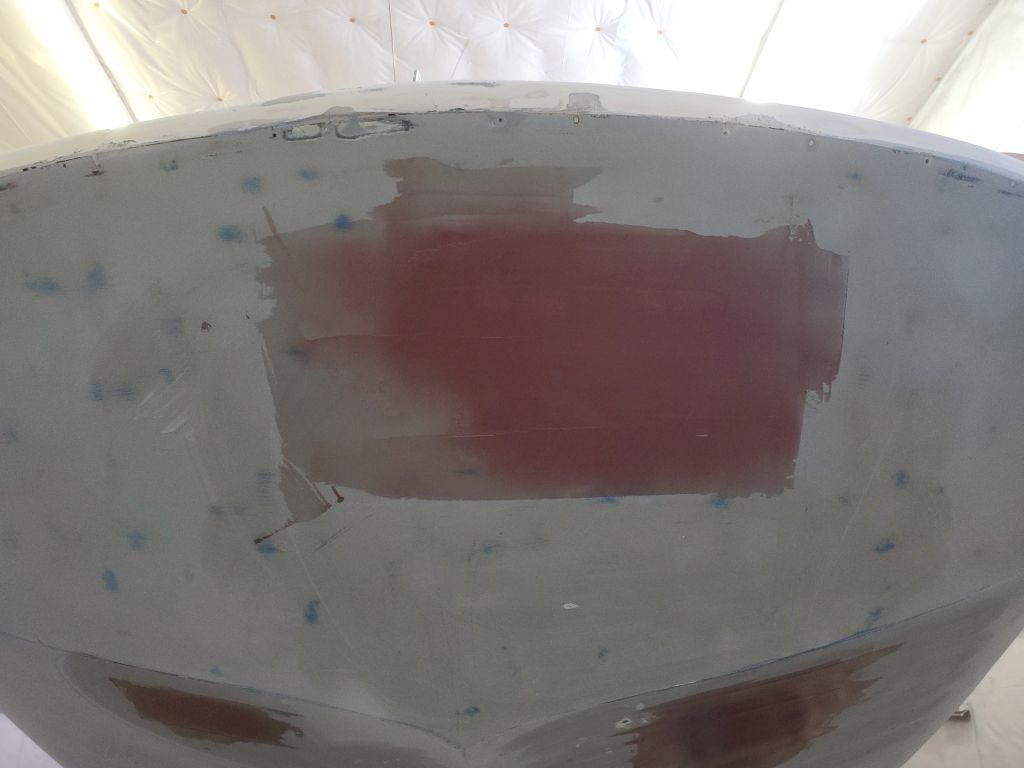
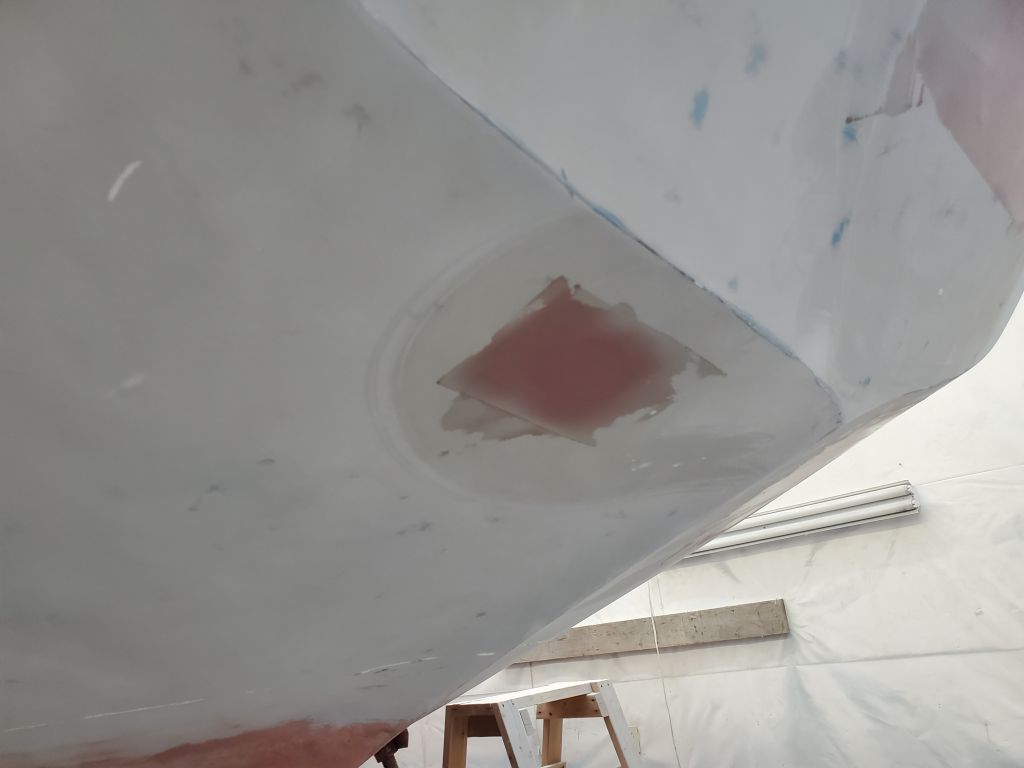
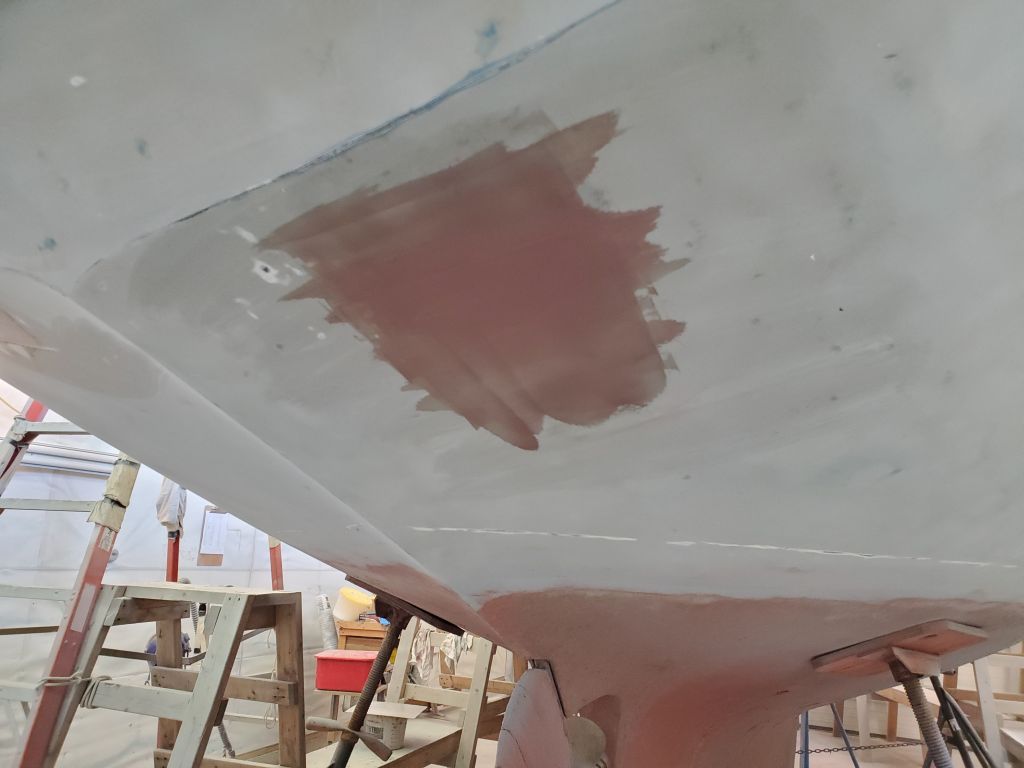
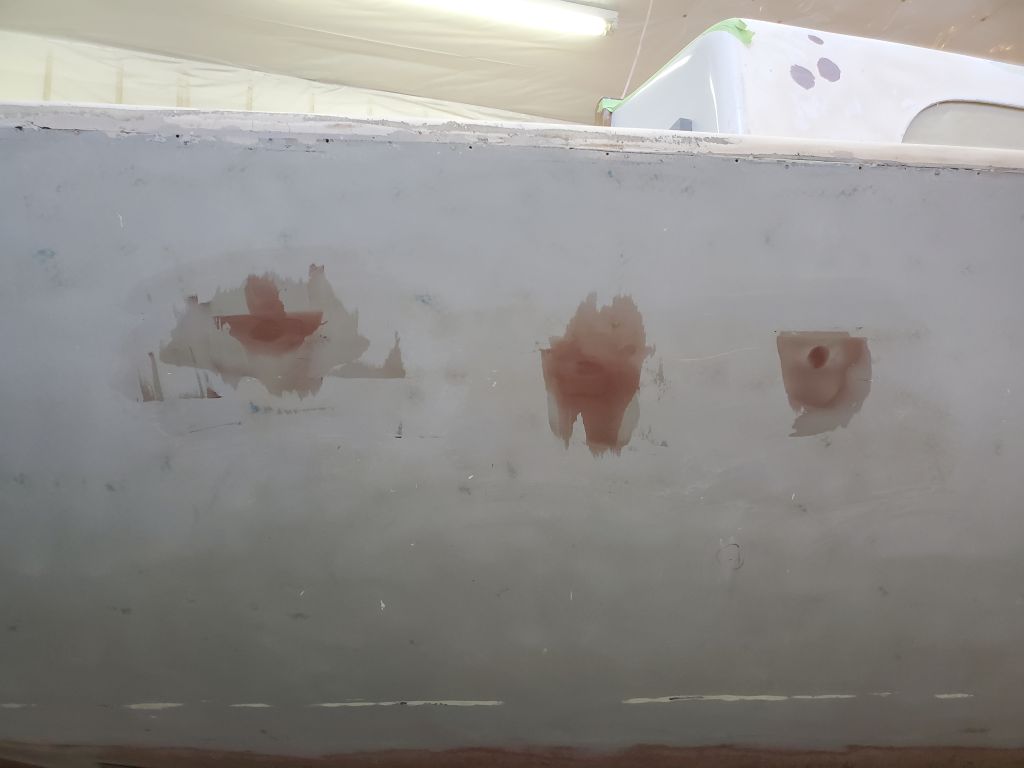
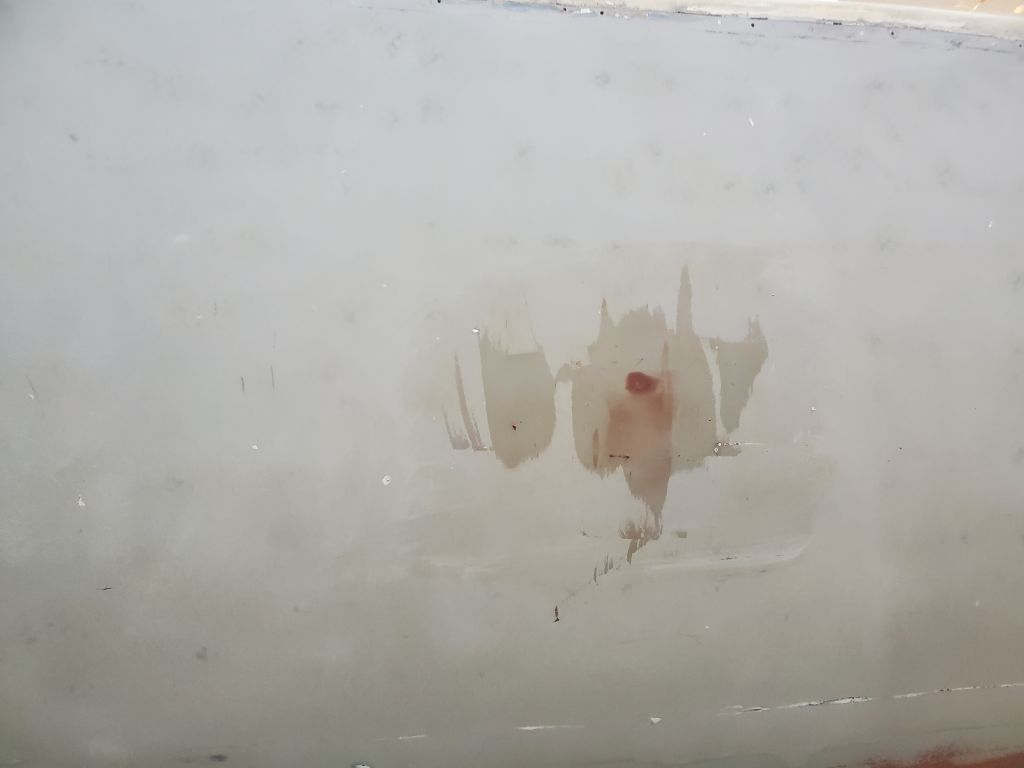
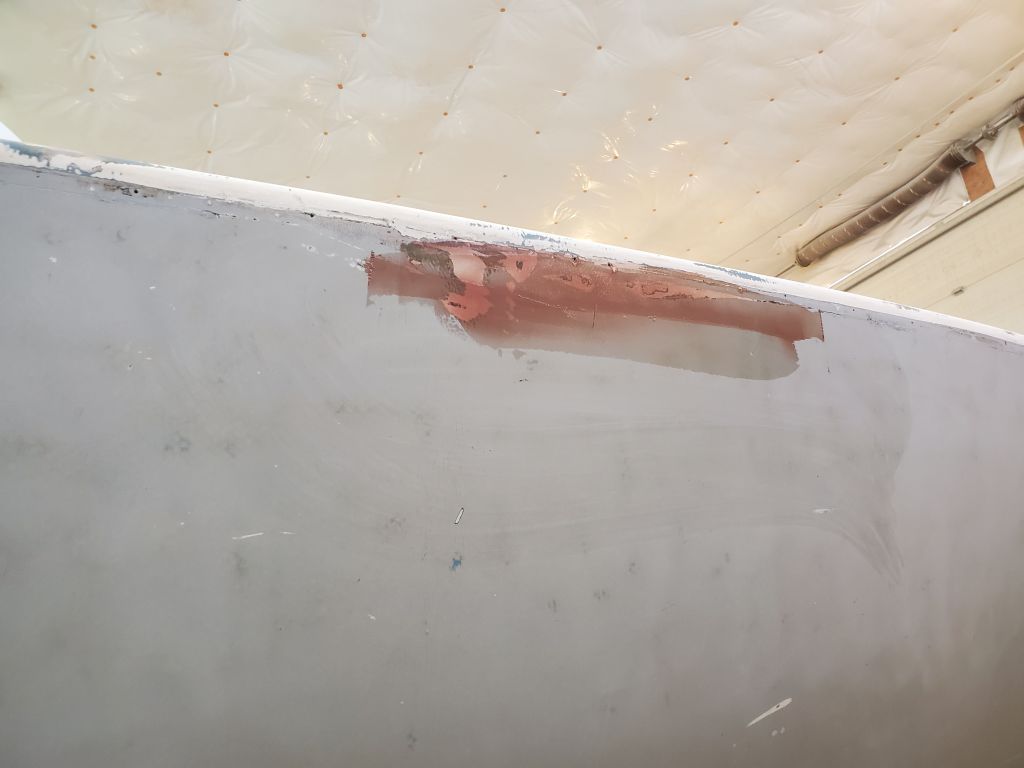
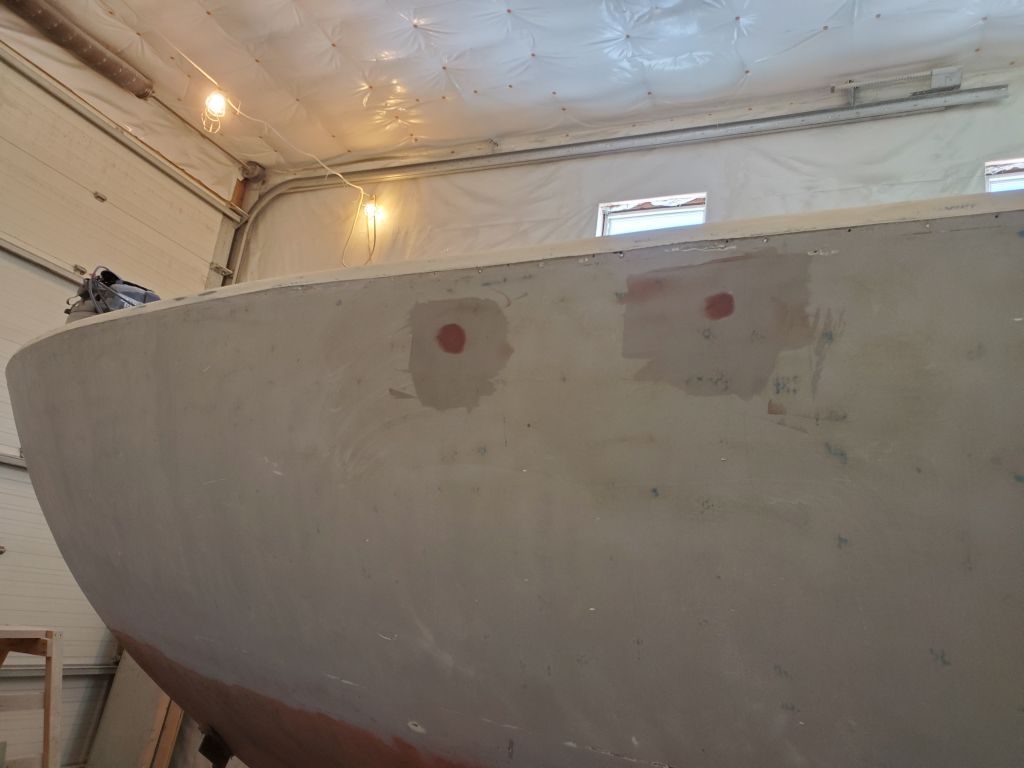
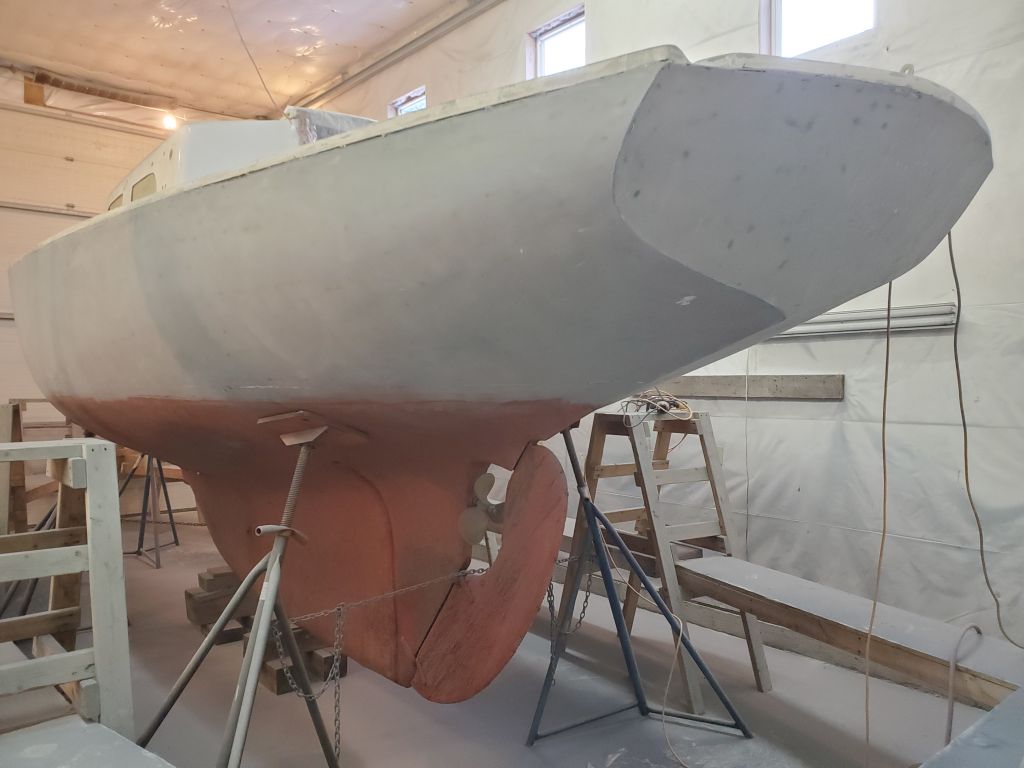
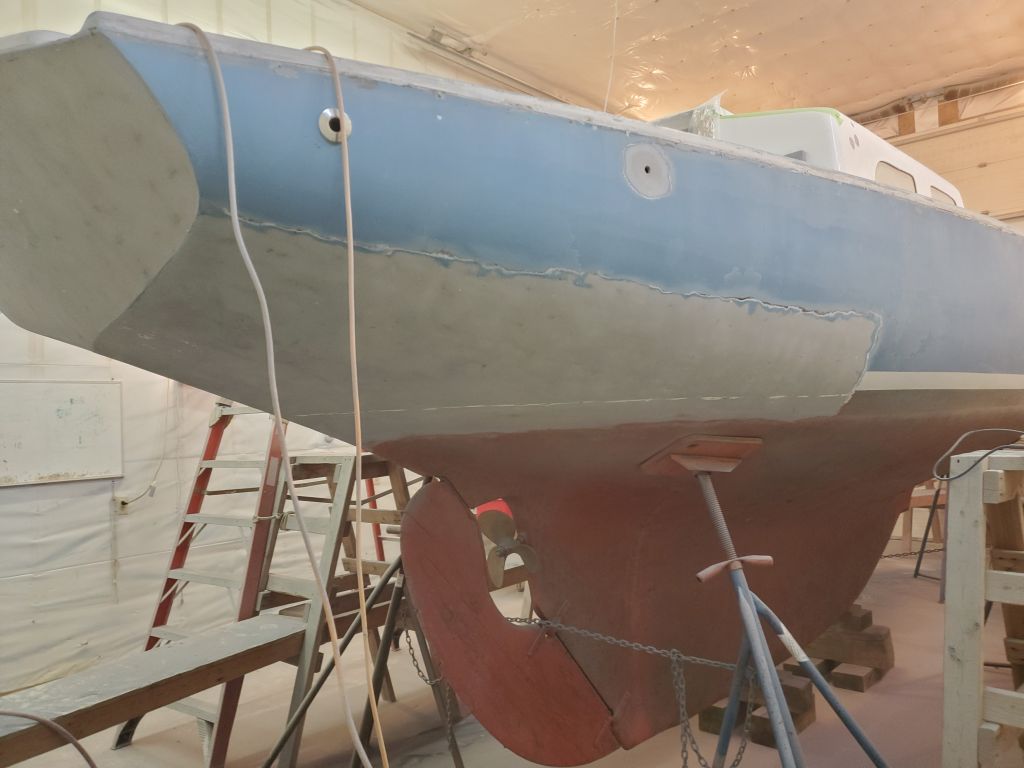
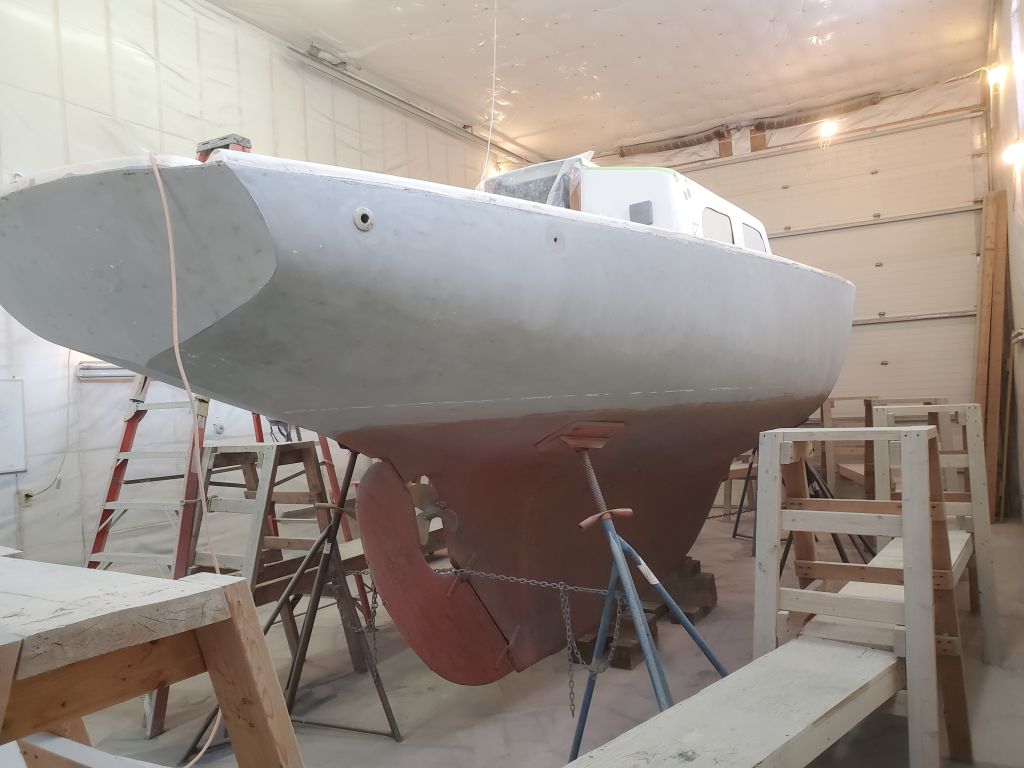
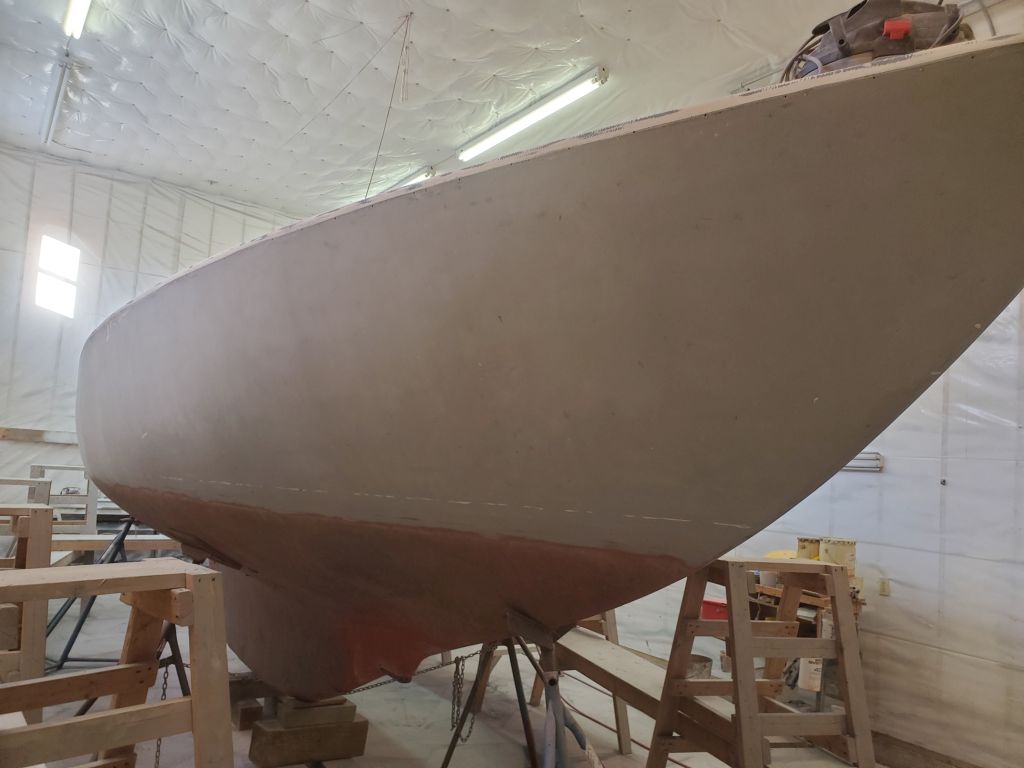
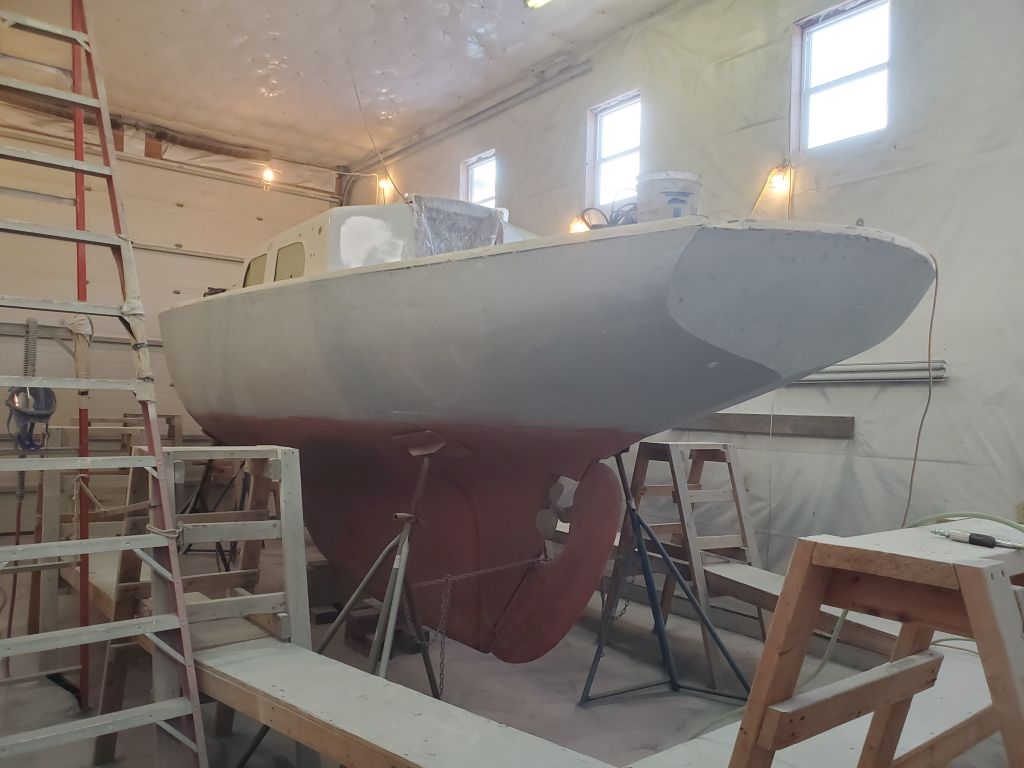
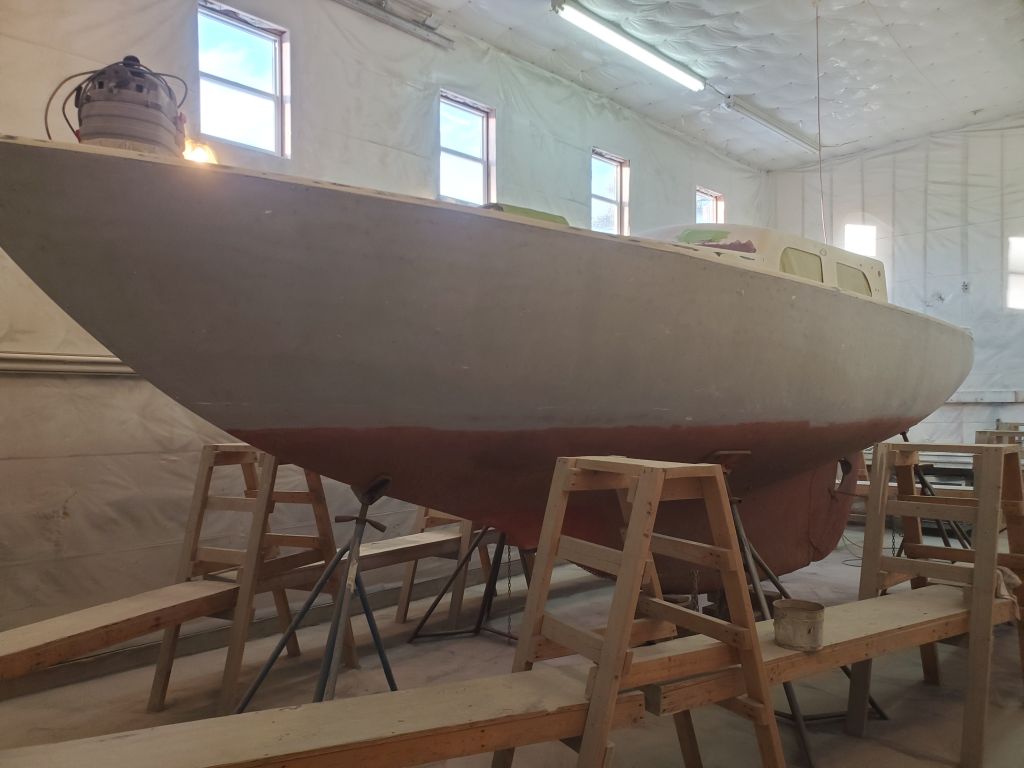
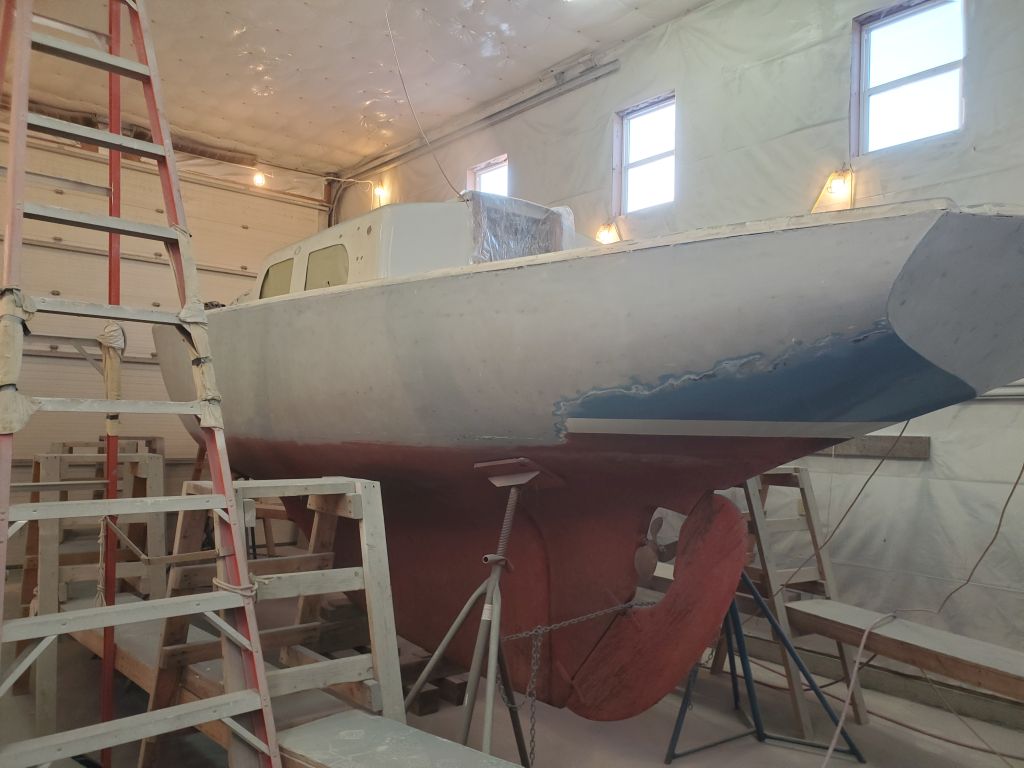
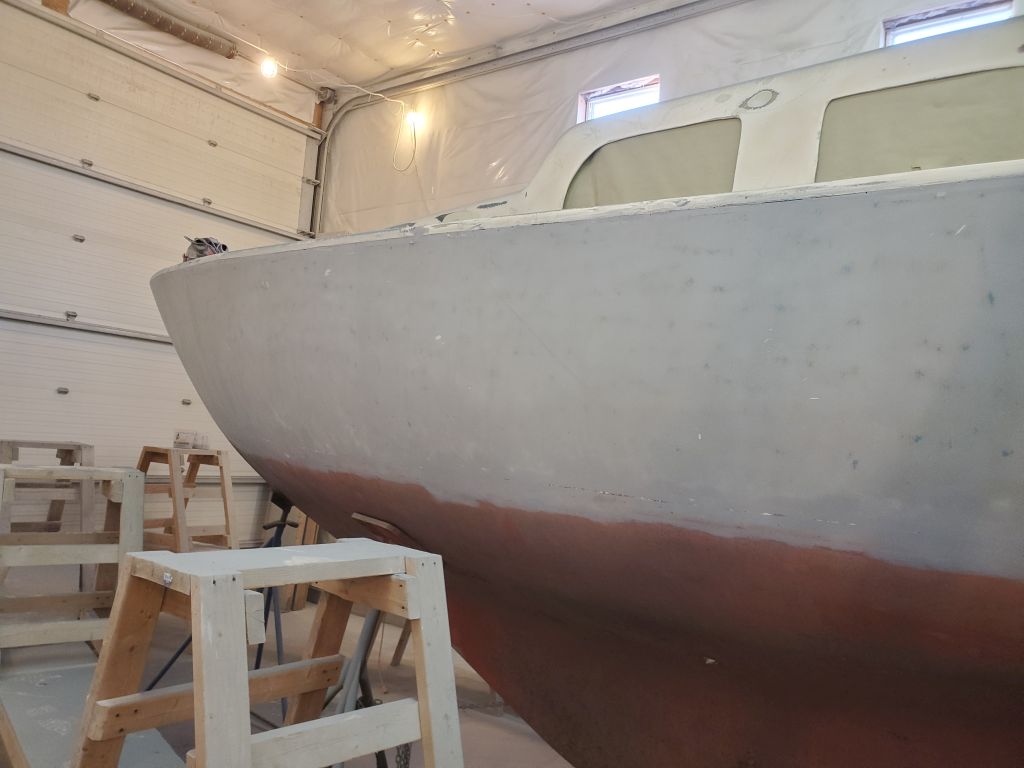
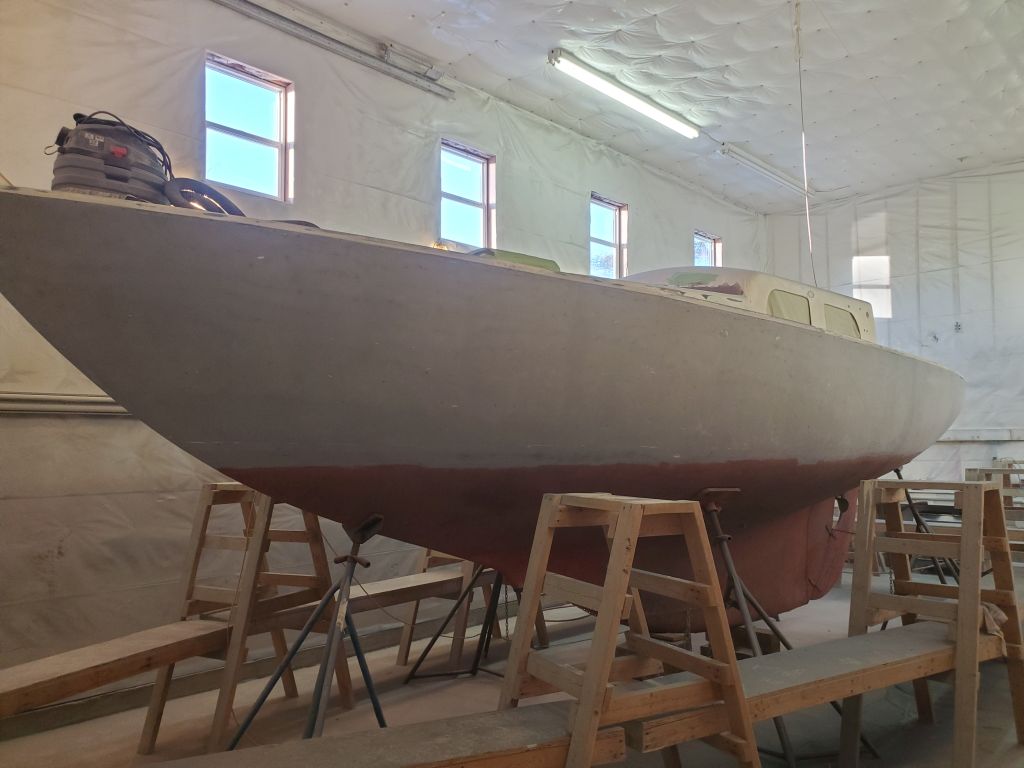
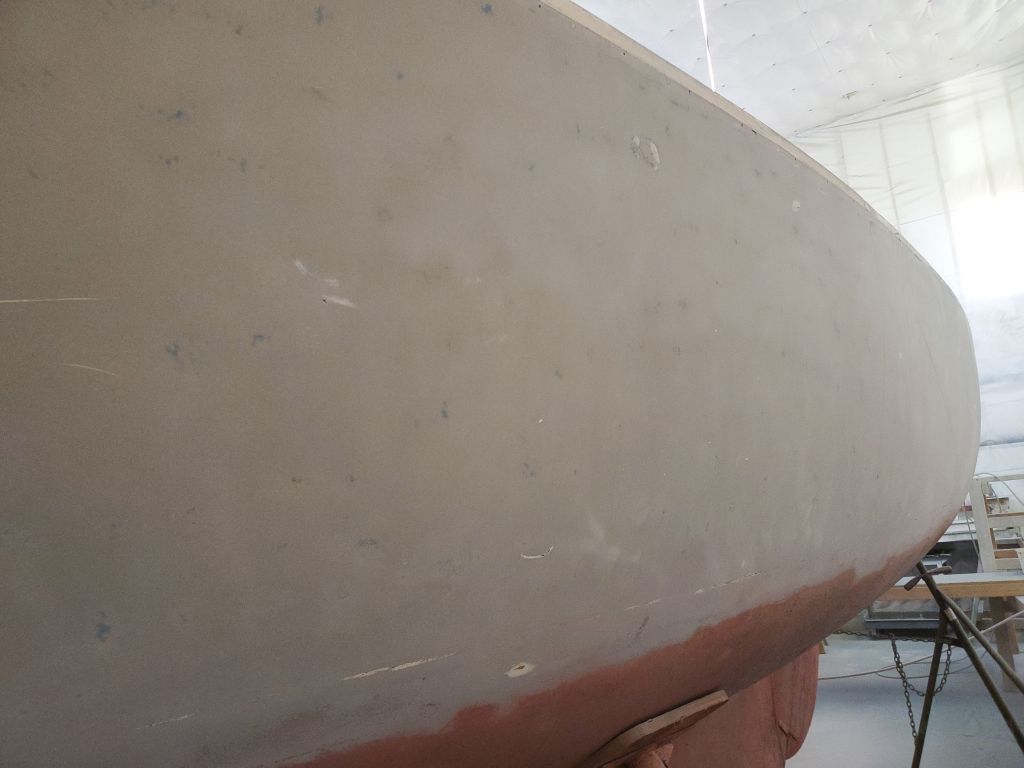
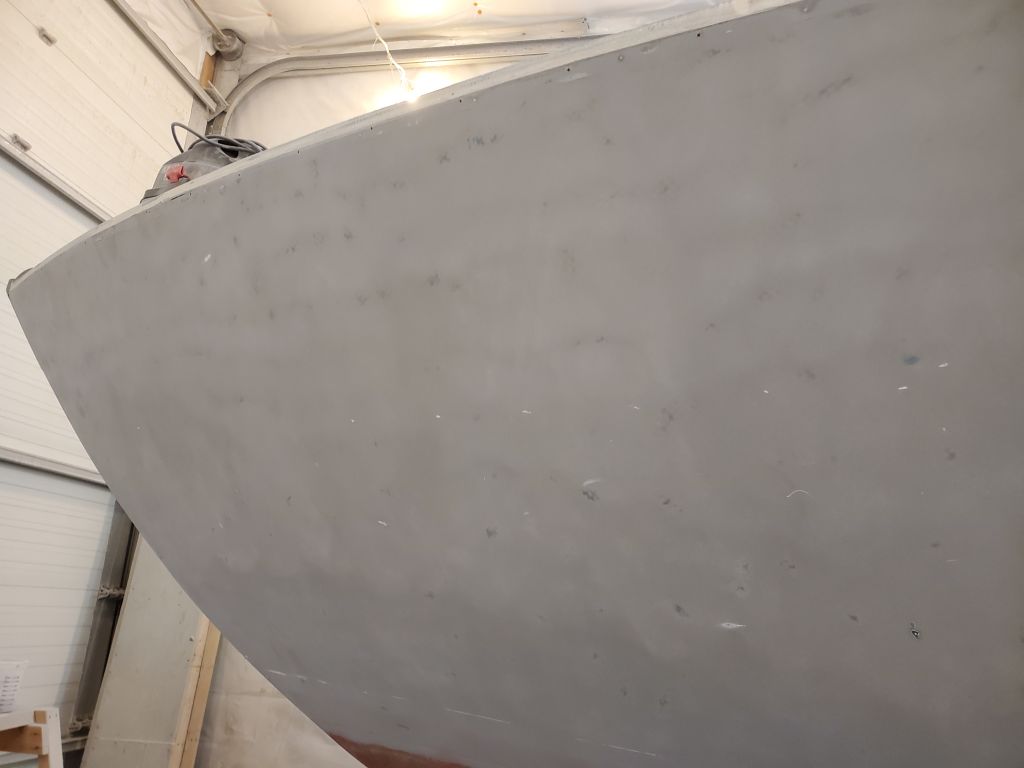
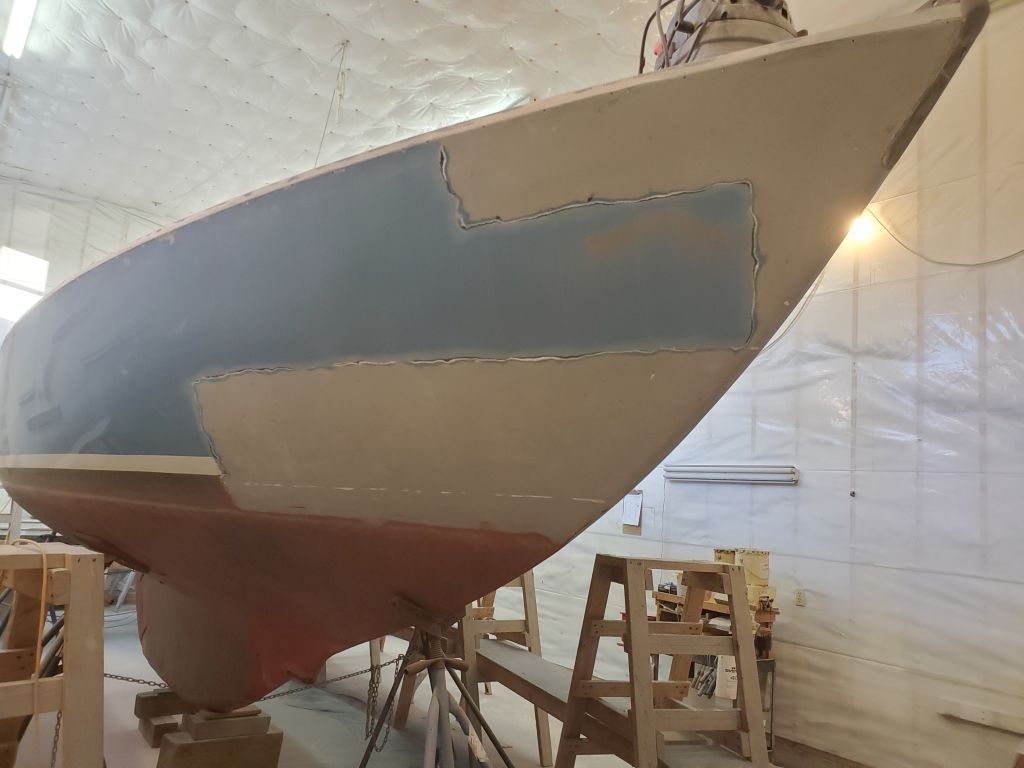
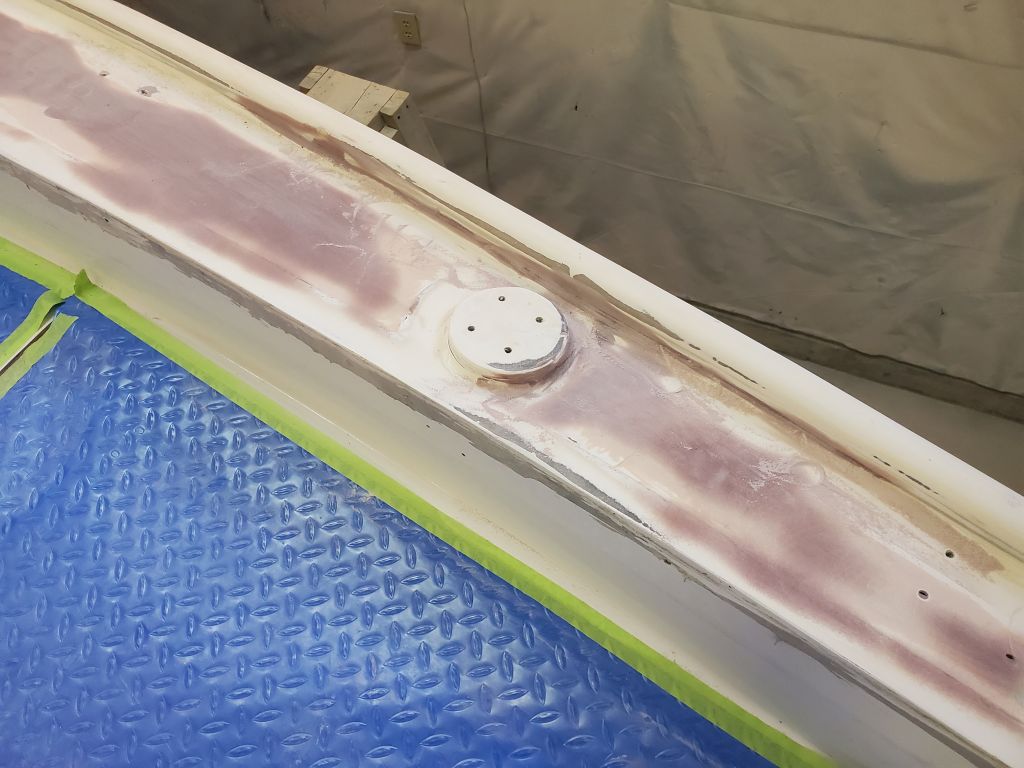
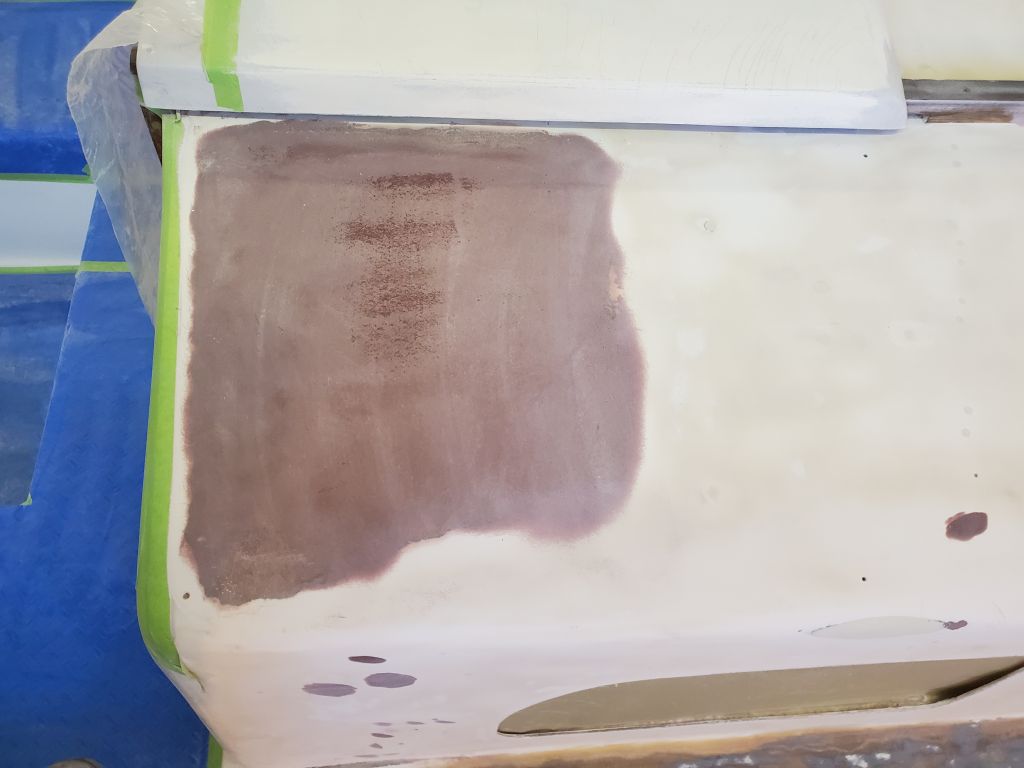
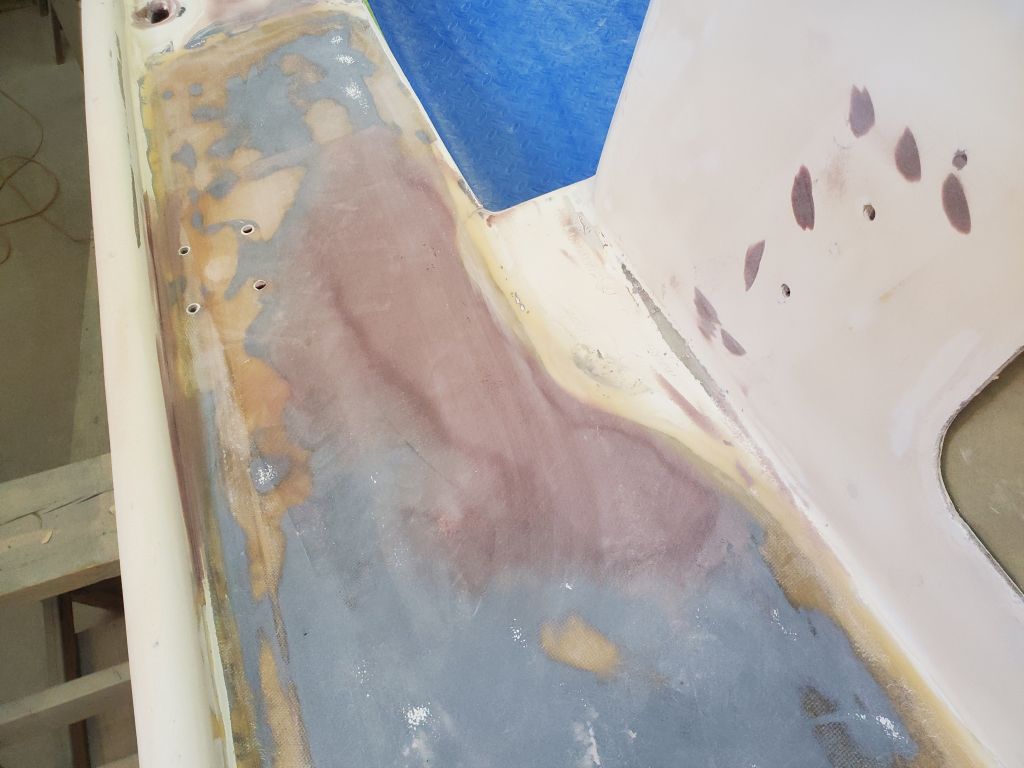
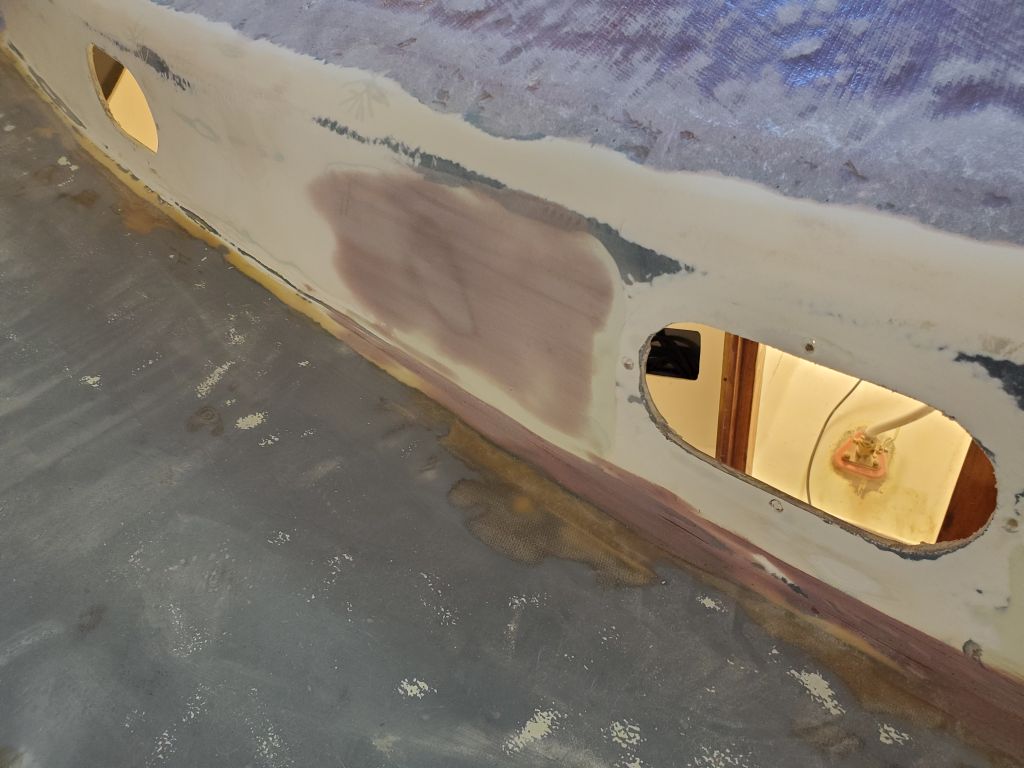
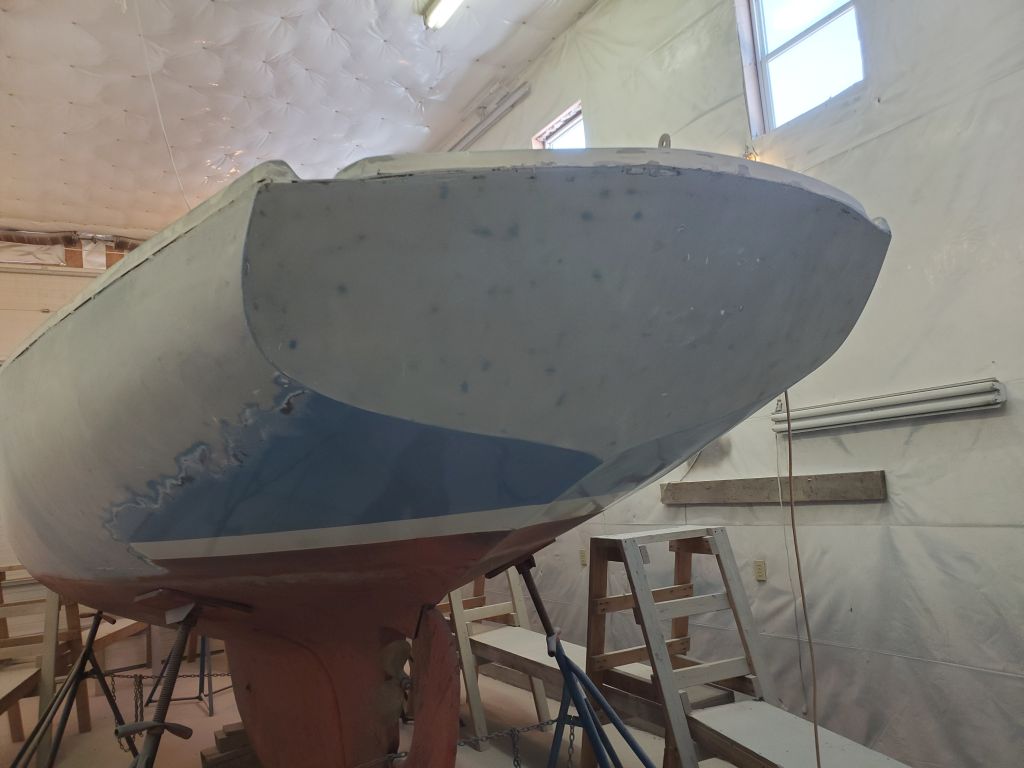
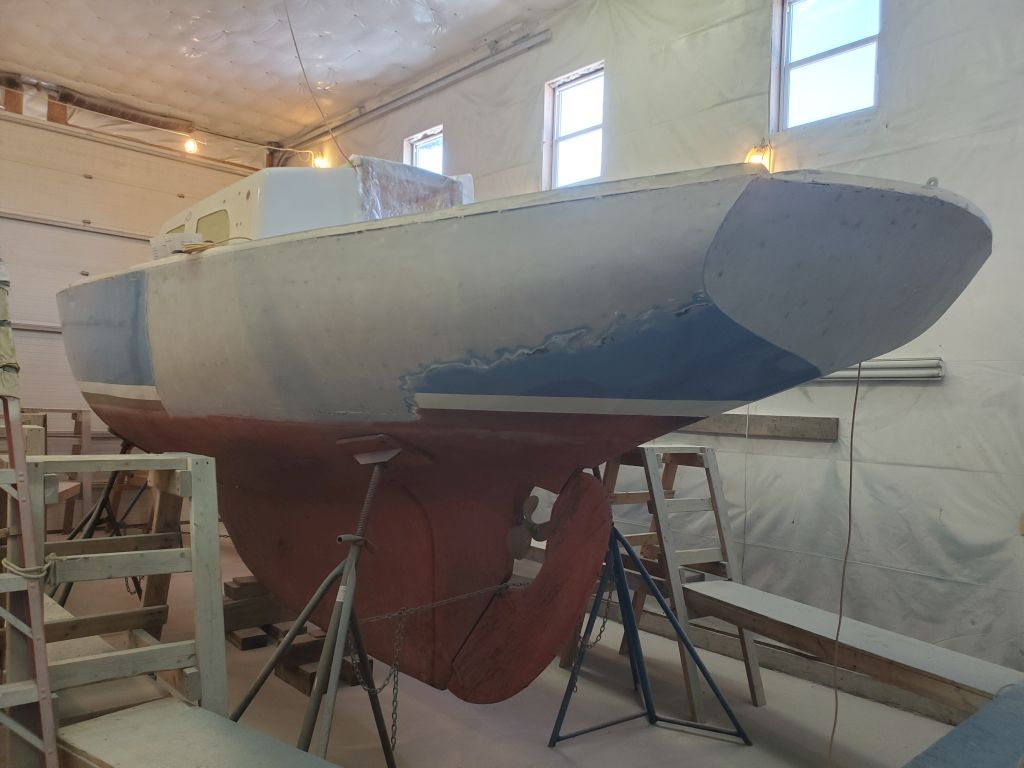
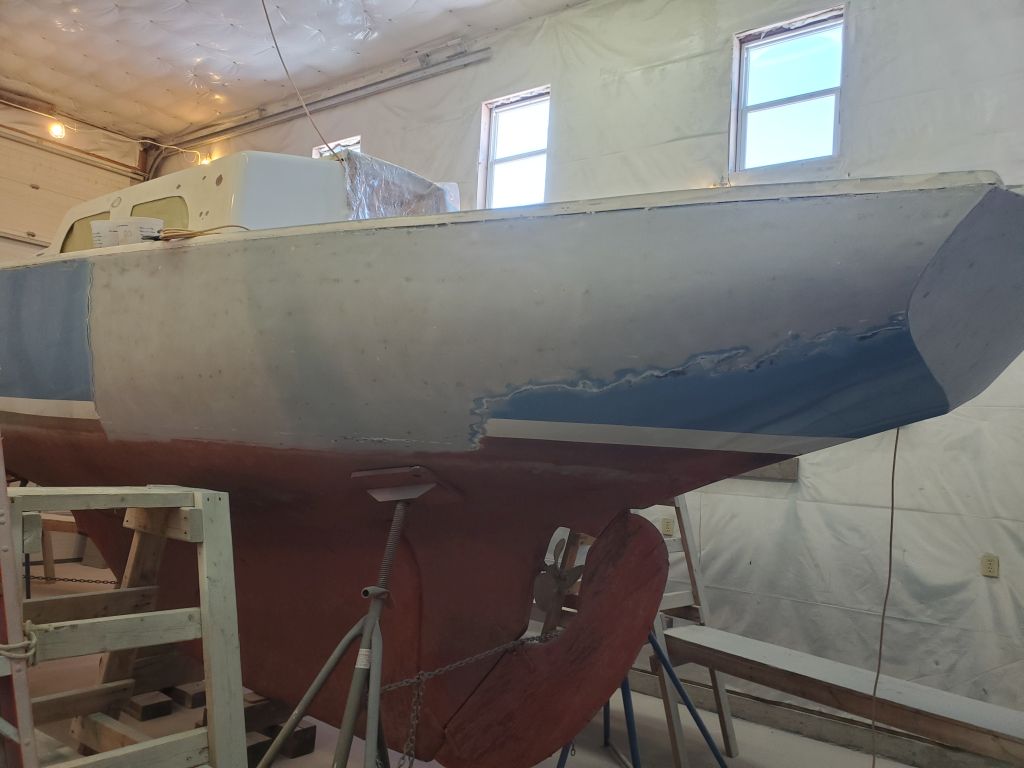
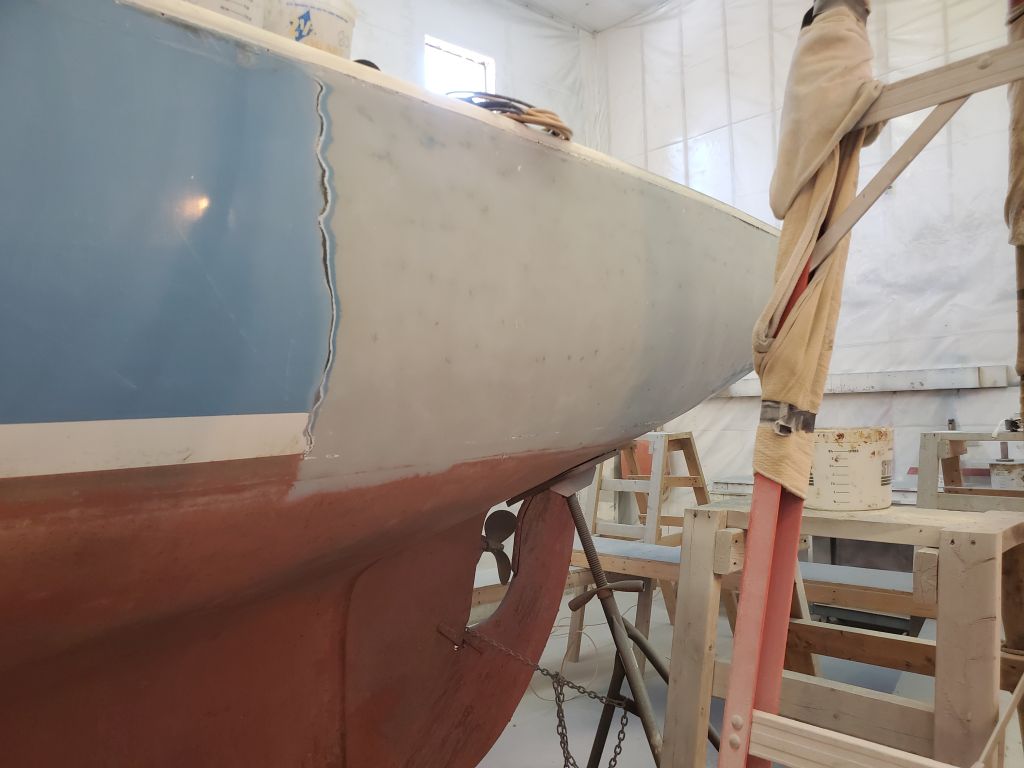
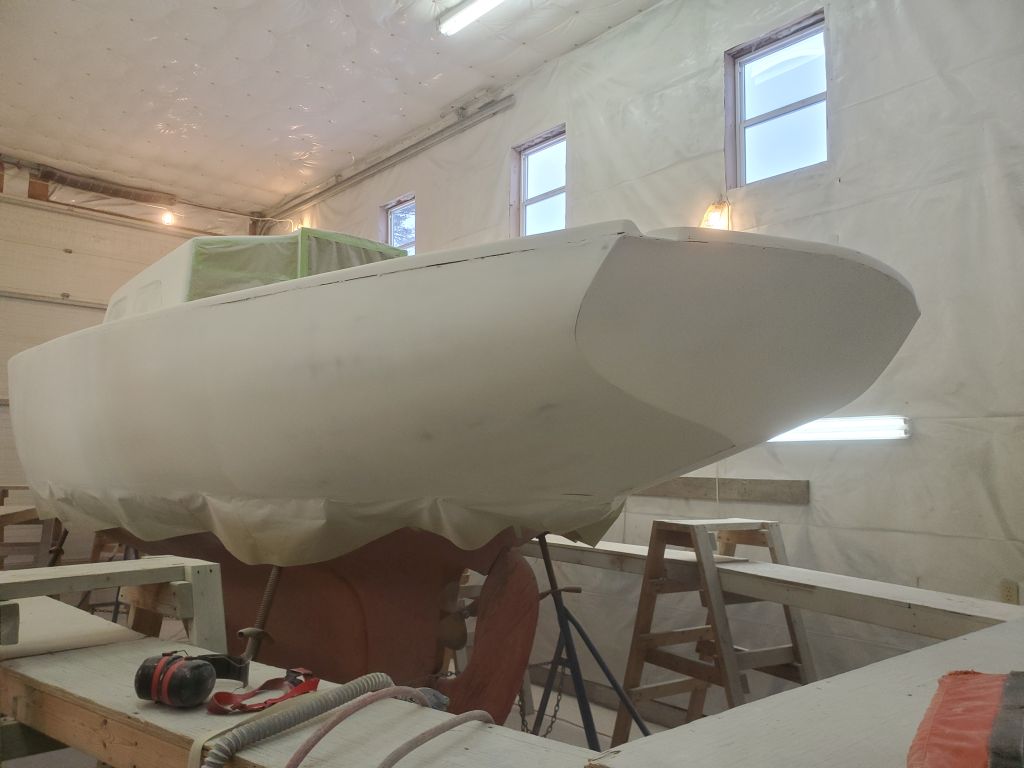
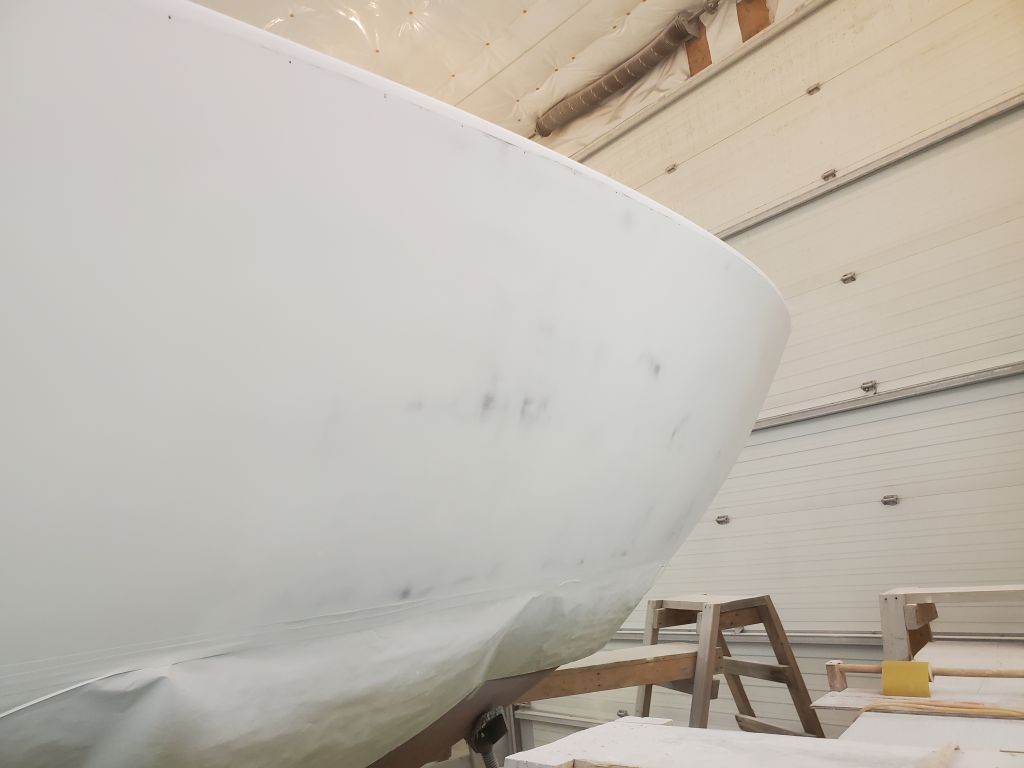
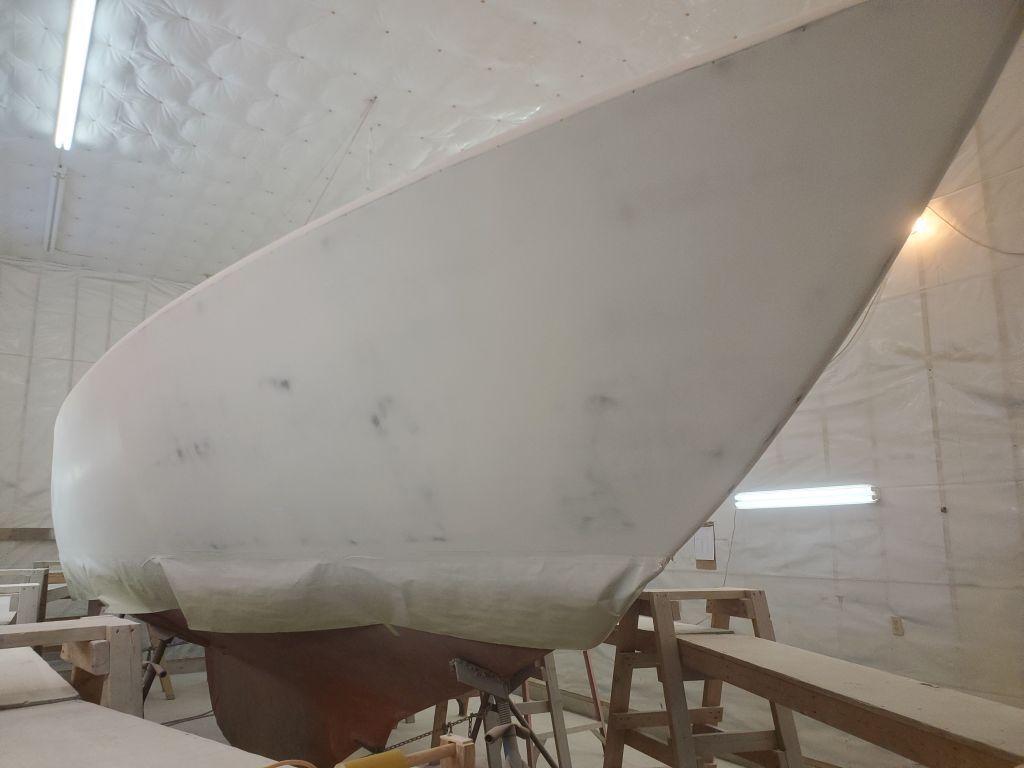
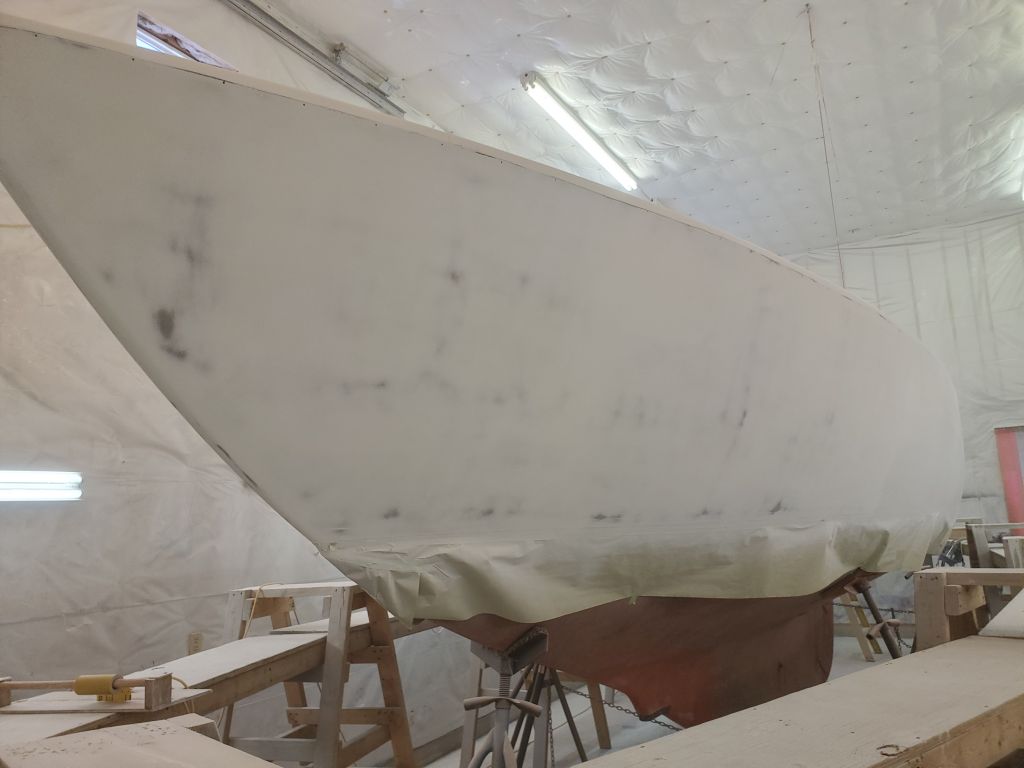
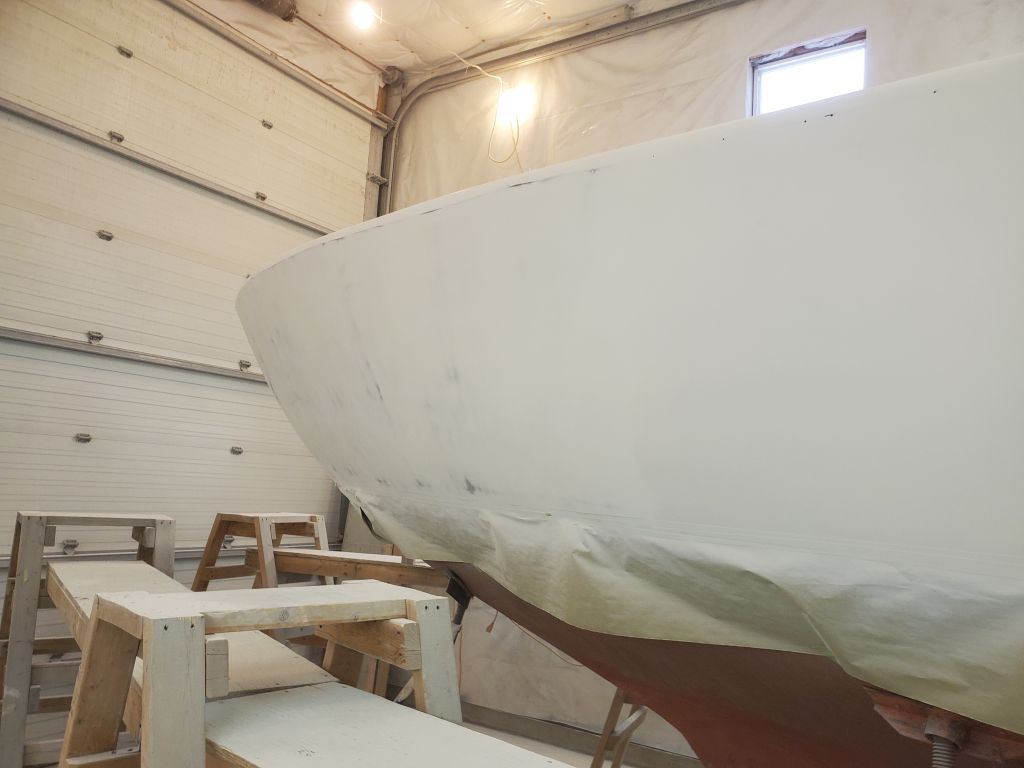
With the deck fully sanded for now, I moved on to the hull, beginning at the stern with the counter, transom, and the rest of the hull about as far forward as the after set of jackstands, or roughly about the after third of the boat; then, I sanded both sides of the bow, roughly the forward third of the hull in length, though greater in area. With the ends done, this left me only the amidships sections of the boat–the easier parts–to finish on the morrow.


Total time billed on this job today: 7 hours
0600 Weather Observation: 40°, overcast. Forecast for the day: Fog and clouds, then rain late, turning to sleet and snow overnight, 41°