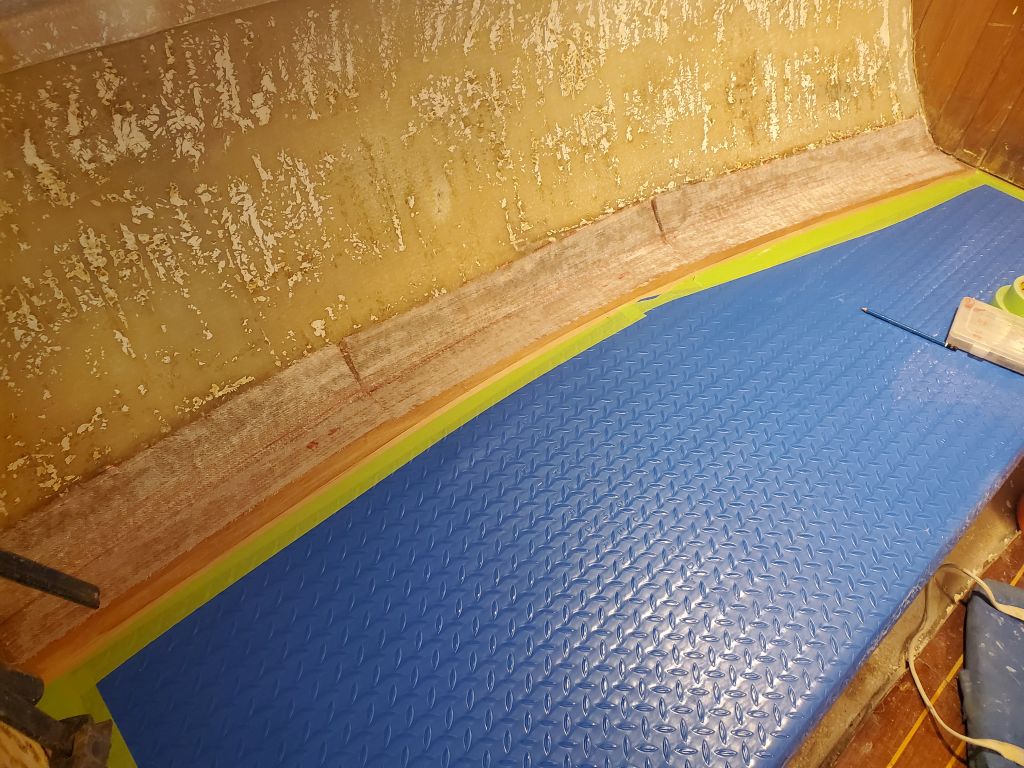
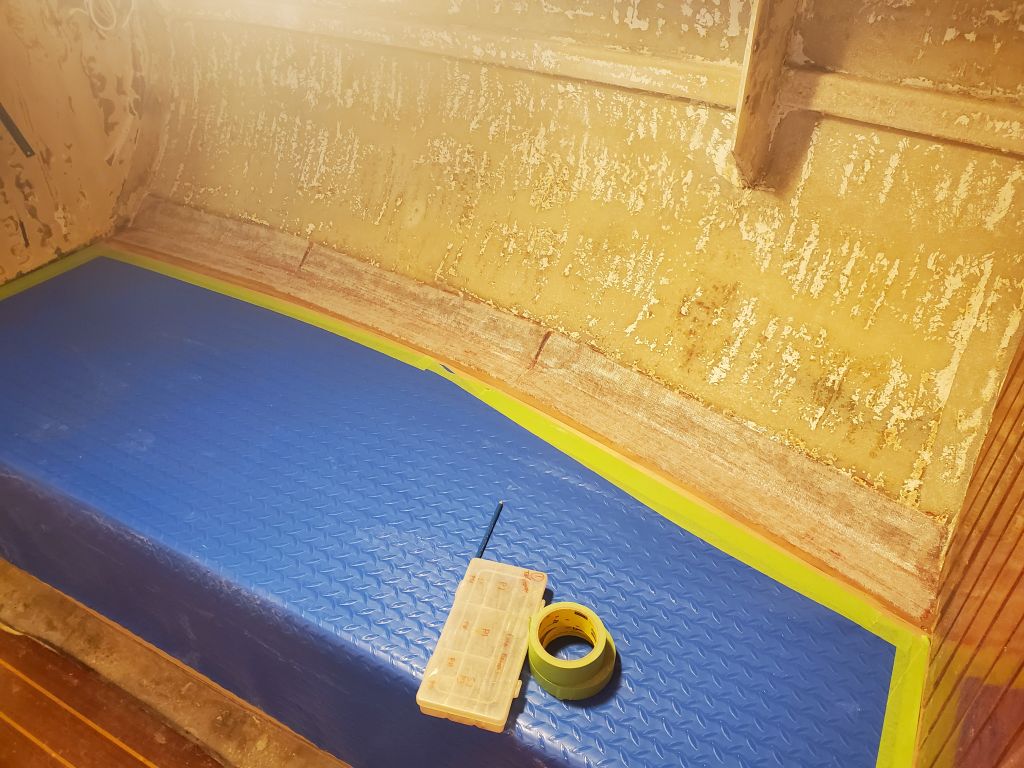
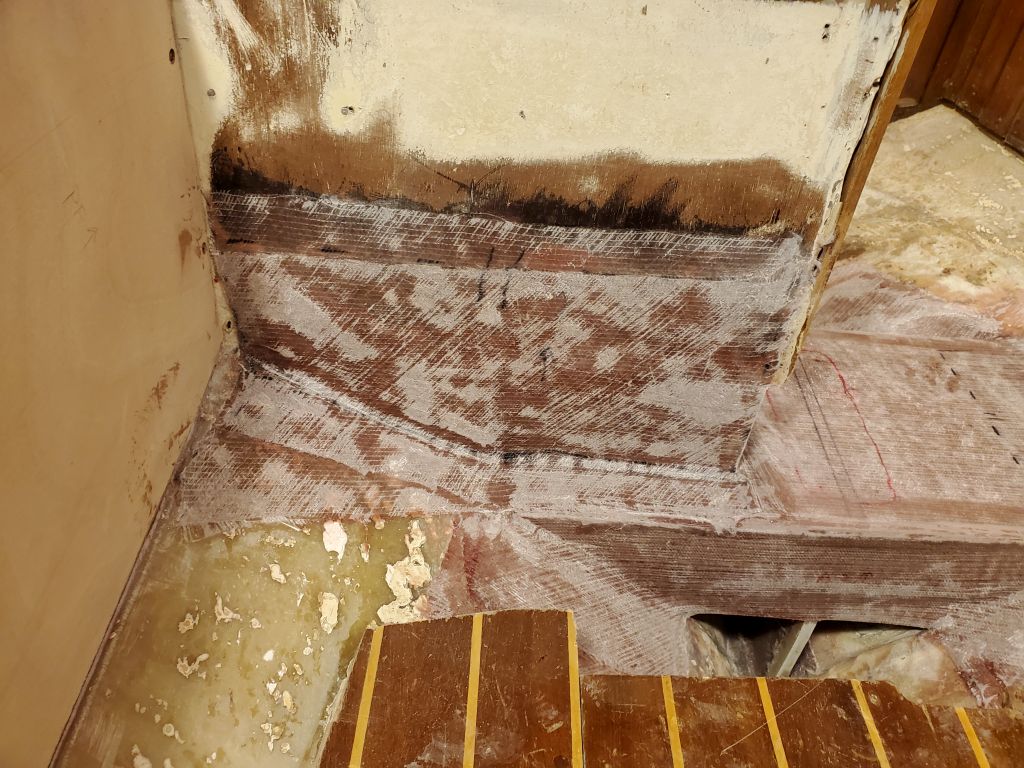
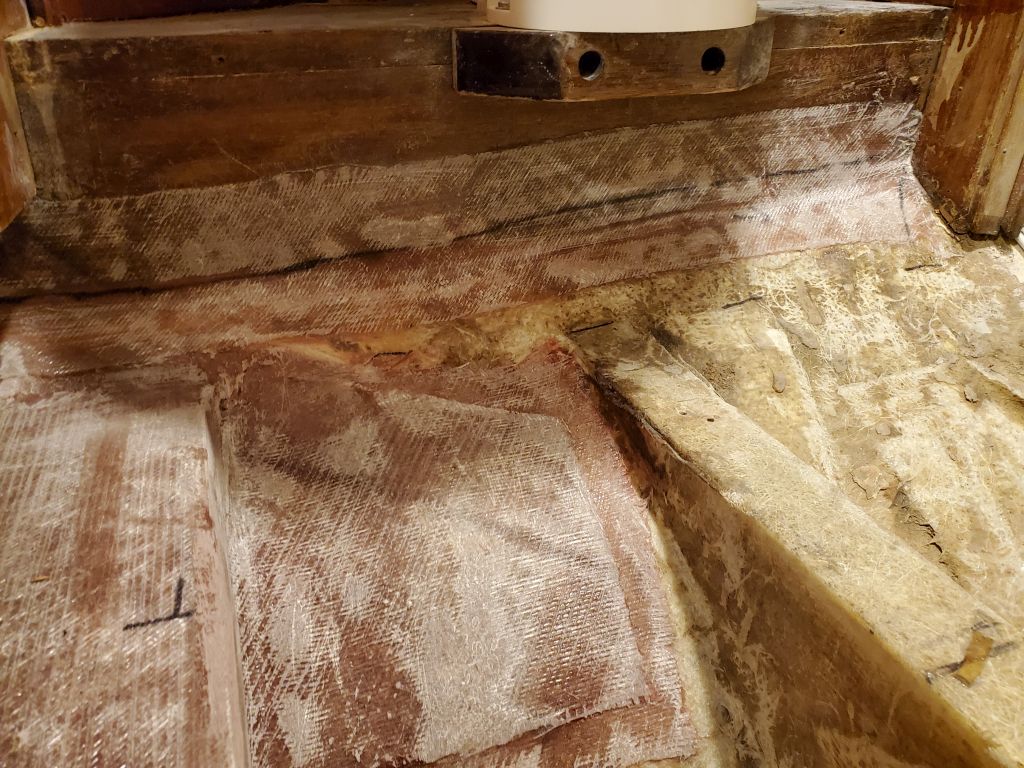
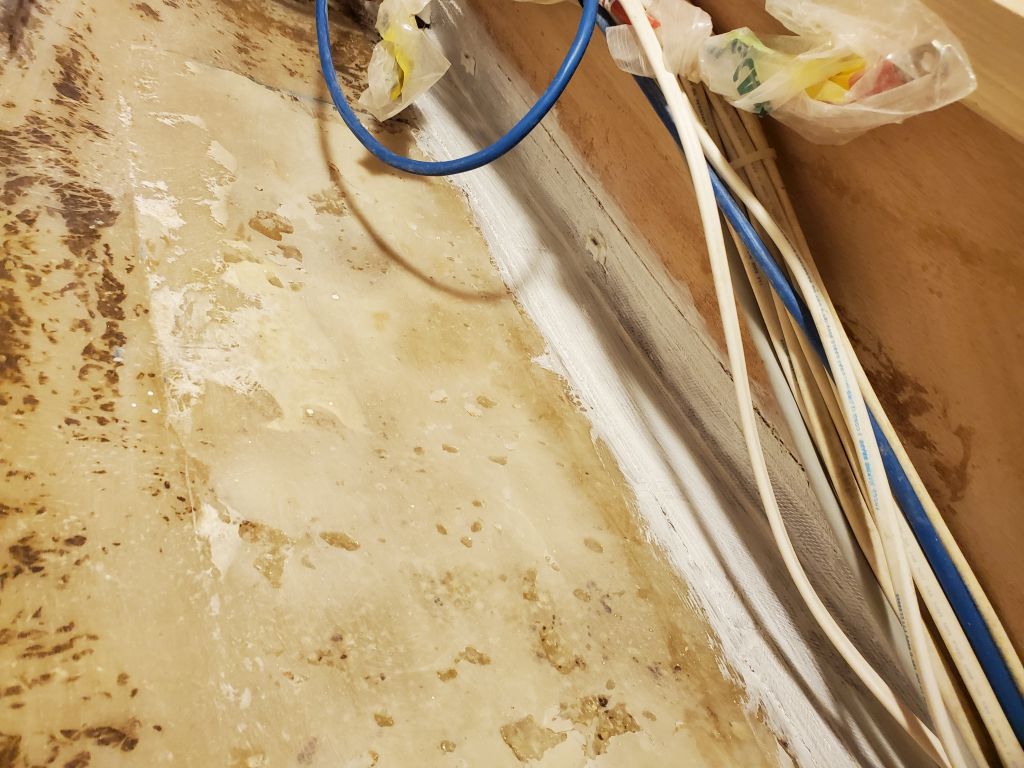
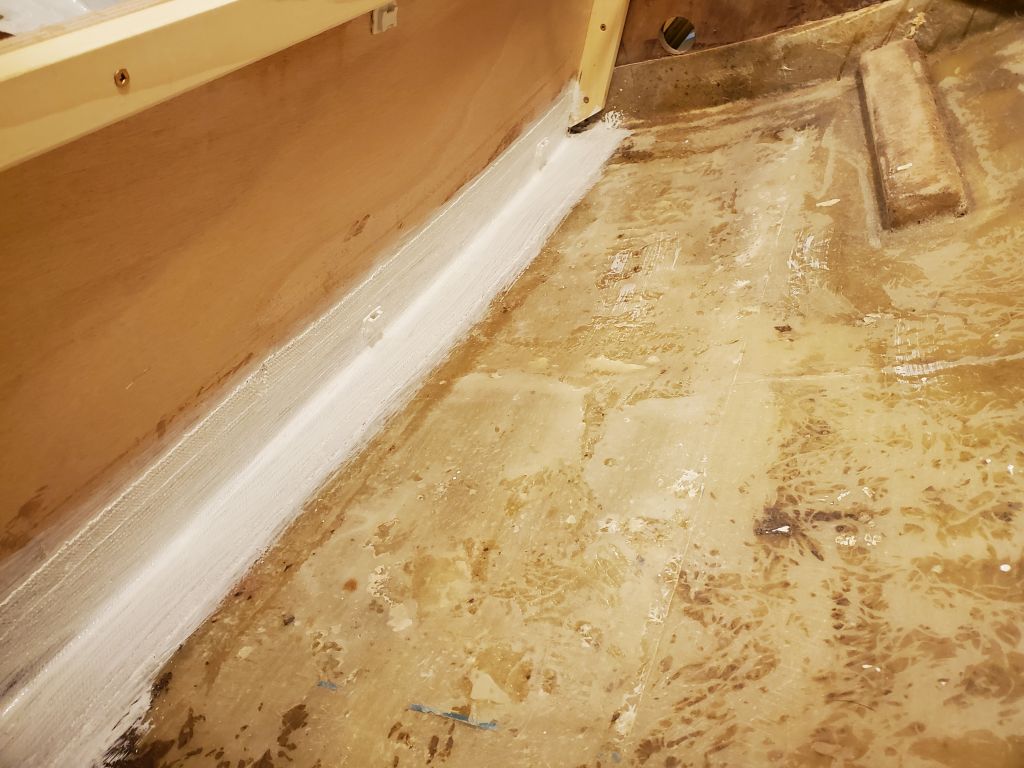
I continued work on the stove cabinet, starting with a quick sanding of the new tabbing.
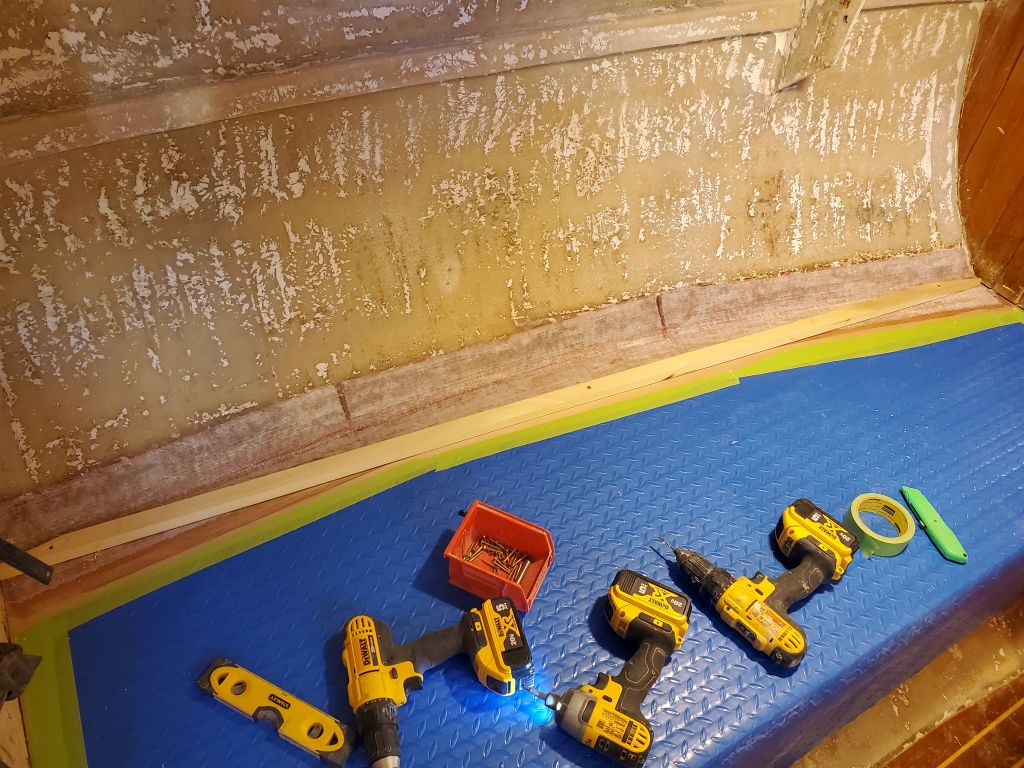
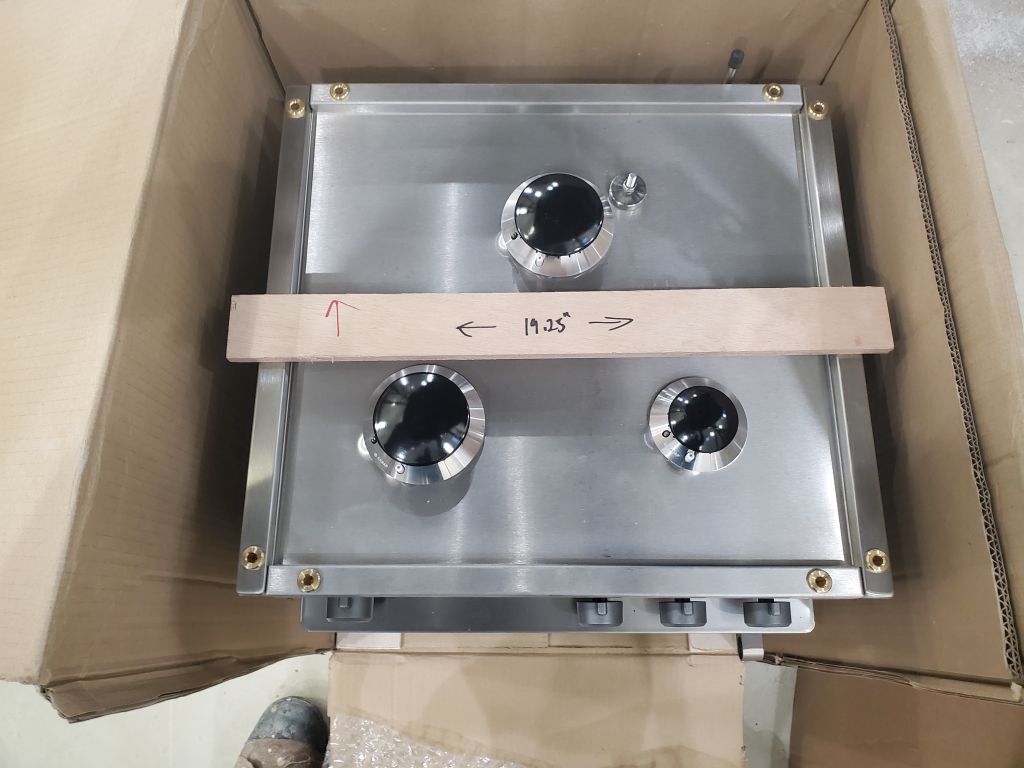
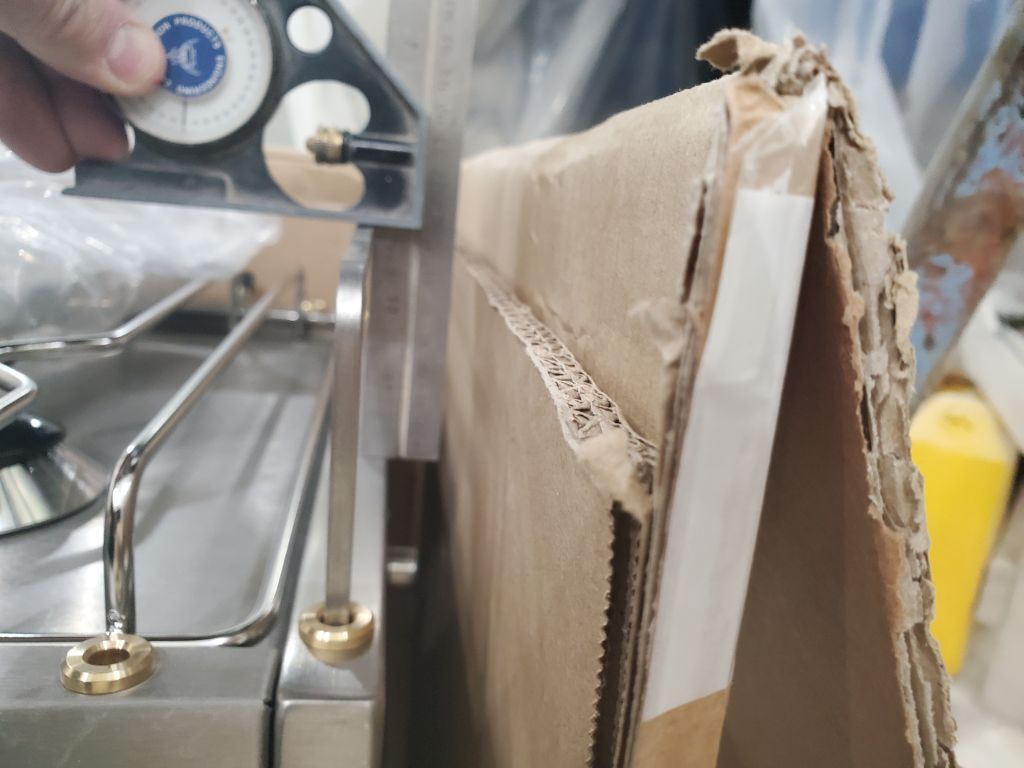
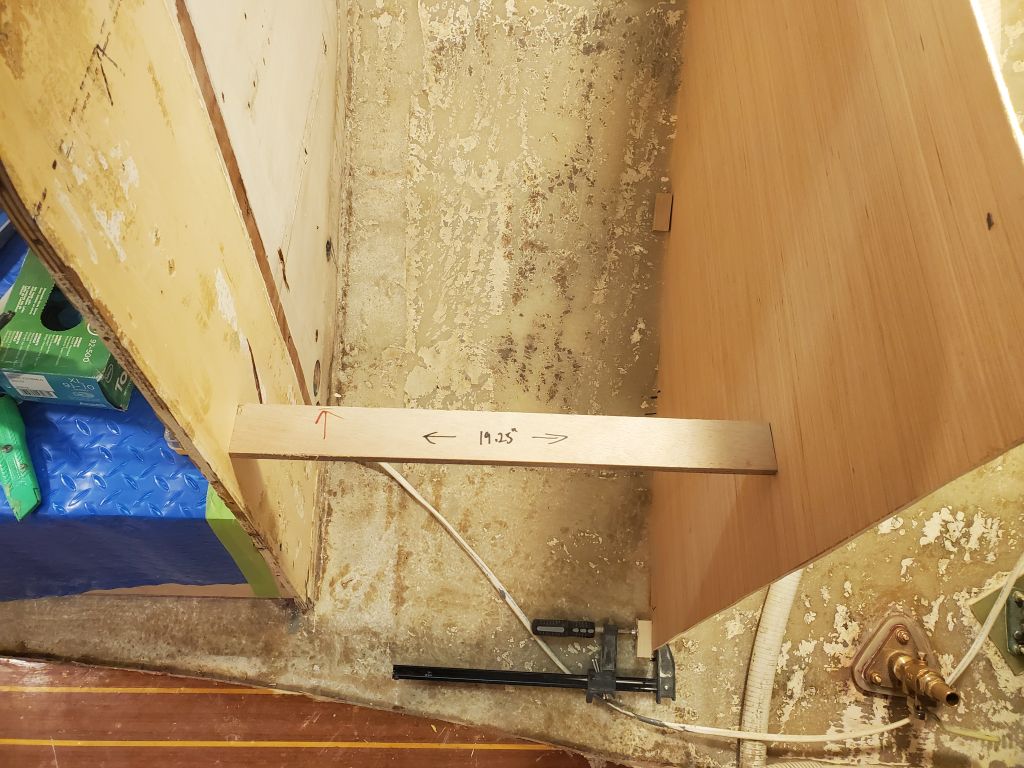
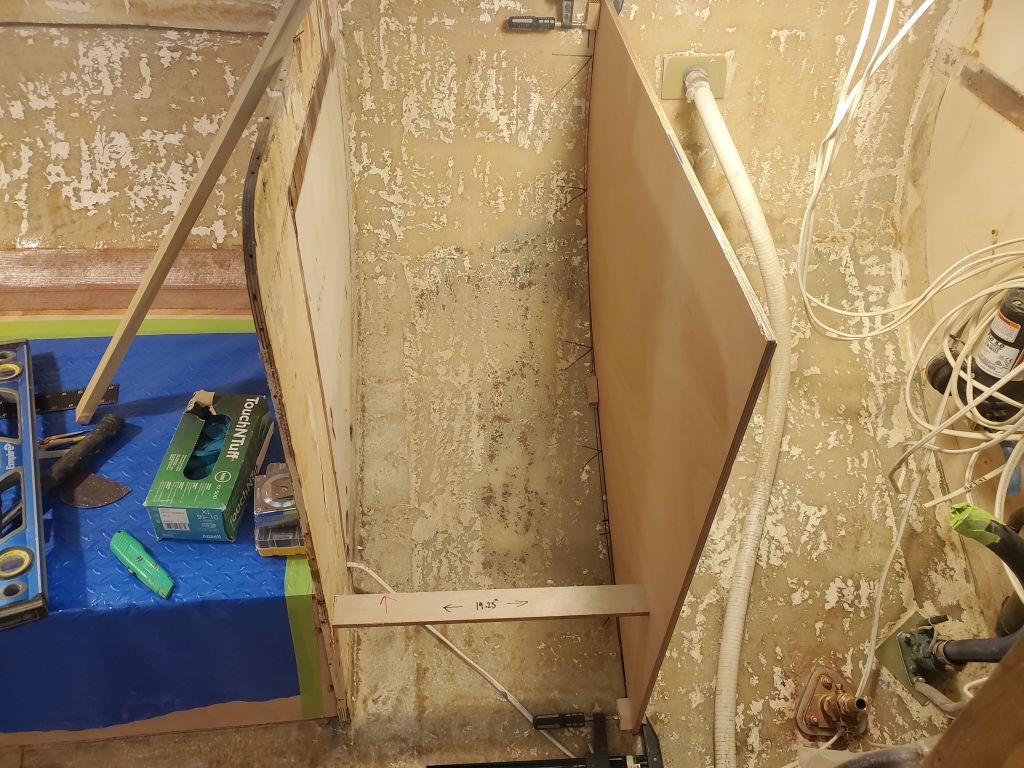
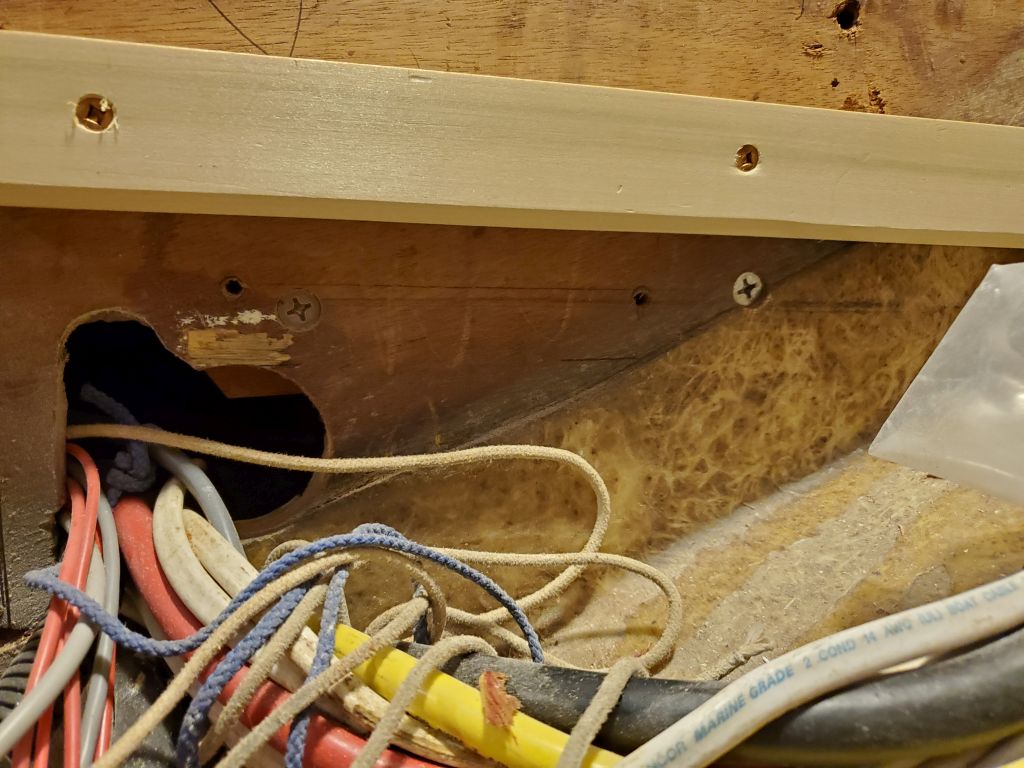
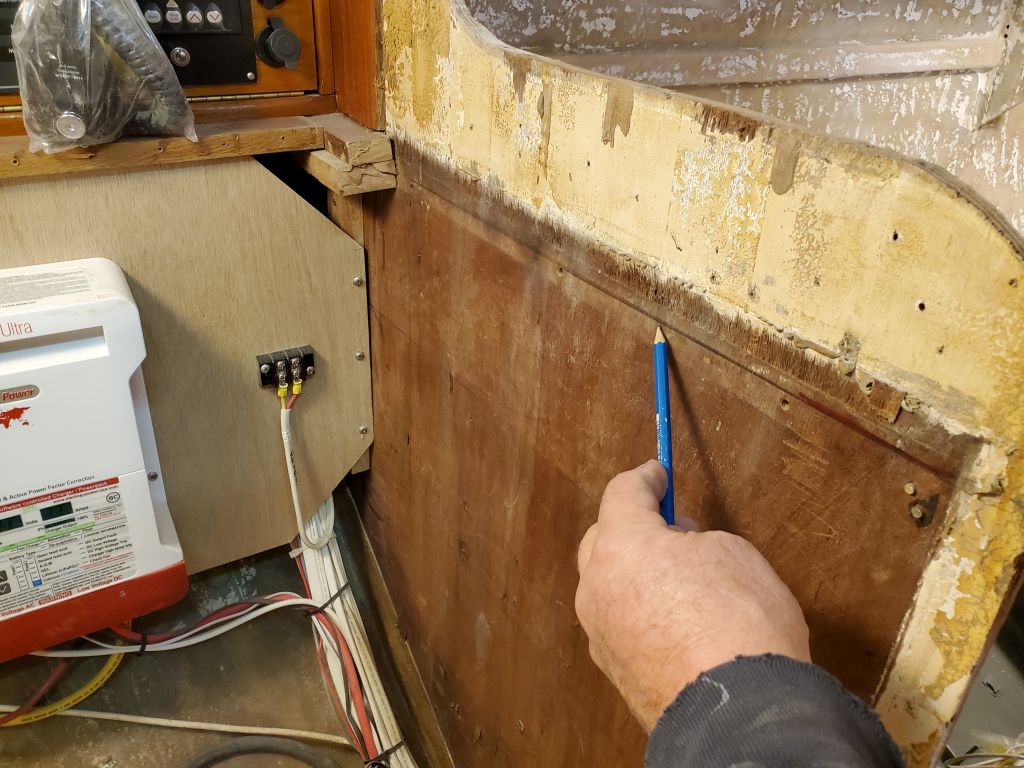
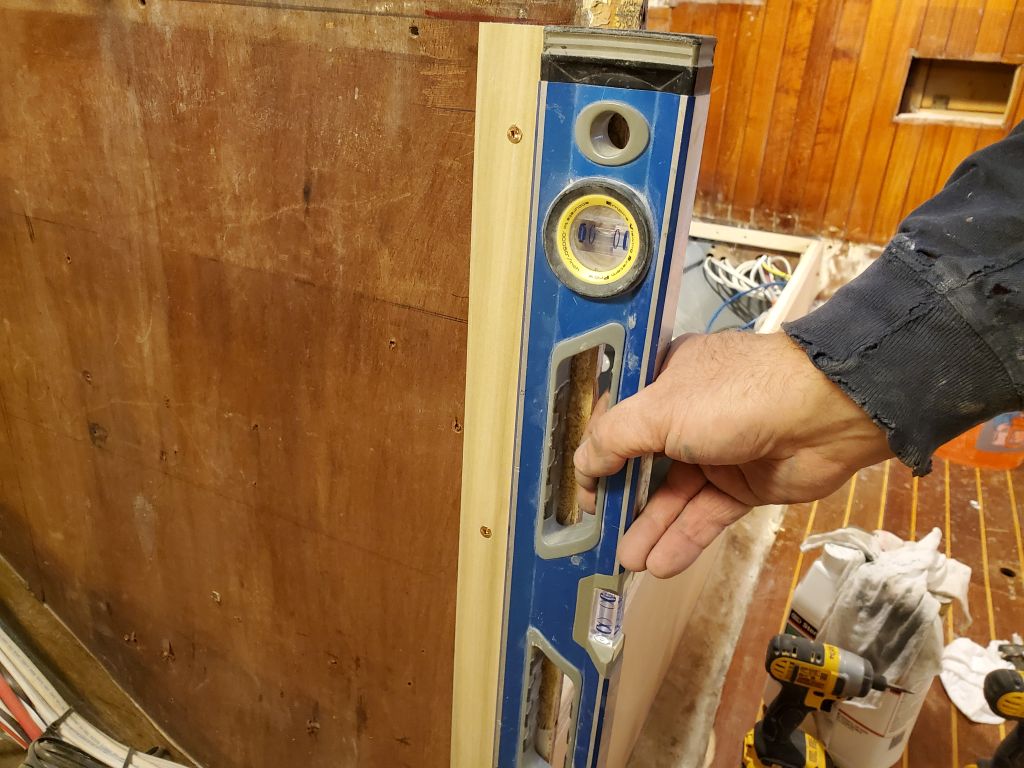
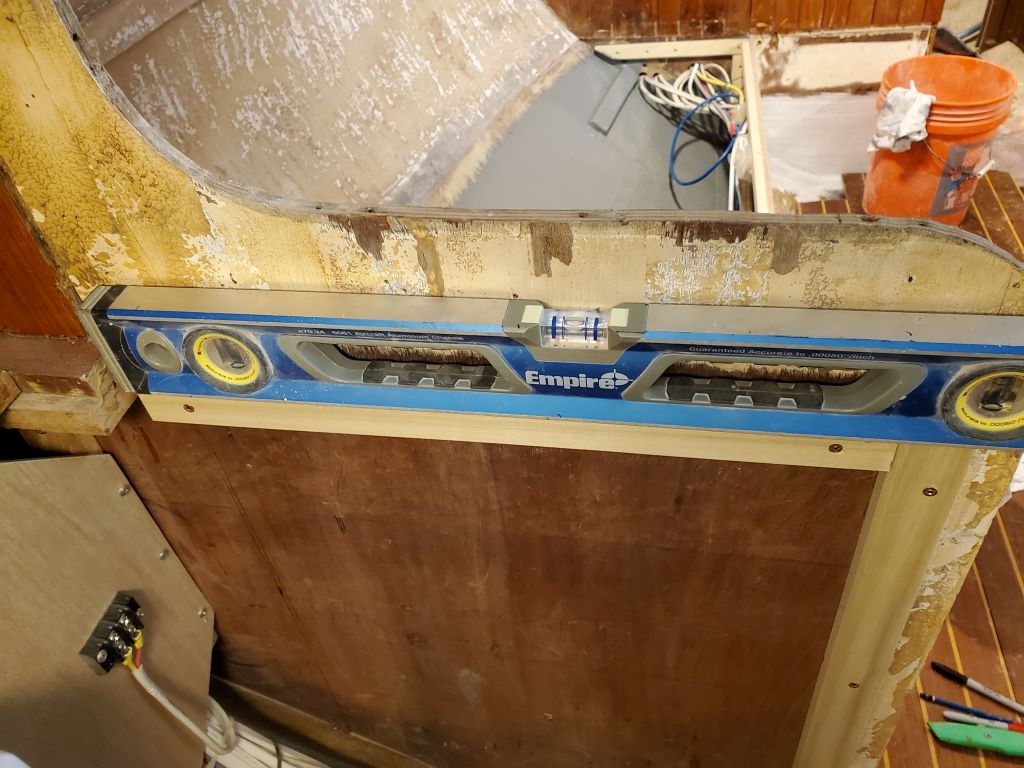
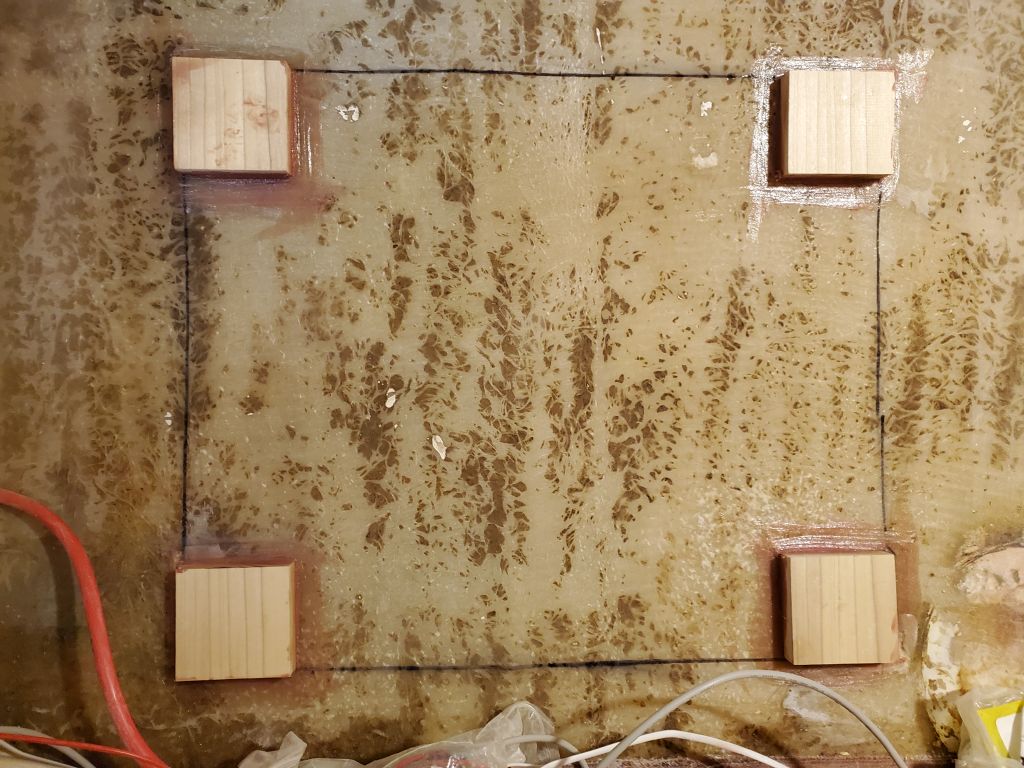
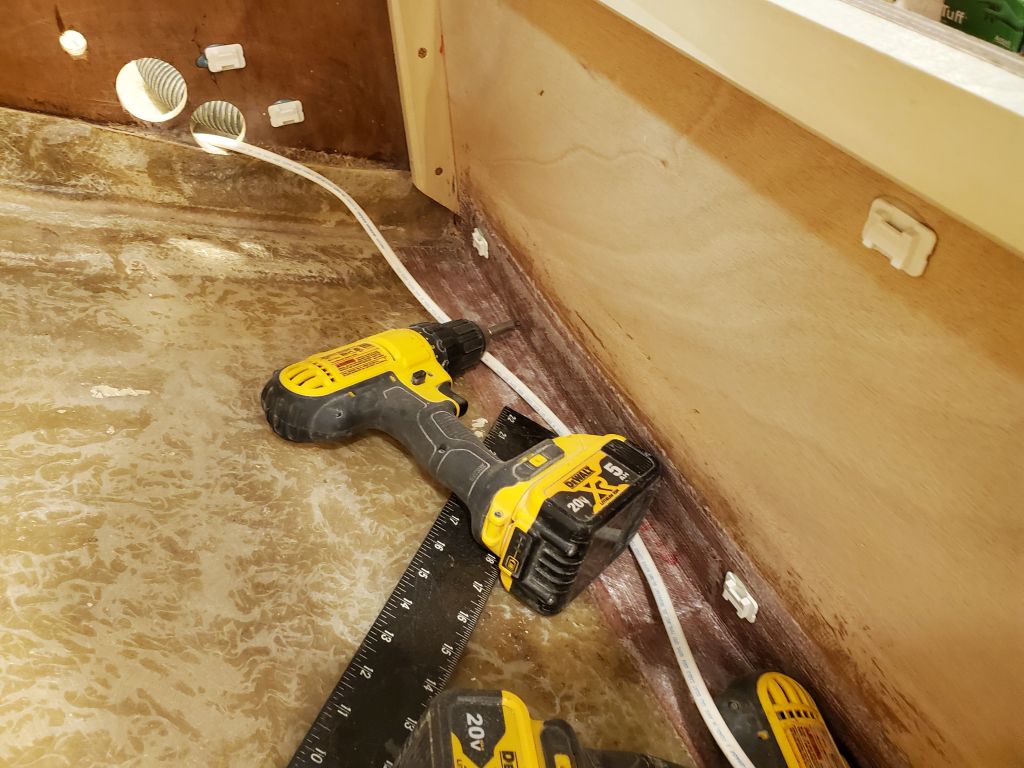
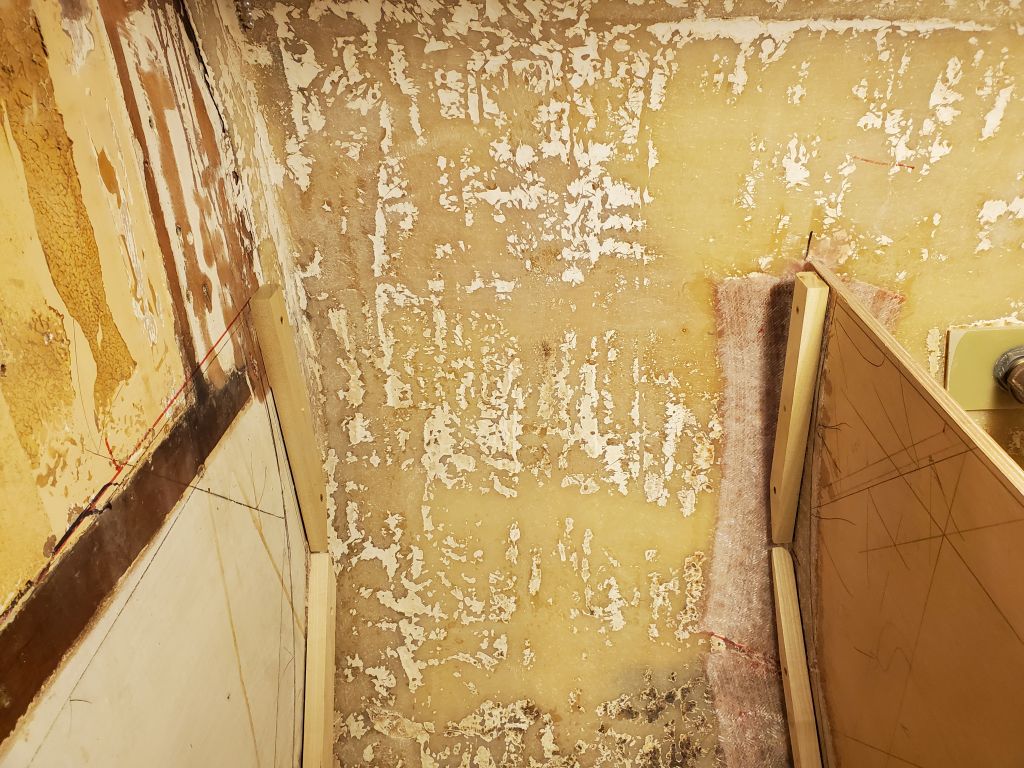
Afterwards, I spent most of the rest of the day laying out and installing the support cleats for the stove enclosure. It didn’t seem possible that eight little cleats could take so long, but so it was. The main complicating factor was transferring exact positions across the narrow space to ensure all layouts were identical; this was a bit of a challenge (and time-consuming) because the forward, original, bulkhead was not square nor perfectly plumb, and I had to build a custom square of sorts to fit in the space and allow me to transfer the positions across as needed, since my existing commercial tools were too wide or too narrow for the job in this 19″ wide space.
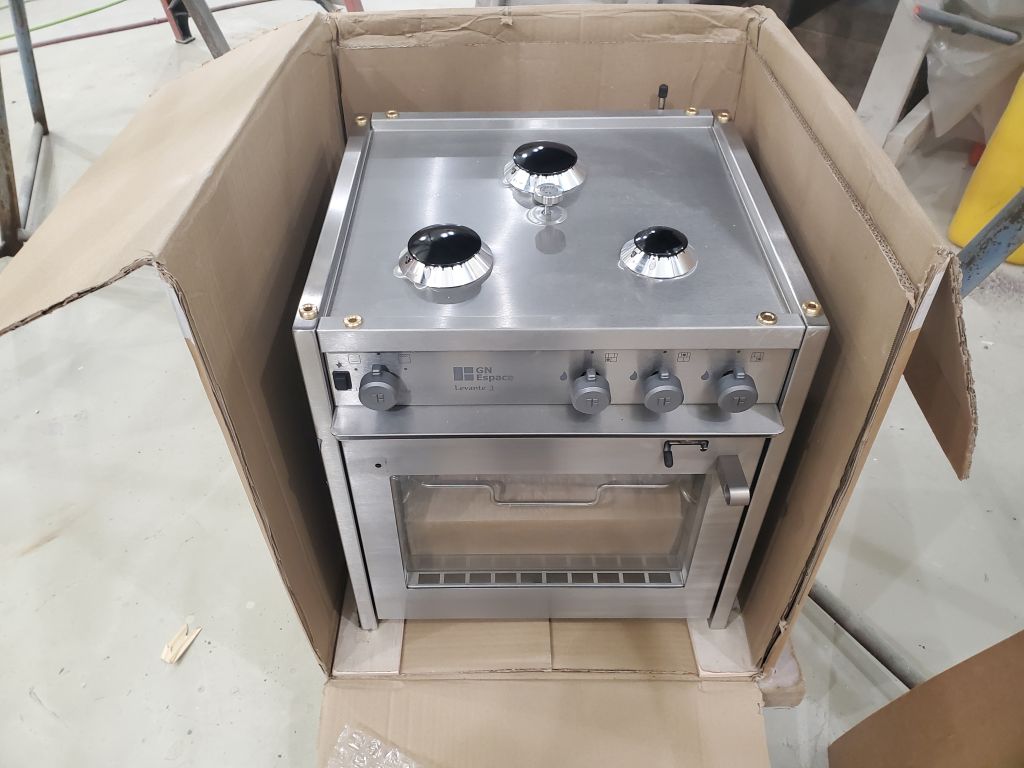
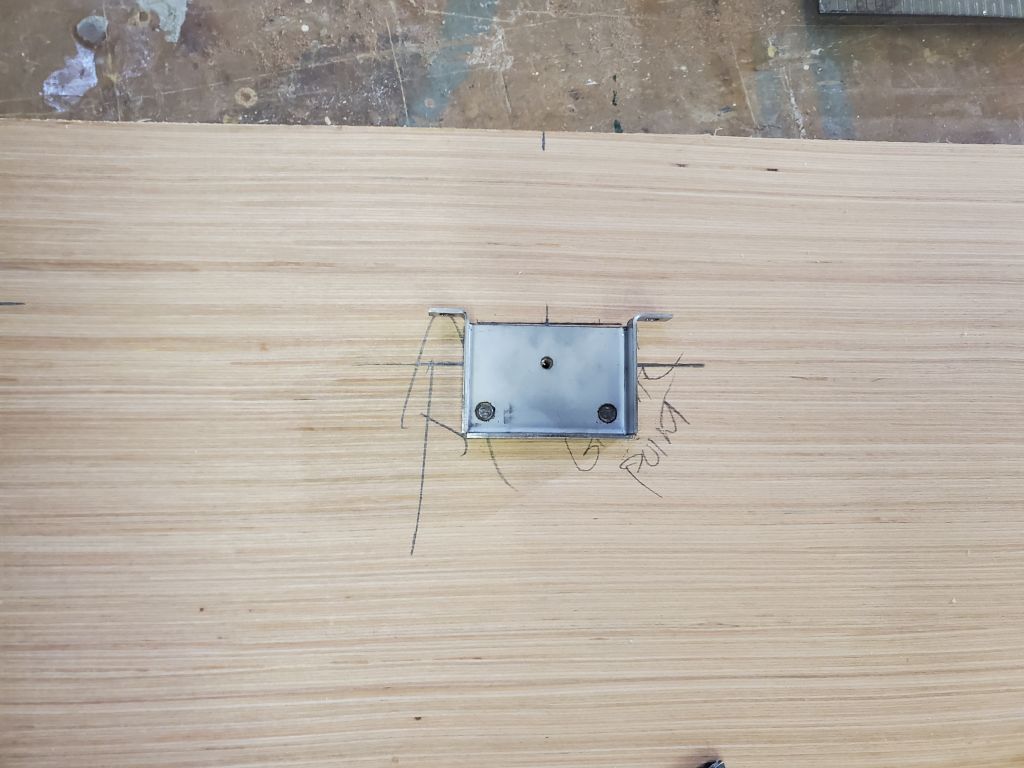
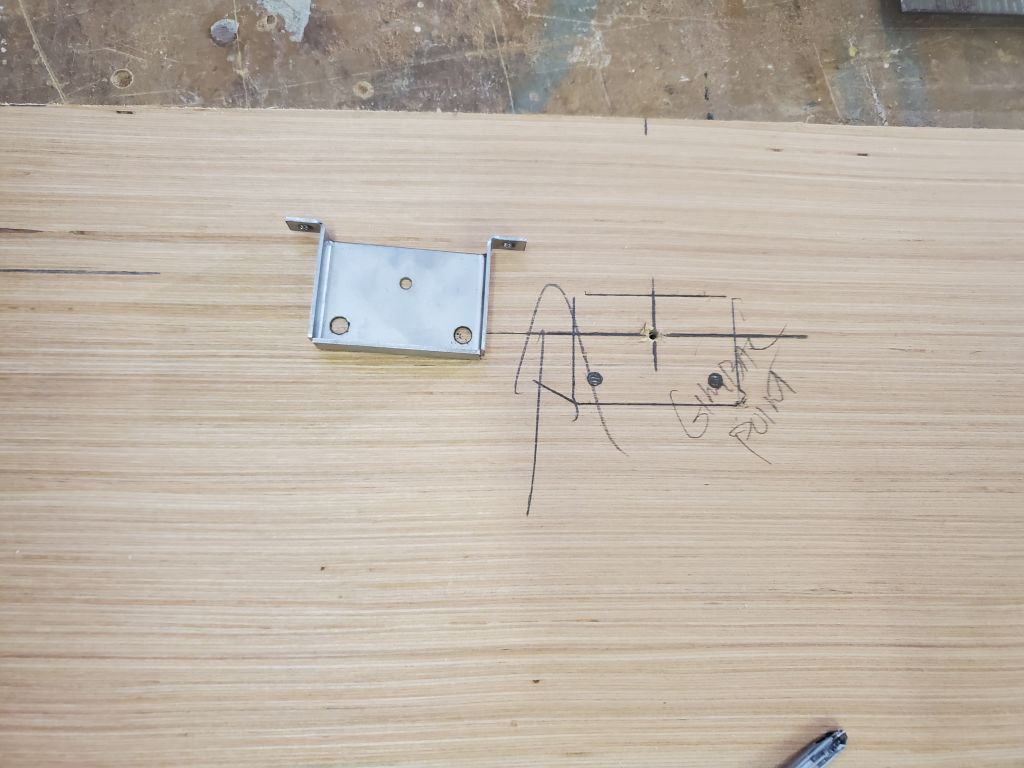
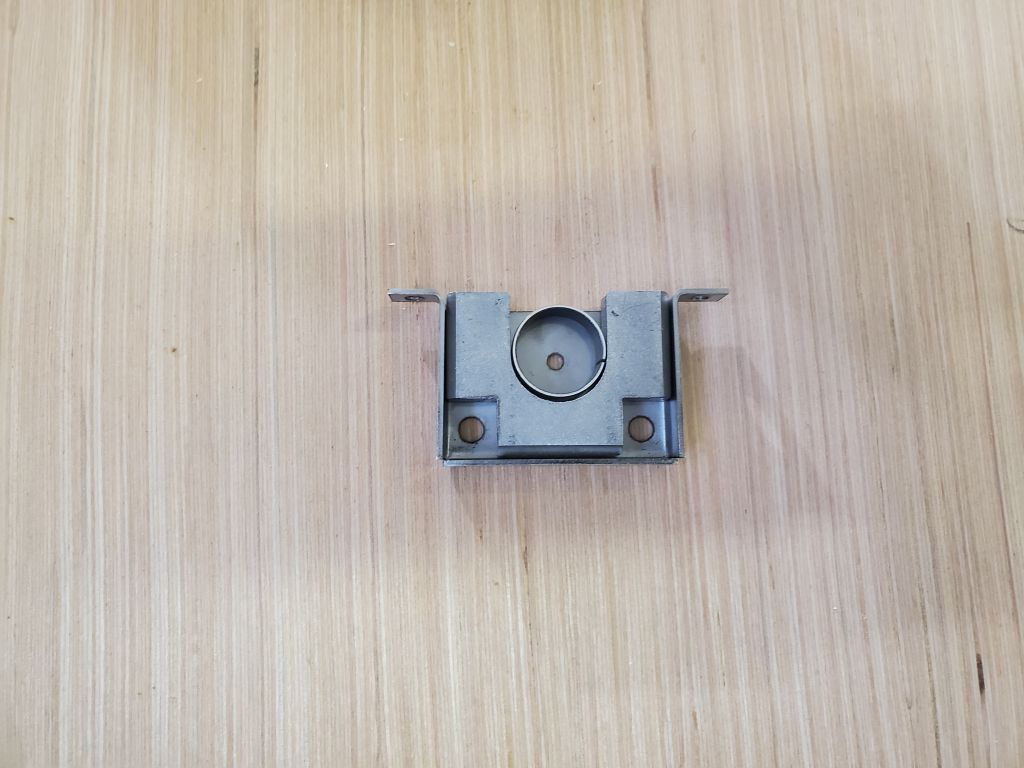
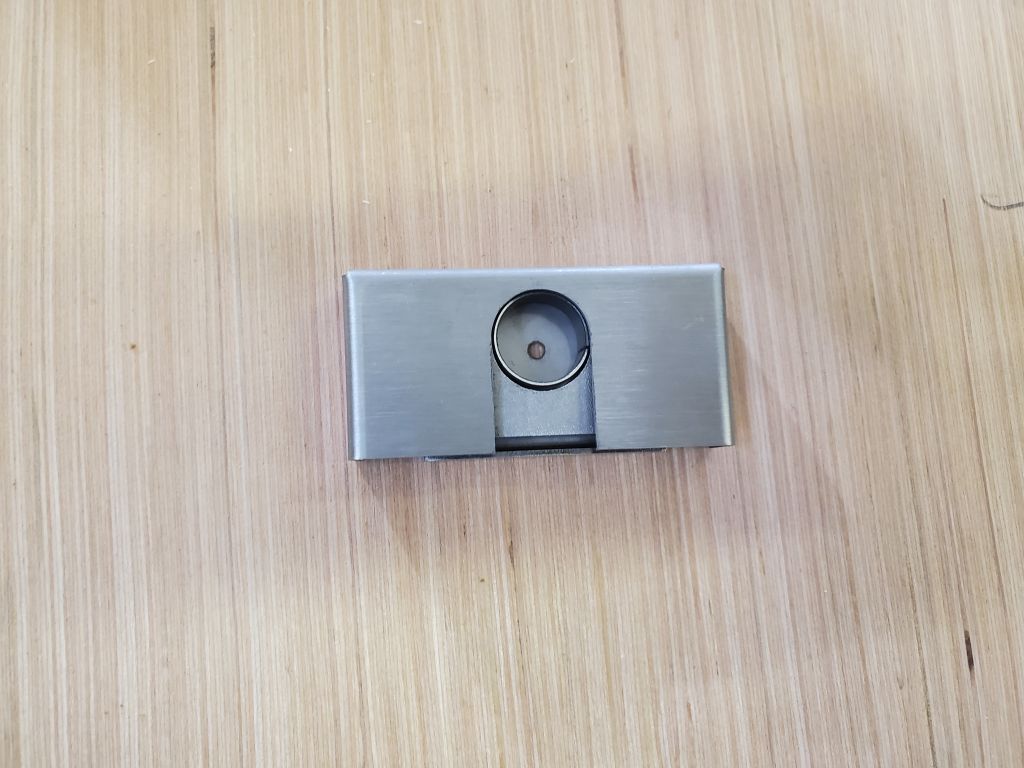
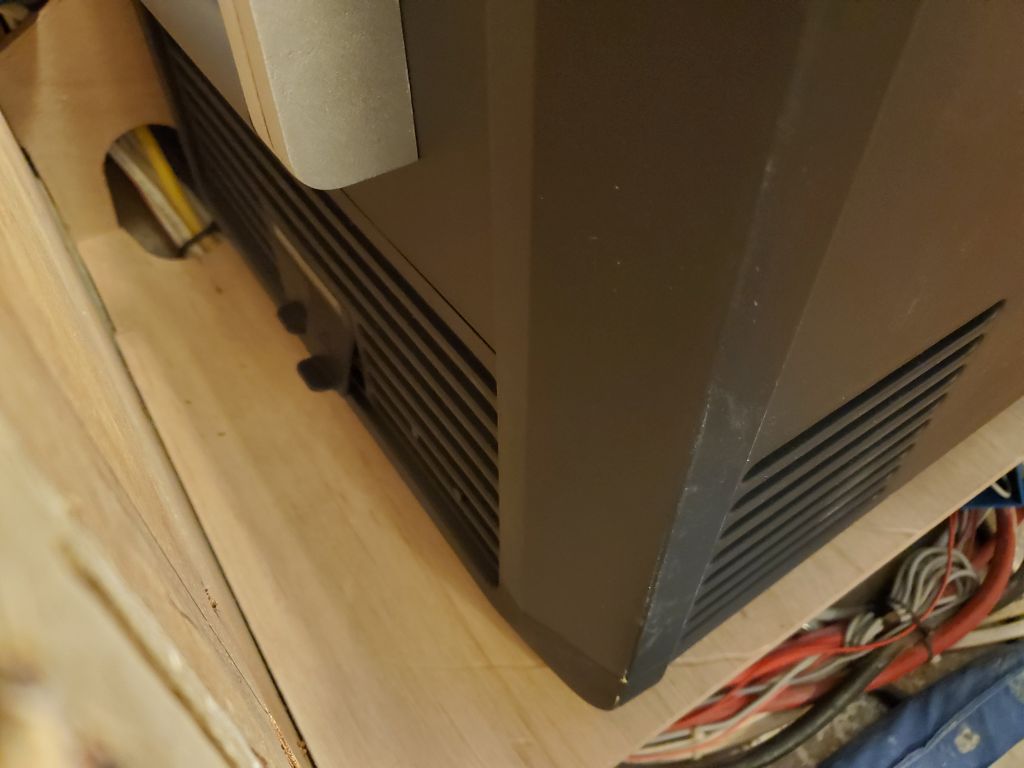
I started by repositioning the stove gimbal center a bit further inboard, after much consideration of the space and the various factors at hand. The most salient limiting factors were, in order of importance from my perspective:
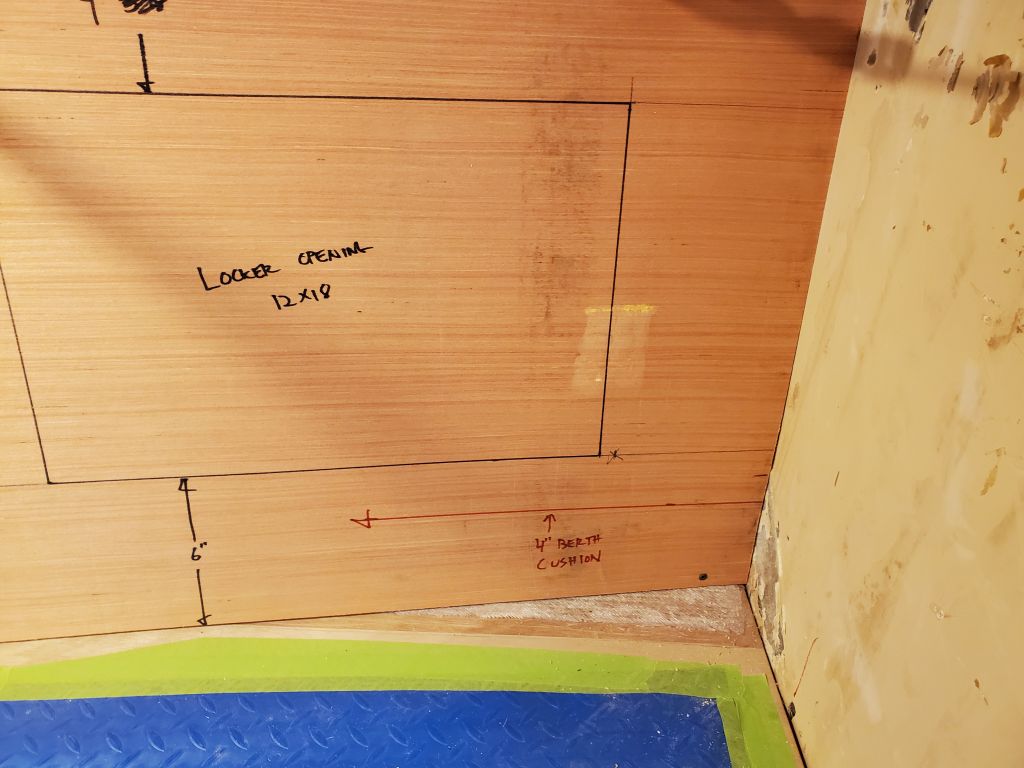
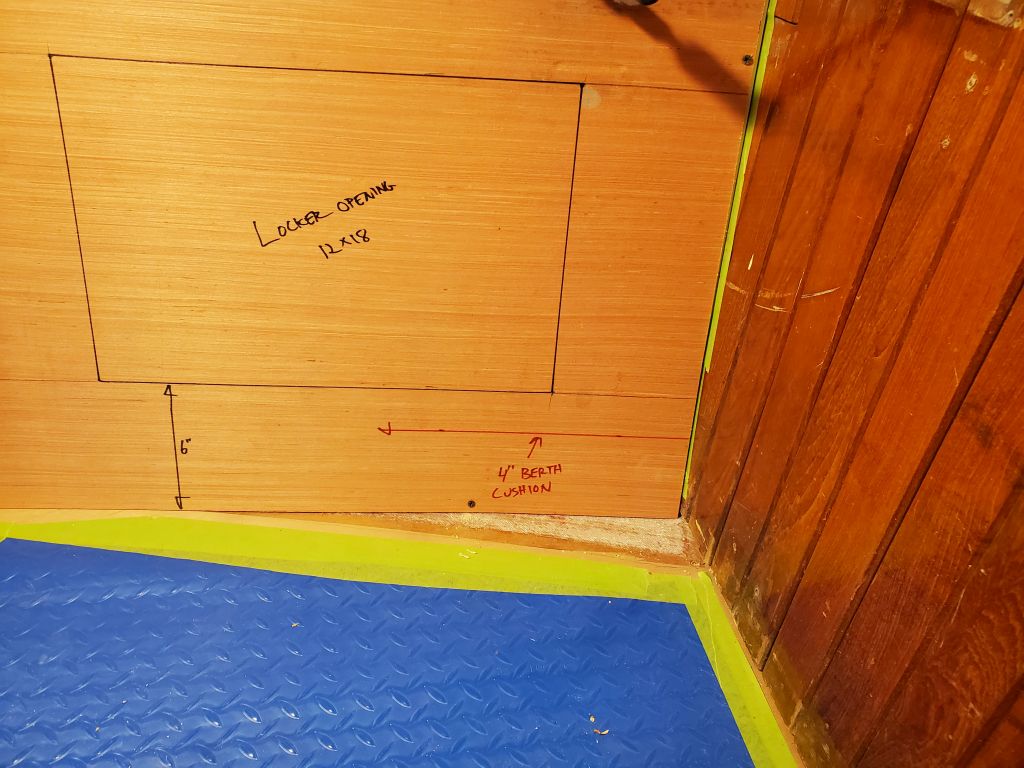
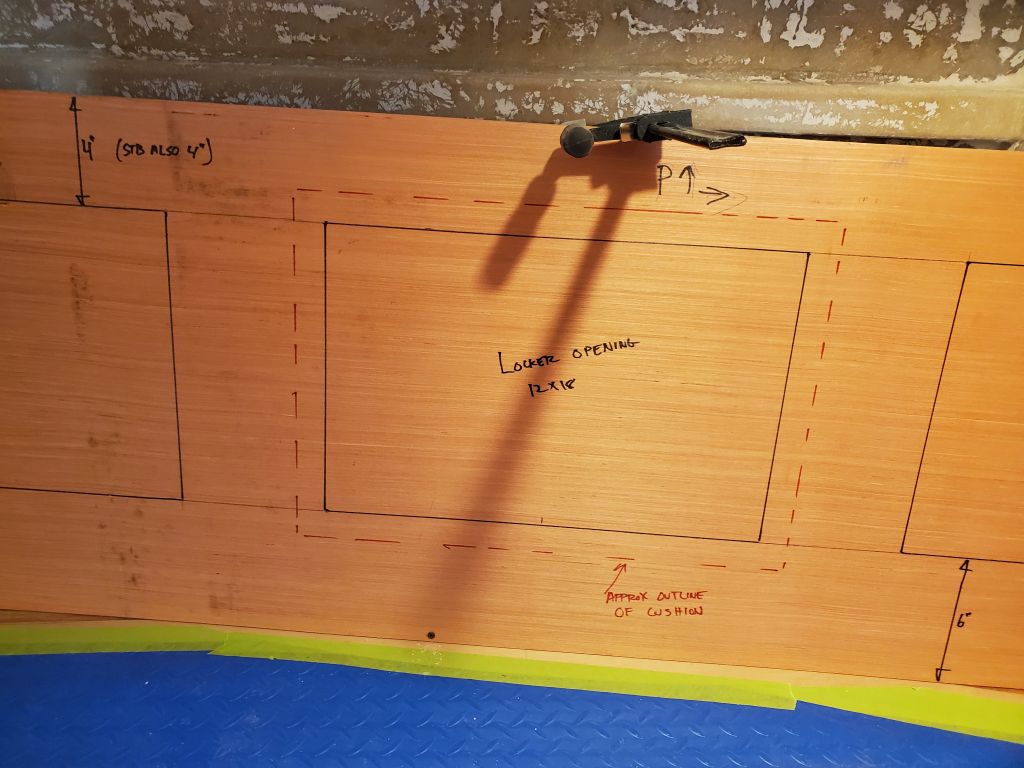
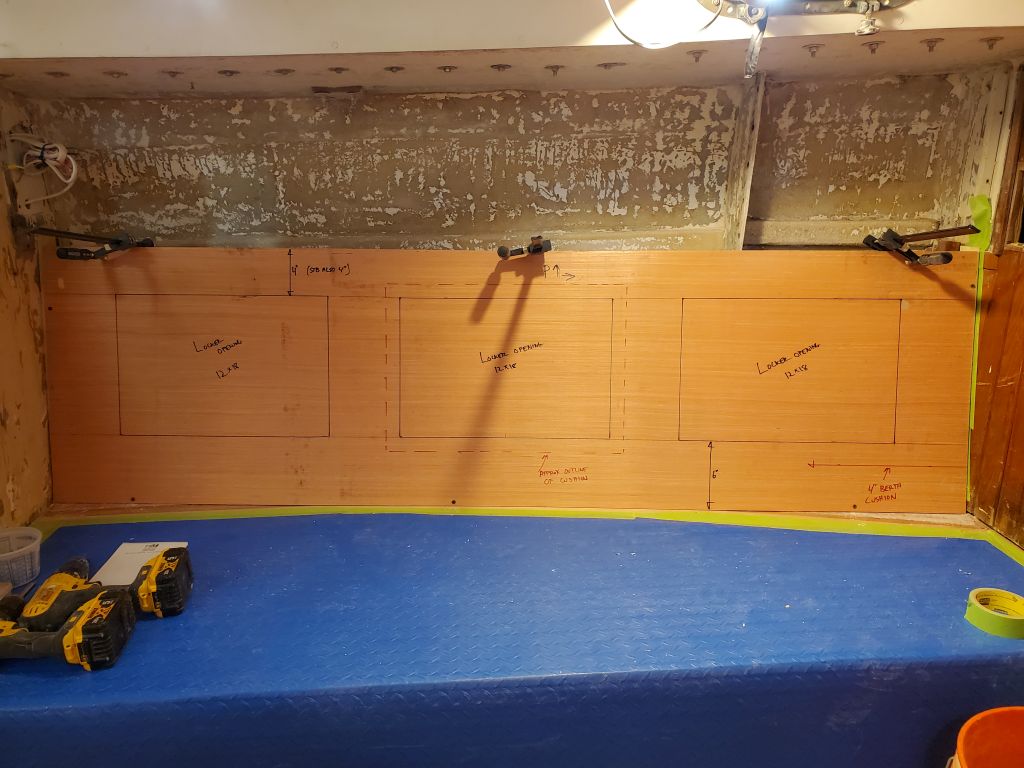
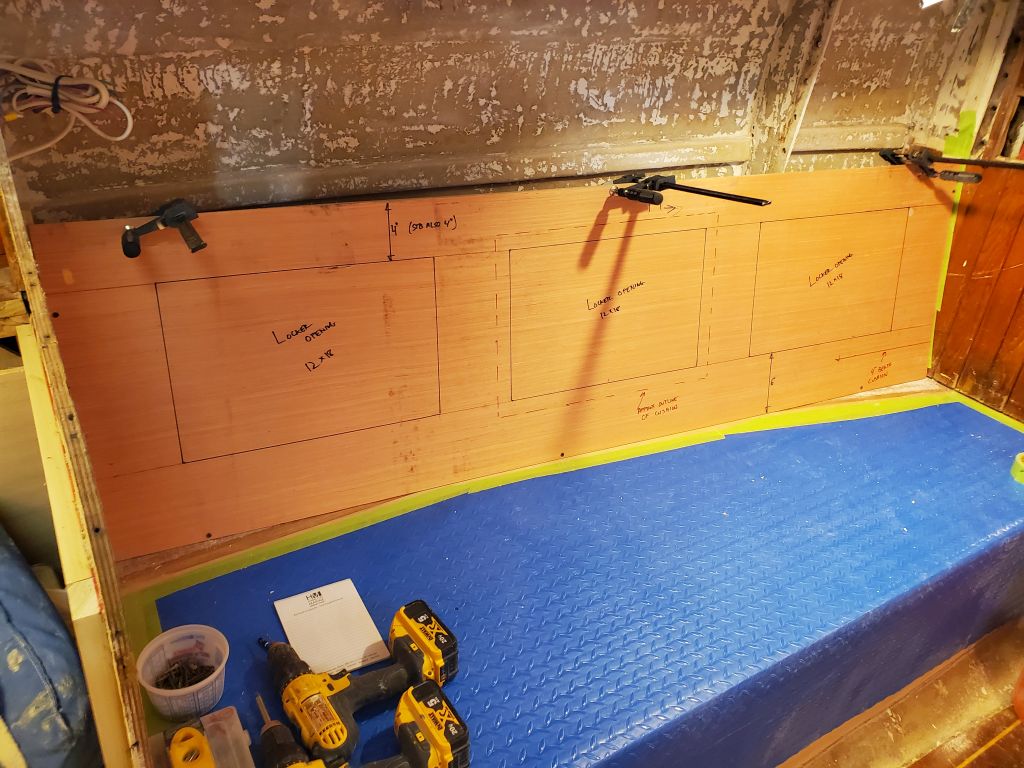
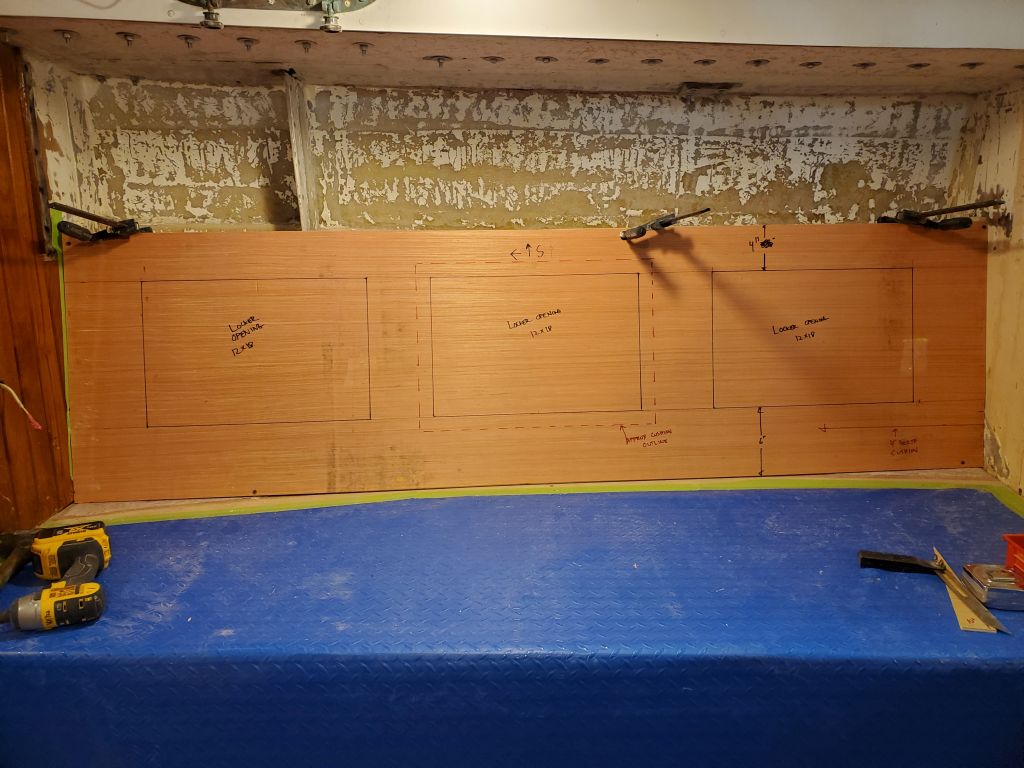
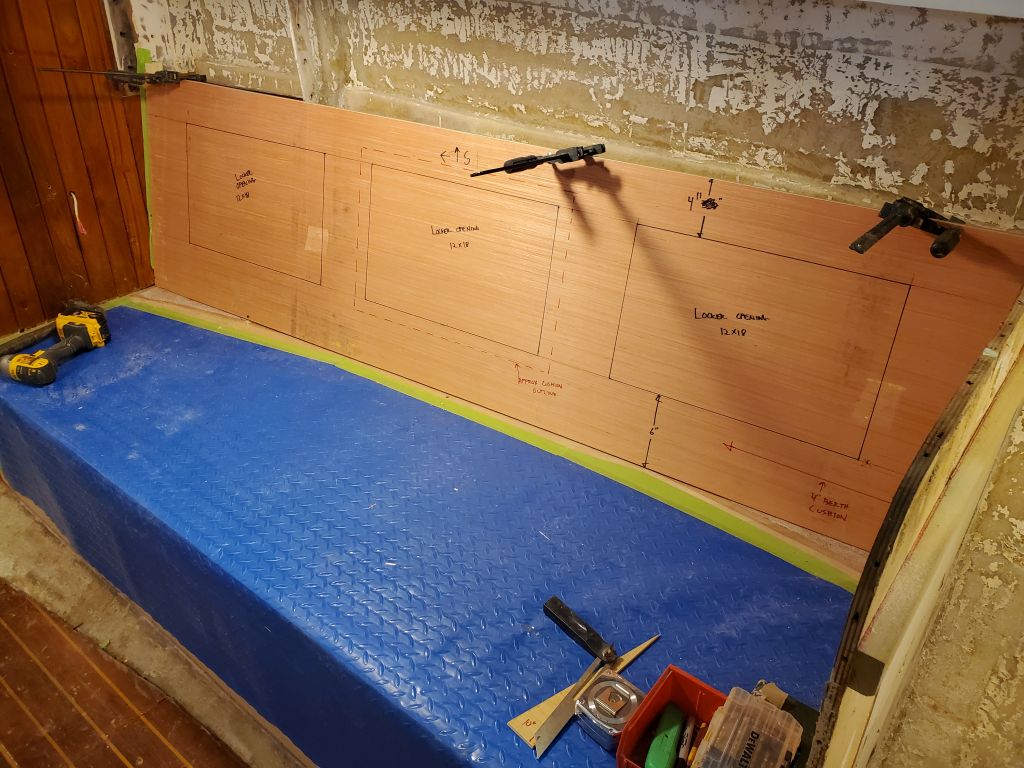
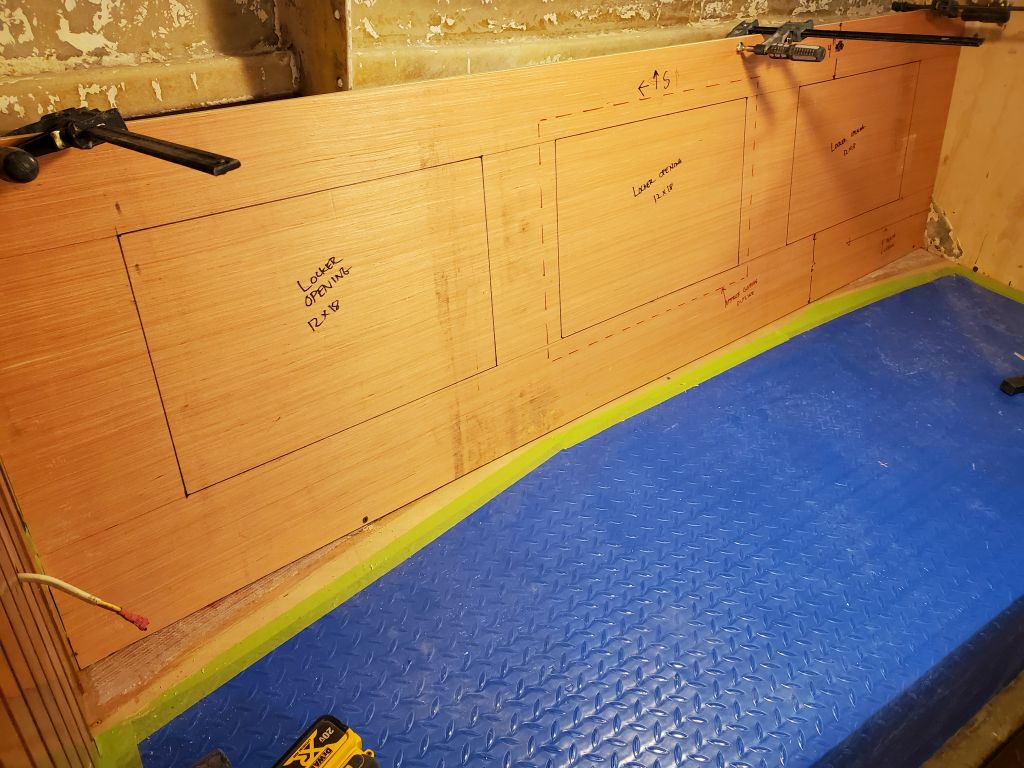
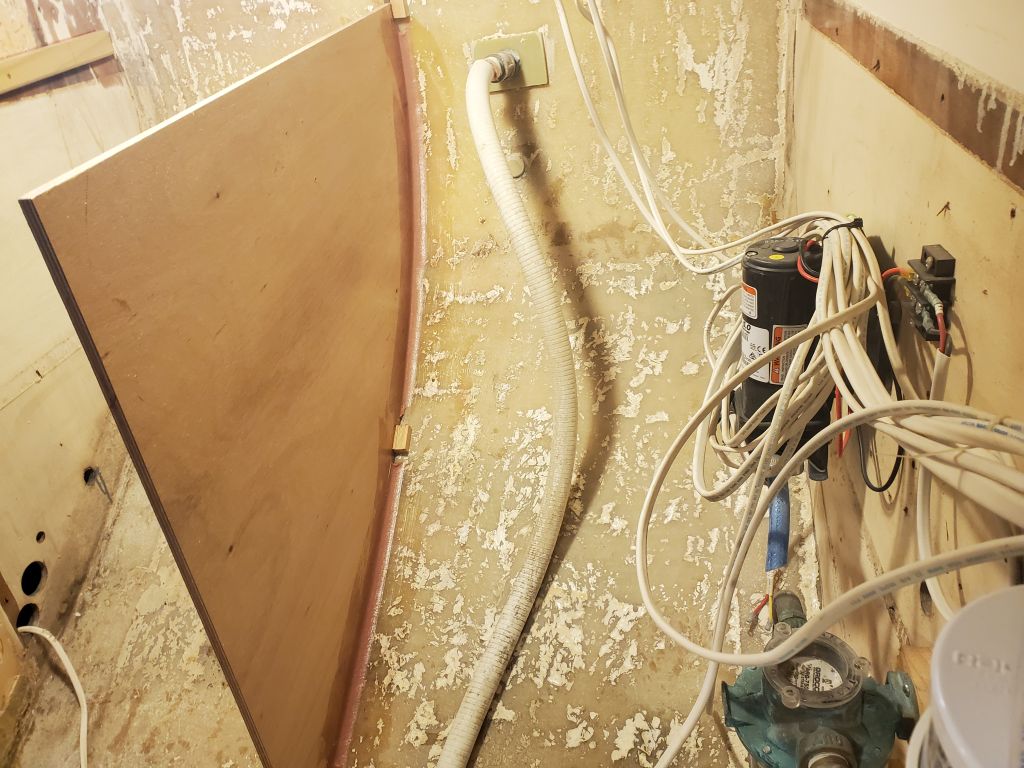
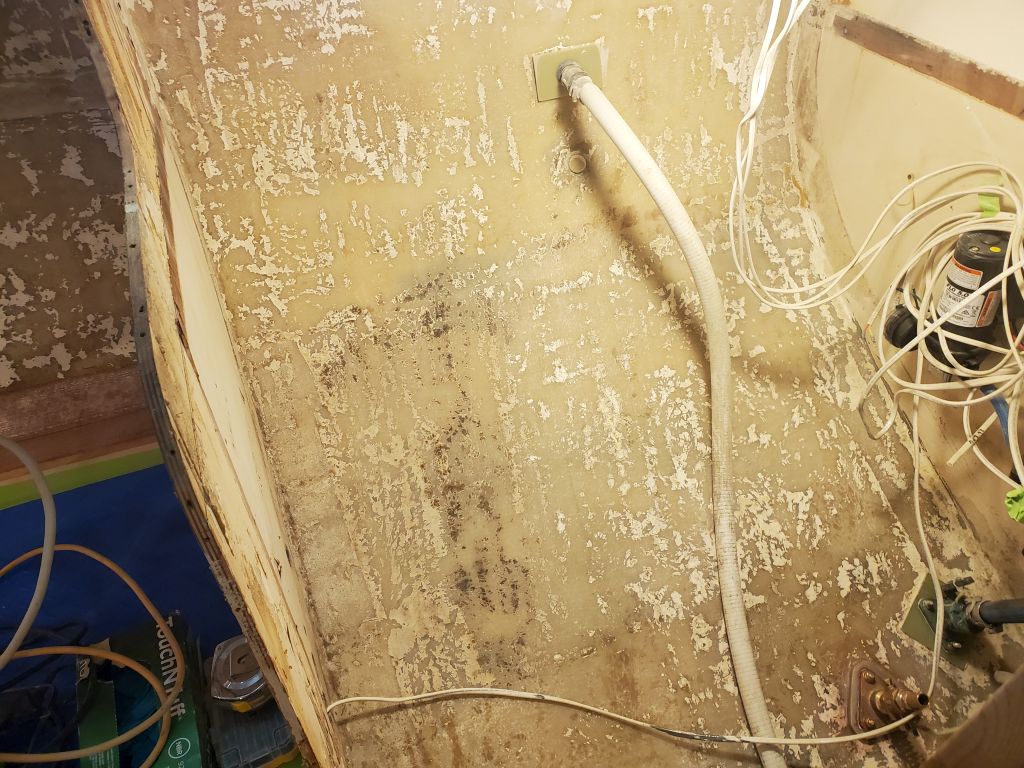
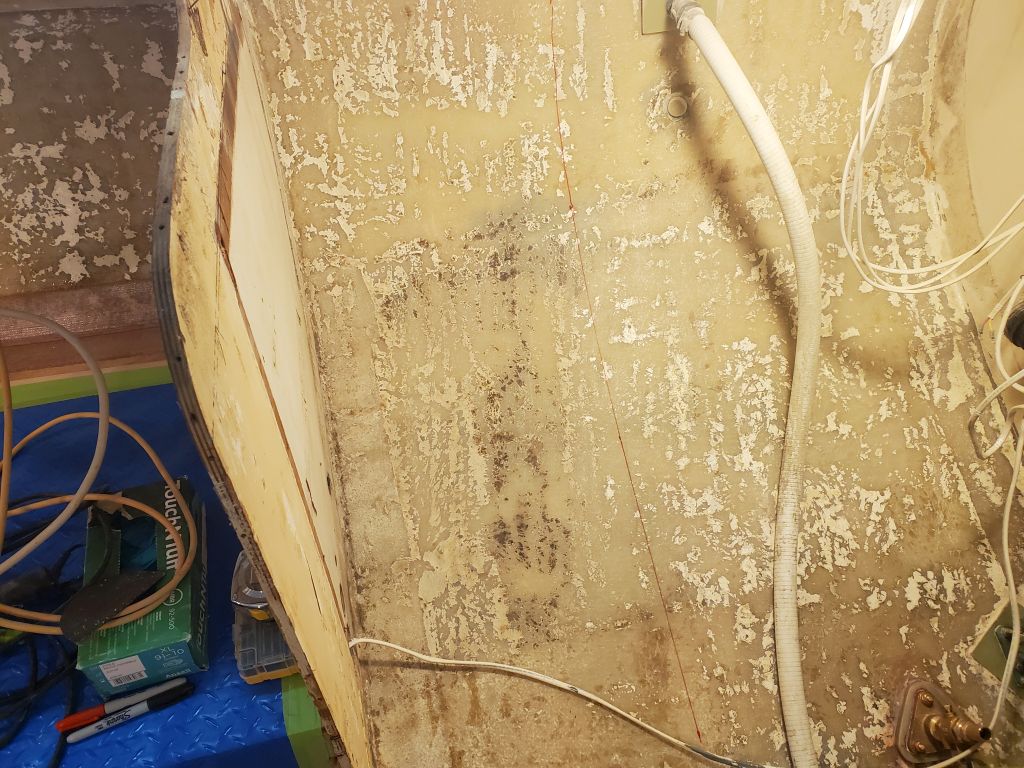
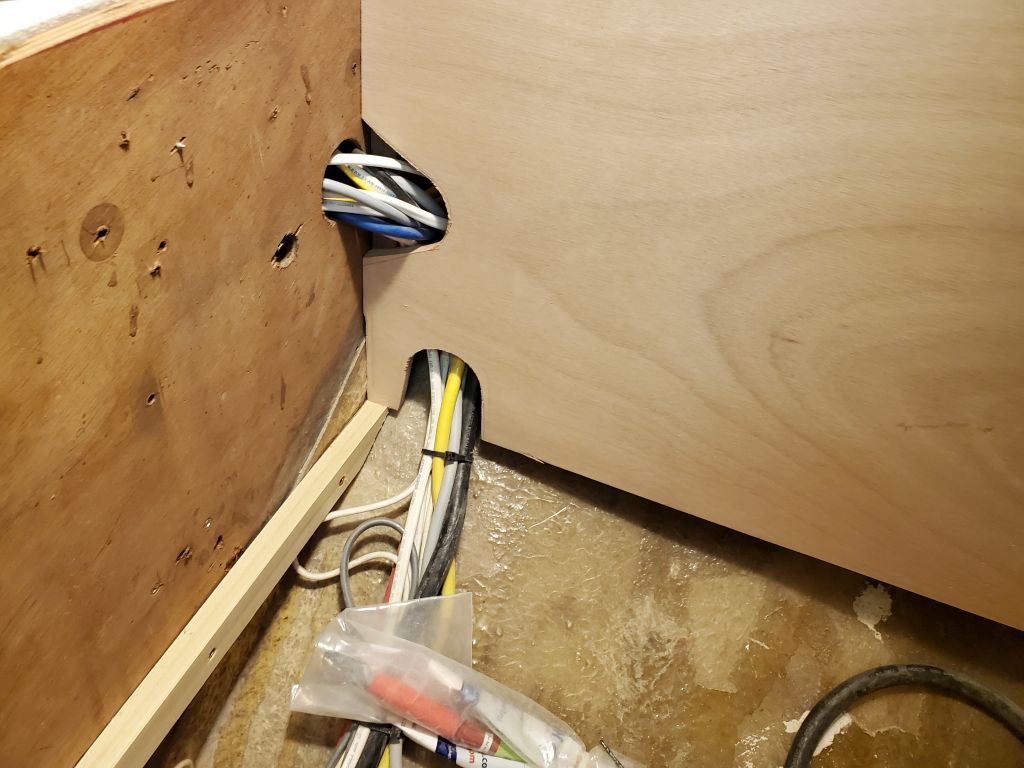
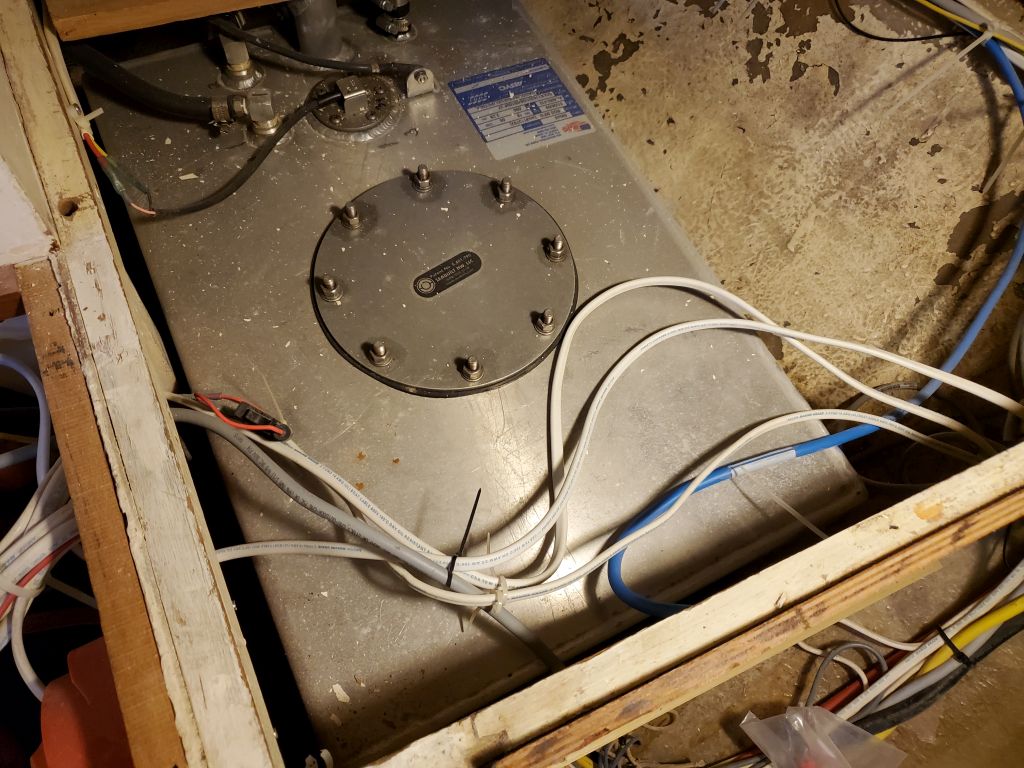
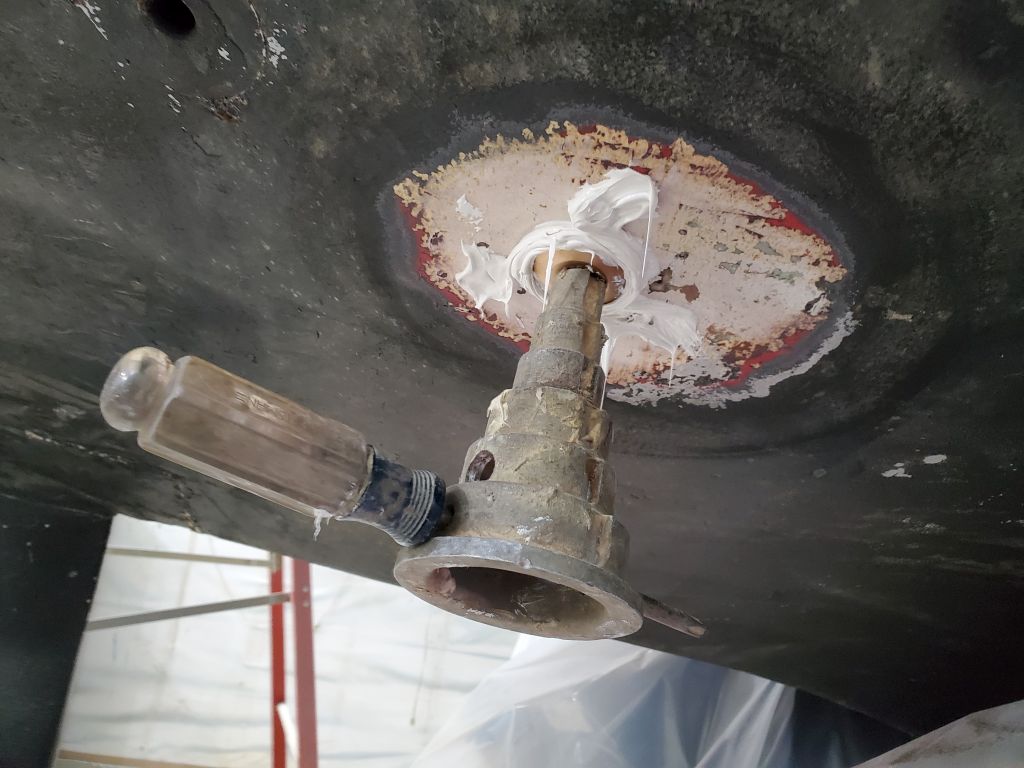
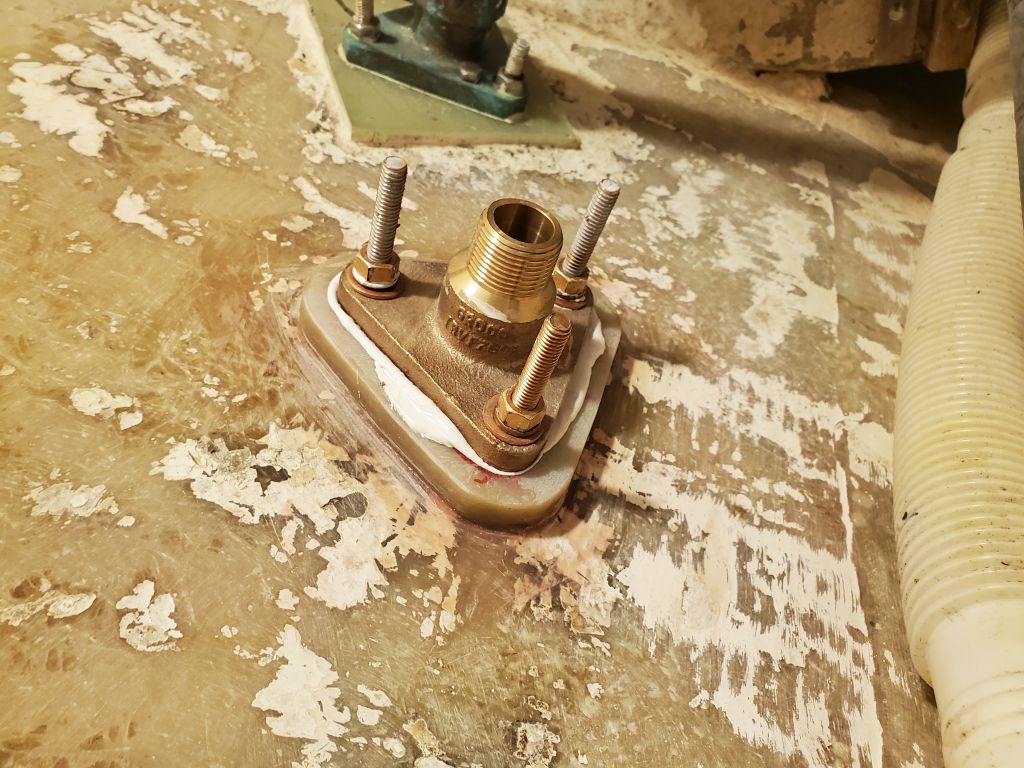
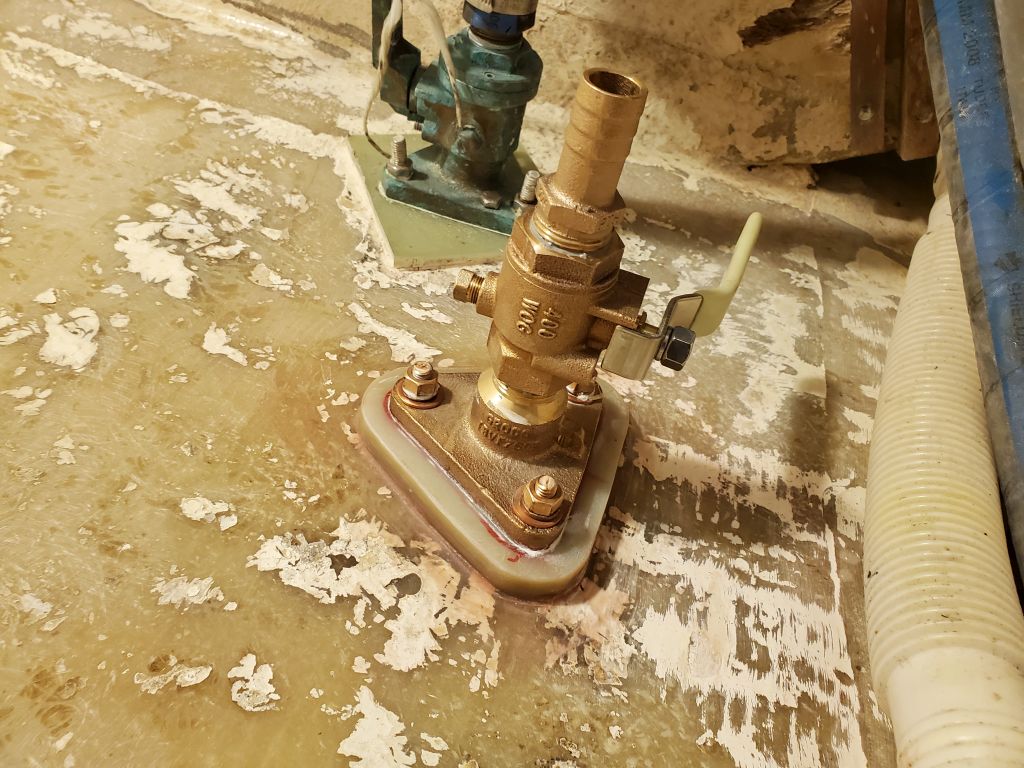
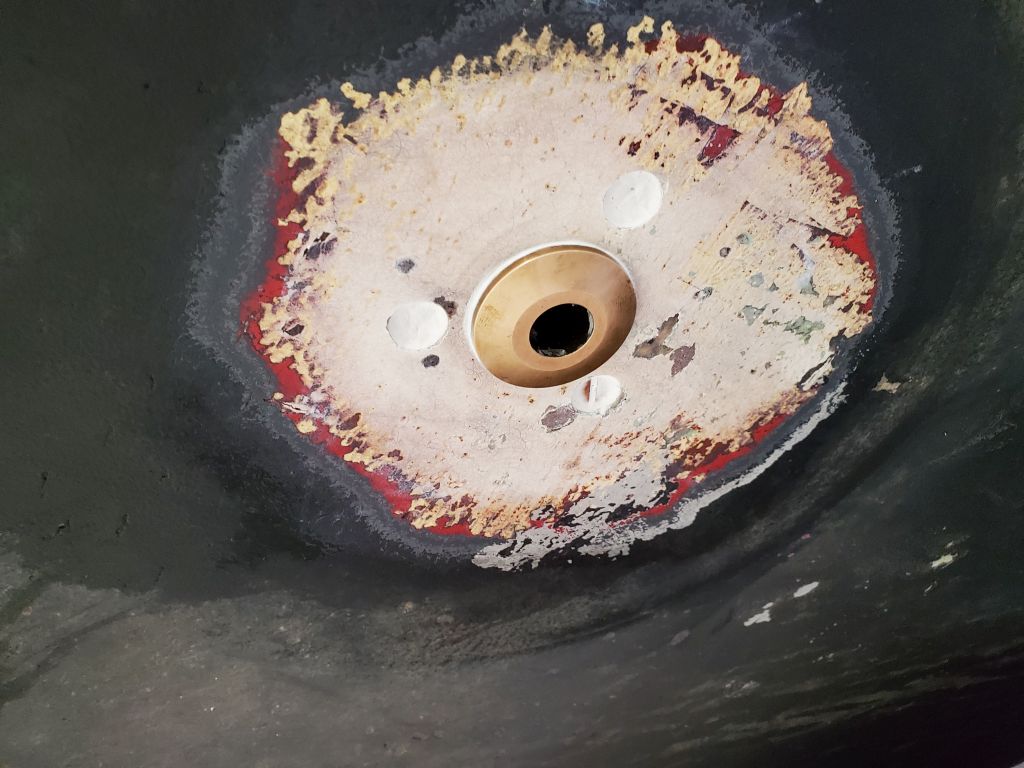
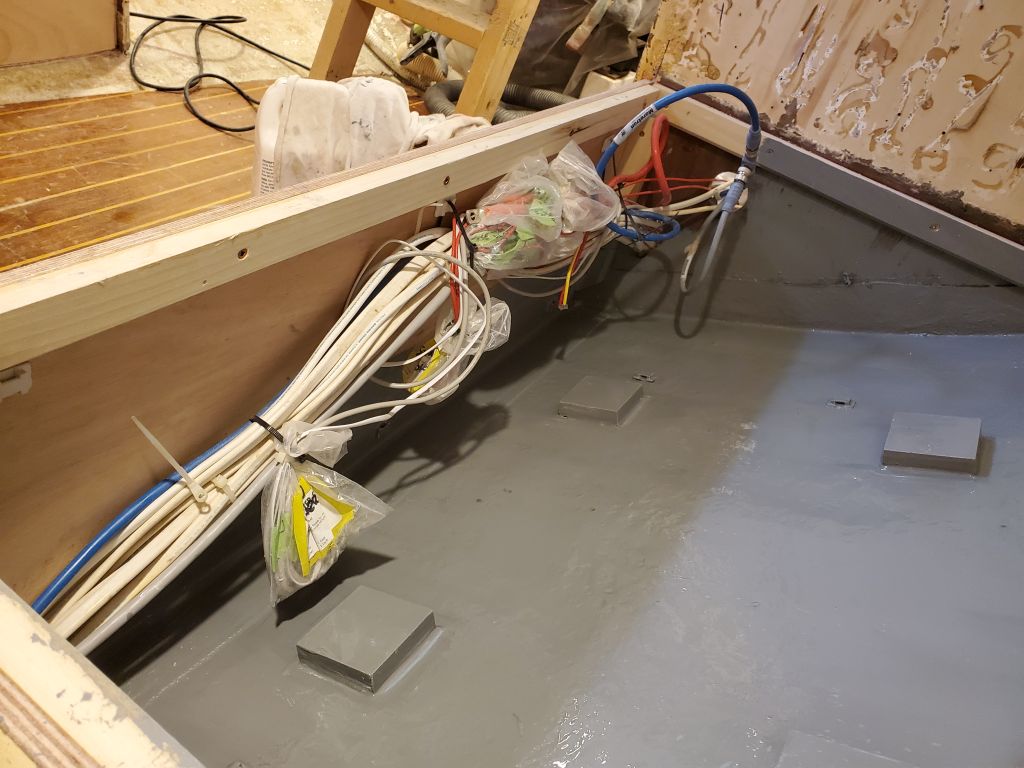
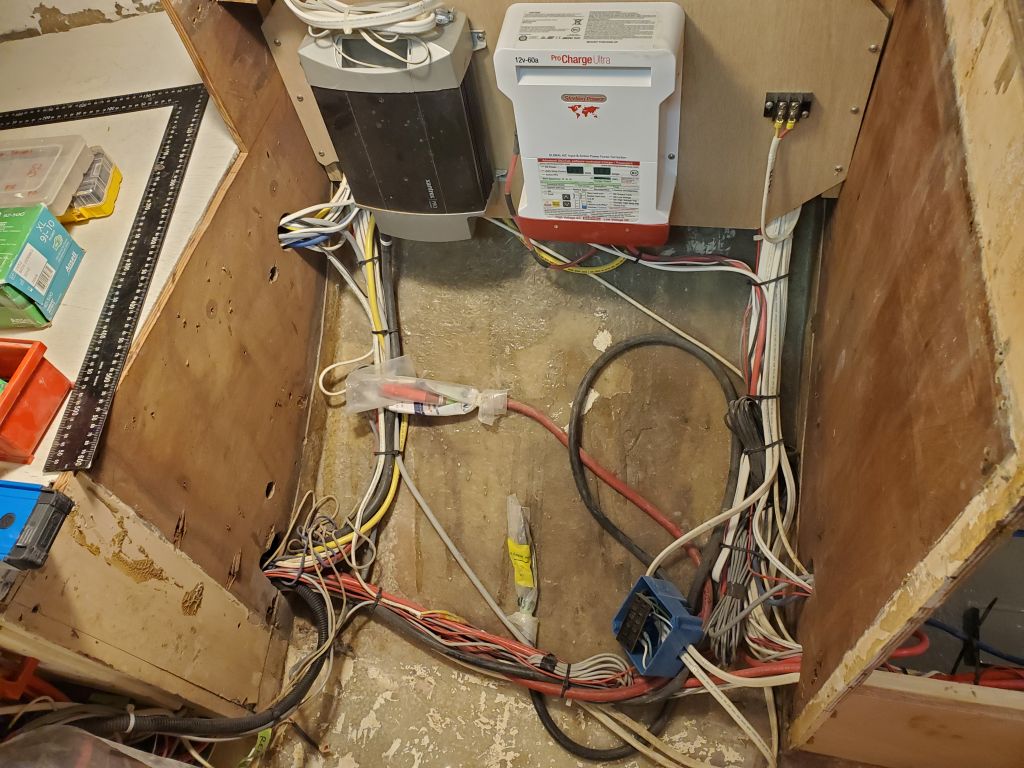
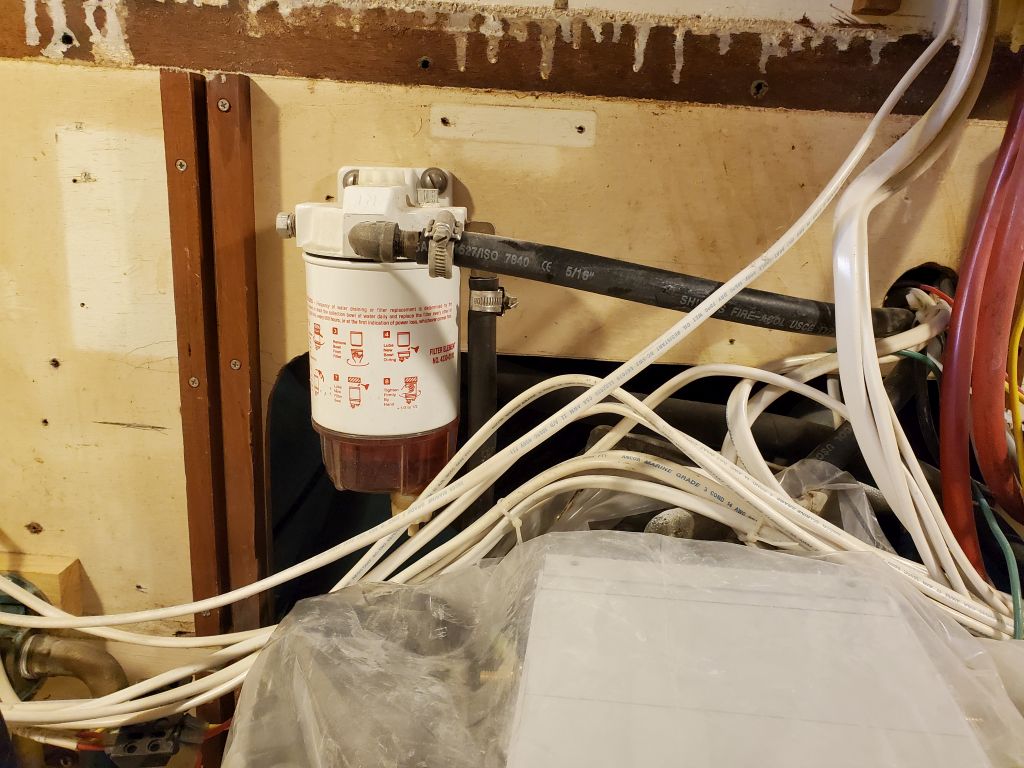
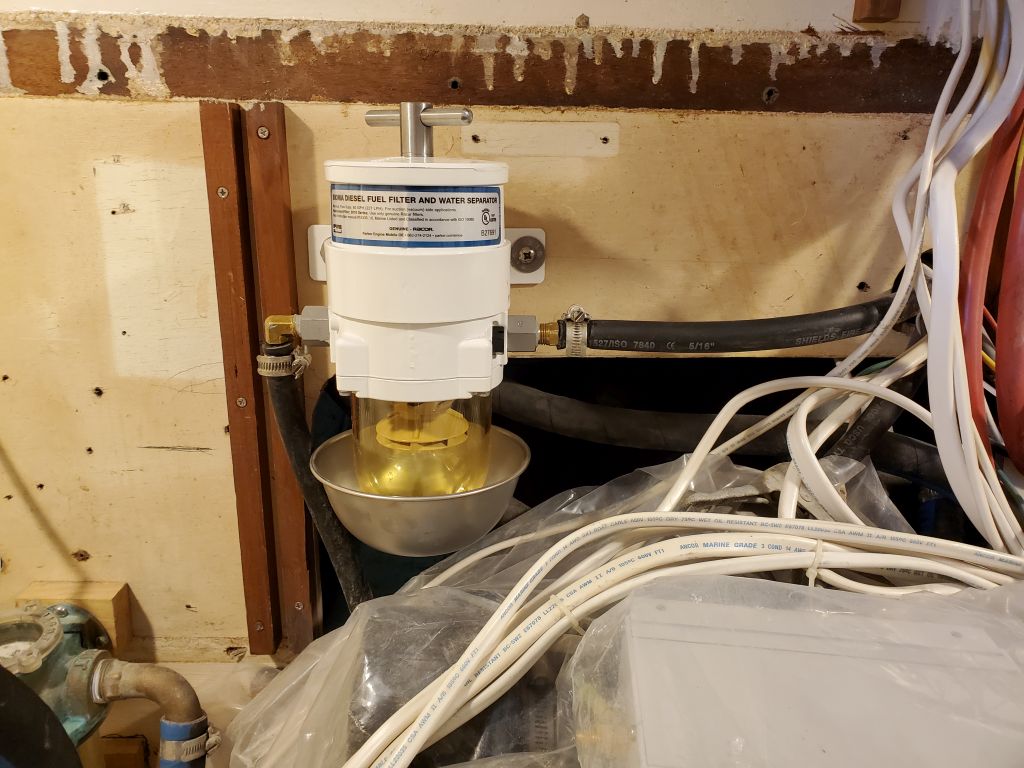
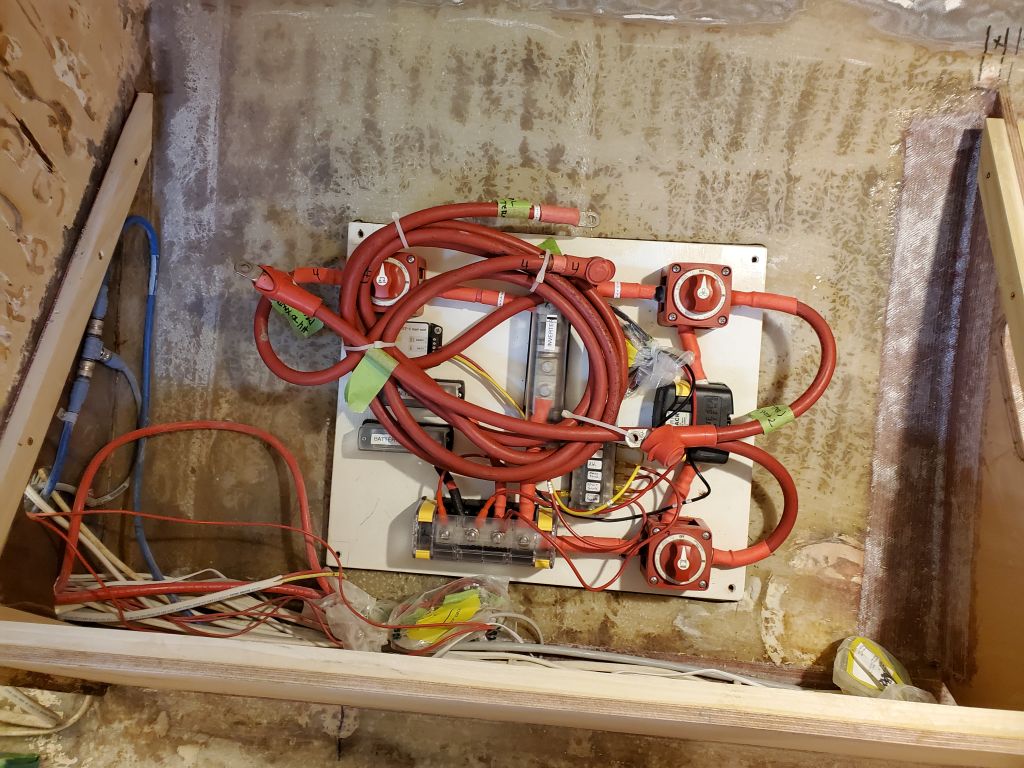
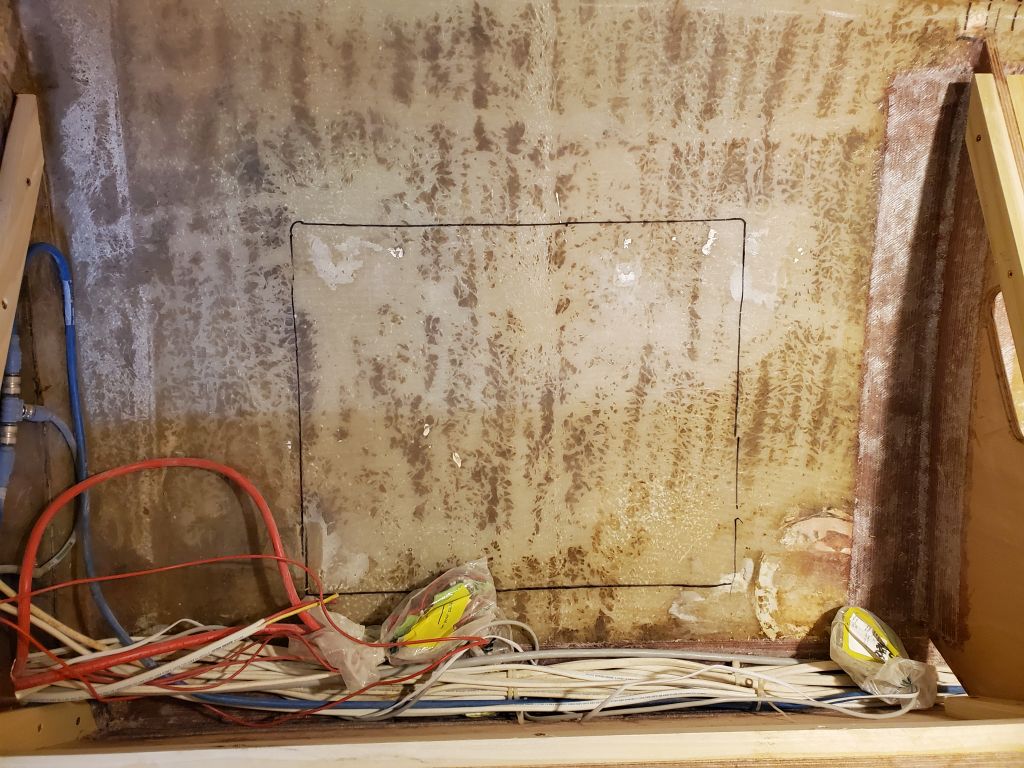
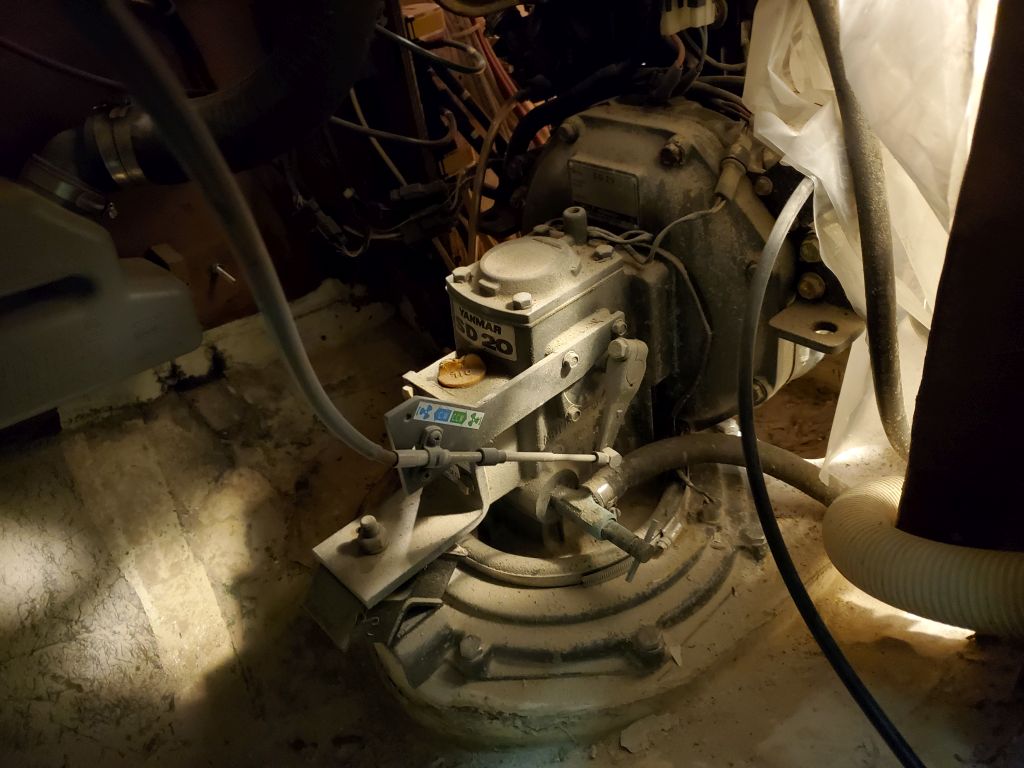
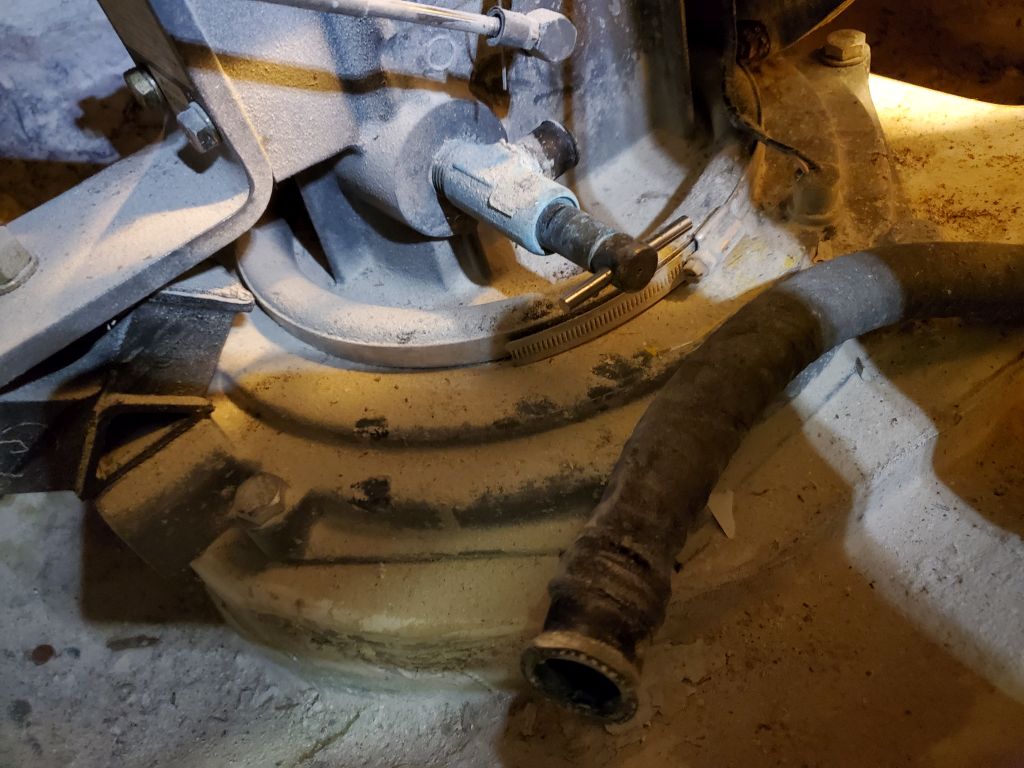
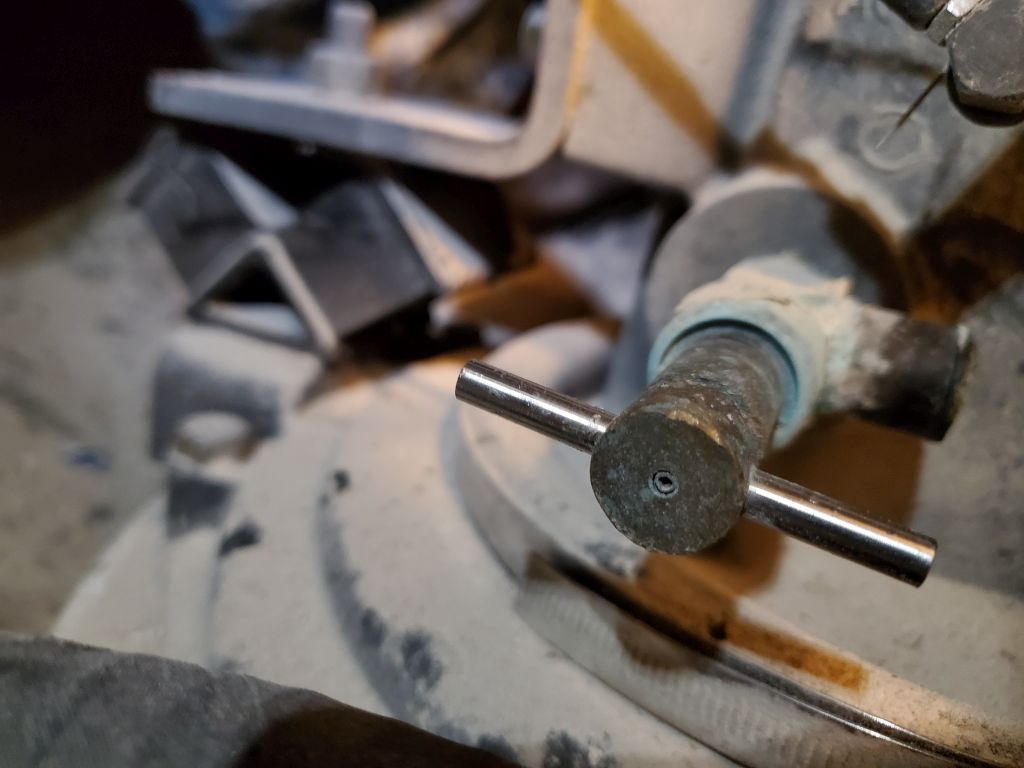
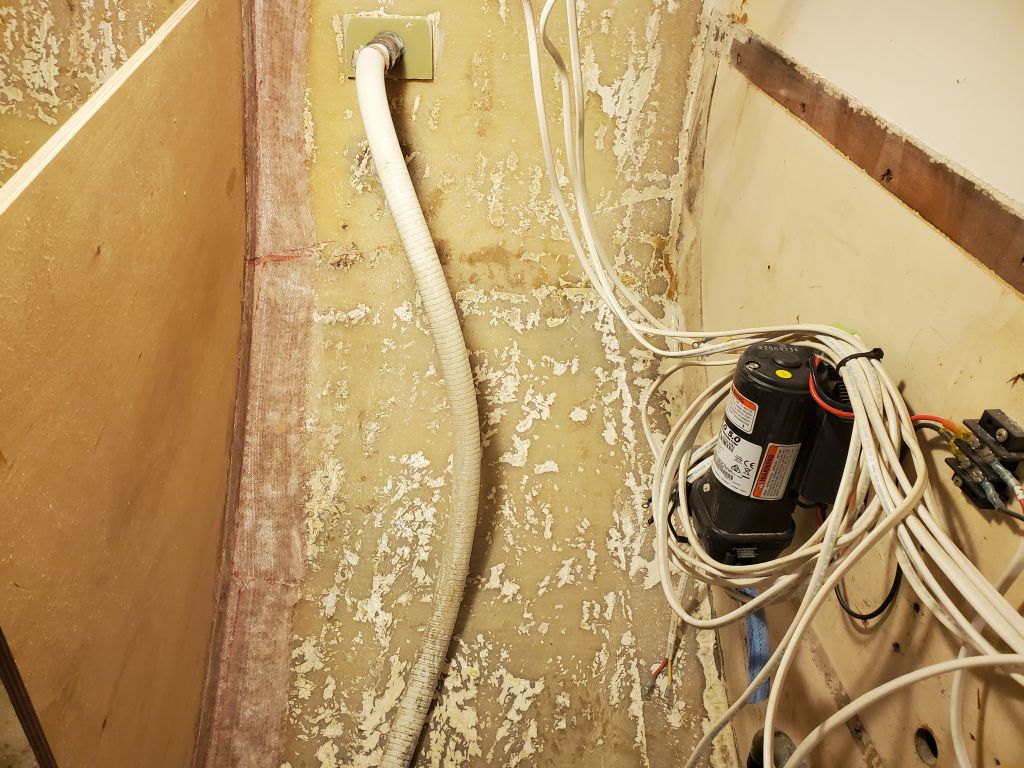
- Maintaining reasonable access to the space beneath the galley, where there were two through hulls installed and various other systems requirements, including the engine raw water strainer. The new bulkhead would continue in its current plane across the boat and engine space, and despite current appearances there was not a lot of extra room available for a locker door access. The original access had been uncomfortably small and I hoped to improve upon it.
- Keeping the stove from impeding too far into the cabin when swinging on gimbals, and also to allow sufficient room beside the companionway ladder for access to the stove and countertop/sink aft.
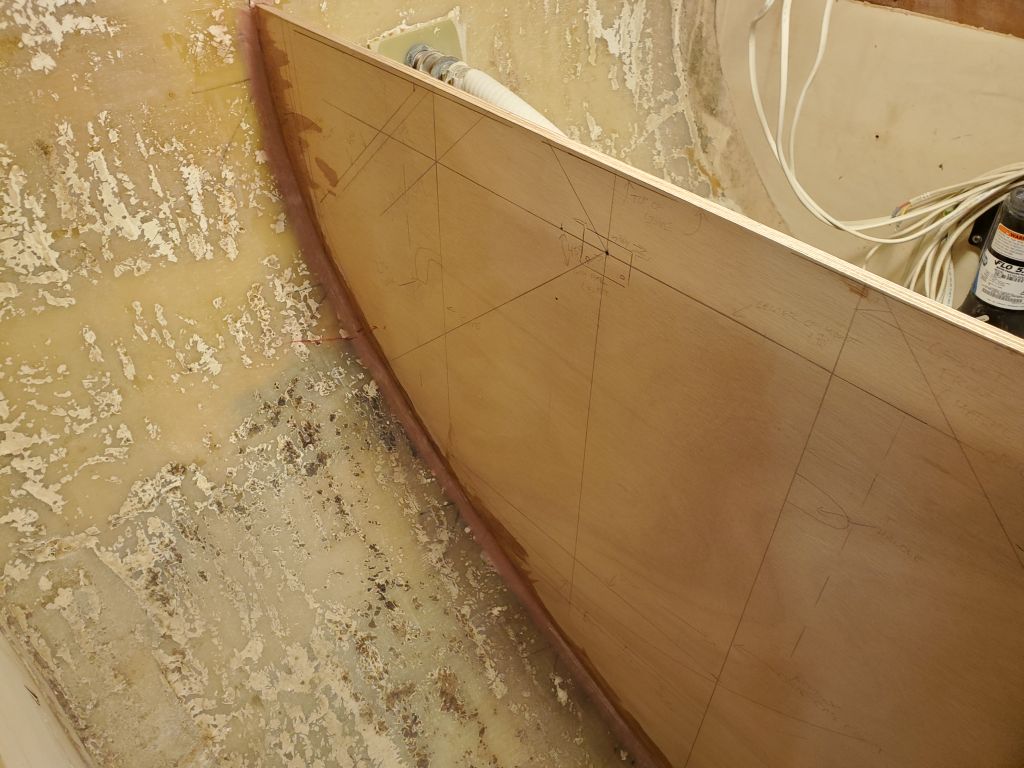
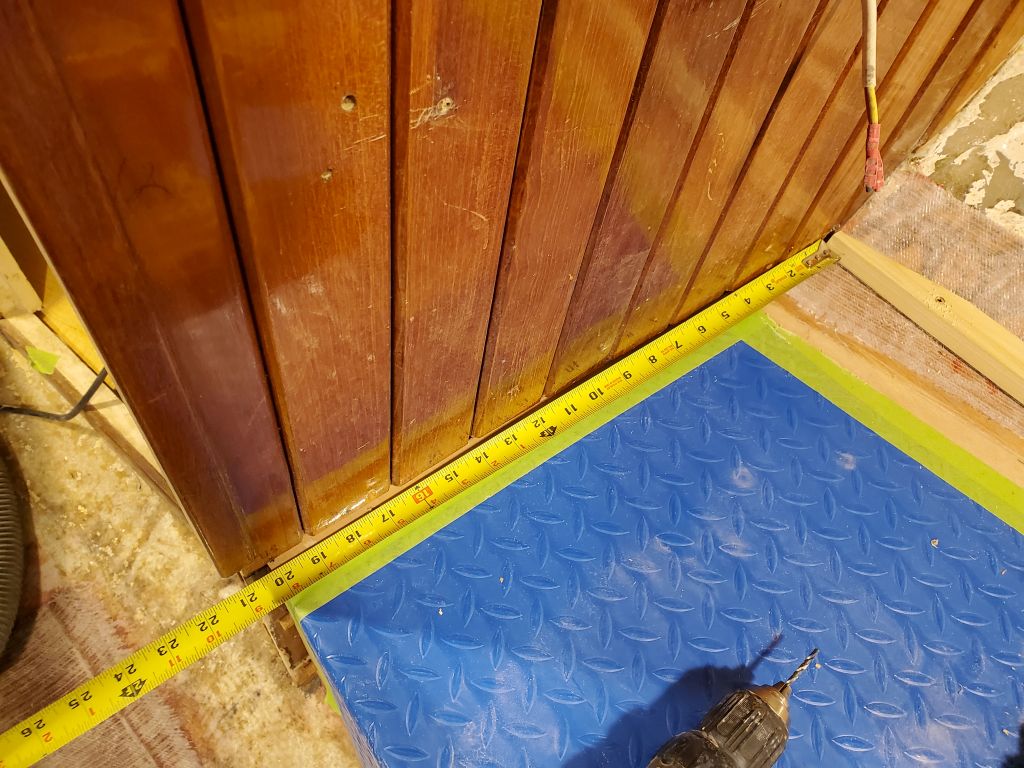
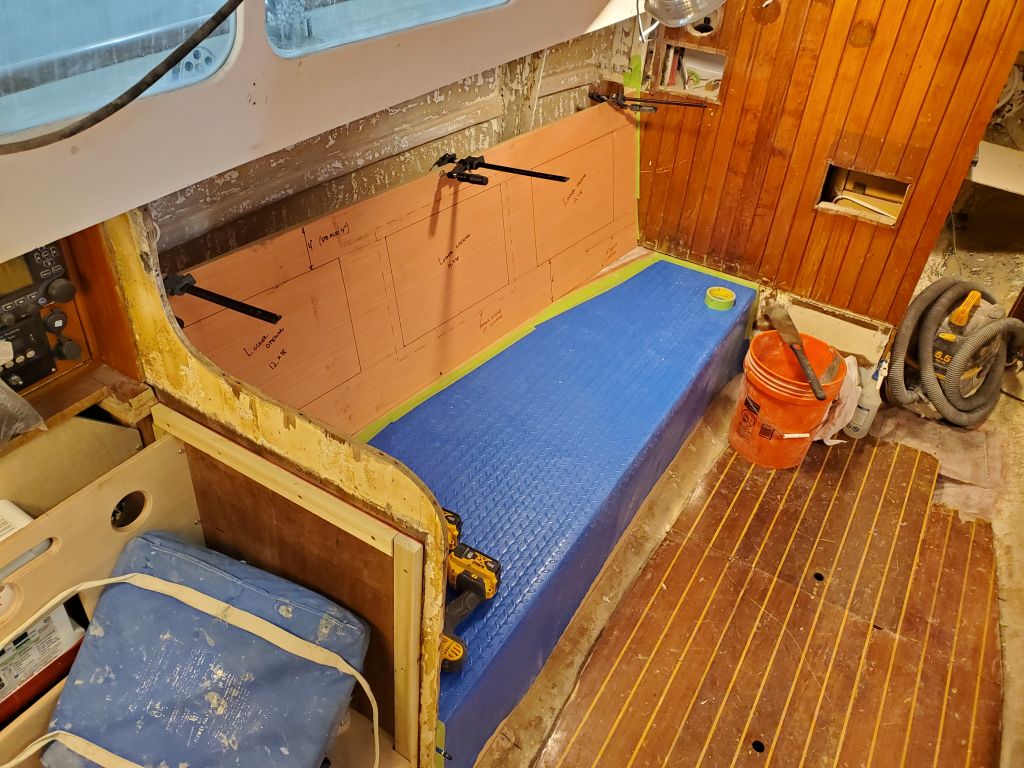
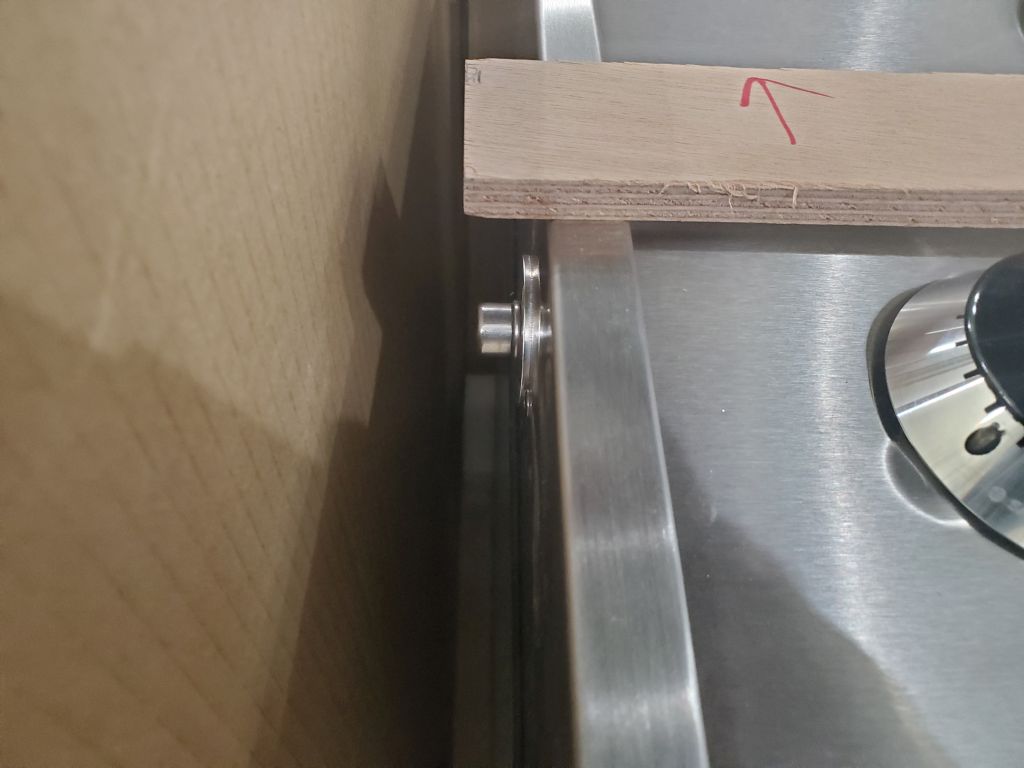
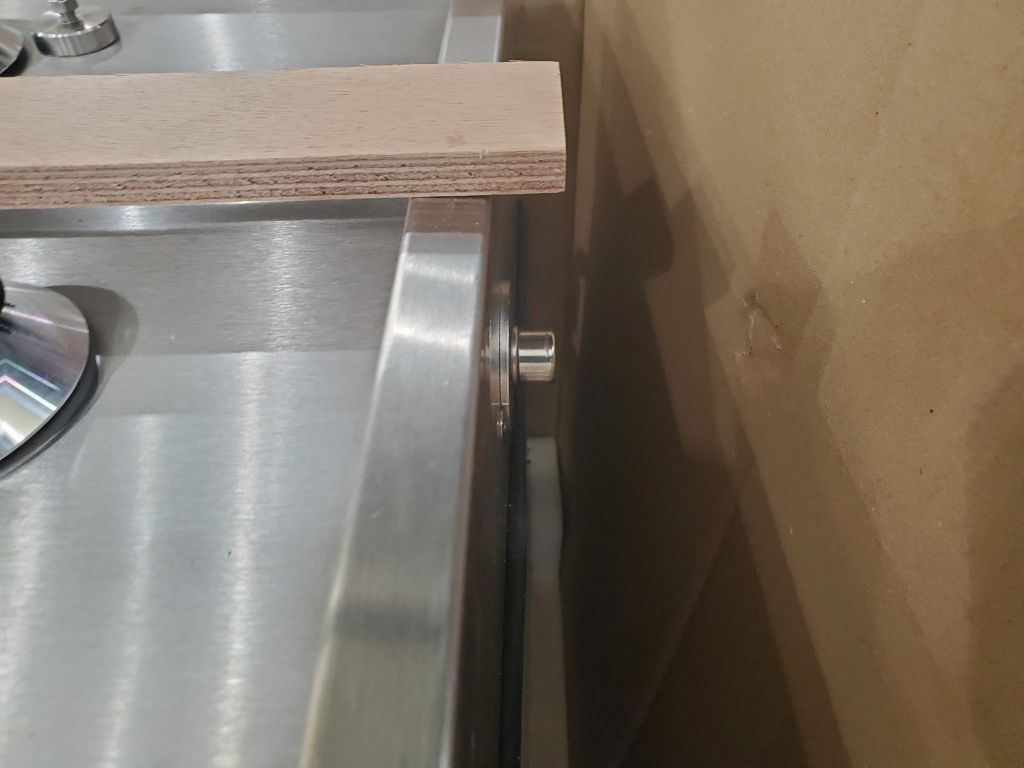
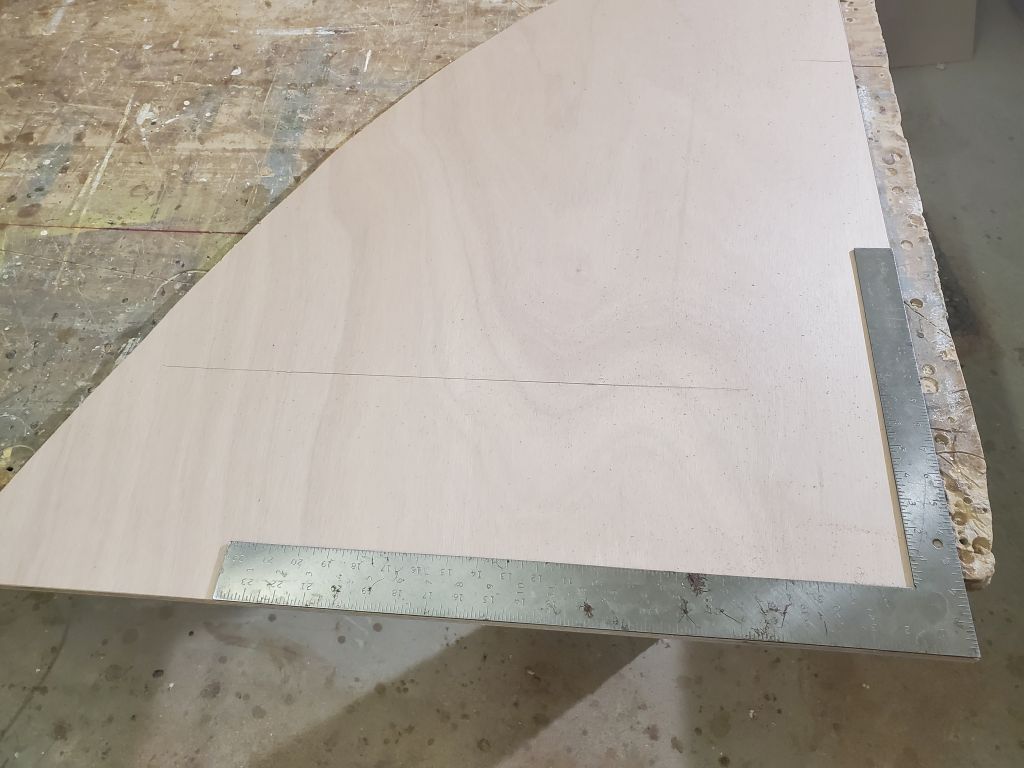
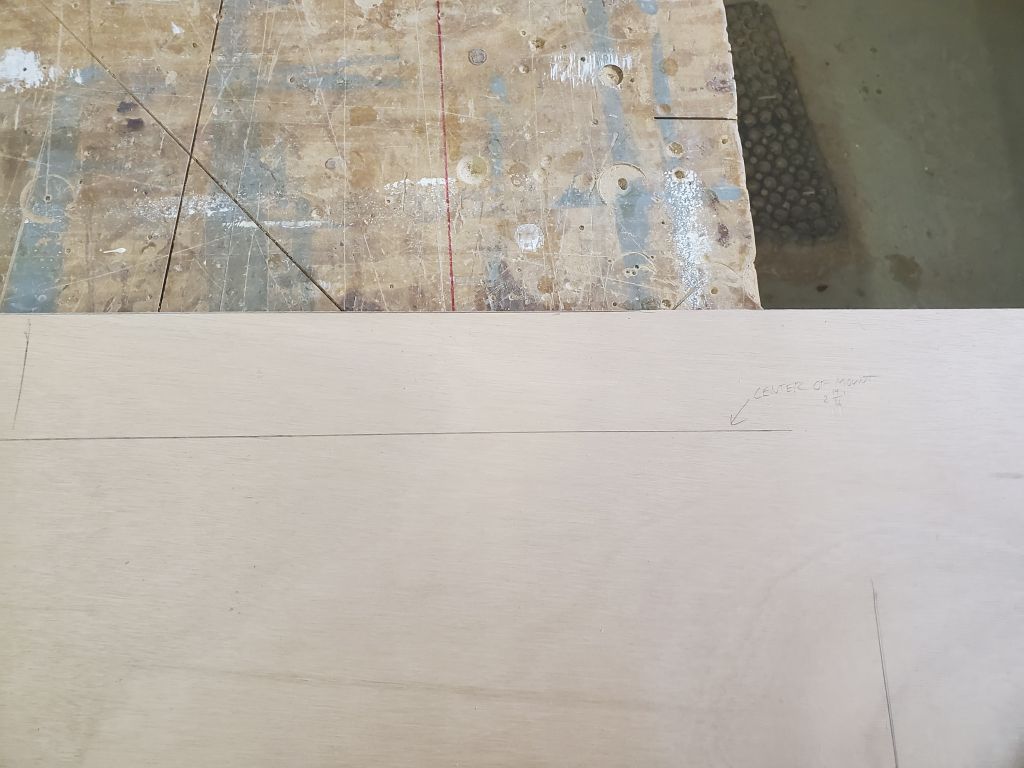
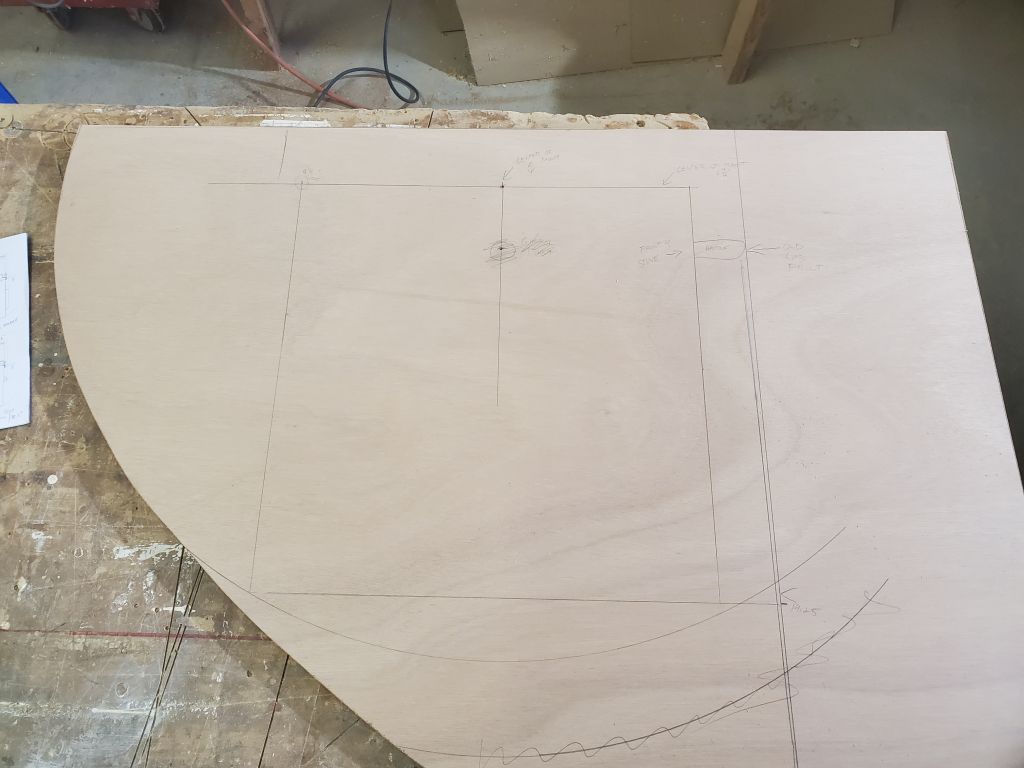
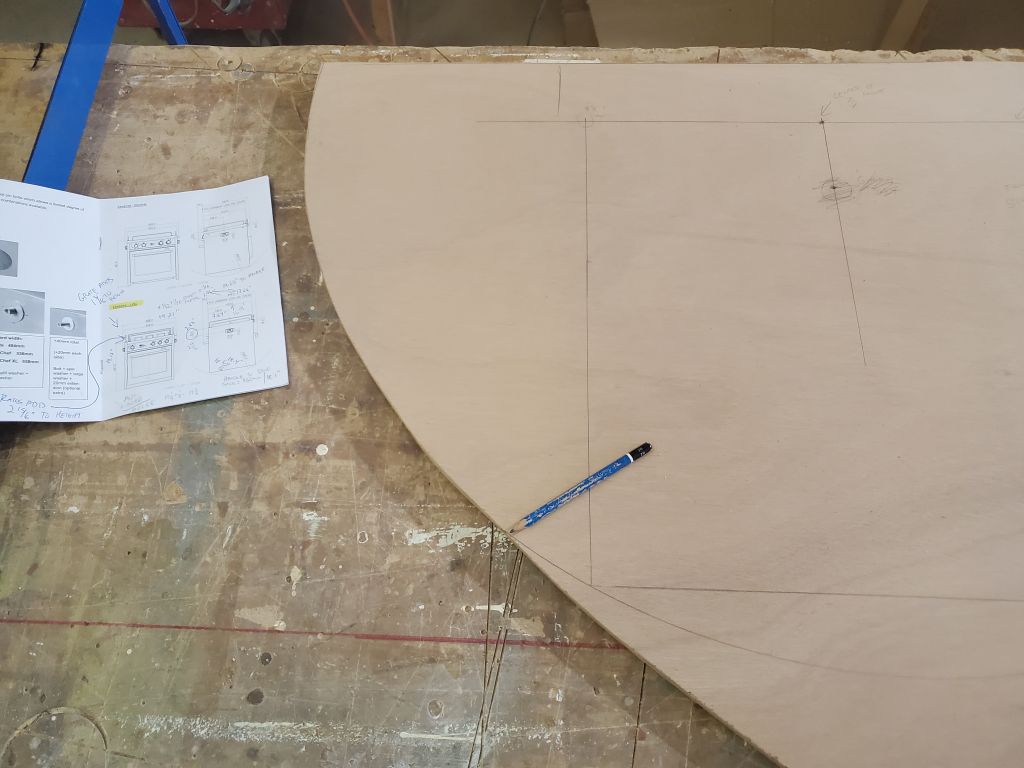
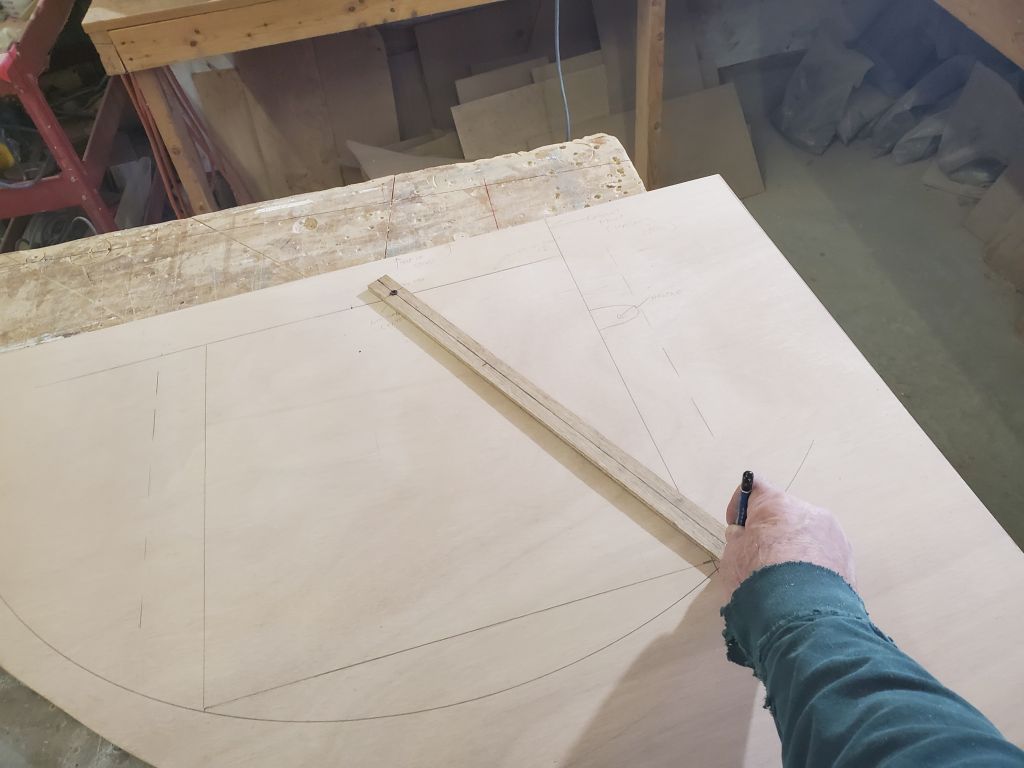
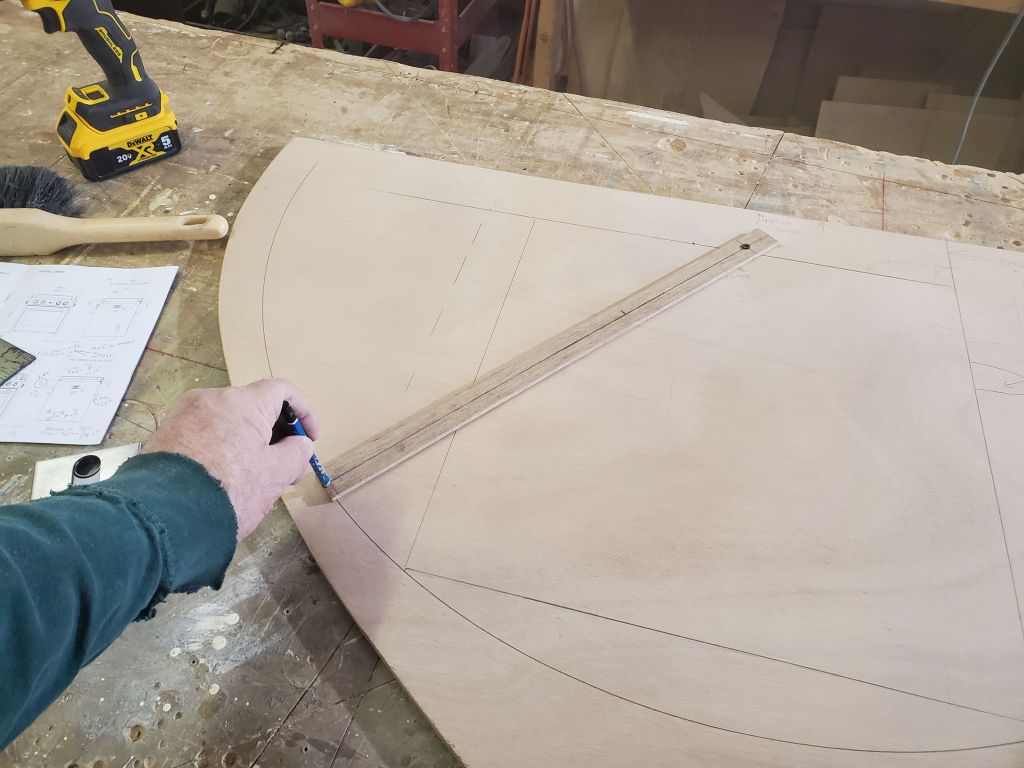
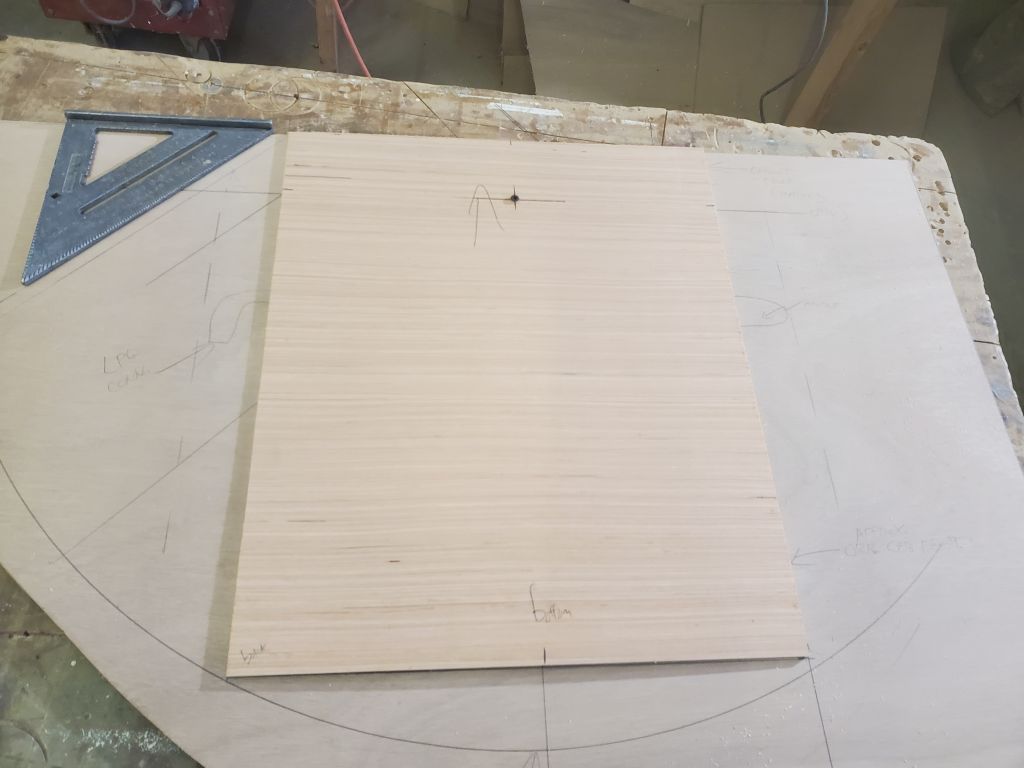
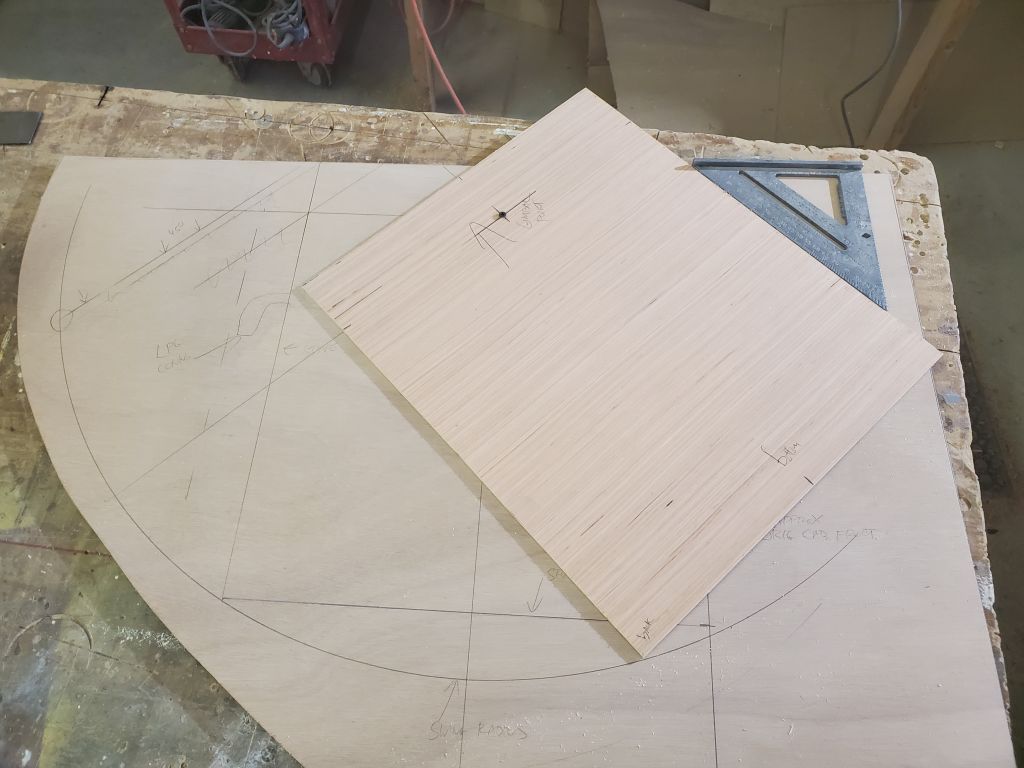
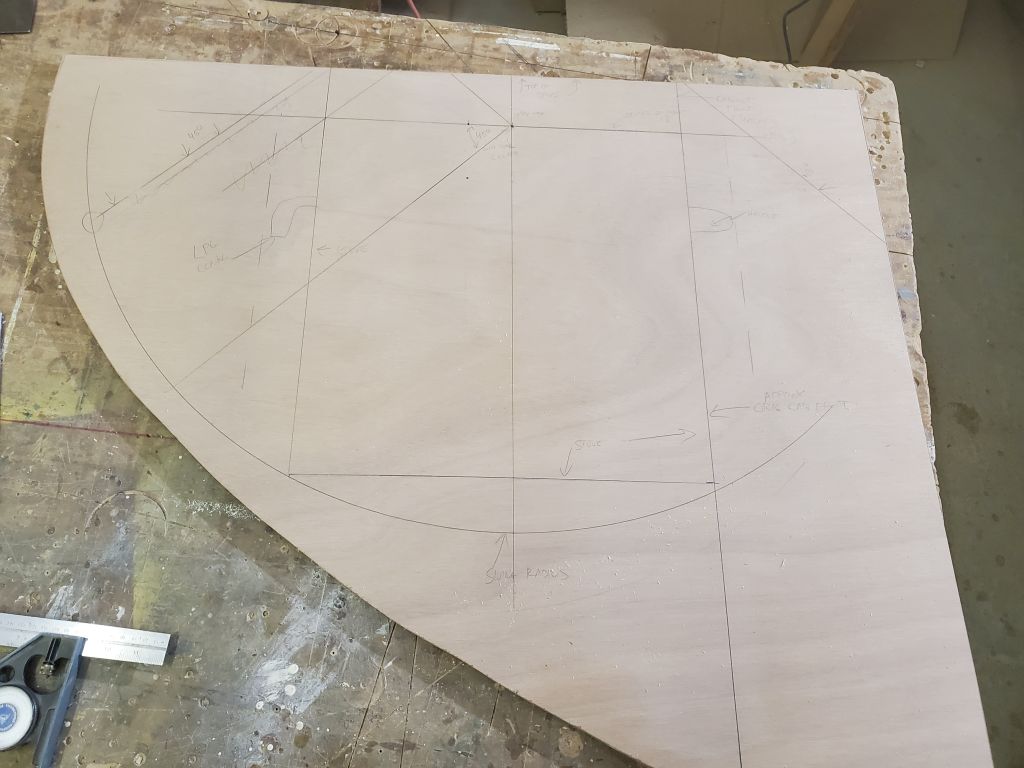
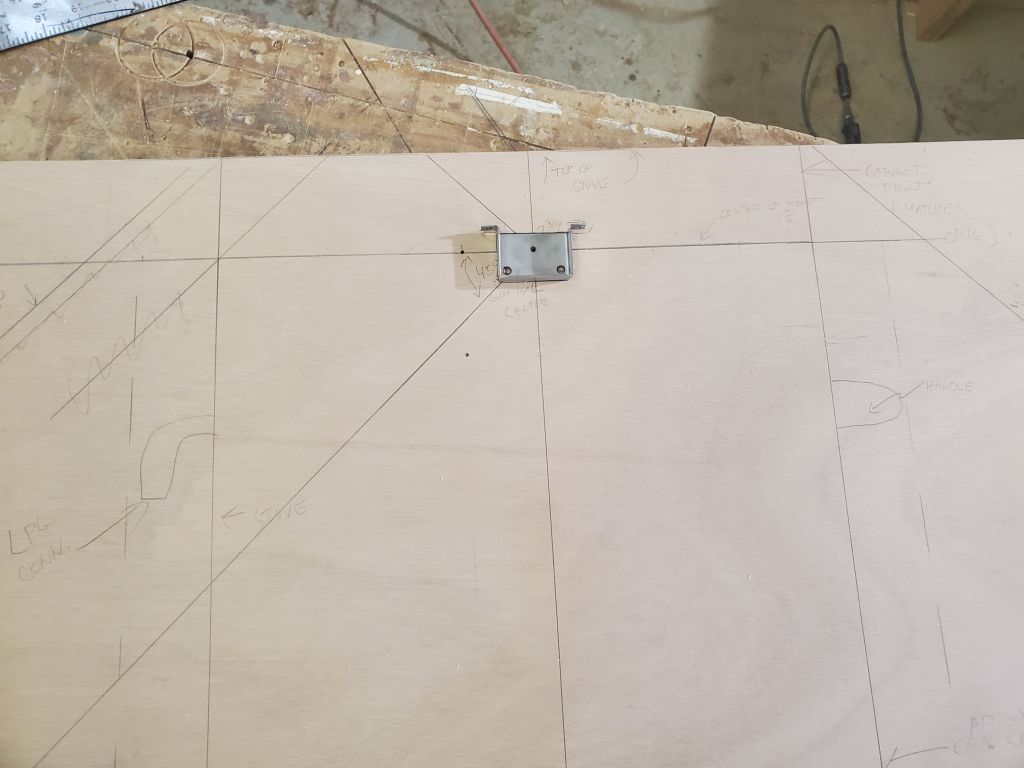
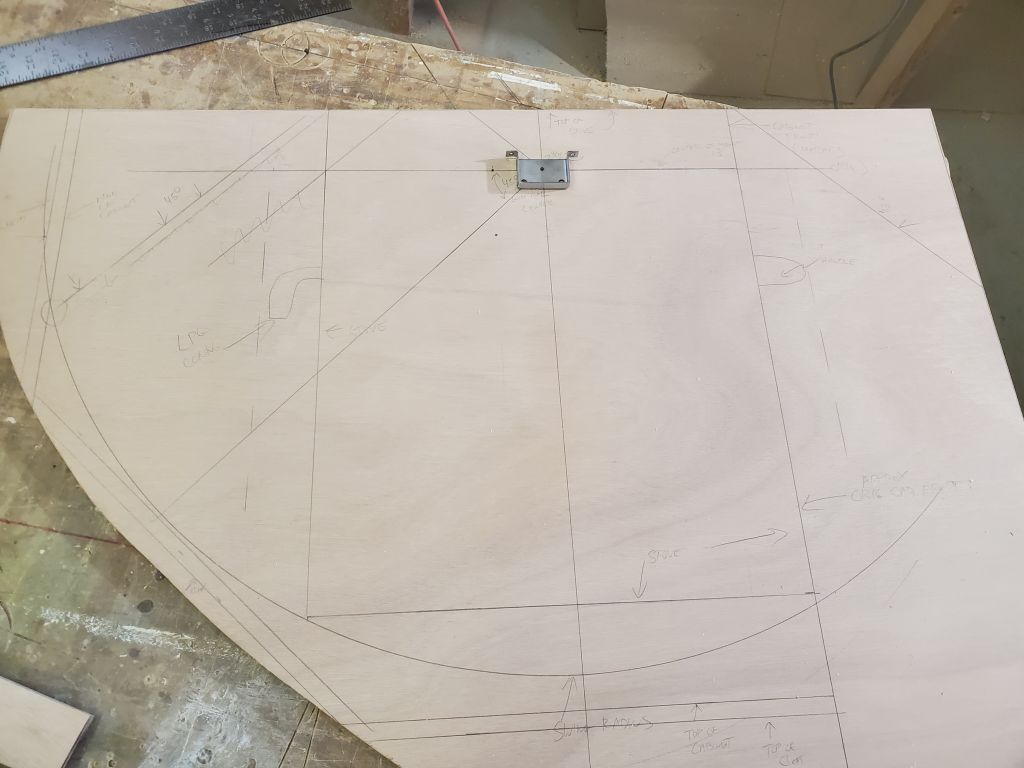
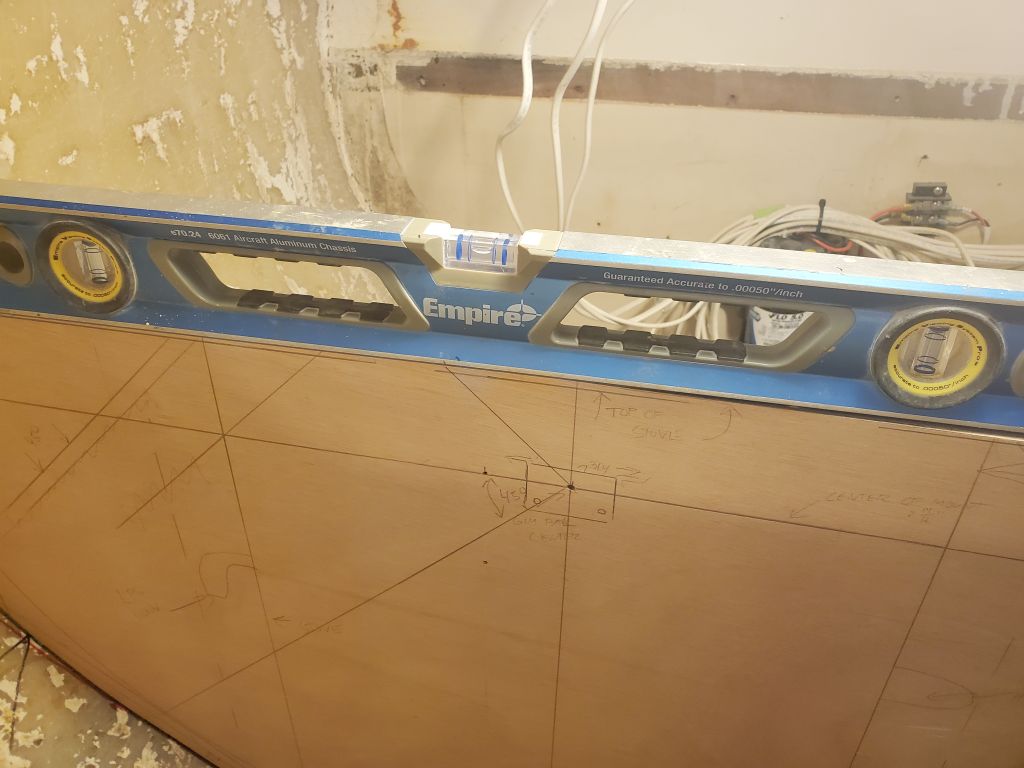
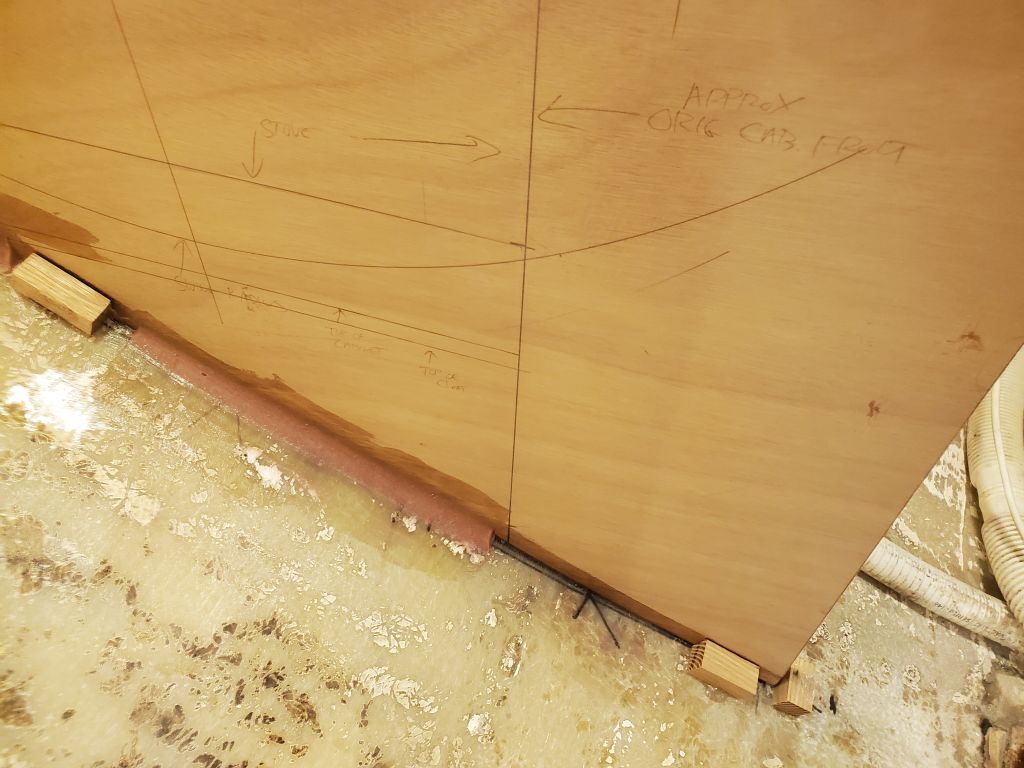
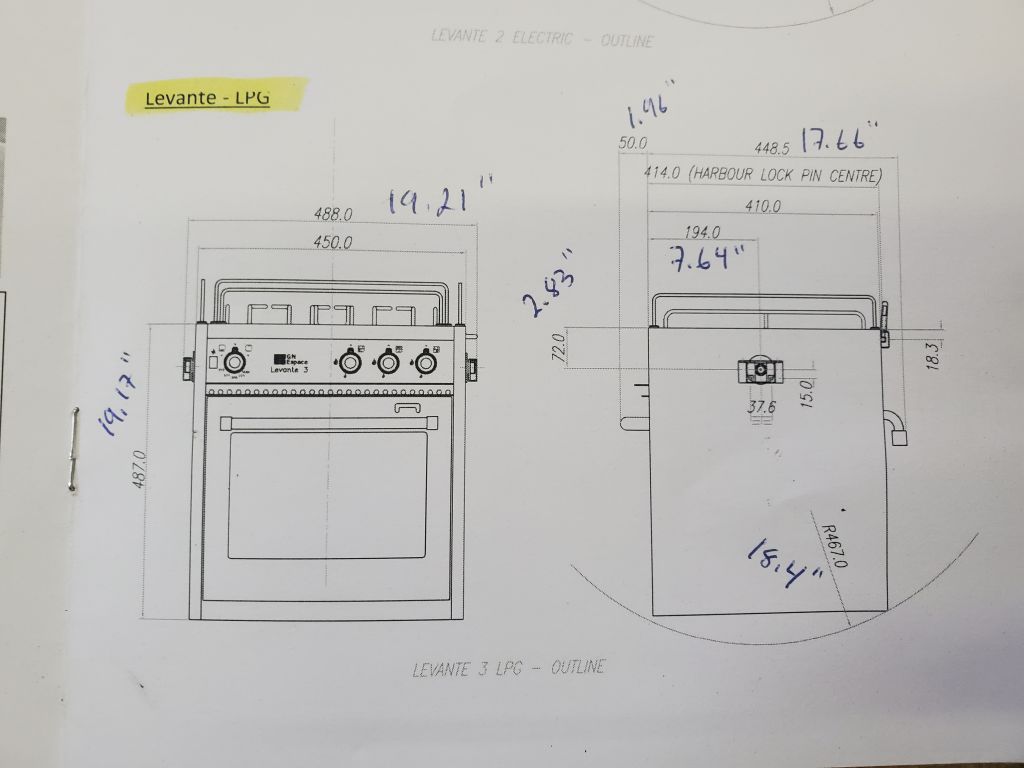
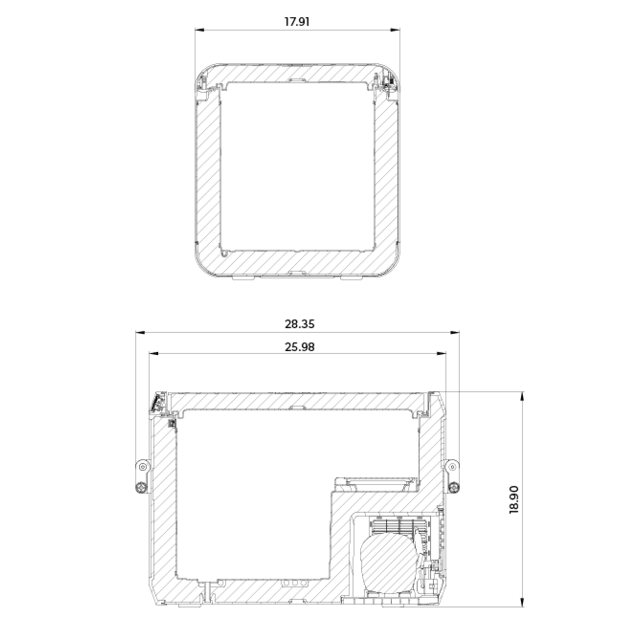
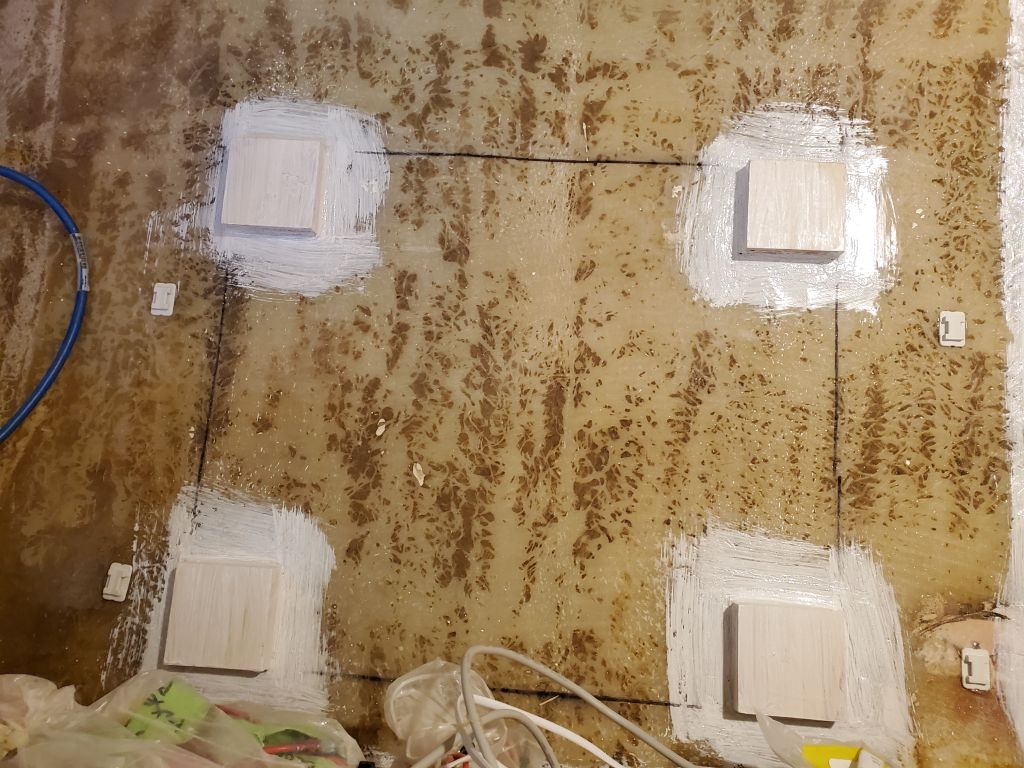
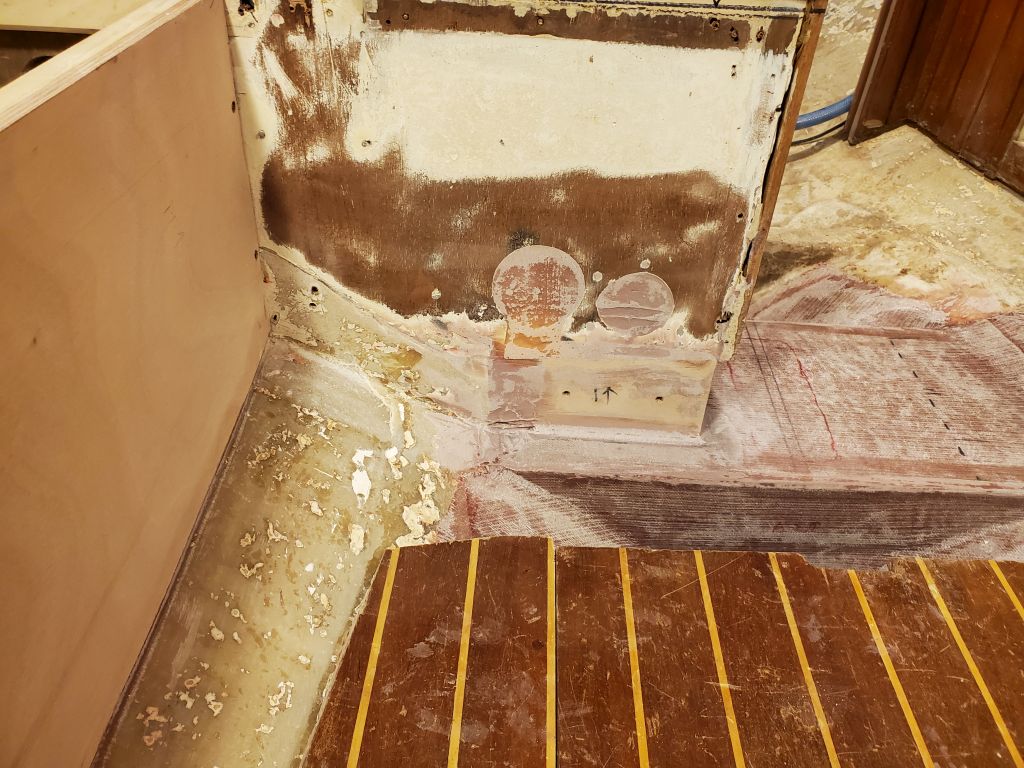
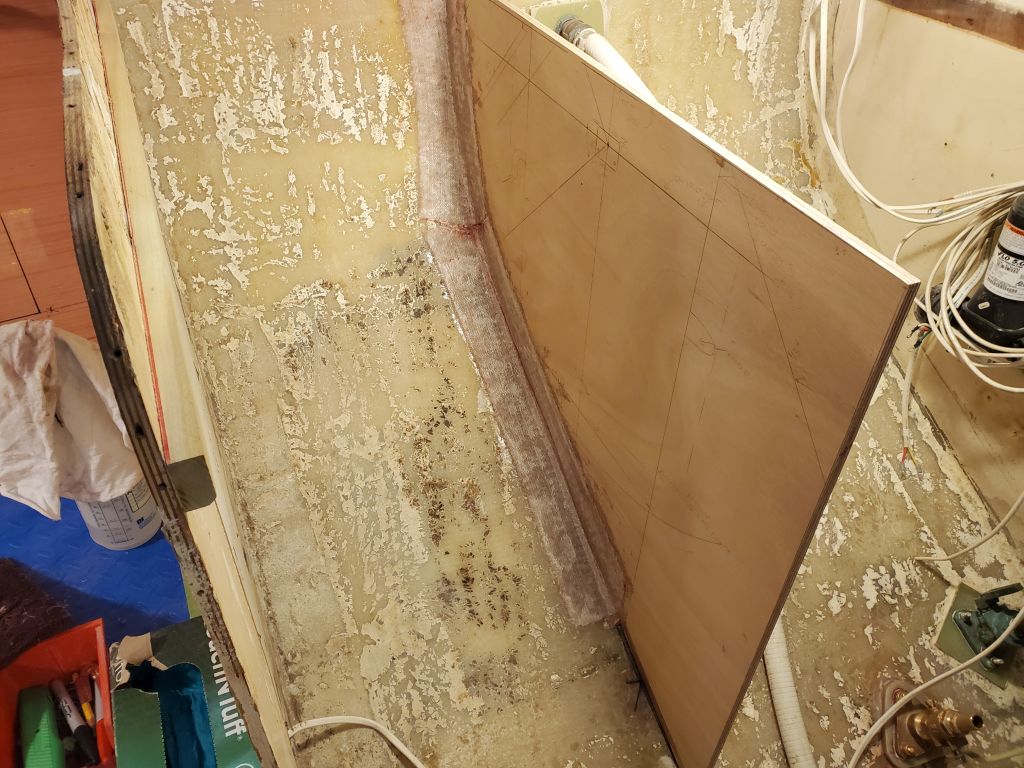
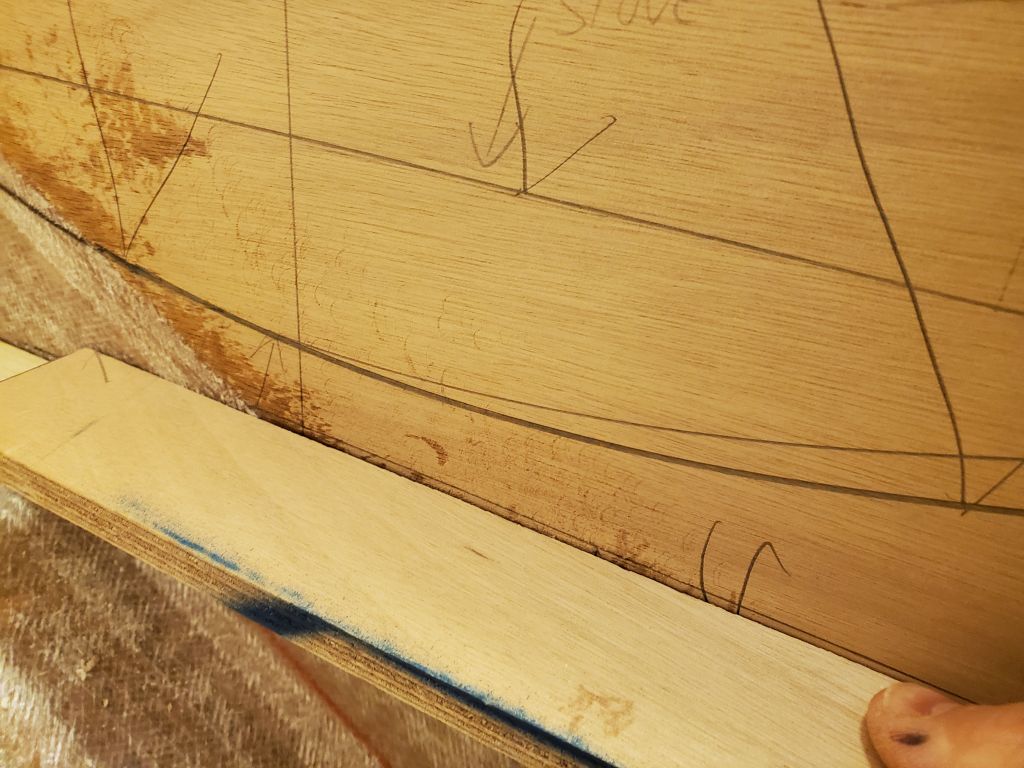
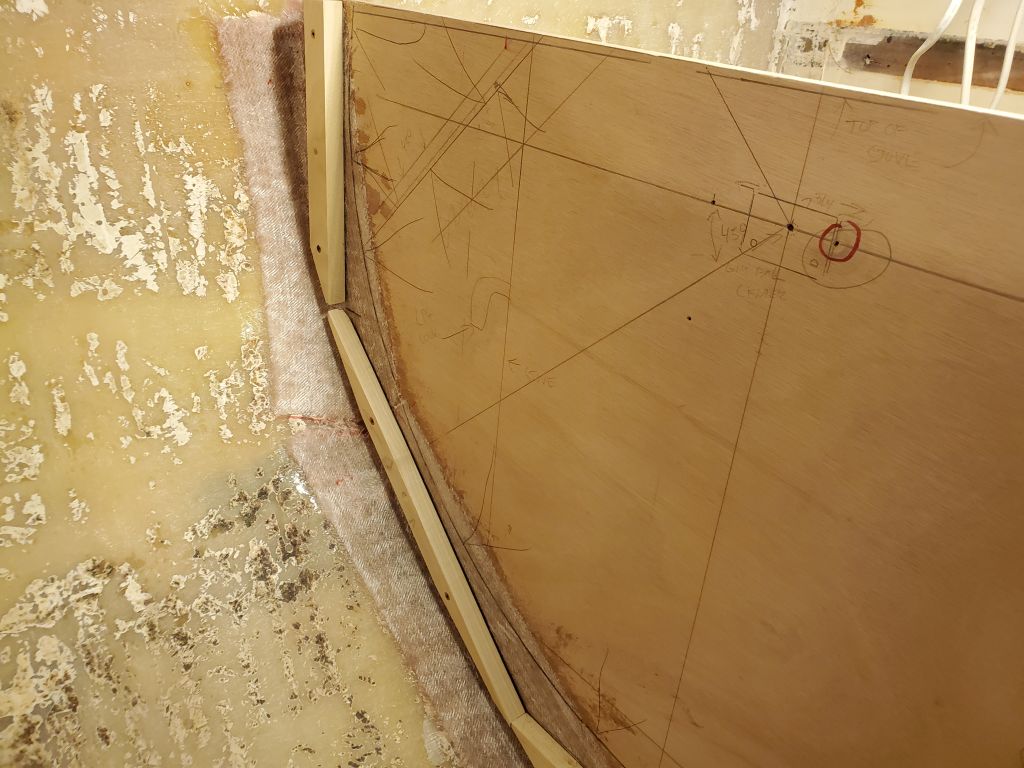
I ended up moving the stove position 1″ inboard from my original layout. This would give a bit more clearance for the enclosure, make the stove a bit more convenient to use, while not interfering more than necessary with the potential access to the under-sink area. All things in small, curvaceous boats require compromise. Once I’d located the aft gimbal point, on the new bulkhead, I transferred its position across to the forward bulkhead, double-and triple-checking the measurements in all dimensions. Then, I used my pre-measured radius stick to draw the stove swing radius on both sides, and checked the overall stove fit with the stove template to ensure its proper swing and also mark the after limit of the enclosure (based on a 45 degree outboard swing angle).
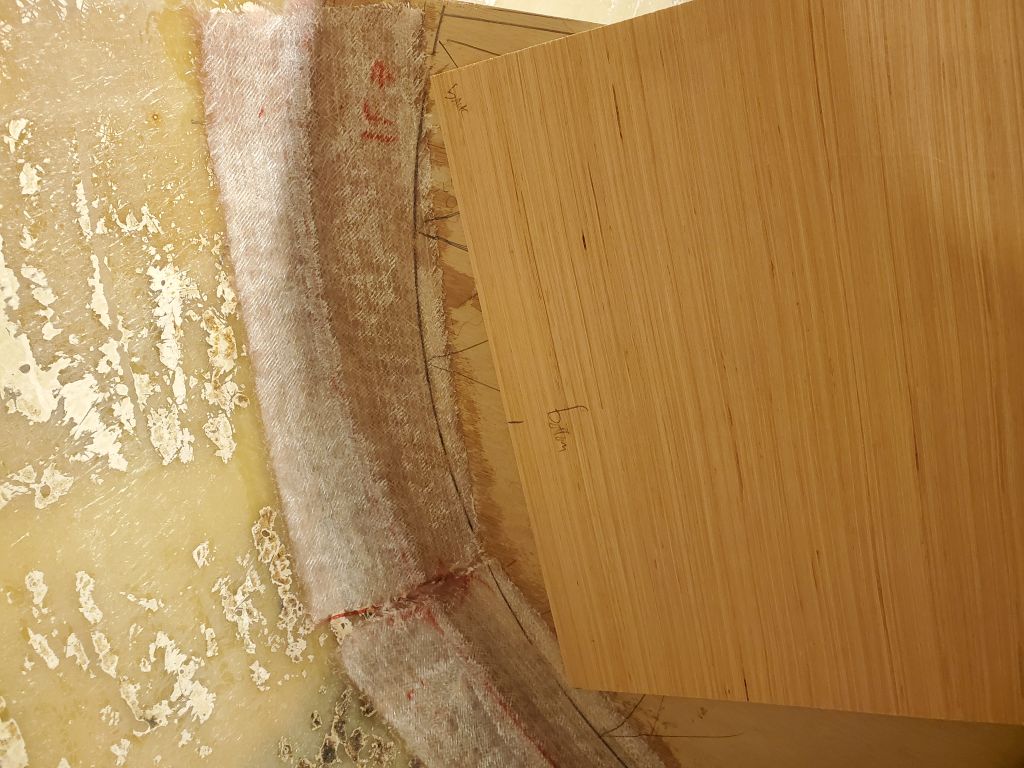

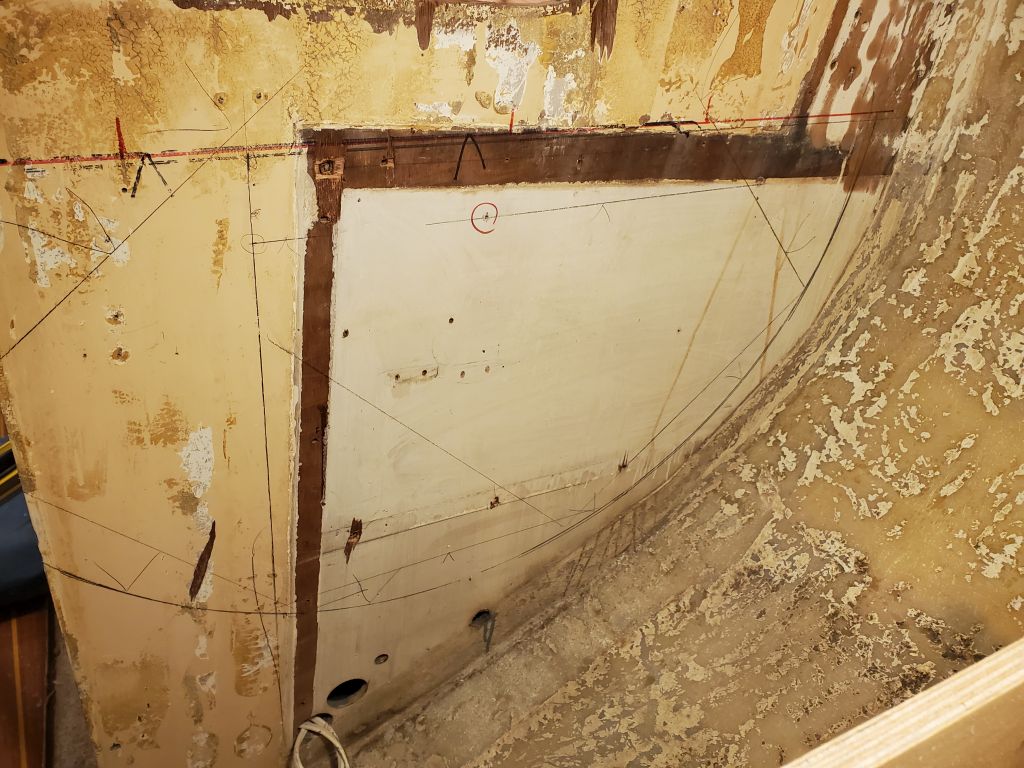
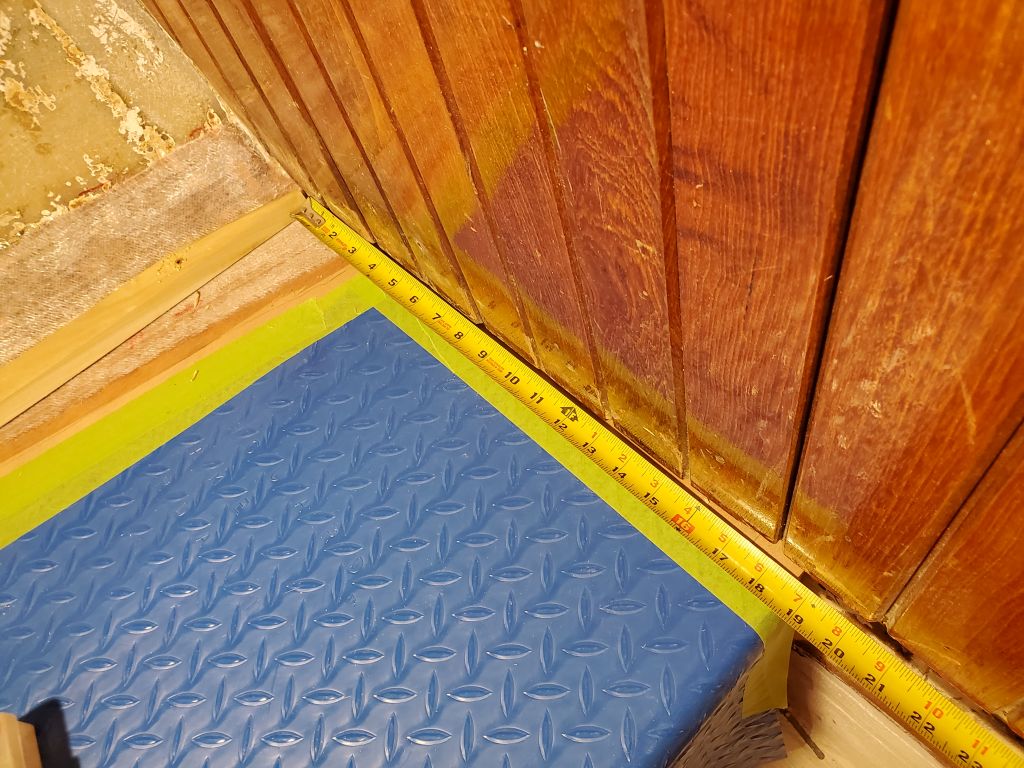
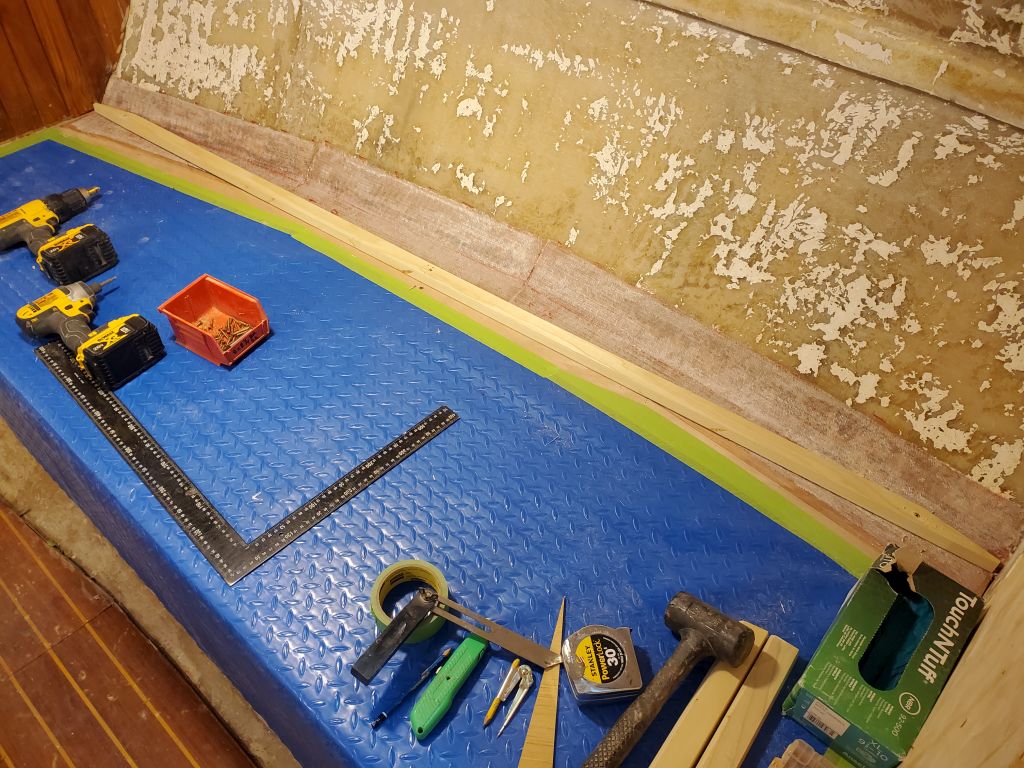
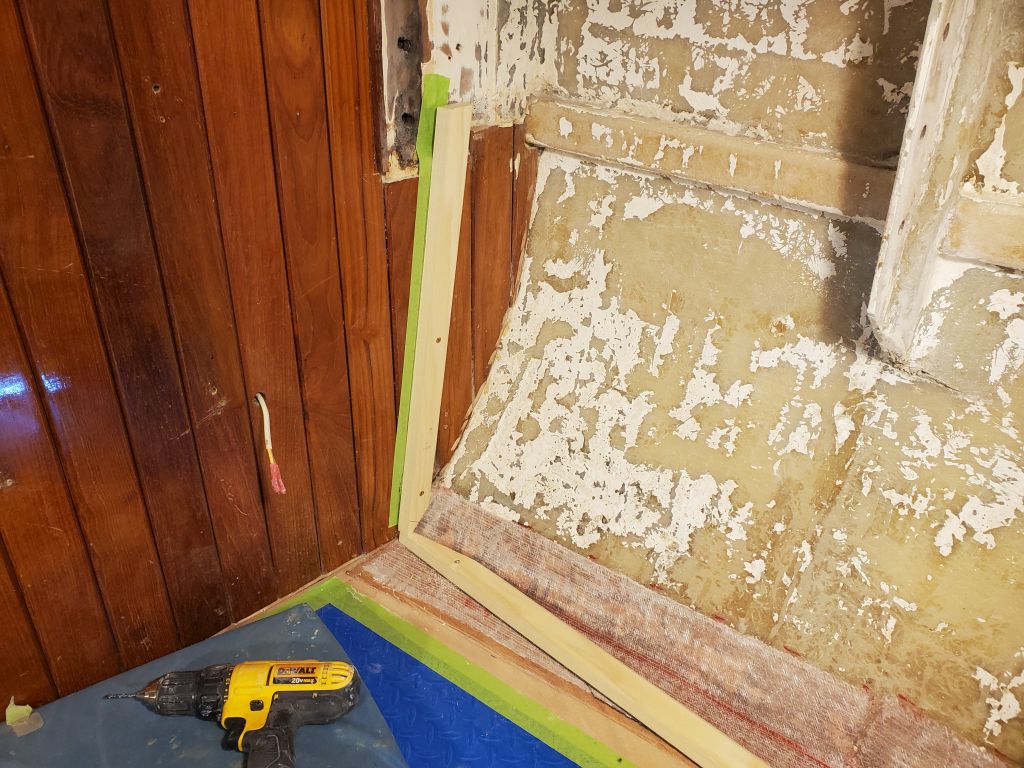
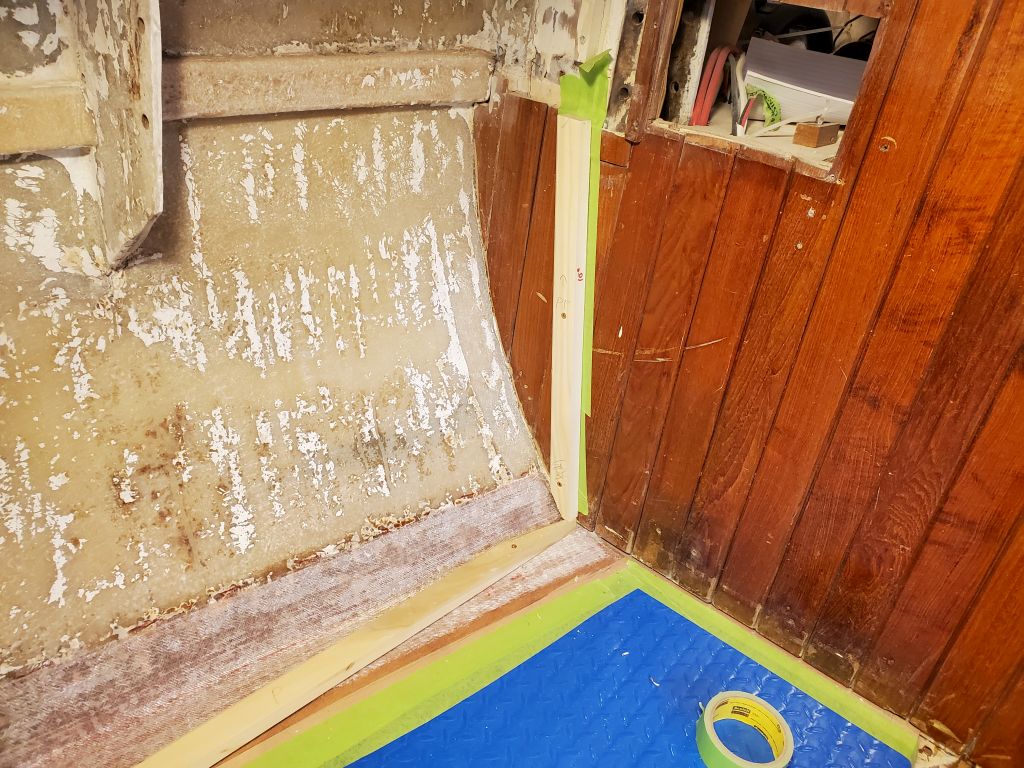
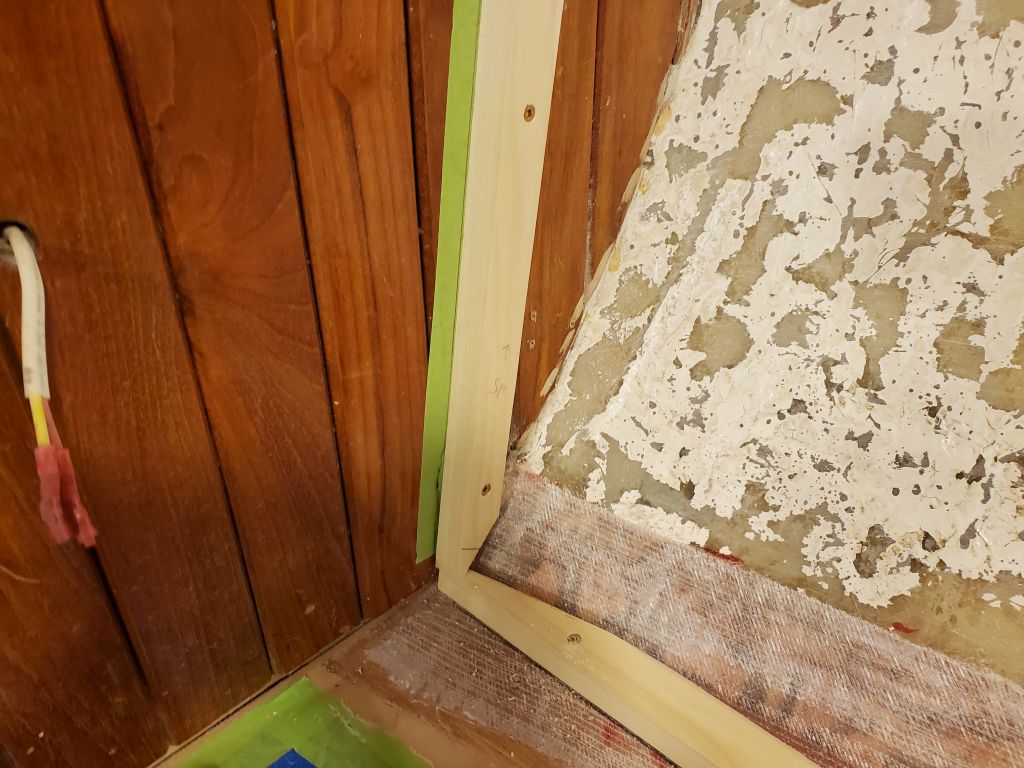
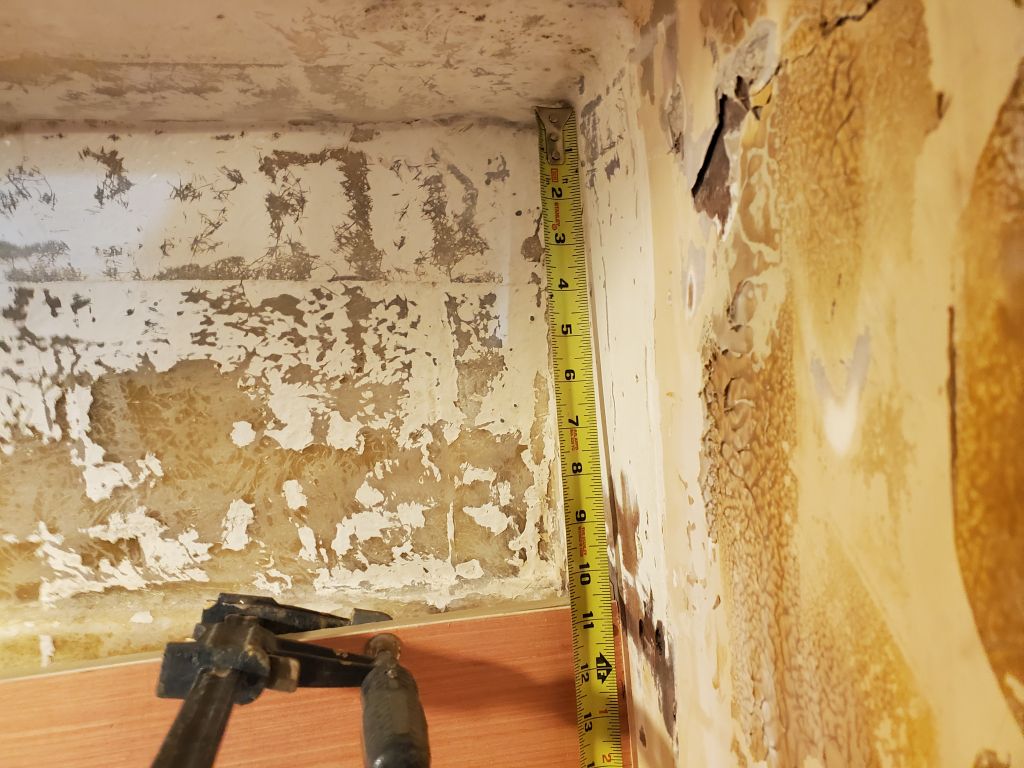
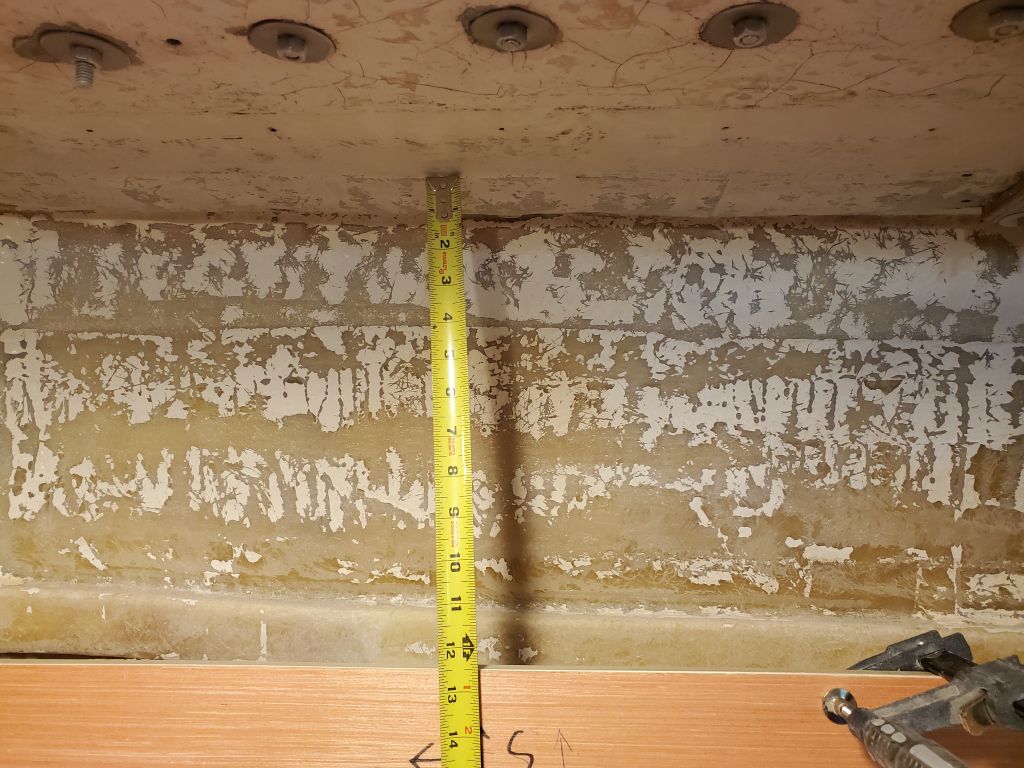
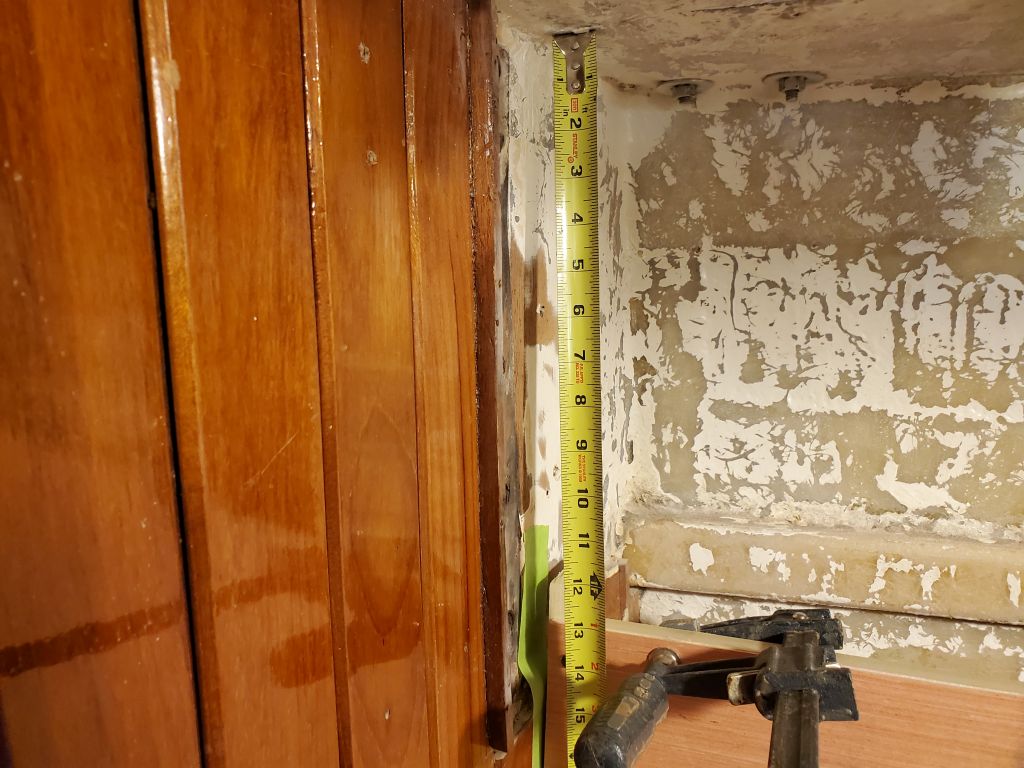
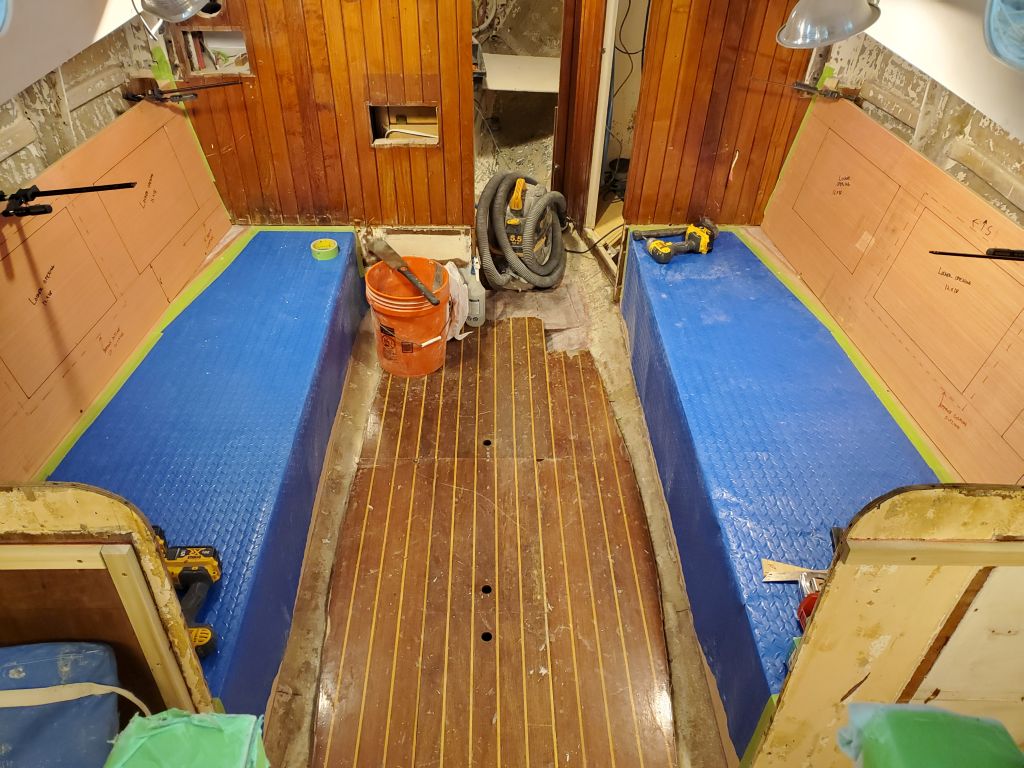
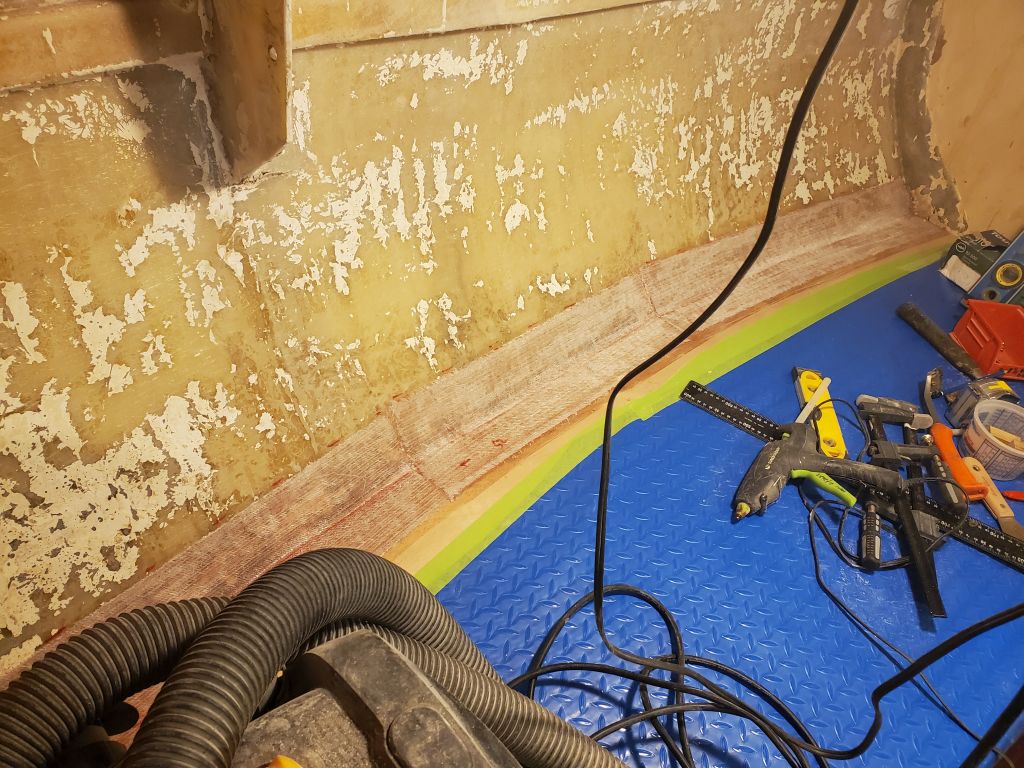
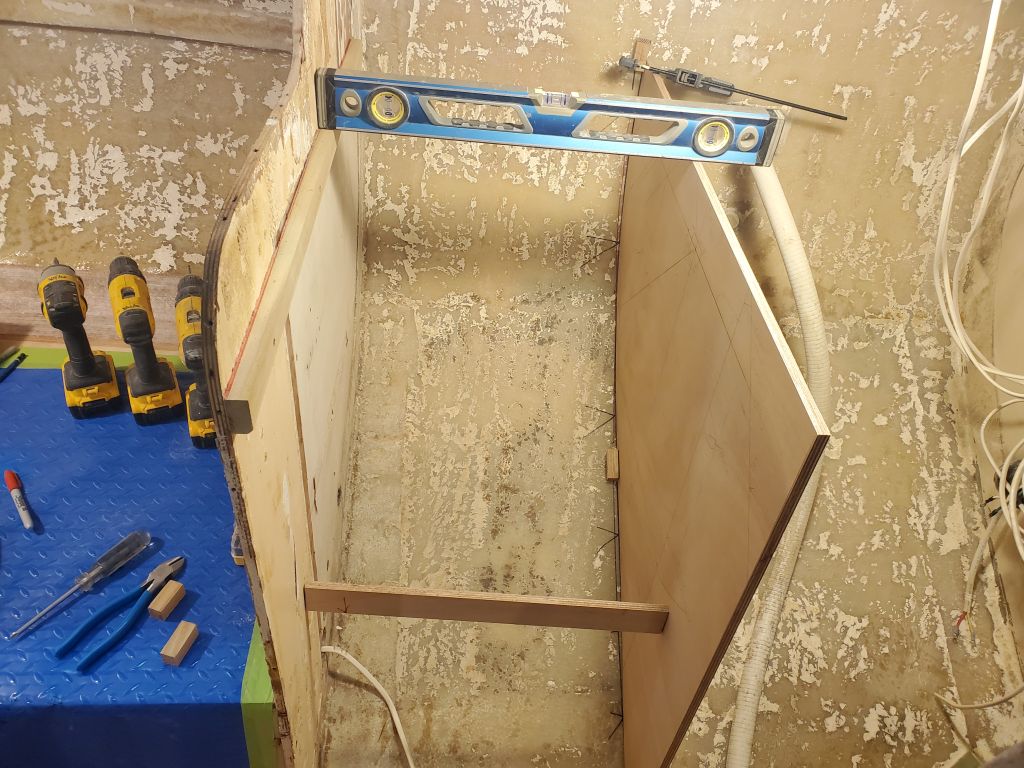
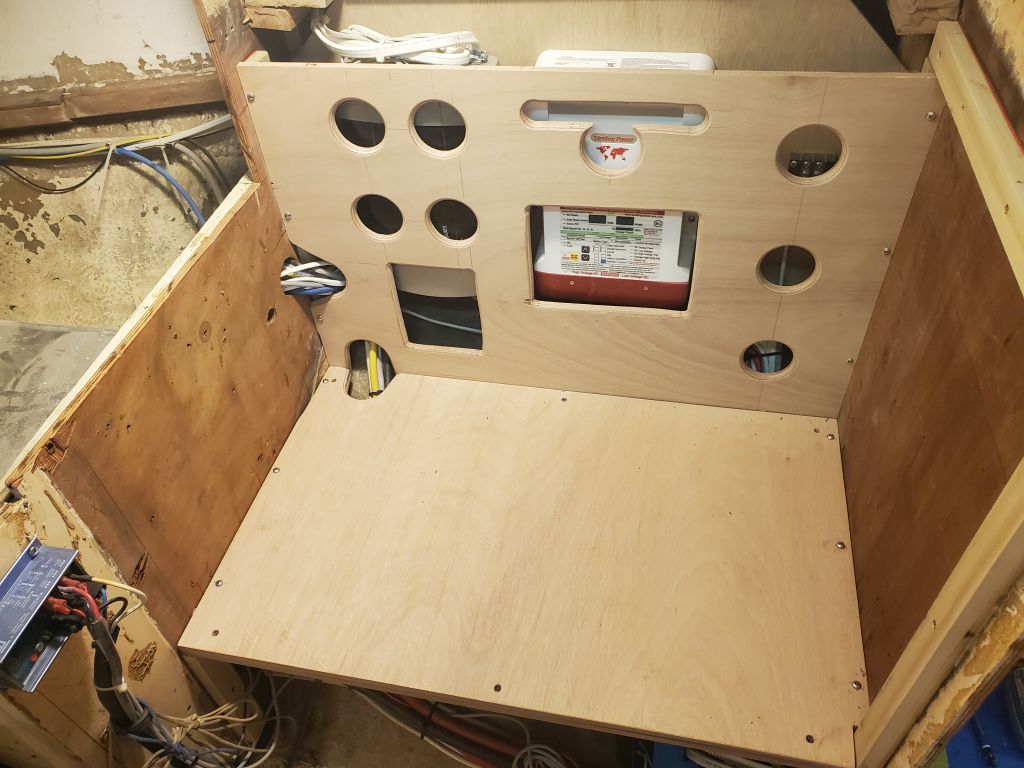
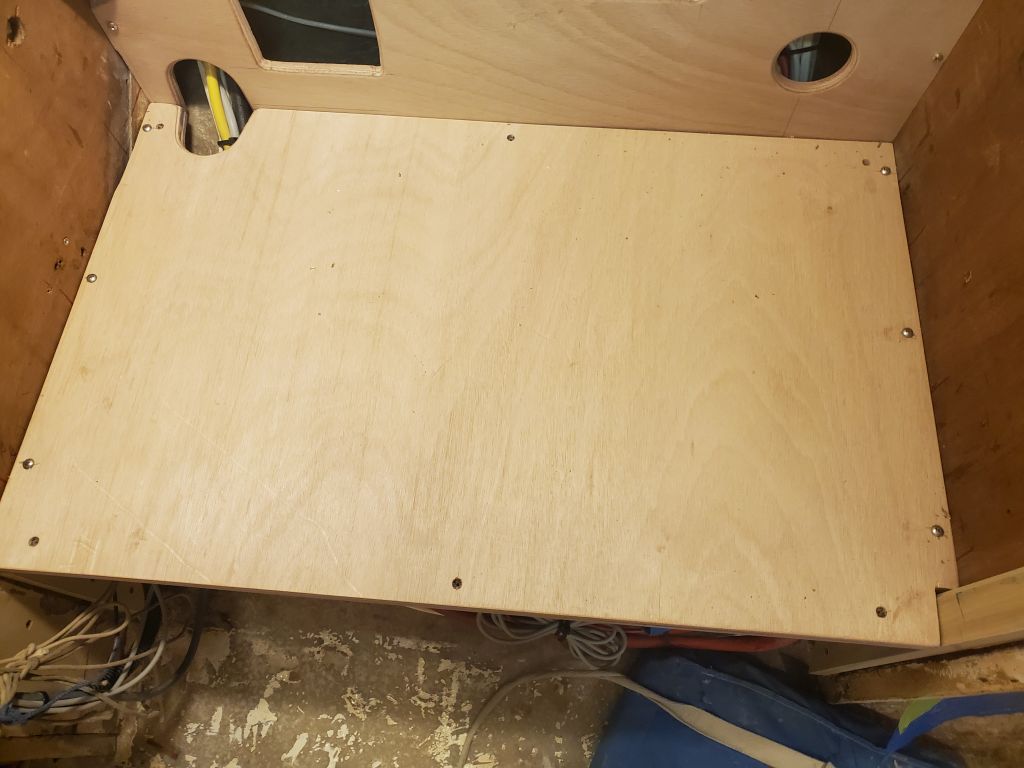
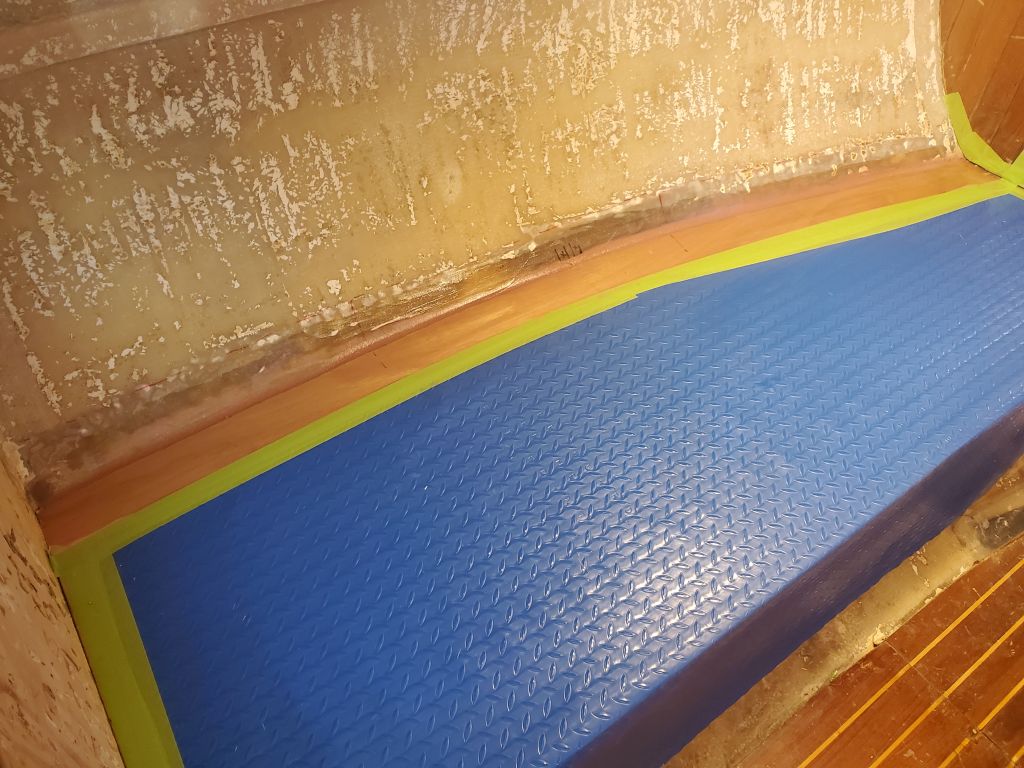
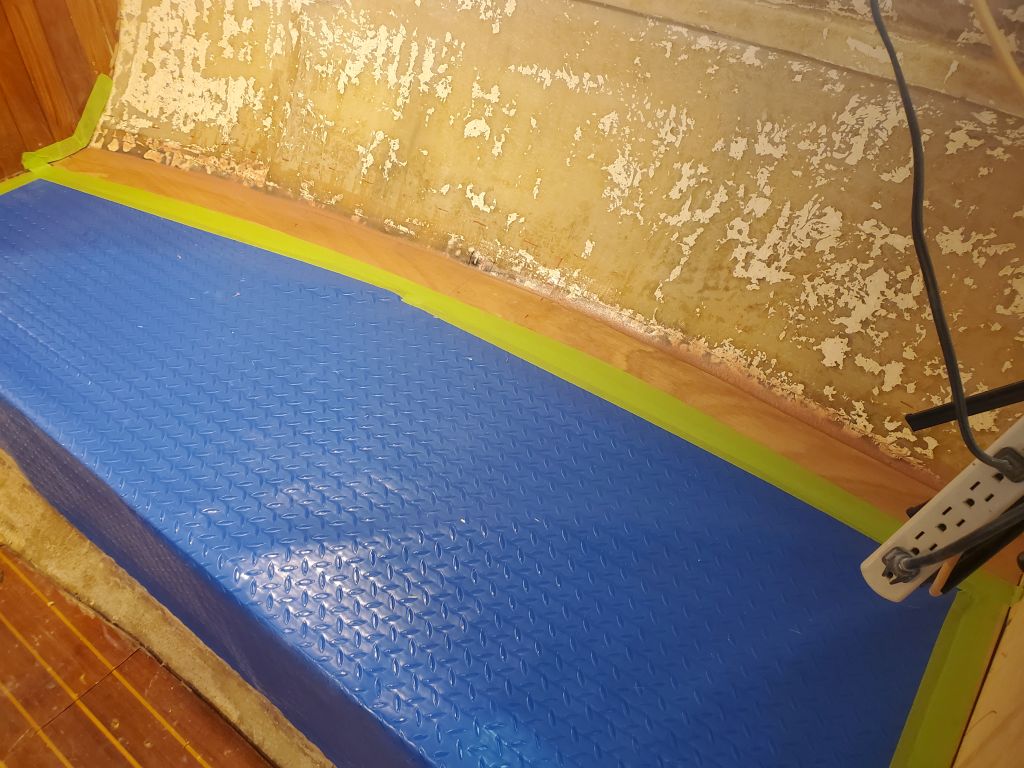
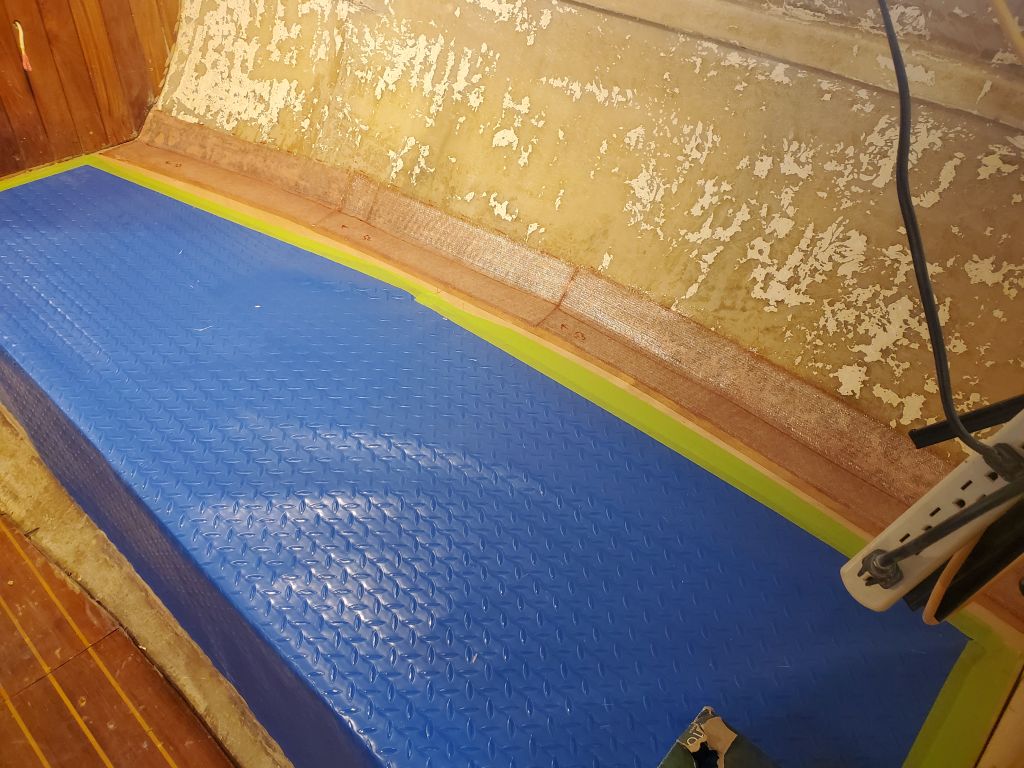
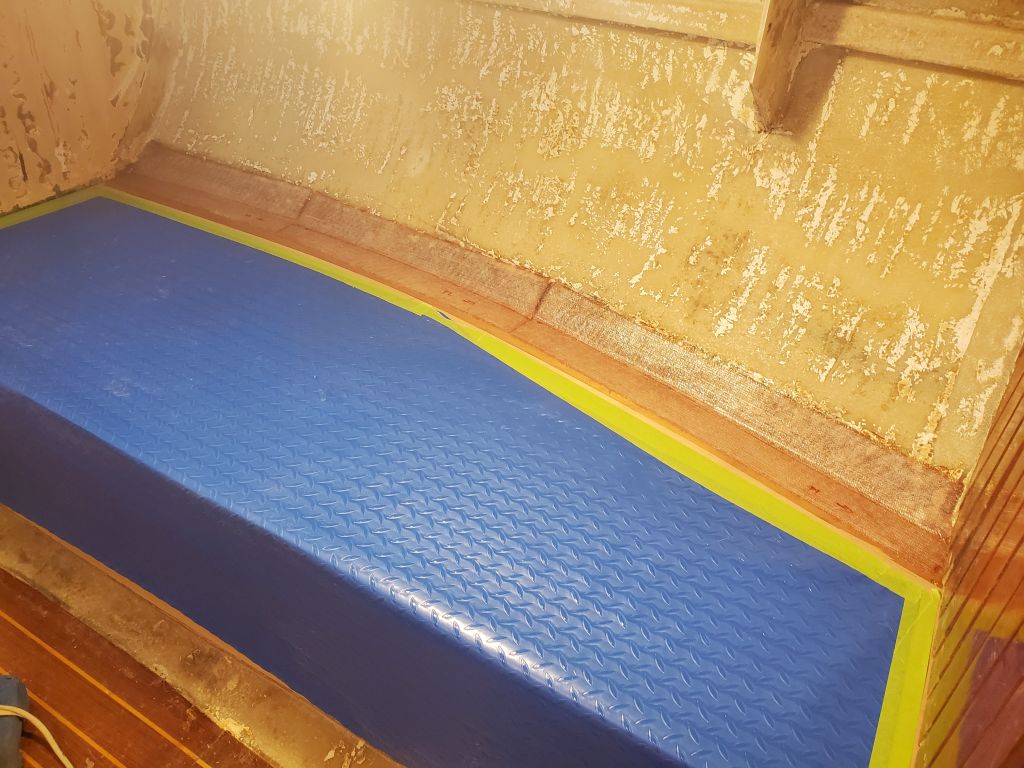
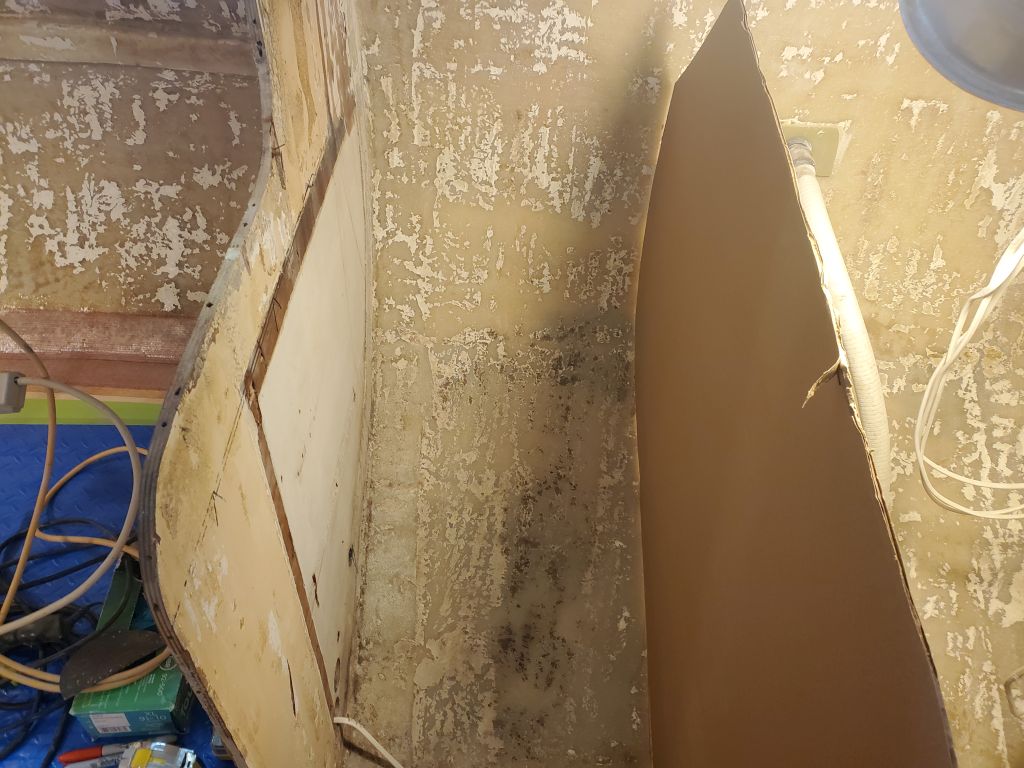
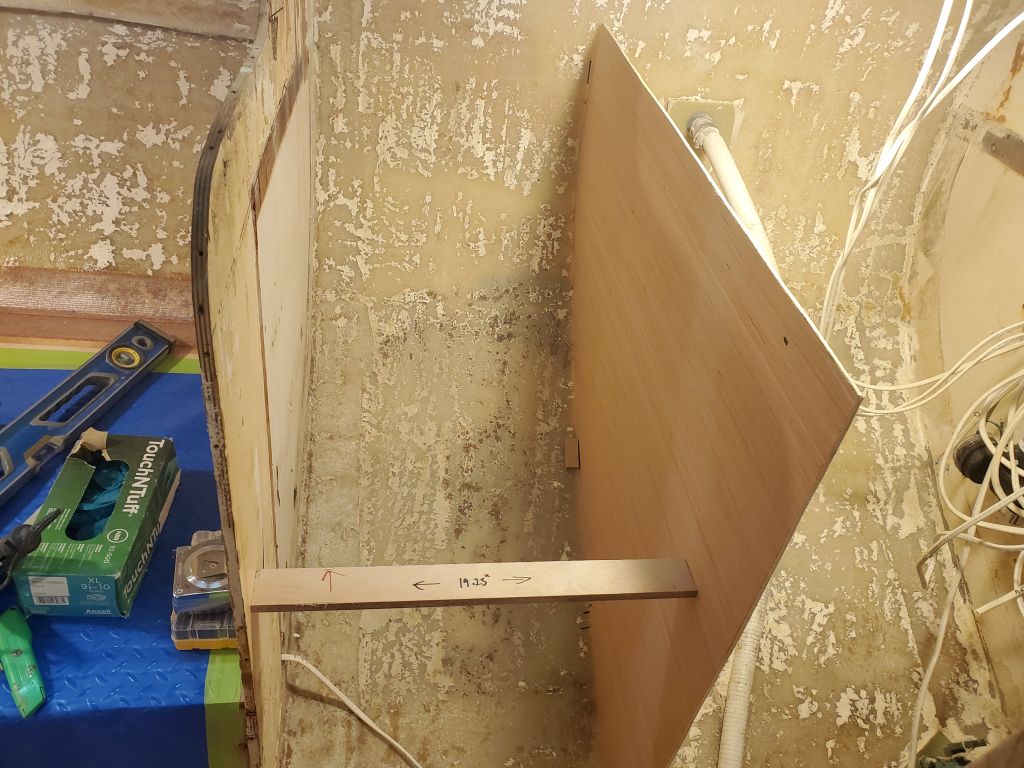
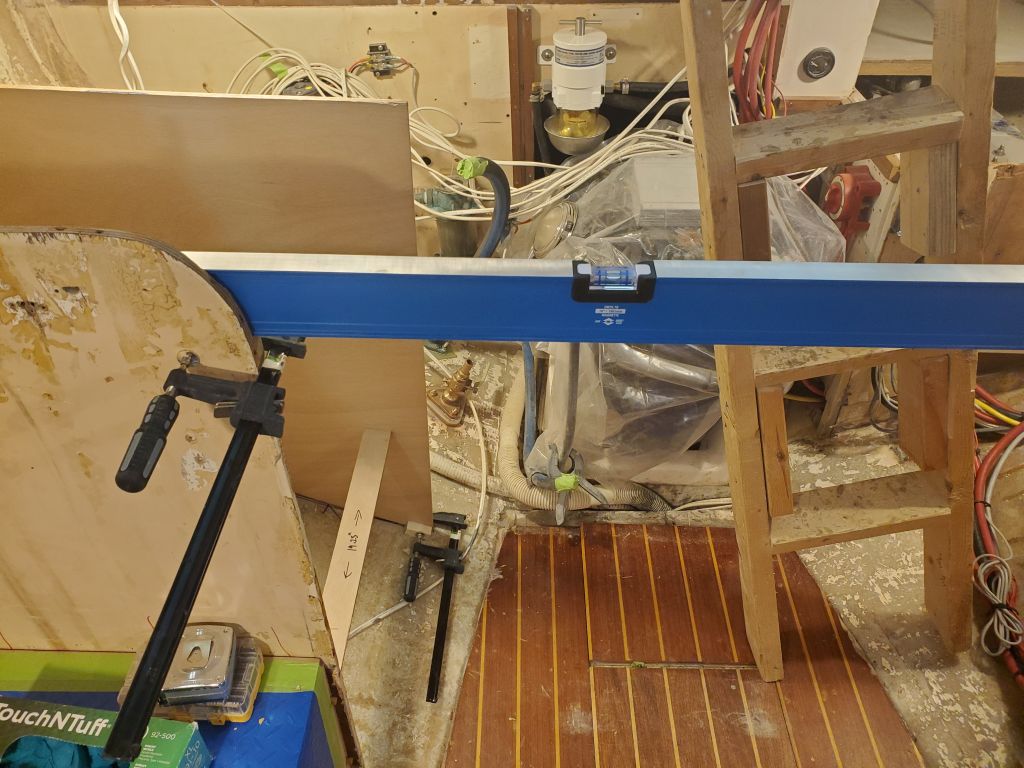
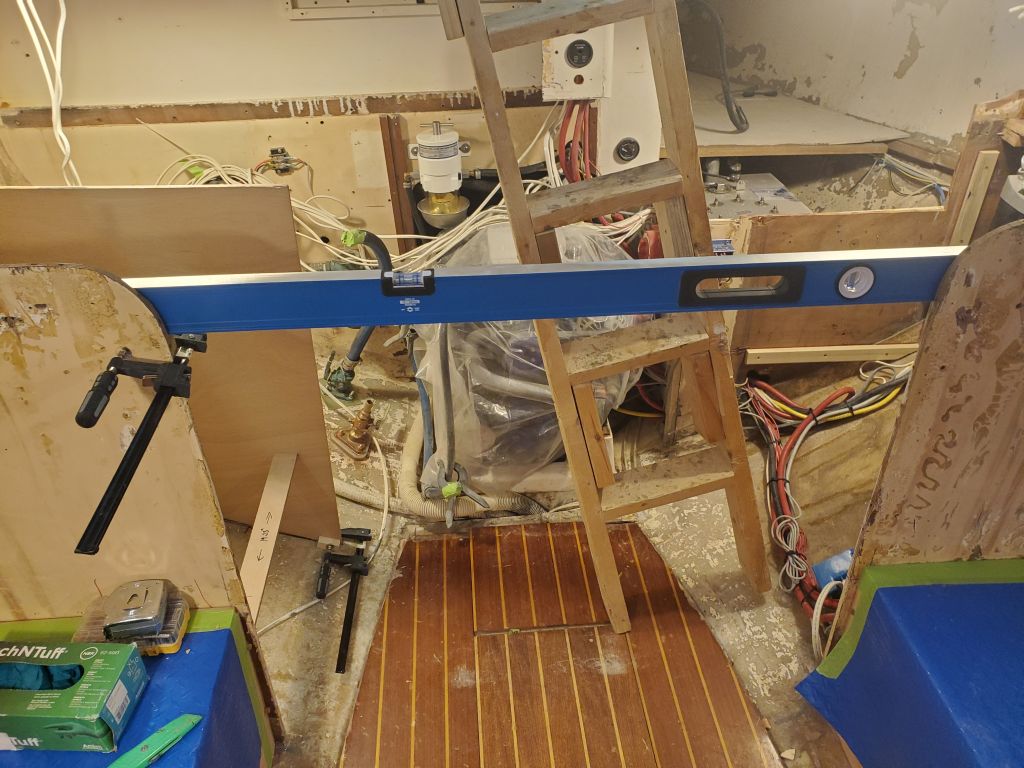
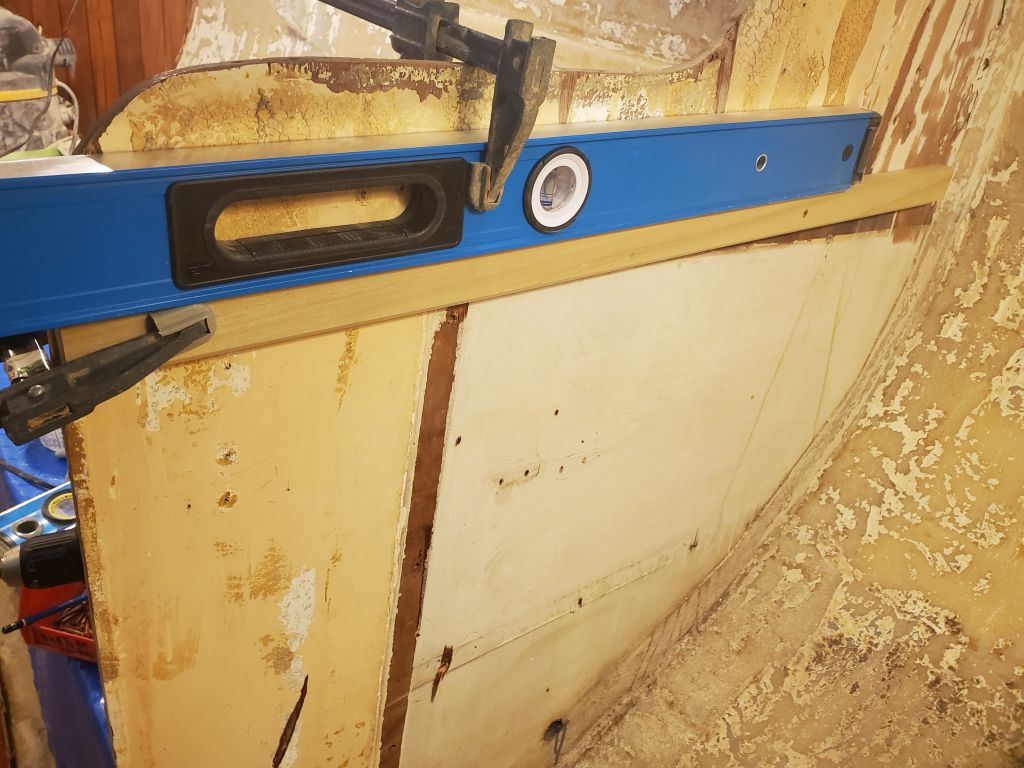
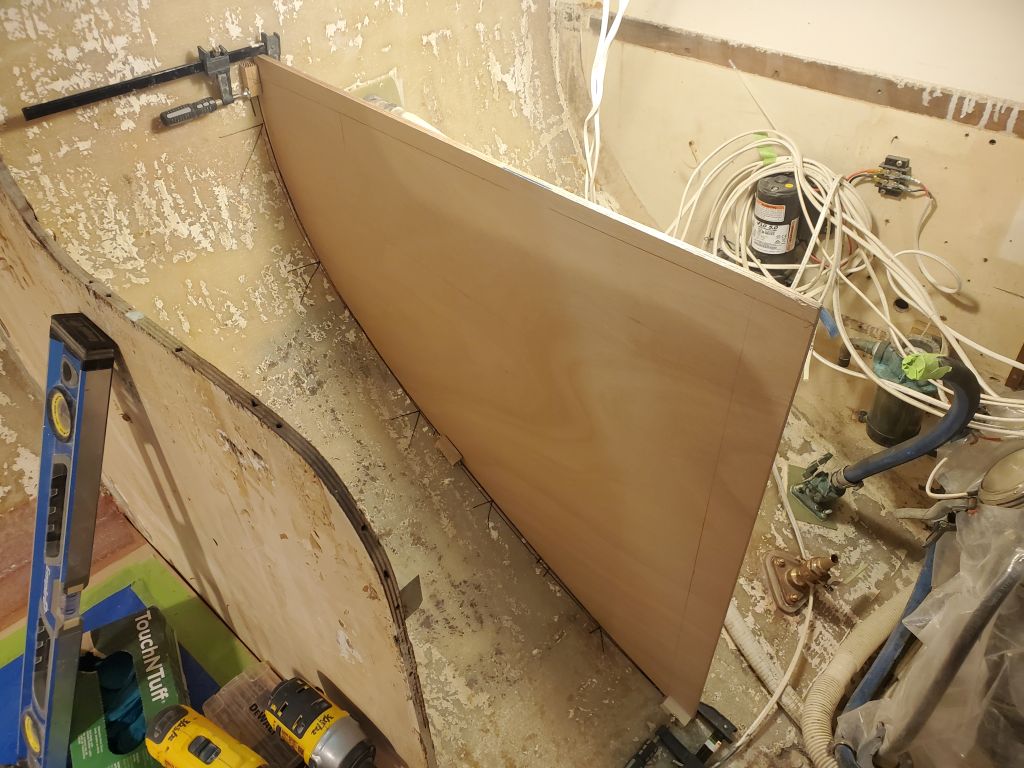
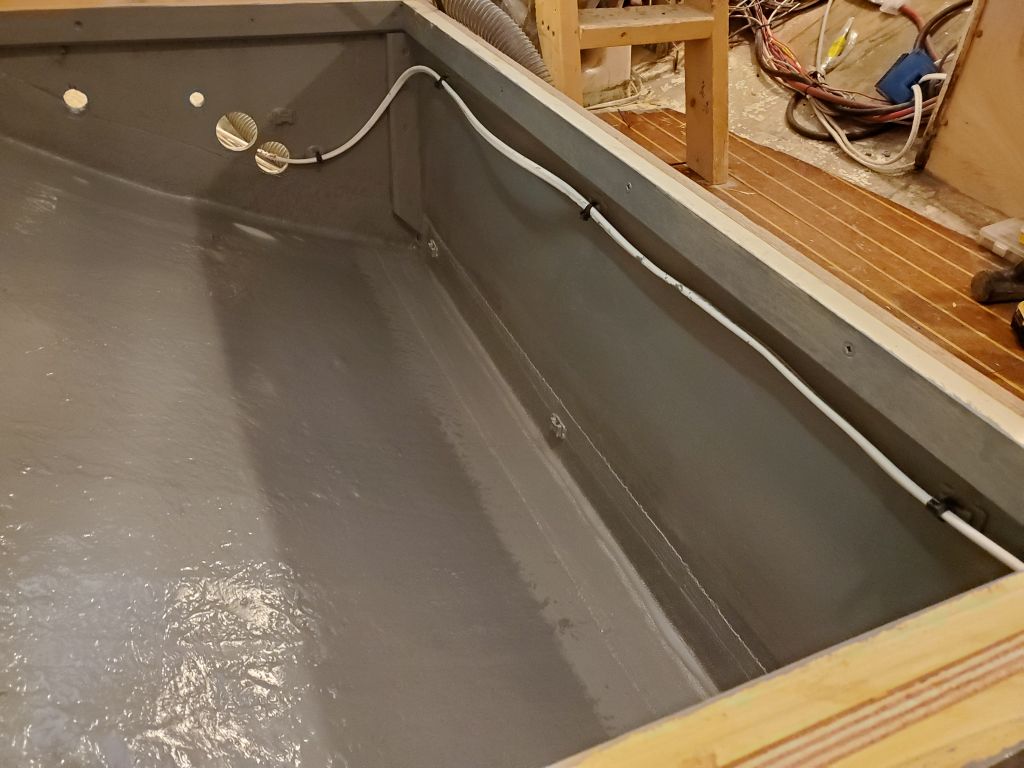
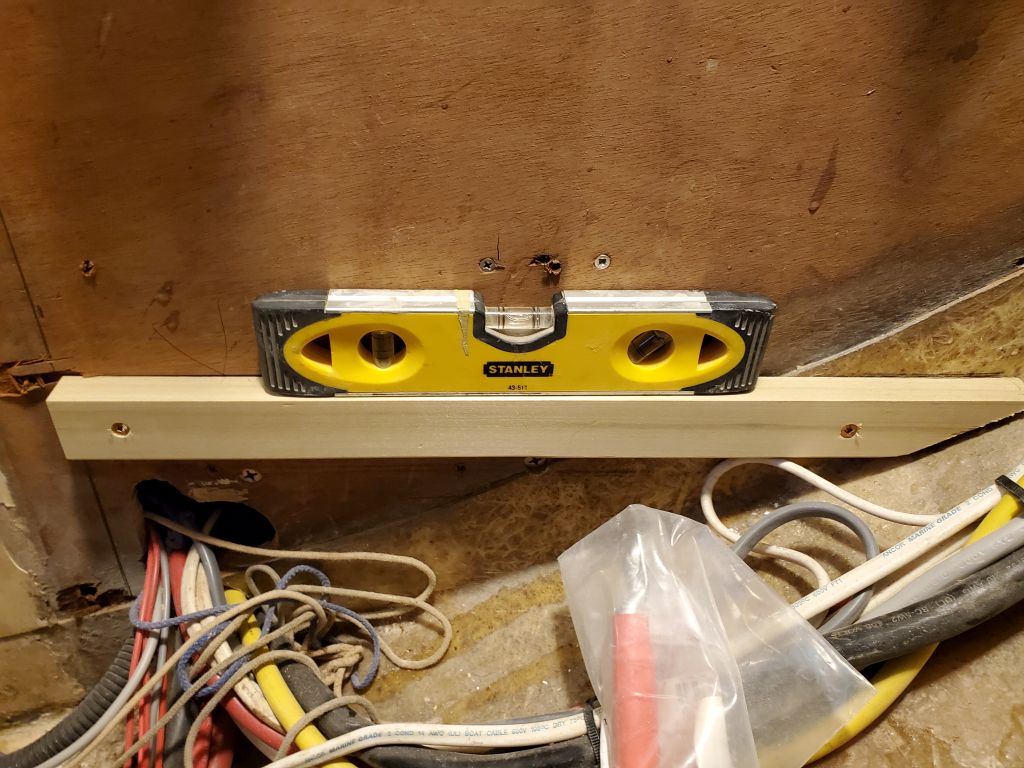
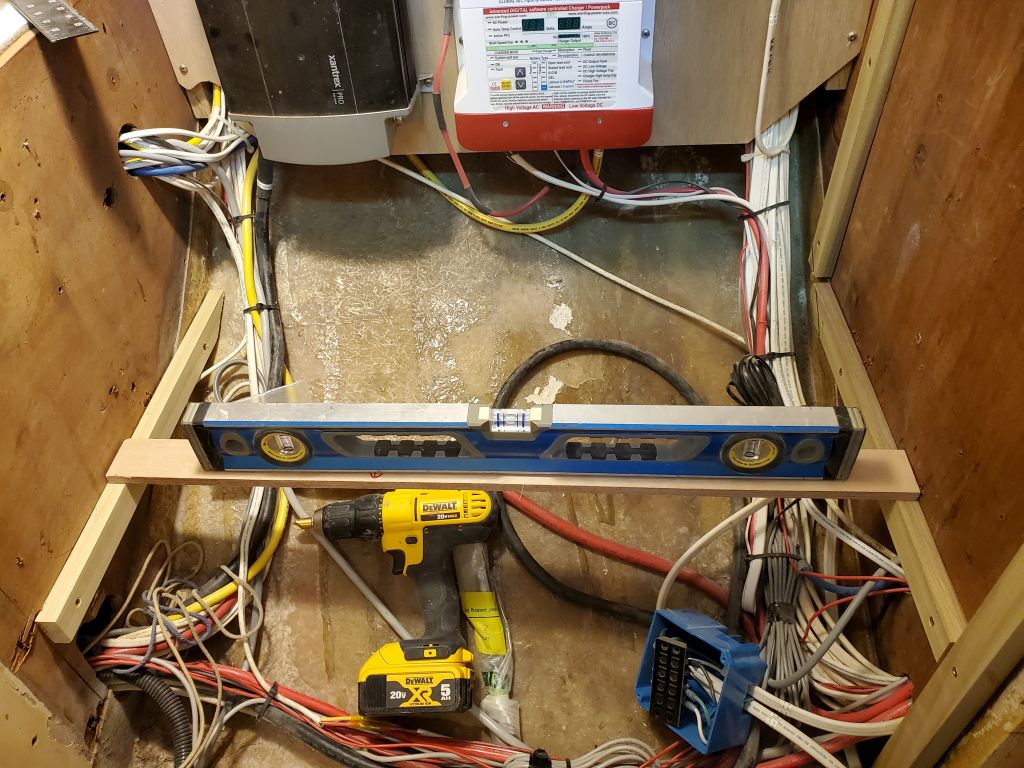
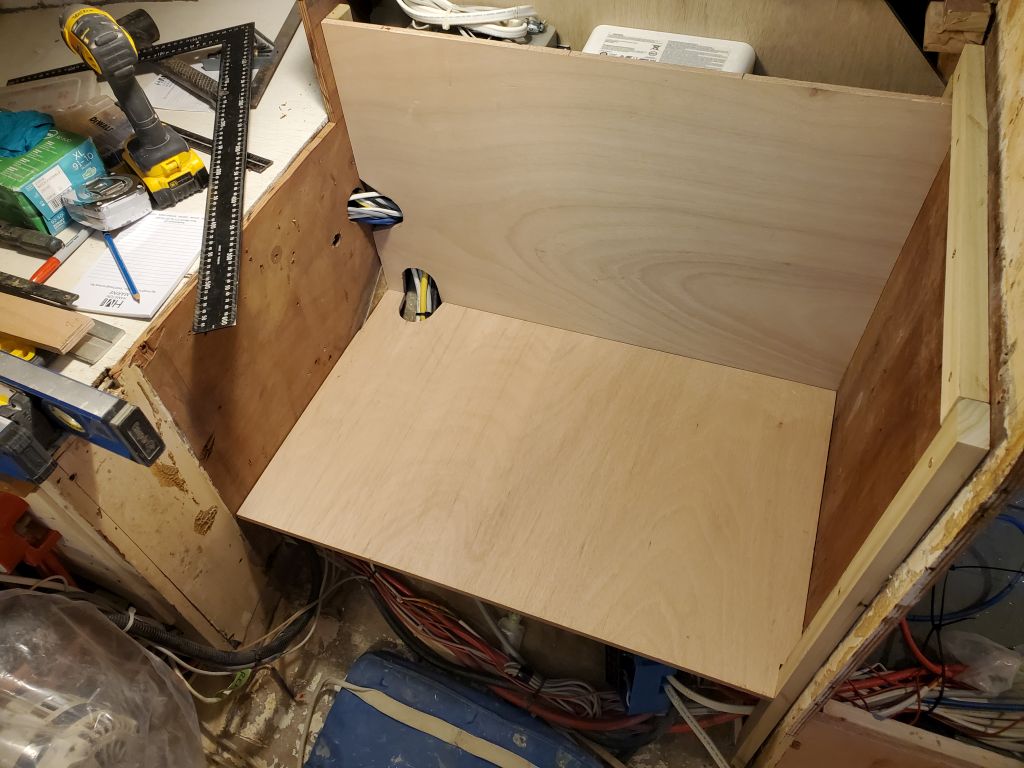
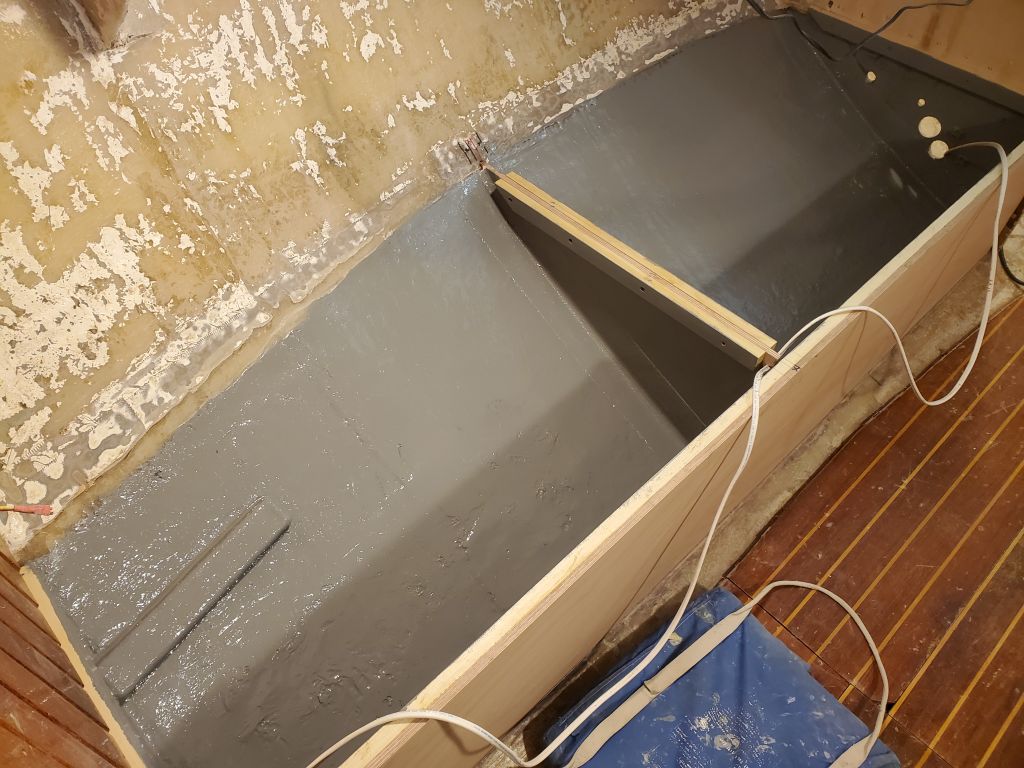
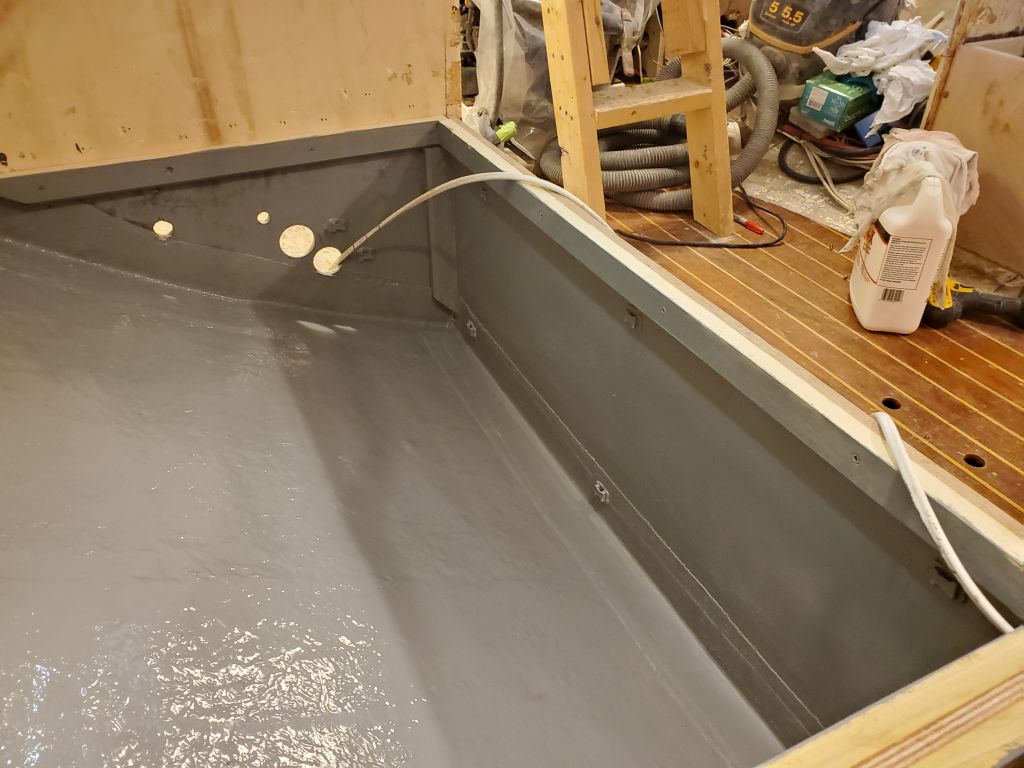
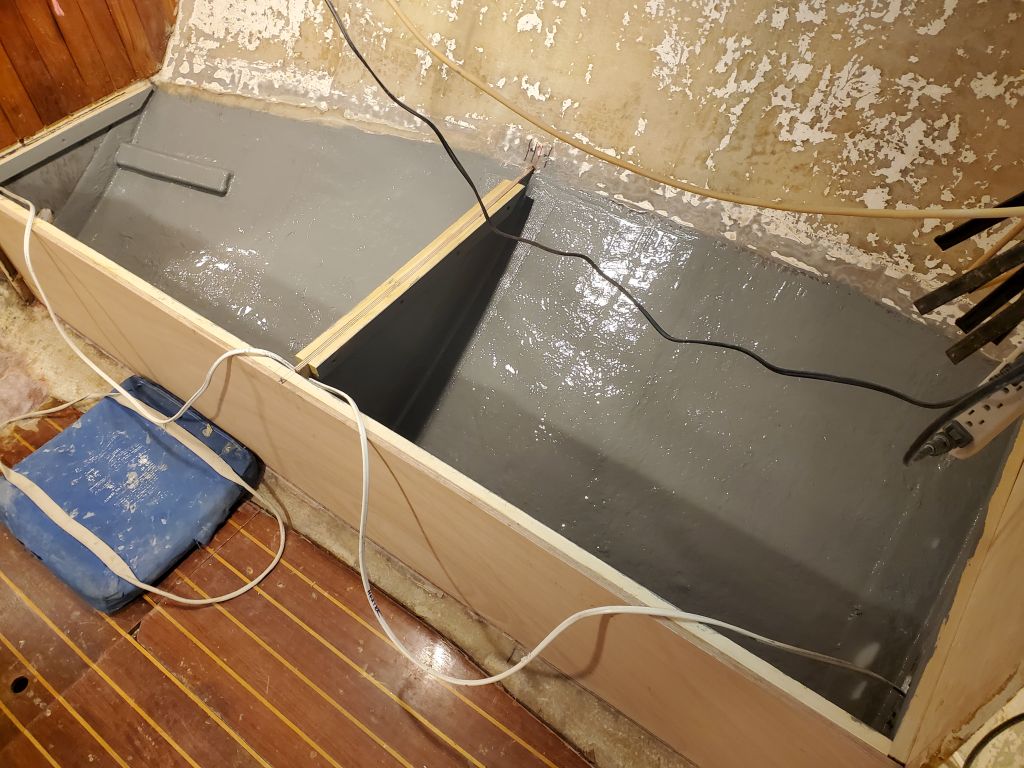
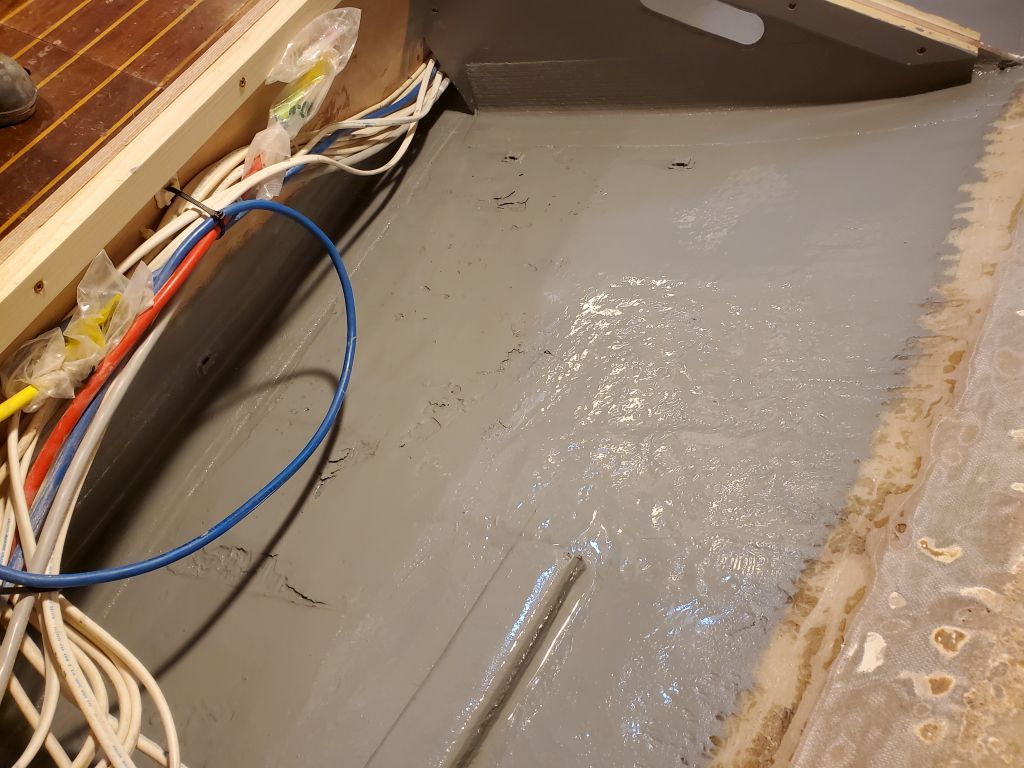
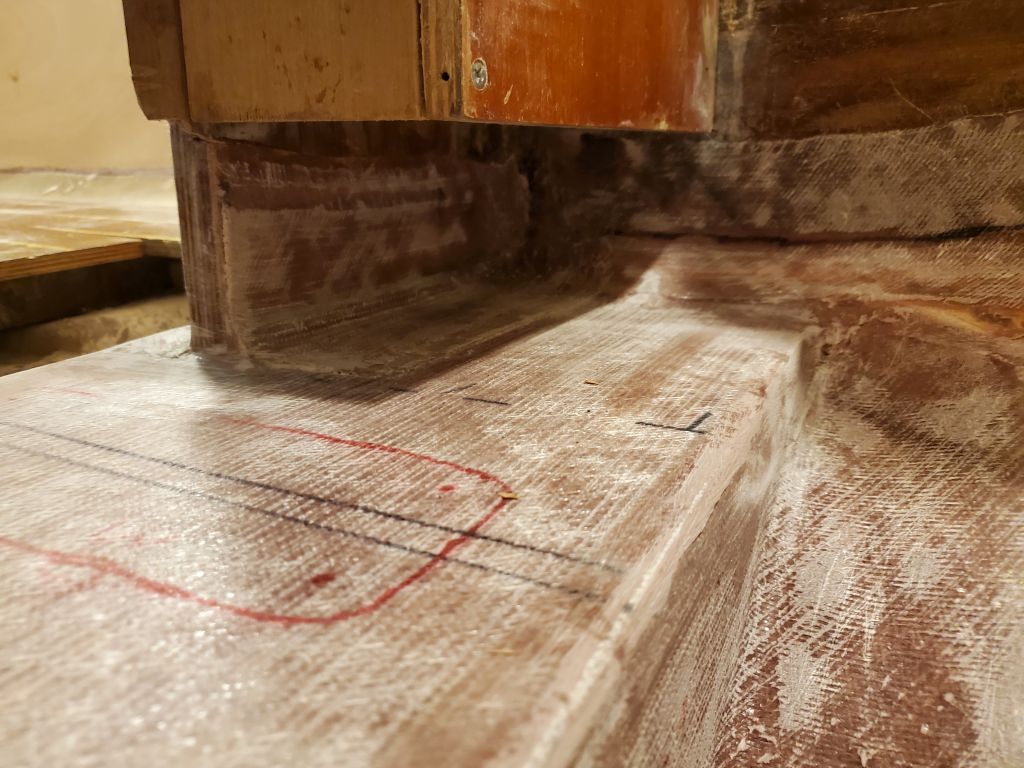
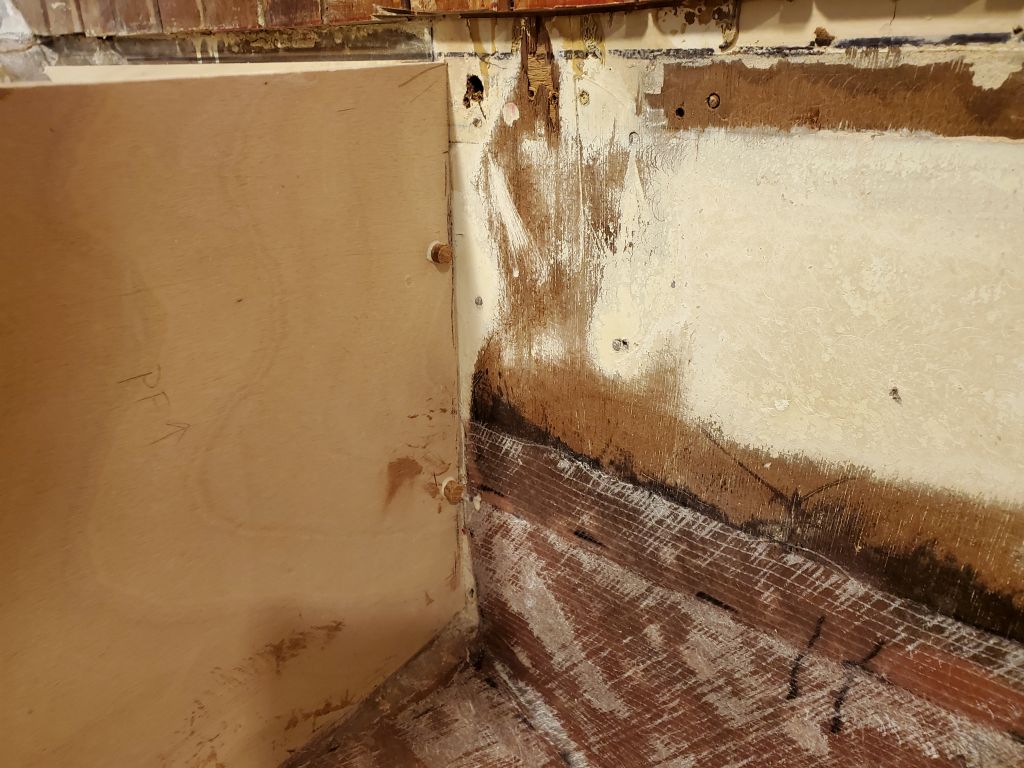
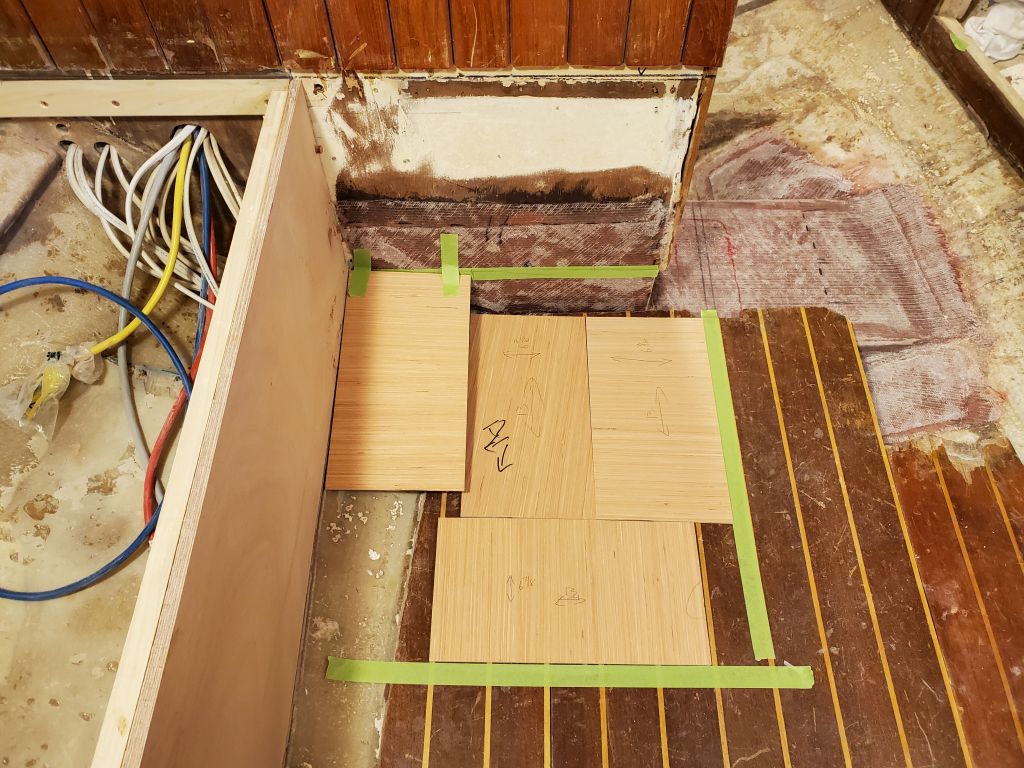
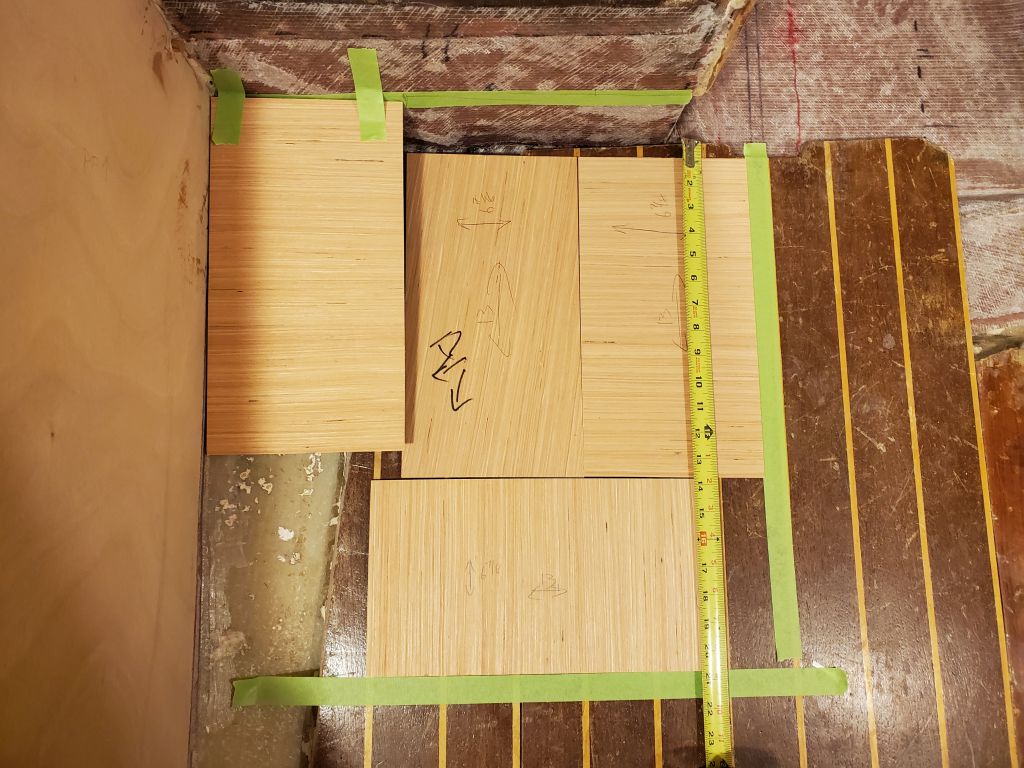
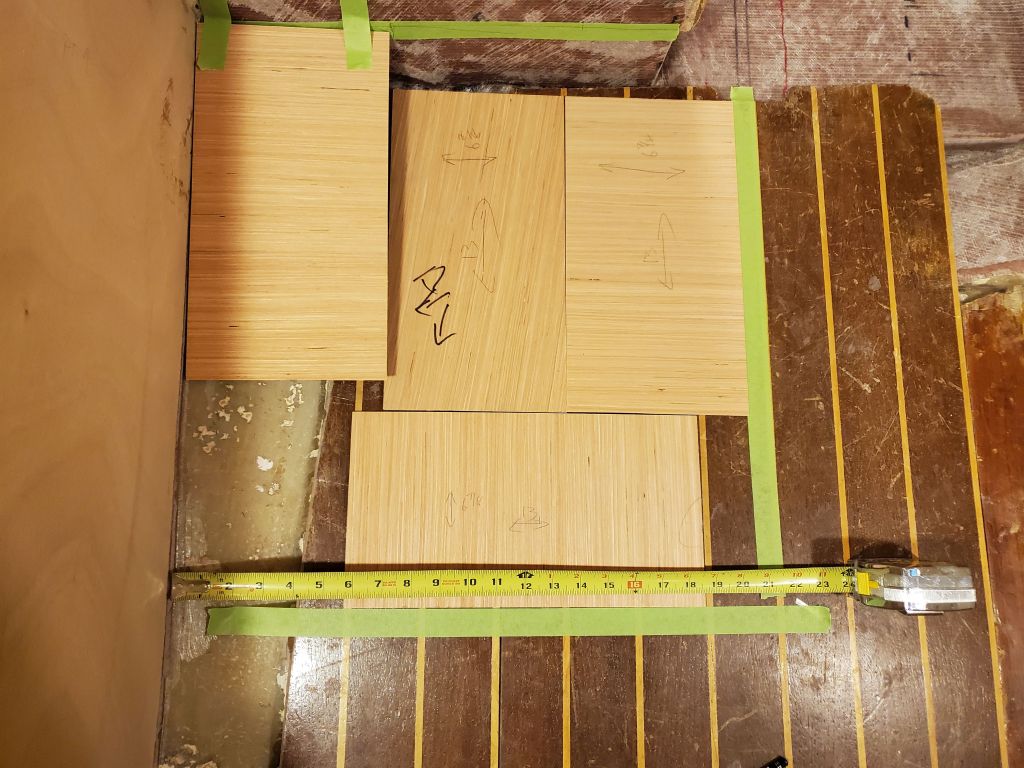
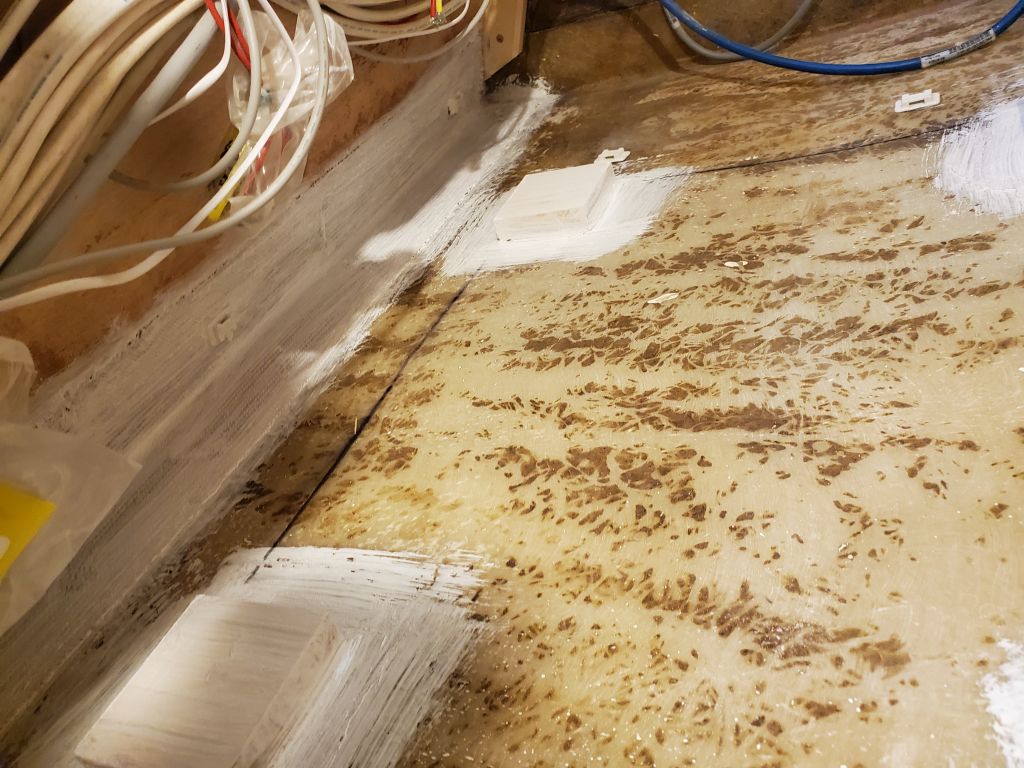
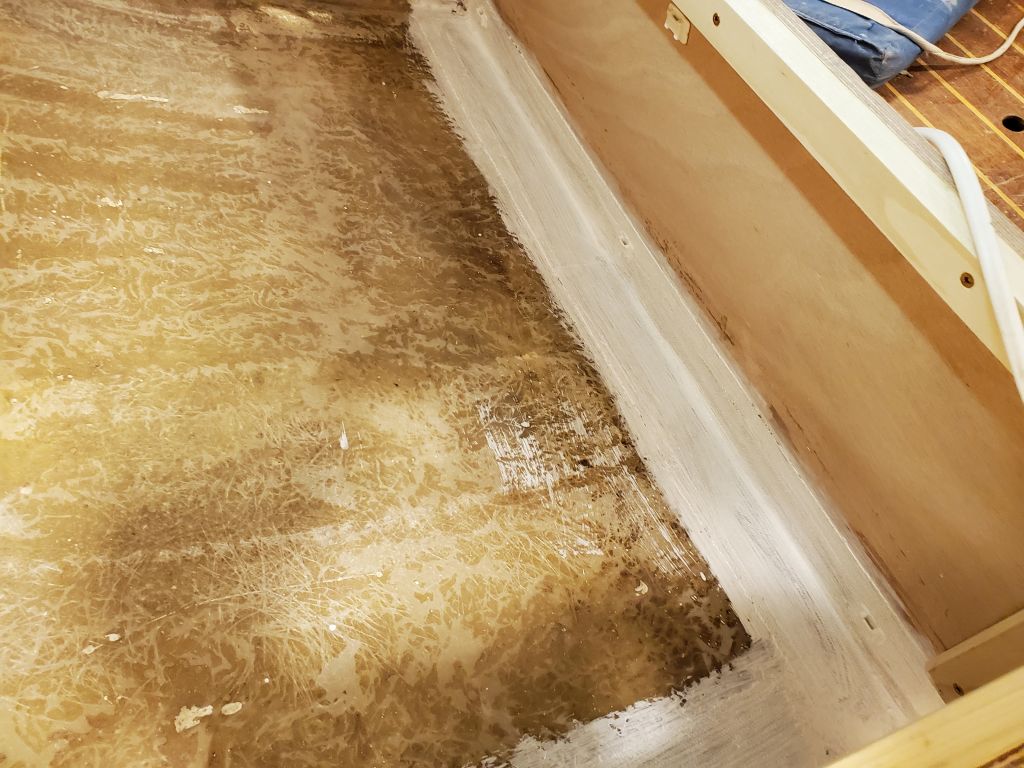
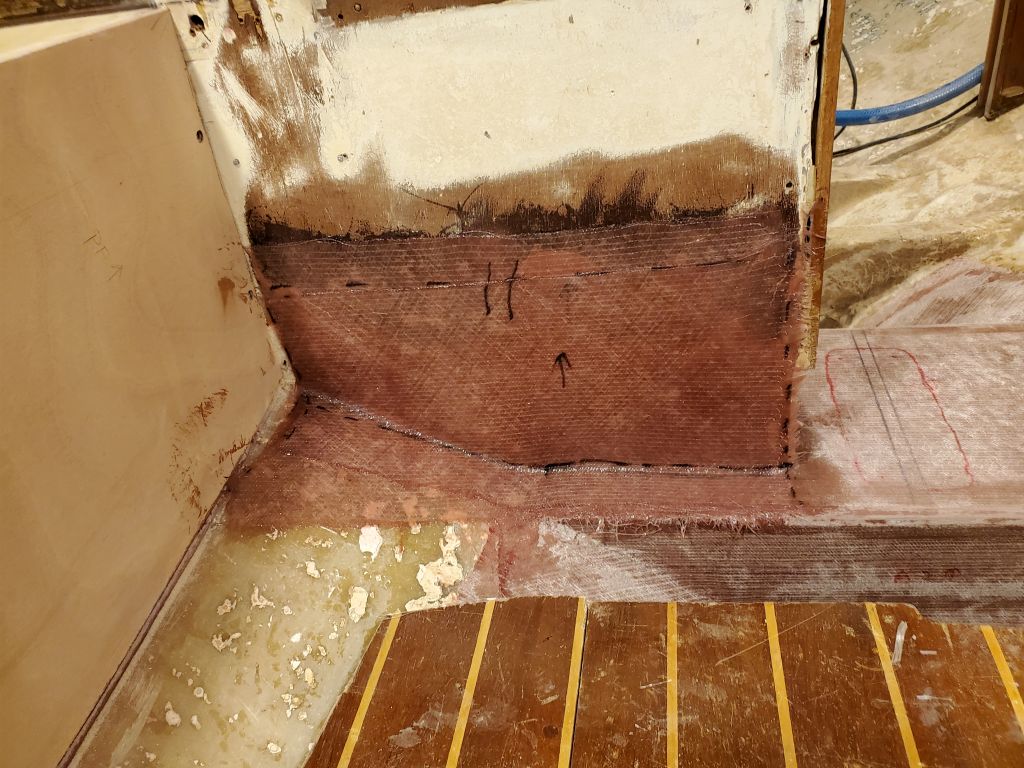
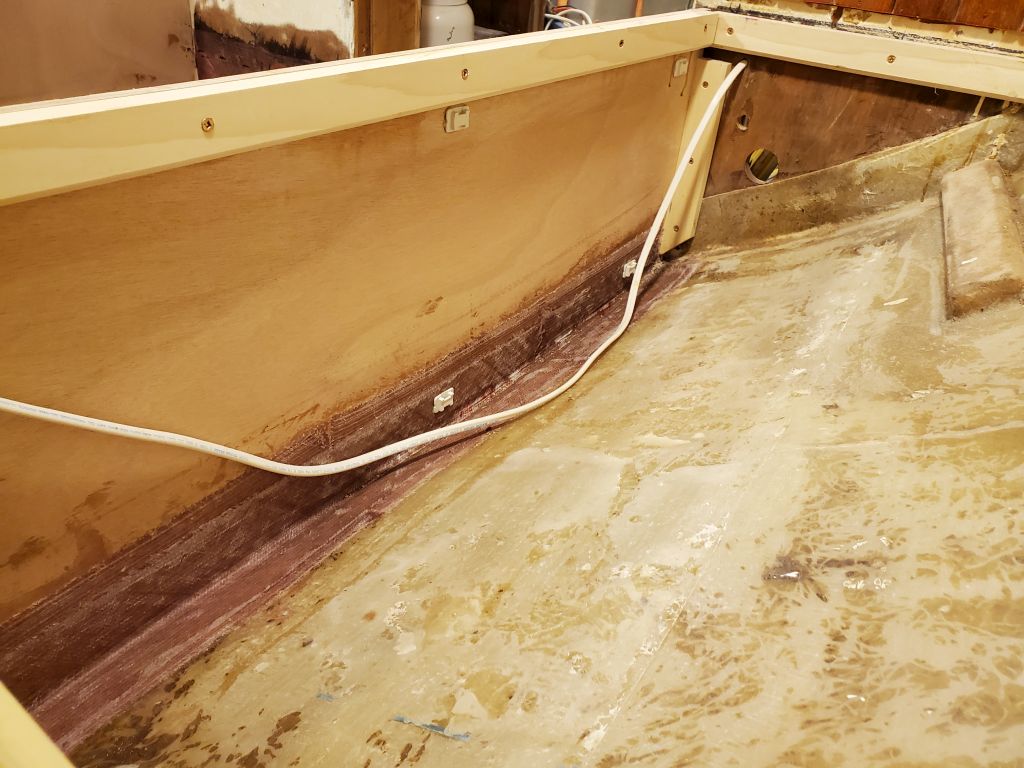
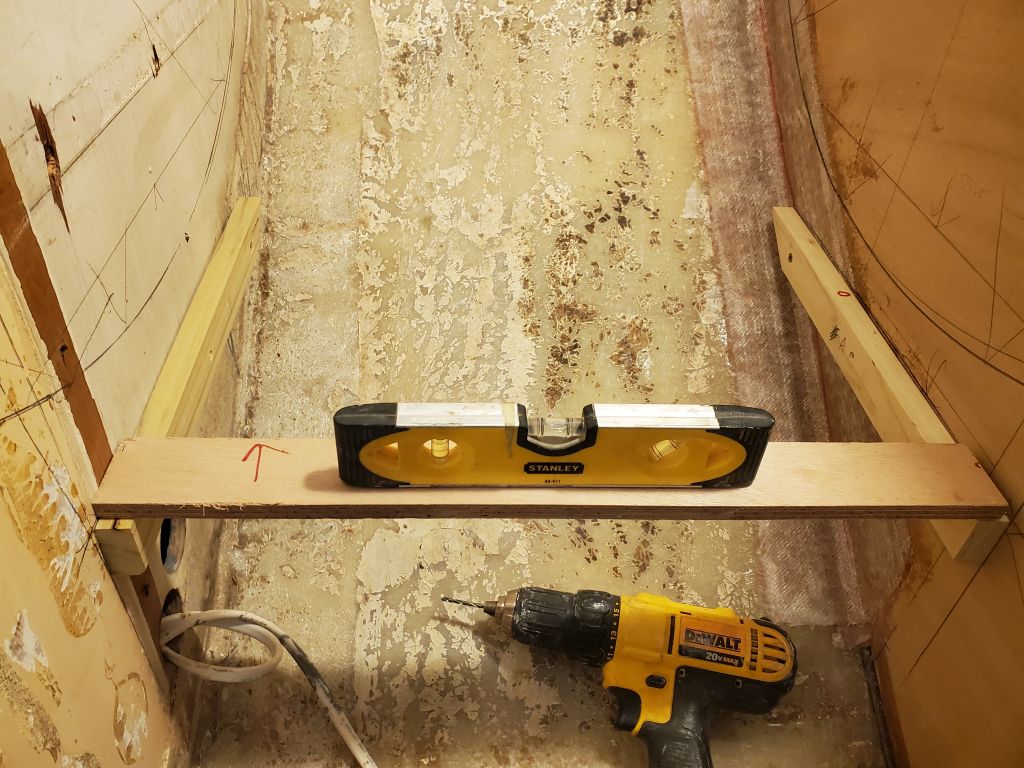
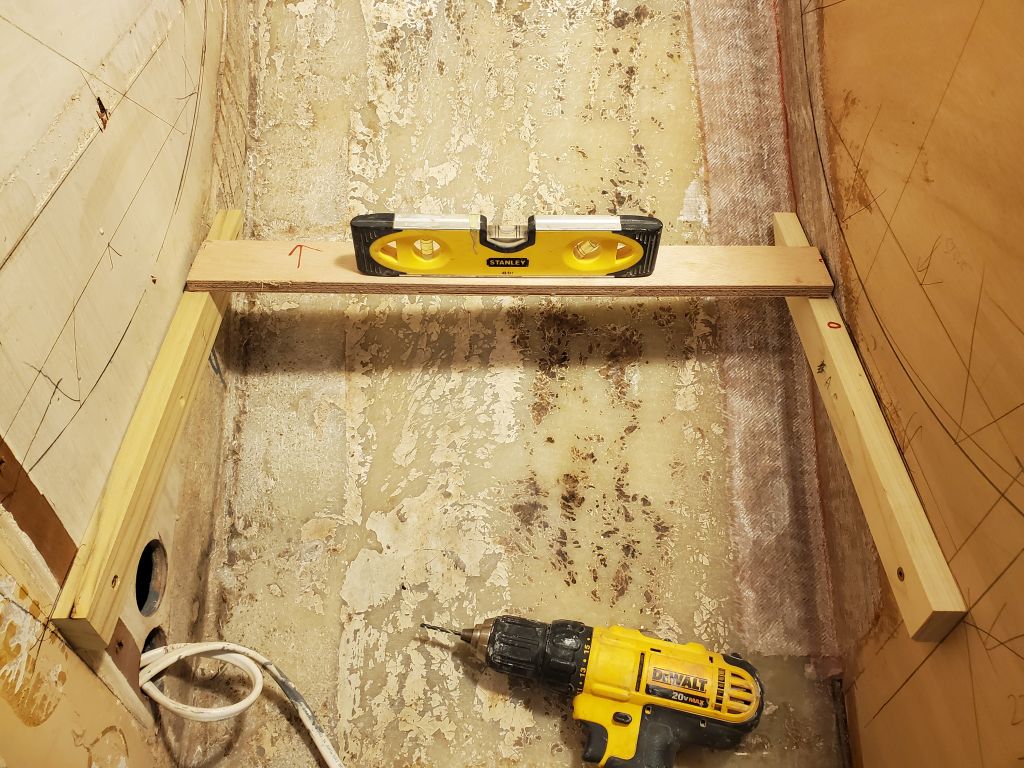
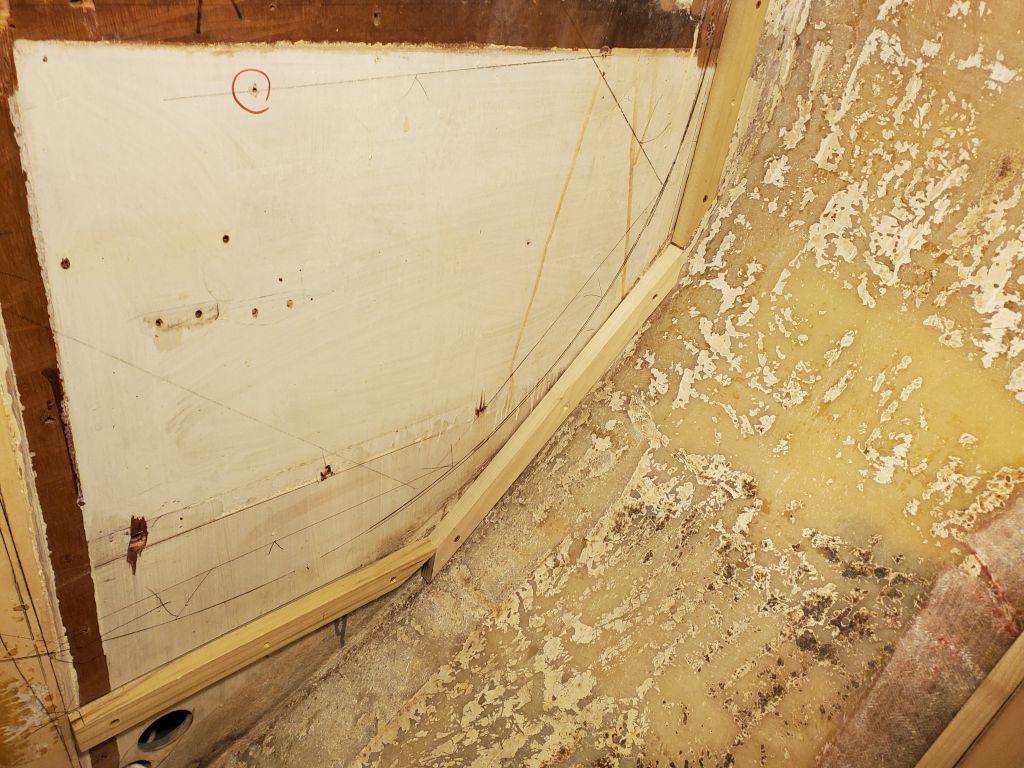
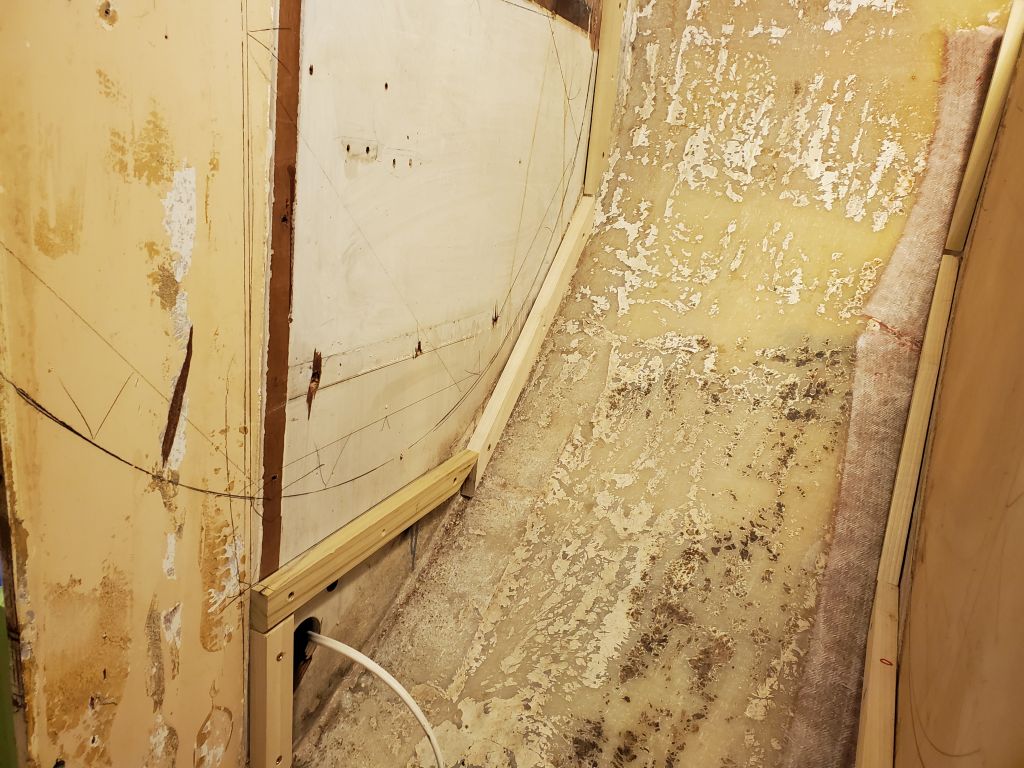
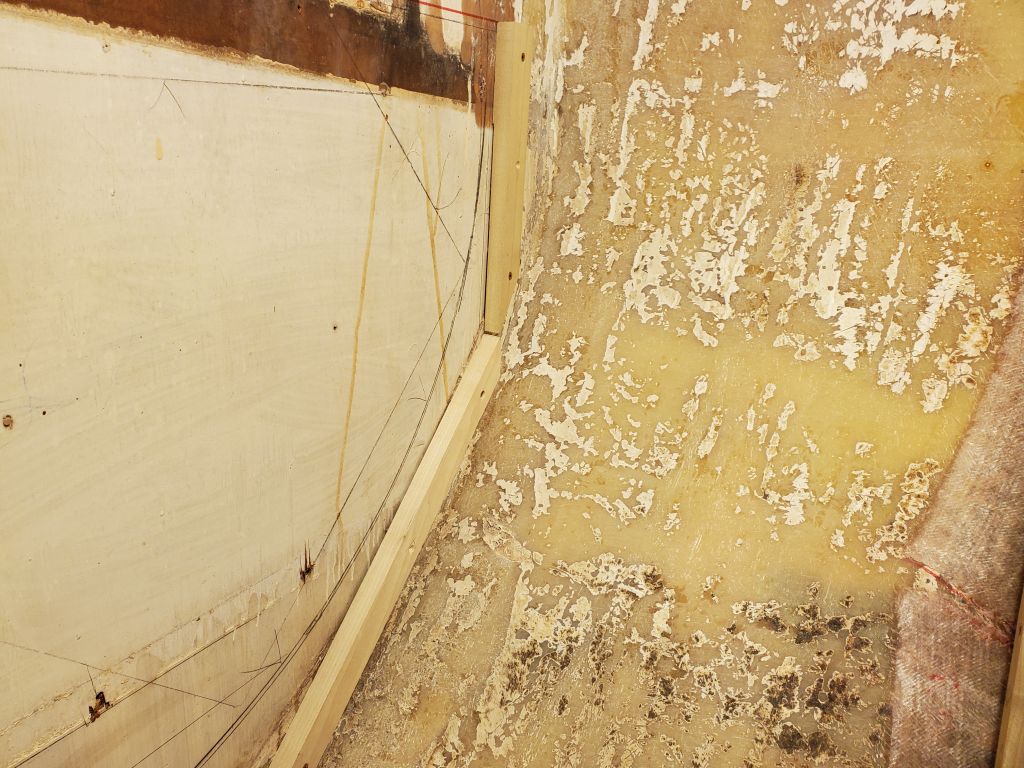
For the floor of the enclosure, I roughed out a layout mark providing for 1″ clearance between the top of the eventual plywood and the gimbal arc, then measured and installed identical cleats on both sides of the enclosure, ensuring they were aligned and level. For now, I dry-fit the cleats with just a couple screws, awaiting completion of the entire enclosure first before I committed to any positions with glue and additional screws.

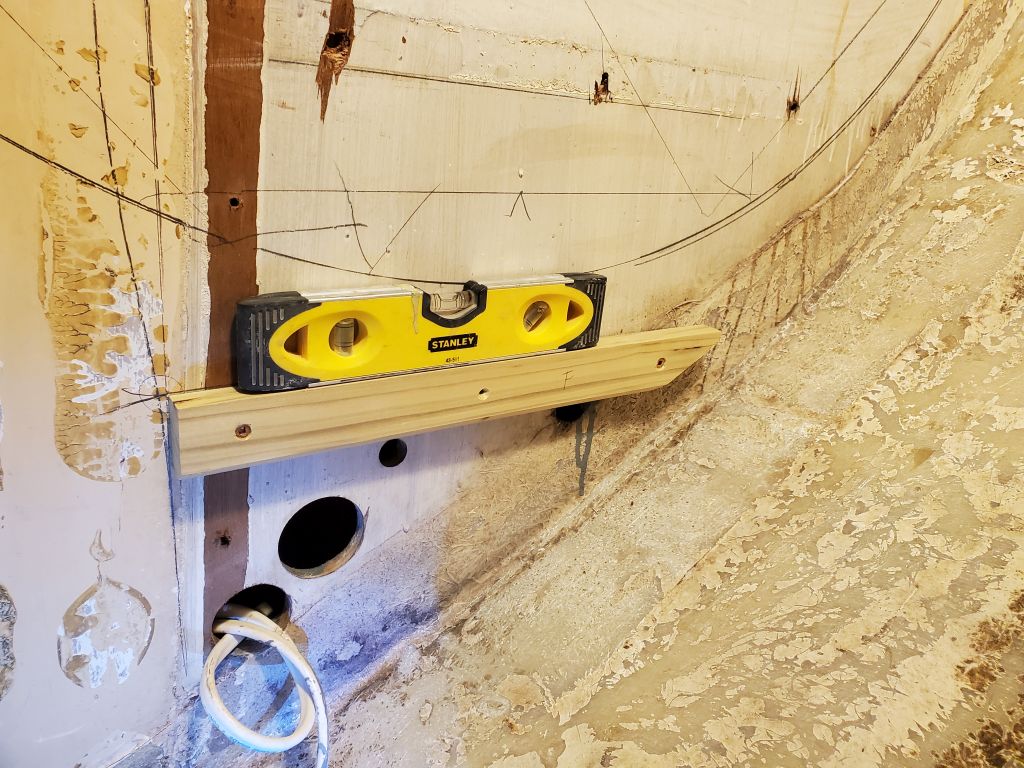
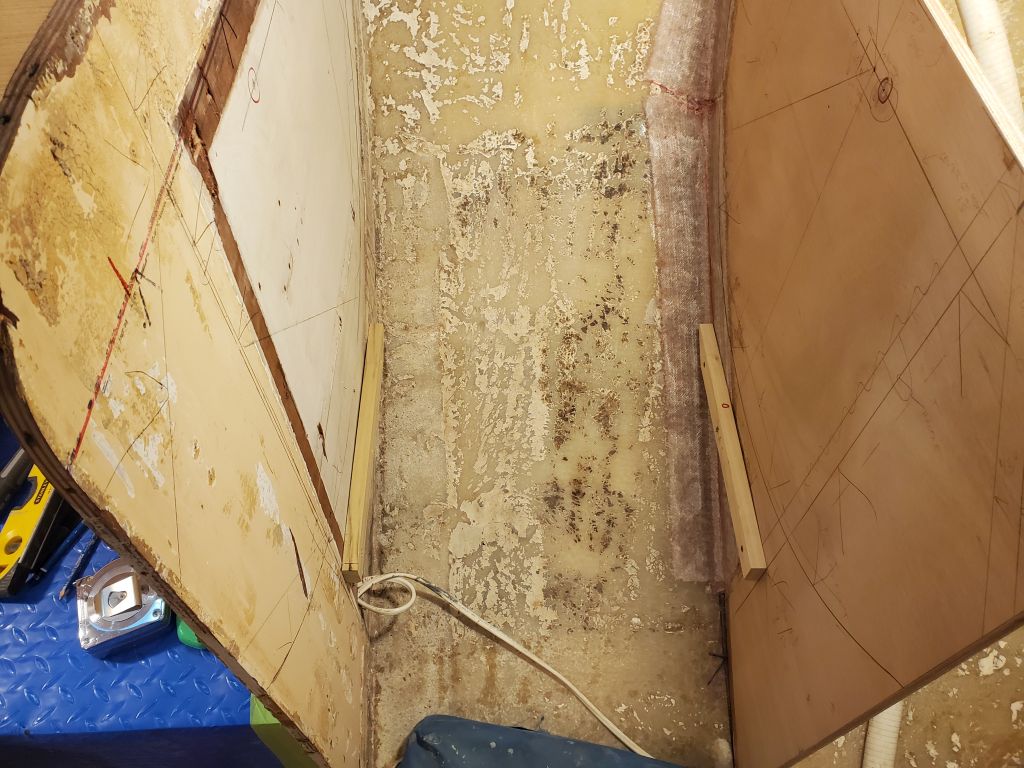
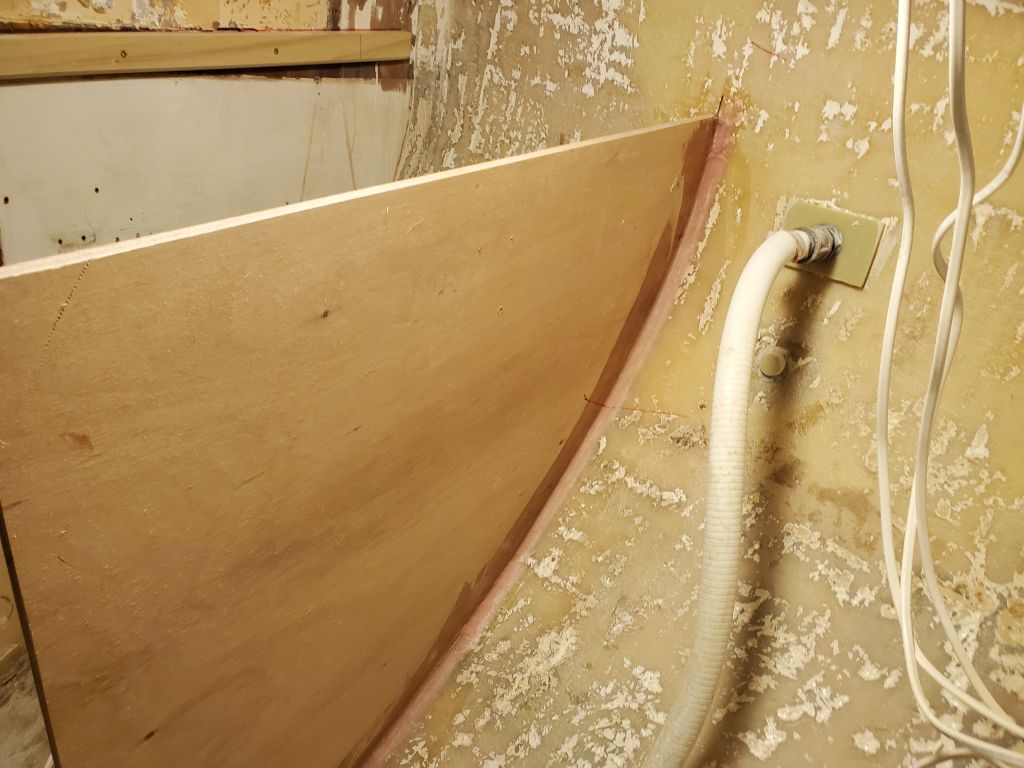
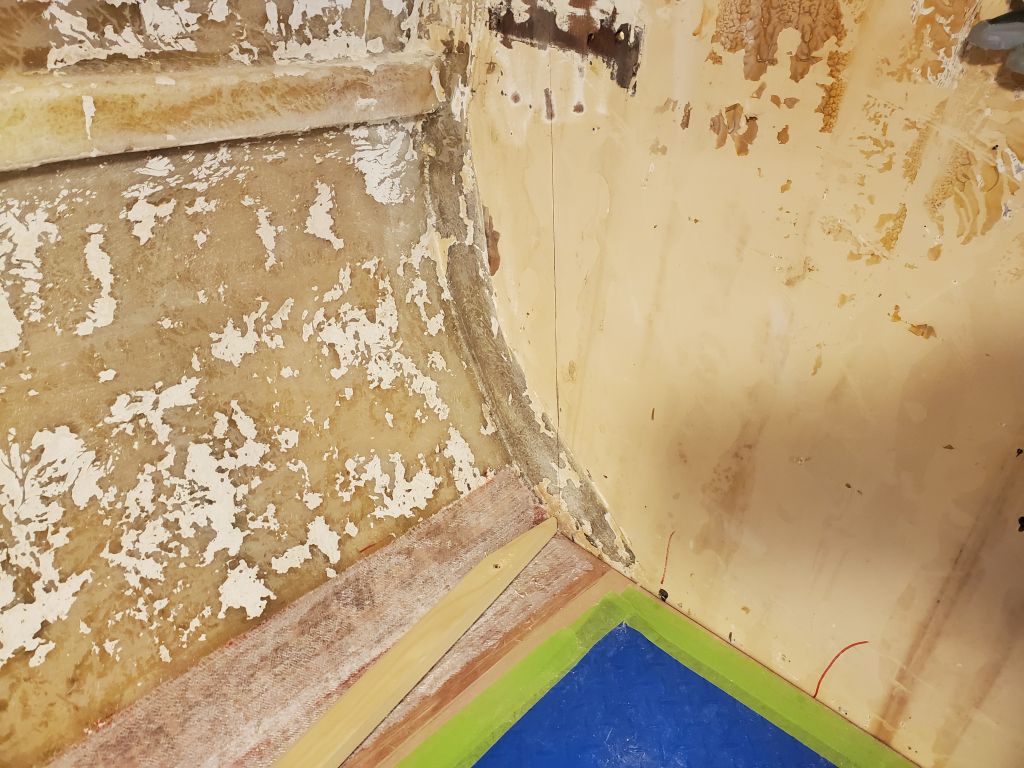
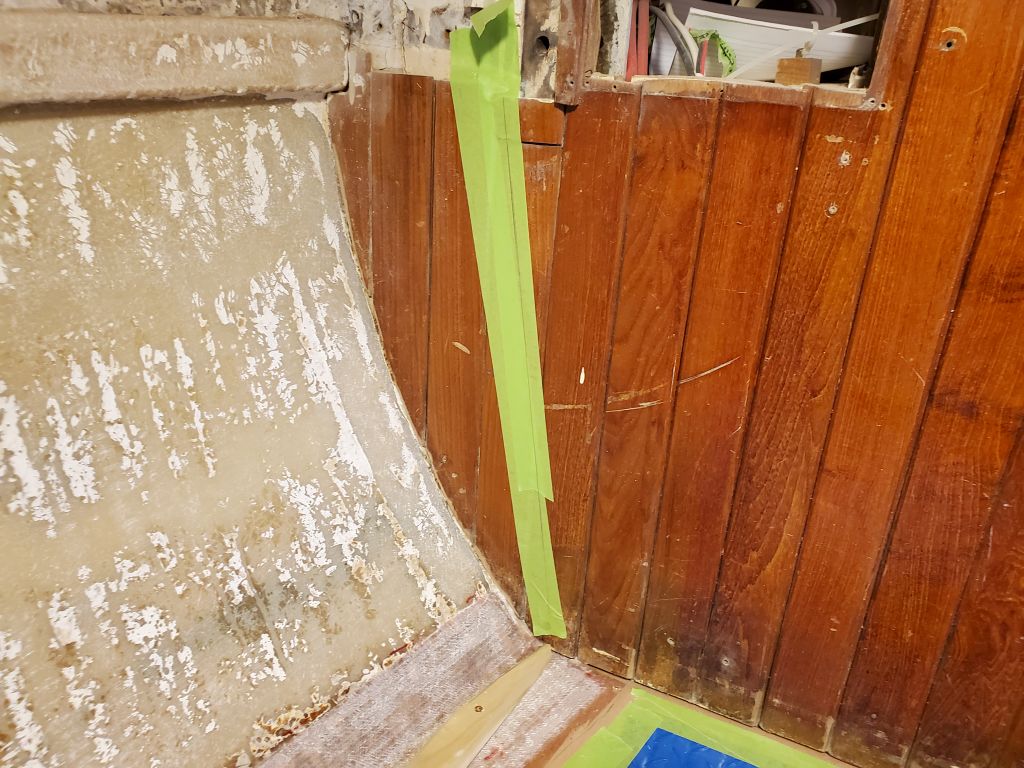
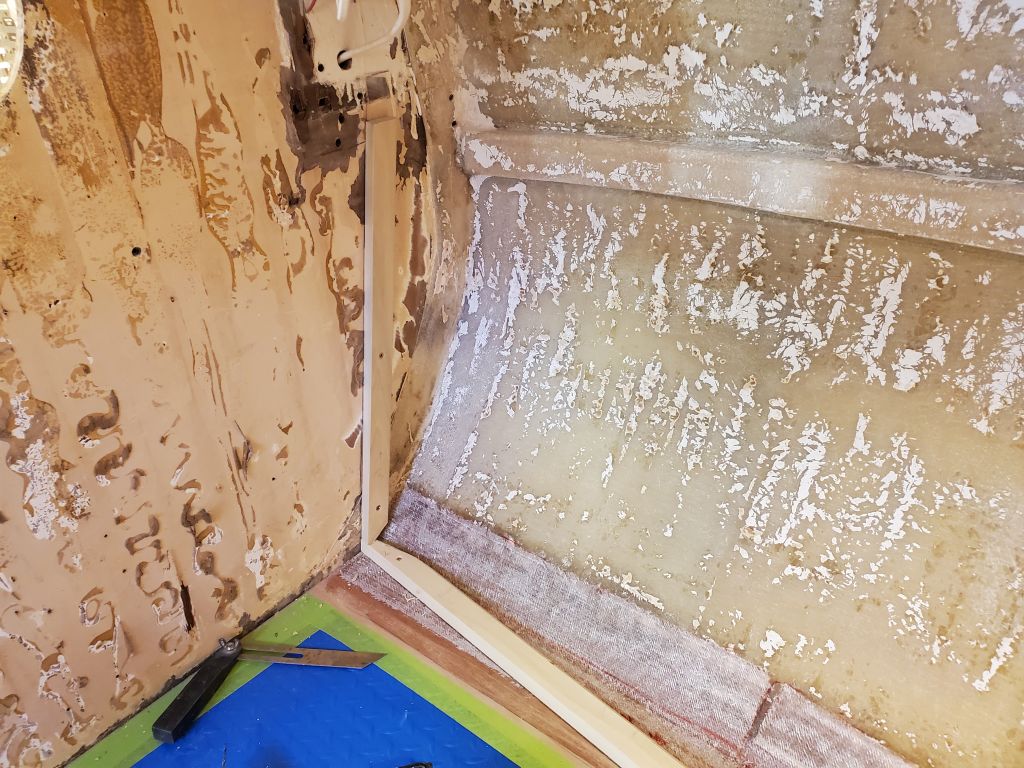
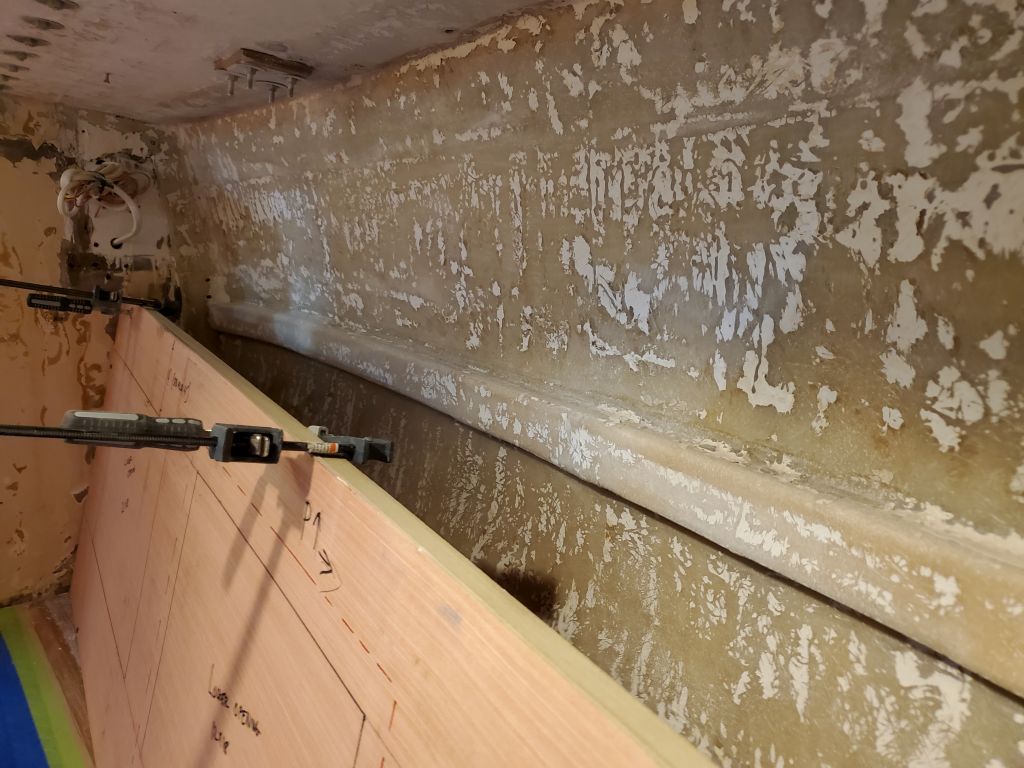
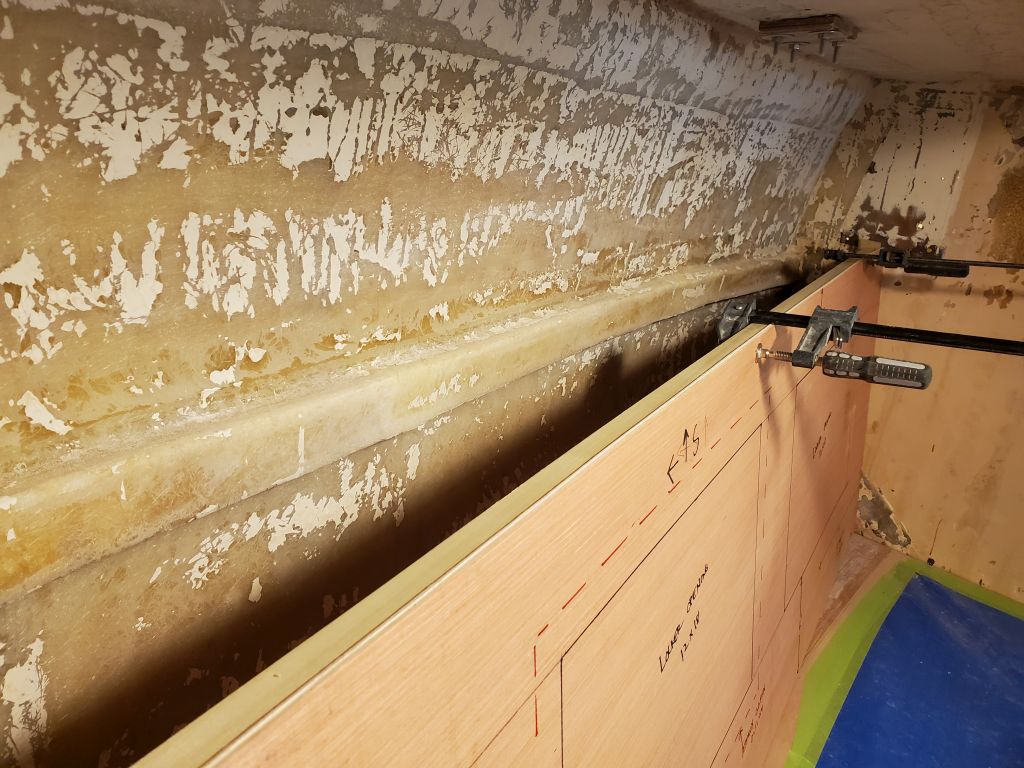
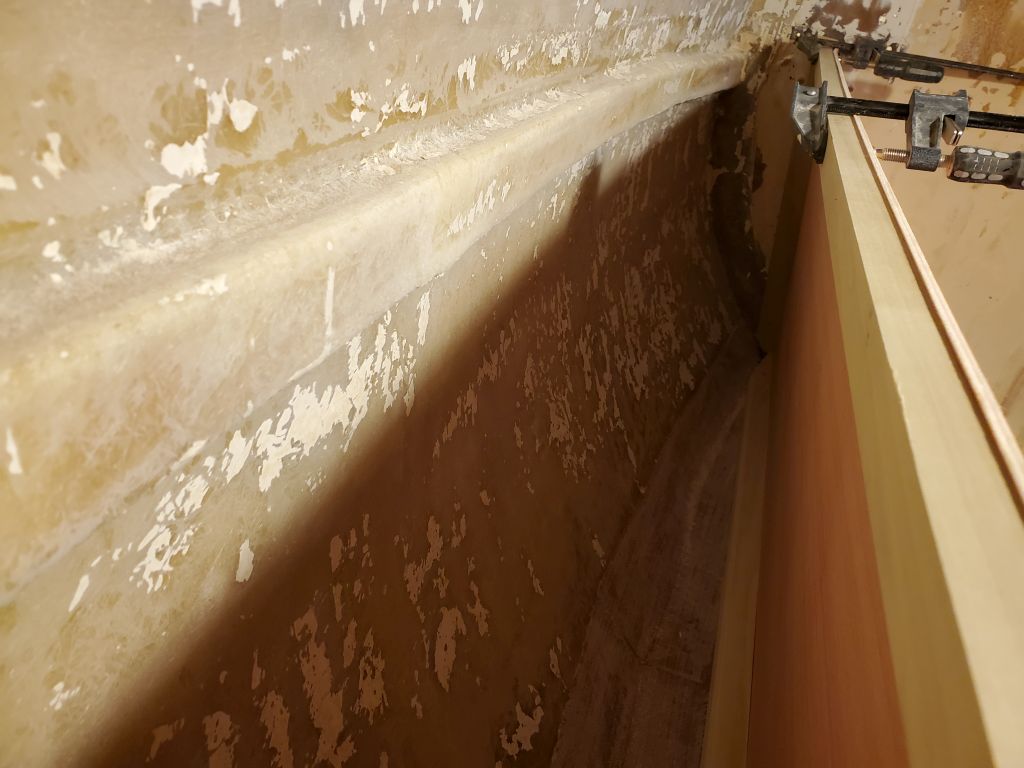
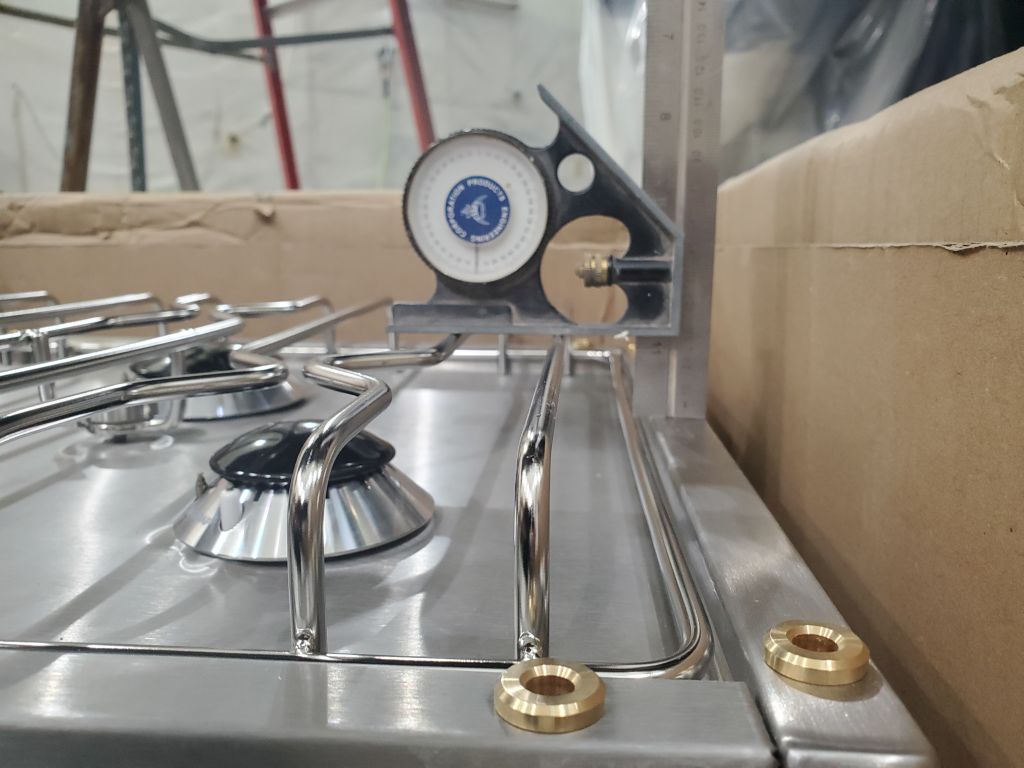
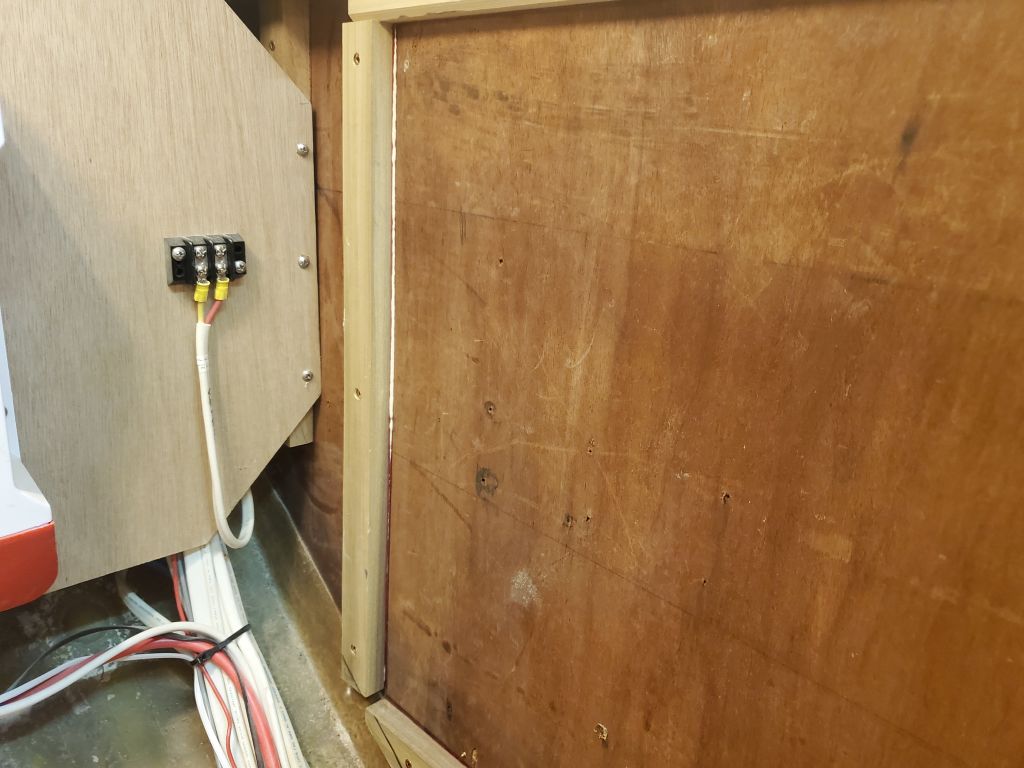
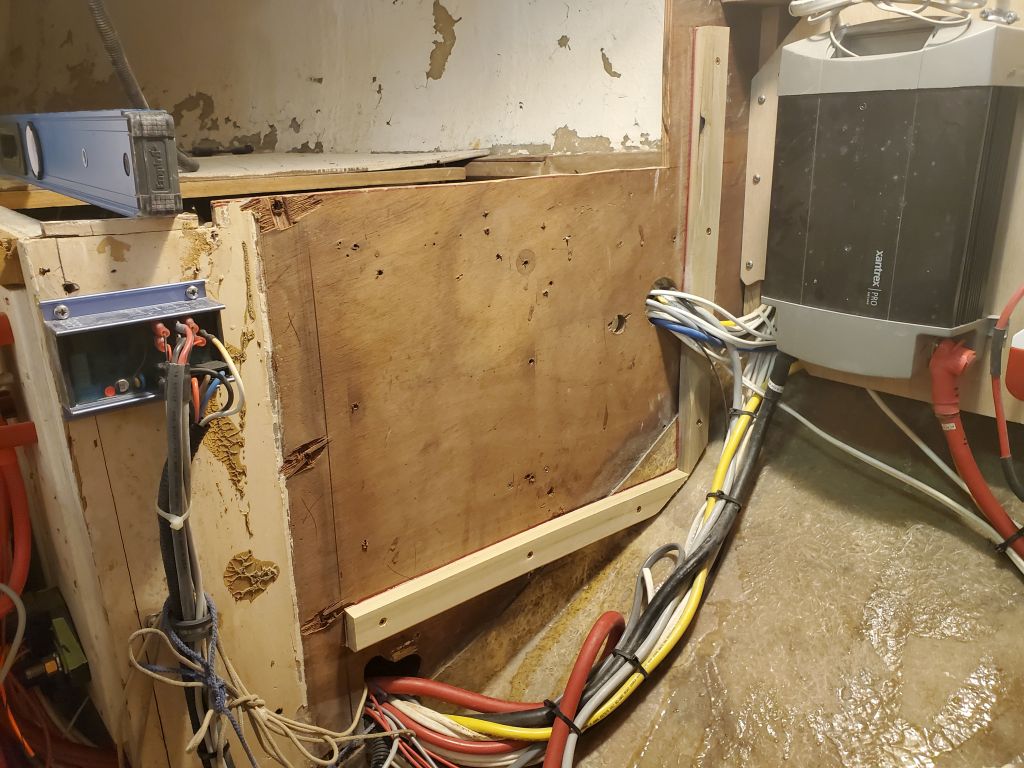
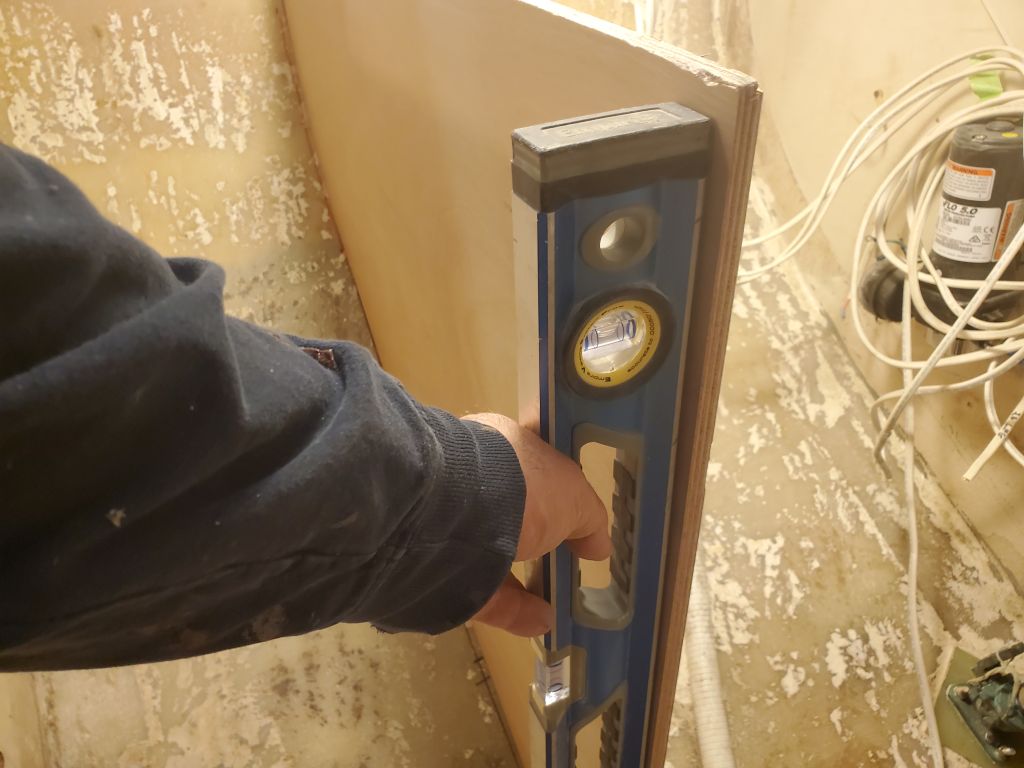
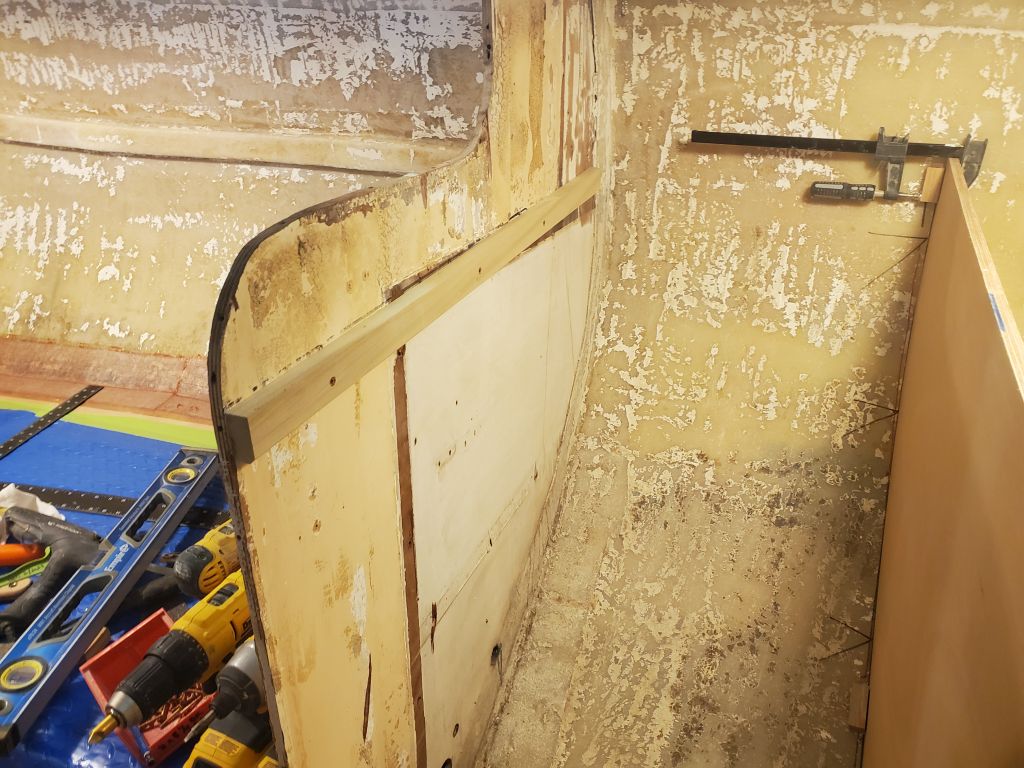
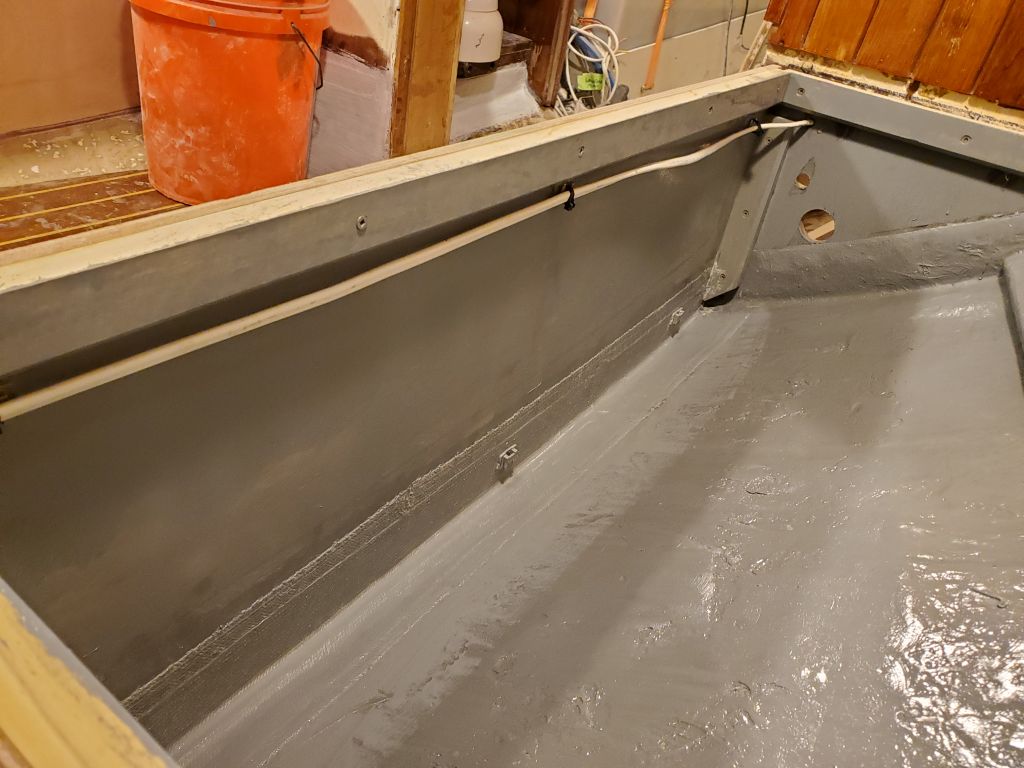
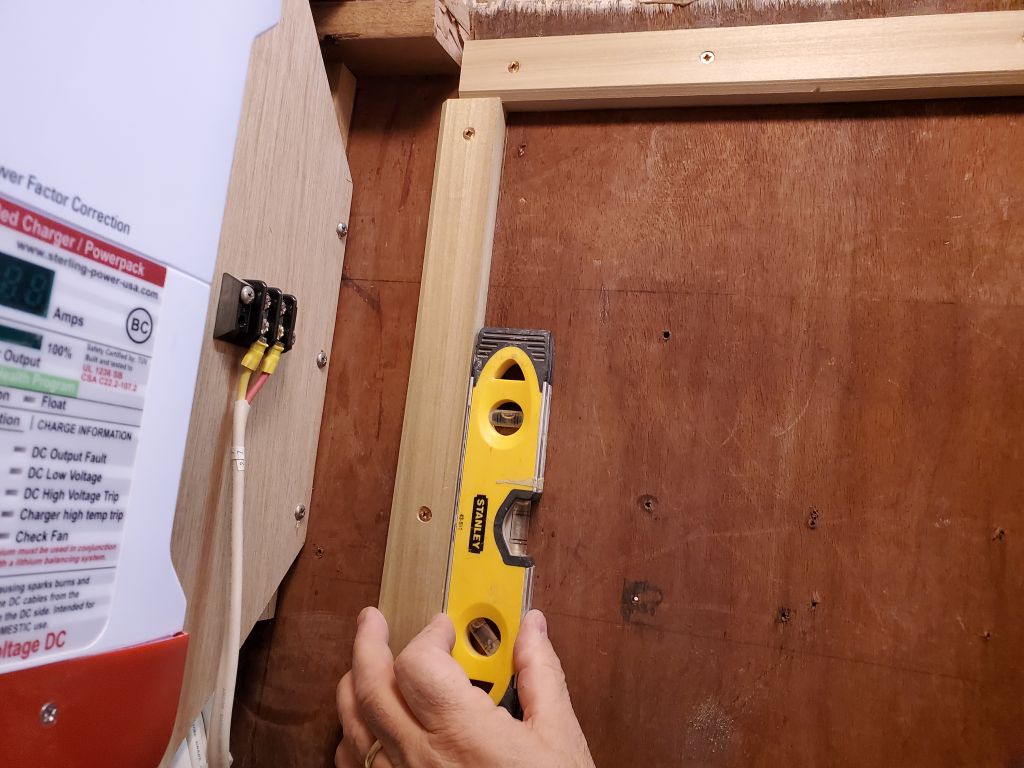
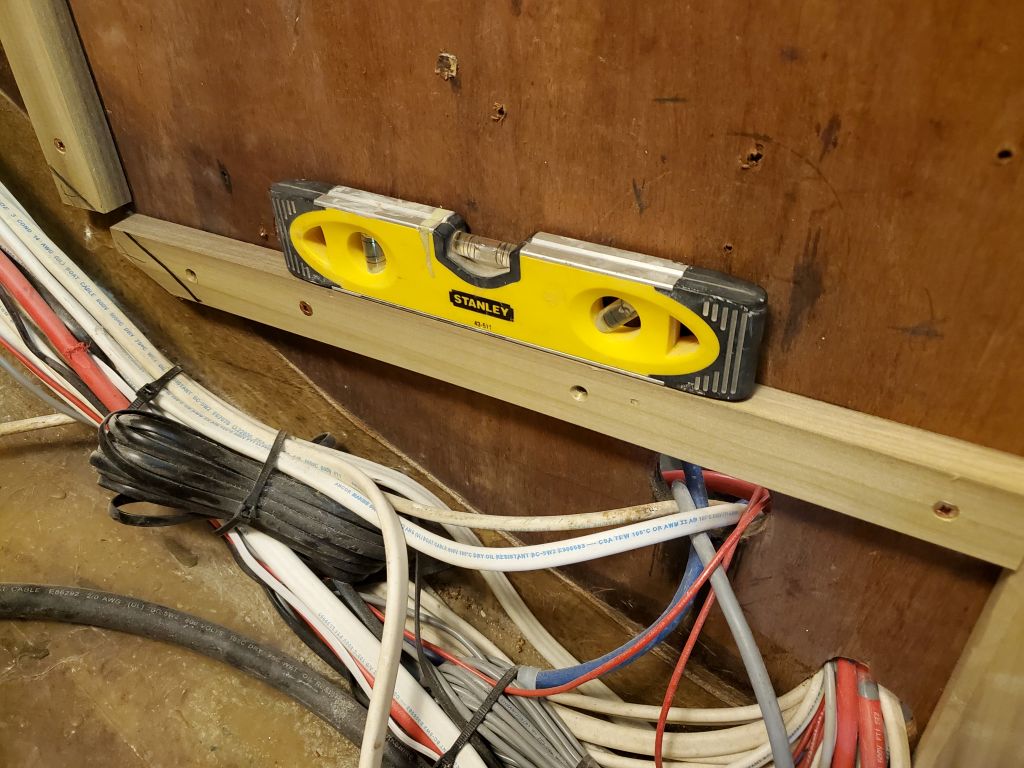
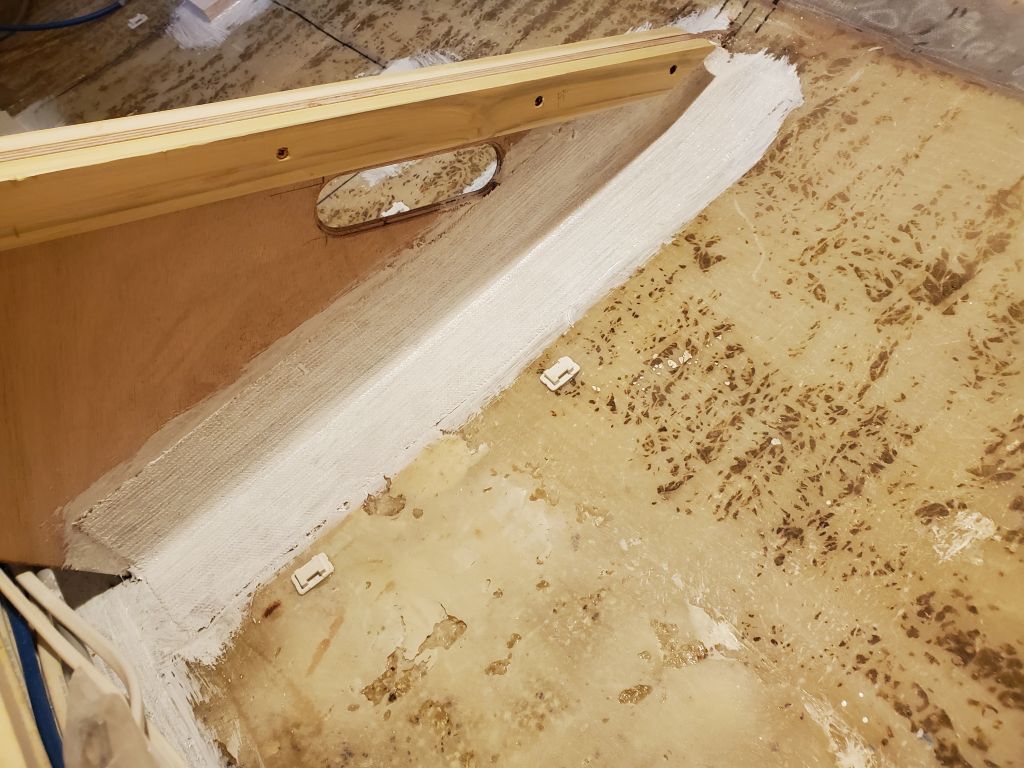
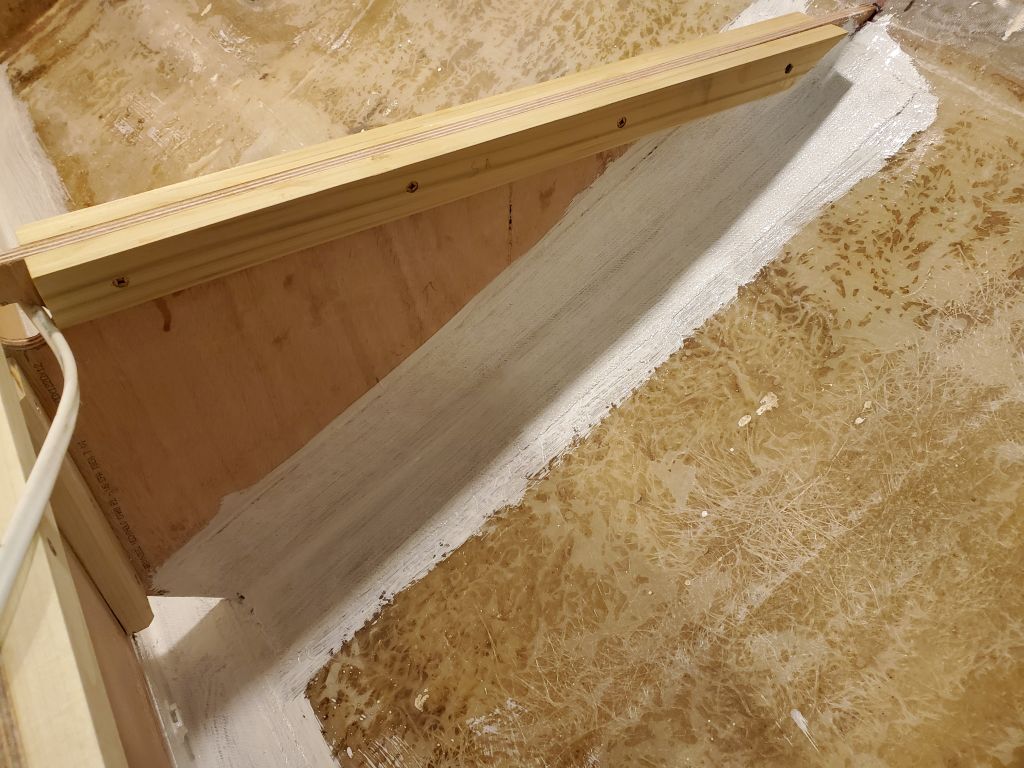
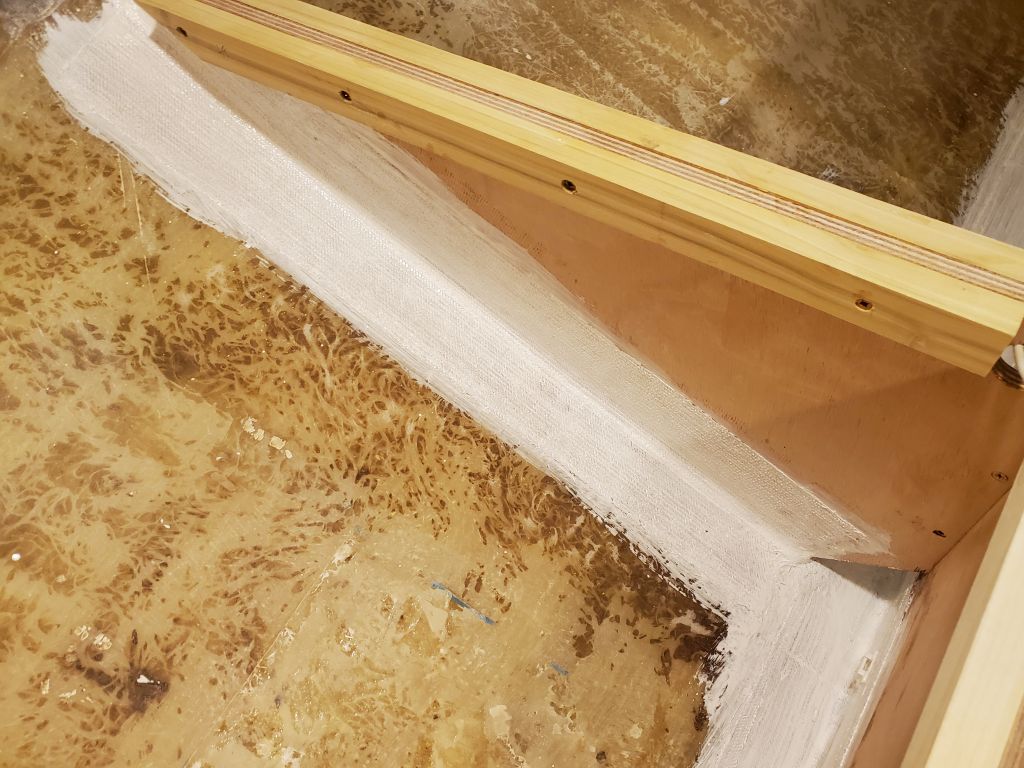
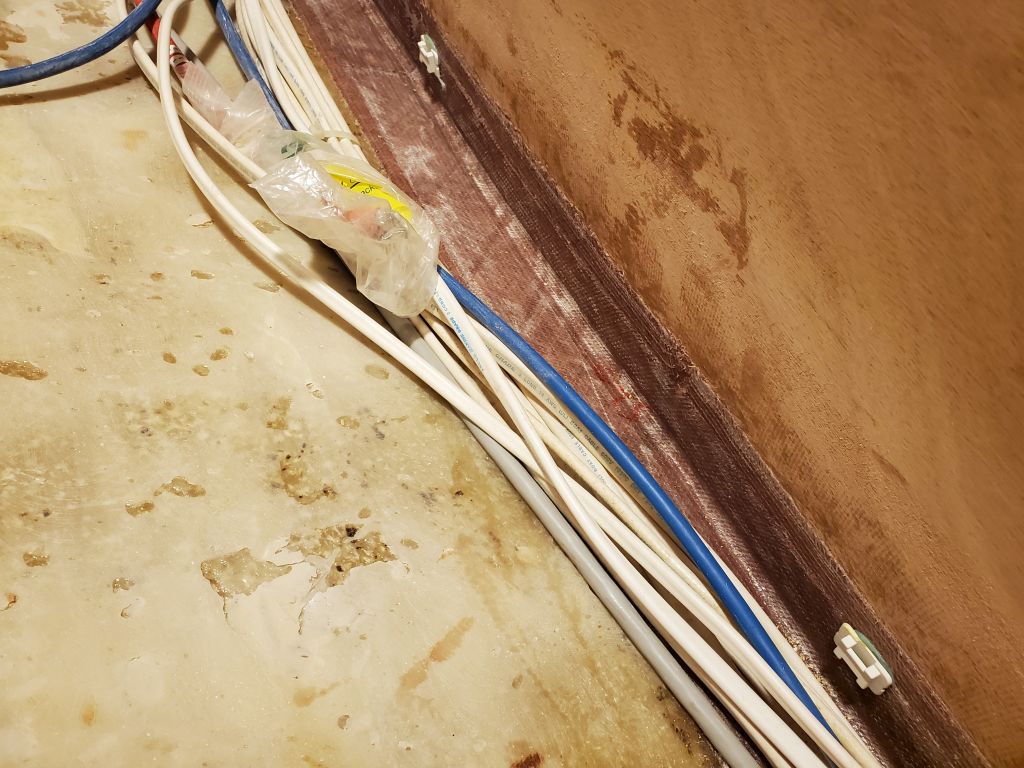
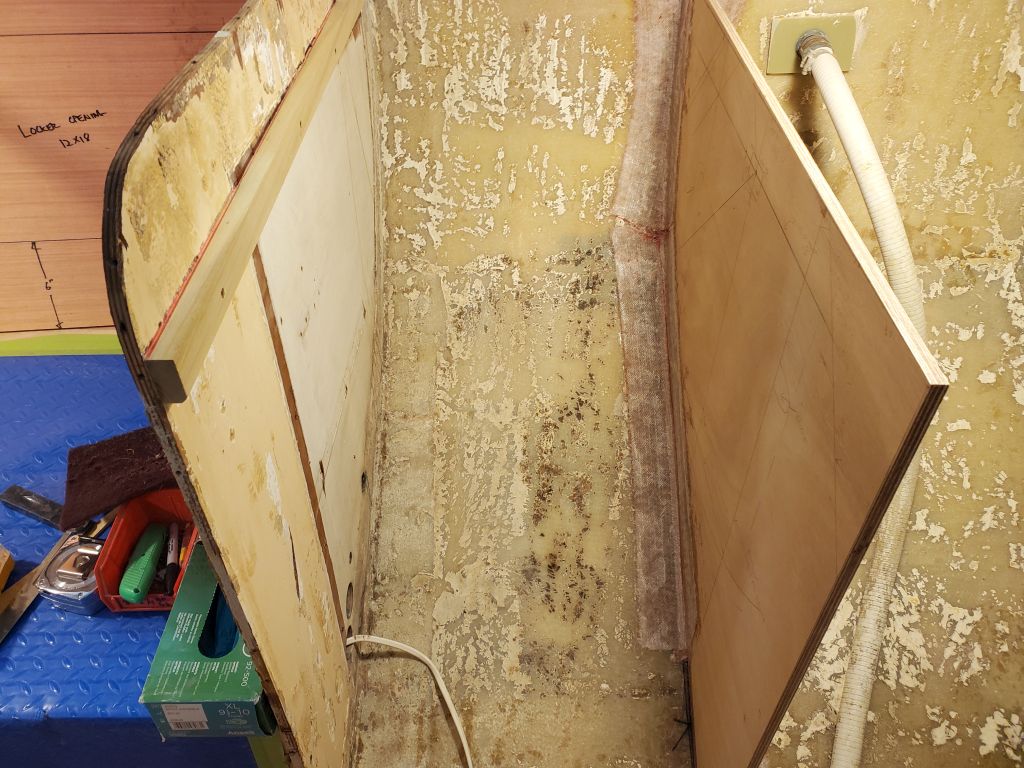
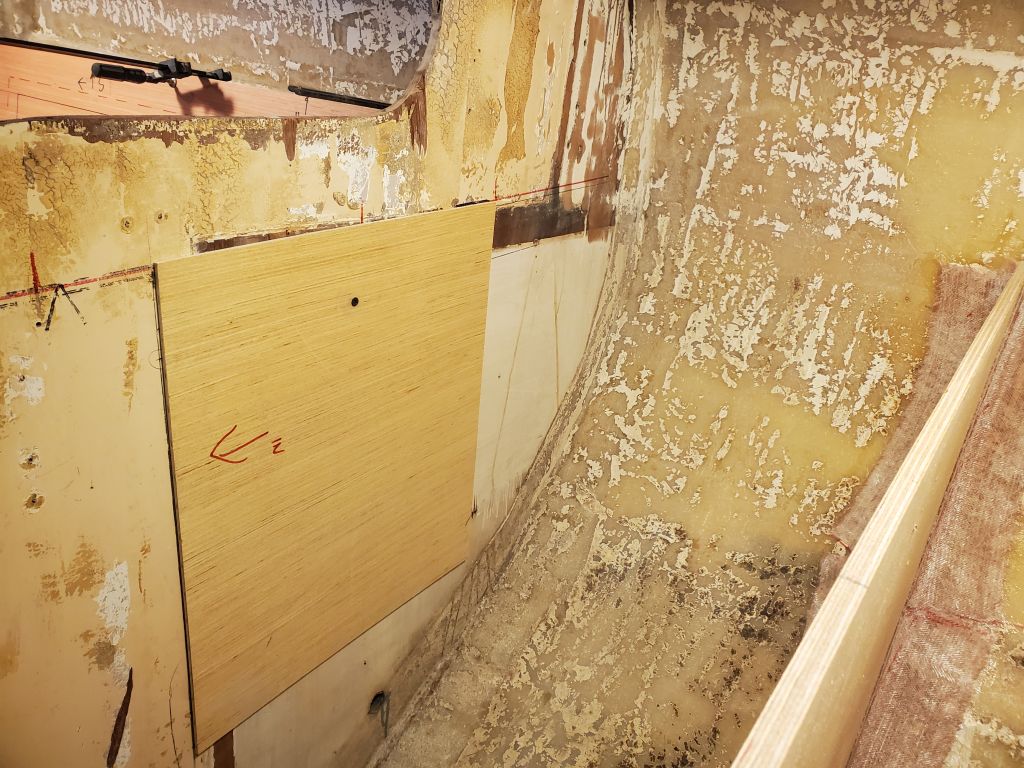
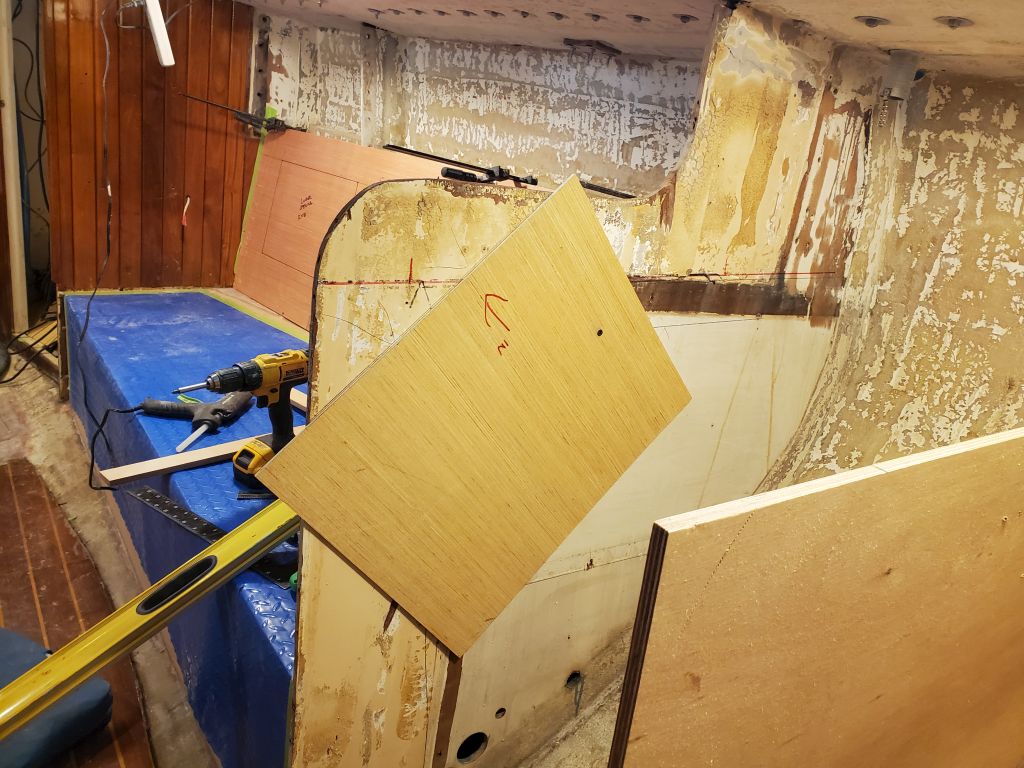
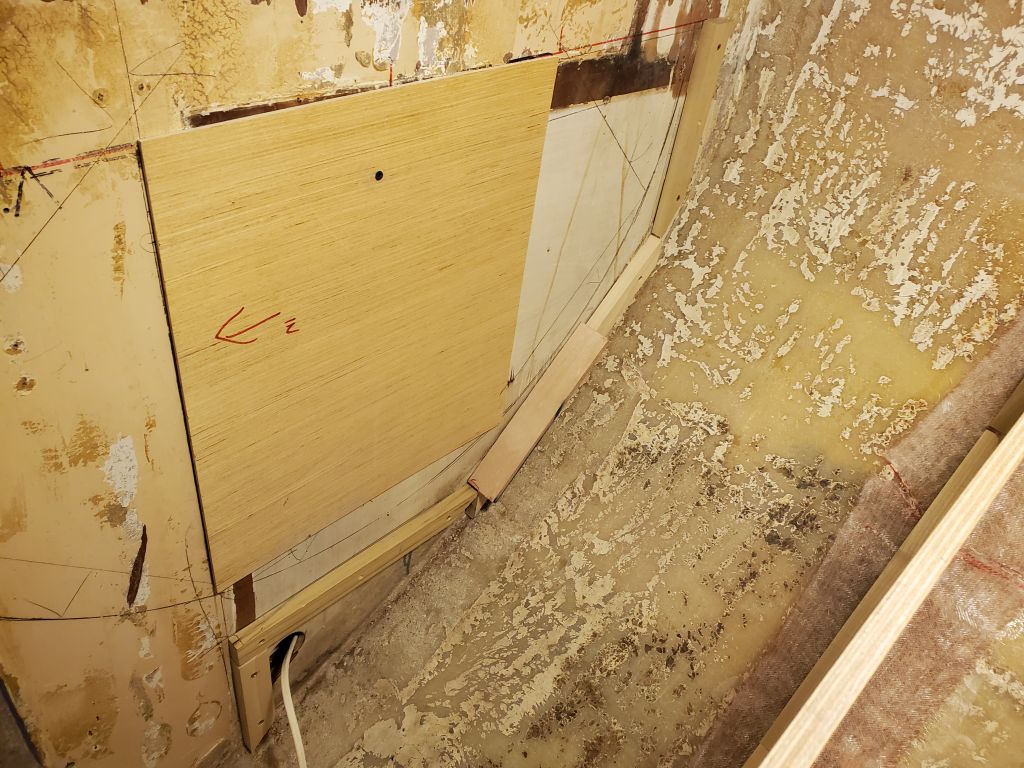
For the vertical back side of the enclosure, I marked the location providing 1″ clearance from the point at which the stove was swung 45 degrees outboard, and installed identical cleats on each side, again laboring to keep the cleats in the same position, square and aligned with each other and properly plumb. Apparently I took only one photo of this part of the process.

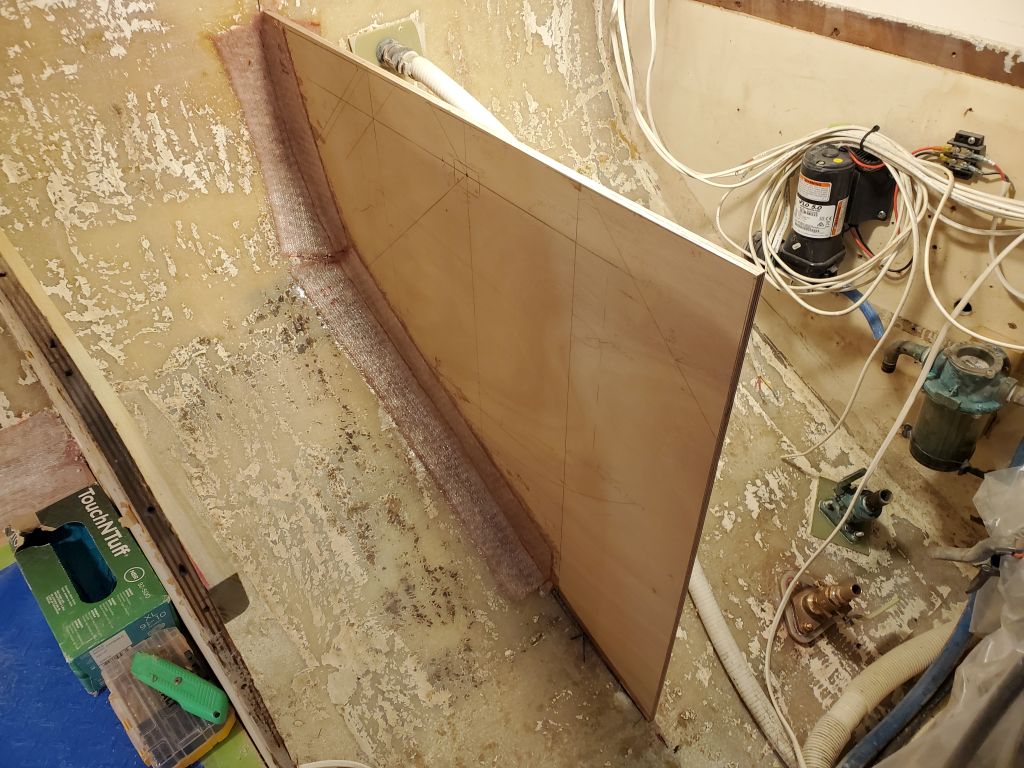
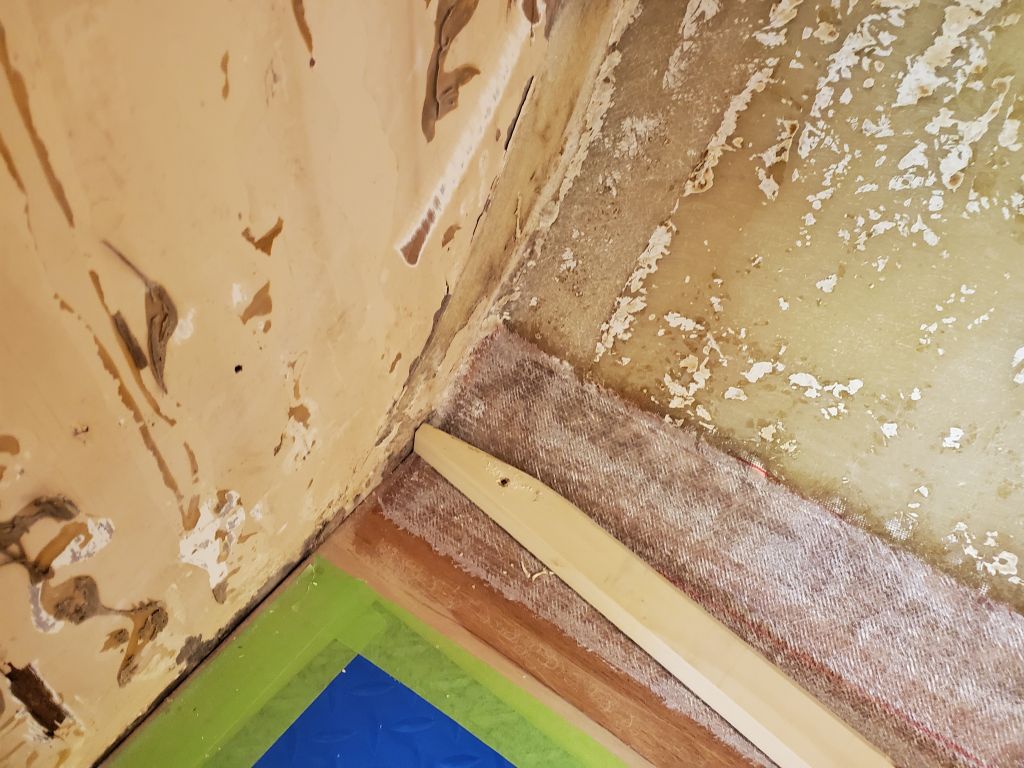
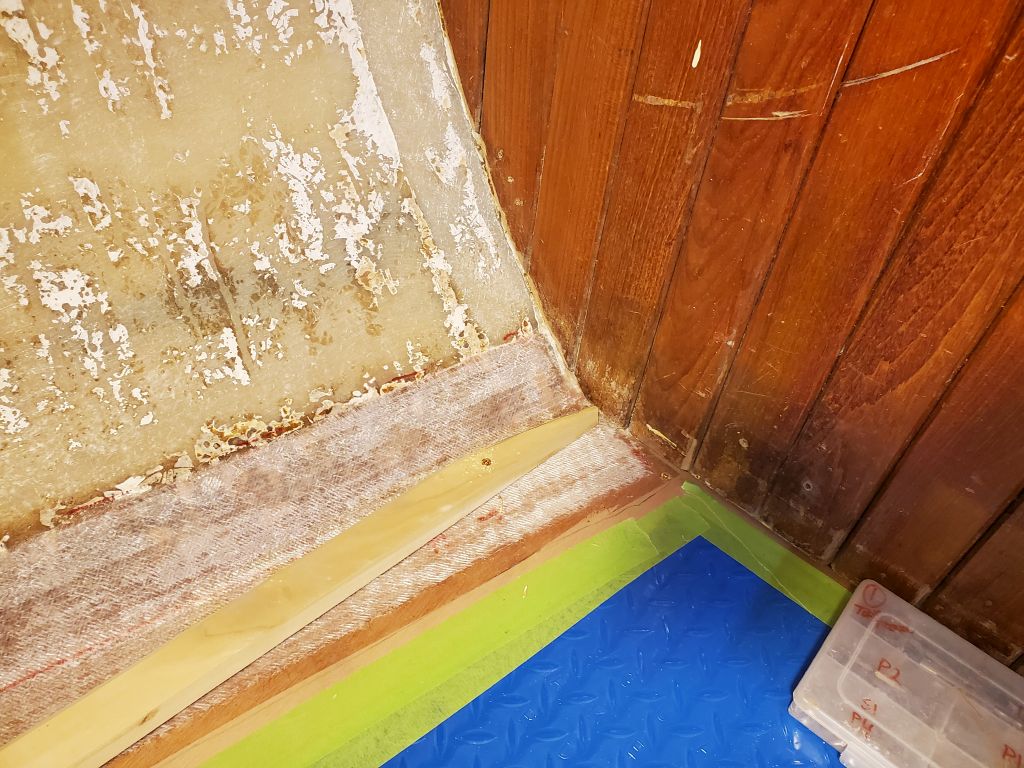
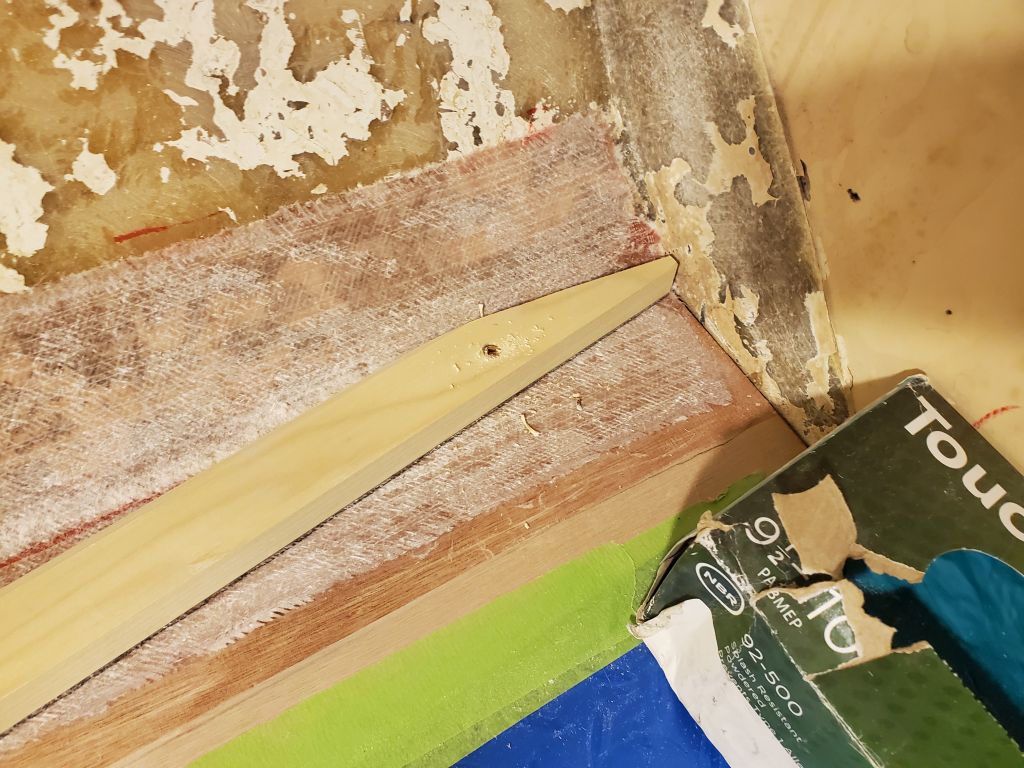
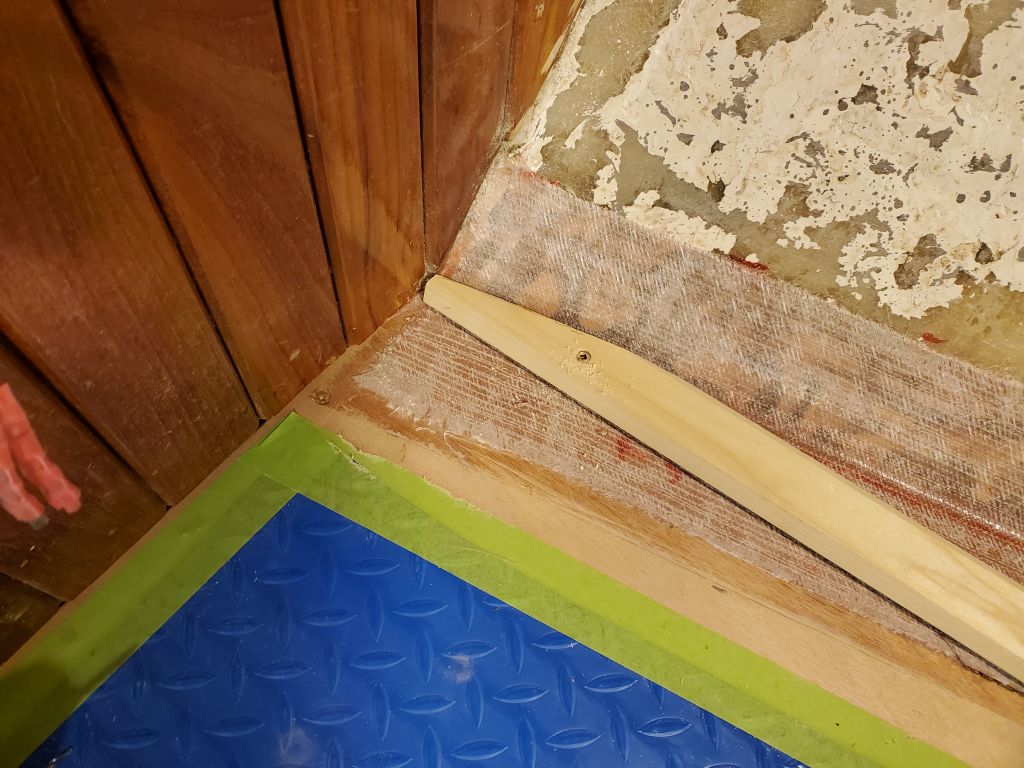
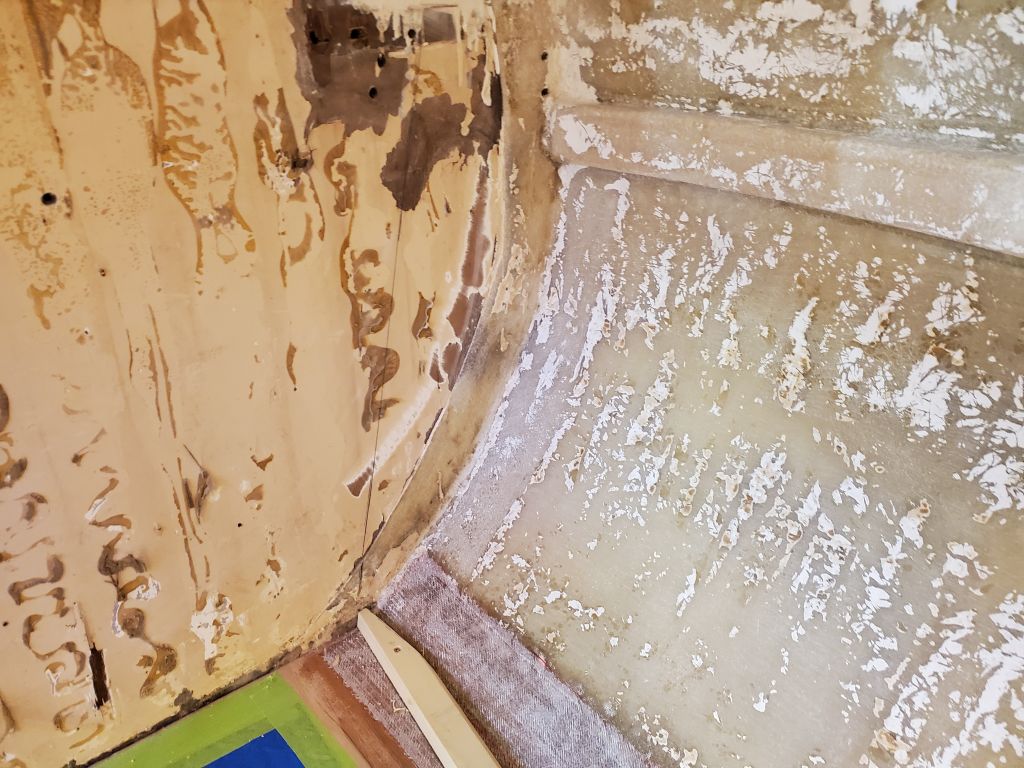
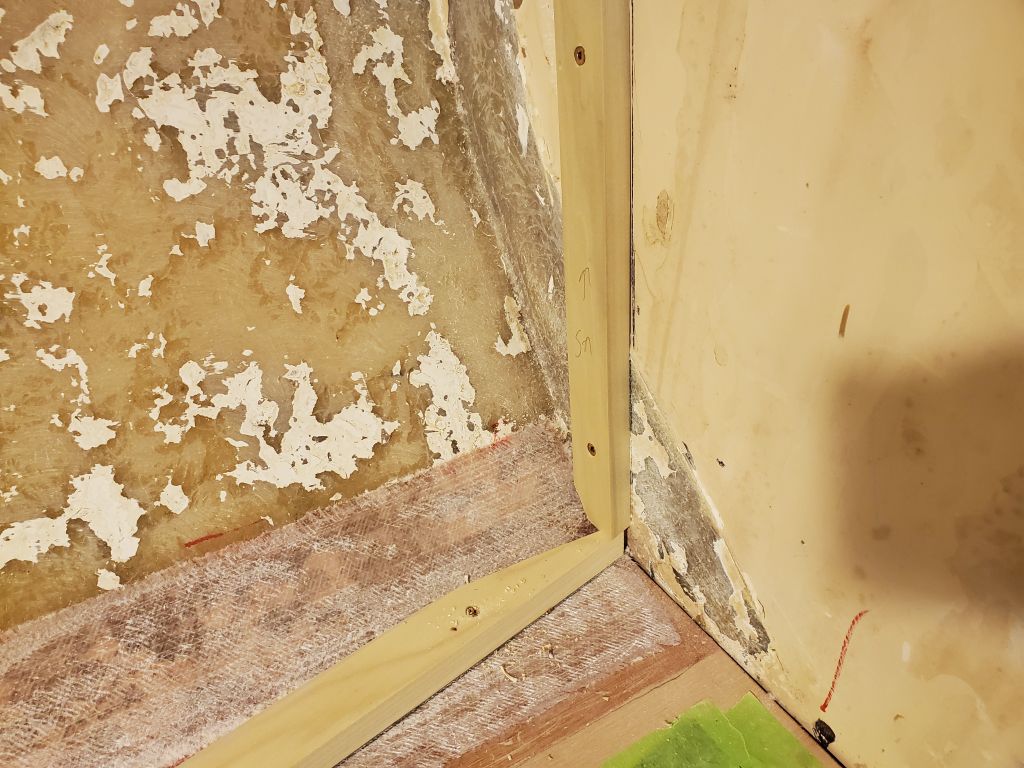
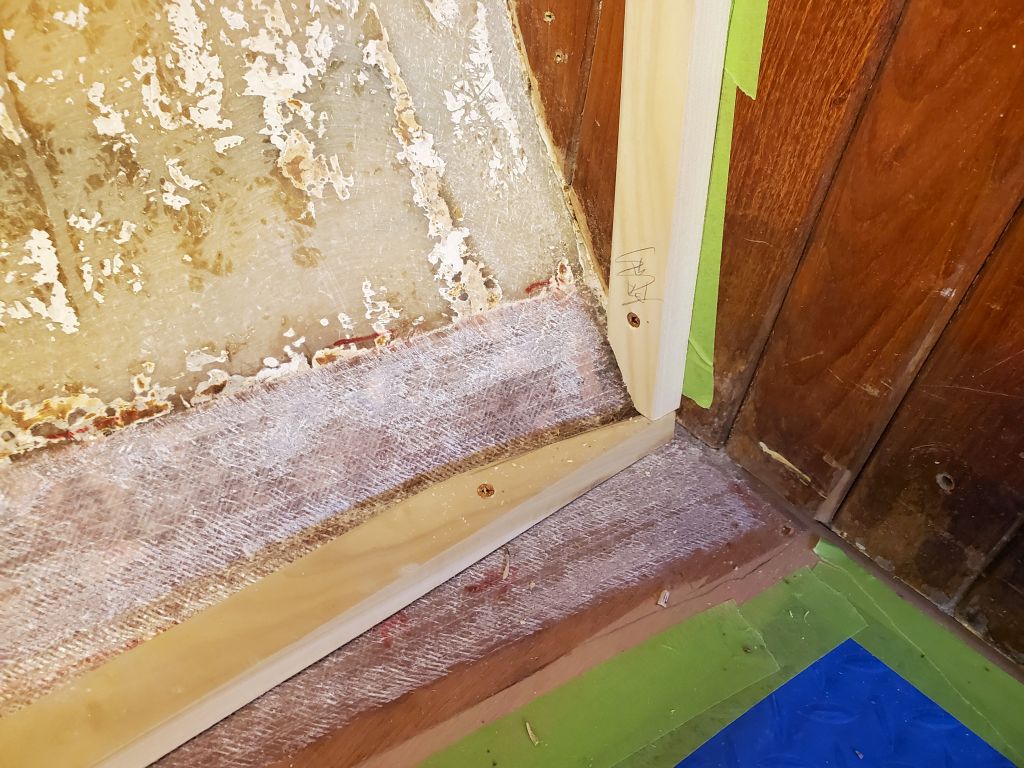
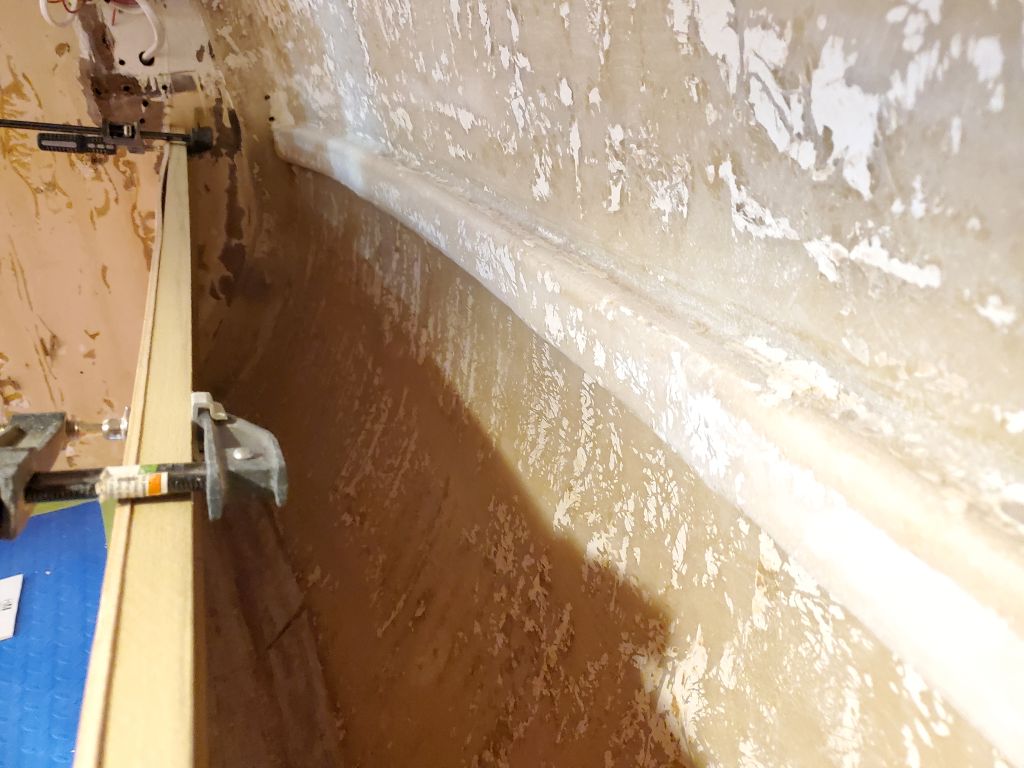
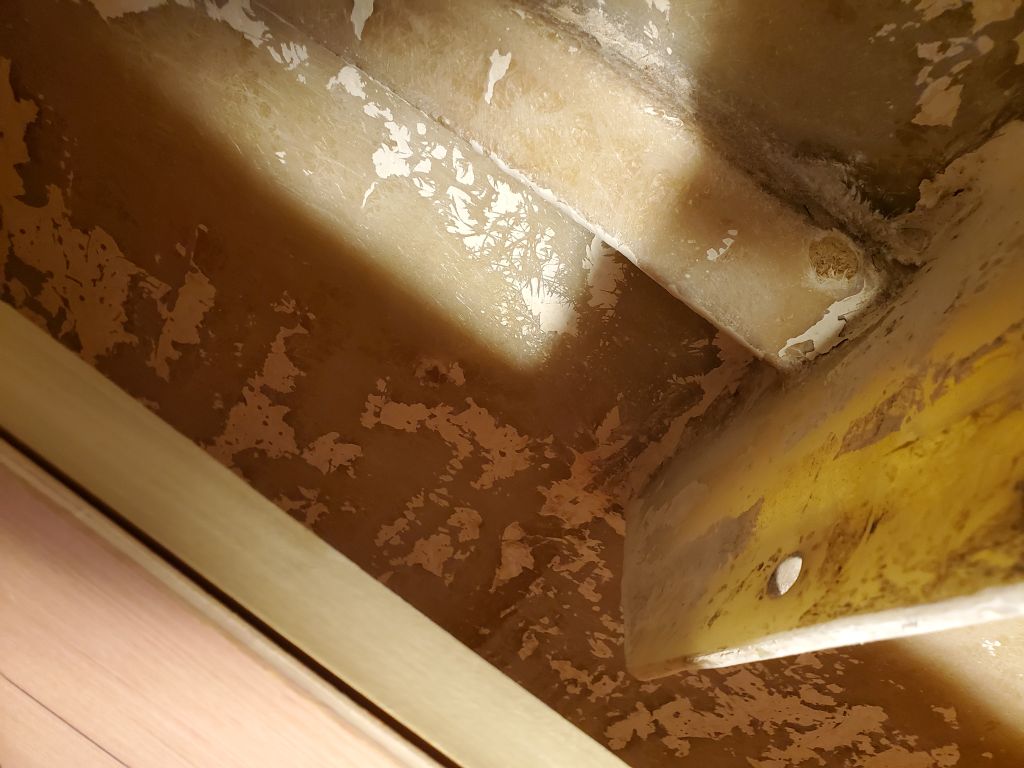
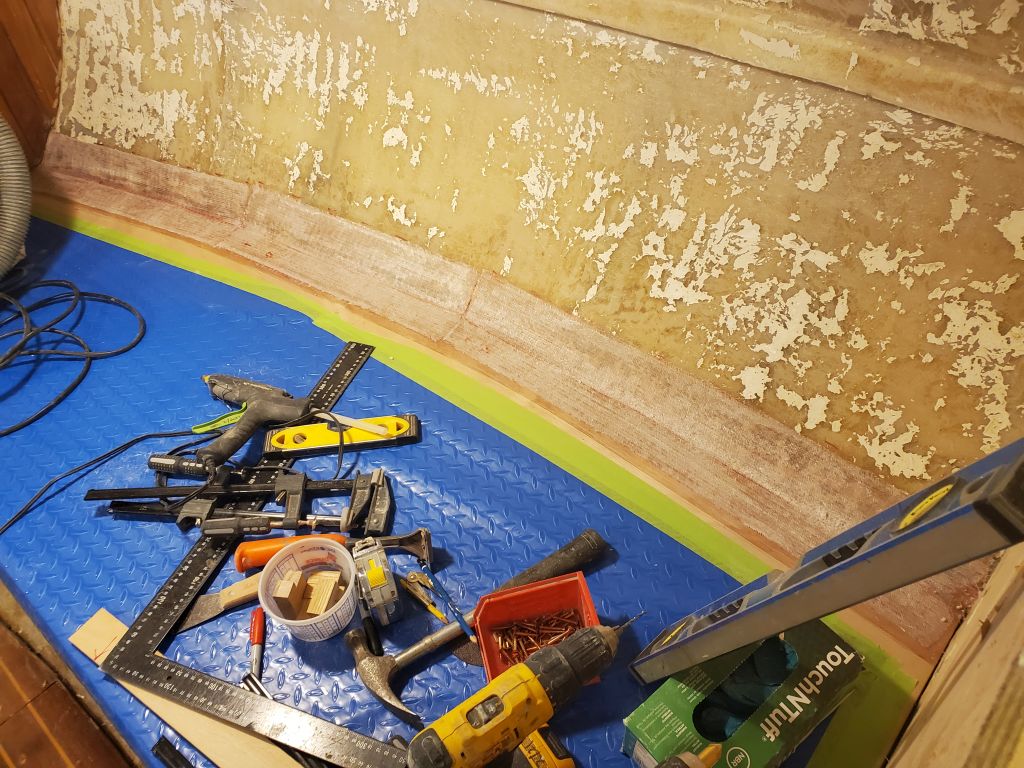
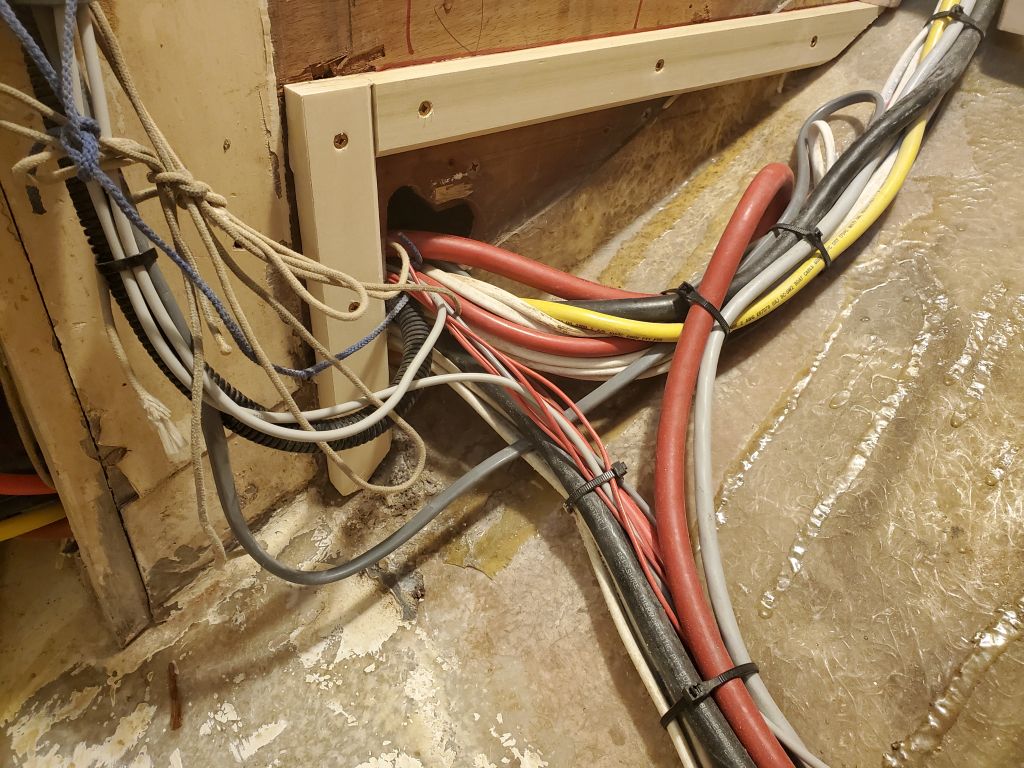
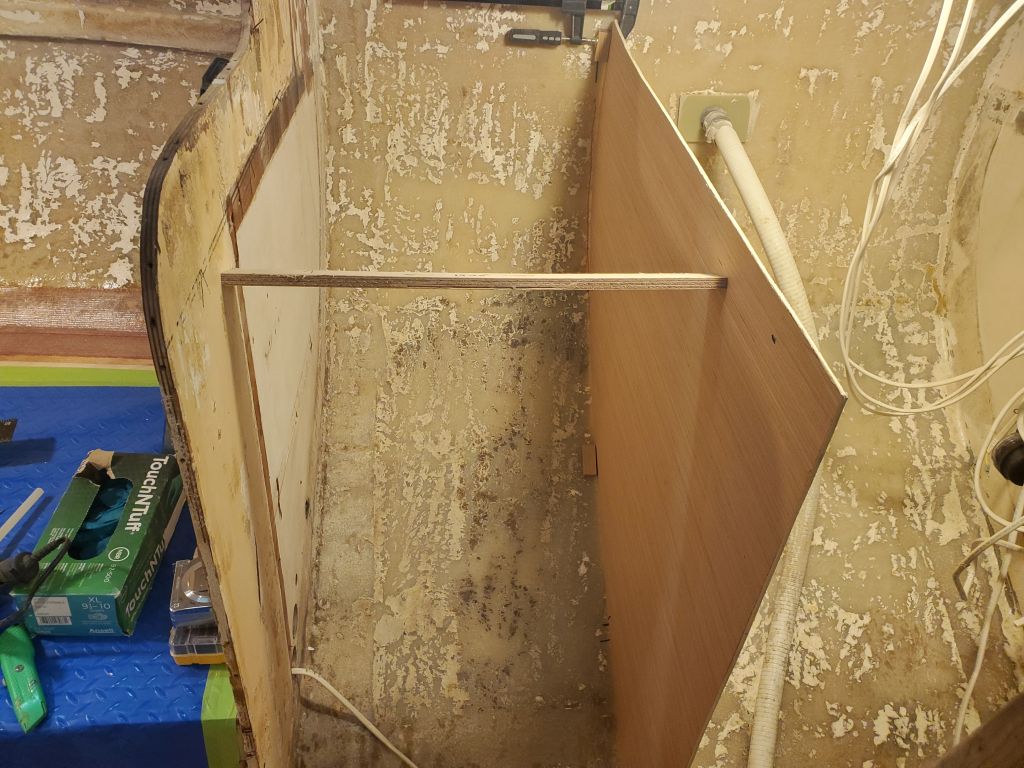
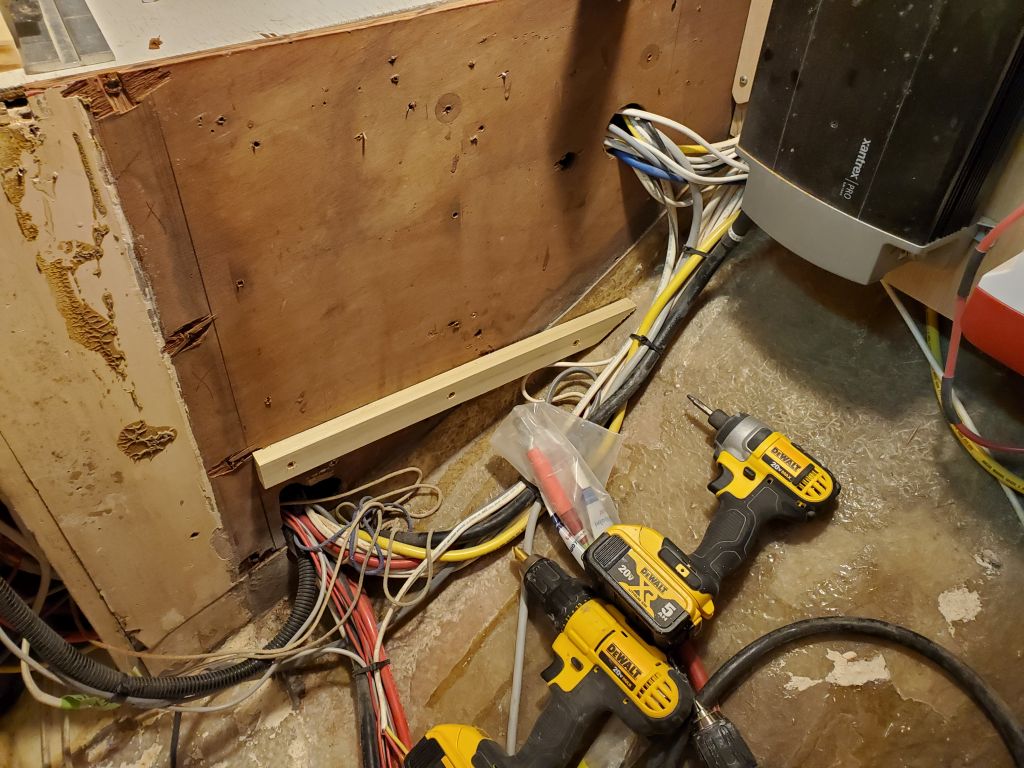
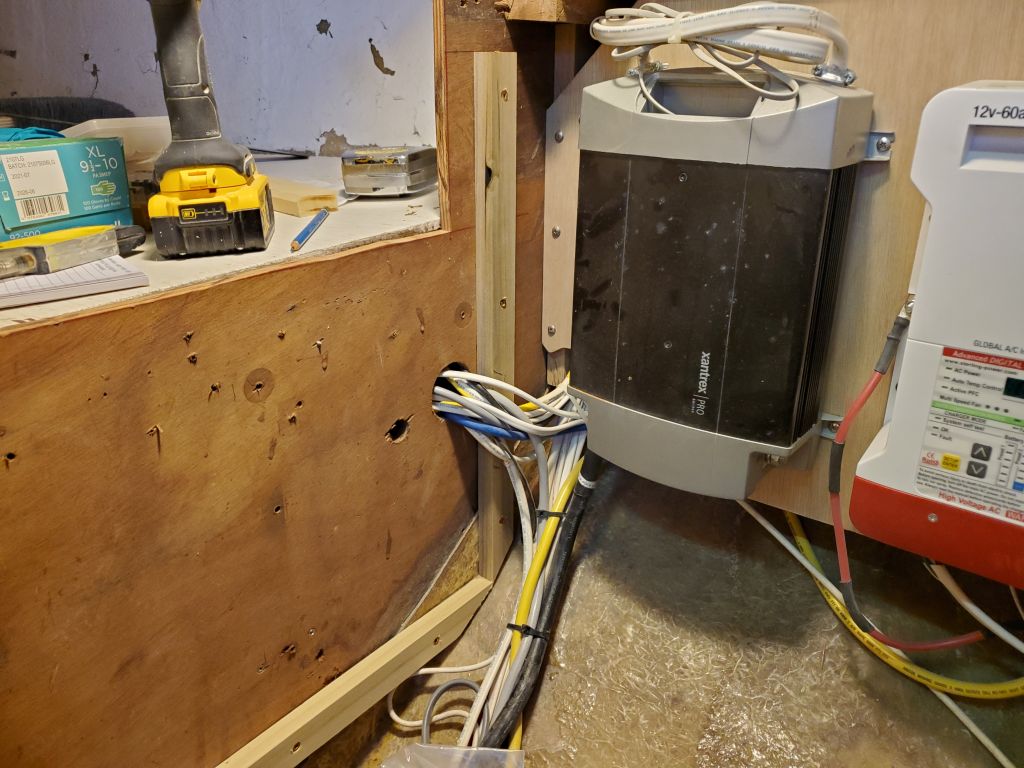
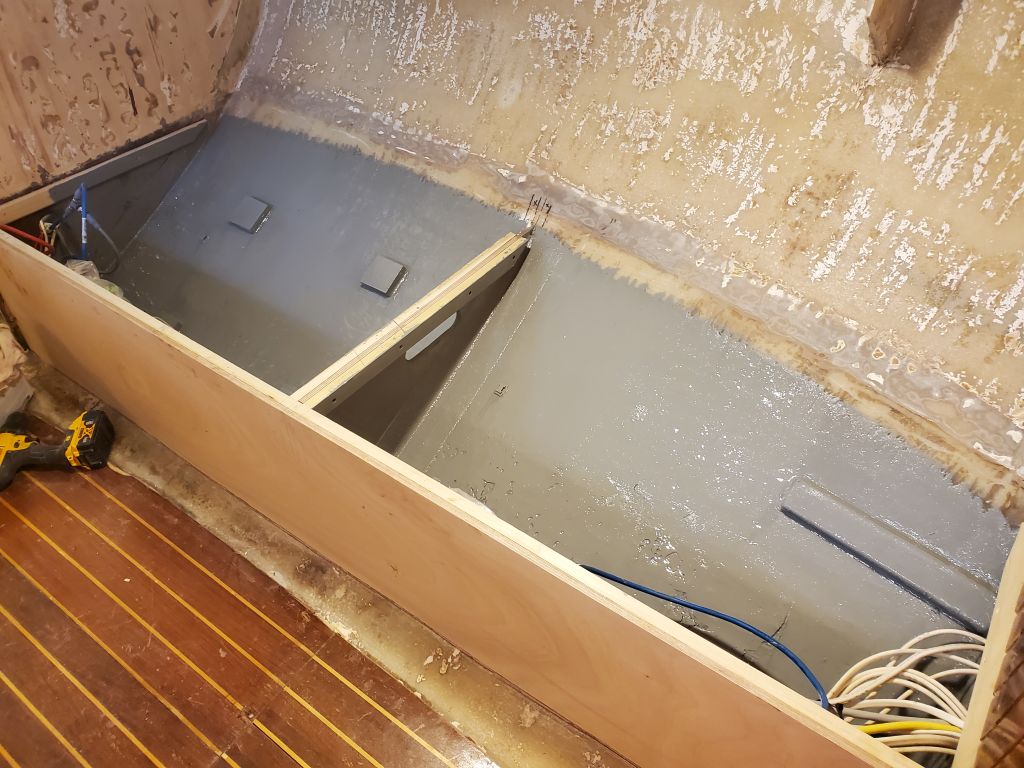
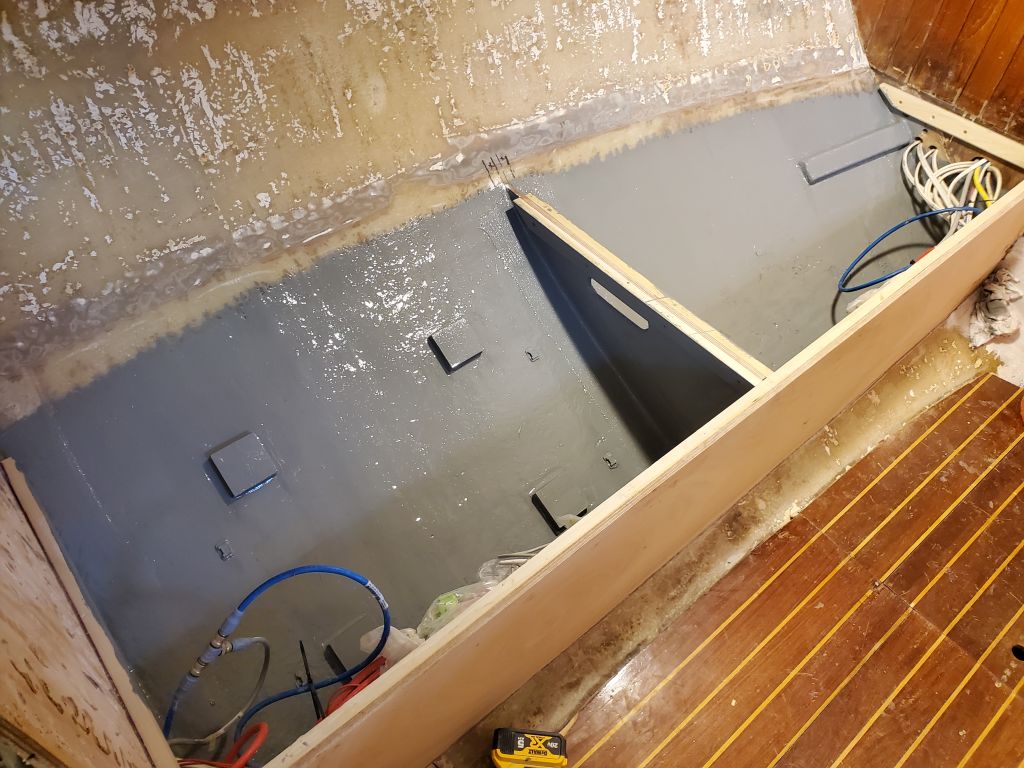
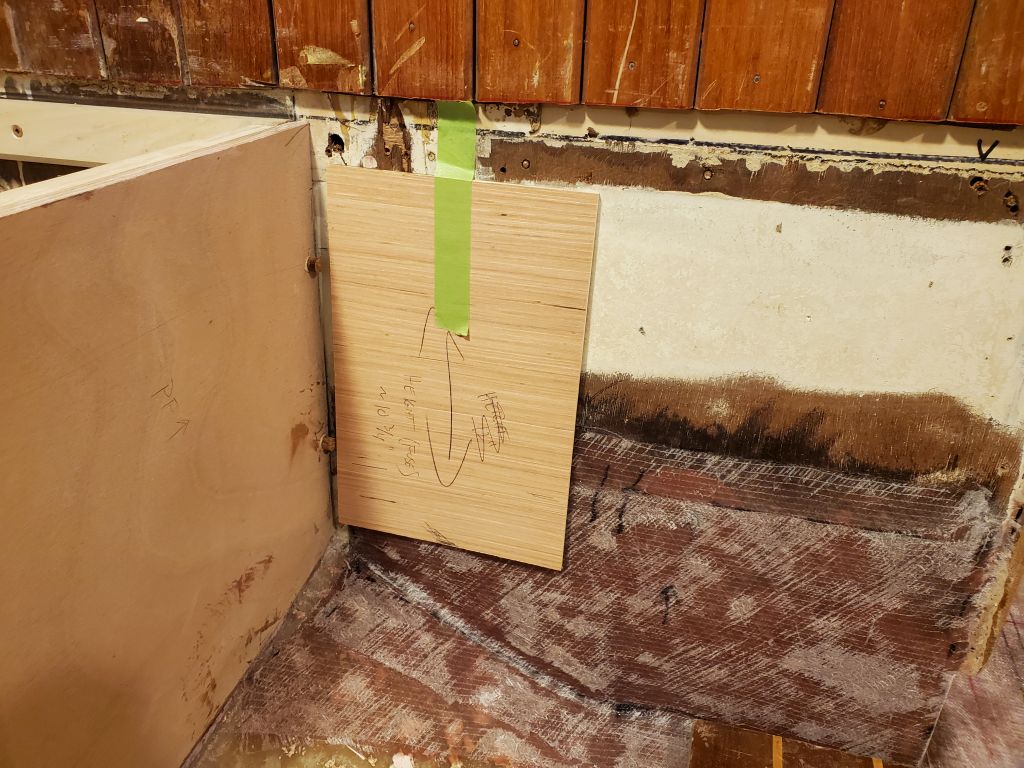
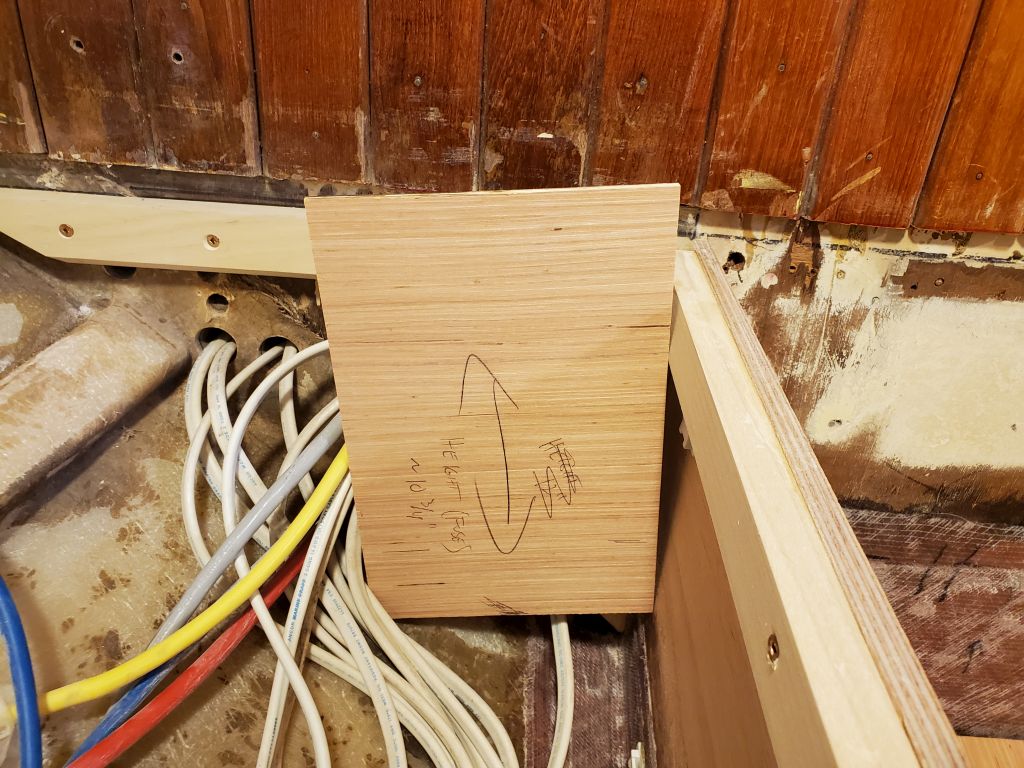
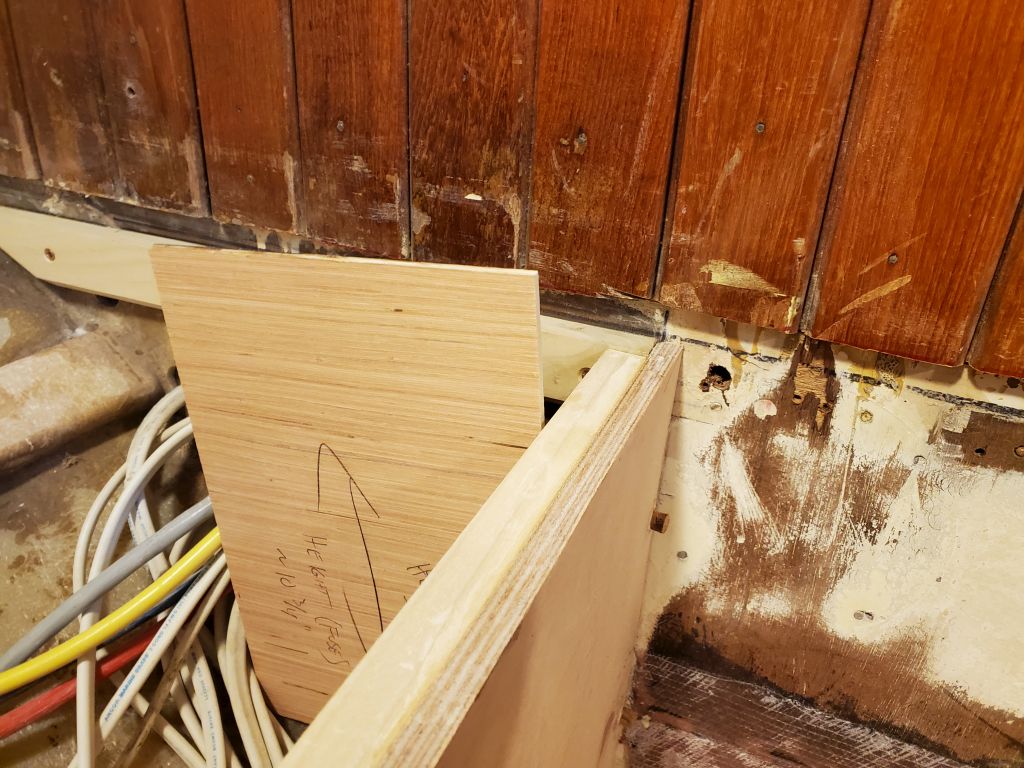
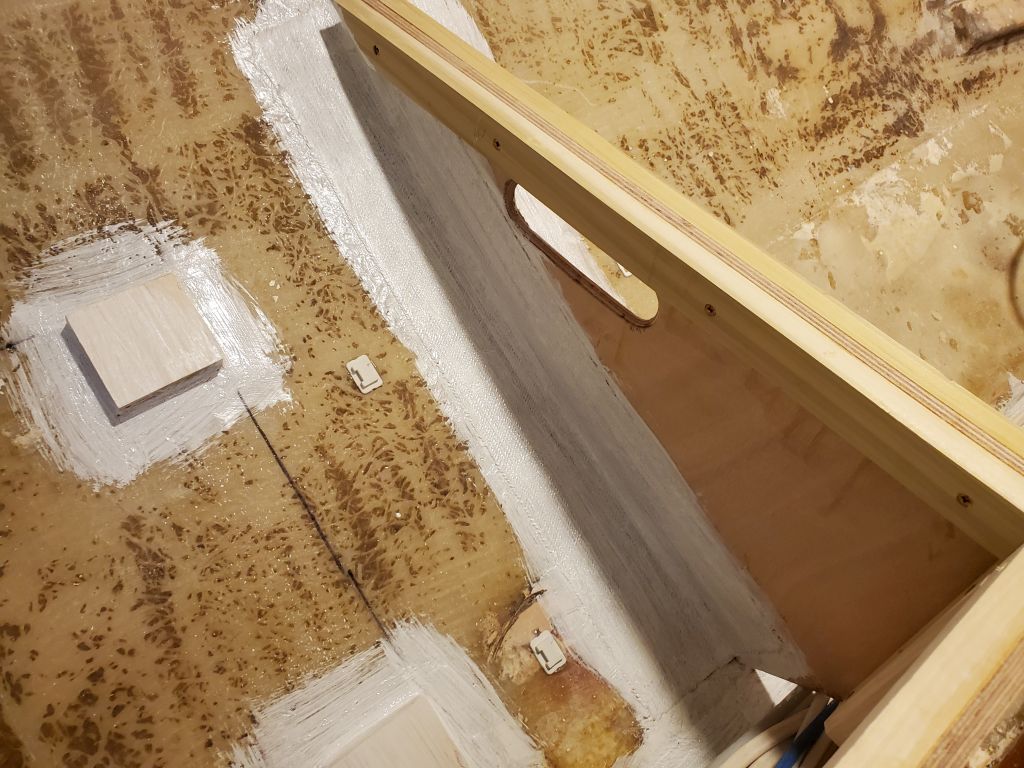
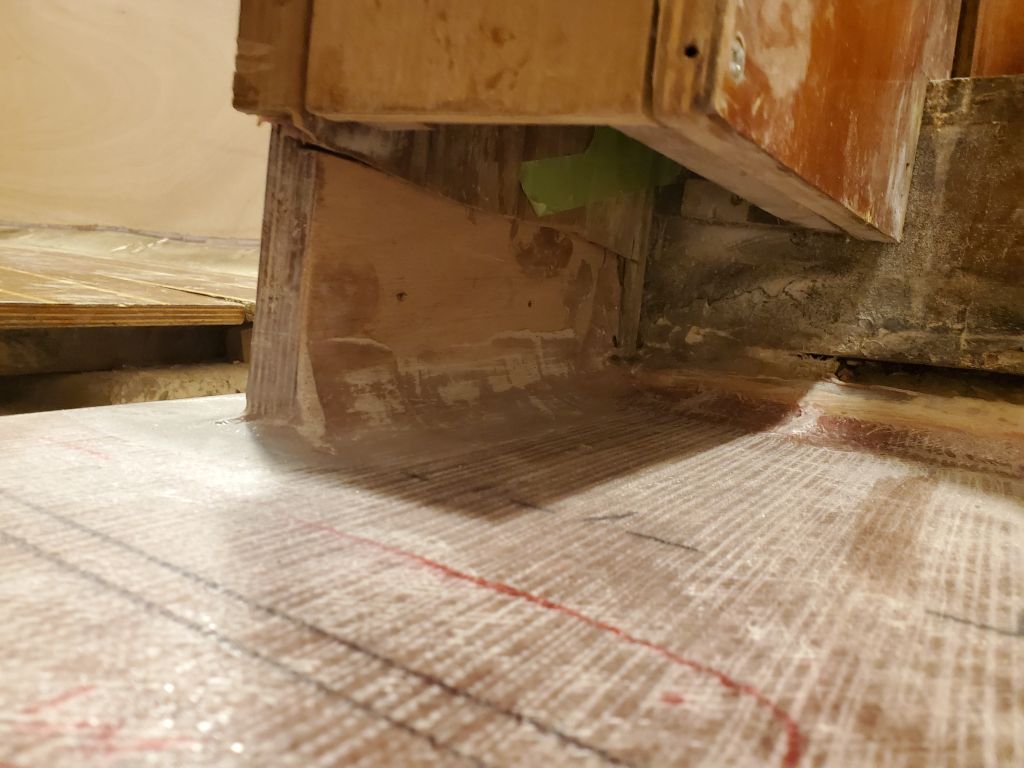
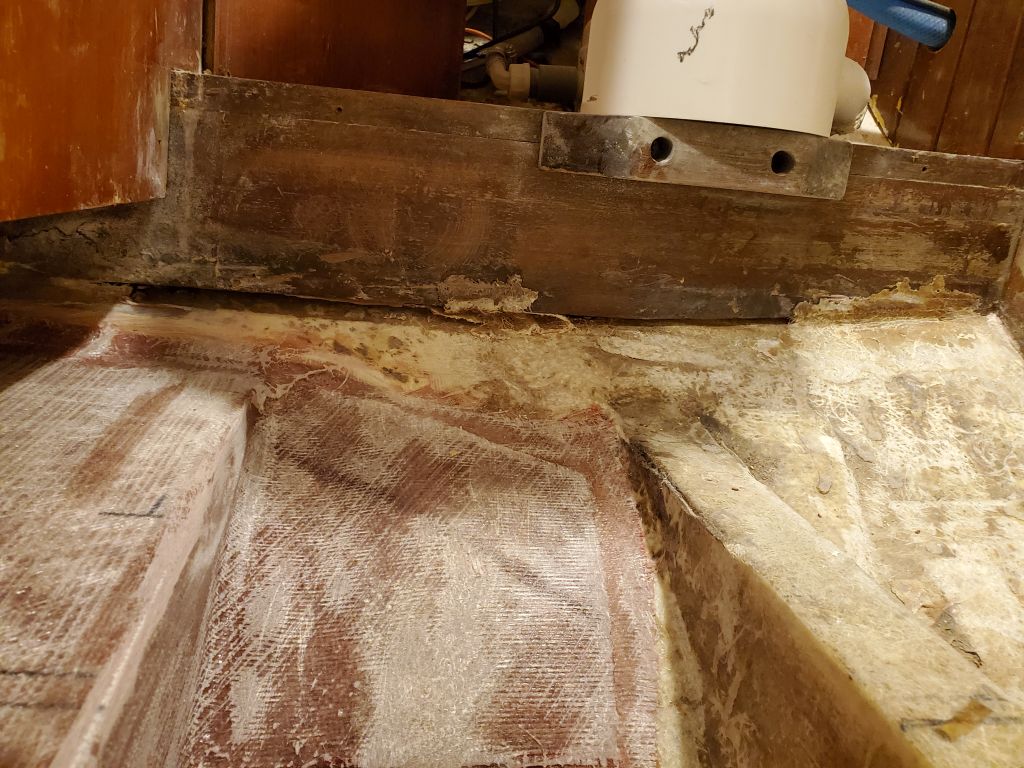
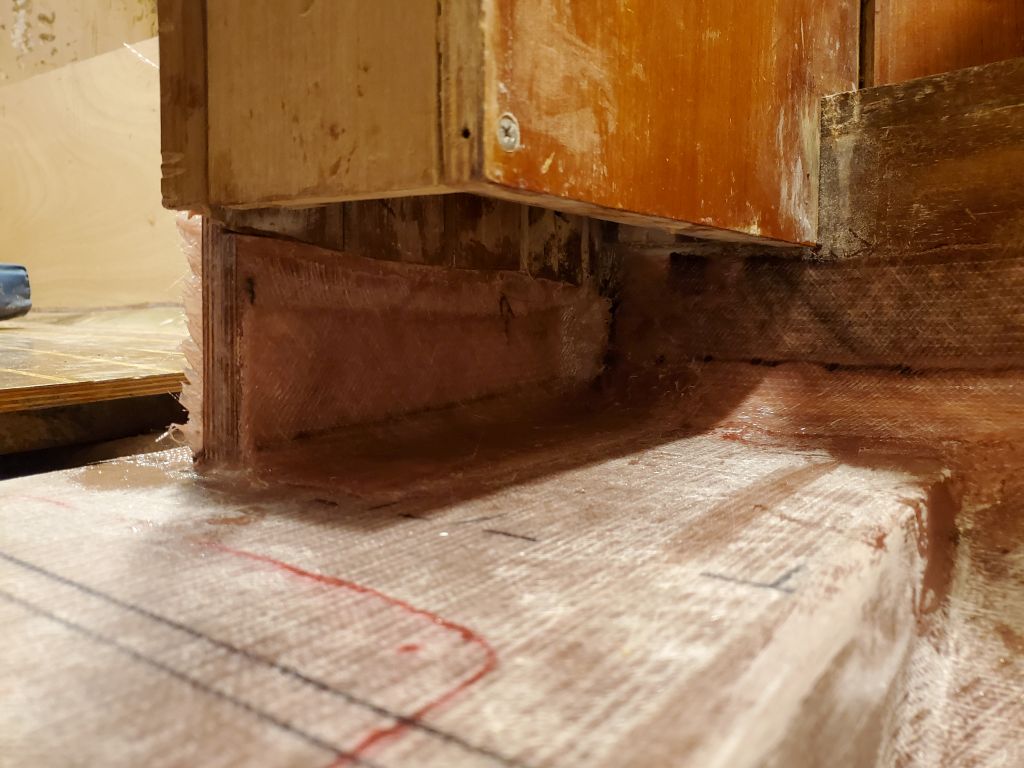
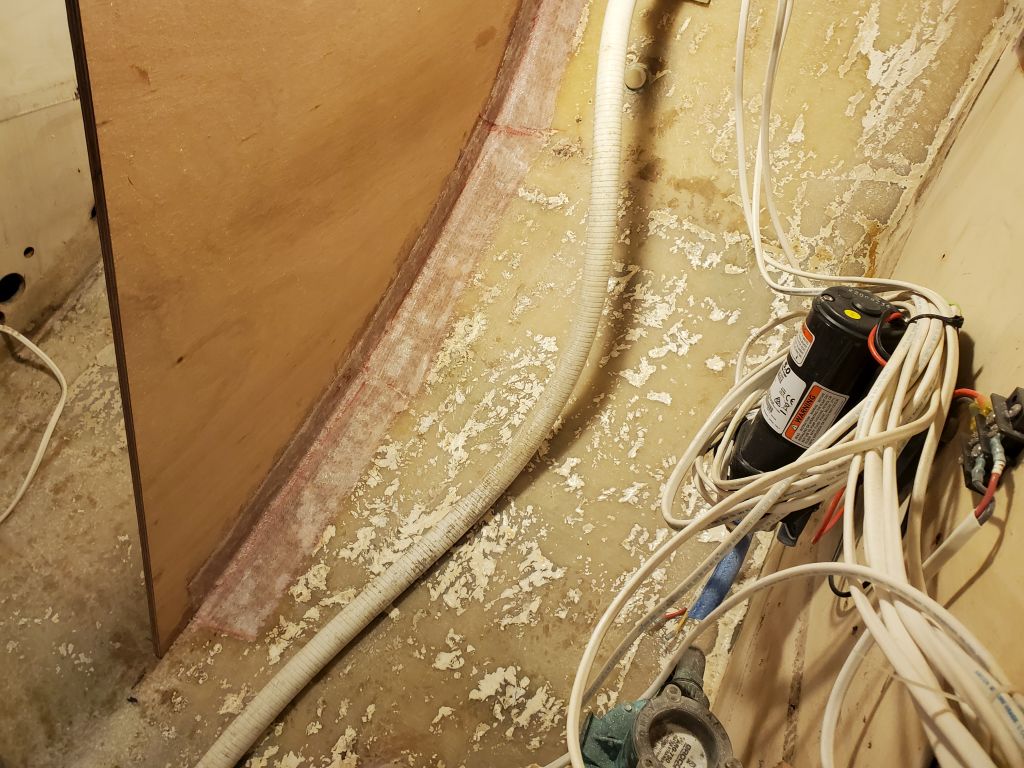
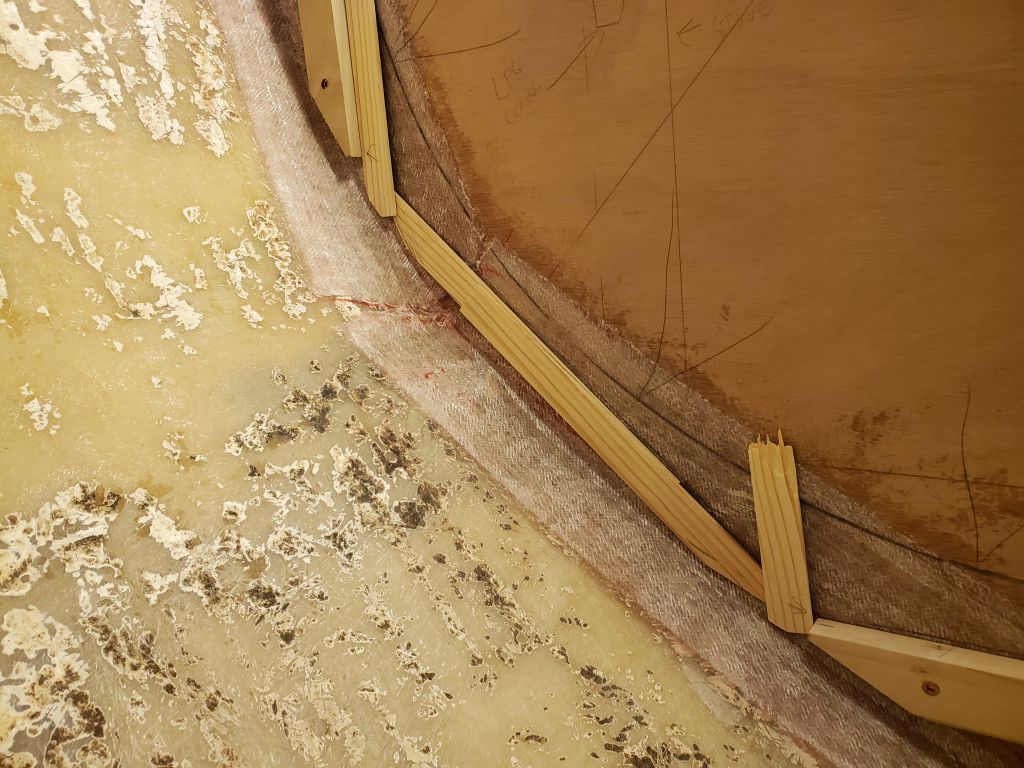
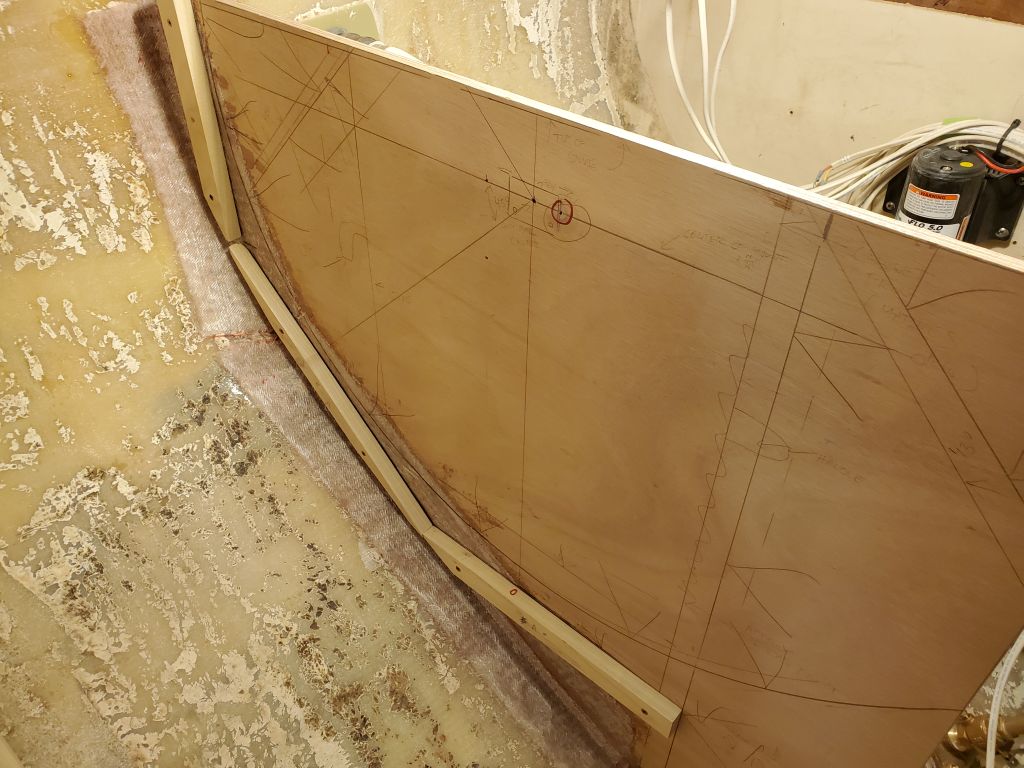
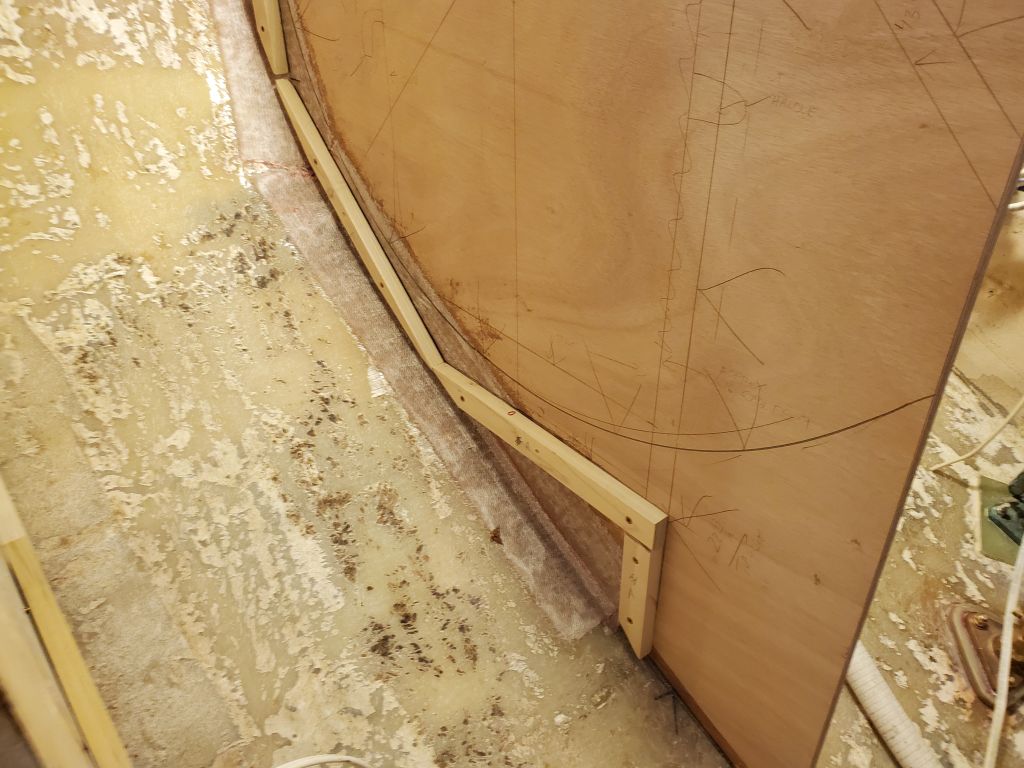
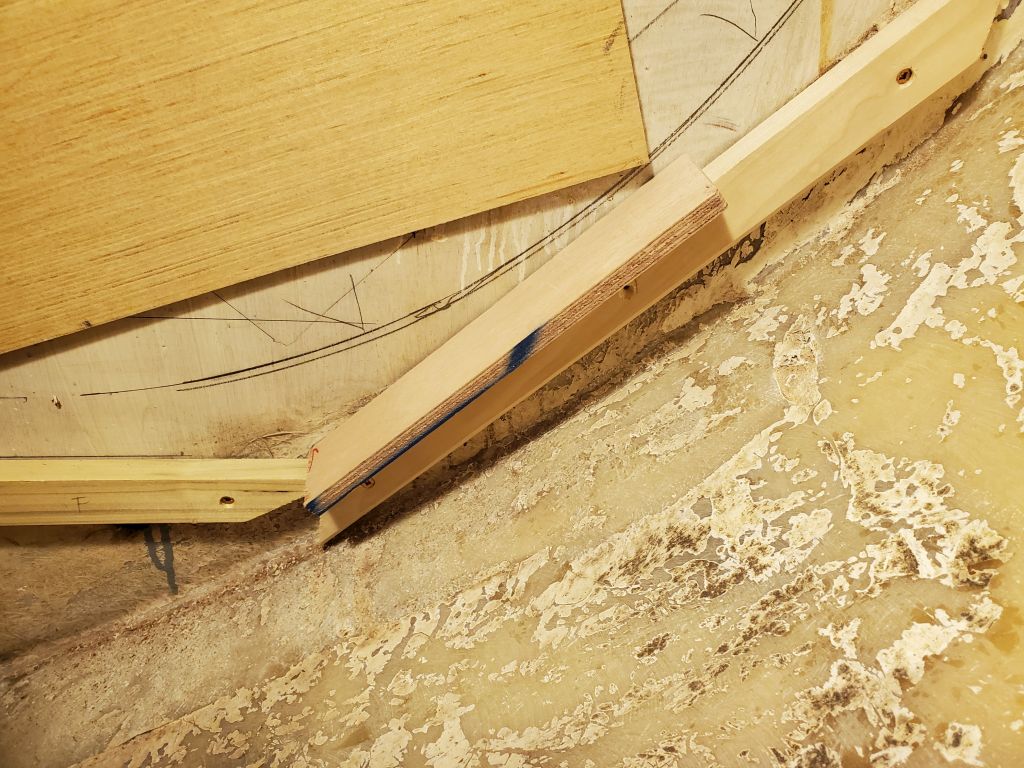
I had little spare room for the angled cleat to span between the floor and back of the compartment, at least on the aft side, so I made a hot glue template of the required angle and length of the cleat, positioning it so as to provide more than ample clearance for the 12mm plywood panel and some leeway, as this was the closest point of approach for the swing radius and the hull. These cleats were the most time-consuming as they had to fit just so, and the after cleat required various modifications on the fly to allow it to fit in the space and along the lavish fillets someone had installed beneath the bulkhead tabbing.
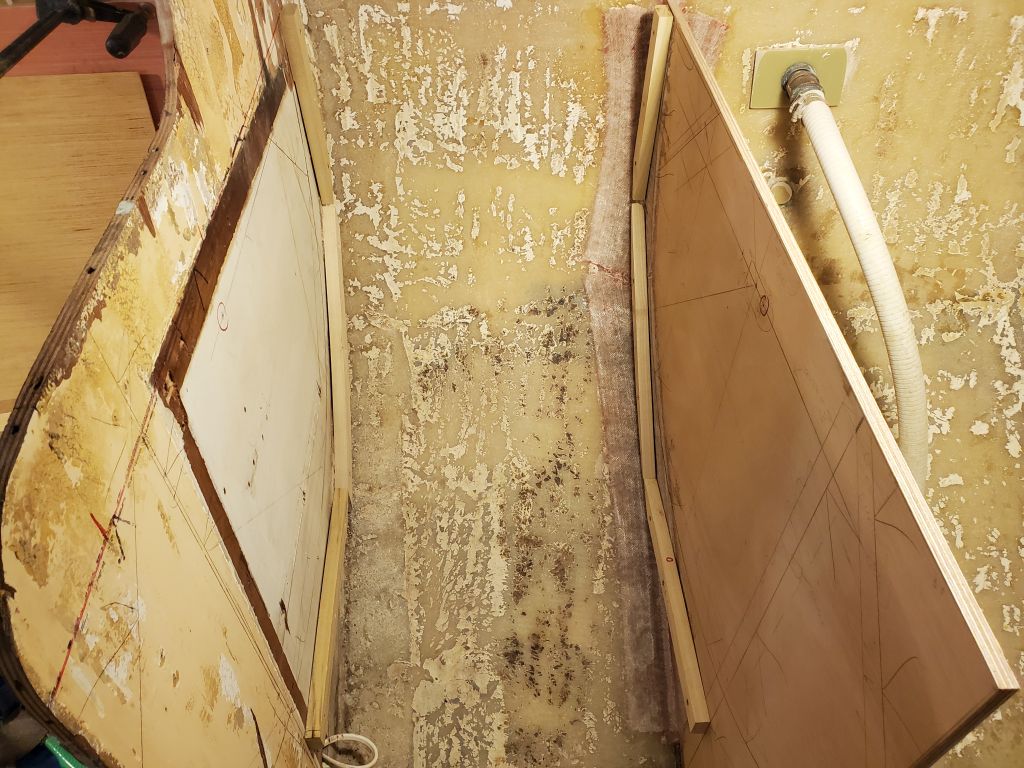
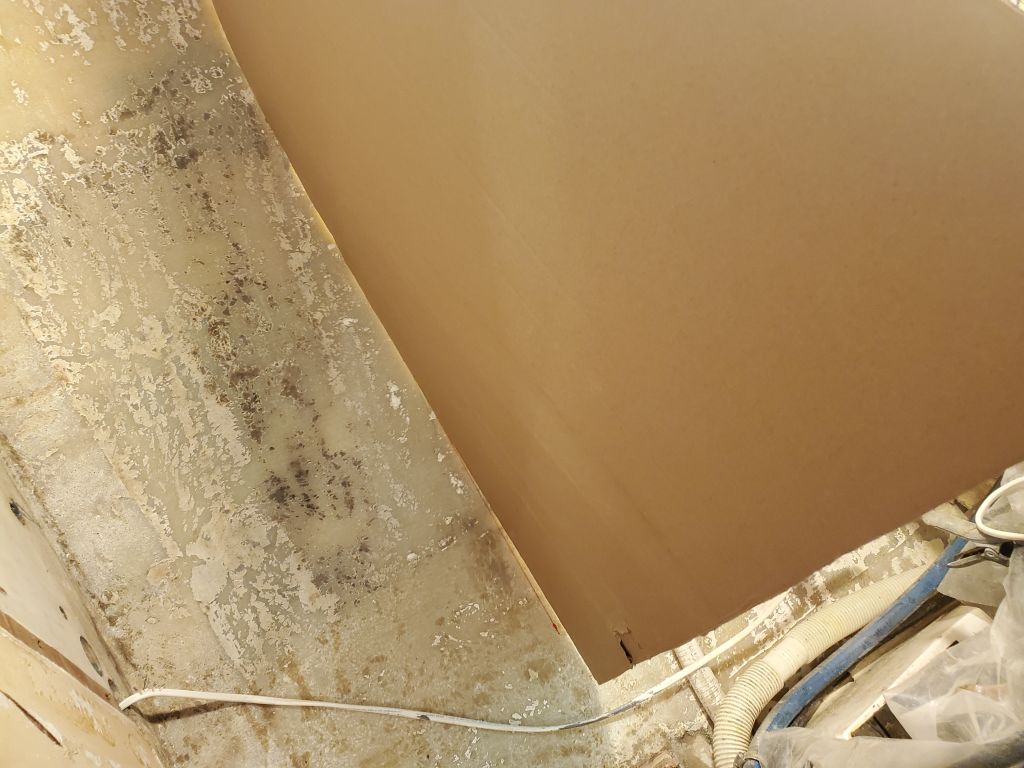
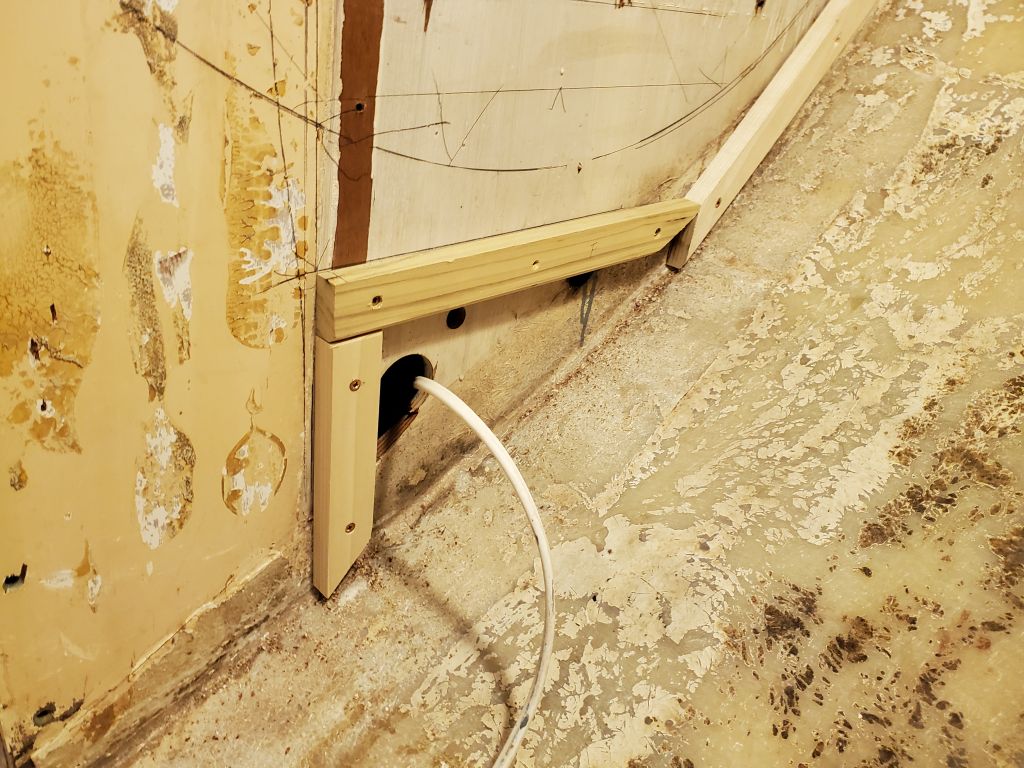
I finished off the basic cleat layout with two short vertical cleats to support the eventual panel beneath the enclosure, forming the front of the cabinet.

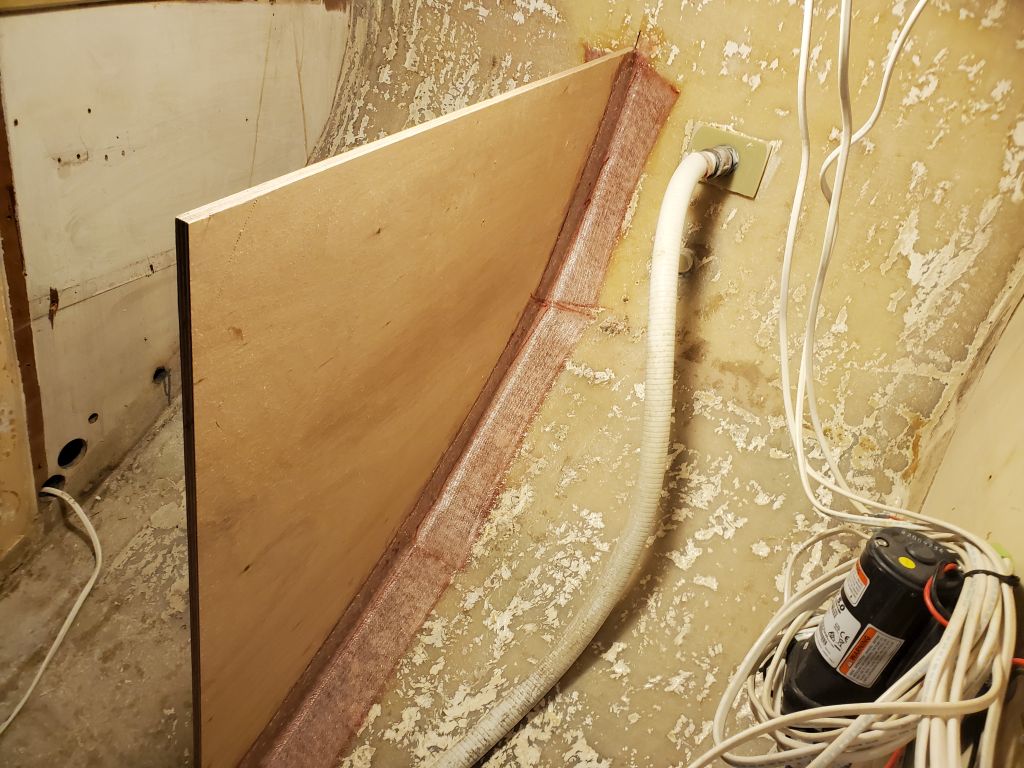
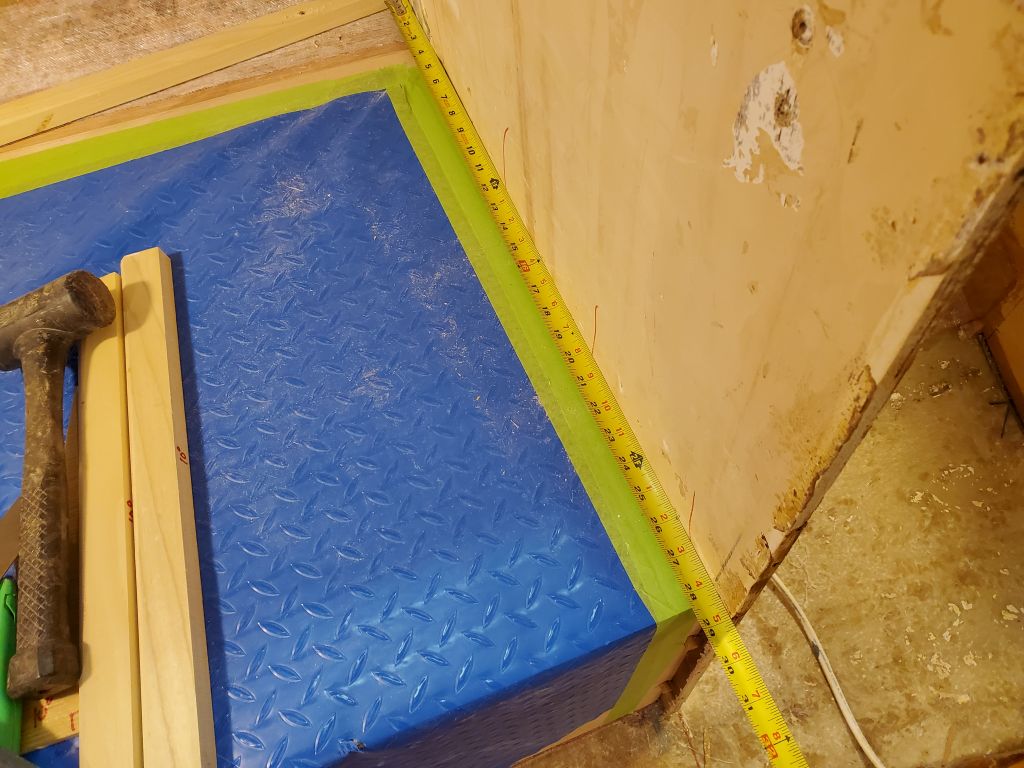
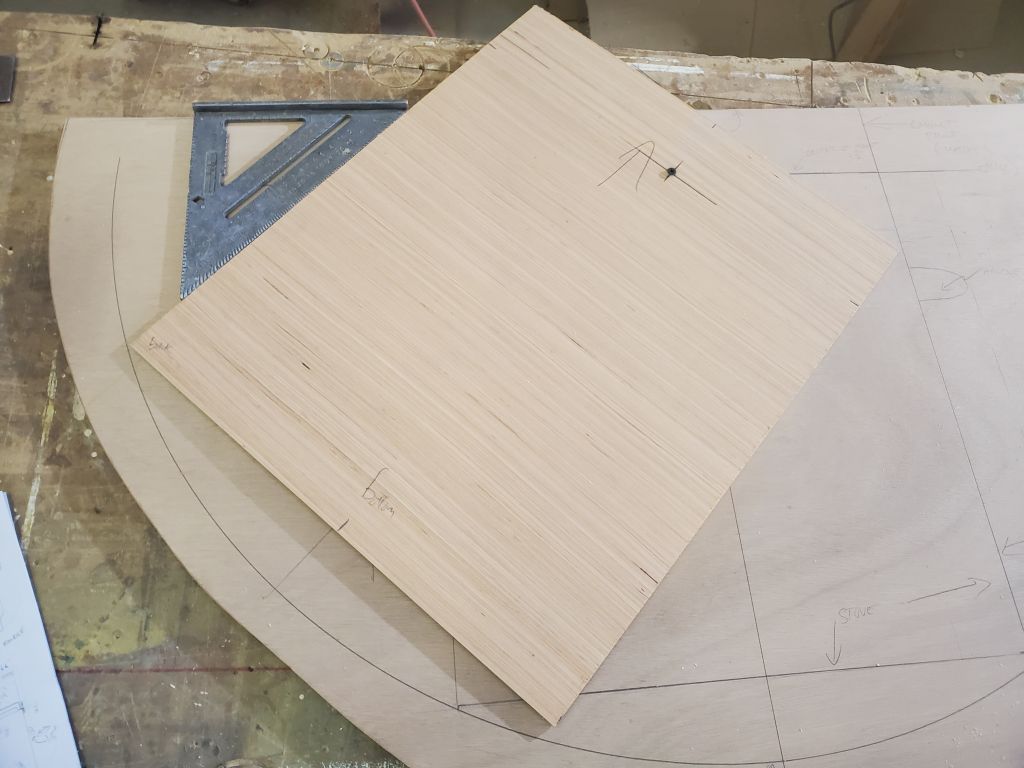
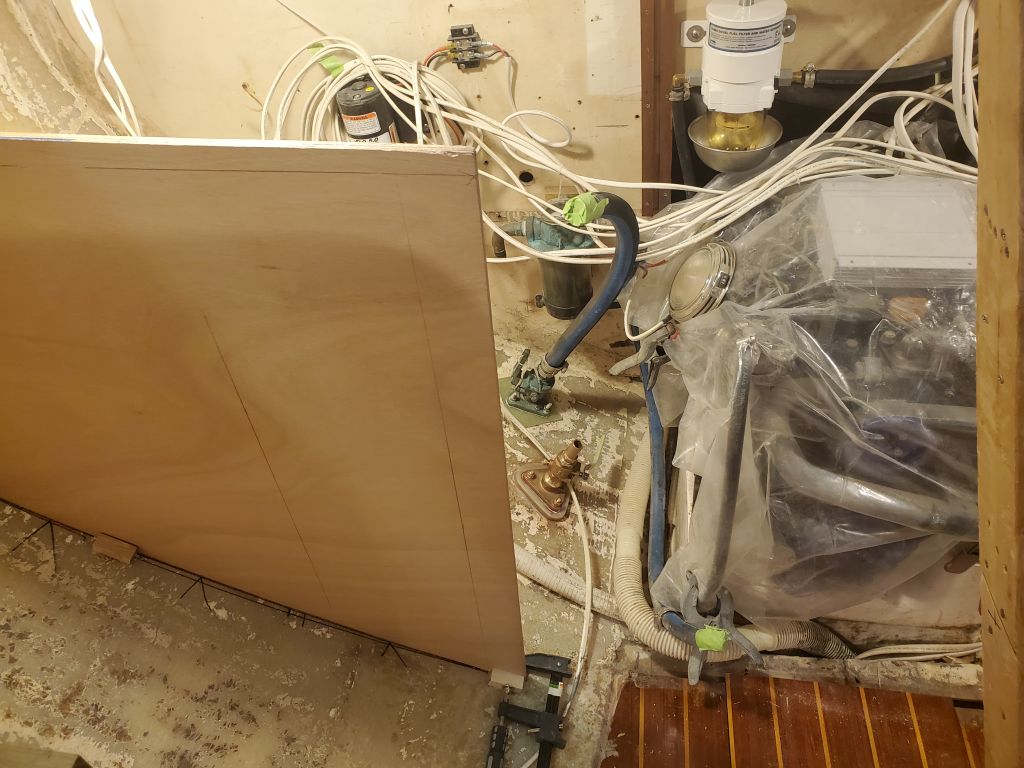
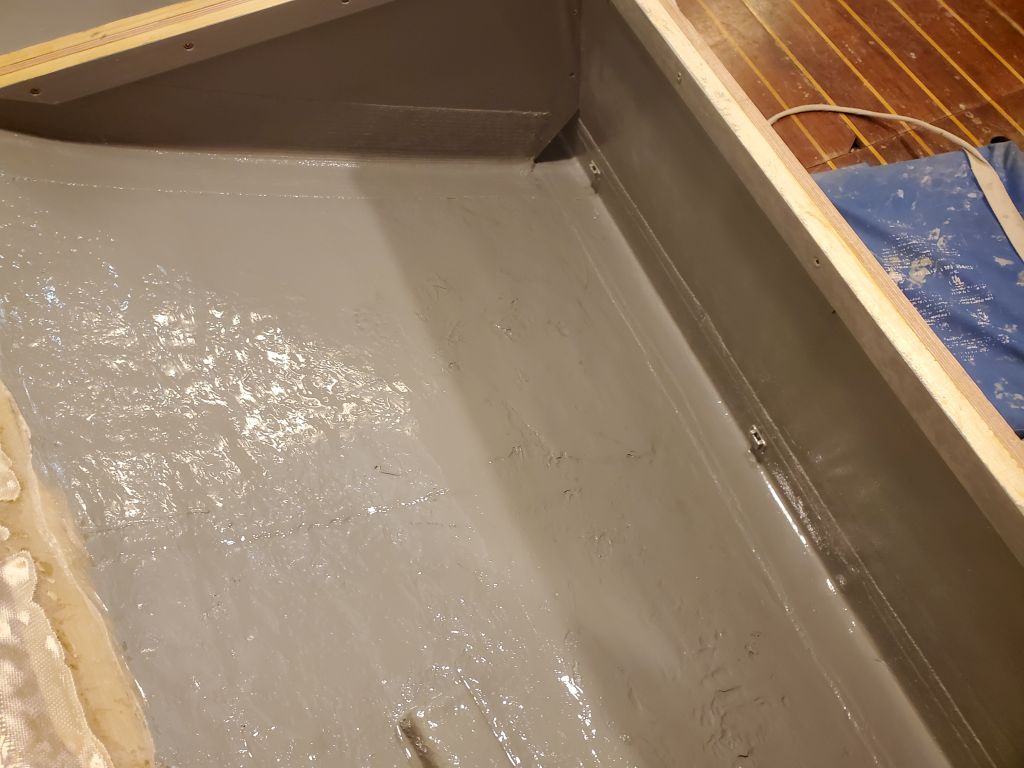
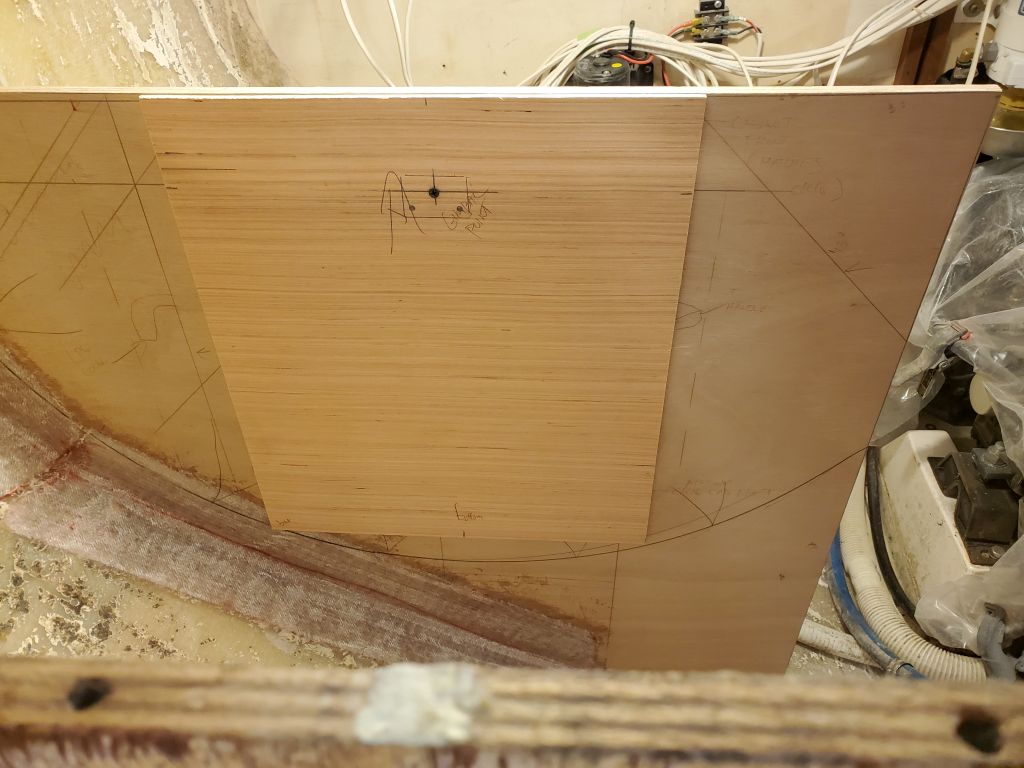
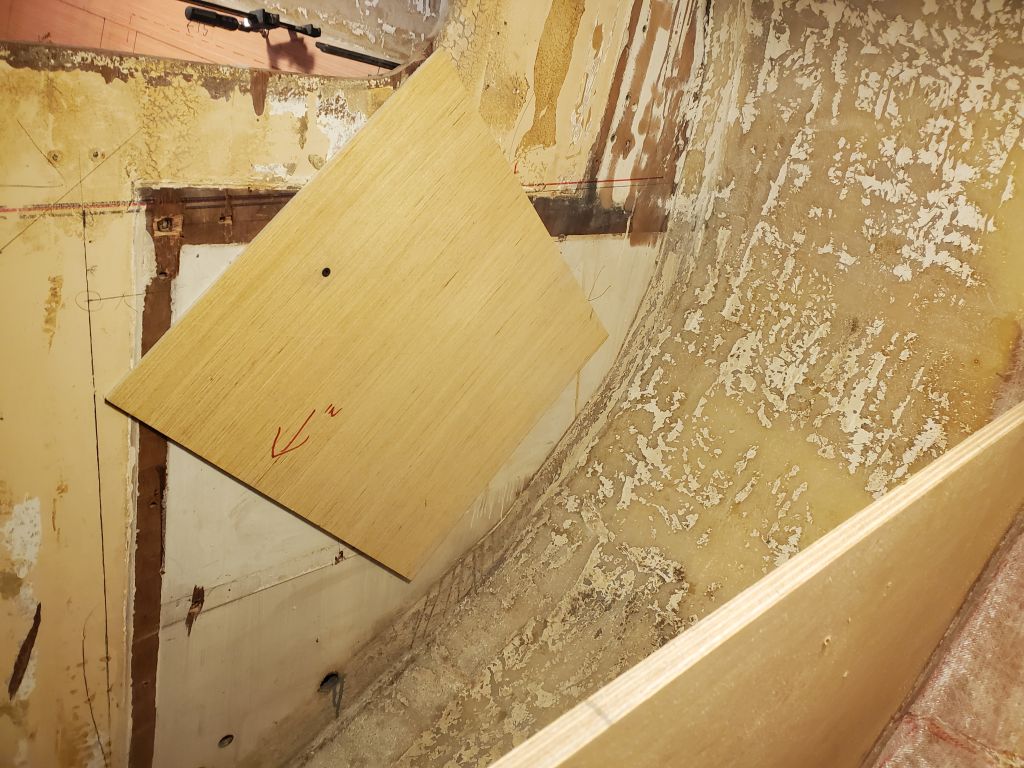
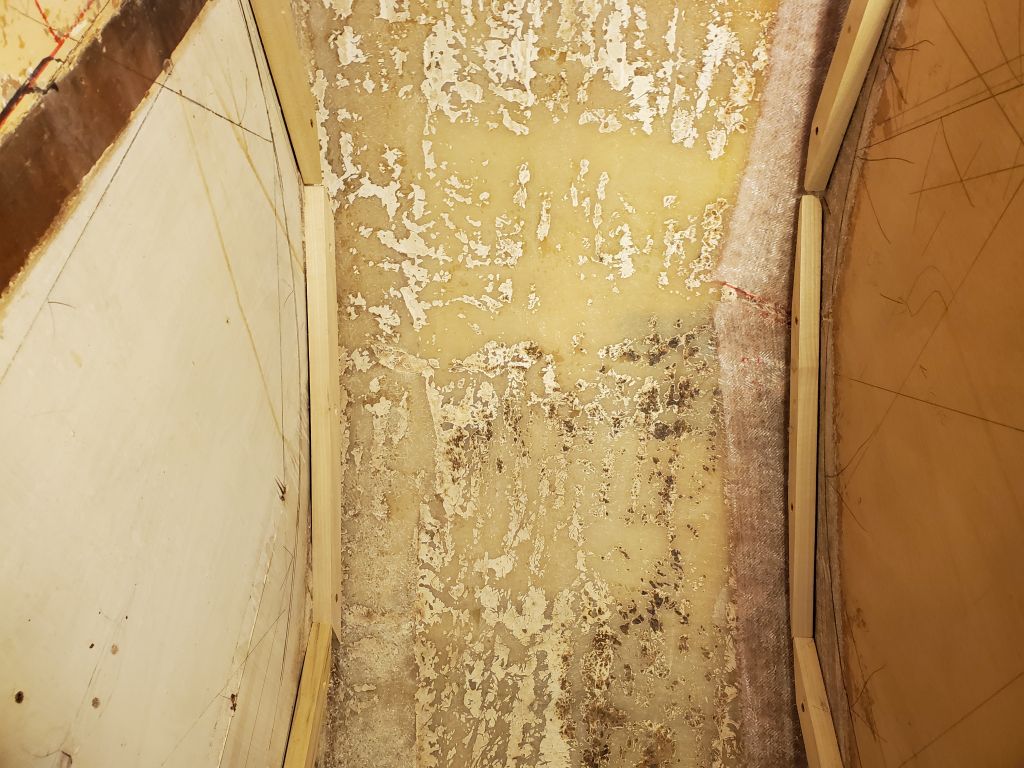
I reinstalled the stove template and checked it physically against the new cleats, using a scrap of 12mm plywood to ensure clearance as needed.

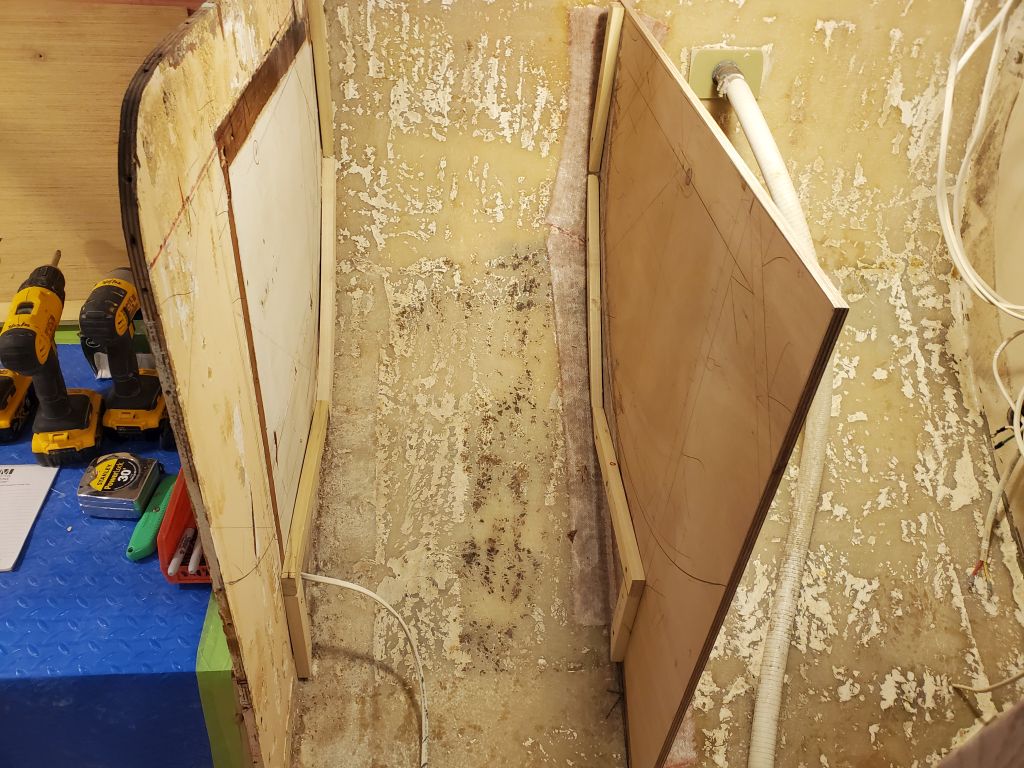
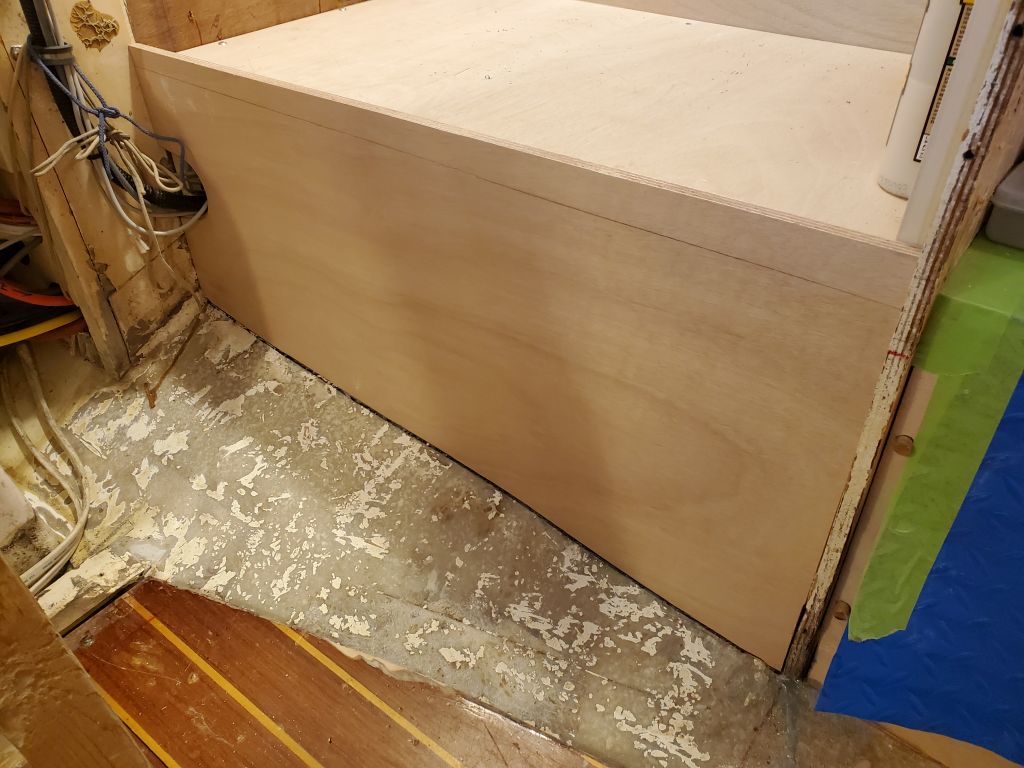
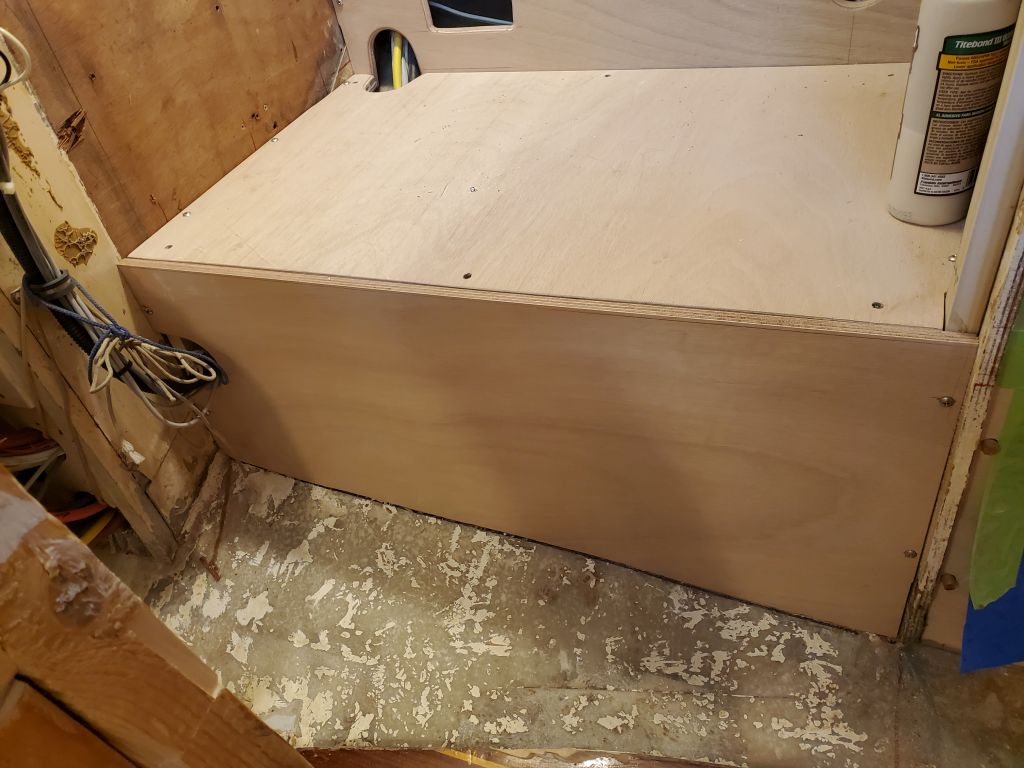
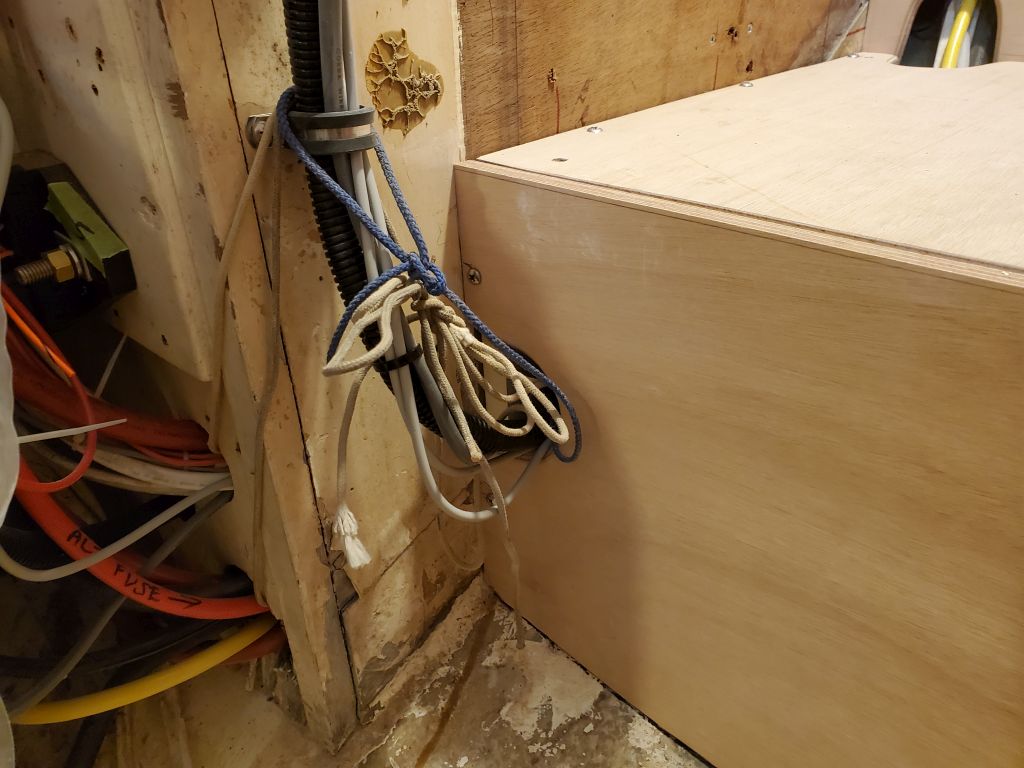
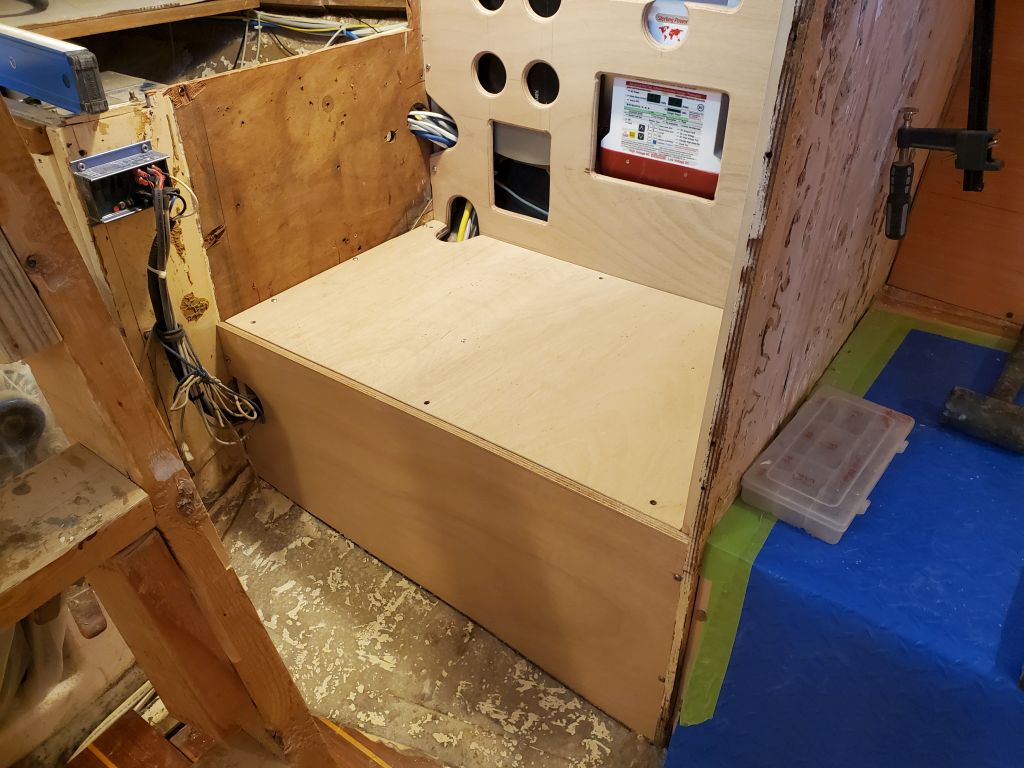
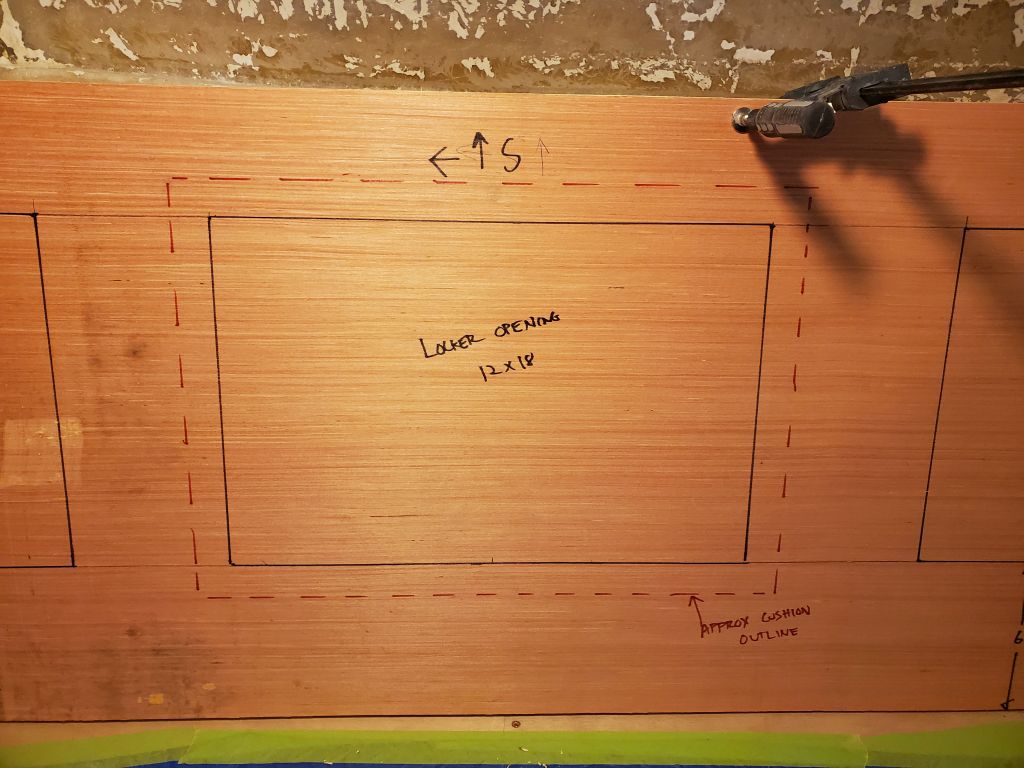
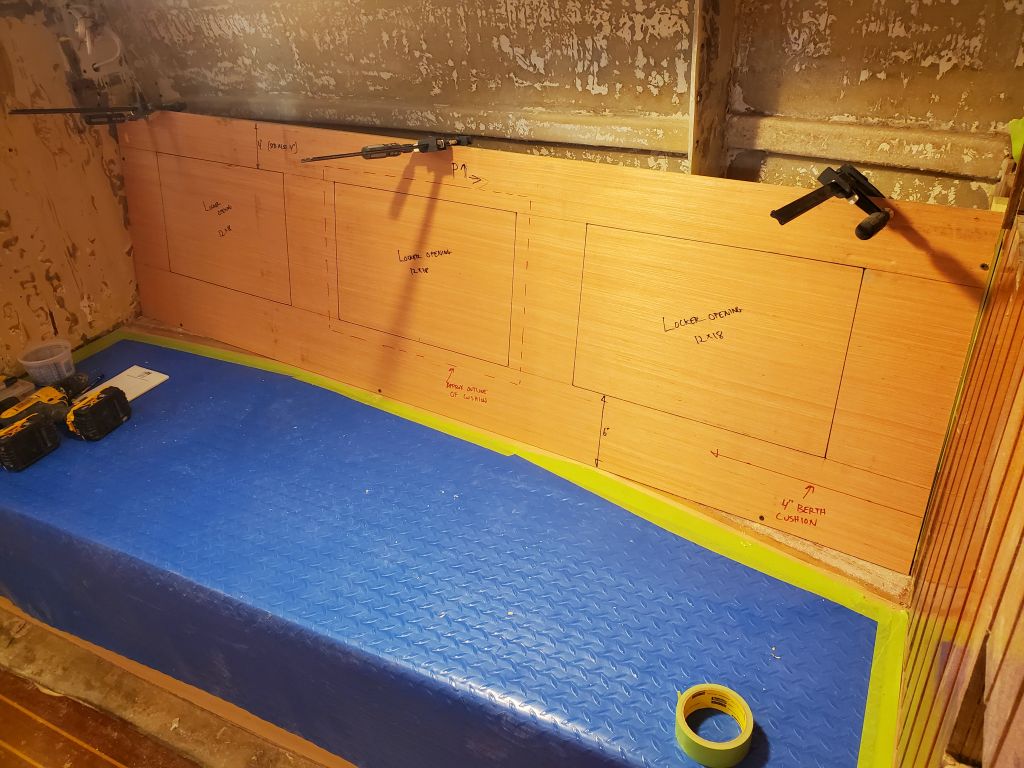
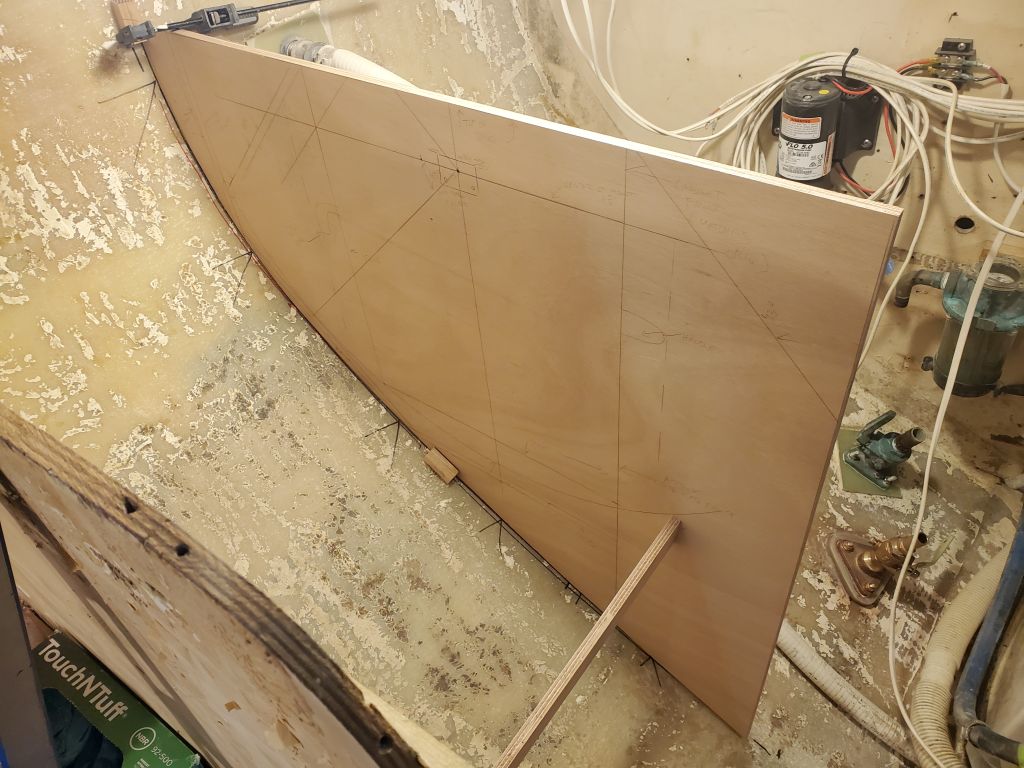
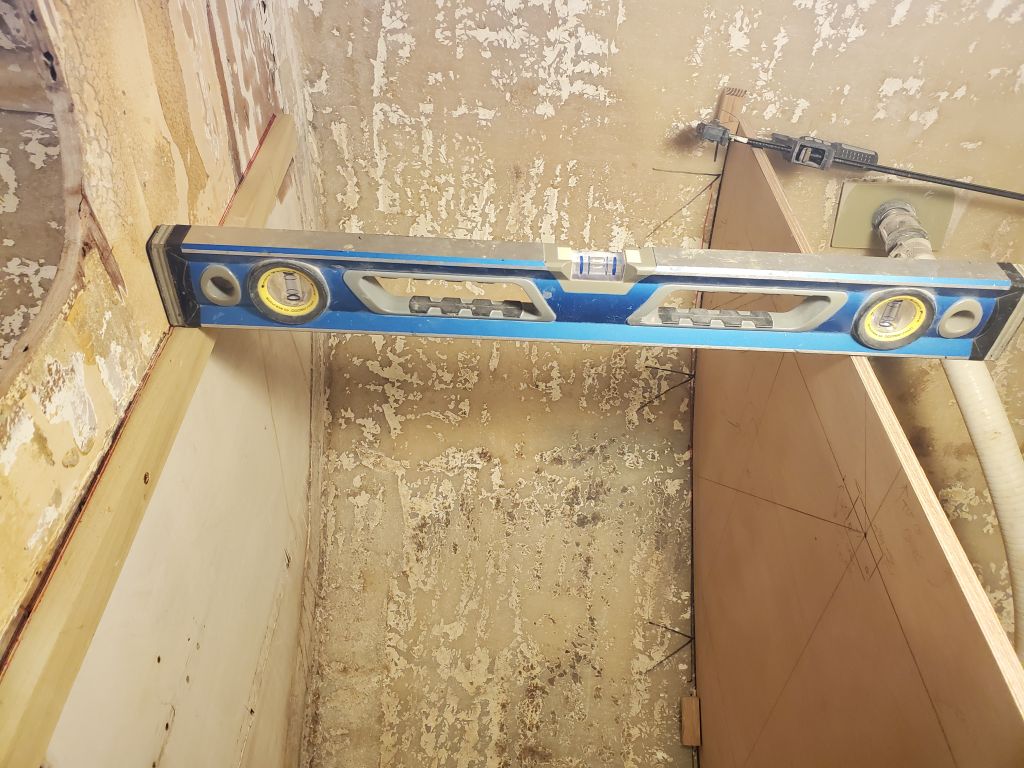
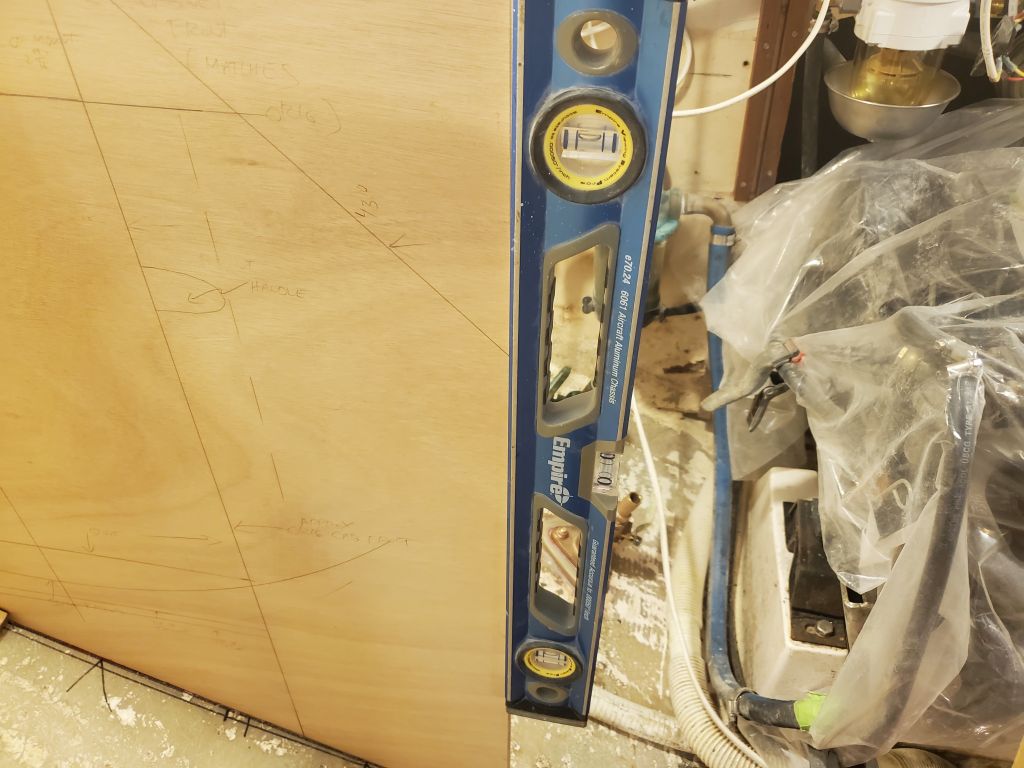
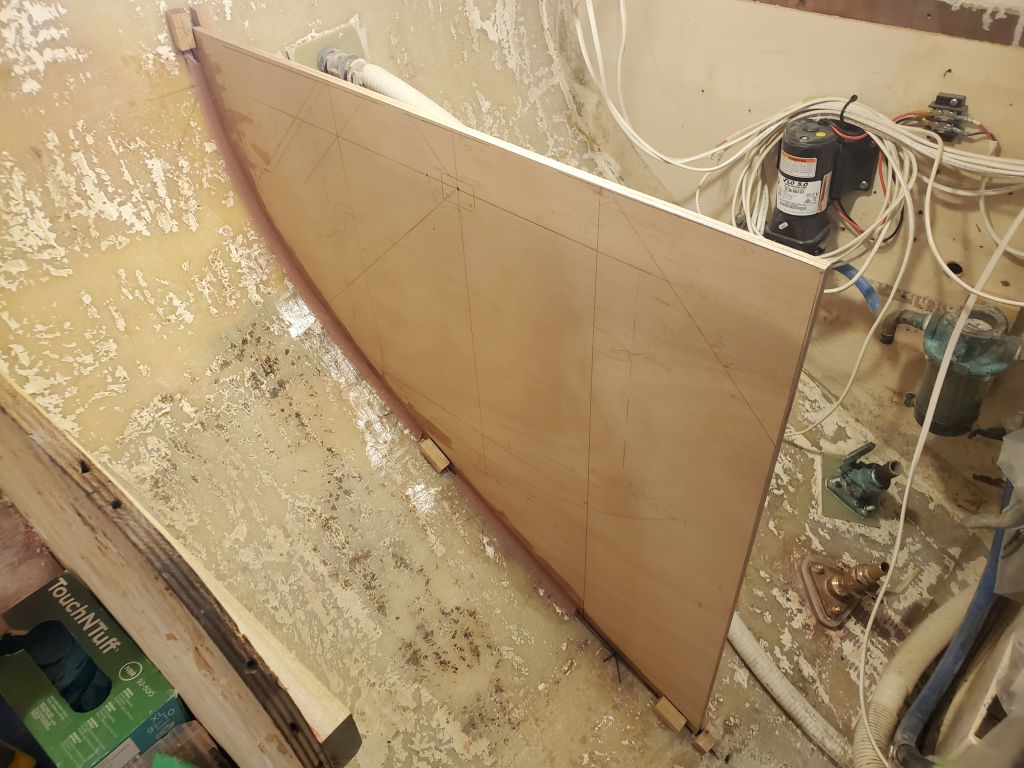
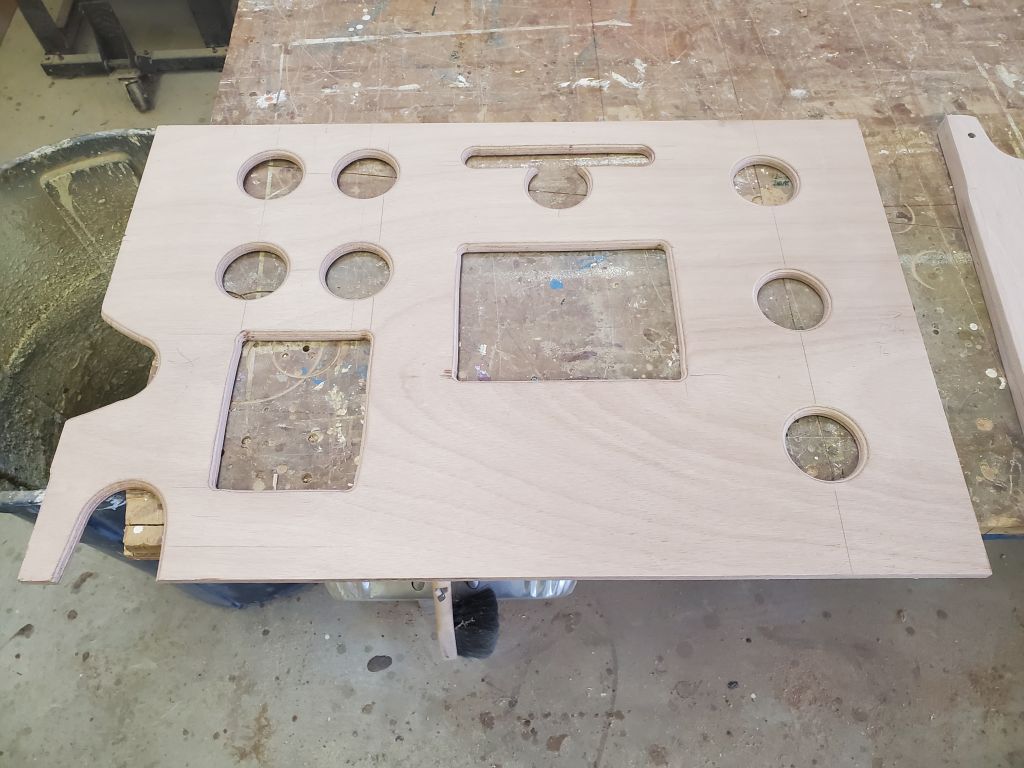
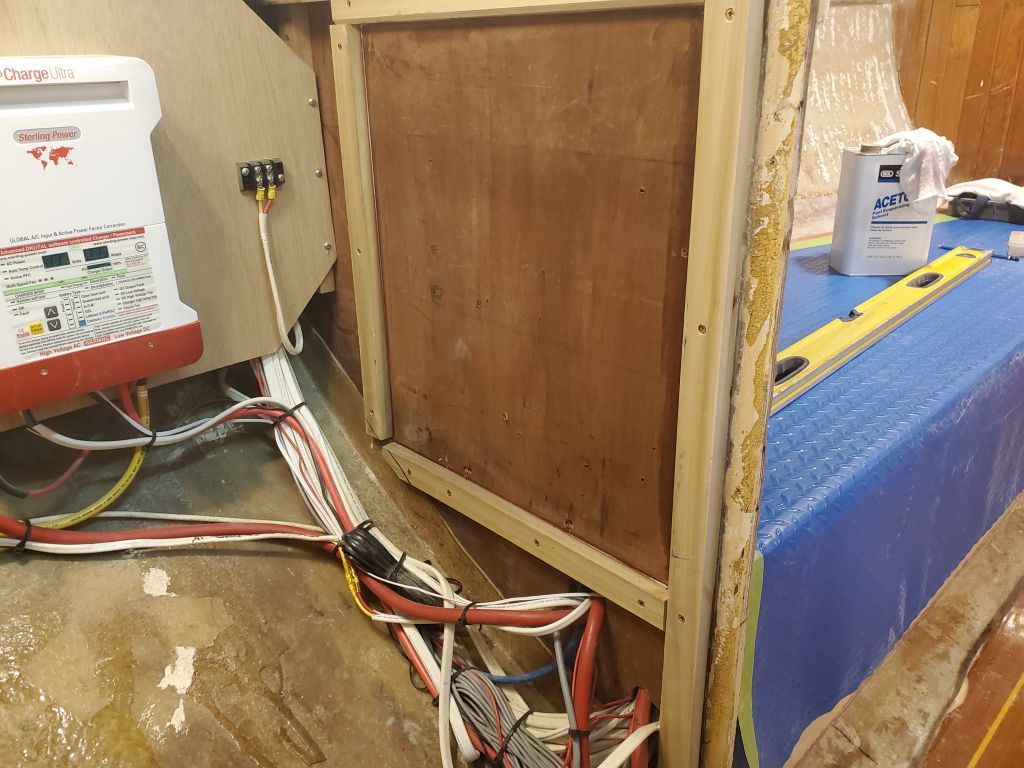
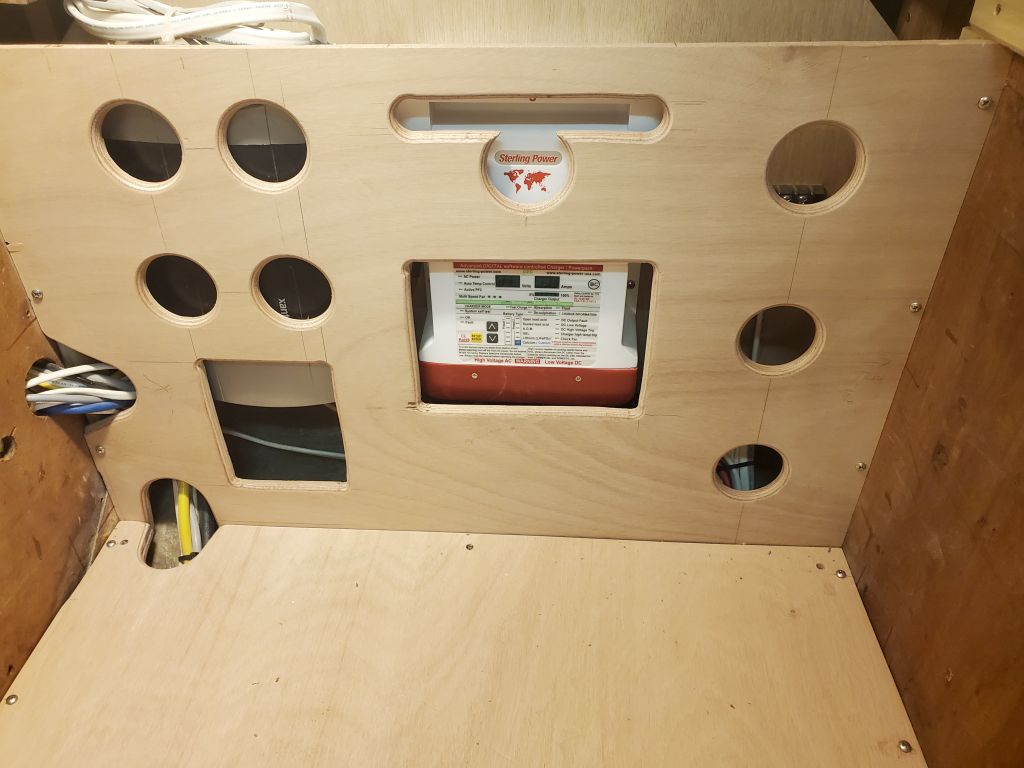
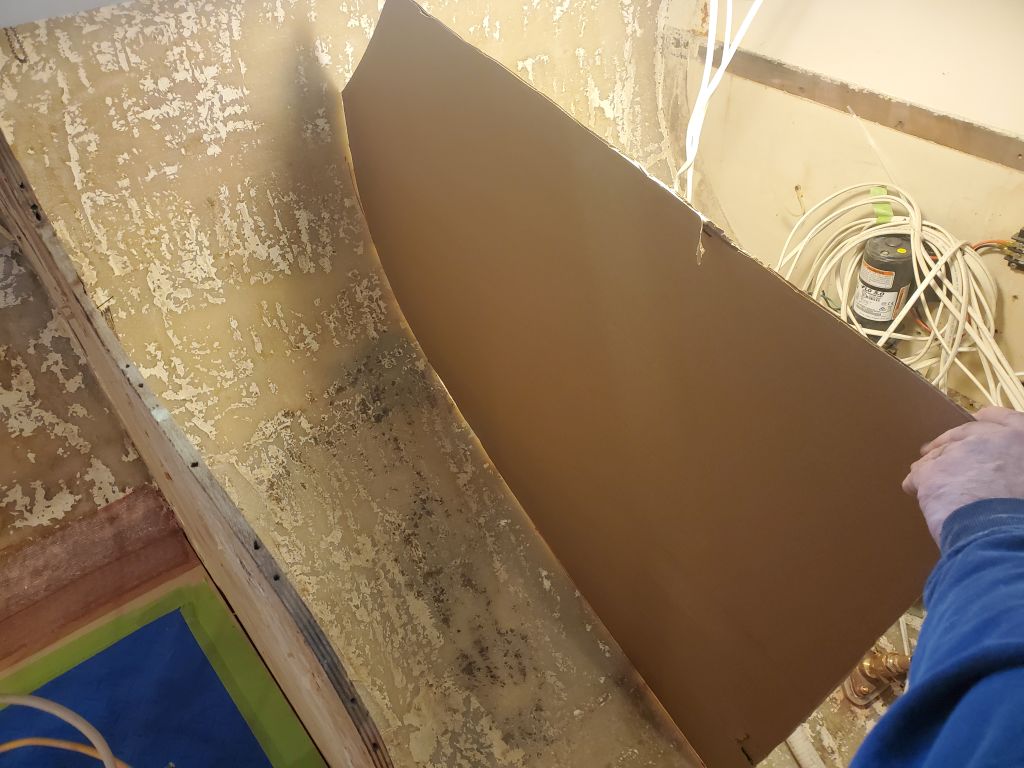
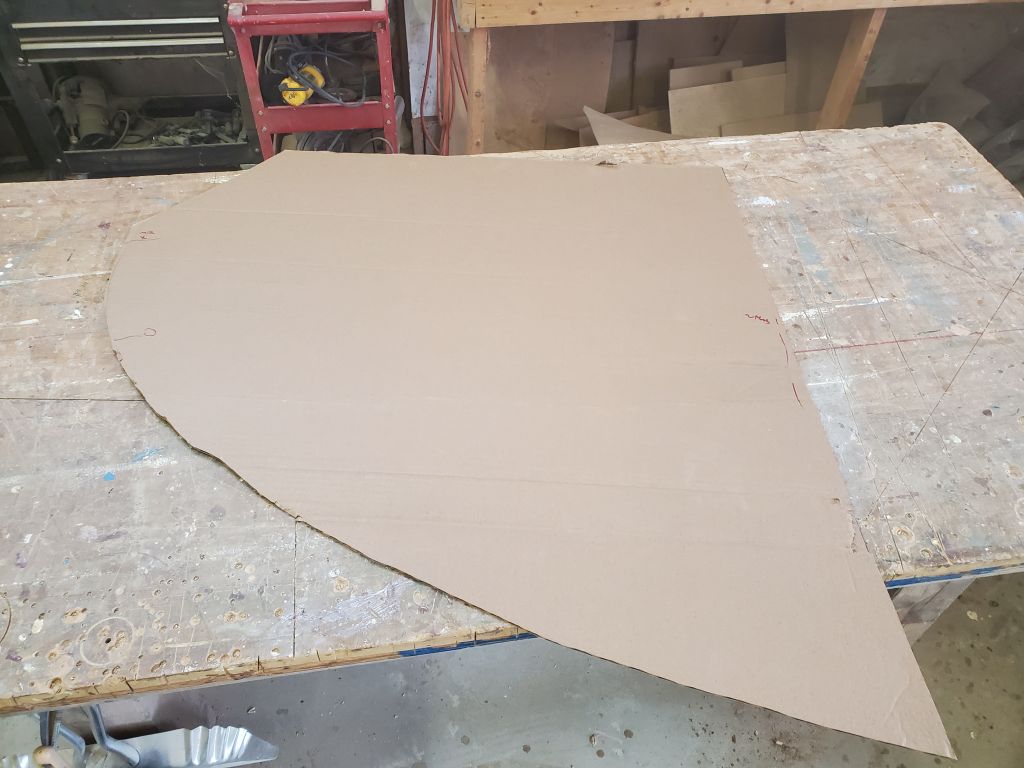
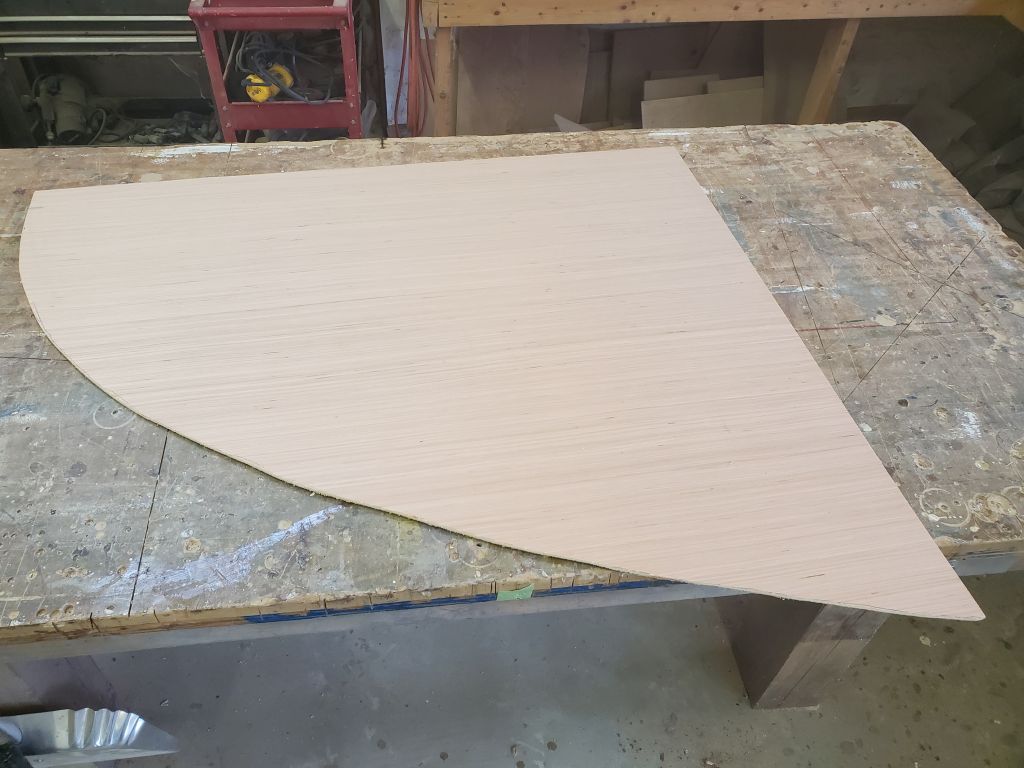
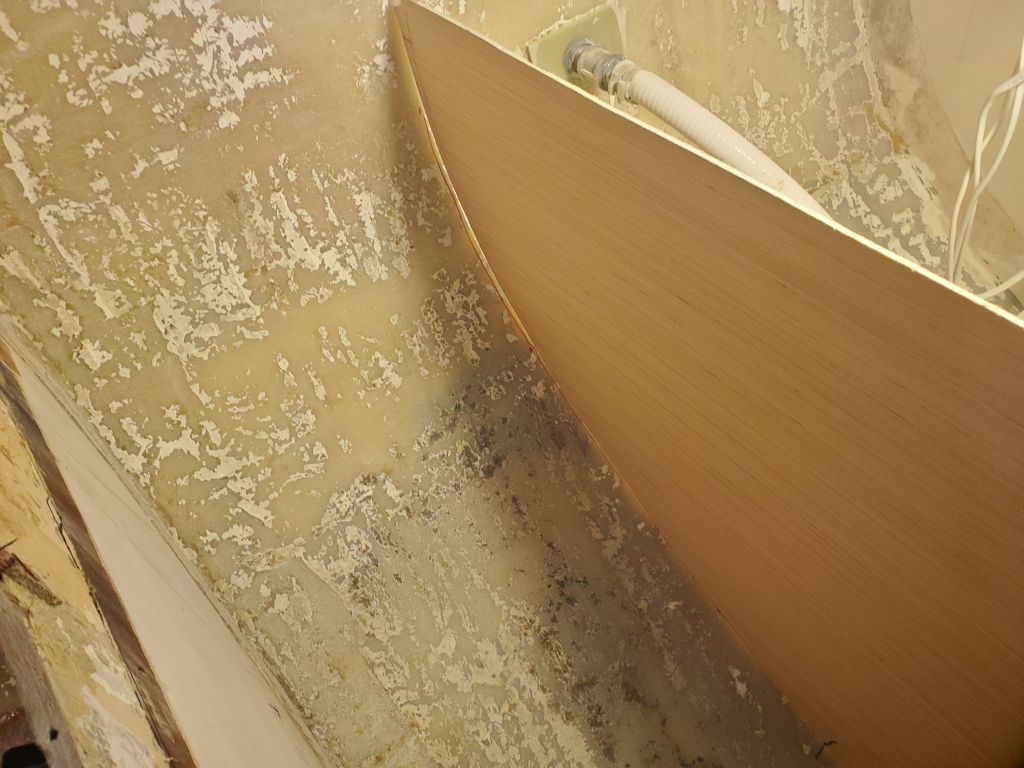
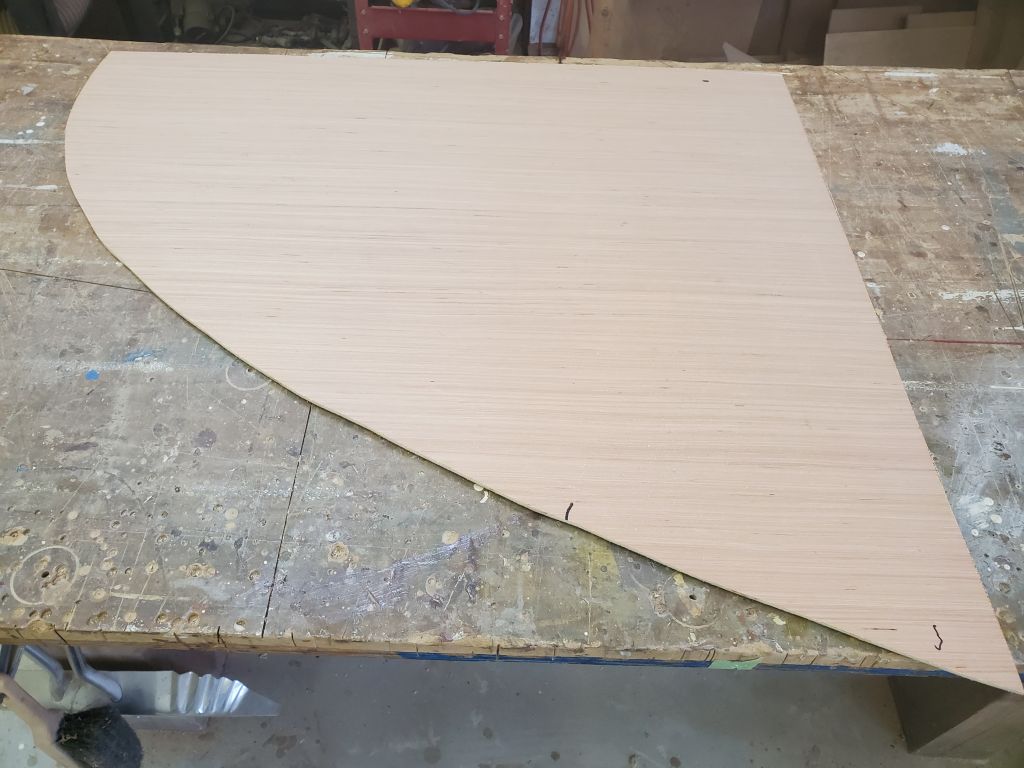
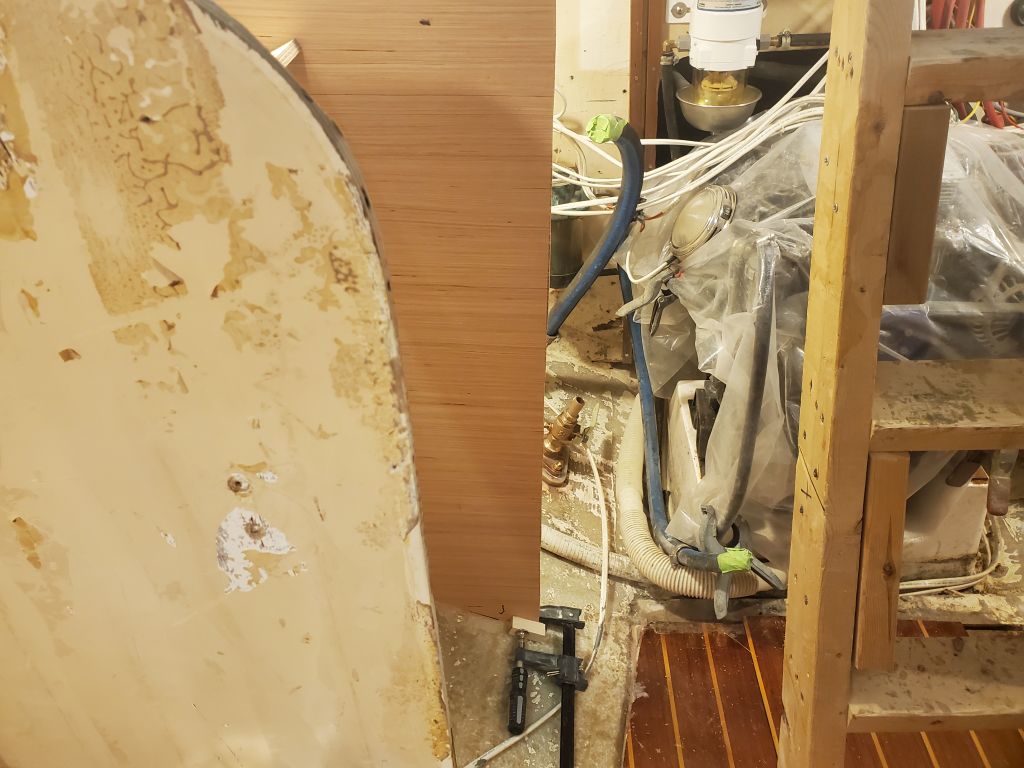
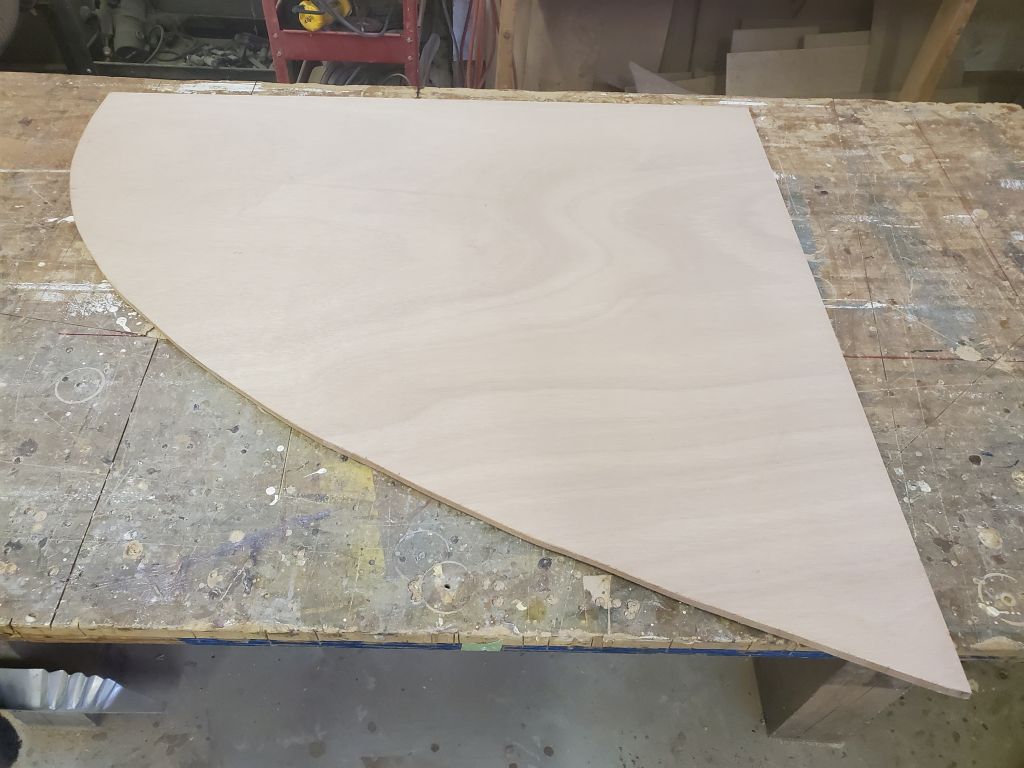
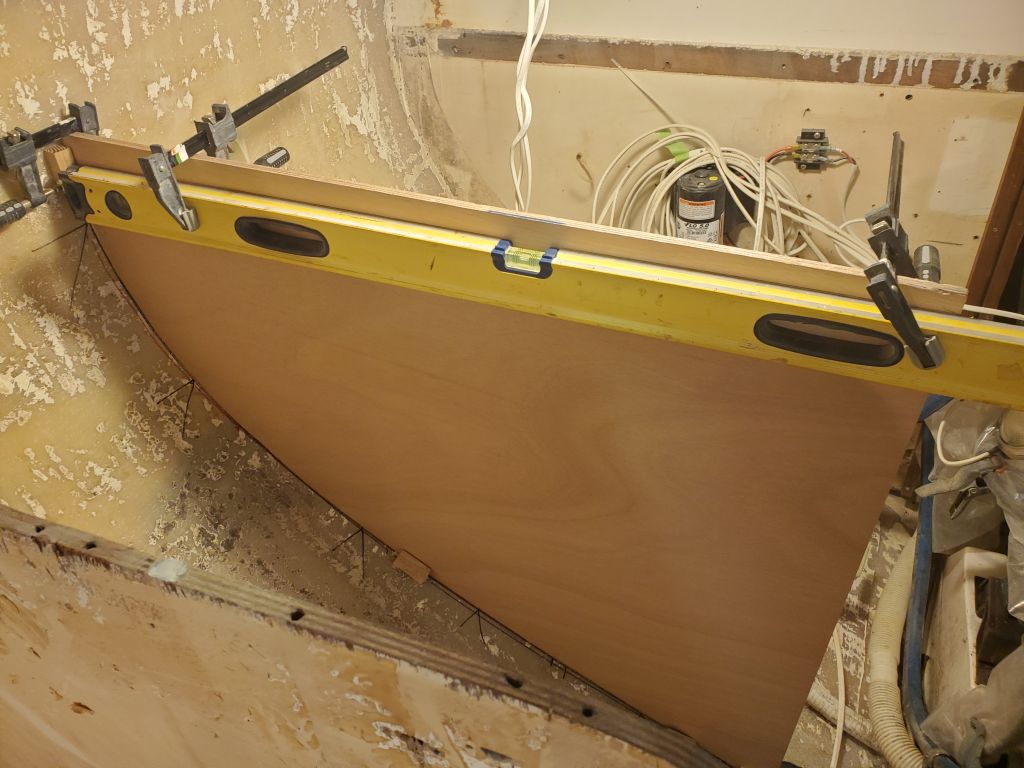
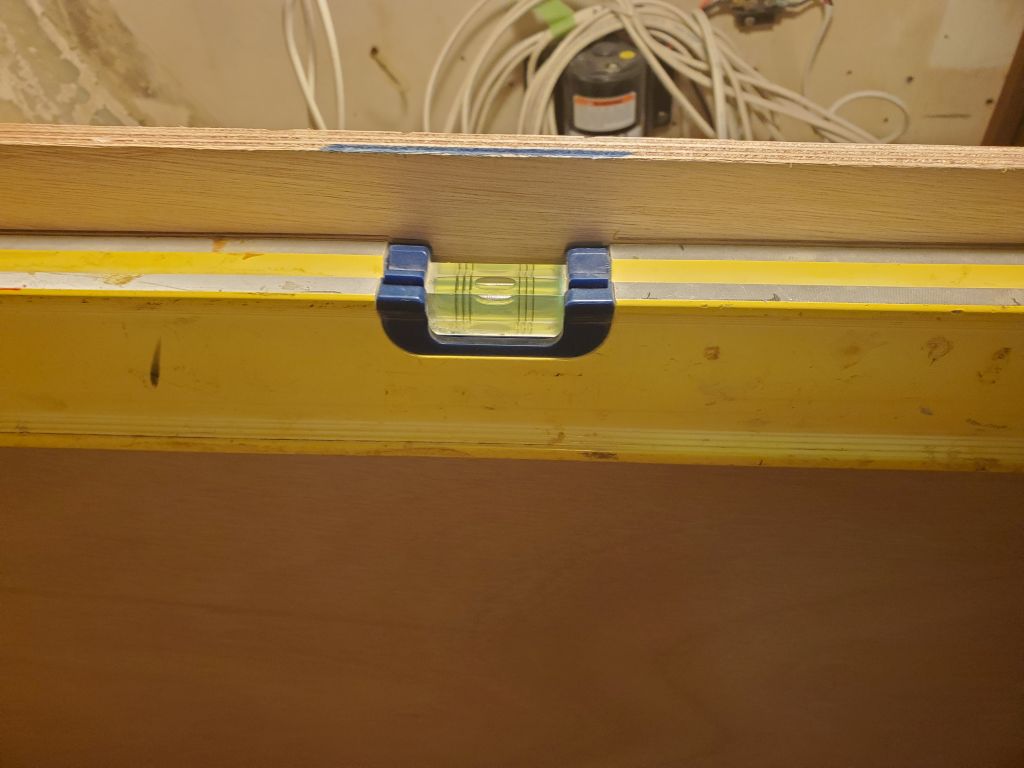
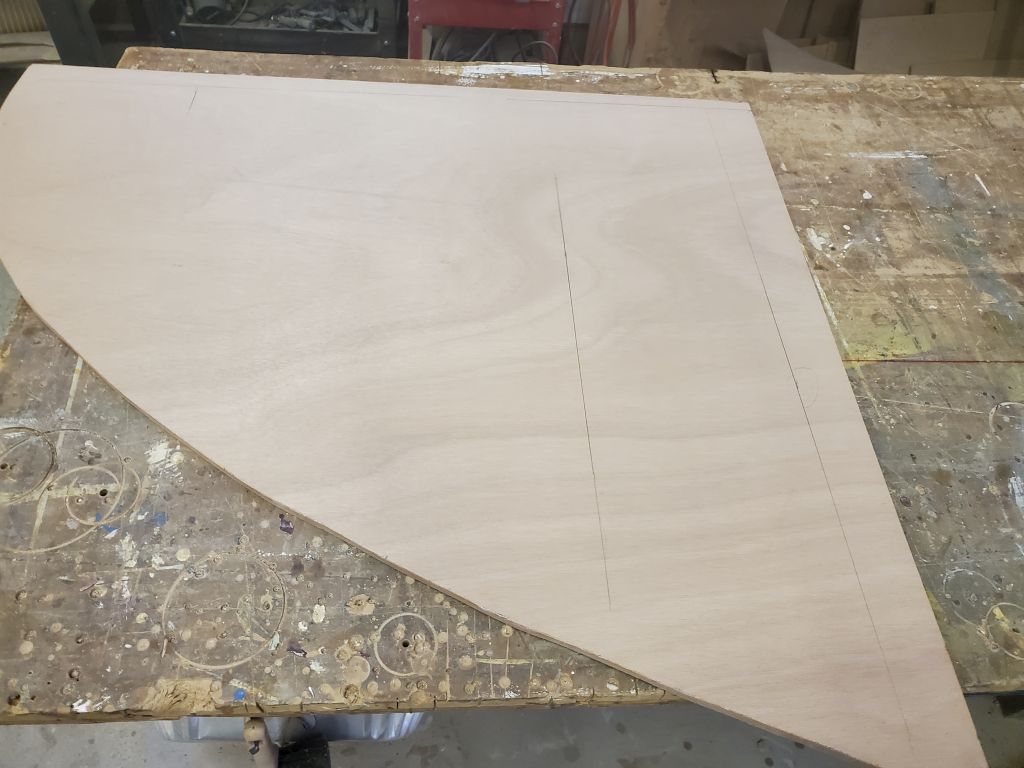
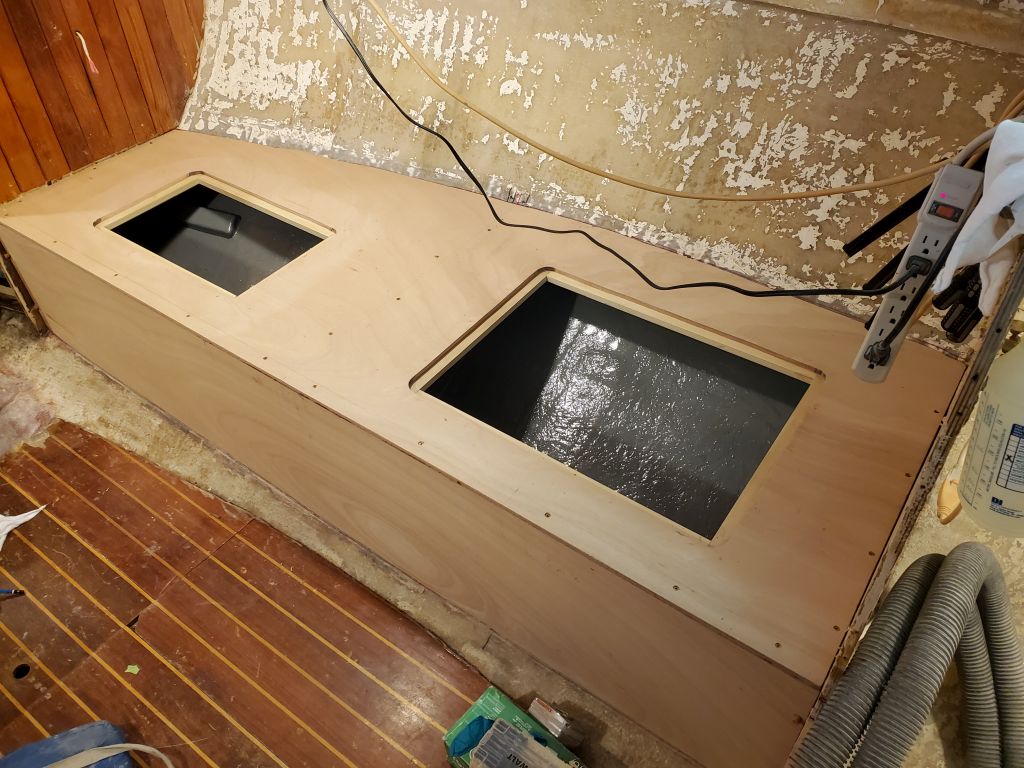
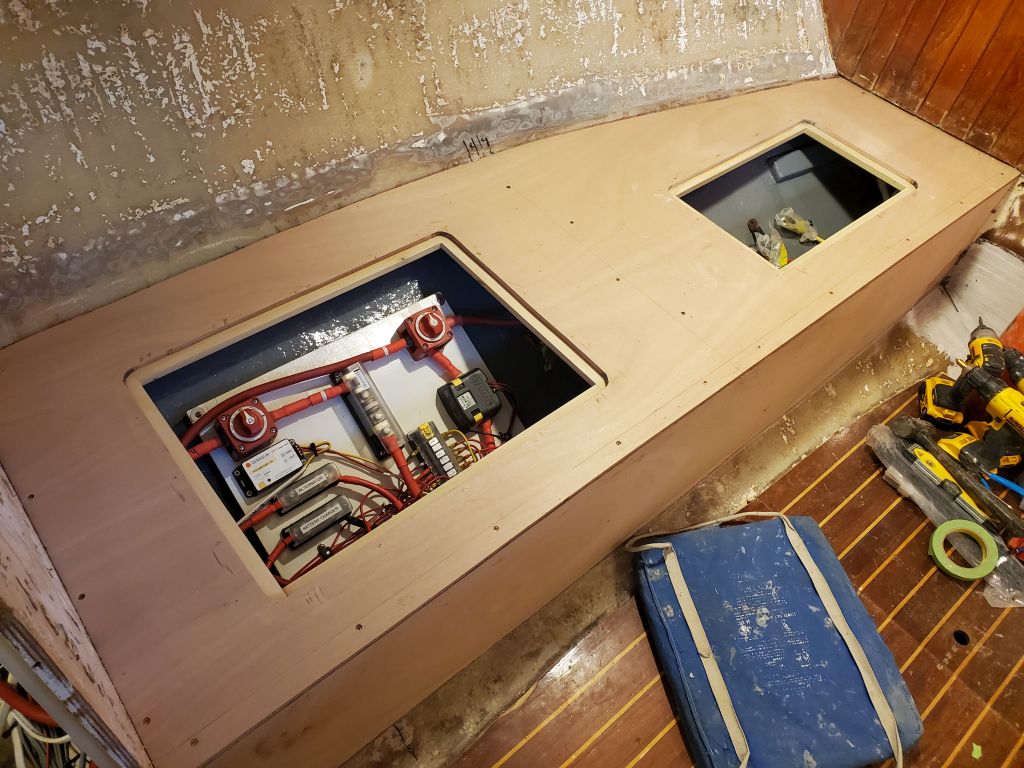
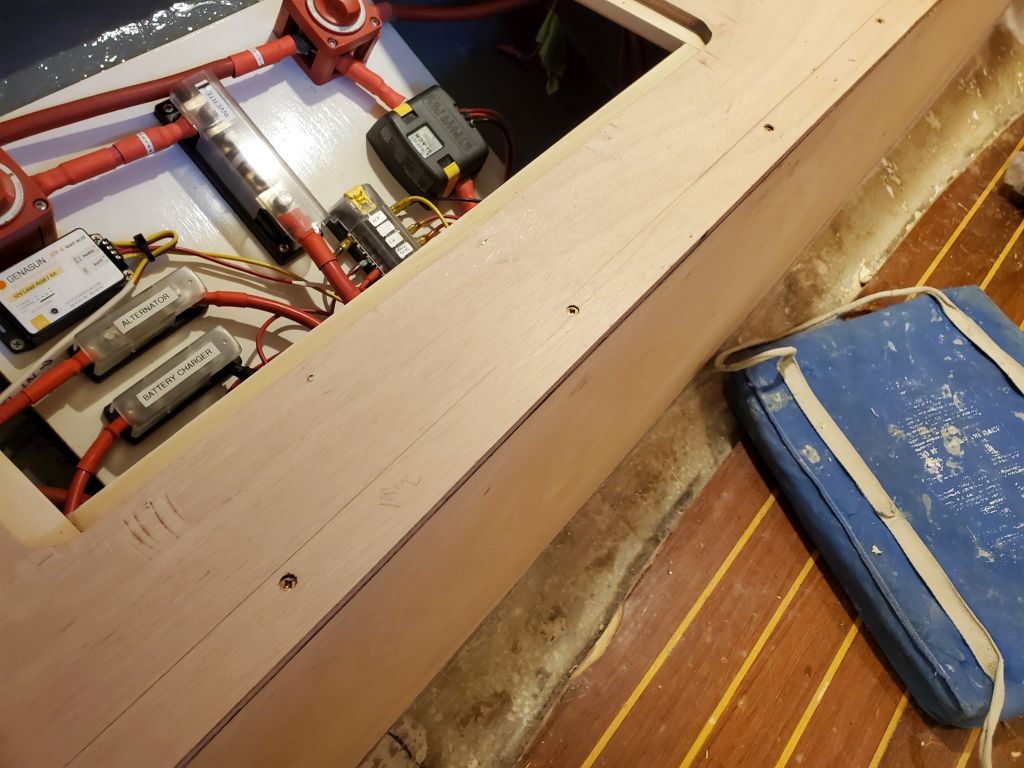
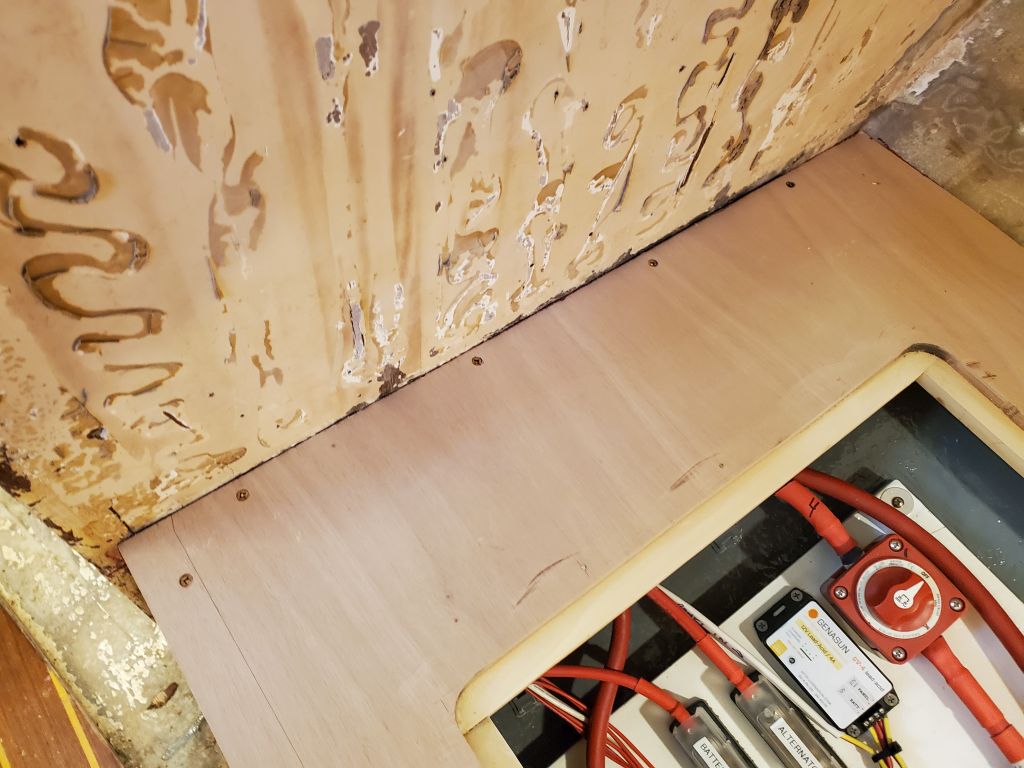
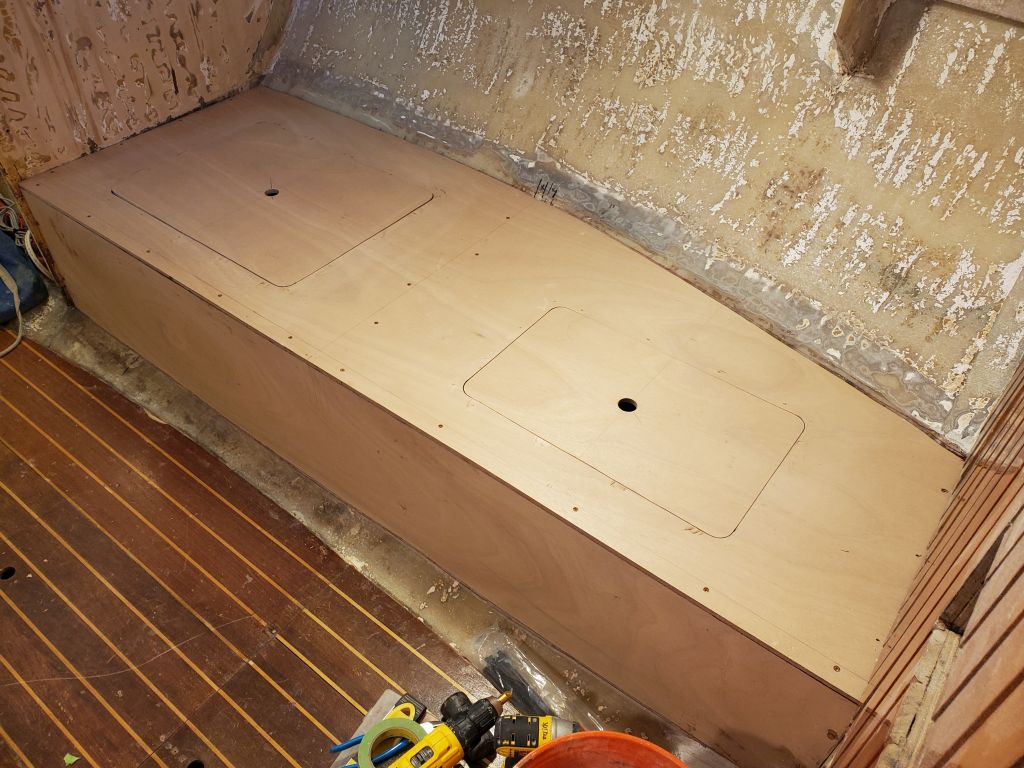
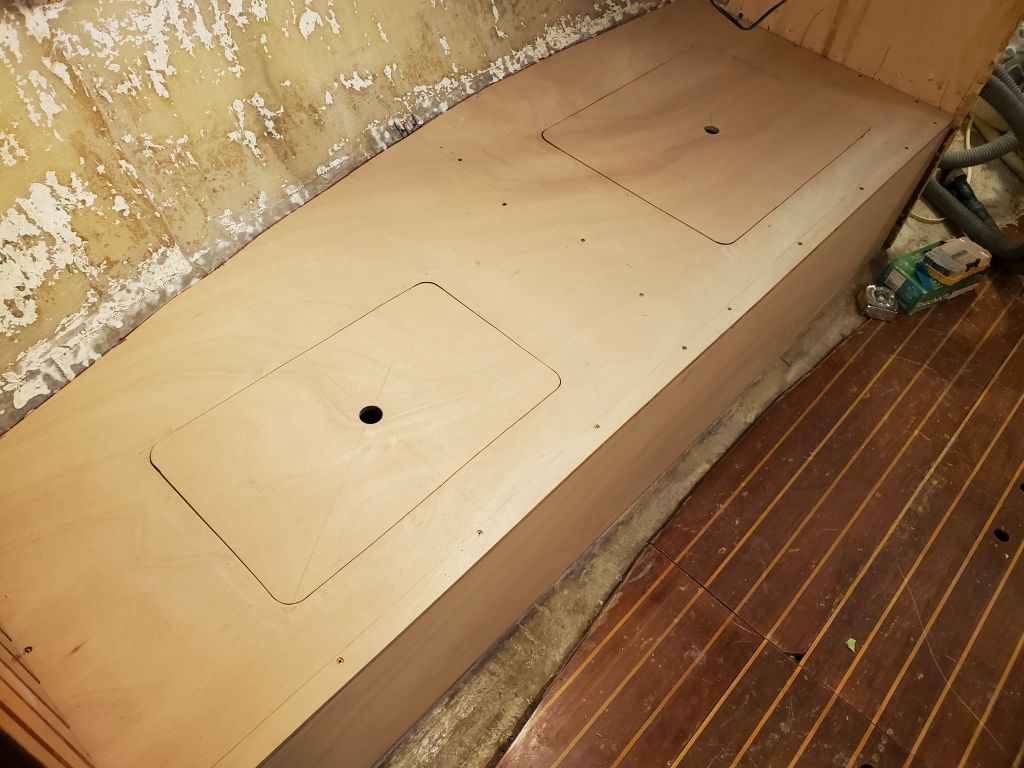
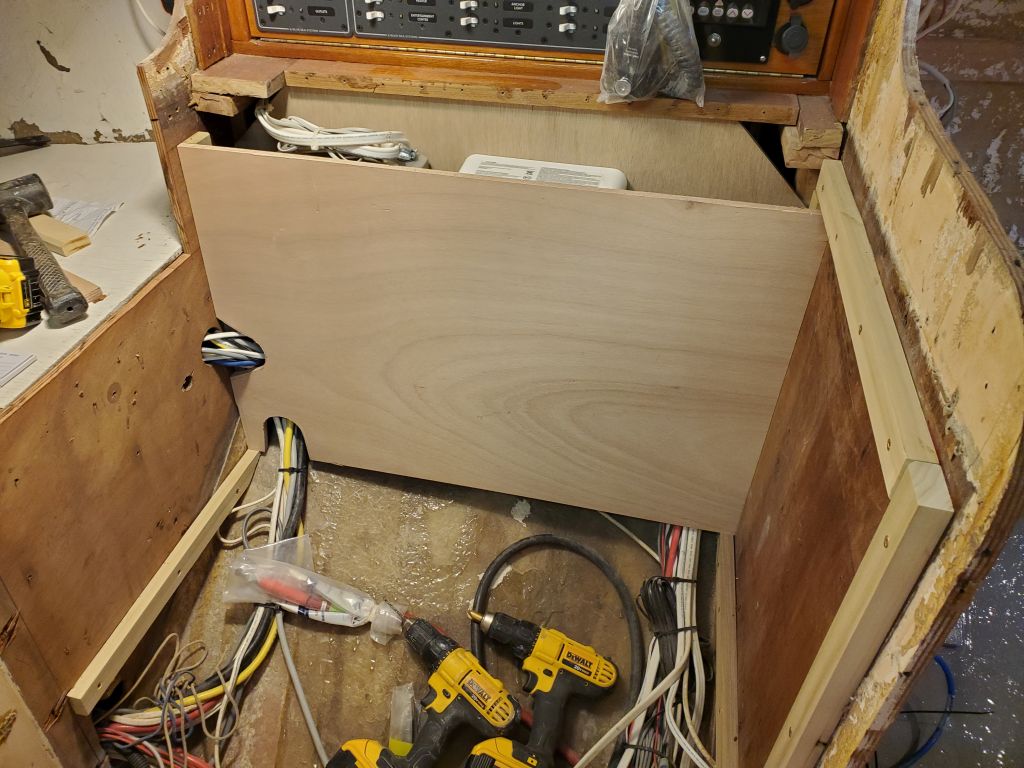
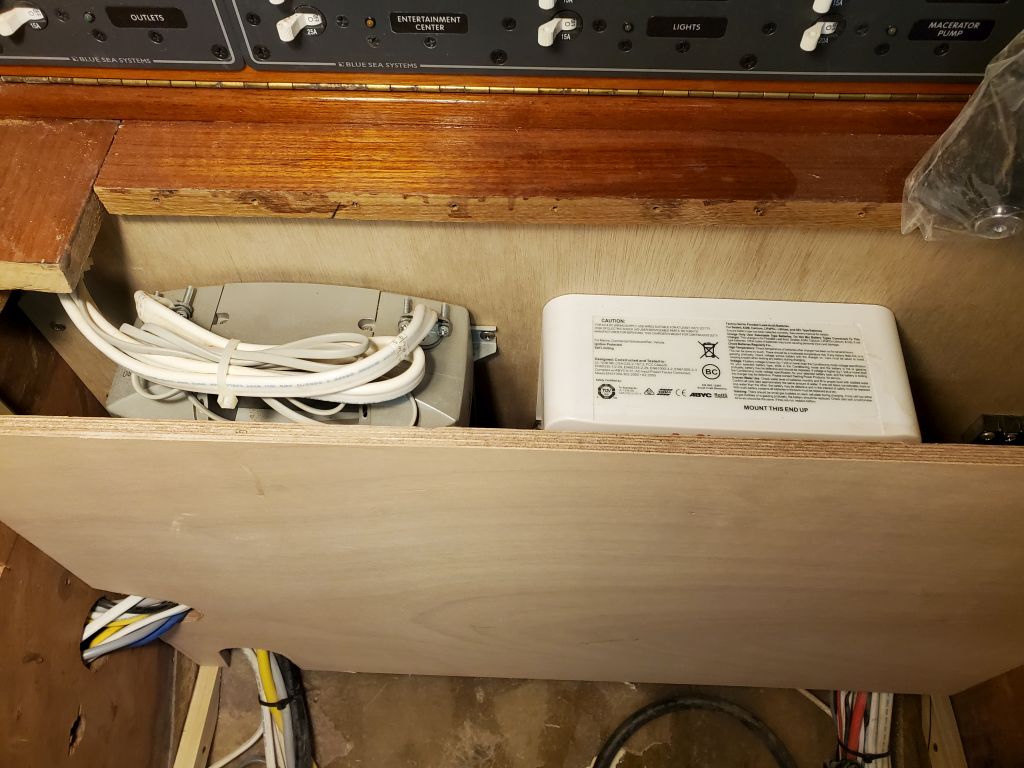
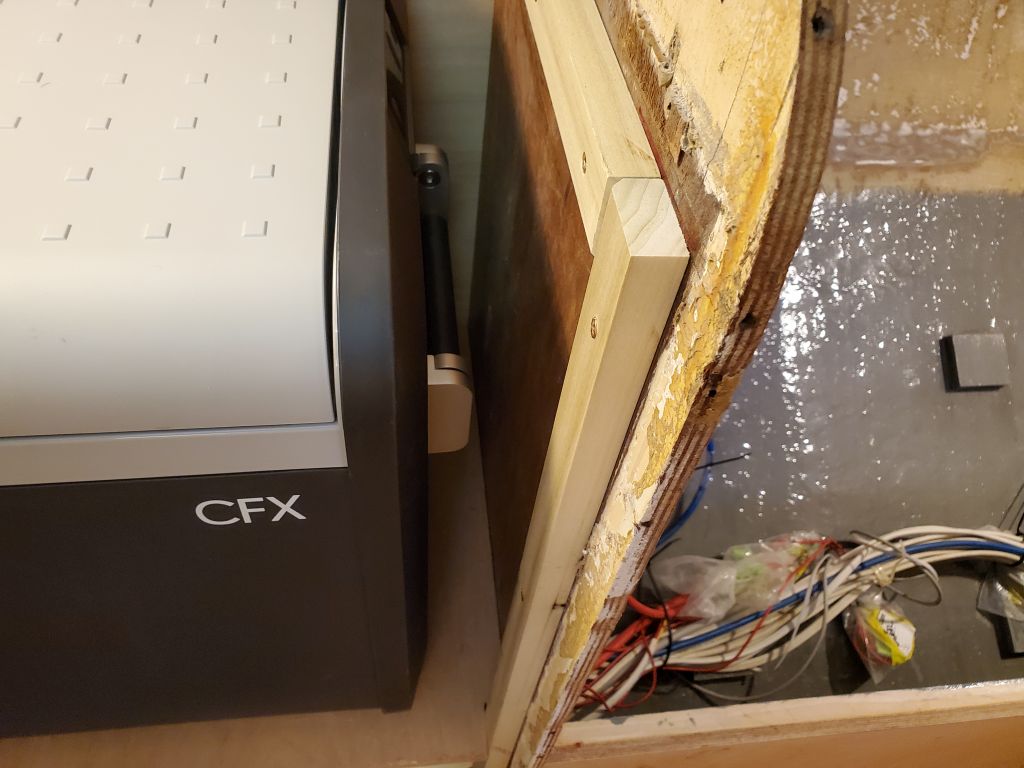
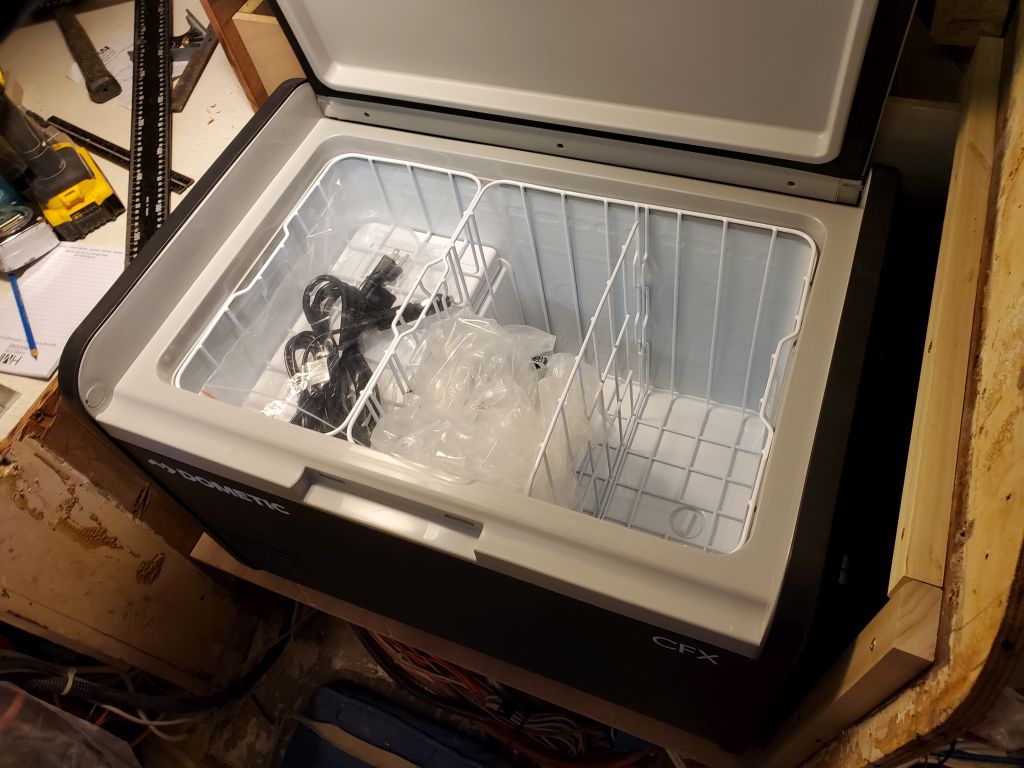
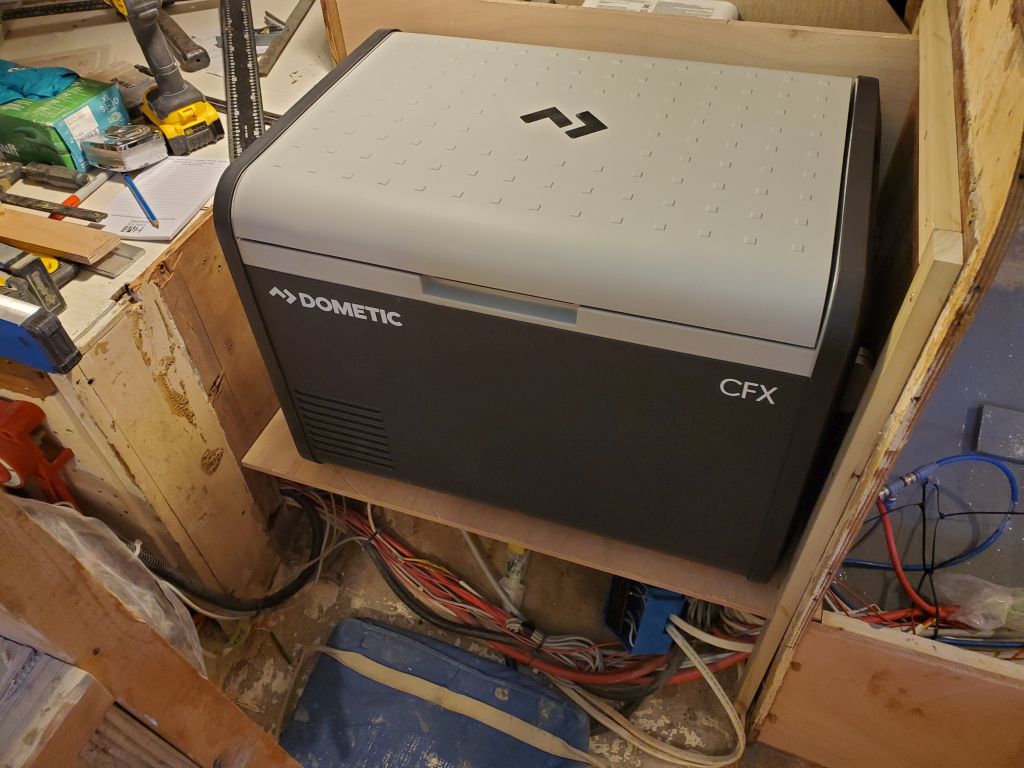
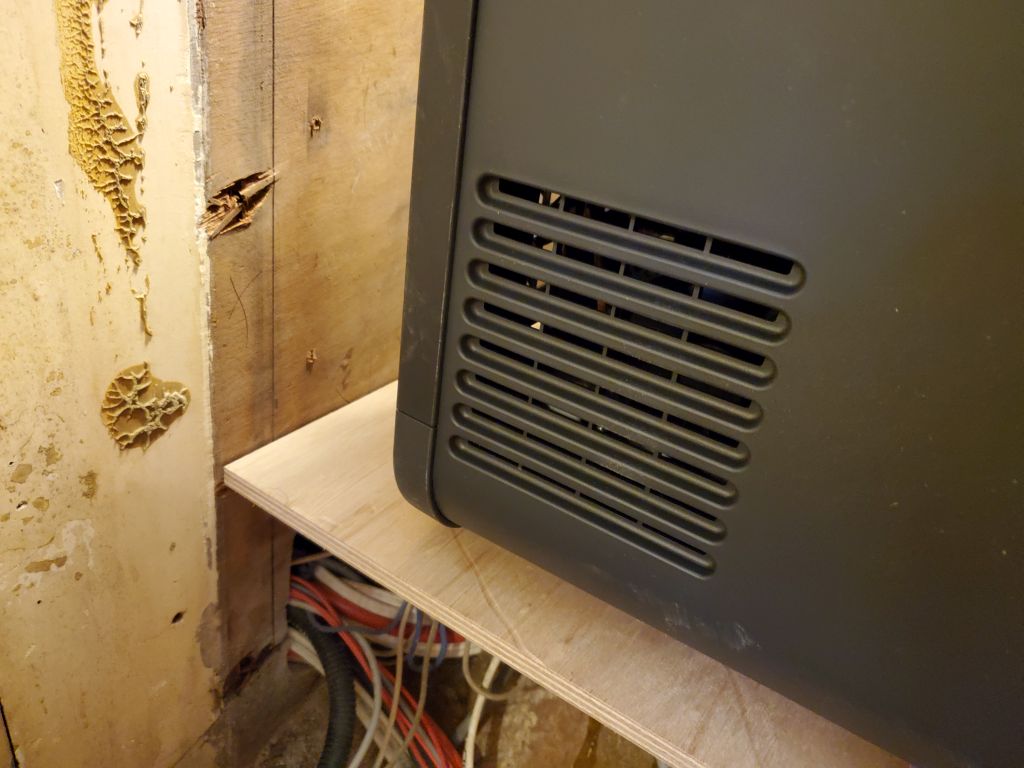
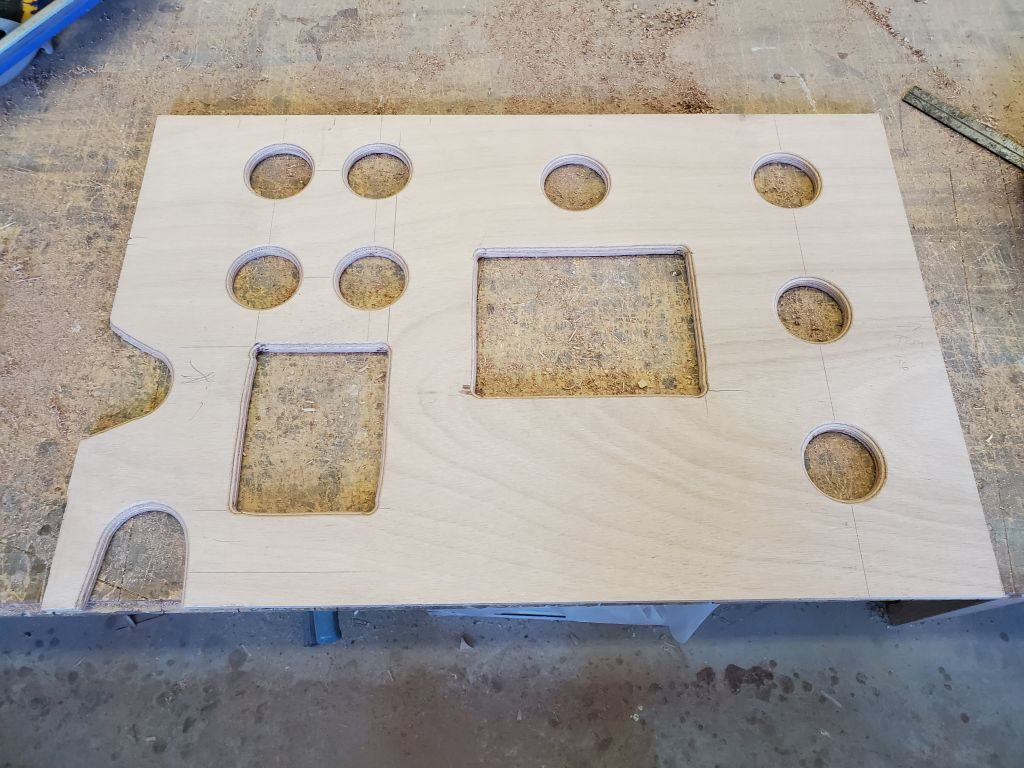
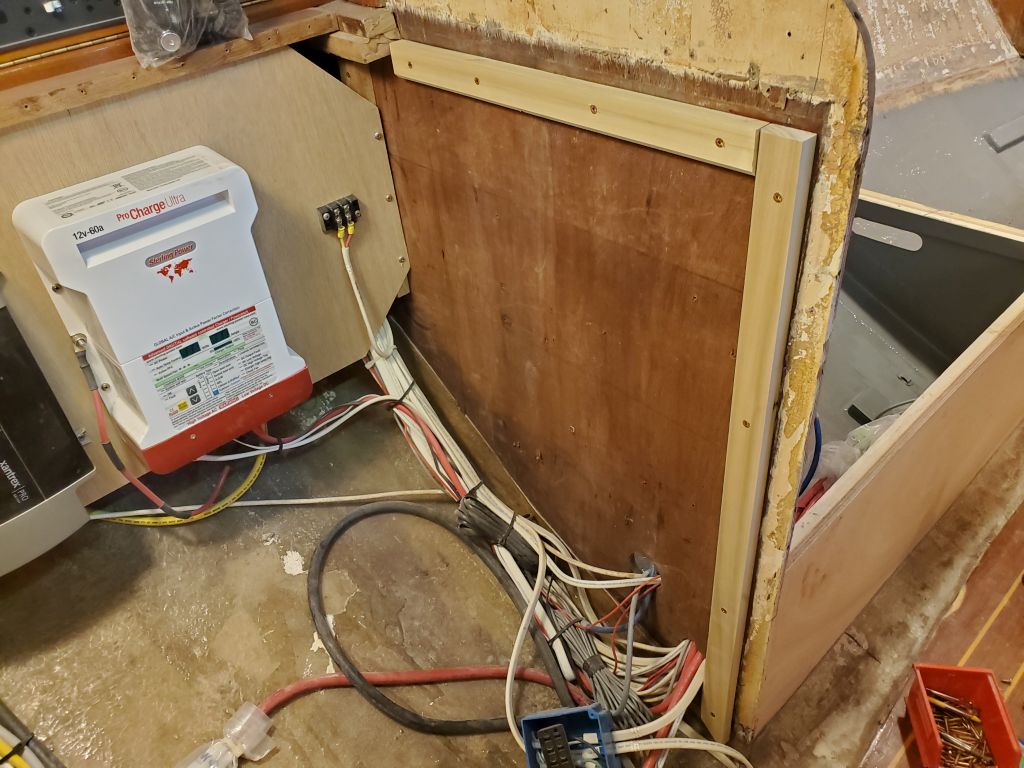
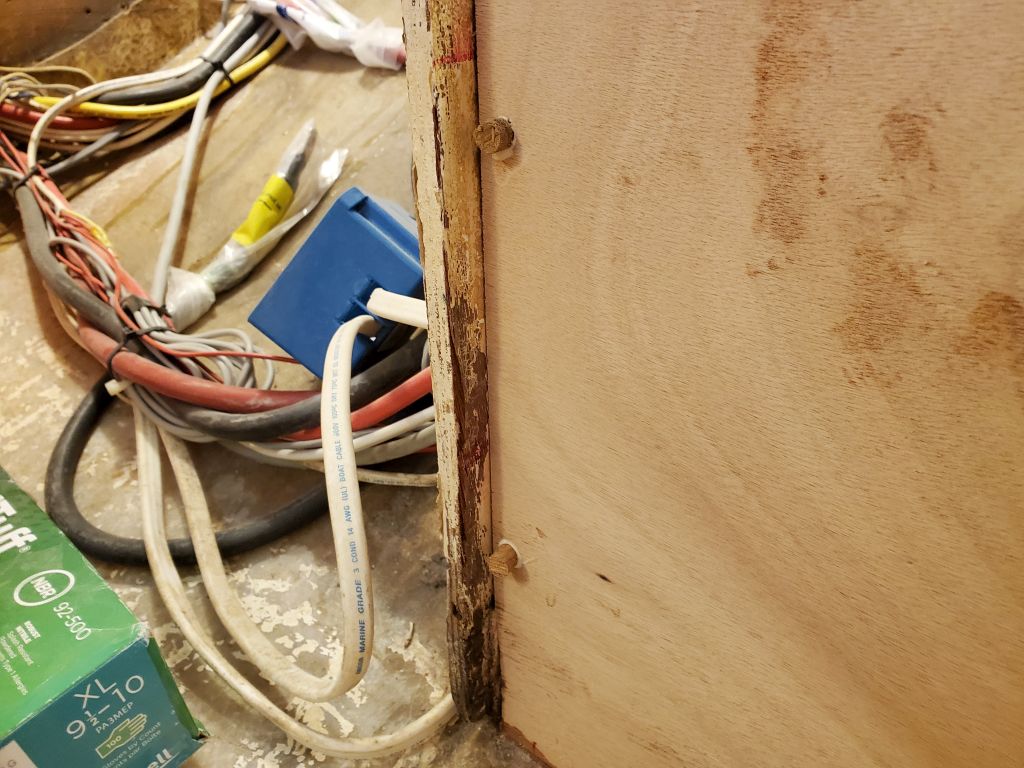
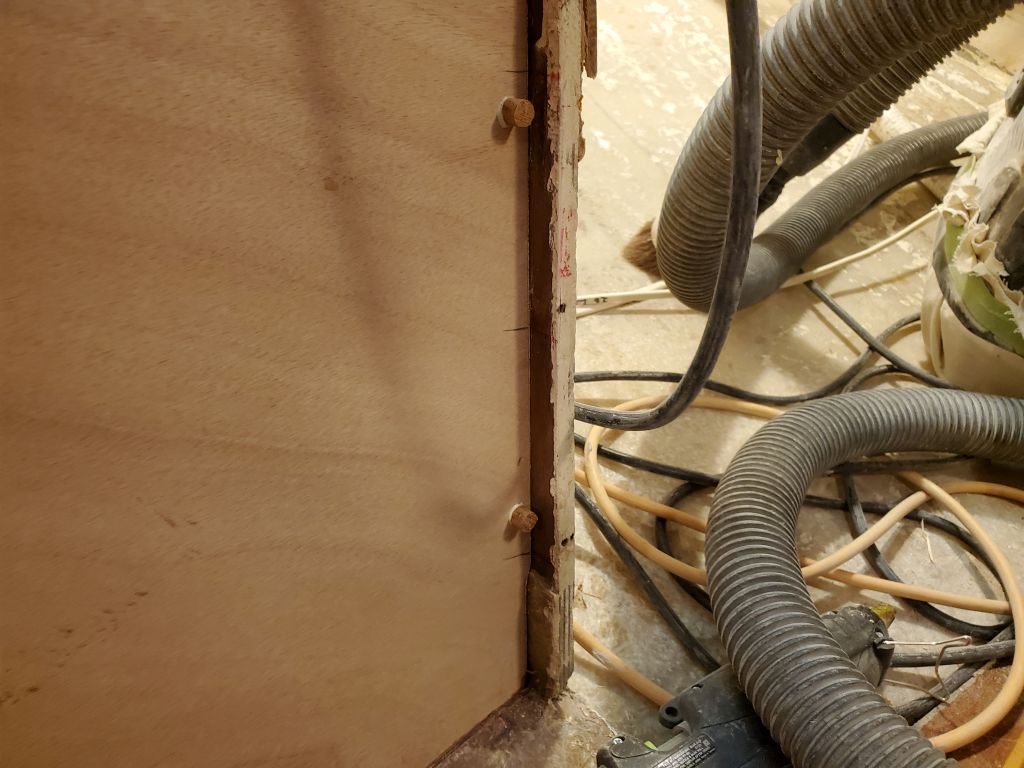
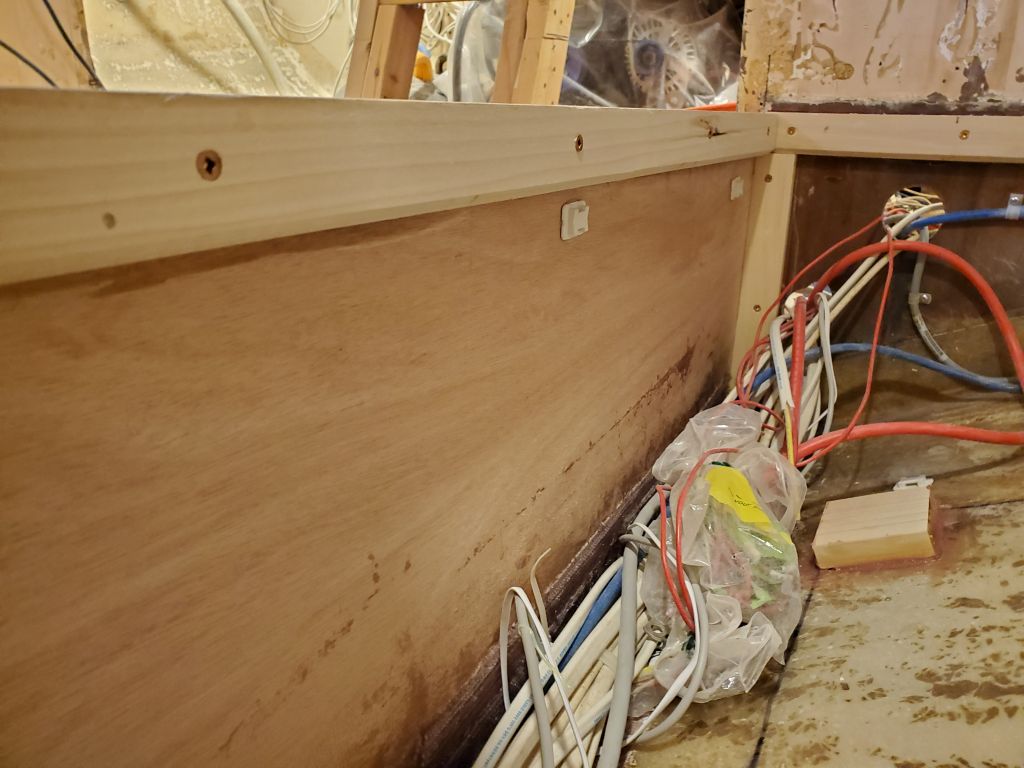
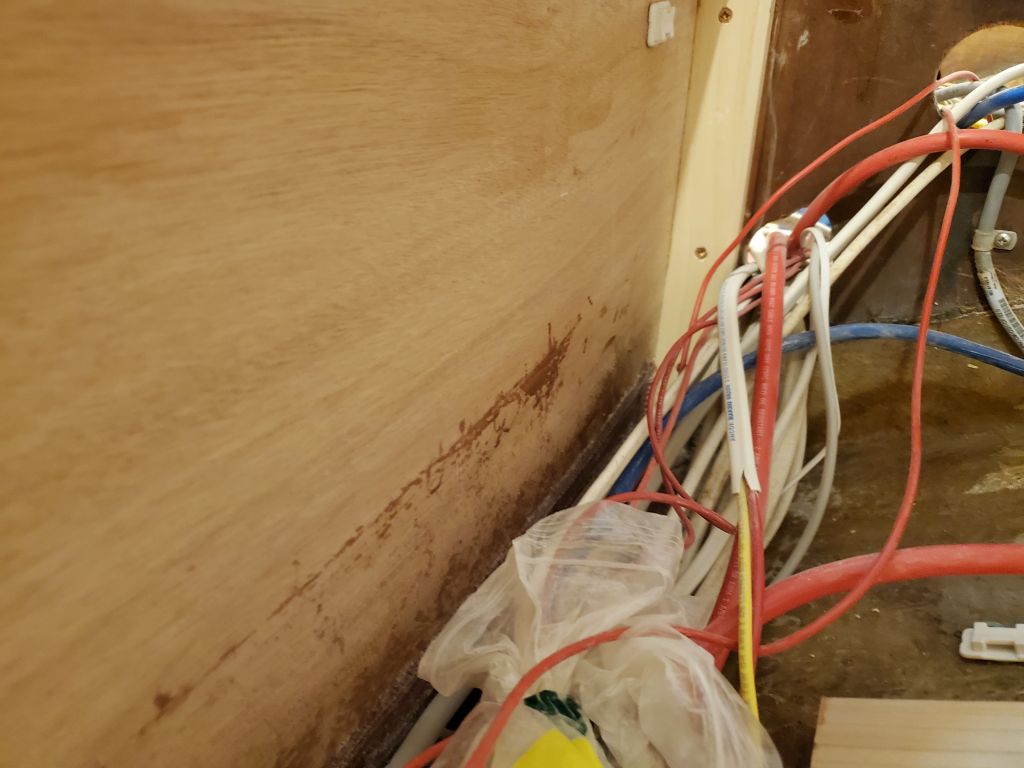
In other works, and because I’d need it soon for other aspects of the galley construction, I prepared and installed (temporary) a front cover panel for the refrigerator cabinet on the port side. For this, I followed the usual steps of a rough cheap plywood template scribed and marked to fit, which I then used to cut the final panel from 12mm plywood slightly over-height for final marking against the floor of the space. I planned this panel to be removable in the final analysis, so installed it with surface screws. This panel would provide some support to the cabinetry extending across the engine room and center of the boat, details of which would be making themselves more clear as the adjacent elements came together.