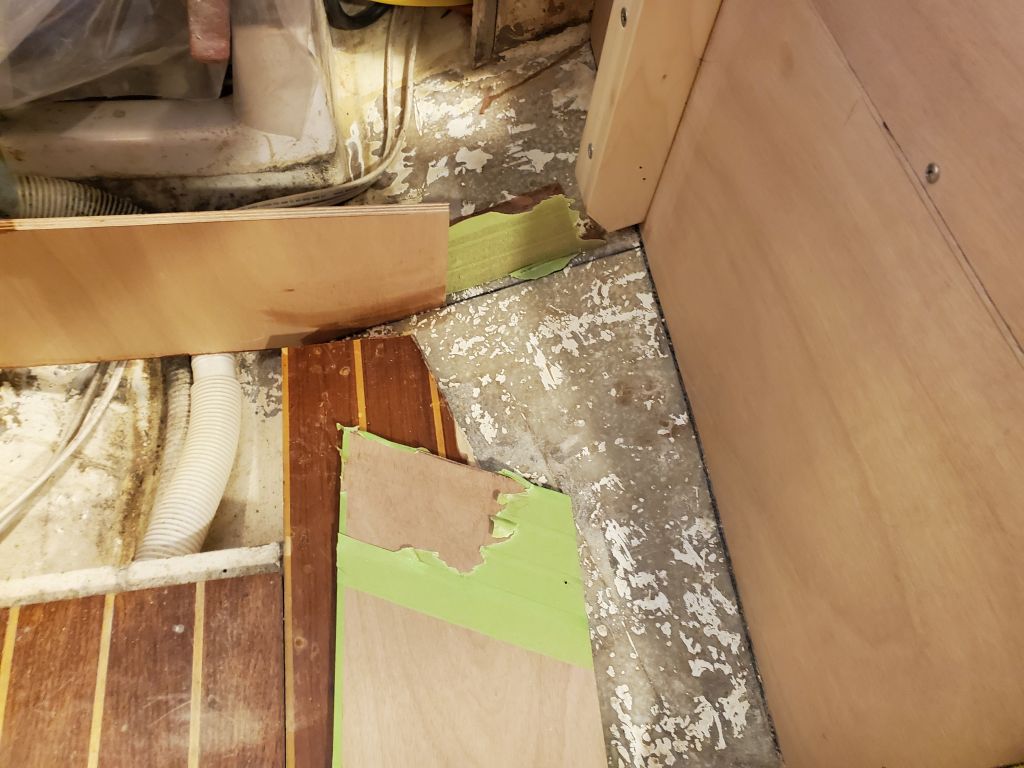
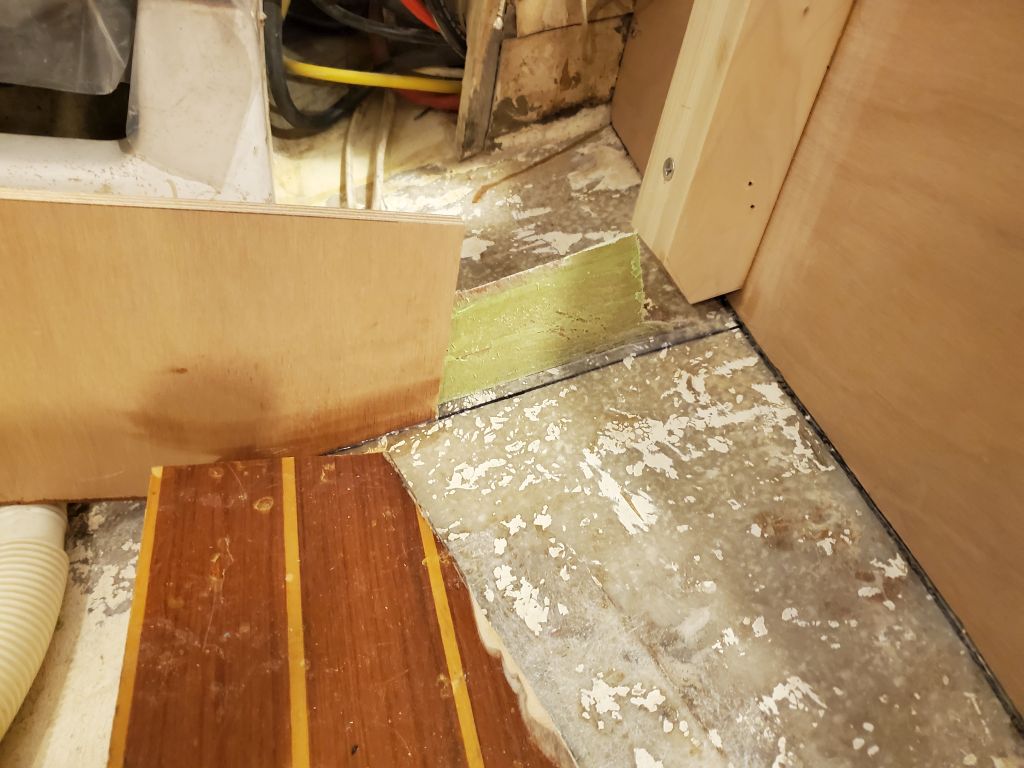
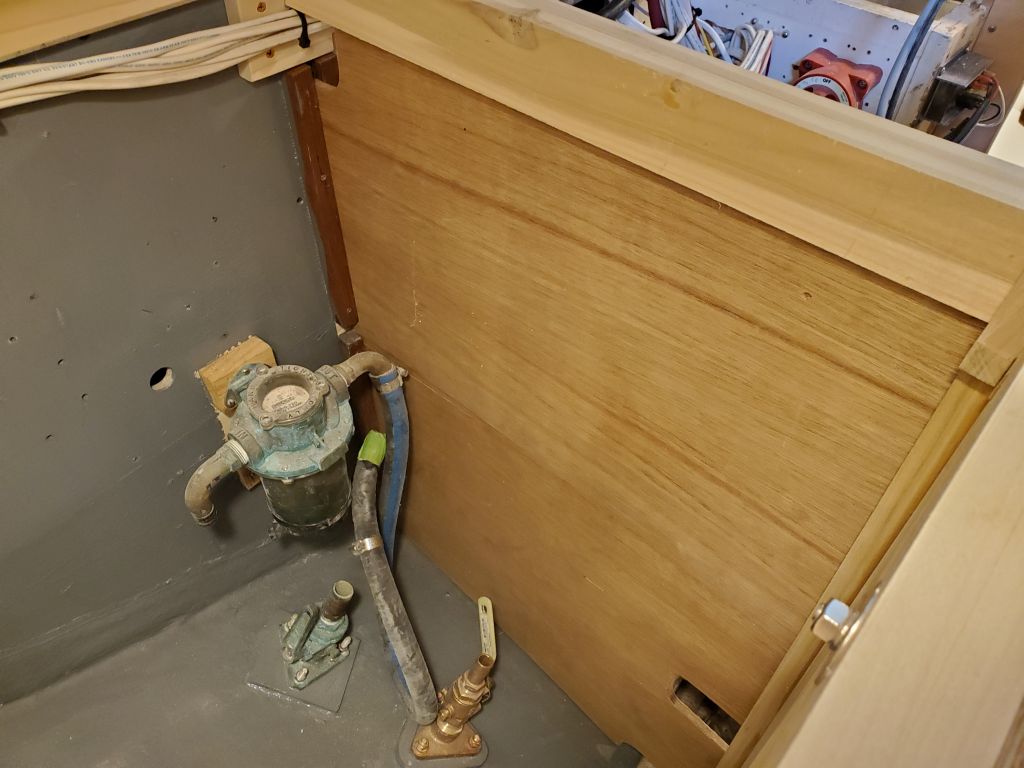
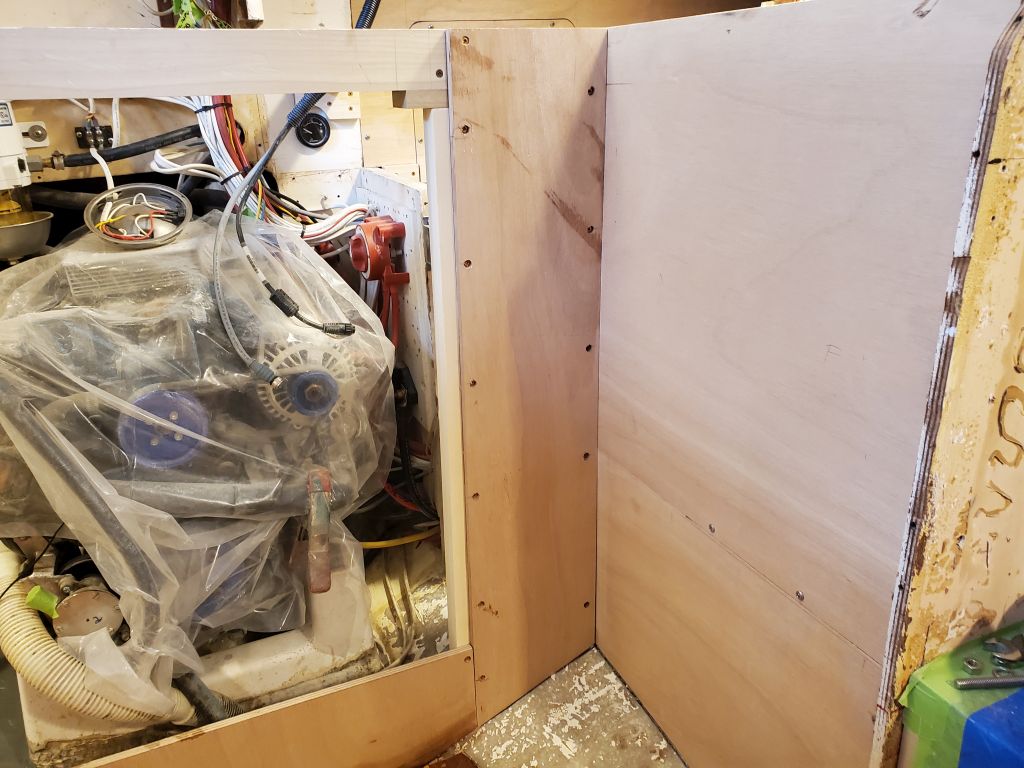
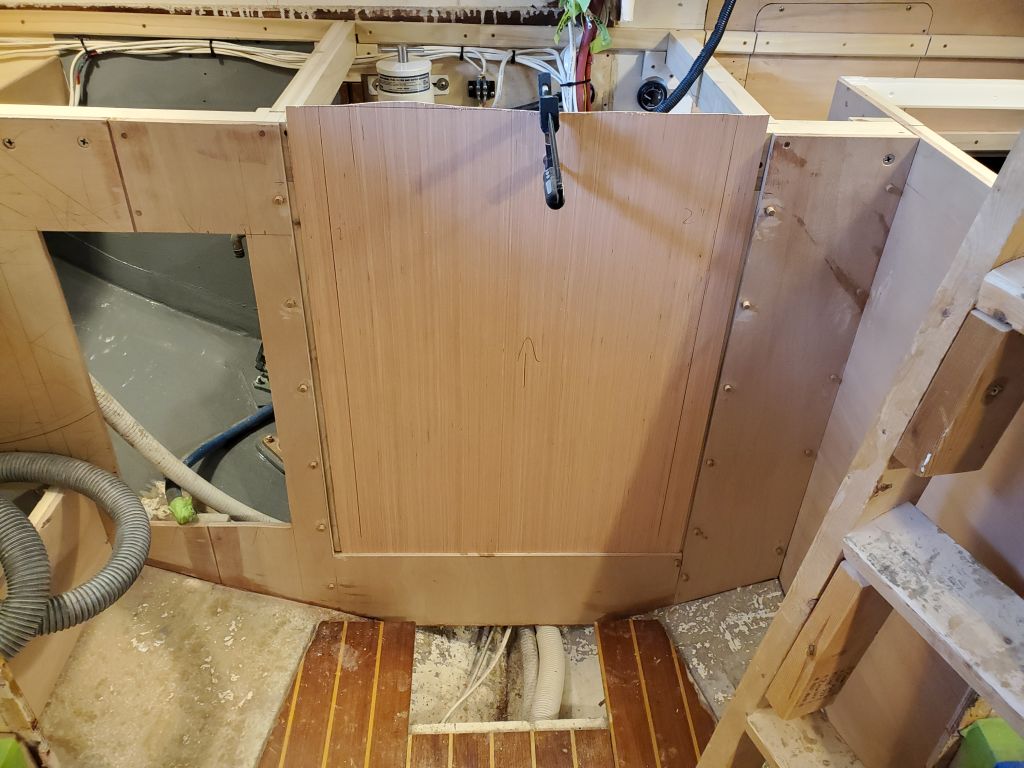
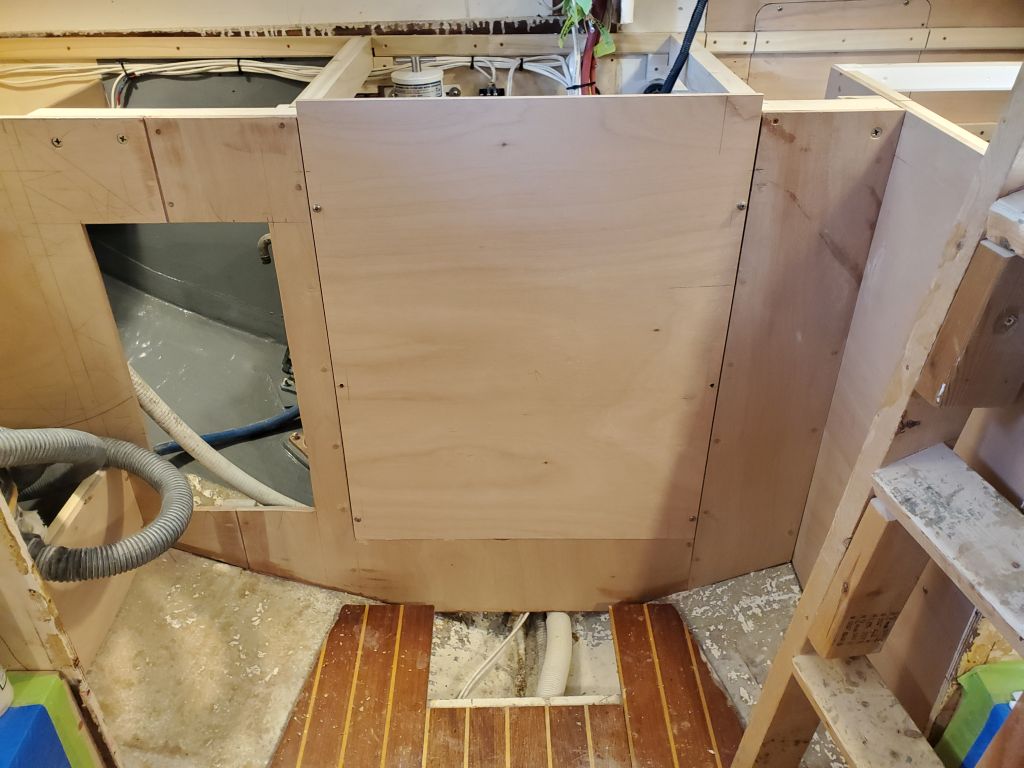
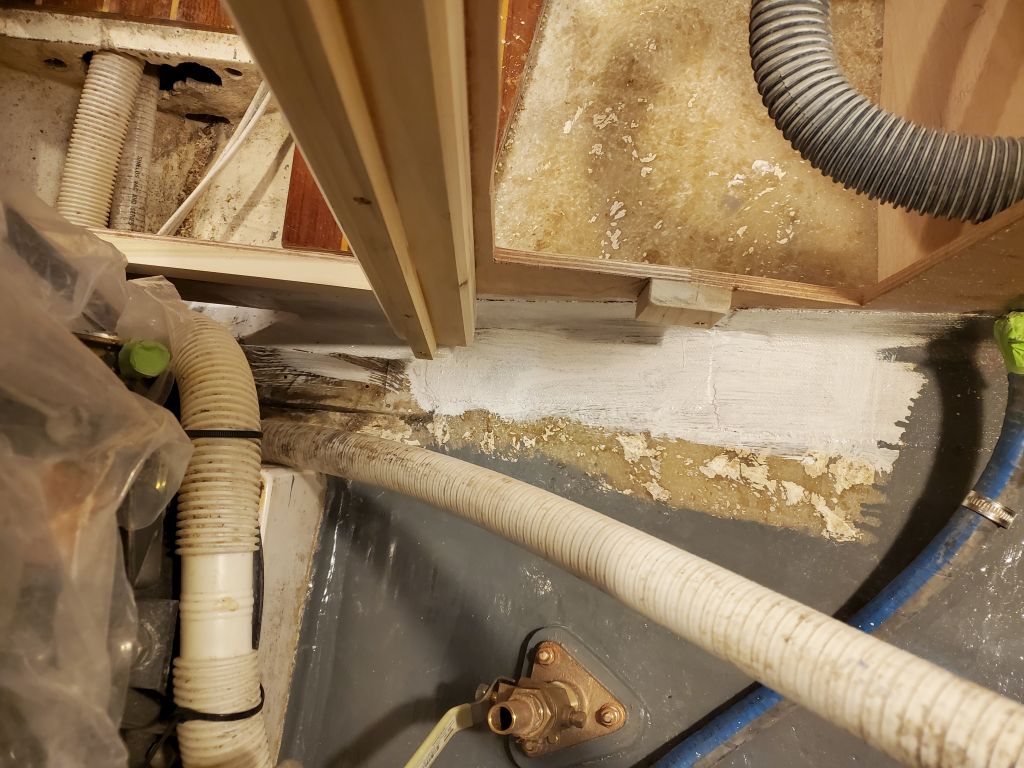
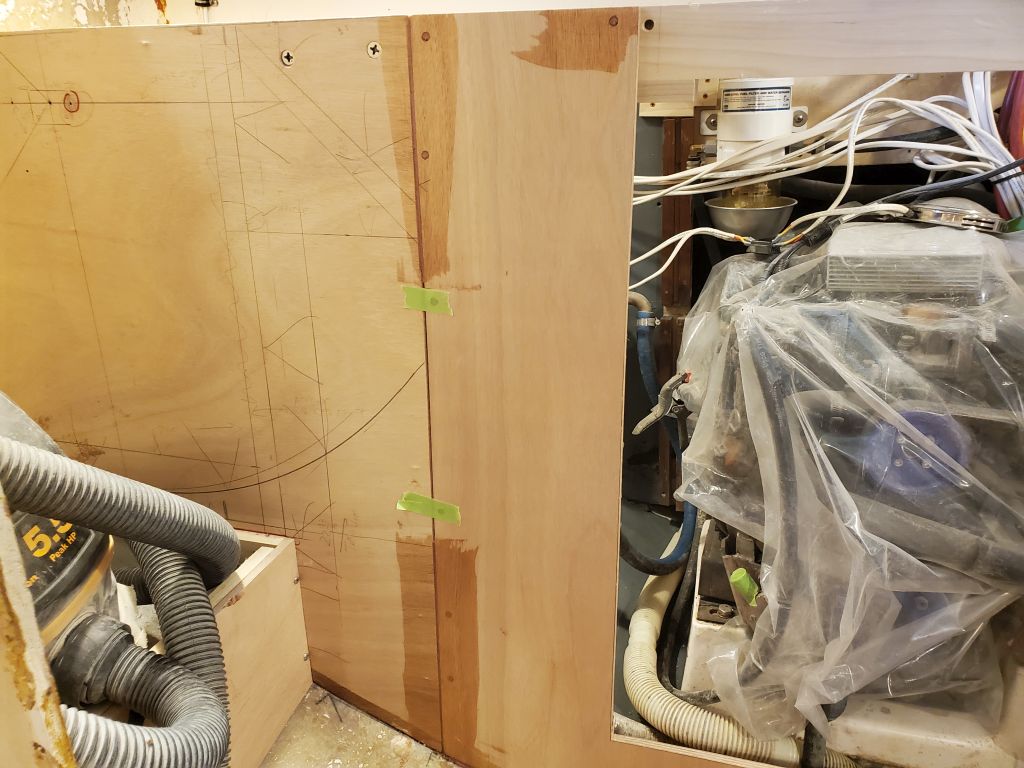
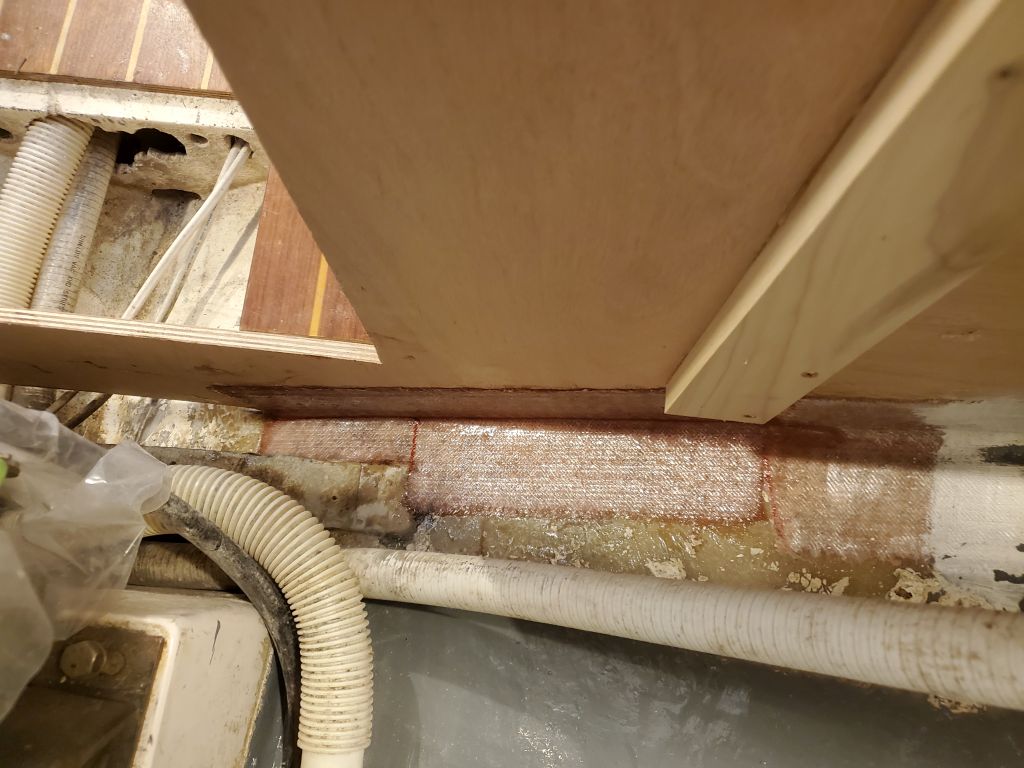
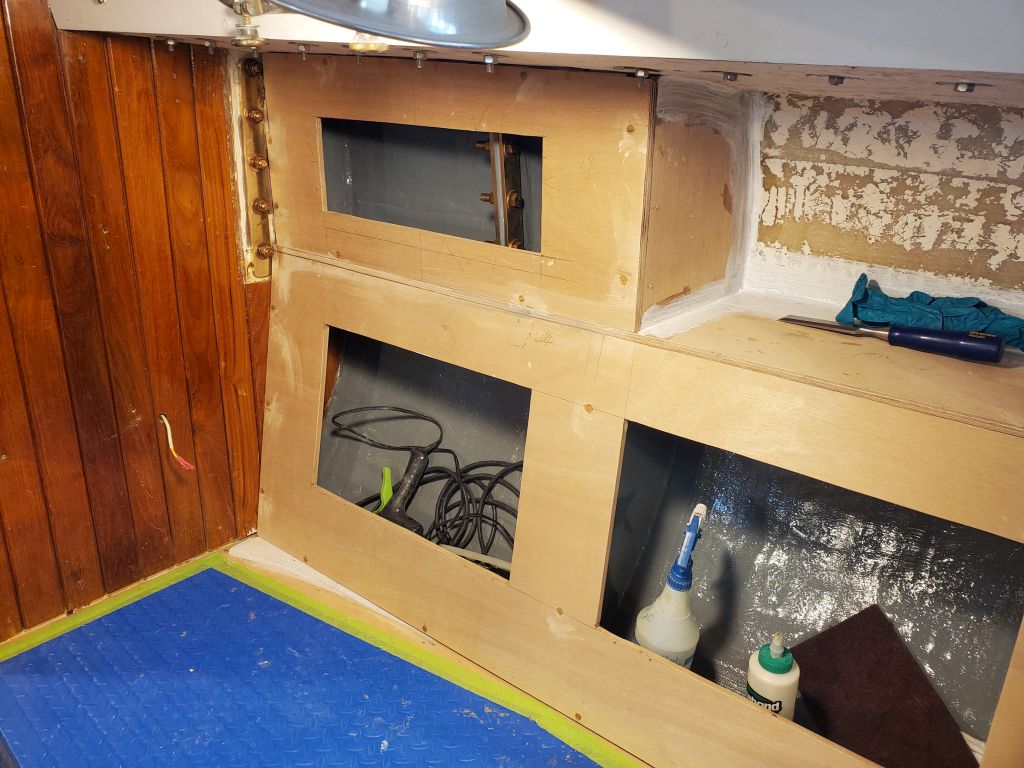
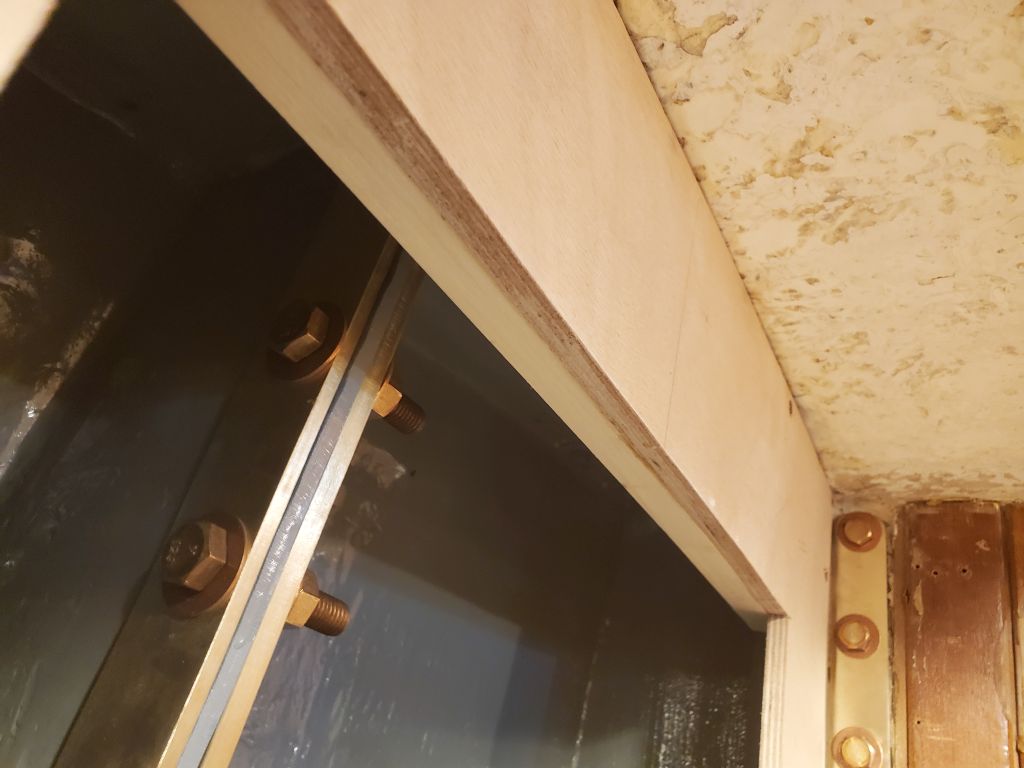
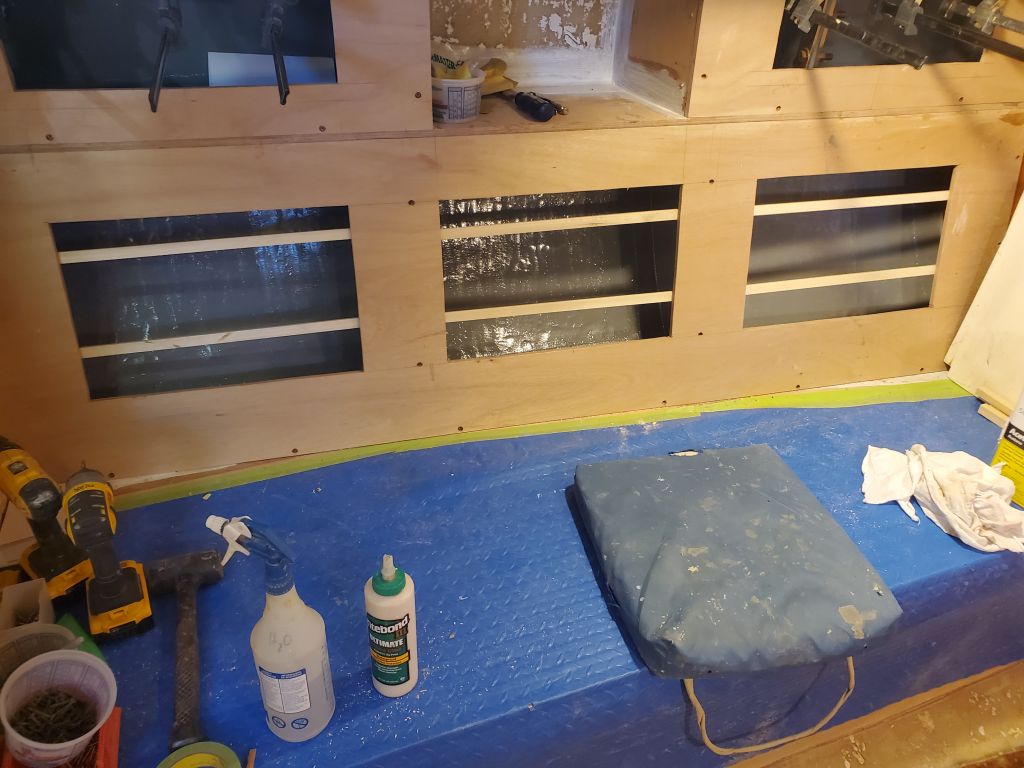
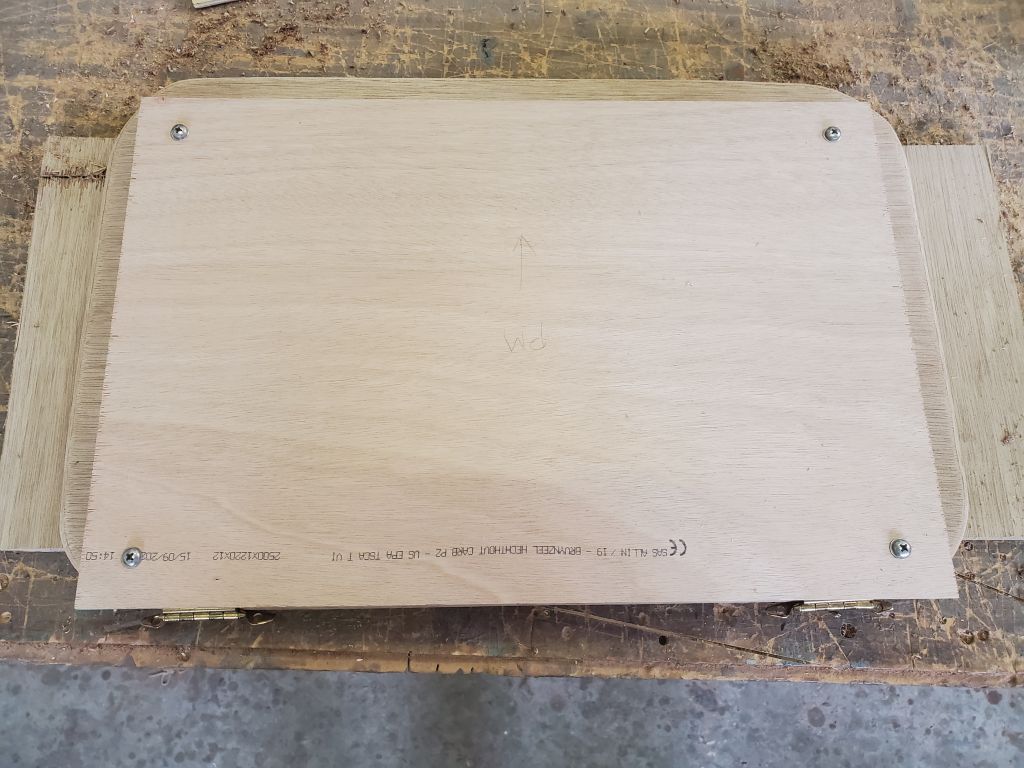
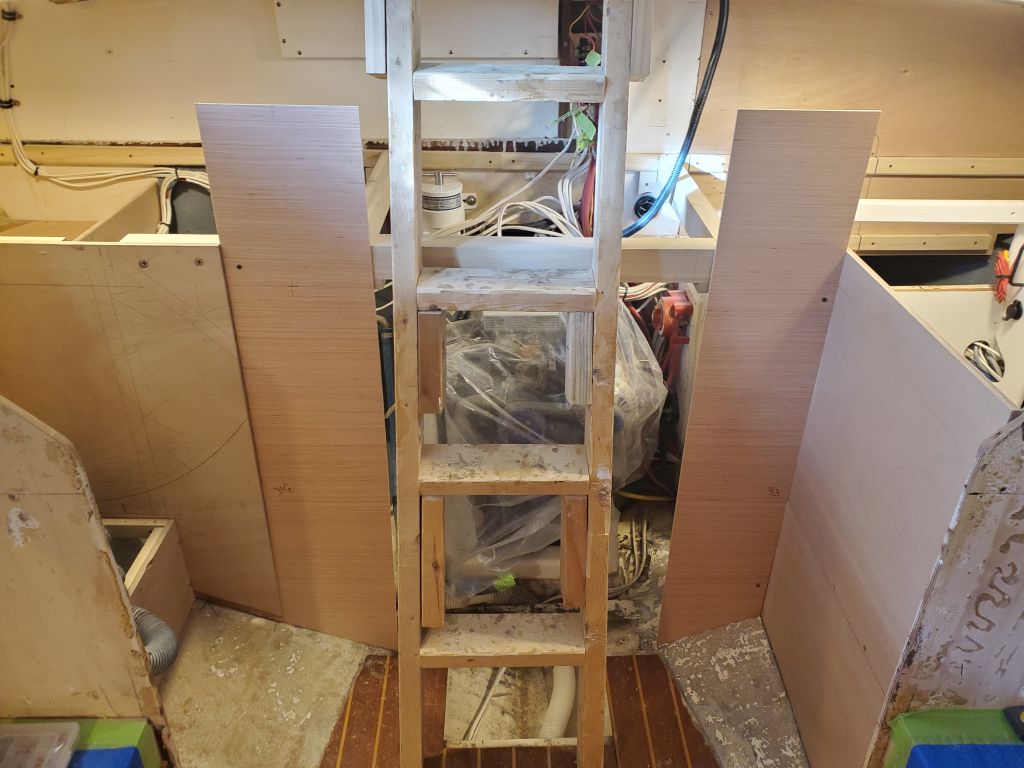
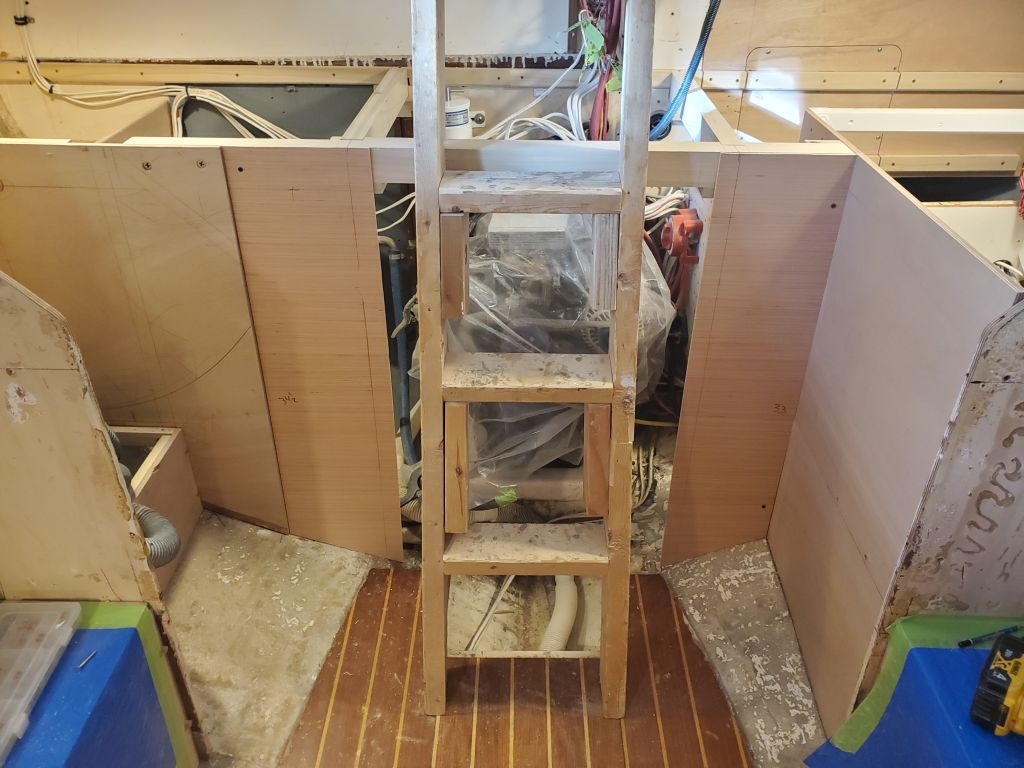
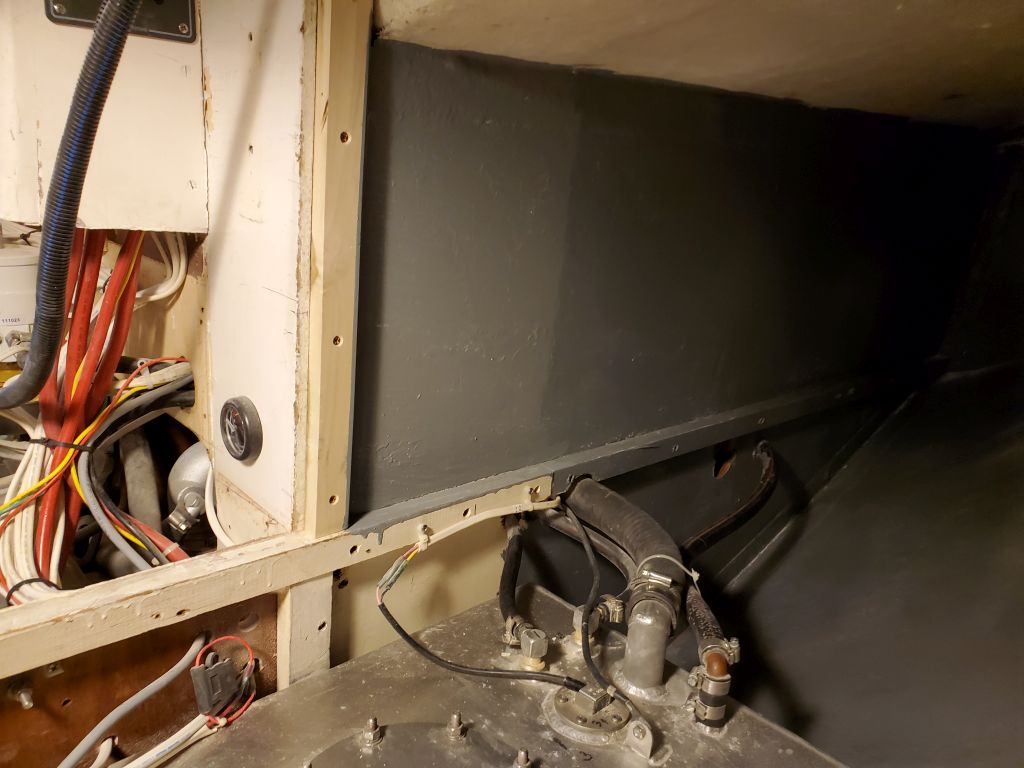
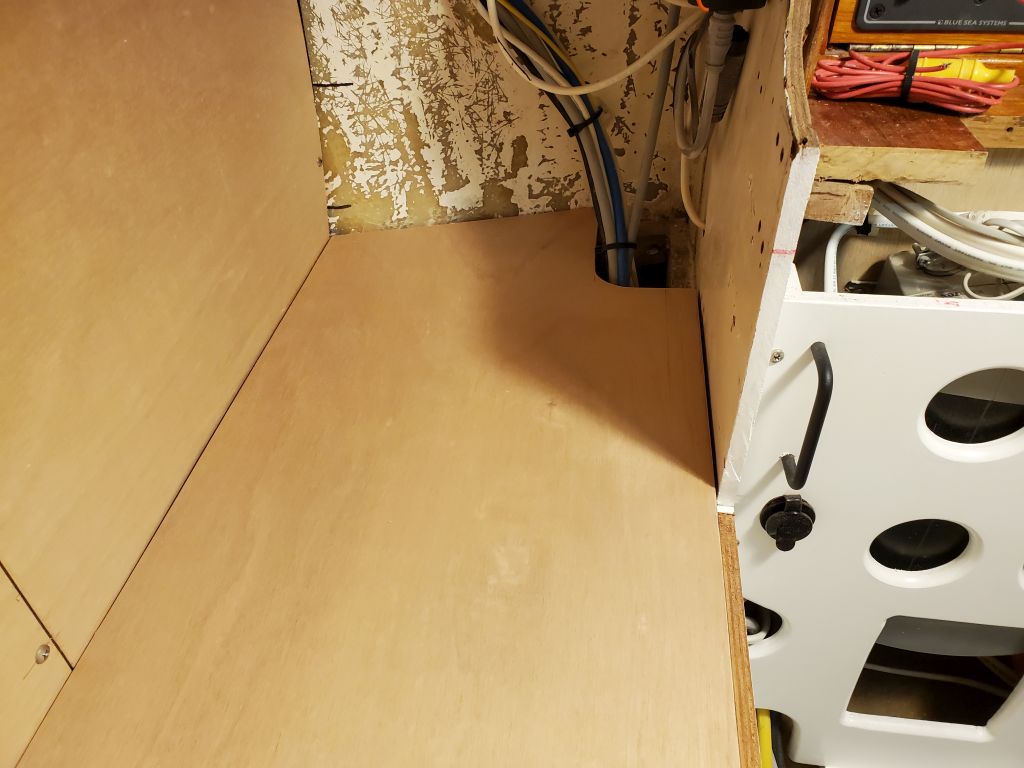
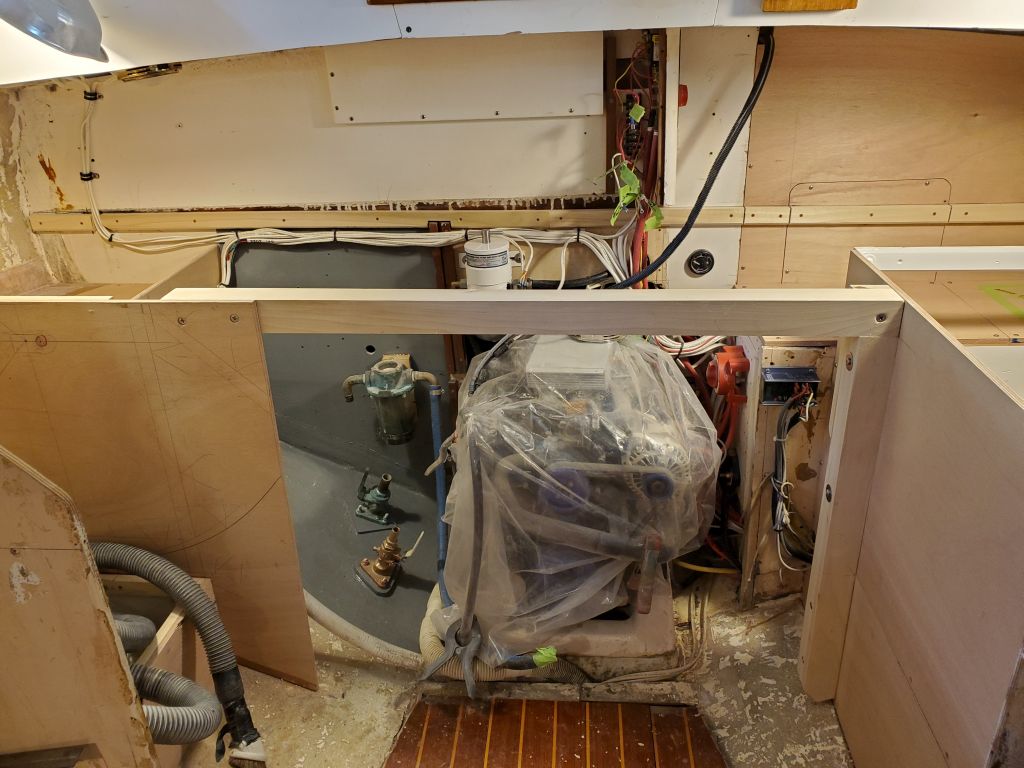
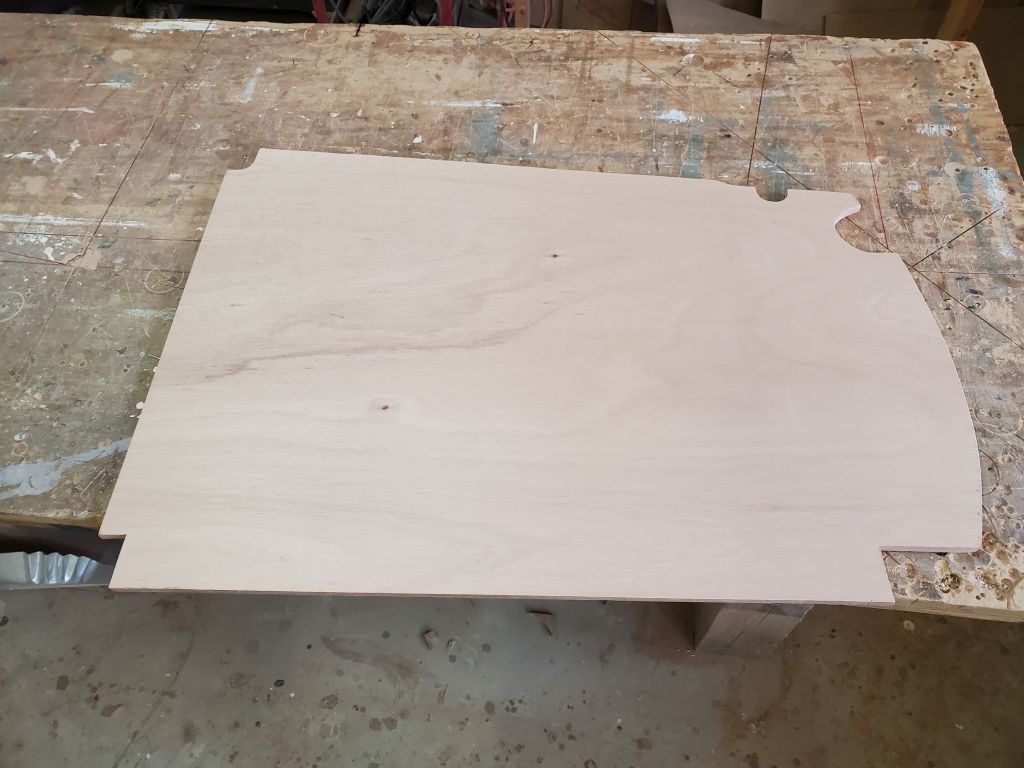
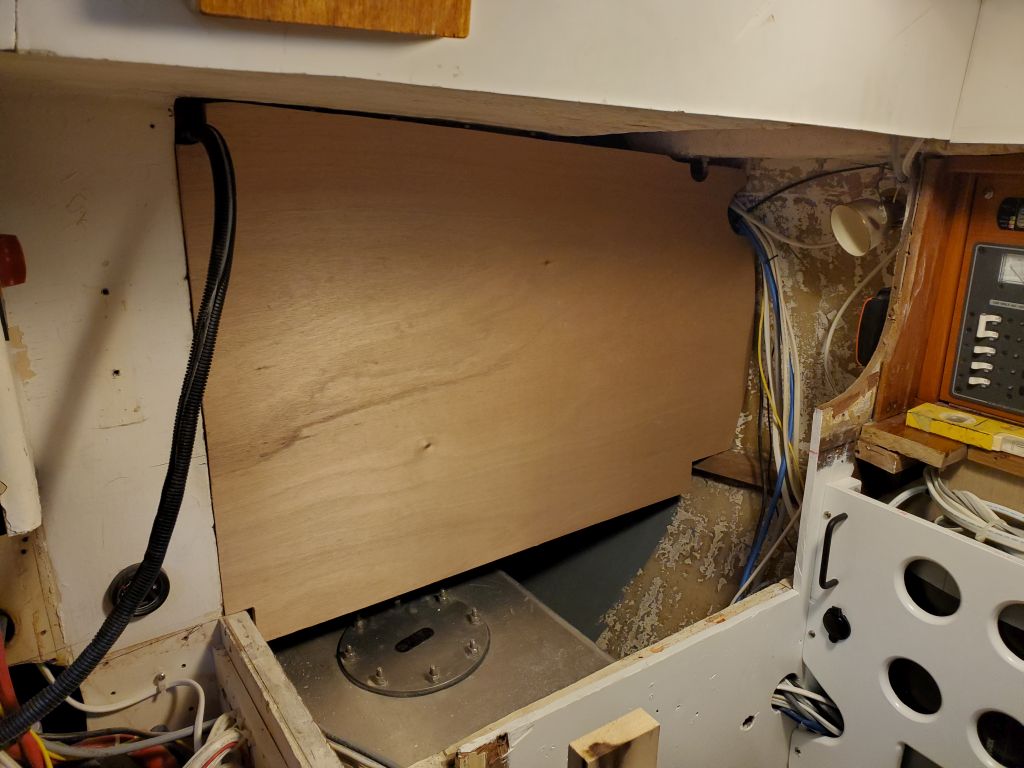
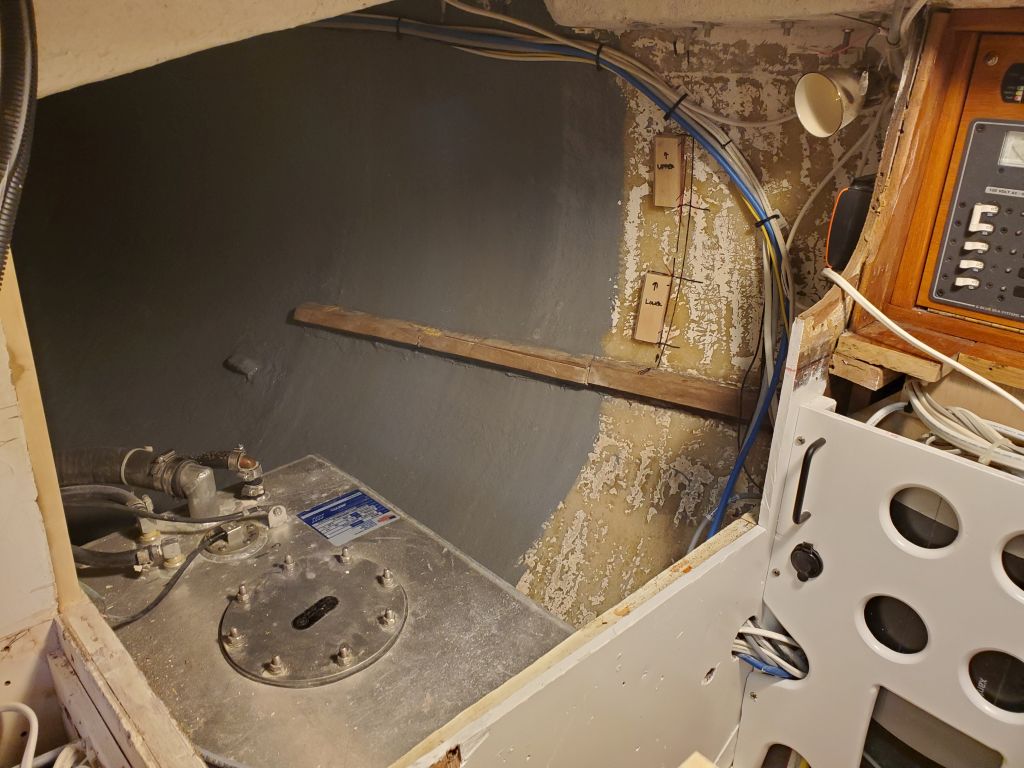
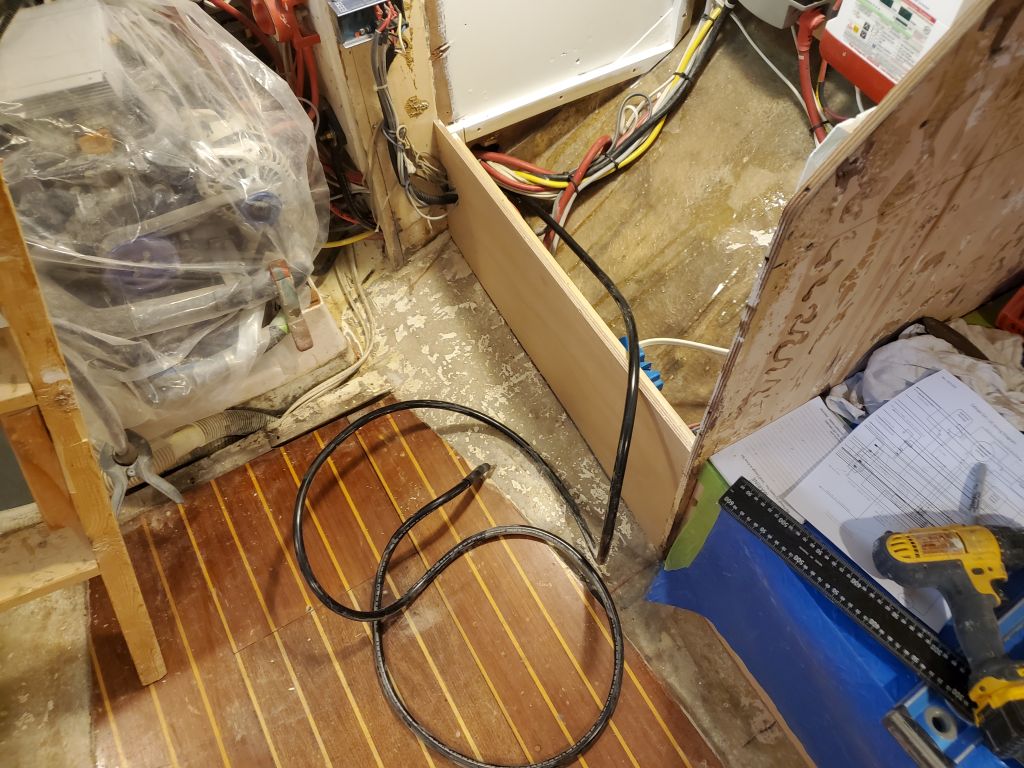
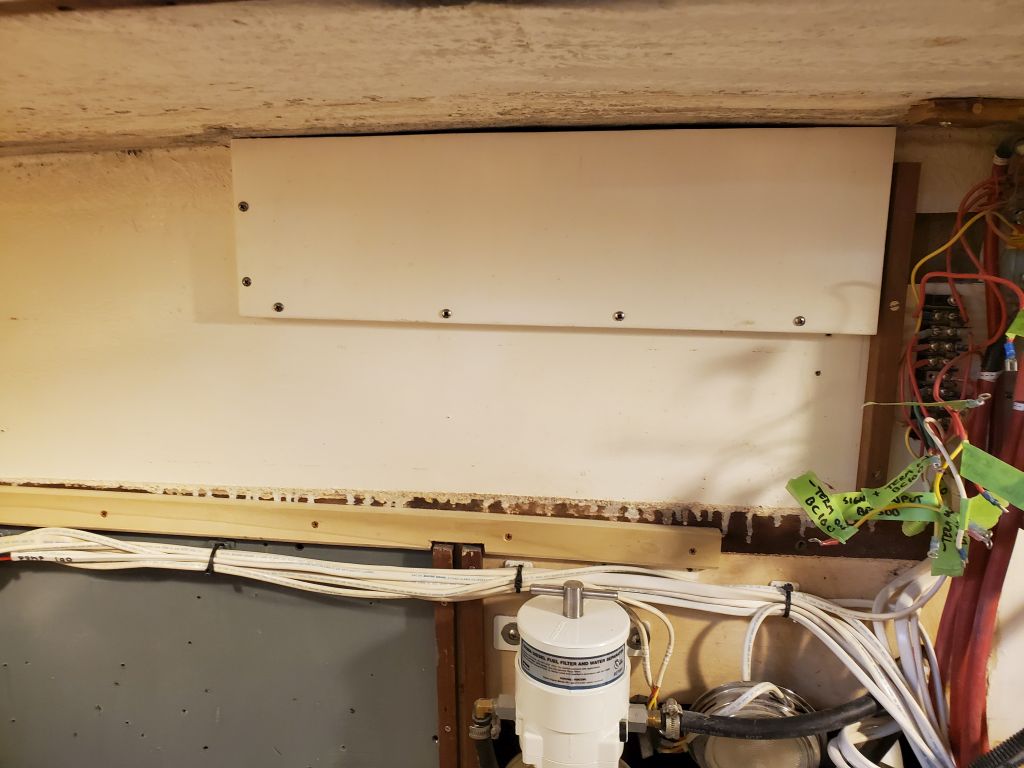
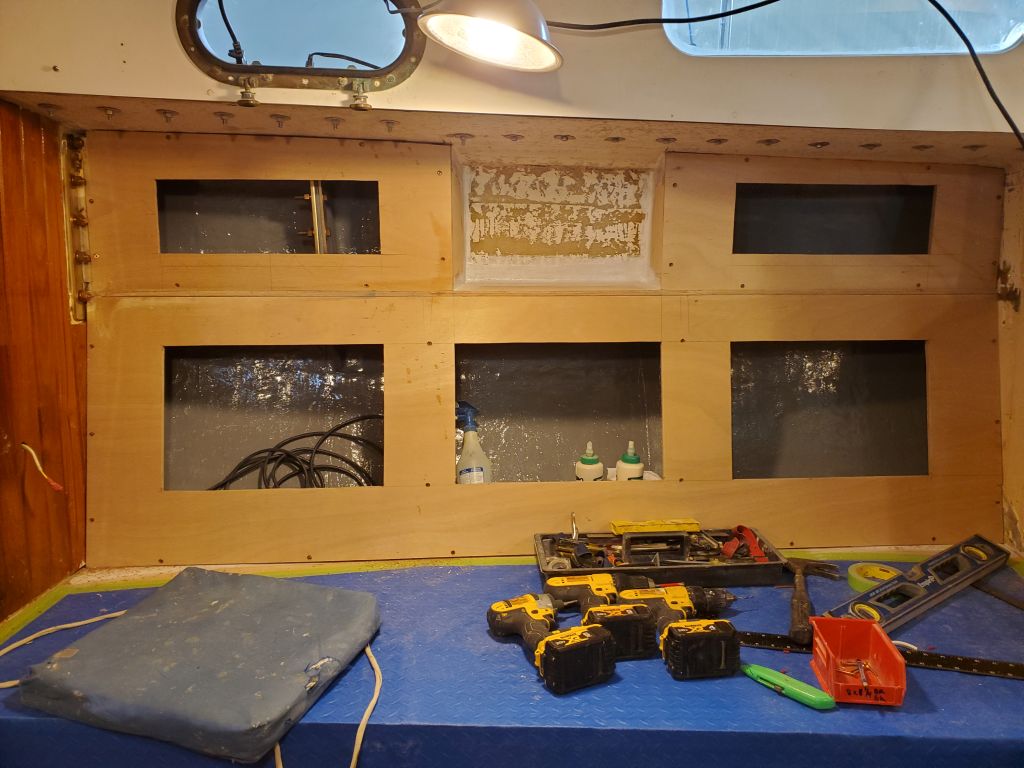
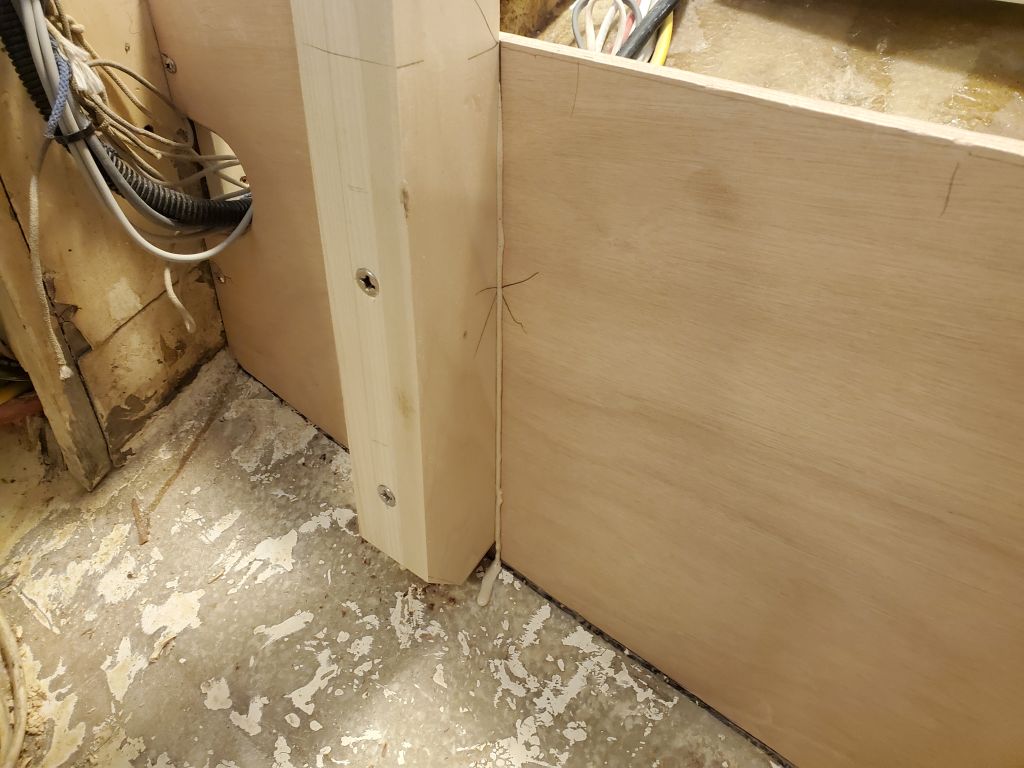
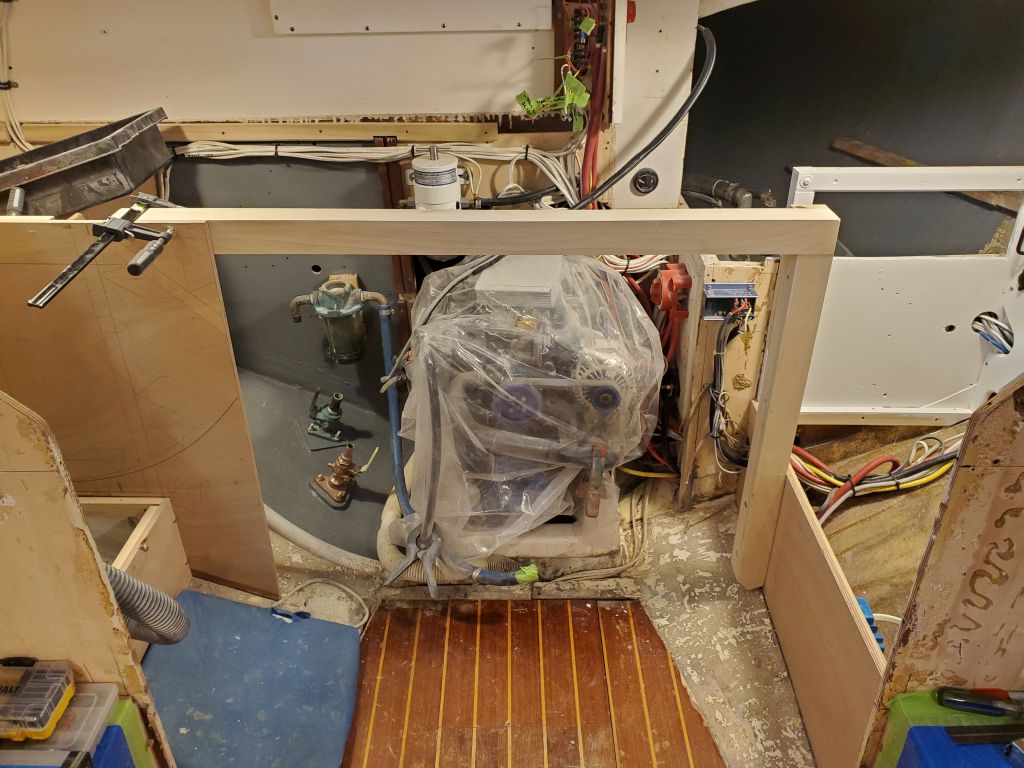
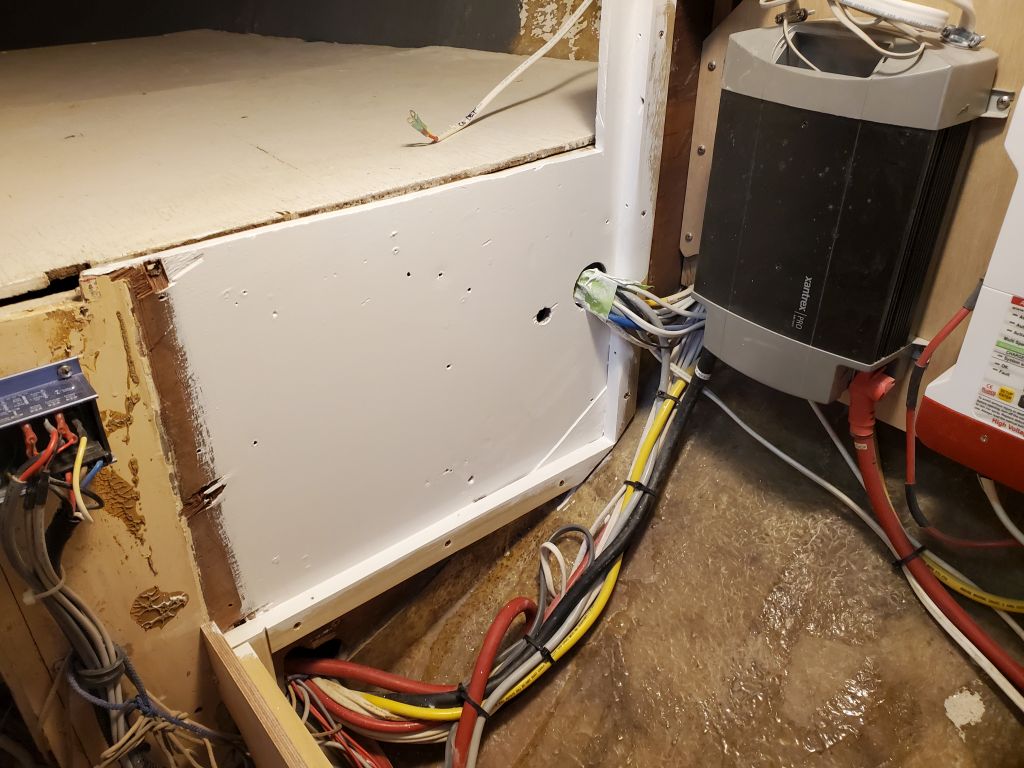
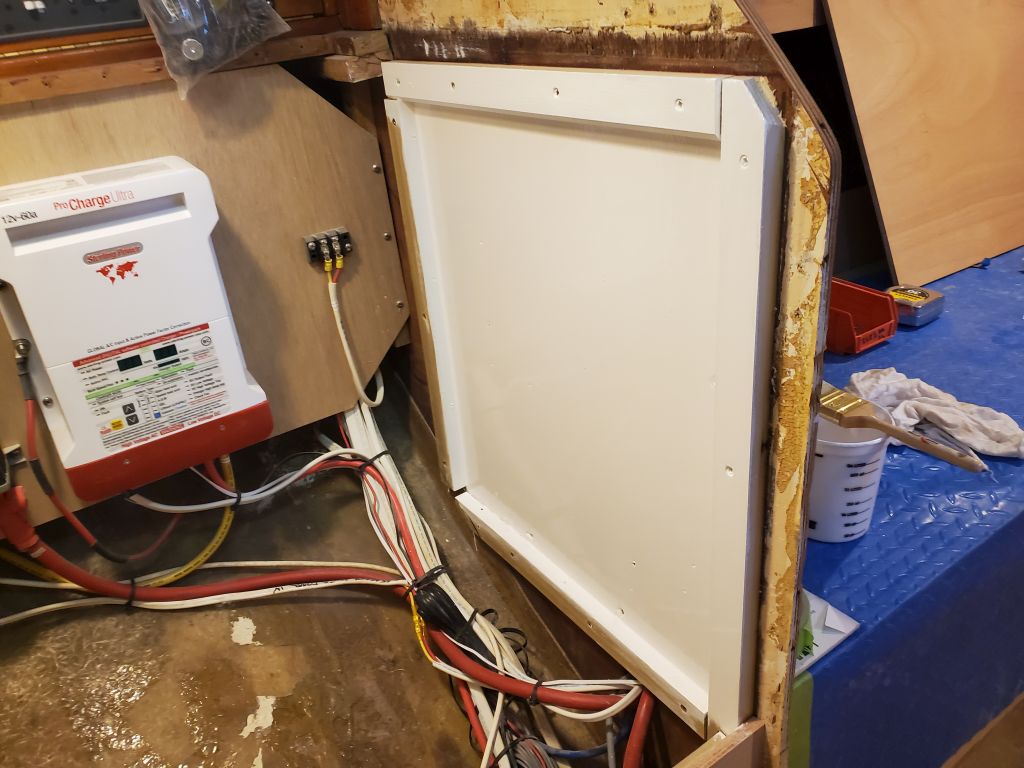
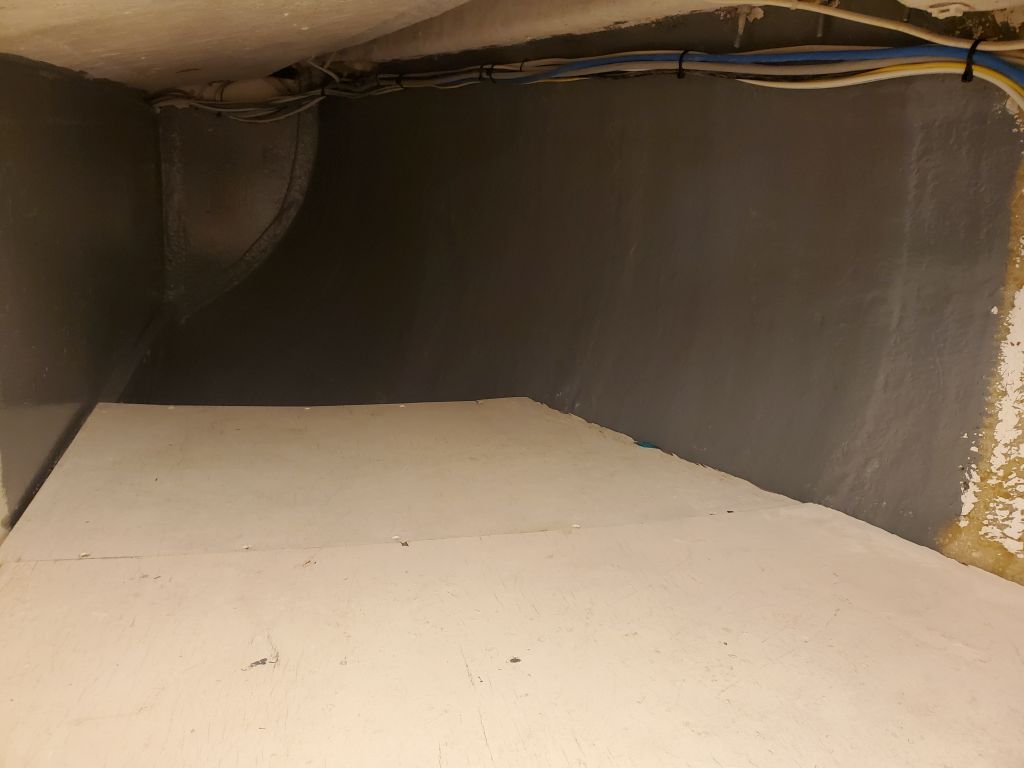
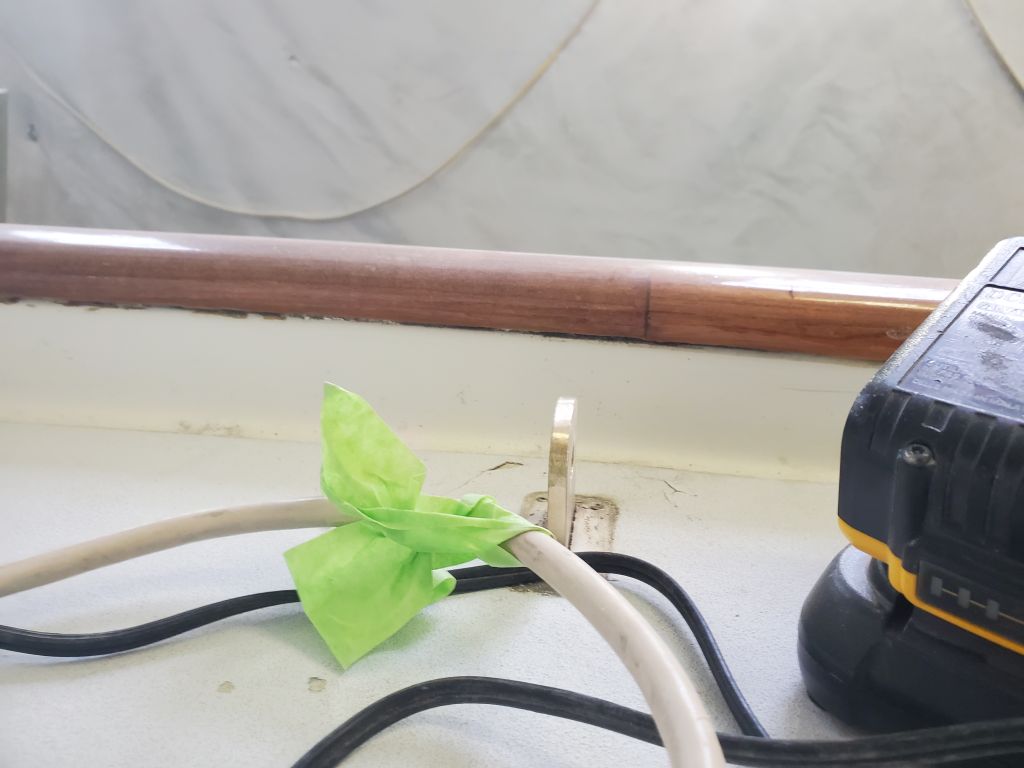
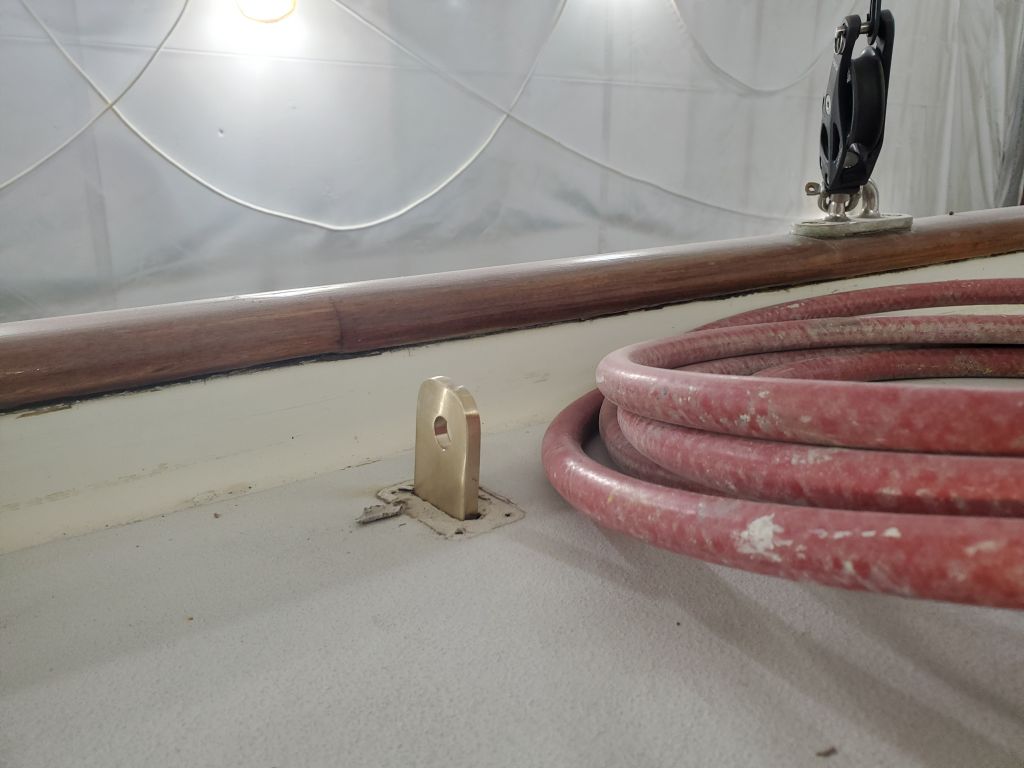
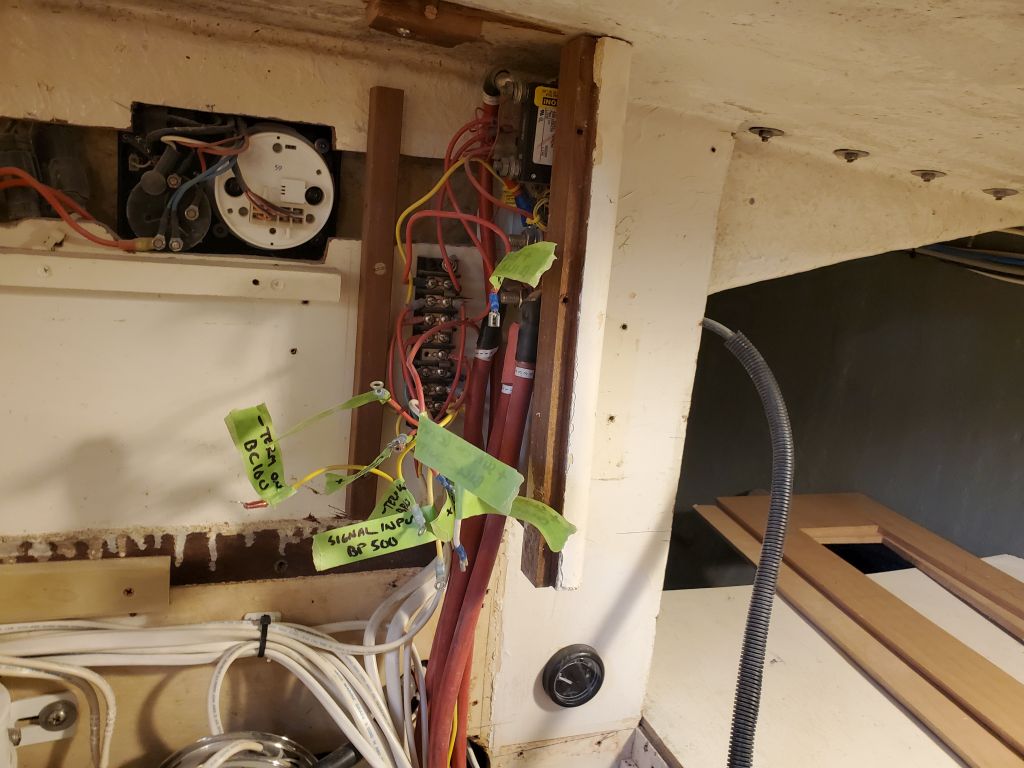
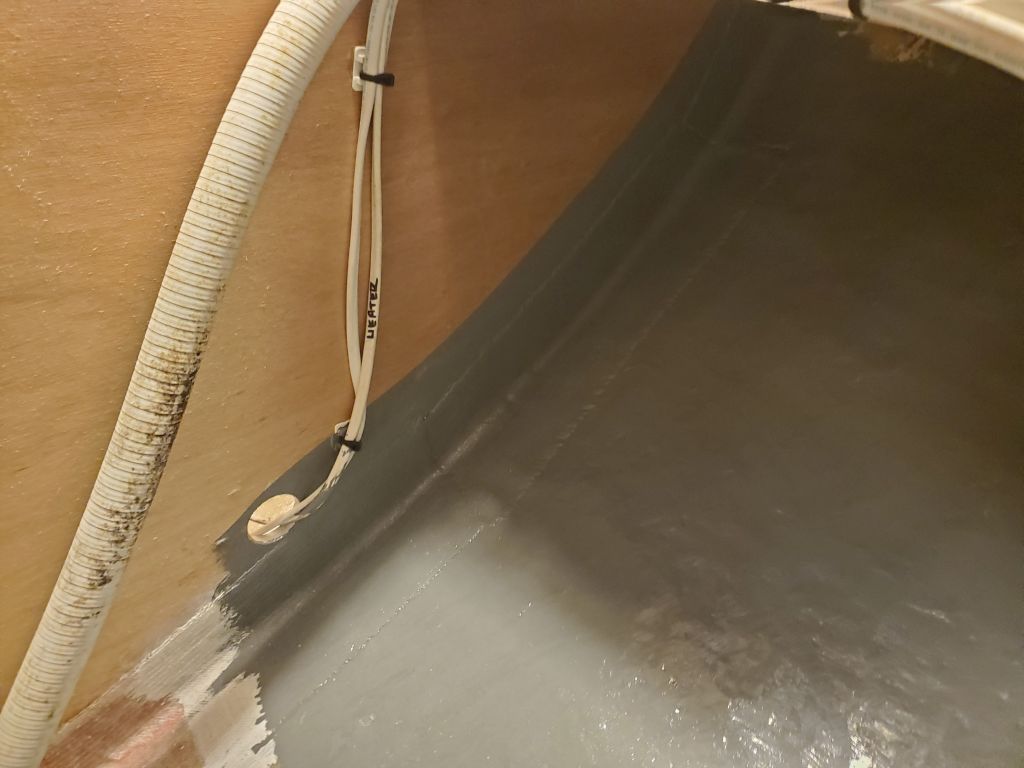
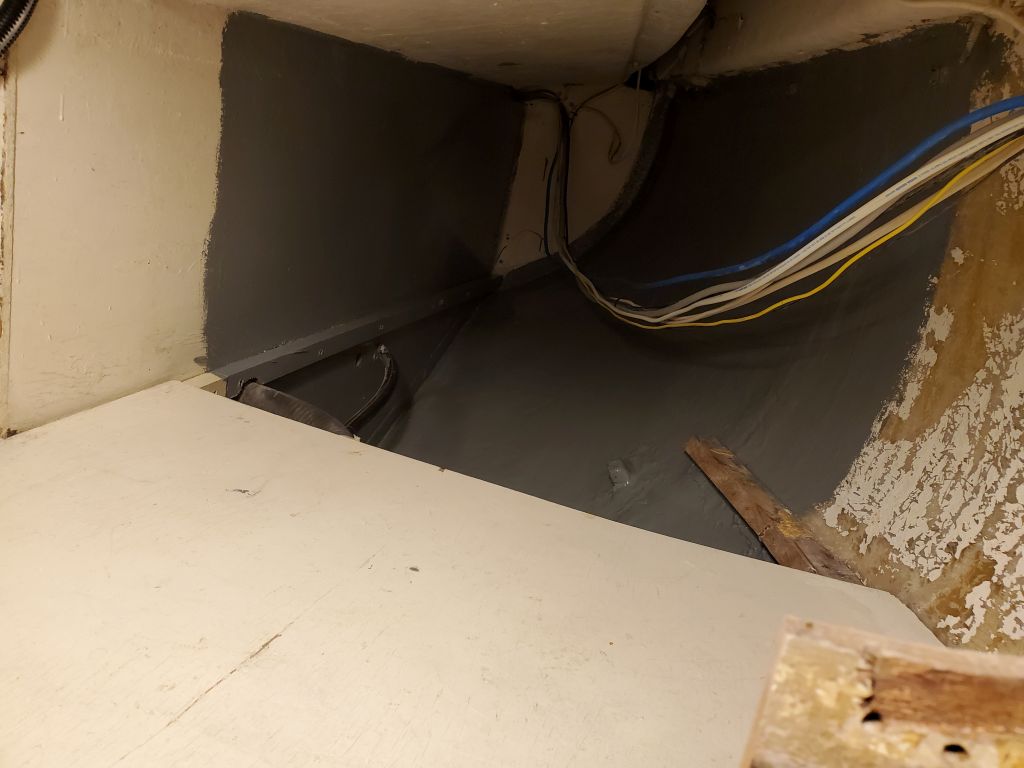
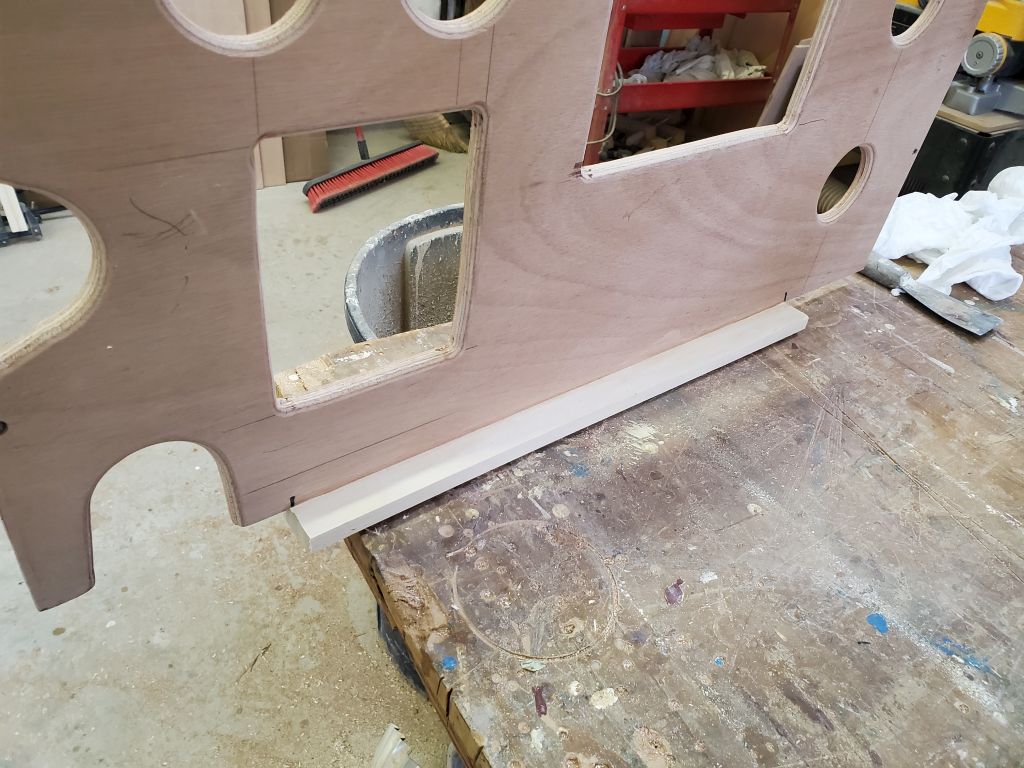
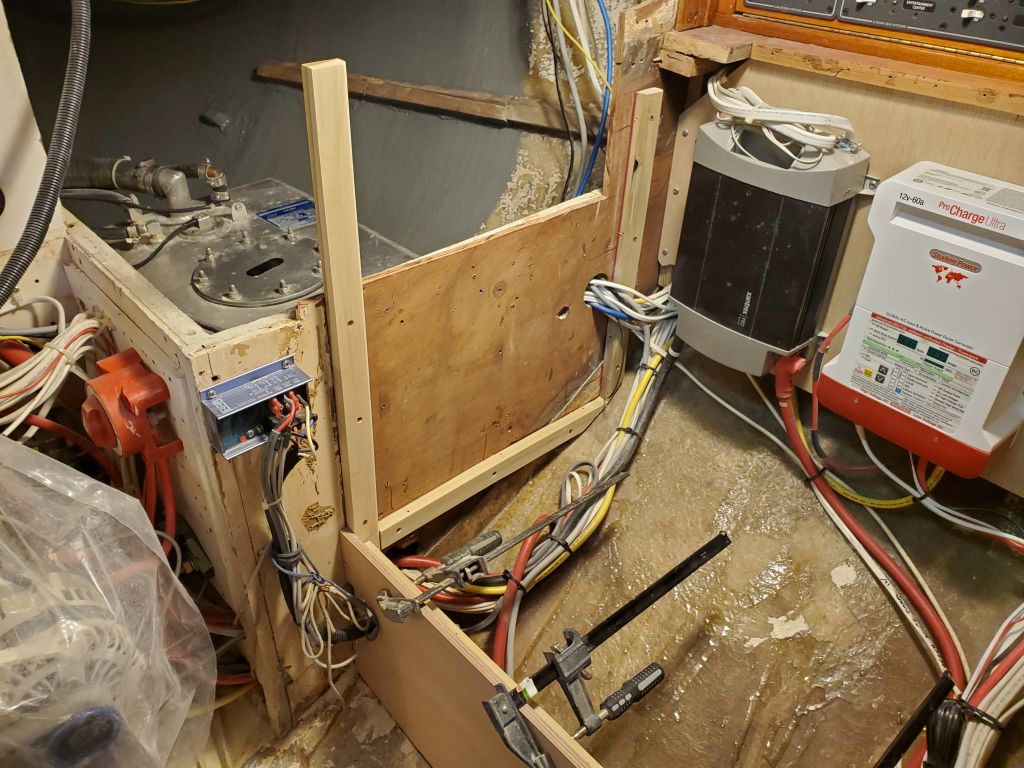
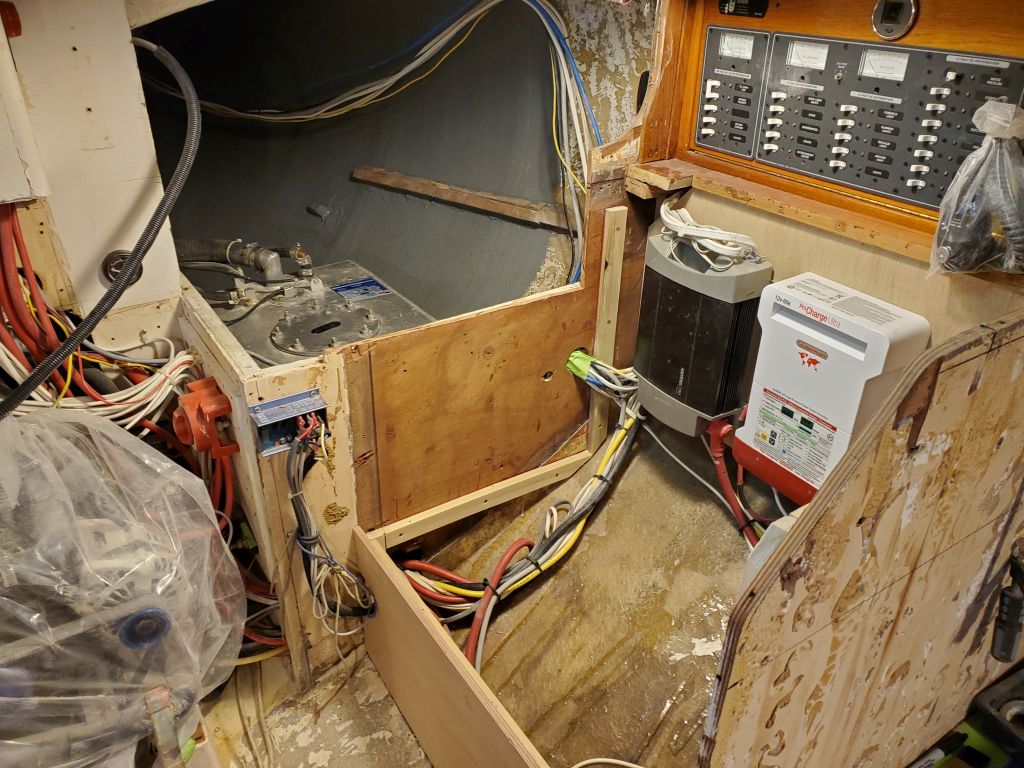
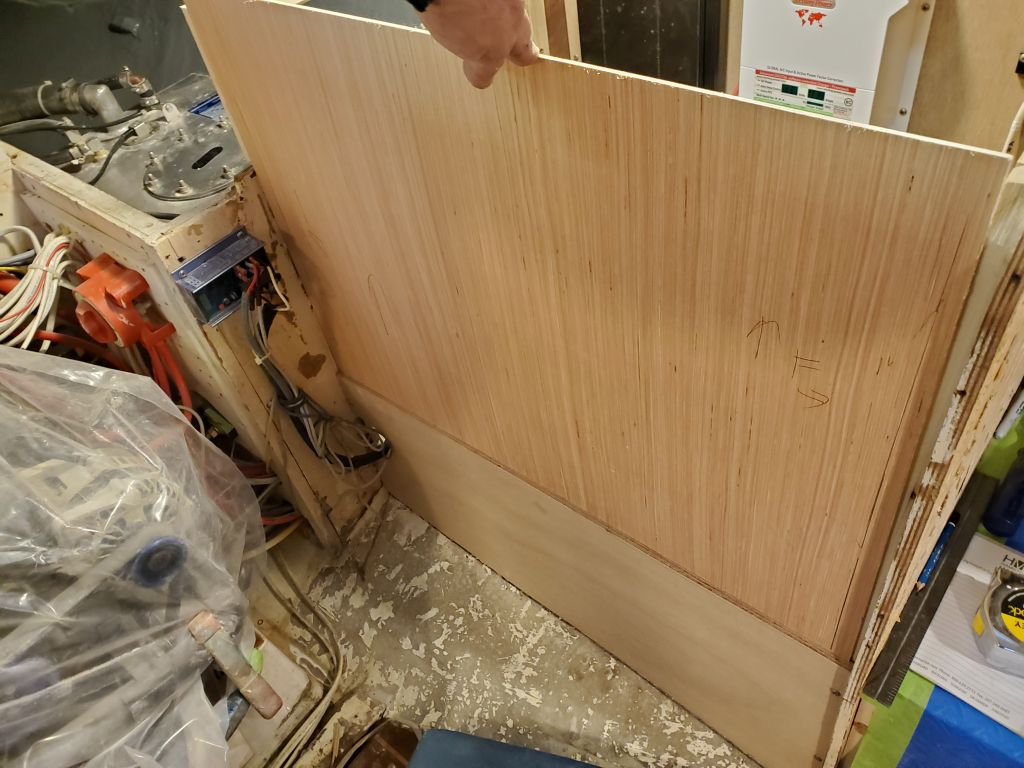
Now that the new cleats were secure to the hull, I could go ahead and install the new bulkhead across the old quarterberth, after first painting the small area just aft of the bulkhead location to fill in the section I’d previously left unpainted. I secured the bulkhead to the cleats on both sides with pan head screws, as the entire bulkhead would remain removable should major access be required to this space.
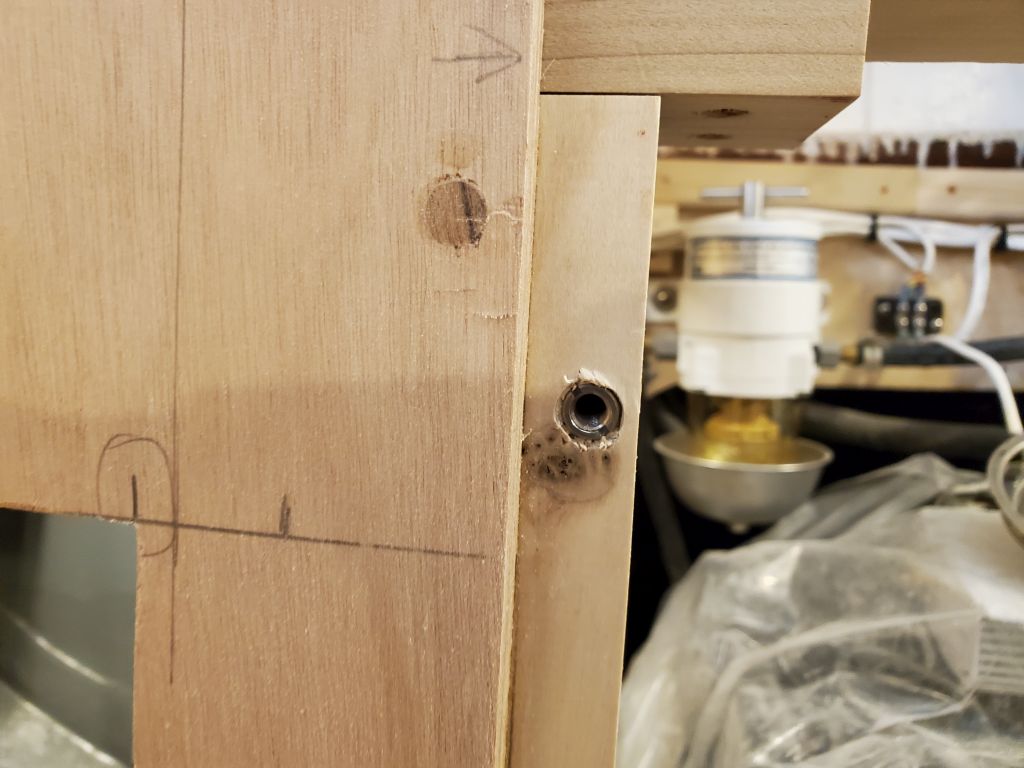
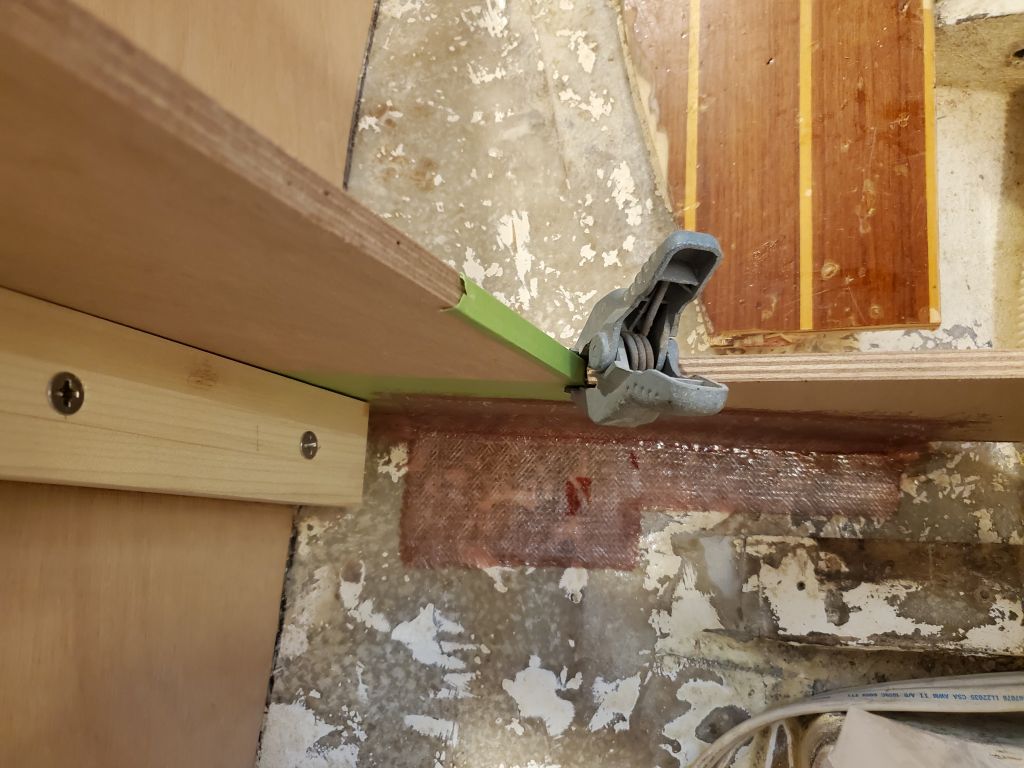
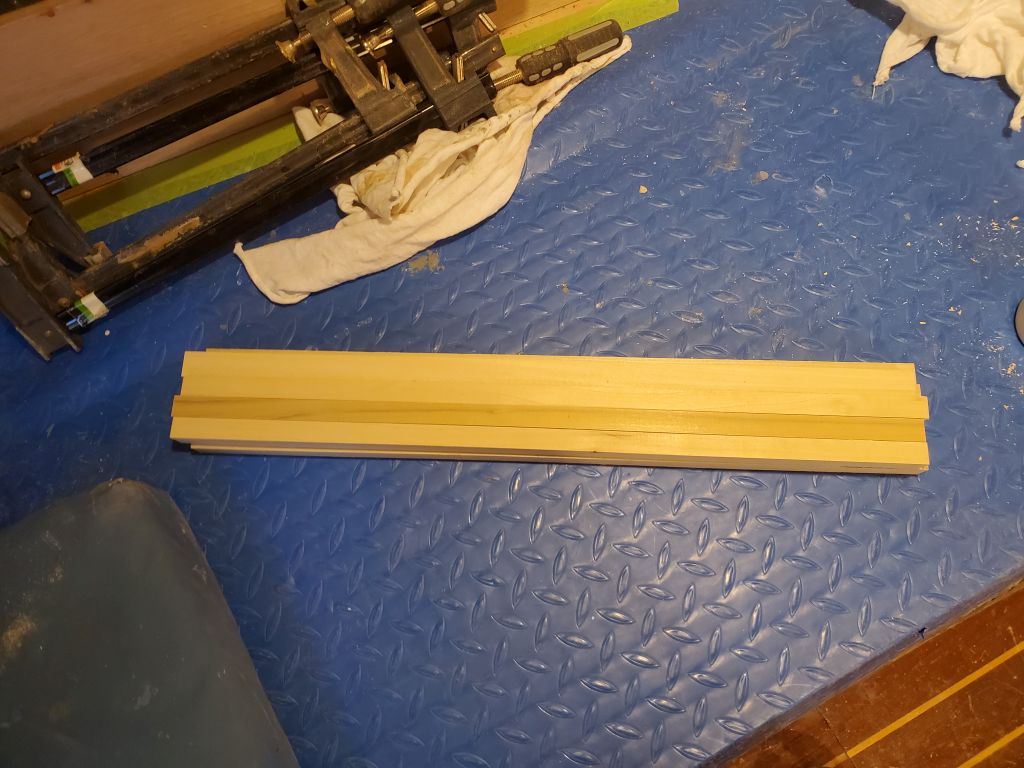
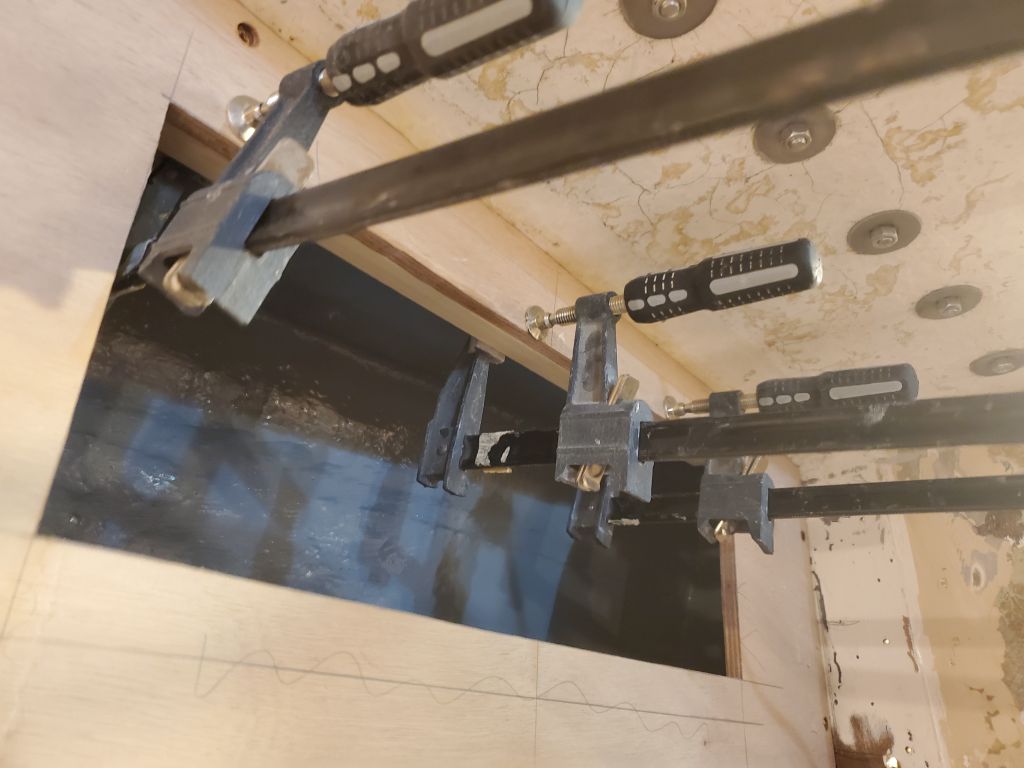
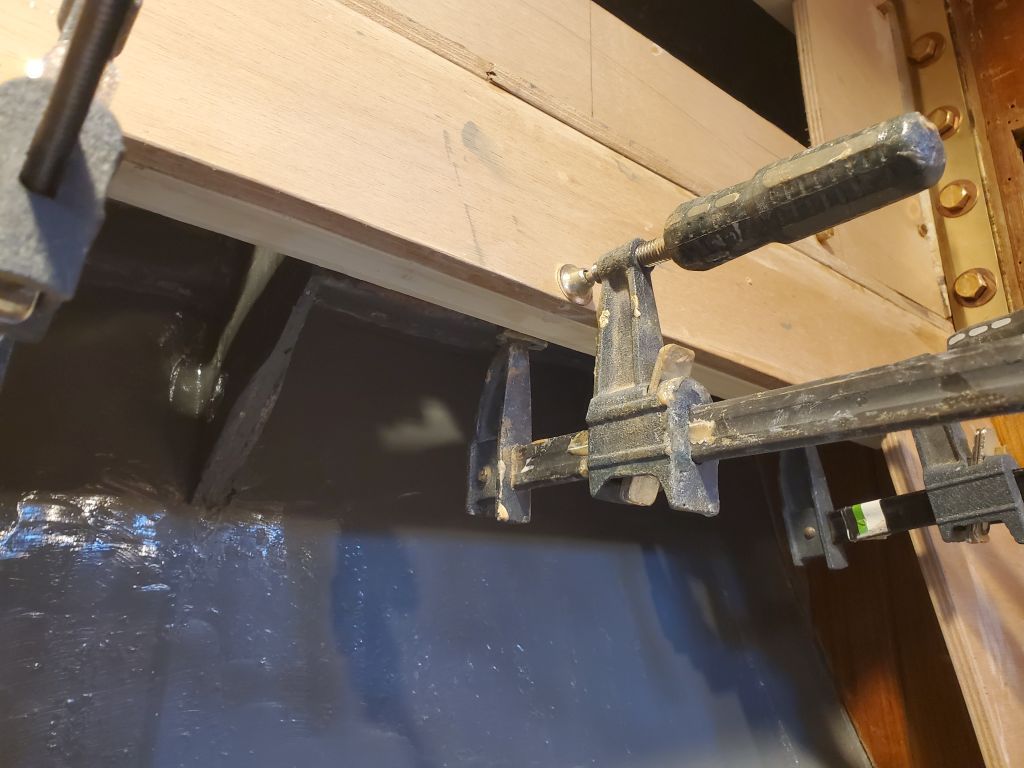
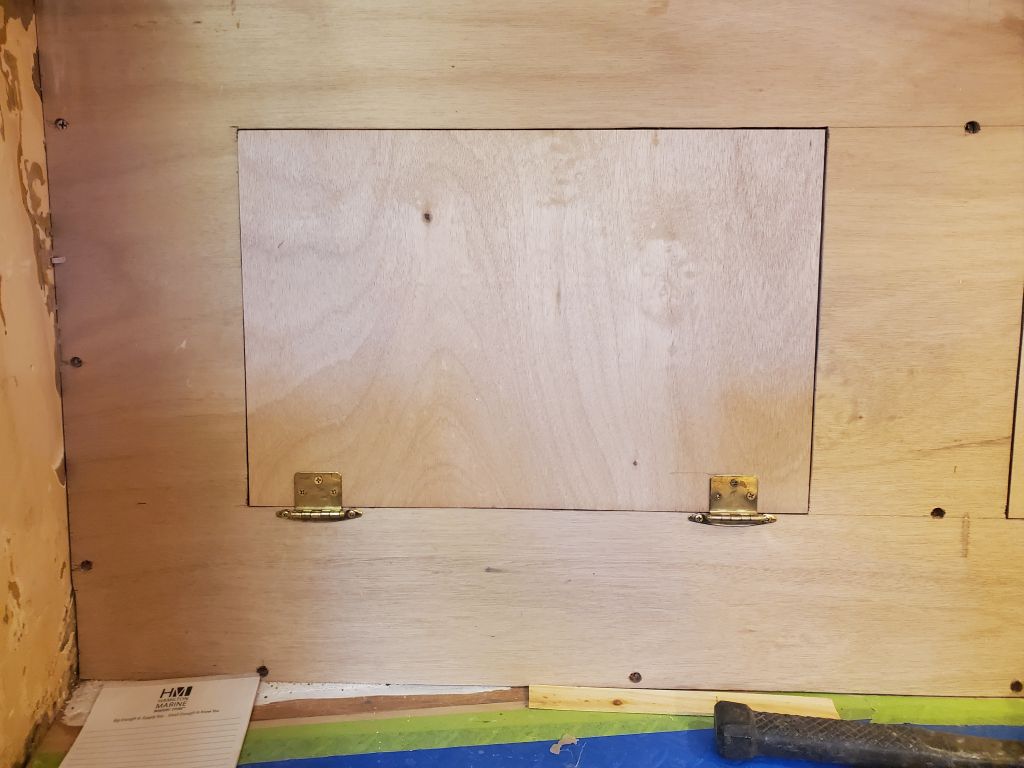
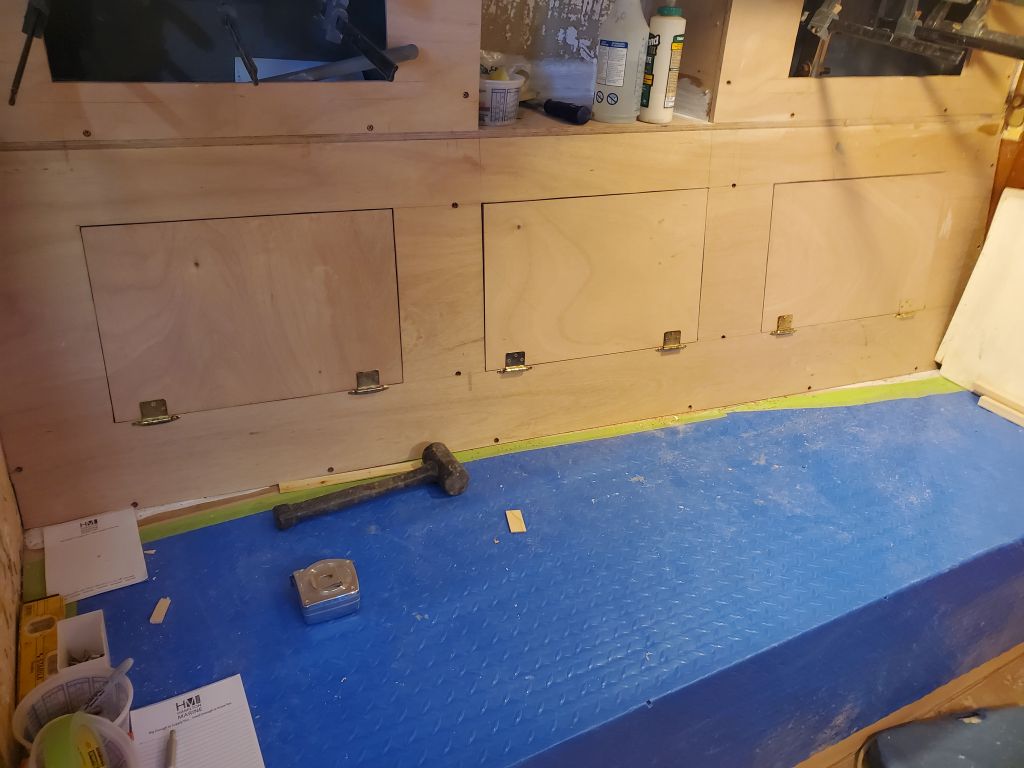
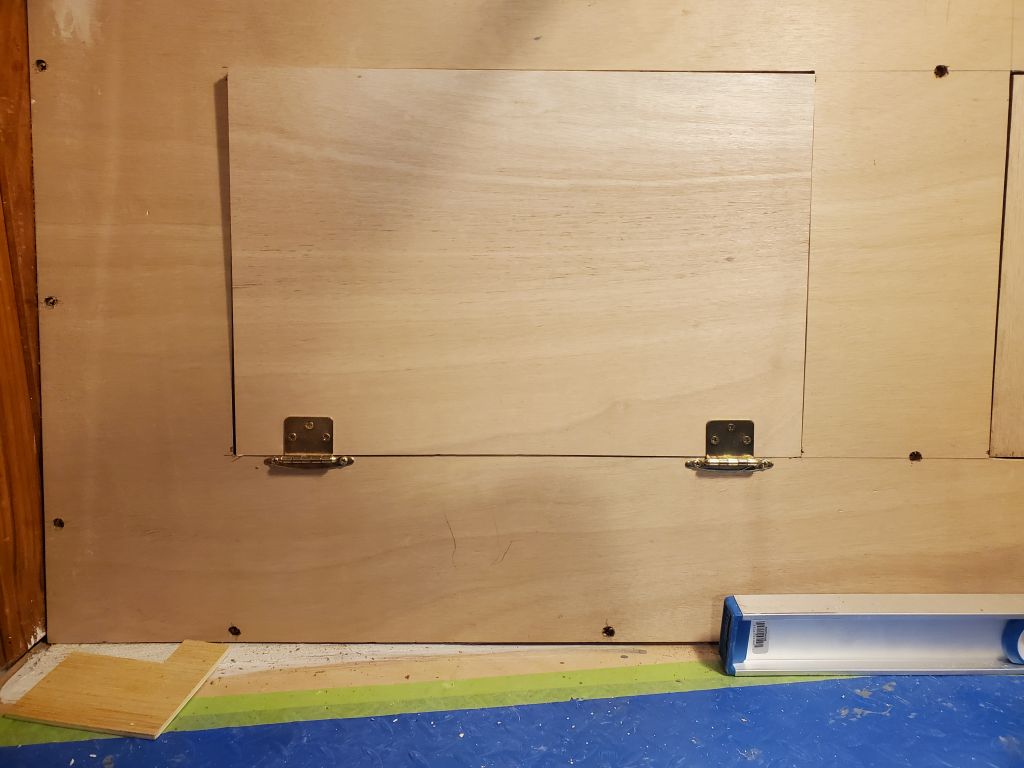
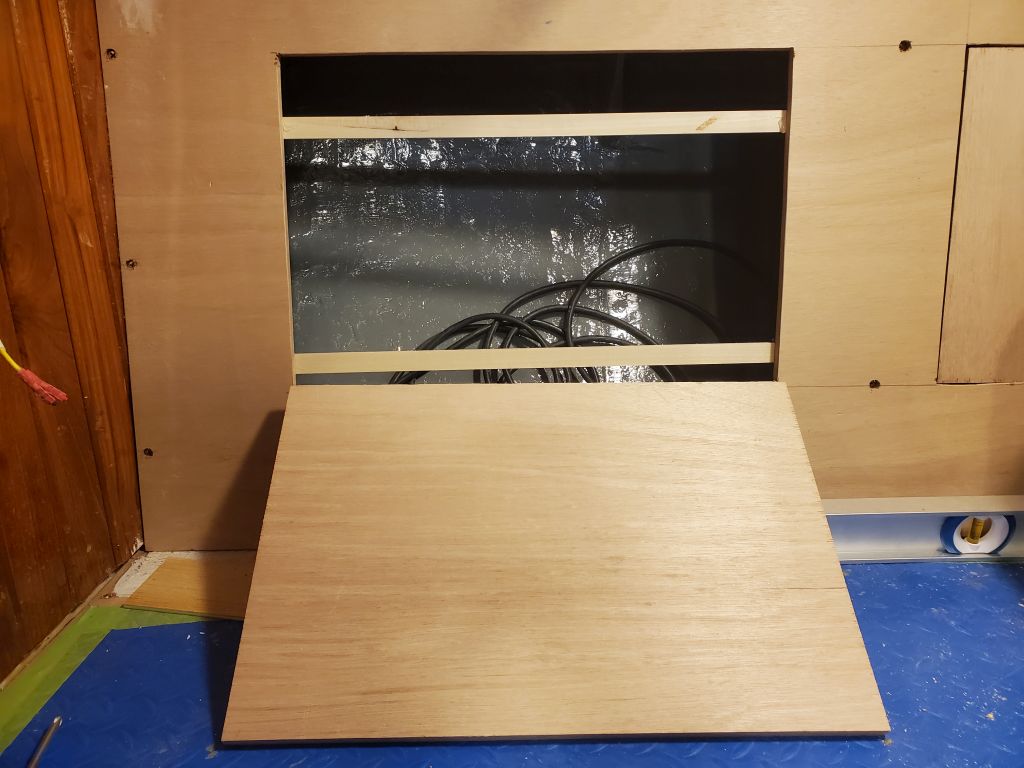
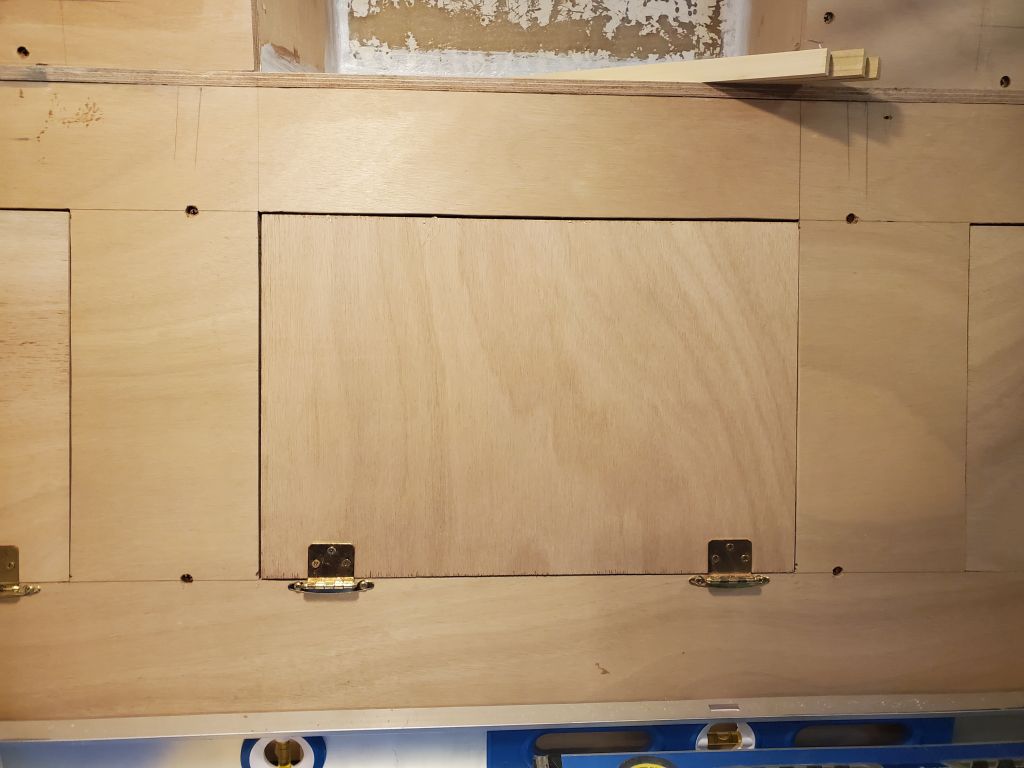
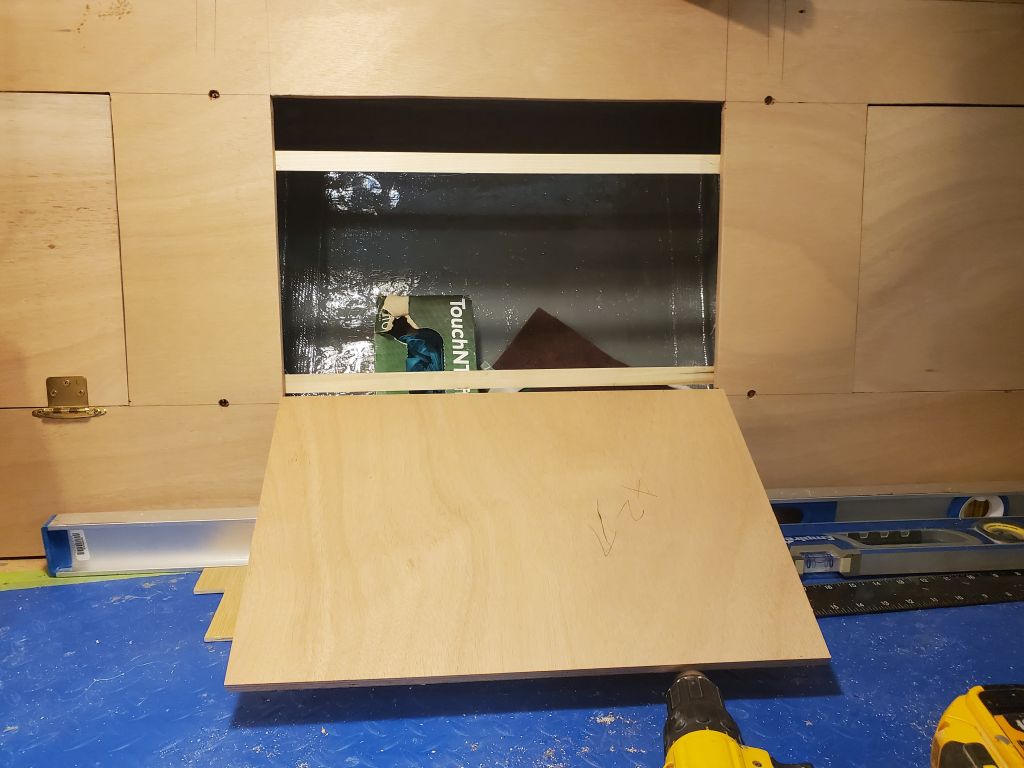
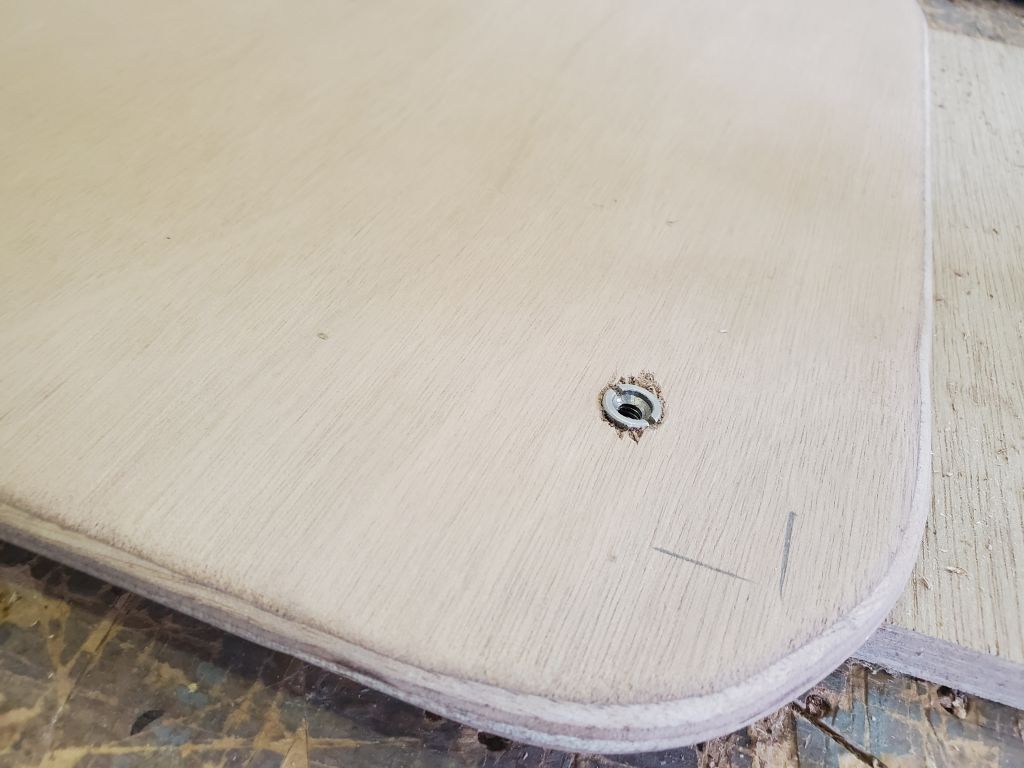
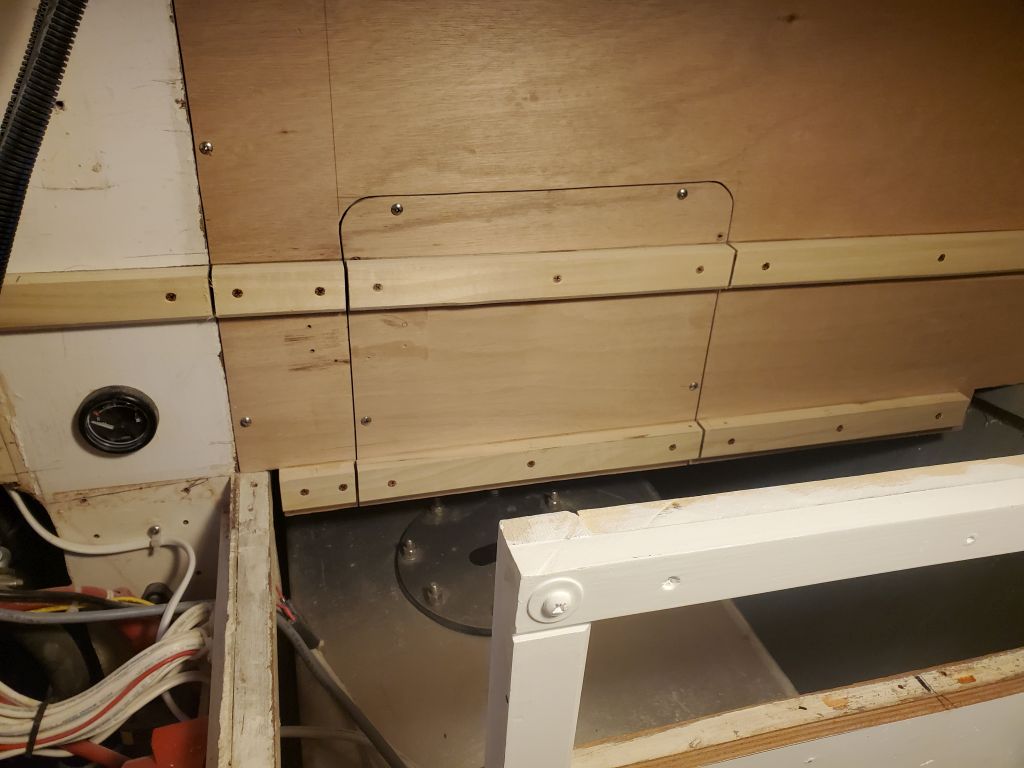
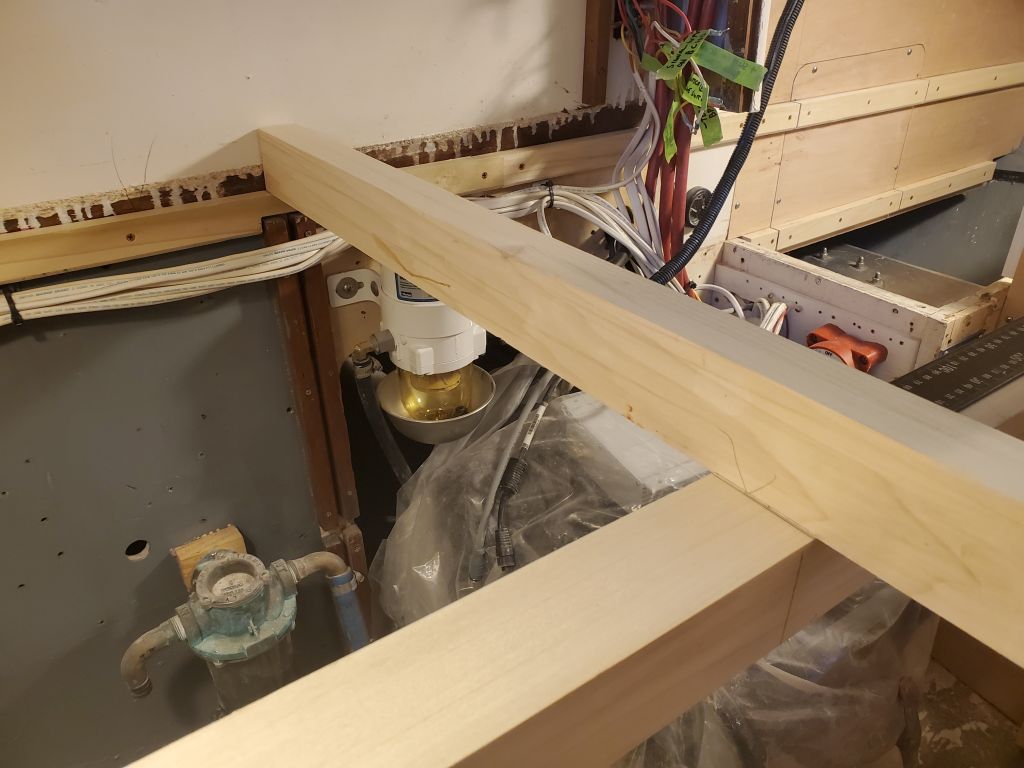
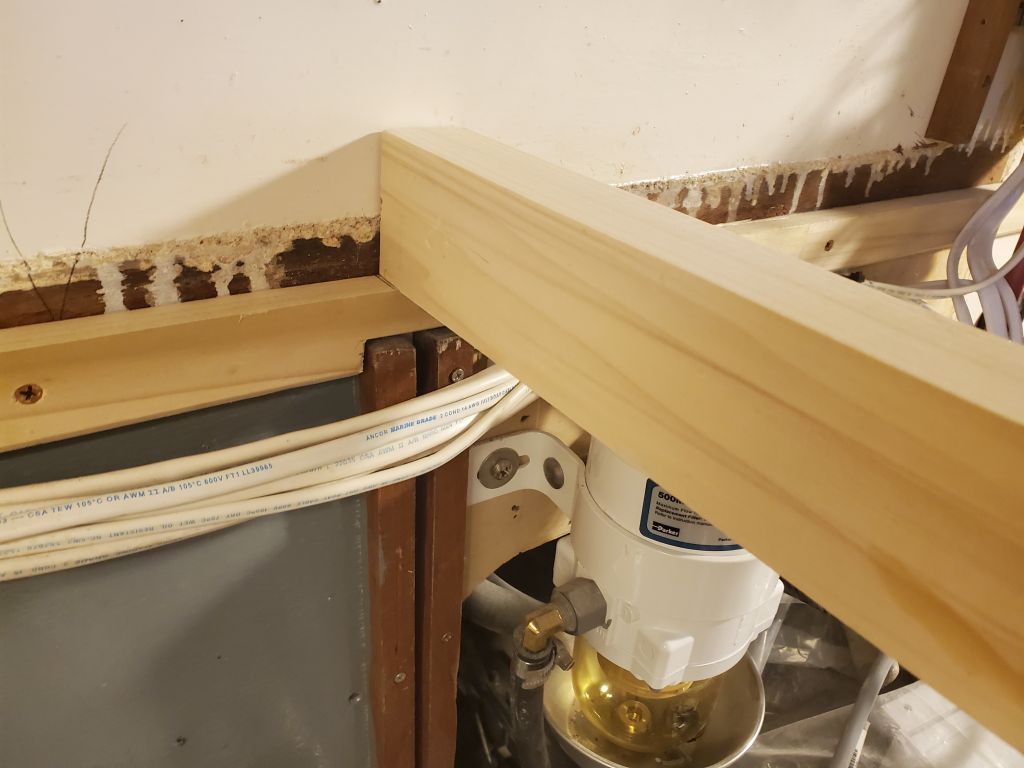
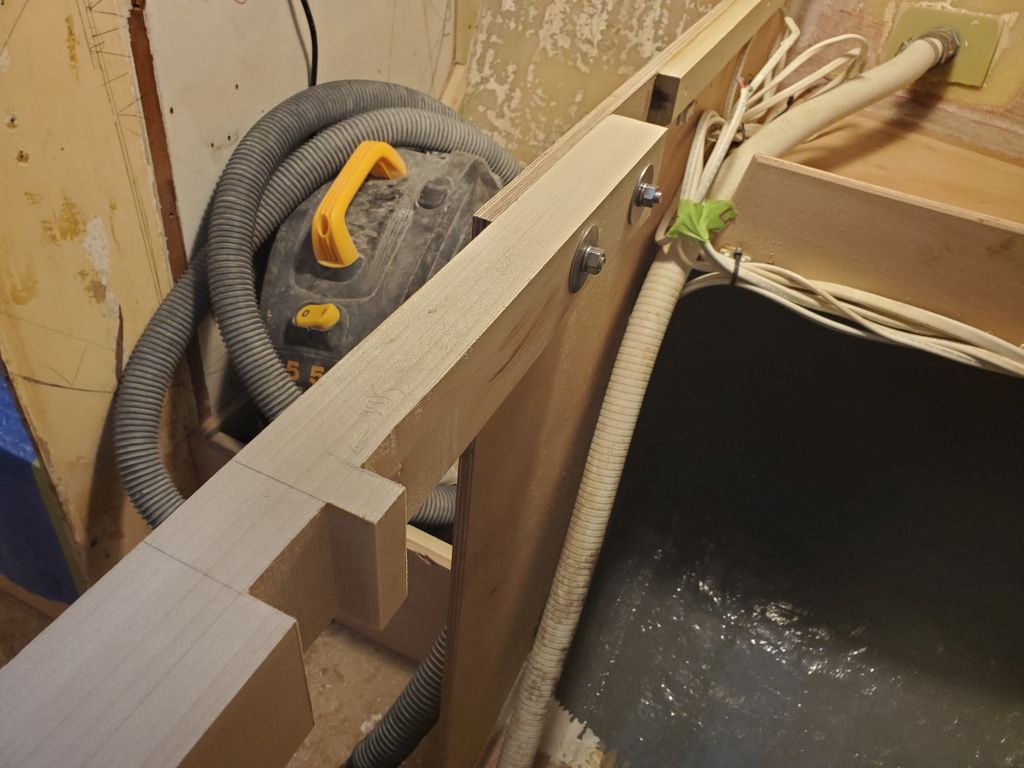
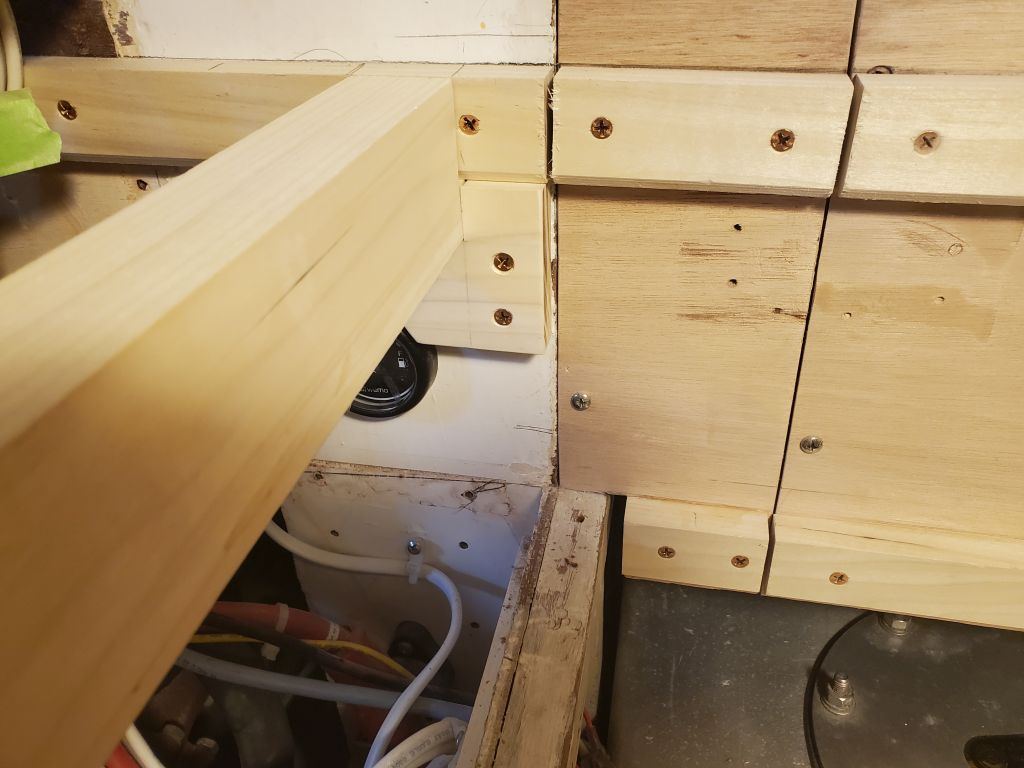
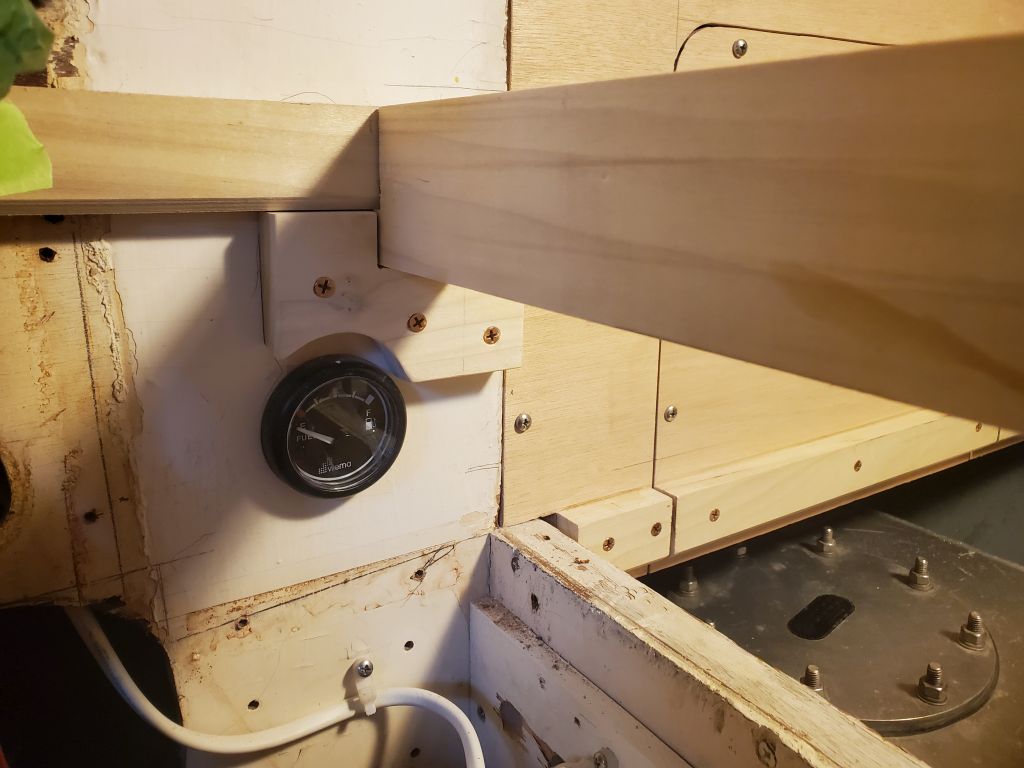
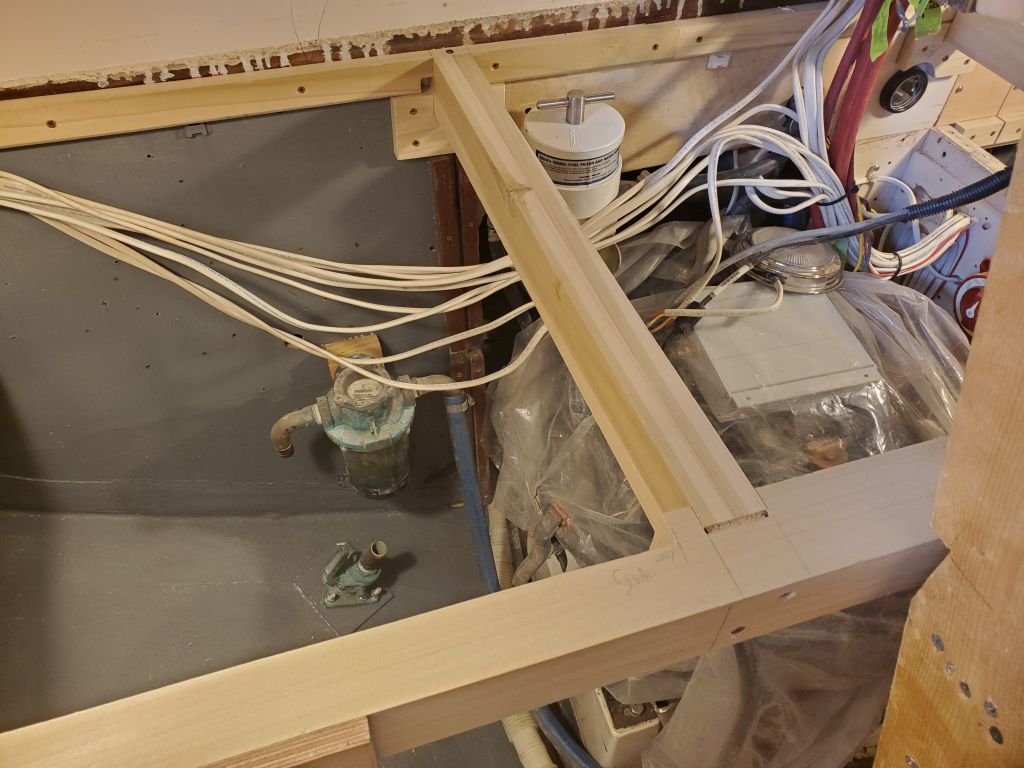
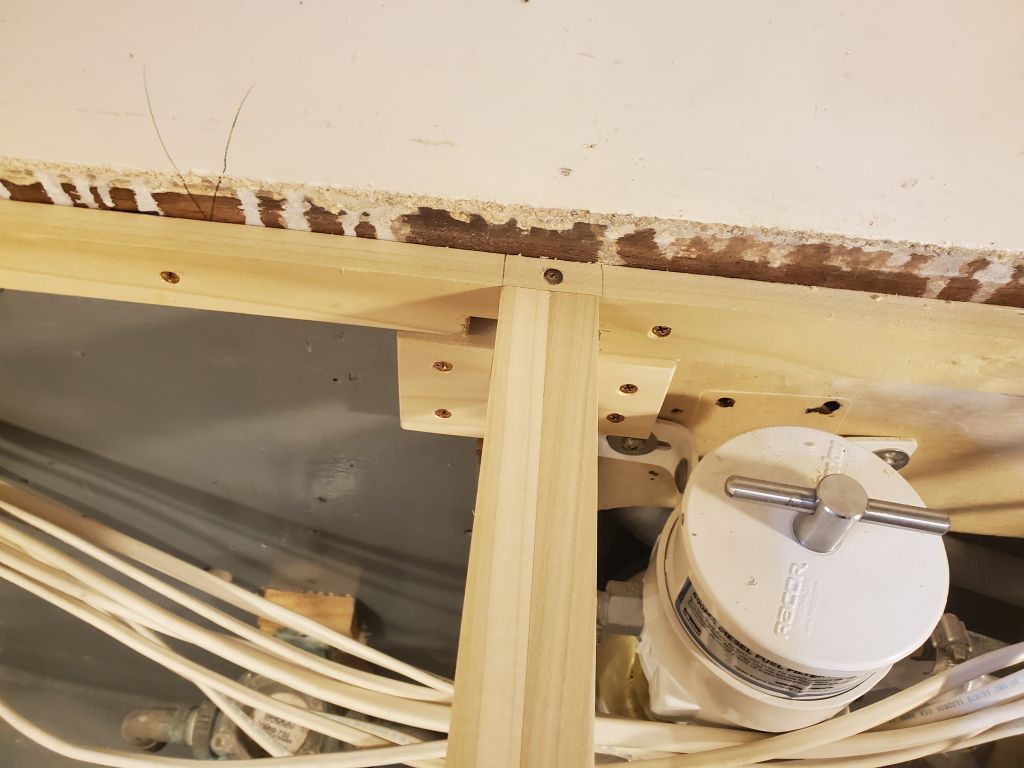
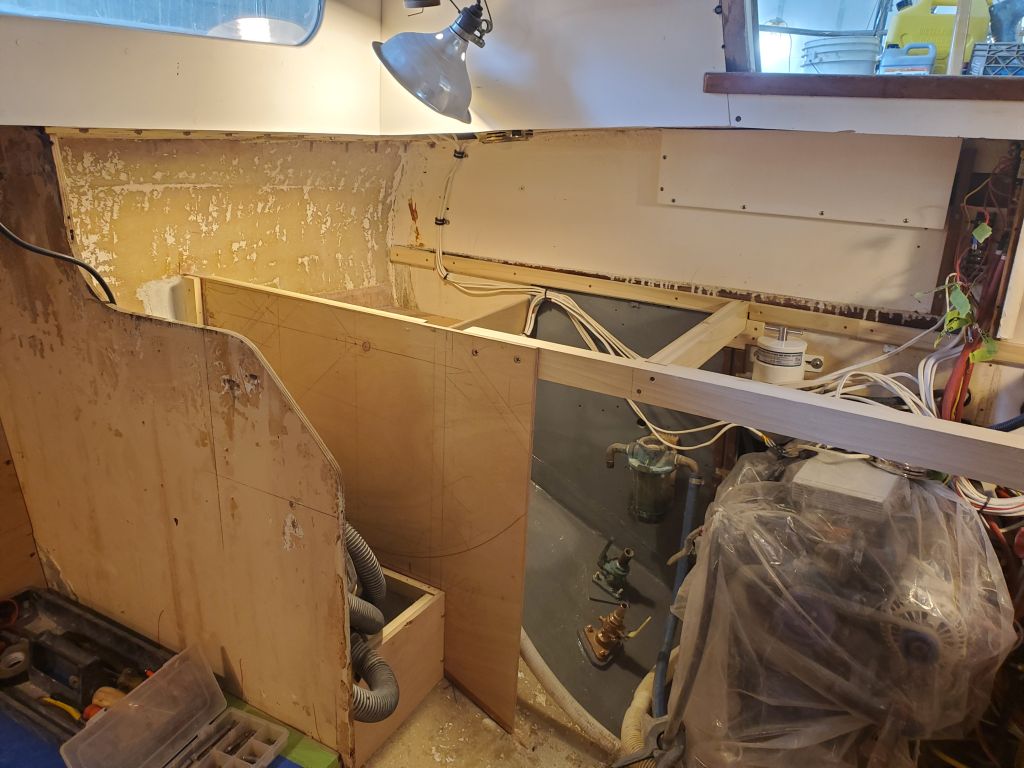
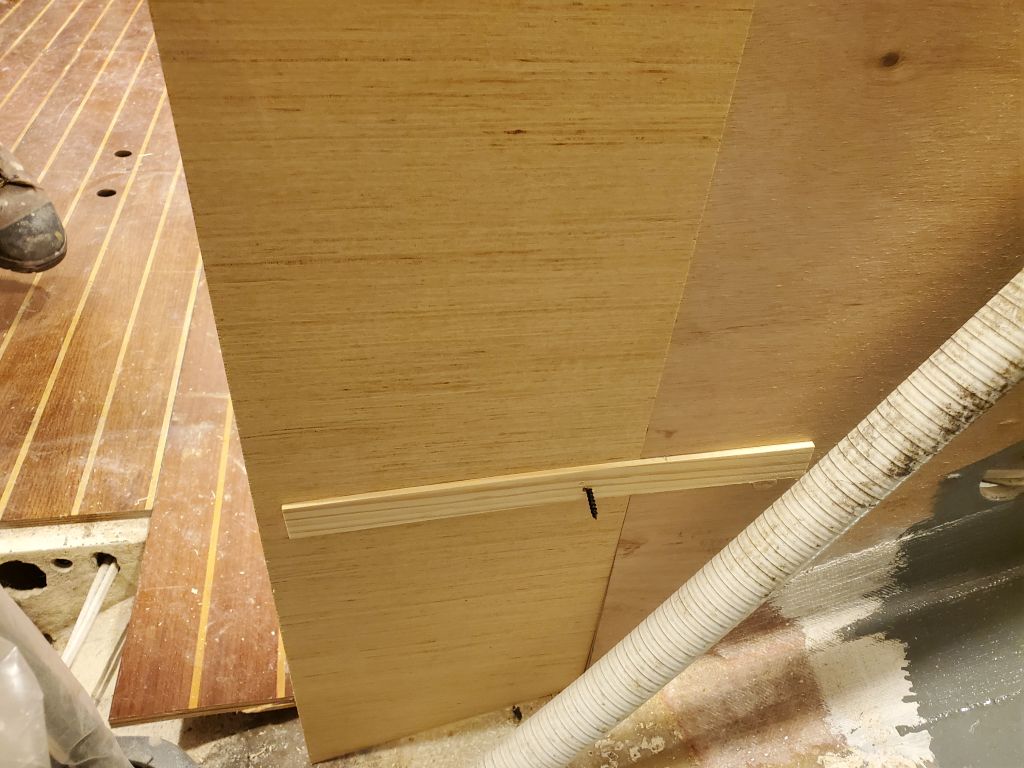
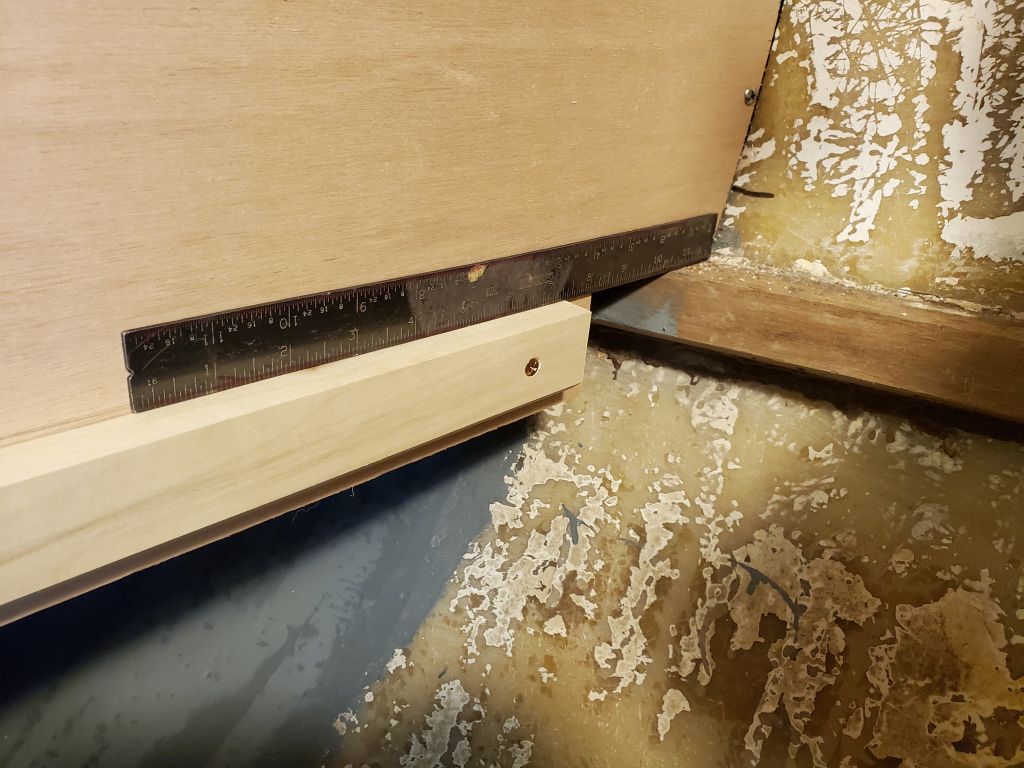
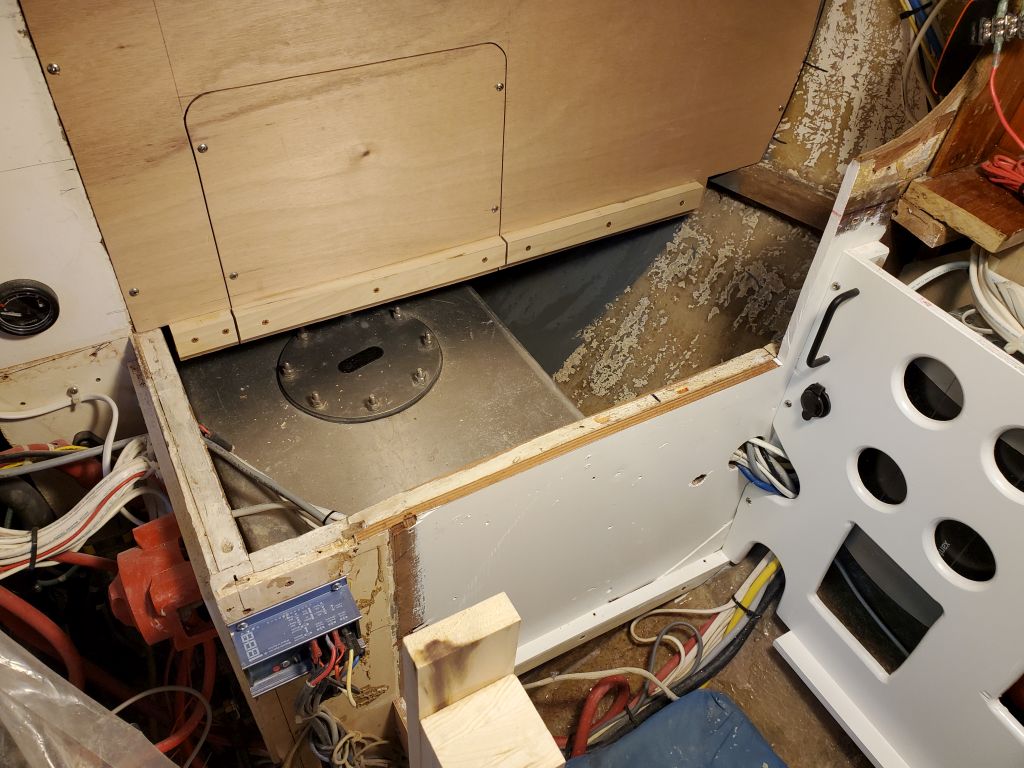
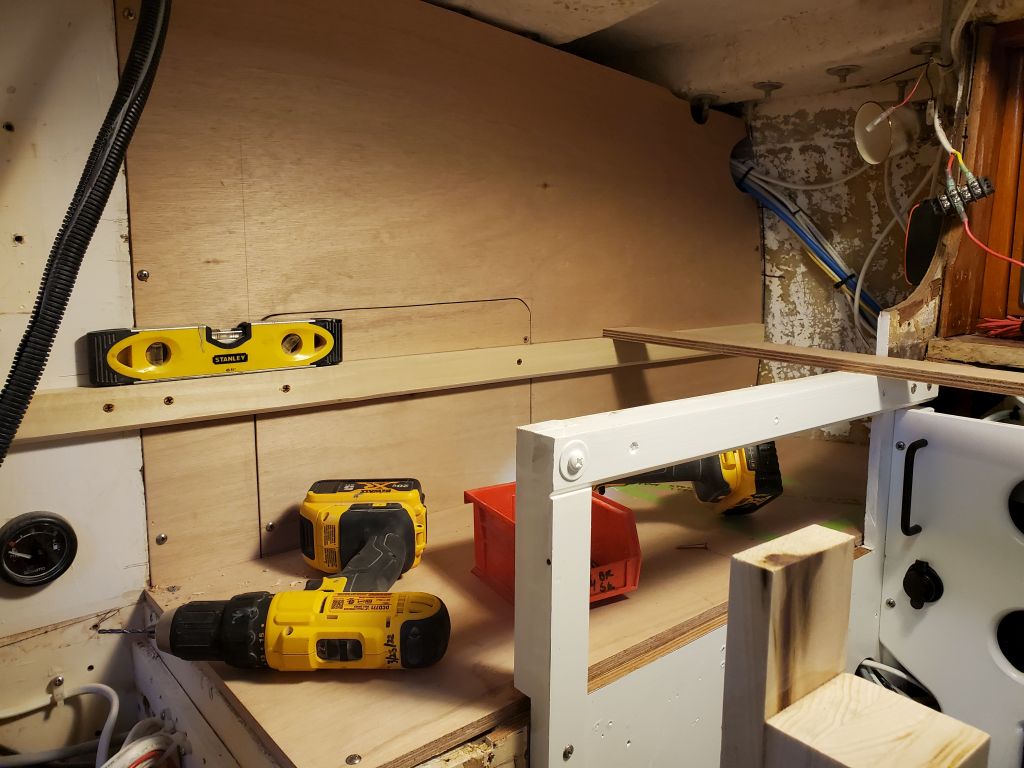
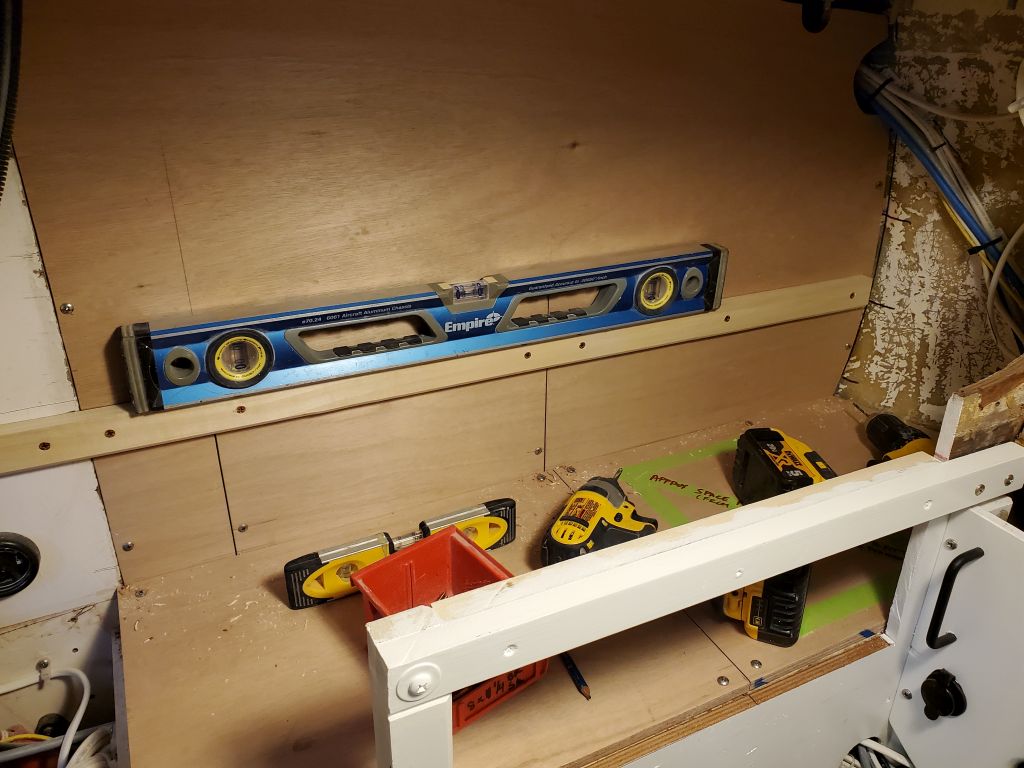
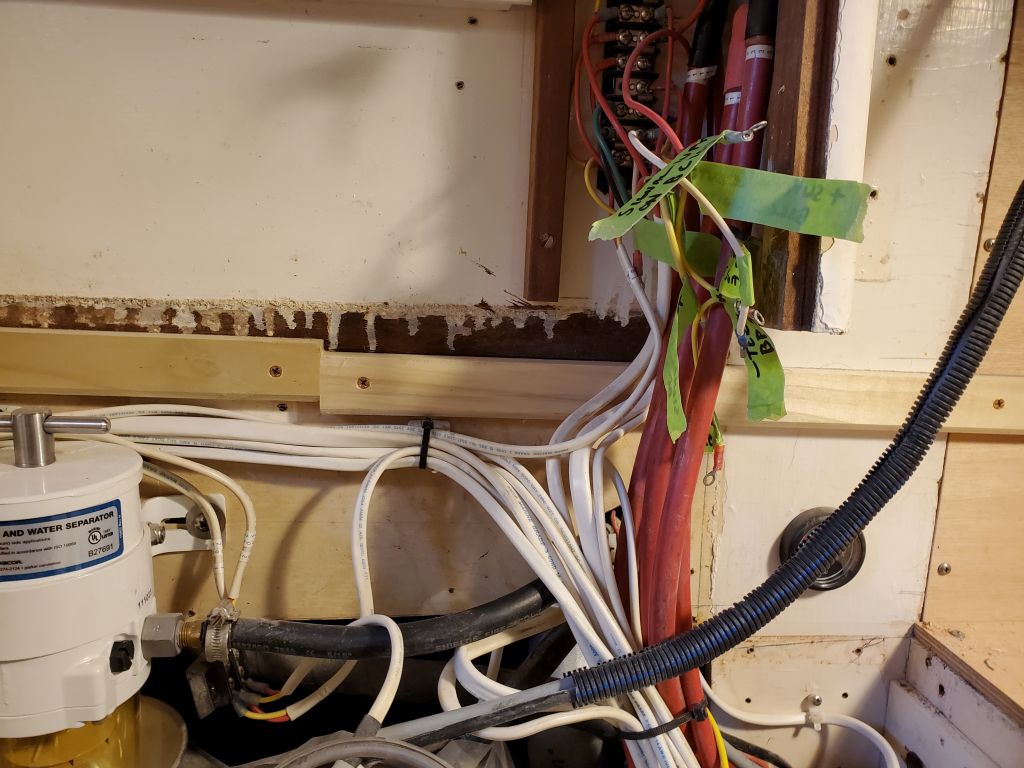
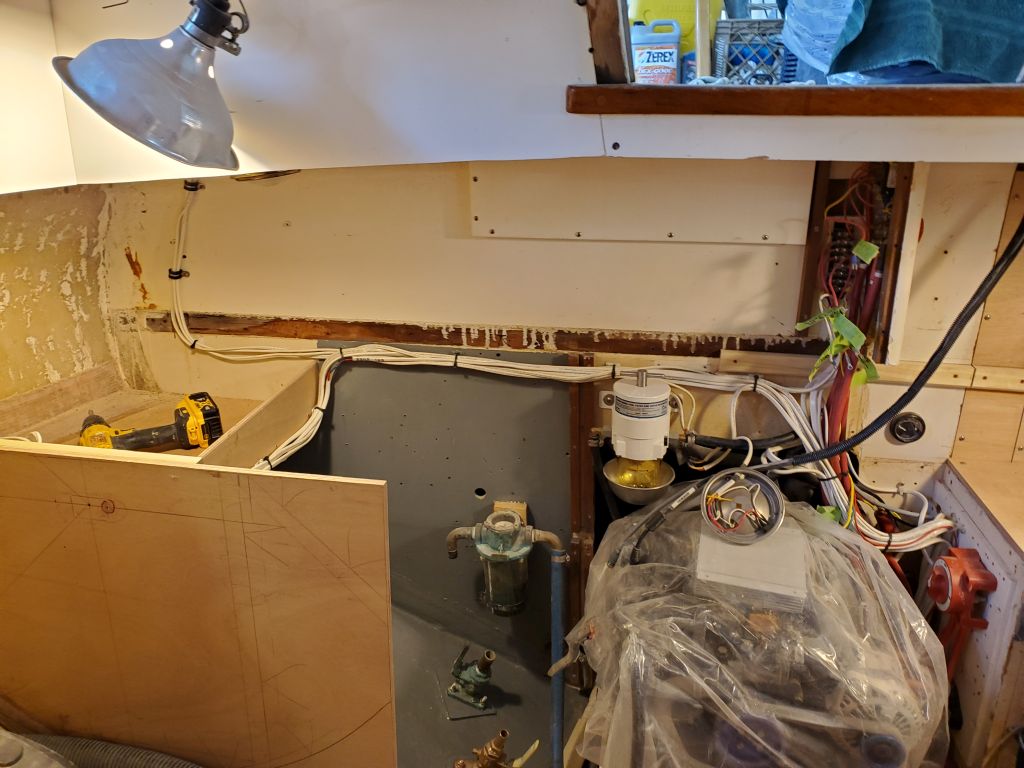
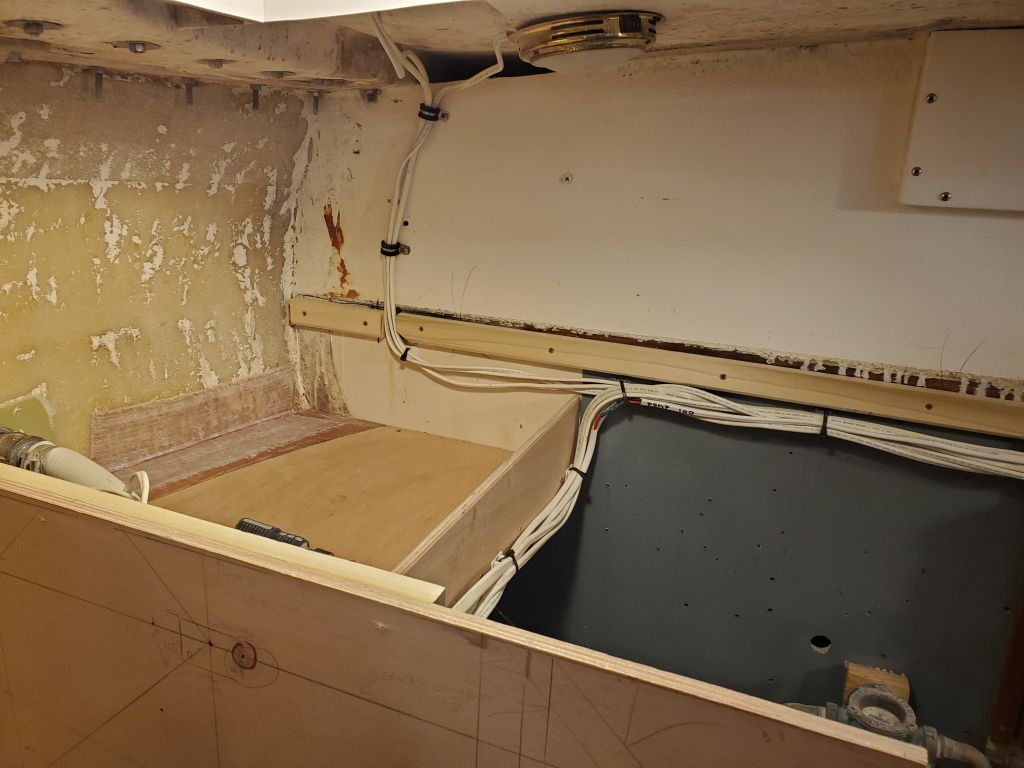
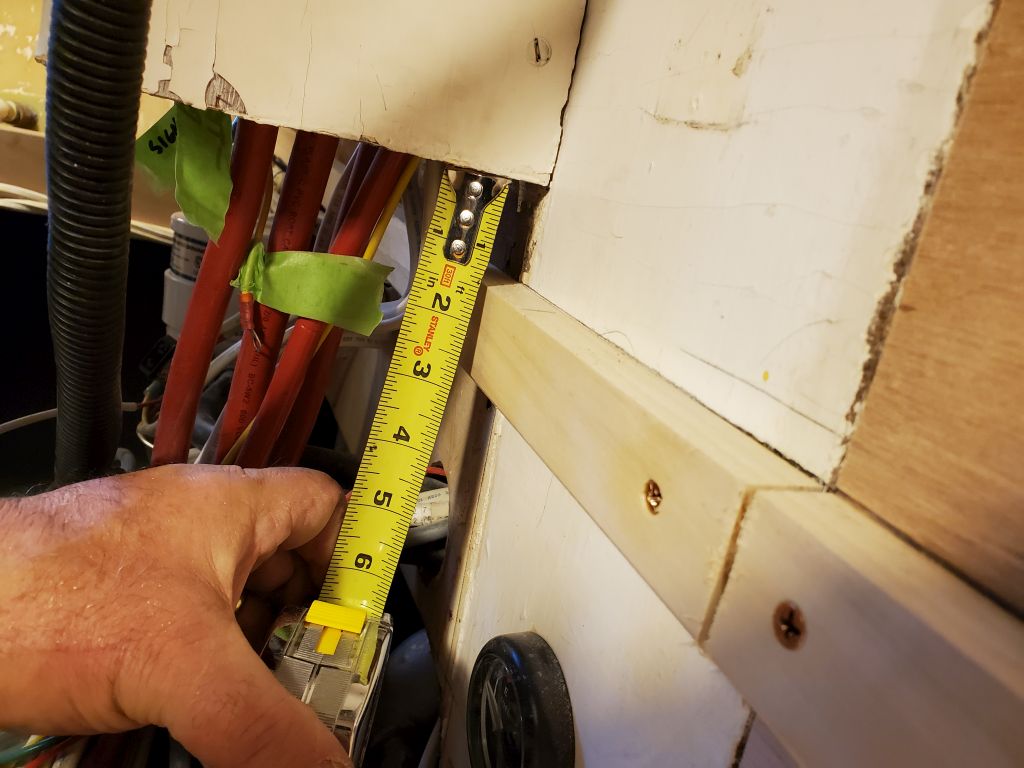
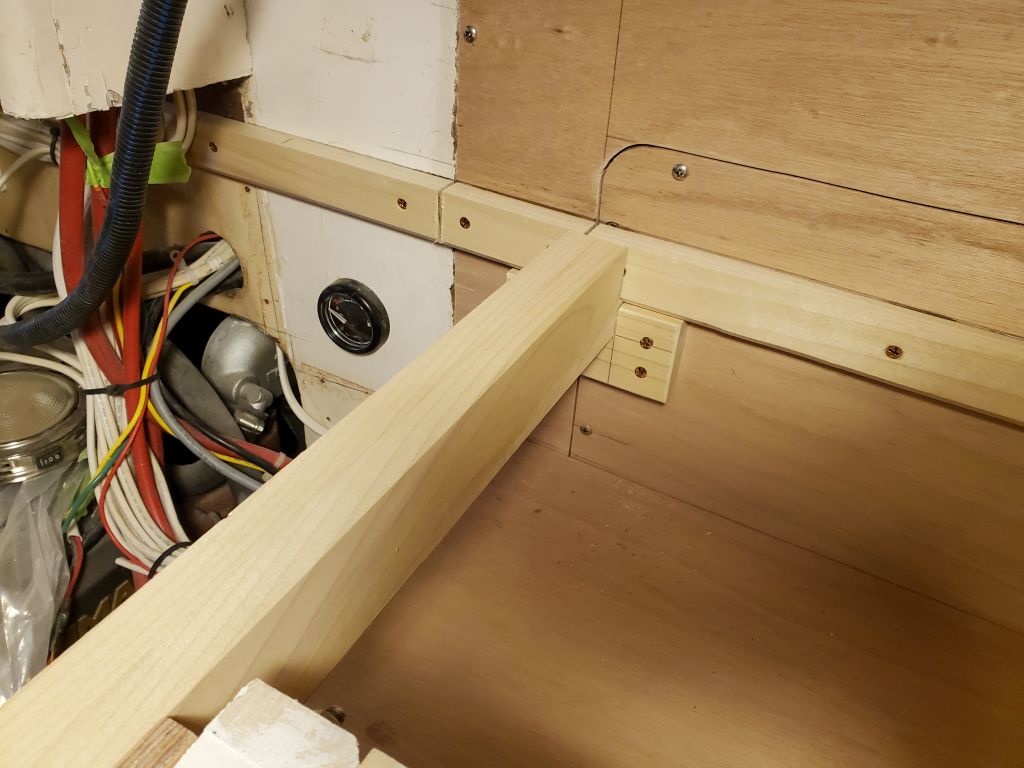
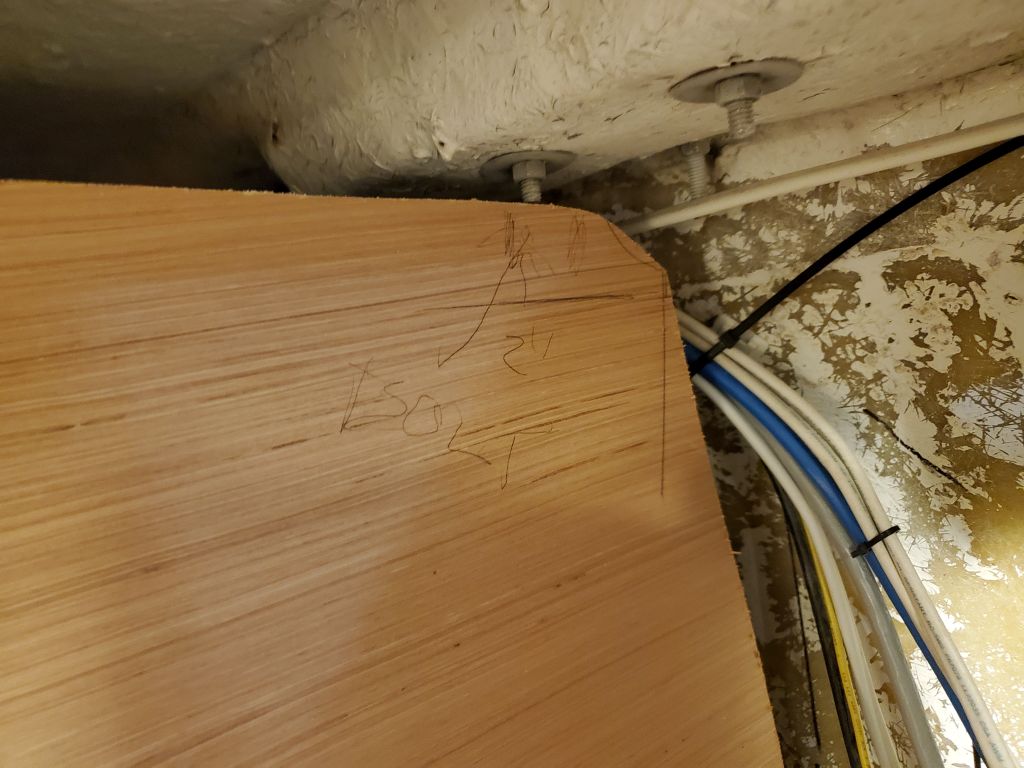
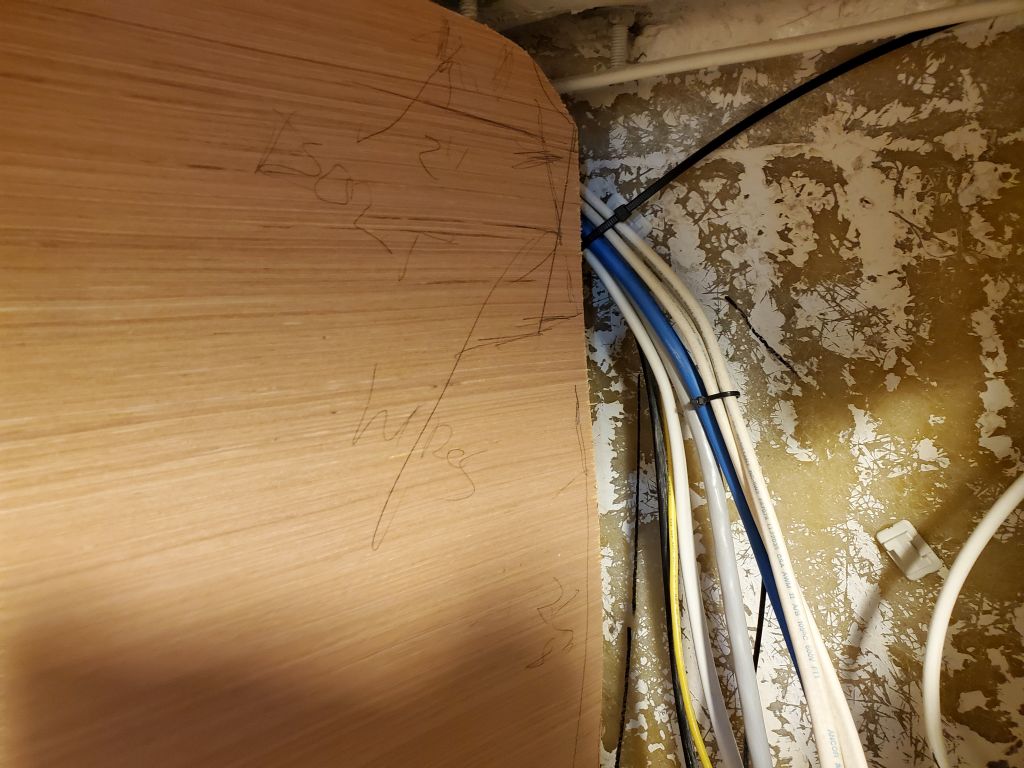
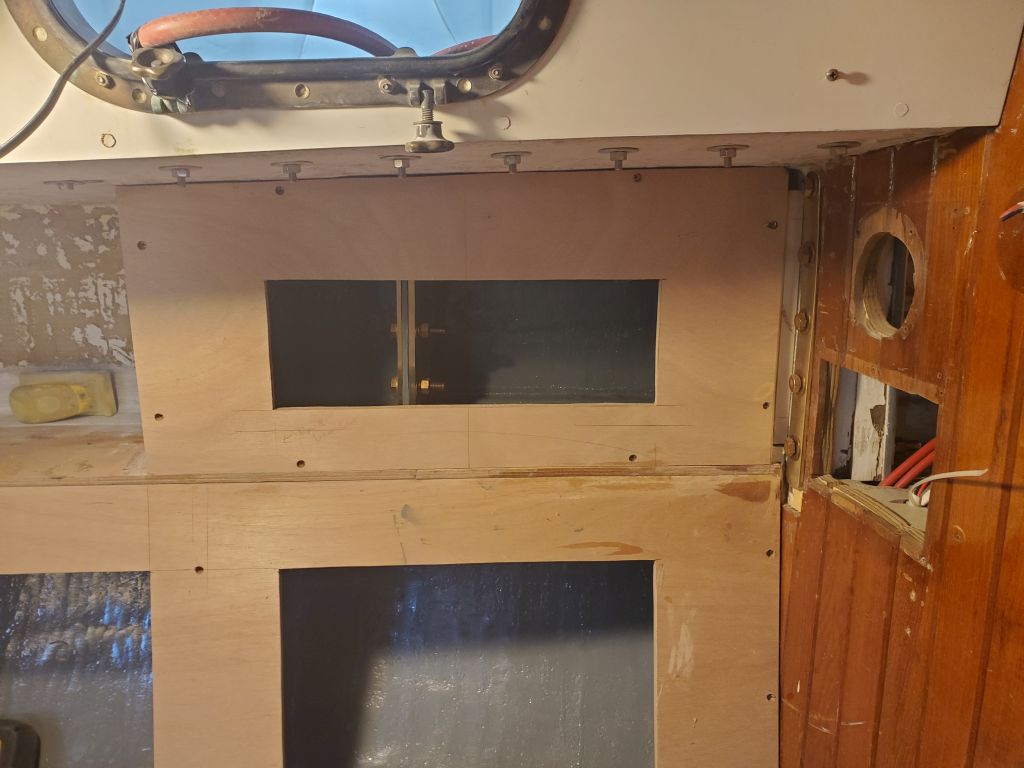
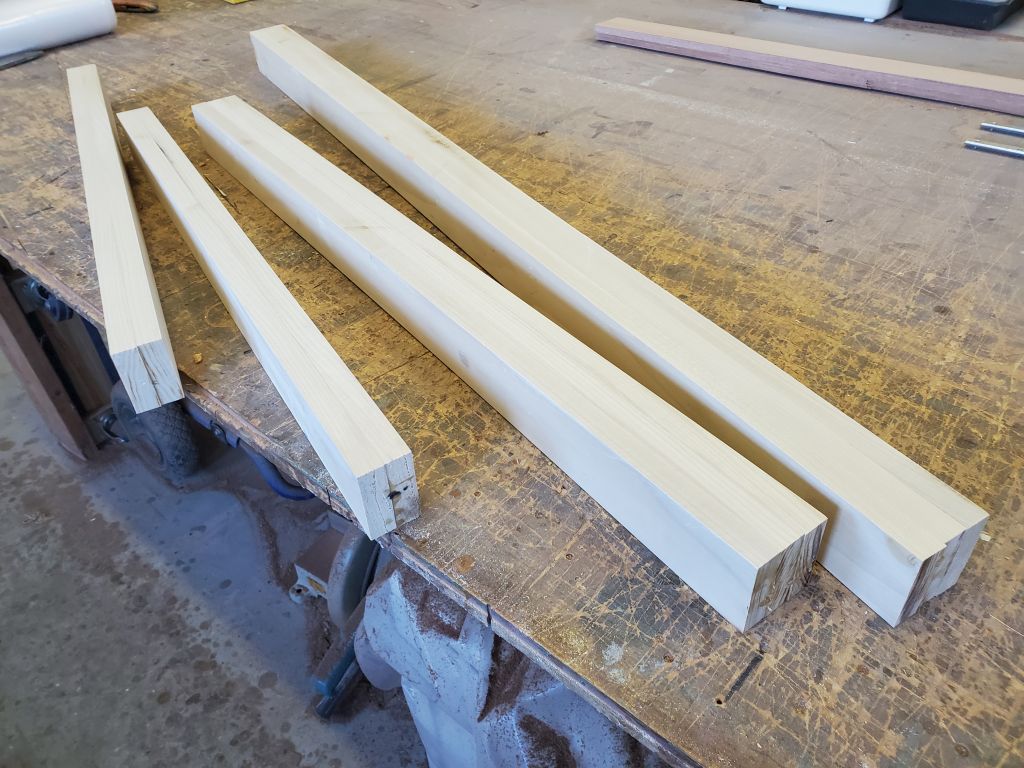
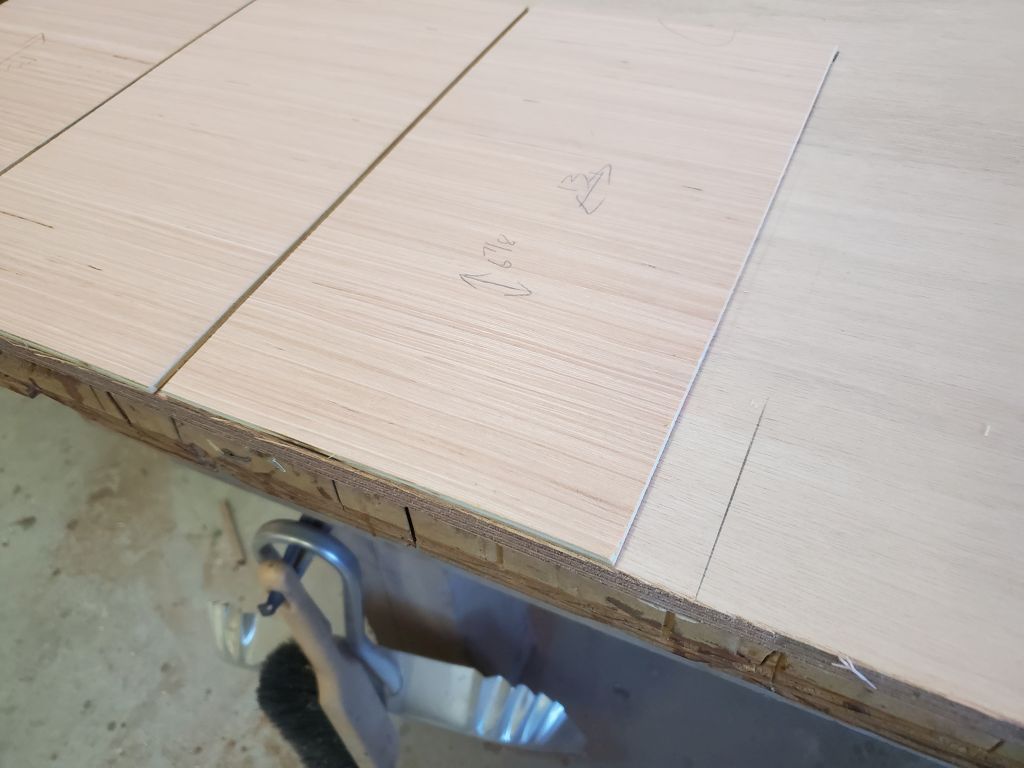
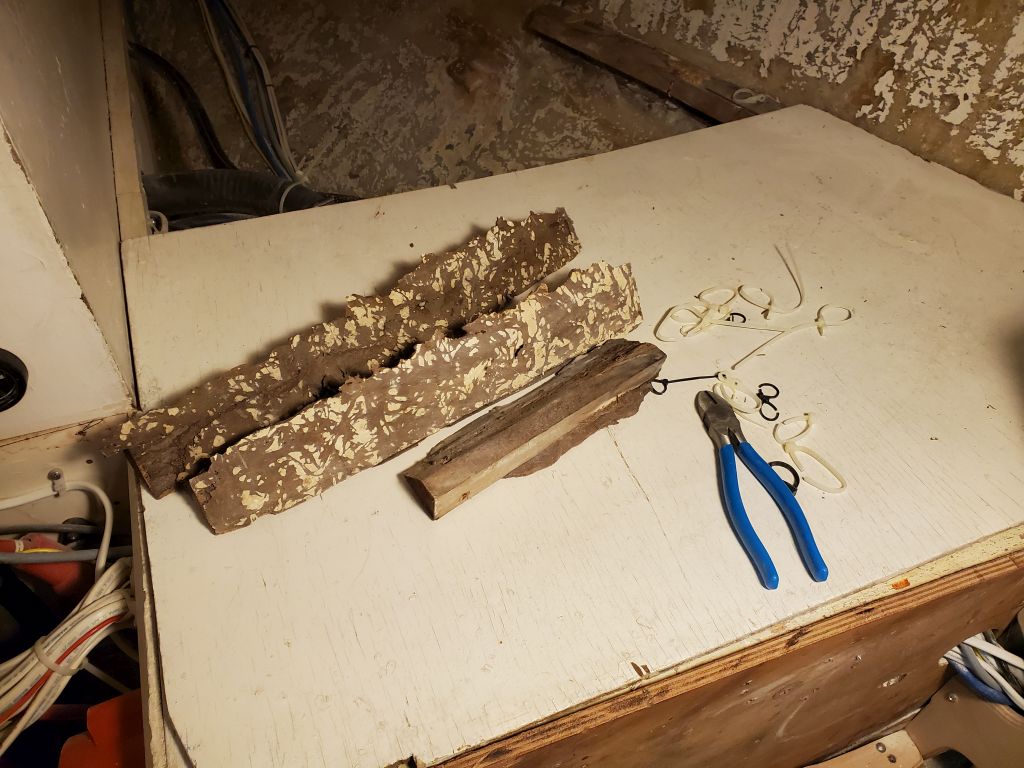
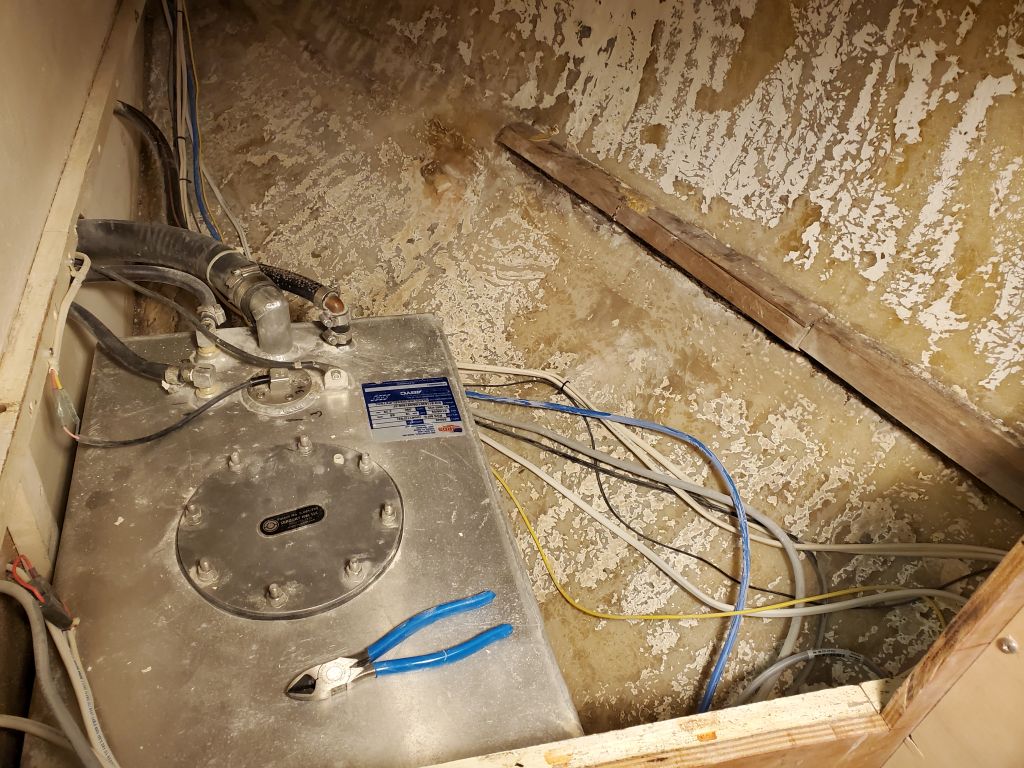
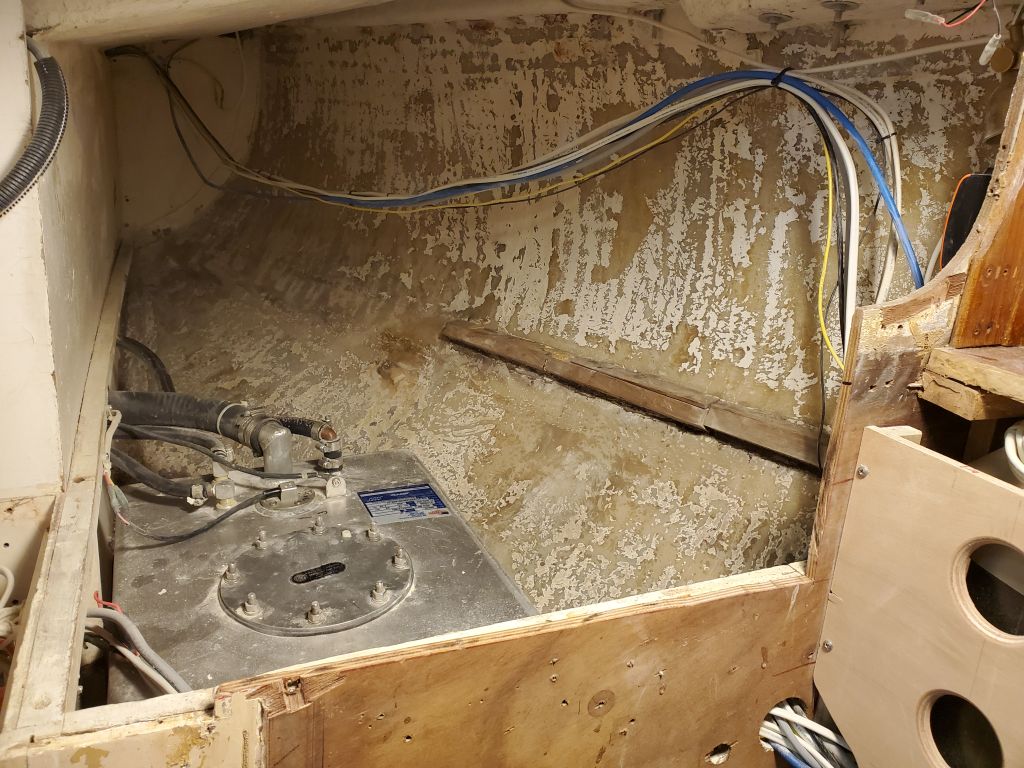
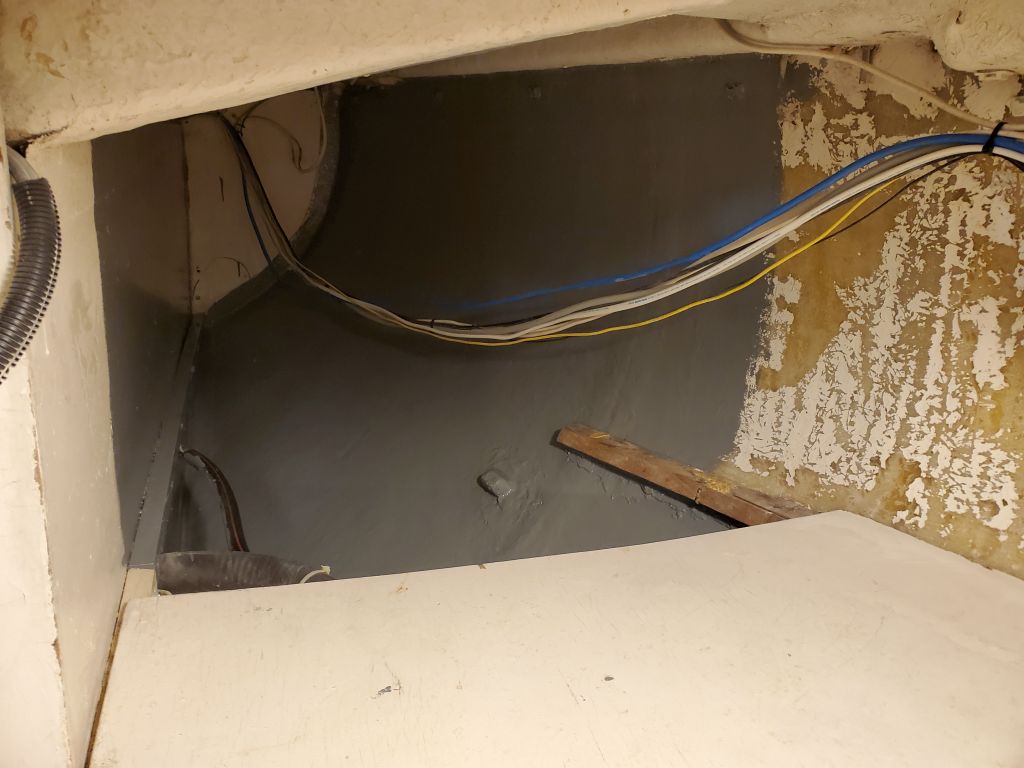
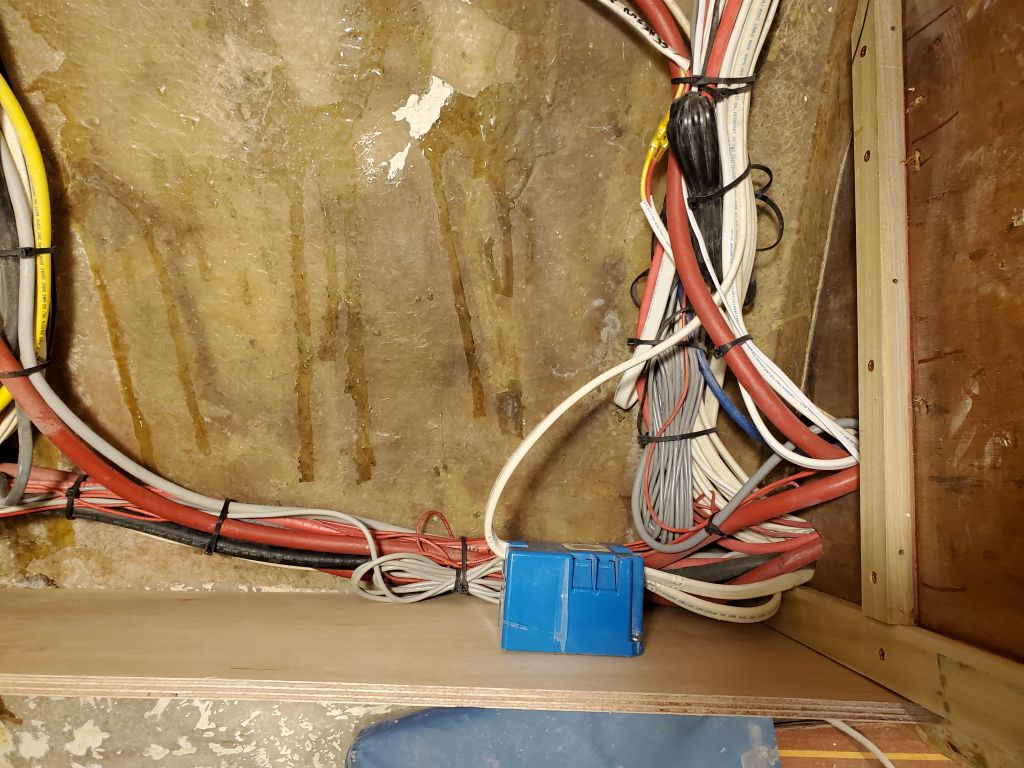
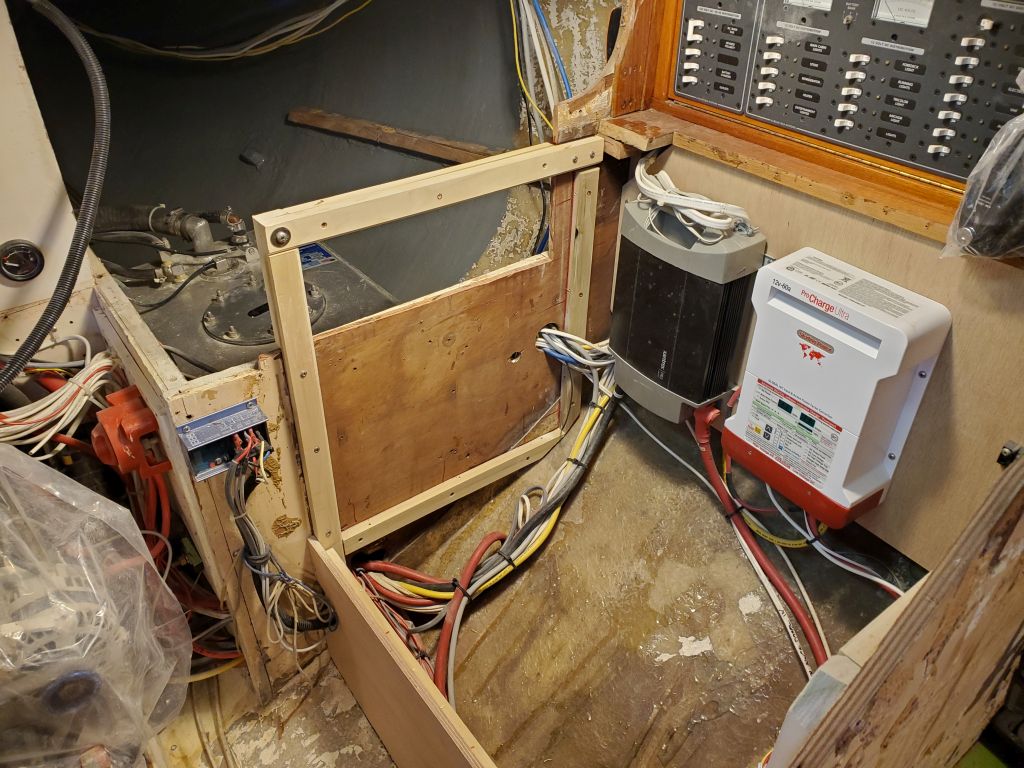
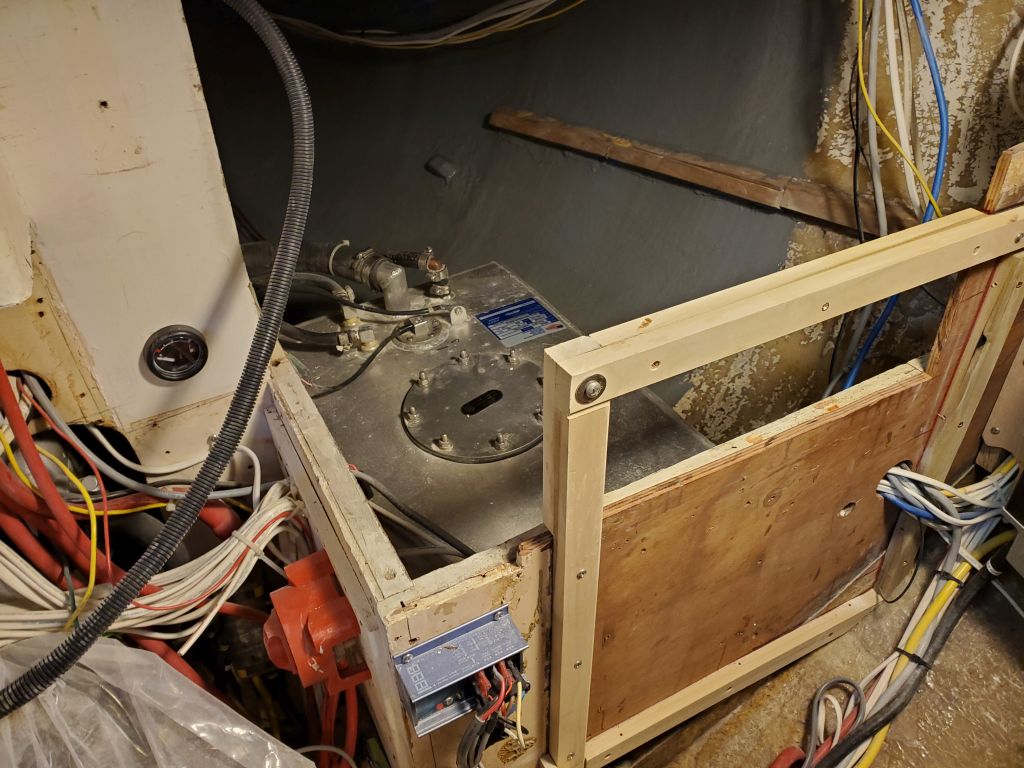
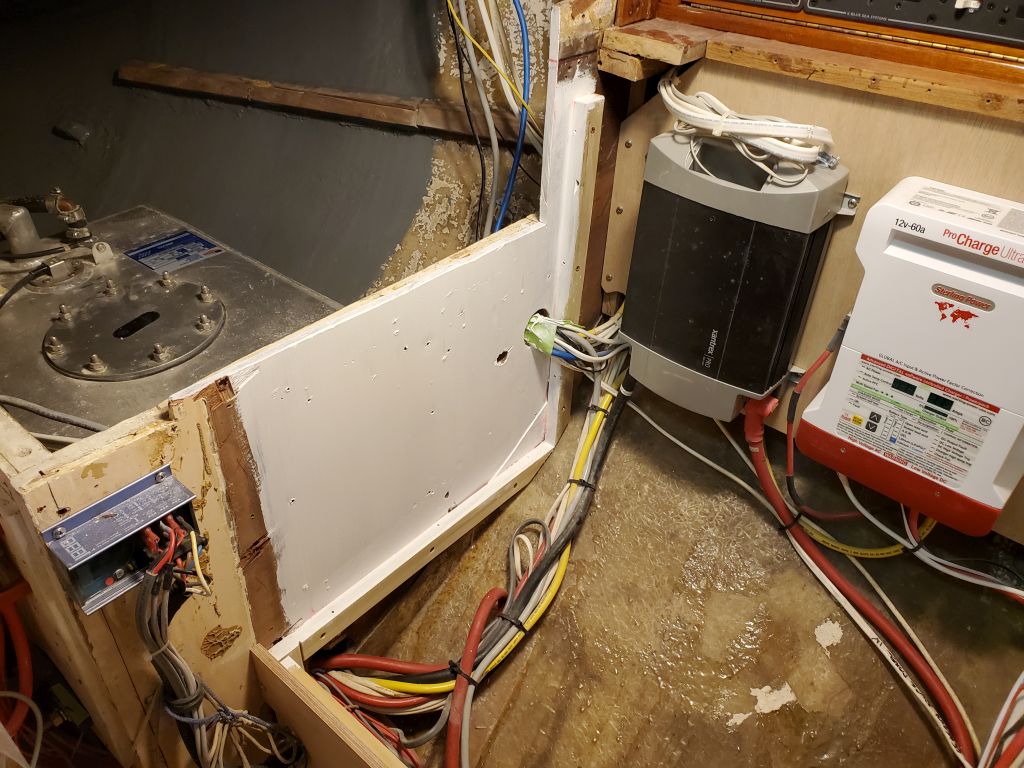
Next, I cut and installed a support cleat for the lower shelf, running across the bulkhead from the existing engine room cleat/bulkhead to the cleat located on the hull. For now, I ran the cleat in a single piece across the space, but I marked it where it passed over the seam of the access panel in the bulkhead so I could cut it later and keep the panel removable.
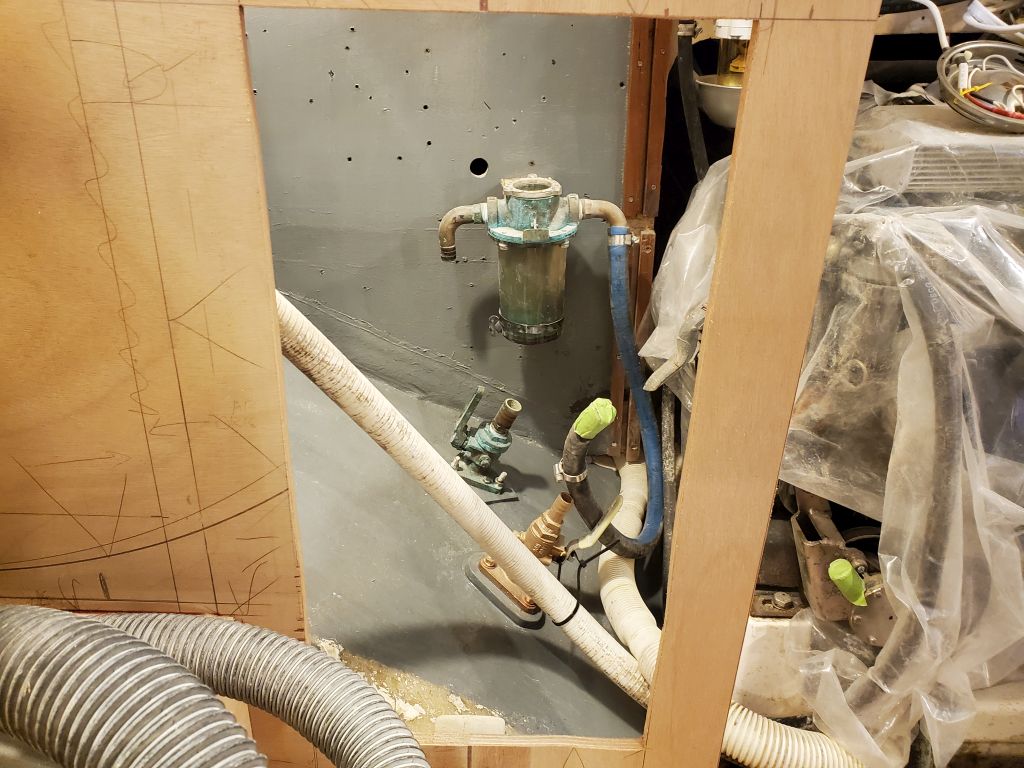
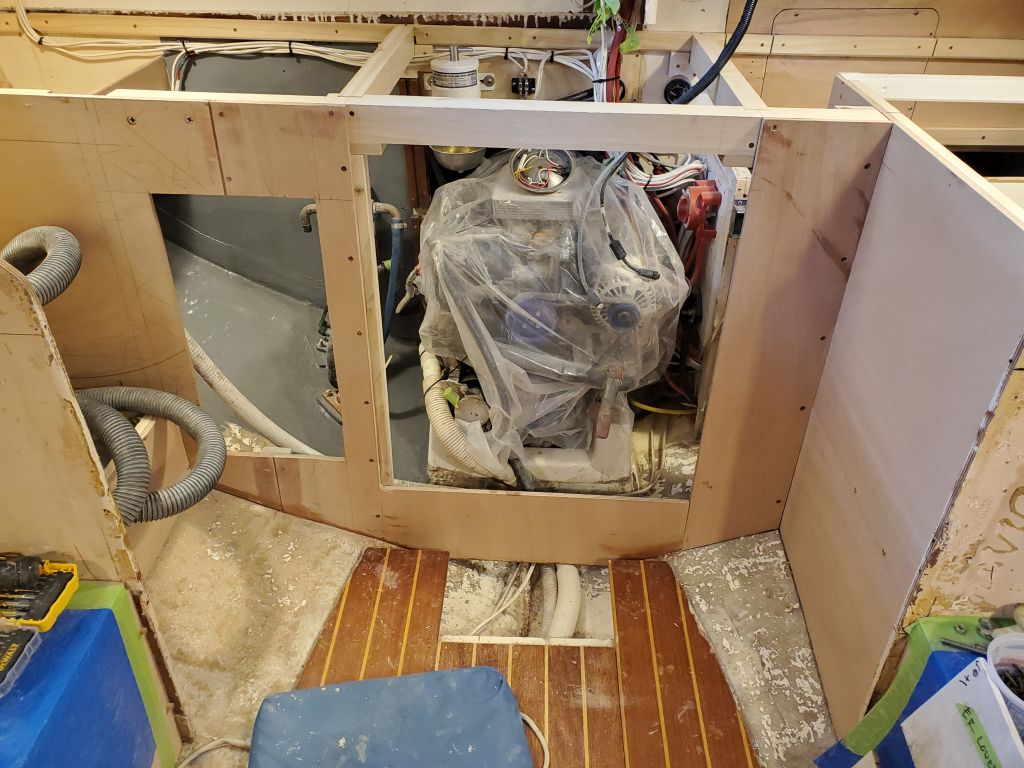
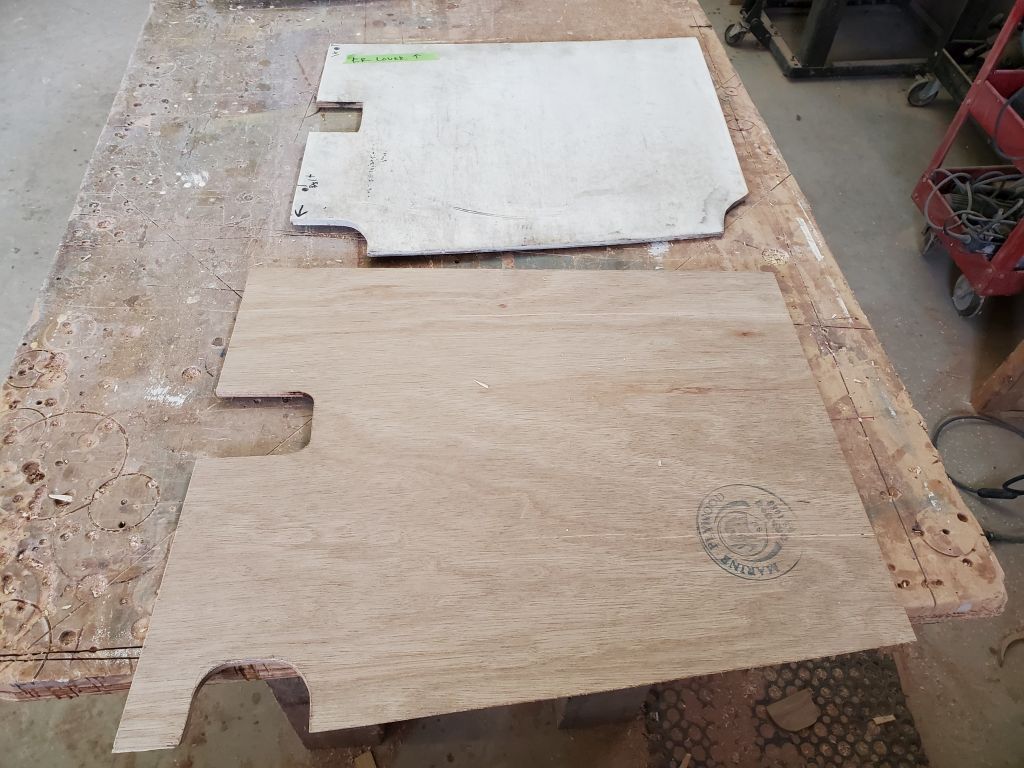
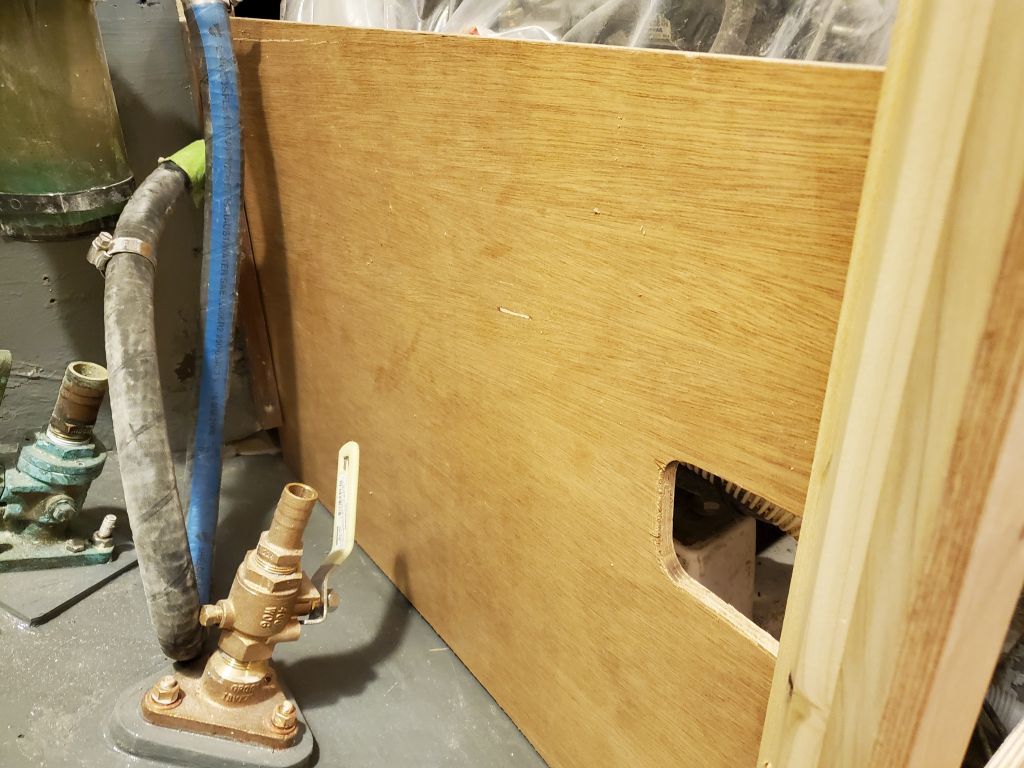
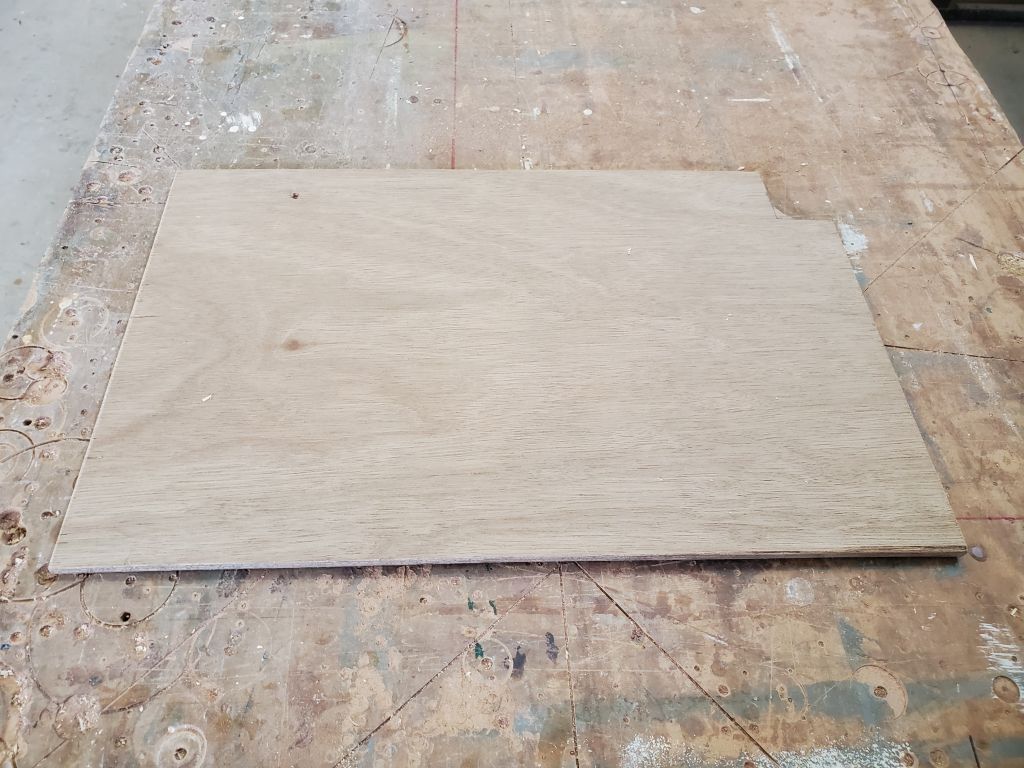
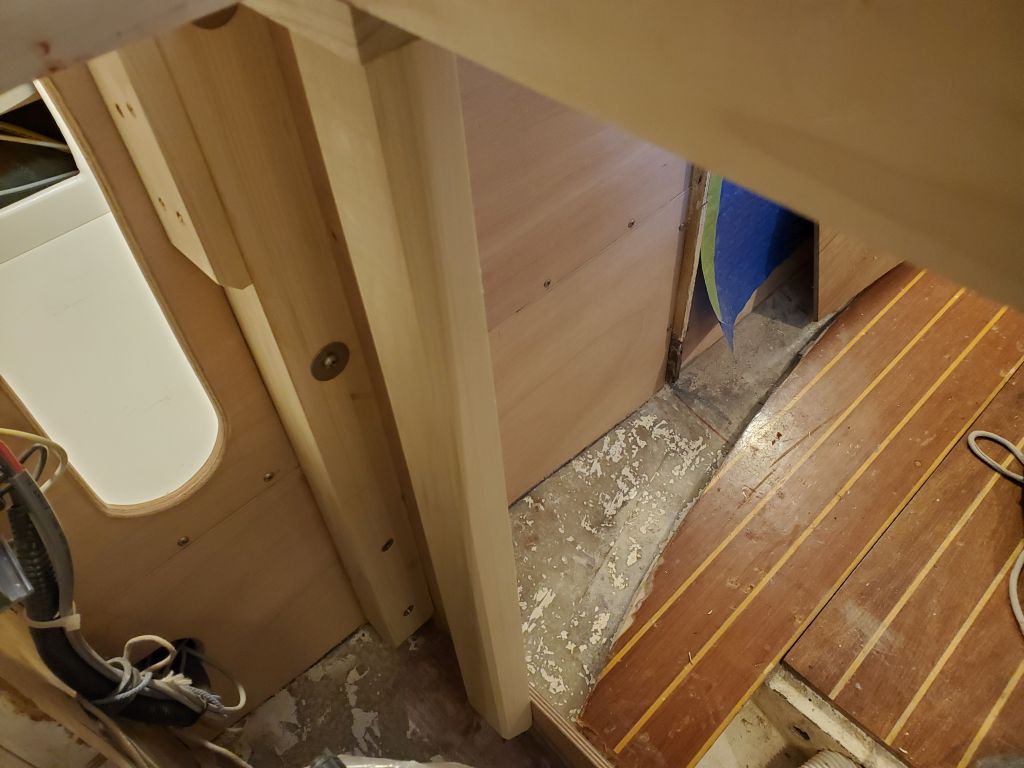
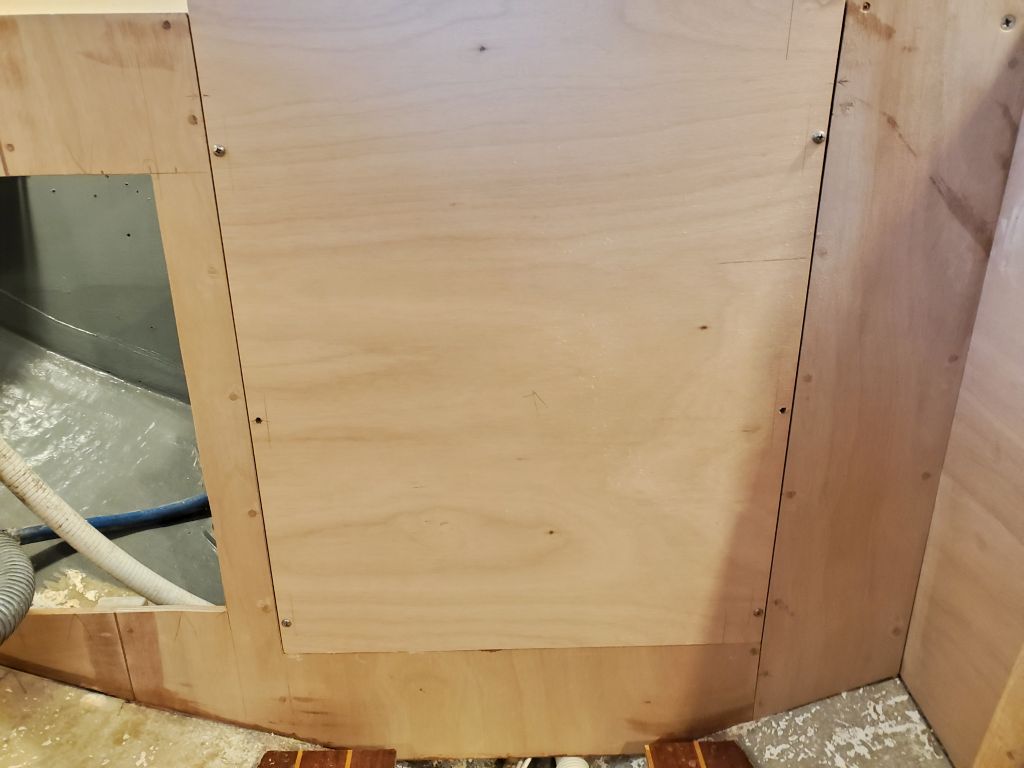
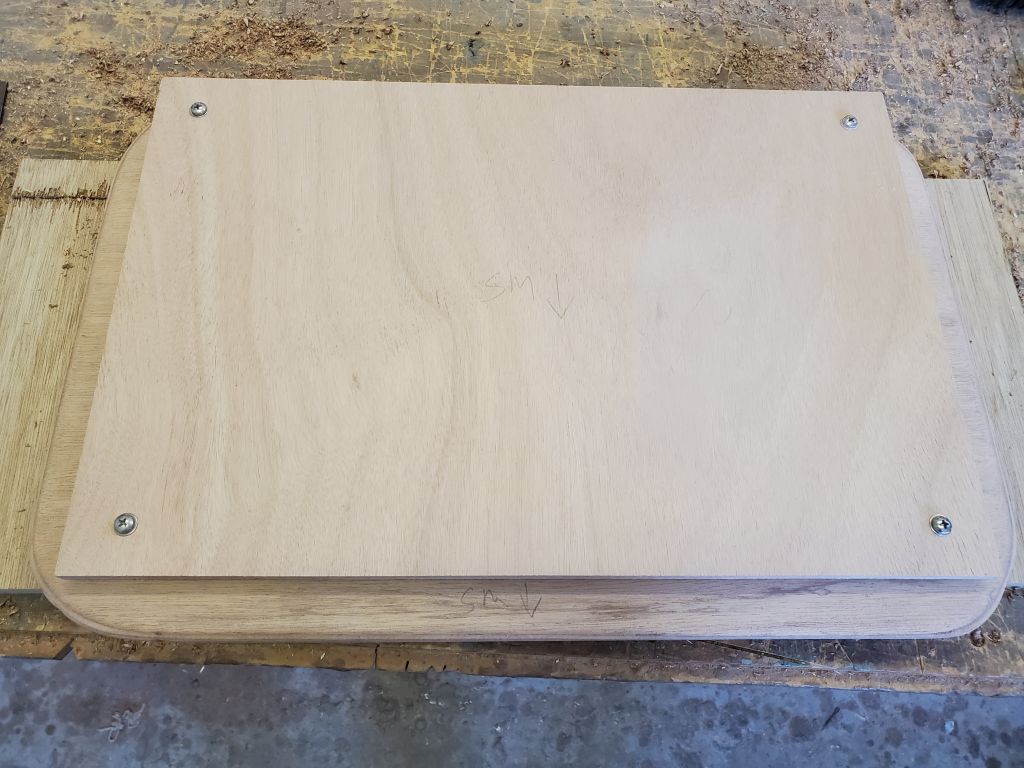
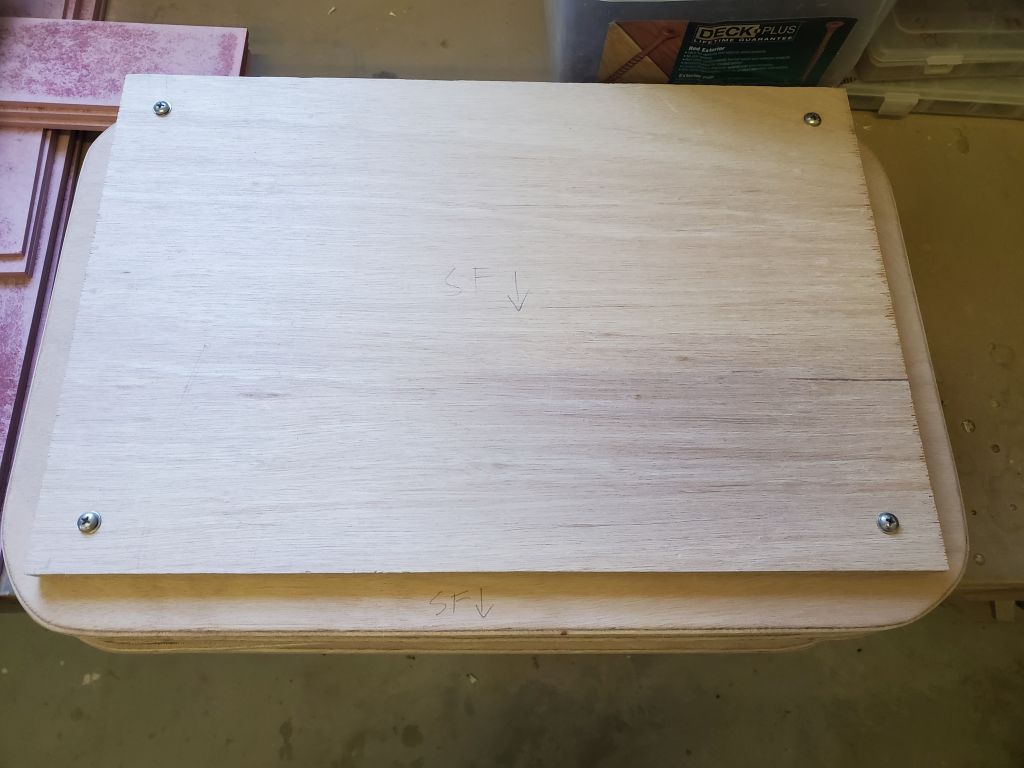
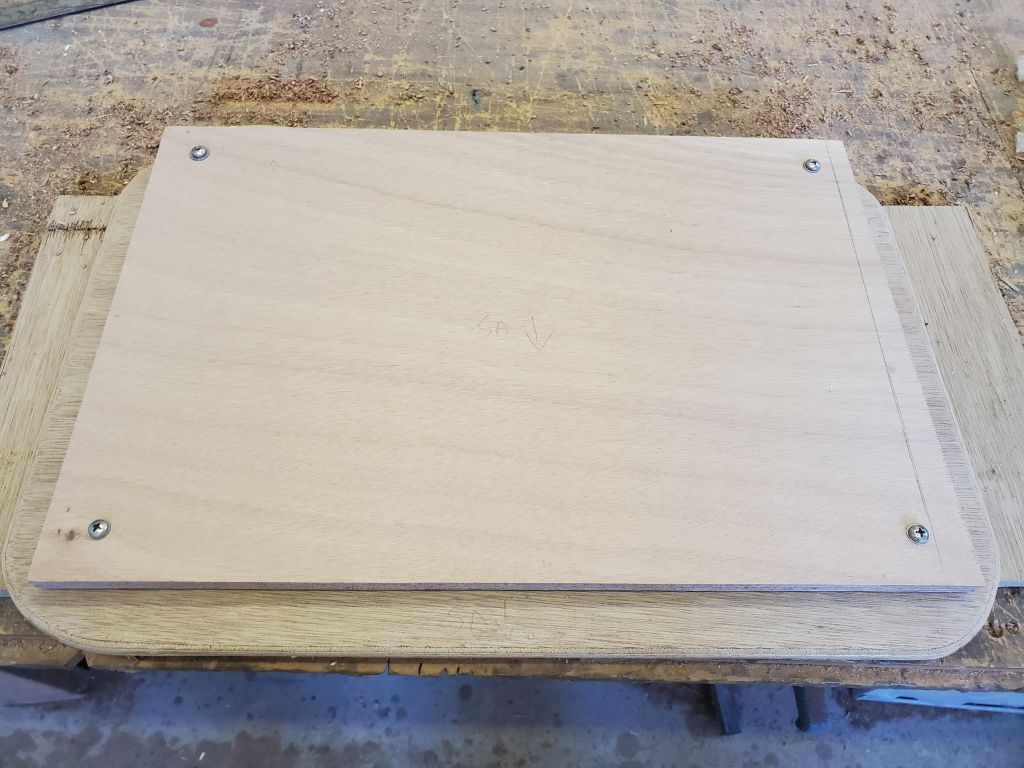
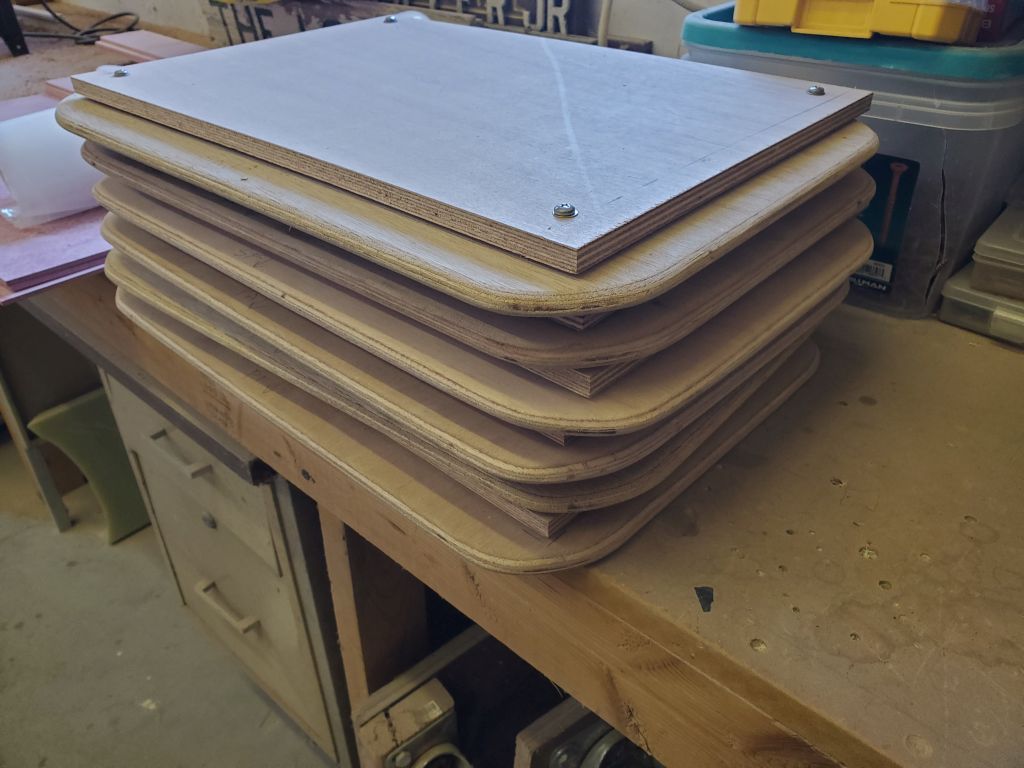
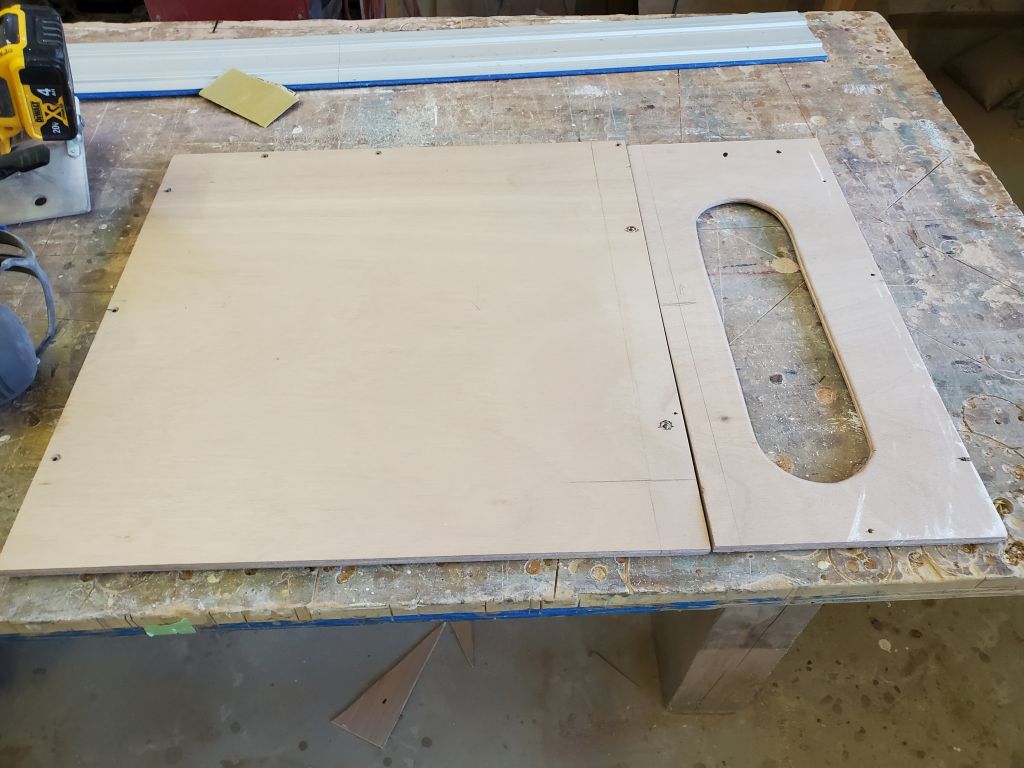
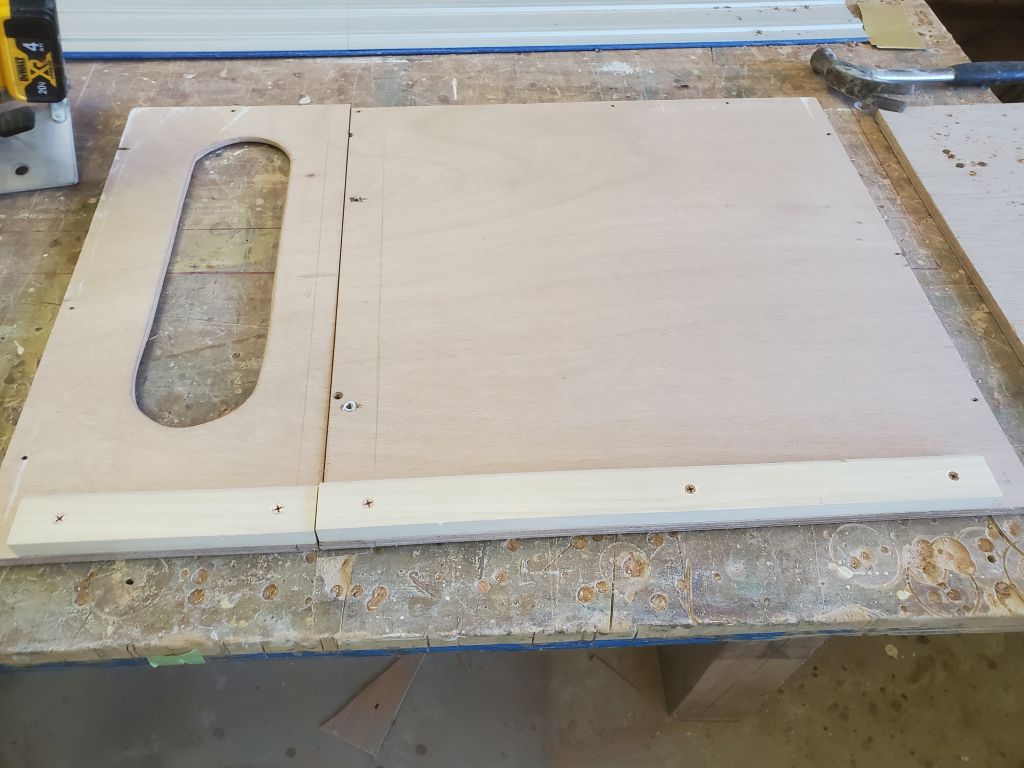
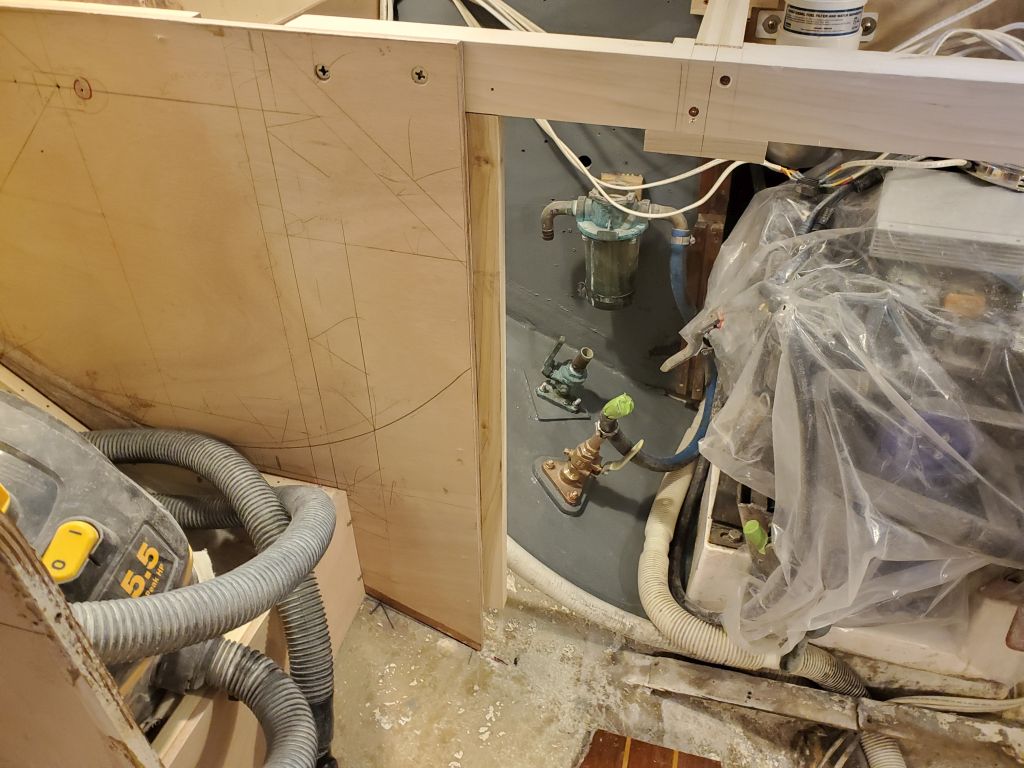
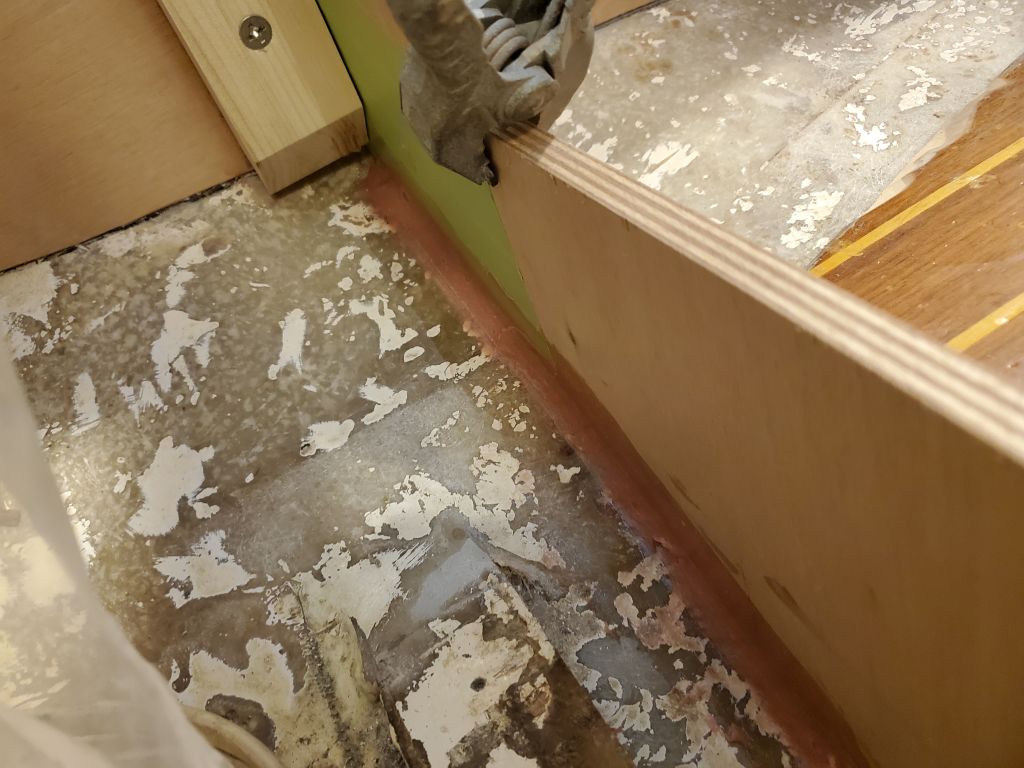
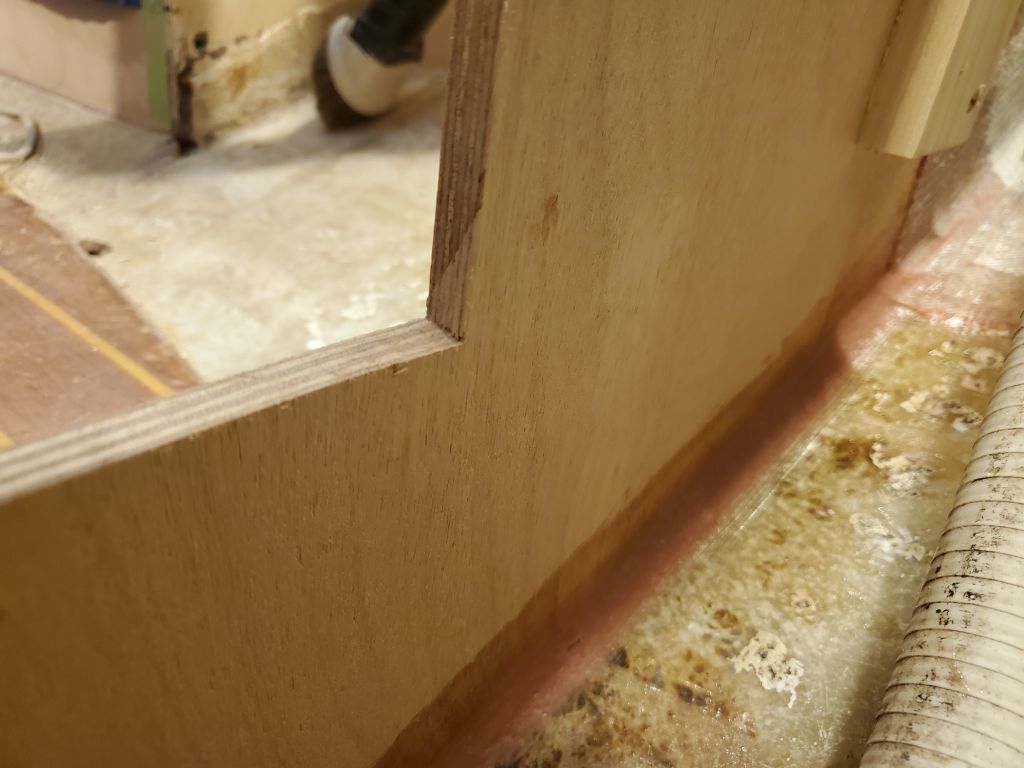
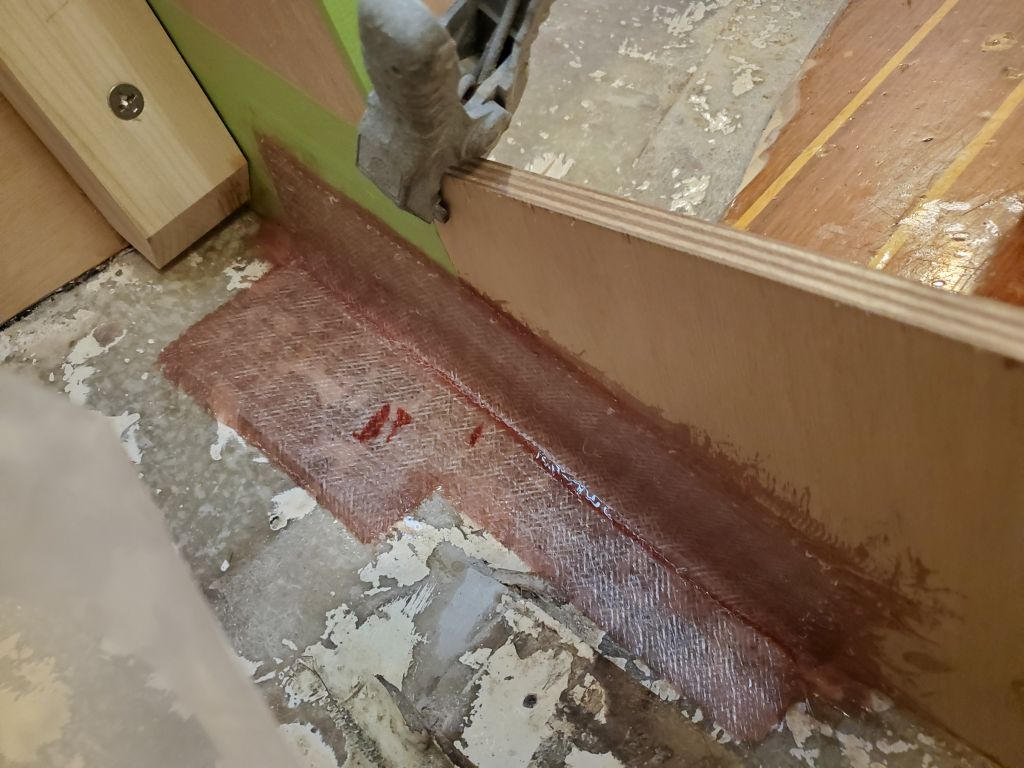
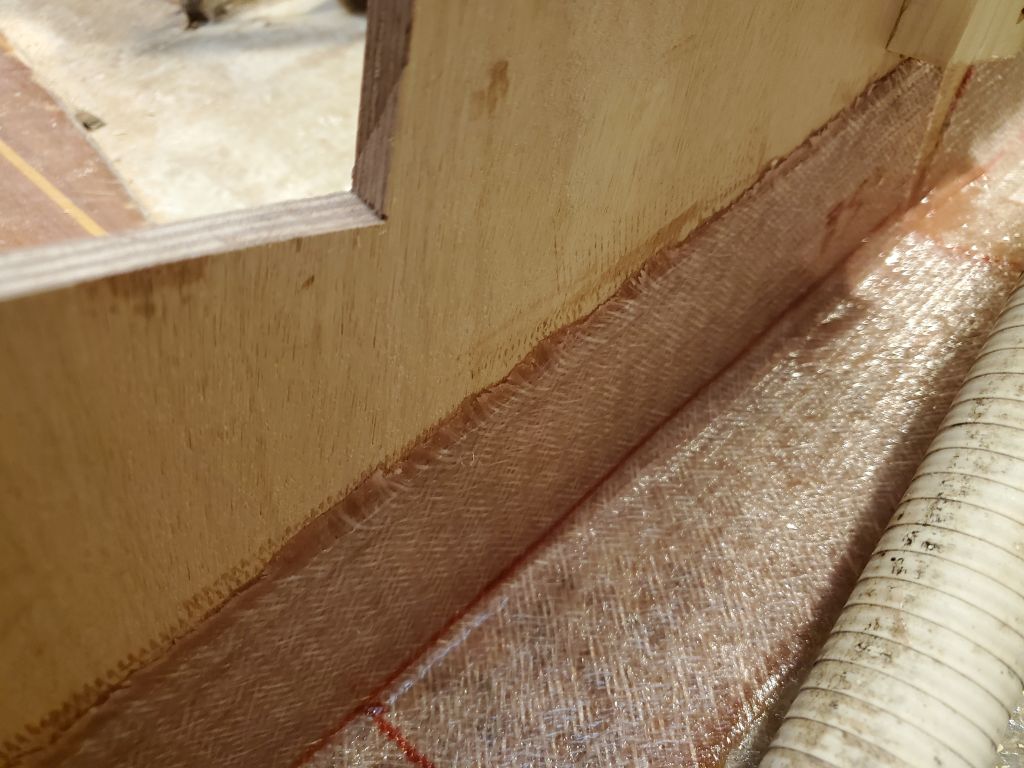
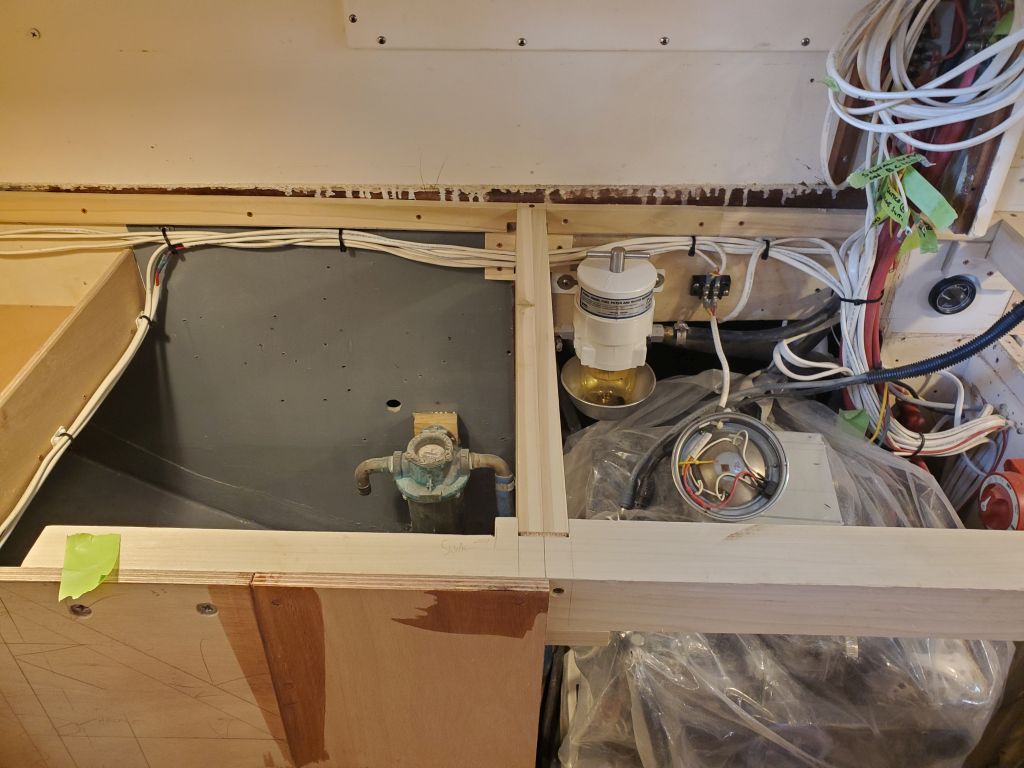
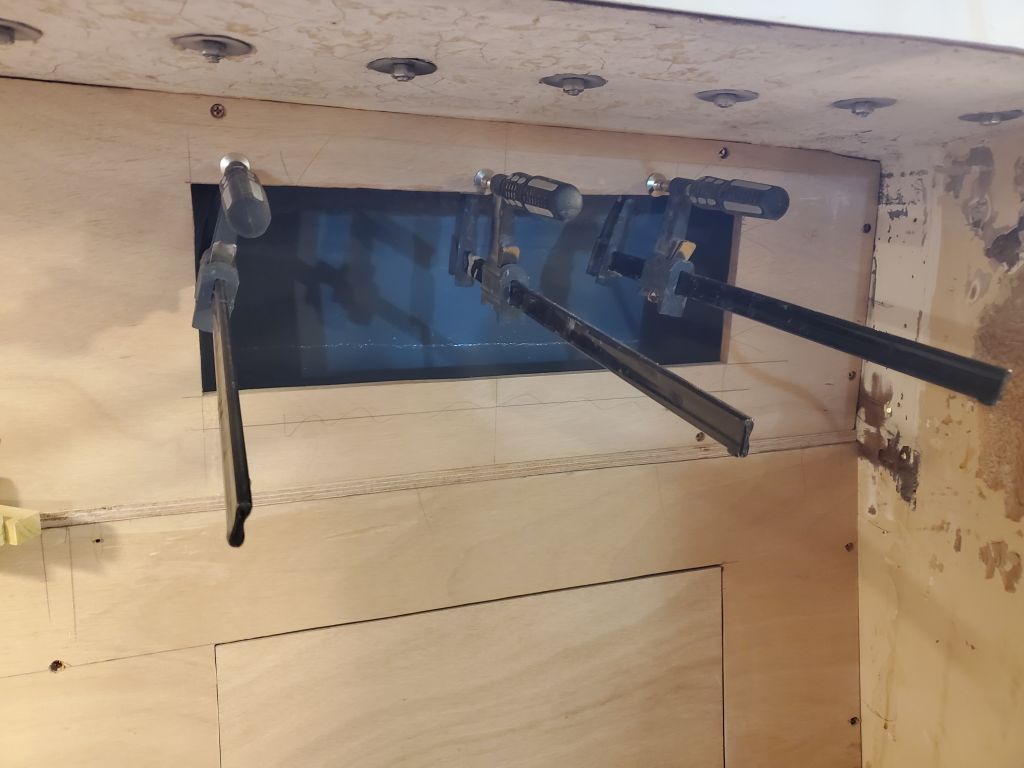
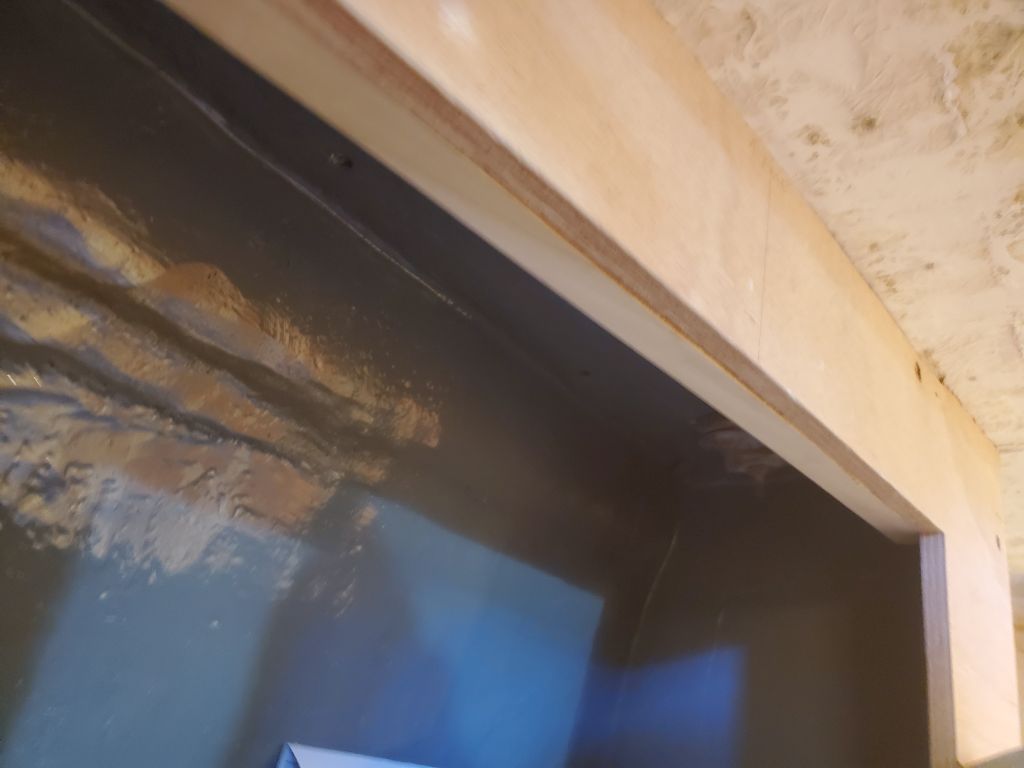
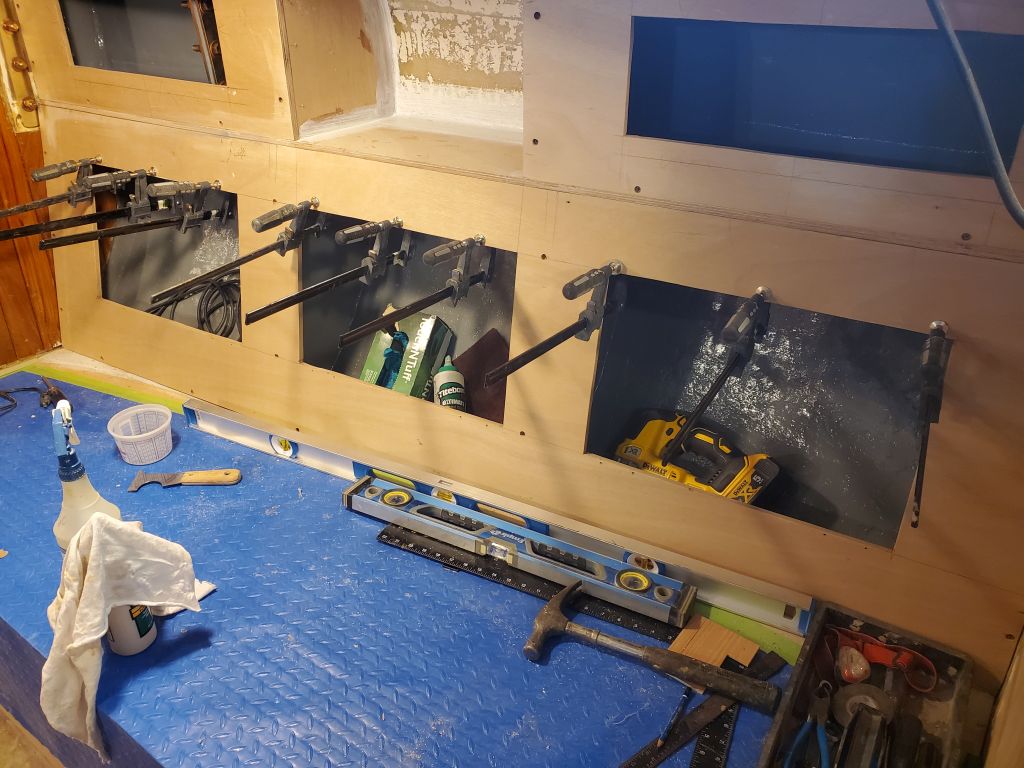
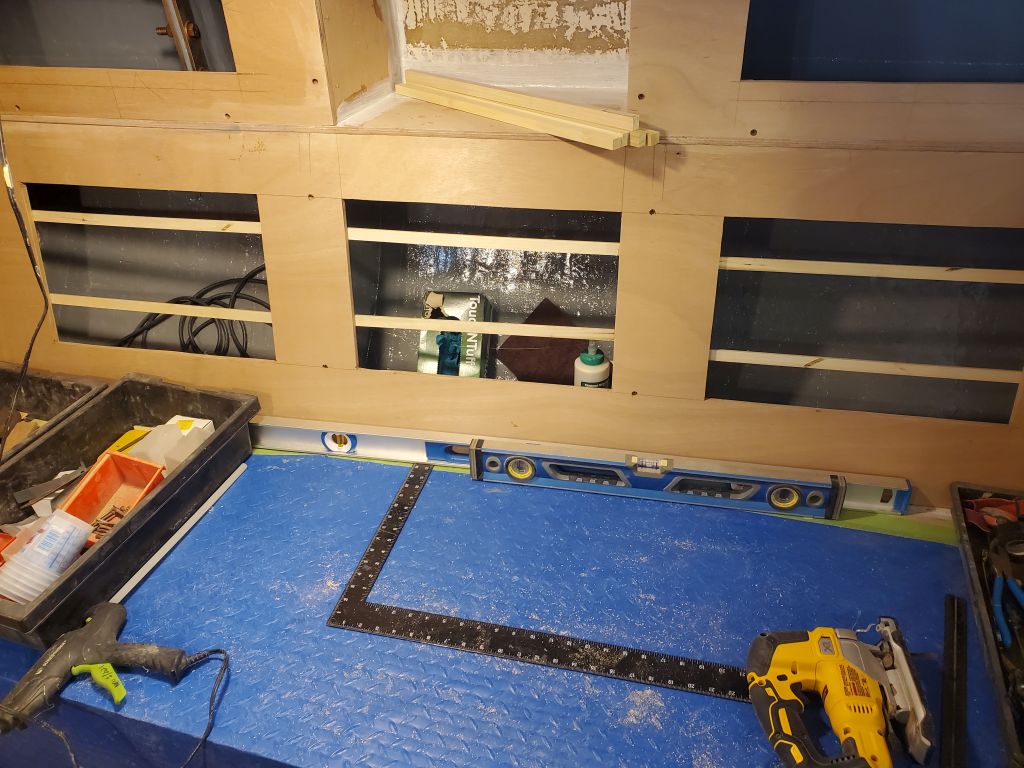
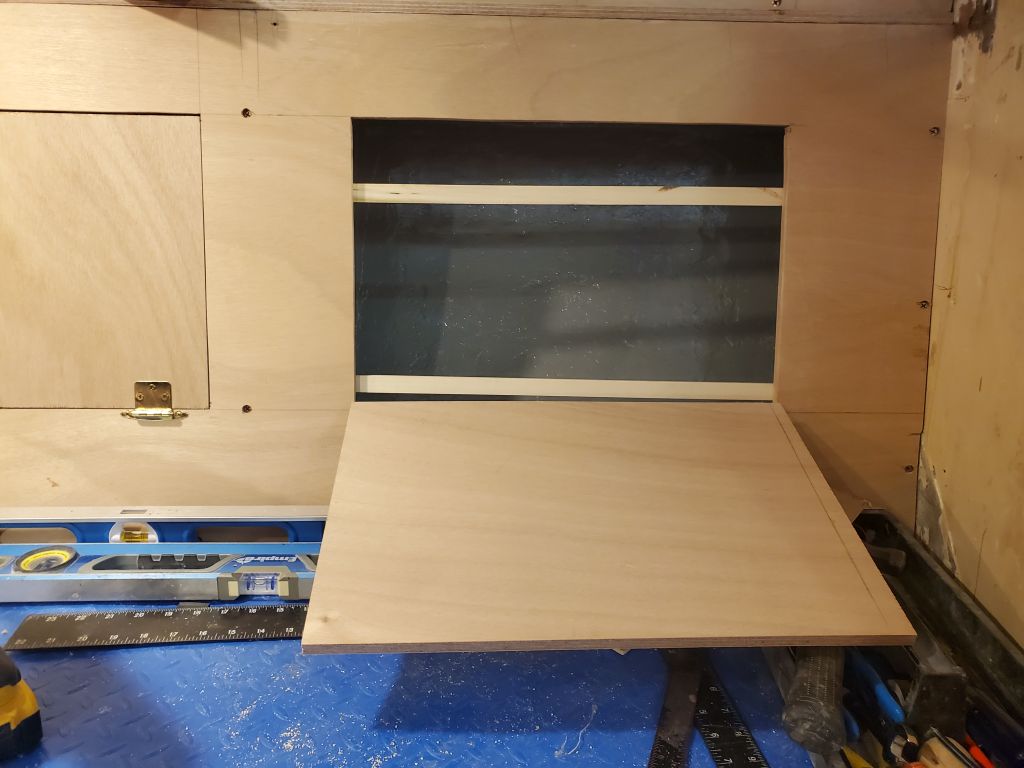
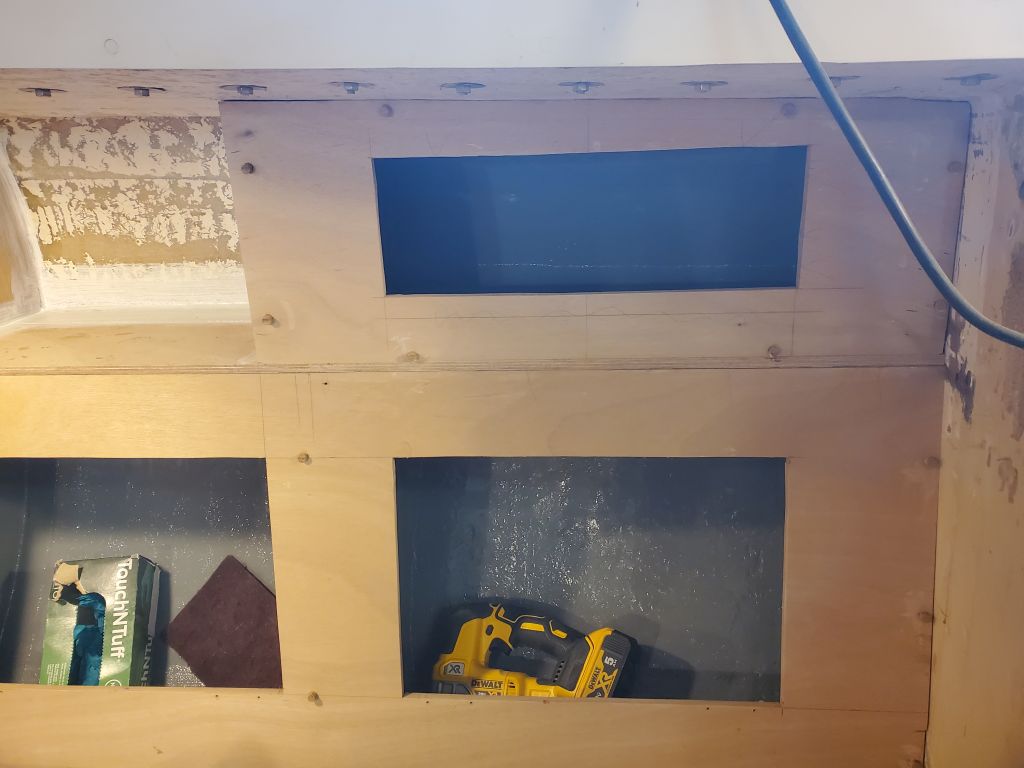
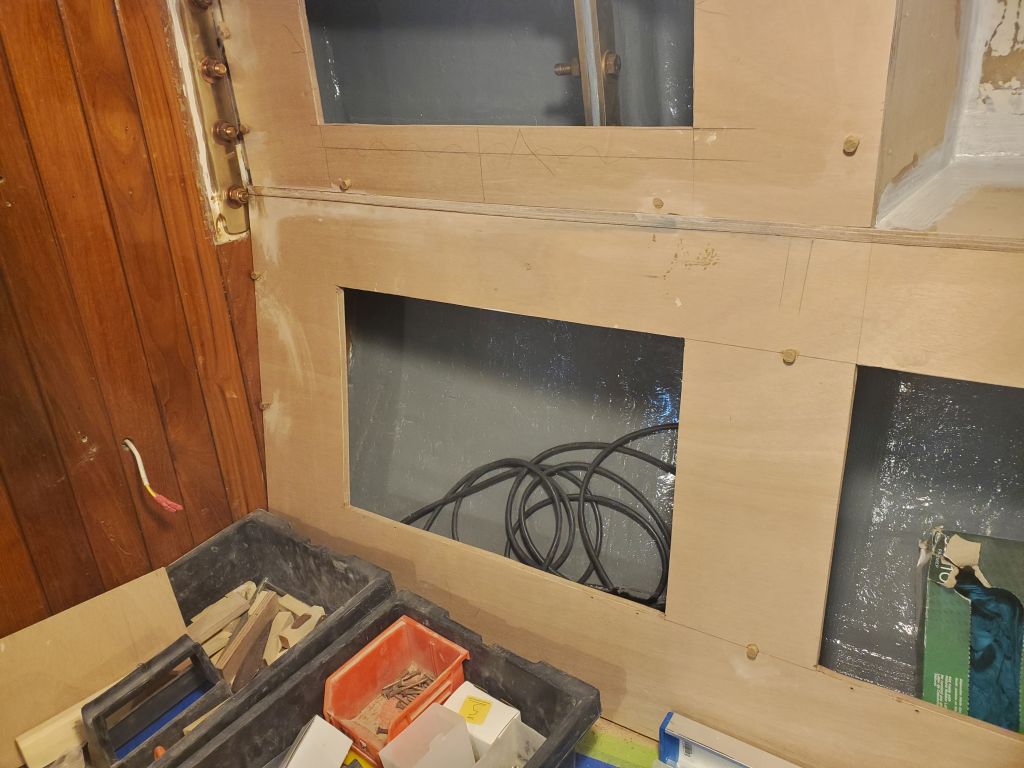
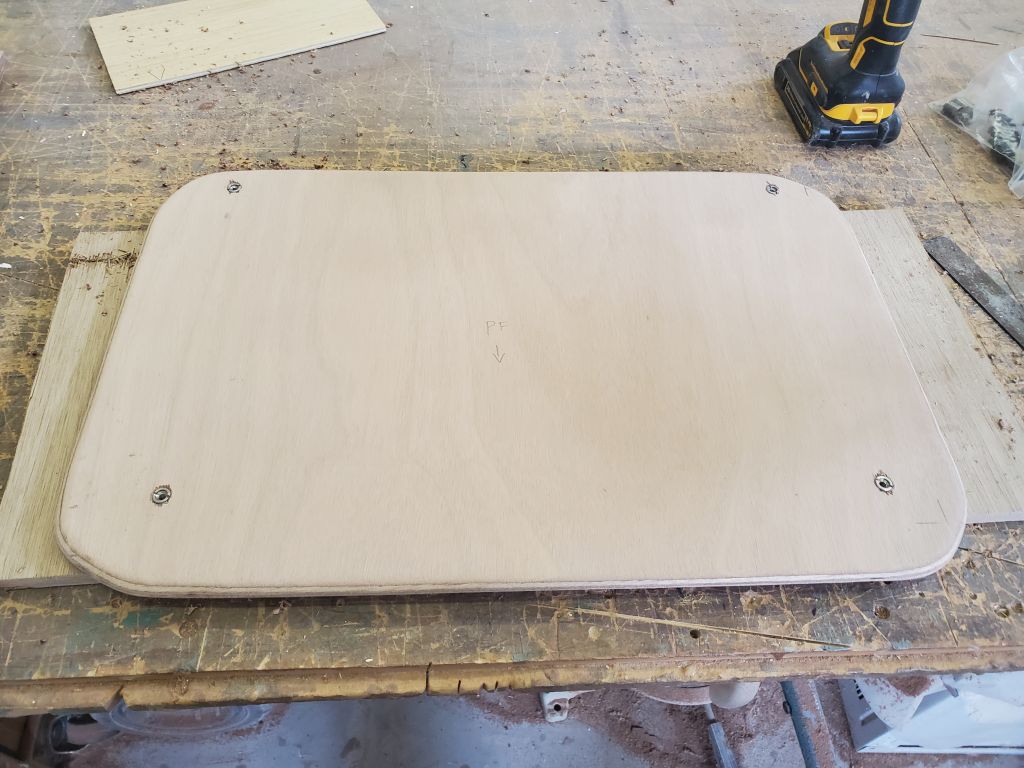
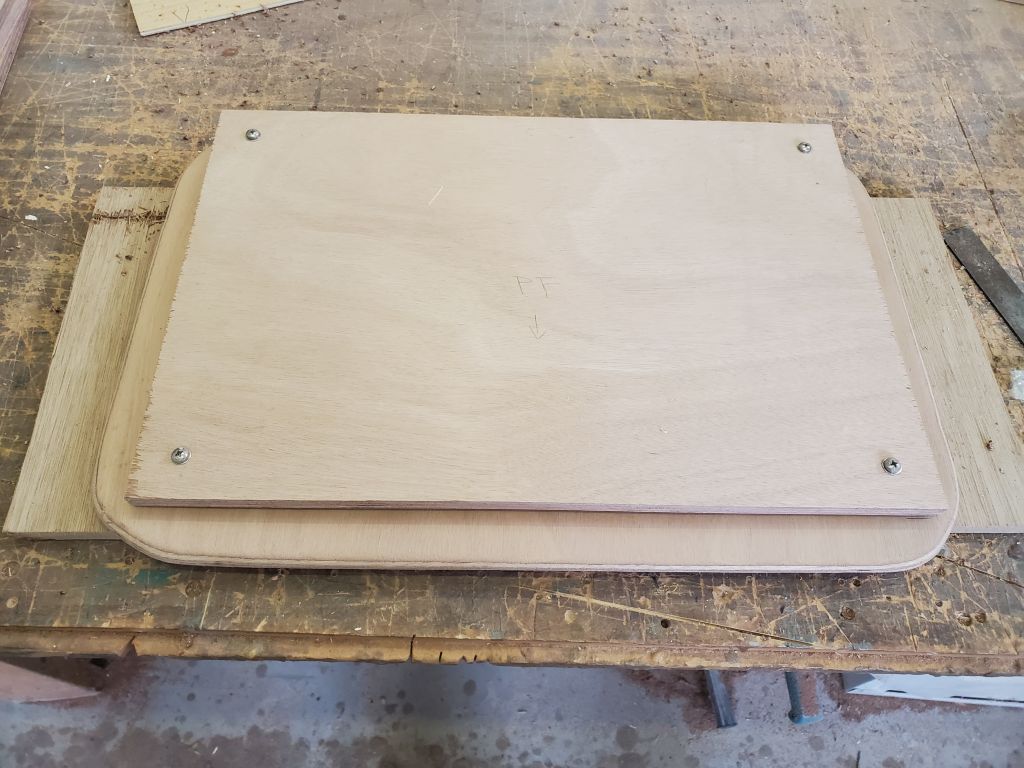
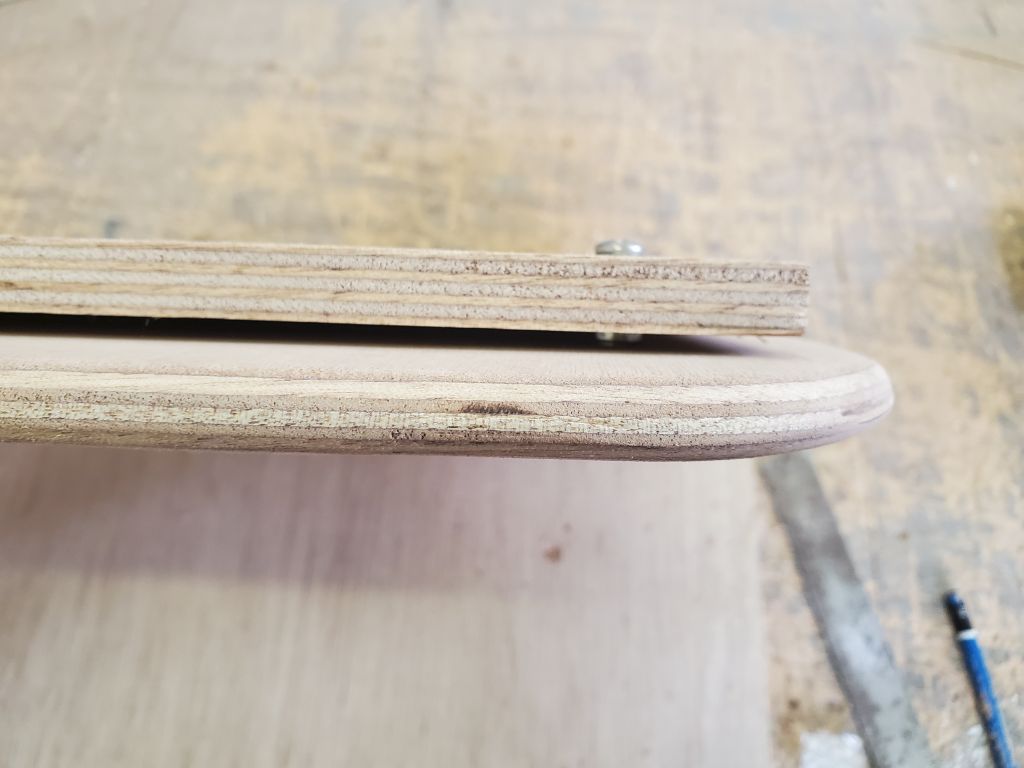
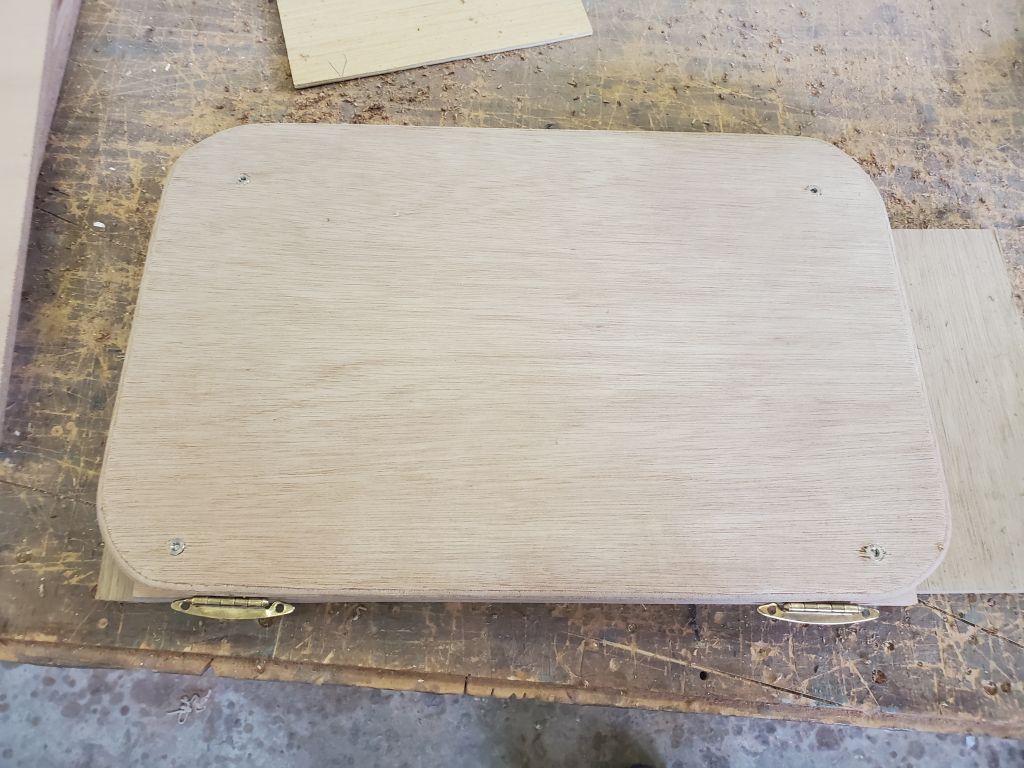
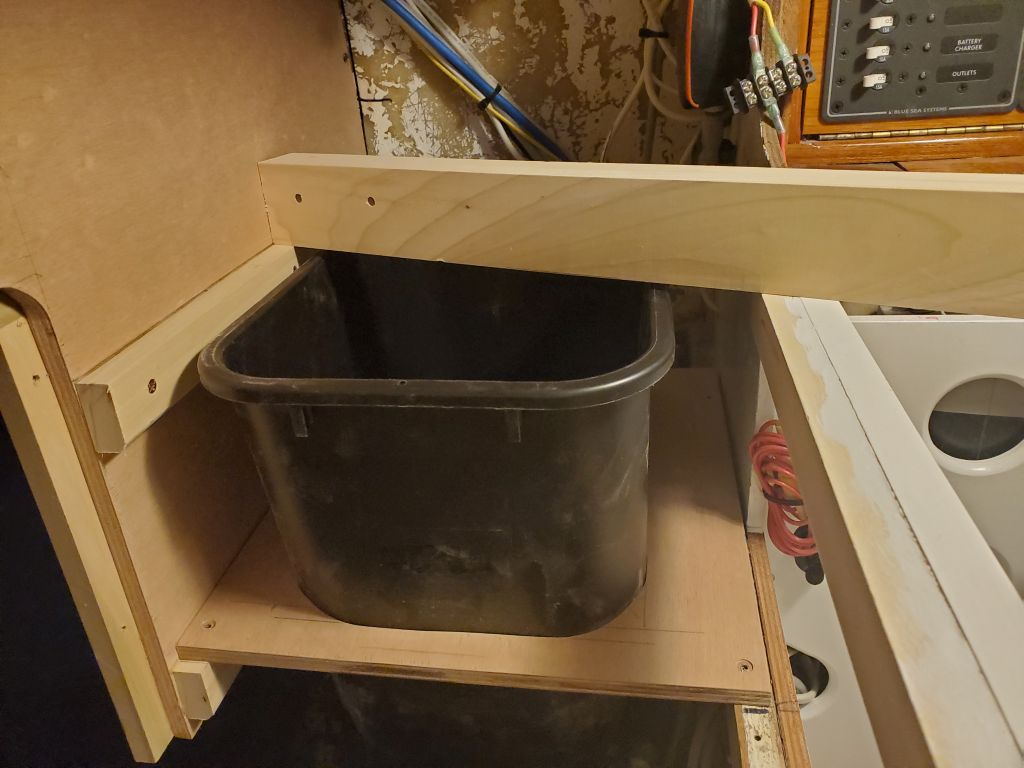
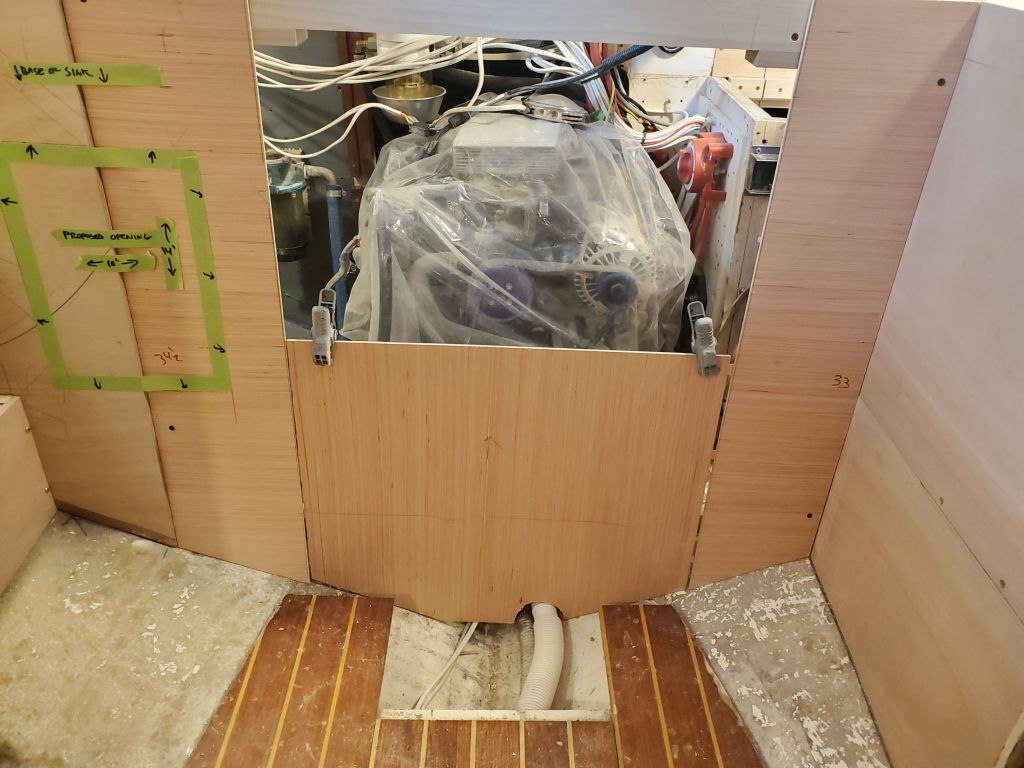
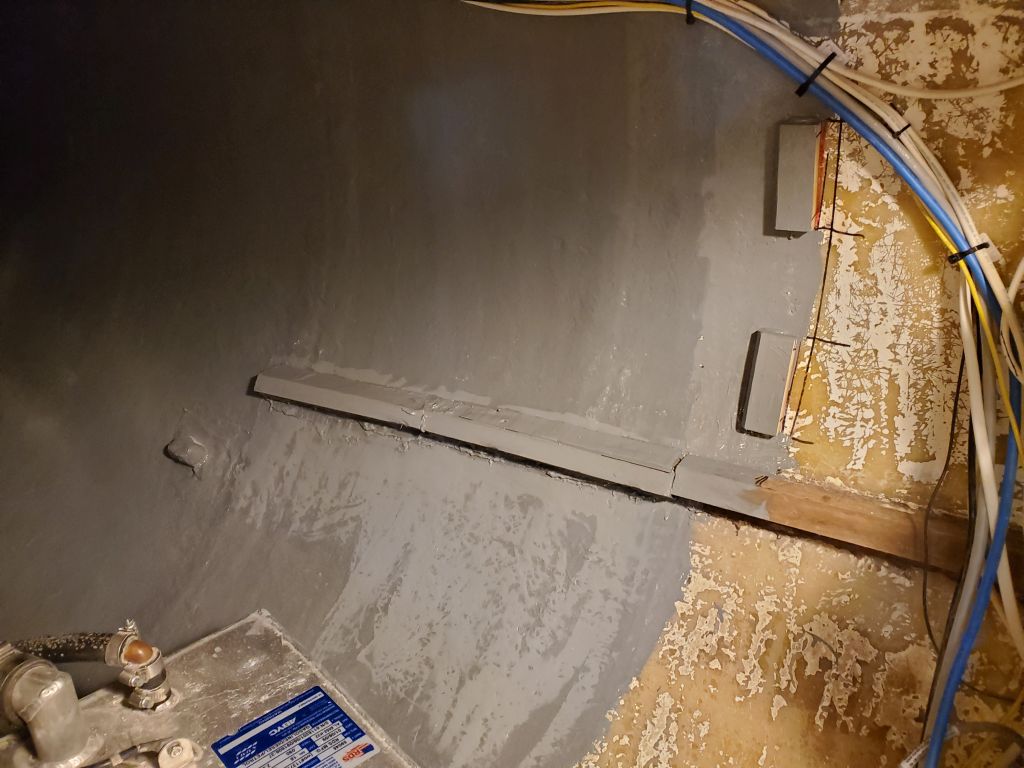
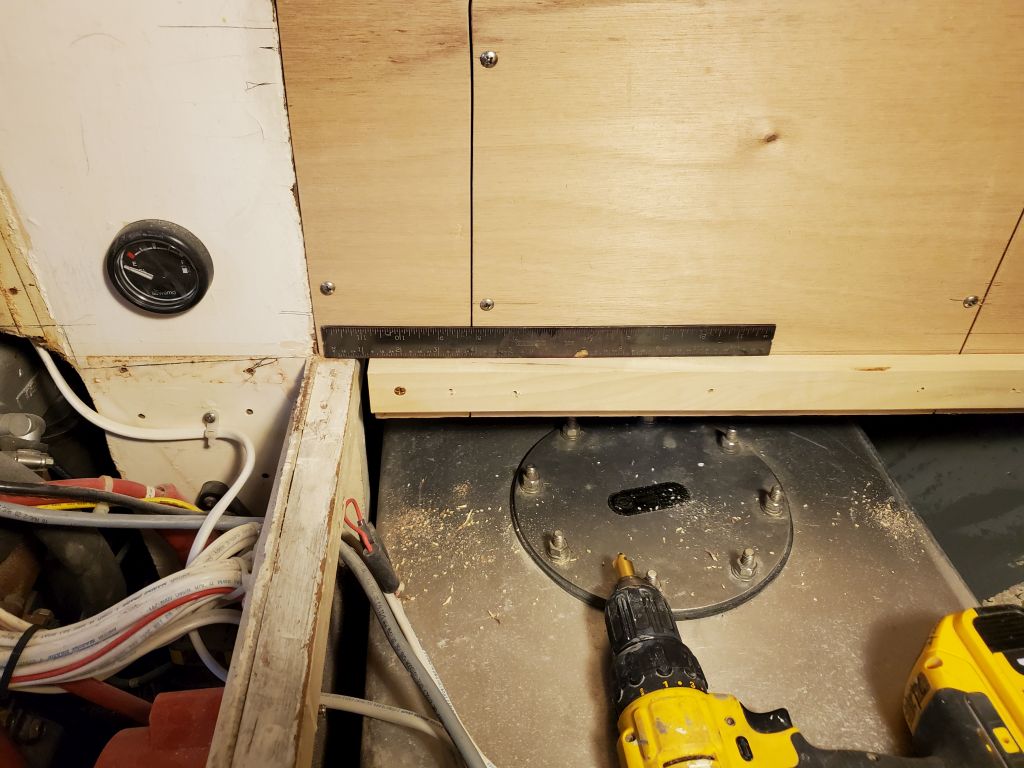
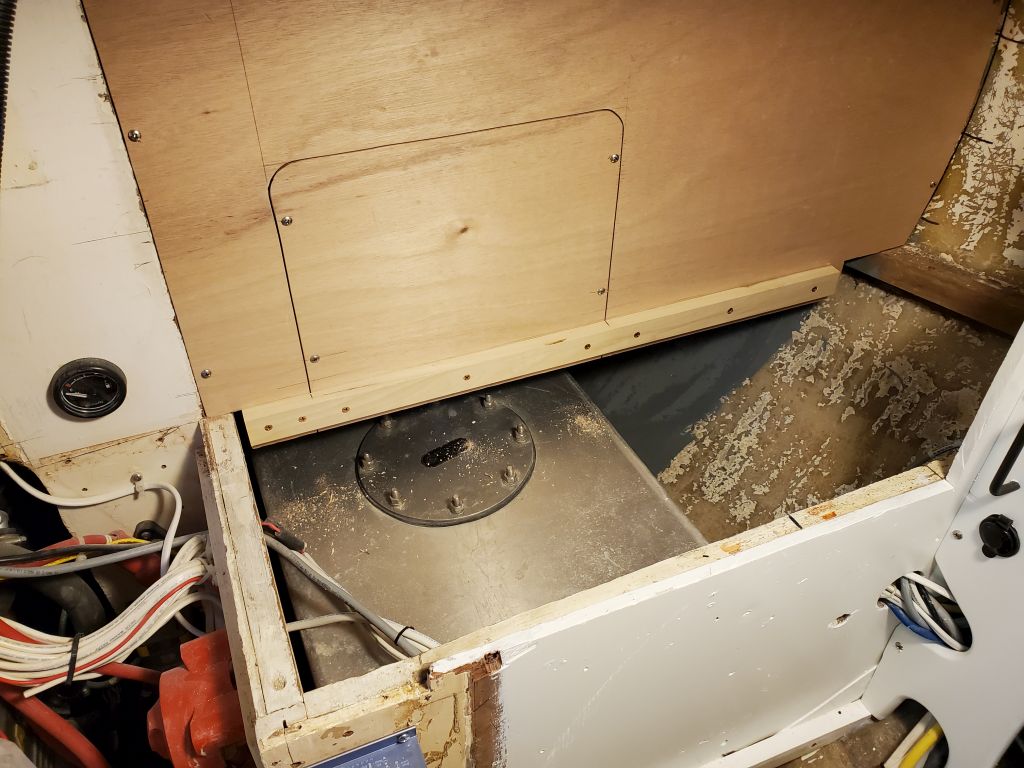
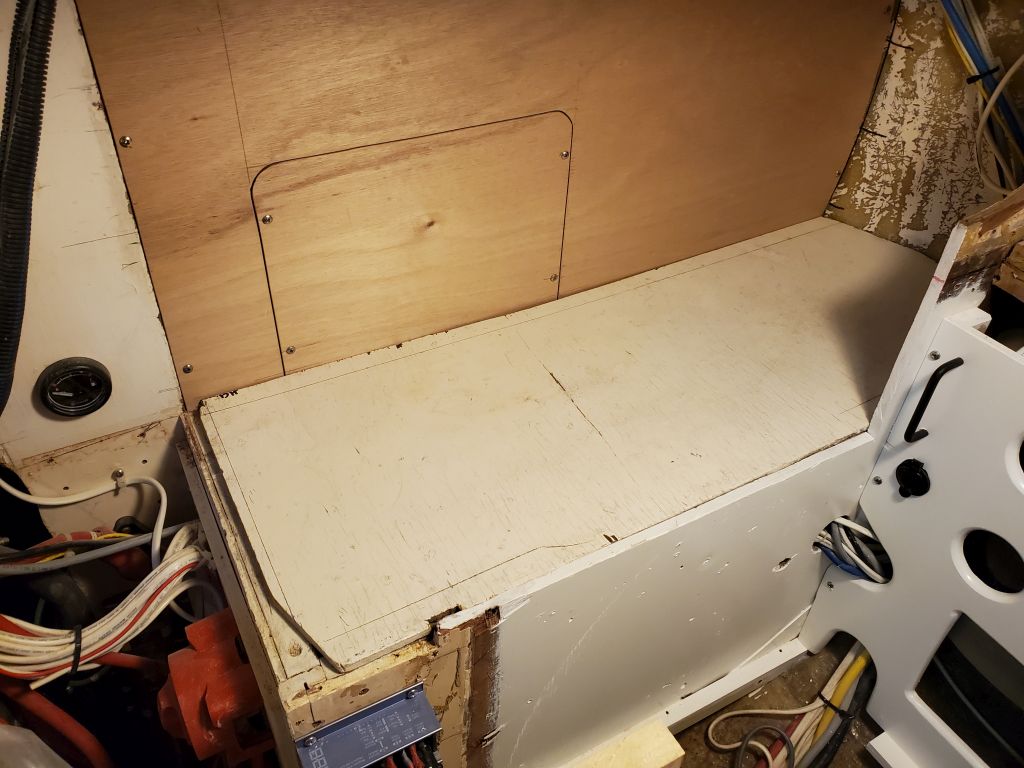
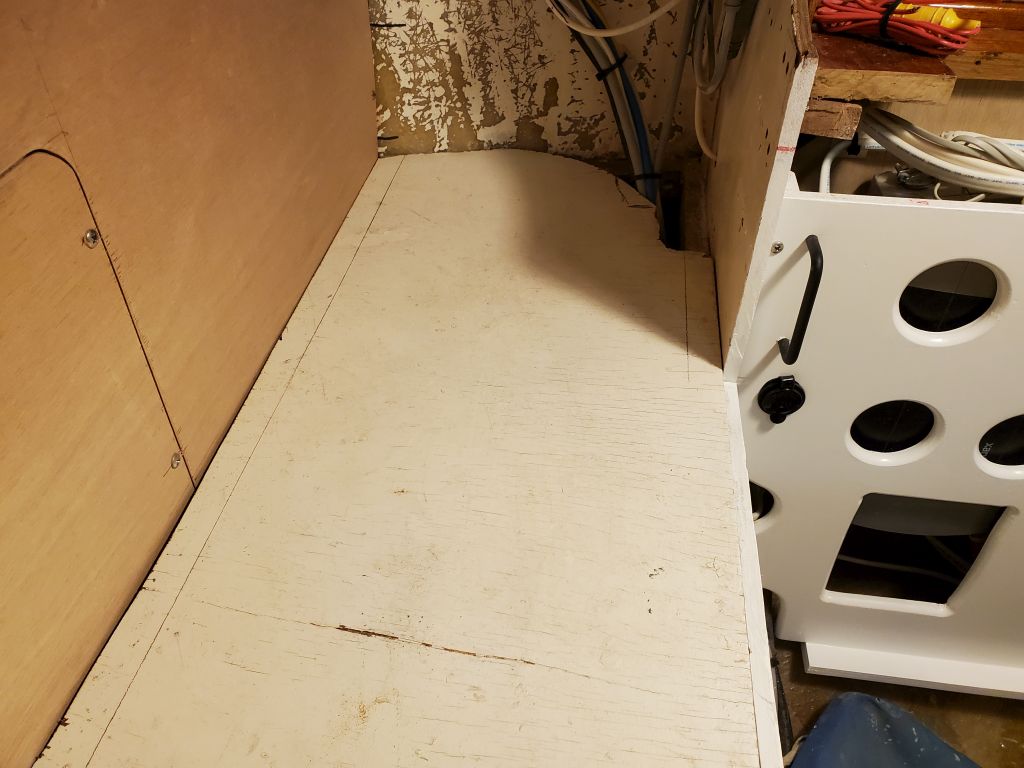
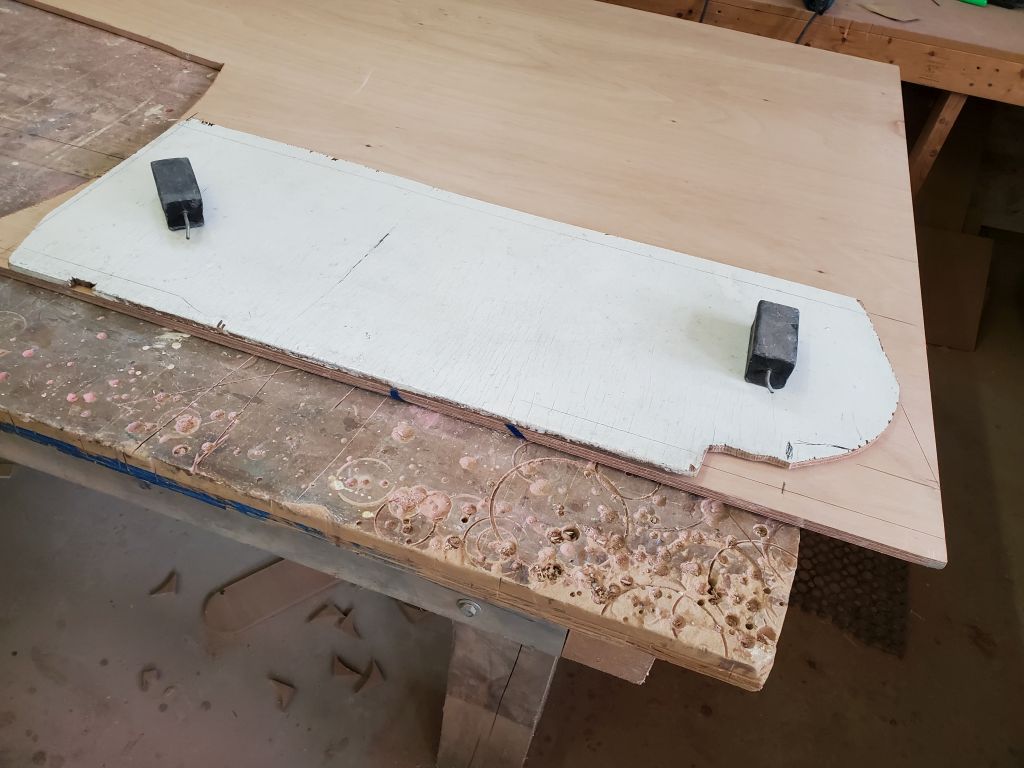
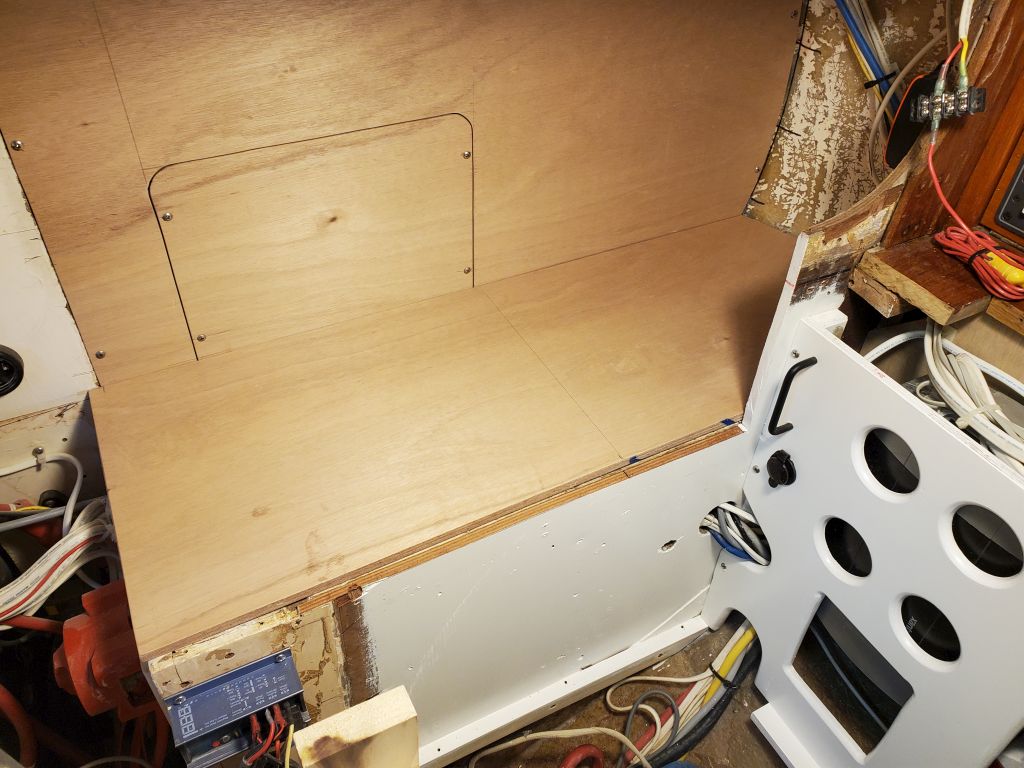
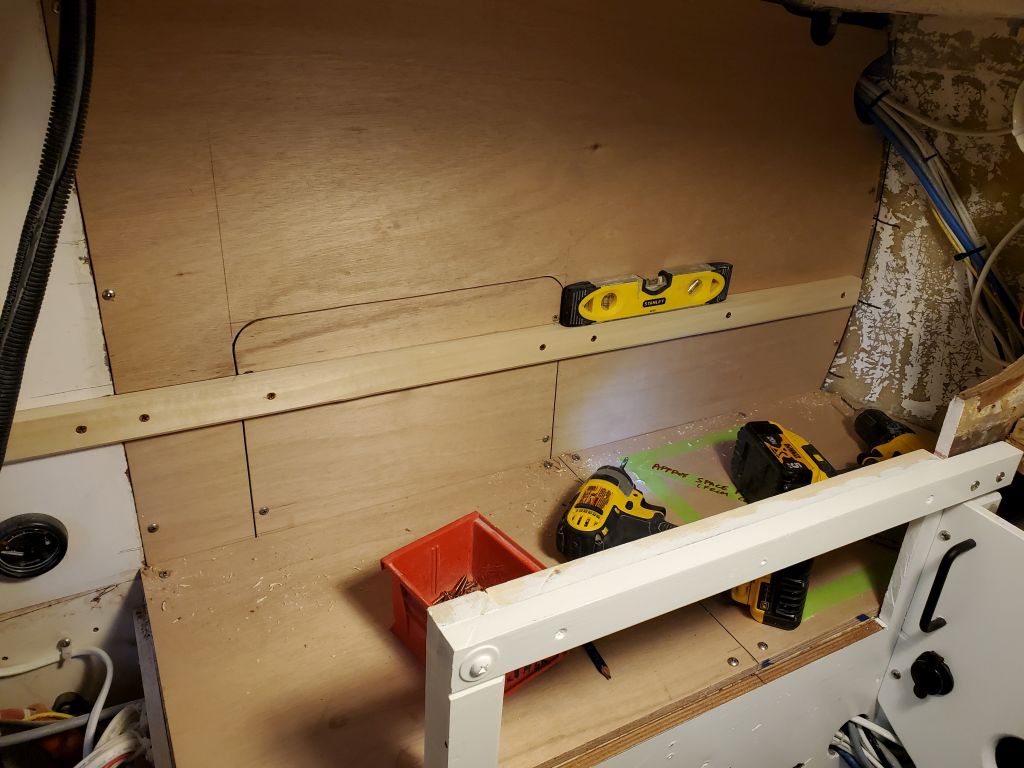
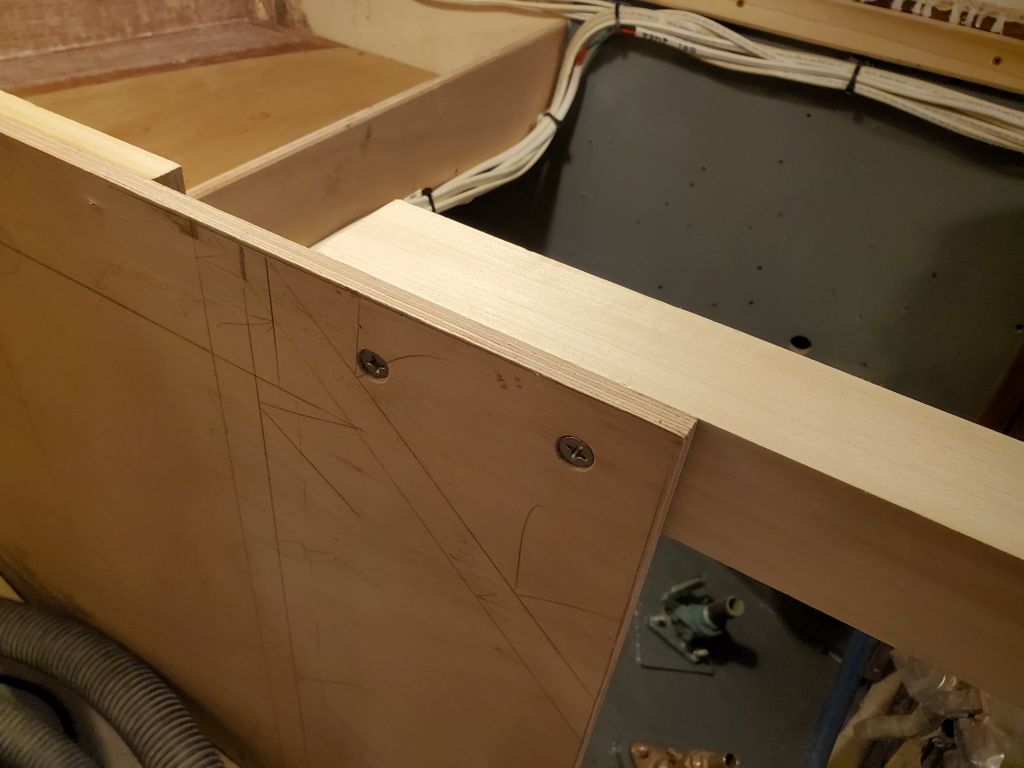
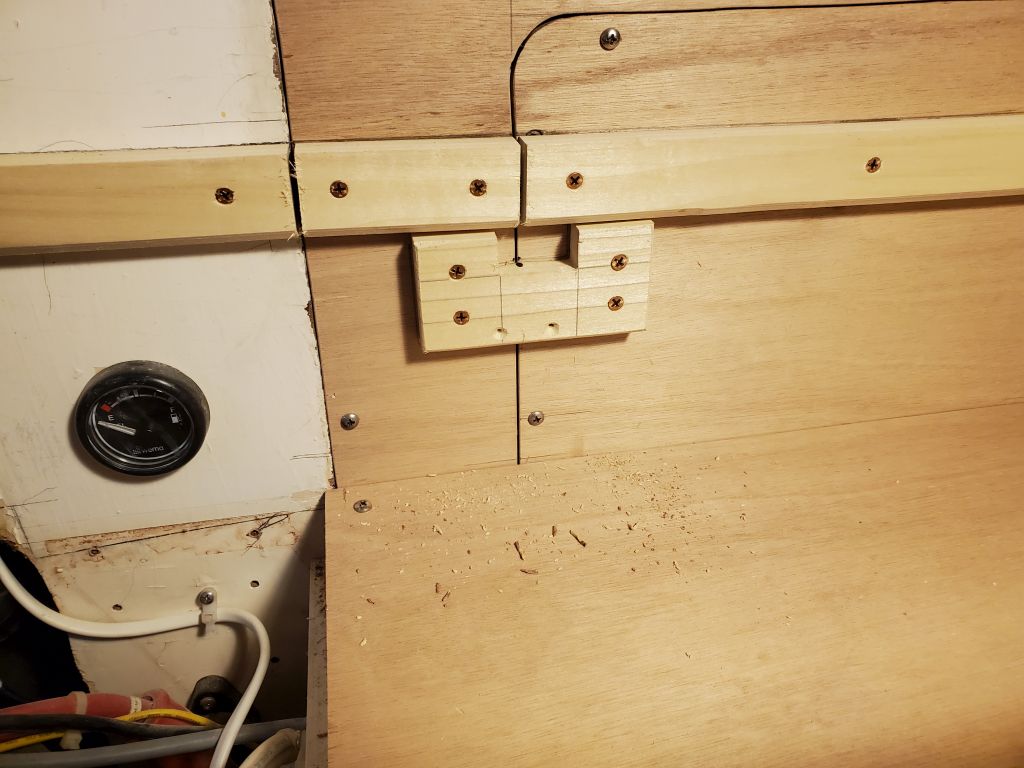
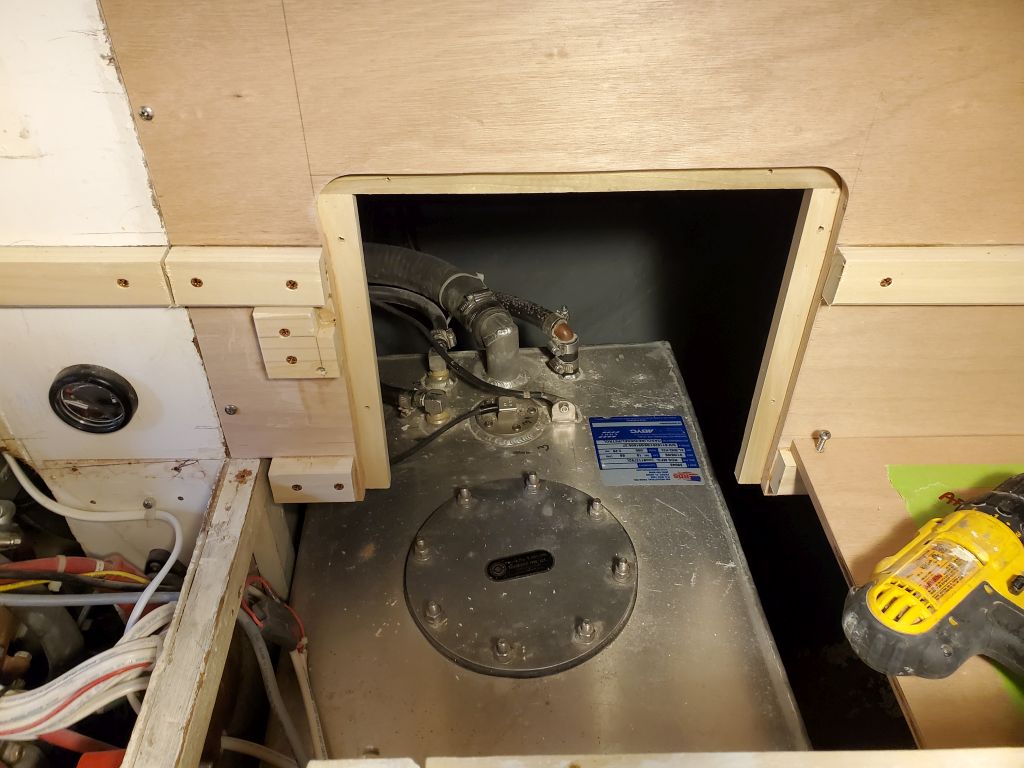
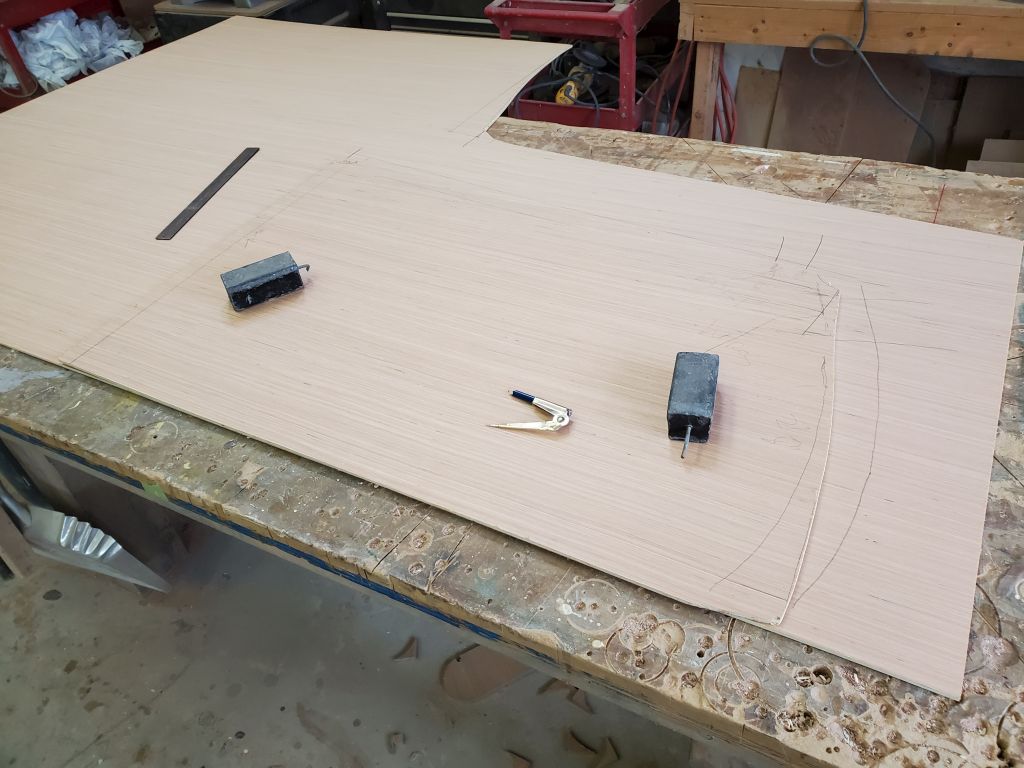
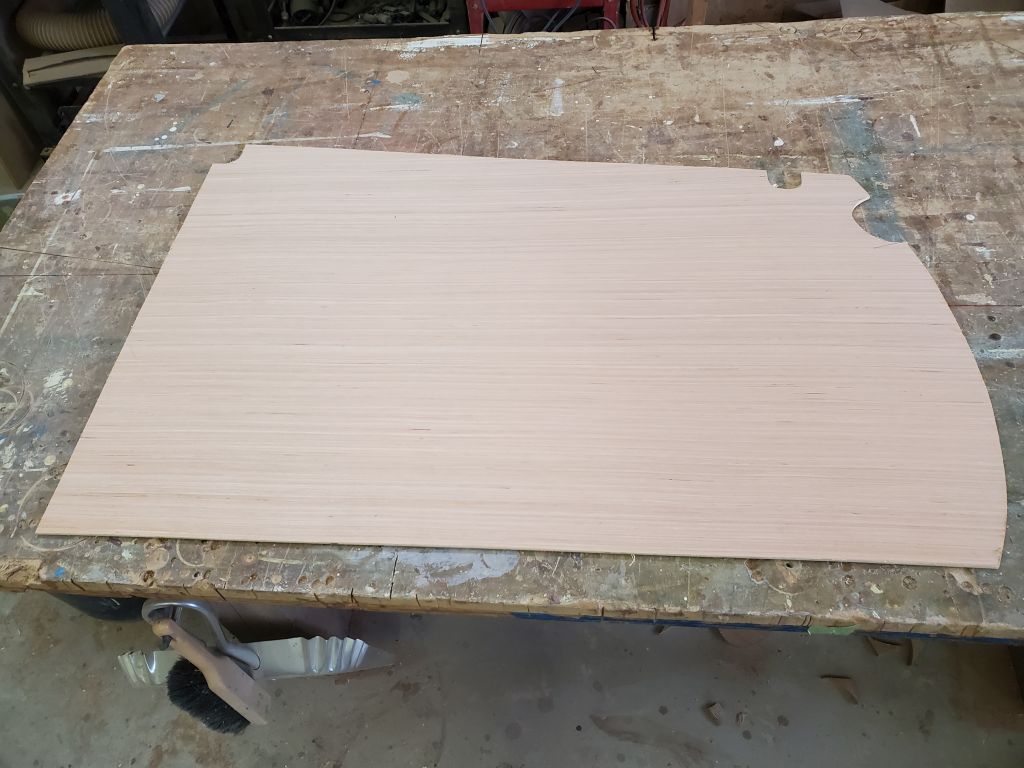
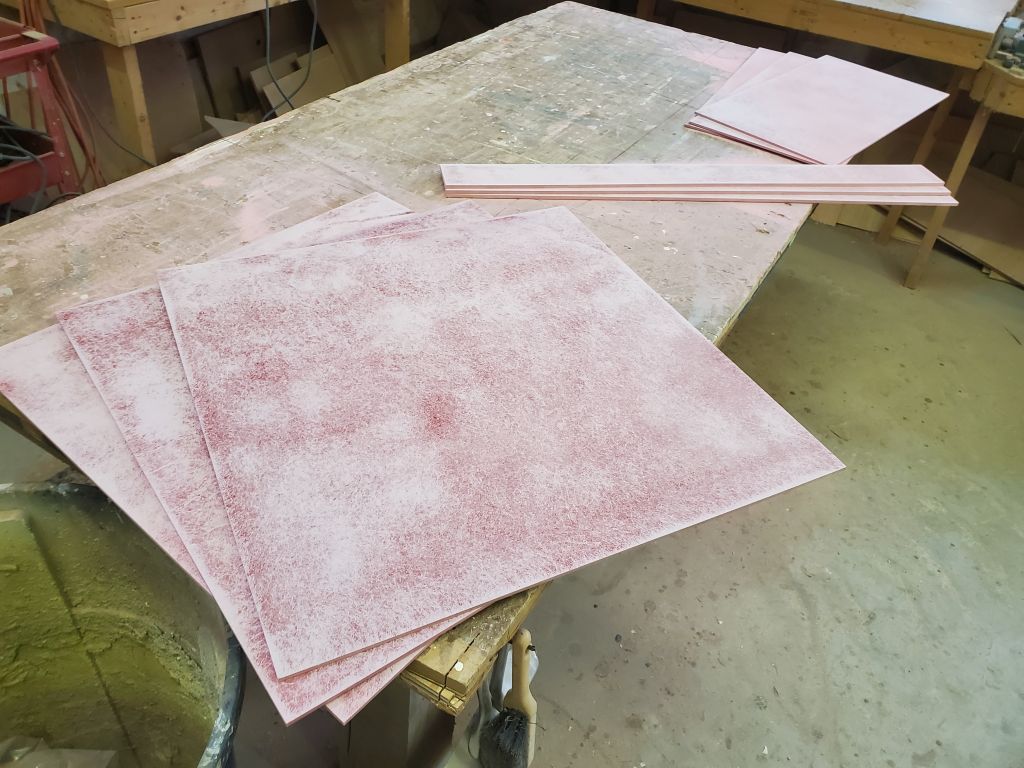
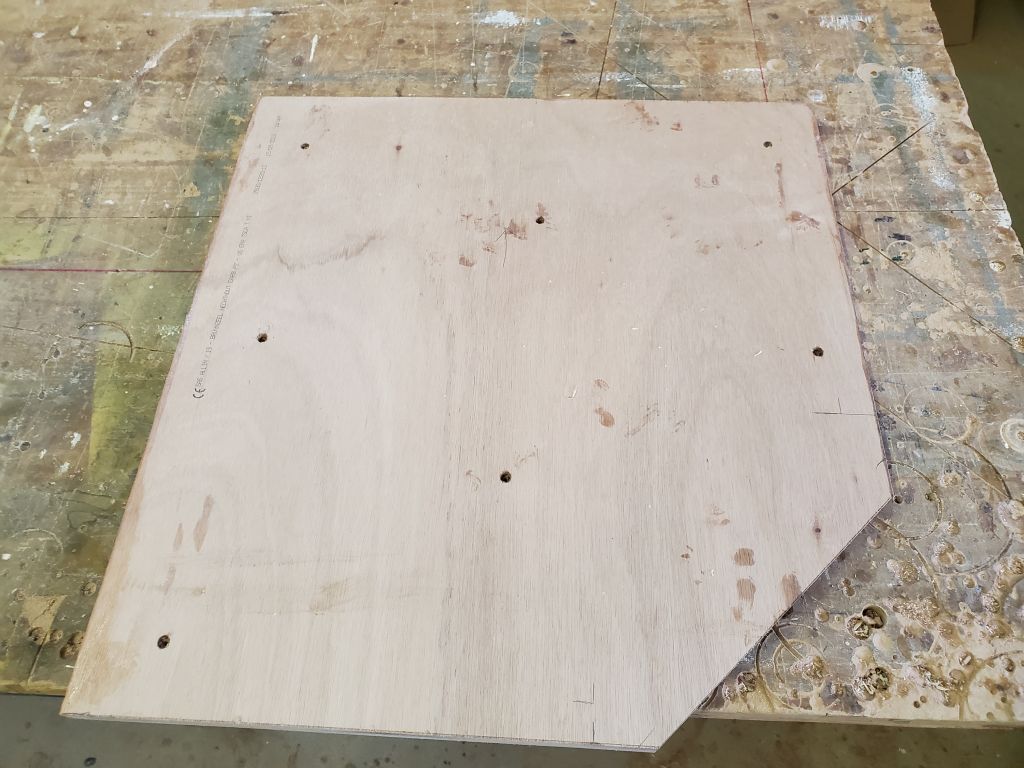
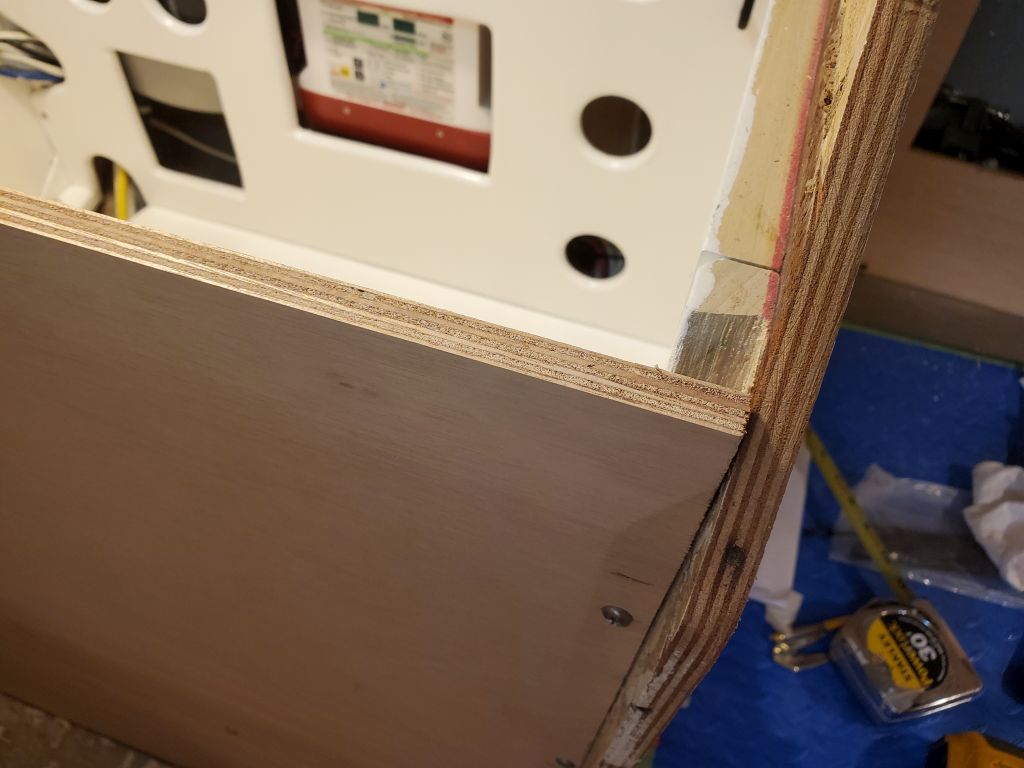
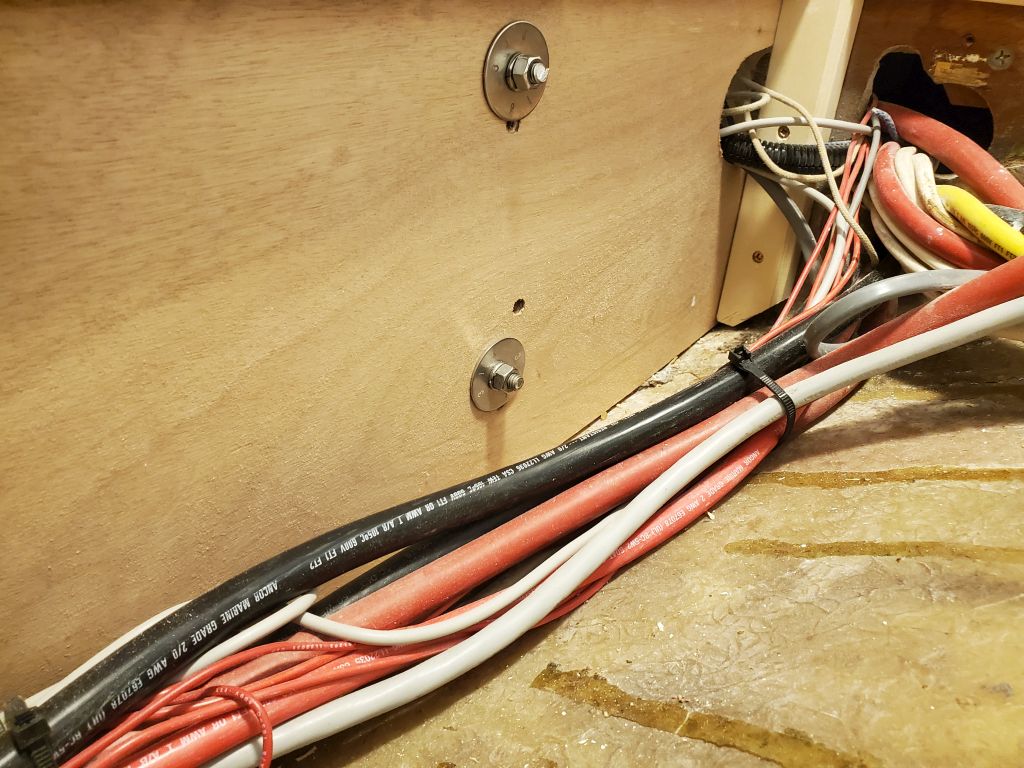
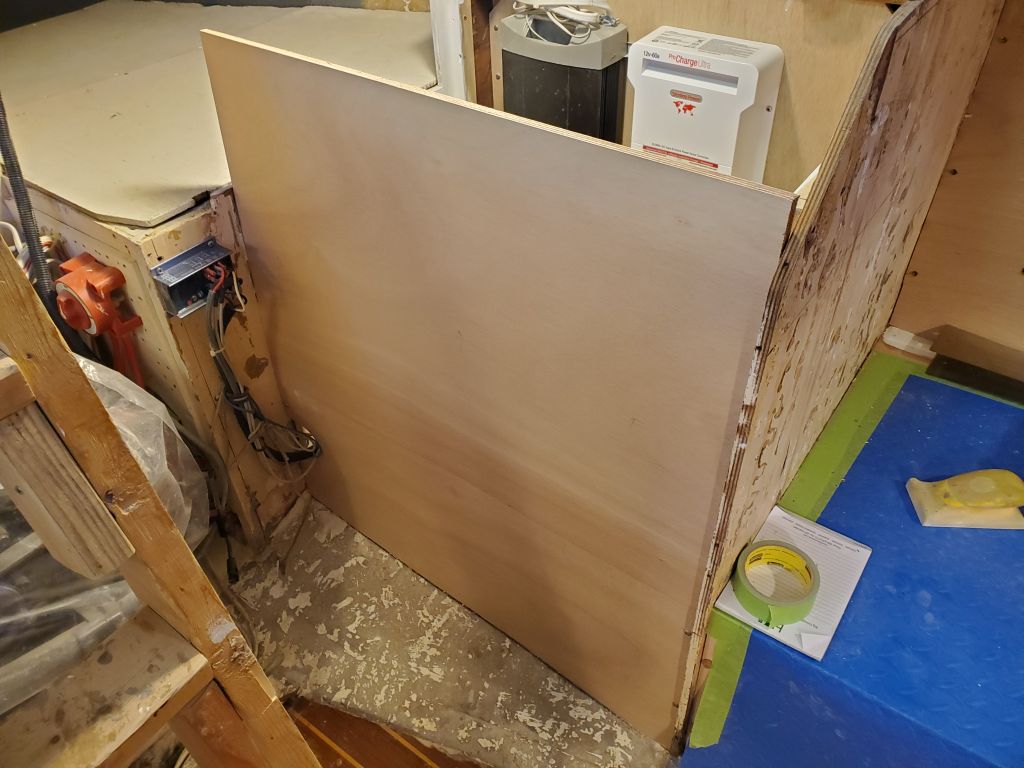
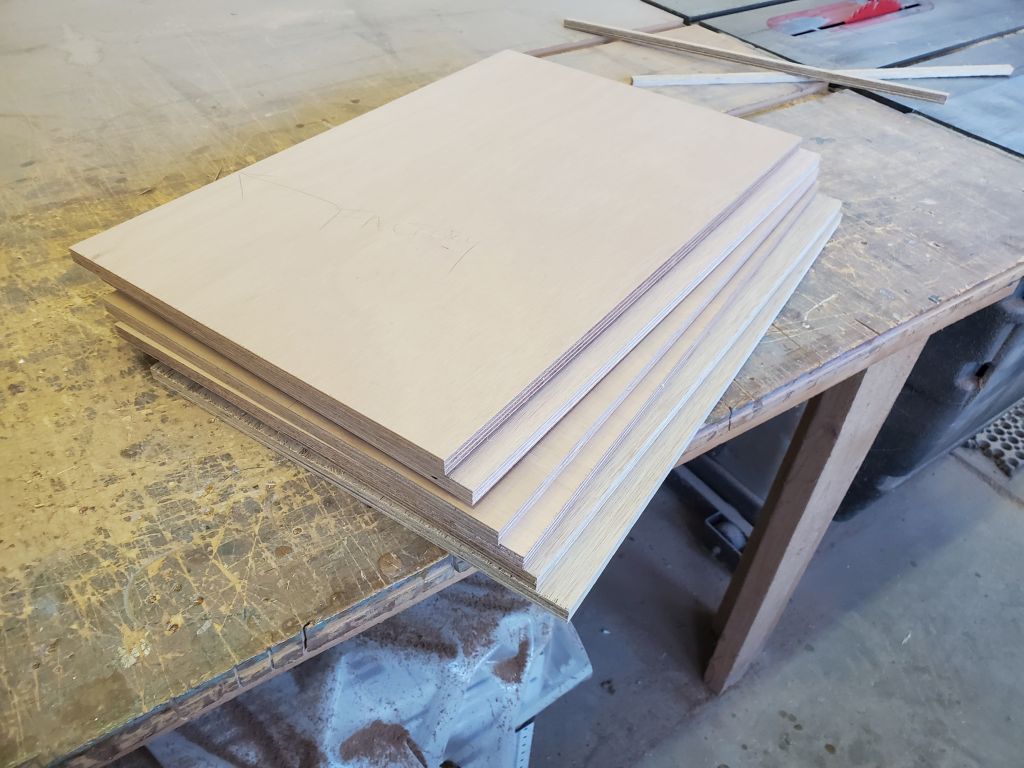
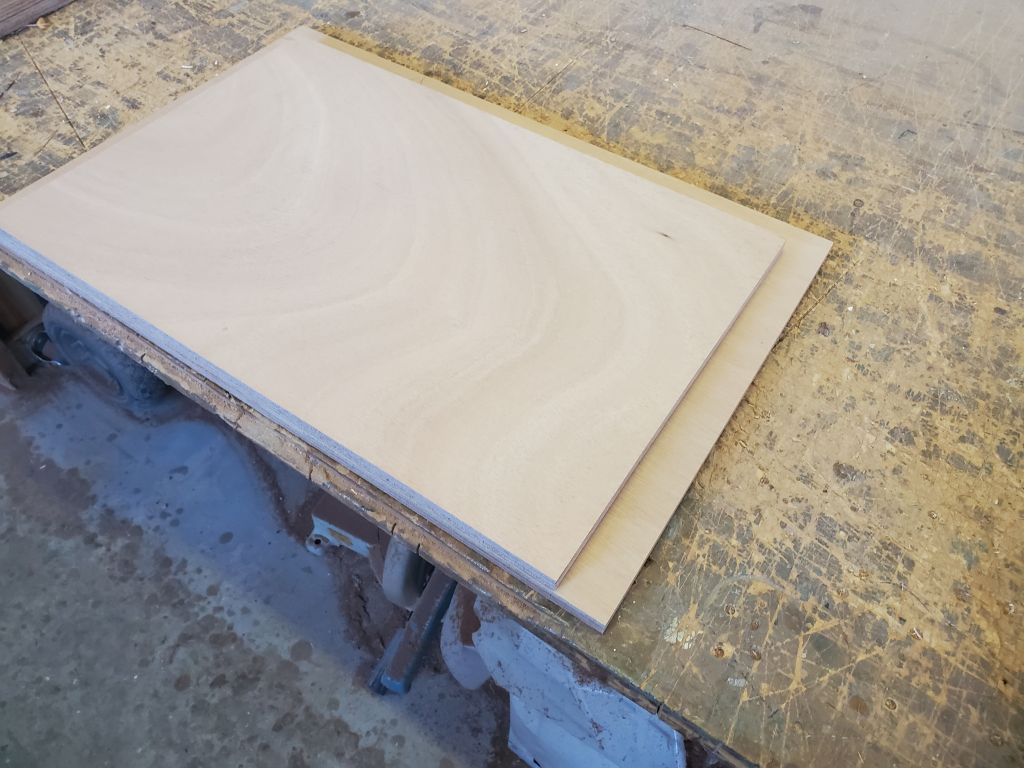
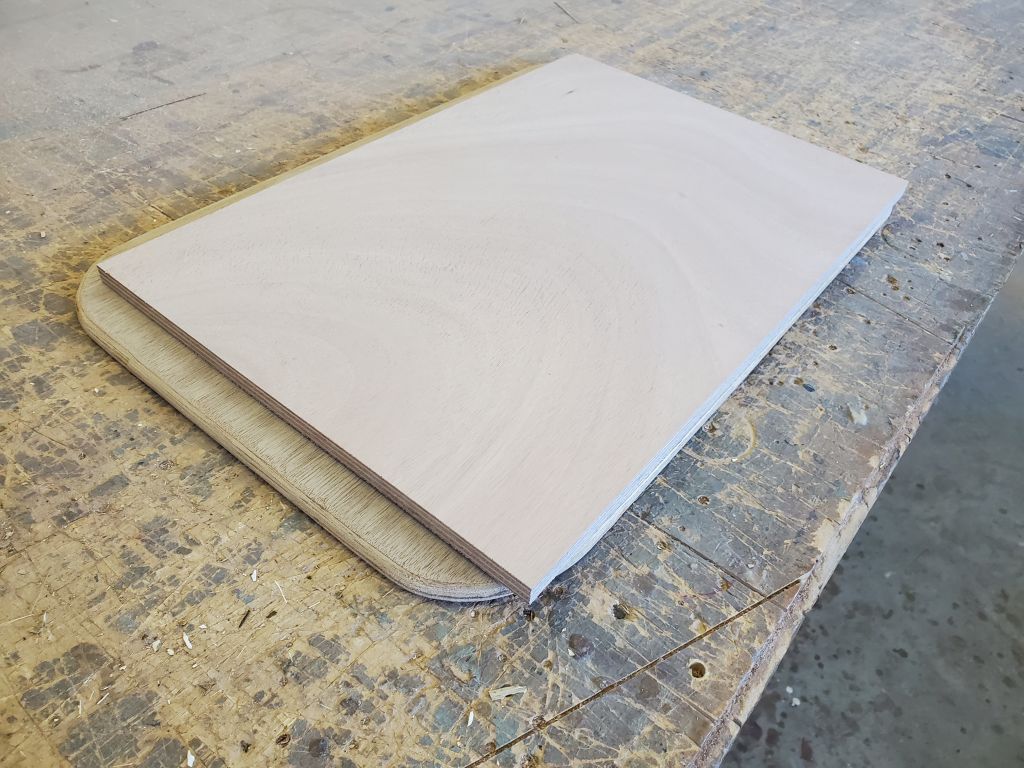
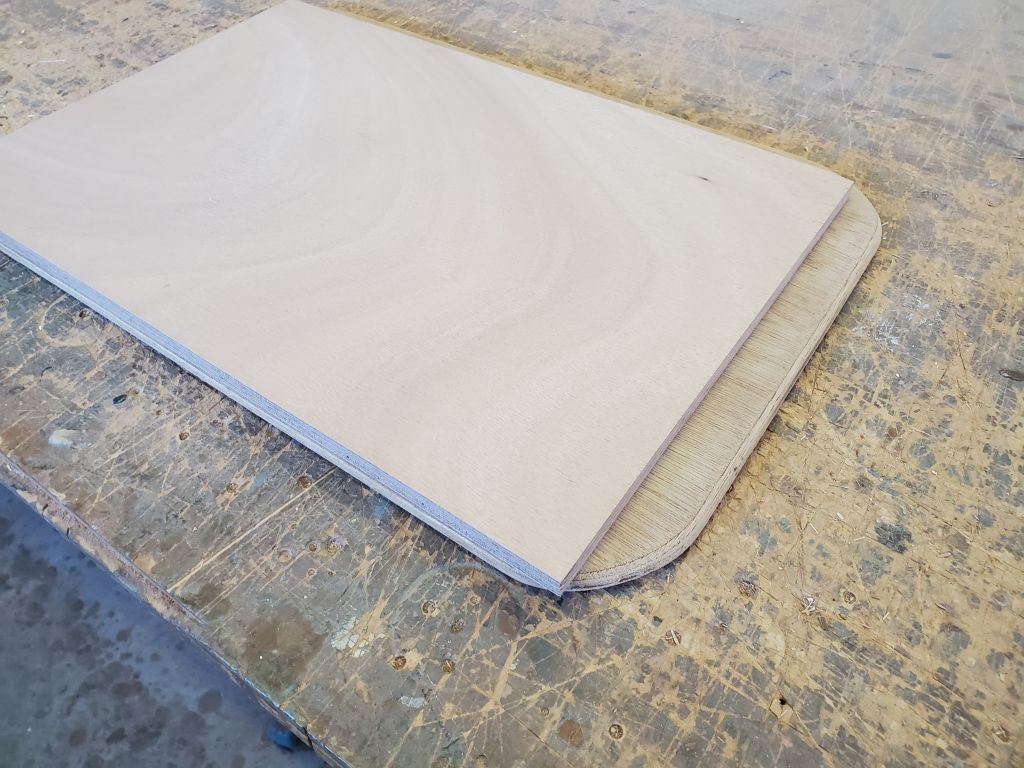
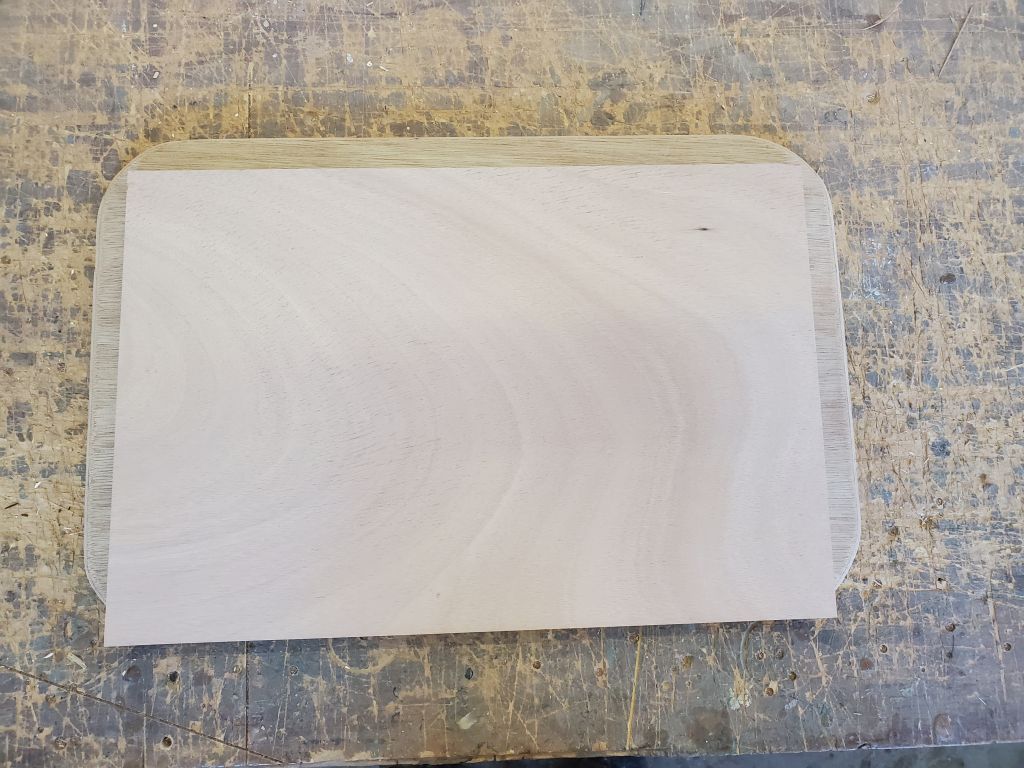
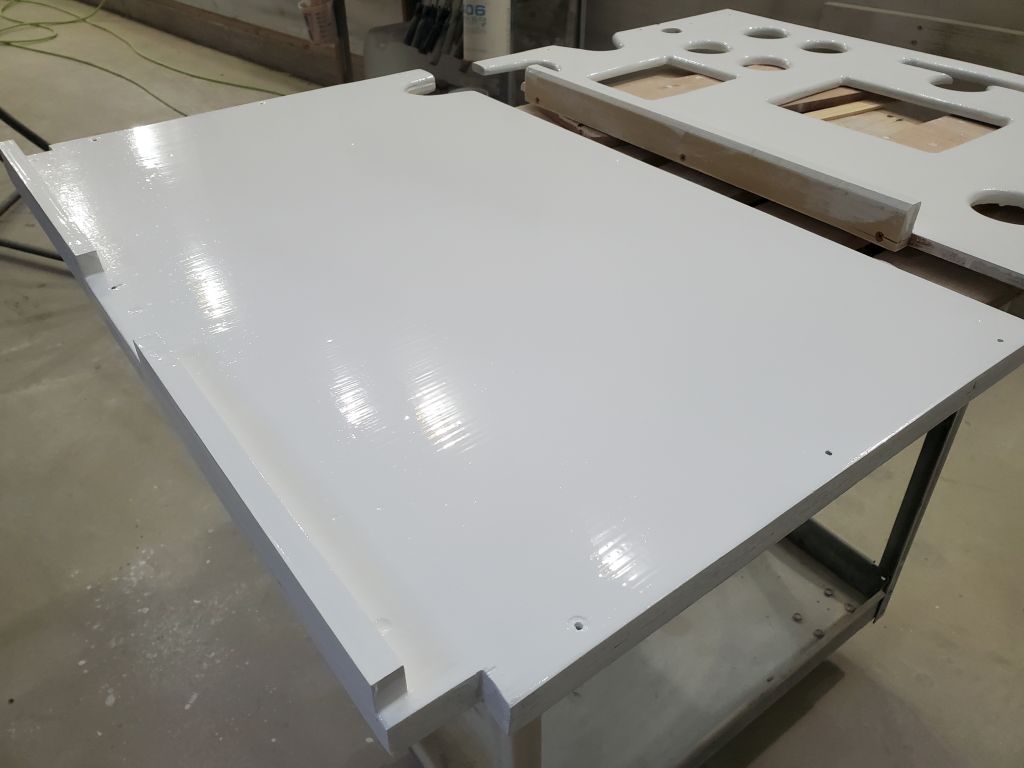
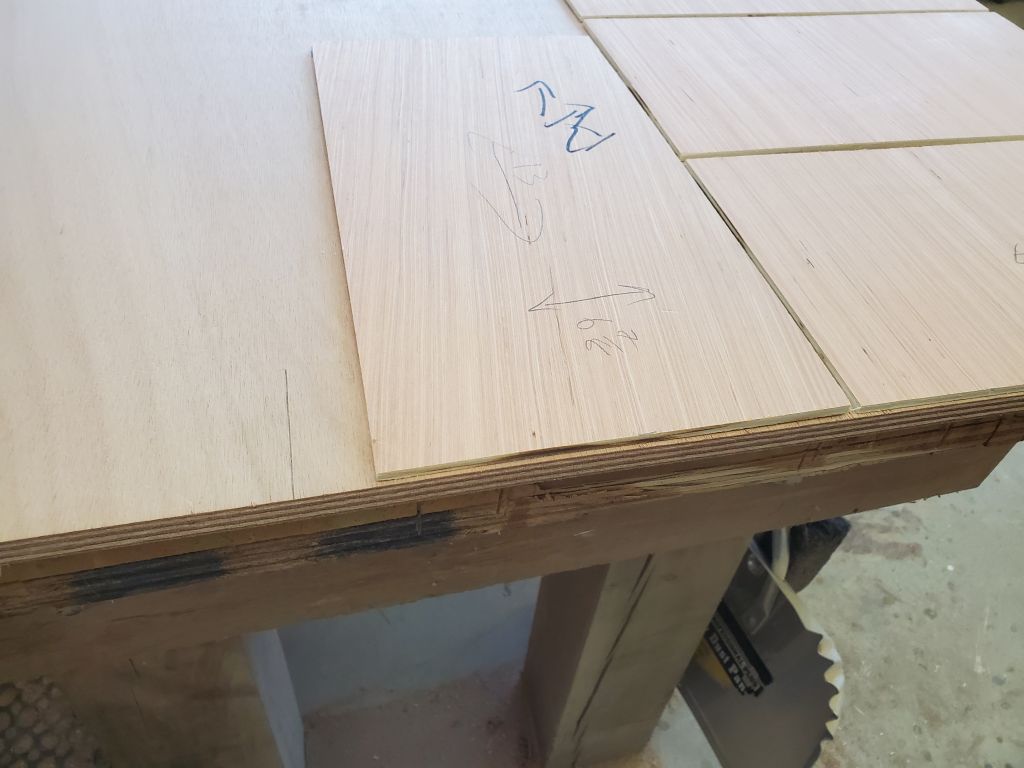
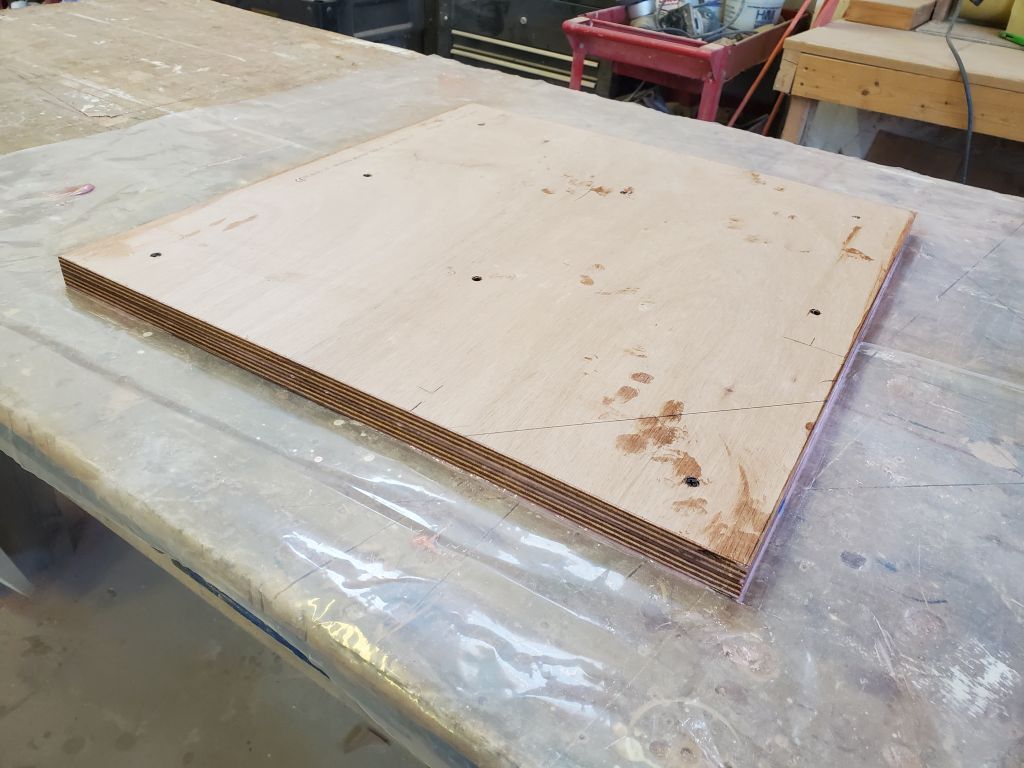
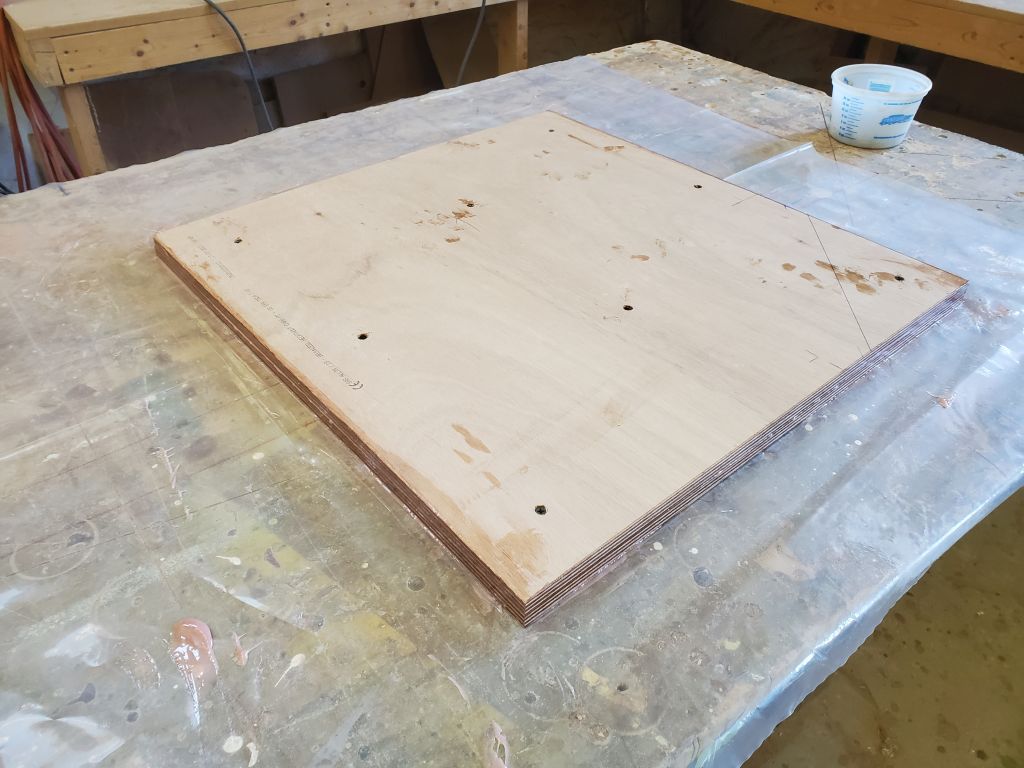
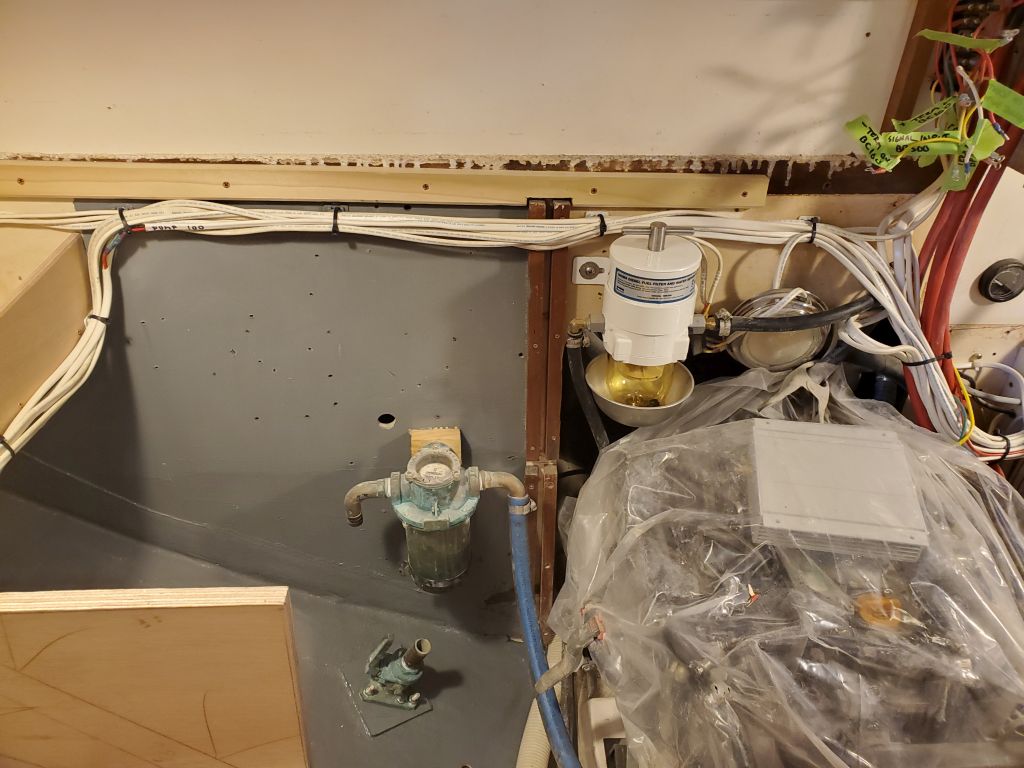
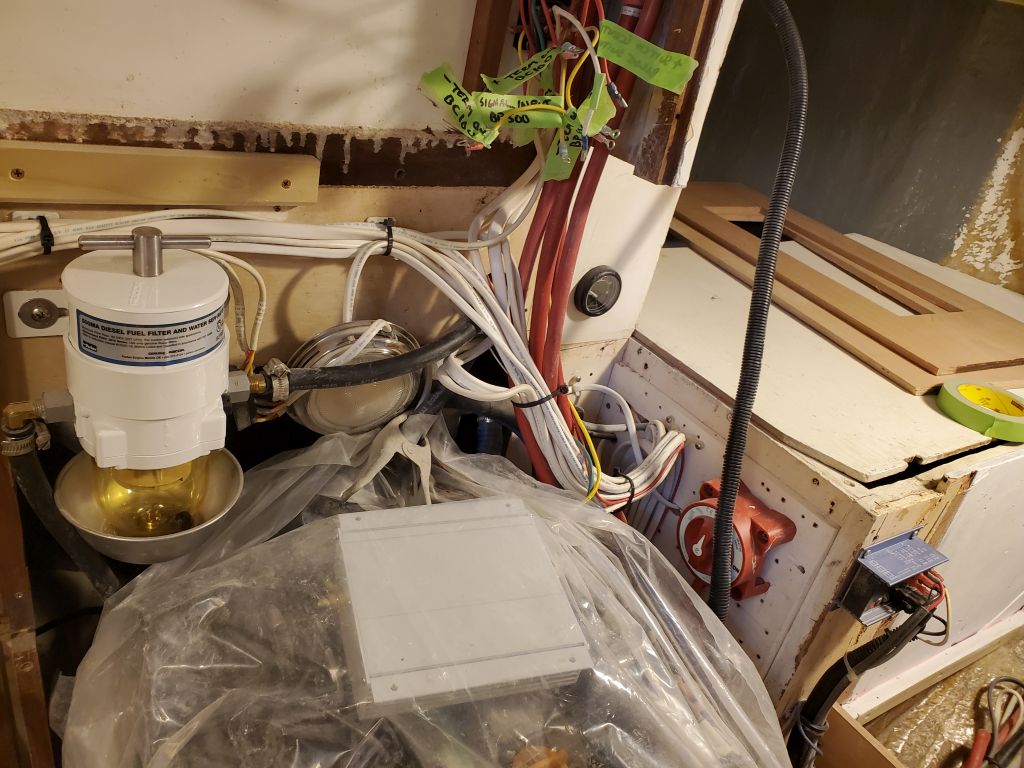
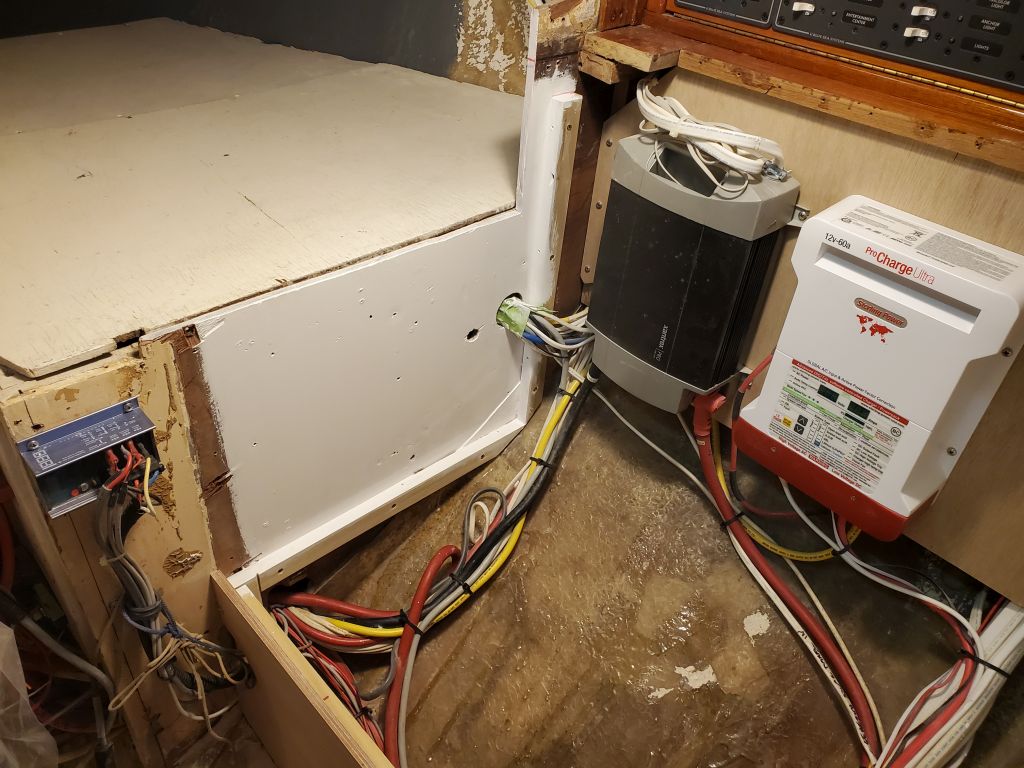
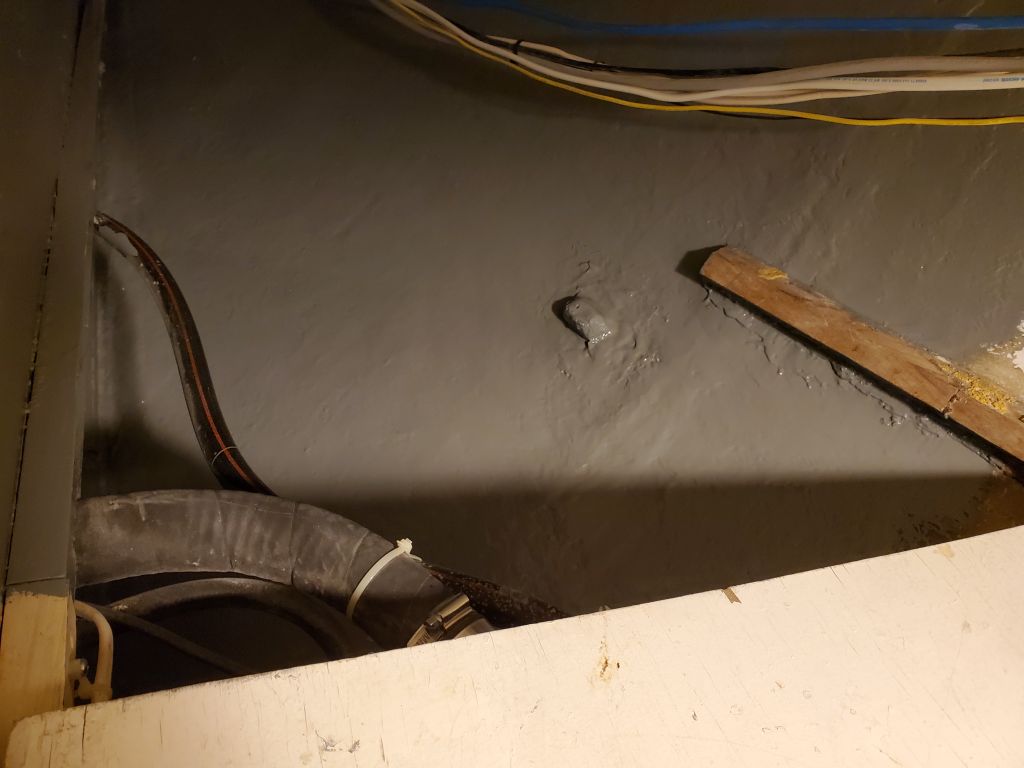
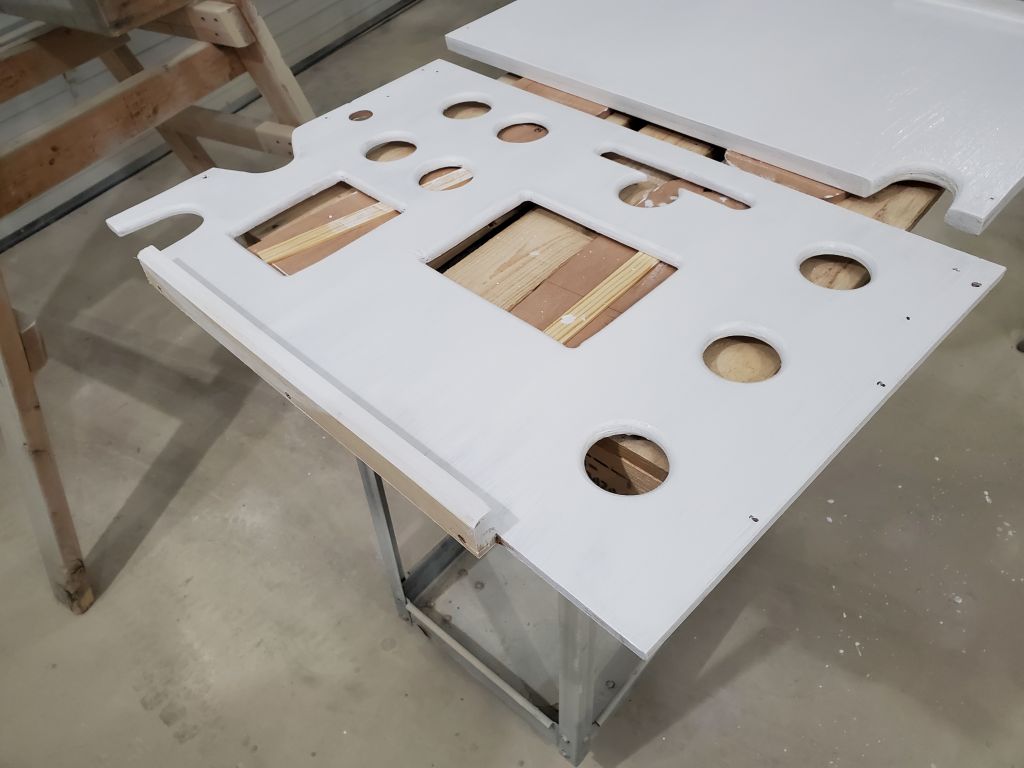
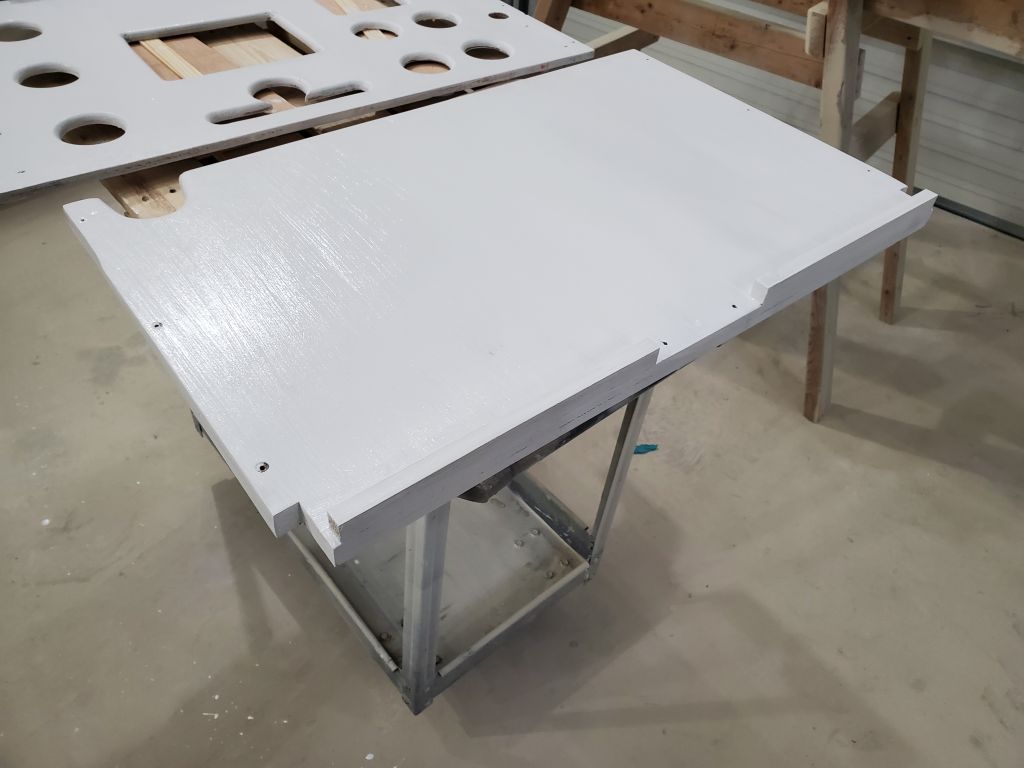
Using a cut-down section of the original platform as a template, I cut a new panel to fit the space. The new panel required a bit of trimming on the inboard edge, and afterwards I marked it roughly at the edge of the fuel tank so I could cut the panel into two pieces to make removal easier for access to the fuel tank and other spaces in the future. I installed a support cleat (not shown in the photos) on the underside of the inboard shelf panel to support the seam, and secured these panels with screws to hold them in place, while maintaining easy removability/ I also removed and cut the support cleat on the bulkhead, then reinstalled the three pieces permanently with glue and screws.
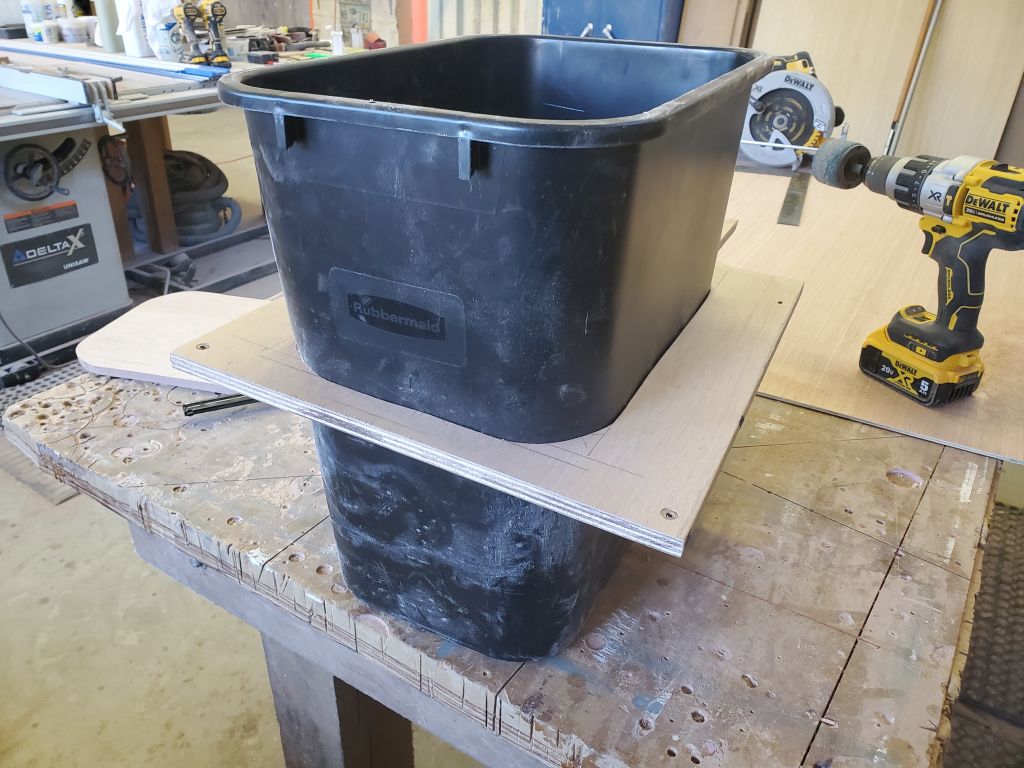
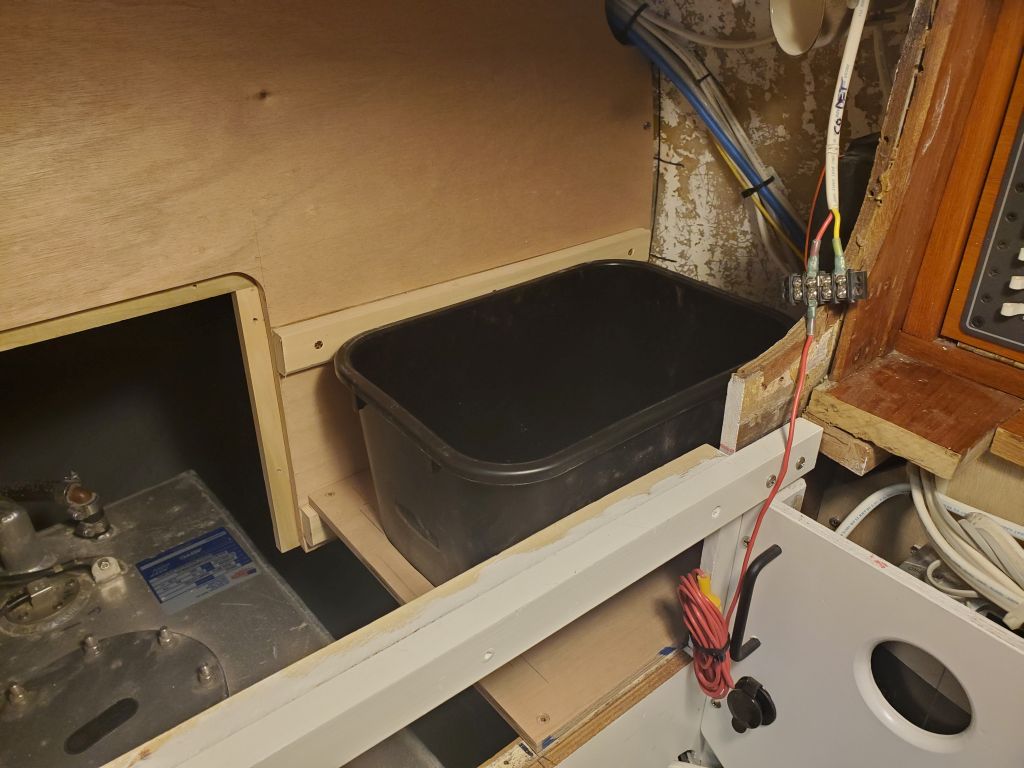
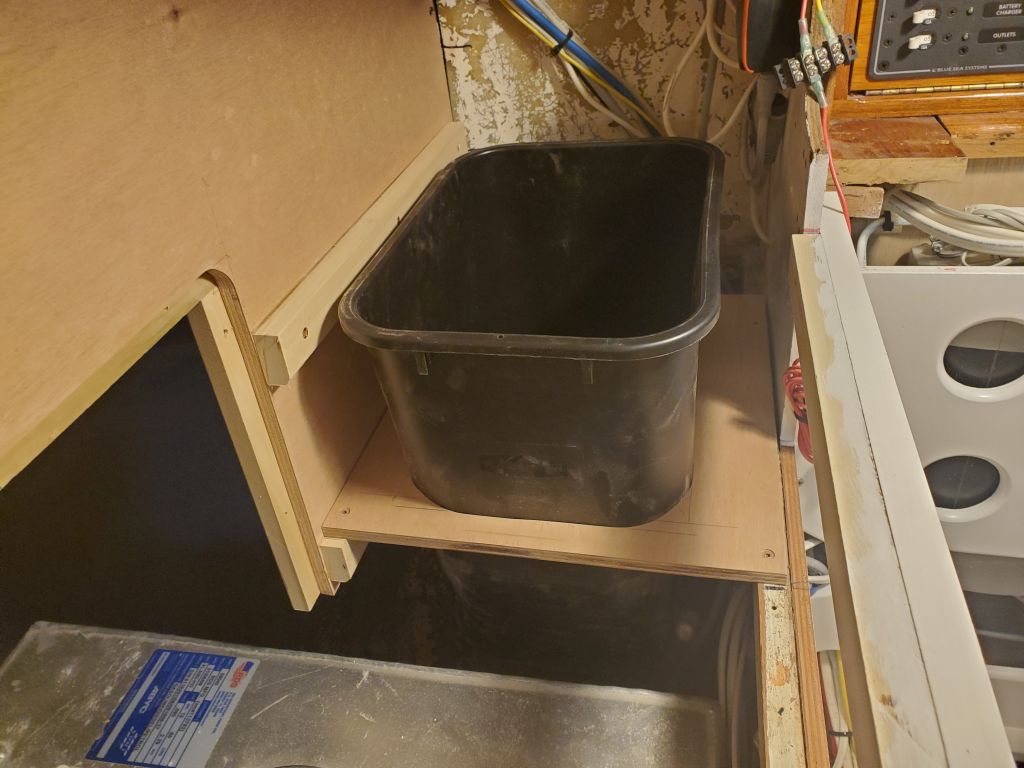
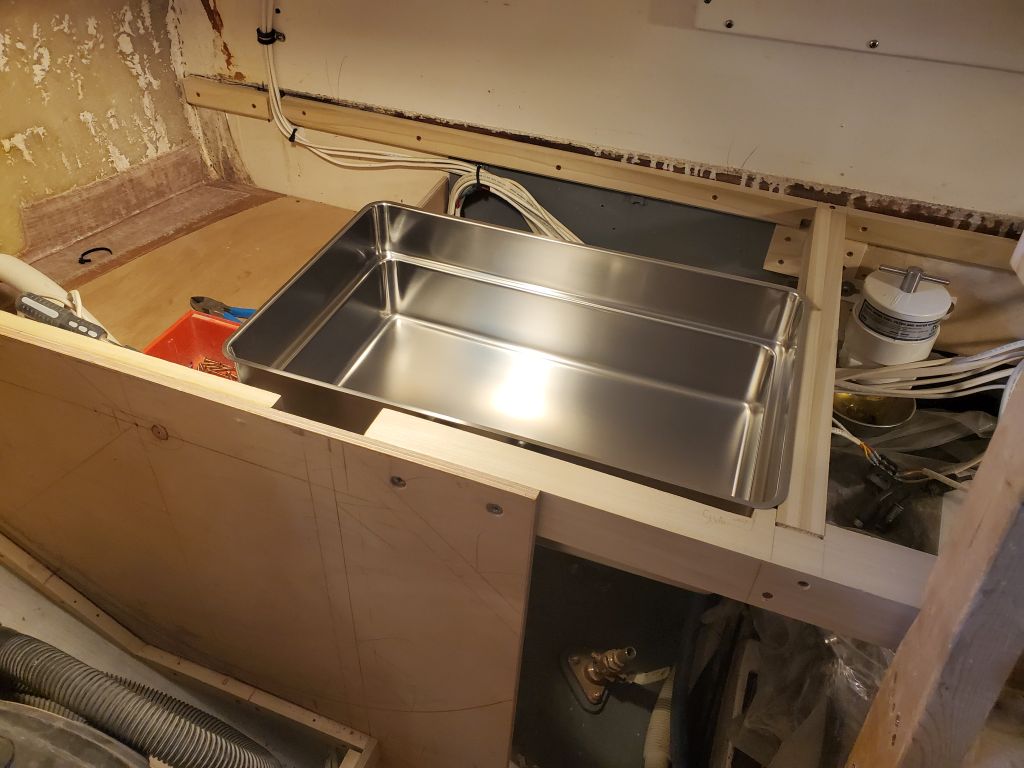
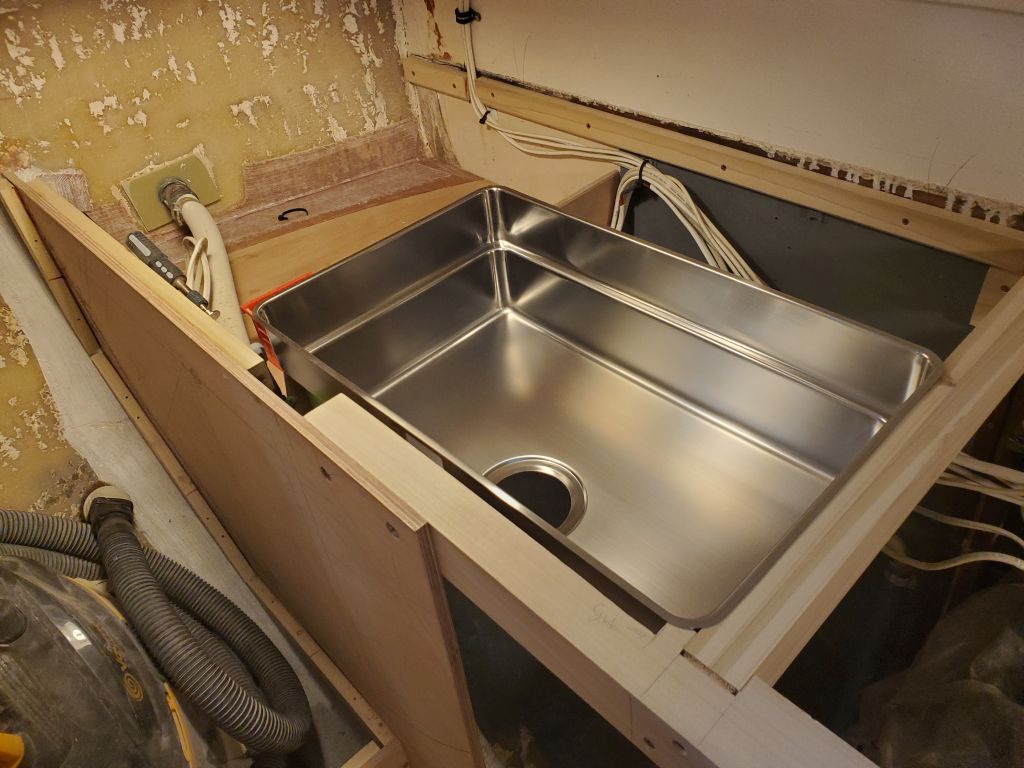
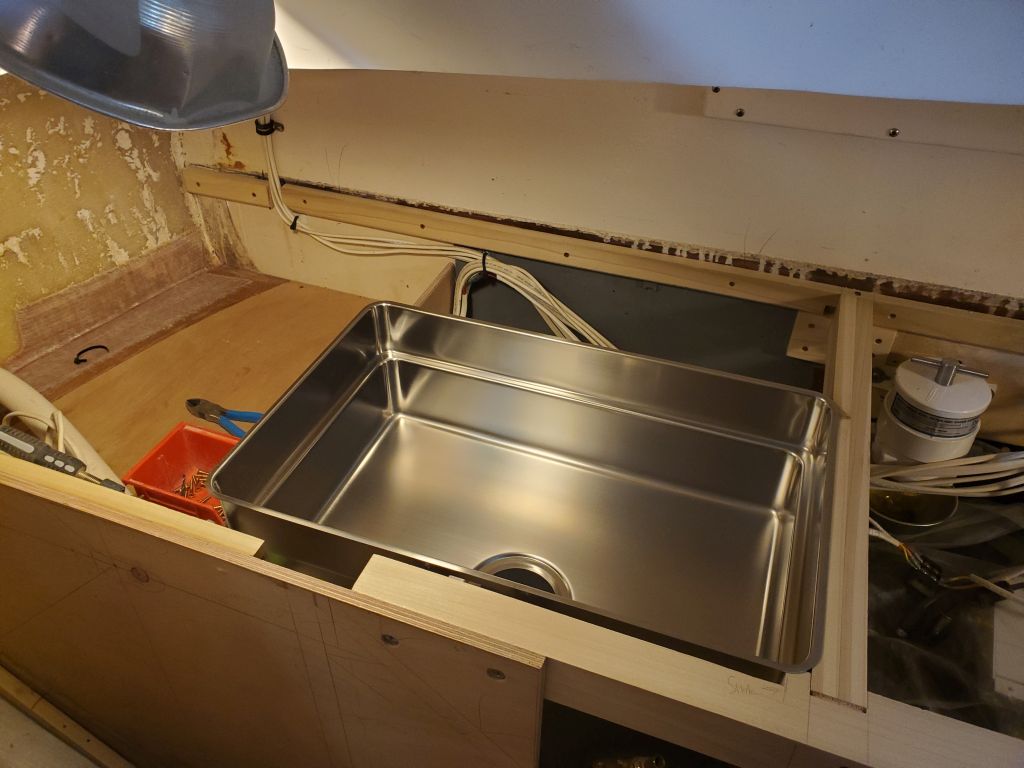
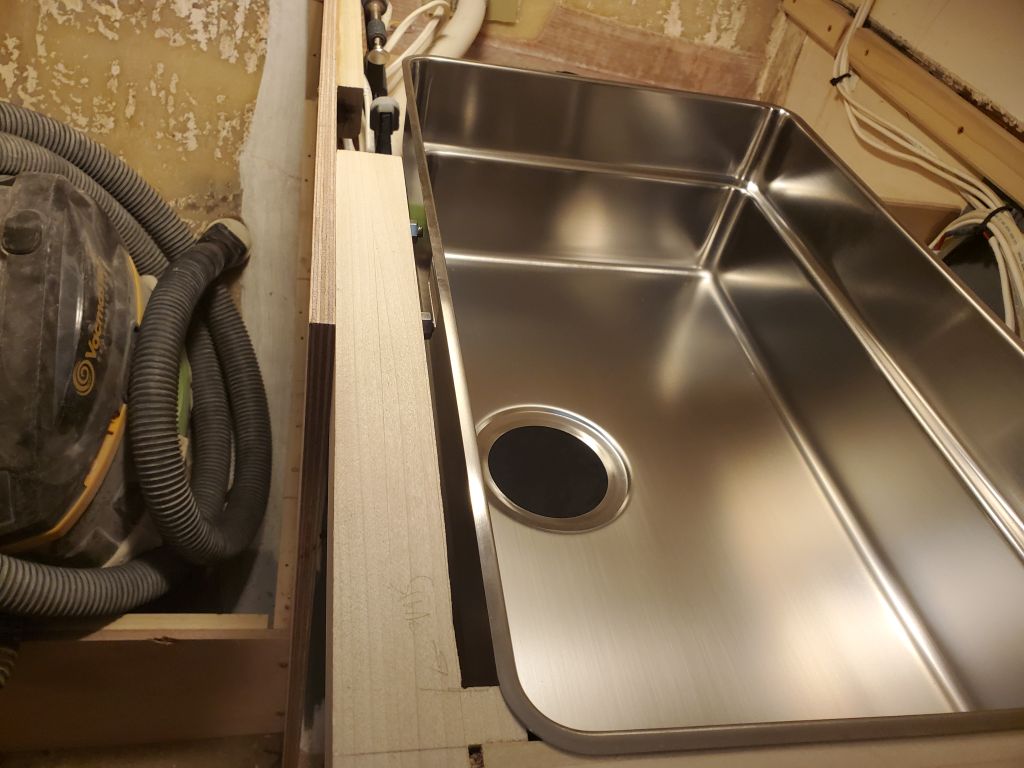
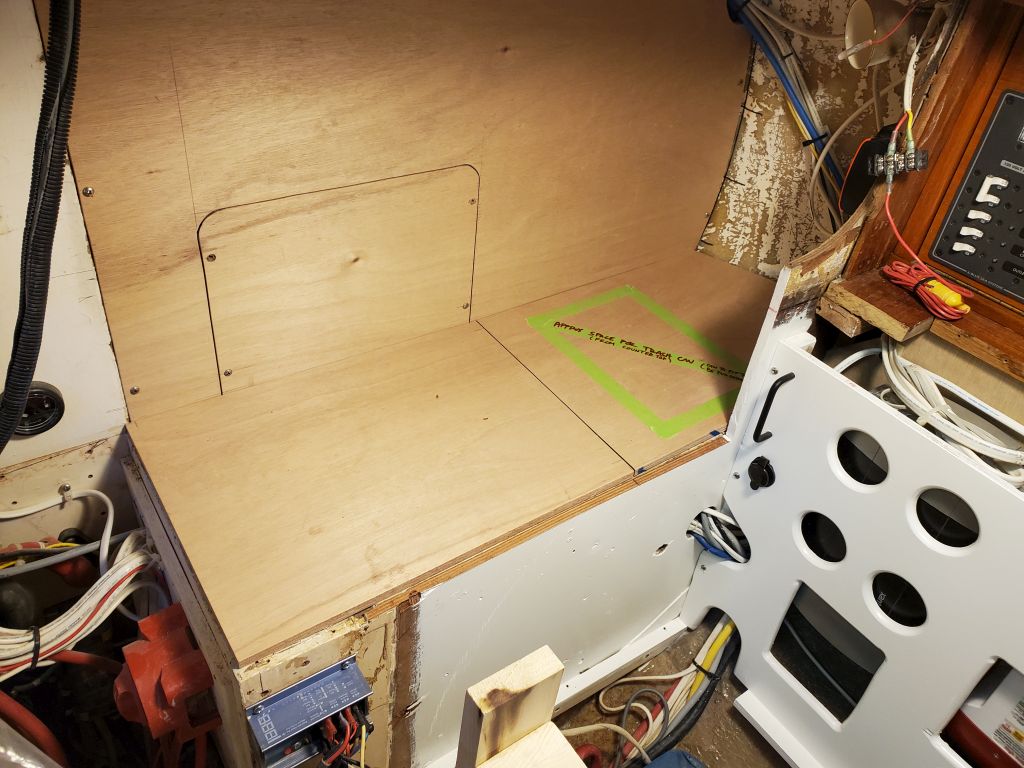
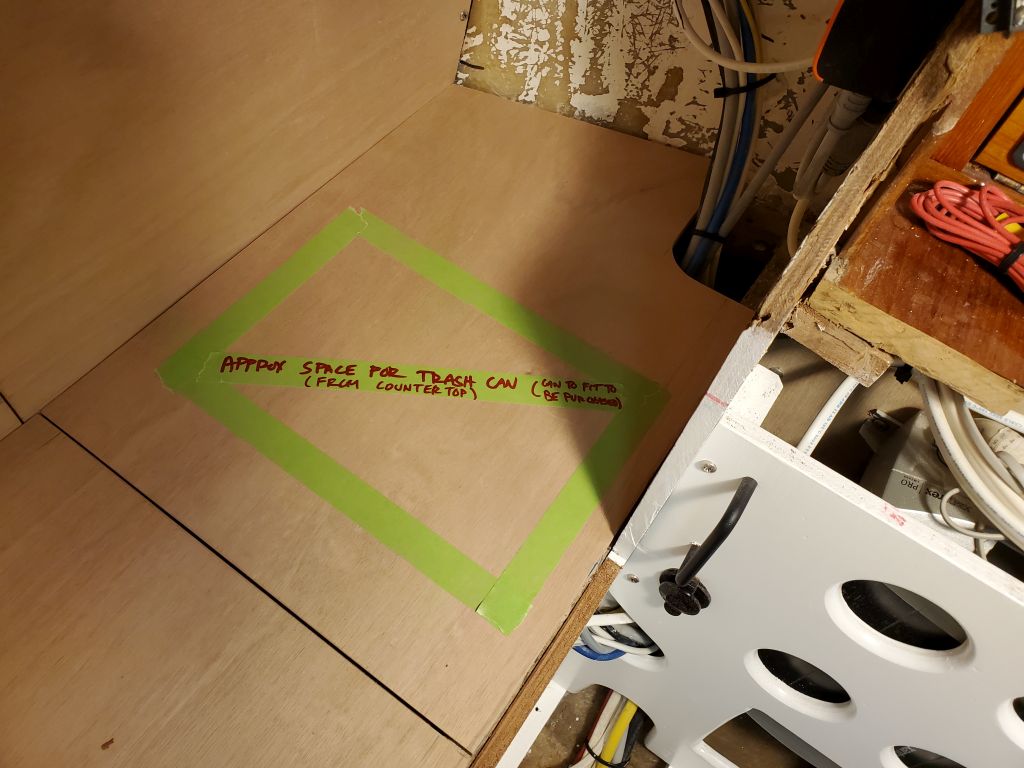
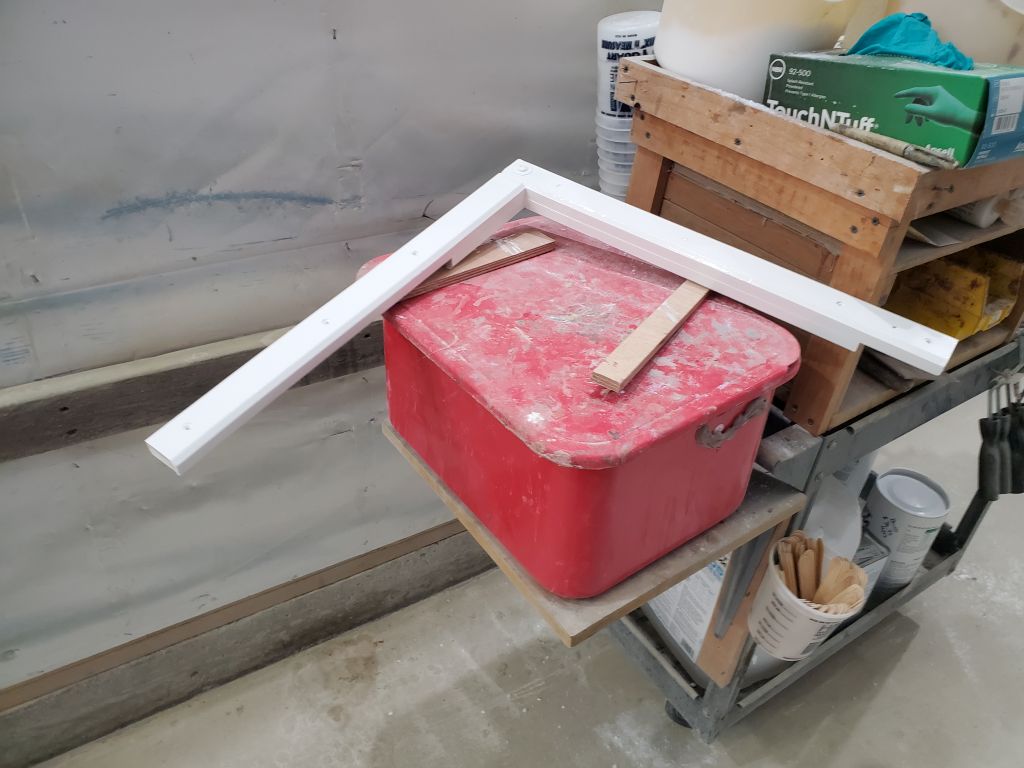
At the owner’s request, I planned for a garbage can beneath the countertop in the outboard section of this space, where the can could conceivably extend down into the open space adjacent to the fuel tank. I’d find a can somewhere to fit, then make any cuts accordingly a little later.
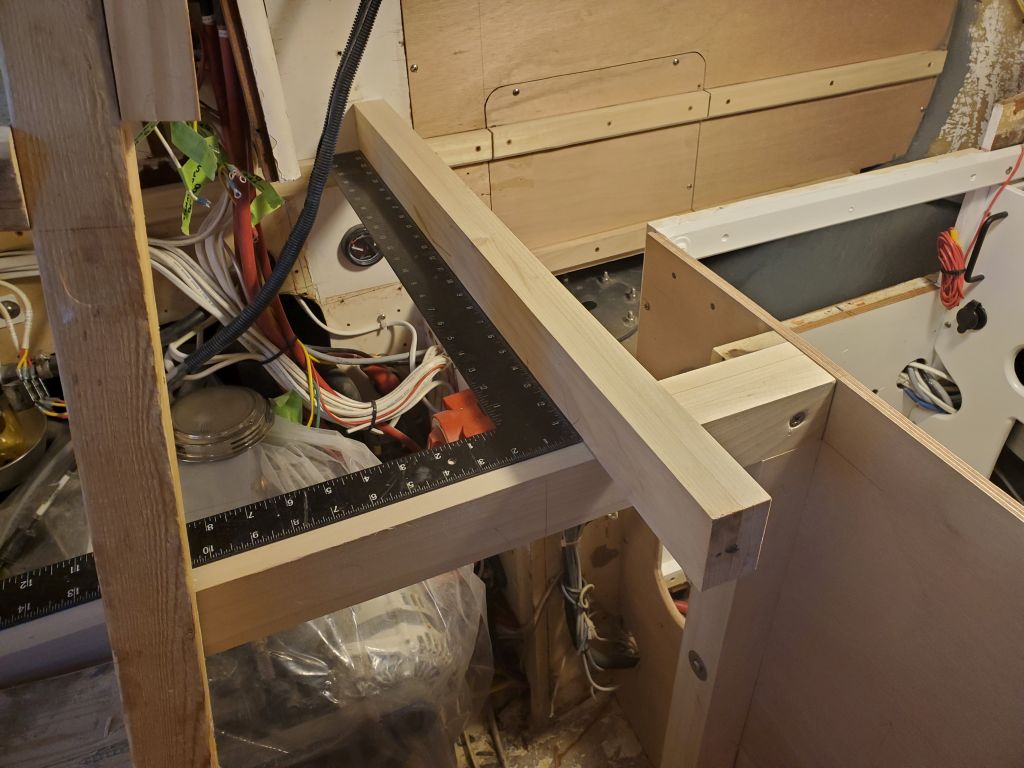
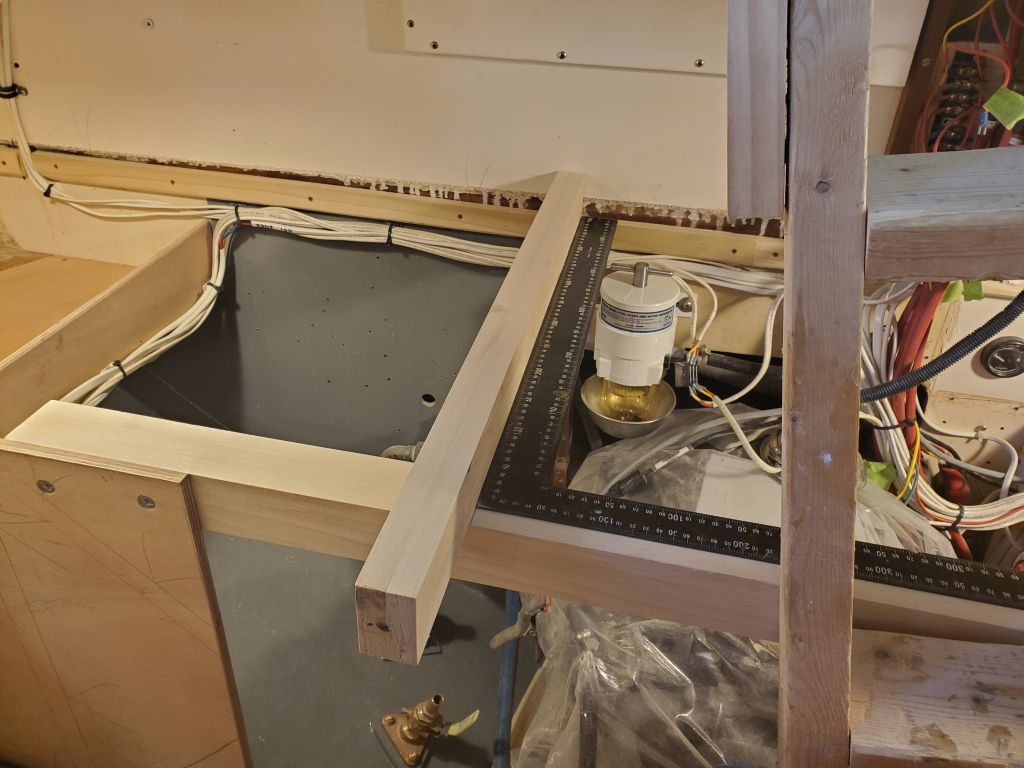
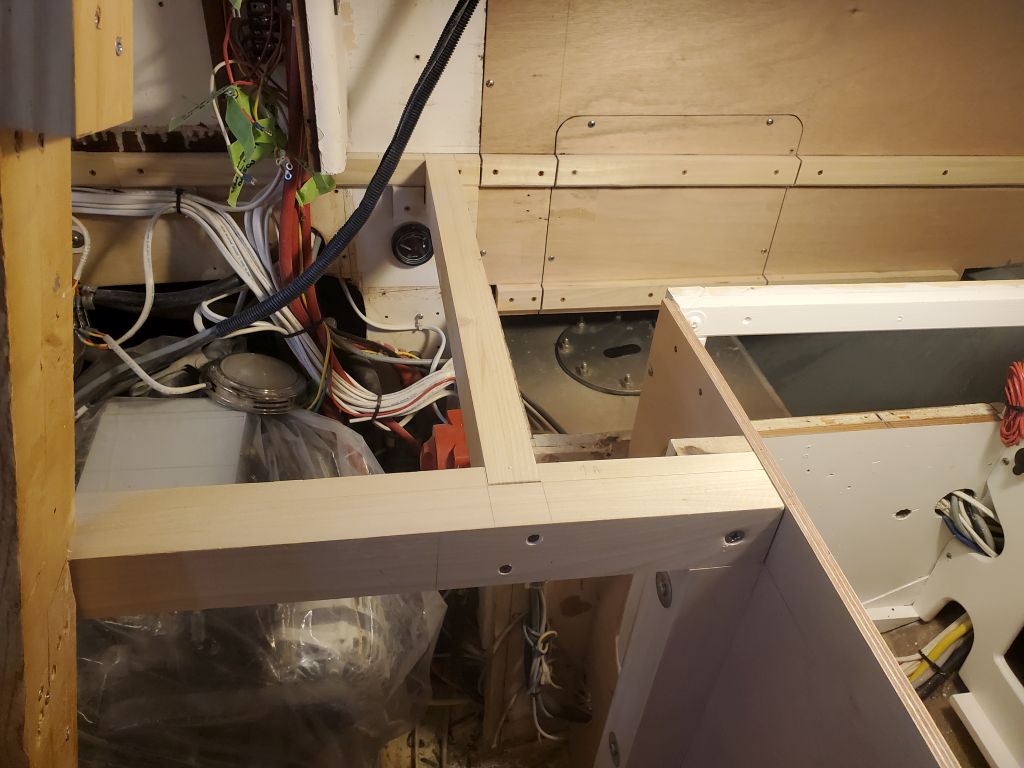
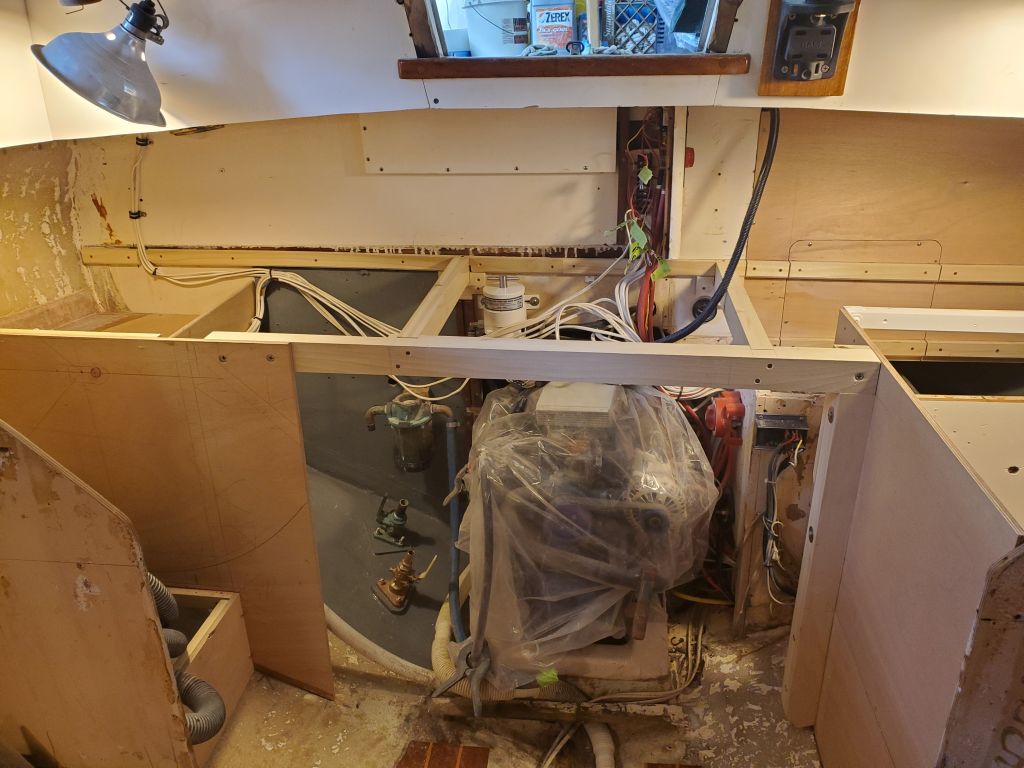
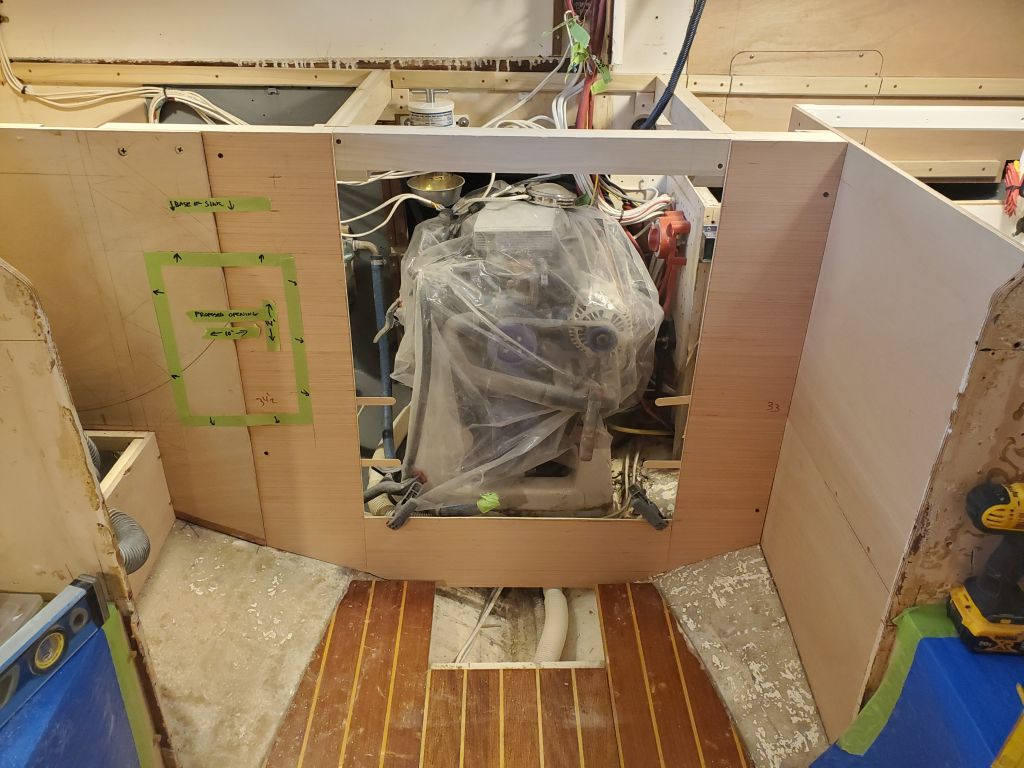
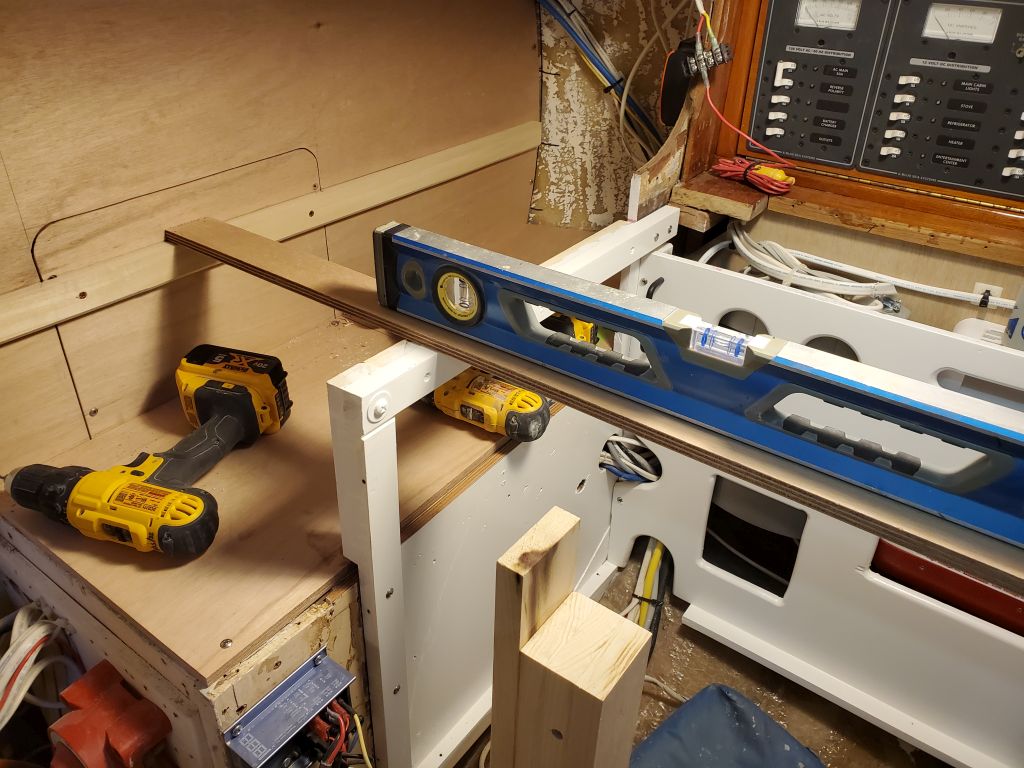
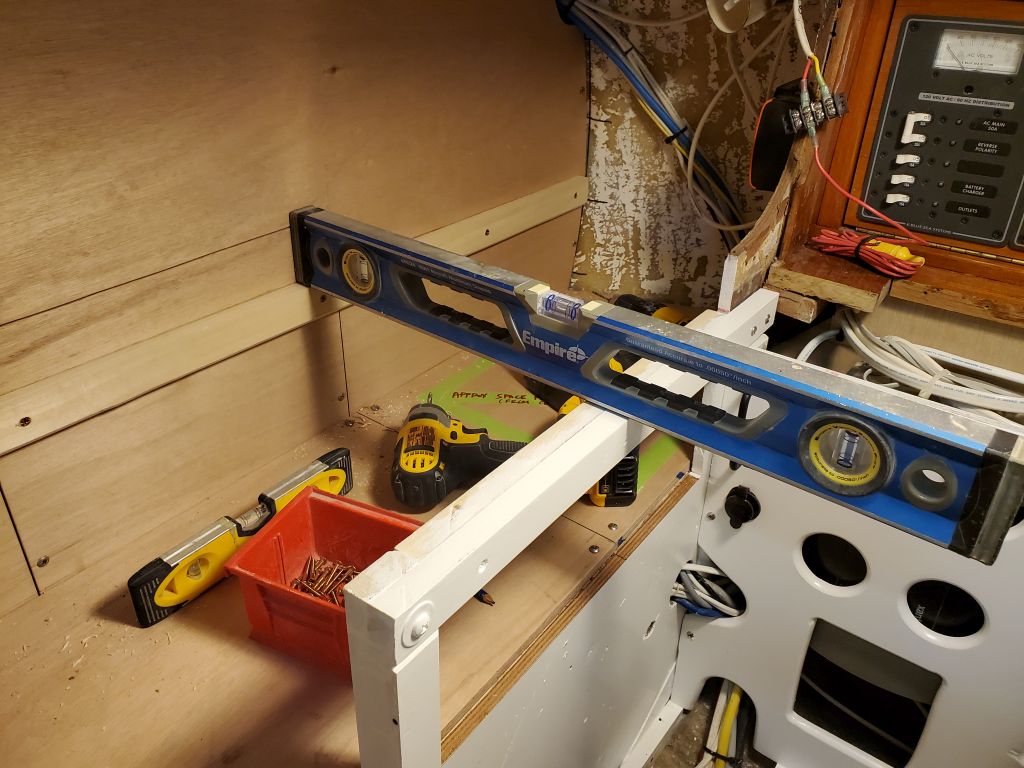
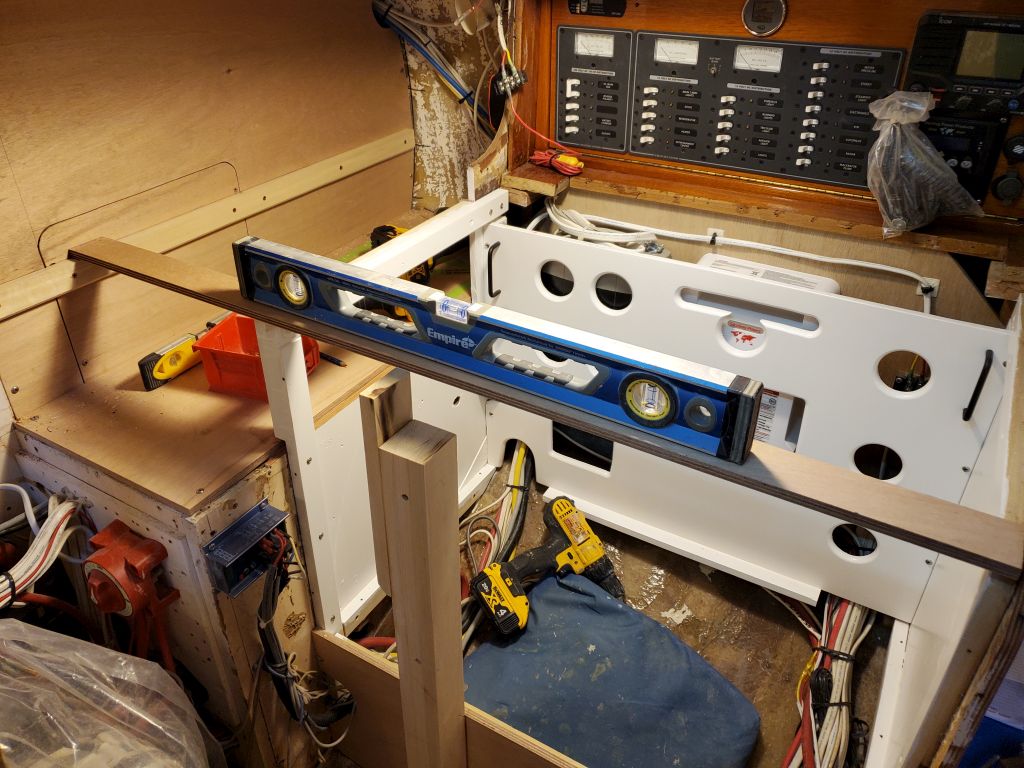
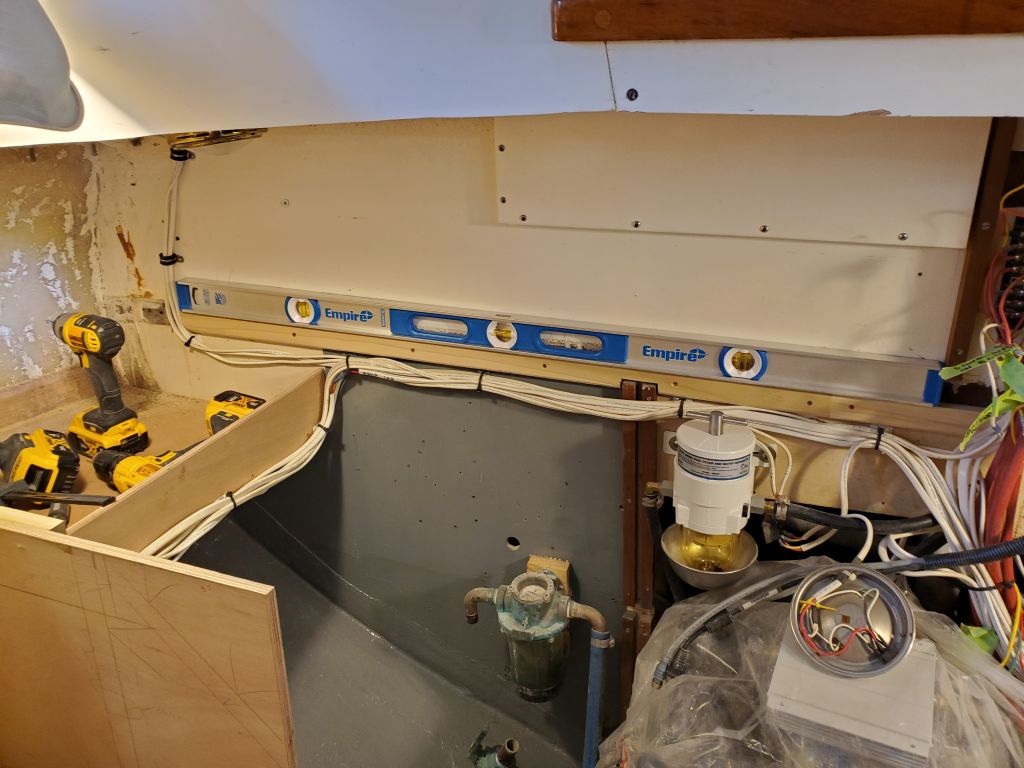
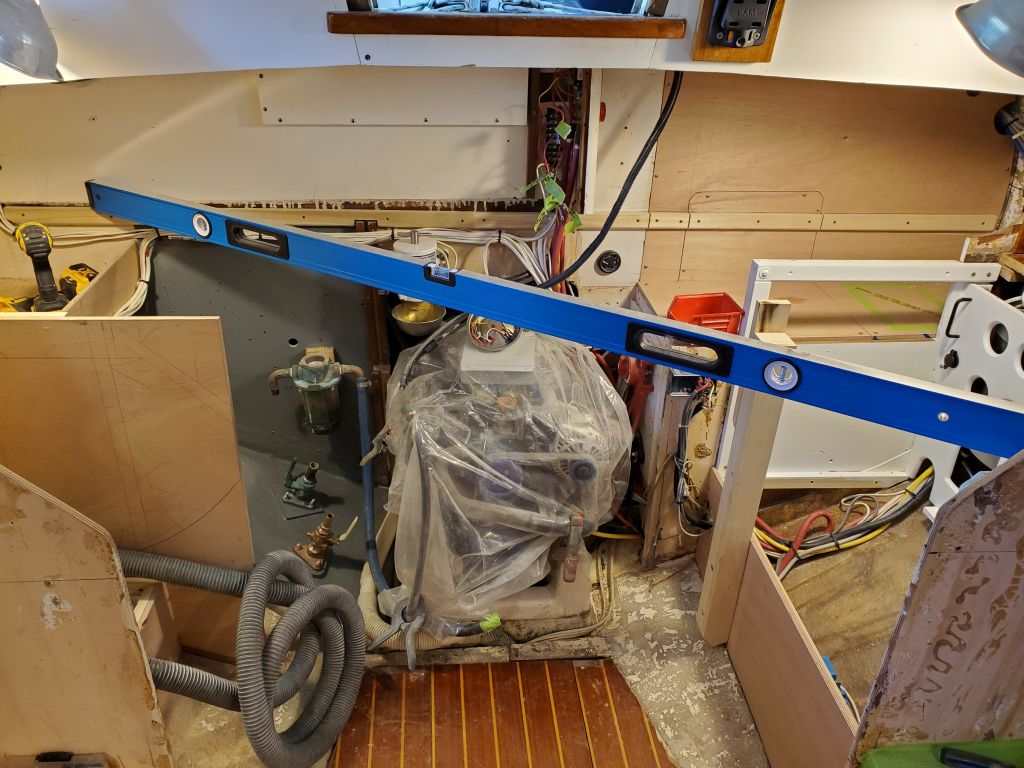
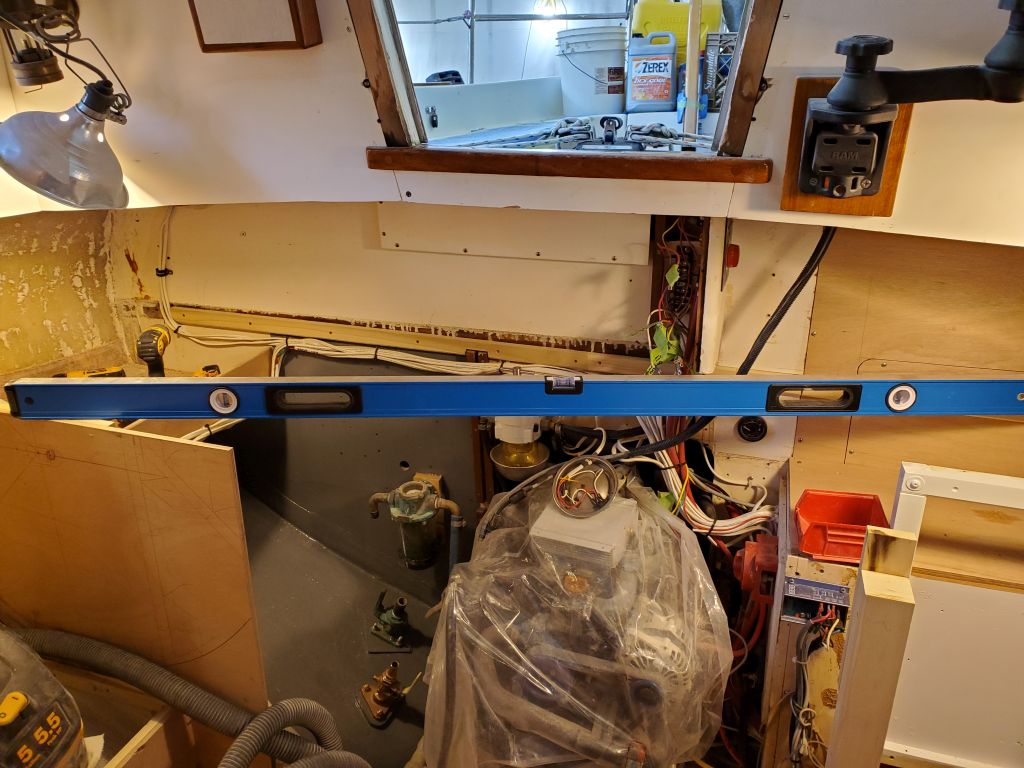
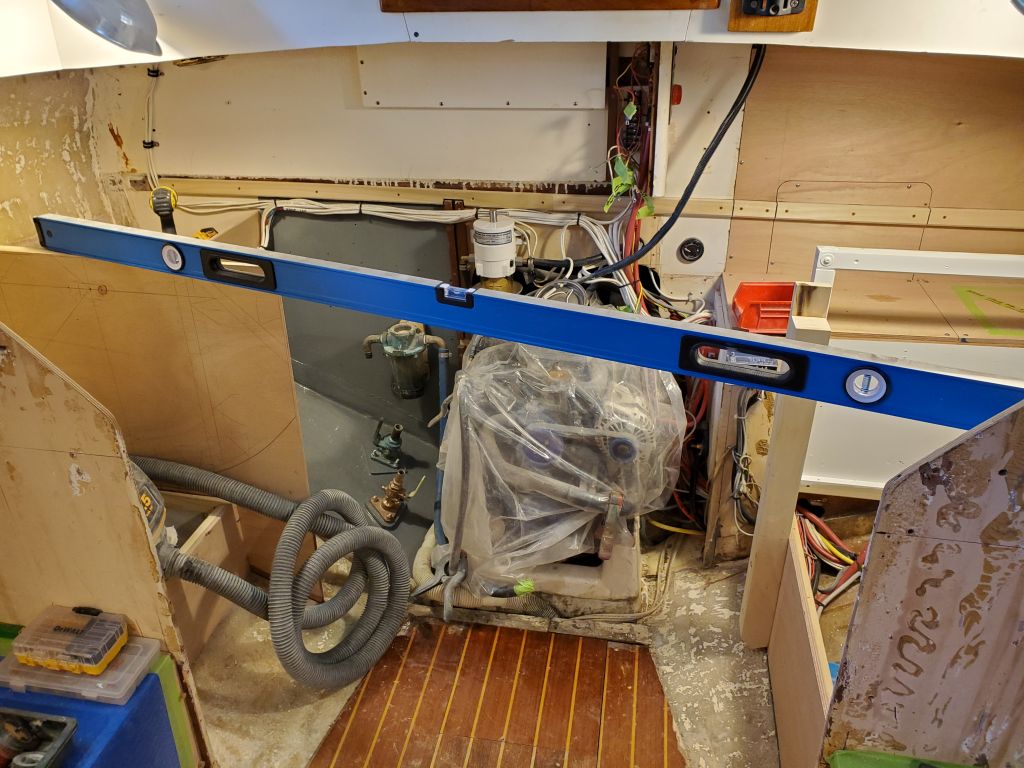
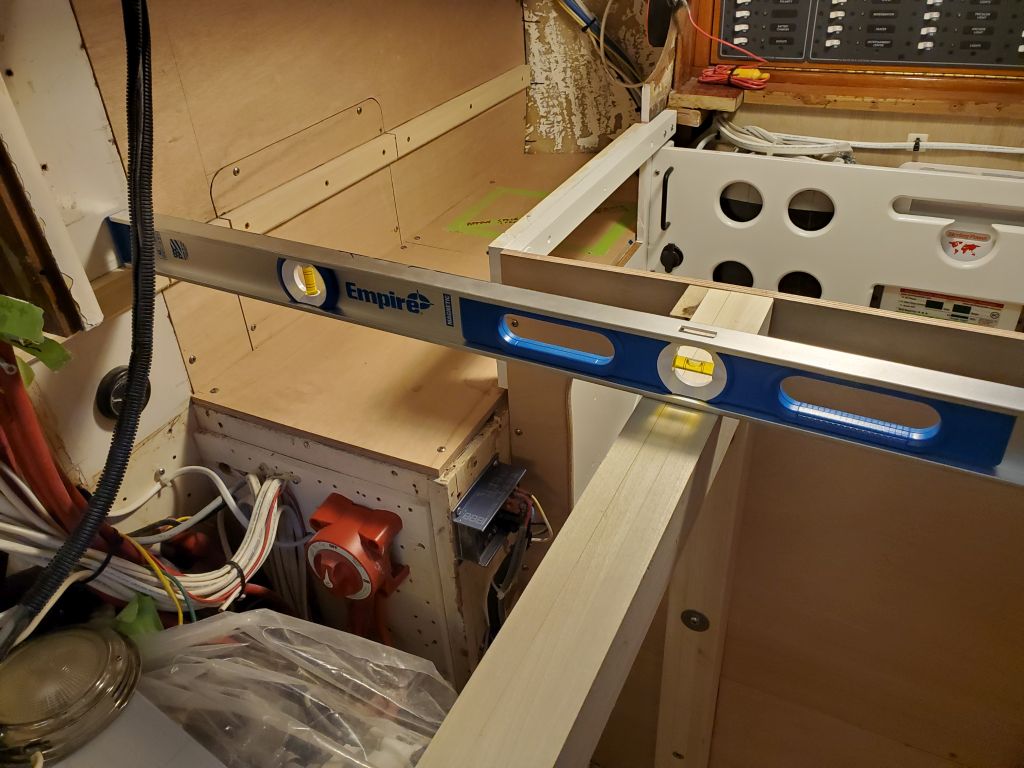
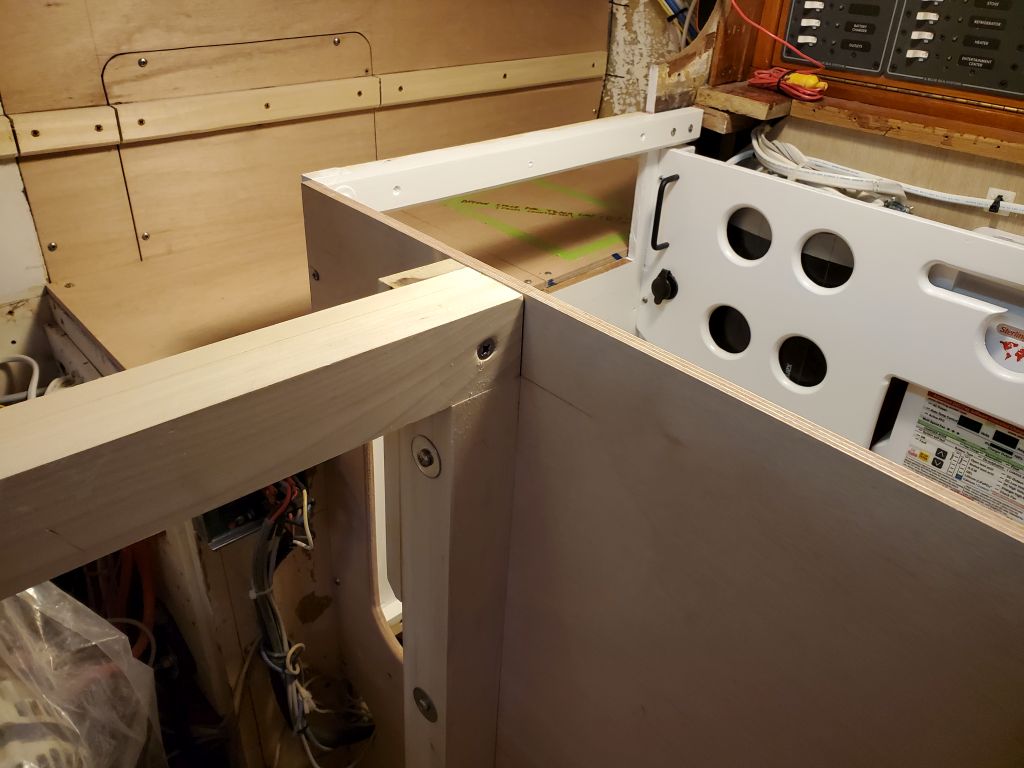
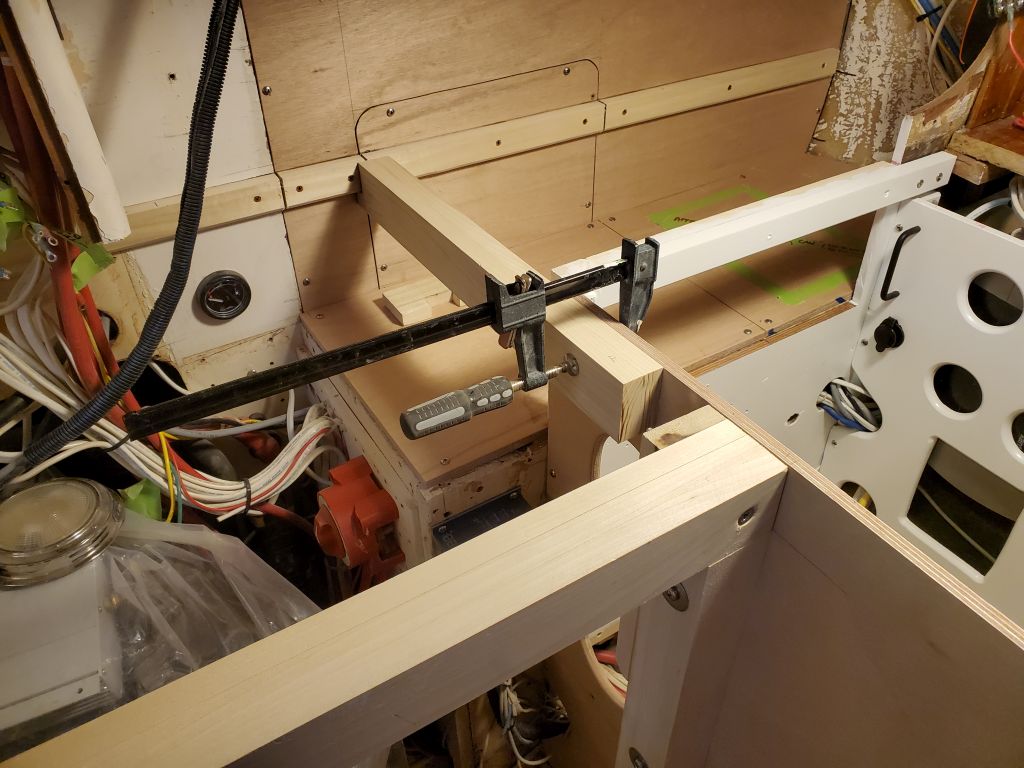
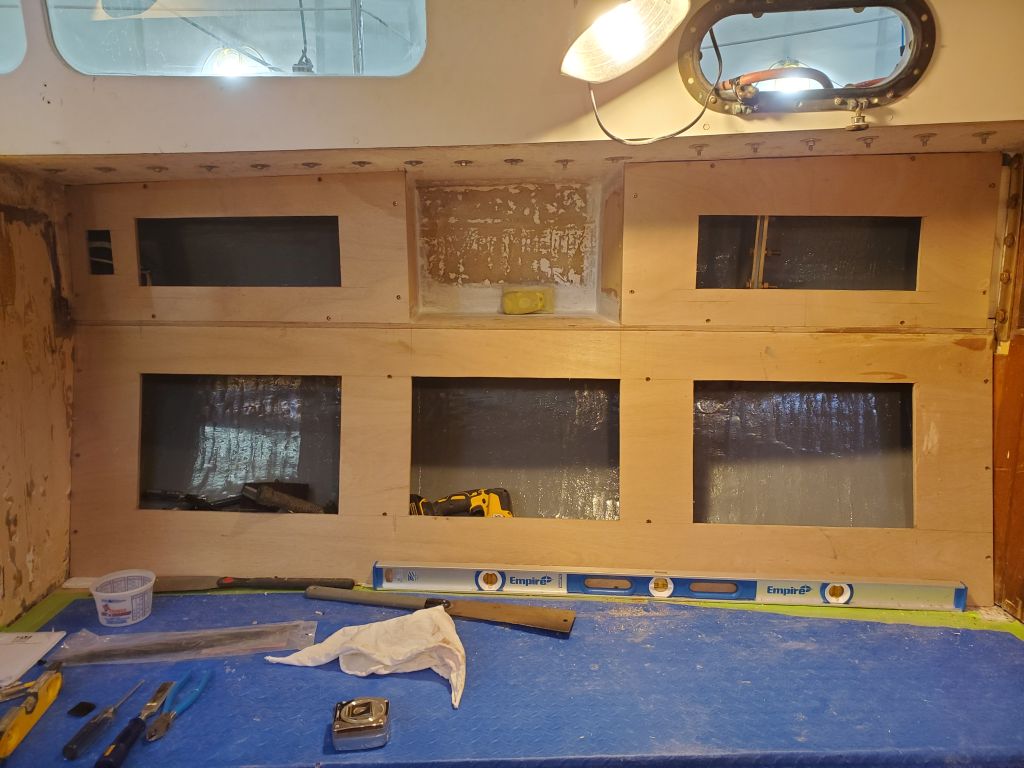
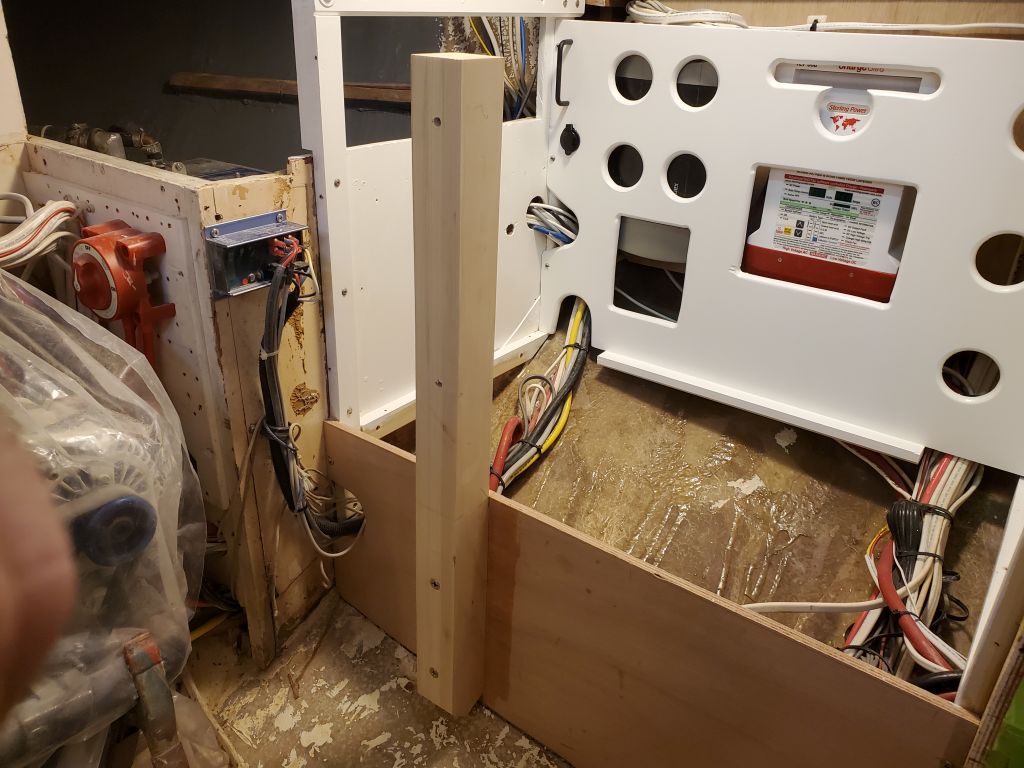
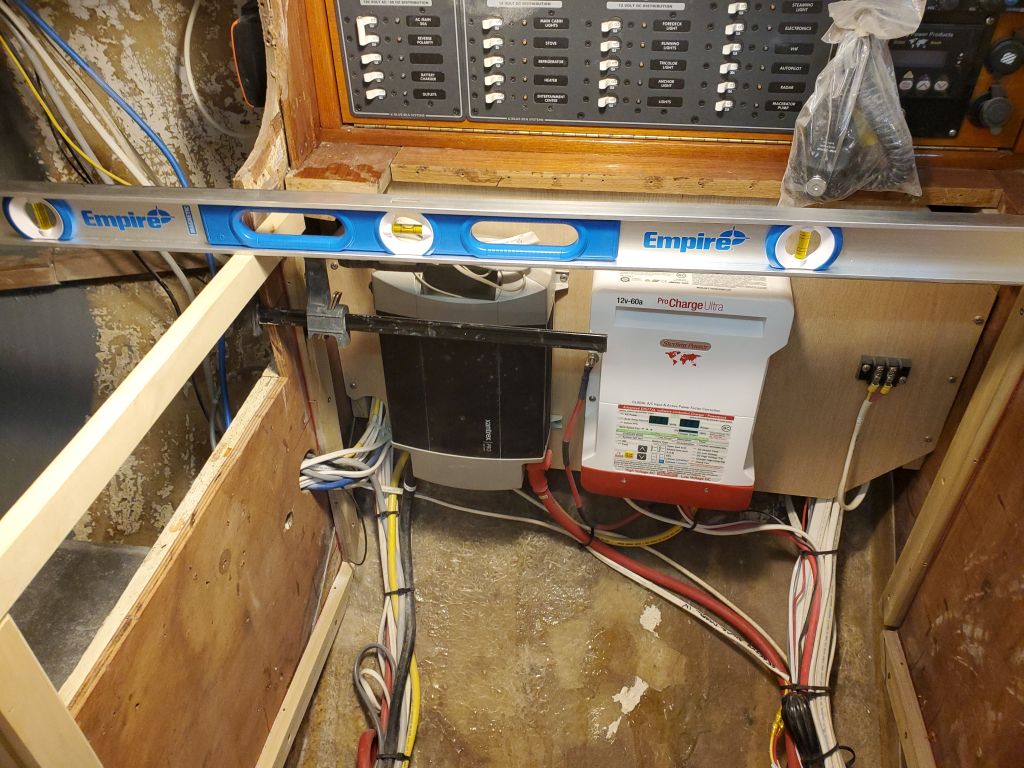
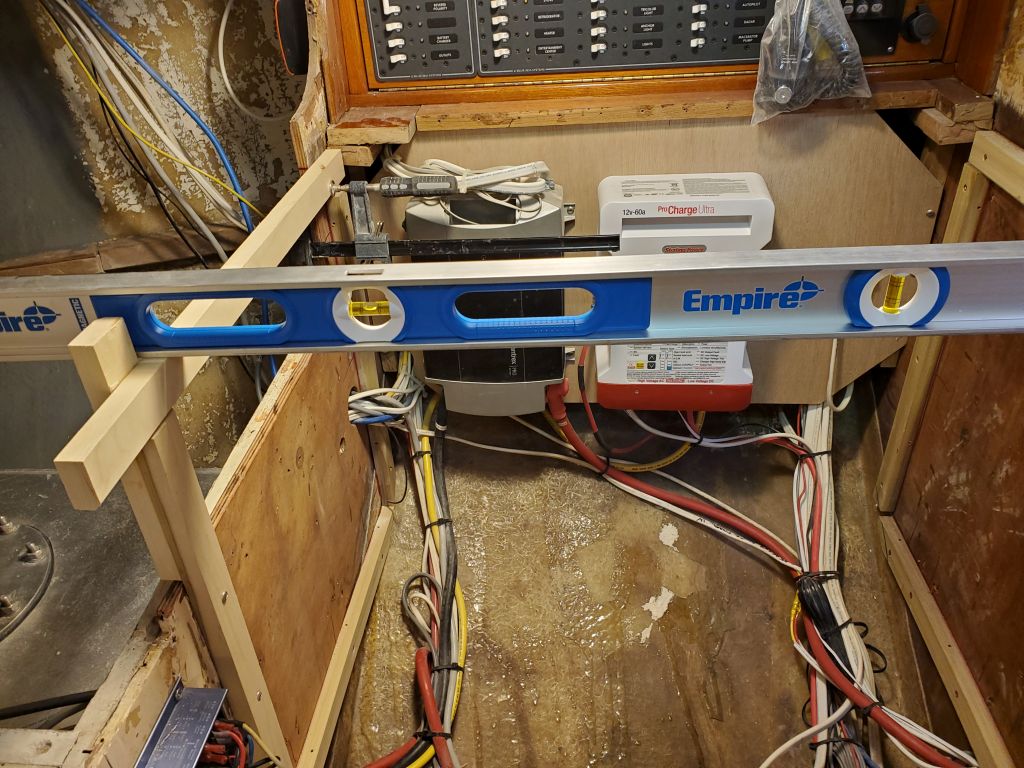
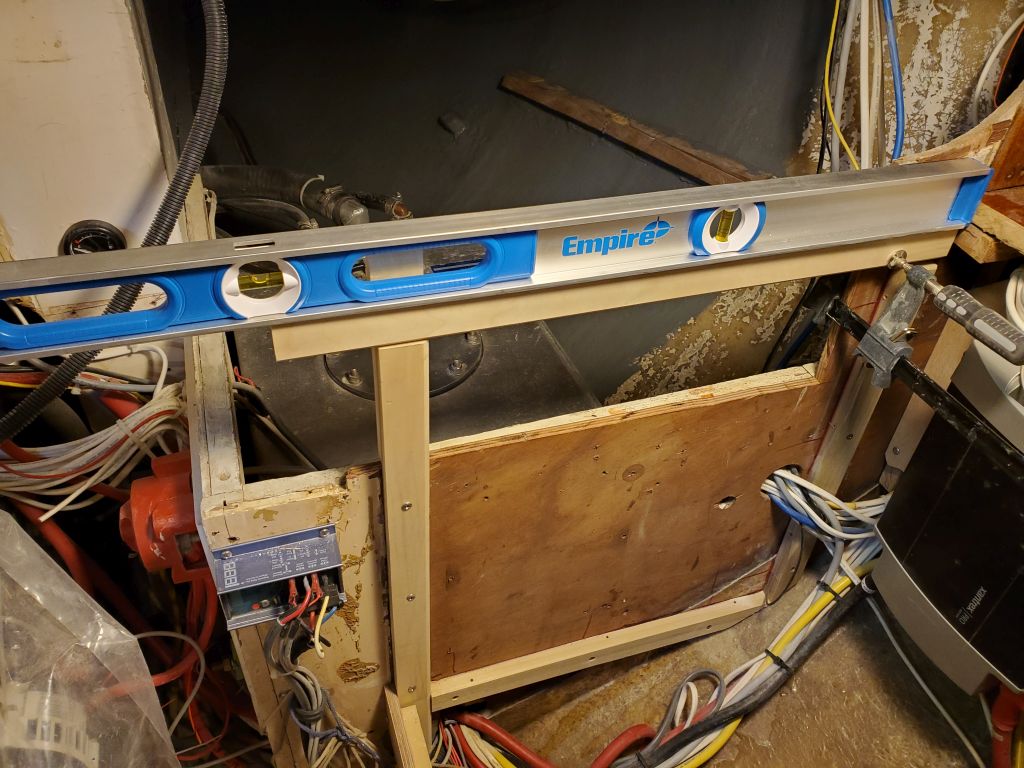
Now I reinstalled some of the support structure around the refer compartment so I could lay out and install support cleats for the countertop. After making some initial layout marks, I dry-installed a full-length cleat across the space, and as far inboard as the edge of the similar cleat on the starboard side that I’d installed earlier. I’d initially determined the countertop height starting with the port side, some weeks earlier, as I worked to enclose the refrigerator, and this height, which at the time I determined was roughly an inch lower than the original counter, drove the rest of the layout, including the stove enclosure and that aft cleat on the starboard side. That cleat never looked quite right after the fact, but I’d checked its level across the boat a number of times, and from the supports on the port side, and it didn’t help that the ghost of the original cleat on the bulkhead was clearly out of whack, making the new cleat look odd, and also higher than expected, though I knew from the port side that I’d lowered the original height. This bothered me, but it was level athwartships, and seemed to coordinate correctly with the other layout, so I figured it would work itself out. And indeed, it did.
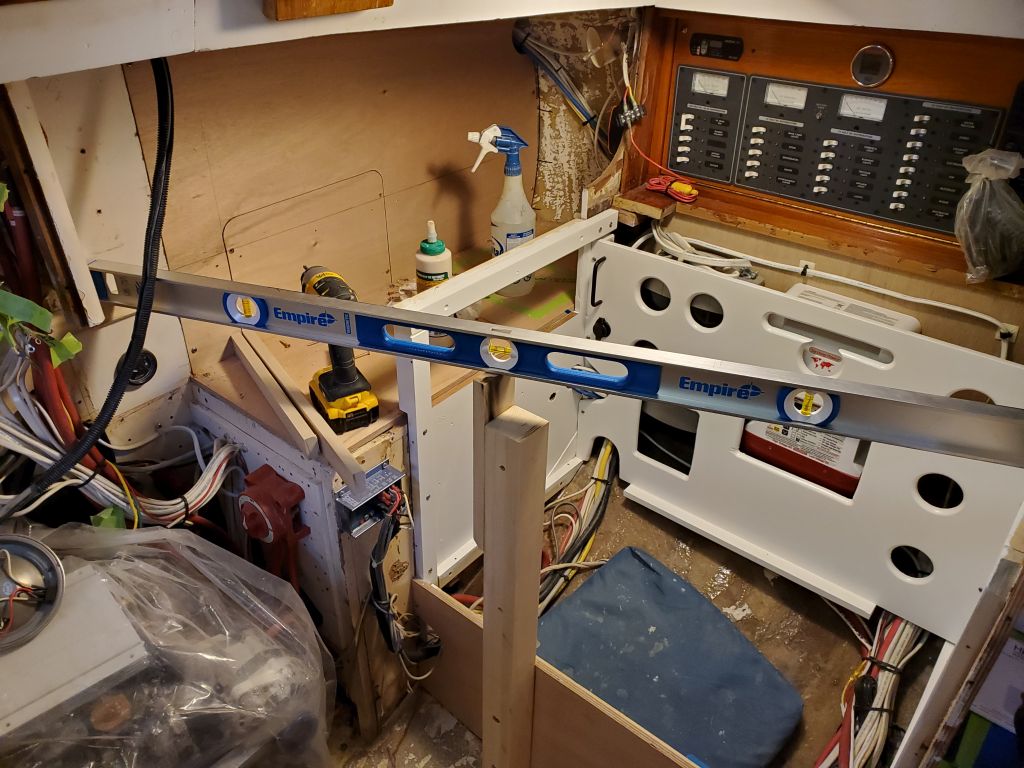
When I laid out and installed the new cleat across the port side, double- and triple-checking the level across in as many dimensions as possible, it turned out that the new cleat met the old one approximately 1/2″ lower. This led to some additional detailed checking of the starboard cleat’s position, which I eventually determined was indeed level athwartships, but was mounted just that bit too high. This explained everything–the impression that the countertop was higher than I thought it was, and the idea that the cleat had never been quite right in (till now) undefinable ways.
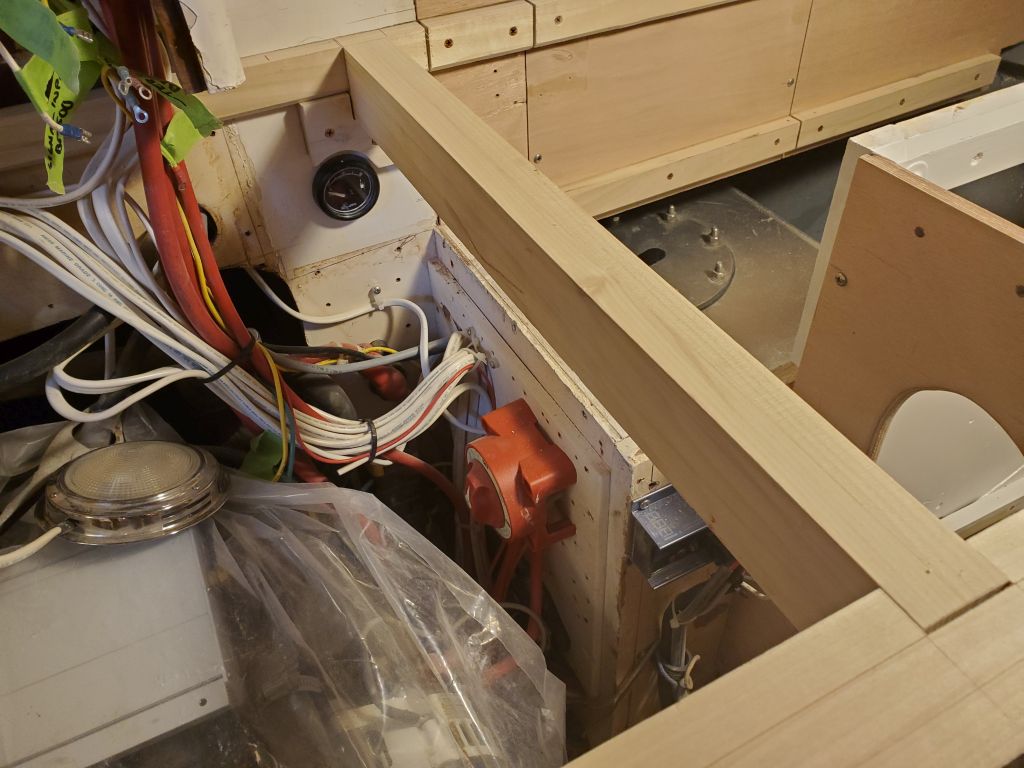
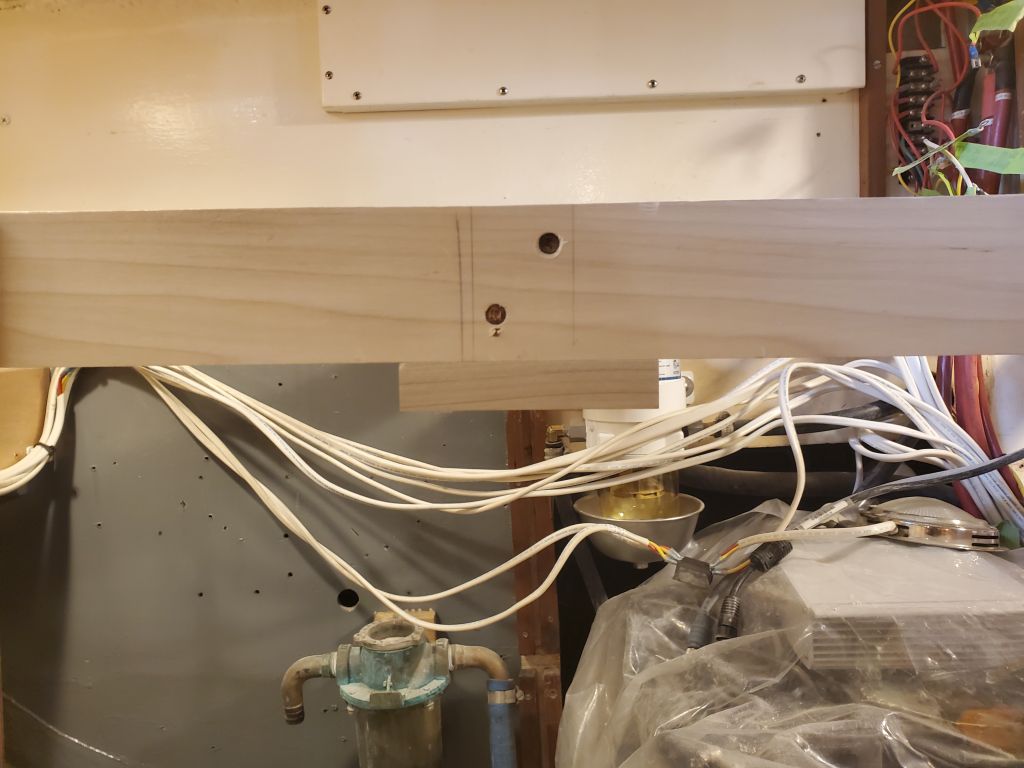
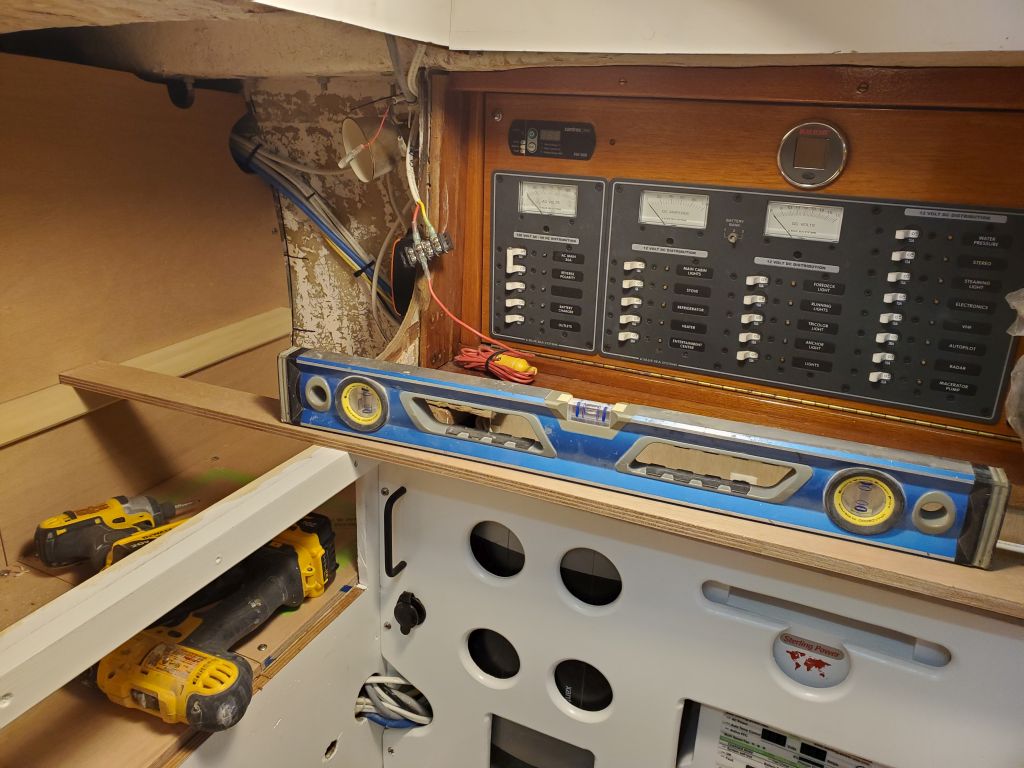
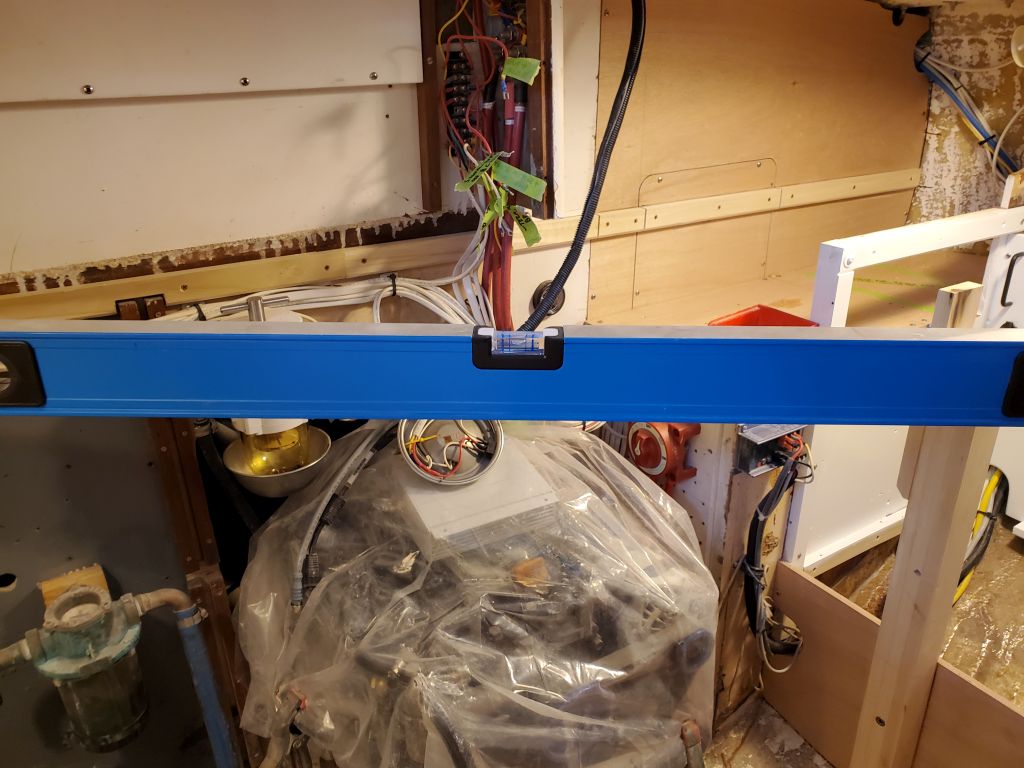
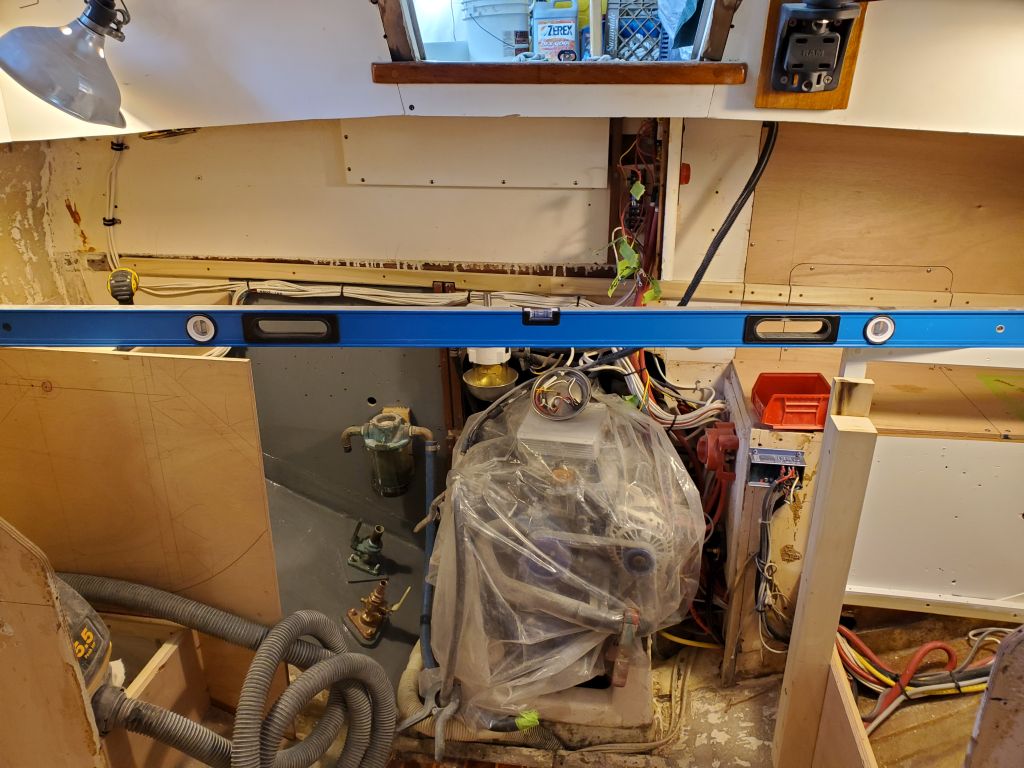
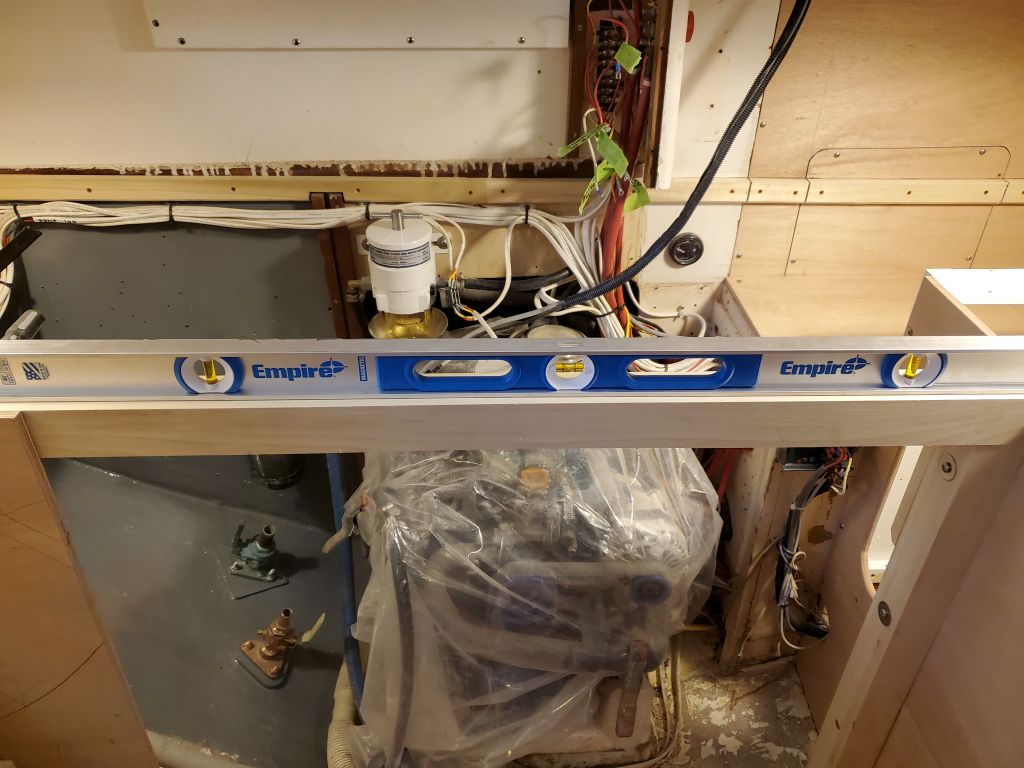
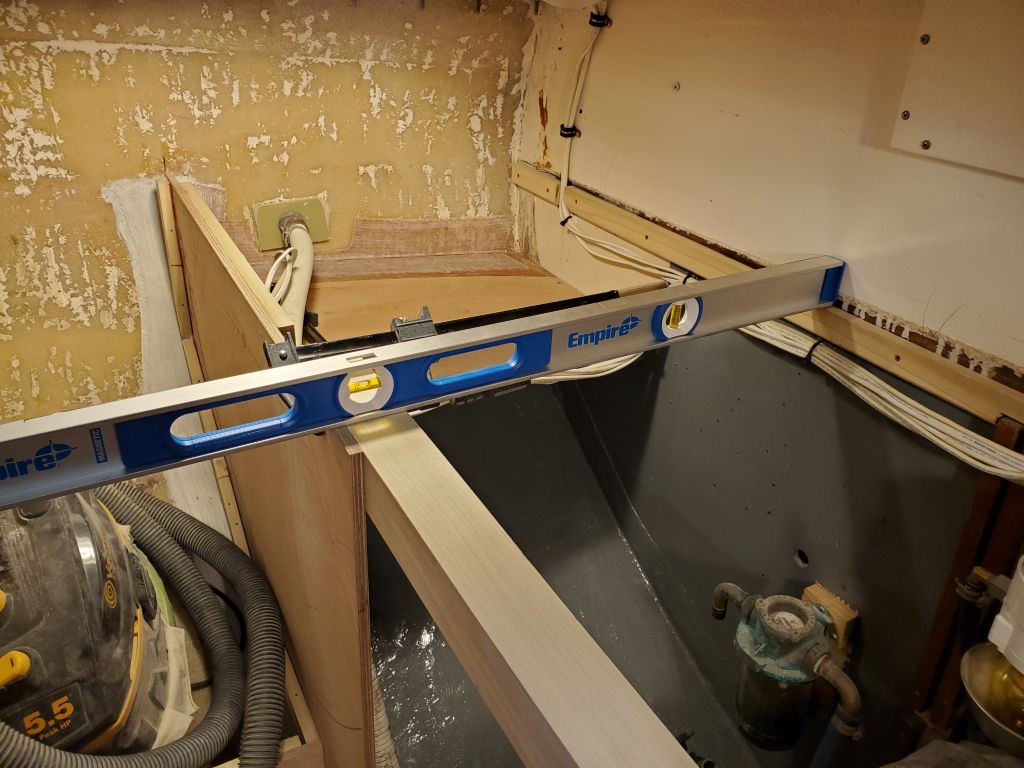
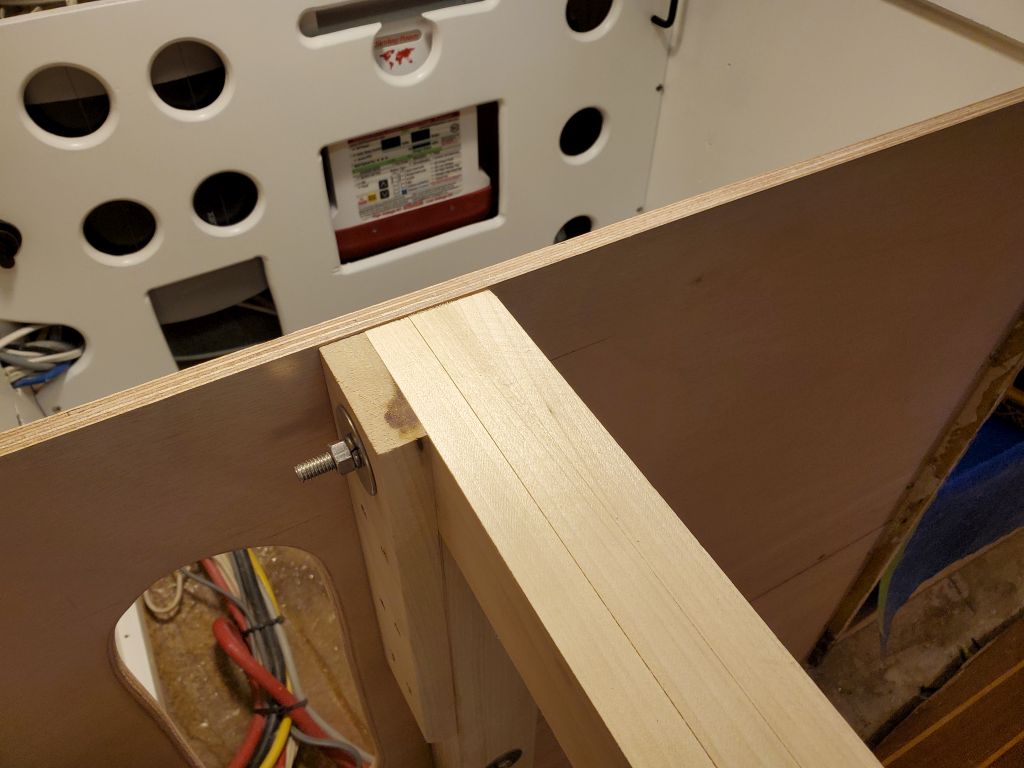
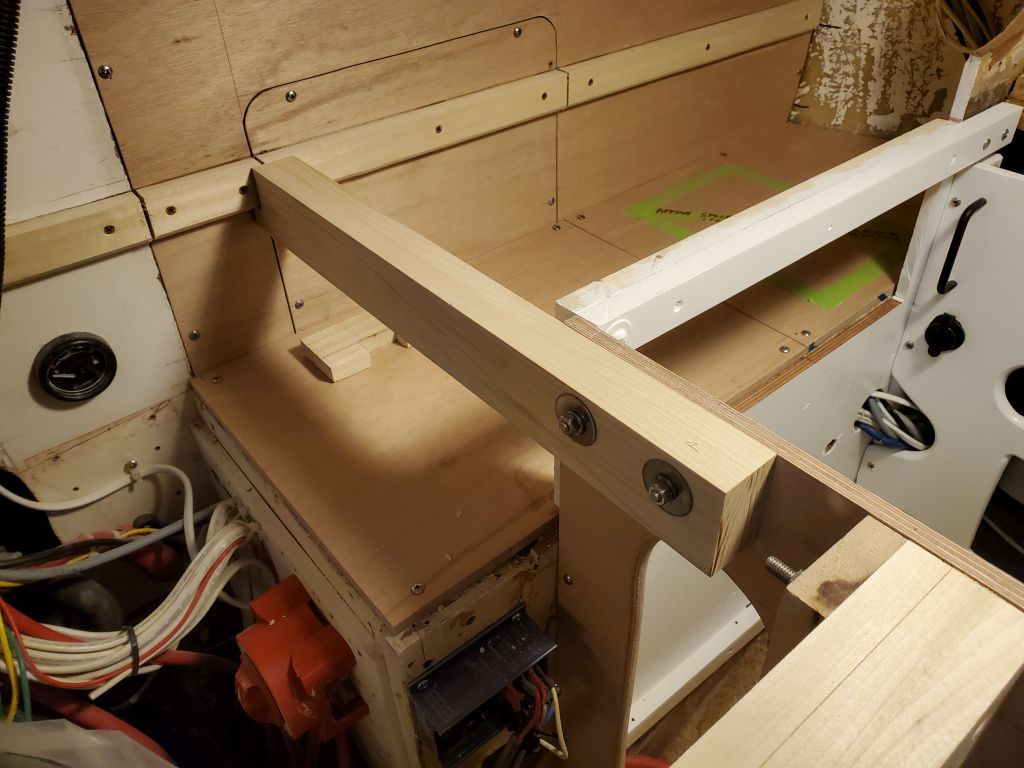
After confirming that everything else was still in proper agreement with the initial early height reference points and every which way, I determined that my layout was correct from the onset, but somehow I’d installed that cleat just too high. All I could do now was blame the 4′ level that I had used this cleat’s installation, which level had started seeming wonky when I was laying out the settees around the same time too (that level had since been discarded and replaced with a new one). In any event, fortunately the fix was an easy one to remove the cleat and reinstall it at the correct height, which happily was the same as the new cleat I’d just installed (as well as everything else). Once I’d reinstalled the cleat correctly, everything tied in well, which I checked with every level I had and in as many directions as I could across the boat and fore and aft and athwartships. Using the bottom edge of the vertical panel that once defined the edge of an upper galley locker, above the engine room, I determined the new cleat was just under 1-1/2″ lower than the original countertop, meaning the new countertop (at 1/2″) would end up 1″ lower than the original, which was what it should have been all along.
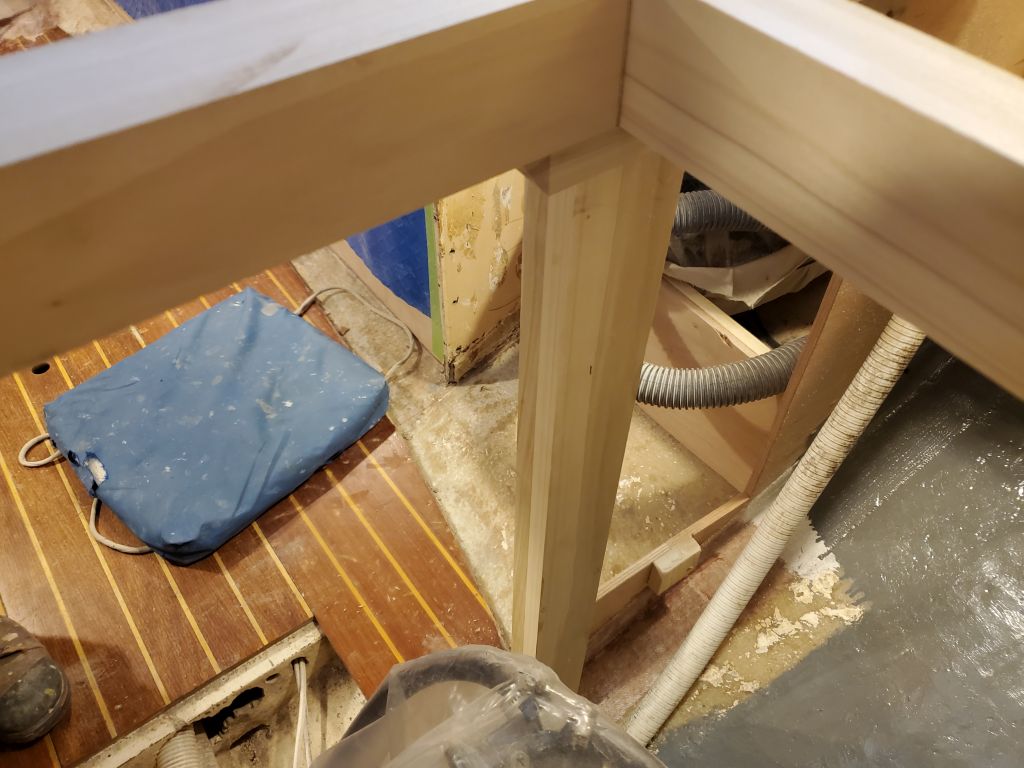
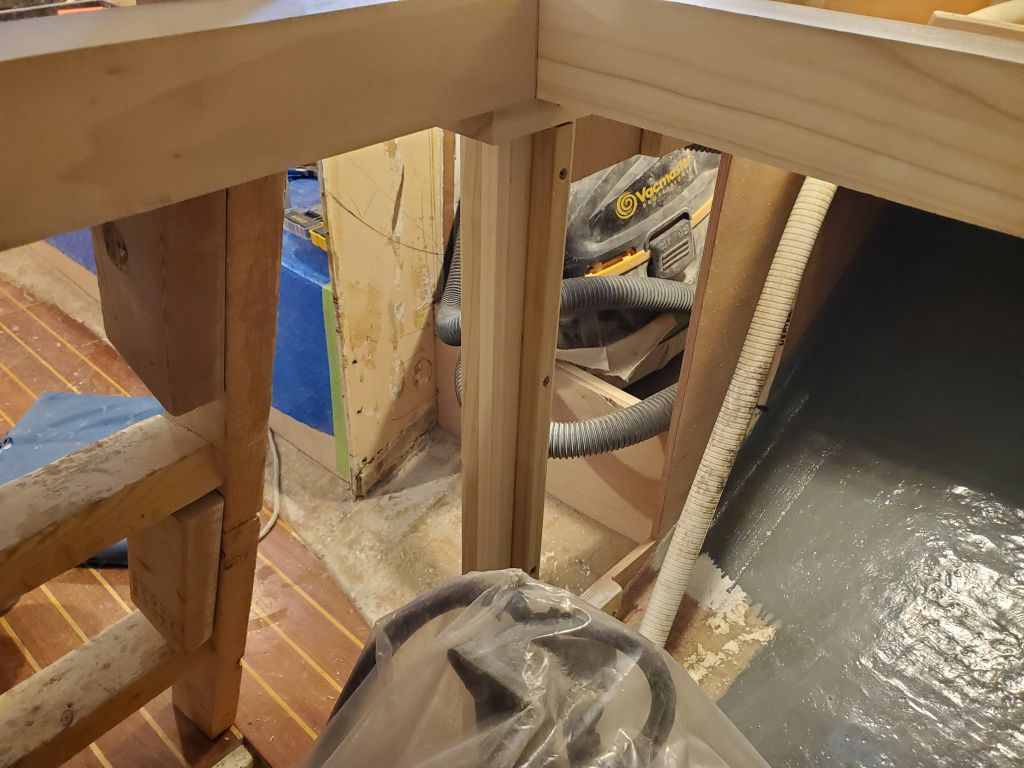
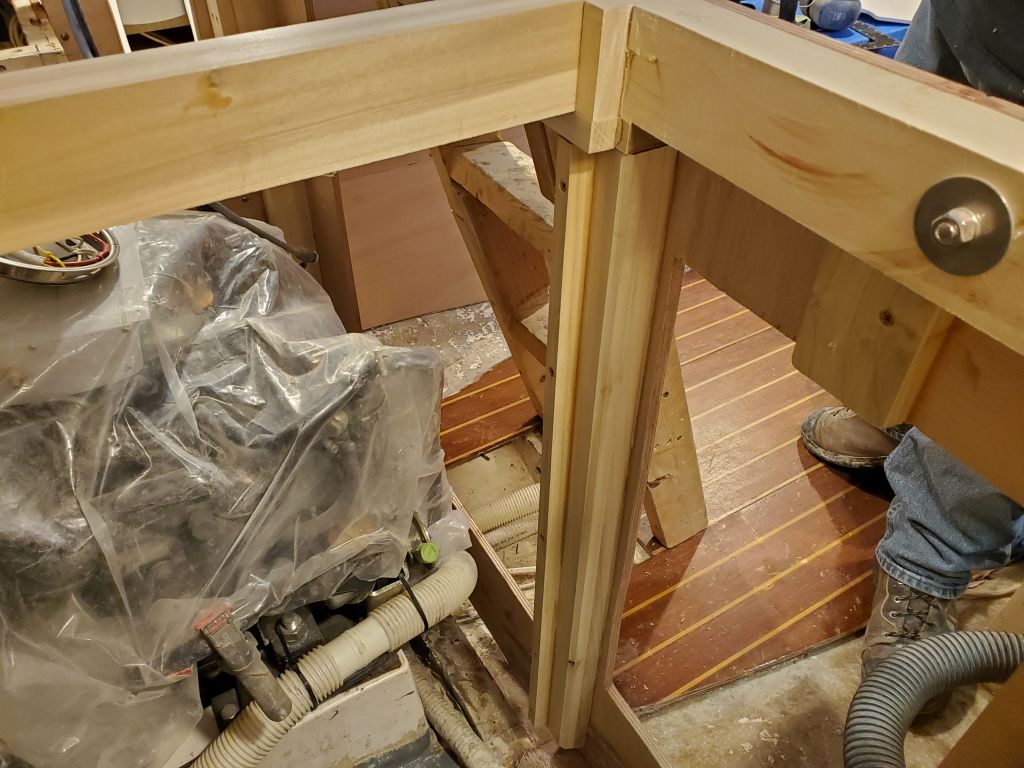
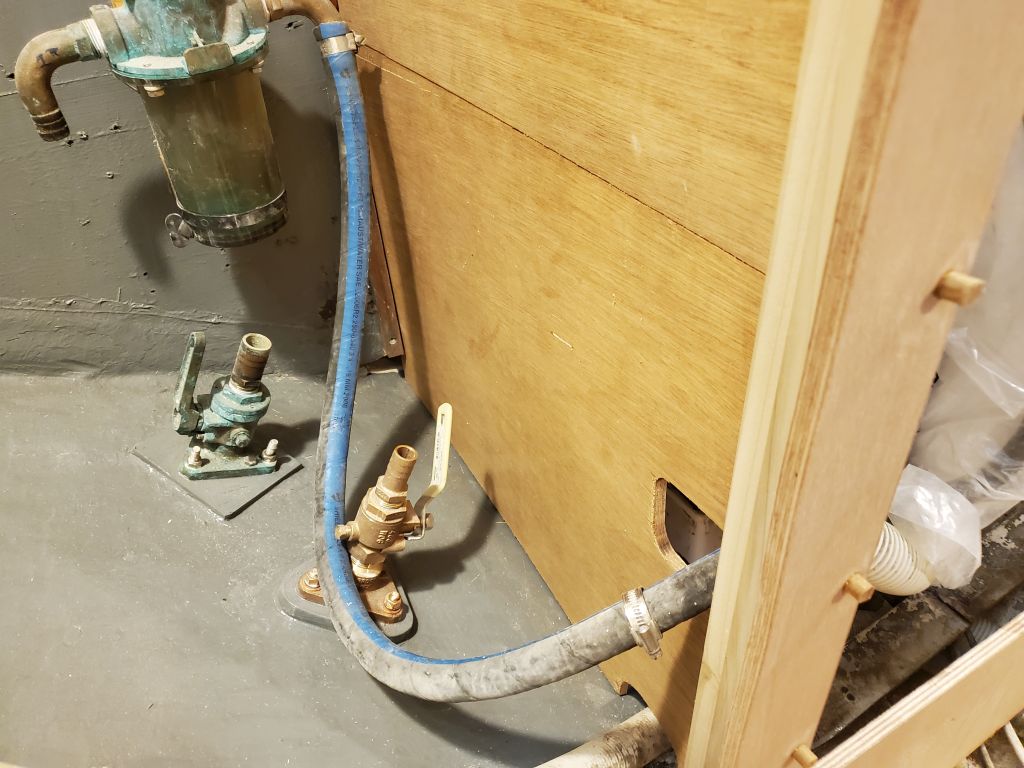
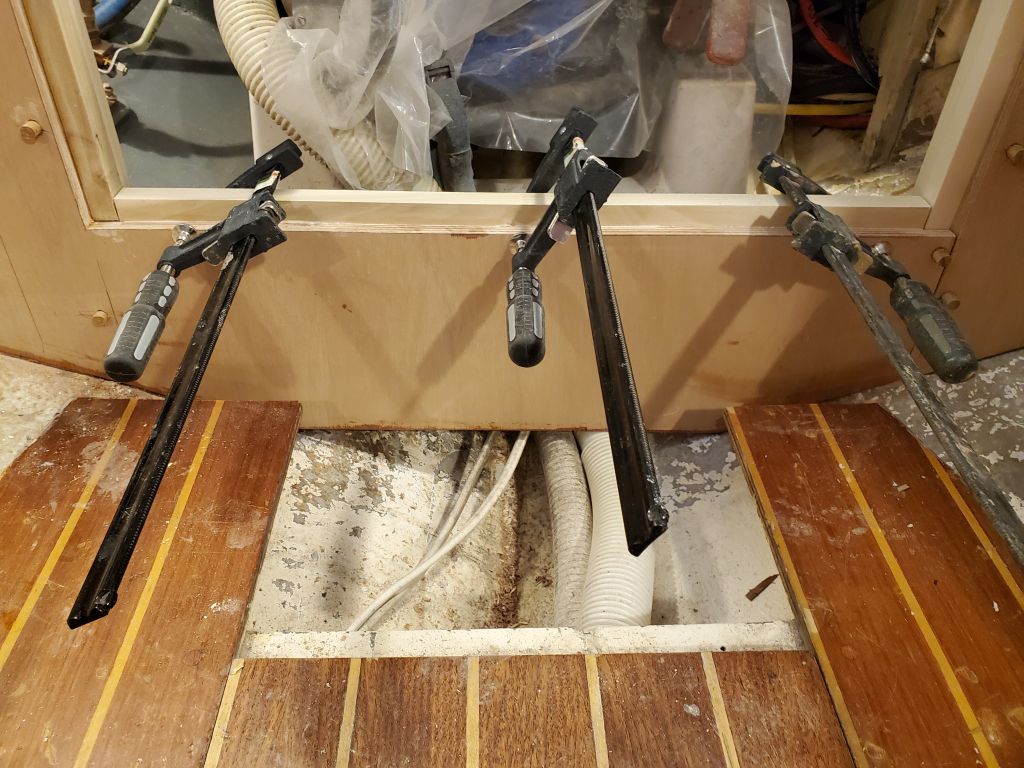
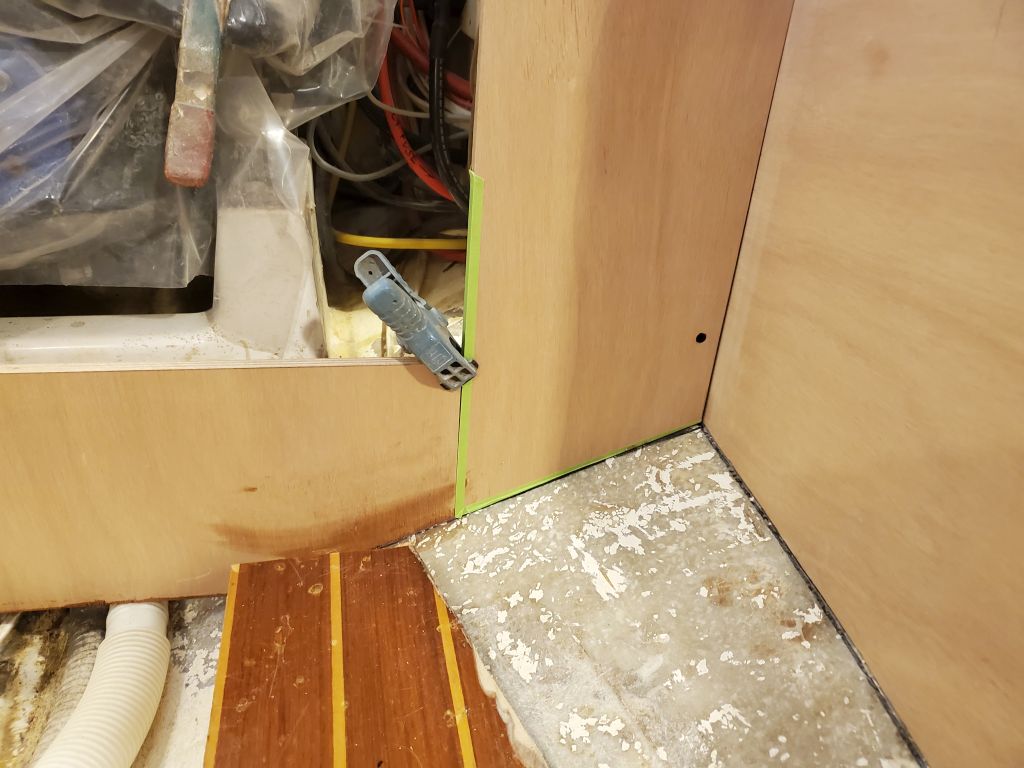
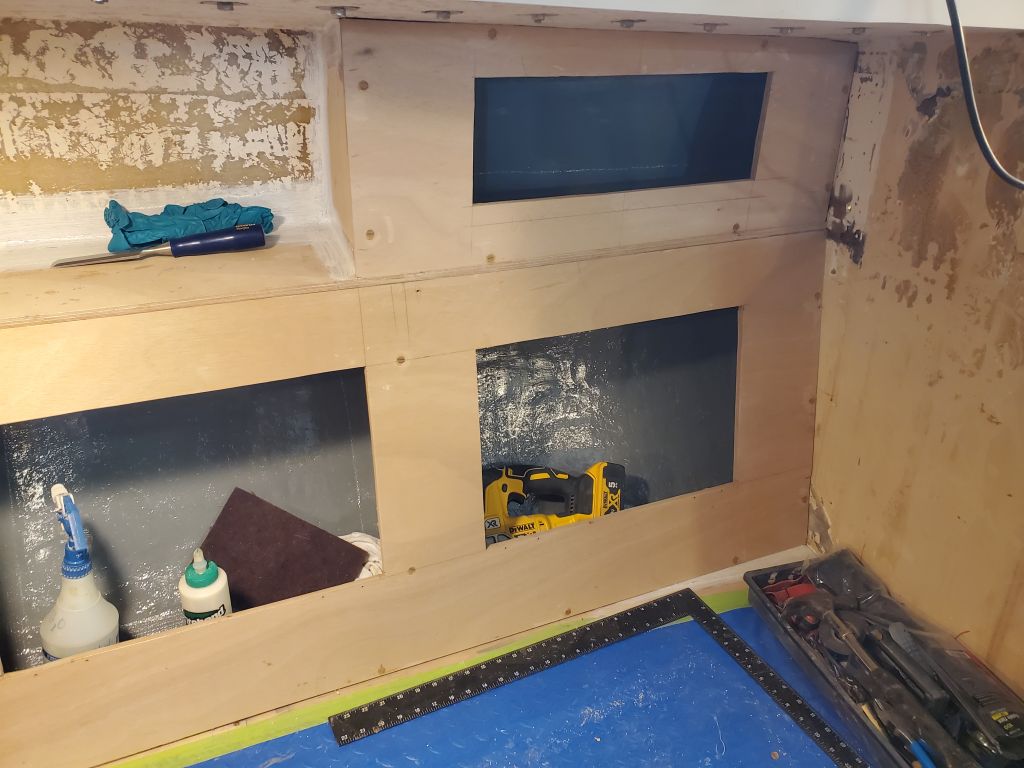
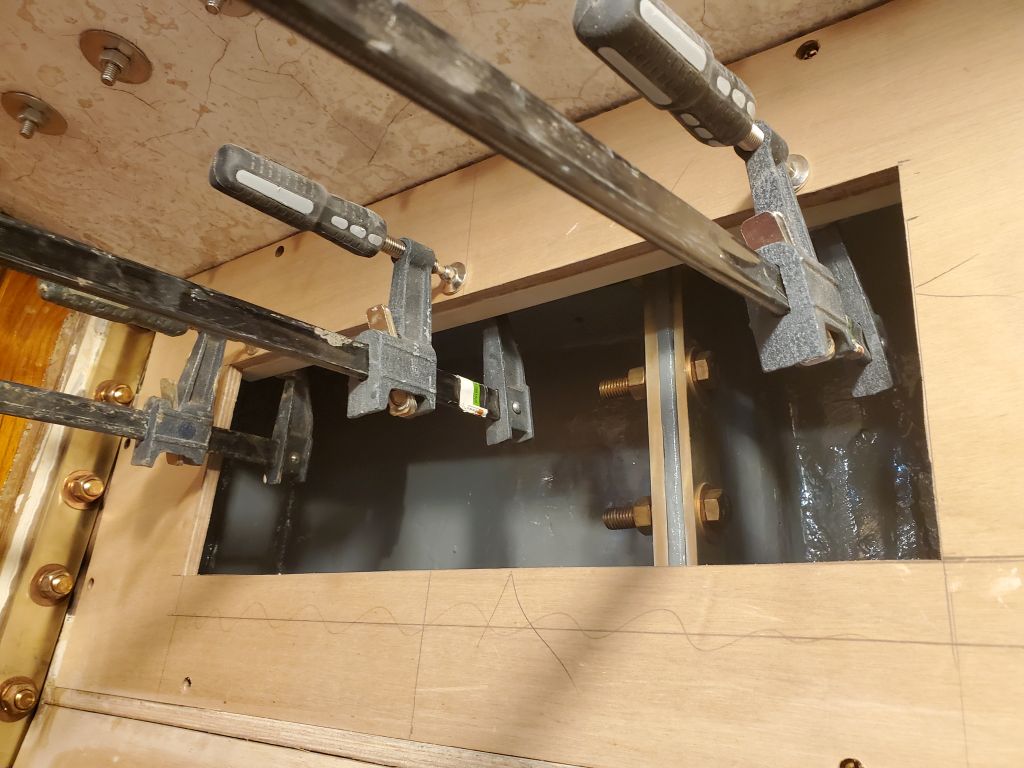
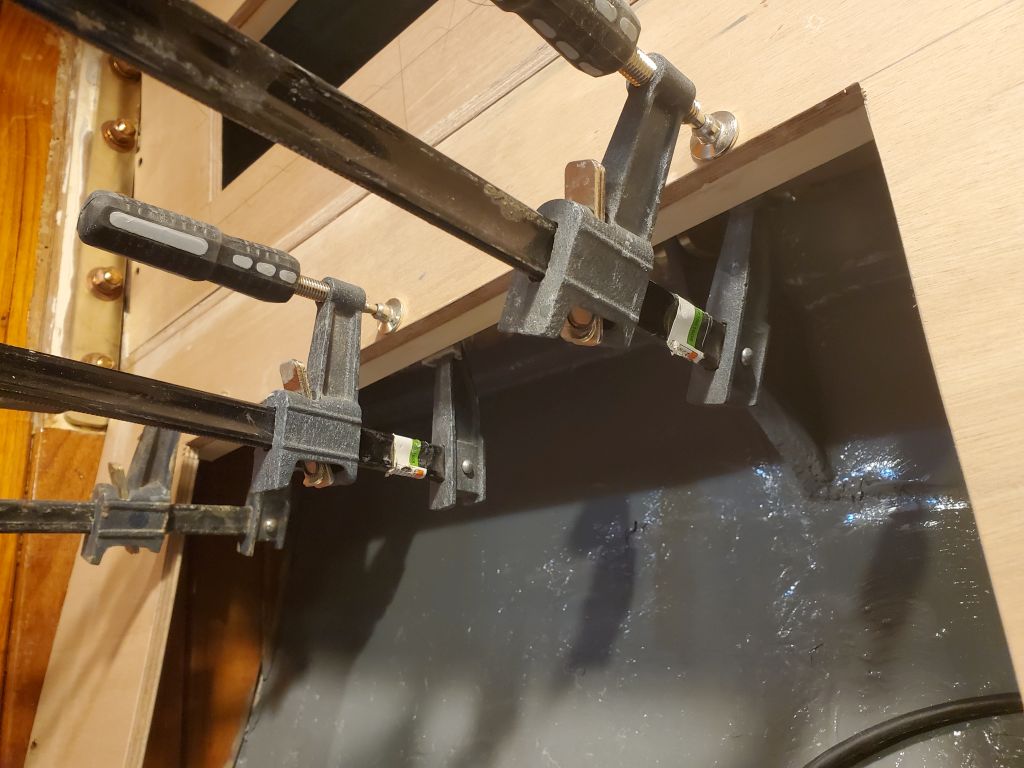
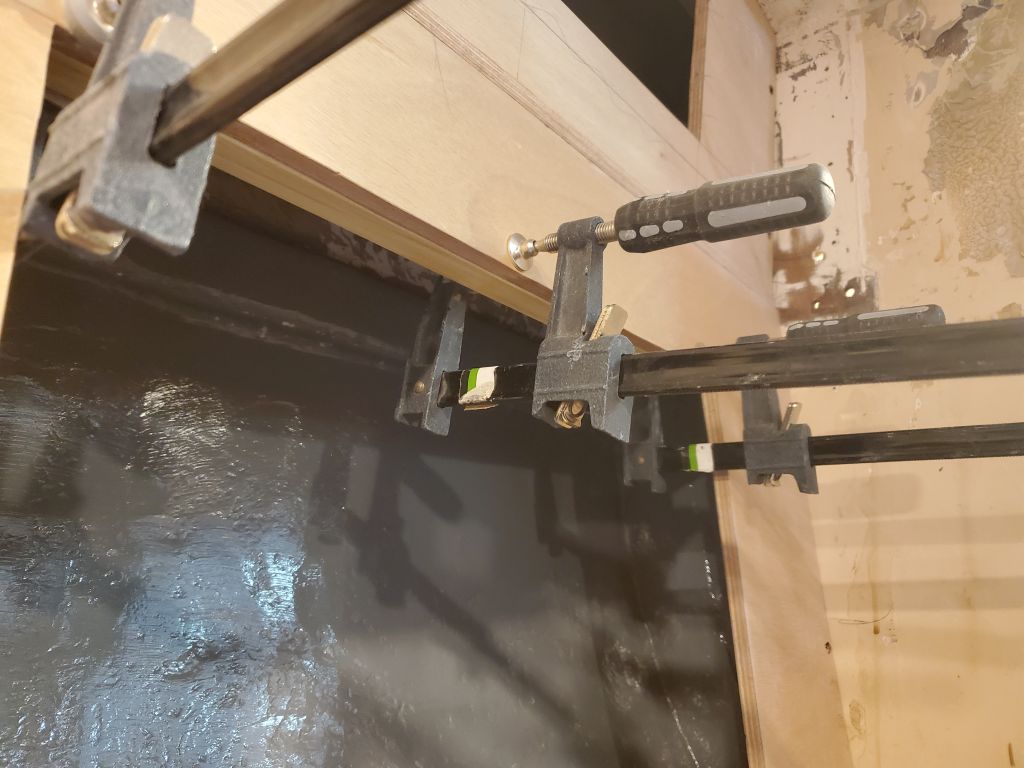
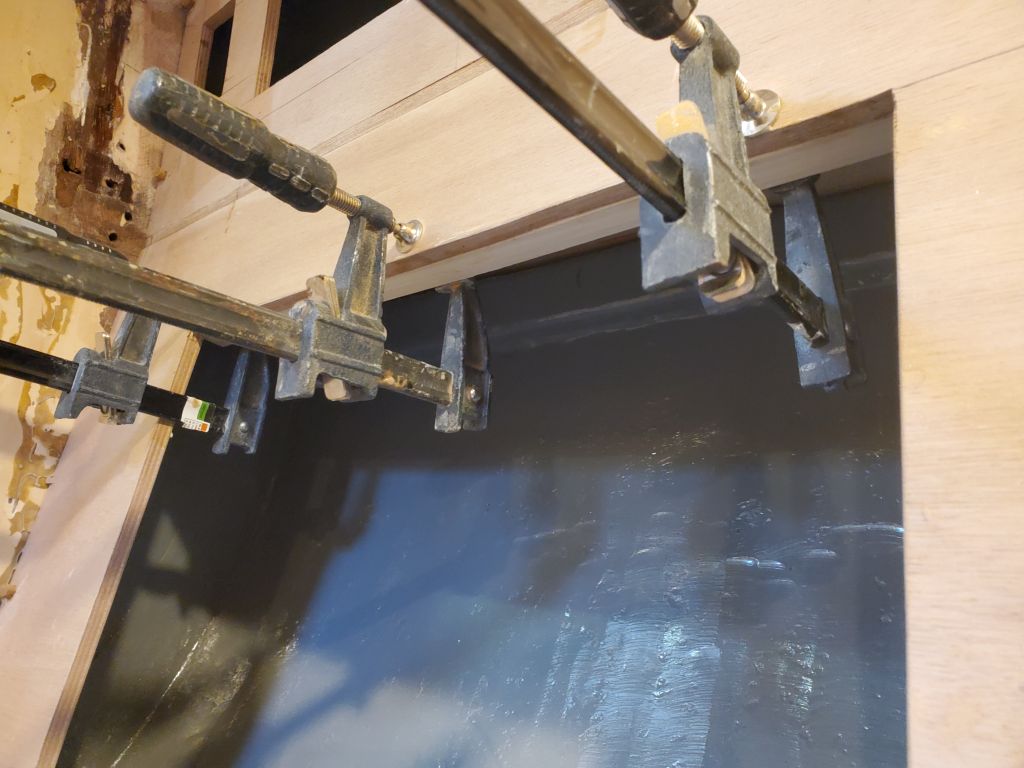
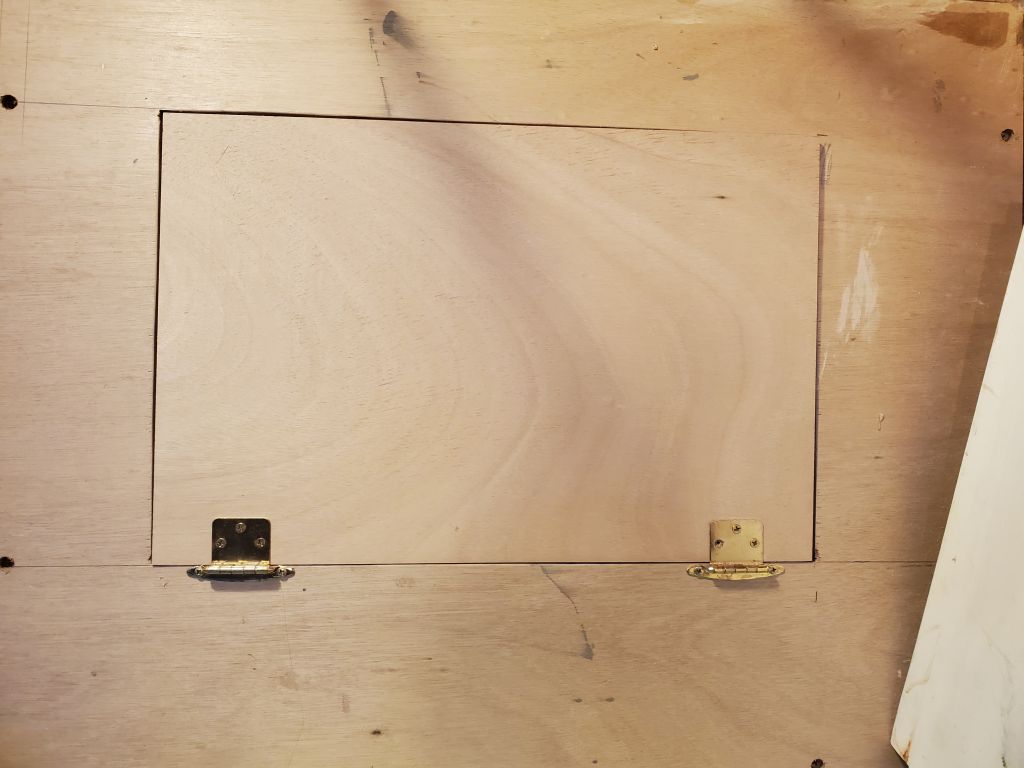
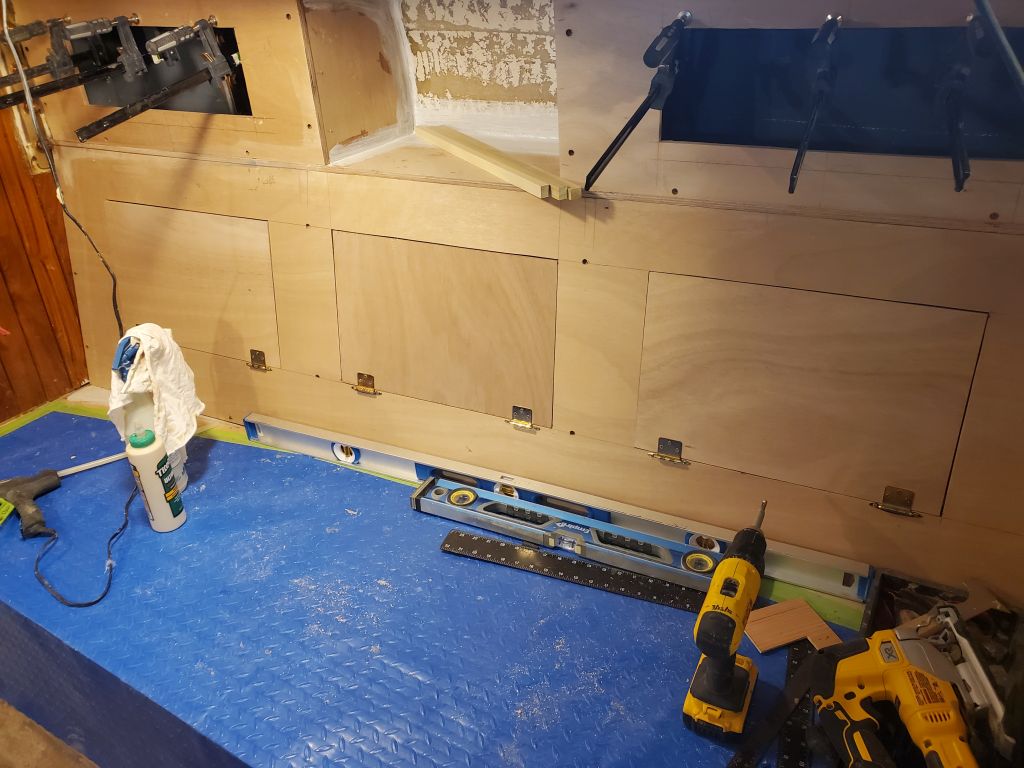
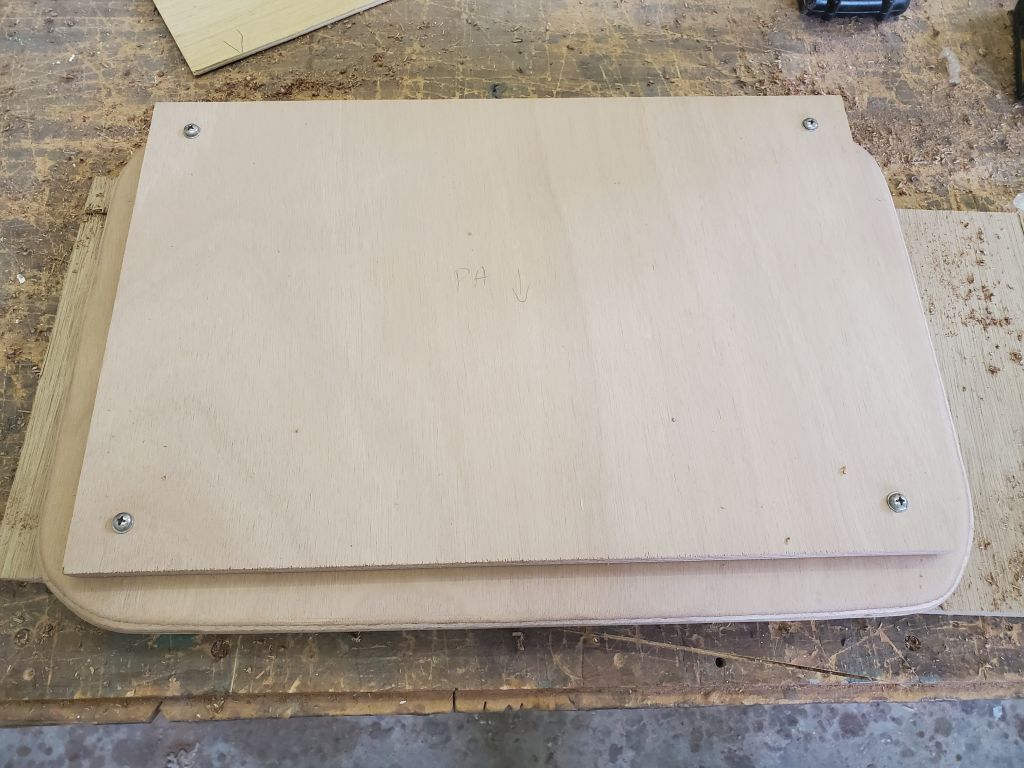
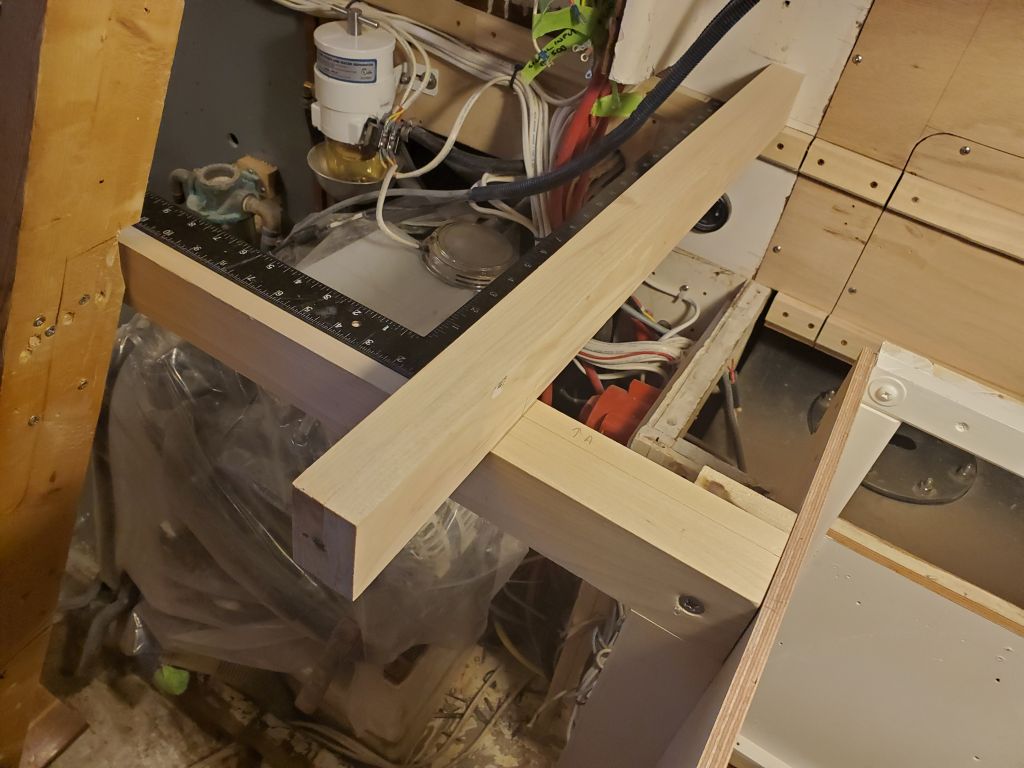
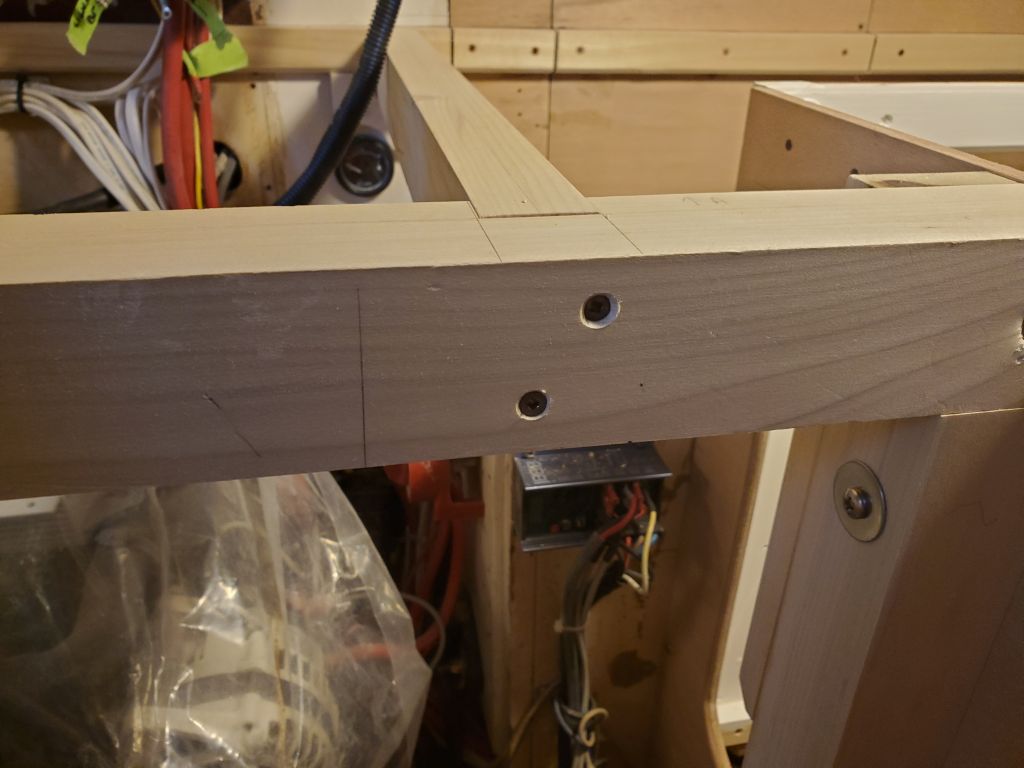
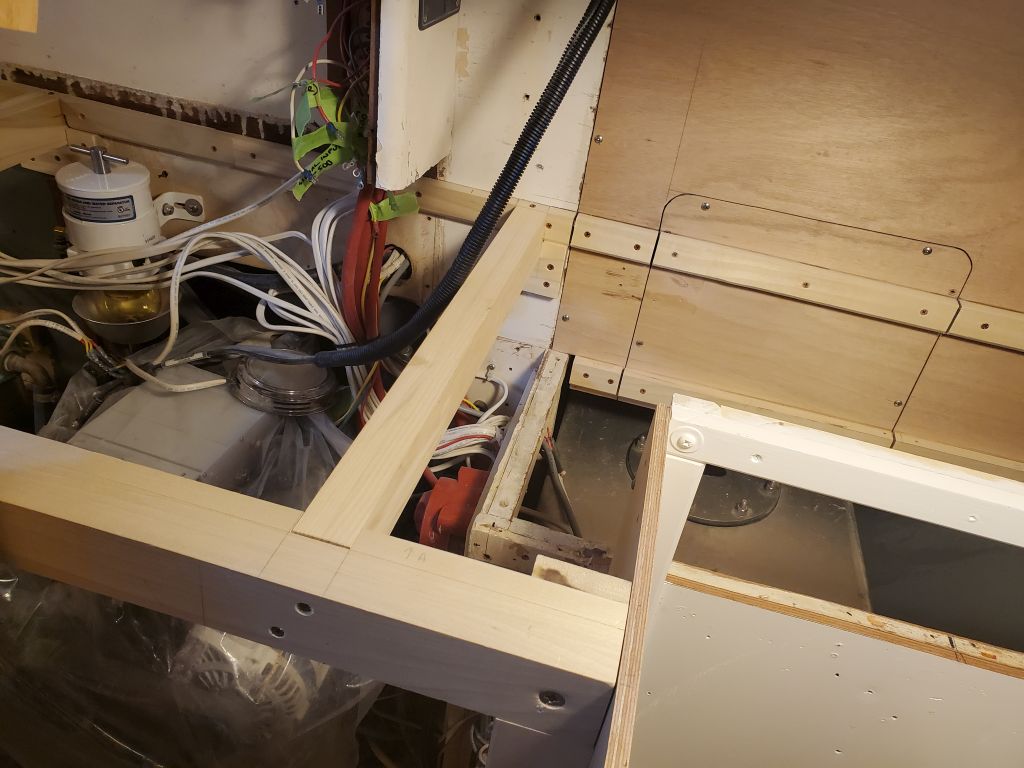
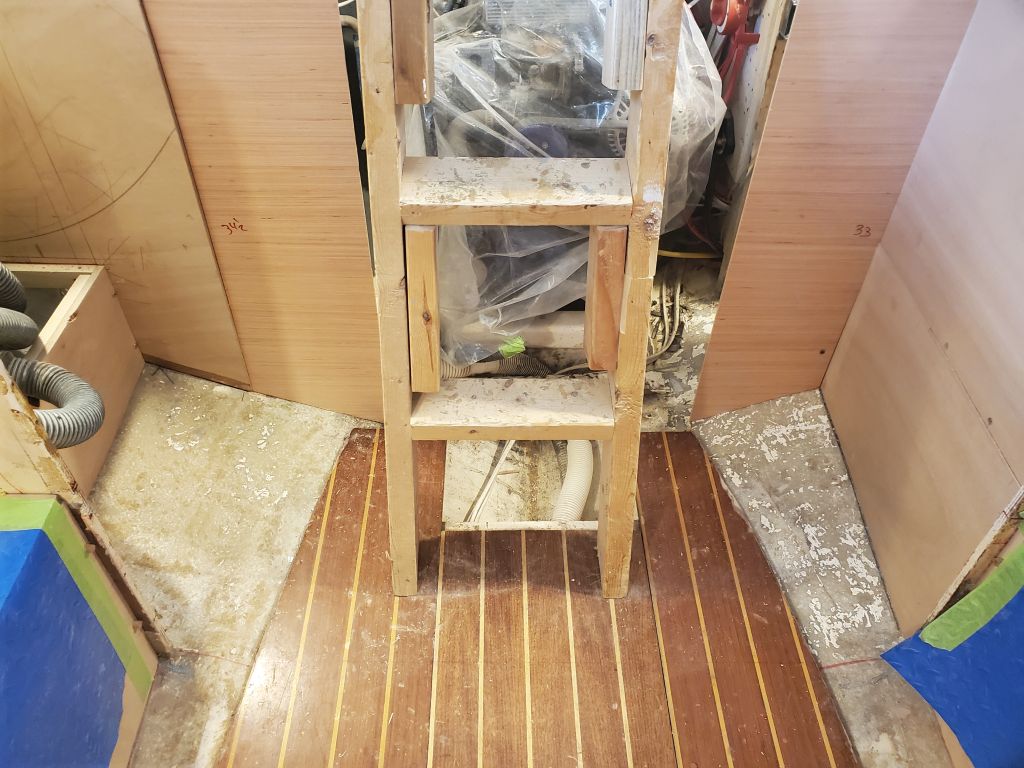
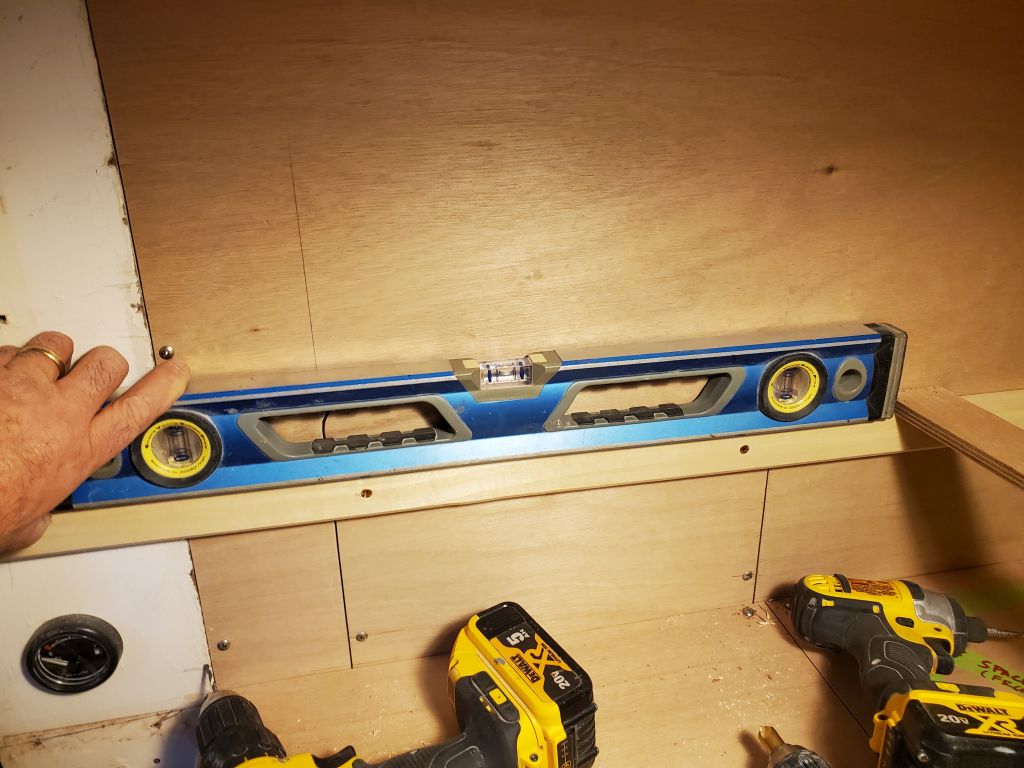
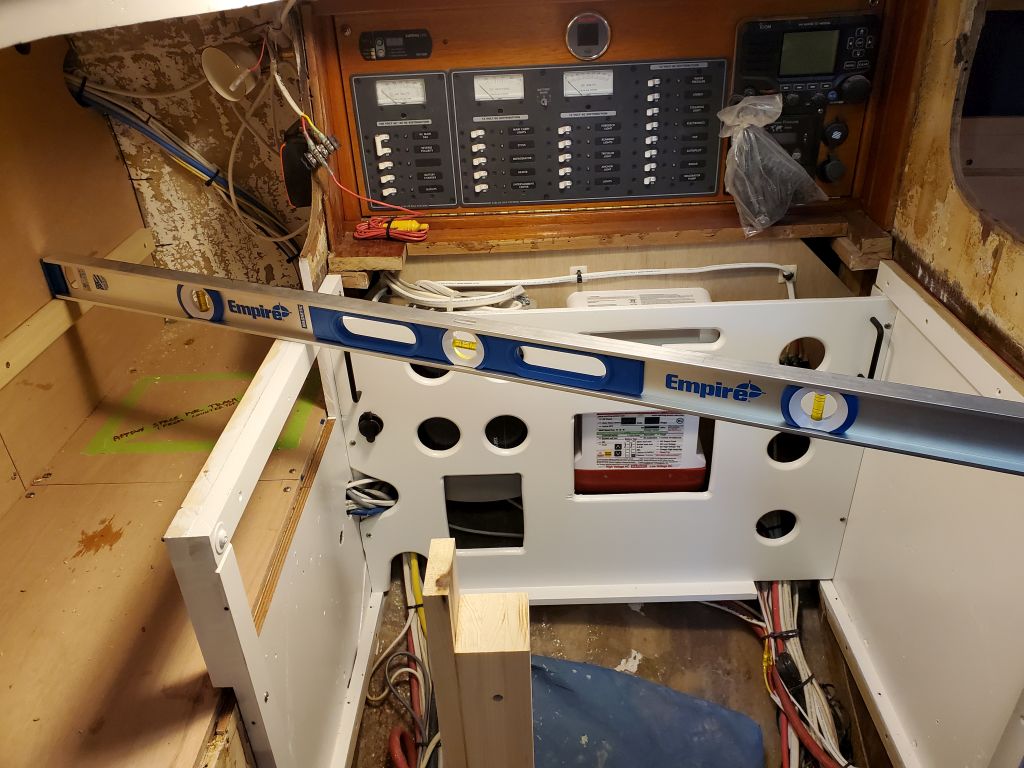
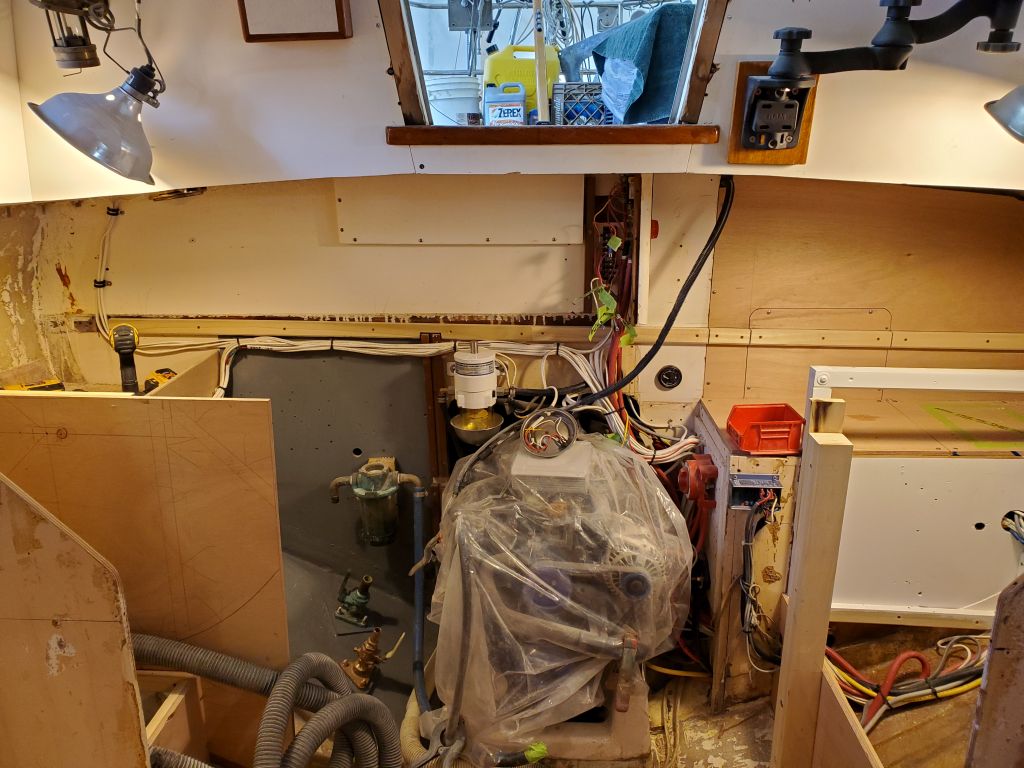
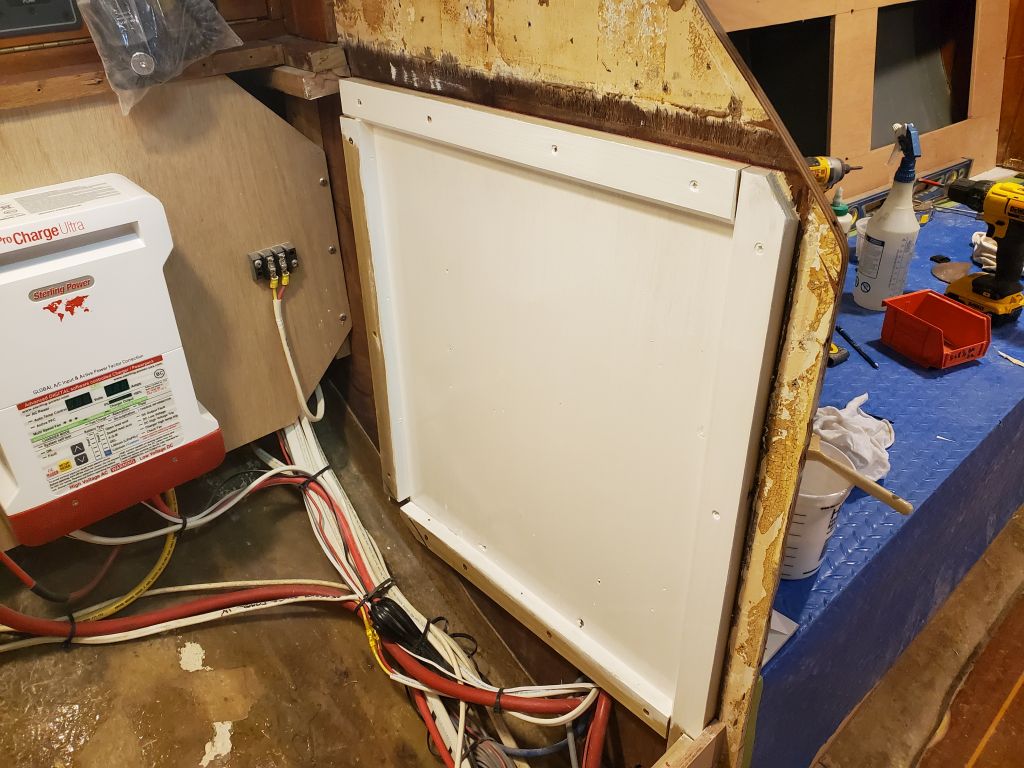
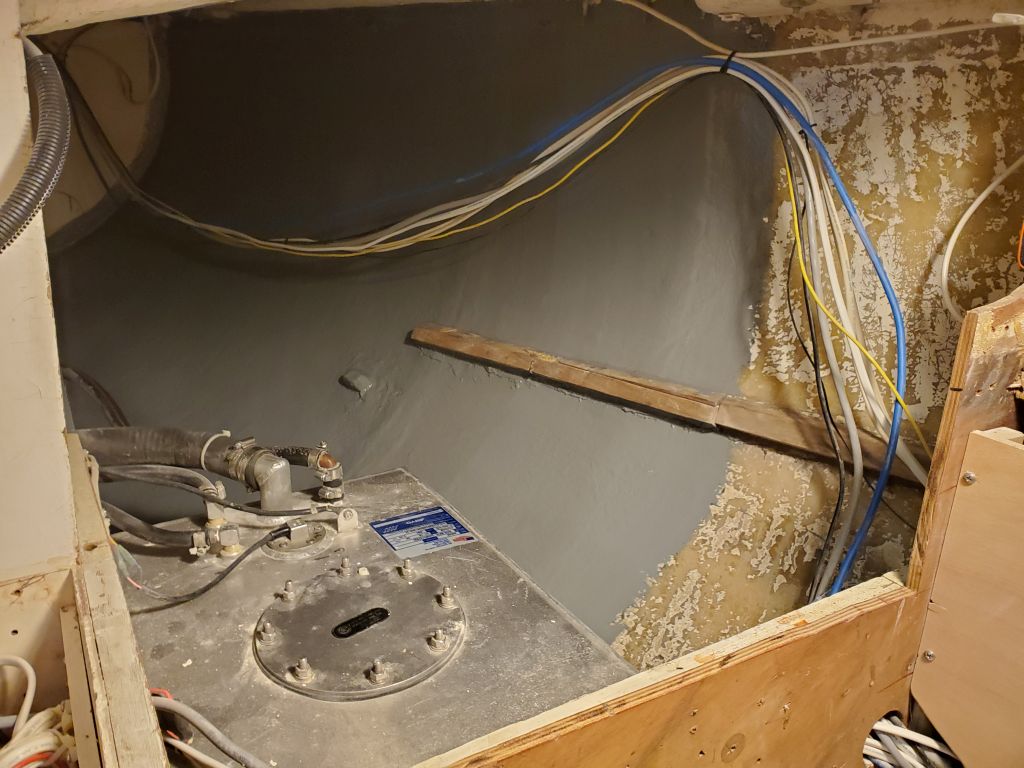
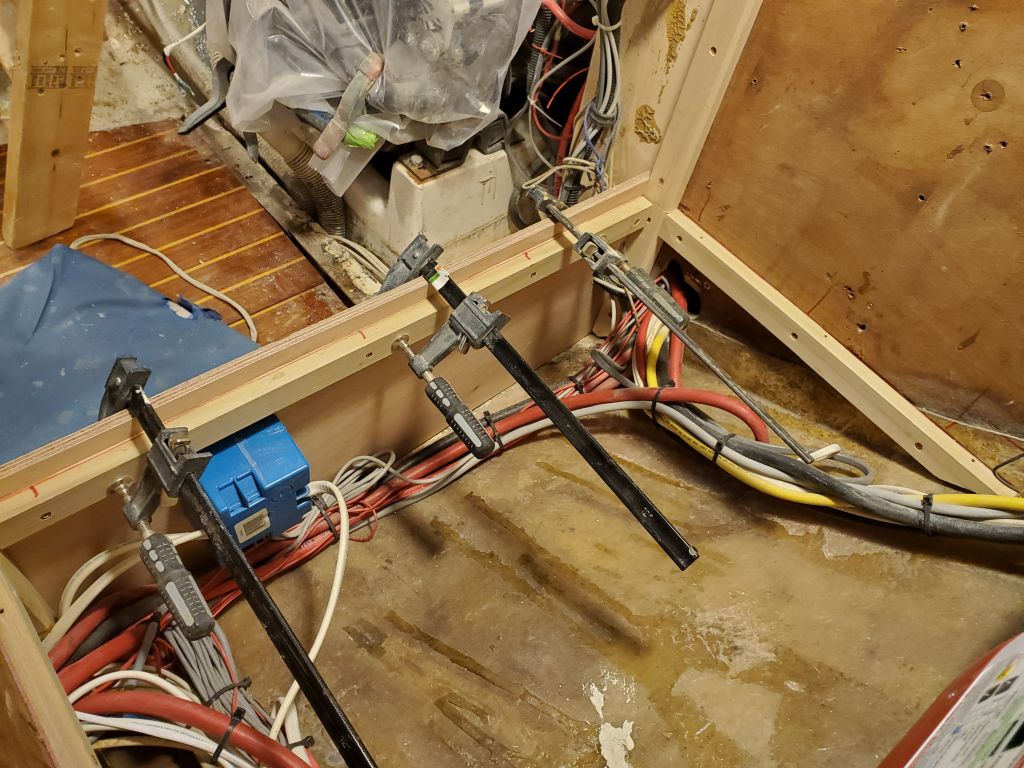
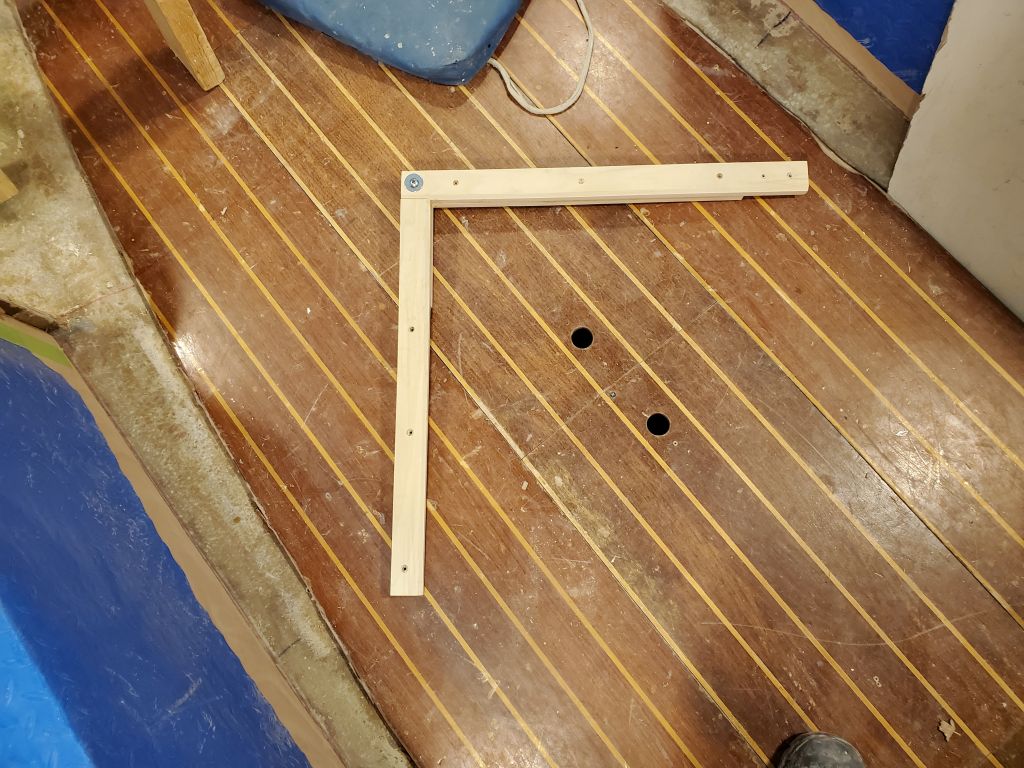
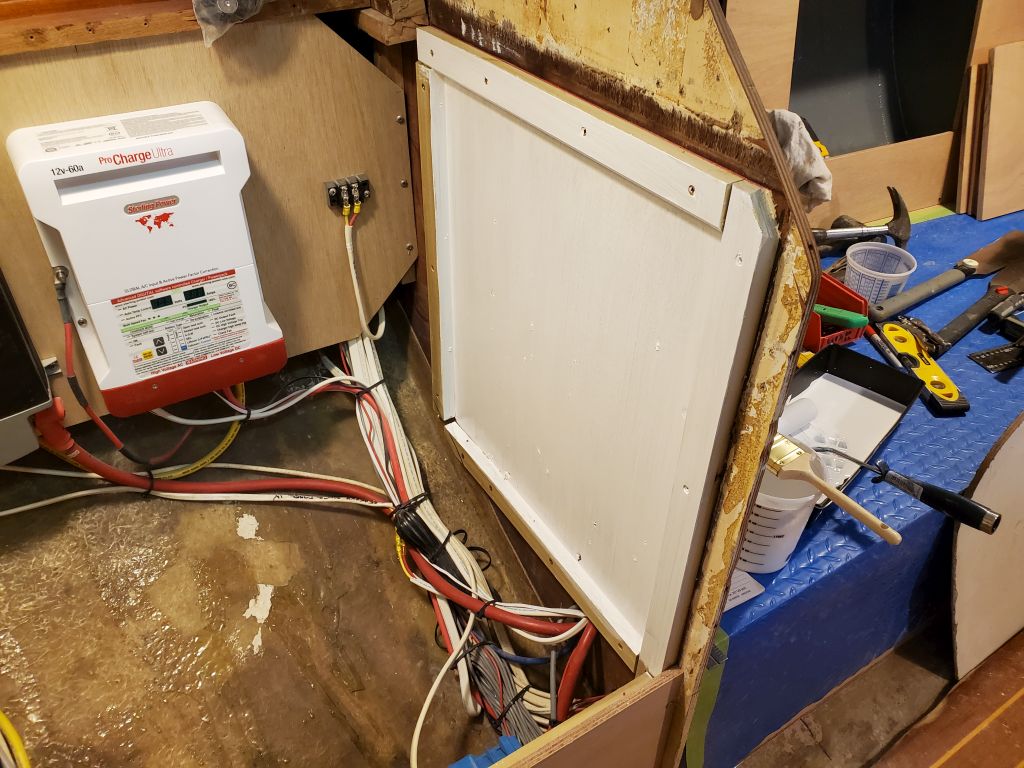
Once I’d determined that the new aft cleat was correct, and had puzzled through the other inconsistency, I removed the new cleat as well and cut it as needed at several places to allow removal of the entire quarterberth bulkhead (if needed) and the smaller access panel above the fuel tank, then reinstalled the now-four pieces with glue and screws. This completed the basic layout and position of the countertop.
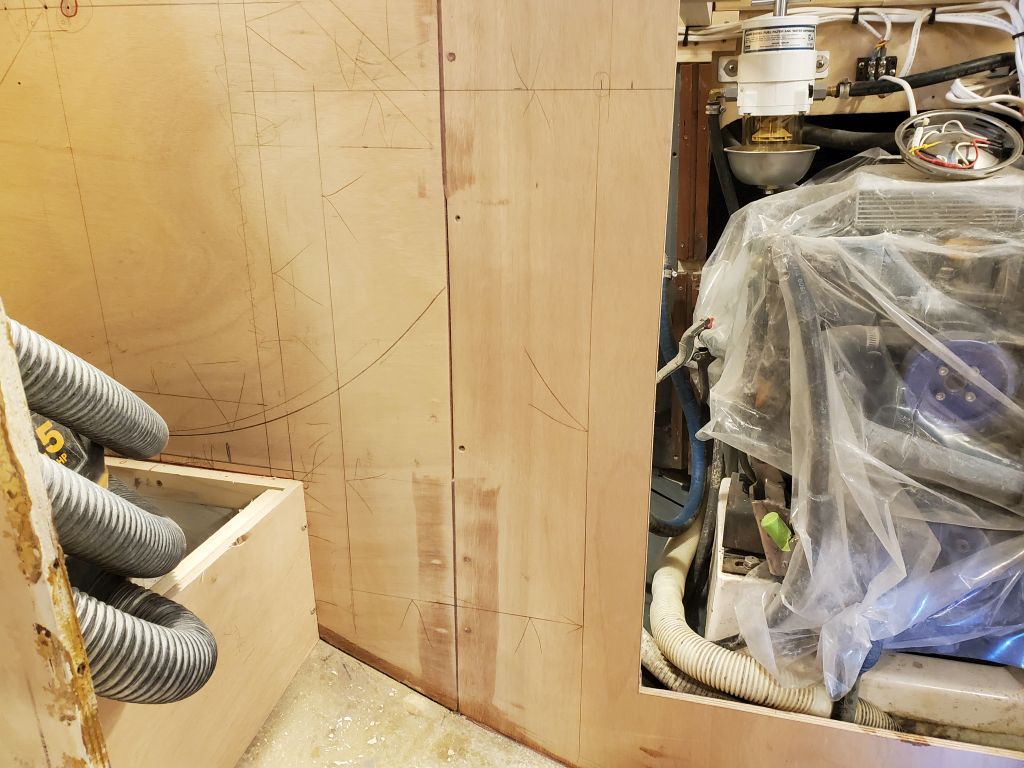
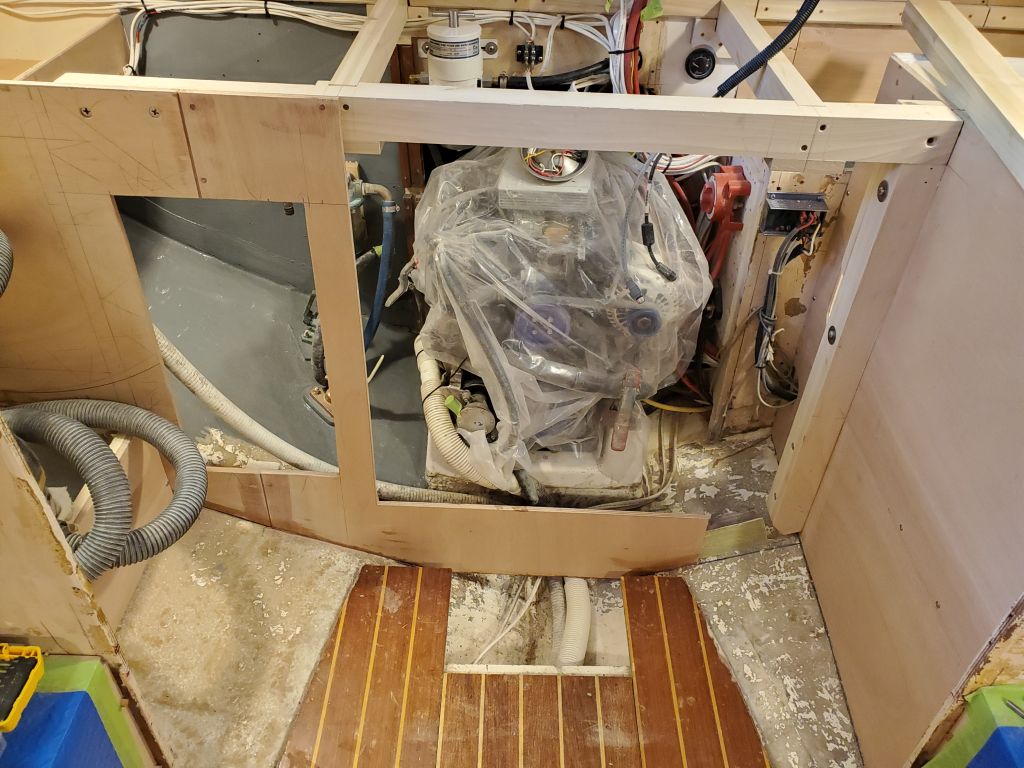
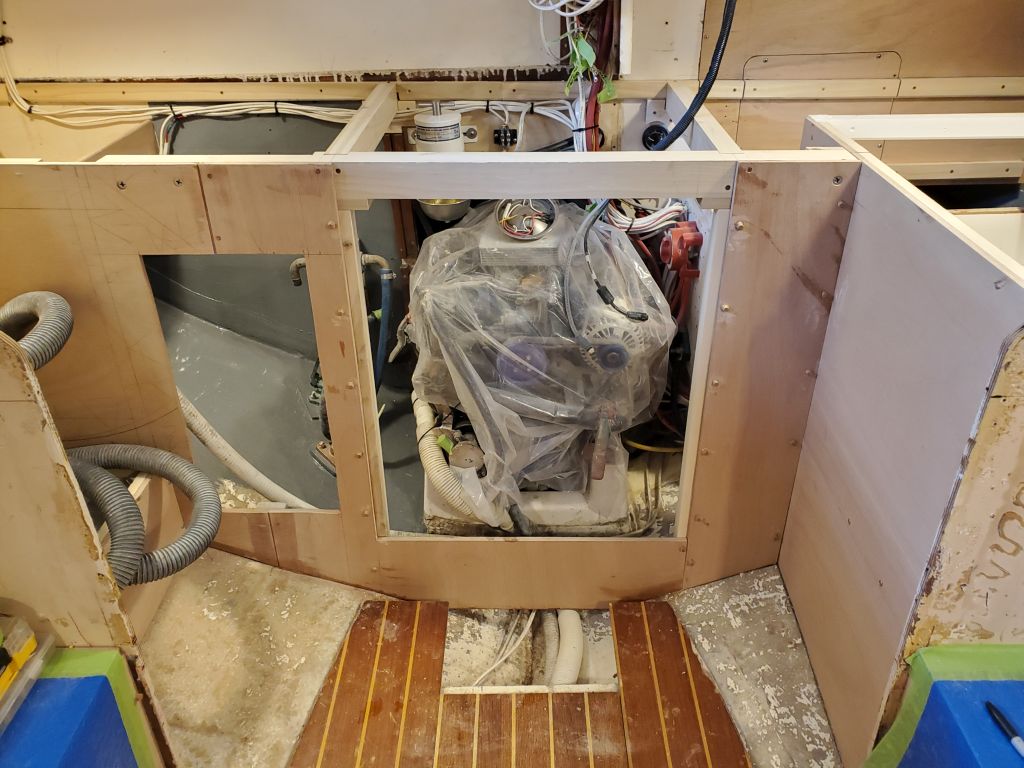
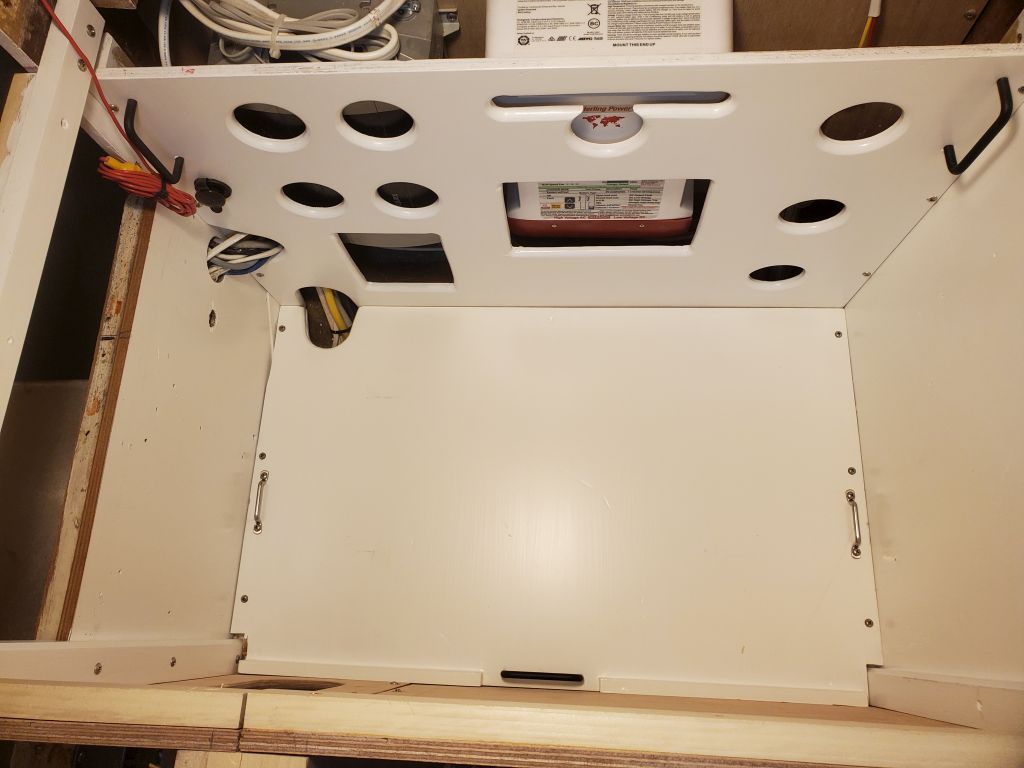
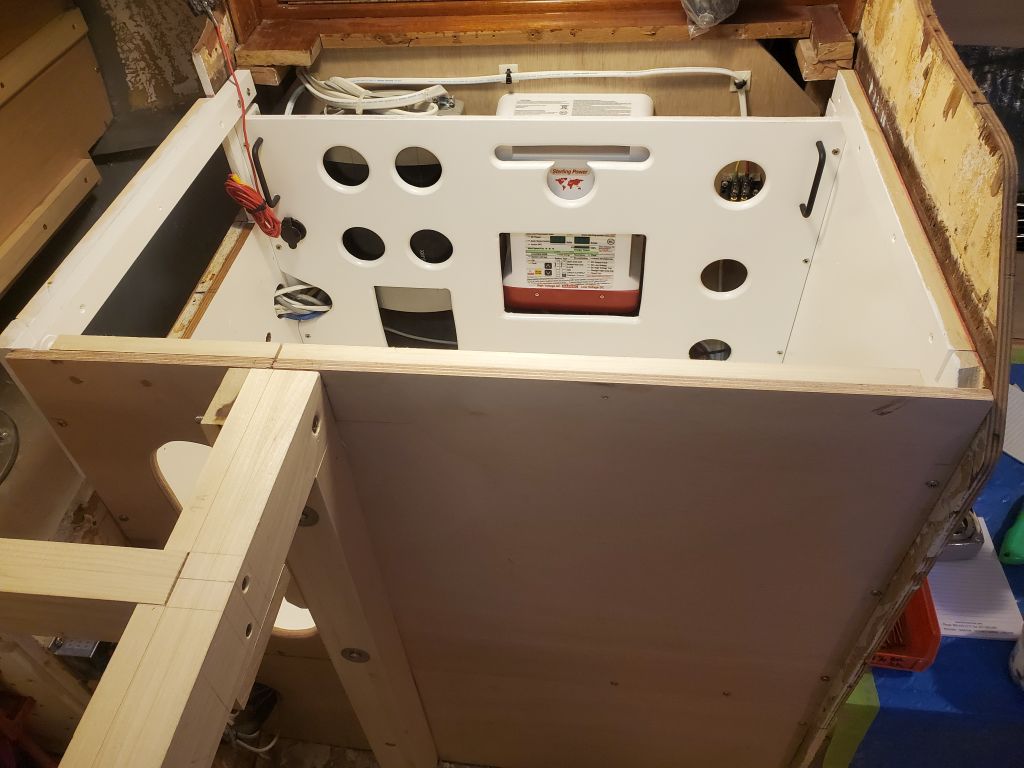
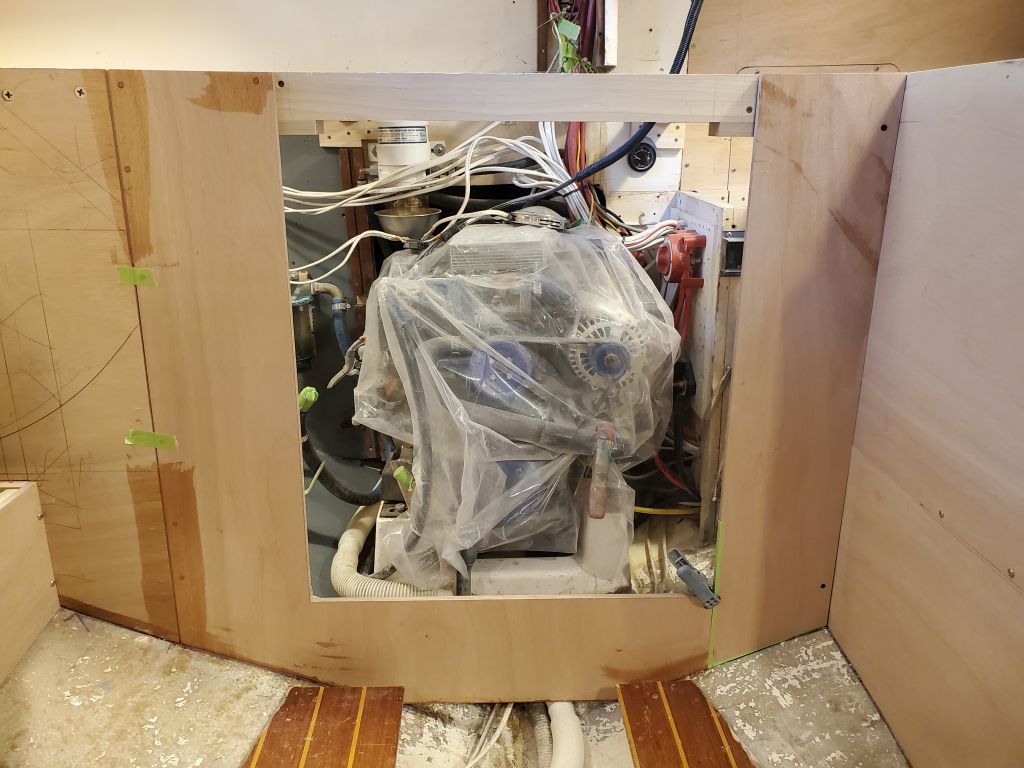
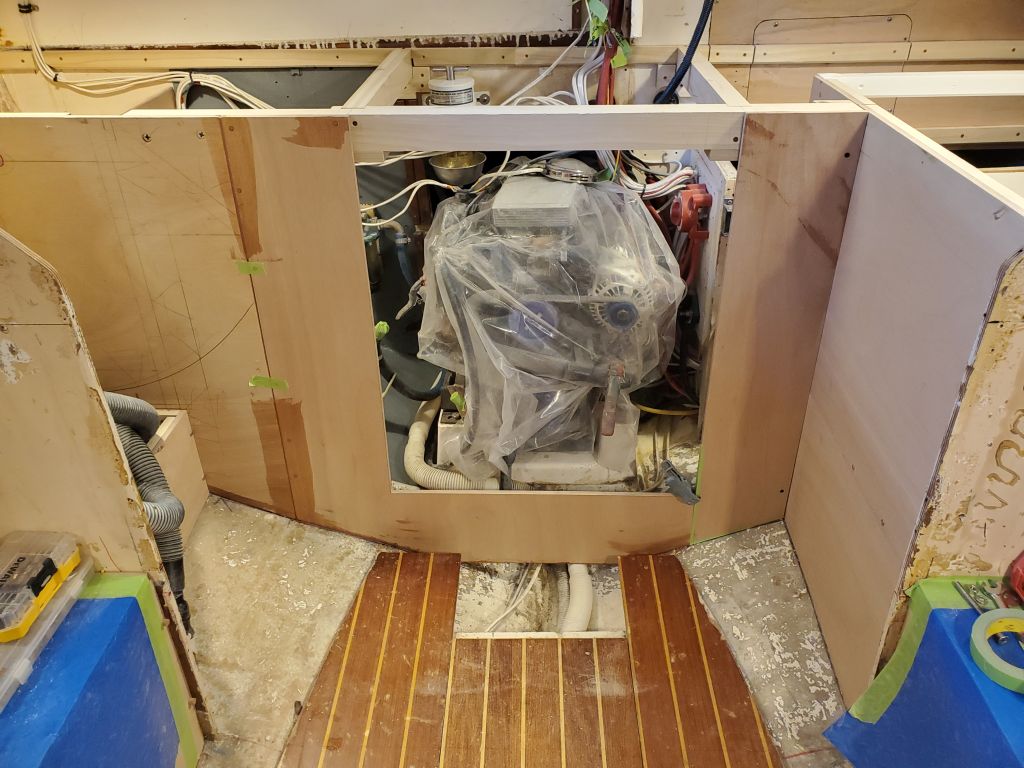
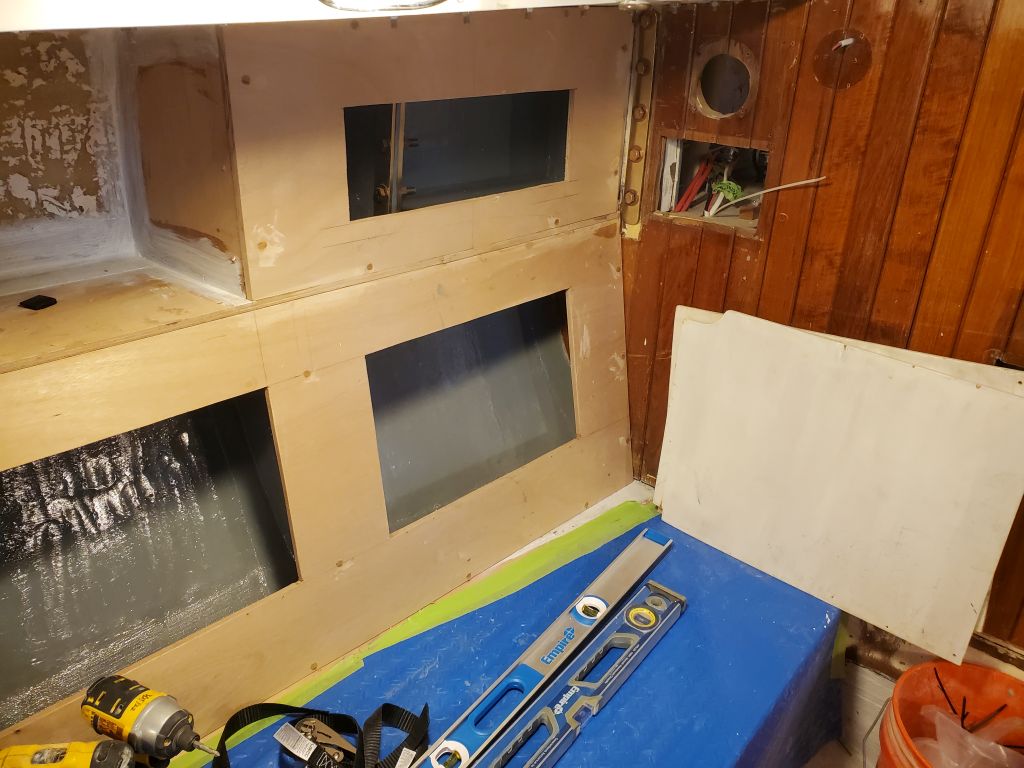
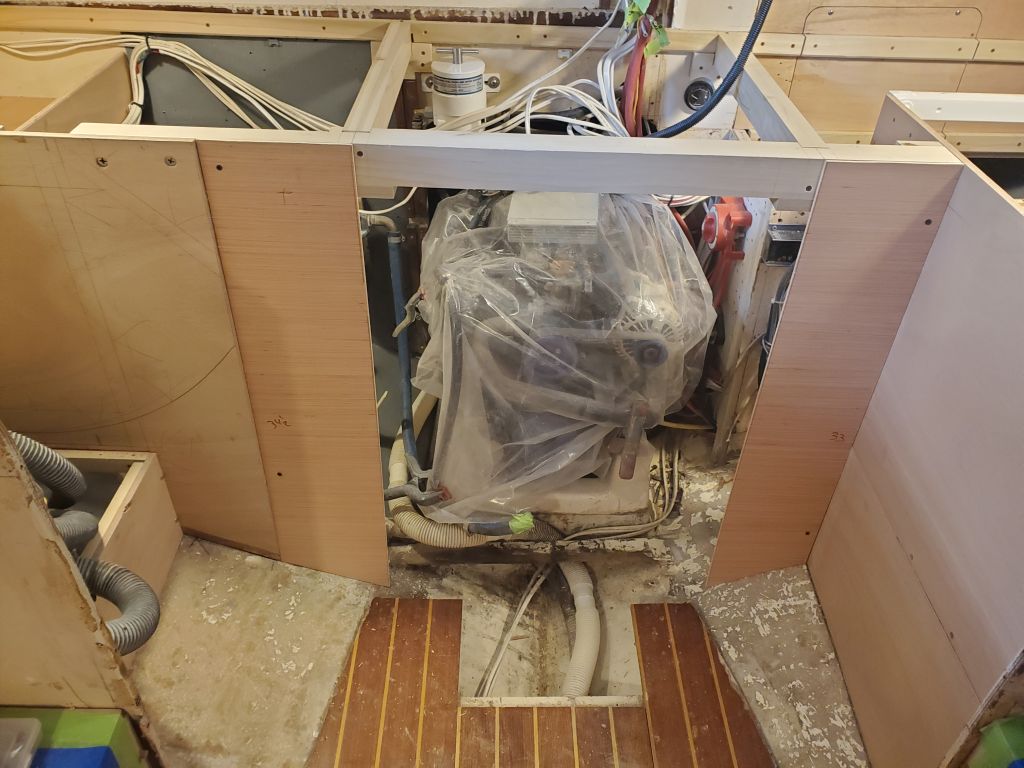
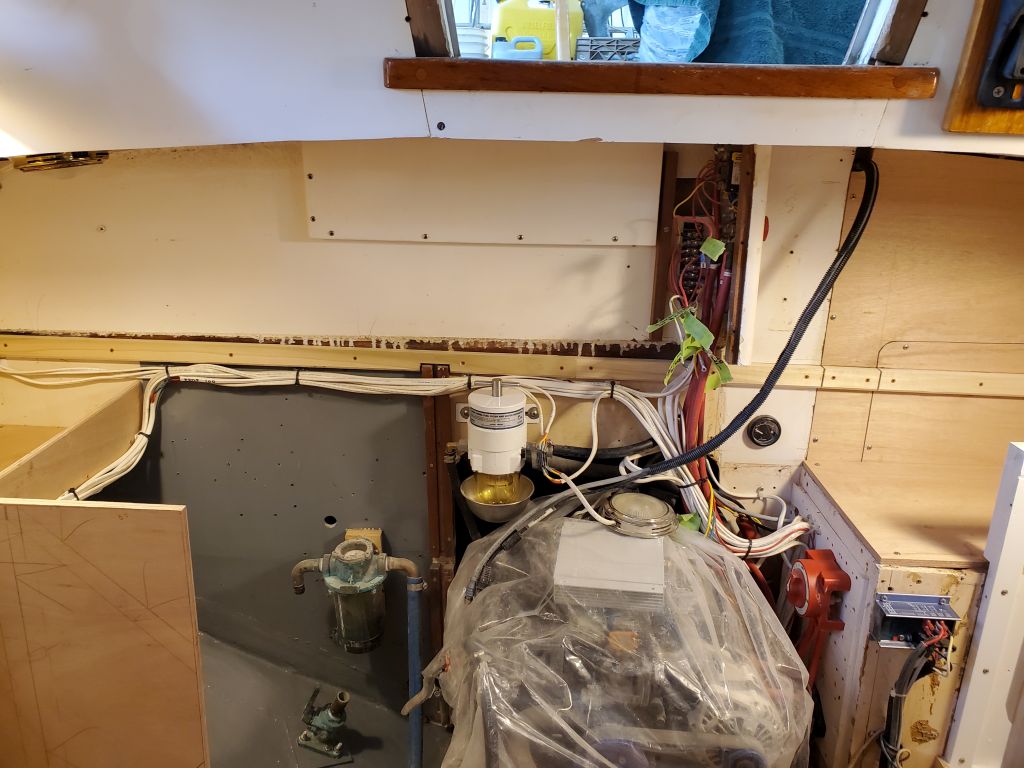
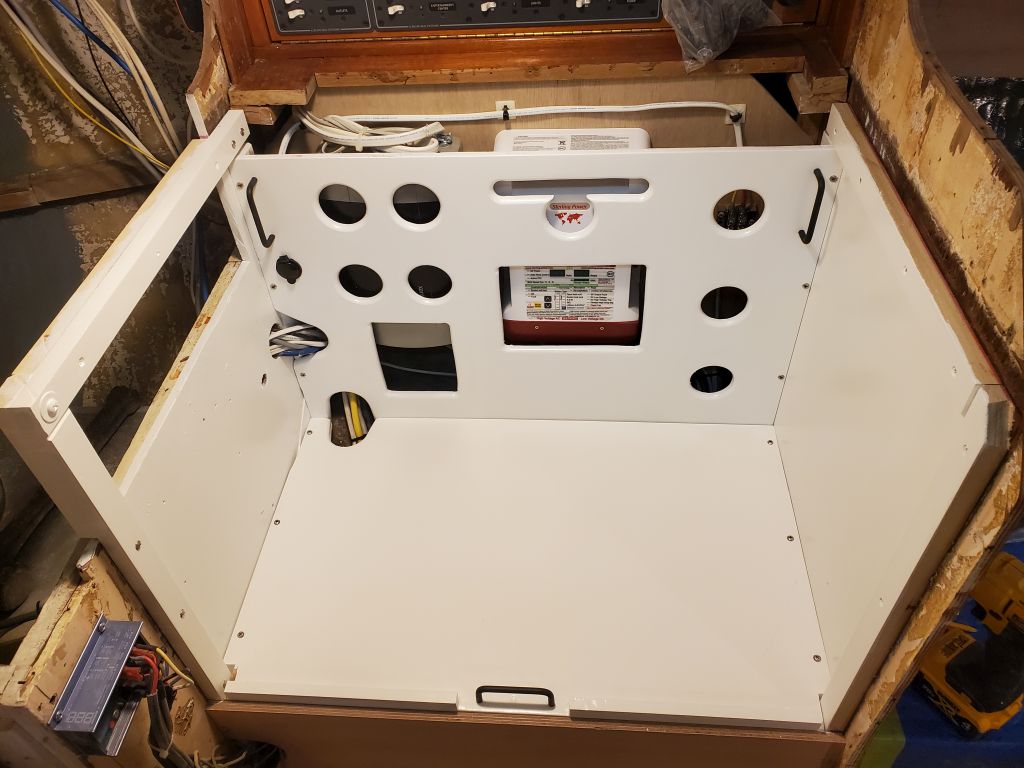
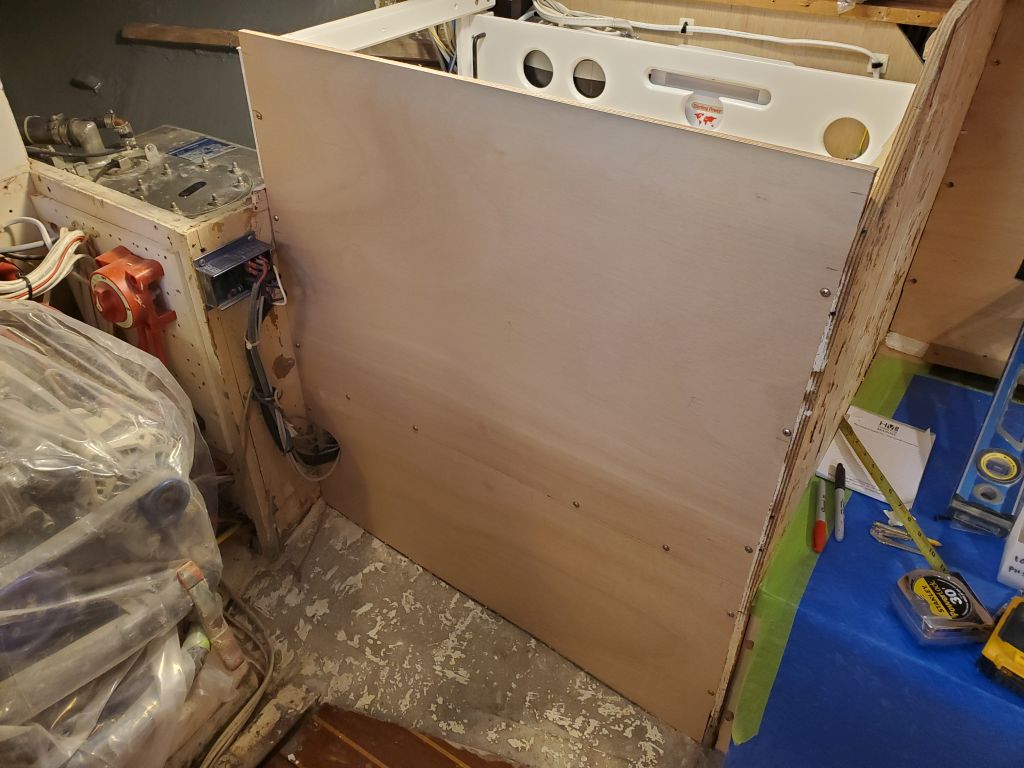
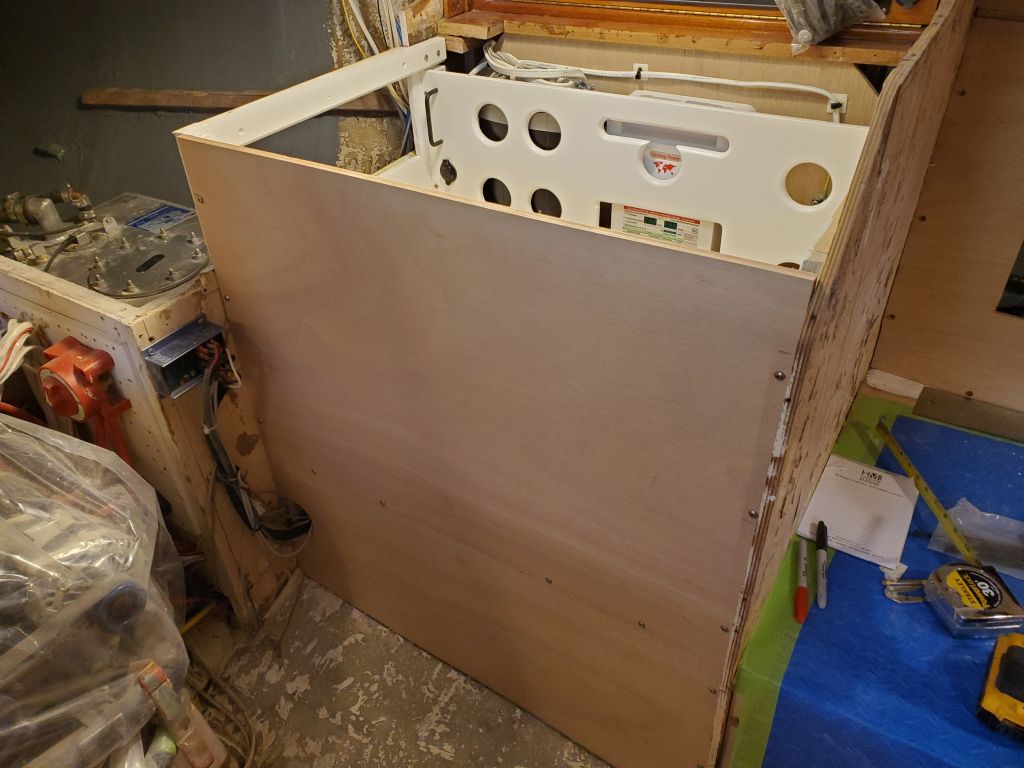
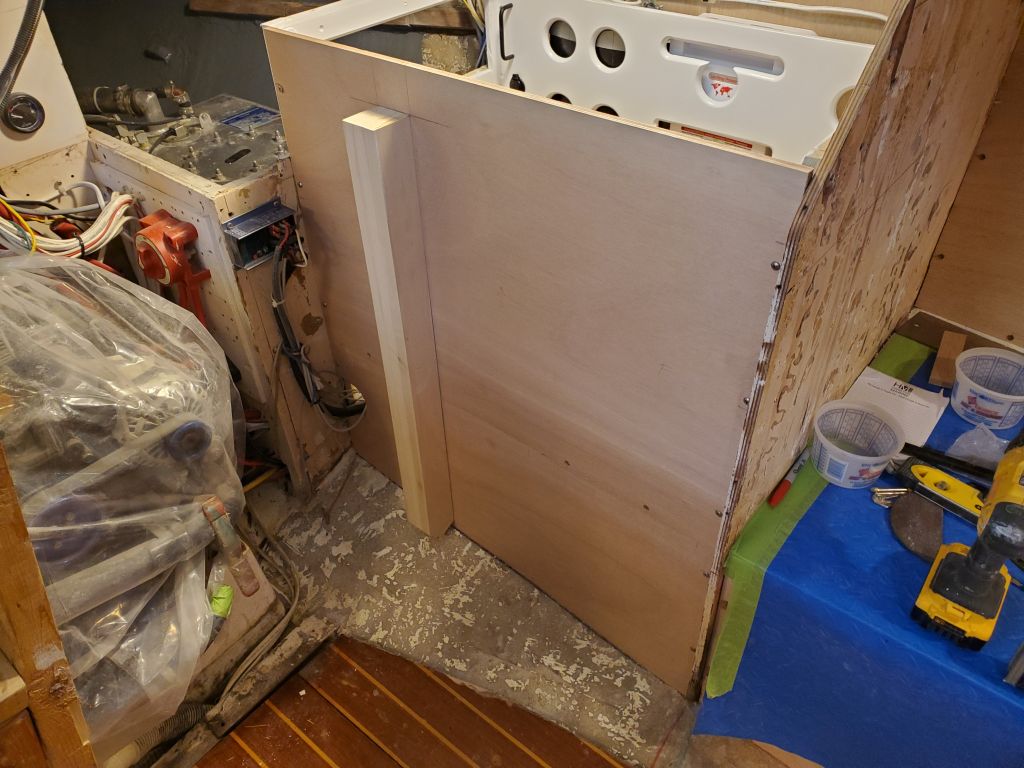
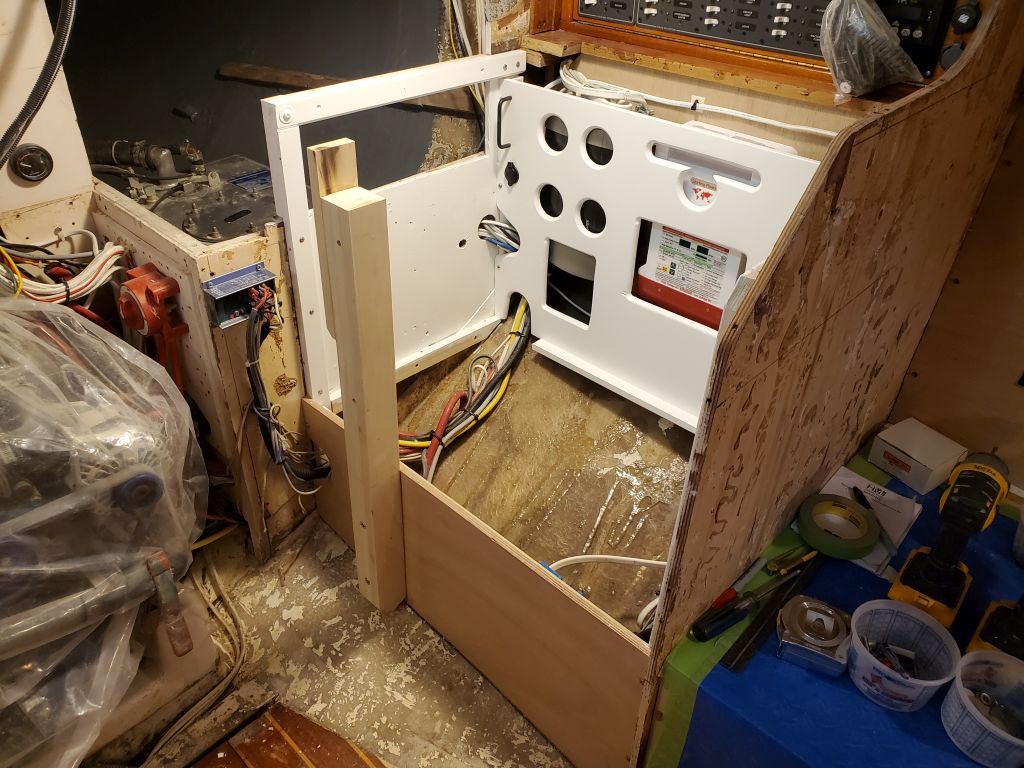
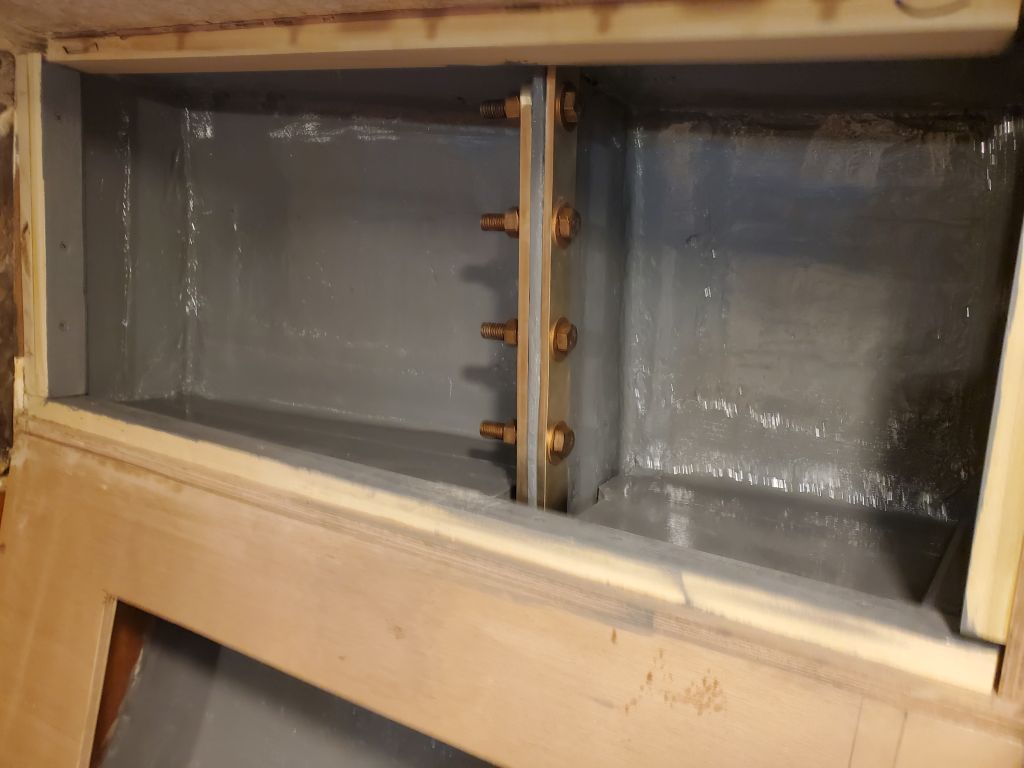
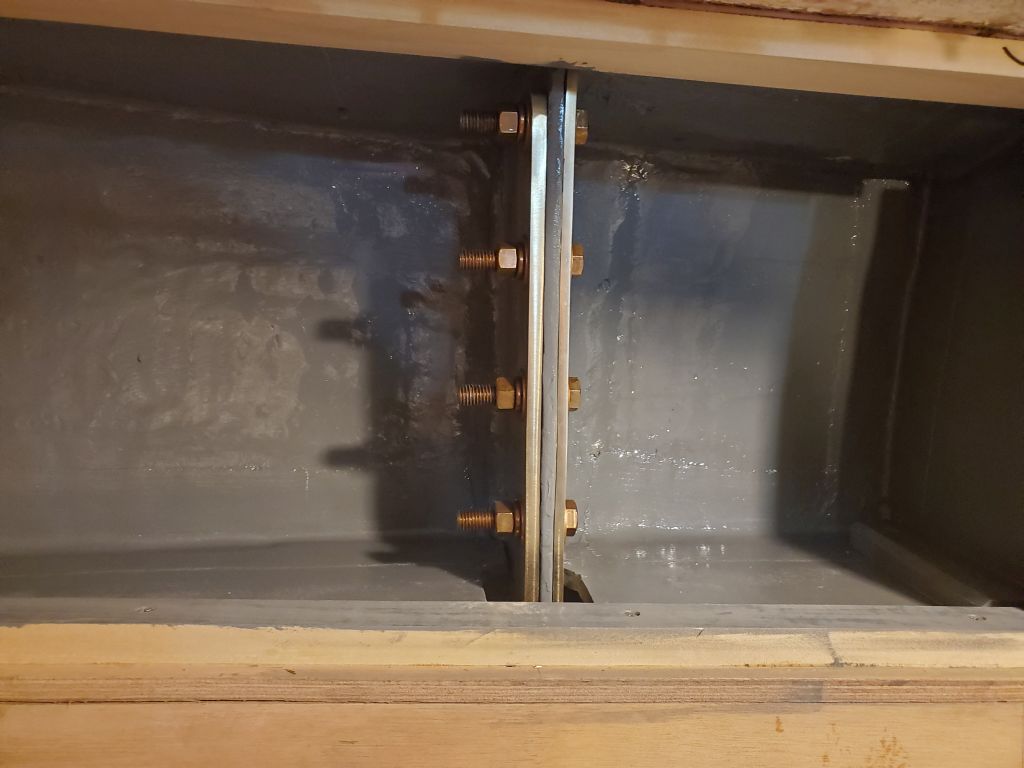
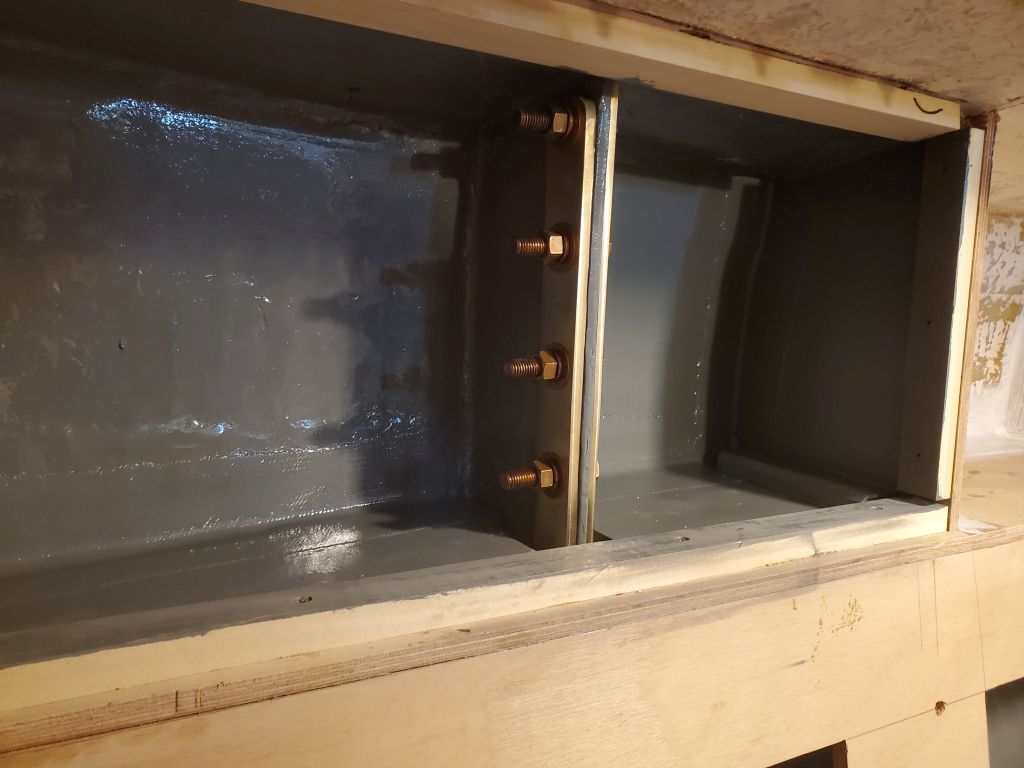
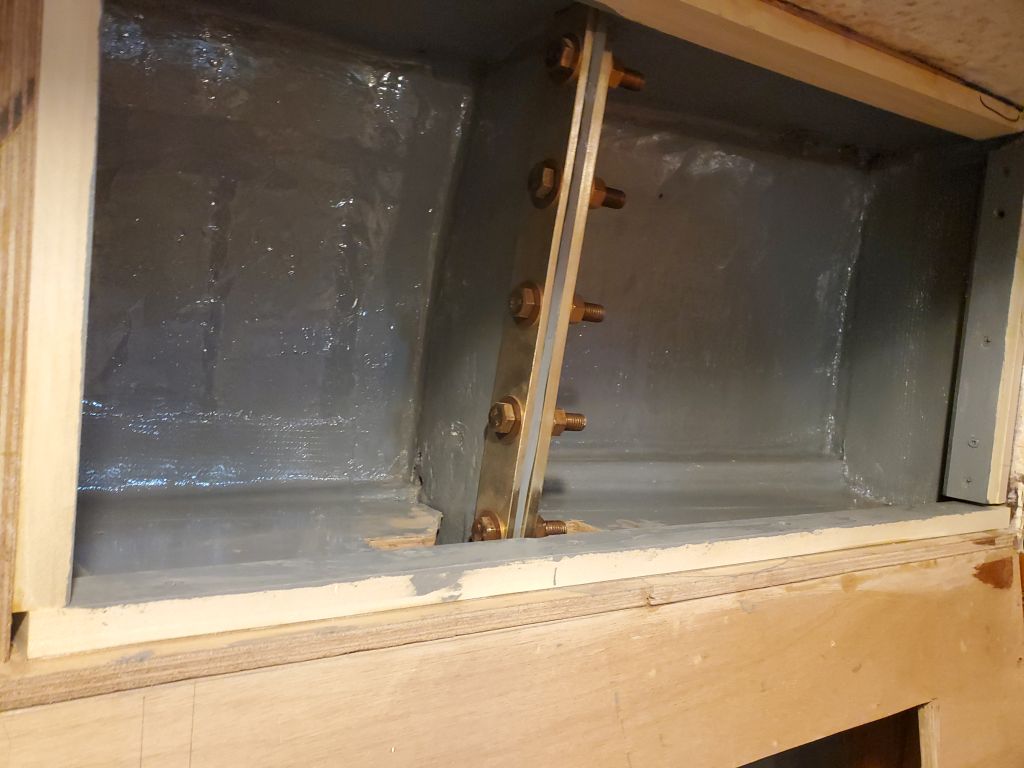
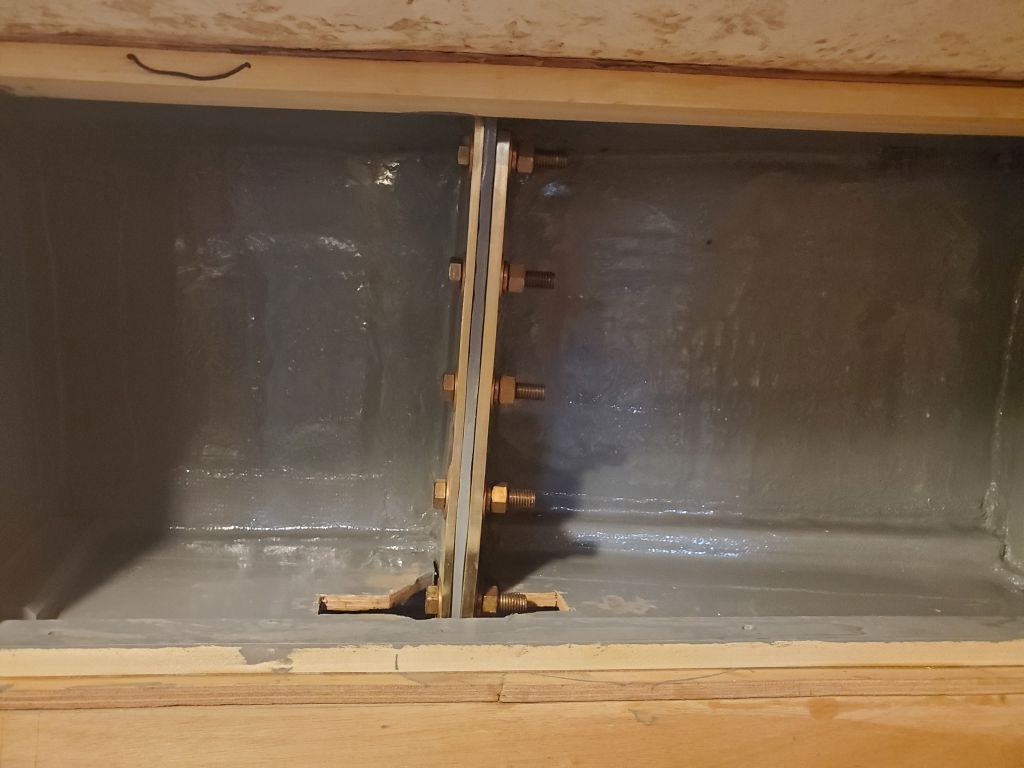
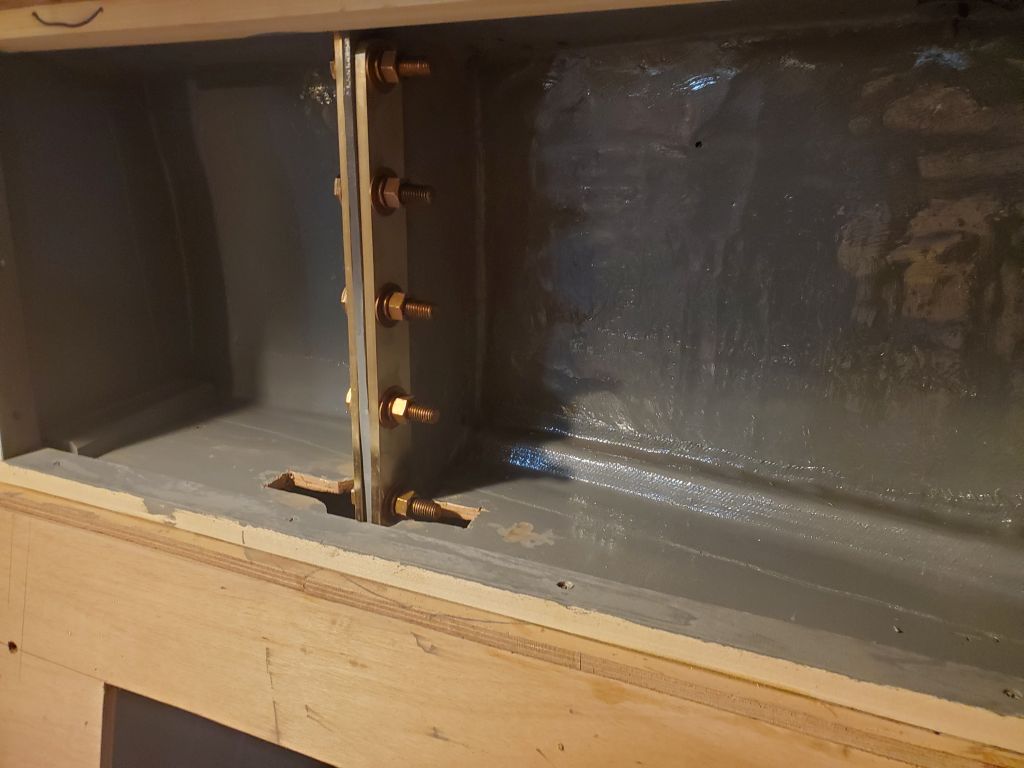
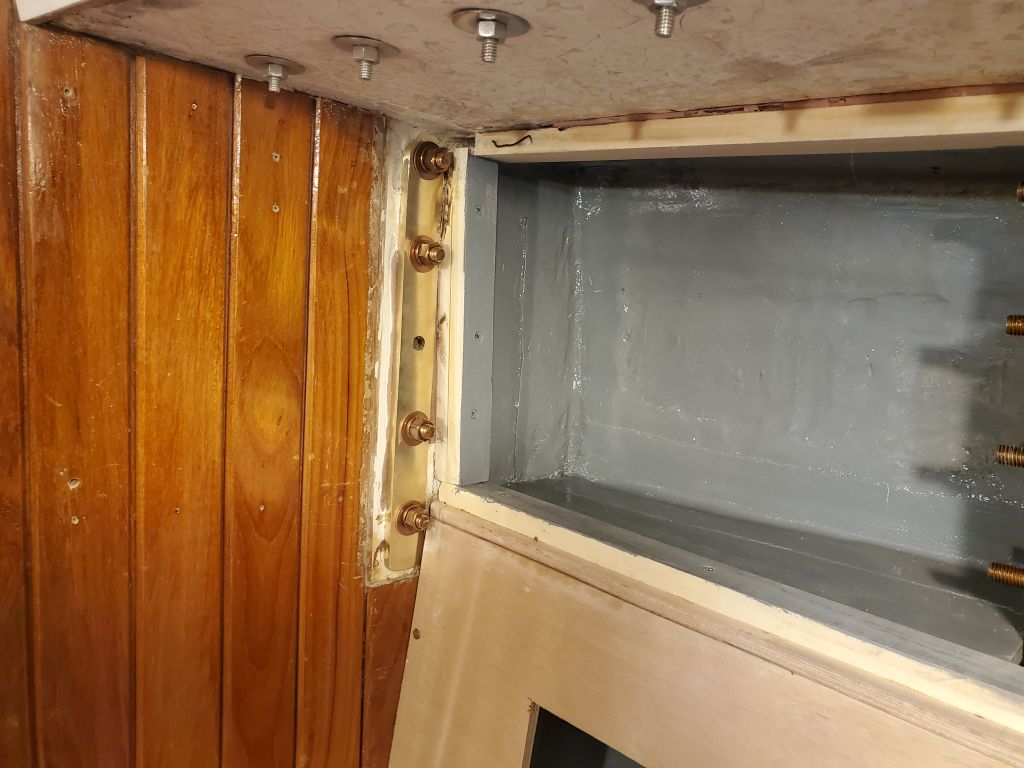
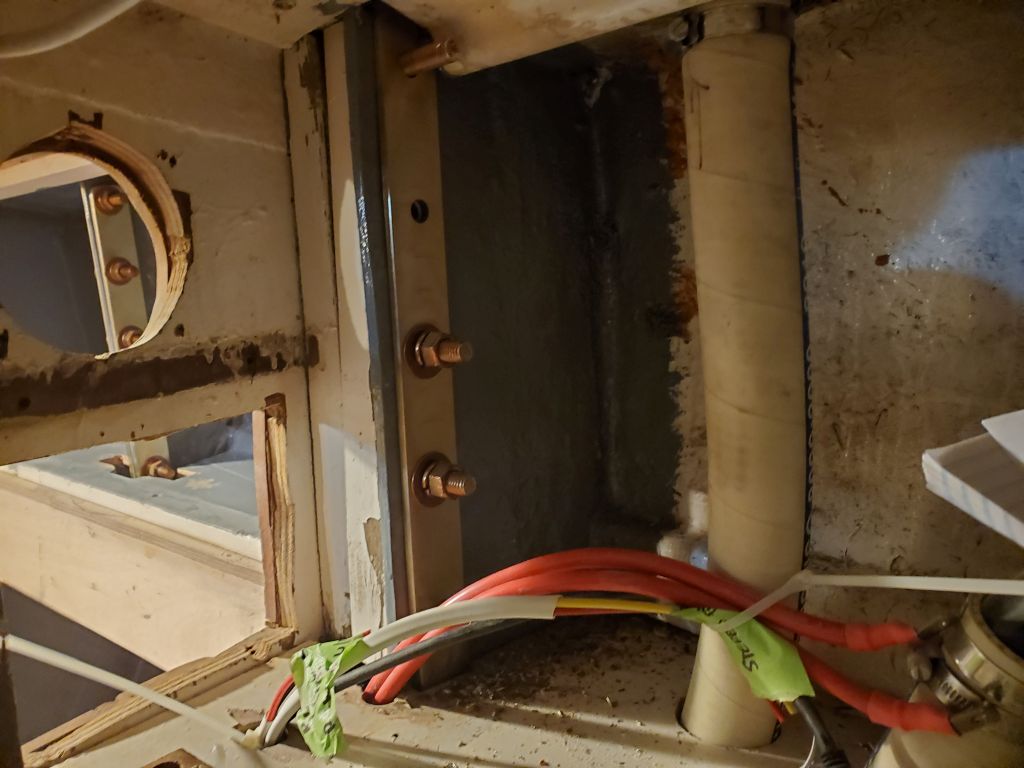
Next, I installed the refrigerator panel, then installed the support beam across the engine room opening, double-checking its position with all the other supports before bolting it in place at both ends.
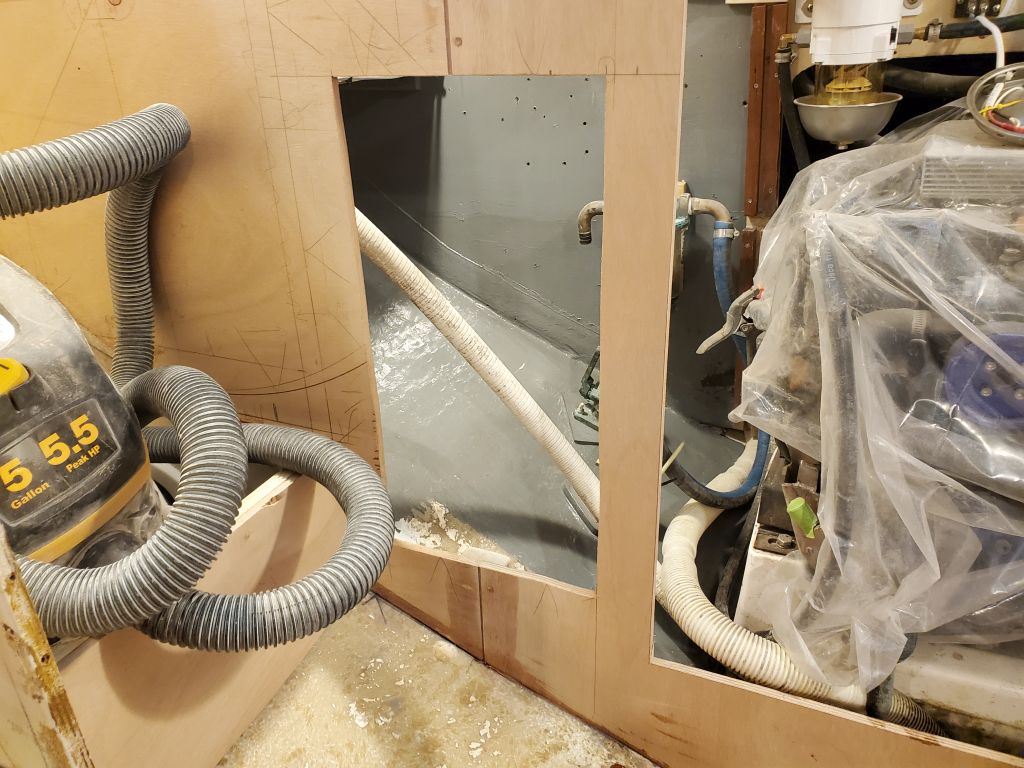
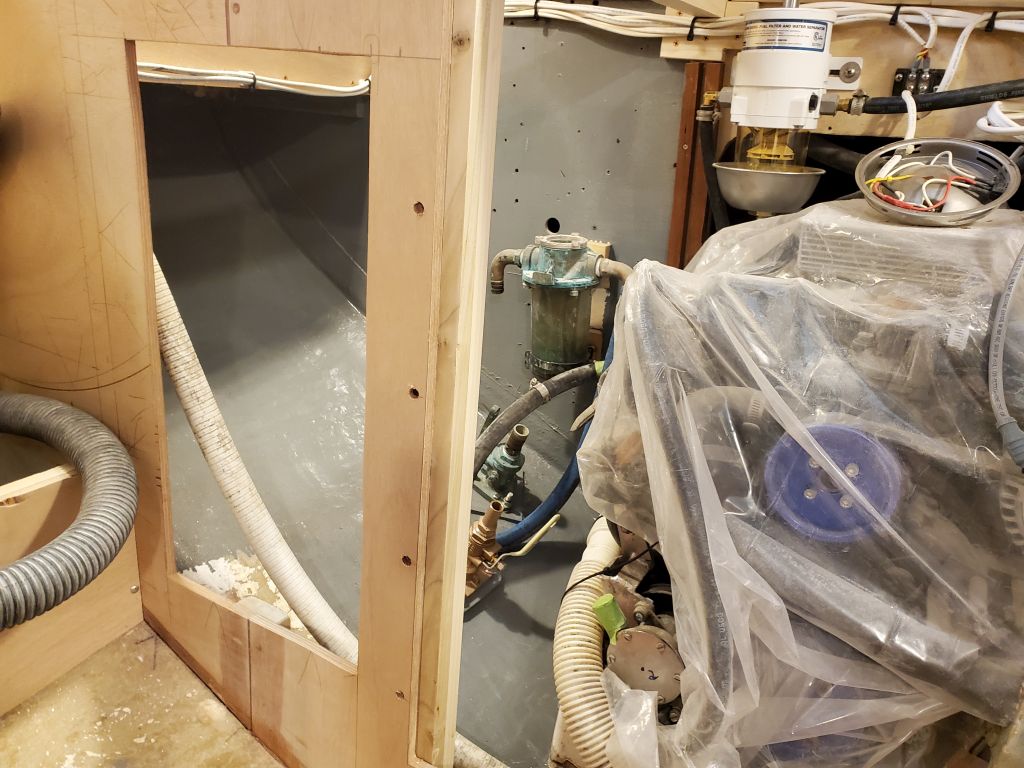
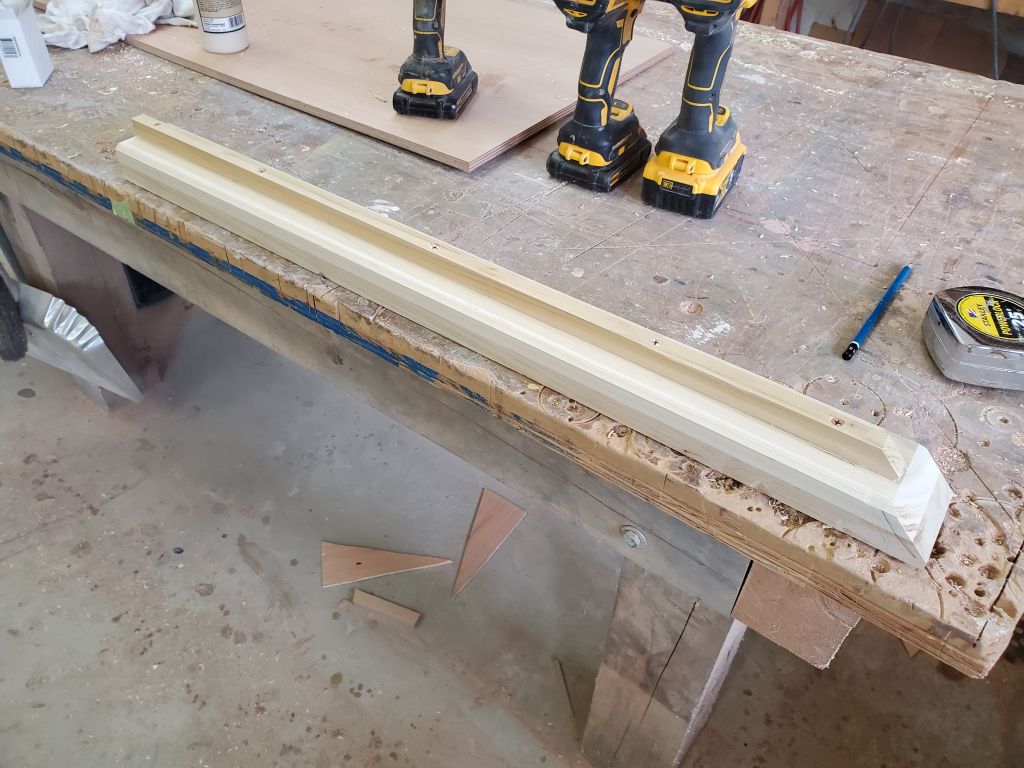
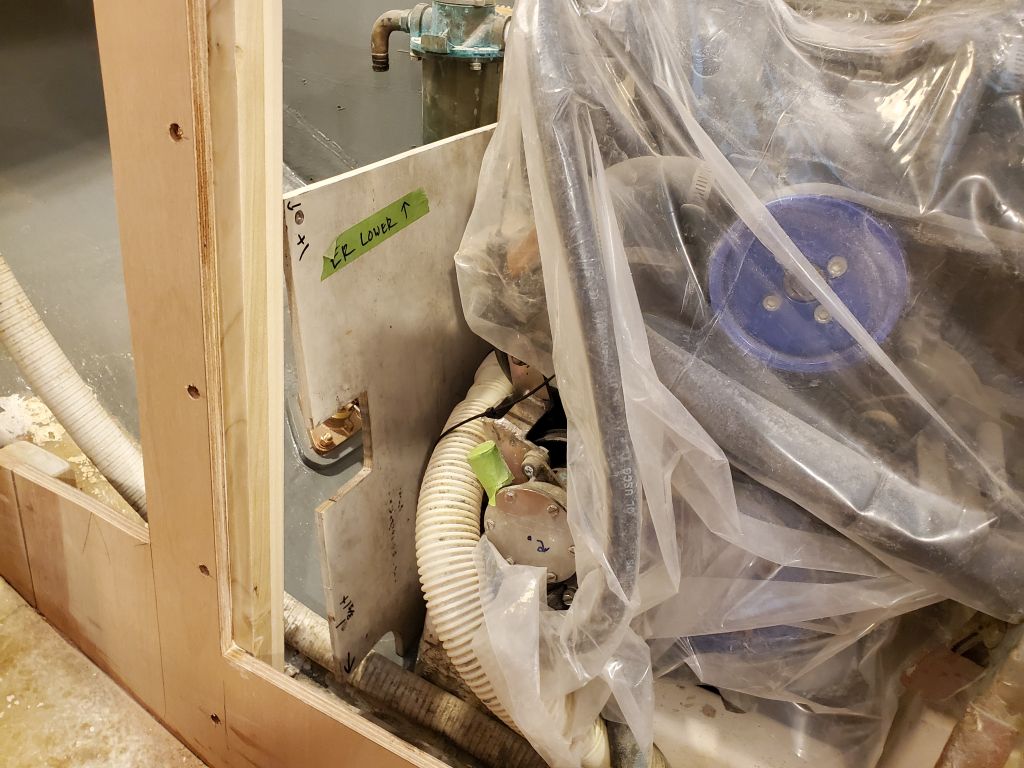
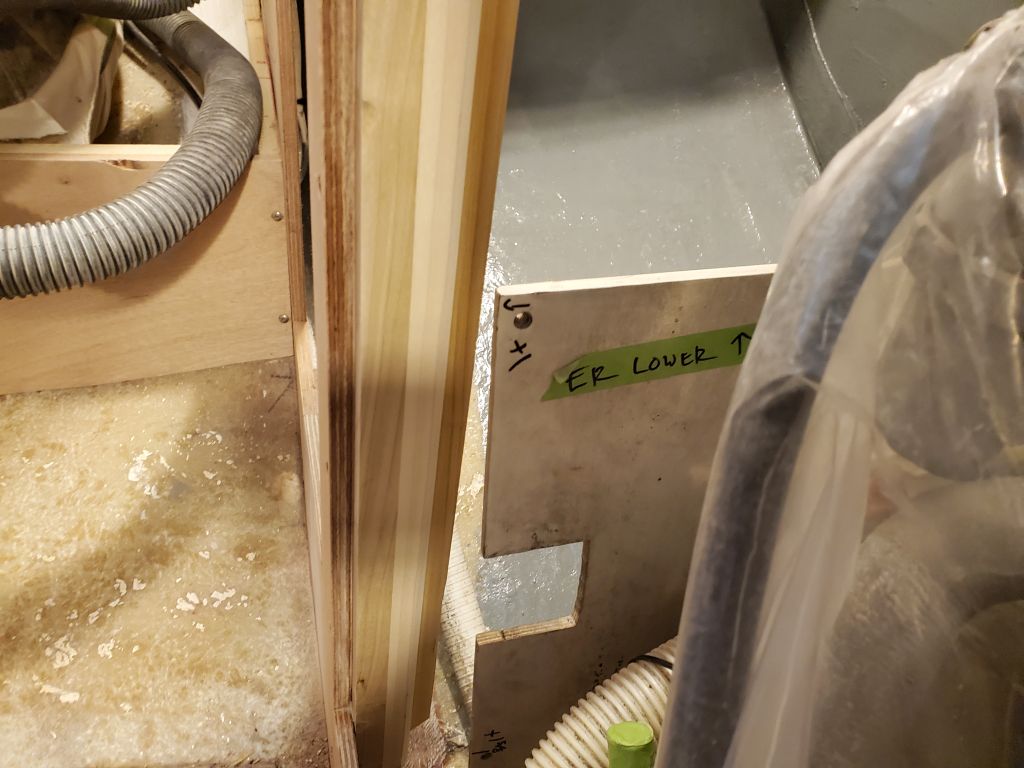
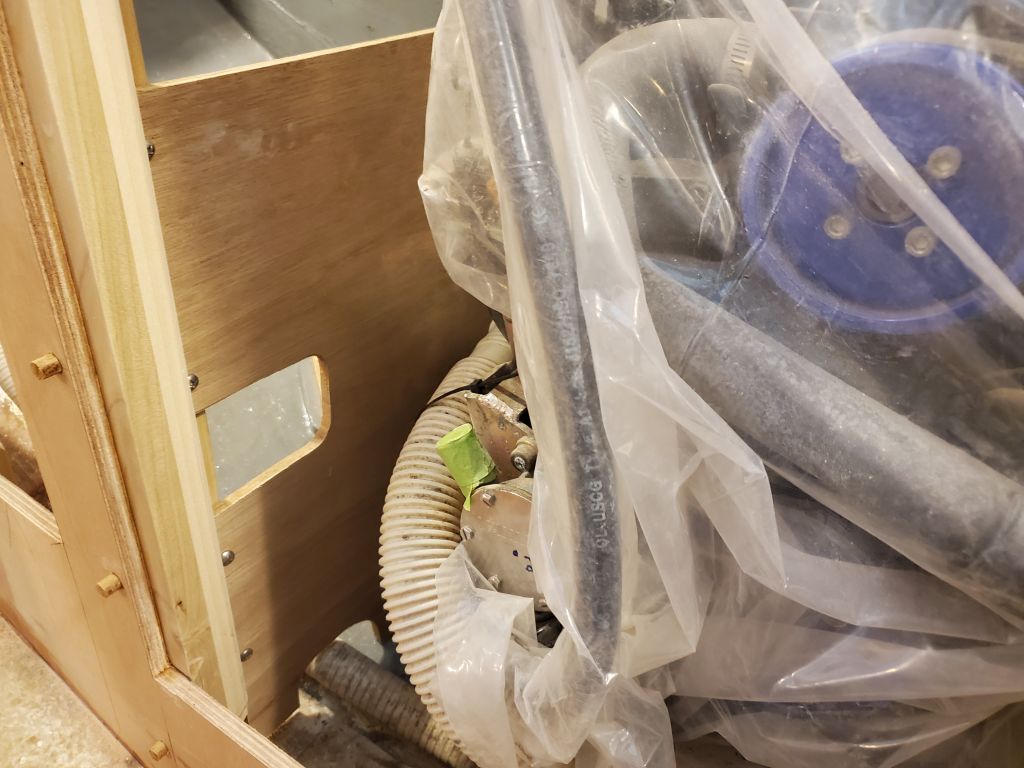
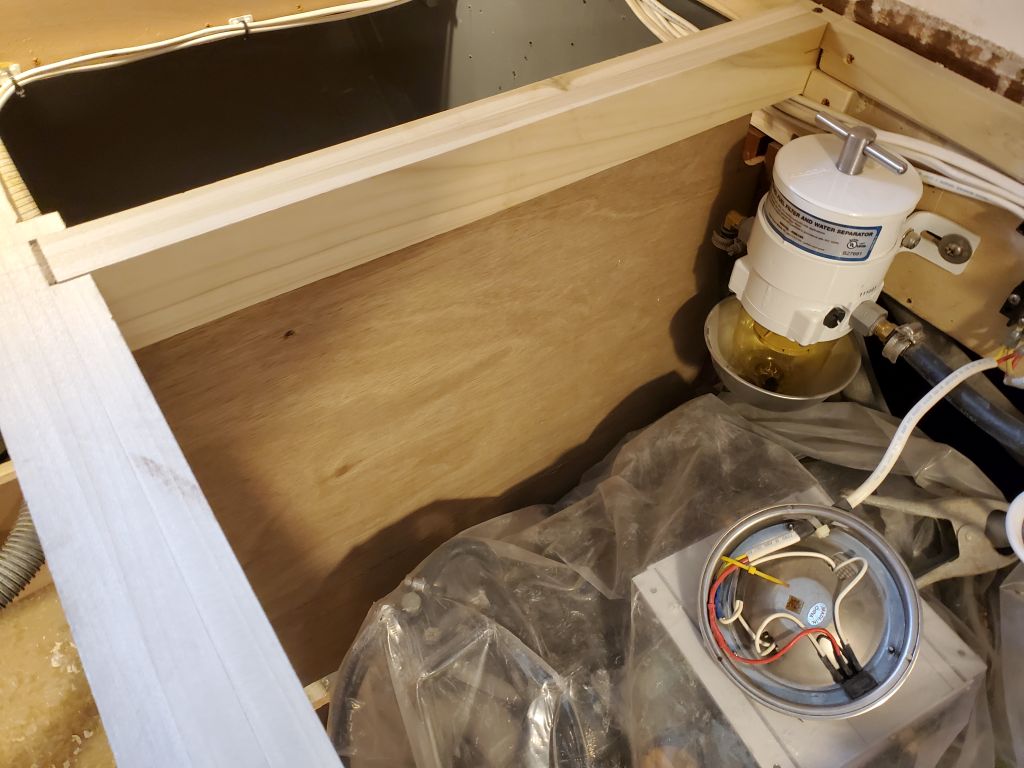
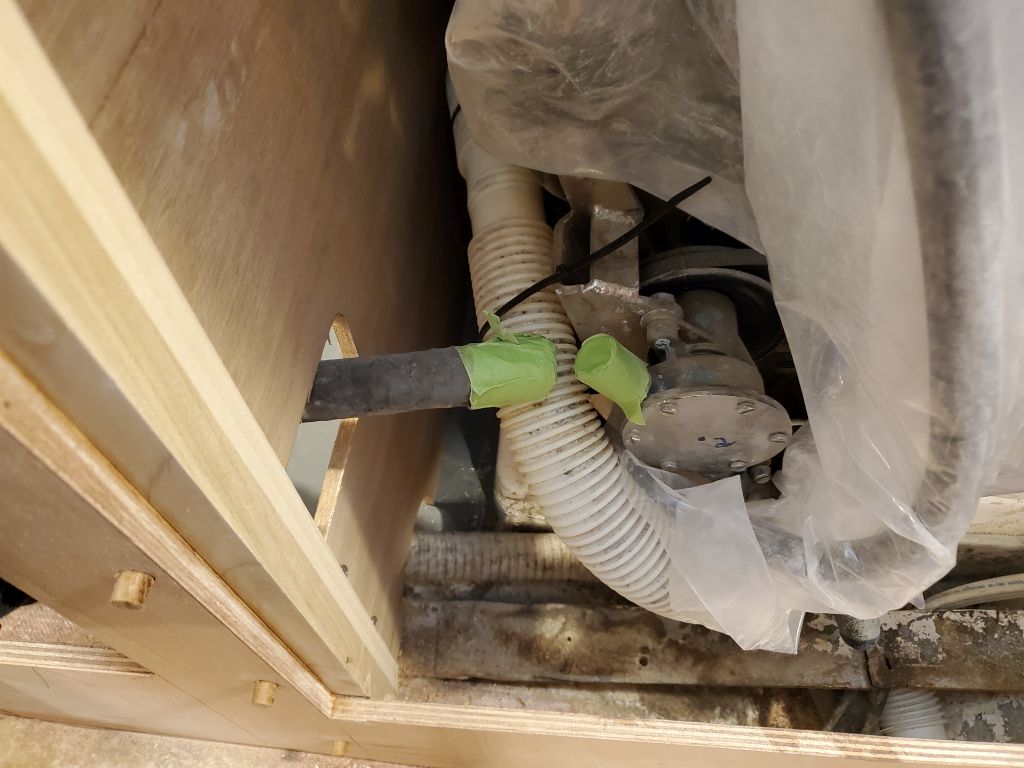
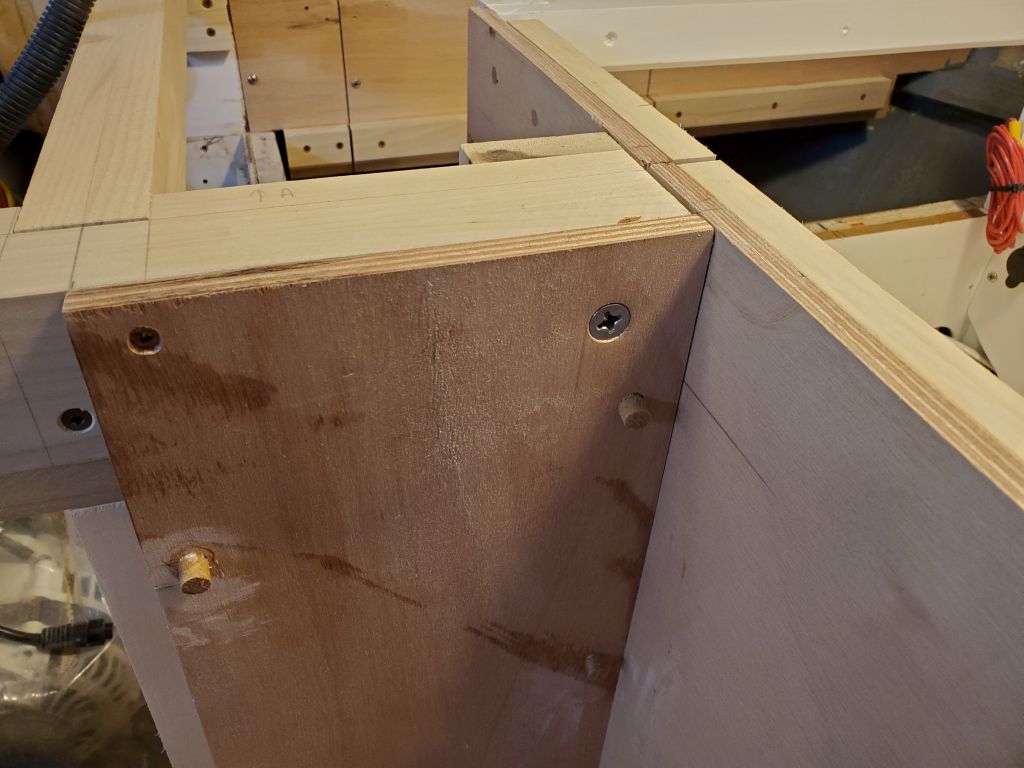
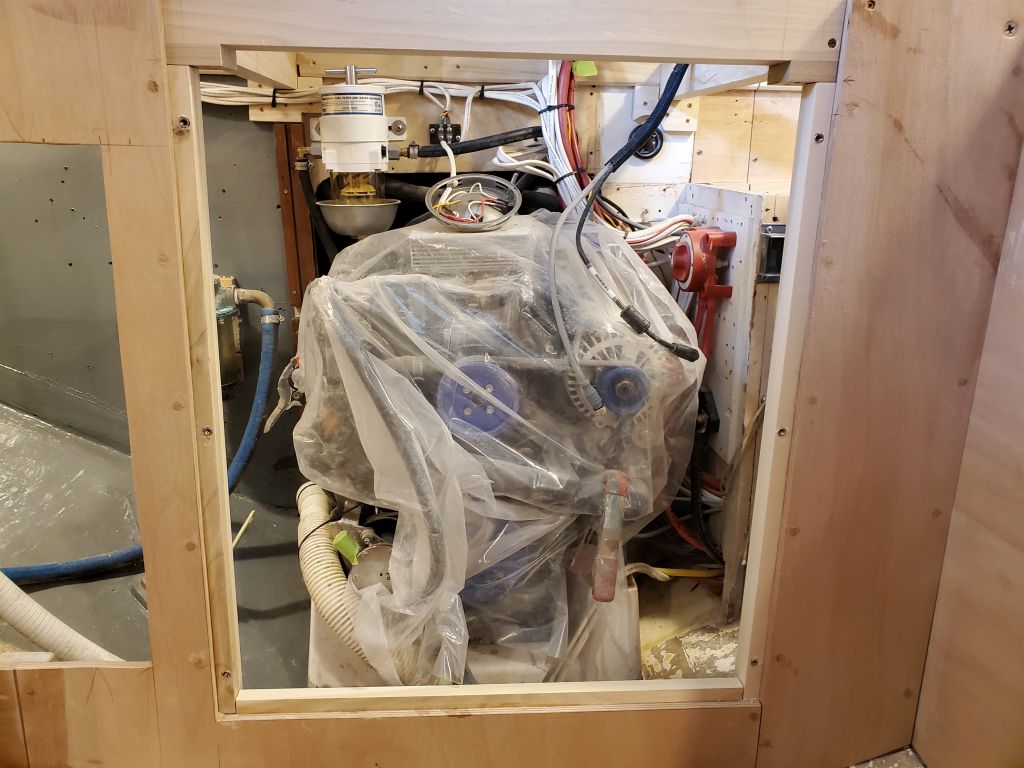
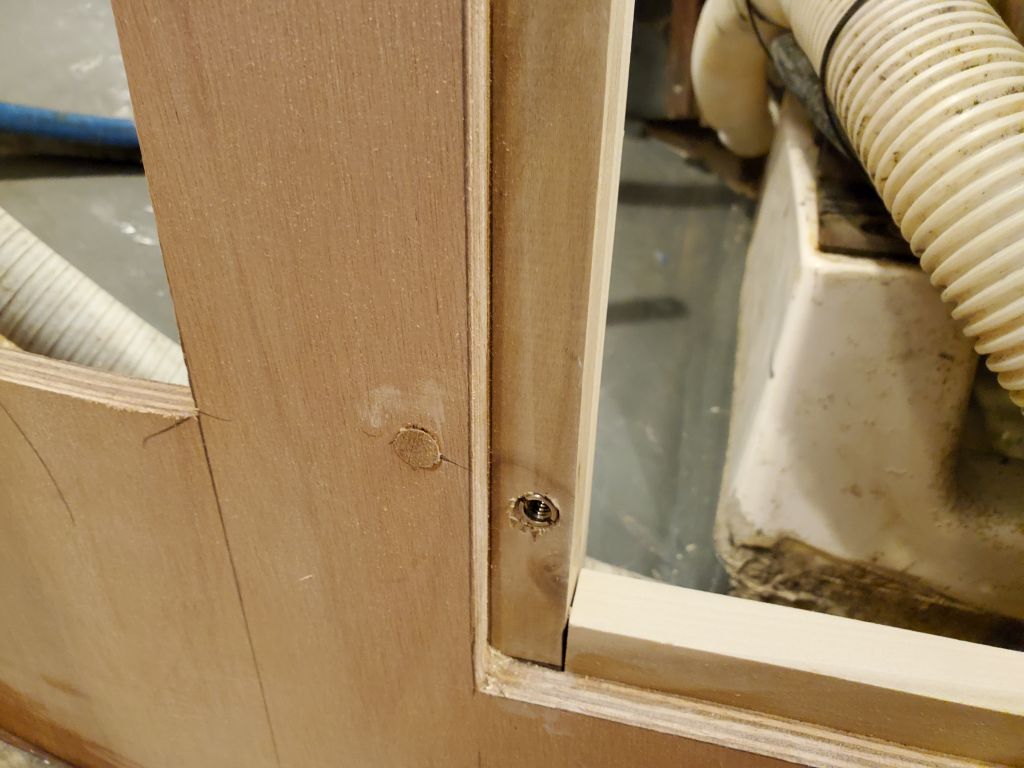
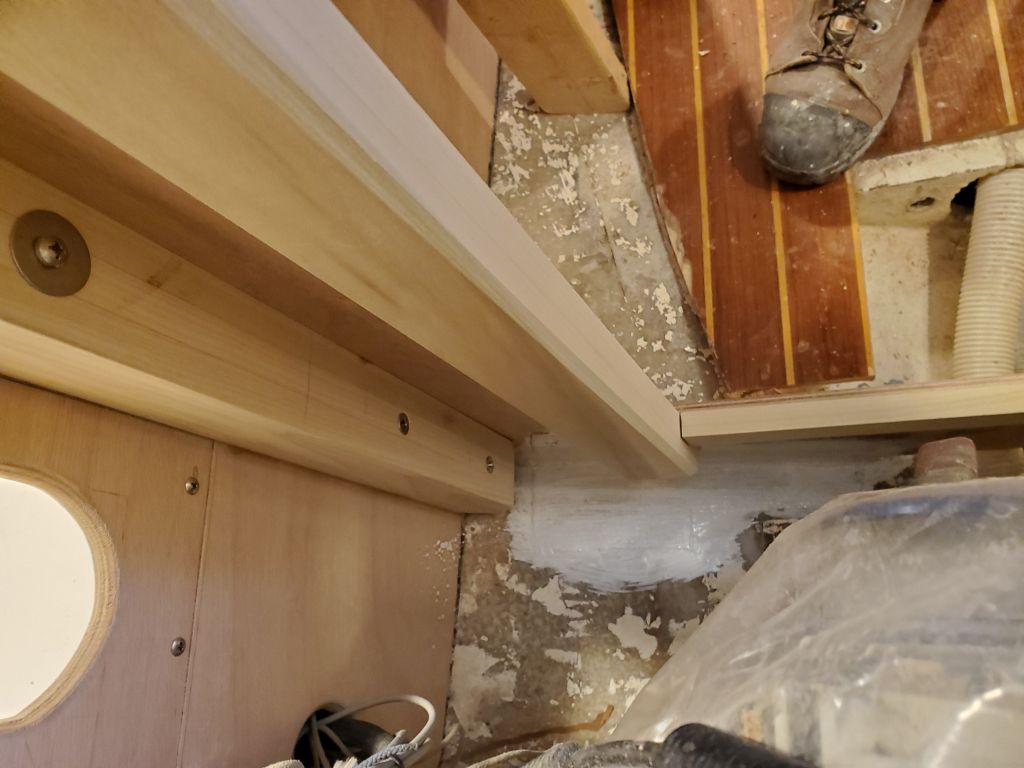
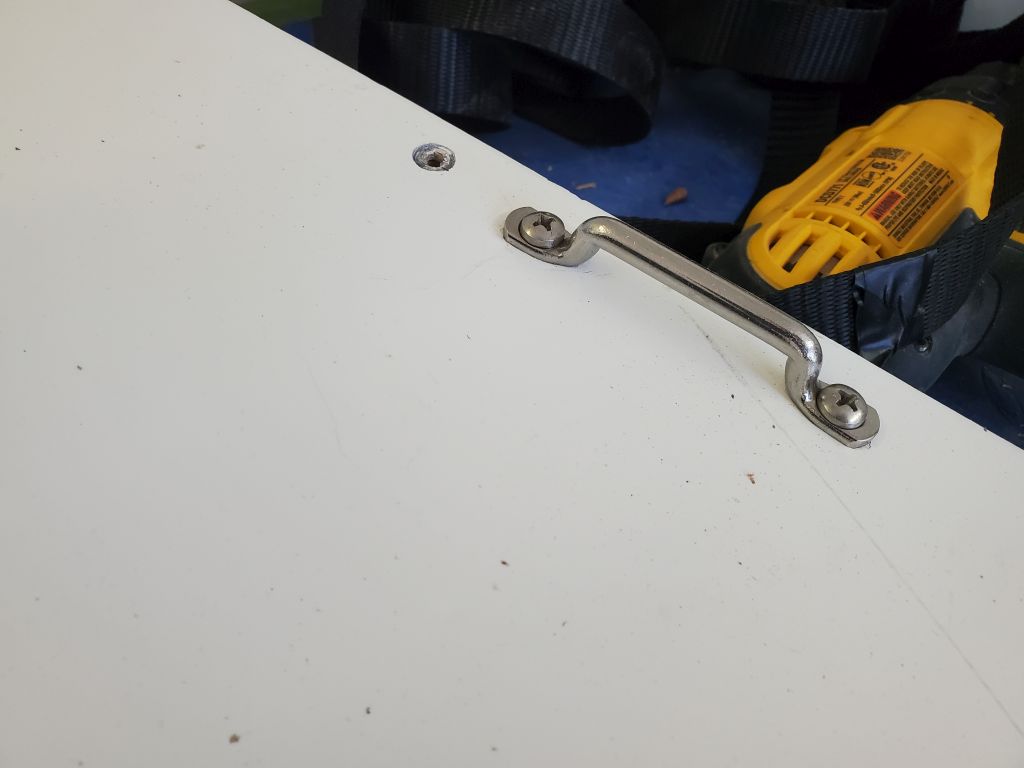
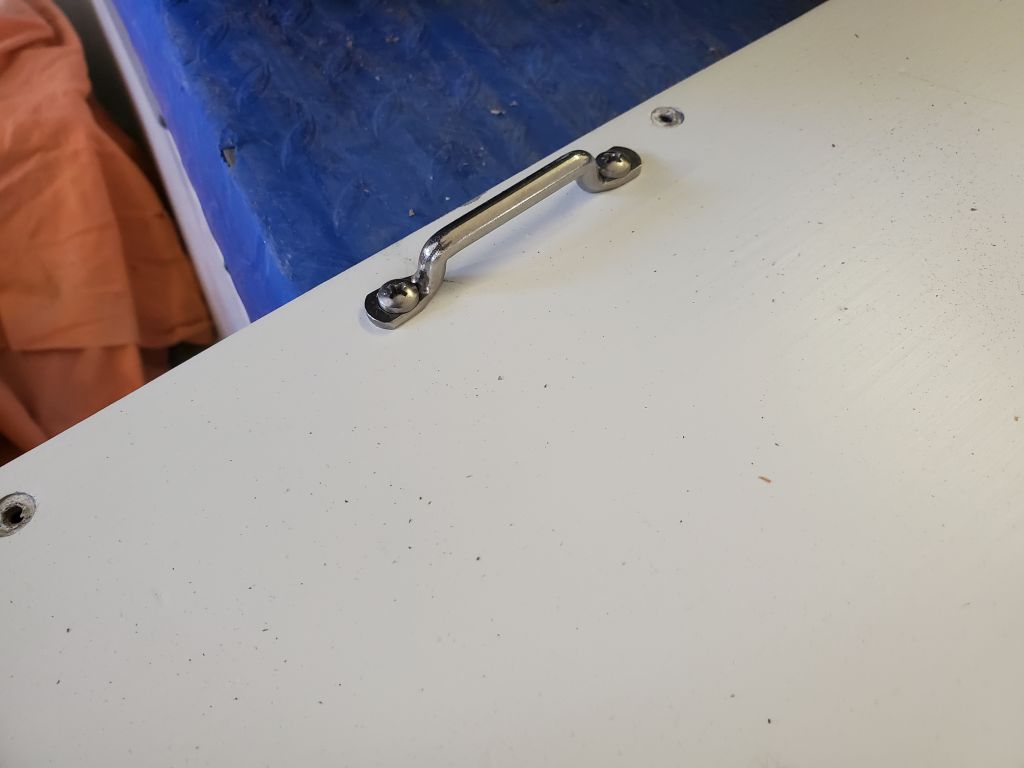
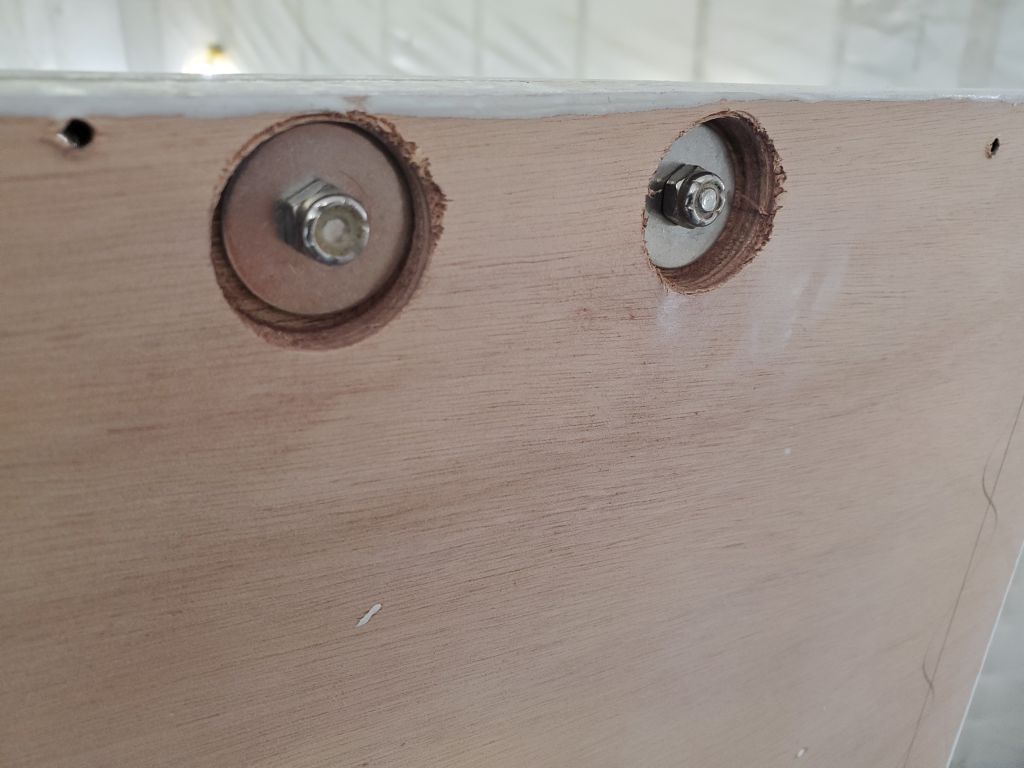
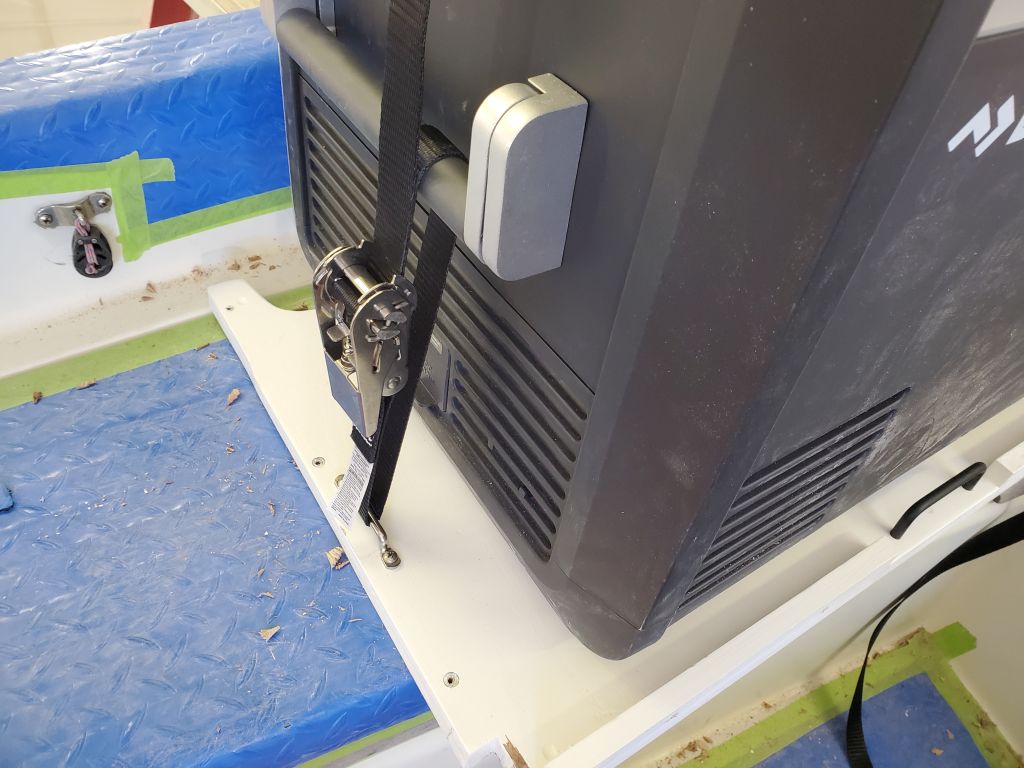
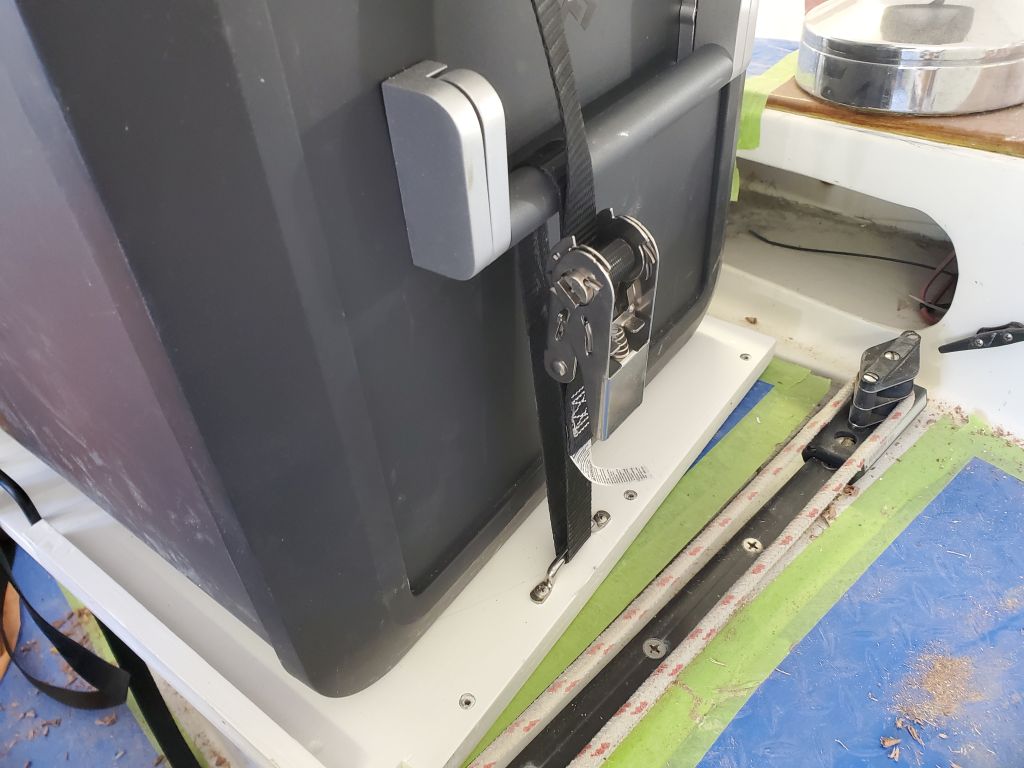
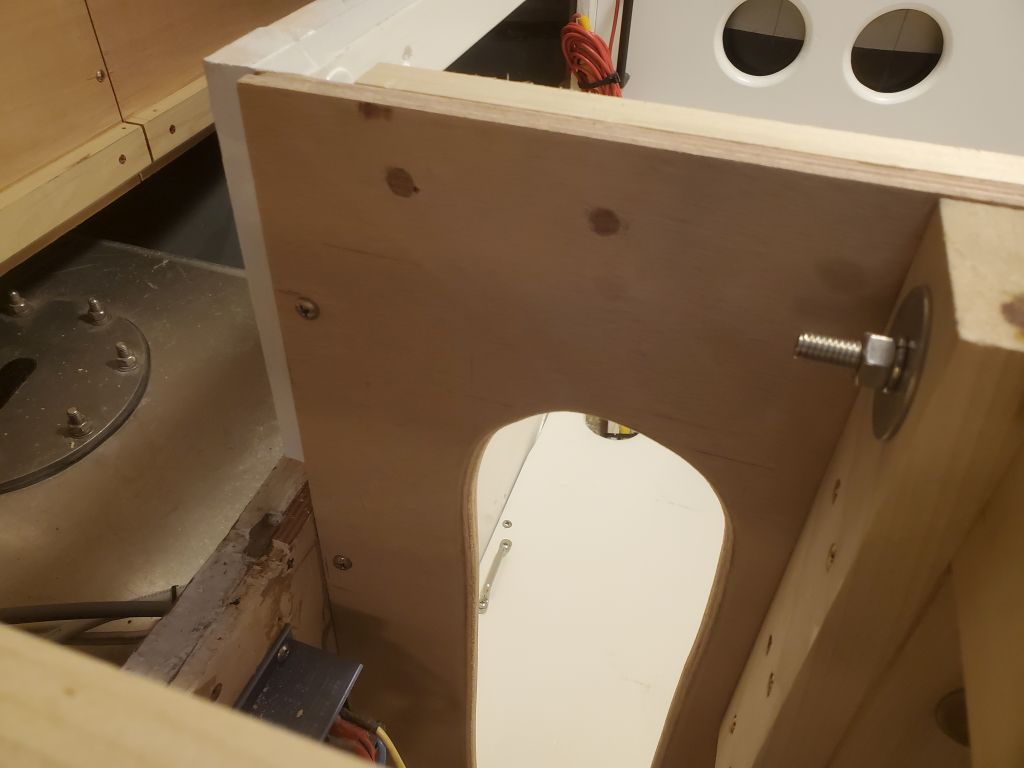
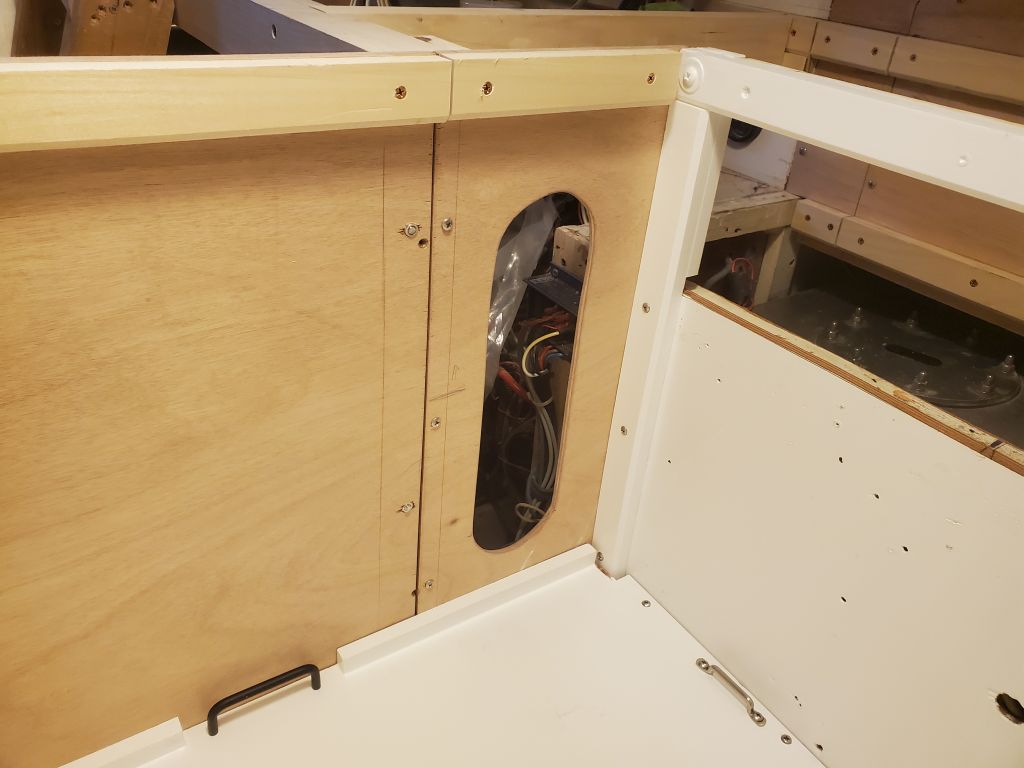
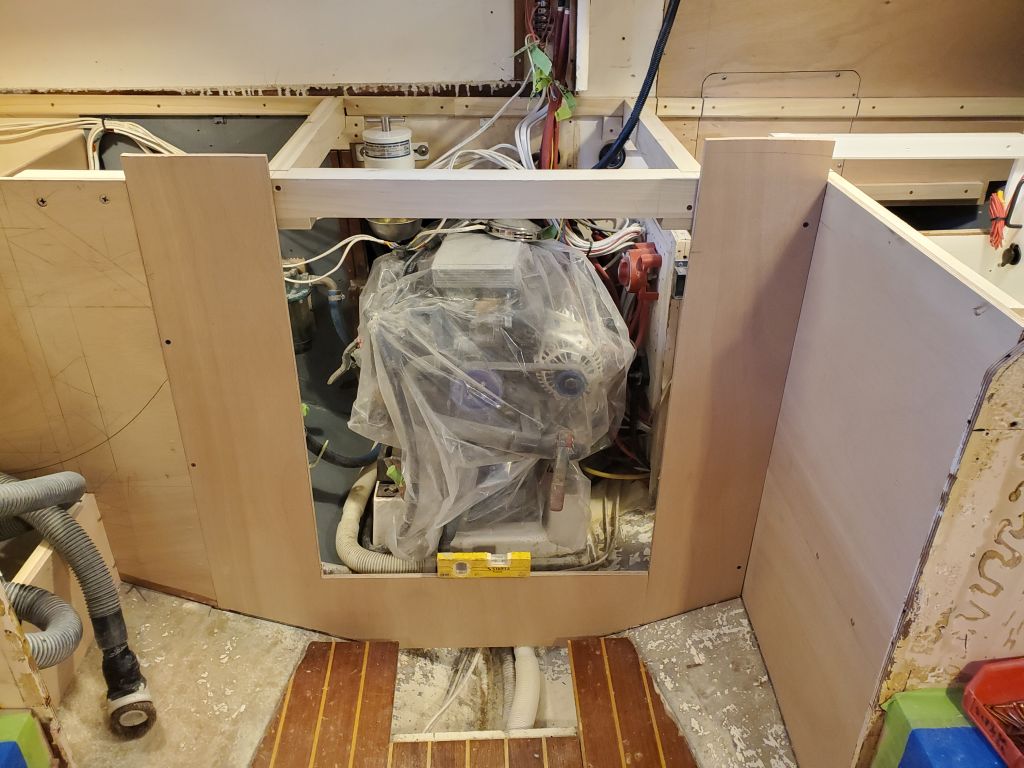
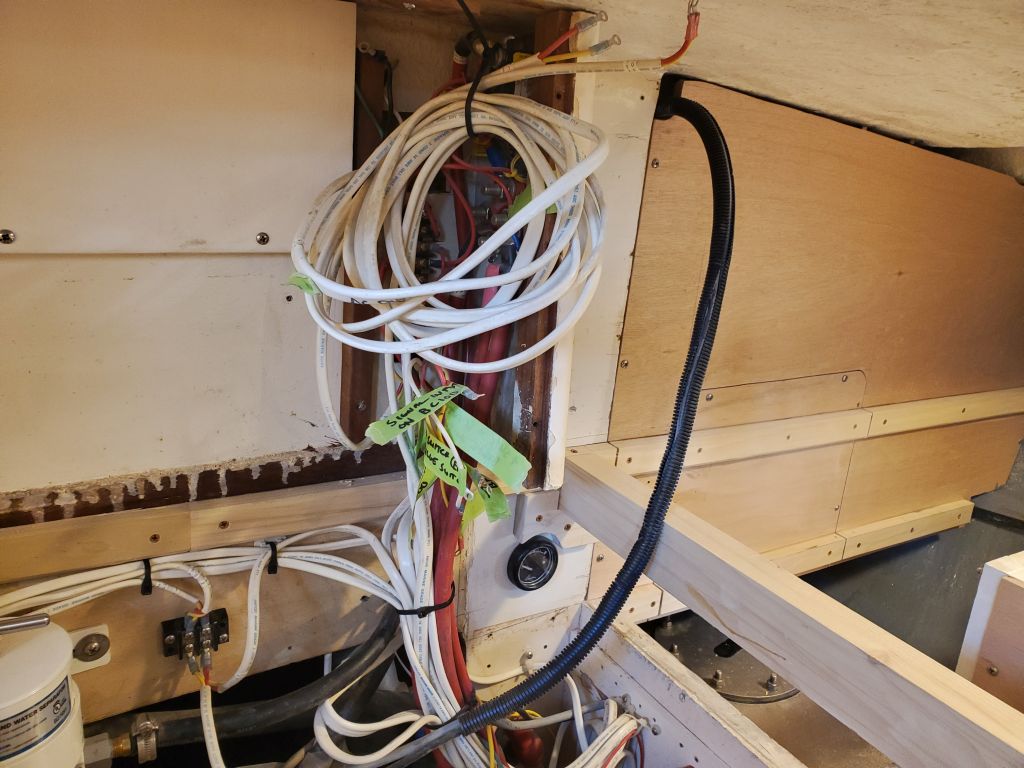
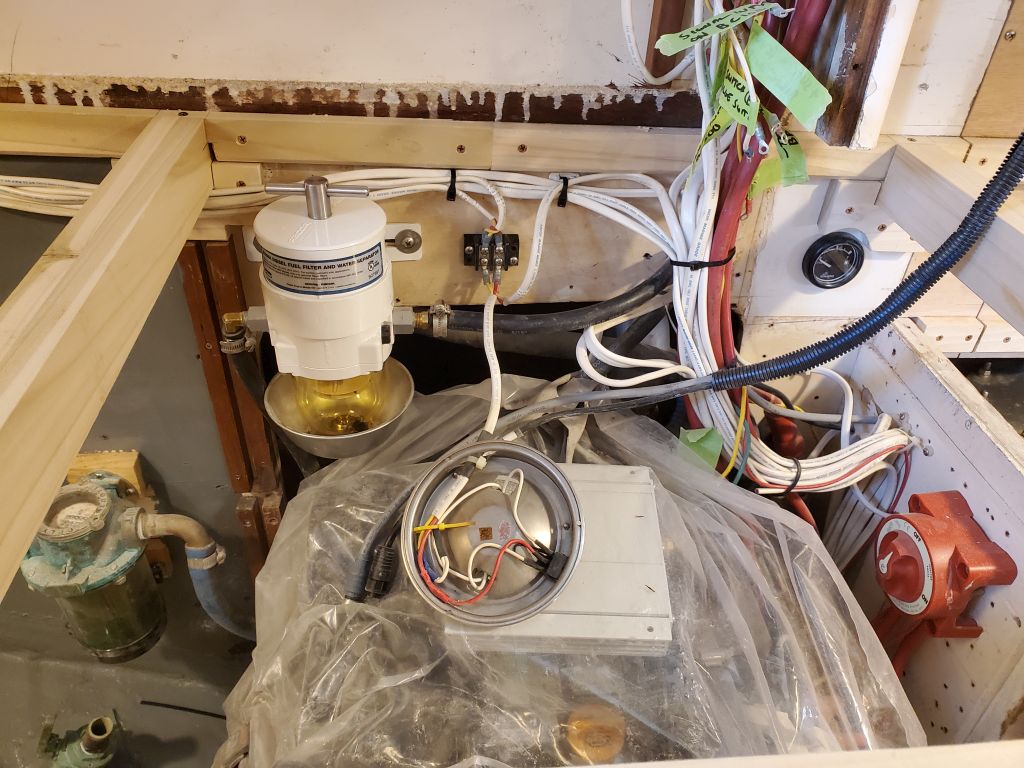
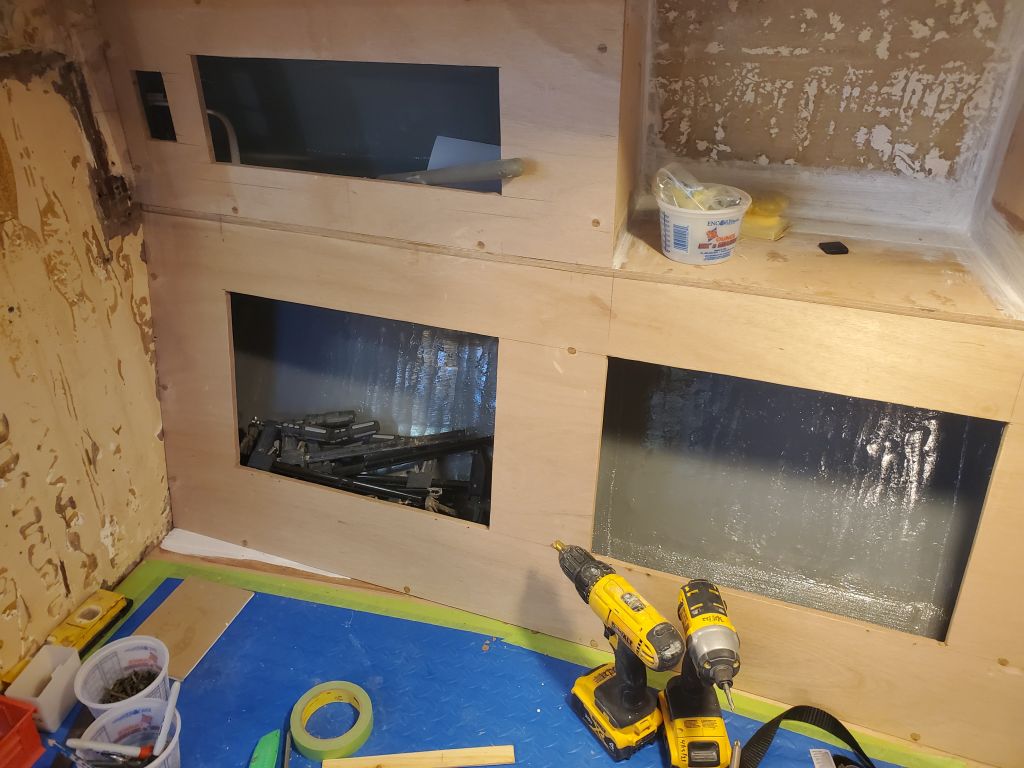
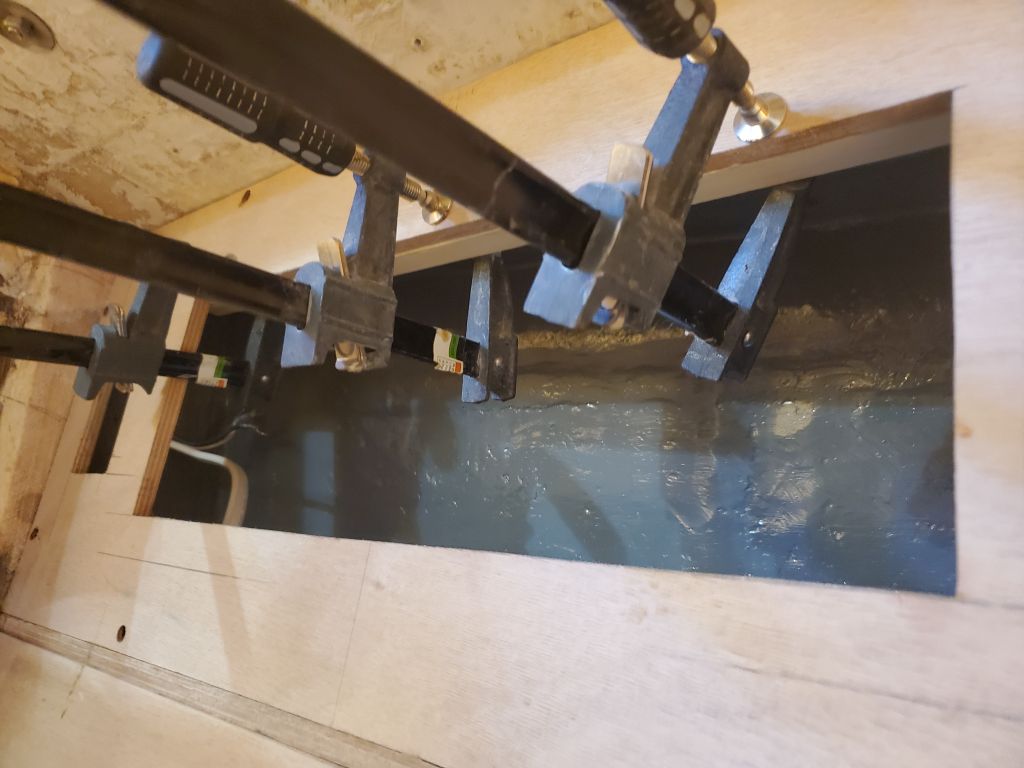
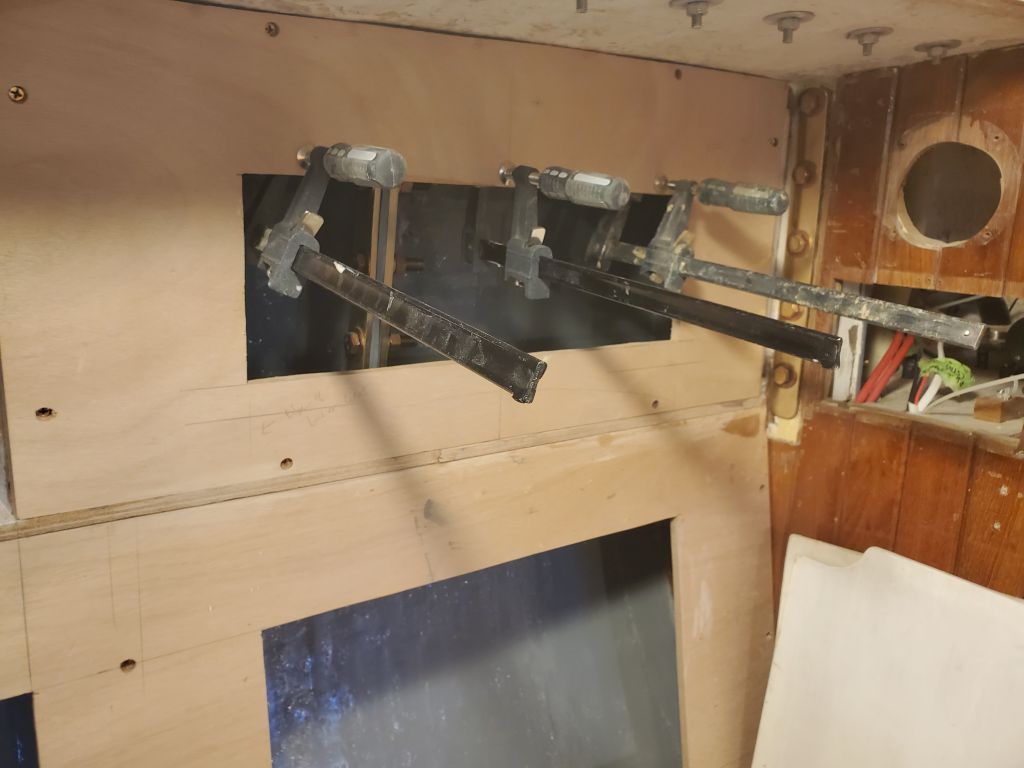
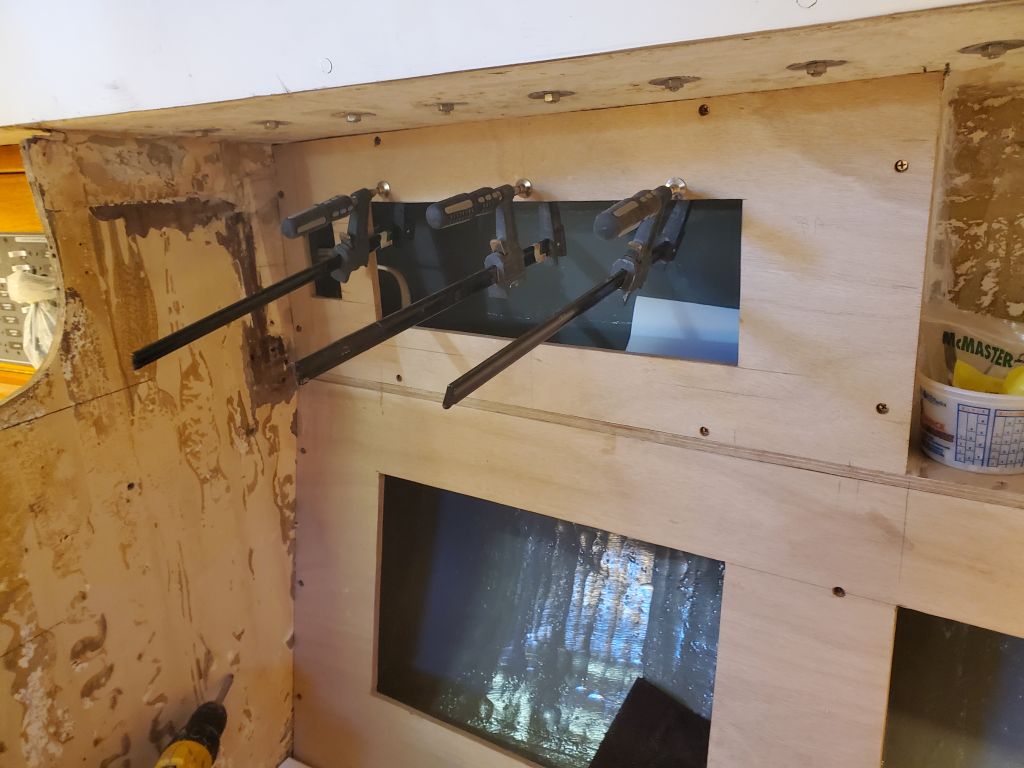
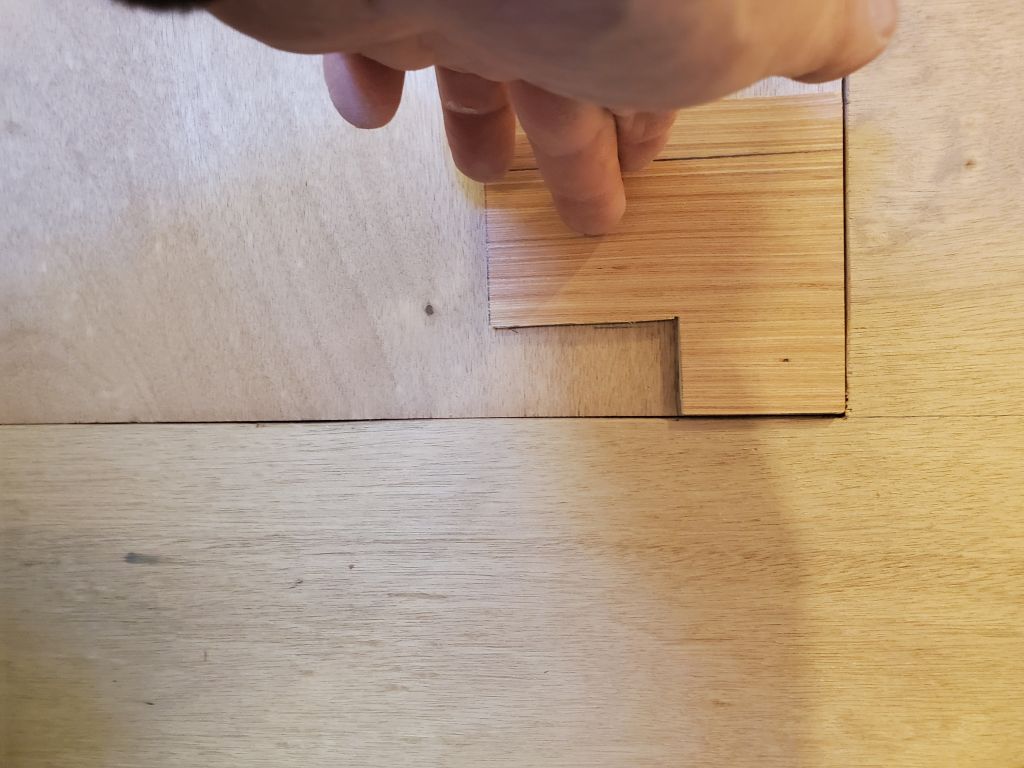
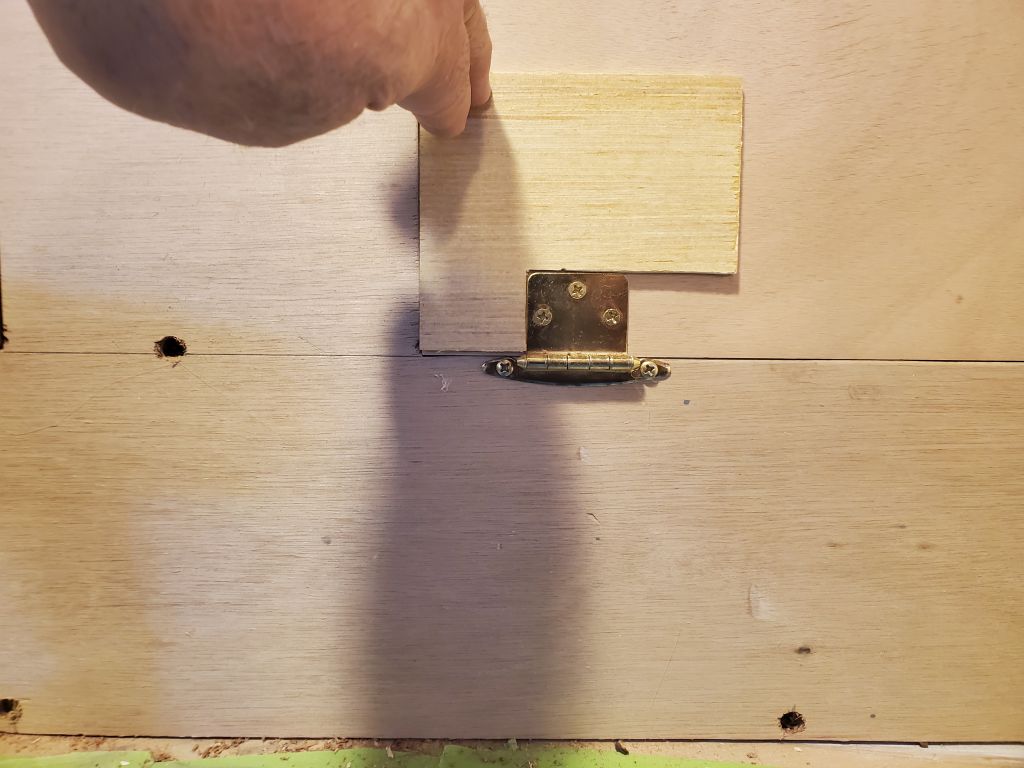
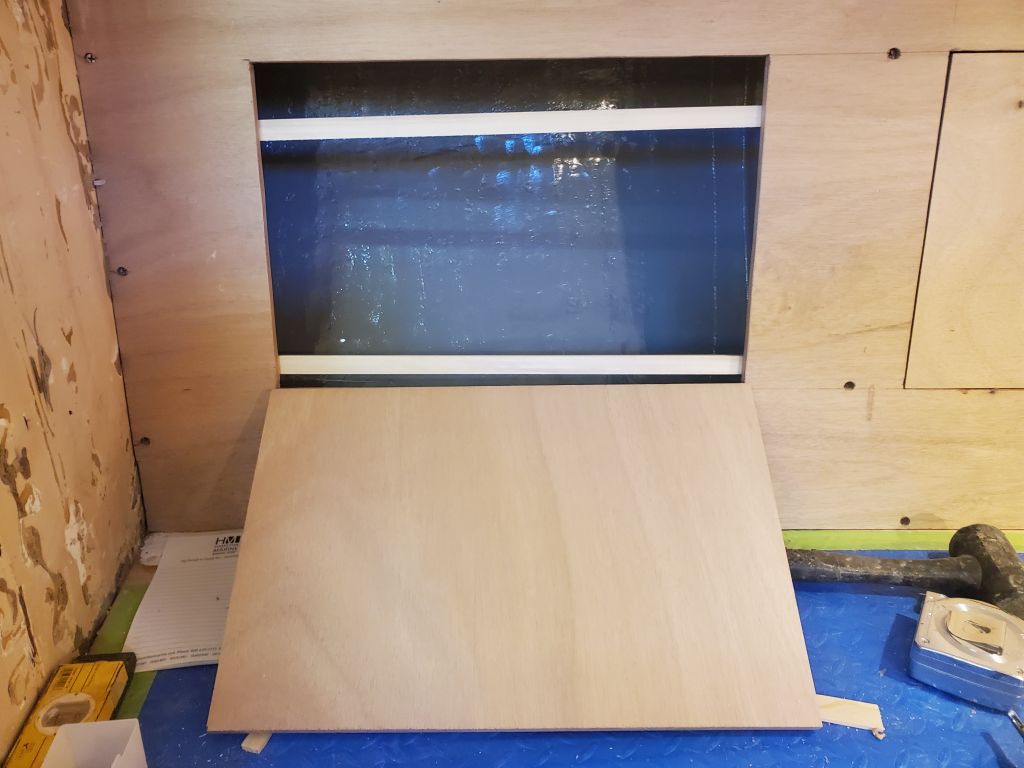
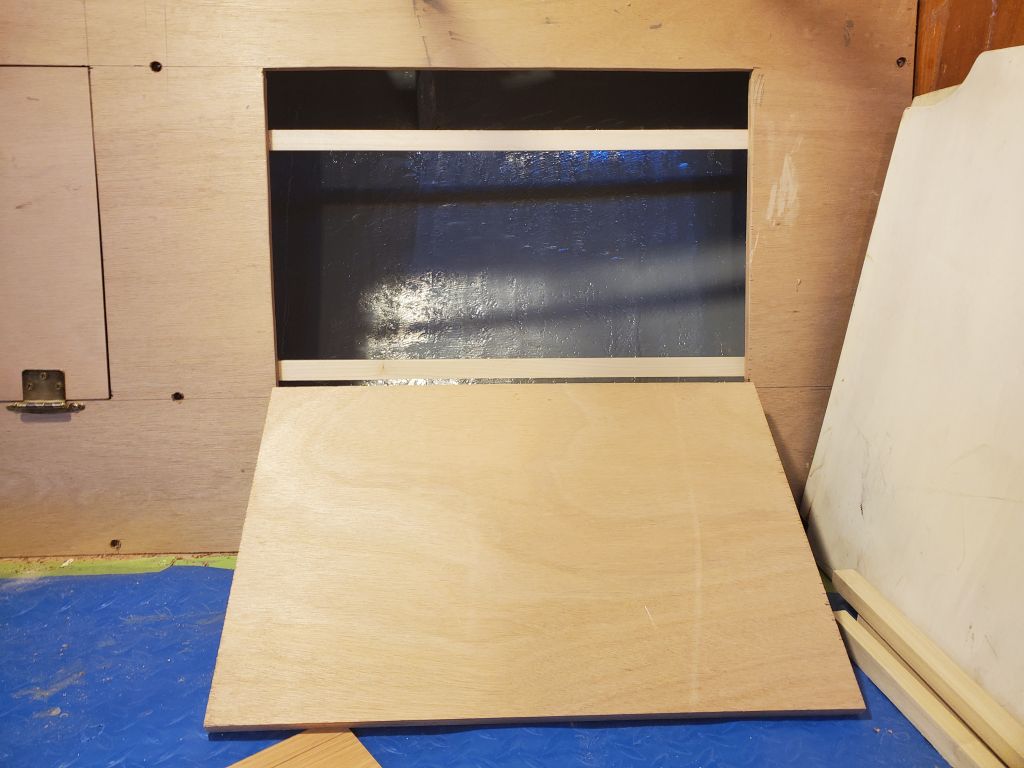
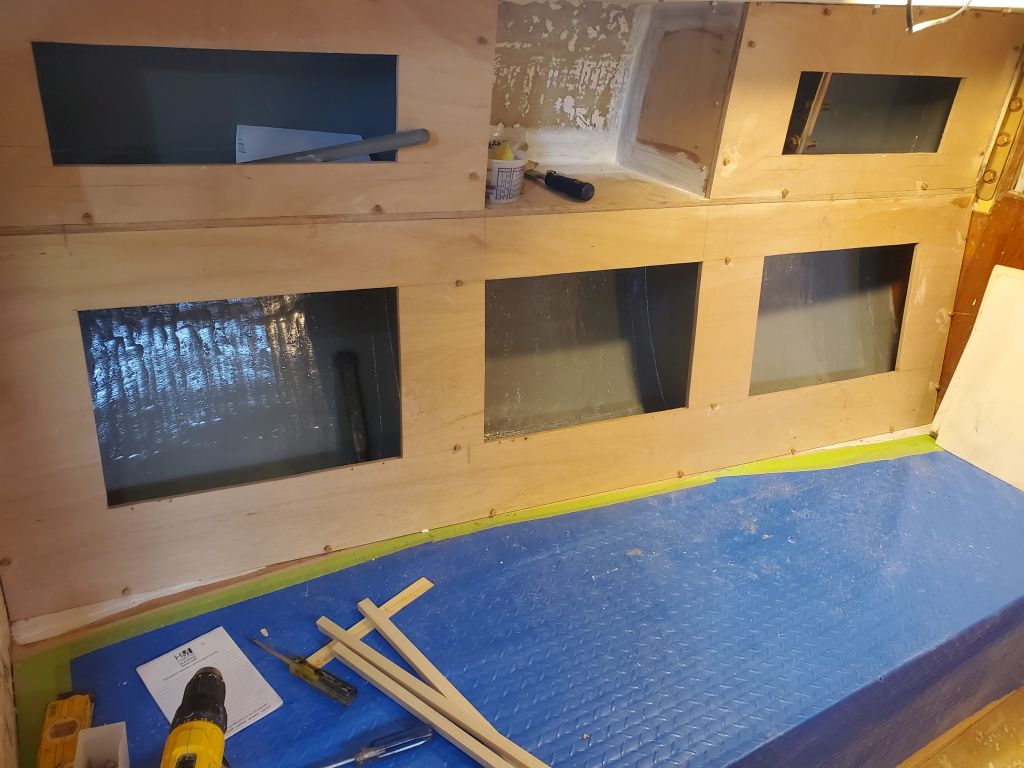
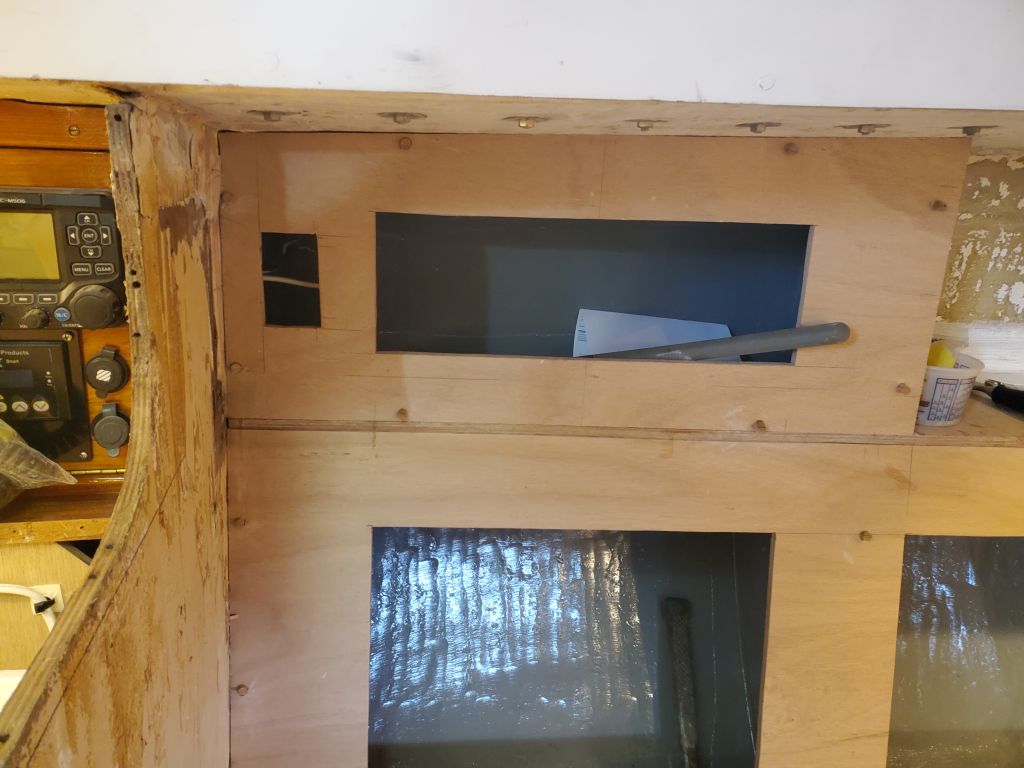
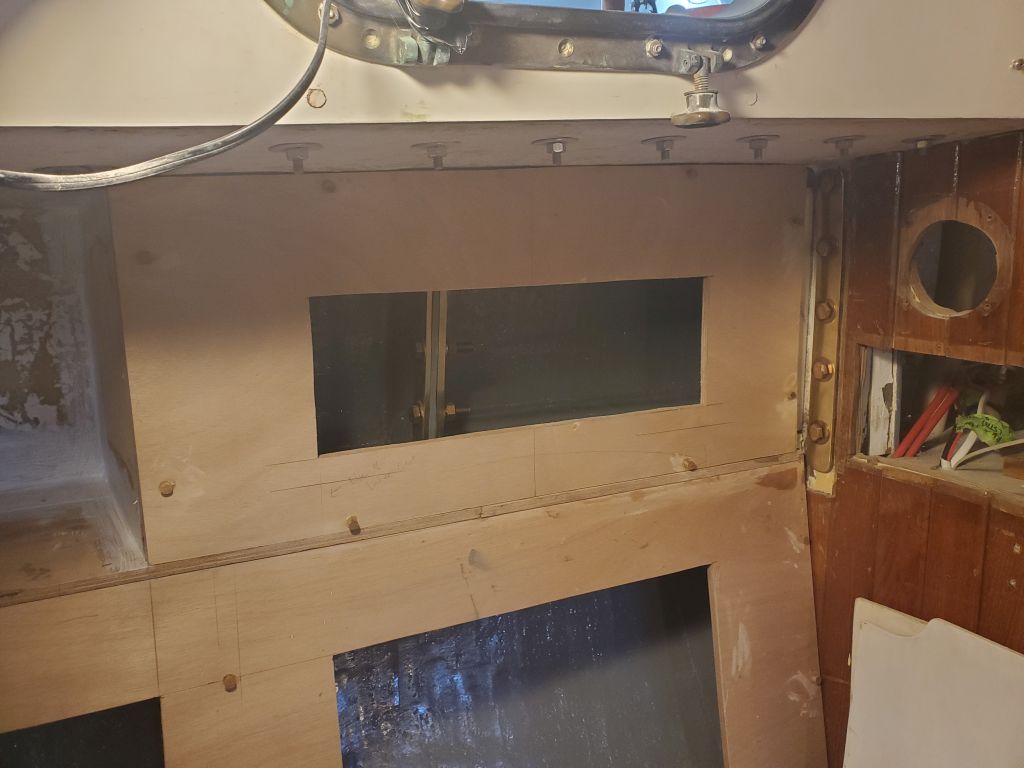
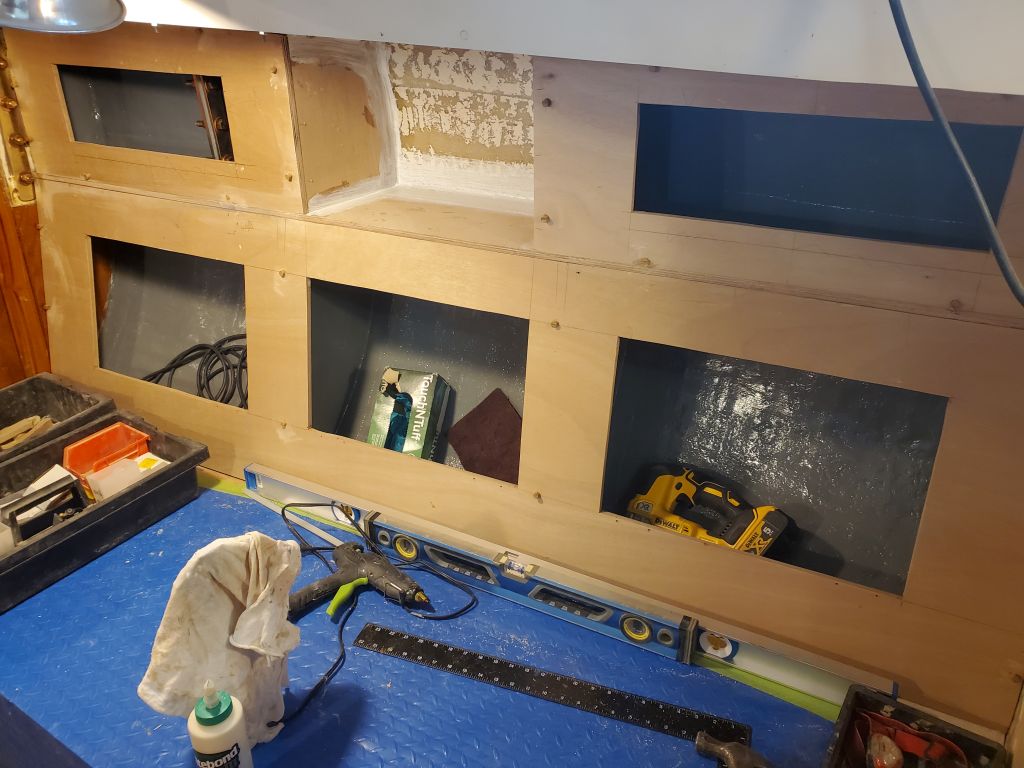
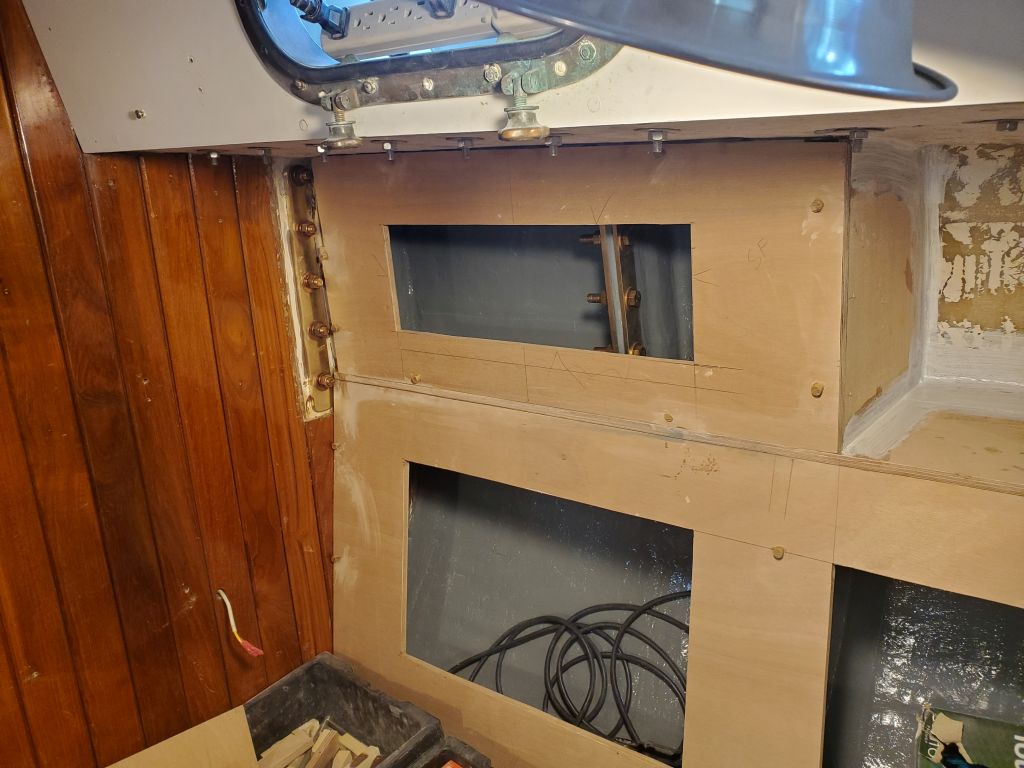
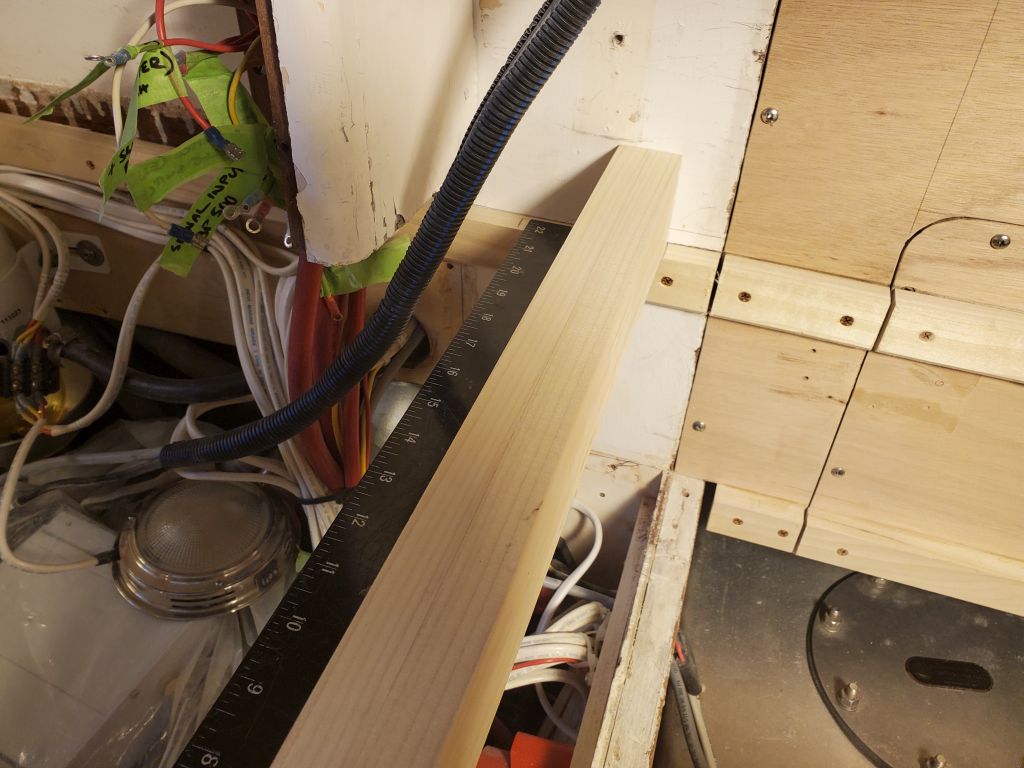
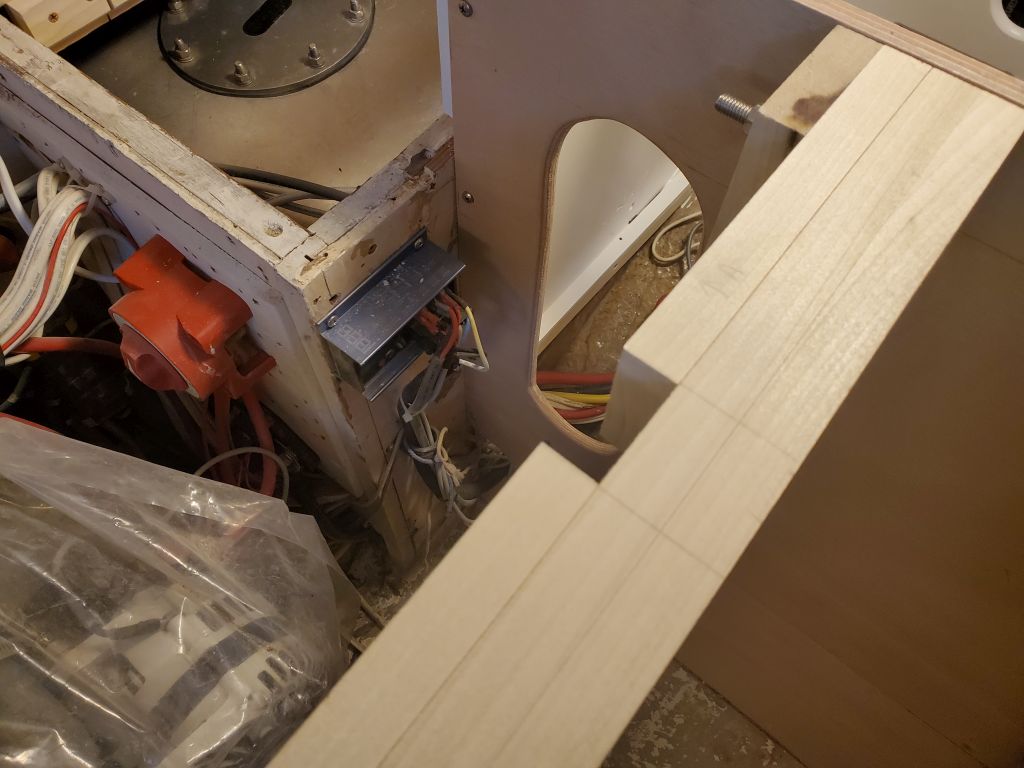
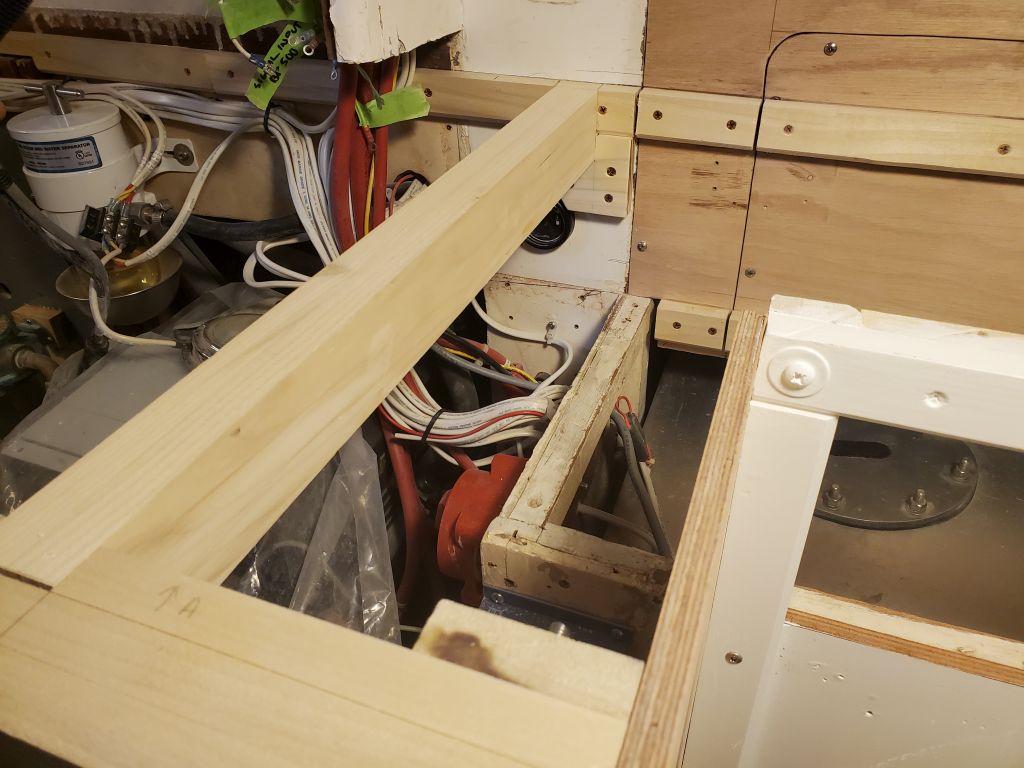
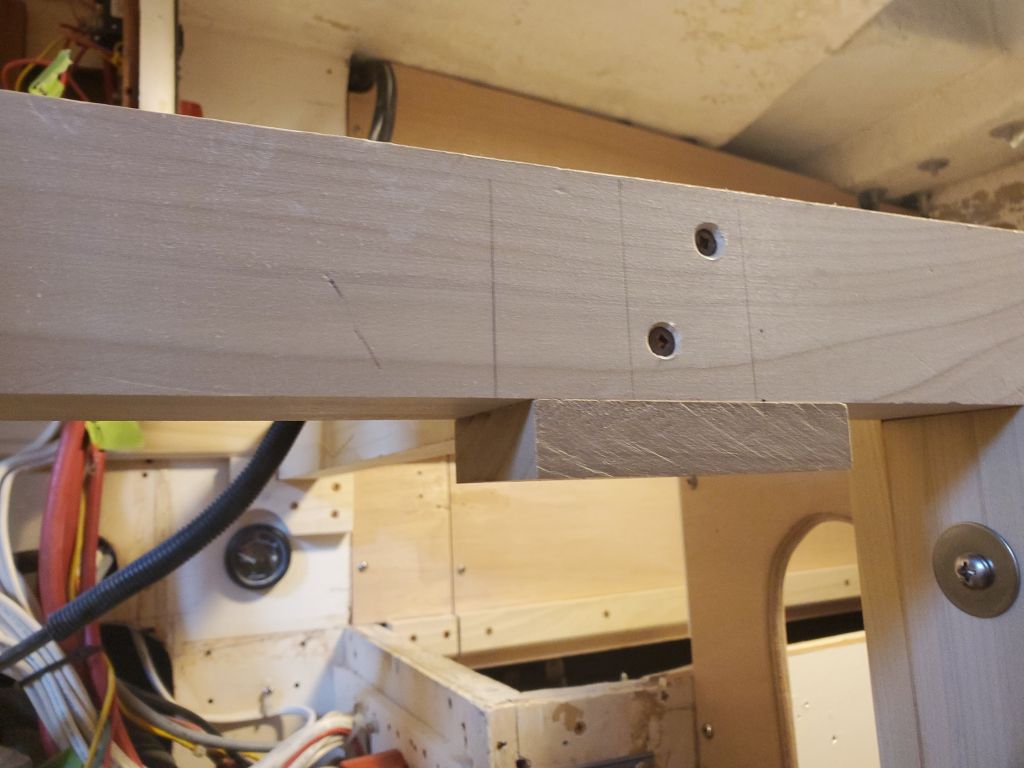
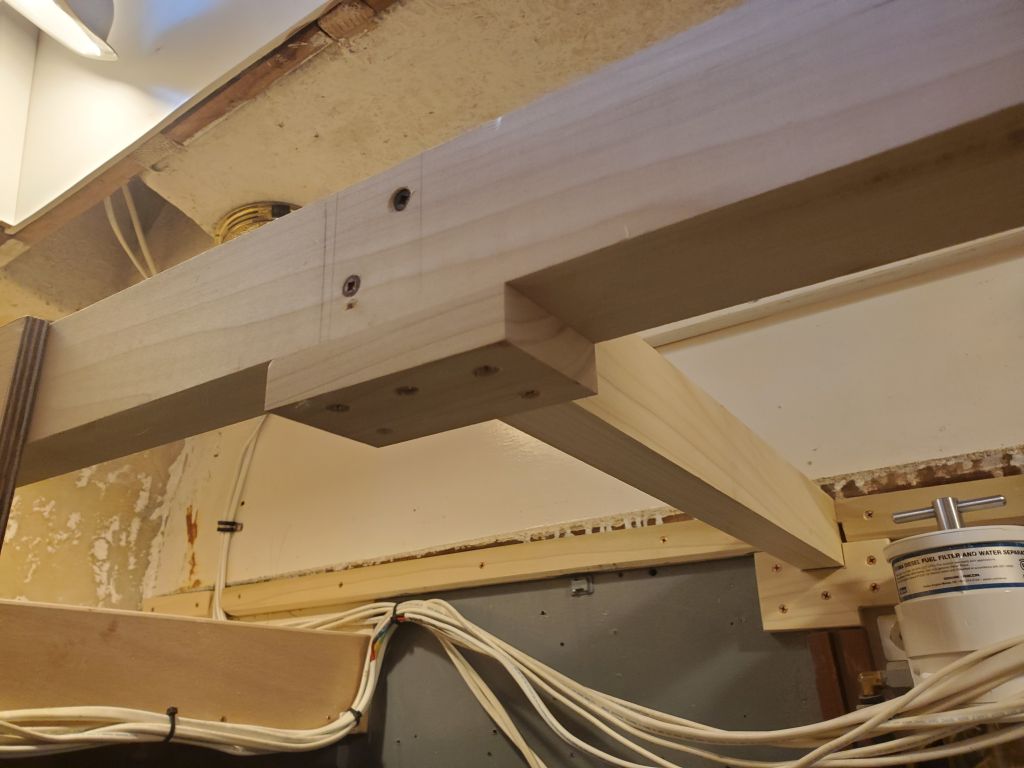
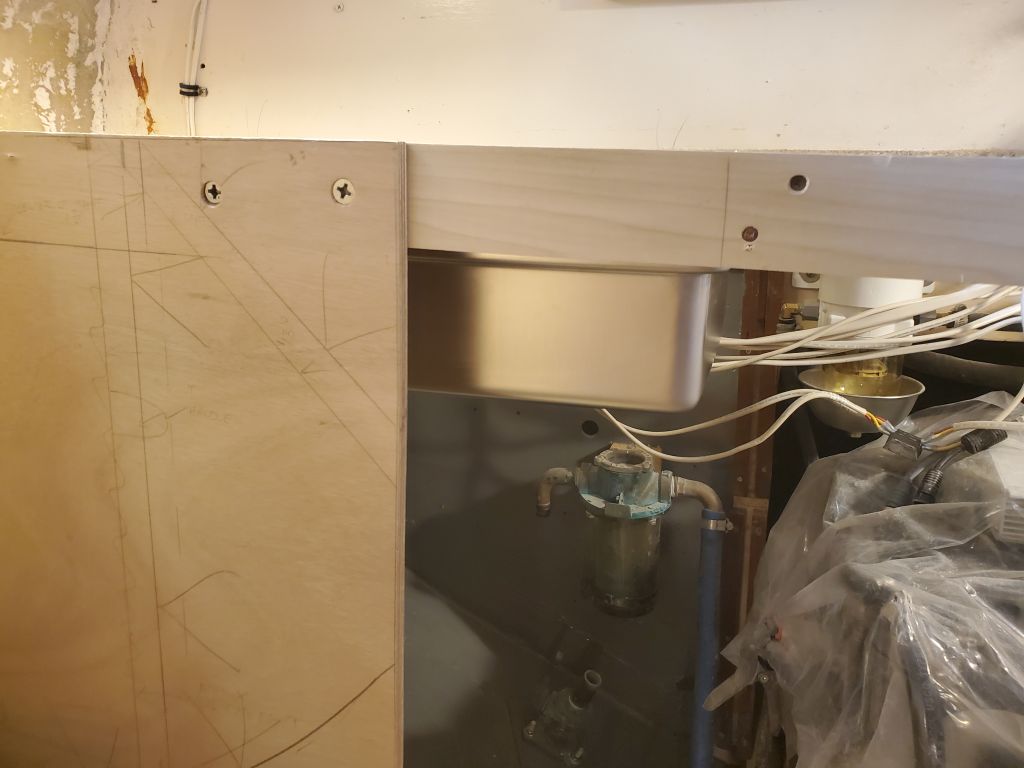
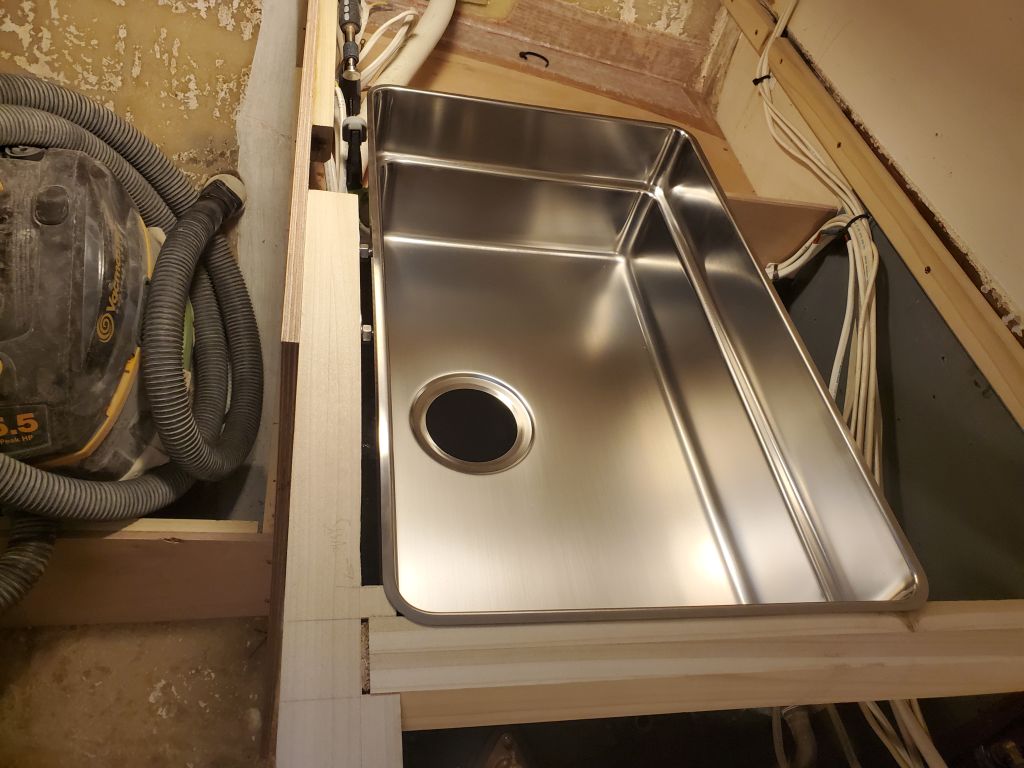
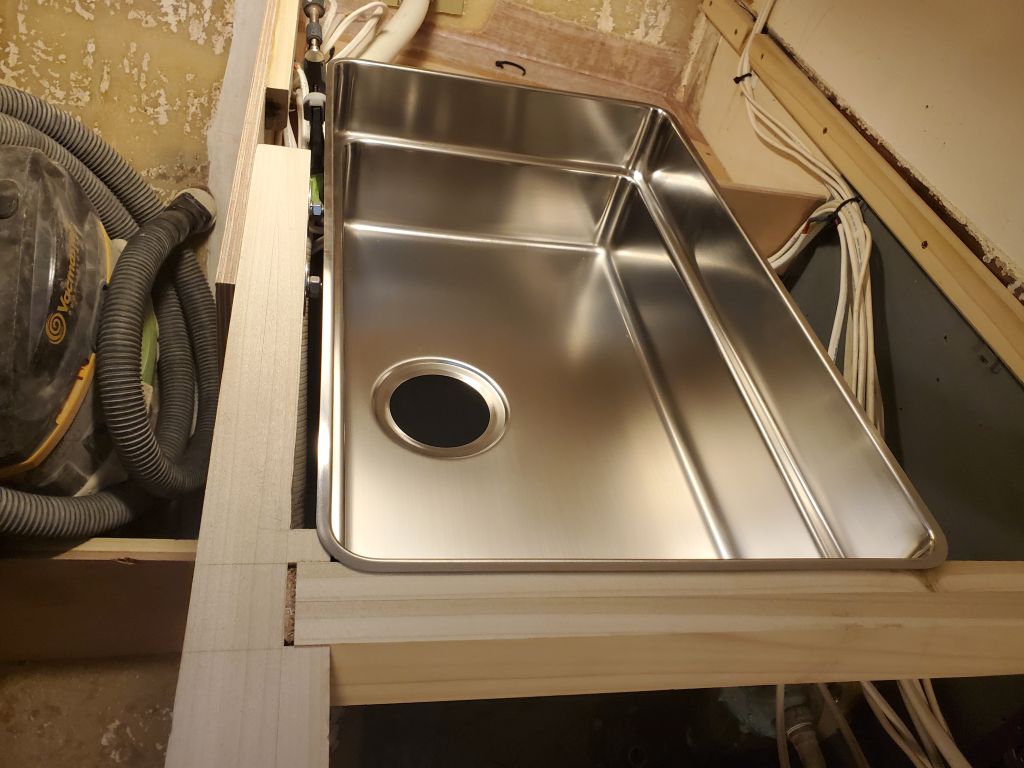
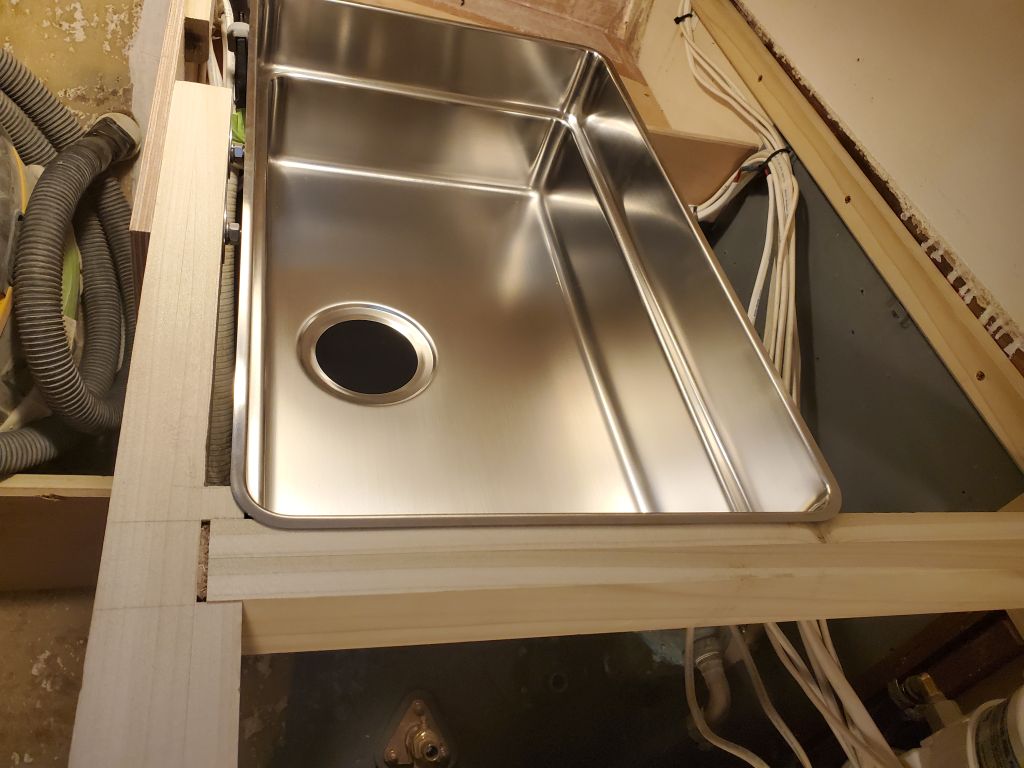
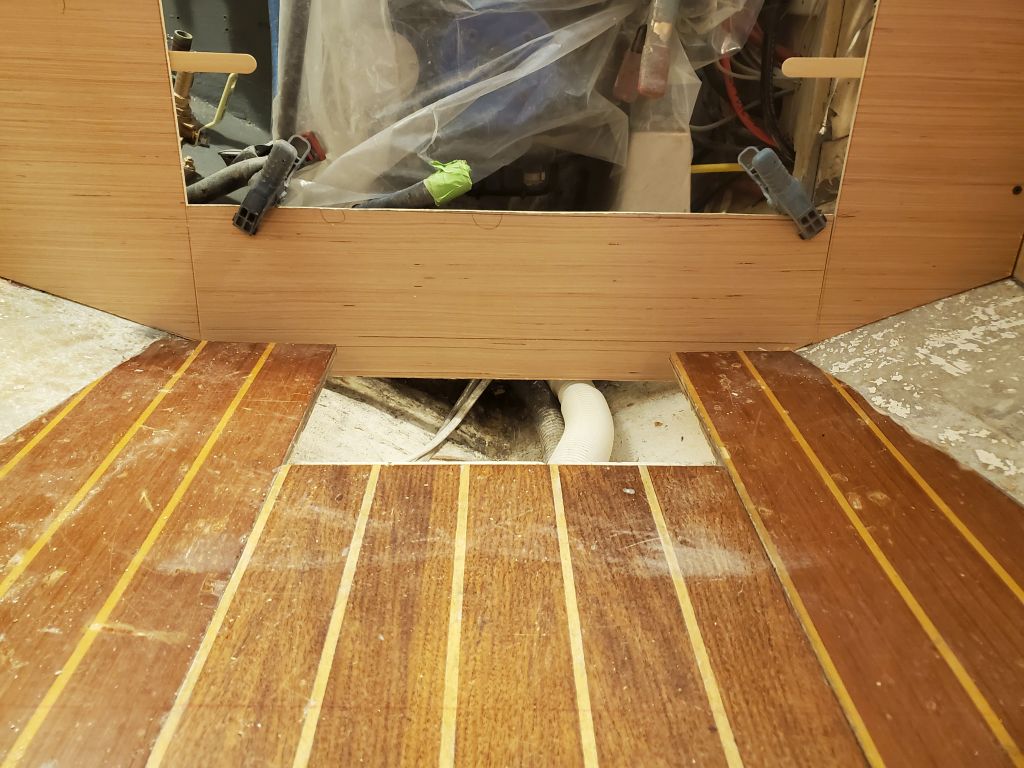
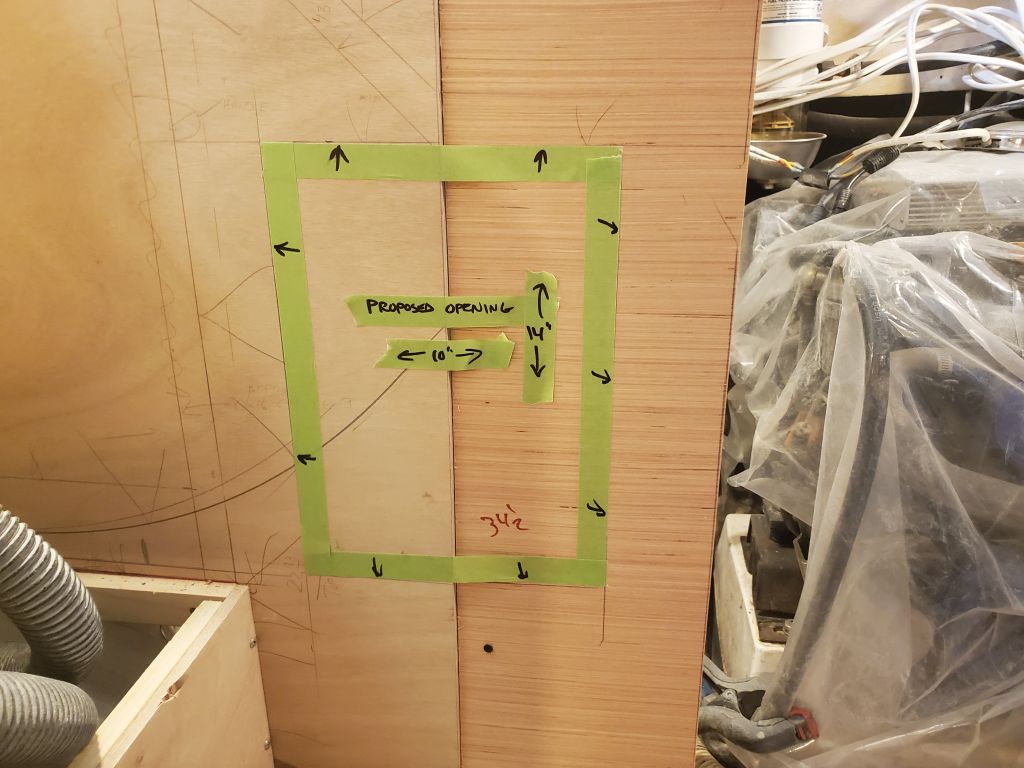
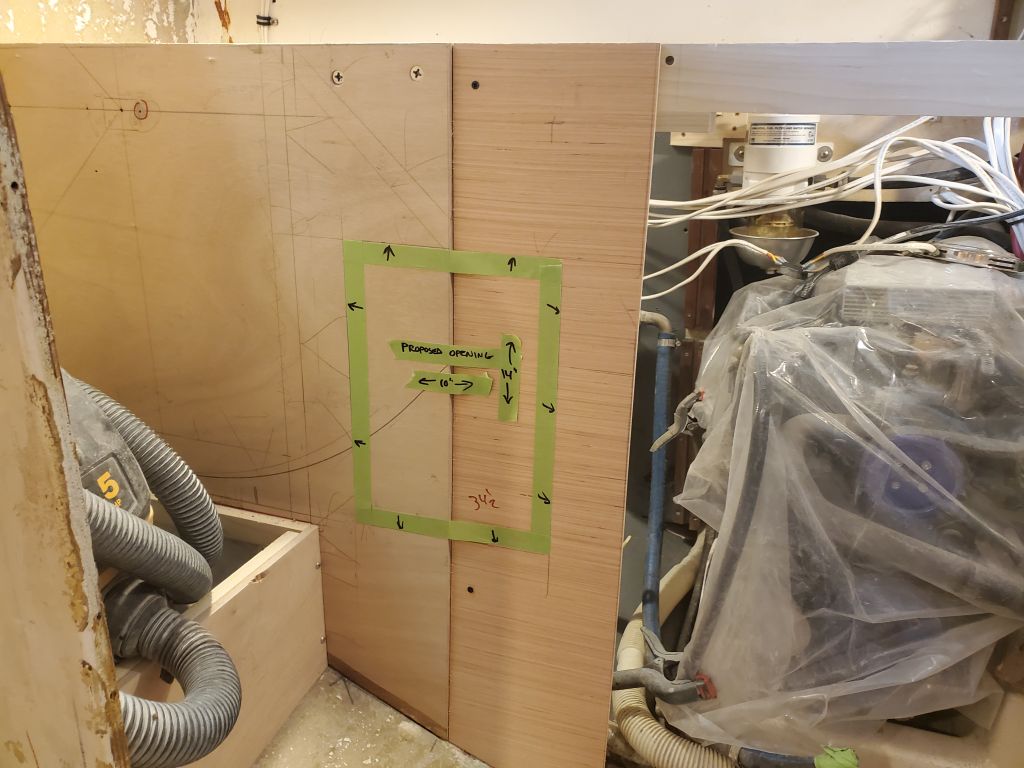
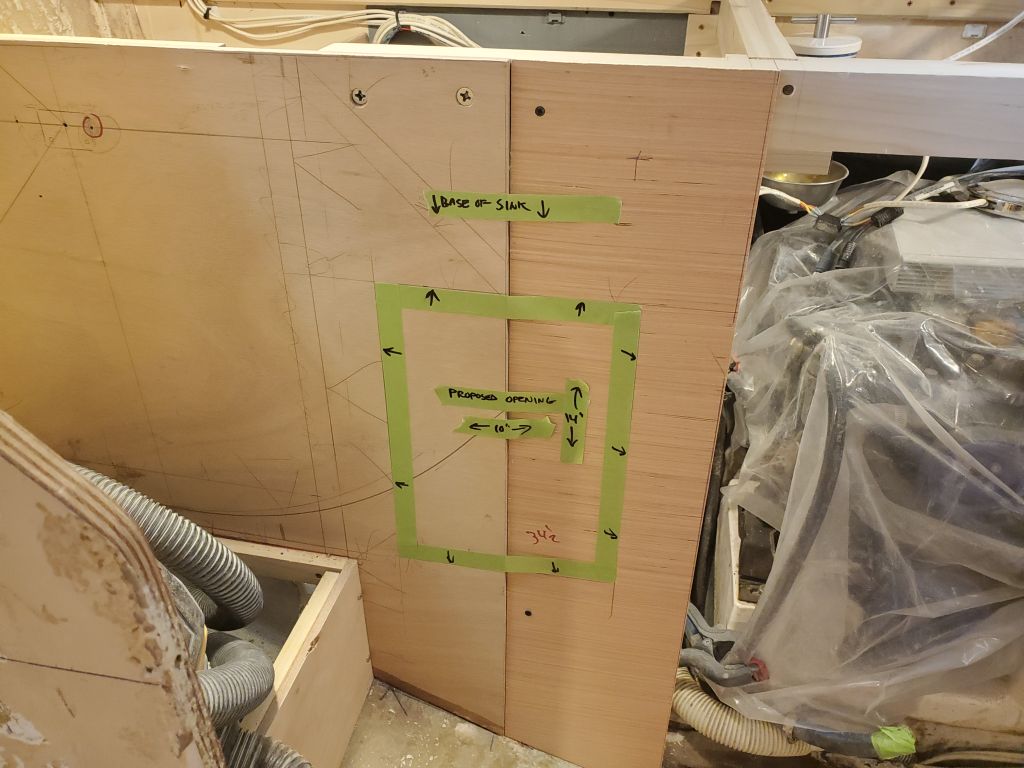
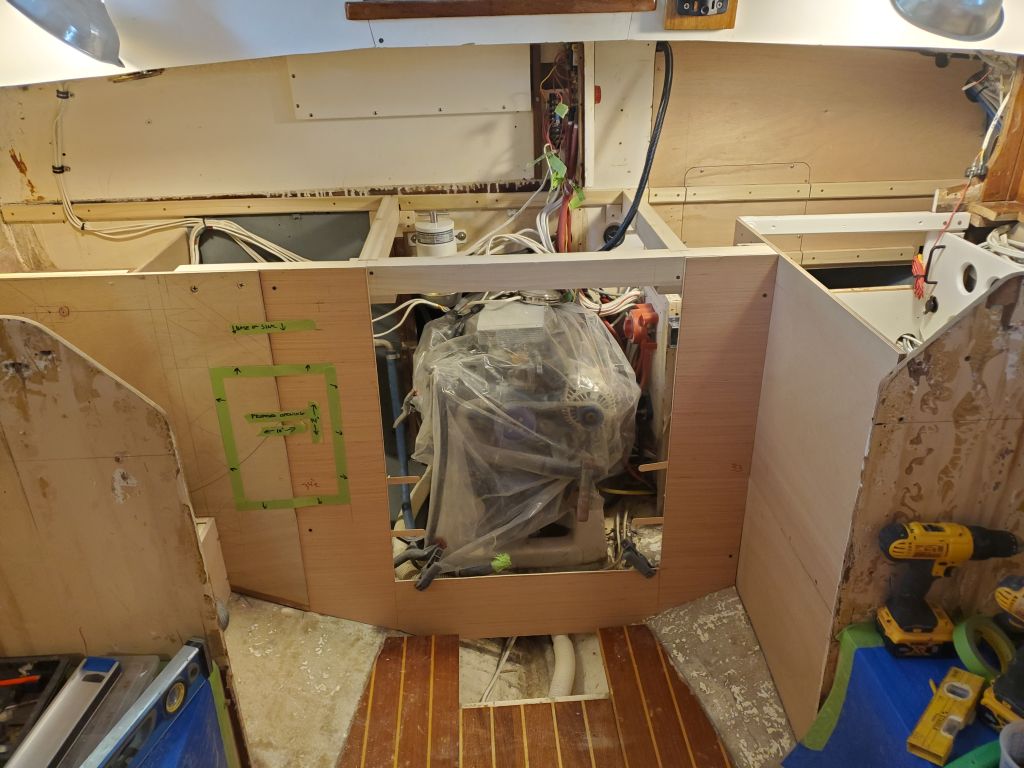
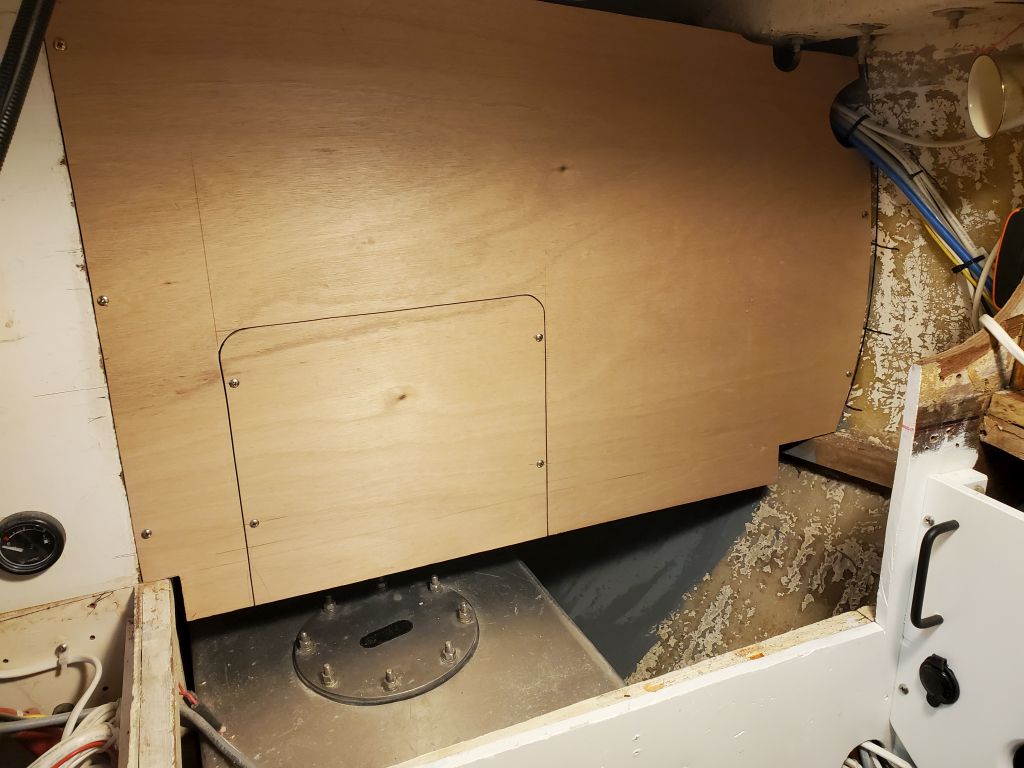
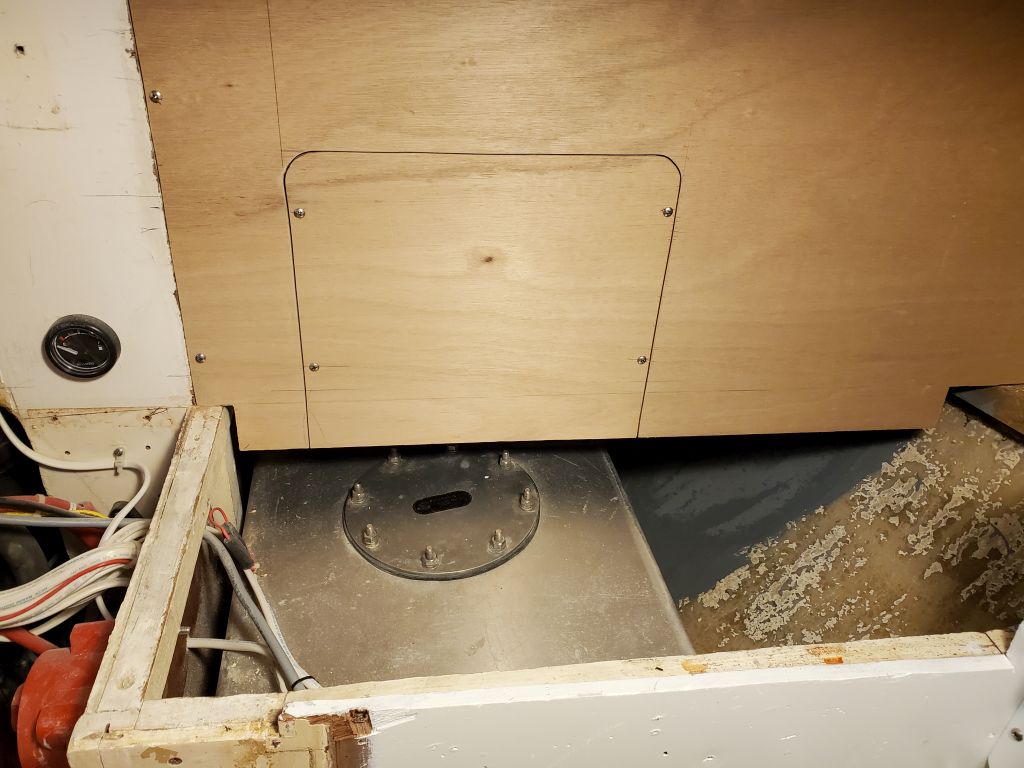
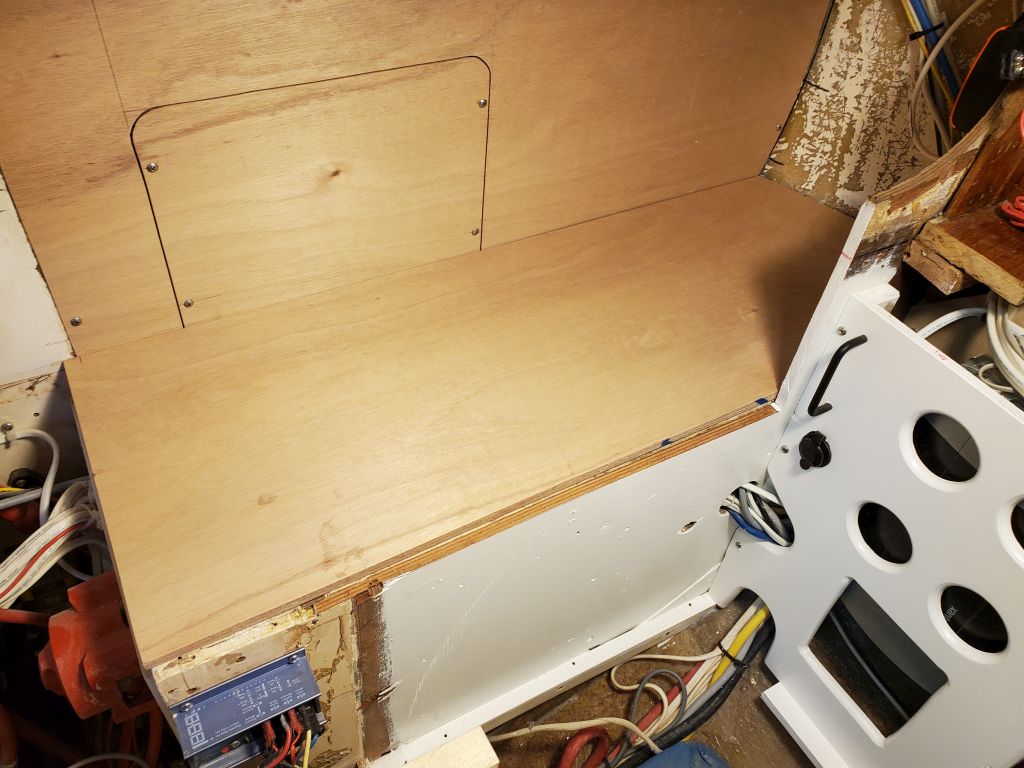
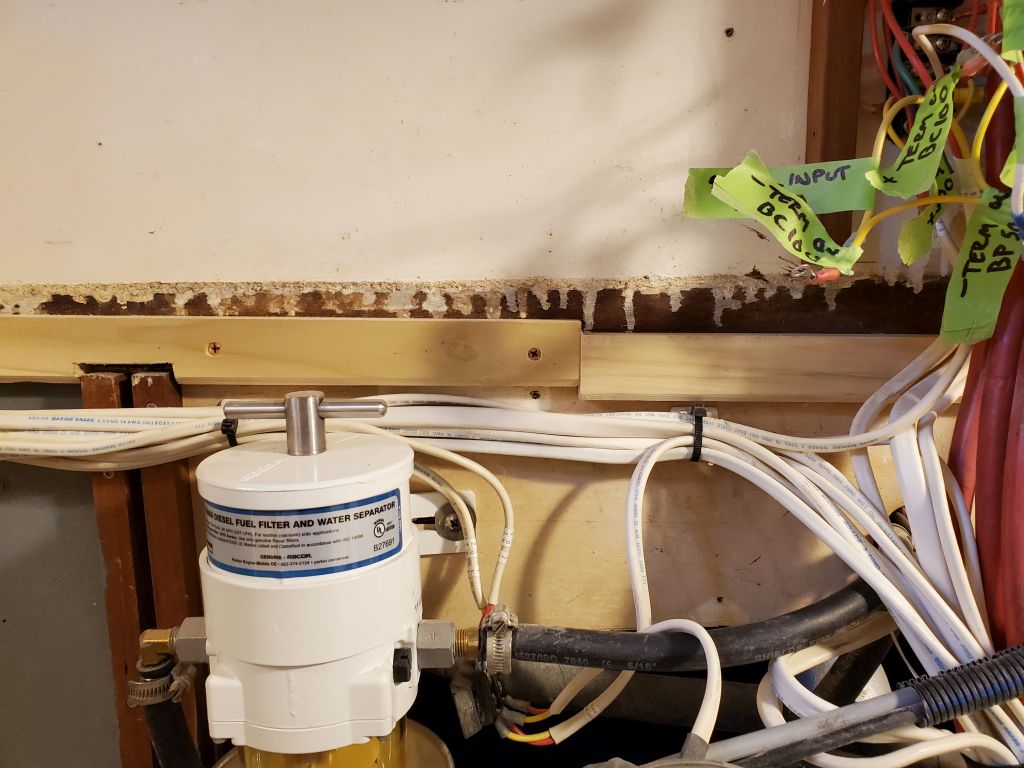
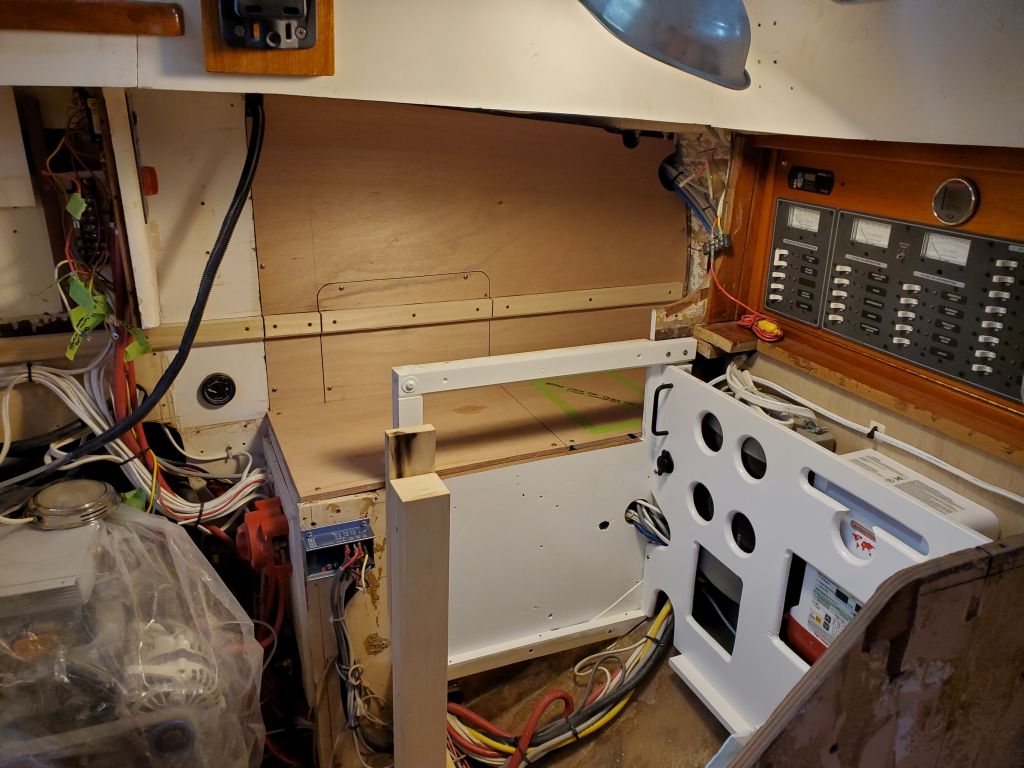
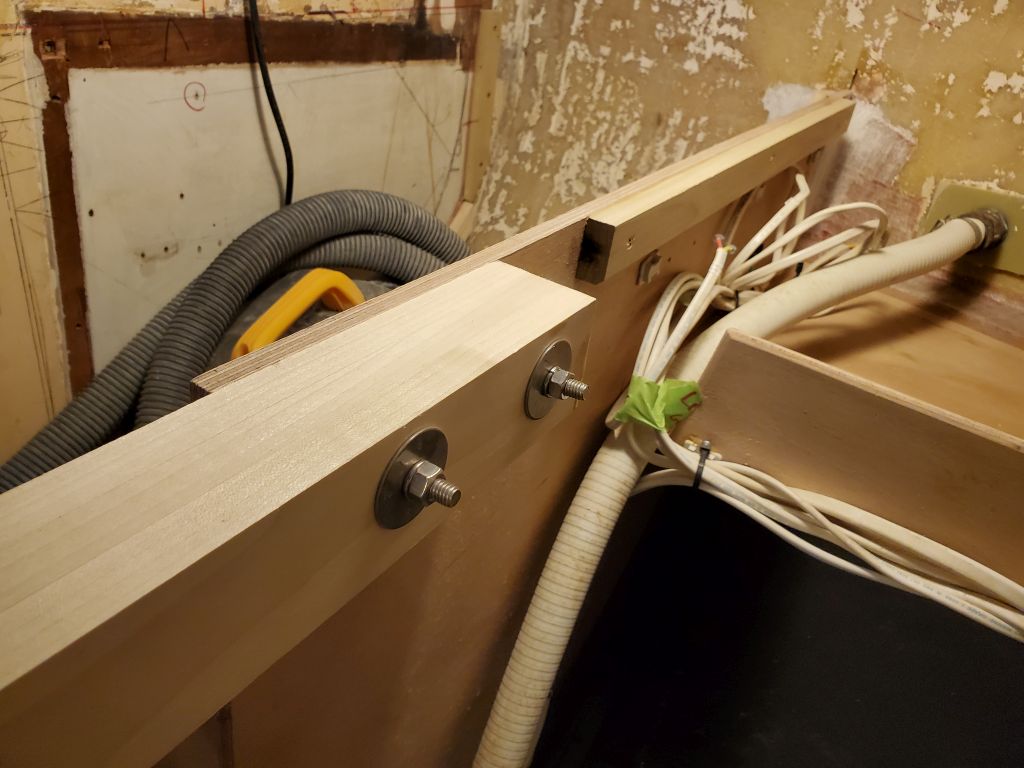
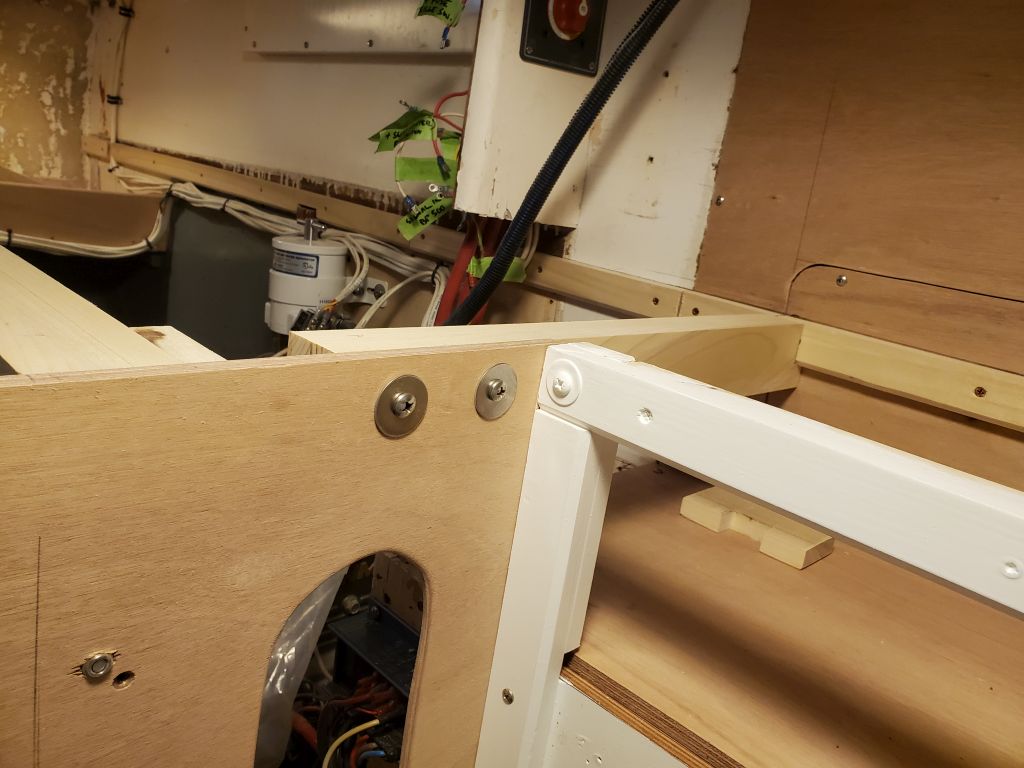
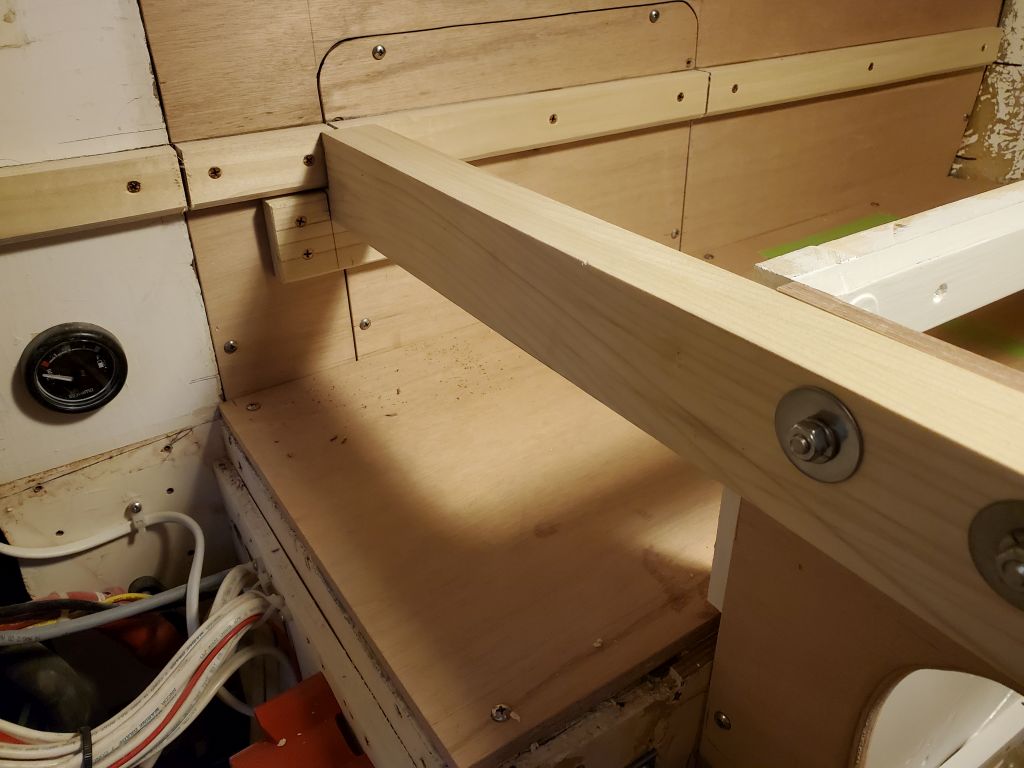
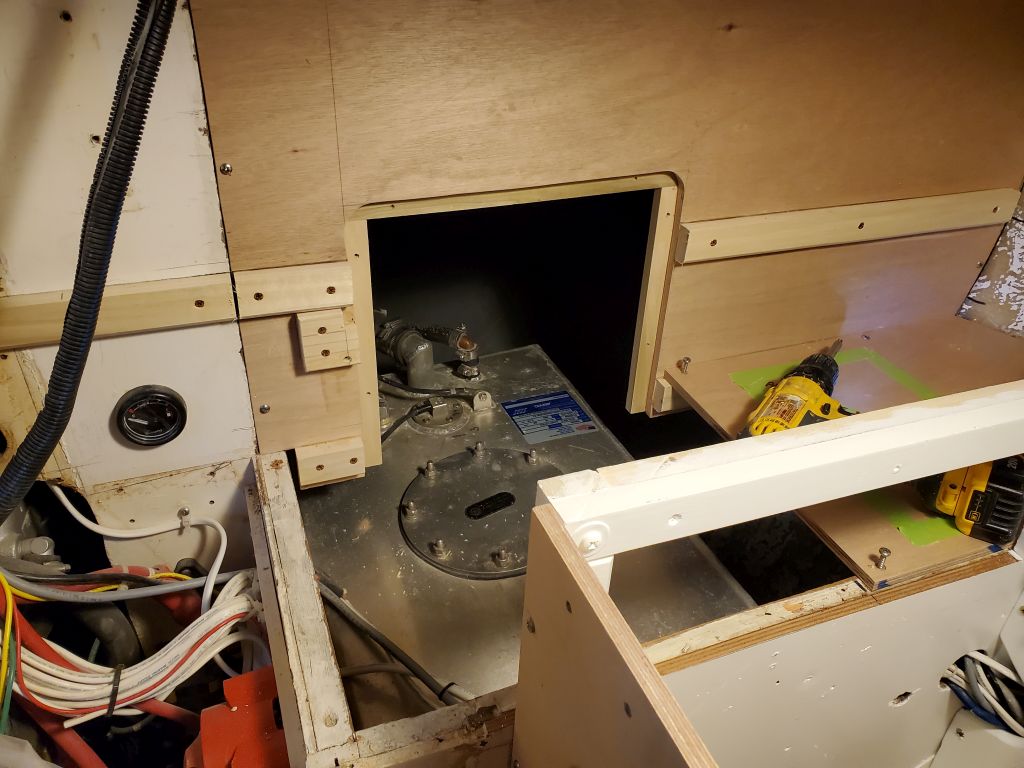
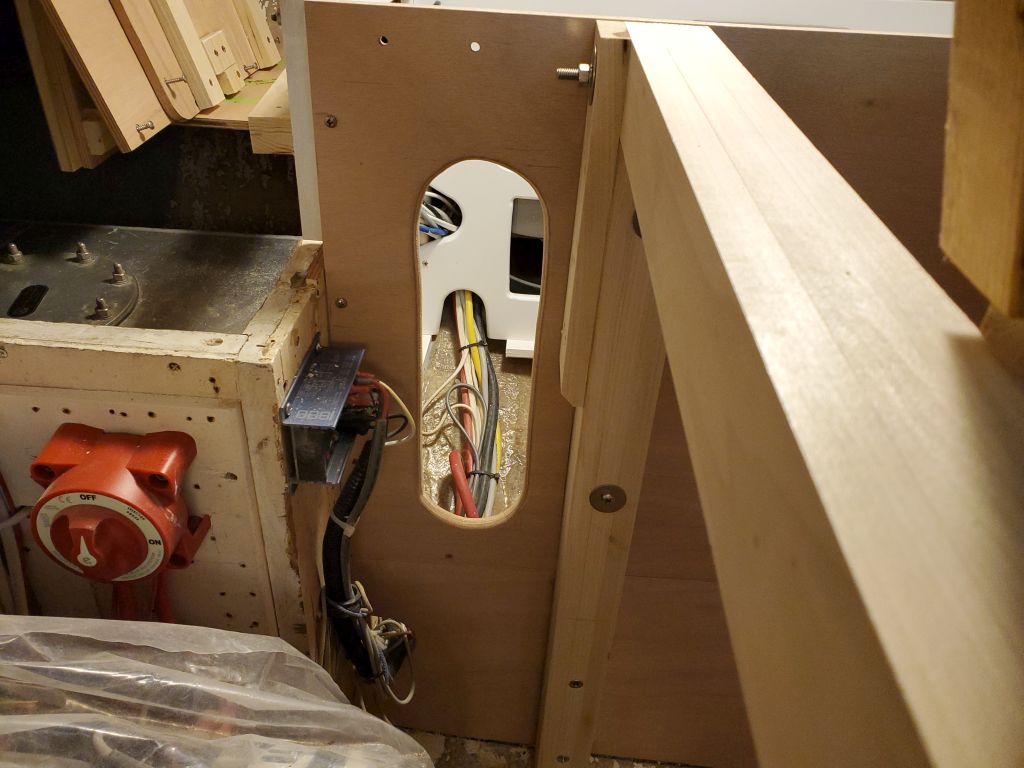
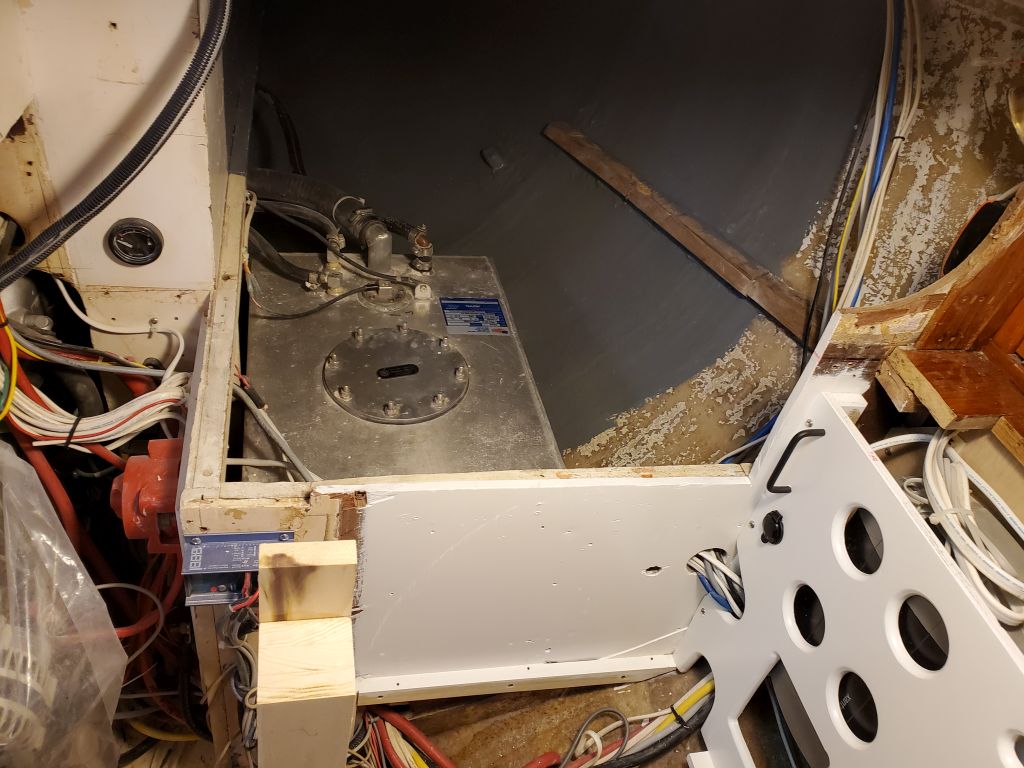
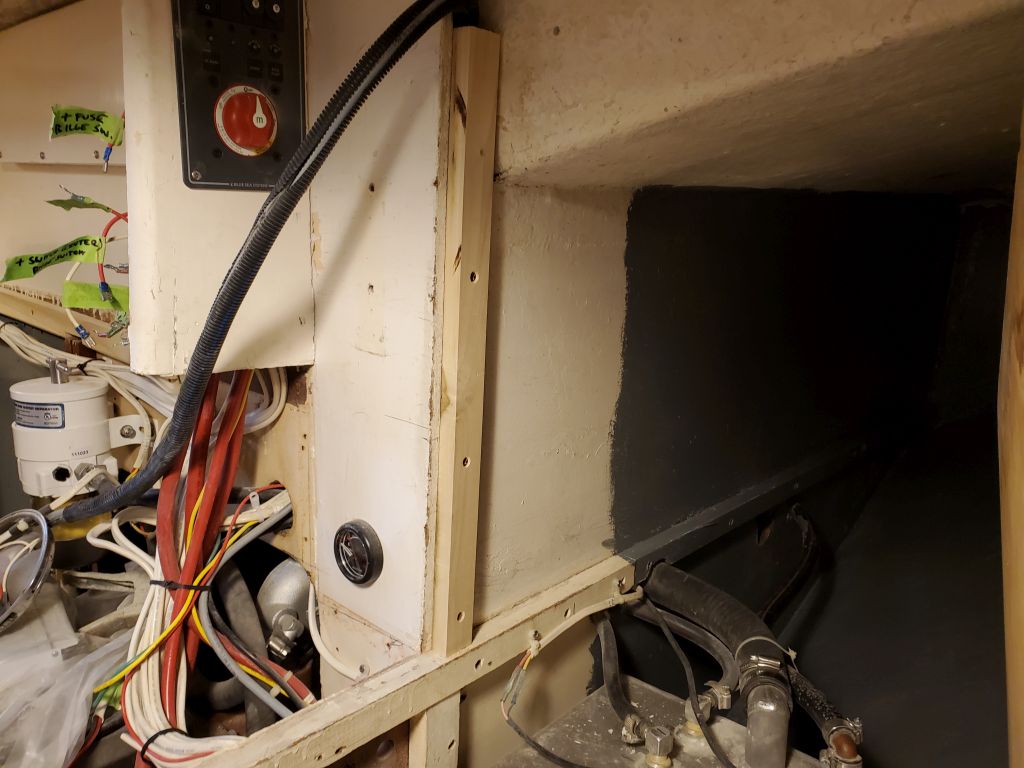
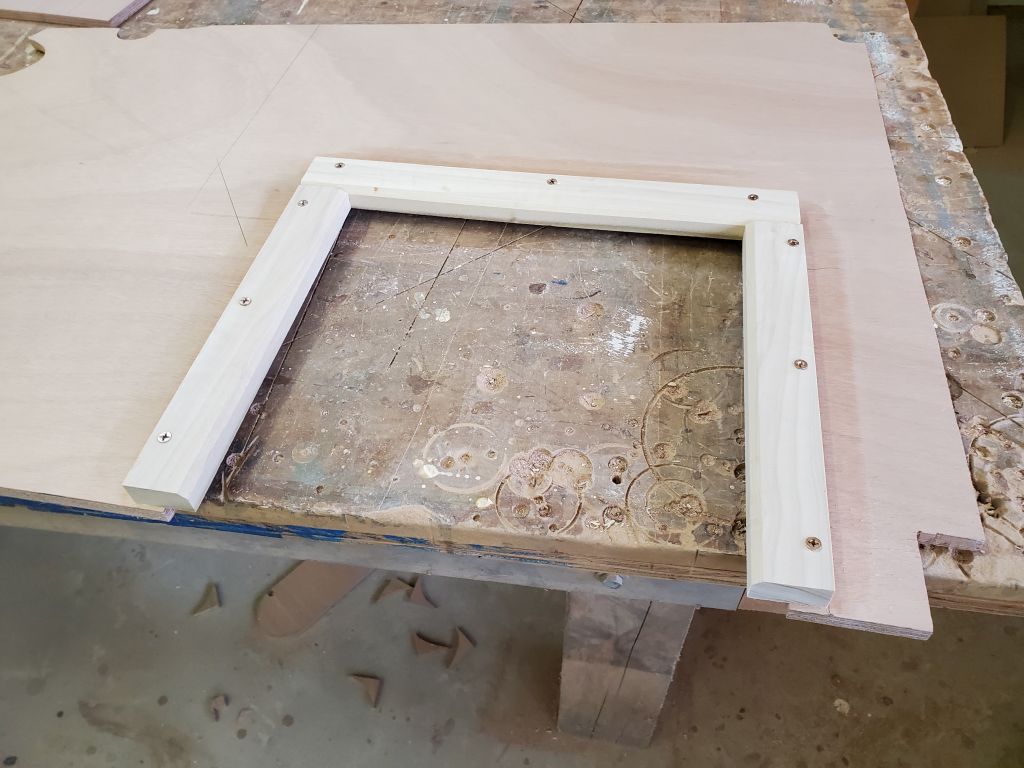
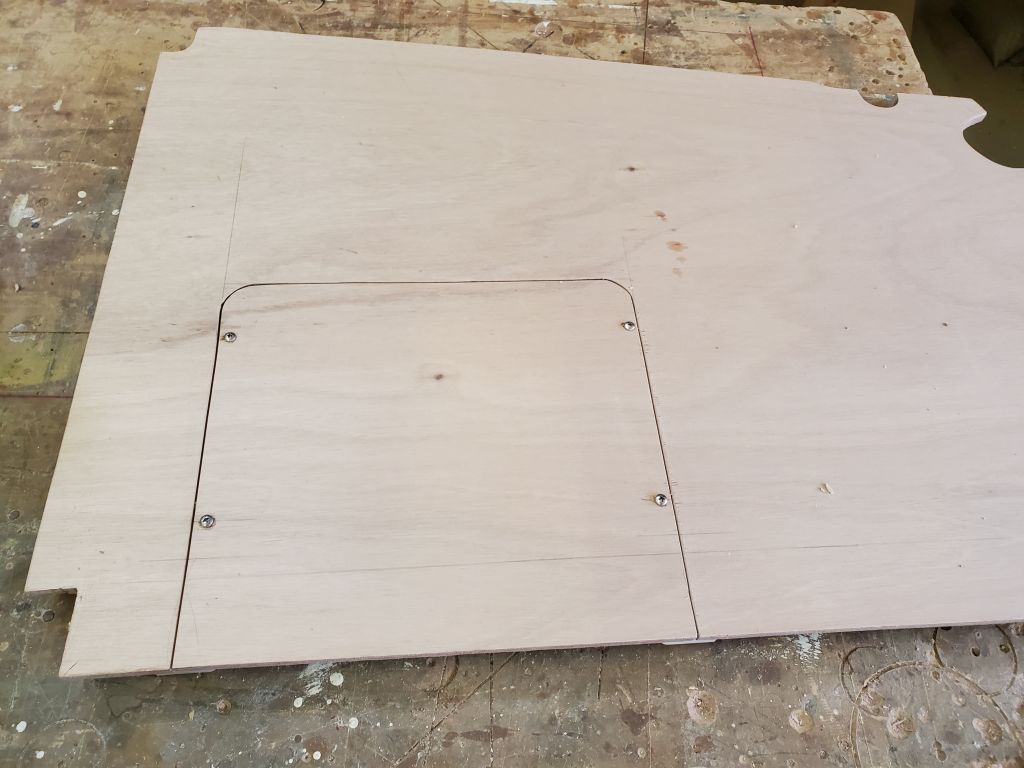
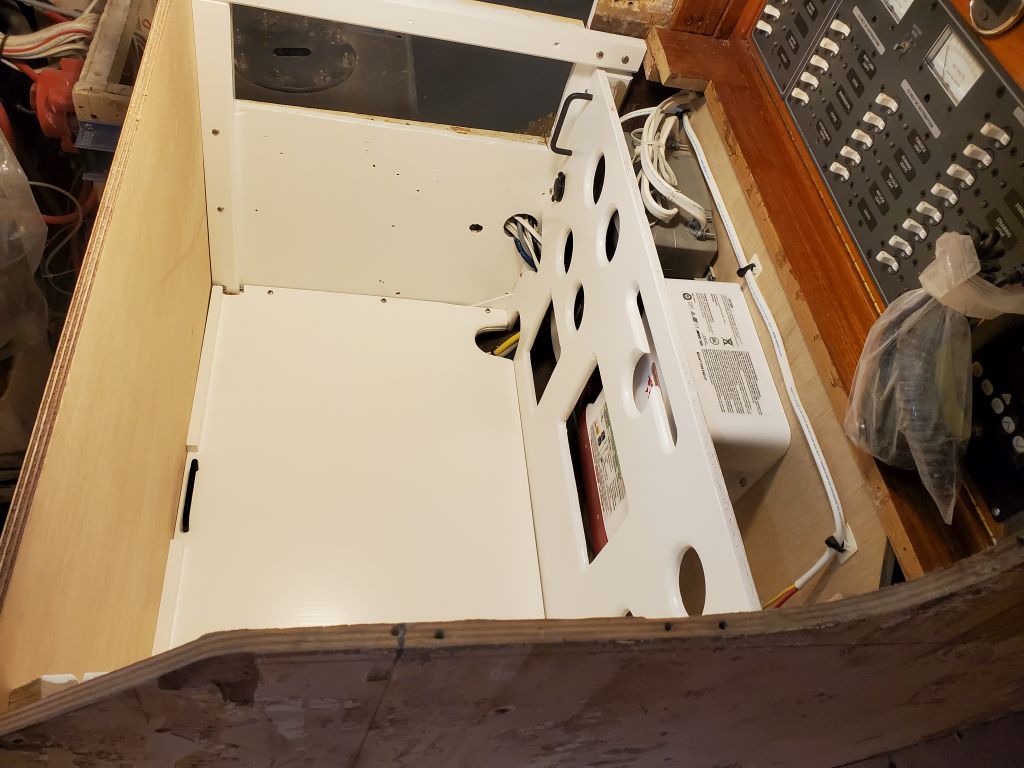
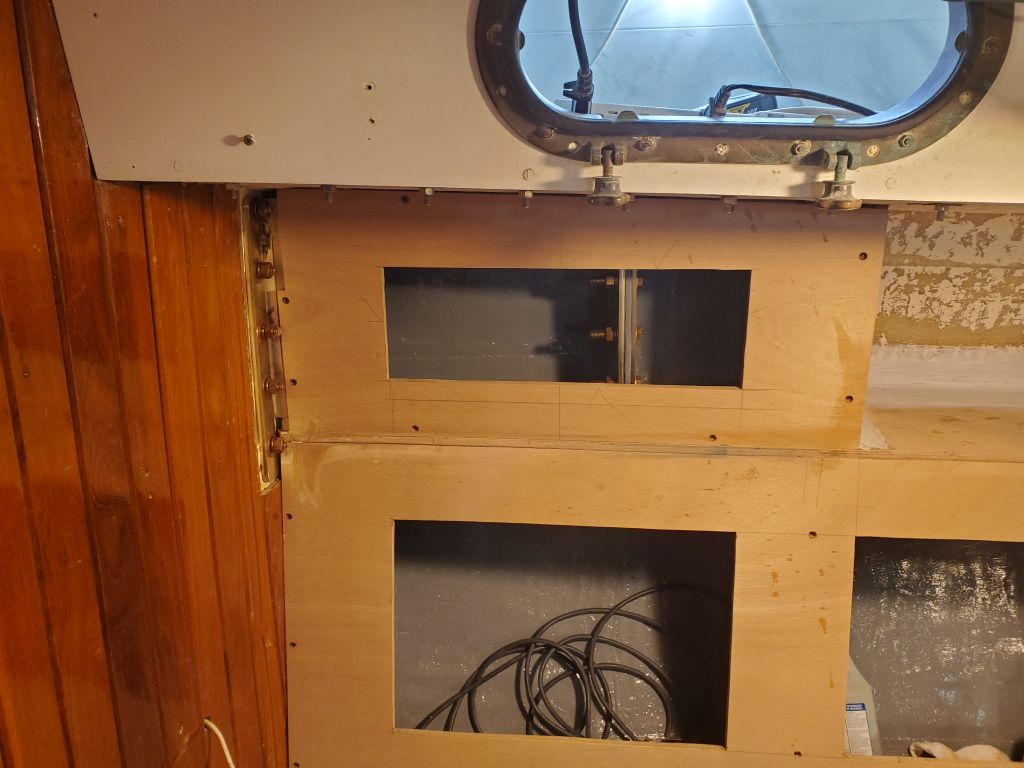
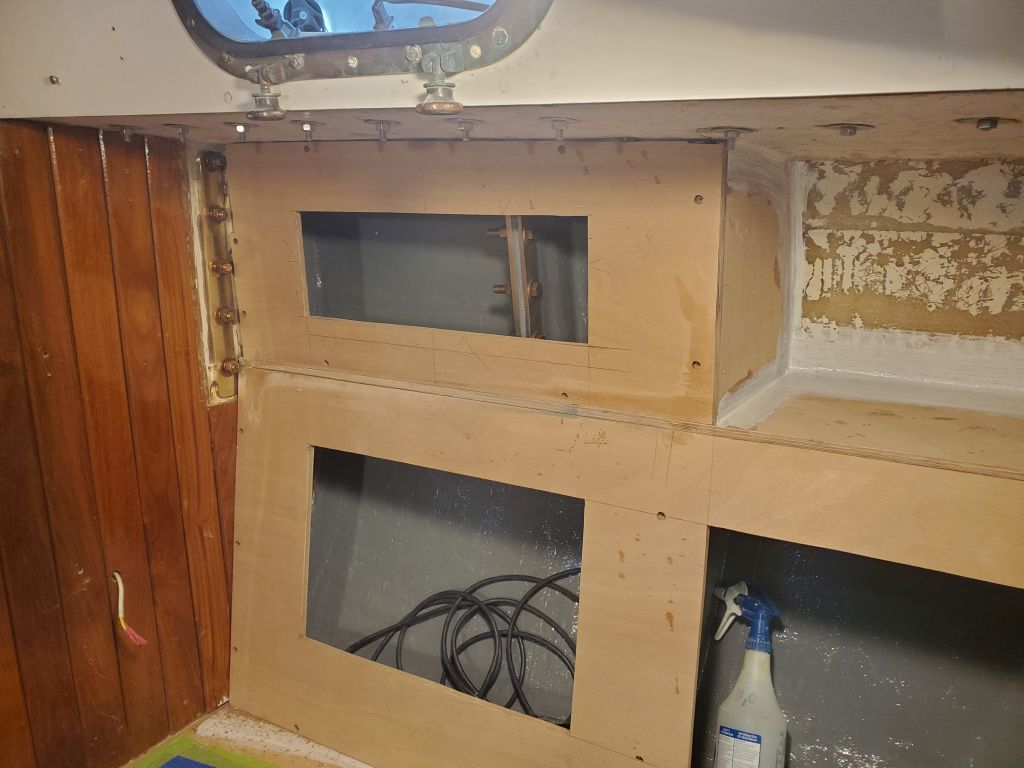
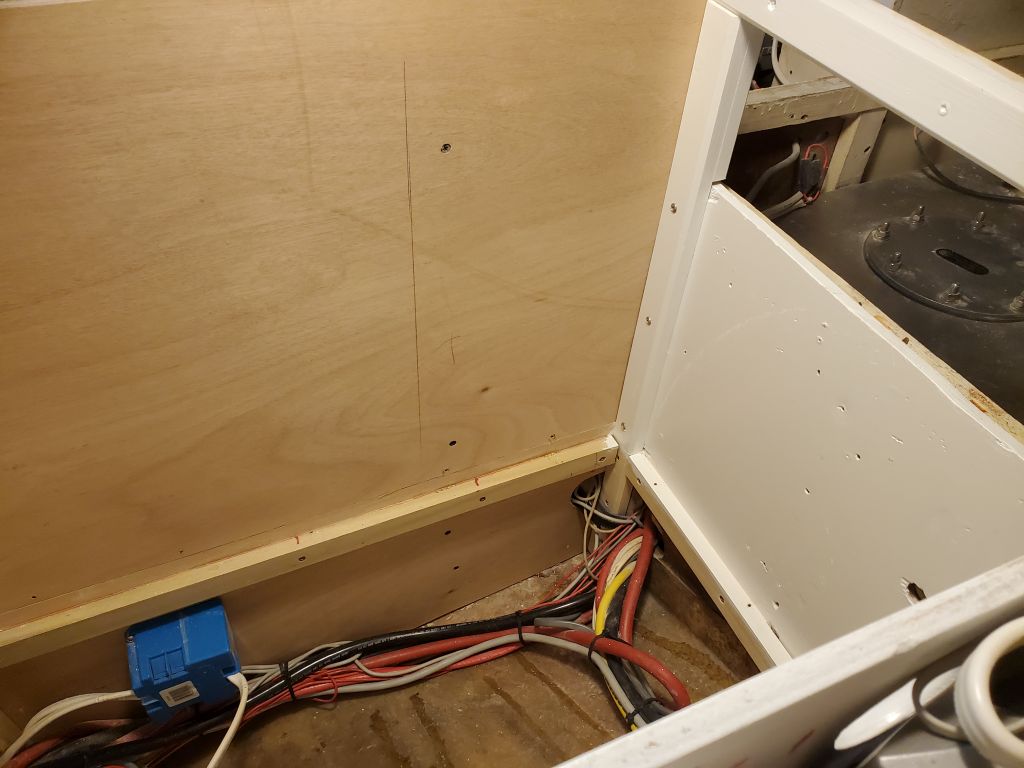
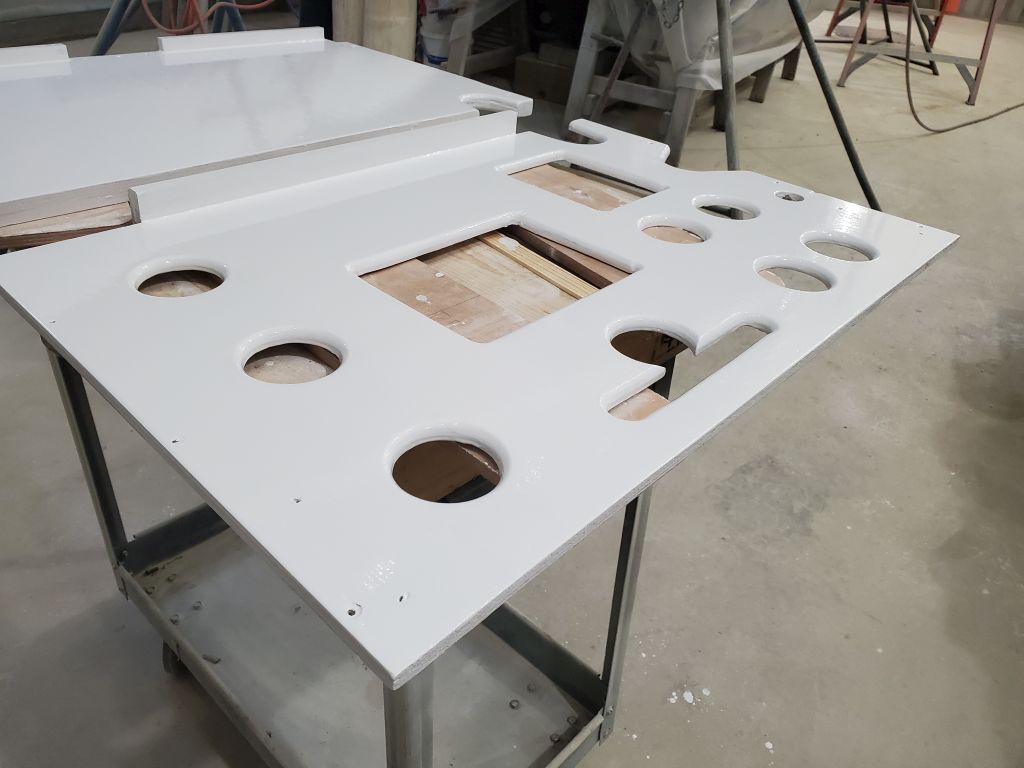
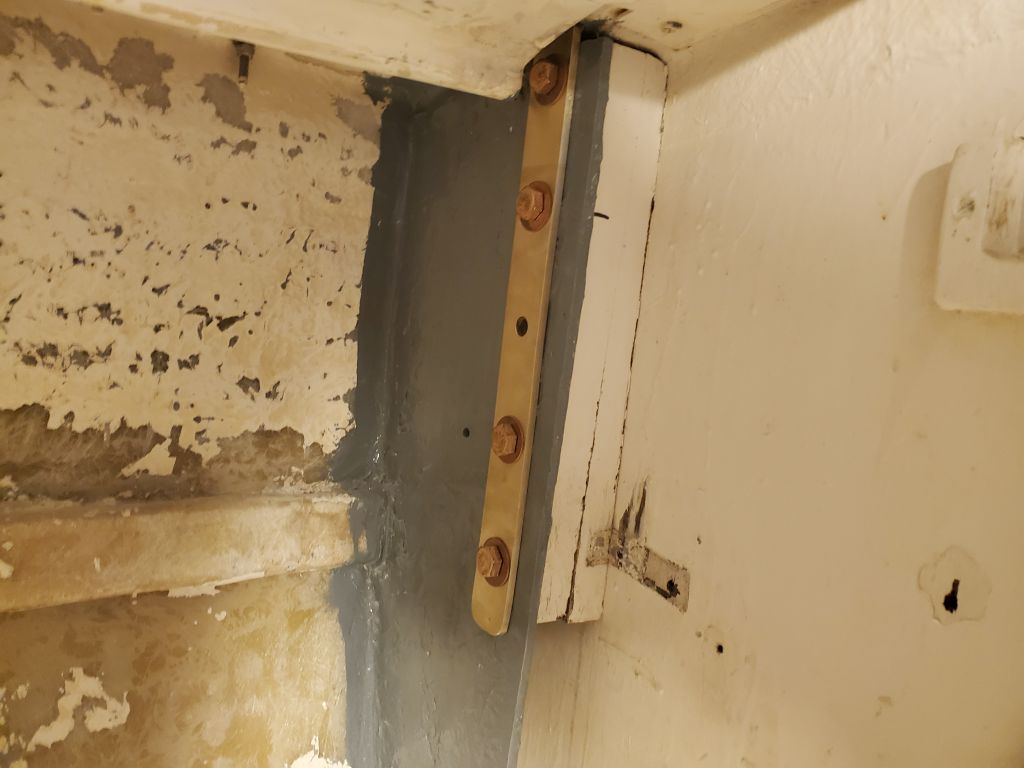
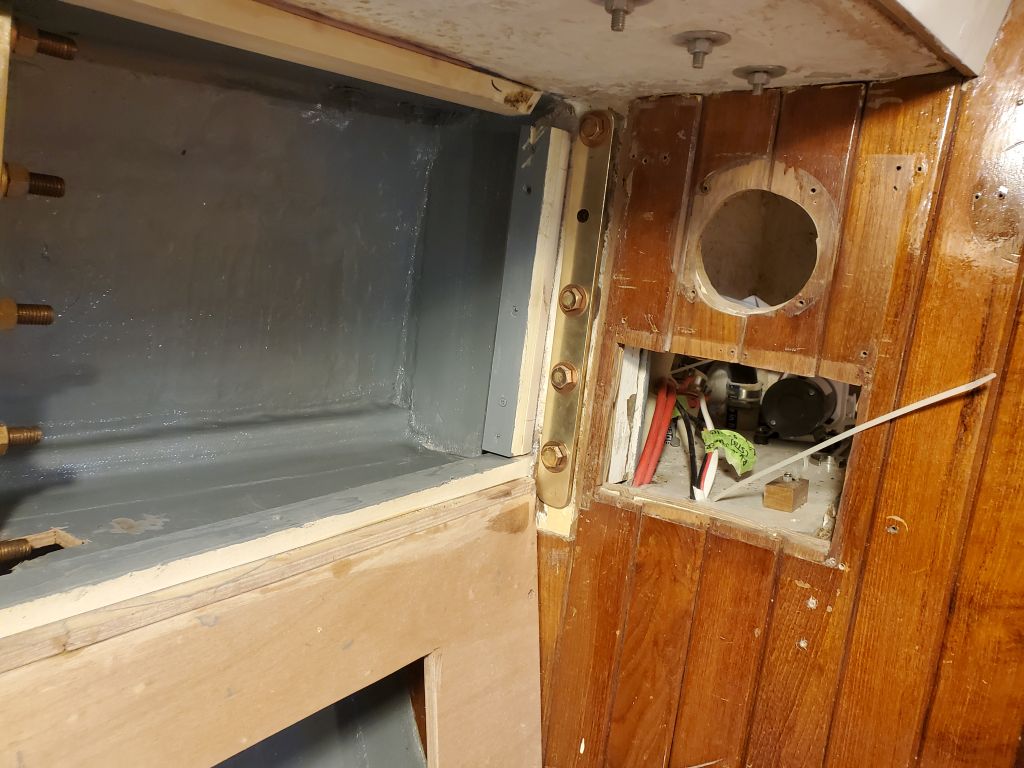
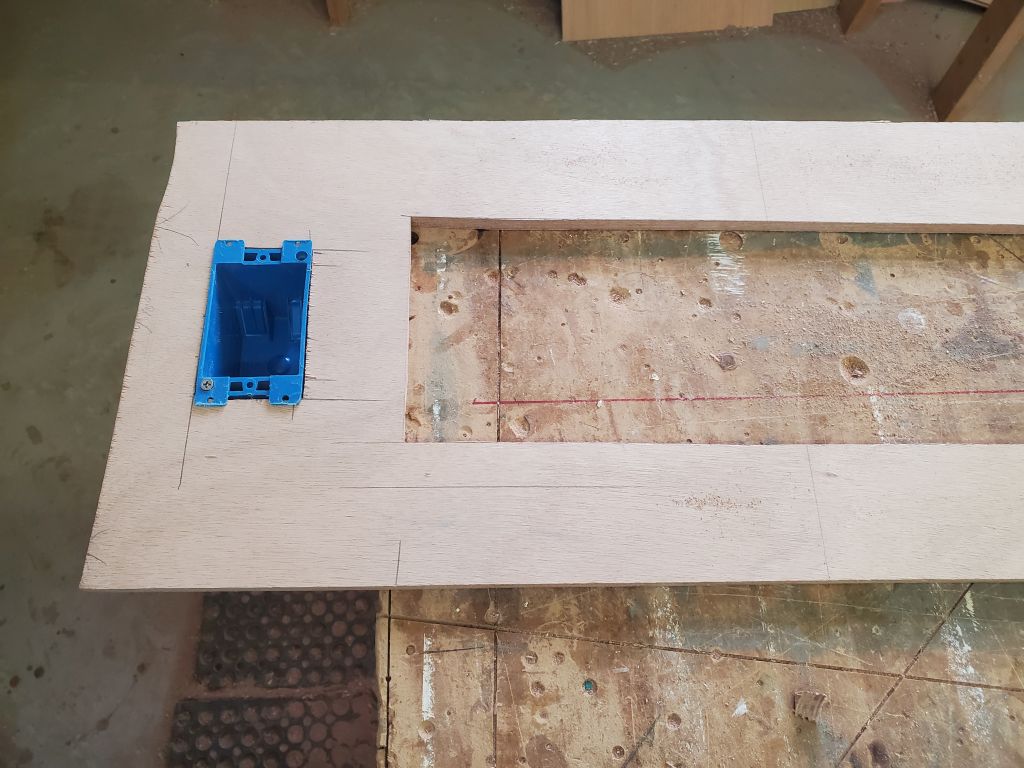
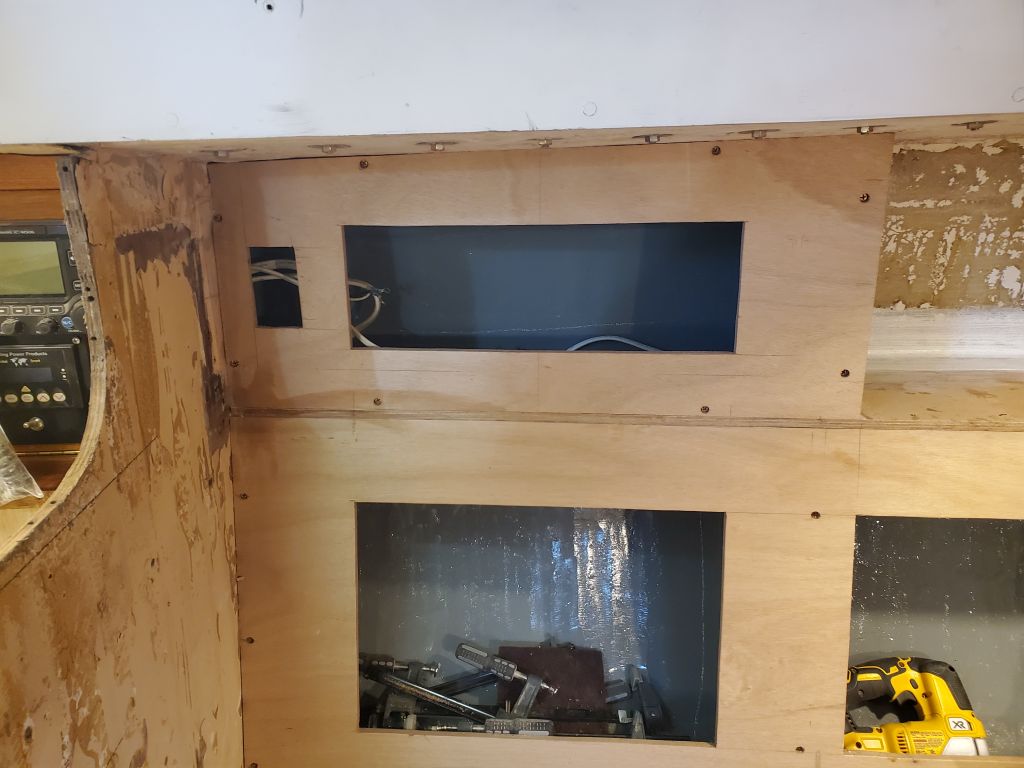
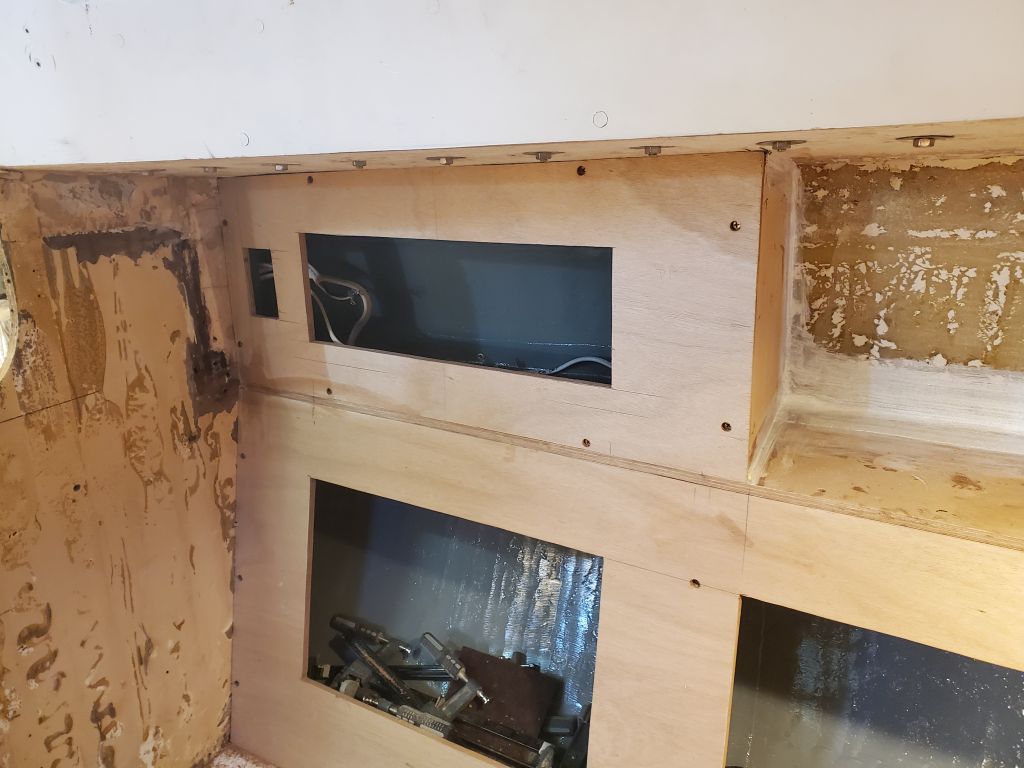
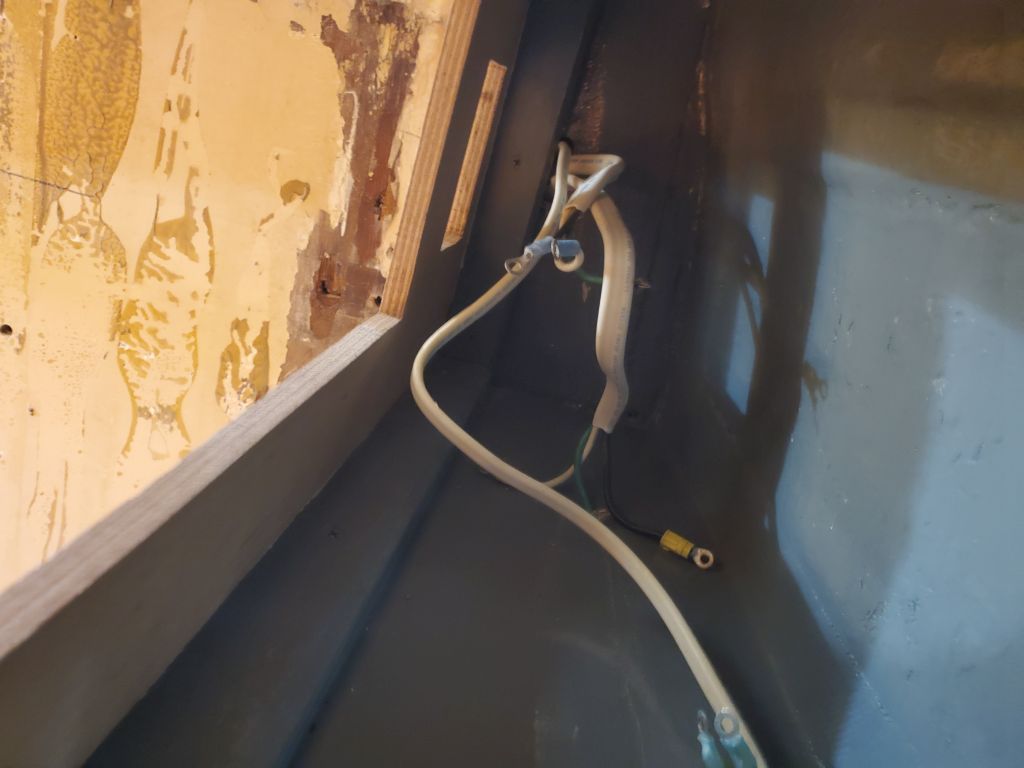
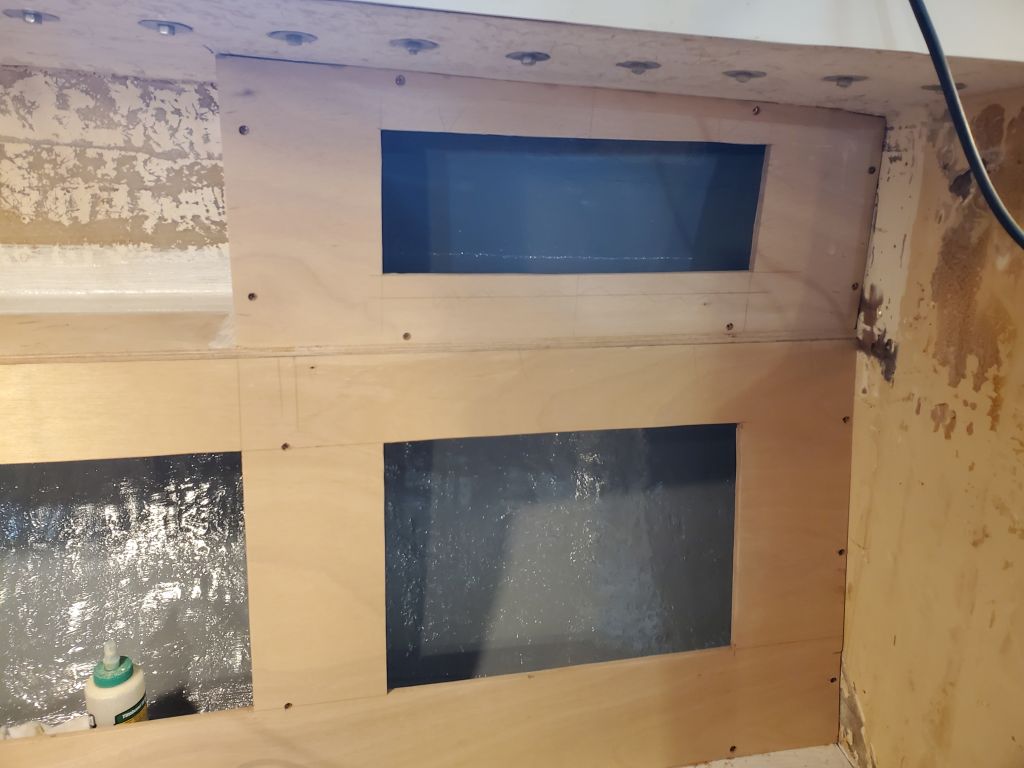
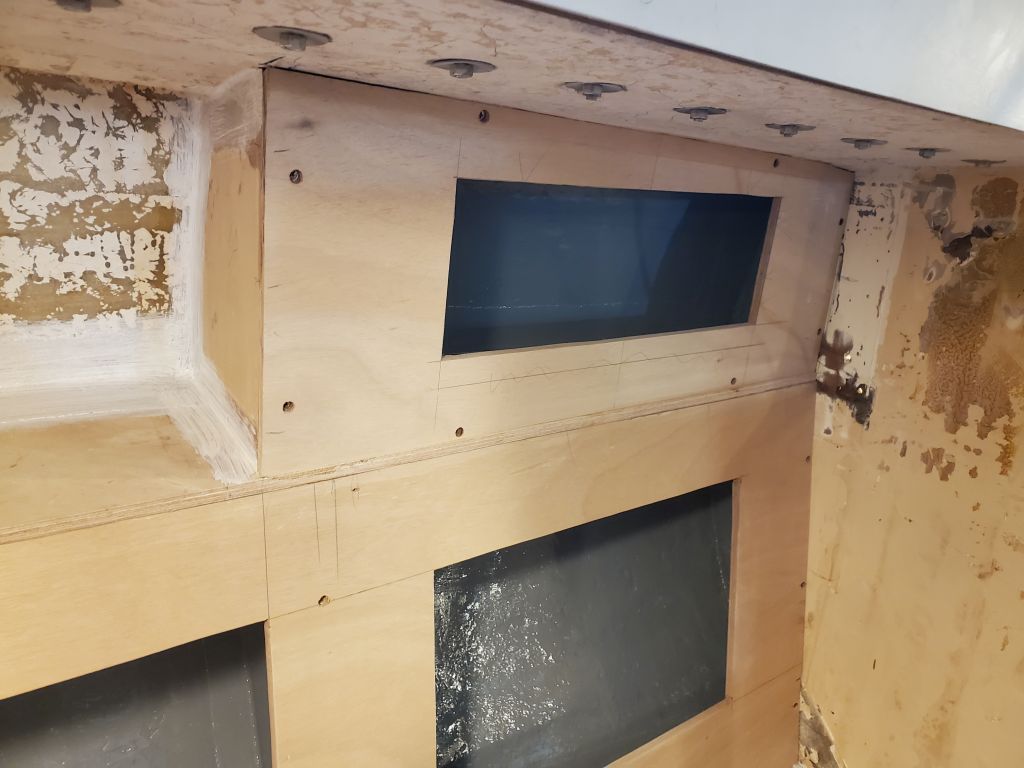
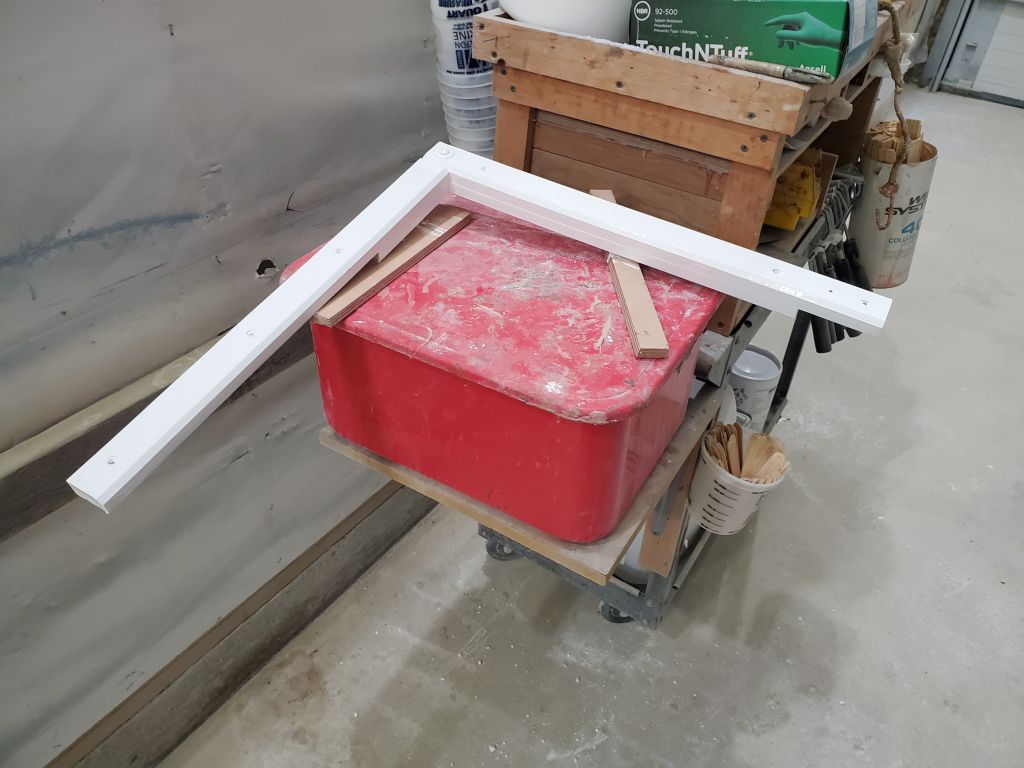
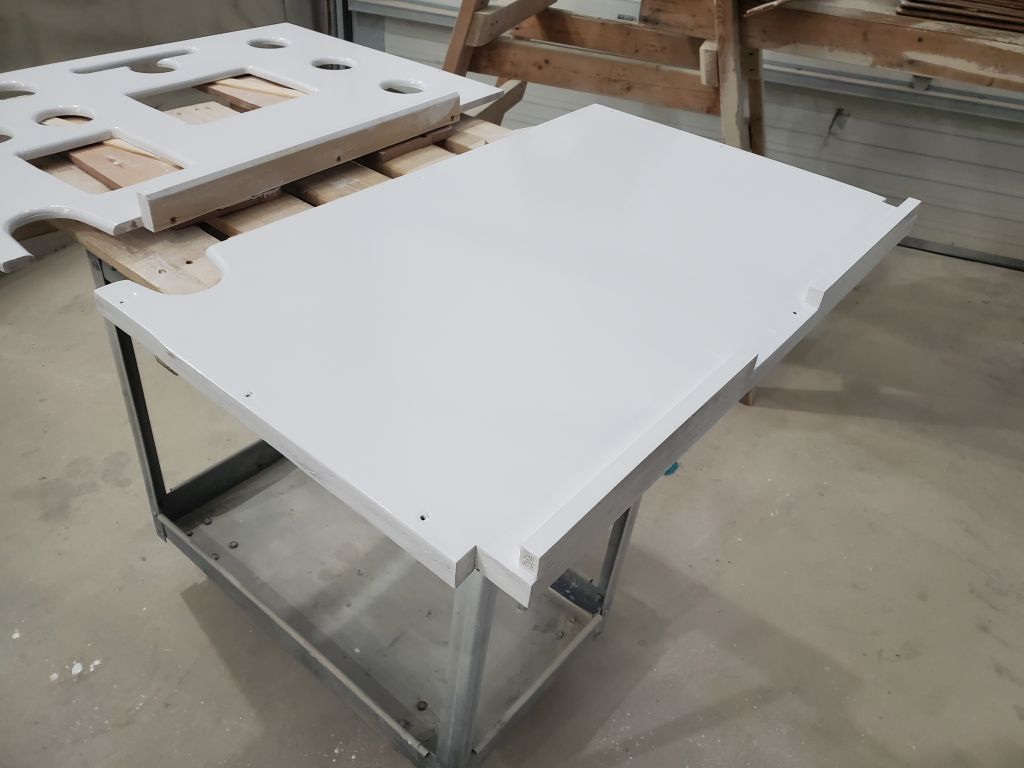
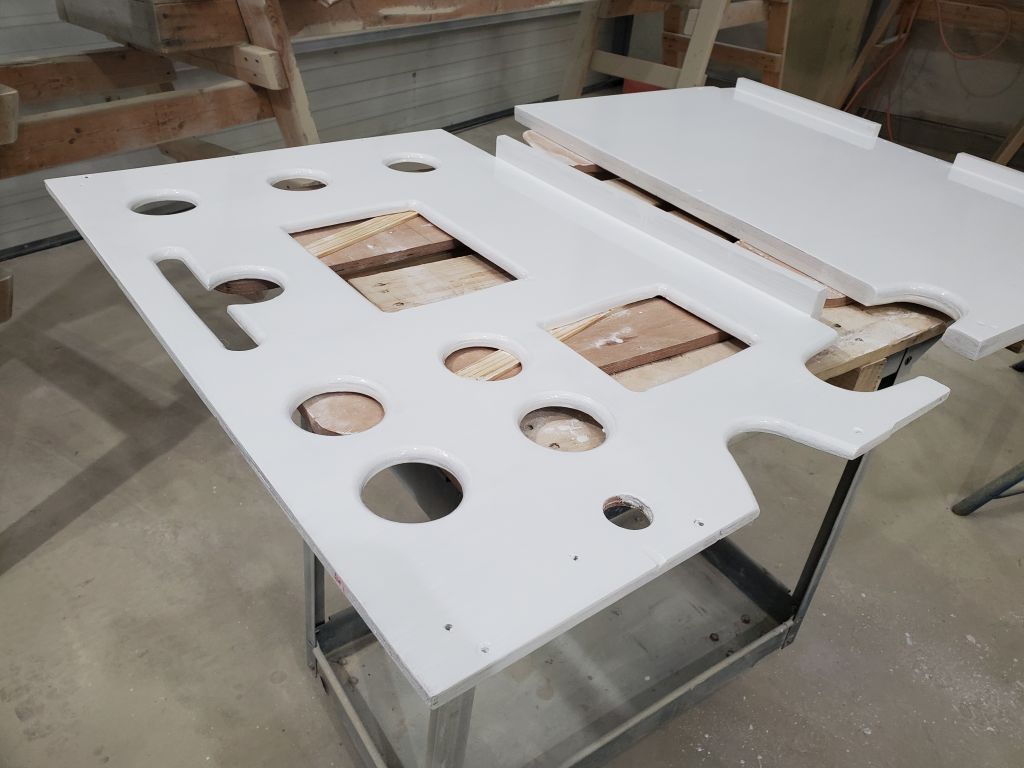
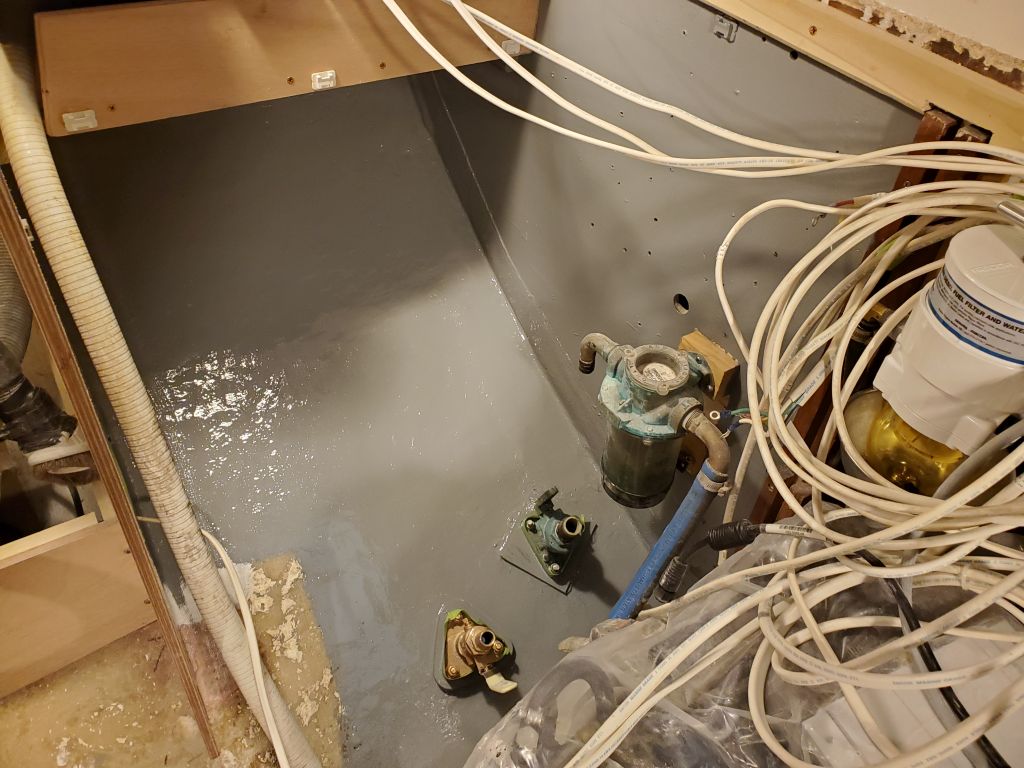
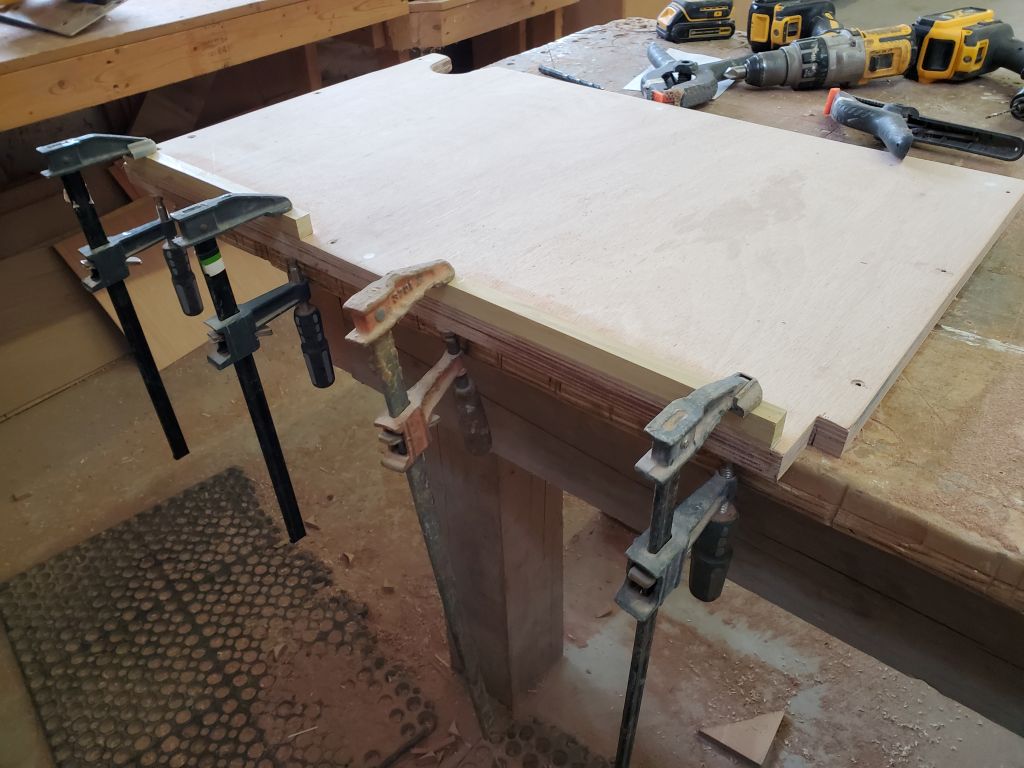
I’d prepared two smaller laminated beams to help support the countertop across its width in some way. Since I wanted to make the countertop aft of the refer compartment (across the former quarterberth) removable individually, as part of the removable aspect of that section of the boat, I determined one of the beams needed to be located there, so I pressed on with the installation details. I cut it to length (leaving space around the bolt securing the main transverse beam ahead of it), notched the aft end to fit around the after support cleat, then bolted the forward end to the refer panel (these would be easily accessible to maintain the removable qualities of this area). To support the aft end, I fashioned a little cleat that fit beneath the beam; I had to split this across the seam of the access panel as well, because of where the beam had to end up, but this was of little matter. In the end, the access panel remained removable with ease, as shown. I also included a photo showing the large ventilation opening I’d previously cut in the section of the refer panel facing the engine room.
(Actually, reviewing this for publication I realized that maybe this beam wasn’t in a workable place after all, as the bulkhead wouldn’t be removable if the main countertop extended past the bulkhead seam. I might have to change this–a problem for a new day.)
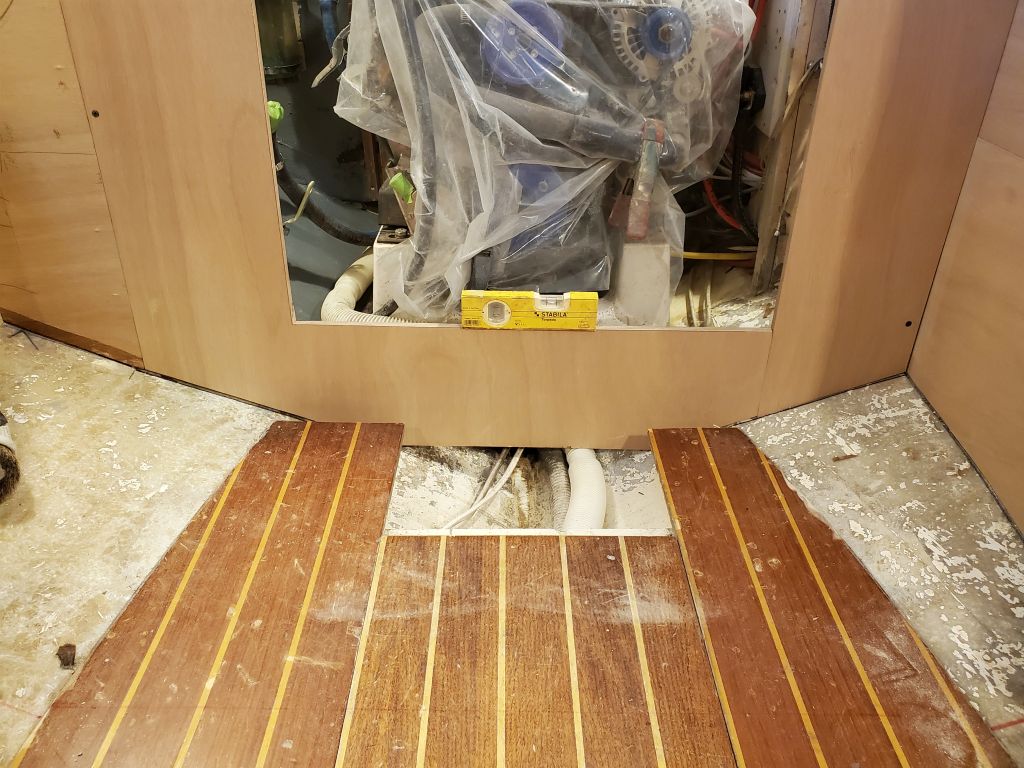
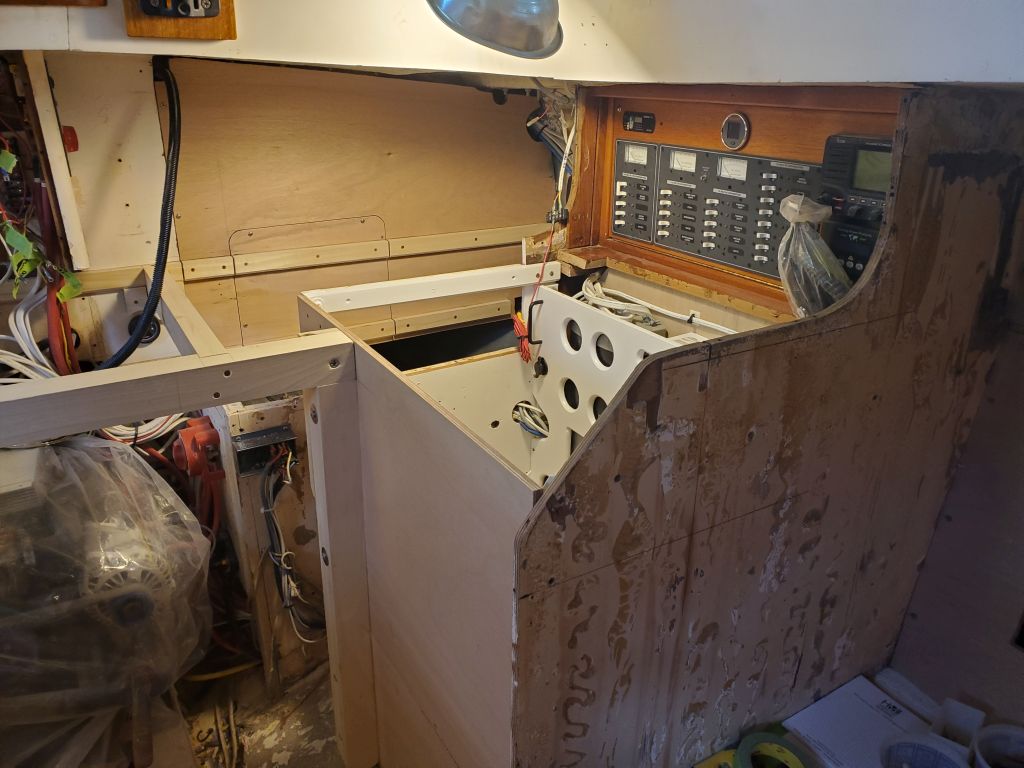
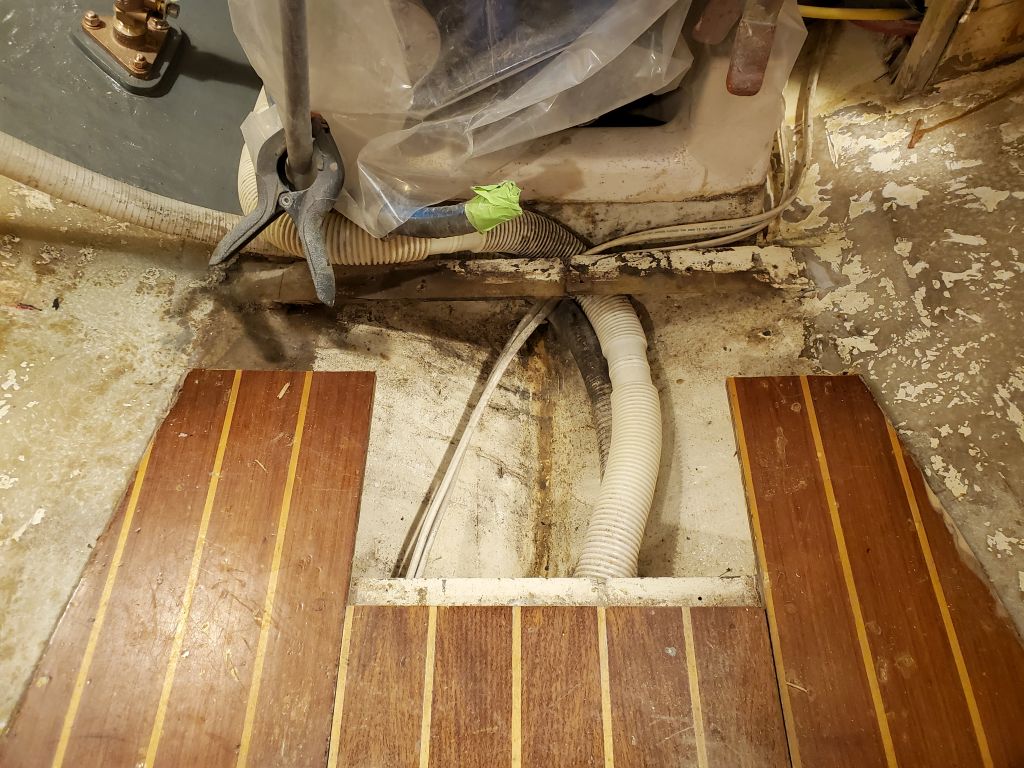
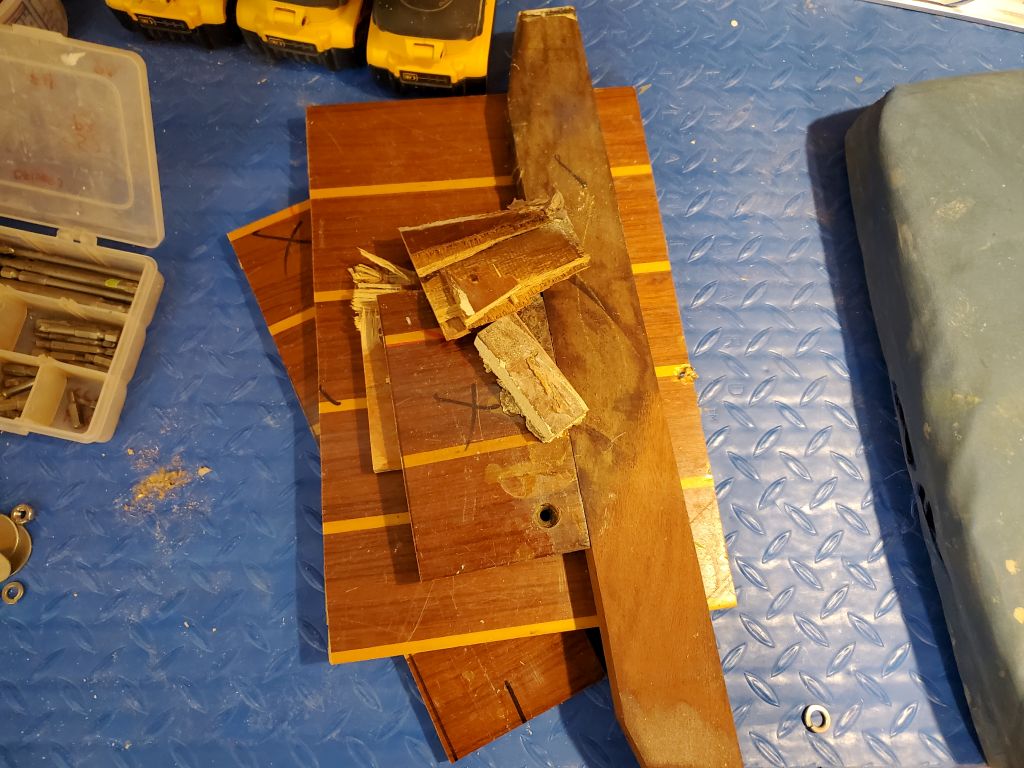
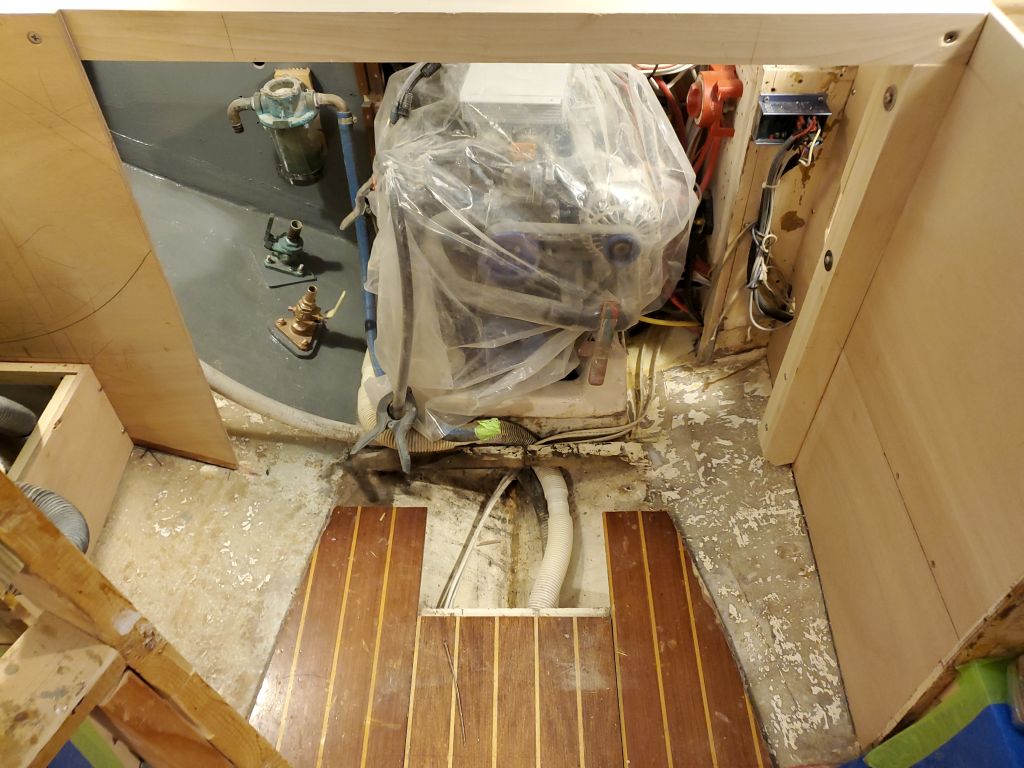
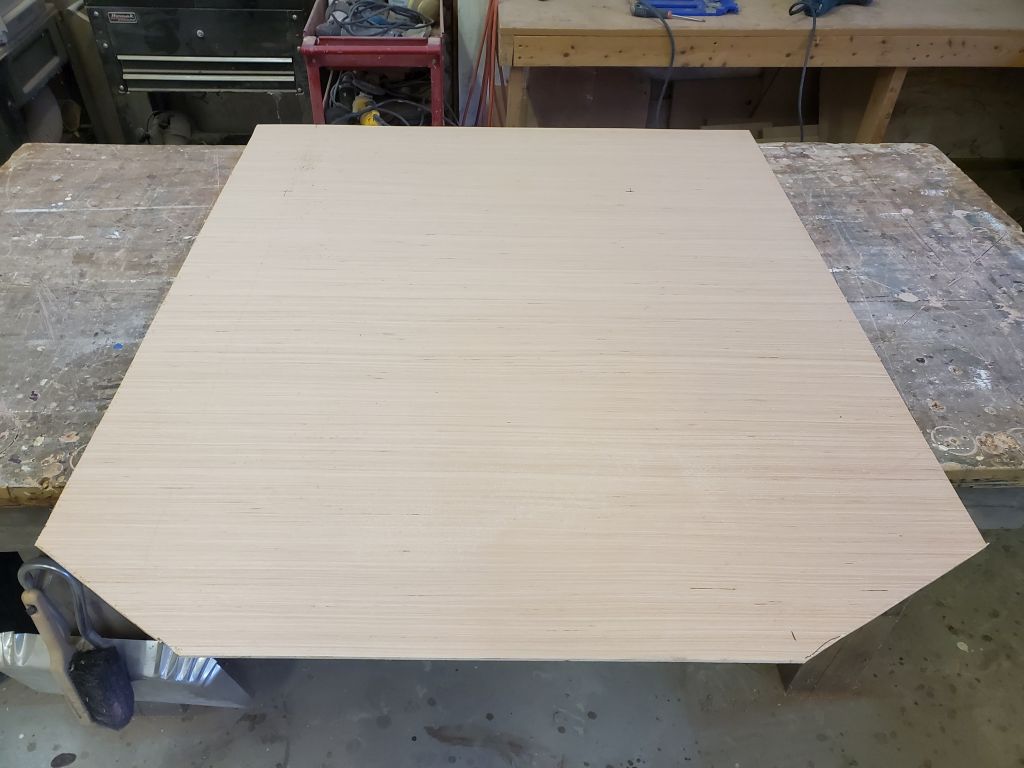
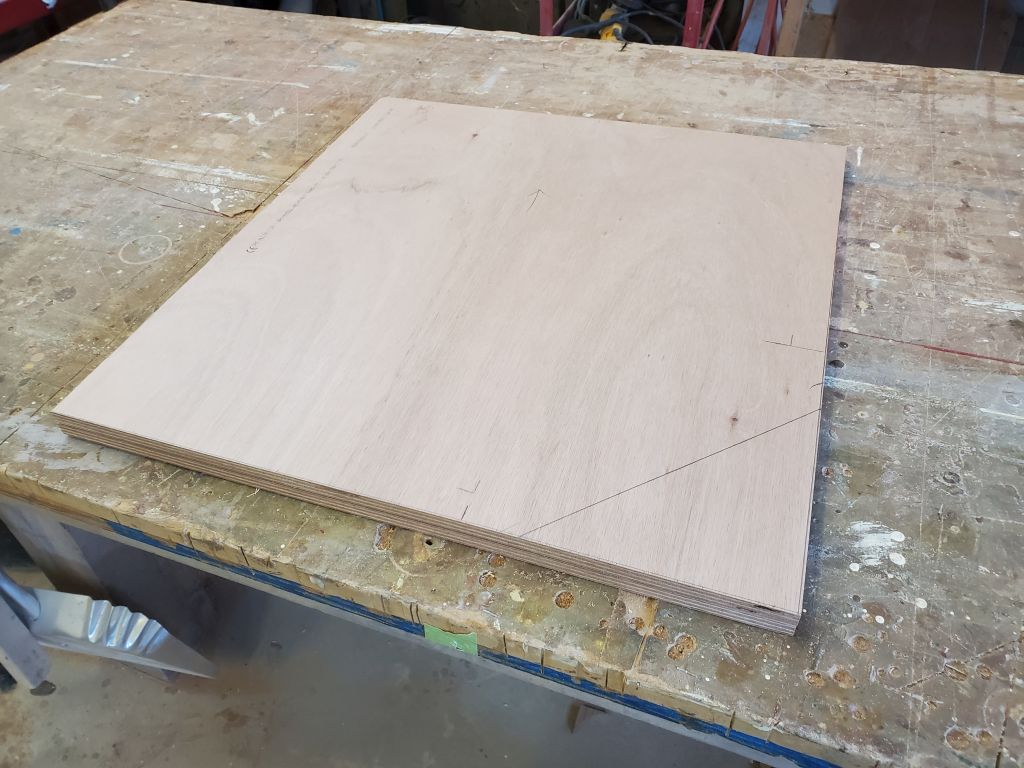
I expected to install a second longitudinal beam somewhere to starboard of the engine, but where and how, exactly, depended on a couple other things, such as sink placement and some existing removable panels defining the starboard edge of the engine room, so for the moment I waited on this. Instead, I started work on the forward panel to enclose the space, which would be partially fixed and partially removable to access the engine. To begin, I removed a section at the aft end of the cabin sole, so this wouldn’t be in the way of the new cabinet, then, with some basic measurements, began a simple plywood pattern to template the space. This brought me to the end of the day.