(page 158 of 166)

Danusia 11

< Back to Danusia

Thursday

Now that all the old finish was stripped, it was time to sand the raw wood to remove any final vestiges of old finish and smooth the wood to prepare for the new coating.  Starting on the port side, I sanded the toerail, eyebrow, and outboard coaming through the grits as required to clean up the wood and brighten any weathered spots.  Because of the small size and various profiles involved, most of this work was by hand, though I could use a palm sander on the coaming.

I continued the work on the starboard side, completing the toerail sanding before the end of the day.

Total time billed on this job today:  6.25 hours

0600 Weather Report:
5°, clear.  Forecast for the day:  Sunny, high in the 30s

Danusia 10

< Back to Danusia

Wednesday

Picking up where I left off, I continued stripping the brightwork on the port side, finishing up the outboard side of the coaming and the eyebrow trim and handrail on the cabin.

I moved my operation from the staging to the deck itself so I could continue with the remaining brightwork on the cabin top and inside the cockpit.  As with all the other wood, this woodwork was in basically good condition beneath old and weathered layers of Cetol.

During the rest of the day, I removed the old finish from these remaining areas, completing the raw stripping work on deck.  A few removable pieces, such as the swashboards and cockpit table, remained to be done, but I could do those on the bench anytime.

Total time billed on this job today:  7.5 hours

0600 Weather Report:
0°, clear.  Forecast for the day:  Sunny, temperature rising to the low 30s

Danusia 9

< Back to Danusia

Tuesday

Before getting back to the brightwork, I decided to finish up the garboard drain installation.  To begin, I dry-fit the bronze assembly and drilled and tapped the hull for four #10 machine screws that would secure the fitting.

After cleaning up the bonding surface, I installed the fitting with 5200 sealant.  I left the plug out and placed it, along with its wrench, in the boat for safekeeping.

I continued work on the starboard side of the boat, and stripped everything else I could reach from the staging, including the outboard side of the cockpit coaming and cabintop handrail, and then worked around the taffrail.

I continued my way up the port side, starting with woodwork that was in more or less the same condition as the starboard side.

By the end of the day, I’d stripped the port toerail and rubrail, along with the remaining half of the bow platform.

Total time billed on this job today:  7 Hours

0600 Weather Report:
0°, clear.  Forecast for the day:  sunny, high around 20

Danusia 8

< Back to Danusia

Monday

After a morning appointment away from the shop, I prepared to begin stripping the old finish from the exterior brightwork.  The original finish, an opaque, heavily-colored coating called Cetol, had been well-maintained over most of the boat’s life and, despite a few recent coatings failures, had well-protected the original woodwork beneath, but it was time to start over and remove all the old finish before recoating.  For now, I focused on the starboard side.

Where possible, I removed fittings that were in the way, such as the anchor roller and stop and assorted screwed-on installations.  I didn’t attempt to remove anything that was through-bolted.   Then, with a scraper and heat gun, I started at the starboard bow platform and removed the old finish from the platform, and eventually worked my way aft along the entire toerail and rubrail to strip the finish to the bare wood.  I also had time to strip the eyebrow trim before the end of the day.

I’d continue with other parts of the boat in the days ahead.


Total time billed on this job today:  5 hours

0600 Weather Report:
20°, clear.  Forecast for the day:  Mainly clear, highs in the 20s but falling

Nomad 16

< Back to Nomad

Sunday

With all the spray painting complete, I removed all the masking tape, paper, and plastic, exposing the boat again in full for the first time since I first taped her (or will it be him?) up several months earlier.  It was great to see the whole boat again, and with the fresh new hull I was inspired anew to attack the original decks (badly in need of cleaning, polishing, and varnish work) and interior.  I’d postponed–actively and otherwise–work on the hull for a long time, but it was great to be on the other side of the hull work.  I’d been wanting to use this paint color for ages and it had always been my vision as I imagined what this boat would become.

I’d seen this apparent phenomenon before, on another boat with another color,  but I think the paint got darker as it continued its curing process.  Now it looked much more like the expected result; at first it had seemed a little brighter.

The final step required to bring the new appearance of the boat together was to paint the bottom.  This was a purely aesthetic requirement, as I expected the boat to live on the trailer so antifouling wasn’t strictly necessary, but the old red paint had to go.  After masking off along the bottom edge of the boottop, I painted the visible areas of the bottom.  I didn’t worry about the underside where things weren’t visible, and anyway, the trailer mostly got in the way of these areas and would have prohibited a decent paint job regardless.  As a final touch, I added a gold leaf stripe just beneath the character line in the hull, where there had originally been a thin gold stripe.  The devil is in the details.

Total time billed on this job today:  3.75 hours

0600 Weather Report:
22°, clear.  Forecast for the day:  Mostly cloudy, 34°

Nomad 15

< Back to Nomad

Friday

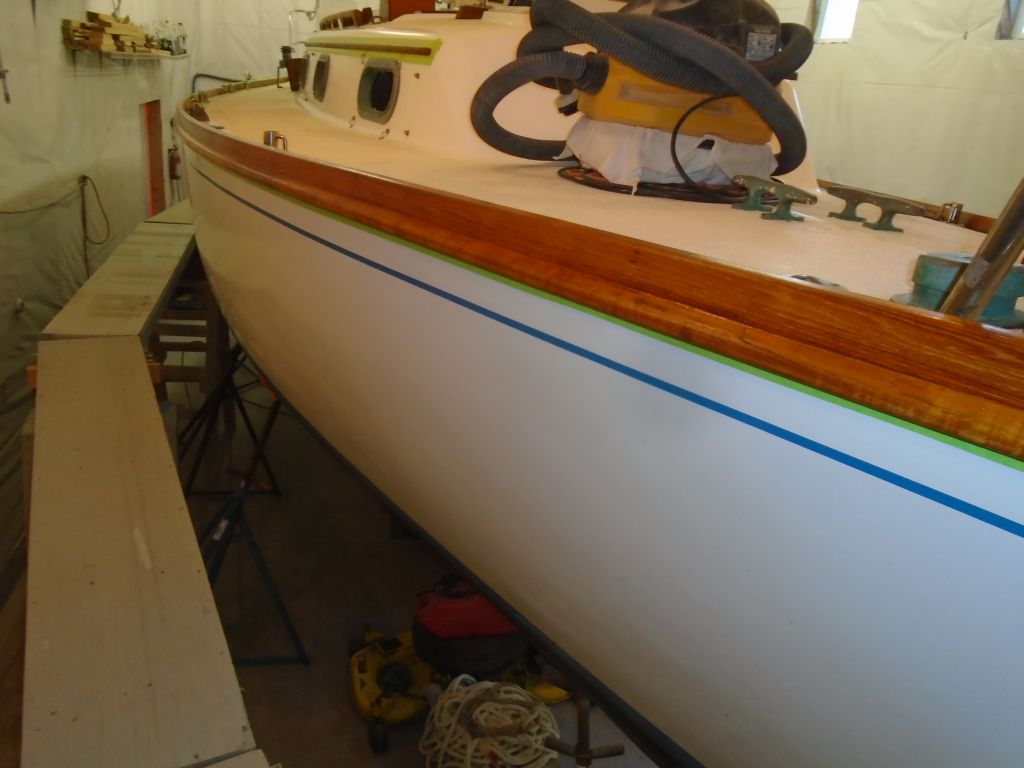
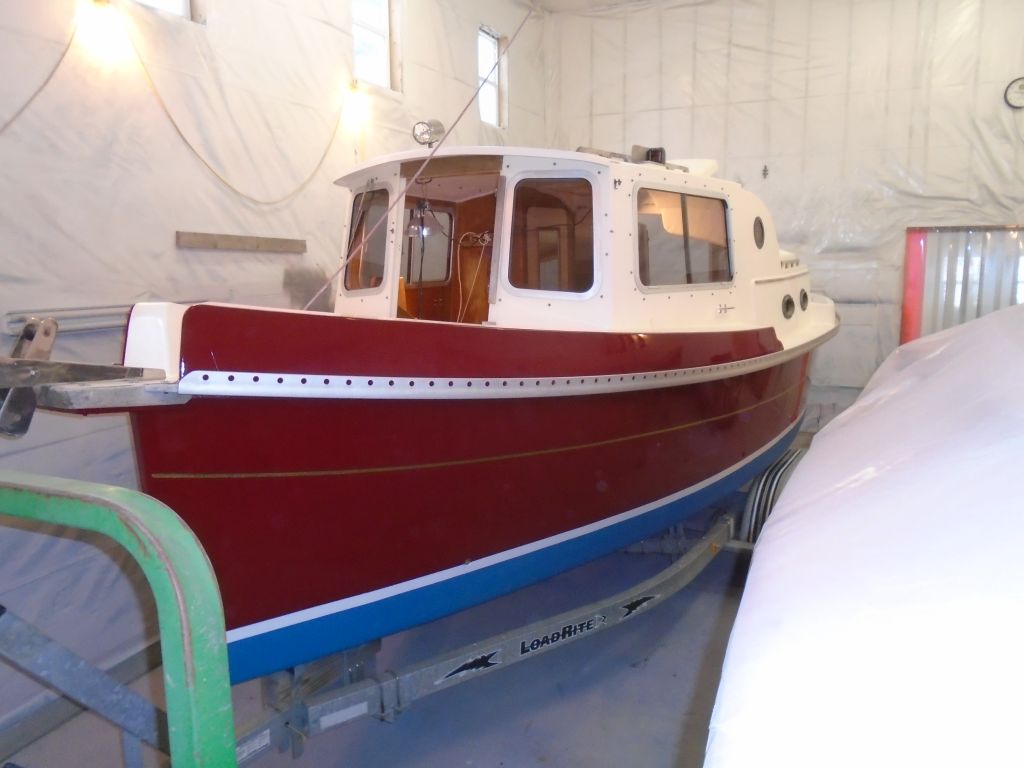
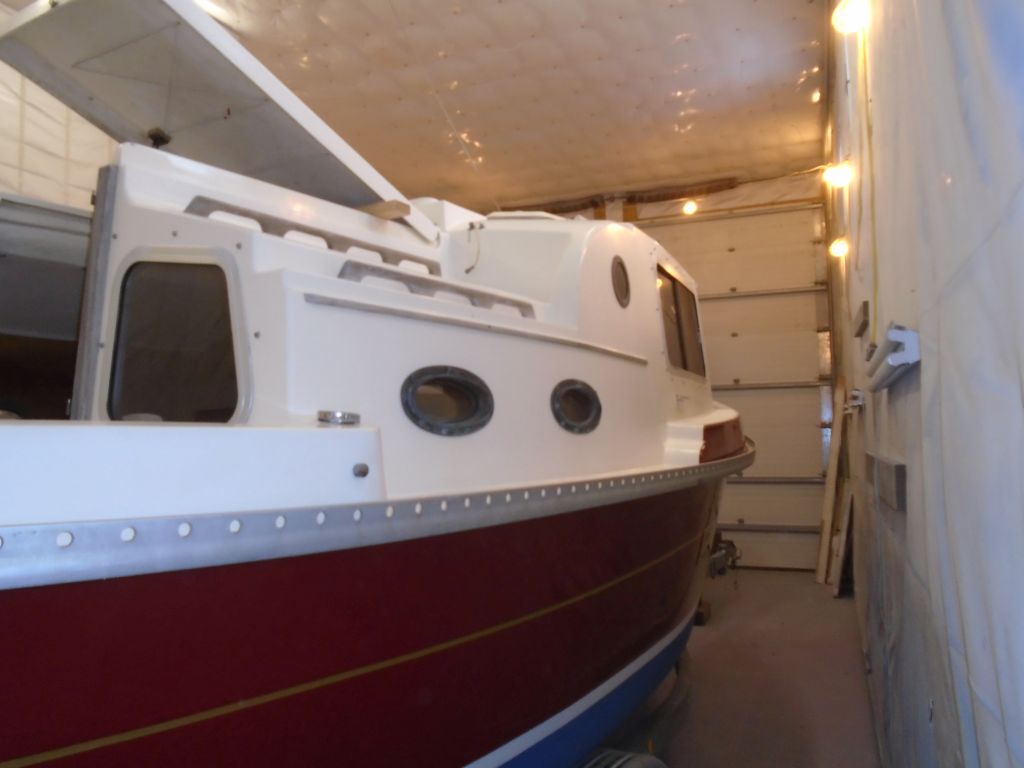
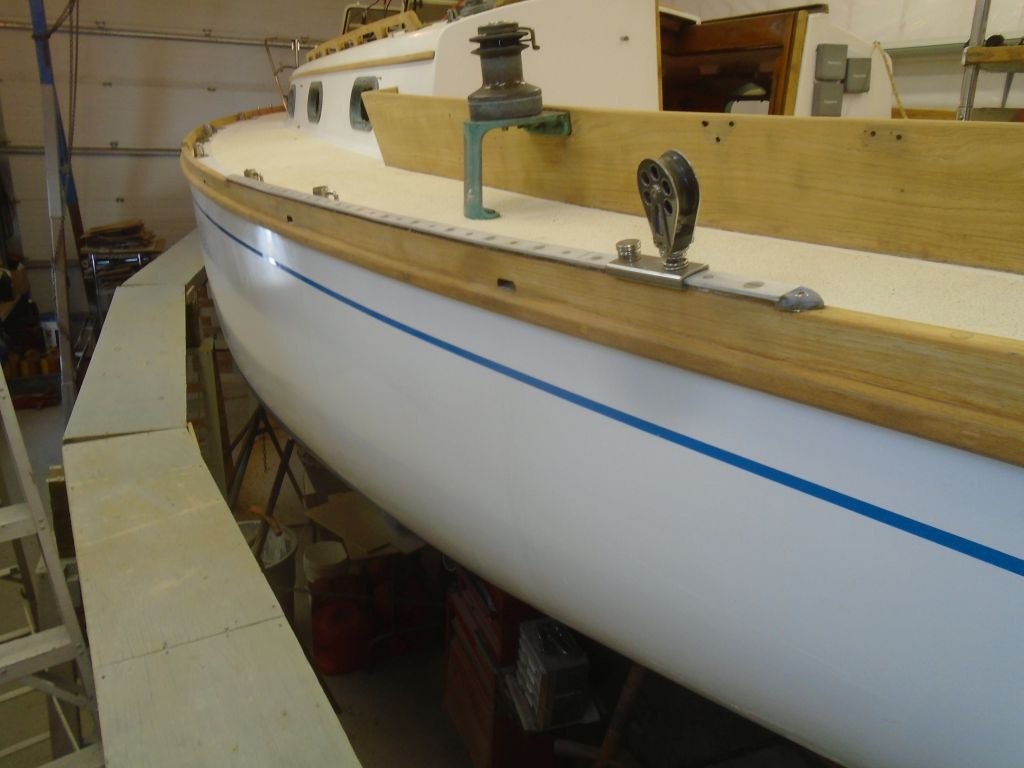
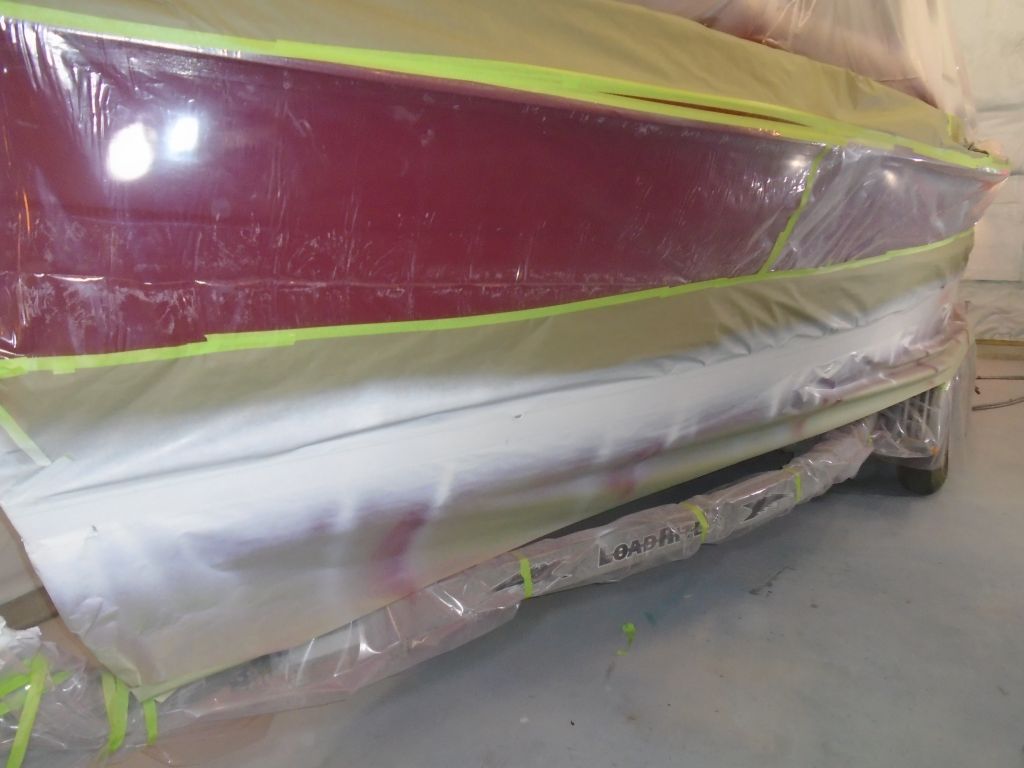
After giving the hull paint a full extra day to cure (almost 48 hours total), I was looking forward to to finishing the boottop, which required plenty of masking work to get ready.

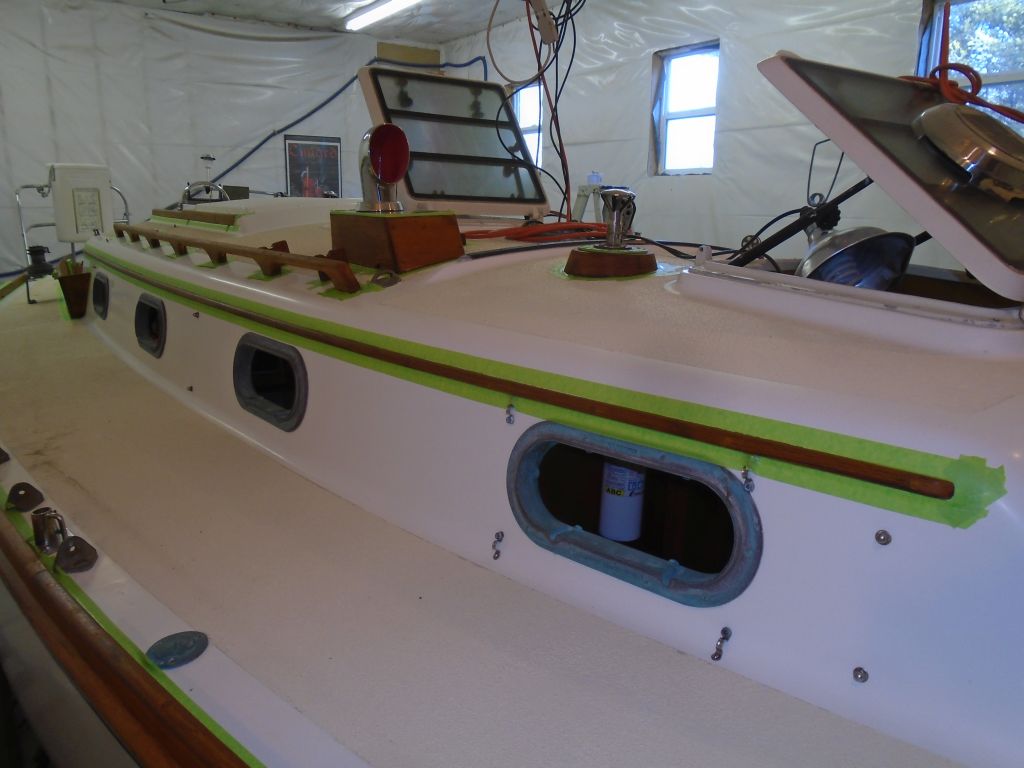
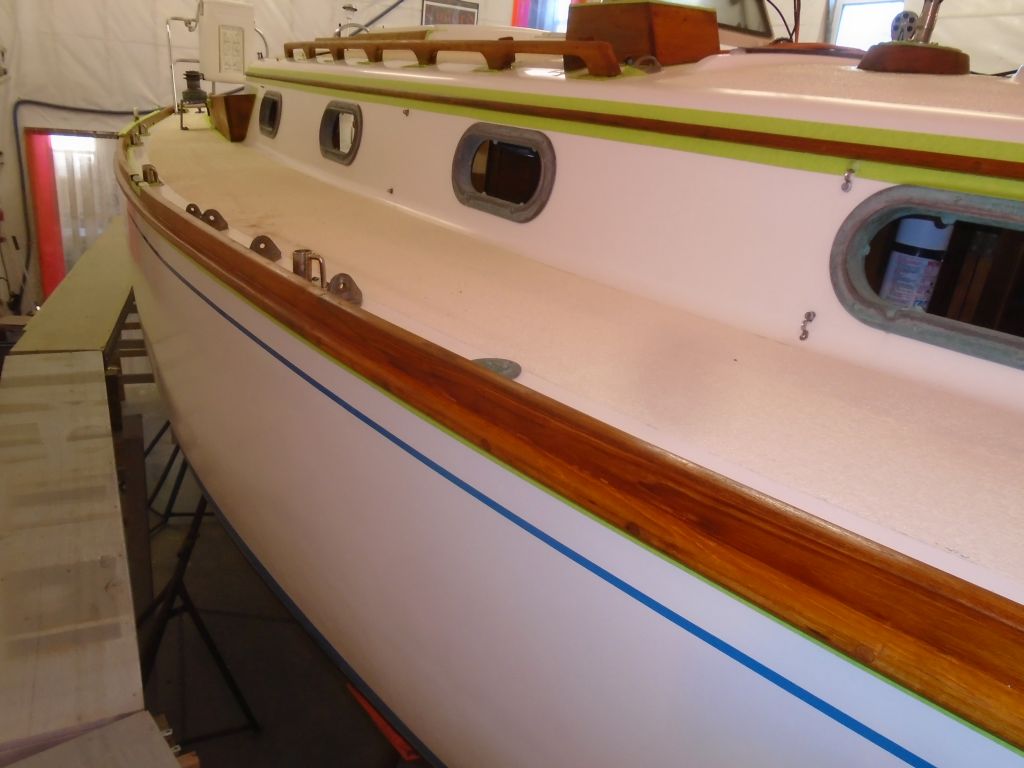
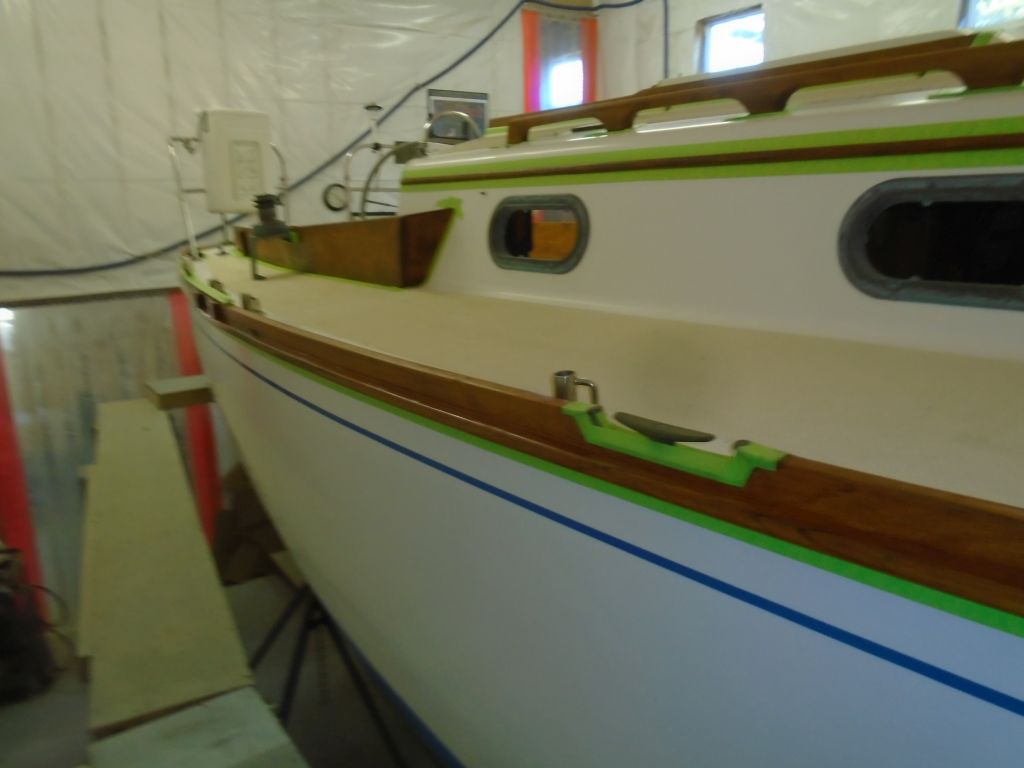
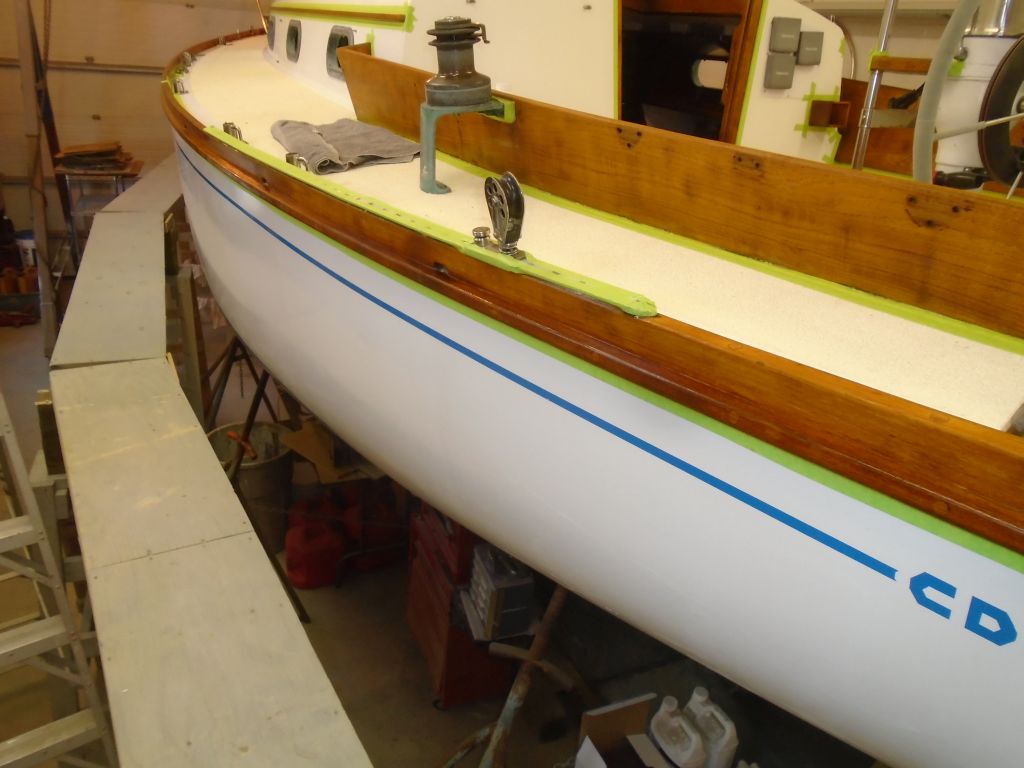
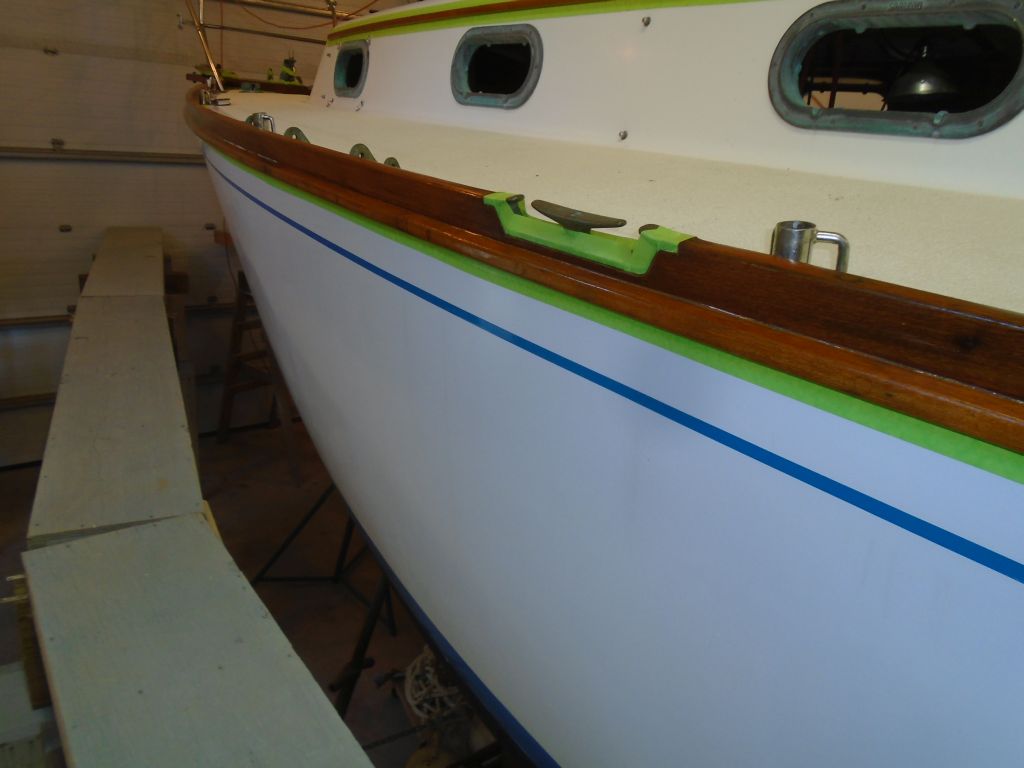
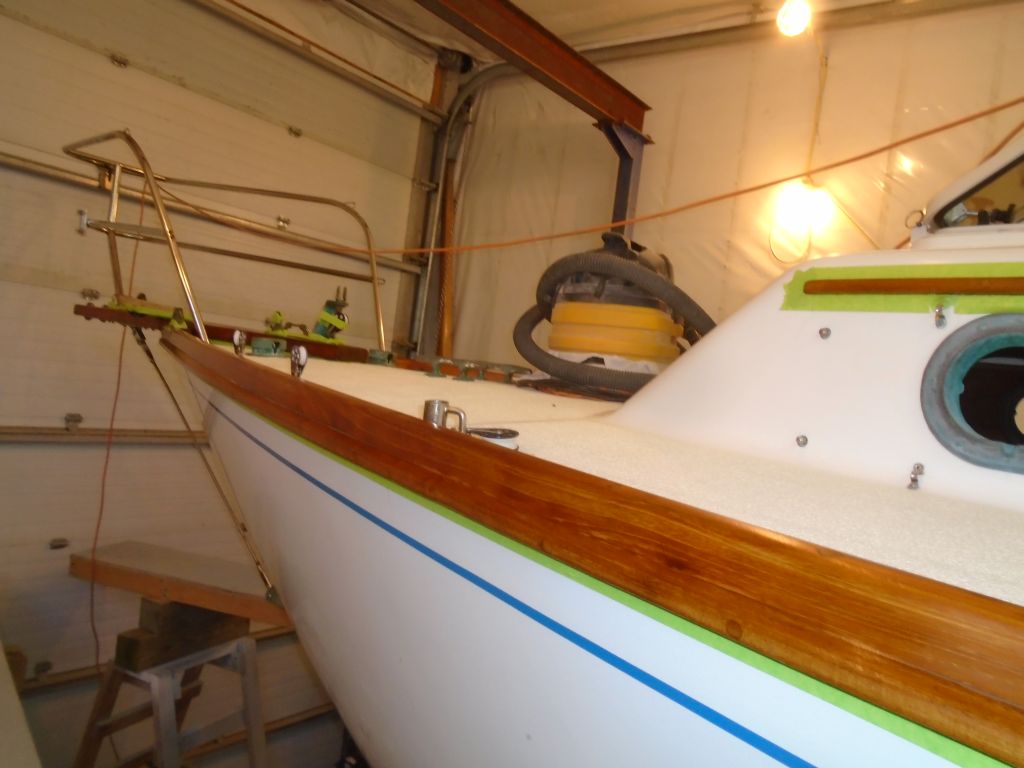
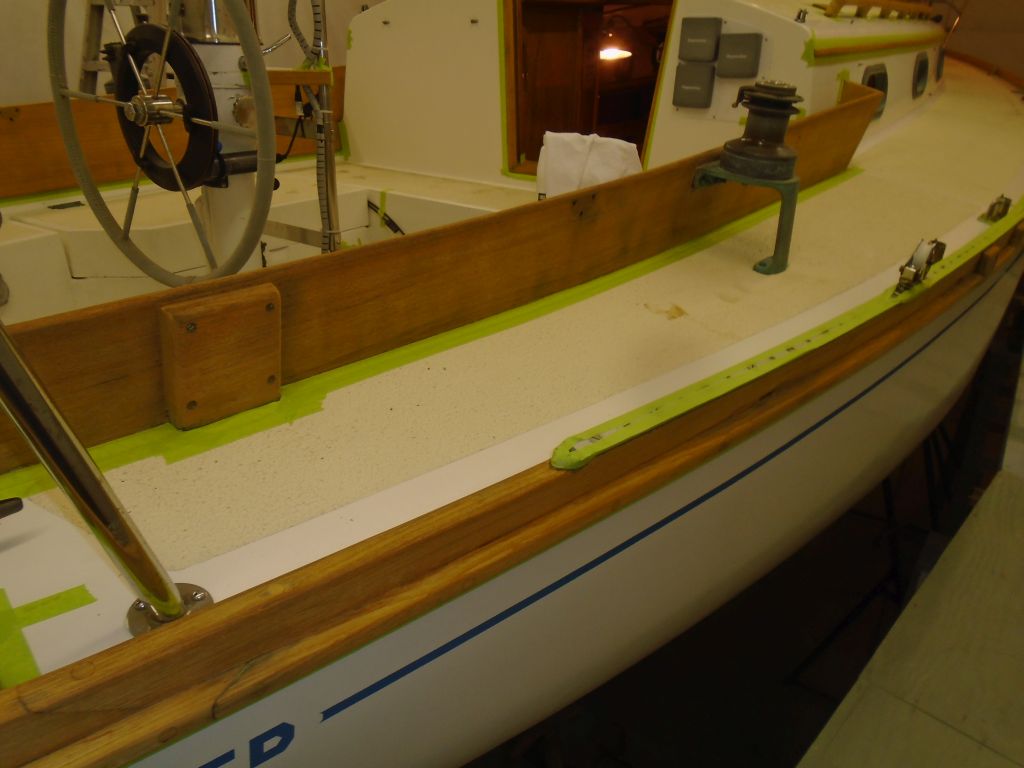
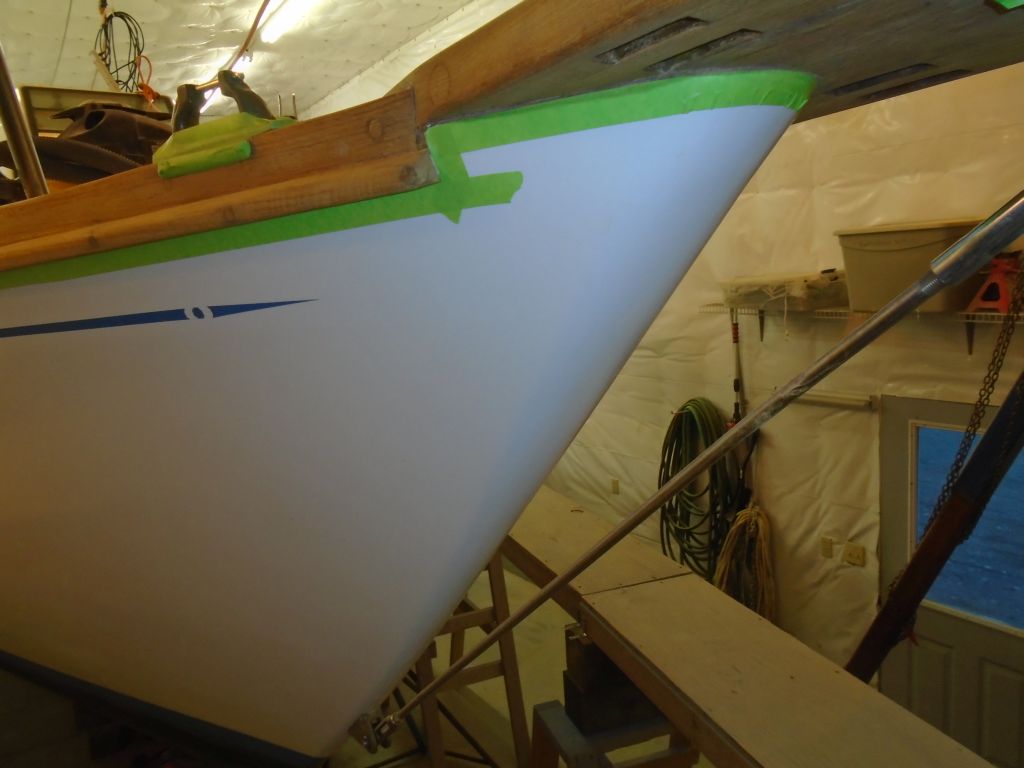
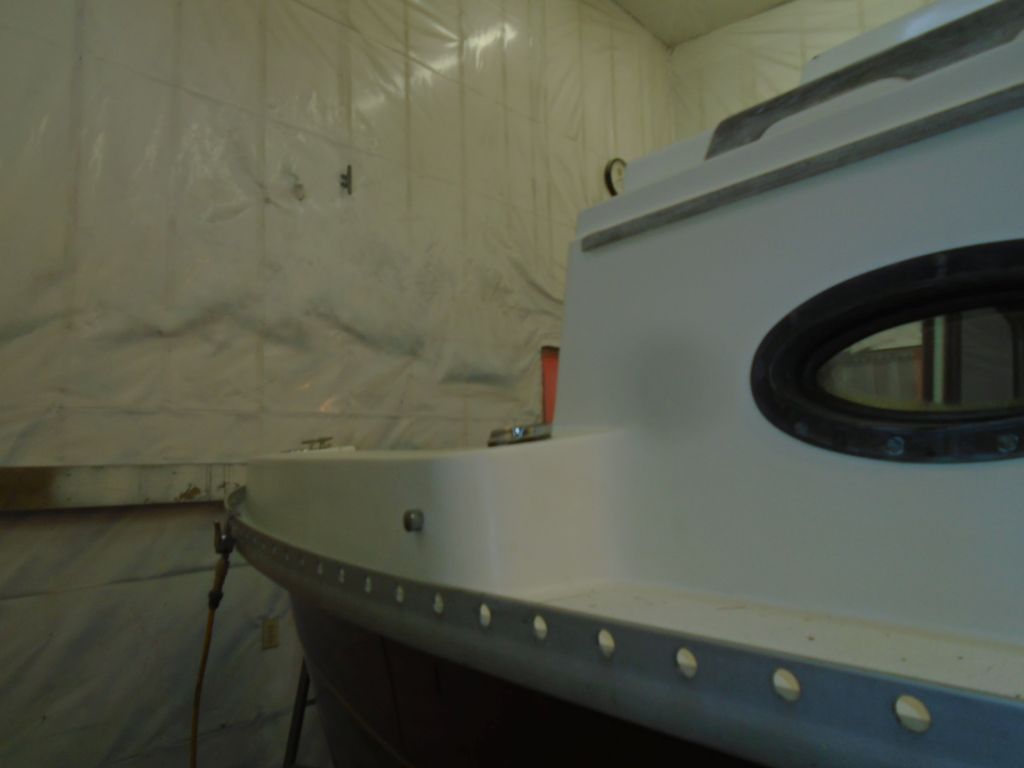
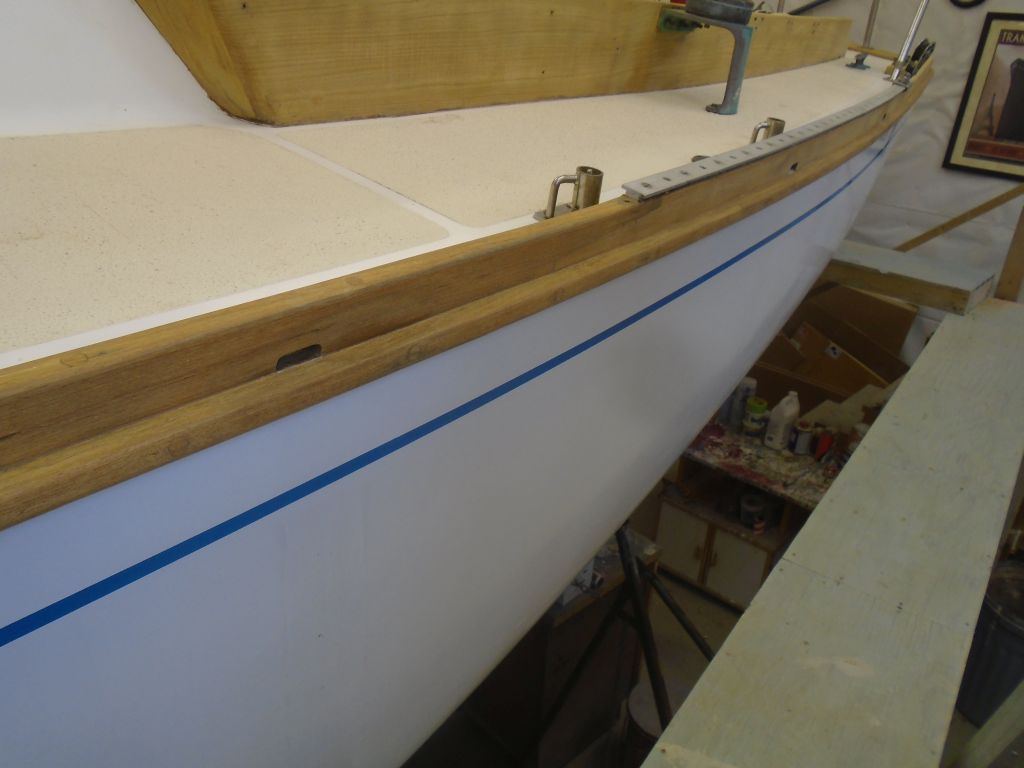
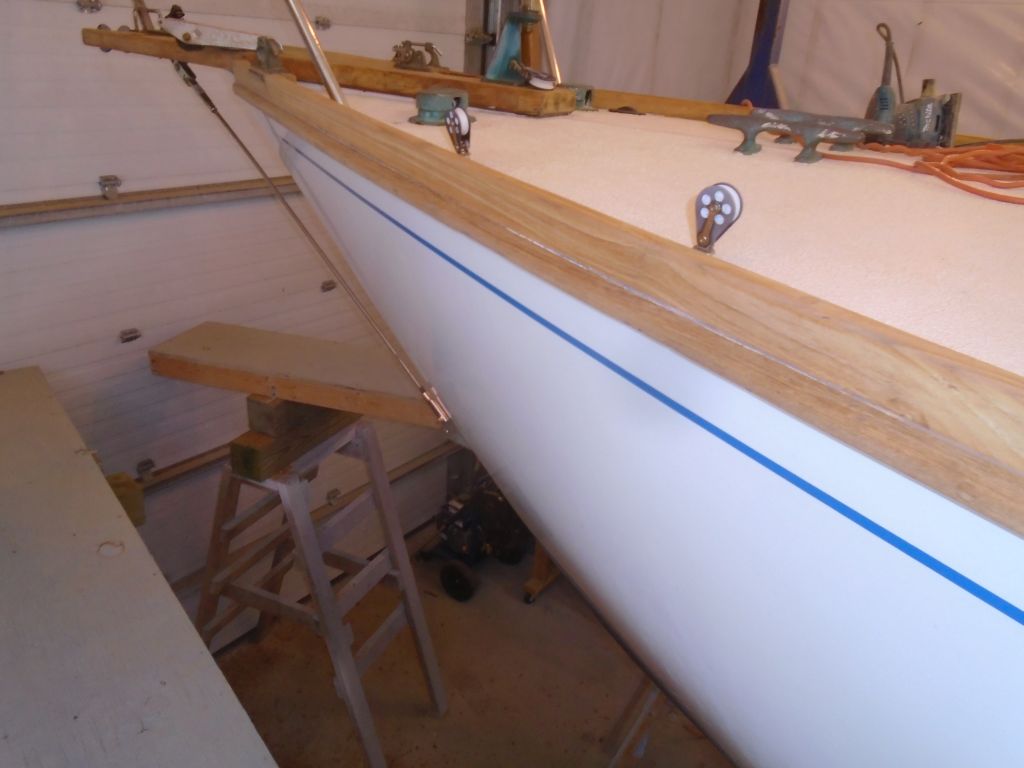
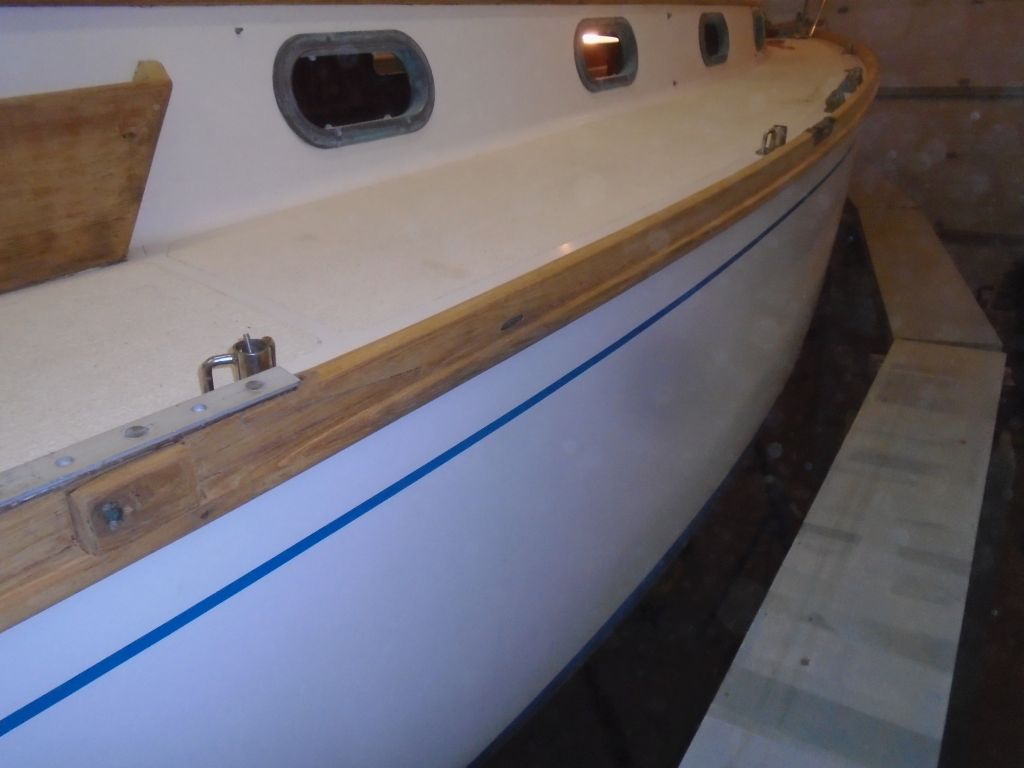
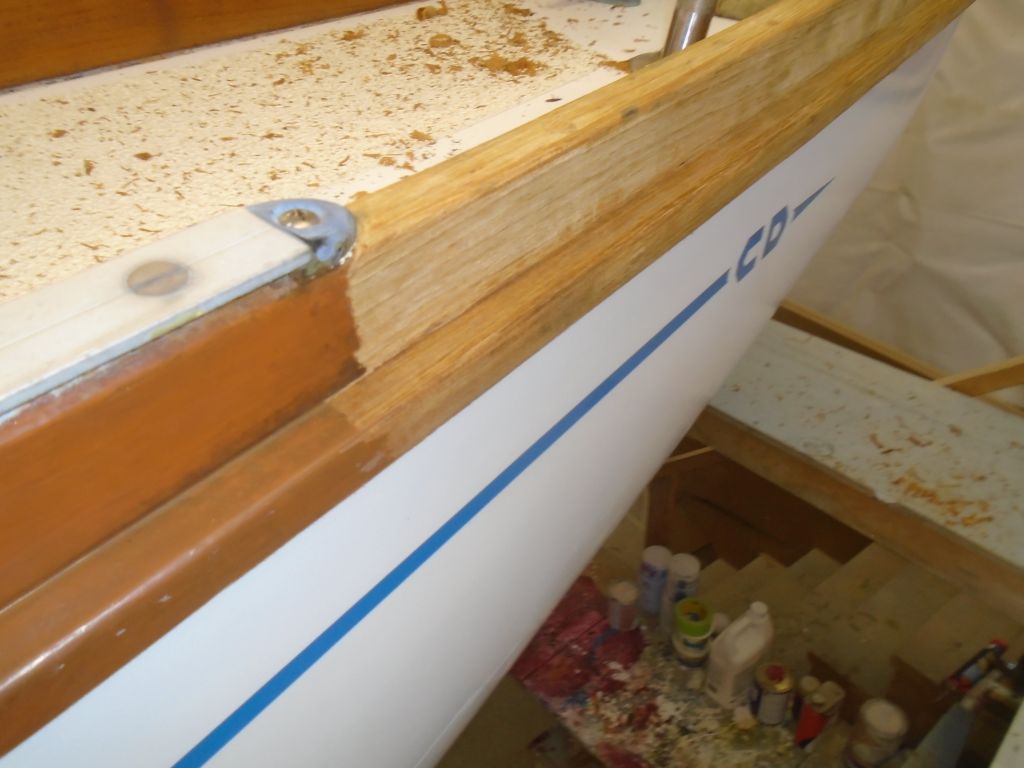
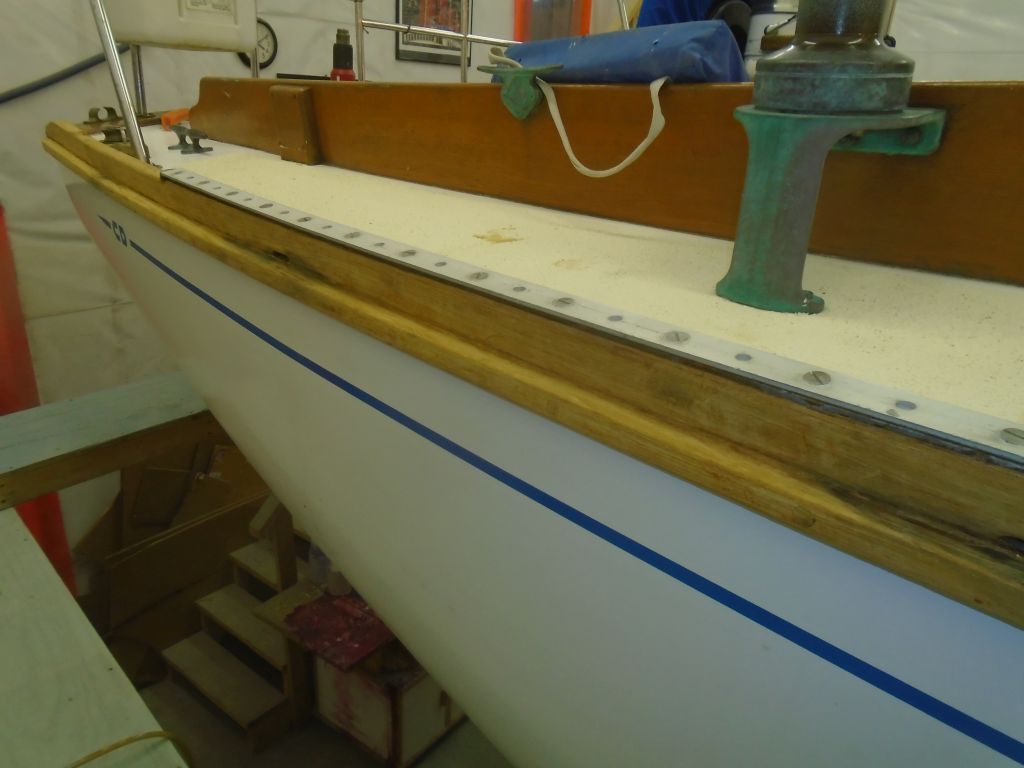
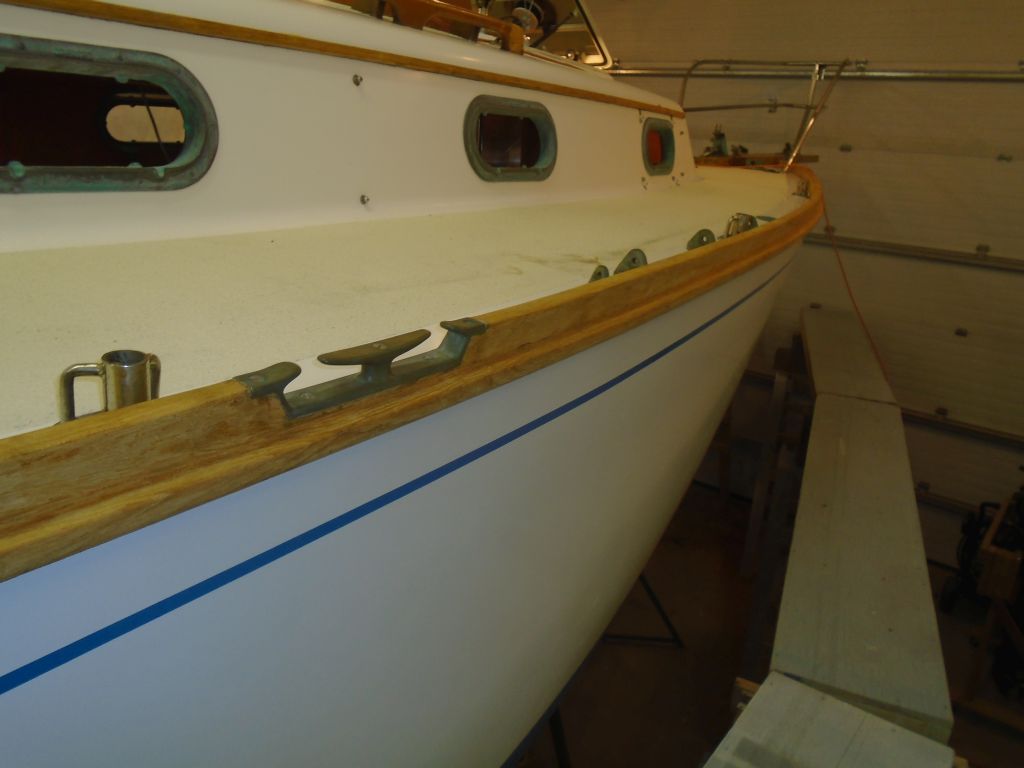
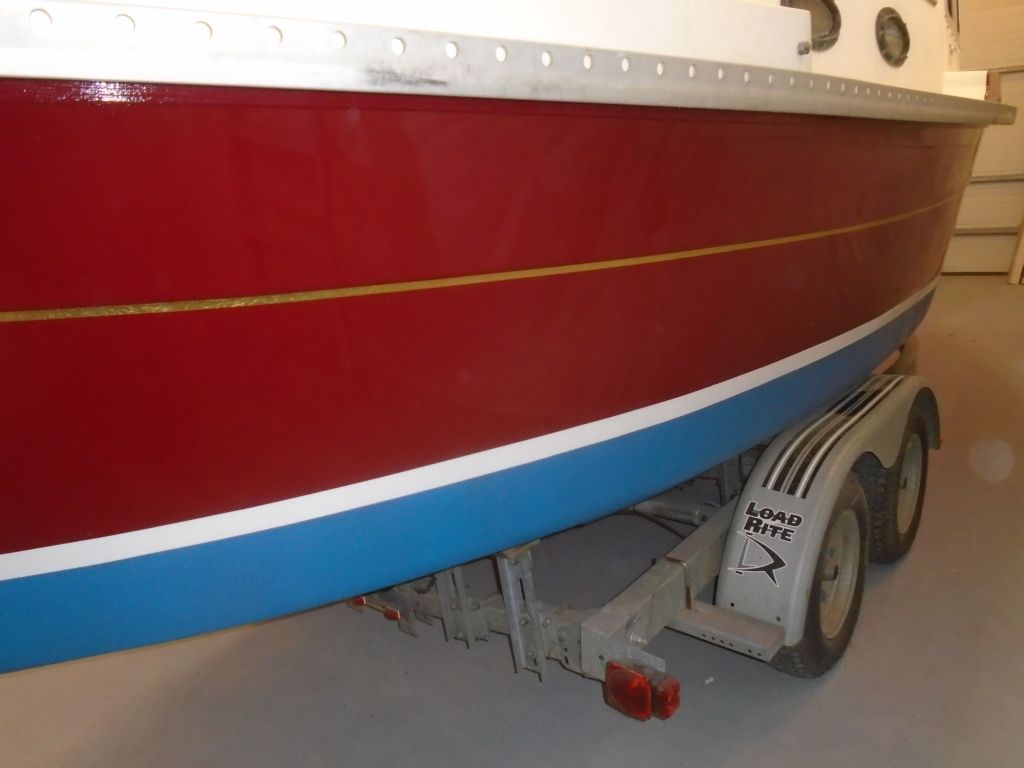
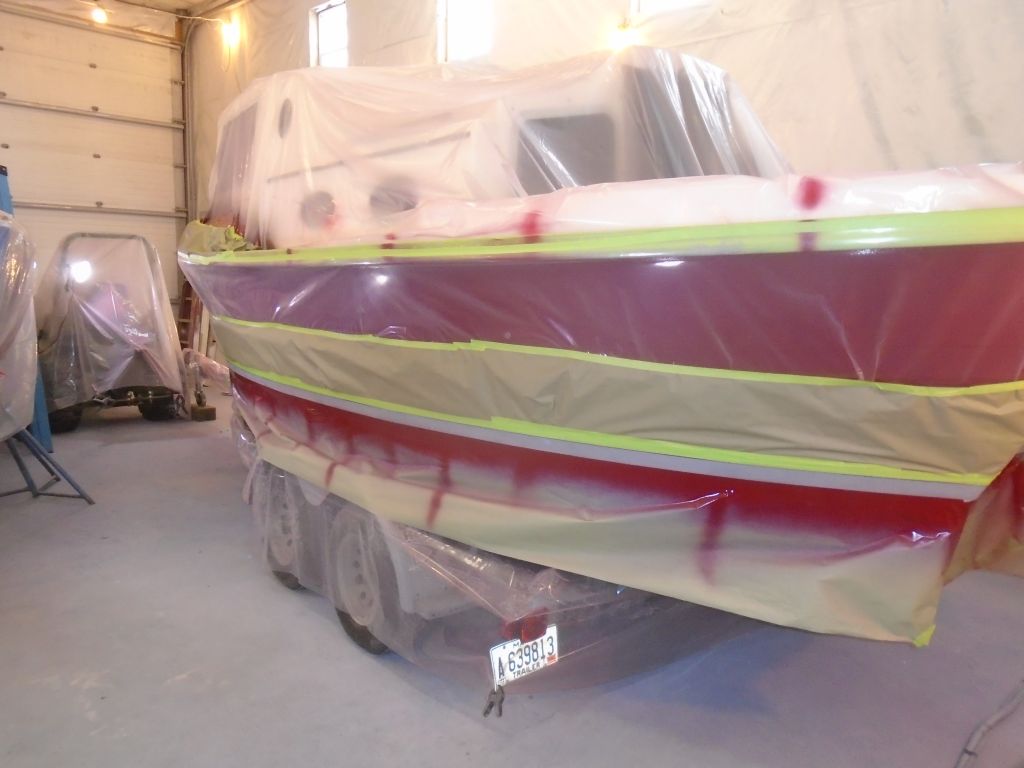
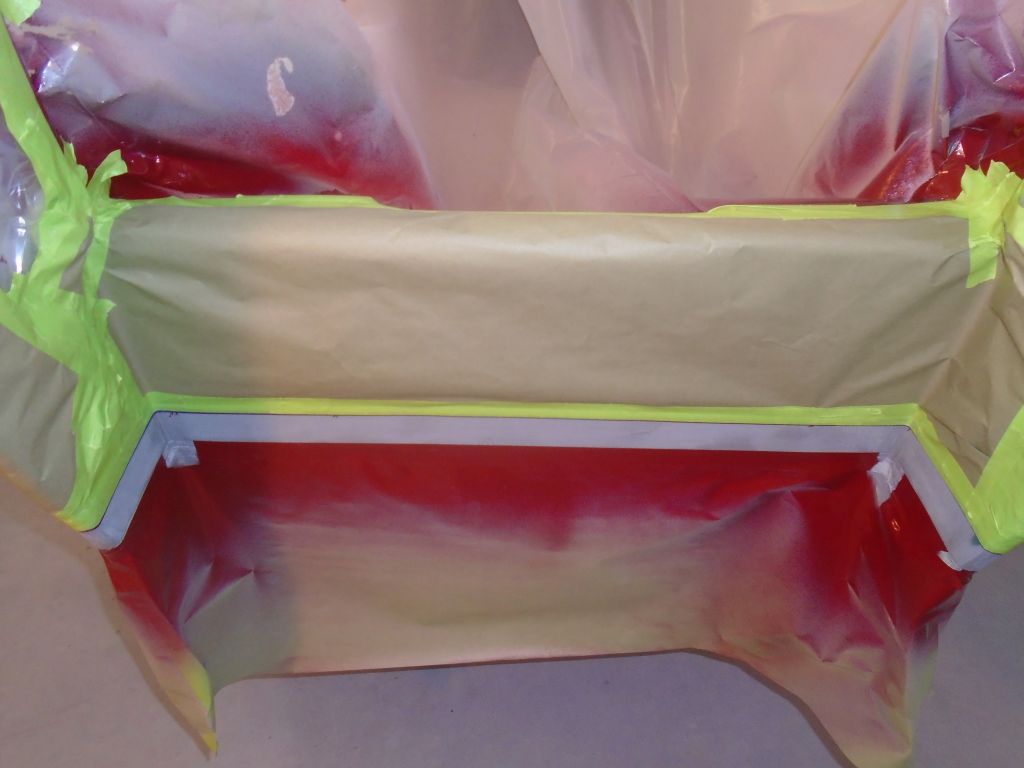
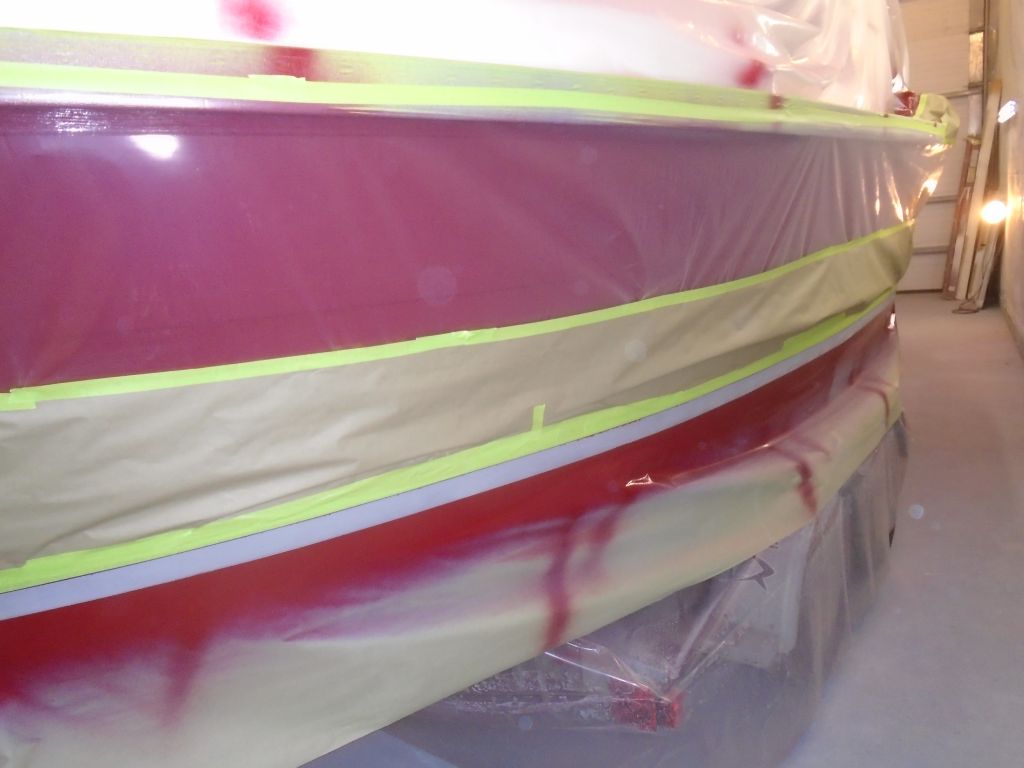
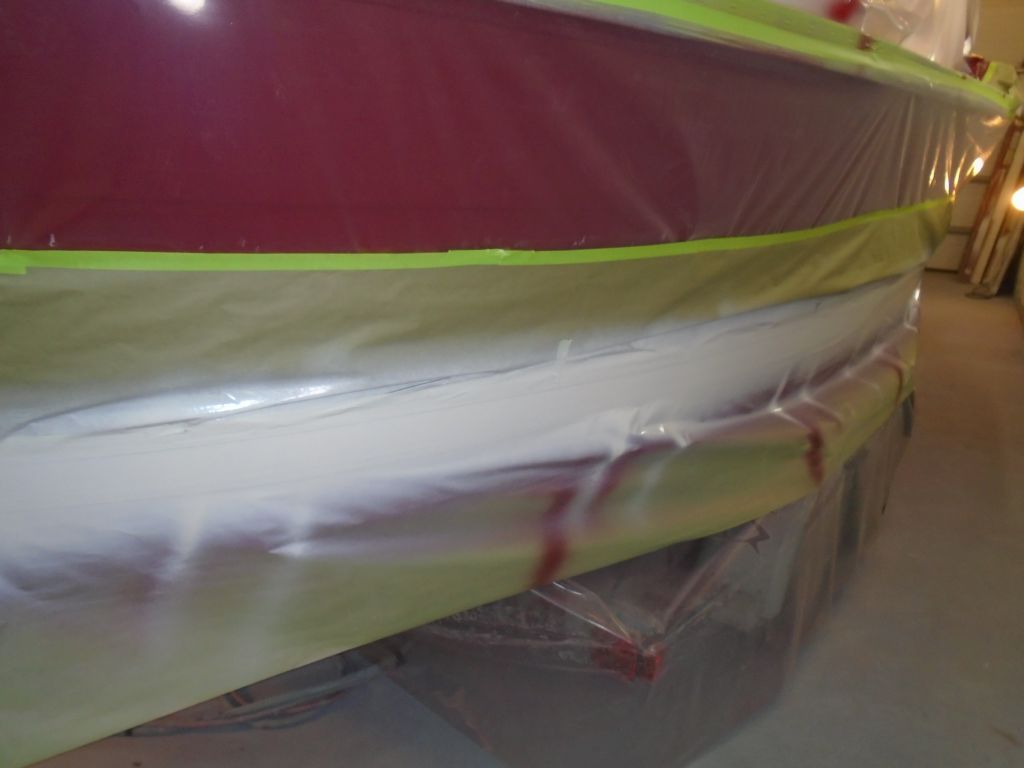
As usual, I began with a narrow strip of special vinyl fine-line tape (1/2″) at the top edge of the boottop, which would help provide a crisp, clean paint line there.  Then, I applied a layer of 1″ masking tape, covering as much of the vinyl tape as possible  because overspray on the vinyl, which was non-absorbent, would tend to run down onto the boottop below, and, when cured, would also tend to create annoying feathers of paint that didn’t stick to the vinyl and therefore wouldn’t peel off cleanly during removal.

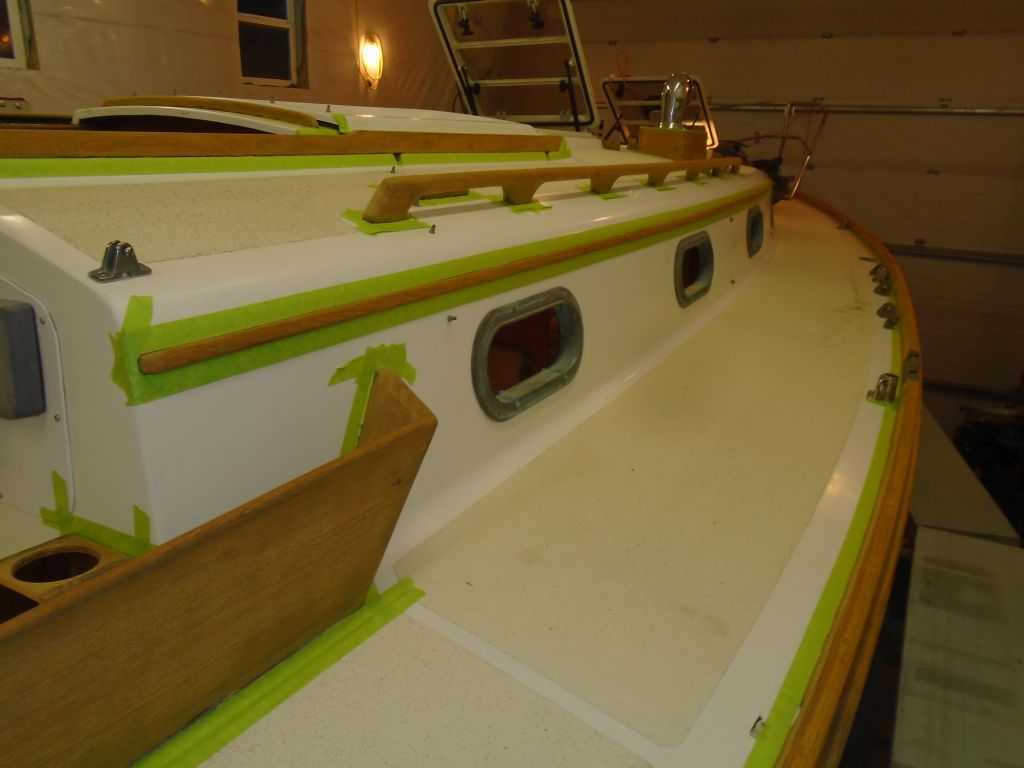
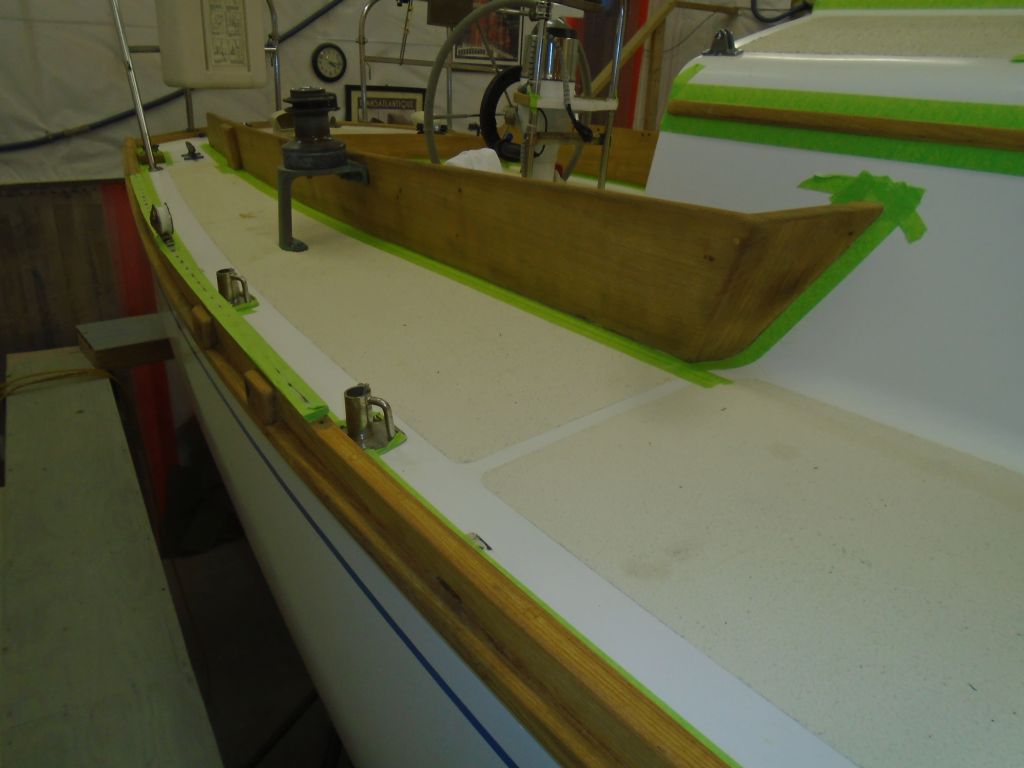
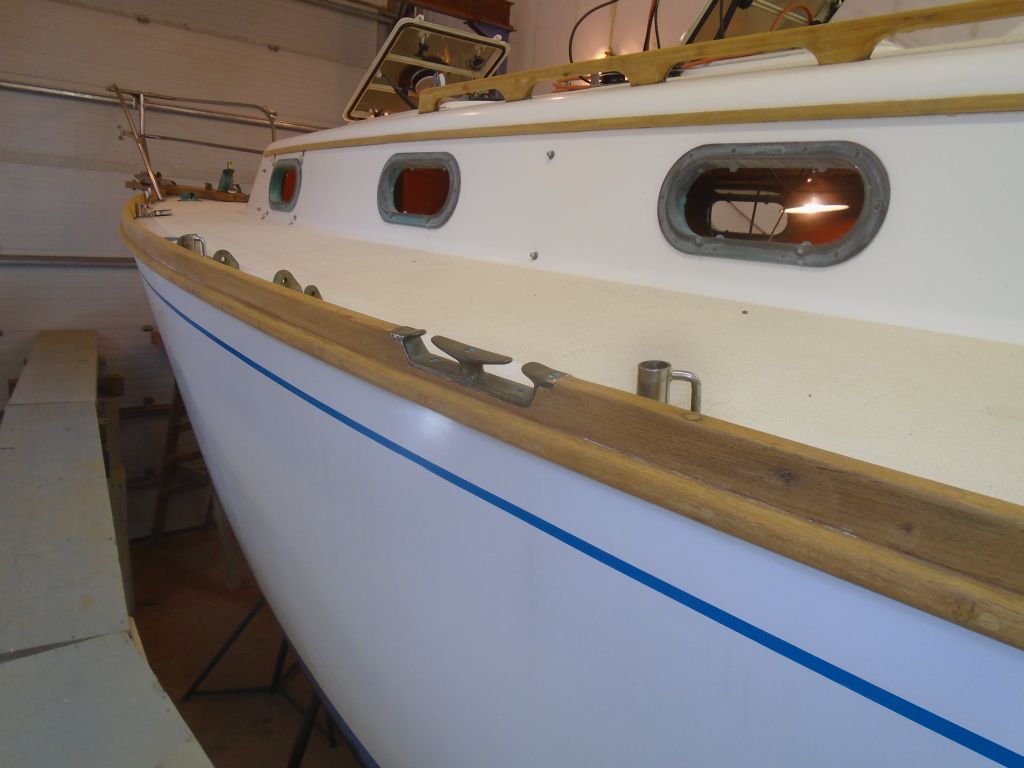
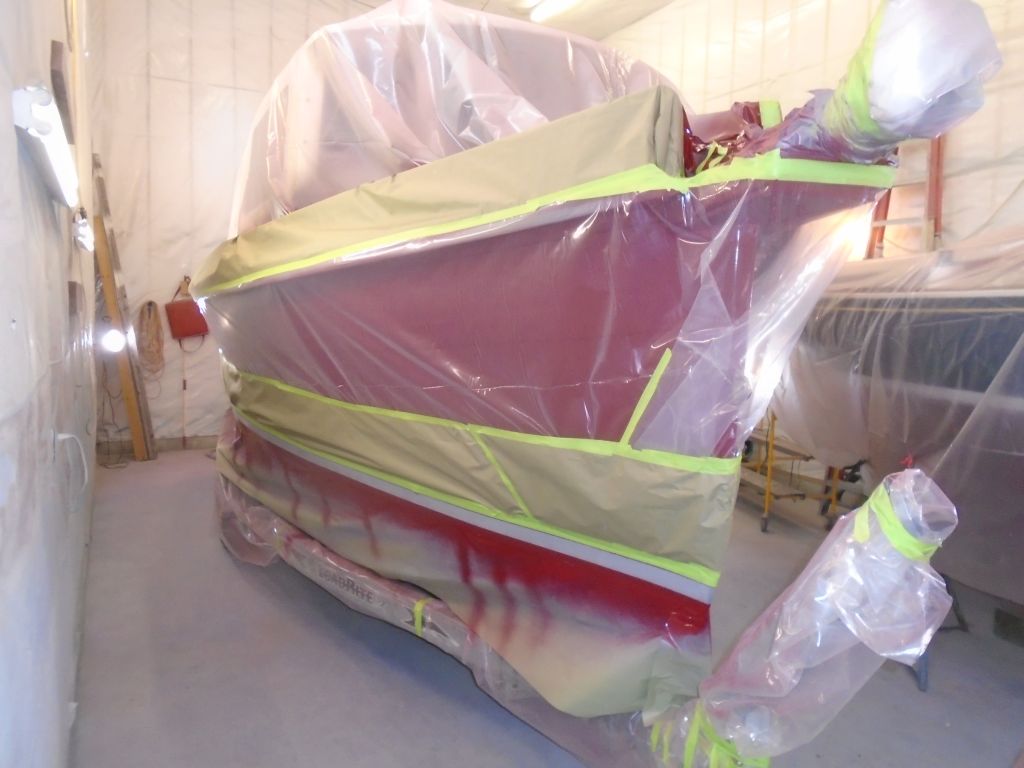
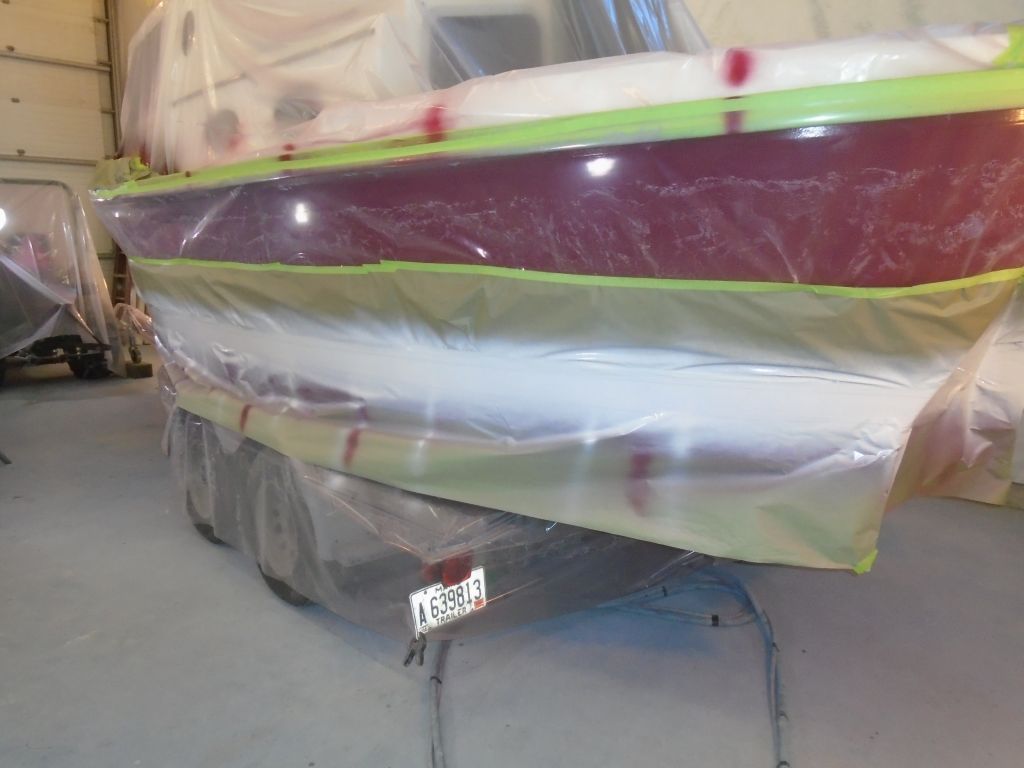
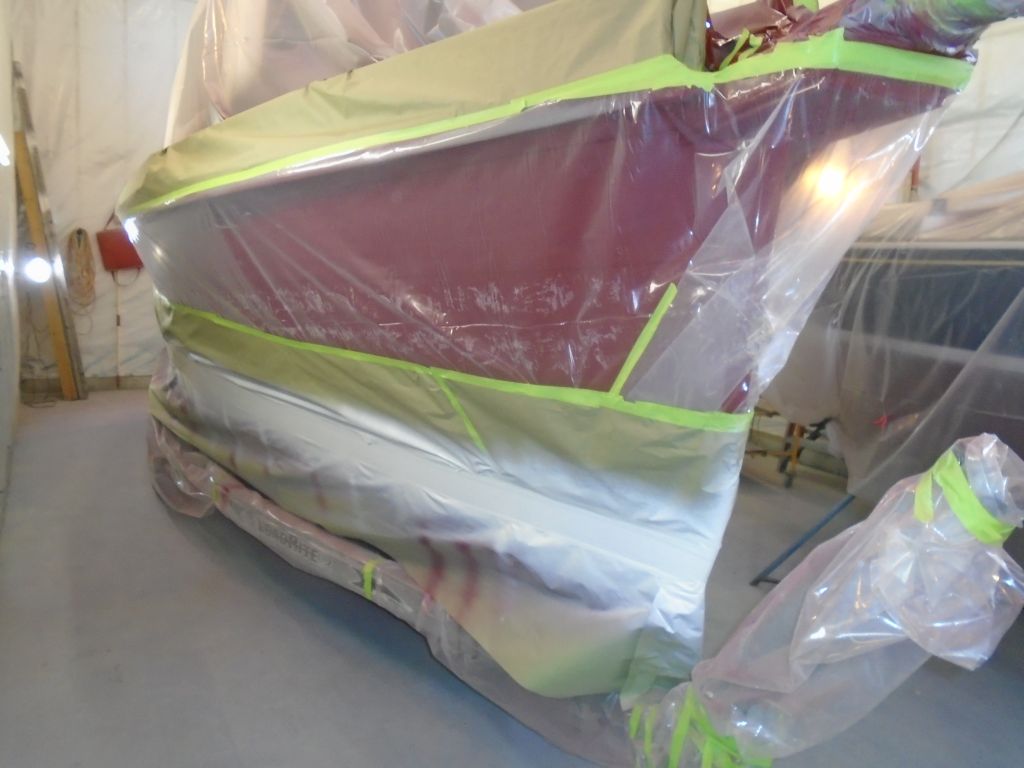
With the top of the stripe now taped off, I spent another hour or so draping the hull from the gunwale to the boottop with plastic sheeting and then, because I never trust the plastic entirely like this, a 12″ wide strip of masking paper at the lower edge, just to safeguard against any of the boottop paint getting on the new hull.  It seemed excessive, as always, but the peace of mind was worth the extra effort.   Covering the entire hull in order to spray a 2″ stripe seemed ridiculous sometimes, but there you are.

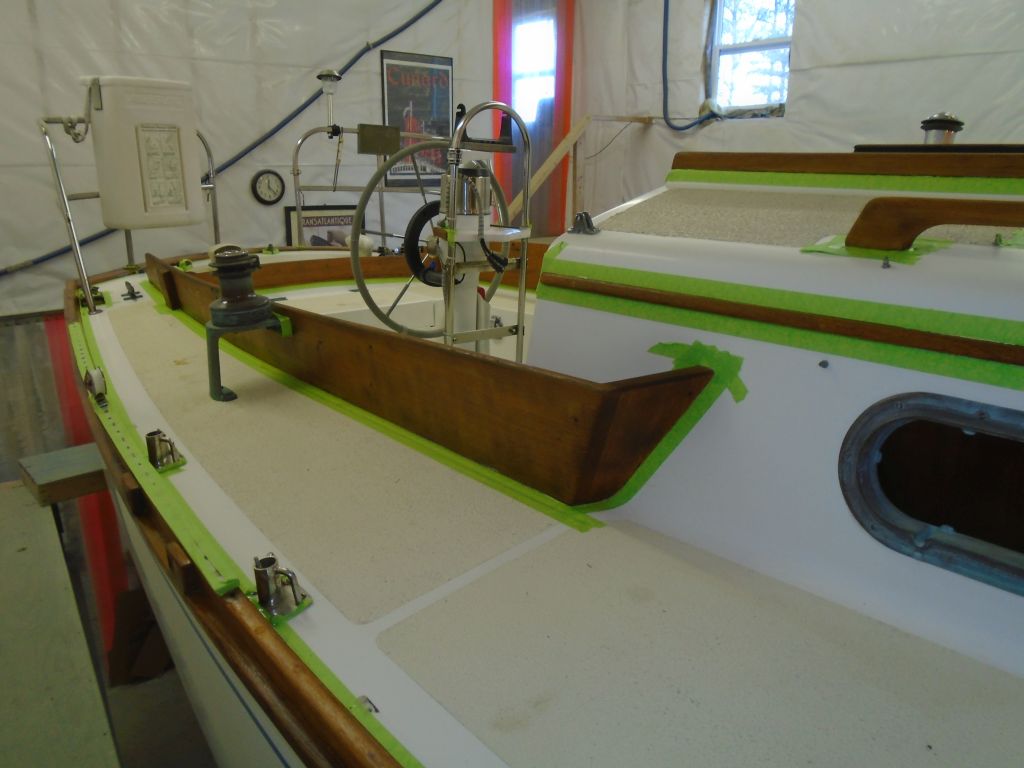
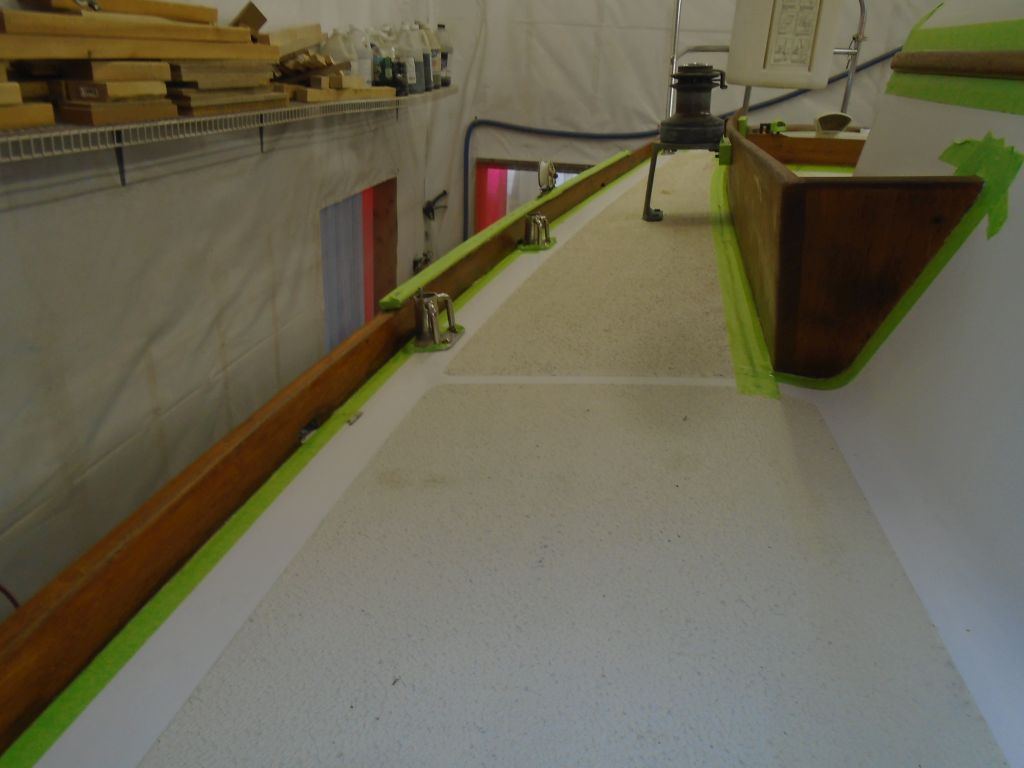
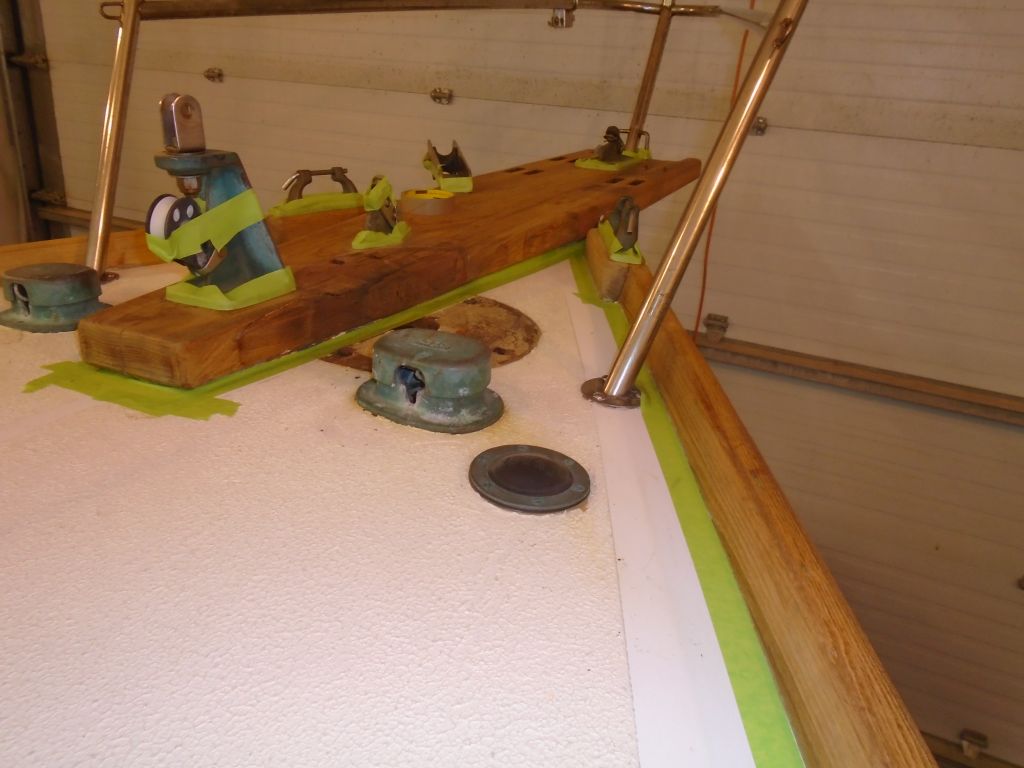
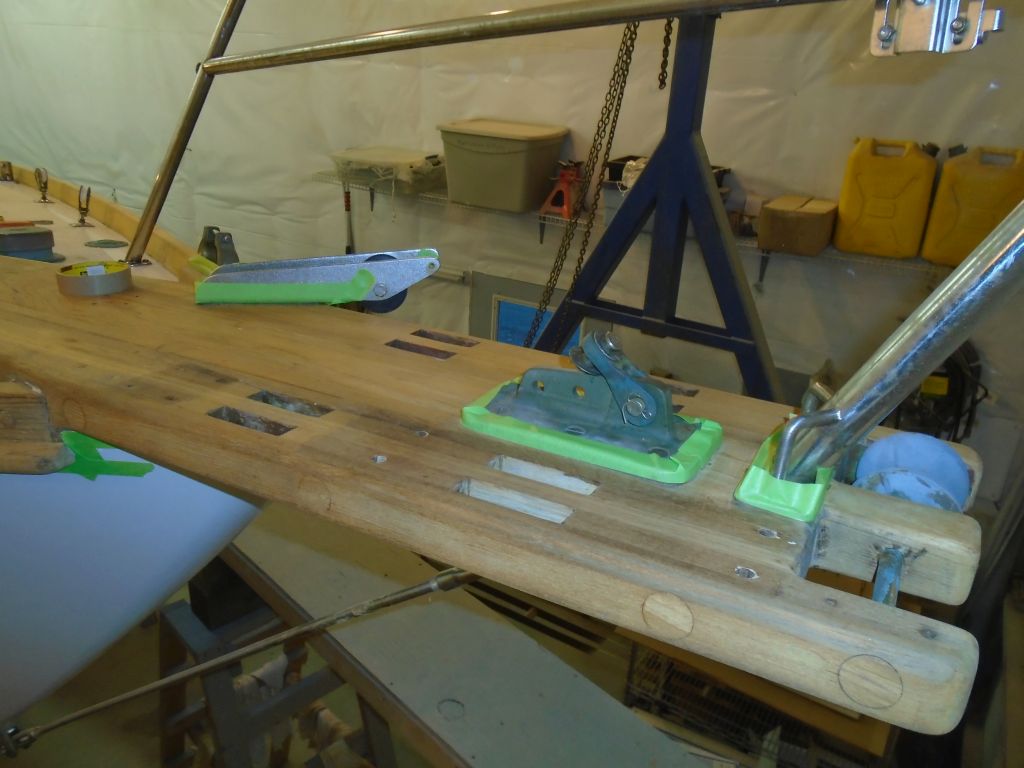
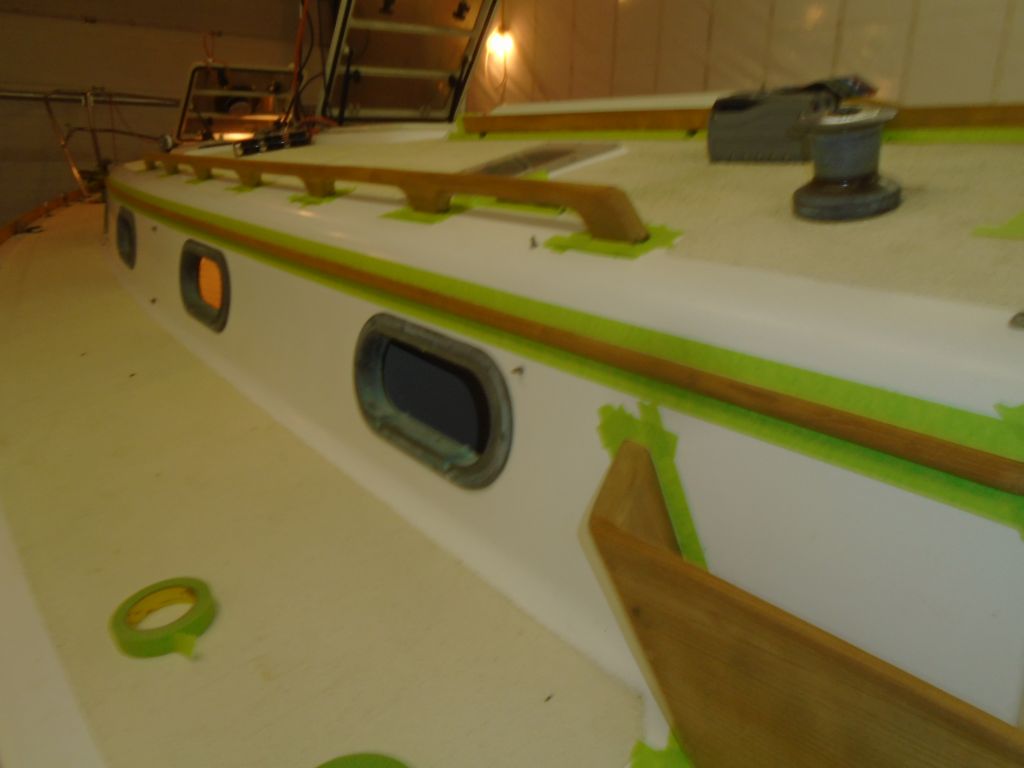
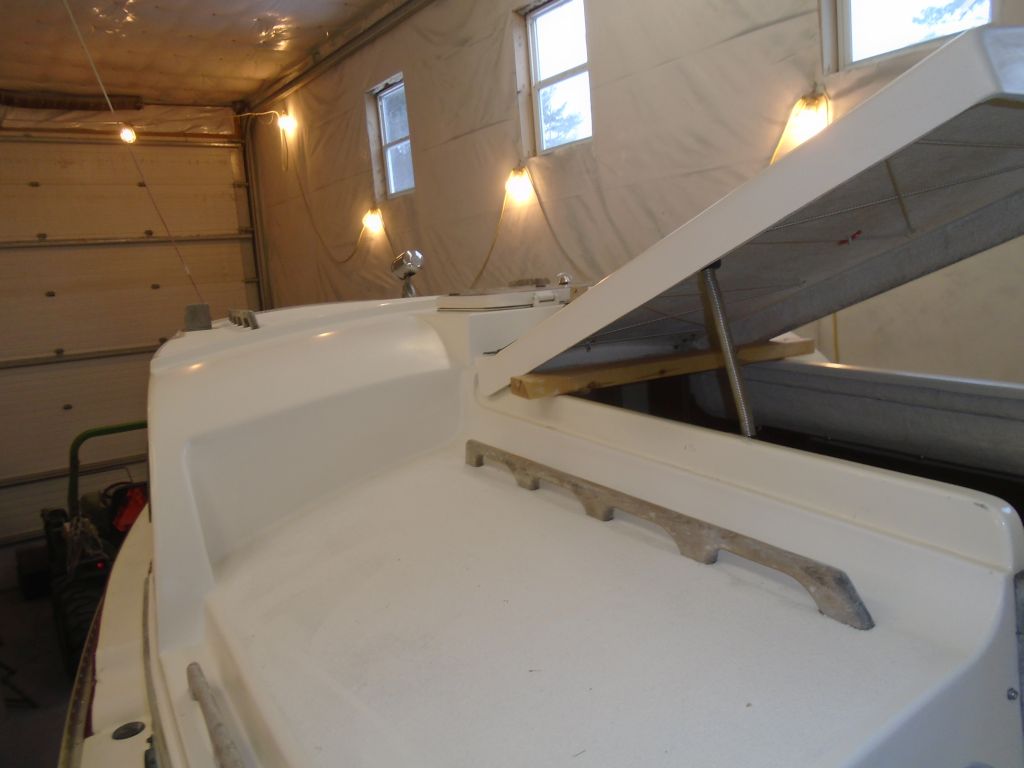
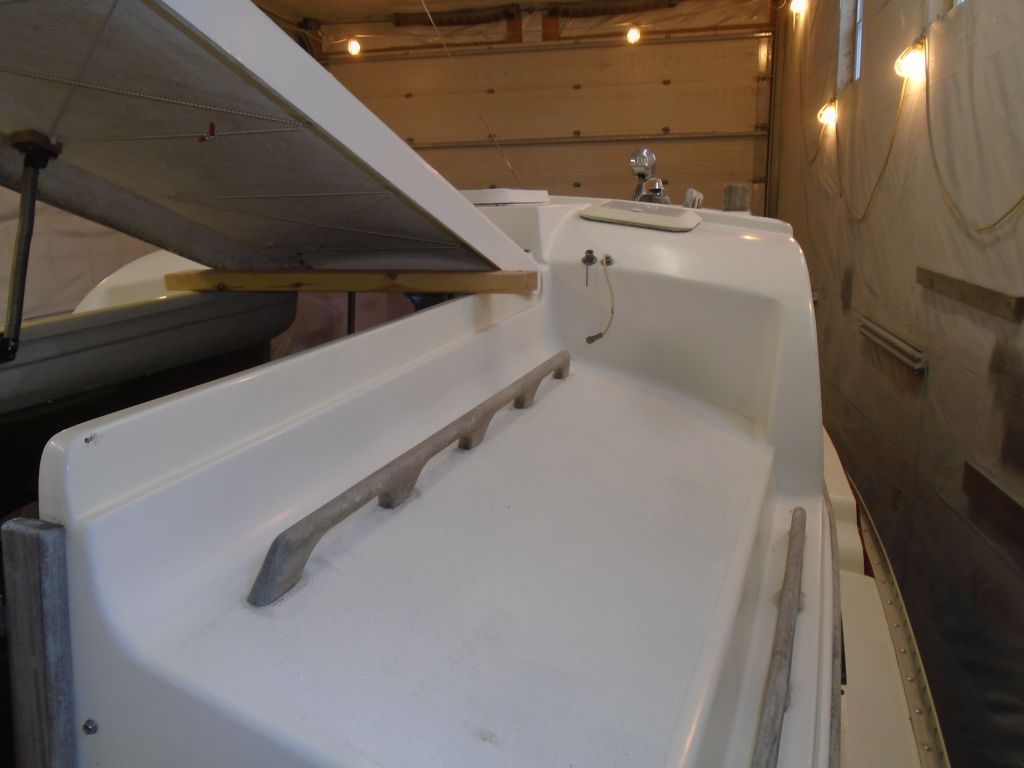
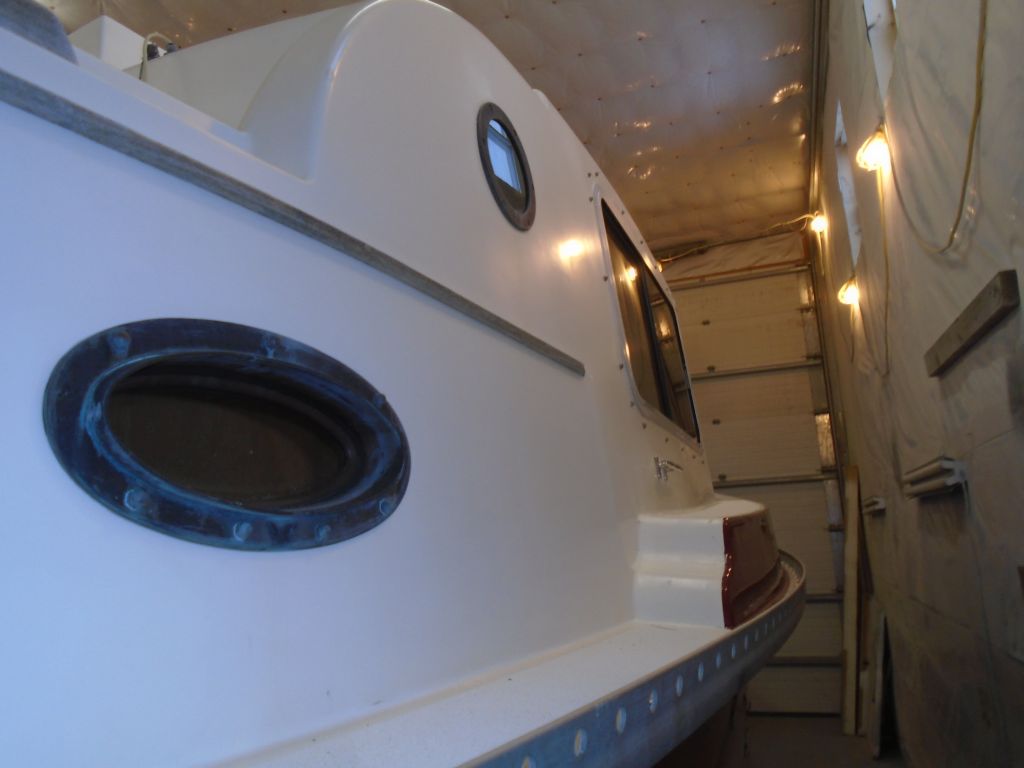
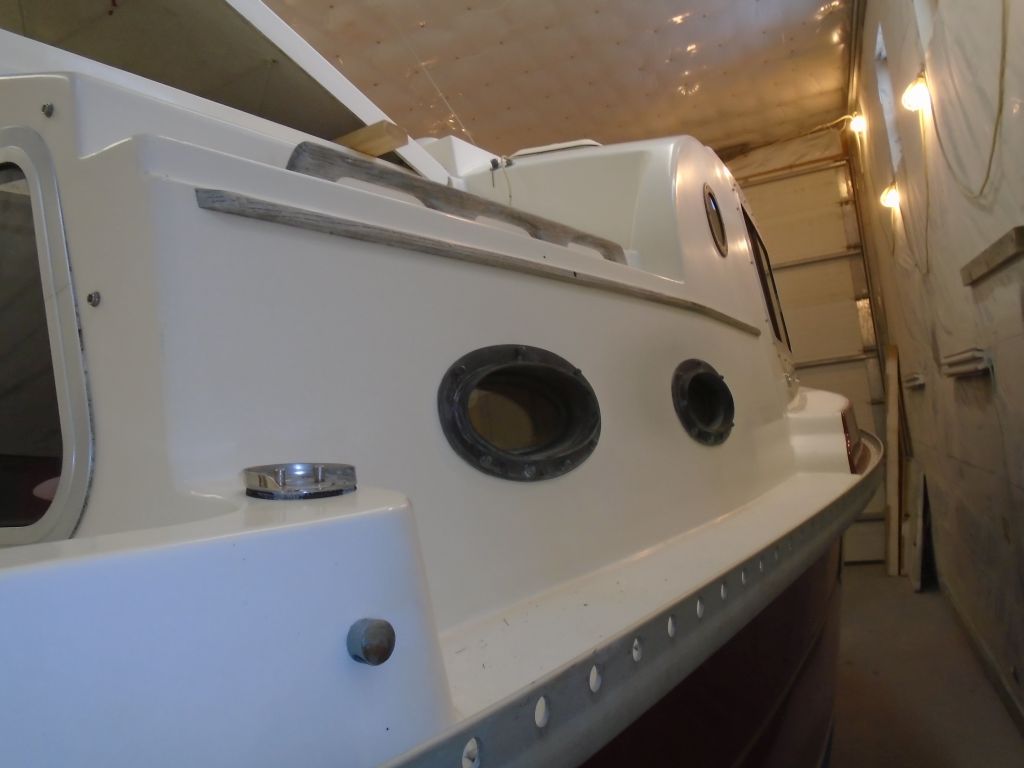
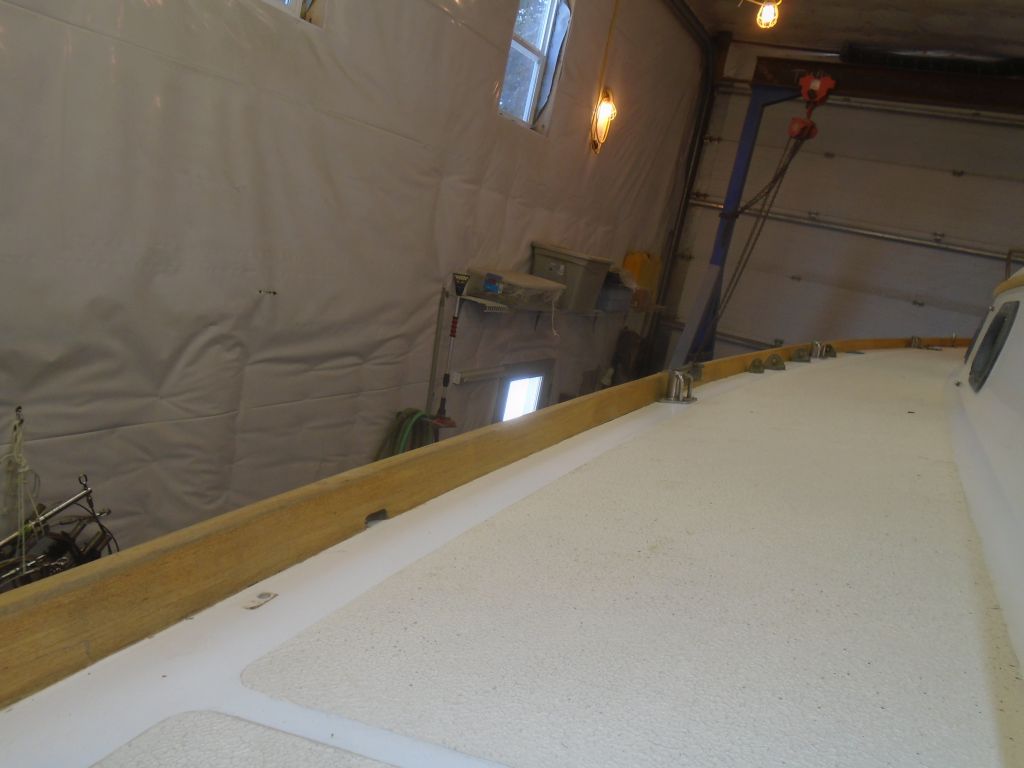
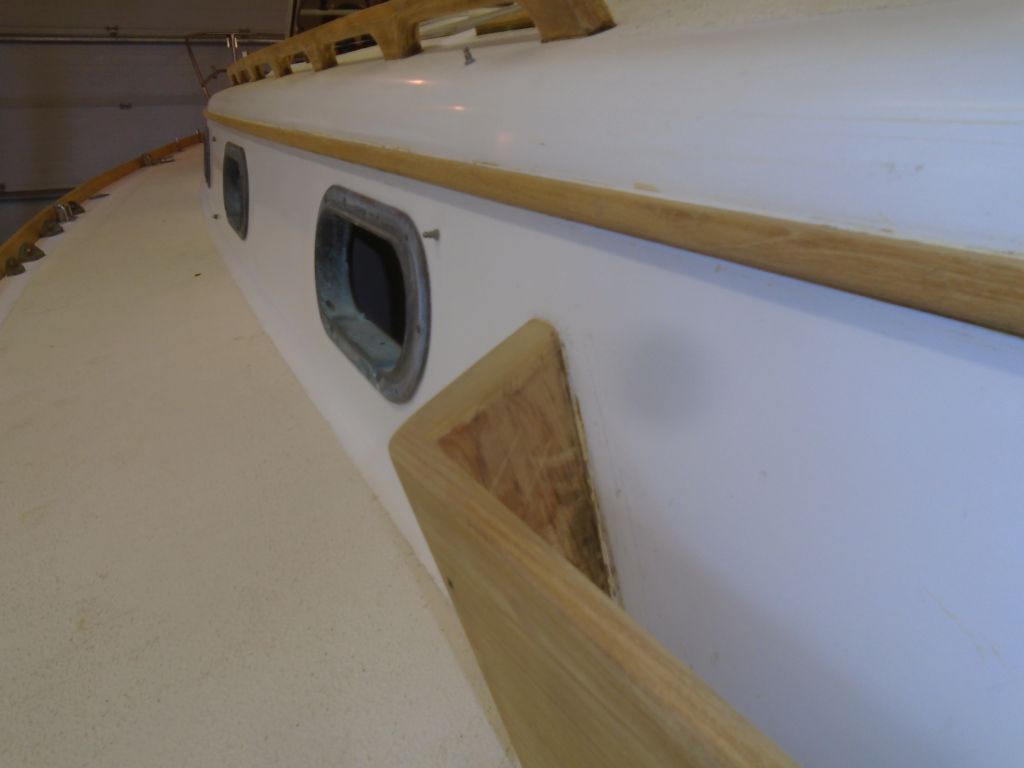
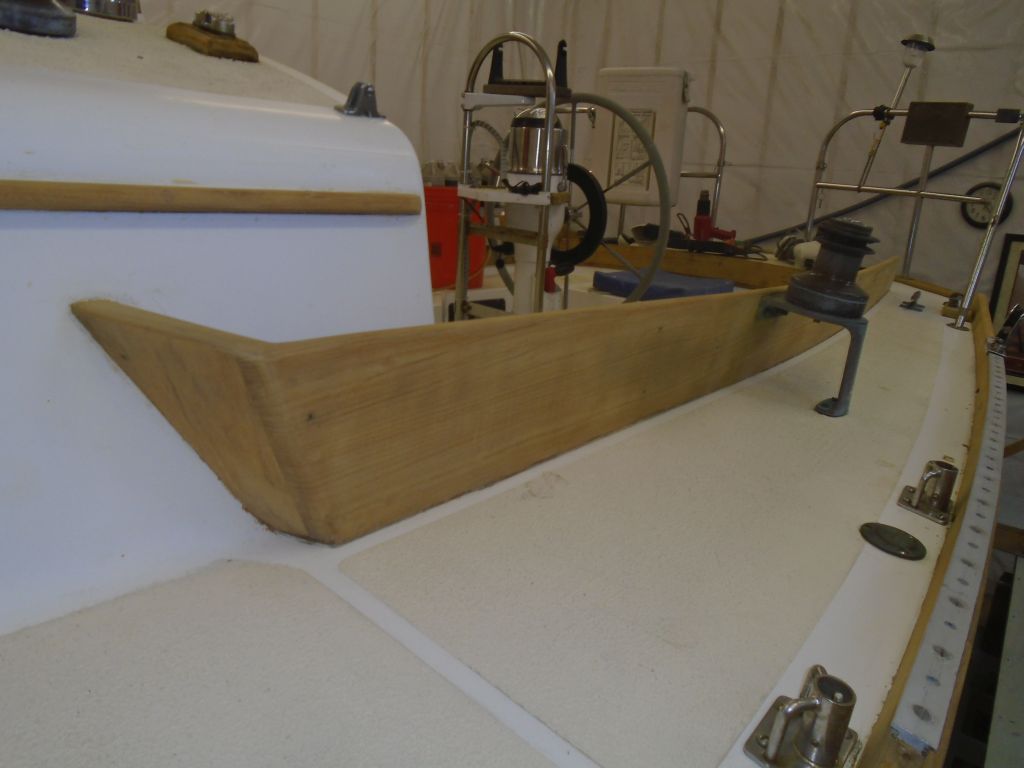
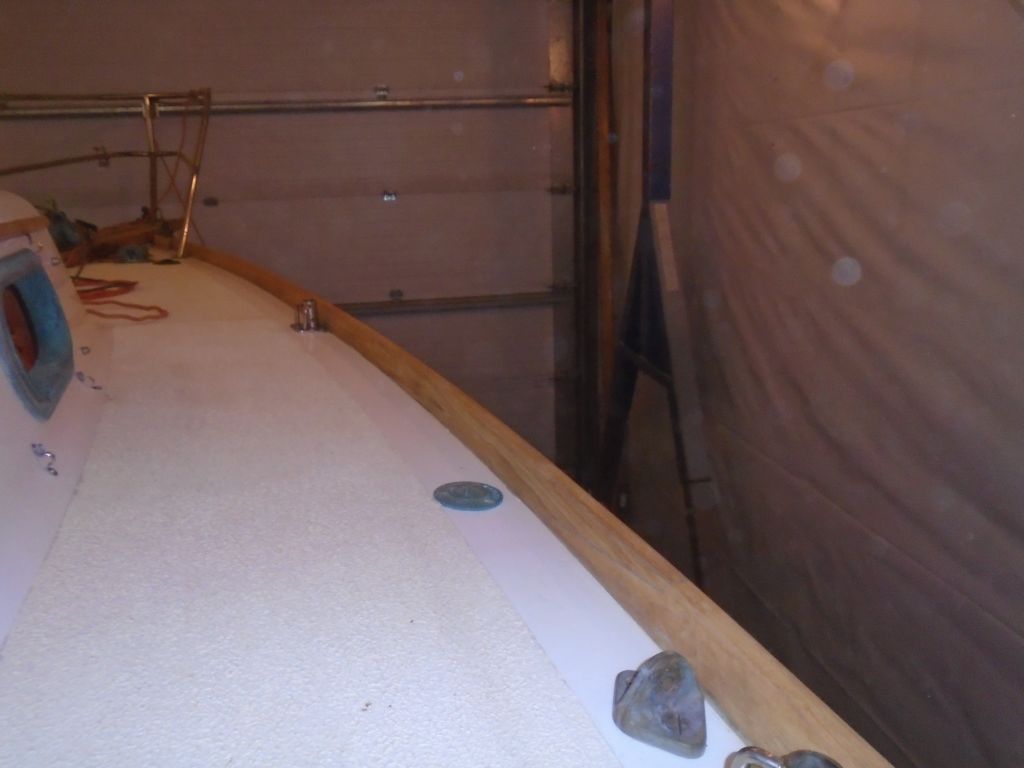
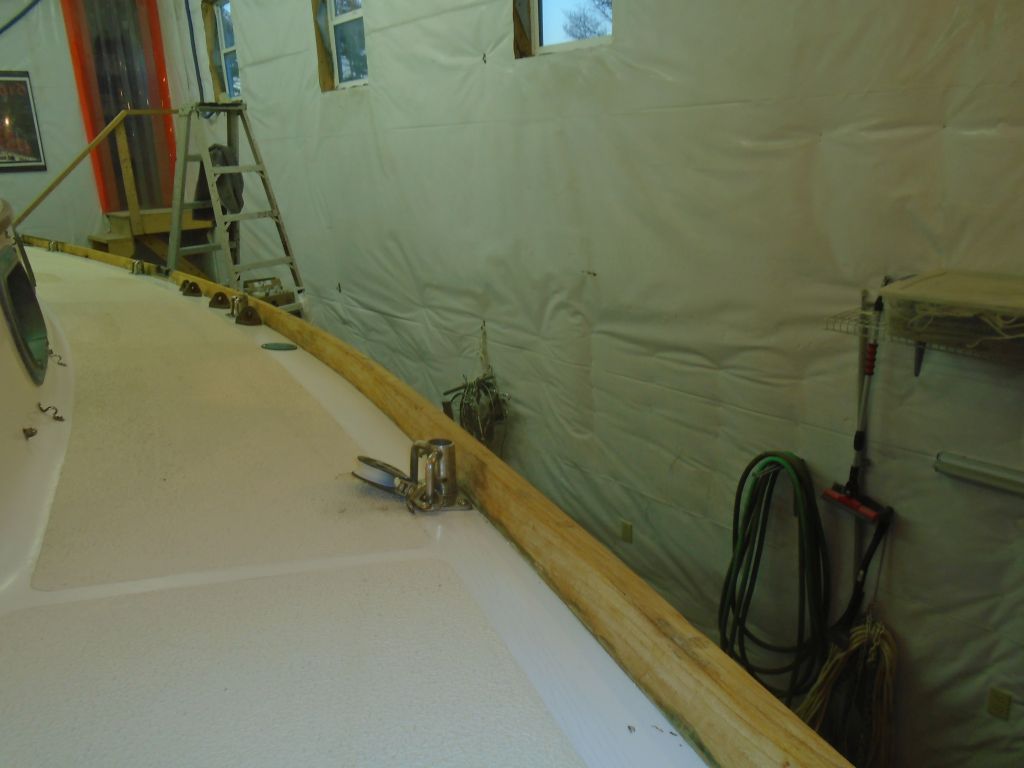
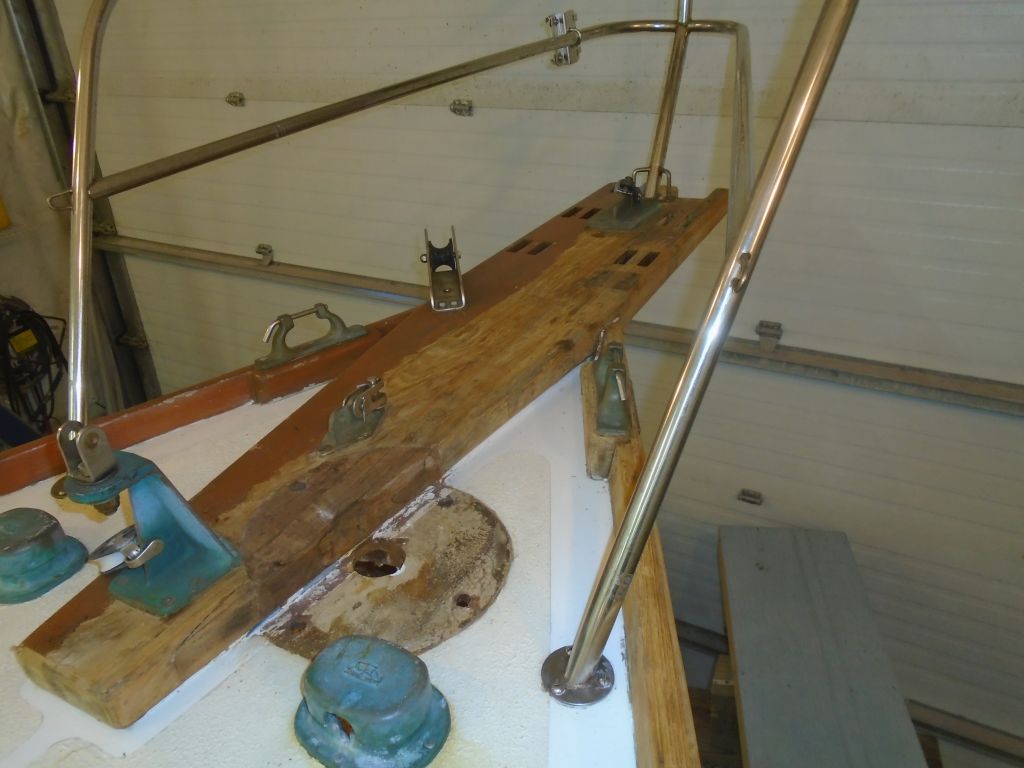
To complete the masking, I covered the raised forward bulwarks with more paper and tape.

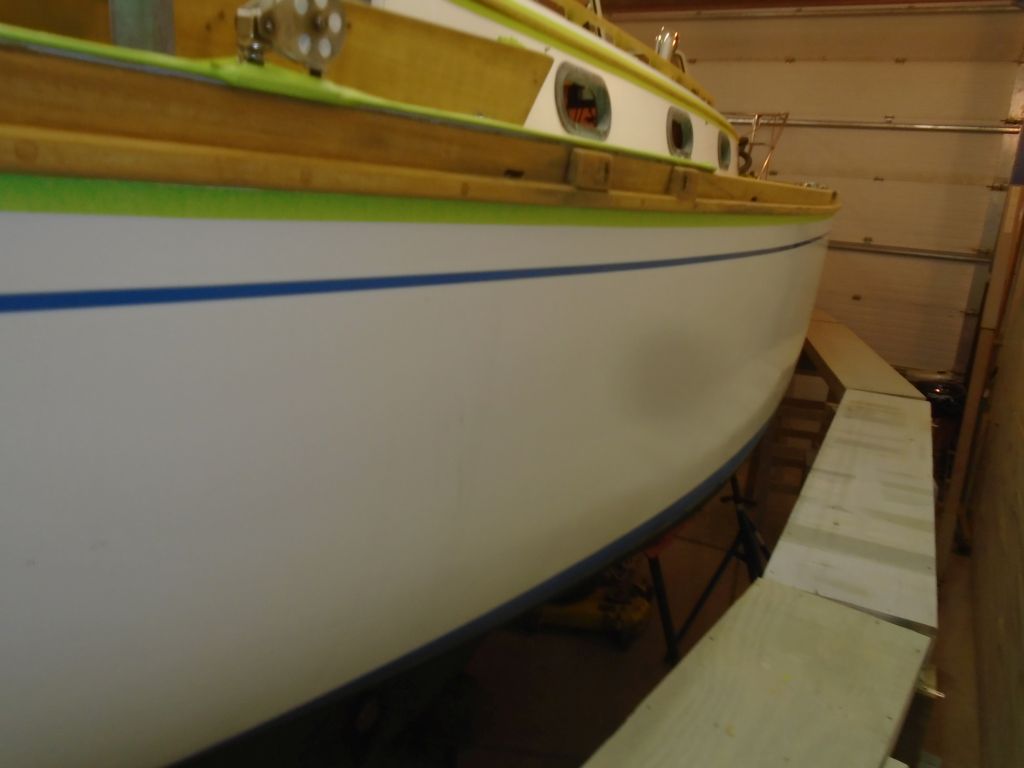
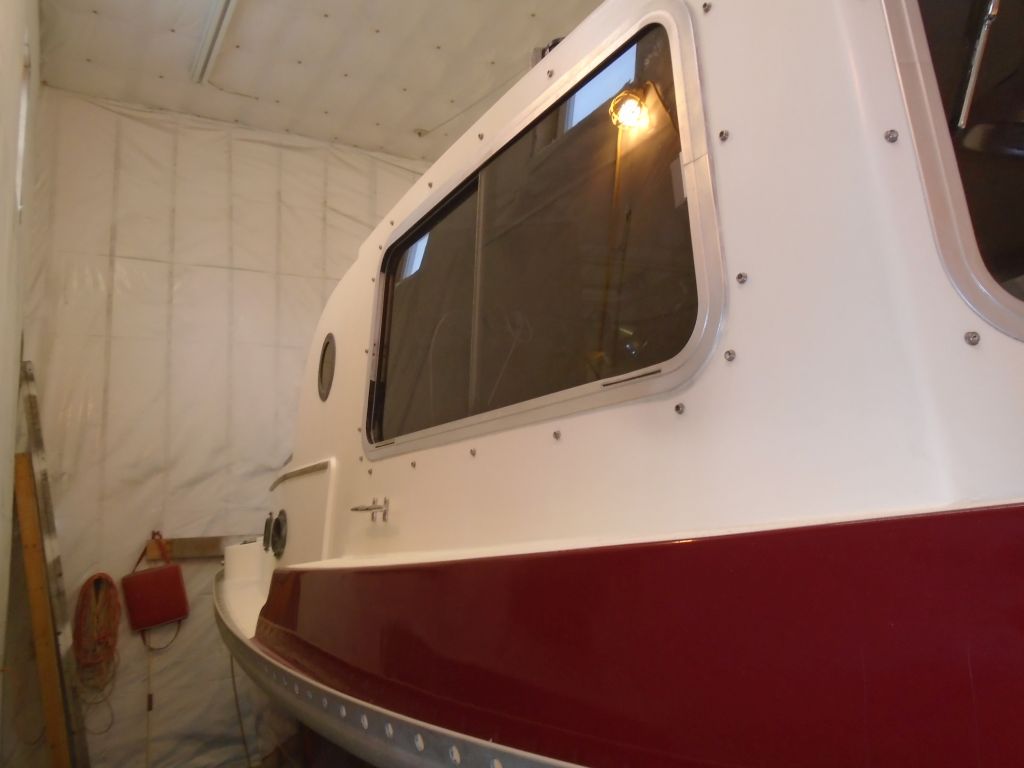
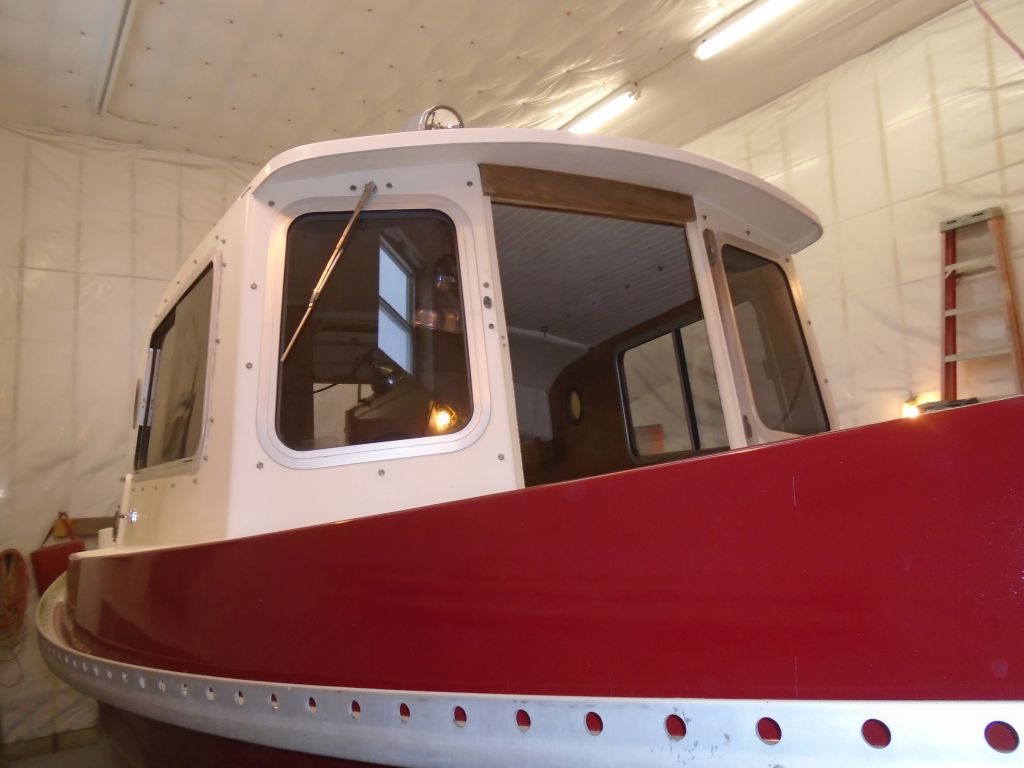
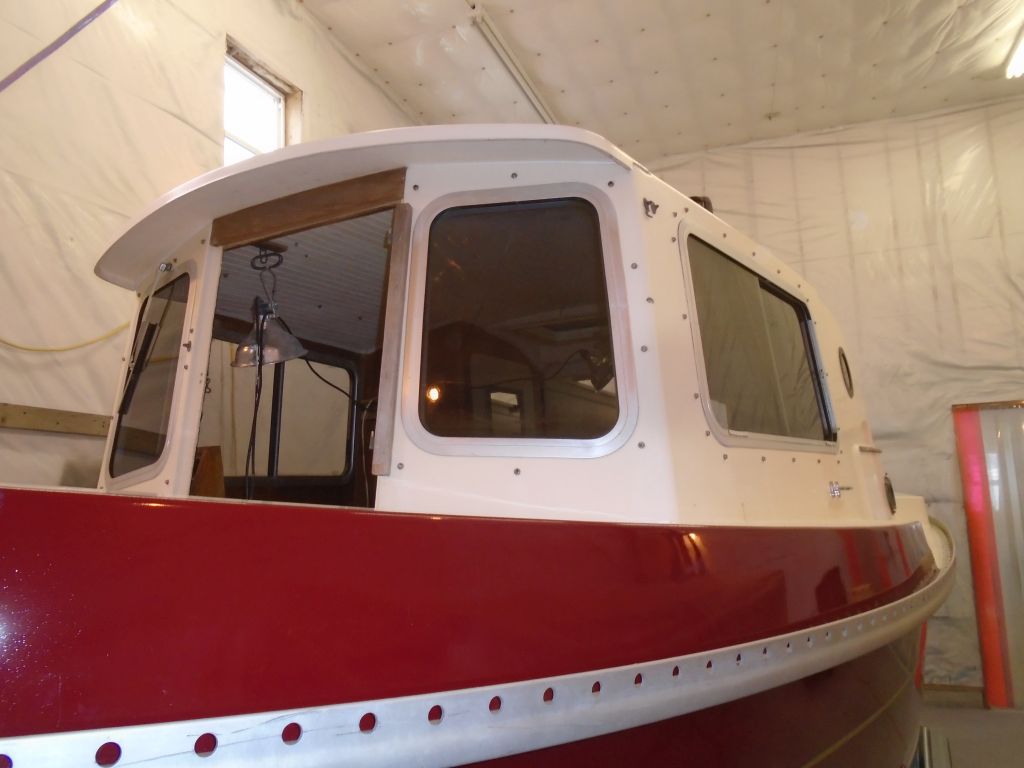
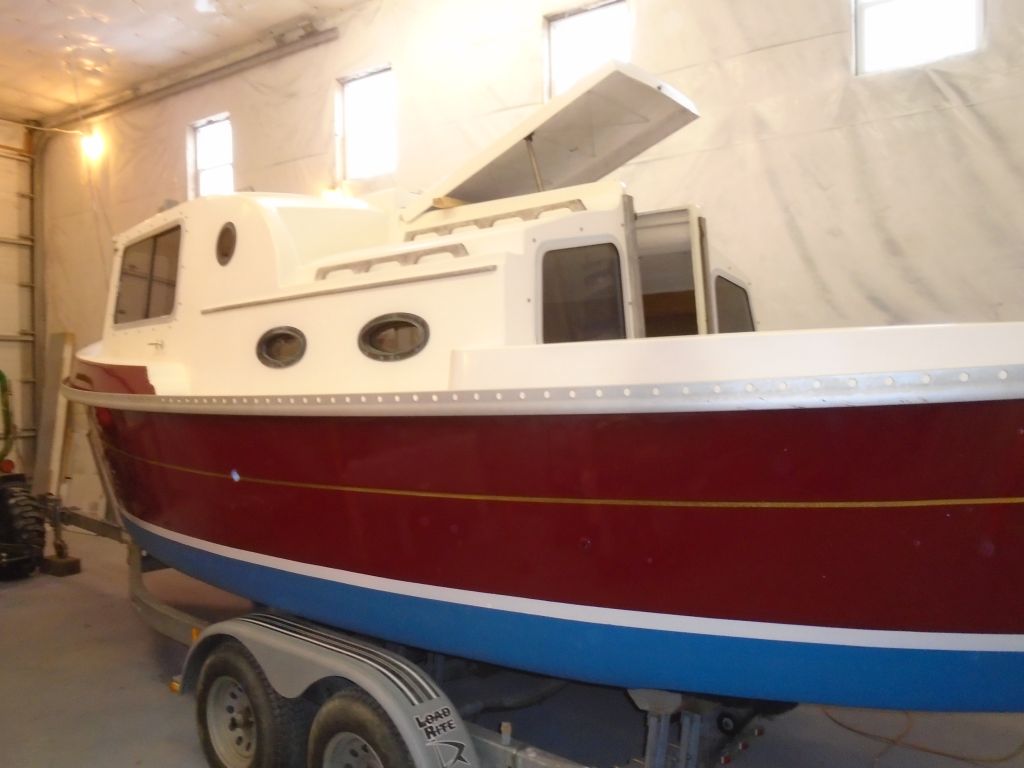
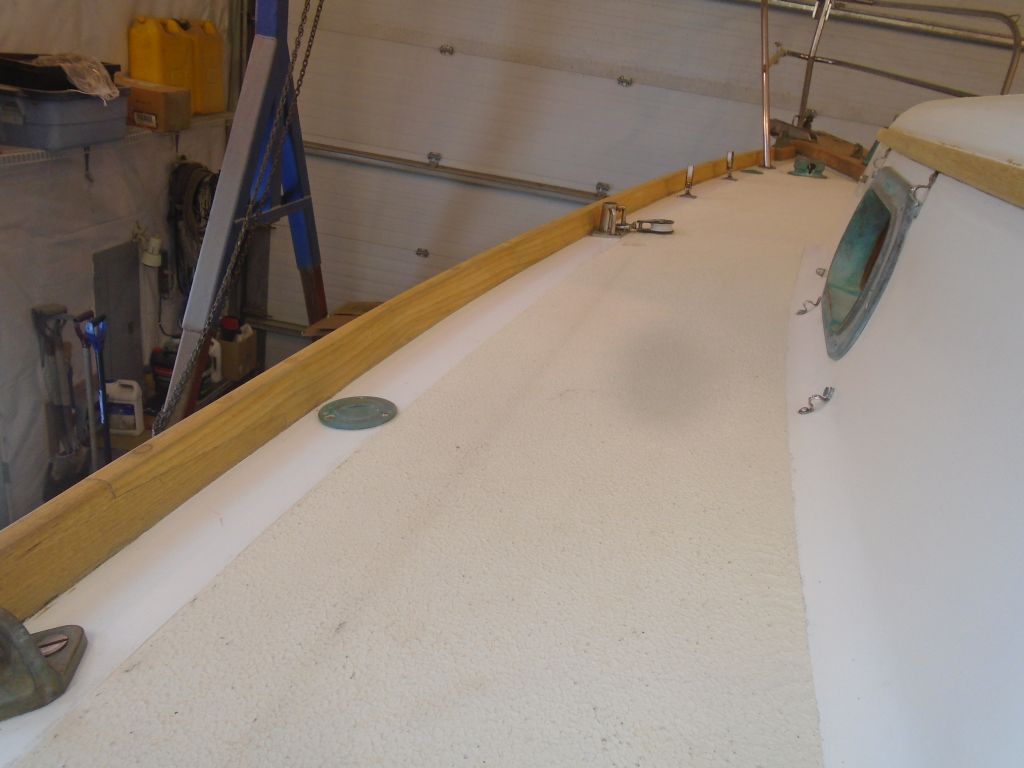
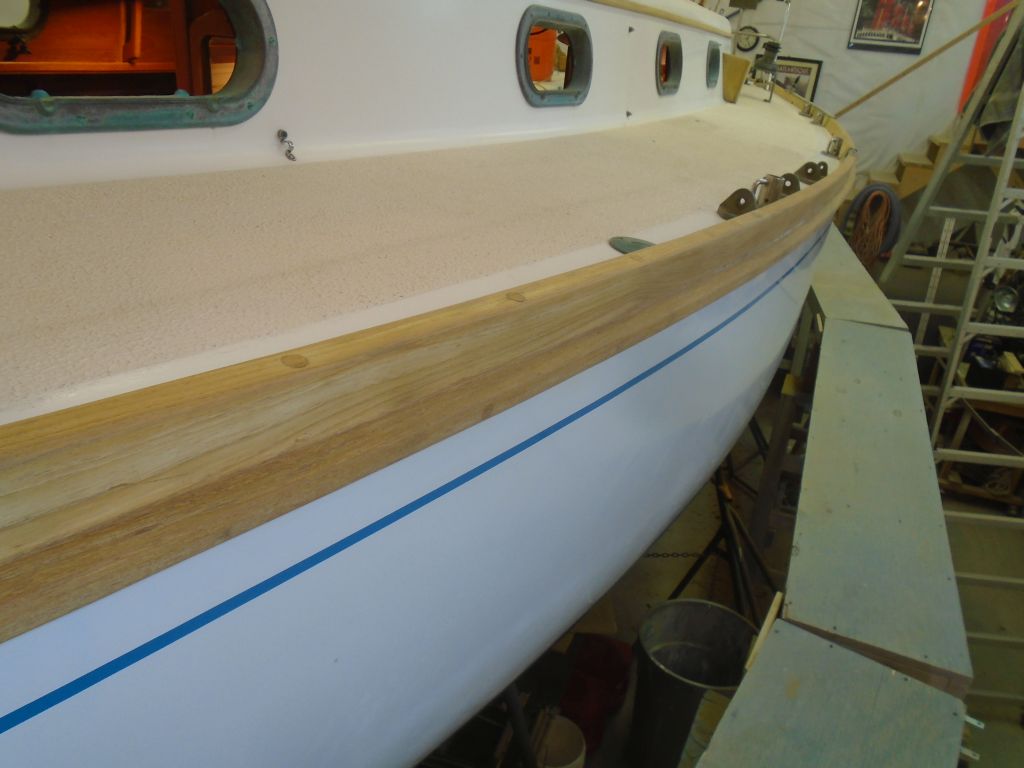
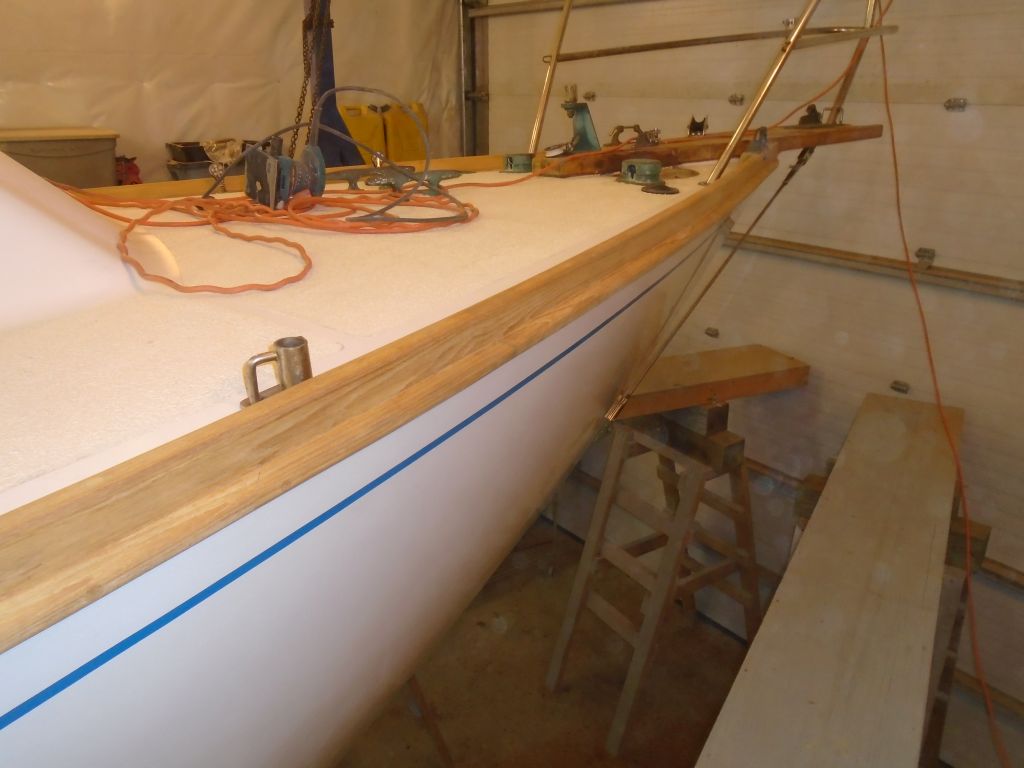
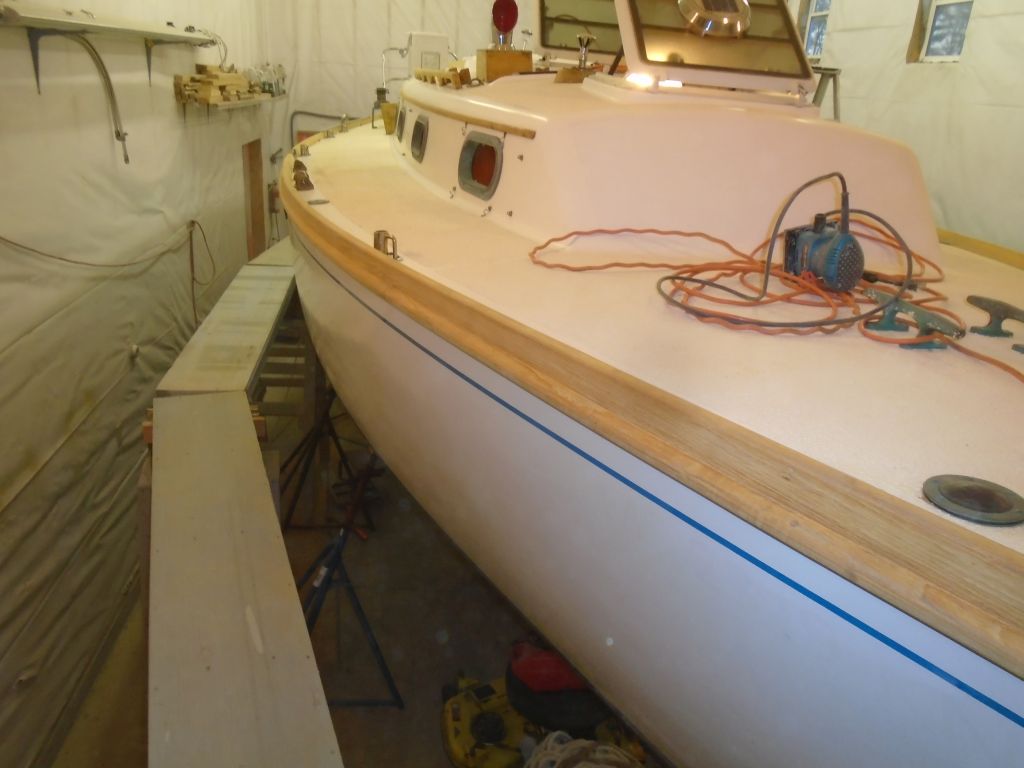
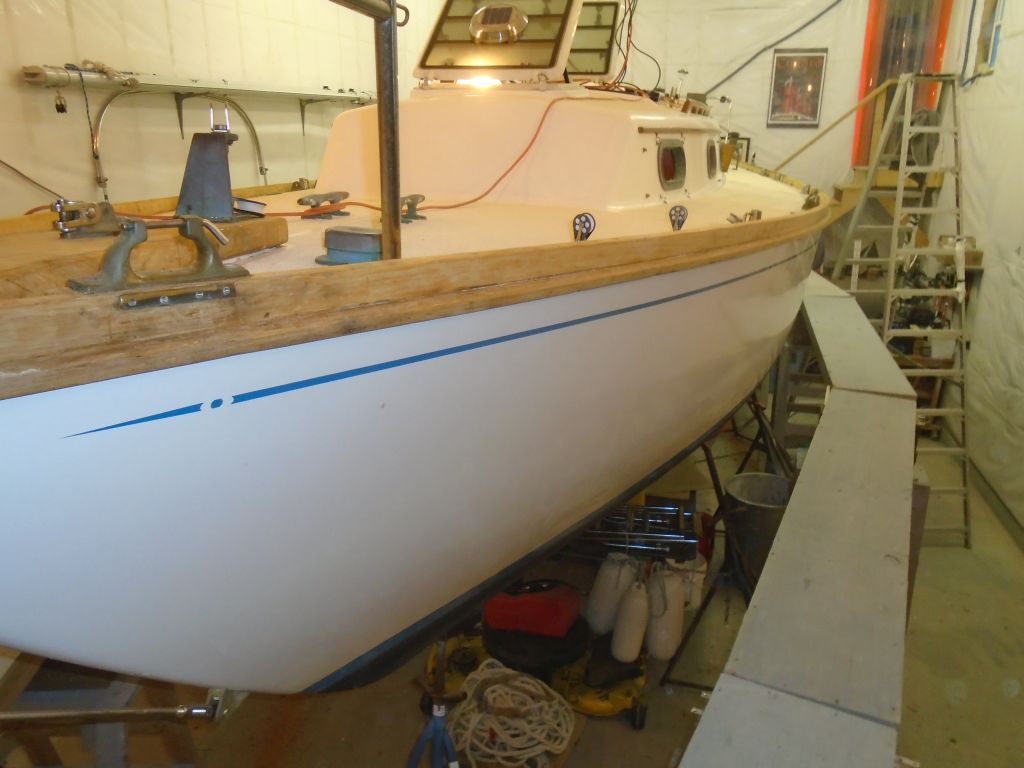
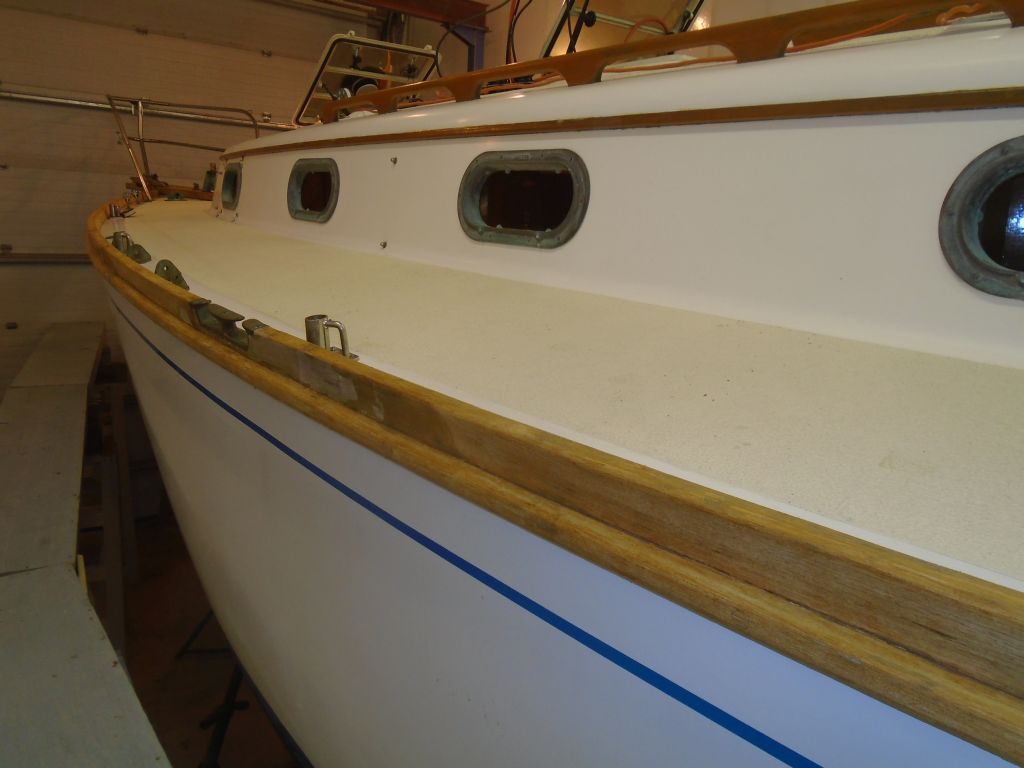
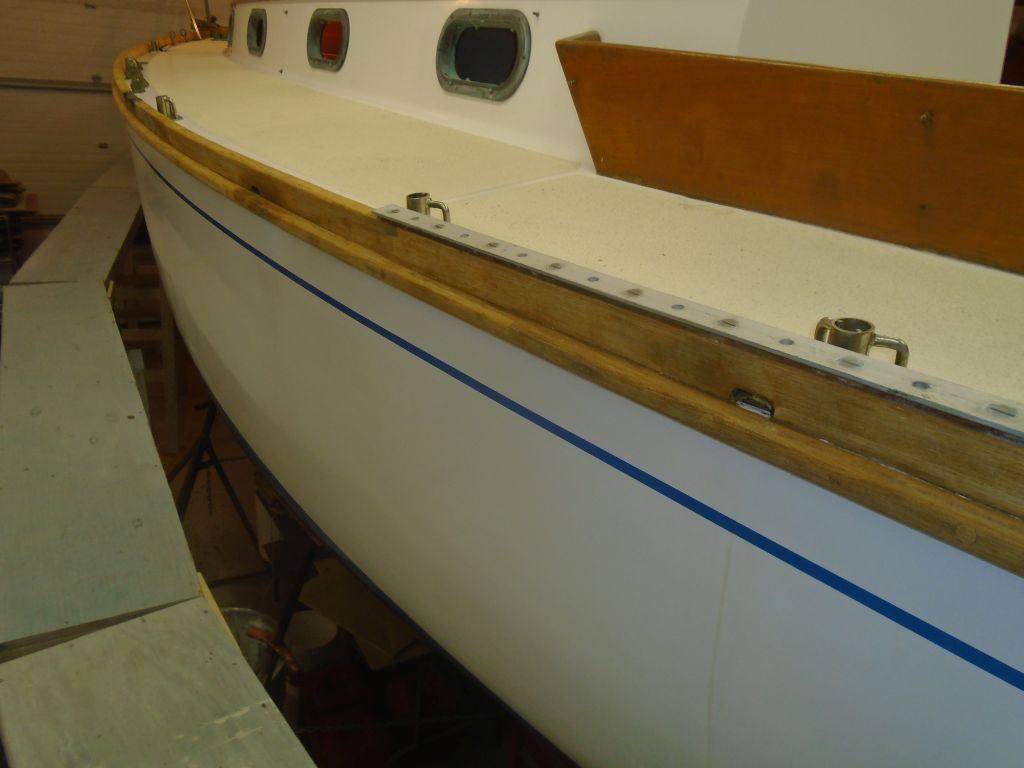
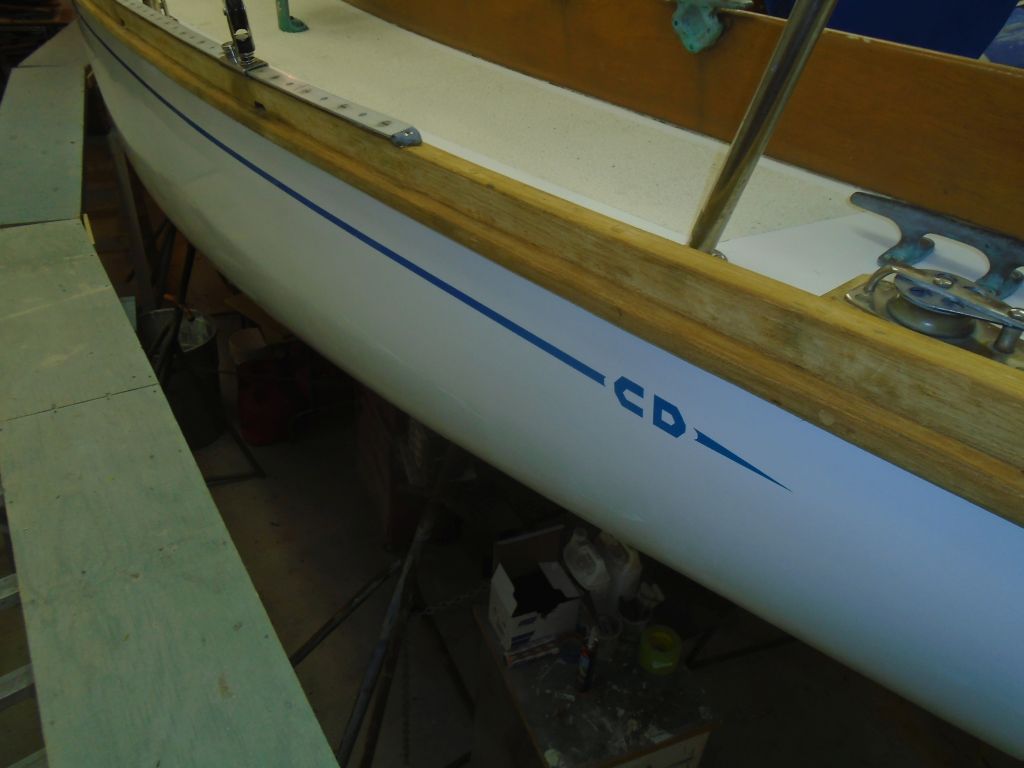
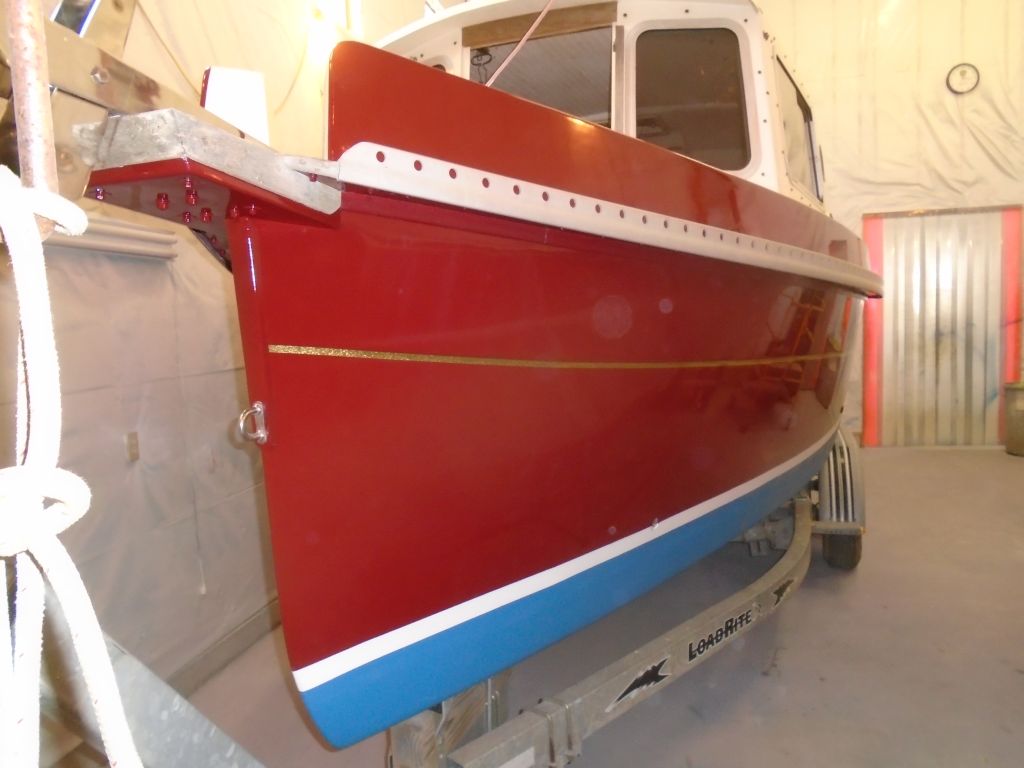
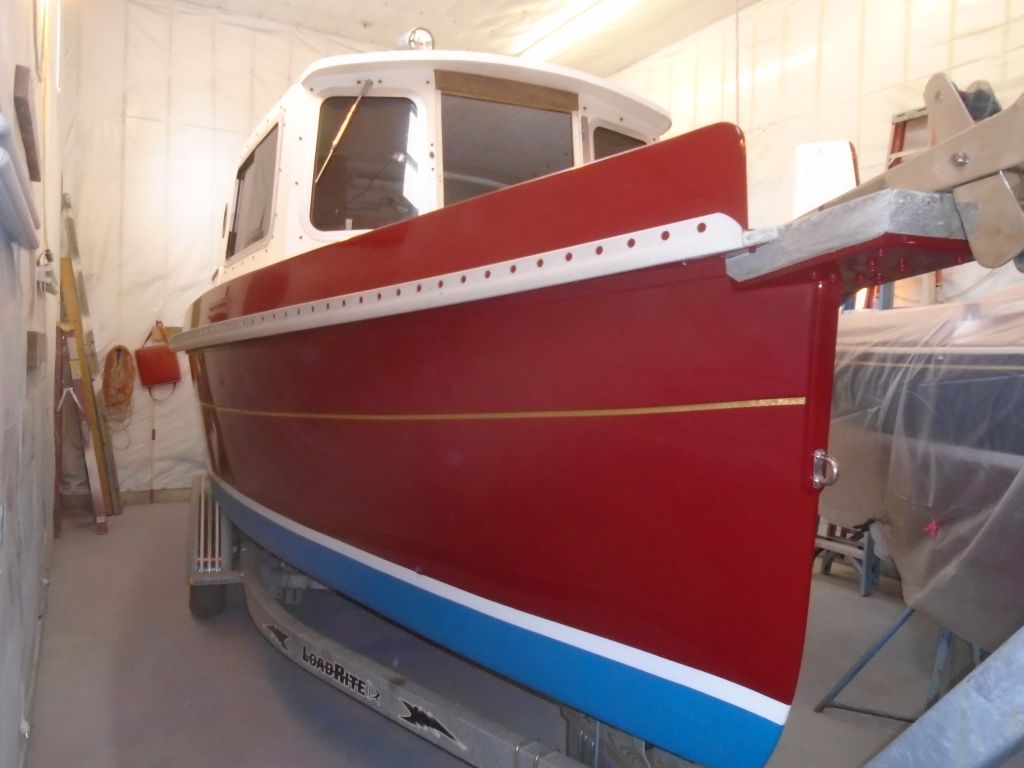
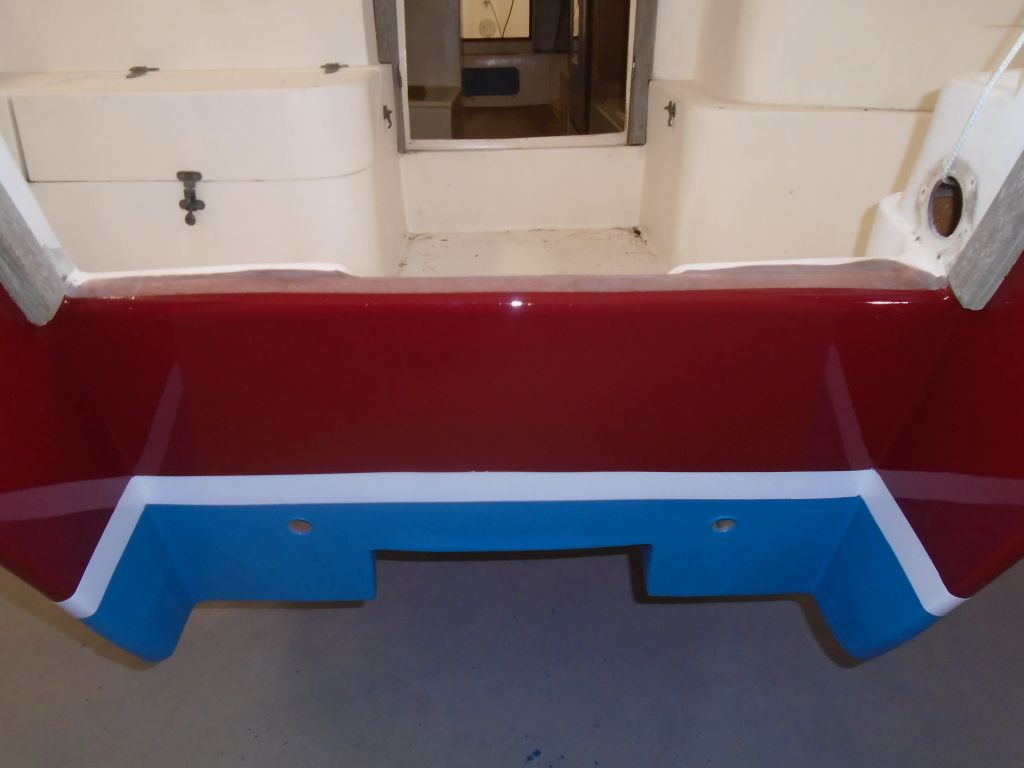
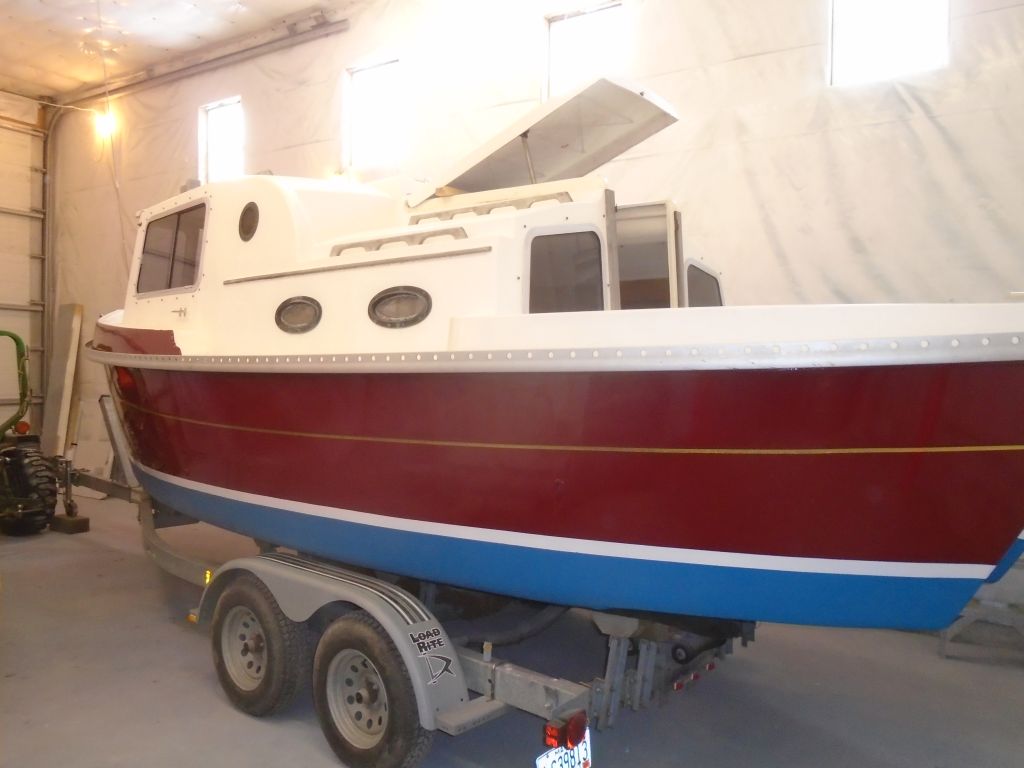
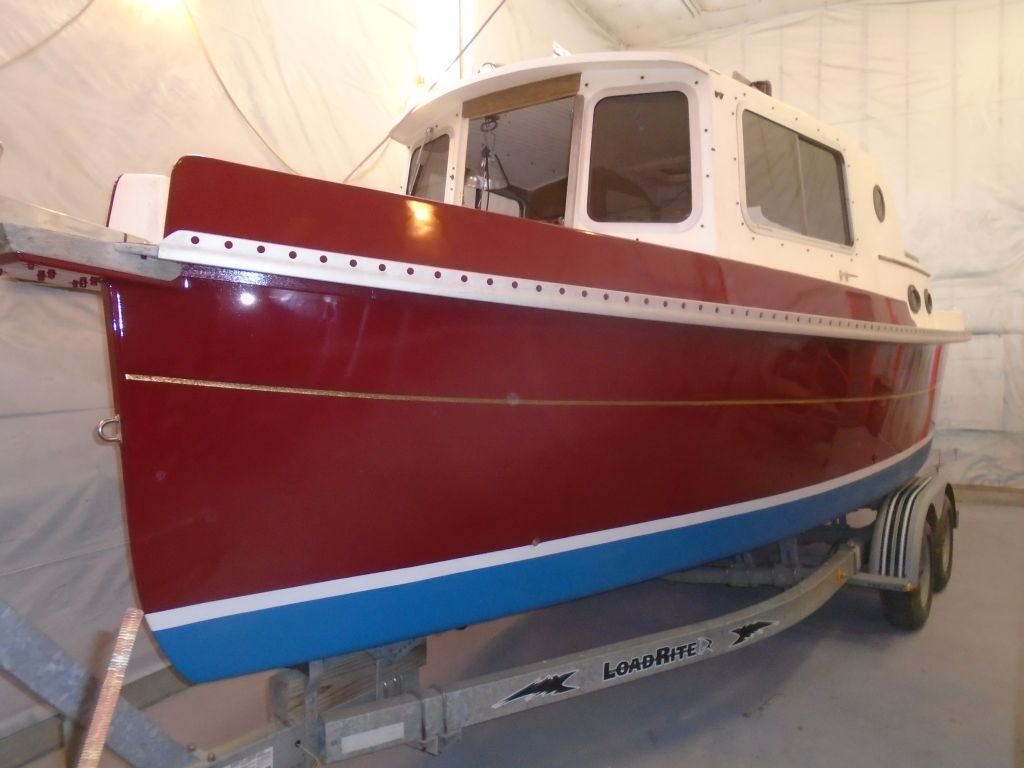
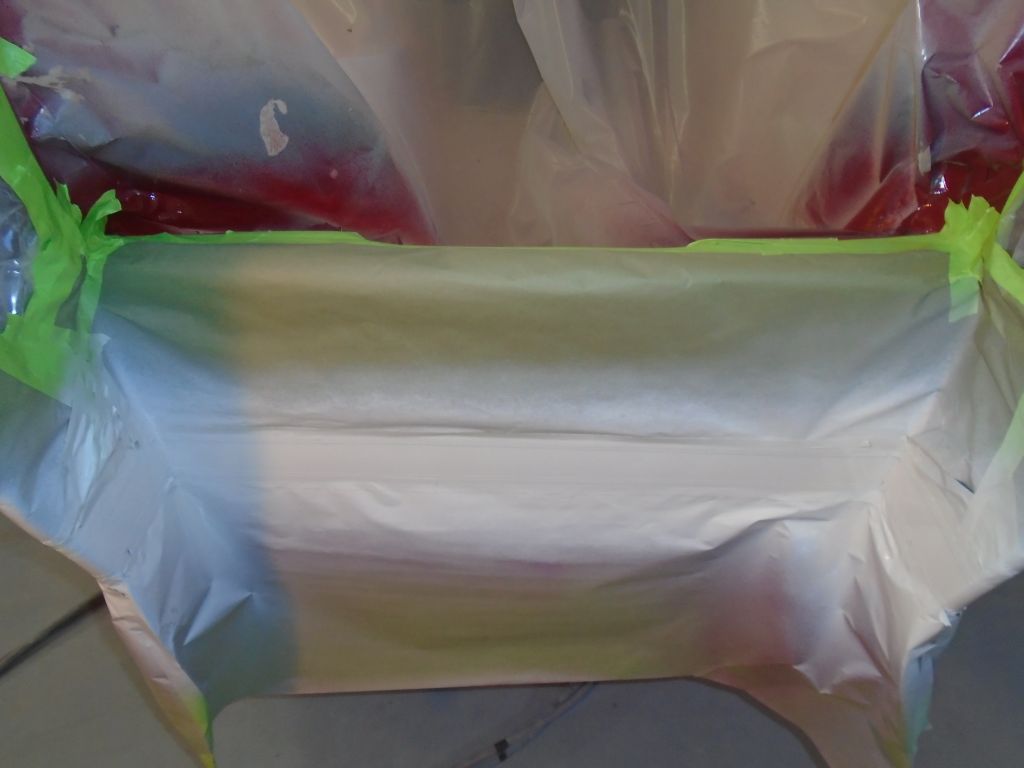
After final preparations, I applied three coats of Alexseal off-white gloss topcoat to the boottop.  This color would tie in well with the off-white color of the original decks, which were in good-enough condition and would stay as is.

Total time billed on this job today:    3.75 hours

0600 Weather Report:
25°, clouds.  Forecast for the day:  Partly sunny, 36°

Nomad 14

< Back to Nomad

Thursday

With the required or at least prudent full-day waiting period before I could mask over the brand-new hull paint, there was little I could do beyond cleaning up the spray equipment, prepping boottop paint for the work ahead, and removing the masking tape I’d applied where the boottop would be.

I looked forward to having this image-changing part of the project behind me, and to getting back on board for the first time since I got ahead of myself and masked her up a few months earlier.

Total time billed on this job today:  .5 hours

0600 Weather Report:
25°, cloudy.  Forecast for the day:  Possible wintery showers, then mainly sunny, high in the upper 30s

Nomad 13

< Back to Nomad

Wednesday

After final preparations, I applied three coats of Alexseal wine red gloss topcoat (also called claret by other coatings manufacturers) to the hull.  The flash, and the harsh lighting in the shop, make the paint appear a little lighter than it actually is.

The job went swimmingly till the very end, as I was refilling my spray cup after doing the third coat on the first side of the boat, as is my habit, but this time somehow I managed to fumble the paint pot, spilling a good amount all over my paint prep table, spray gun, and the floor.  It looked like I’d just slaughtered a pig, though it was less dramatic after I’d cleaned up a bit.  The stain would remain for all my days as a reminder.

hullpaint11-123015

Total time billed on this job today:  3 hours

0600 Weather Report:
15°, cloudy.  About 3-4″ snow total yesterday, plus mixed sleet/freezing rain.  Forecast for the day:  clouds and showers (all types), highs in the 20s

Nomad 12

< Back to Nomad

Tuesday

I spent the first part of the day sanding the new primer with 320 grit, by hand and machine as required.   Once the sanding was complete, I blew down, vacuumed, and solvent-washed the hull before cleaning up the rest of the shop by broom and water hose.

With her slab sides and sharpie-like hull sections, this boat had no challenging hull curvature to complicate the boottop layout, so to mask off for the eventual boot top I simply applied 2″ masking tape just above the line I’d masked earlier for the bottom.

I wrapped up the day with final hull preparations–another solvent wash, this time with the proprietary solvent from the coatings manufacturer–and paint and spray equipment preparations.

Total time billed on this job today:  4.75 hours

0600 Weather Report:
Snow, about an inch on the ground, 17°.  Forecast for the day:  Snow, 4-7″ predicted, possibly mixing with or changing partially to freezing rain at some point.  Highs in the 20s.

Nomad 11

< Back to Nomad

Monday

After final preparations, I spray-applied four coats of gray Alexseal epoxy finish primer on the hull.

Typically, I liked to use high-build primer first on the boats I worked on, and for a time I waffled on whether to use it here or not.  Most of the boats that passed through the shop benefited from this additional work, as with various repair work and aged, often checked and damaged, gelcoat, the heavier layer of primer not only helped ameliorate these surface conditions, but also gave me additional opportunity to fine-tune the surfaces before final primer coats.  I considered it part of the fairing and surfacing work, rather than part of the painting work.

With this original hull in such good condition overall, with minimal sanding and virtually no repair work or fairing required (other than the transom repair),  the finish primer was the coating that was most important to the eventual character of the gloss topcoats.  But I still wavered on the high-build, and  in fact I eventually decided to use it here simply as a matter of course, even though I’d originally determined not to.   Then, late on a Sunday afternoon during final preparations, I discovered to my dismay that I didn’t have enough of the reducer for the high-build primer on hand to do the job, which meant that I’d have to postpone my planned schedule in order to get it–a two-day delay.   With my feeling that it wasn’t an important step for this boat anyway, this discovery cemented the decision to simply go with finish primer as the first and only step before topcoats.

Total time billed on this job today:  4 hours

0600 Weather  Report:
16°, clear.  Forecast for the day:  Sunny, windy, 25°

Older posts Newer posts