Tuesday
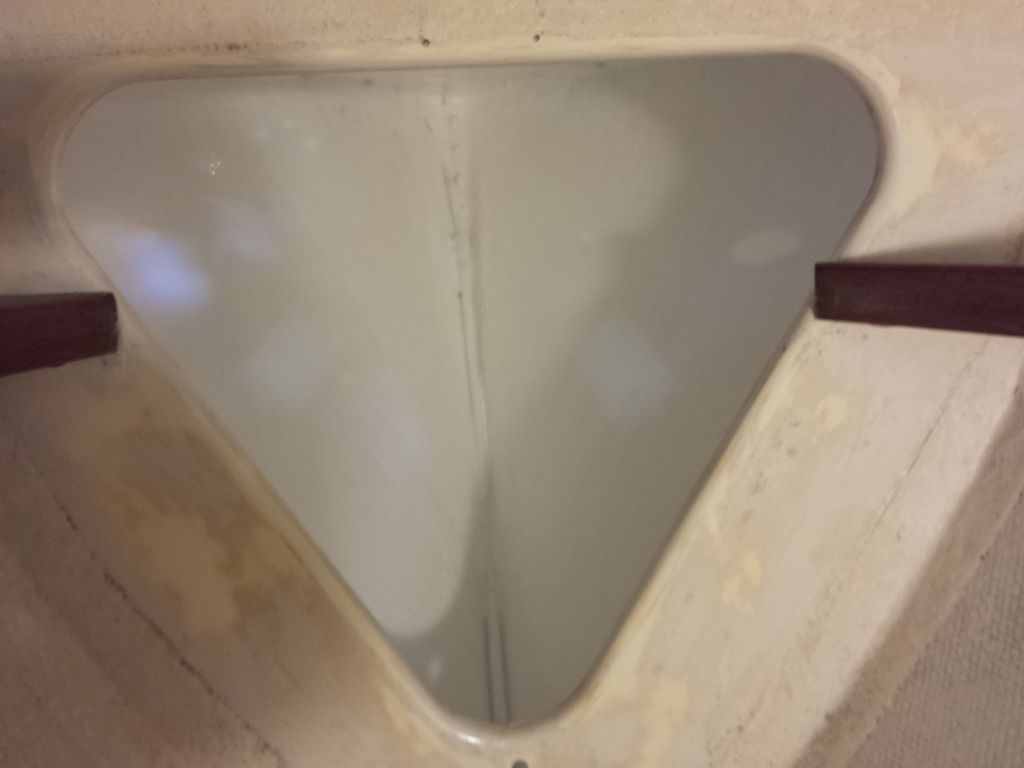
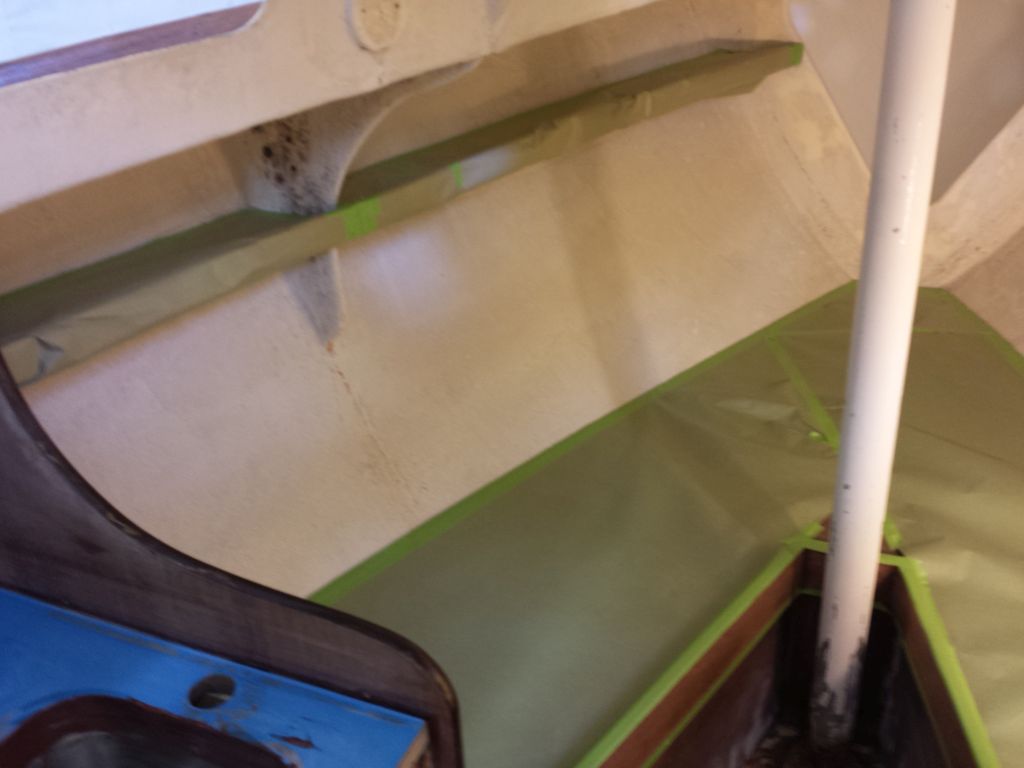
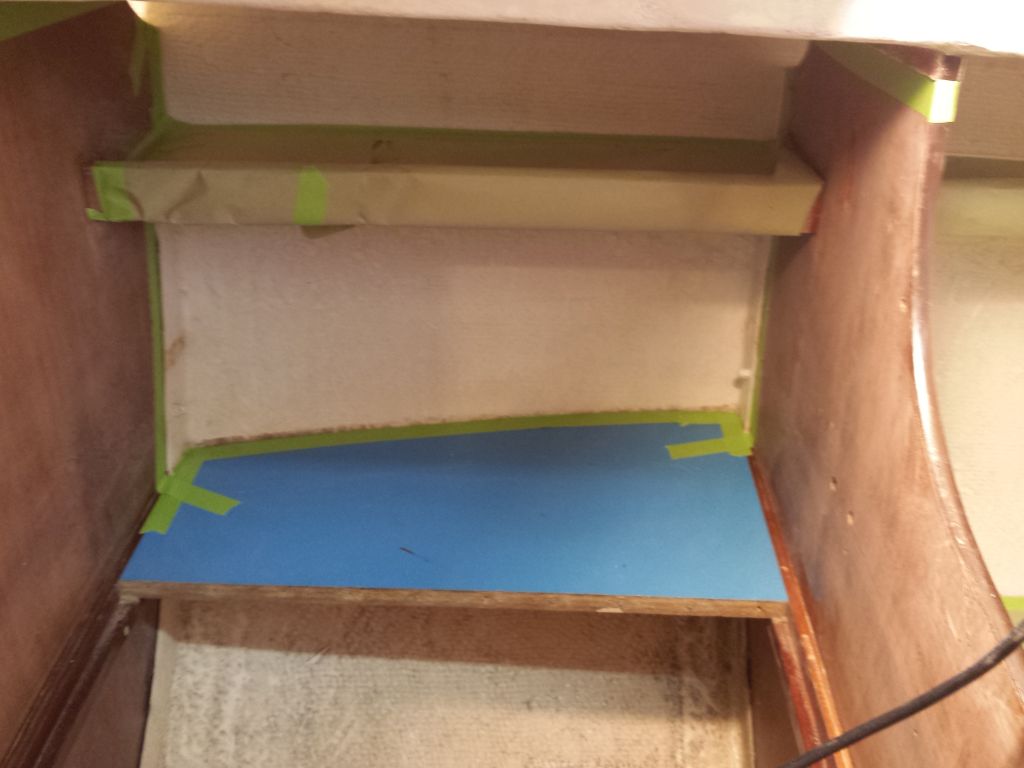
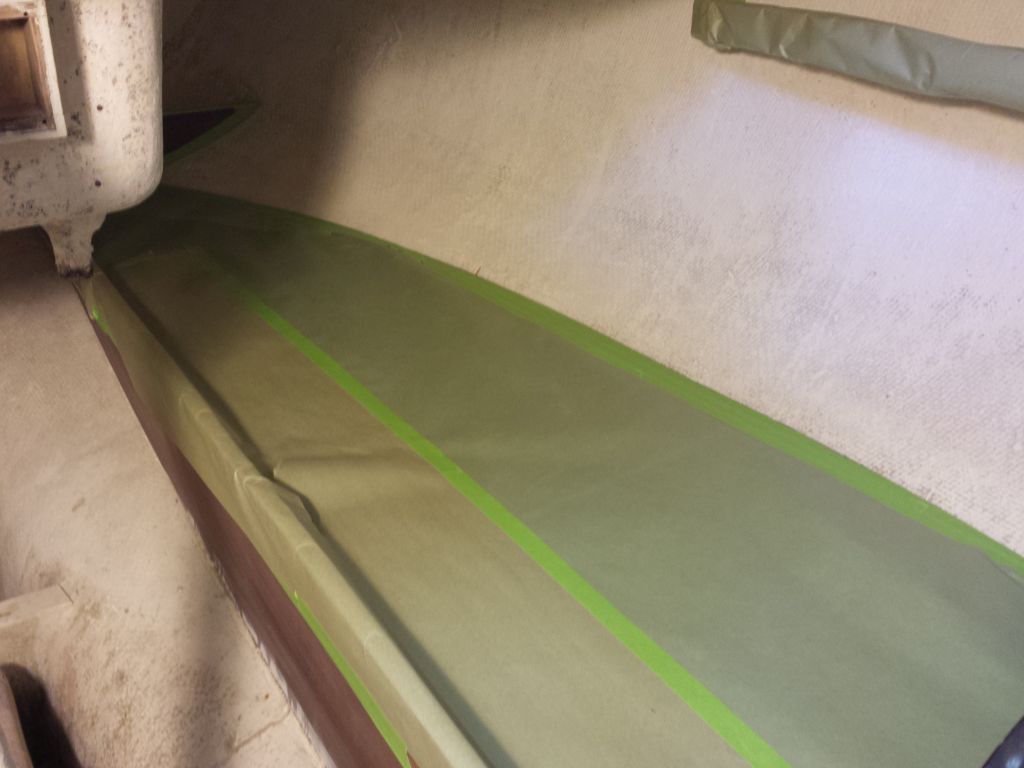
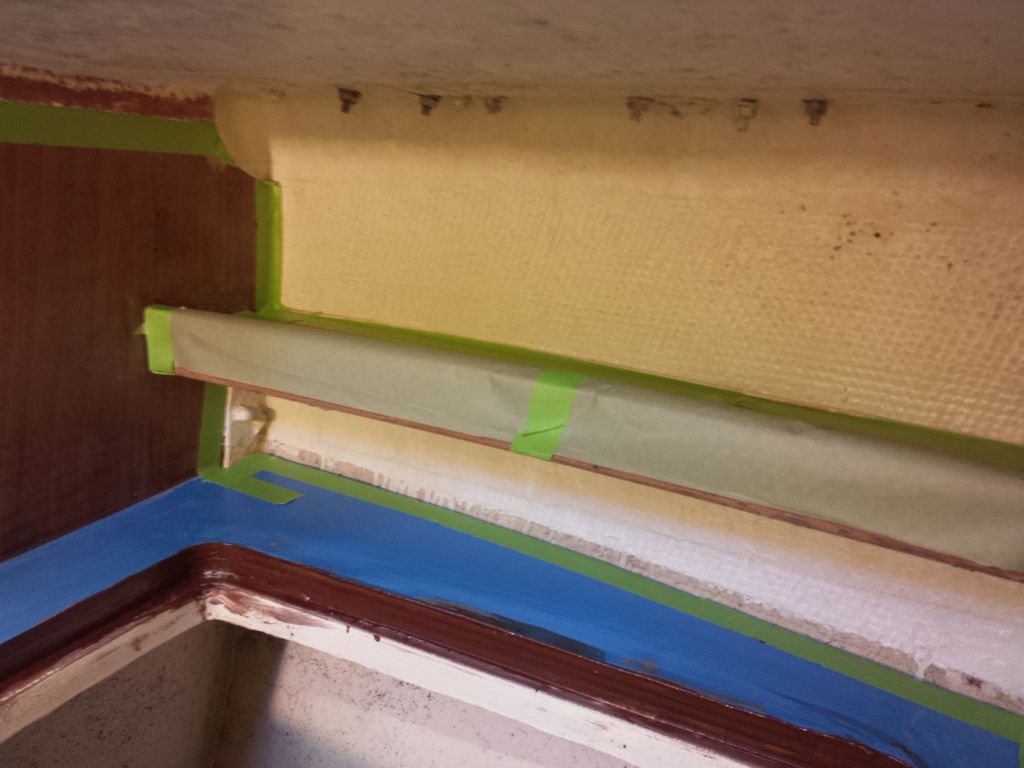
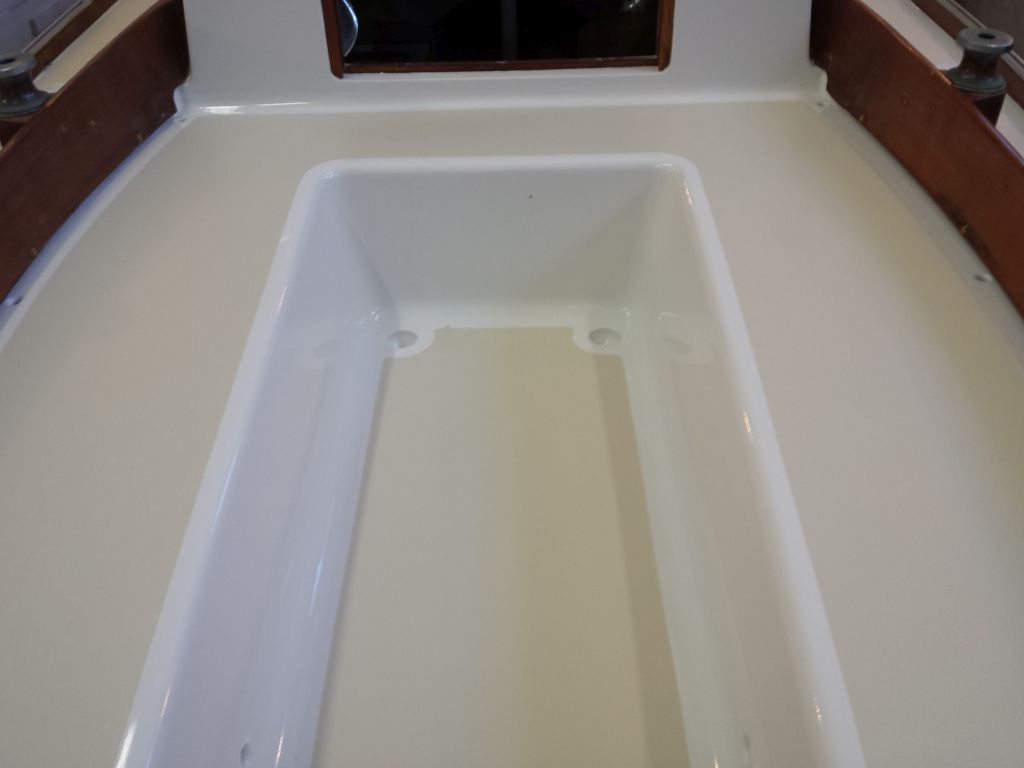
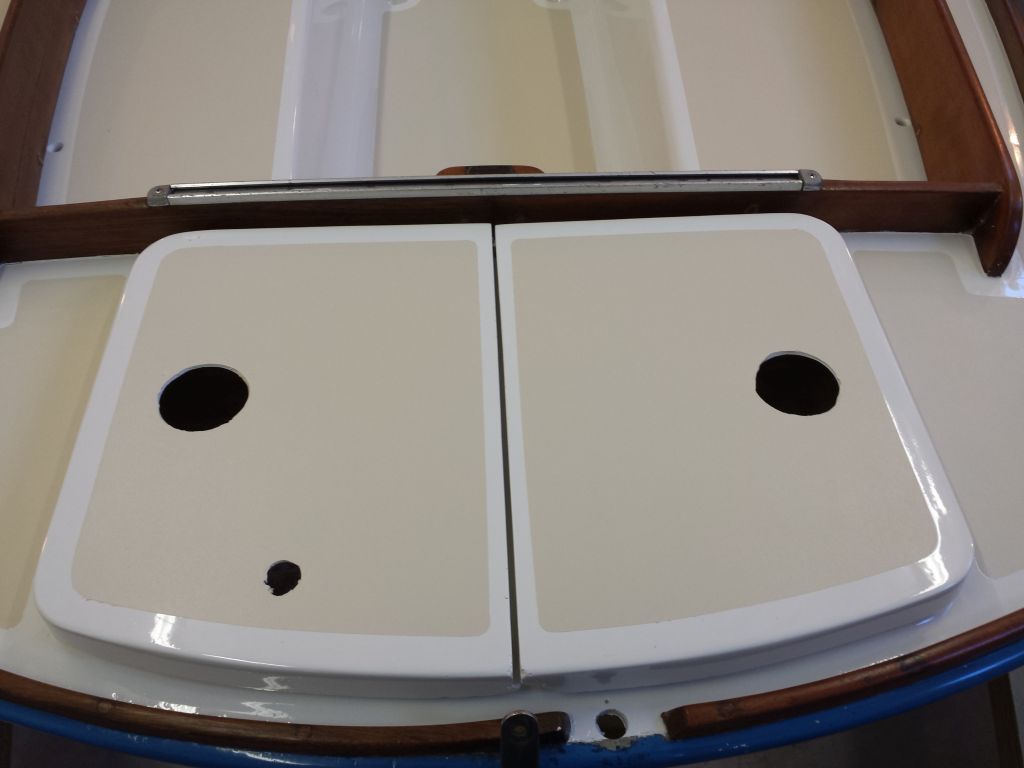
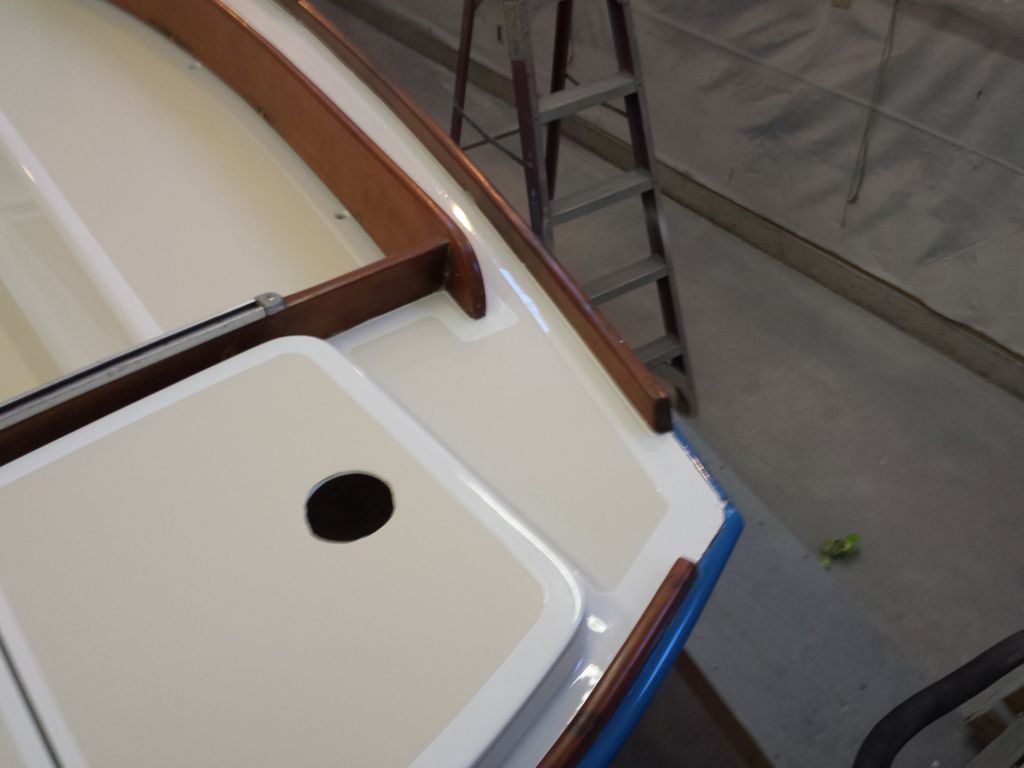
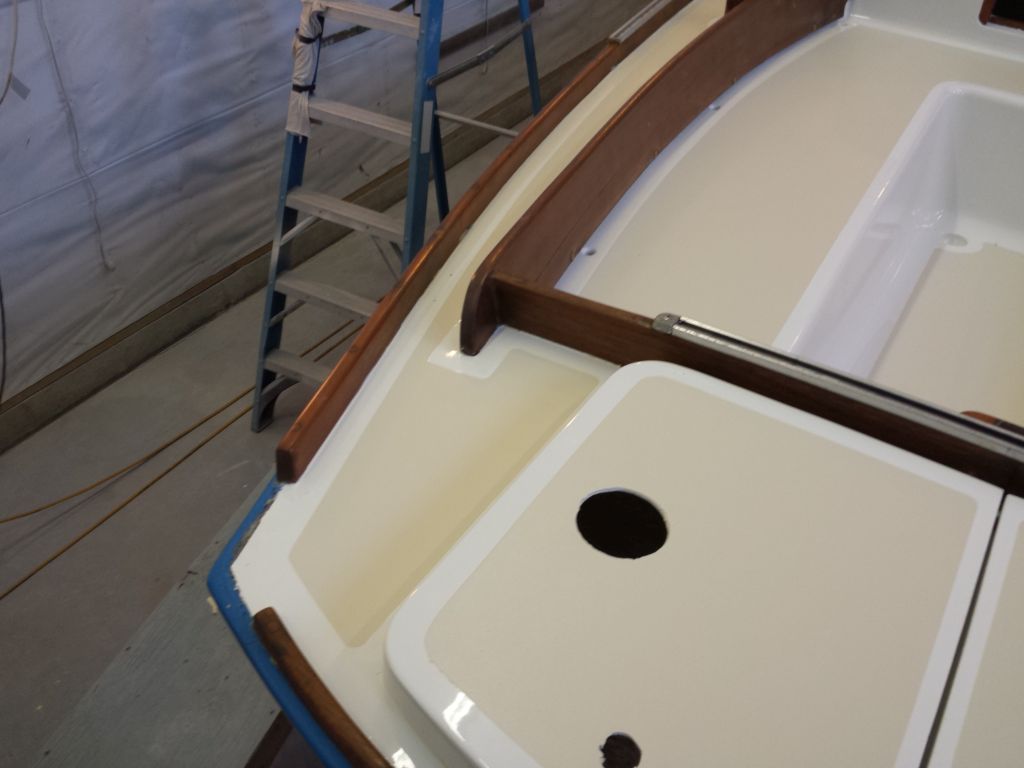
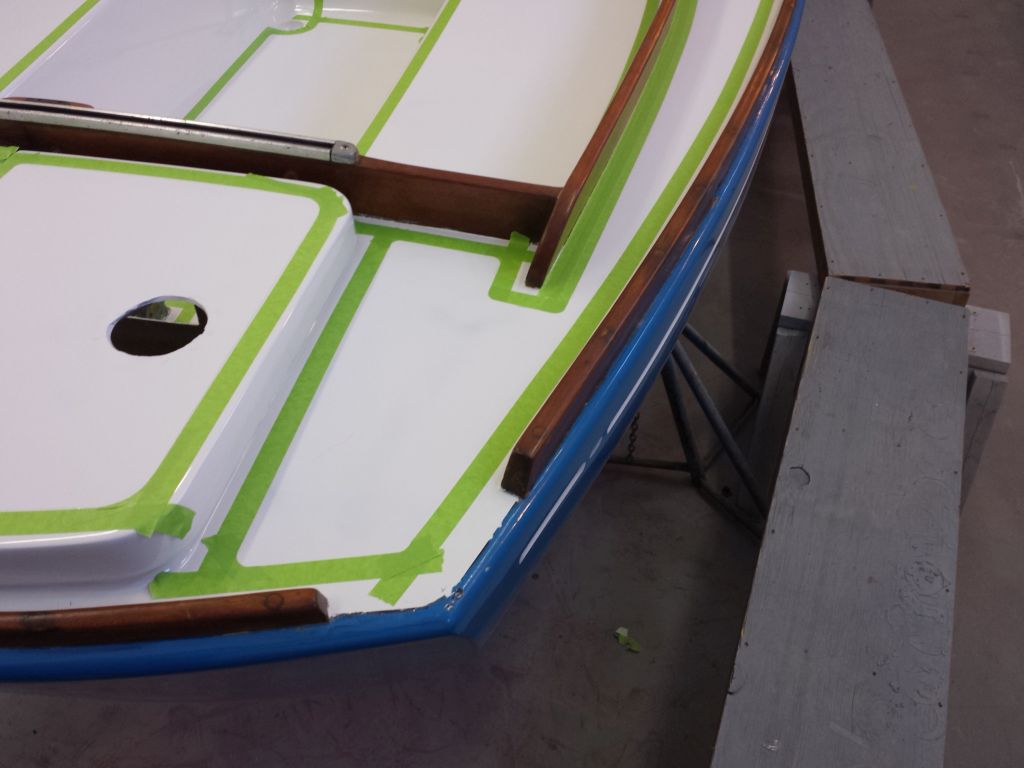
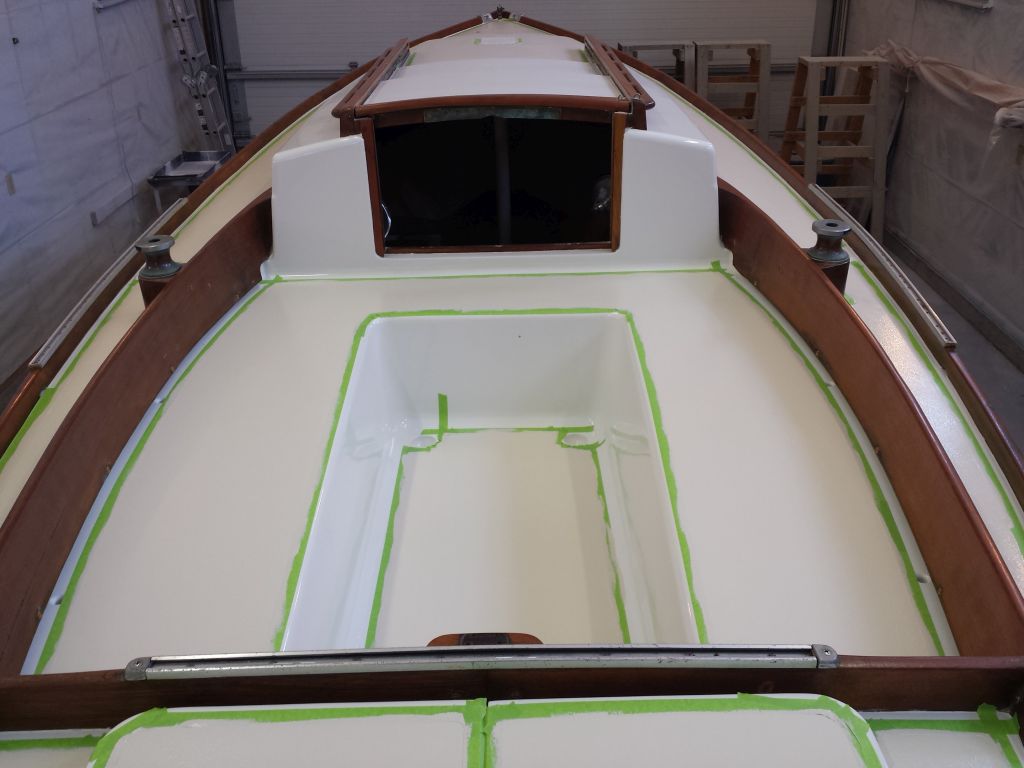
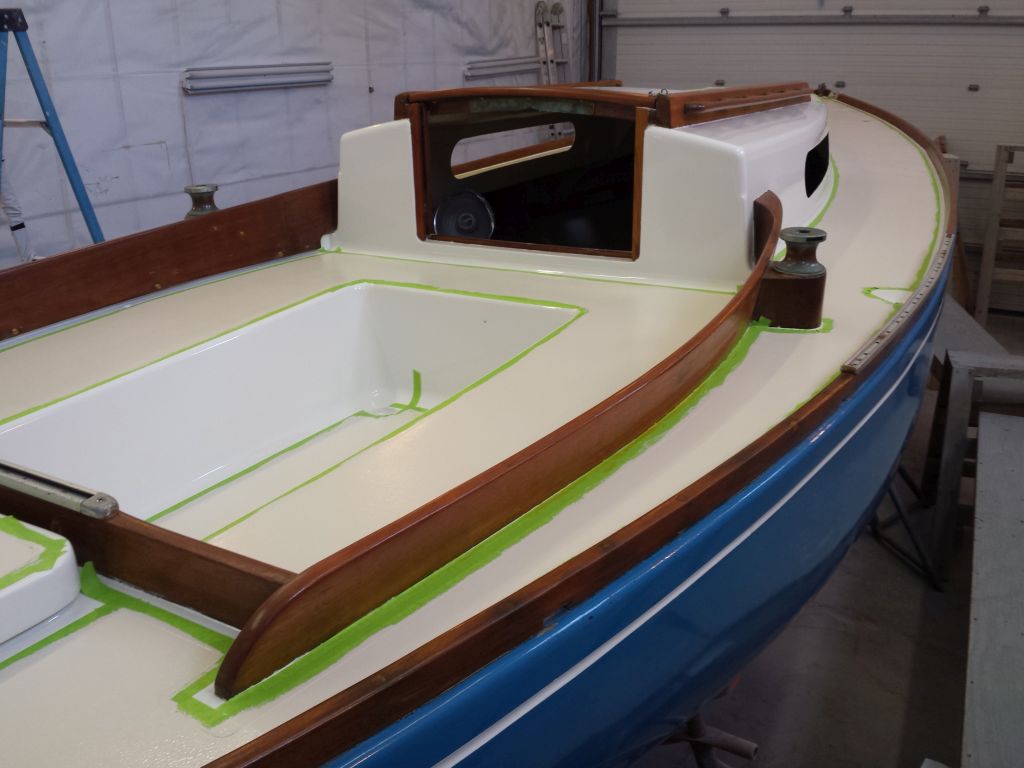
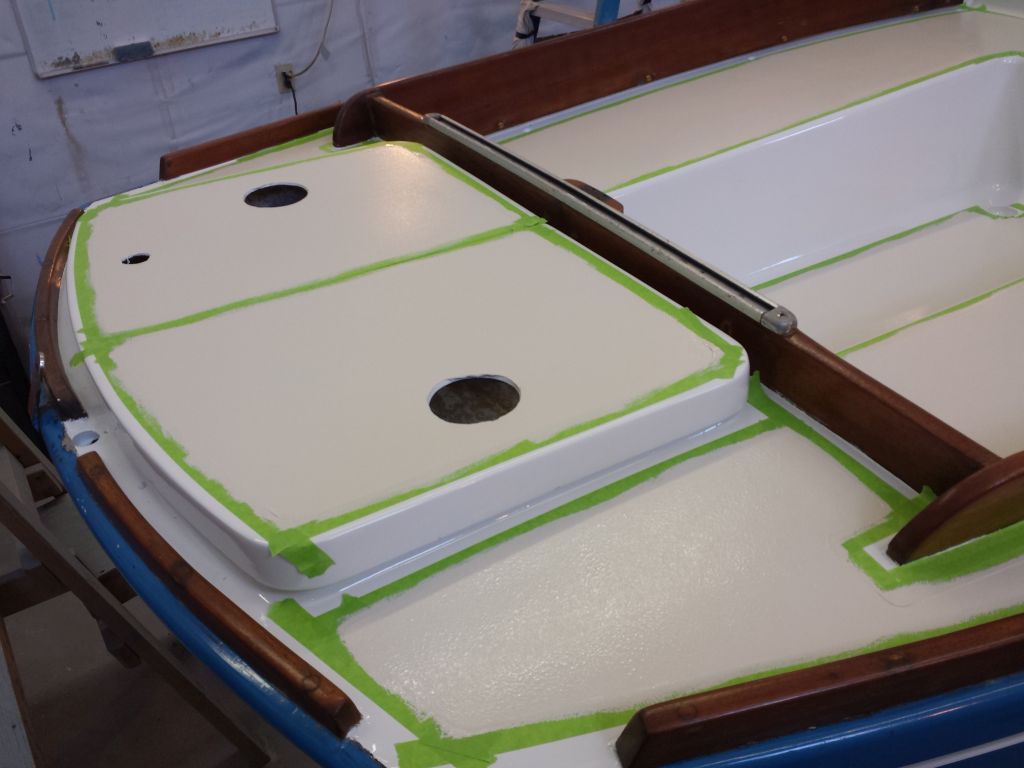
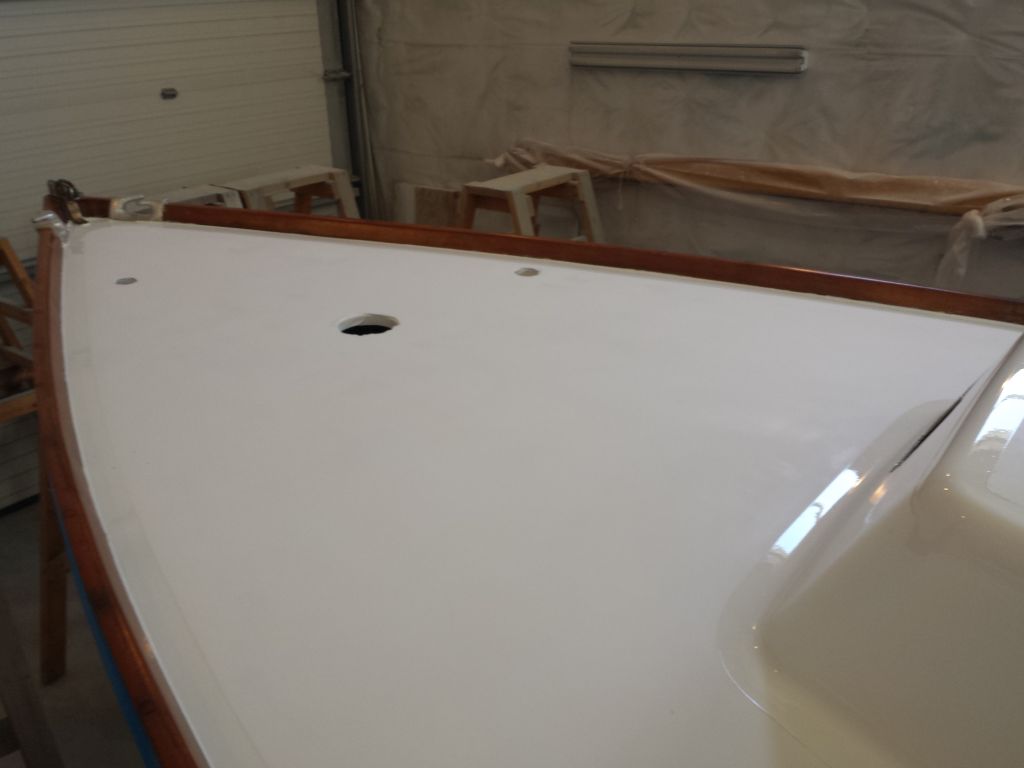
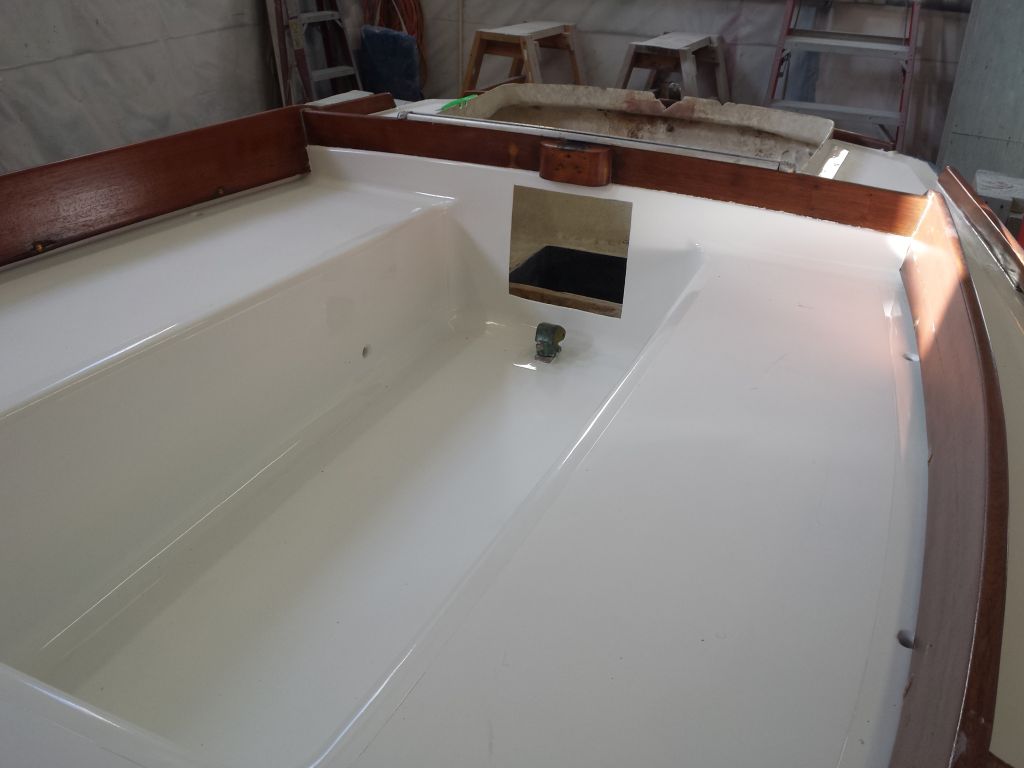
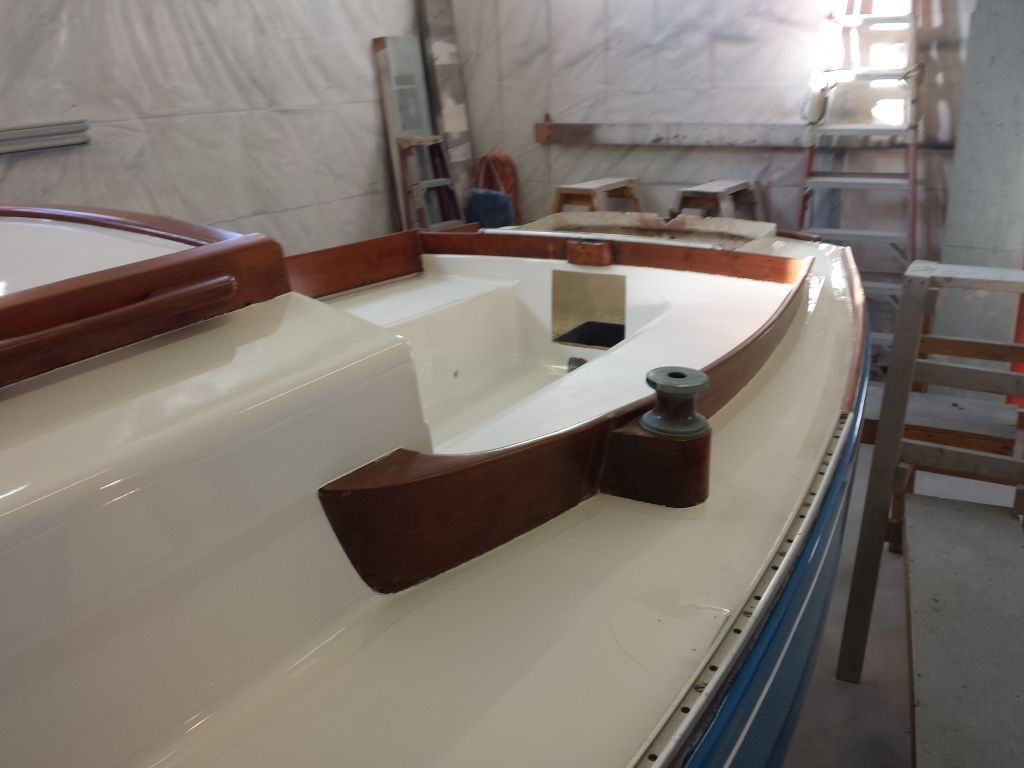
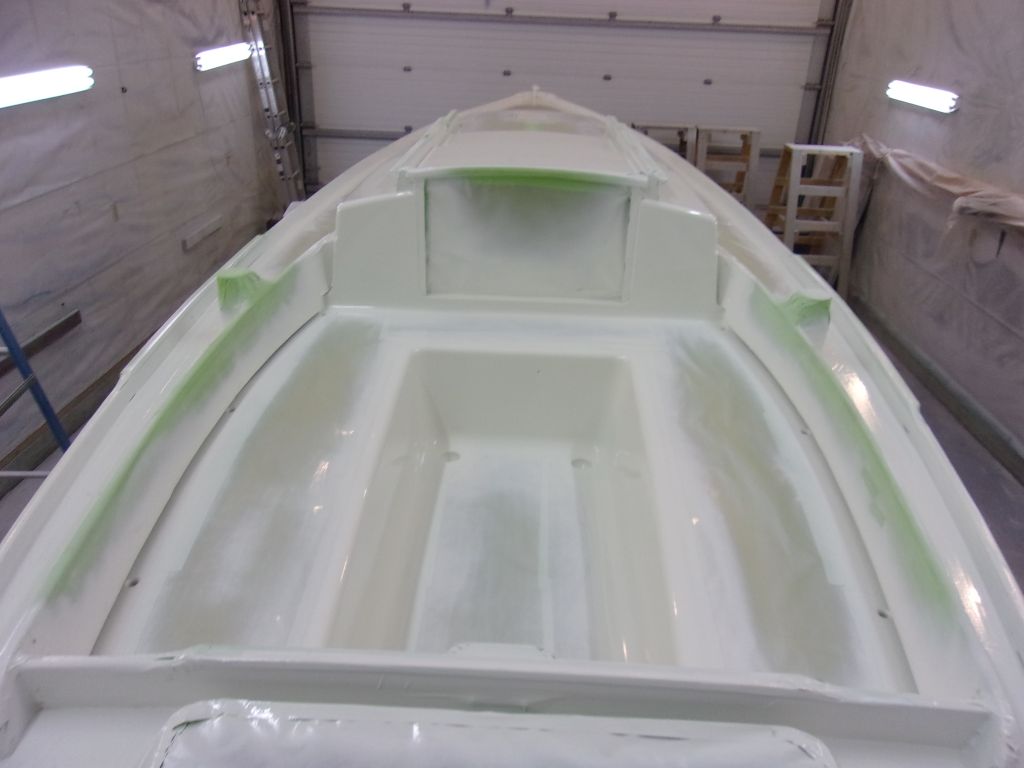
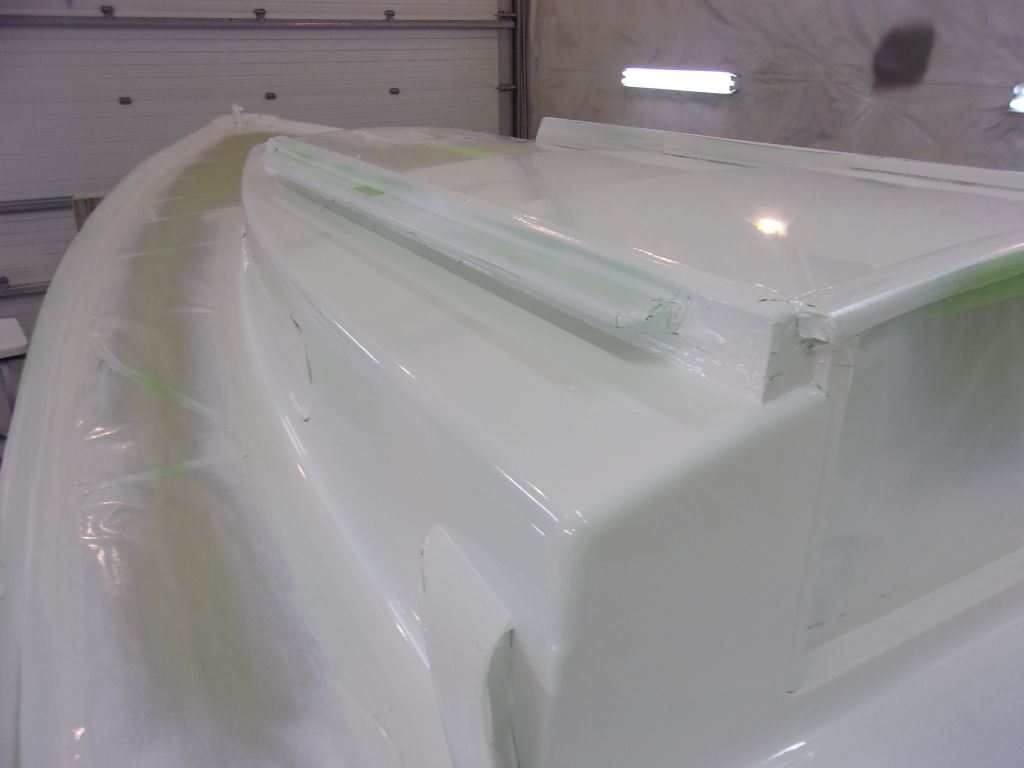
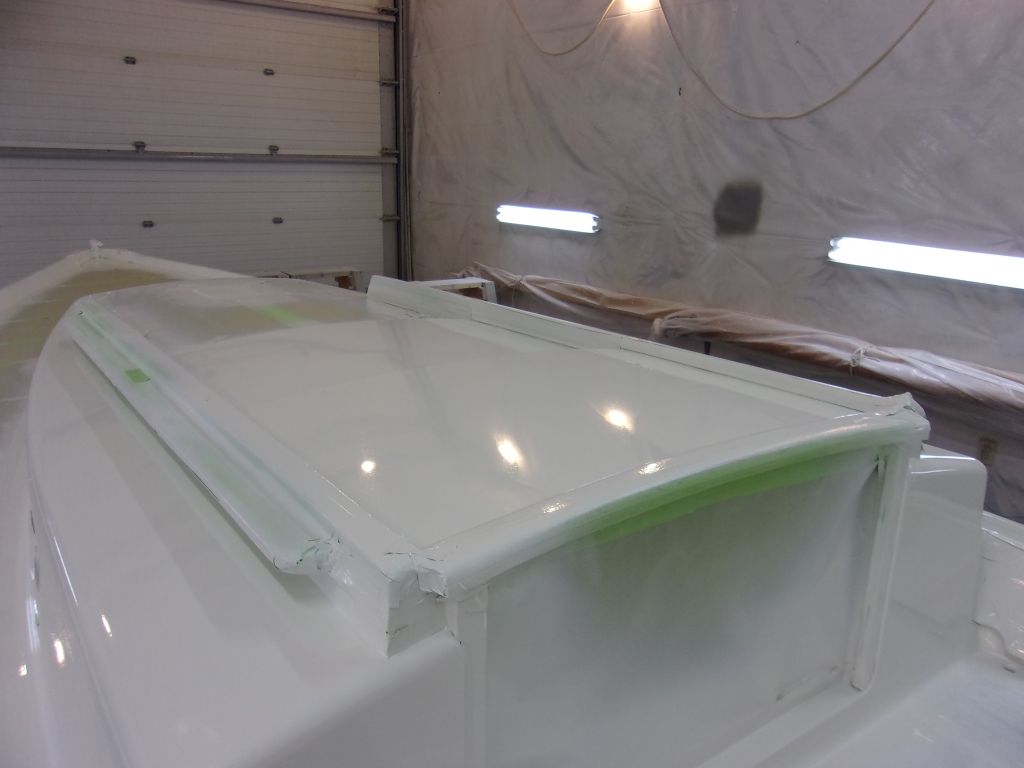
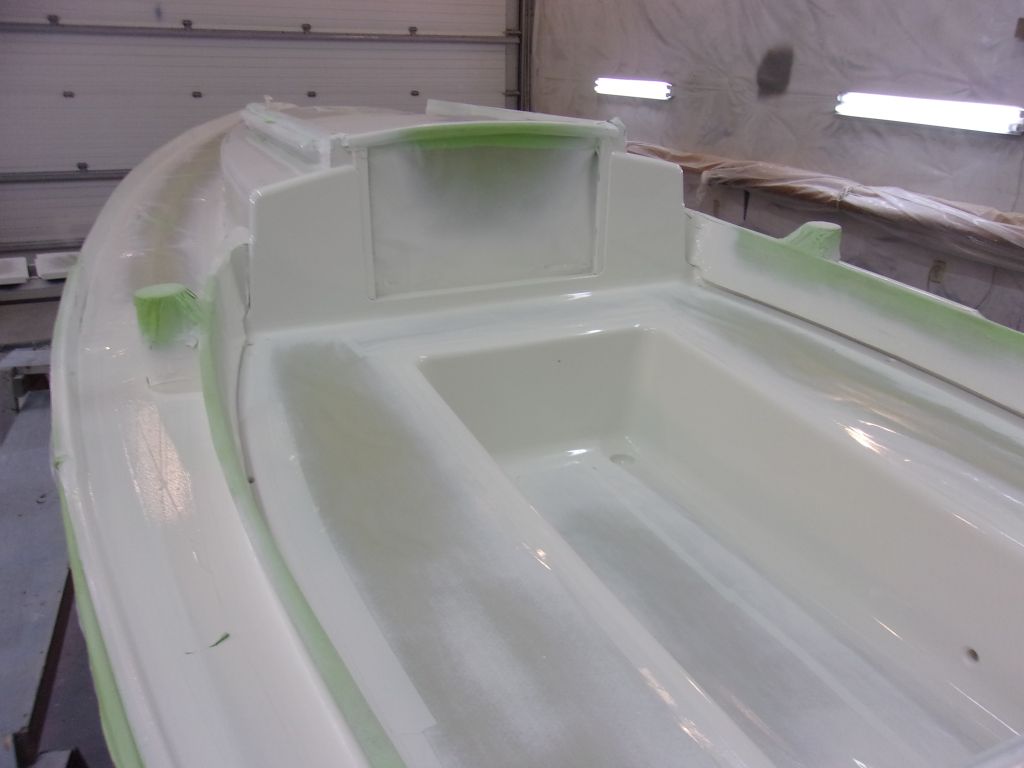
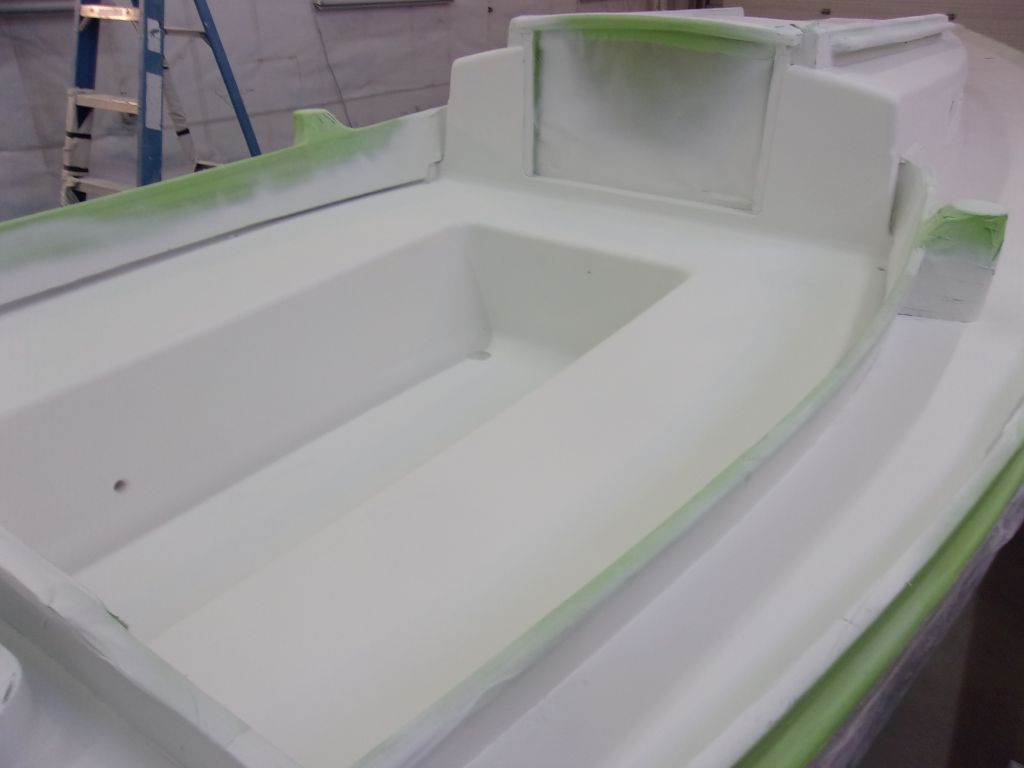
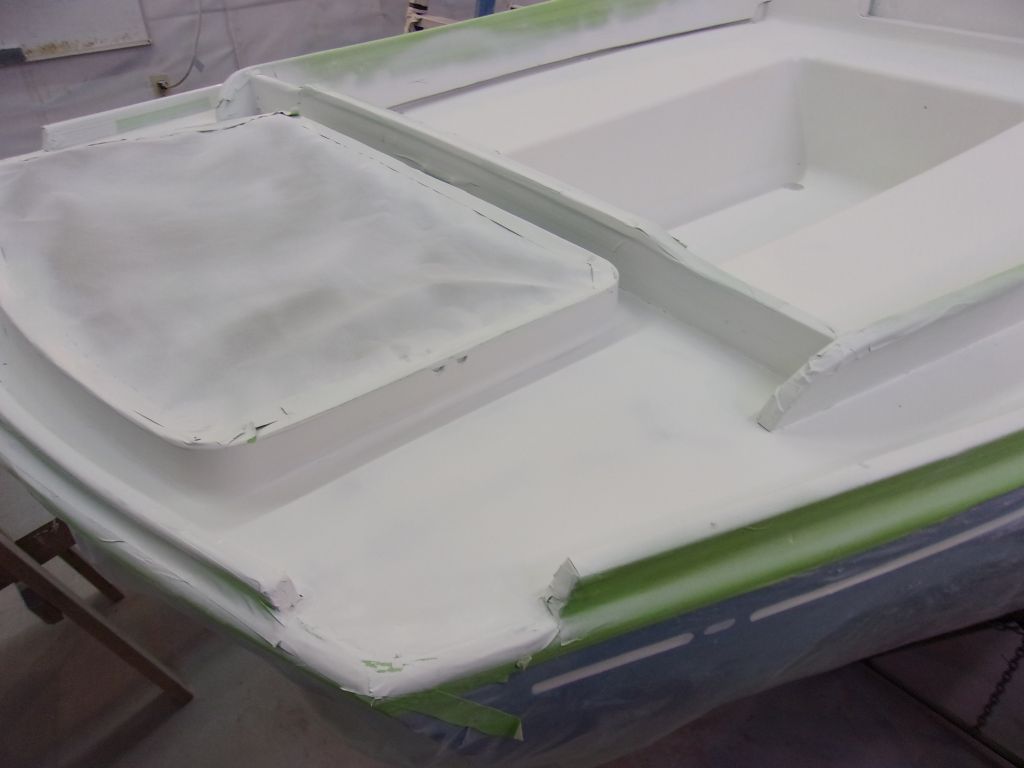
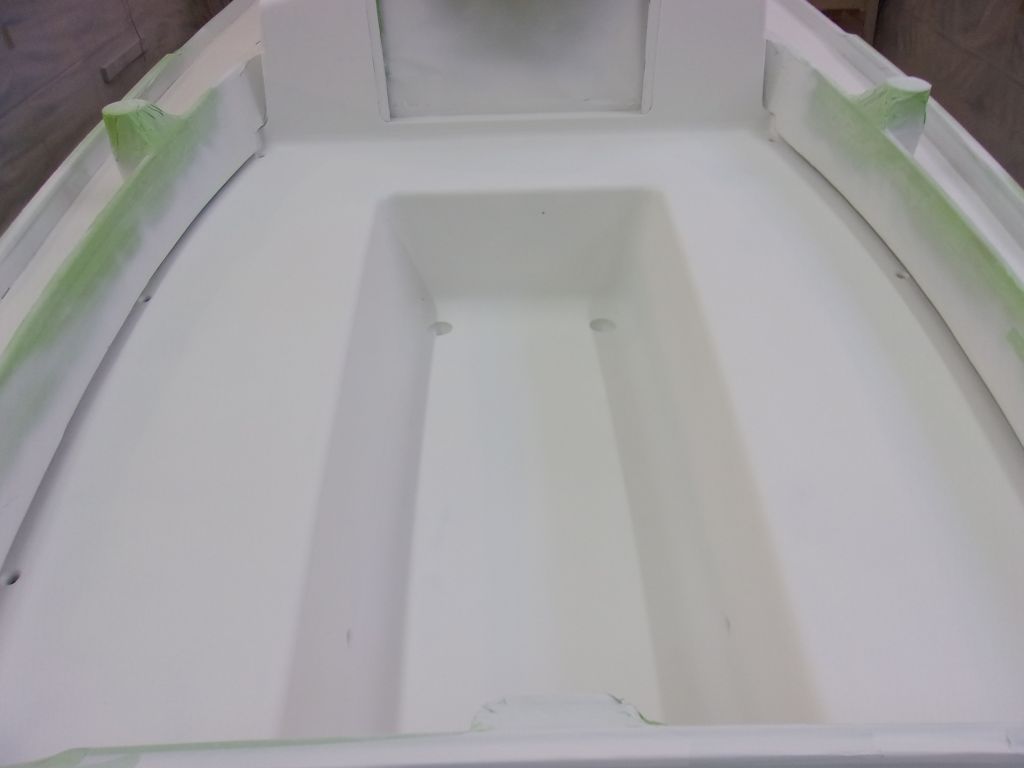
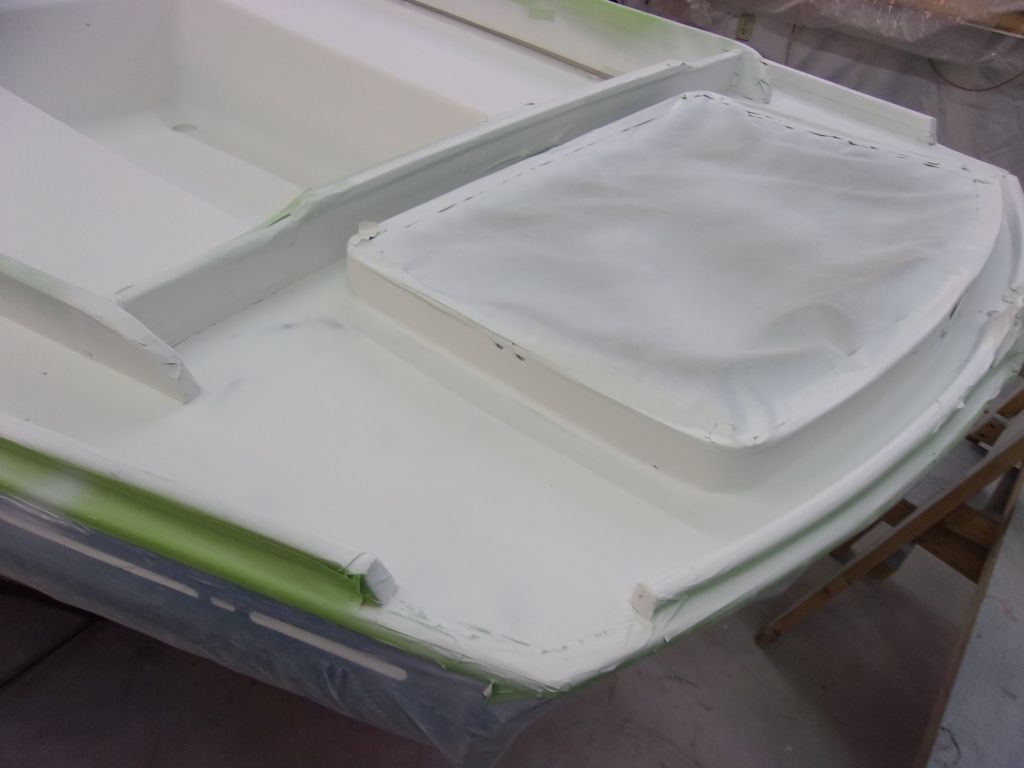
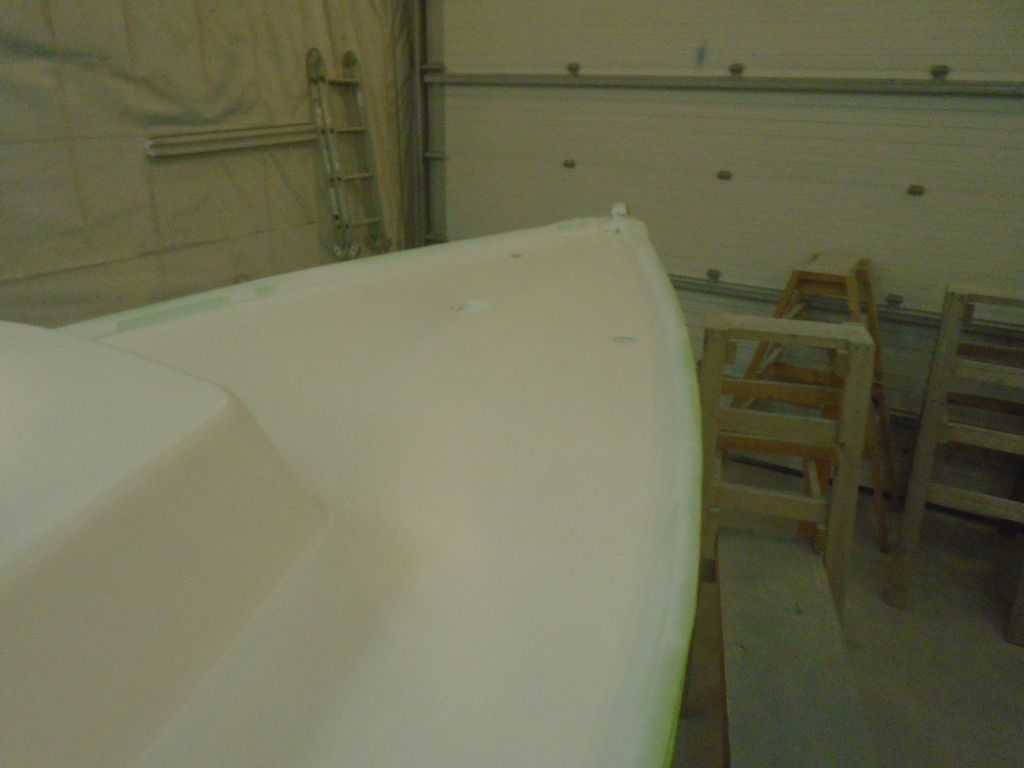
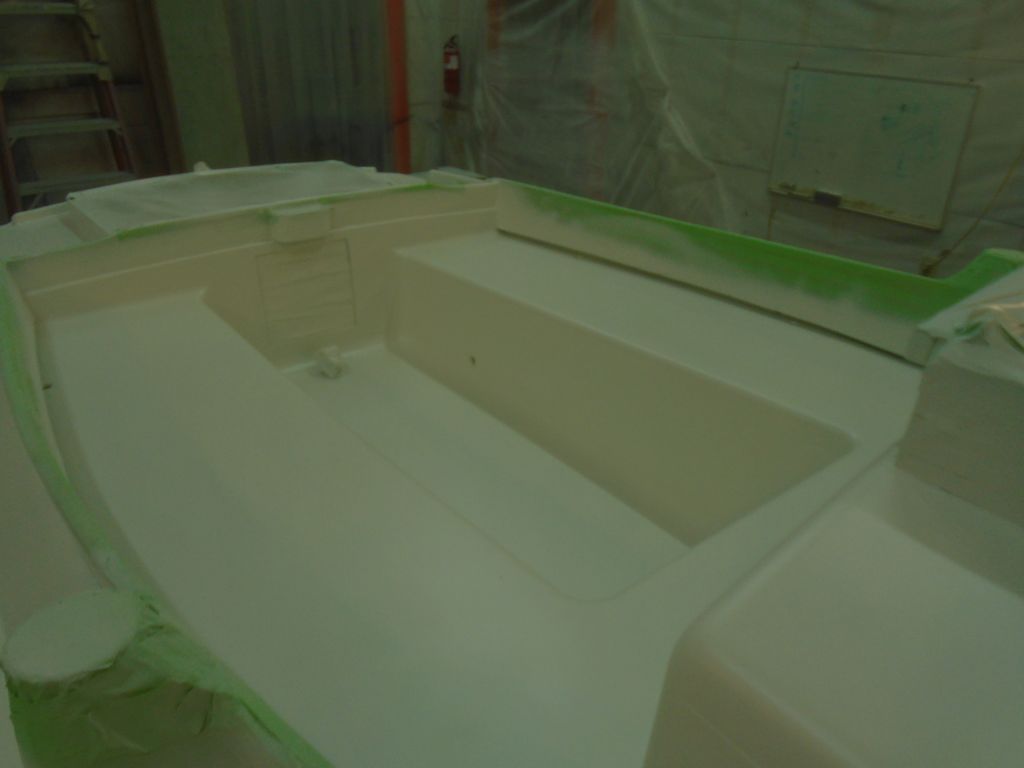
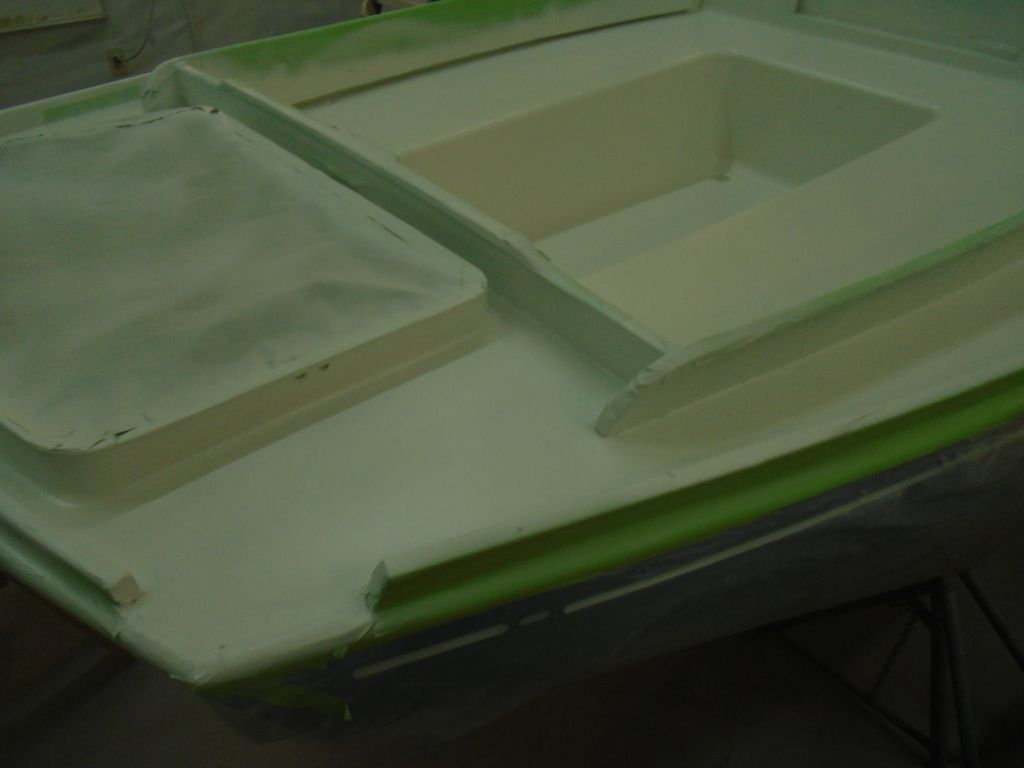
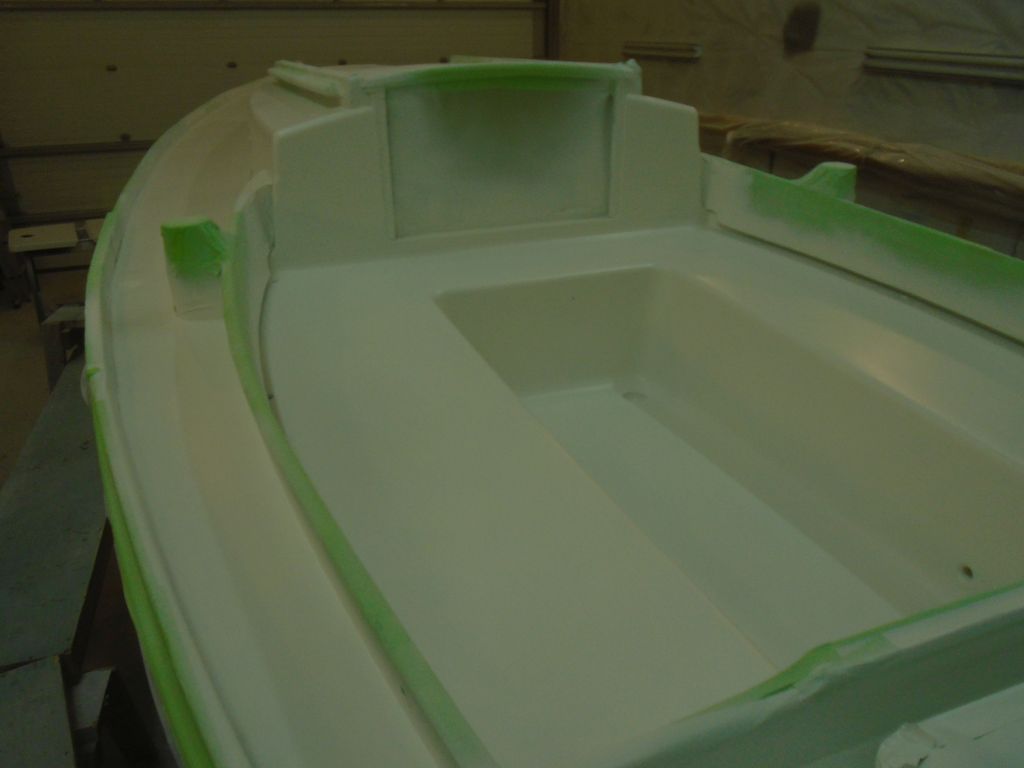
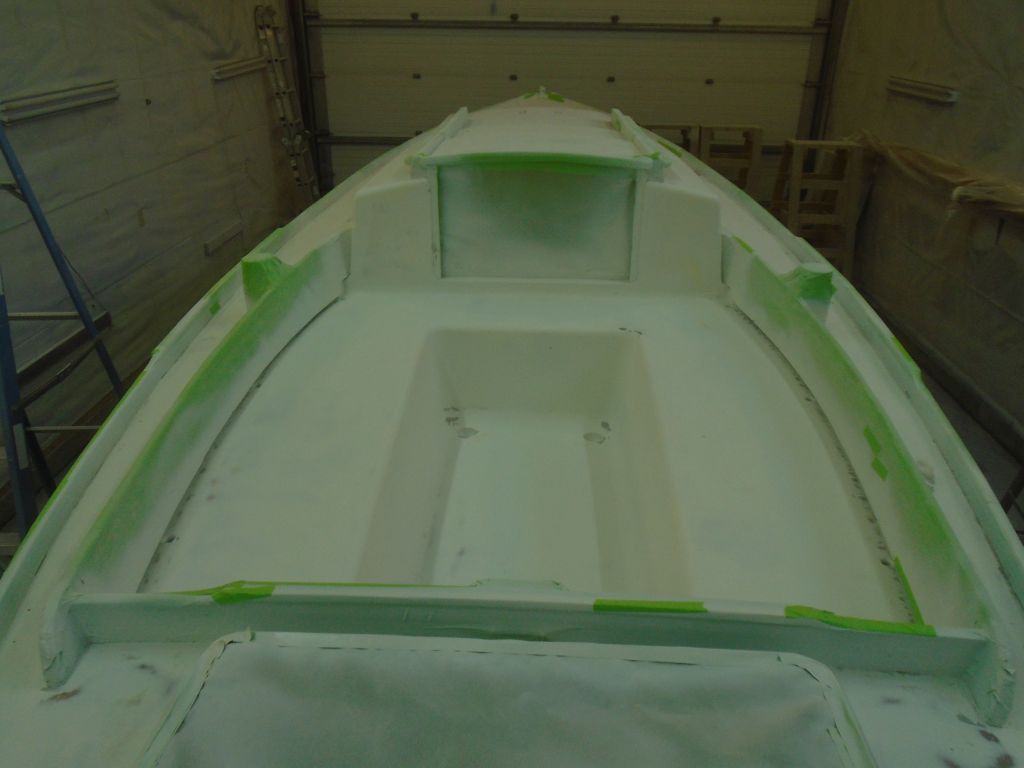
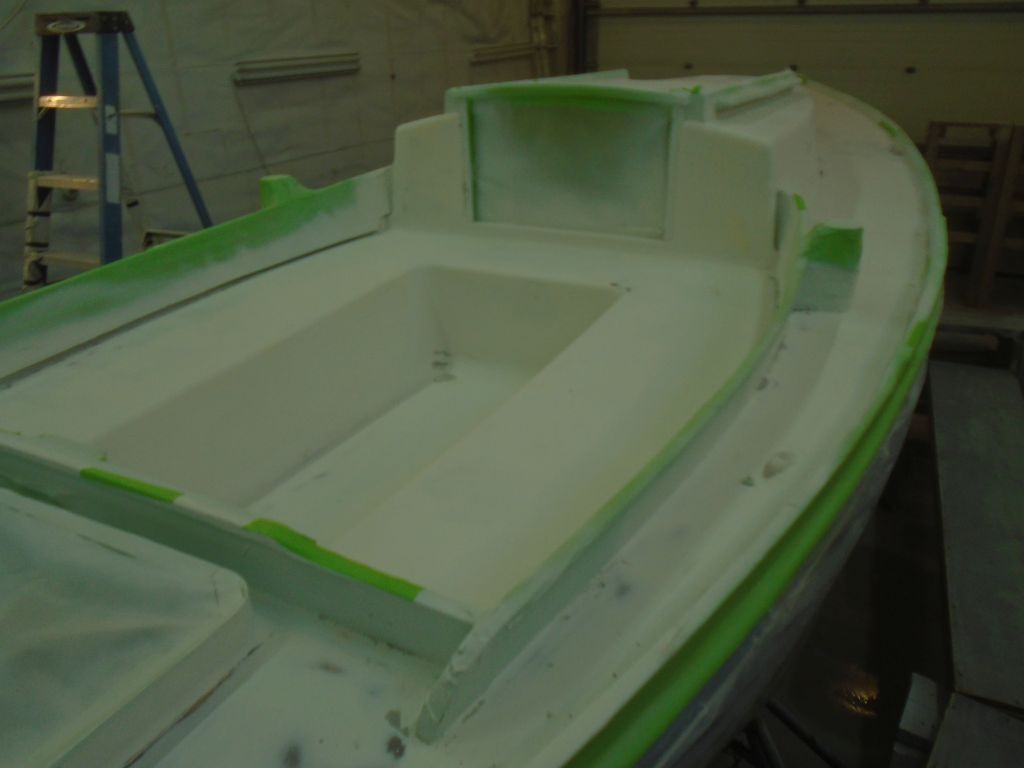
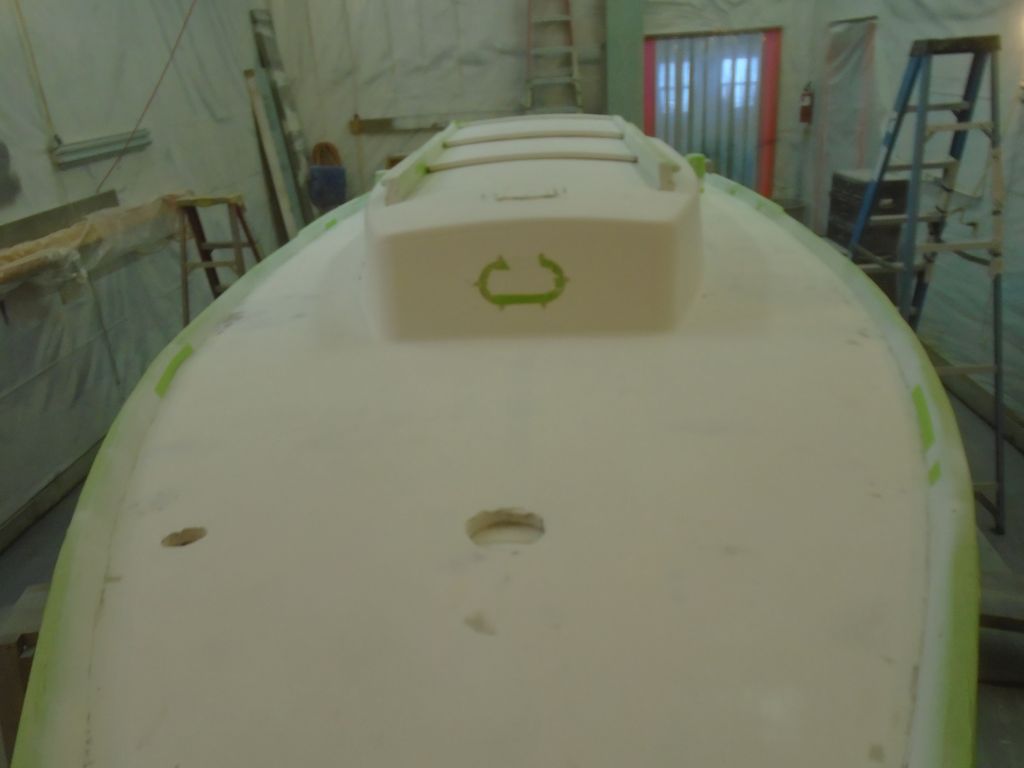
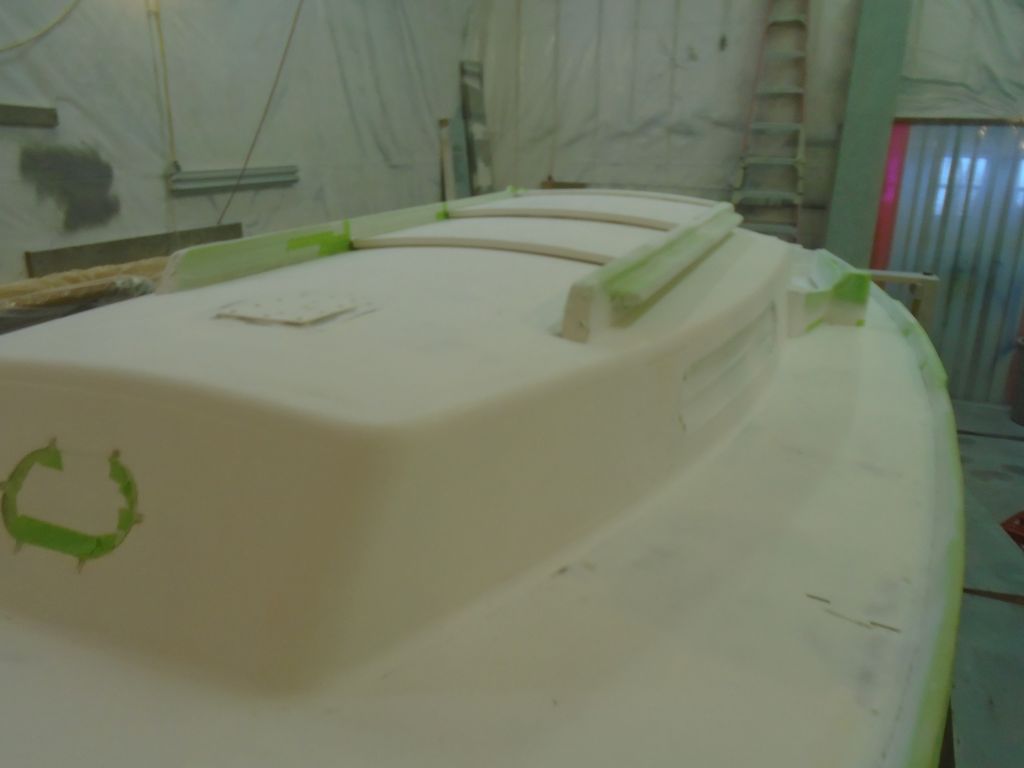
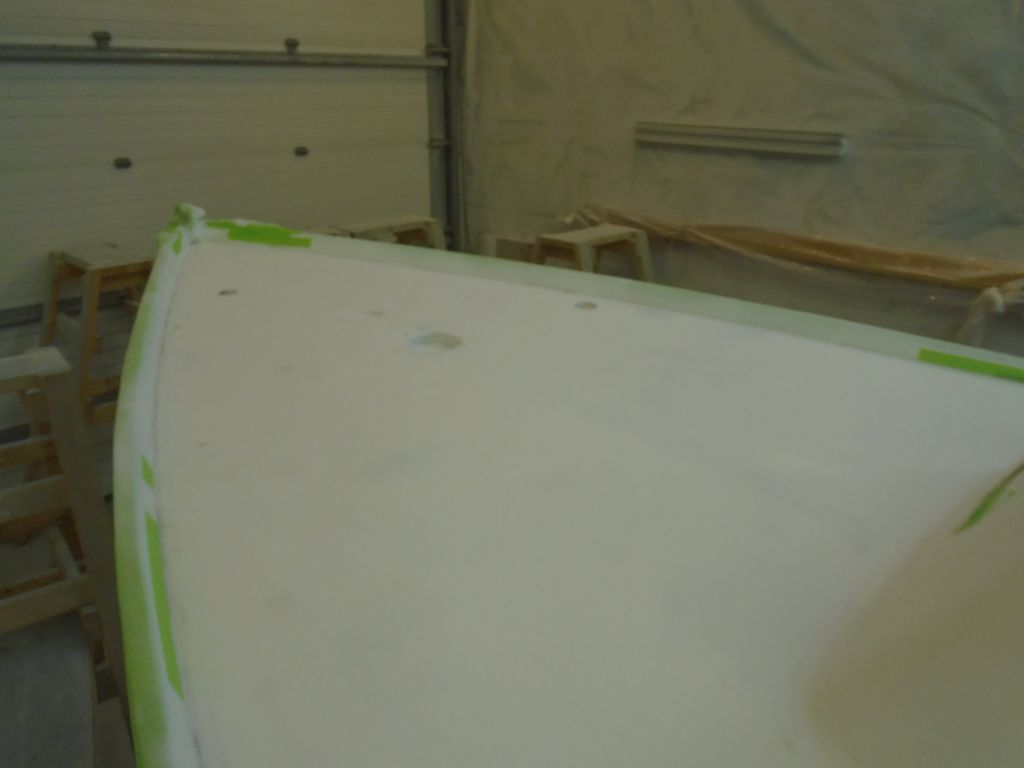
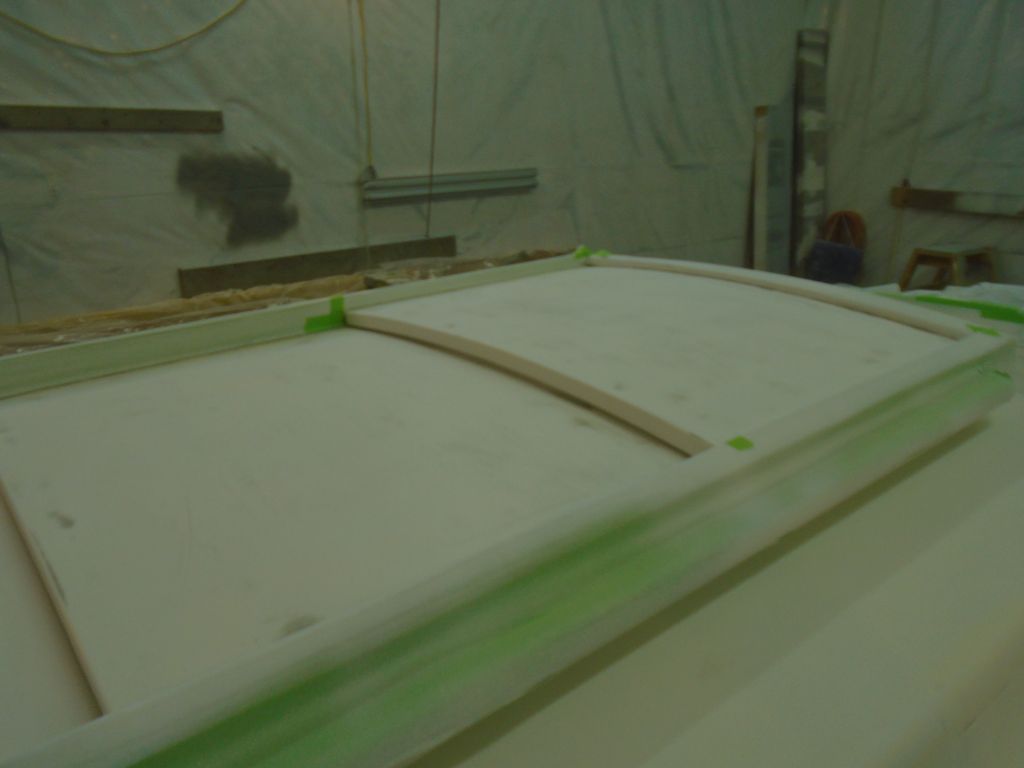
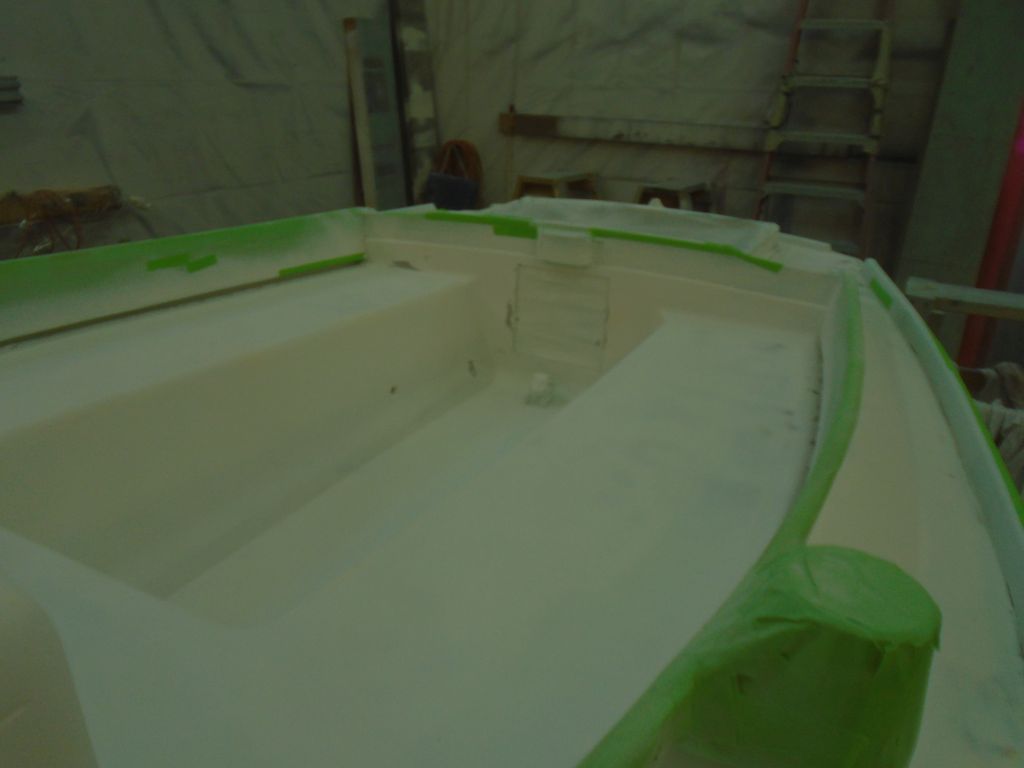
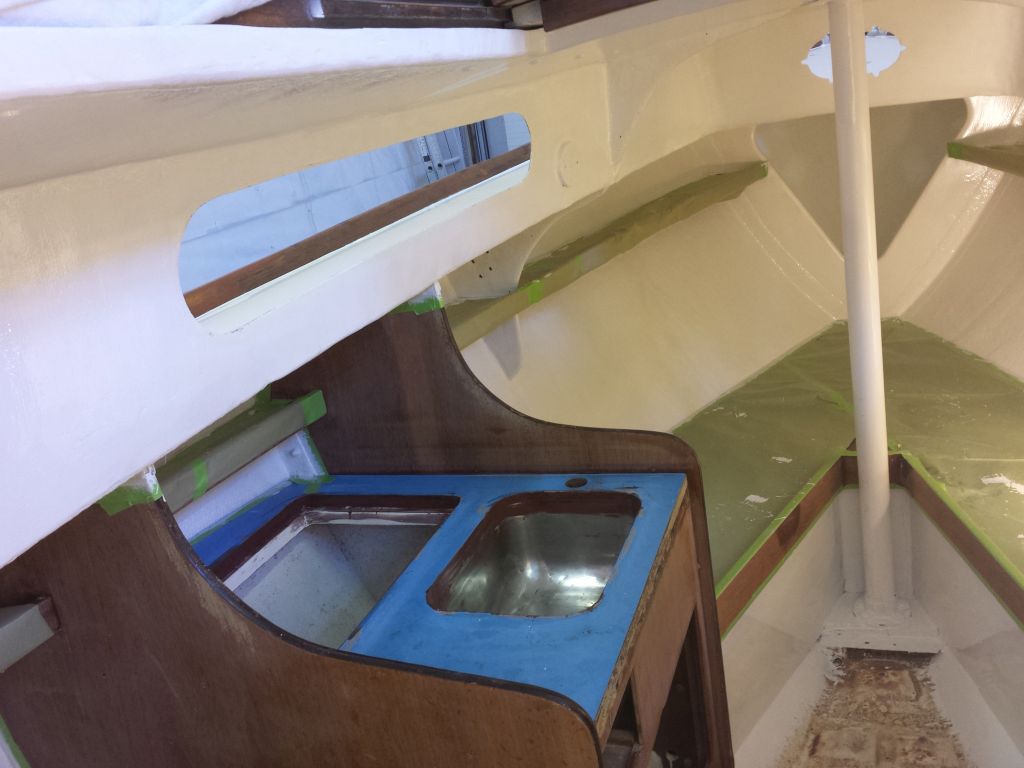
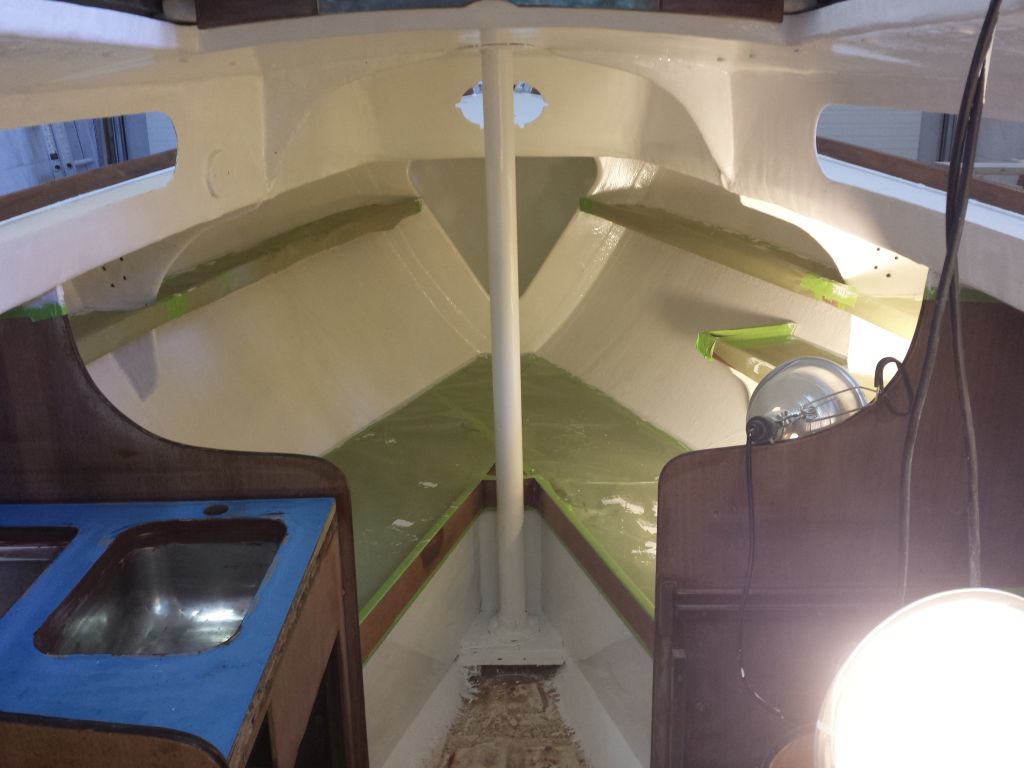
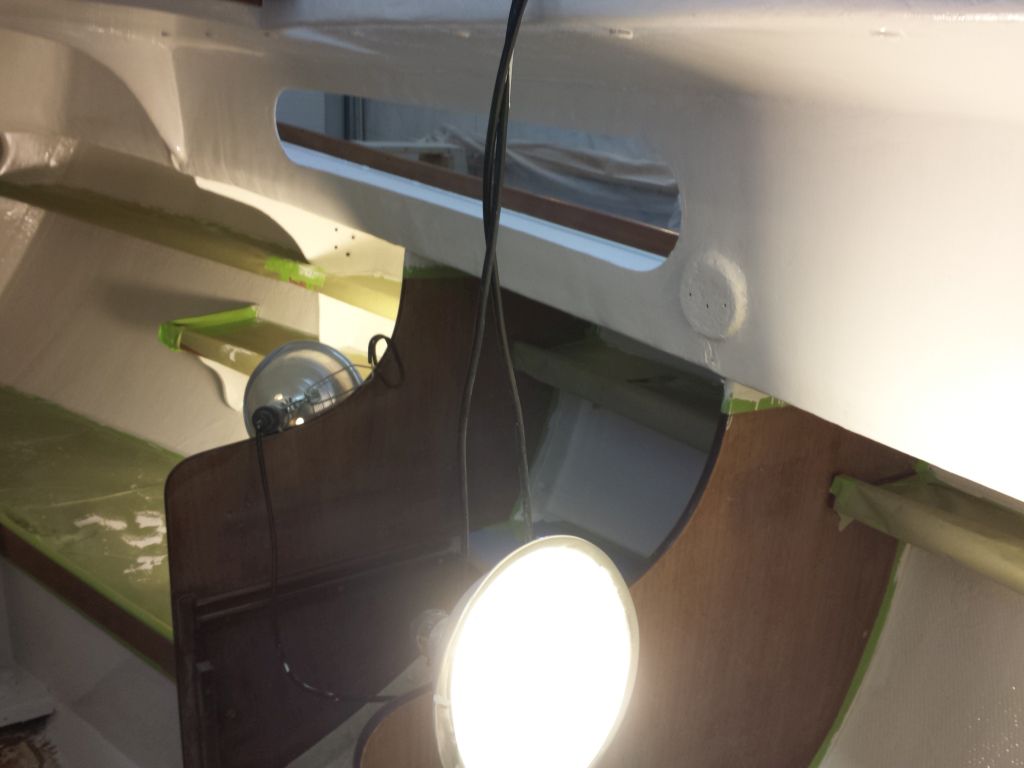
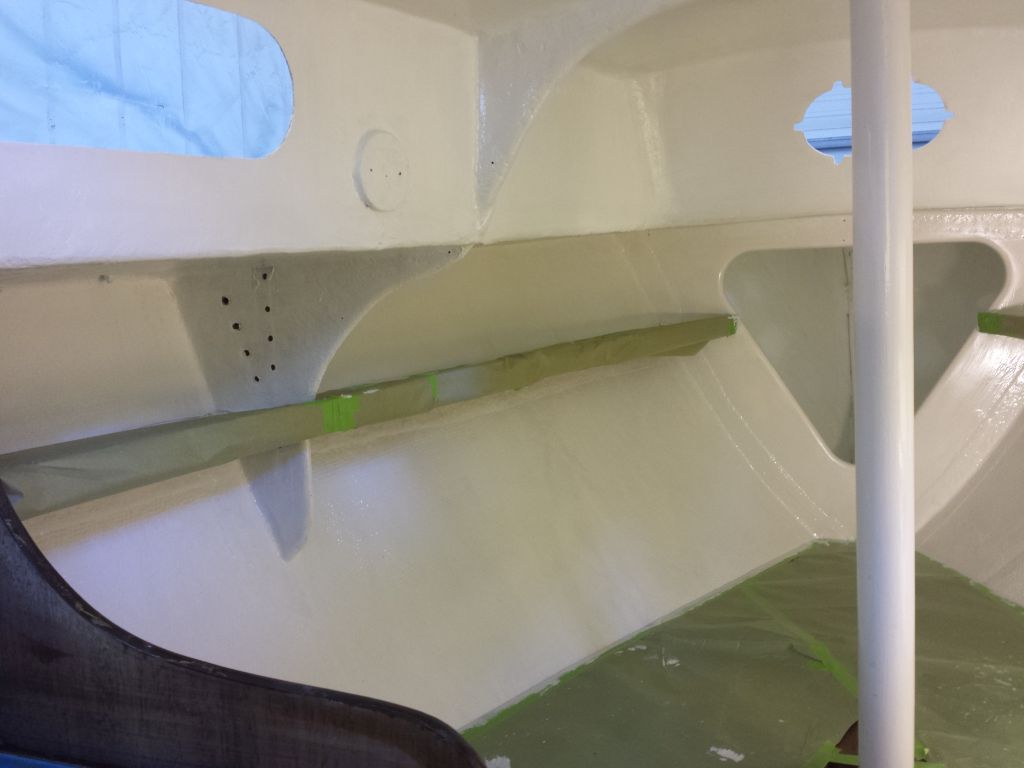
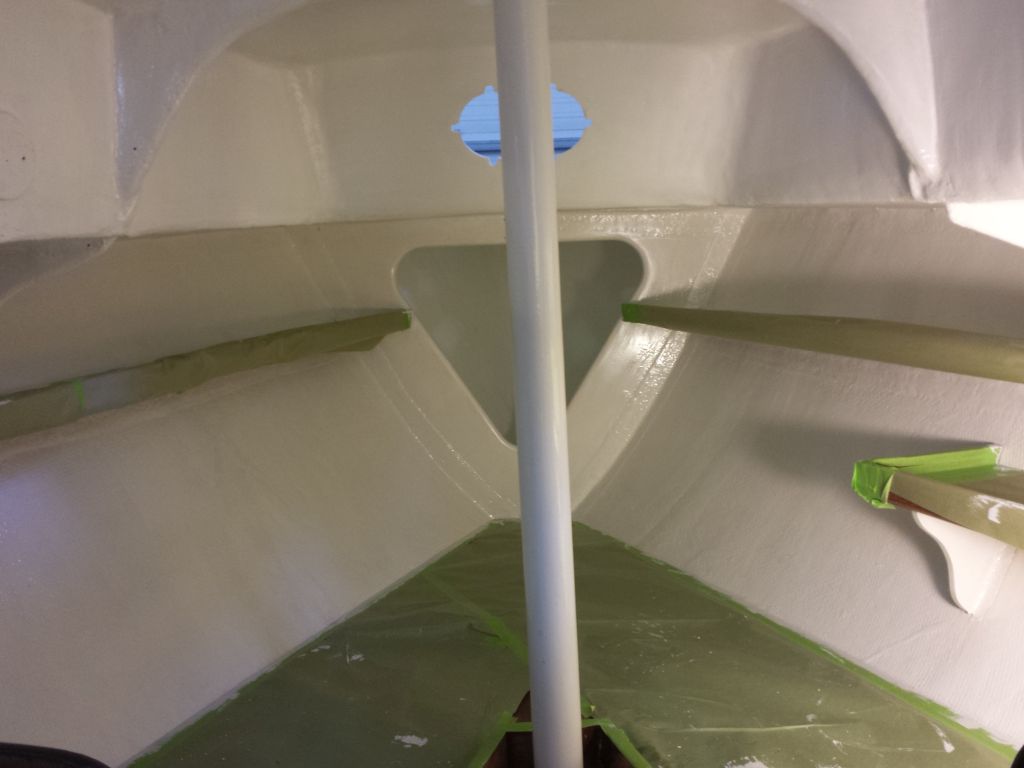
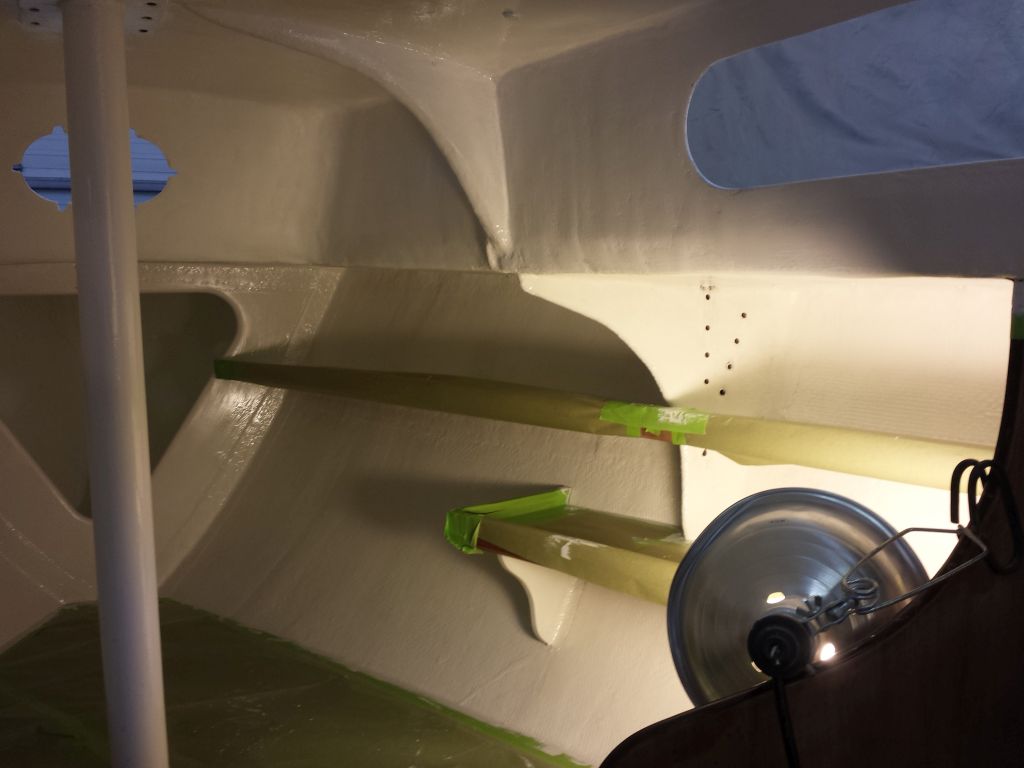
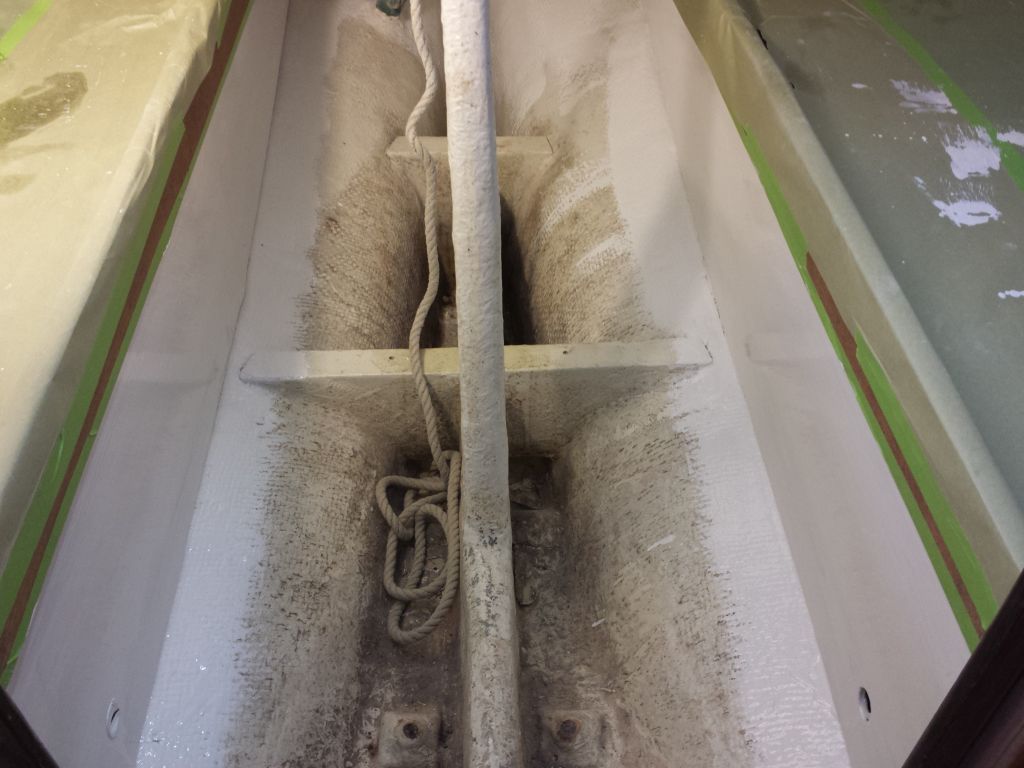
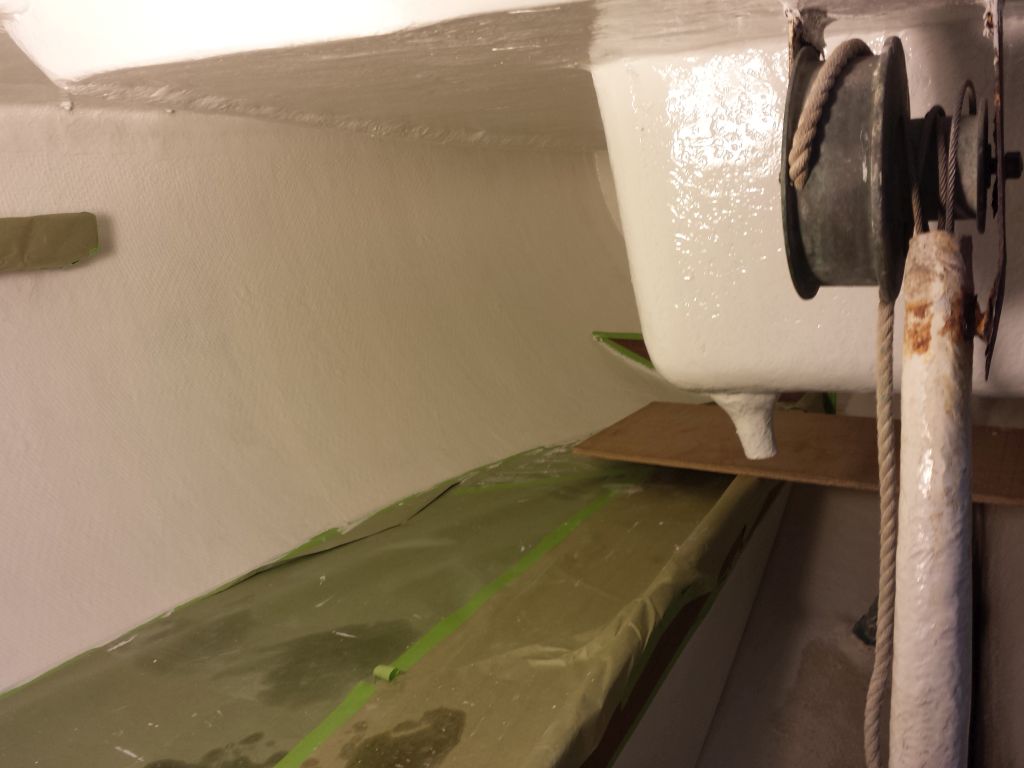
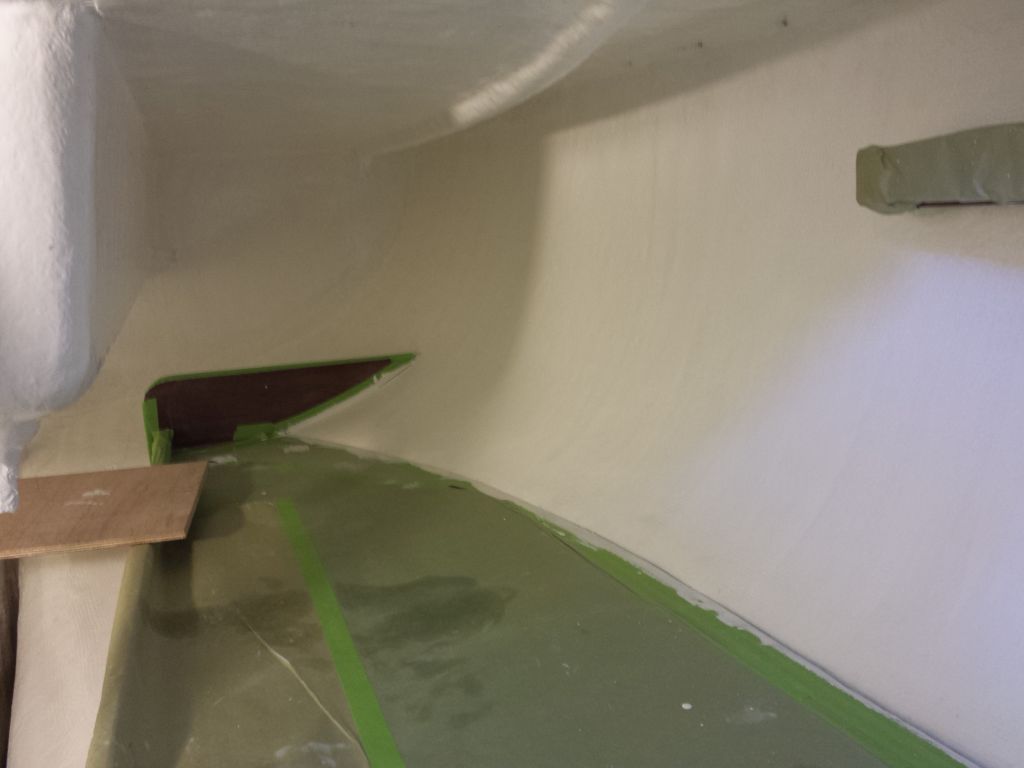
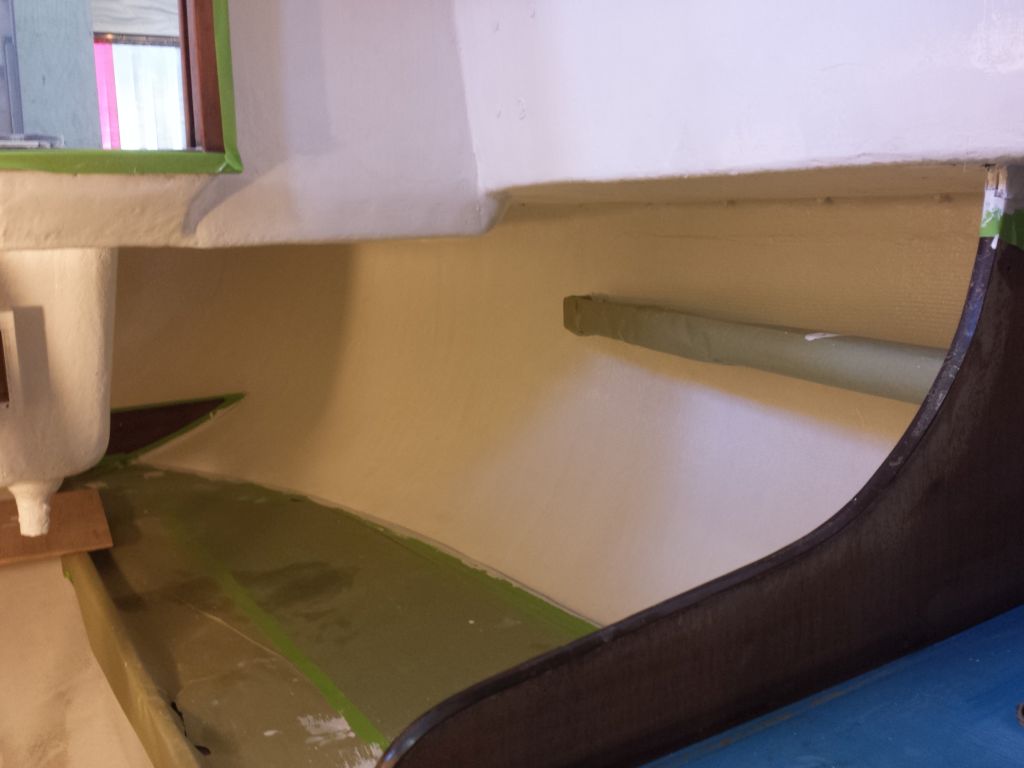
During the morning, I applied a coat of primer to all interior spaces.
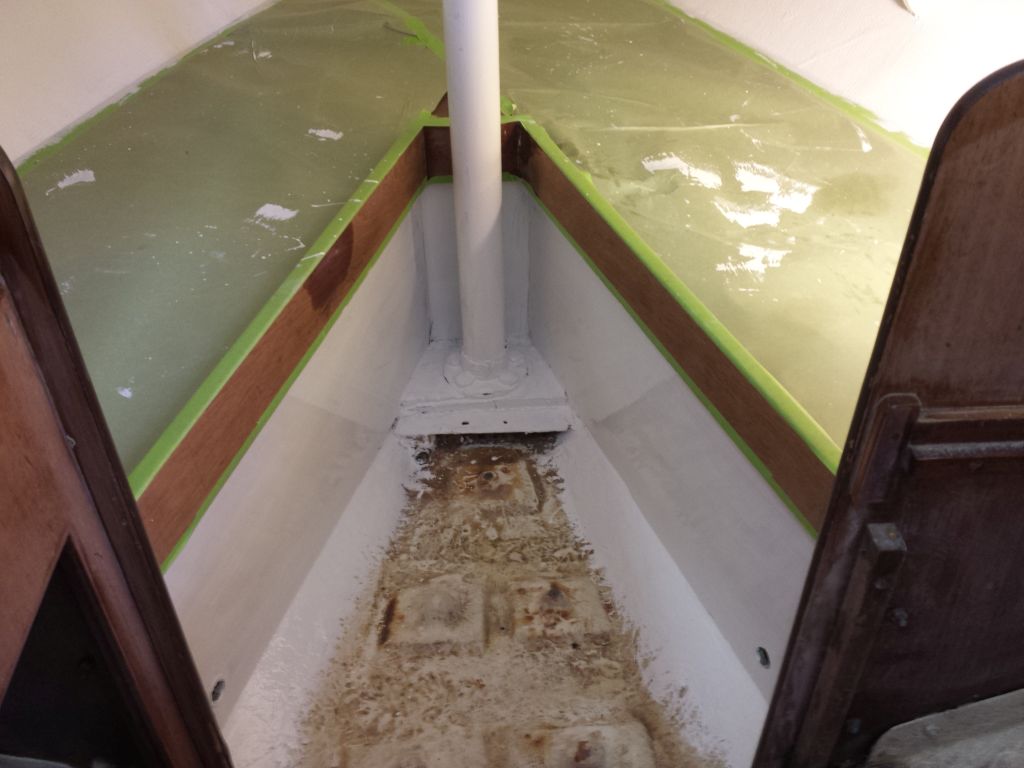

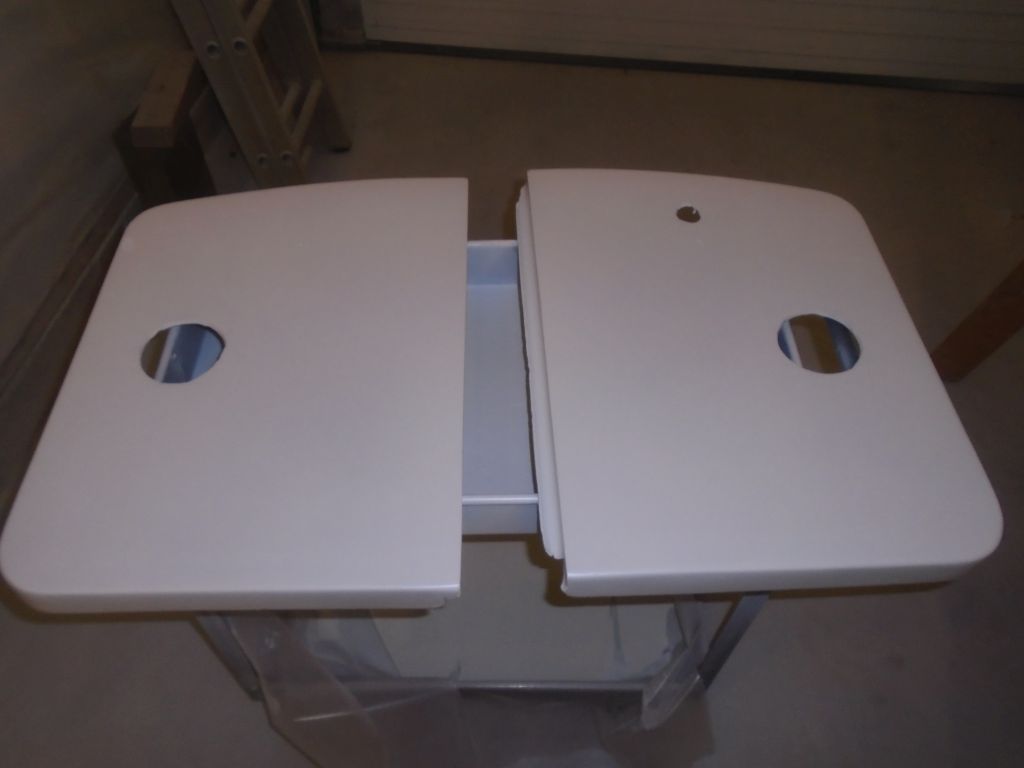
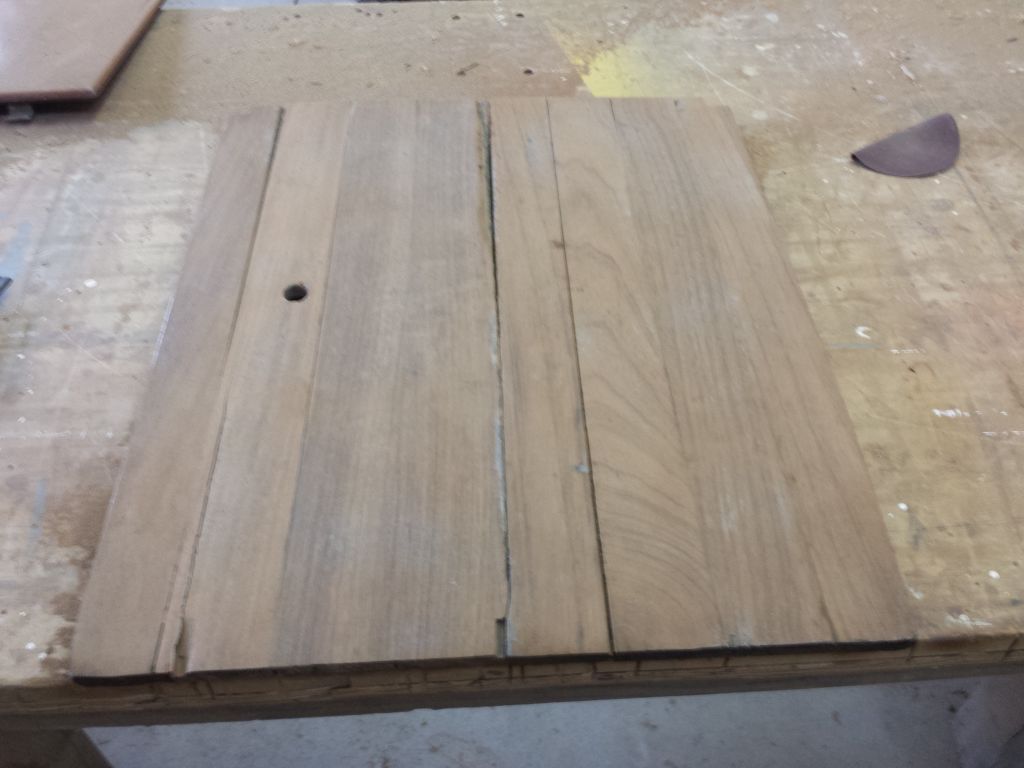
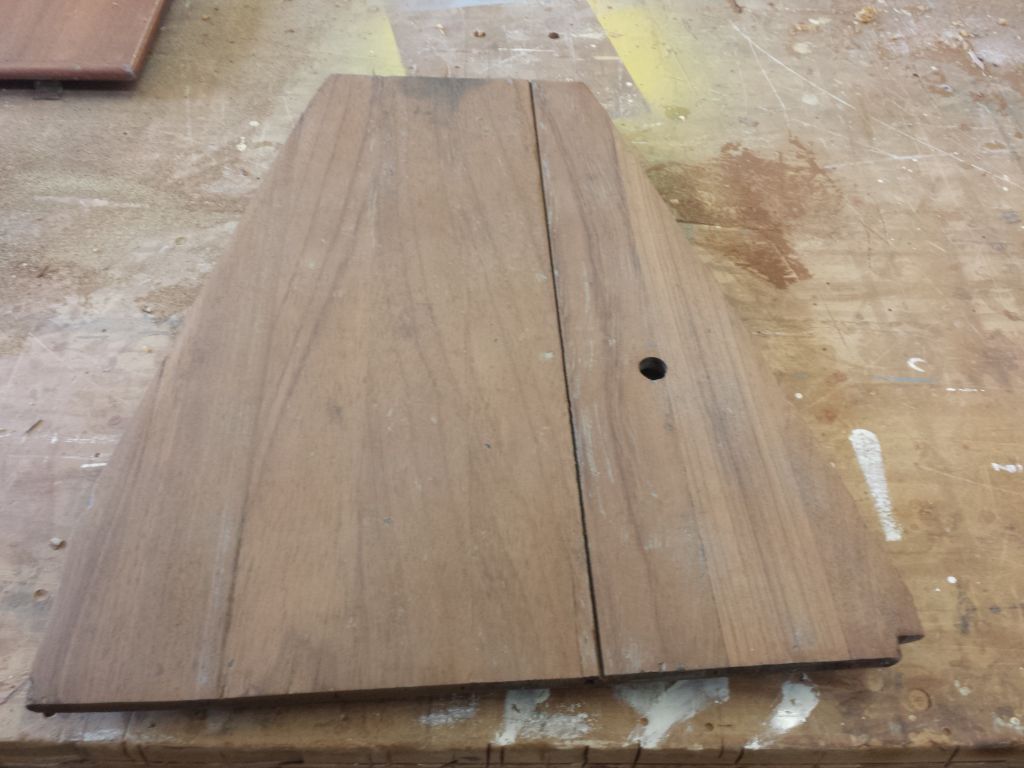
Later, I turned to some of the loose woodwork and trim, including the cabin sole pieces, that I’d stored down in the shop. Preparing for refinishing, I stripped varnish from a couple pieces of trim that were in bad condition, and effected some minor veneer gluing repairs as needed.
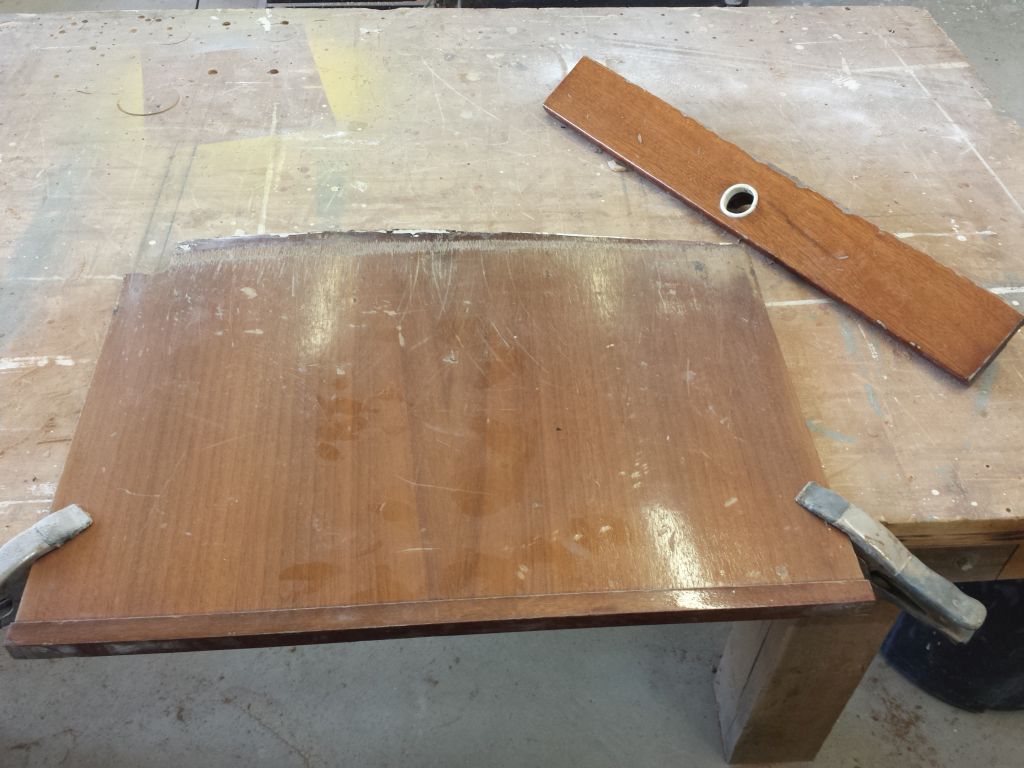

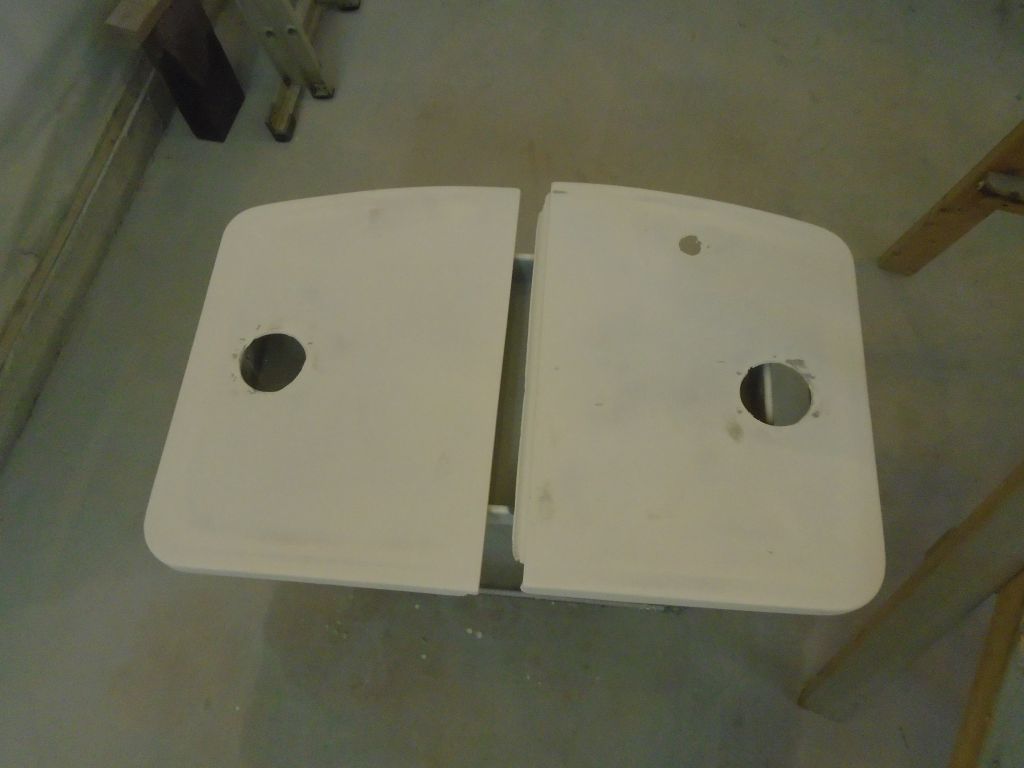
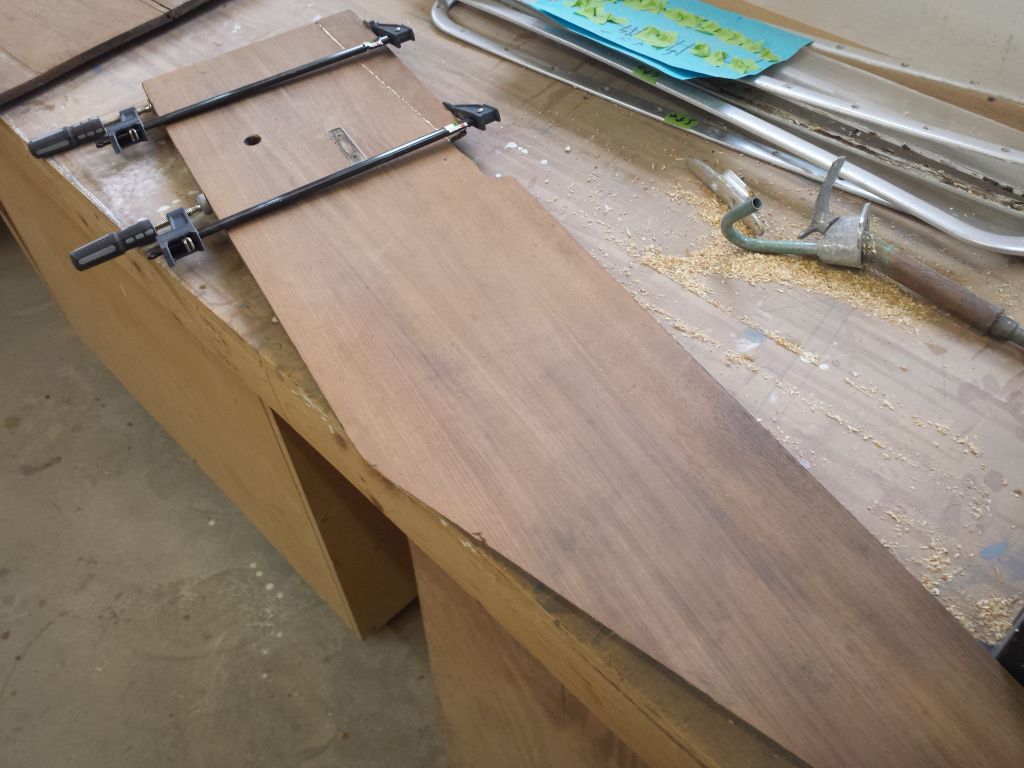
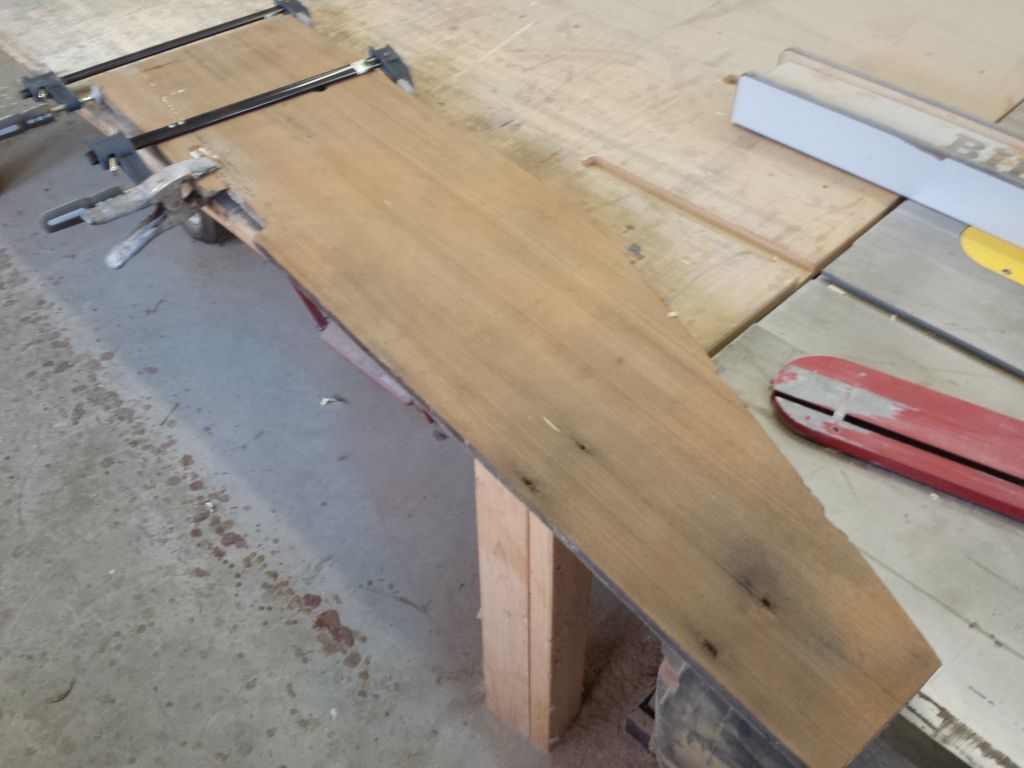
The cabin sole sections were in rough shape, with ancient and failing finish, so I elected to strip the old finish from the top surfaces. Afterwards, I made some repairs to the sole pieces, refastening some of the athwartships cleats that secured the sections together and gluing on some sections that had broken sometime in the boat’s life. I’d continue work on these and the other interior woodwork next time, once the repairs were cured.
Total time billed on this job today: 6.5 hours
0600 Weather Observation:
10°, clear. Forecast for the day: Sunny, mid-30s.