(page 132 of 167)

Halcyon 48

< Back to Halcyon

Tuesday

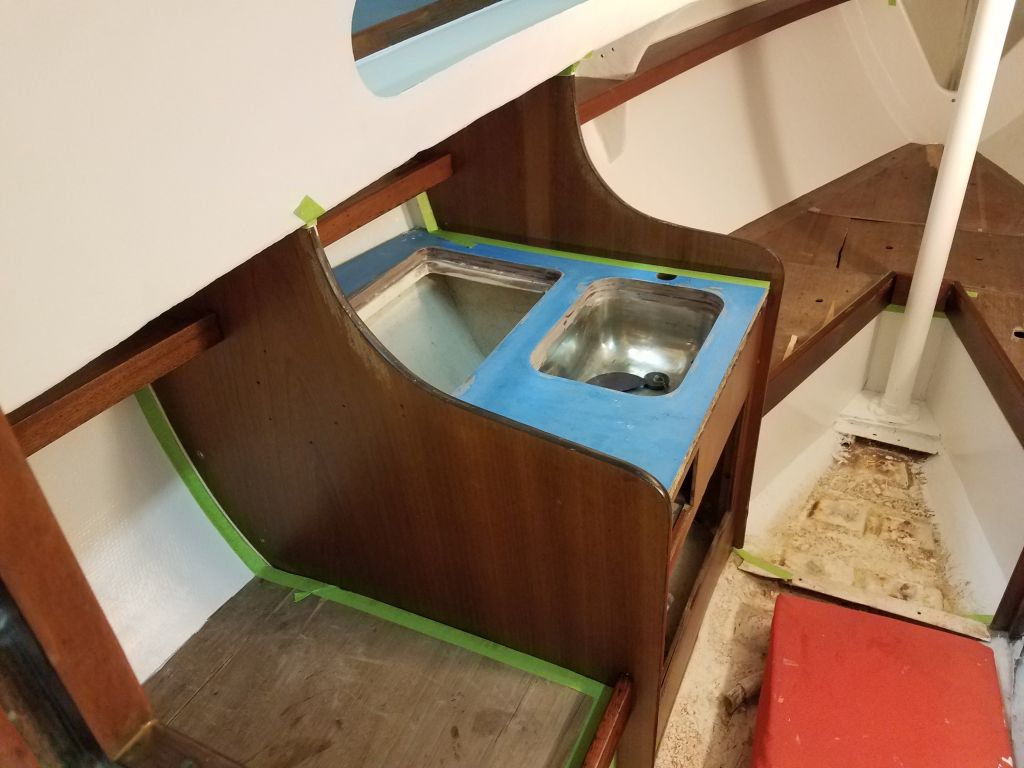
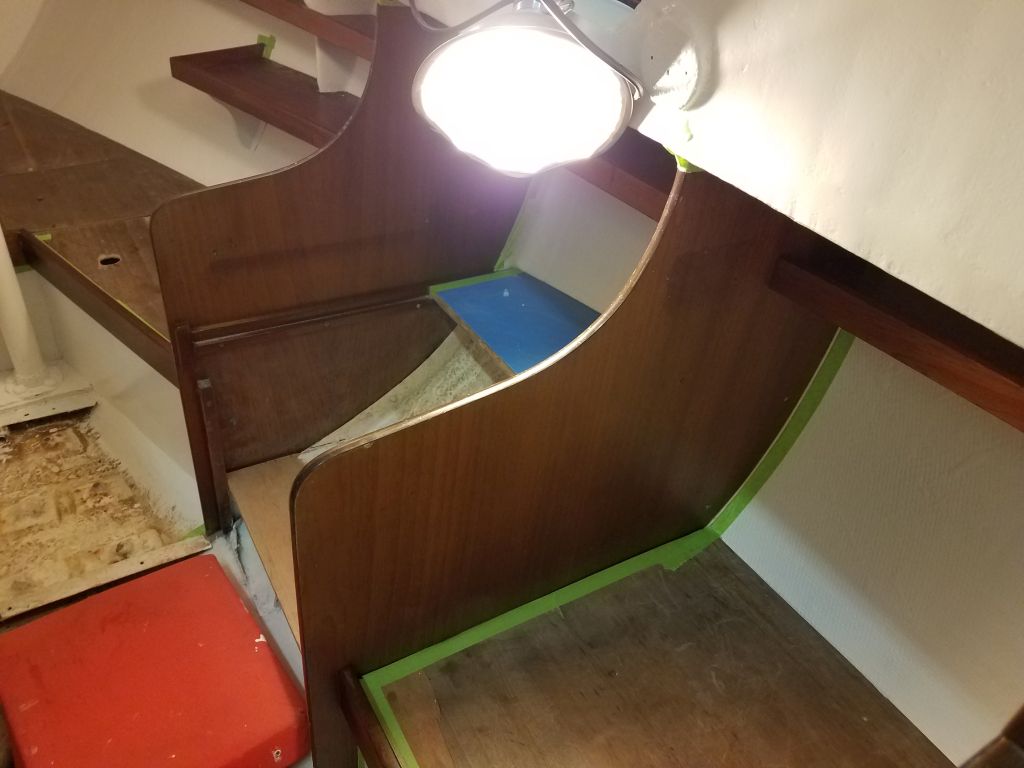
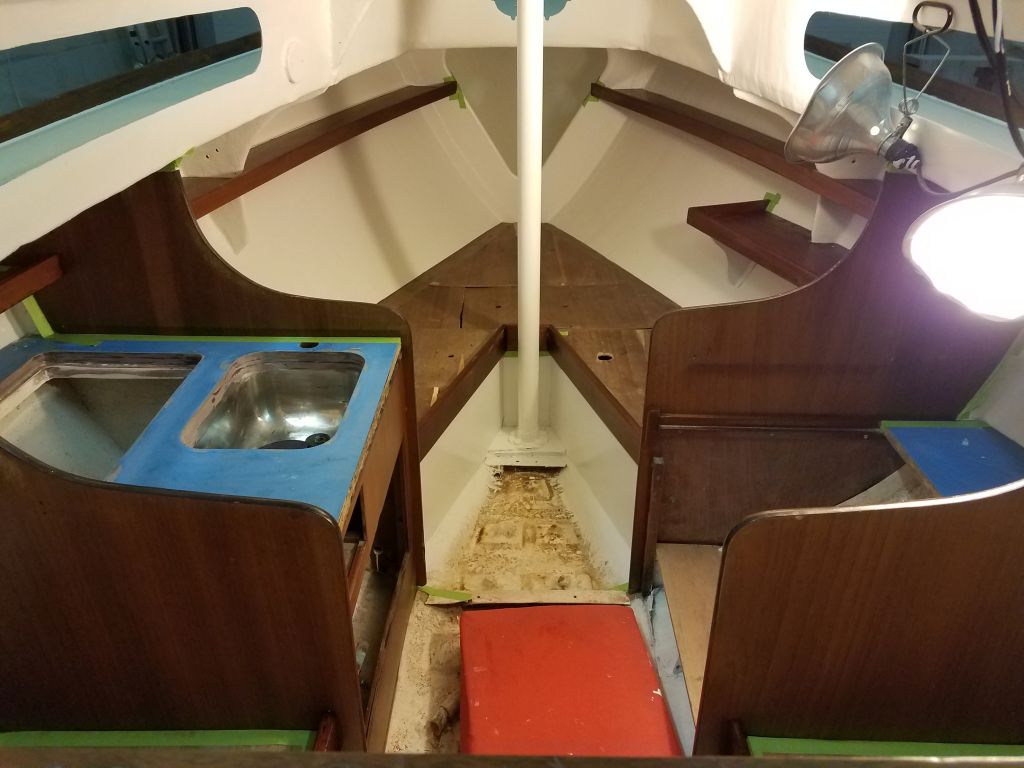
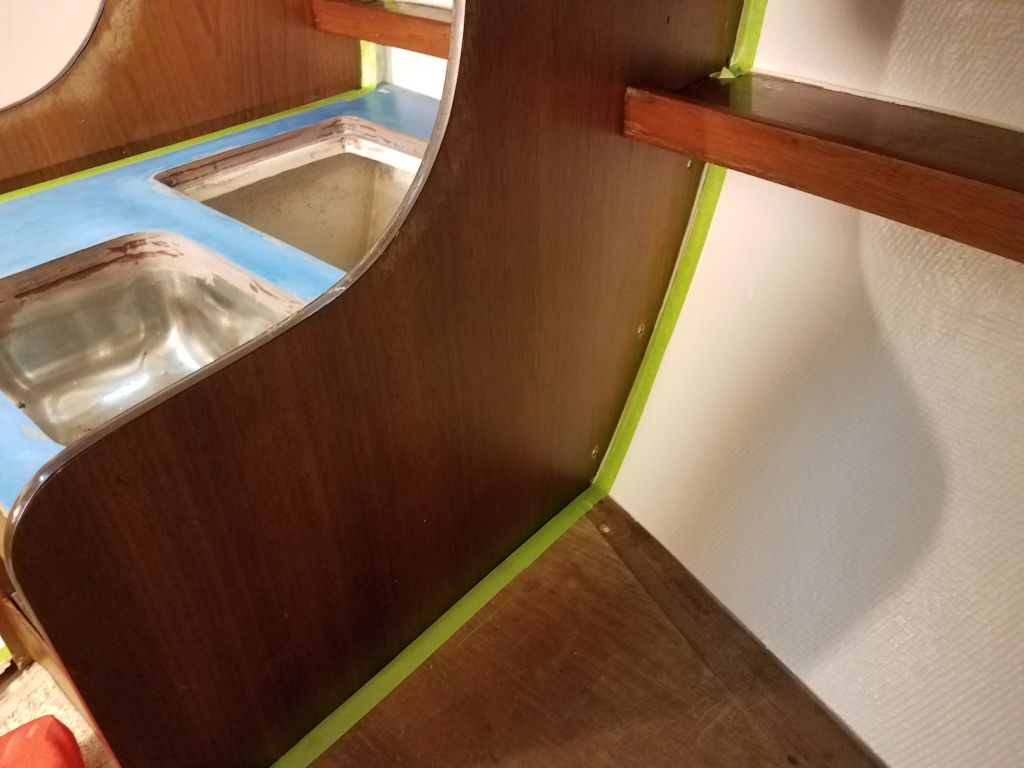
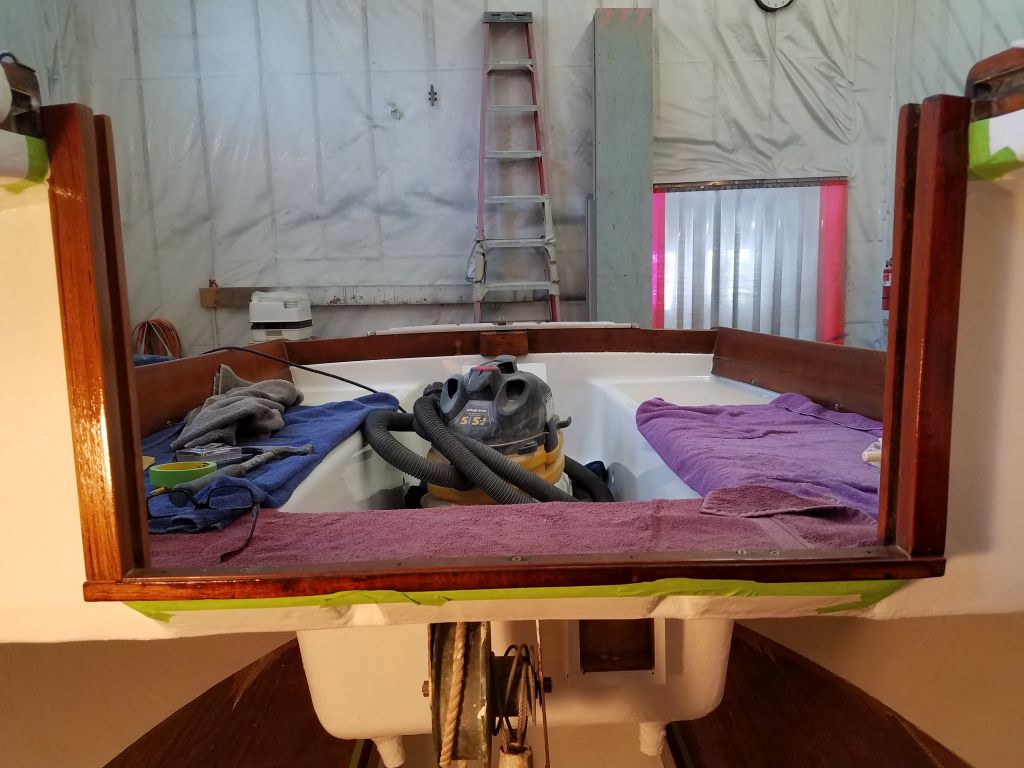
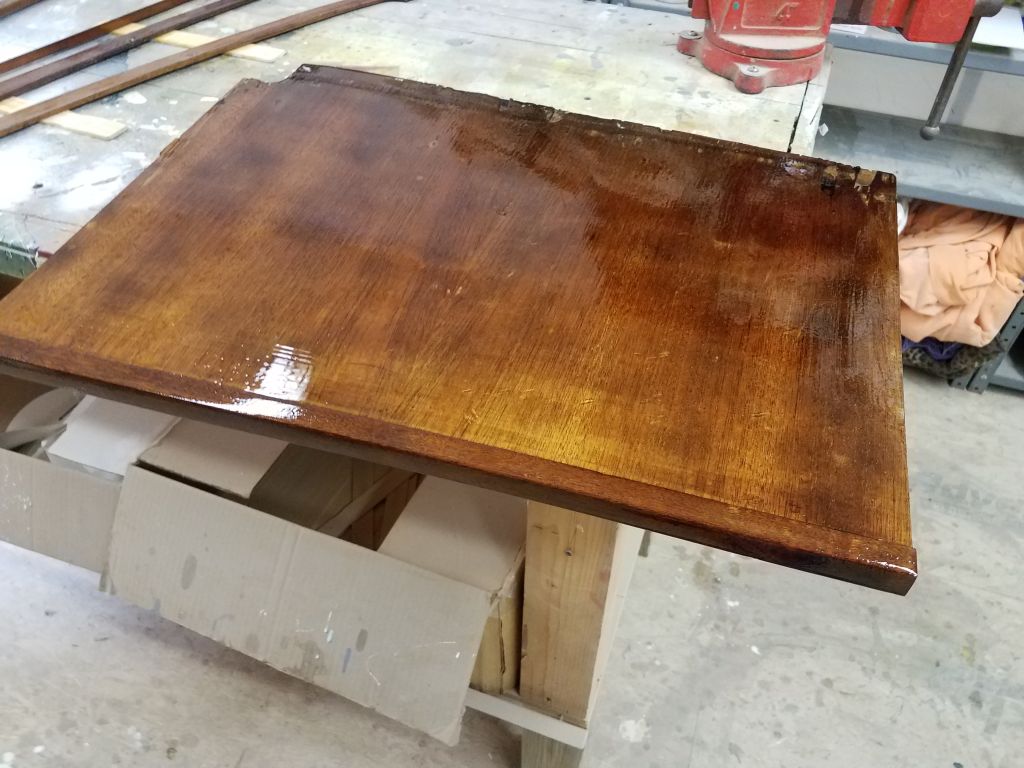
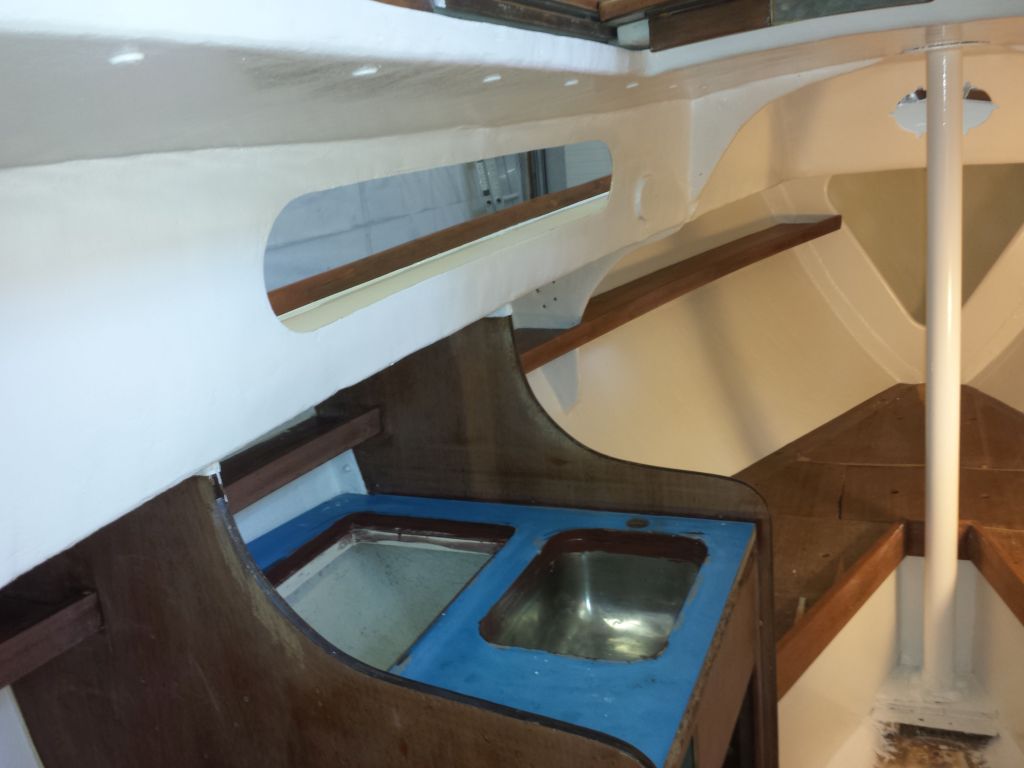
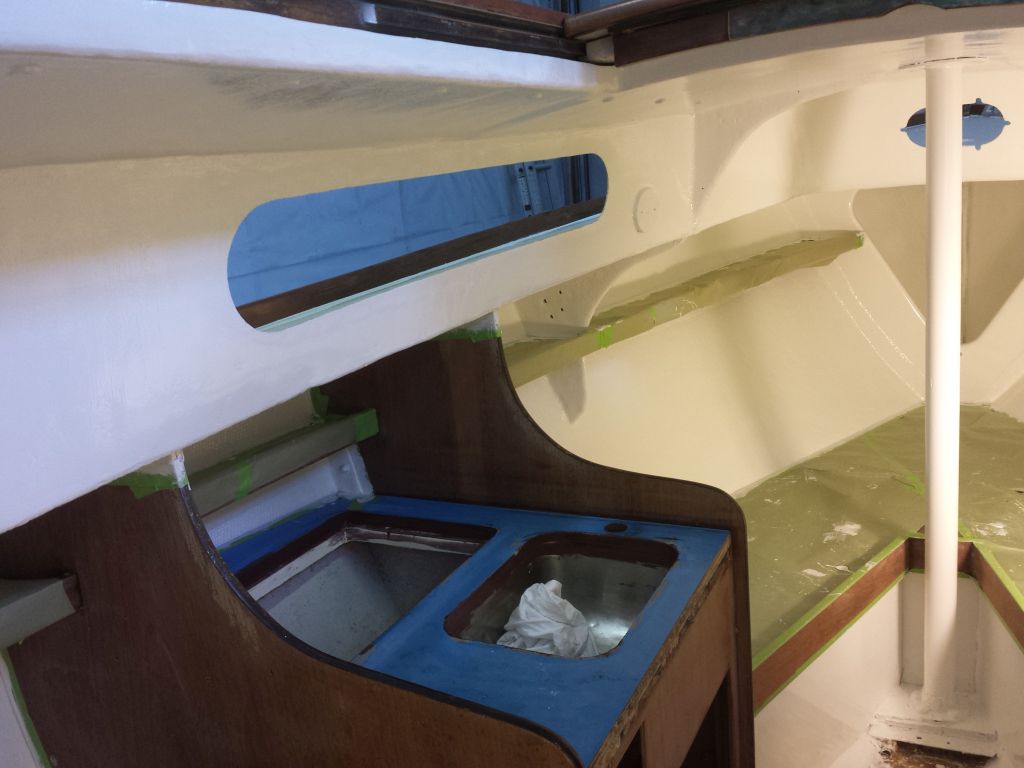
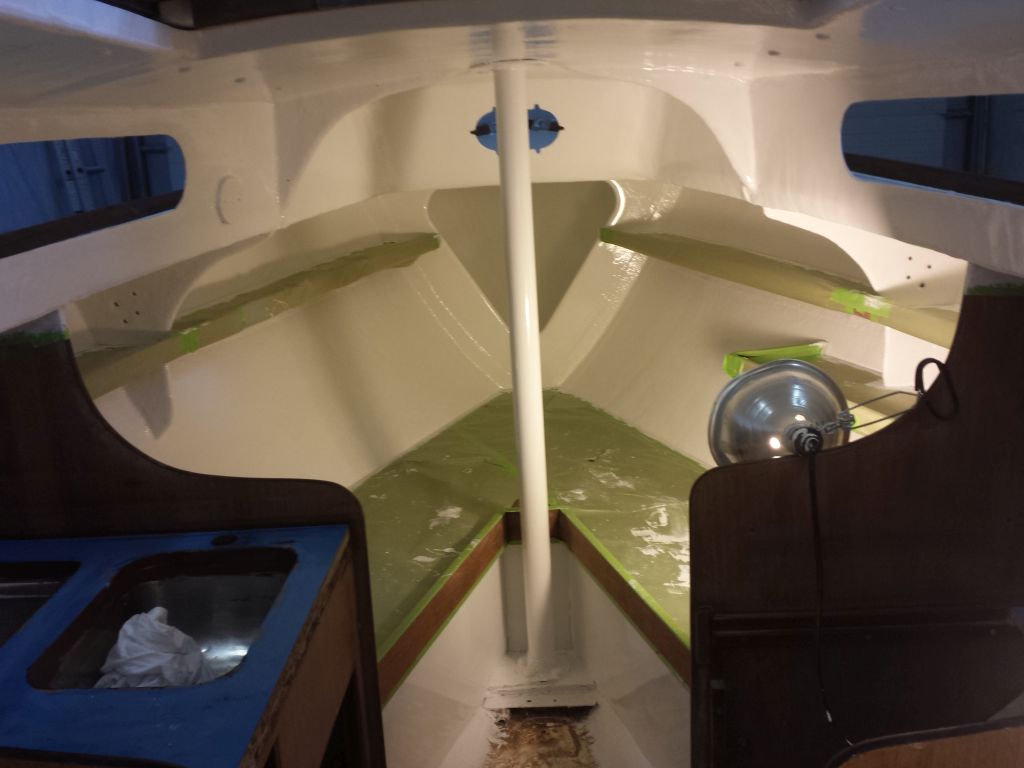
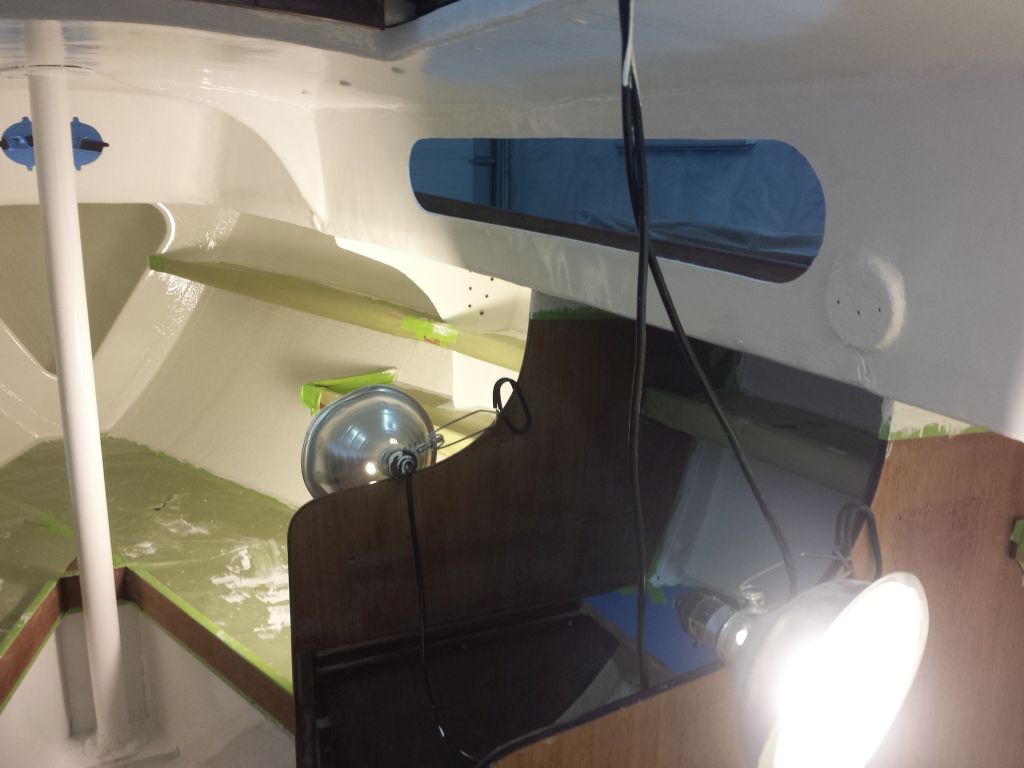
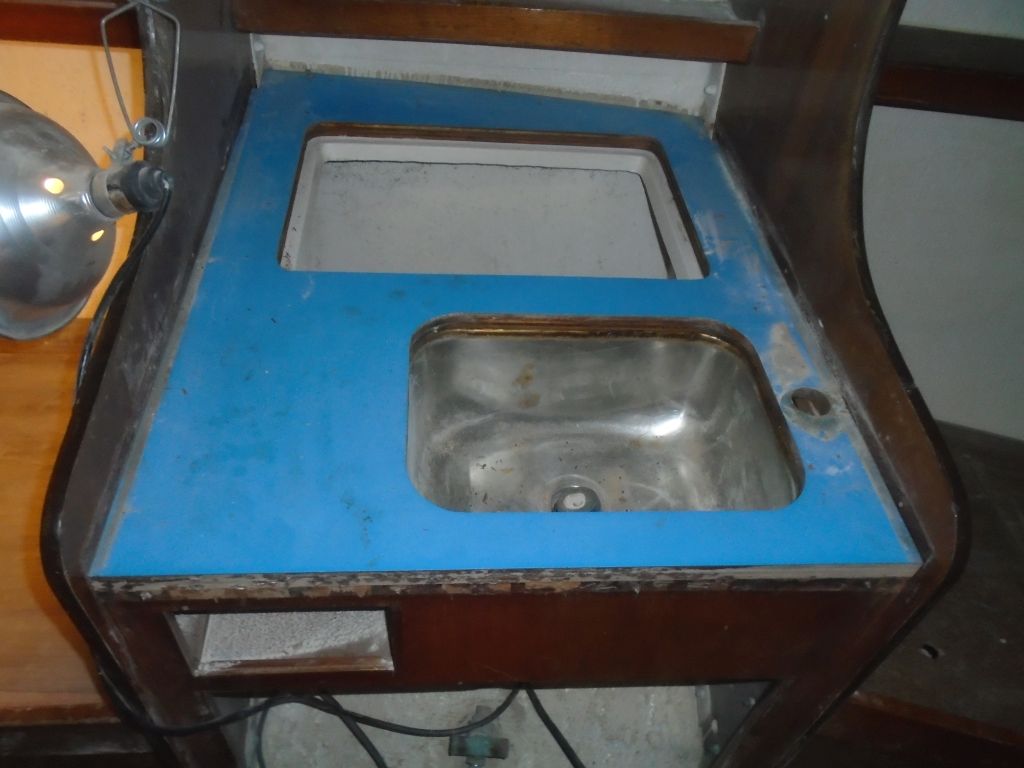
The two main countertop areas at the galley and the head required resurfacing with fresh laminate to update and freshen the appearance.  The owners chose a beige color to coordinate with the general color scheme on deck and that which was planned below, and to offset the clean white color of the interior.  While the mechanics of resurfacing were straightforward, the confined nature of the surfaces in question, penned in by bulkheads on both sides and with other obstructions, meant that in order to install a new surface I’d need to build accurate templates so I could pre-cut the laminate exactly to size, rather than trimming it flush after gluing.  Much earlier, I’d looked into removing the countertops from the boat to make fabrication easier, but had long ago determined that this was not a feasible proposition.

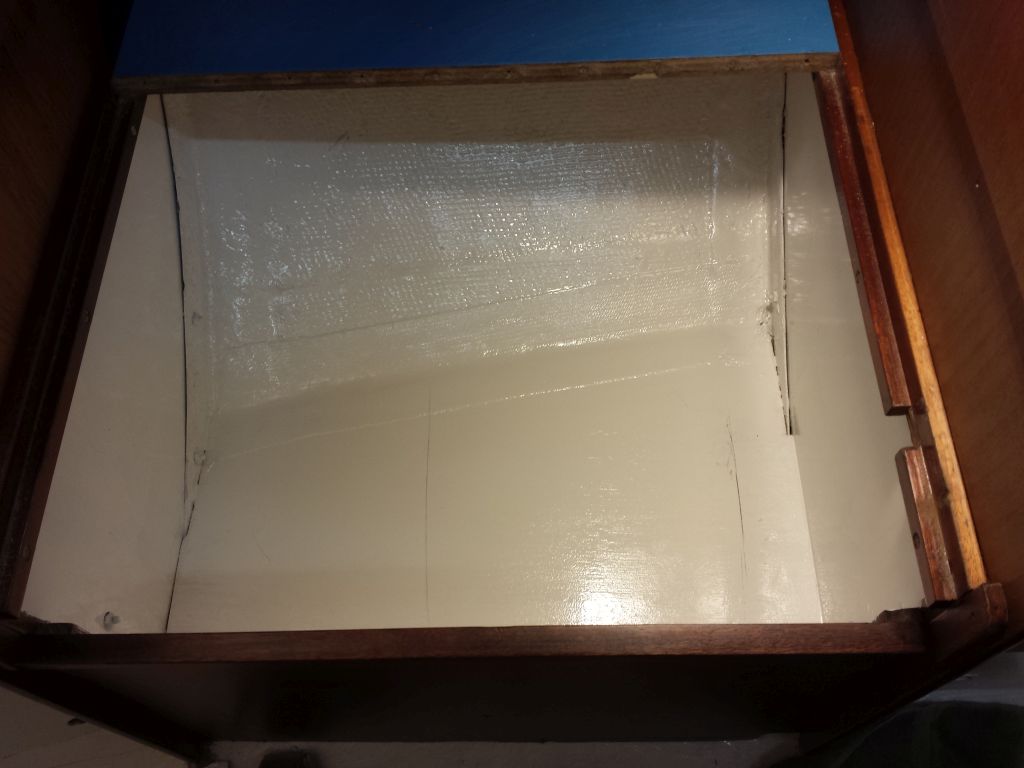
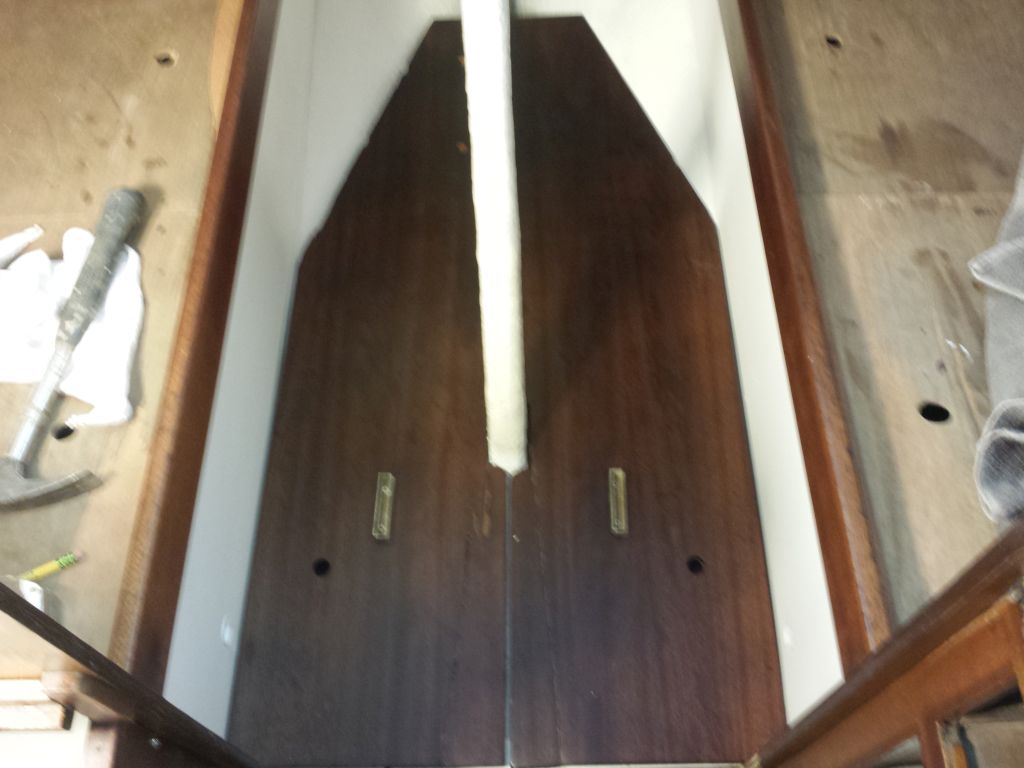
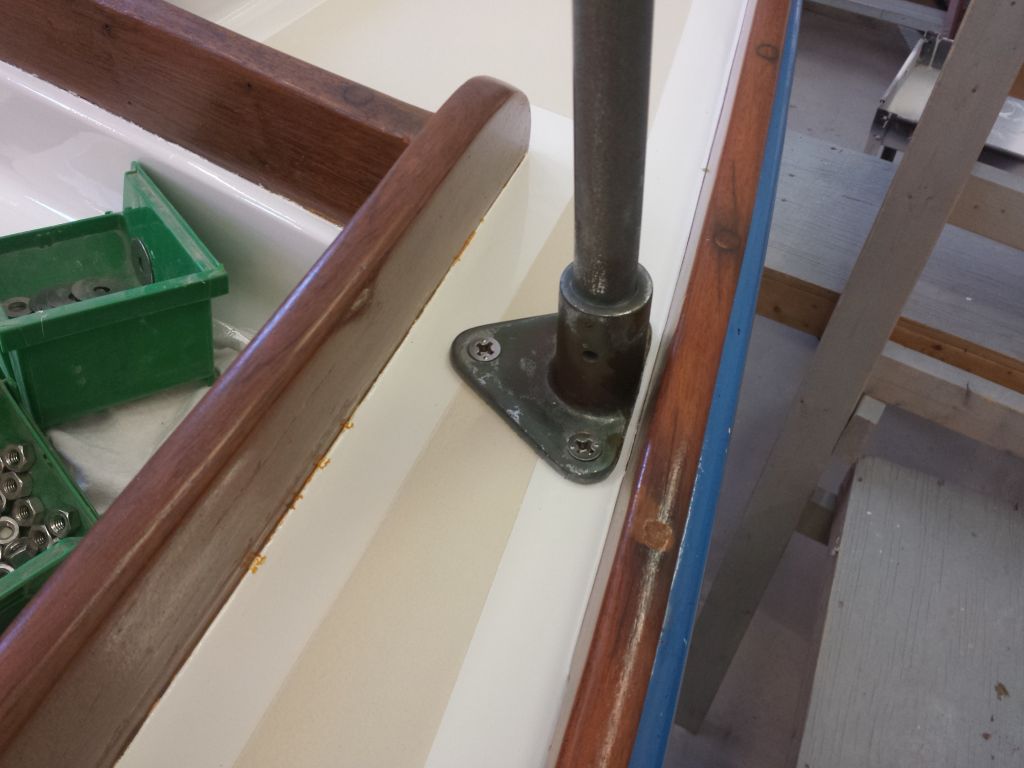
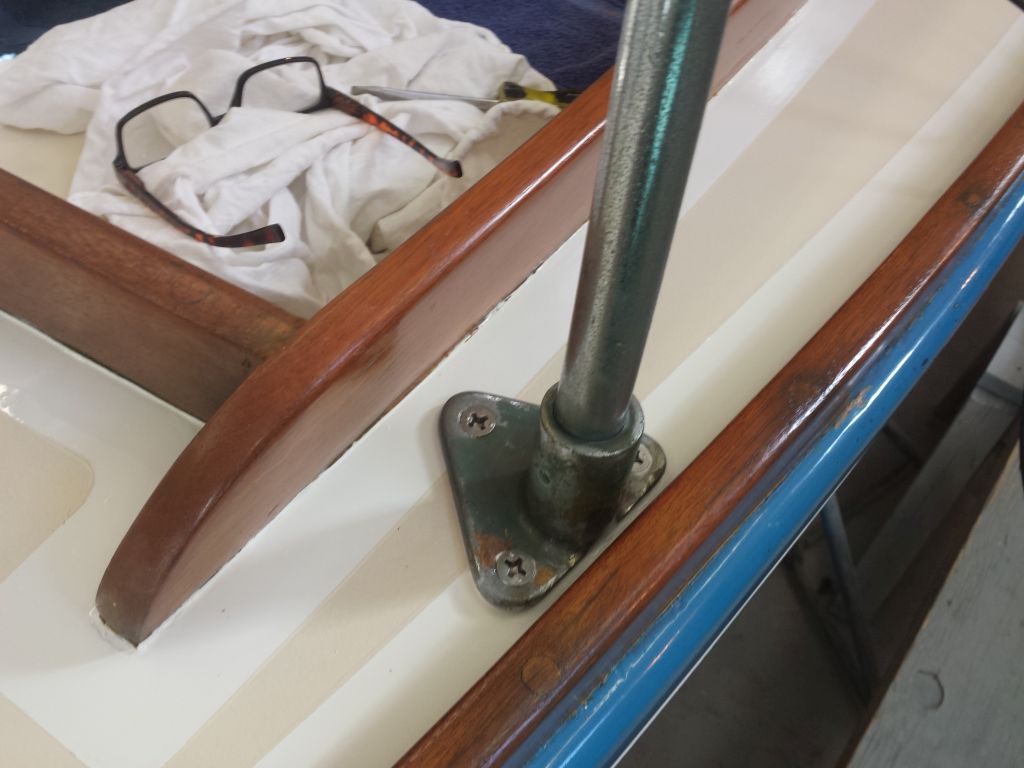
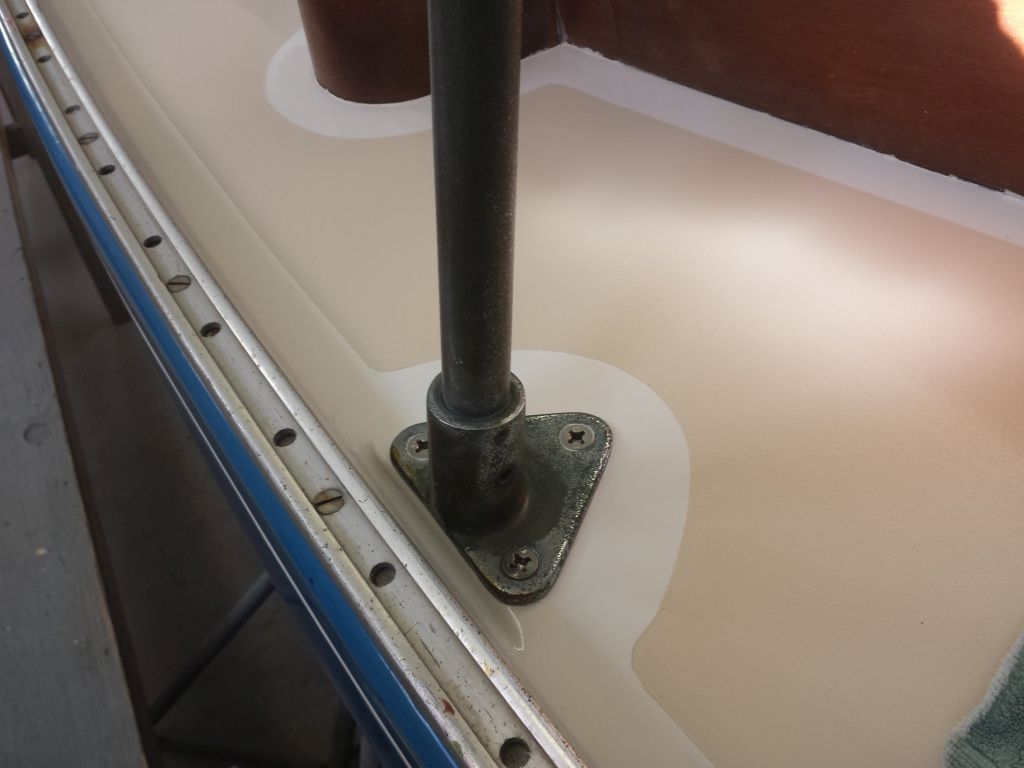
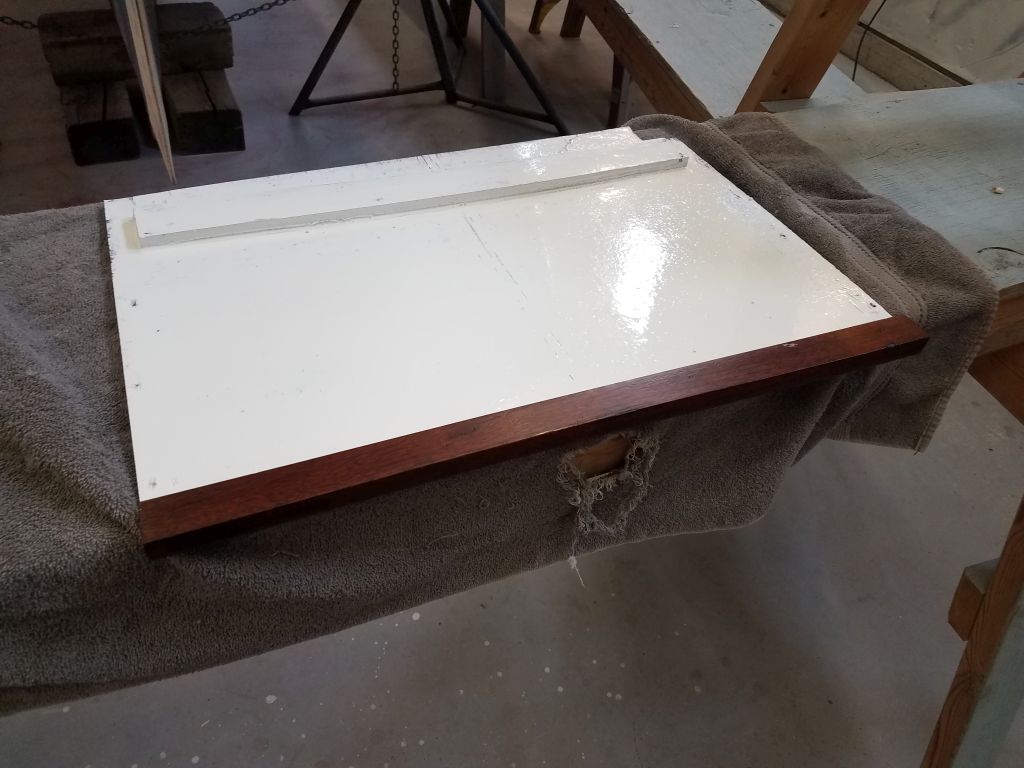
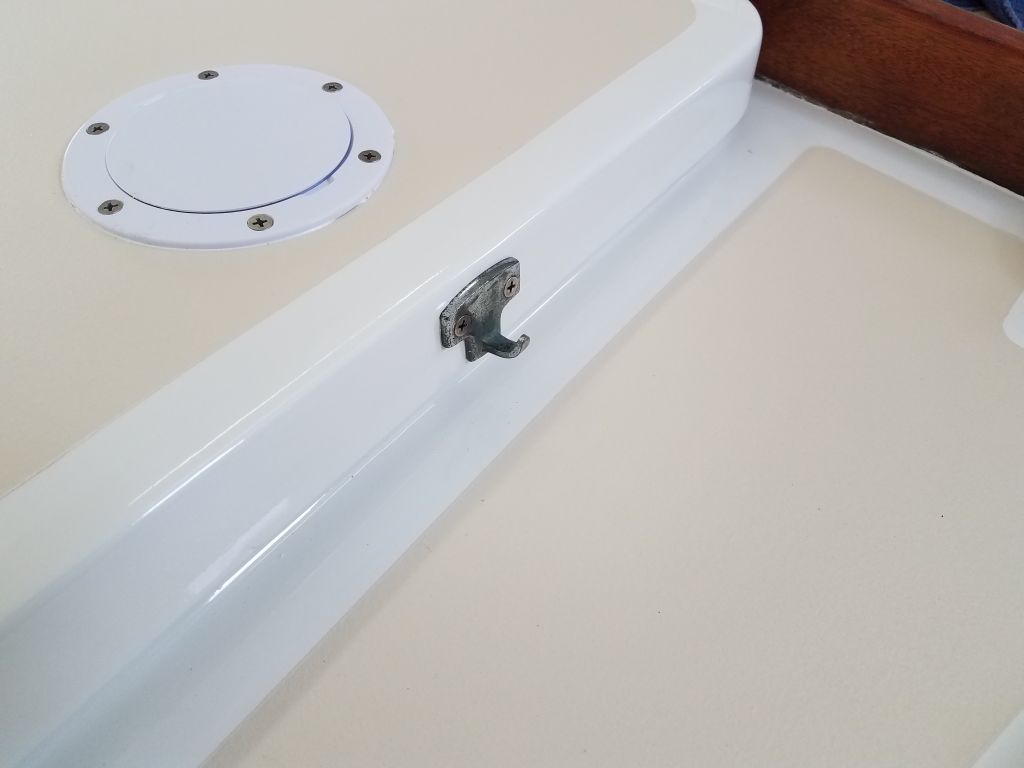
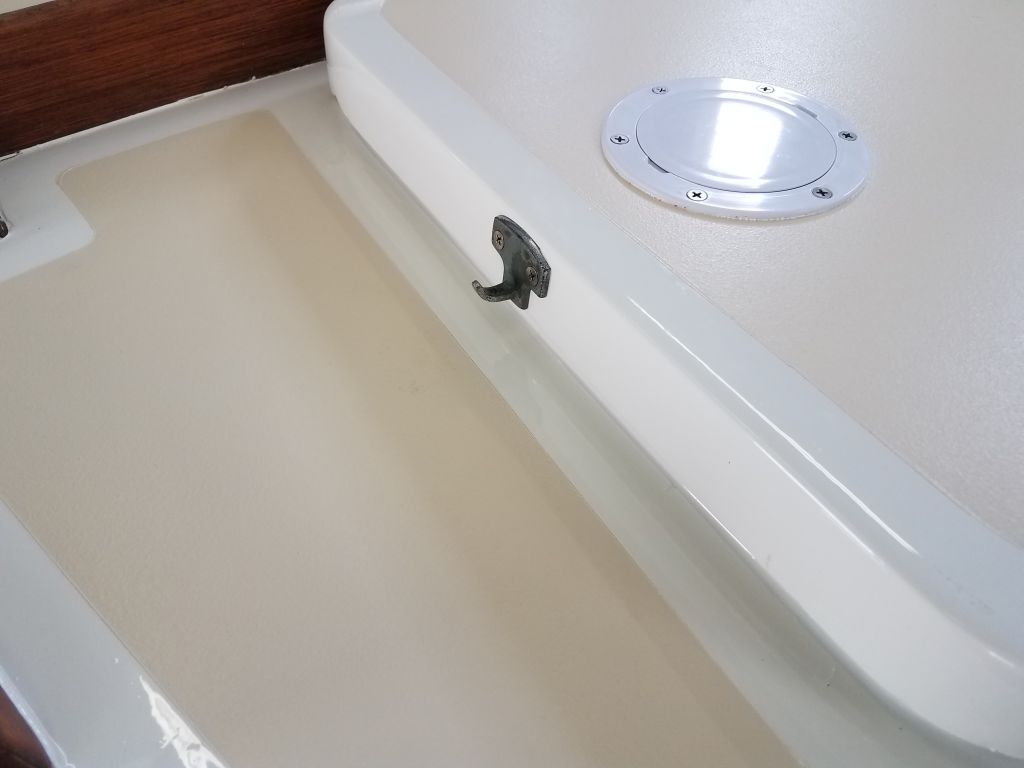
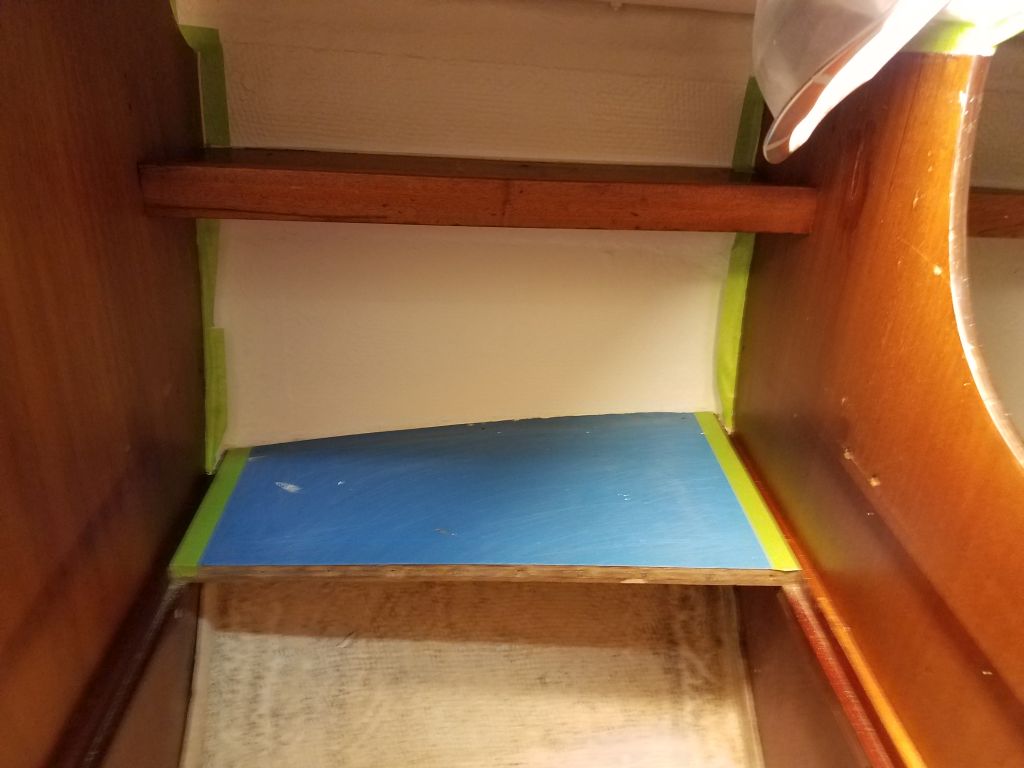
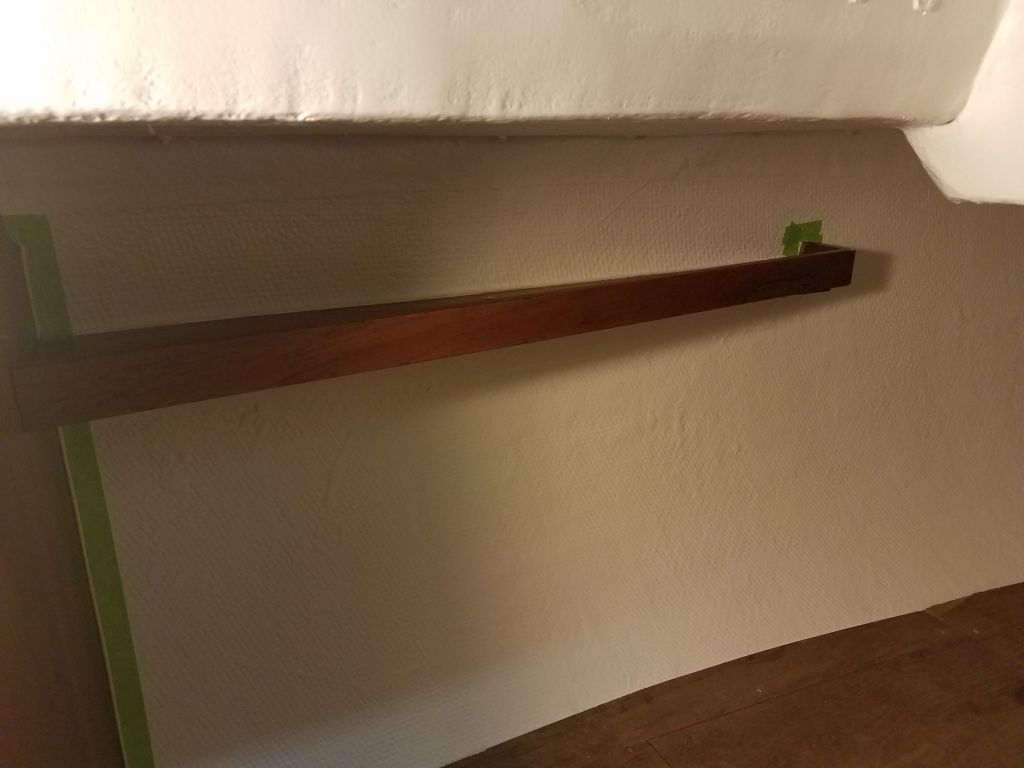
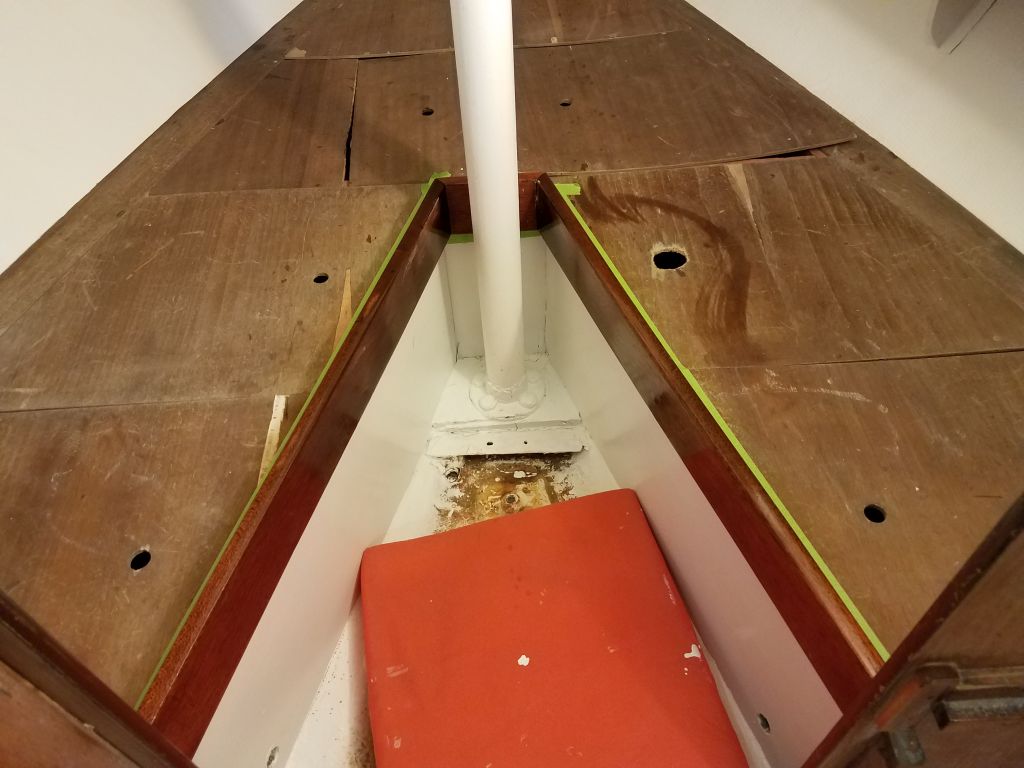
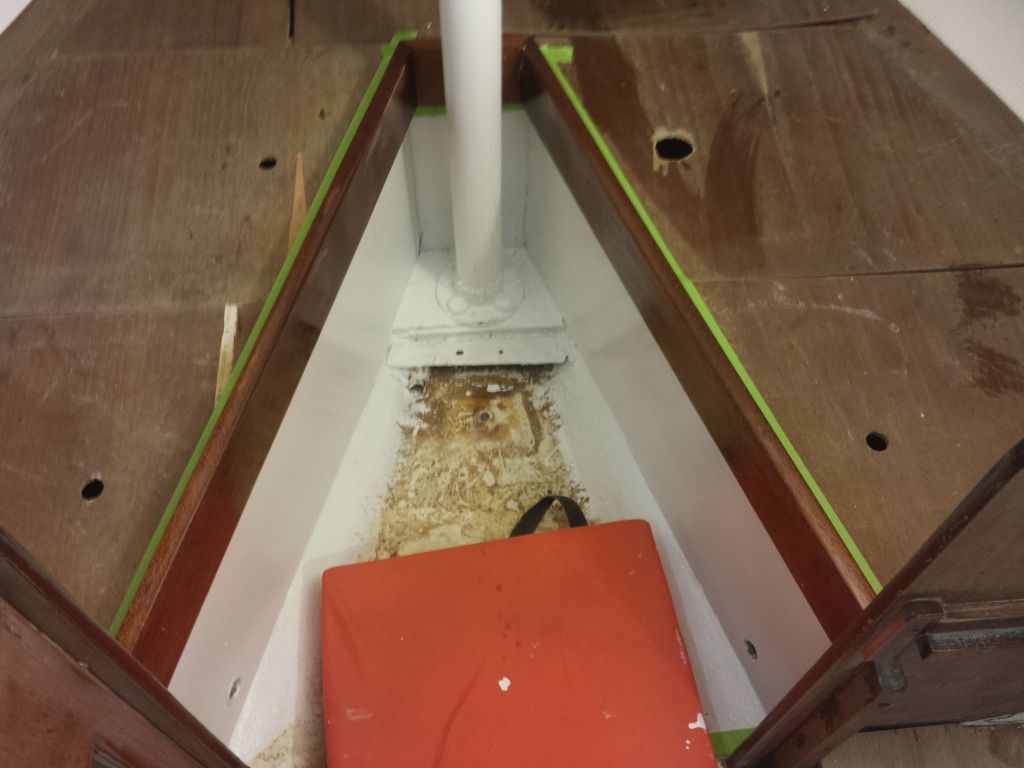
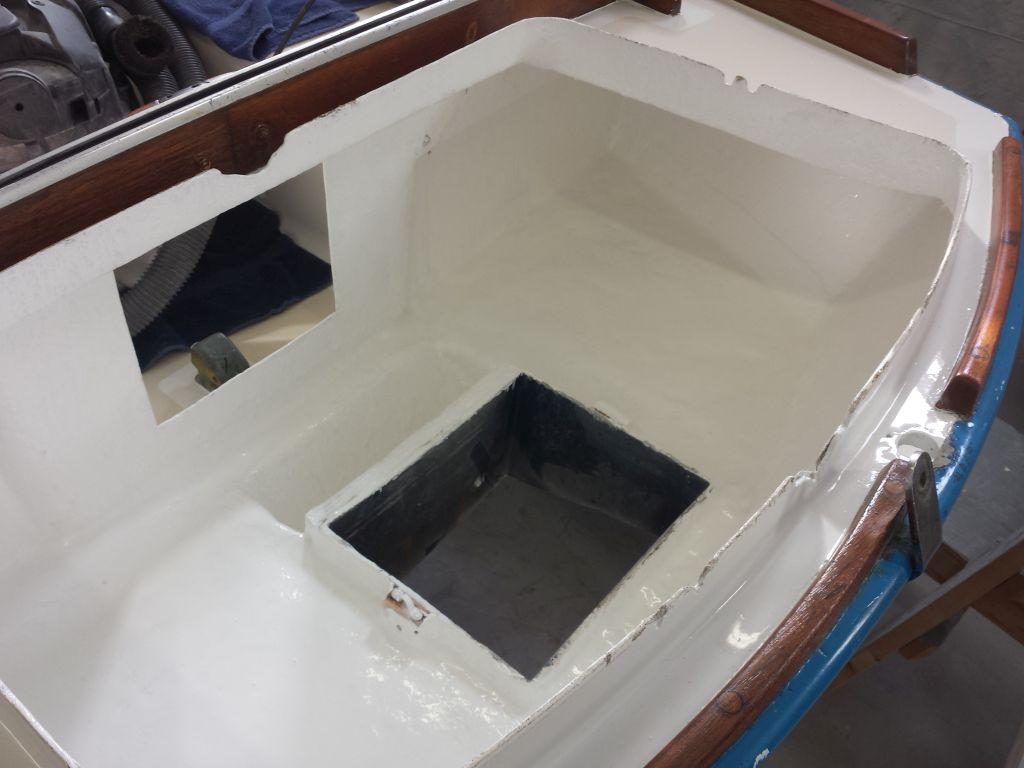
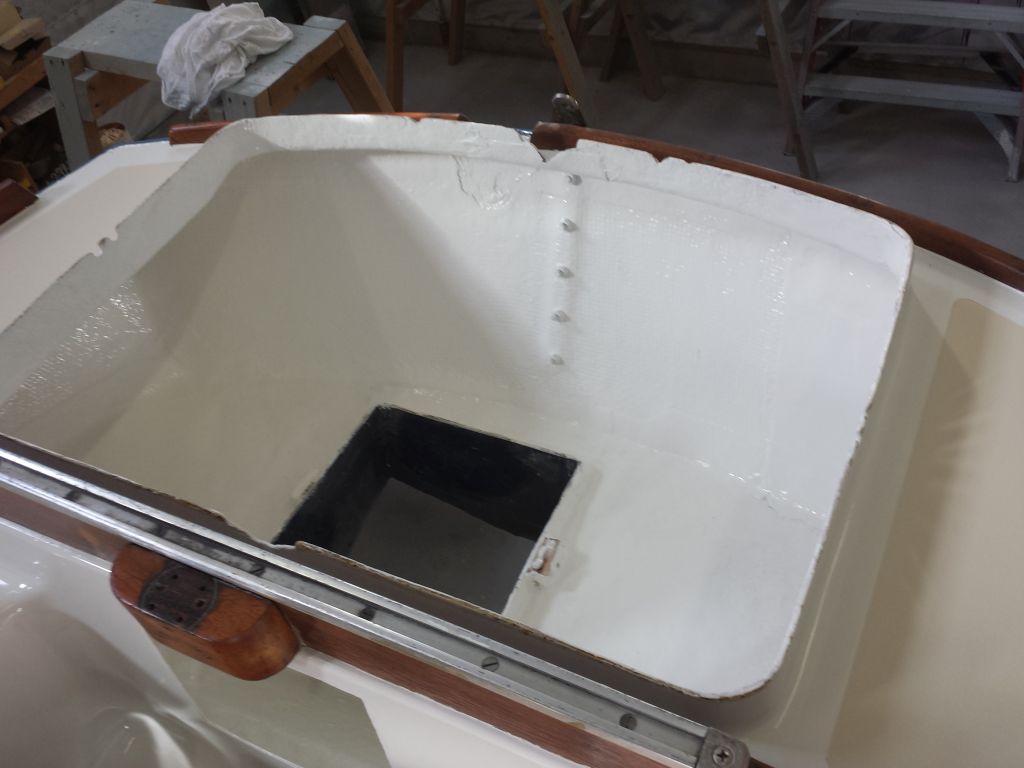
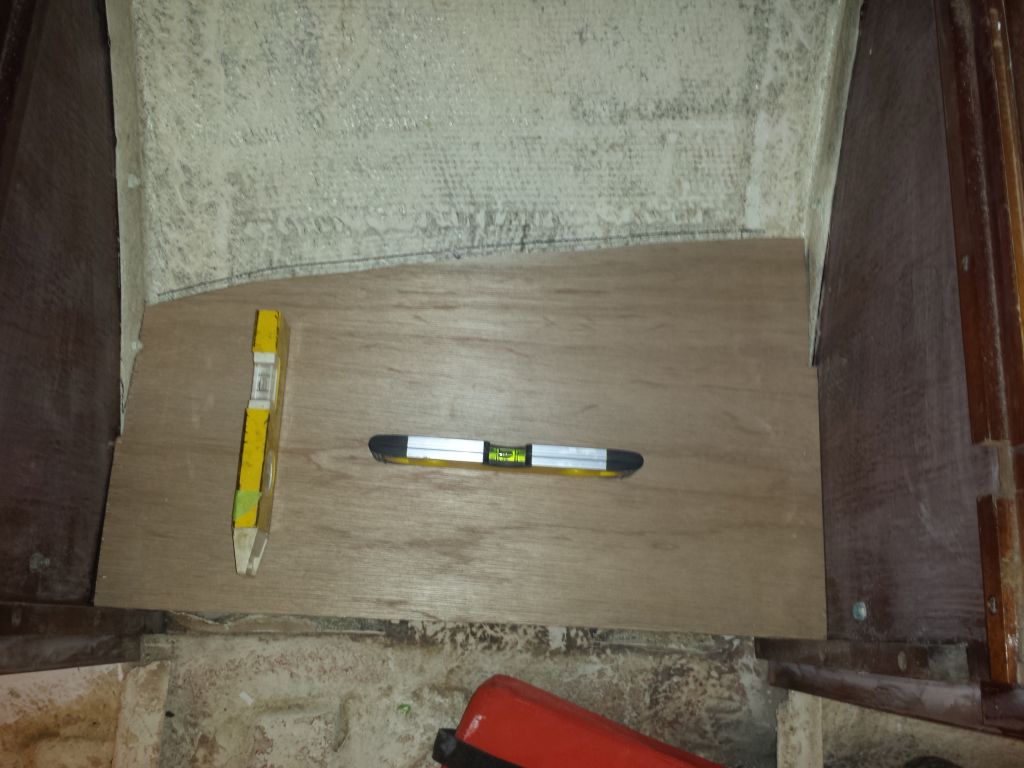
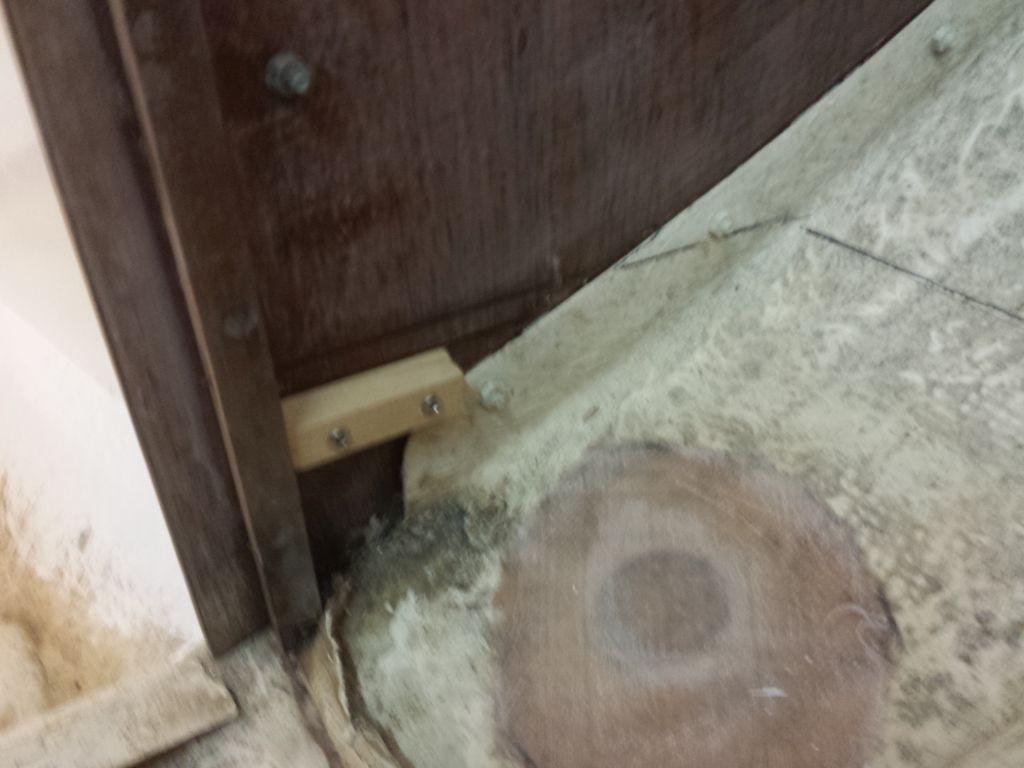
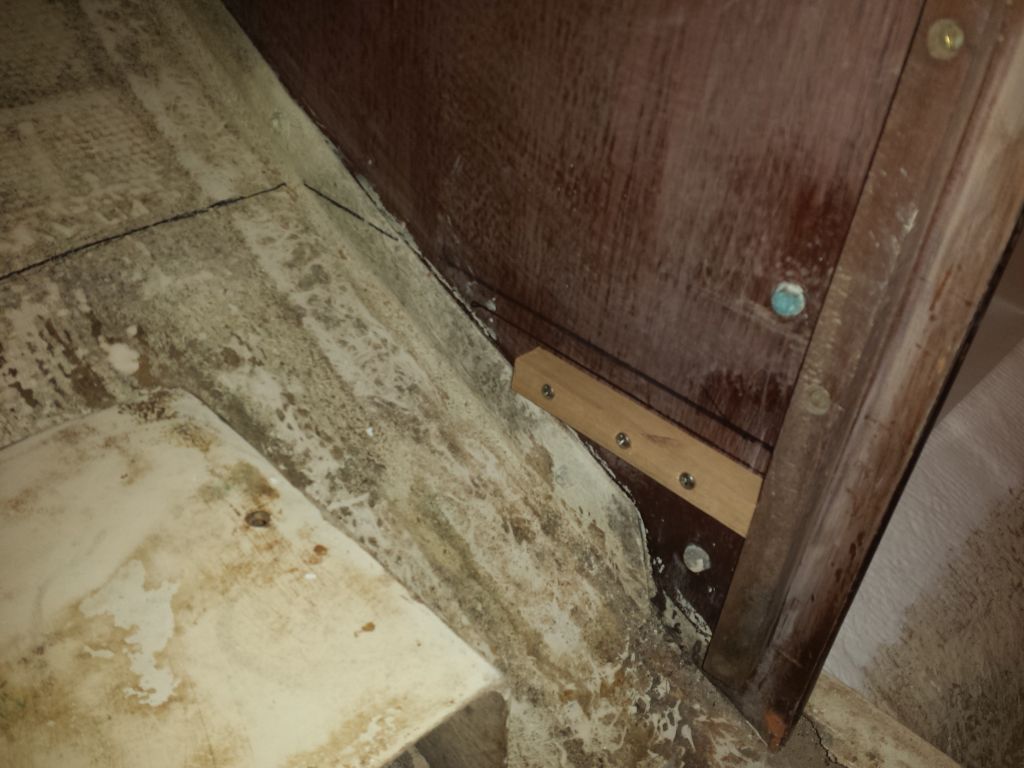
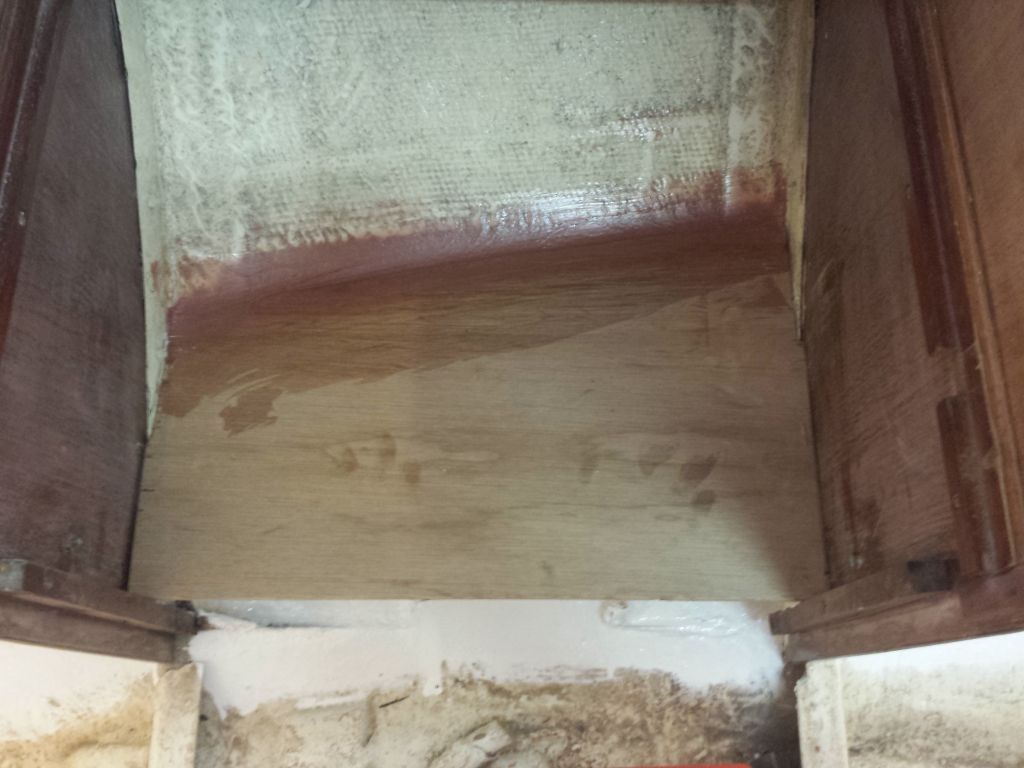
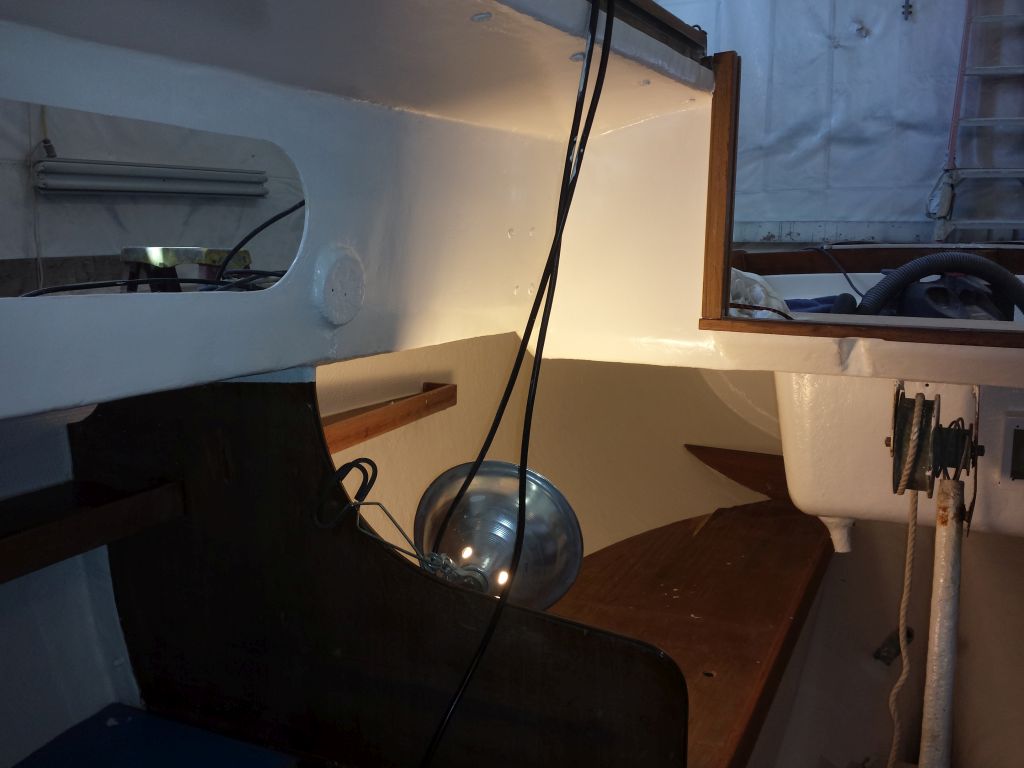
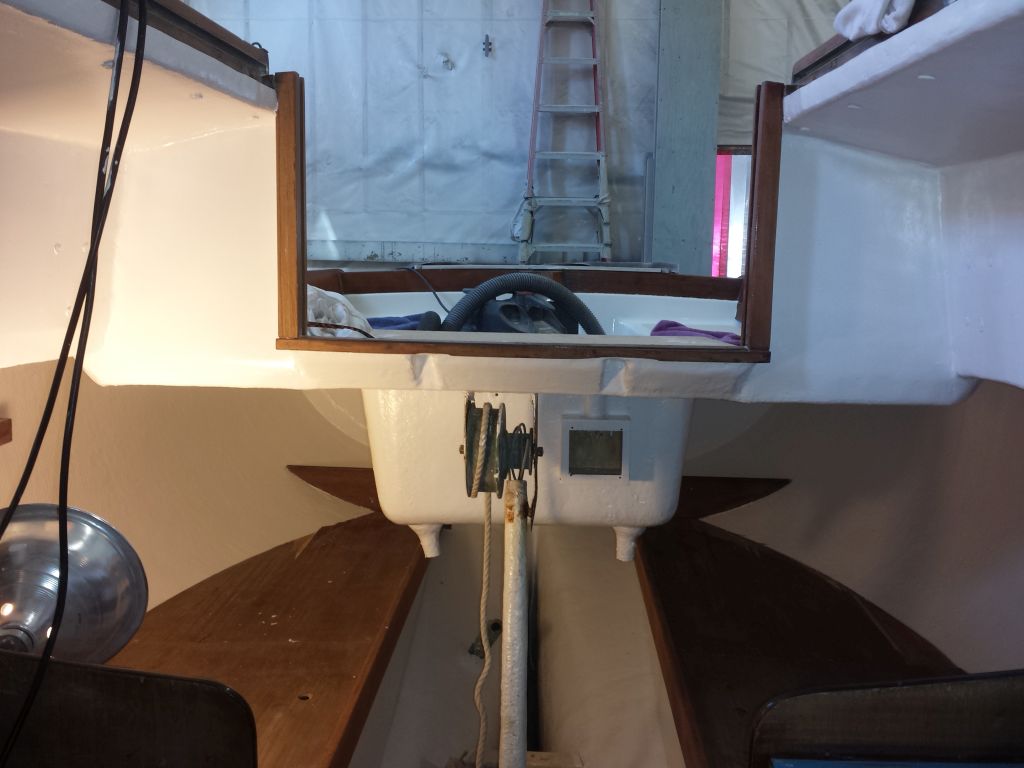
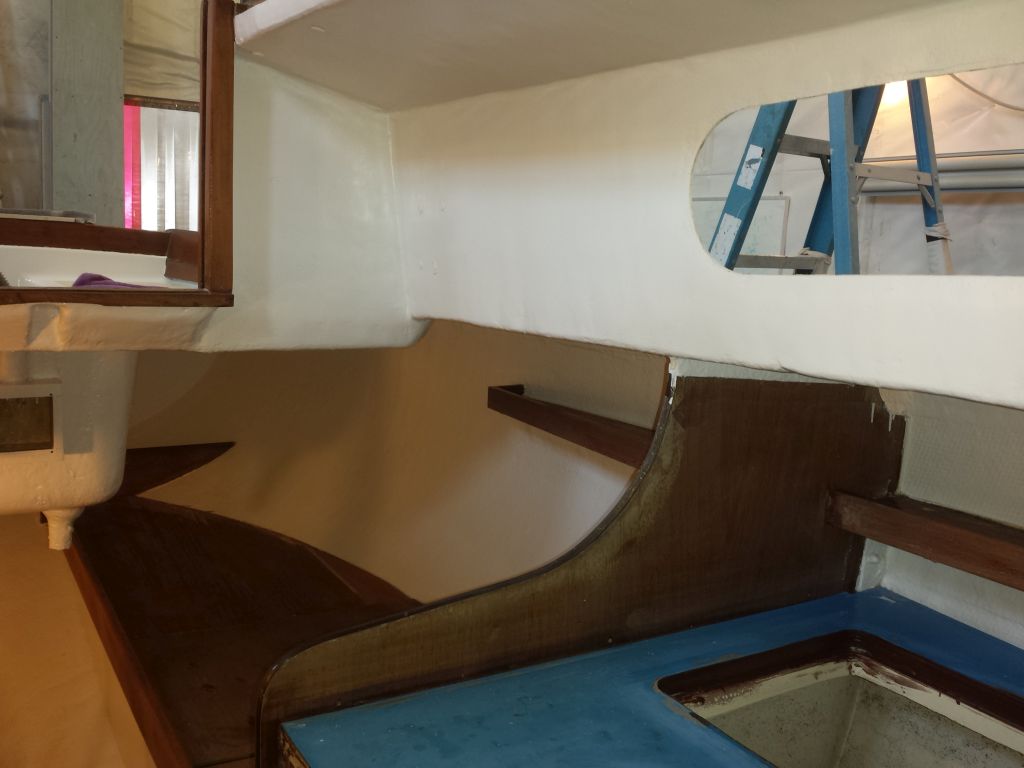
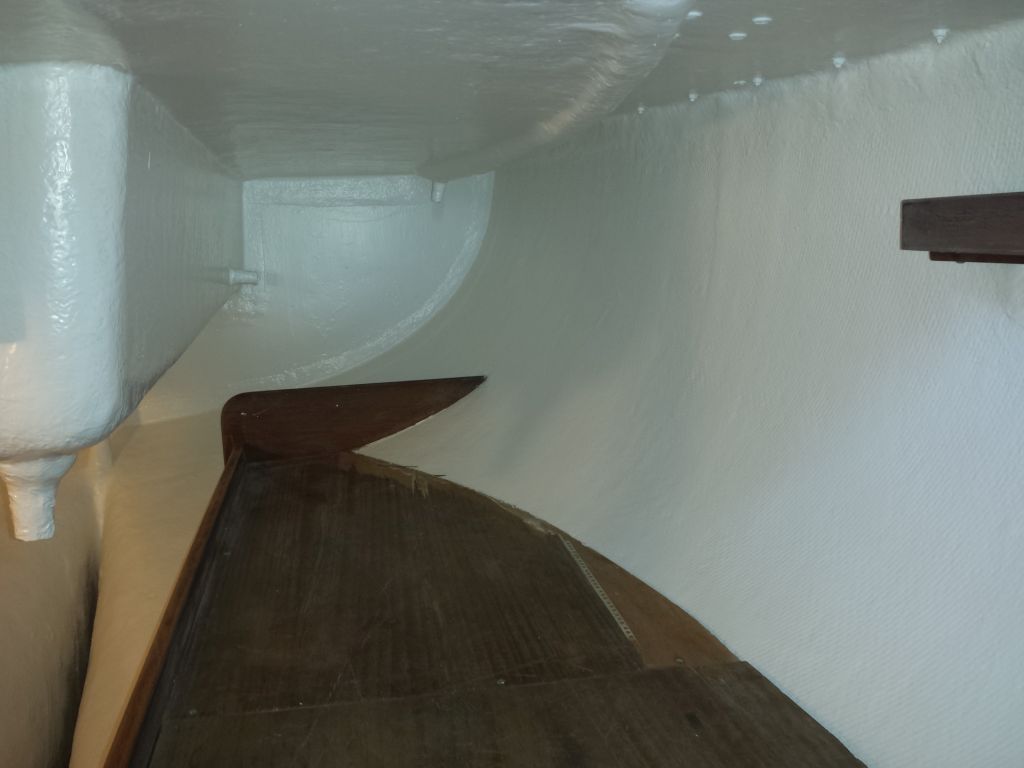
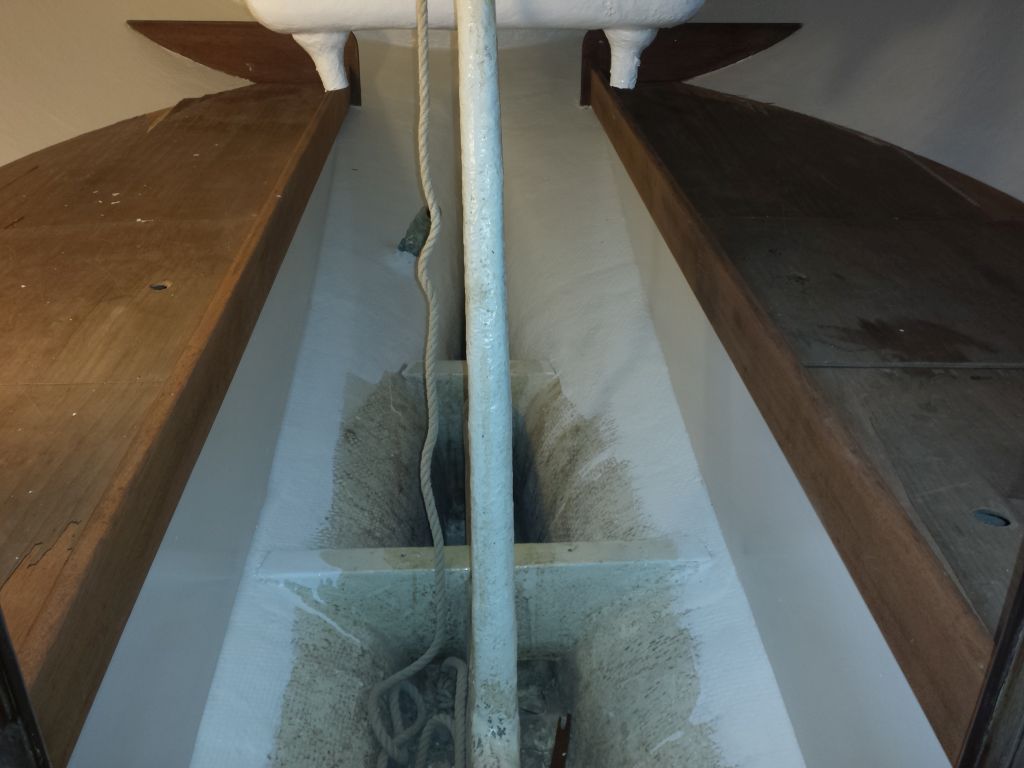
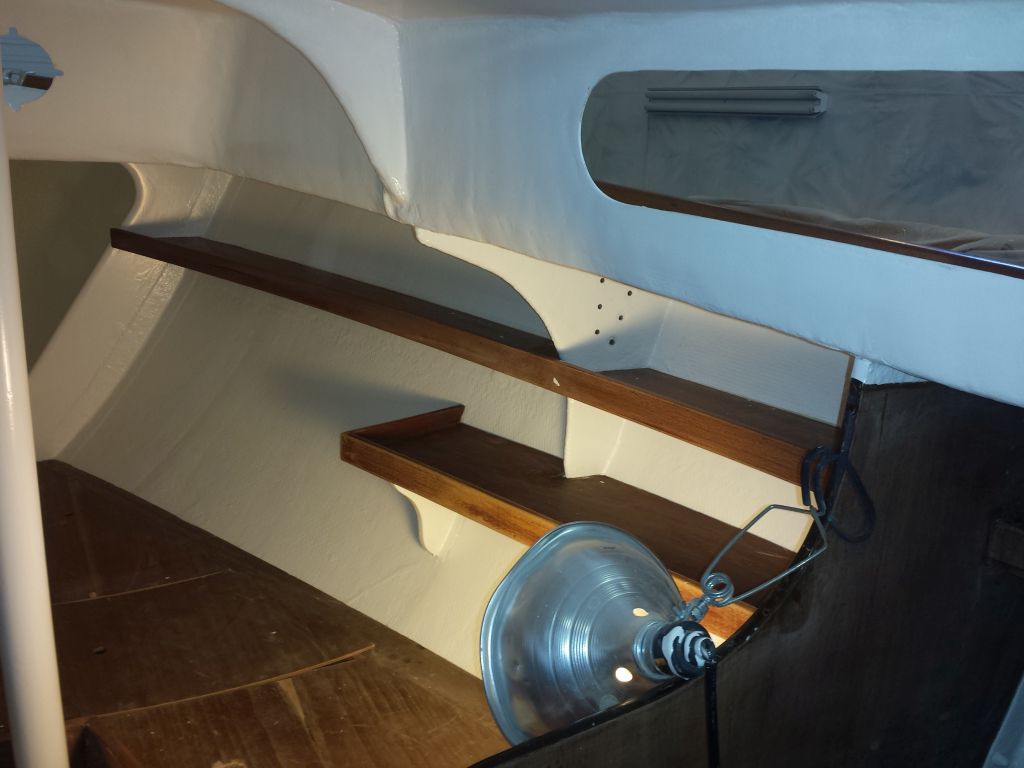
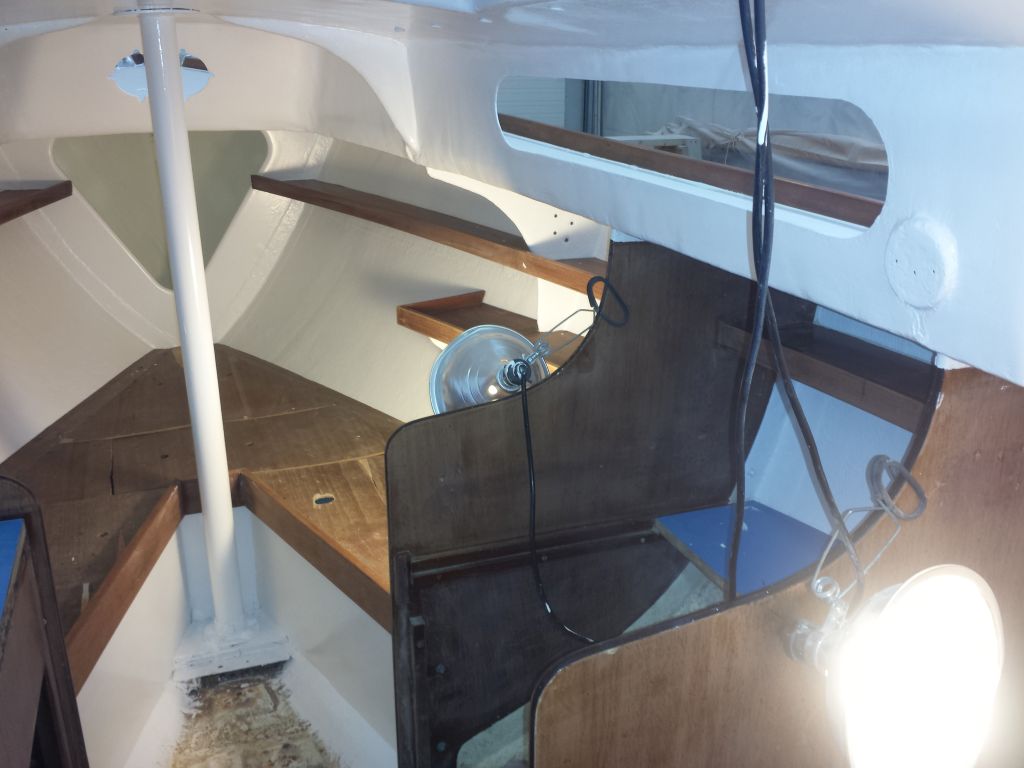
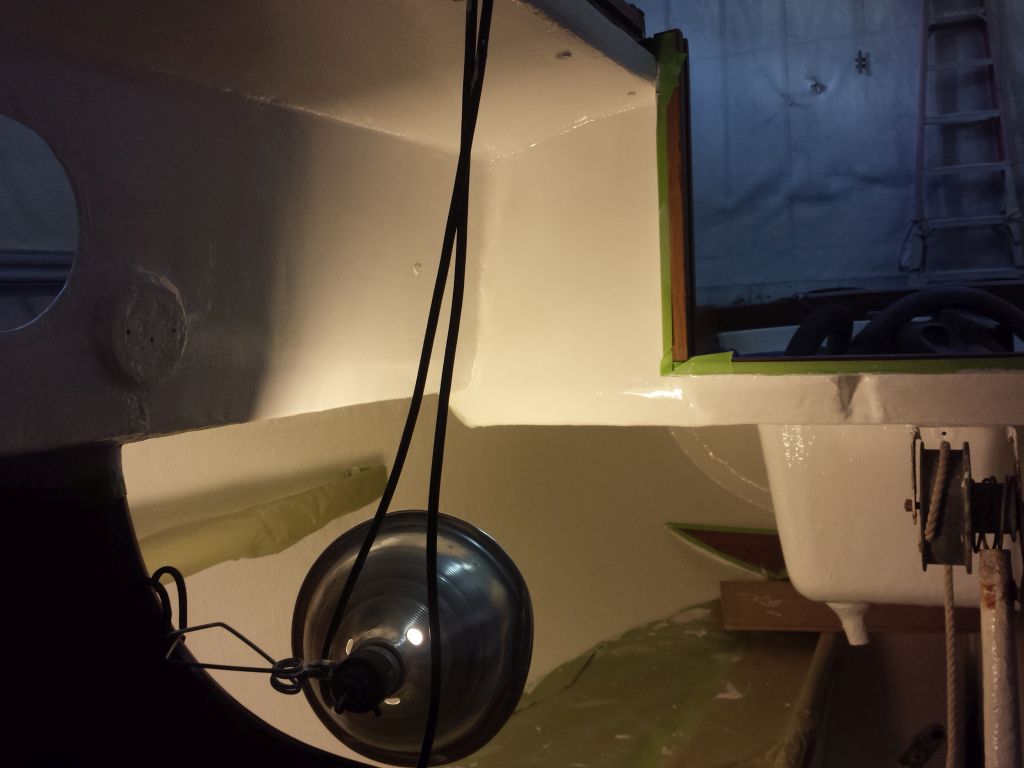
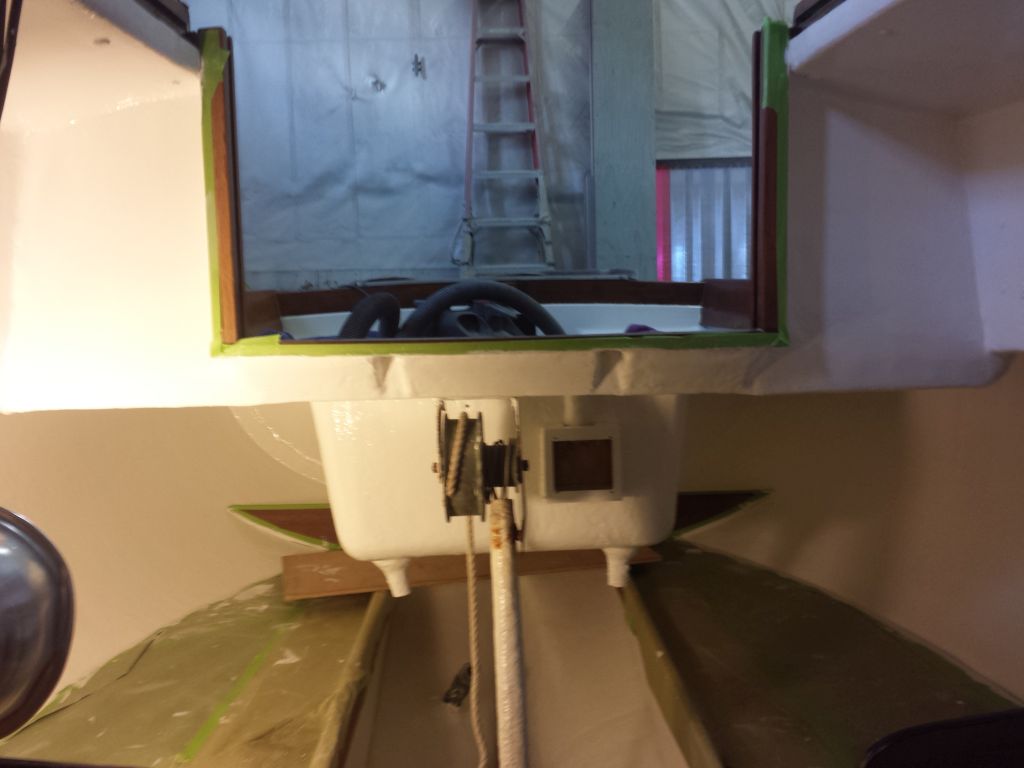
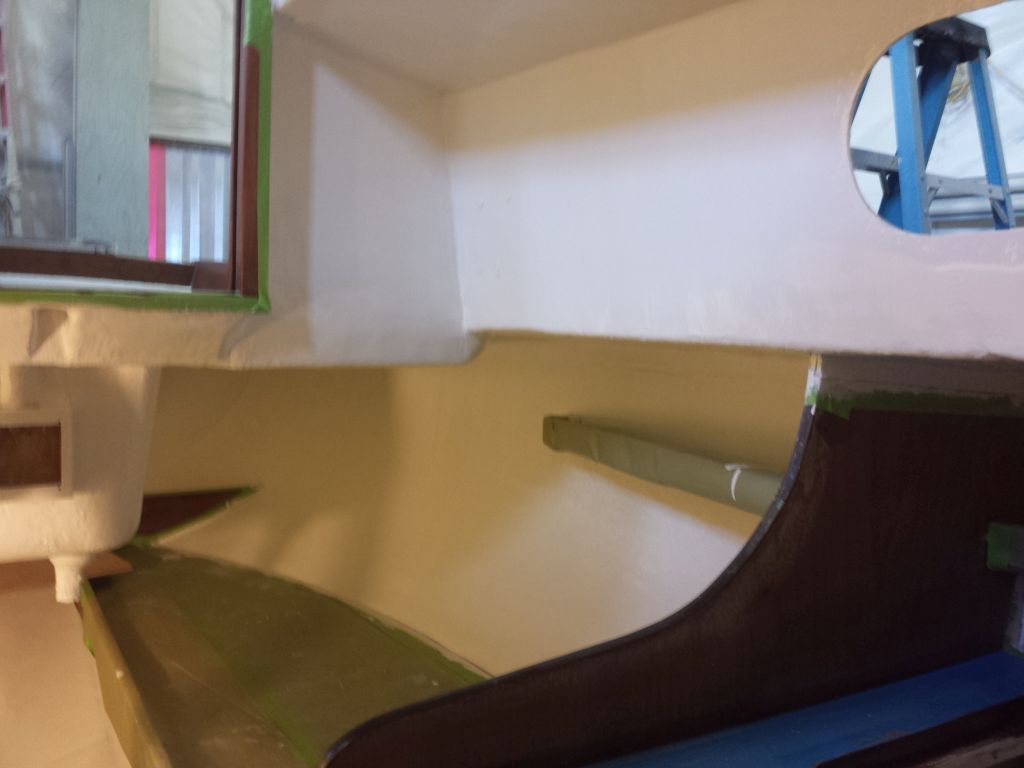
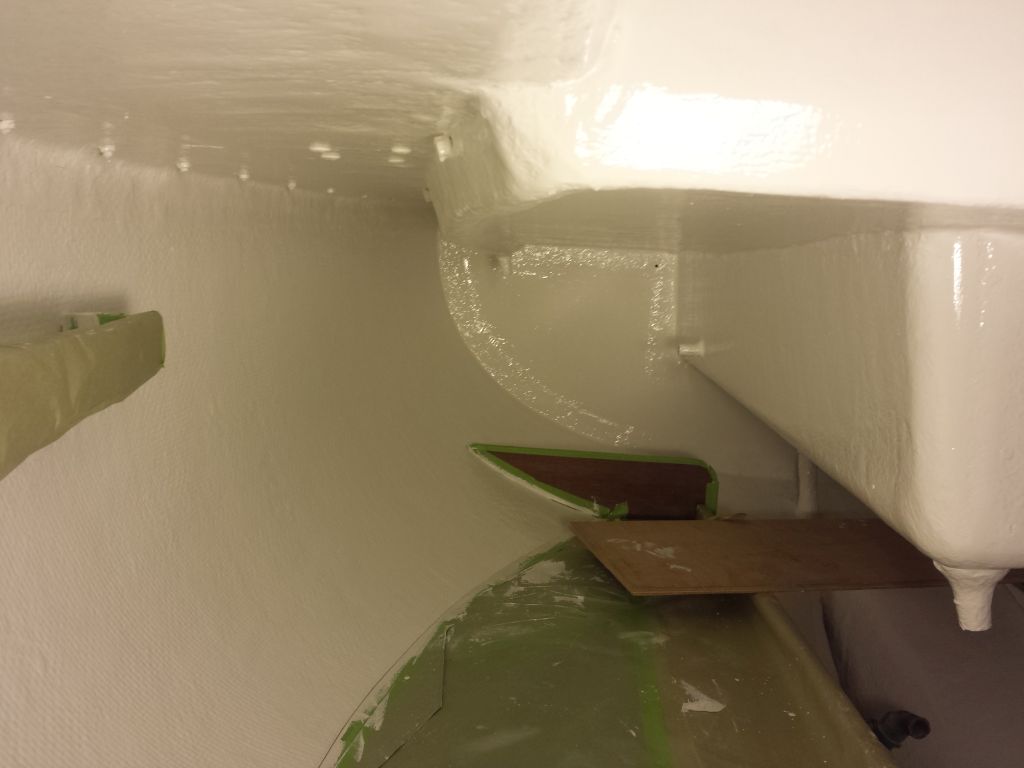
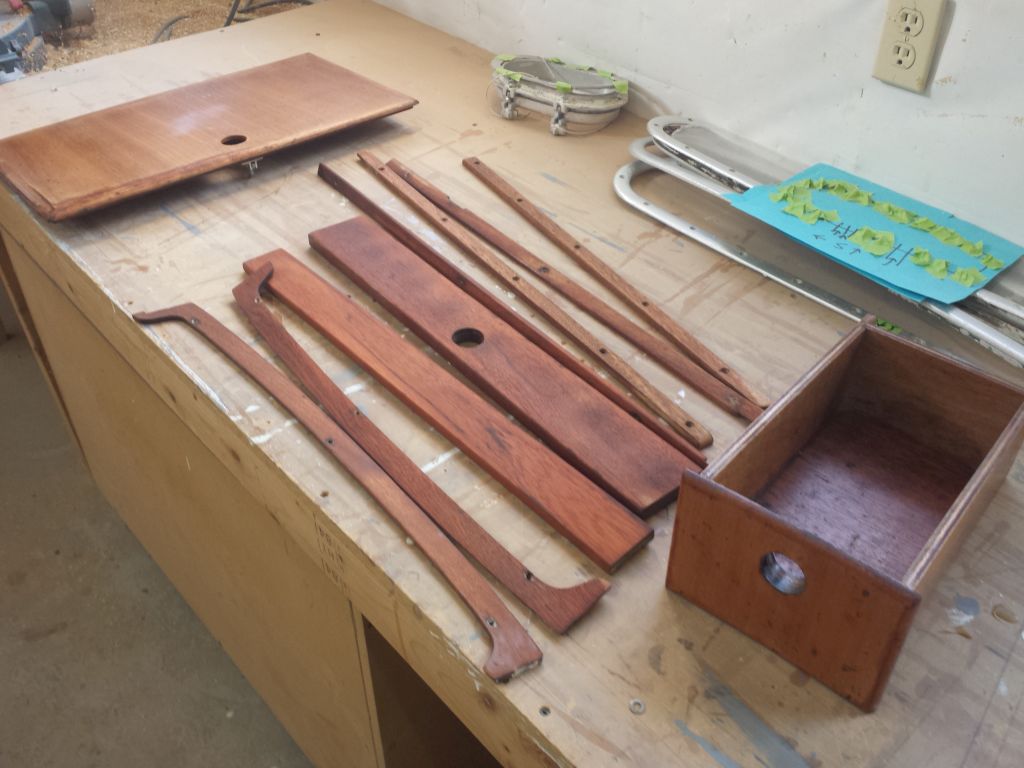
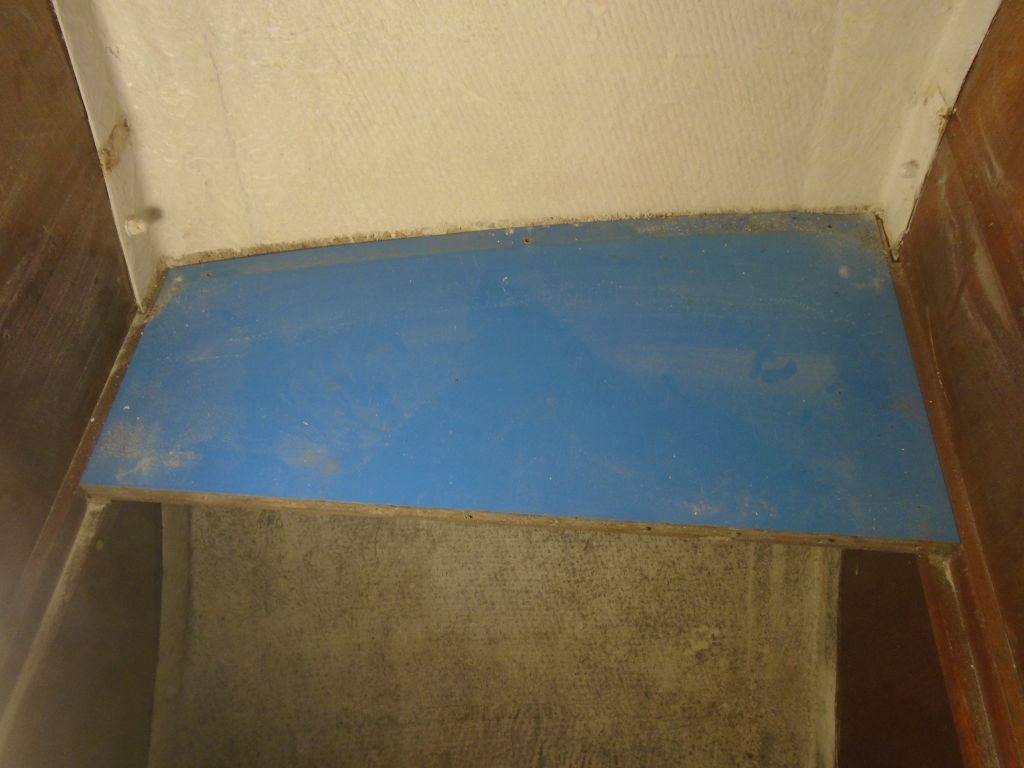
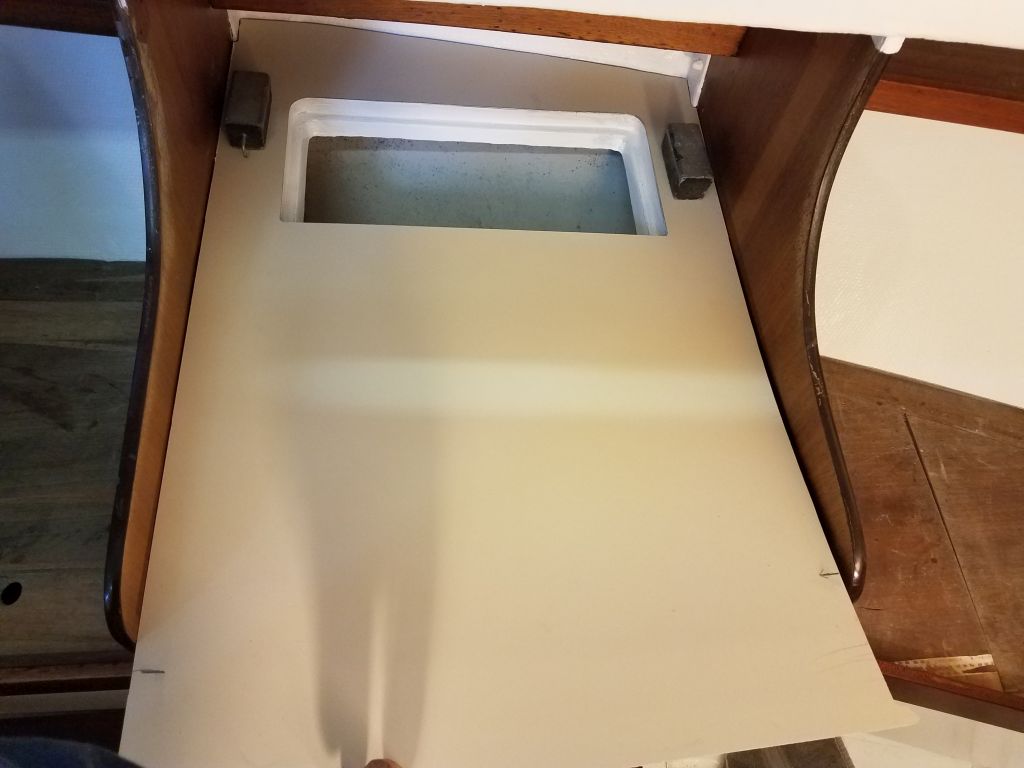
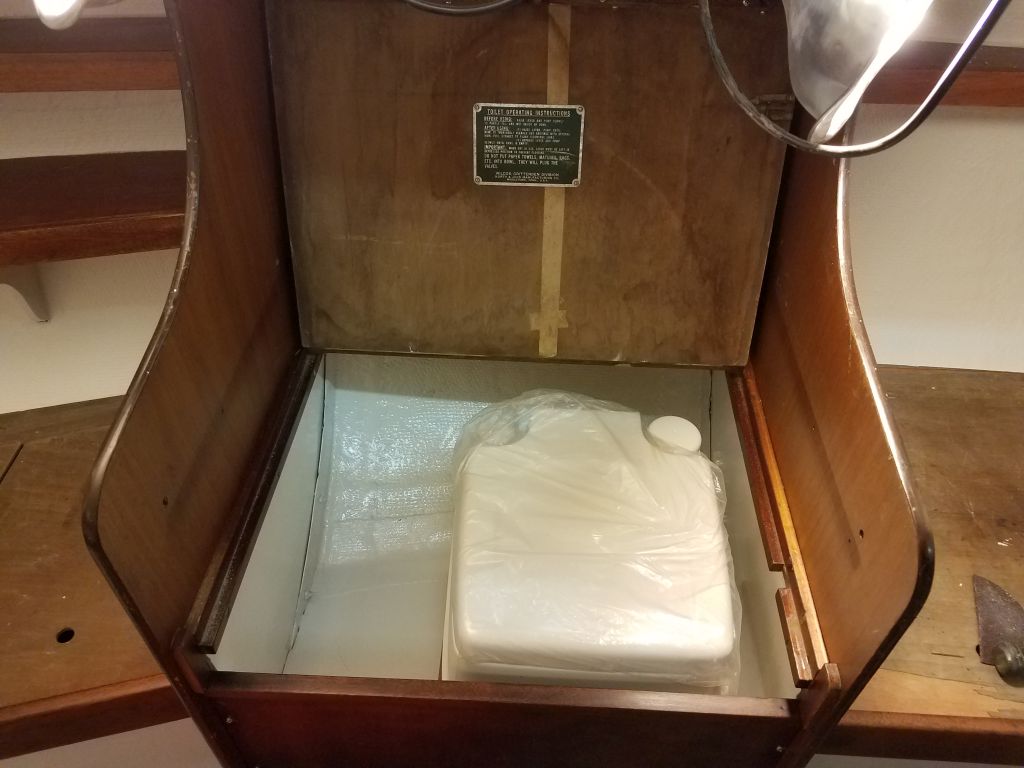
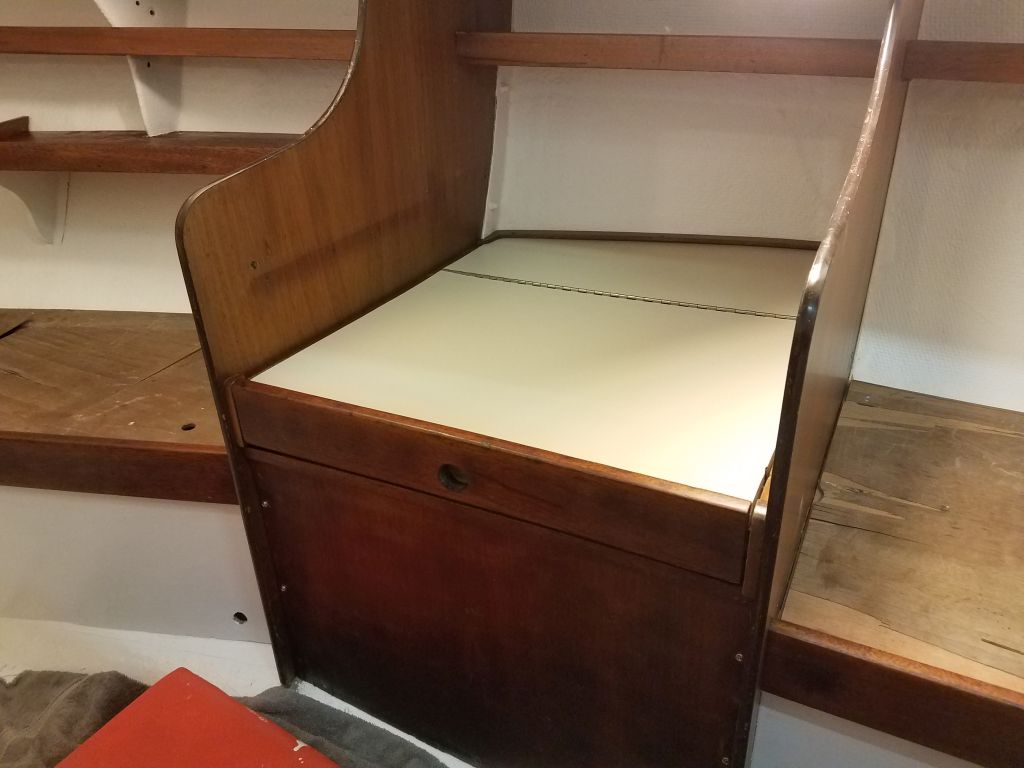
On the head side, there was just a small section of fixed countertop, at the outer edge of the space next to the hull.  This section of countertop ended just shy of the bulkheads at some flush wooden trim, so the new piece needed to stay within the same bounds.

Photo from 1/30/17

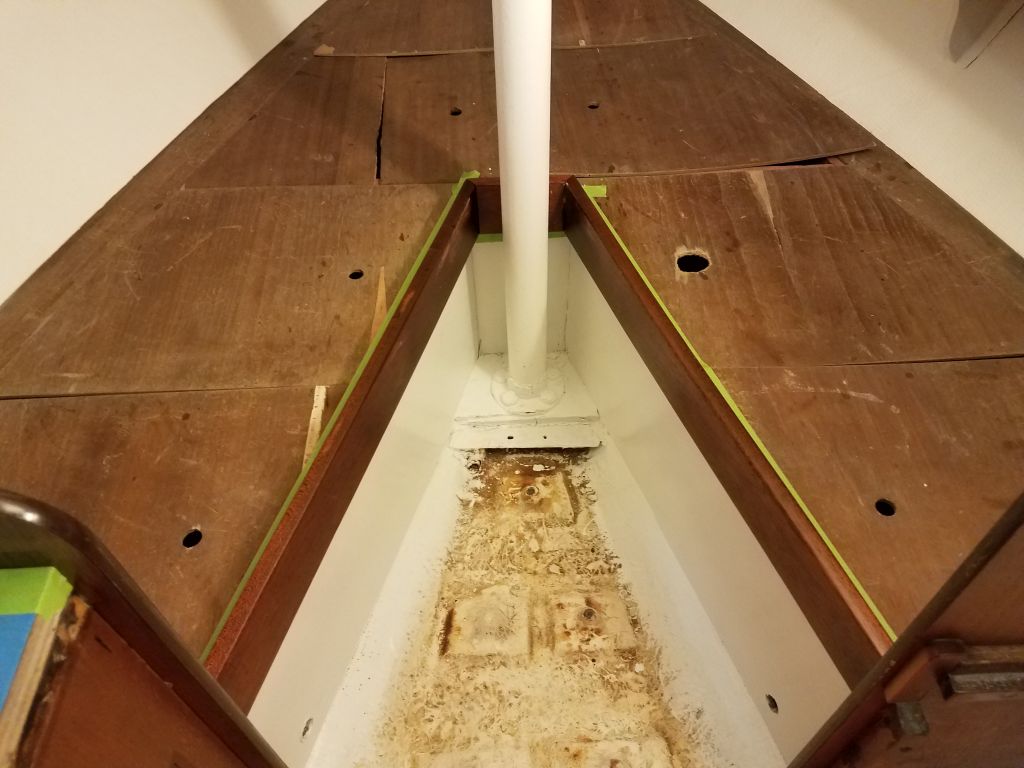
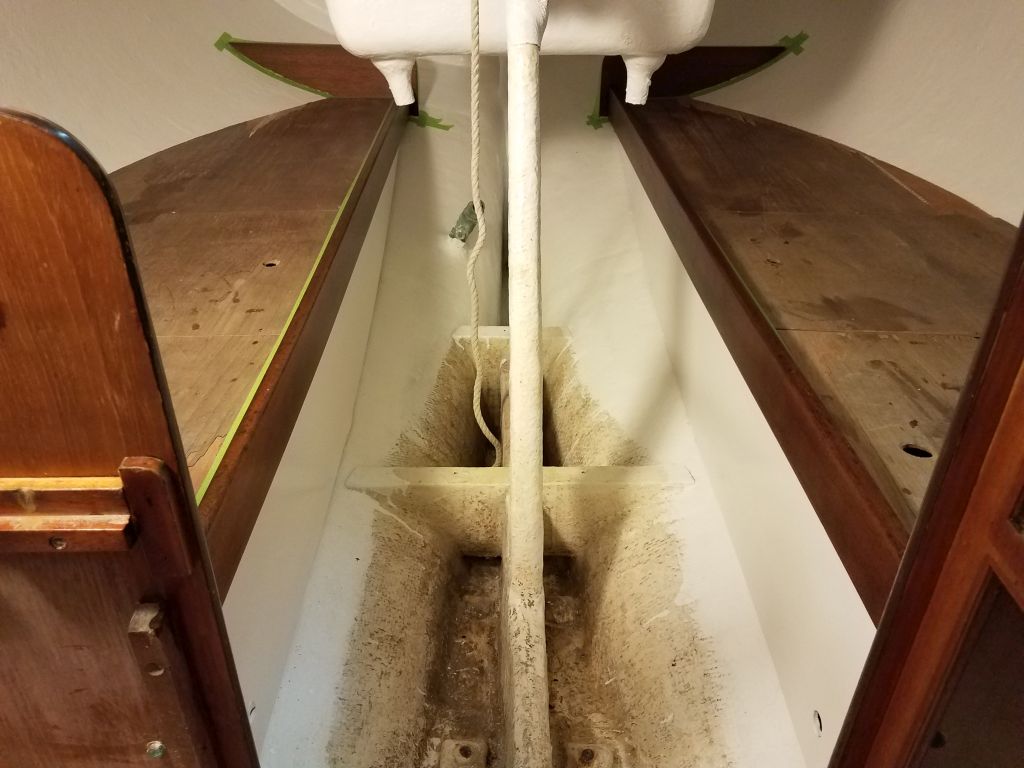
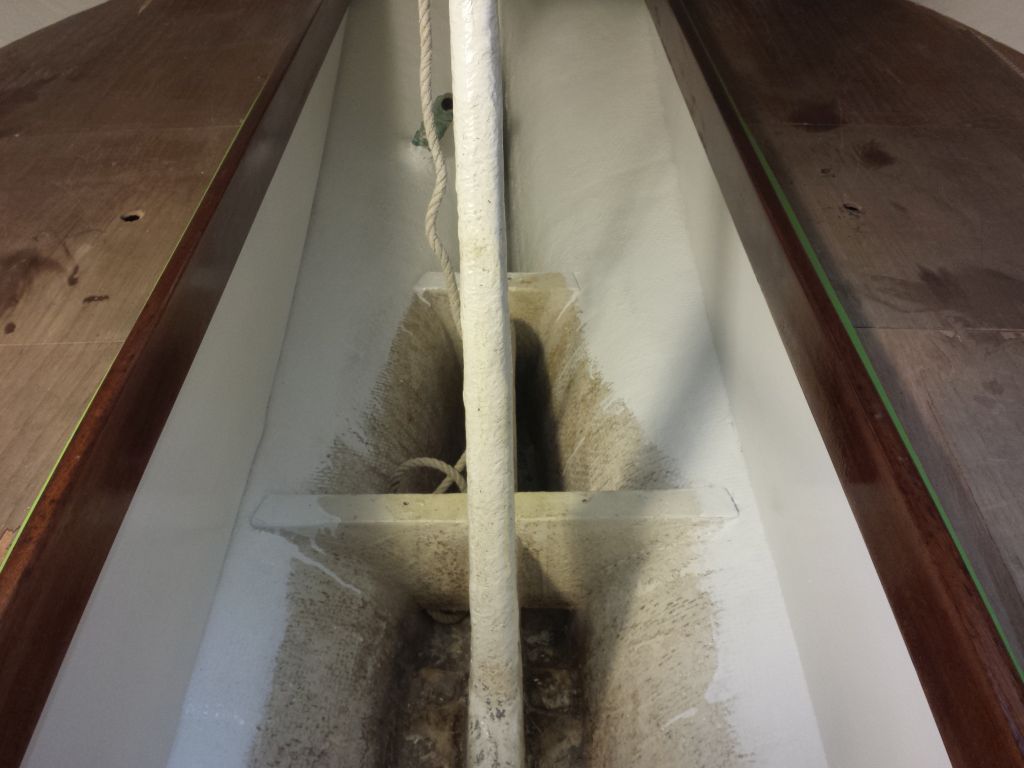
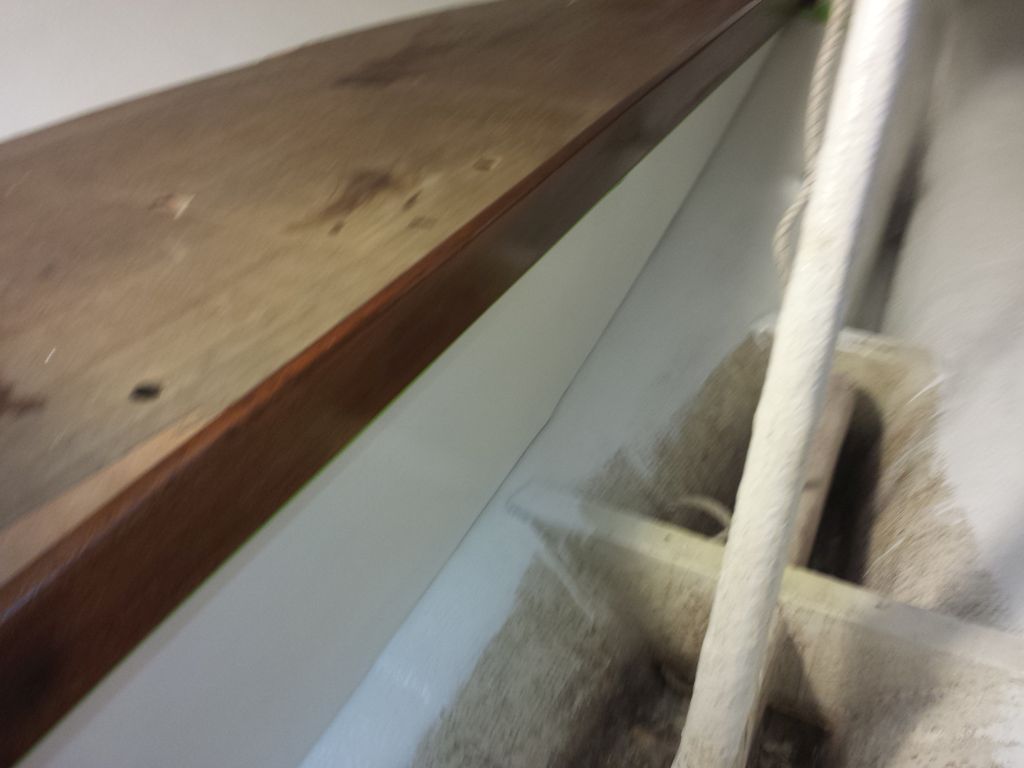
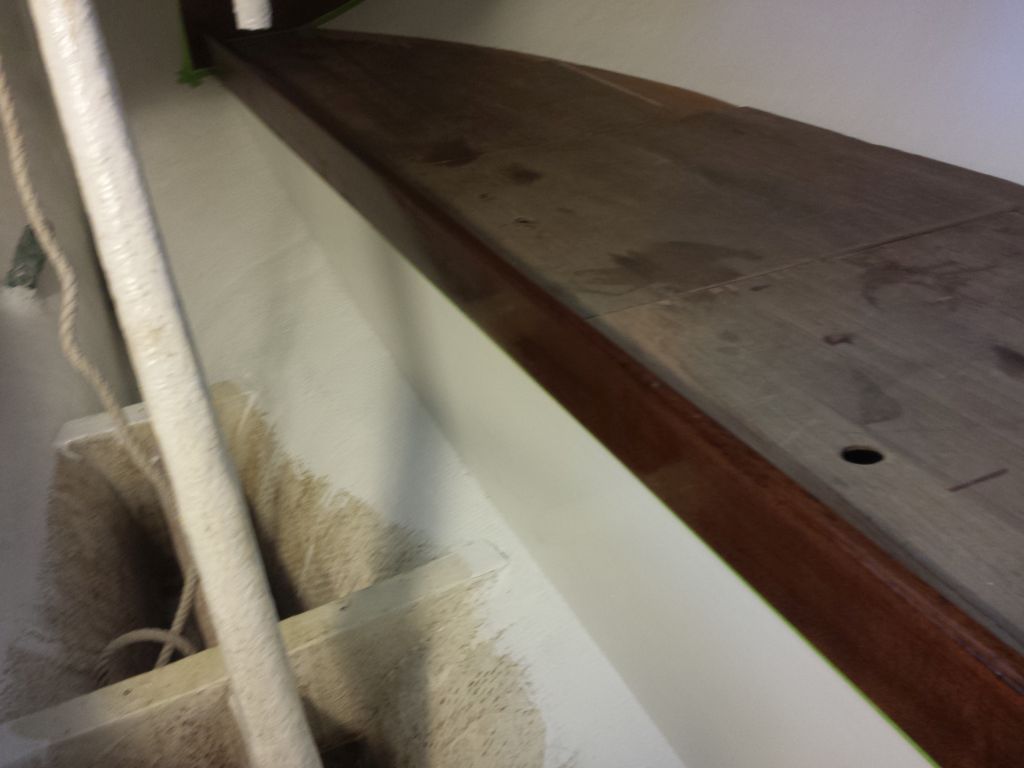
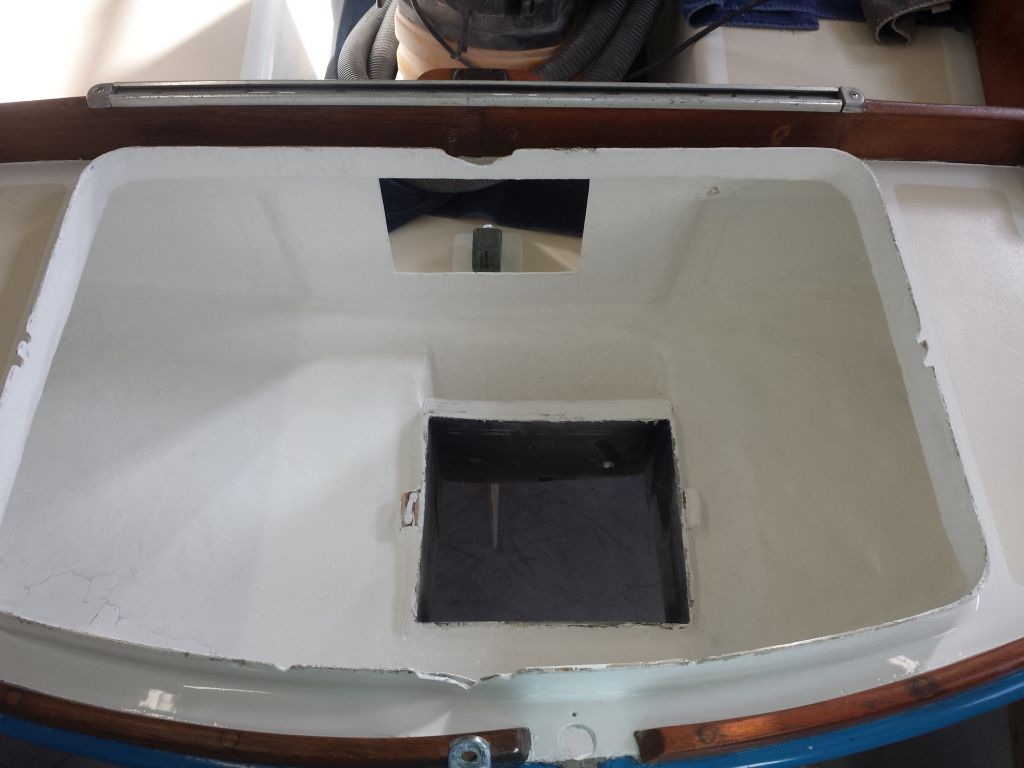
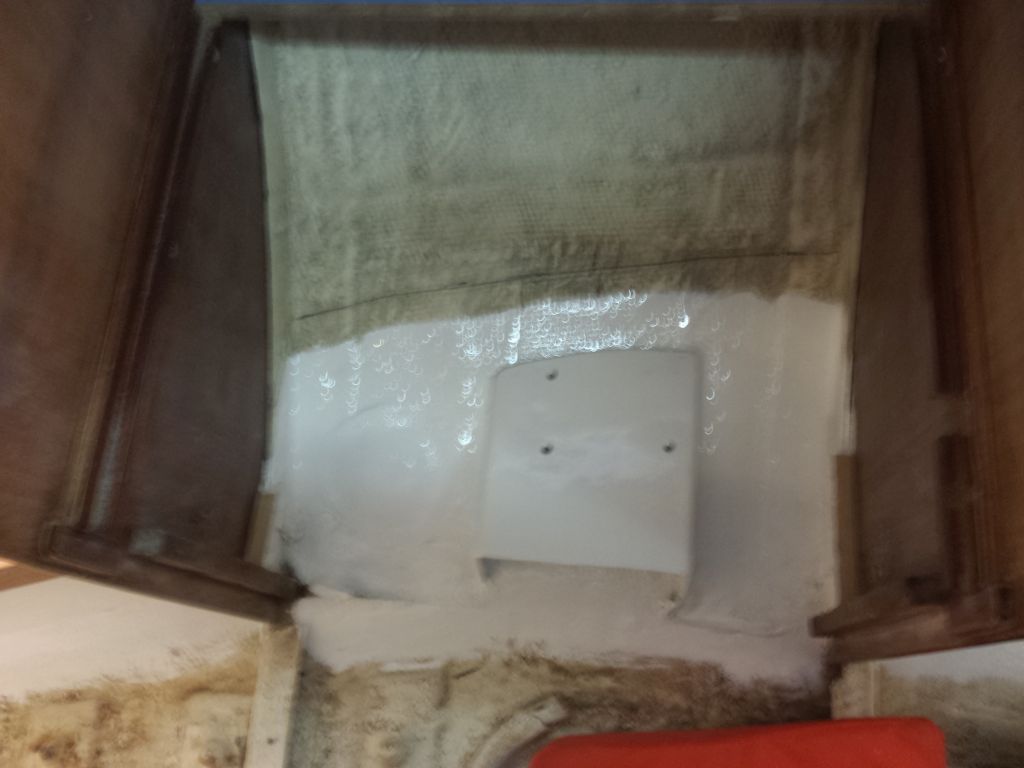
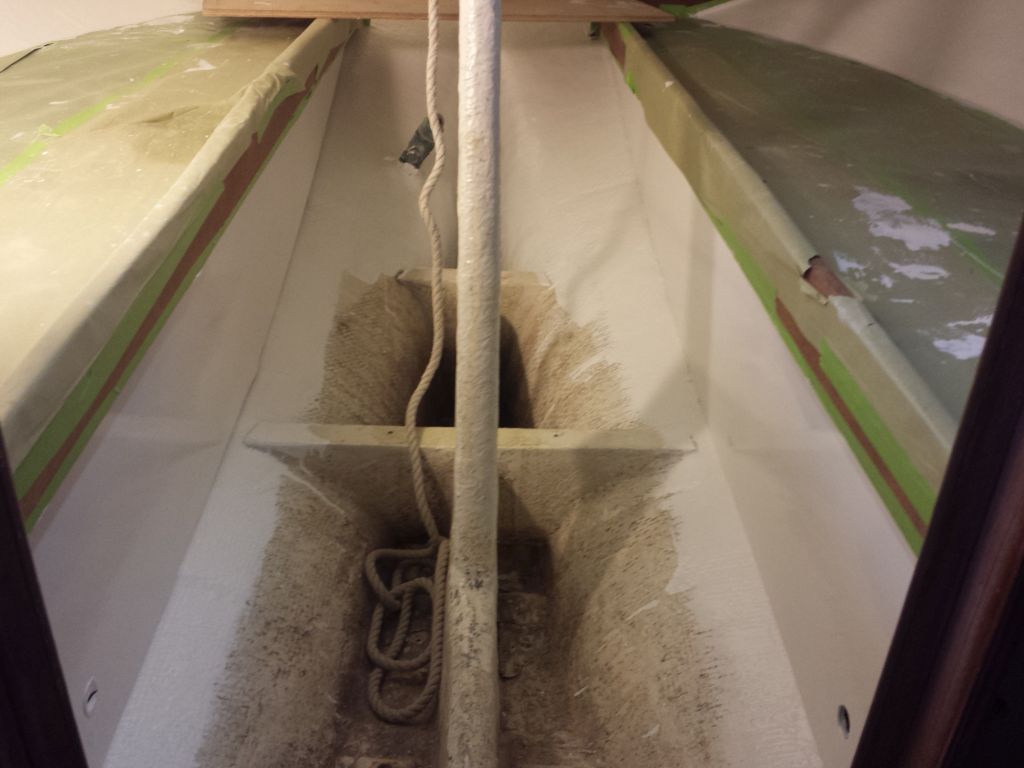
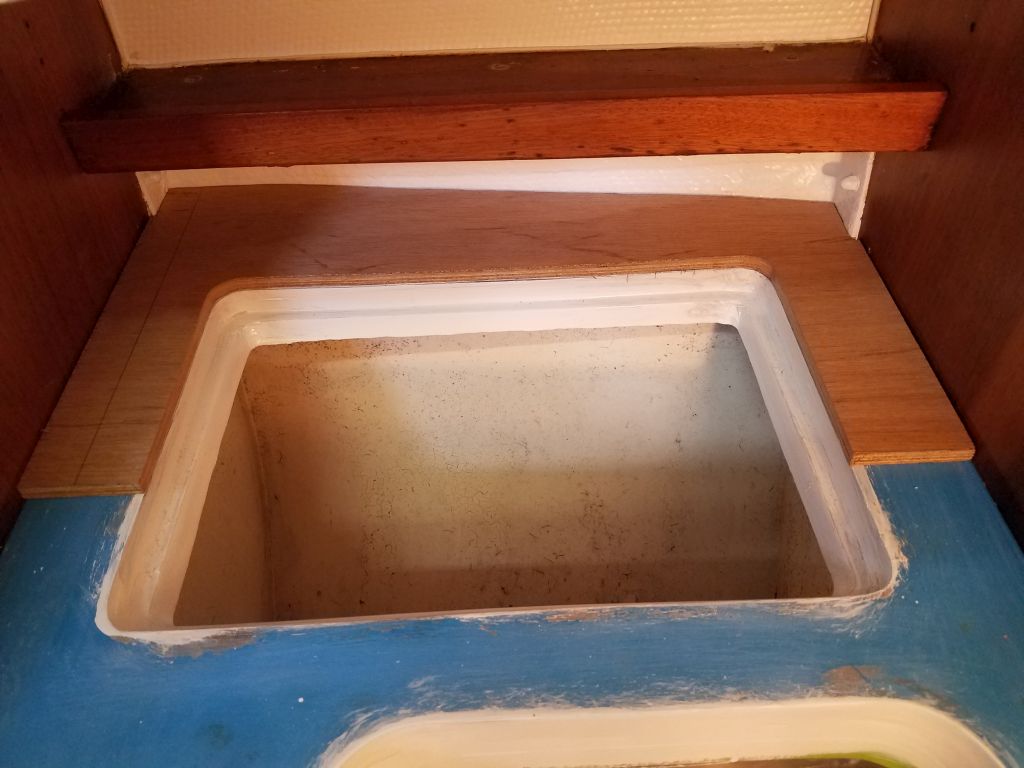
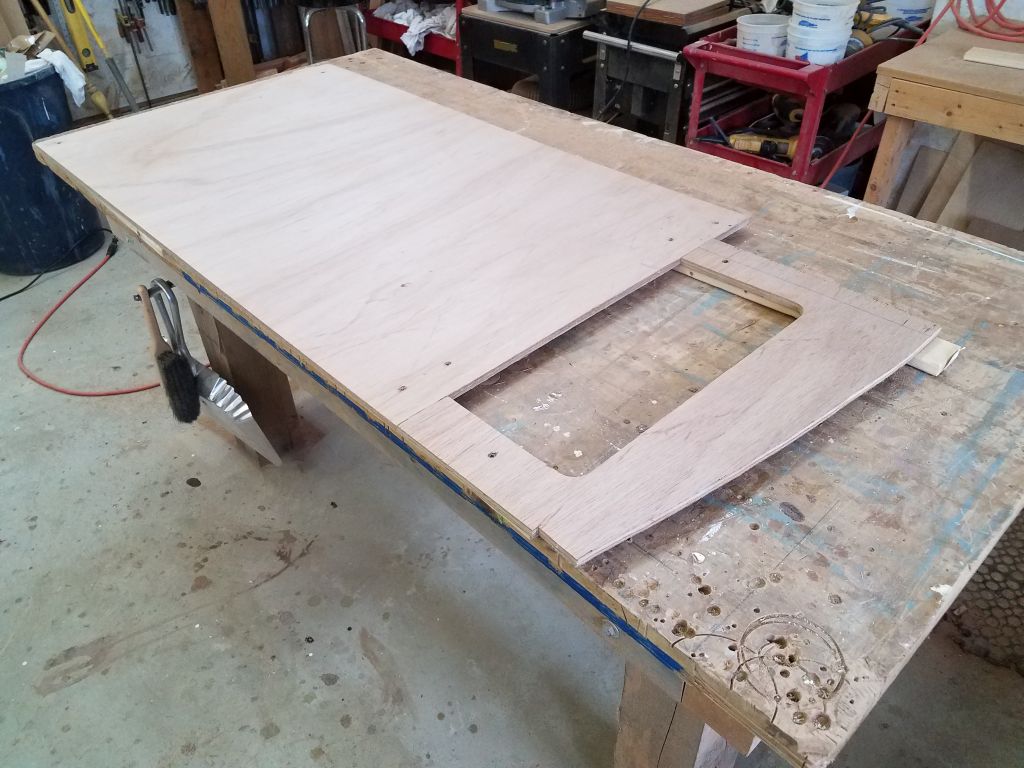
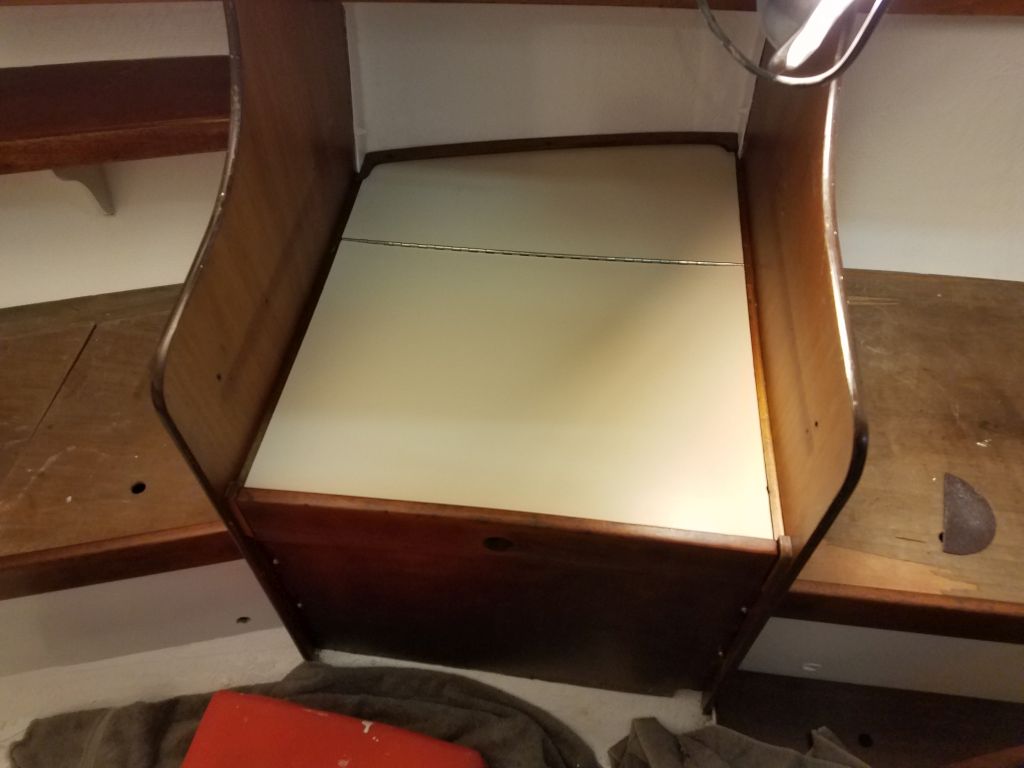
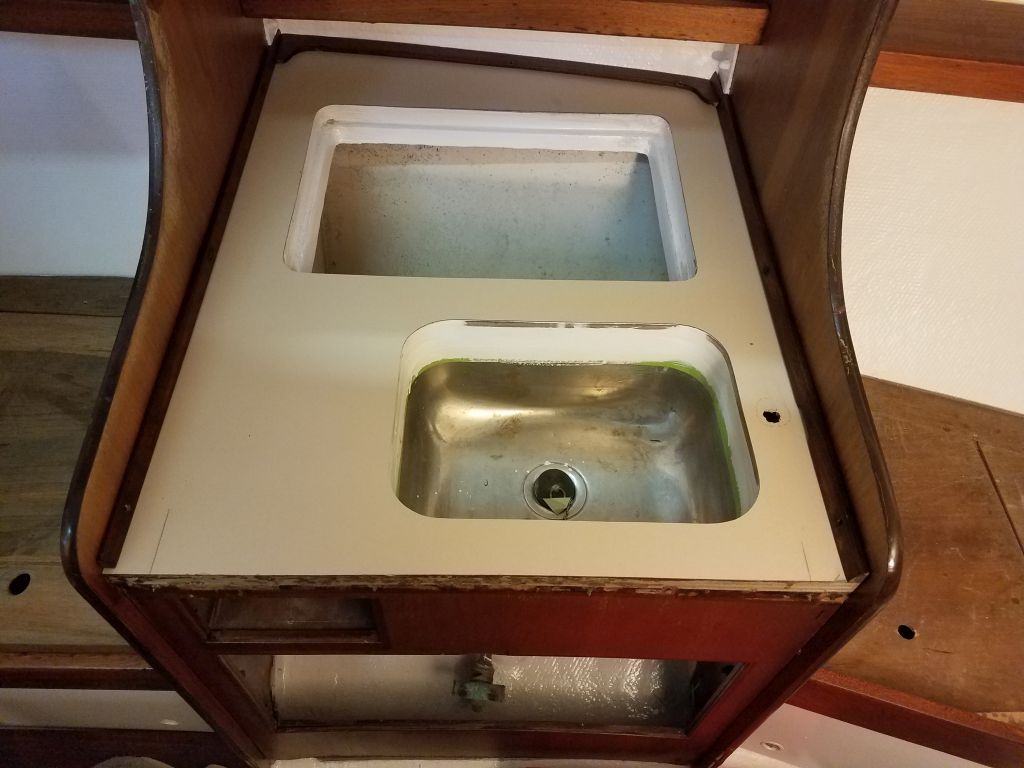
On the galley side, the countertop pattern would be complicated further by the fact that the icebox opening was partially beneath a shelf, and my trim router wouldn’t fit beneath.  So not only would I have to pre-cut the main countertop, but I’d also have to pre-cut the opening for the icebox, at least in part.  The shelf was bolted in place to a little fiberglass flange, and I quickly decided it wasn’t worth the frustration and time to remove versus making a more accurate template.

Photo from 1/30/17

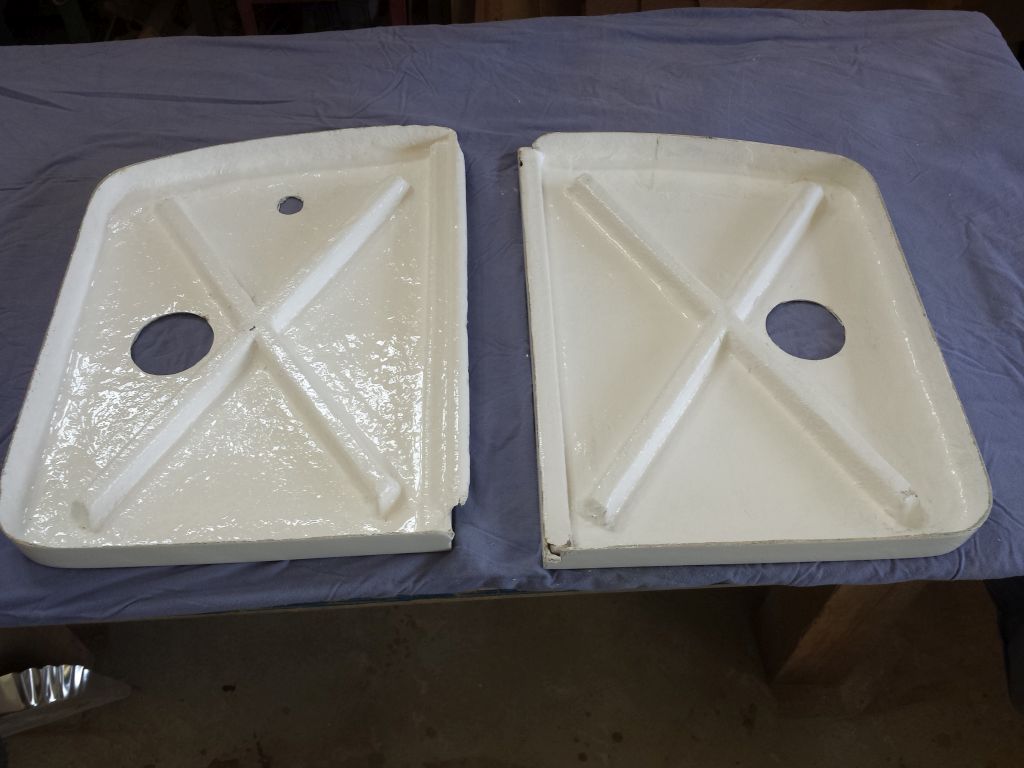
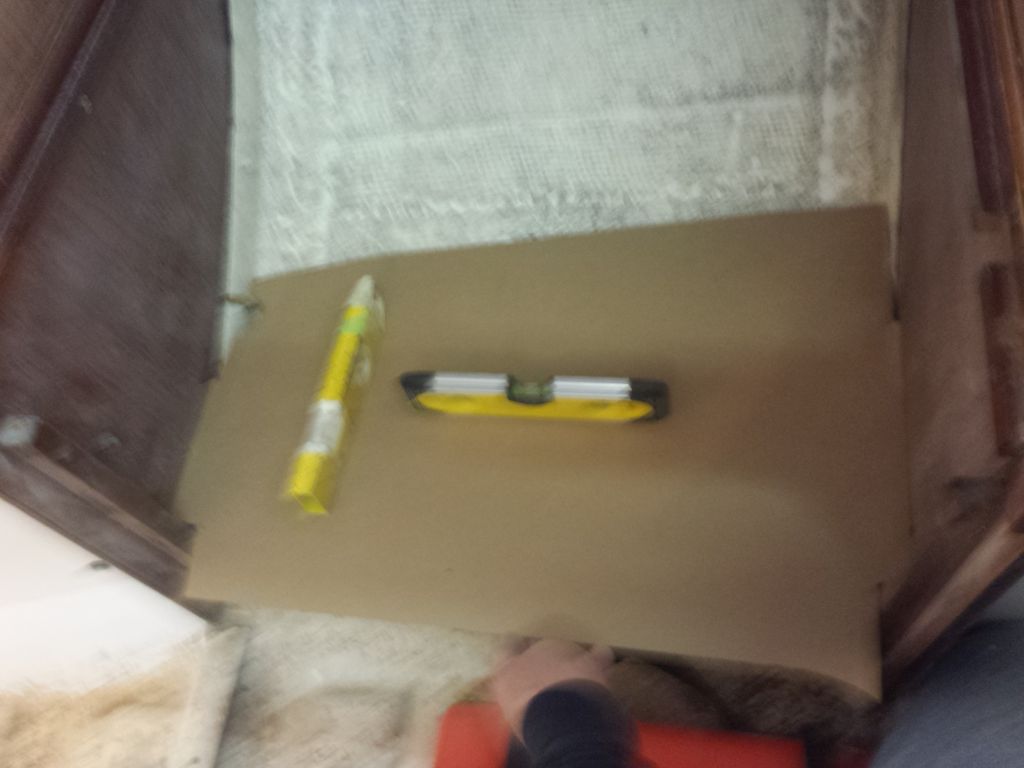
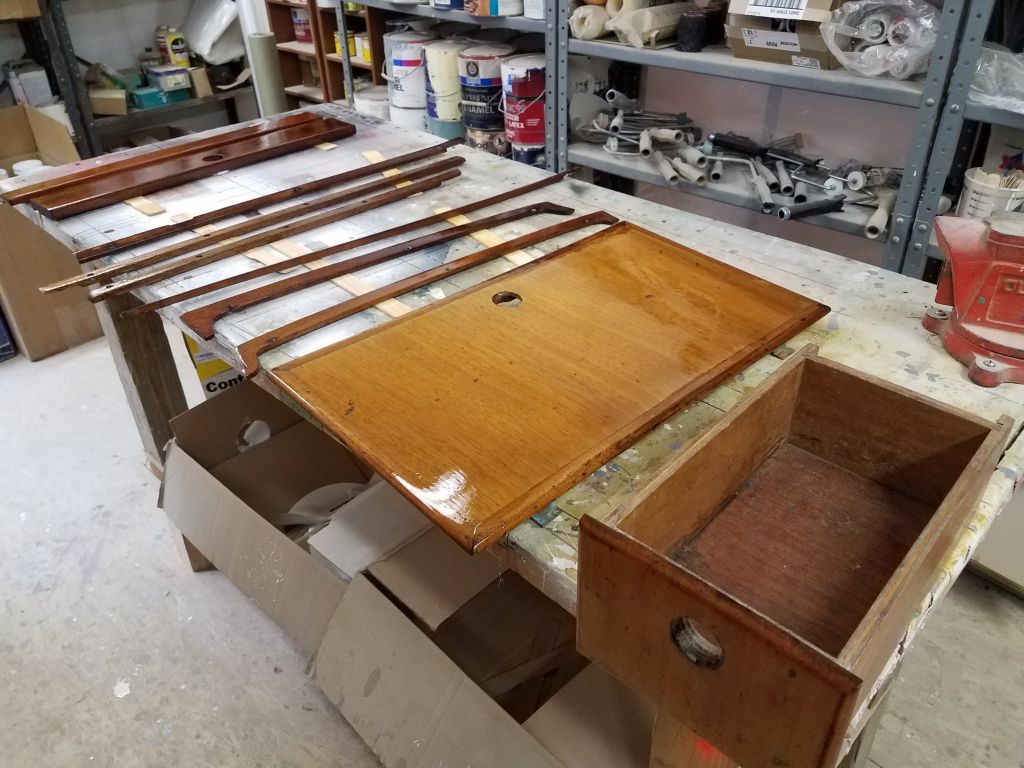
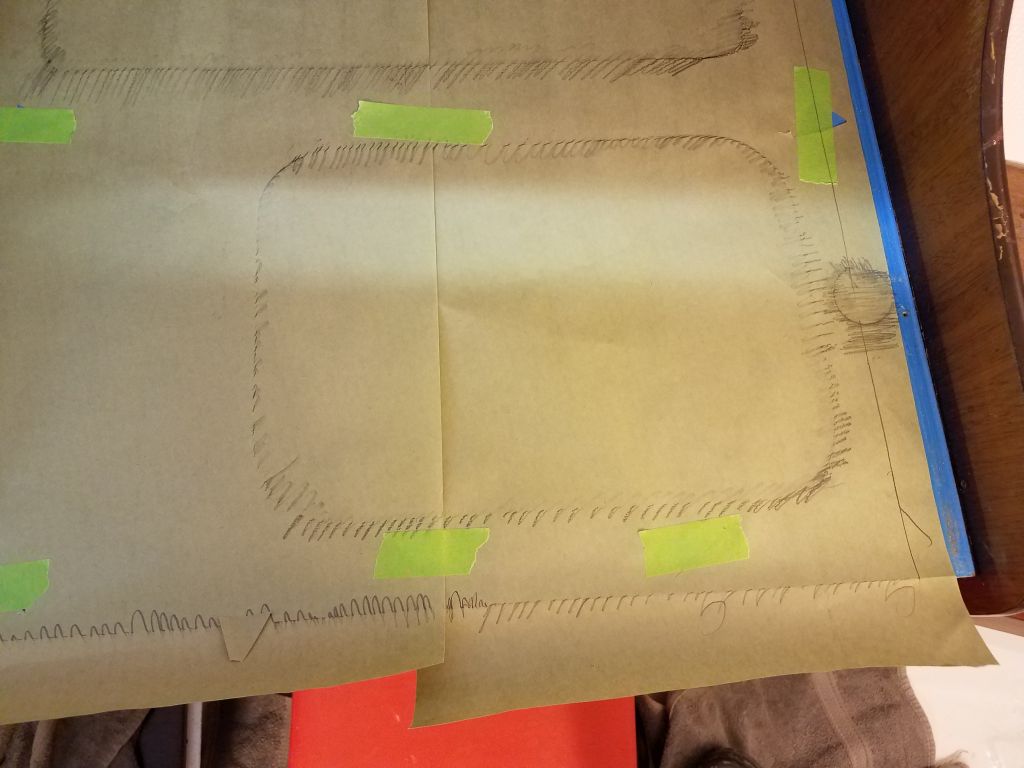
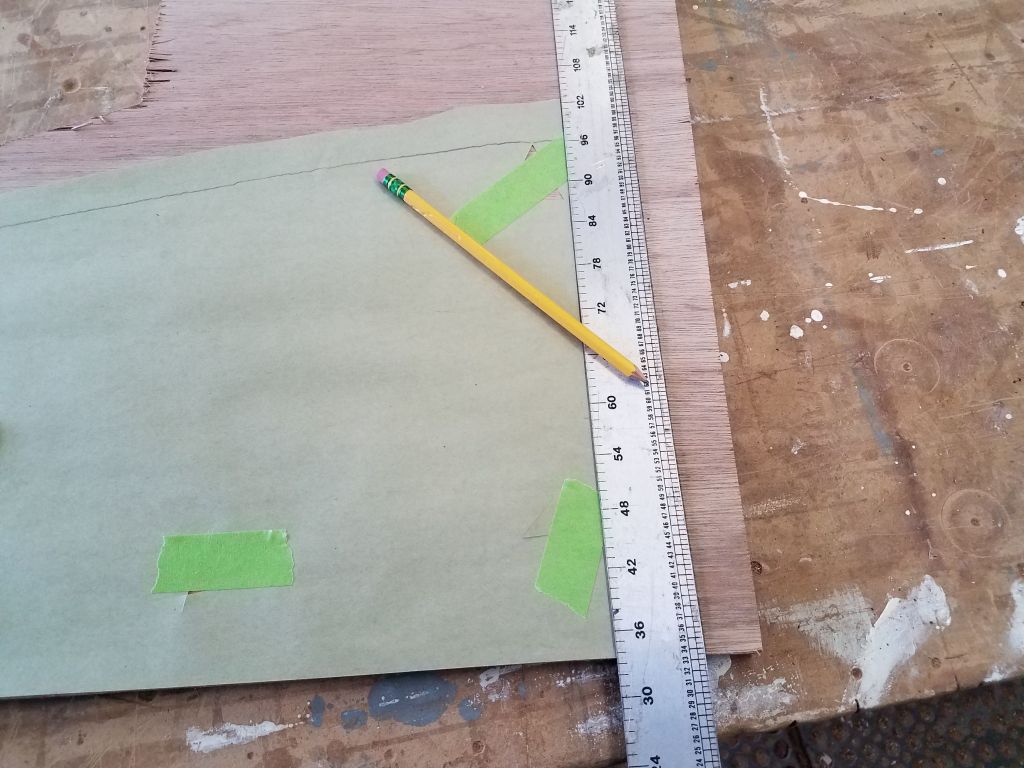
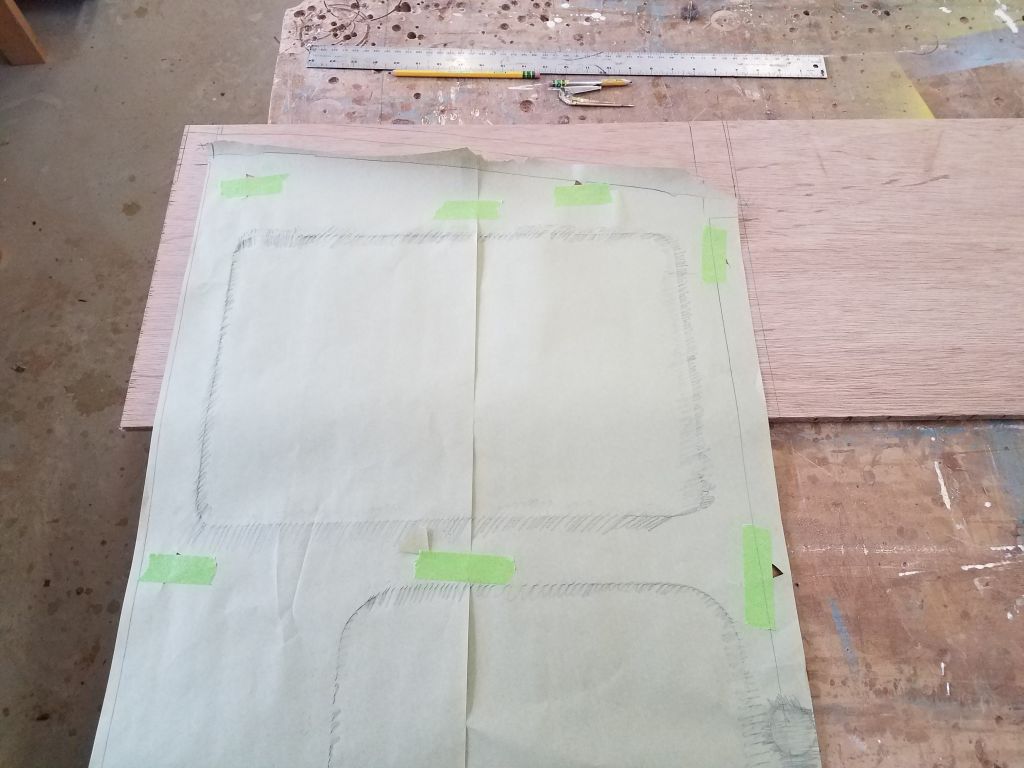
I started with basic paper templates of the countertops.  I used a steel ruler (and dividers at the curved hull end) to mark an offset on the paper pattern, making for easy transfer to some plywood for the actual cutting pattern.  I made rubbings of the sink and icebox openings, along with the hole for the water pump, to make locating them easy later on.  On the head side, I did the same thing, but this was a much simpler space and only required the offset to mark the edges.

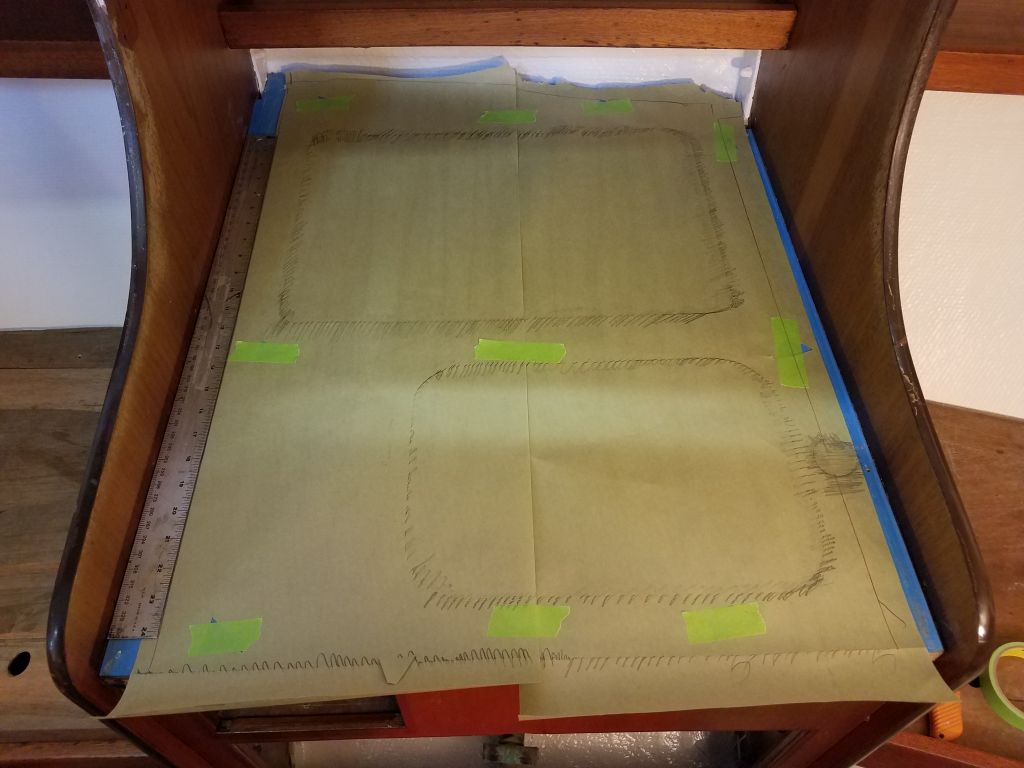
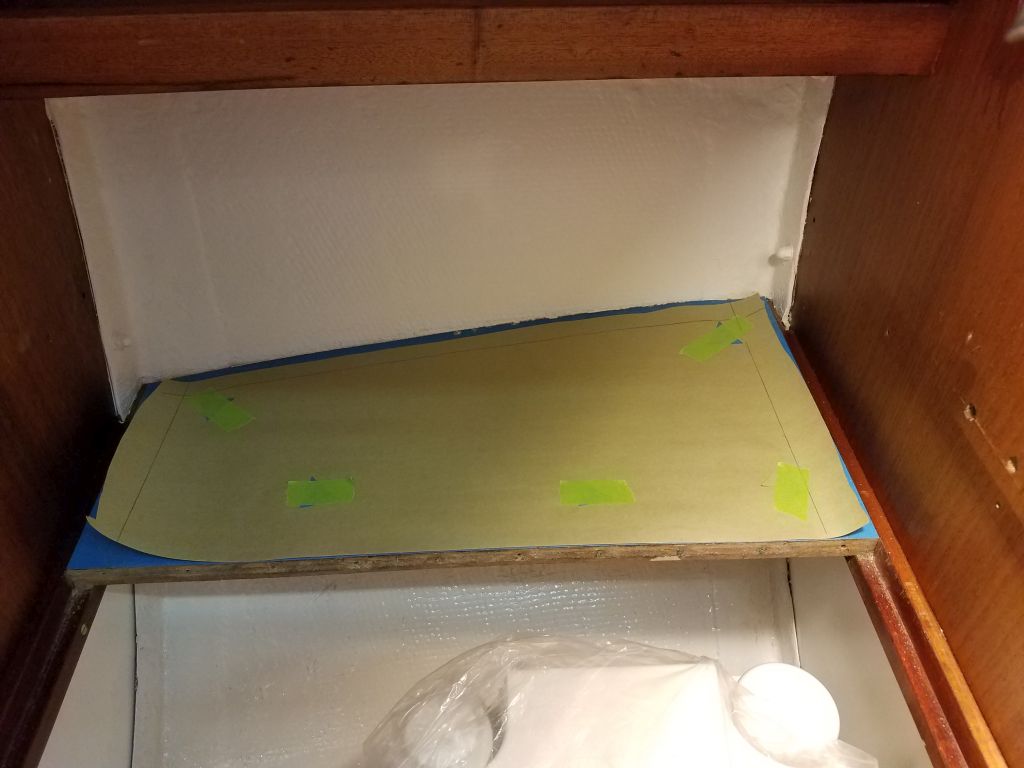
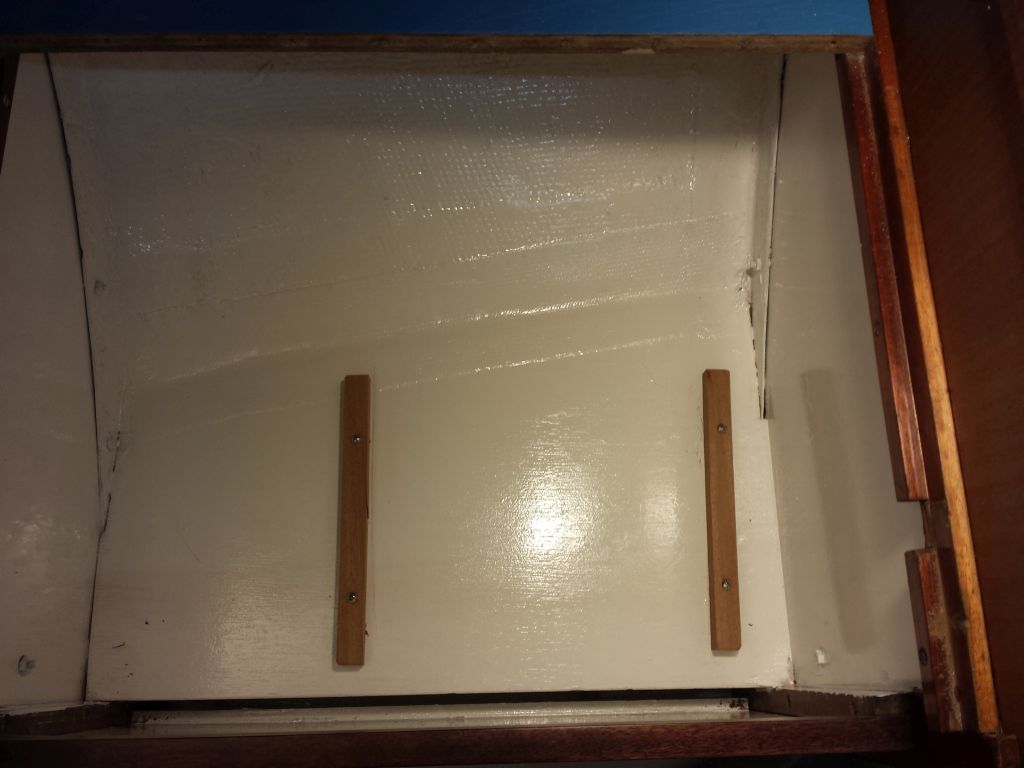
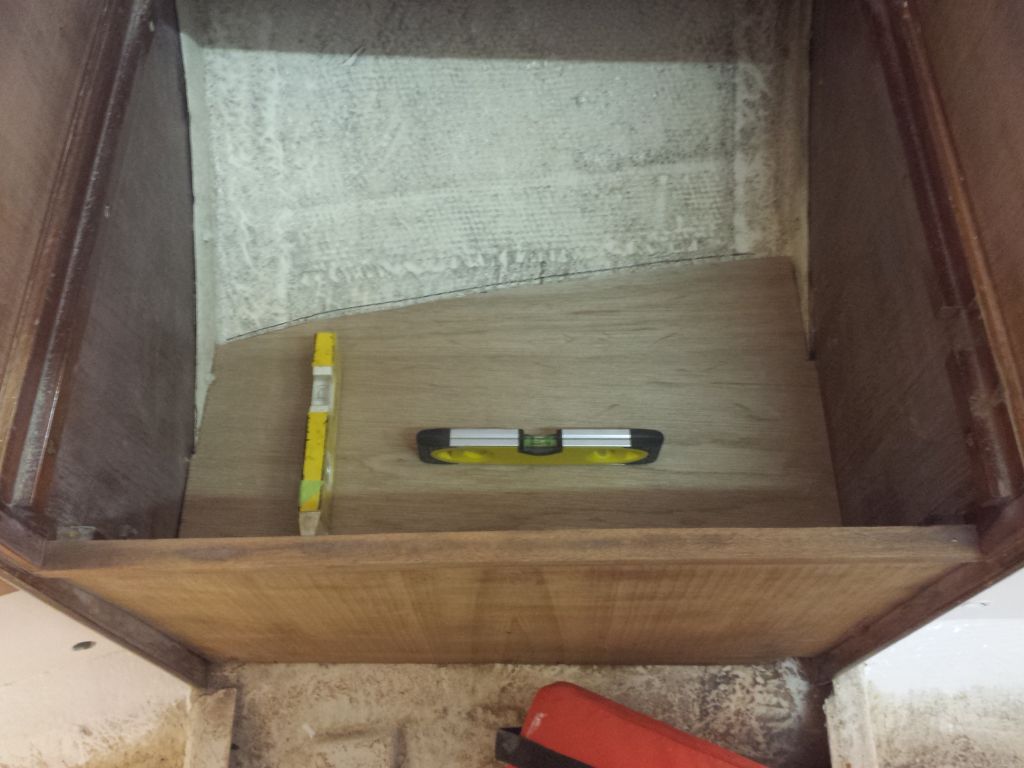
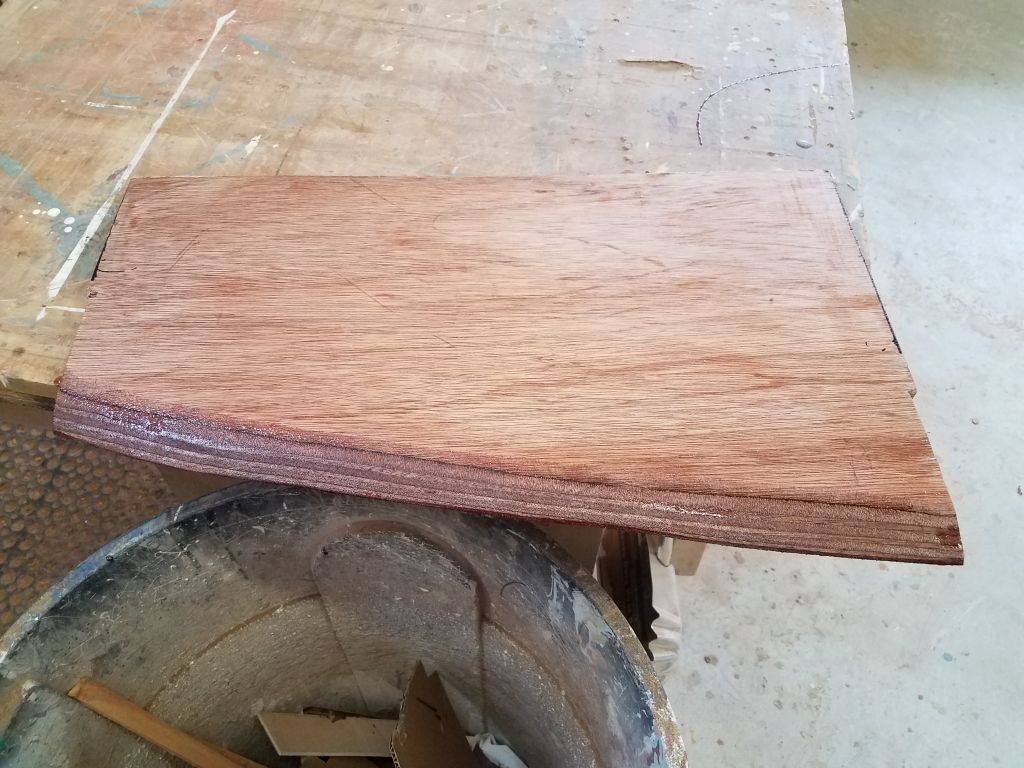
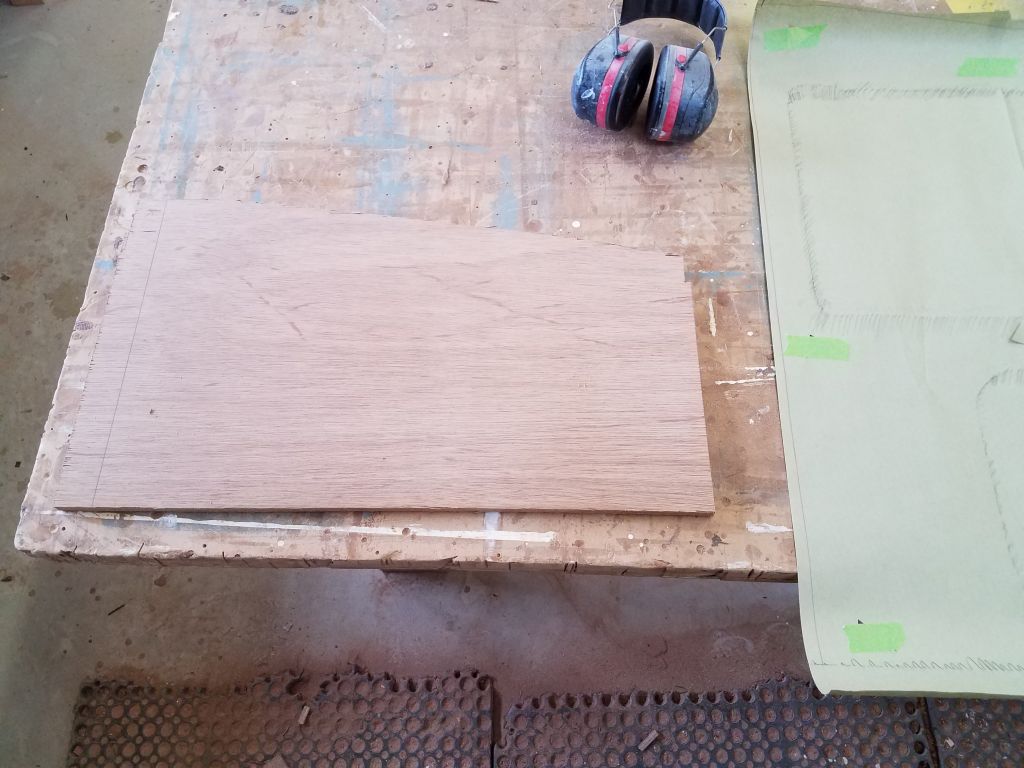
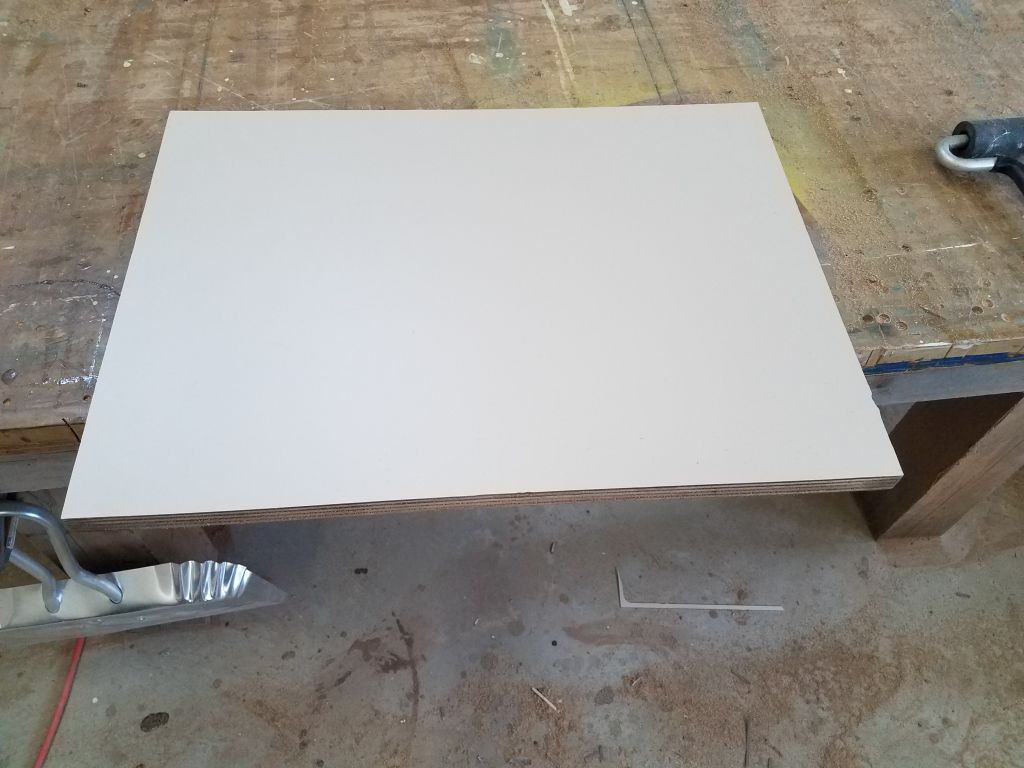
The plywood patterns needed to be thick enough to provide a bearing surface for the guide on the router bit that would actually cut the countertop, so I used scraps of 12mm plywood that I had around.   The head pattern was simple and quick to transfer to an appropriate scrap of plywood.

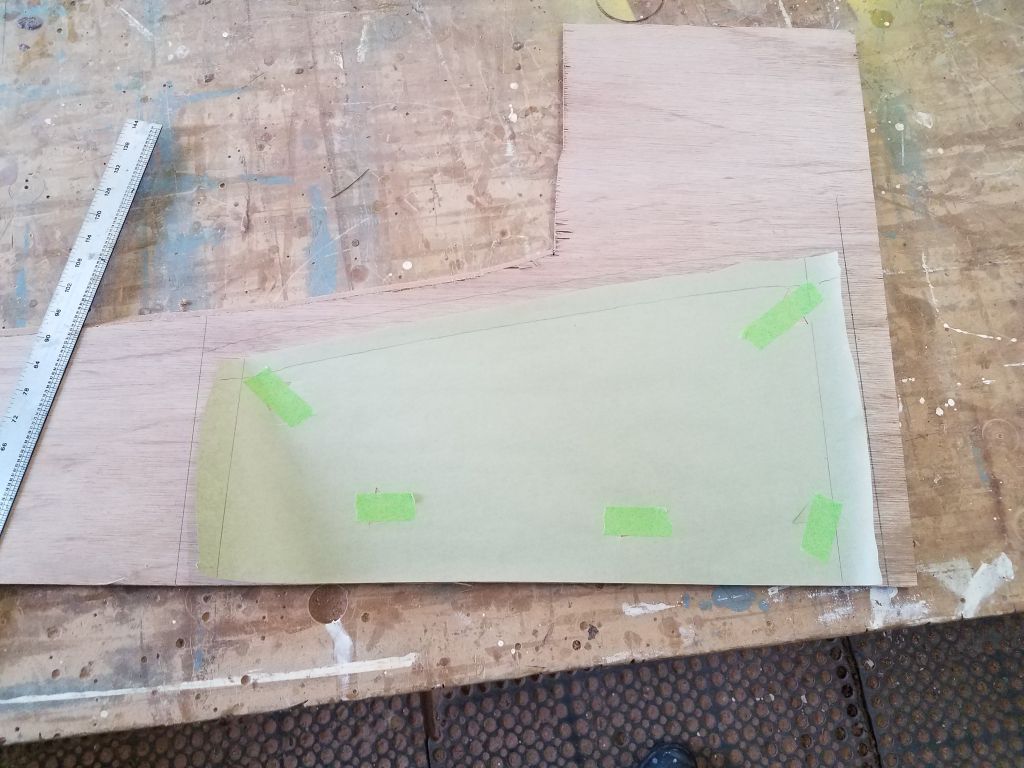
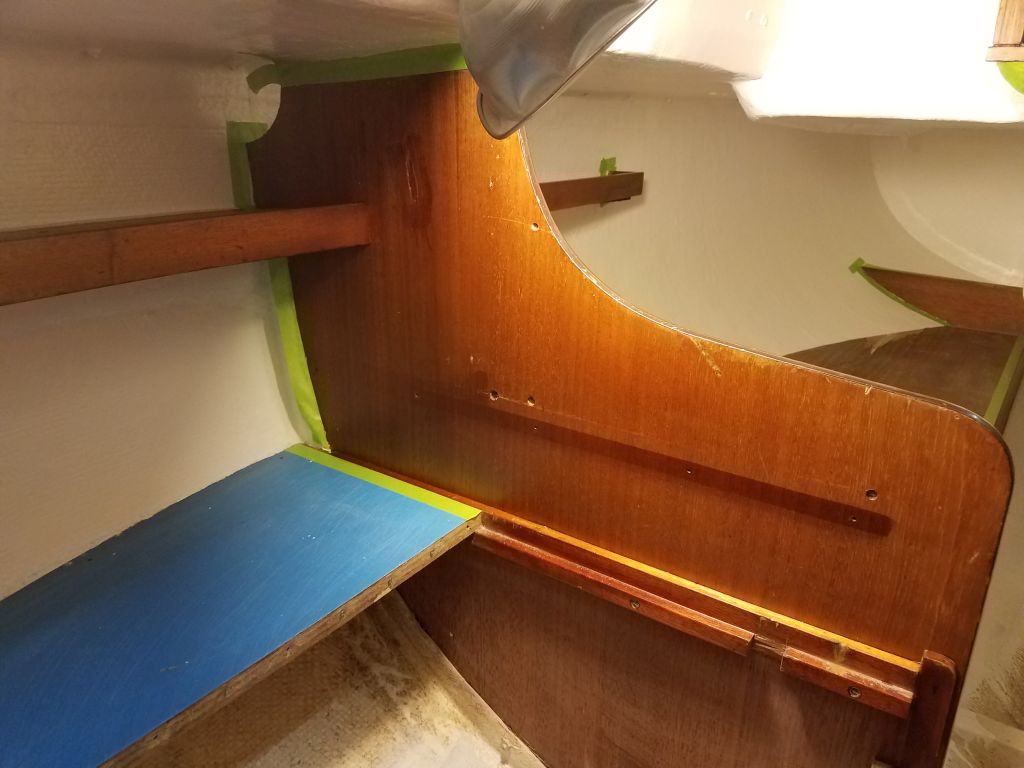
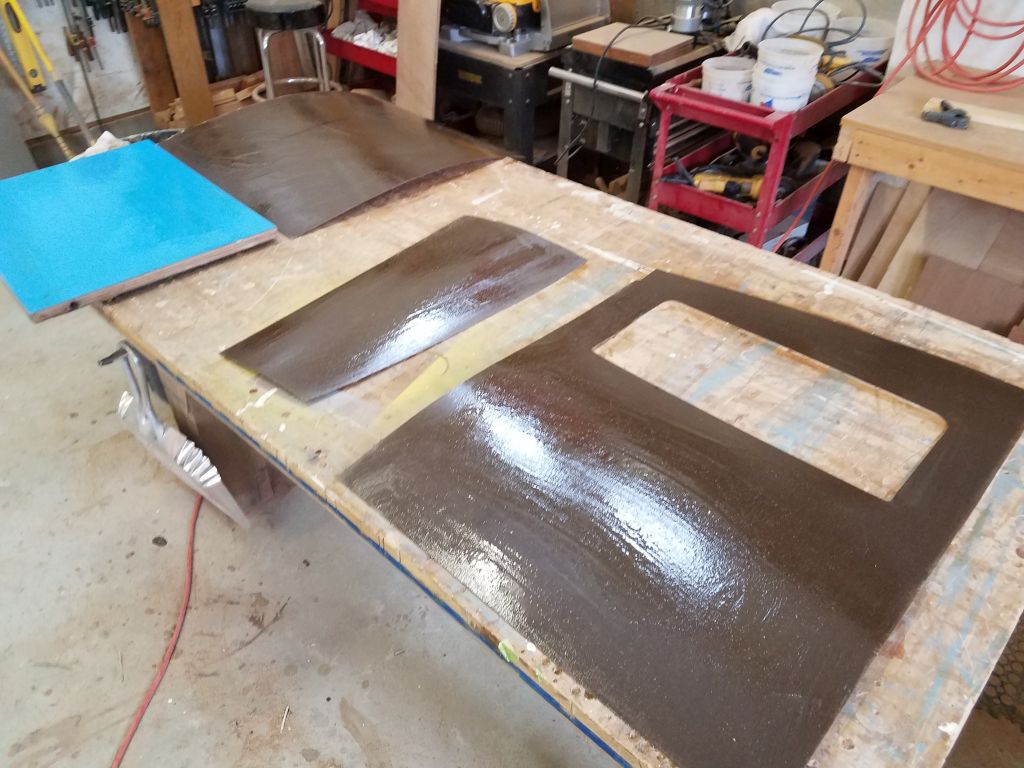
Not wanting to wantonly waste the material, I decided I only needed a “real” pattern of just the outermost portion of the galley countertop, incorporating the curvature of the hull and the portion of the icebox opening that was inaccessible (for the router) beneath the little shelf.  Once I had the main shape cut out (and one round of fine-tuning when I test-fit it), I found I could trace the inside of the icebox opening directly on the bottom of the pattern, making an accurate cutout simple.

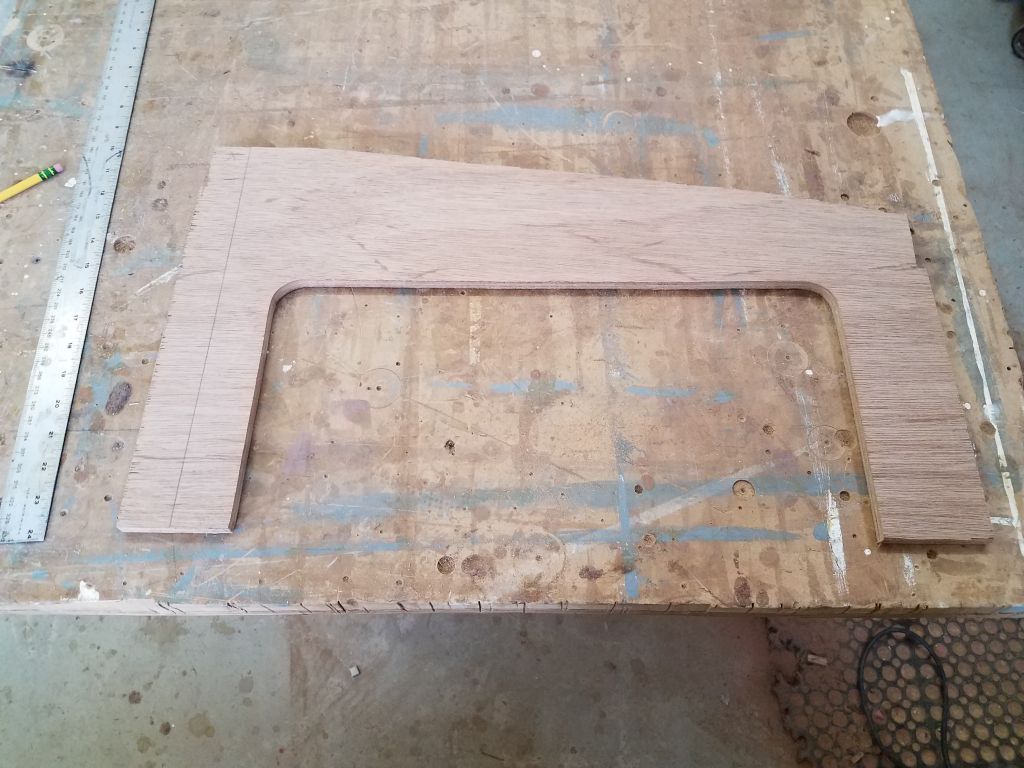
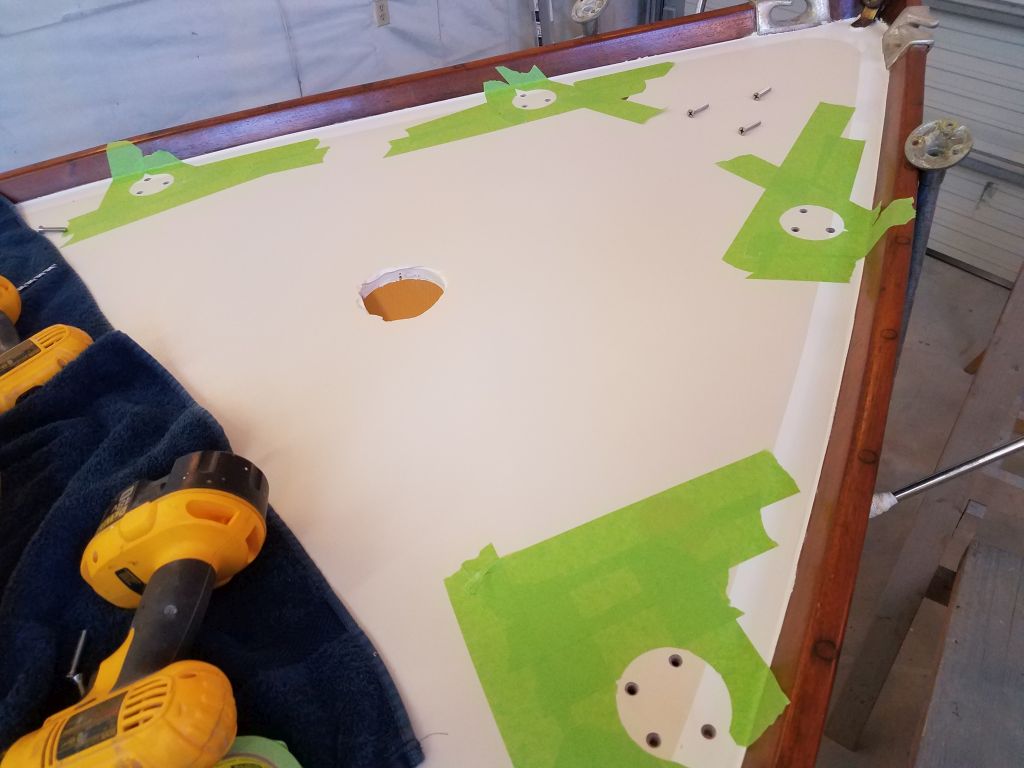
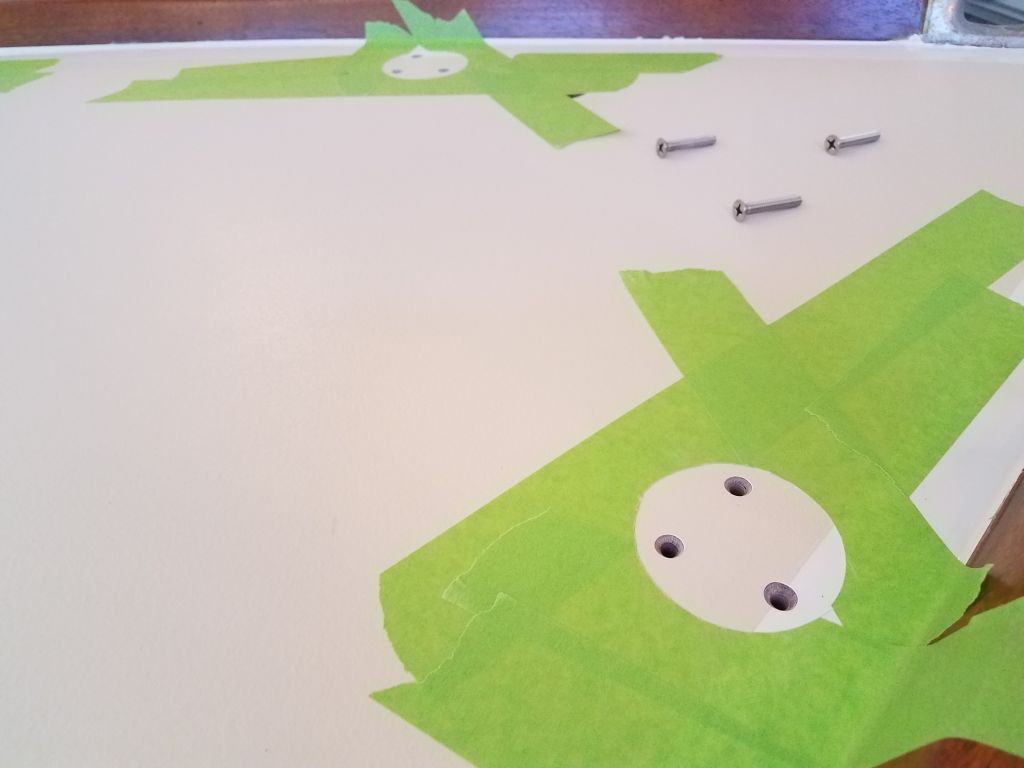
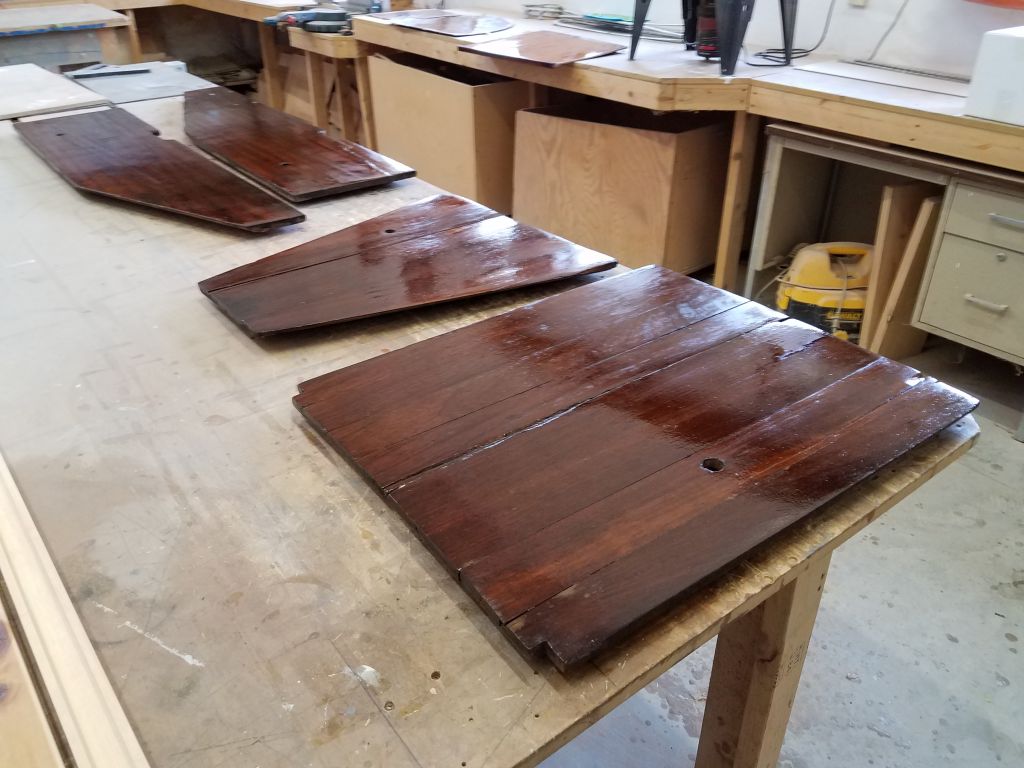
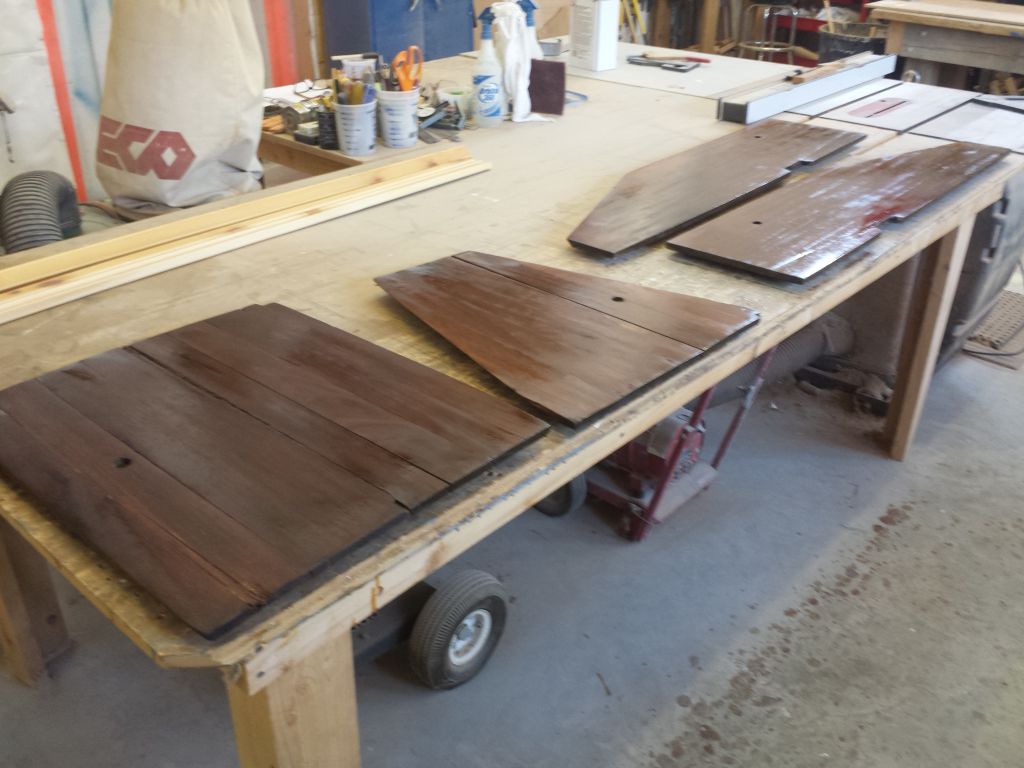
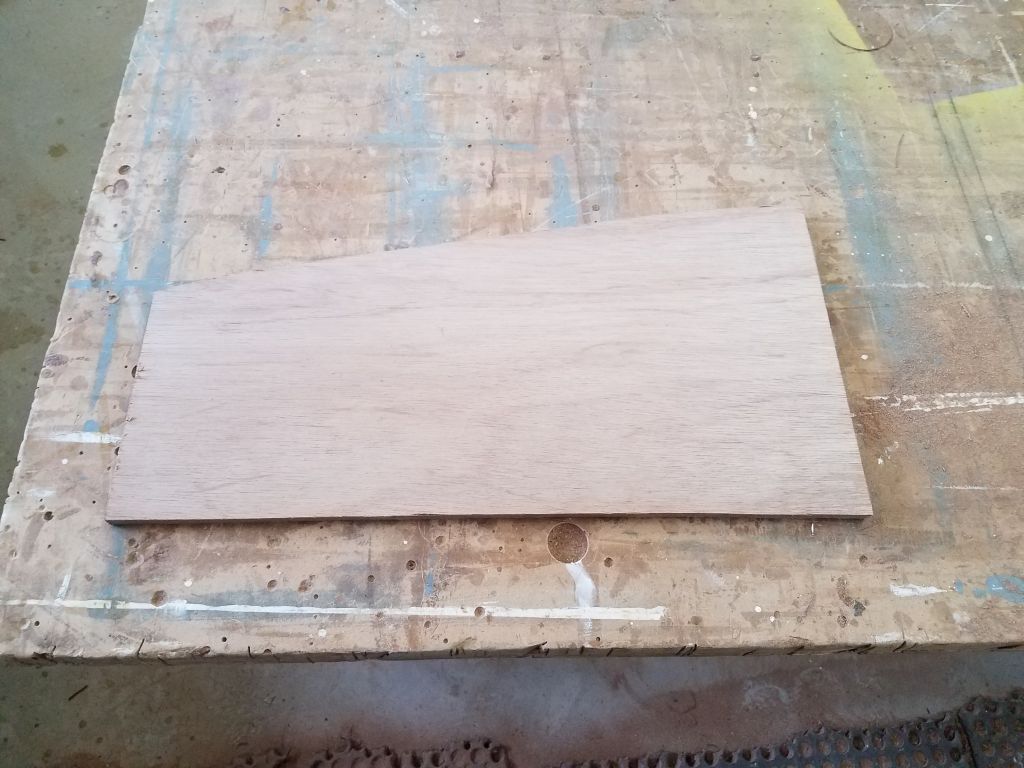
Using additional plywood for support and as a straightedge for the pattern router bit, I cut out the sheets for the two sections of countertop. test-fitting them in their respective spaces afterwards.  I initlally left the galley sheet overlong, so I could mark–and then accurately trim–the inboard edge at the proper location.  I cut out only enough of the material at the icebox to allow me to finish the trimming once the countertop was glued in place. along with the sink opening.

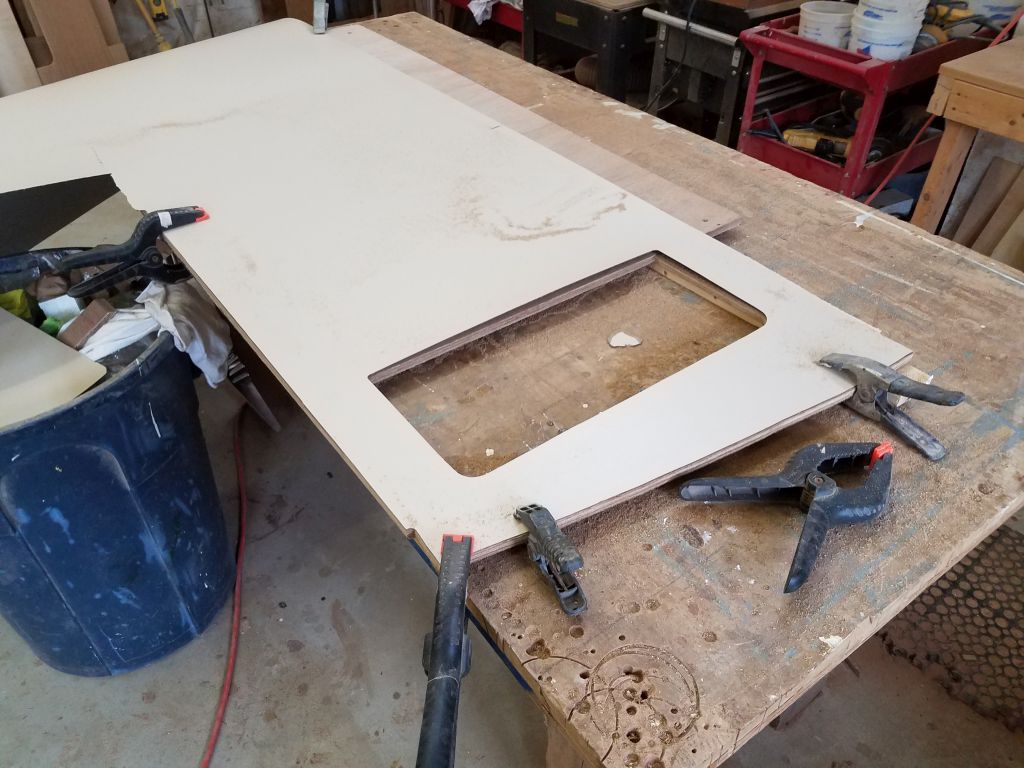
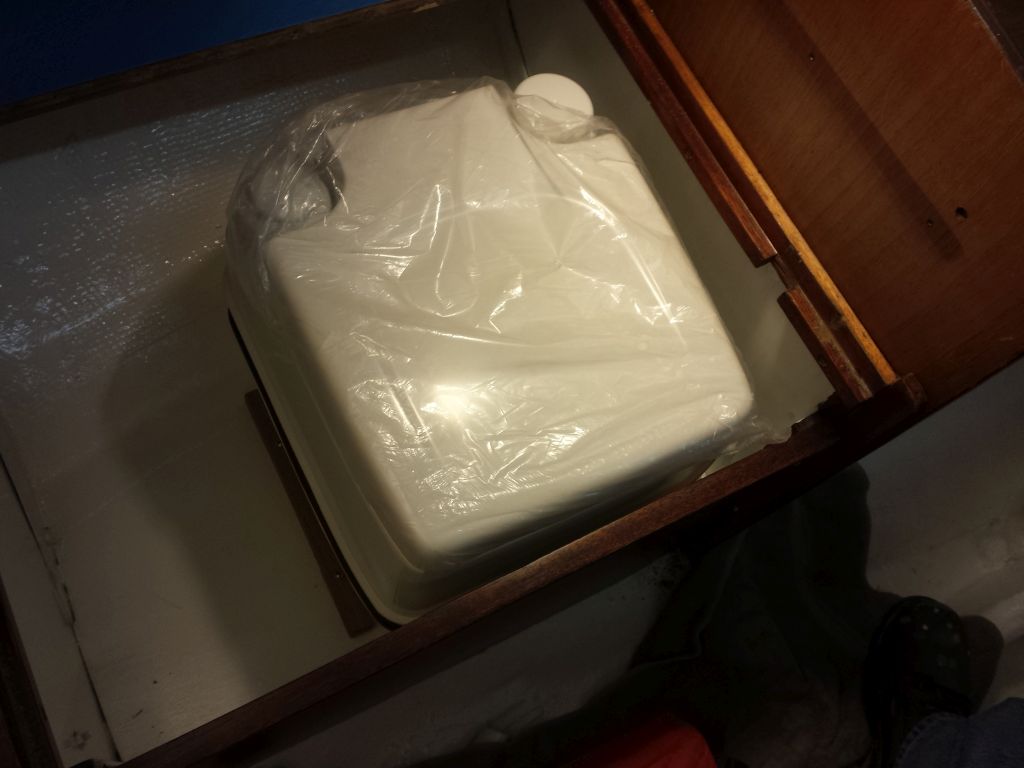
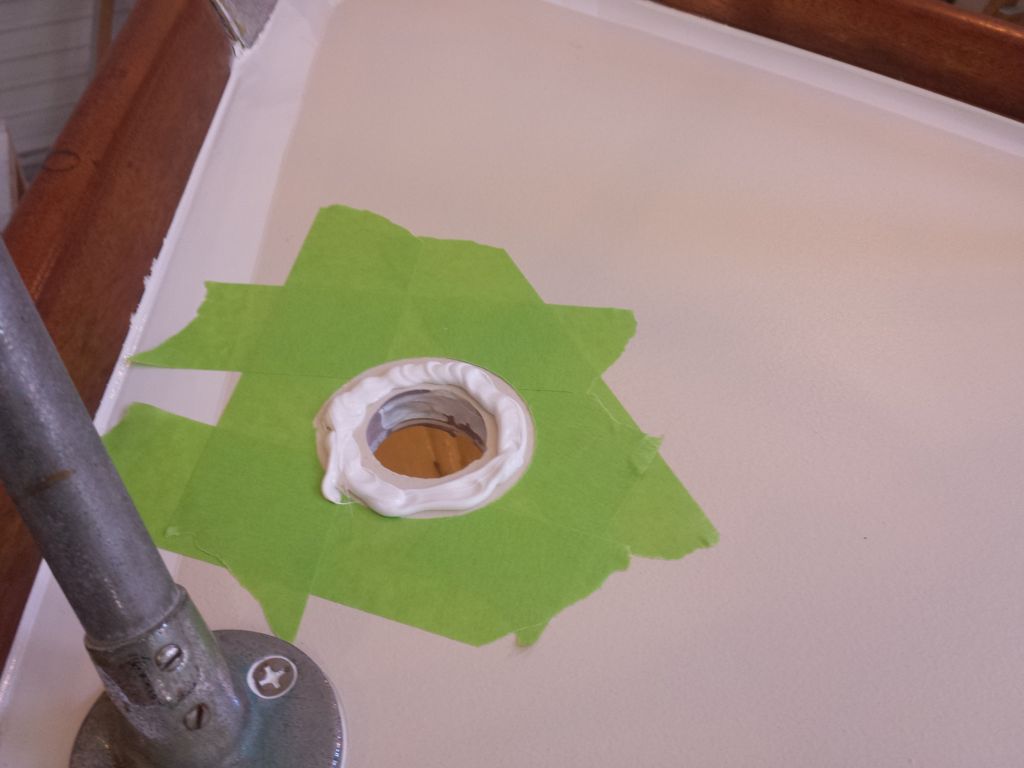
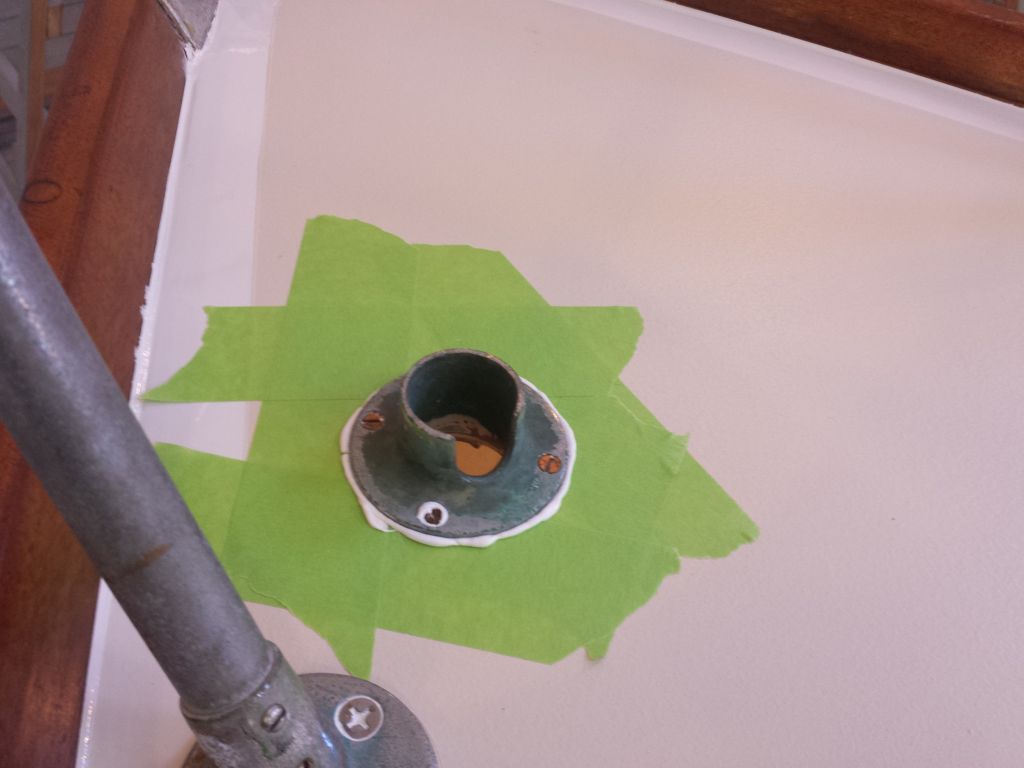
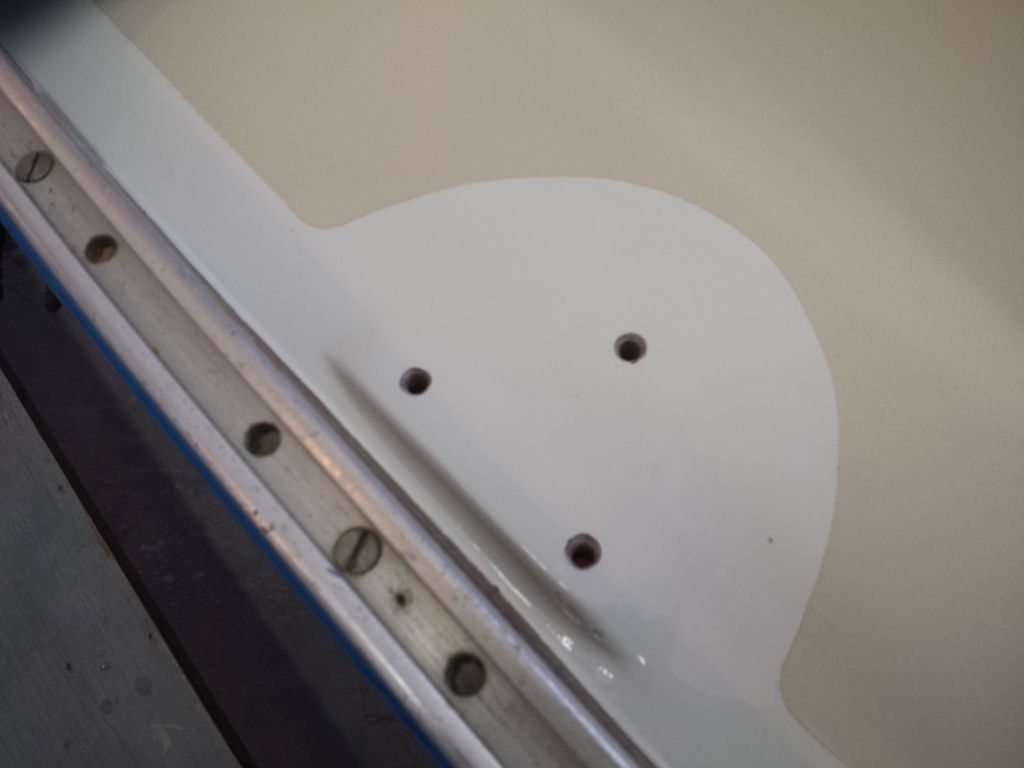
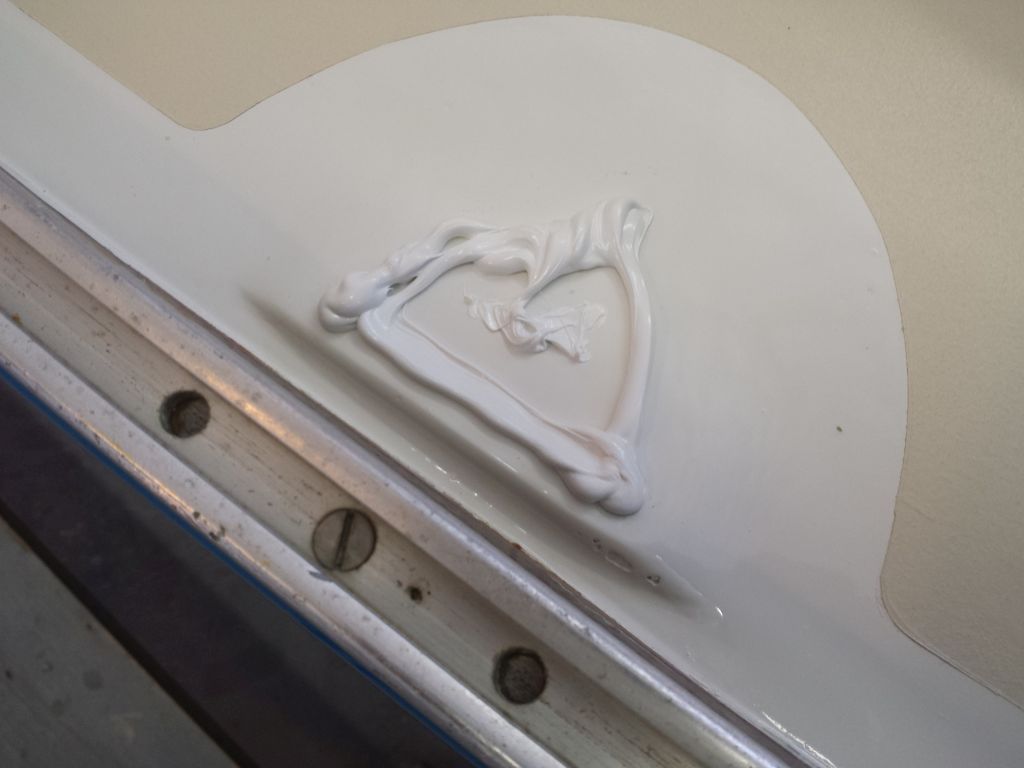
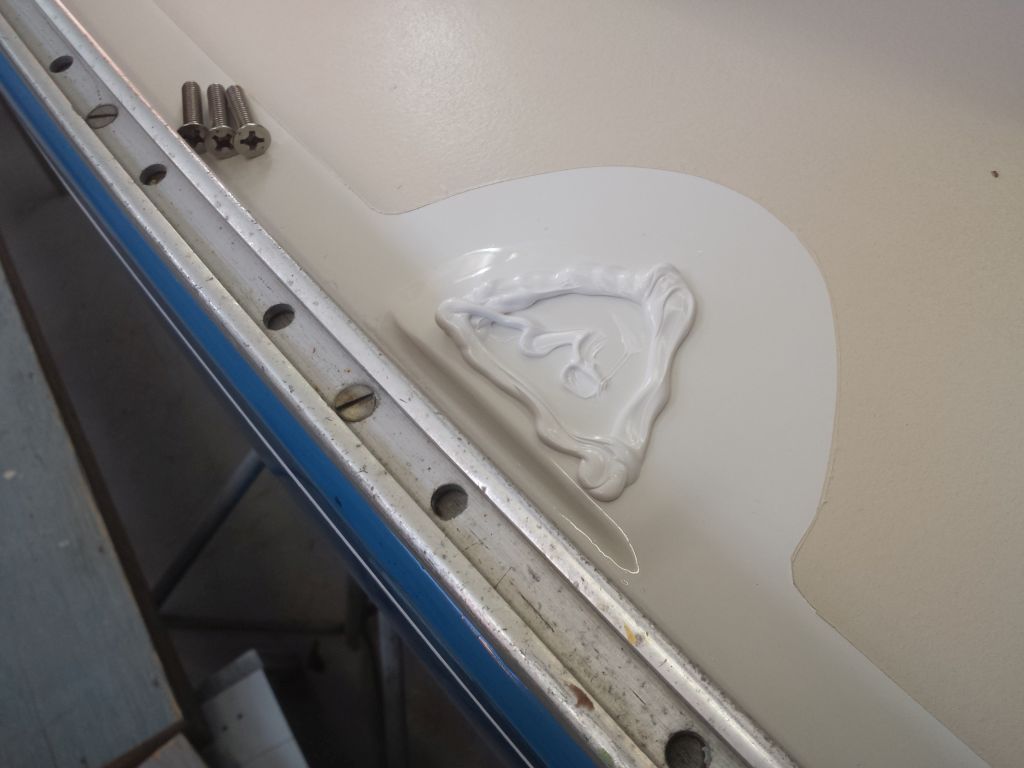
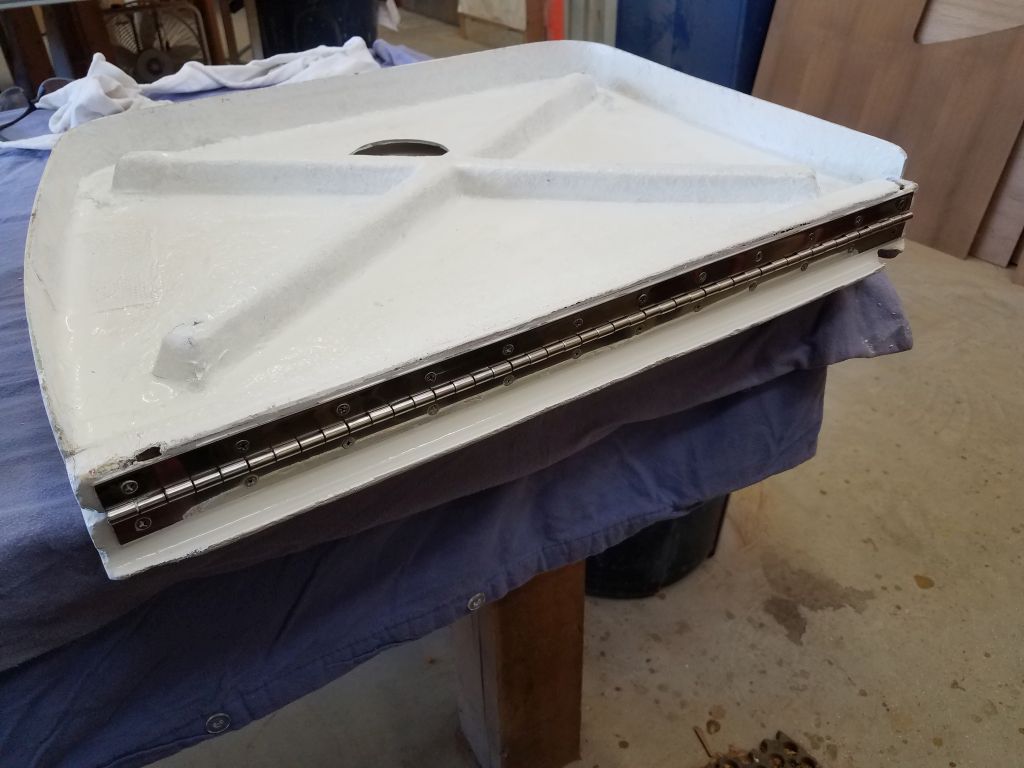
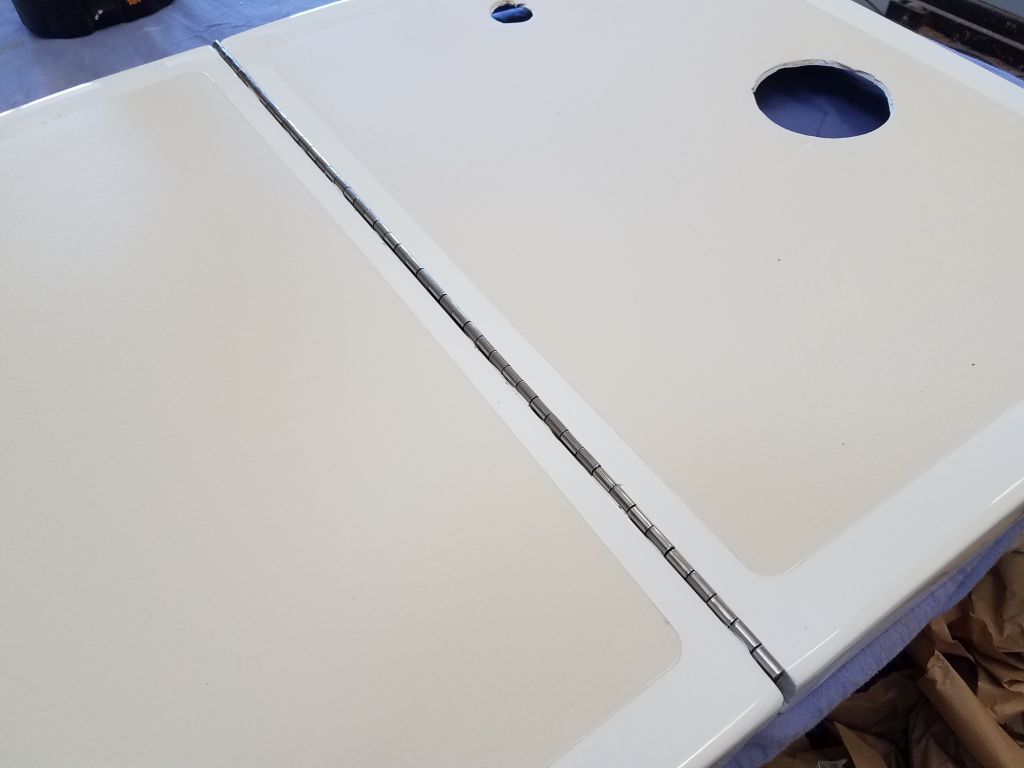
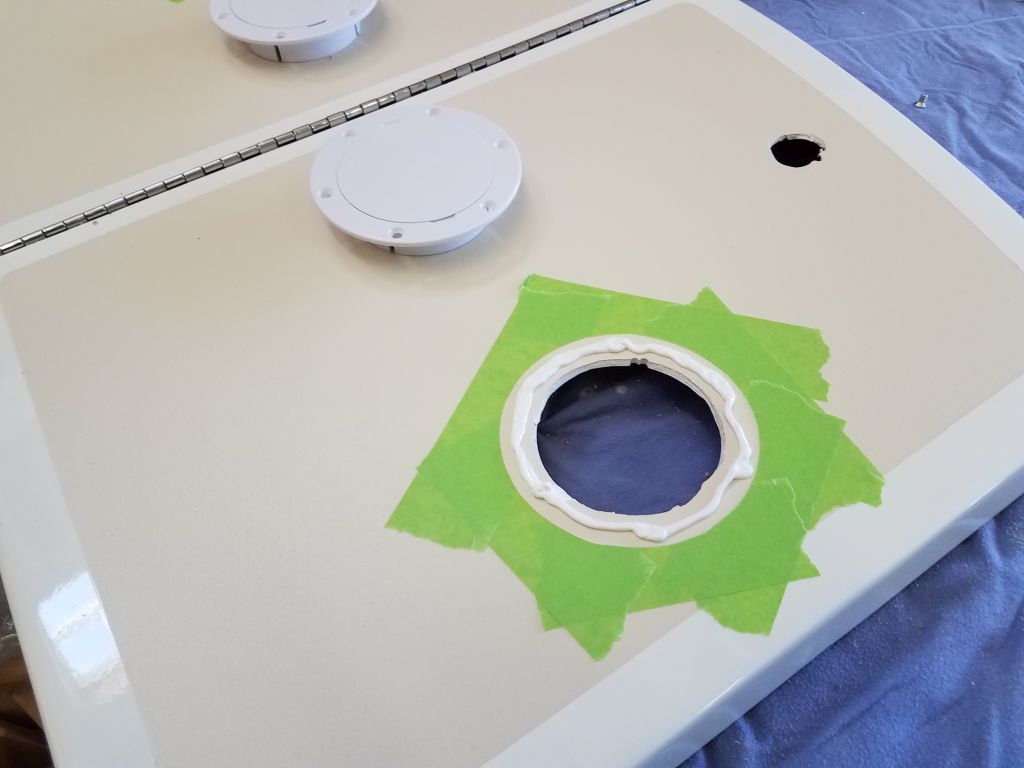
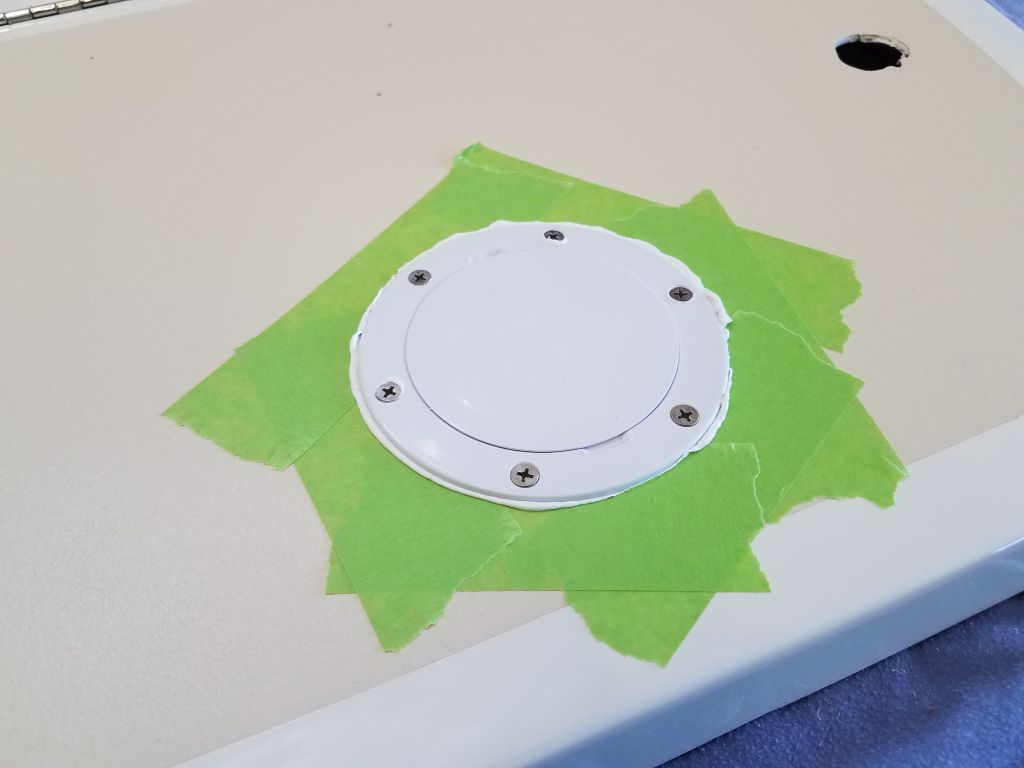
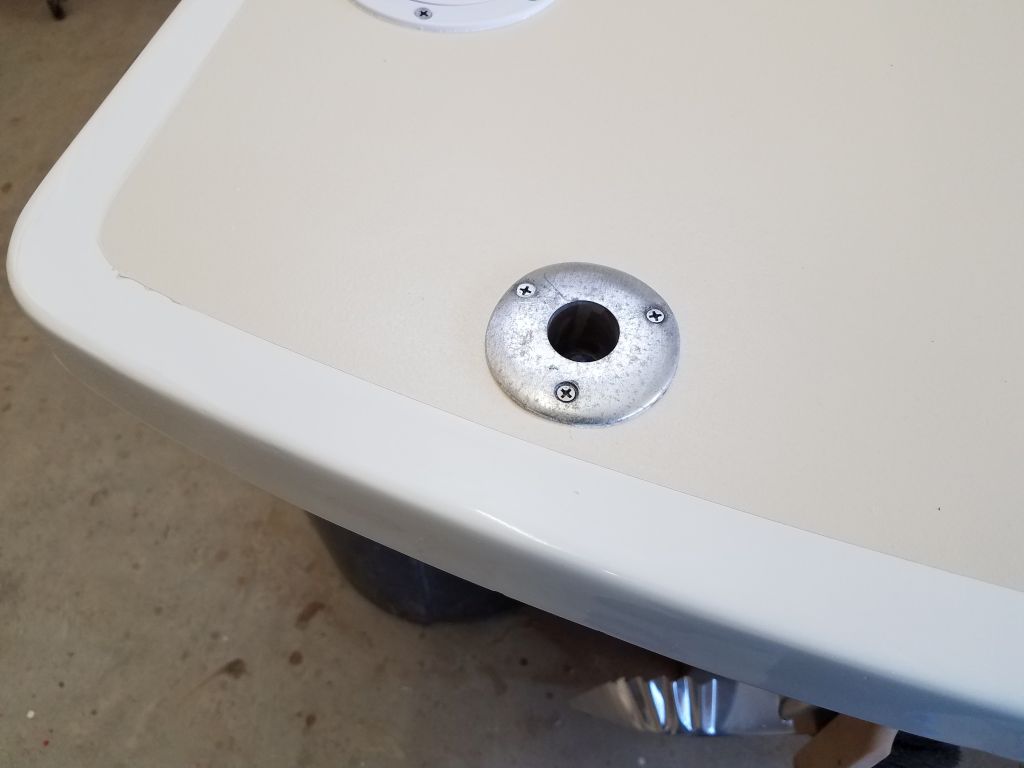
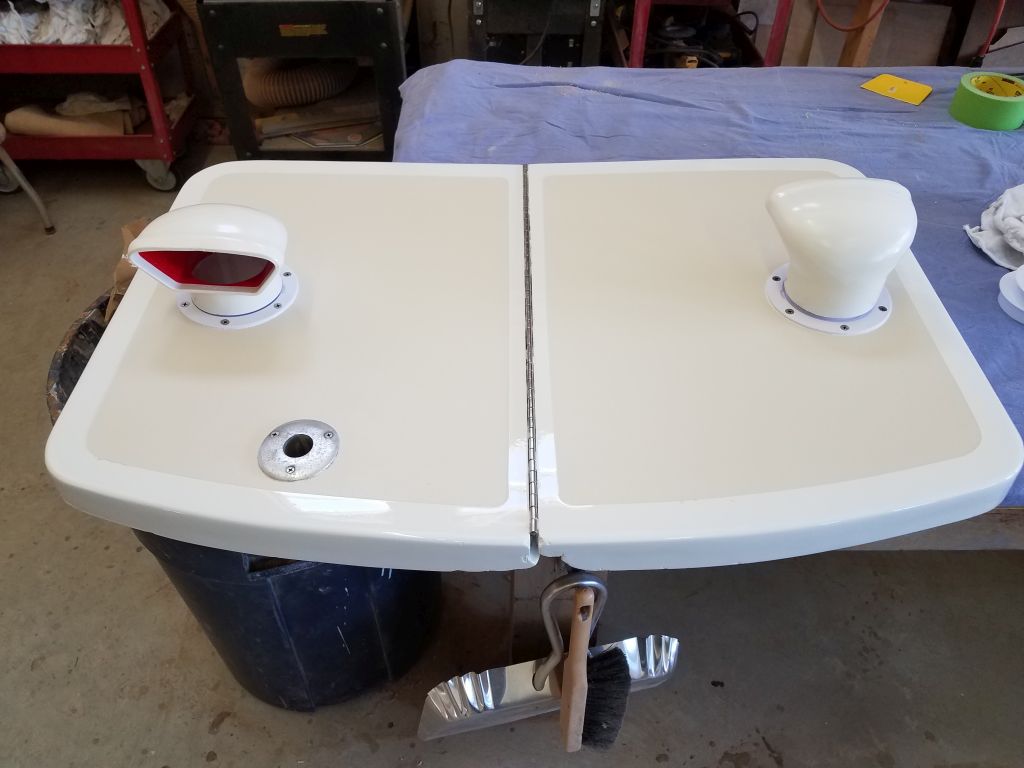
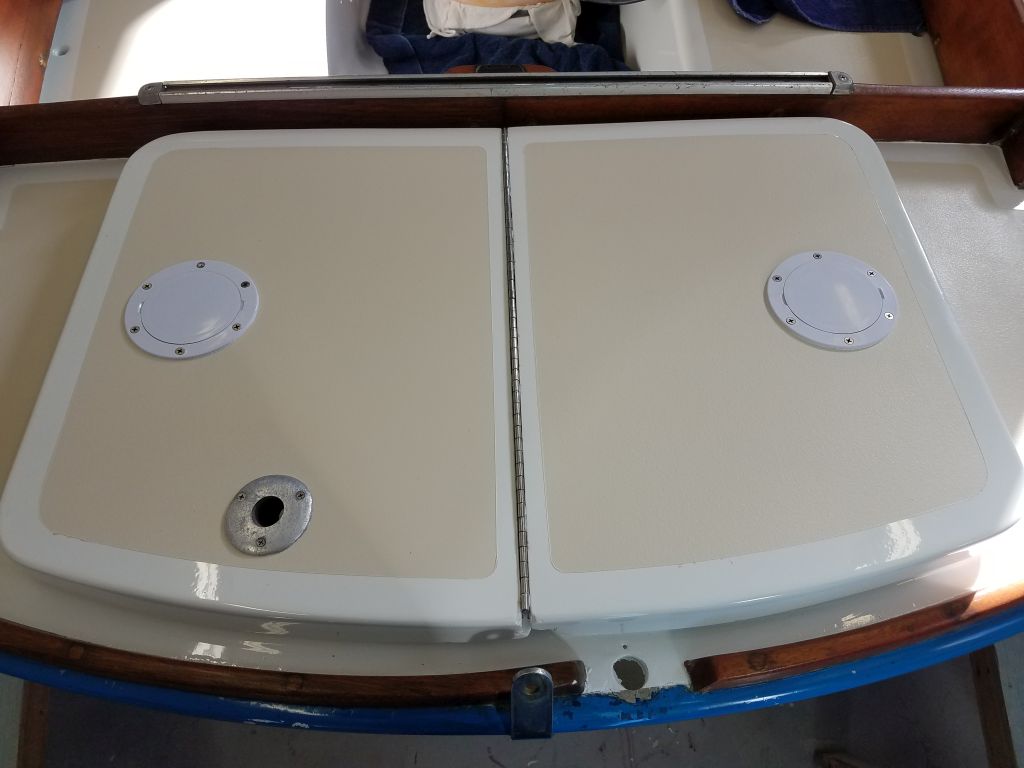
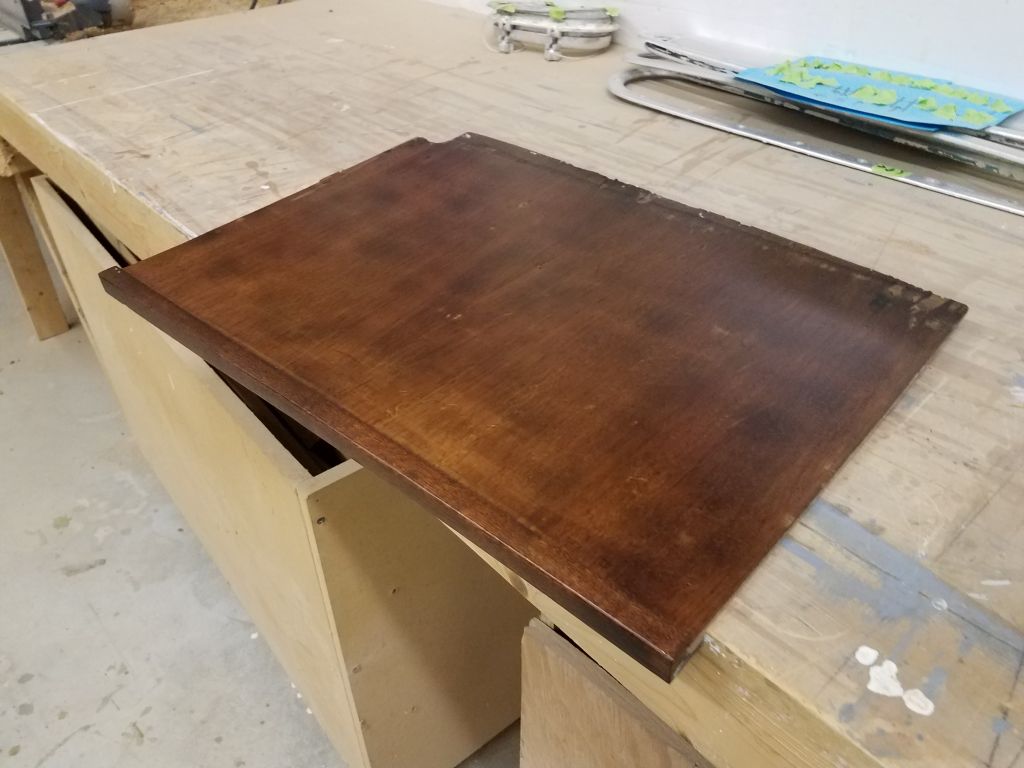
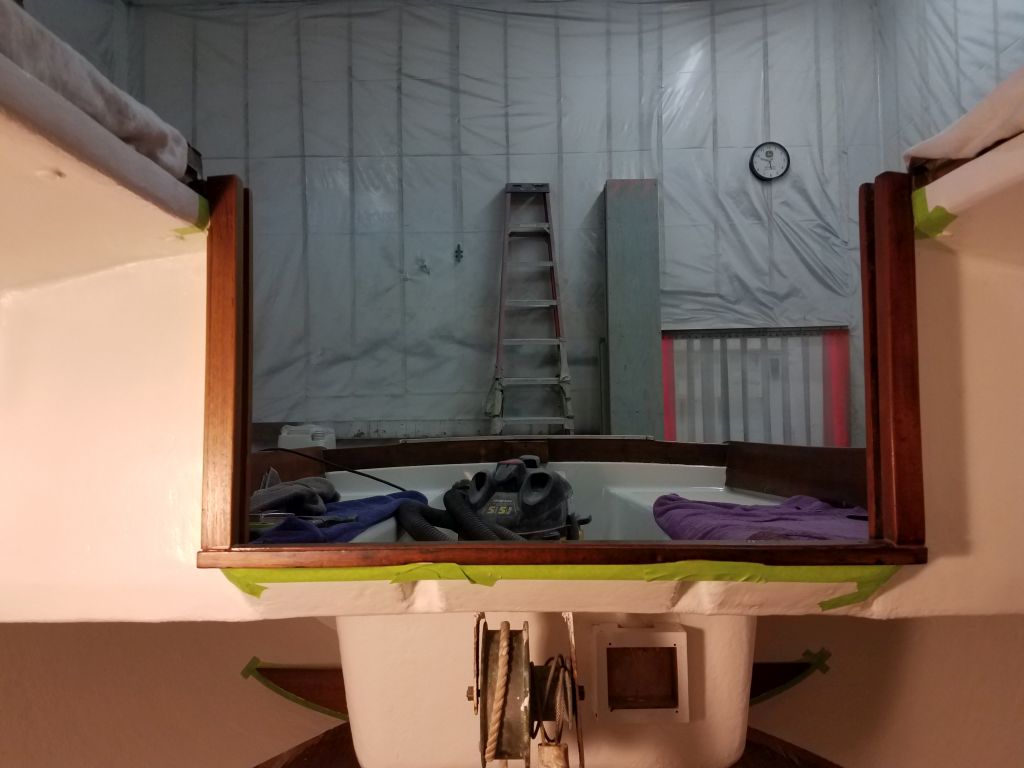
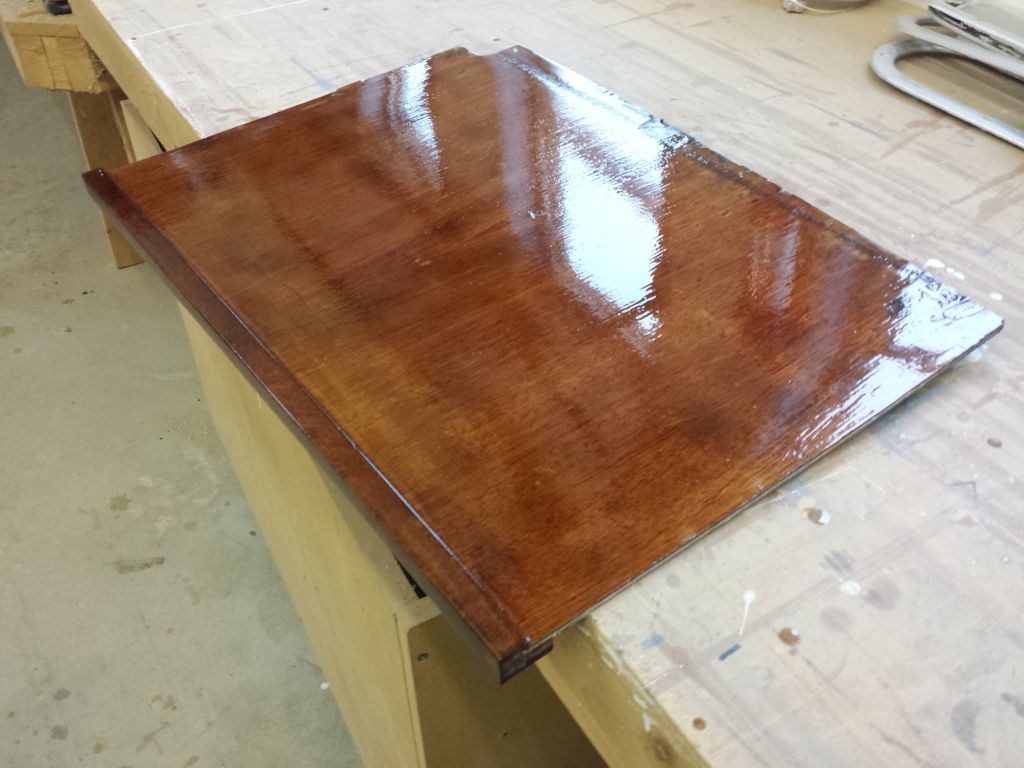
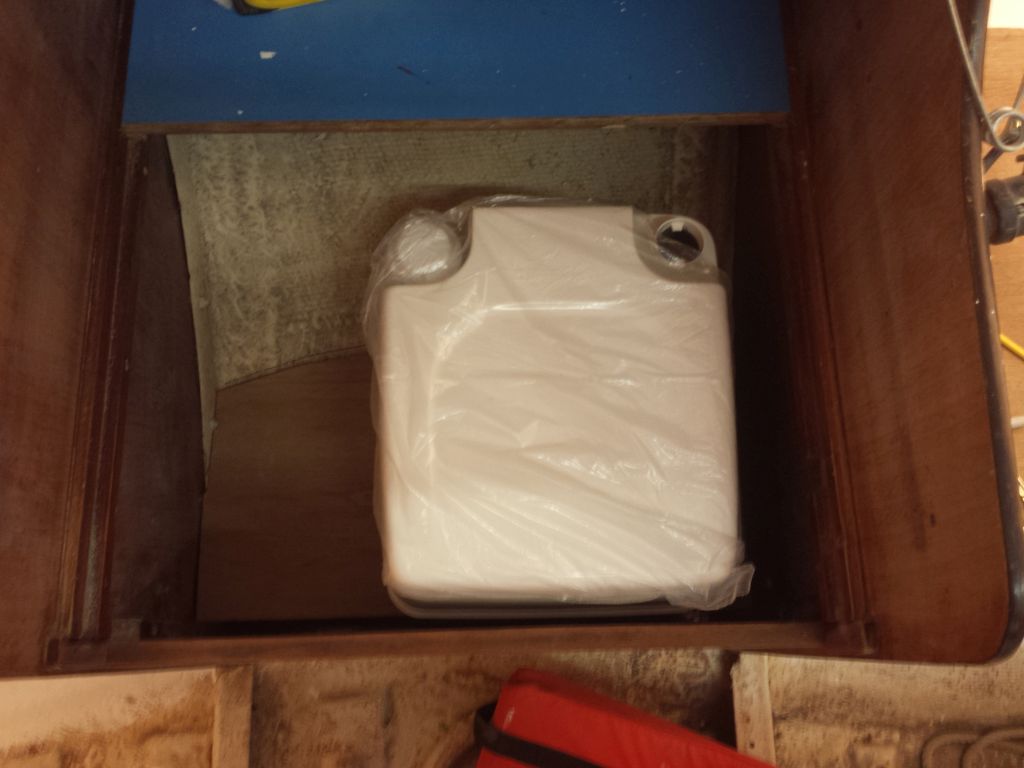
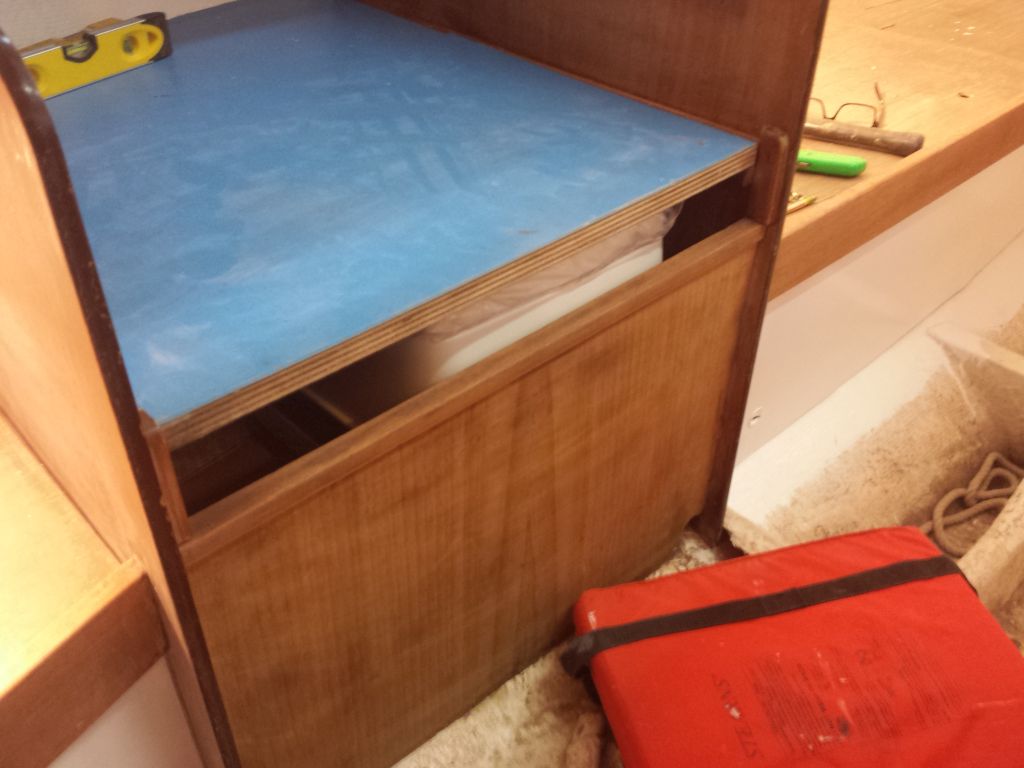
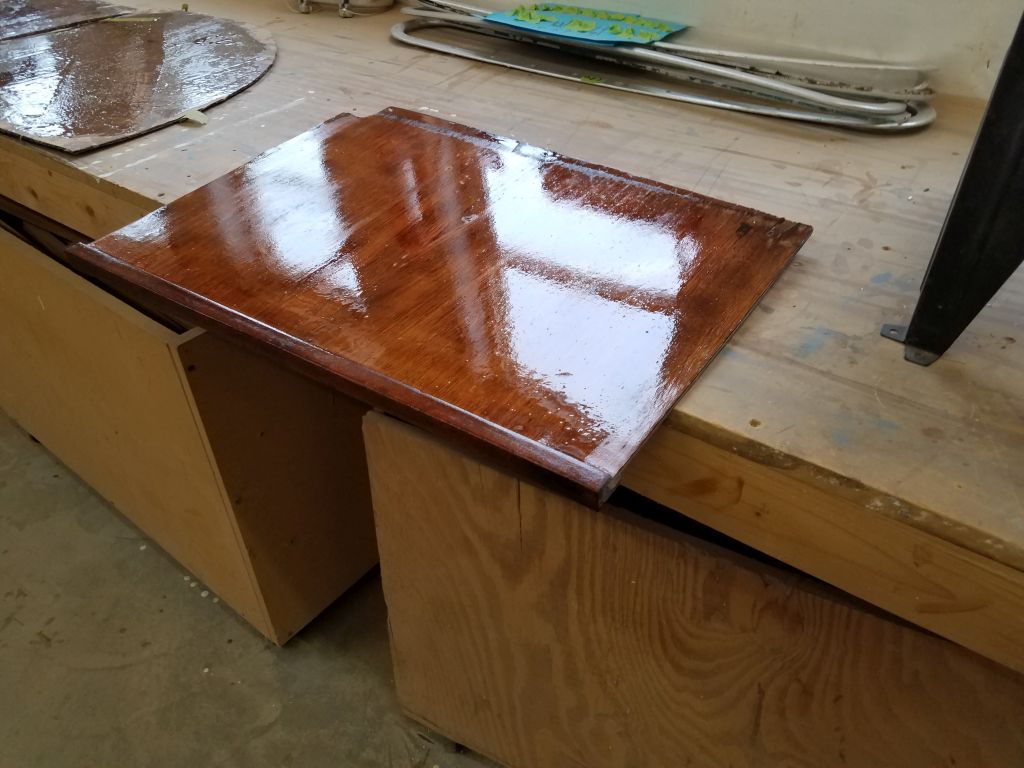
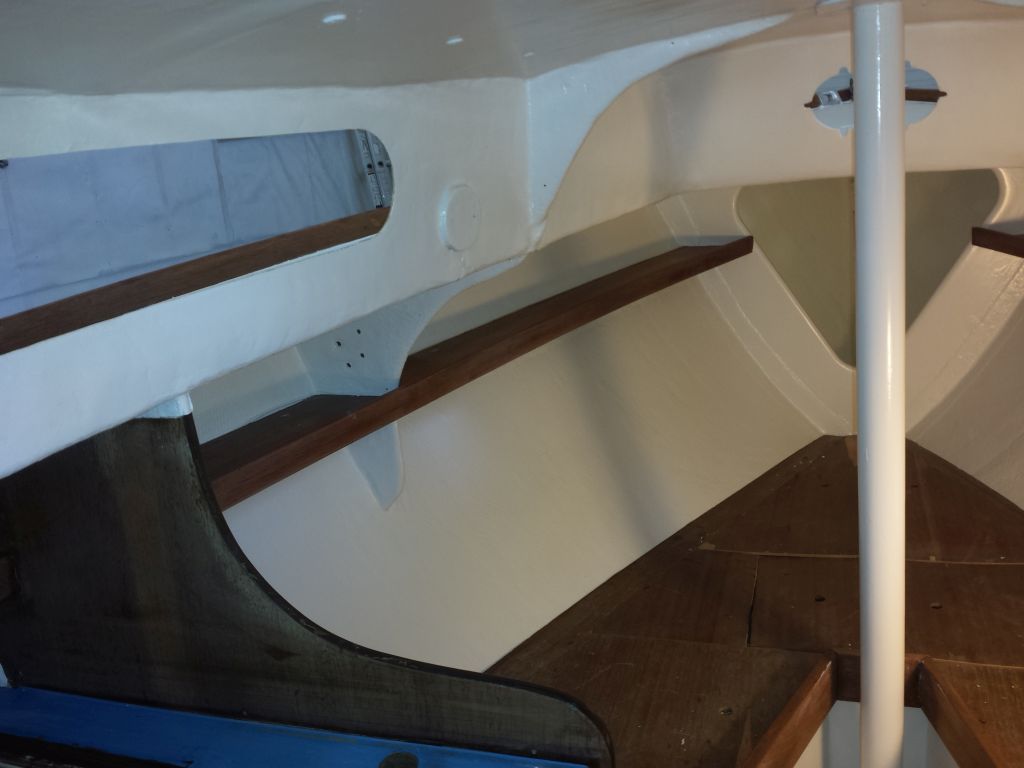
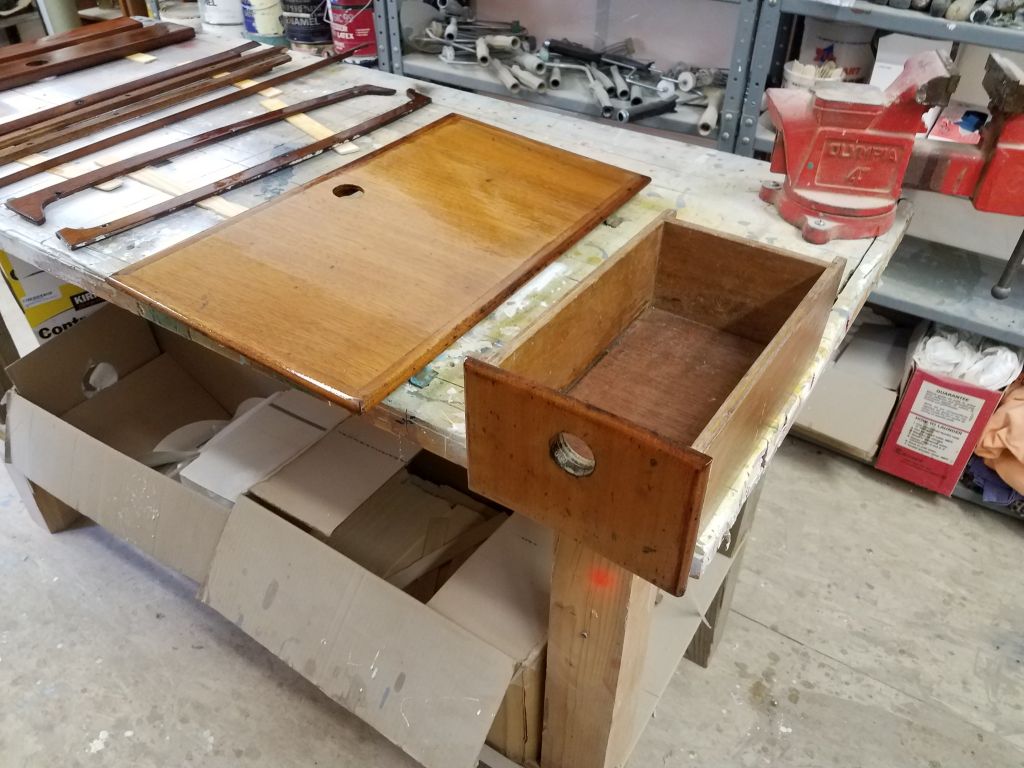
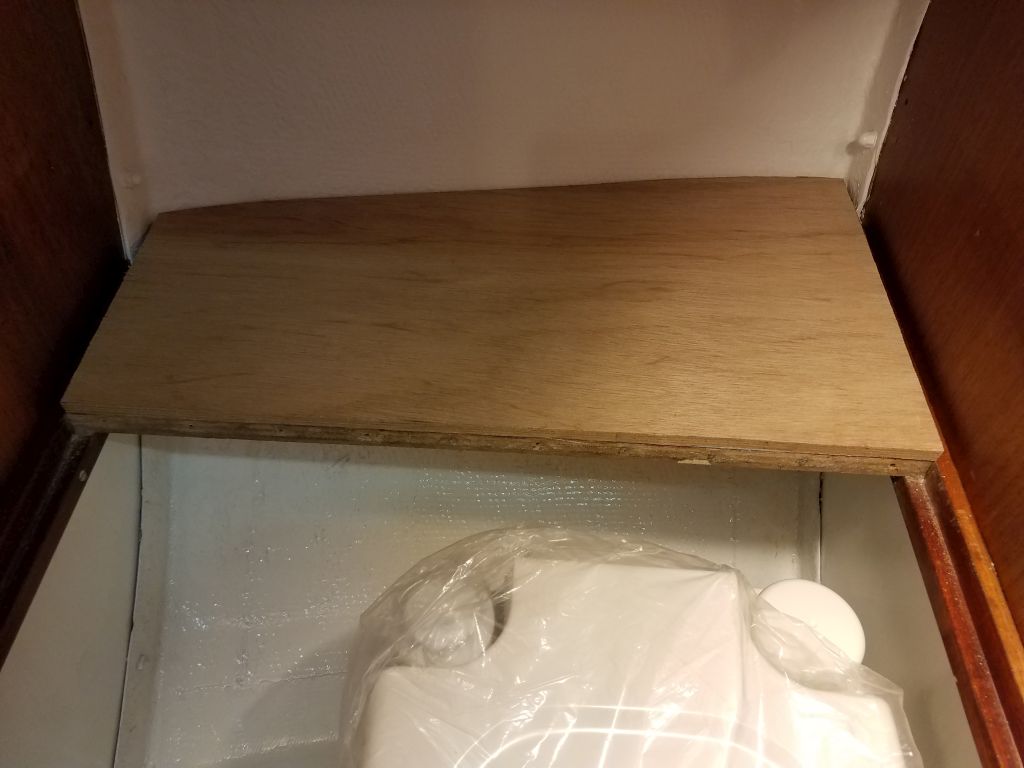
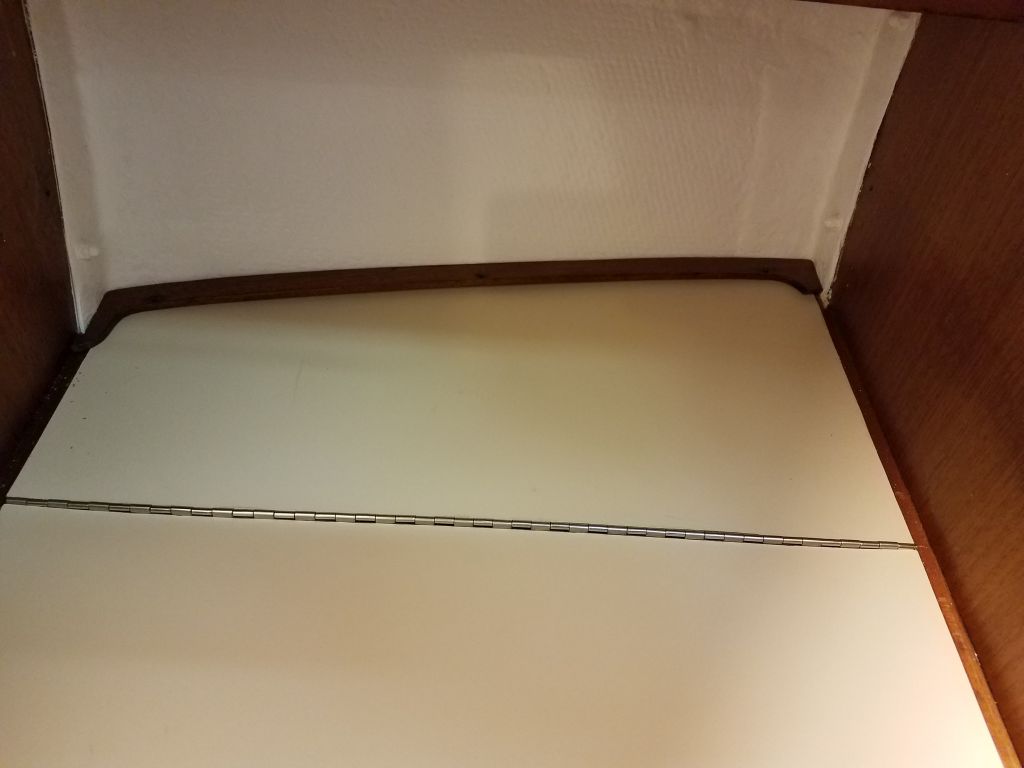
I’d previously scuffed the existing countertops with coarse sandpaper to prepare them, so after final cleanup I applied contact cement to the surfaces, including the hinged section of the head area that I could work on at the bench.  Once the cement dried, I installed the countertops, and used my little router to trim out the icebox and sink openings.  I made a rough hole for the sink pump, but I’d finish that up a little later.  A  couple other small pieces, including the icebox lid and a sliding shelf from above the head, remained to be completed, but I’d do those just a little later.

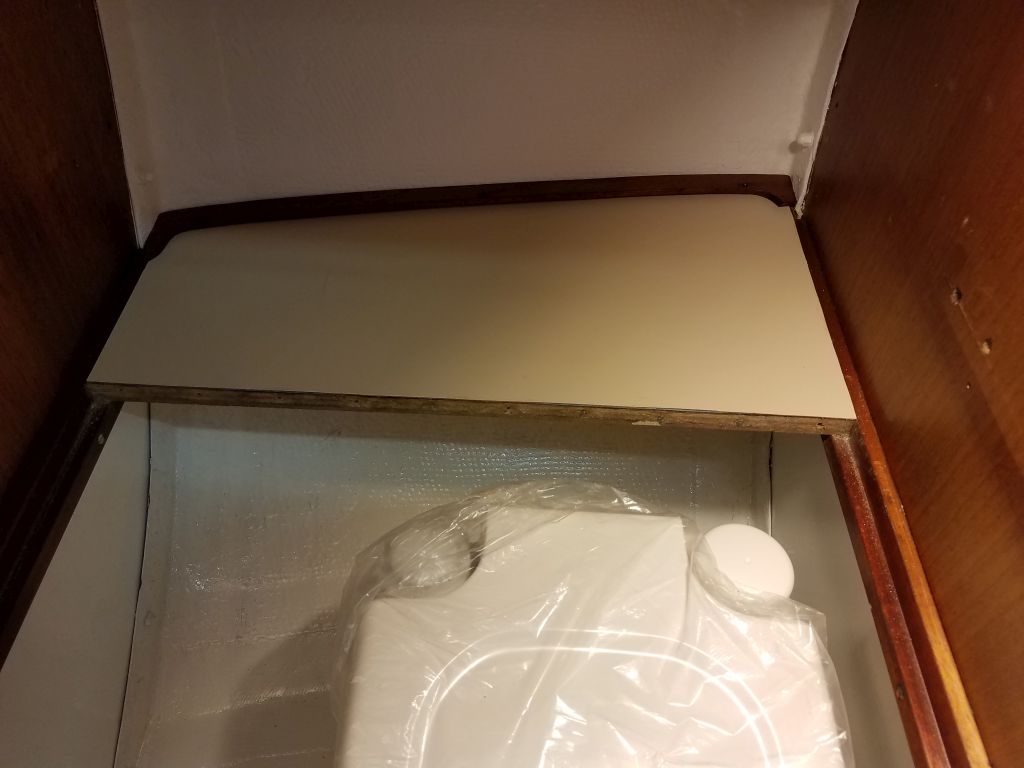
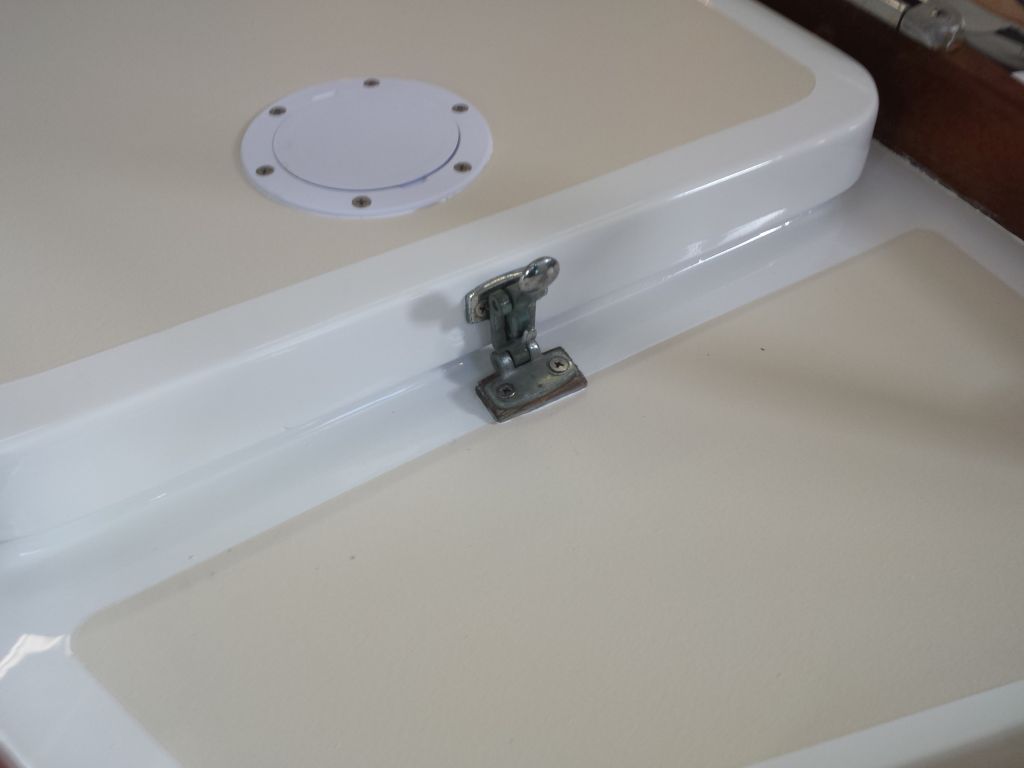
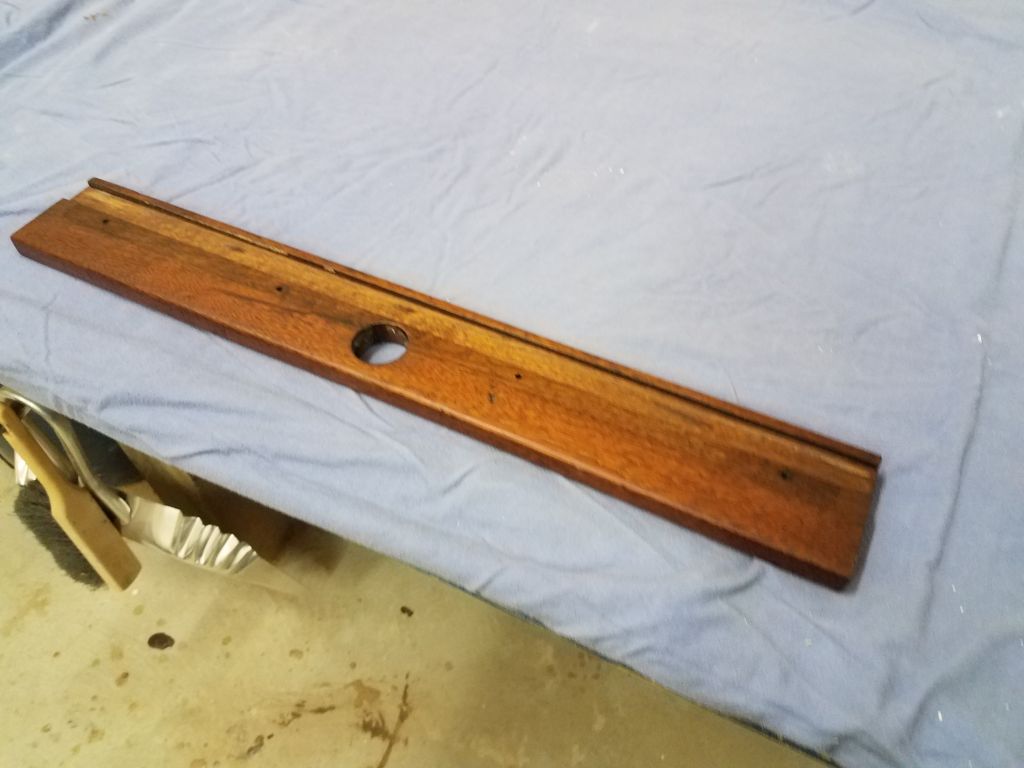
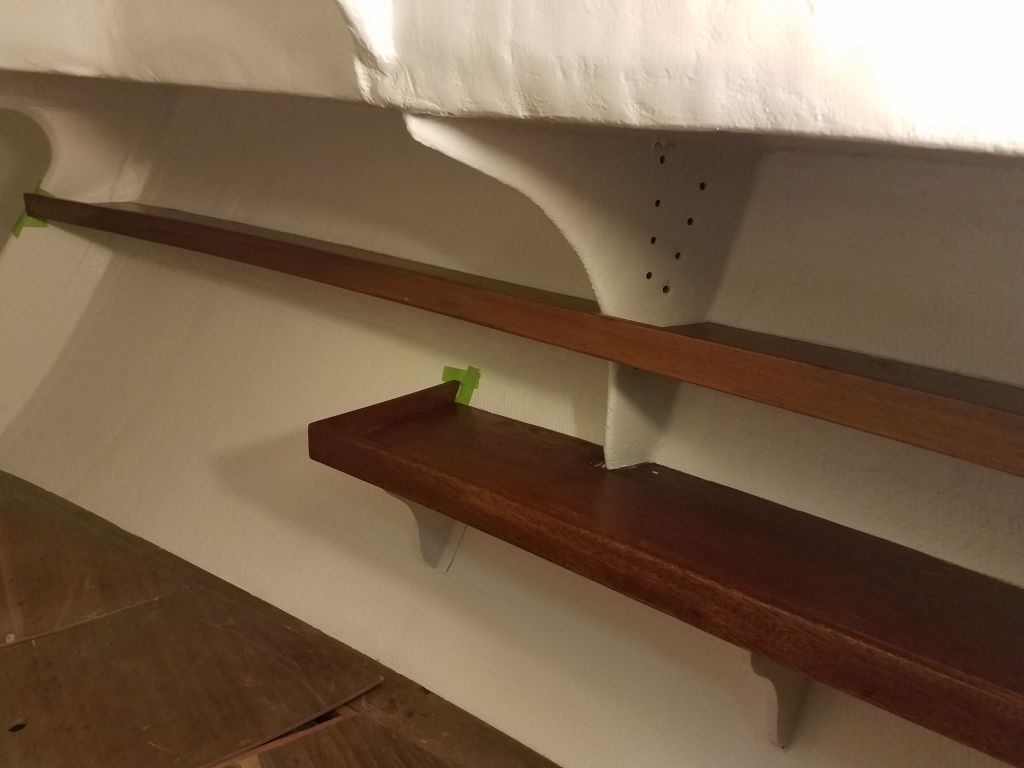
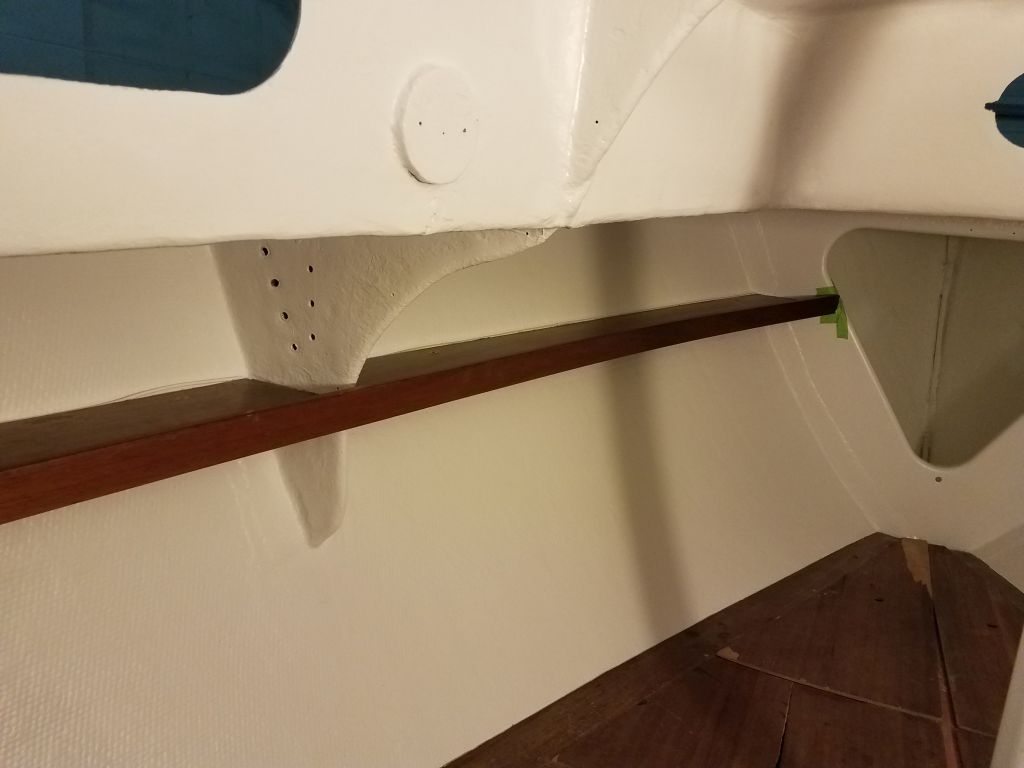
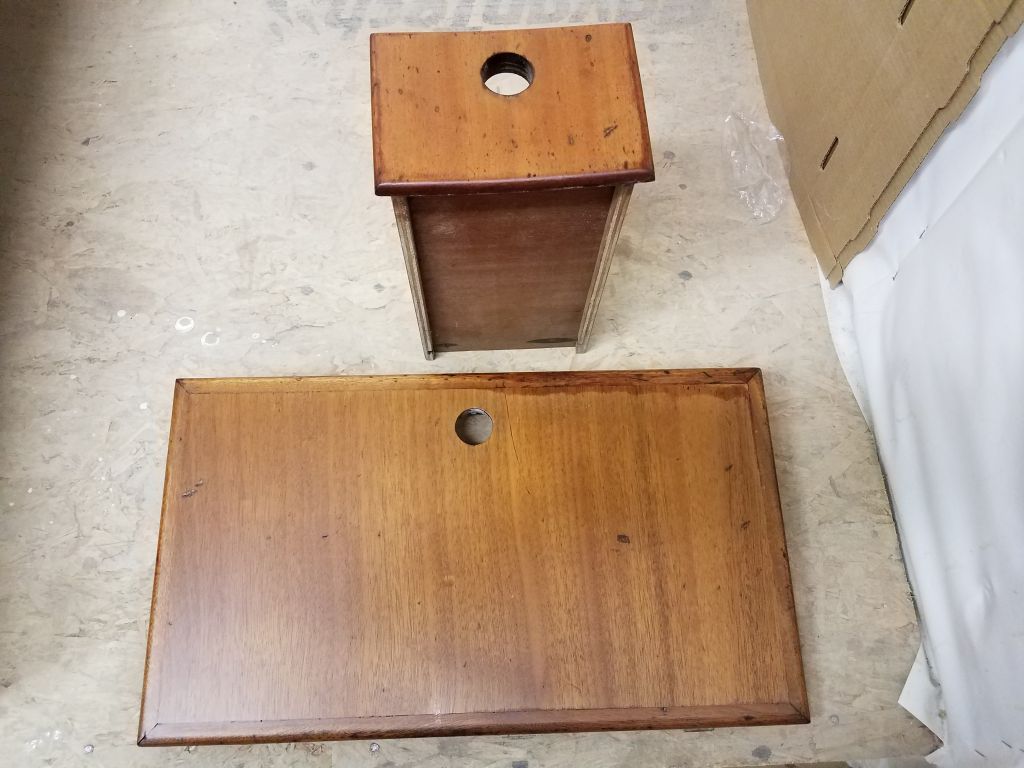
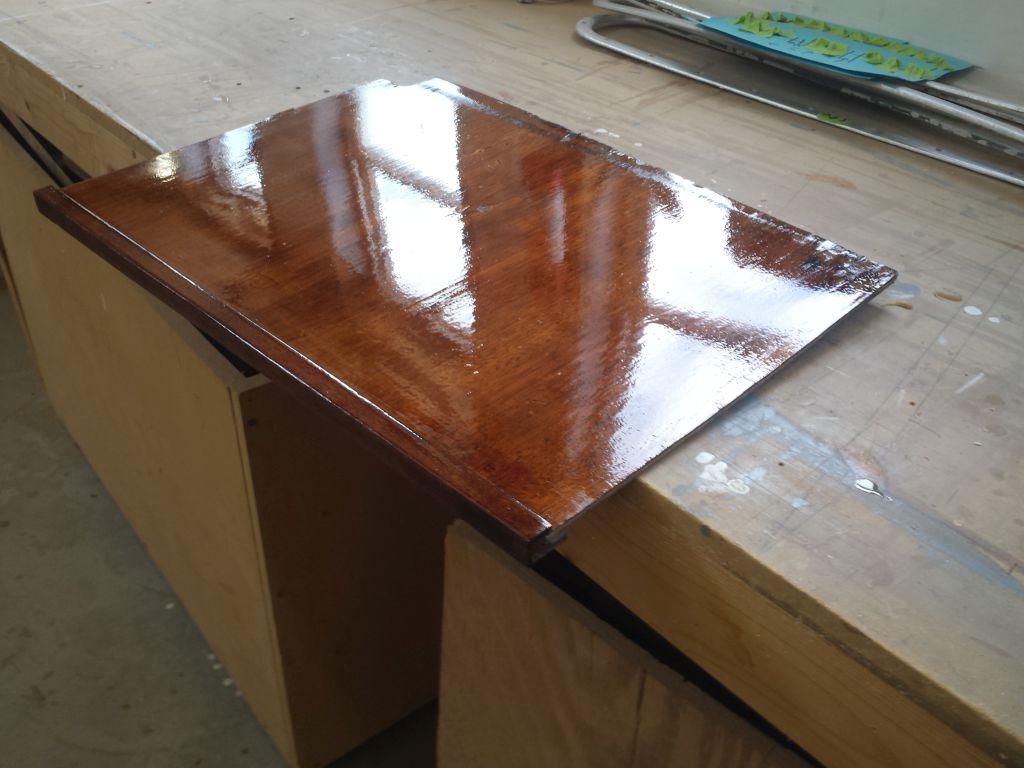
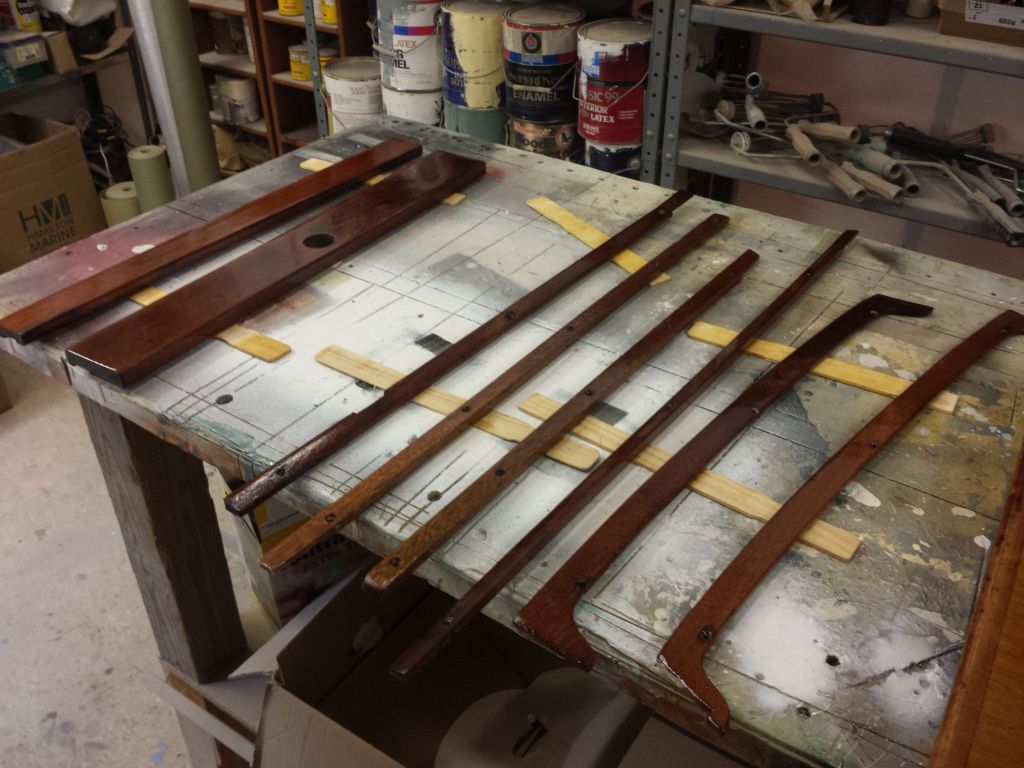
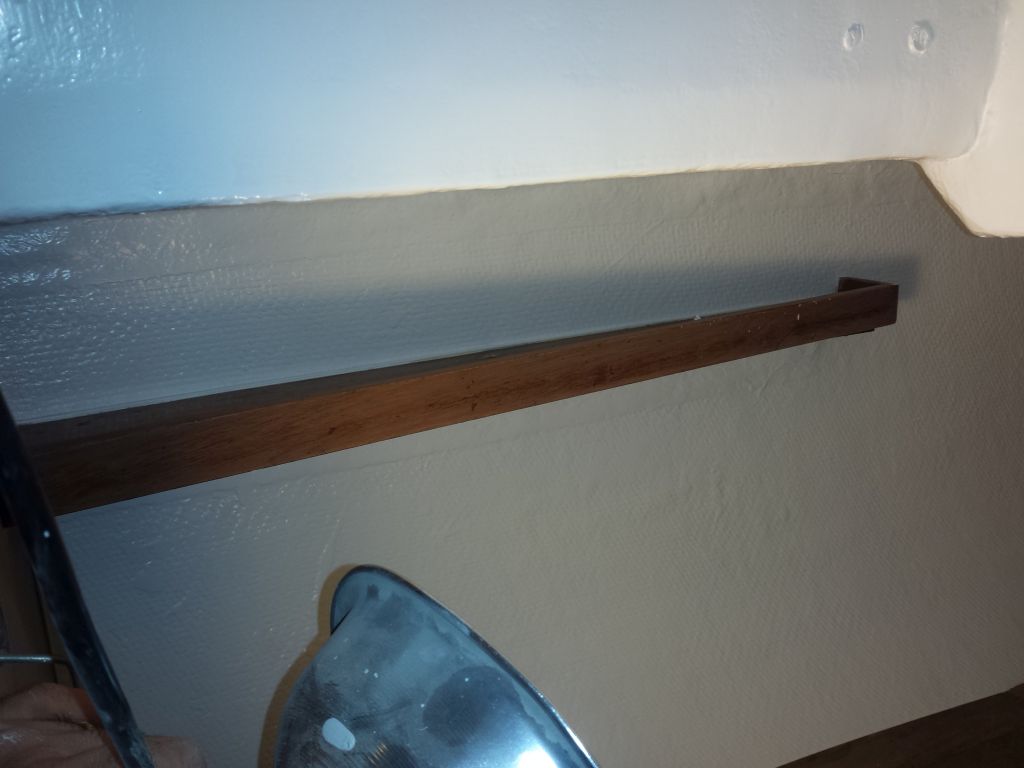
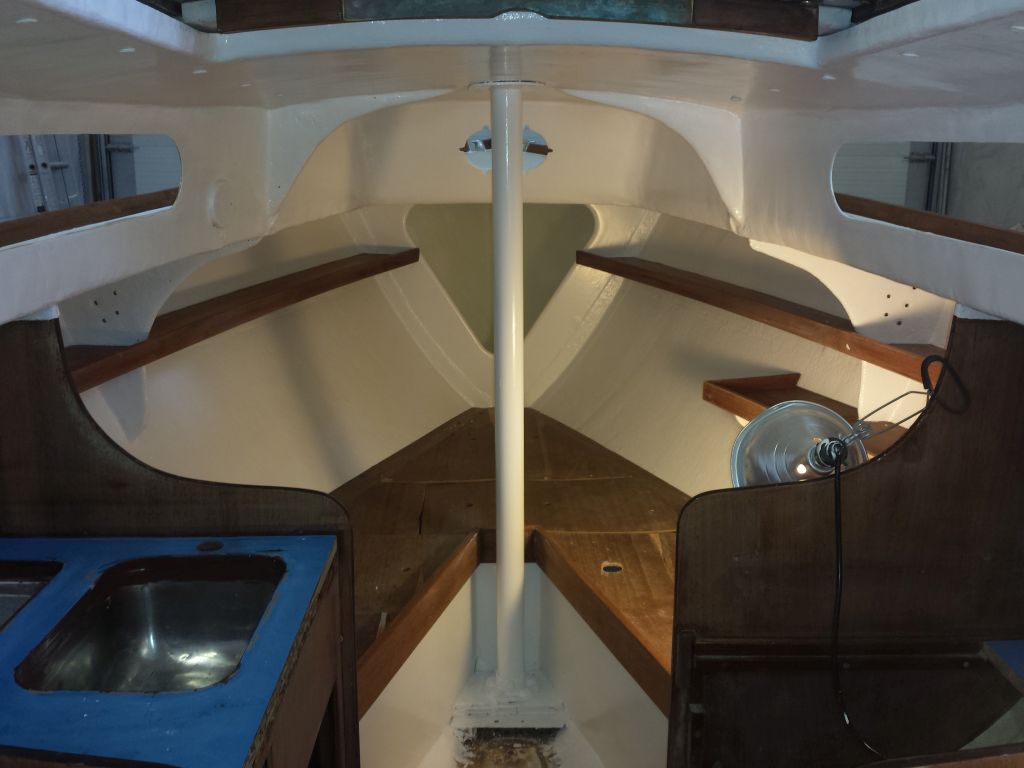
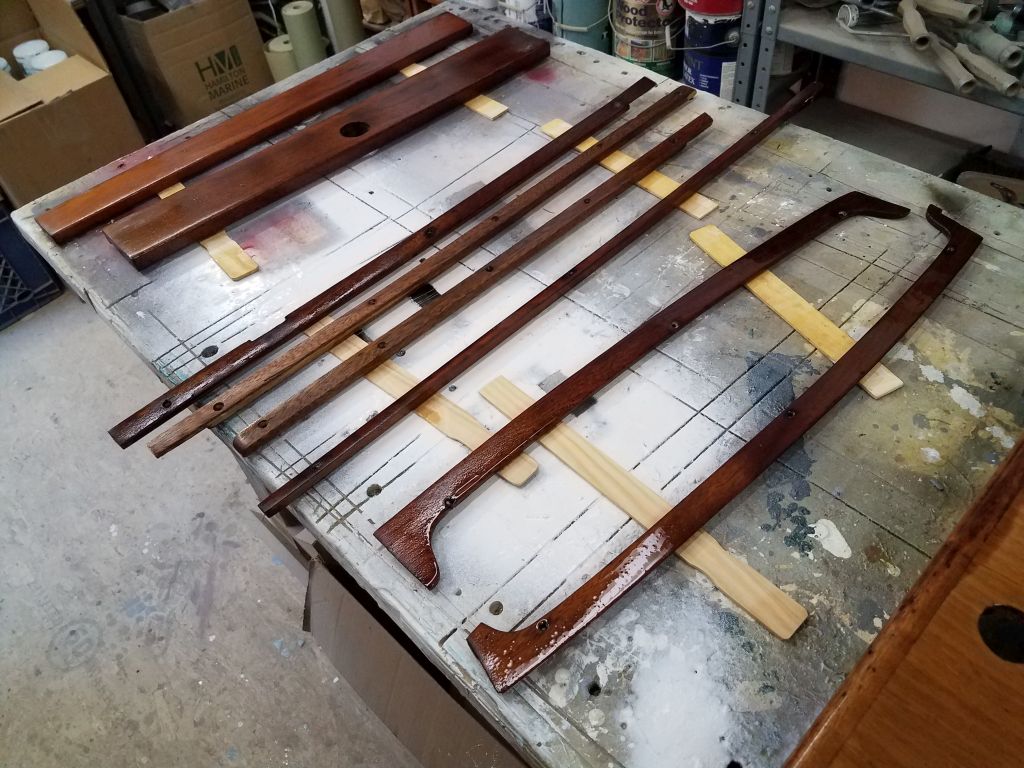
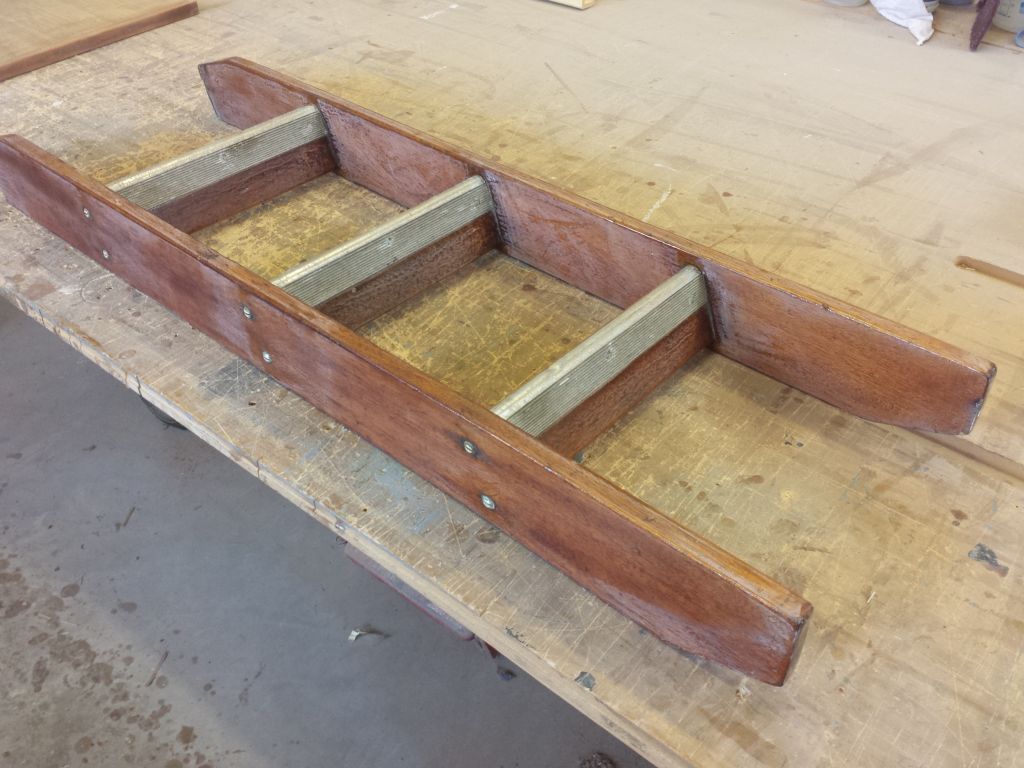
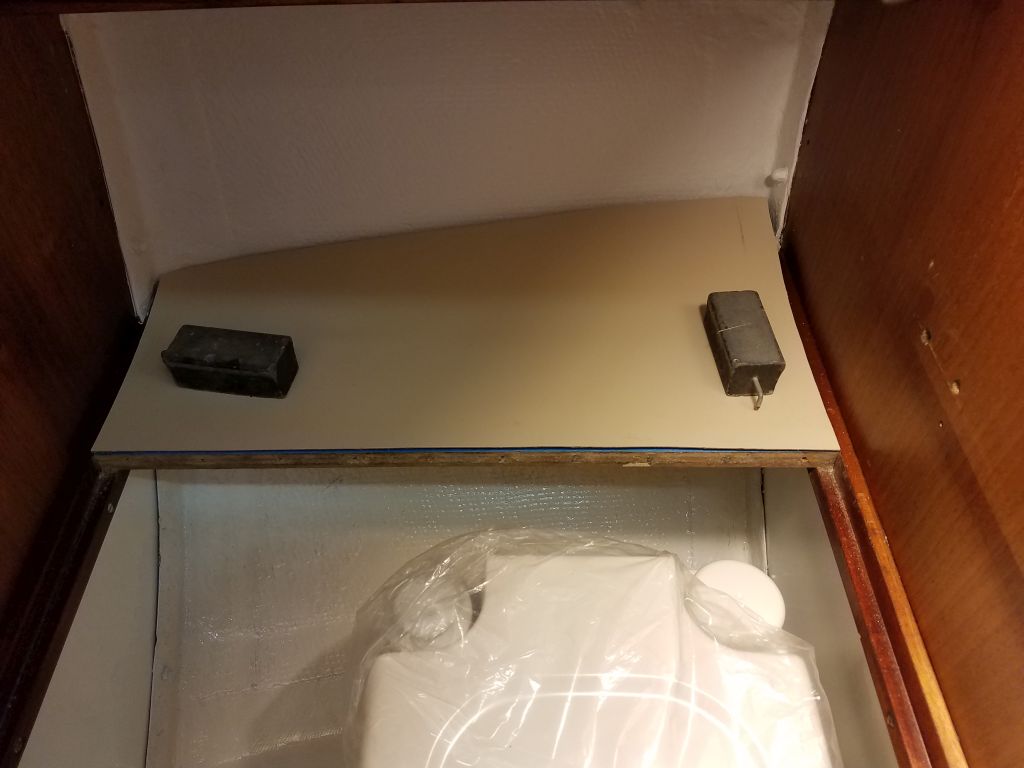
Now I installed a new length of piano hinge on the head countertop, reinstalled its mahogany trim that I’d refinished before, and then attached the other side of the hinge to the fixed portion of the counter in the boat, completing the installation there.  Meanwhile, I dry-fit some of the varnished edge trim that I’d refinished to check the fit, but I’d await its installation till I finished one or two other things, mainly the sink pump installation.

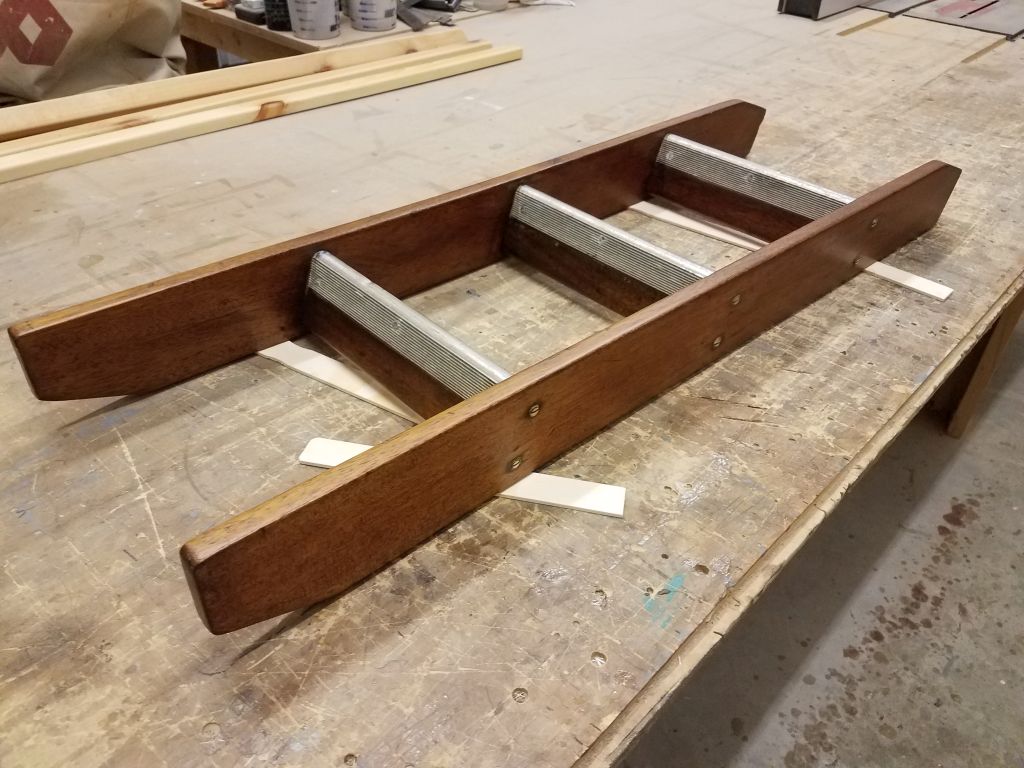
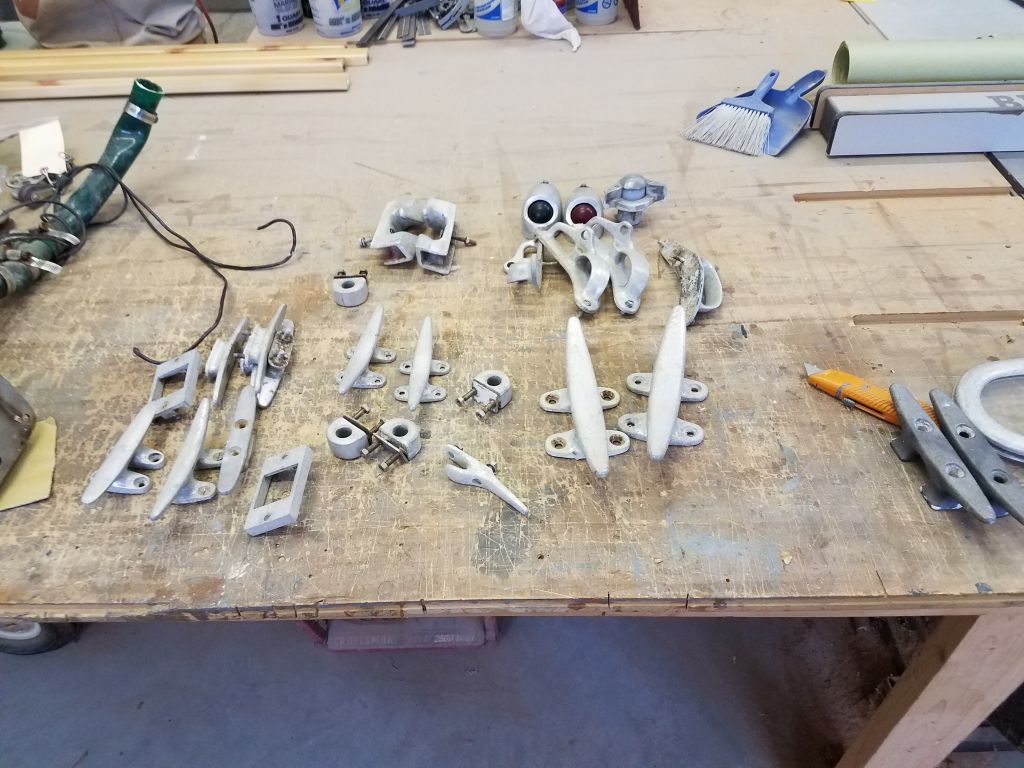
A shipment of old Sailmaster parts arrived, including various deck cleats that I needed to replace some of the damaged ones from this boat, and, most importantly, two nice examples of the damaged port quarter chock.  Now I could pick and choose amongst the best pieces to finish up the hardware and ports’ installation in the coming days.


Total time billed on this job today:  6.5 hours

0600 Weather Observation:
Light snow, 26°.  Forecast for the day:  light snow/rain showers, temperature rising through the 30s

Halcyon 47

< Back to Halcyon

Monday

The supplied mounting hardware that came with the portable toilet wouldn’t work in this installation, given the limited space on the shelf required for clearance. so instead I installed a pair of wooden cleats that would simply hold the unit from sliding; it wasn’t really going to go anywhere in the confines of the space anyway.  Finished with this area, I reinstalled the longitudinal panel across the inside, securing it with screws to allow easy removal if necessary.

I fit in the refinished cabin sole, now that most of the other work was done in the cabin; these pictures came out poorly; apologies.

I spent the bulk of the day installing some of the deck hardware, starting with the bow pulpit.  During the deck structural work earlier, I’d either overbored and filled all fastener holes with epoxy, or replaced the coring in way of certain installations with solid fiberglass, so at this point there was no further need for pre-treating any of the fastener holes, streamlining the installations.    With the bow pulpit locations lightly marked with a small pilot hole earlier, it was straightforward to drill and tap these holes for new machine screw fasteners, lightly chamfer the top edges of the holes, and install the pulpit in a bed of sealant.

I continued with the hawsehole for the anchor rode.  I’d await the anchor chocks till a little later, when I had an anchor on hand to ensure proper fit; the anchor I took off the boat at the beginning of the project was badly rusted and seized, but I had one hanging around that could replace it.

Continuing aft for now, I installed the four stanchions and bases.  Once again, I’d pre-marked the fastener locations, and it was a relatively simple matter to drill and tap the fastener holes for new 5/16″ fasteners.

At the poop deck, I finished up the latch installation for the lazarette hatches, installing the two base sections to the deck.  In these areas, I’d omitted the core during rebuilding, replacing it with solid fiberglass.

After a delay, the replacement hardware–obtained from another owner who’d salvaged the original aluminum hardware off at least two different Sailmasters of similar vintage–was on its way and due at the shop soon.  Once it arrived, I could complete the remaining hardware installations, including mooring cleats and more, using the best of the various pieces included in the large lot.  I also ordered some fixtures and materials to complete some of the remaining tasks on my list, like the simple electrical system and new hoses, etc. for the cockpit scuppers and fresh water plumbing, and I’d be working on those projects in due course.

Finally, down in the cabin I touched up a few places with white paint, and painted out the centerboard winch assembly and riser, which I’d not painted before now.

Total time billed on this job today:  6.75 hours

0600 Weather Observation:
10°, clear.  Forecast for the day:  sunny, low 30s

Halcyon 46

< Back to Halcyon

Friday

With the varnish work complete in the cabin, I removed the masking tape, then, after some final cleanup and other preparations, painted out the galley and head lockers, as well as the bilge areas.  Later on, I applied a second coat to some areas that required it.

In and amongst some planning for the final stages of the project, I got to work on some of the hardware, sorting through and organizing for the installations ahead.  I was still waiting for some original replacement hardware that I’d purchased from another Sailmaster 22, so this continued to delay the installation of deck cleats and so forth.   Instead, I focused for now on the lazarette hatch, beginning with installing a new stainless steel piano hinge to connect the two halves; the original hinge had been beyond salvage.  I’d filled the original fastener holes during surface prep, so I marked and drilled new holes for stainless fasteners to secure the hinge in place to the built-in wooden supports within the hatch edges.

The two cowl vents that had originally graced the hatches had also been in non-salvageable condition at the time of removal, so I installed new replacements in kind, and reinstalled the original flagpole socket and latch mounts on the outer edges as well.  I’d finish up the deck side of the latches at another time.  For each installation, I marked, drilled, and tapped for machine screw fasteners, and secured each piece in a bed of sealant.

Total time billed on this job today:  7 hours

0600 Weather Observation:
18°, clear.  Forecast for the day:  sunny, 30

Halcyon 45

< Back to Halcyon

Thursday

With sufficient base coat buildup now on all small parts and the interior trim, I continued the varnish work with a maintenance coat of rubbed-effect satin varnish on all interior surfaces, including shelf trim and bulkheads, along with the berth trim and various loose trim pieces as necessary.

Total time billed on this job today:  2.25 hours

0600 Weather Observation:
40°. mostly cloudy.  Forecast for the day:  clearing, windy, getting colder

Halcyon 44

< Back to Halcyon

Wednesday

Another quick day, and another quick sand and coat of varnish for the wood trim in the cabin.

Total time billed on this job today:  .75 hour

0600 Weather Observation:
40°, light rain.  Forecast for the day:  showers, getting warm, into the 50s

Halcyon 43

< Back to Halcyon

Tuesday

In a short day, I continued work on the various varnish projects inside and outside the boat.  Inside, I sanded and varnished anew the (formerly known as) bare trim on the berth fiddles and a small secondary shelf in the forward cabin, as well as the inside of the companionway trim and one of the interior panels from the head area.

Most of the small trim pieces from the cabin, including the cabin sole sections, now had enough base varnish that I could switch to the final finish, a rubbed-effect satin varnish that I’d be using throughout the cabin in due course.

I rounded out the day with a project-related errand, but meantime there was little else I could do to advance the project.  I anxiously awaited a box of original Sailmaster hardware, purchased from another owner. to replace some of the old and damaged bits that I’d removed early on in the project so I could start reinstalling the deck hardware soon.

Total time billed on this job today:  3 hours

0600 Weather Observation:
25°, mostly clear.  Forecast for the day:  partly sunny, 47

Halcyon 42

< Back to Halcyon

Monday

Next on my agenda was the interior brightwork, most of which required only maintenance topcoats, as I’d determined earlier that the existing finish in many areas was sound and ready for sprucing up.  I’d stripped the damaged finish from the berth fiddles fore and aft, so these were now bare wood and would require several base coats to bring them consistent with the other areas.

Preparing, I masked around the varnished trim where needed, mainly against berth tops and the new paint in other areas, then applied a thinned sealer coat of varnish to the bare wood areas.  I’d build up these areas with several coats before completing all the maintenance coats on the bright cabin surfaces.

Meanwhile, I continued base coat buildup on the various loose trim and woodwork.

The centerboard winch had once been secured to the fiberglass riser with a metal U-clamp that had once been integral with the base of the winch, but that assembly had disintegrated from corrosion.  All this clamp did was hold the base of the winch assembly (and the top of the riser) steady with one another.    The whole metal winch assembly was built into the deck above, making replacement–even if a replacement was available–a major but fortunately unnecessary chore.  While the remnants of the winch assembly were badly rusted, there was sufficient structure remaining to maintain function going forward.

Original centerboard winch clamp 1/4/17

With no  way to revamp that original system, but wanting to secure the base of the winch once again, I wrapped the area in a fiberglass clamp of sorts which, when, cured, would effectively hold the pieces together once it cured, performing the same function as the original clamp.


After final preparations, I applied a coat of white Bilgekote to the lazarette and the undersides of the two-part lid.

Total time billed on this job today:  5.75 hours

0600 Weather Observation:
20°, clear.  Forecast for the day:  Sunny, 49°

Halcyon 41

< Back to Halcyon

Friday

The owners requested that I install a portable toilet in the original head compartment.  To accommodate the porta-potty, the space required a platform, as the original small platform that had supported the long-removed marine head was not suitable by itself.

I obtained the smallest possible porta-potty, and even so the fit was surprisingly tight, given the confines of the space between the curvature of the hull, the depth of the toilet, and the height of the space beneath the hinged countertop/cover.  However tight, I determined that the new unit would indeed fit, and with the actual toilet mocked up I made one reference mark on the hull to show the maximum height of the new support platform.

From here, I made up a cardboard template to get the basic shape required, then transferred this to a piece of scrap luaun plywood for a more accurate template and to double-check the fit.  I leveled the platform in both directions.

I checked the fit of the toilet, ensuring that it not only fit inside of the curve of the hull, but also cleared the hinged countertop, as well as the cleats that demarked the inside of the longitudinal panel that would close off the passageway-side of the opening later.

After making some final layout marks on the template, I transferred the shape to some 12mm marine plywood and cut out the plat form.  I sharply beveled the outer edge of the platform to conform to the curve of the hull and ensure that the top of the platform ended up at my original layout line on the hull–the one sweet spot that allowed the small toilet to fit both height-wise and transversely.  I checked the fit of the new porta-potty with all the various panels in place once more to ensure that the fit was as anticipated and as required.

To install the platform, once it was properly positioned I made reference marks on the bulkheads, then installed support cleats fore and aft.  Before permanently mounting the platform, I painted out the space beneath, which would be inaccessible going forward.  I also epoxy-coated the underside and edge of the new platform.  I’d paint out the remainder of the space later, once the platform was permanently secured.

I installed the platform permanently with some thickened epoxy on the cleats and where the platform met the hull, then added a strip of tabbing to further secure the platform, leaving the fiberglass to cure overnight.

Later, I lightly sanded and varnished anew the various trim pieces, panels, and cabin sole sections, continuing the base coat buildup.

Total time billed on this job today:  4 hours

0600 Weather Observation:
33°, clear.  Forecast for the day:  sun and clouds, 50

Halcyon 40

< Back to Halcyon

Thursday

The interior paint was looking good, and I went ahead and unmasked the cabin now that the major painting was complete.  There’d be more paint work in some of the lockers and bilges in the near future.

After some final sanding here and there, I cleaned up the various trim and cabin sole pieces and applied a sealer coat of varnish, the first of several on the bare wood.  I planned to give the fresh paint in the cabin some cure time before masking again for the brightwork portion of the cabin work.

Total time billed on this job today:  2.5 hours

0600 Weather Observation:
23°, clouds.  Forecast for the day:  clouds and sun, 40s

Halcyon 39

< Back to Halcyon

Wednesday

After final preparations, I applied a coat of semi-gloss white enamel to the interior surfaces.

In the woodshop, I continued work on the various loose pieces of trim and cabin sole, cleaning up and sanding the areas I’d repaired, and sanding clean all the other pieces to remove or otherwise prepare the old finish. Where the existing finish was sound, I simply sanded lightly to accept new finish coats.  I had to make another repair or two to the cabin sole and one of the veneered panels from the head area, so I’d await their completion before I started varnish work.

Total time billed on this job today:  7 hours

0600 Weather Observation:
34°, cloudy.  Forecast for the day: clouds and sun, 44°

Older posts Newer posts