< Back to Scupper
Monday
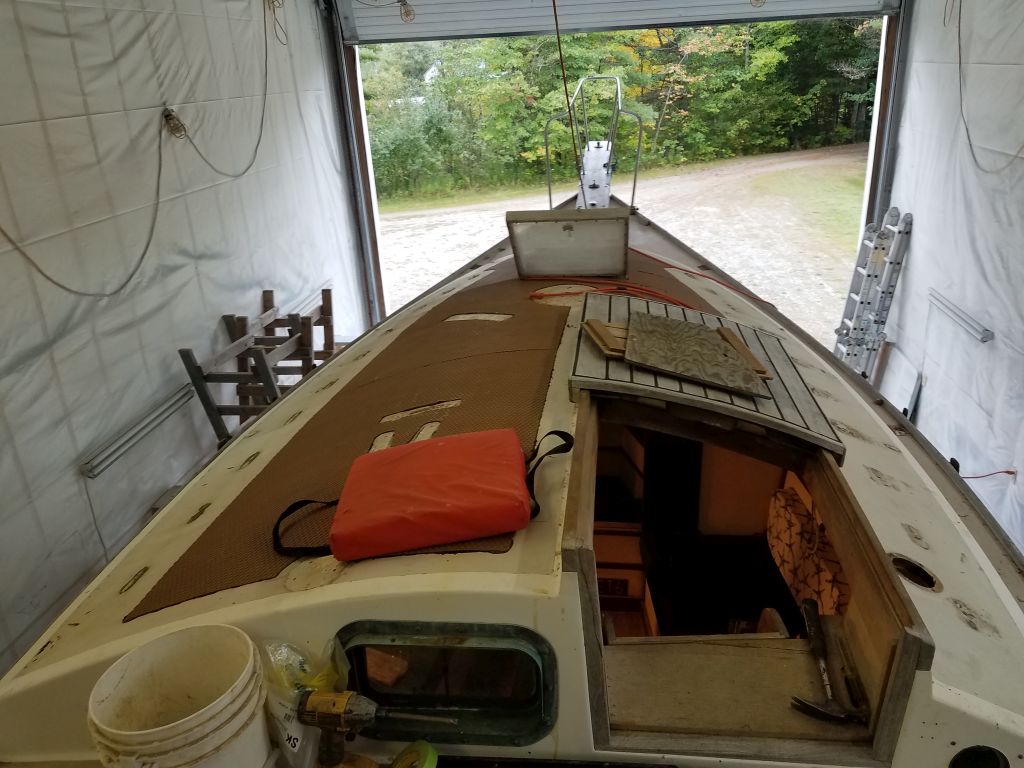
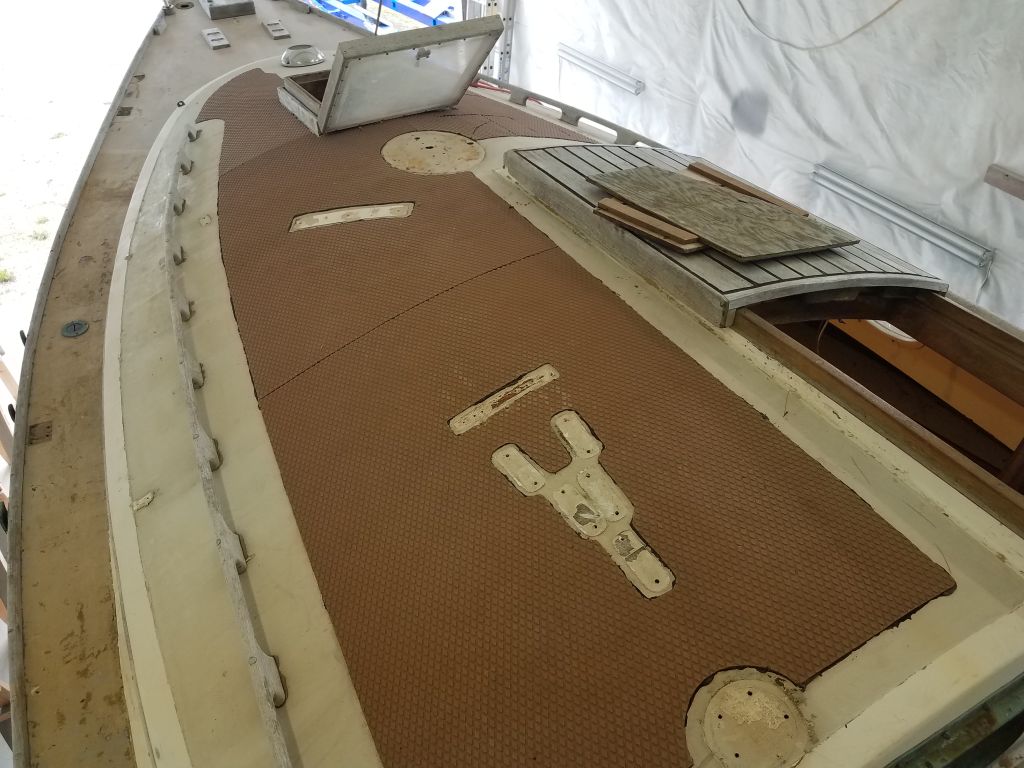
Much of the detail about the scope of this project was still up in the air, pending a much-discussed but as-yet unscheduled meeting with the owner here at the boat, but regardless, any work on this boat would require removal of the deck hardware, and with time on hand while awaiting other boats’ arrivals following the end of the northeastern sailing season, I continued work on the hardware removal, which would eventually give the project a good head start once it was time to dive in head first.
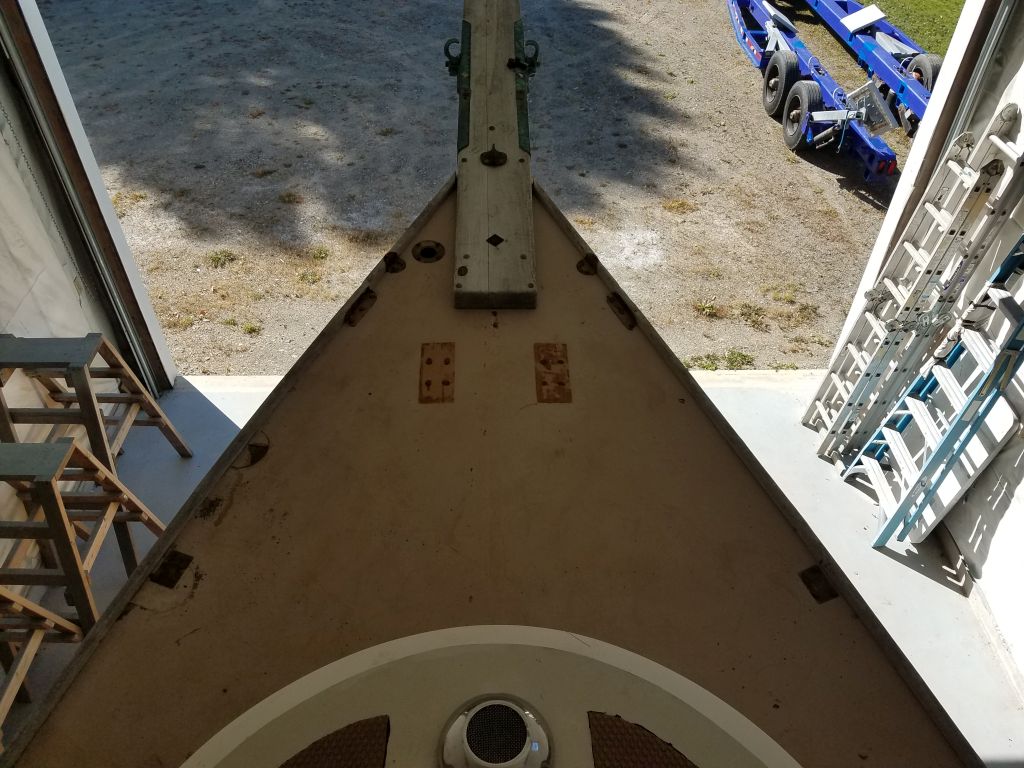
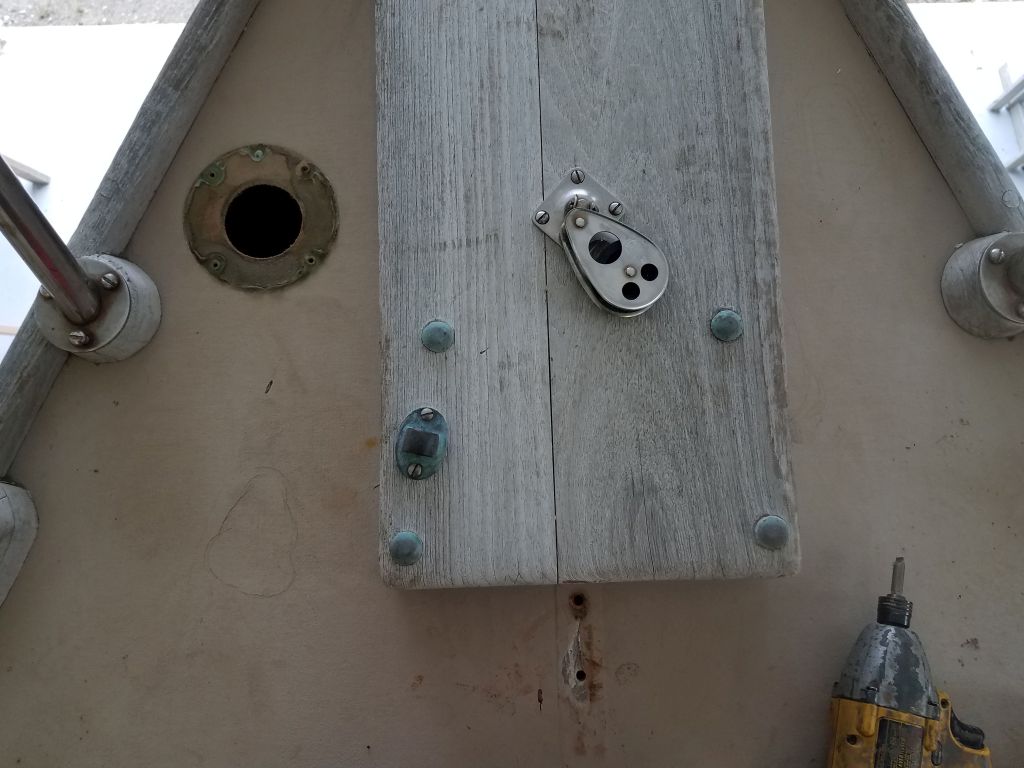
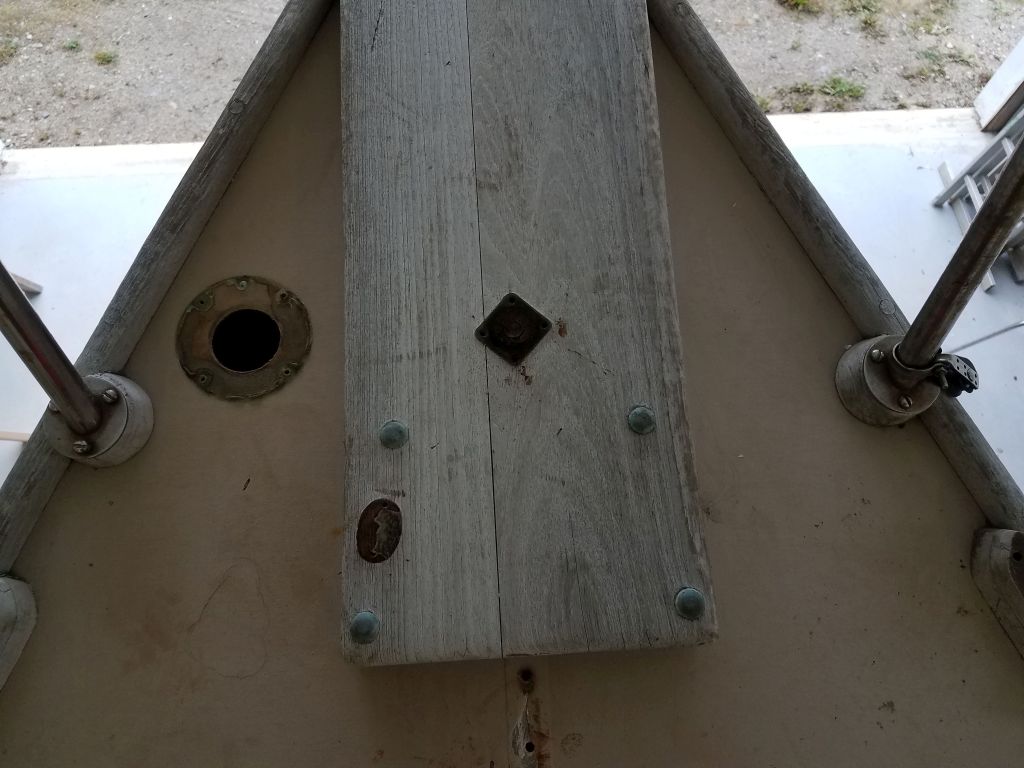
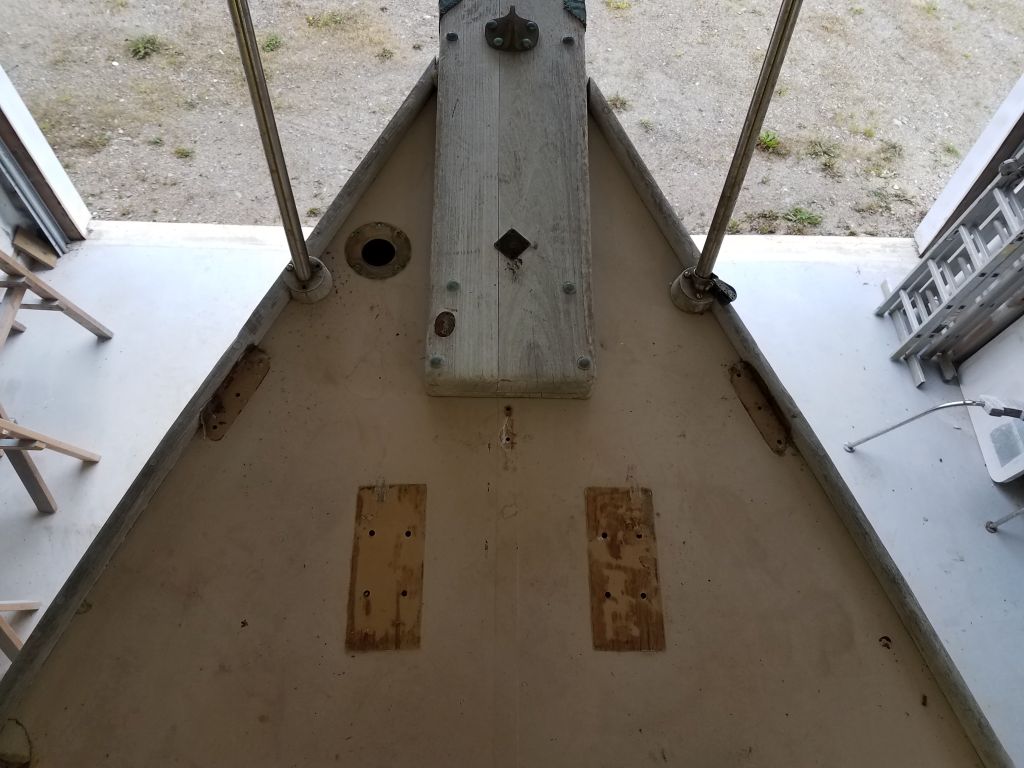
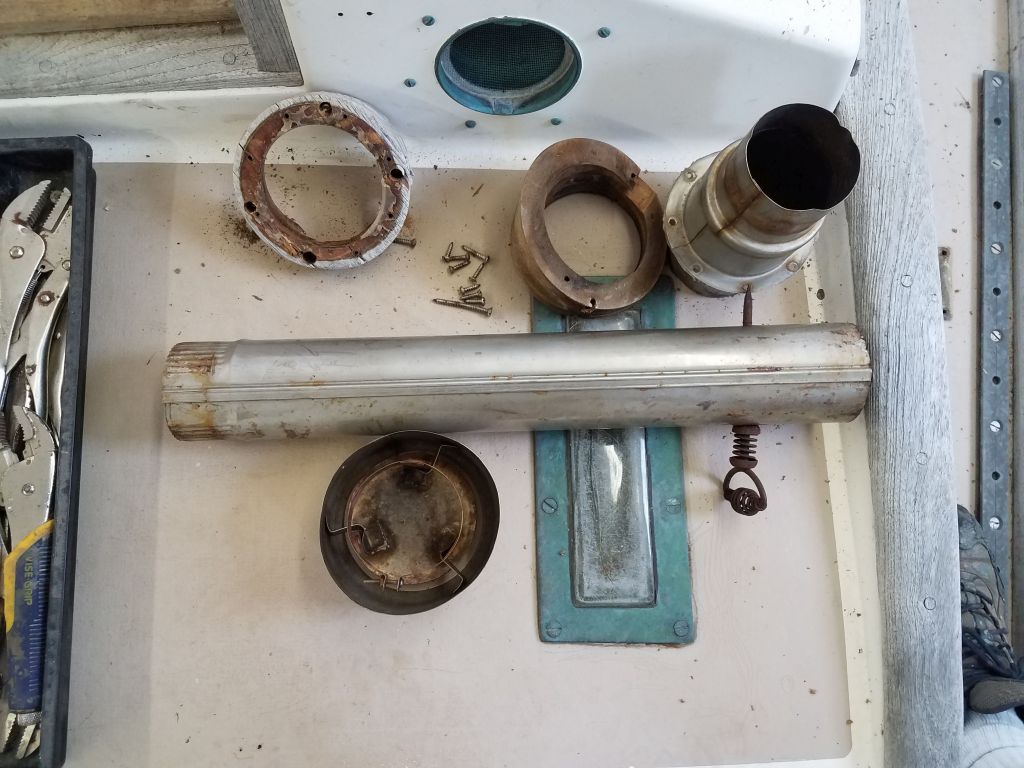
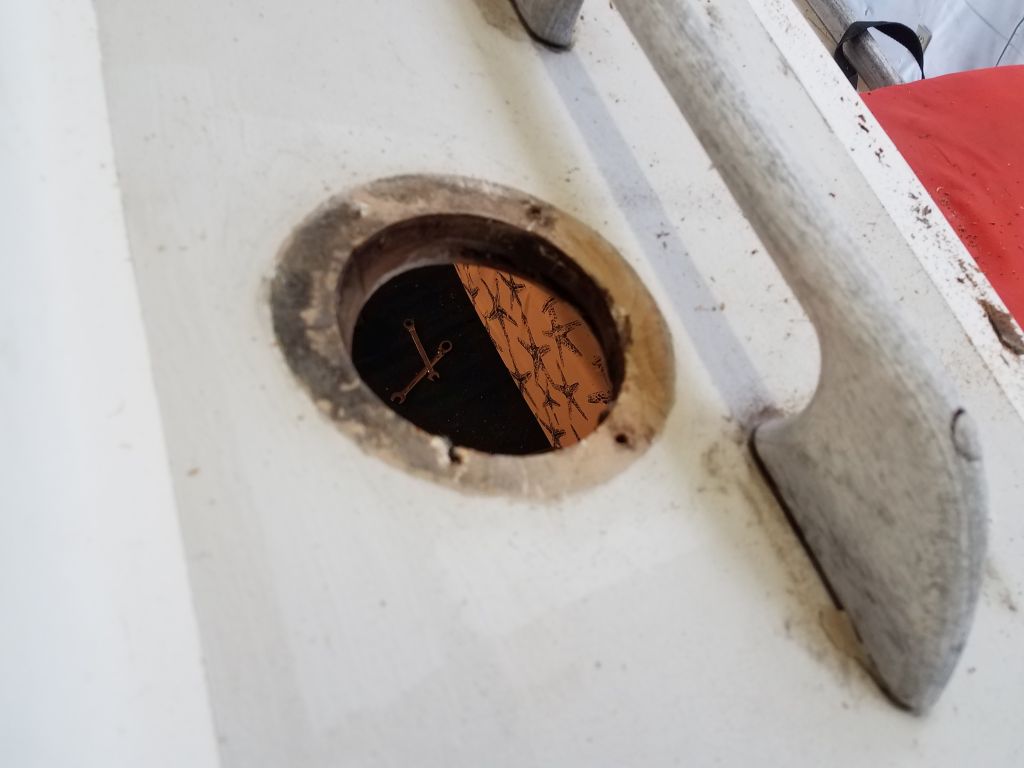
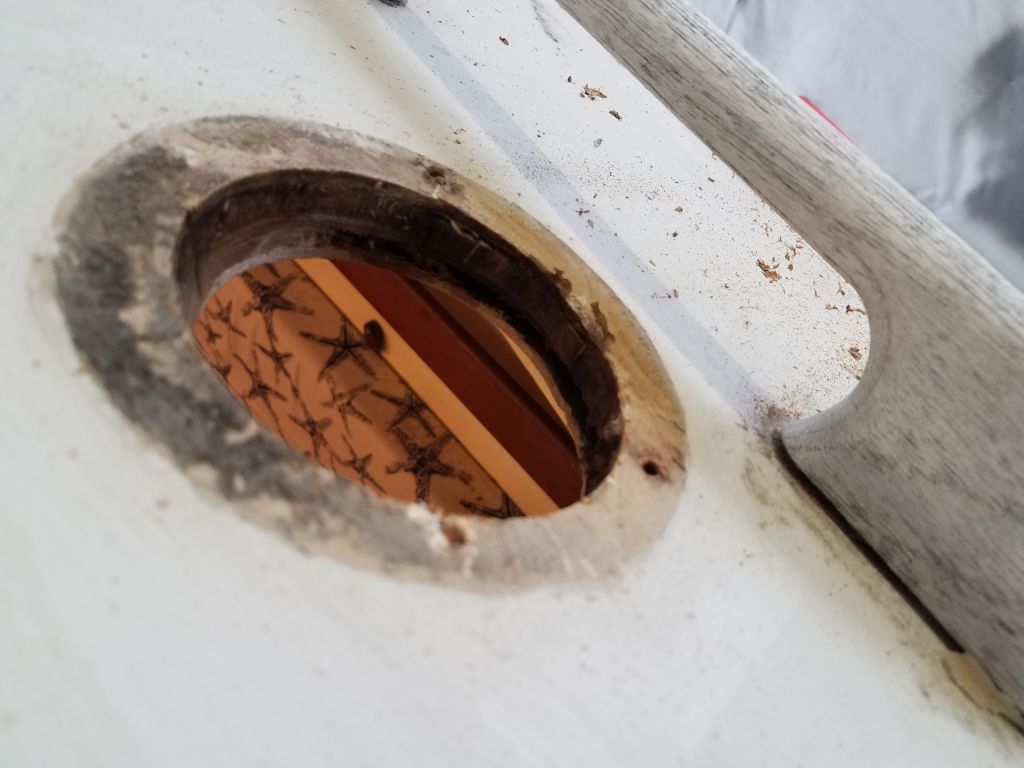
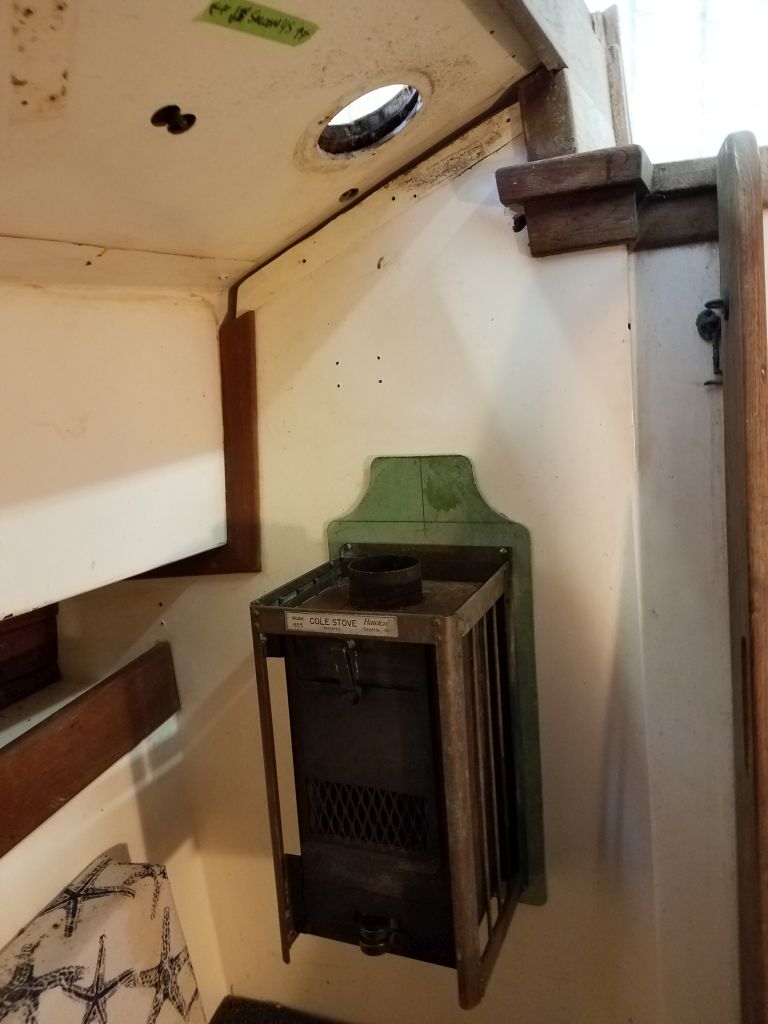
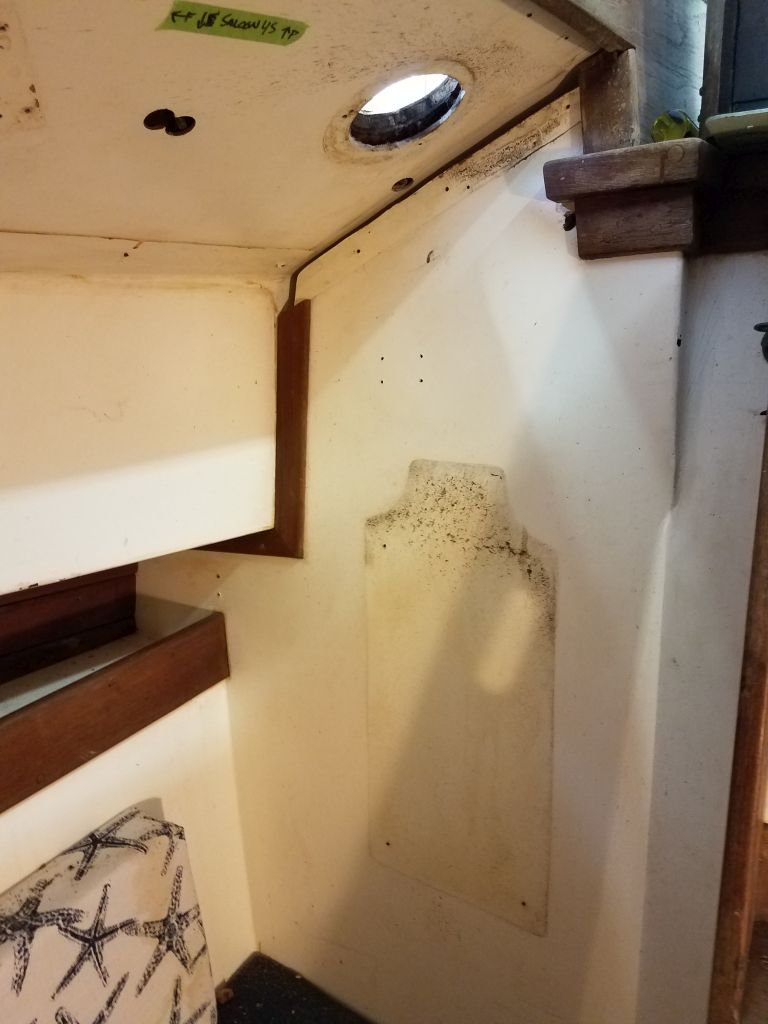
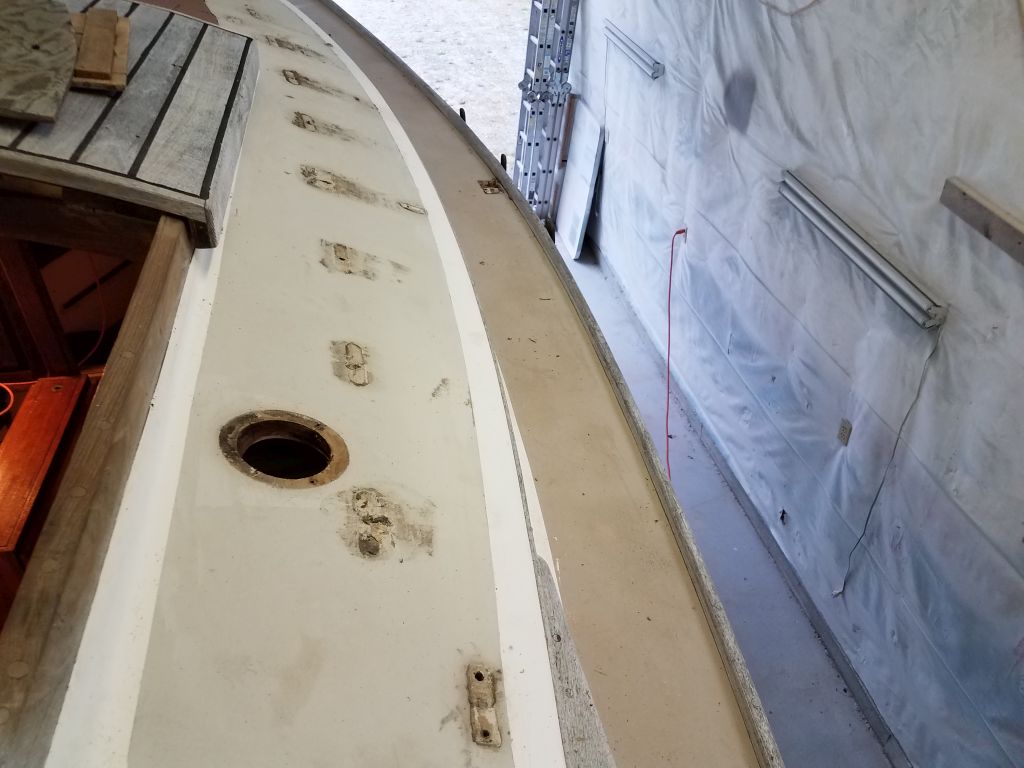
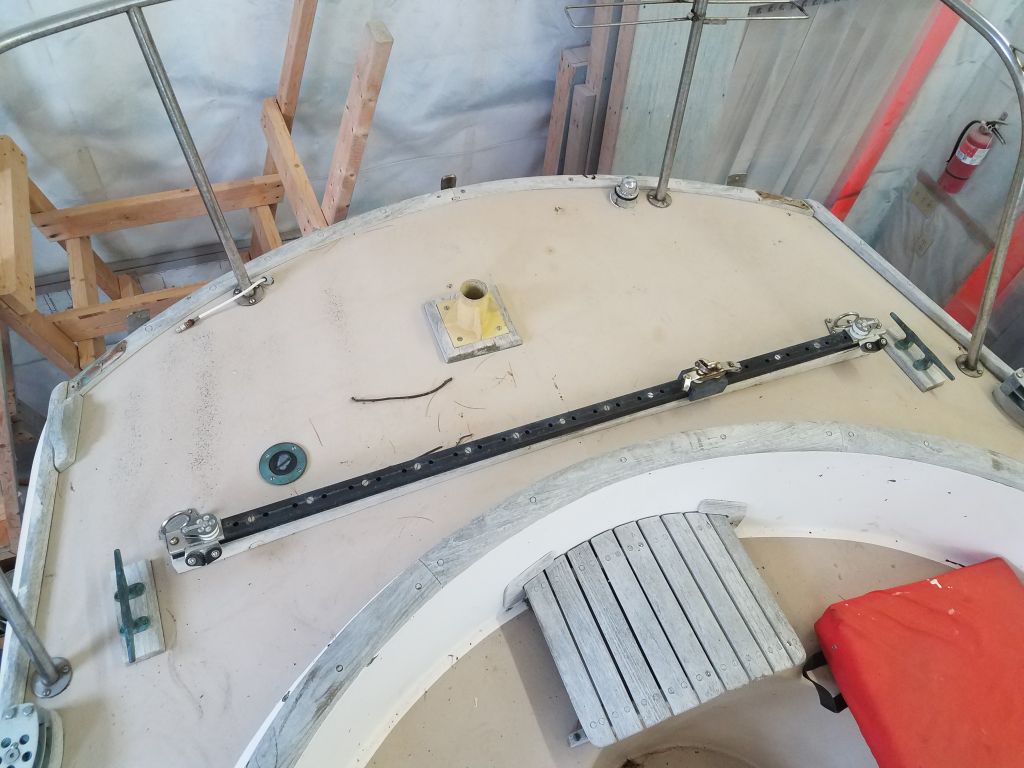
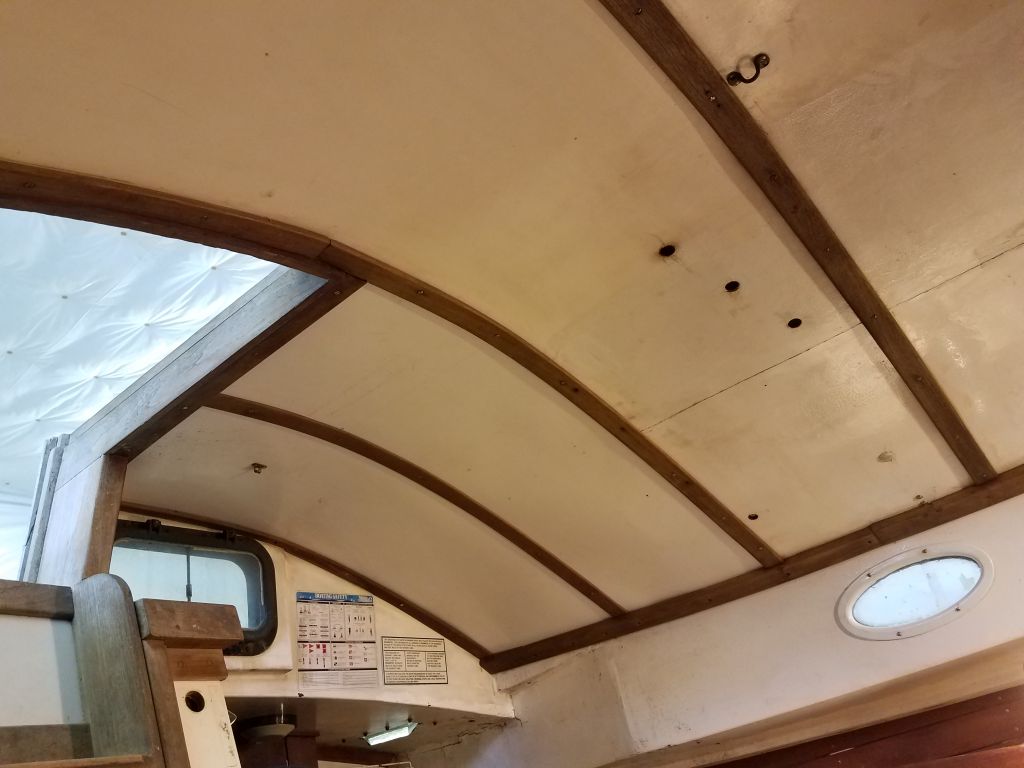
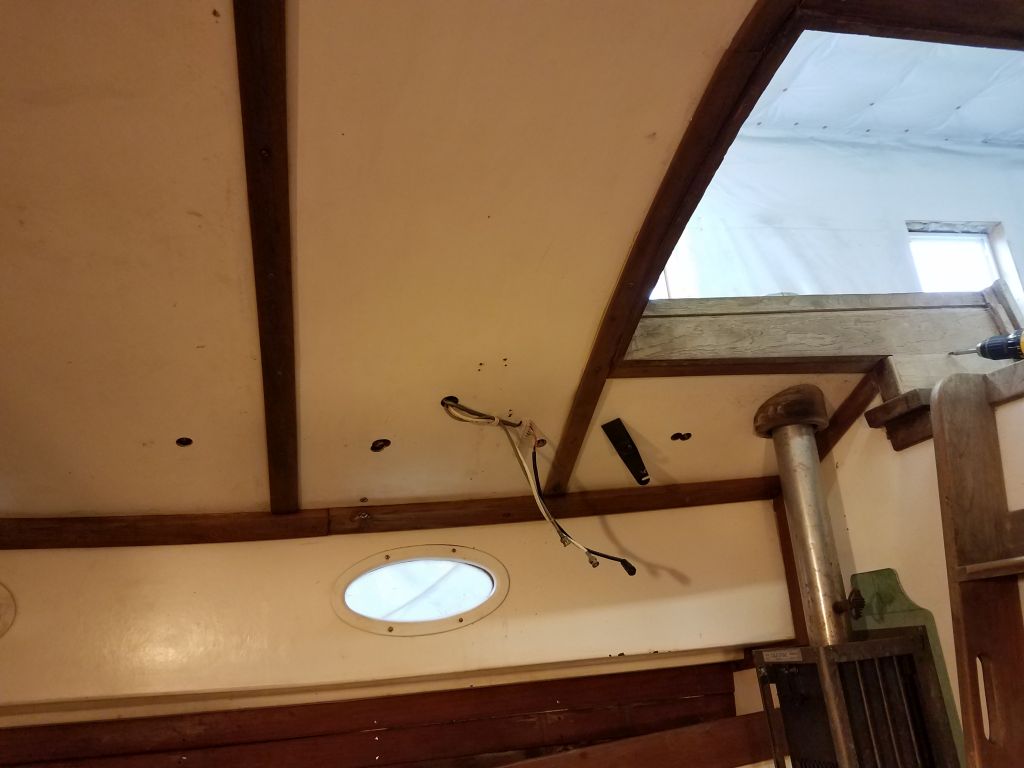
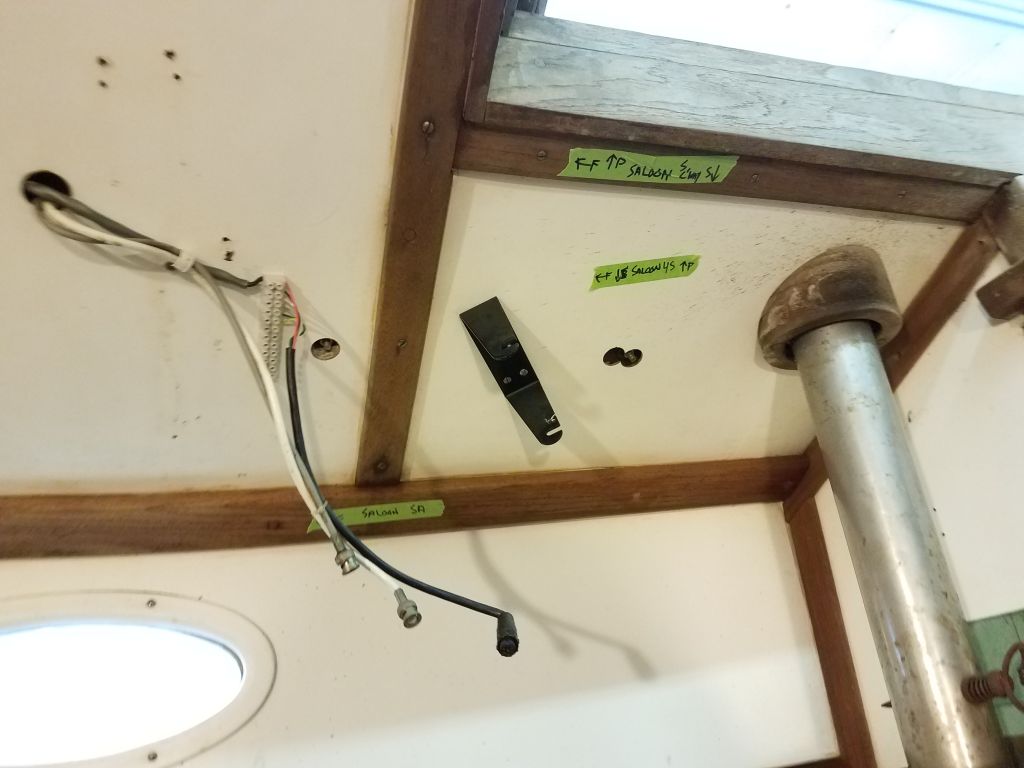
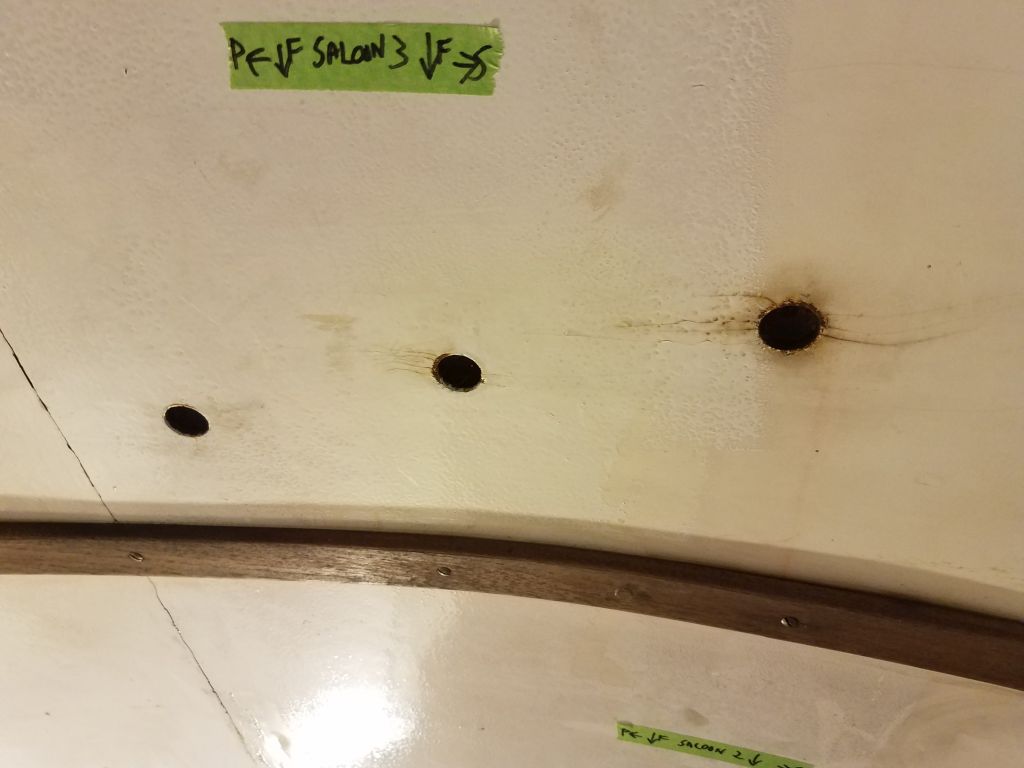
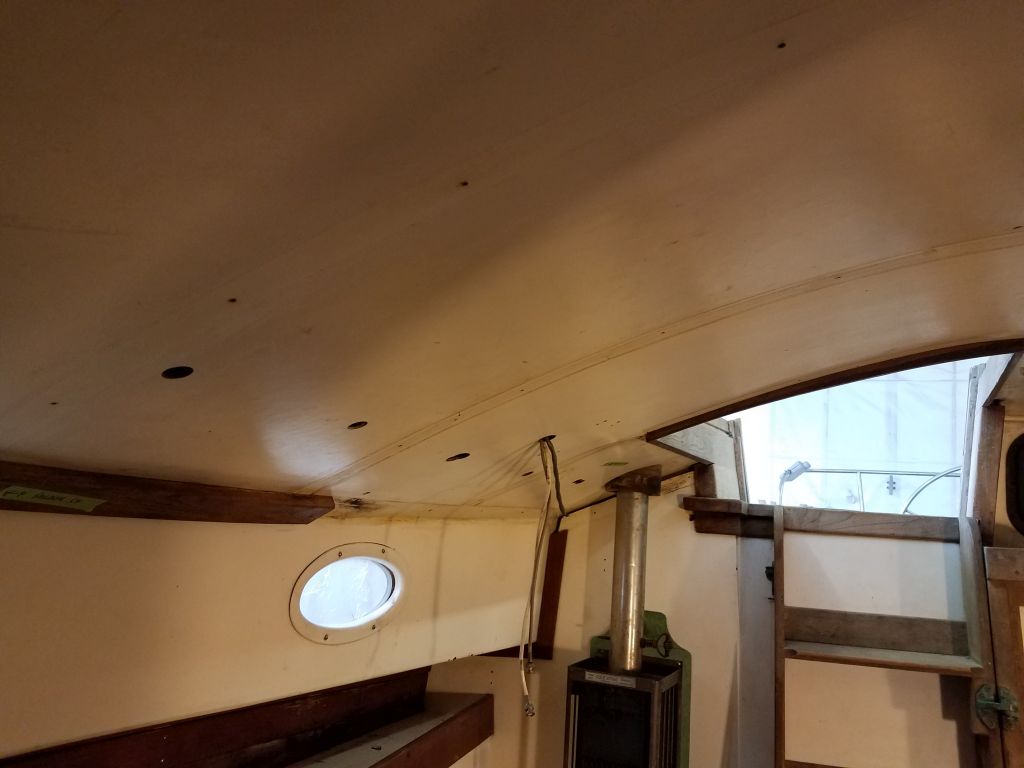
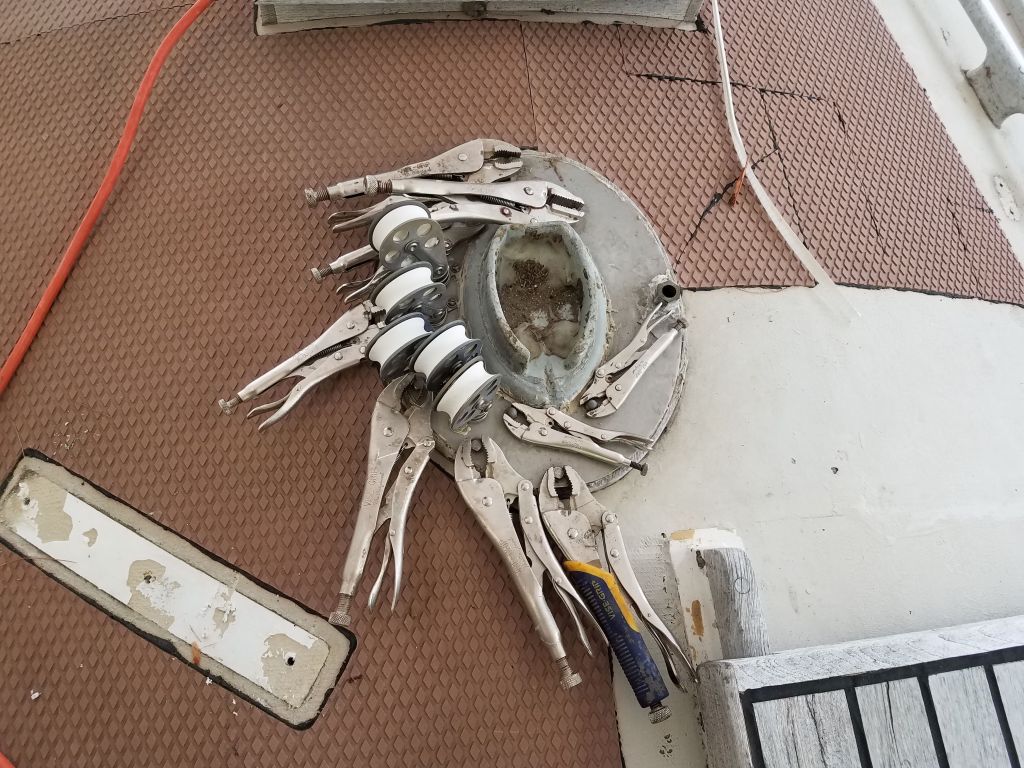
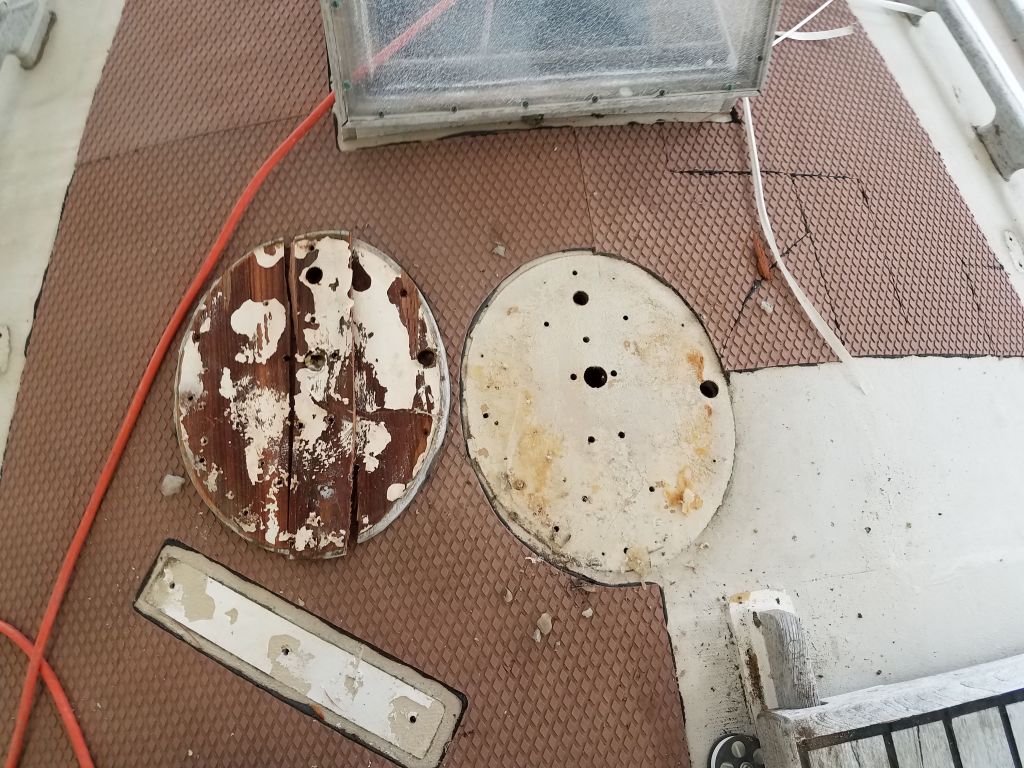
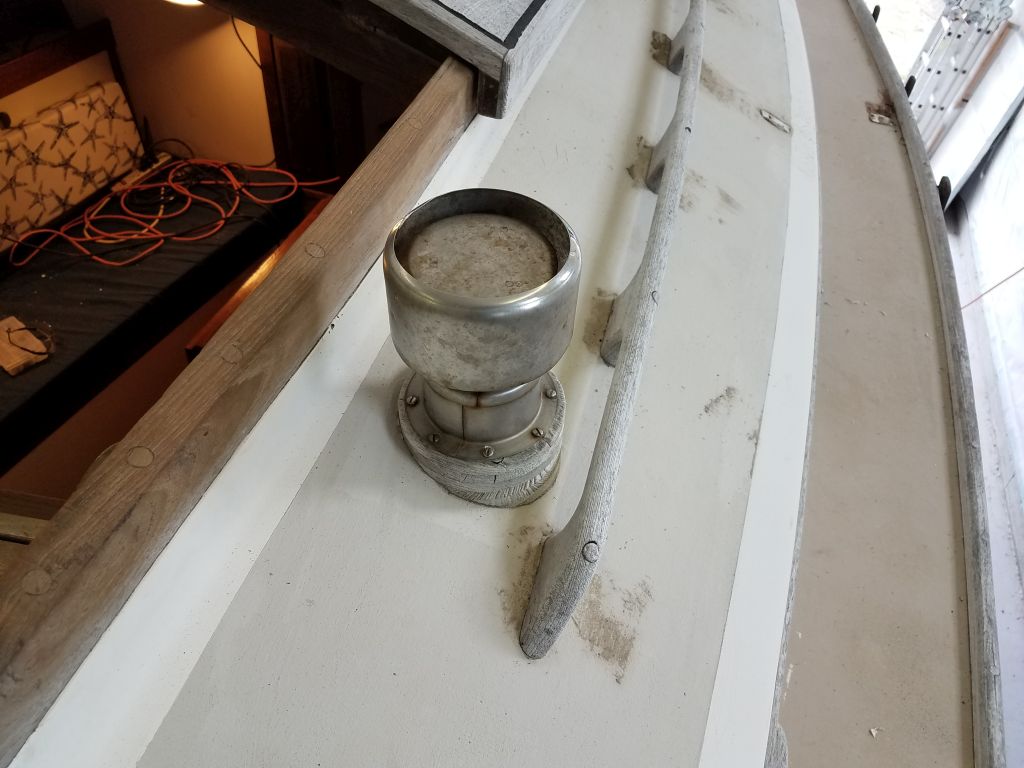
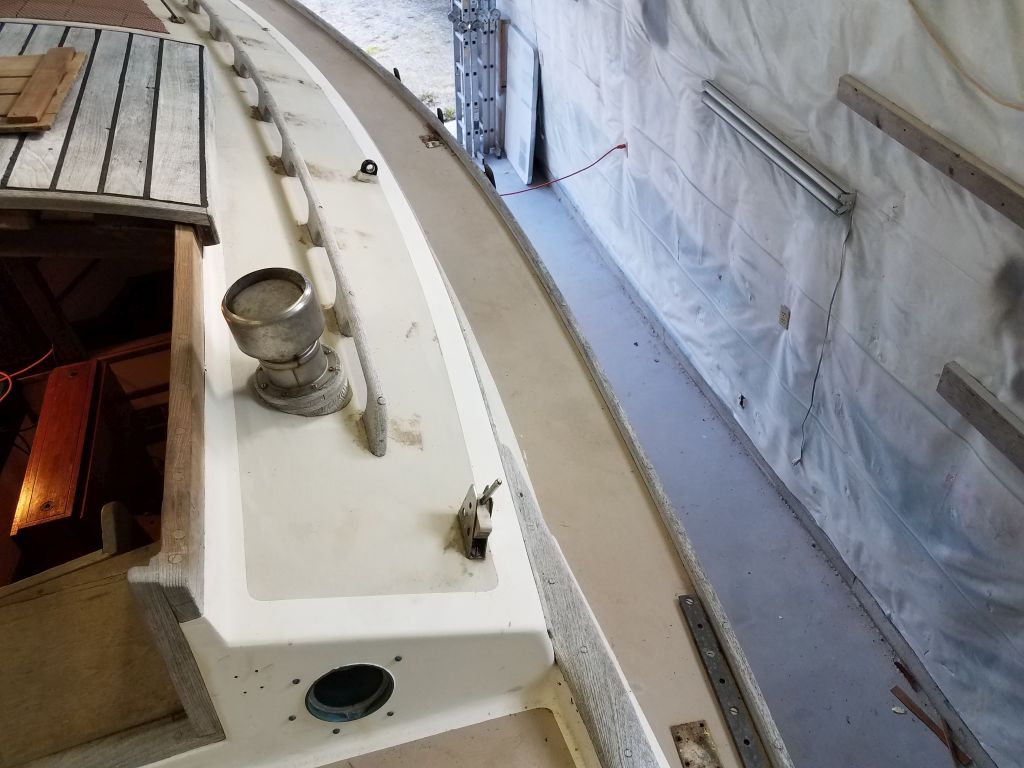
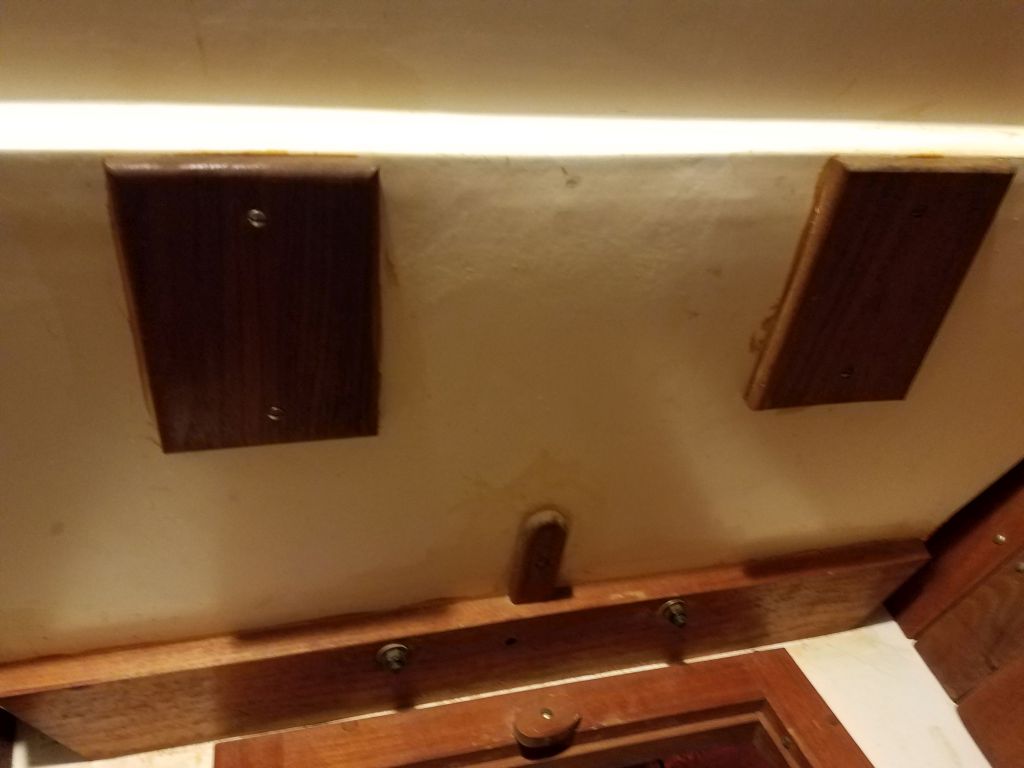
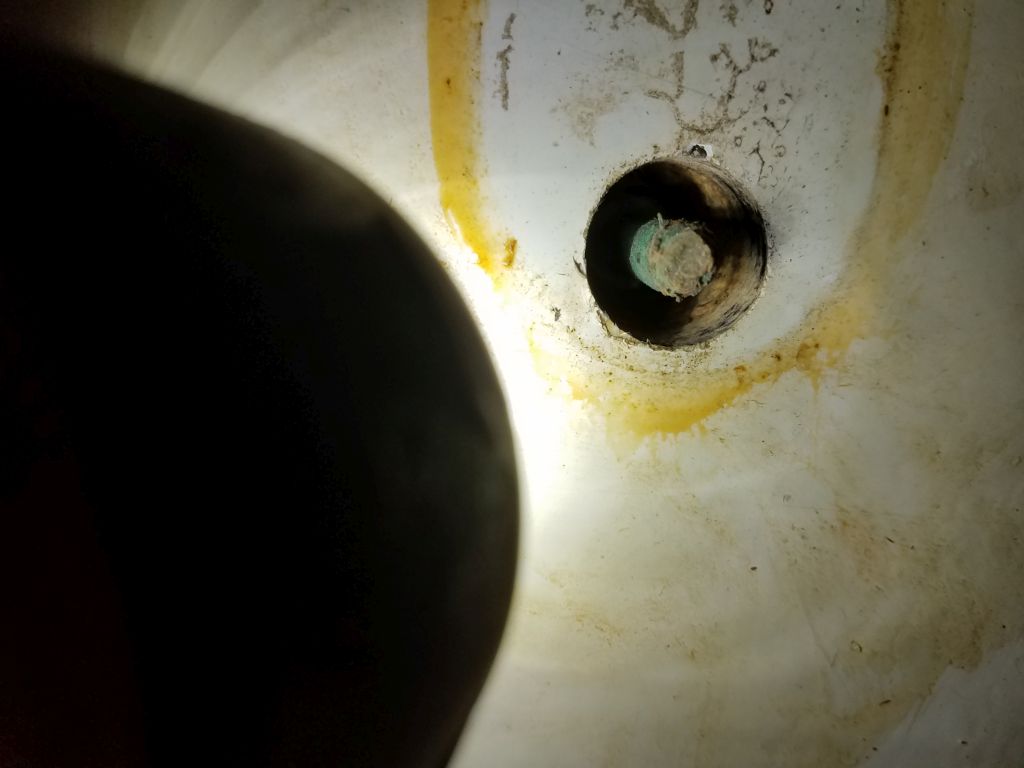
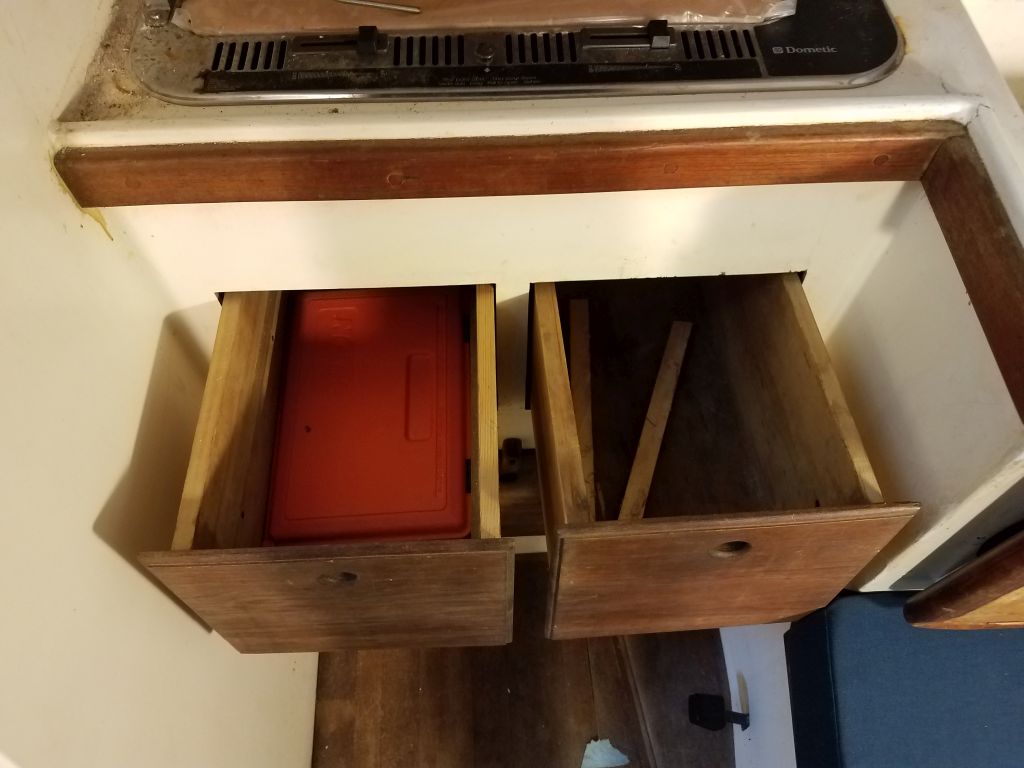
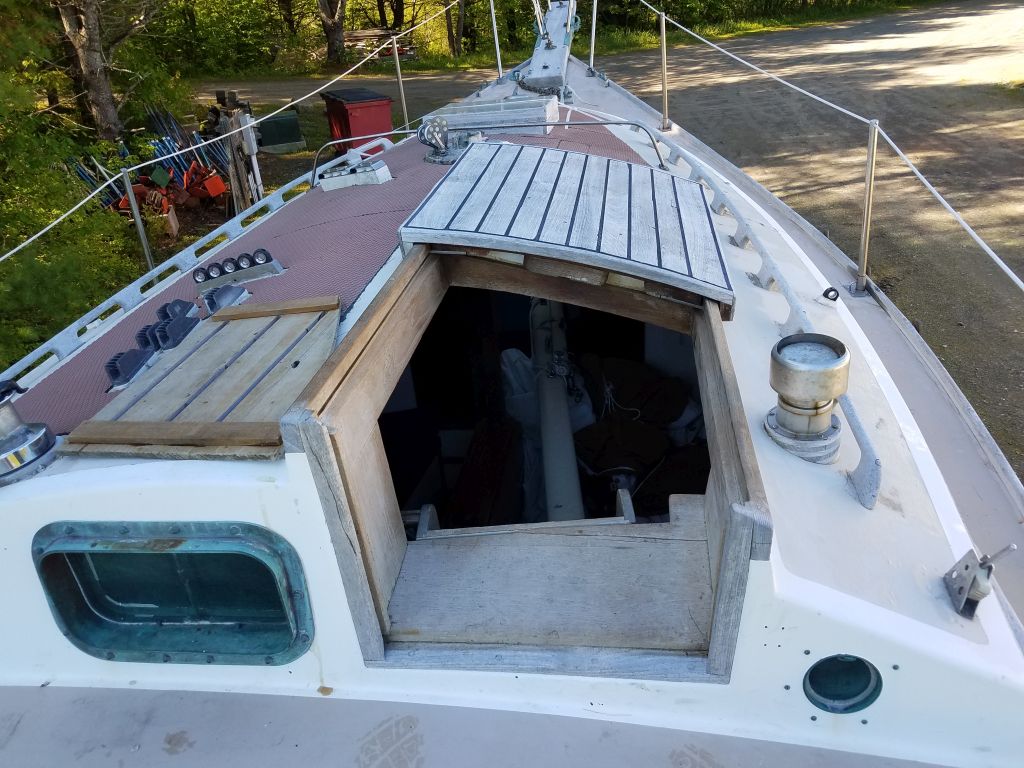
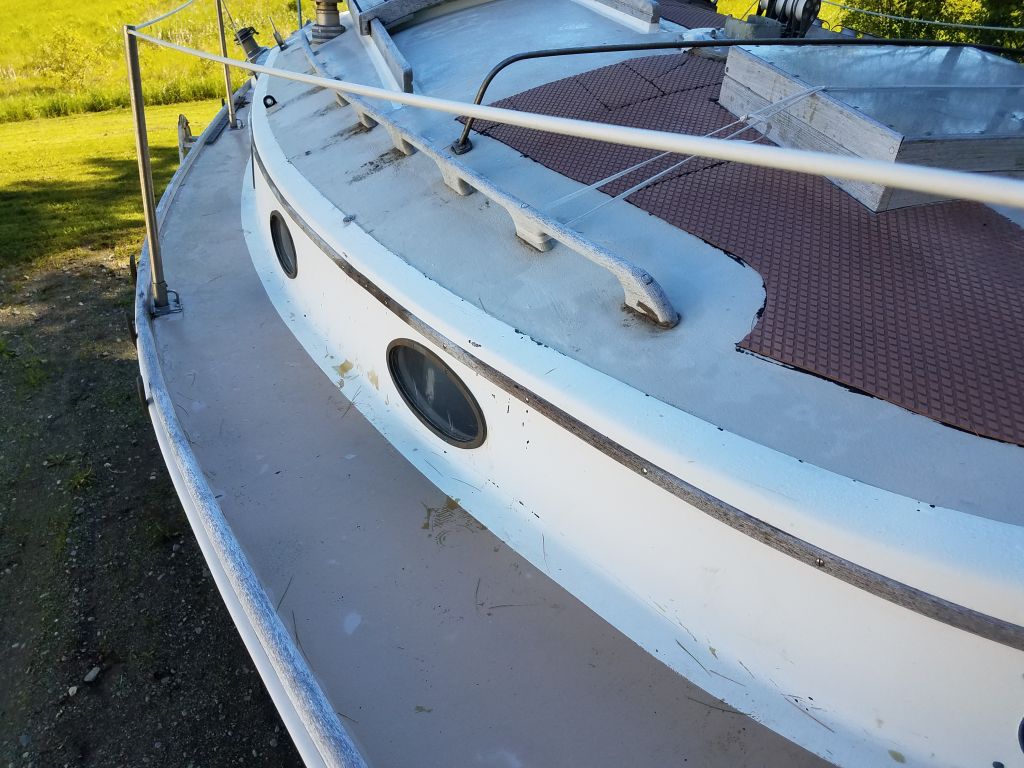
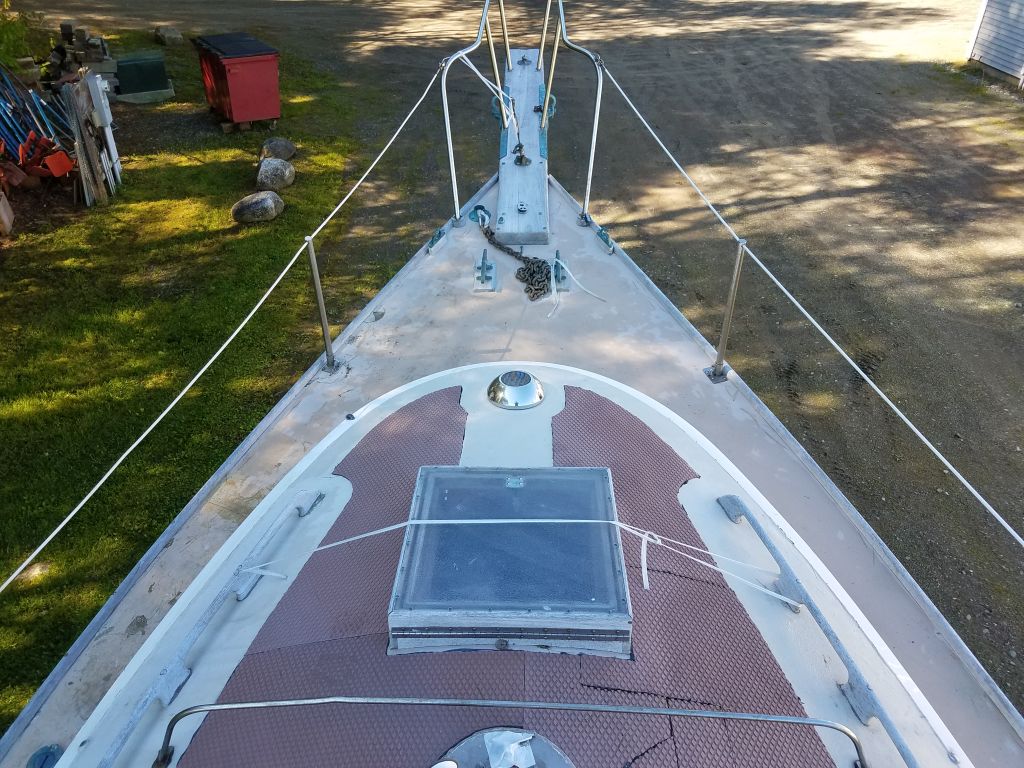
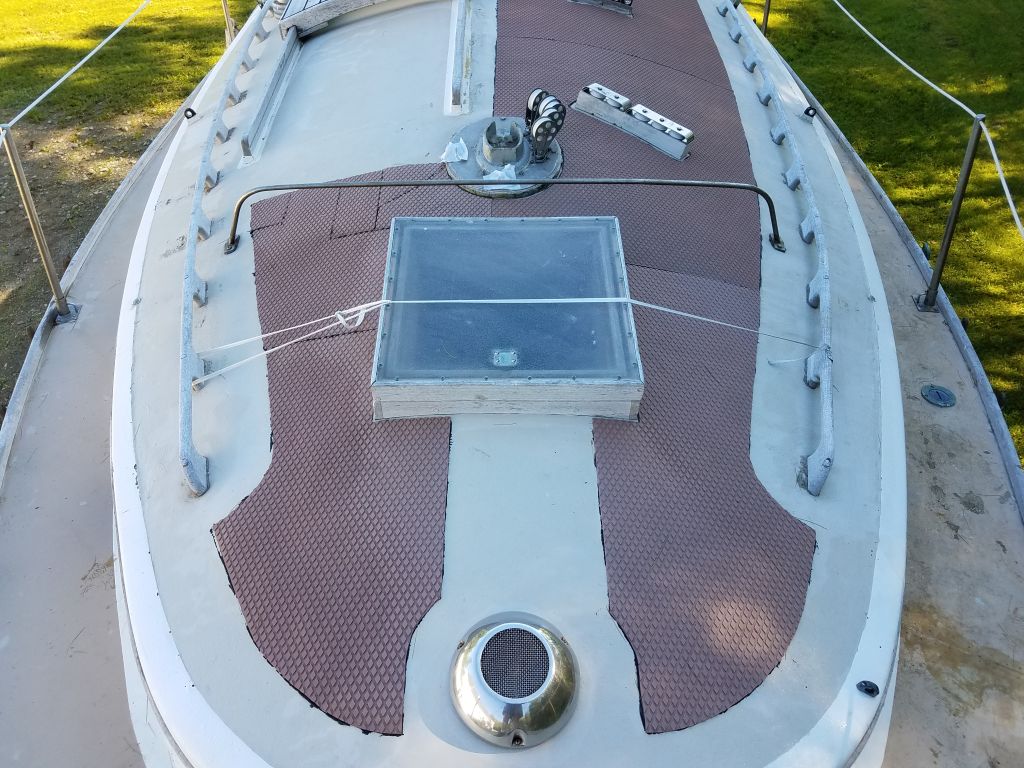
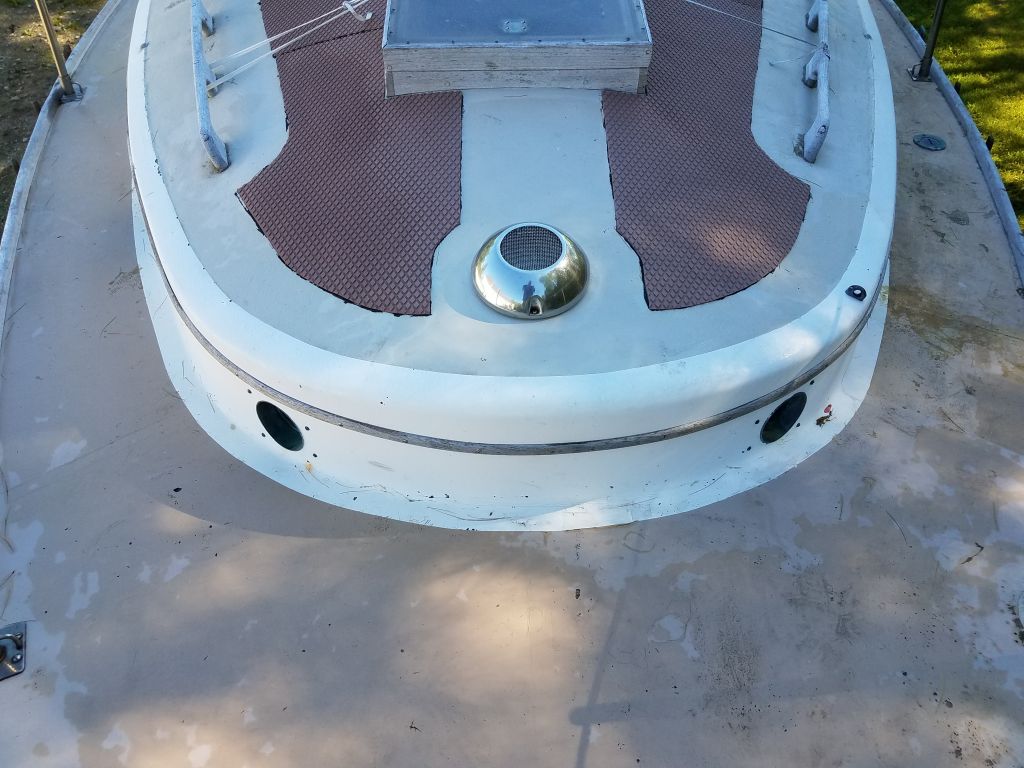
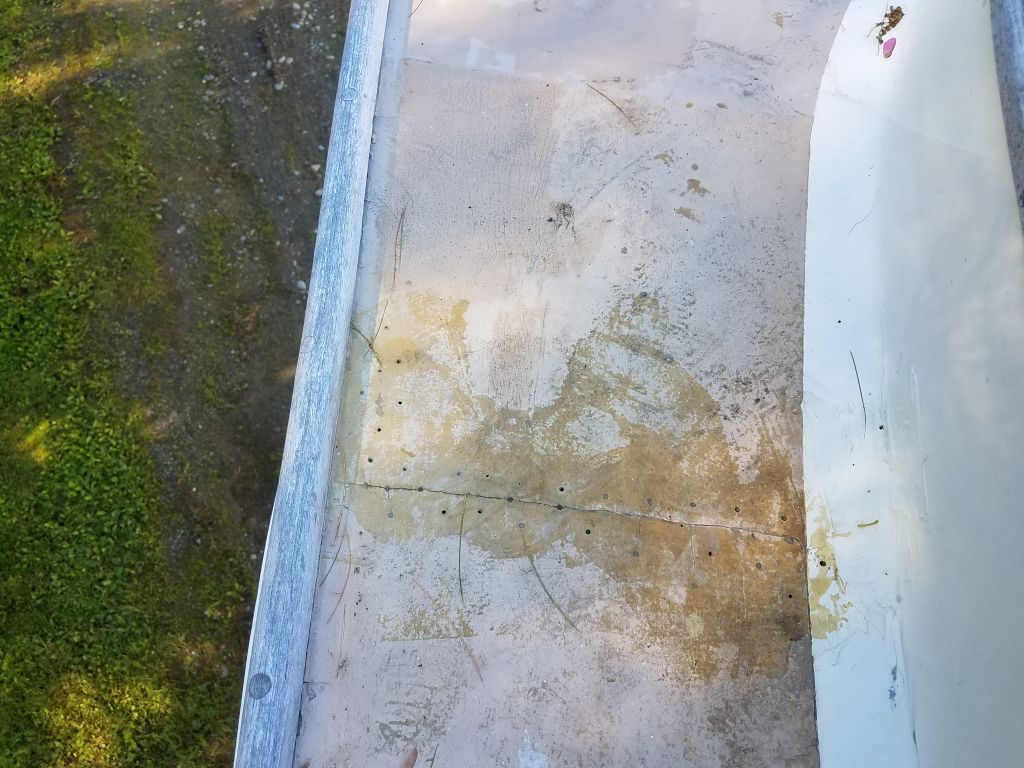
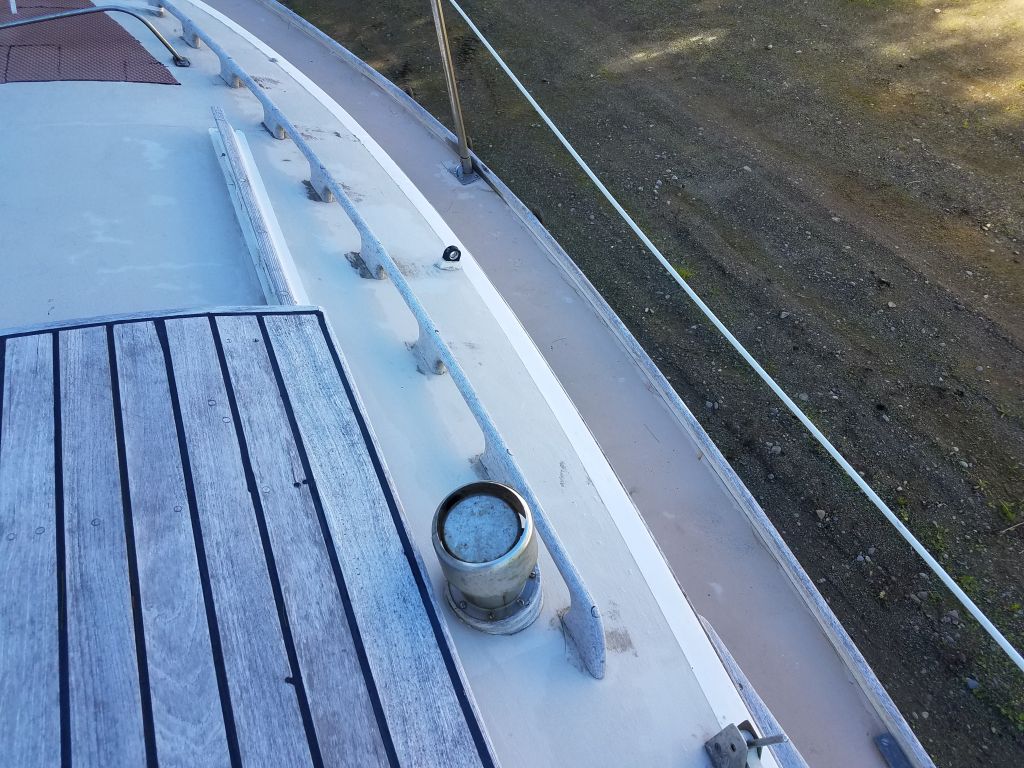
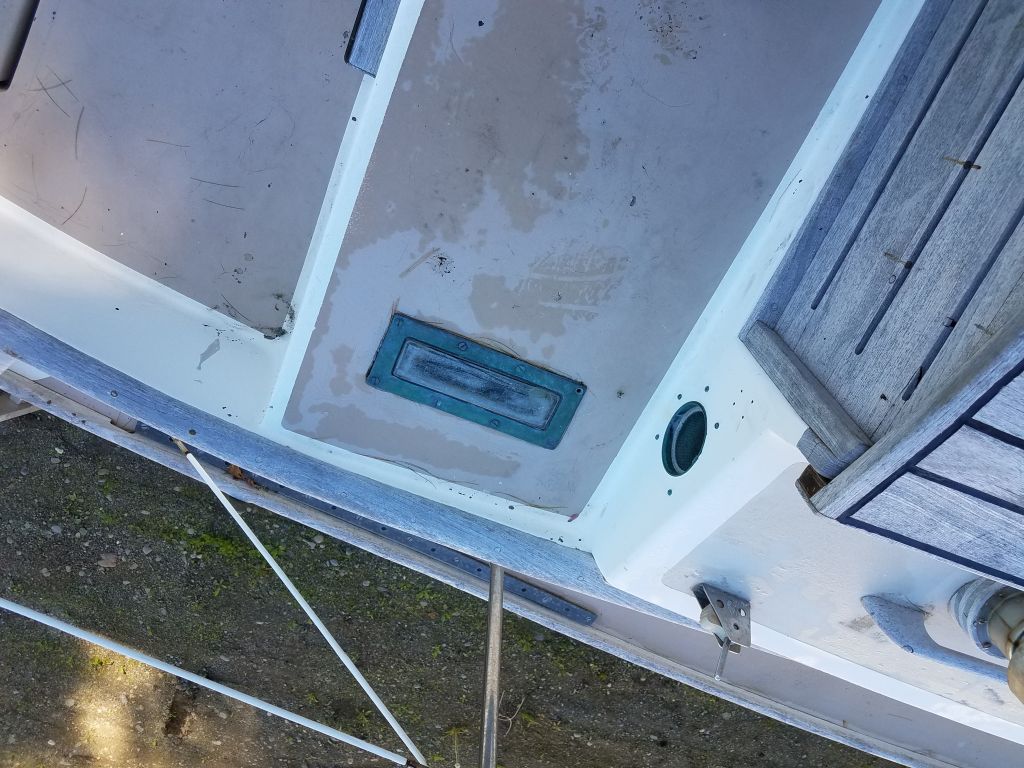
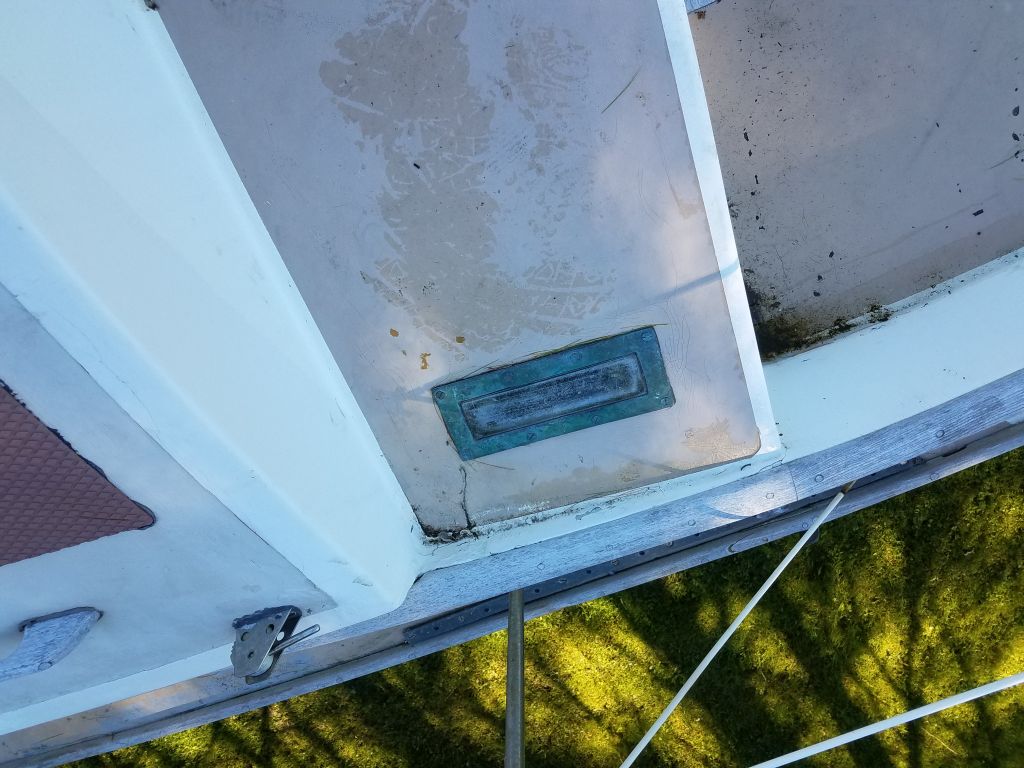
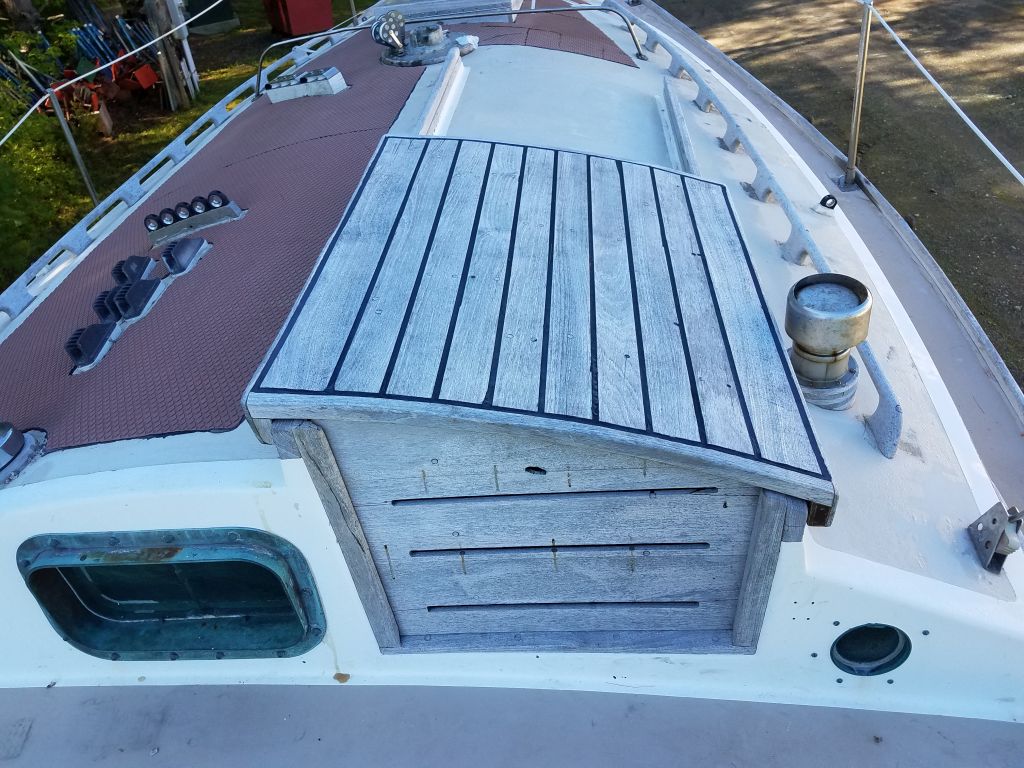
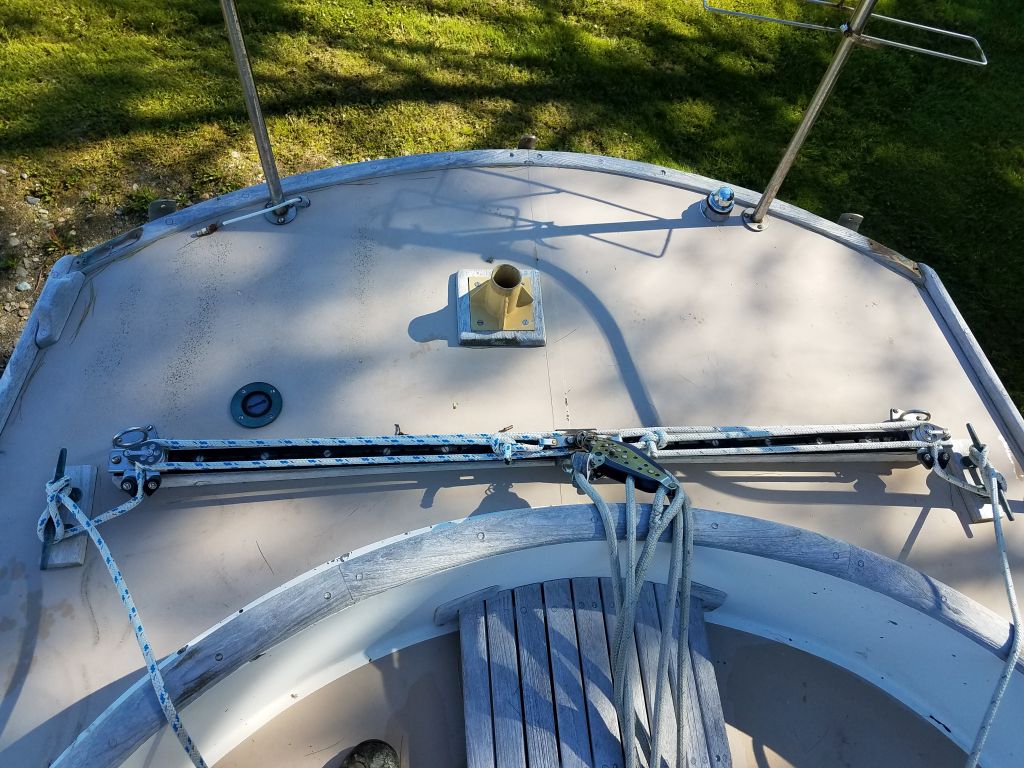
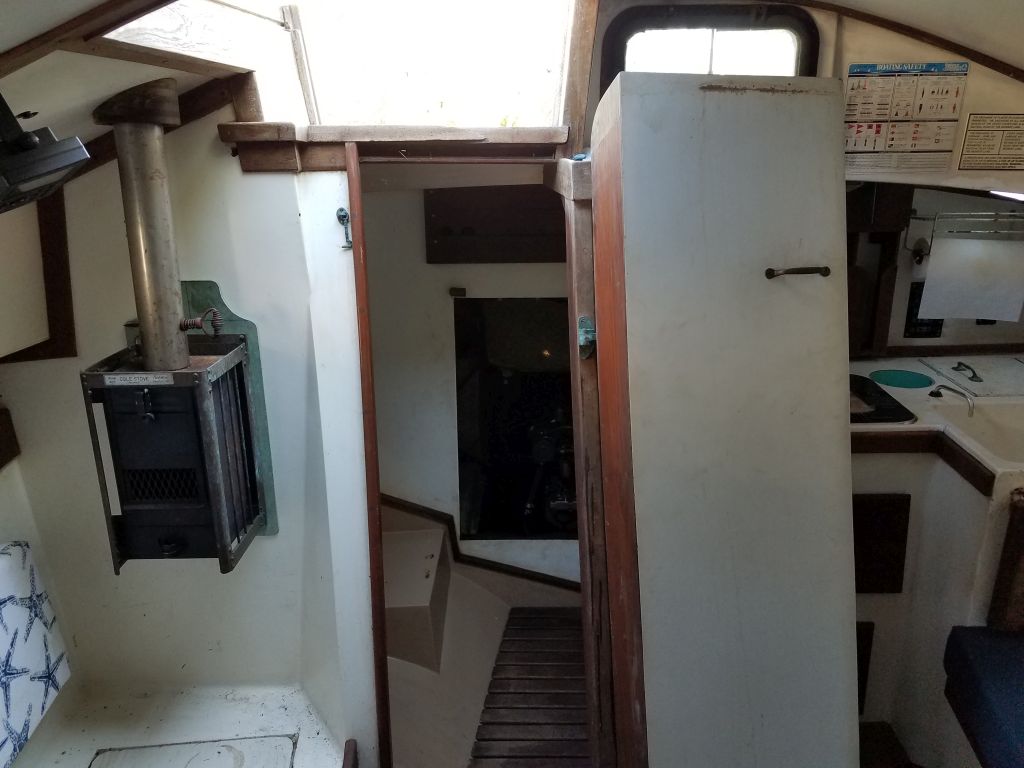
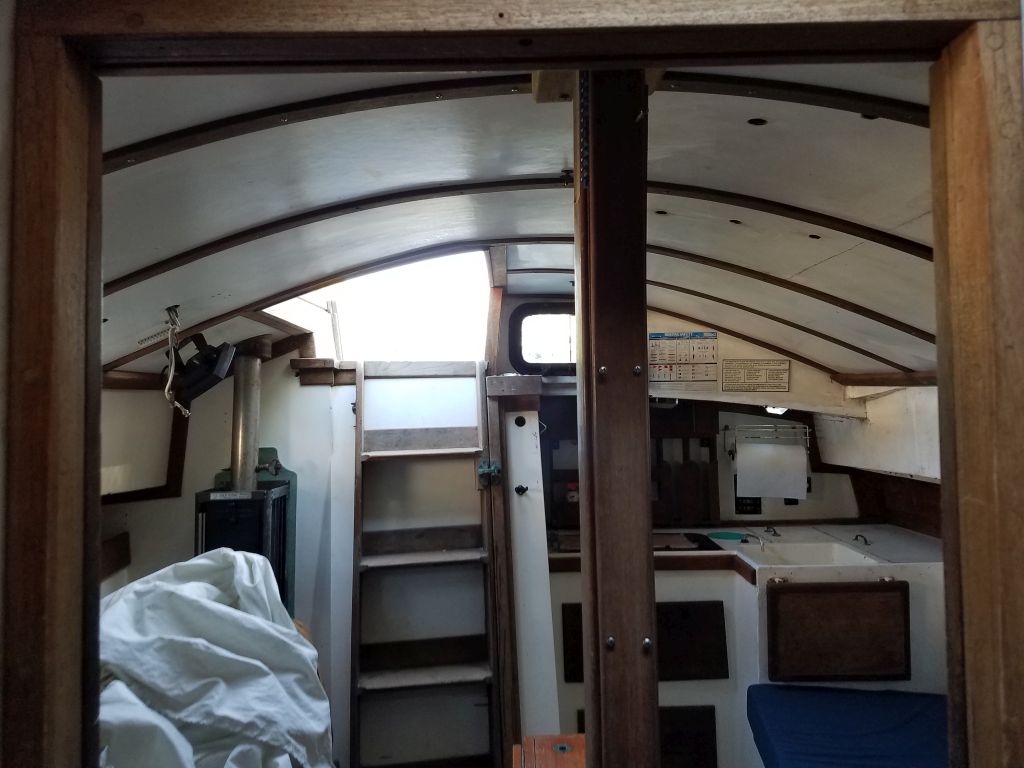
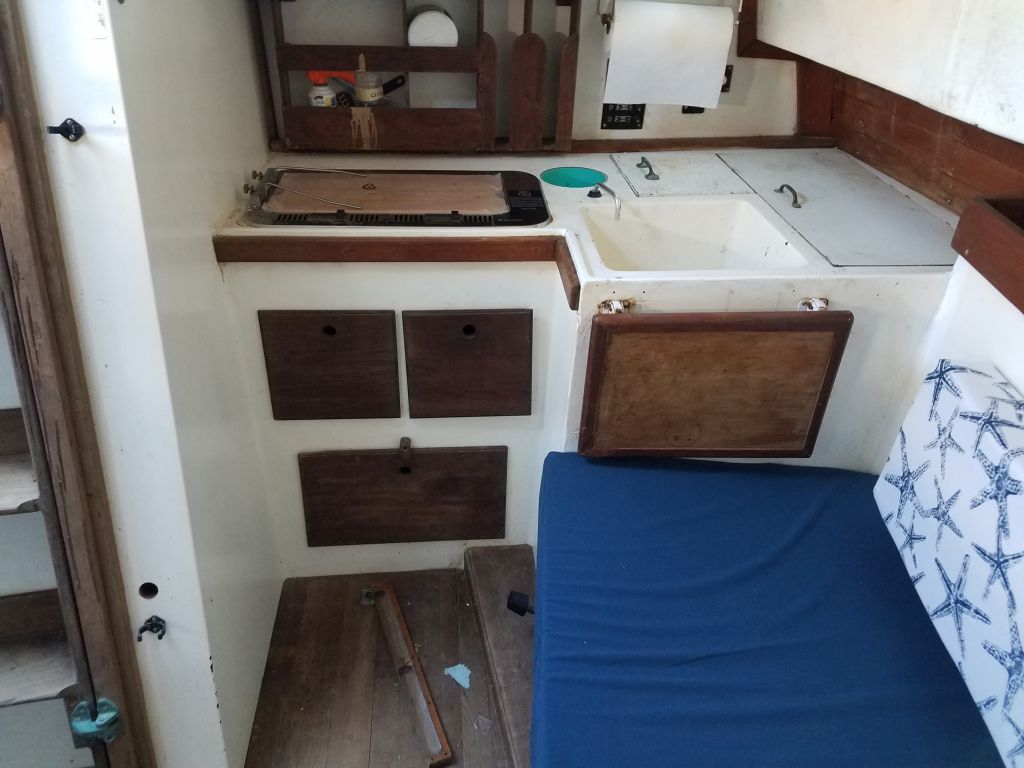
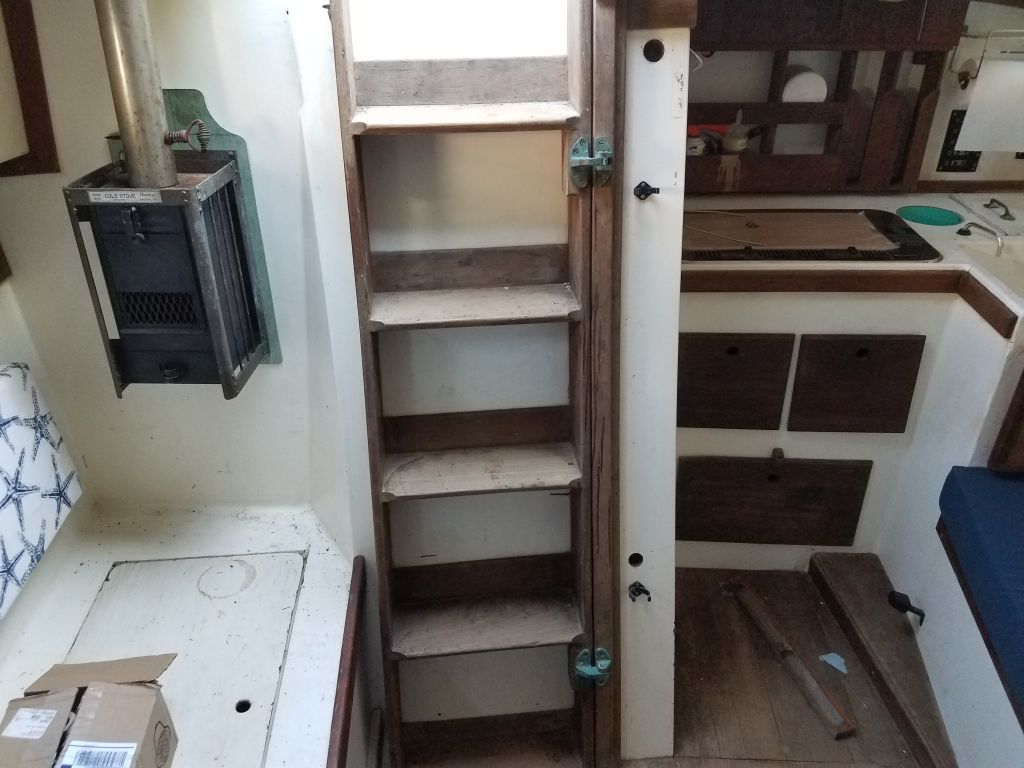
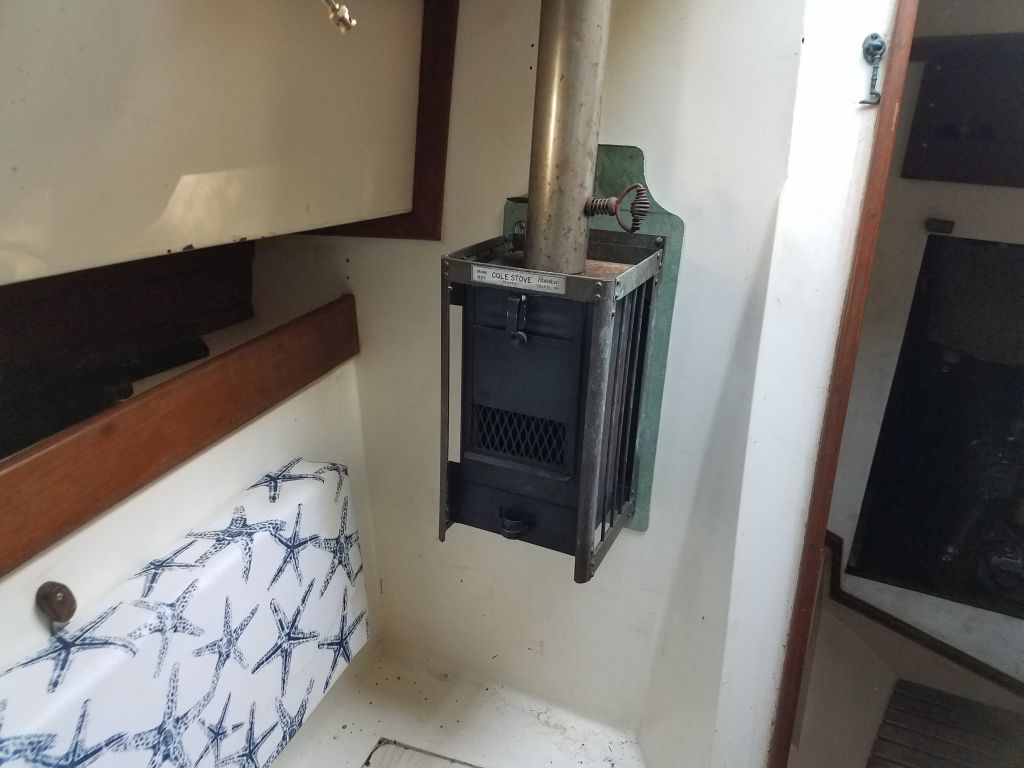
Continuing where I left off, I got to work on the stove pipe and Charley Noble fitting. With the screws removed that held the base of the CN to the wooden deck fairing, and the top part of the fitting unclamped and removed, I could pry loose the fitting and, eventually, pull it away from the stove beneath and finally free and out of the boat. I removed the inside and outside wooden fairings around the stove pipe, revealing a raw and unsealed hole through the cored deck. Finally, I removed the stove itself: it was simply screwed to the aft bulkhead and was easy to remove (and lighter than I expected). I stored these items away for safekeeping.
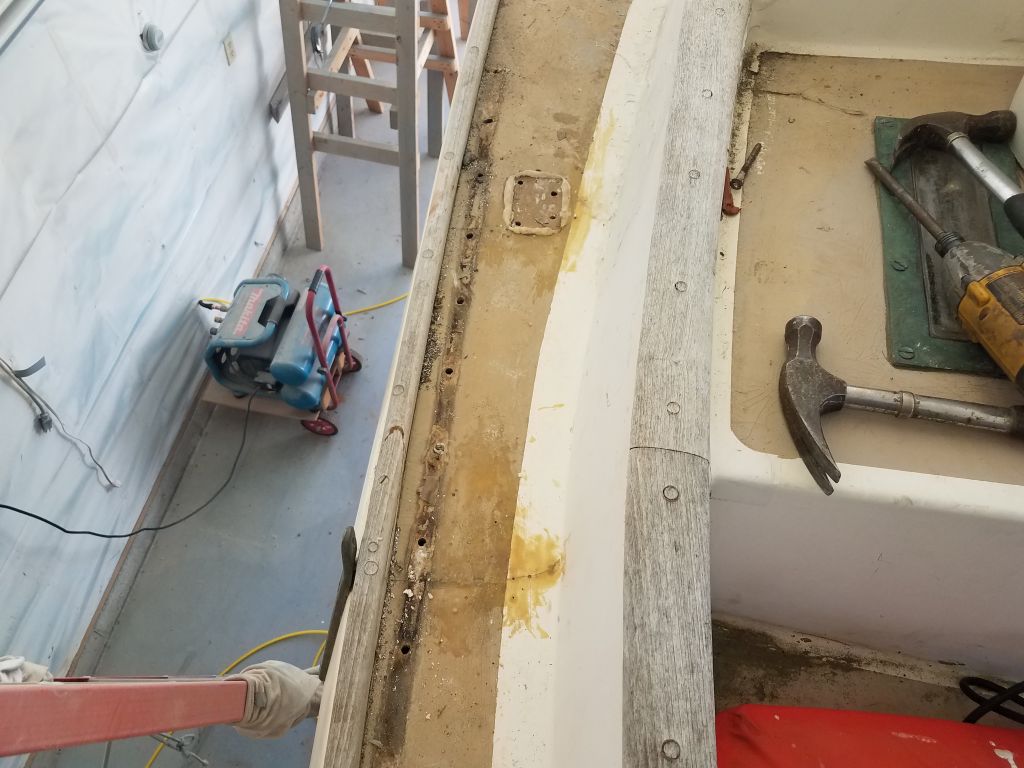
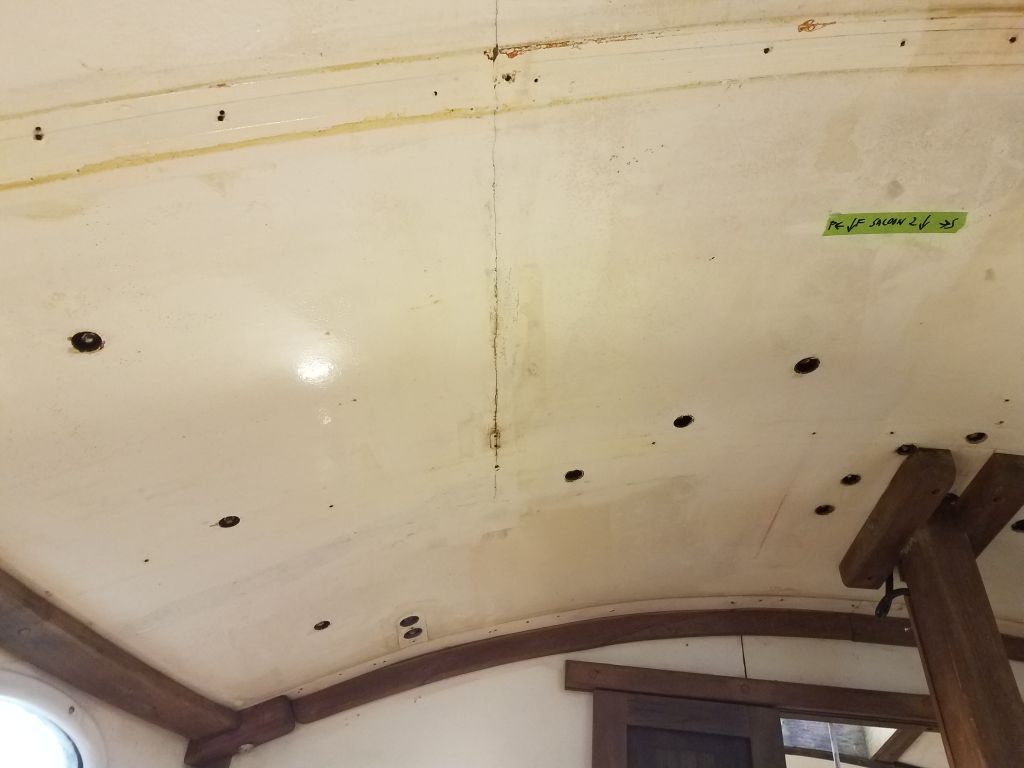
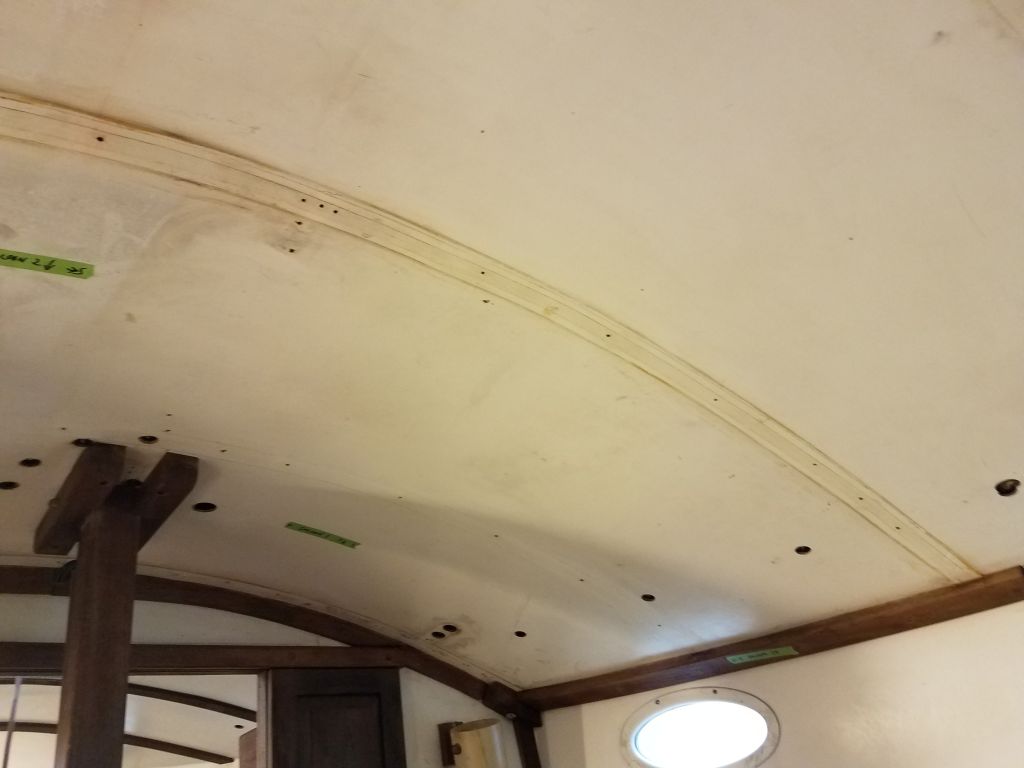
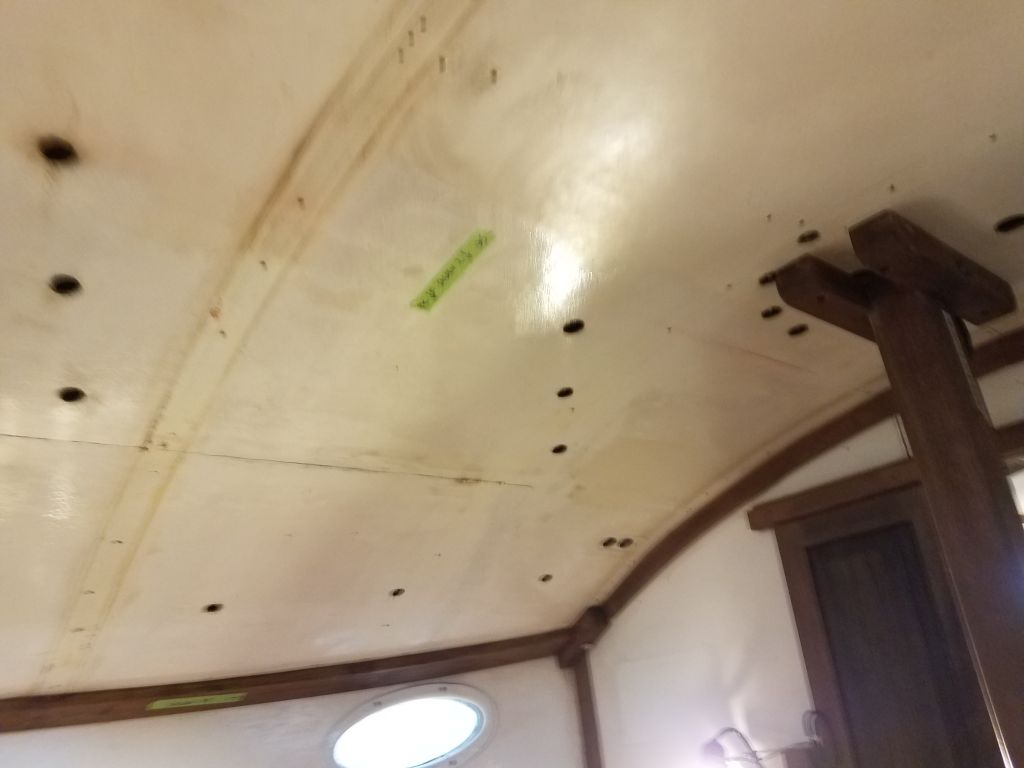
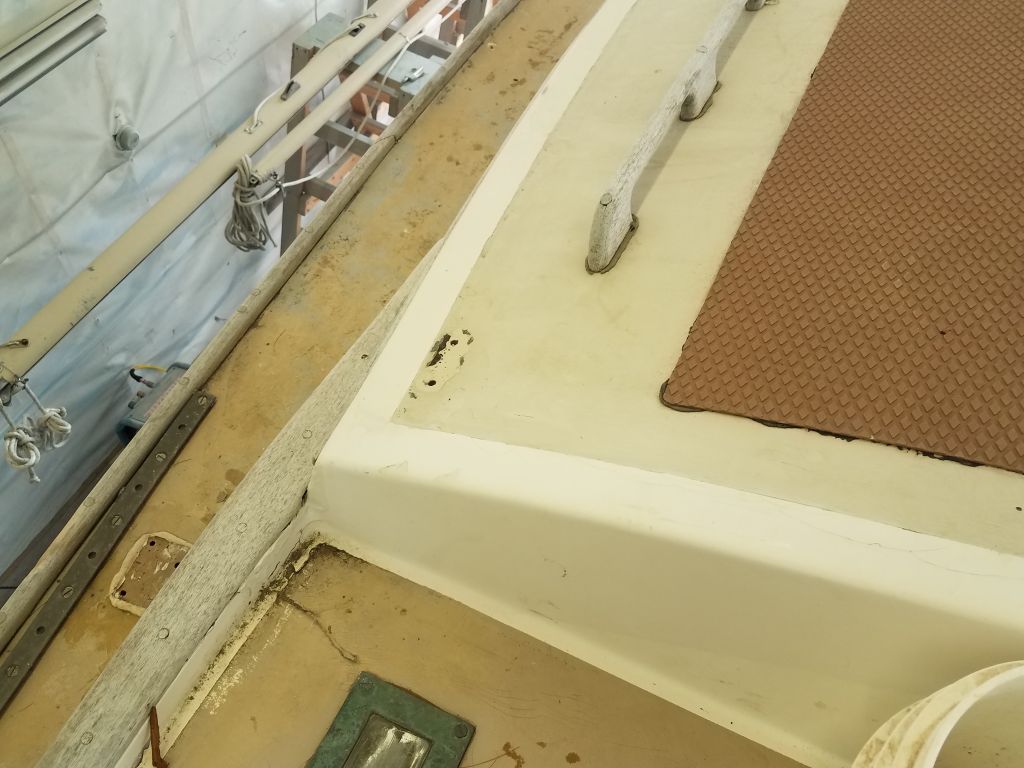
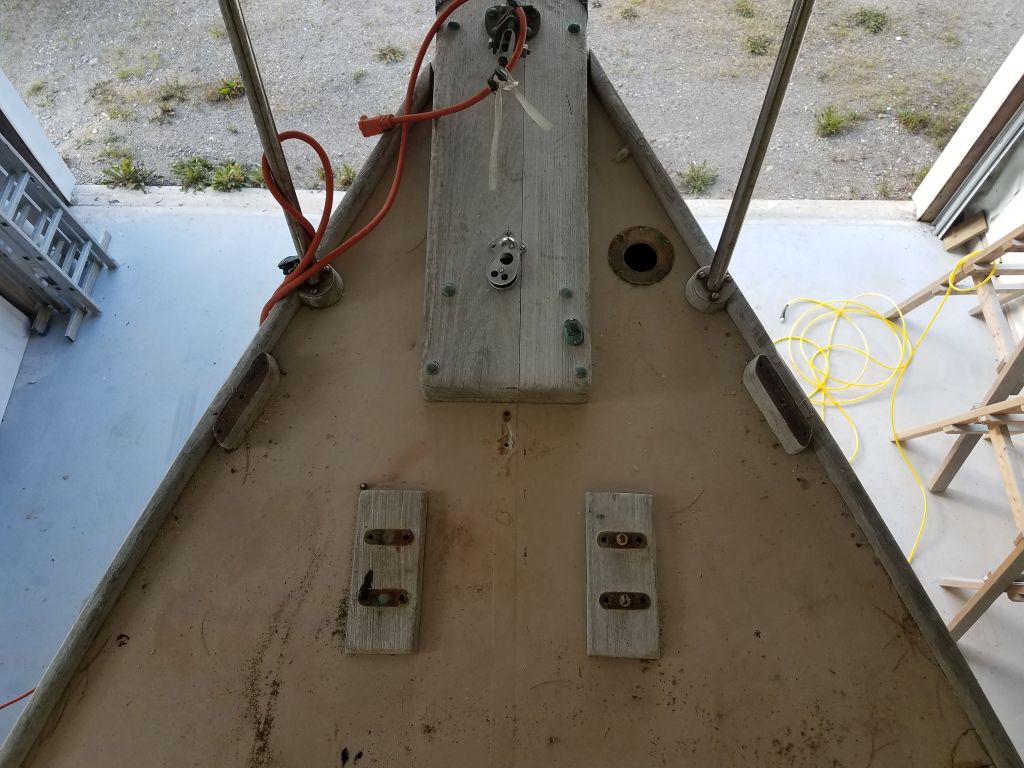
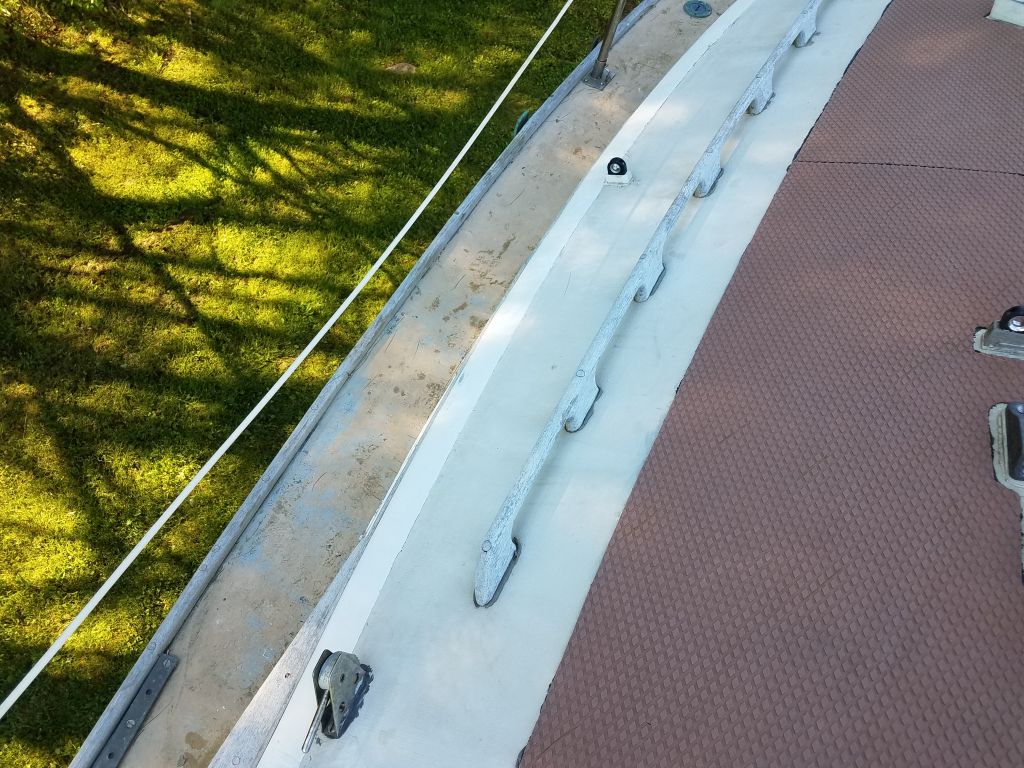
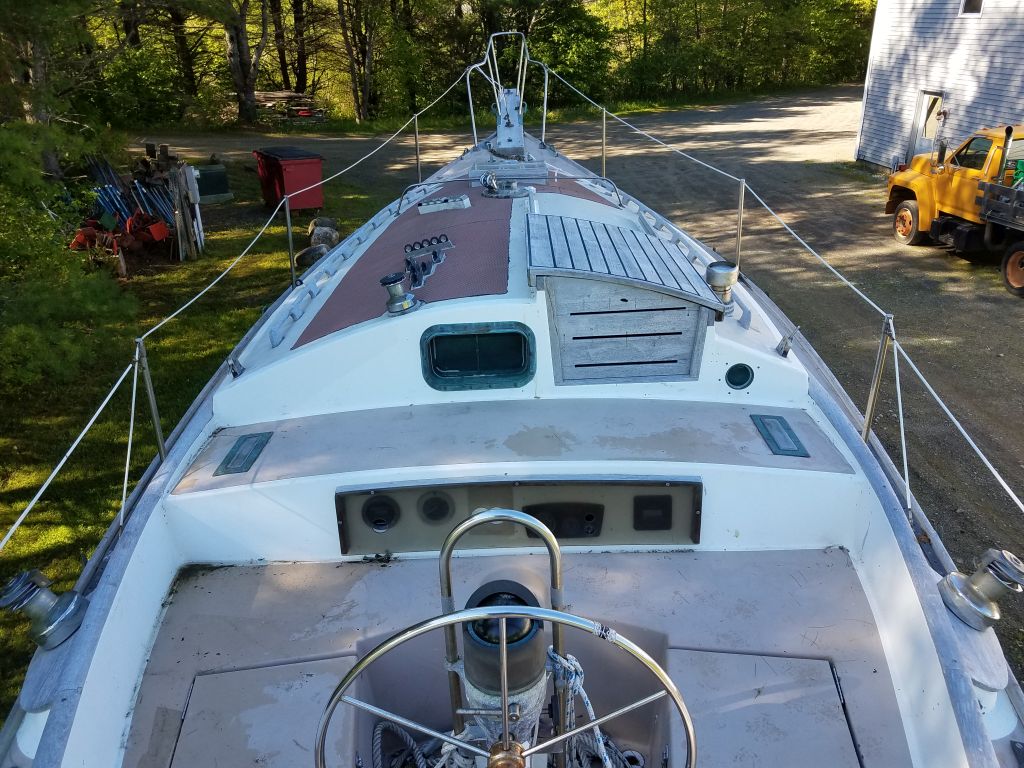
Earlier, while removing other nuts from the underside of the coach roof deck, I’d also removed the nuts holding the teak handrails in place, and now I removed a few more from the forward cabin, releasing these rails for removal. The rails were in poor condition, and the starboard rail broke during removal, having become punky or fastener-sick at one location.
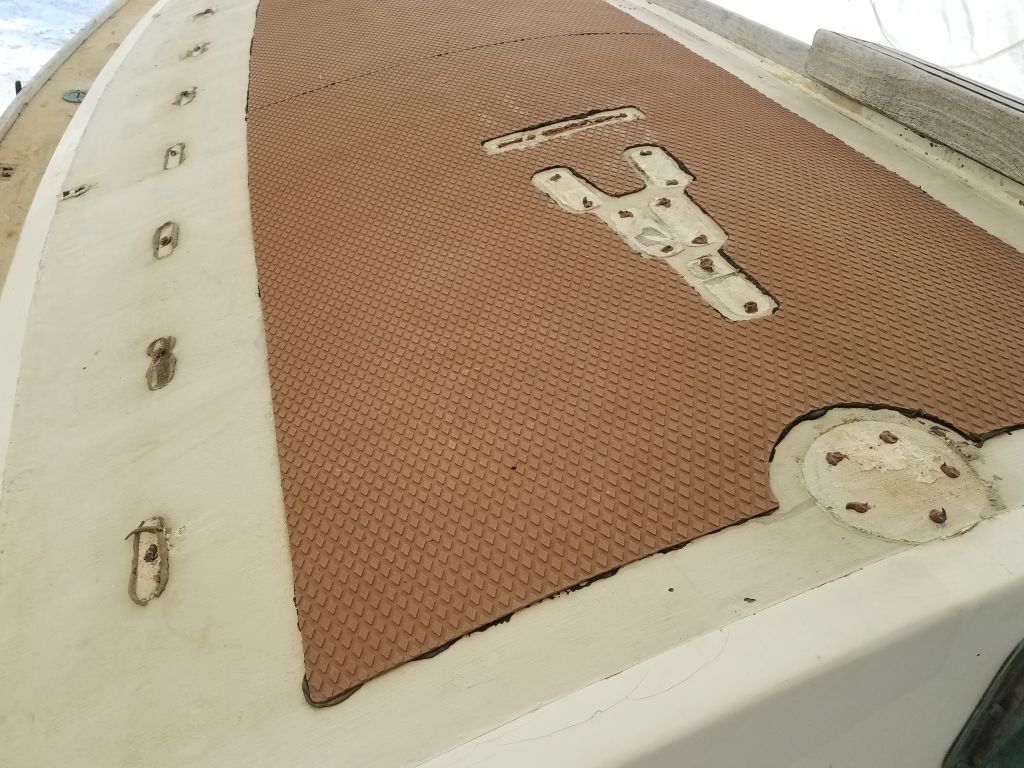
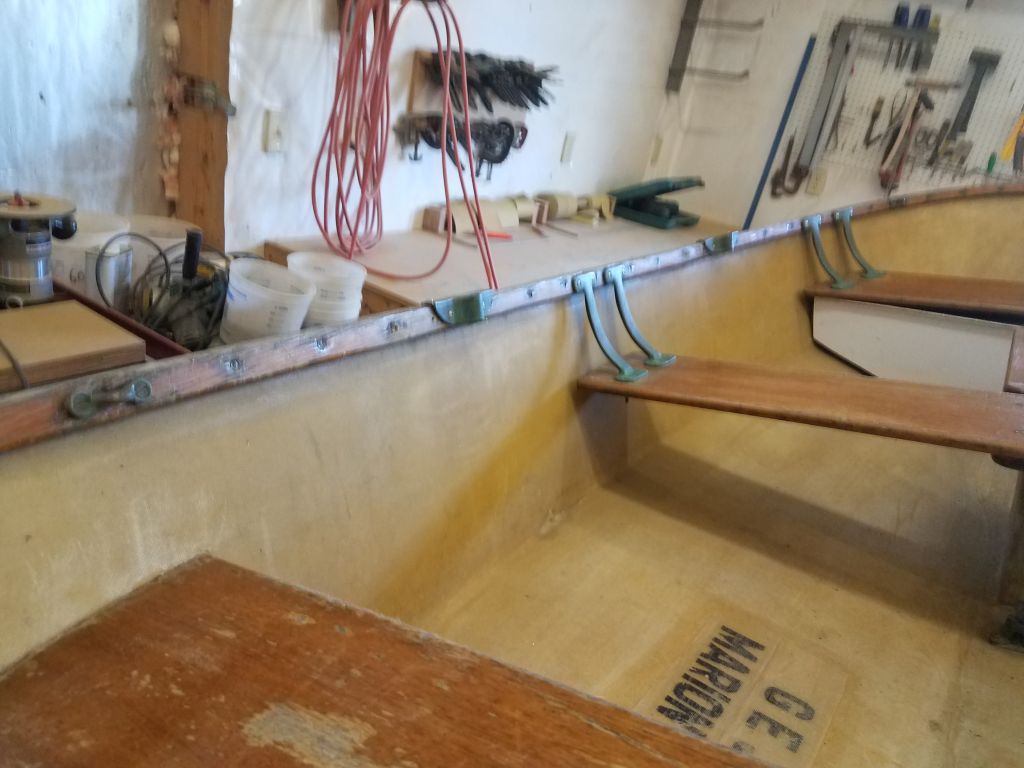
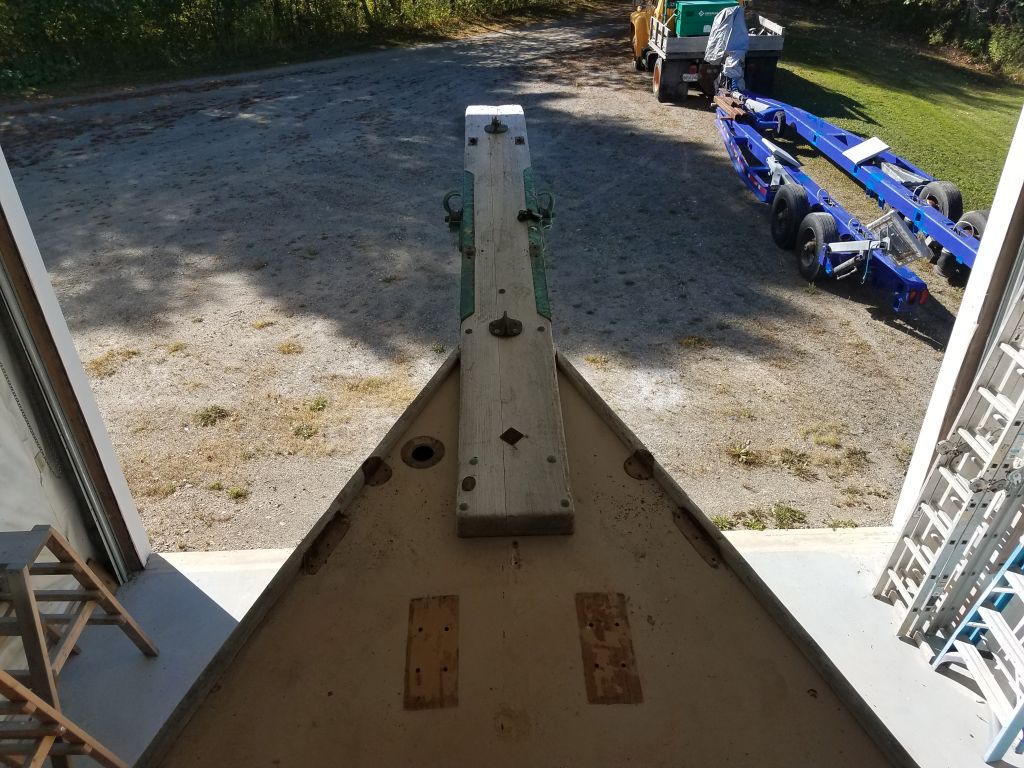
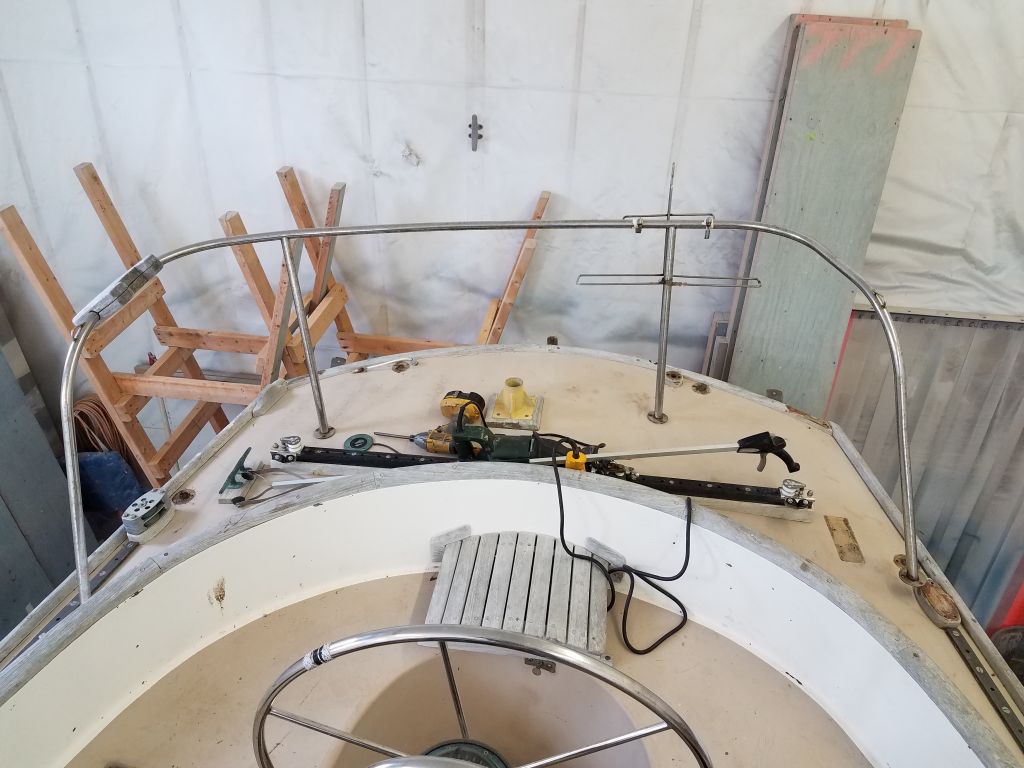
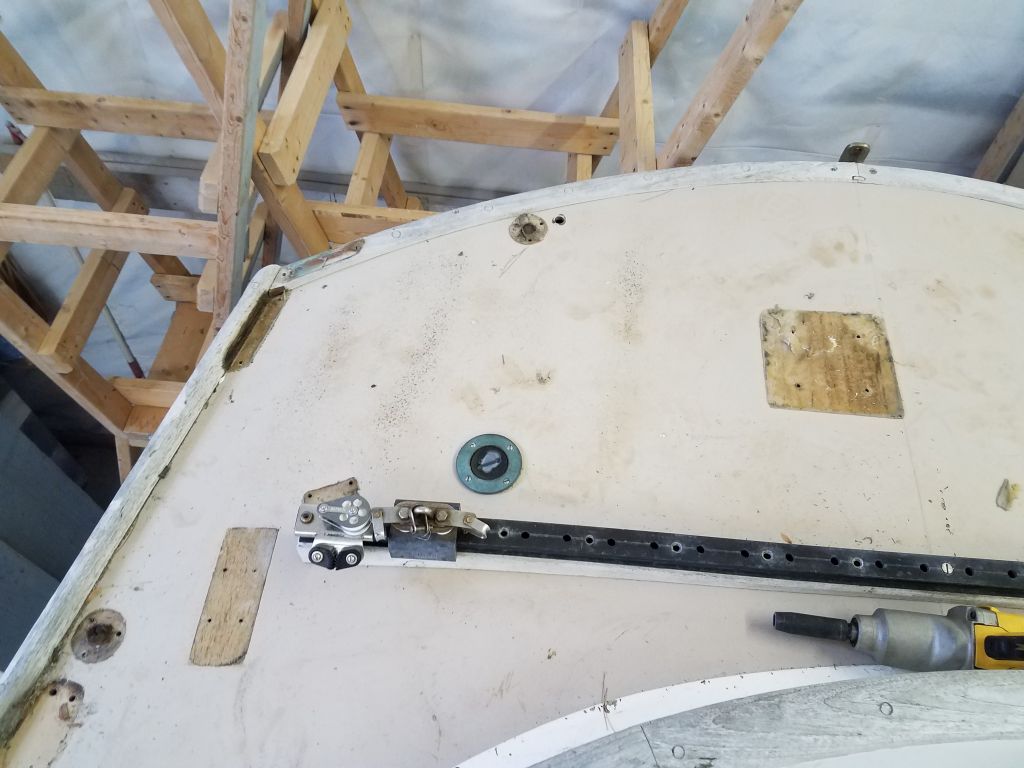
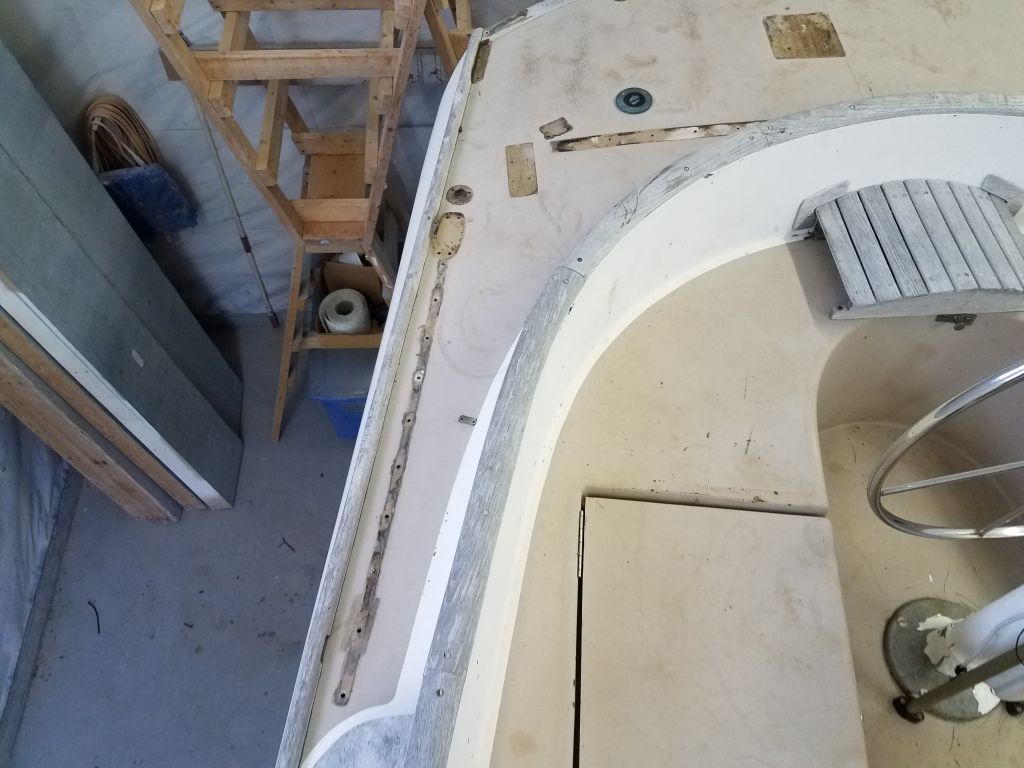
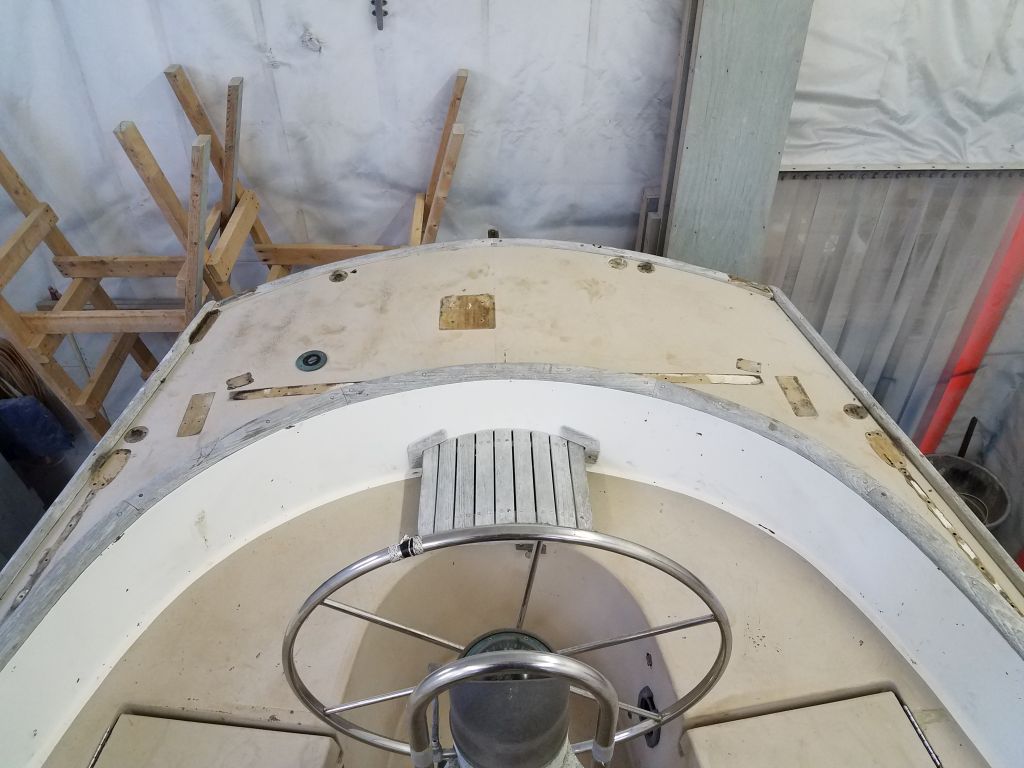
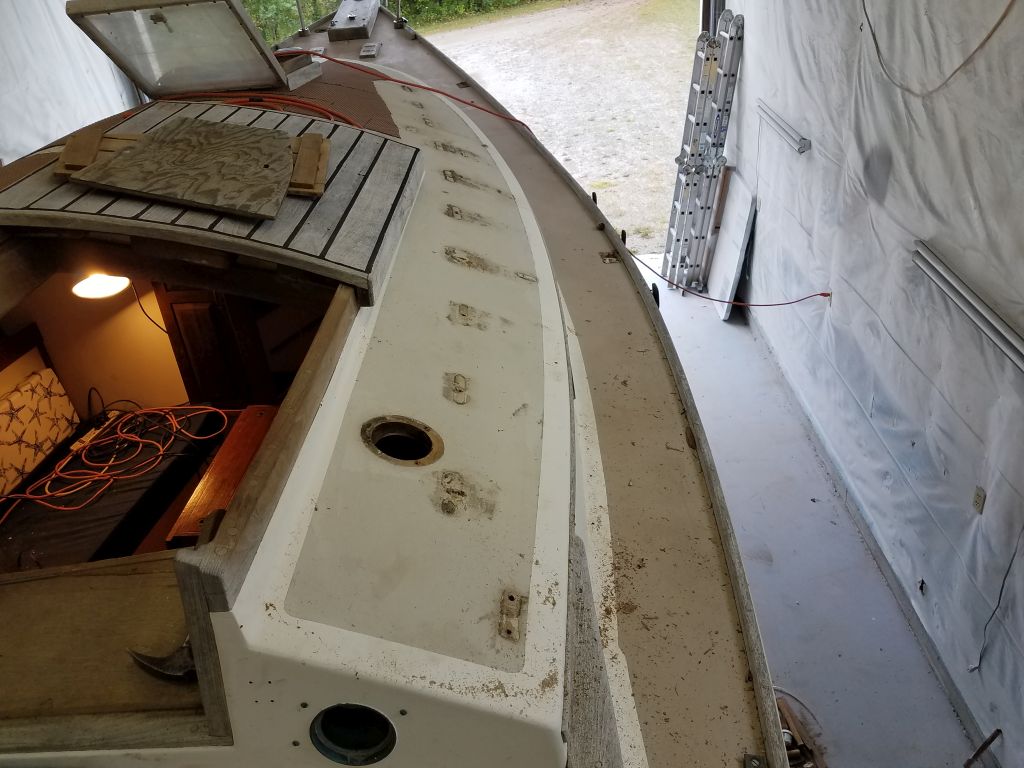
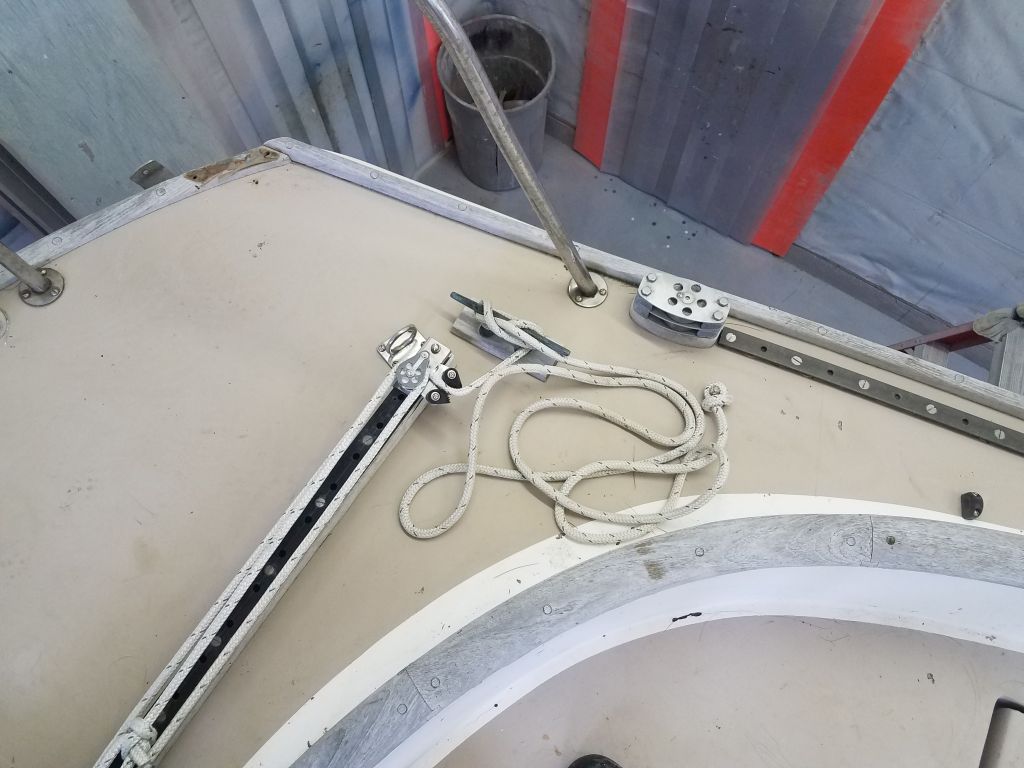
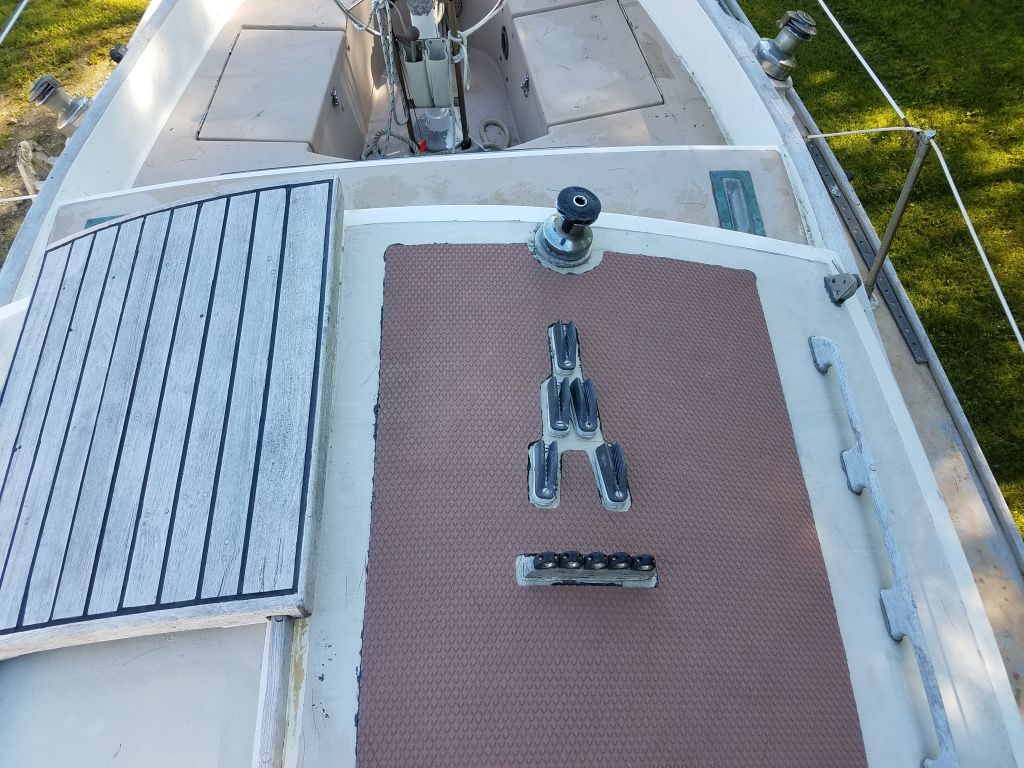
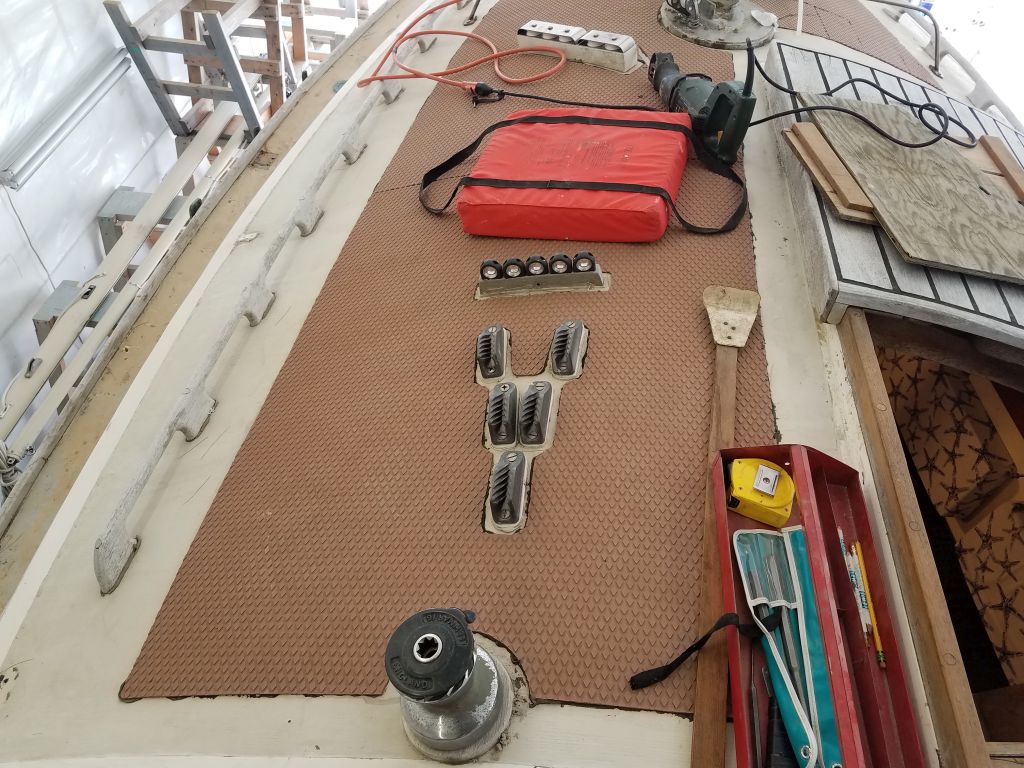
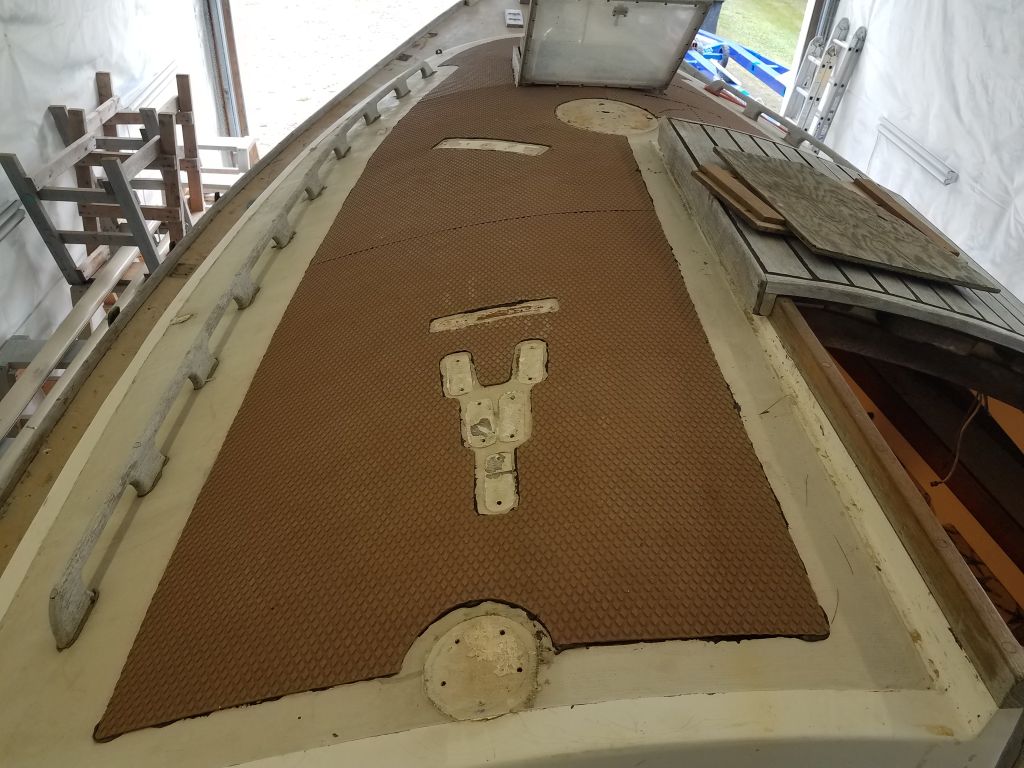
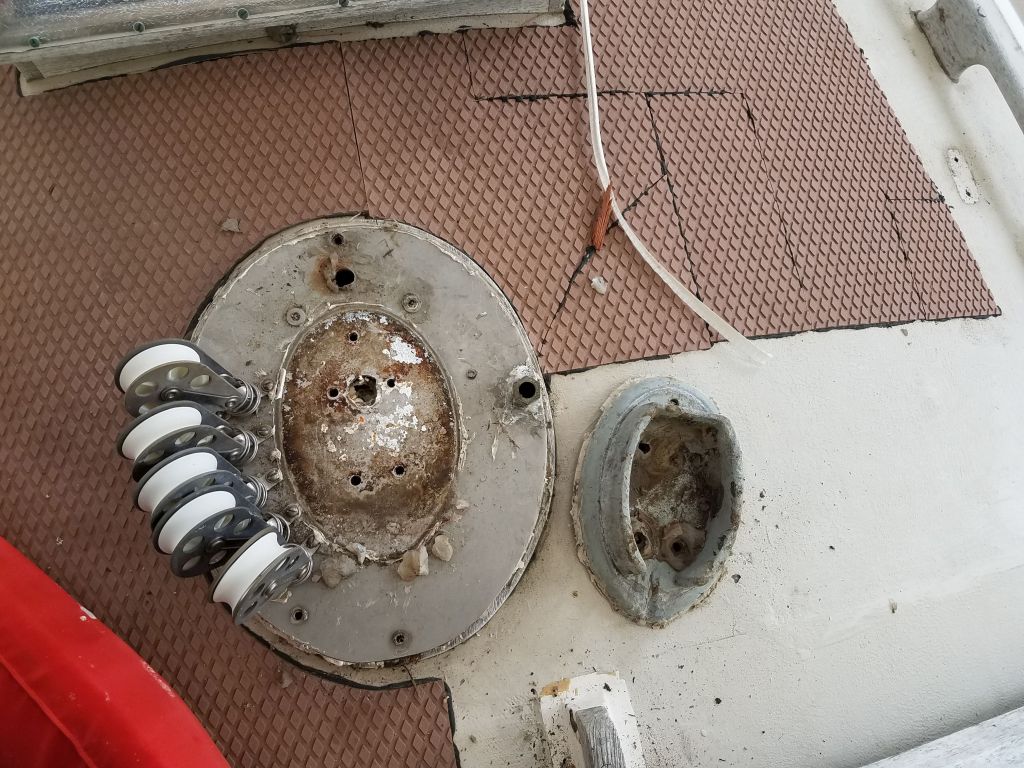
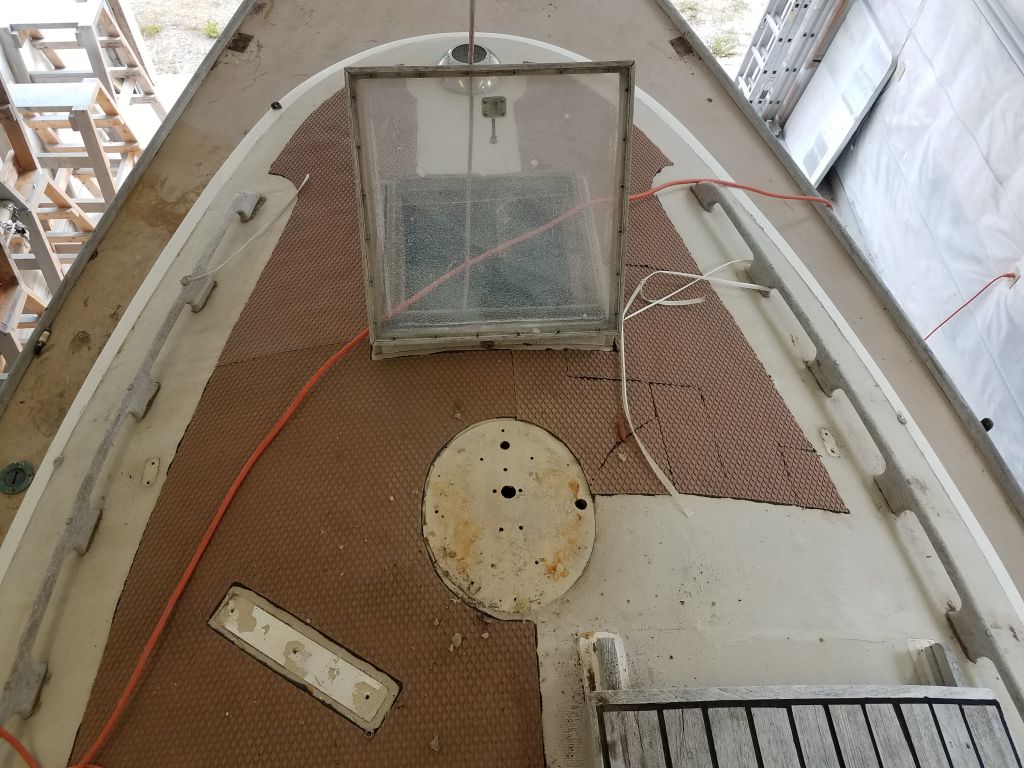
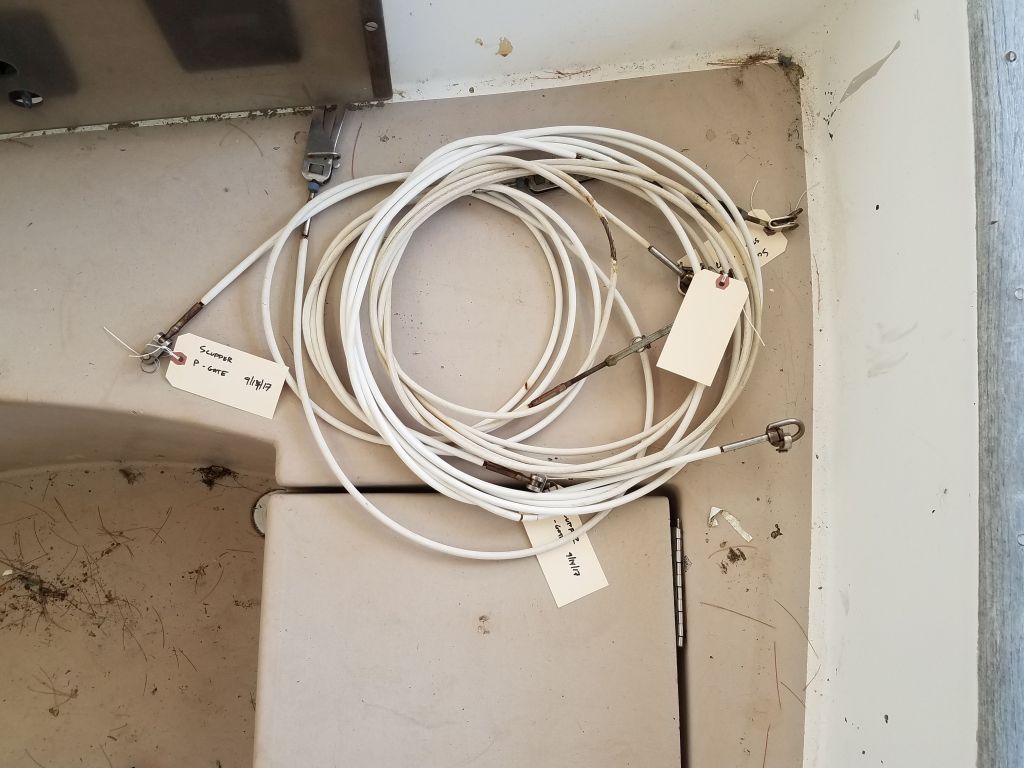
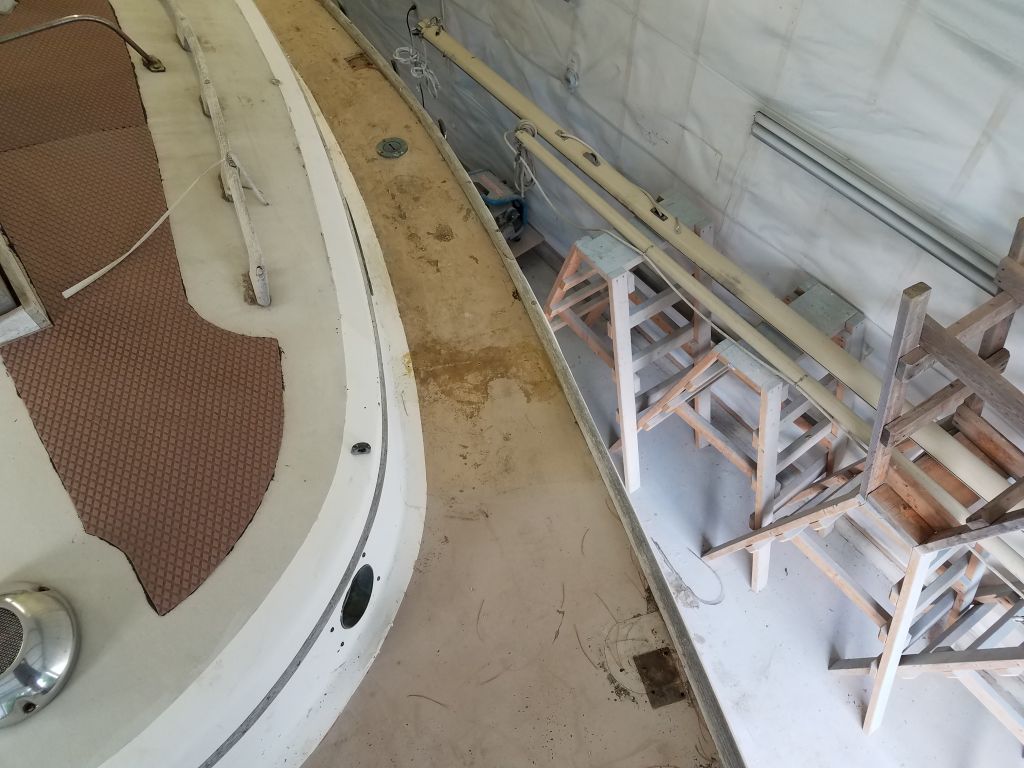
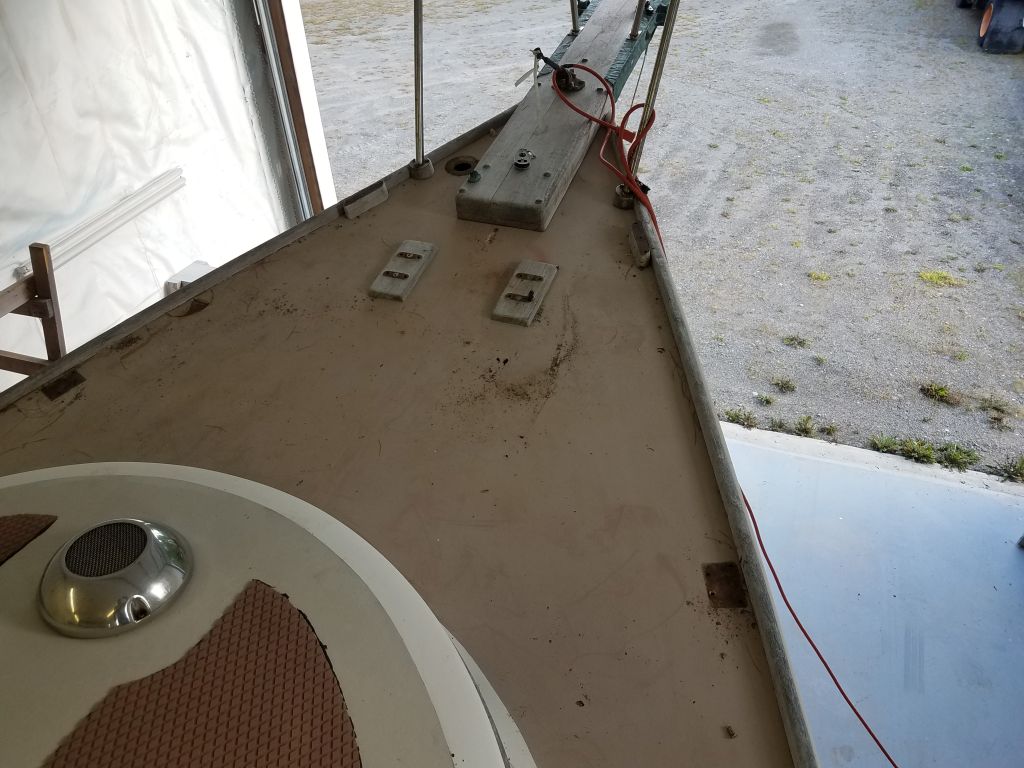
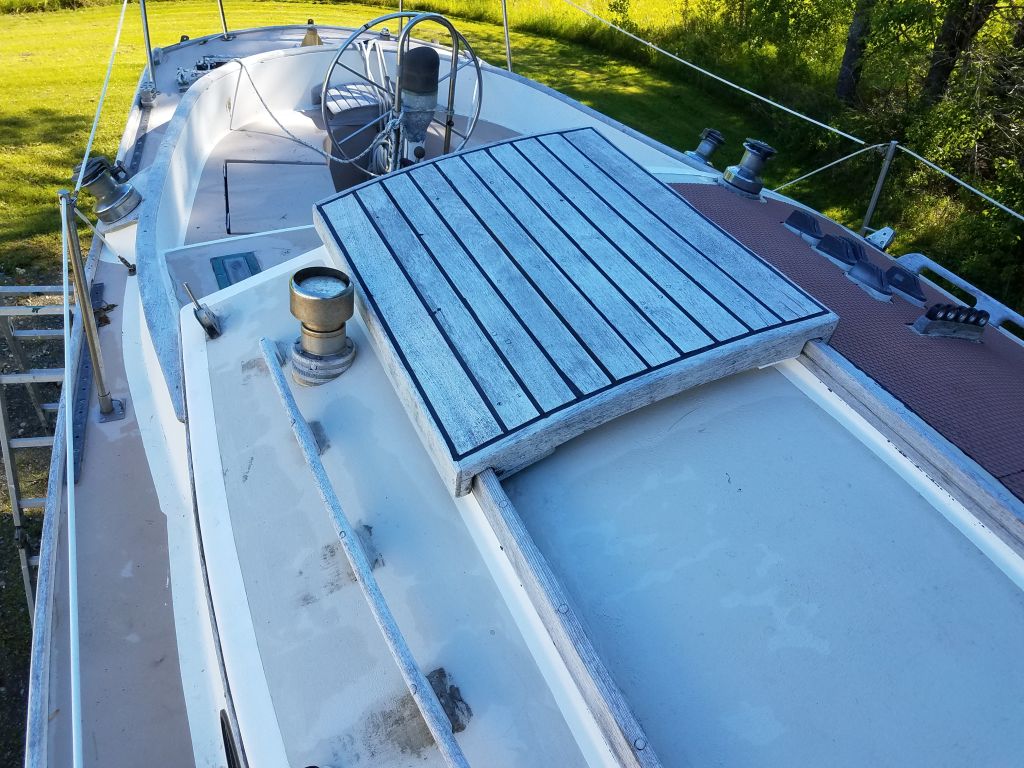
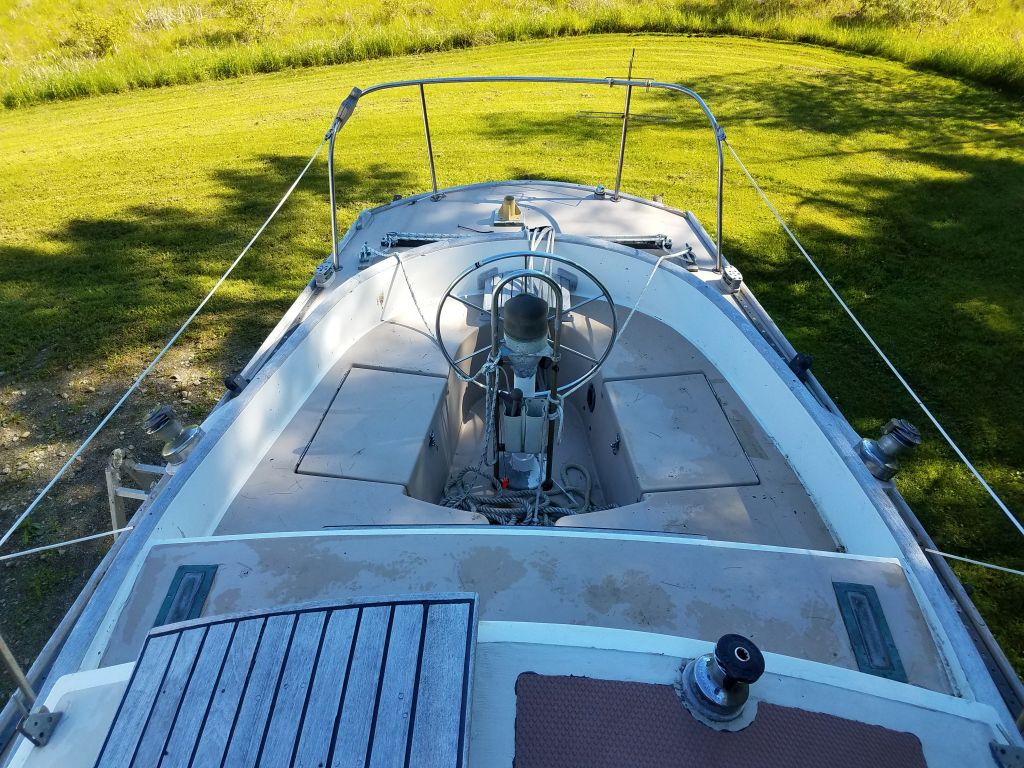
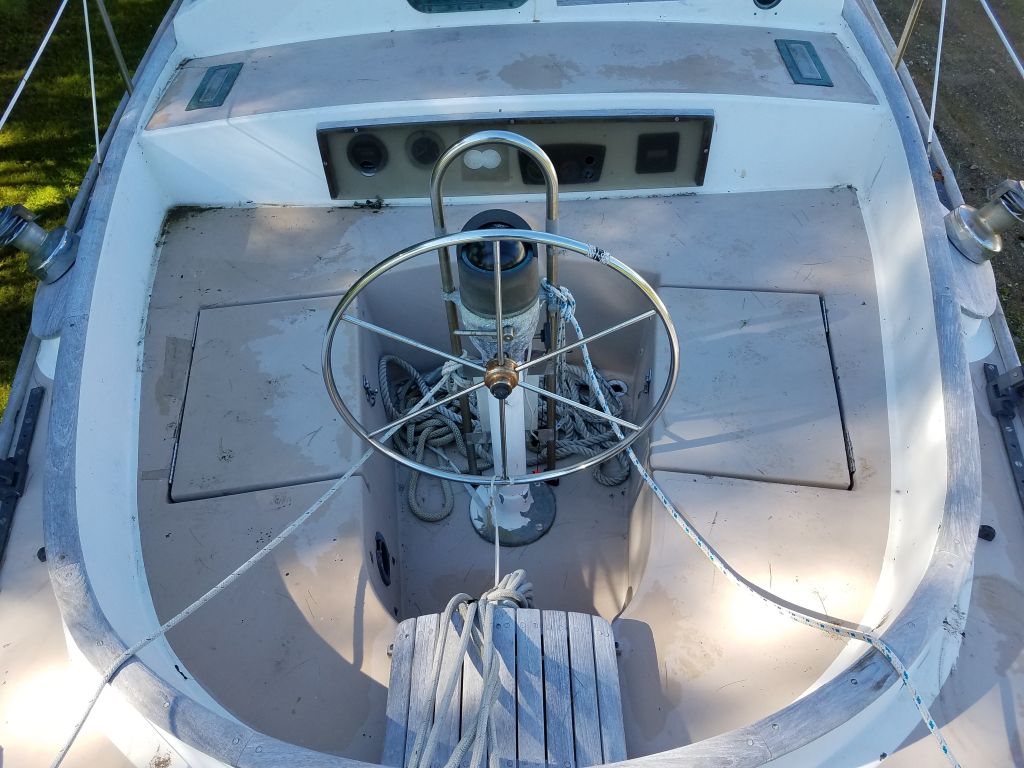
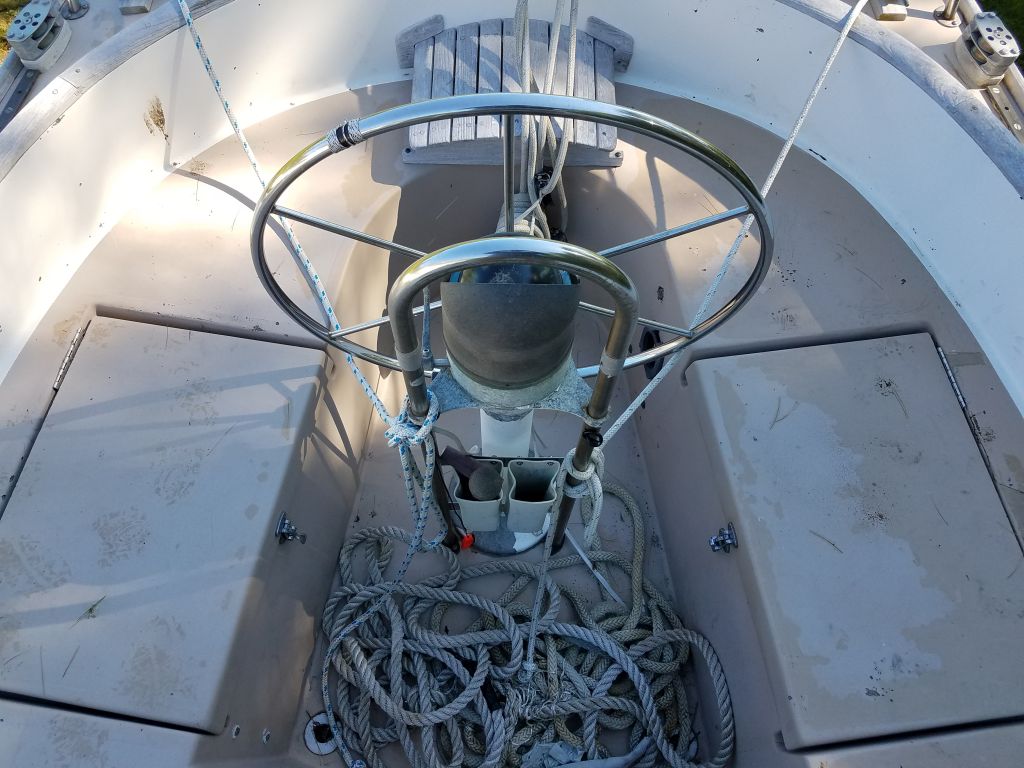
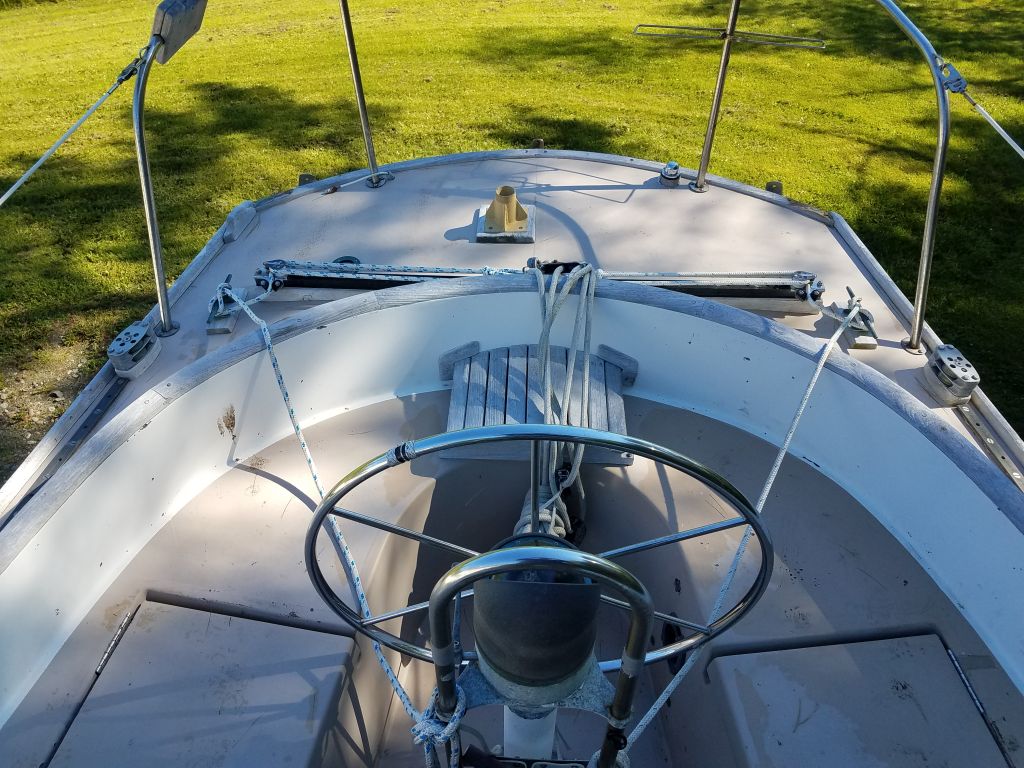
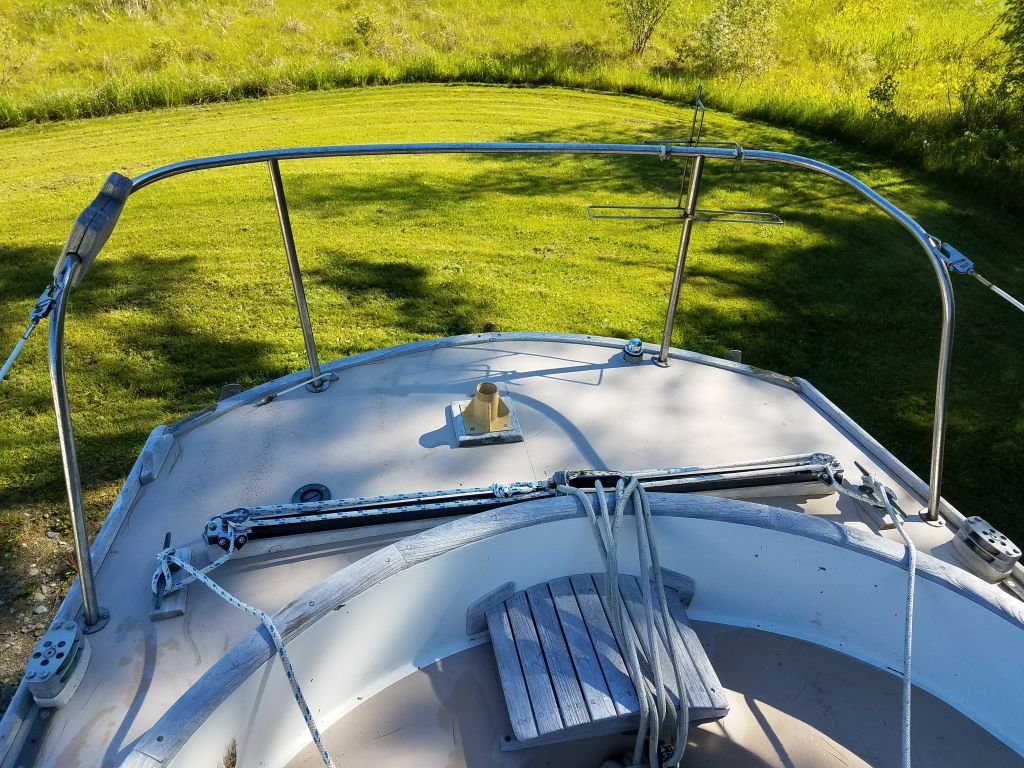
Now I turned to the cockpit area and poop deck, still fully populated with winches, mainsheet traveler, stern pulpit, and more. To begin, I removed the control lines and mainsheet assembly from the traveler, setting these aside with the other parts I’d removed so far.
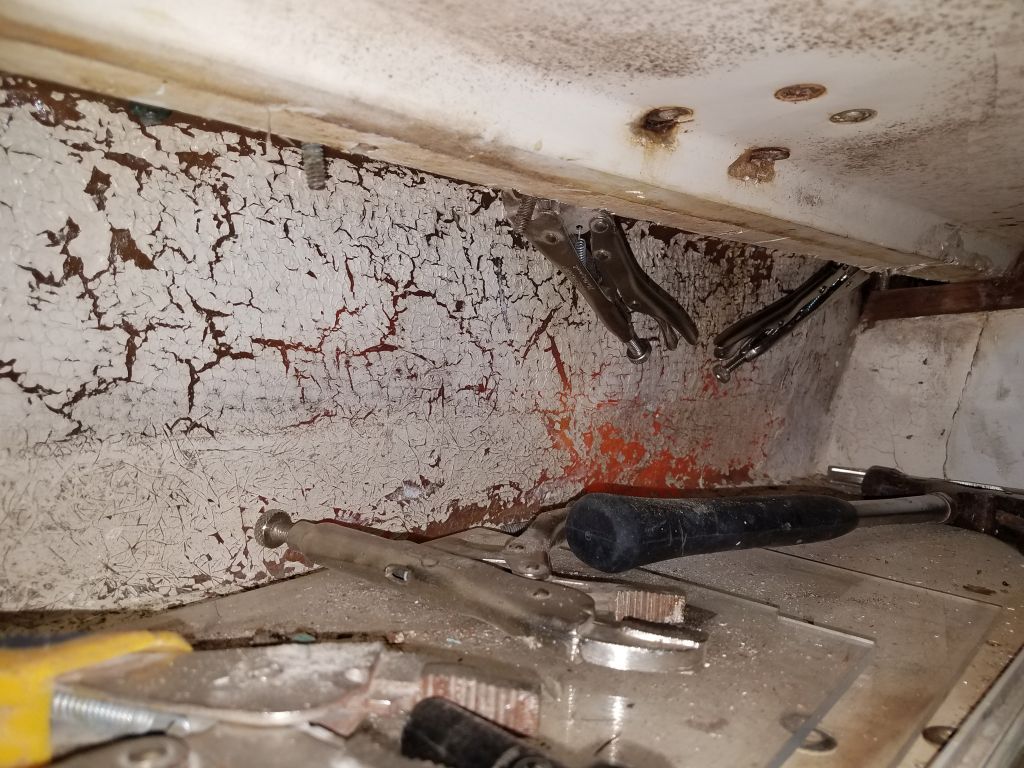
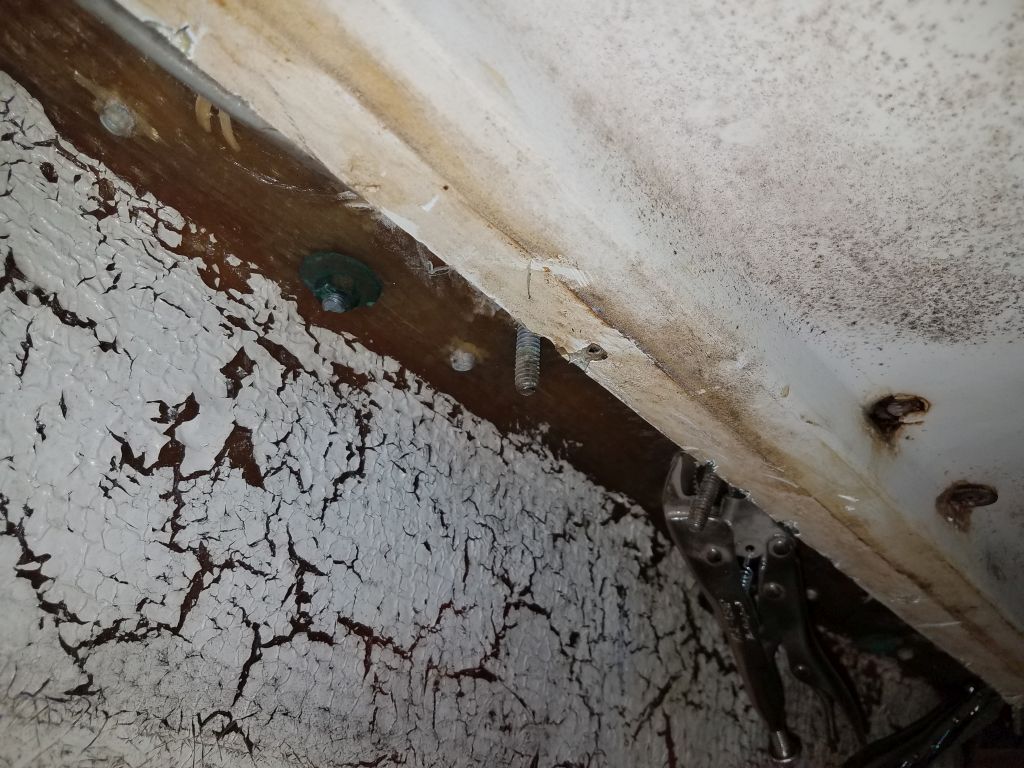
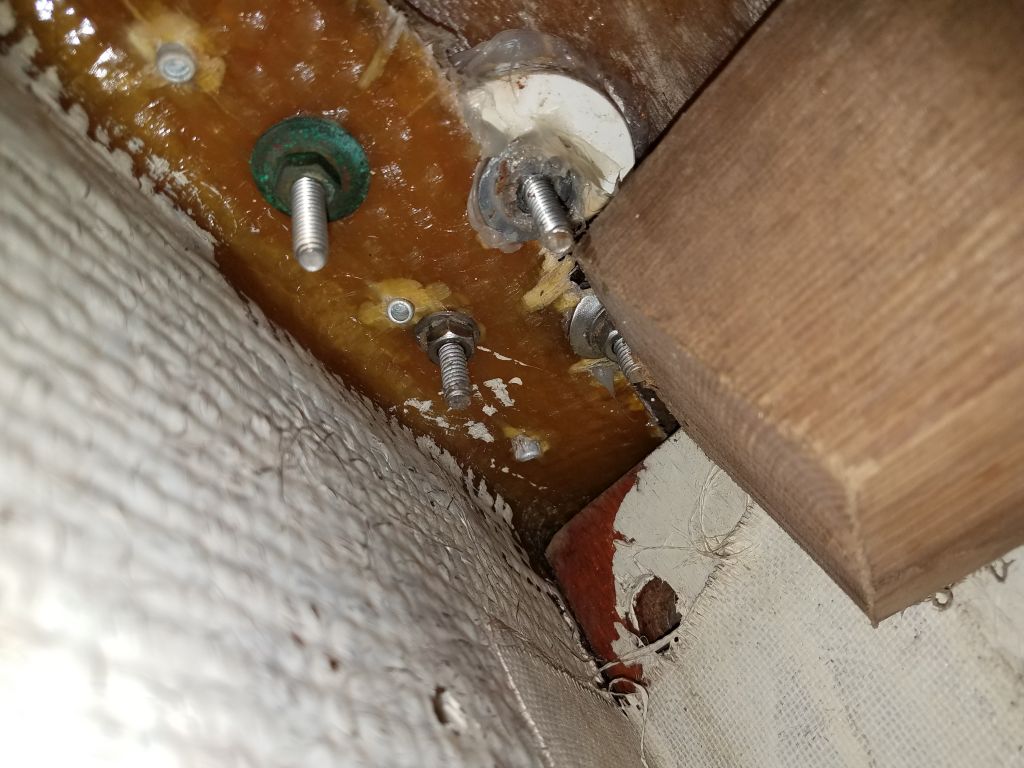
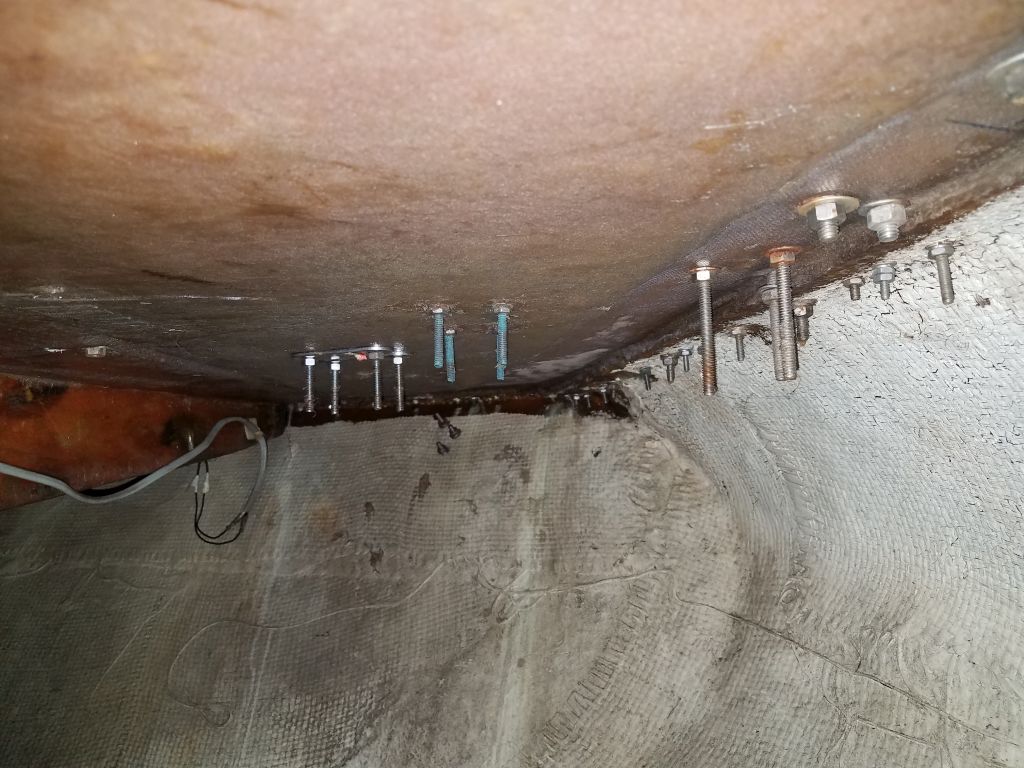
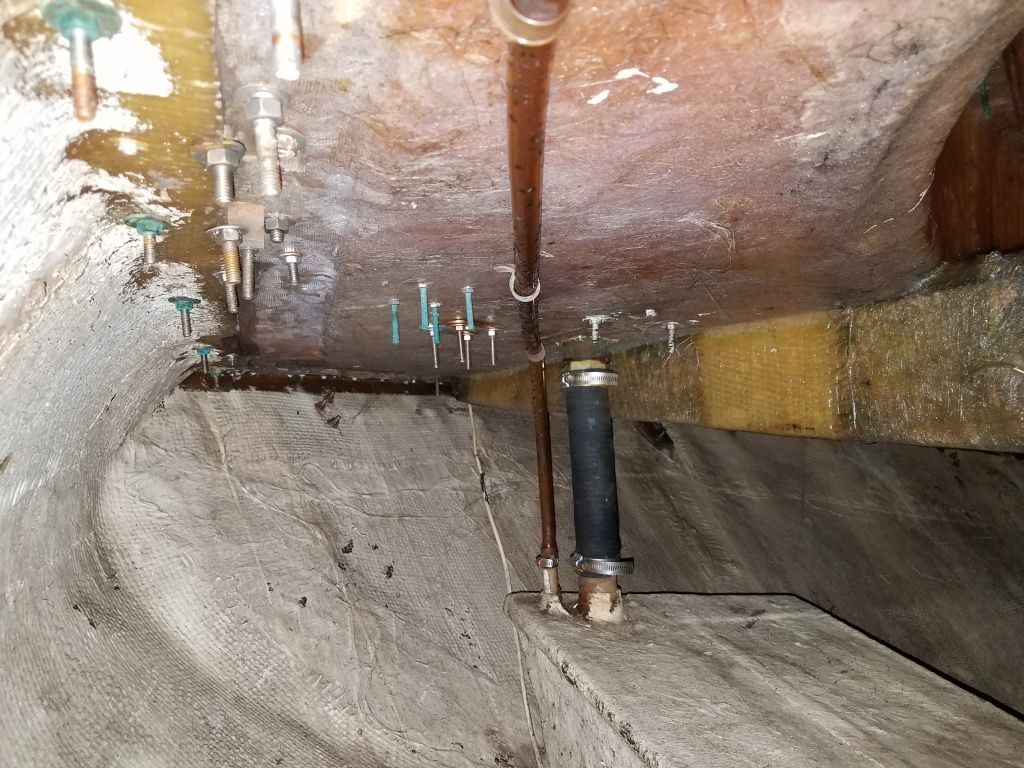
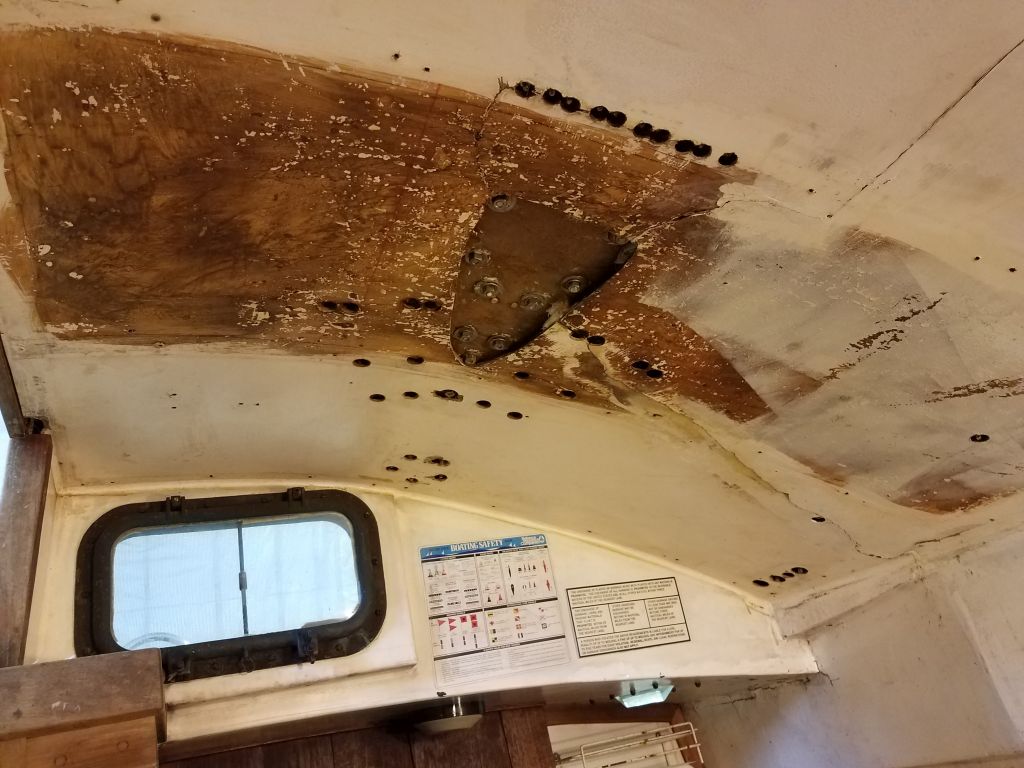
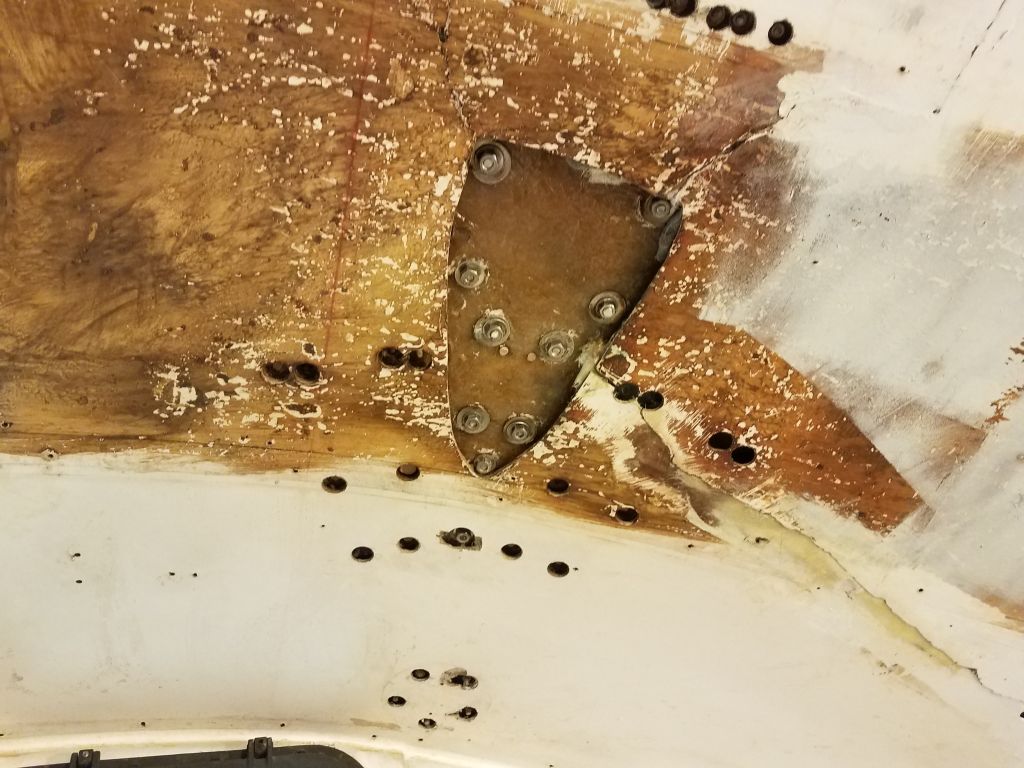
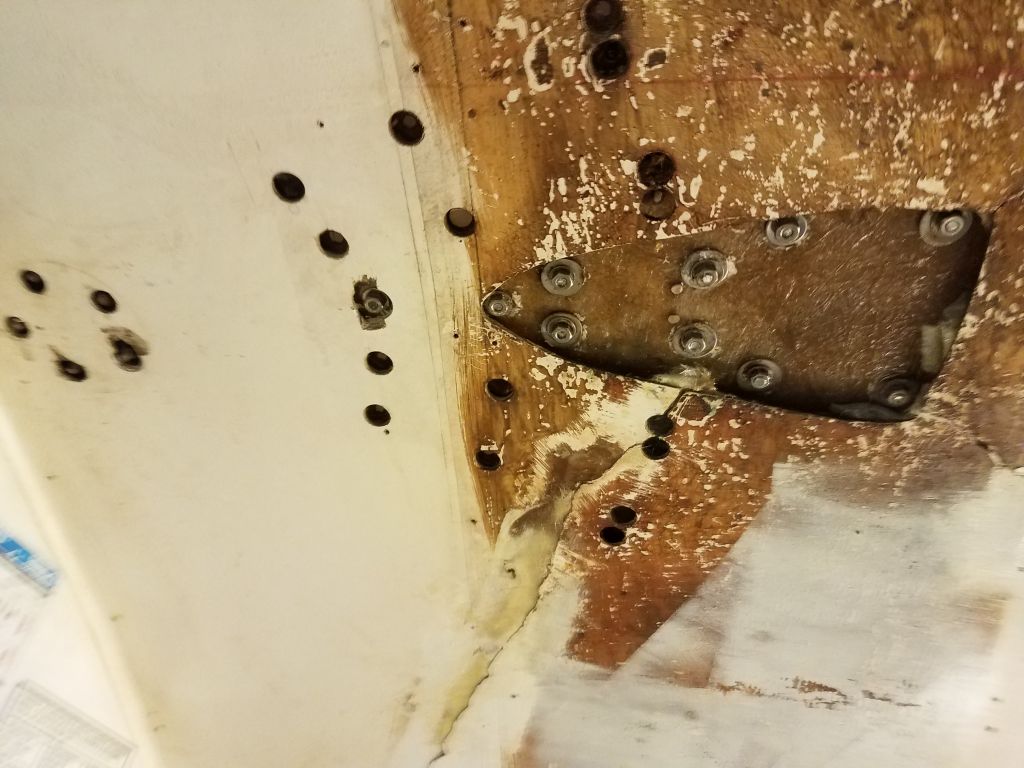
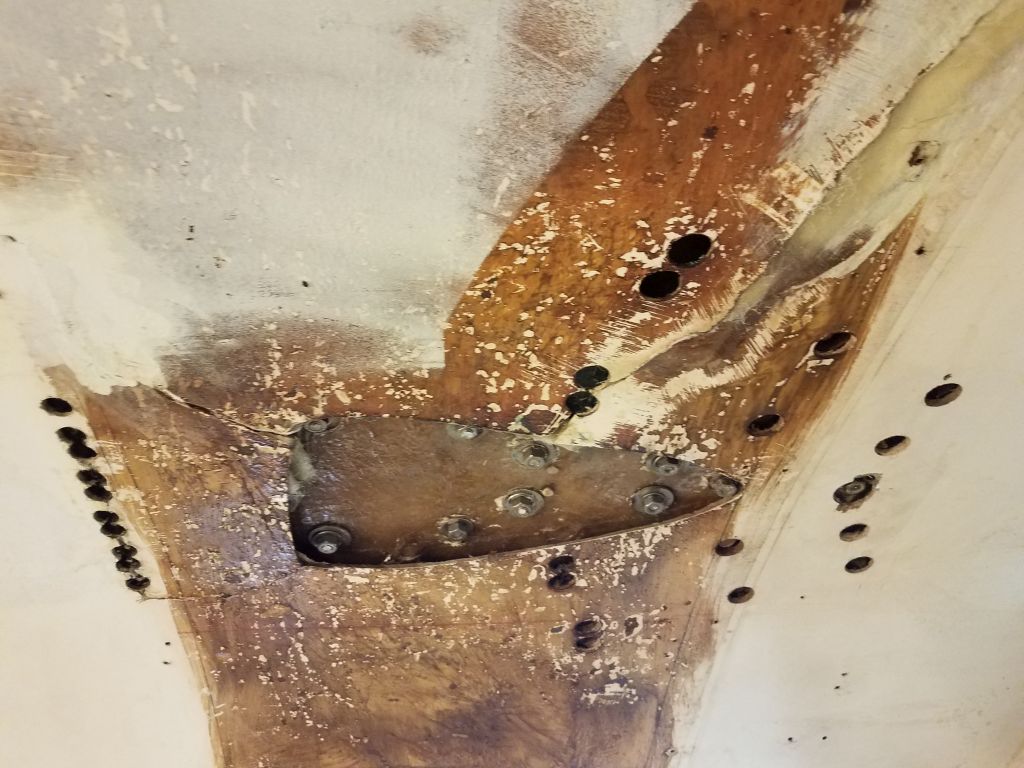
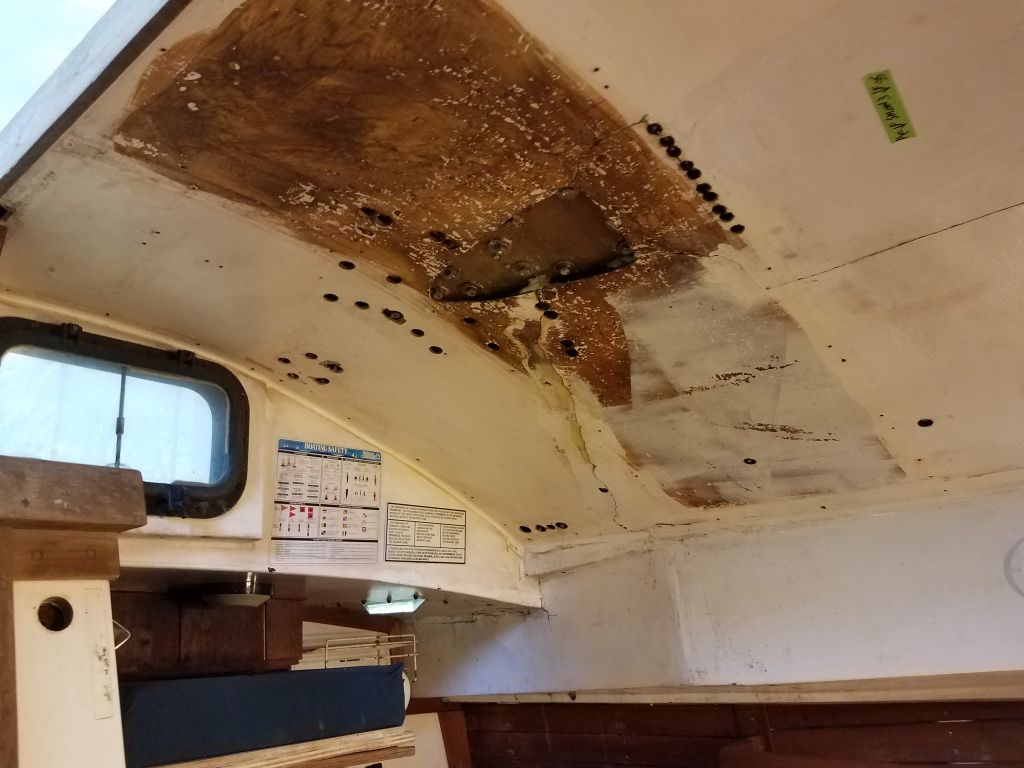
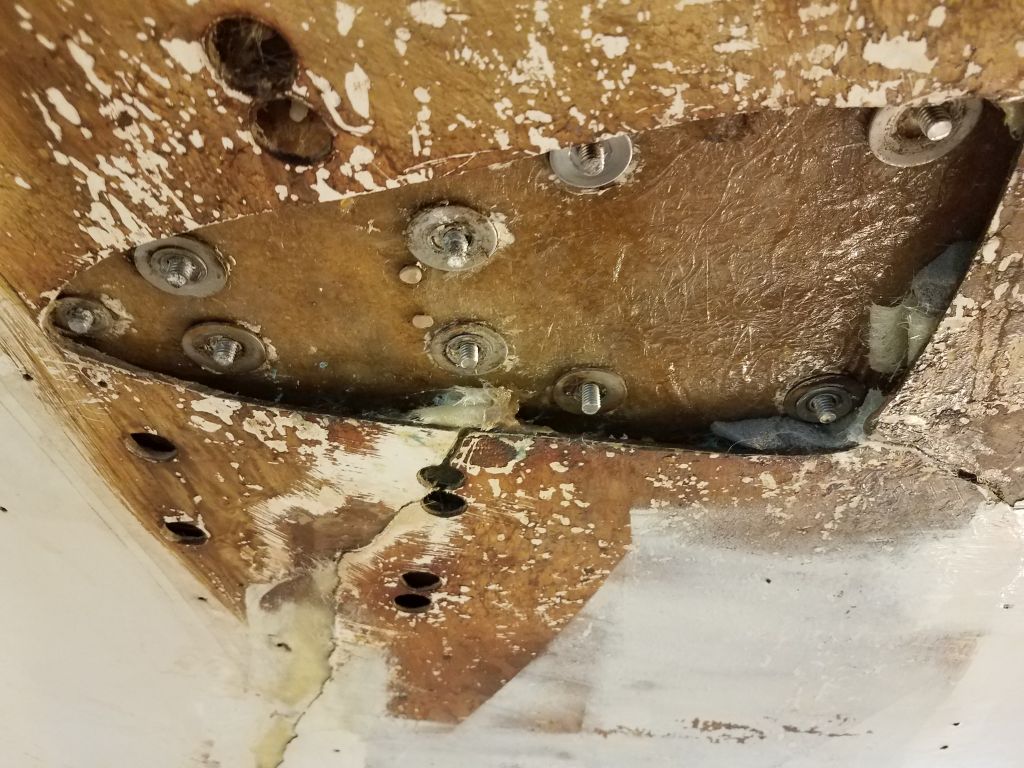
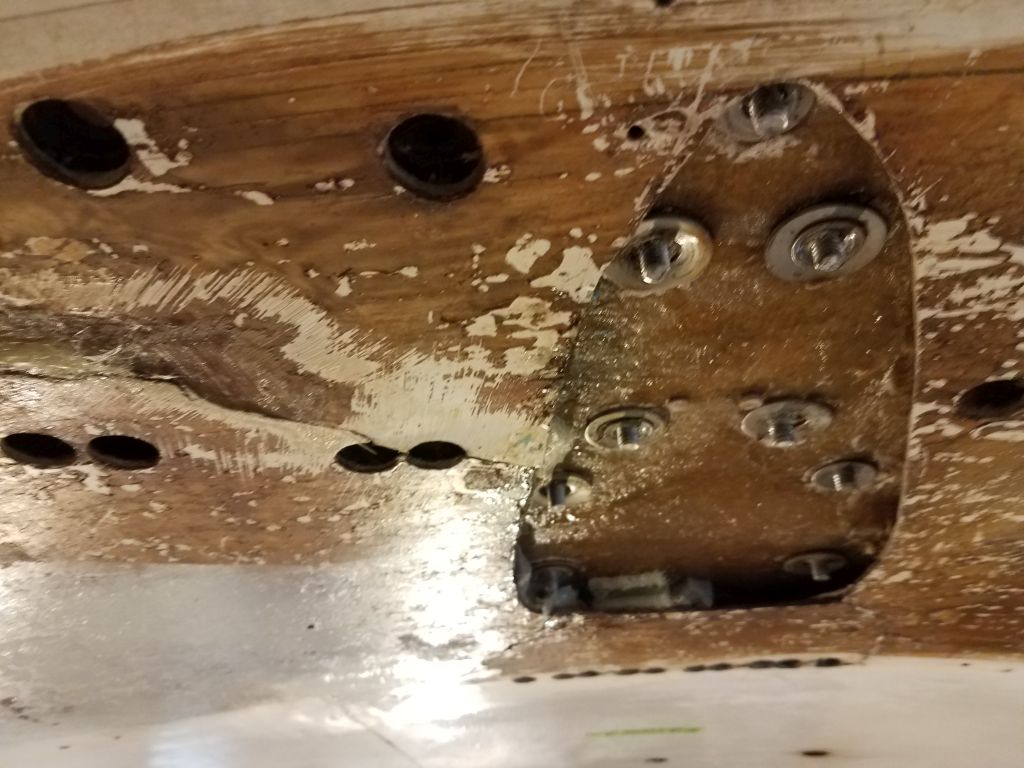
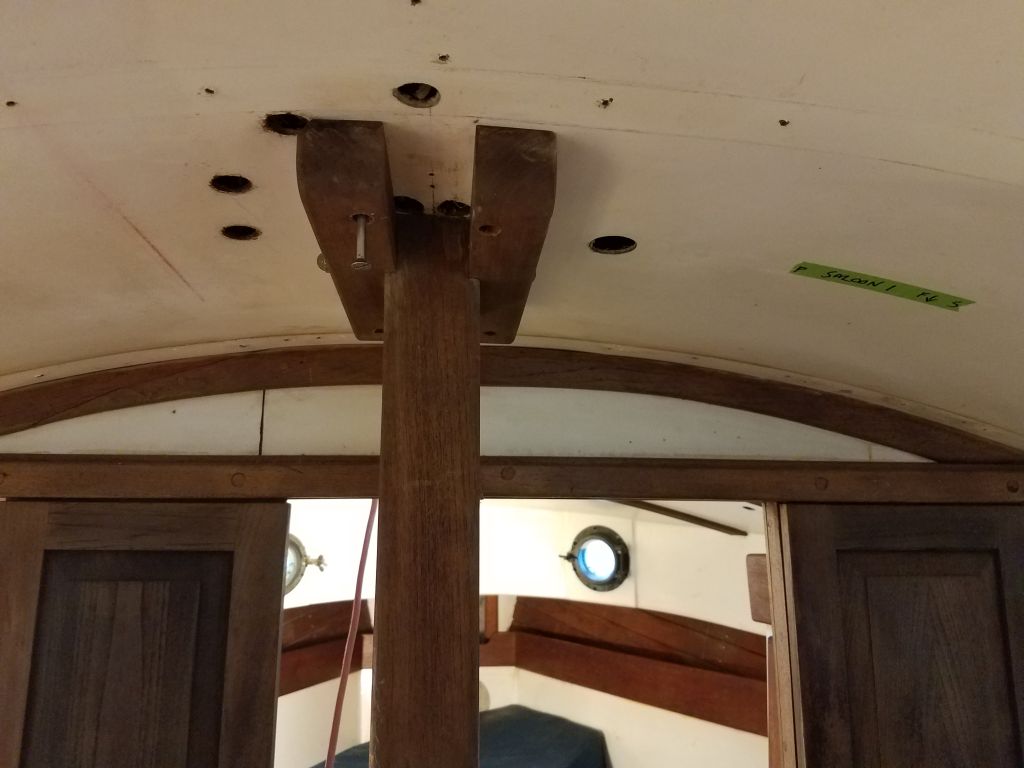
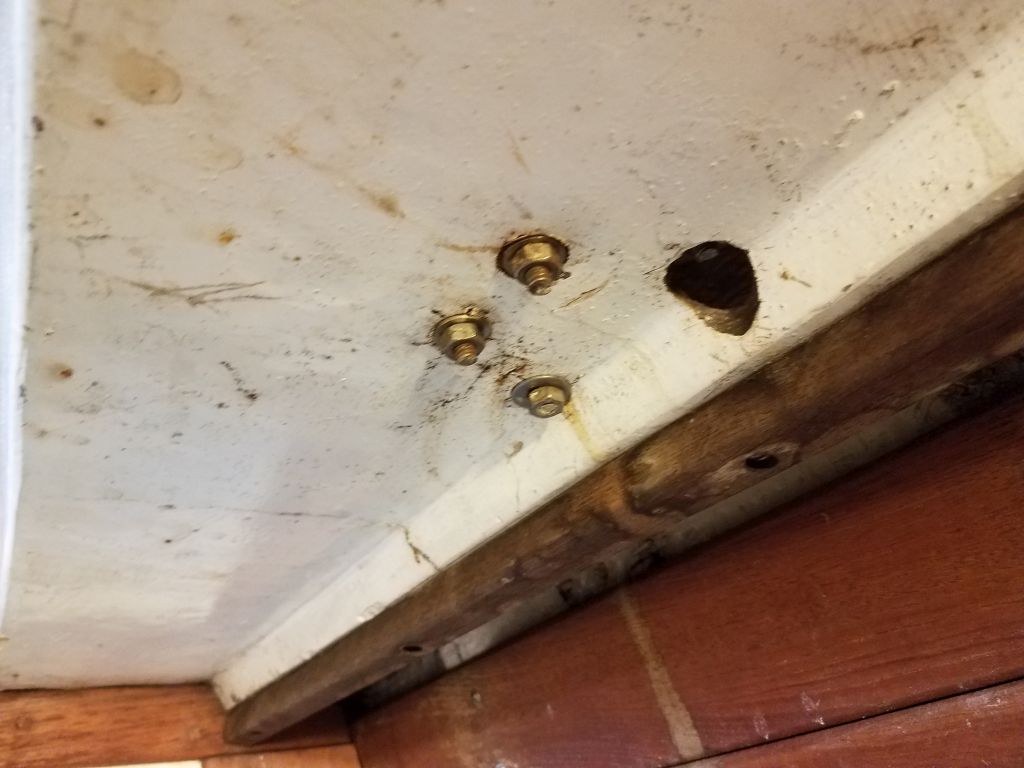
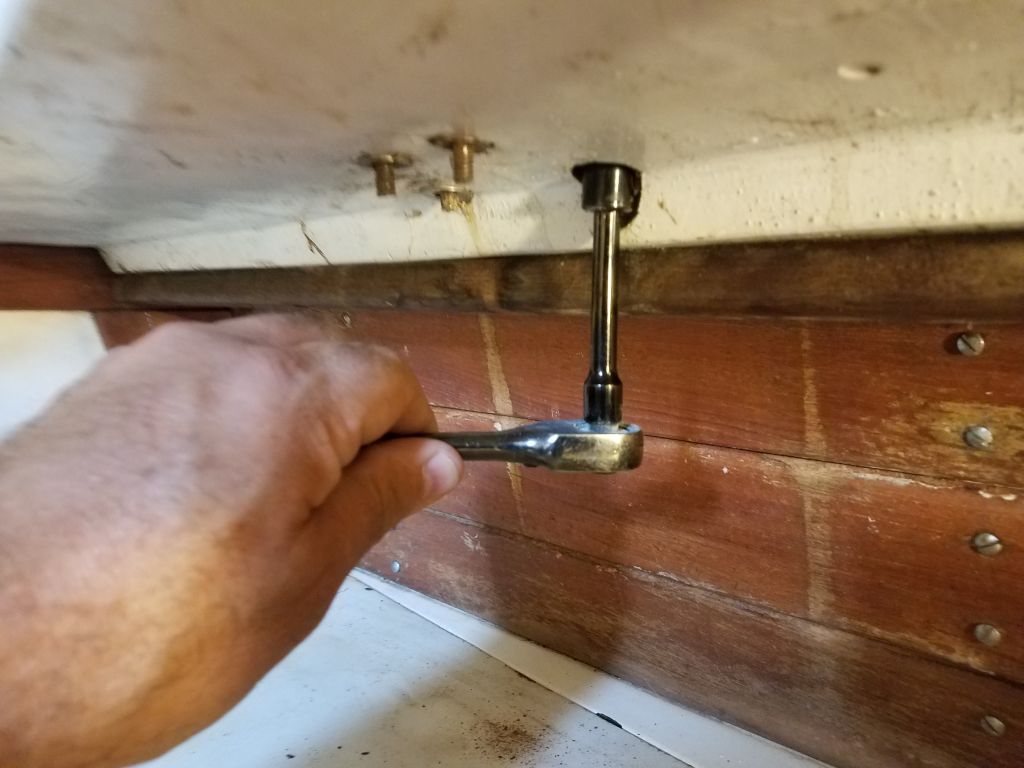
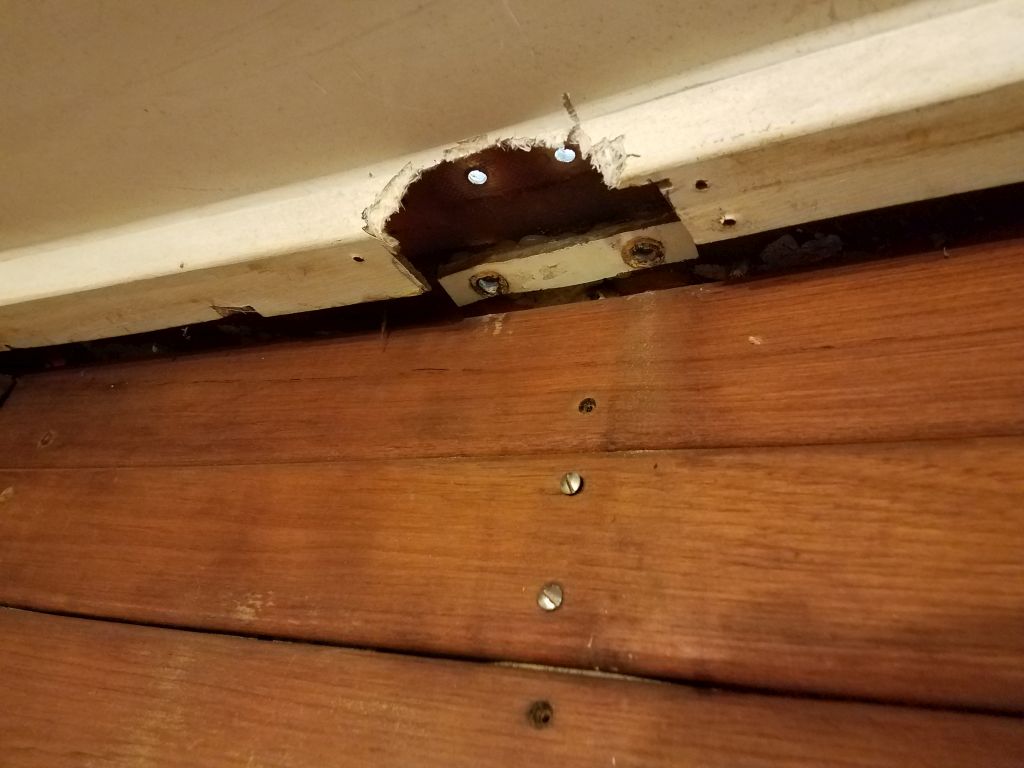
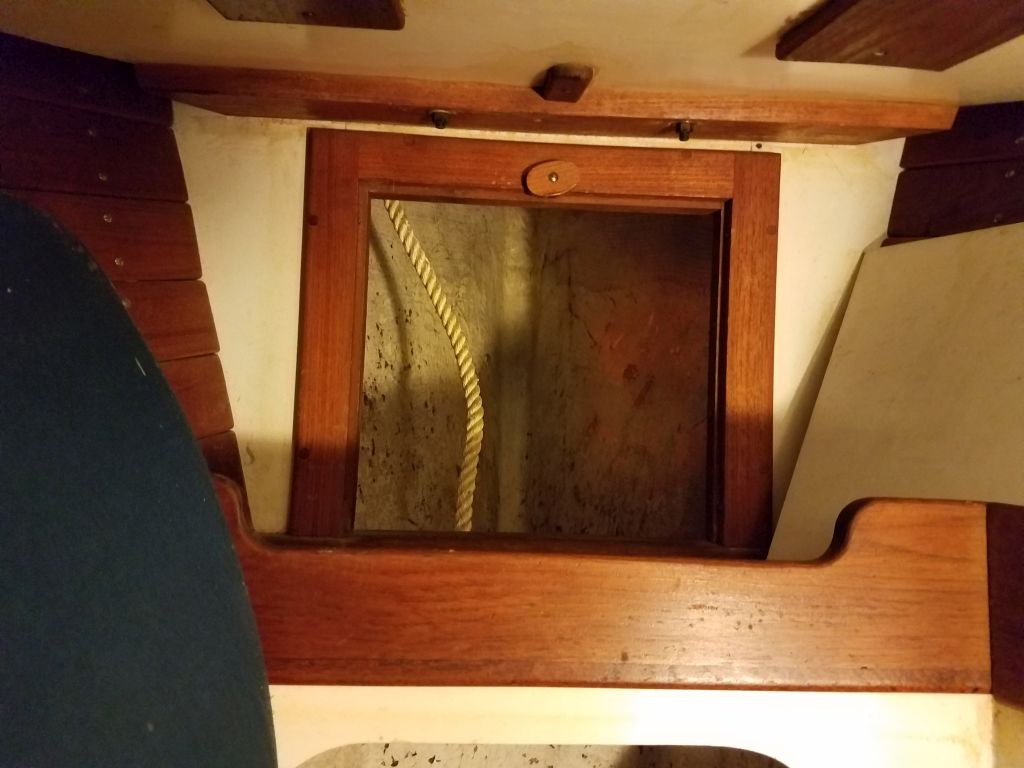
Snuggled into the port cockpit locker belowdecks, I prepared to remove the nuts securing the various hardware above. Nearly all the hardware was secured with overlong bolts, calling to mind stainless steel and bronze stalactites oozing from the primordial overhead.
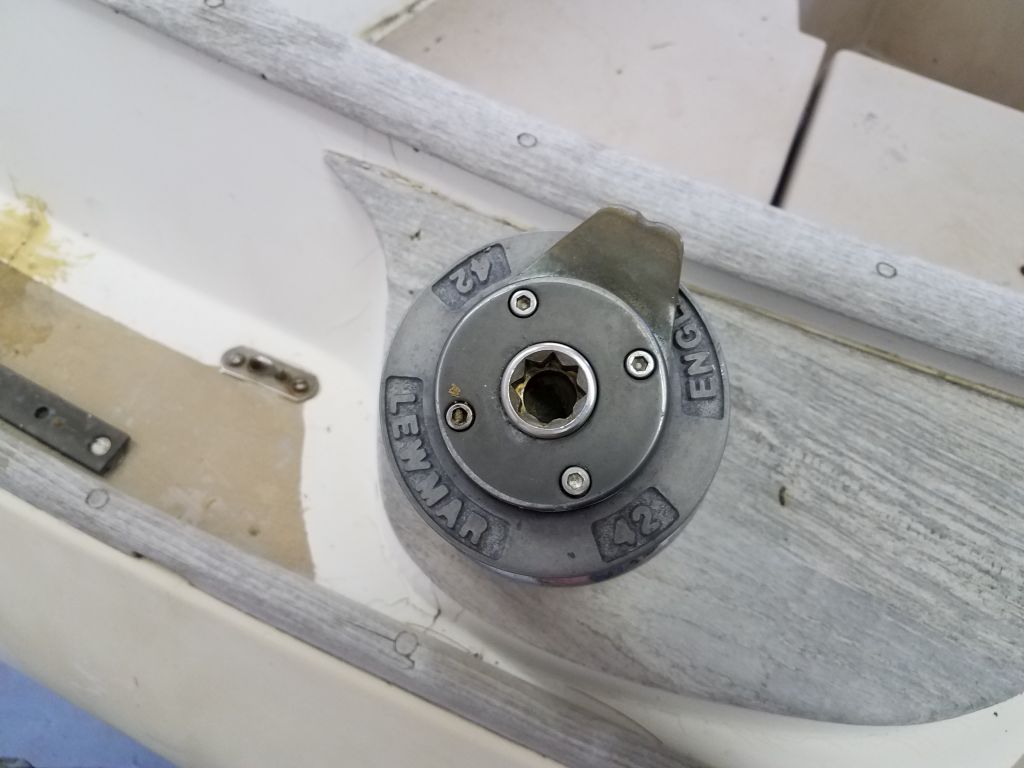
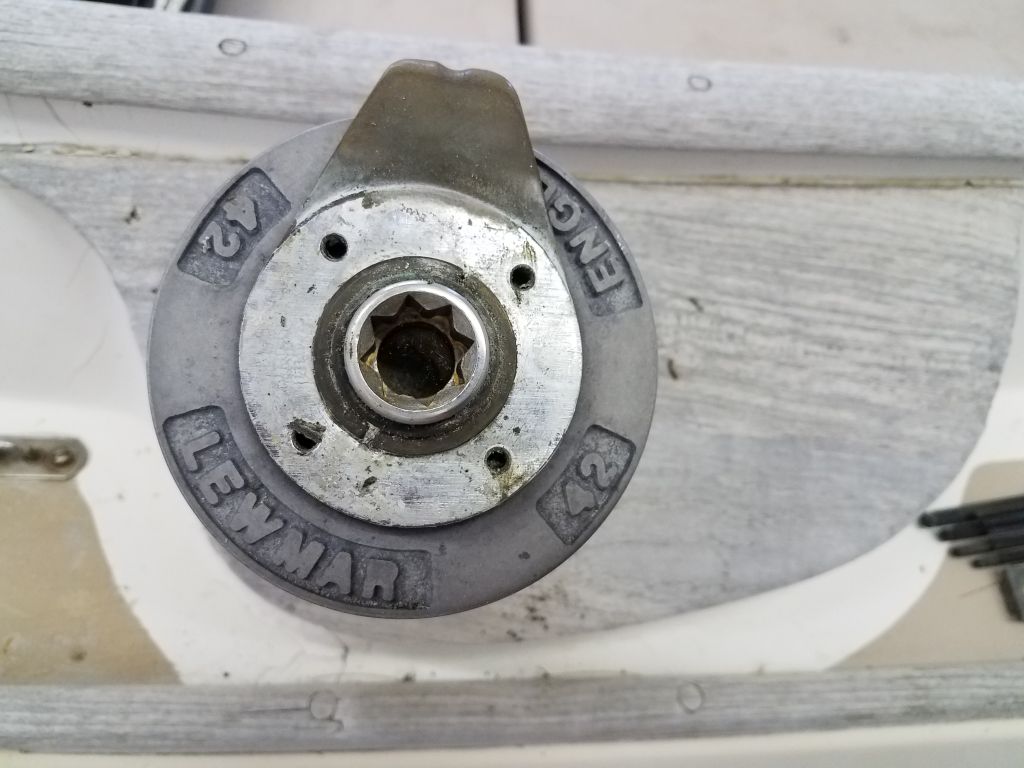
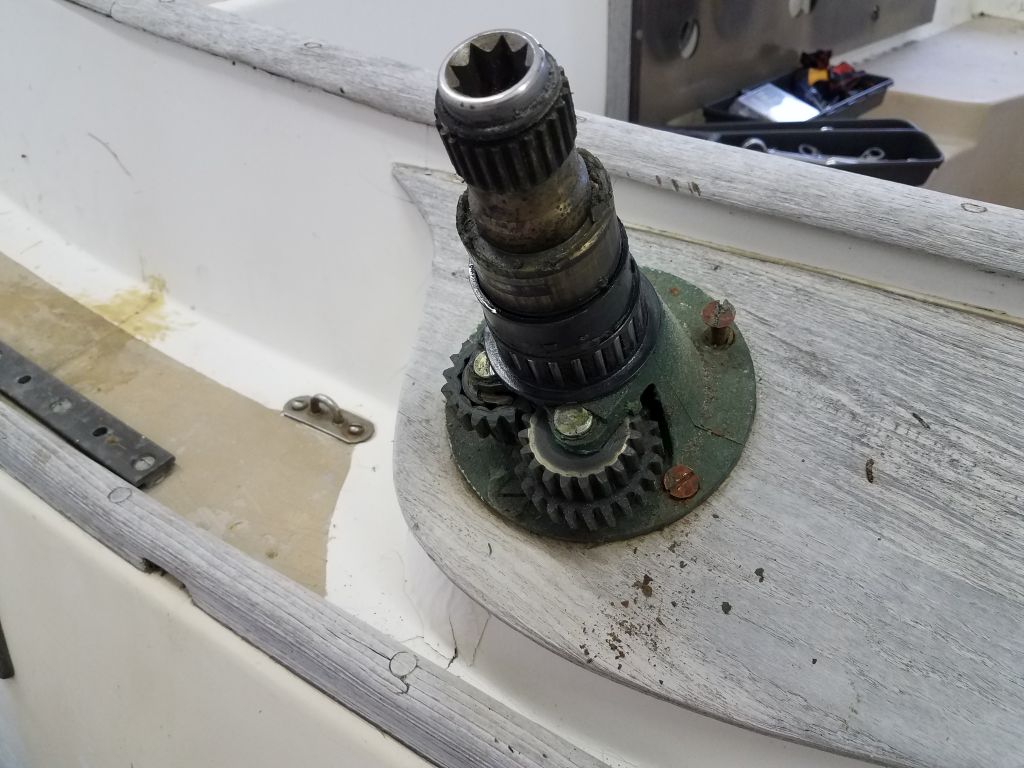
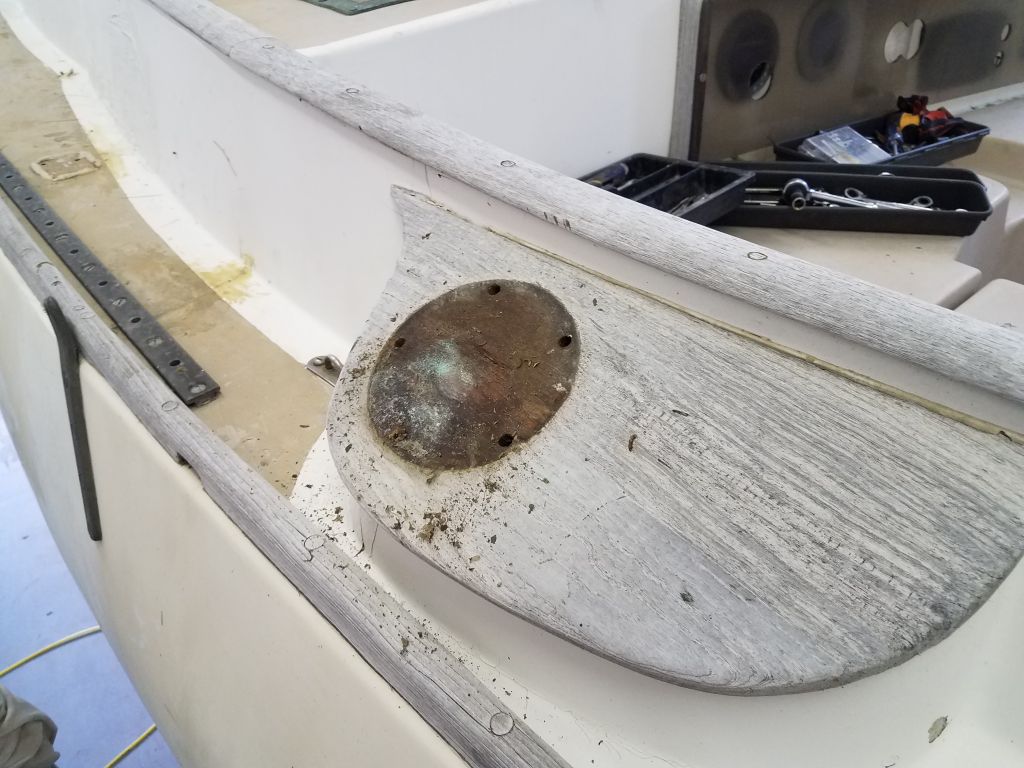
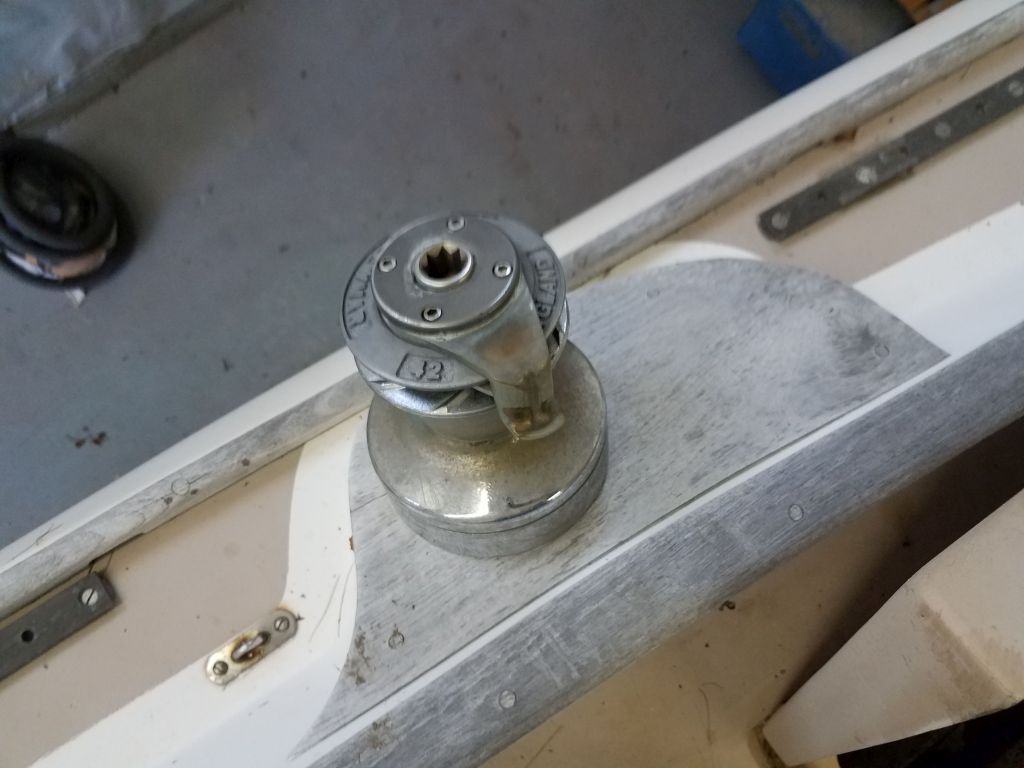
The sheet winch itself, a vintage Lewmar 42 self-tailer, was secured with refreshingly short bolts, and all but one of the nuts came off without spinning the fastener. I’d hoped to just pull the winch off without disassembly. But with a single loose bolt, I had to secure a set of locking pliers on the nut, then go back on deck and remove the winch top and winch drum for access to the fastener so I could remove the winch.
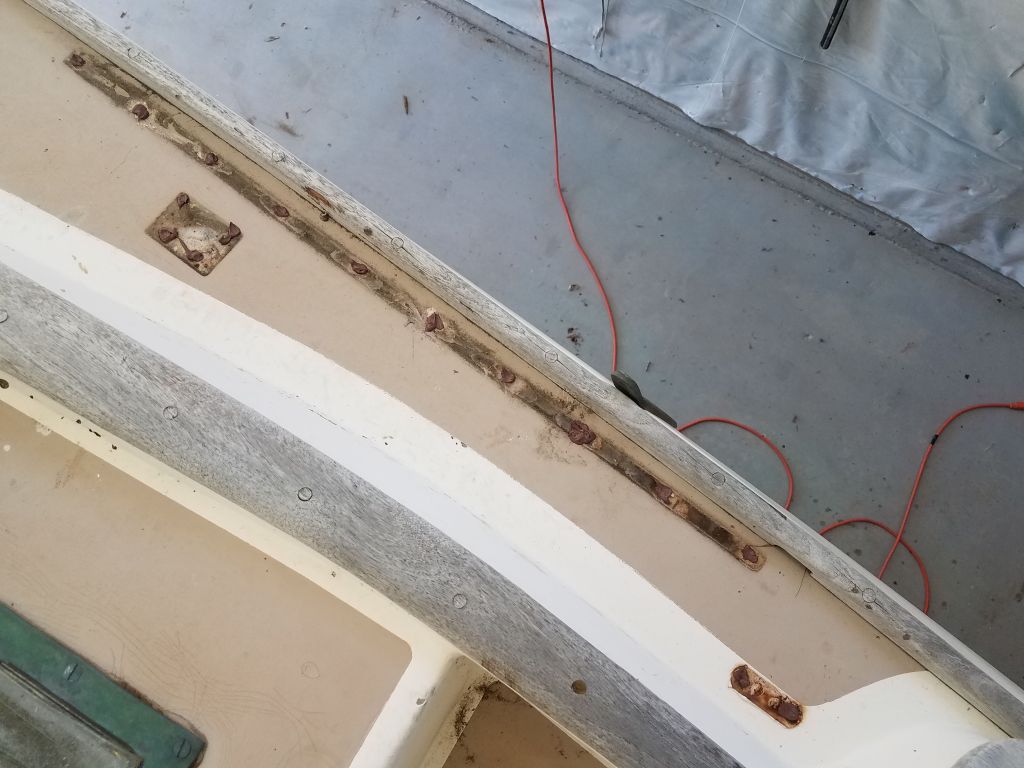
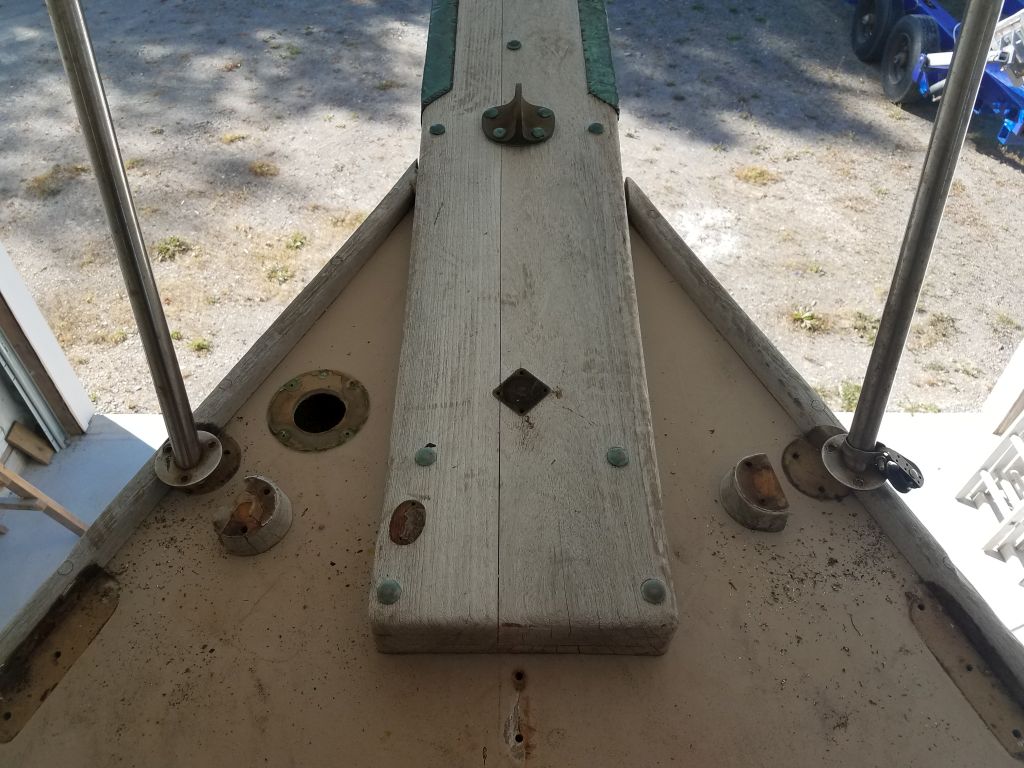
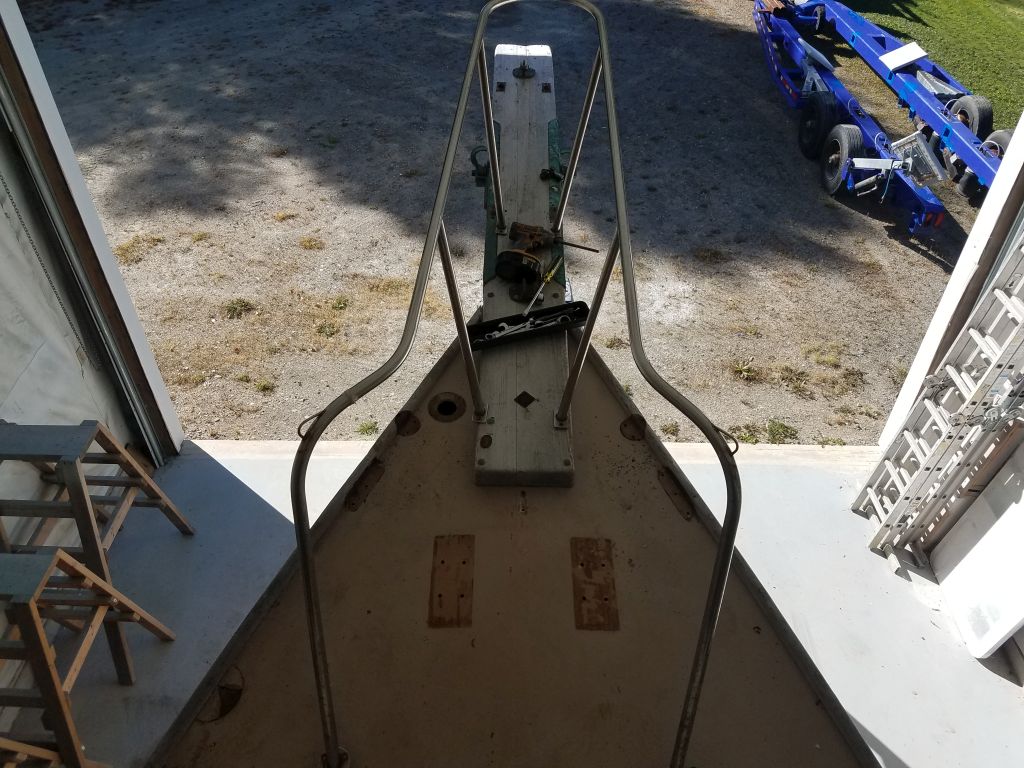
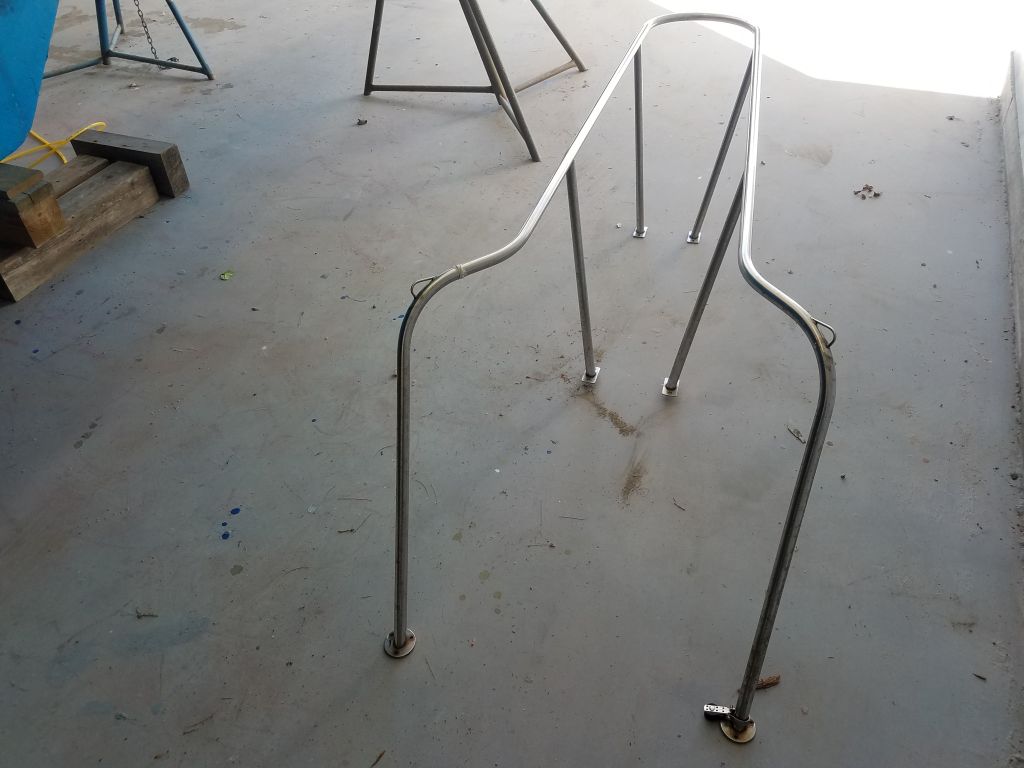
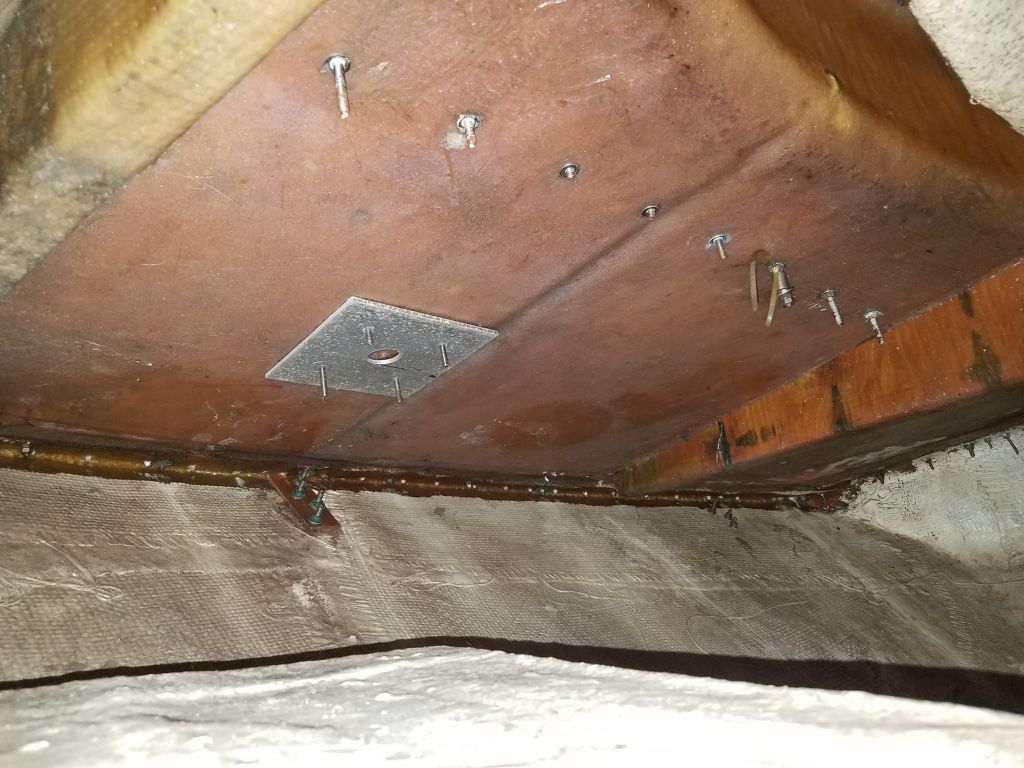
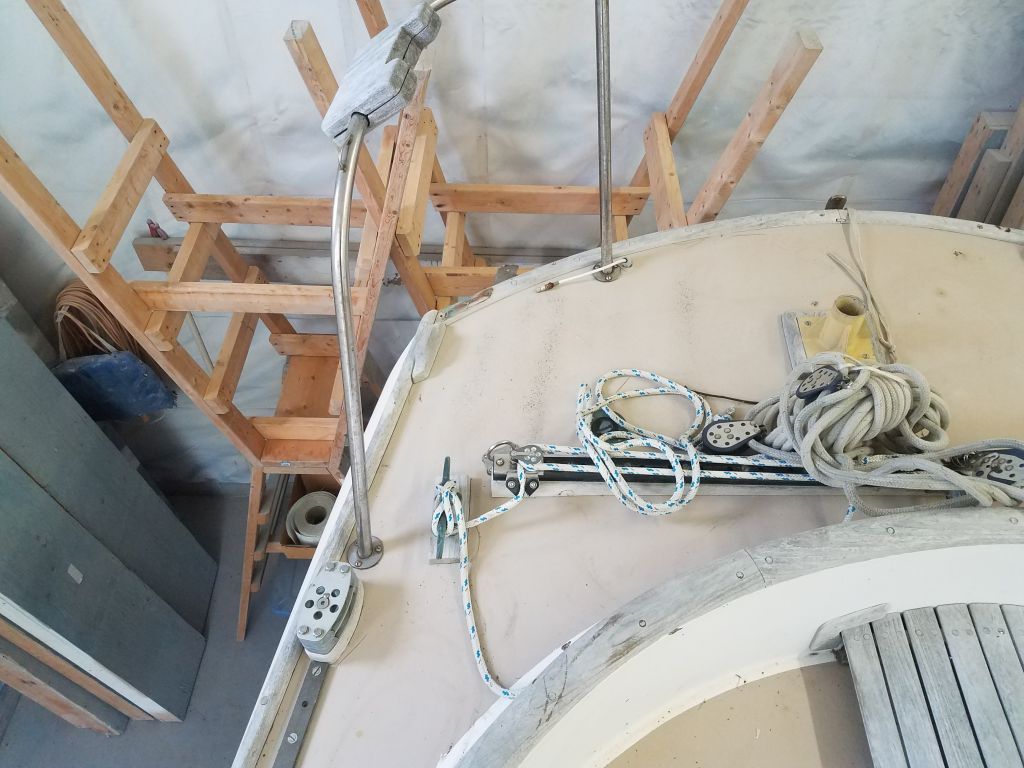
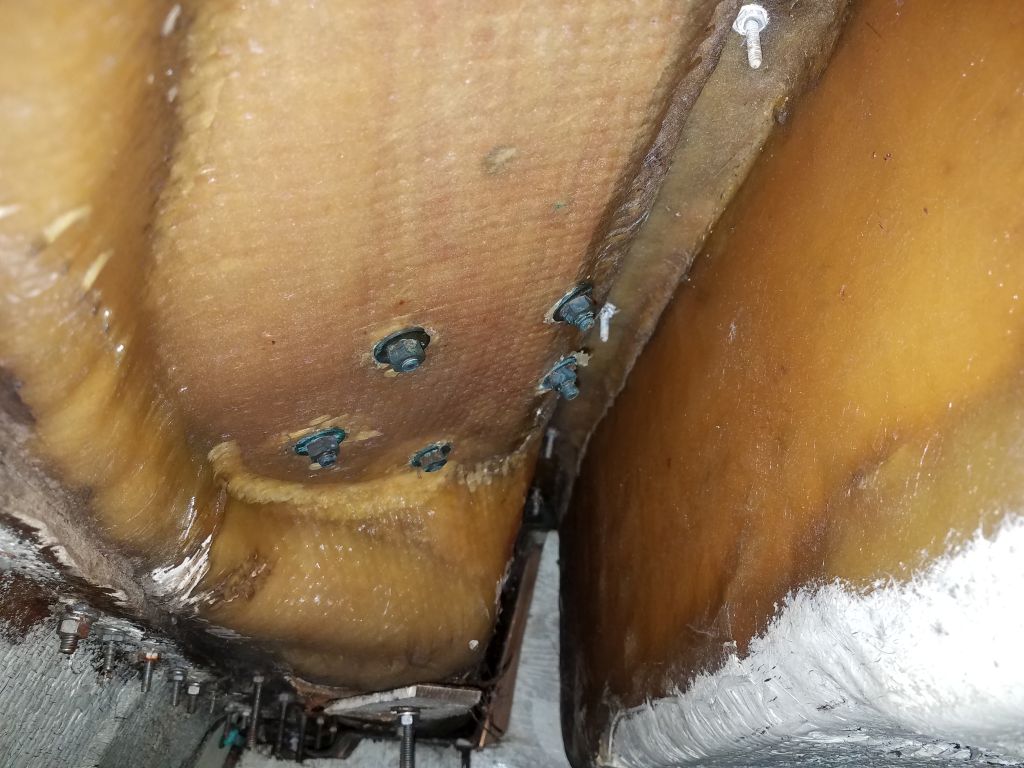
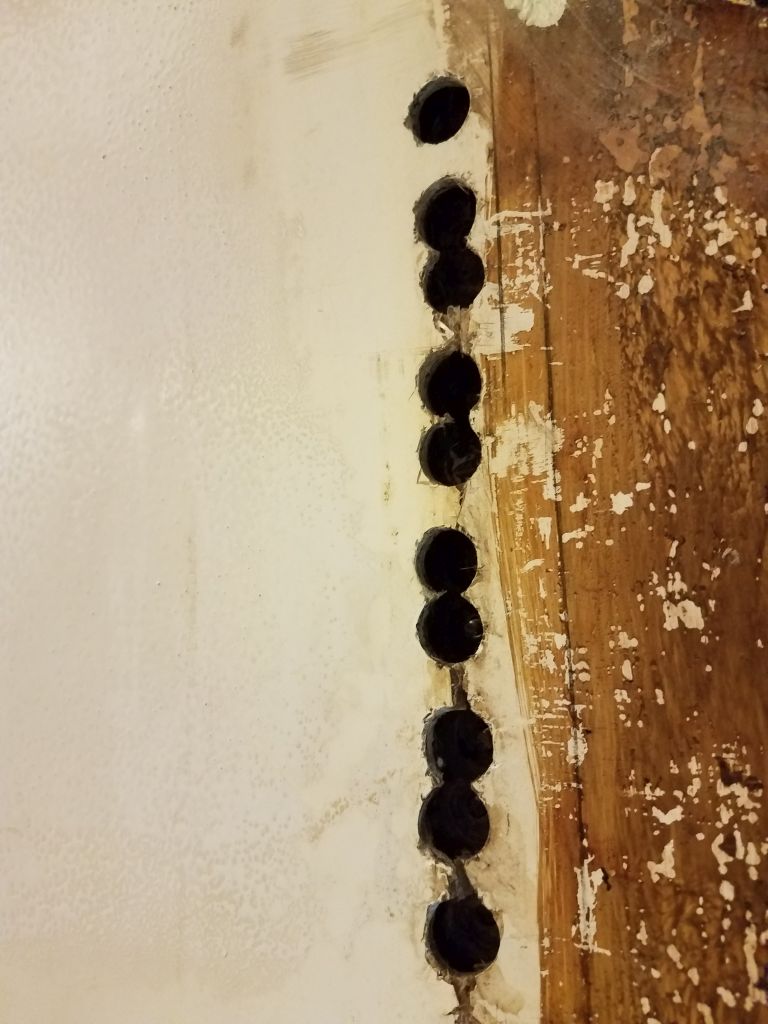
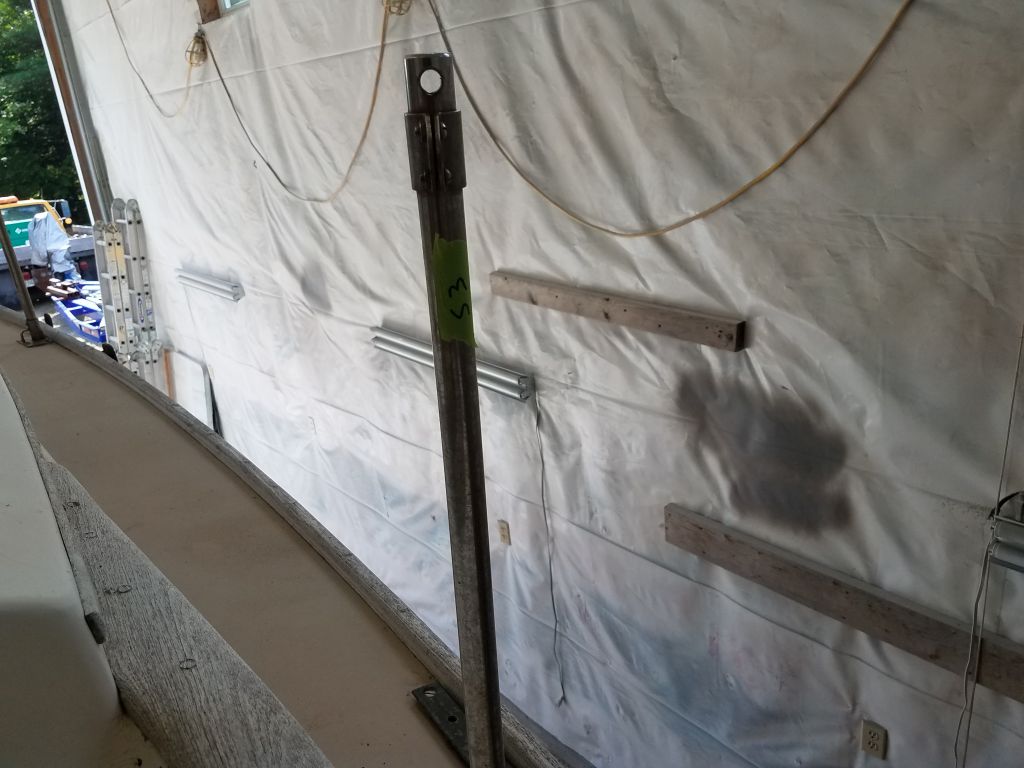
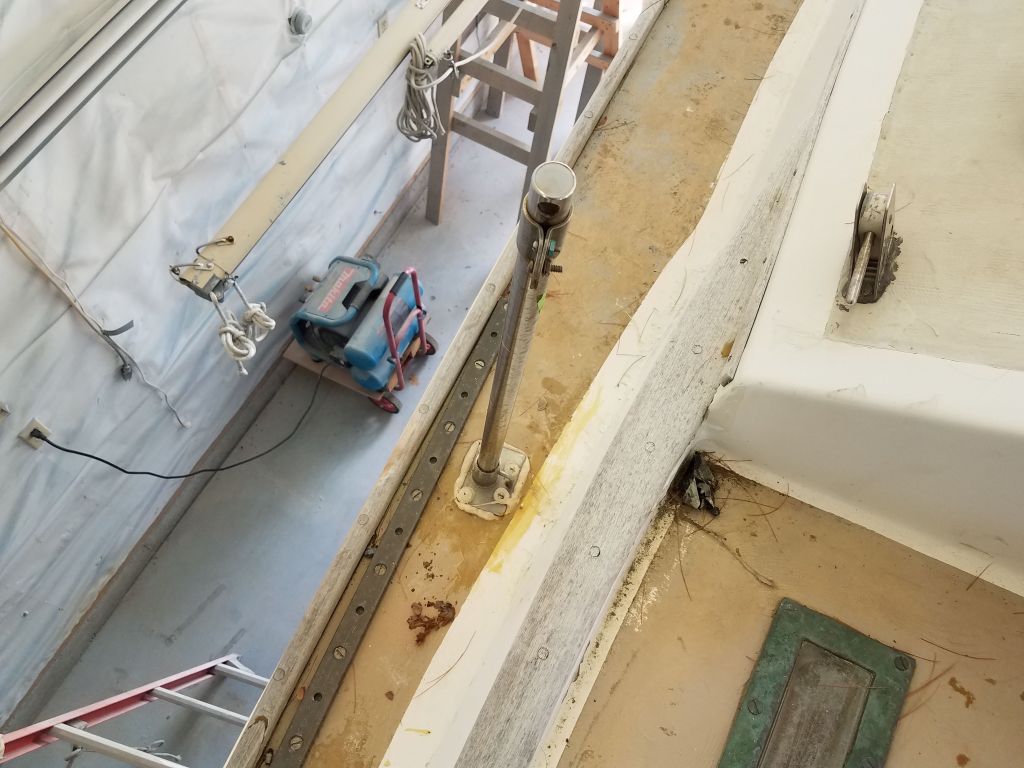
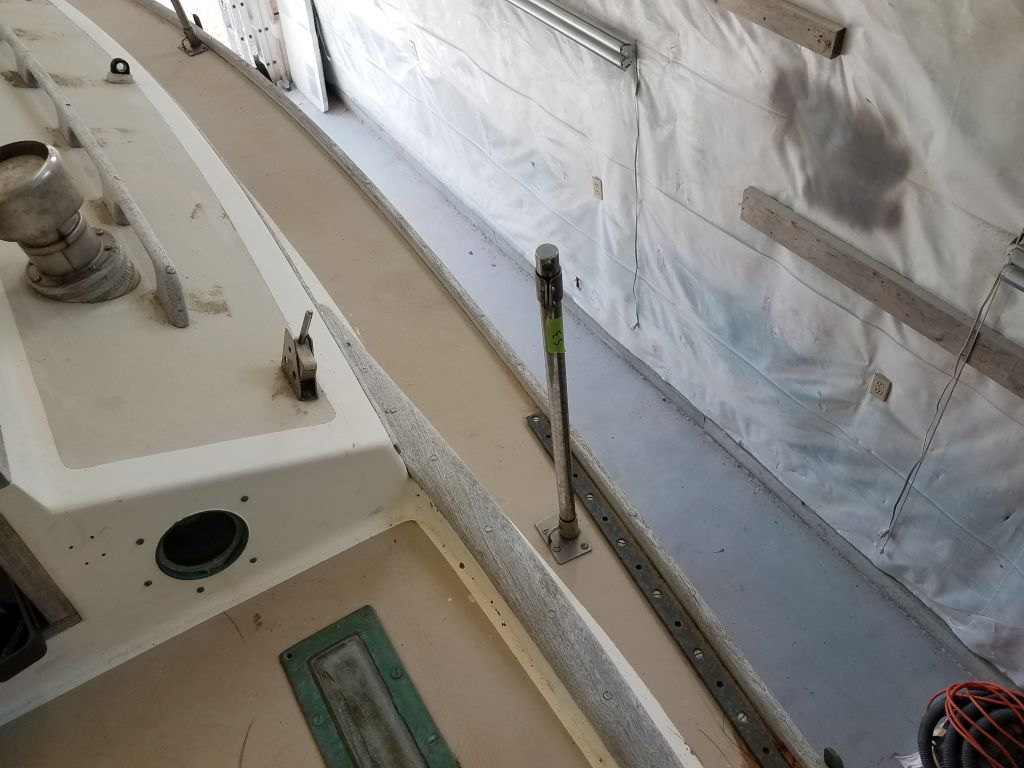
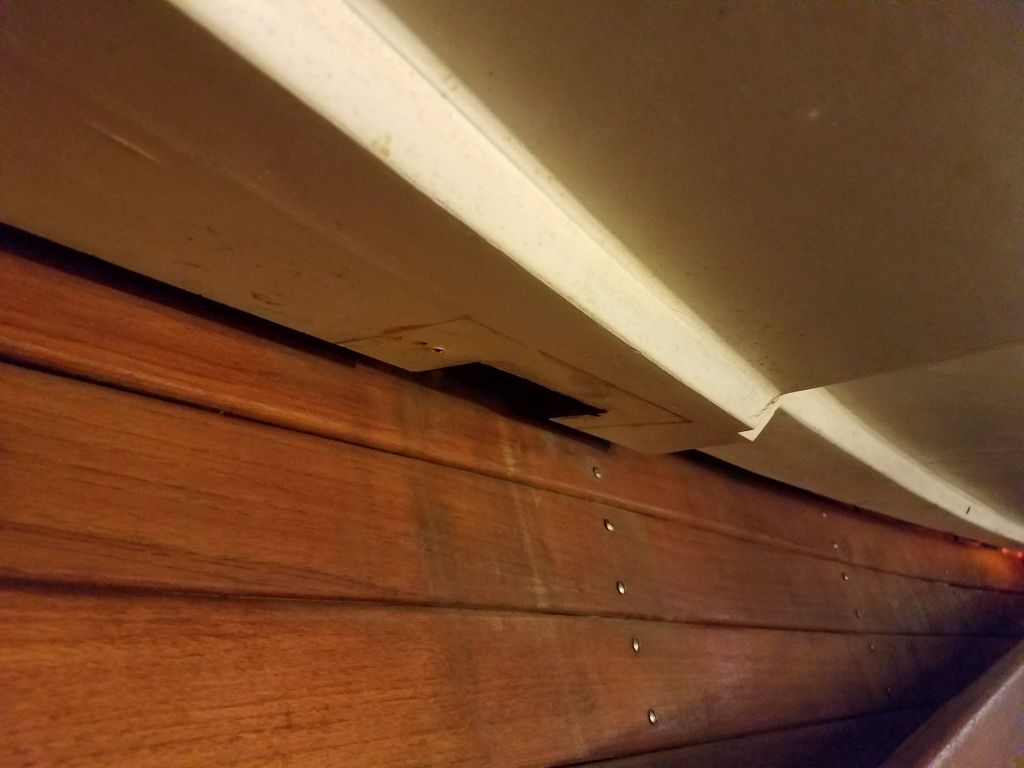
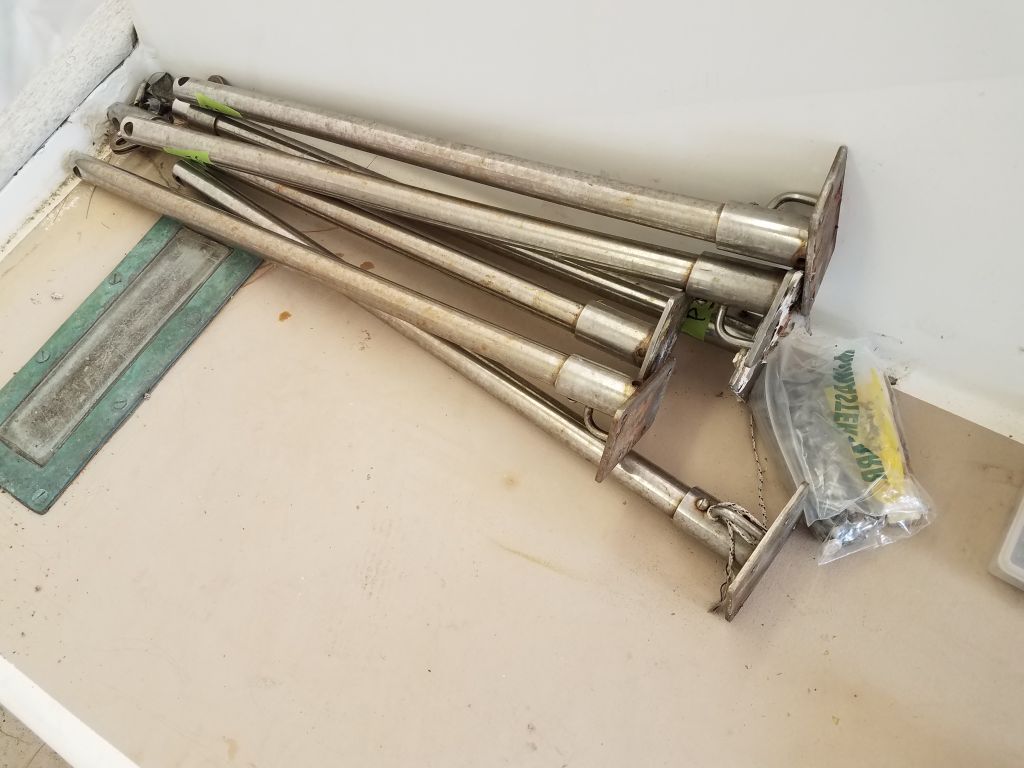
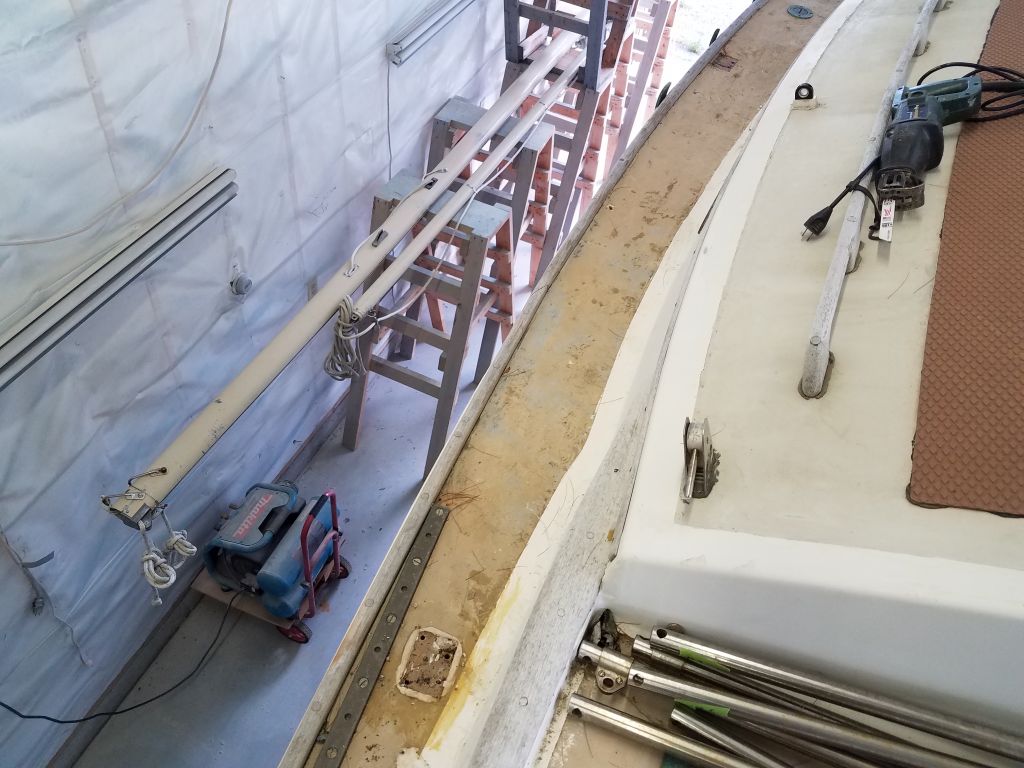
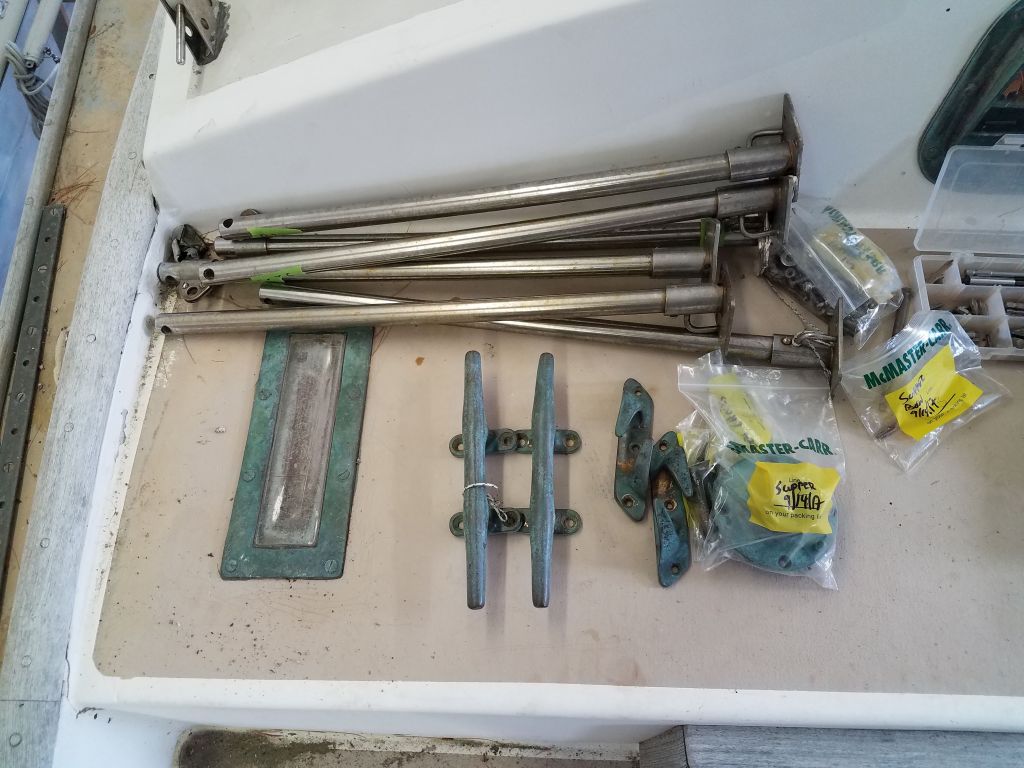
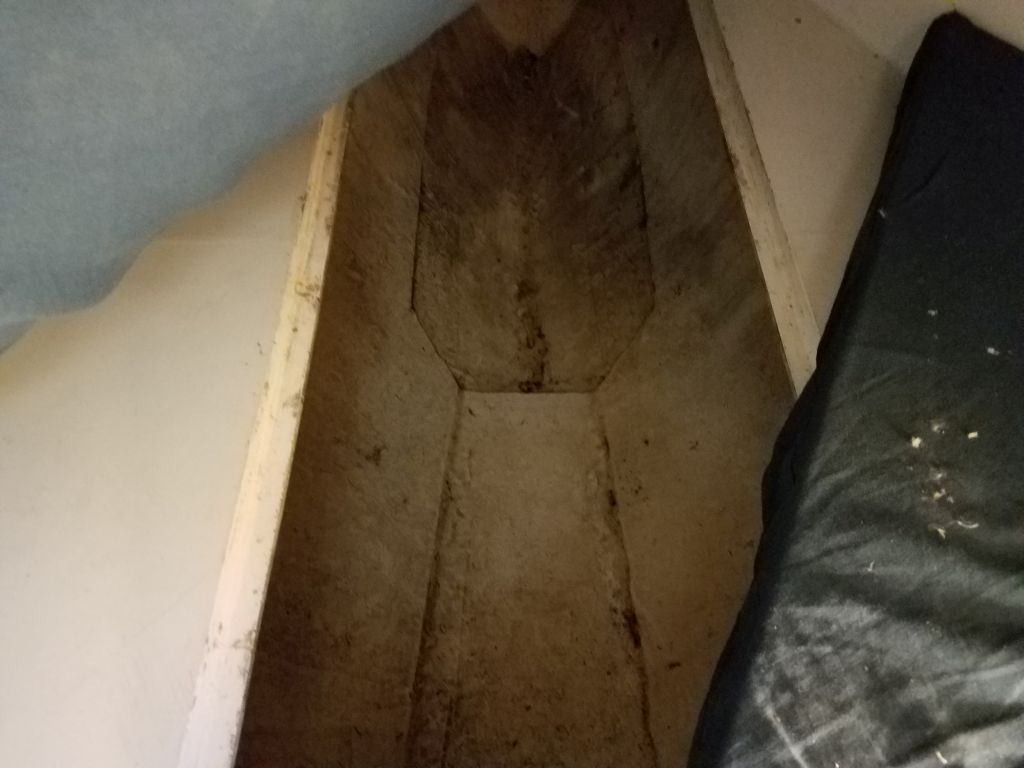
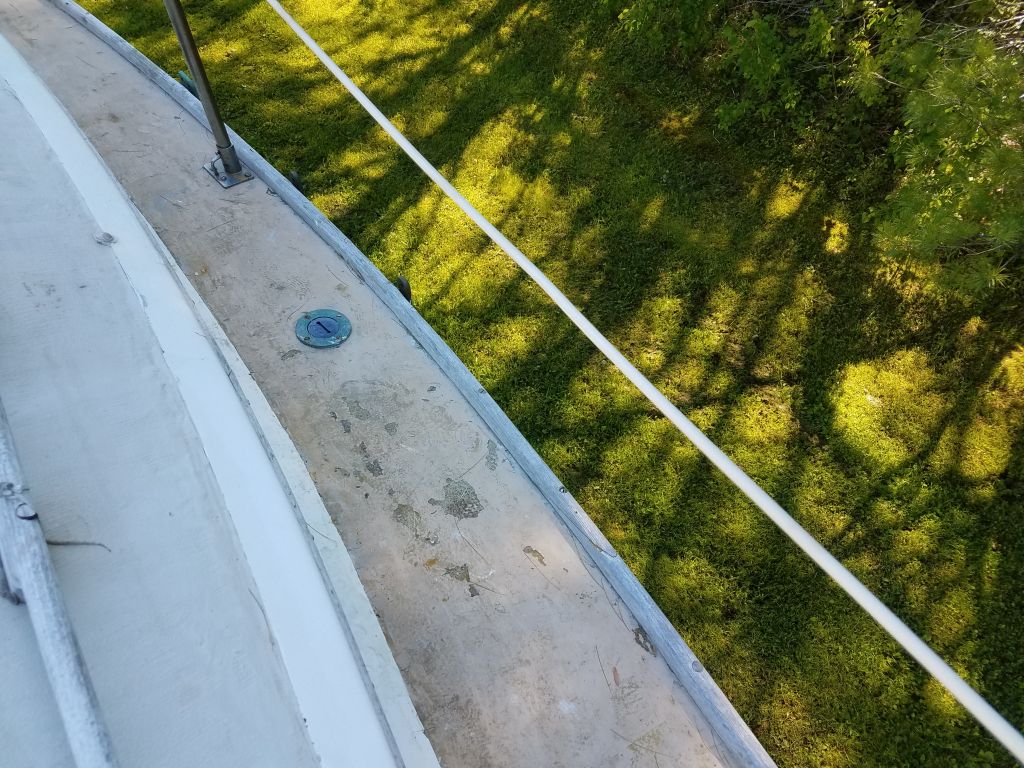
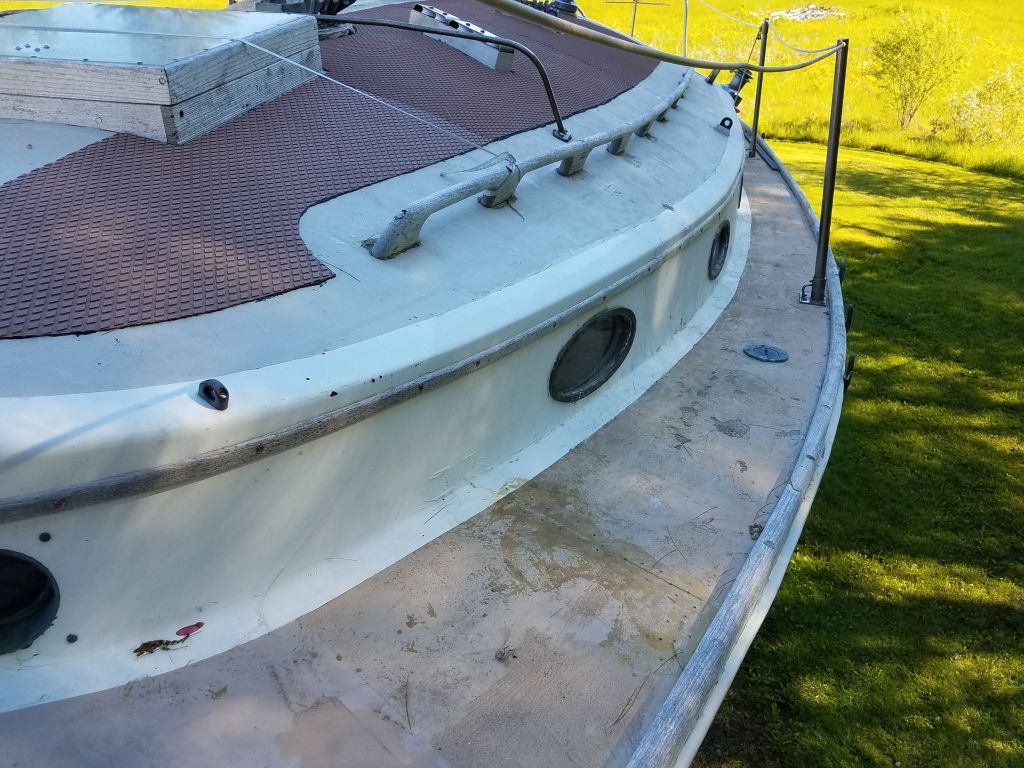
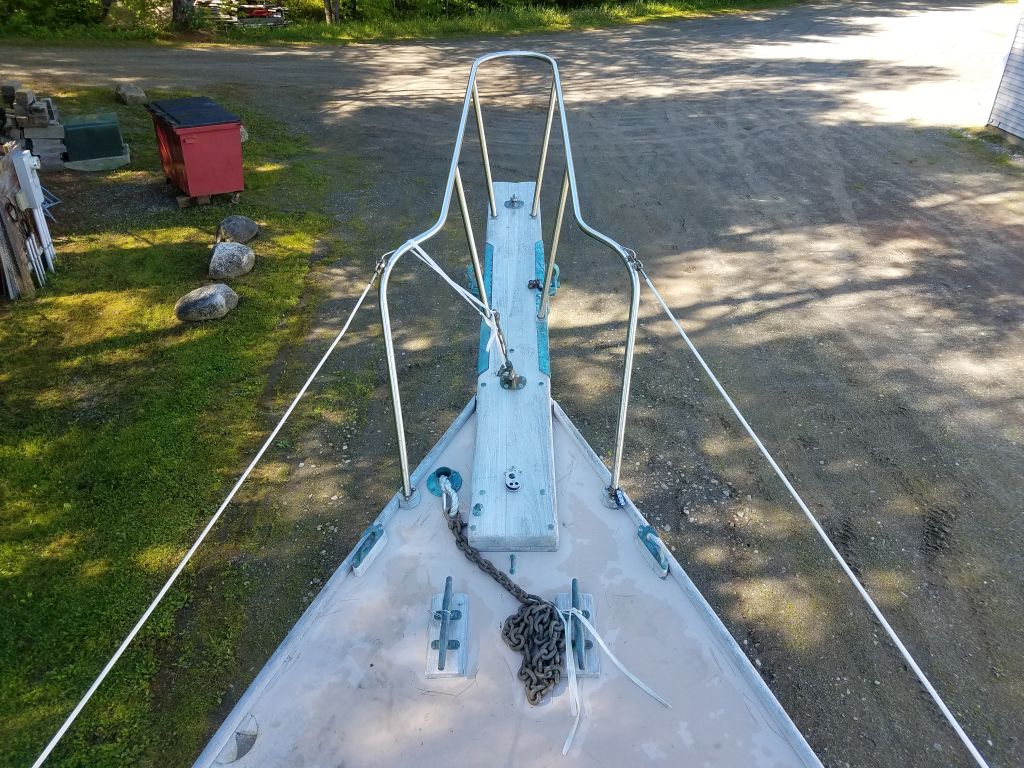
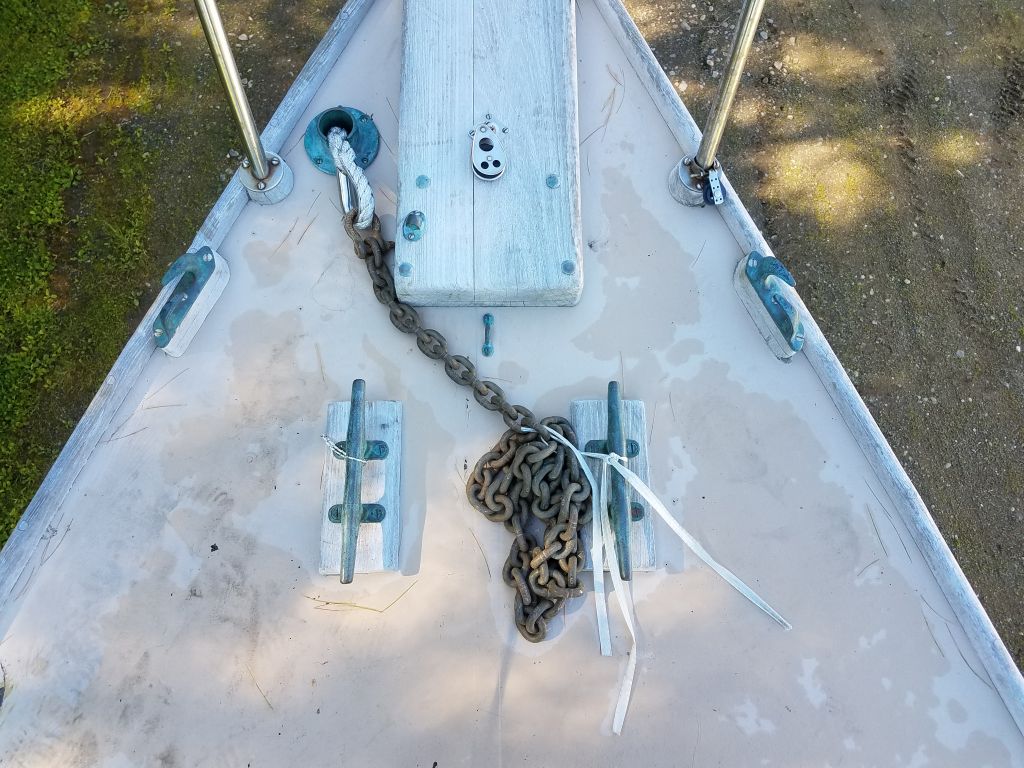
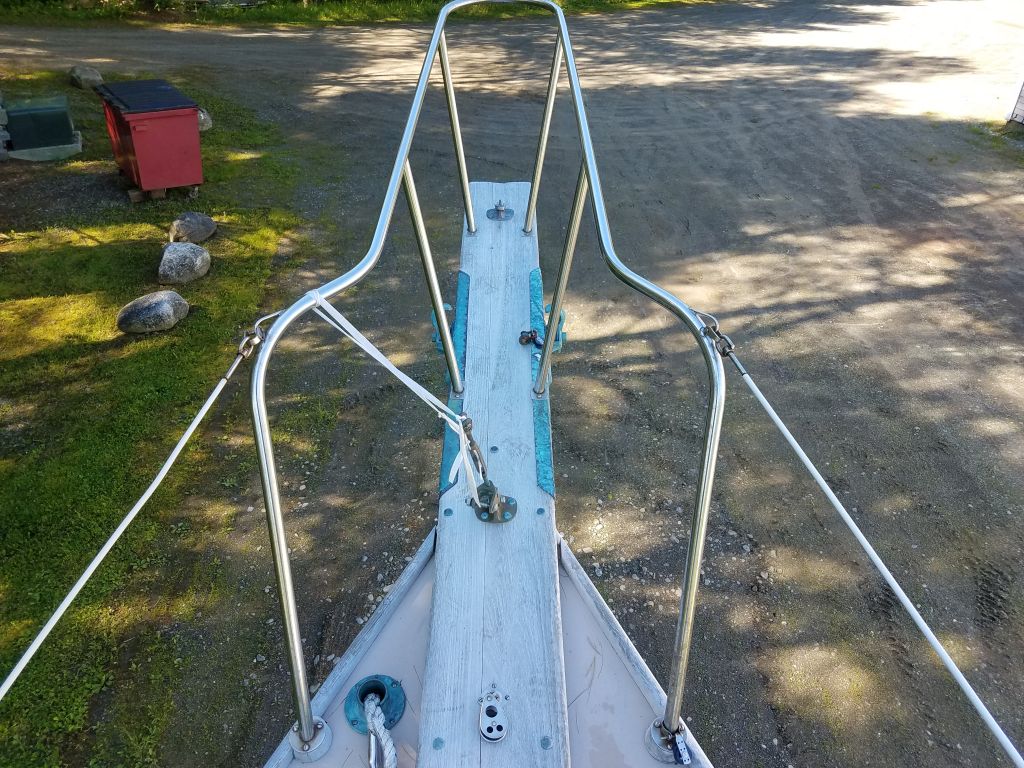
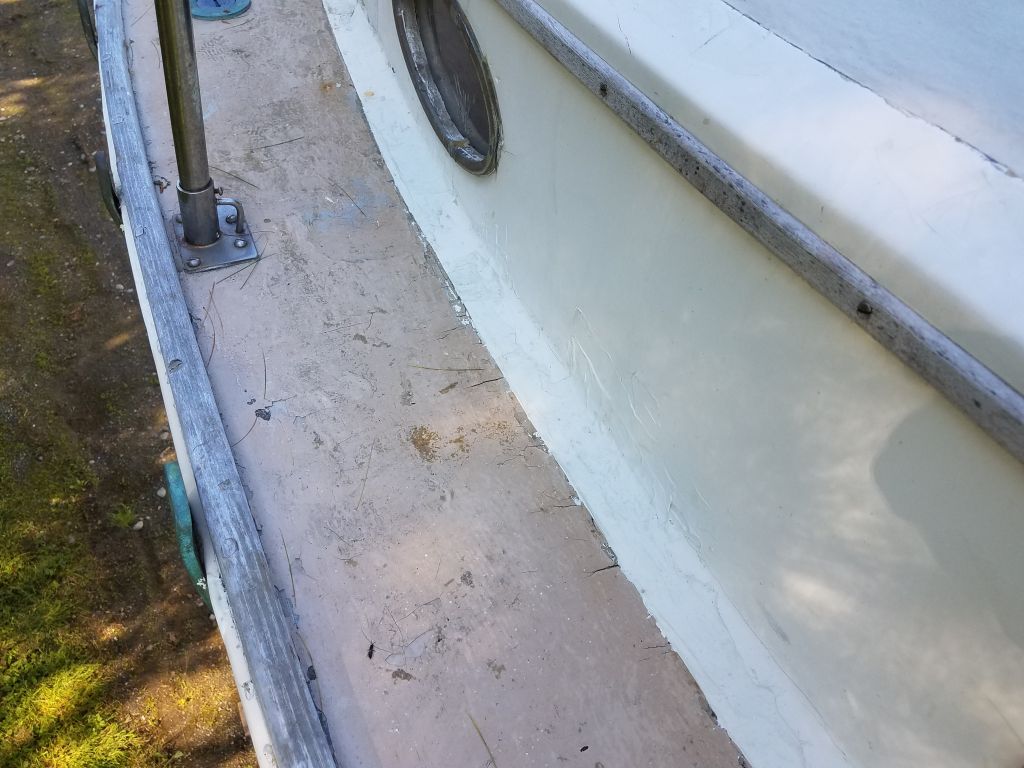
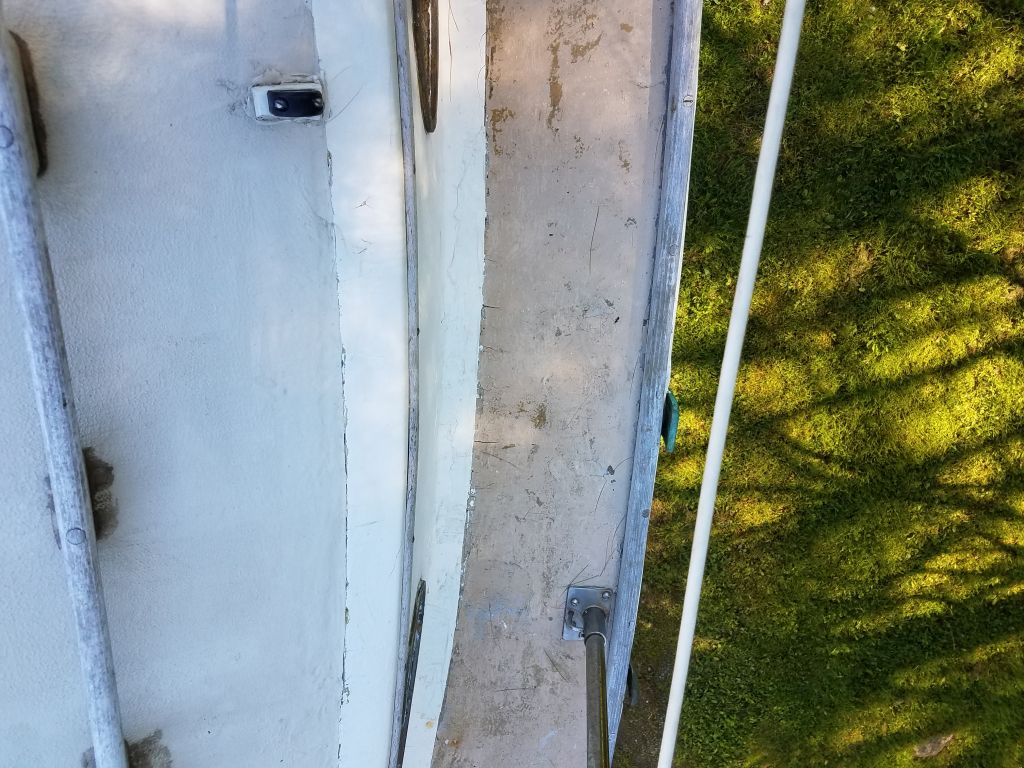
I continued aft, laboriously unthreading the nuts from the 2″ overlong fasteners at the mooring cleat, a nearby padeye, and the forwardmost stern pulpit base, along with a couple other nearby fittings. Access to the farthest aft reaches of the compartment, to which I eventually needed access, was tight thanks to some built-in transverse bulkheads inside the locker, so before trying to crawl back there I removed the long fasteners from the closer fittings to limit what could catch and scrape me later. With slightly better access, I could then clamp some pilers onto the three nuts securing the port after pulpit base, and then spin the bolts free from above, freeing the port half of the pulpit.
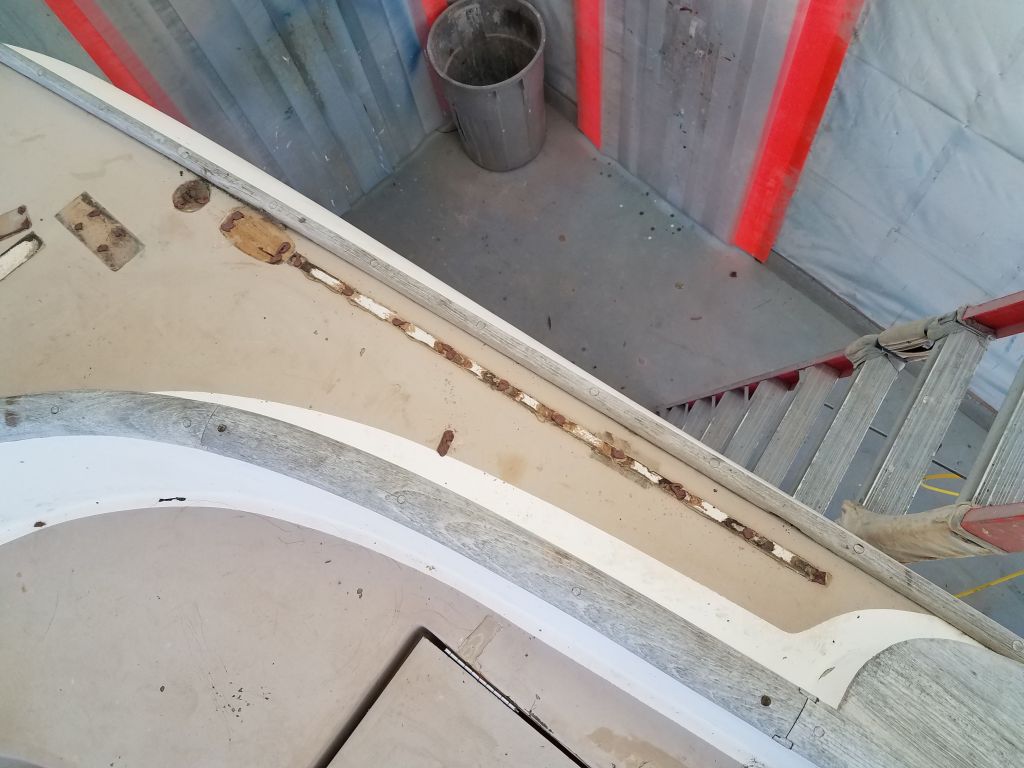
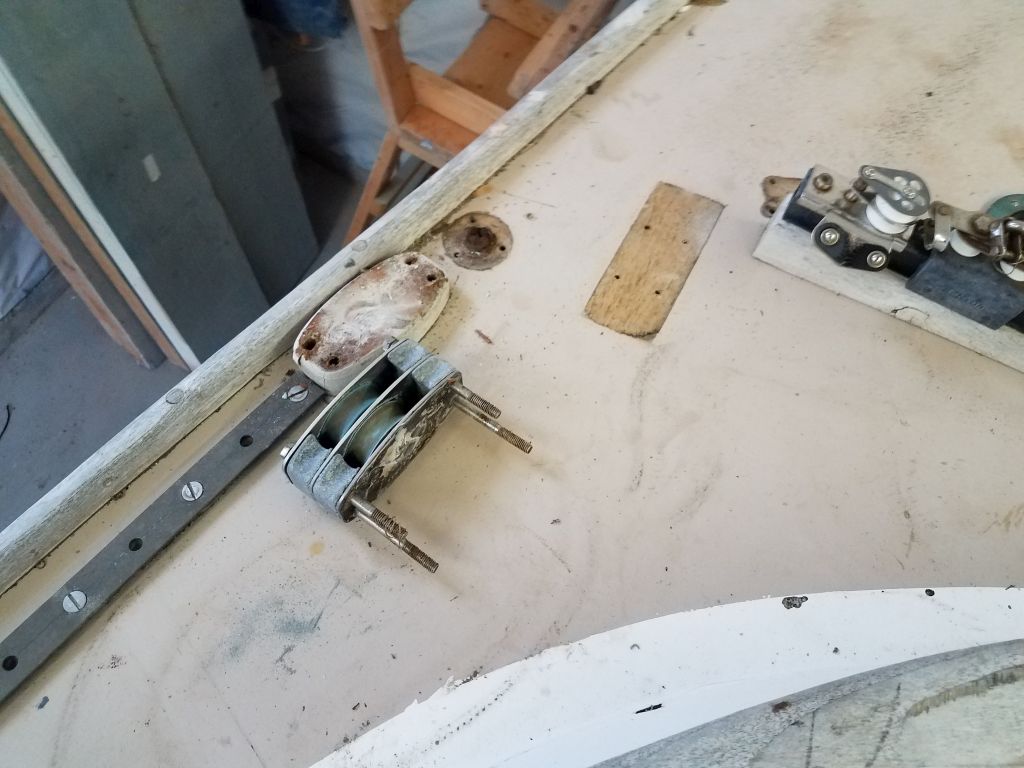
A stacked double turning block, located at the aft end of the genoa track, proved challenging to remove, even though the nuts below came off with ease. But I found that the fasteners were welded to the various aluminum components of the block, specifically the anodized spacers at each end, and I couldn’t turn them with a wrench or ratchet from above. I had to press into service my large impact gun and impact sockets in order to release and, finally, pull free these long fasteners.
Moving over to the starboard side, I had enough time to remove the starboard sheet winch–this time without a need to disassemble the winch from above, as all nuts came free from below without issue. I’d continue work on the remaining hardware on this side later.
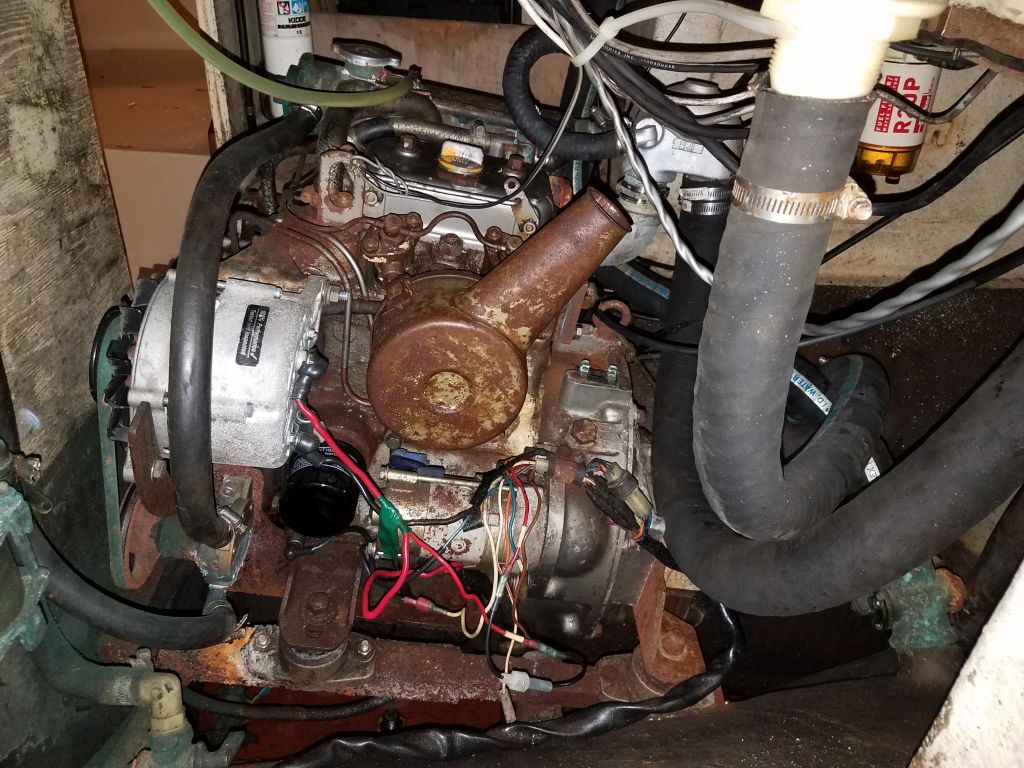
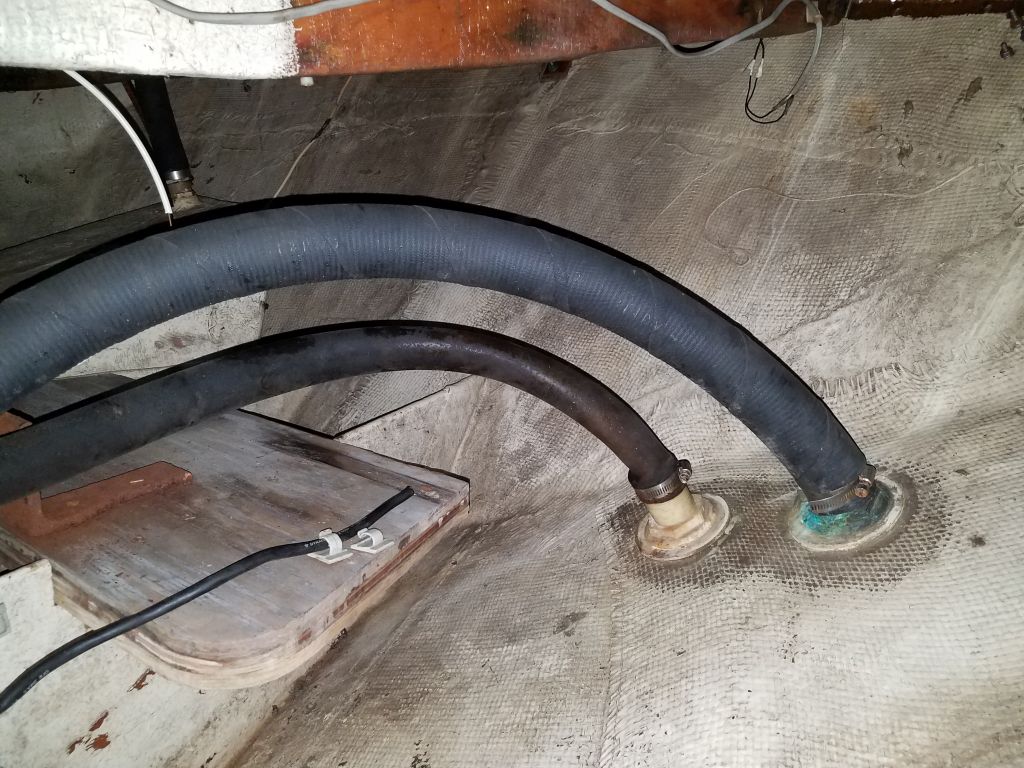
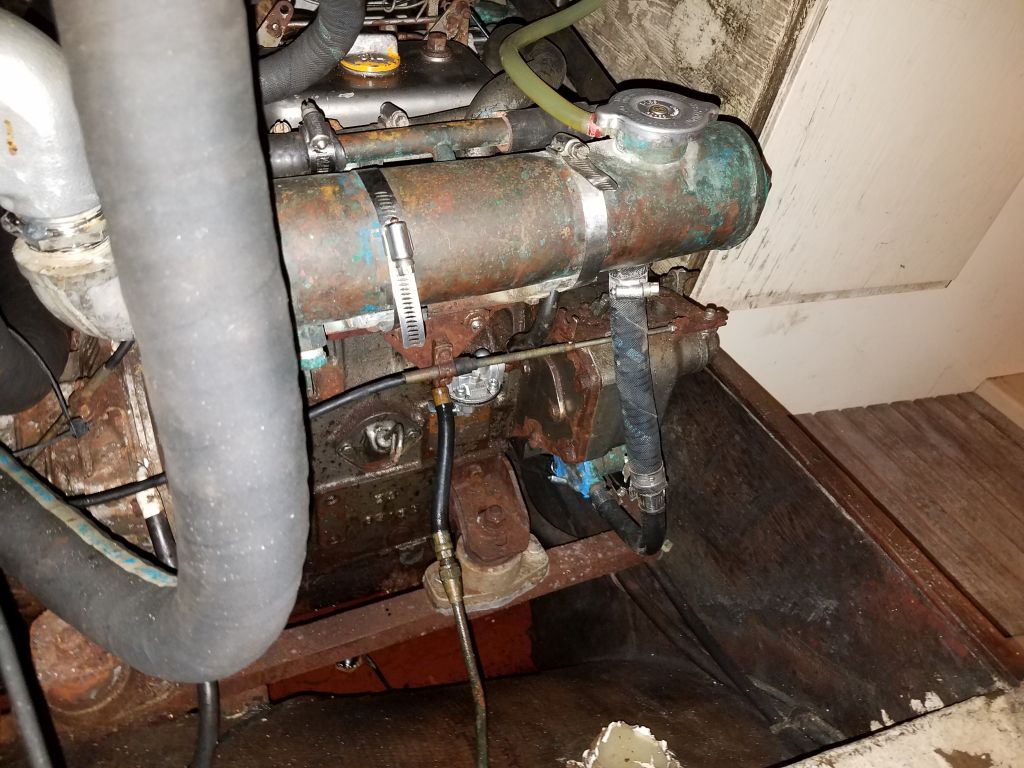
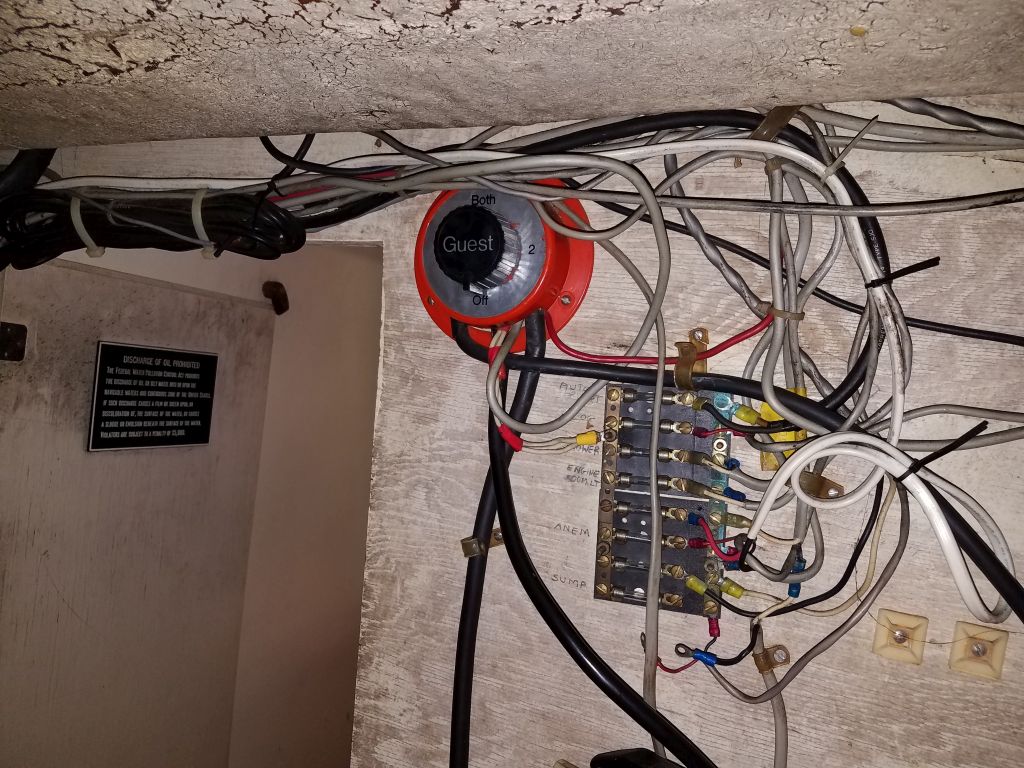
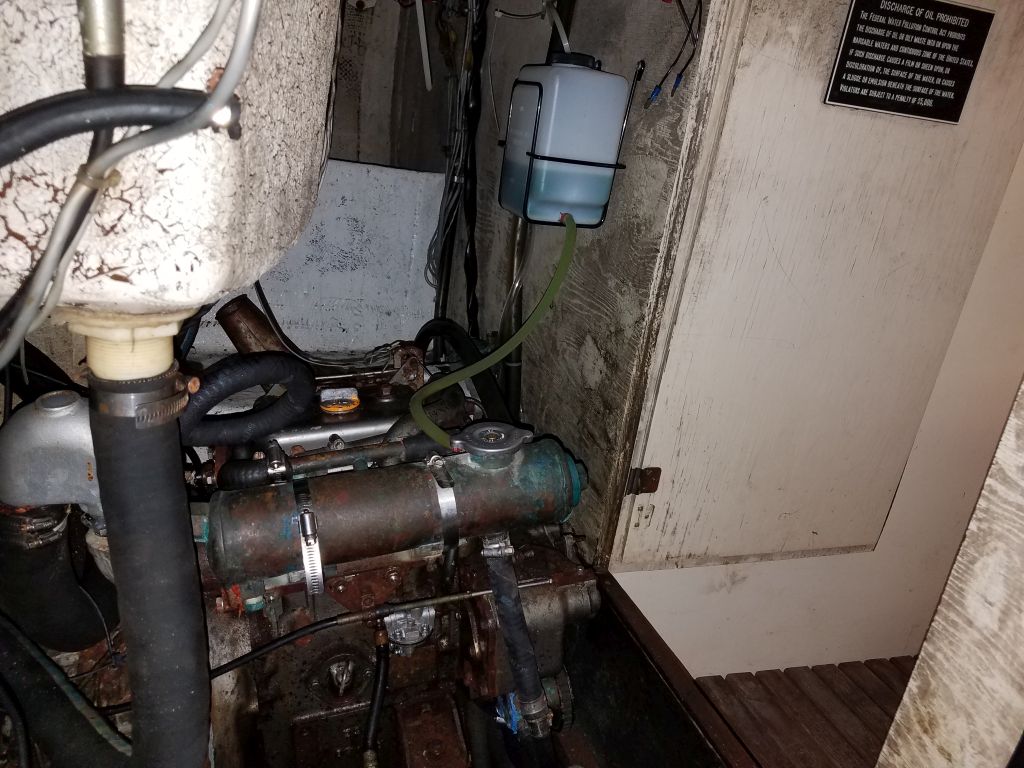
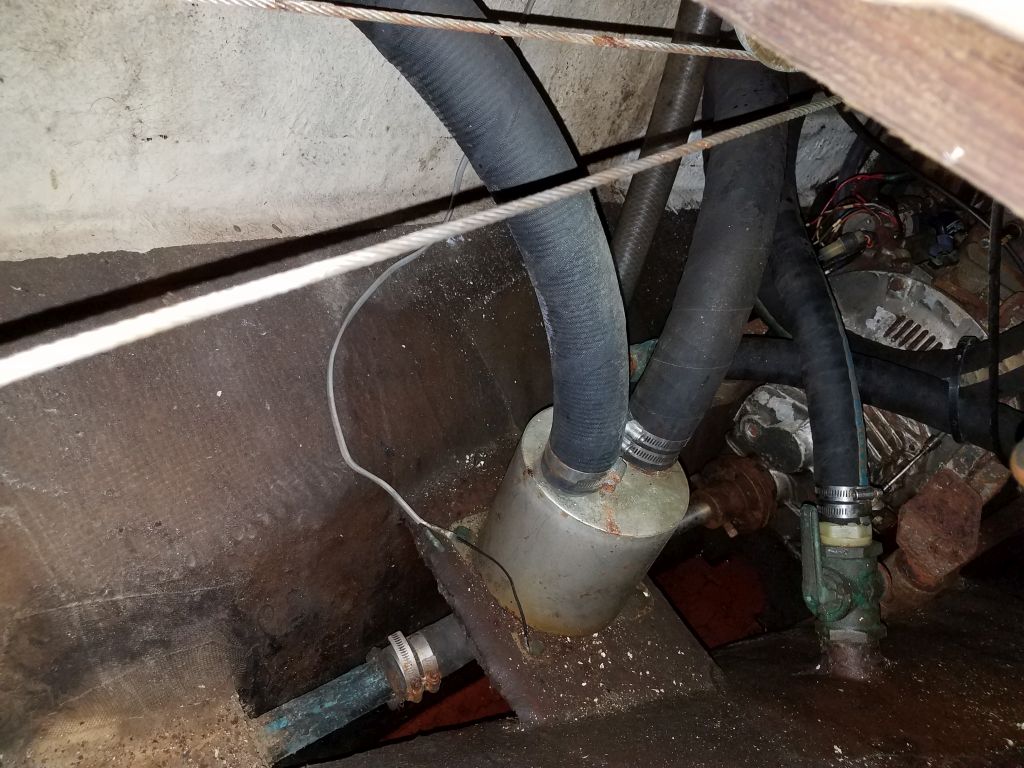
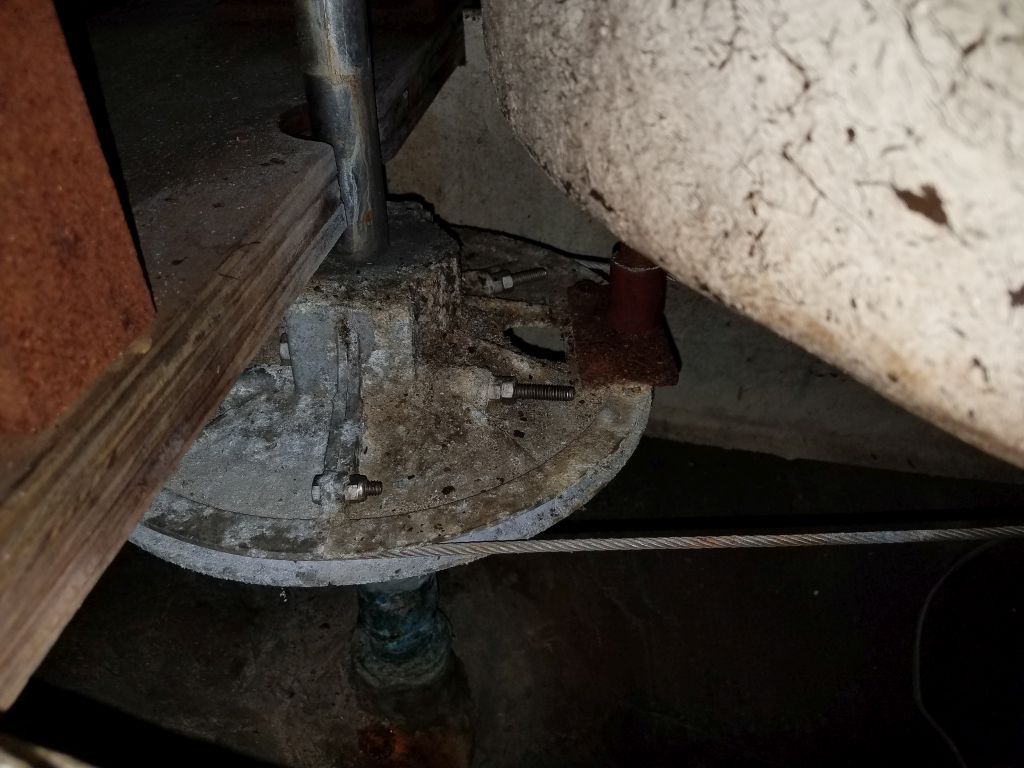
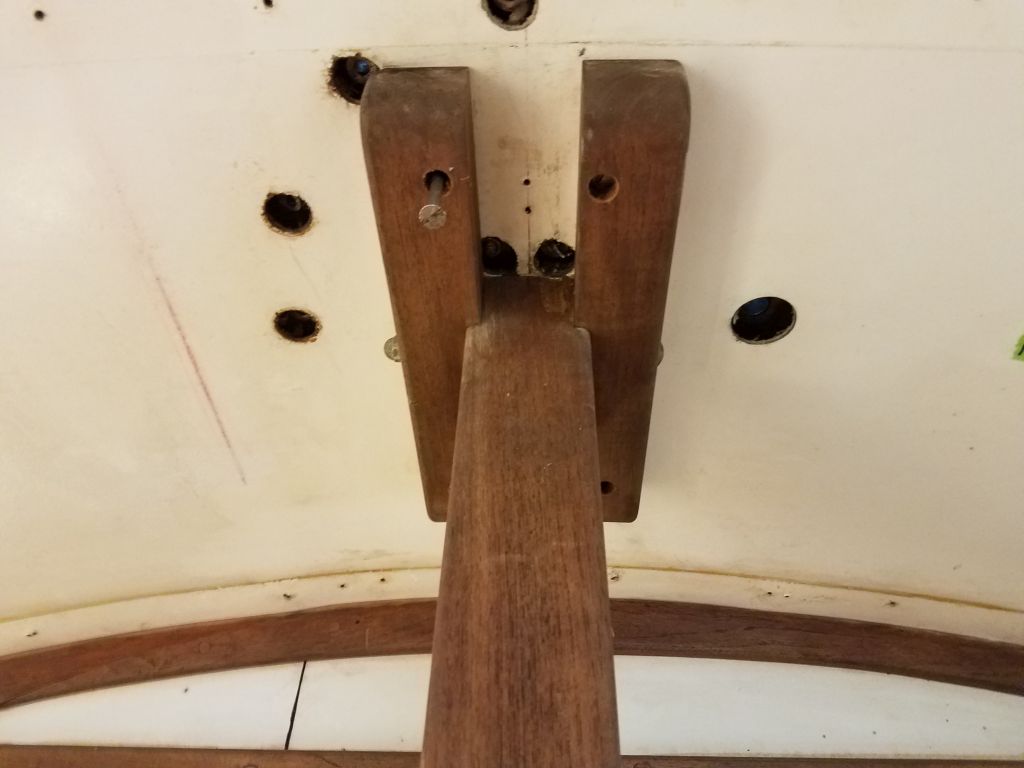
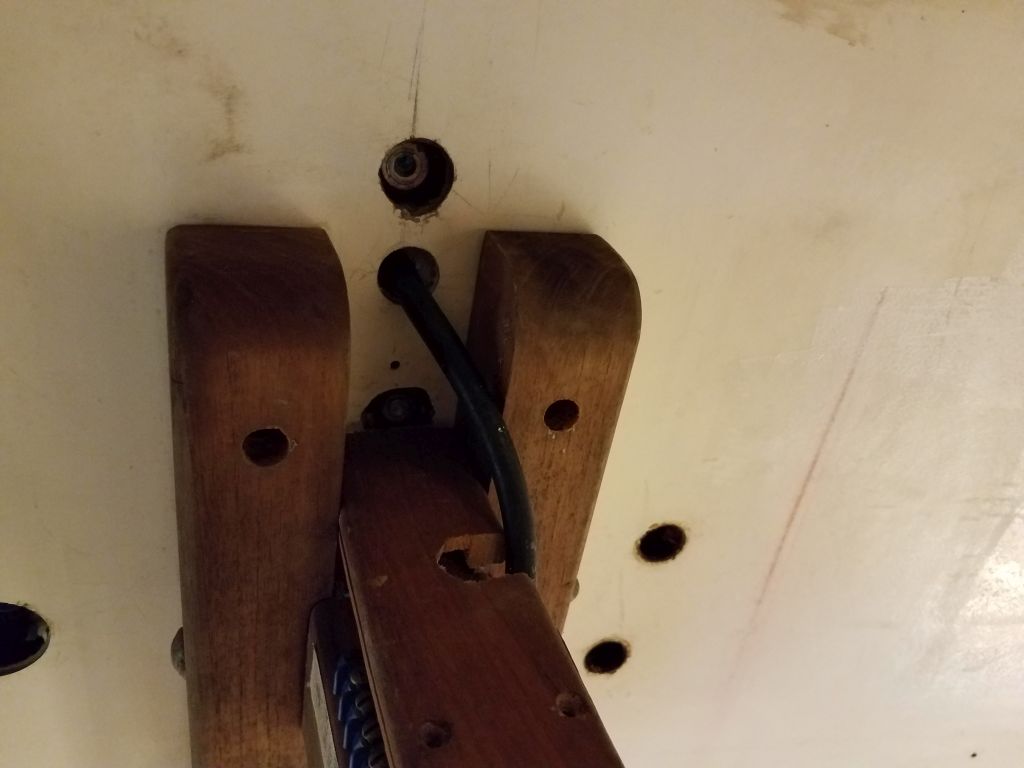
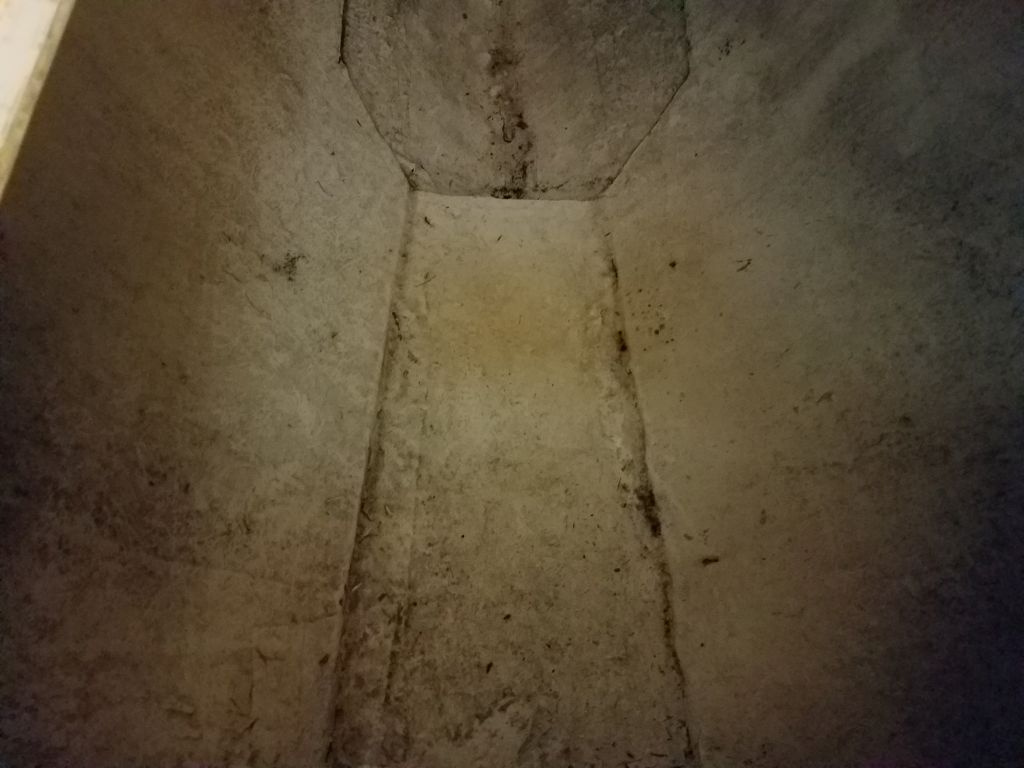
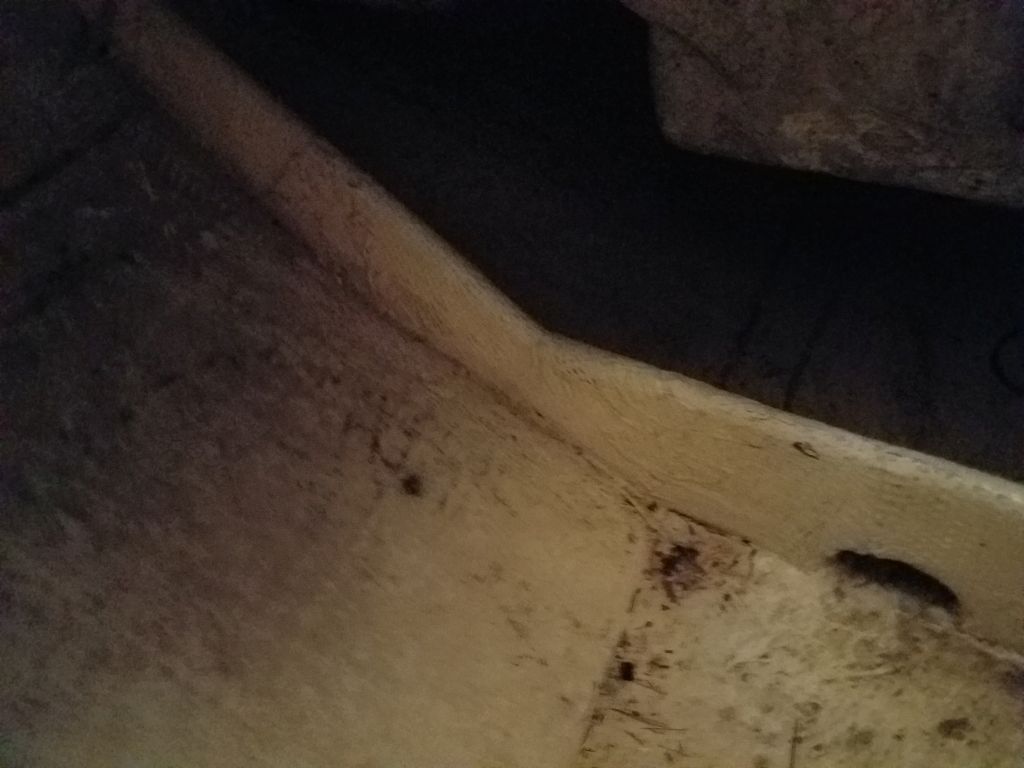
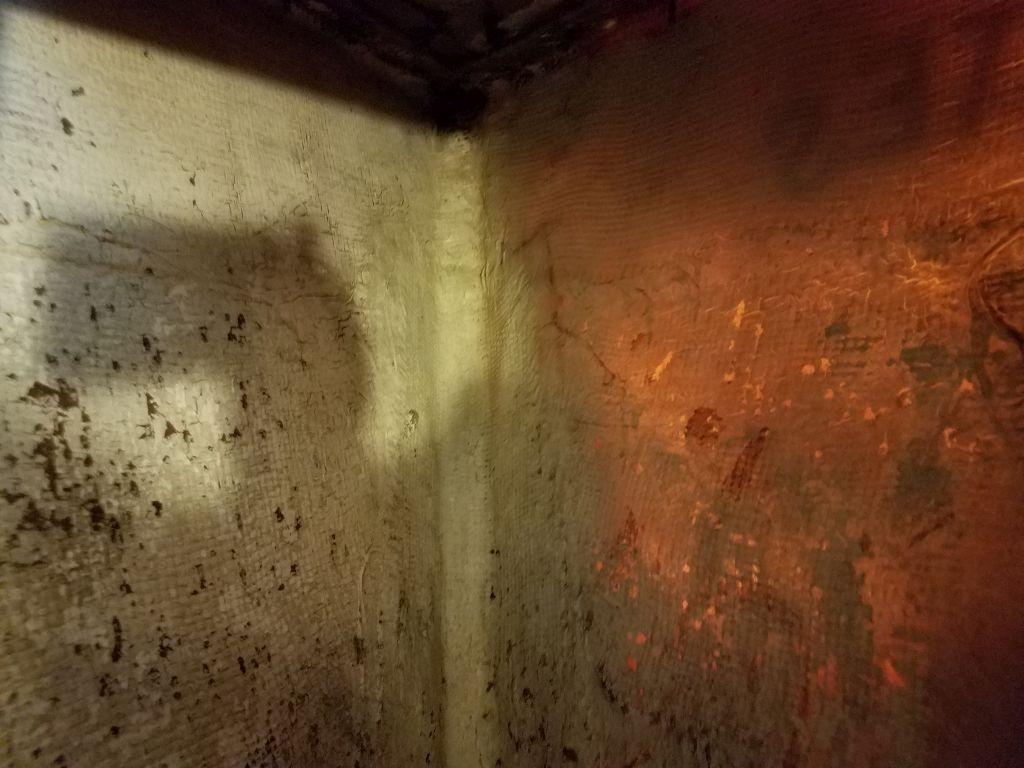
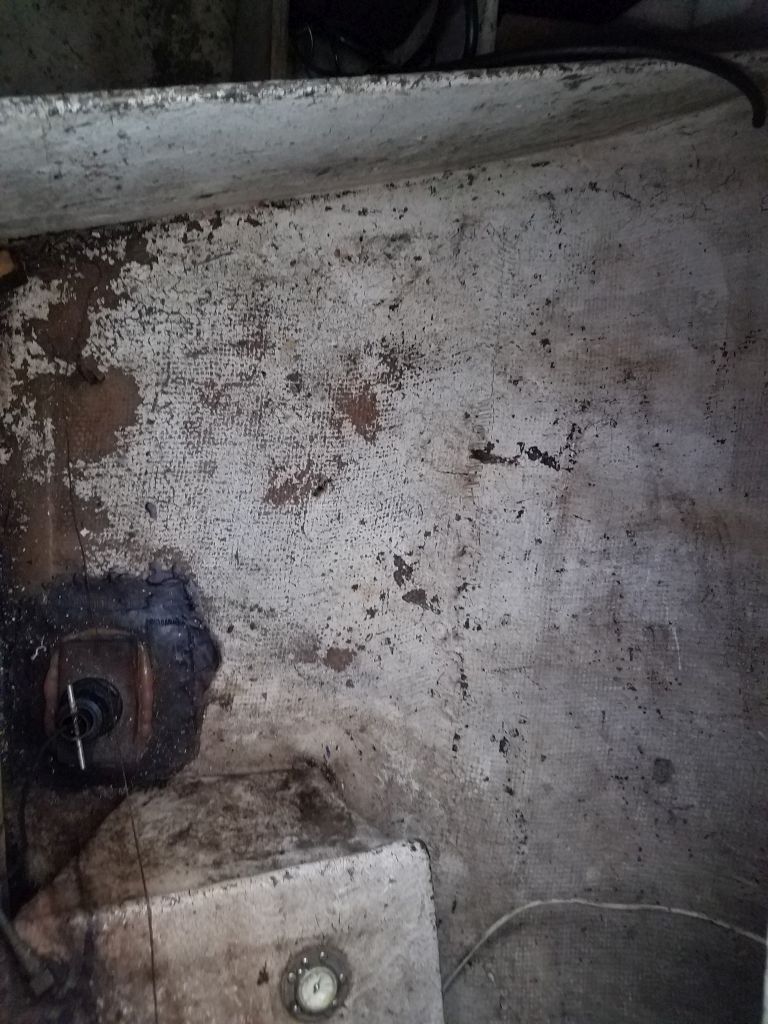
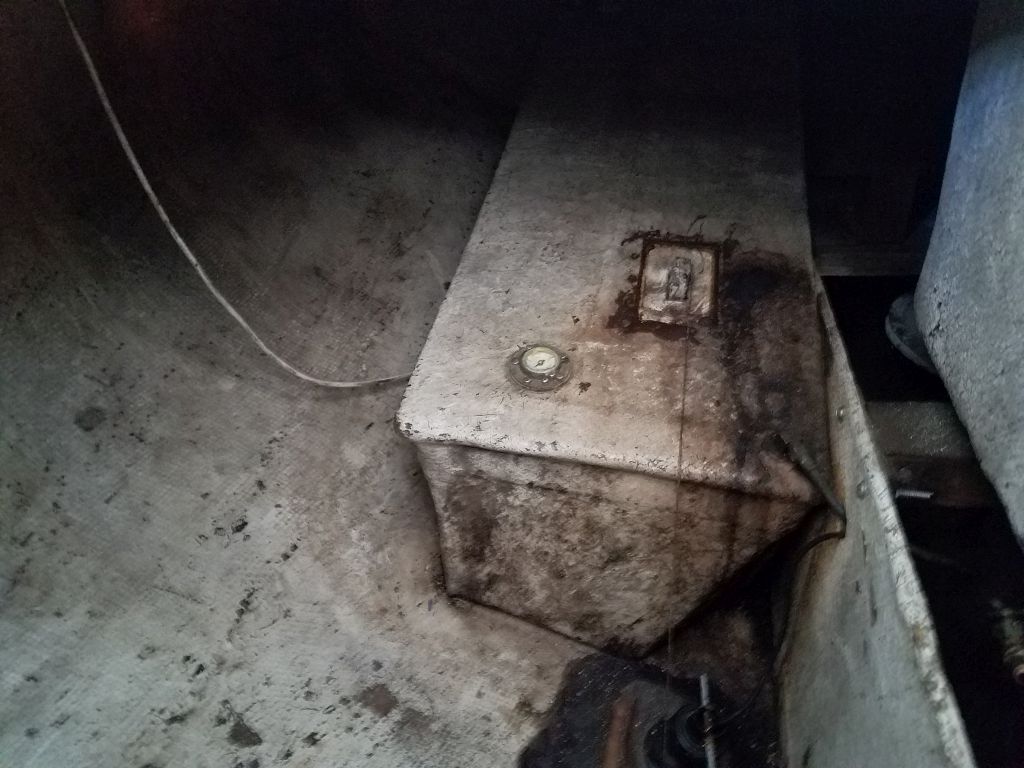
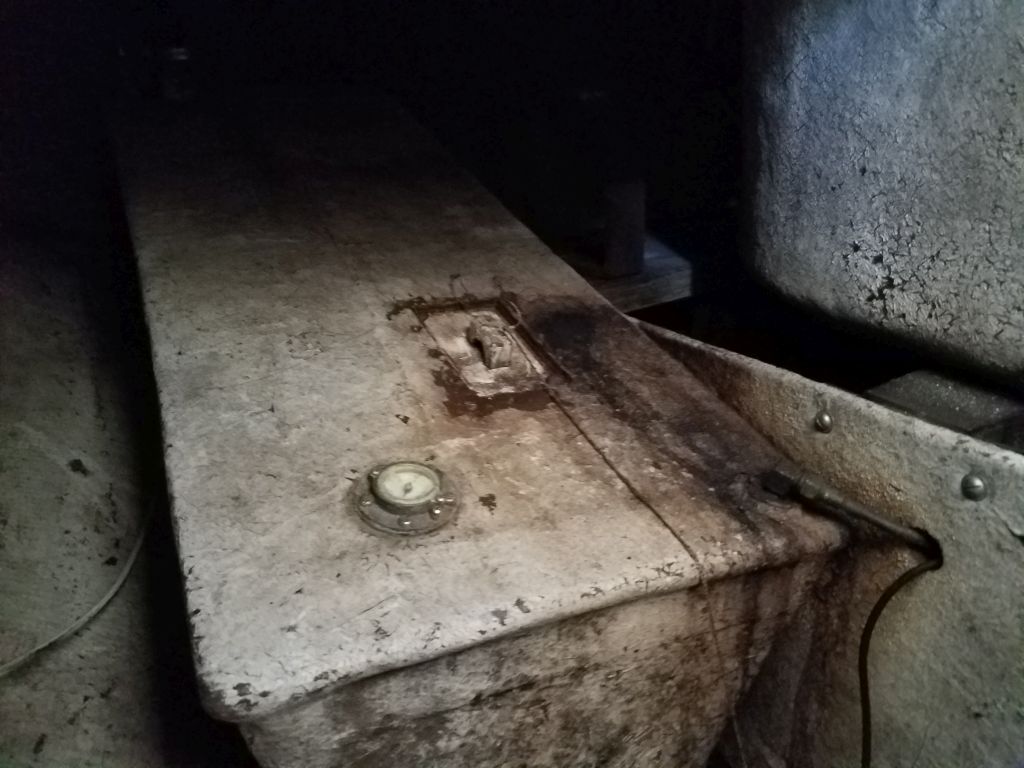
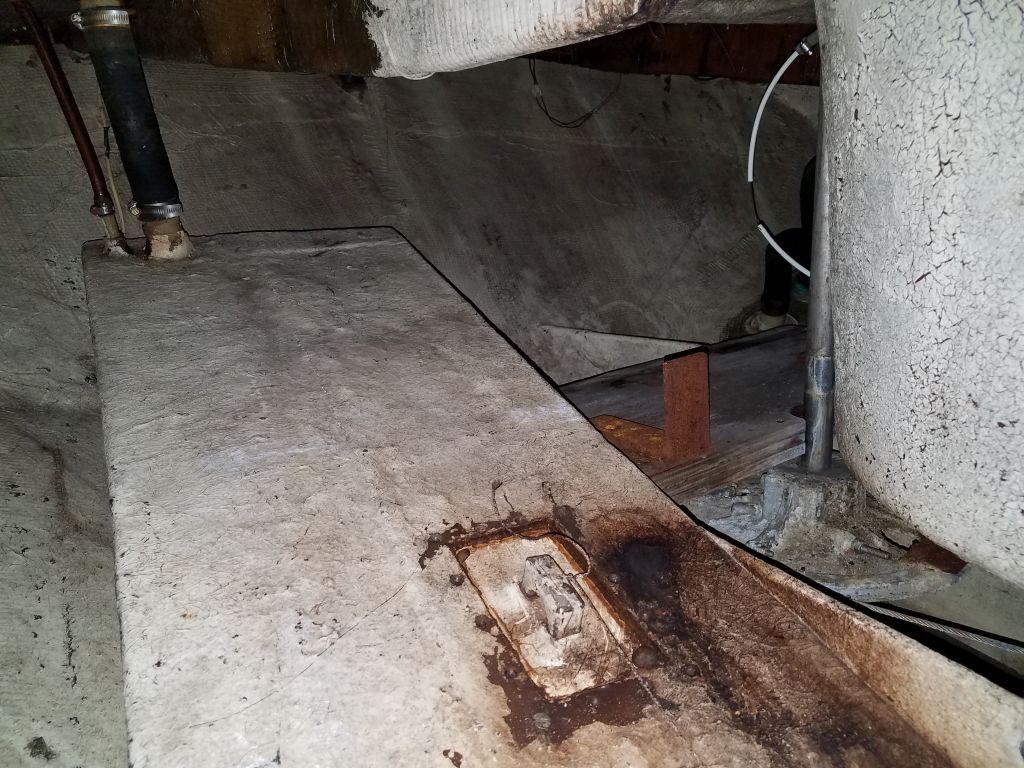
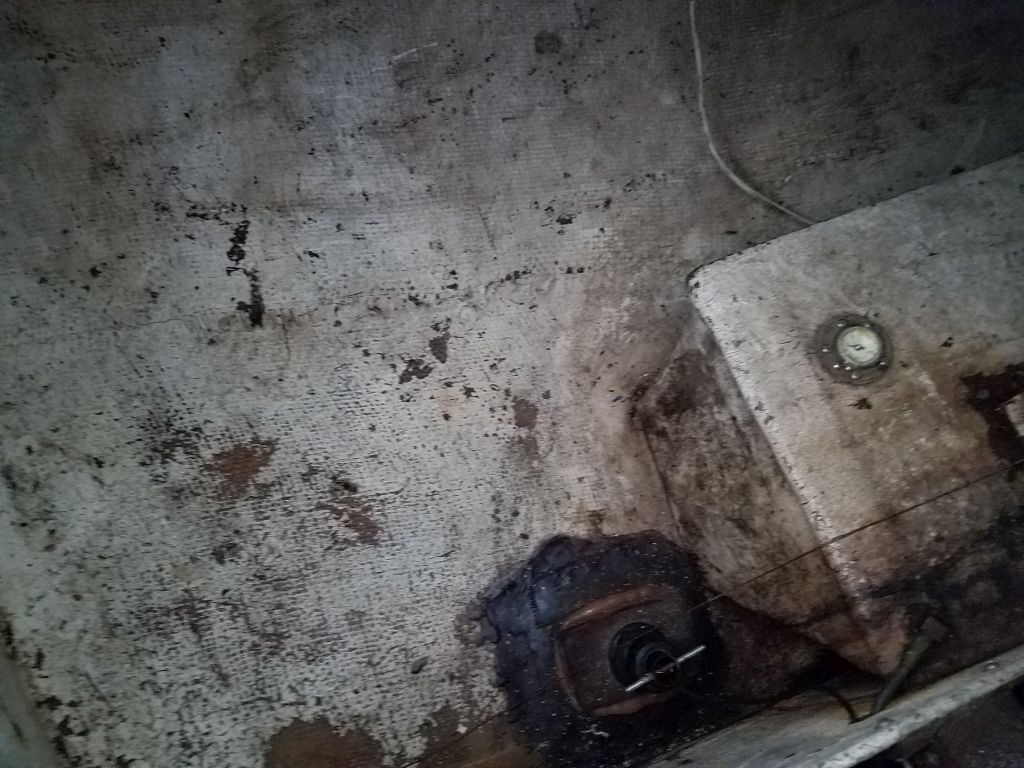
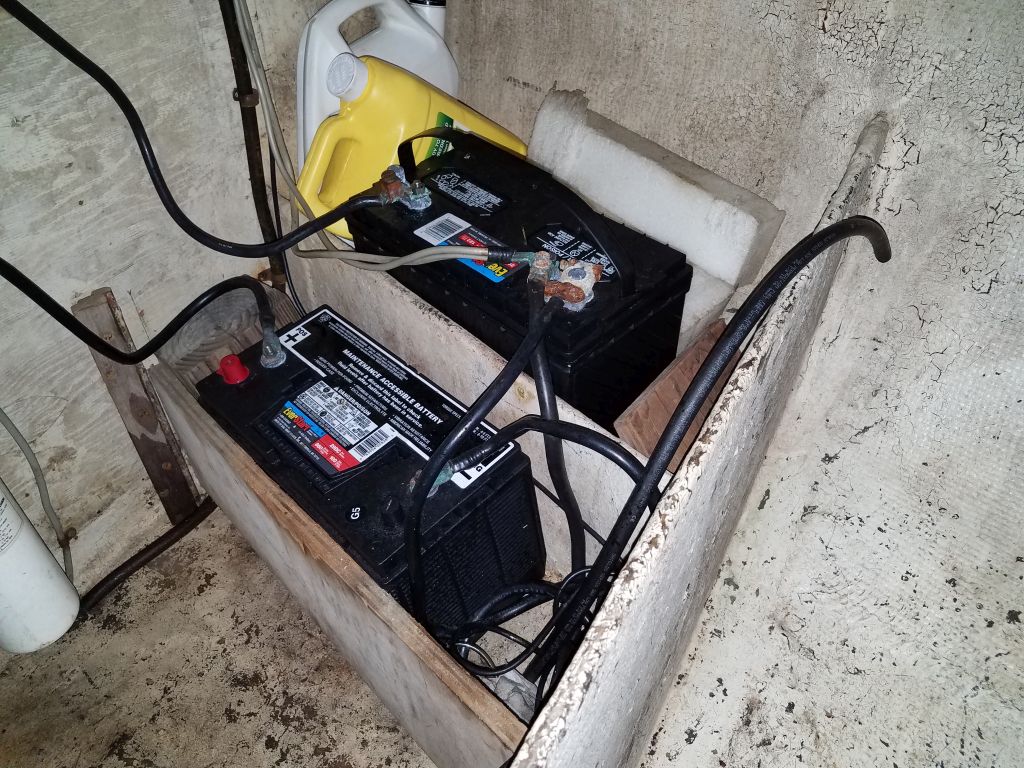
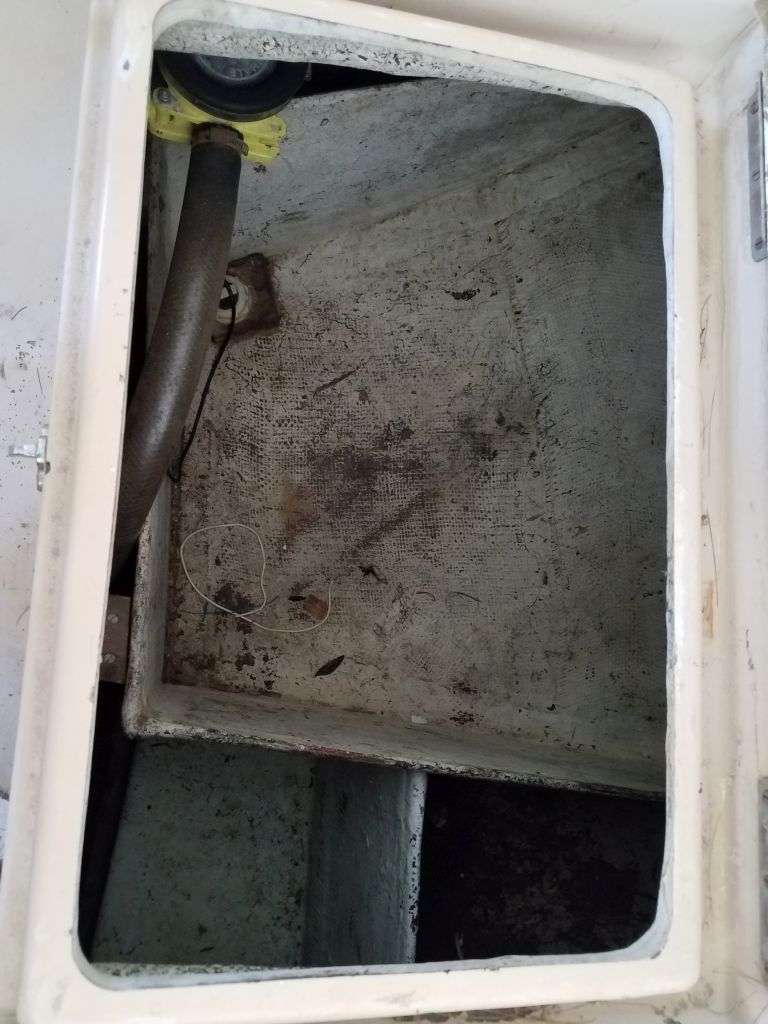
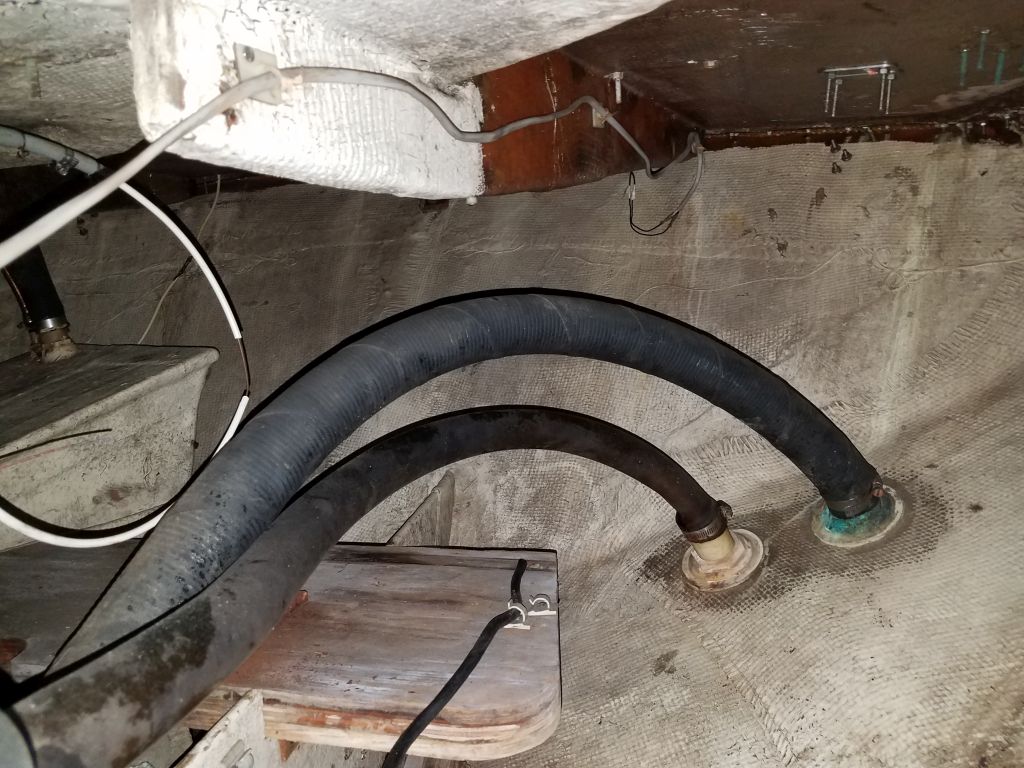
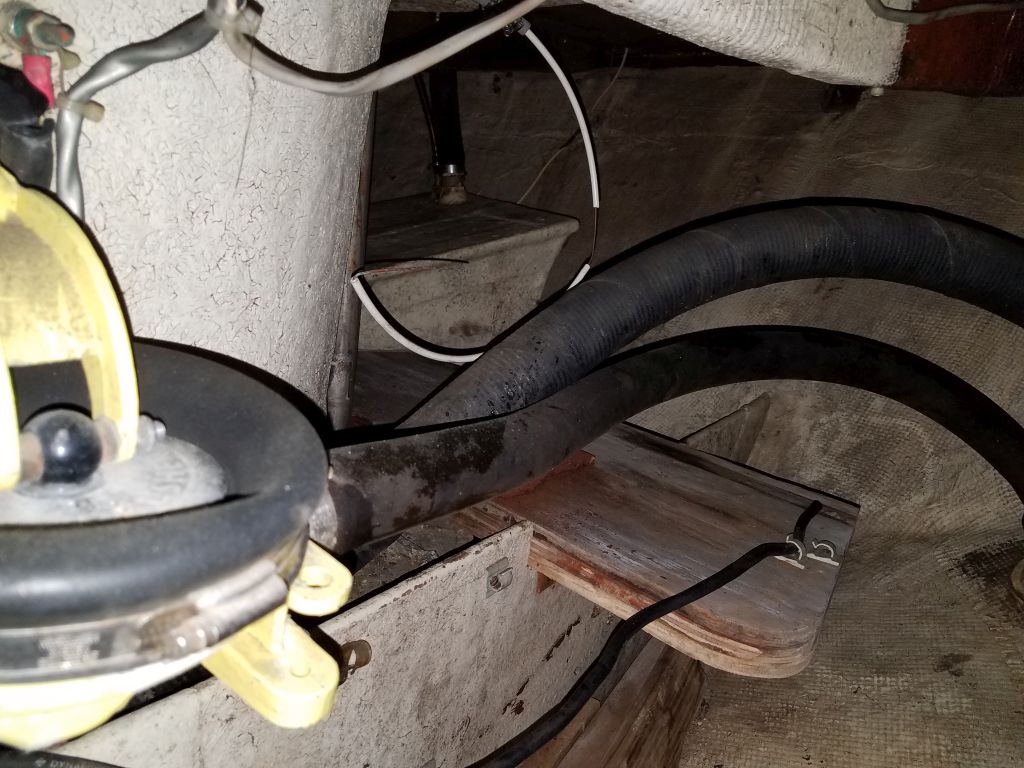
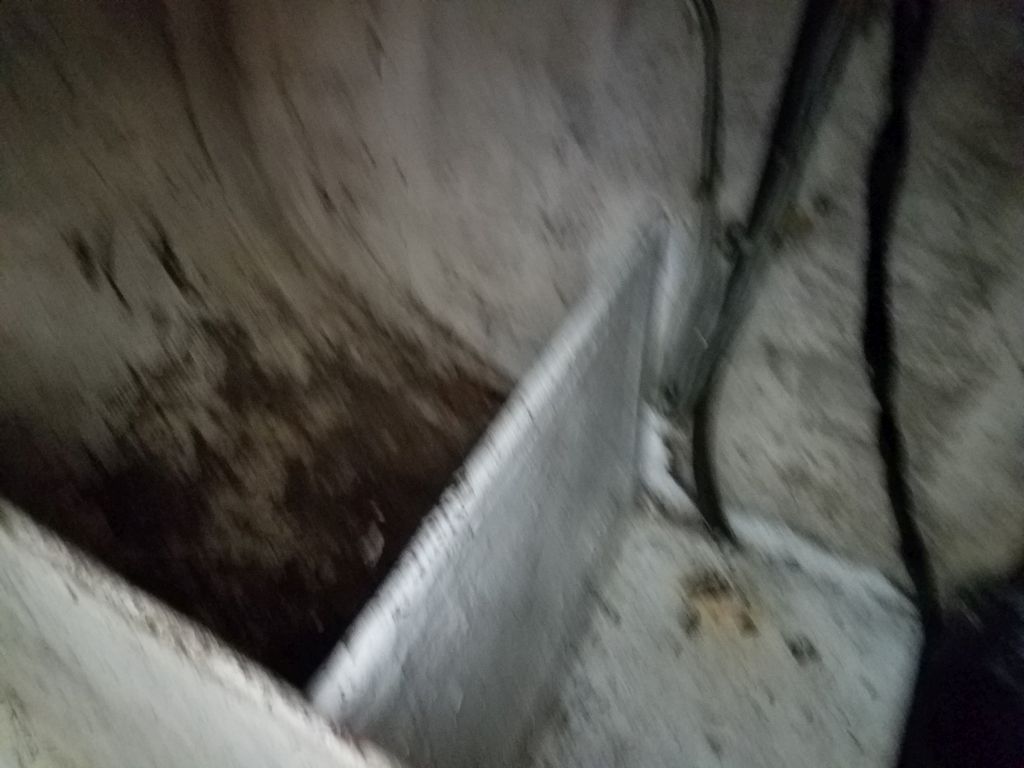
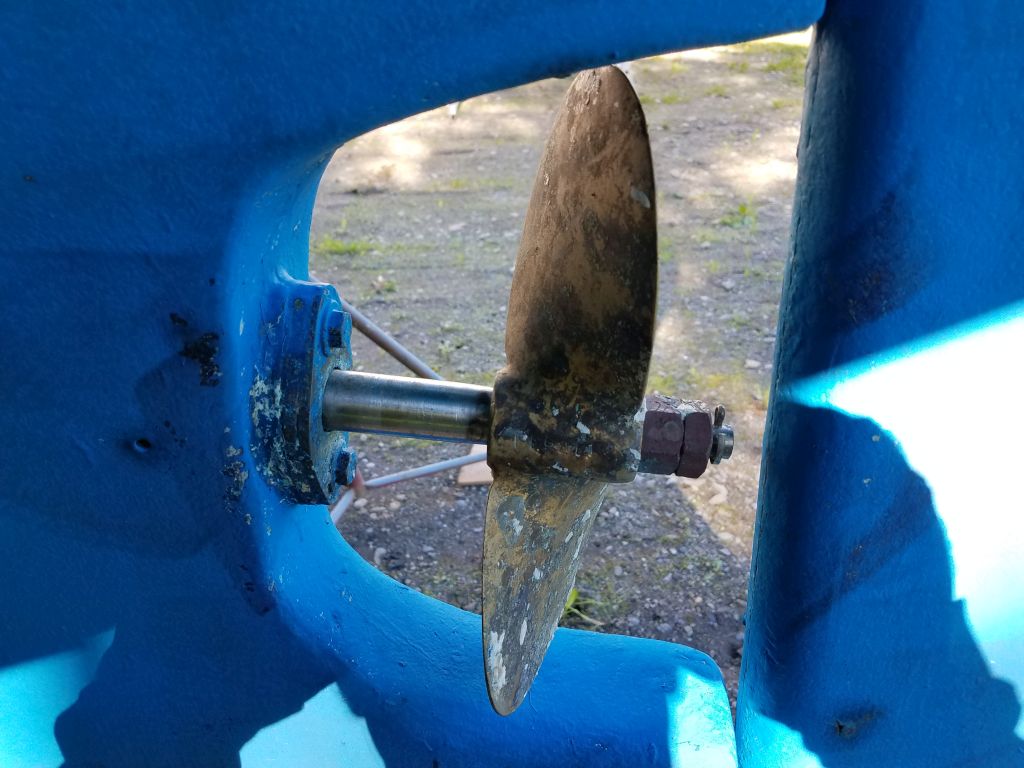
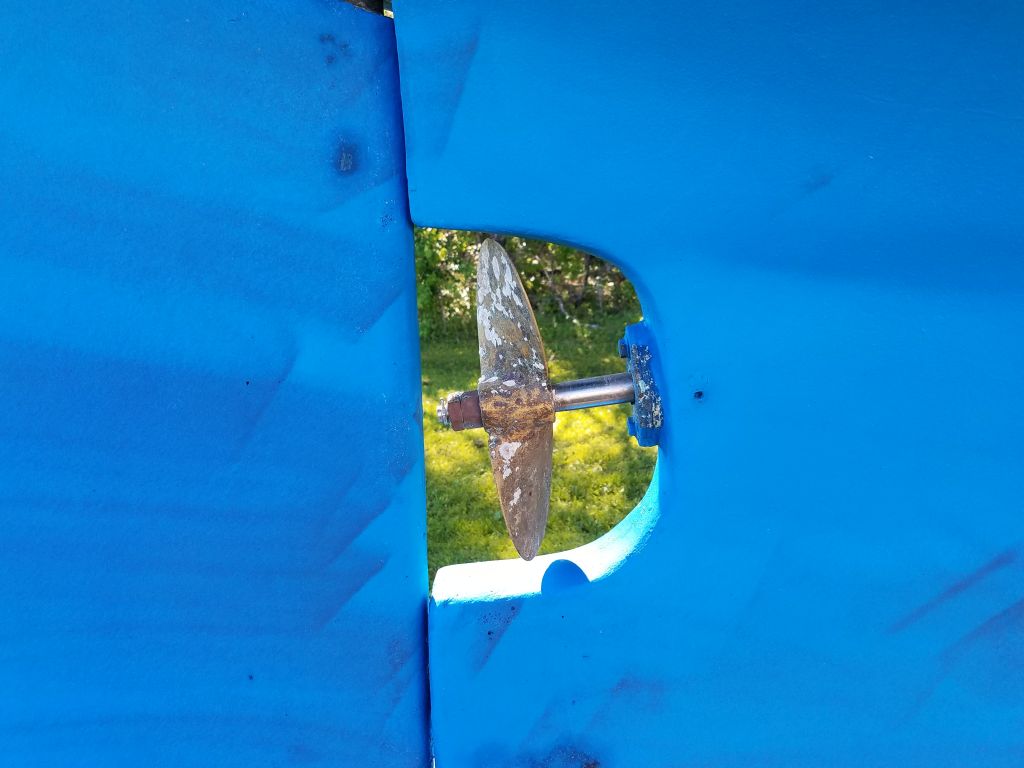
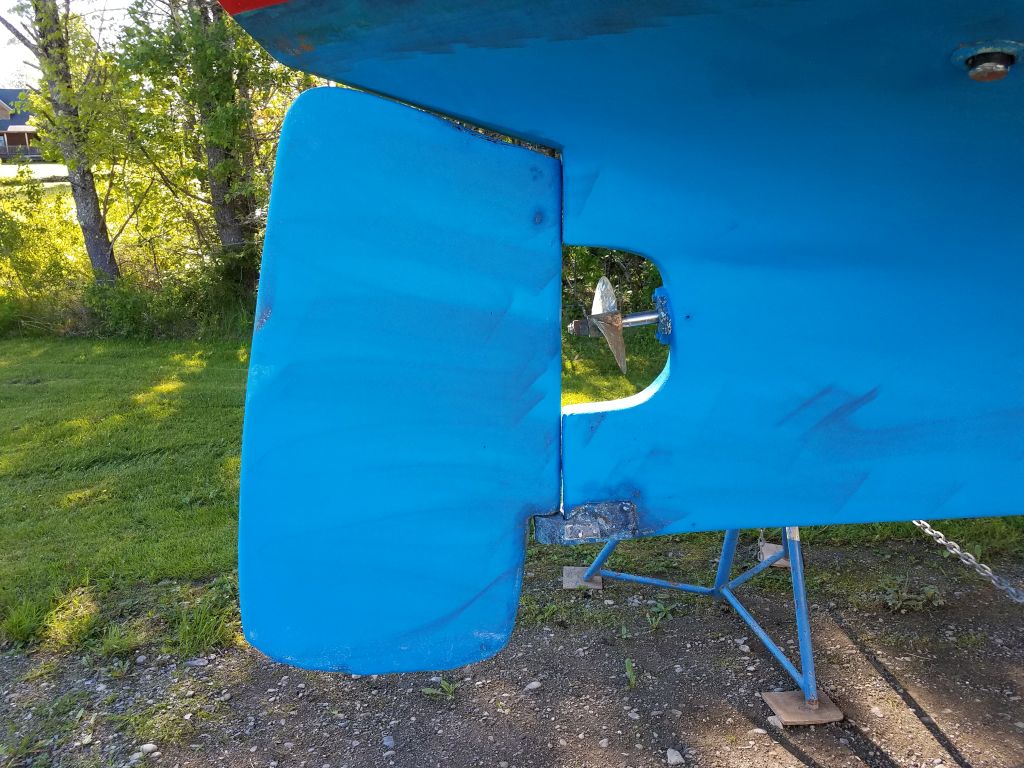
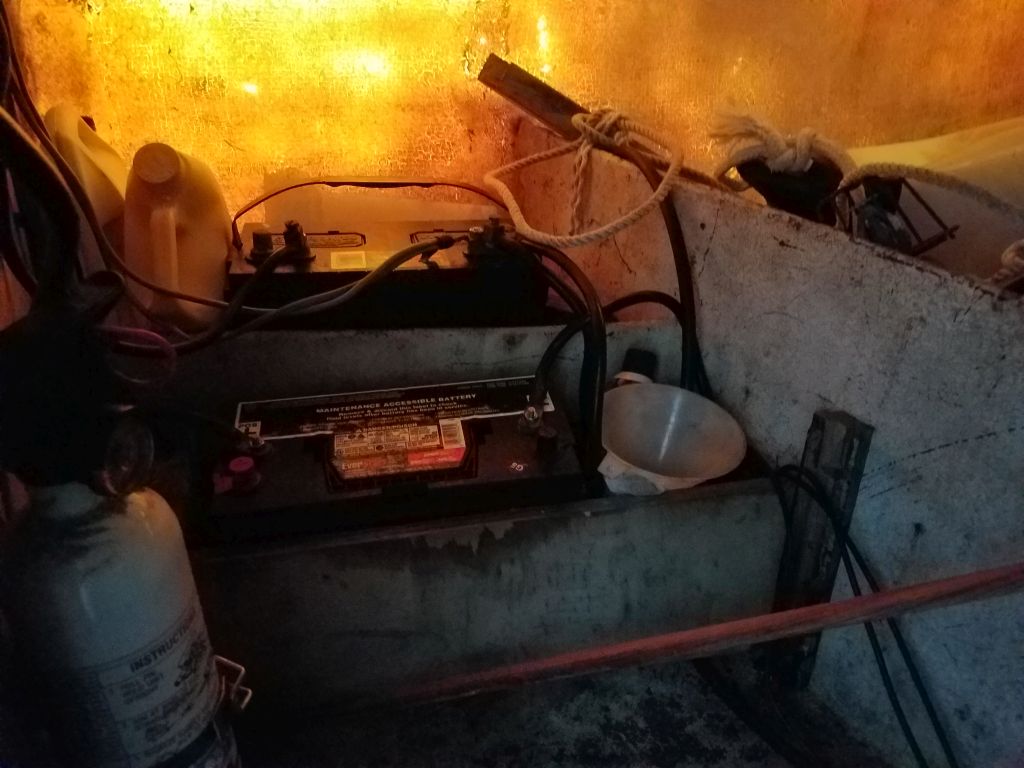
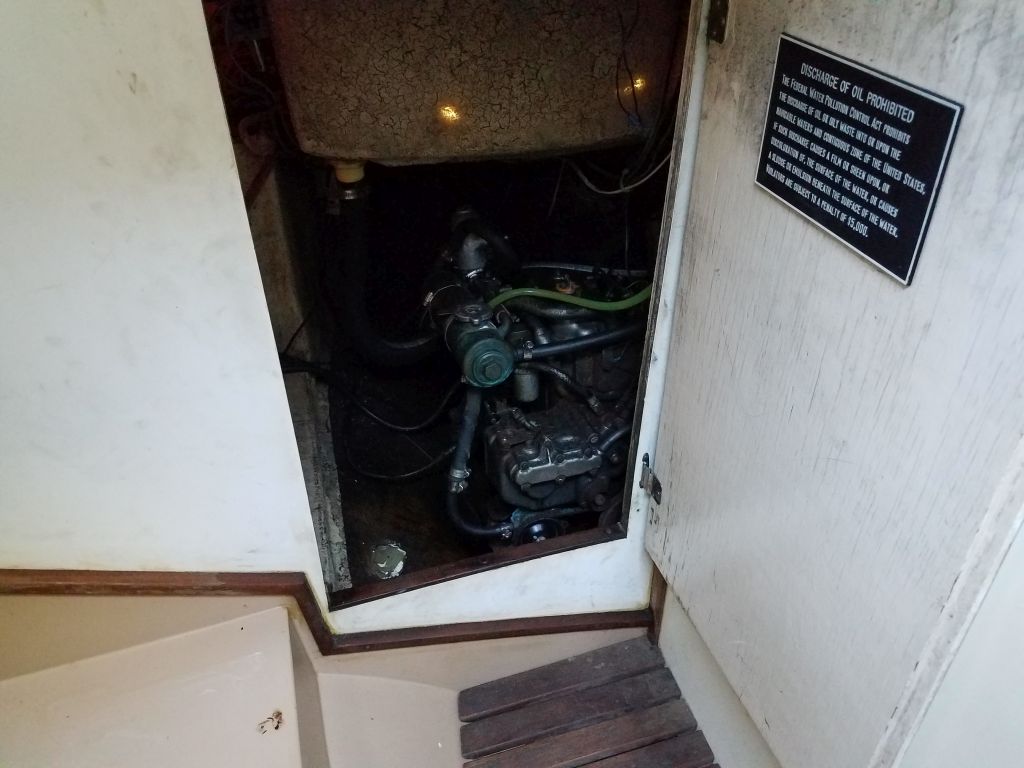
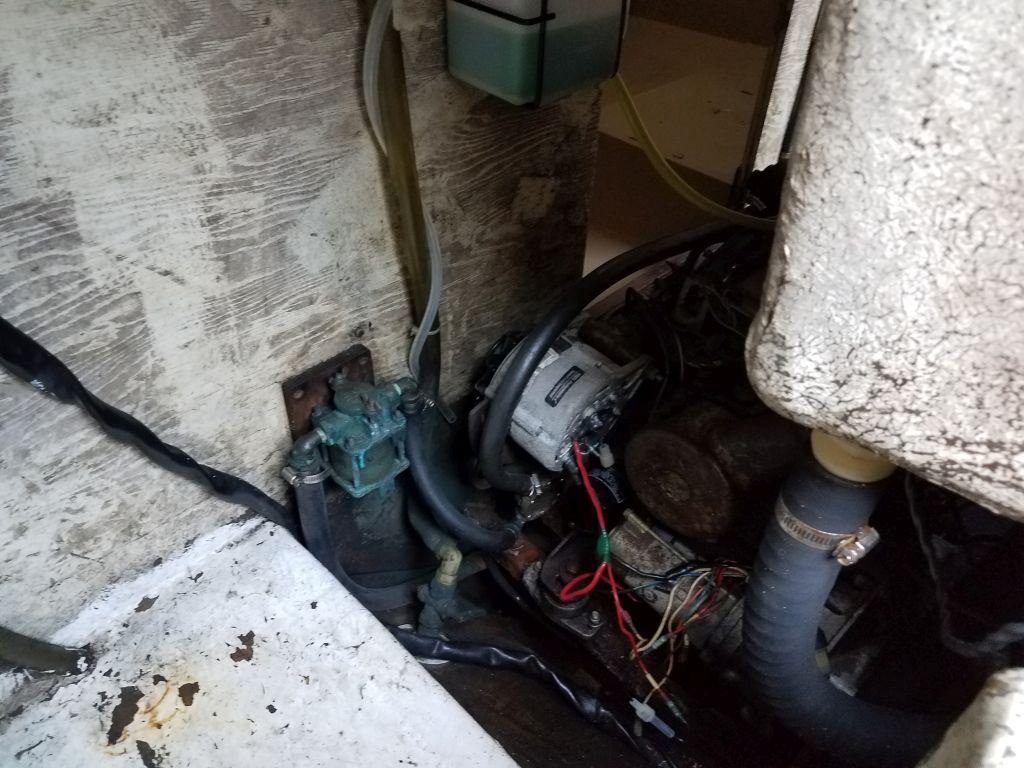
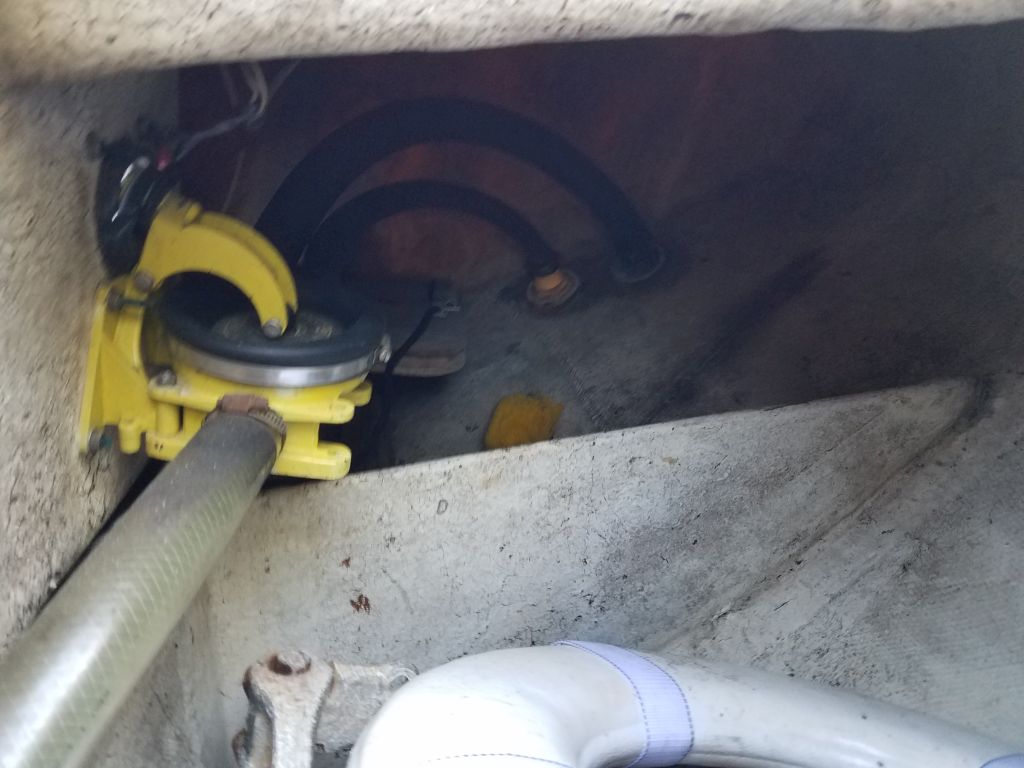
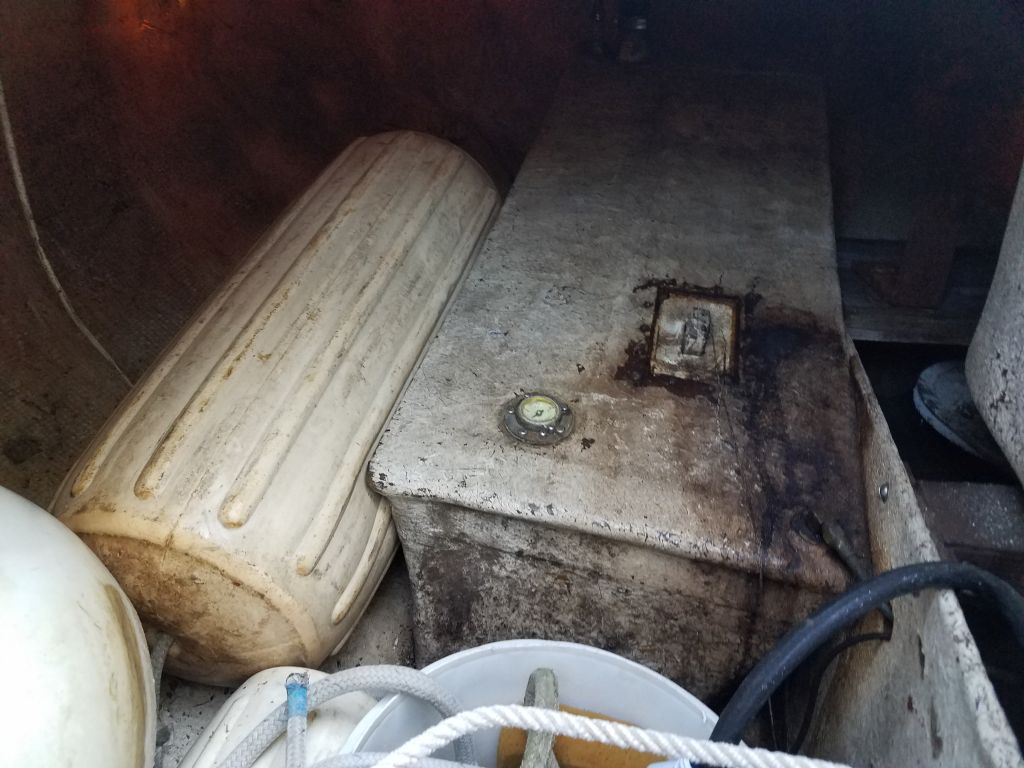
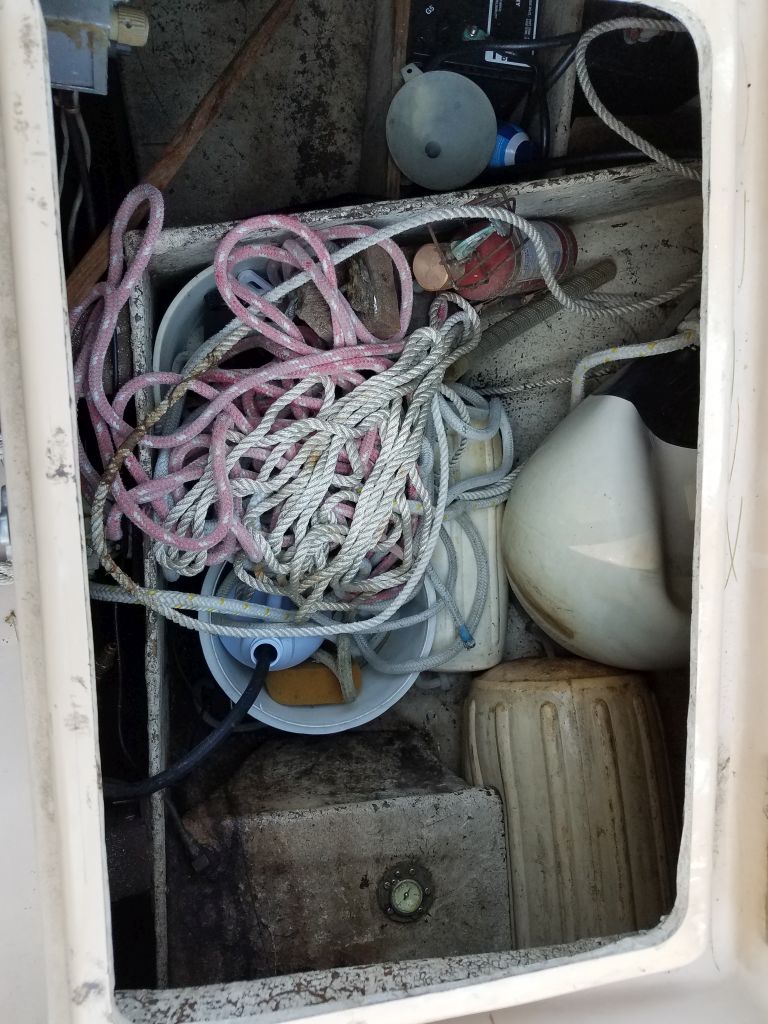
While I was in the dank, dark space, I took the opportunity to take some photos of the engine, shafting, and steering mechanism for future reference. The ultimate fate of these items had yet to be determined, but it was clear that there was ample opportunity for changes or upgrades. Access to these spaces would be a challenge–not necessarily any more nor less than in other boats–and might require modification to some of the internal dividers and structural members to gain access. But all this was for another time.
Total time billed on this job today: 5 hours
0600 Weather Observation: Dense fog, 60°. Forecast for the day: Fog, clouds, drizzle, low 70s