Wednesday
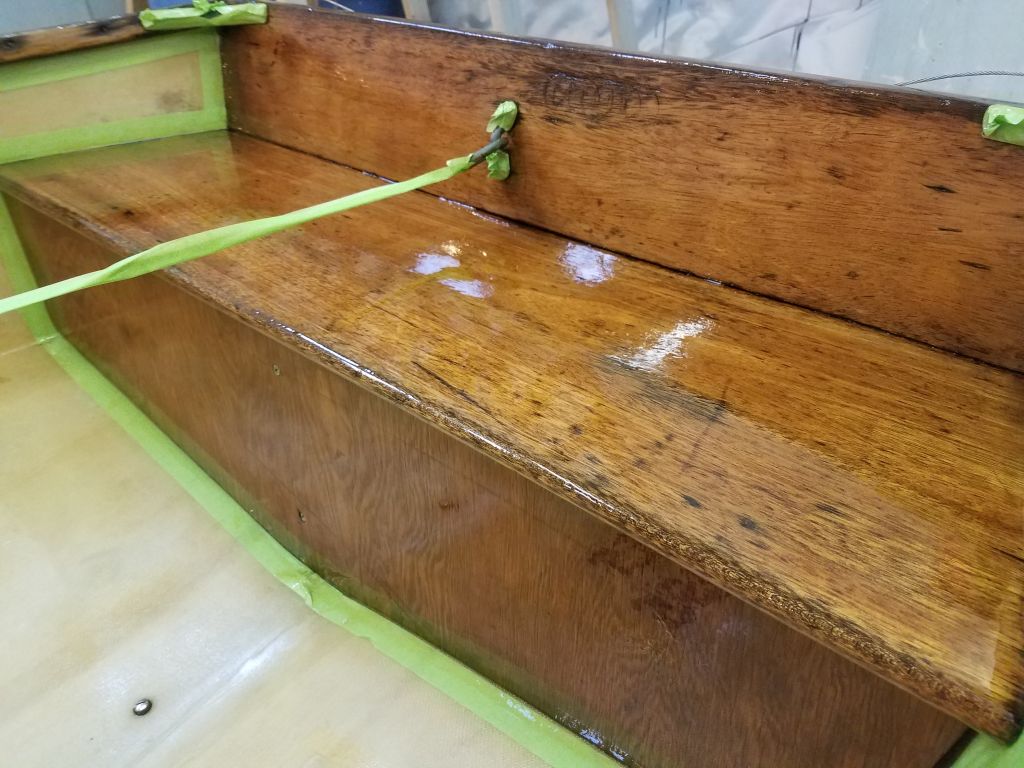
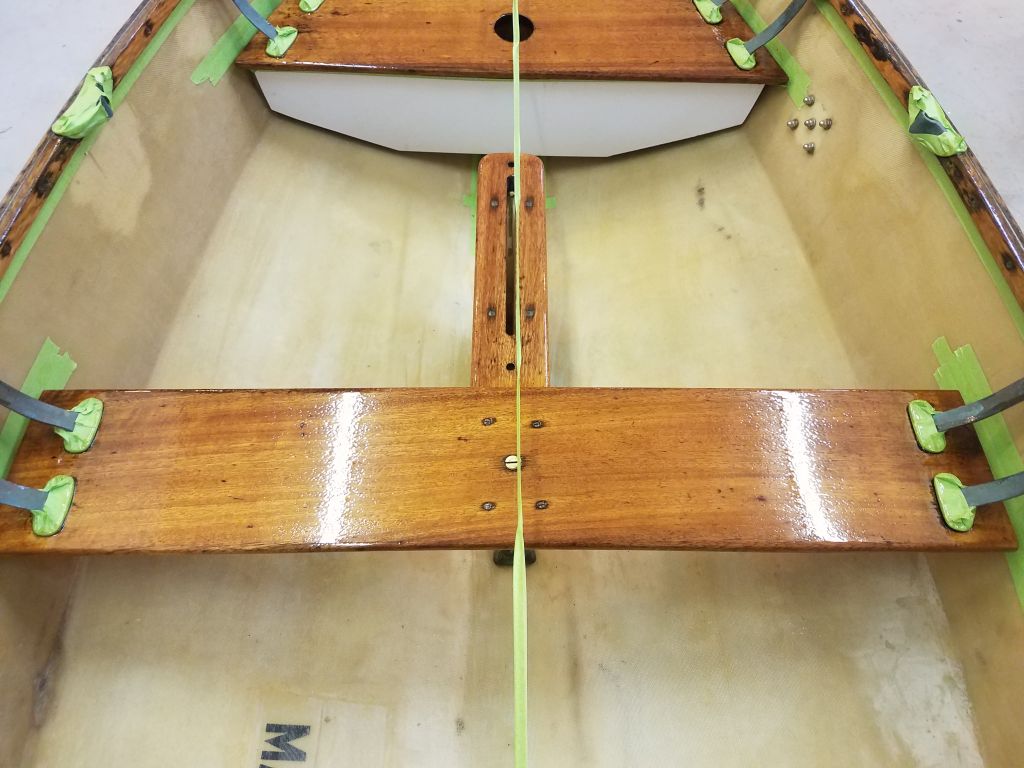
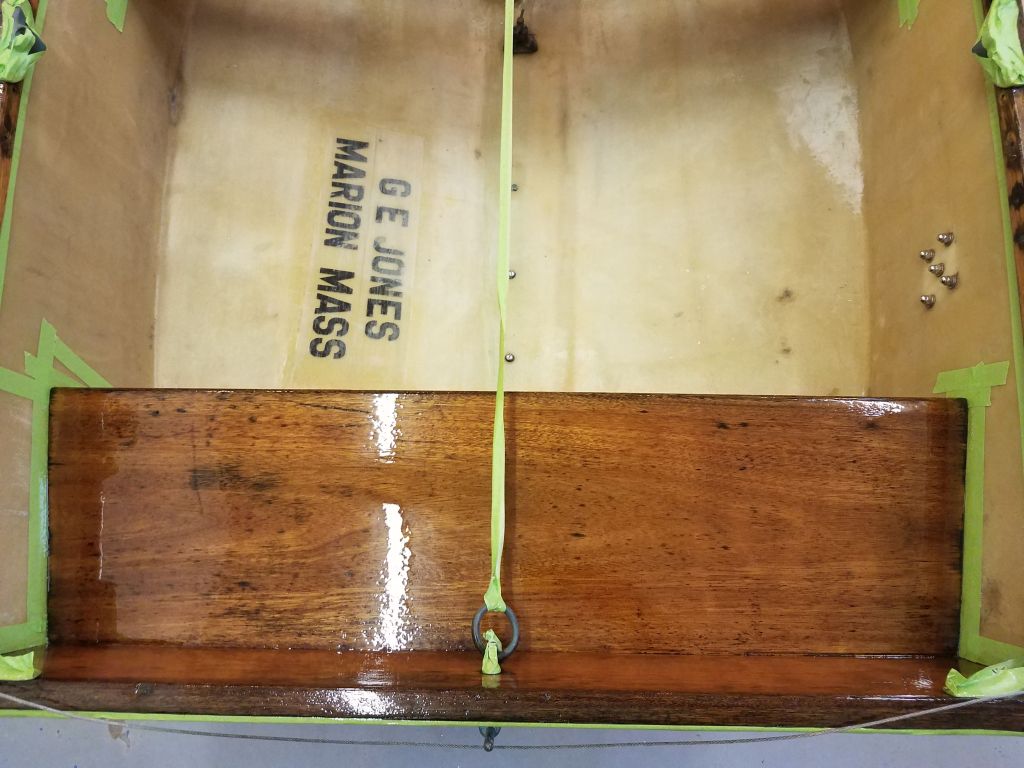
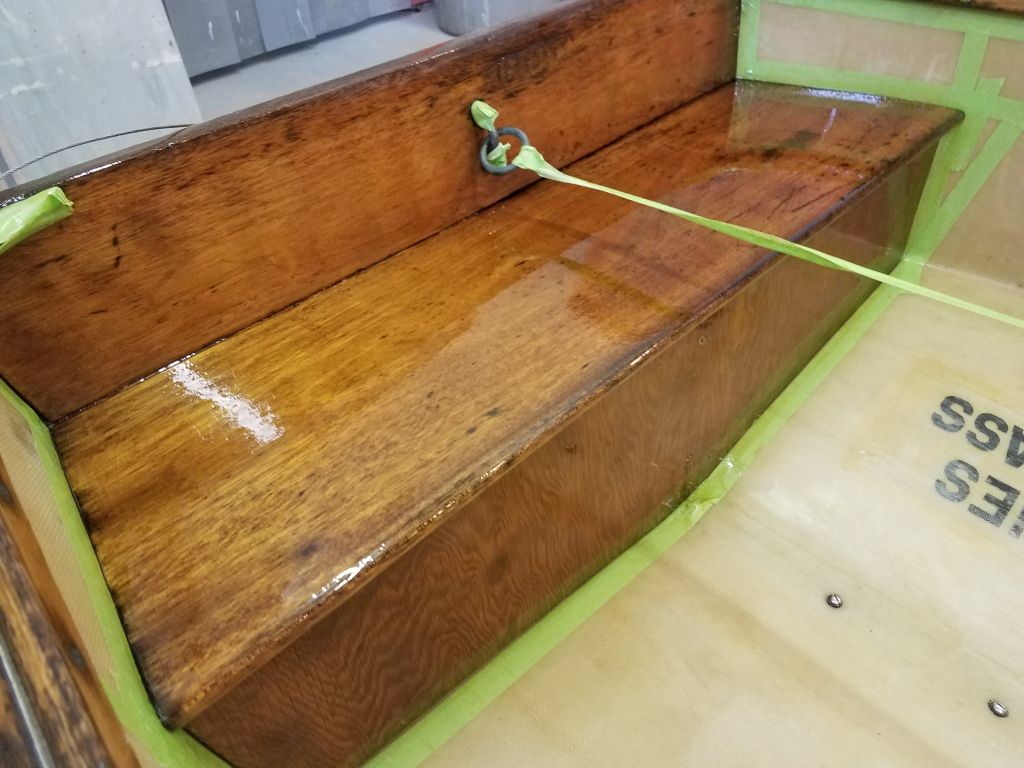
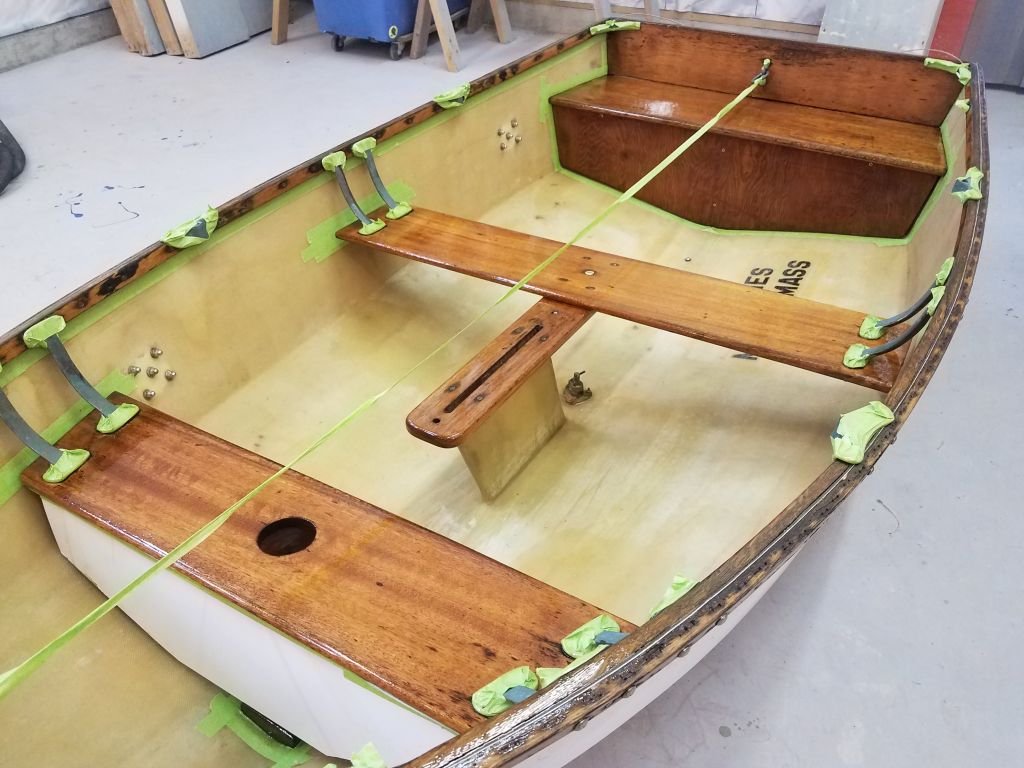
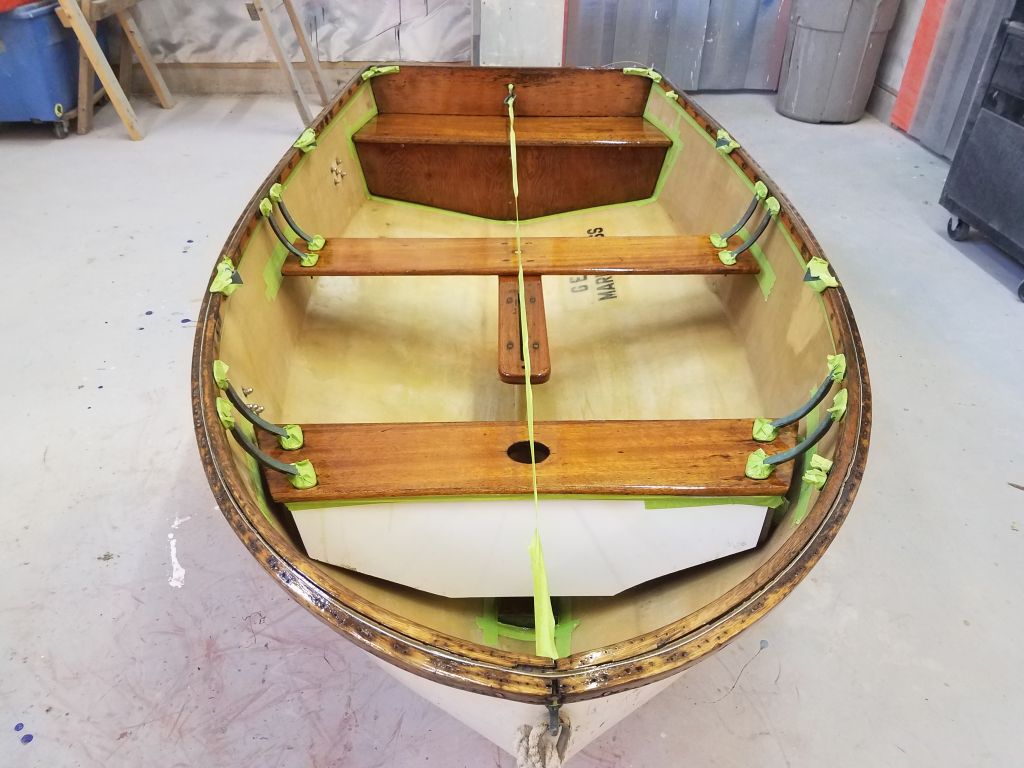
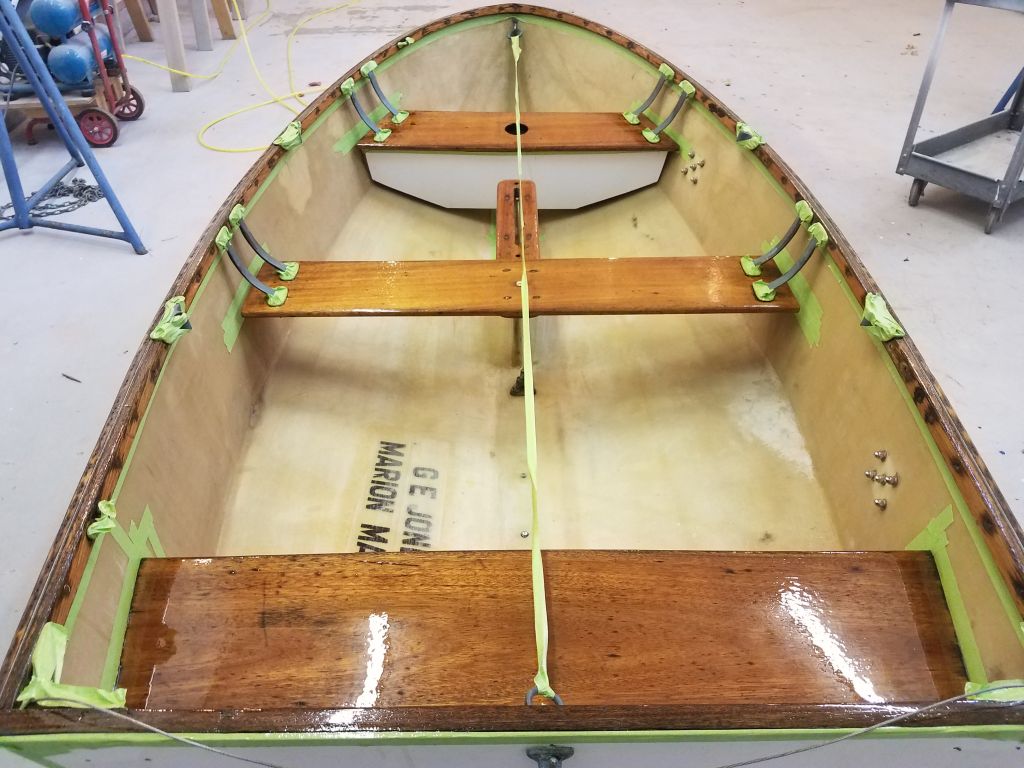
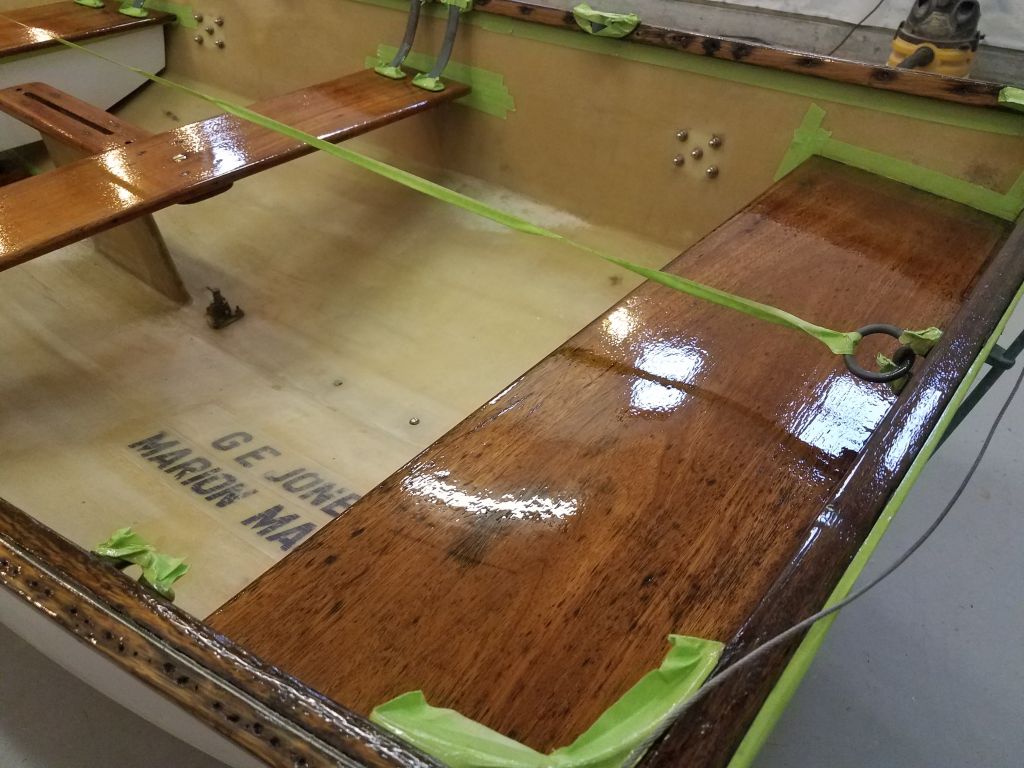
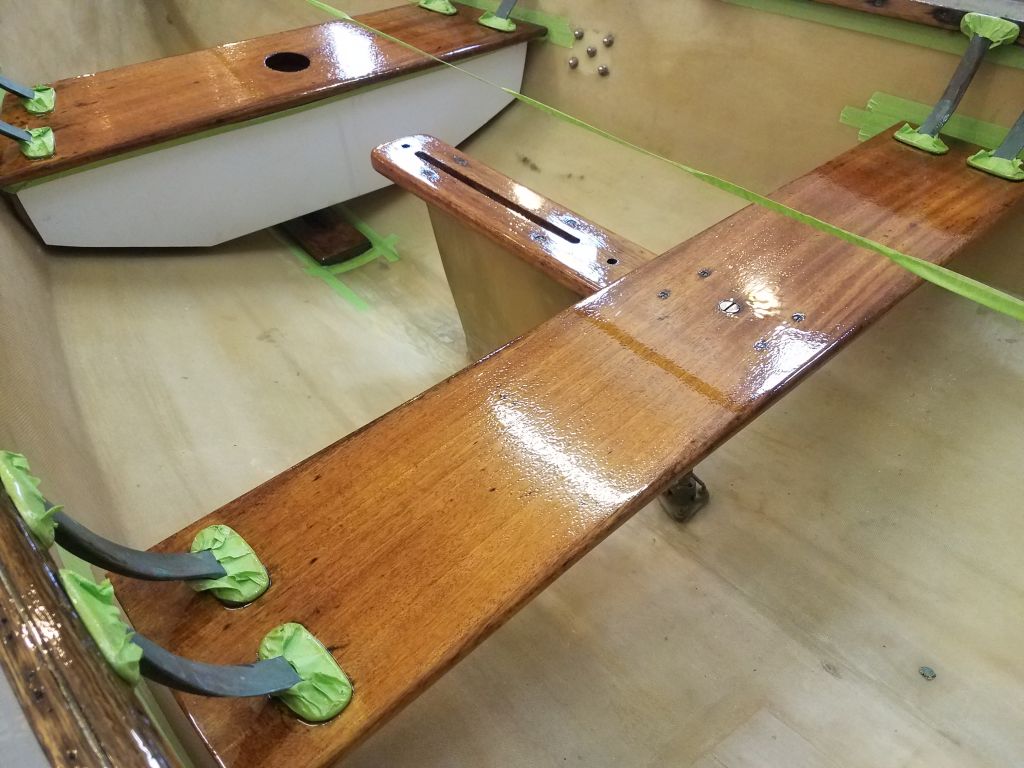
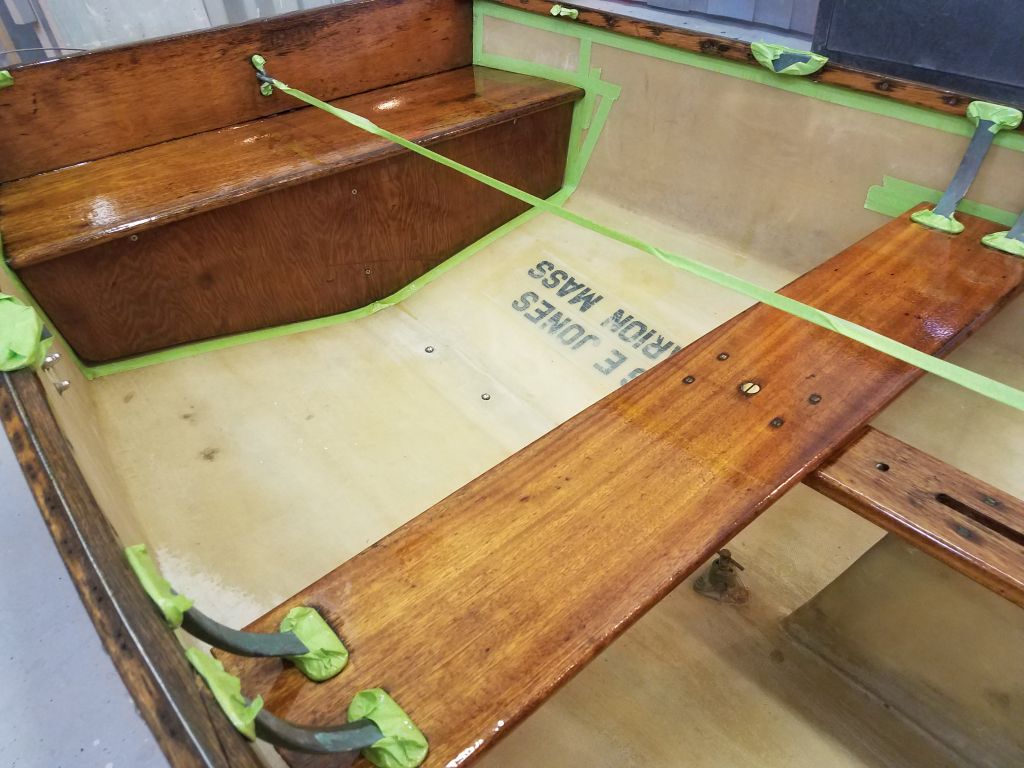
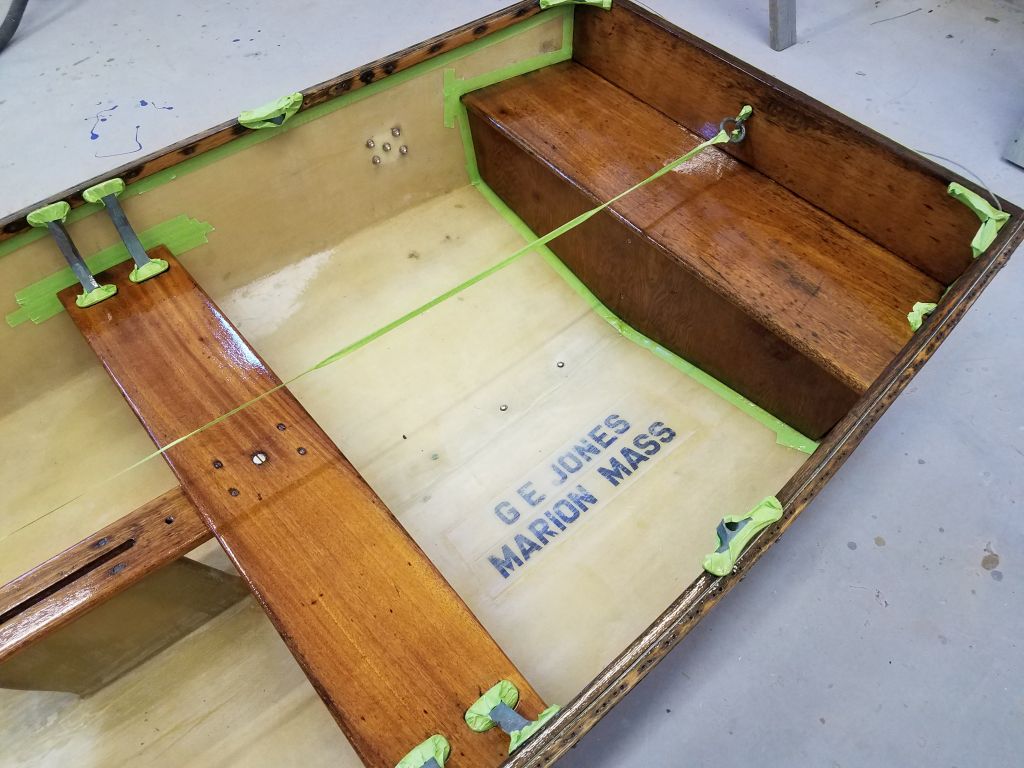
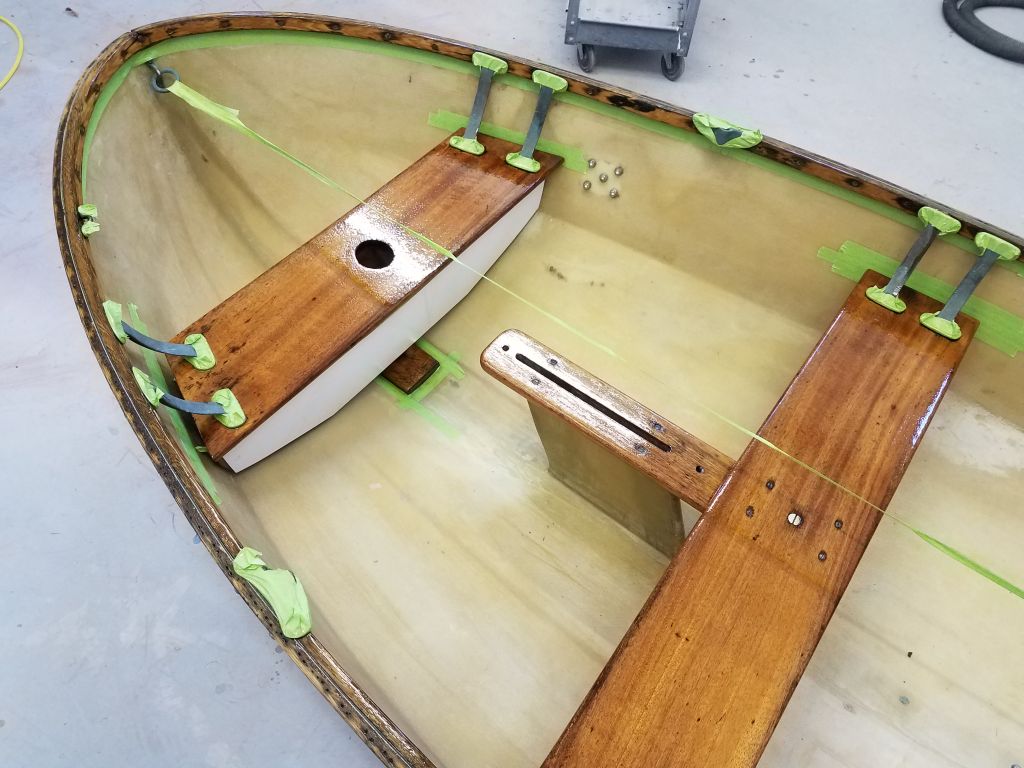
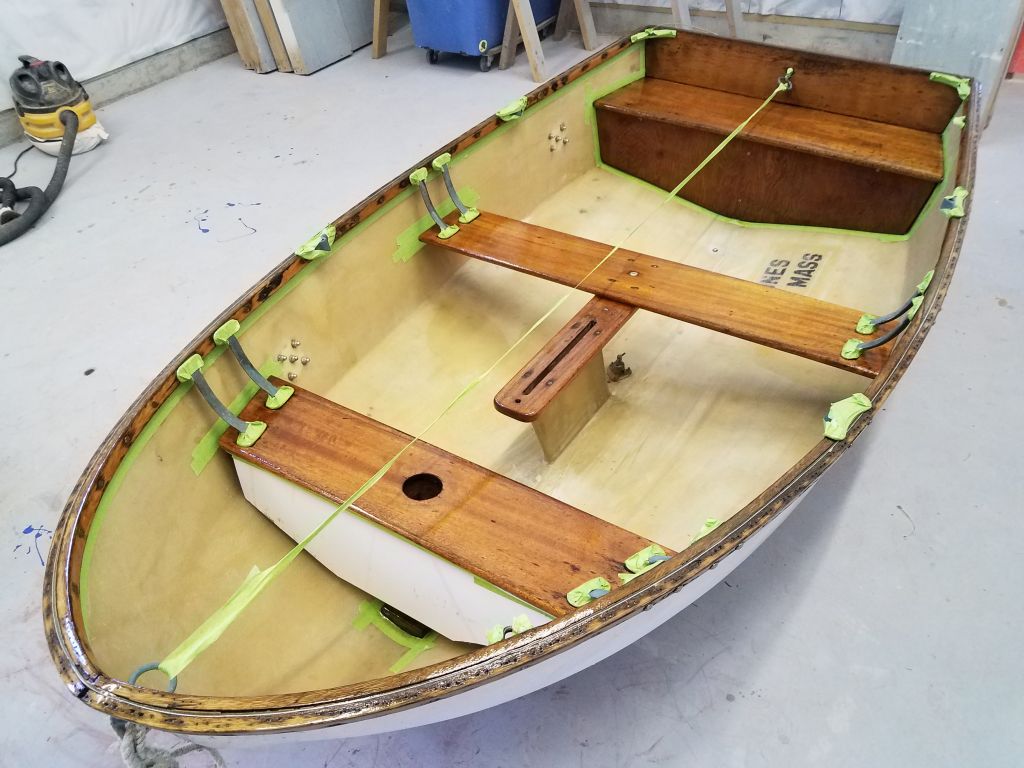
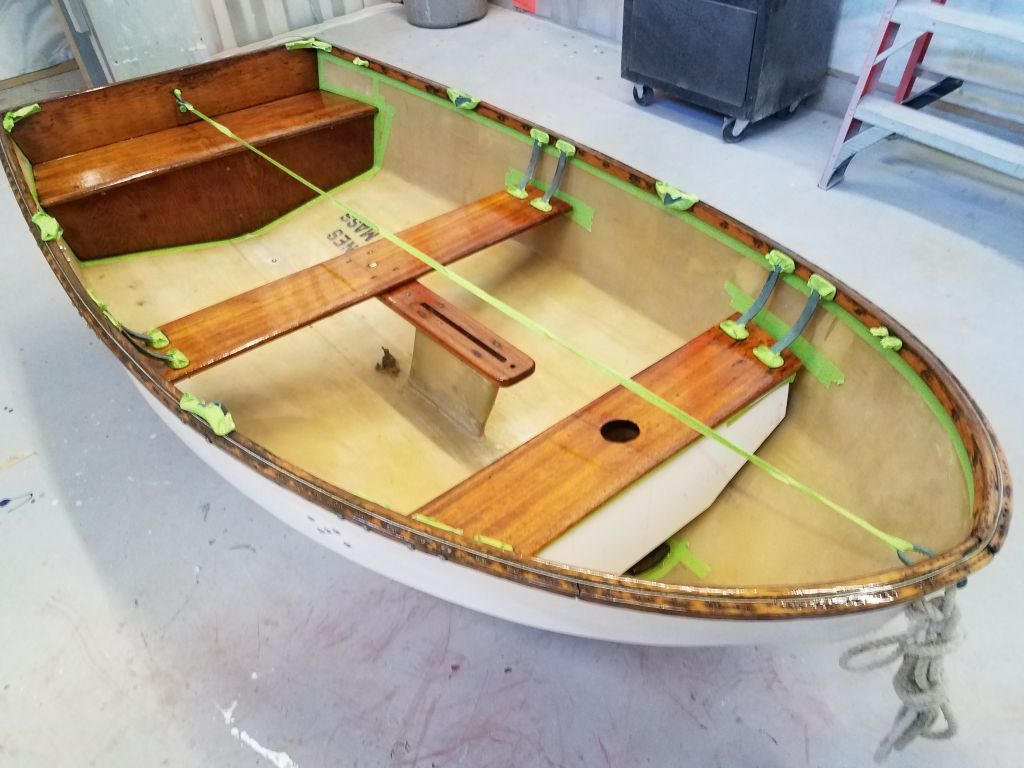
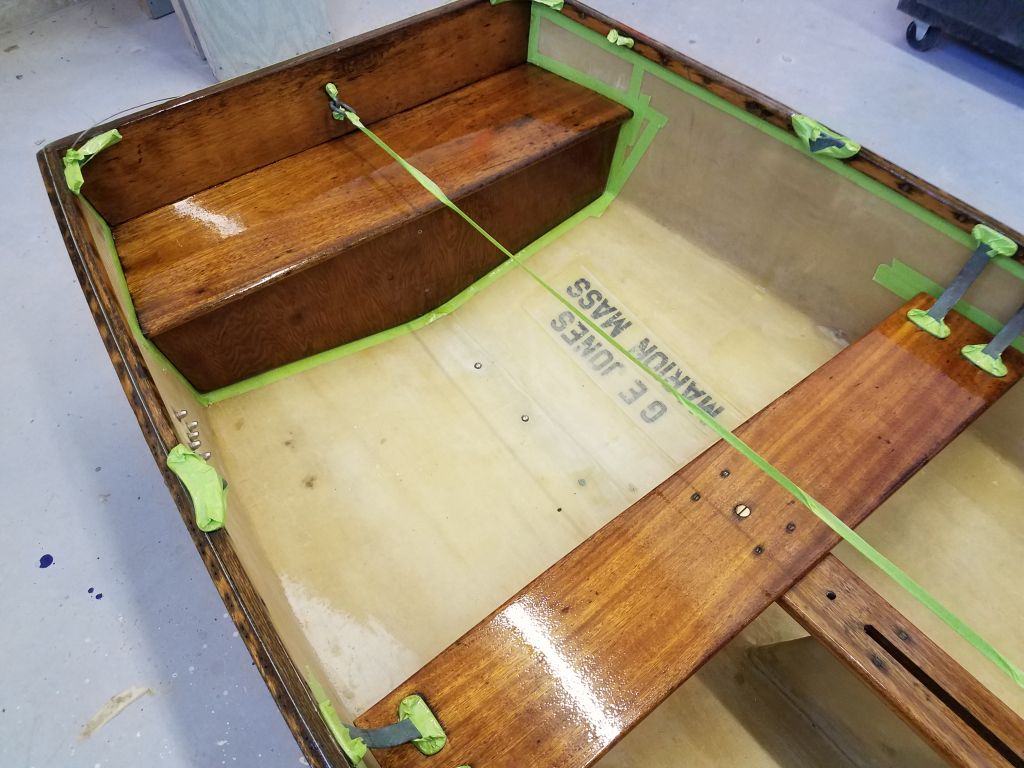
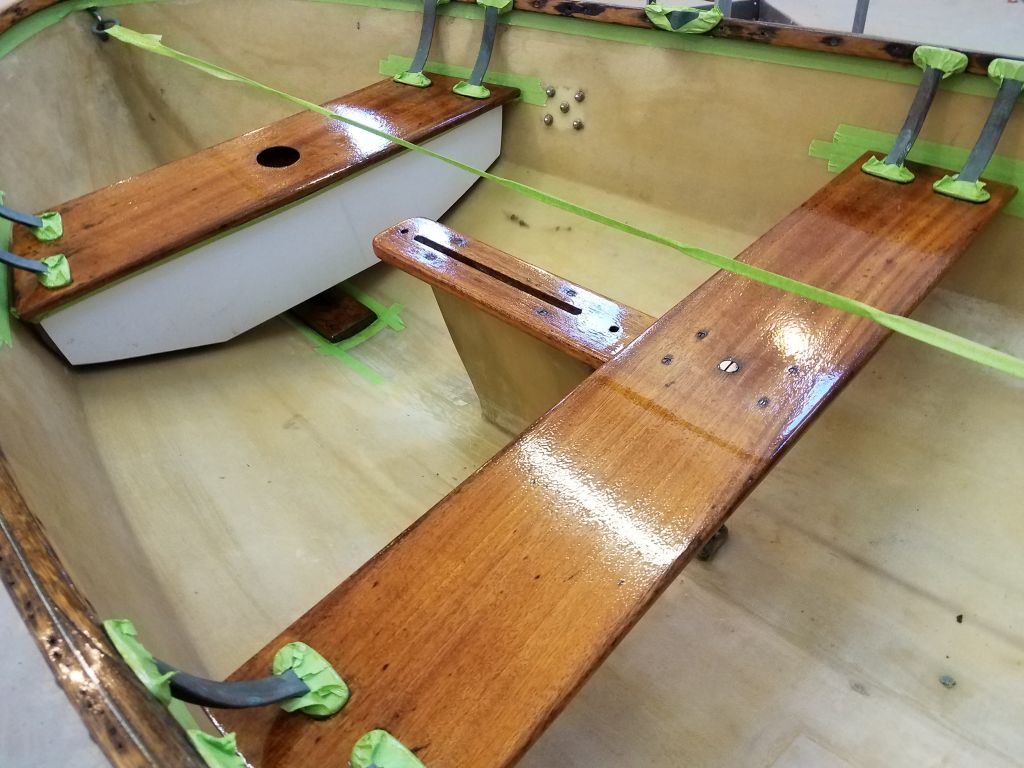
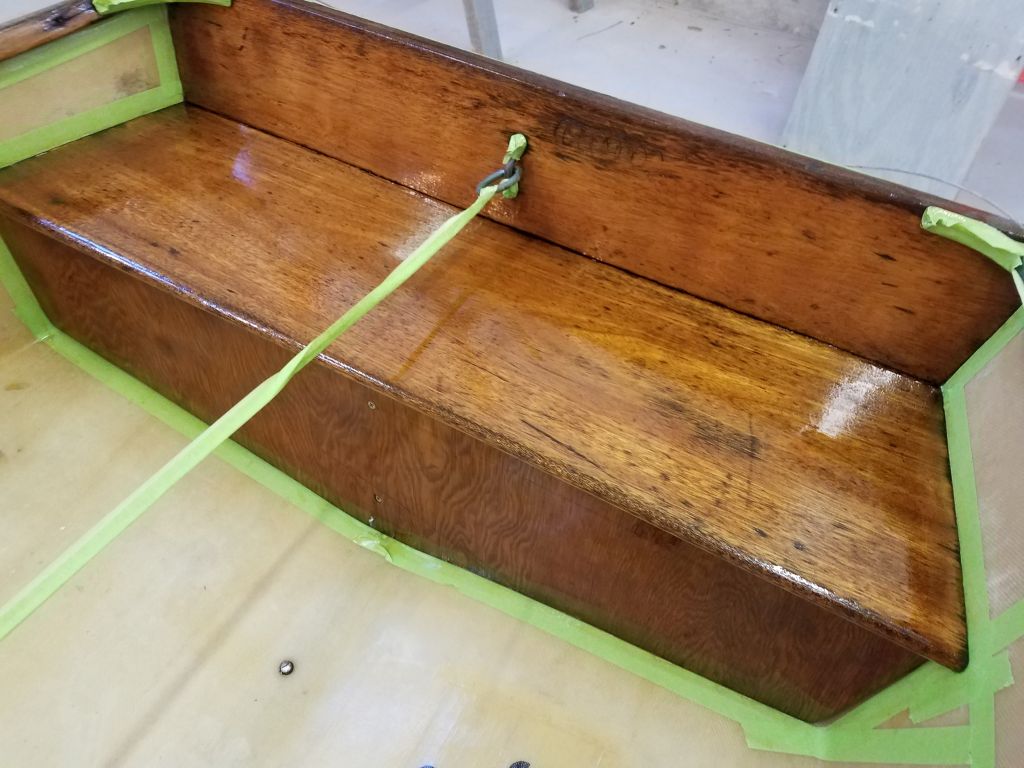
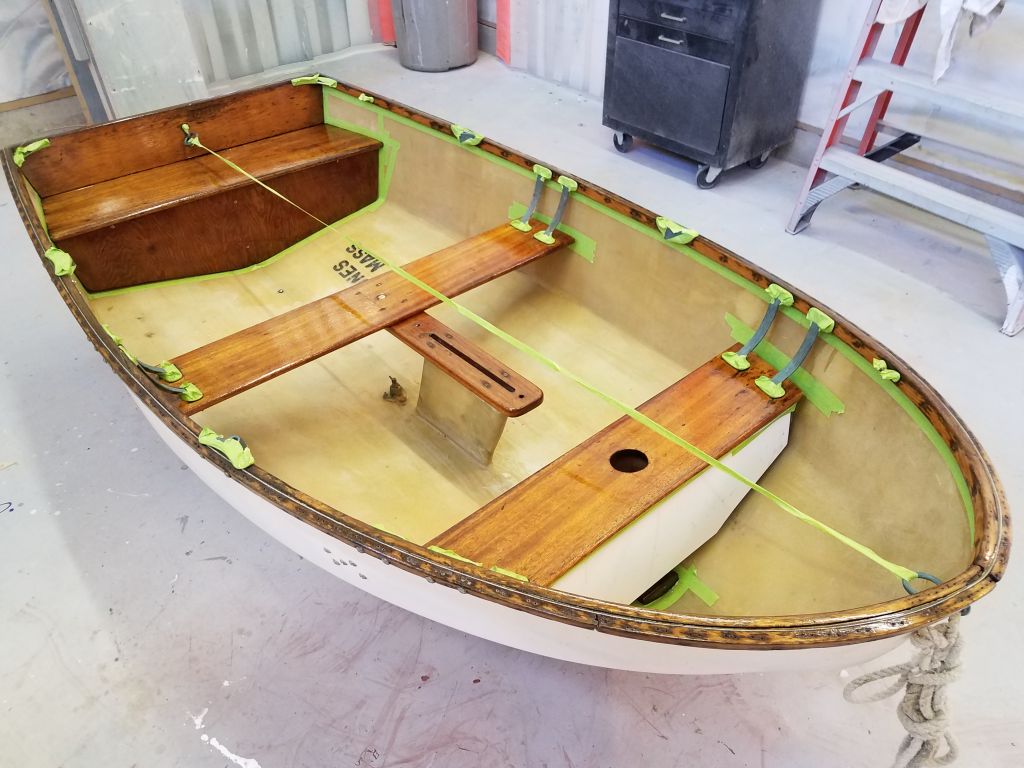
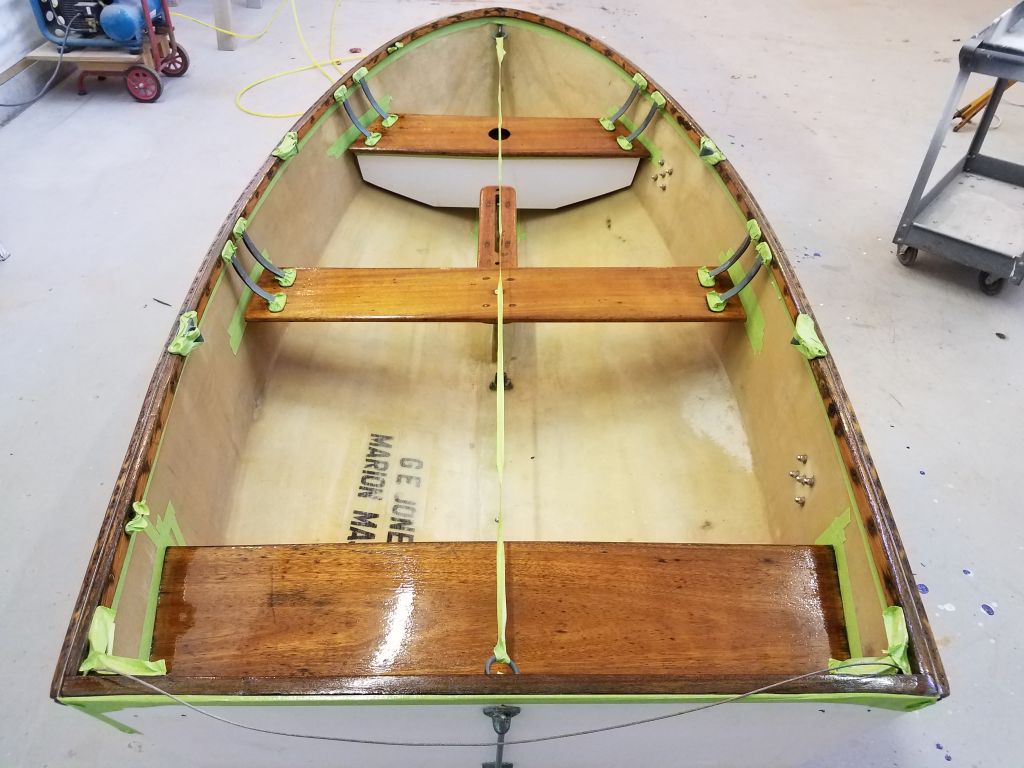
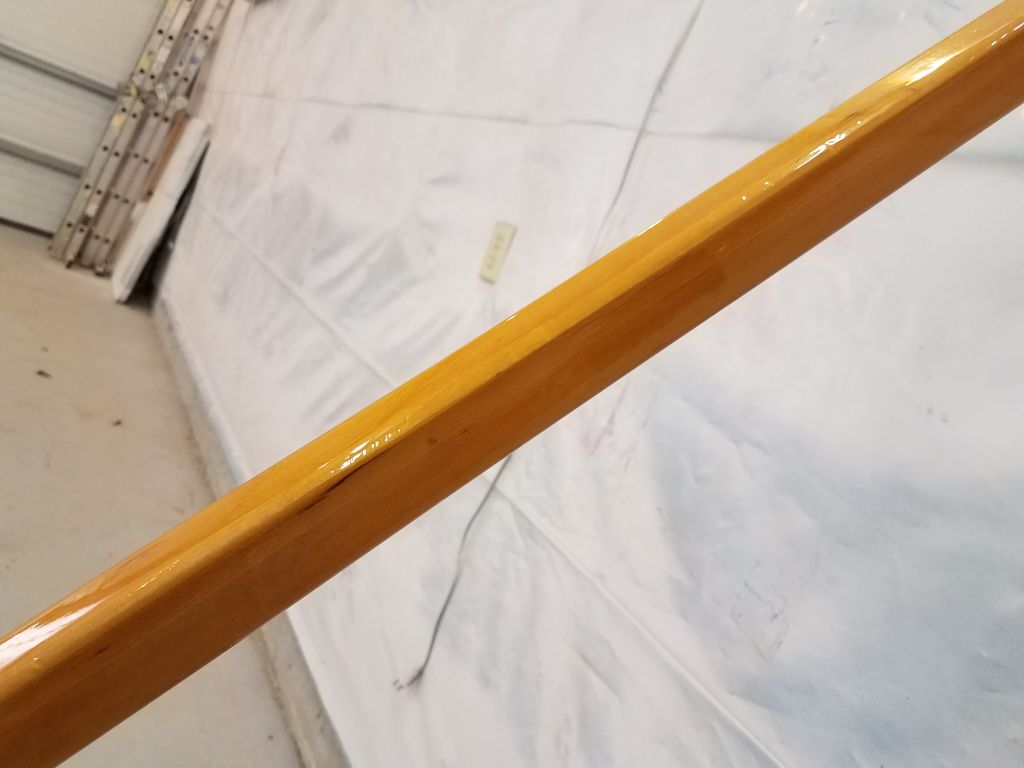
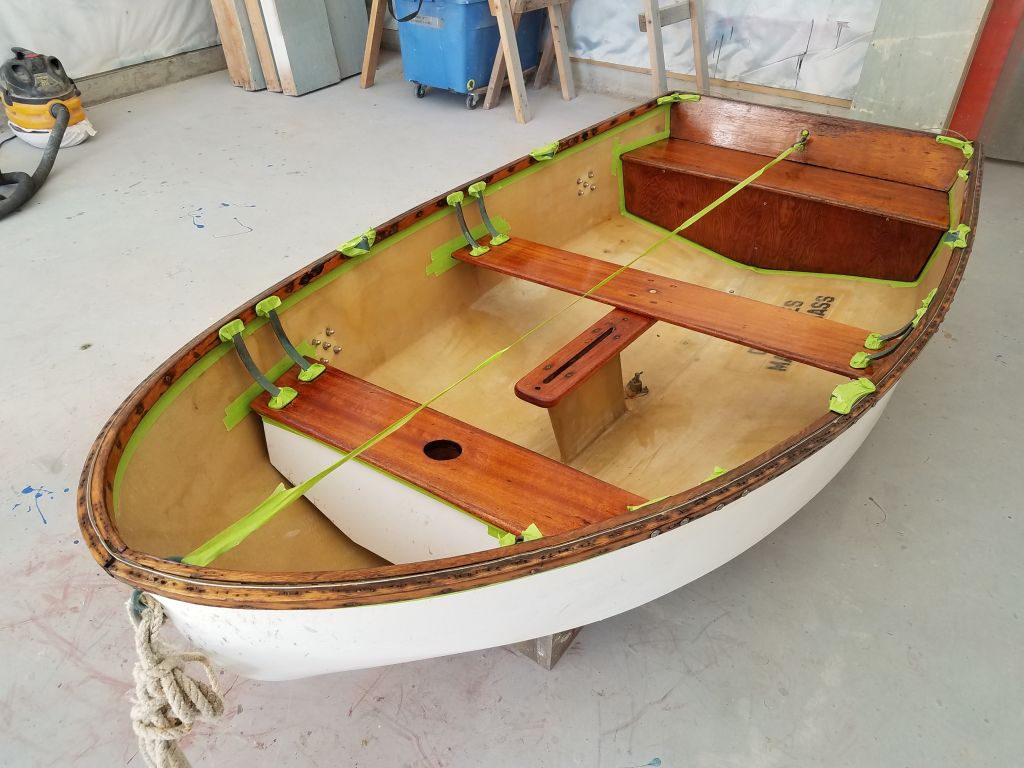
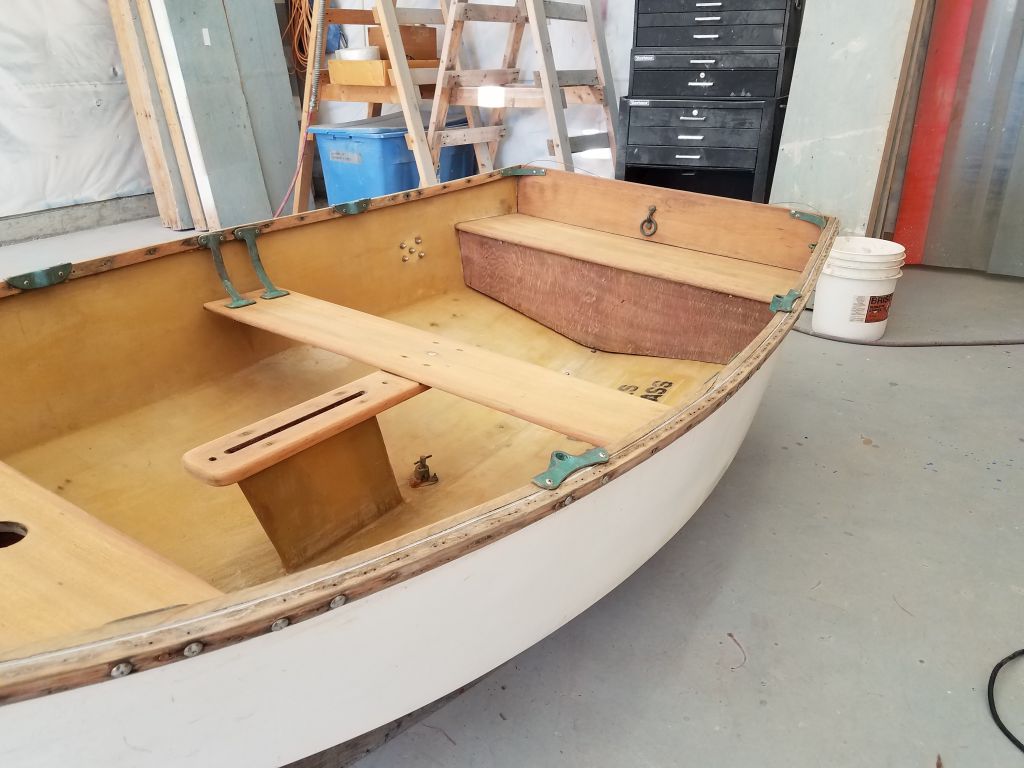
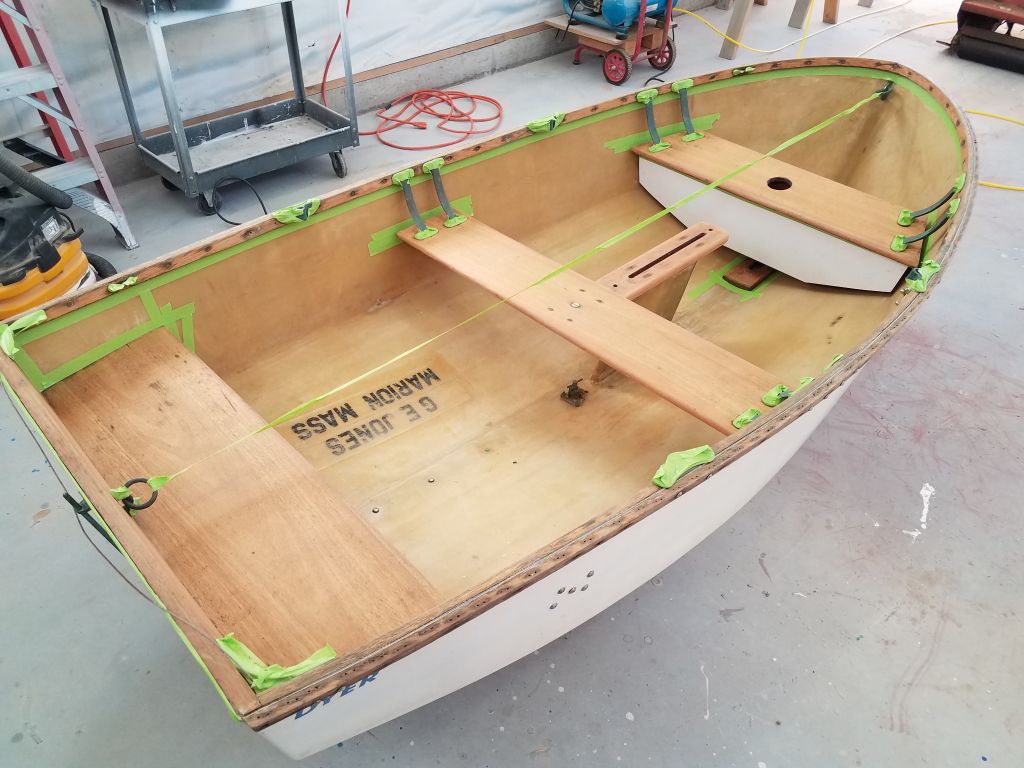
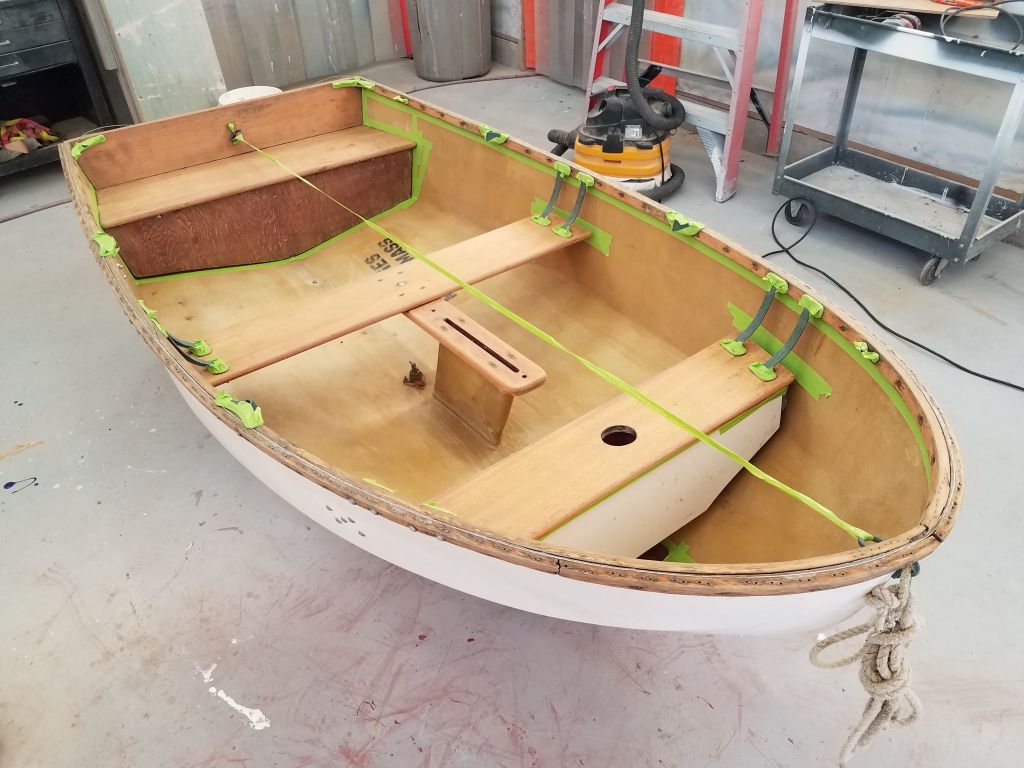
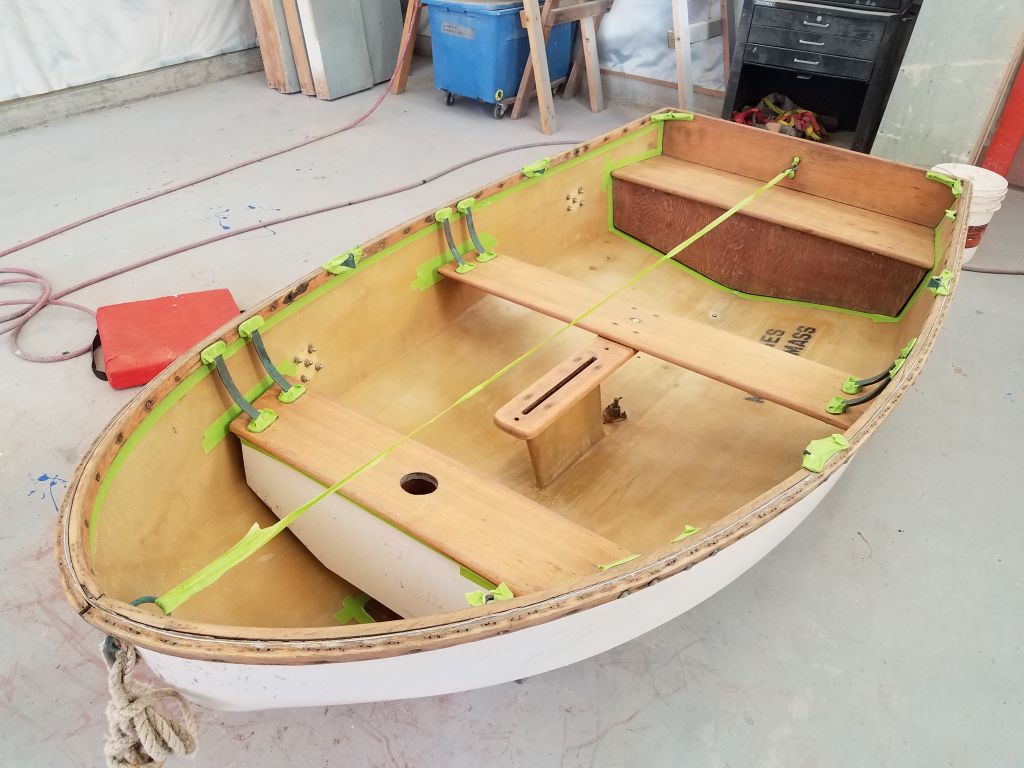
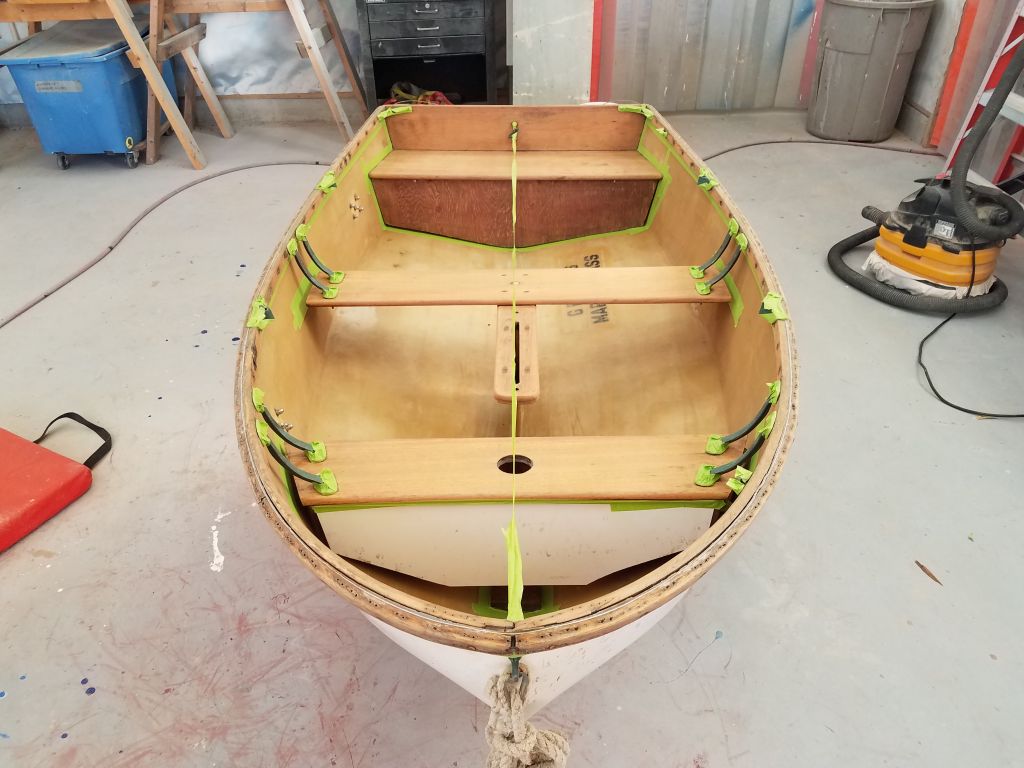
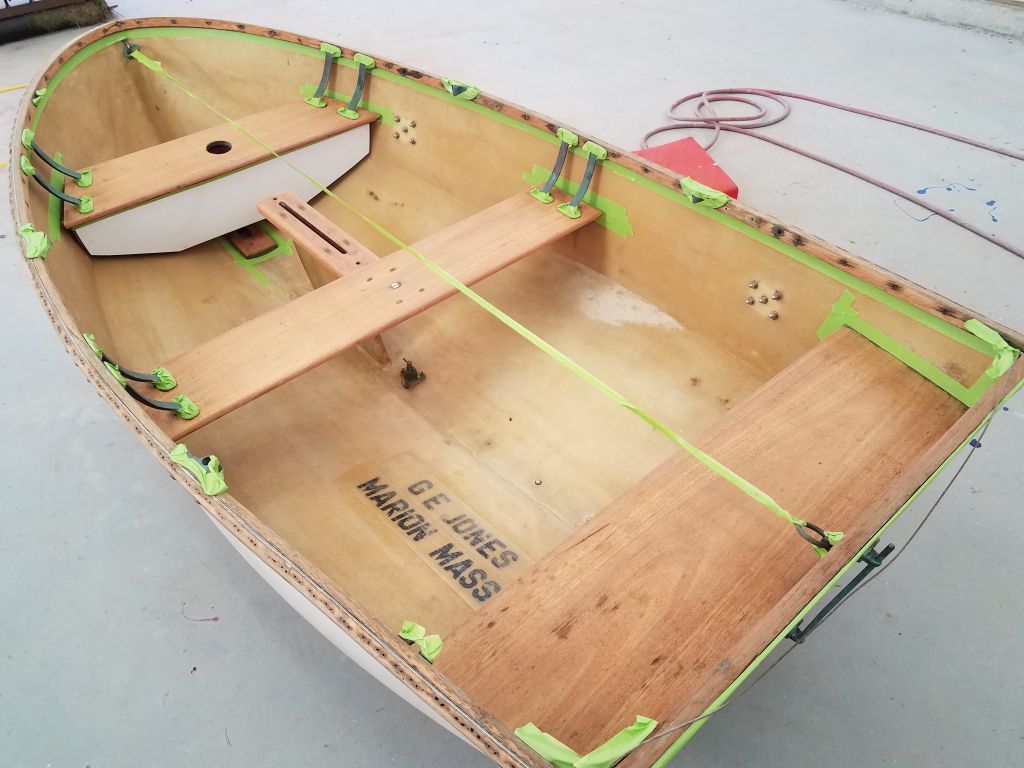
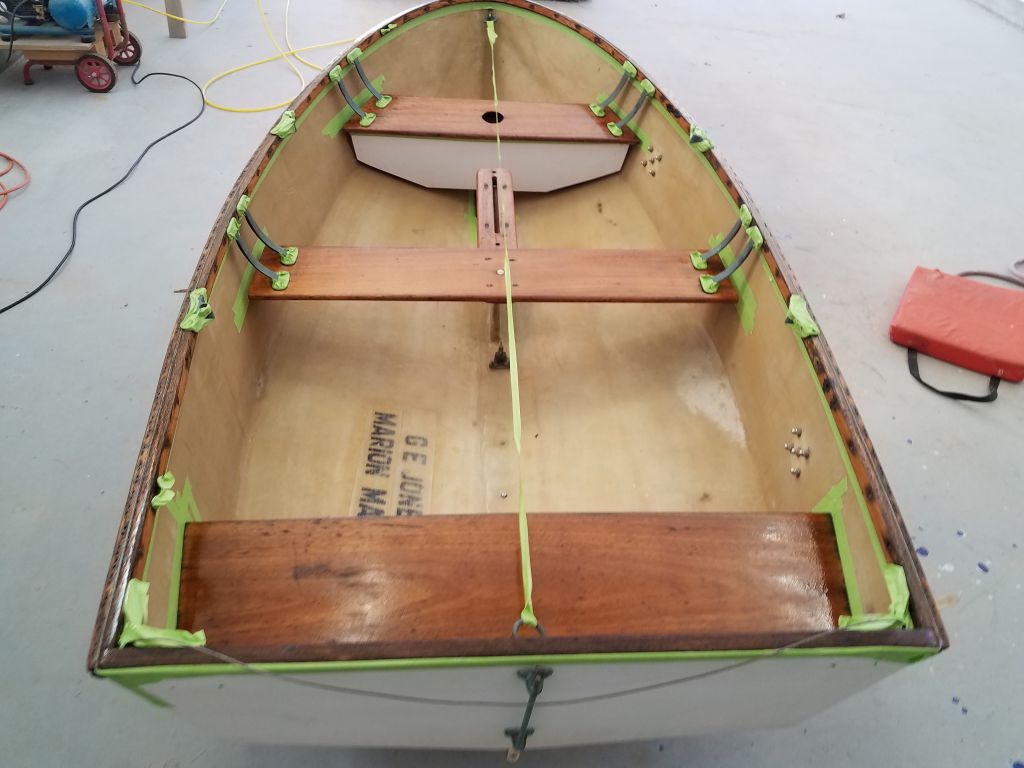
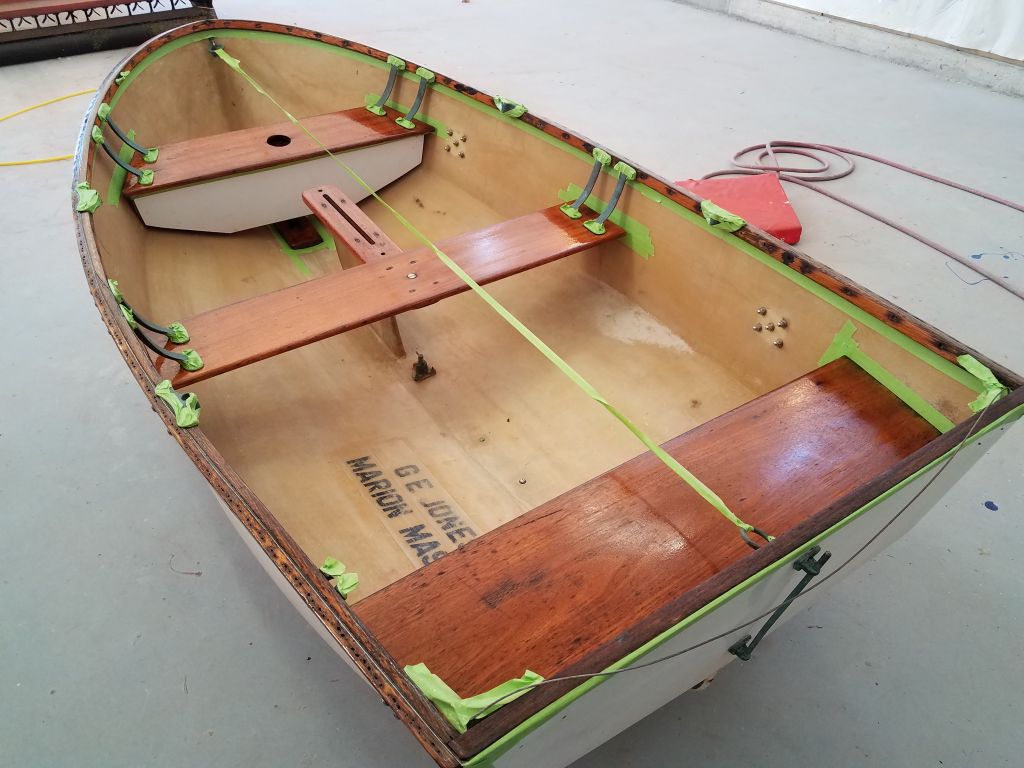
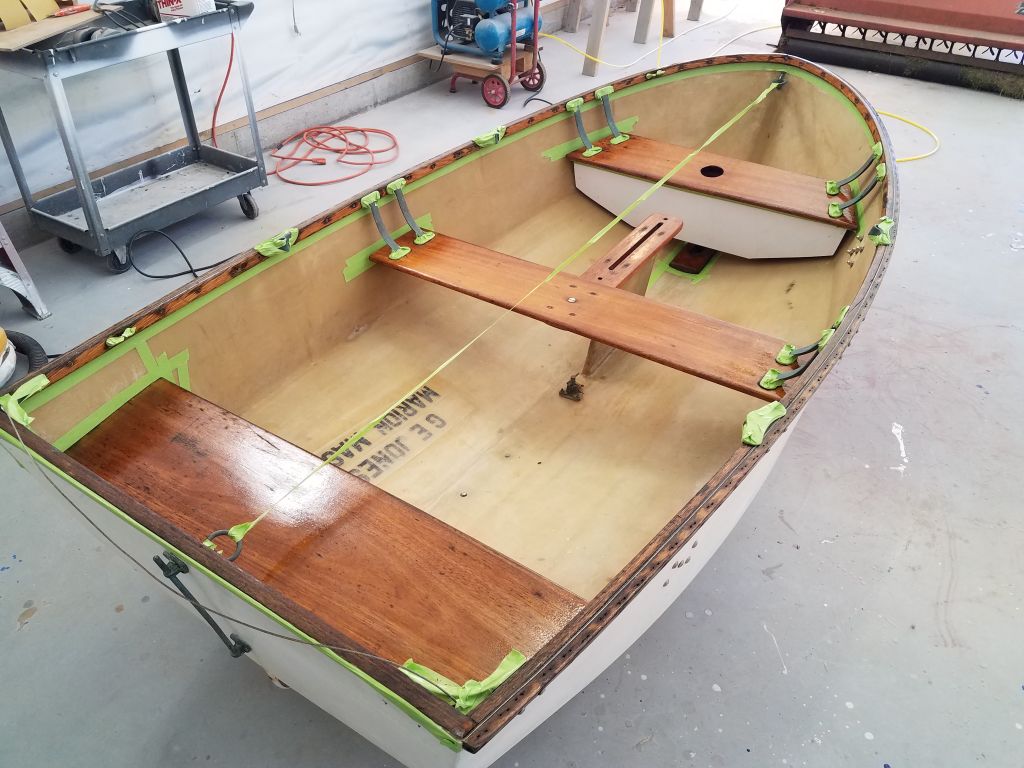
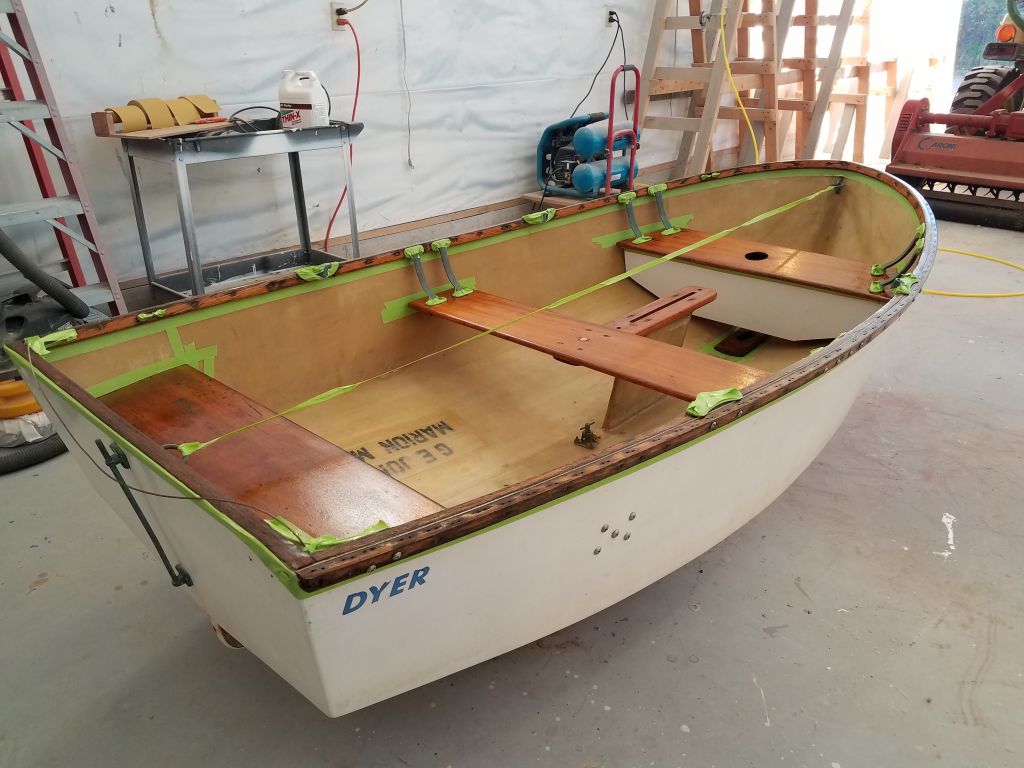
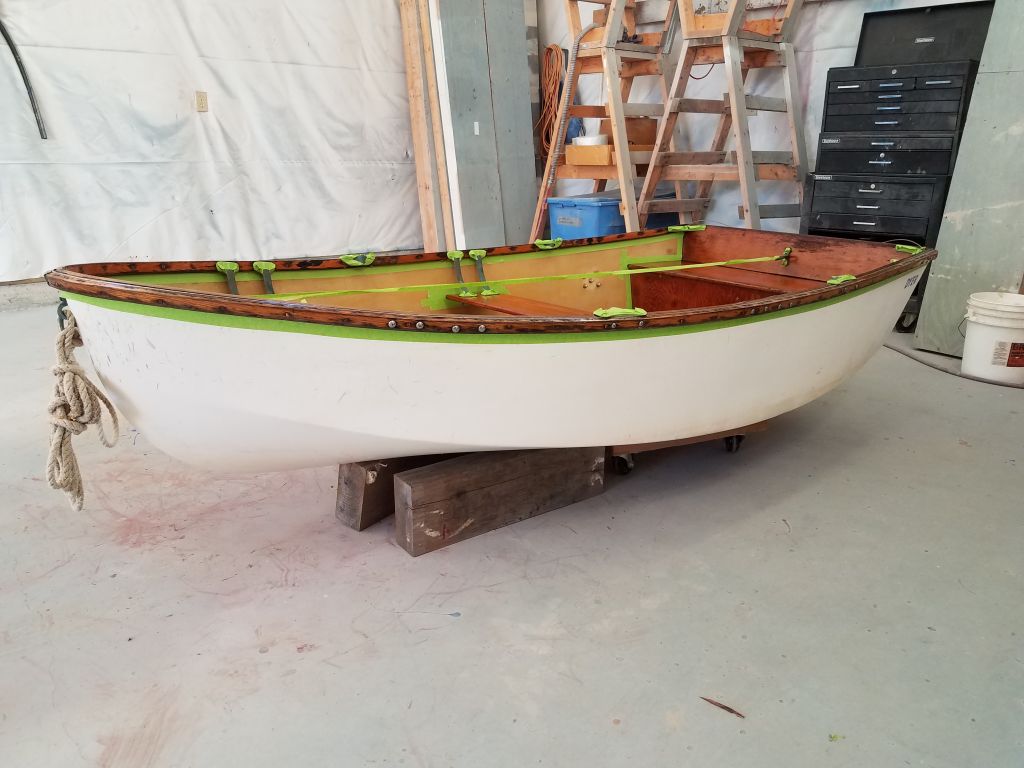
The 6th coat of varnish looked good, and I deemed the job complete. I removed all the masking tape from the boat and prepared things for the next item on the list.
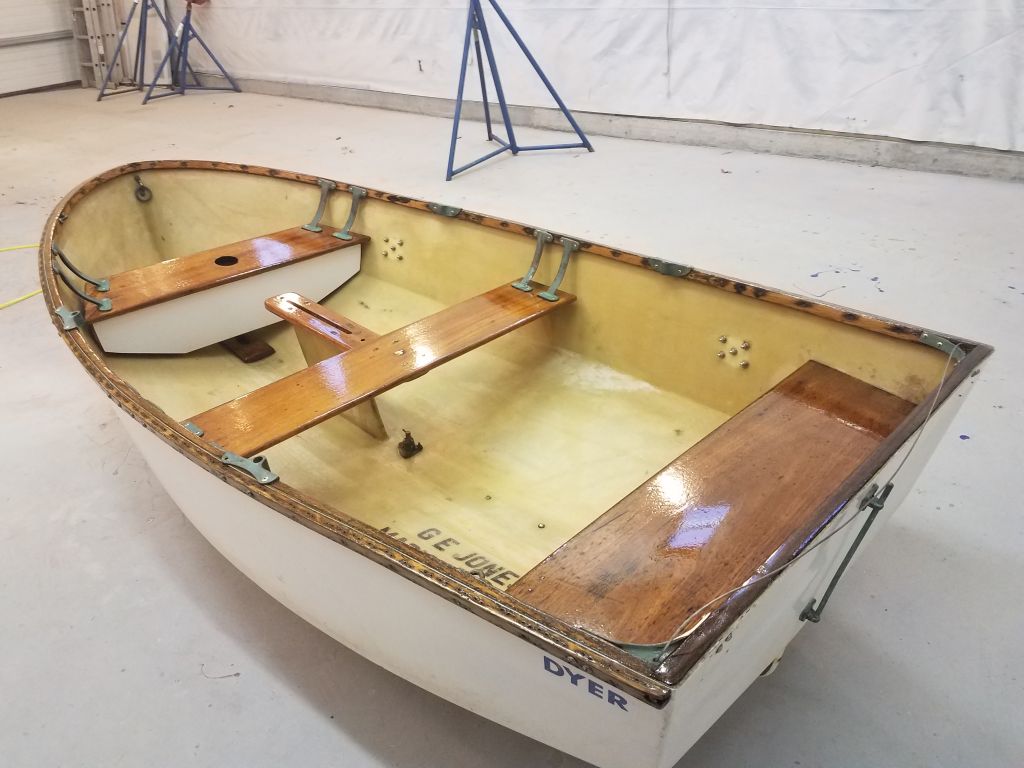
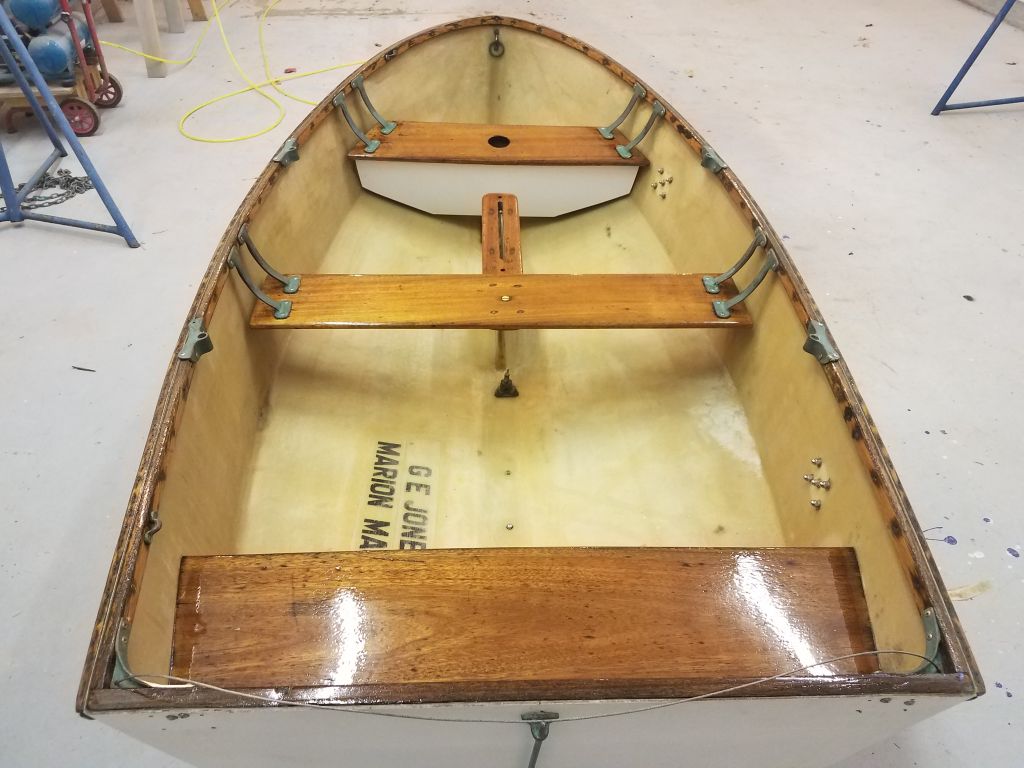
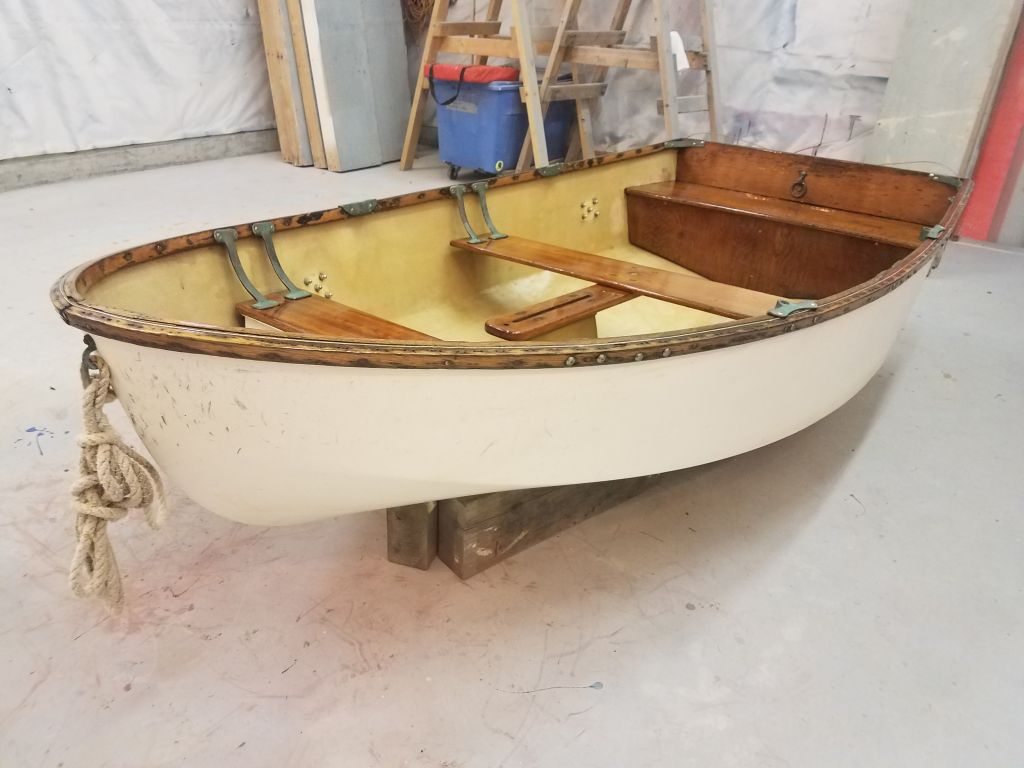
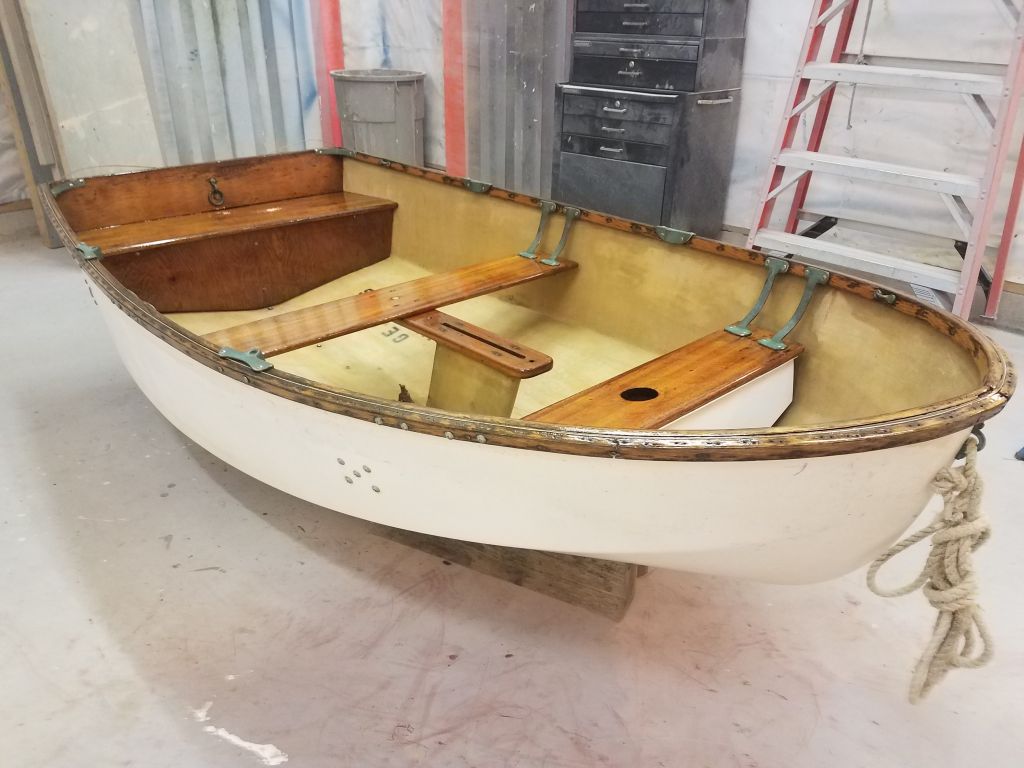
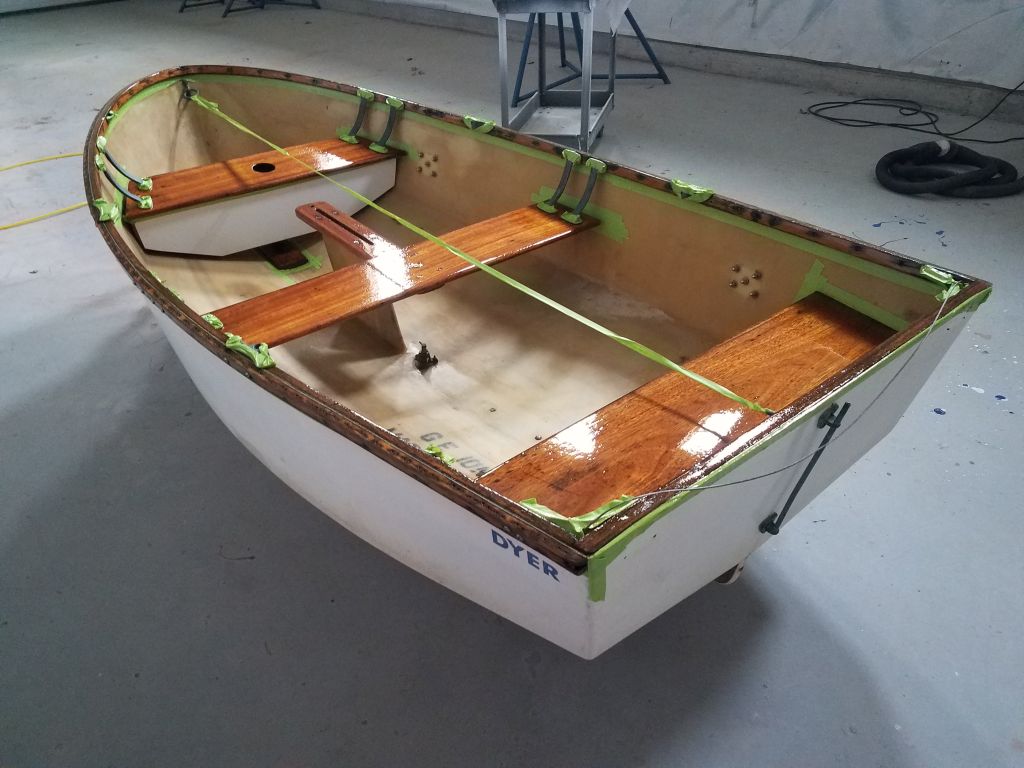
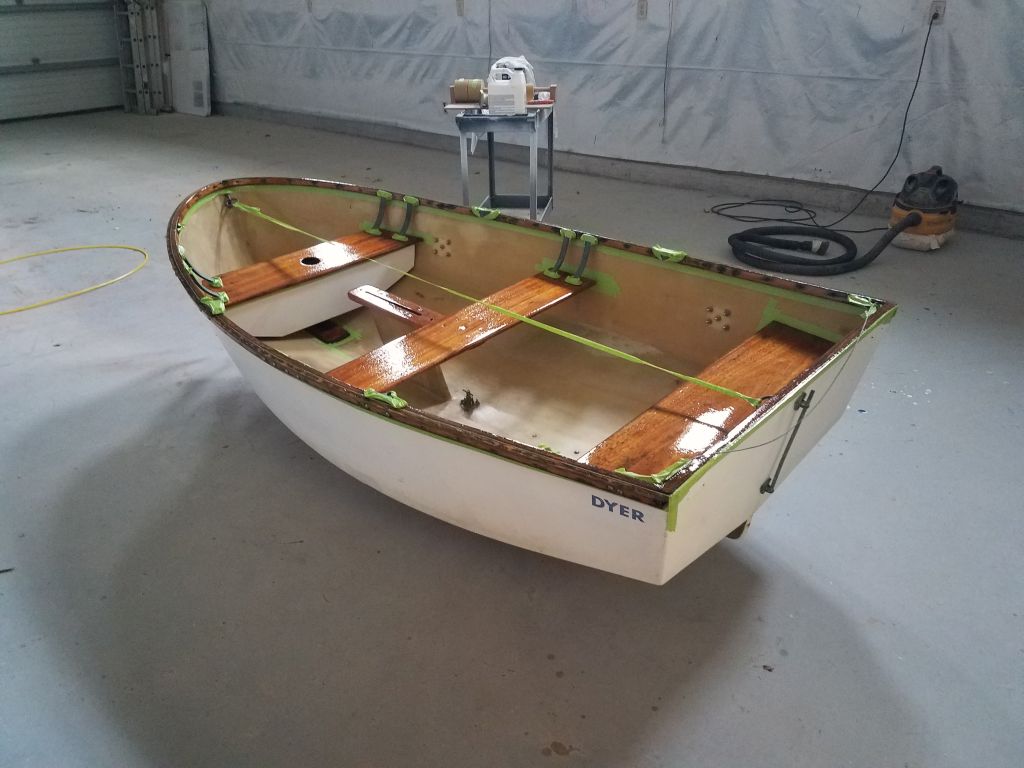
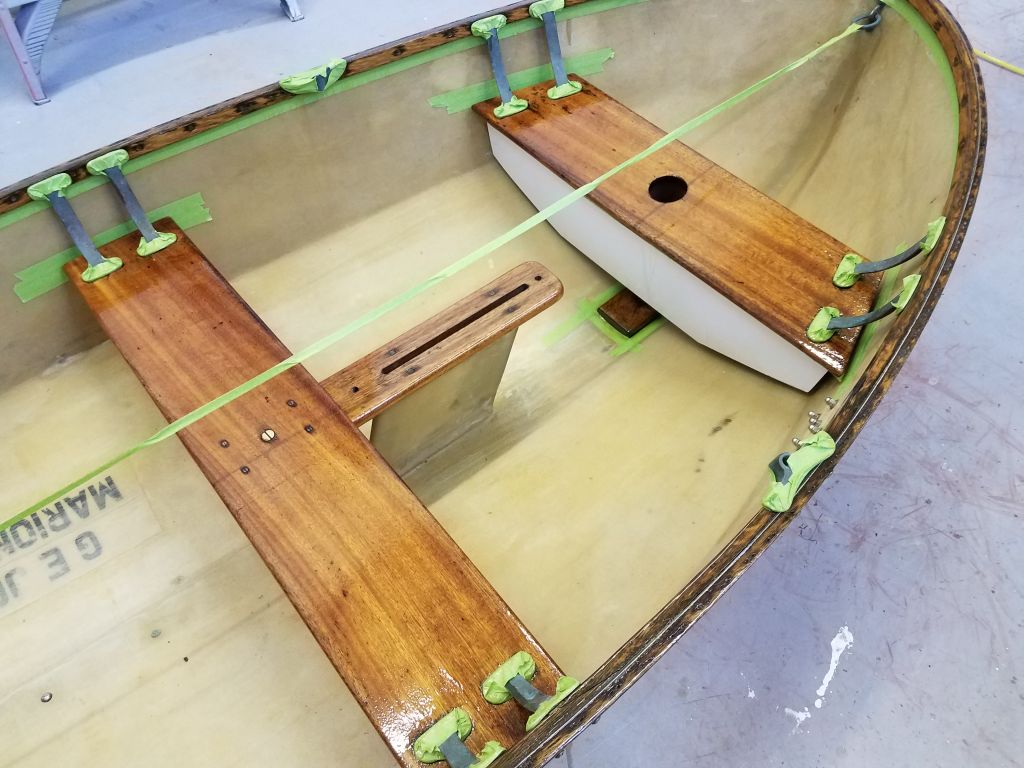
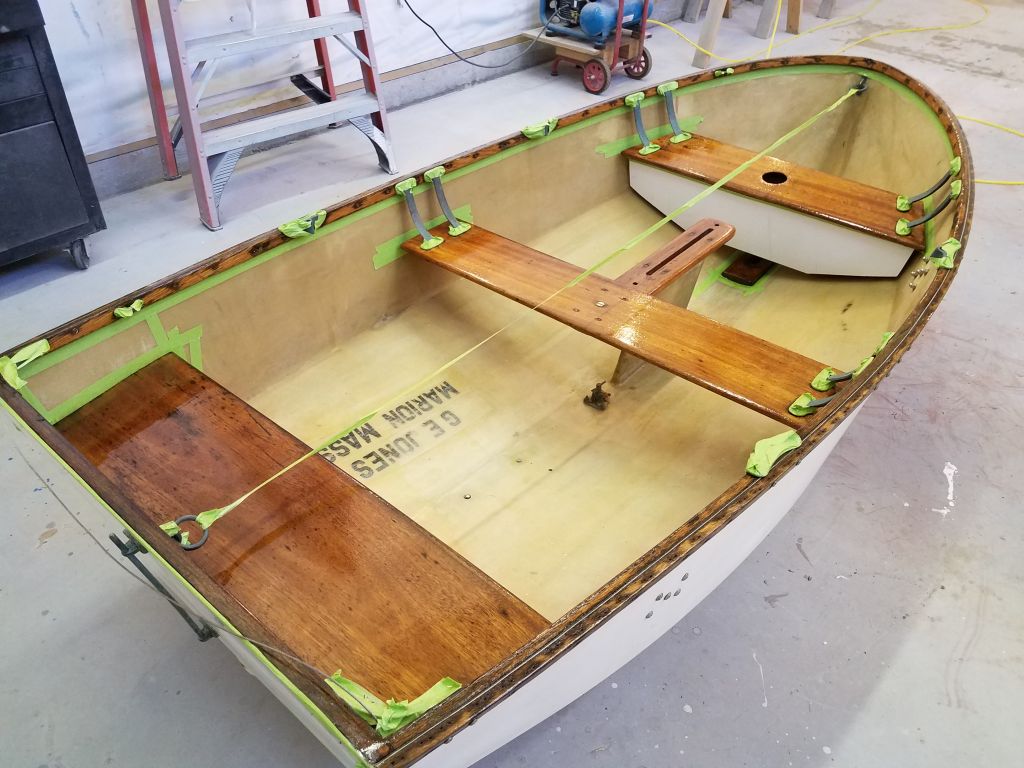
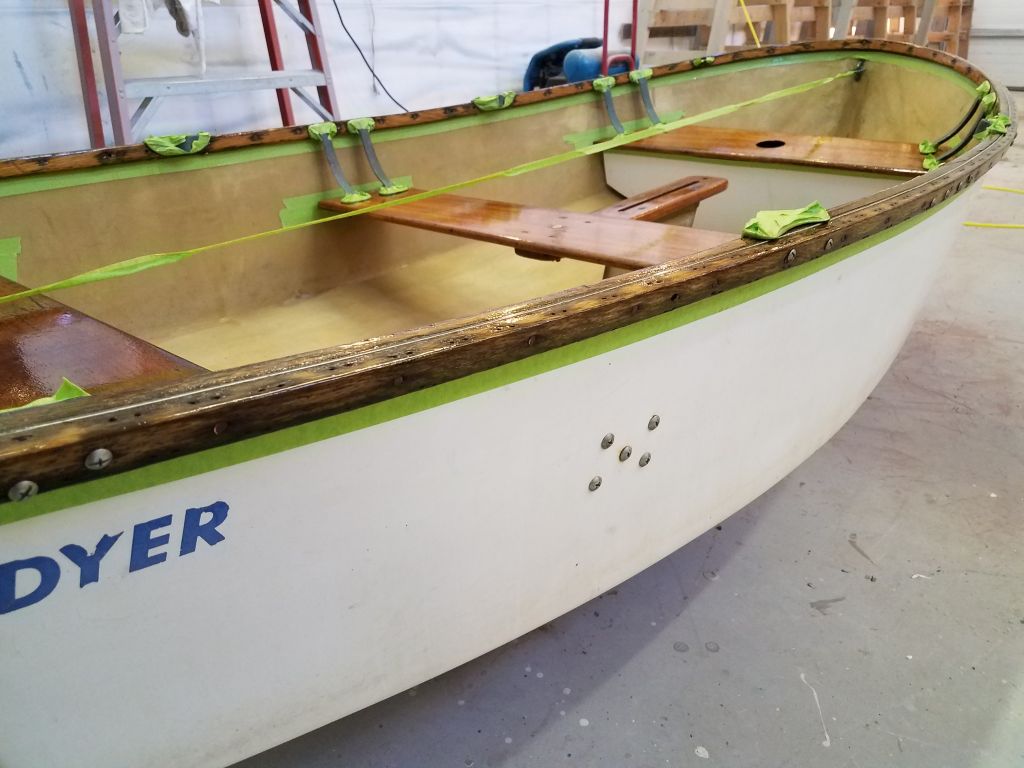
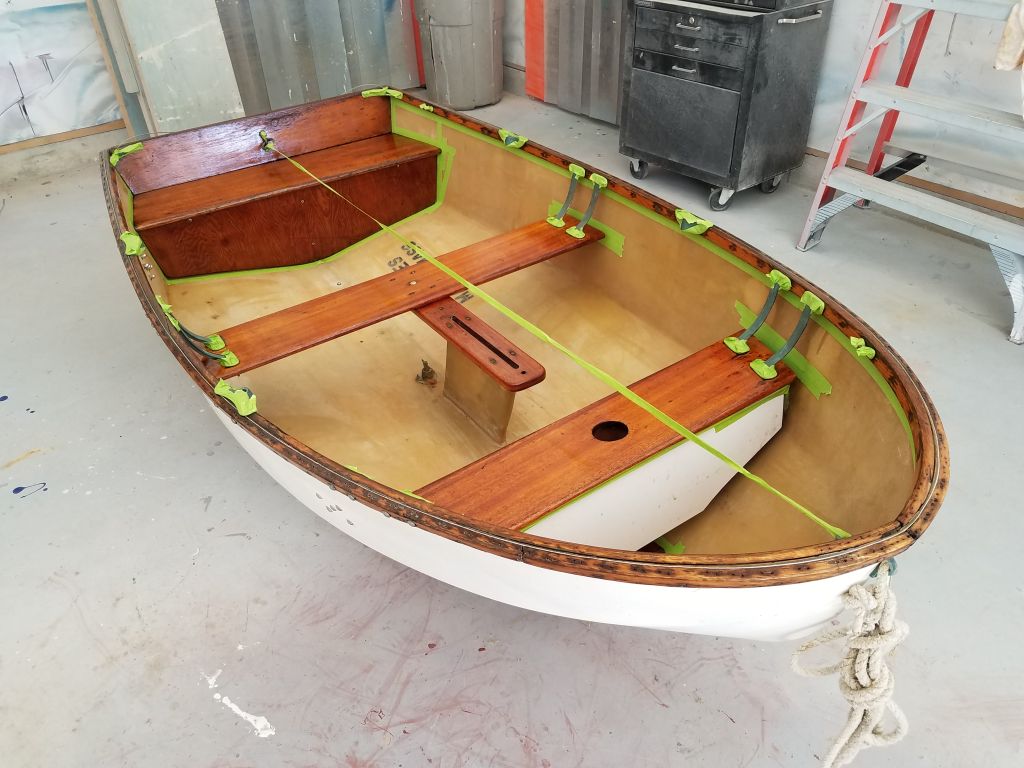
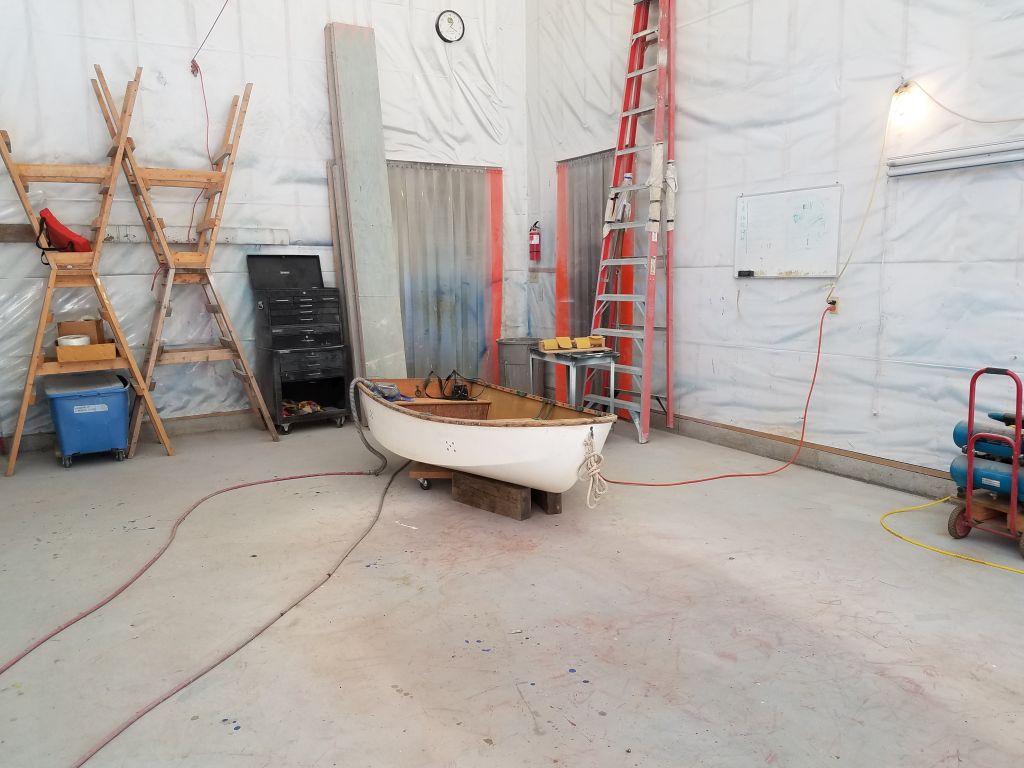
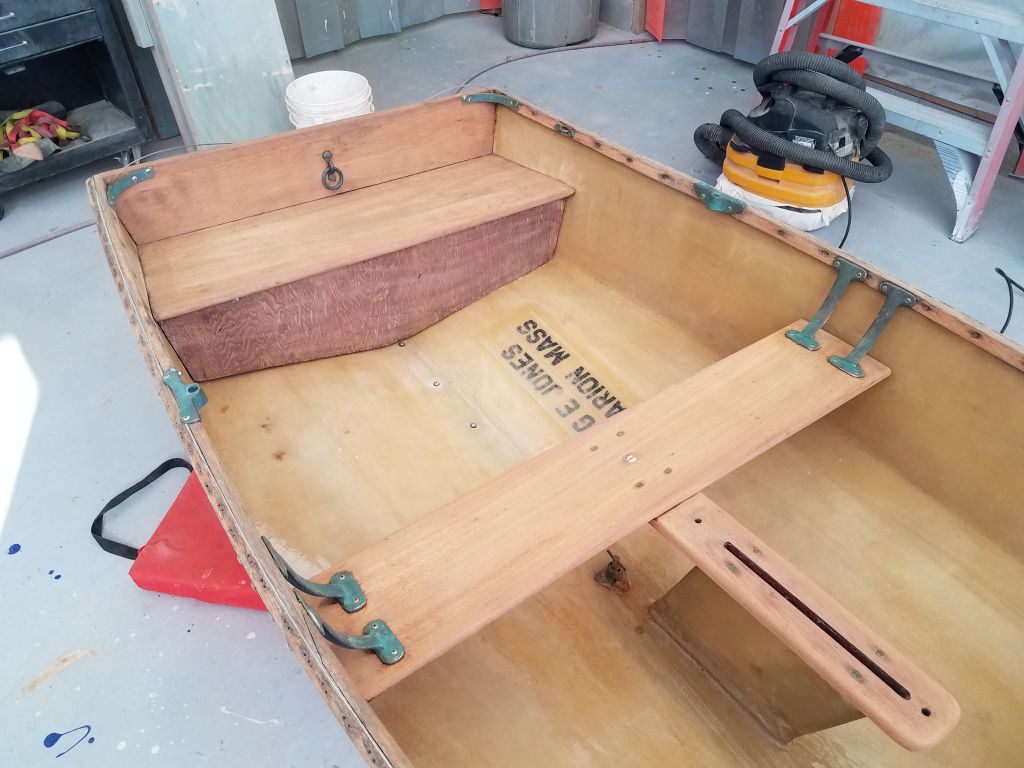
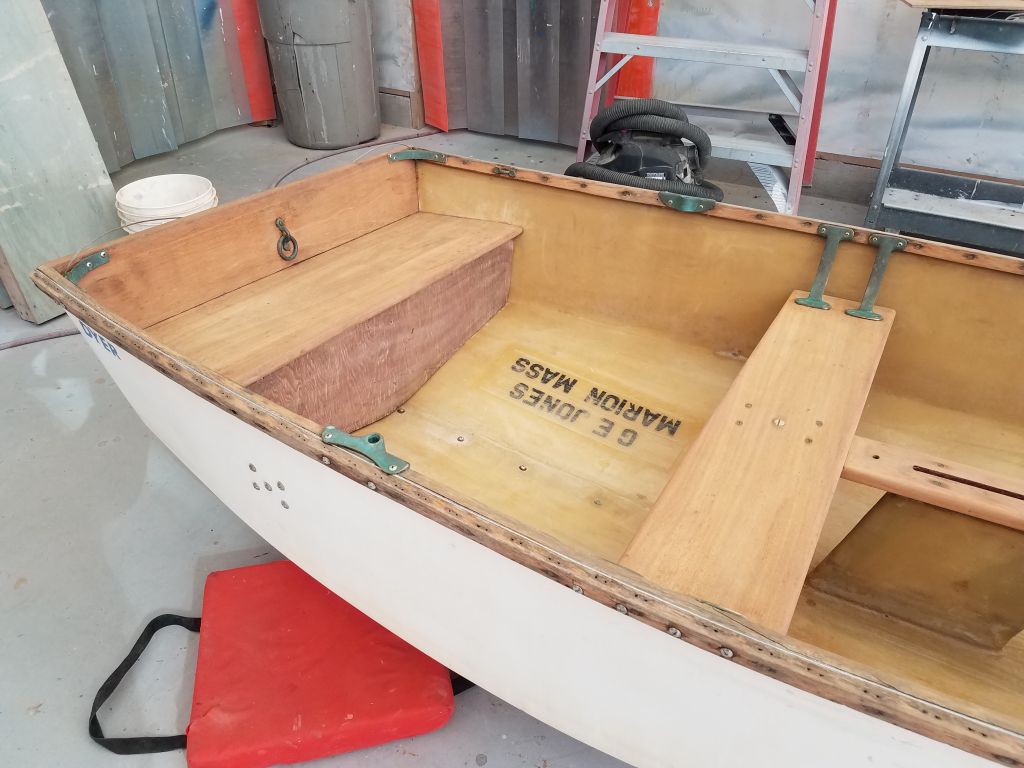
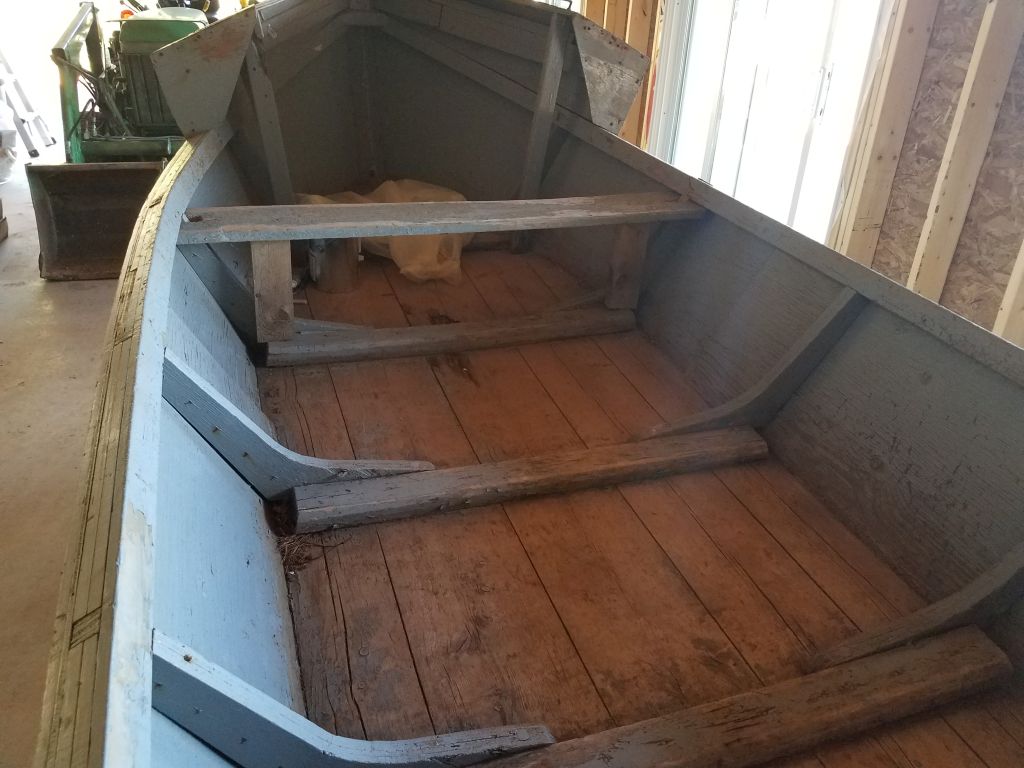
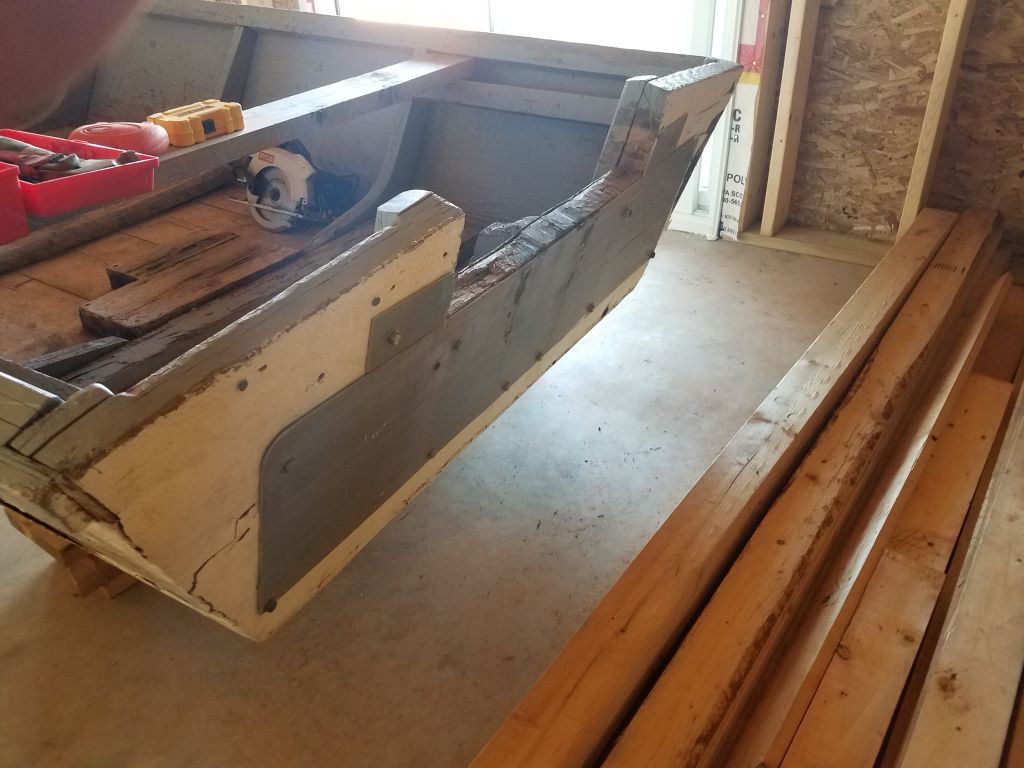
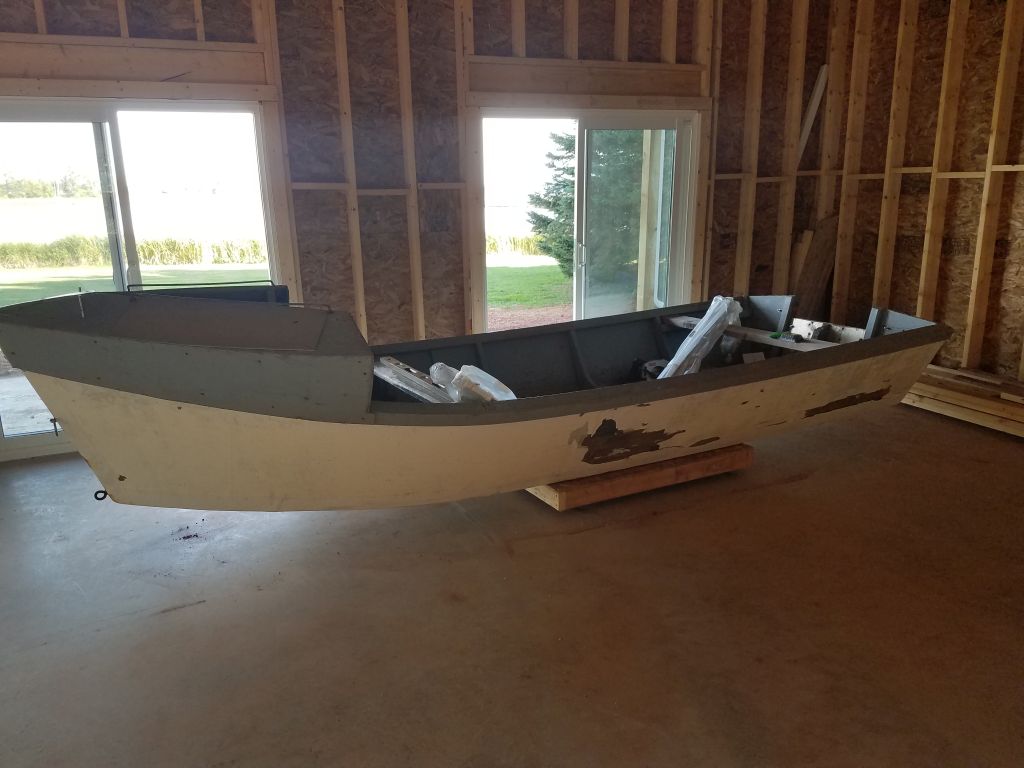
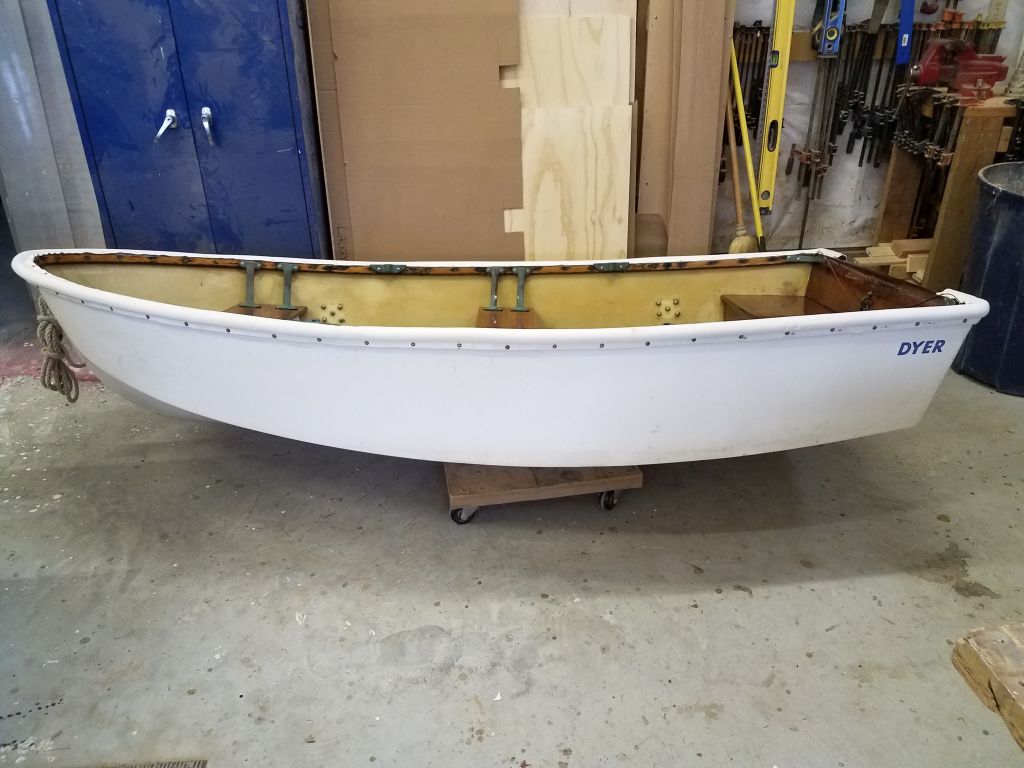
Preparing for a boat delivery in the main shop, I moved the Dyer to the woodshop for the next task, which was to install the new cushy rubrail: traditional in appearance, and excellent in true function.
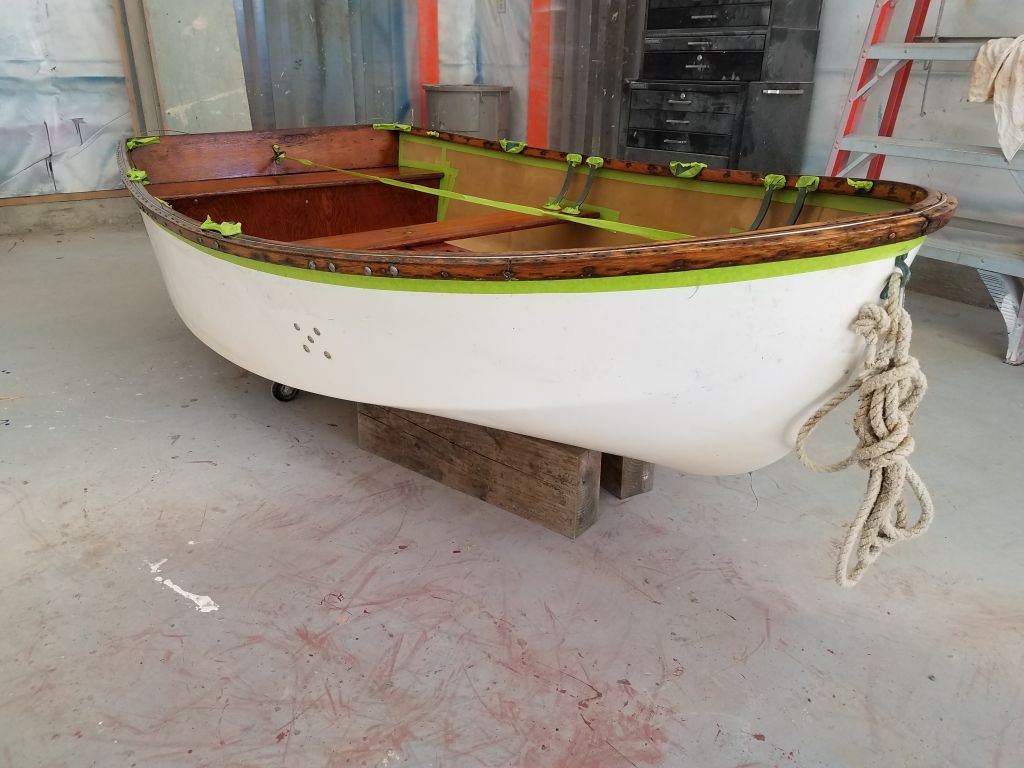
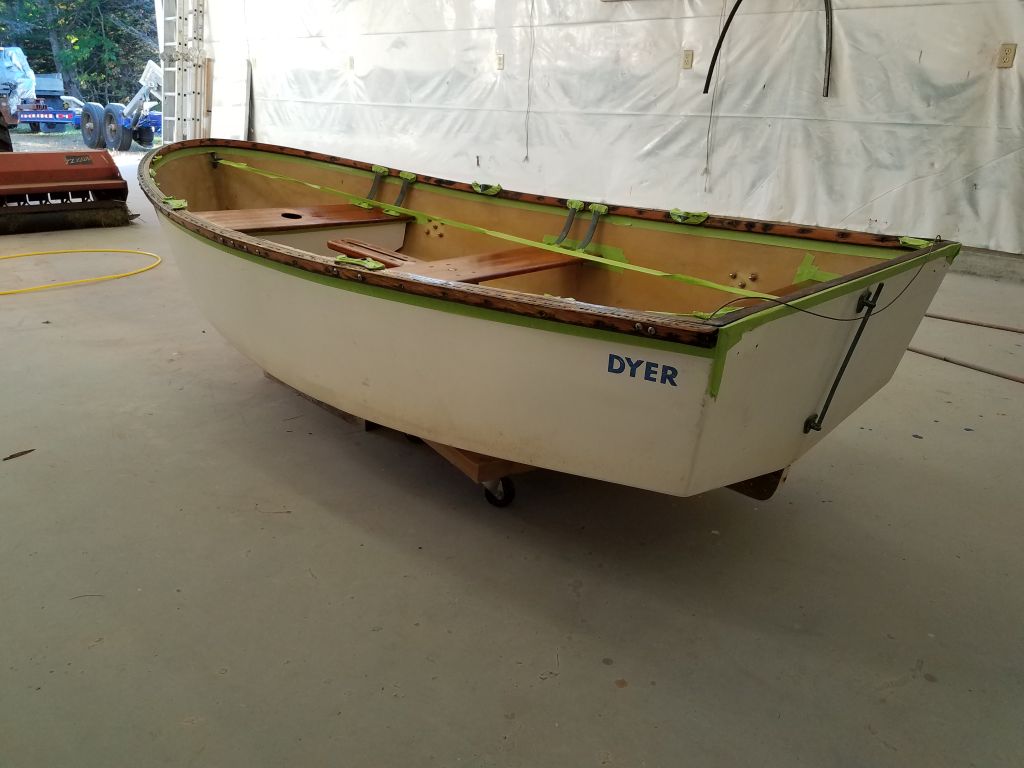
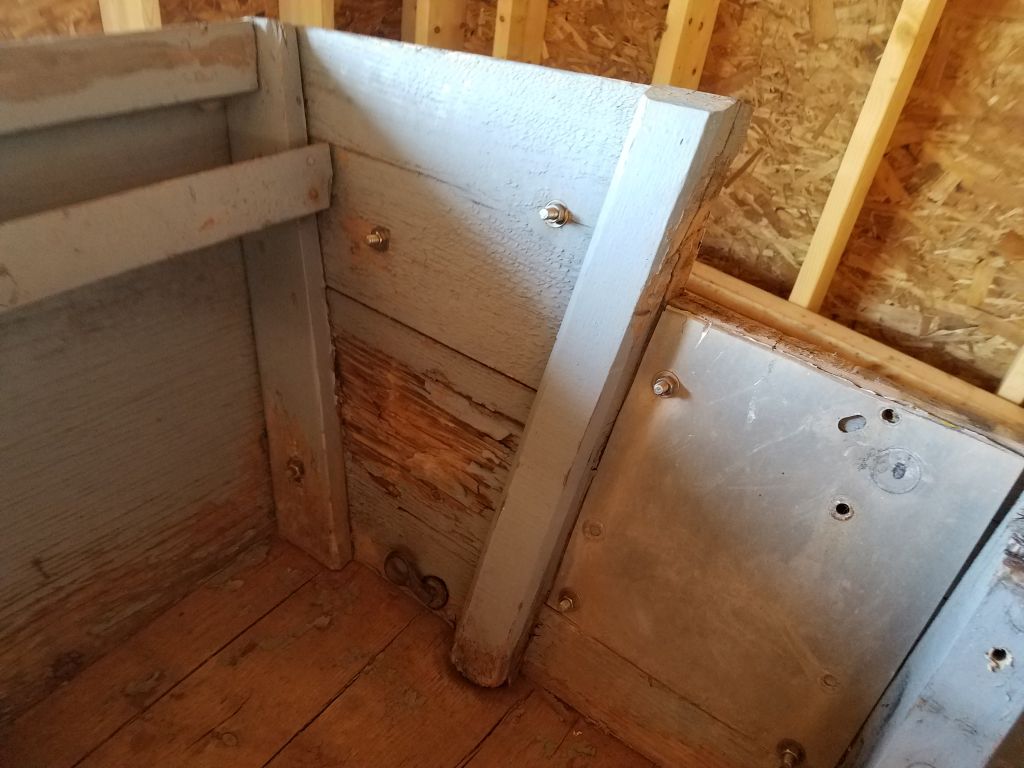
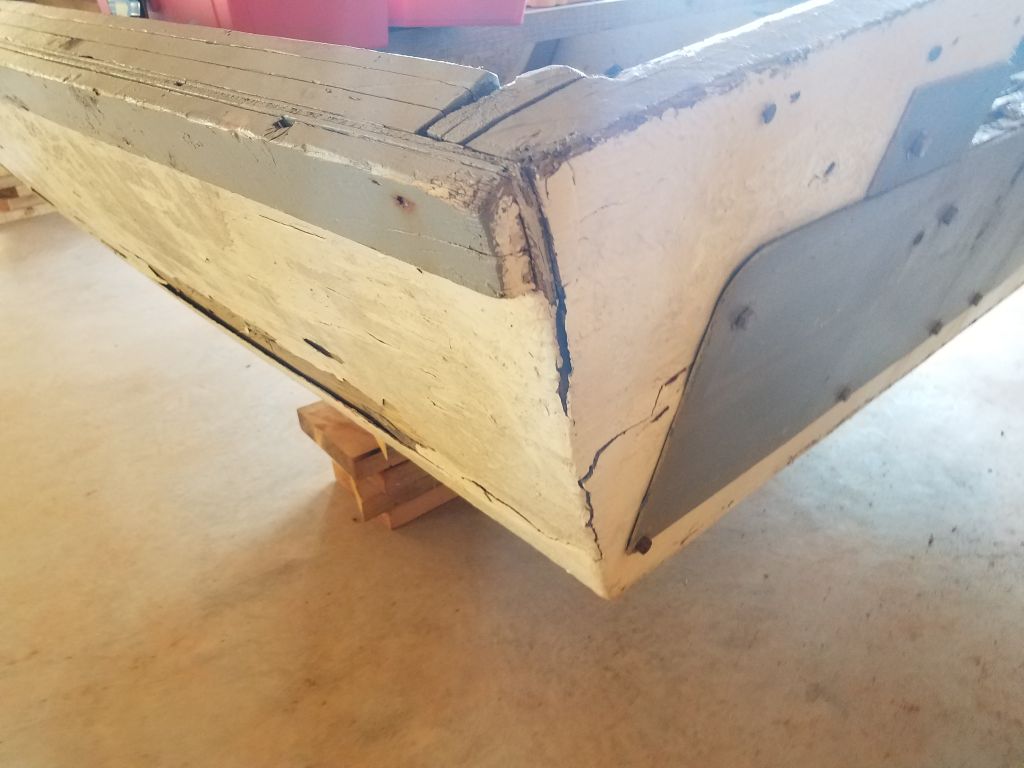
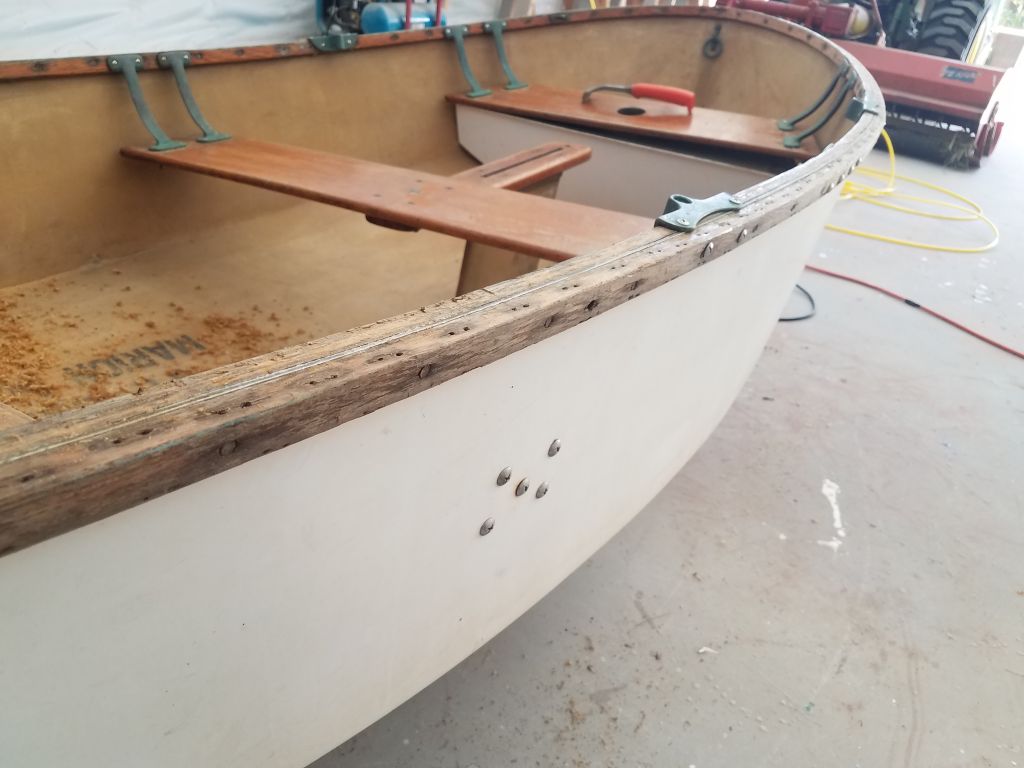
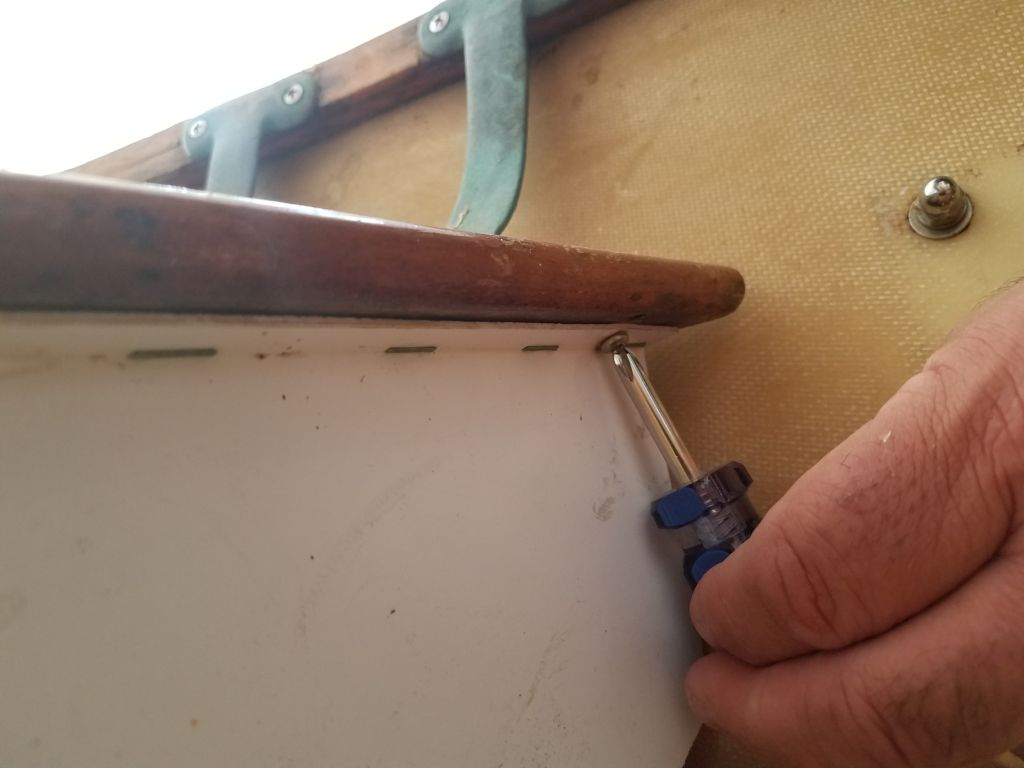
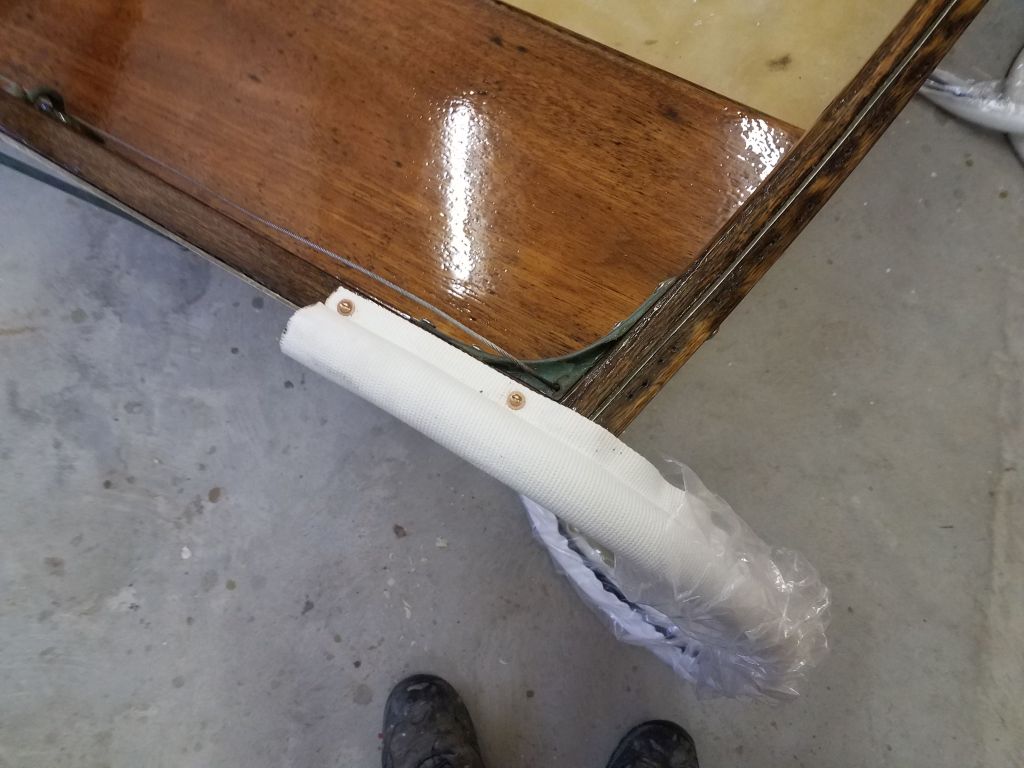
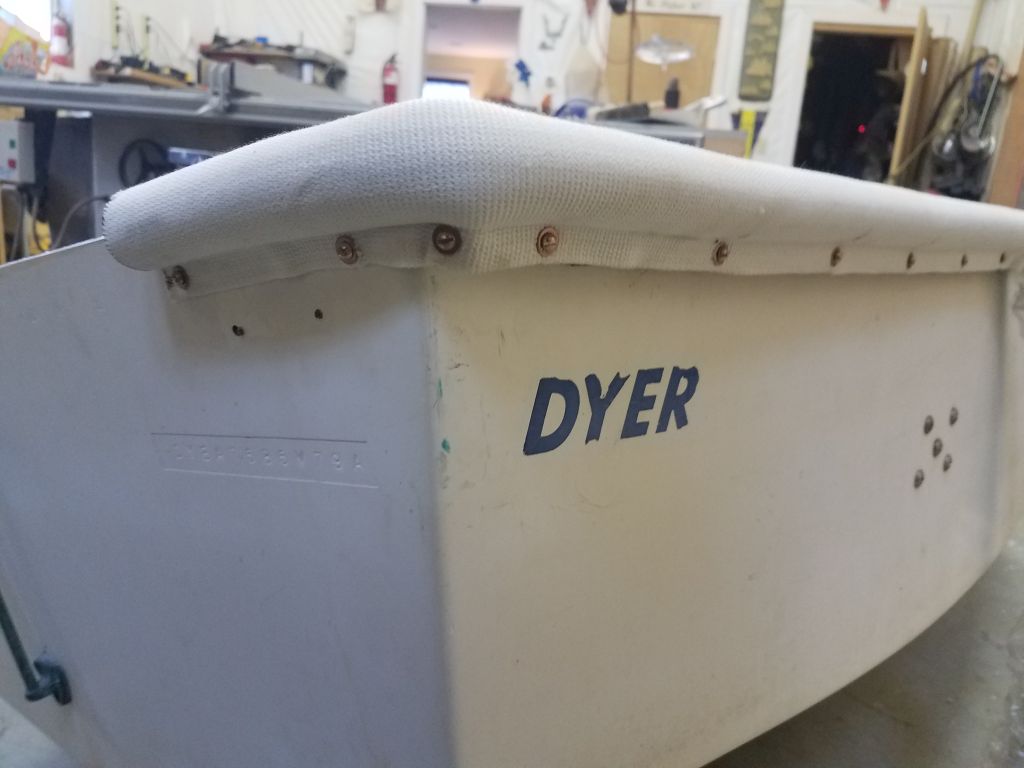
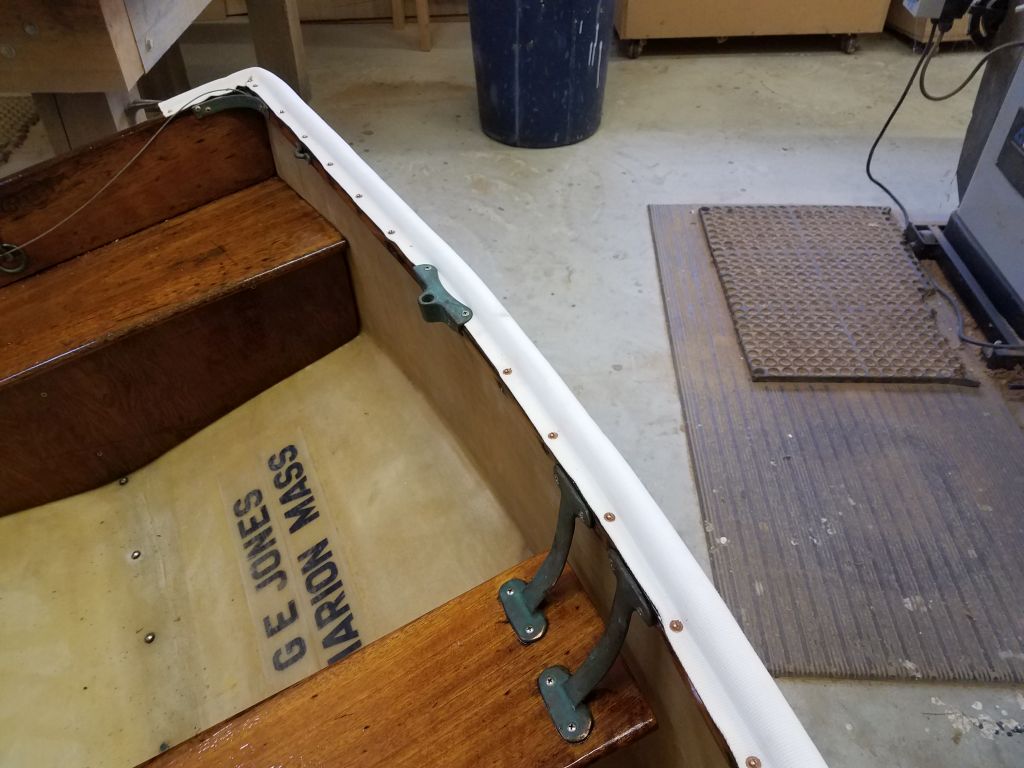
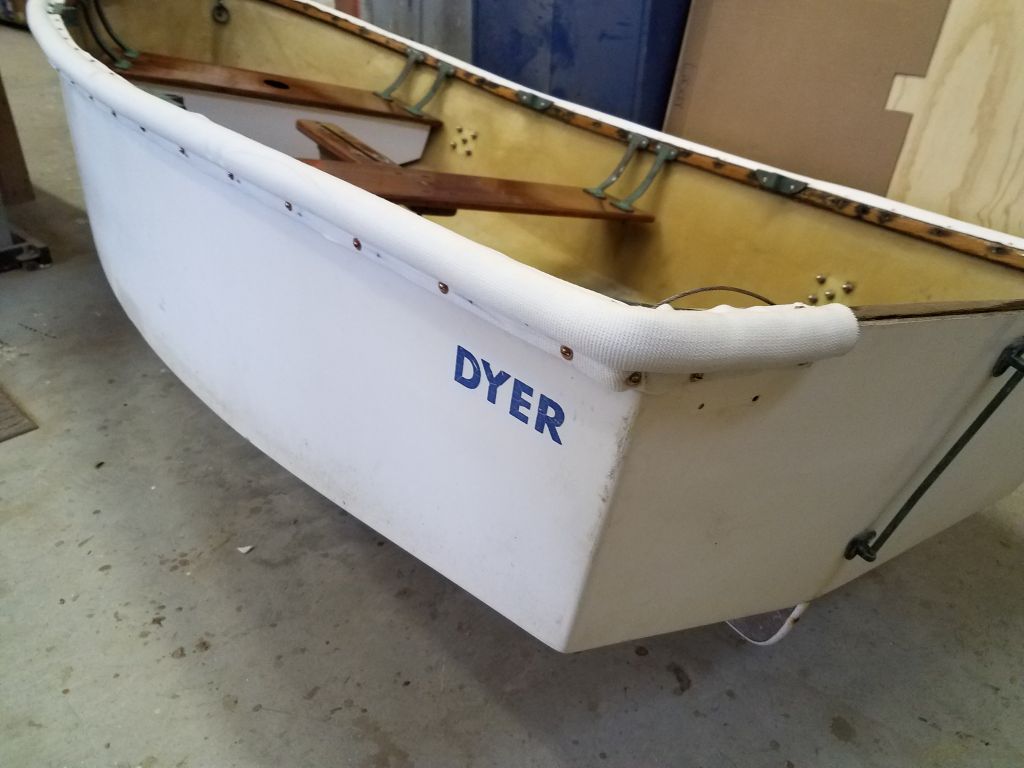
I began the installation at the starboard transom, where I chose to wrap the rubrail around the corner and on to the transom by 6″, an arbitrary amount that kept the center of the transom clear for the rudder while still providing a fender at the transom corner. I used a hot knife to seal the freshly-cut edge of the Dacron covering of the rubrail, and secured the material to the transom with bronze screws and washers on 4″ centers, both at the top, where it attached to the horizontal portion of the wooden rubrail, and on the hull side as well. On the transom, I fastened the rubrail directly to the fiberglass and into the wooden backing, but for the remainder of the boat the lower portion of the rubrail would be screwed to the wooden part of the rail that extended around the boat.

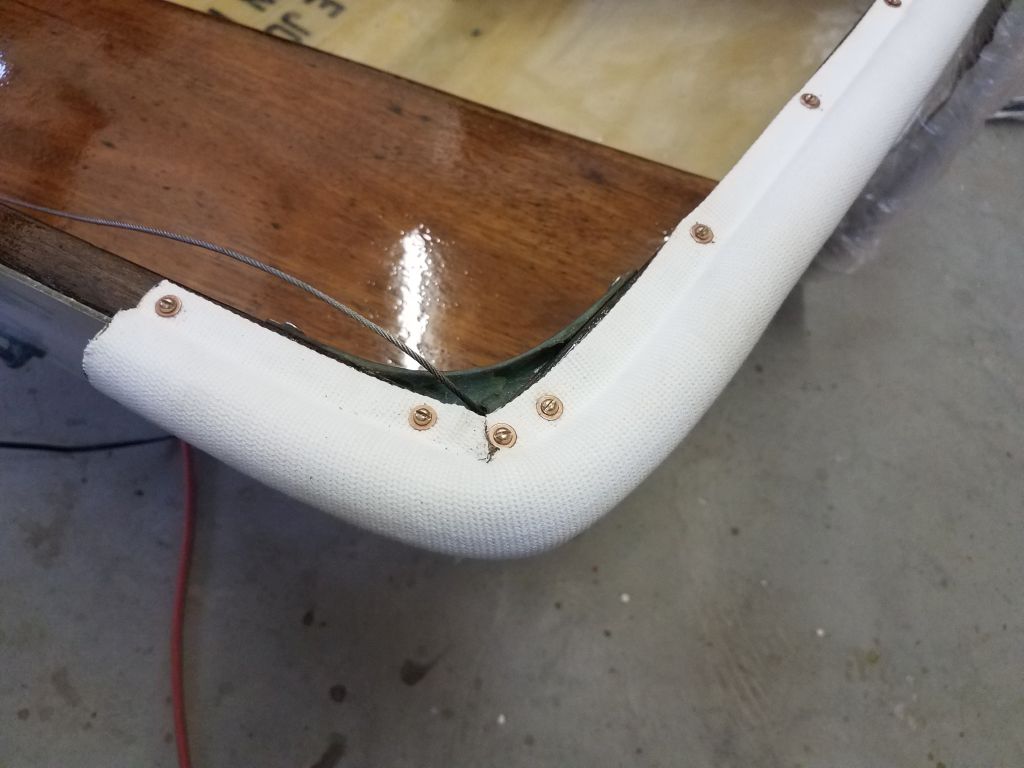
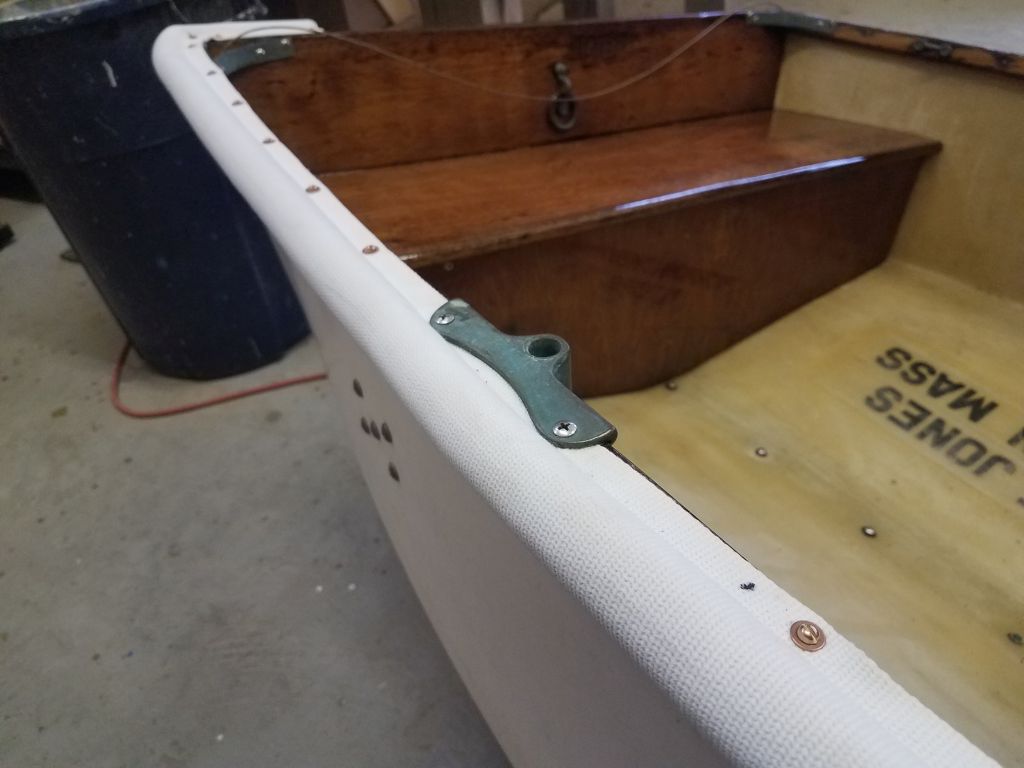
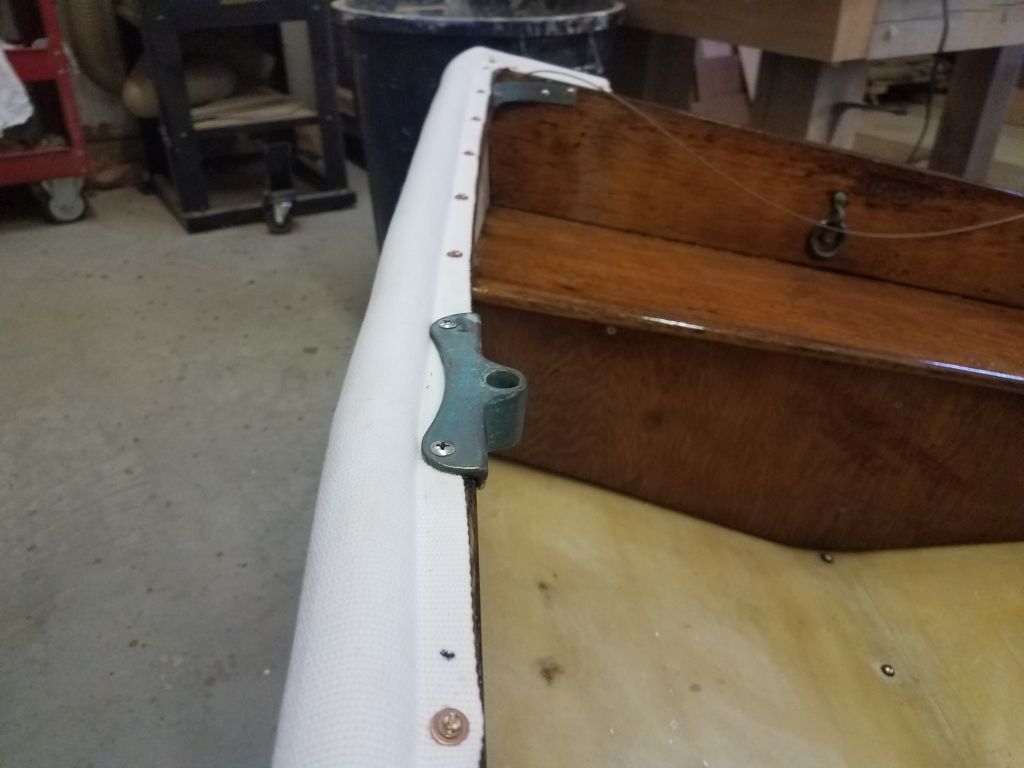
Now I wrapped the material around the corner, keeping it tight and ensuring the cleanest possible bend. I continued securing the rubrail with the bronze screws for a couple feet going forward before coming back to the corner to deal with the bunching of the fabric where I’d made the nearly right-angle turn. I used #6 x 3/4″ round head screws at the top, and 5/8″ versions for the hull side.

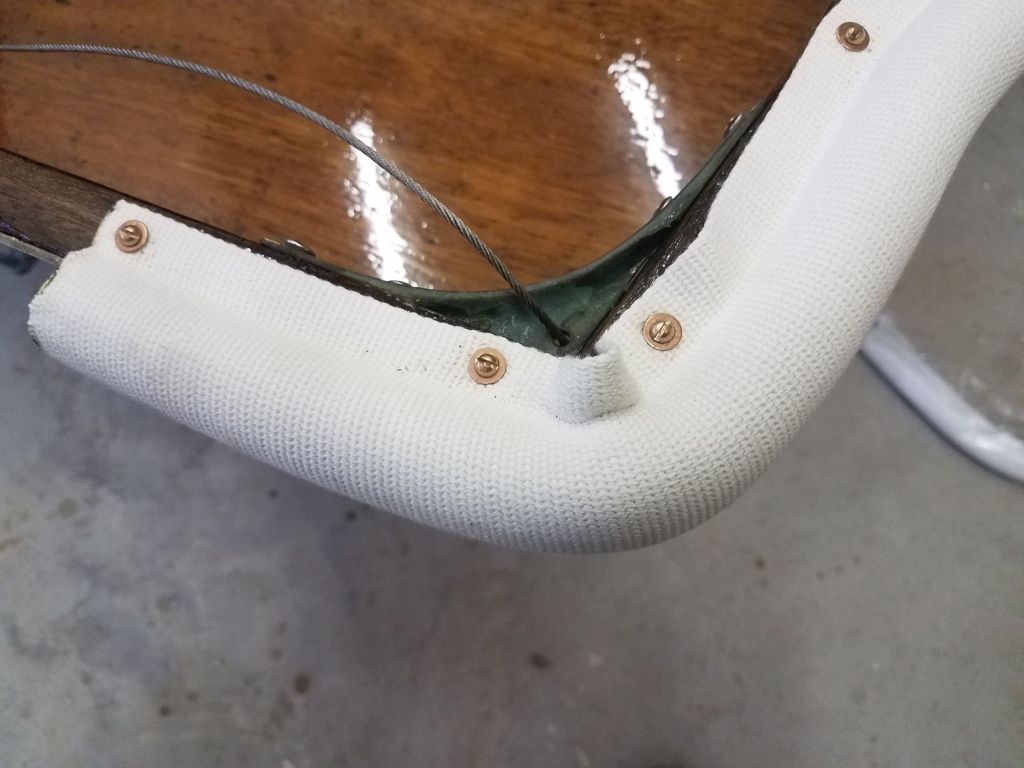
At the corner, I carefully cut the material where it bunched, removing excess and eventually sealing the fresh cut with the hot knife before installing an additional screw right over the seam. On the lower side, I added a screw into the aft edge of the hull-side wooden rail.
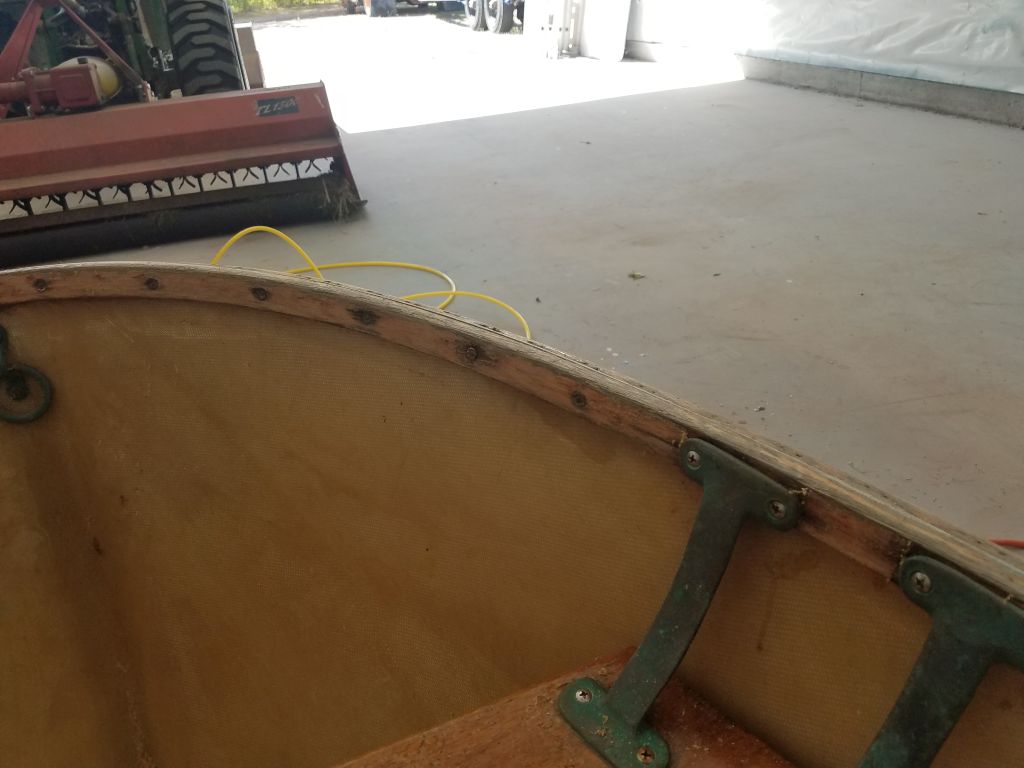
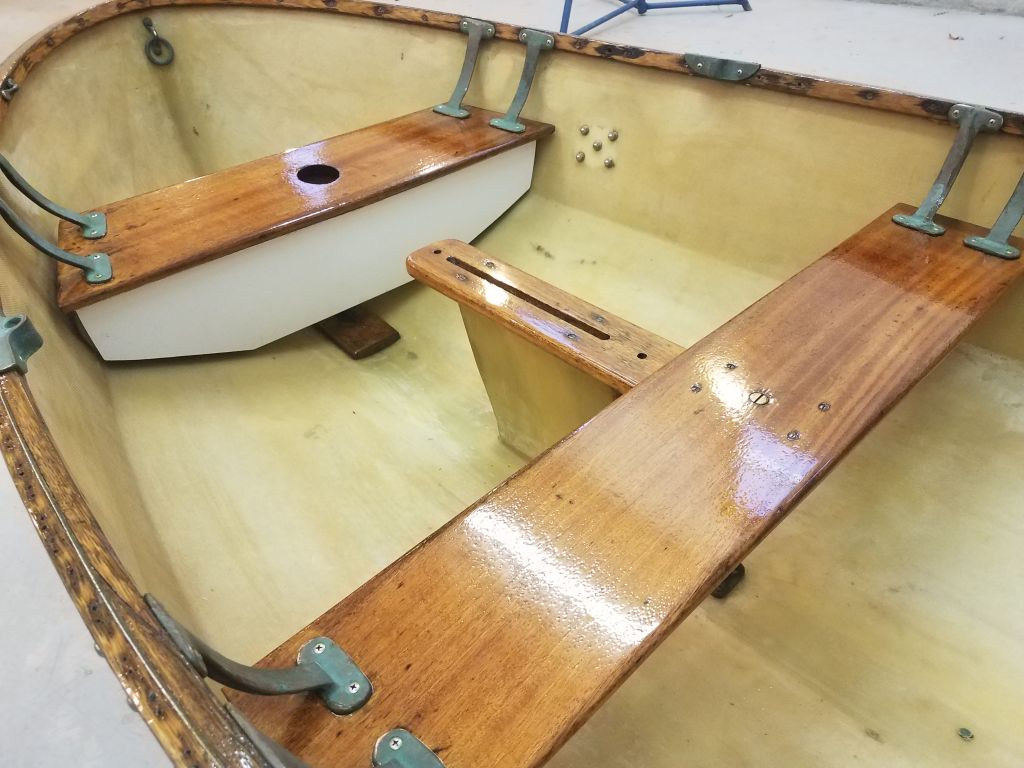
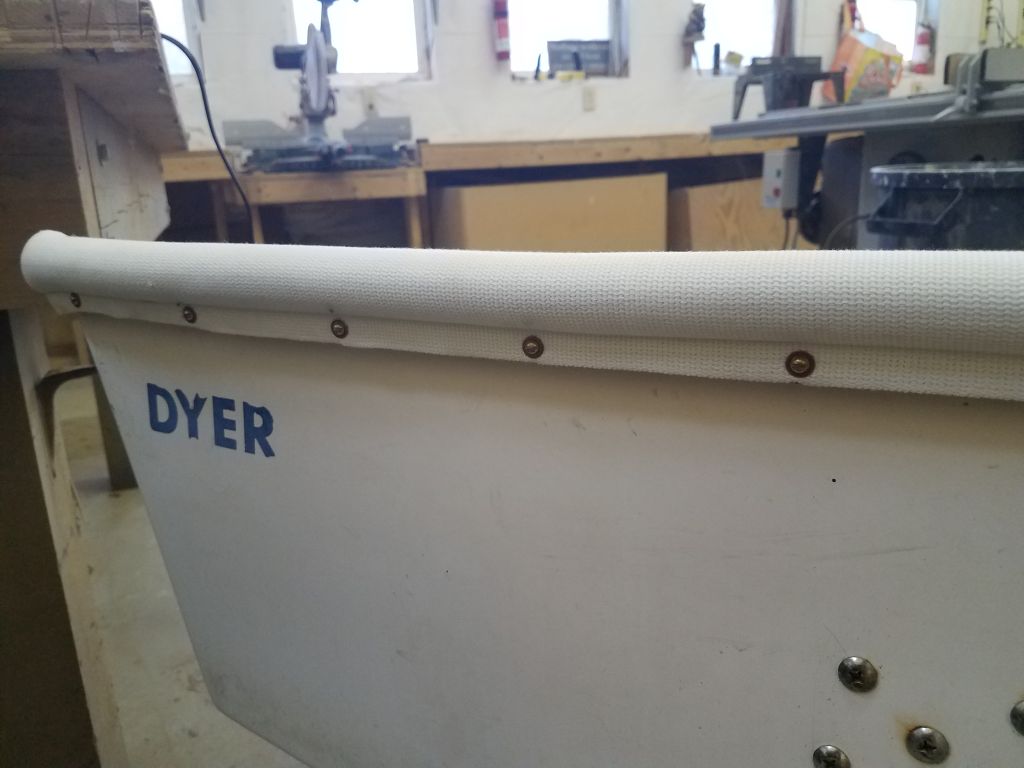
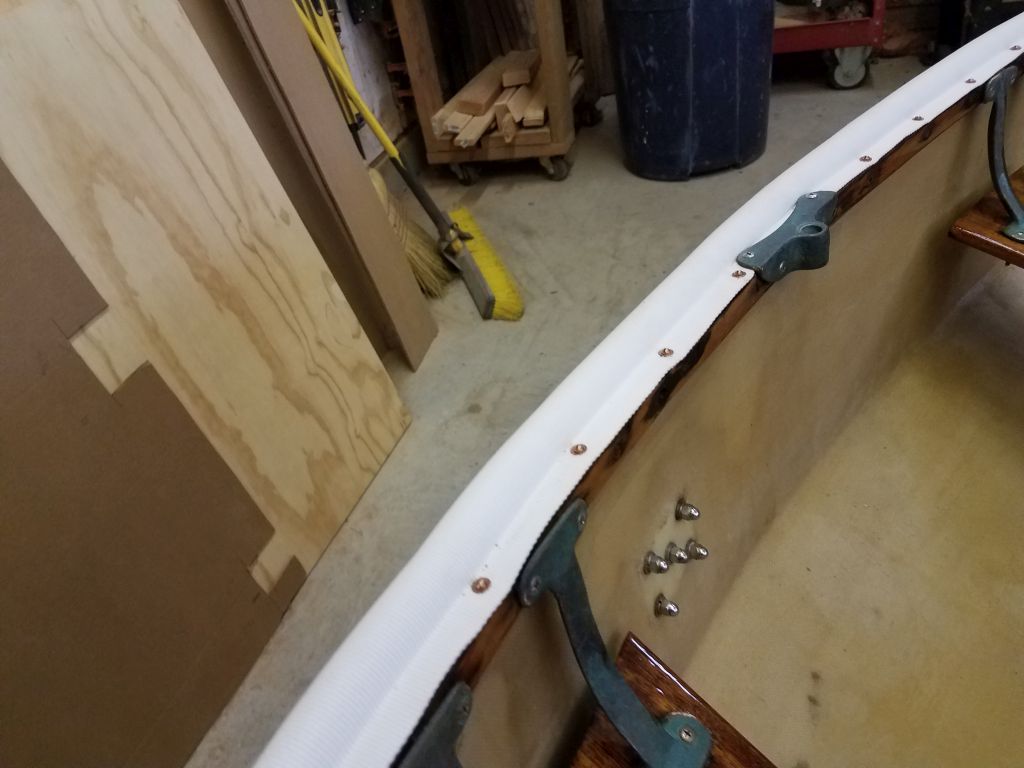
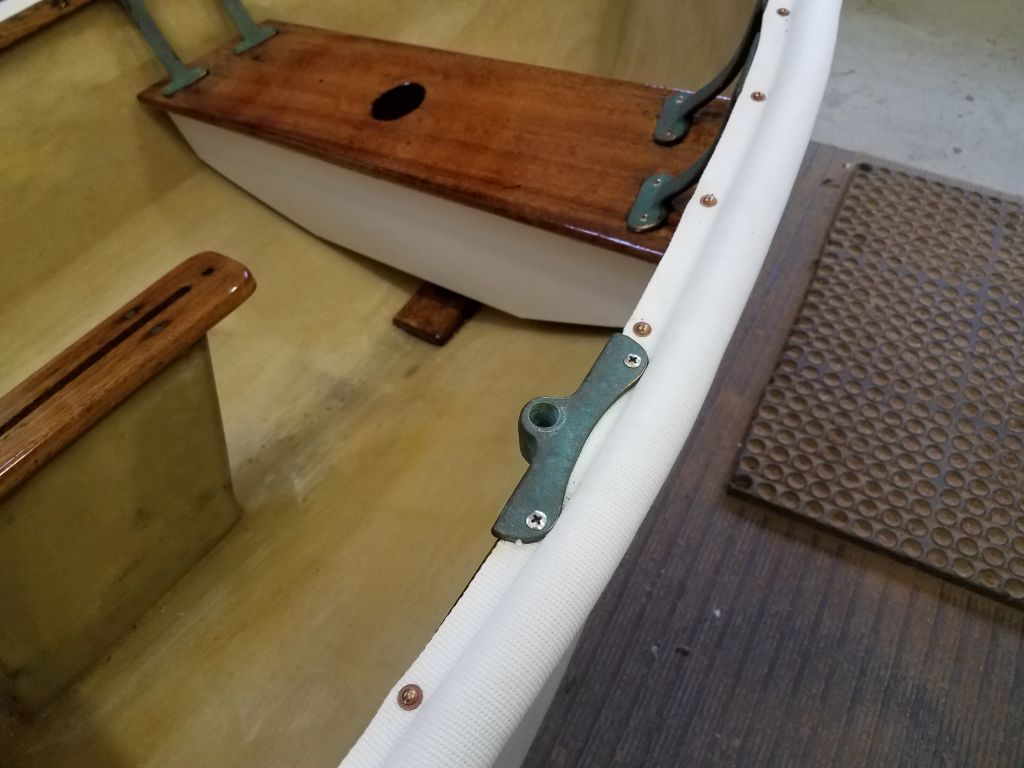
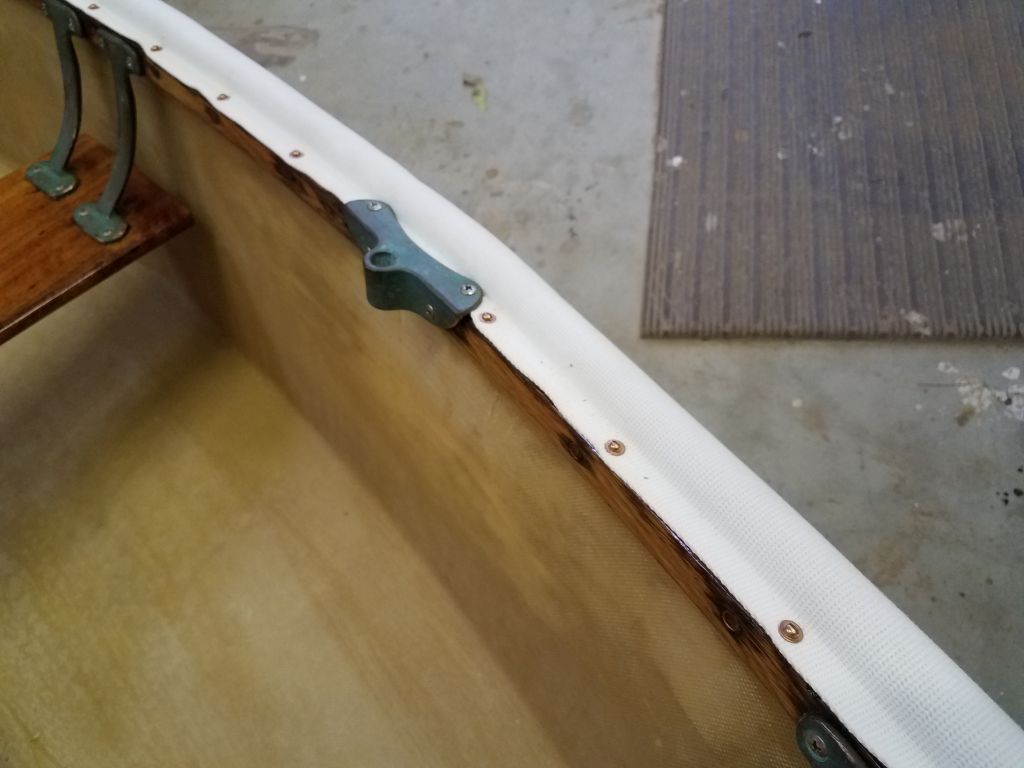
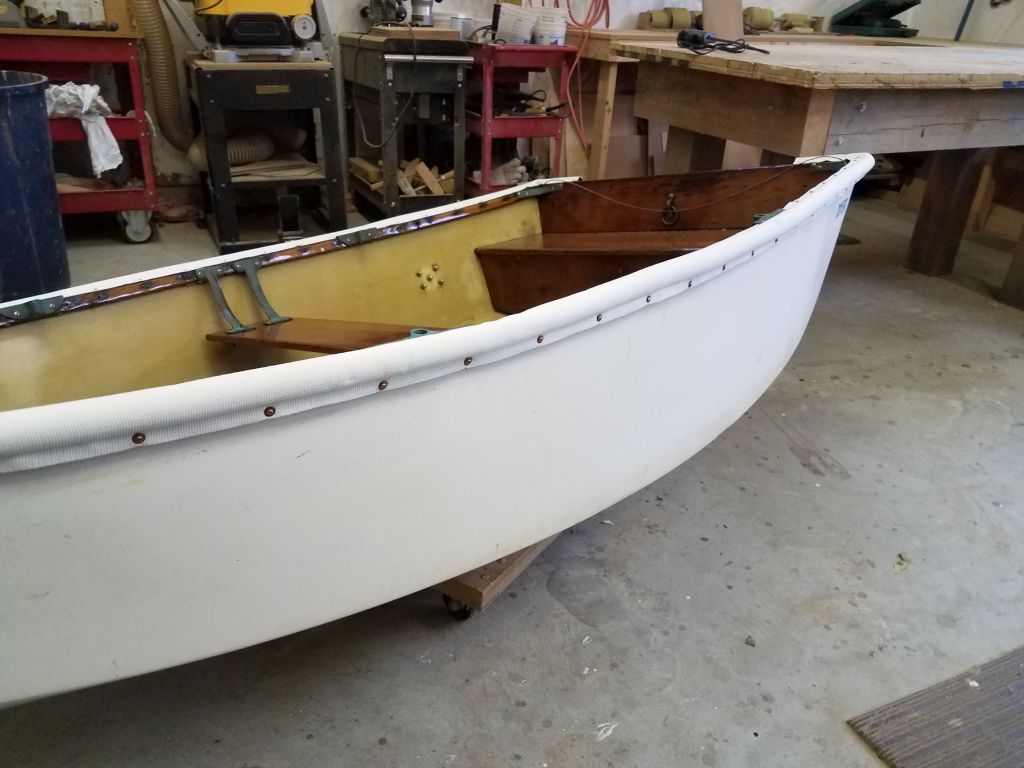
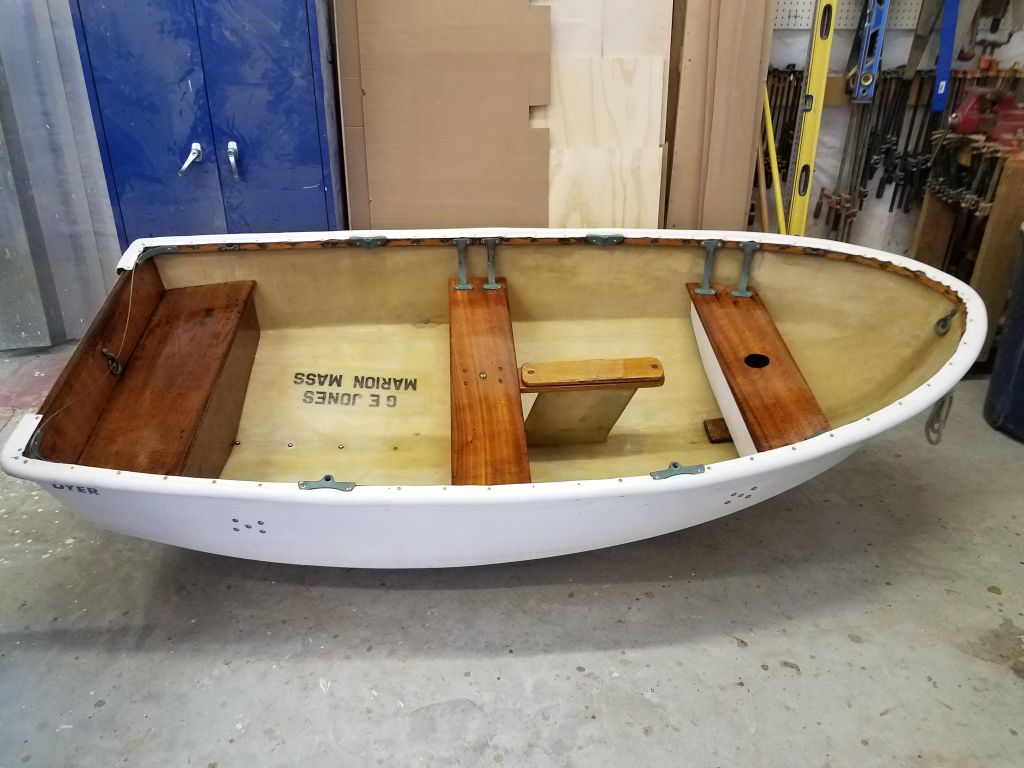
With the most delicate part of the operation complete, I continued forward, securing the rail every 4″ top and bottom. When I reached the oarlocks, I removed the fasteners securing them to the boat (barrel bolts) so that I could slip the Dacron right beneath them before resecuring the oarlocks.

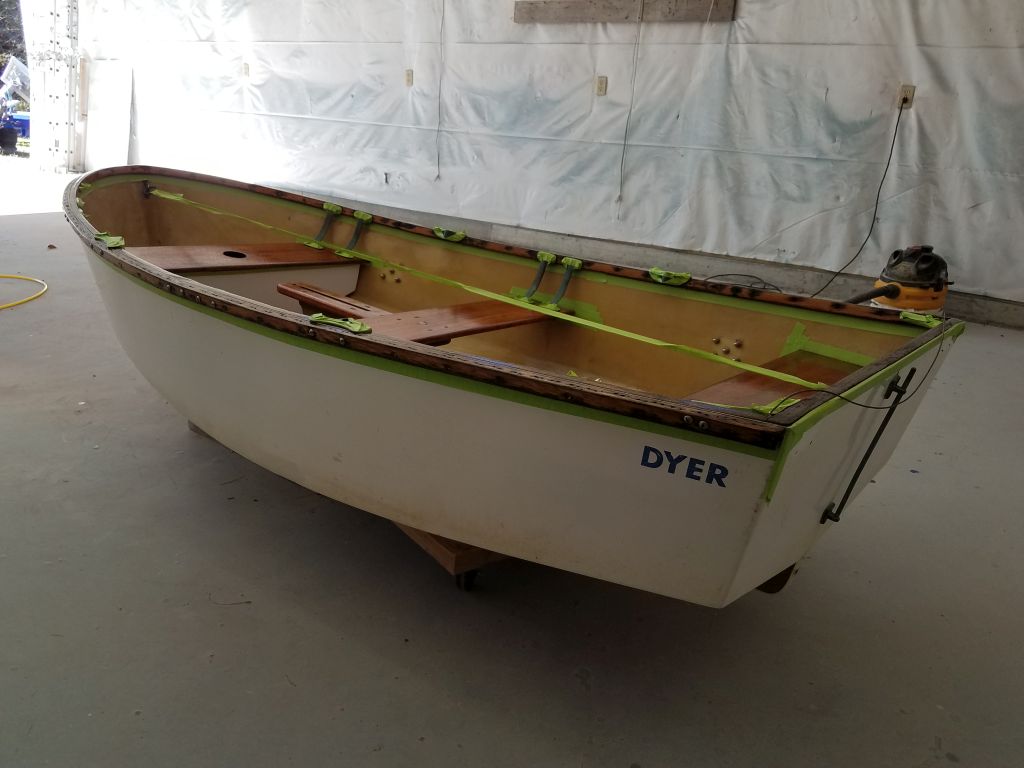
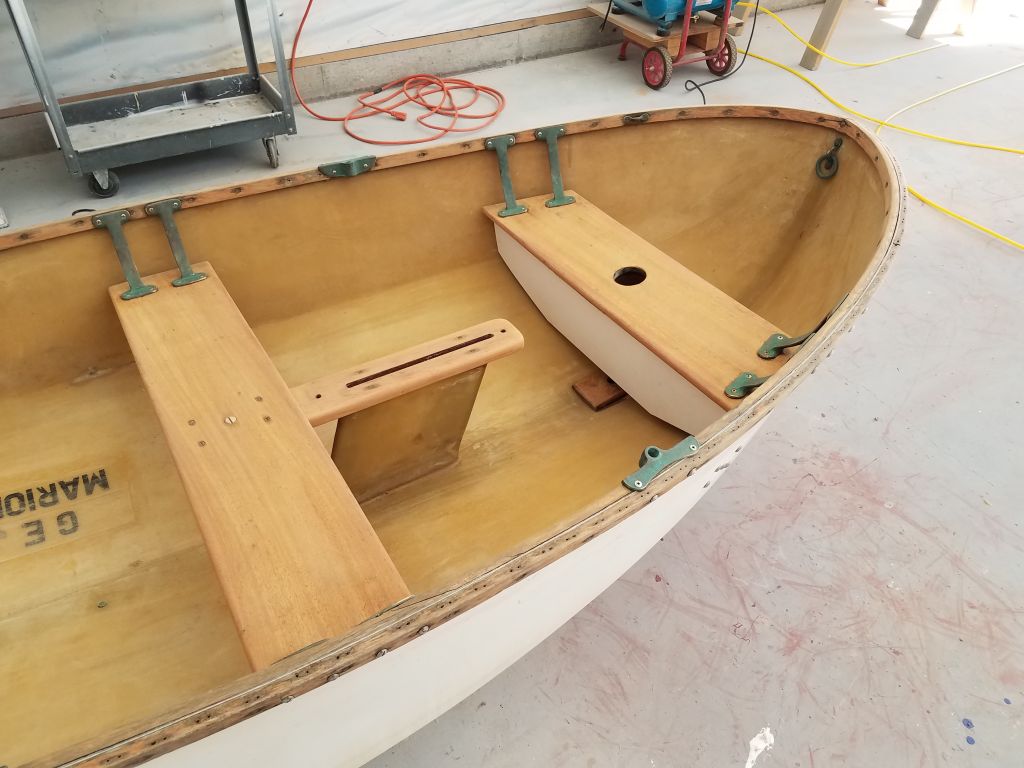
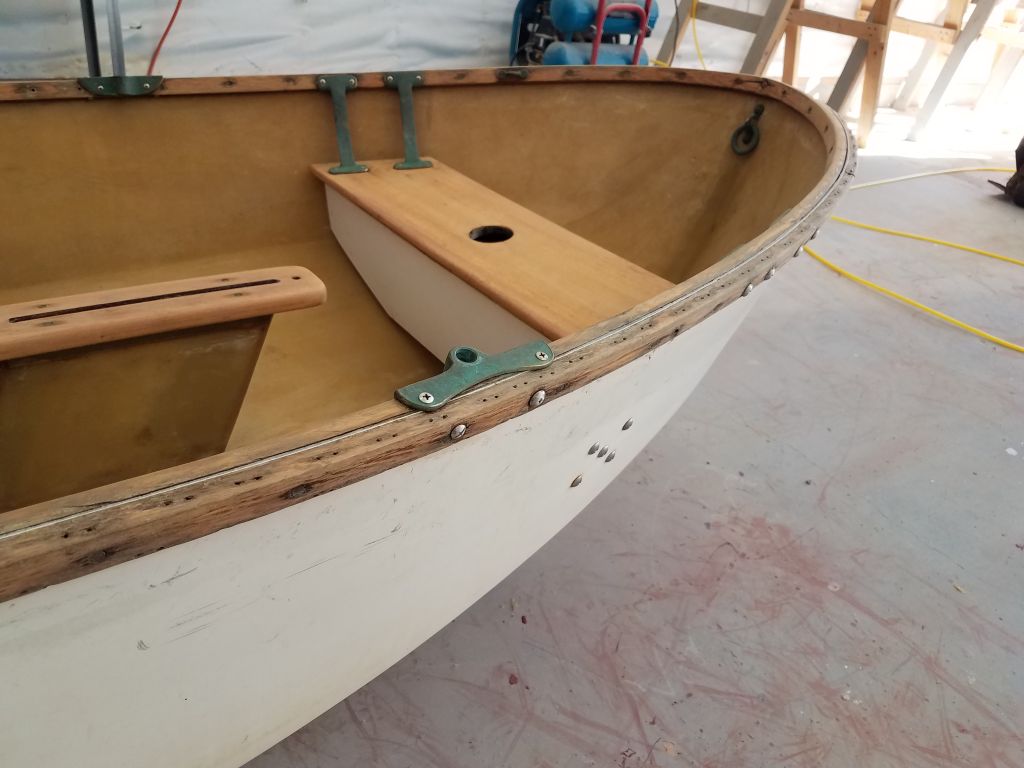
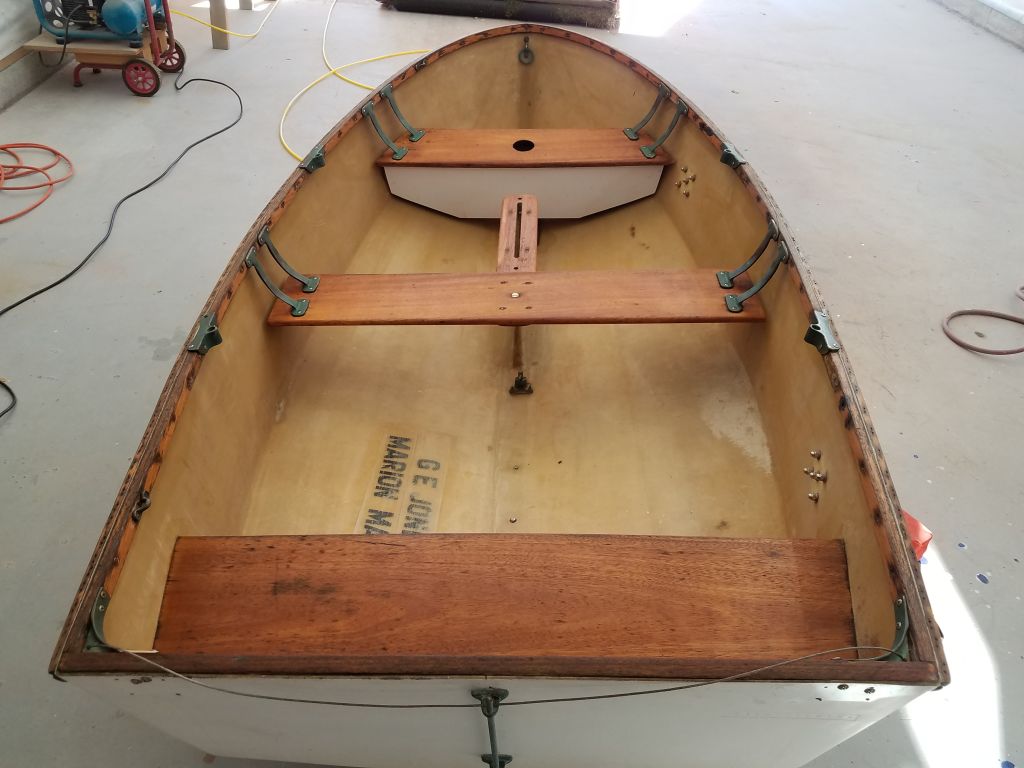
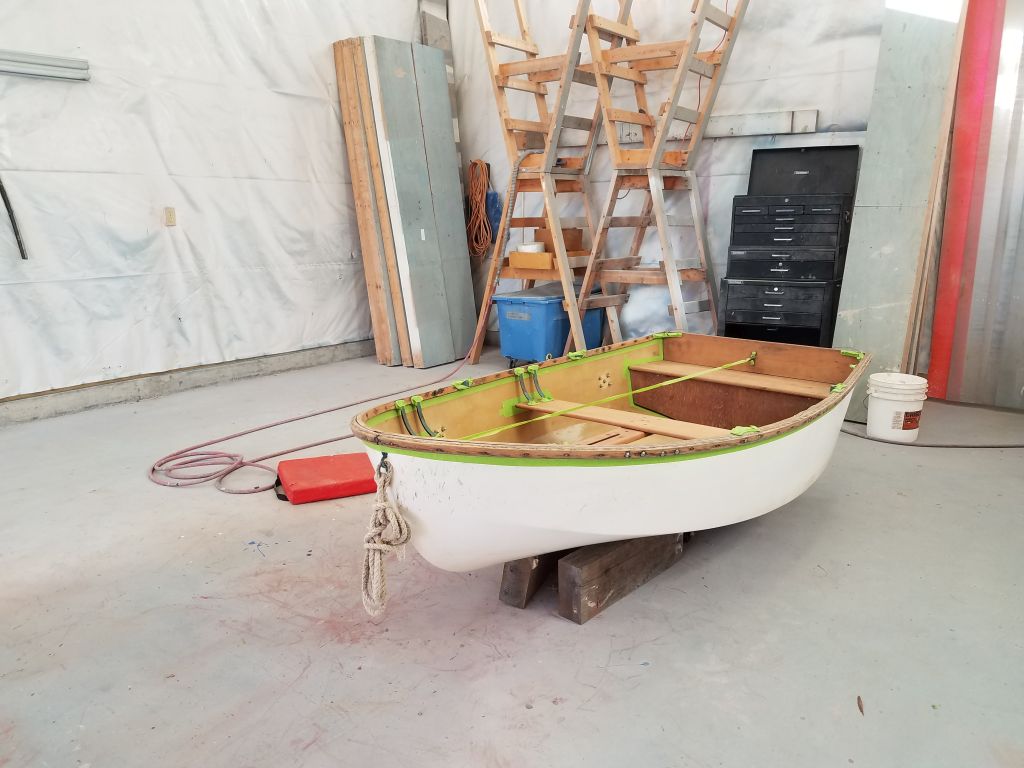
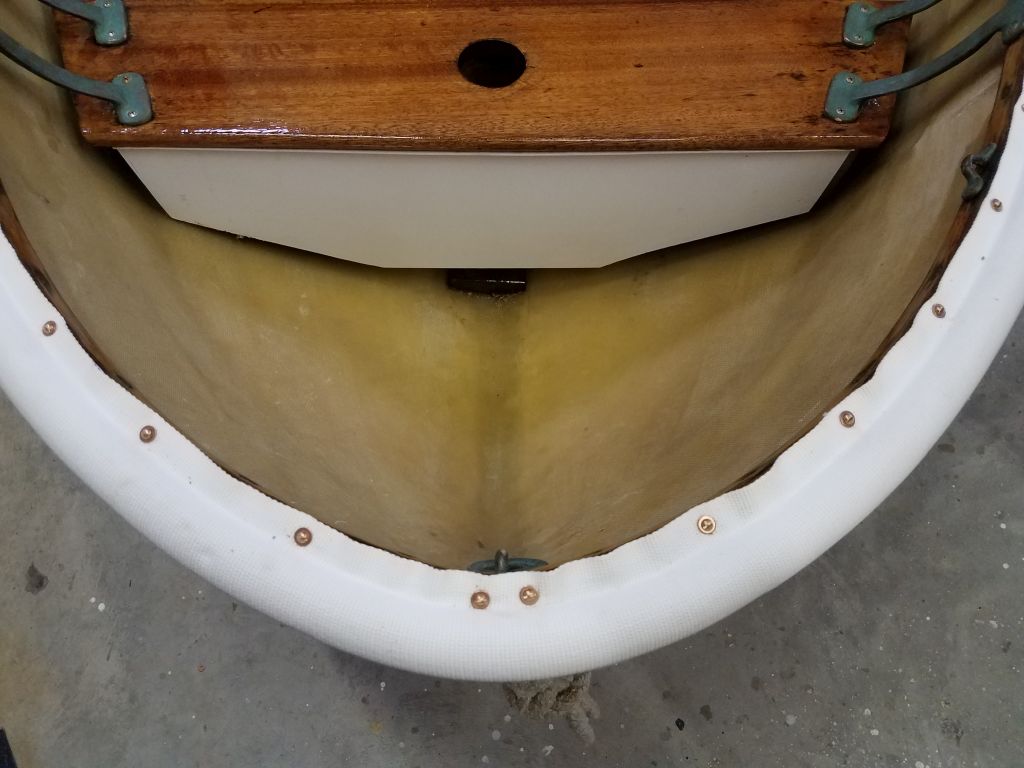
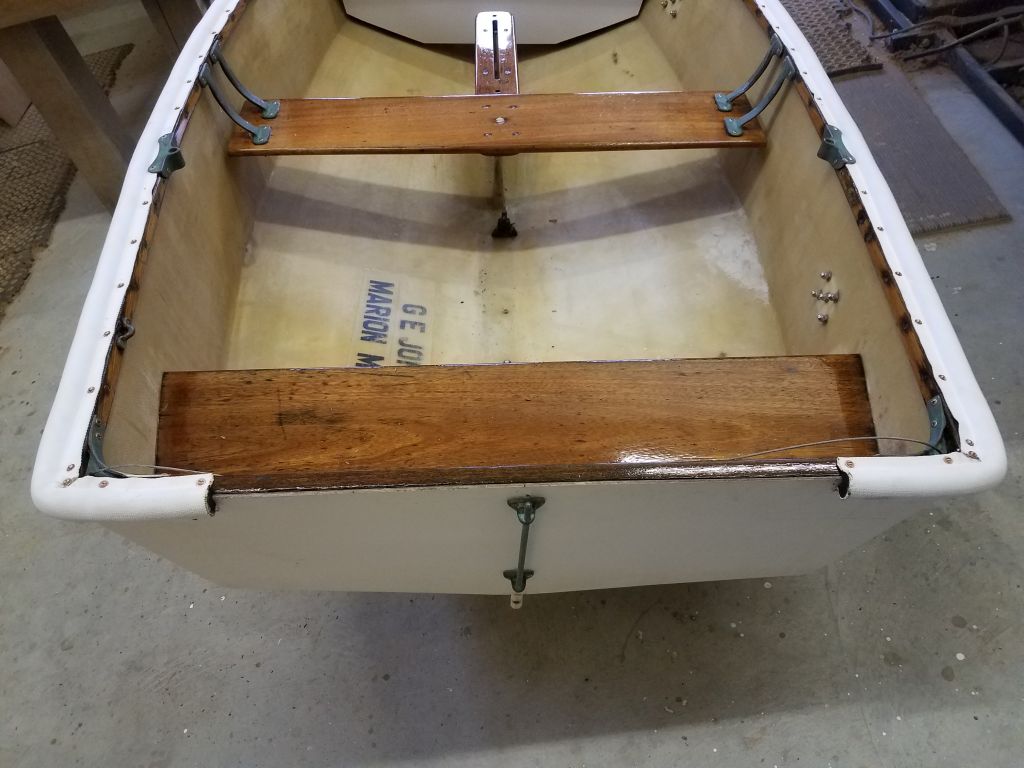
Eventually, I made it round the stem and down the other side, following the same procedure till finally turning the last corner at the port transom and ending this side of the rail 6″ in from the corner, just as at the beginning. I thought the new rail looked great, and knew it’d be even better in function than form.


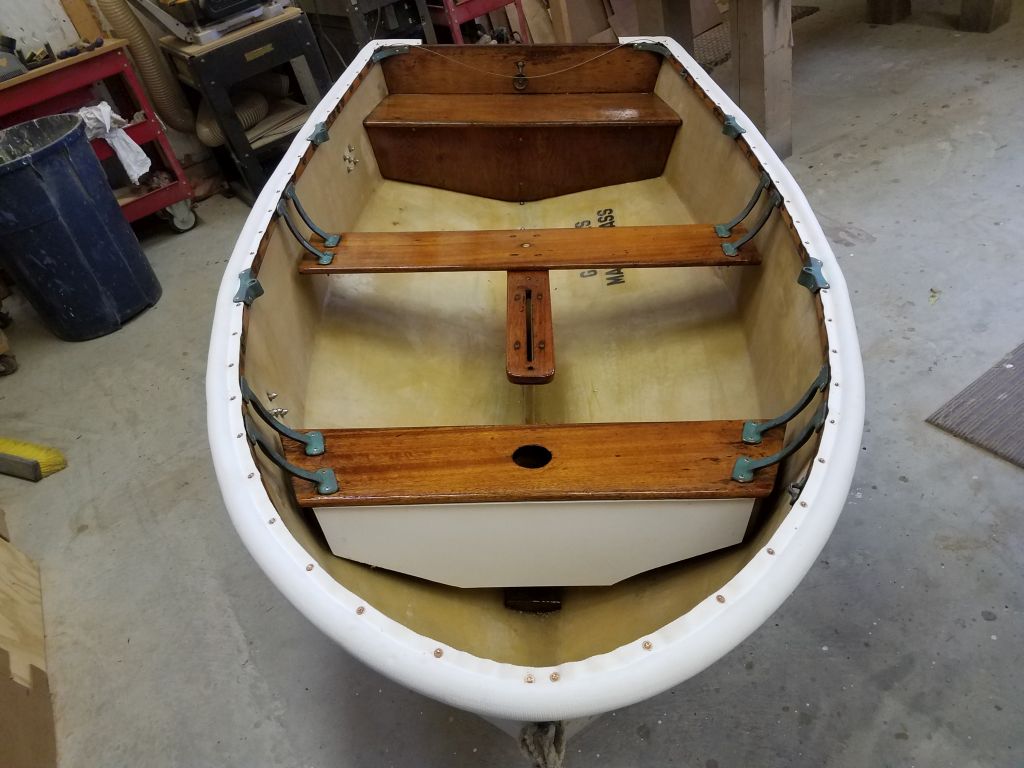


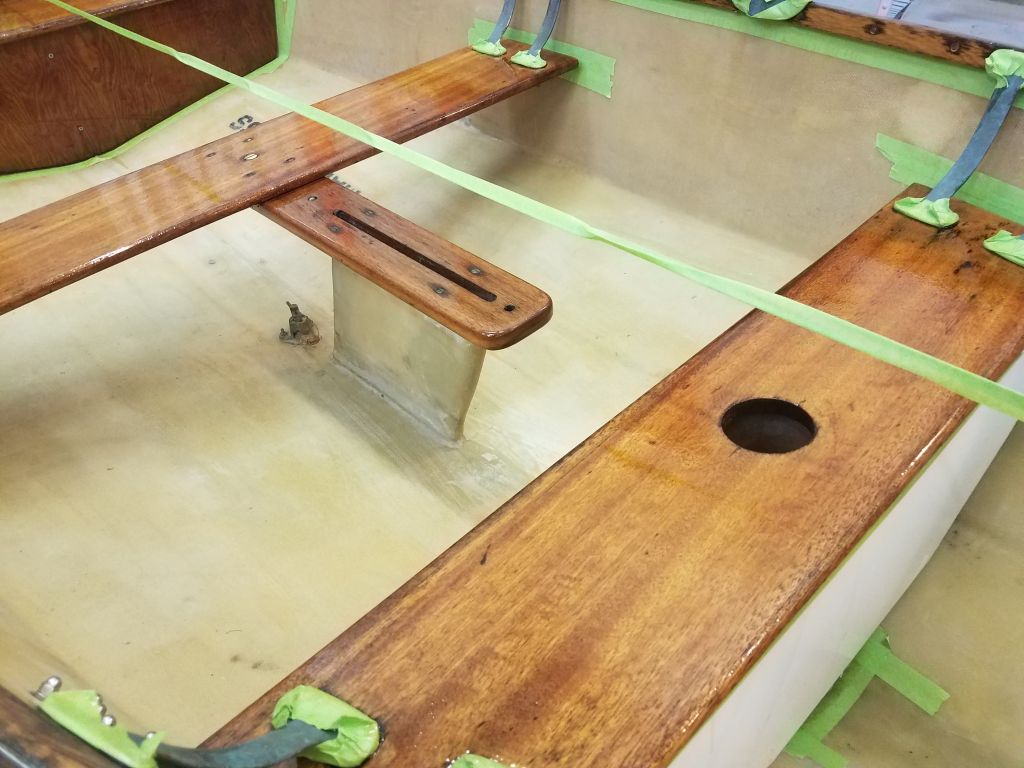
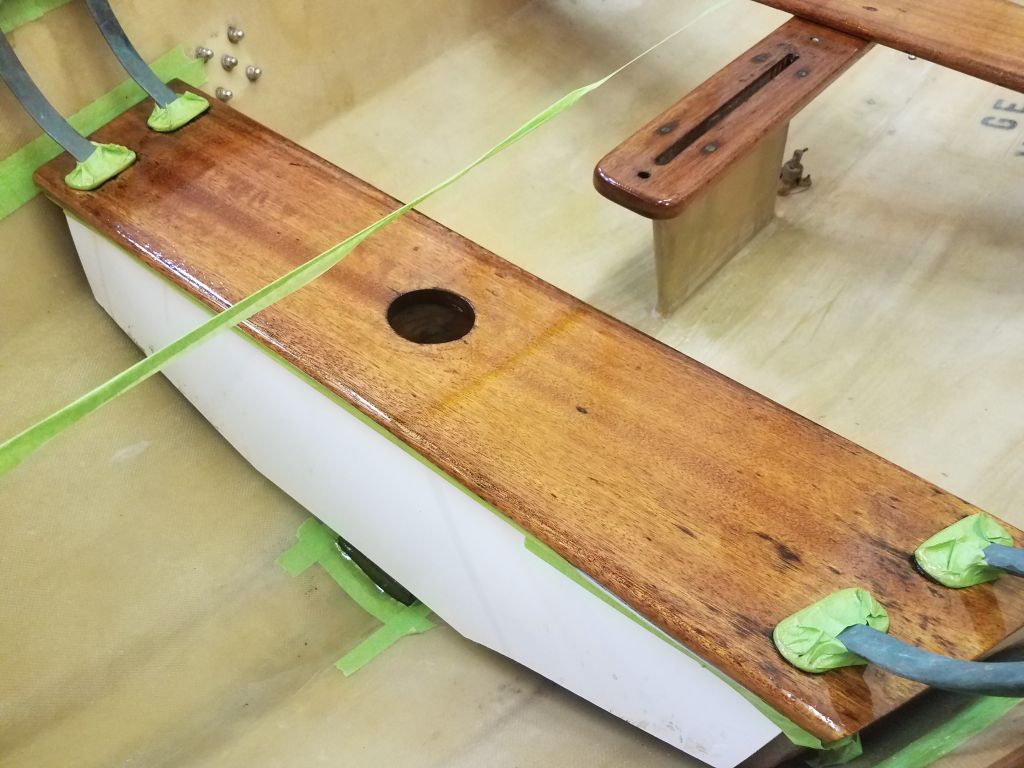
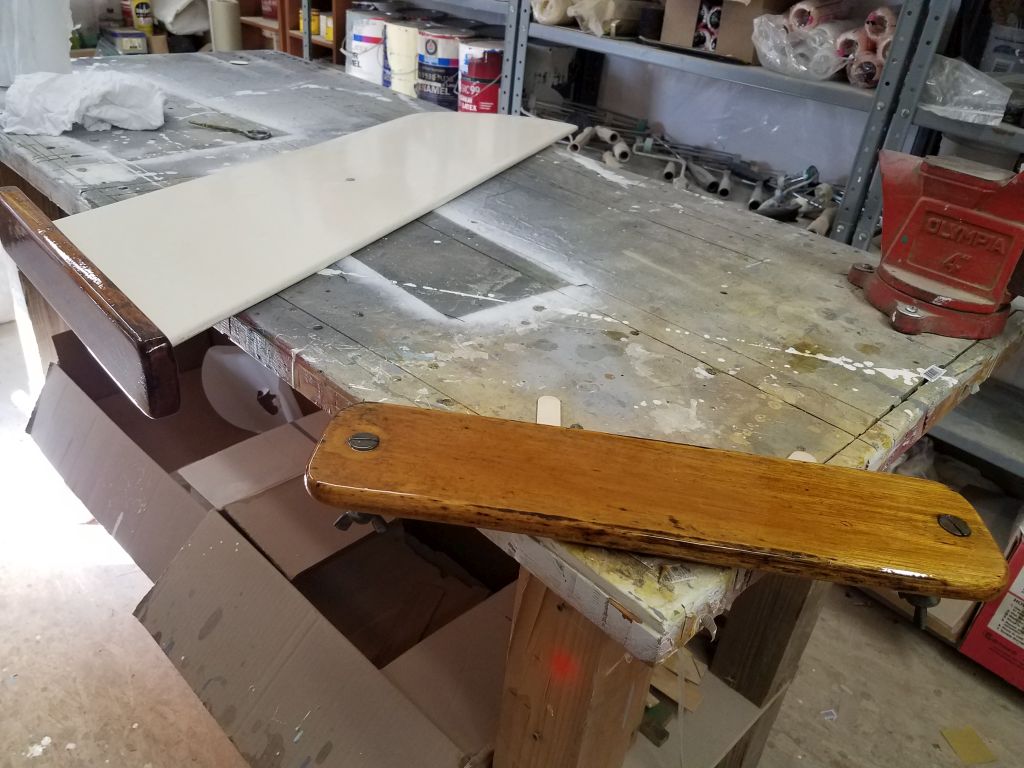
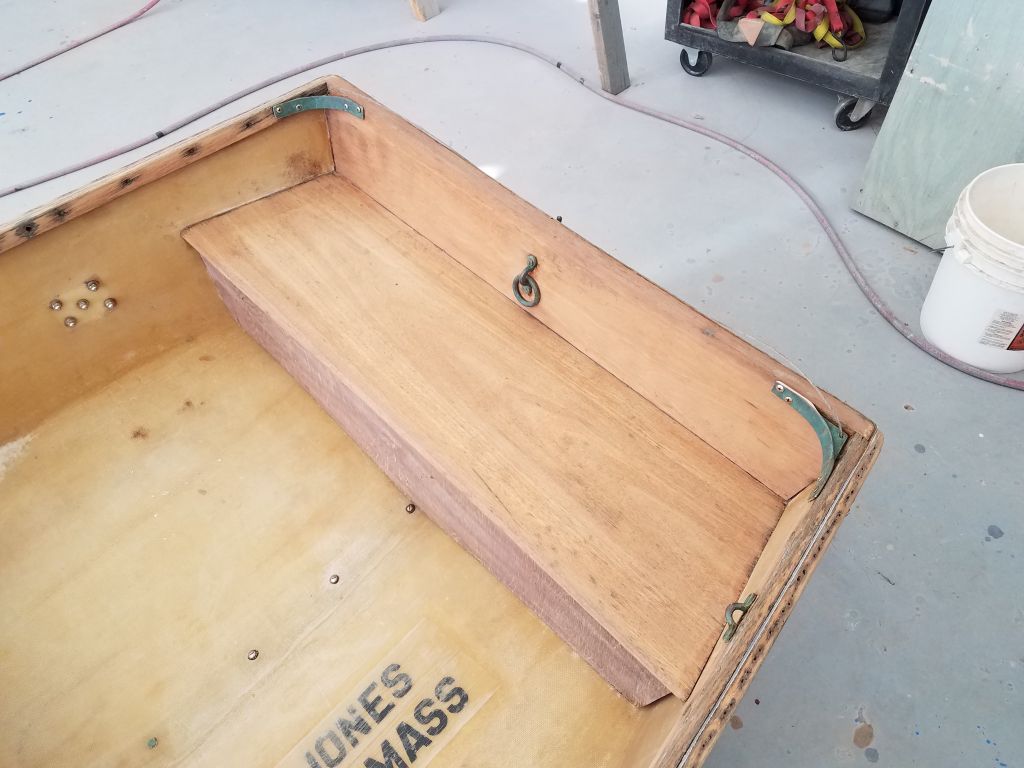
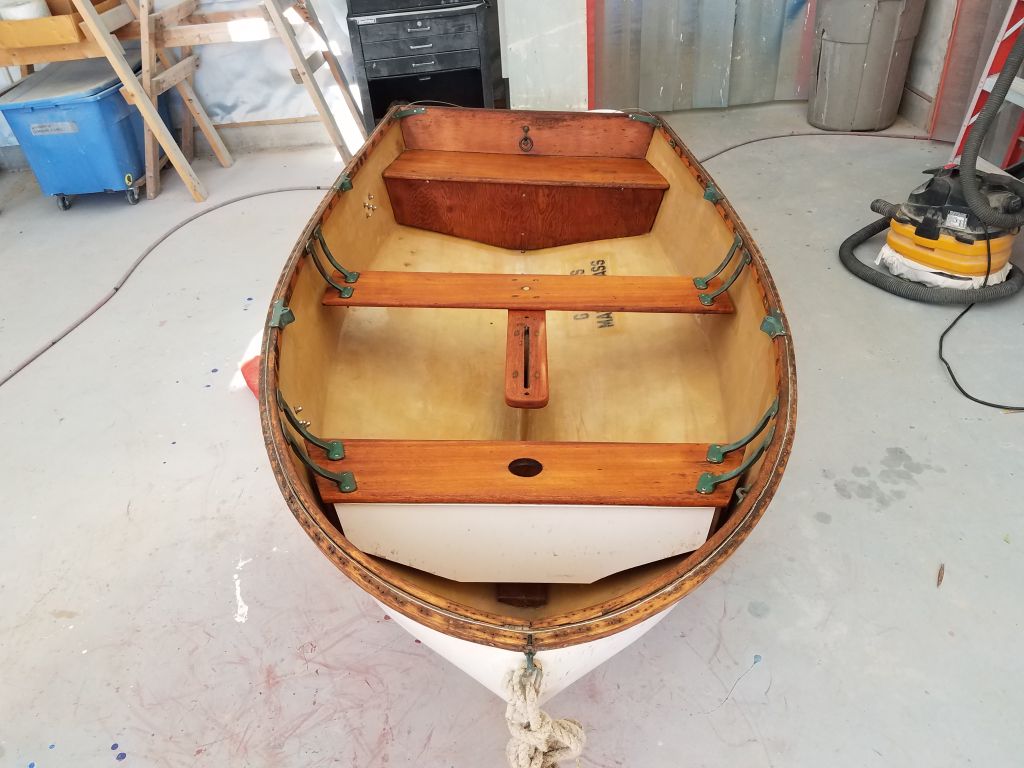
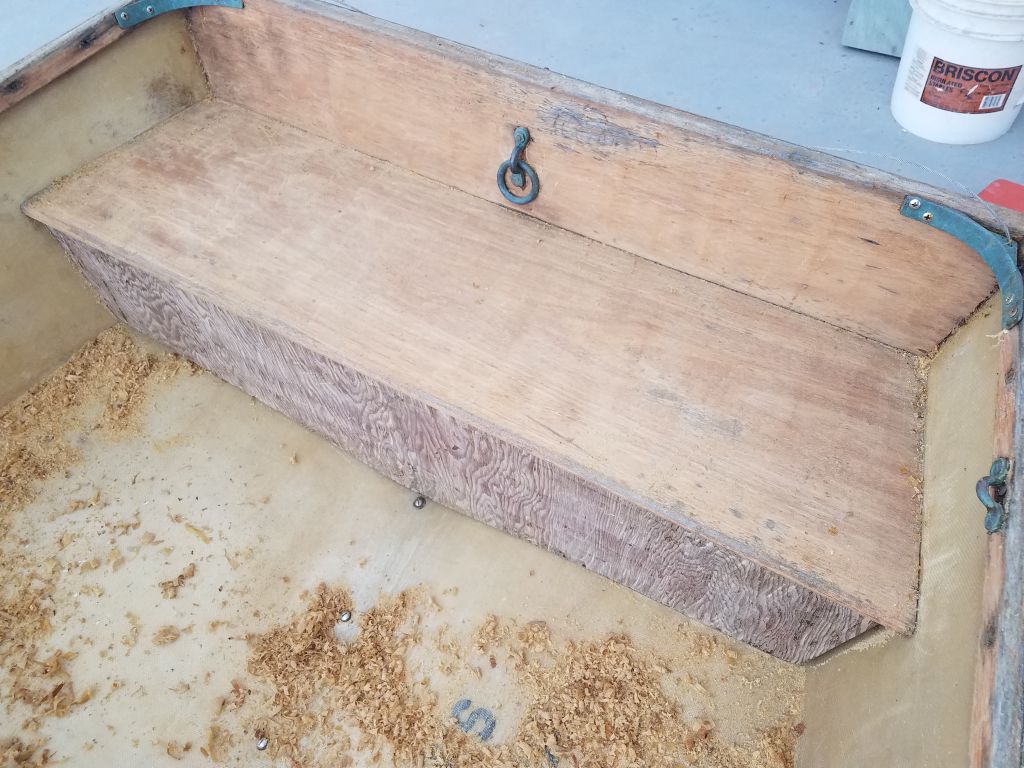
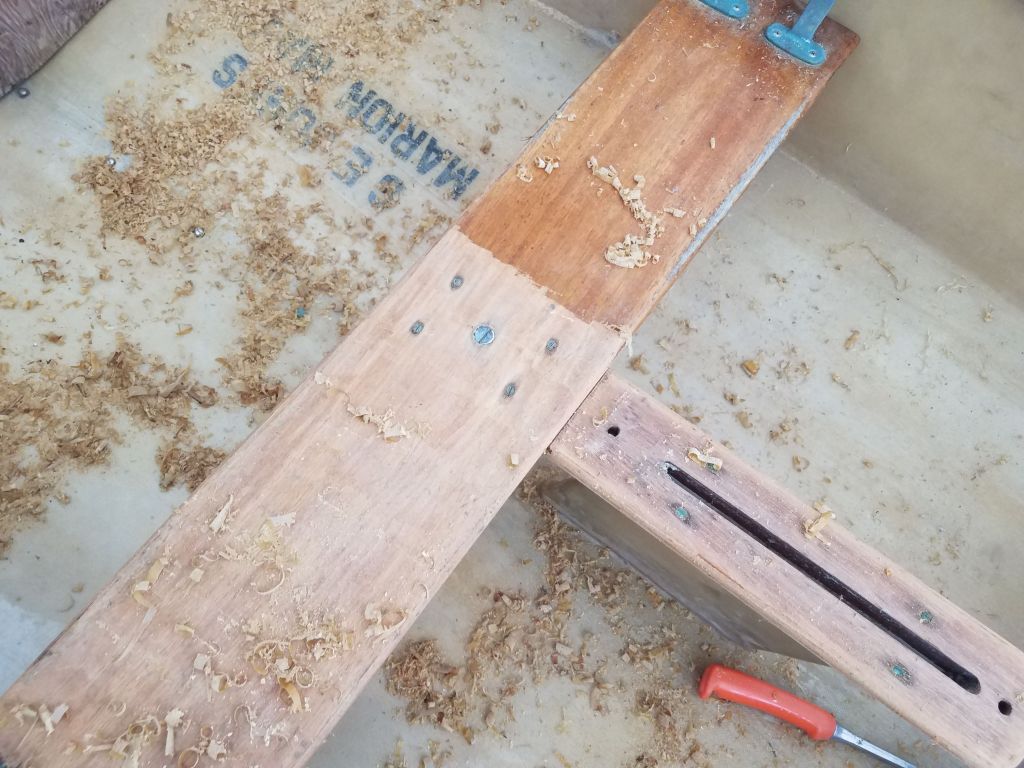
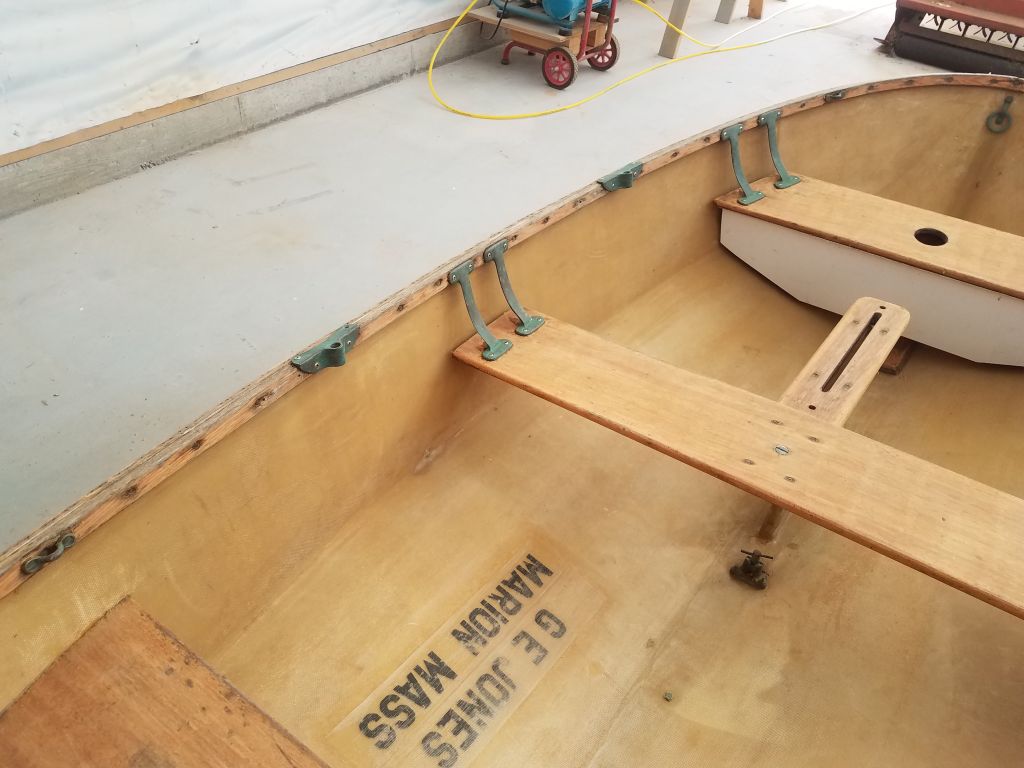
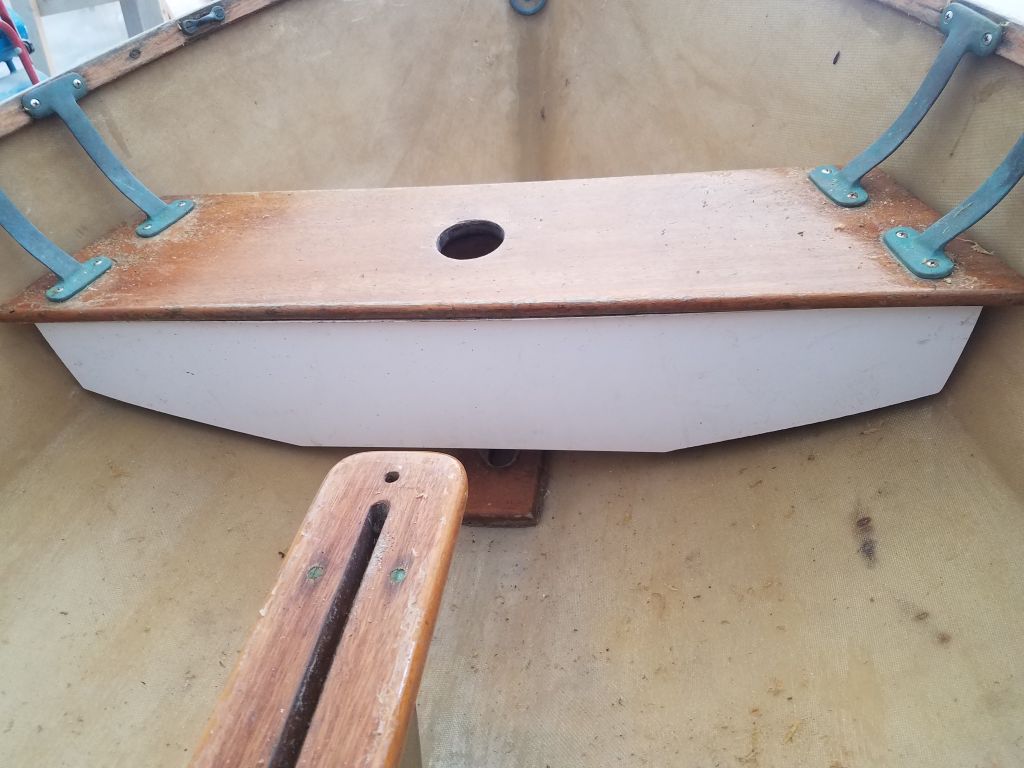
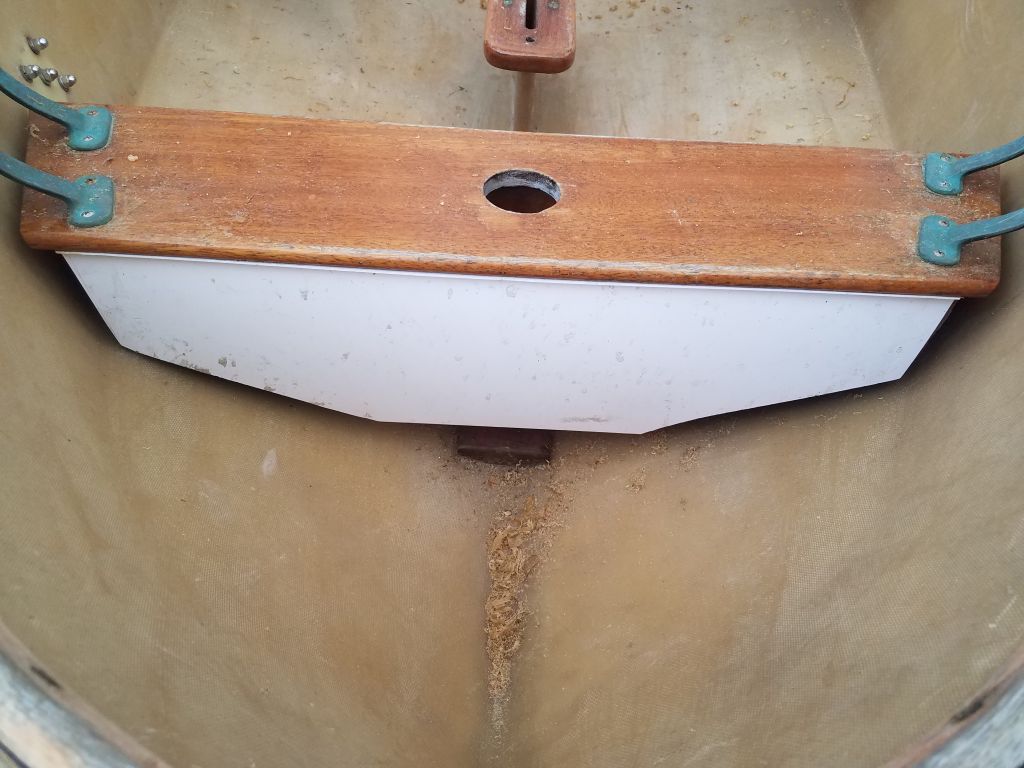
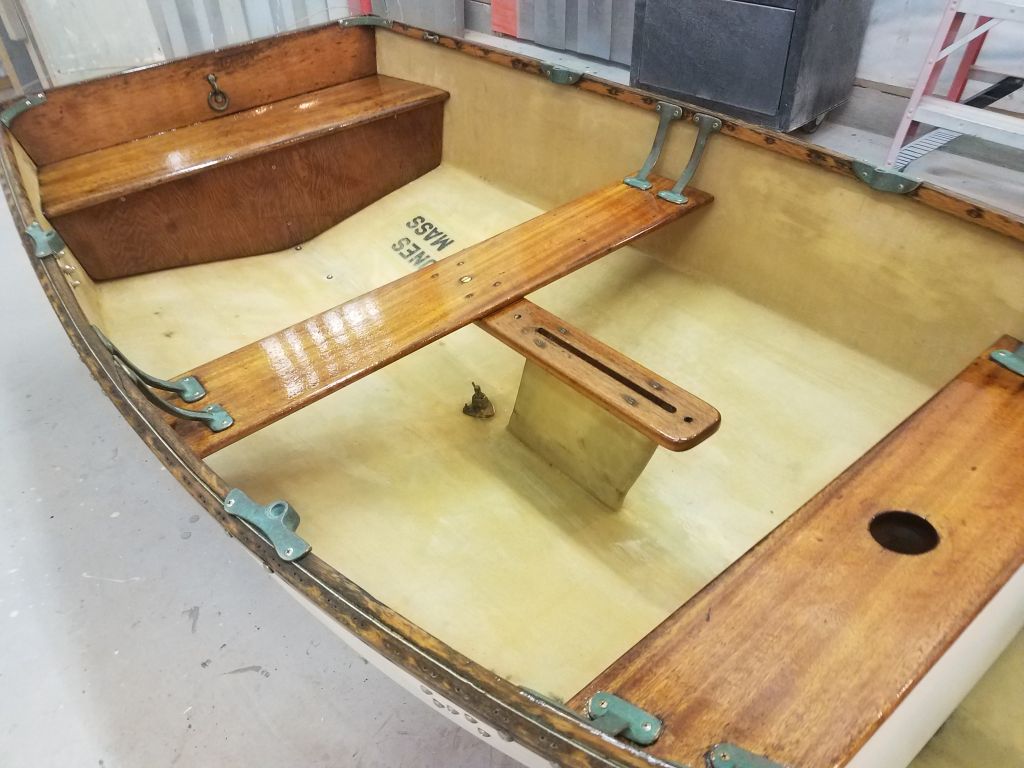
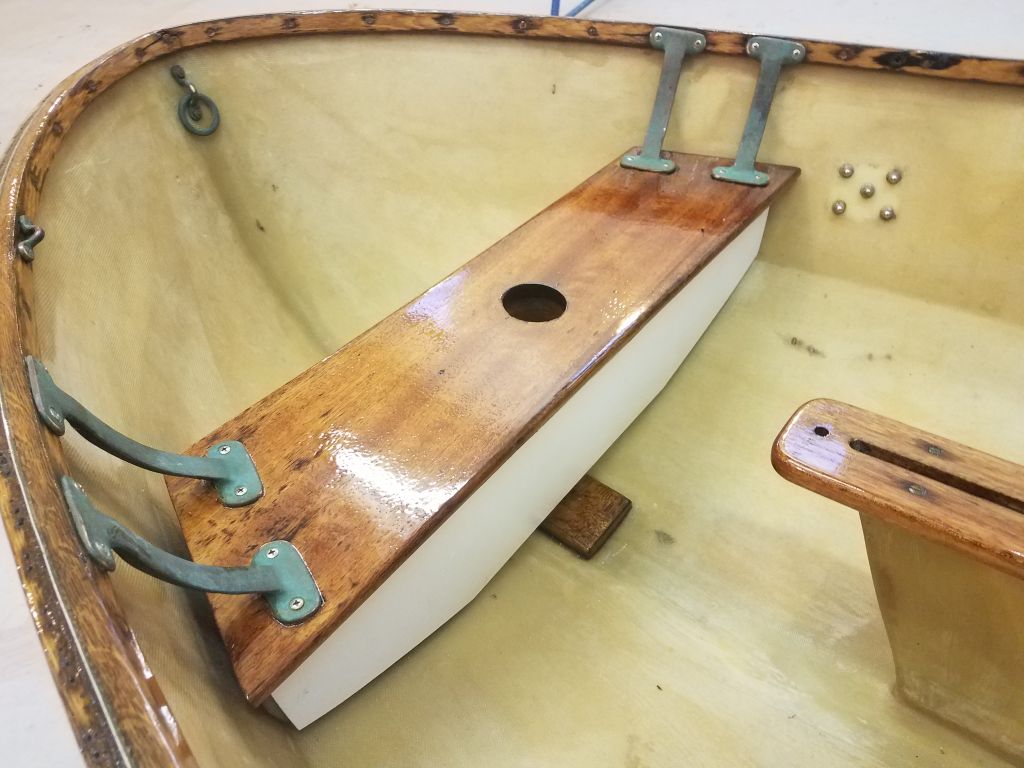
Finally, I reinstalled the cover over the daggerboard trunk and moved the boat for safekeeping. This wrapped up most of the work list. Still ahead, I had to clean up the hull to the extent possible, which task I’d attend to in the near future.

Total time billed on this job today: 3.75 hours
0600 Weather Observation: 65°, rain. Forecast for the day: Rain, often heavy, high 60s. Windy.