< Back to Jasmine
Thursday
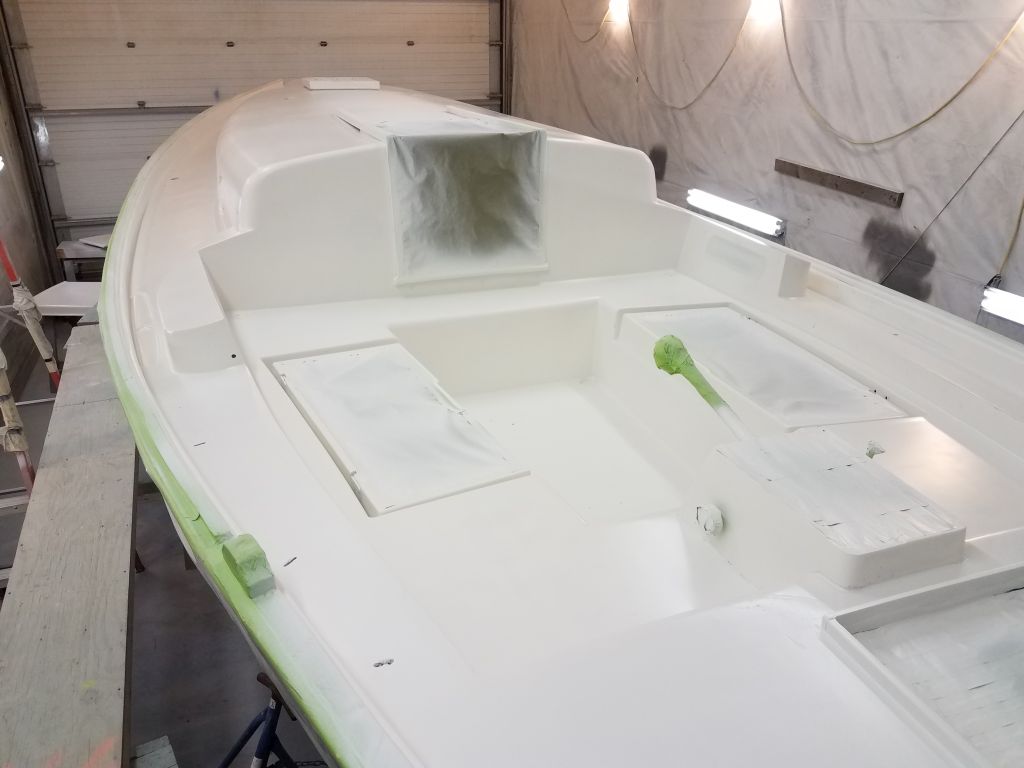
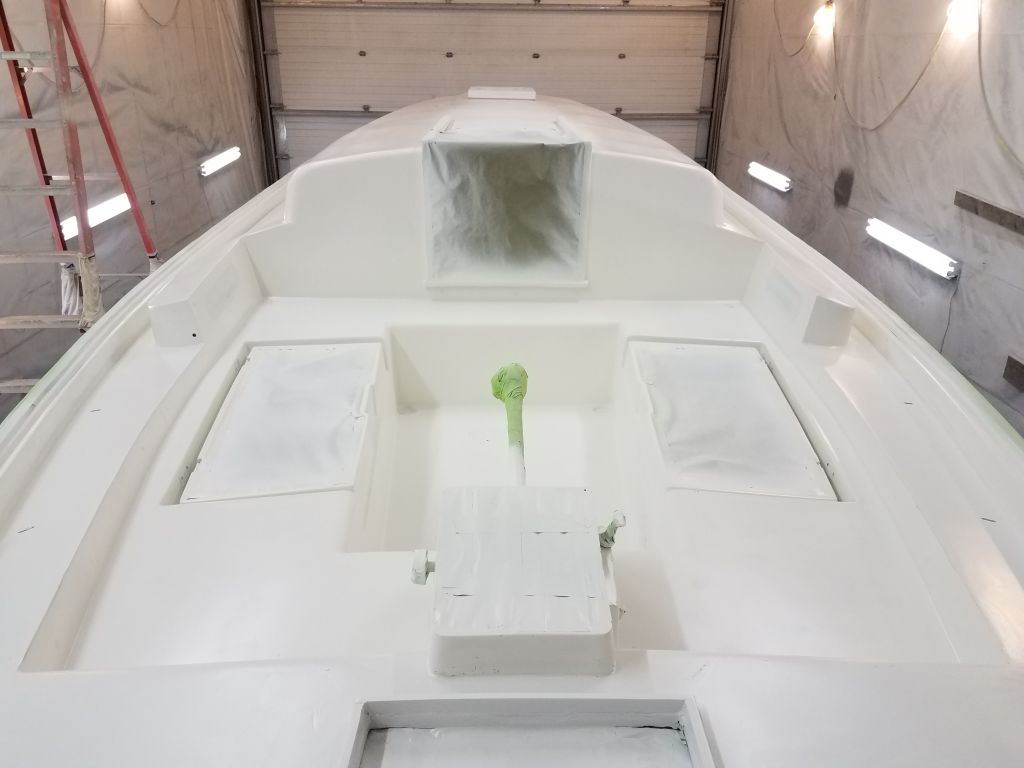
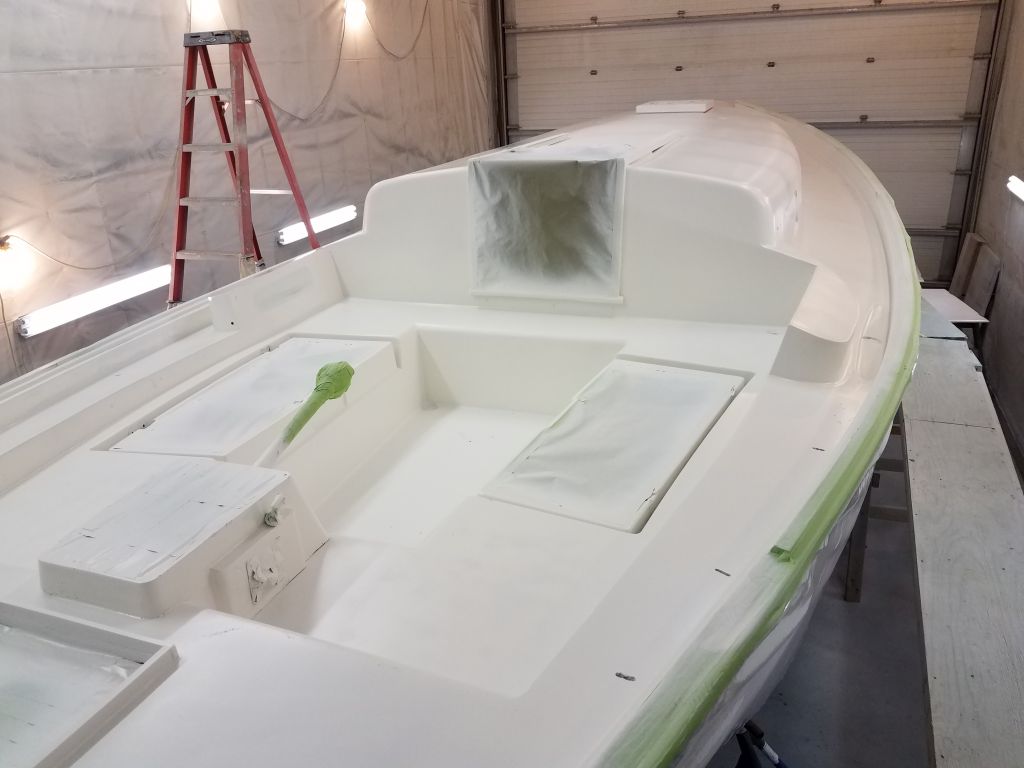
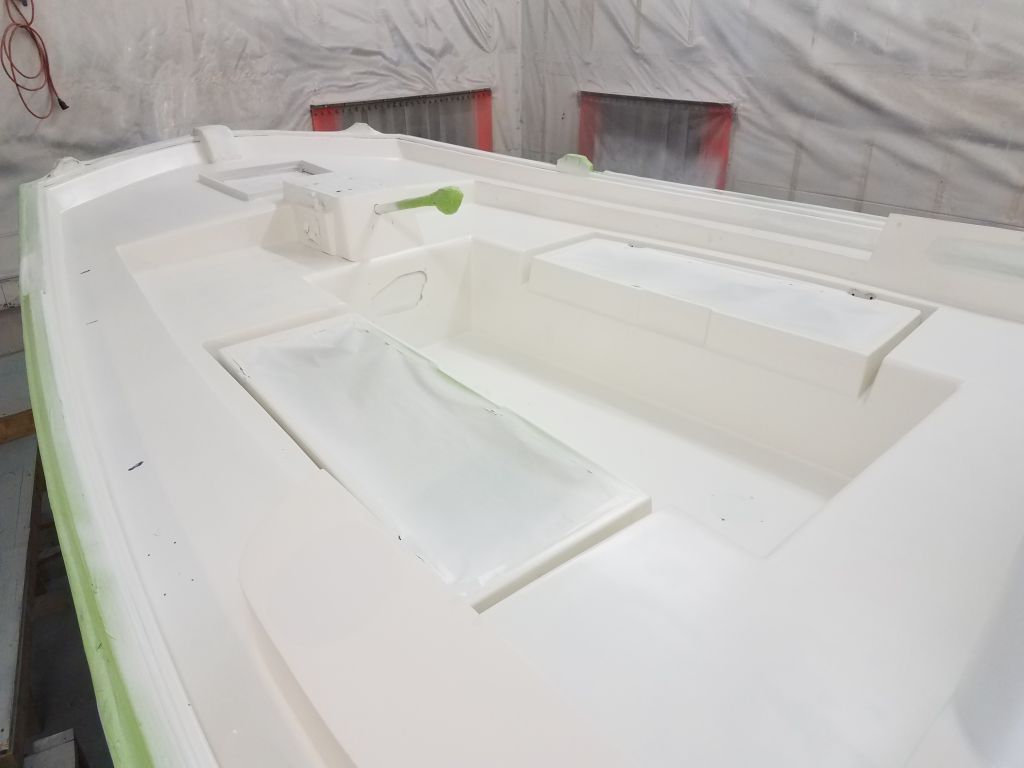
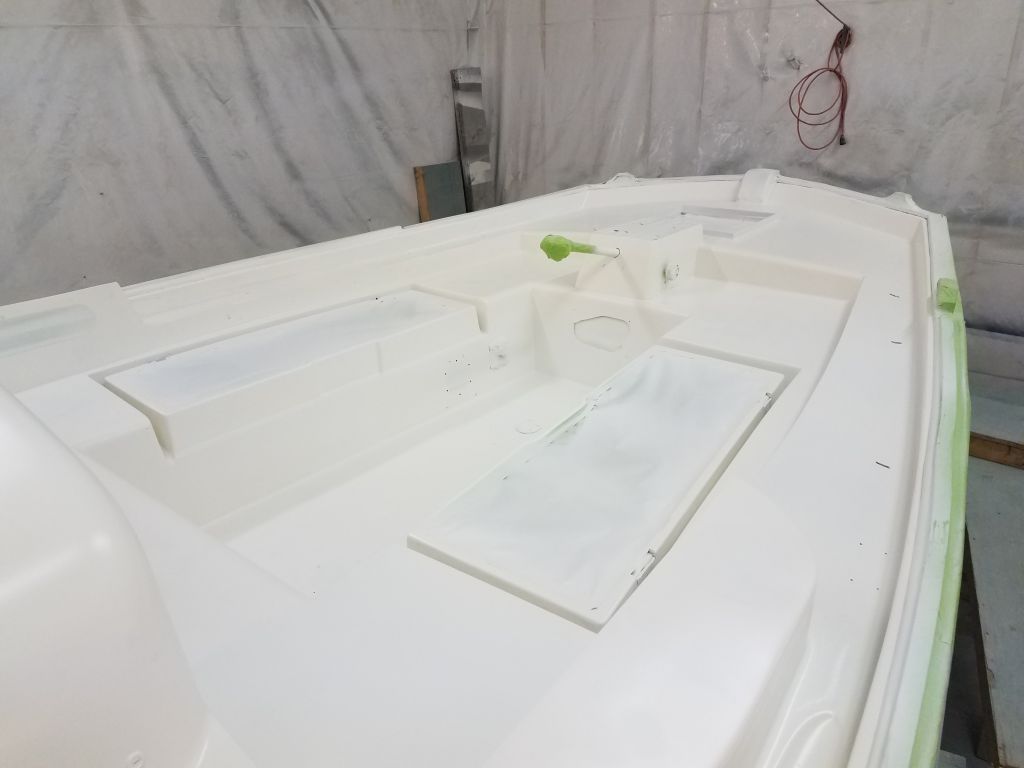
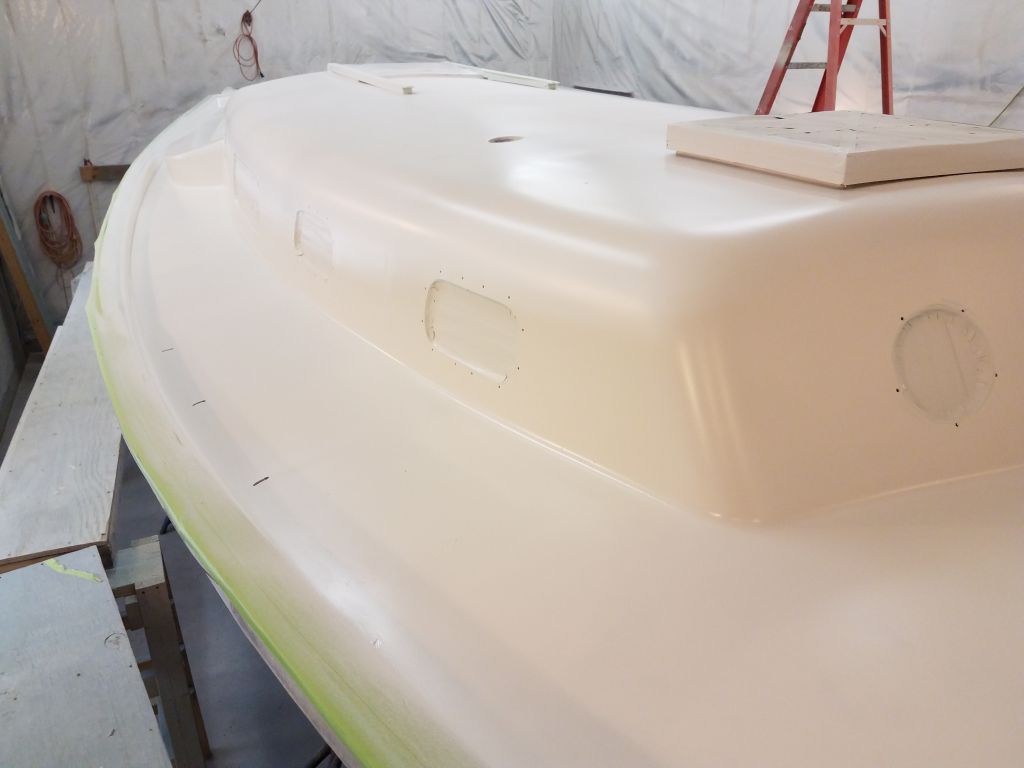
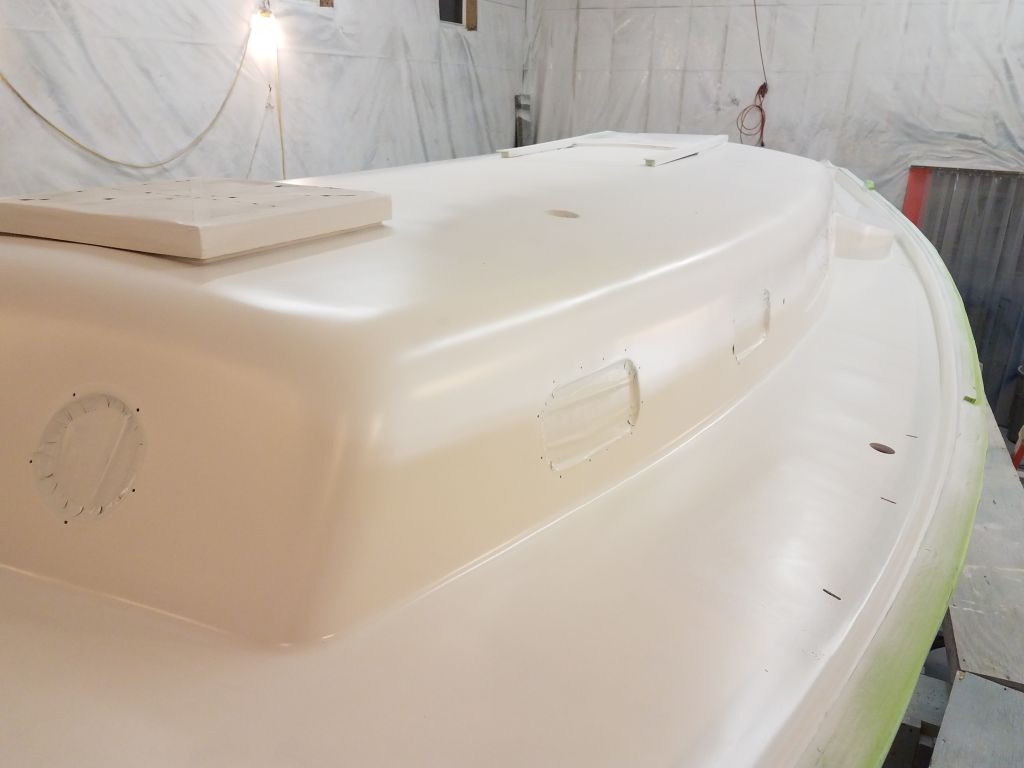
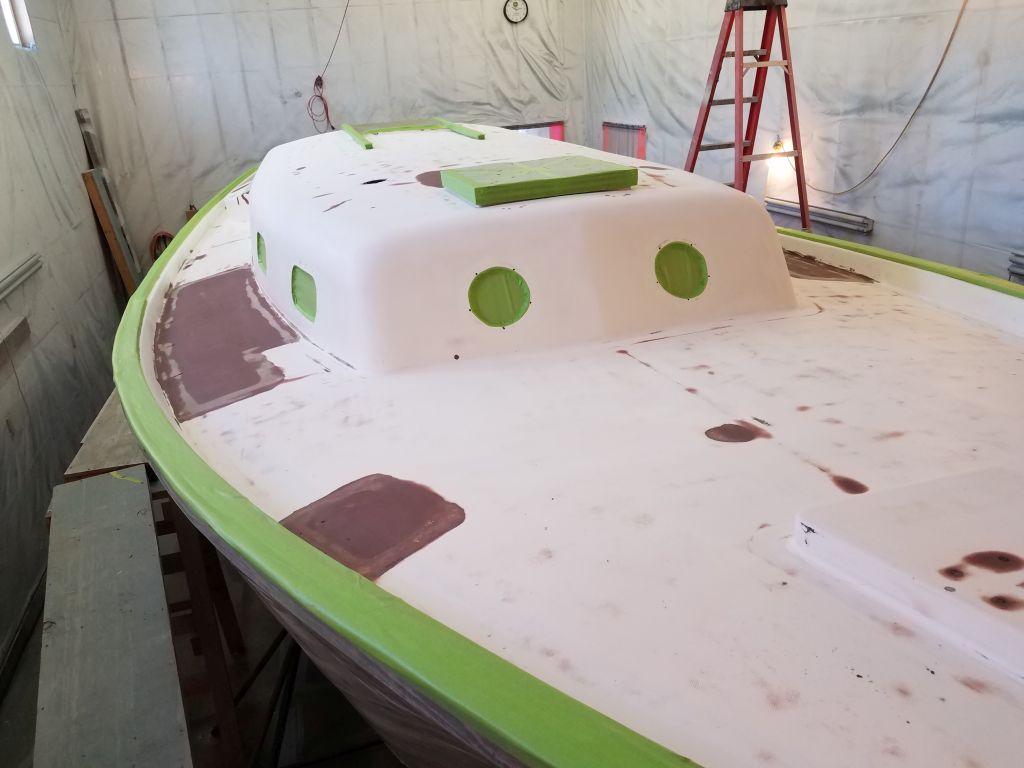
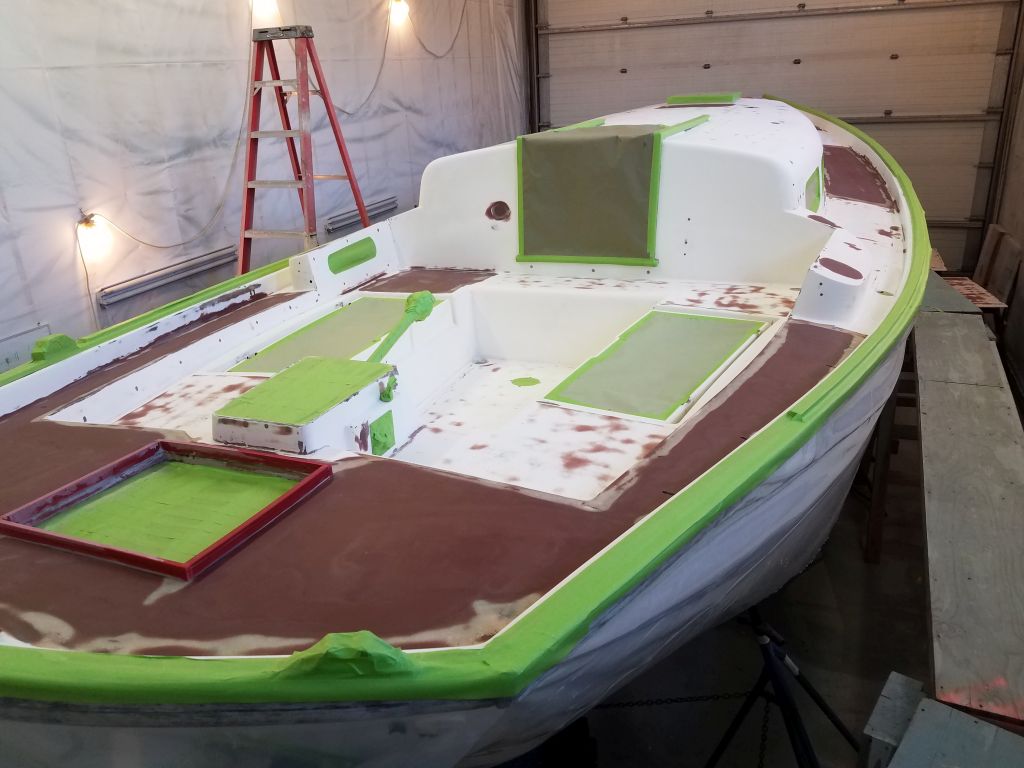
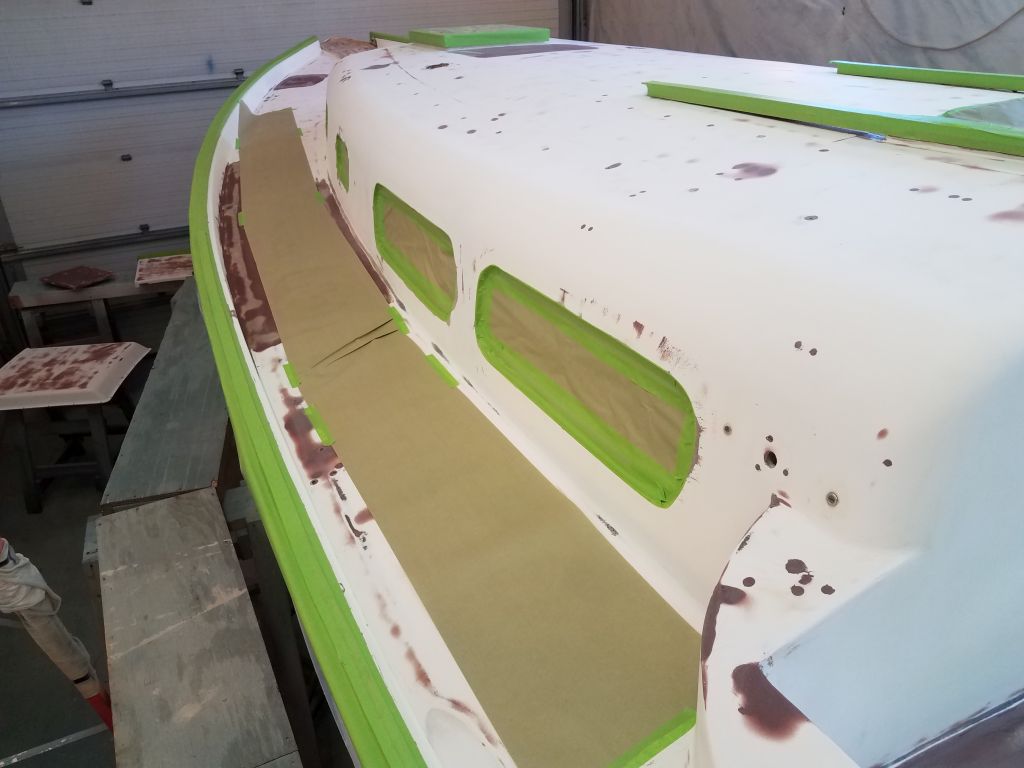
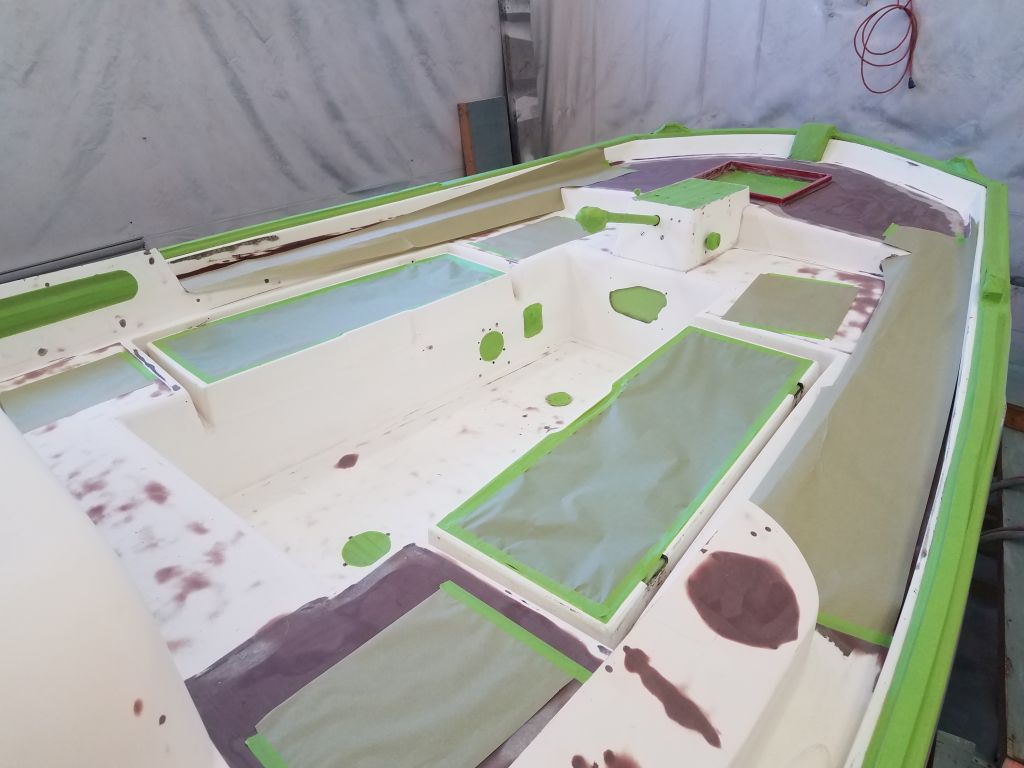
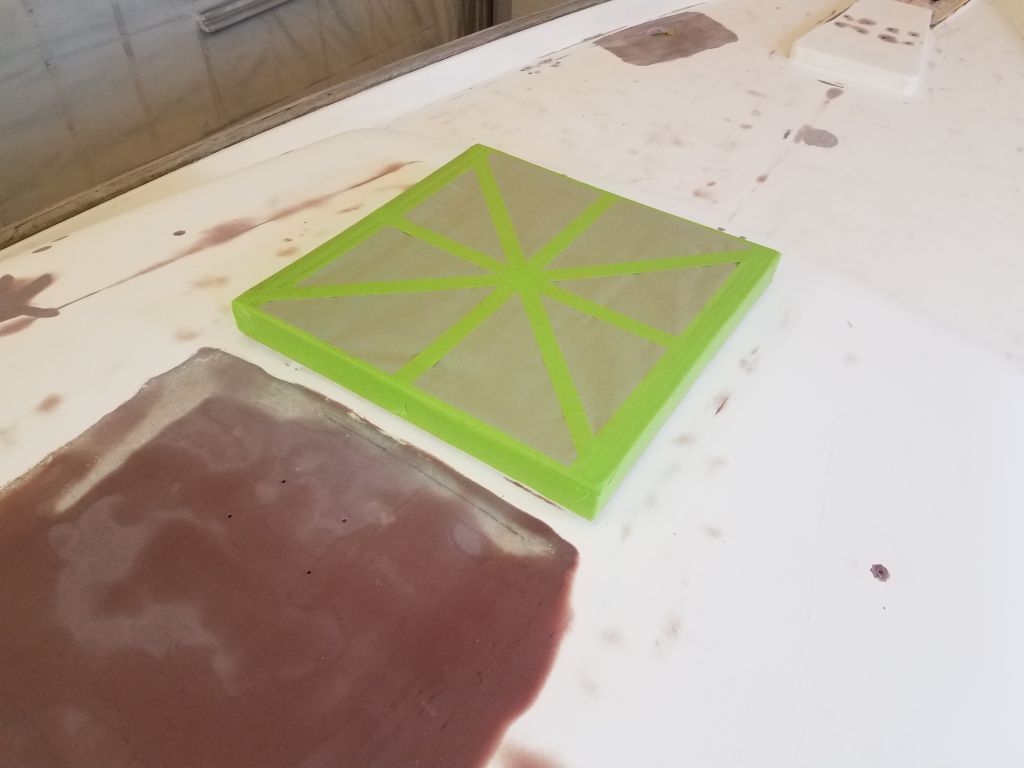
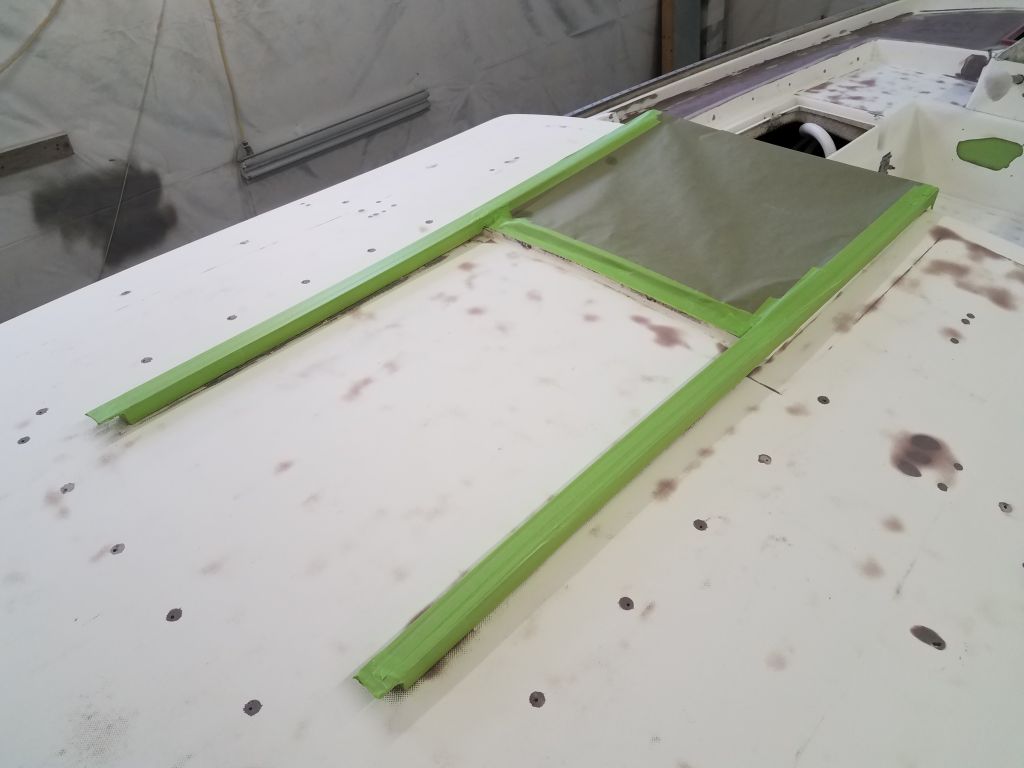
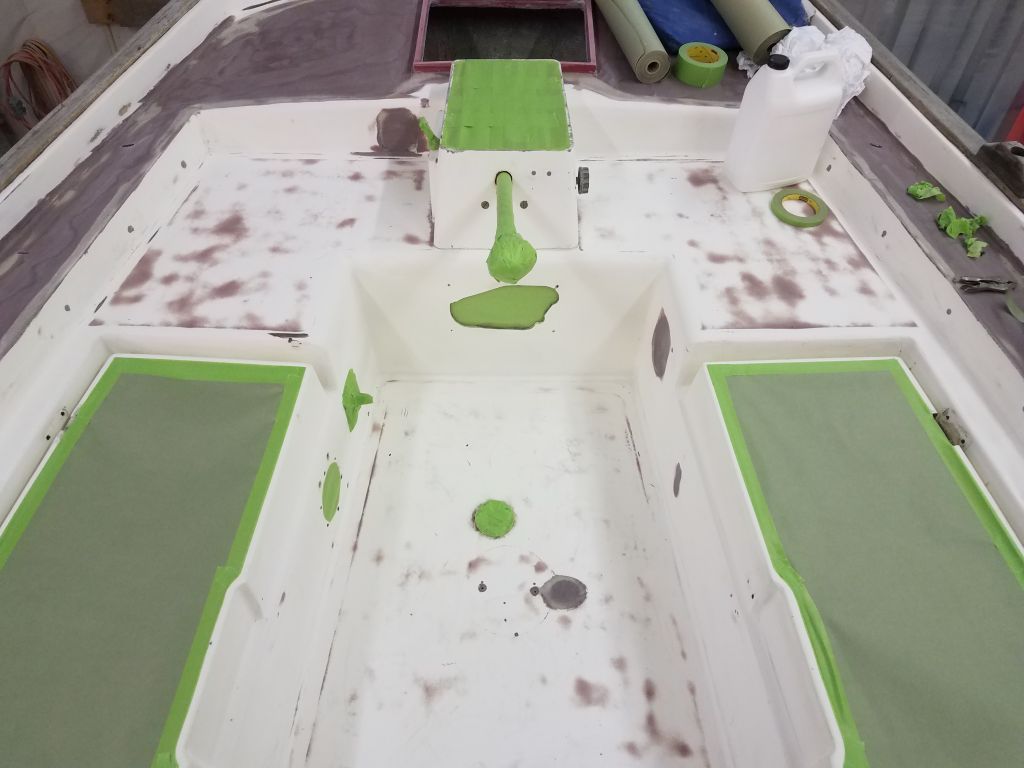
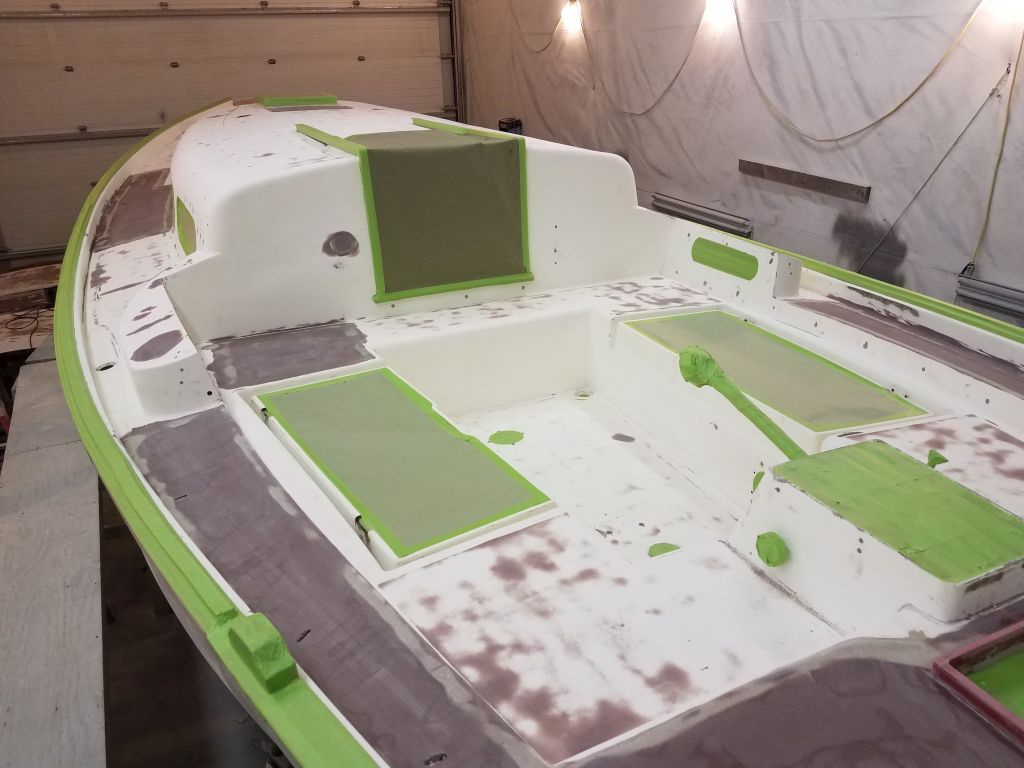
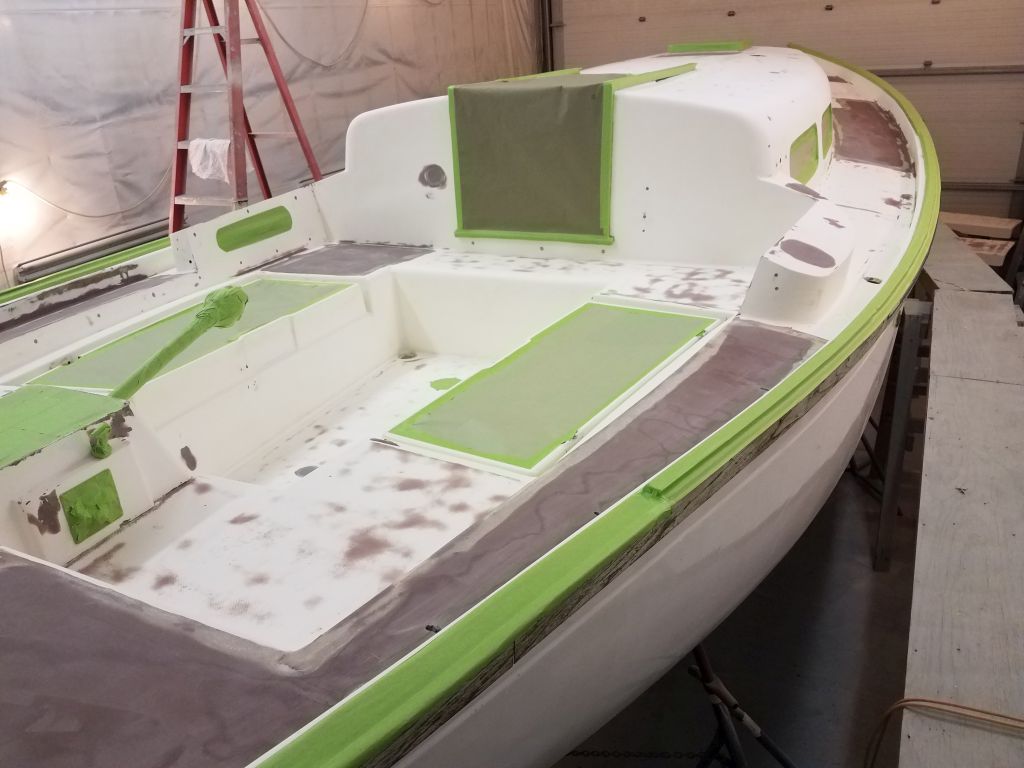
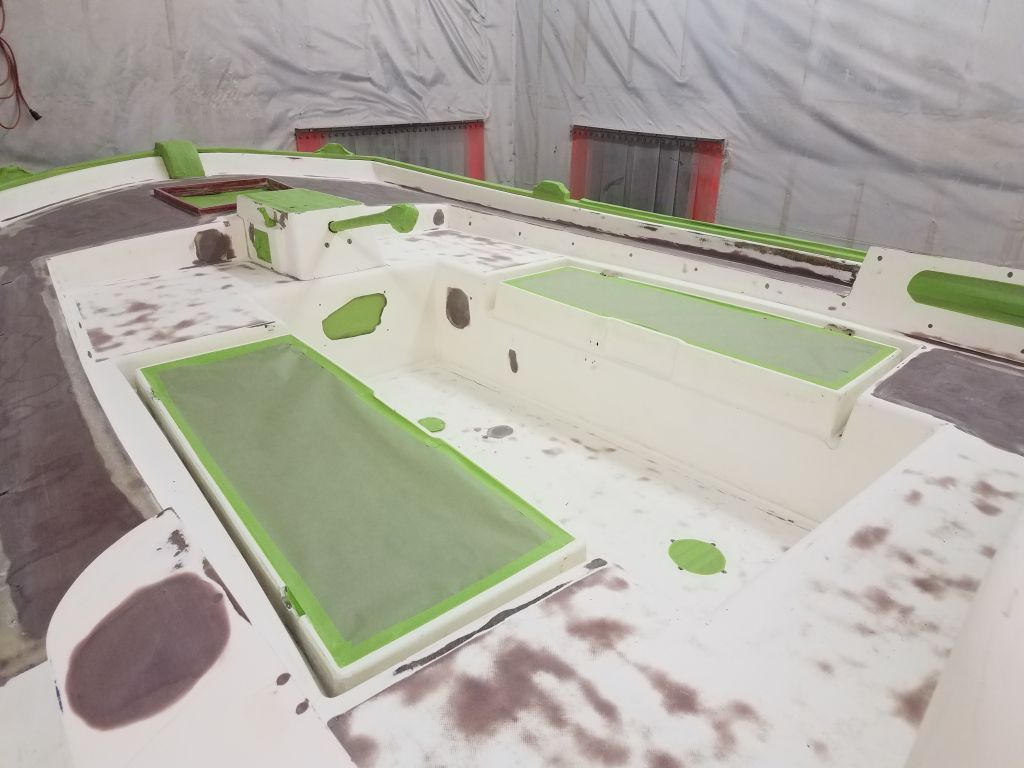
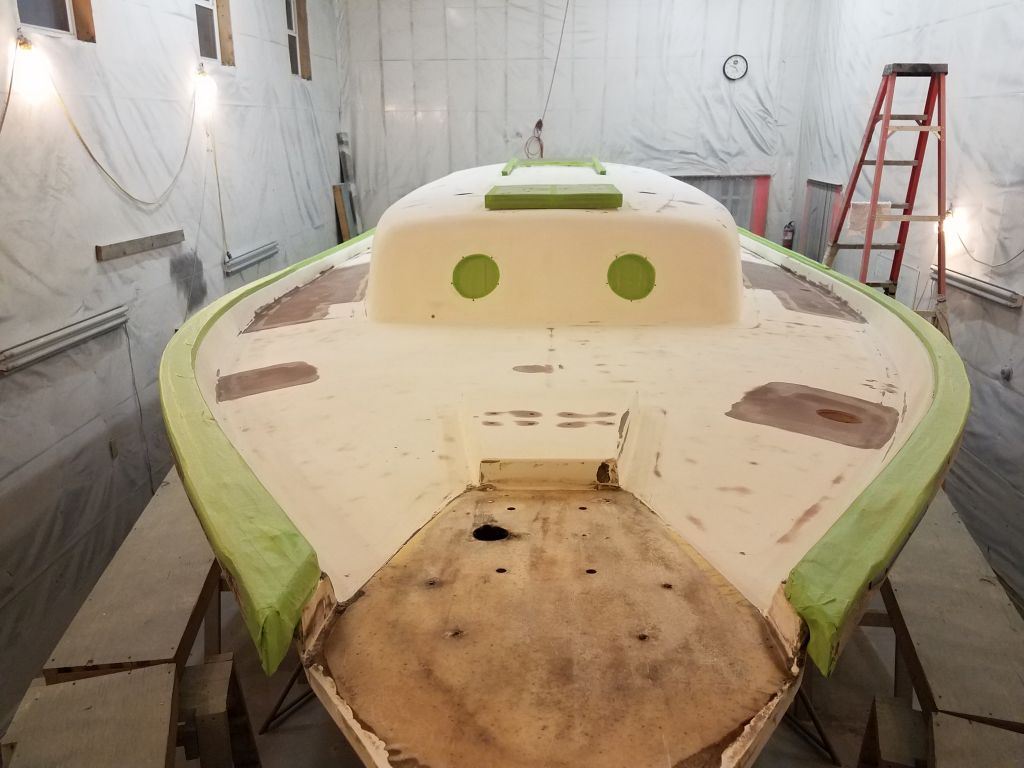
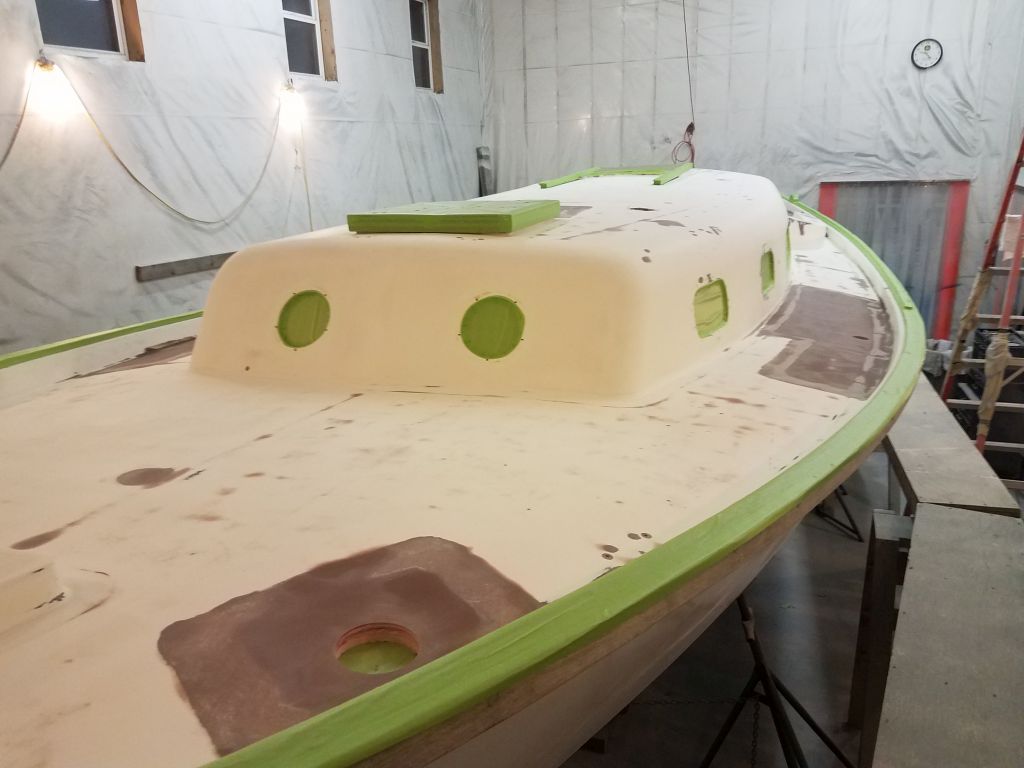
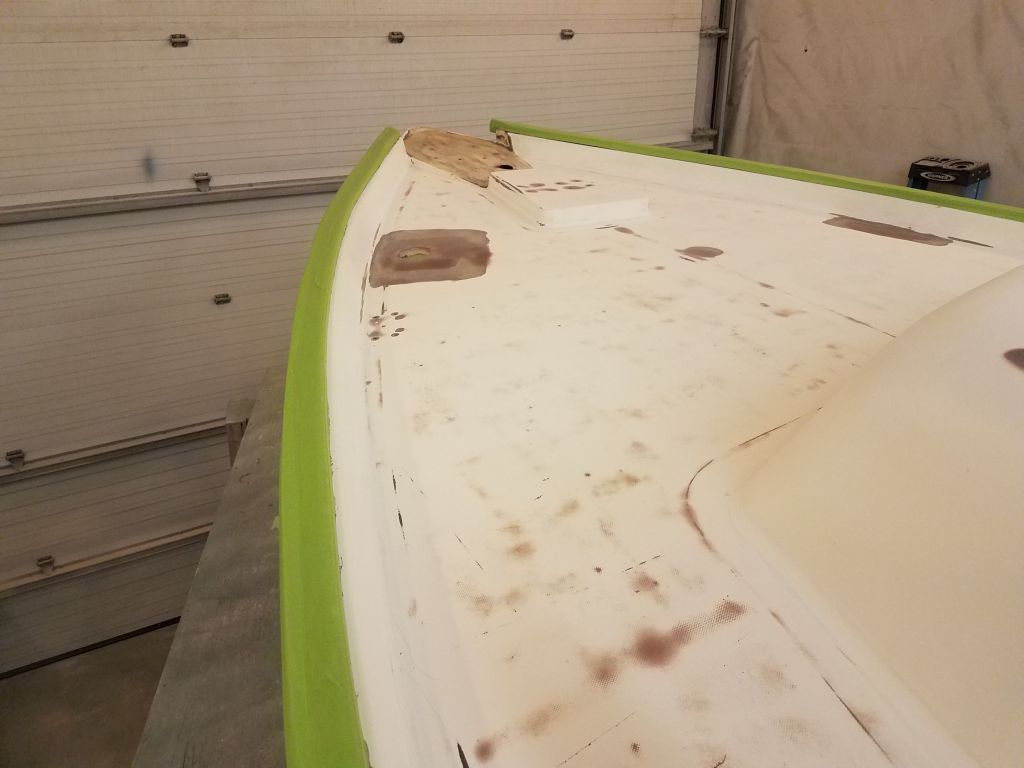
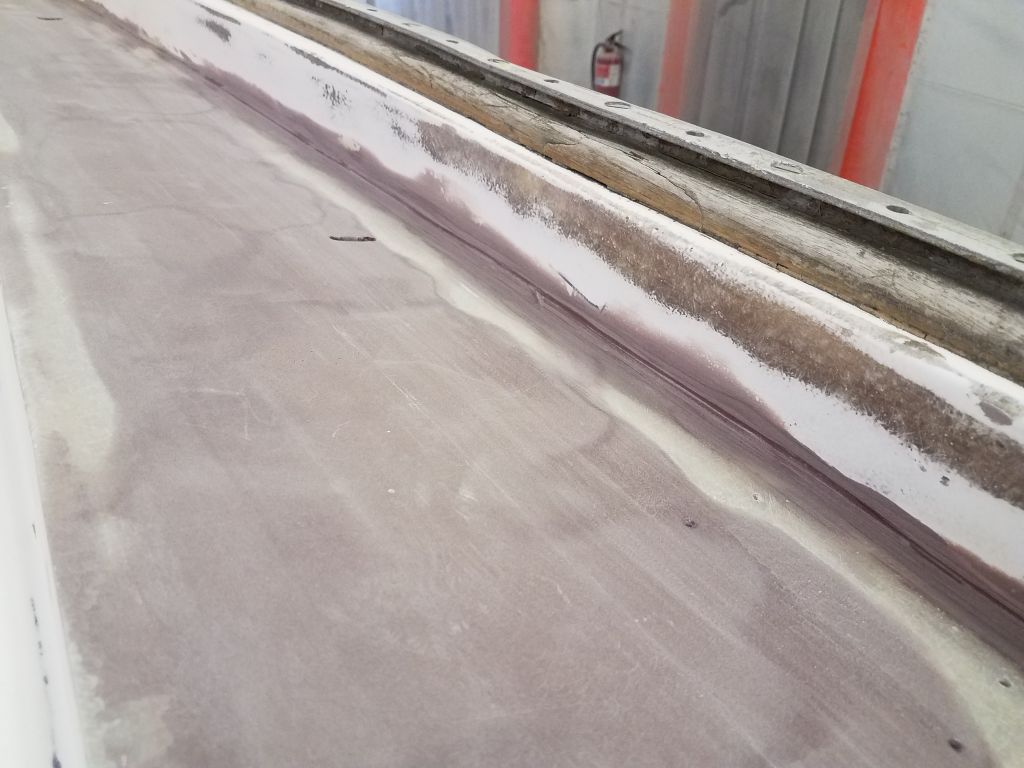
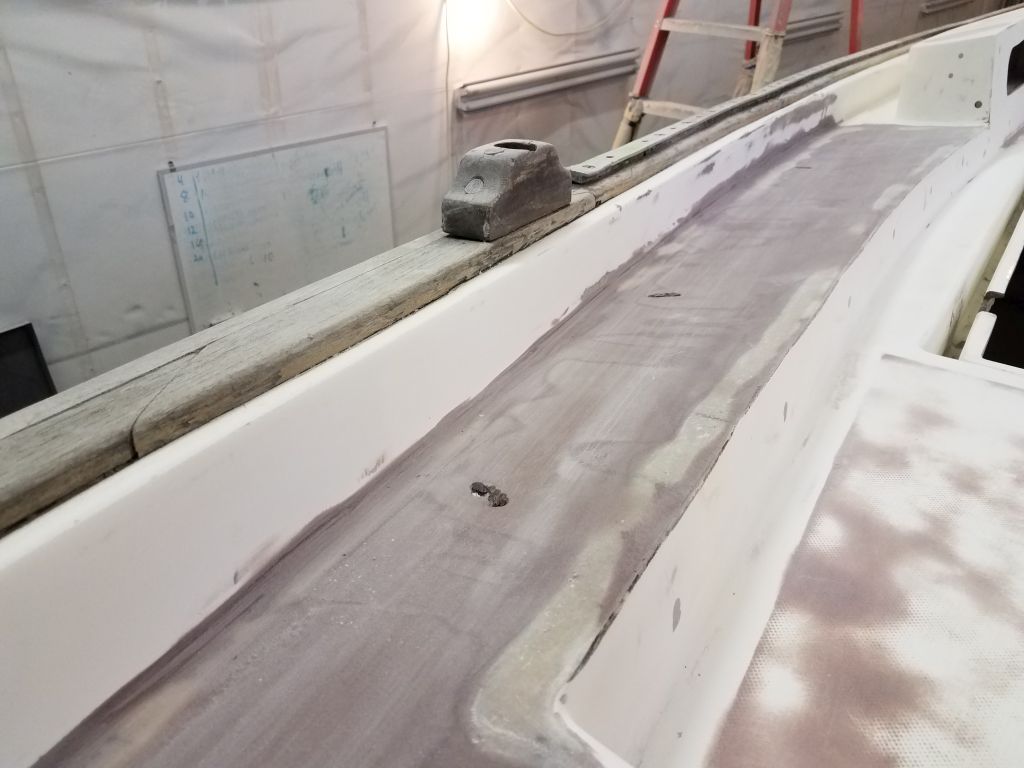
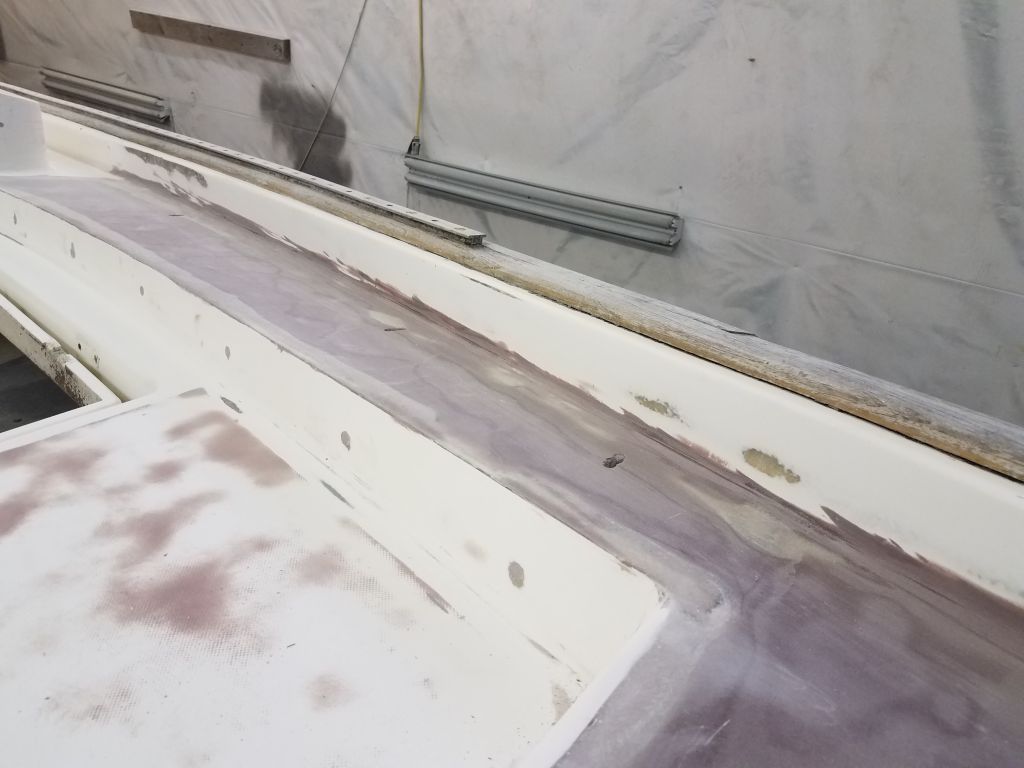
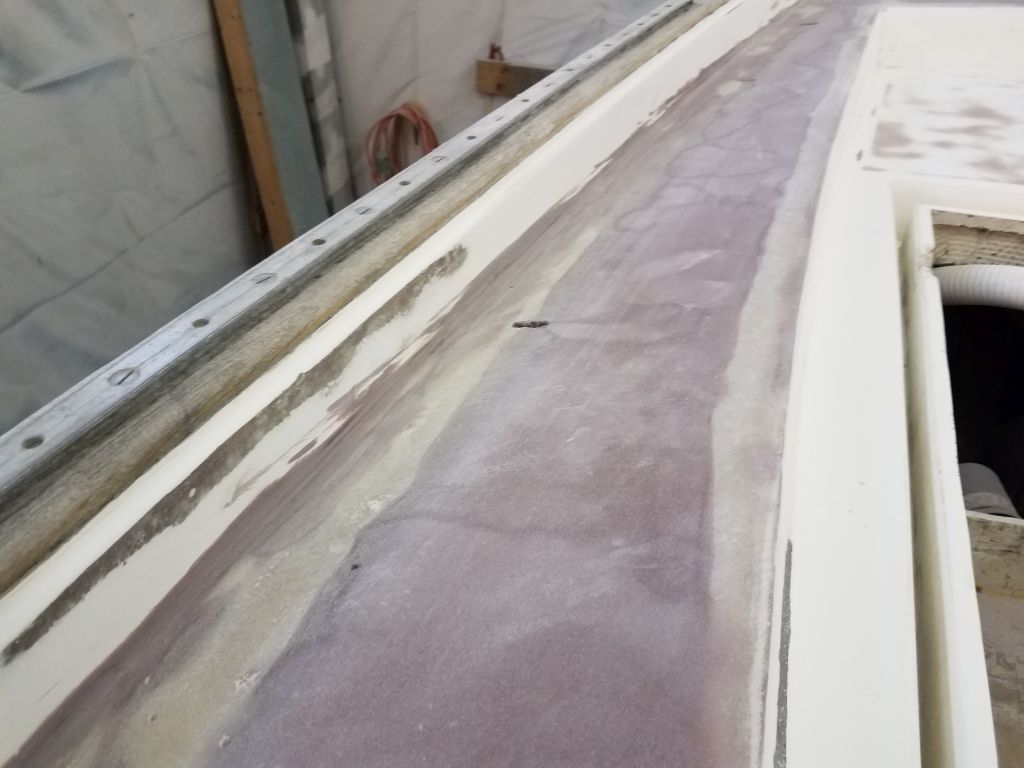
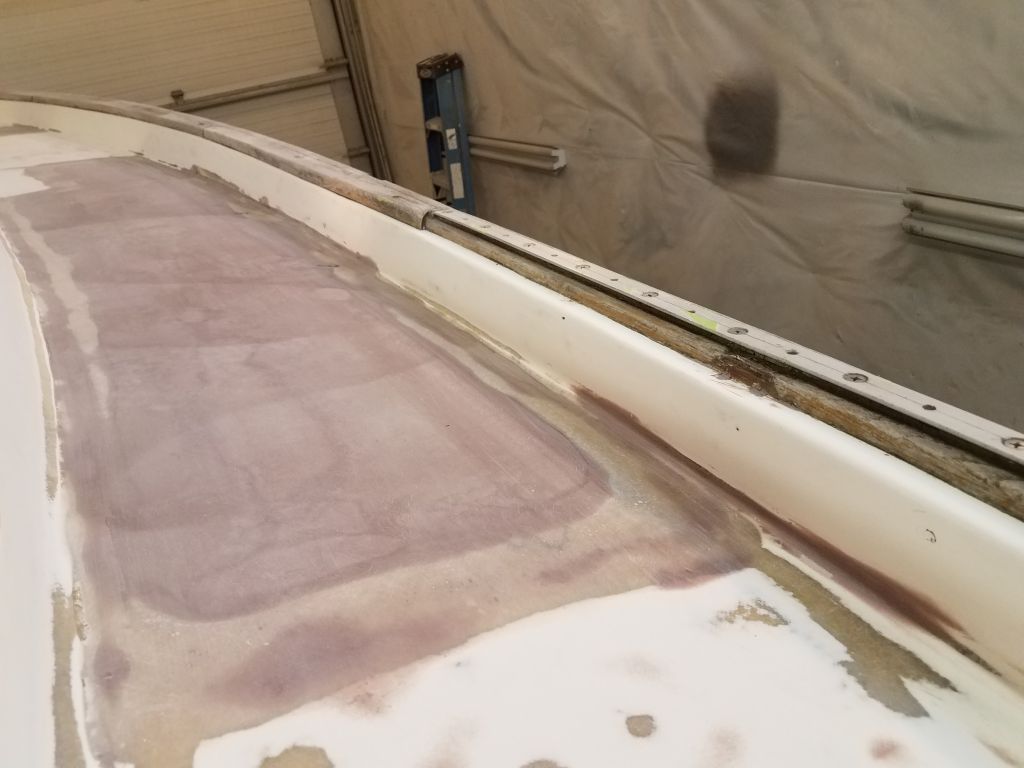
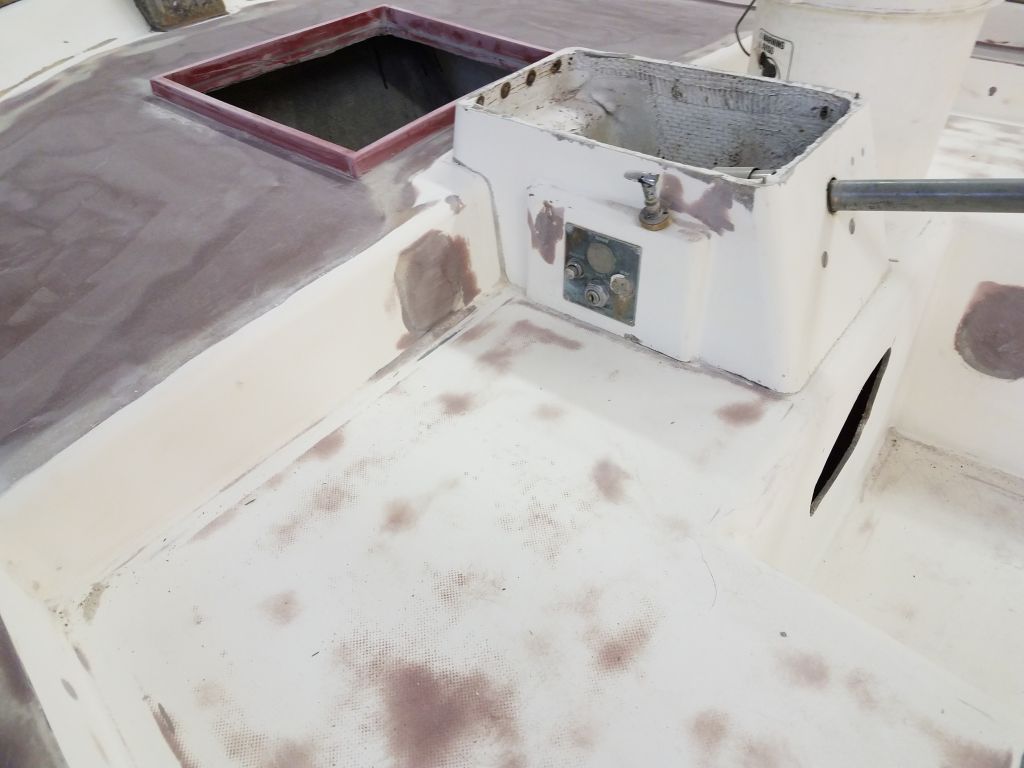
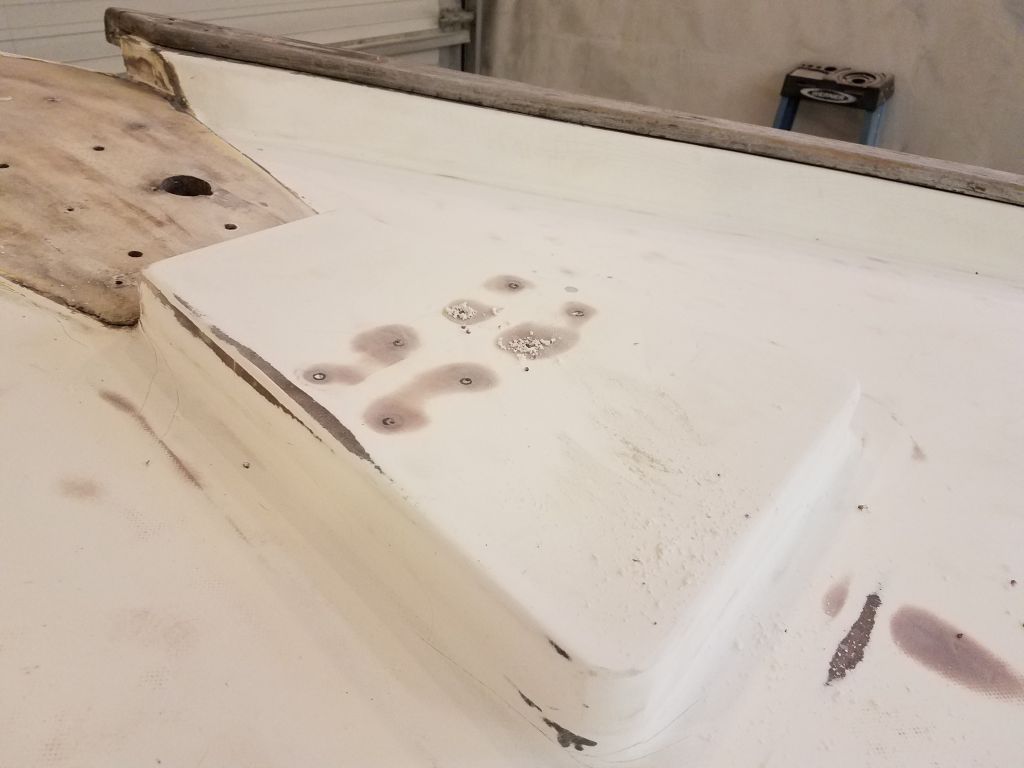
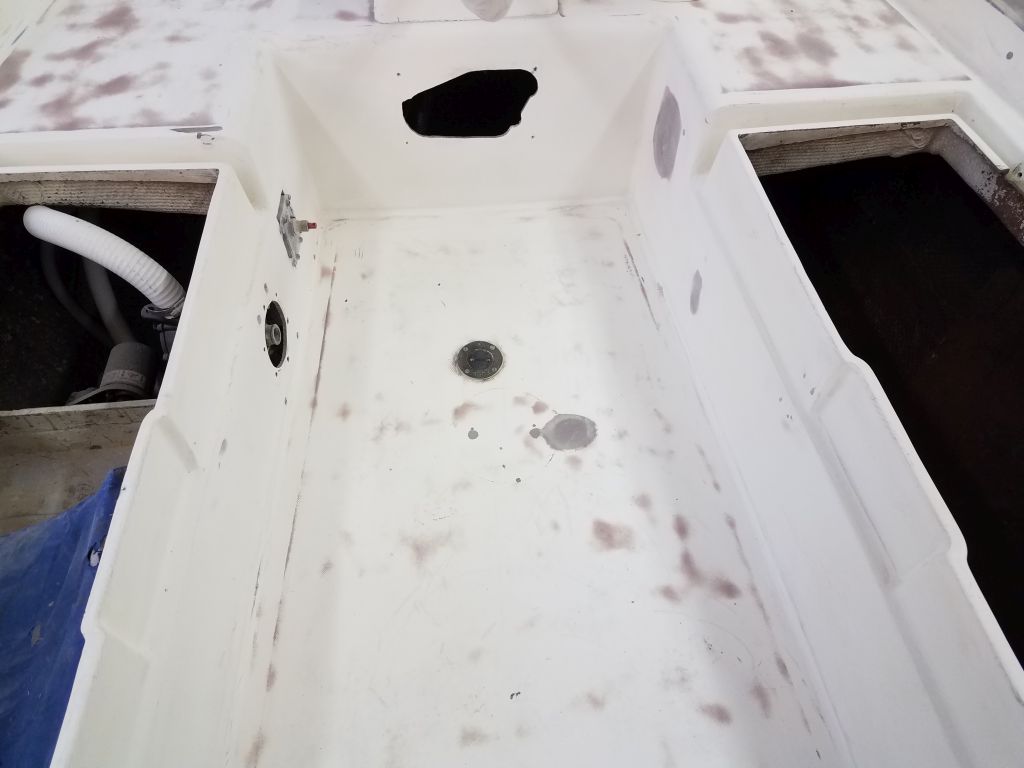
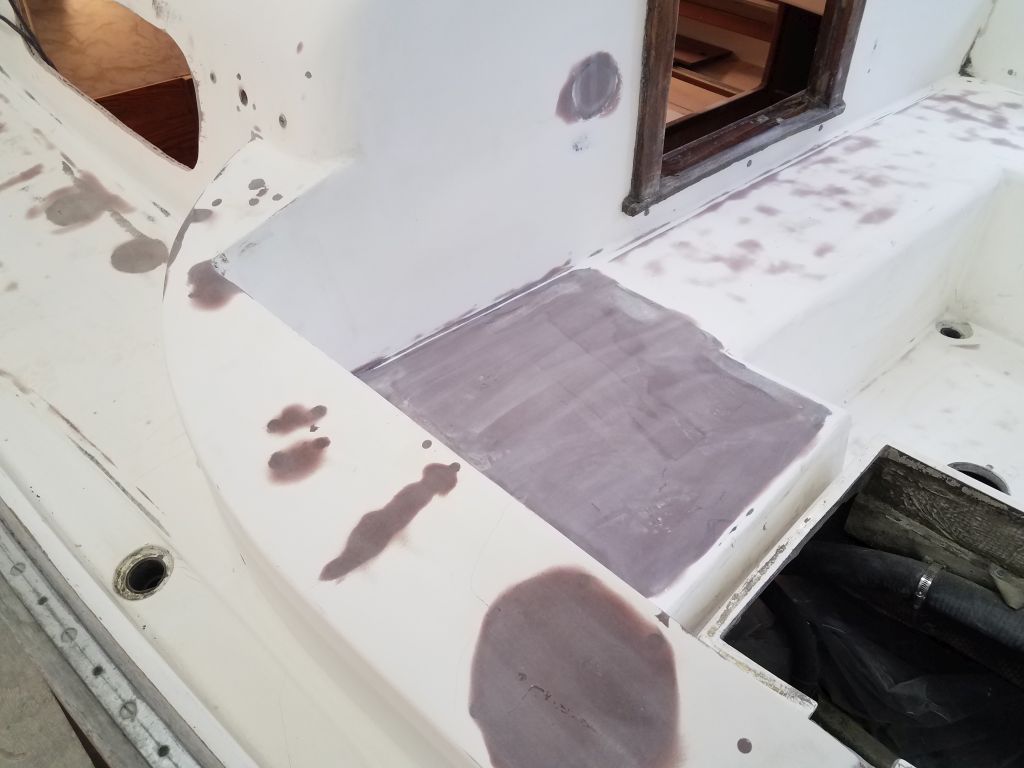
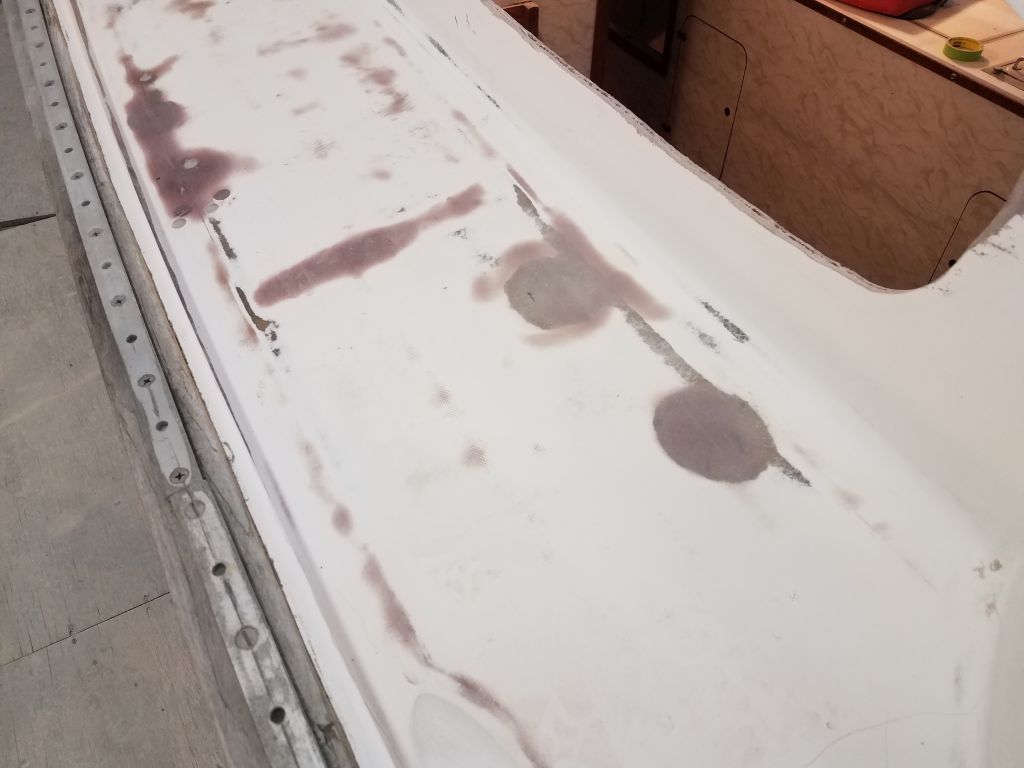
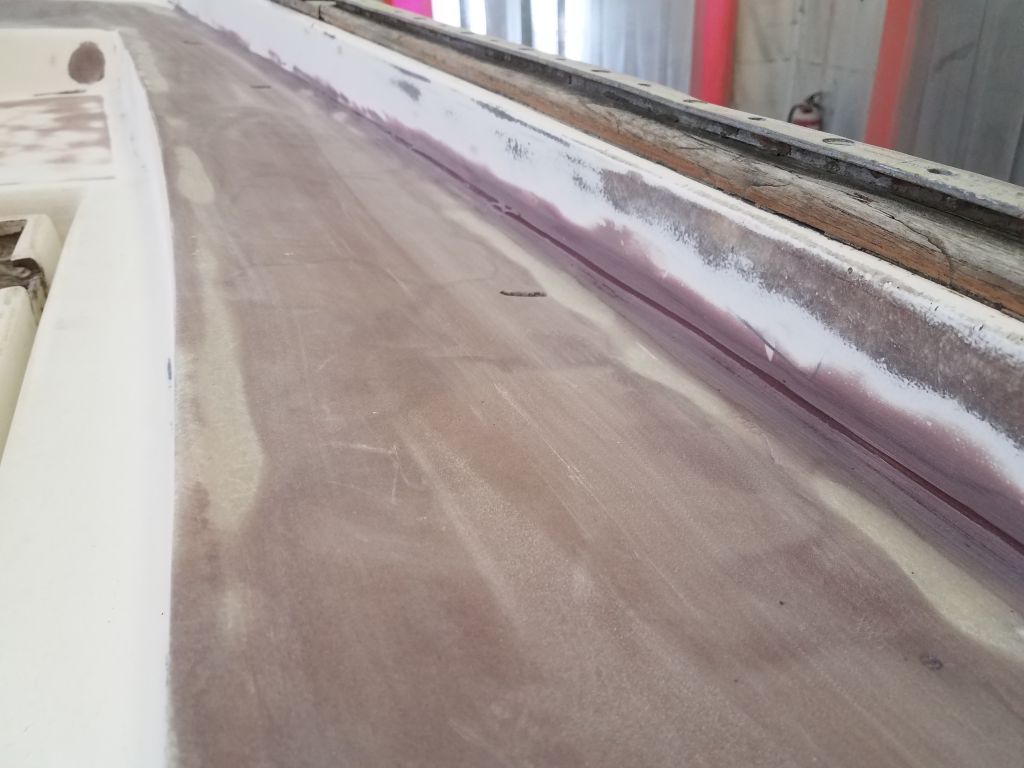
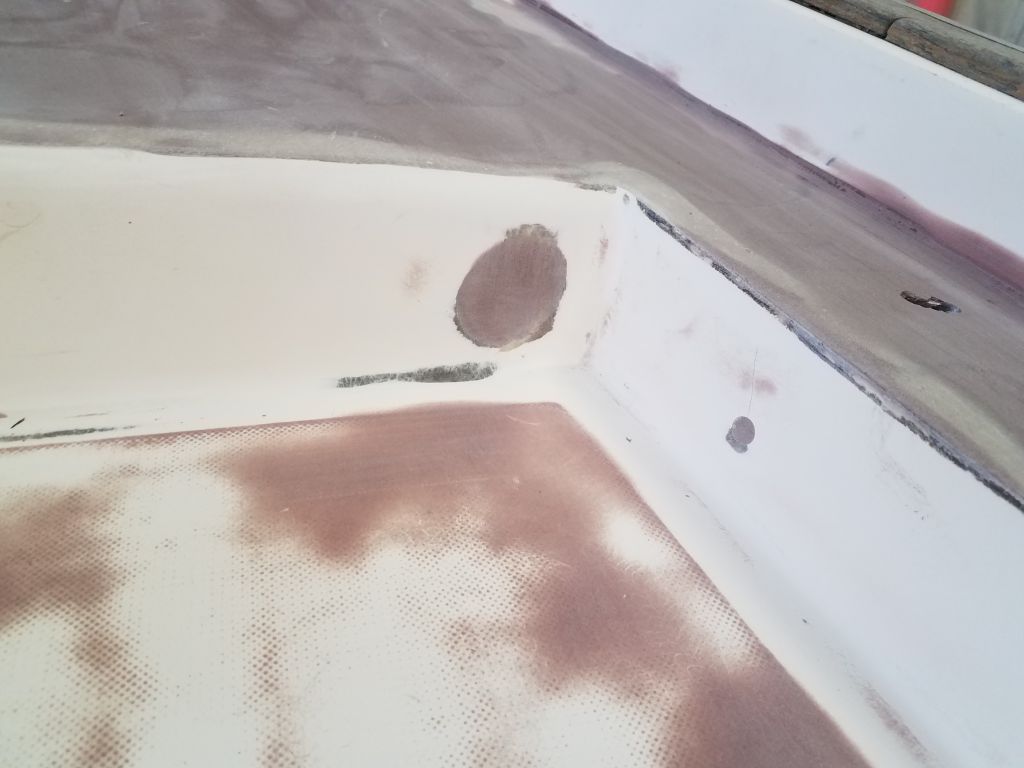
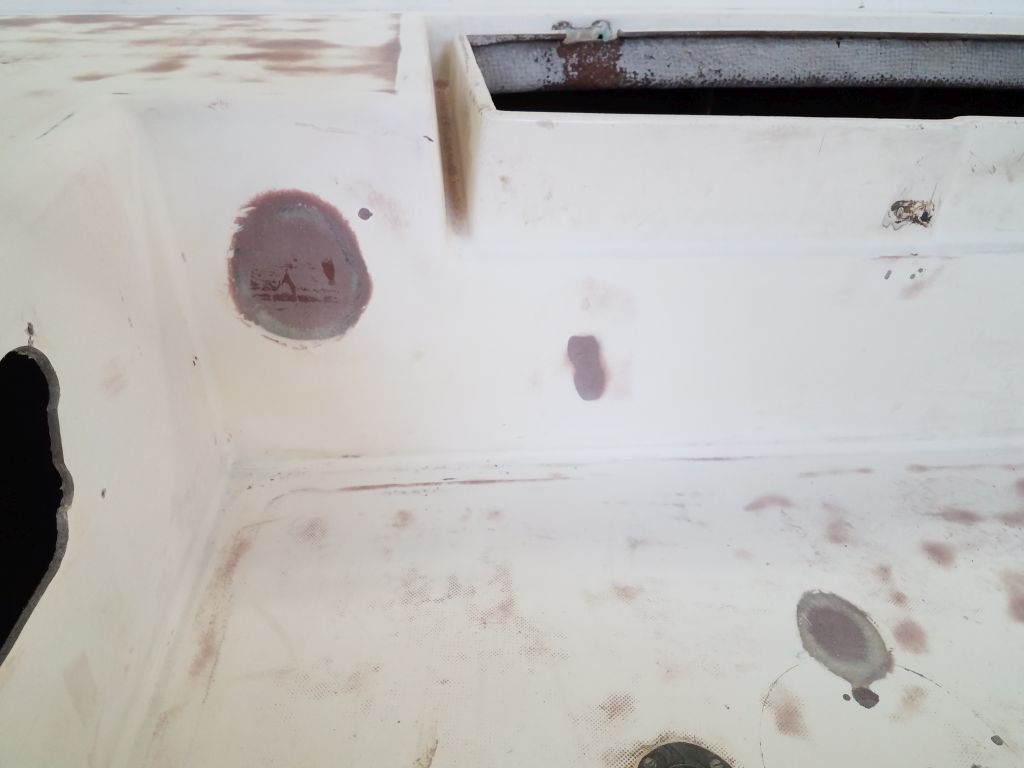
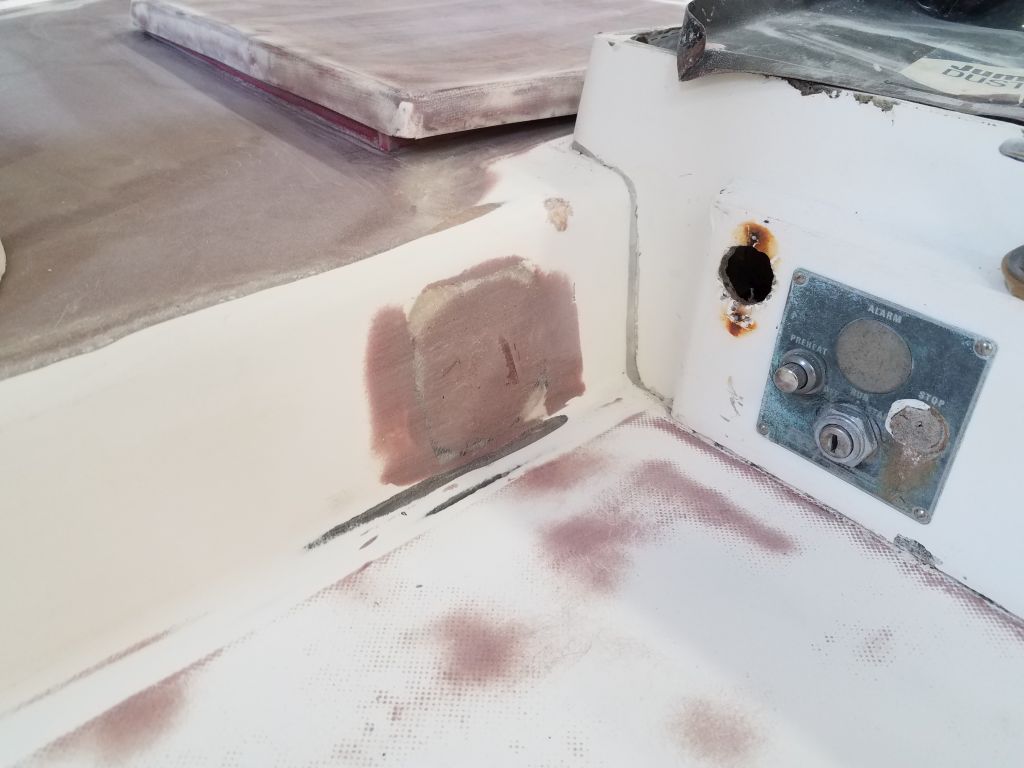
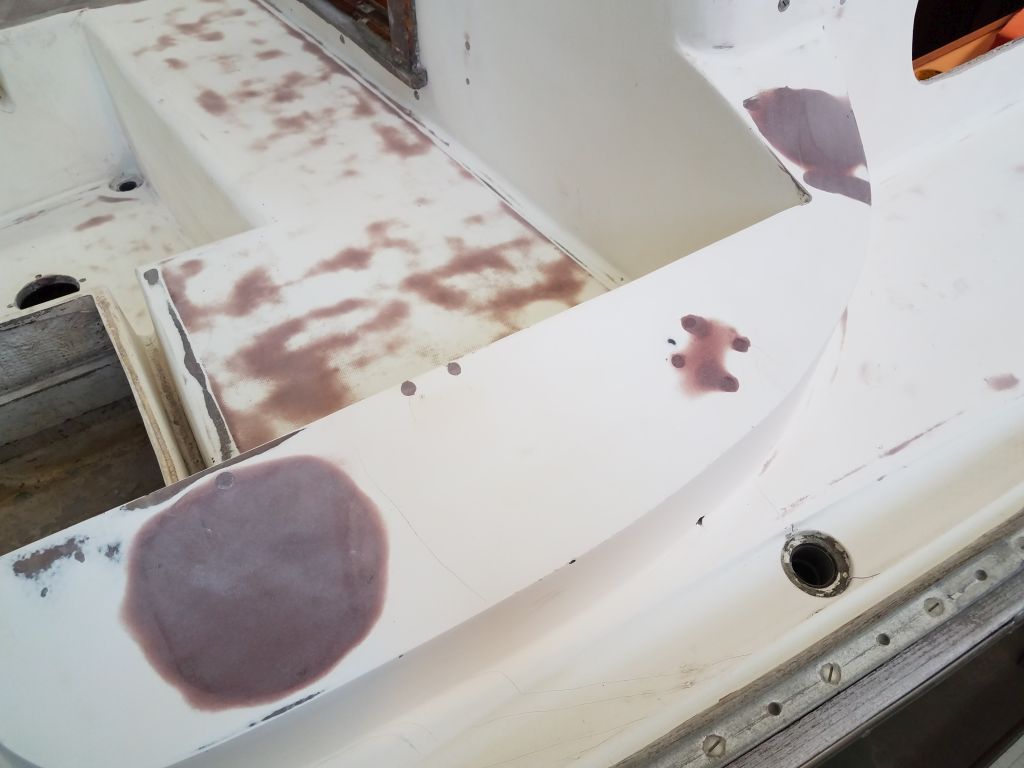
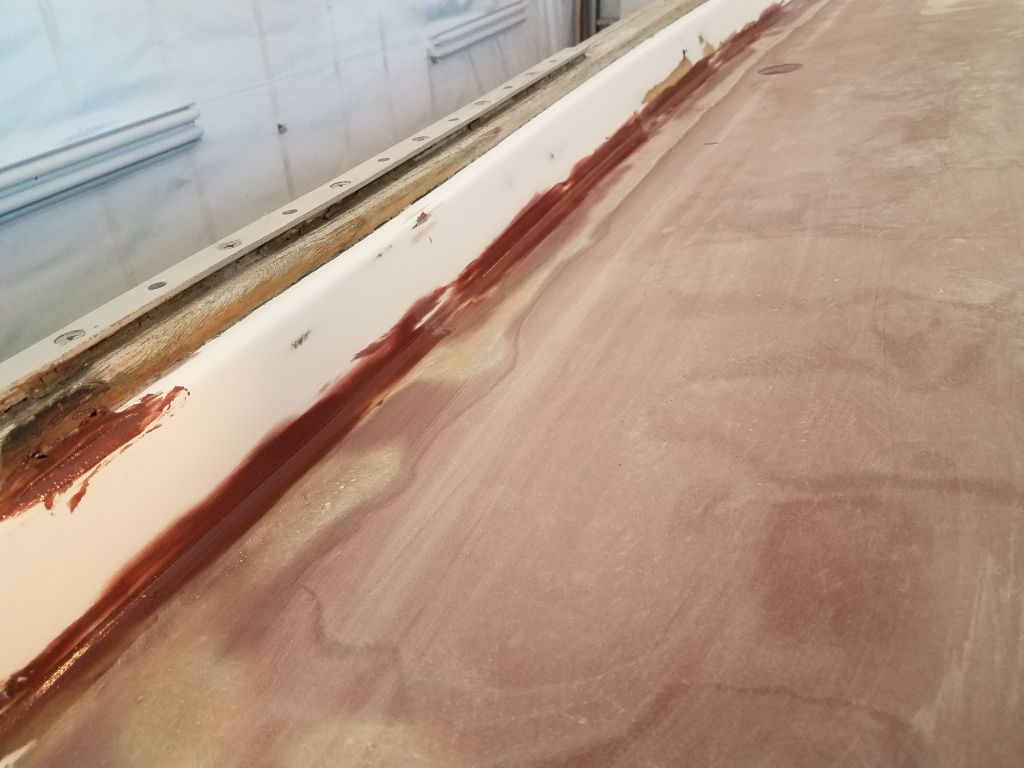
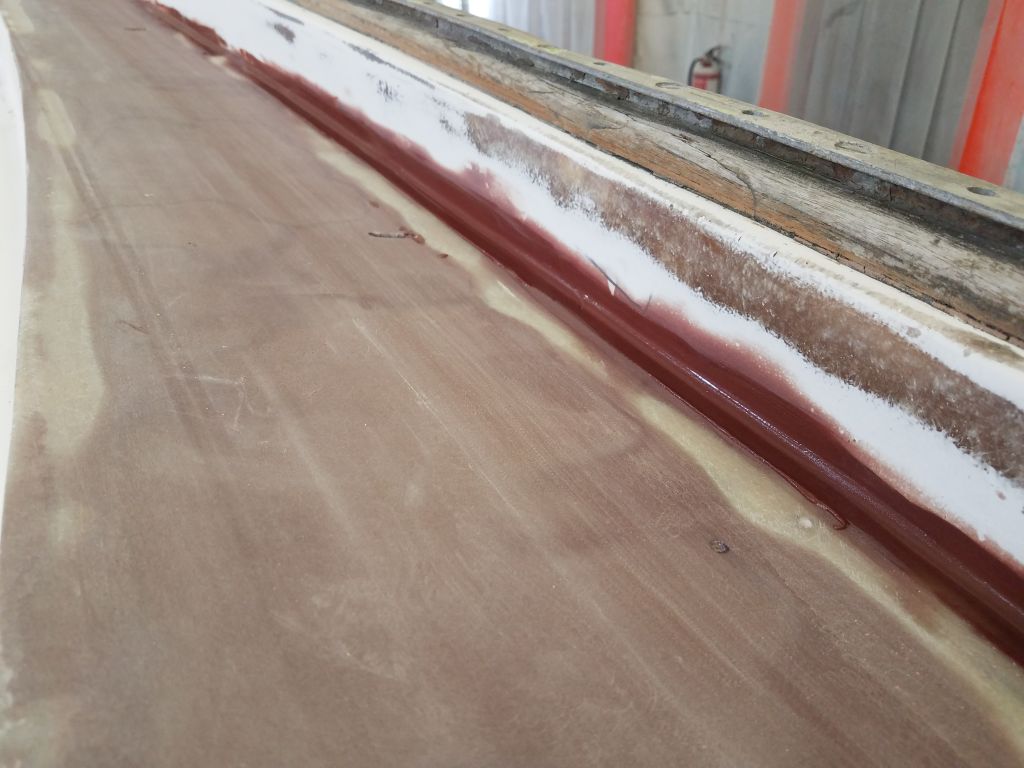
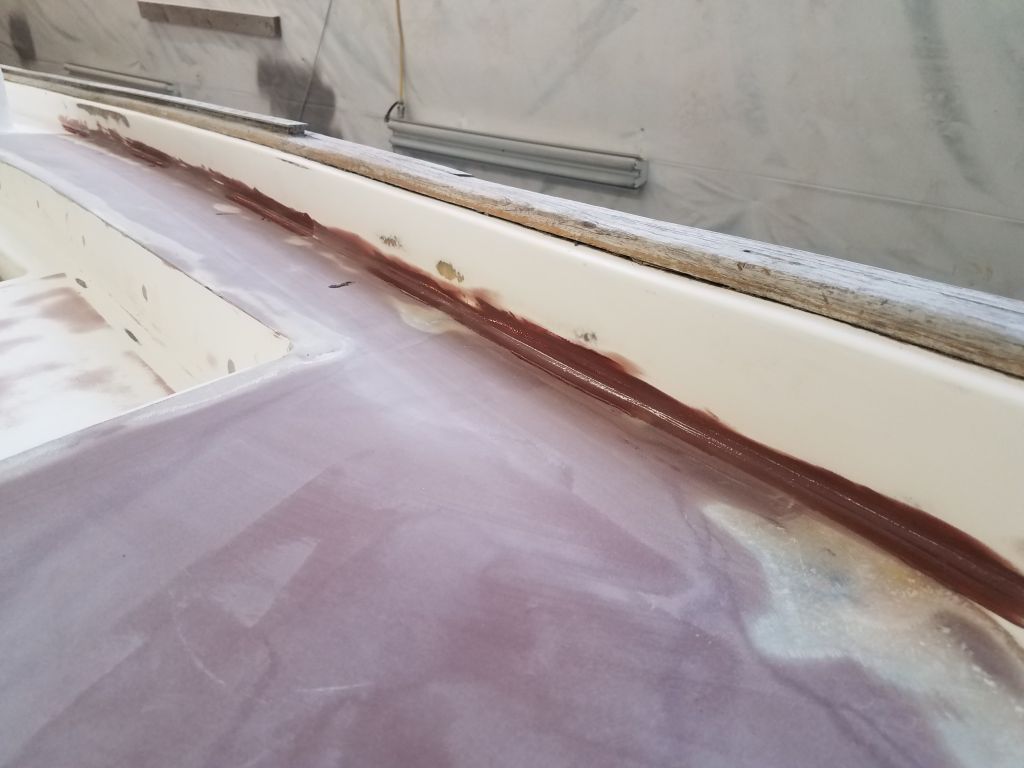
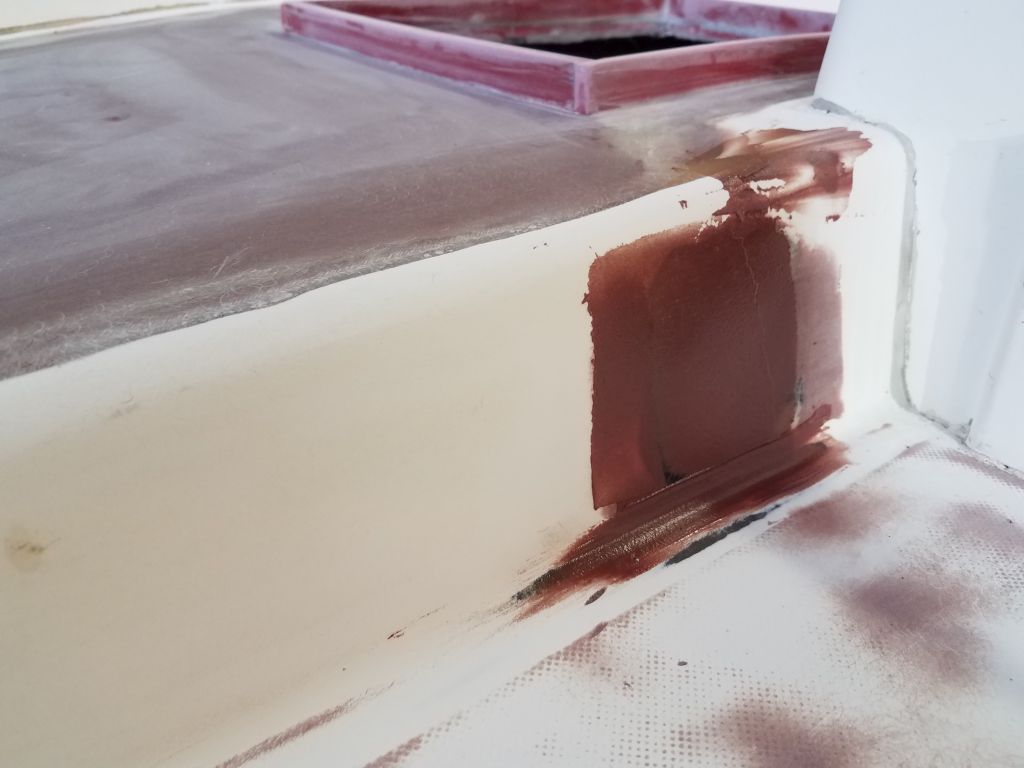
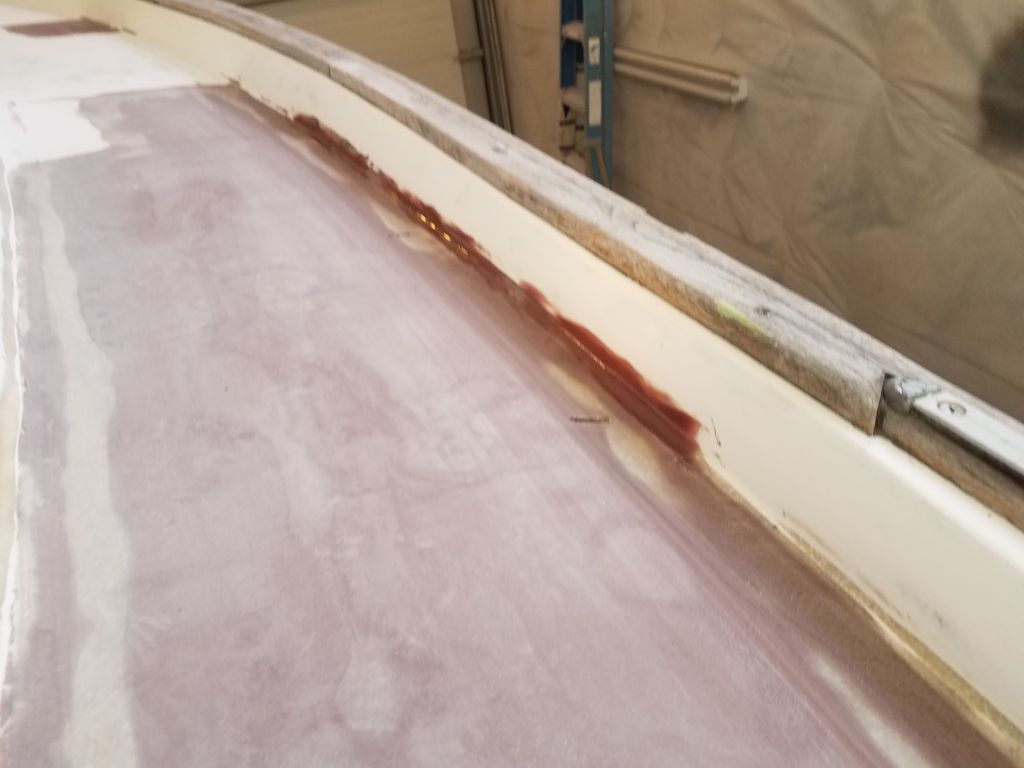
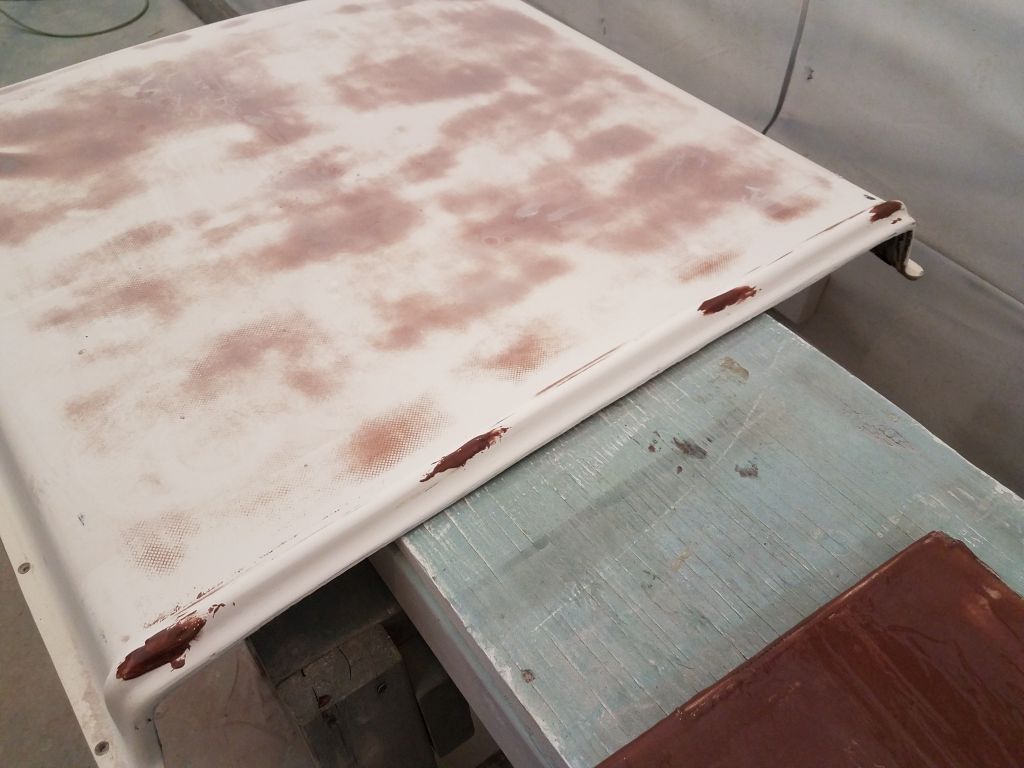
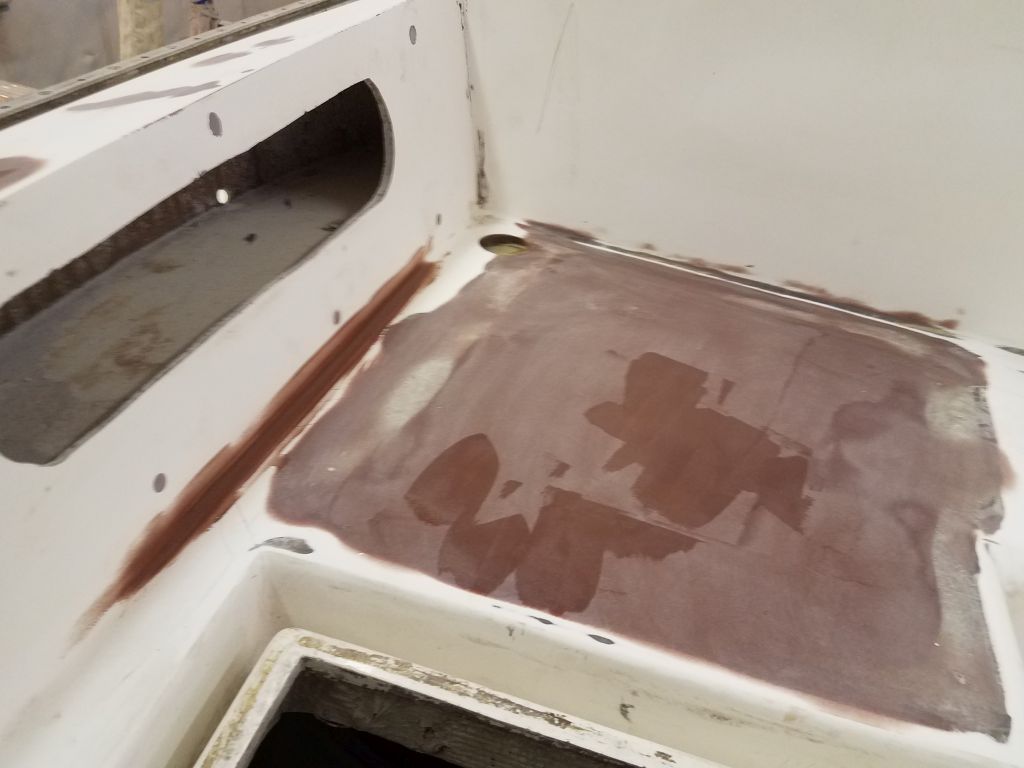
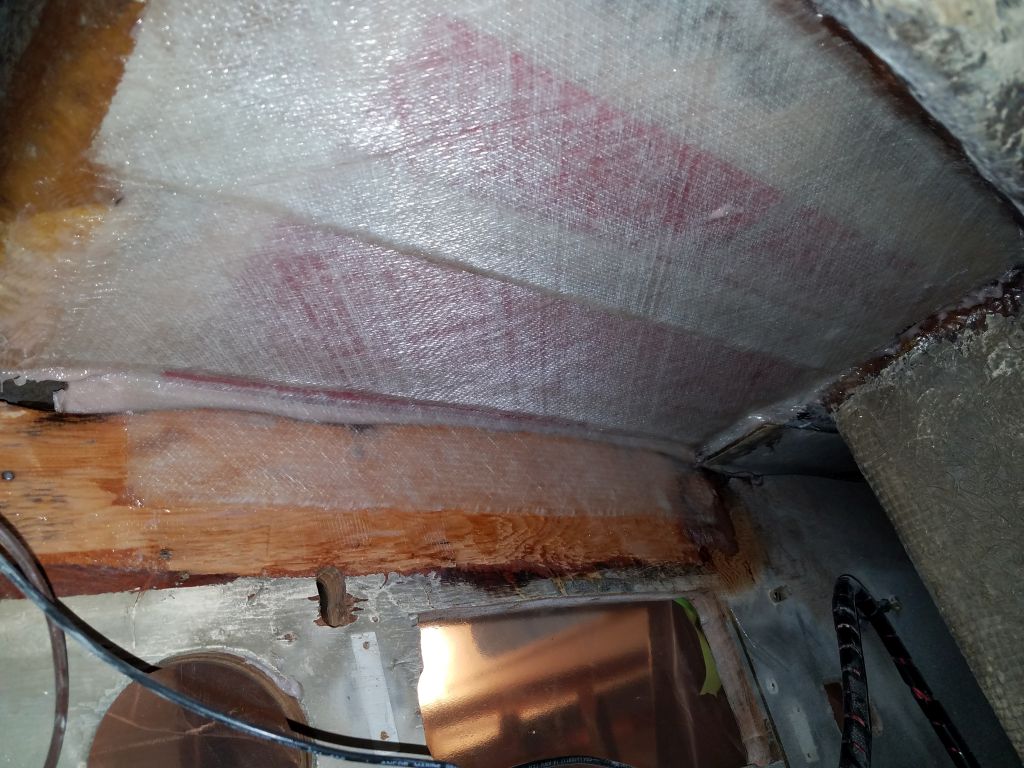
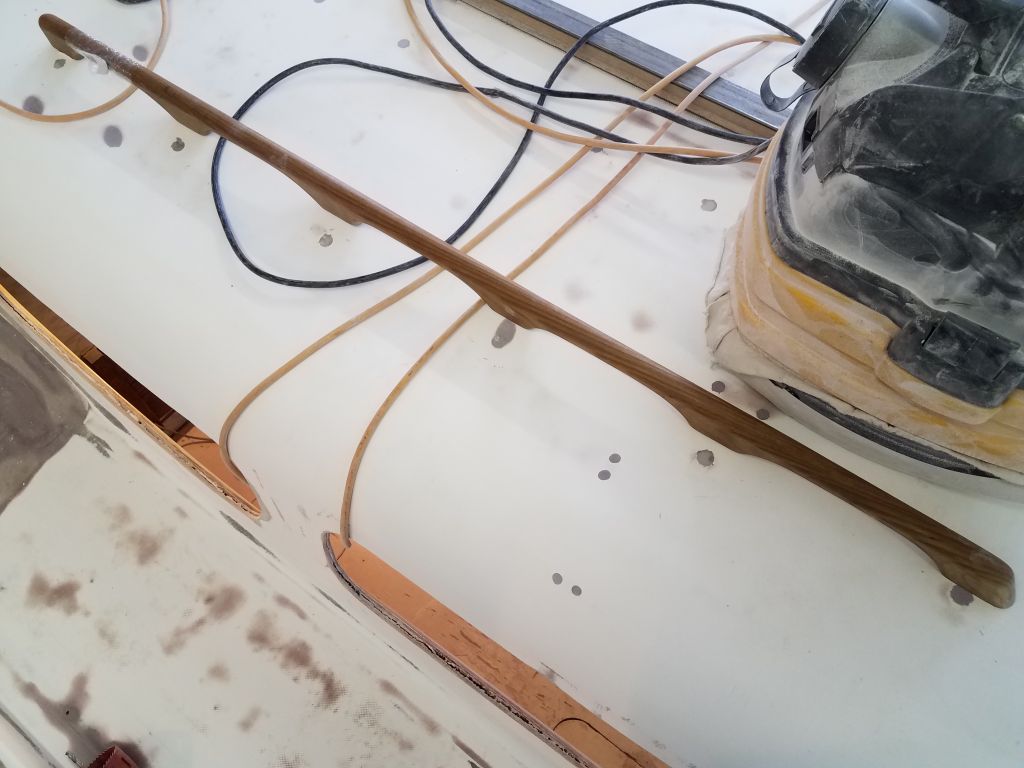
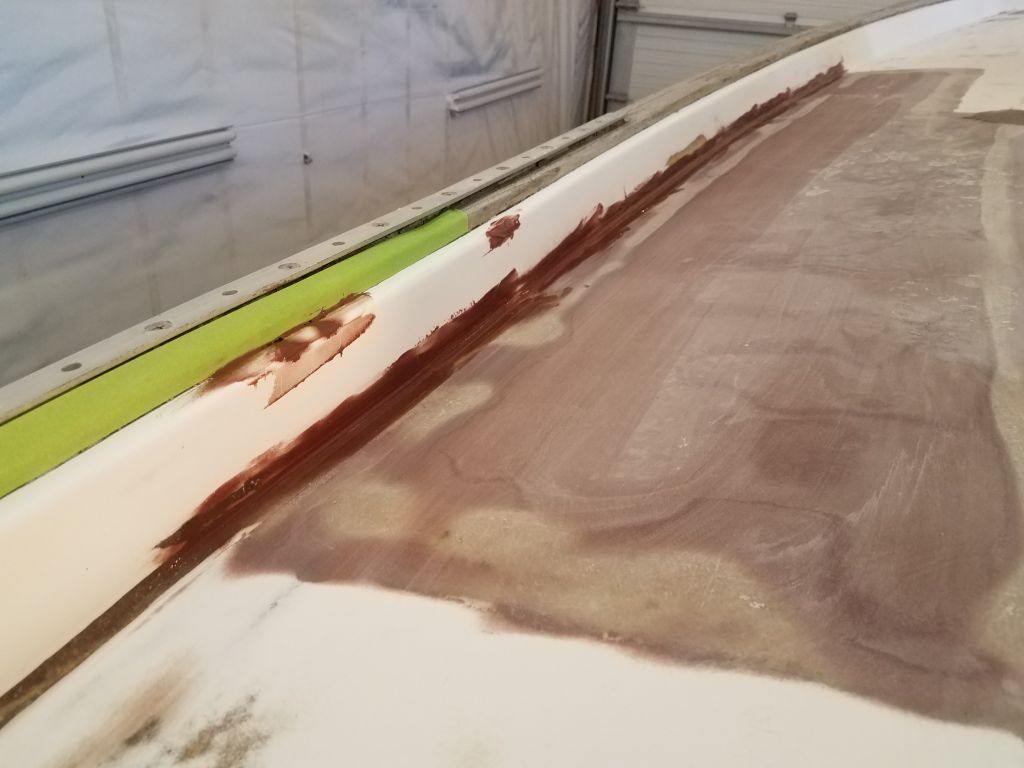
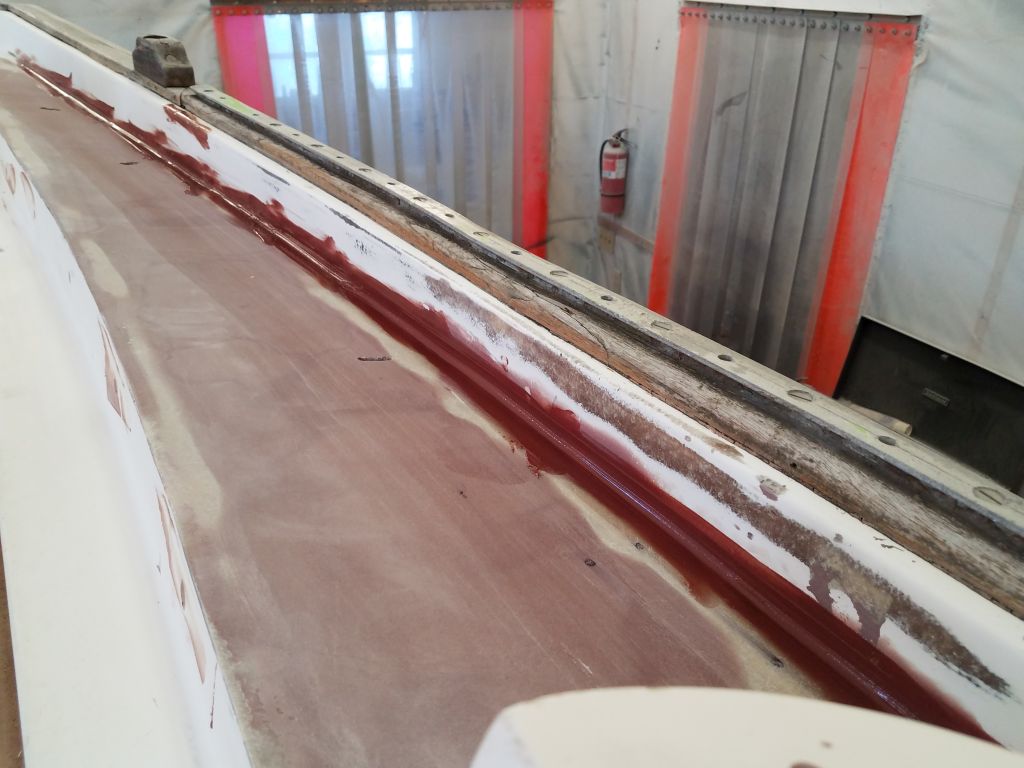
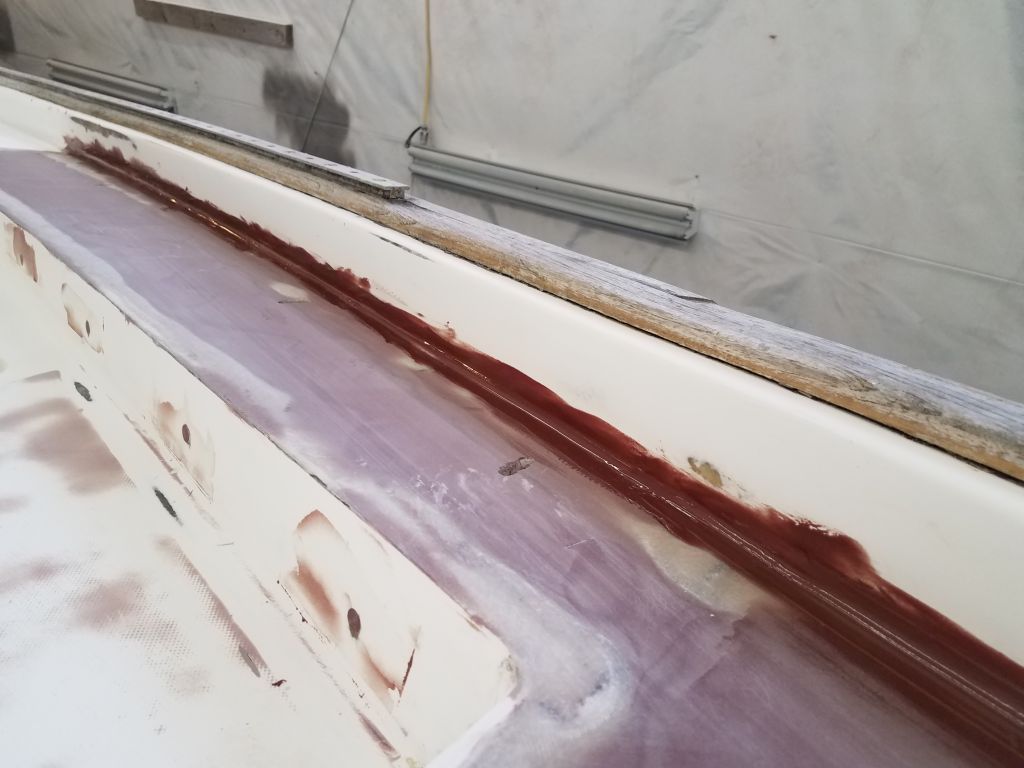
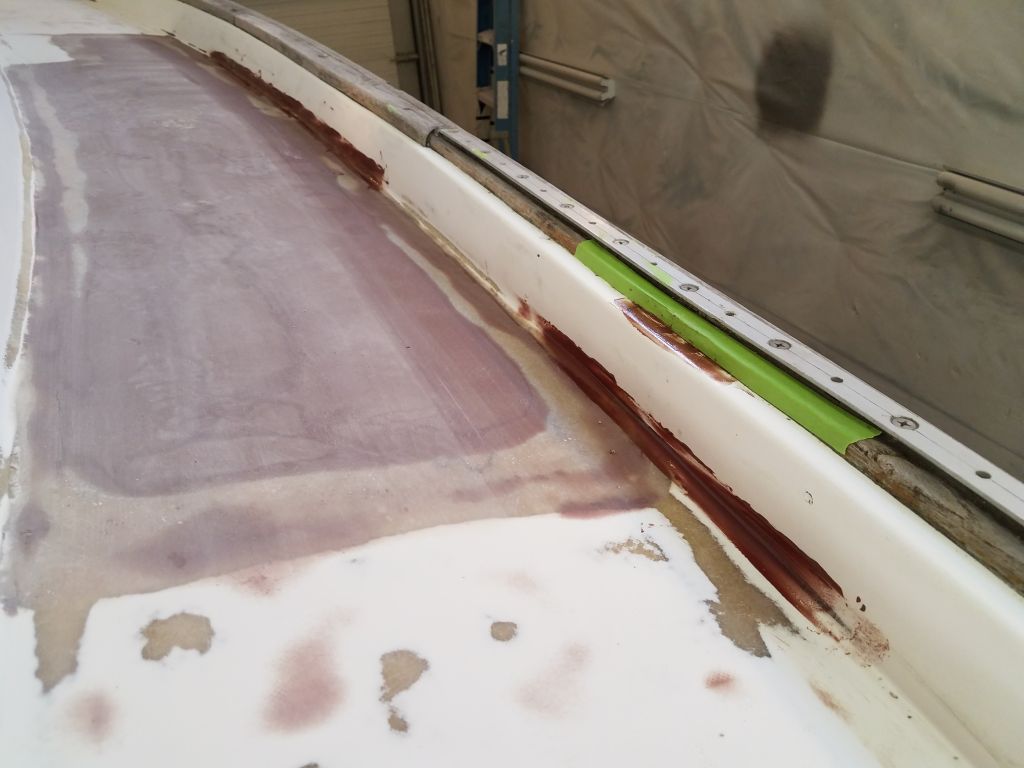
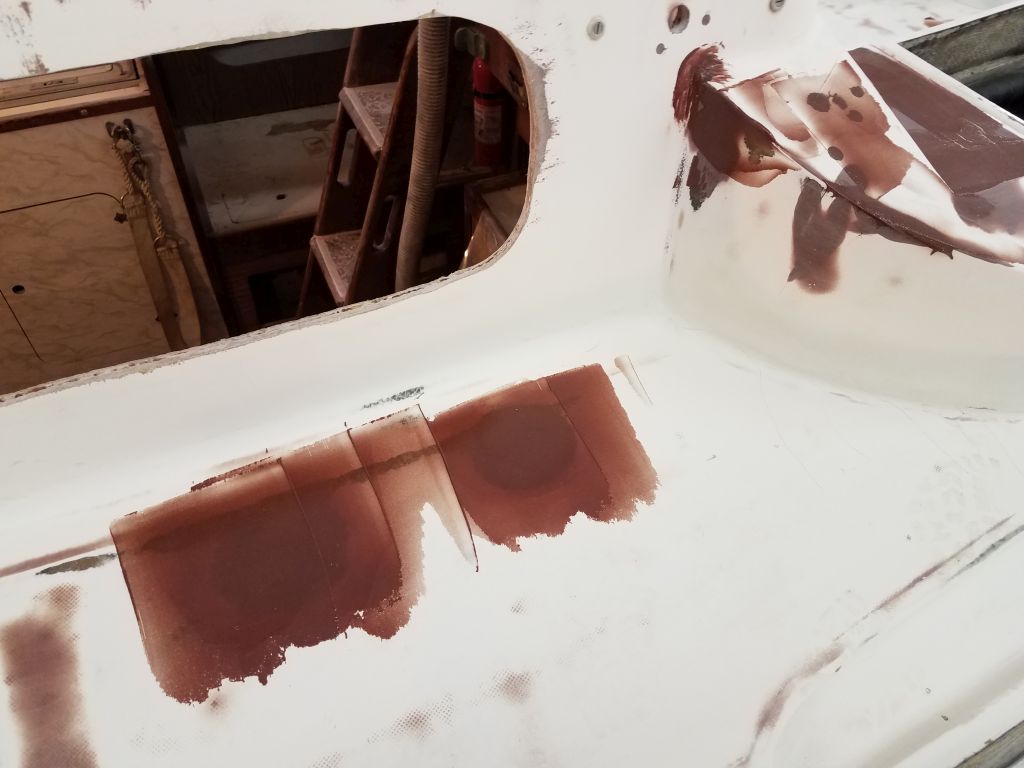
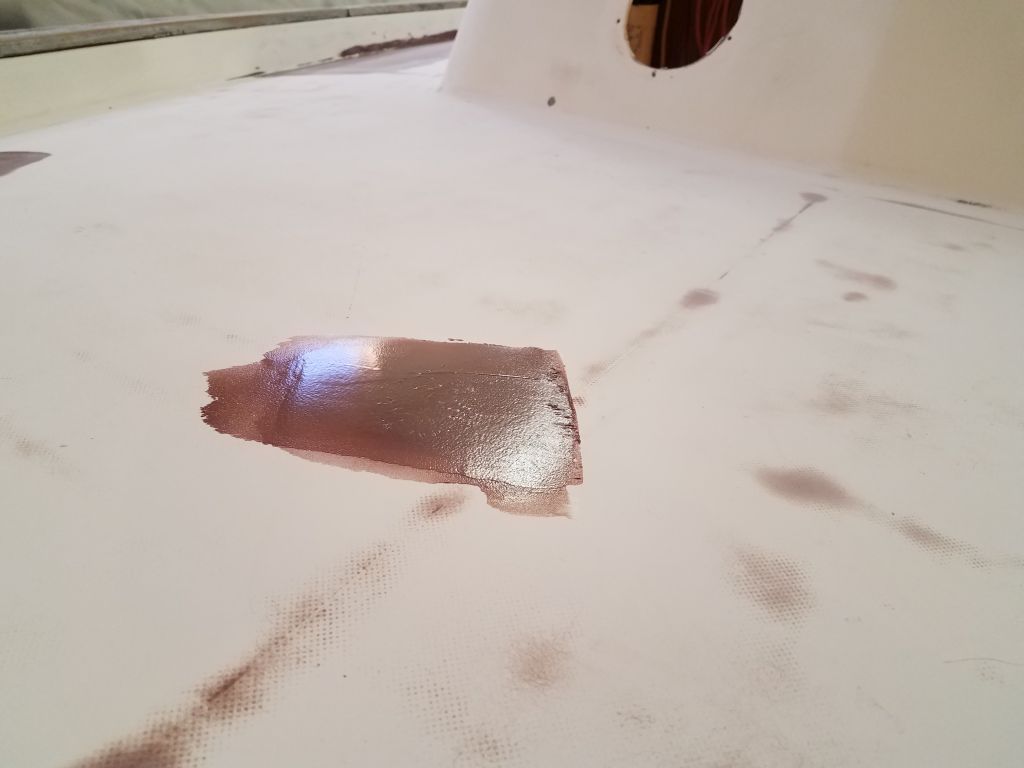
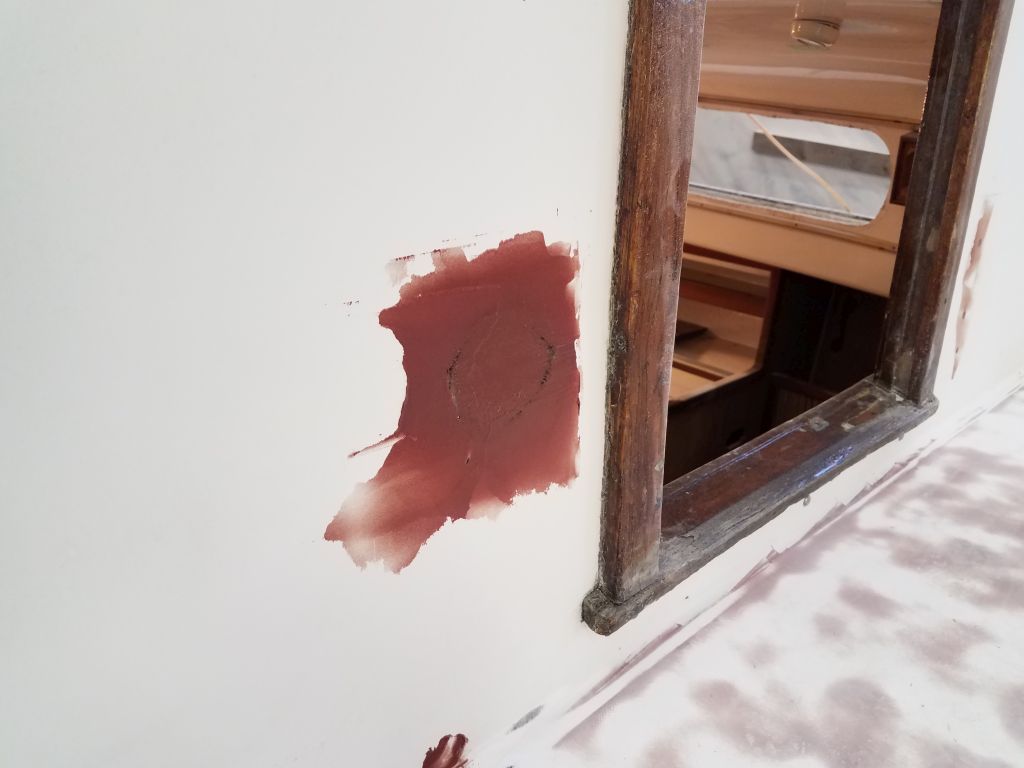
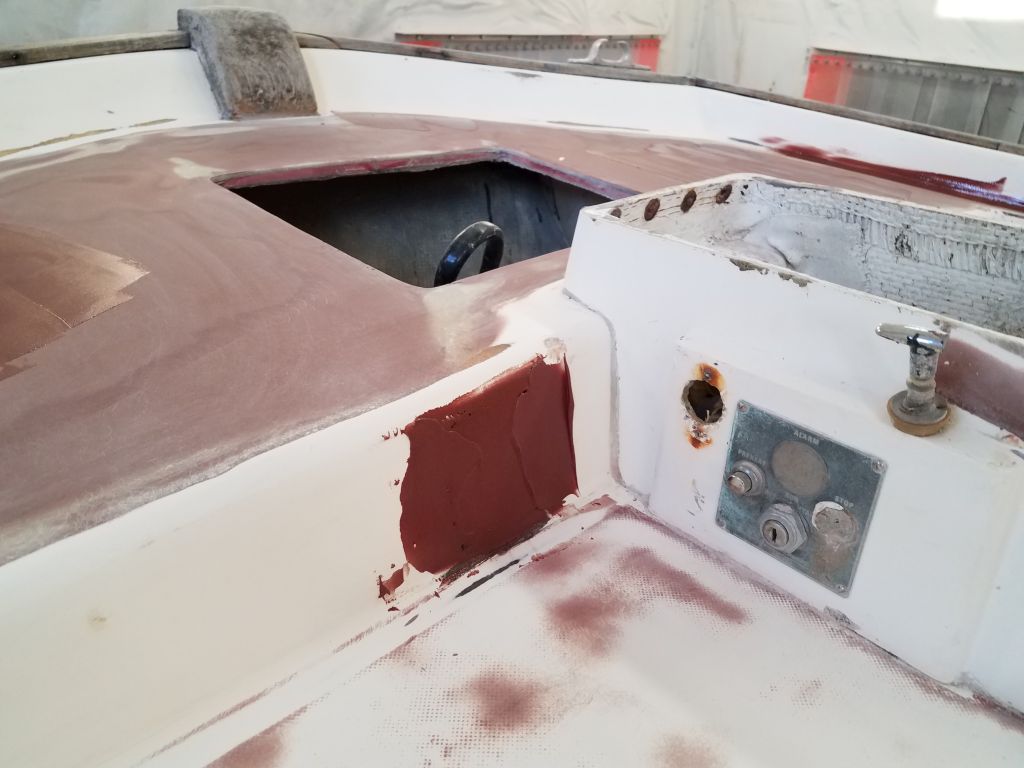
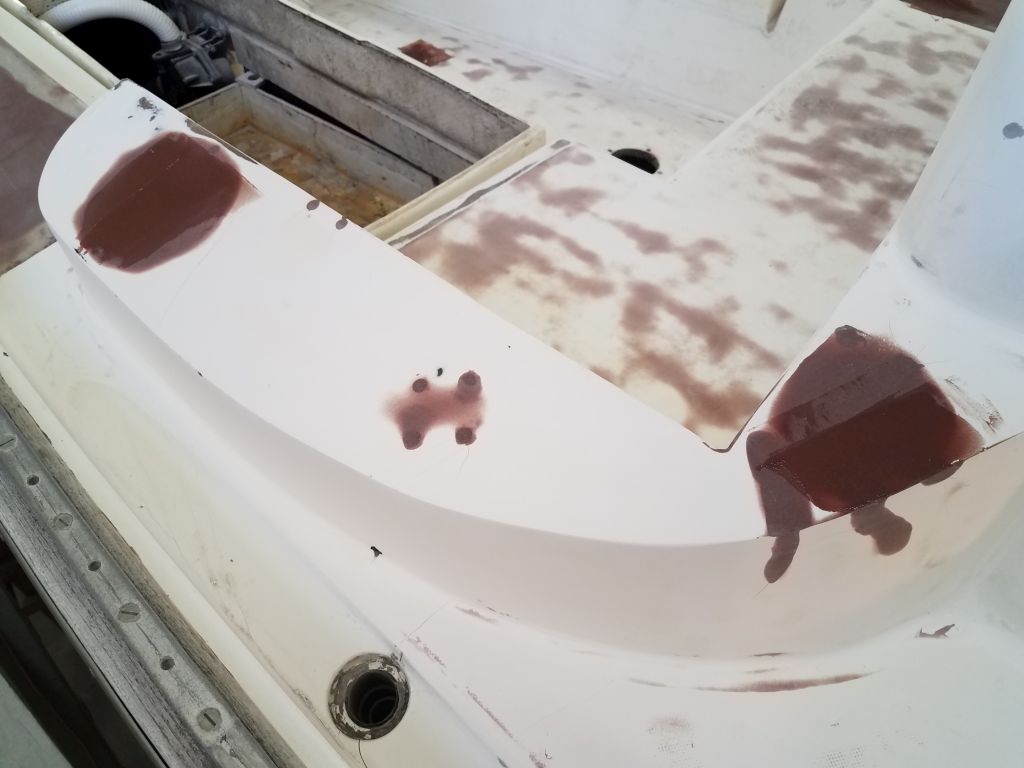
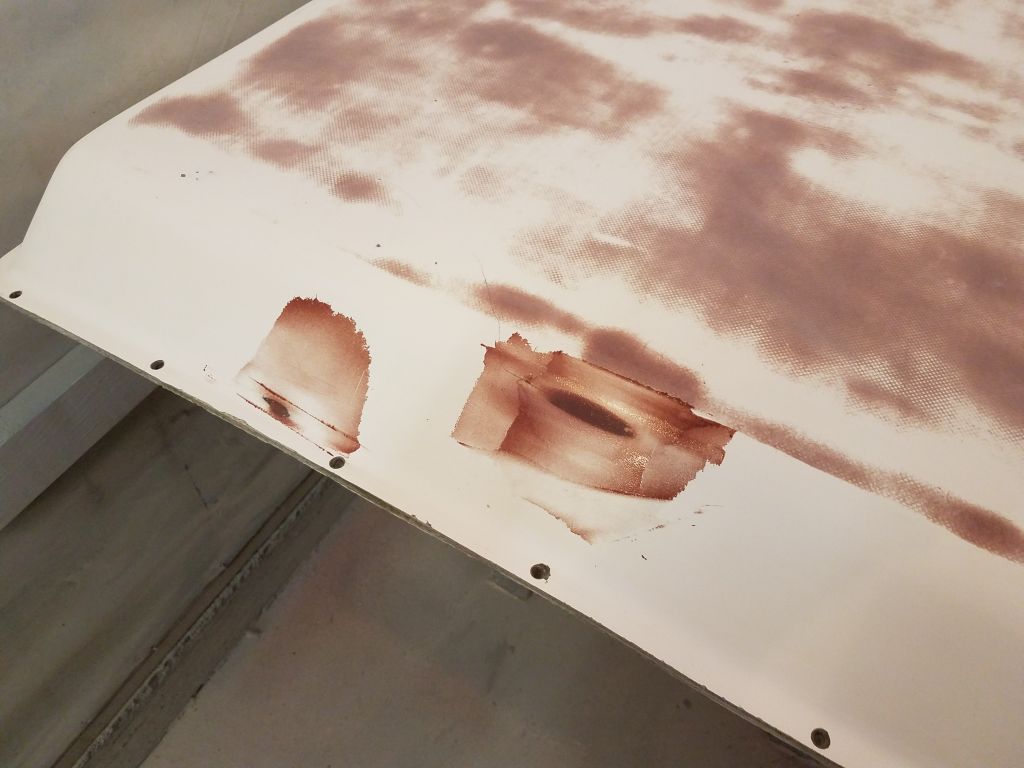
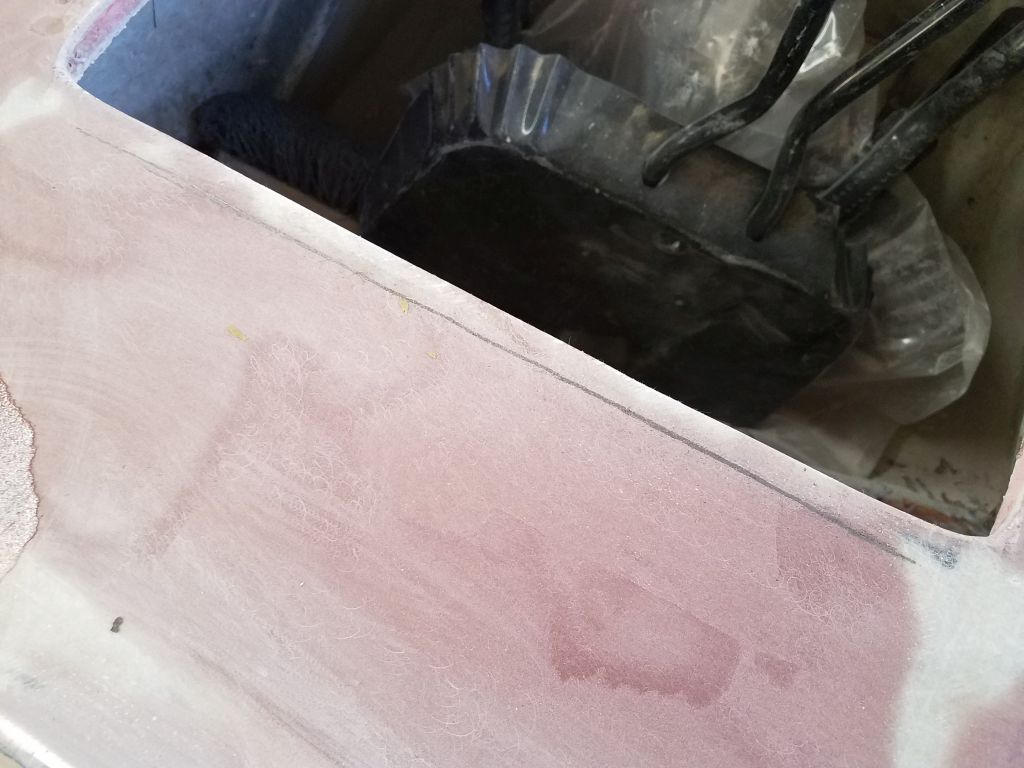
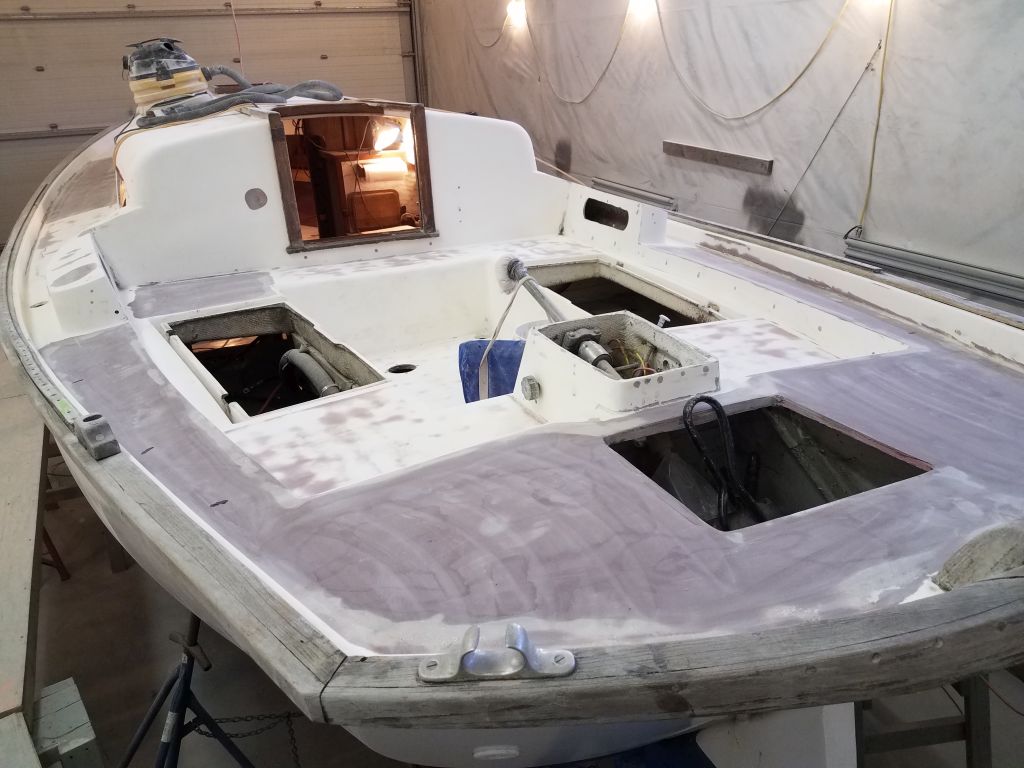
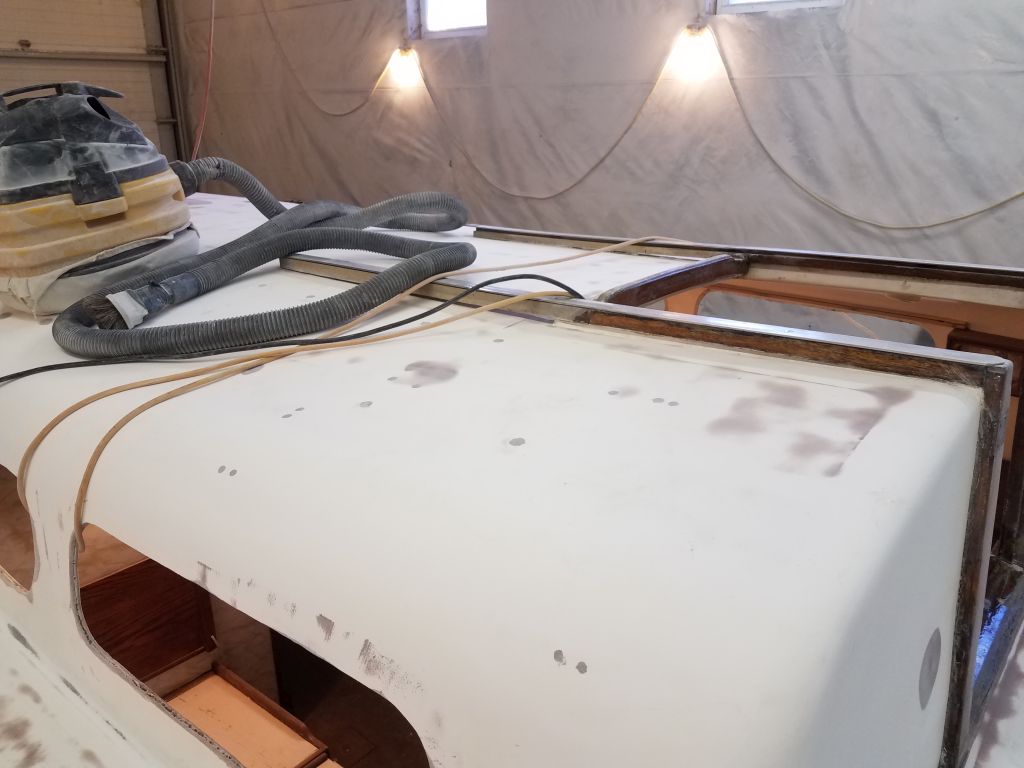
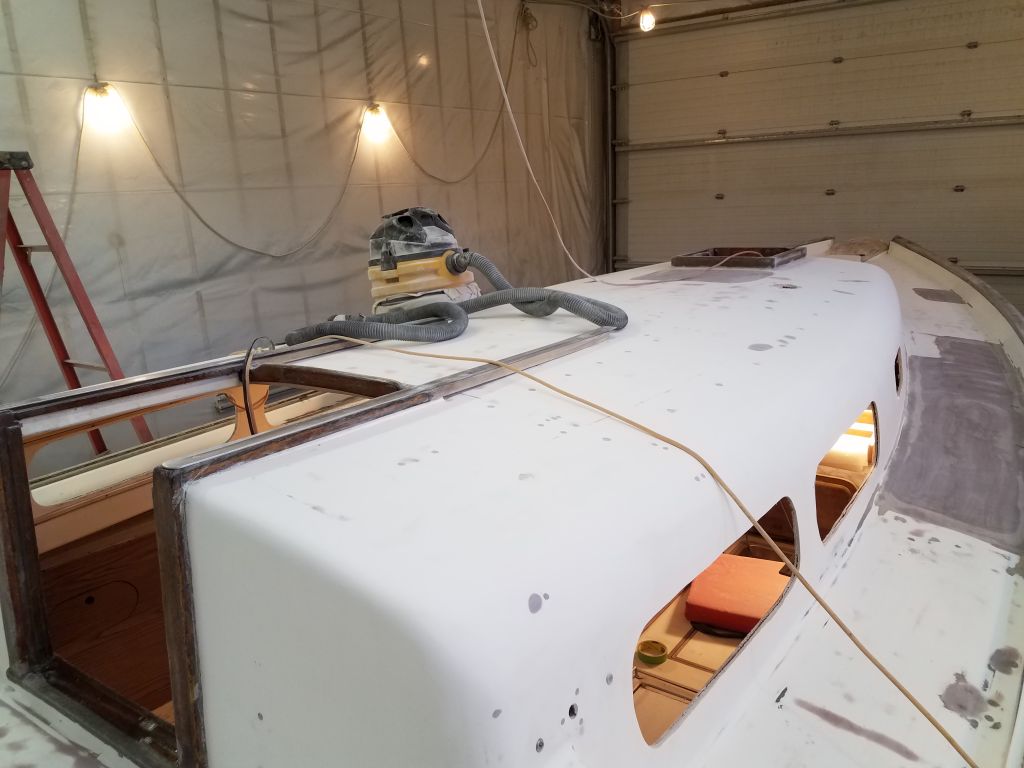
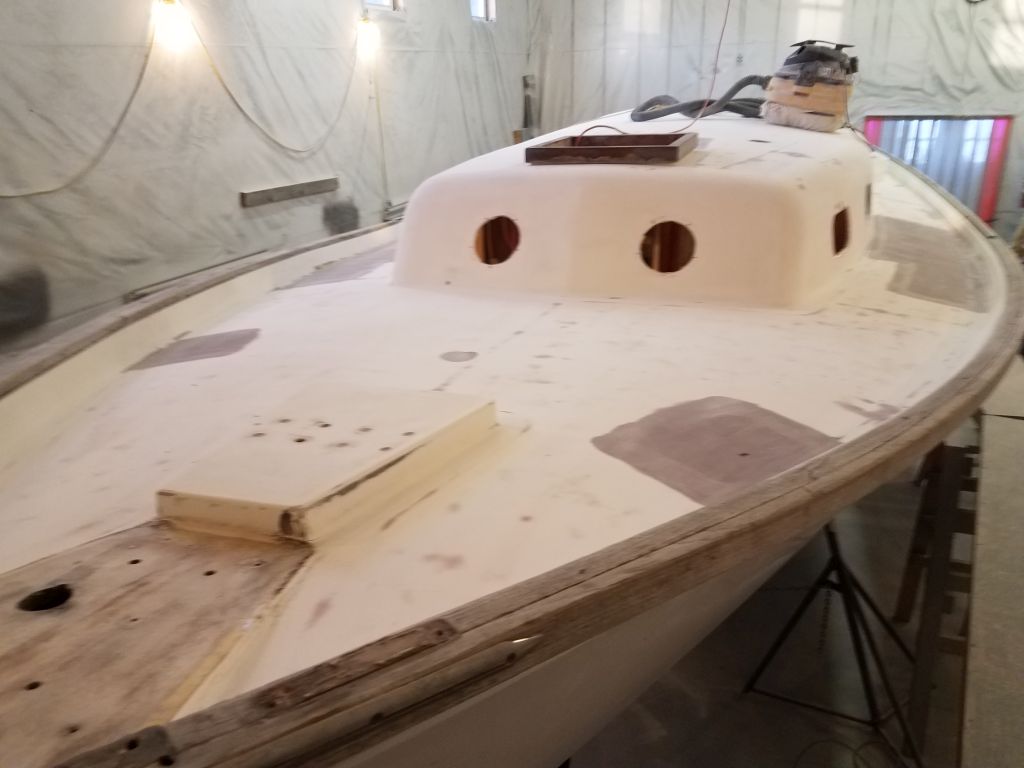
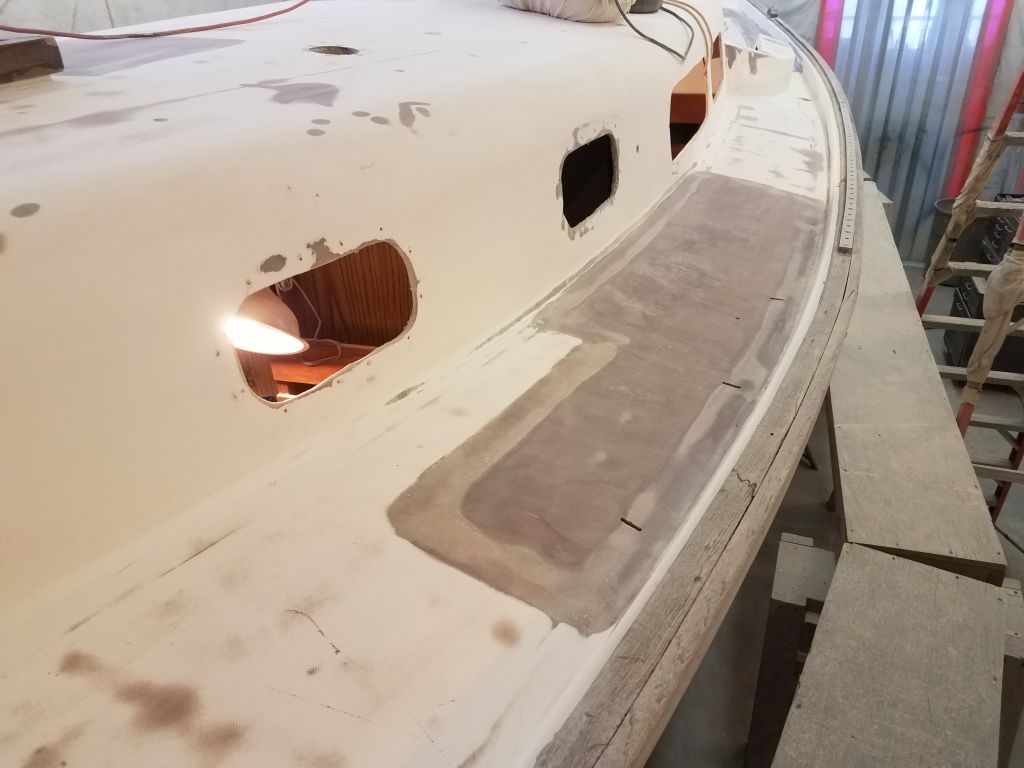
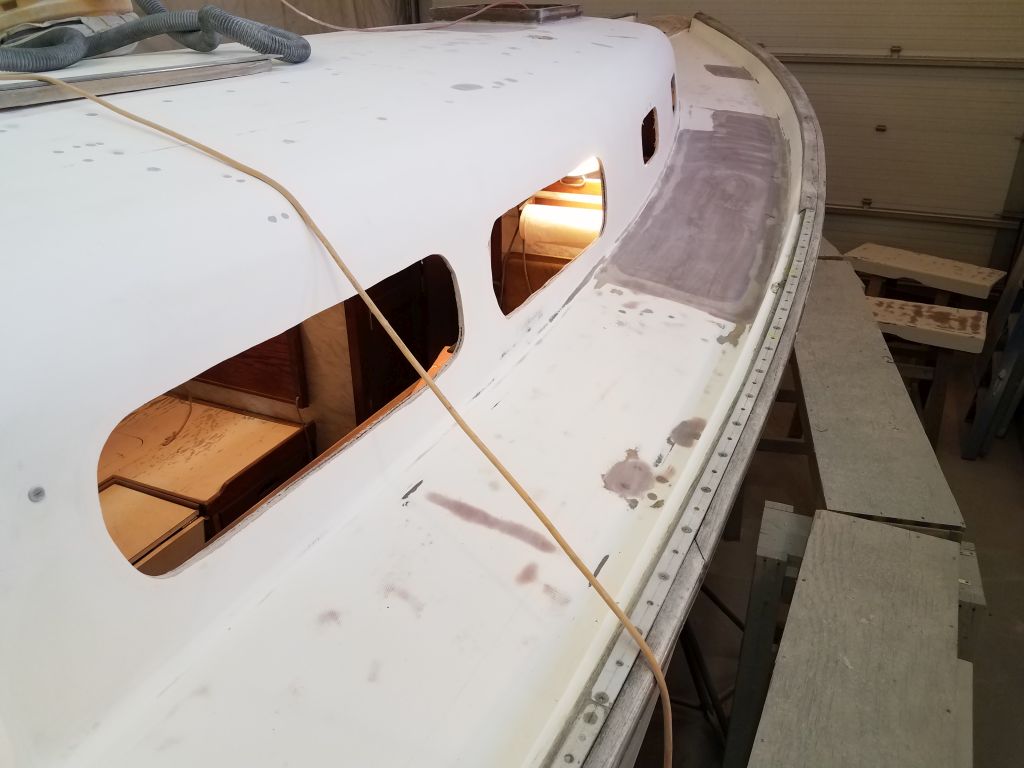
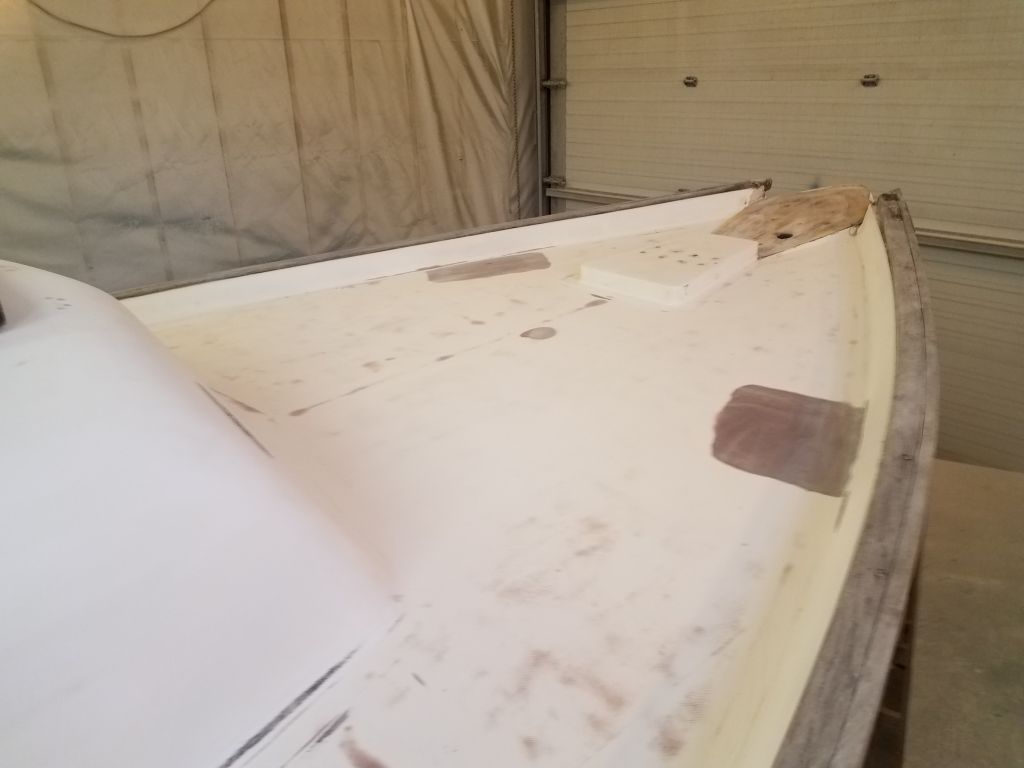
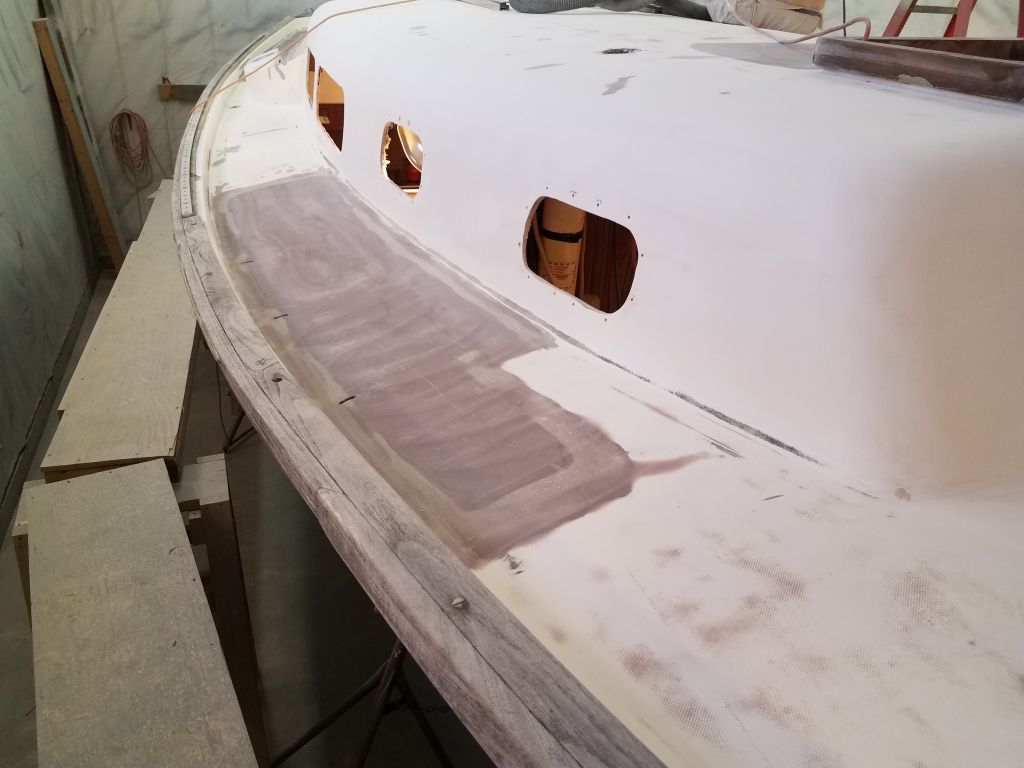
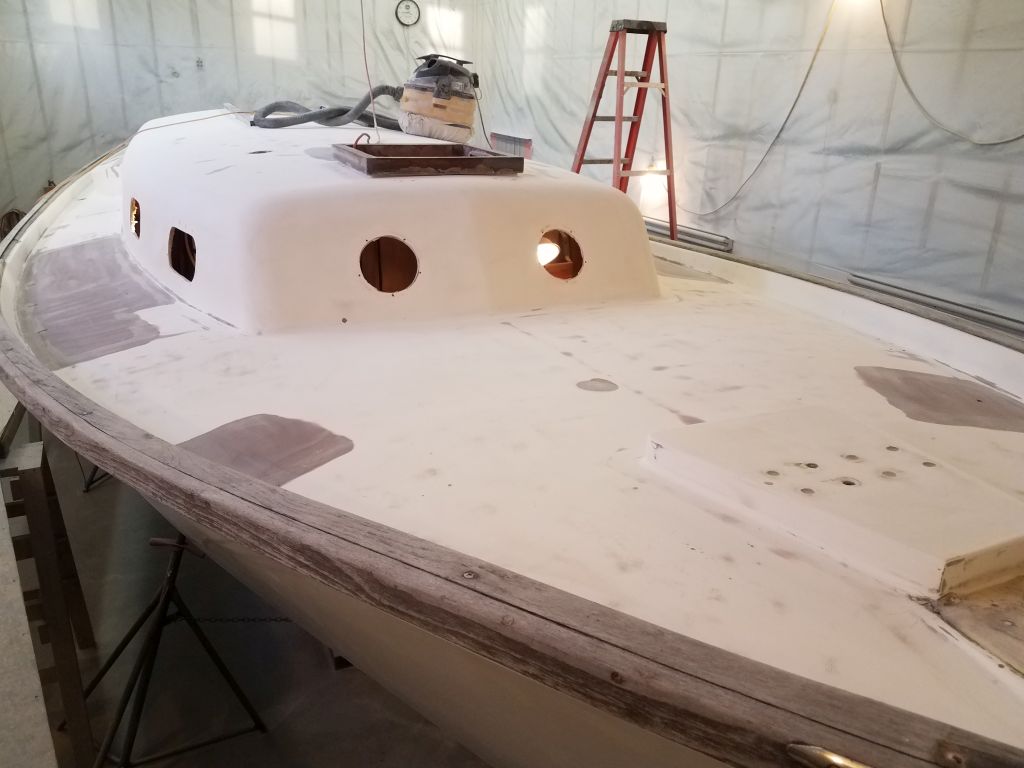
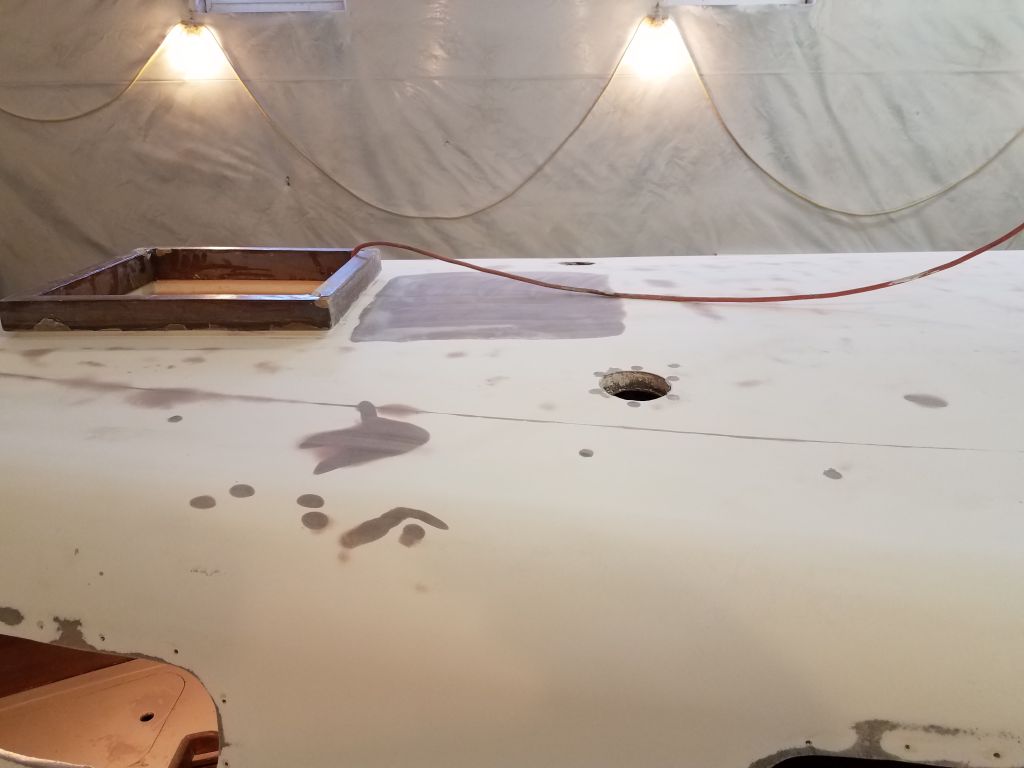
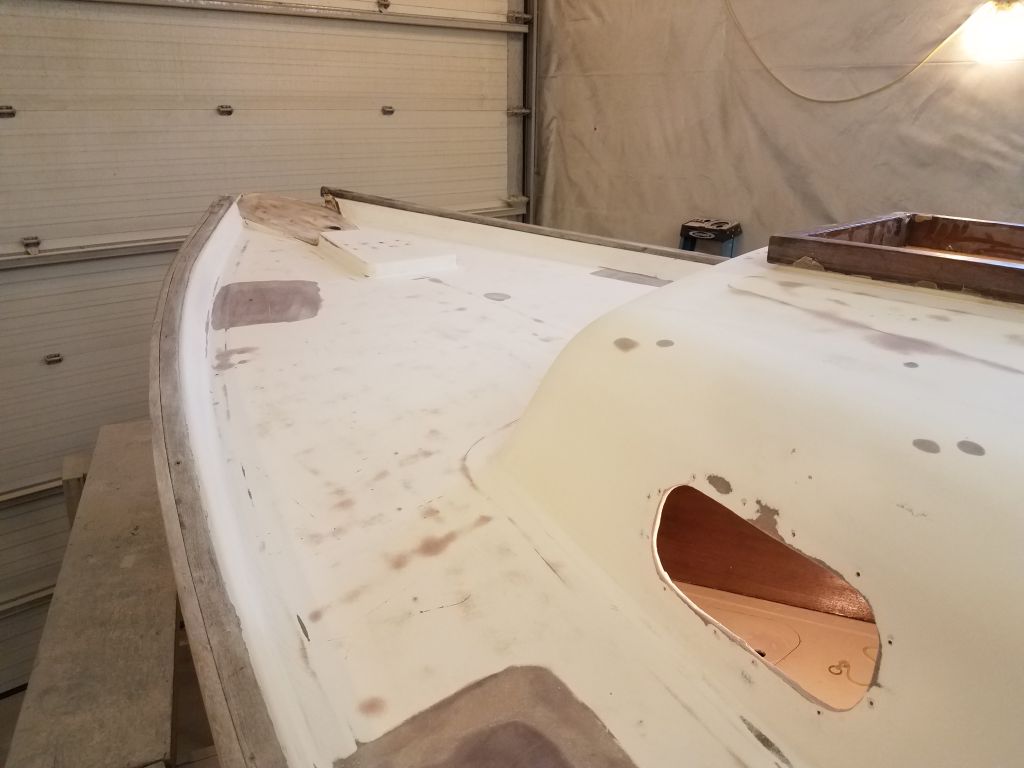
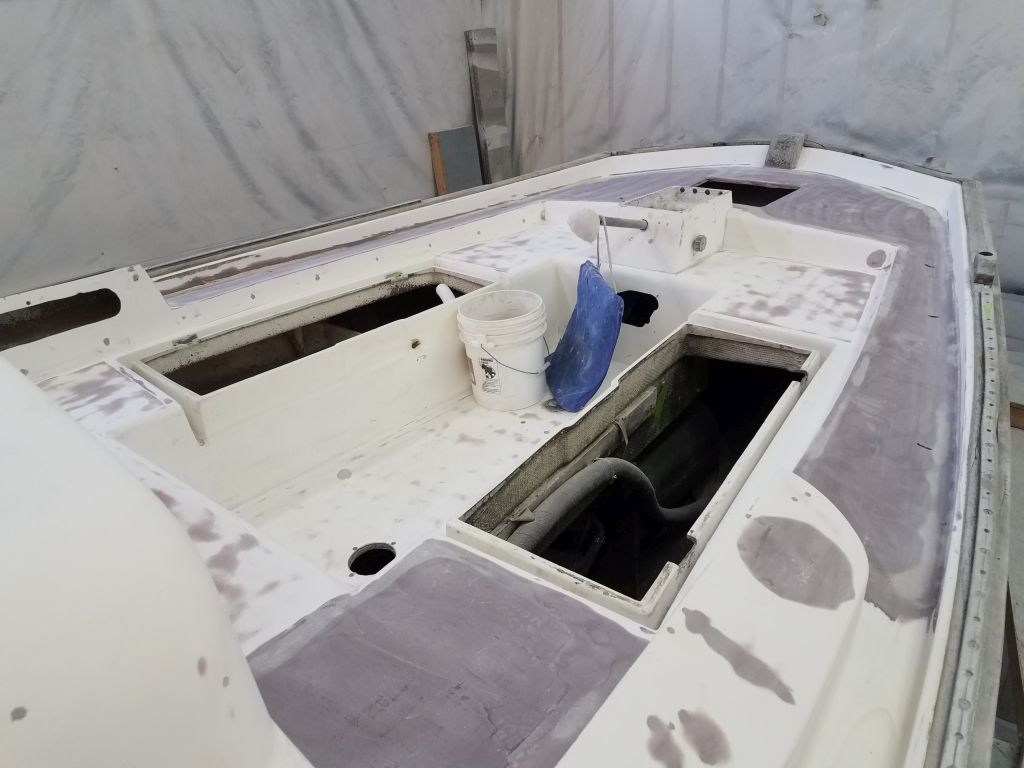
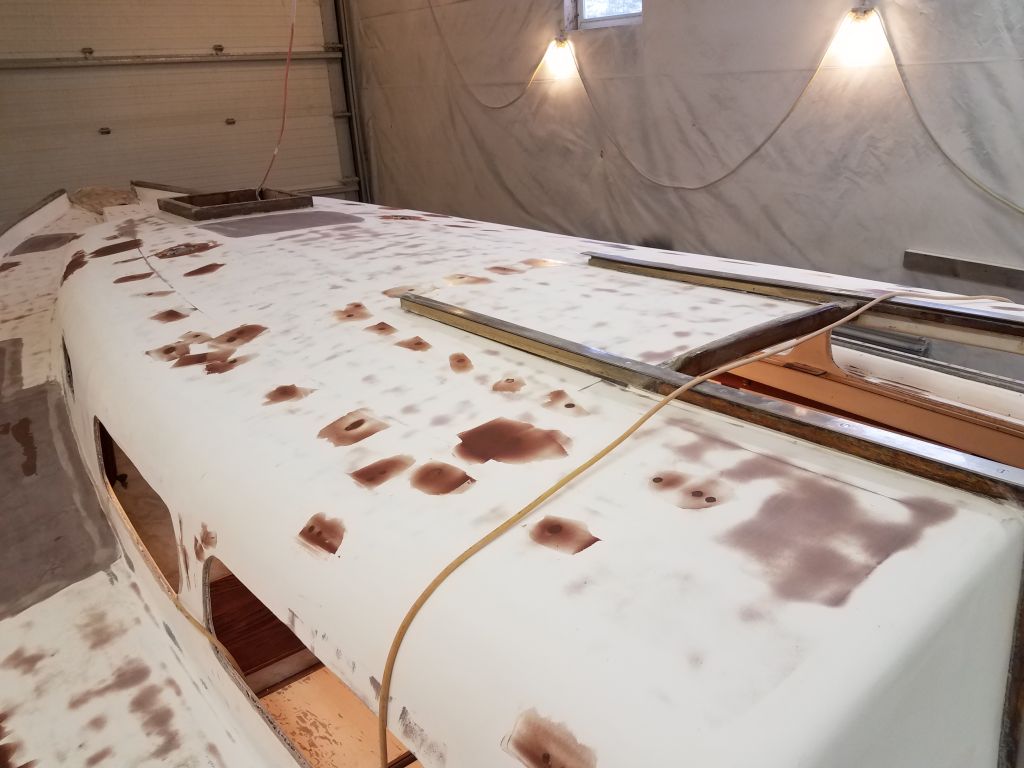
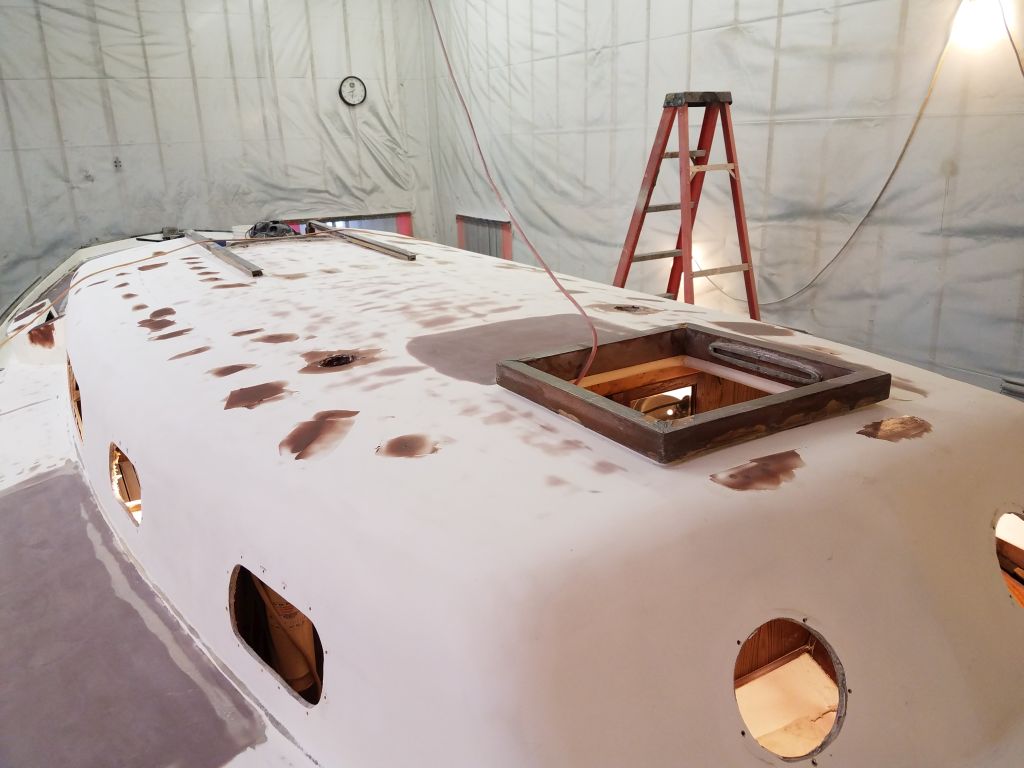
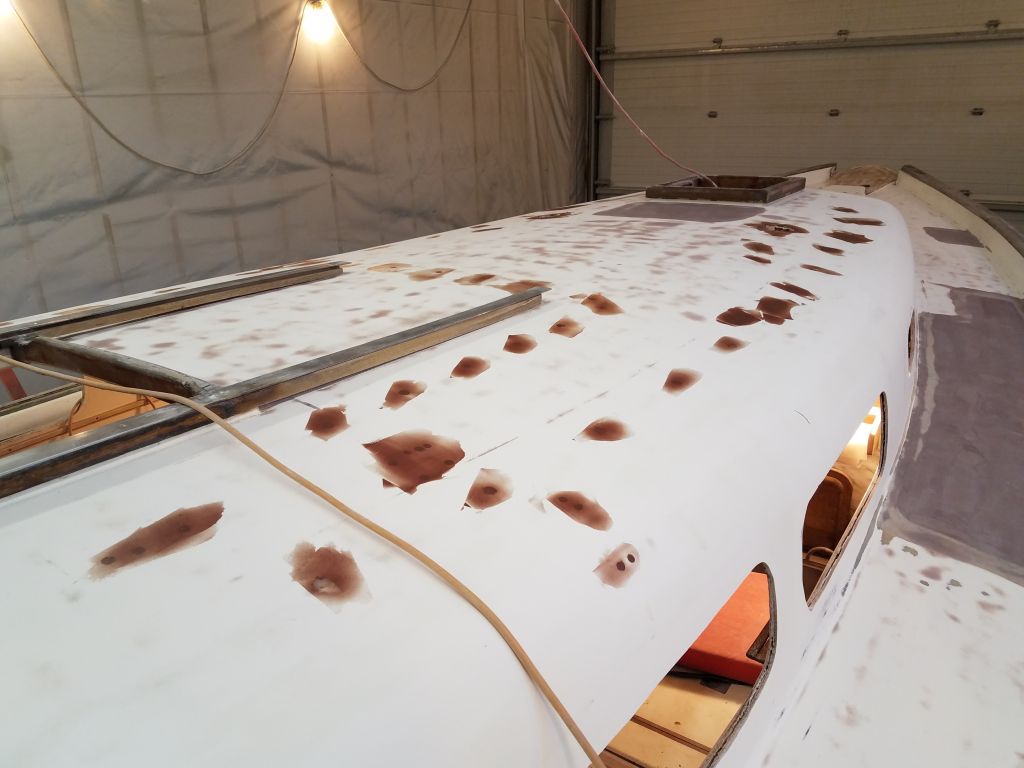
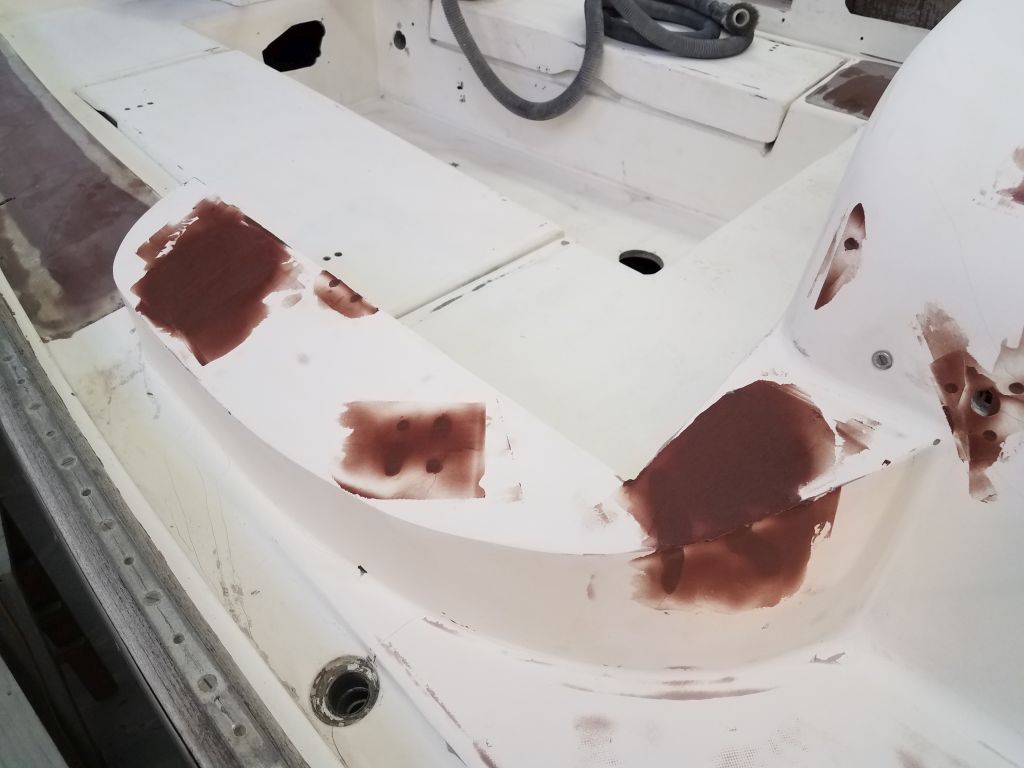
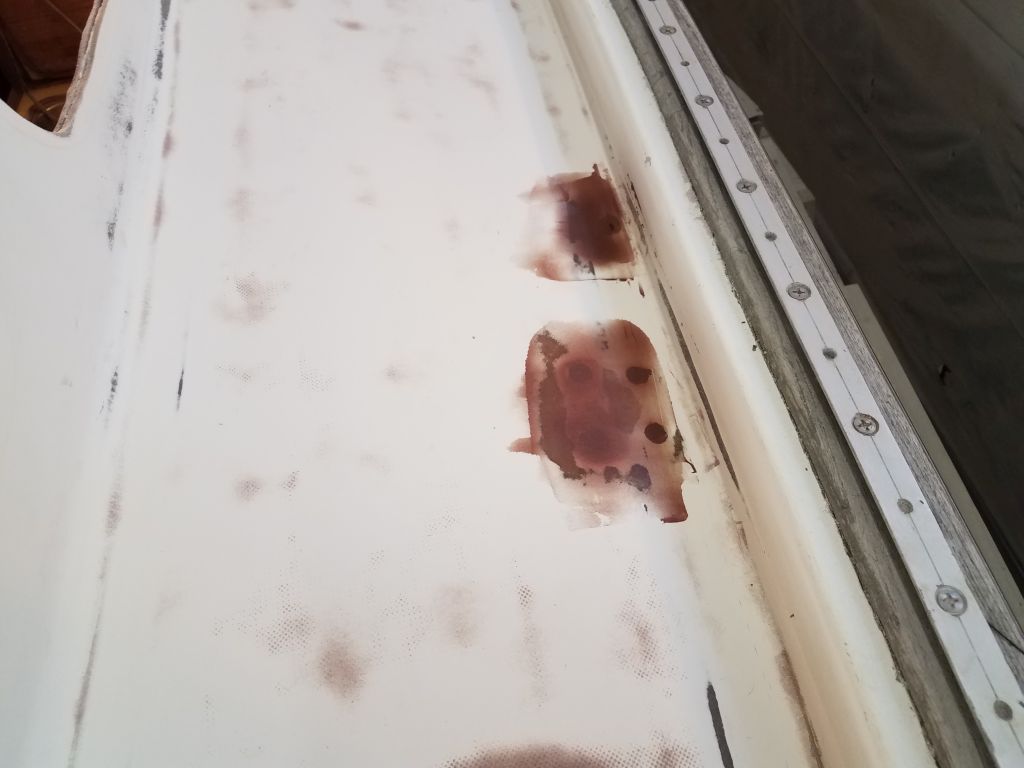
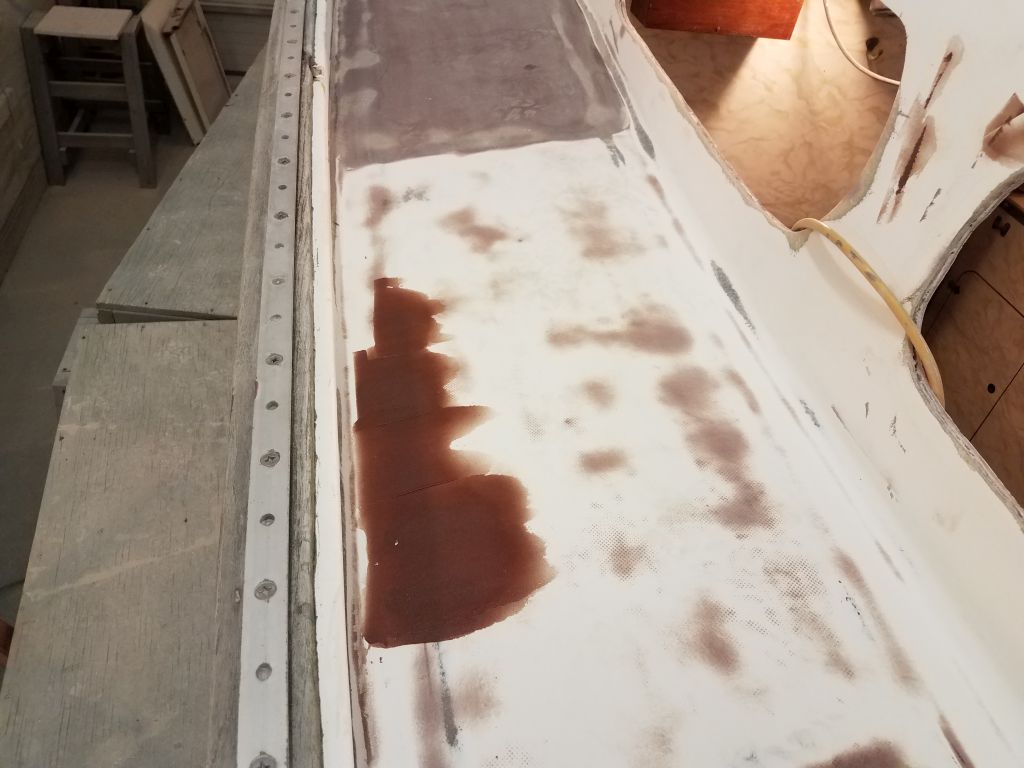
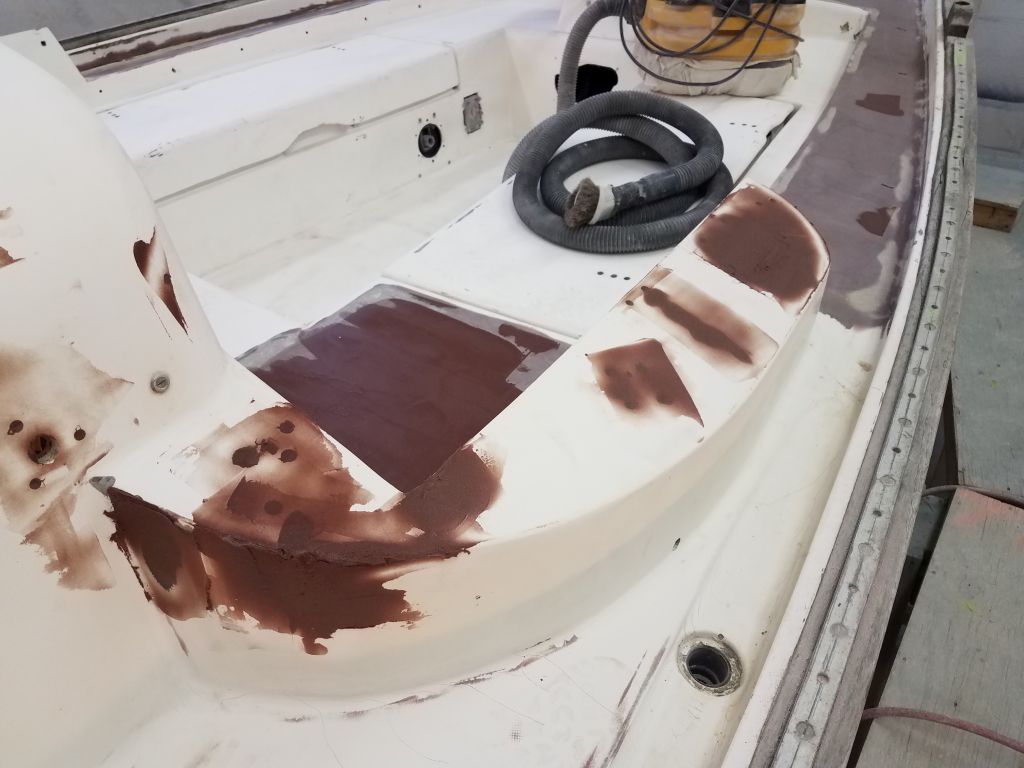
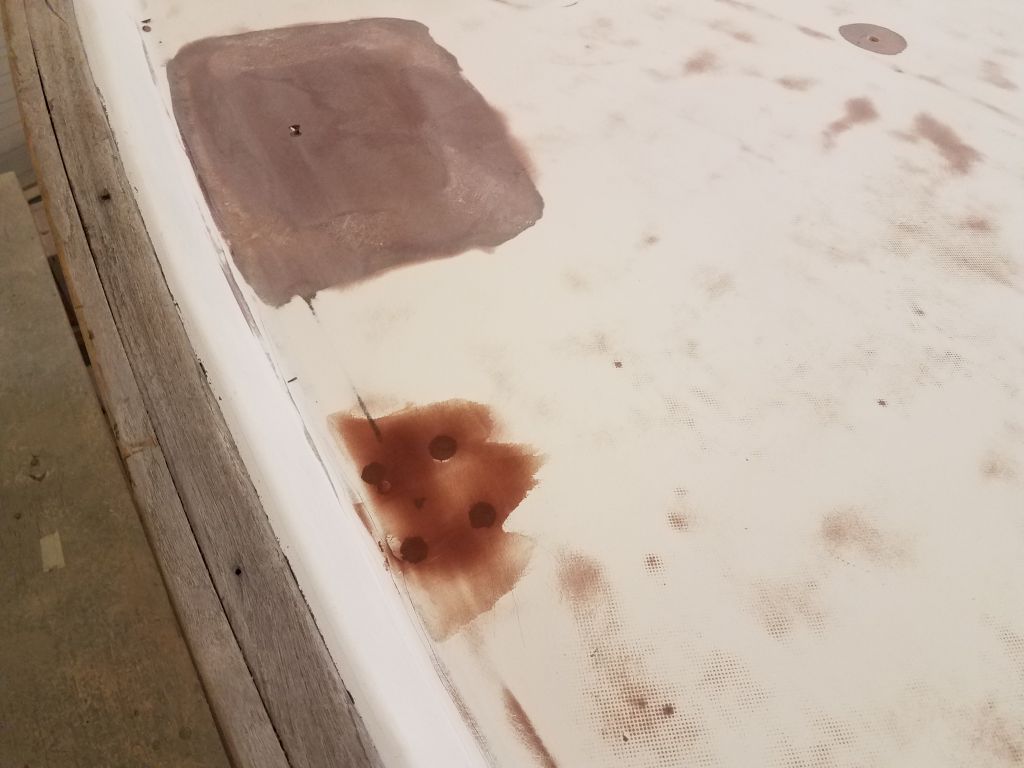
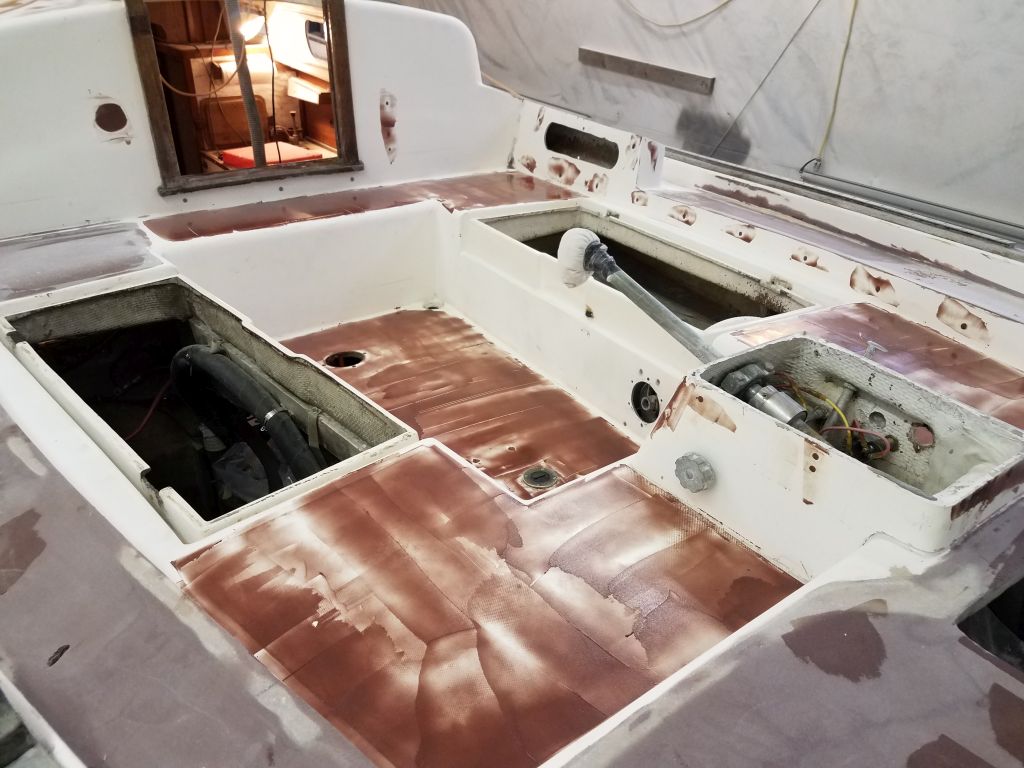
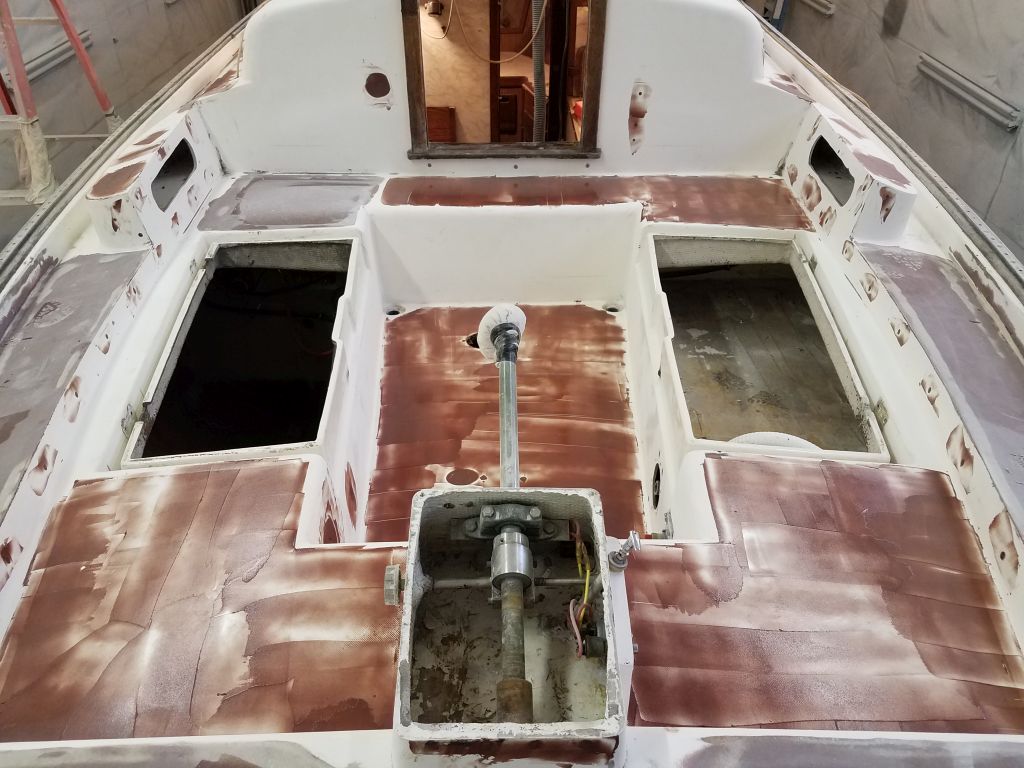
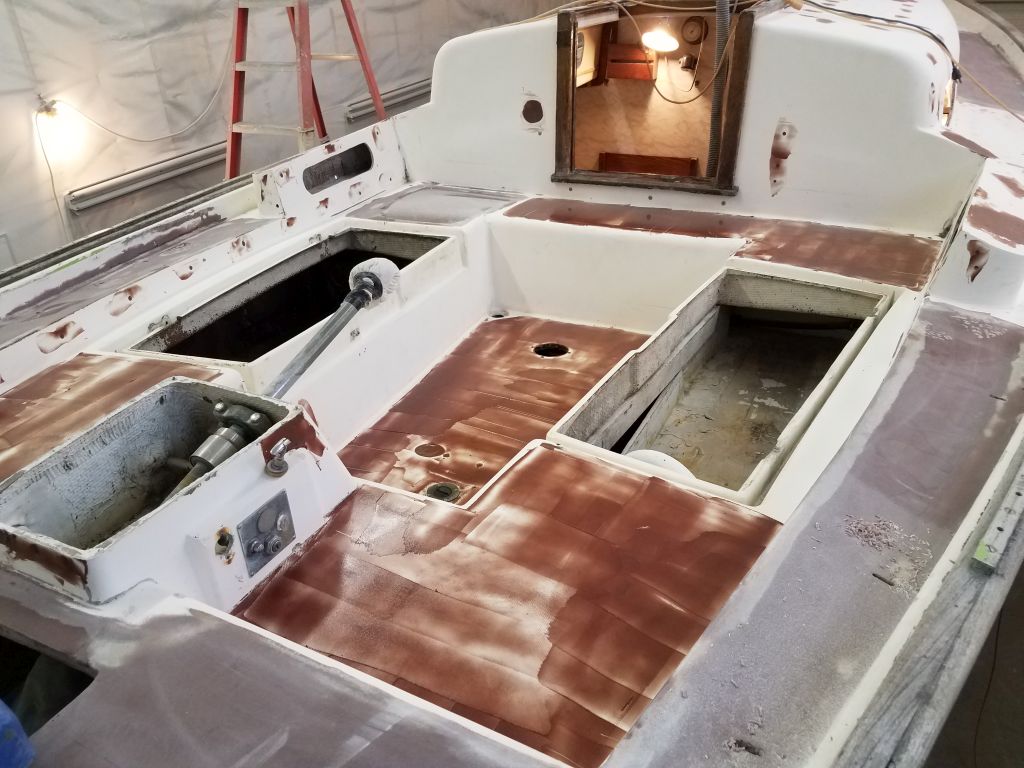
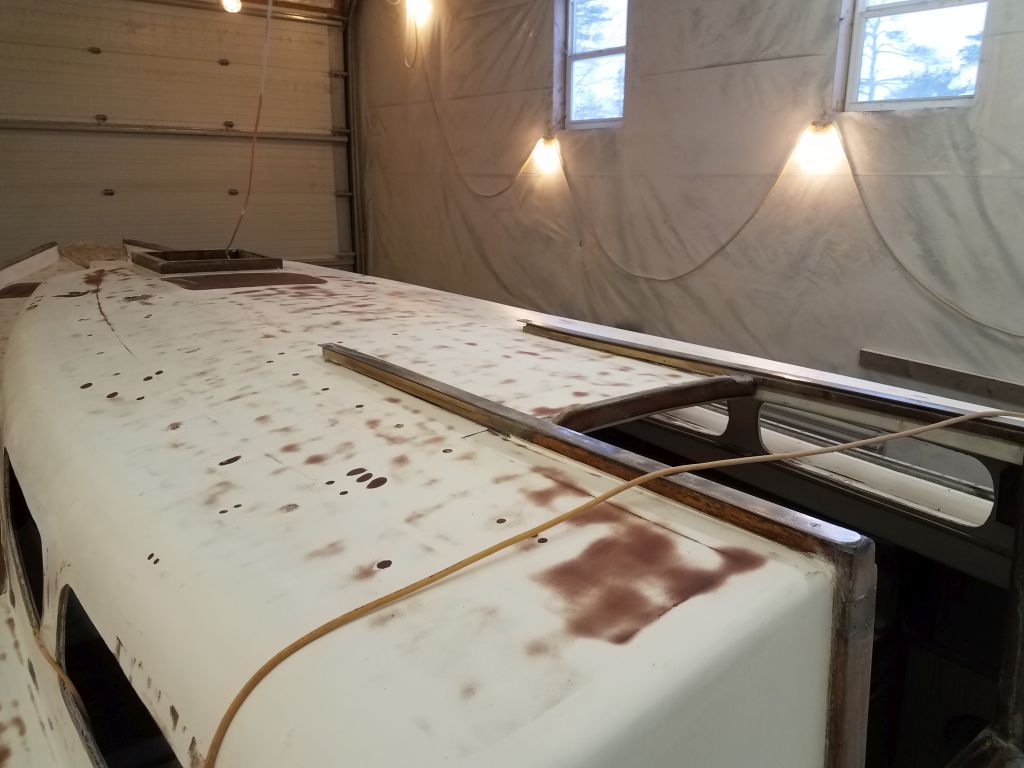
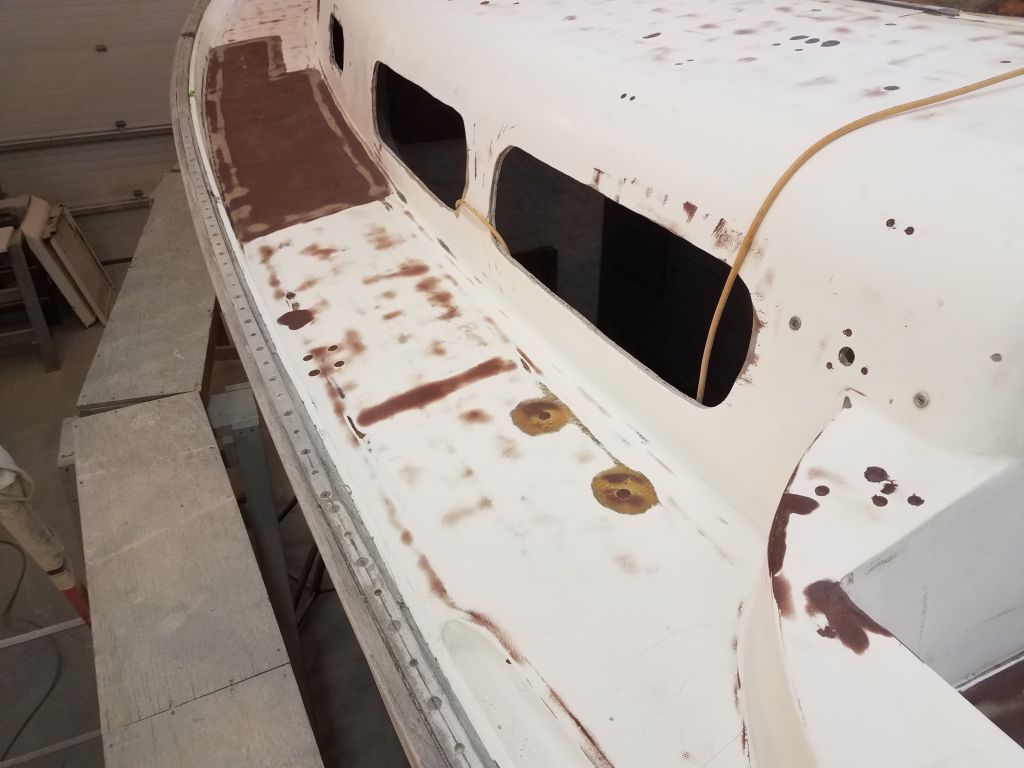
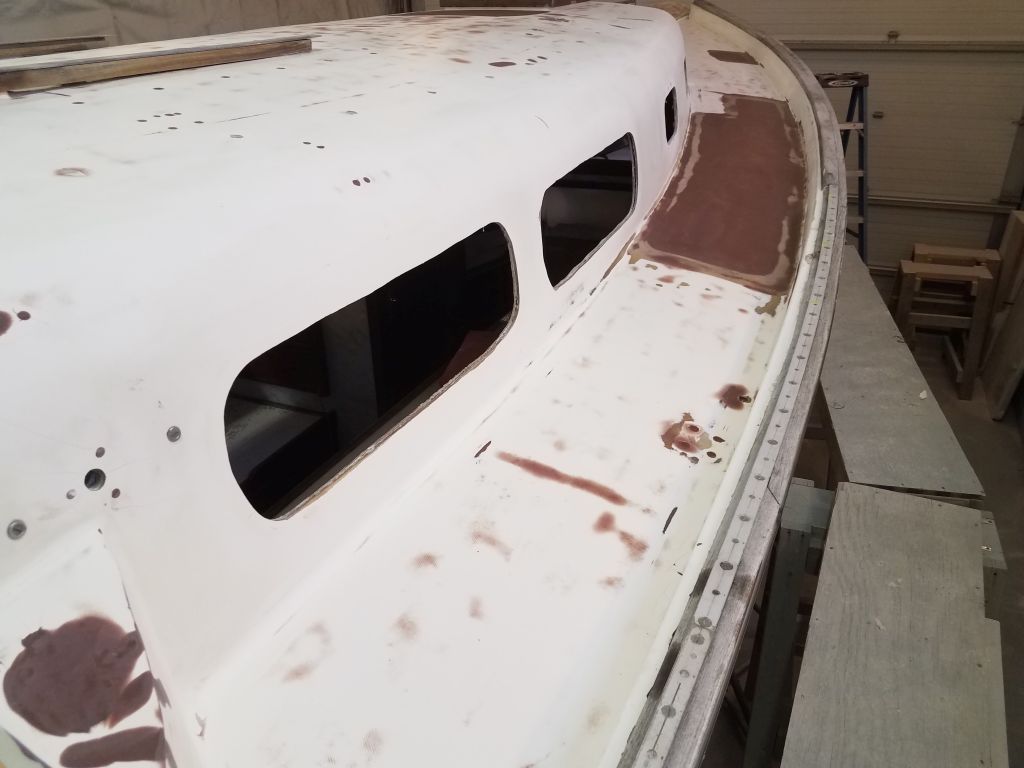
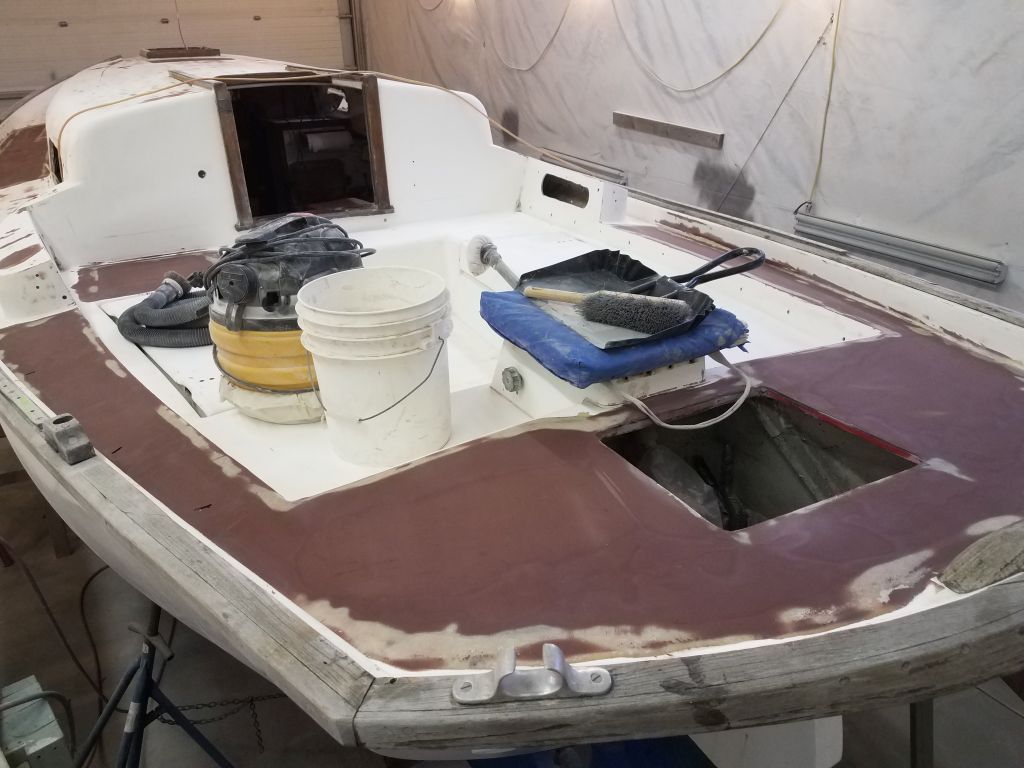
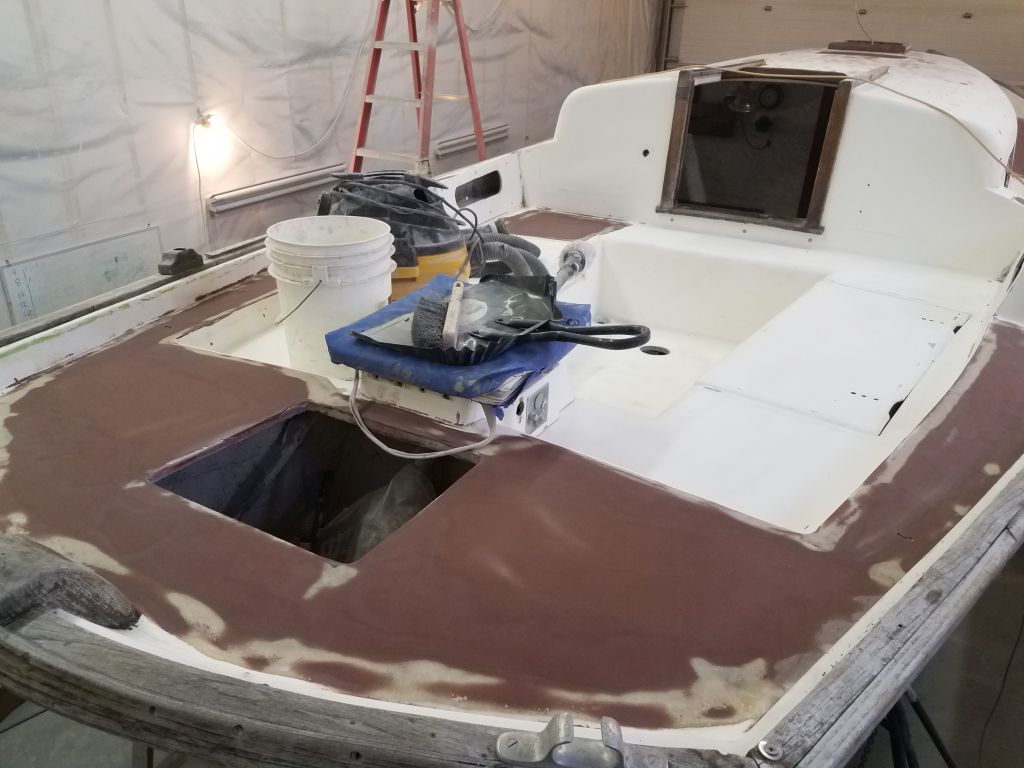
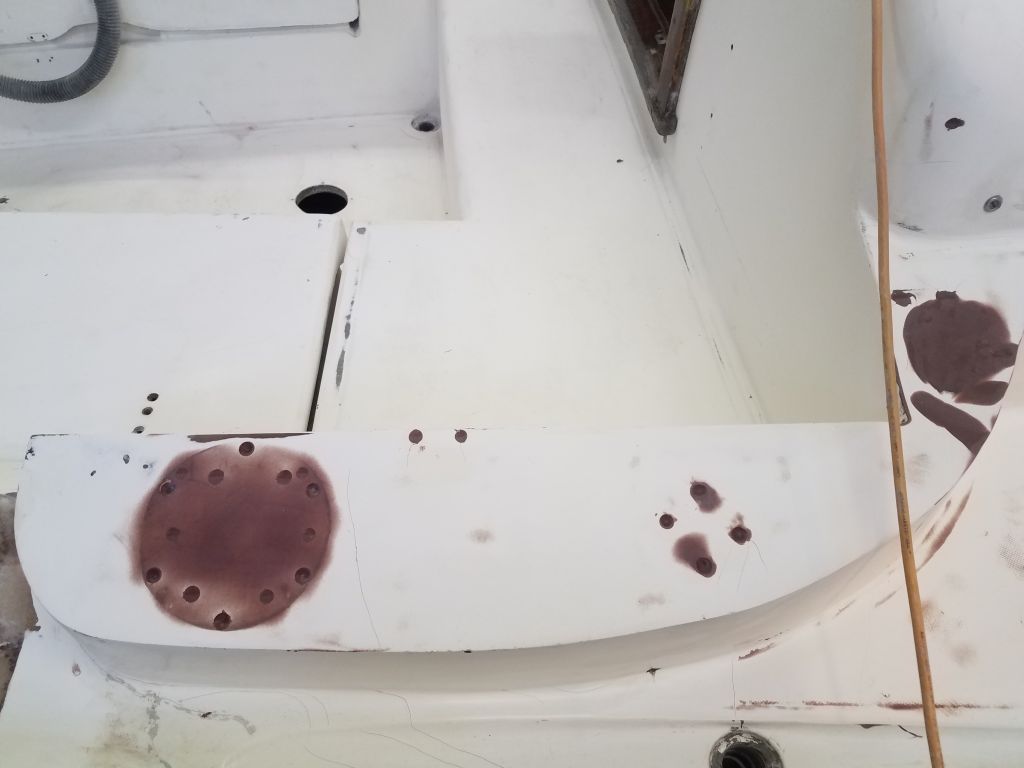
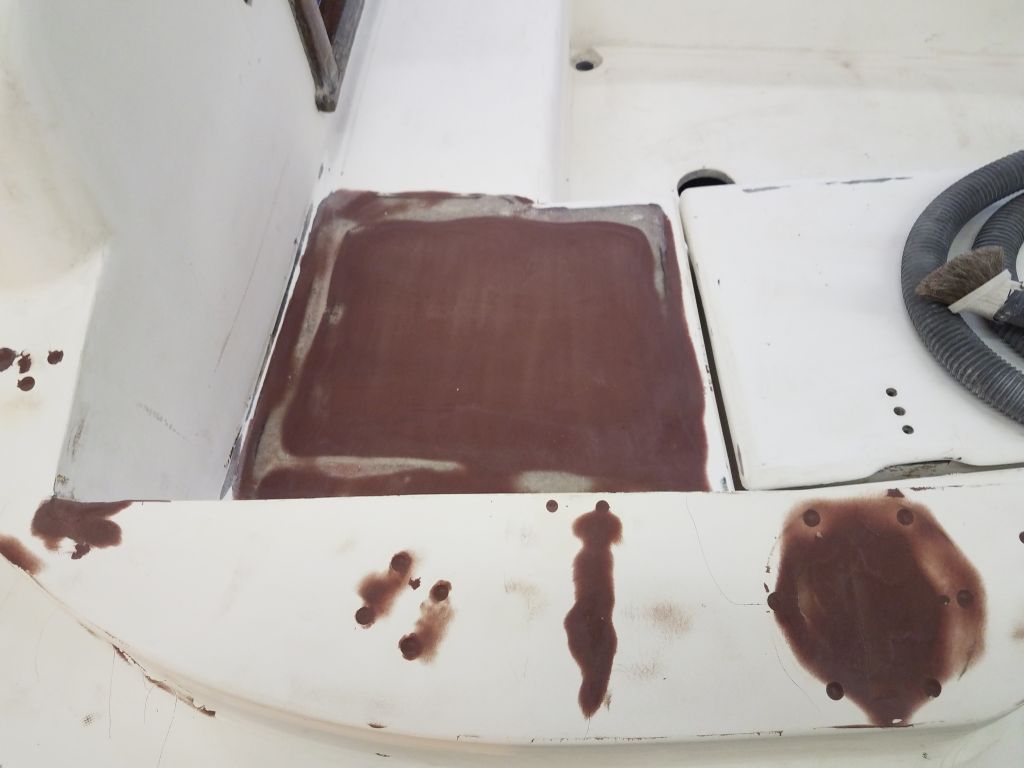
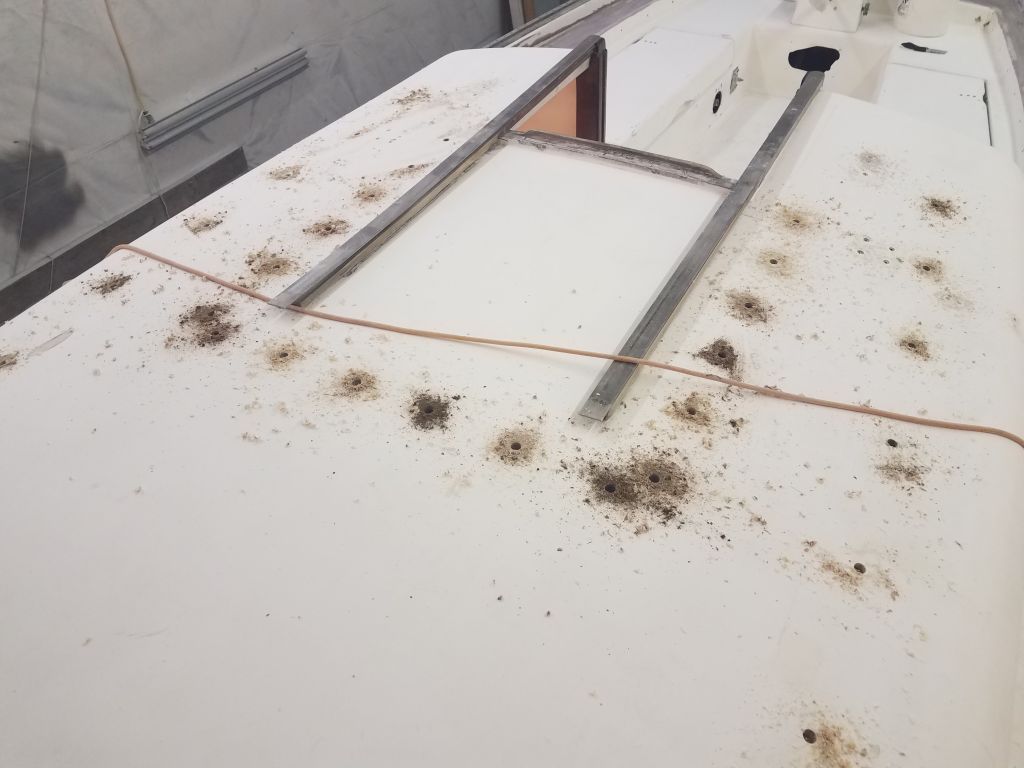
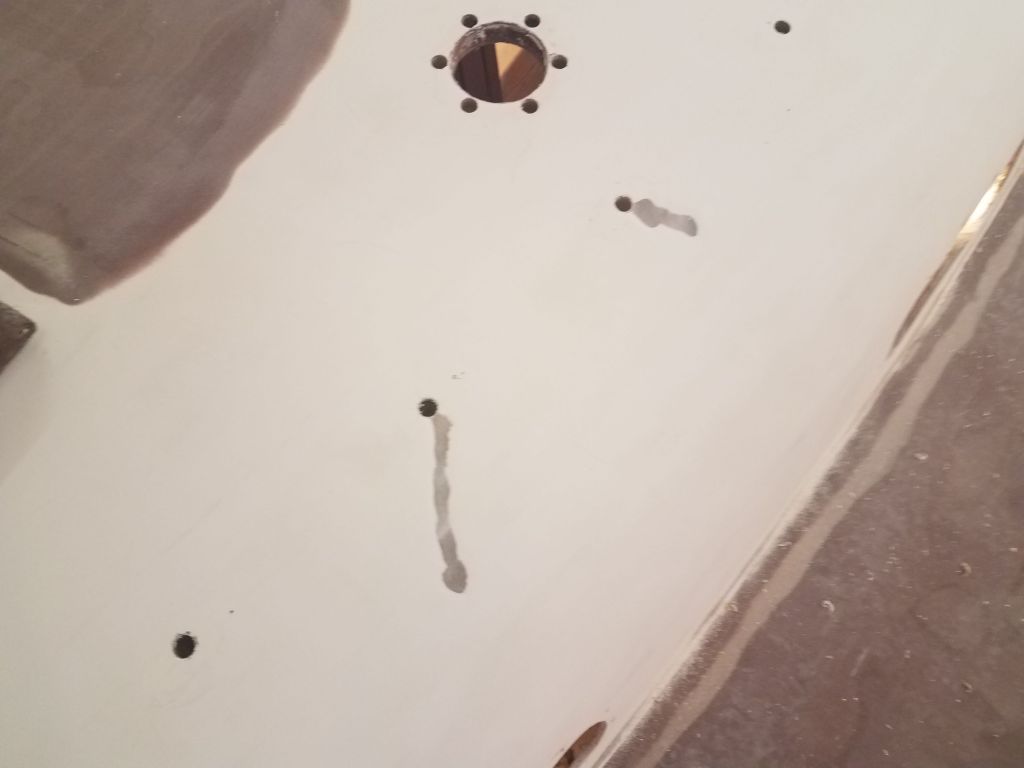
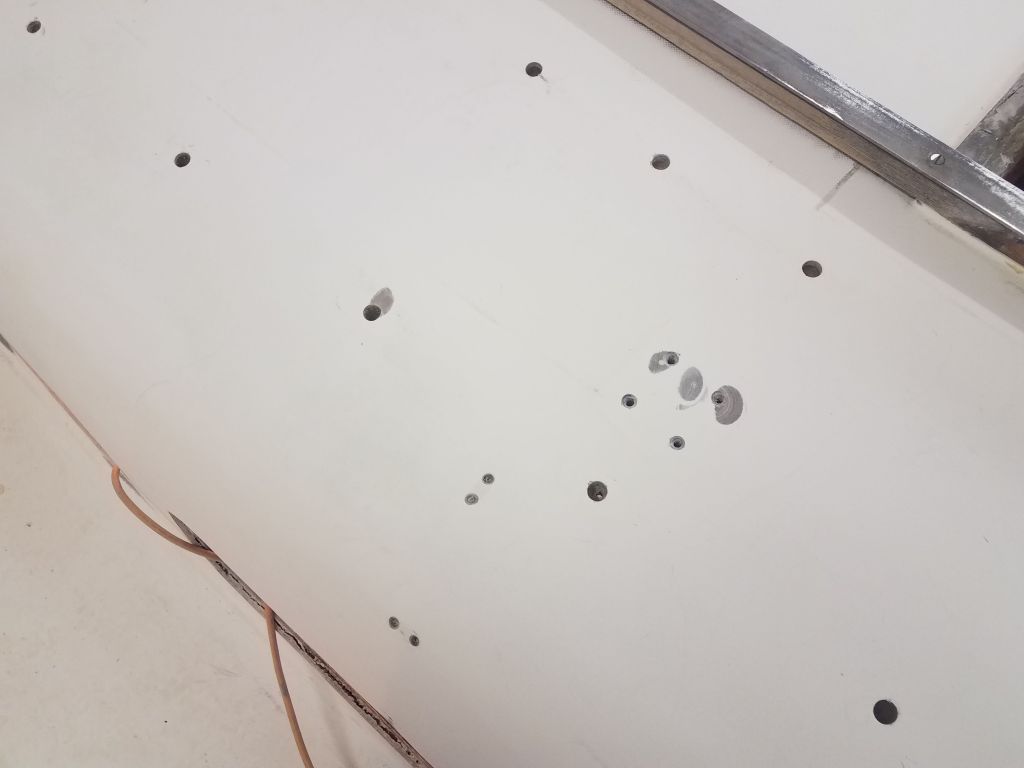
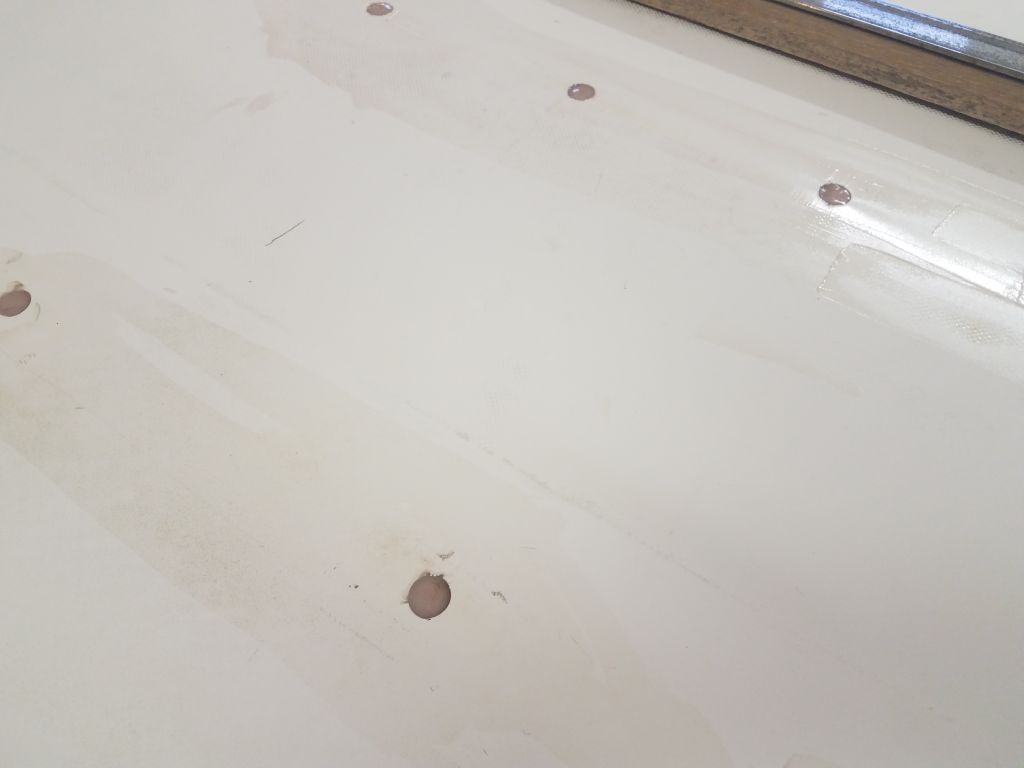
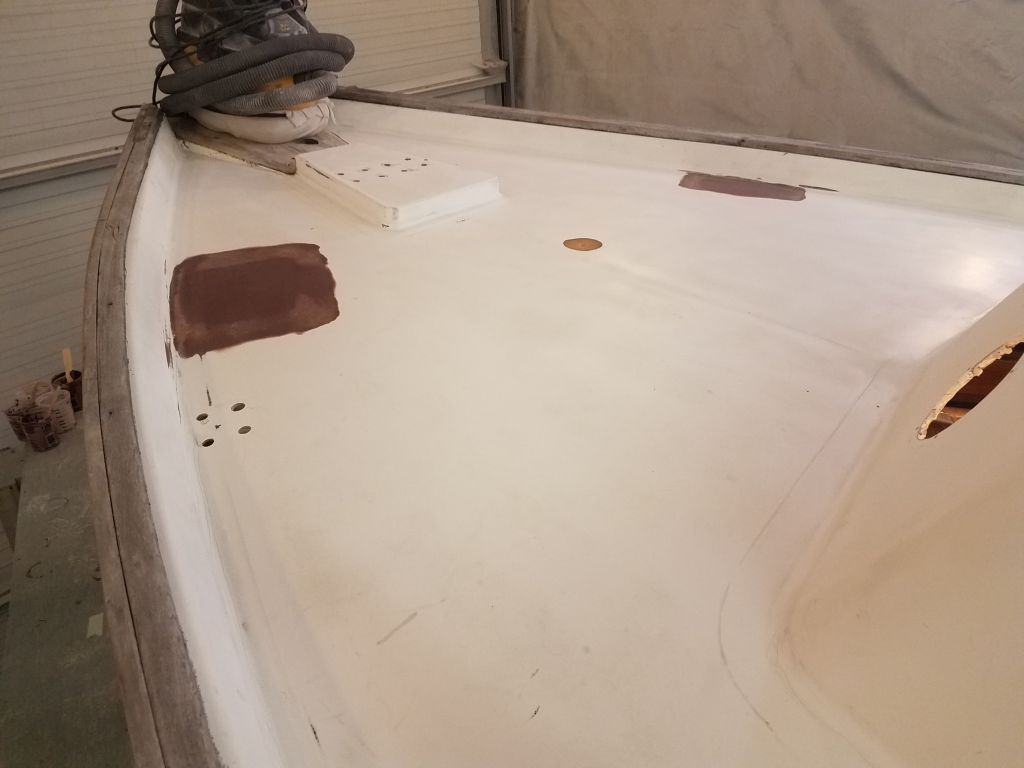
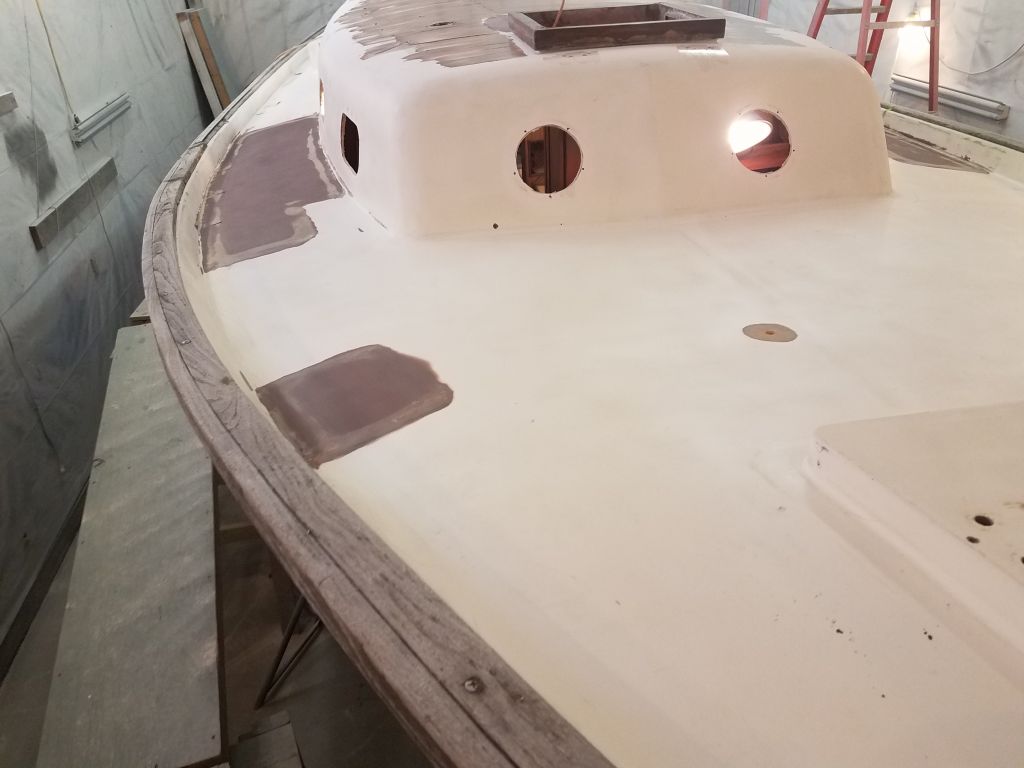
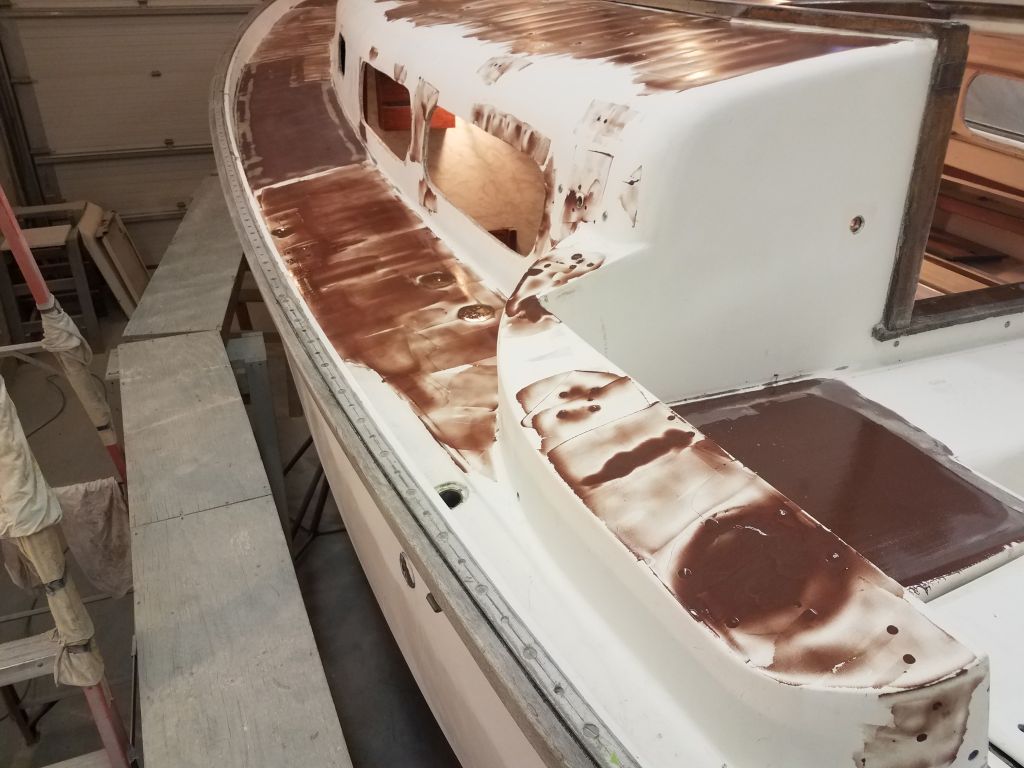
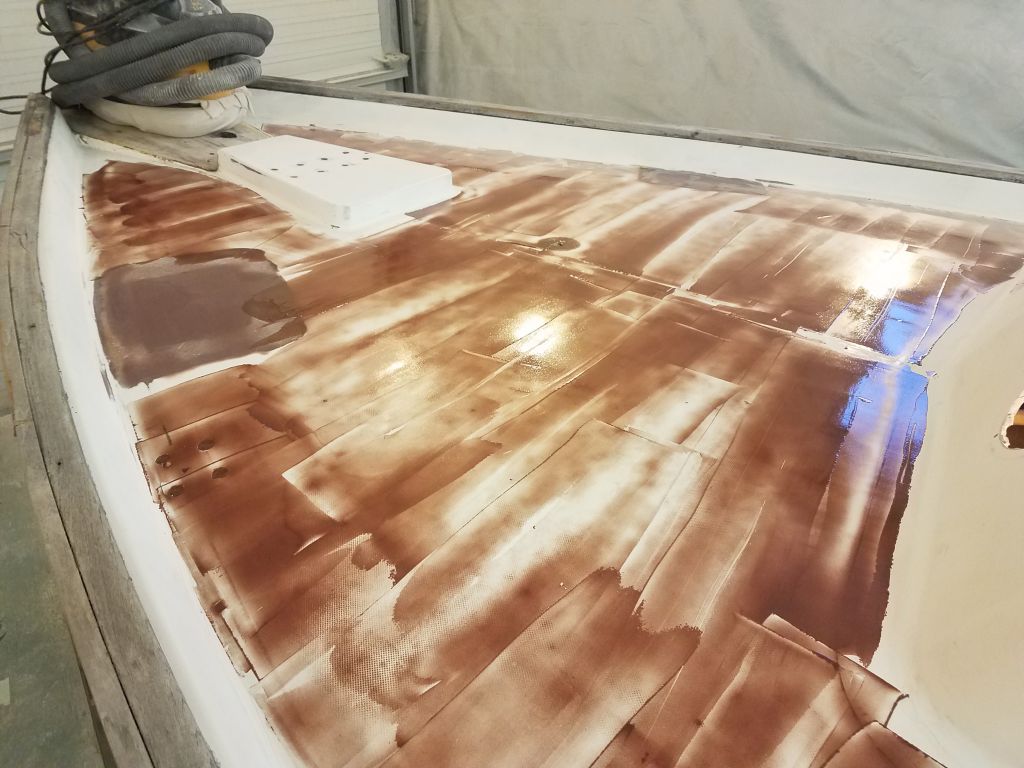
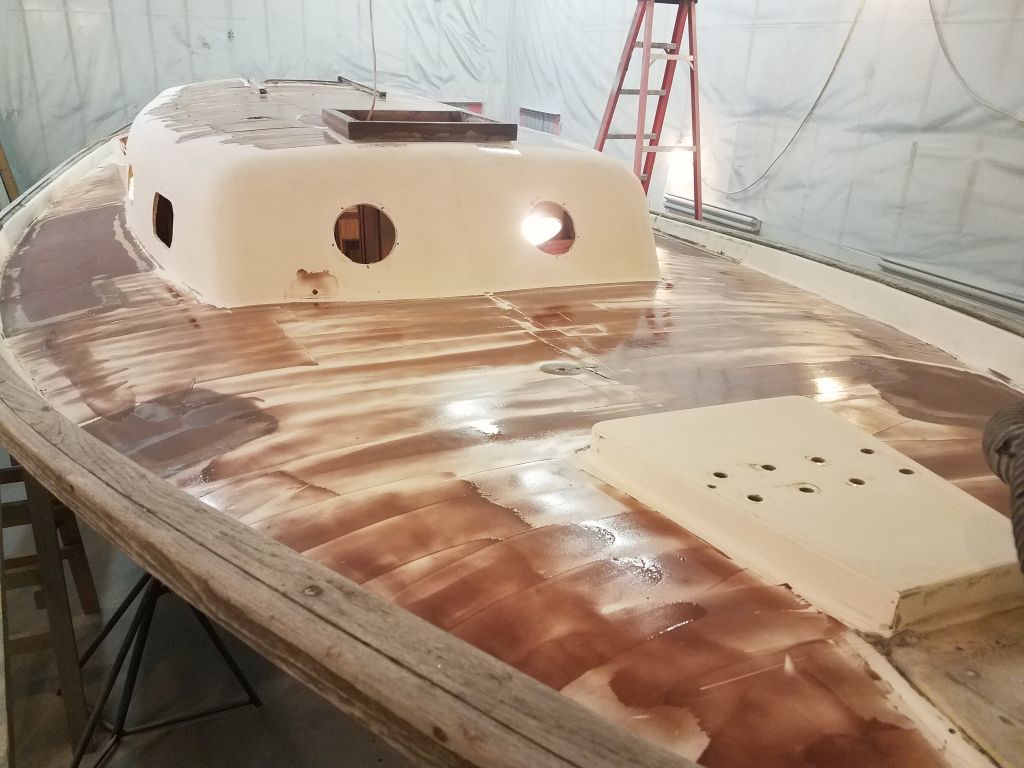
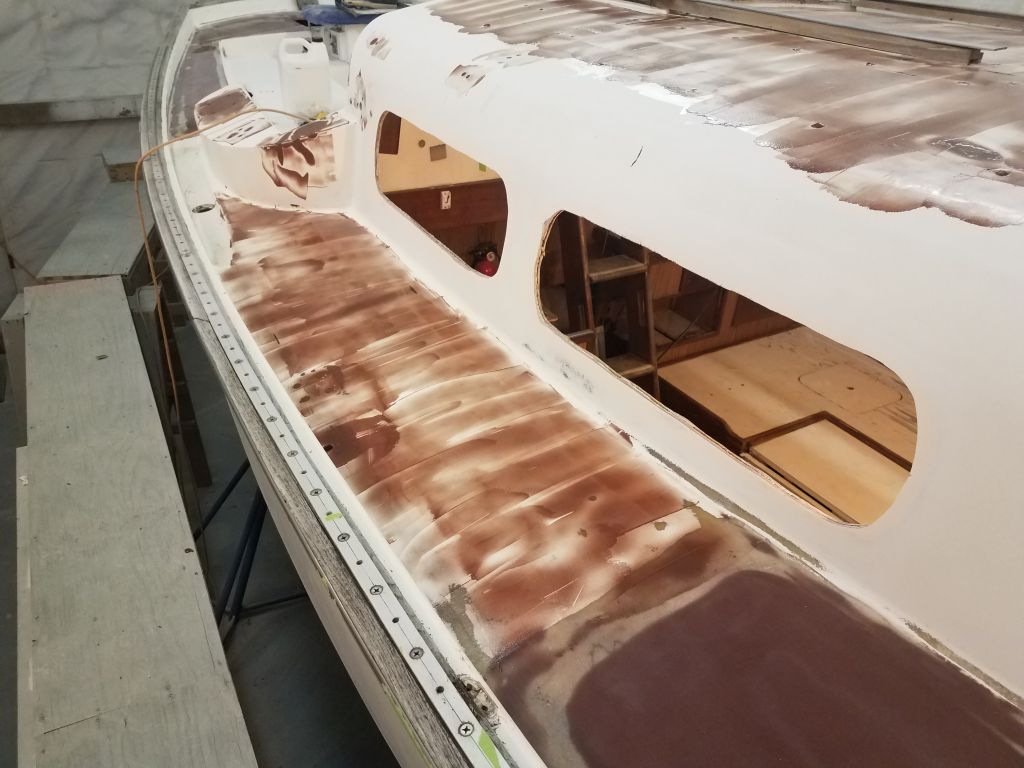
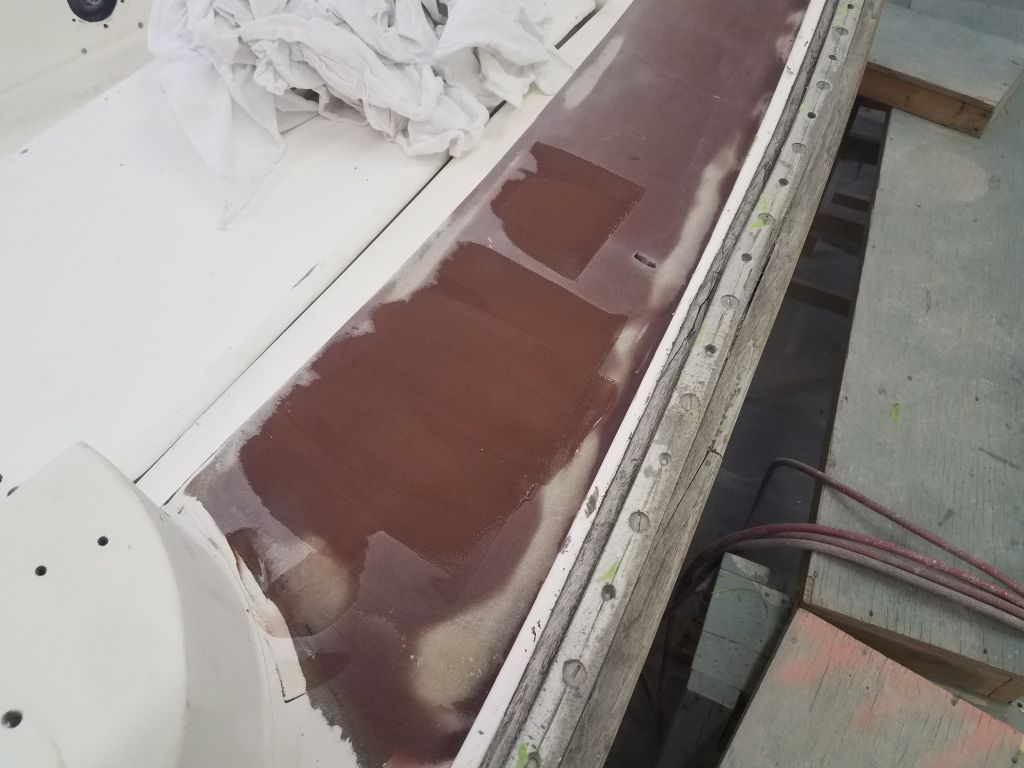
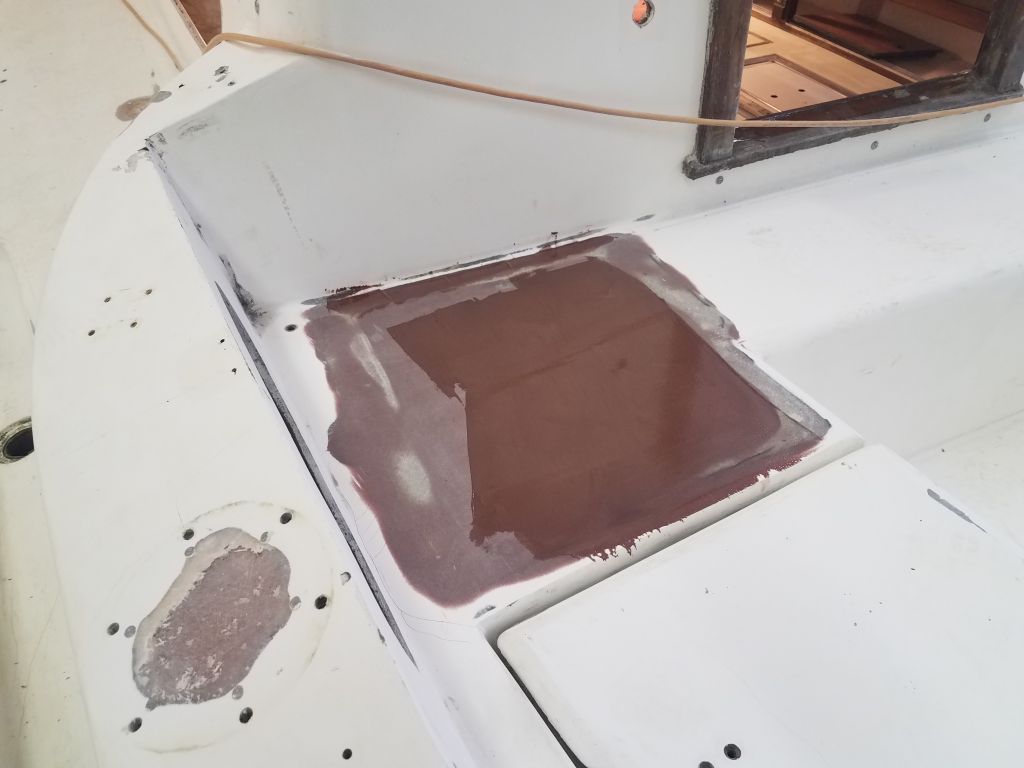
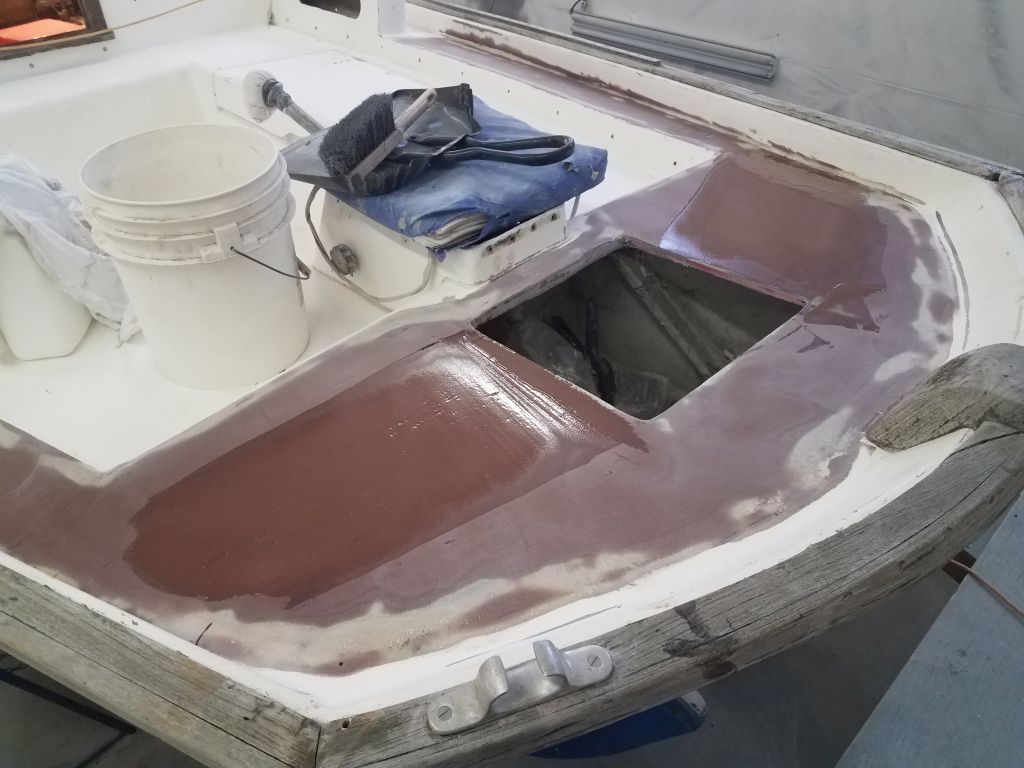
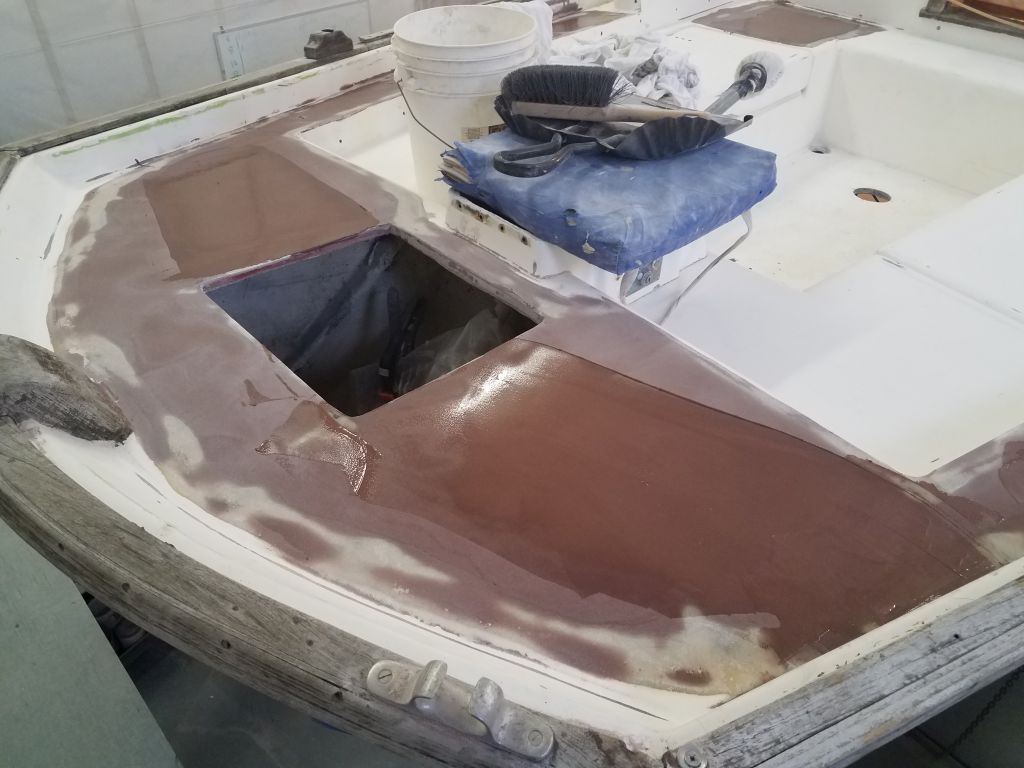
I spent a few hours sanding the various detail areas, fillets, and small patches that I worked on last time. This left a few areas, mainly in the fillets and some areas of the cockpit, that would require an additional application of fairing material, but otherwise most areas were in good shape by this point.
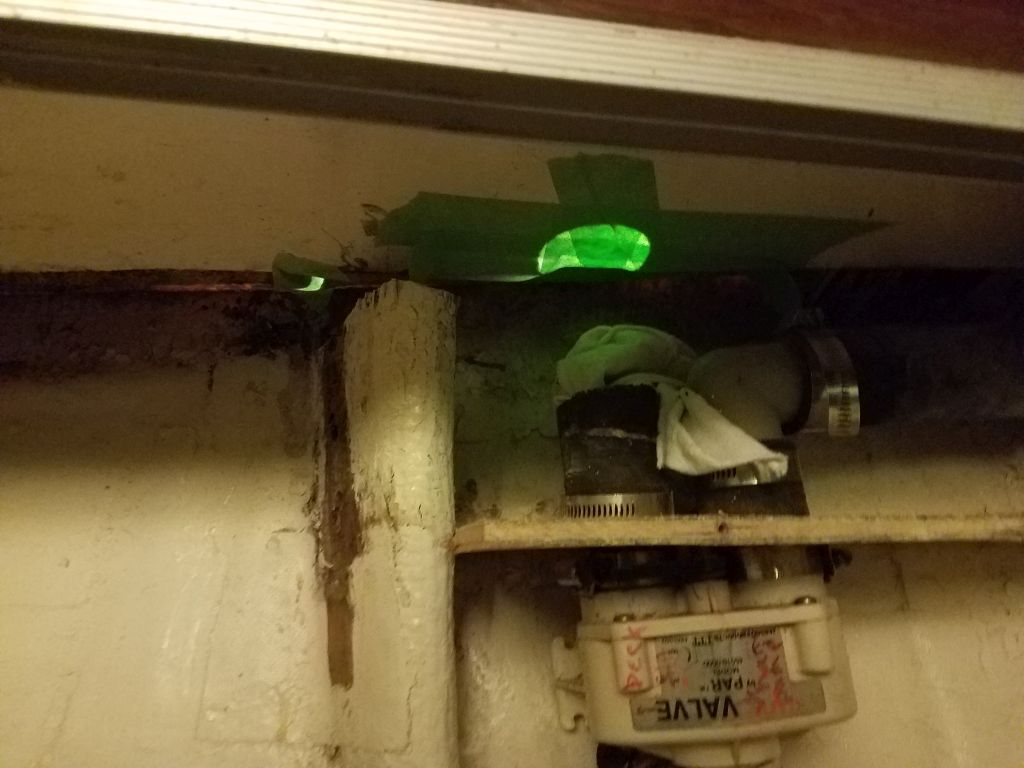
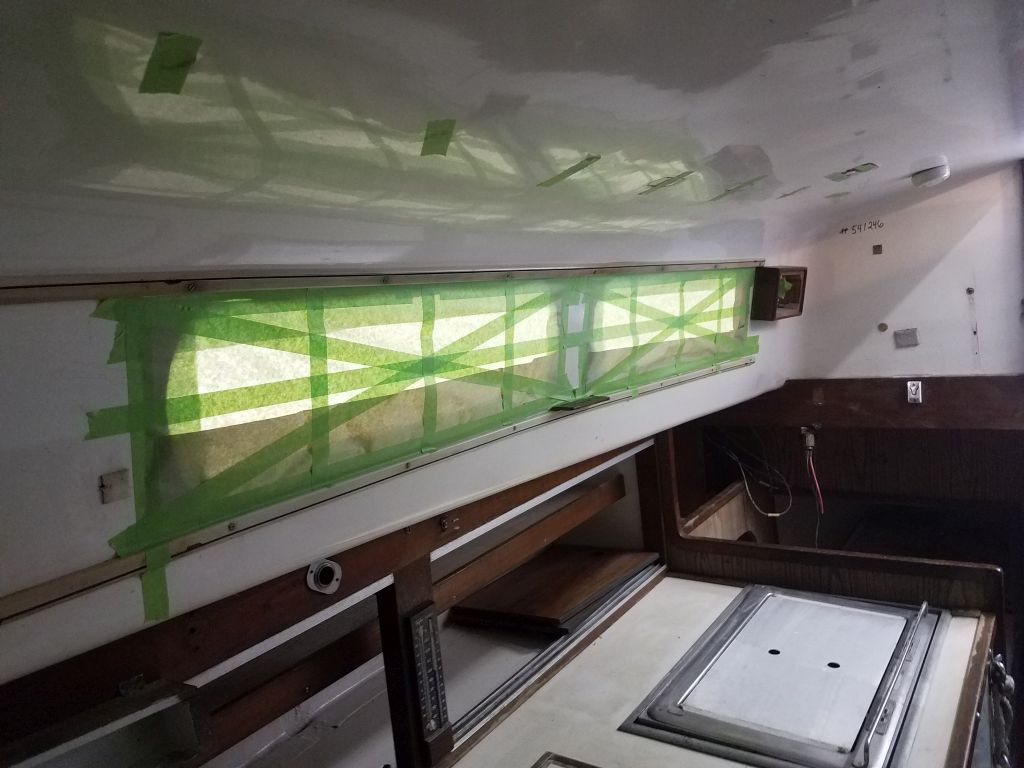
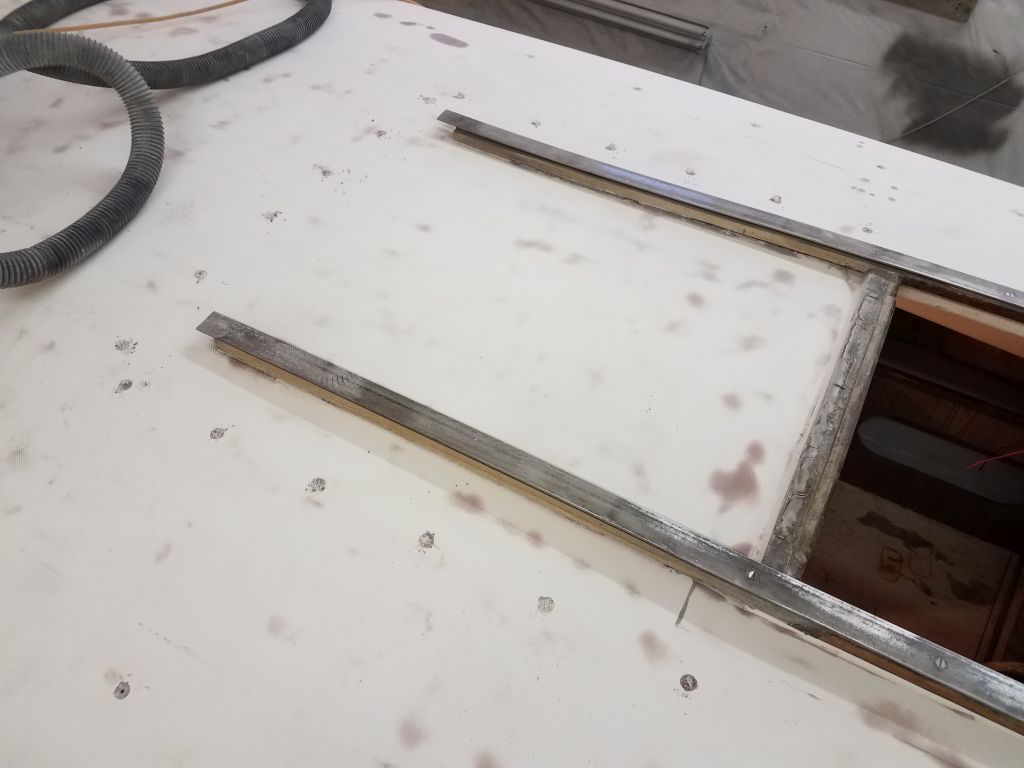
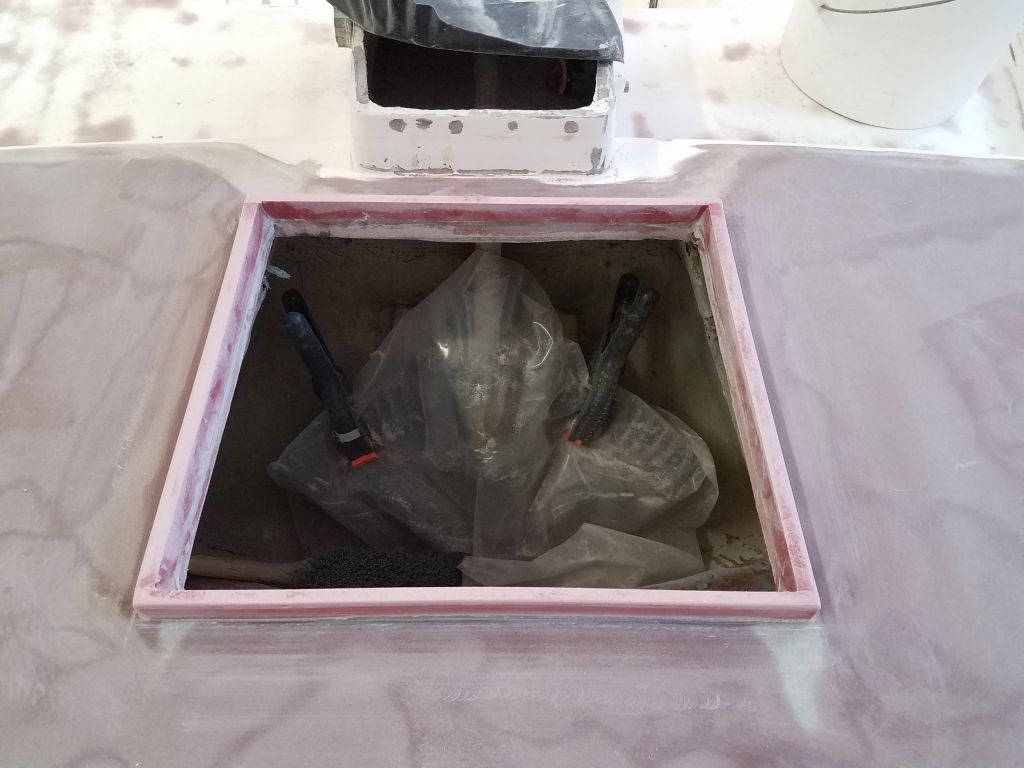
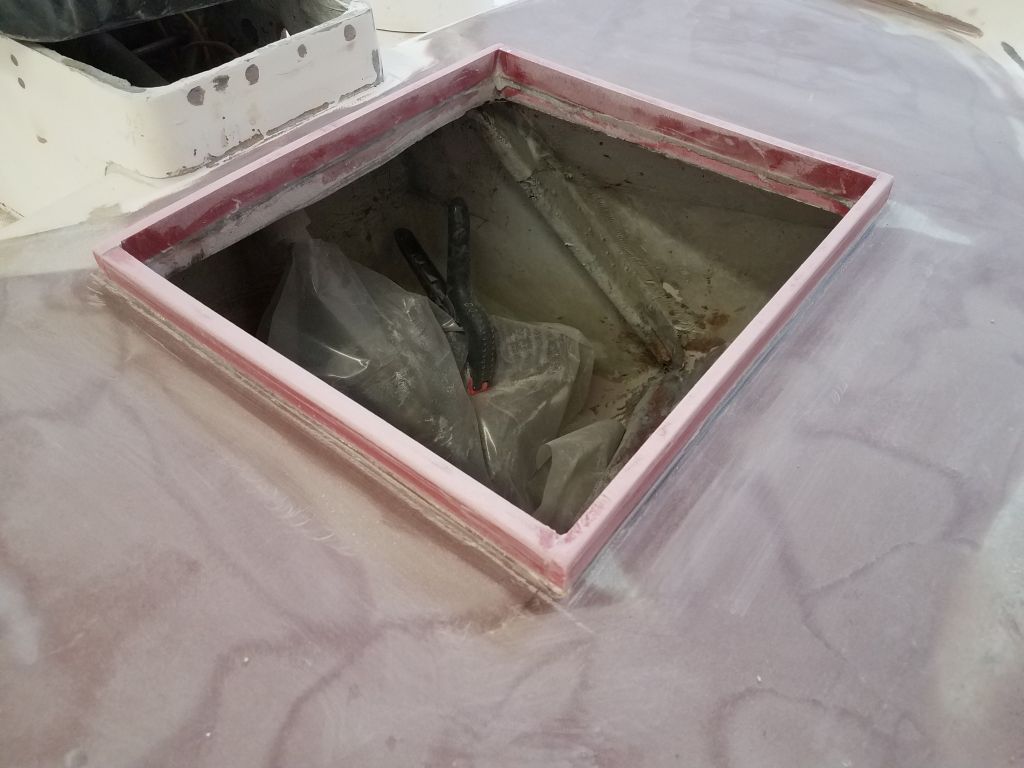
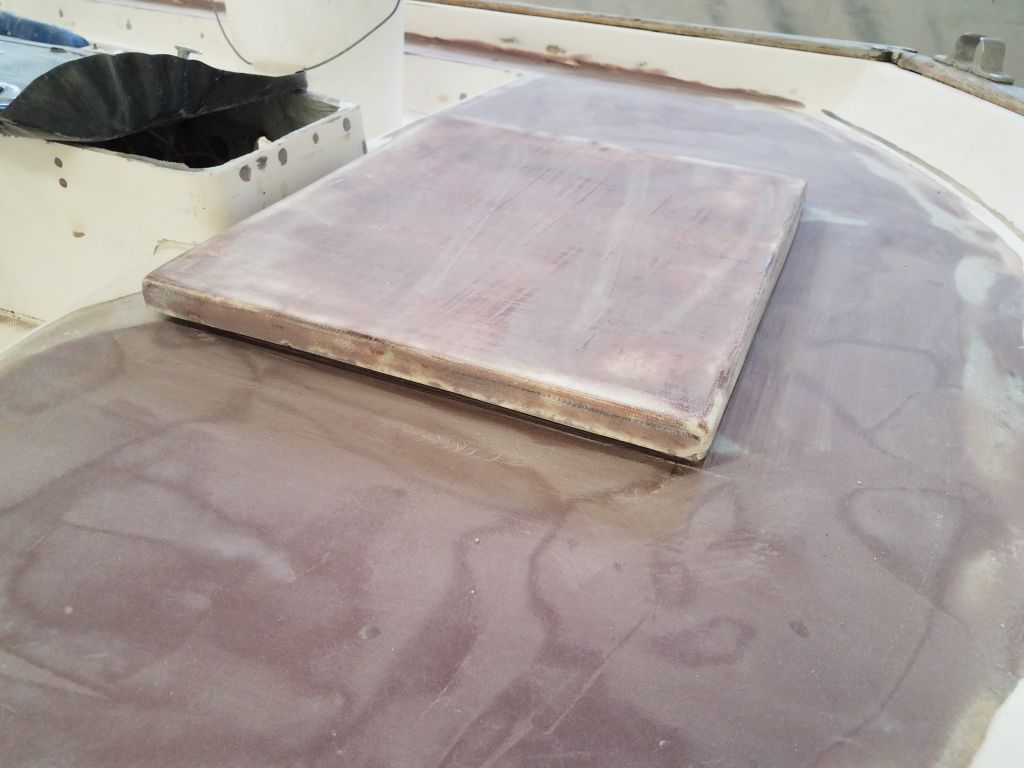
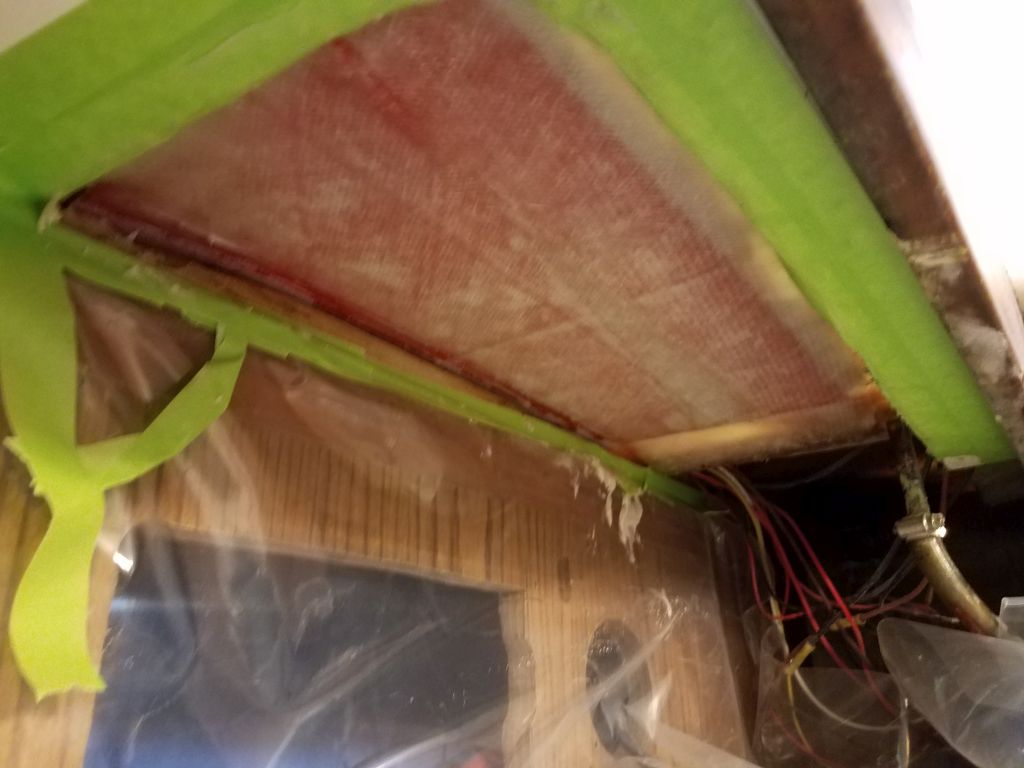
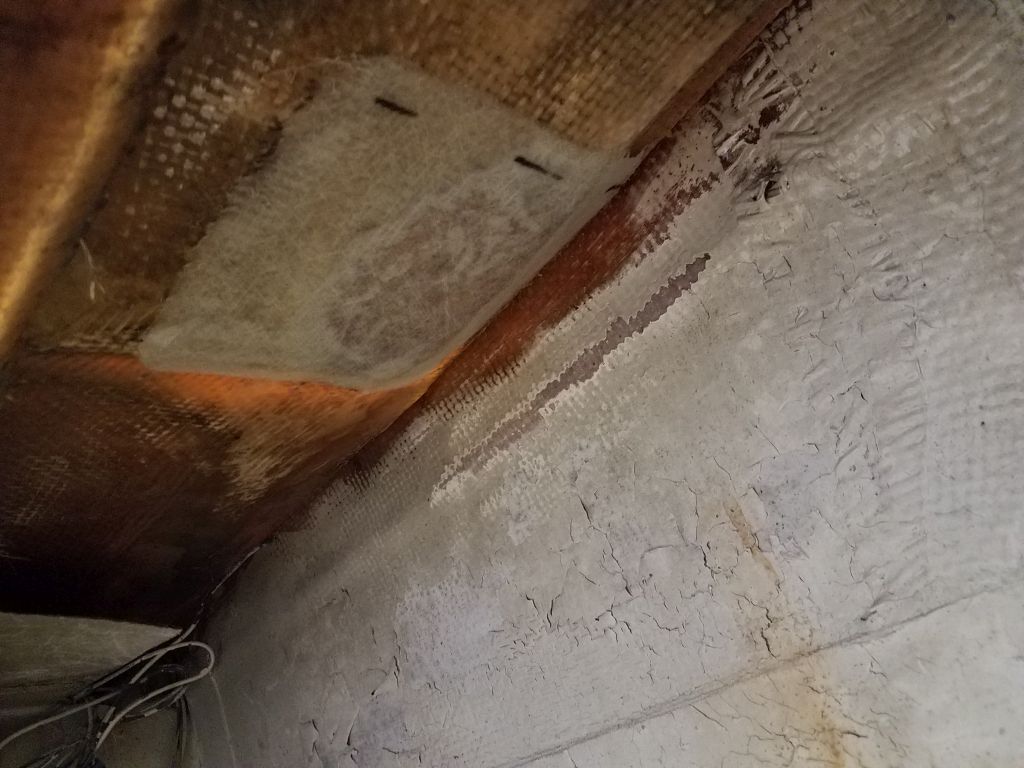
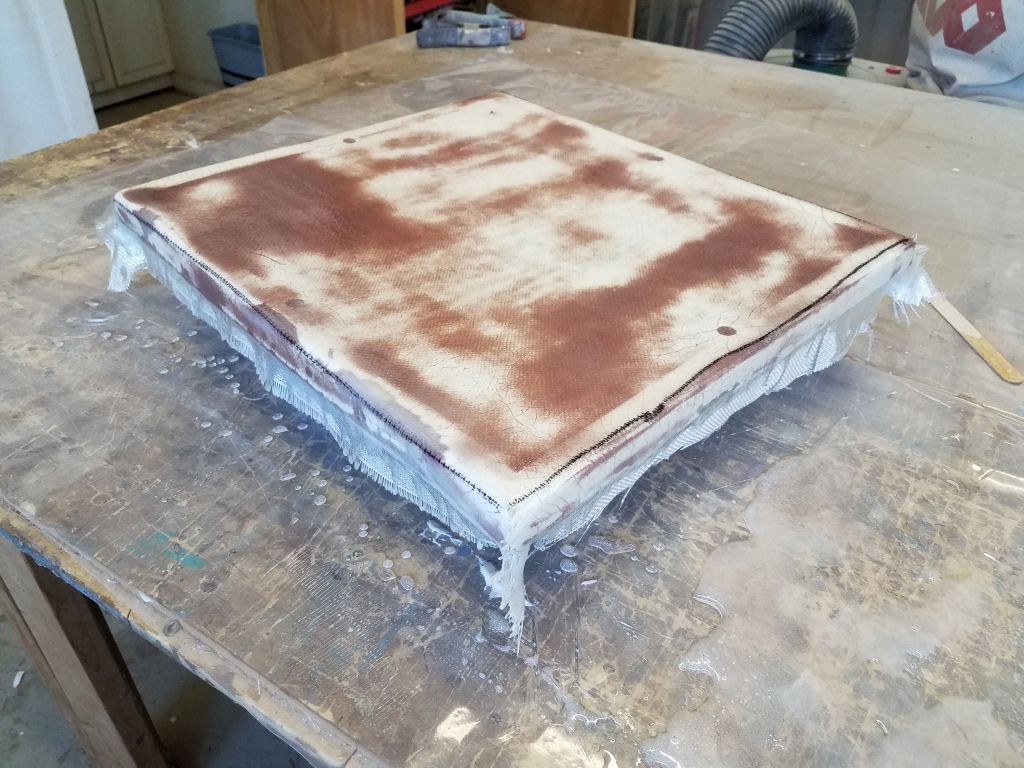
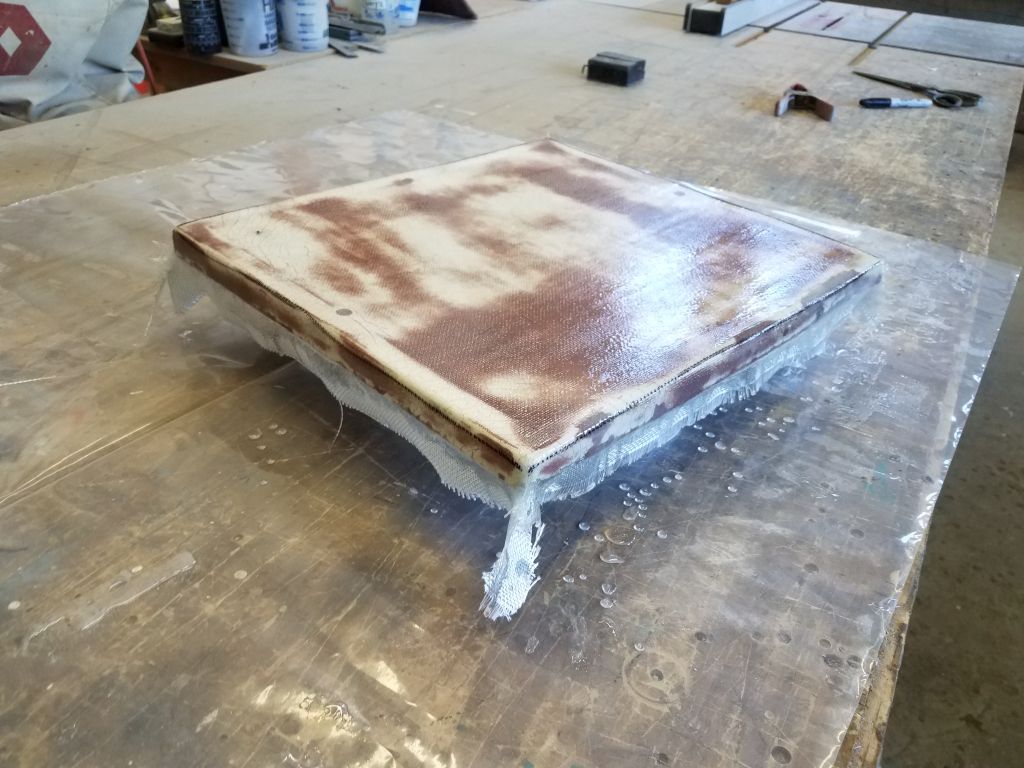
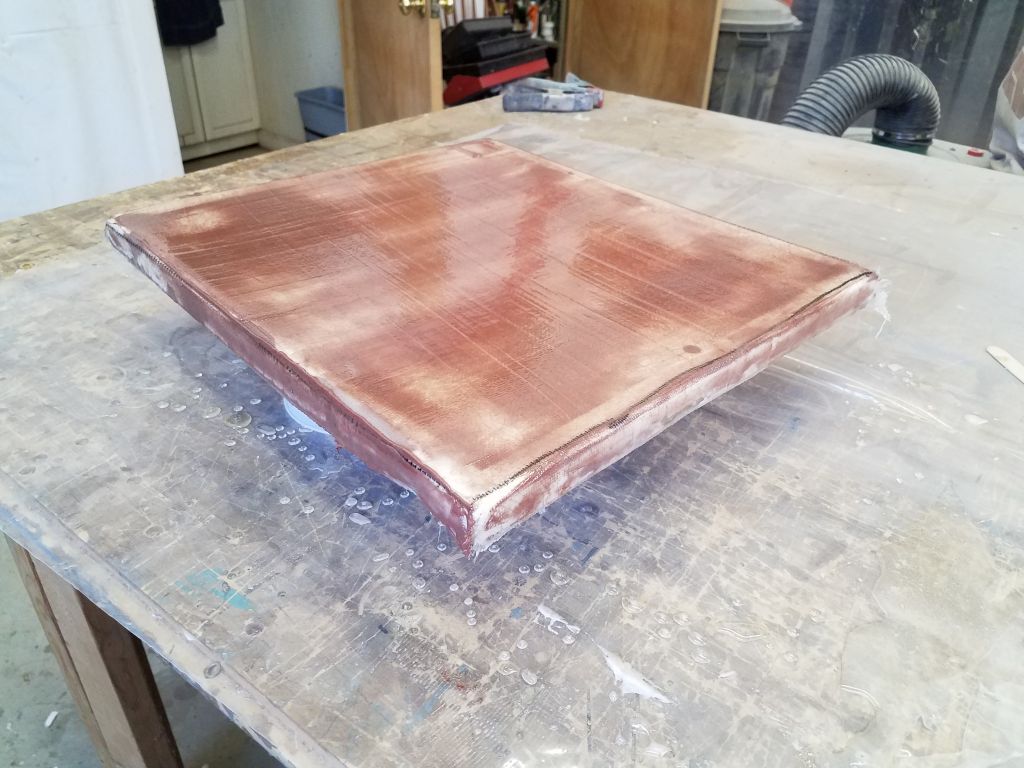
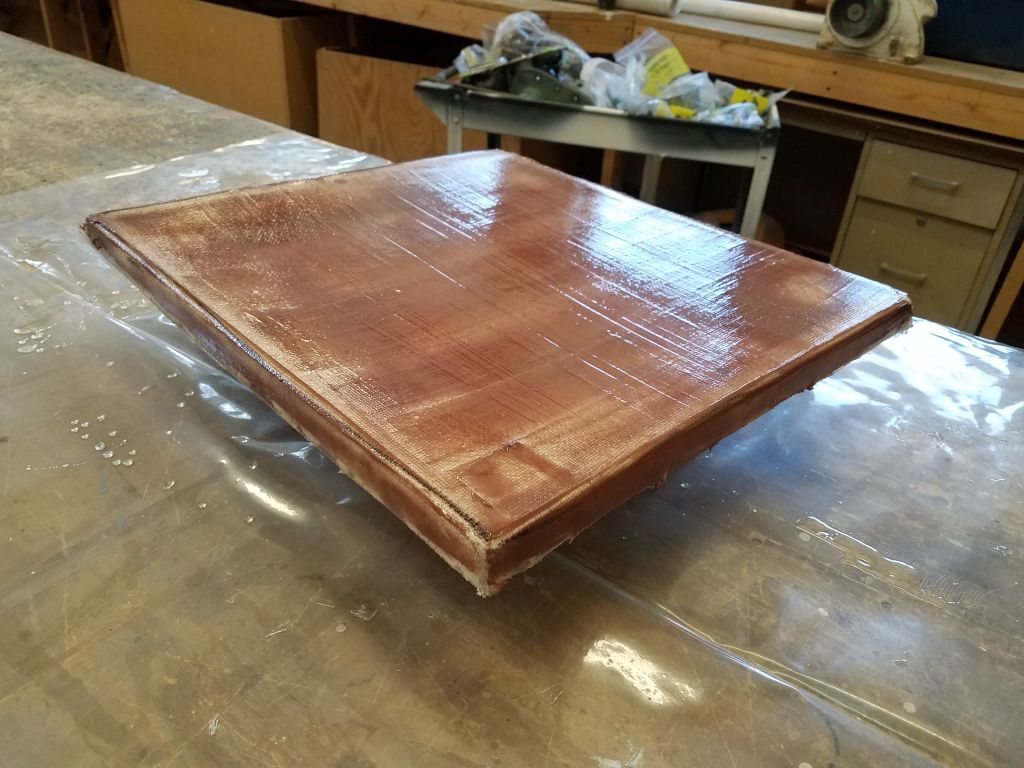
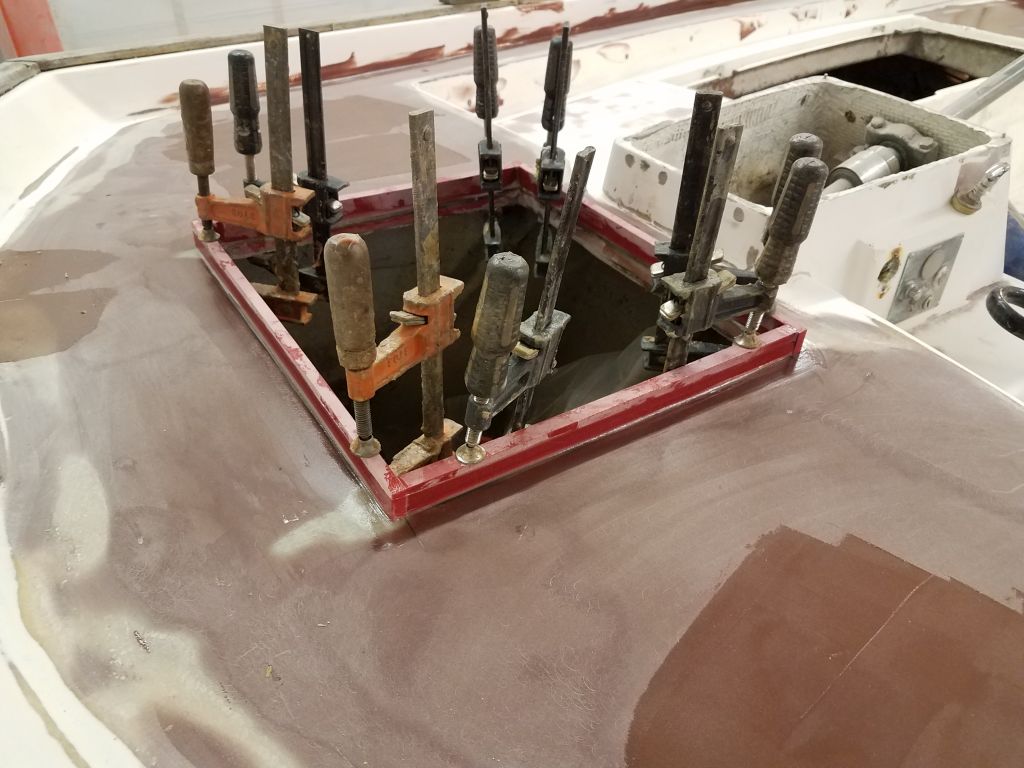
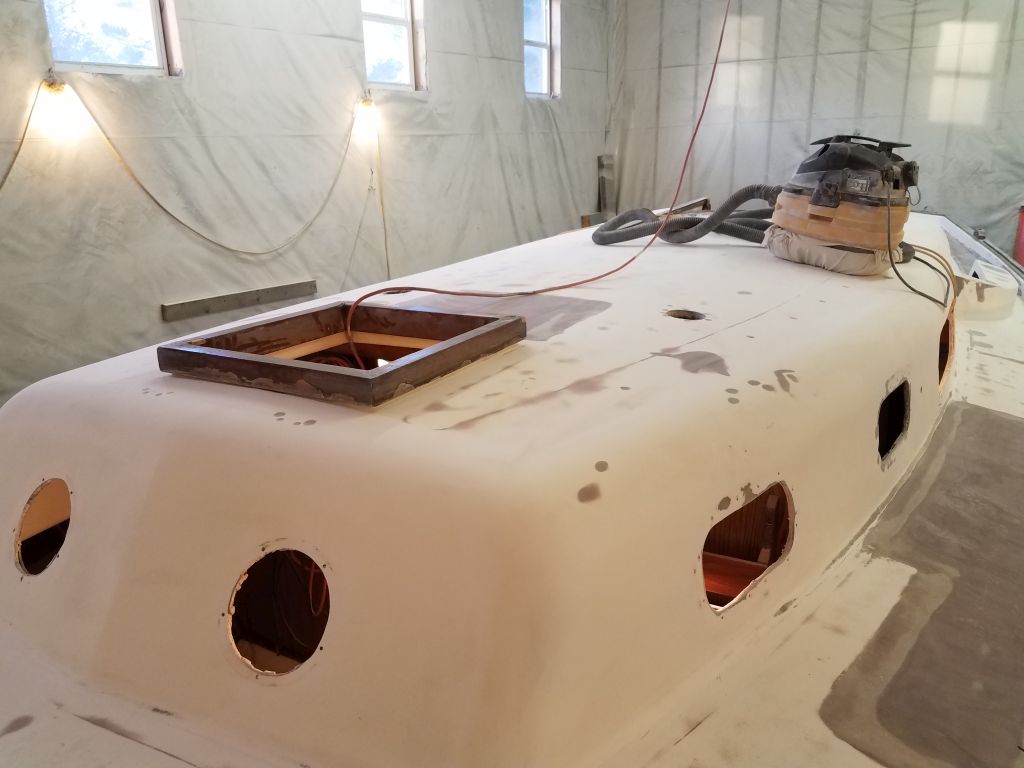
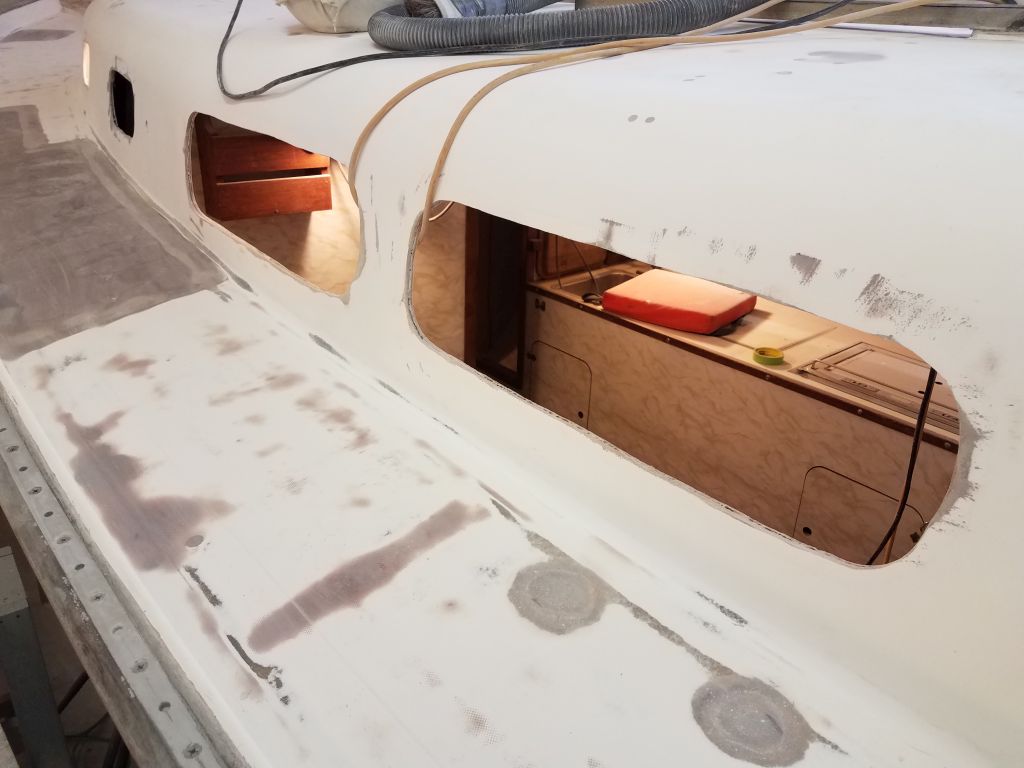
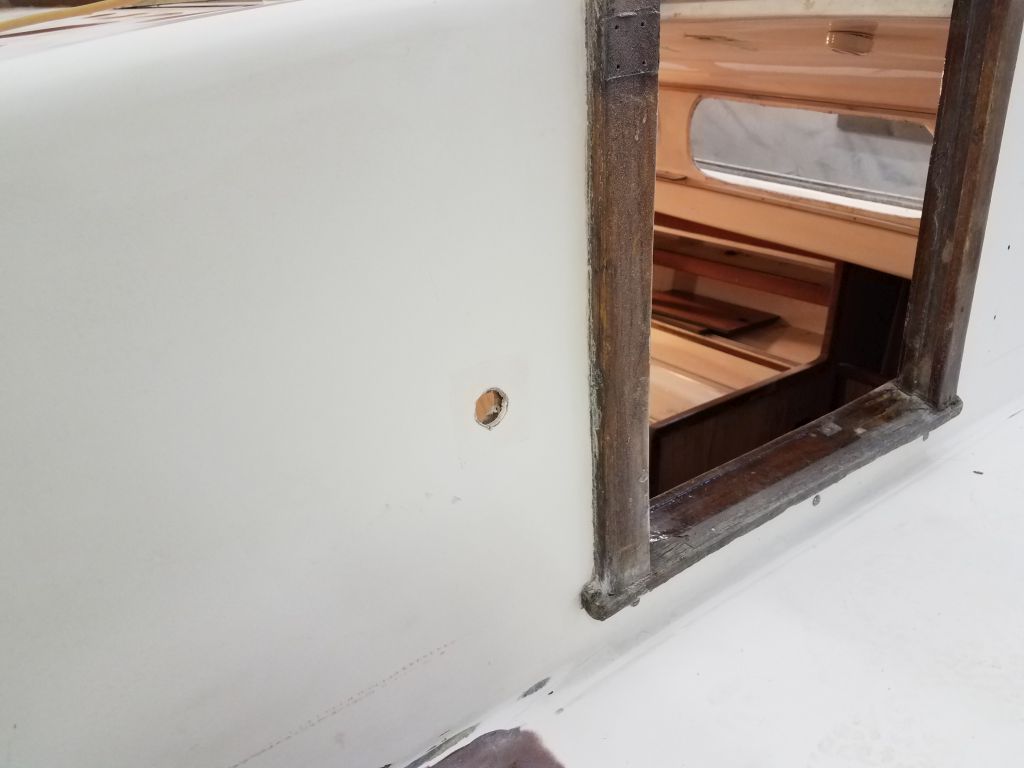
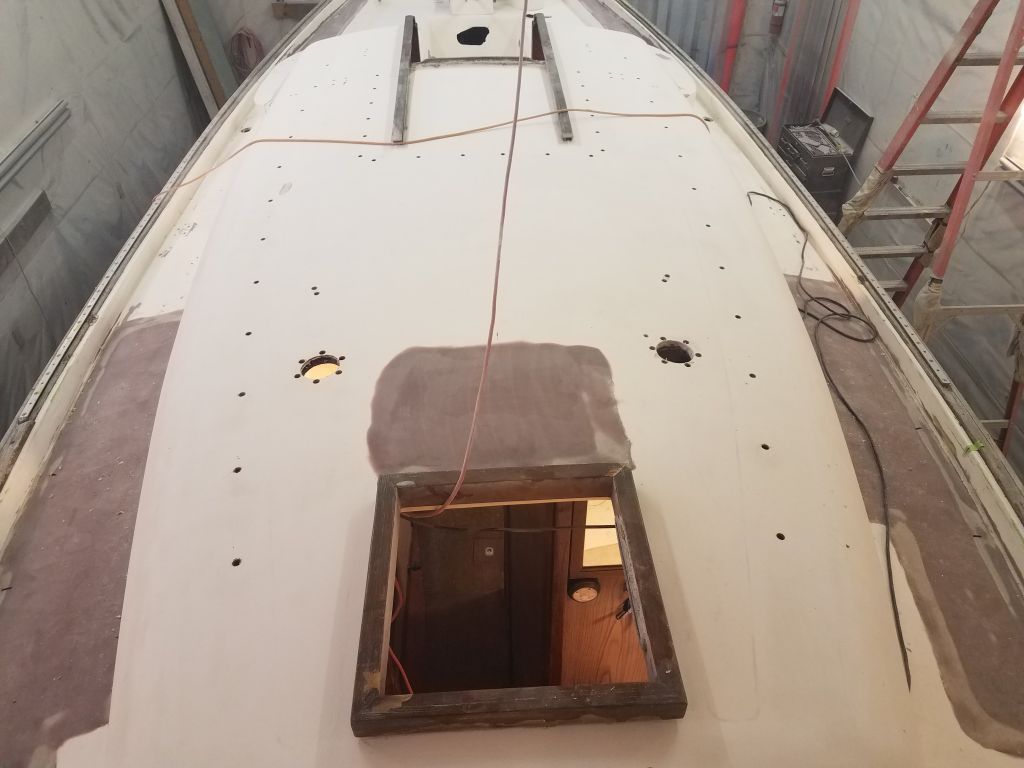
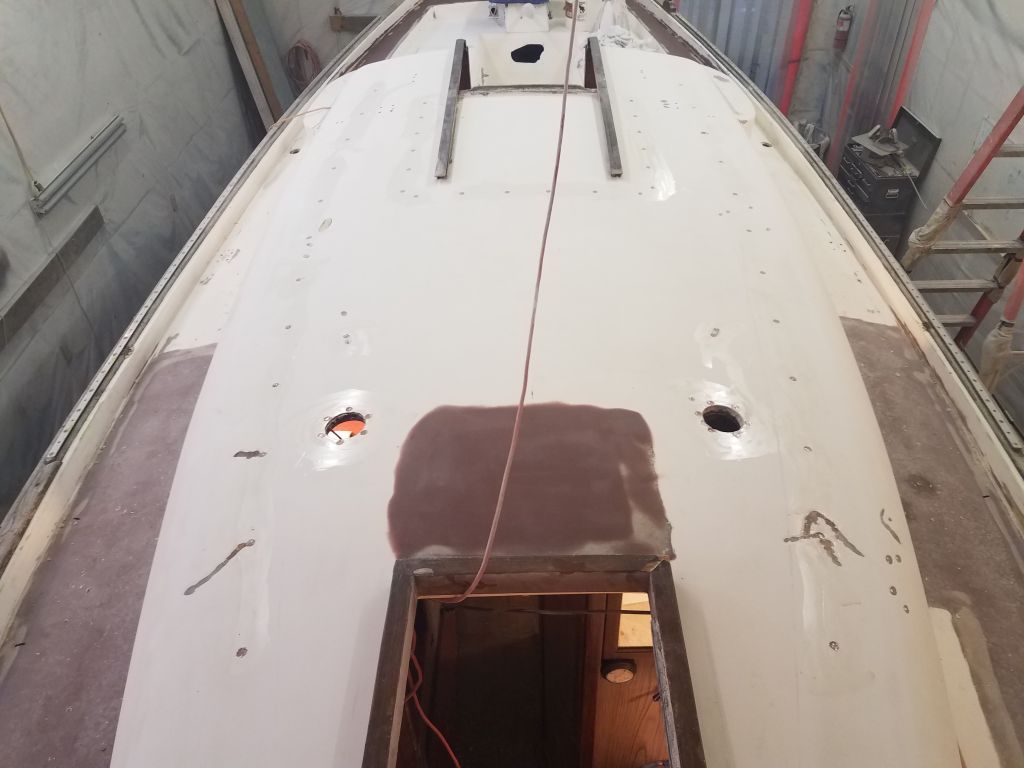
I removed the clamps from the new fiberglass surround at the steering room hatch, and test-fit the hatch to make sure it fit the new lip.
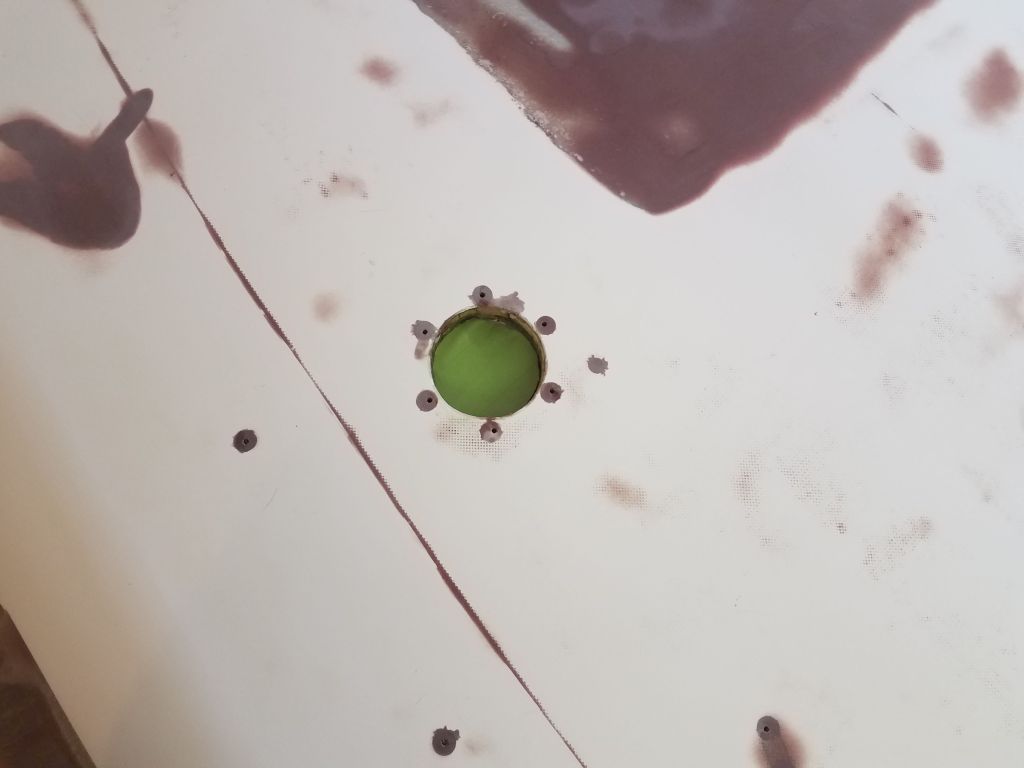
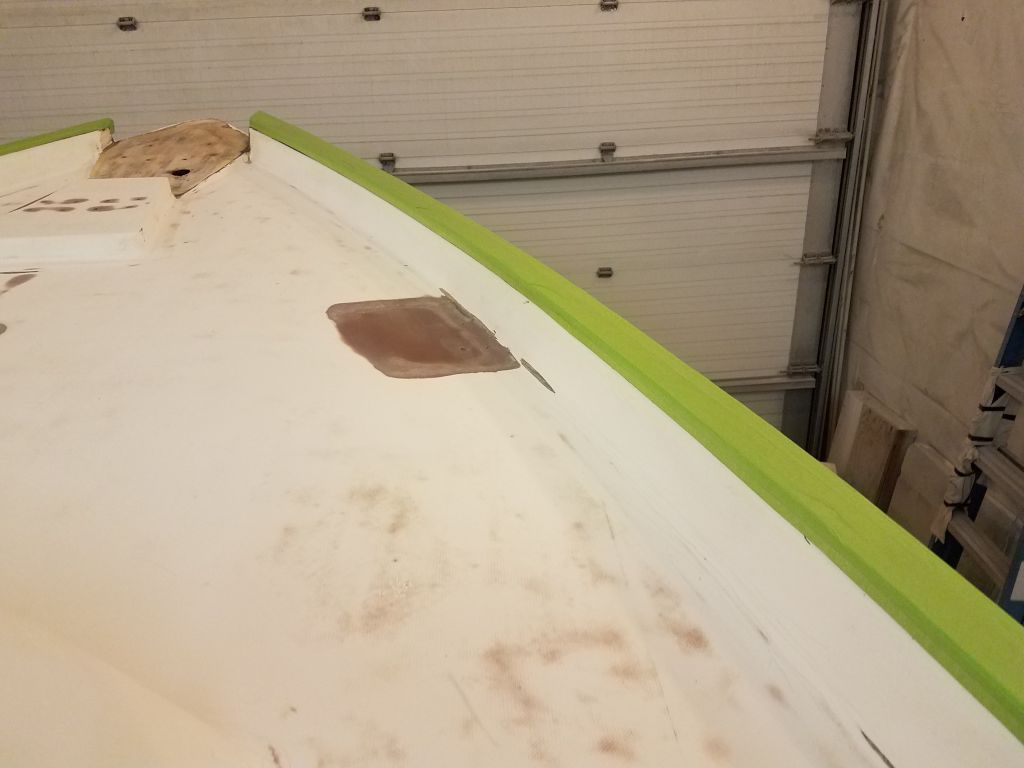
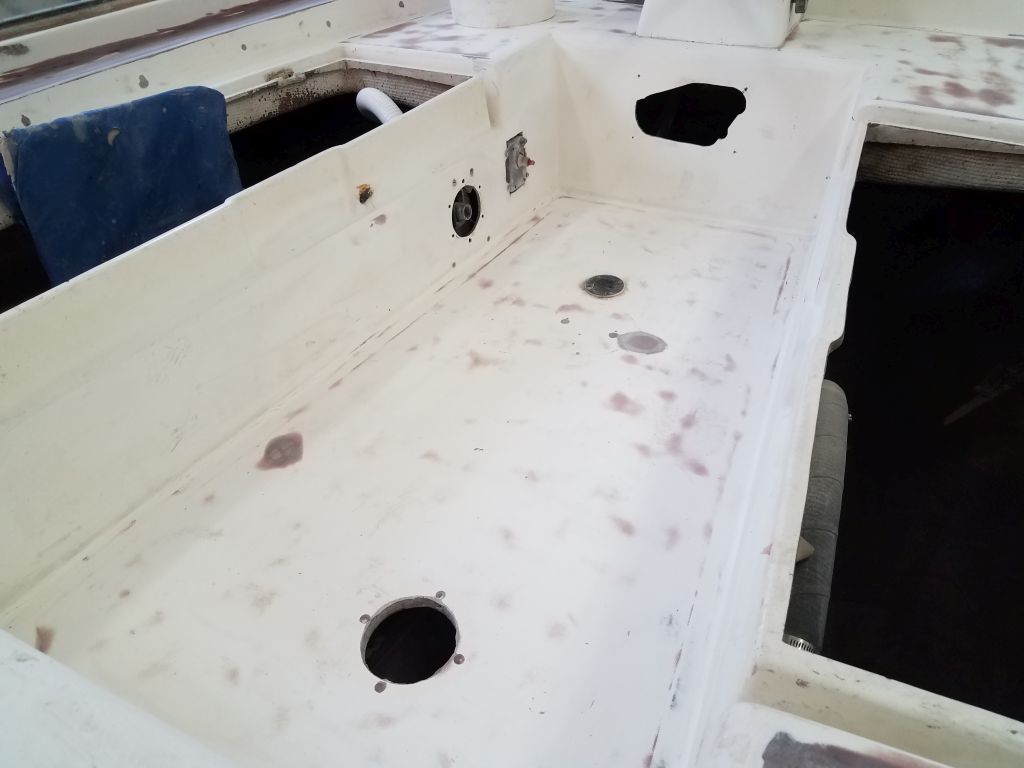
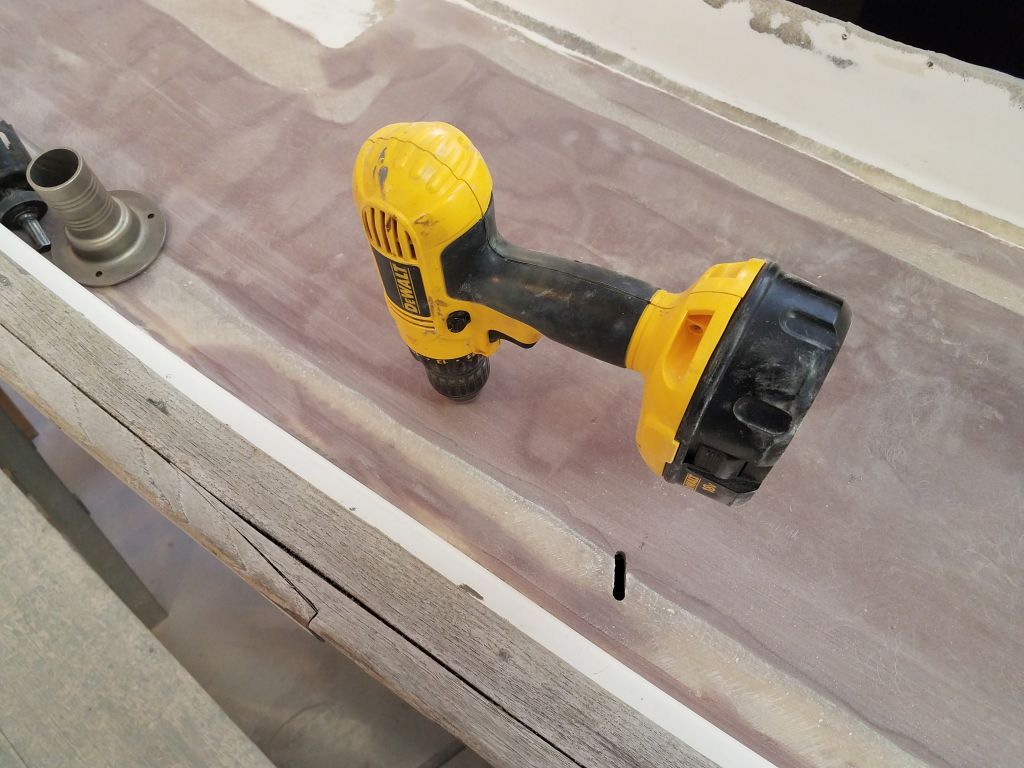
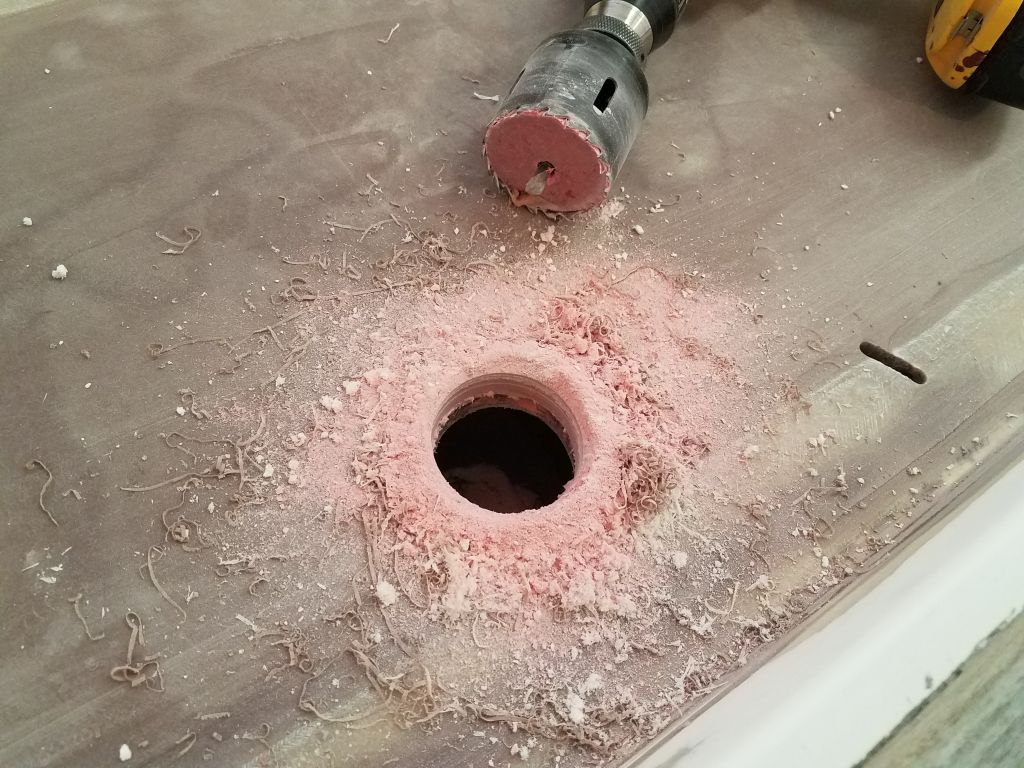
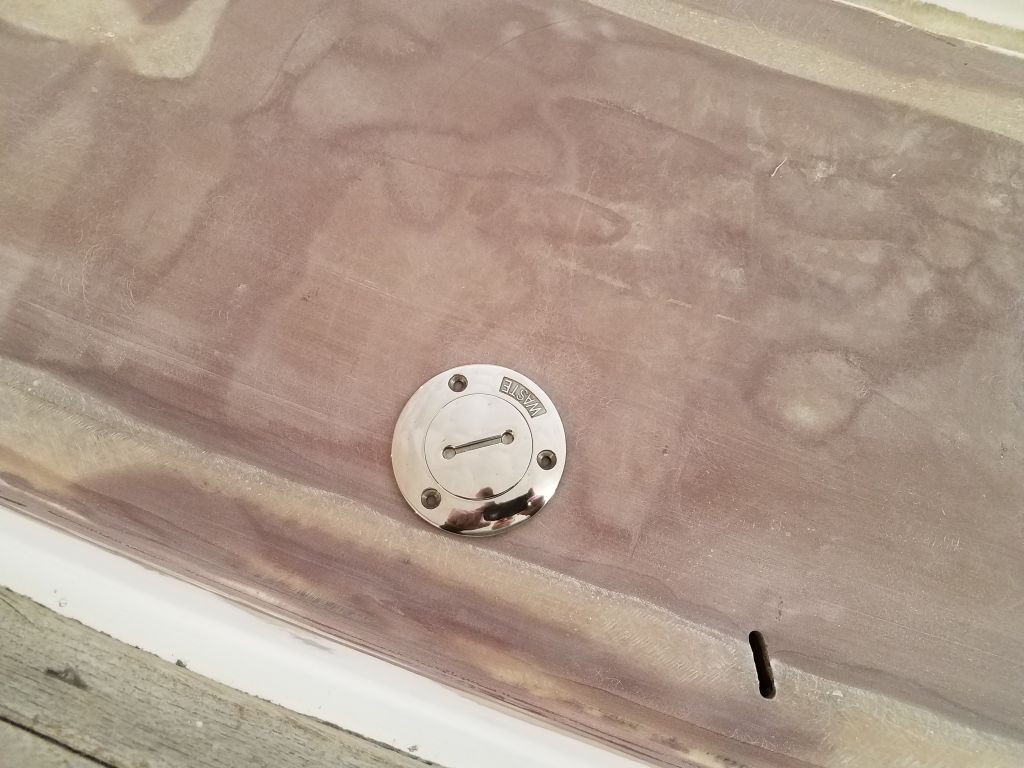
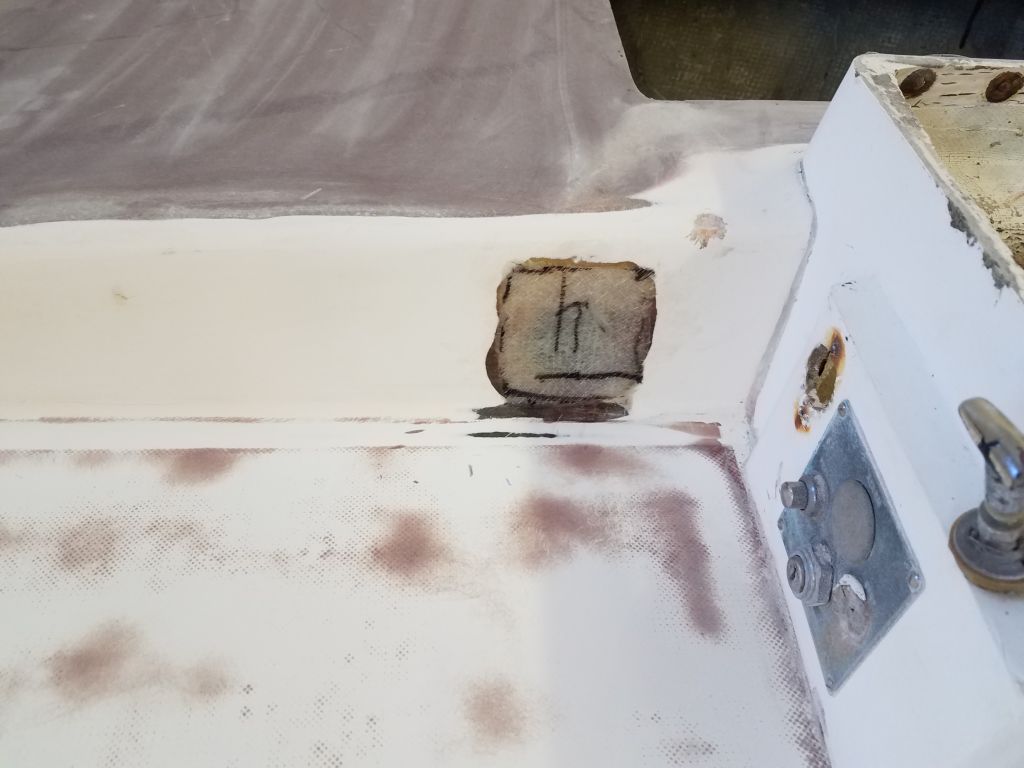
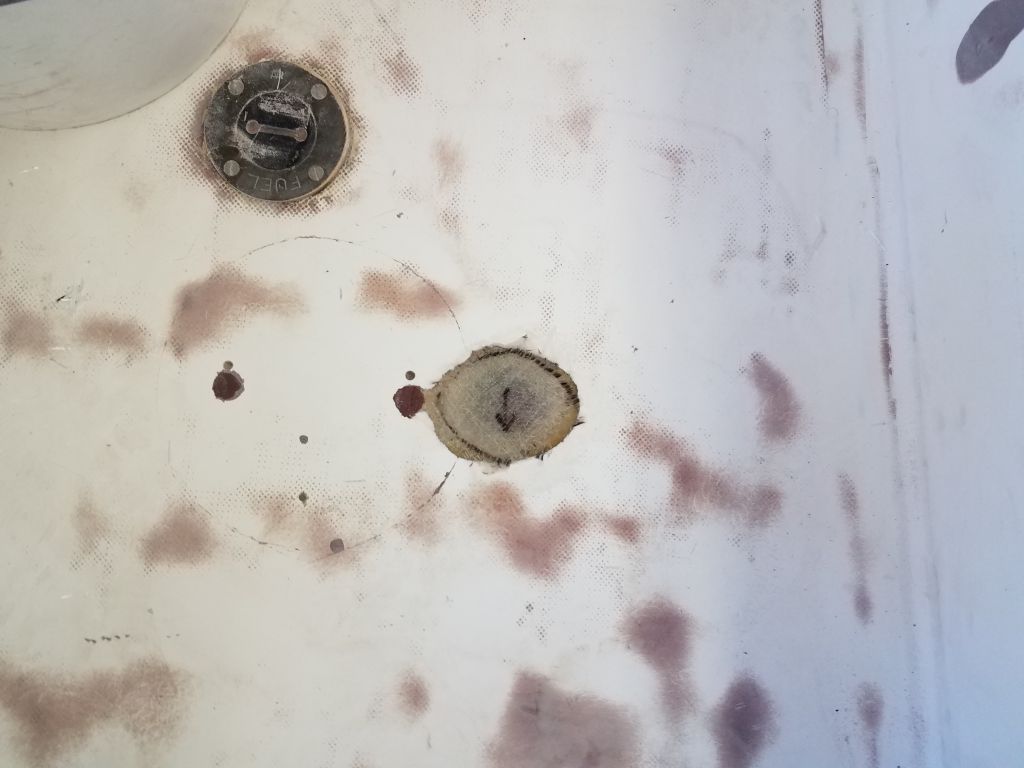
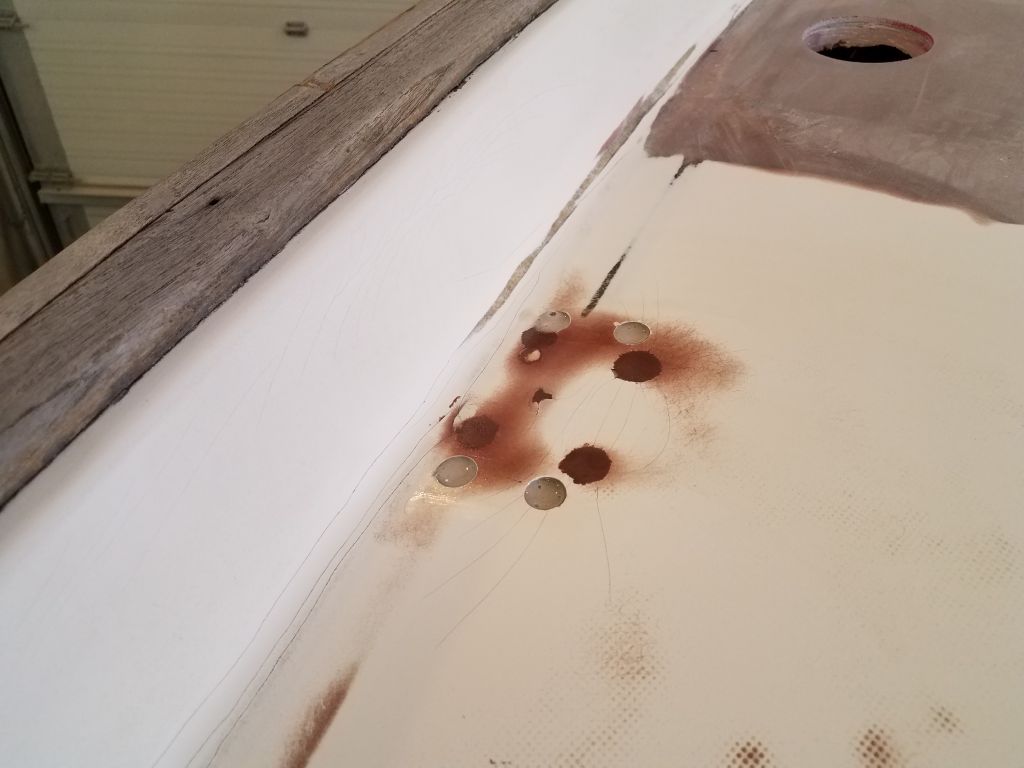
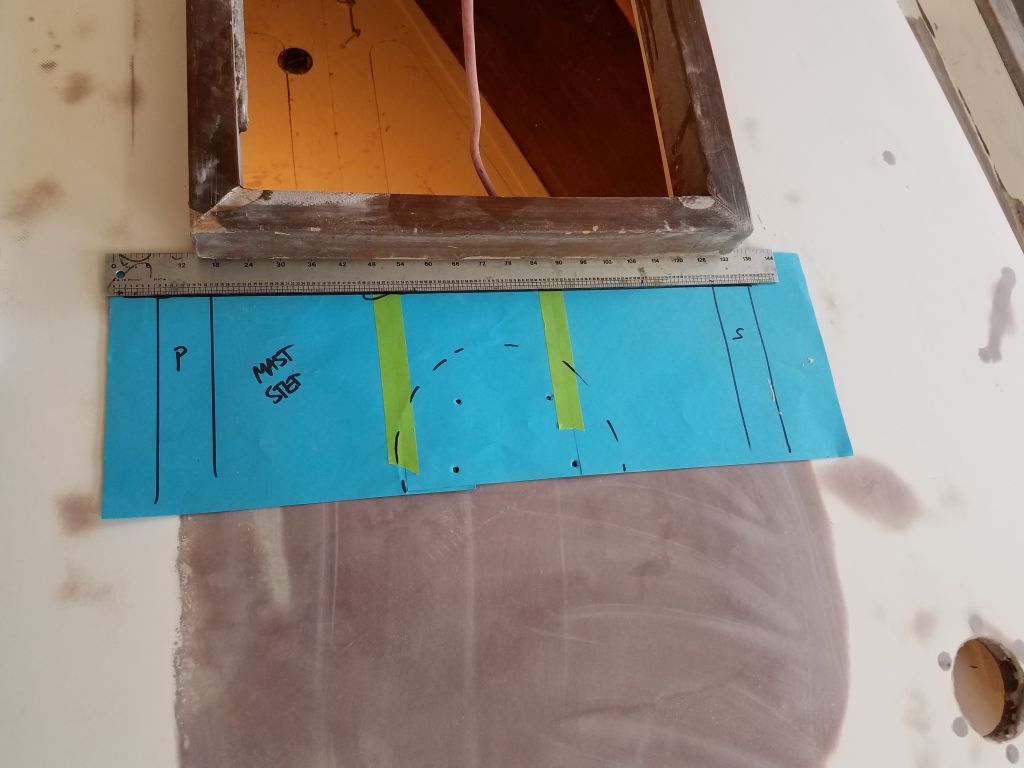
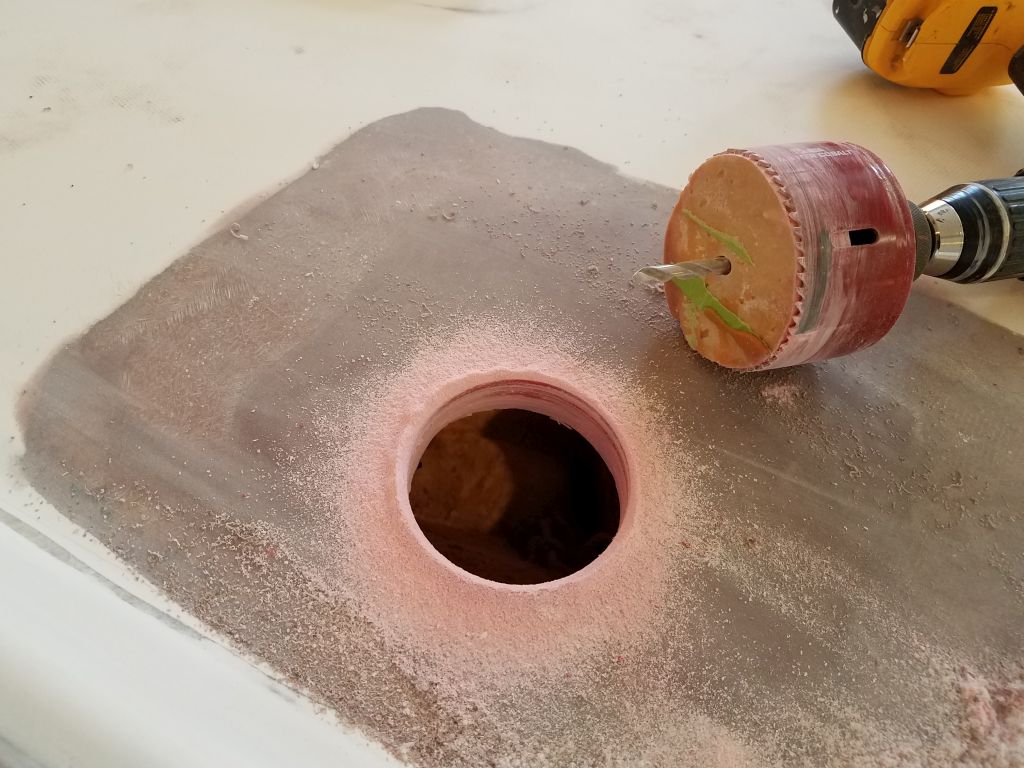
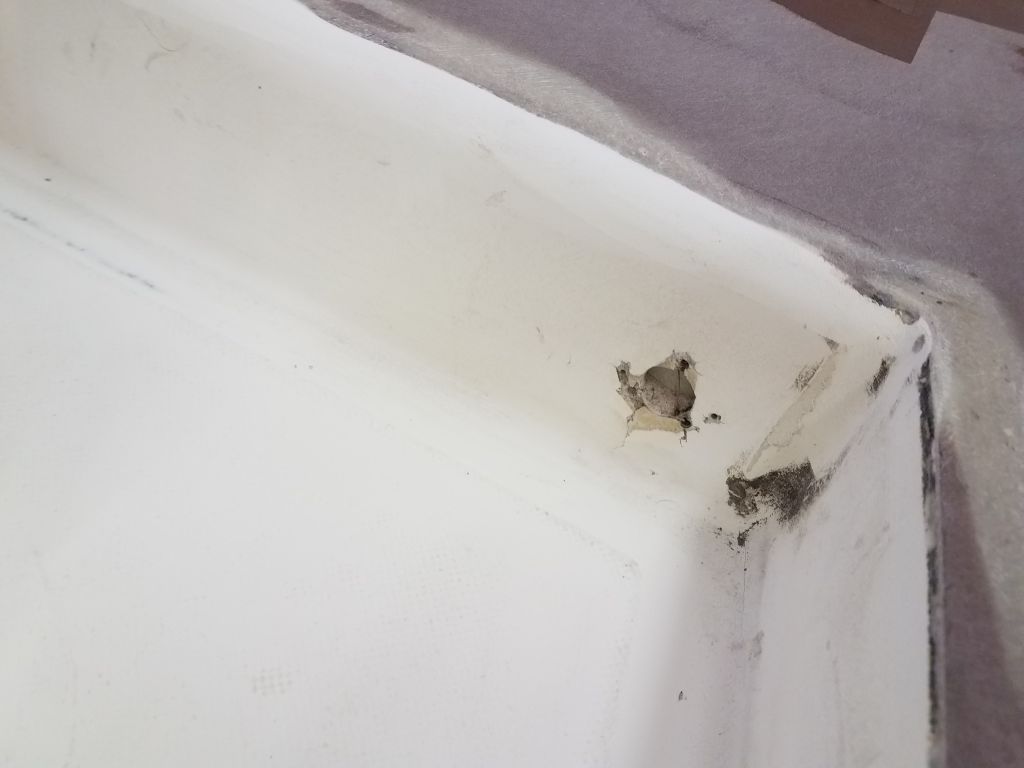
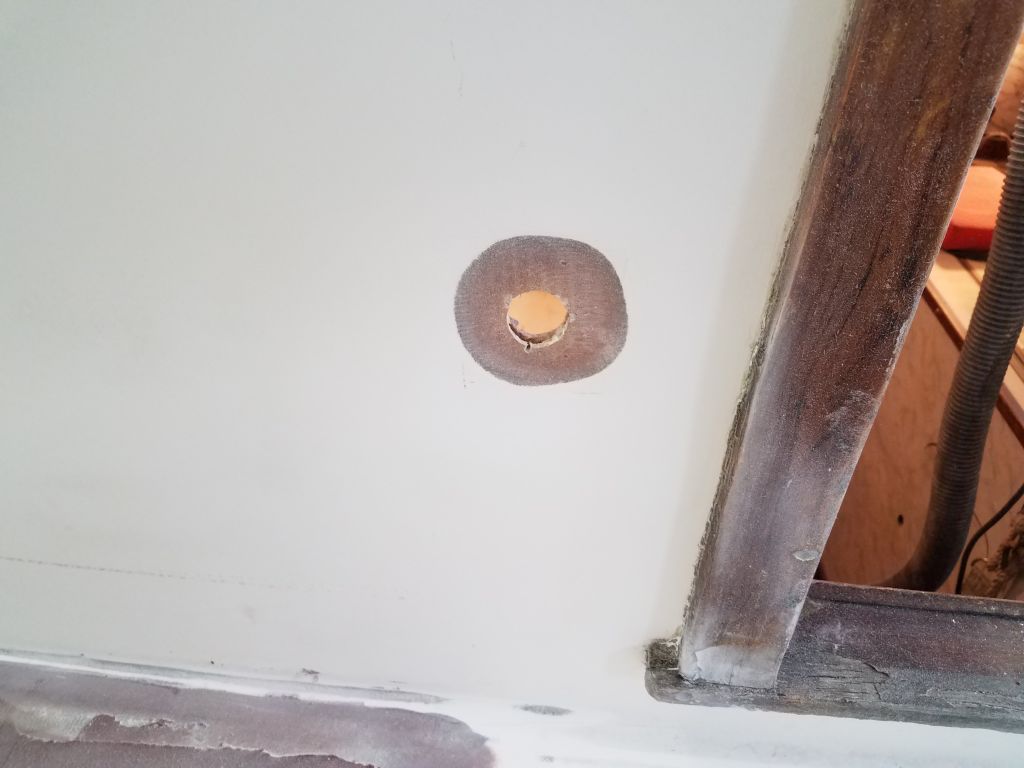
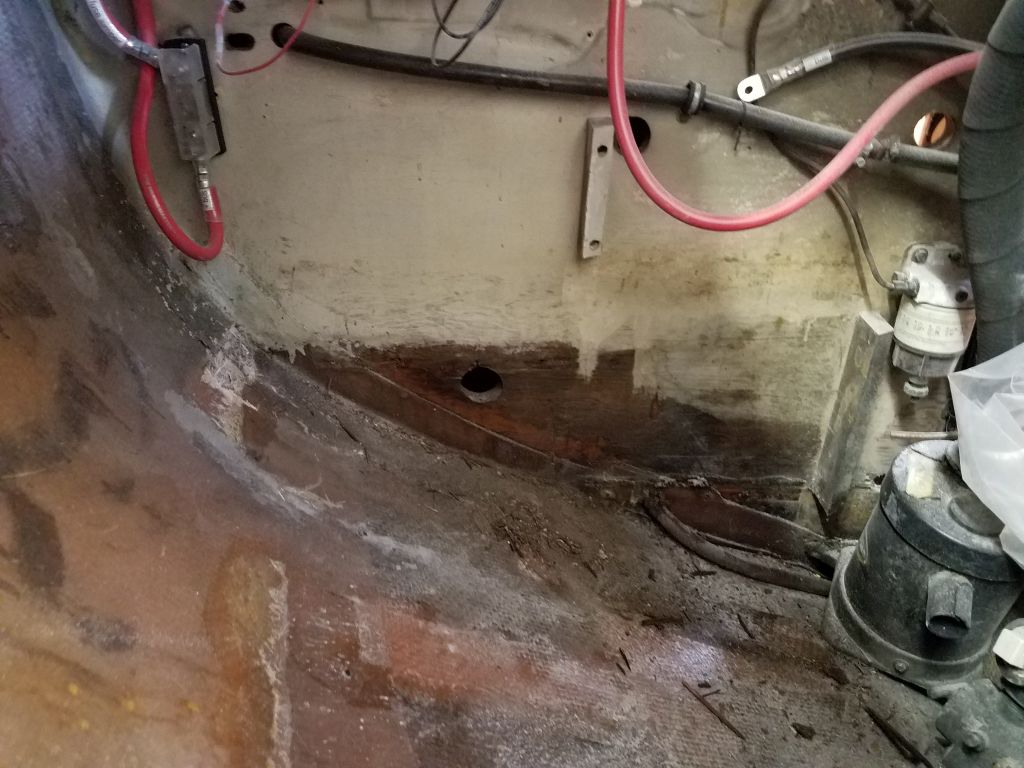
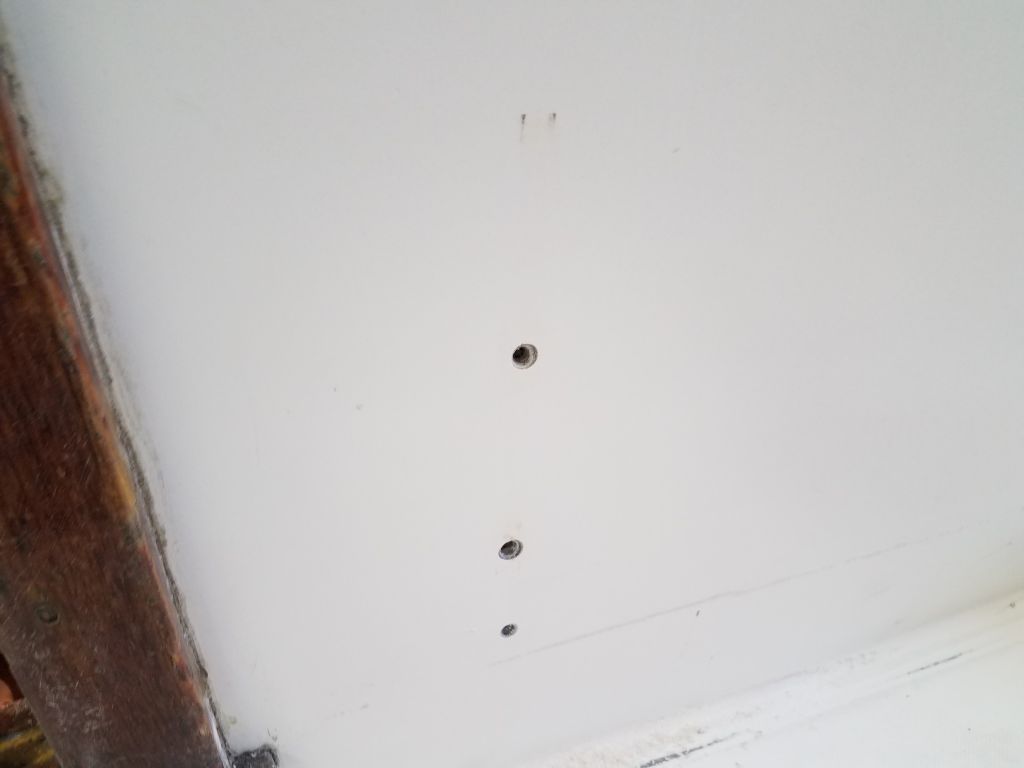
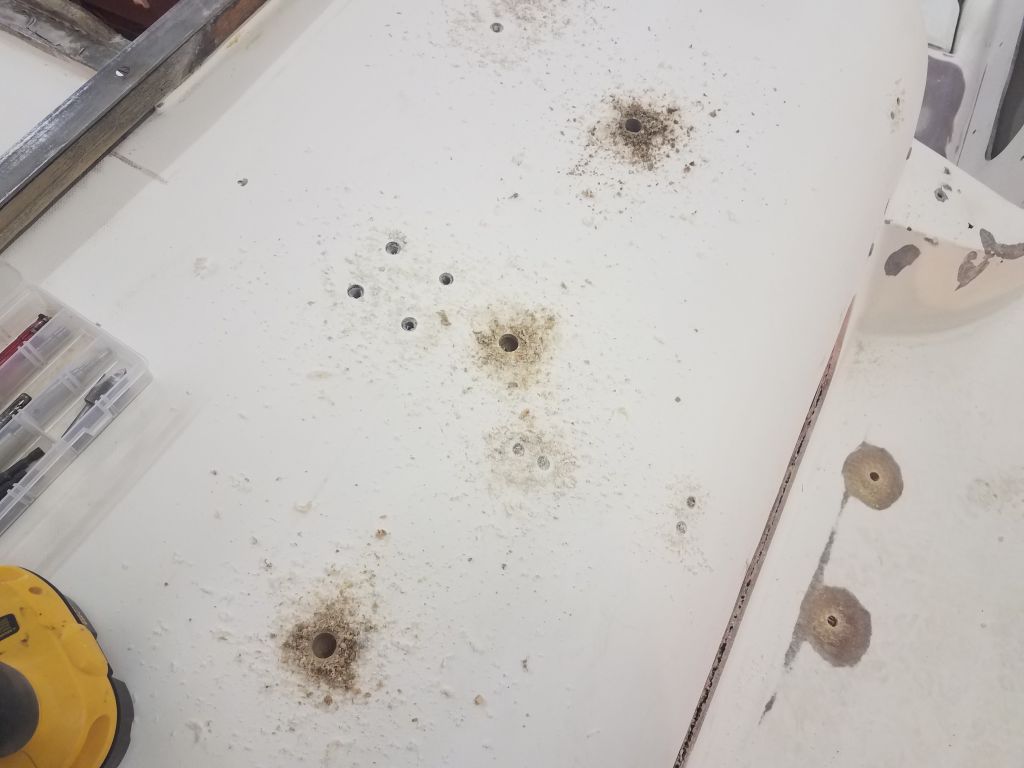
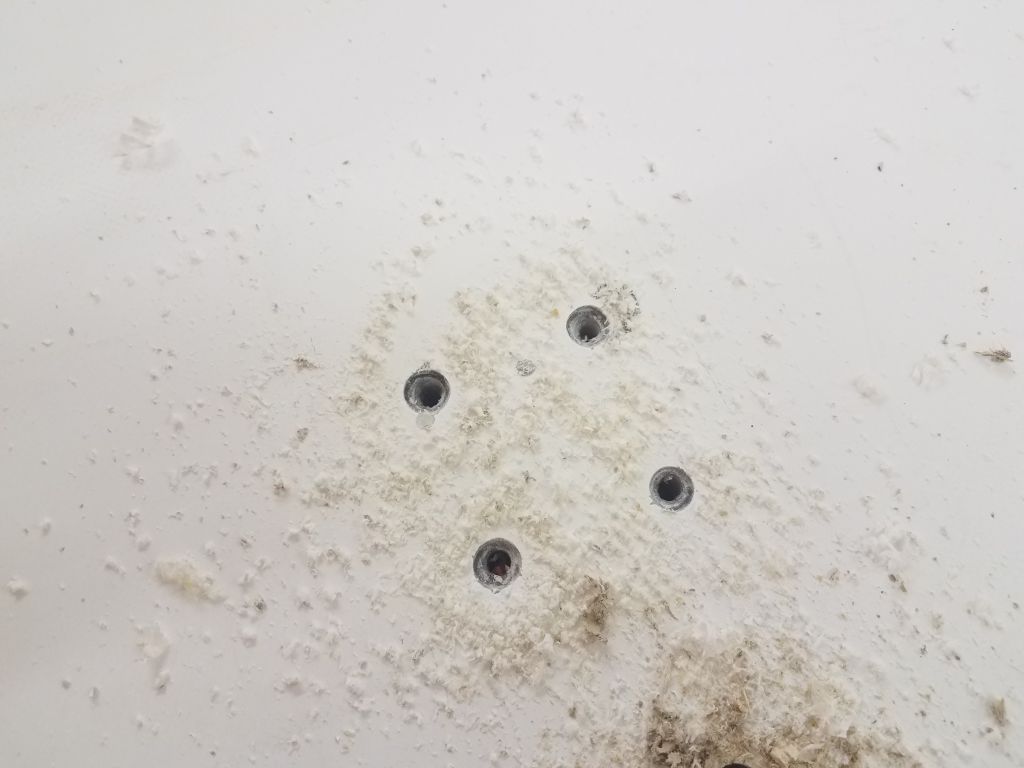
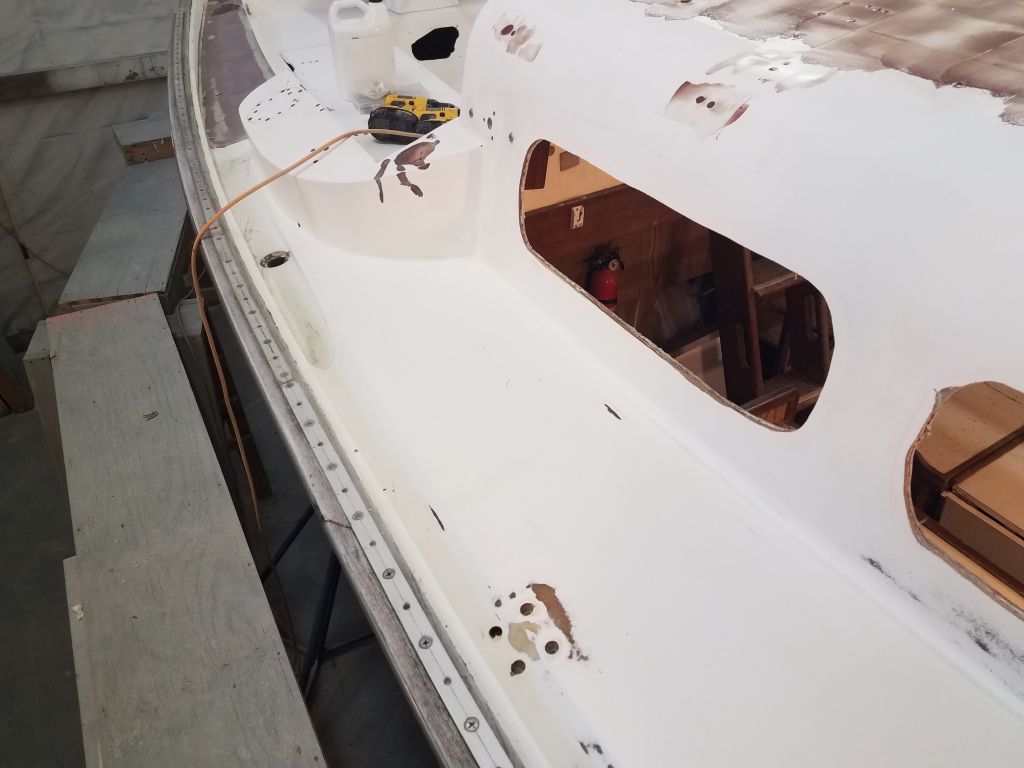
On the port sidedeck I confirmed the location of a pilot hole I’d drilled earlier for the waste pumpout fitting, ensuring that the hole was centered over the hose beneath, as the alignment was critical because of the way the existing plumbing was arranged. Satisfied with the location, I cut a larger hole to accommodate a new deck fitting, as the original plastic one had been destroyed during removal.
After cleaning up from the morning’s sanding efforts, I applied additional fairing filler to a few areas on deck, mainly some of the fillets that required fine-tuning, and some of the newer cockpit patches.
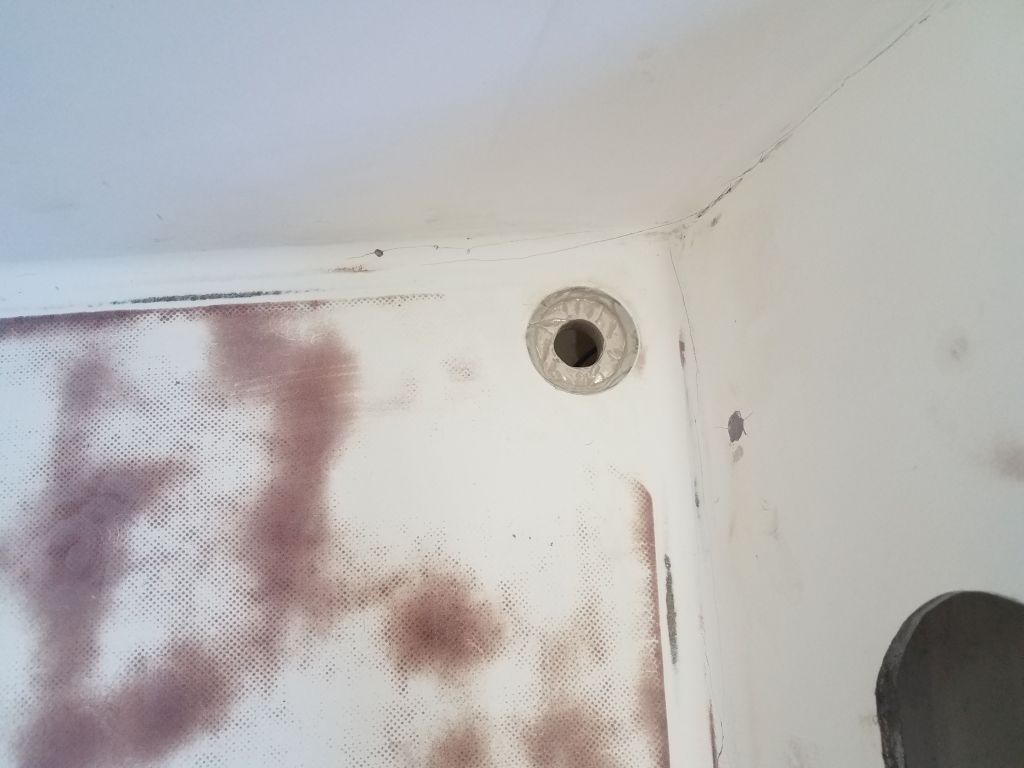
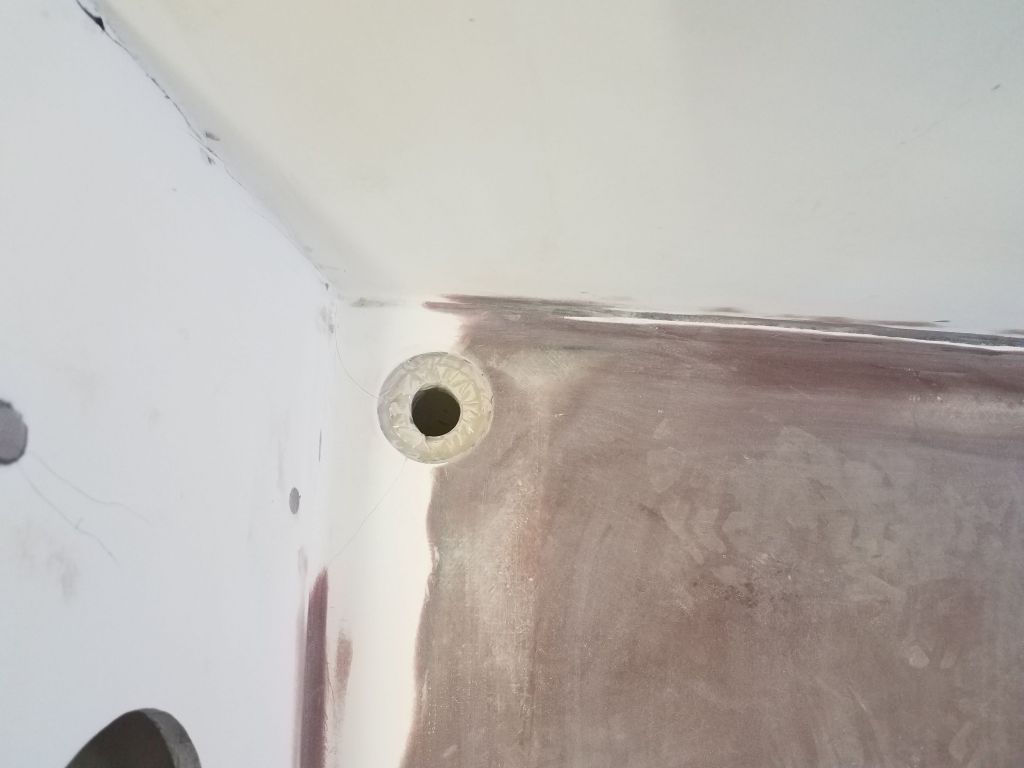
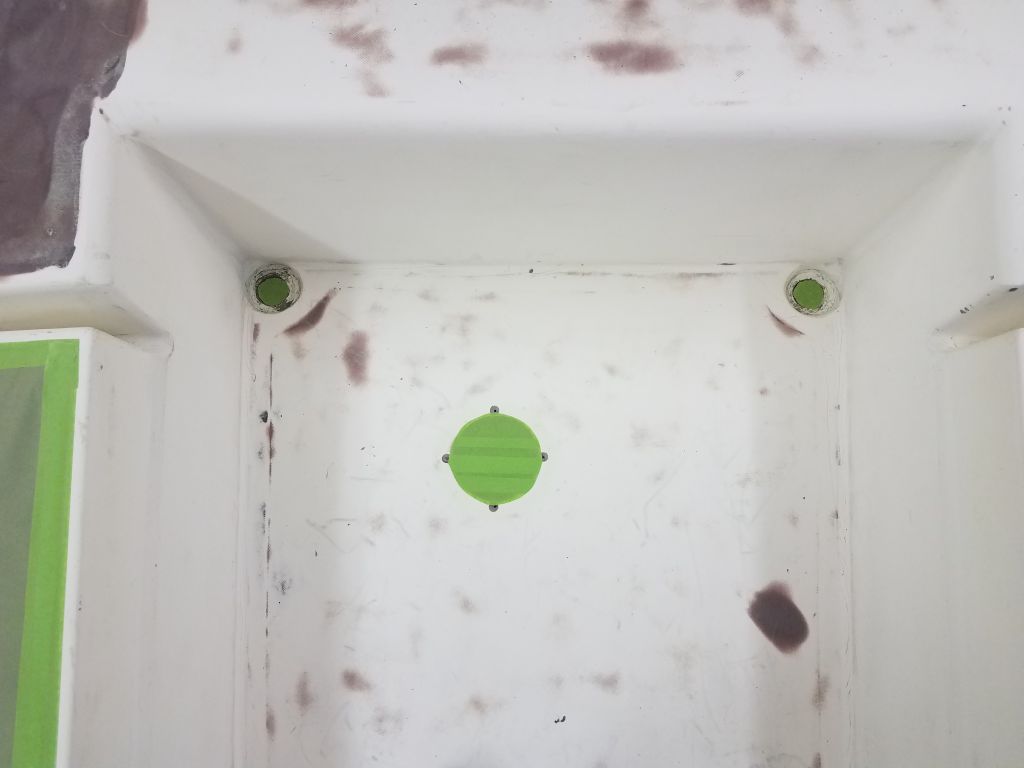
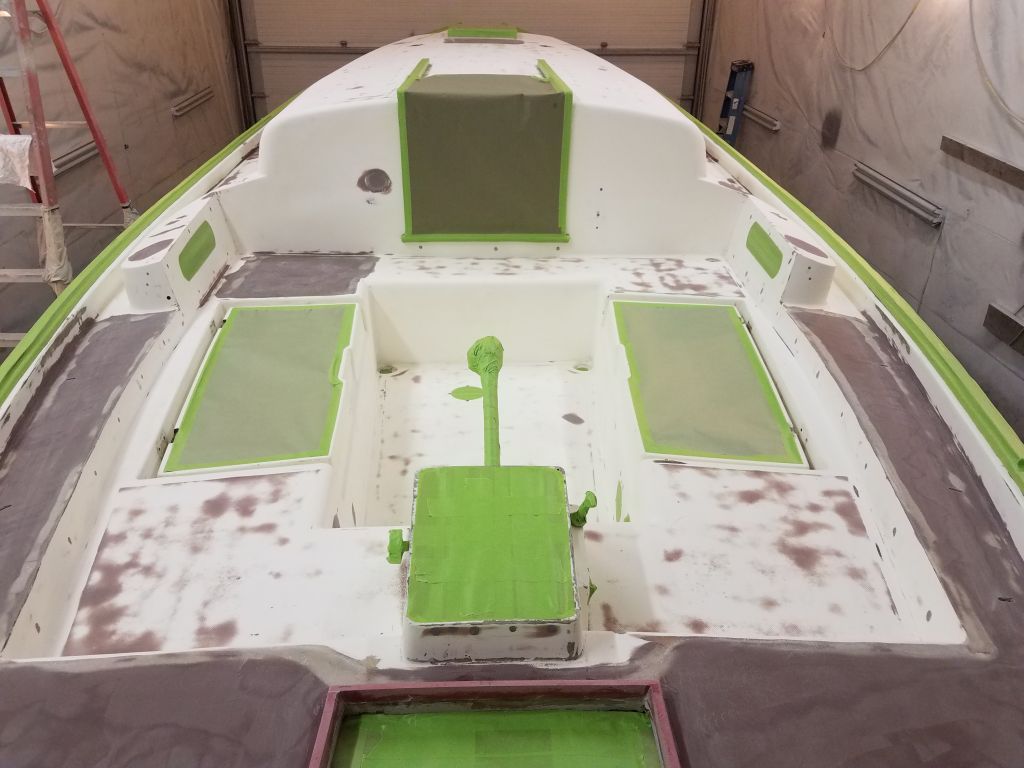
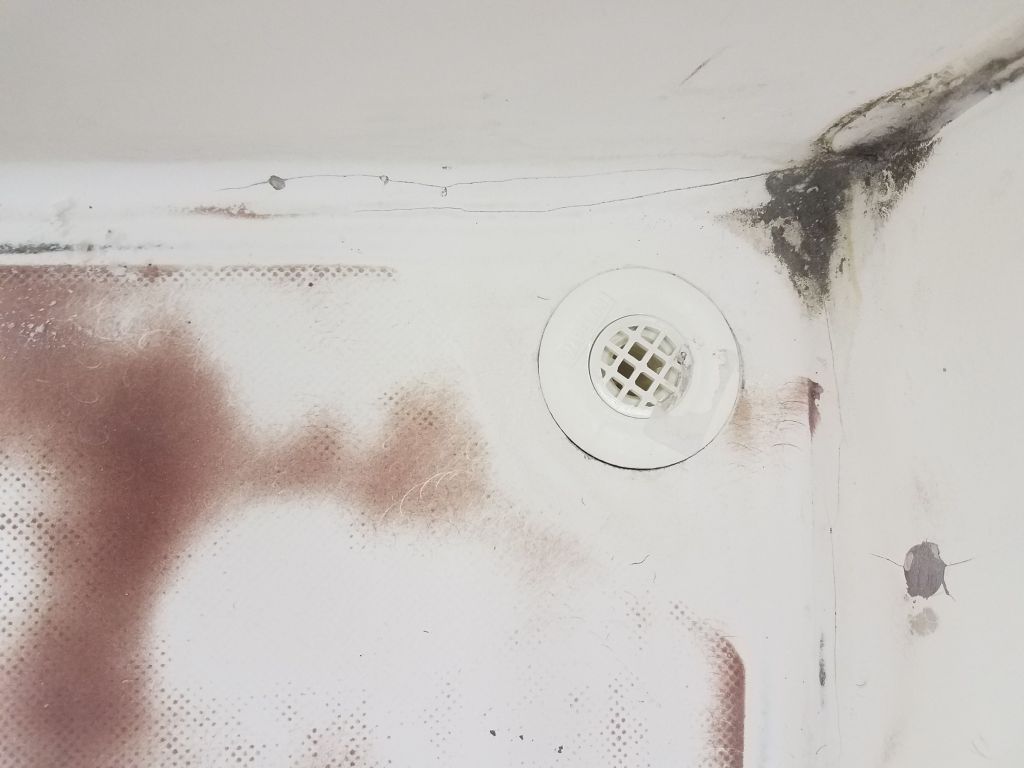
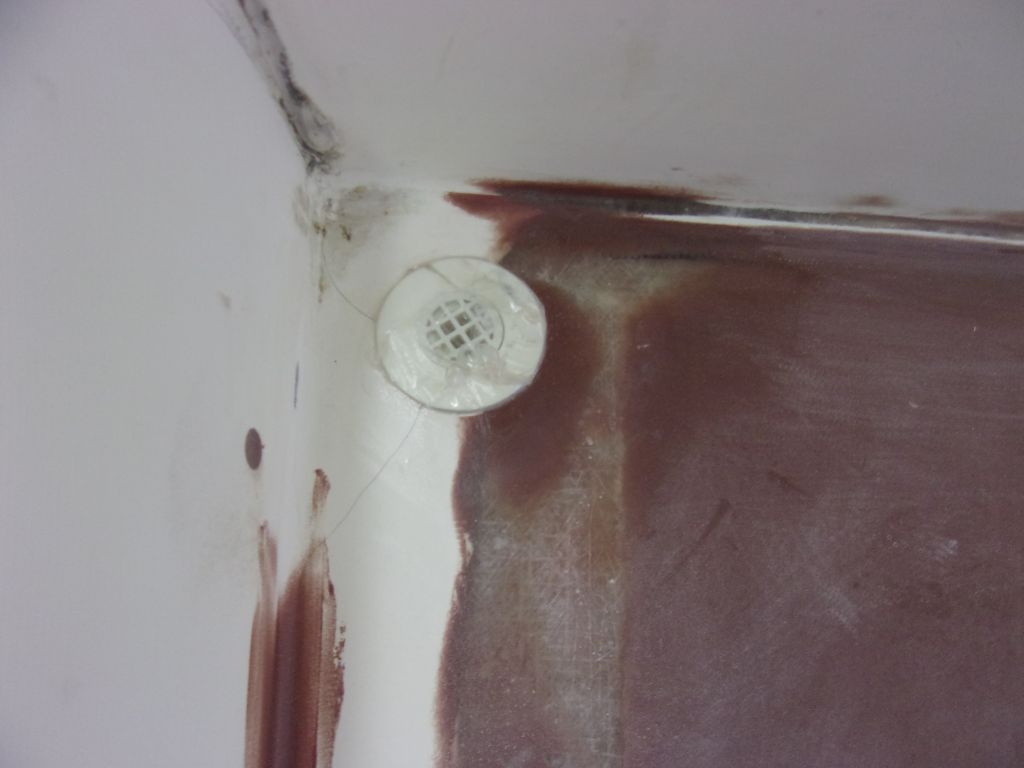
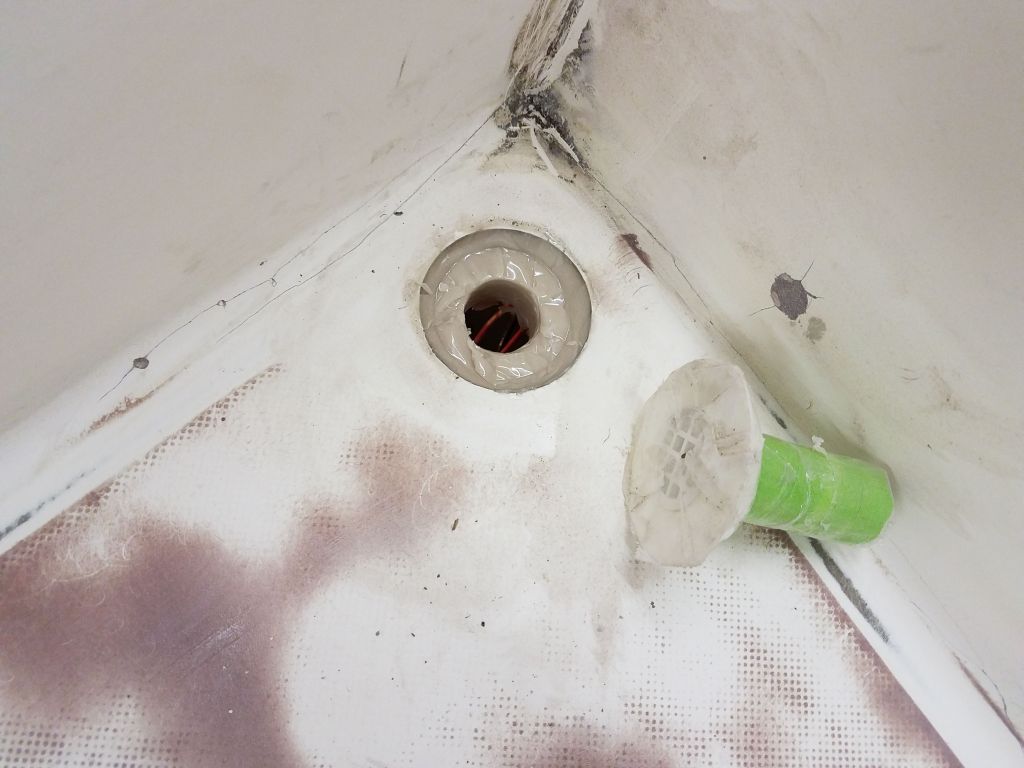
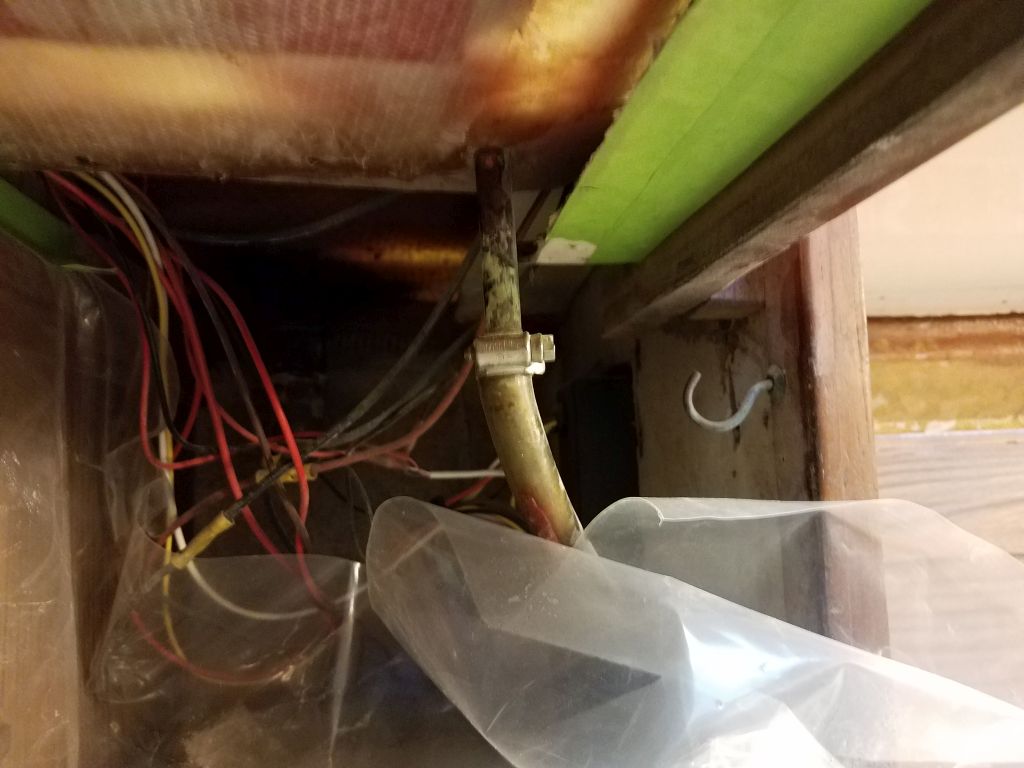
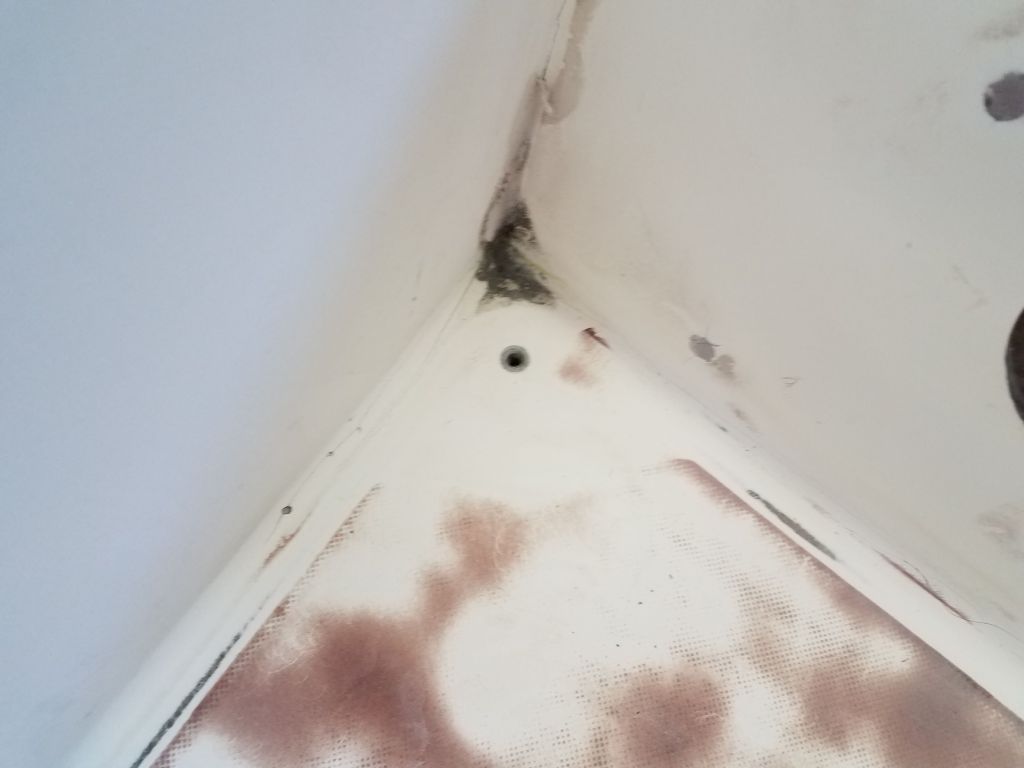
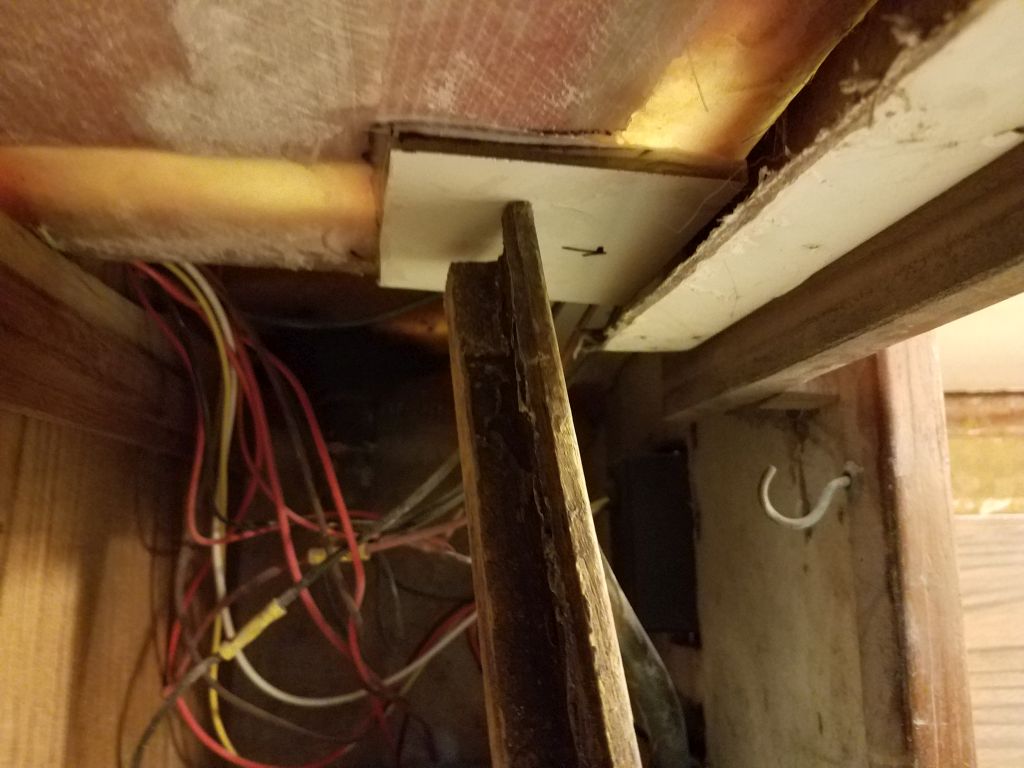
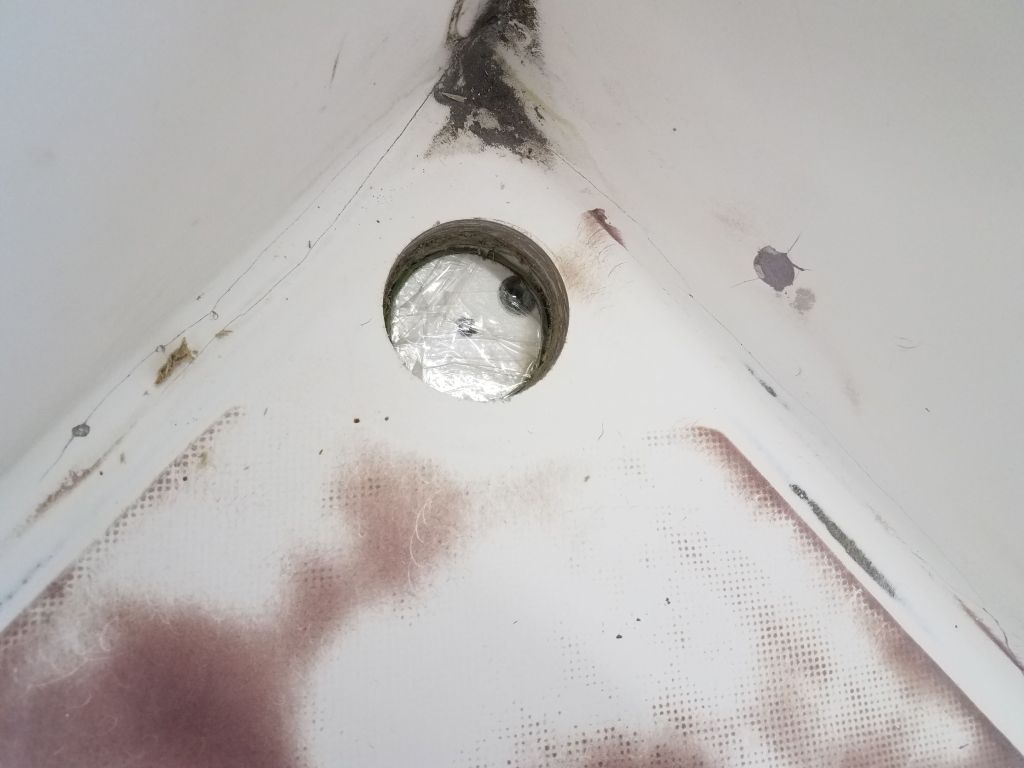
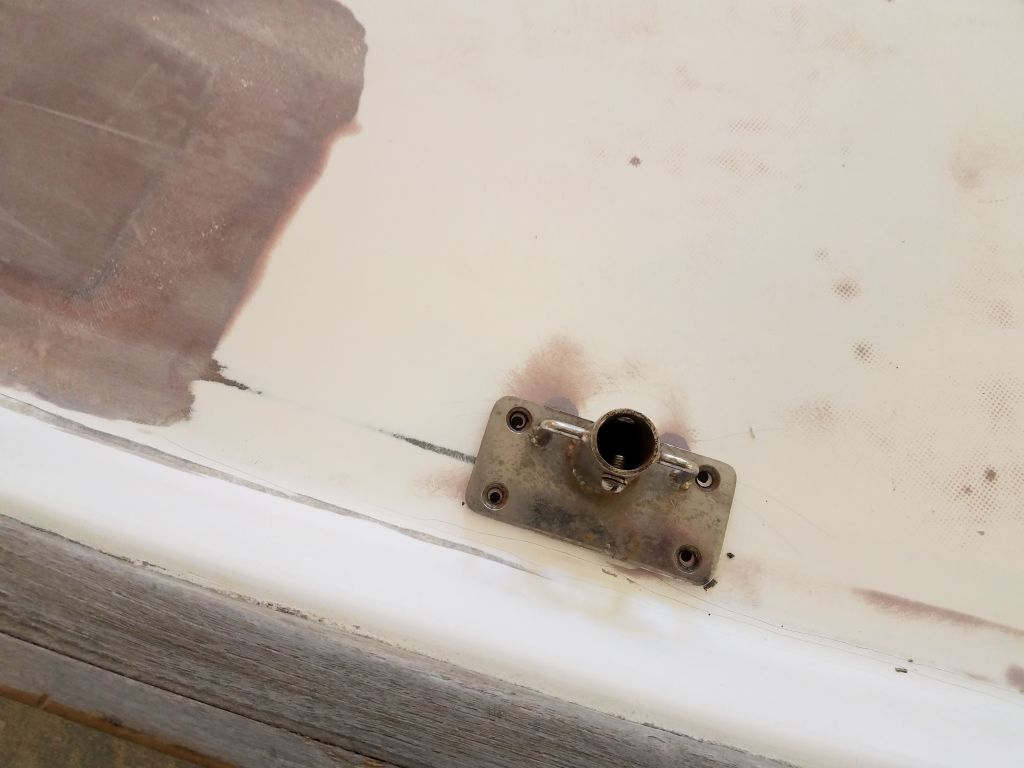
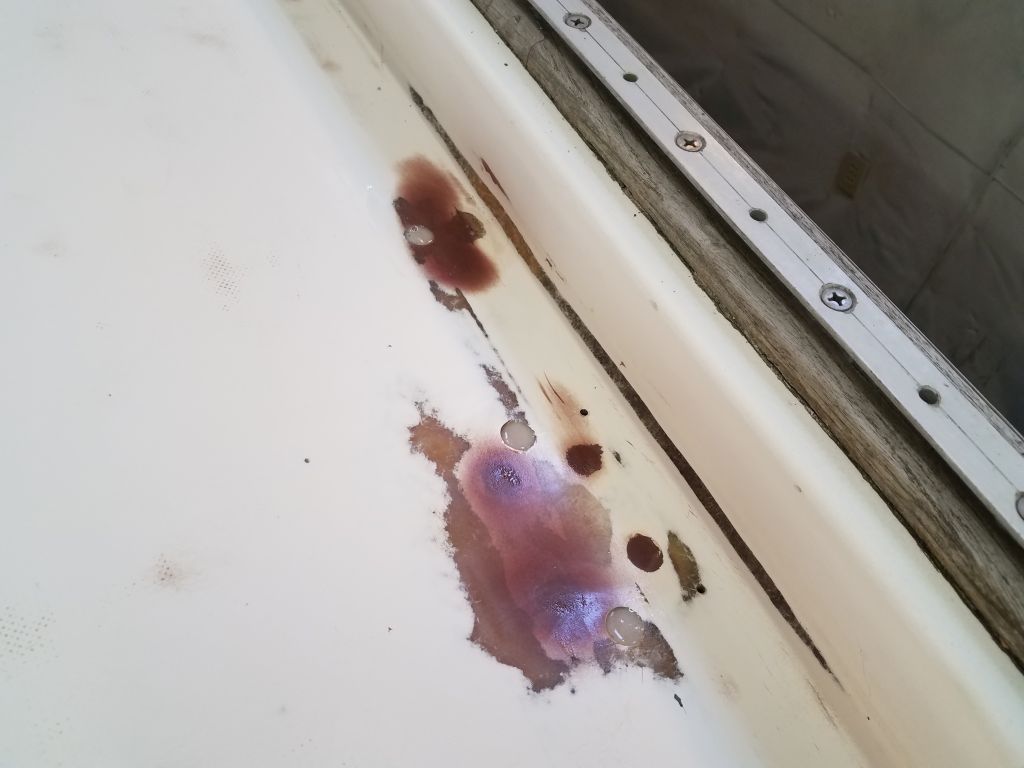
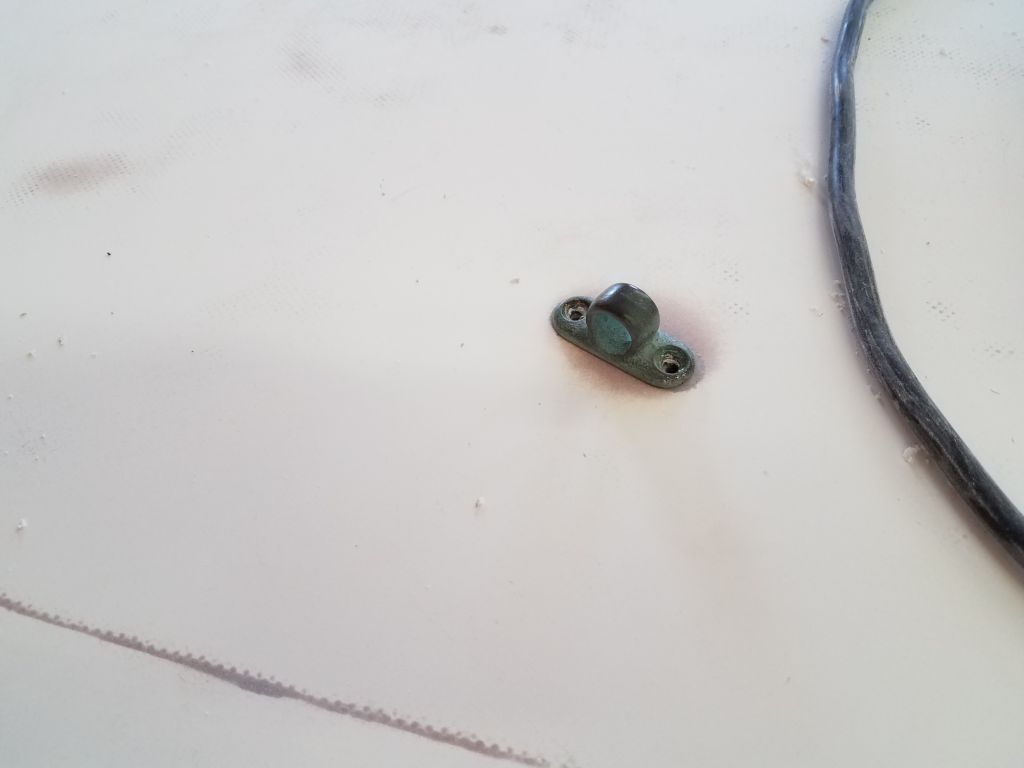
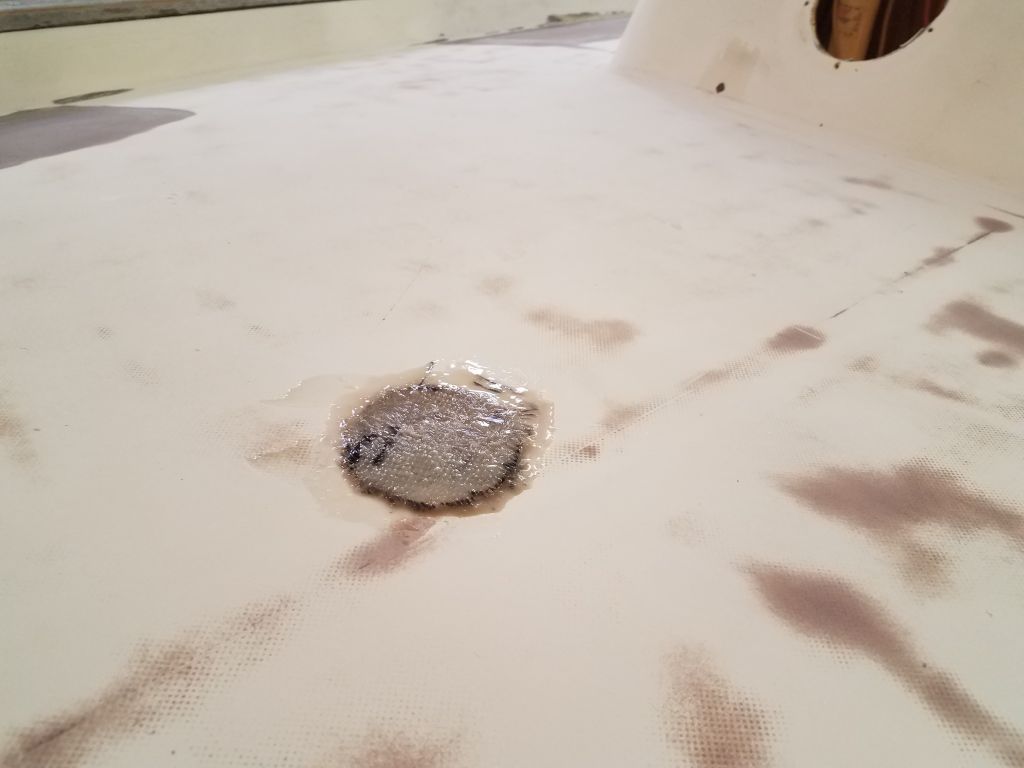
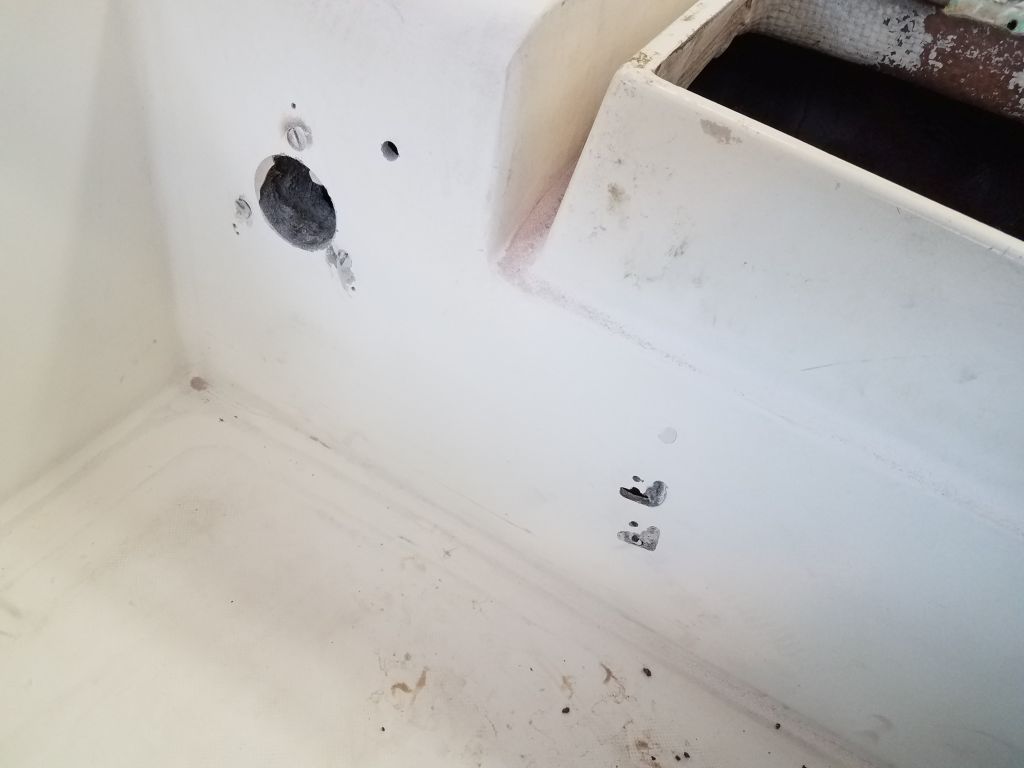
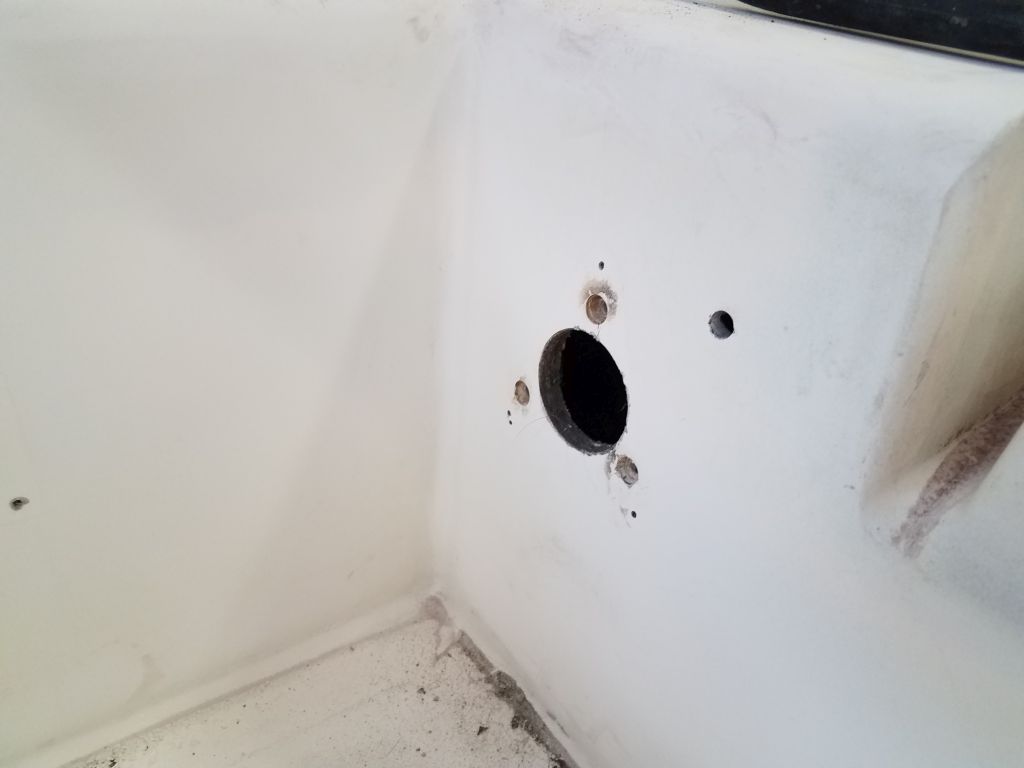
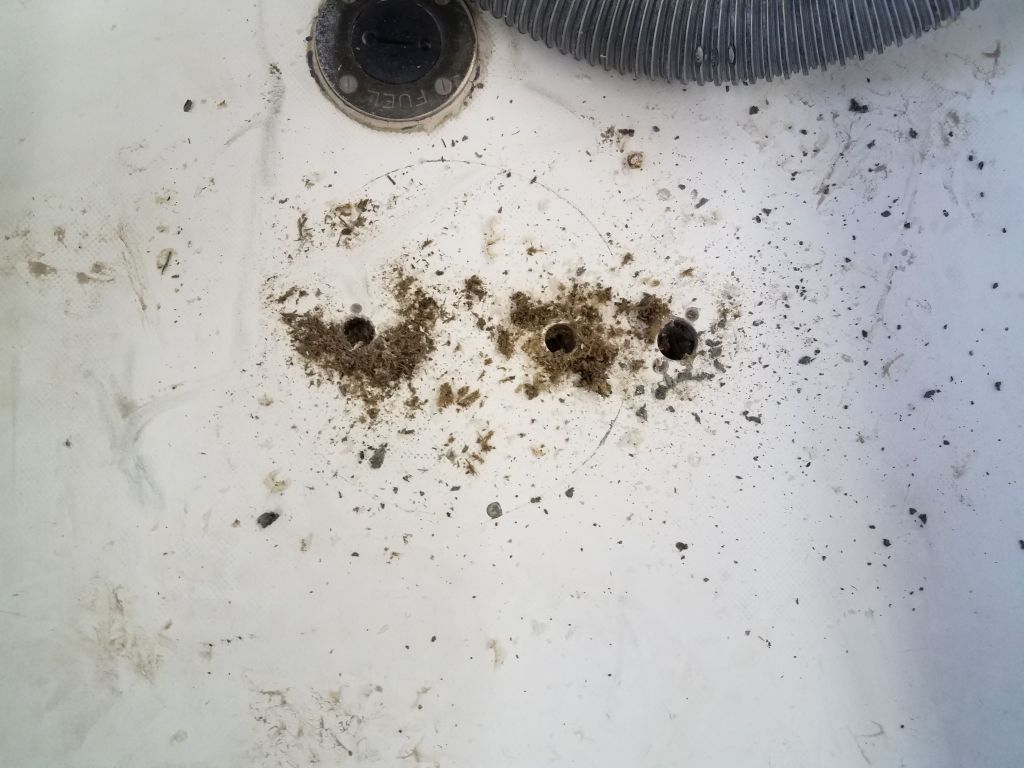
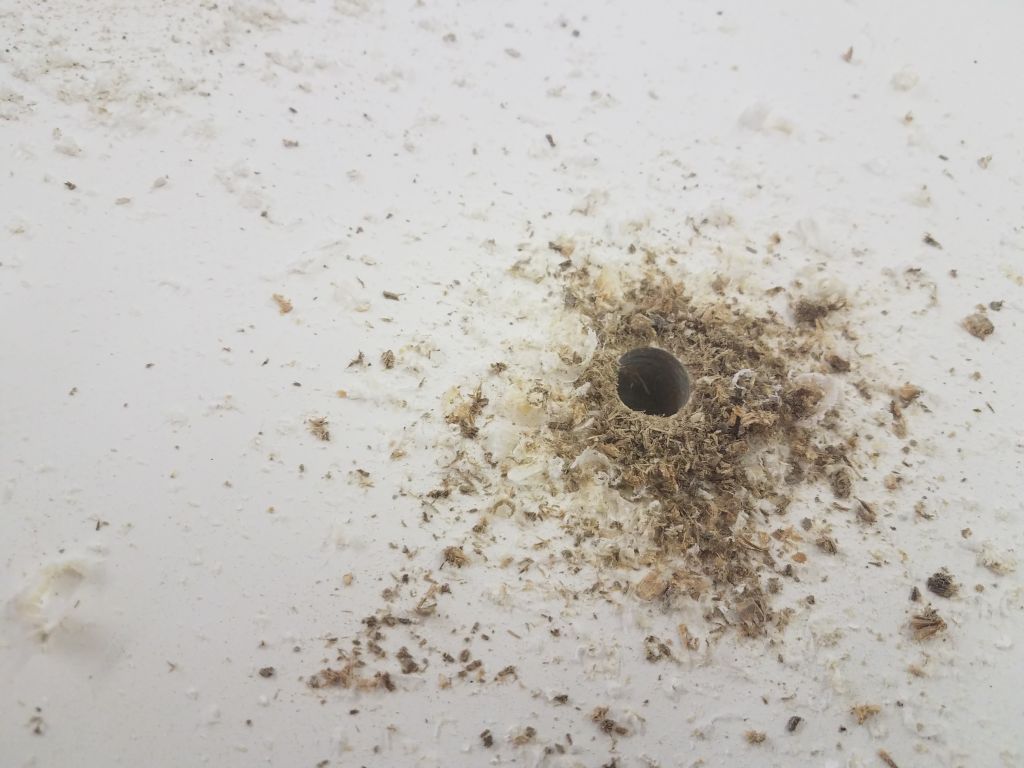
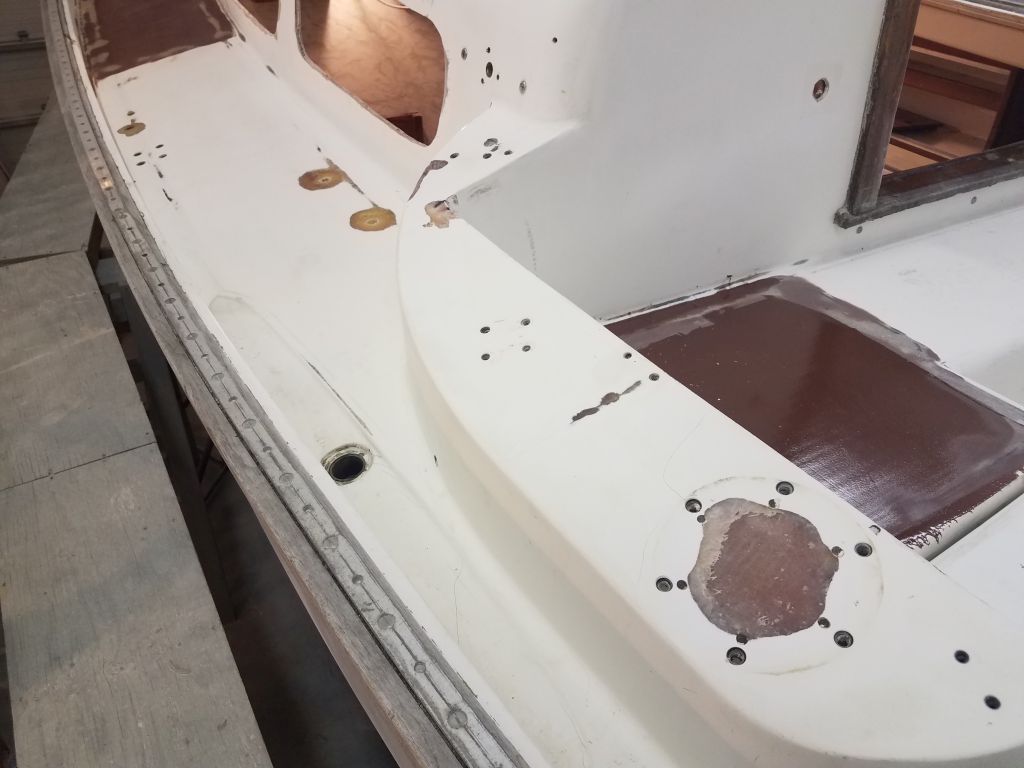
The cockpit seats featured small drains at their forward corners, as the design of the cockpit molding didn’t allow for natural drainage from the seats into the well. The owner asked that I replace these small drains, which he said were a constant frustration of clogs, with new, larger drains. The current drains were short lengths of copper tubing with a flared top end, and drained through hoses that tied into the cockpit scupper drains belowdecks.
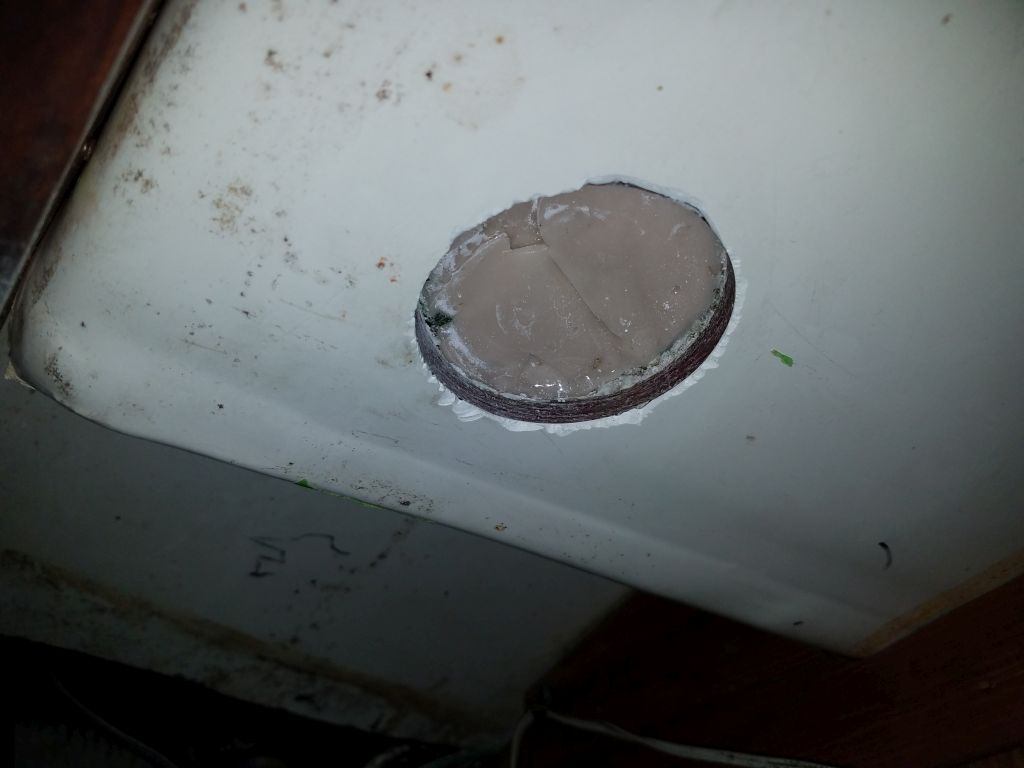
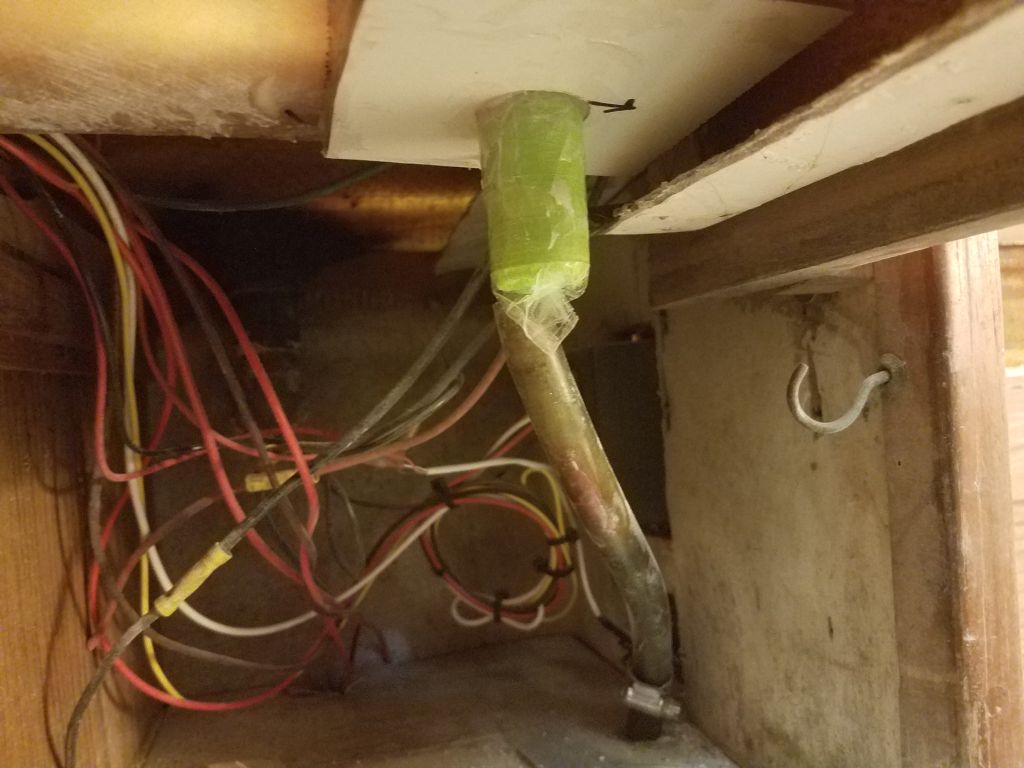
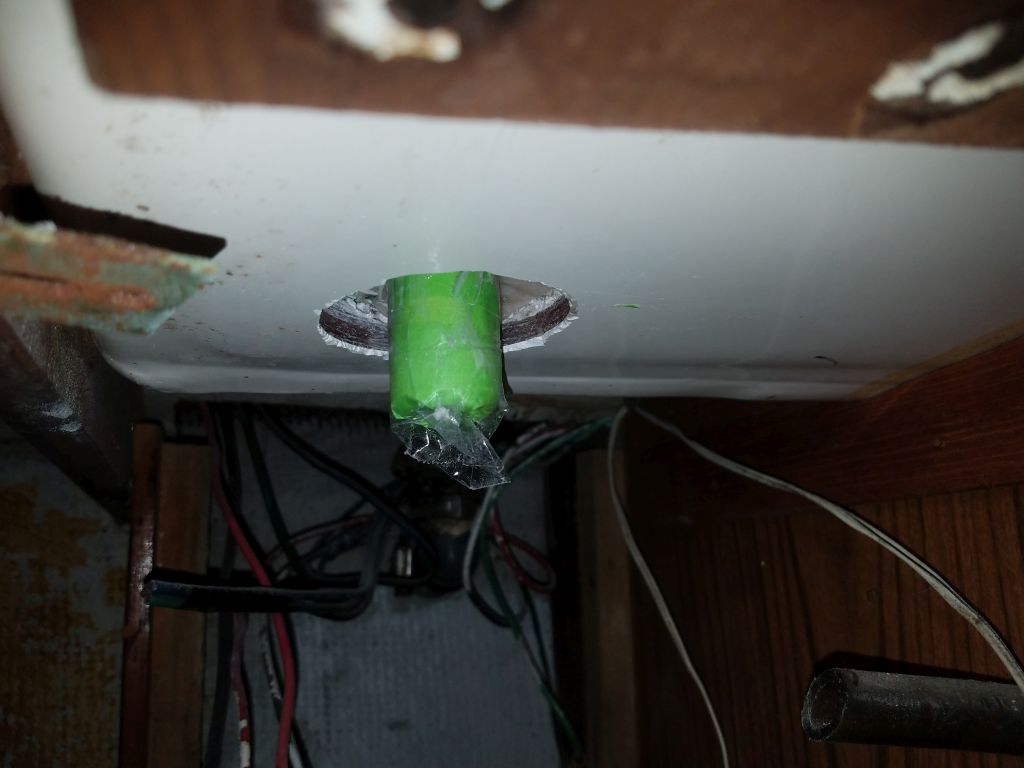
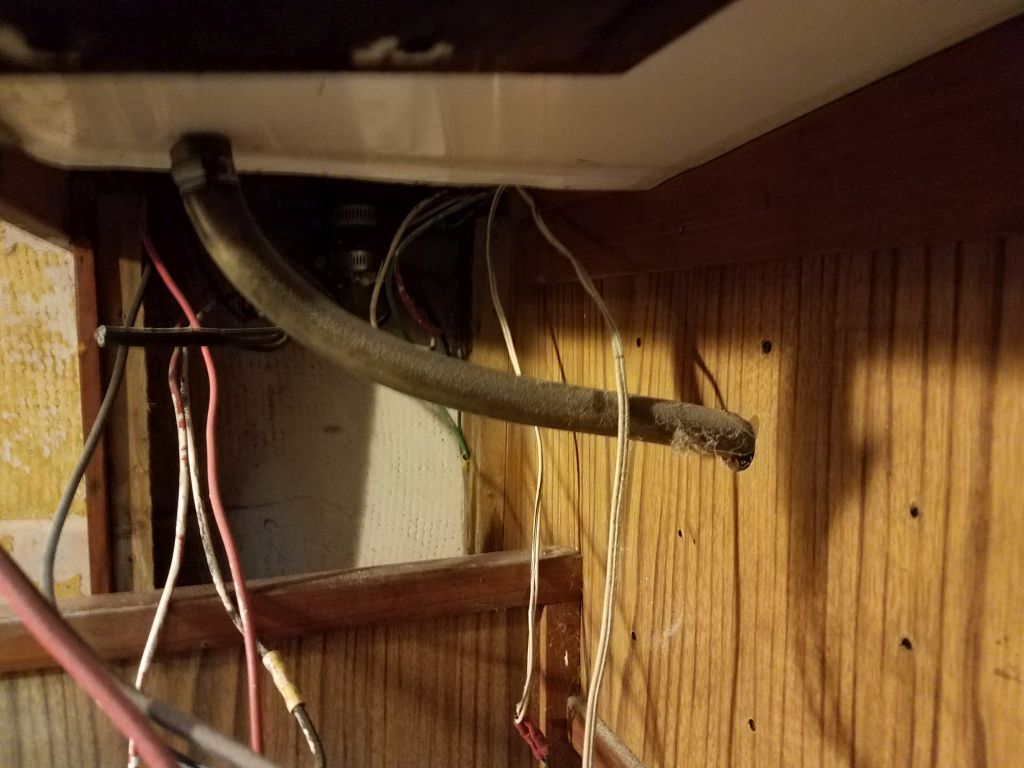
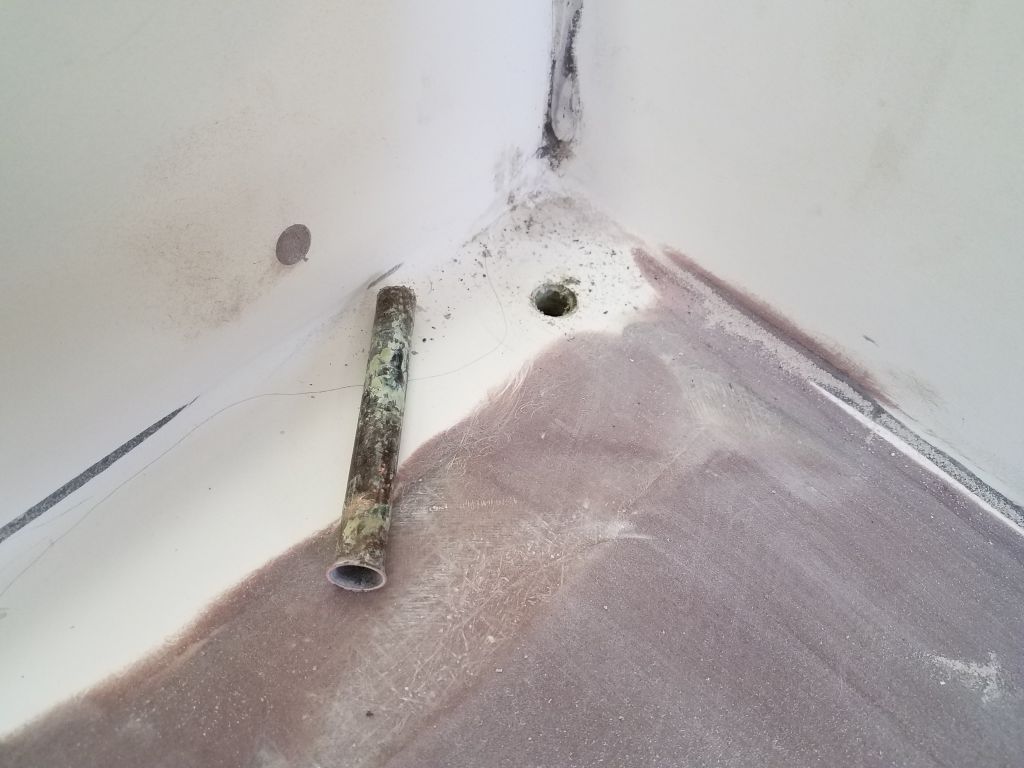
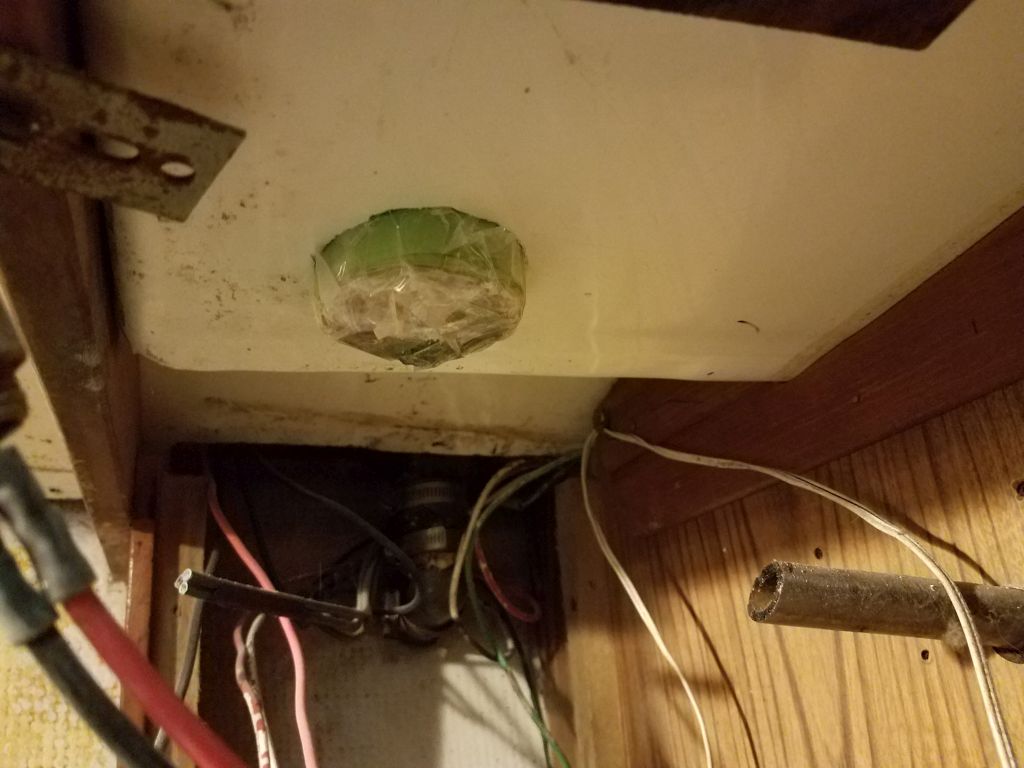
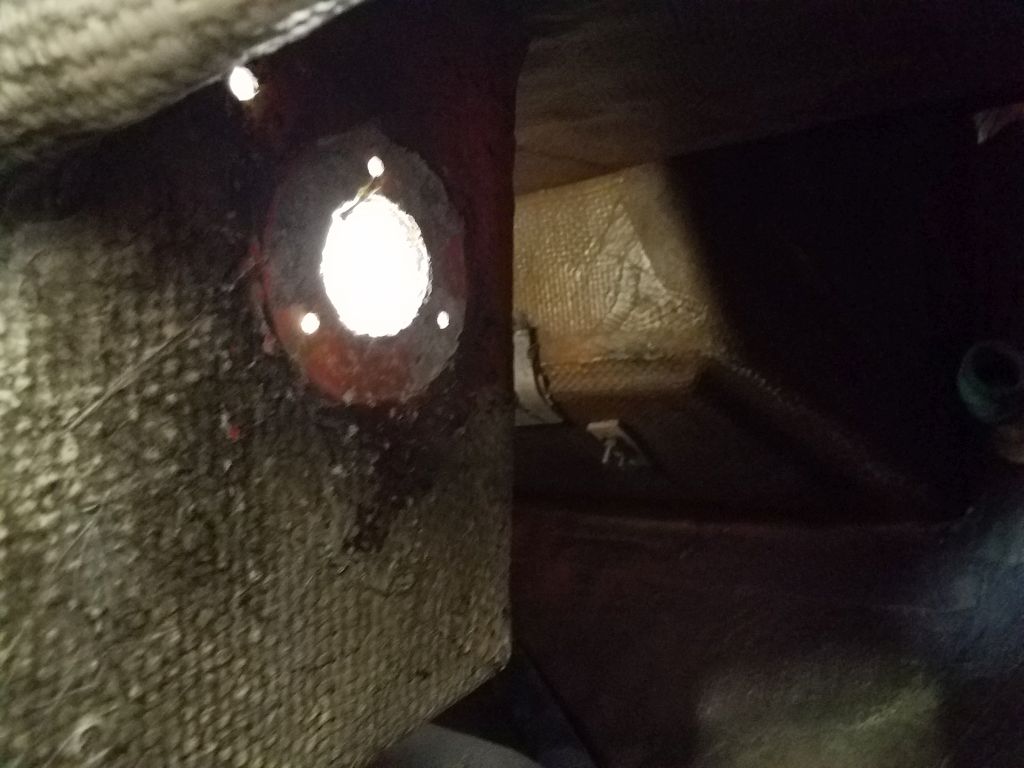
Removing the hoses from beneath (I’d deal with new plumbing later on; for now only the deck fittings were important to immediate progress), I was able to hammer out the port drain fitting from below, but the starboard fitting was badly corroded and crystalized, and shattered when I tried to release and remove it. The way the boat’s construction was configured on the starboard side was also different, as there was a molded liner in the area that seemed directly bonded to the deck above; on the port side, not only had the liner been previously cut away, but in any event there was a large space between liner and deck above.
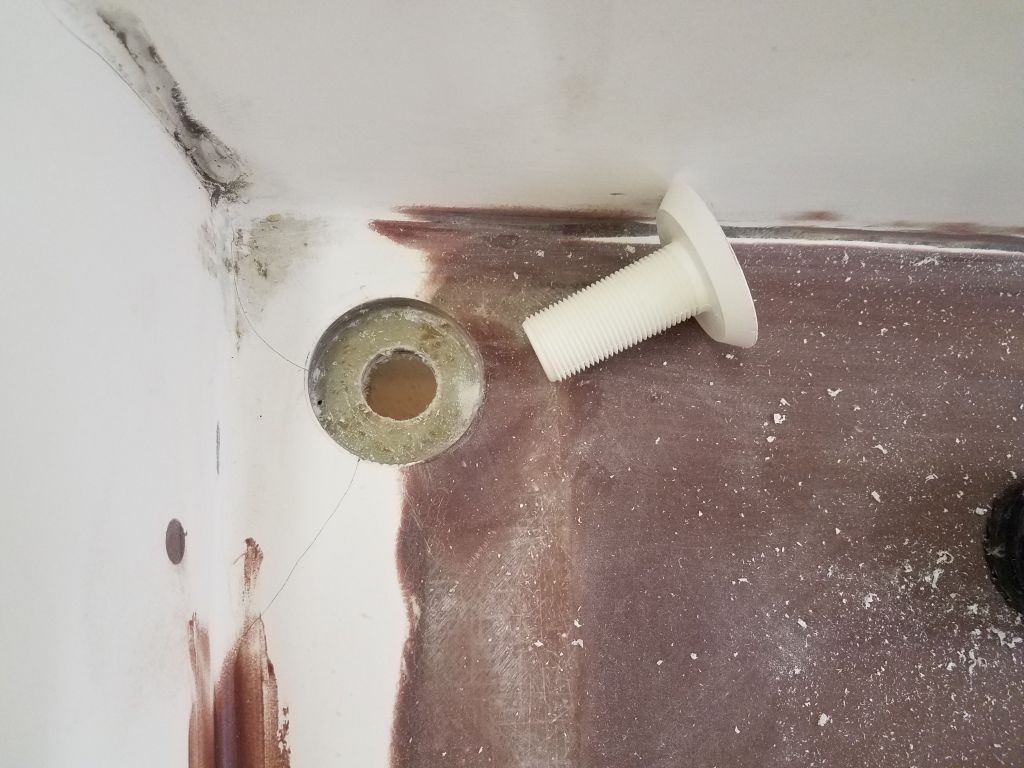
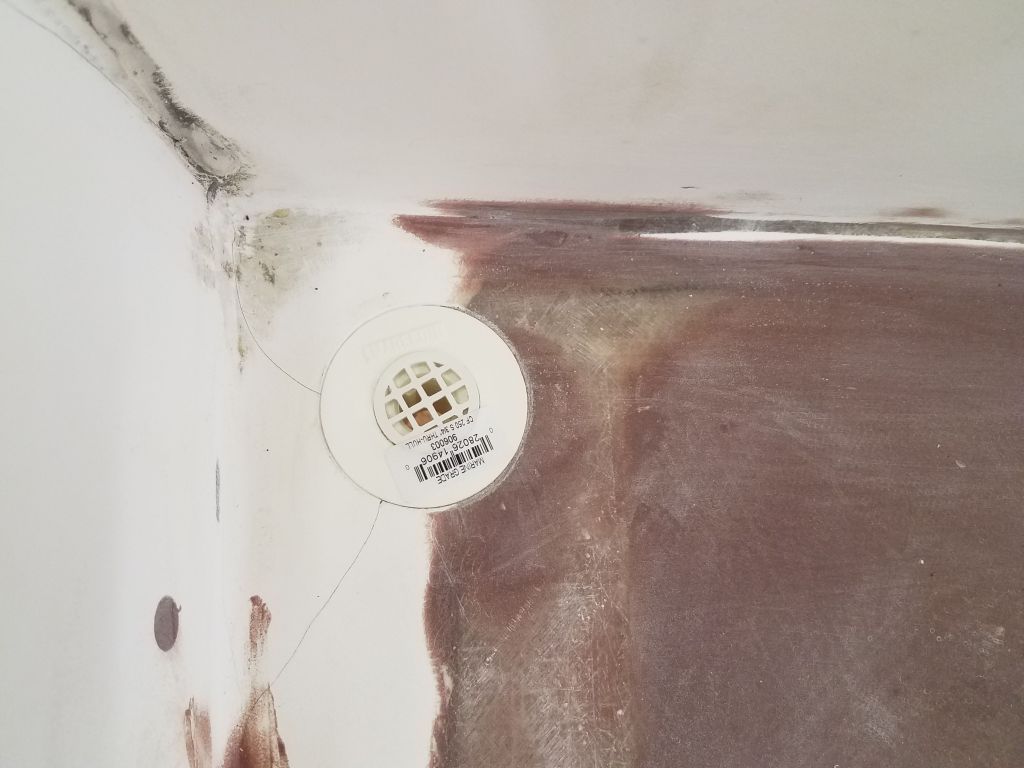
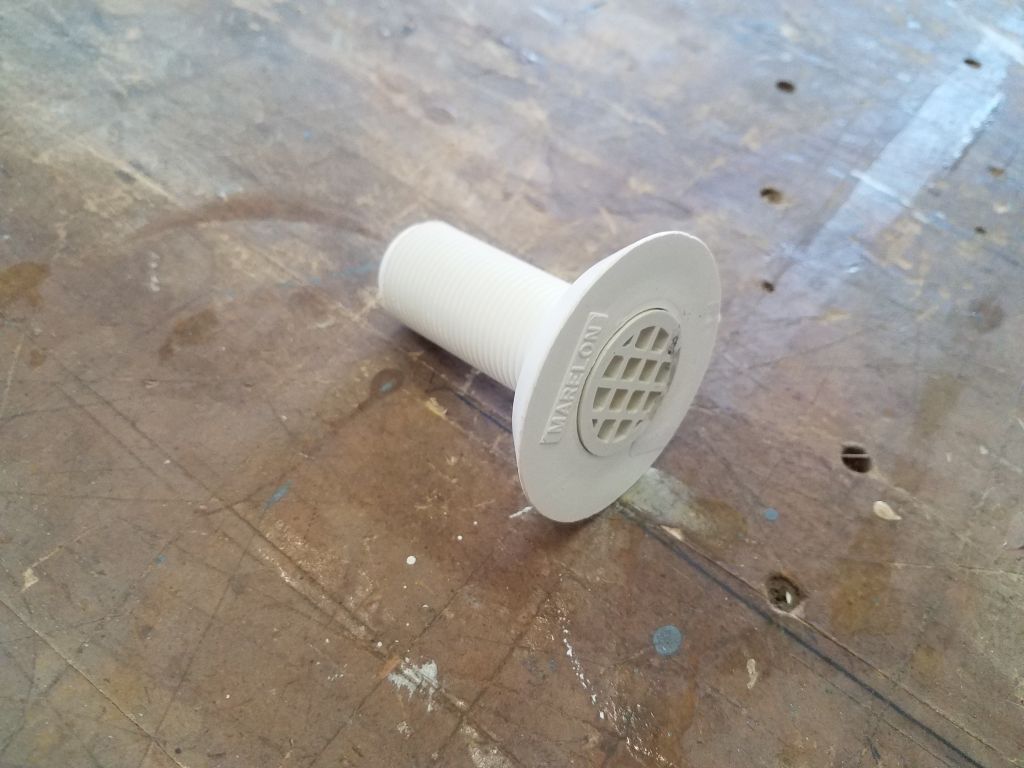
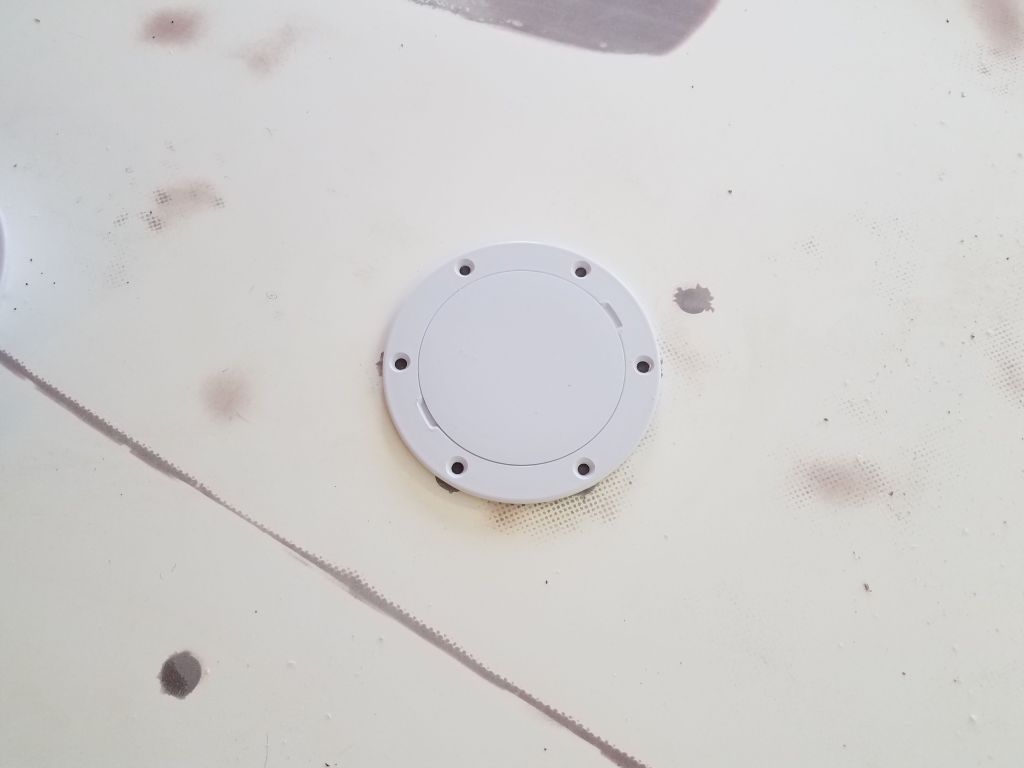
To replace these drains, I purchased 3/4″ flush Marelon fittings equipped with debris screens. These required a tapered recess in the deck to accommodate the flush heads.
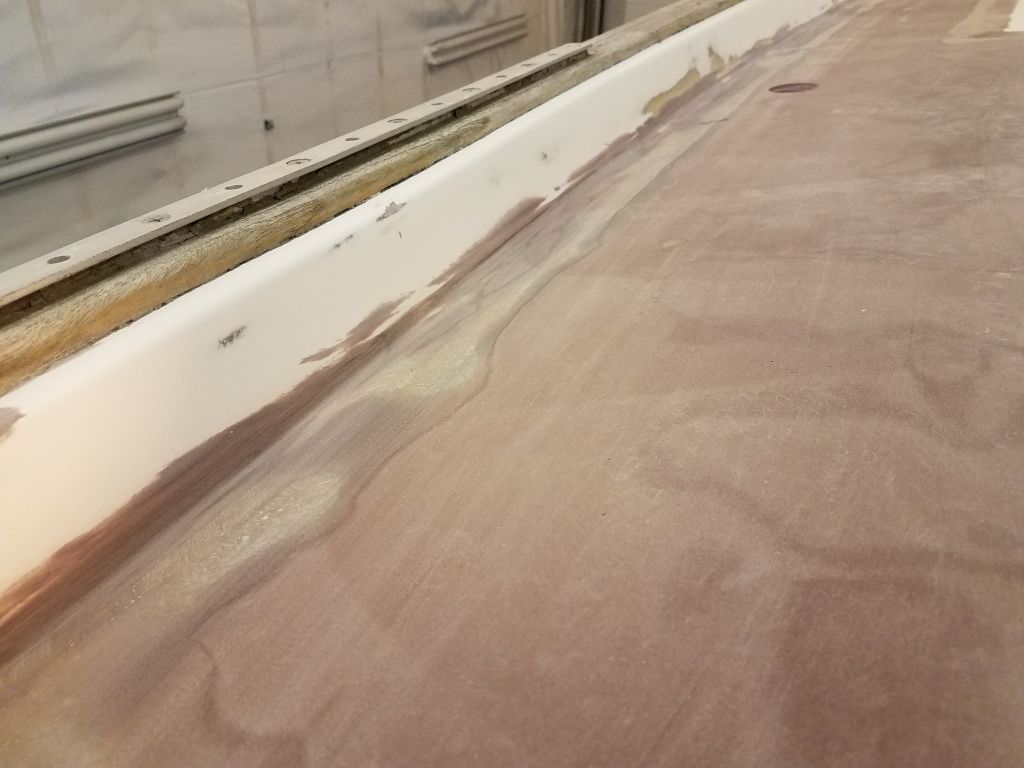
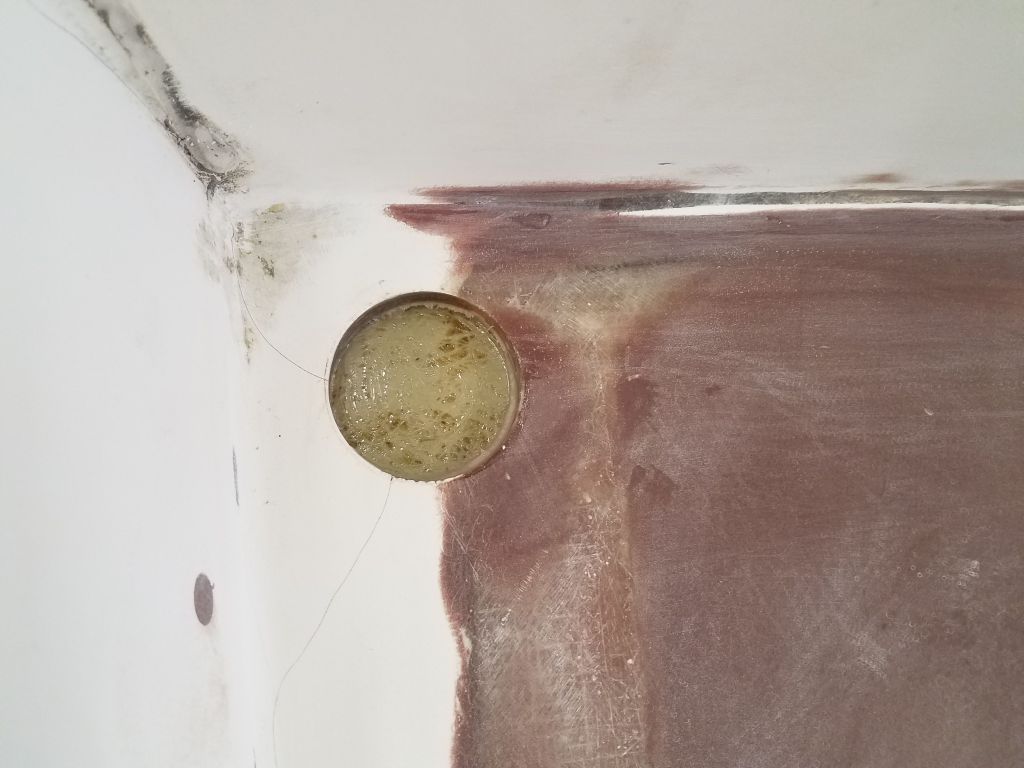
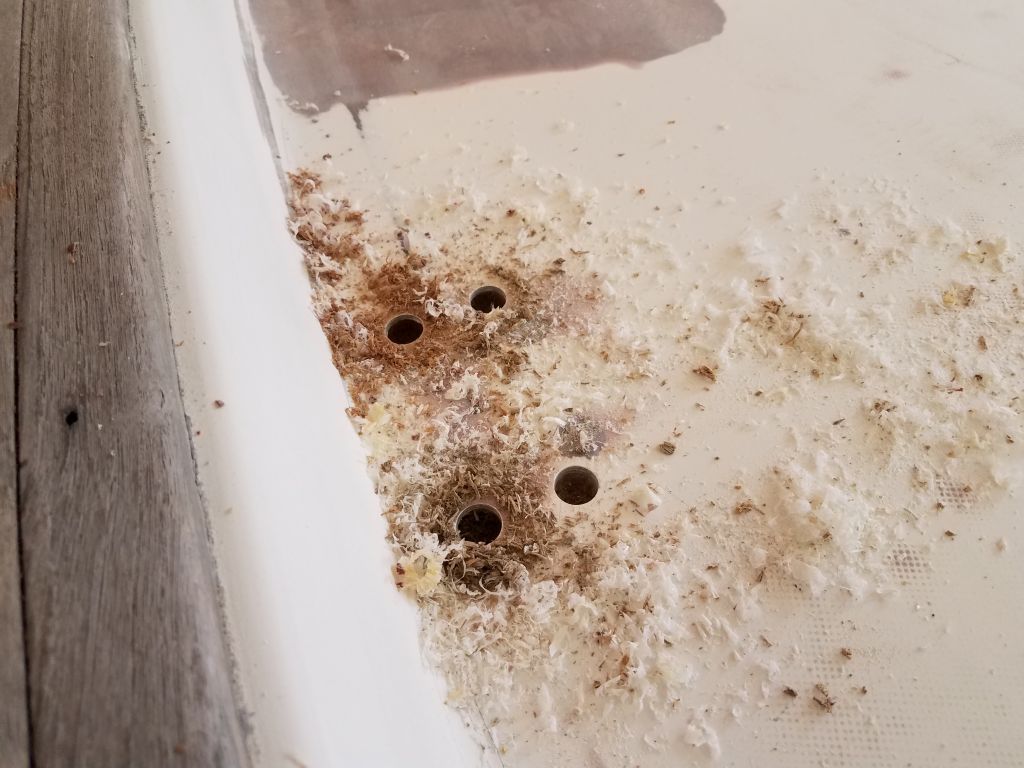
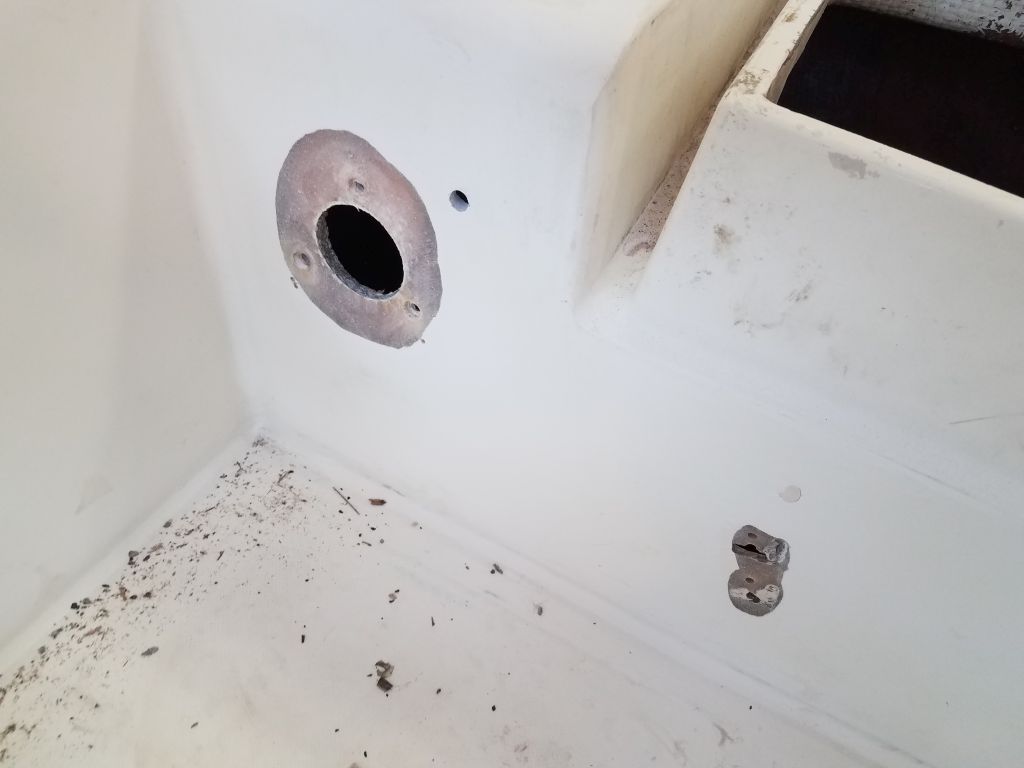
My original plan had been to use progressively smaller hole saws to make concentric cuts in the deck to a certain depth, after which I’d chisel out the remains, leaving me with a flat-bottomed cutout slightly deeper than the depth of the head on the new fittings, from which I could easily mold a new opening to fit the new drains exactly. However, with the removal of the old drain on the port side, I found that the deck laminate was somewhat thinner than expected, and this wouldn’t leave much material if I made the cuts as I’d planned. Plus, there was the challenge of the non-removable pipe on the starboard side.
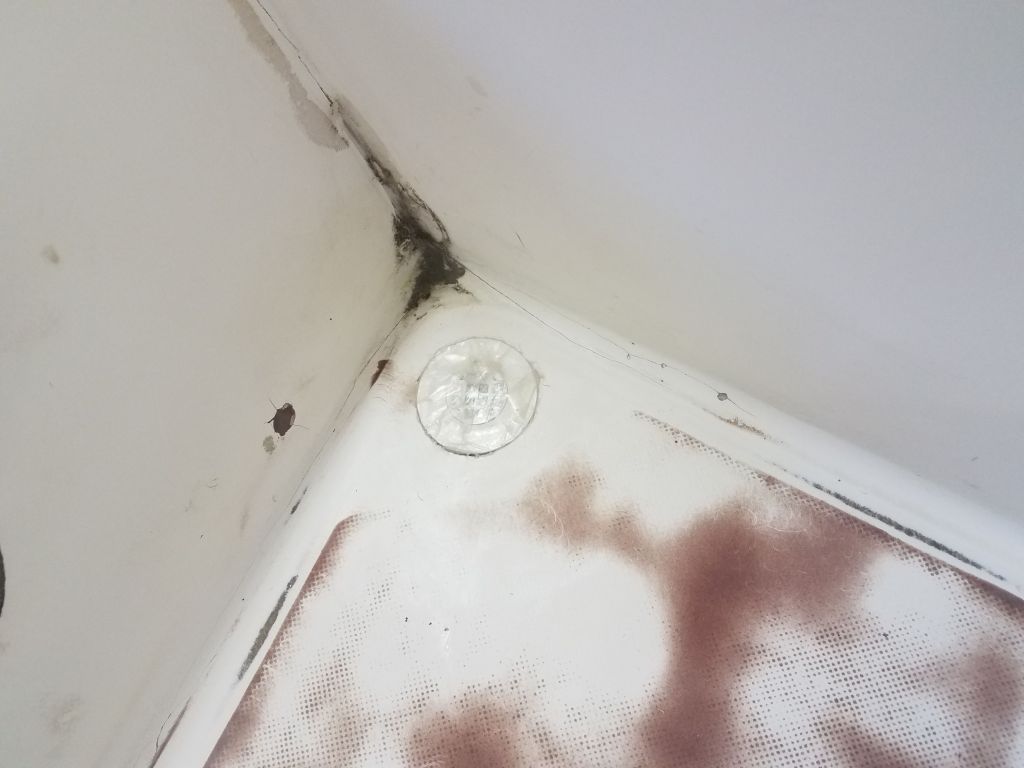
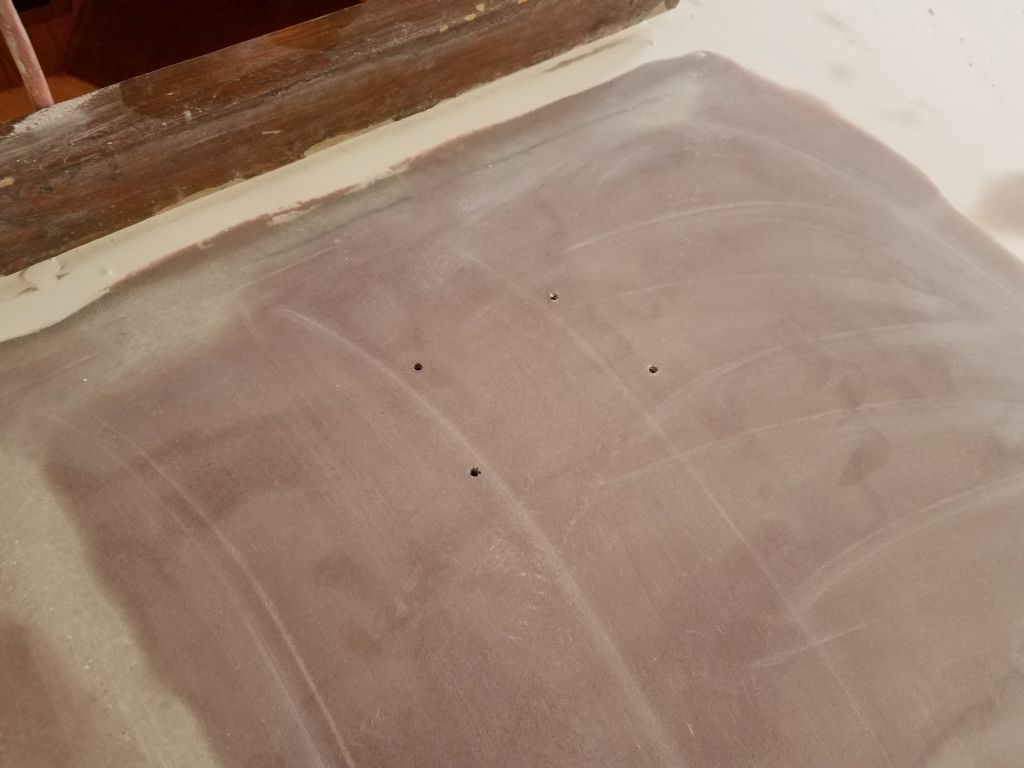
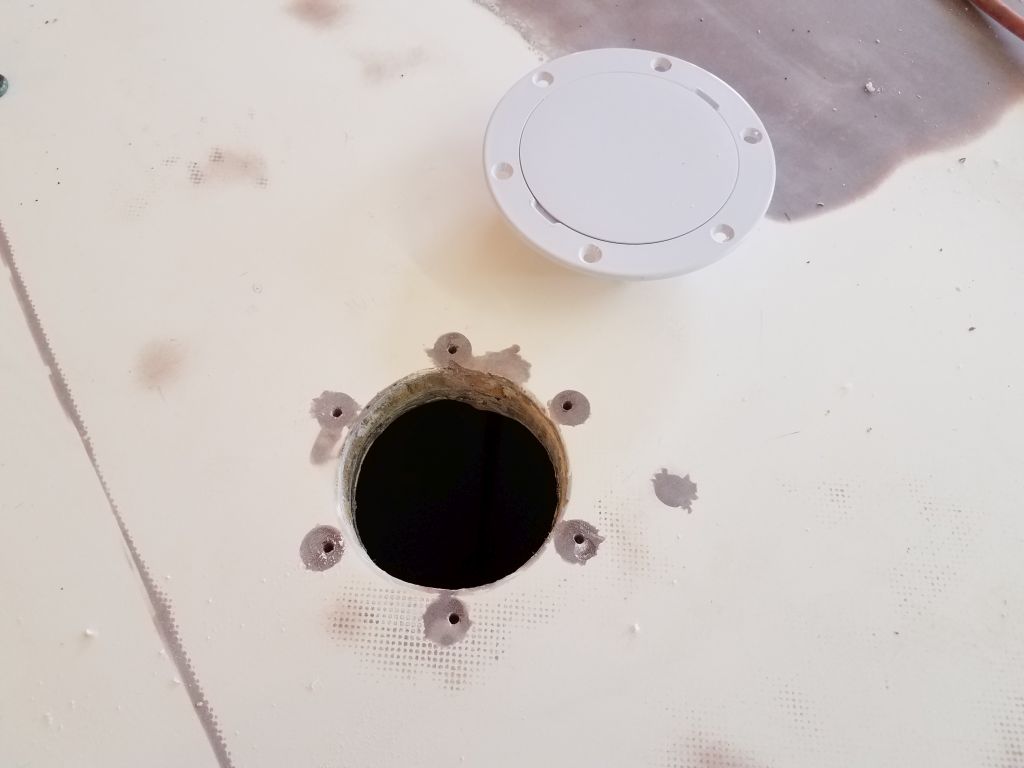
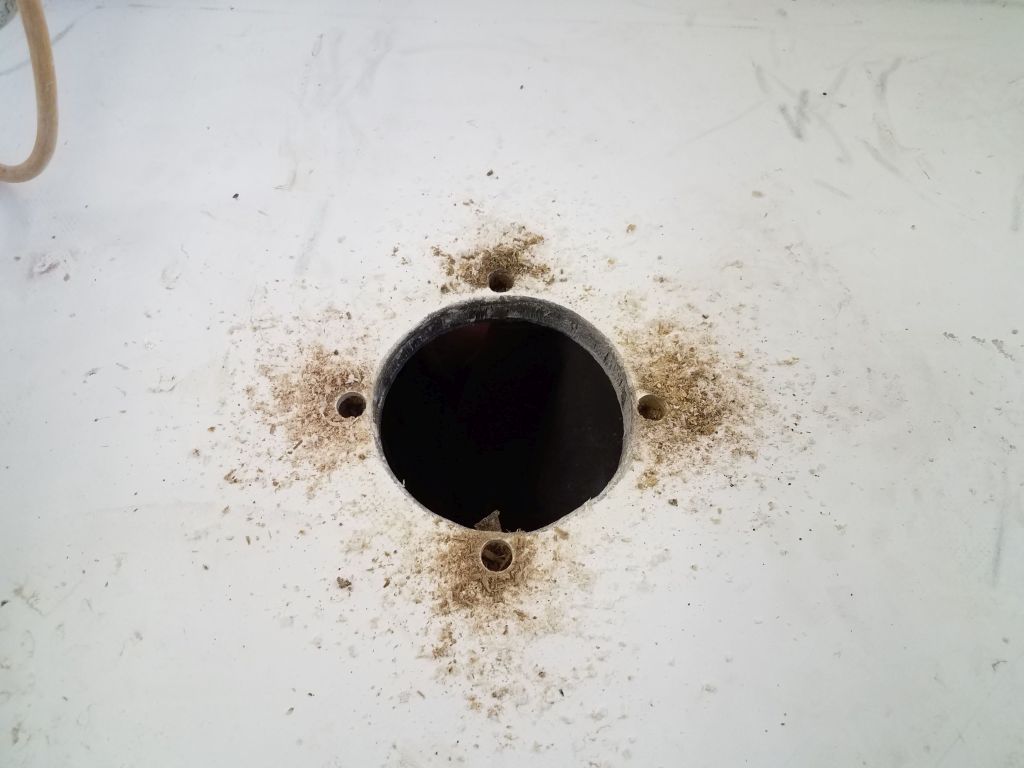
Instead, I used a hole saw just slightly smaller than the maximum flange diameter to drill all the way through the deck on both sides. The hole was sized so that it still held the fitting from the top, and to get the fitting to sit slightly lower when all was said and done it’d be easy to sand a slight chamfer around the top edge as needed.
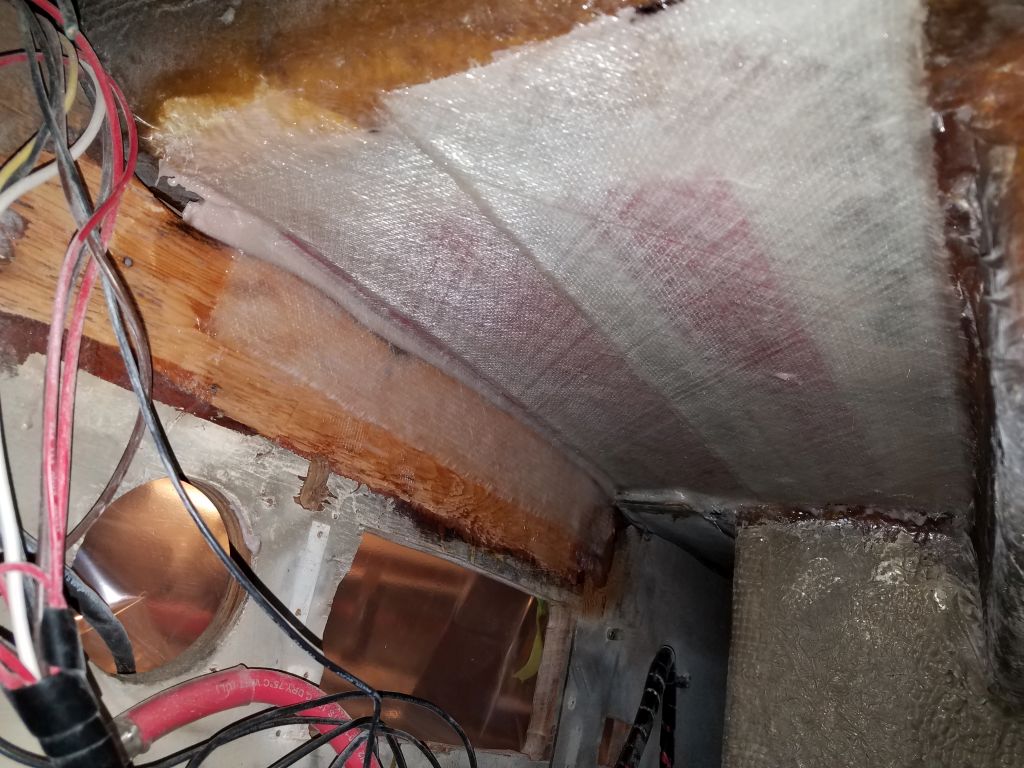
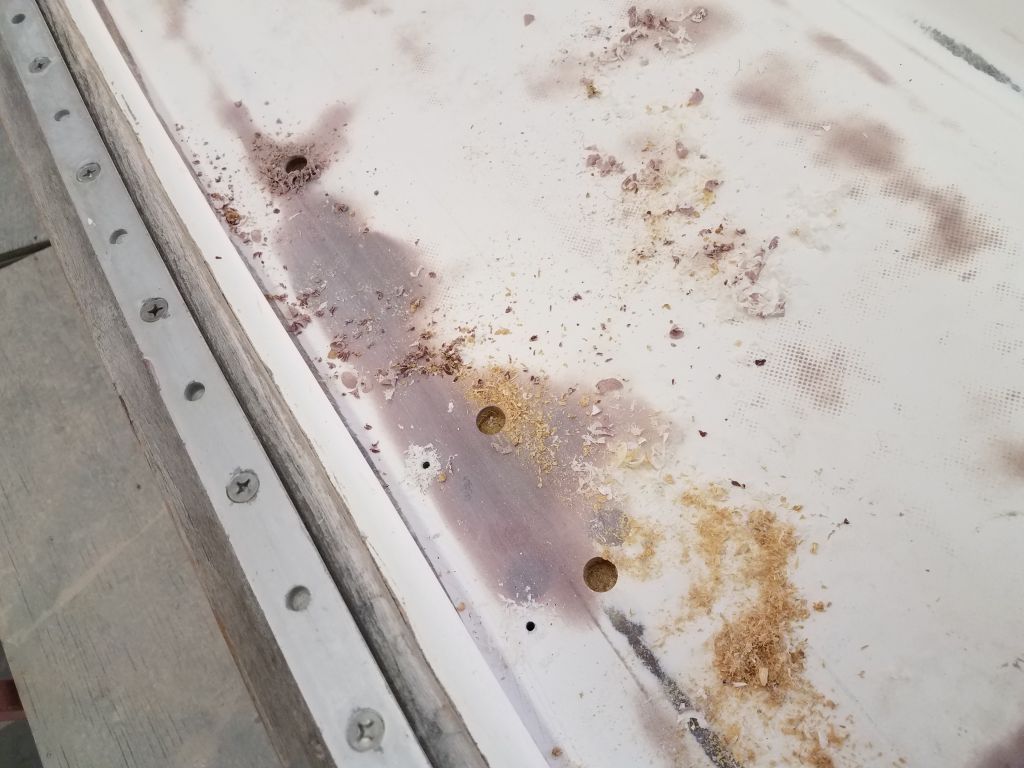
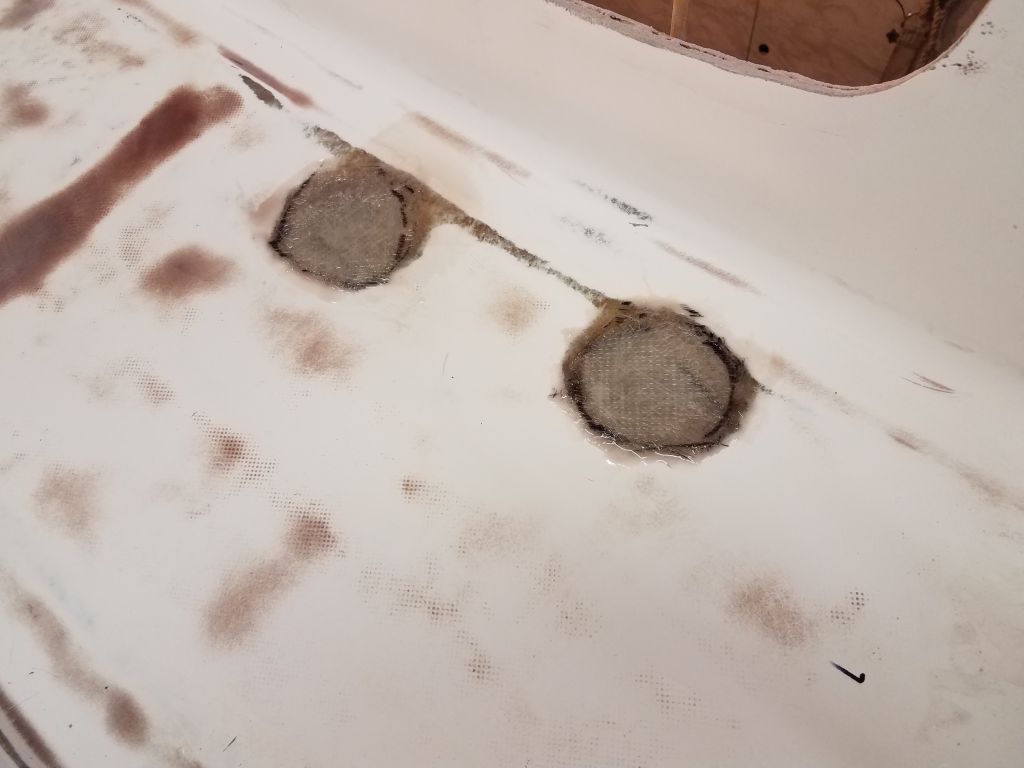
The larger hole saw also removed the entire pipe assembly from the starboard side. As I’d suspected, the cabin liner was bonded directly to the bottom of the deck here, creating a solid structure all the way through. There was some core material as well, slightly damp around the old pipe location but otherwise sound. (Apparently I didn’t take any photos of the raw holes at this stage.)
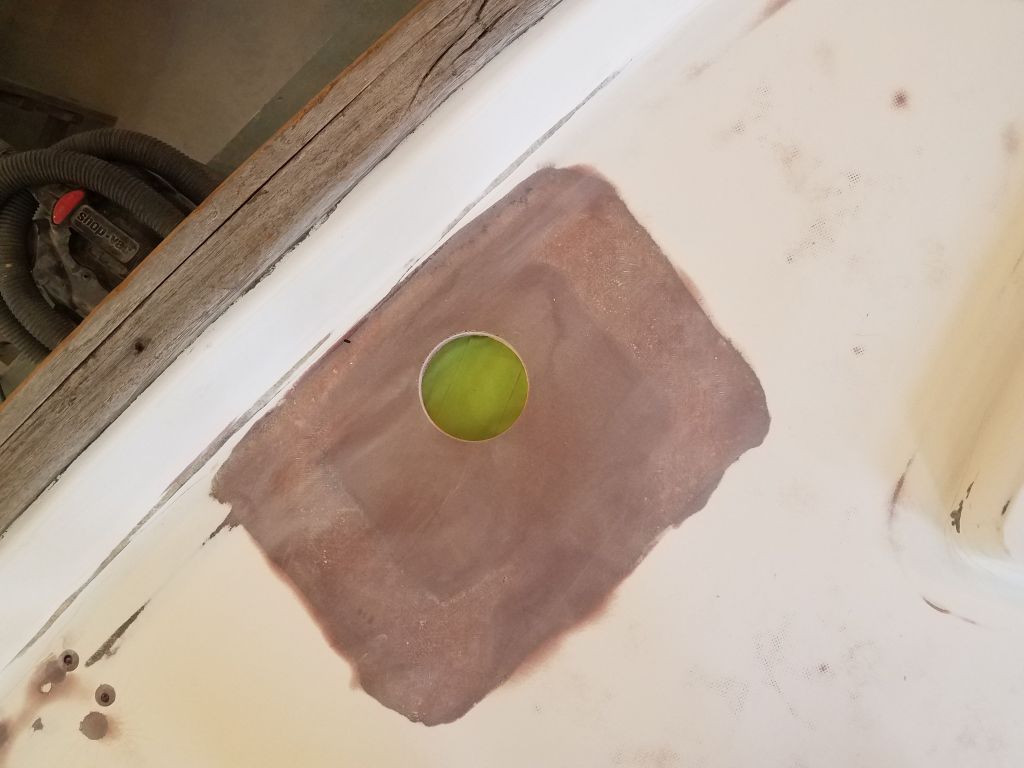
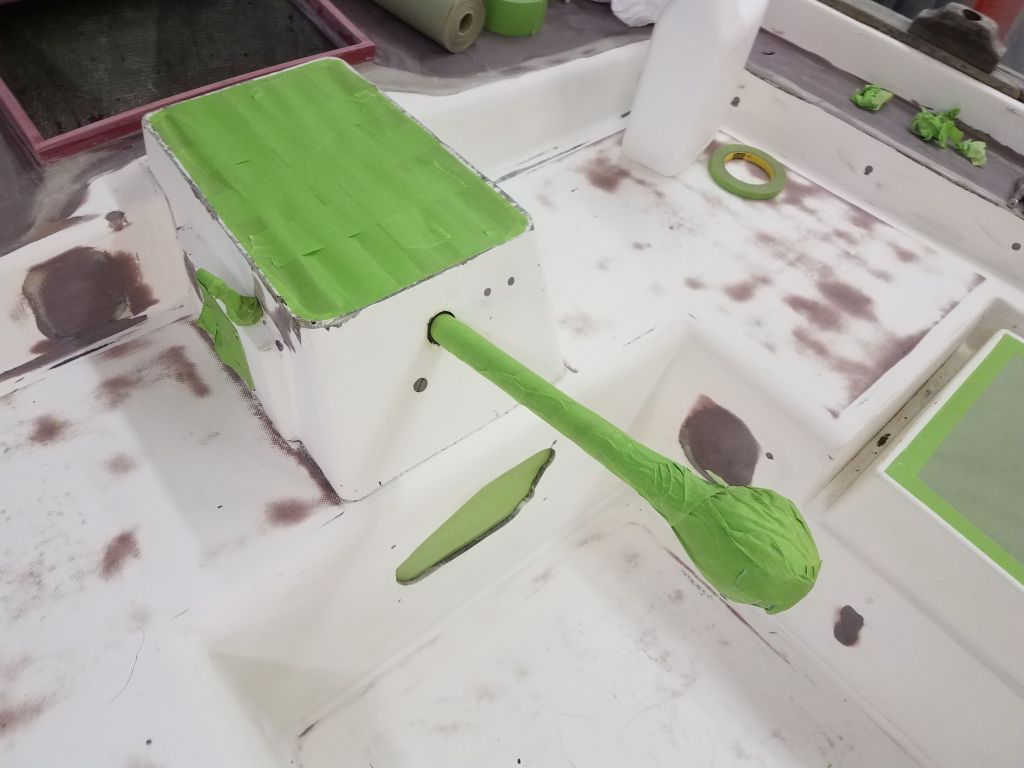
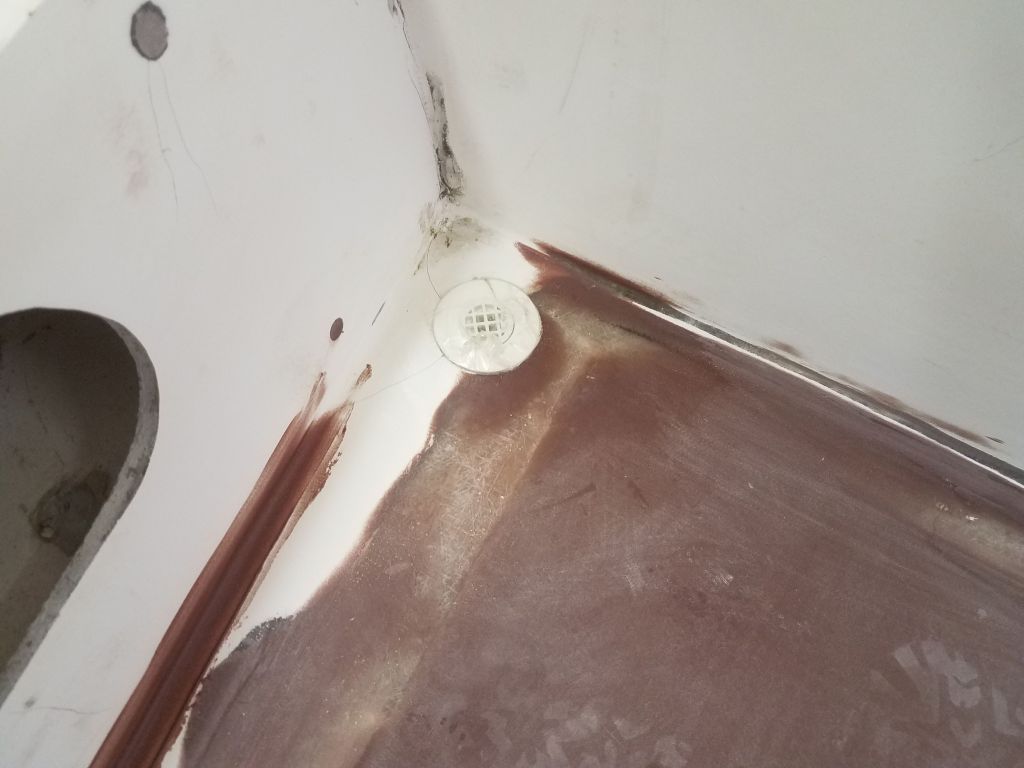
To rebuild these now-overlarge holes to accommodate the new drains, I took a different approach on each side, tailored to the details therein. To port, where the deck was a solid laminate of about 5/16″ or slightly thicker, I epoxied a piece of 1/4″ laminate sheet below the large hole, effectively closing off the opening from below and giving me the basis for the custom recess I’d have to mold using the drain fitting itself later. I wedged the backing plate in place and left the epoxy to cure overnight.
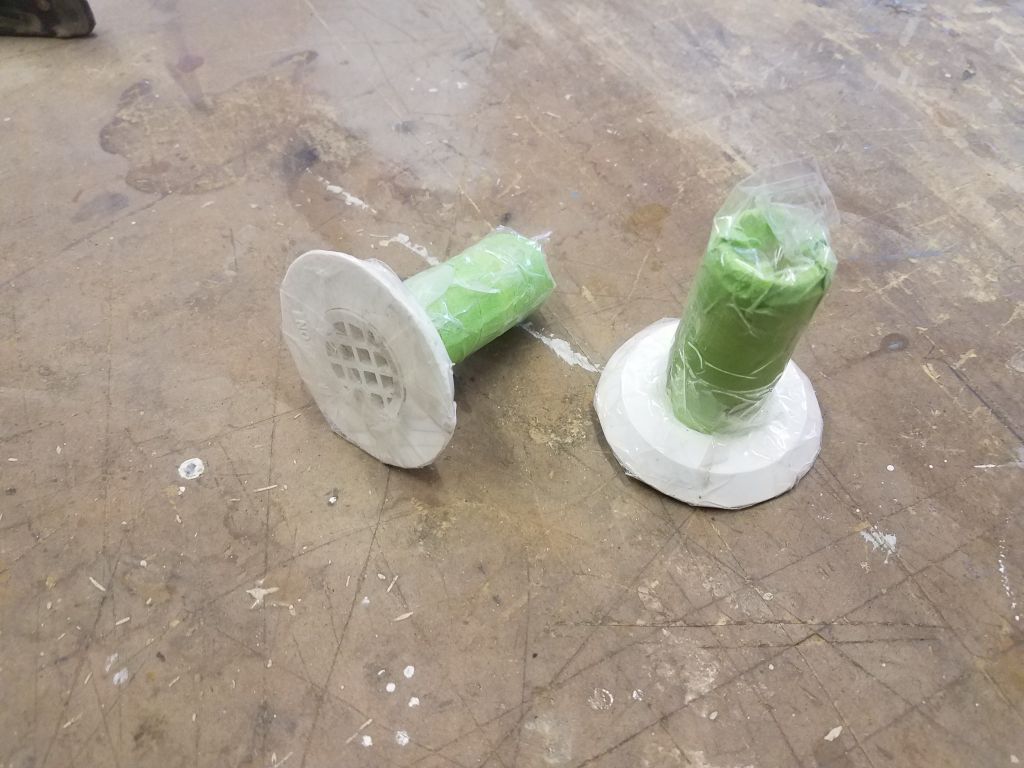
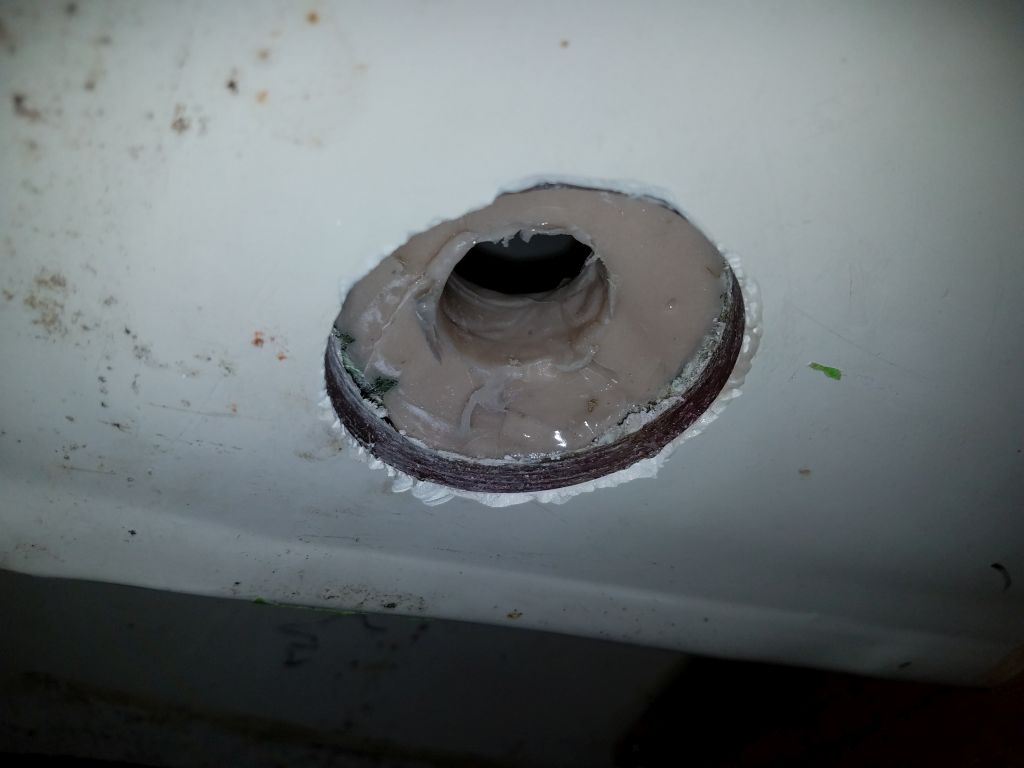
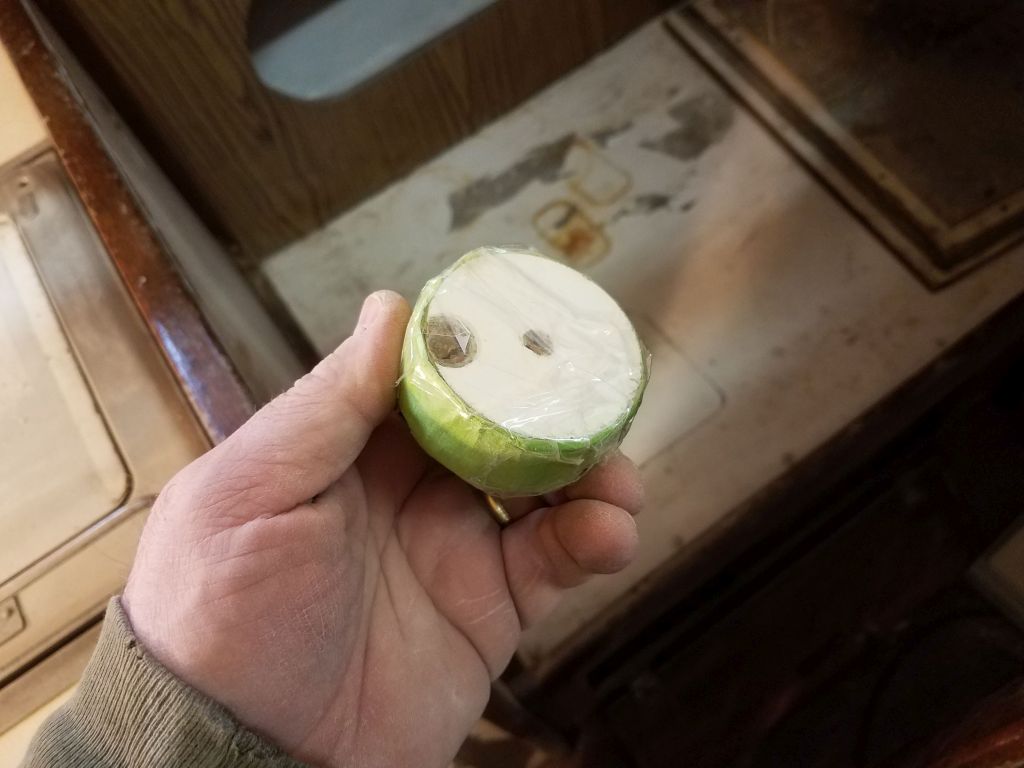
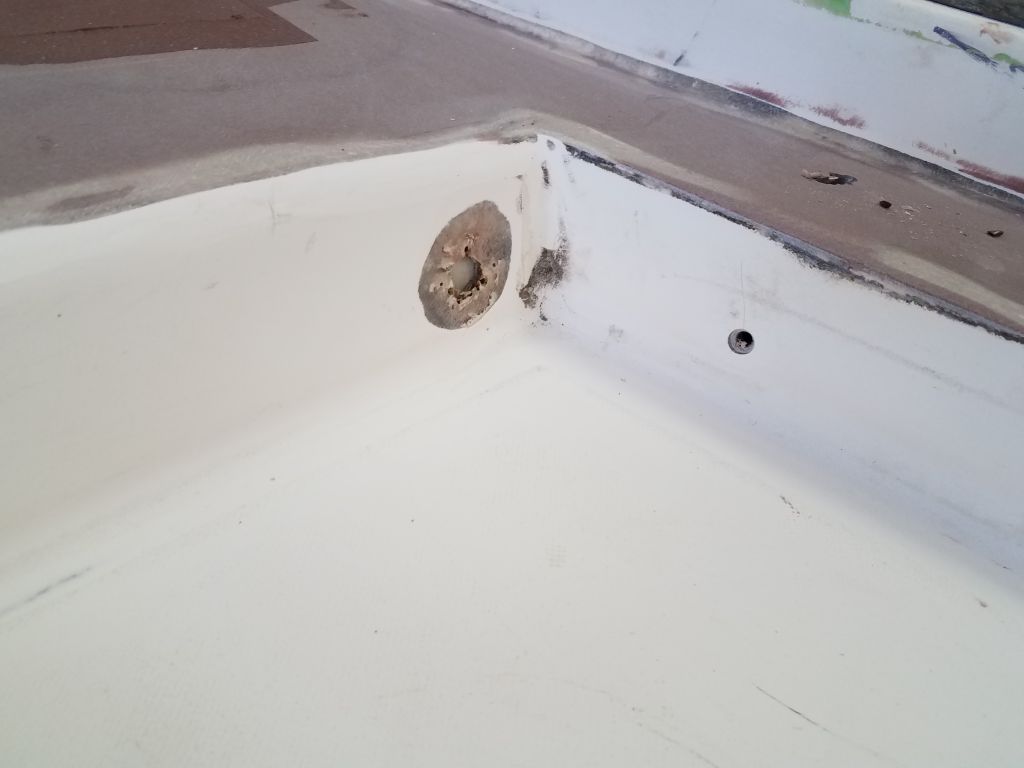
To starboard, there were a few considerations. First, the thickness of the deck here meant that there was a lot less of the drain’s threads that extended below into the cabin, and to allow sufficient room to thread on the pipe-hose connector later (as well as cosmetically), it would be better if the nut for the drain fitting was slightly recessed–easy, since the hole was already more than large enough for this. But I also had to partially fill and plug the hole to allow me later to mold the recess from above, while allowing the fitting’s threads through and a way for the nut to secure the whole arrangement. To this end, I chose to use the plug that I’d cut out with the hole saw. Wrapping the plug in many layers of masking tape to provide a good friction fit back into the hole from beneath, I then covered the whole thing with several layers of clear plastic tape as a mold release, and pushed this assembly up about 1/4″ into the hole from beneath–enough space for the through hull nut later. To ensure the plug didn’t fall out despite its friction fit, I taped over the bottom too.
Now, from above, I filled the hole partially with thickened epoxy, which when cured would form a solid plug and bottom. There was ample texture to the inside of the hole to provide plenty of “tooth” for the new epoxy plug to grab on to the adjacent material. I only added enough epoxy to build a base of about 5/16″ thickness, as I didn’t want to risk the filler becoming overly hot during curing, which would cause it to foam and expand. When cured, this would give me a solid base on which to build the final molded shape for the fitting recess, as well as to support the fitting and allow the tailpiece to pass through.
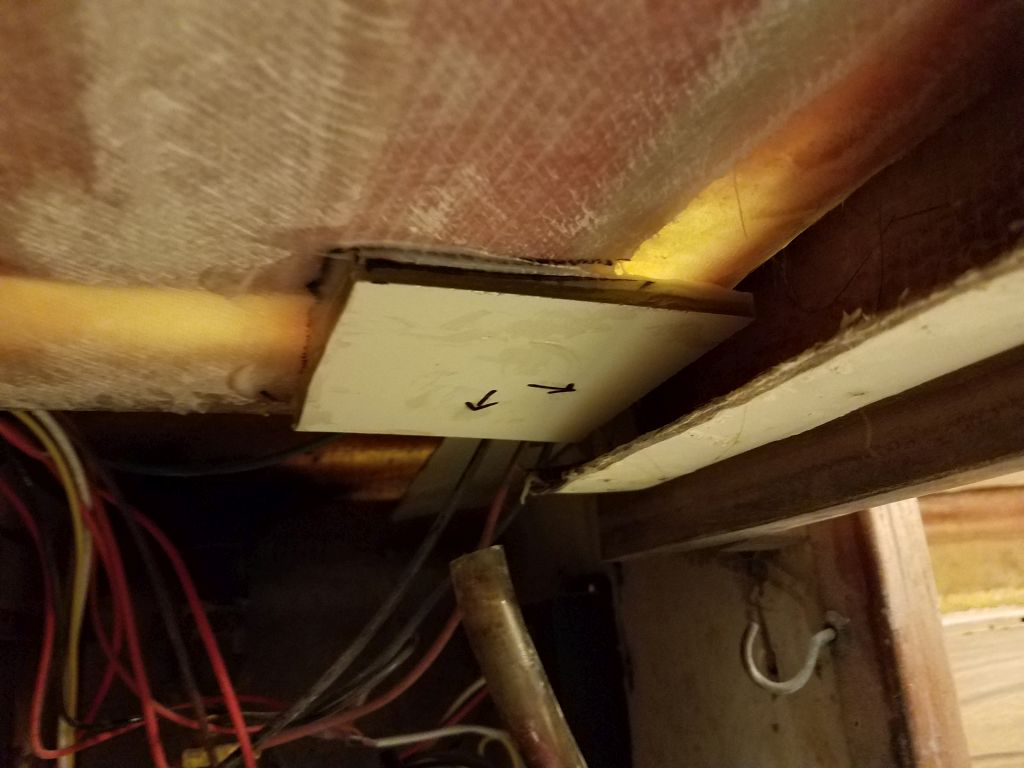
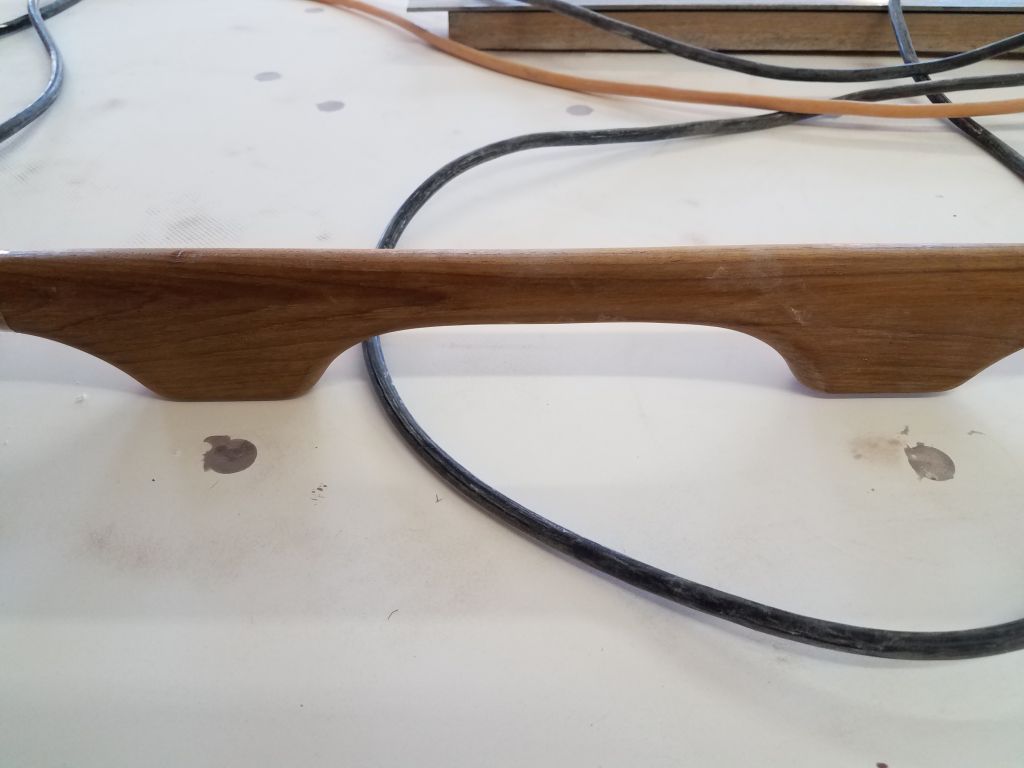
With this work complete for now, I wrapped up the day with a small fillet job on the coaming next to the port cockpit drain; I’d held off the epoxy work here so that the work on the nearby drain wouldn’t affect it.
Total time billed on this job today: 6.5 hours
0600 Weather Observation: 33°, partly cloudy. Forecast for the day: Mainly cloudy, highs around 45°