
110 Cookson Lane | Whitefield, ME 04353 | 207-232-7600 | tim@lackeysailing.com
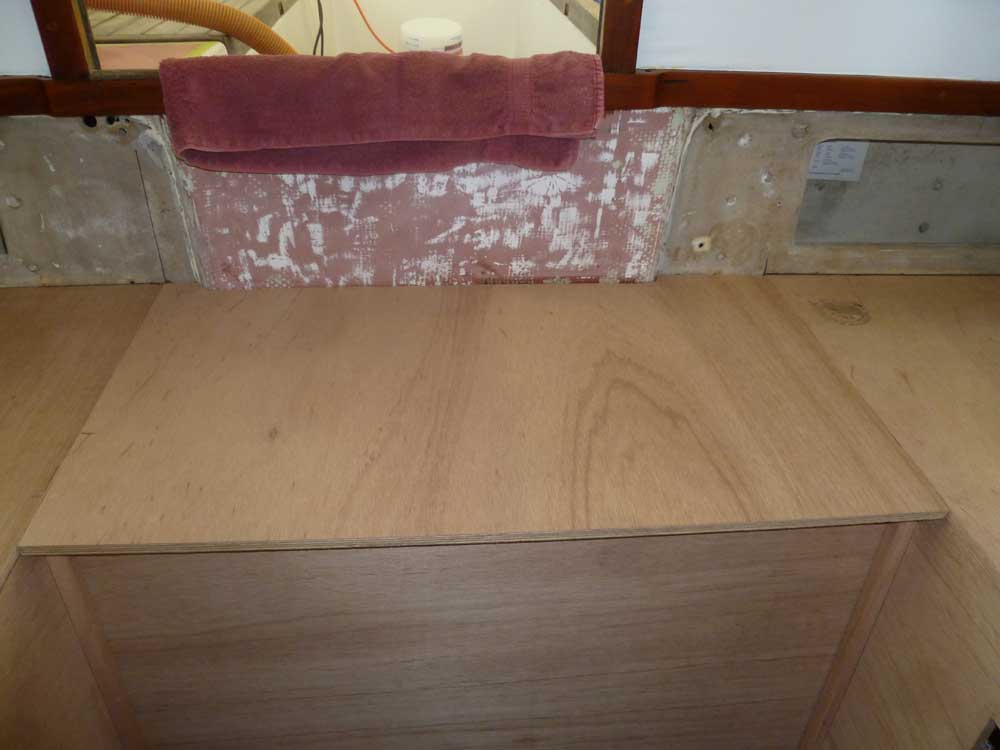
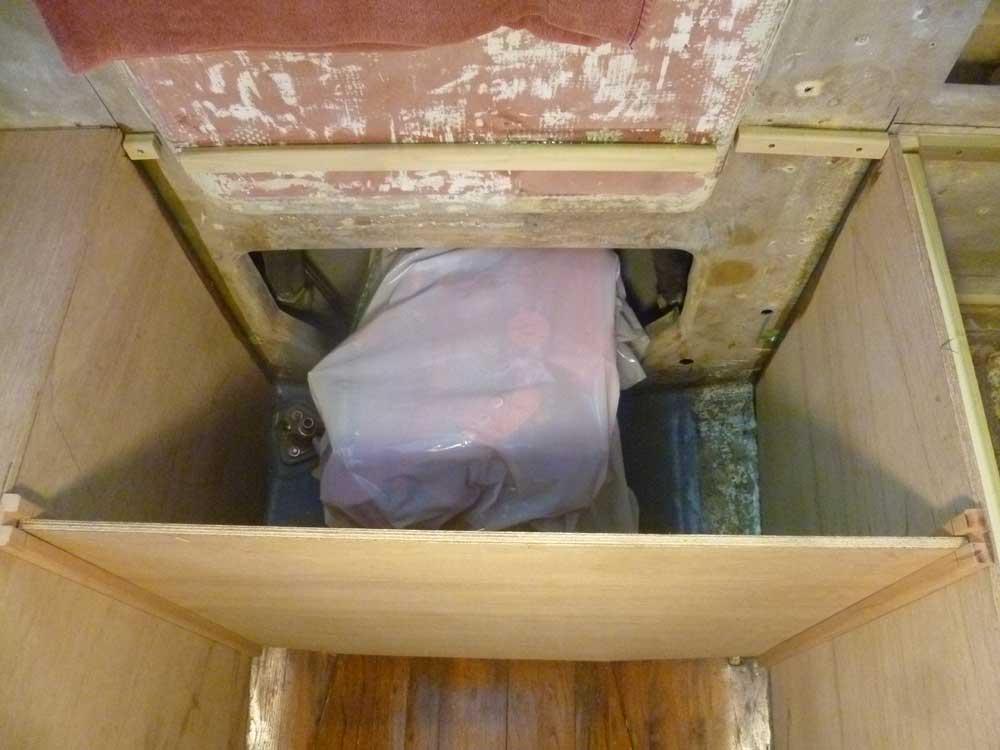
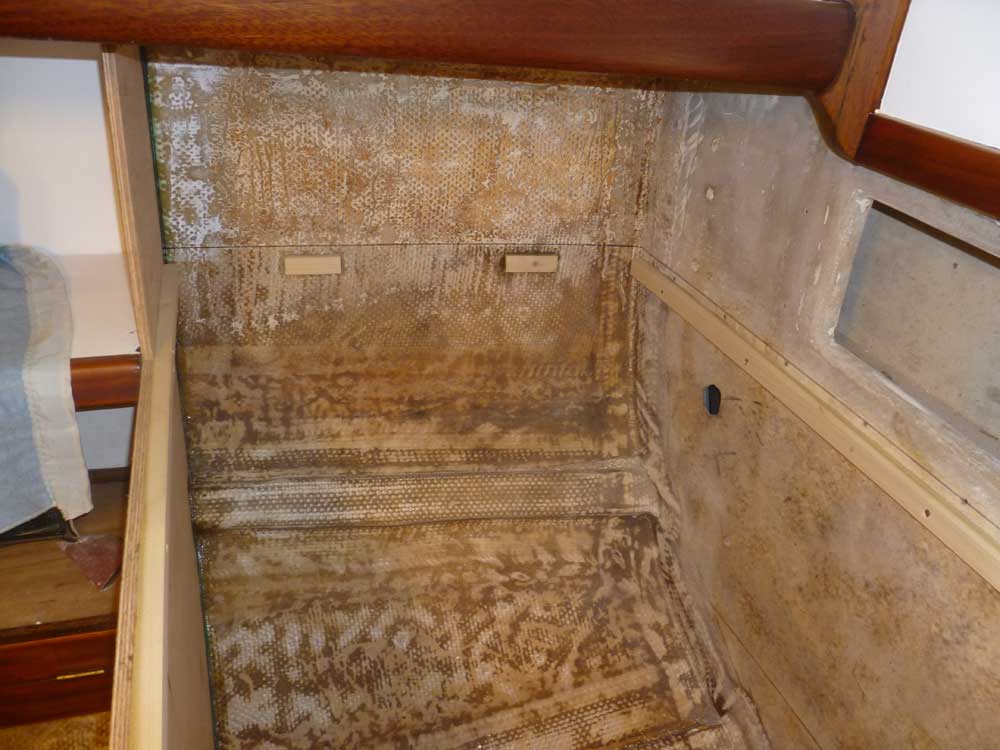
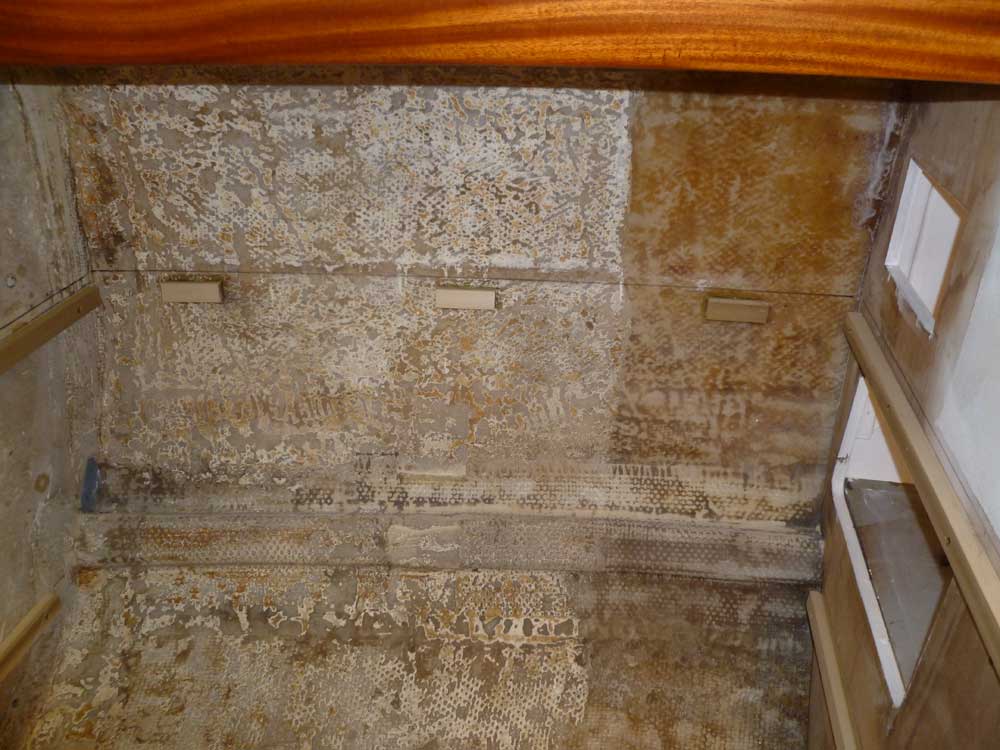
The final section required to complete the raw construction of the aft end of the main cabin was the center area over and around the engine. To begin, I installed three sections of hardwood cleat on the aft bulkhead to support the eventual countertop, following a level line I'd made earlier.
The top of the new engine room would be level with the existing countertops on each side. The only real unknown was how and where the front panel would be configured and located. First, though, I pulled the applicable section of removable cabin sole from storage and put it in place at the aft end of the cabin, as the panel would need to extend to this raised platform.
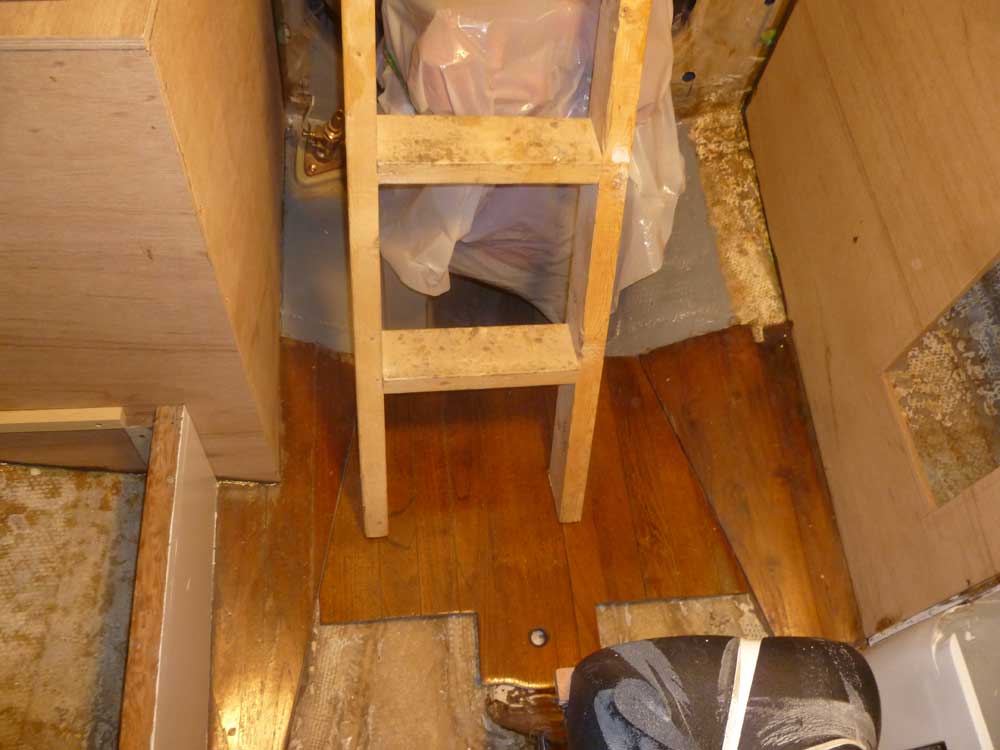
My first thought was to create a front panel that angled to incorporate the companionway ladder, roughly at the angle of the existing construction ladder. With this in mind, I cut an oversized panel to the correct width, but well too long to give me options and room to scribe the bottom edge of the panel. Almost immediately I determined that the angled panel wouldn't work. The angle looked odd, created too small of a countertop/top step, and would have made it awkward to use the galley and countertop.
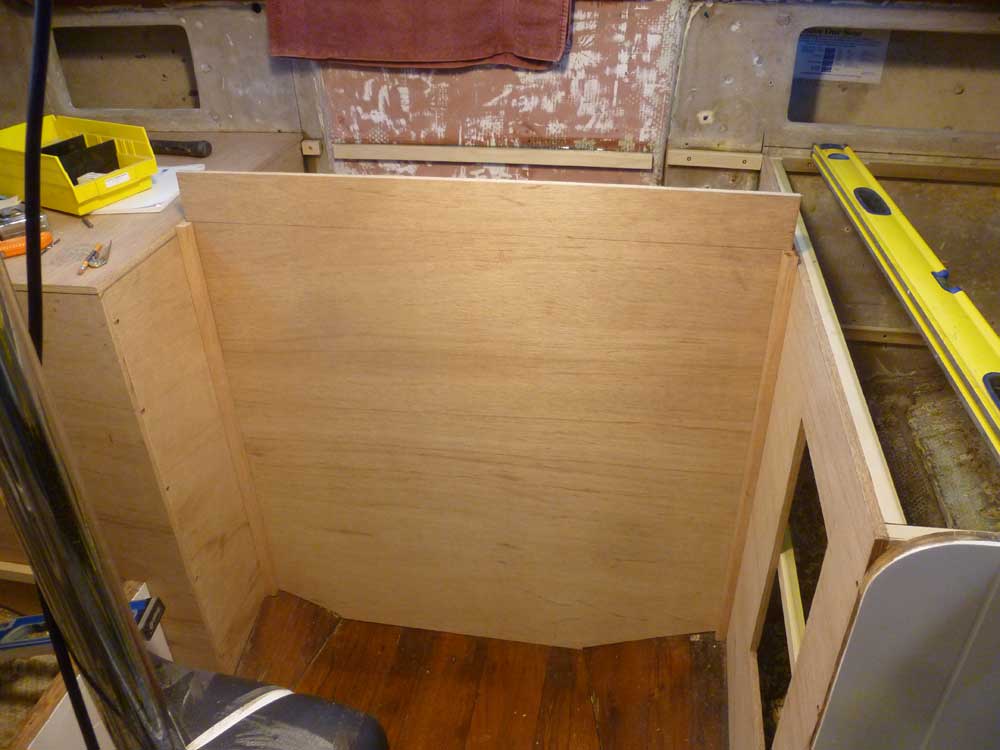
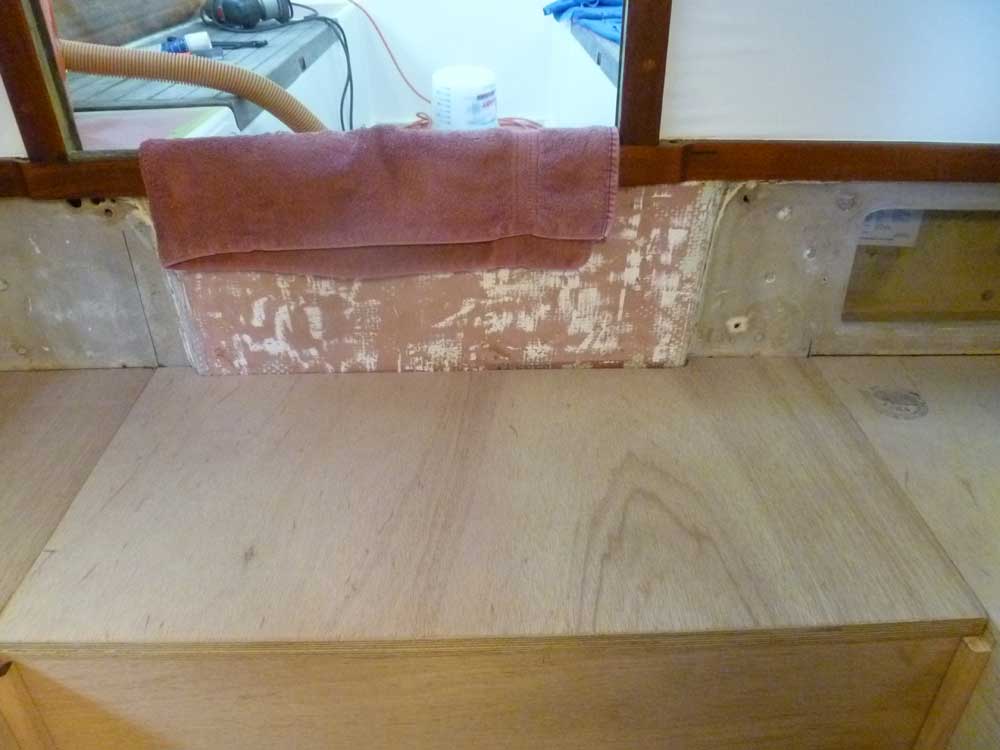
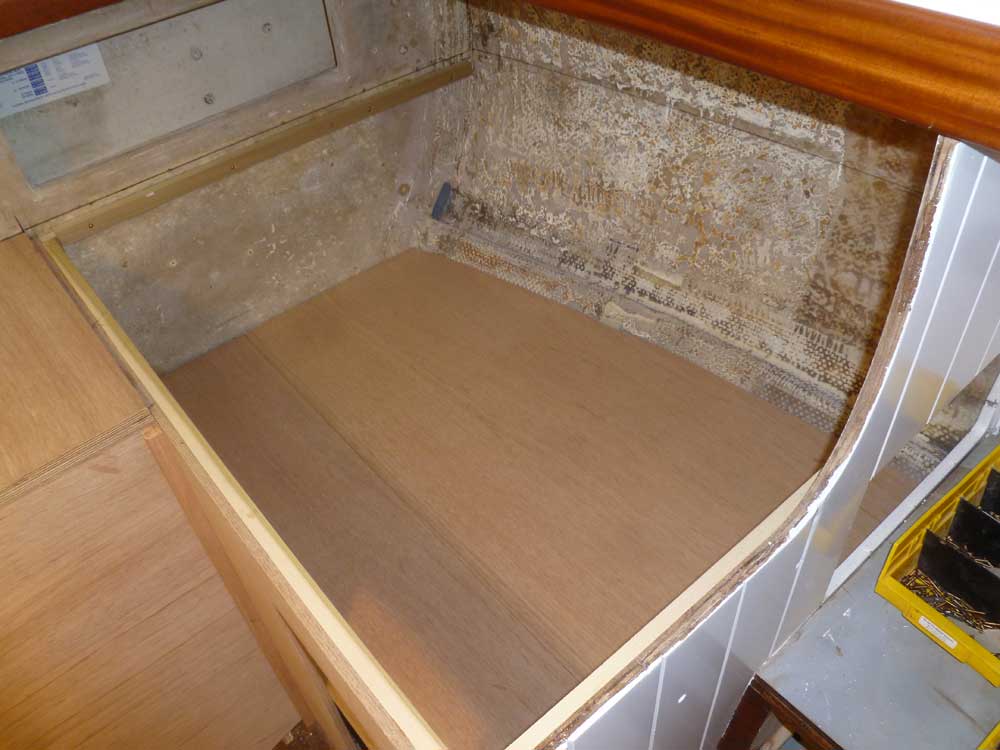
Instead, I oriented the panel vertically, and spent several moments moving it back and forth till I found what I thought was the best location for it--a few inches forward of the engine, leaving as much open floor space as possible while still covering the aft end of the cabin sole and engine room and allowing an amply-sized countertop space above the engine.
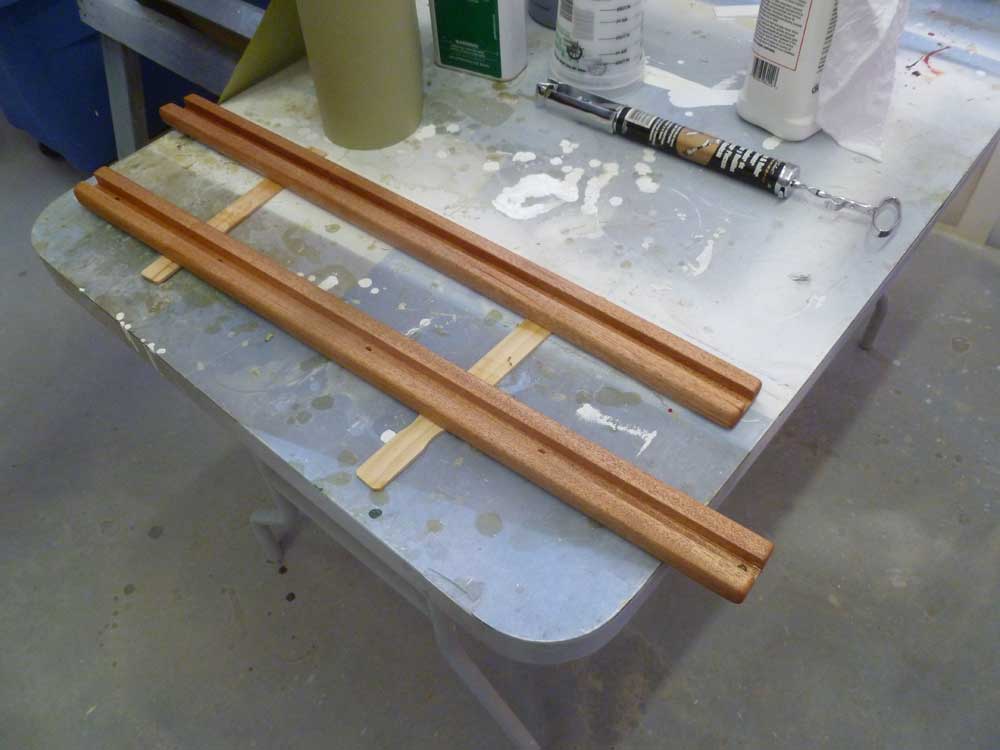
I made some rough reference marks on the adjacent cabinets, and a rough scribe on the bottom of the panel to get the center closer to the sole on the next go-round, which I then cut down on the bench. To hold the panel in position and allow for easy removal for engine access, I milled a pair of simple slotted cleats from mahogany to contain the panel edge. I temporarily installed the cleats in the proper position so the panel would be perpendicular between the two adjacent faces, and plumb vertically as well.
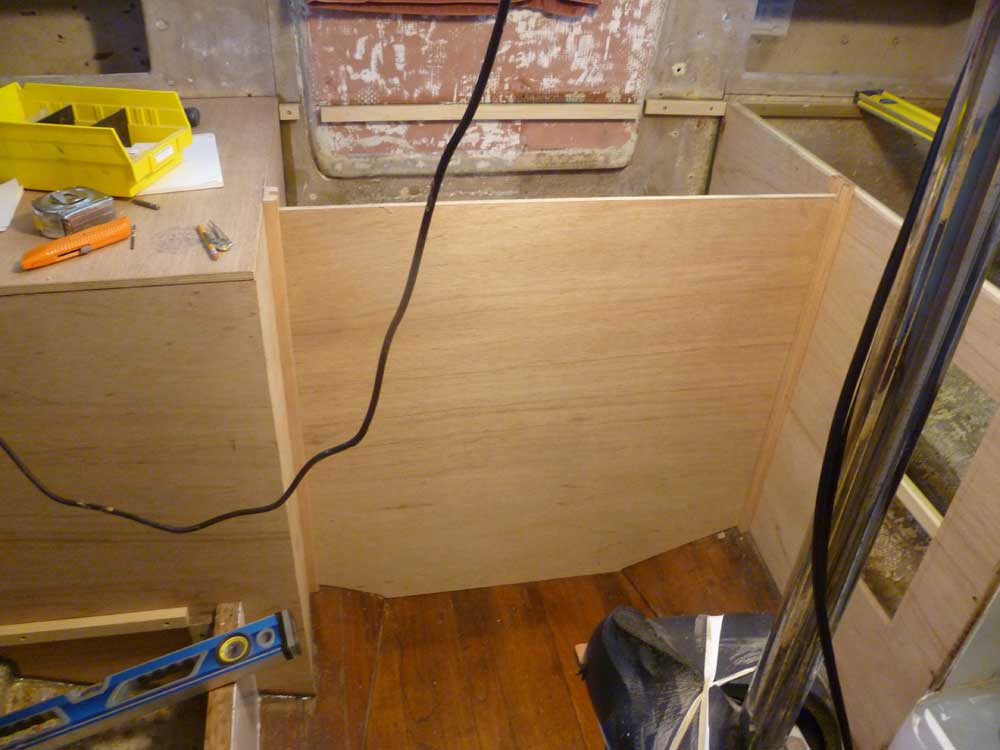
After scribing and fitting the bottom edge to closely fit the cabin sole, I marked the top extent of the new panel and cut it off at the correct height, allowing for the horizontal engine box top to slide over the top of the vertical panel.
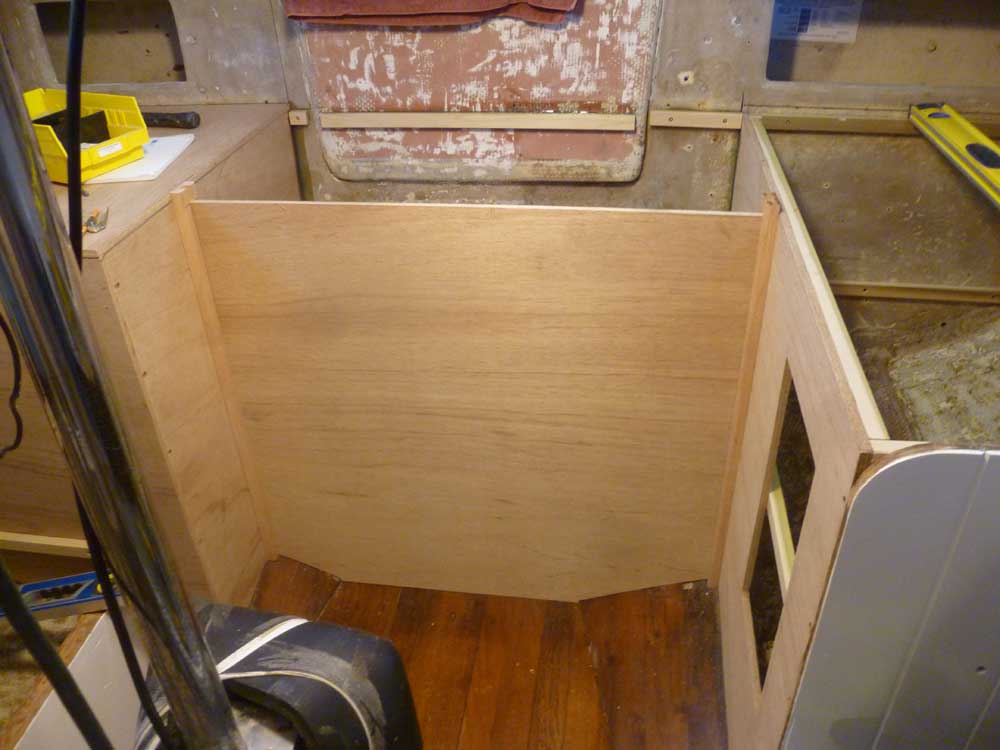
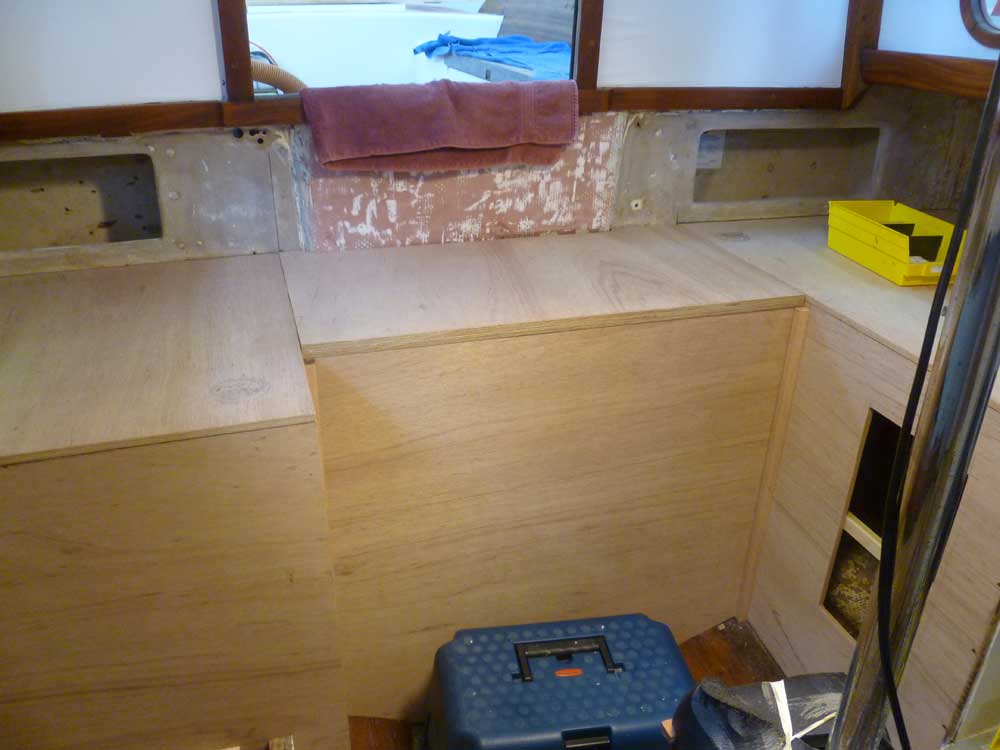
Next, I cut a plywood blank to rough size for the final section of countertop, and scribed the aft end to fit the shape of the aft bulkhead before finally cutting the forward edge to the correct length, even with the front of the vertical panel. The end result was a luxuriously spacious engine room with a simple and functional design that would allow quick and complete access to the engine for service or emergencies.

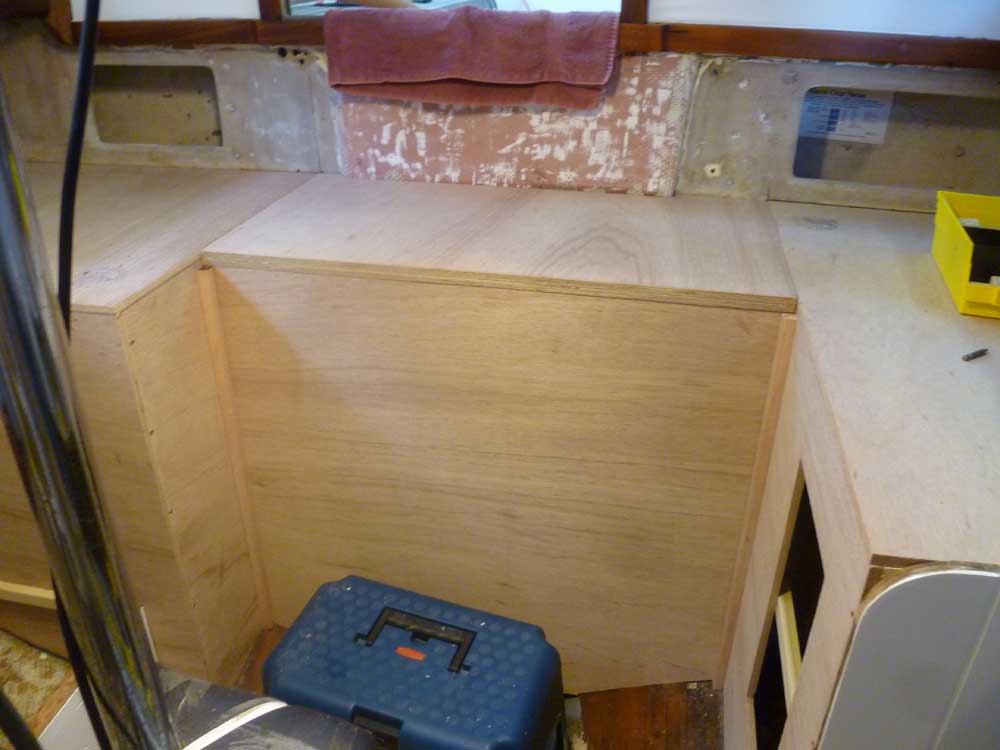
I made some reference marks on the front panel to help me build a companionway ladder later: the centerline of the boat, where the ladder would land on the cabin sole (not the centerline of the panel, which was asymmetrical and offset), and two marks showing 12" and 24" down from the top surface, respectively. The height of the countertop worked out well in terms of comfortable steps, with a 12" rise to the companionway and three additional 12" steps to reach the cabin sole. I'd build the new ladder separately and secure it to the front panel.

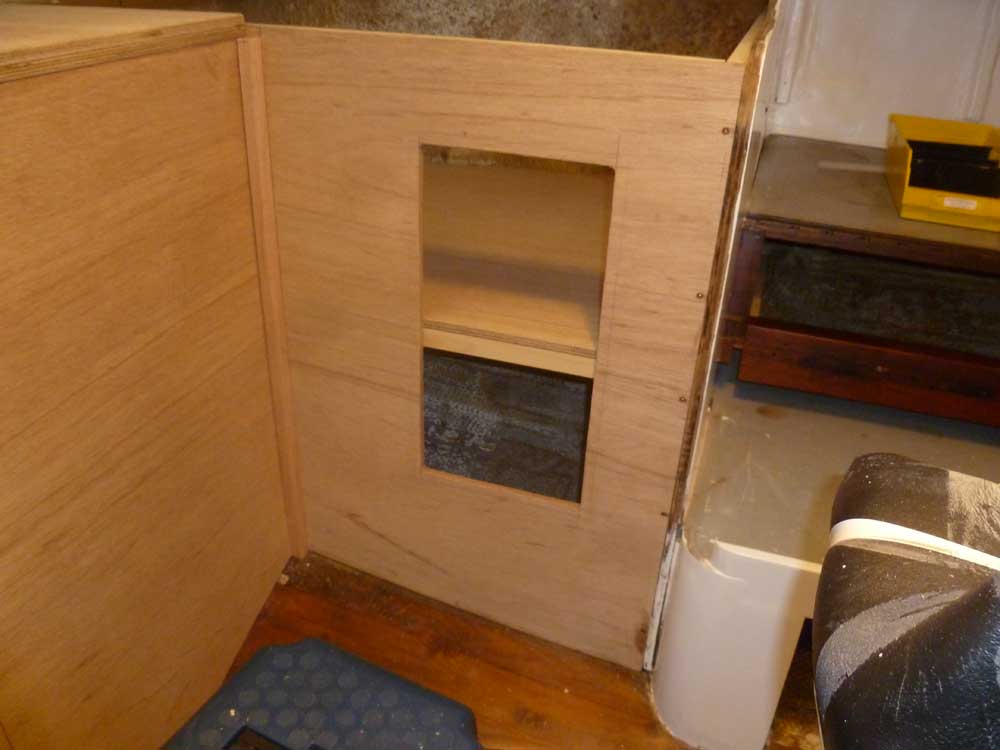
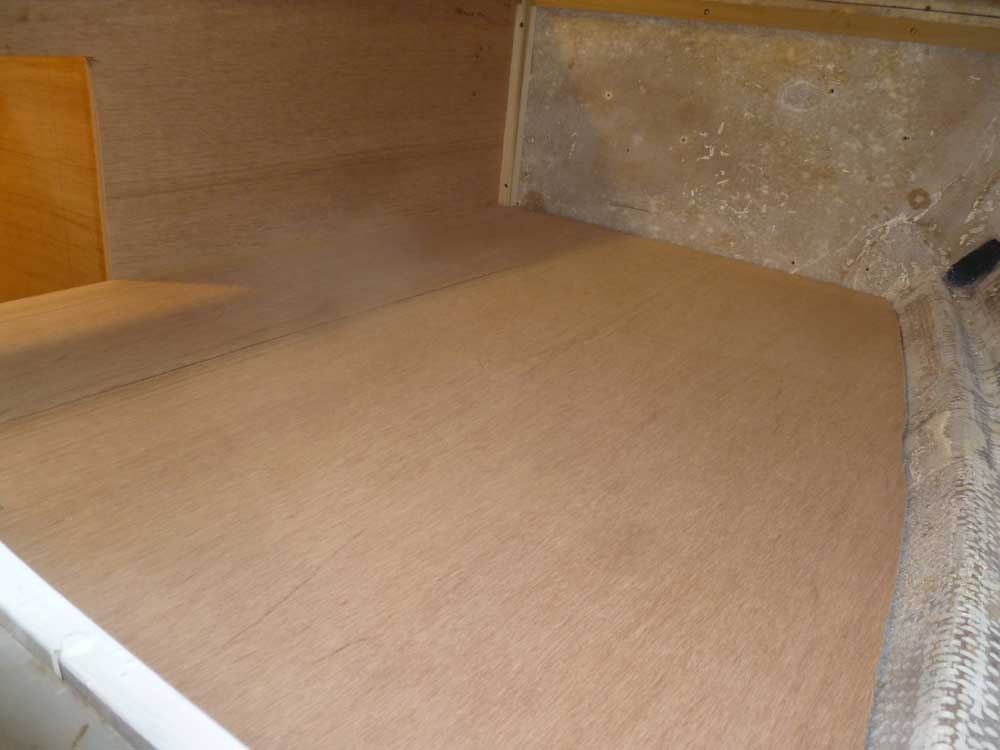
I turned back to the port galley cabinet. I thought it would be good to install a shelf inside the cabinet to better utilize the space, so after determining an appropriate height (about halfway through the locker door opening), I cut and installed cleats around three sides of the cabinet, then cut and fit a two-section shelf to fit the entire area. I'd install the new shelf a little later, once I'd painted inside the cabinet.
In addition to the locker door in the cabinet face, there was an existing large opening leading into the space from the port pilot berth.
Finally, I installed some small interim support cleats on the hull to support the outboard edges of the countertops on each side, securing the cleats with epoxy adhesive and dabs of hot glue to hold them while the permanent adhesive cured. Then, I sanded and varnished the mahogany trim pieces I'd made for the engine box front, which I'd removed for this purpose.
Total Time Billed on This Job Today: 6.5 hours
<Previous | Next>
