
110 Cookson Lane | Whitefield, ME 04353 | 207-232-7600 | tim@lackeysailing.com
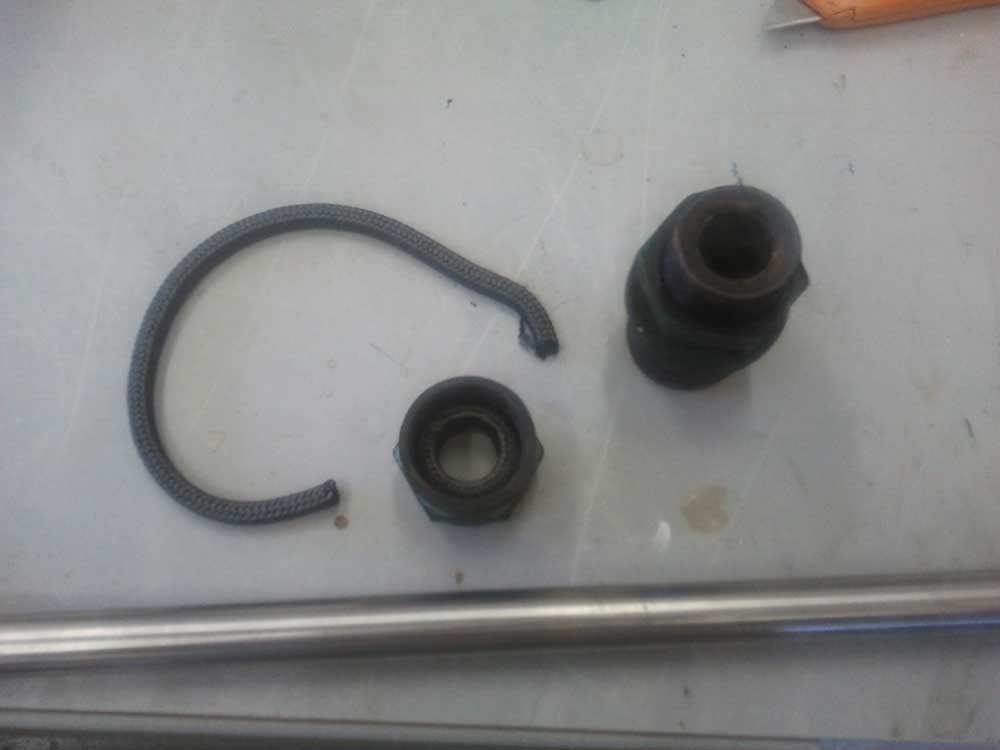
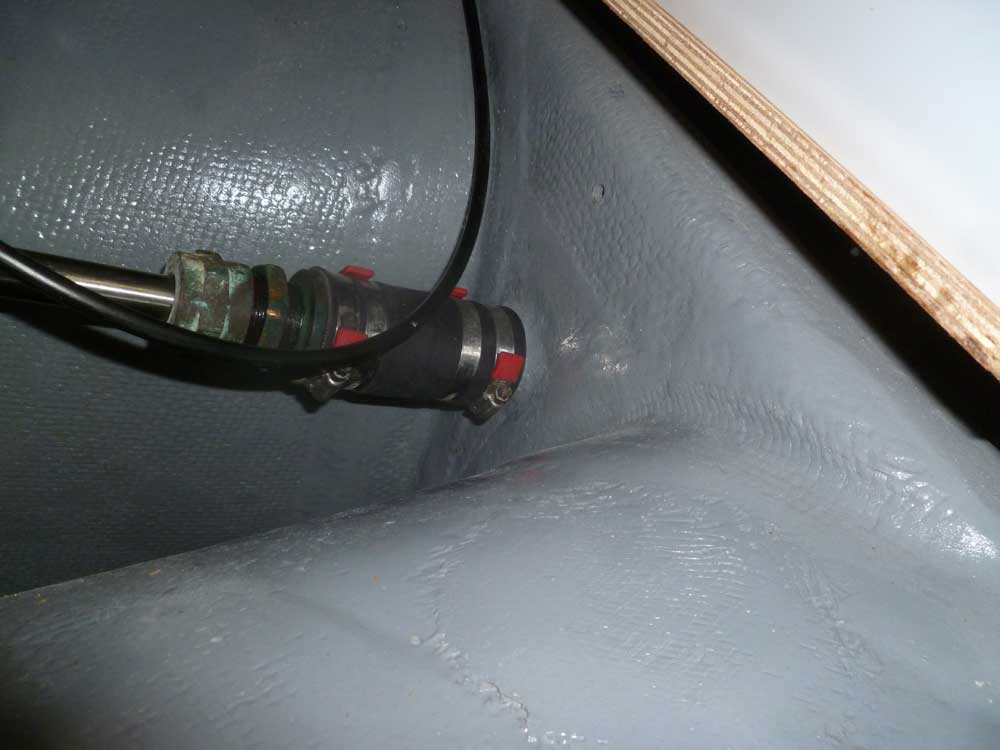
With the new shaft and coupling now on hand, I proceeded with its installation. Some time earlier, I'd done some work on the original bronze stuffing box, and cleaned it up for reuse. Now, I repacked the stuffing box with modern packing material, and installed a new hose before installing it in the boat, clamping it securely.
I chose a split coupling, which made installation straightforward. In relatively short order, I had the coupling tightly secured, and checked the raw engine alignment. I was pleased to find that it was nearly perfect from the onset, with only minor adjustments required.
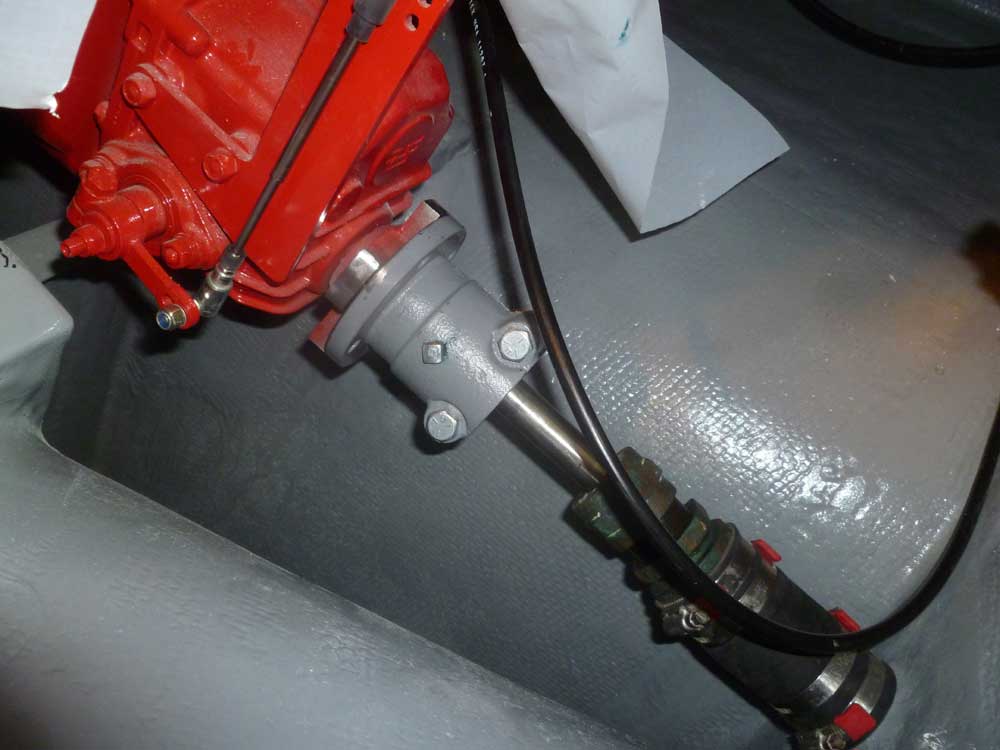
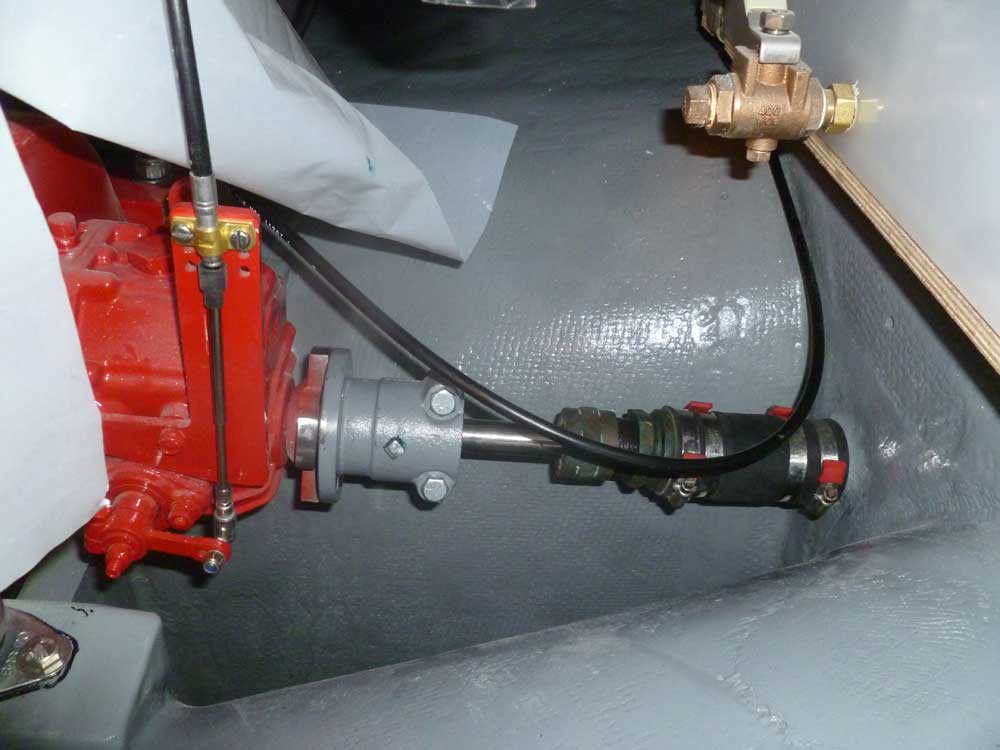
I ordered a Drivesaver to match the new coupling, and awaited its arrival before I could make the final shaft hookup. I'd allowed for the 1" thickness dimension of the Drivesaver when ordering the new shaft.
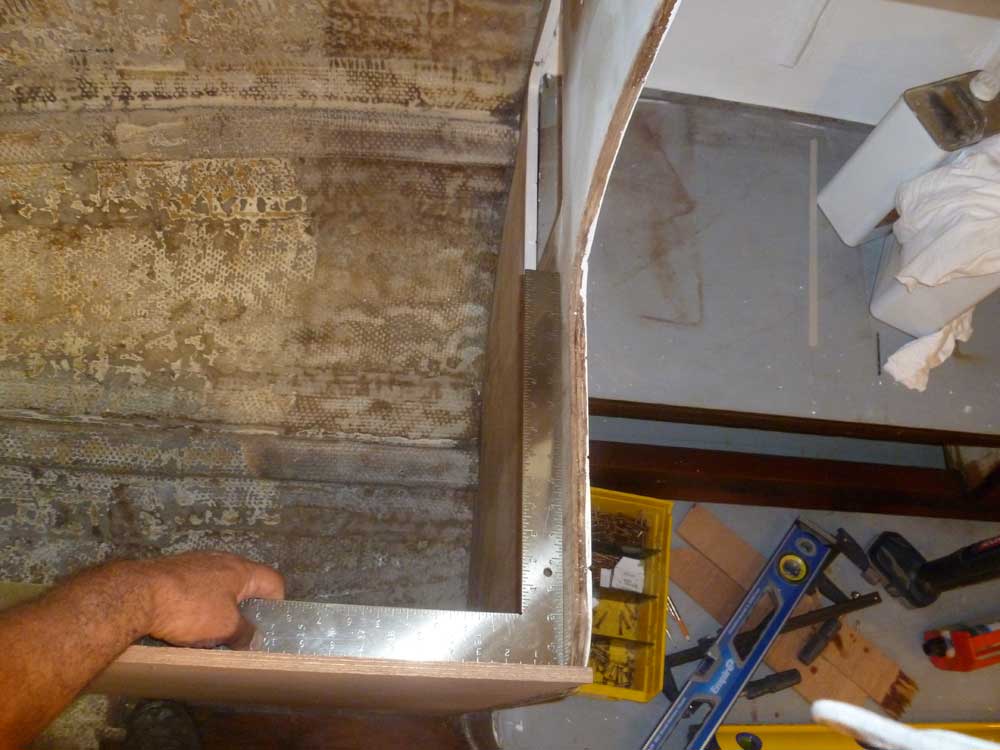
I continued work in the galley, this time on the countertop for the starboard side cabinet. In a series of measuring, cutting, and scribing steps, I fit the deceptively simple plywood countertop.
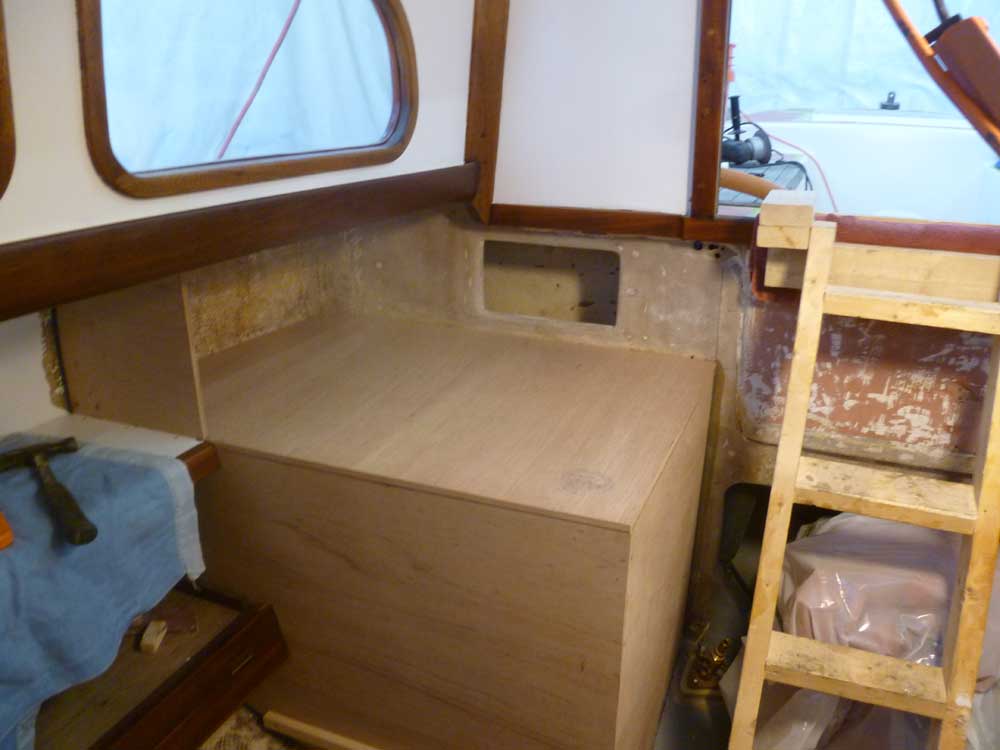

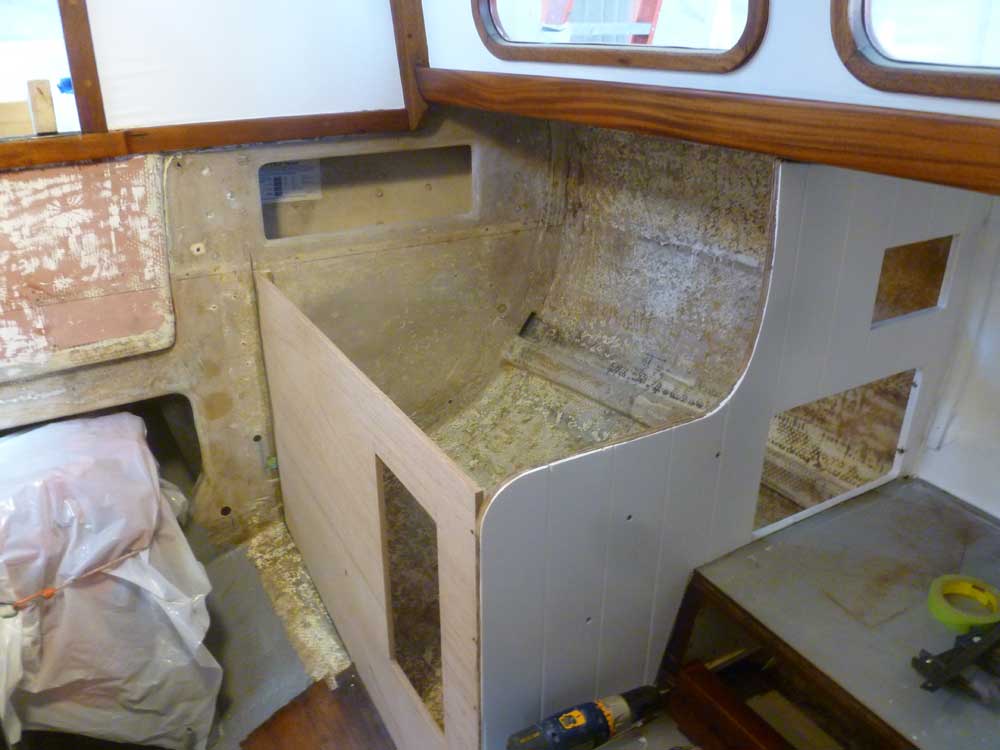
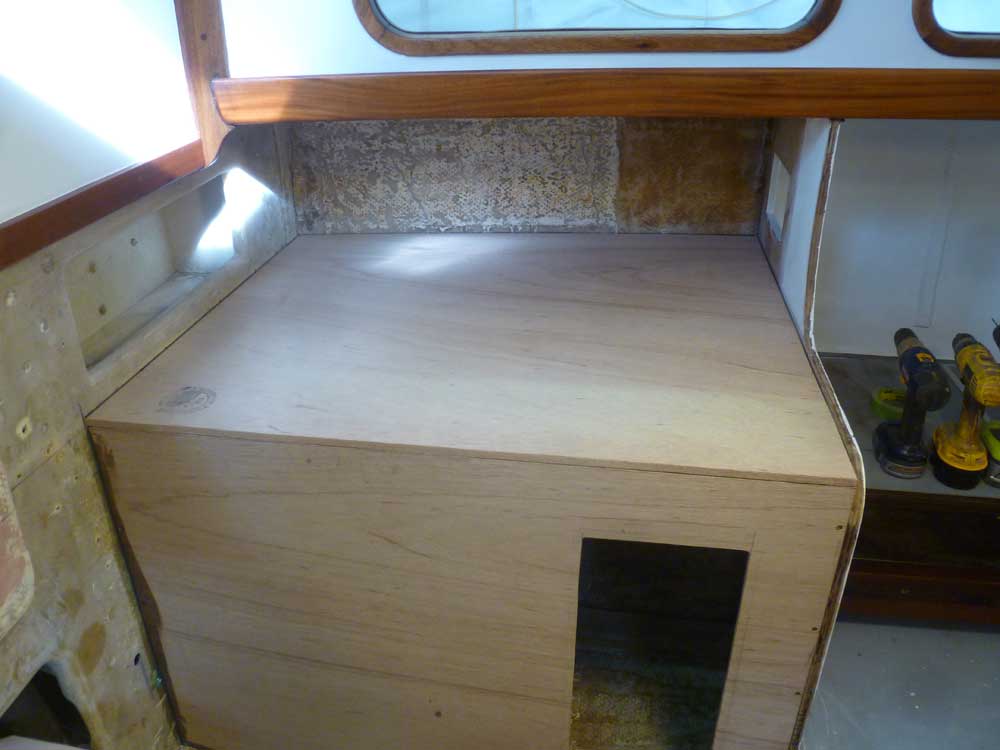
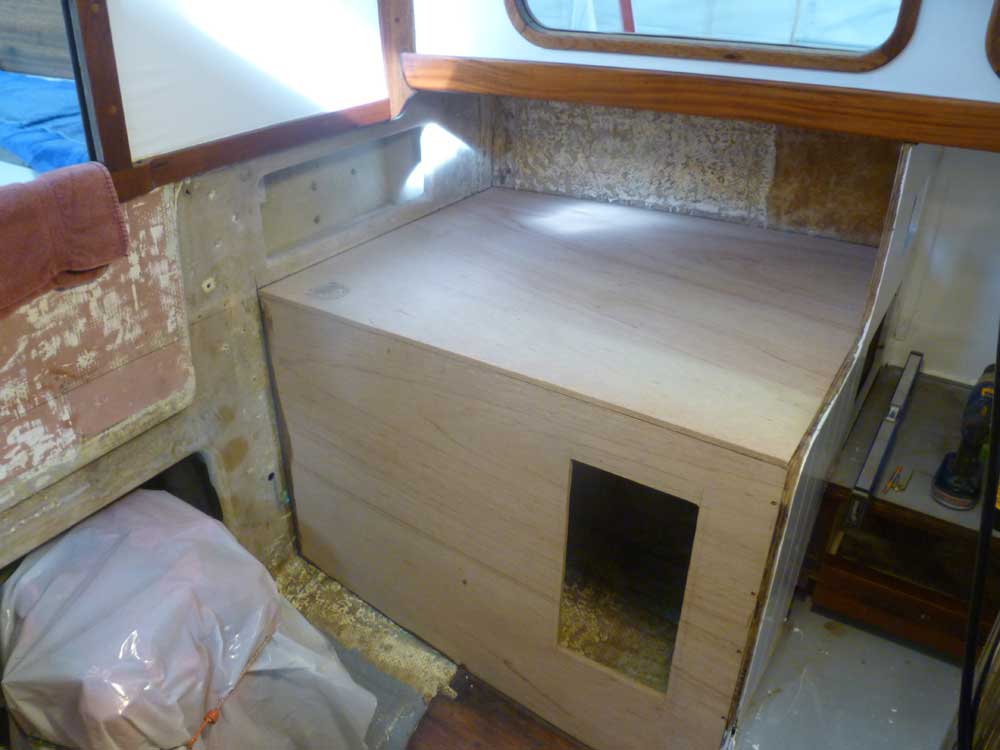
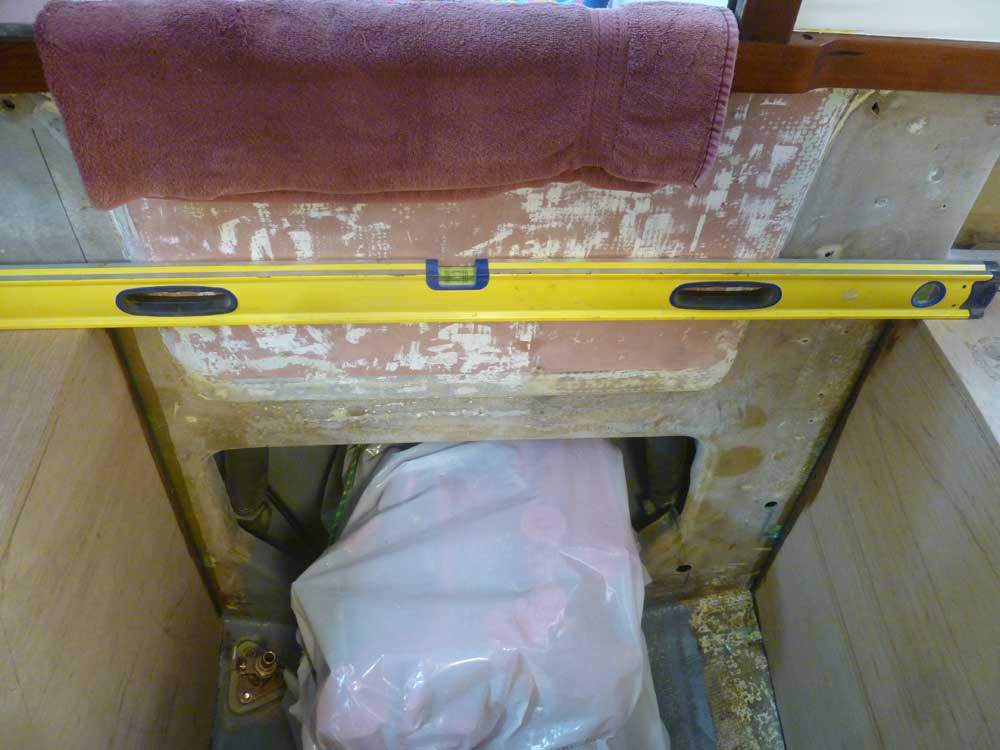
In the afternoon, I built the new cabinet on the opposite side of the galley. The basic plans called for the countertop to be straight and level across the boat, so to begin I struck a level line across from the starboard side. After some consideration, I decided to bring the new cabinet directly back from the existing bulkhead at the aft end of the port settee. The awkward cabinetry that had been installed in this boat from an earlier reconfiguration contained various jogs and corners and incorporated a poorly-located sink partially above the old engine, as well as a large inset area for a gimbaled stove. Current plans for the boat required none of these things, so I opted for clean and simple.
There was a ghost of part of the old cabinet offset towards the engine about 2" from the line of the new cabinet face I was proposing (which followed the line of the previous stove enclosure), but I could see no reason to complicate the installation with this tiny and unnecessary jog. Nothing about the aft configuration was symmetrical anyway, and jogging the cabinets wouldn't make it visually more appealing.
To that end, I measured and cut a plywood blank for the new cabinet face, then scribed it to fit closely to the hull and trimmed the top edge to my previously-struck level line height, equal to that of the starboard cabinet. As before, I installed the front perpendicular to the existing port settee bulkhead.
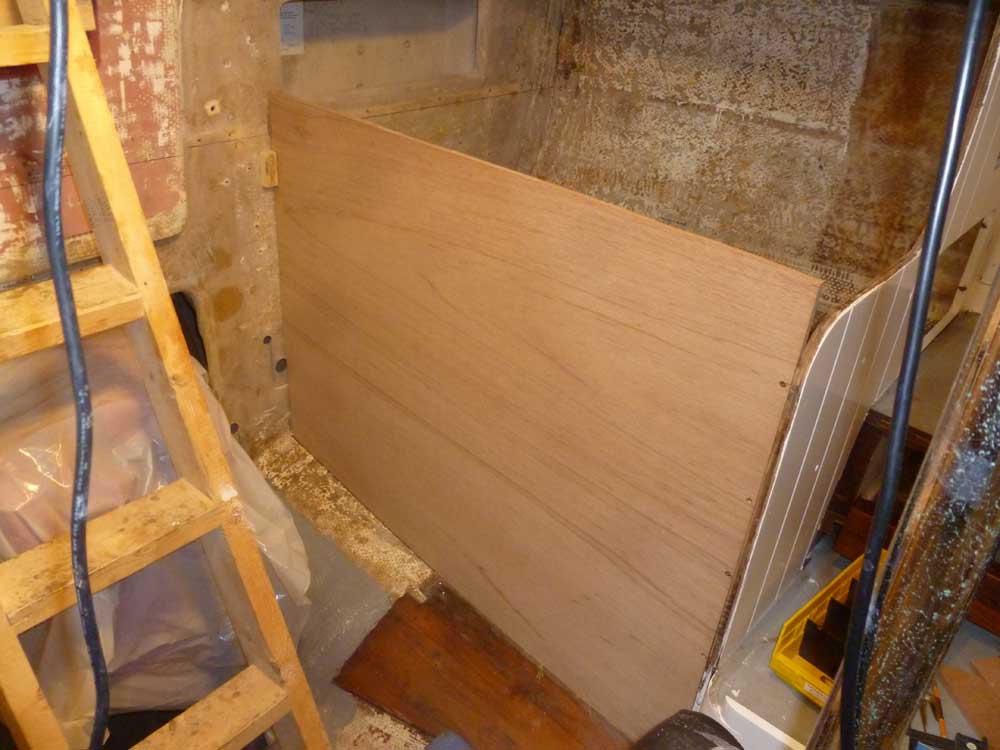
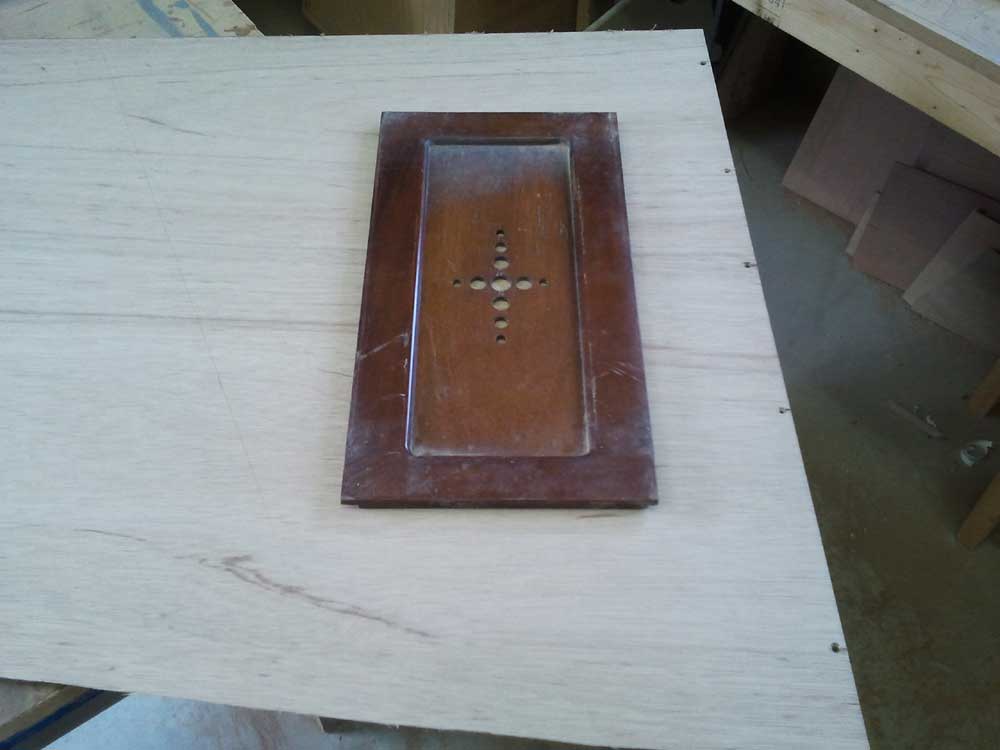
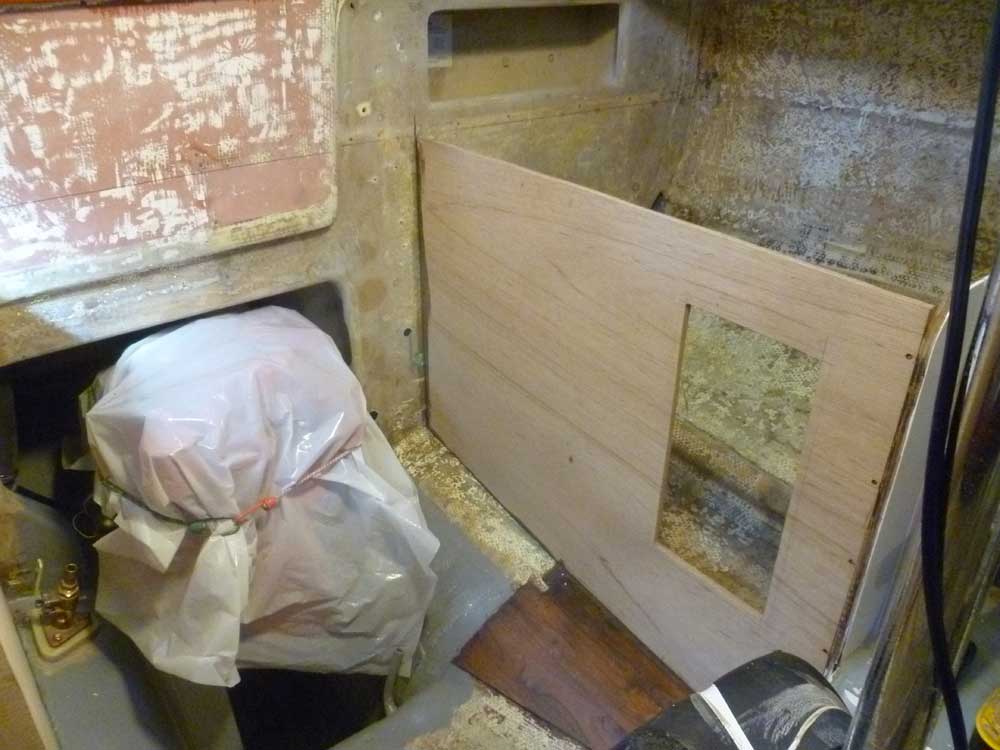
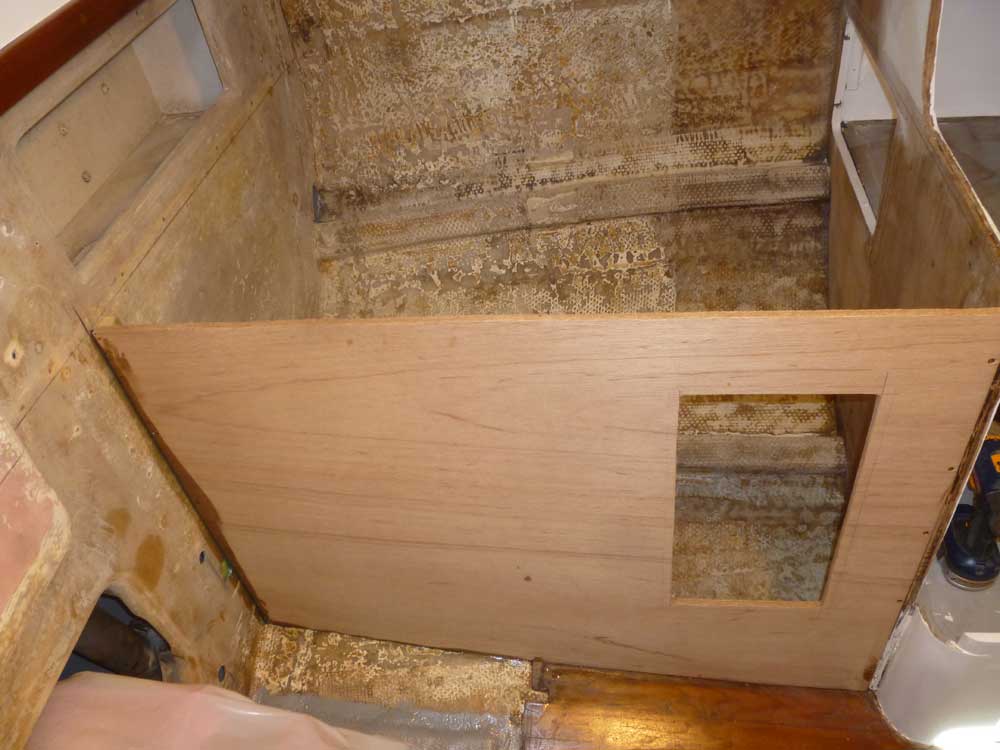
For access to the space within the cabinet, I laid out a small door near the forward end, after first determining roughly where the face of the transverse engine room enclosure/ladderway would land. I remembered that I'd seen some mahogany cabinet doors in the pile of parts from the original demolition, and since these doors were marooned without a home now I thought I could use one or more of them for this locker opening, so with that in mind I sized the opening so it would fit one of the existing doors. Sometime later, I'd refinish this door to match the other trim in the boat.
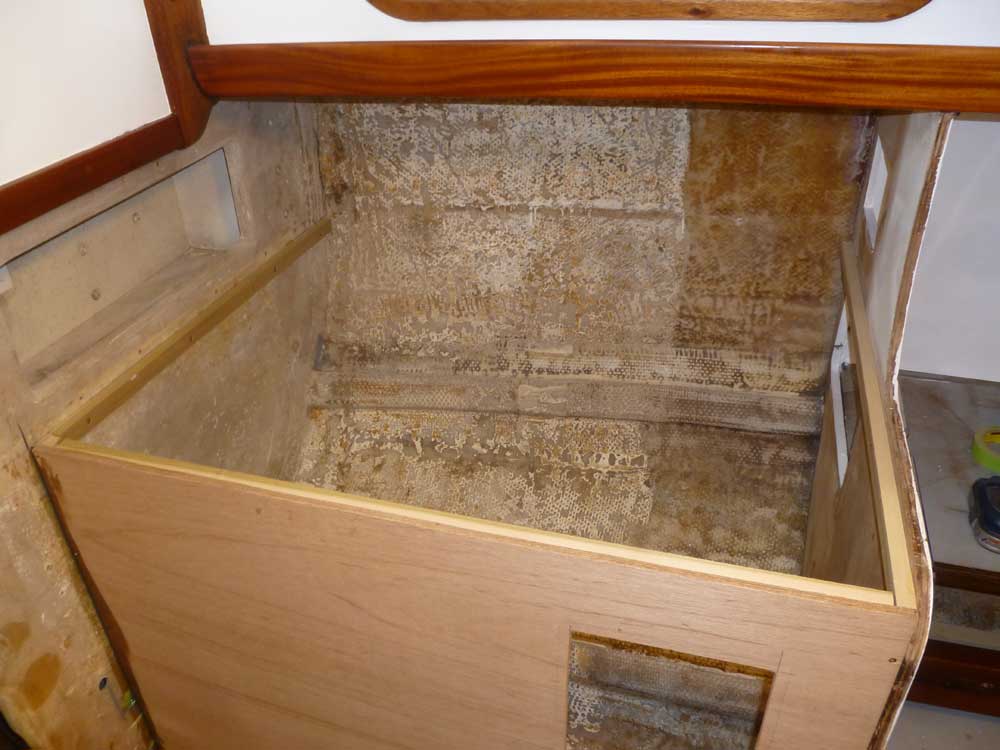
After installing support cleats at the ends of the new cabinet face, I installed the new cabinet front with epoxy adhesive and screws as needed. Later, I'd reconfigure and/or cover with trim the rounded section of the existing port bulkhead at the forward end of the new cabinet.
Continuing on, I cut and installed support cleats for the port countertop, then cut, scribed, and dry fit the plywood countertop before calling it a day.
Total Time Billed on This Job Today: 7 hours
<Previous | Next>
