
110 Cookson Lane | Whitefield, ME 04353 | 207-232-7600 | tim@lackeysailing.com
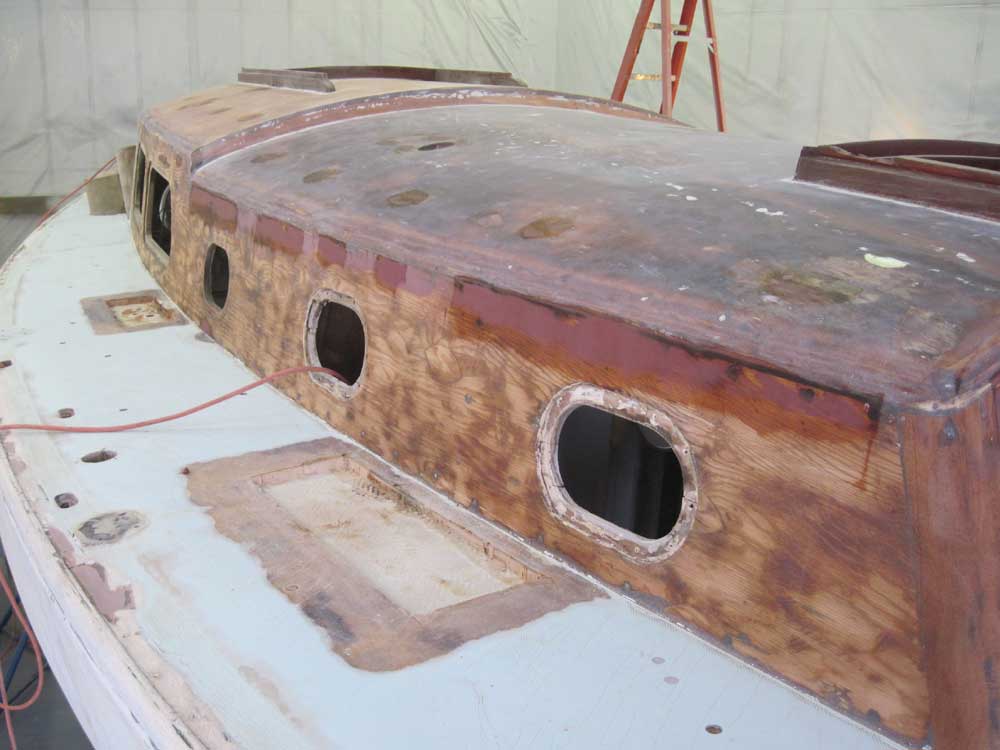
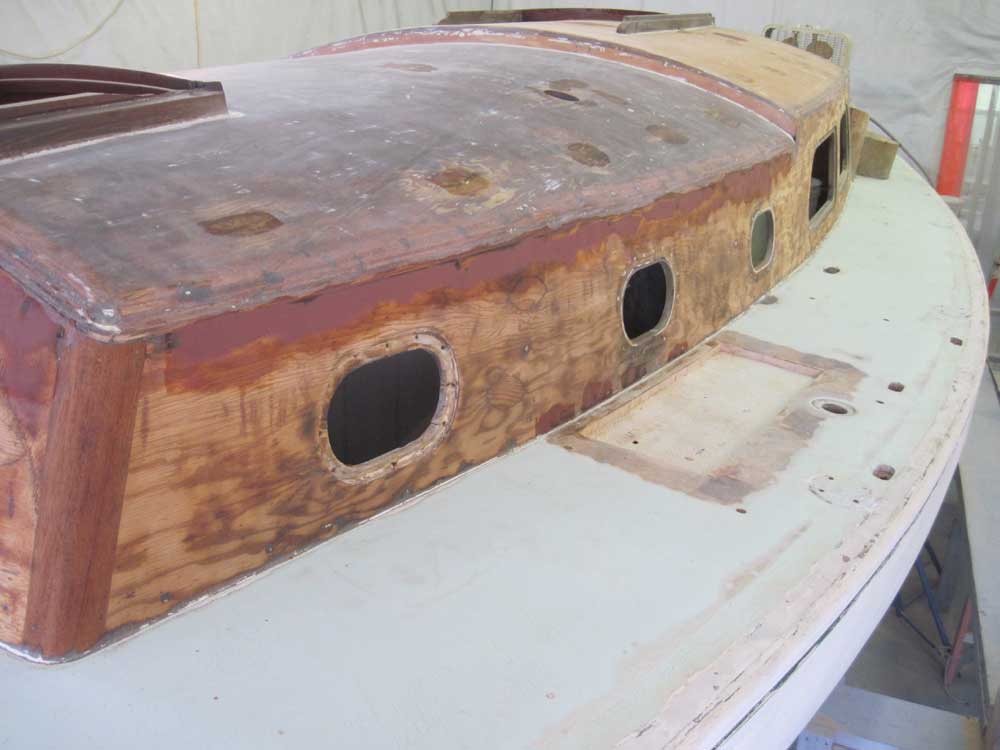
I washed and sanded yesterday's fill on the cabin trunk and coach roof, preparing the areas for a second coat as required.
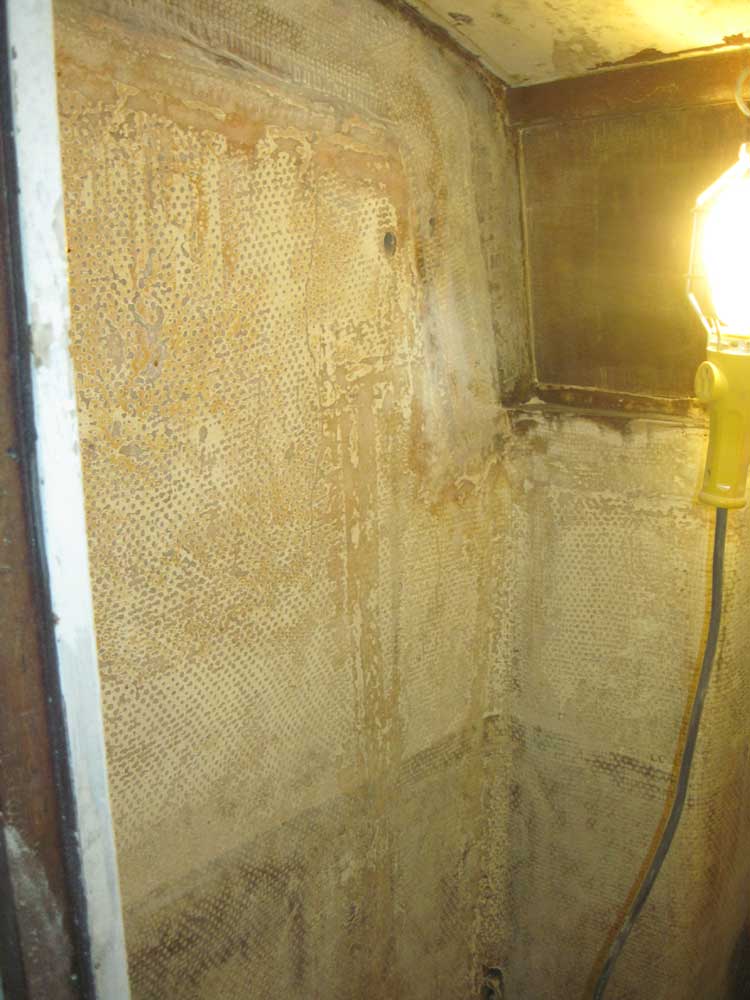
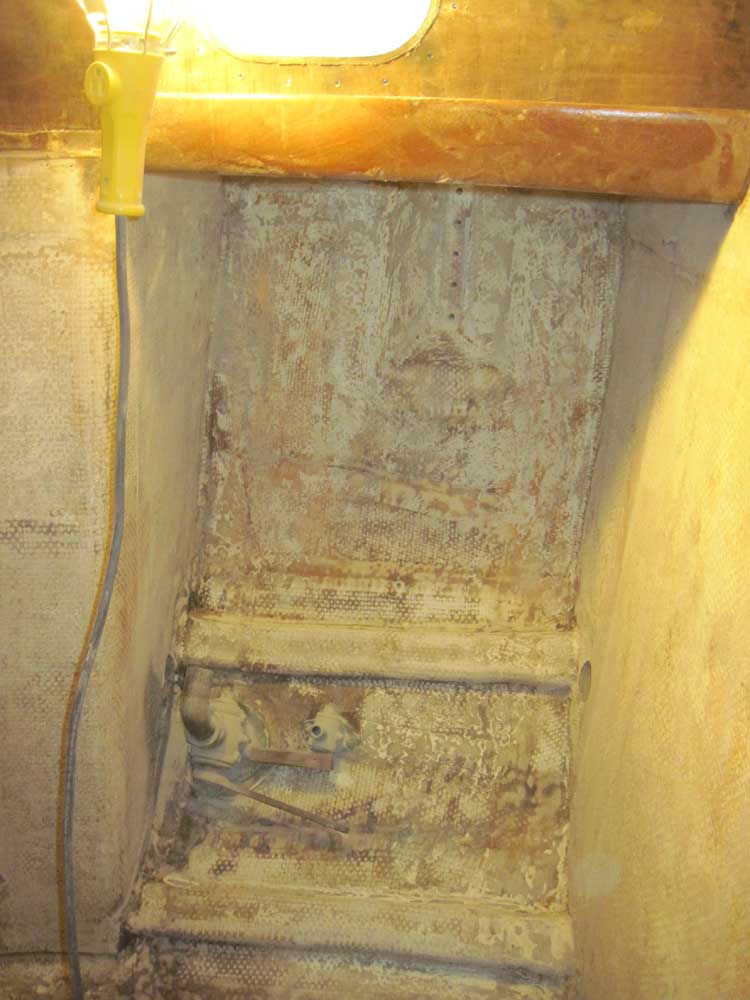
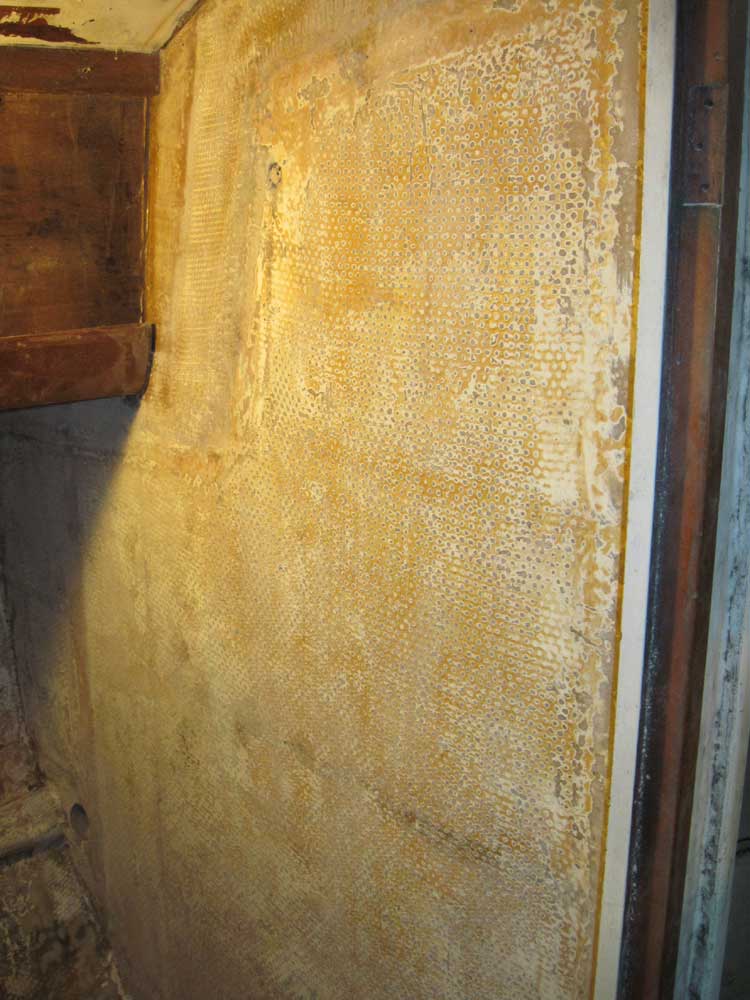
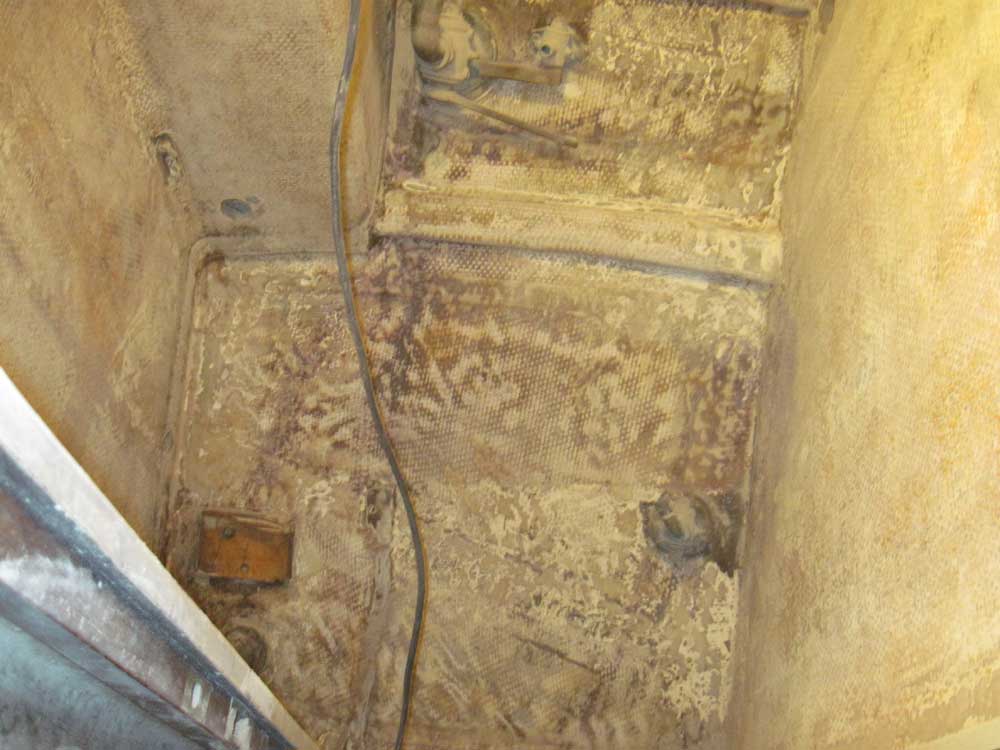
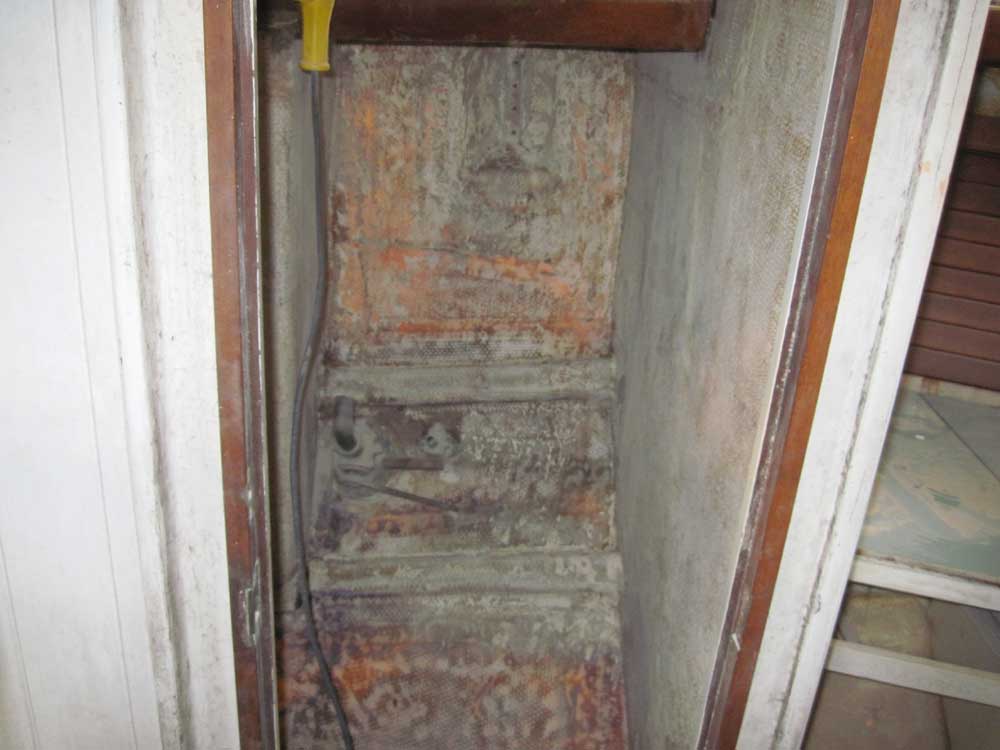
While I was in sanding mode, I decided to try some interior sanding in the now-gutted head compartment, as much to get an idea as to how things would go as anything--though the job needed to be done too. I was pleased to find that the sanding went better than anticipated; with the leftover adhesive and paint on the bulkheads (the structural bulkheads in this boat are all solid fiberglass), I'd worried that sanding would mean an endless stream of gummed-up discs. The discs gummed up somewhat, but I was able to sand even with them partially clogged.
My goal in sanding the head was not to achieve a perfect surface, nor perfectly clean and bare ones; all areas would eventually be recovered with some treatment later. Instead, I wanted to remove loose material and sand the top surfaces of the roving's weave, as well as remove dirt and paint and rough edges left over from tabbing and paint lines. To me, there's a supreme satisfaction in removing years of grime, peeling paint, and detritus, and the atmosphere in the space improved significantly when I was complete.
The fate of the numerous seacocks in this space (and elsewhere) had yet to be determined, so for the moment I sanded around them as well as I could.
After vacuuming and solvent-washing the cabin trunk, I applied a second coat of filler to the old fastener holes and areas beneath the eyebrow trim.

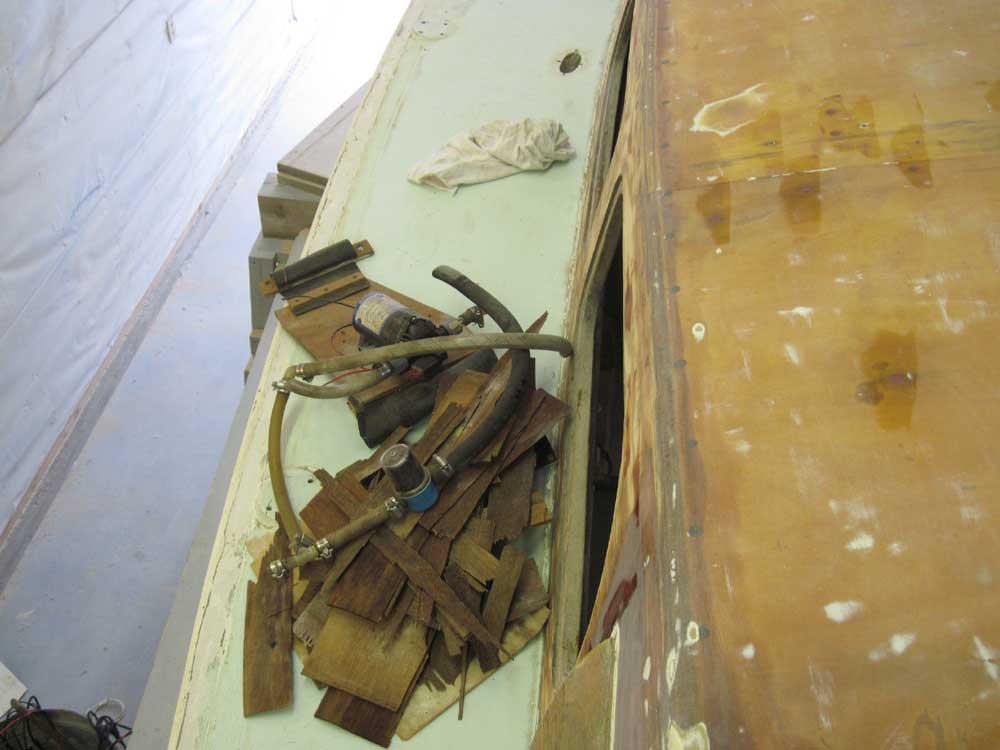
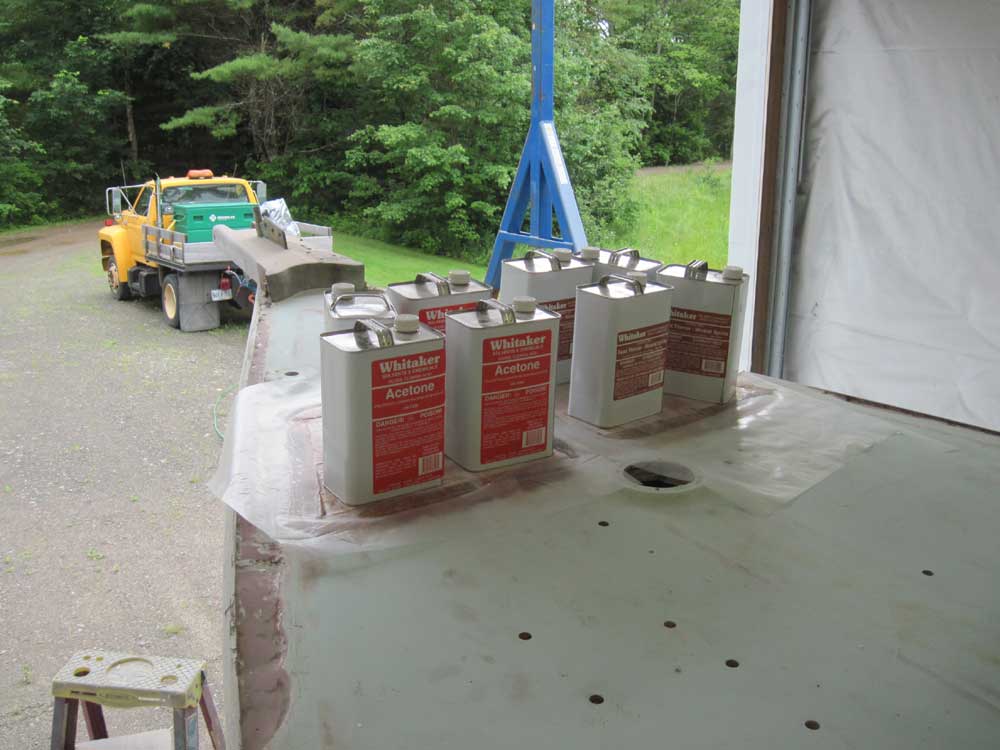
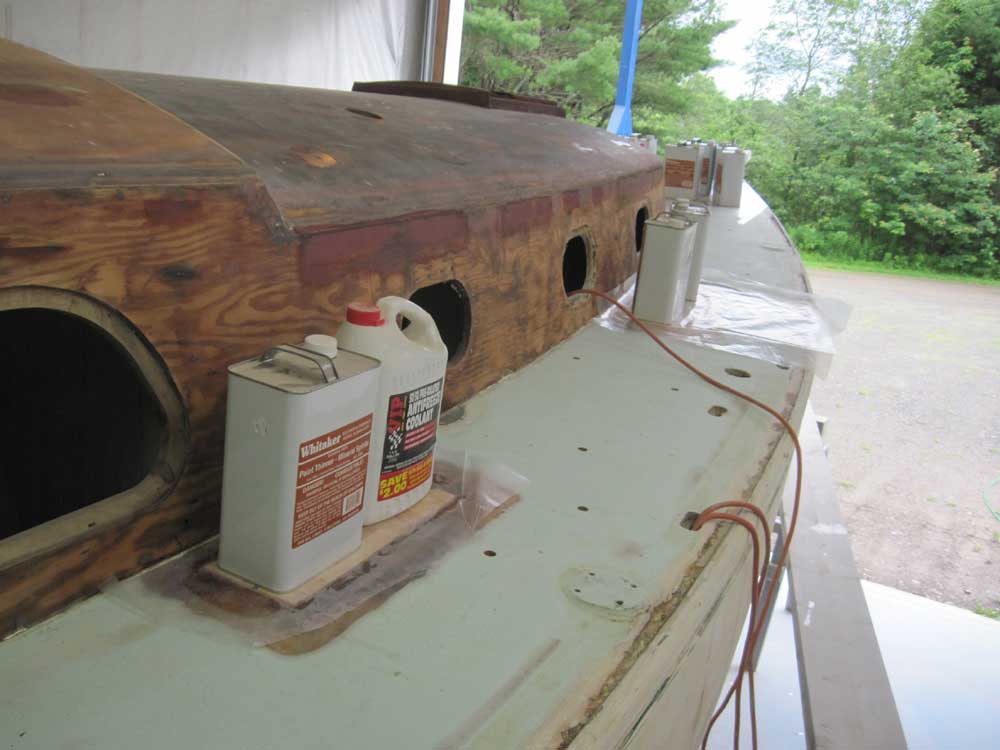
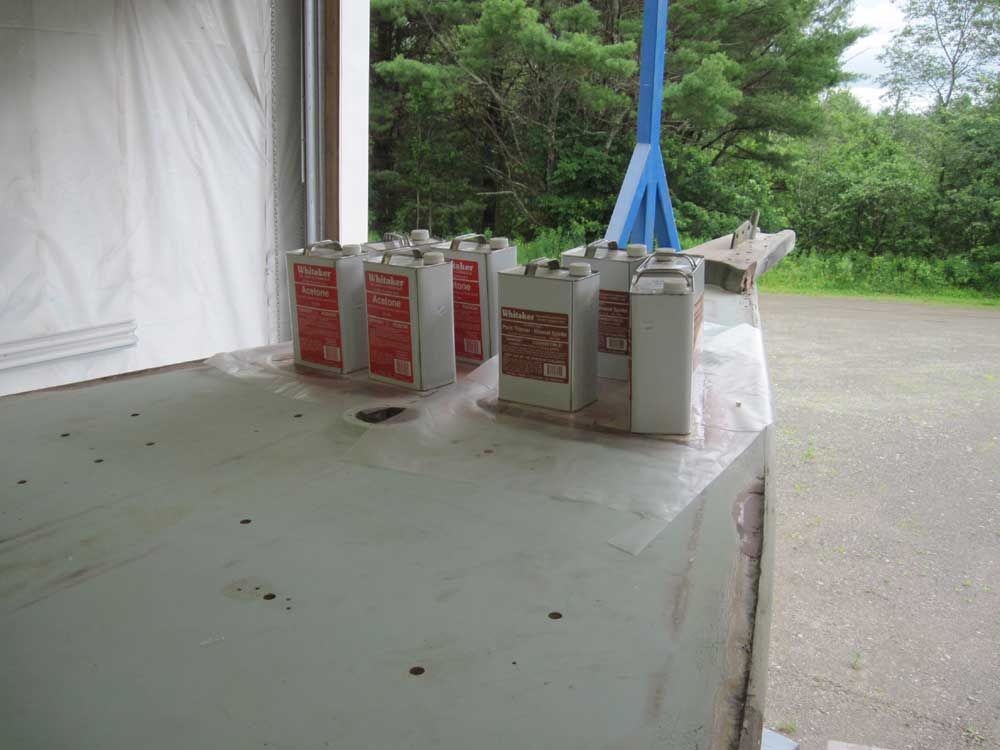
I expected the new core materials to arrive in mid-afternoon, and since I planned to install the core as soon as it arrived, I had a little time to kill while I awaited the truck. After masking over the undersides of several old hardware and fastener holes located in some of the areas to be recored--to prevent epoxy from falling through--I spent the remainder of my waiting time in the galley, where I worked to remove some badly-delaminated plywood shelving from deep inside a storage locker beneath the countertop, as well as additional plumbing and wiring located beneath. This meant that now most of the old plumbing and wiring was gone, other than a few remnants here and there that were trapped in cabinetry that I anticipated removing later.
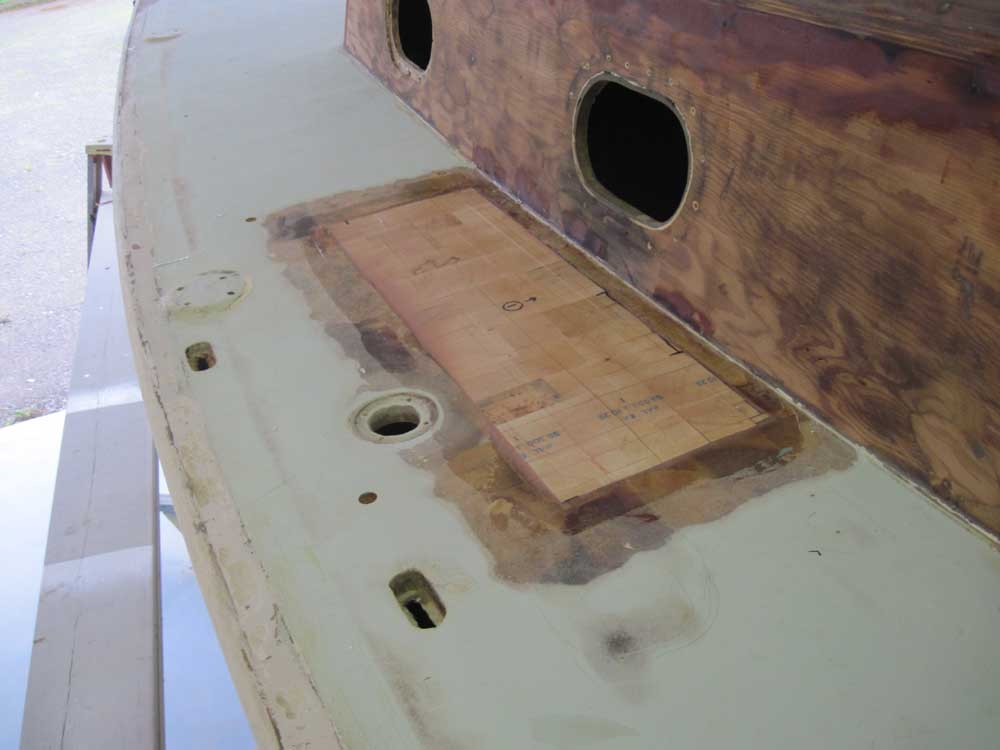
As soon as the new supply of balsa core arrived, I got to work preparing for its installation. For each of the five areas in question, I cut new core to fit the space as closely as possible, then set it aside.
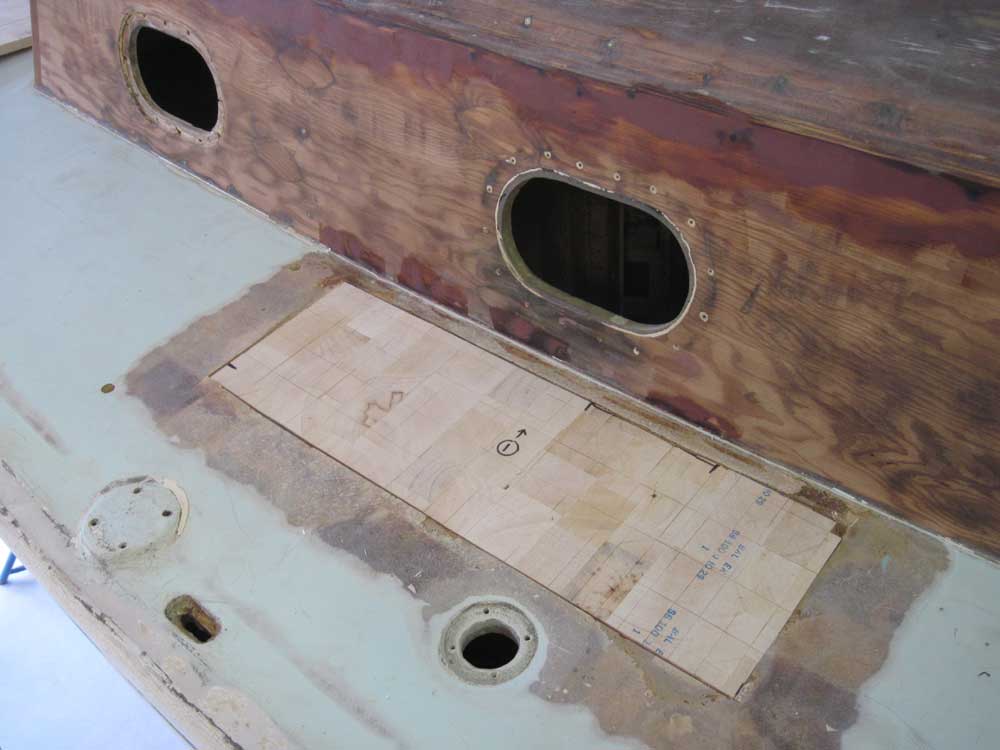
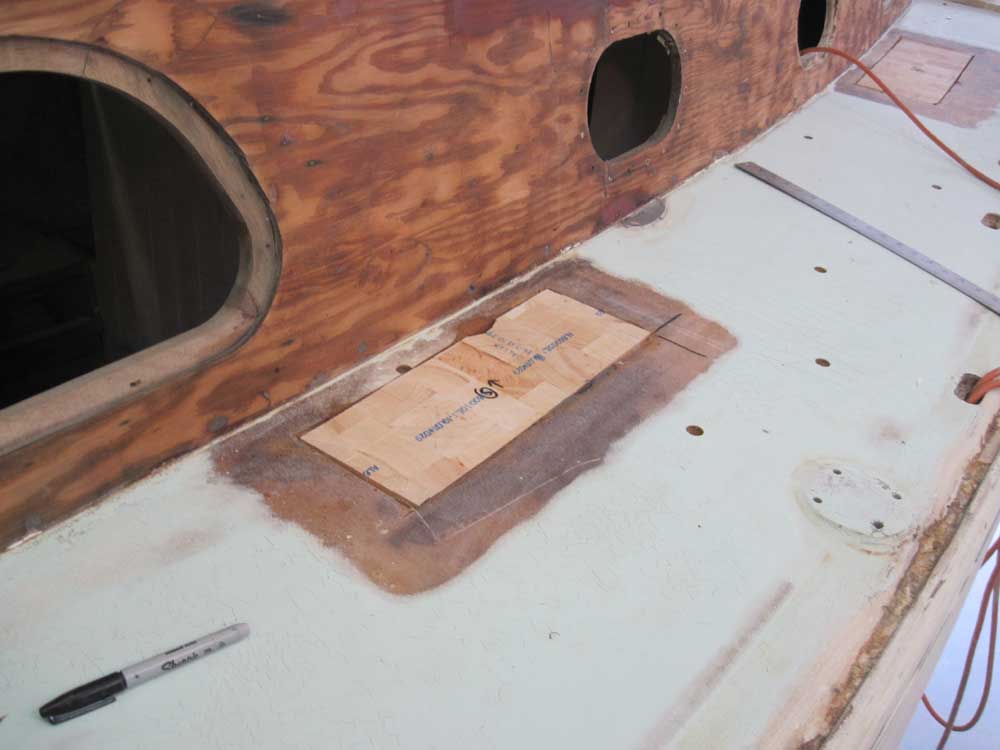
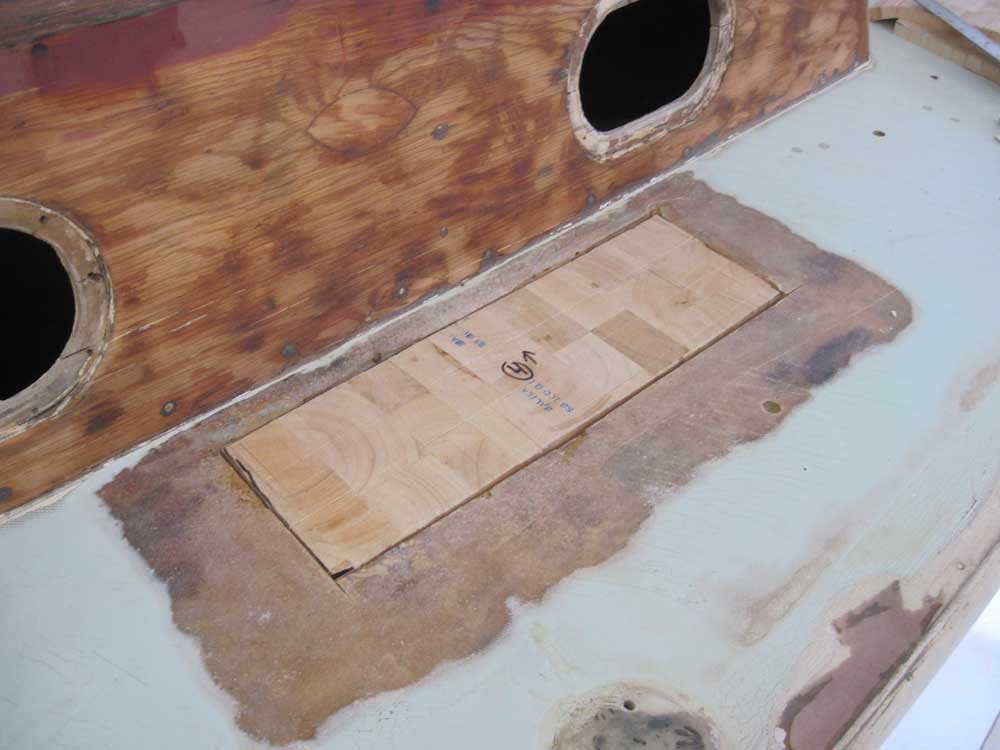

When I'd cut all the new core, I vacuumed and solvent-washed the areas to remove any final debris, and then applied a coat of unthickened epoxy to the insides of the opened deck areas, the inner skin, and the edges of the existing core, as well as to the base of the new core sections.
Afterwards, I installed the new core in thickened epoxy adhesive, which I applied generously to all surfaces and into which I pressed the new core, tamping it tightly into position and filling the gaps around the edges with more of the epoxy as required and squeegeeing epoxy over the top of the core and into the kerfs. Then, I covered the new core with plastic and weighted it in place as necessary to hold it securely to the bottom skin.

Total Time Billed on This Job Today: 8 hours
