110 Cookson Lane | Whitefield, ME 04353 | 207-232-7600 | tim@lackeysailing.com
After ordering some materials I'd need in the near future for portions of the deck repair project, I got back to work on the deck. The poor overall condition of the sheathing material on the sides of the cabin trunk, which had revealed itself as I'd removed paint from and sanded the decks earlier, forced a change in the overall plan of attack for the decks: the sheathing would have to be replaced.
The removal of the sheathing would also allow access to the series of screws located near the base of the cabin trunk, which, in part, held a significant interior trim piece in place; this trim piece would have to be removed in order to replace the 1/4" mahogany veneer plywood on the inside of the cabin trunk, which was badly water damaged in many areas.
Originally, we'd hoped to leave the existing eyebrow trim in place, but the requirement to resheathe the cabin trunk meant that the trim would have to be removed. This was my first task of the day. The teak trim was installed with a number of bunged screws and, I assumed, some sort of sealant behind the trim, though at the beginning of the day I was unsure precisely what.
To remove the trim, I carefully removed the bungs, exposing the screw heads beneath, and then removed the bronze screws by hand. It took some care to avoid stripping the slotted heads, but all the screws came out successfully.
The trim comprised several separate pieces, including some shorter, highly-shaped pieces that wrapped around the forward corners of the cabin trunk, and made the transition from the forward section to the raised doghouse aft. The trim was teak, and, despite the poor condition of the varnish, was a relatively new installation (new enough to be incomplete, in fact, with no pieces in place on the after portions of the cabin trunk), in good condition, and worthy of being saved. Therefore, removal required careful and delicate work with a series of putty knives and similar tools to slowly pry it away from the cabin trunk.
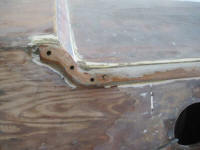
This task was complicated by the fact that, as it turned out, the trim had been installed in a bed of flexible polyurethane adhesive, rather than sealant. The polyurethane adhesive had a tenacious bond with both the trim and the cabin trunk beneath; the strength of the bond to the back of the trim itself was stronger than the bond of the existing Dynel sheathing to the plywood substrate in many cases, causing this material to pull away from the plywood. This also caused, in some areas, portions of the outer layer of the fir plywood to pull away as well, though the overall nature of this damage was minor and could easily be repaired before resheathing.
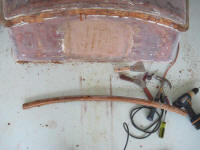
A combination of heat, multiple putty knives, time, and patience eventually caused all pieces of the eyebrow trim to successfully surrender to my removal efforts, with no damage to the trim. I set the trim pieces aside for stripping, sanding, adhesive removal, and eventual refinishing.
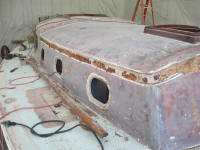
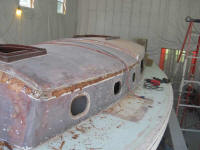
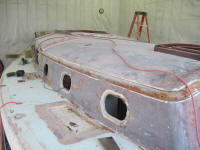
With the trim out of the way, I spent the remainder of the day removing all the existing sheathing from the sides and front of the cabin trunk. I removed the sheathing using a combination of heat and sanding as necessary, exposing the fir plywood substrate and removing all vestiges of the old, partially-failed, sheathing.
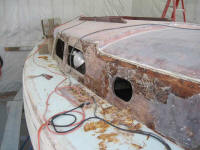
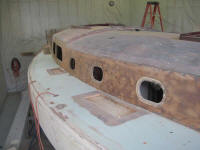
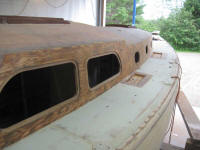
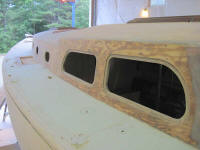
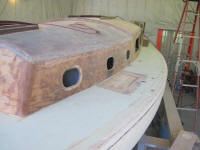
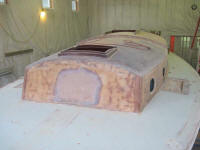
I planned also to recover the forward portion of the coachroof with an additional layer of Dynel, since the existing material featured some thin spots, but because this material was well-bonded to the coachroof, I didn't plan to remove the old material.
The top of the raised doghouse was in good condition and didn't require resheathing at all.
Total Time Billed on This Job Today: 8.25 hours
