
110 Cookson Lane | Whitefield, ME 04353 | 207-232-7600 | tim@lackeysailing.com
Ramping up to get back into the swing of things after a long break from work on this project--a four-year break, as it happened--and exacerbated by a post-vacation absence of alacrity, I started the reacquaintment process with a few tasks designed to build momentum and turn me in the direction needed. To start, I set up staging around the boat at deck height, a chore I always found paid more than ample dividends in convenience and efficiency.
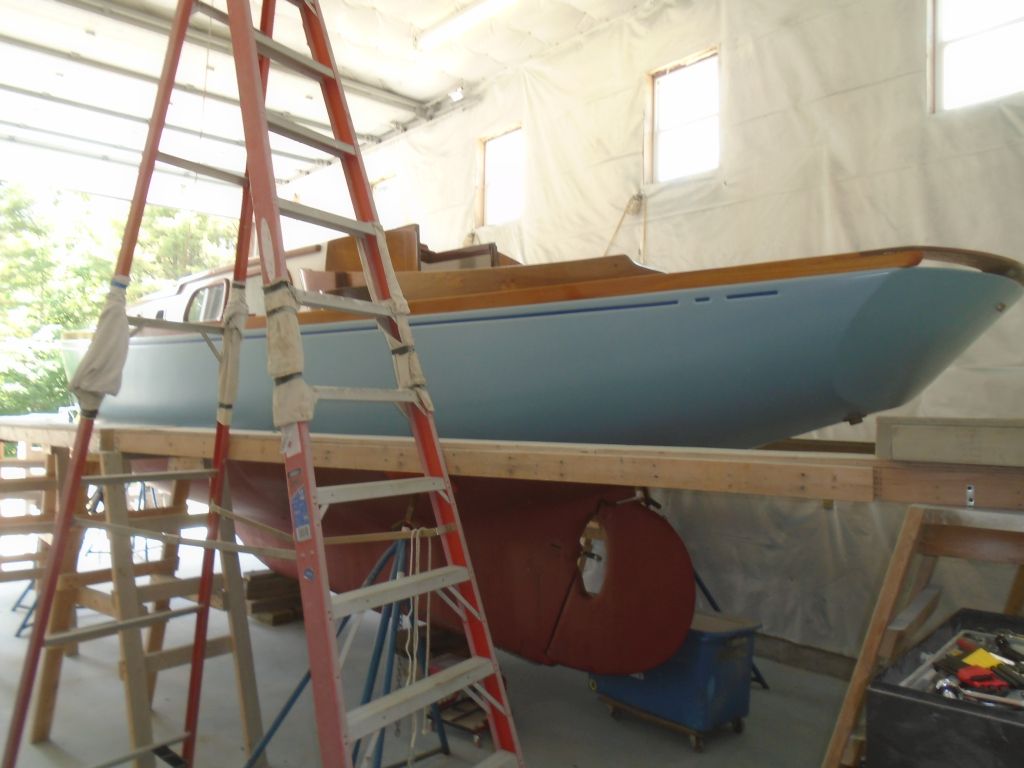

Since I brought the boat into the shop a couple weeks earlier, I'd taken some time here and there to go through things and start the rudiments of a work list for this final phase of the project, which would be geared towards wrapping up the jobs needed to return the boat to the water and sailing condition. To this end, several months back, during the late winter, the owner had committed to, and I'd arranged, the construction of a new spruce mast to replace the original one, which we'd determined four years earlier was unsalvageable. The mast, contracted through a local builder, was to be ready in time for the 2016 sailing season.
From my standpoint, the job list would be fairly short and as straightforward as possible. The earlier stages of the rebuild on this boat had focused on some major rebuilding of the deck and interior, and a substantial cosmetic overhaul of most areas, along with a new engine and related systems, but the overriding mantra had always been to keep things clean and simple, and that would continue.
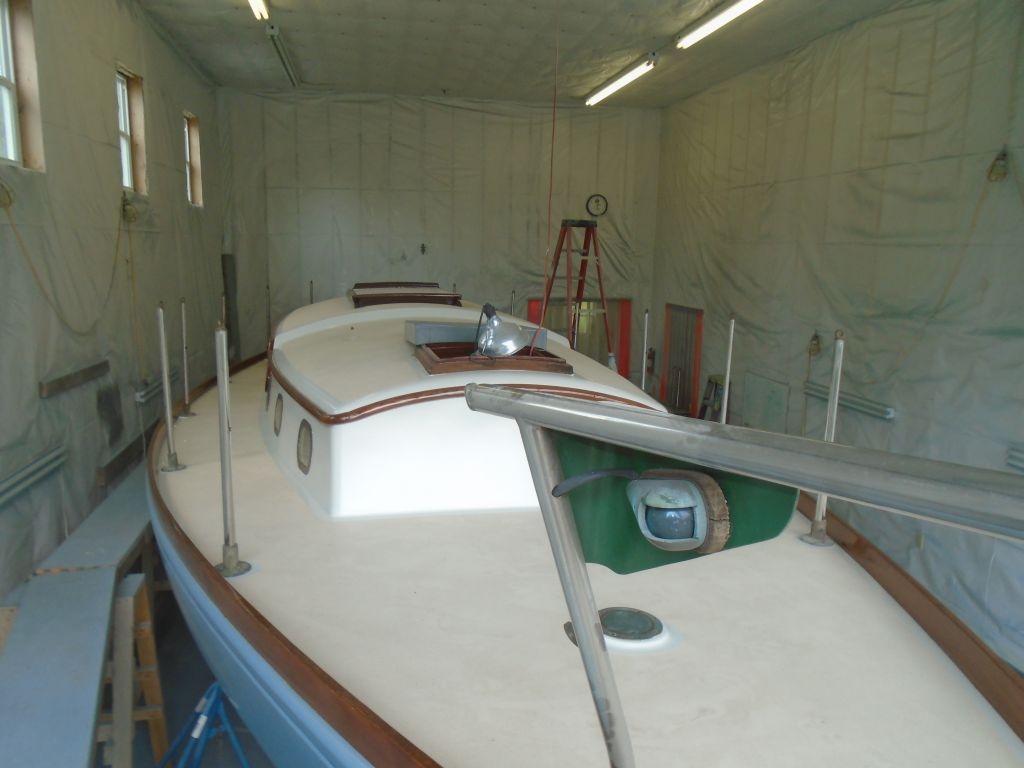
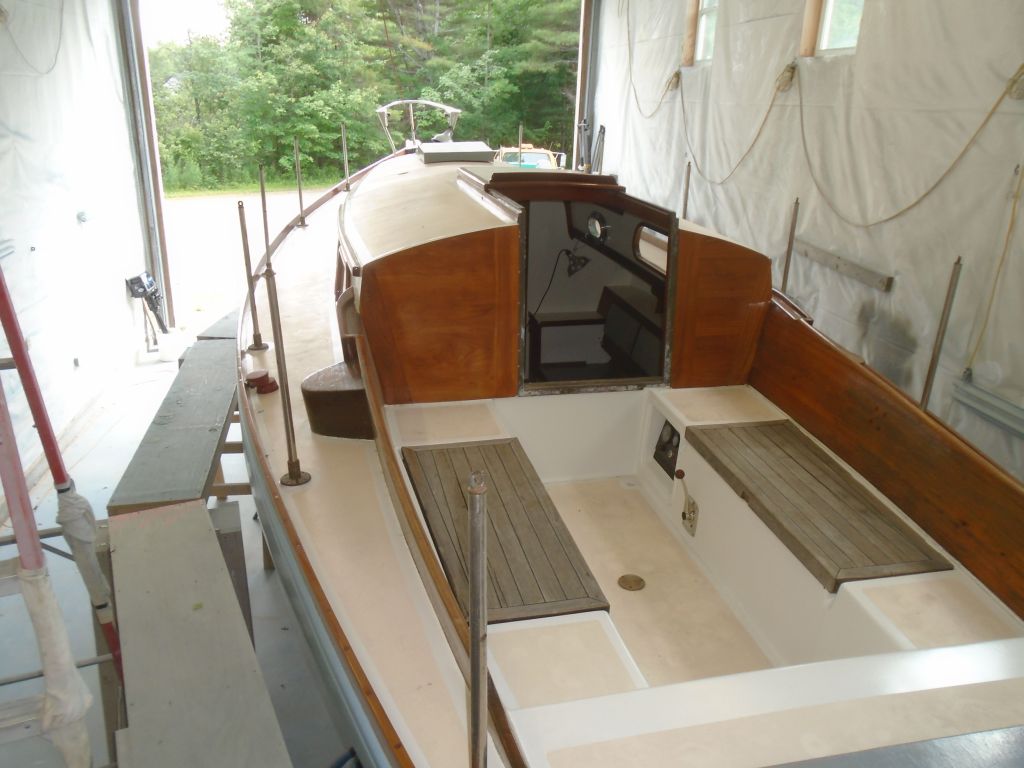
With a raw work list awaiting the owner's input, I turned to some of the known tasks that I could start now, beginning with deck hardware. Long ago, the owner had purchased all the bronze hardware off another Swiftsure that was being broken up, and we had a substantial and redundant collection of terrific bronze pieces to work with. From this collection, I'd previously sorted out most of the pieces I planned to use--cleats and other hardware--but now I wanted to find enough stanchion bases and stanchion tubes to install around the boat. The deck featured neat round molded pads for the stanchion bases, which dictated the position and quantity of the bases and stanchions required (12), so I began by choosing bases that weren't solidly corroded to their stanchions, and also sorting through myriad stanchion tubes of varying lengths and styles to find the ones that would pair up best as needed.
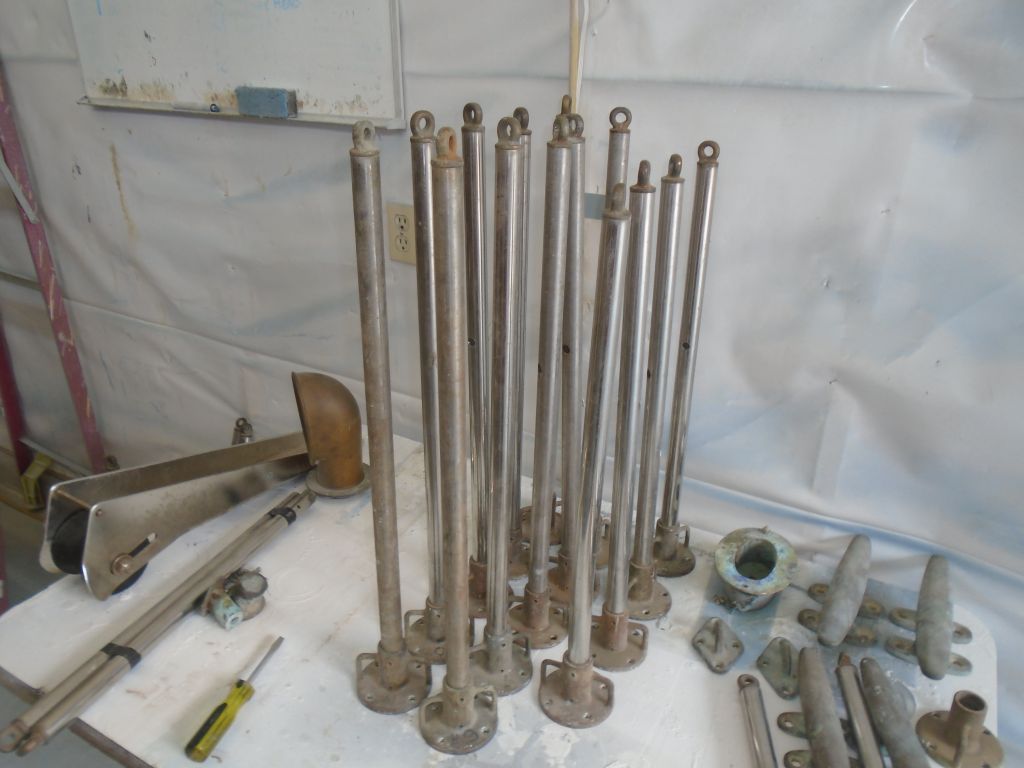
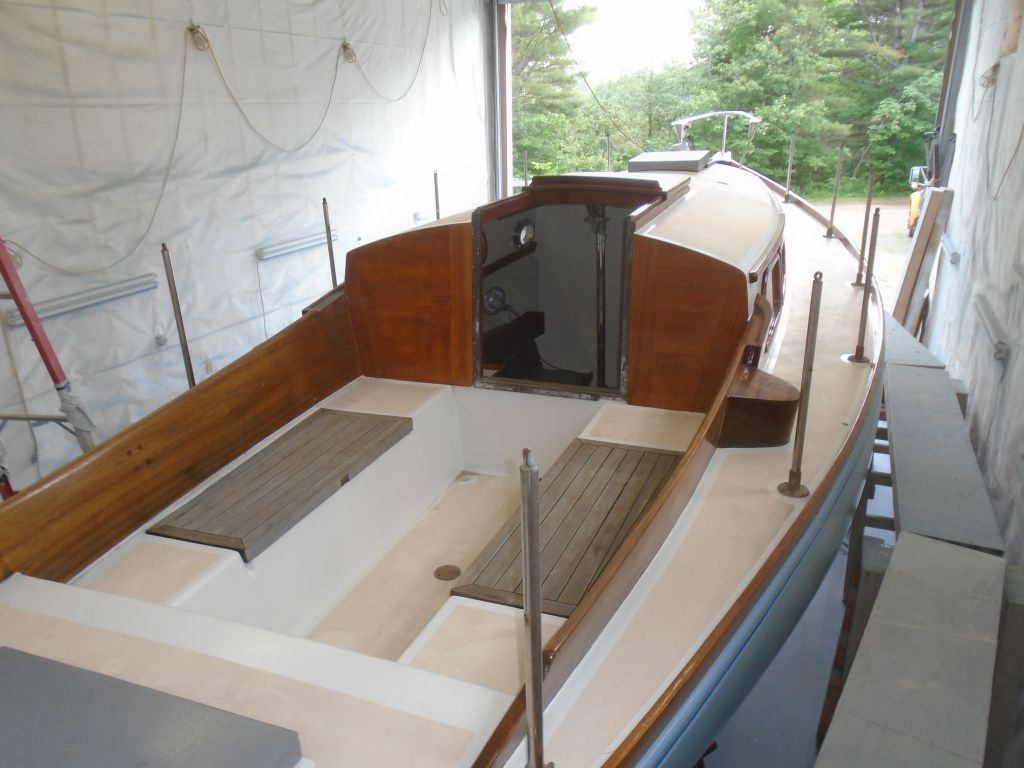
Many boats from this era featured lower bow pulpits and stanchion lengths that decreased in accordance with the rising sheerline forward. This was a good thing, since there weren't enough of any single length of tube to fill out both sides of the boat. So to bring the lifelines cleanly into the bow pulpit, the forwardmost set of stanchions would be shorter, so I chose two for this location. From there, my next game was to determine how and where to mix the lengths. As it happened, things worked out pretty well, with enough of the tallest stanchions available for four per side, and one more shorter pair for the aftermost set, which could also diminish in height thanks to the sheer at the stern, and from which the lifelines would eventually terminate to deck fittings (no stern pulpit was fitted).
With enough bases and stanchions to go around, I set them up as needed to check the appearance, while also cleaning off (as needed) the old sealant from the bases, and ensuring that the screws to secure the stanchions in their bases worked as required. I marked each on the bottom for its location for future reference, and made up a fastener list (along with the other known hardware) for an order so I could continue work on the installation as soon as possible.

Total Time Billed on This Job Today: 5.25
<Previous | Next>
0600 Weather Report:
Clear, calm, sunny, 60°. Forecast for the day: Sunny, mid 80s
